Spanish Rolls

Spanish Rolls are one of my favorite things to eat!
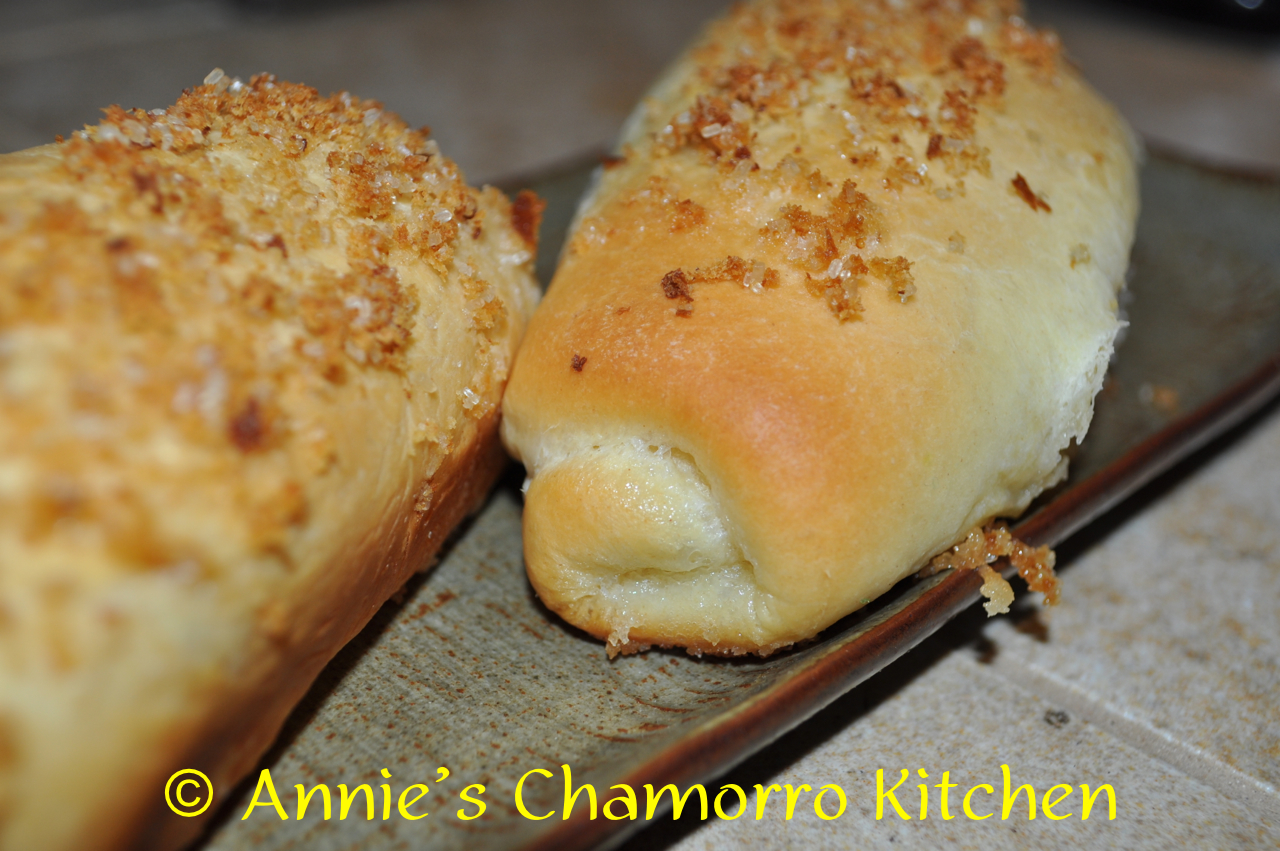
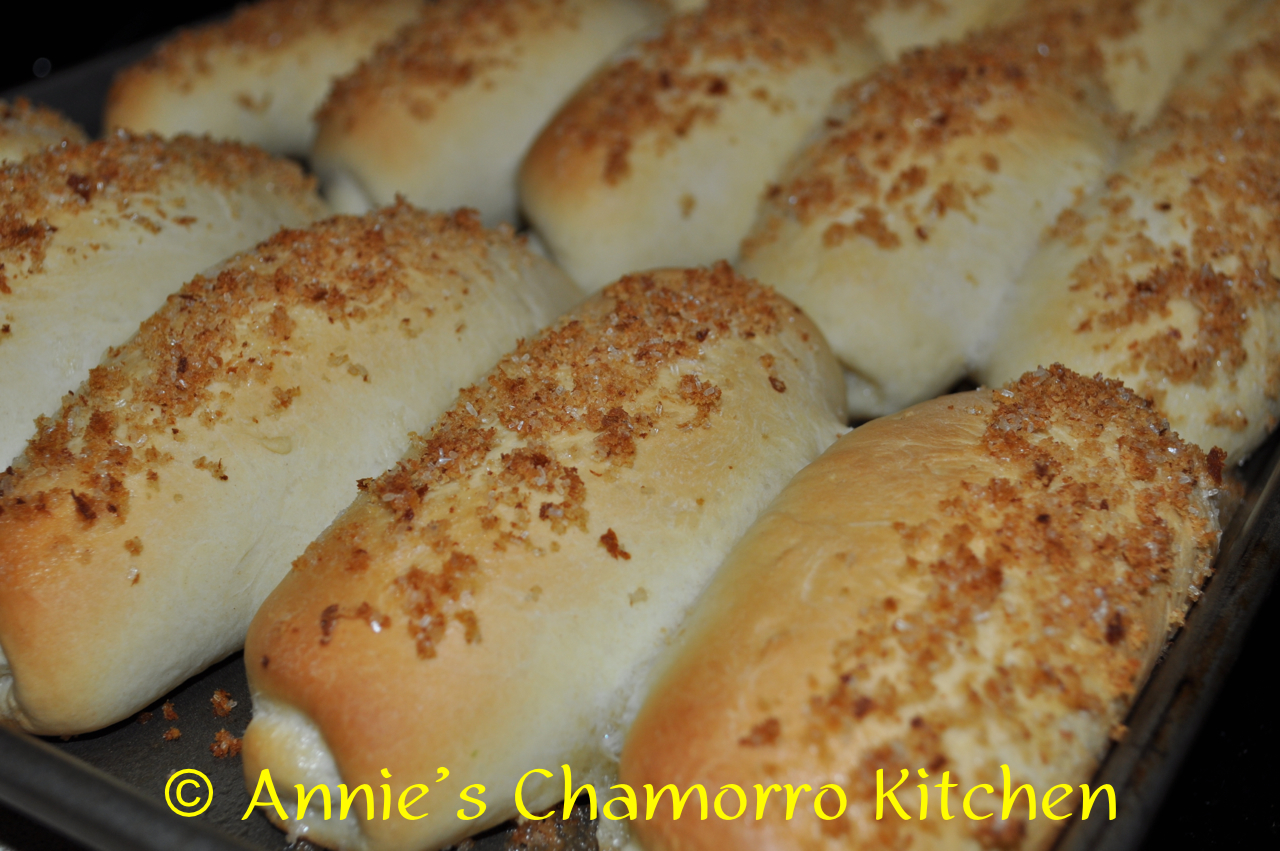
They are a soft, sweet bread dough rolled flat and filled with sweetened butter, then rolled jelly-roll style.  The rolled dough is brushed with melted butter then topped with a sprinkling of a sugar-breadcrumb mixture and baked to golden brown perfection.

DSC_0072

Eat them as a snack, dessert, or have a roll or two or three 😉 for breakfast with
a steaming cup of your favorite coffee.

DSC_0065

It’s not that difficult to make.  Follow my complete recipe below and mix up a batch of sweet bread dough.  Flatten pieces of dough and brush with a butter-sugar mixture.  Roll up the dough, jelly-roll style and let the dough rise.

DSC_0056

Spread more butter on top of the rolls and top with a sugar-breadcrumb topping before baking.  Use turbinado sugar, also called sugar in the raw, to top the rolls.

DSC_0057

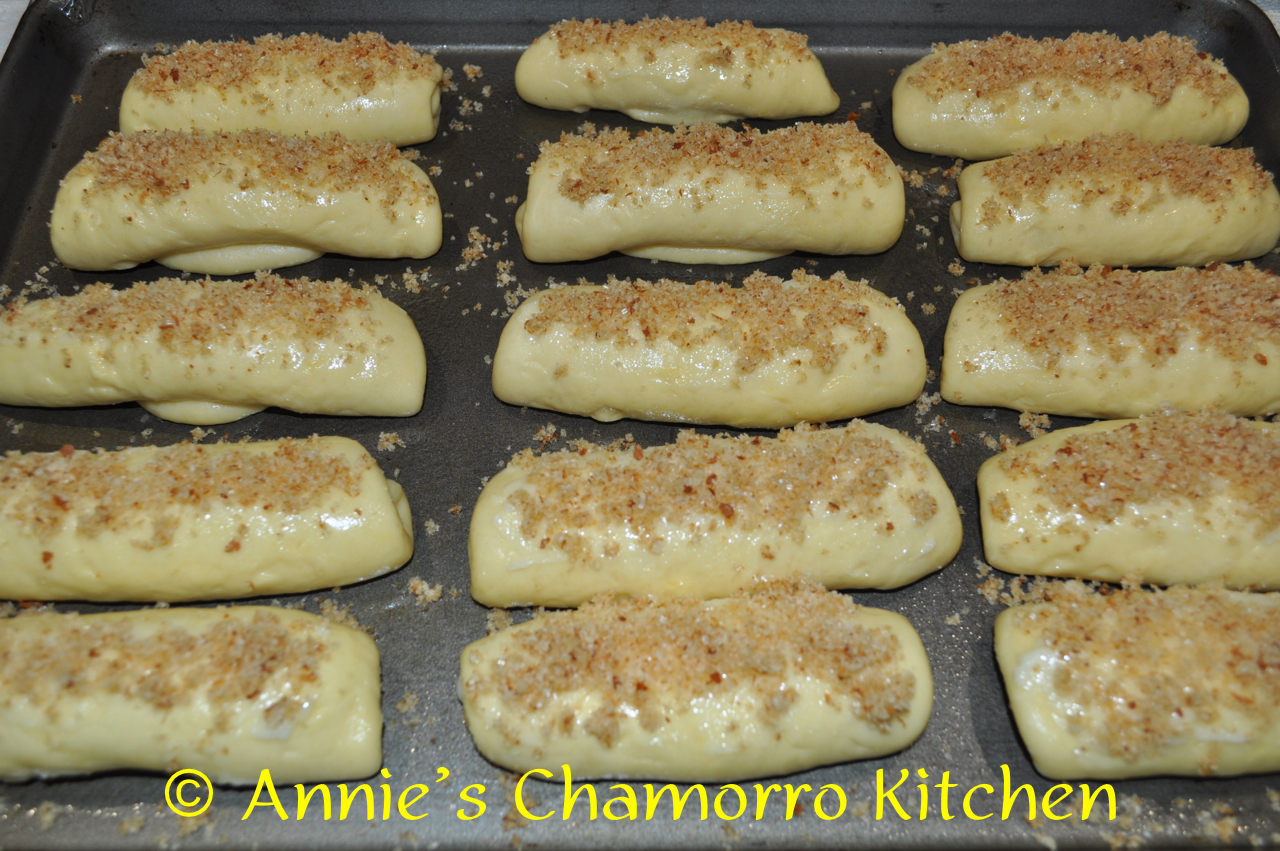
The sugar-breadcrumb mixture bakes up into a sweet and crunchy topping that compliments the soft and incredibly fluffy, buttery rolls.

Don’t you wish you could just reach into your computer and pull one of these
scrumptious rolls right off that pan?

Give my recipe a try.  I know you’ll like it. 🙂

DSC_0060


Spanish Rolls
 
Prep time
Cook time
Total time
 
Soft, fluffy rolls with a buttery sugar filling and topped with a crunchy, sweet sugar-bread crumb topping
Author:
Recipe type: Yeast Bread
Serves: 24
Ingredients
Dough:
  • 1¼ cup milk
  • ½ cup sugar
  • 2 packets active dry yeast
  • 6 tablespoons butter, melted
  • 1½ teaspoons salt
  • 1 large egg
  • 2 large egg yolks
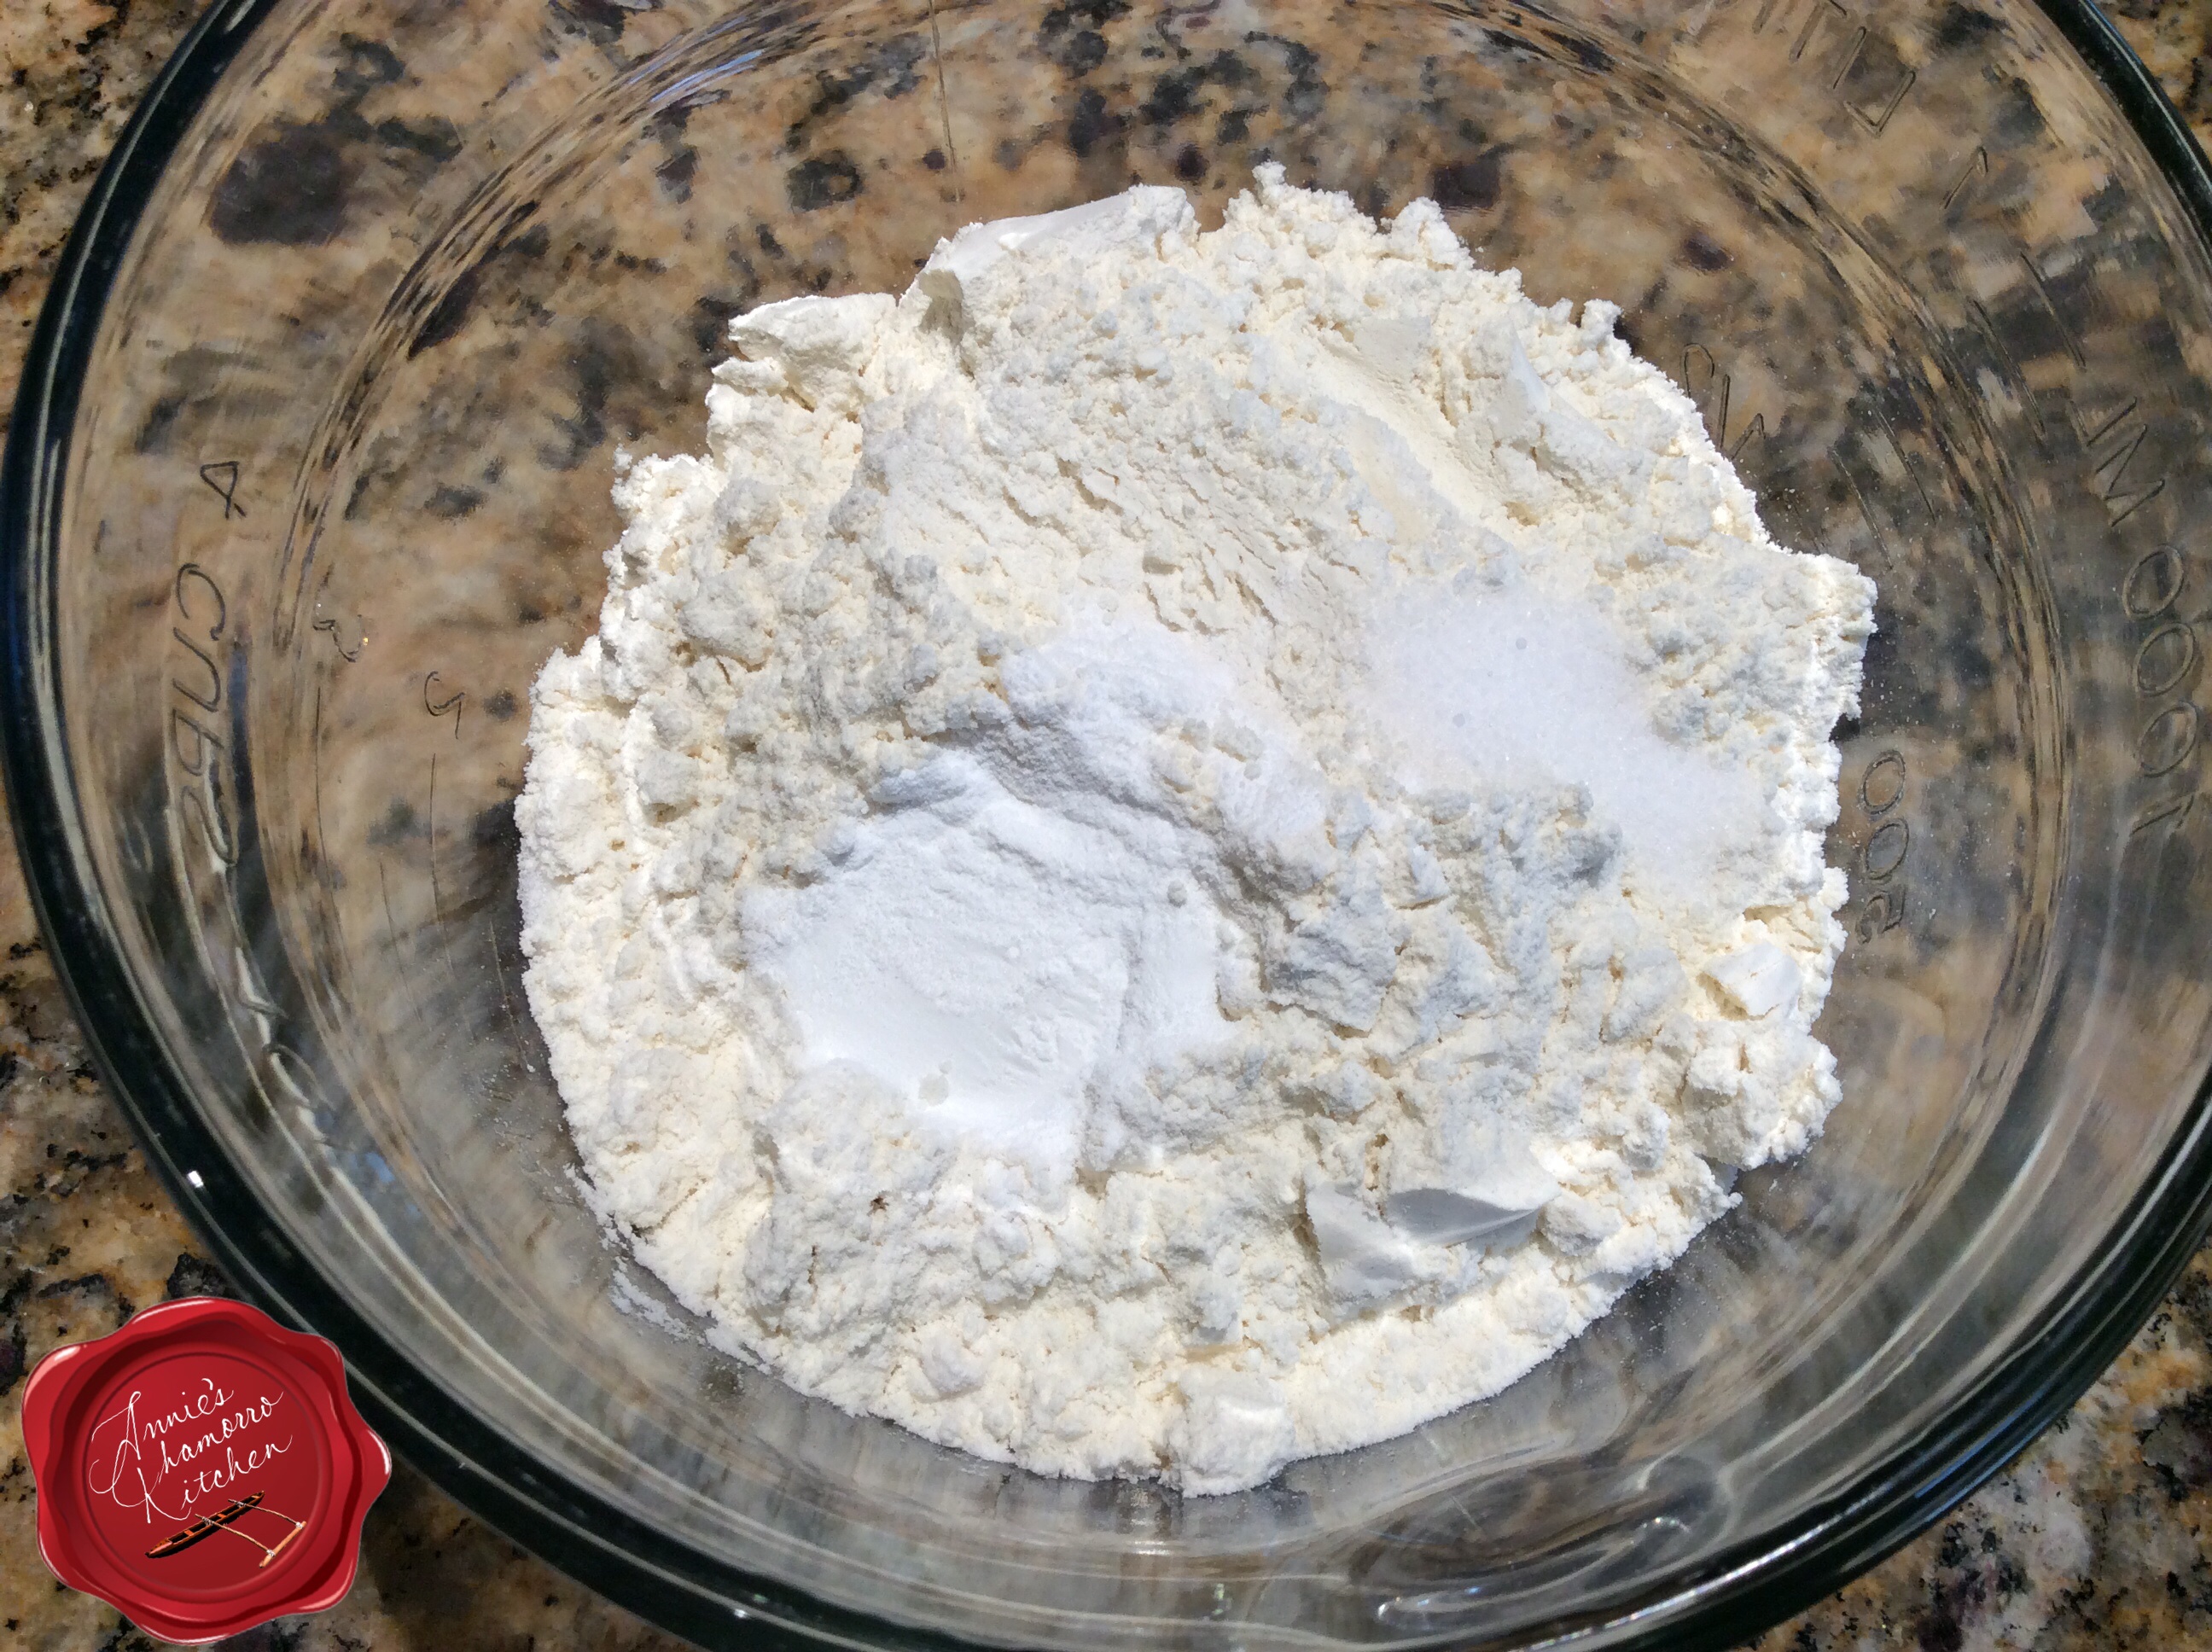
  • 4½ cups all-purpose flour
Filling:
  • 2 sticks softened butter
  • 1 cup white sugar
Topping:
  • 1 cup bread crumbs
  • ¼ cup turbinado sugar (also called sugar in the raw)
Instructions
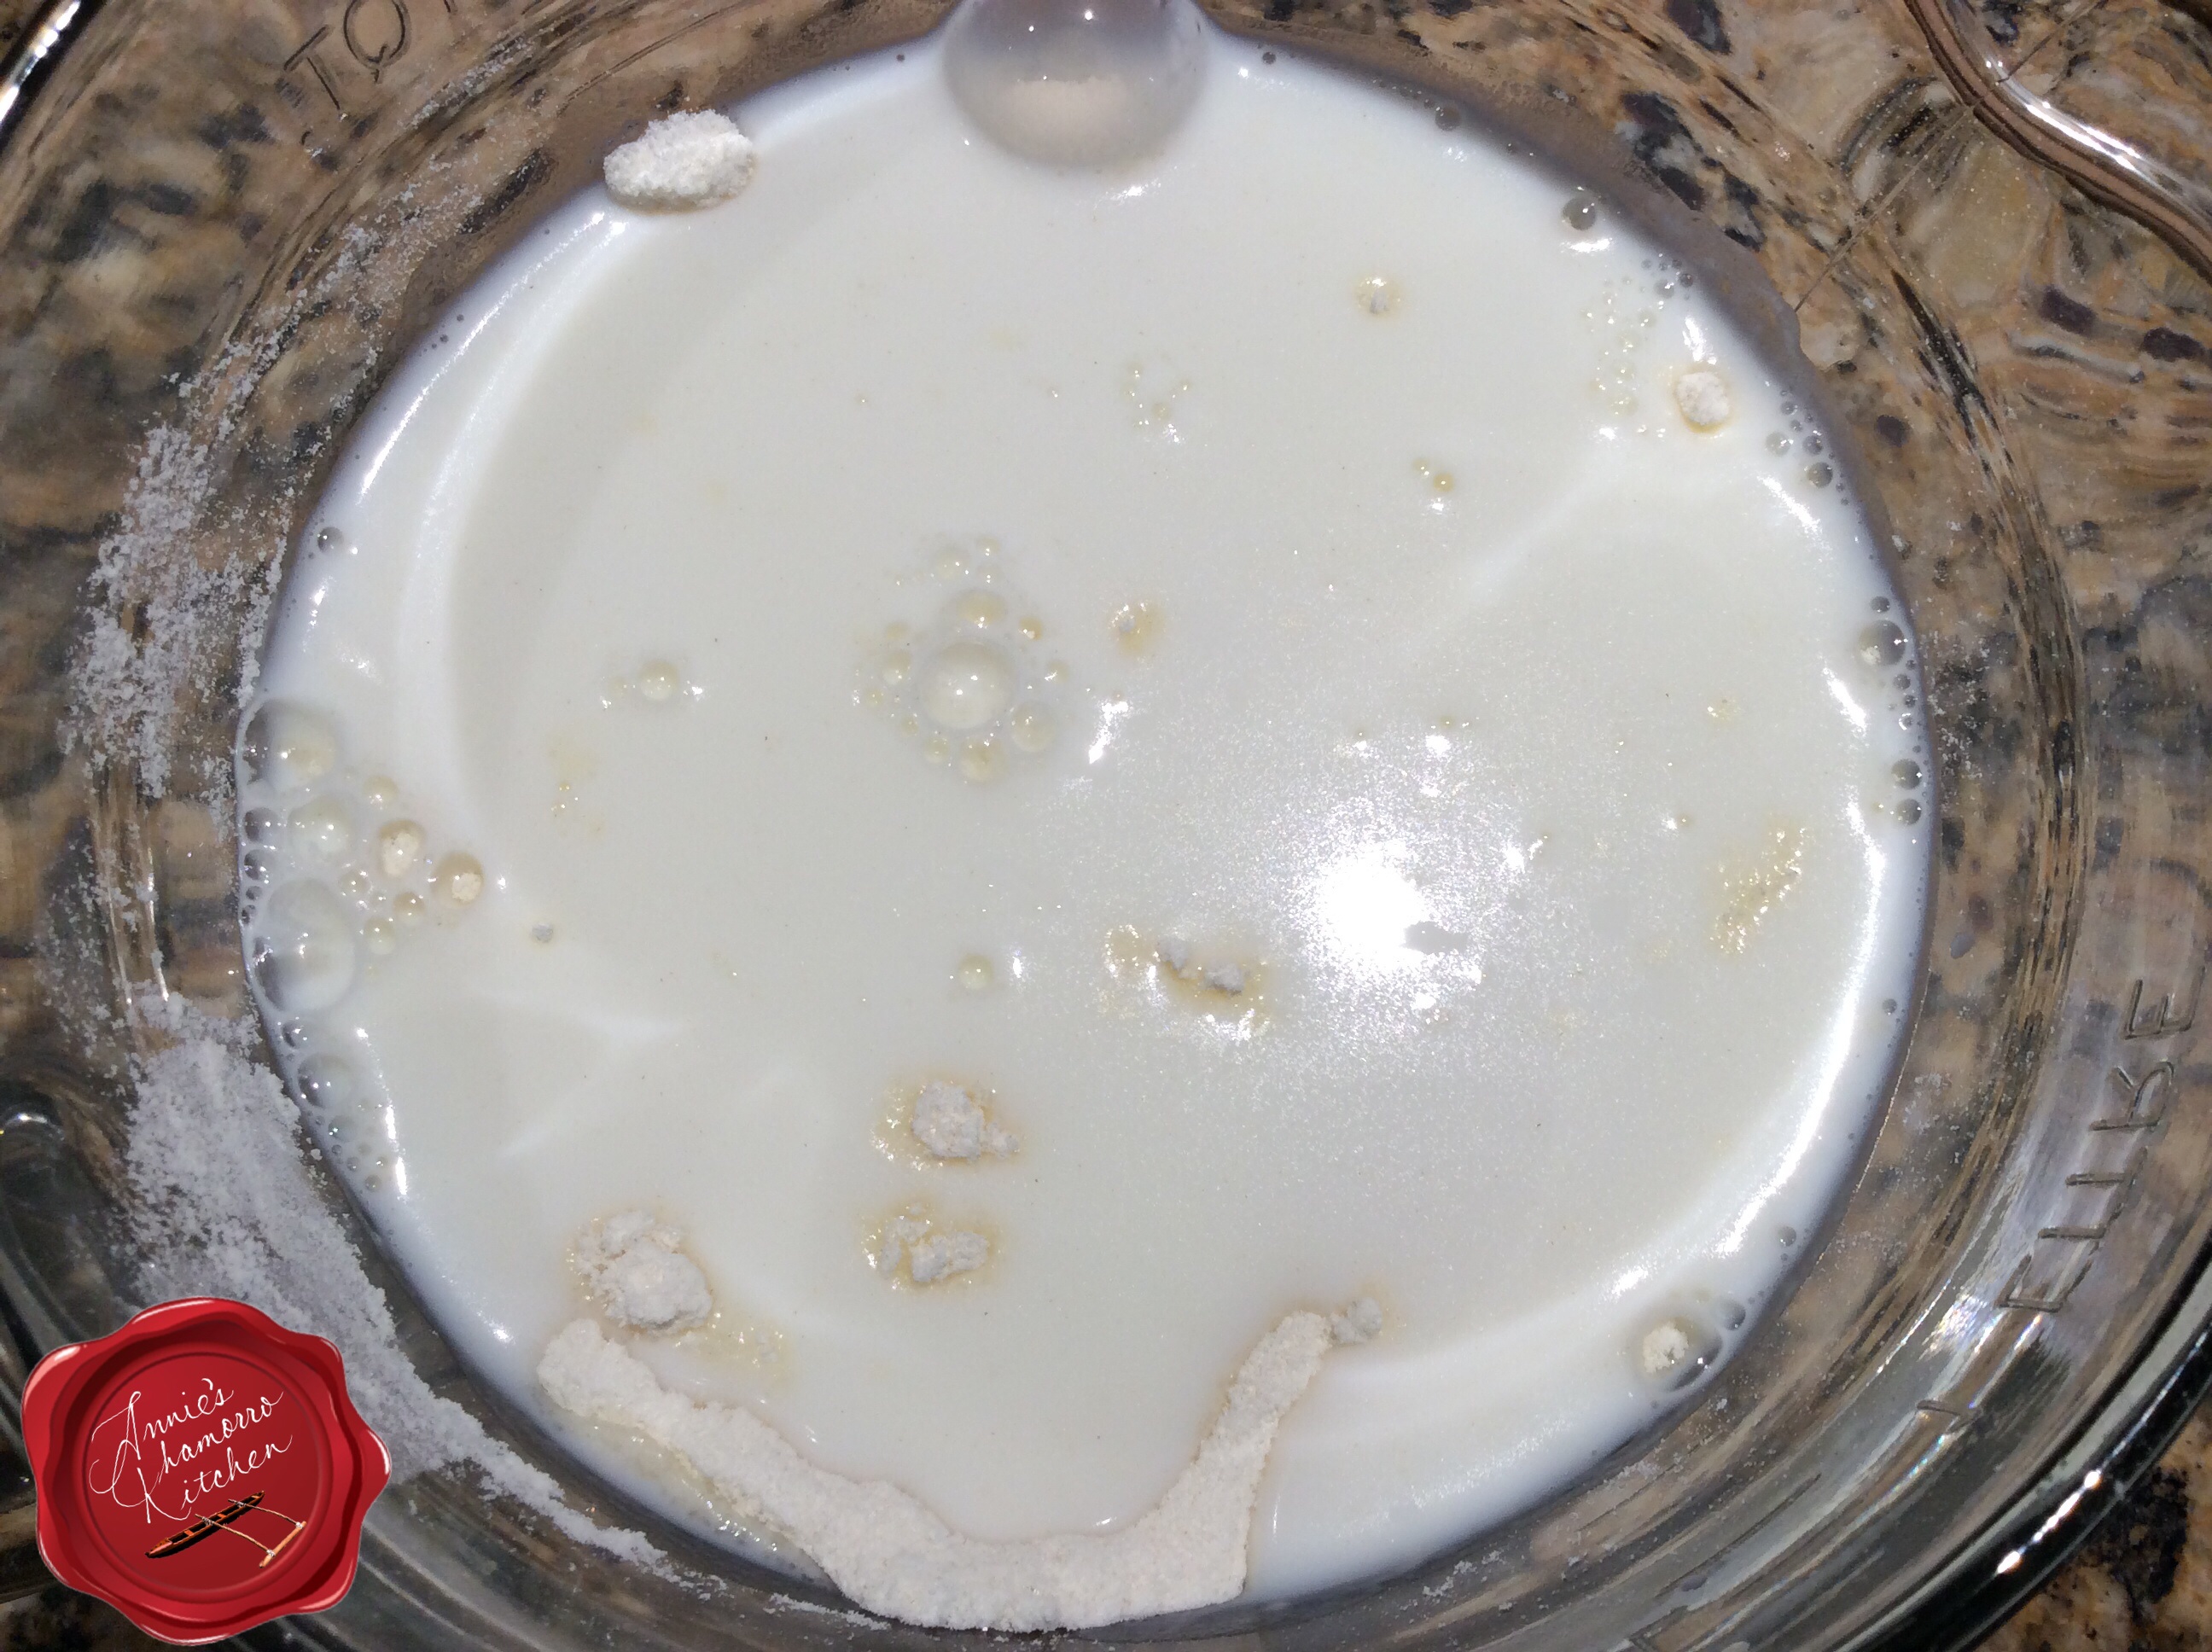
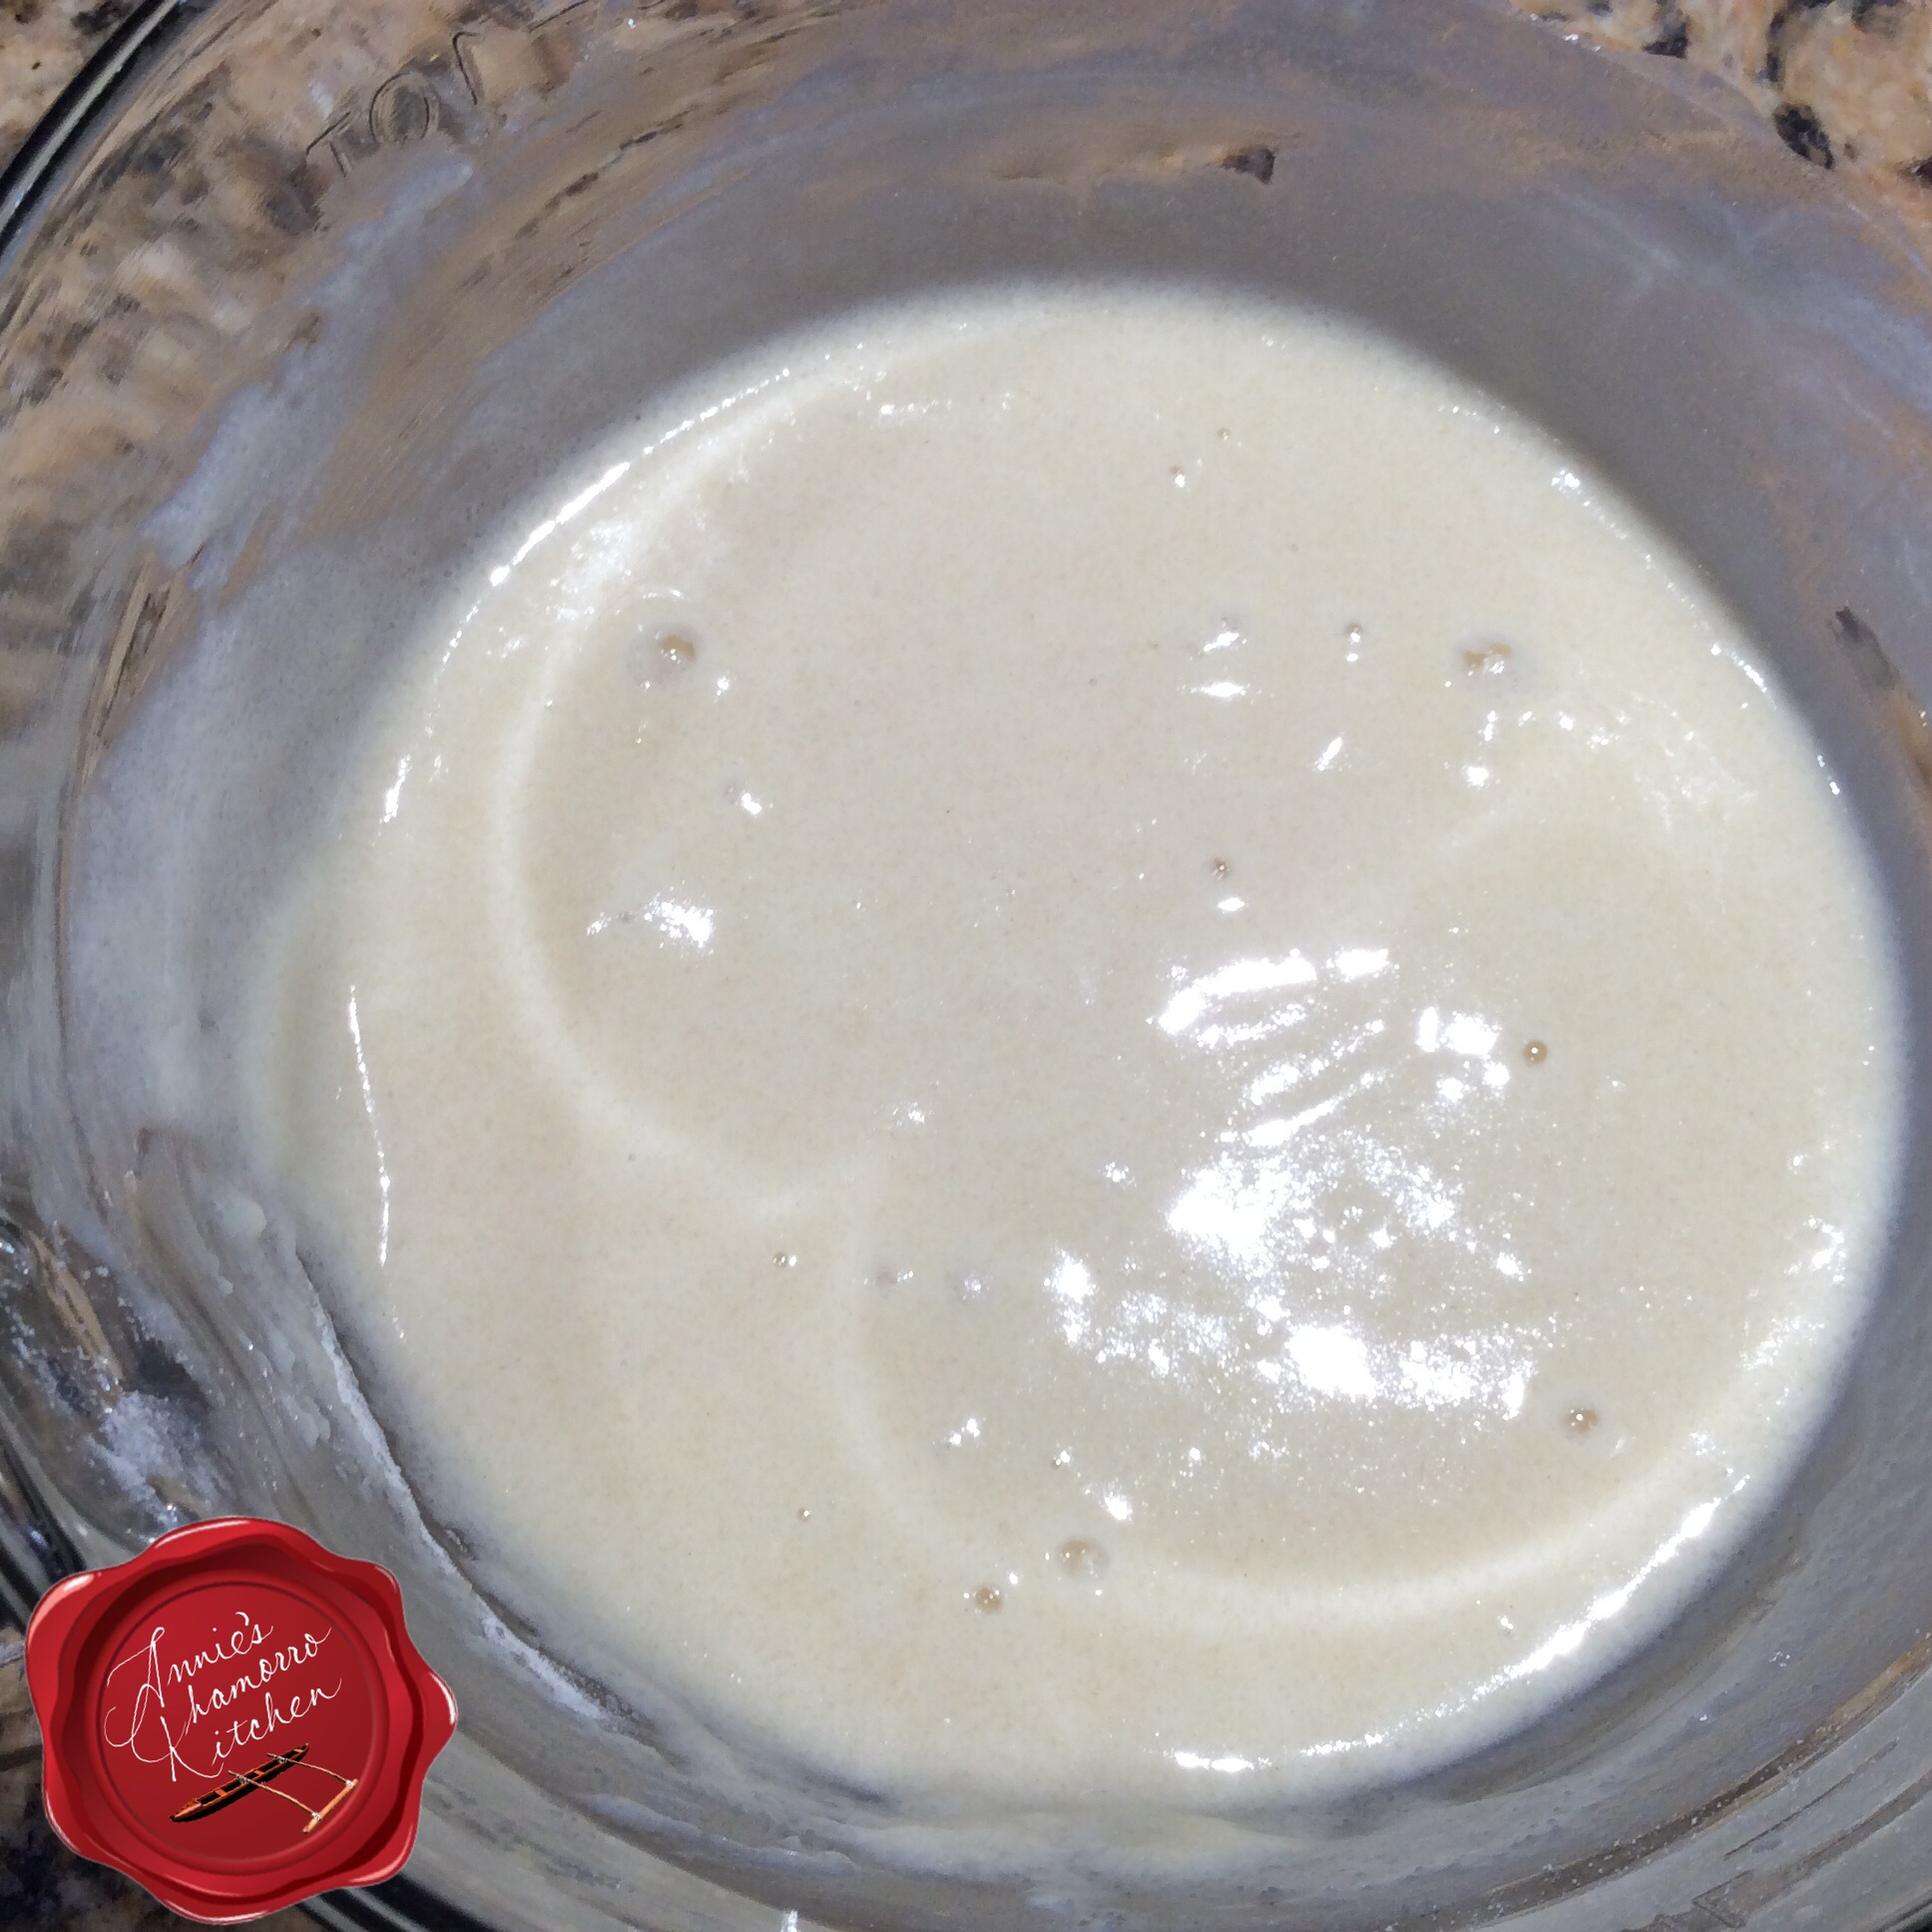
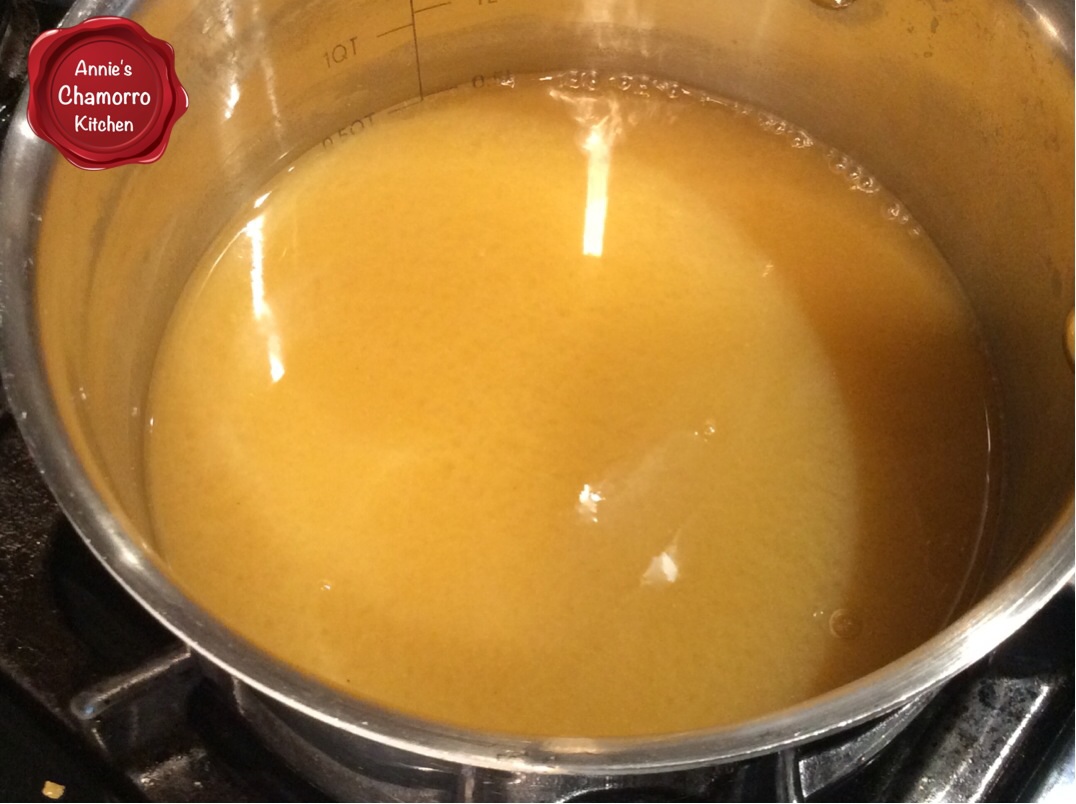
  1. Place the milk into a microwave-safe bowl. Microwave on high for 1 minute and 15 seconds. Pour the hot milk into the bowl of an electric mixer fitted with the paddle attachment. Add the sugar to the milk, mixing until the sugar is dissolved, about one minute.
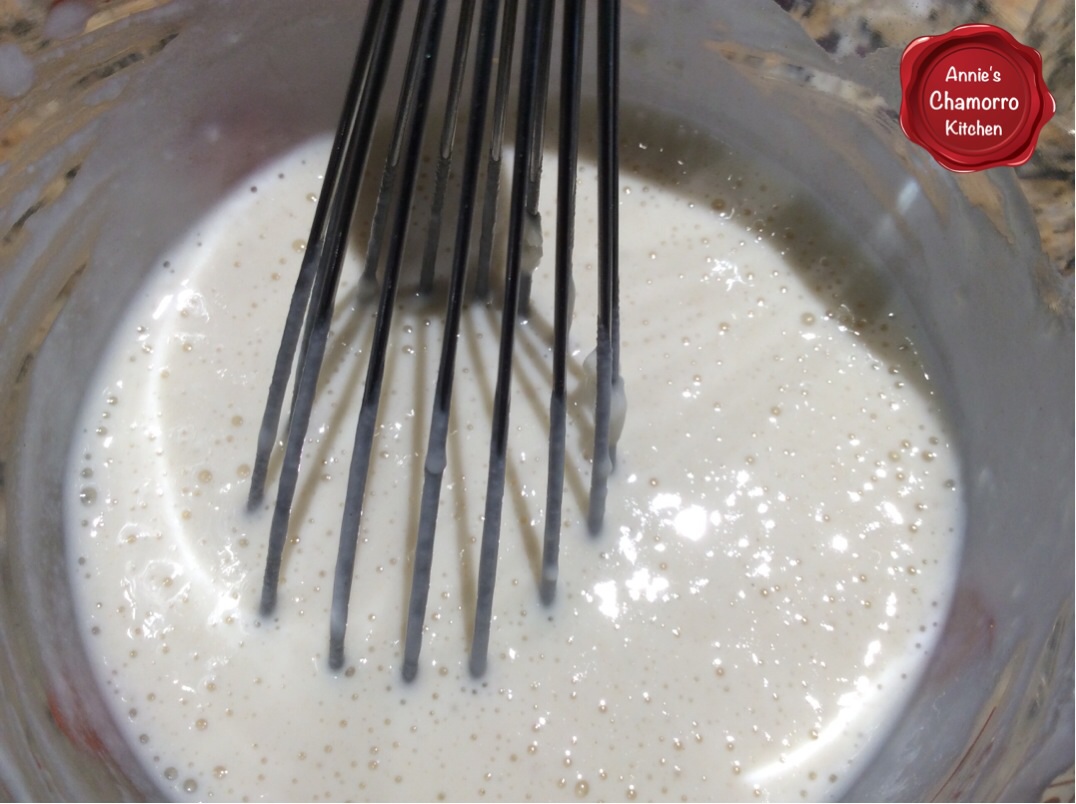
  2. Add the yeast to the milk-sugar mixture then mix until dissolved. Let the yeast stand for about 10 minutes to proof (the mixture should become very foamy).
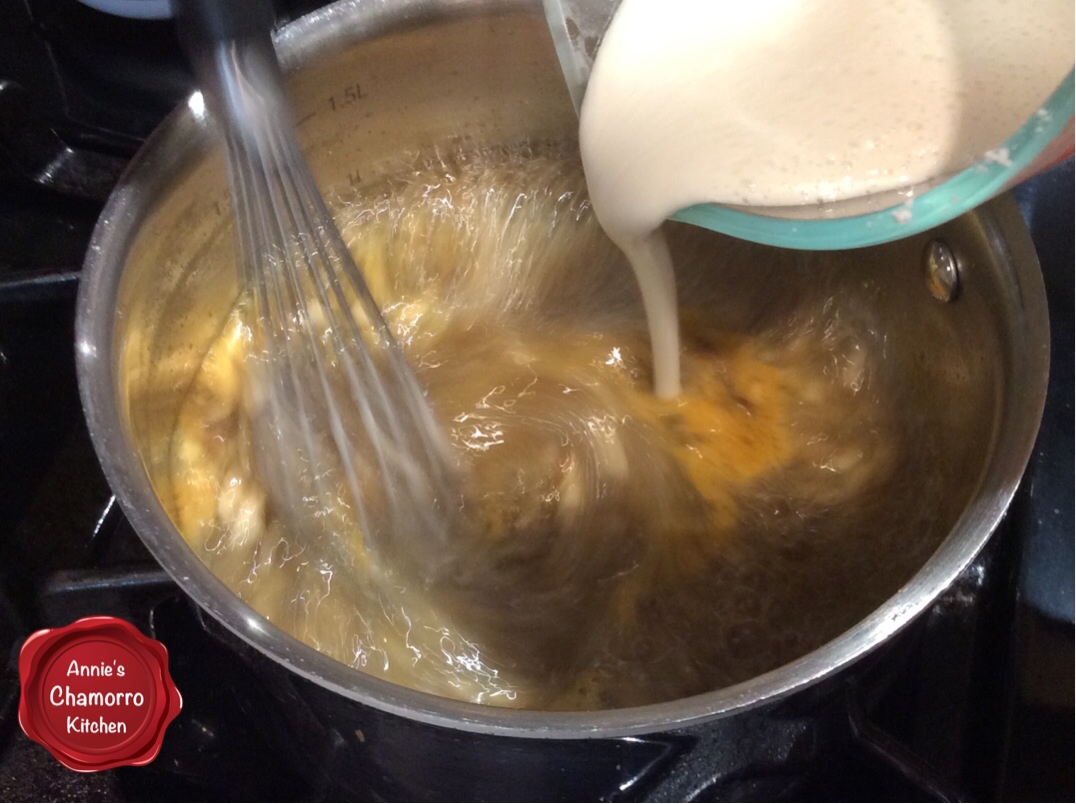
  3. Let the melted butter cool down a bit then mix it with the salt, egg and egg yolks. Pour the butter mixture into the mixing bowl with the yeast mixture.
  4. Mix in the flour, a half cup at a time until you've used four cups of flour.
  5. Change the paddle to the dough hook then add the last half cup of flour. Knead with the dough hook for about 5 minutes, or until the dough pulls away from the side of the bowl.
  6. Spray the ball of dough with butter cooking spray then cover the mixing bowl with plastic wrap. Allow the dough to rise in a warm place until doubled (about 45 minutes to an hour).
  7. After the dough has doubled in volume, punch it down then place it onto a clean countertop. Knead gently for 1 minute. Divide the dough into 24 pieces. Roll out each piece of dough into ovals.
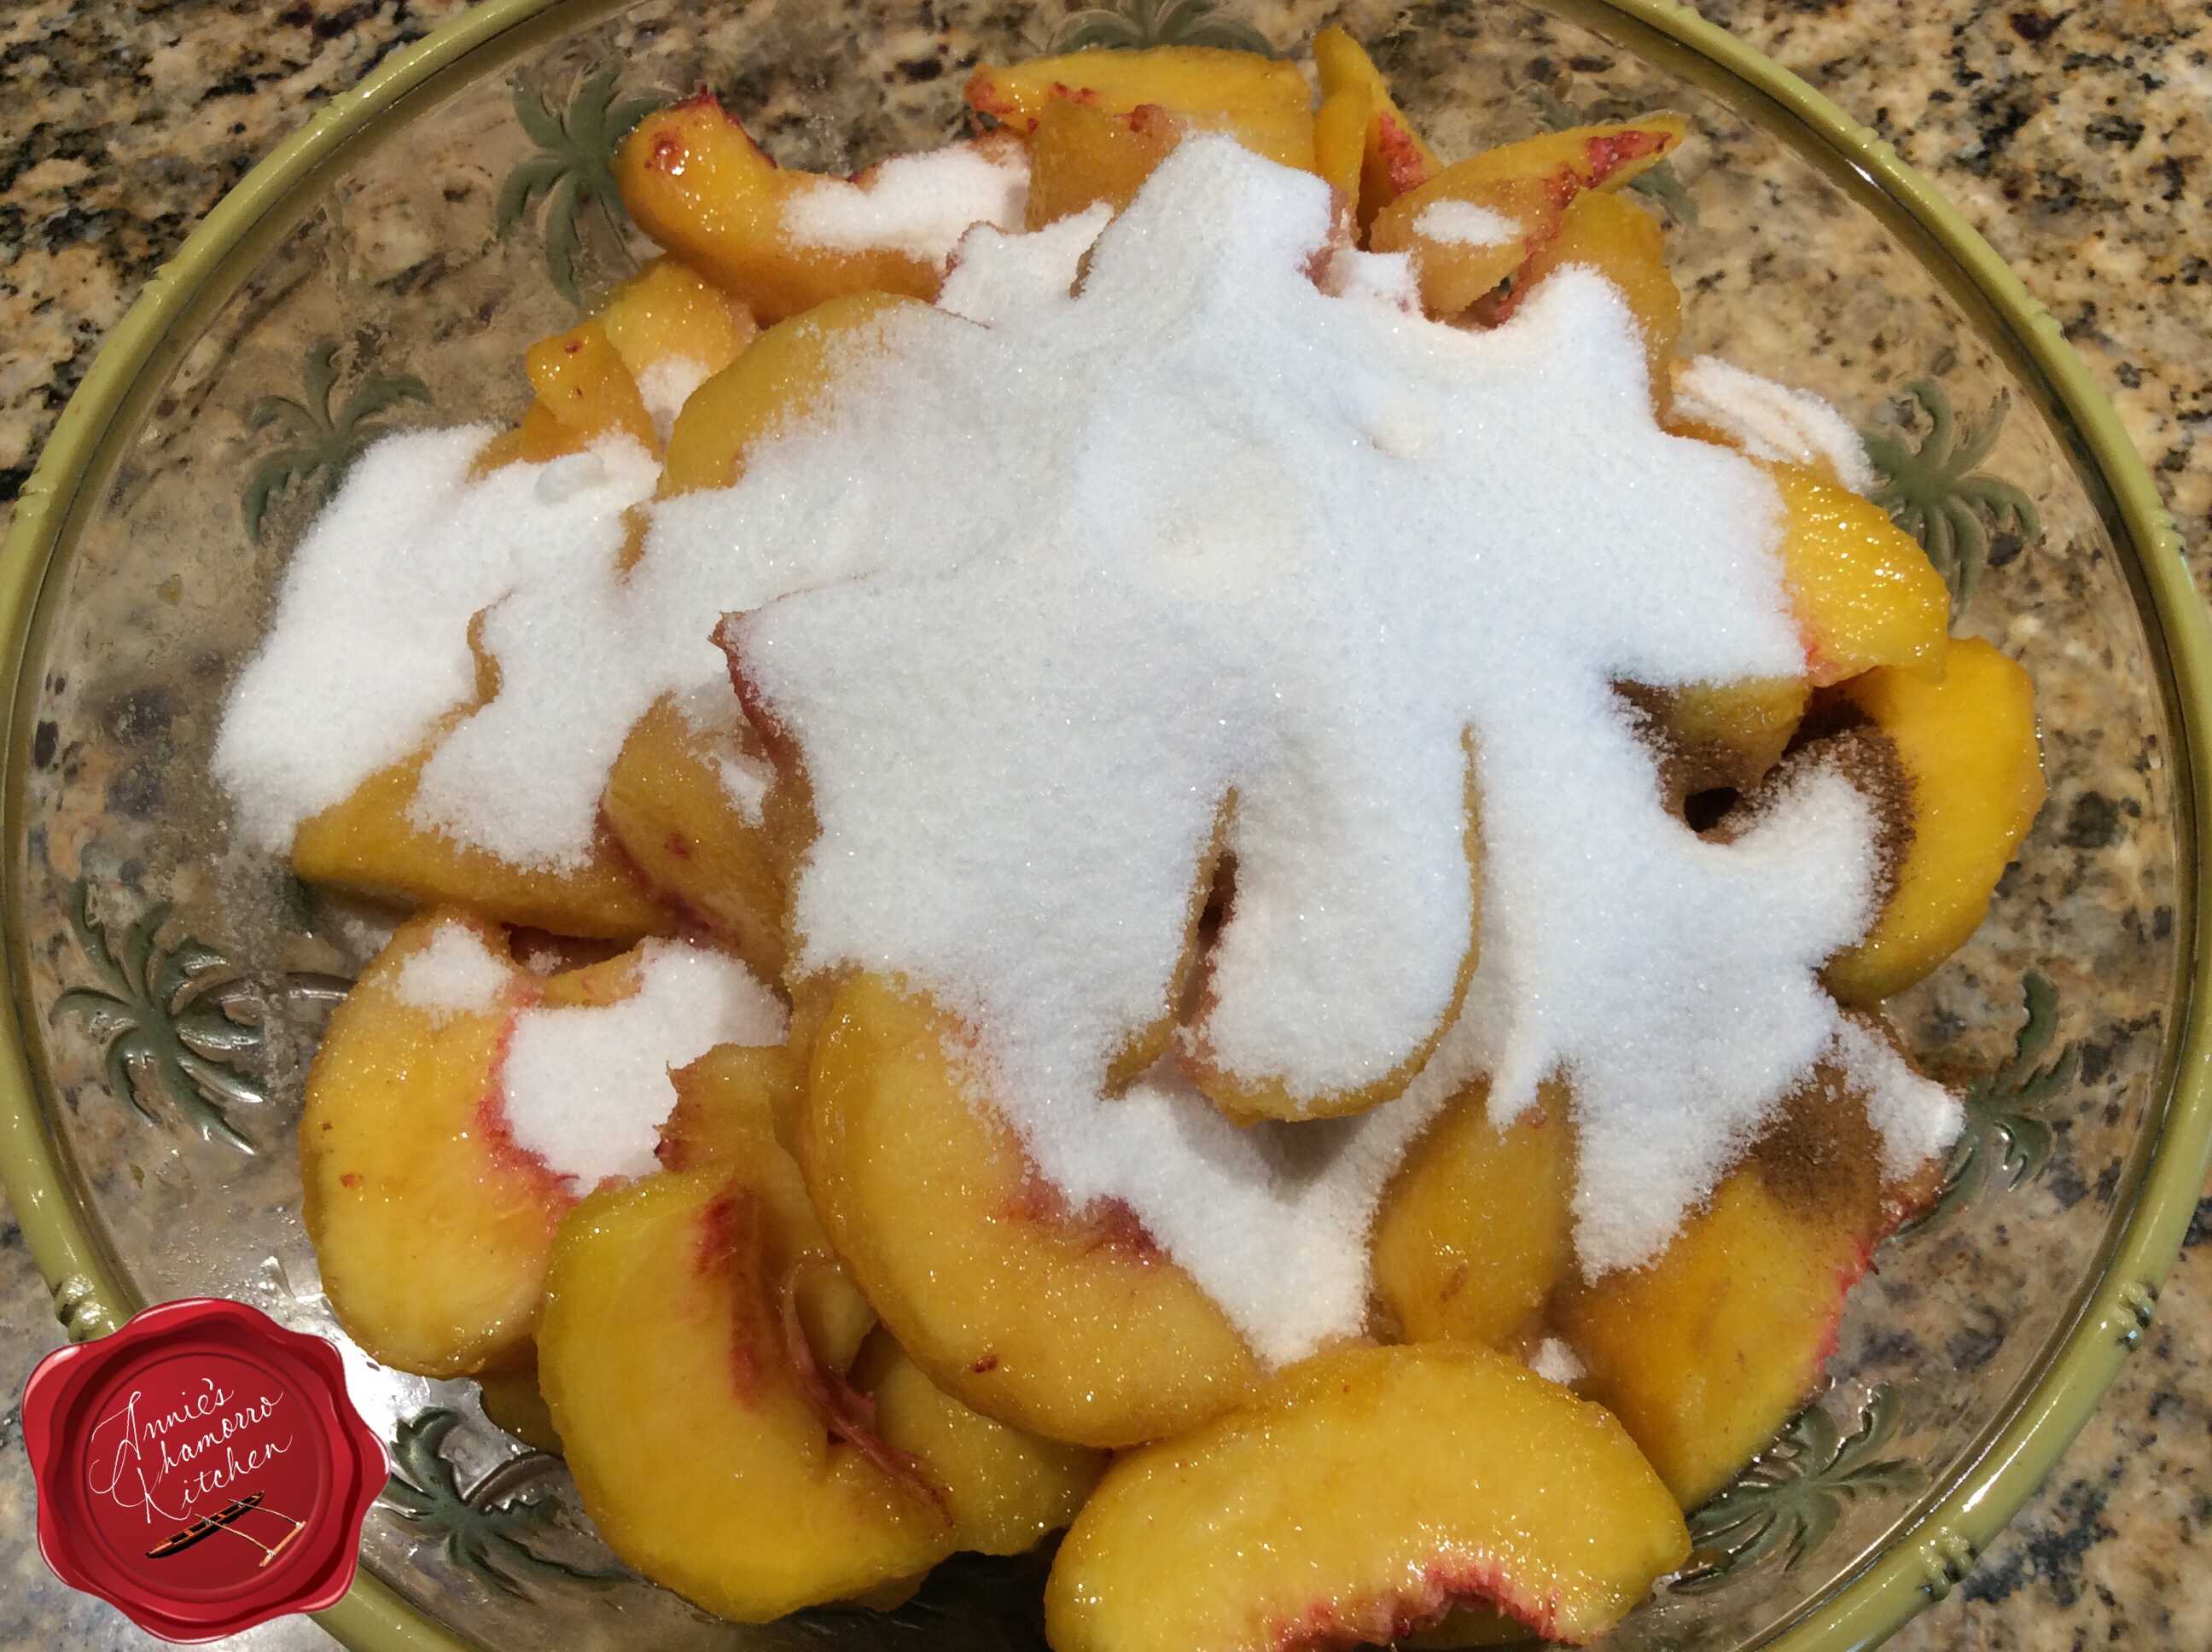
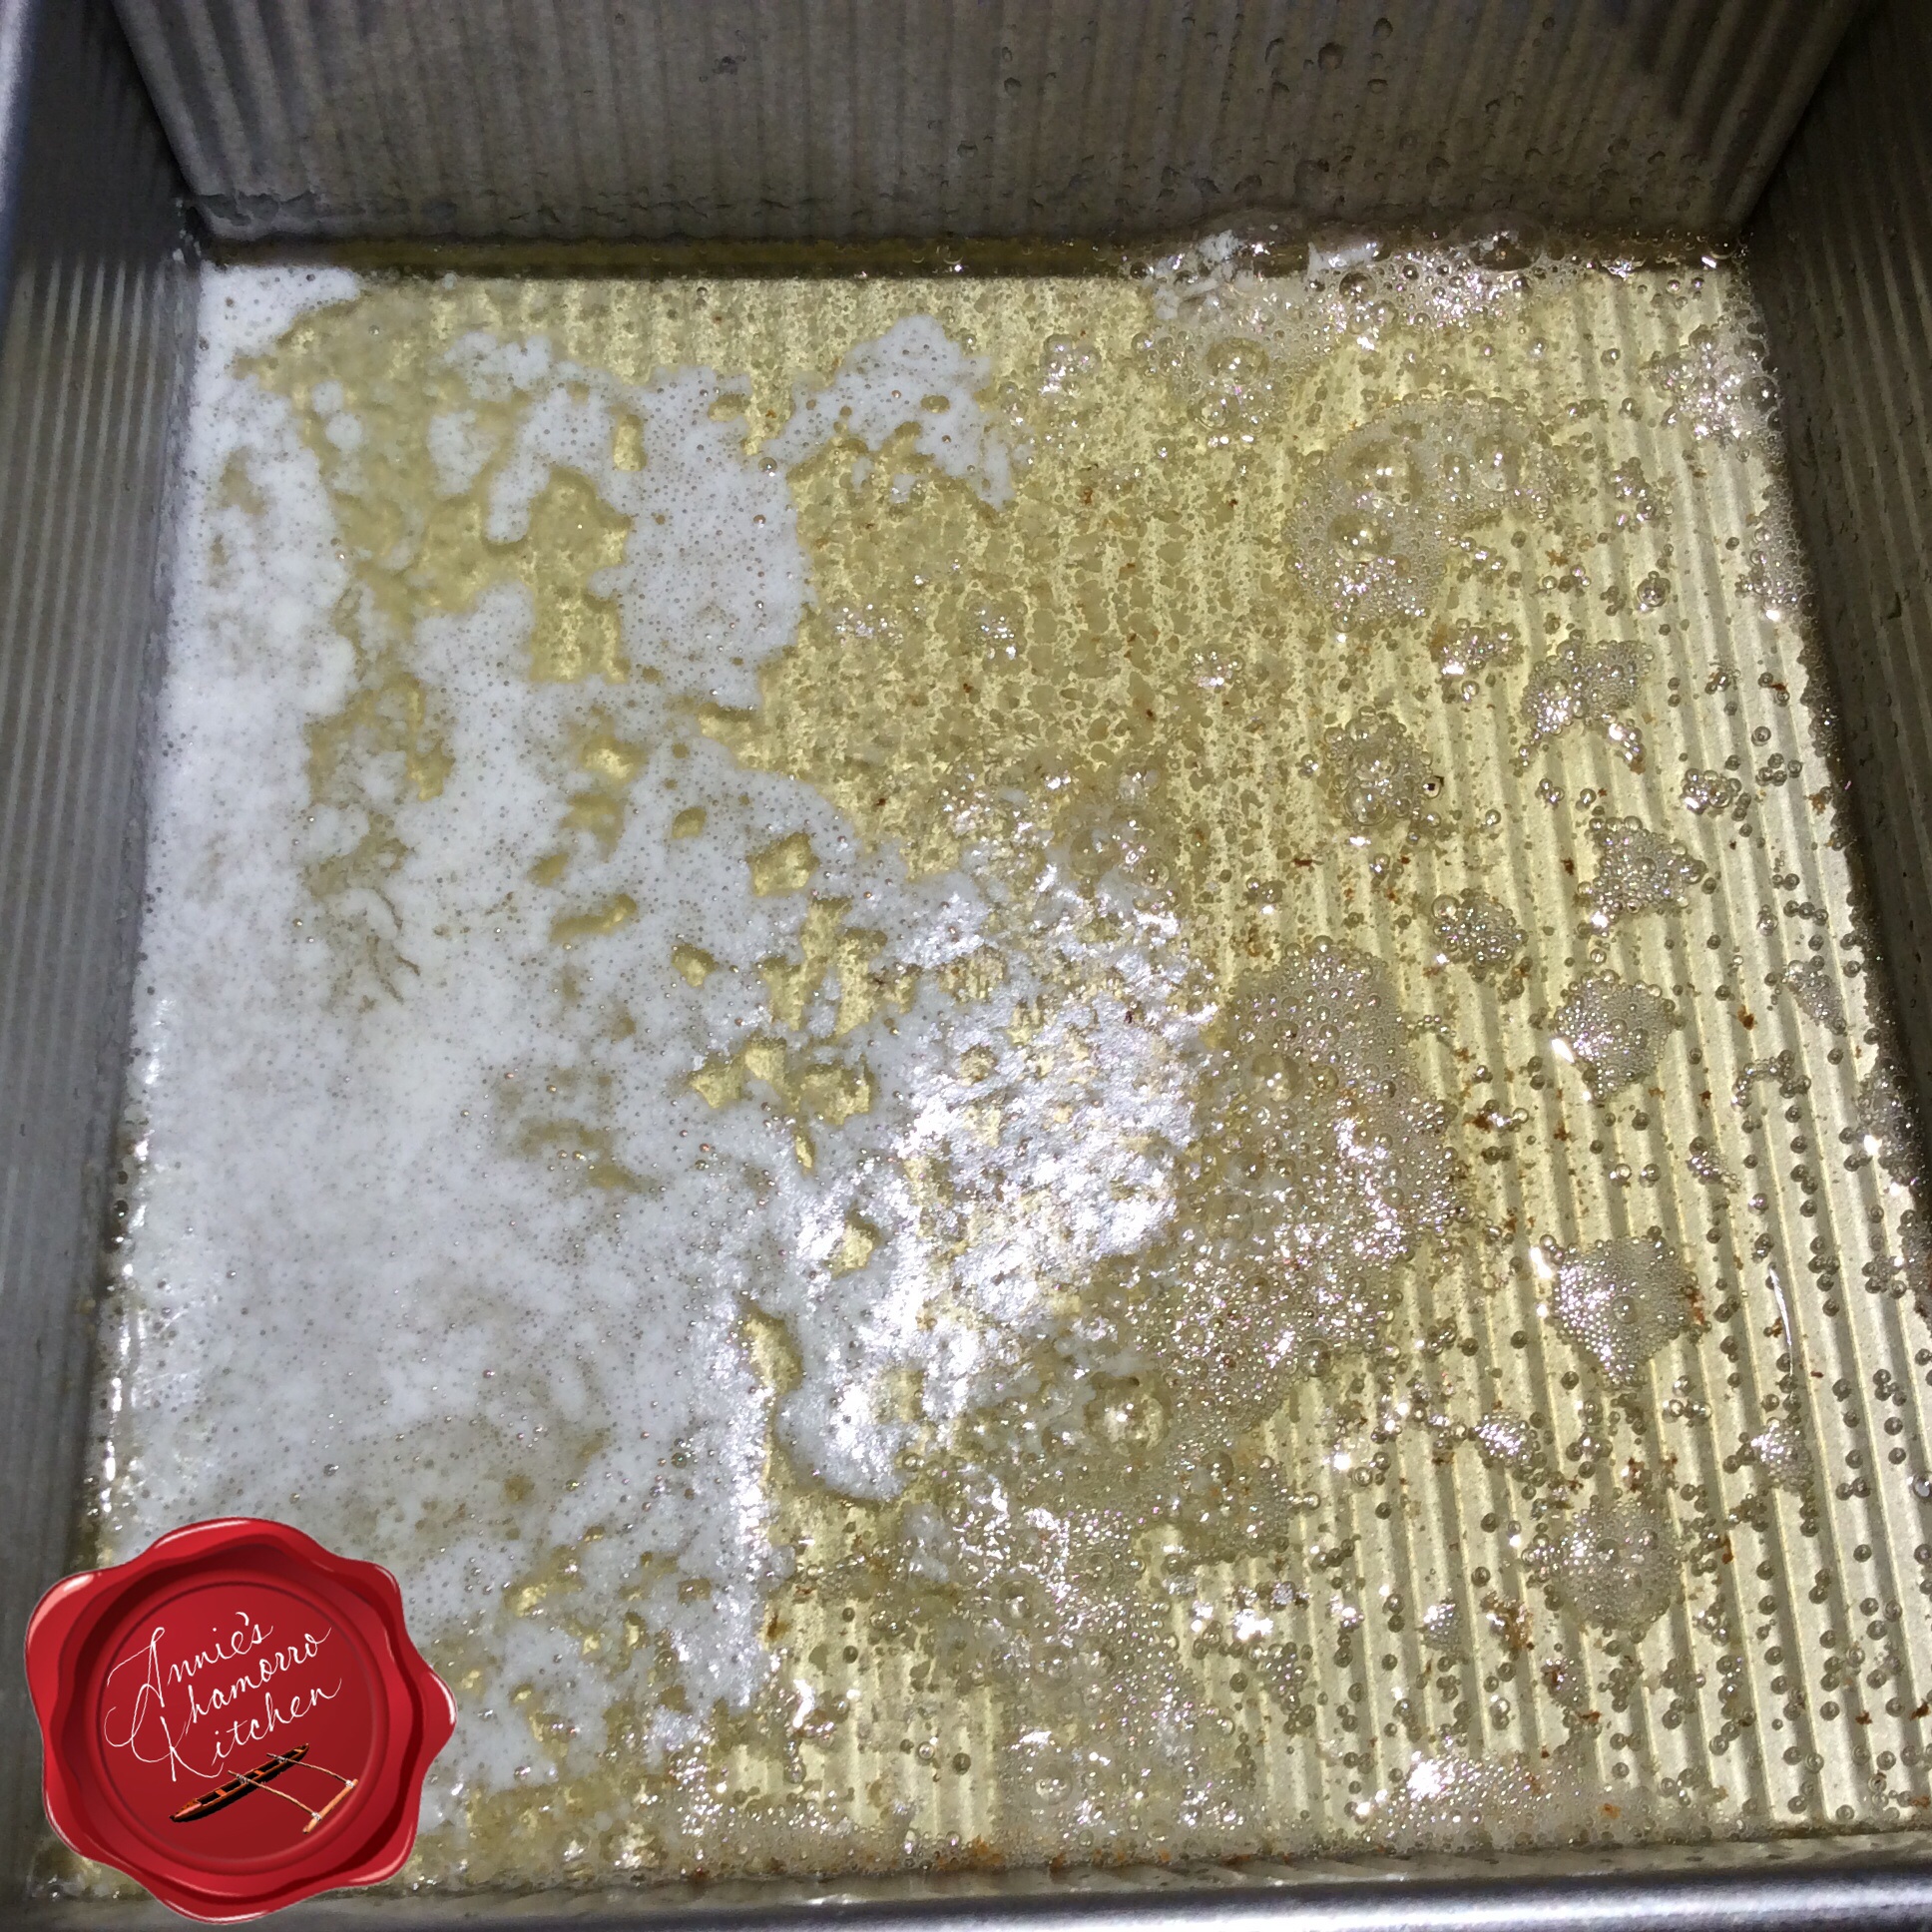
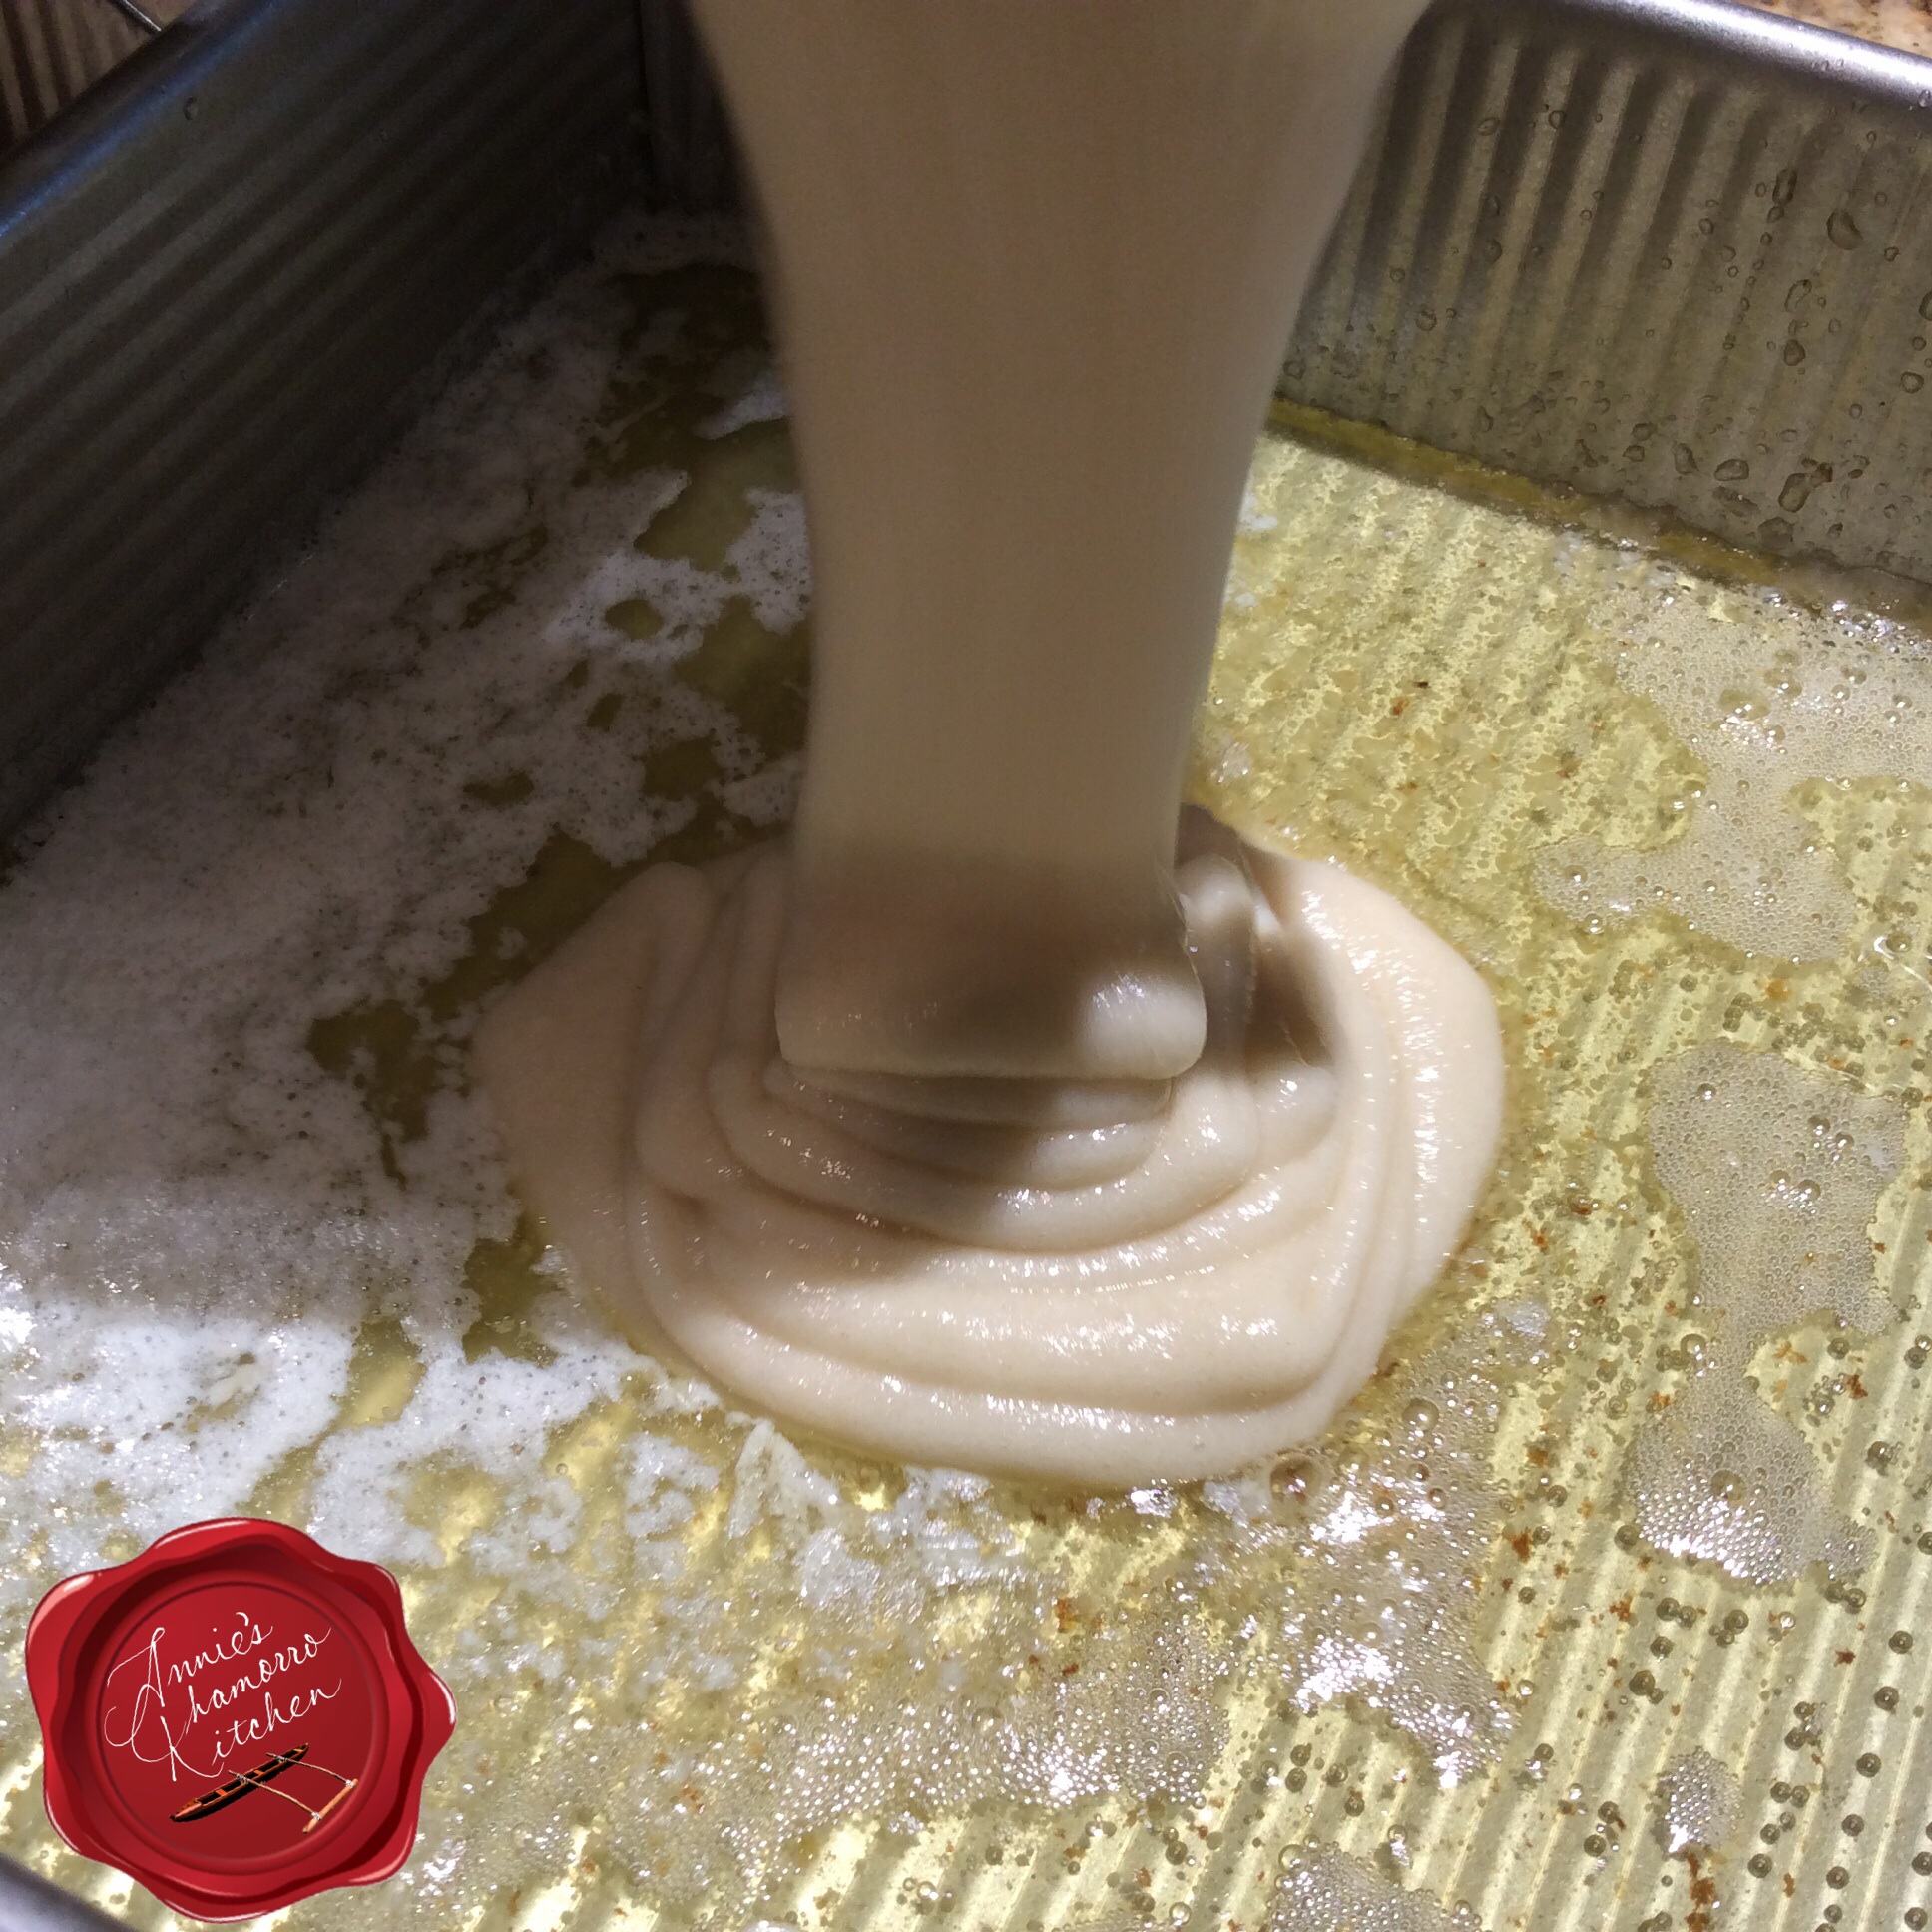
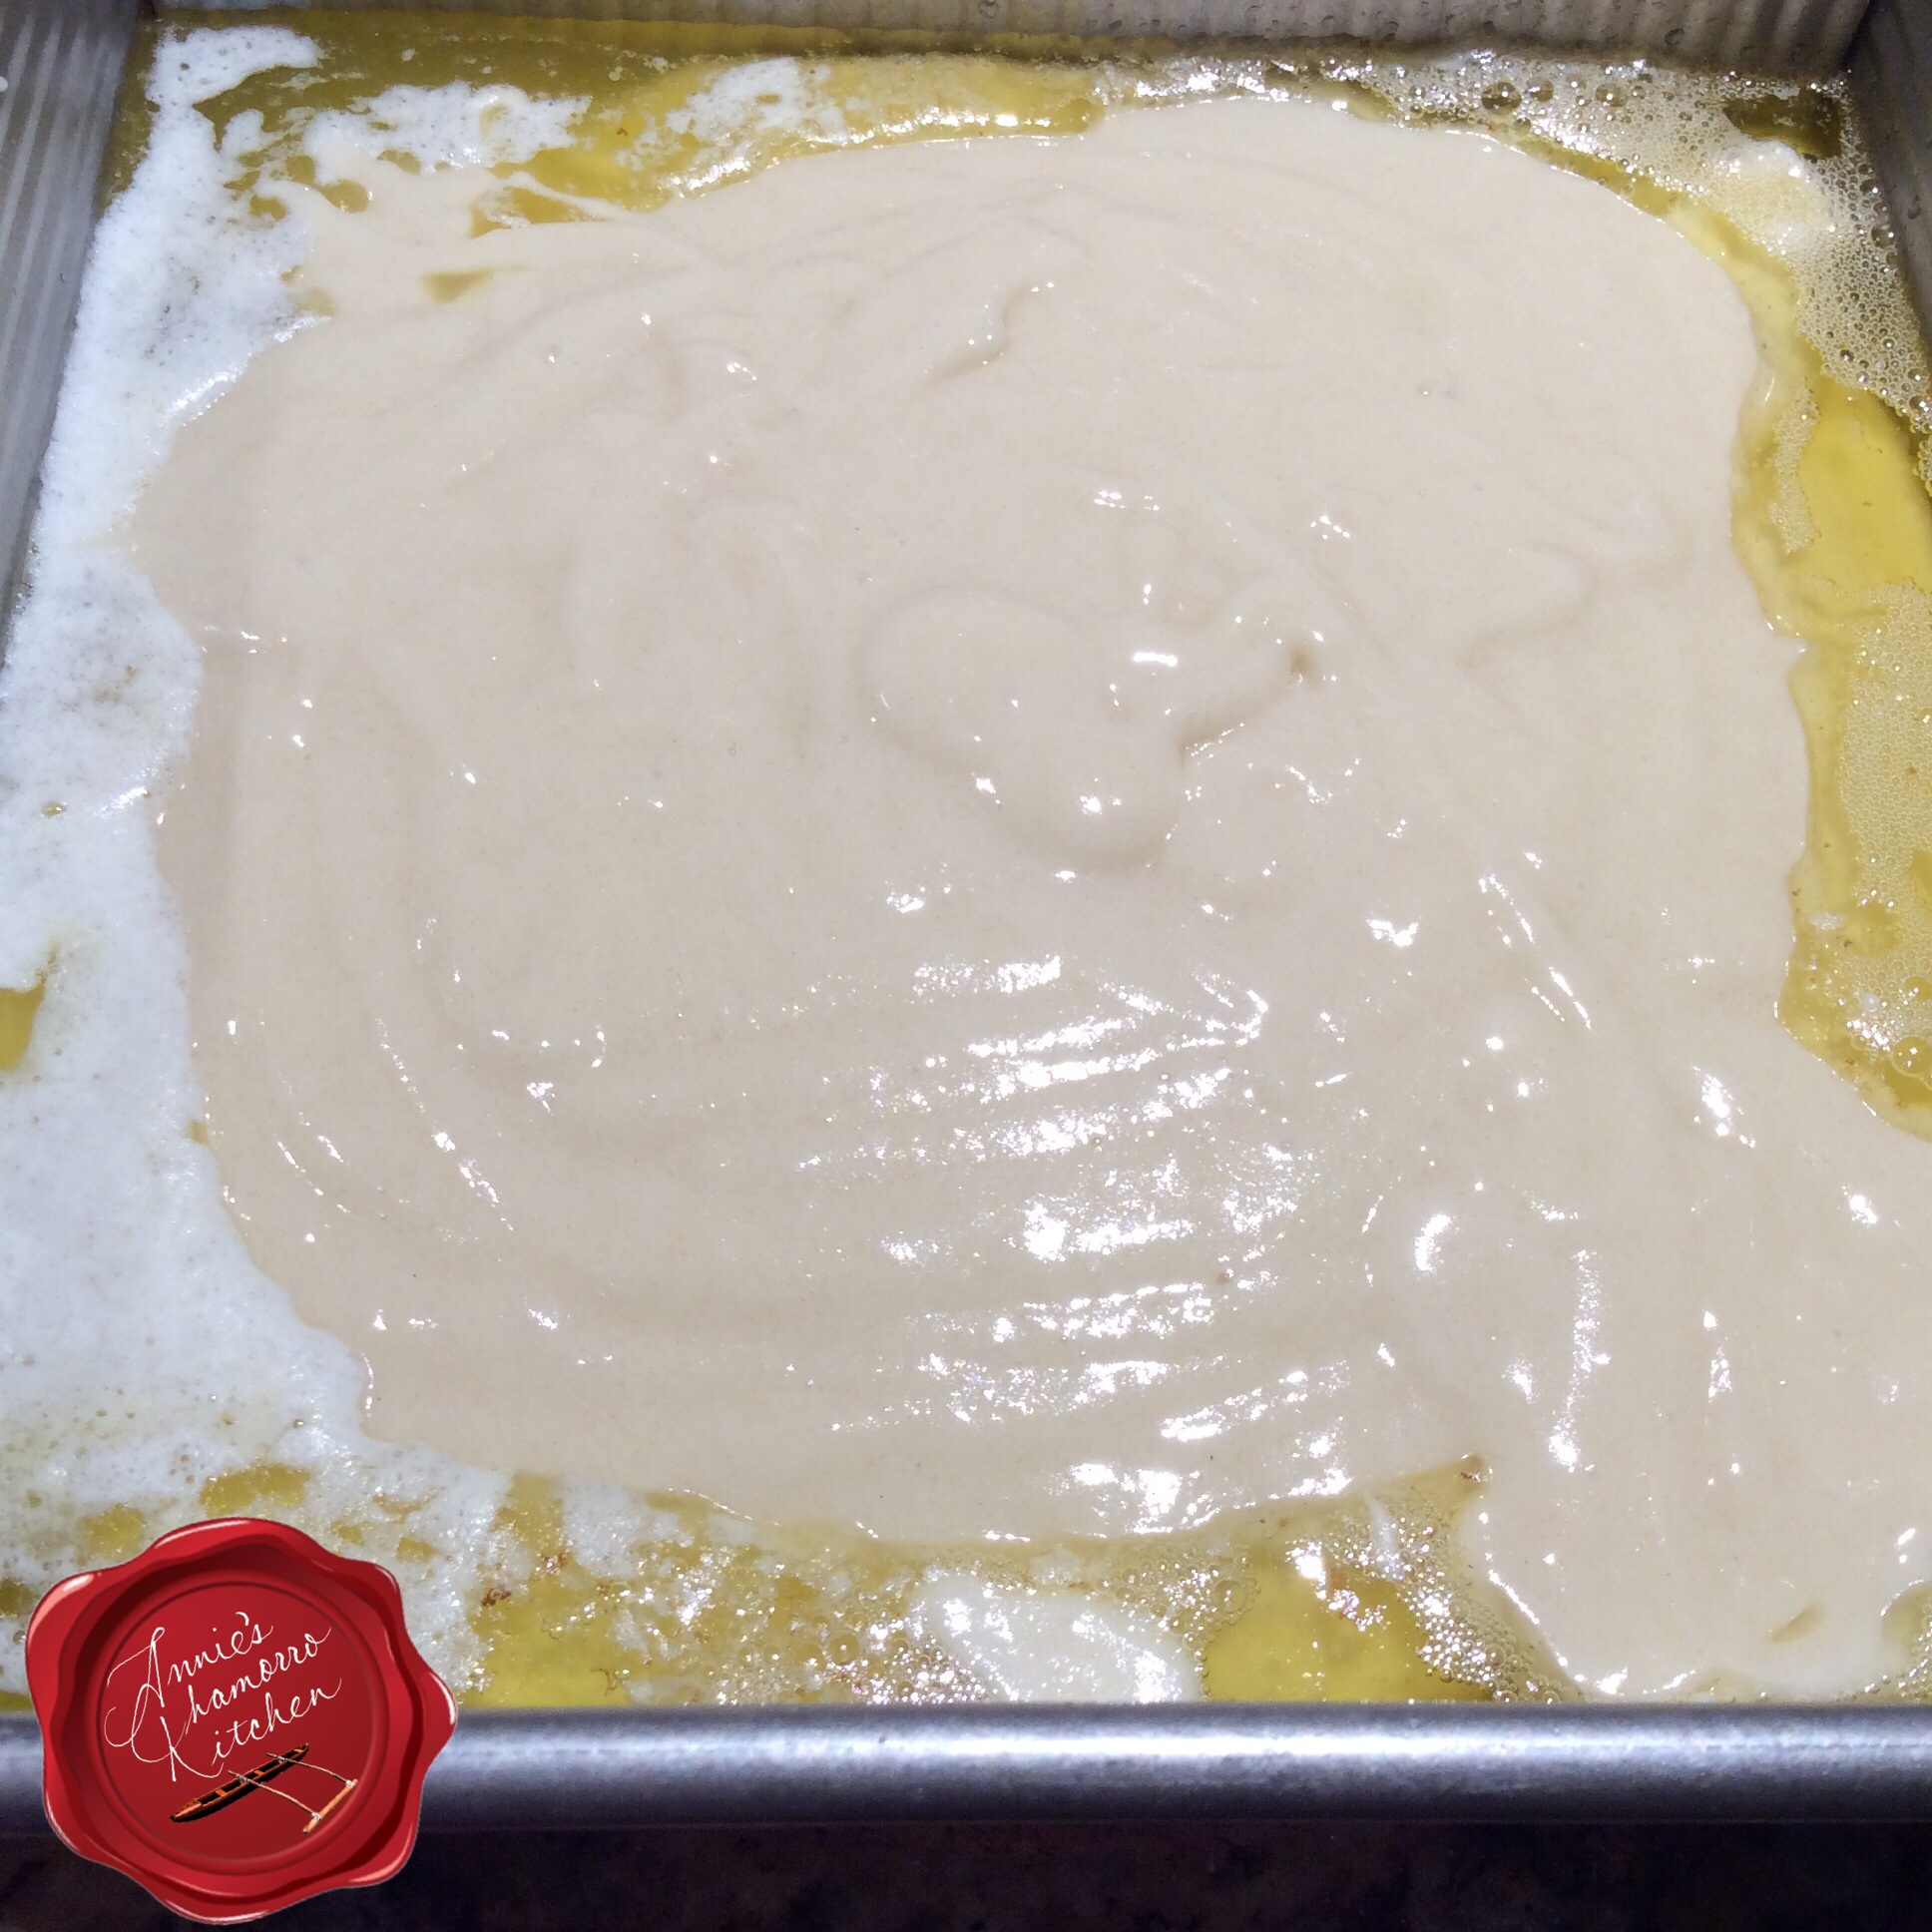
  8. Prepare the filling by mixing the softened butter and sugar together until creamy.
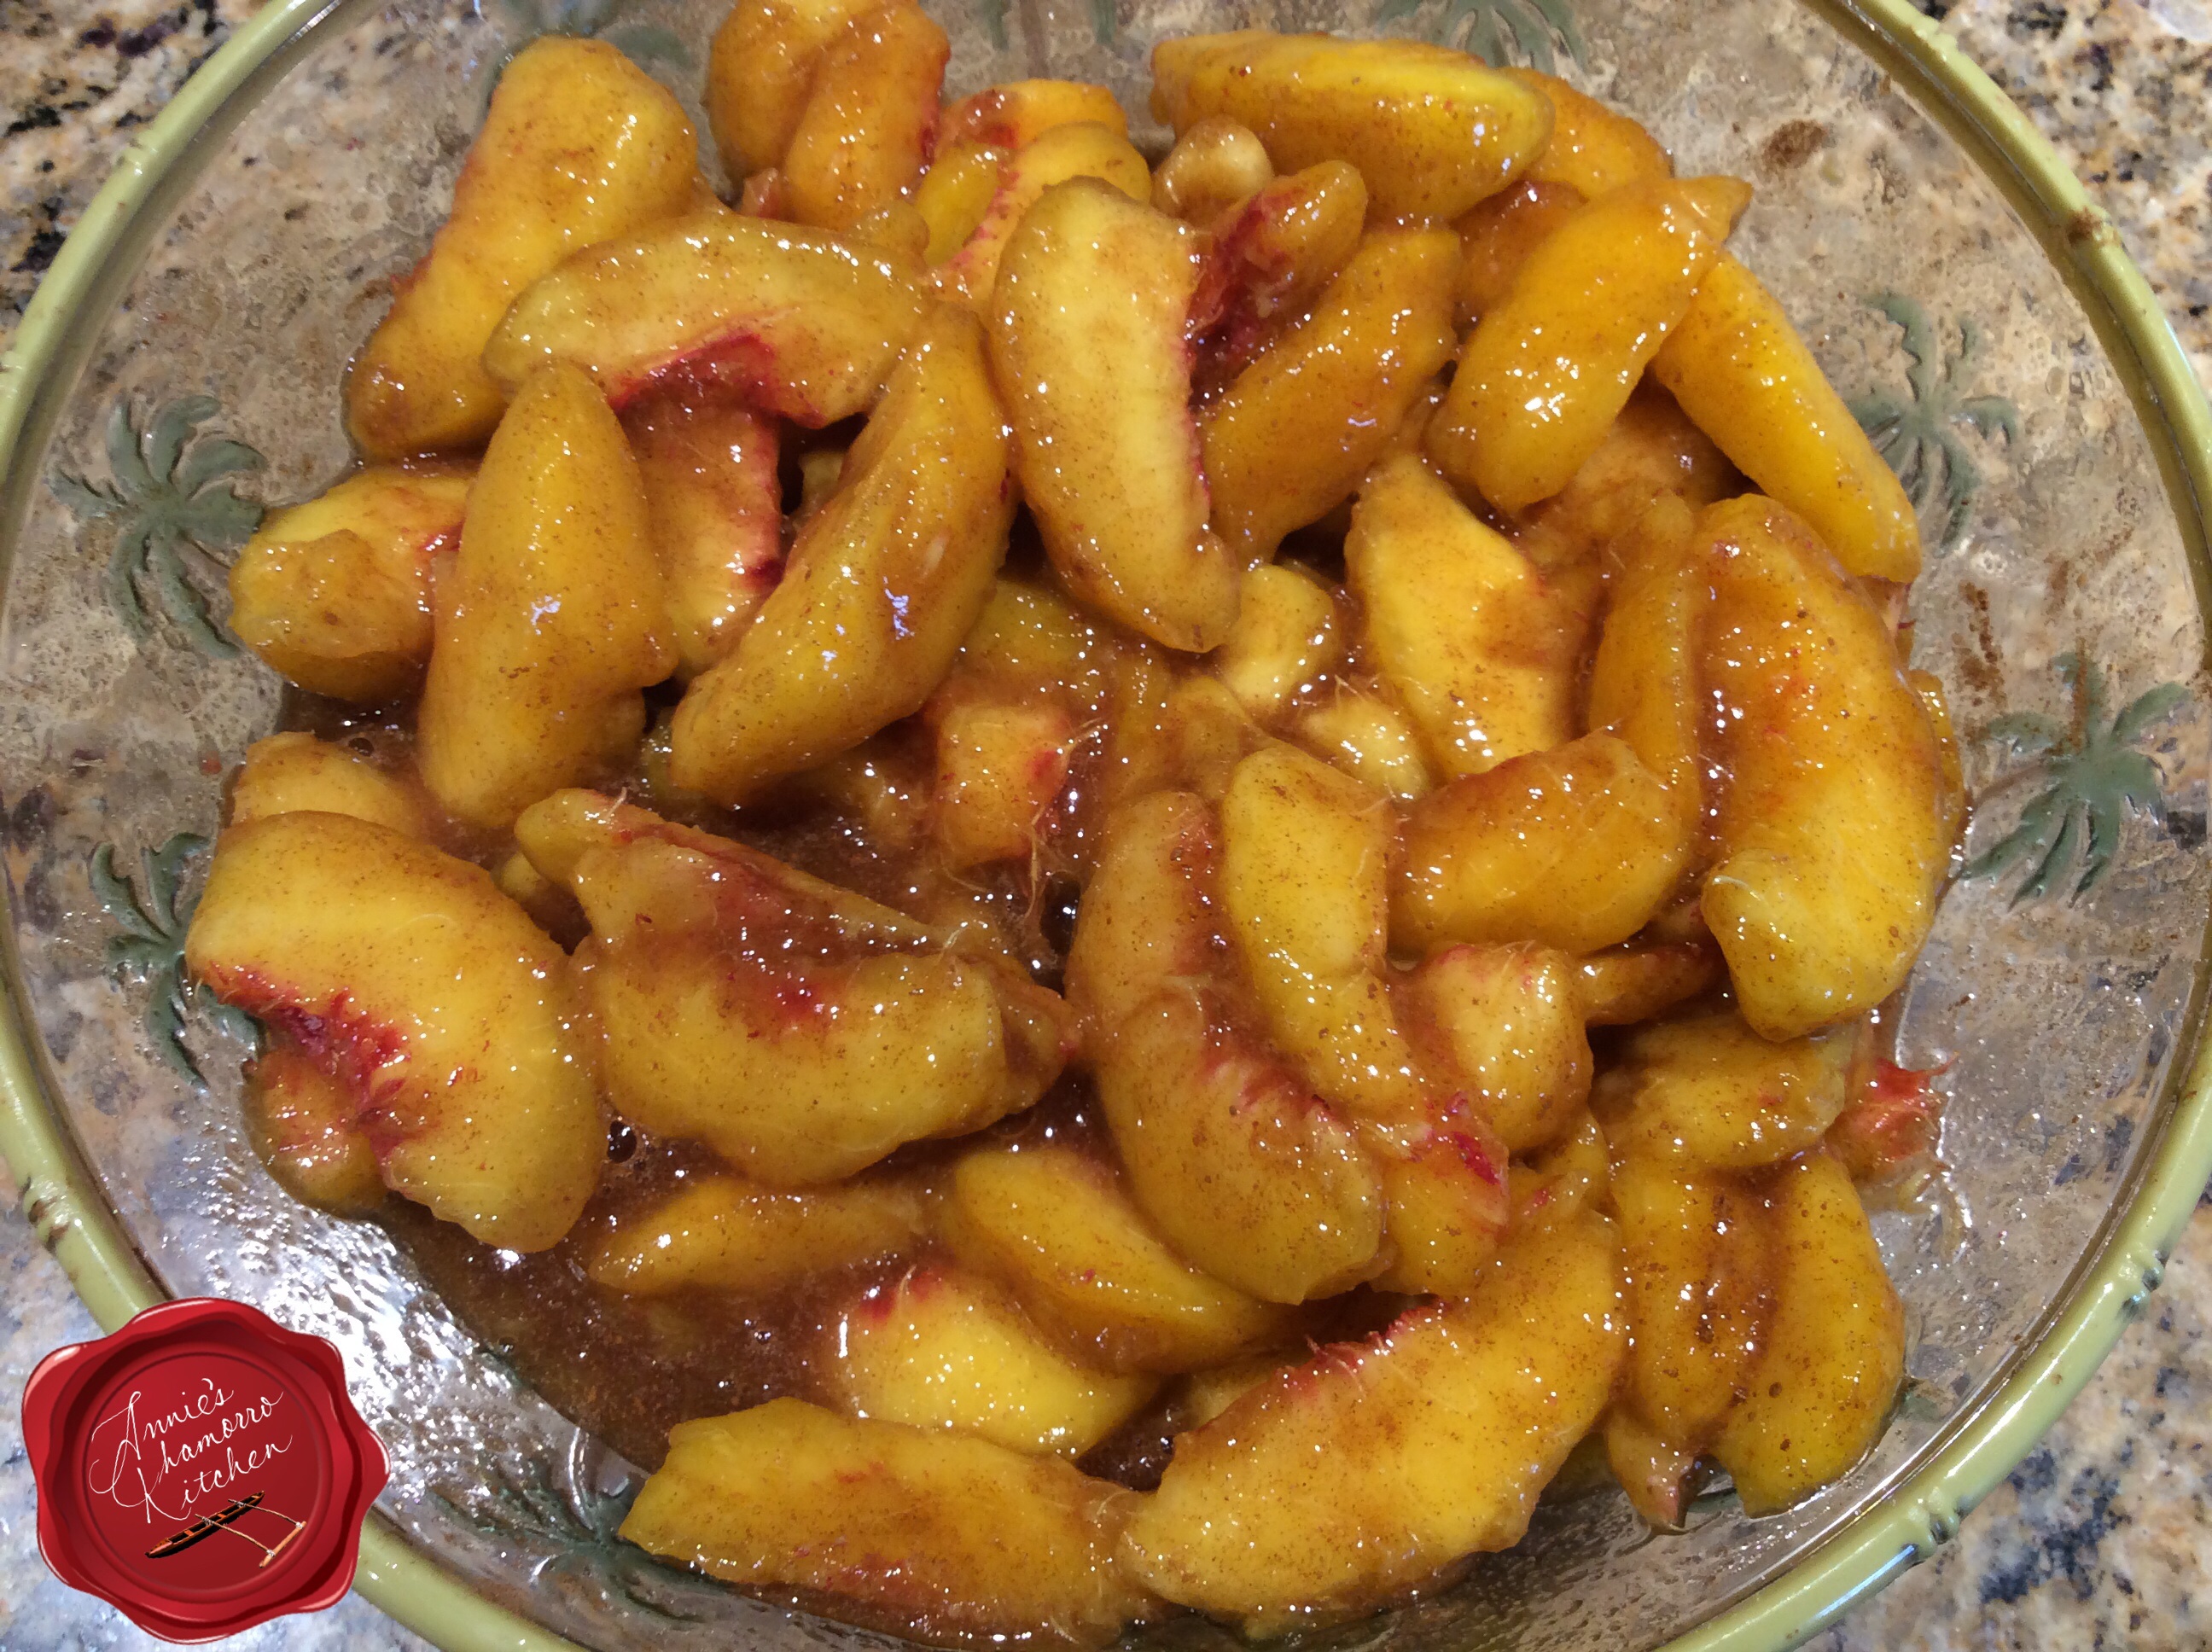
  9. Evenly spread about a tablespoon of the butter and sugar mixture over each piece of flattened dough (you will have some of the mixture leftover; save this for use later).
  10. Roll the dough, jellyroll-style. Place onto a baking sheet about one inch apart. Cover loosely with plastic wrap; place the pan in a warm place to rise for about 20 minutes.
  11. While the rolls are rising, mix the breadcrumbs and turbinado sugar together.
  12. After the rolls have risen, gently spread some of the remaining butter-sugar mixture on top of the rolls. Sprinkle the breadcrumb mixture on top of the buttered rolls.
  13. Bake at 350 degrees for 18 minutes or until golden brown.
Serve warm from the oven and ENJOY!


Fresh Peach Cobbler

Peach Cobbler is the ultimate summer dessert.  I like using fresh peaches when they are in season, but canned peaches (in juice, not syrup) will do in a pinch.

image

This is a very easy dessert to make.  The hardest part is peeling and slicing the peaches.  However, if you ask my kids, the hardest part is actually waiting for the cobbler to finish baking! 😉

My complete recipe is at the bottom of this post.  Give it a try.  I think you’ll like it. 🙂

Fresh Peach Cobbler

image

Place the sliced peaches into a large mixing bowl.  If you’re using canned peaches, be sure to drain all the liquid.  12 fresh peaches yields about 10 cups of peaches.

image

 Add sugar, cinnamon, vanilla extract and lemon juice to the bowl.

image

Gently stir to combine all of the ingredients.

image

In a small mixing bowl, whisk together the flour, sugar, salt and baking powder.

image

Add milk to the flour mixture.

image

Stir or whisk, just until a batter forms.  A few small lumps in the batter are okay.

image

Pour the melted butter into the pan.

image

Pour the batter over the melted butter.  DO NOT STIR. 

image

image

Place the peaches on top of the batter.  Again, DO NOT STIR.

Bake for 45-50 minutes or until the batter (that seep through to the top) is golden brown.

image

I love how the some of the batter rose through the peaches and sweet cinnamon sauce and settled on top.  If you want more of the batter to seep through to the top, save some of the batter, placing dollops of it on top of the peaches before baking.

image

The peaches are perfectly cooked, not mushy at all.  The batter is fluffy on the inside and just slightly crisp on the outside where the sugar caramelized on top.

image

What’s better than warm peach cobbler?  Why, peach cobbler with ice cream, that’s what!

Top with vanilla ice cream or whipped cream and ENJOY!

image


Fresh Peach Cobbler
 
Prep time
Cook time
Total time
 
Fresh, juicy sweet peaches mixed with sugar, cinnamon, and vanilla extract, baked with a buttery batter to create the summer dessert favorite.
Author:
Recipe type: Dessert
Cuisine: American
Ingredients
Peach filling:
  • 12 ripe peaches, peeled, pitted and sliced
  • 1½ cups sugar
  • 1 tablespoon ground cinnamon
  • 1 tablespoon pure vanilla extract
  • 1 tablespoon lemon juice
Batter:
  • 2 cups all-purpose flour
  • 2 cups sugar
  • 2 teaspoons baking powder
  • ½ teaspoon salt
  • 2 cups milk
  • 2 sticks unsalted butter, melted
Instructions
Preheat the oven to 375 degrees.
Prepare the filling:
  1. Place the sliced peaches in a large mixing bowl. Add the sugar, cinnamon, vanilla extract, and lemon juice. Stir gently to combine all of the ingredients.
Prepare the batter:
  1. In a medium-sized mixing bowl, whisk together the flour, sugar, baking powder and salt.
  2. Pour in the milk; mix together until a batter forms.
Layer the cobbler:
  1. Pour the melted butter into a 9x13 pan.
  2. Pour the batter over the melted butter. DO NOT STIR.
  3. Pour the peach mixture over the batter. DO NOT STIR.
  4. Bake for 45-50 minutes or until the top is golden brown.
Serve with vanilla ice cream or whipped cream and ENJOY!

Ramen Noodle Salad

Ramen noodle salad has been around for years. I love this dish because you can make endless varieties of it based on your favorite ingredients.

Make it for your next potluck, or serve it as a side dish for your next meal.

My complete recipe is at the bottom of this post.  Give it a try.  I think you’ll like it. 🙂

Ramen Noodle Salad

image

I start with the basic ramen noodles and almonds.  Toast them in the oven for a few minutes to bring out the flavorful almond oils and to get the noodles nicely browned.

image

I don’t like to use pre-packaged coleslaw mix in this salad, mainly because most of the time I buy the mixes, it already smells bad, indicating spoilage.  I buy a whole head of cabbage and slice it myself, saving the potential for food waste and sending good money down the drain.

On the other hand, I buy pre-sliced carrots.  I’ve never bought a bag of bad/spoiled pre-sliced carrots.  The pre-packaged kind saves oodles of time in the kitchen.

Place all of the salad vegetables in a large mixing bowl; mix in the toasted noodles and almonds.

image

You can buy a ready-made Asian vinaigrette for this salad, but a homemade dressing takes no time at all, and you can control the quality of ingredients.  See my full recipe below for my version of this sweet and tangy dressing that makes use of the ramen noodle seasoning packets.  If you want to cut back on the sodium, use half, just one, or none of the seasoning packets.  The dressing will still pack a whole heck of a lot of flavor without them.

image

Pour the dressing into the bowl; use a pair of tongs to toss it all together.  Serve and enjoy!

image


Ramen Noodle Salad
 
Prep time
Cook time
Total time
 
A crunchy salad with ramen noodles and a sweet and savory dressing
Author:
Recipe type: Side
Ingredients
Salad:
  • 4 packages ramen noodles
  • 2 cups sliced almonds
  • 2 cups julienned carrots
  • 3 stalks green onions, sliced
Optional:
  • 2 cups mandarin orange slices
  • 4 tablespoons toasted sesame seeds
  • 1 cup shelled and steamed edamame
  • 1 cup crumbled bacon
Dressing:
  • 1 teaspoon crushed garlic
  • 1 cup vegetable oil
  • ⅓ cup sesame oil
  • ⅔ cup good quality honey
  • ⅔ cup rice vinegar
  • 2 teaspoons soy sauce
  • 4 Ramen seasoning packets (from the ramen noodles used in the salad)
Instructions
Toast the noodles and almonds:
  1. Preheat your oven to 425 degrees.
  2. Break the noodles apart while still in the original packaging. Place the broken noodles on a large rimmed baking pan. Set the ramen noodle seasoning packets aside (to be used for the dressing).
  3. Add the sliced almonds to the pan. Mix the almonds and noodles together.
  4. Bake for 5 minutes then remove from oven and let it cool. Place in a large mixing bowl.
Prepare the salad:
  1. Slice the cabbage thinly, as if to make coleslaw. Place into the large mixing bowl with the noodles and almonds.
  2. Add the carrots and greens onions to the bowl.
  3. Add any other optional salad ingredients.
  4. In a small bowl, whisk all of the dressing ingredients together. Pour the dressing over the noodle and cabbage mixture. Toss to combine all the ingredients.
Serve and ENJOY!


Kimchee Noodles

Kimchee noodles is a quick and easy side dish that is a must-have for your gatherings, and it goes especially well with BBQ meat dishes.

This is my sister-in-law, Darlene’s recipe.  It’s a tried-and-true recipe that’s requested often.  It’s a great potluck dish too.

Dar’s complete recipe is located at the bottom of this post.  Give it a try.  I think you’ll like it. 🙂

Darlene’s Kimchee Noodles

image

These are the ingredients used to make the Kimchee Noodles.  You can find them in most Asian markets.

image

image

Prepare the noodles according to the package directions.  Drain and rinse the noodles then place into a mixing bowl.  Drizzle with sesame oil (the oil adds flavor and makes it easier to mix in the kimchee sauce).

image

Stir the kimchee sauce into the noodles.

image   image

Add daigo’ and cucumbers.

Serve and Enjoy!

image


Kimchee Noodles
 
Noodles with kimchee base sauce, pickled daigo' (daikon radish), and cucumbers
Author:
Recipe type: Side
Cuisine: Korean
Ingredients
  • 1 package bean thread noodles (sometimes called Vermicelli)
  • 2 tablespoons sesame oil
  • 2 tablespoons sugar
  • 2 tablespoons kimchee base
  • 2 tablespoons rice vinegar
  • 1 English cucumber, diced small
  • 1 pickled daikon radish, or daigo', diced small
Instructions
  1. Boil the noodles until soft, about 5 minutes. Drain and rinse with cold water then place in a large mixing bowl.
  2. Add the sesame oil to the noodles; mix well to coat the noodles with the oil.
  3. In a small bowl, mix together the sugar, kimchee base, and rice vinegar. Pour over the noodles; mix to combine all of the ingredients.
  4. Mix in the diced cucumbers and daigo'.
Serve and ENJOY!


Tater Tot Casserole

If you’re looking for a stick-to-your-ribs comfort dish, this one is it.  Tater tots, seasoned ground beef and cheese sauce are all baked into a casserole that will make your tummy and taste buds happy, happy, happy.

My complete recipe is located at the bottom of this post.  Give it a try.  I think you’ll like it. 🙂

Tater Tot Casserole

image

Although the name of this dish is “Tater Tot Casserole,” the real star is the cheese sauce that ties it all together.  If you do an online search, you’ll find that quite a few tater tot casserole recipes call for cream of mushroom or chicken soup.

While I do like the canned condensed soup, I thought I’d make my own for this recipe, and I’m glad I did.  Not only can you control the quality of ingredients that go into the dish, you can also control the amount of sodium as well.

Start by placing vegetable broth into a large pot.  You’ll use this same pot to eventually make the cheese sauce, so make sure your pot is big enough to fit the sauce base and all of the cheese and other delicious ingredients that go into it.

Bring the broth to a boil over medium-high heat.

image

Add chopped mushrooms, Dashida, garlic powder, black pepper, onion powder, and thyme to the pot.  Stir to combine, then place a lid on the pot.  Reduce the heat to medium and cook until the mixture returns to a boil.

image

While the broth is simmering, whisk some flour and milk together.

image

Pour the flour mixture into the boiling liquid, whisking as you pour so as to prevent lumps from forming.

image

Turn the heat down to medium-low.  Cook for a couple of minutes to allow the base to thicken.  See, doesn’t this look better than the canned condensed soup?

It tastes better too. 🙂

image

Once you’ve got the base done, you can finish up the cheese sauce.

Whisk in some milk.

image

Add shredded cheese and sour cream to the pot.  Stir the mixture until the cheese melts.  Turn the heat off and place a lid on the pot.  Set the cheese sauce aside for now while you cook the ground beef.

image

Brown lean ground beef in a skillet over medium-high heat.  Add onions, garlic powder and Dashida; cook for 5 minutes or until the onions become translucent.

imagePreheat the oven to 400 degrees.

Place a layer of frozen tater tots in the bottom of a DEEP baking dish.  A deep roasting pan works well.

Pack those babies in there!

image

I don’t show it here, but add half of the cheese sauce to the pan, on top of the tater tots.

Add all of the ground beef to the pan, on top of the cheese sauce.

image

Pour the remaining cheese sauce over the ground beef.

image

Top with more tater tots.  Bake for 25 minutes, or until the tater tots are golden brown and crispy on top and the sauce is bubbly.

Serve and ENJOY!

image


Tater Tot Casserole
 
Prep time
Cook time
Total time
 
Delicious comfort food combining the childhood favorite, Tater Tots, with seasoned ground beef and a creamy, cheesy sauce.
Author:
Recipe type: One Dish Meal
Cuisine: American
Serves: 8
Ingredients
Meat and Potato Filling:
  • 2 pounds lean ground beef
  • ½ small onion, diced
  • 2 teaspoons garlic powder
  • 2 tablespoons Dashida (Korean beef flavored seasoning)
  • 1 large bag Tater Tots
Sauce Base:
  • 2 cups vegetable broth
  • ¾ cup chopped mushrooms
  • 2 teaspoons Dashida
  • 1 teaspoon garlic powder
  • ½ teaspoon black pepper
  • ½ teaspoon onion powder
  • ½ teaspoon dried thyme
  • ¾ cup milk
  • ½ cup flour
Cheese Sauce:
  • 2 cups milk
  • 16 ounces shredded cheddar cheese (I like to use a Mexican cheese blend)
  • 1 cup sour cream
Instructions
Prepare the Sauce Base:
  1. Bring the broth to a boil over medium-high heat.
  2. Add the mushrooms, Dashida, garlic powder, black pepper, onion powder and thyme. Return the mixture to a boil.
  3. Whisk the milk and flour in a small cup or bowl. Pour the mixture into the boiling liquid, whisking as you pour to prevent lumps from forming. Reduce the heat to medium-low; cook for a couple of minutes to thicken the base.
Make the Cheese Sauce:
  1. Whisk the remaining milk into the sauce base.
  2. Stir in the shredded cheese and sour cream. Set the sauce aside.
Brown the Meat:
  1. Brown the ground beef in a skillet over medium-high heat.
  2. Add the onions and Dashida. Cook for 5 minutes or until the onions become translucent.
Layer the Casserole:
  1. Pre-heat the oven to 400 degrees.
  2. Using a DEEP DISH pan, layer the casserole as follows:
  3. ~ Tater tots, half the cheese sauce, meat, remaining sauce, then tater tots.
  4. Bake for 25 minutes or until the top layer of tater tots are golden brown and crispy and the cheese sauce is bubbly.
Serve and ENJOY!


« Older Entries Recent Entries »