Easy Phở

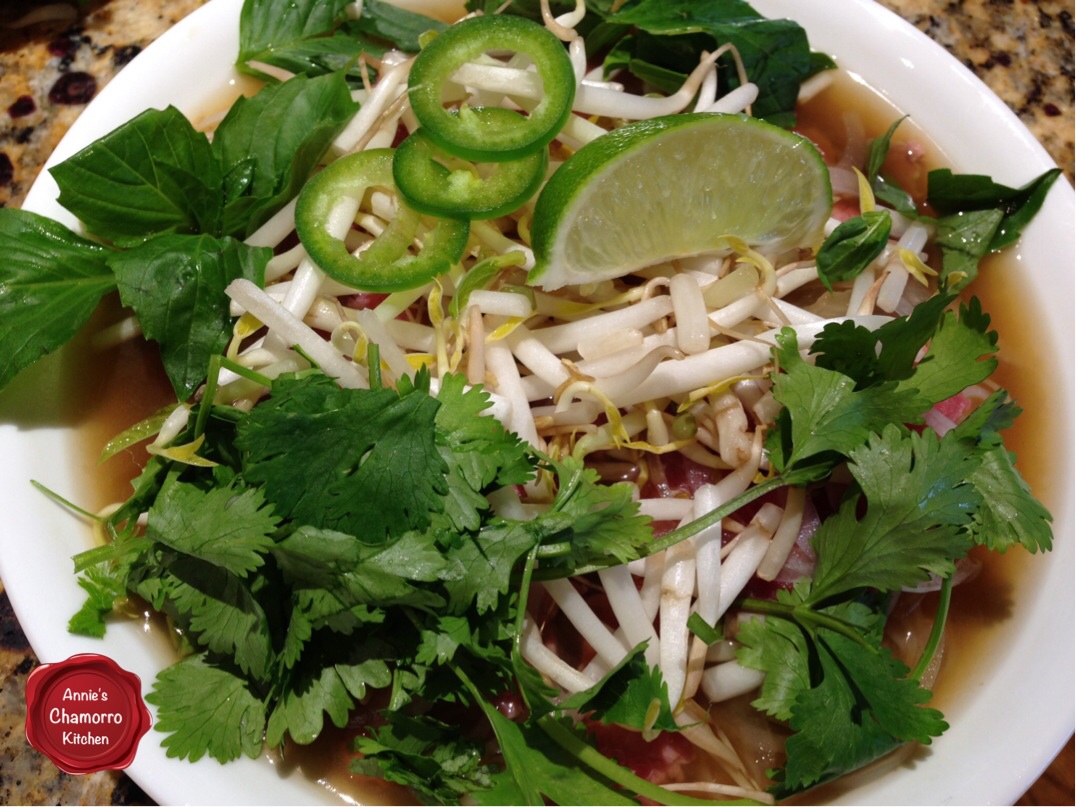
Phở is a Vietnamese noodle soup made with an intensely flavorful broth poured over flat rice noodles and garnished with thinly sliced meat.  A friend once told me that what I just described is considered the “northern Vietnamese Phở” whereas the “southern Vietnamese” version adds aromatic herbs.  I like the southern version myself.  The more vegetables and herbs, the better. 🙂

Phở also varies with the types of condiments, vegetables and noodles used.  Most Vietnamese restaurants serve phở with a side of bean sprouts, Thai basil (not the sweet basil commonly added to pasta sauces), cilantro or coriander leaves, and various hot chili peppers.  You might see a squeeze bottle filled with hoisin sauce, or get a small bowl of fish sauce served alongside your phở.  Hot pepper sauce in lieu of fresh hot peppers is also an option.  As for the varieties of noodles used, rice is most common, but you can use potato noodles as well.

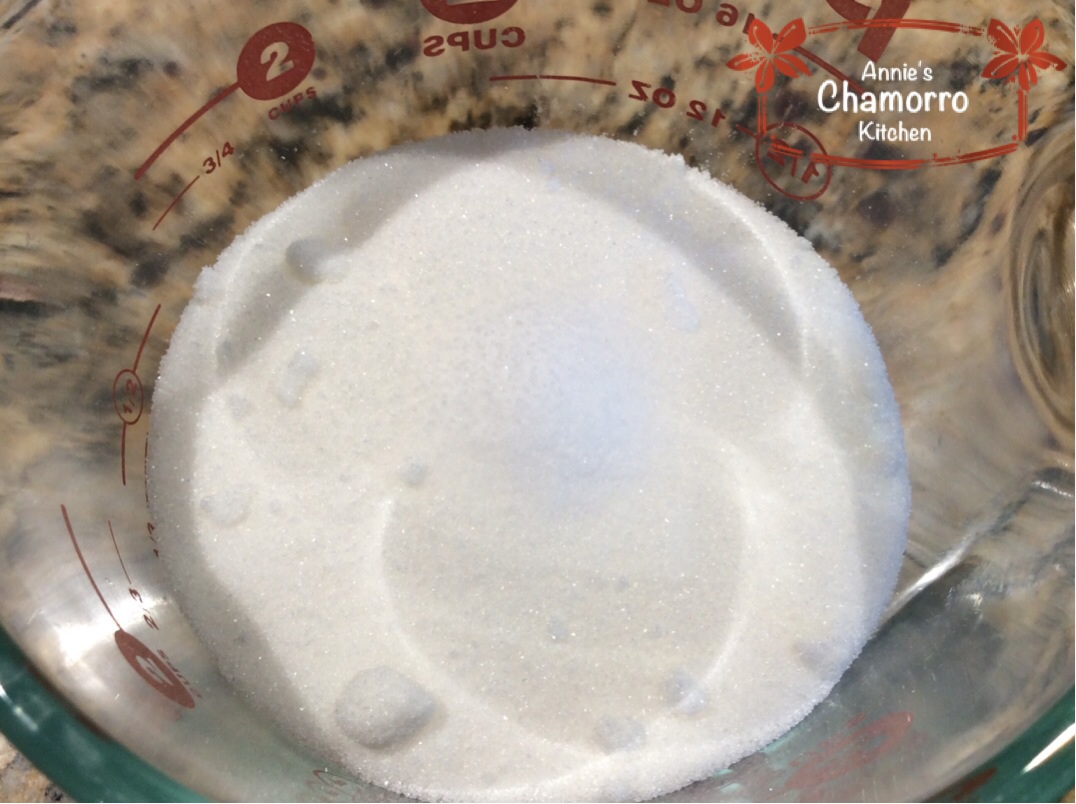
I’ve also had phở a little more on the sweet side, and other restaurants I’ve been to serve their phở less sweet or not sweet at all.  My preference is to omit the sugar.  I like a savory and aromatic broth, not a sweet one.

You can use beef or chicken in your phở.  Your choice of meat will determine your choice of broth.  My family likes beef phở so I use beef broth.  Chicken phở, logically, uses chicken broth.

Speaking of broth, I think this is what determines a GOOD Phở from an average or so-so one.  You can serve as many different herbs and vegetables as you like with the broth, but if the broth is flavorless, you might as well call your concoction a tea, or water infused with herbs.   As your broth cooks, get a whiff of it — if the aroma doesn’t make you want to dunk your face into the pot, then you need to add some spice to it.

You can find my complete recipe at the bottom of this post.  Give it a try.  I think you’ll like it. 🙂

These are the ingredients I like to use.image

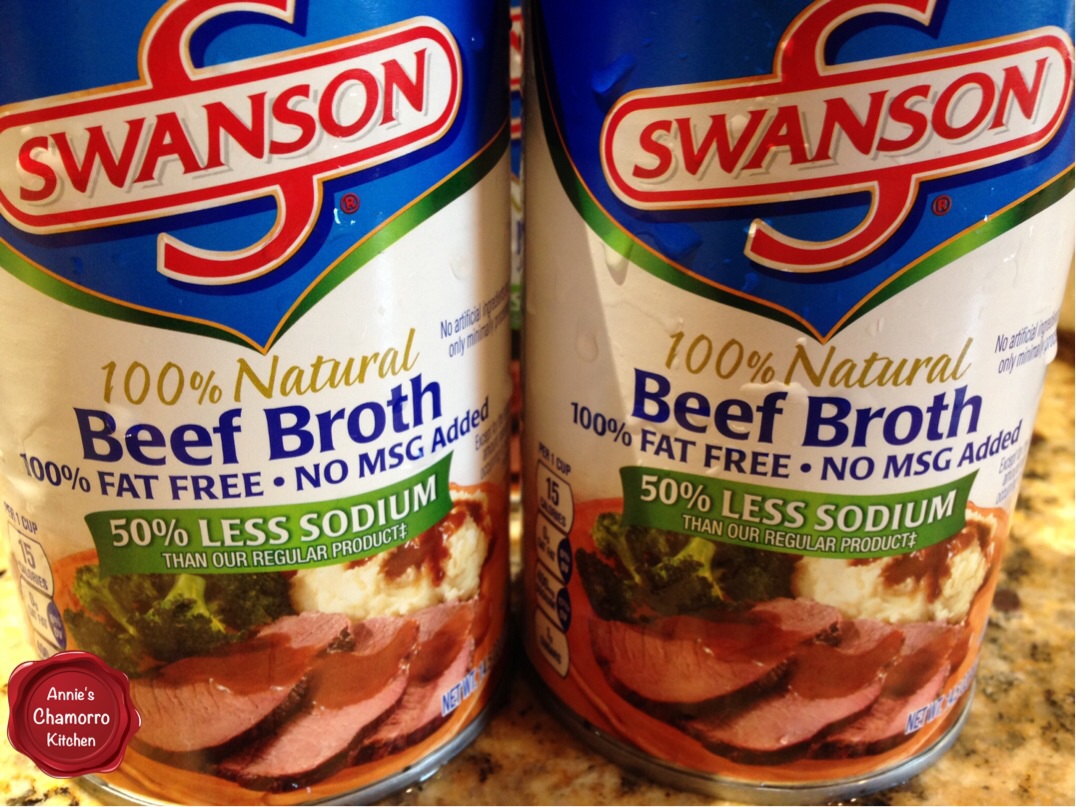
If you have the time, homemade beef broth from scratch is always best, but you can use good quality ready-made broth.  To save time, I use 100% natural, low sodium broth.  If you want a less concentrated broth, you can use 1/2 broth and 1/2 water, but you may need to add some salt.  Just make sure you have enough liquid as called for in my recipe below.

image


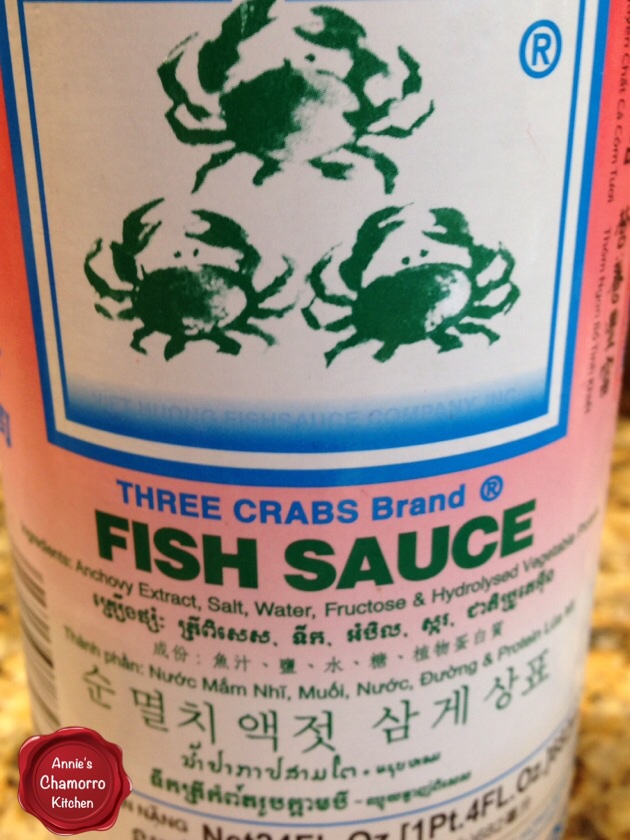
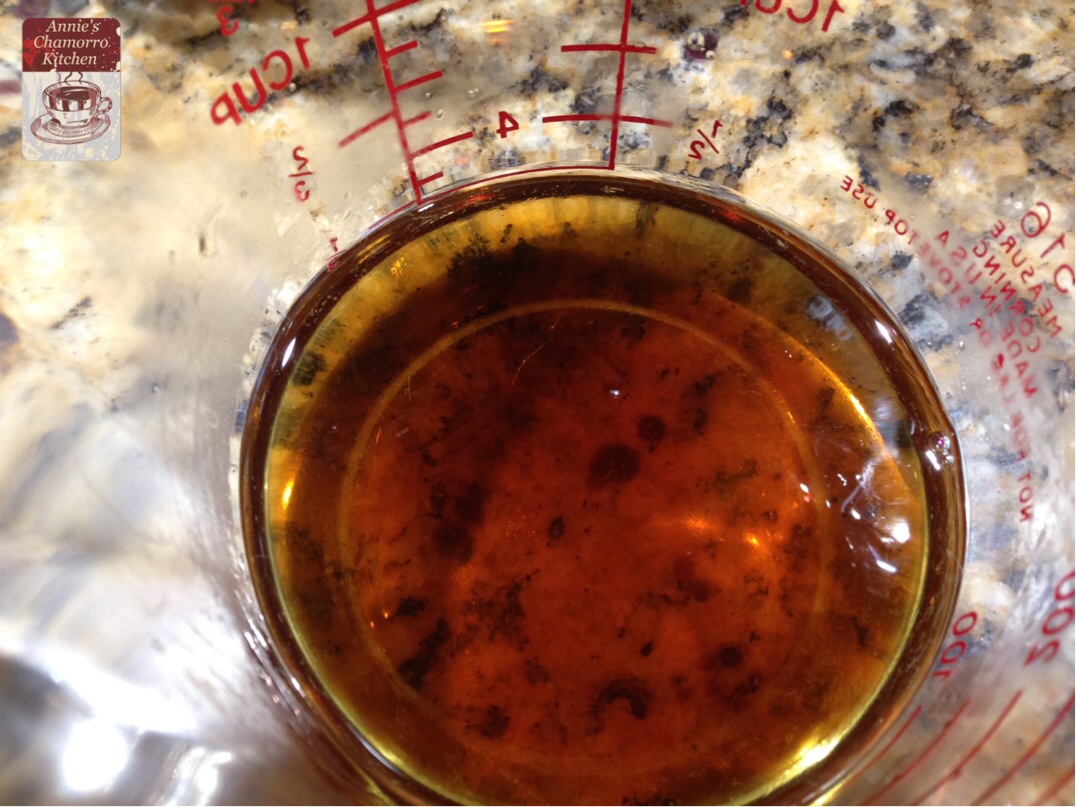
Fish sauce goes into the broth, but a little goes a long way.  You only need a couple of tablespoons of this pungent but flavorful sauce.  Don’t omit it…while you can’t really tell it’s in the broth, you CAN tell that something is missing from it if you don’t add it.  I recommend using Three Crabs Brand fish sauce.  It’s not as pungent as most other brands.

image


Look in the Hispanic foods section of your grocery store for a small package of cilantro cubes.  It will most likely be next to other bouillon-type seasonings.  I add fresh cilantro leaves to the finished dish, but adding cilantro seasoning to the broth gives it a greater depth of flavor.

Anise seed and star anise

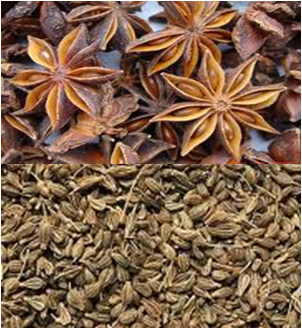
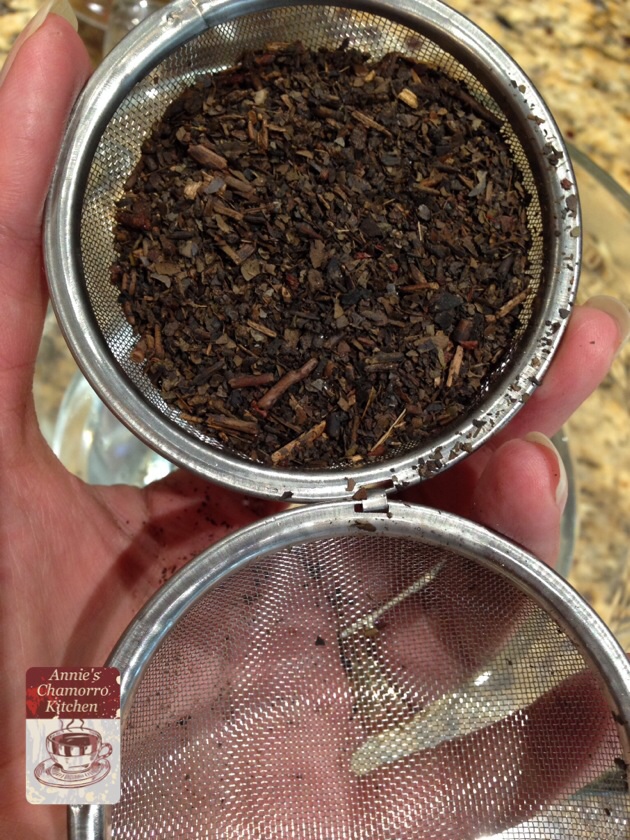
I also use anise seed to flavor my broth.  You can find it in the spice section of your grocery store.  If you have some star anise already on hand, you can use that instead of anise seed, but you’ll need 3 whole star anise to every tablespoon of anise seed for my recipe.  If these ingredients are new to you, star anise and anise seeds are two very different spices.  Anise is an herb in the parsley family and produces small seeds with a strong, licorice-like flavor.  Star anise is the star-shaped fruit of a tree that’s a member of the magnolia family.  The two spices contain the same flavor compound, a substance called anethole, but whole star anise is a bit more bitter in my opinion.

whole cloves
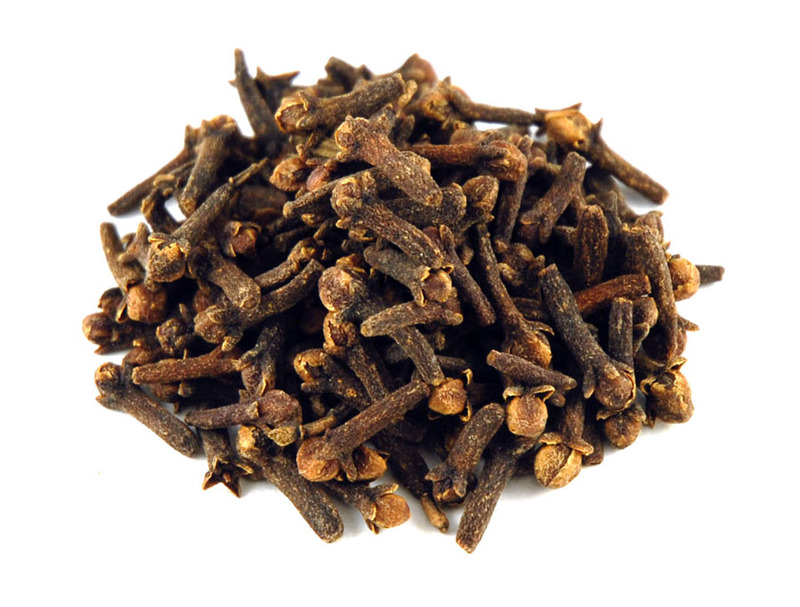
Whole cloves go into the broth, and like the other ingredients I described above, this packs quite a flavor punch.  You only need a few — I use about 6 in my recipe.  If you’re not familiar with whole cloves, you might recognize it as those tiny wood-like spikes studding a baked ham.  See the picture on the right for what it looks like.  You can find it in the spice section of your grocery store.

image


You’ll need a few more aromatic and savory ingredients to flavor the broth. Into the pot goes some whole cinnamon sticks, chopped garlic (lots of it), and fresh ginger.

Pictured on the left (clockwise from the top) are Whole cloves, cinnamon sticks, garlic, ginger, cilantro cubes, and anise seeds.

image


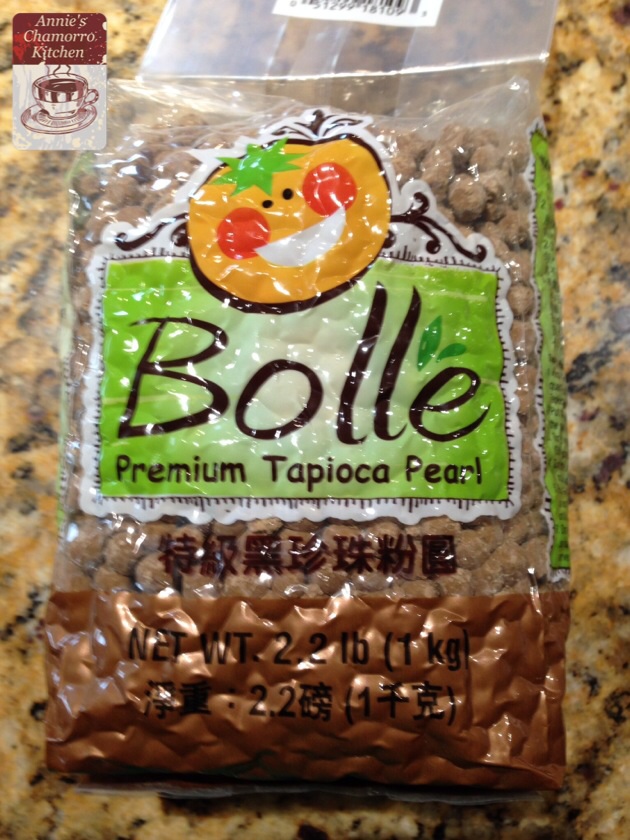
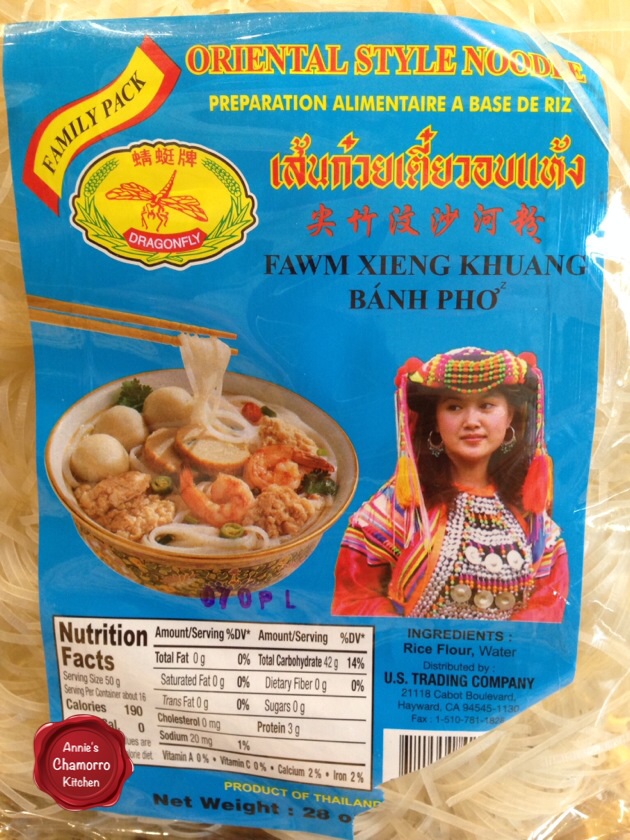
At the local Asian market where I live, there are several different brands and types of dried noodles.  Look for the package that says “Bánh Phở”.  This is the brand I buy (see the photo on the right).  The noodles are in little bundles within the package.  I cook about half the package for my family of four, estimating about two bundles per person (my husband, who usually orders a LARGE bowl of phở at Vietnamese restaurants, gets three bundles).

Now let’s get down to the business of making Phở.

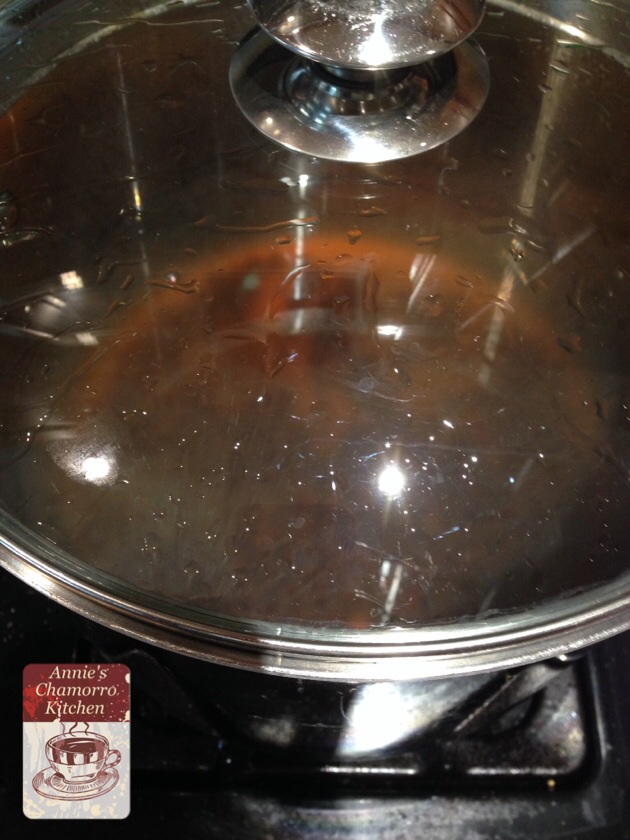
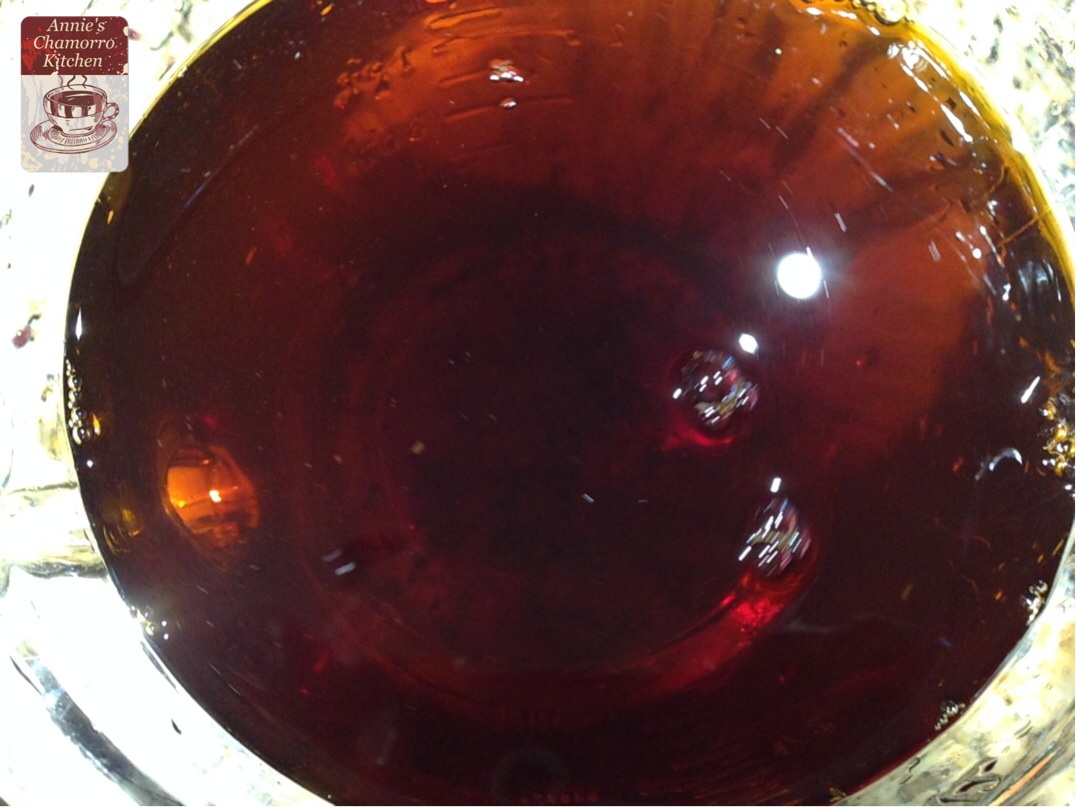
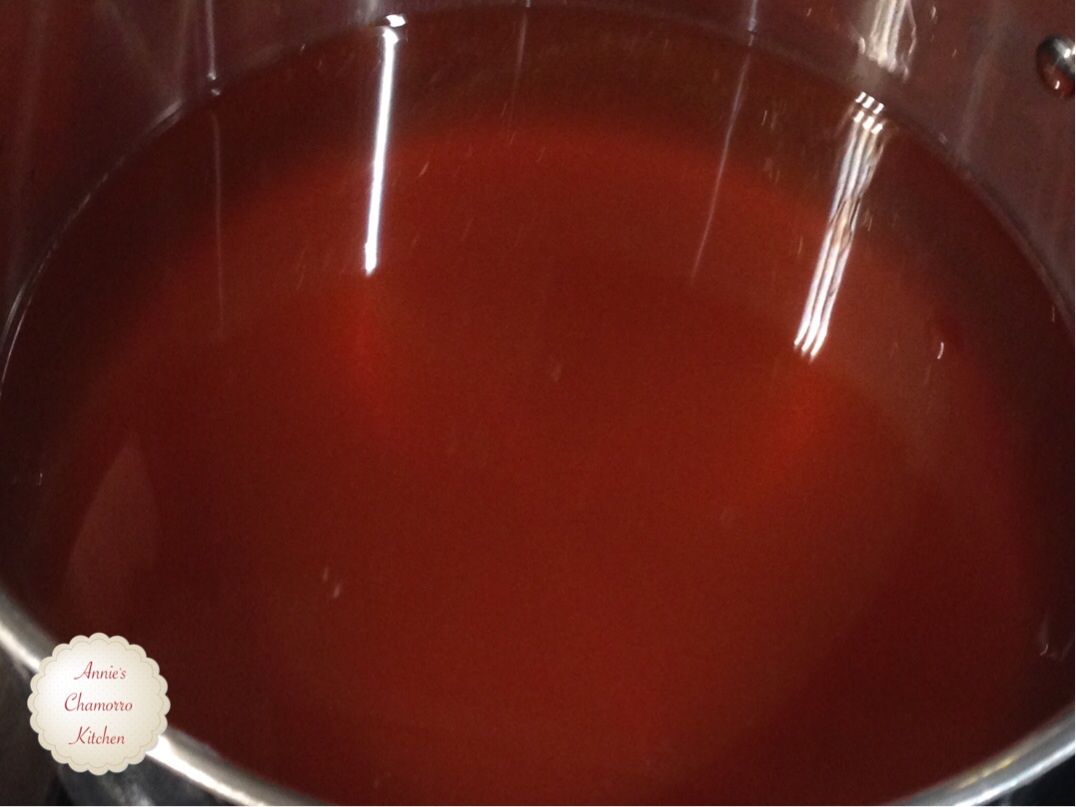
First, you’ll need to get the broth going.  Place the broth (or broth-water mixture) in a large soup pot.

image

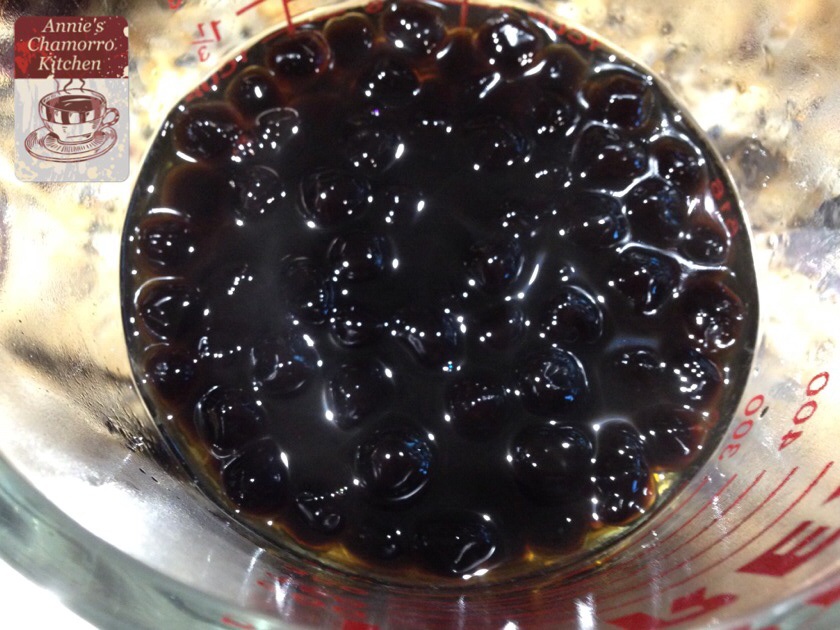
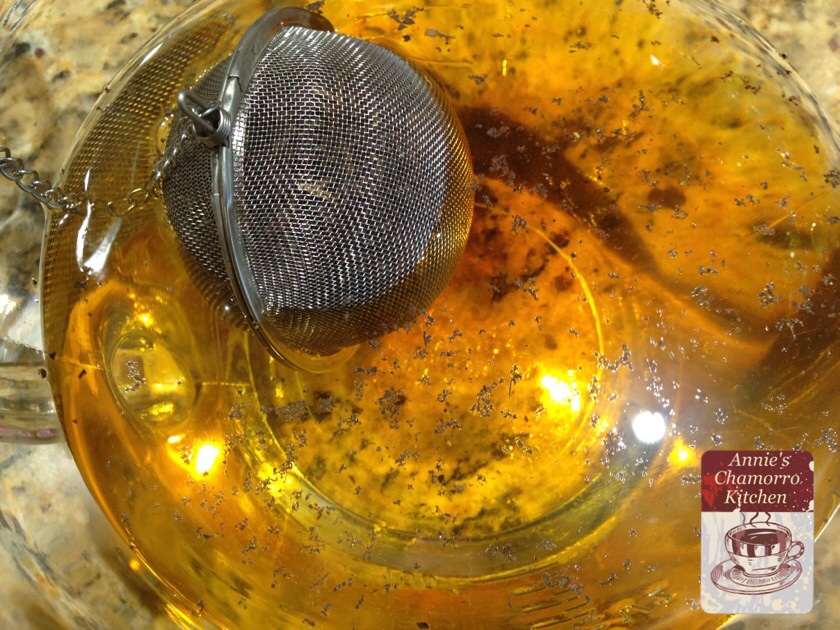
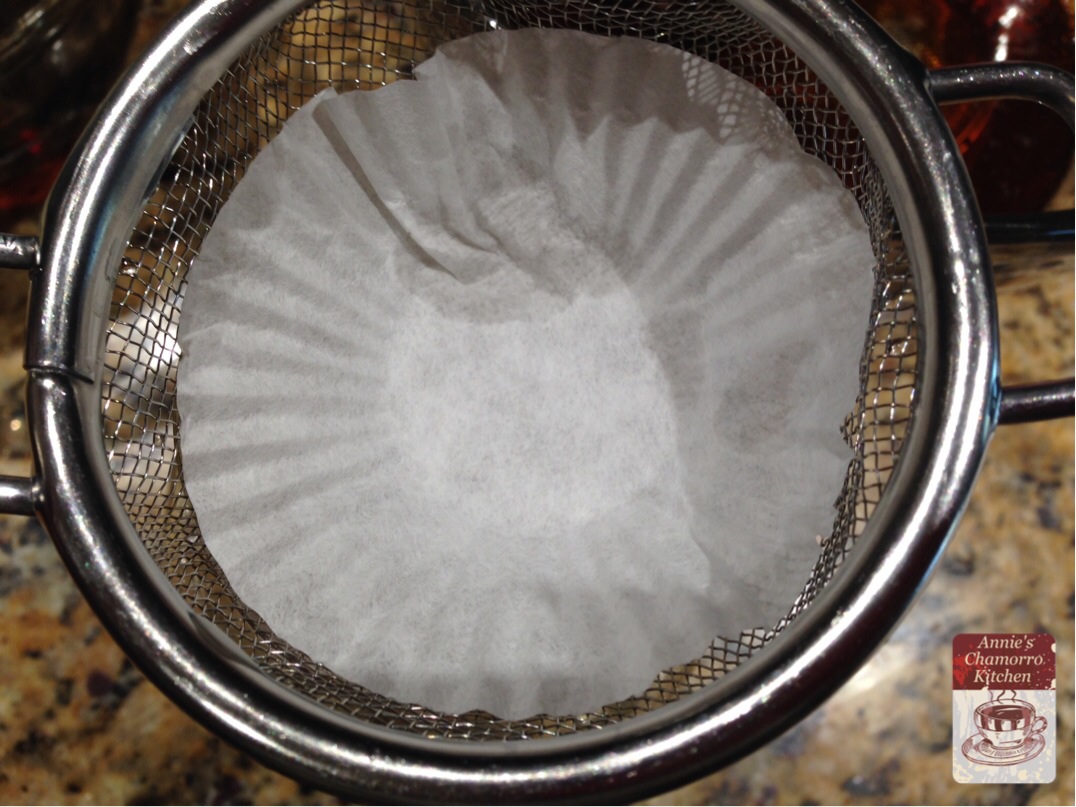
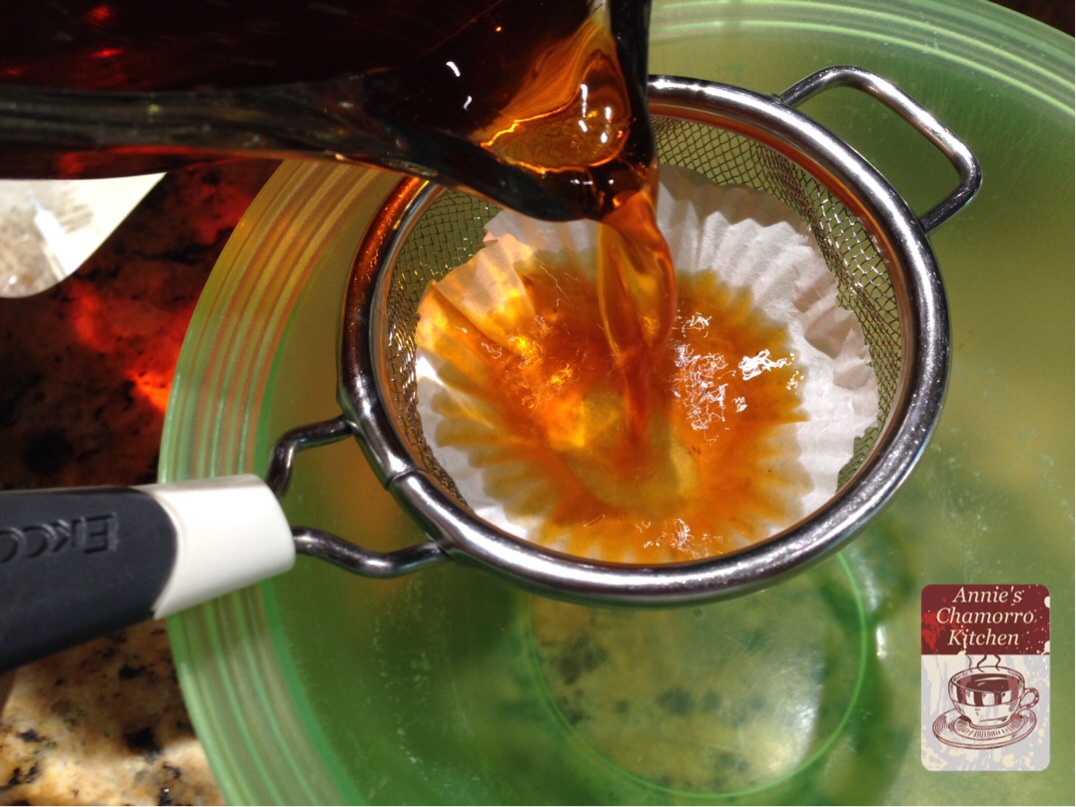
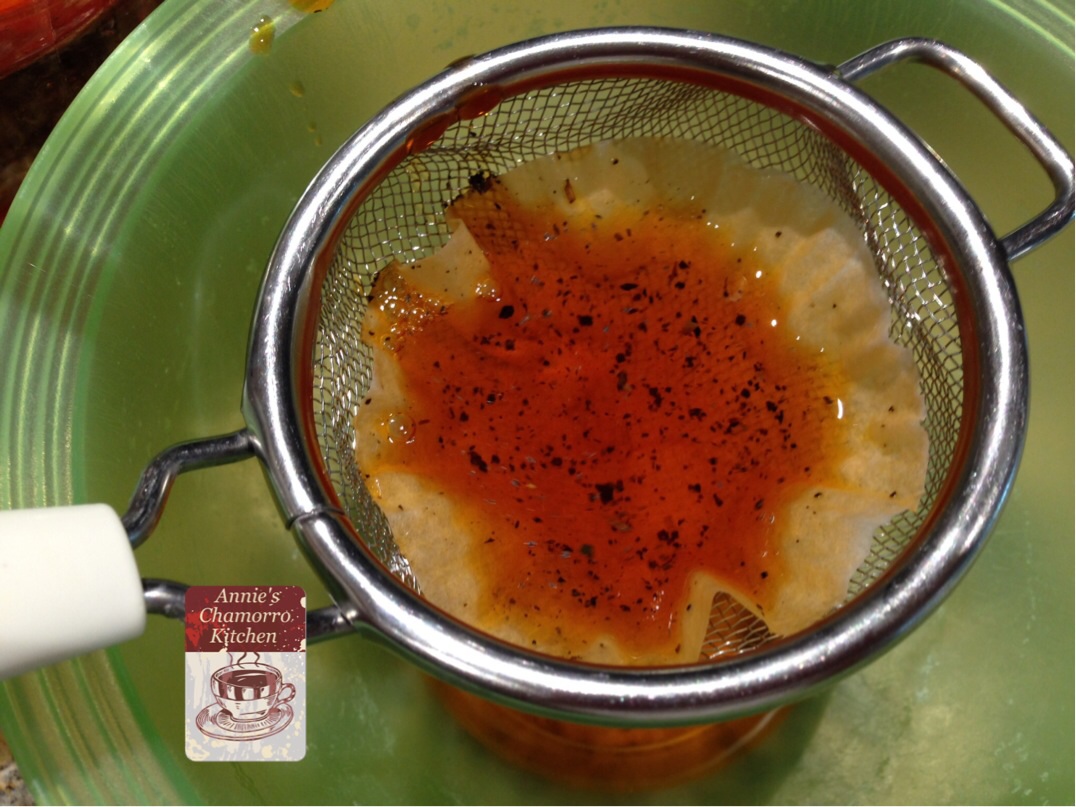
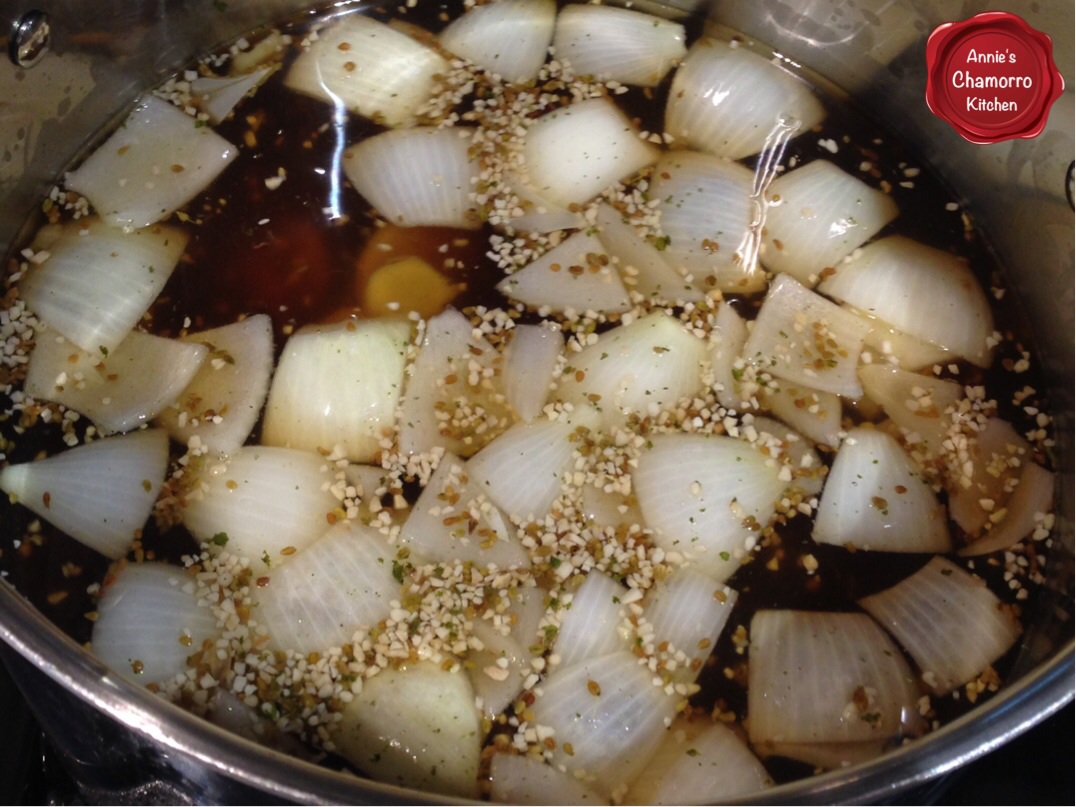
Add the fish sauce and the rest of the herbs and aromatics (cloves, cinnamon sticks, garlic, ginger, cilantro cubes and onions).  Cover the pot and turn the heat to medium-high.  Bring this to a rolling boil.  Most of the herbs will sink to the bottom of the pot as the broth cooks.  If you have a small cheesecloth, you can place all of the aromatics in it, creating a sachet d’espice.  Or, just before serving, pour the broth through a strainer and into a large bowl, discard the aromatics then return the broth to the pot.  Bring the broth to a boil again before serving.  I actually don’t bother straining this out.  You can safely eat the cooked onions and any anise seeds that find their way into your bowl.  However, I recommend discarding any cloves, cinnamon and large pieces of ginger that accidentally get poured into your bowl.

image

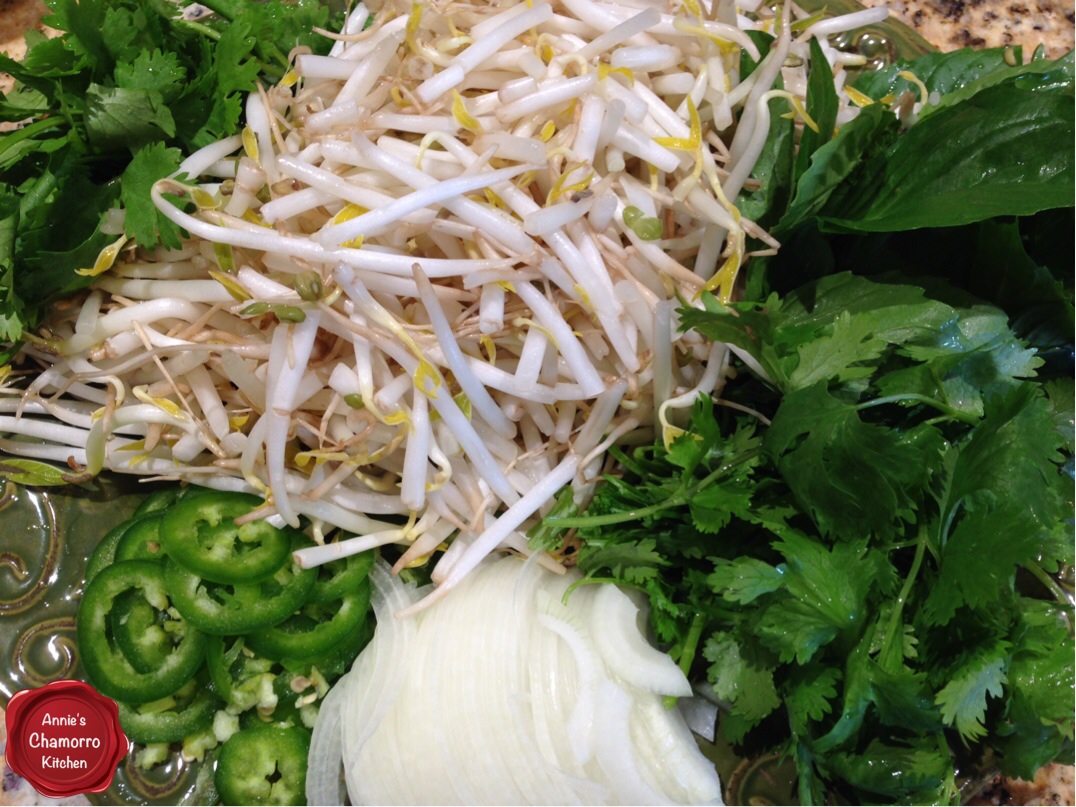
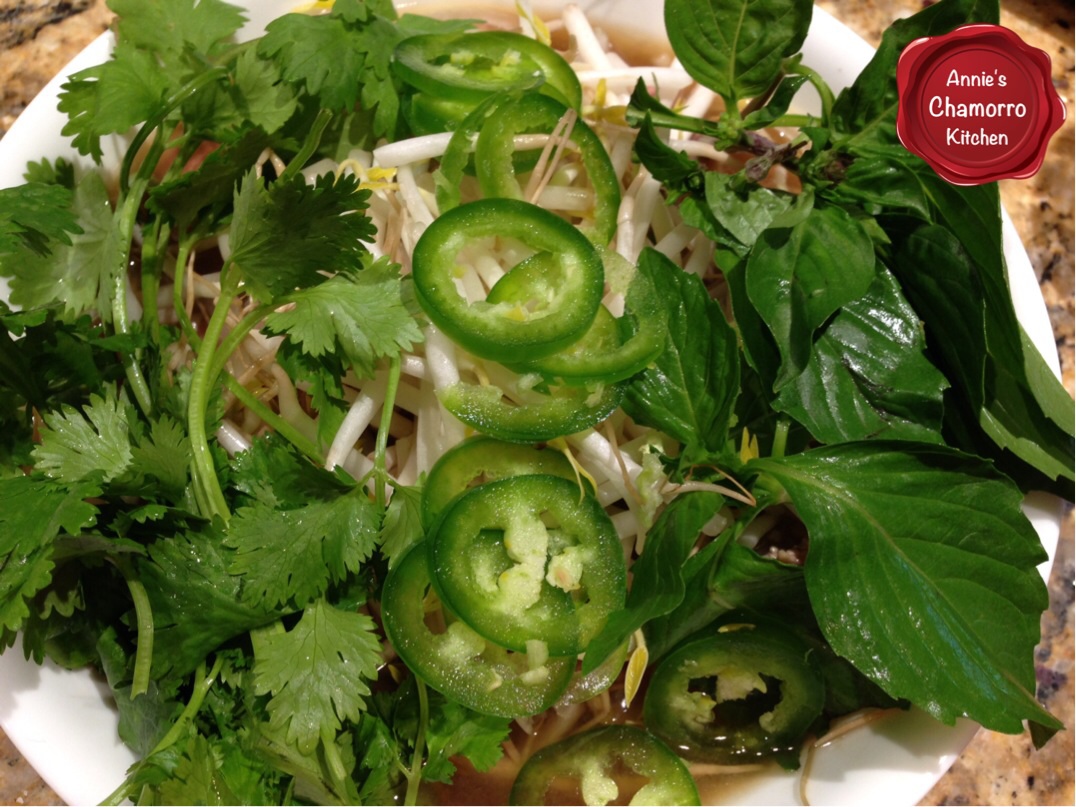
While the broth is happily cooking, prepare the vegetables.  Rinse the leafy greens and bean sprouts.  Slice the onions and peppers.  Arrange everything on a large platter.

image

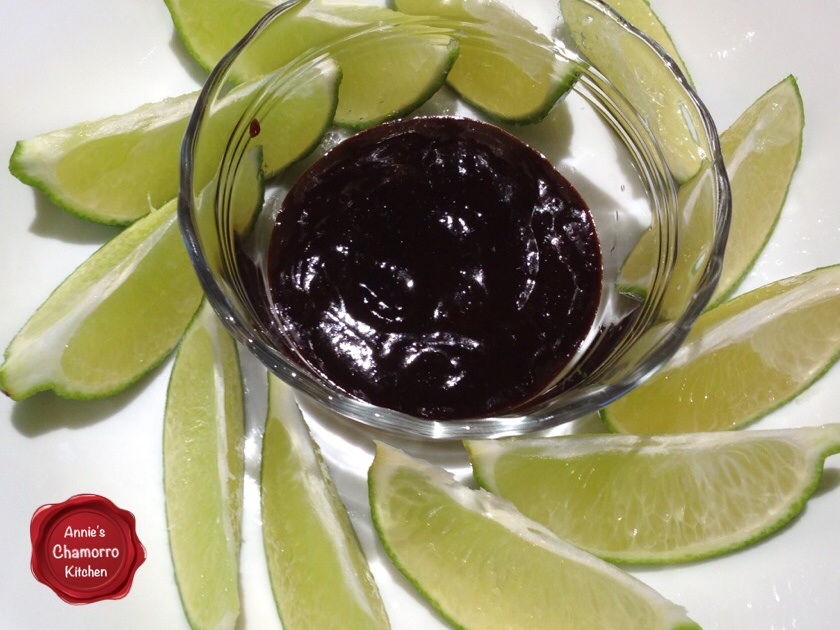
Slice the limes into wedges.  That’s hoisin sauce in the little bowl.  My youngest daughter and husband like stirring some hoisin sauce into their broth.  My oldest daughter and I prefer it without.

image

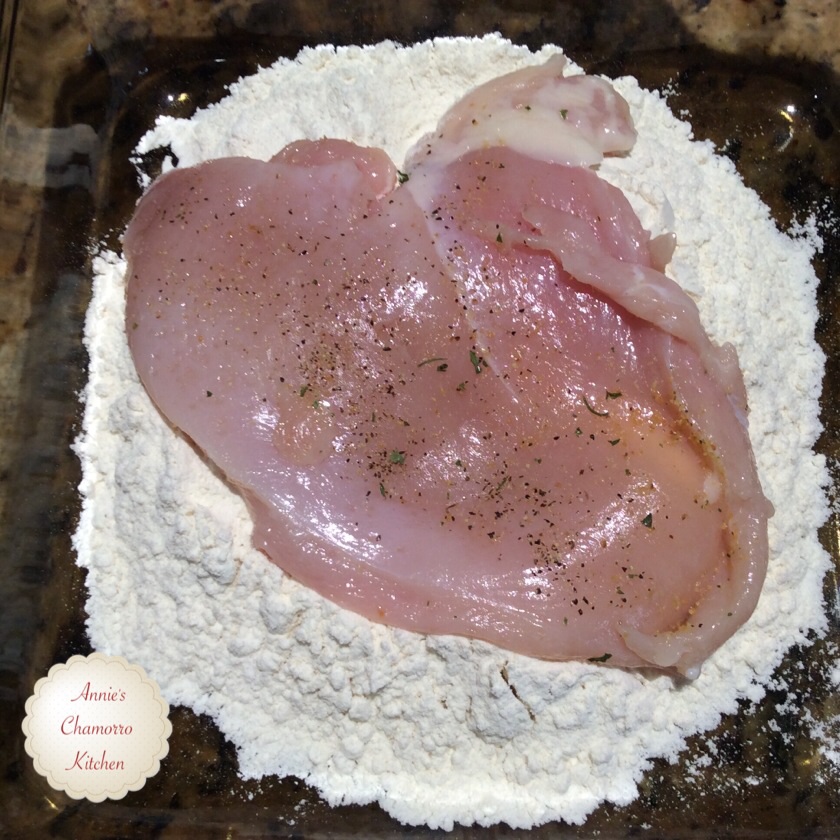
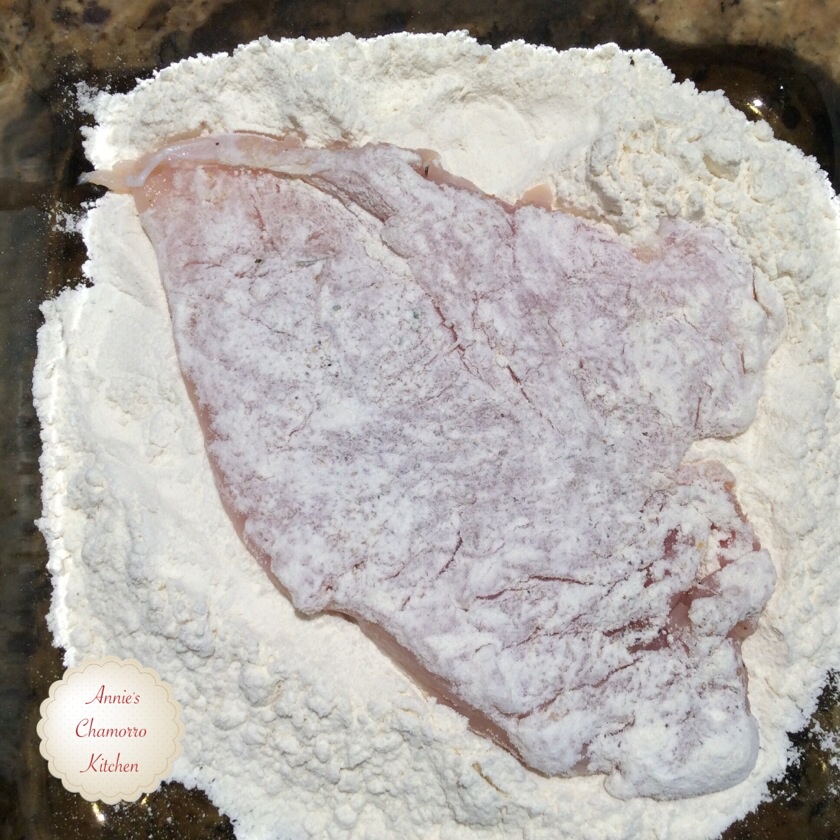
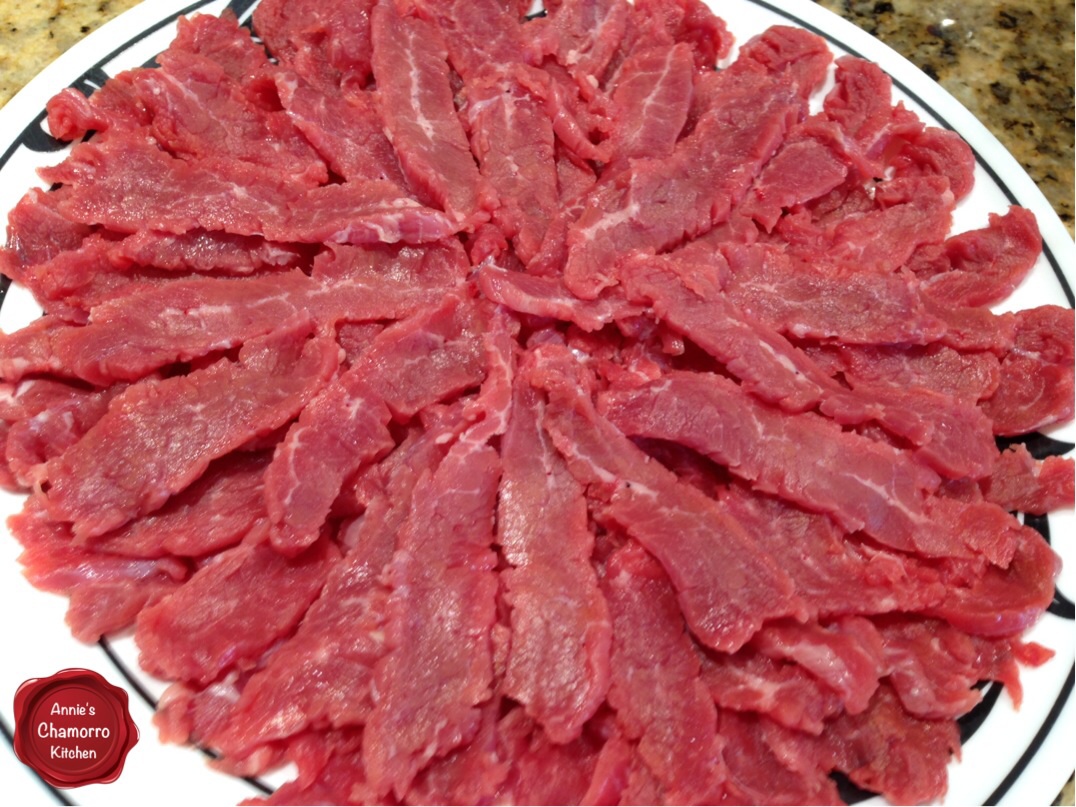
Slice the beef as thinly as you can.  It’s easier to create thin slices when the meat is still partially frozen.  I like using flank steak, but you can use any cut of lean beef.  The reason for slicing the beef as thin as possible is because it’s cooked only when you pour the boiling broth over it.  If you prefer to cook the beef instead of adding it raw, it’s simple — just add the sliced beef to the pot of boiling broth.

image

Once the vegetables and meat are prepped, it’s time to get the noodles going.

Set a medium pot filled 3/4 full with water to boil.

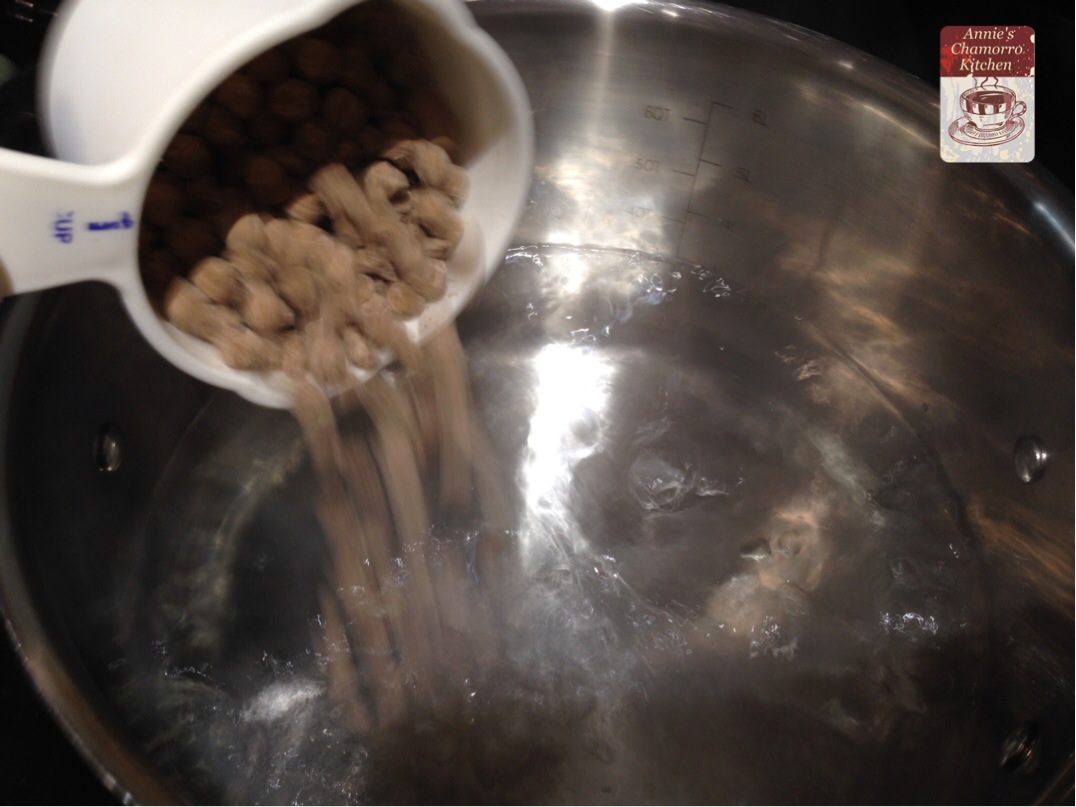
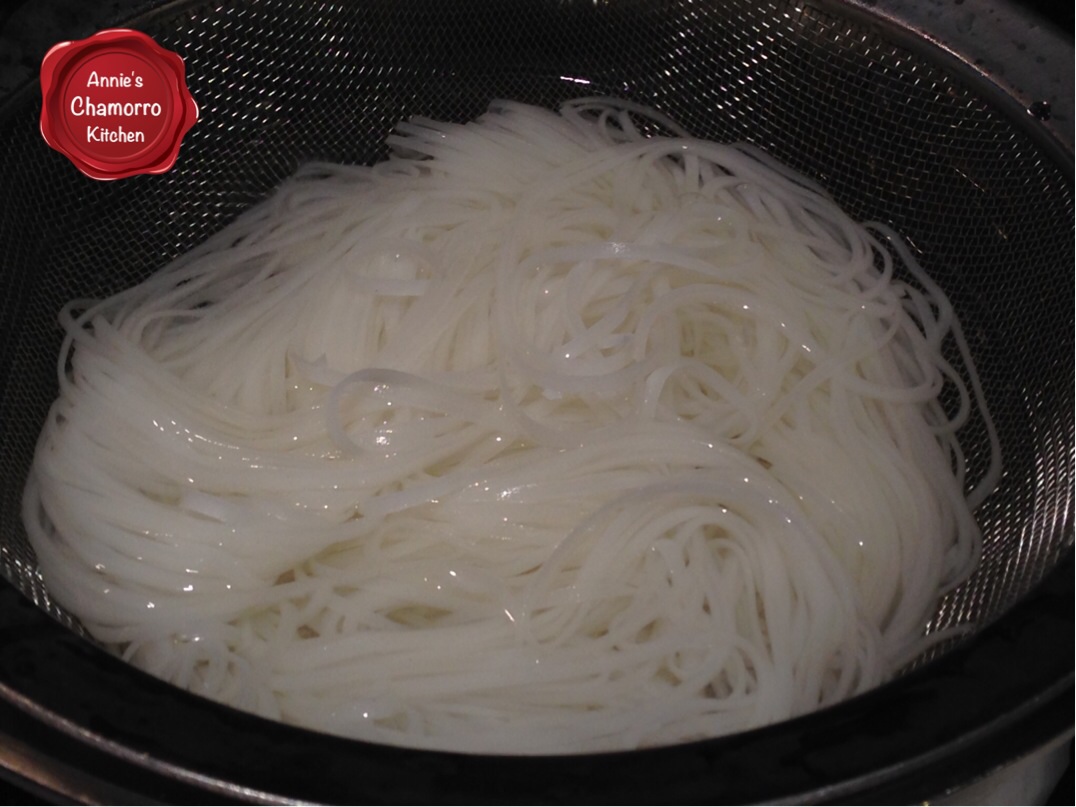
Fill a large bowl with hot water.  Add the dry noodles to the bowl.  Let the noodles soak in the hot water for about 5 minutes, or until pliable.

image

As soon as the pot of water comes to a boil, and once the noodles are soft and pliable, you’ll need to cook the noodles.  Place some of the noodles in a metal colander or strainer.  Use a strainer that can fit easily into your pot of boiling water.  You’re going to submerge the strainer — noodles and all — into the hot water.  Do not dump the noodles into the pot.  The reason for using the strainer is so that you can easily lift the noodles out of the pot.

image

Keep the noodles submerged in the boiling water for about a minute.  The noodles don’t take long to cook.  Lift the strainer out of the pot, allowing the water to drain out.

image

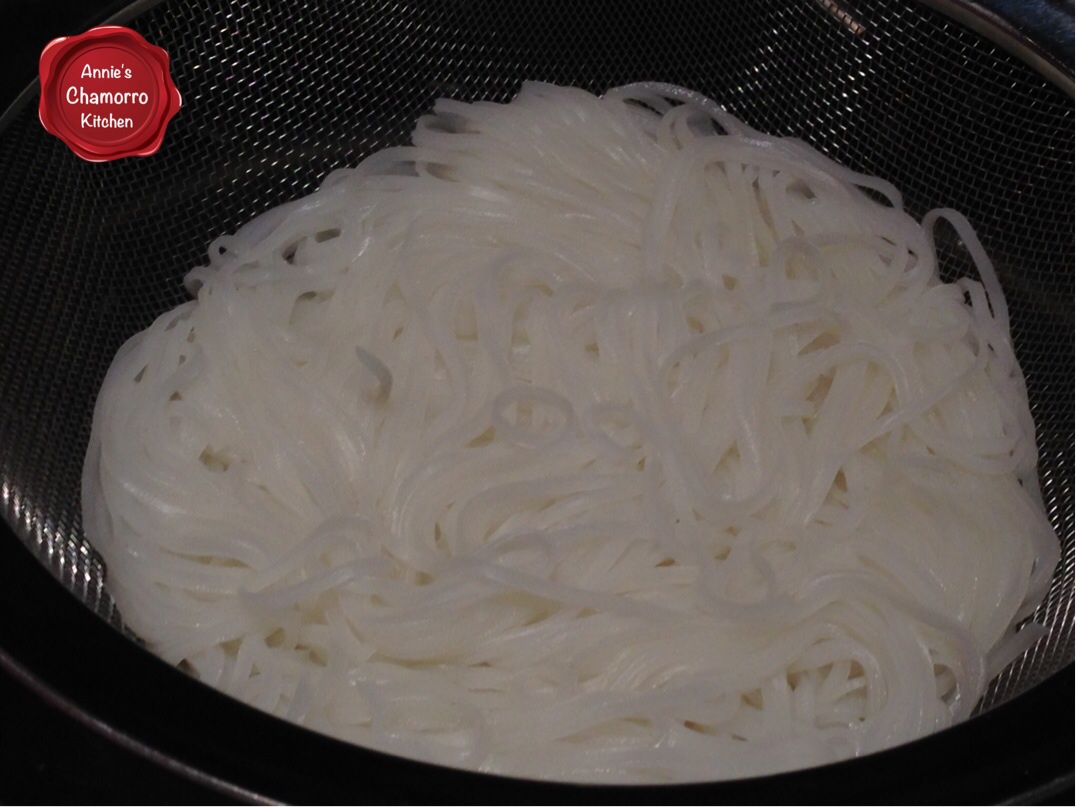
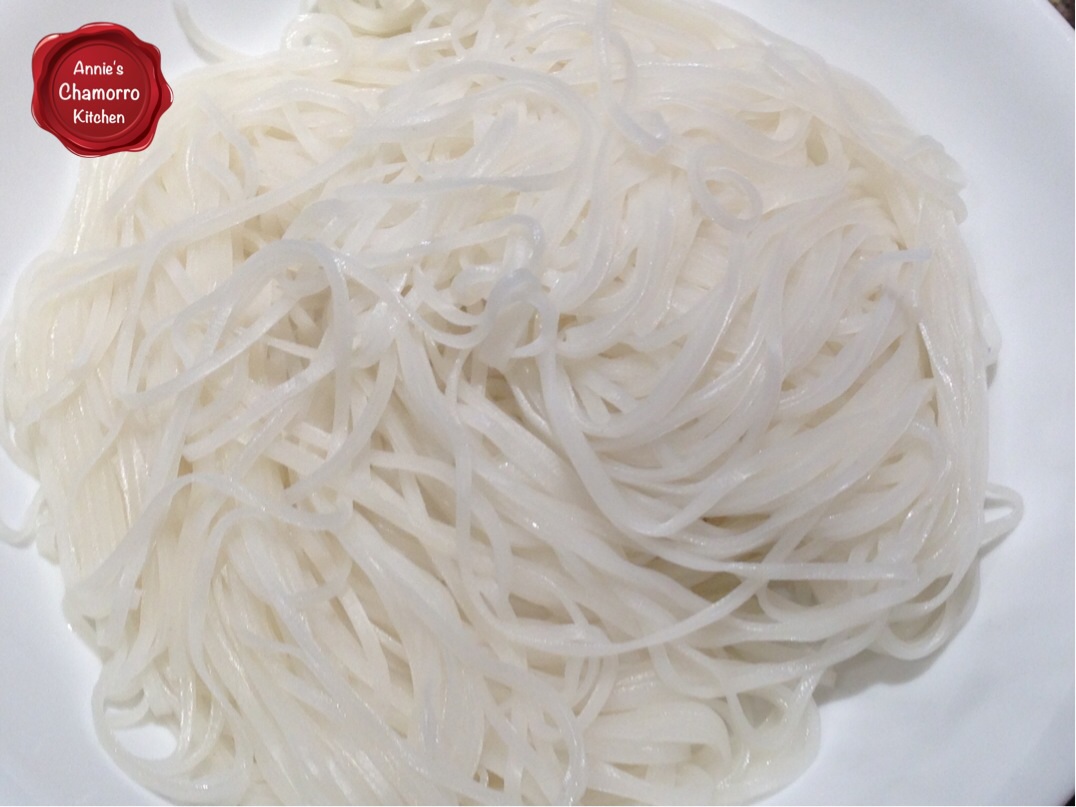
Place the drained noodles into your serving bowl.

image

Add some sliced beef to the bowl.

image

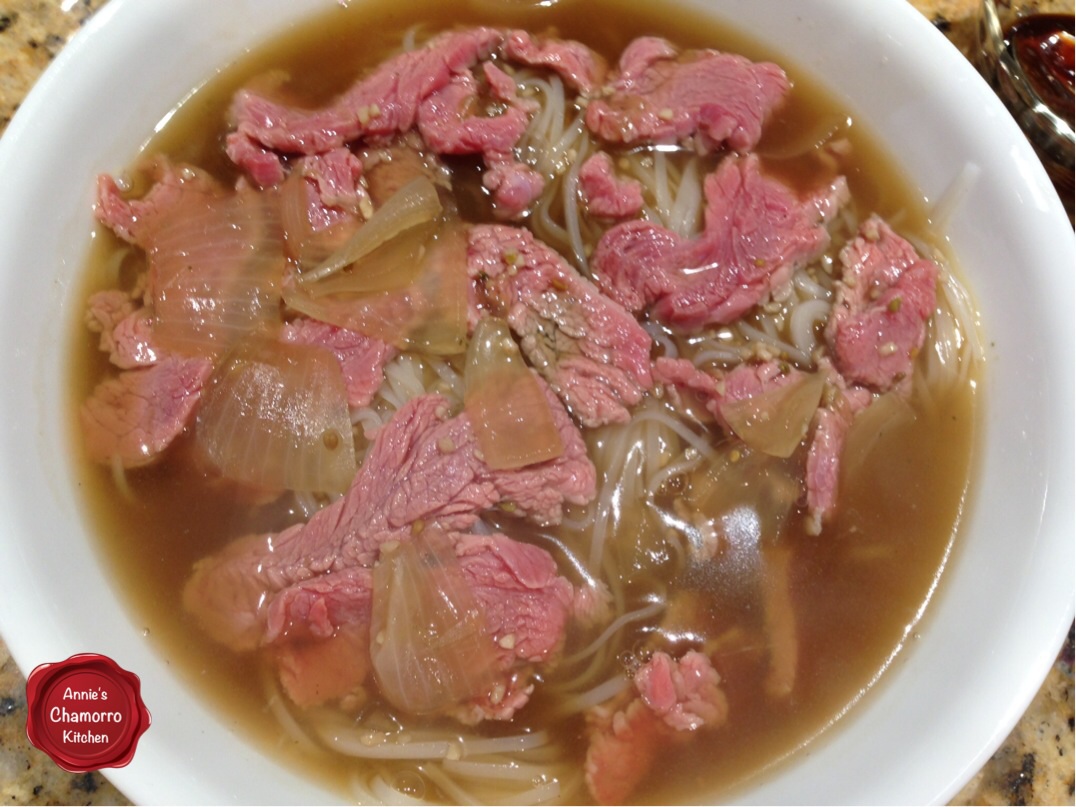
Pour the boiling-hot broth over the meat and noodles.

image

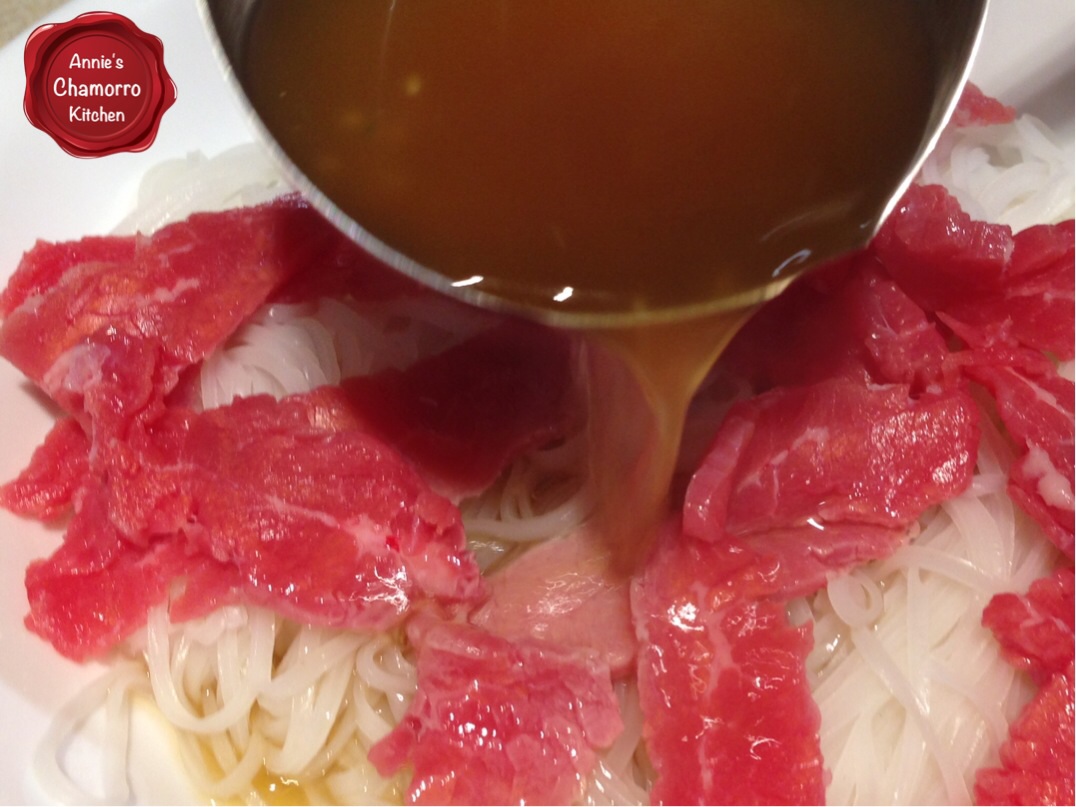
It’s important to keep the broth at a rolling boil right up until you’re ready to serve.  The hot liquid cooks the raw meat.  If you’re cooking the beef in the broth, just be sure to scoop out some meat and pour it into the bowl along with the broth.

image

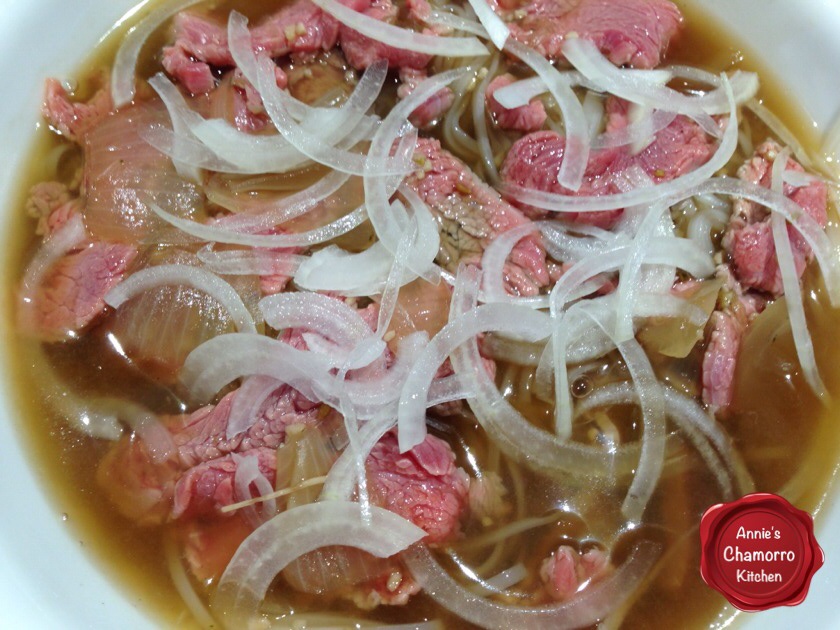
Add some of the sliced onion to the bowl.  The hot broth will begin to cook this too.

image

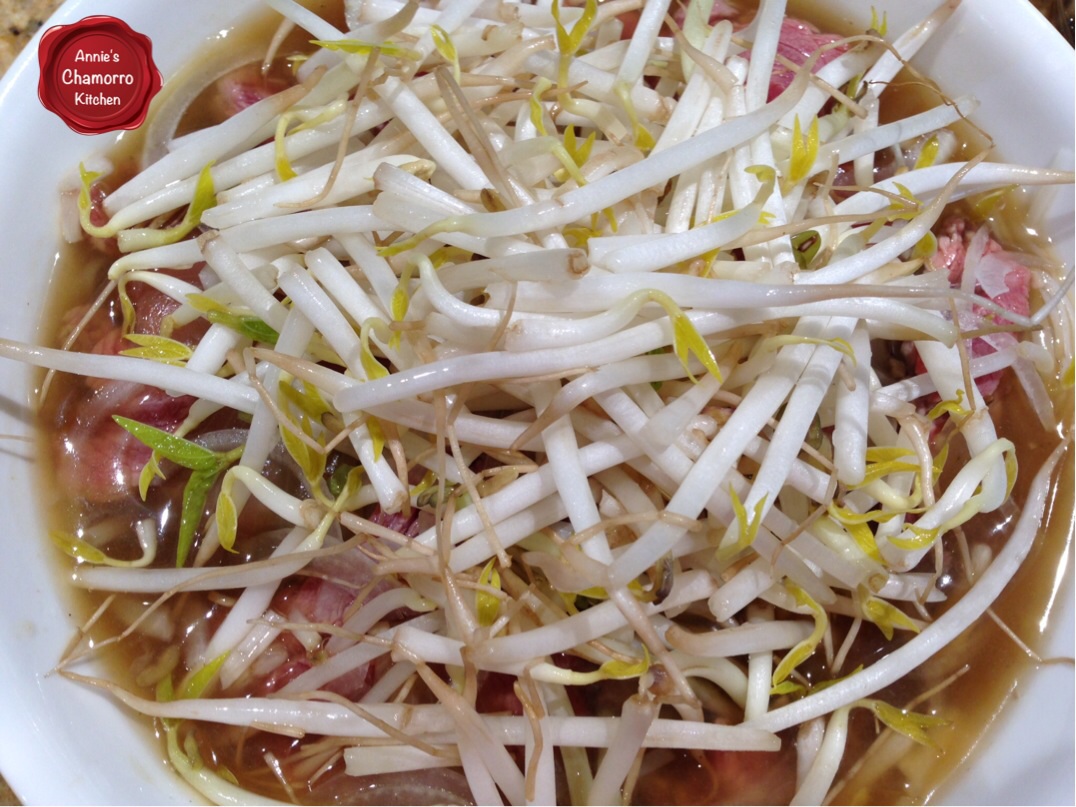
Now you can add the rest of your vegetables.  I like adding a couple of handfuls of bean sprouts to my bowl.

image

Add some cilantro leaves and Thai basil, tearing up large leaves into small pieces.  Add sliced peppers if you like your soup spicy.  My husband adds a Chamorro twist to this by stirring in lots of Tabasco sauce AND donne’ dinanche. 🙂

image

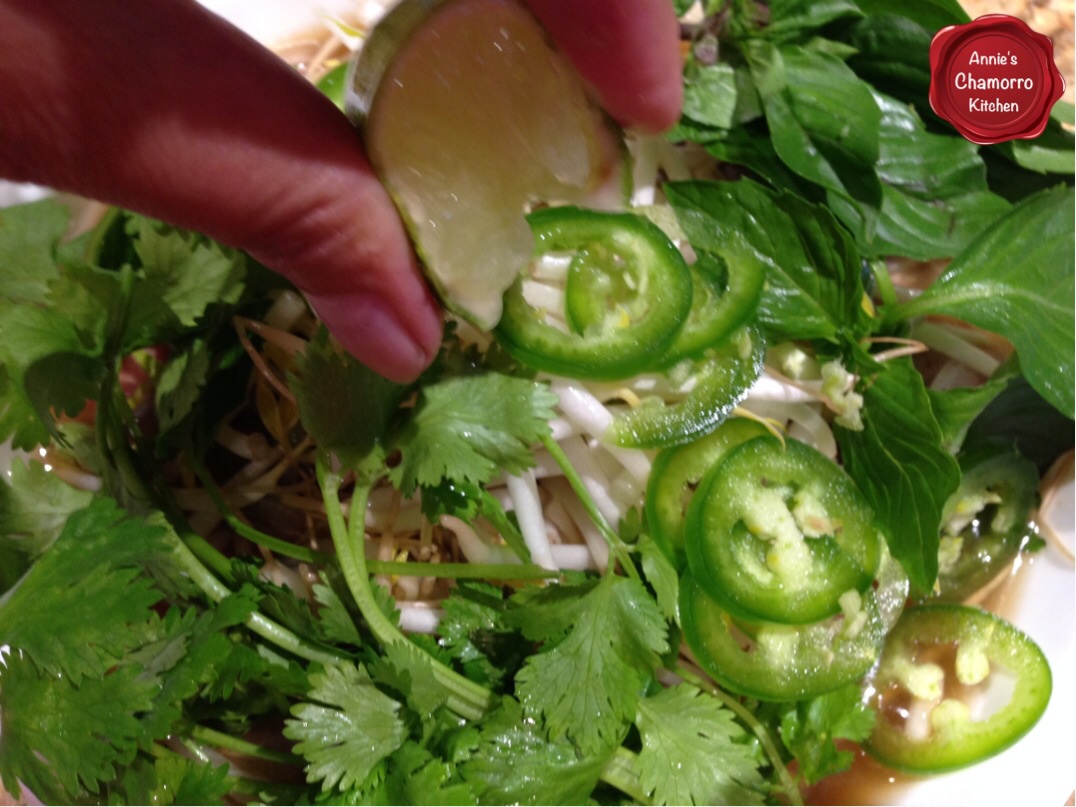
Squeeze some lime juice over the top, and add some hoisin sauce too if you’d like.

image

Serve and ENJOY!


Easy Phở
 
Prep time
Cook time
Total time
 
Author:
Recipe type: Soup
Cuisine: Vietnamese
Serves: 4
Ingredients
Broth:
  • 3 quarts beef broth (4 quarts if you prefer more broth than noodles)
  • 2 tablespoons fish sauce
  • 1 tablespoon anise seeds
  • 6 whole cloves
  • 2 cinnamon sticks
  • 2 tablespoons chopped garlic
  • 6-inch piece of ginger, peeled and sliced
  • 1 medium onion, cut into large pieces
  • Salt and pepper, to taste
Vegetables:
  • ½ small onion, very thinly sliced
  • 4 cups fresh bean sprouts
  • 1 bunch cilantro, leaves only
  • 1 bunch Thai basil, leaves only
  • 2 limes
Other:
  • ½ pound flank steak or other lean beef
  • 8 small bundles dry phở noodles
Optional:
  • 1 jalapeño pepper, sliced
  • 1 hot red chili pepper (Thai, Dragon, or other pepper), sliced
  • Sriracha pepper sauce
  • Hoisin sauce
Instructions
Prepare the broth:
  1. Place the broth in a large soup pot. Add the fish sauce, anise seed, cloves, cinnamon sticks, garlic, ginger and onion. Bring to a rolling boil.
Prepare the vegetables and beef:
  1. Rinse the bean sprouts, cilantro and Thai basil. Remove the thick, large stems from the cilantro and basil. Place the clean vegetables on a large serving platter along with the sliced onion and peppers.
  2. Slice the limes into thin wedges. Place on the serving platter.
  3. Slice the beef as thin as you can. It's easier to slice partially frozen meat then when it's thawed out completely. Place onto a separate serving dish.
Prepare the noodles:
  1. Fill a medium sized pot ¾ full of water; bring to a boil. Meanwhile, soak the dry noodles in a bowl of hot water. Once the noodles are pliable, place in a metal strainer, one that can fit into the pot with boiling water, and one that can be removed easily. Dip the metal strainer (with the noodles) into the boiling water. Let the noodles cook for a minute then lift the strainer from the pot and allow the water to drain. Place the noodles into your serving bowl.
Assemble the soup:
  1. Place the beef slices on top of the noodles. Pour the hot broth over the meat; the boiling hot broth will cook the raw meat. If you prefer not to use raw meat, you can add the slices of beef to the pot of hot broth to cook it.
  2. Add the thinly sliced onion next, then add the bean sprouts, cilantro and Thai basil.
  3. Add sliced peppers and pepper sauce if you like your soup spicy.
  4. Drizzle some hoisin sauce over the top if you want your broth a bit more salty.
  5. Enjoy!


Chicken Macaroni Salad

Macaroni salad one of my family’s favorite side dishes.  There are many, many macaroni salad variations, but we’re simple…we like two specific kinds.  The first is a Hawaiian style macaroni salad and the other is Filipino style Macaroni salad.

My recipe below is for a very basic Filipino macaroni salad.  It has chicken, cheese, pineapple, and sweet relish, but you can also add other ingredients such as hard-boiled eggs, ham, and raisins.  Some of my Filipino friends also add a spoonful or more of sweetened condensed milk, but I don’t like mine too sweet (to me, the relish and pineapples add just the right amount of sweetness) so I don’t add it.

This dish is best made the night before you intend to serve it.  An overnight stay in the ‘fridge allows all the pasta to absorb all the delicious flavors.

I like to add lots of chicken (more than what I have in my recipe below) whenever I want to serve this as my main dish.  It’s great for packed lunches, and it’s also a quick and easy pot-luck dish.

Give my recipe a try.  I think you’ll like it. 🙂

Chicken Macaroni Salad

image

Ingredients:

  • 1 large chicken breast
  • Salt, black pepper, and garlic powder (for the chicken)
  • 1/4 cup all-purpose flour
  • 2 tablespoons vegetable oil
  • 5 cups cooked macaroni
  • 1 teaspoon black pepper (for the macaroni salad)
  • 1 10-ounce jar sweet pickle relish, with as much juice squeezed out as possible
  • 1 20-ounce can crushed pineapple, with as much juice squeezed out as possible
  • 7 ounces shredded cheddar cheese
  • 1 1/2 cups mayonnaise

Optional Ingredients:

  • 1/2 cup raisins
  • 2 hard boiled eggs, diced

Directions:

NOTE:  The photos below of the chicken show around 9 or 10 chicken breasts.  We like to cook several chicken breasts at a time so that we can use it throughout the week in various dishes.  We used one breast to make this salad; about 6 breasts were used in my daughter’s Chicken Marsala, and a couple more went into my daughter’s other dish, Mac-n-cheese with Chicken.  Cooking in bulk is a great way to save time during the week, especially if you’re pressed for time each morning.  It saves time at night too, when you’re trying to prepare dinner after a long day at work or school.

Prepare the chicken.

Place the chicken breast into a ziplock bag.  Use a kitchen mallet to flatten the chicken into about 1/4-inch thickness.

image

Sprinkle both sides of the chicken breast with salt, black pepper and garlic powder.

image

Dredge the seasoned chicken breast in the flour, covering both sides.

image  image

 Place a skillet over medium-high heat.  Add the vegetable oil to the pan.

image

 Place the chicken in the pan when the pan and oil are hot.  Reduce the heat to medium.

image

 Cook the chicken for about 4-6 minutes on each side.

Turn occasionally to evenly brown both sides.

image

 Shred or thinly slice the cooked chicken and set it aside.

image


Prepare the macaroni salad.

Place the shredded chicken breast, cooked macaroni, black pepper, relish, crushed pineapple, cheese and mayo in a large mixing bowl.  Add in any other optional ingredients.

Gently fold all of the ingredients together.  Refrigerate for 30 minutes to an hour to allow the flavors to meld.

Serve and ENJOY!

image


In-N-Out Burger Sauce

In-N-Out Is a burger chain in several western states.  It is known for their juicy burgers slathered in their special sauce with optional (though I always get mine this way) grilled onions, called “animal style”.

Whenever I find myself in Nevada, California, and Arizona,  In-N-Out burger restaurants are at the top of the list for where we go to eat.  It’s Americana at its best…an ooey, gooey, cheesy, oniony (is that a word? It is now…),

After many trials and errors trying to replicate the “spread”, I think I finally came up with a sauce as close to the real thing as possible.  It’s not just a mixture of ketchup, mayo and relish like most people think.  It’s also not regular thousand island dressing.  This is my version of the sauce.  Adding a bit of apple cider vinegar, sugar and a pinch of onion powder to the K-M-R mixture did the trick.  Refrigerate the mixture for a good 30 minutes before assembling your burgers to allow the flavors to meld.

I also include a recipe for caramelized onions to go on top of your burgers.  It won’t be “animal style” without the sweet, gooey caramelized onions slathered on top of your burger.

Add your favorite cheese (use American cheese for a true In-N-Out replica) and voila! Homemade In-N-Out Burgers right at home.  Oh yeah, you mustn’t forget the pickles, sliced tomato and crisp iceberg lettuce.  Oh man, I want a cheeseburger now!

Give it a try and let me know what you think of it.  I think you’ll like it. 🙂

In-N-Out Burger Sauce

Ingredients:

  • 3/4 cup plus 2 tablespoons real mayonnaise
  • 1/3 cup ketchup
  • 3/4 cup sweet pickle relish
  • 1 tablespoon sugar
  • 1 tablespoon apple cider vinegar
  • 1/4 teaspoon onion powder

Directions:

1.  Mix all of the ingredients together in a small bowl.

2.  Refrigerate for 30 minutes; set aside until ready to assemble the burgers.

This makes enough for 4-6 burgers.  This sauce is also great on French fries, in a grilled ham and cheese sandwich, and even as a salad dressing.

ENJOY!

“Animal Style” Caramelized Onions

Ingredients:

  • 6 large onions, diced (use sweet onions, like Vidalia or Walla Walla, if you can find them, otherwise yellow Spanish onions will work well)
  • 2 tablespoons vegetable oil
  • 8 tablespoons water (you can use beef stock instead for a richer flavor)
  • 1 tablespoon salt
  • 1 tablespoon sugar

Directions:

1.  Heat the oil in a large pan over medium-high heat.  Add the onions, salt and sugar to the pan.

2.  Reduce the heat to medium-low, cooking the onions and stirring occasionally until they begin to brown, about 20 minutes.

3.  Add four tablespoons of water to the pan, stir, and cook until the onions are dried down and the water evaporates.

4.  Add four more tablespoons of water to the pan, repeating step 2 above. The onions should be a dark brown (not burnt) and soft.  Remove the onions from the pan; set aside until you’re ready to assemble the burgers.

Total cooking time for the onions varies, but it should take about 40-45 minutes of cooking to get soft, sweet, dark brown onions.

This recipe makes enough caramelized onions for 4-6 burgers.


Thai Milk Tea with Boba

Thai tea is not to be confused with Indian Chai.  It’s a quite fragrant tea made with black tea leaves and mixed with ground star anise, orange blossoms, ground cloves, and ground cinnamon.  Once brewed, a few drops of vanilla extract adds an additional depth to the already quite fragrant and flavorful tea.

It can be served hot or cold, and with or without milk, cream, or like I prefer it, with half-&-half.

Thai tea is usually served sweetened.  I sweeten my tea with a sugar syrup made with water, brown and white sugar.  You can also use sweetened condensed milk instead of syrup, and evaporated milk instead of cream or half-&-half.  Coconut milk is delicious with this too.

Adding cooked tapioca pearls is not part of the way traditional Thai tea is served.  The addition of the chewy black pearls, or boba, is thought to be of Taiwanese influence.  Black tea with milk and boba pearls added is commonly called “bubble milk tea.”

I’ve only found two establishments that sell bubble milk tea, or Thai milk tea — with boba — that I liked.  One was in Washington state and the other in Nevada.  There is a restaurant here in Colorado where I live that sells good Thai tea as well, but their boba is always too hard and almost inedible.

I wanted to create my own version of Thai milk tea with boba, mainly to control how much sugar and cream (or in my case, half-&-half) I add to it, and to cook the boba just how I like it–soft and chewy, and slightly sweet.

I used to prefer a slushy drink, which is easy enough to do by blending your sweetened milk tea with some ice.  Lately, though, I’ve come to prefer an iced version, cold but not blended with the ice.  I also found that adding boba to a slushy drink causes the boba to harden faster, which I’m not too keen on since I like the boba soft and chewy.  Both versions are good, though.  I’ve included some directions on making the slushy version at the bottom of my post.

Give my recipe a try.  It’s quite easy to make, and economical too.  Why go out and buy it when you can make it yourself right in your very own home.

My recipe below makes enough for 4 servings (in a tall glass).

Thai Milk Tea with Boba

image

Ingredients for the boba:

  • 3 quarts water
  • 1 1/2 cups dry tapioca pearls
  • 1/2 cup sugar syrup (for soaking the pearls AFTER cooking)

Ingredients for the sugar syrup:

  • 1/2 cup brown sugar
  • 1/2 cup white granulated sugar
  • 1 cup water

*Note: You’ll use 1/2 cup of sugar syrup to soak the cooked boba and the remaining syrup to sweeten the tea.

Ingredients for the tea:

  • 4 tablespoons loose (dry) Thai tea mix
  • 4 cups water
  • 2 cups sugar syrup
  • 1/2 cup half-&-half
  • ice

This is the brand of loose Thai tea mix and tapioca pearls I use.  I tried several brands of instant milk tea mixes and I found them either too sweet or too bland, or too chalky-tasting.

I like Pantai brand Thai Tea Mix (shown below on the left) — it’s a loose tea mix that you must steep in hot water.  When I first bought this brand, I knew it was a winner just from the delicious aroma of the dry tea leaves.

I also tried countless brands of tapioca pearls.  My first endeavor making boba was a complete failure because of the brand of tapioca pearls I used.  The “pearls” completely dissolved in the boiling water after only a few minutes of cooking!  I looked at the ingredient list AFTER the fact and discovered they were made from lots of ingredients OTHER THAN tapioca, most of which I couldn’t pronounce.  The brand pictured below has three simple ingredients: tapioca starch, water and caramel syrup. That’s it.  And it turns into soft, chewy and delicious boba.

image  image

Directions:

Cook the Boba.

Place the water in a large pot over high heat then bring to a boil.  Add the boba to the pot all at once.  Cover the pot, keeping the lid slightly ajar.  Reduce the heat to medium and continue to cook (boil) the boba for 35 minutes.  Stir the boba occasionally.

image

After 35 minutes, turn off the heat.  Stir the boba then cover the pot, placing the lid on completely.  Let the boba steep in the hot water for 25 minutes.  Do NOT uncover the pot.

image

While the boba is steeping in the hot water, make the sugar syrup.

Place both sugars and water in a microwave-safe bowl.  Microwave on high for 3 minutes. Carefully remove the bowl from the microwave; stir the mixture, ensuring the sugar is completely dissolved.

image

Pour out 1/2 cup of syrup in a small bowl; this will be used to soak the cooked boba.  Set the remaining syrup aside to sweeten the tea.  (I know, I know, the photo below shows only 1/4 cup, but I added more syrup later.)

image

After steeping the boba for 25 minutes, it’s ready to be sweetened.  Pour the boba out into a strainer or colander.  DO NOT RINSE THE BOBA.

image

Place the warm boba in the small bowl with 1/2 cup of syrup.  Soak the boba in the syrup for 15 minutes.  While you’re waiting, make the tea.

image

Bring 4 cups of water to a boil.  Place the tea mix into a tea infuser/basket.  If you have a tea sack, you can use that as well.

image

Seal the basket and place into the hot water.  Let the tea steep for 15 minutes.  If you want stronger tea, prepare this first to allow the tea mixture to steep longer, up to an hour.

image

When the tea is done steeping, you’ll need to strain out any tea leaves that got into the liquid.  I use a coffee filter placed into a small strainer to filter out the leaves.

image

Pour the tea through the coffee filter-lined strainer.

image

image

This is what the filtered tea looks like.

image

Sweeten the tea by mixing the remaining sugar syrup with the tea.

image

Place a few tablespoons of sweetened boba in the bottom of a tall glass.

image

Fill the glass about halfway with the sweetened tea.

image

Add ice.

image

Pour 1/8 cup of half-&-half into the glass.  You can also use coconut milk or evaporated milk rather than half-&-half.

image

image

Stir the tea, insert a large straw into the glass, and ENJOY! 🙂

image

To make a blended tea, place two cups of ice in a blender.  Add three cups of sweetened tea and 1/2 cup half-&-half.   Blend until slushy.  Add cooked boba in the bottom of a glass then pour in the slushy tea.  Add a large straw and ENJOY!

image   image

Ube Cheesecake

Who doesn’t love cheesecake?  And for those of us who grew up in the islands, who doesn’t love ube-anything?  If you haven’t tried ube, or taro, now’s the time.

While vacationing on Guam not too long ago, I went to a restaurant that featured a taro cheesecake as one of their signature desserts.  It was to-die for!  The cheesecake was rich, creamy, and topped with a crispy caramelized sugar topping that took this dessert to an entirely new level!

I decided then and there that I would try my hand at making this cheesecake.  I decided to use steamed and puréed fresh purple yams instead of ube jam.  Ube jam is good, don’t get me wrong; I just wanted to control the amount of sugar I put into the cheesecake and ube jam is already sweetened.

I’m forewarning you…this cheesecake takes a while to prepare.  The mixing of the batter doesn’t take that long at all.  There are, however, several steps in making this cheesecake, but it’s worth it in the end.  The cooling process takes a very long time as well, about 4-6 hours, preferably overnight.  But don’t let all that discourage you from giving my recipe a try.  While there are a lot of steps, it’s a very easy recipe to make.

Give it a try and let me know how it turned out for you.

Ube Cheesecake

image


Make the Crust:

  • 18 graham cracker squares
  • 3 tablespoons white, granulated sugar
  • 6 tablespoons unsalted butter, melted

This is a photo of graham cracker “squares.”  Depending on the brand, some graham crackers are rectangular shaped.  I used plain graham crackers for this recipe.  I do not recommend using graham crackers that have sugar and cinnamon on them.

image

Break the squares into small pieces and place into a food processor.

image

Pulse until you get fine crumbs.

image

Pour the crumbs in a bowl, stir in the sugar, then fold in the melted butter.

image

image

image

Spread the crust mixture in the bottom of a 9-inch springform pan that has been sprayed with non-stick cooking spray.

image

Press the crumbs into the bottom of the pan and just slightly up the side.  I use a measuring cup to press down on the crust to really compress it.

image image

Bake for 15 minutes at 325 degrees, or until the crust turns a nice rich brown.

image


Make the Cheesecake Batter:

  • 1 1/3 cups white granulated sugar
  • 1/2 teaspoon salt
  • 2 packages cream cheese, softened at room temperature
  • 2 cups steamed and puréed purple yam, sweet potato, or sweet taro (about 1 large or 2 medium ones)
  • 1 teaspoon vanilla extract
  • 5 large eggs
  • 1 cup heavy cream

Cook the yams:

There are many ways to cook yams.  You can roast them in your oven, bake, boil or steam them.  I prefer to roast yams if I’m eating them by itself as part of my meal.  However, for this recipe, I decided to steam them.

Fill a pot with just enough water so that the water does not touch the steam basket when it’s placed into the pot.  Bring the water to a boil.

Wash the yams throughly.  Use a dish scrubber to remove any dirt. Cut out any dark, rough spots.

Peel the yams. Cut the yams into large chunks.

image image

Place the yams into the steamer basket then place the basket over the pot of boiling water.

image

Cover the pot and let the yams steam for 25-30 minutes. The yams are ready when they are tender when pierced with a fork.

image
image

Place the yams into a blender or food processor.  Pulse until the yams are smooth and creamy.  Set aside for now.

image


Make the Filling:

Before getting started on the filling, I need to say a word or two about the cream cheese…you really want to use full fat cream cheese in this recipe.  Reduced fat cream cheese doesn’t bake well, especially in cheesecakes.  I like Philadelphia brand cream cheese over other brands, but use the brand you like.

You’ll also notice I used heavy cream in my recipe instead of sour cream.  The sour cream is traditionally used in recipes for New York style cheesecake, making for a tangier dessert.  I didn’t want to overpower the yams so I opted for the milder heavy cream.

Alright, back to the filling.  Whisk the sugar and salt together in a small bowl.  Set aside.

image

Spread the puréed yam on a triple layer of paper towels.  Place another triple layer of paper towels on top of the yam.  Press down on the paper towels to soak up as much moisture as possible.  If you don’t press out the liquid, your cheesecake will turn out too wet and you’ll end up with a fall-apart, mousse-like pie.

Because I steamed the yams rather than boiled them, there wasn’t that much water to squeeze out.

image image image

Place the softened cream cheese in a stand mixer on medium low speed; mix for a minute or two.  Scrape down the sides of the bowl.

image image

Mix 1/3 of the sugar mixture with the cheese.  Mix on medium speed for a minute until the sugar is incorporated.  Scrape down the bowl and paddle then add another 1/3 of the sugar.  Mix again then scrape down the bowl and paddle.  Add the remaining sugar; mix until creamy.

image image

Add the pureed yam to the bowl, along with the vanilla extract.  Mix on medium speed for a minute.  Scrape the sides of the bowl again.

image image

Add 3 eggs to the bowl, mix for a minute, scrape down the sides, then add the last 2 eggs, mix and scrape.

imageimage

Add the heavy cream.  Mix for another minute.

image

image


Bake the Cheesecake:

Pour the filling into the cooled crust.

image

I decided to bake this cheesecake in a water bath.  This prevents the top of the cheesecake from cracking during baking. You could also place a pan filled with water in the rack beneath the cheesecake.  If using a water bath, place two layers of foil beneath the springform pan.  Wrap the foil around the sides of the pan.  This keeps the water from the water bath from seeping into the pan.

image image

Place the foil-covered springform pan into a large roasting pan.

image

Place the roasting pan with the cheesecake inside it into a pre-heated 325 degree oven.  Pour hot water into the roasting pan (be sure to wait until AFTER you place the pan into the oven to pour in the hot water).  The water should come about halfway up the side of the springform pan.

image

Bake for 1 1/2 hours.  If you have a thermometer, take the temperature at the edge of the cheesecake to see if it is done.  The cheesecake is done when the temperature reaches between 145 and 150 degrees. Or, do what I do and use the “jiggle method” to check for doneness.  If you move the pan, the center of the cheesecake should move or jiggle only slightly.  Too much jiggle in the middle means you need to cook it a bit longer (10-15 minutes should do it).

When the cheesecake is done, remove the roasting pan and cheesecake from the oven.  CAUTION!  Be very careful taking the pan out of the oven!  You don’t want to spill hot water on yourself!!  Leave the cheesecake in the pan of hot water for 1 hour before removing it from the roasting pan.

image

After an hour of cooling at room temperature, the cheesecake needs to now cool in the refrigerator.  Cover the cheesecake with plastic wrap and chill for 4-6 more hours in the refrigerator; chilling overnight is even better.

NOTE:  After chilling for just 4 hours, I cut a slice of the cheesecake.  The middle was still a bit softer and creamier than the edges.  It appeared that the cheesecake was underdone, but it was cooked the right amount of time.  All I needed to do was refrigerate it for a few more hours (overnight cooling did the trick).  In the morning, the cheesecake was PERFECTLY set.

image


Caramelized Sugar Topping:

  • 4 tablespoons superfine sugar

Before serving, sprinkle the superfine sugar all over the top of the slice of cheesecake.

NOTE:  4 tablespoons of sugar covers the ENTIRE cheesecake.  You’ll need about one teaspoon of sugar per slice.

If you can’t find superfine sugar at your grocery store, just blend regular white, granulated sugar for a minute or two until you get superfine granules.

image

Use a creme brûlée torch to melt and caramelize the sugar.  Allow the caramelized sugar to harden then  serve.

image

For presentation purposes (for pretty pictures 😉 ), I caramelized sugar on top of the entire cheesecake.  However, I recommend you slice individual pieces of cheesecake BEFORE caramelizing sugar on top.

The melted sugar hardens and makes cutting clean slices a challenge if you caramelize sugar on top of the ENTIRE cheesecake rather than just one slice at a time.

image

Here’s a tip for an easy way to cleanly slice the cheesecake.  Dip a knife (a carving knife works well since it has a narrow blade) into a glass or pitcher of very hot water.  Dry off the knife before slicing.

Serve and ENJOY!

image


Ube Cheesecake
 
Prep time
Cook time
Total time
 
Author:
Serves: 8 slices
Ingredients
Graham Cracker Crust:
  • 18 plain graham cracker squares
  • 3 tablespoons white, granulated sugar
  • 6 tablespoons unsalted butter, melted
Cheesecake Batter:
  • 1⅓ cups white granulated sugar
  • ½ teaspoon salt
  • 2 packages cream cheese, softened at room temperature
  • 2 cups steamed and puréed purple yam, sweet potato, or sweet taro (about 1 large or 2 medium ones)
  • 1 teaspoon vanilla extract
  • 5 large eggs
  • 1 cup heavy cream
Caramelized Sugar Topping:
  • 4 tablespoons superfine sugar
Instructions
Make the Graham Cracker Crust:
  1. Break the graham crackers into small pieces and place in a food processor. Pulse until you get fine crumbs.
  2. Place the crumbs into a small mixing bowl. Stir in the sugar, then fold in the melted butter.
  3. Spread the crumb mixture into the bottom of a 9-inch springform pan. Press the crumbs evenly on the bottom and slightly up the sides of the pan.
  4. Bake for 15 minutes at 325 degrees F, or until the crust is a rich brown color. Set aside to cool.
Make the Cheesecake Batter:
  1. If you’re using fresh yams (you can use frozen), peel then cut into cubes. Steam for 25-30 minutes or until soft through the middle. Place the steamed yams in a food process; pulse until the yams are smooth and creamy. Place the puréed yams in between several paper towels; press firmly to squeeze out as much water as possible. Set aside while you make the filling.
  2. Whisk the sugar and salt together in a small bowl. Set aside.
  3. Add the cream cheese to a large mixing bowl. Mix on medium low until creamy. Add the sugar-salt mixture to the cream cheese in thirds. Mix after each addition until creamy.
  4. Add the puréed yams and vanilla extract to the cream cheese mixture. Mix on medium speed for a minute, until the yams are just incorporated with the cream cheese.
  5. Add 3 eggs to the mixing bowl; mix for a minute then add the remaining 2 eggs. Mix for a minute.
  6. Add the heavy cream to the mixing bowl; mix for another minute.
Cook the Cheesecake:
  1. Pour the batter into the cooled crust.
  2. Wrap the bottom of the springform pan with two sheets of aluminum foil. Place the pan into a large roasting pan. Place the roasting pan into the oven. Pour hot water into the roasting pan, adding enough water to fill to halfway up the side of the springform pan.
  3. Bake in an oven preheated to 325 degrees F for 90 minutes (1½ hours). The cheesecake should measure between 145 and 150 degrees F when done, and the middle should jiggle slightly.
  4. Remove the roasting pan from the oven (CAUTION! BE CAREFUL NOT TO SPILL ANY HOT WATER WHILE TAKING THE ROASTING PAN OUT OF THE OVEN!).
  5. Leave the cheesecake in the pan of hot water for 1 hour before removing it from the roasting pan. After that hour, cover the cheesecake (still in the springform pan) with plastic wrap and refrigerate overnight.
Serve the Cheesecake:
  1. Slice the cheesecake into pieces.
  2. Sprinkle superfine sugar over individual pieces, about 1 teaspoon per slice. Use a cooking blow torch to melt and caramelize the sugar.
  3. Serve and enjoy!


« Older Entries Recent Entries »