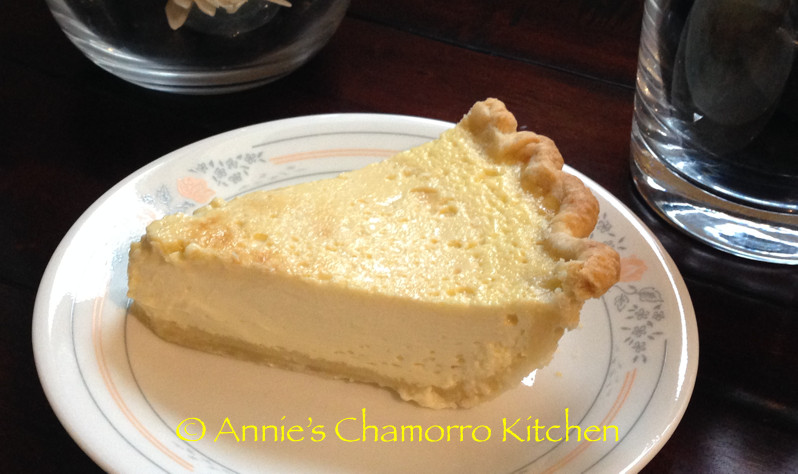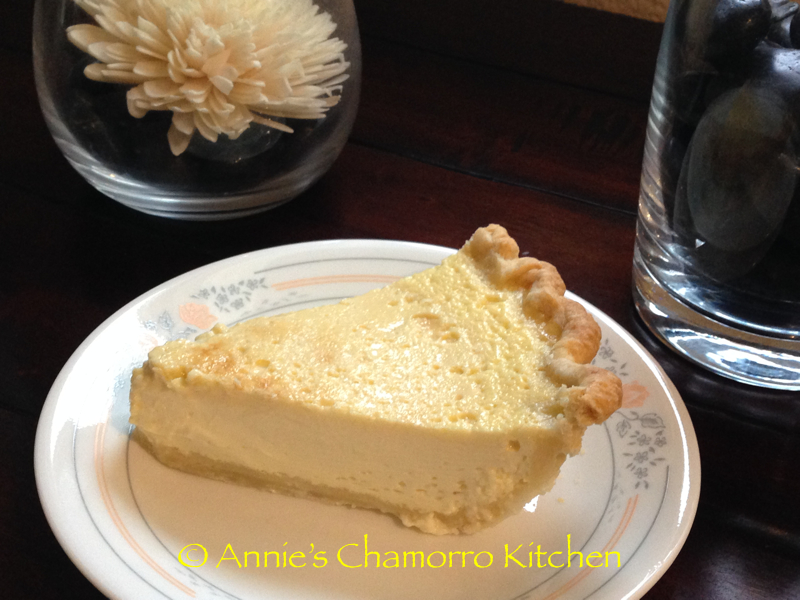
Who doesn’t love cheesecake? And for those of us who grew up in the islands, who doesn’t love ube-anything? If you haven’t tried ube, or taro, now’s the time.
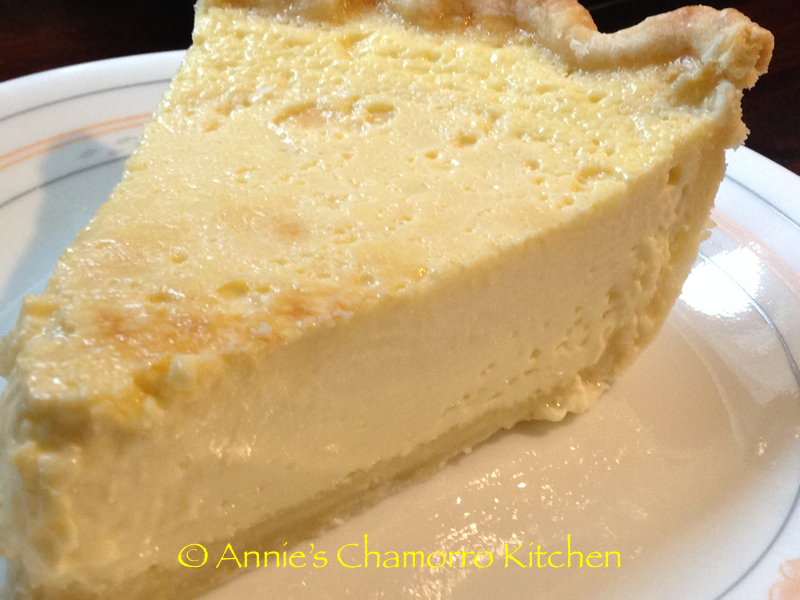
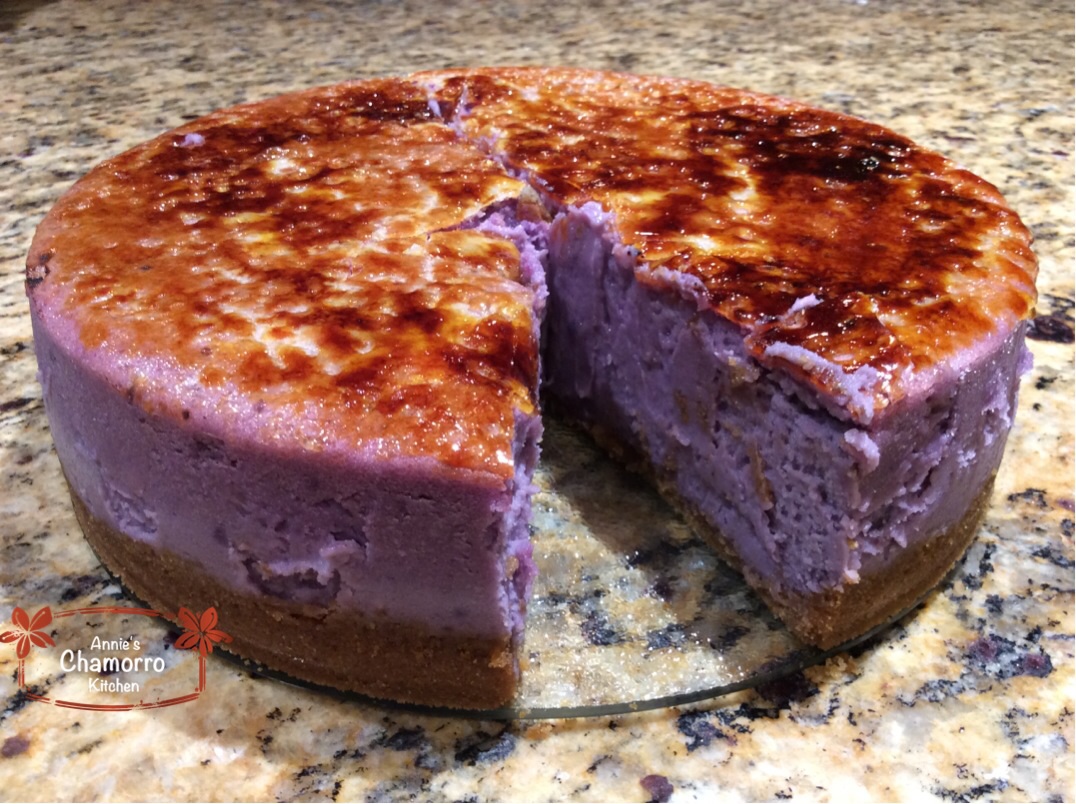
While vacationing on Guam not too long ago, I went to a restaurant that featured a taro cheesecake as one of their signature desserts. It was to-die for! The cheesecake was rich, creamy, and topped with a crispy caramelized sugar topping that took this dessert to an entirely new level!
I decided then and there that I would try my hand at making this cheesecake. I decided to use steamed and puréed fresh purple yams instead of ube jam. Ube jam is good, don’t get me wrong; I just wanted to control the amount of sugar I put into the cheesecake and ube jam is already sweetened.
I’m forewarning you…this cheesecake takes a while to prepare. The mixing of the batter doesn’t take that long at all. There are, however, several steps in making this cheesecake, but it’s worth it in the end. The cooling process takes a very long time as well, about 4-6 hours, preferably overnight. But don’t let all that discourage you from giving my recipe a try. While there are a lot of steps, it’s a very easy recipe to make.
Give it a try and let me know how it turned out for you.
Ube Cheesecake
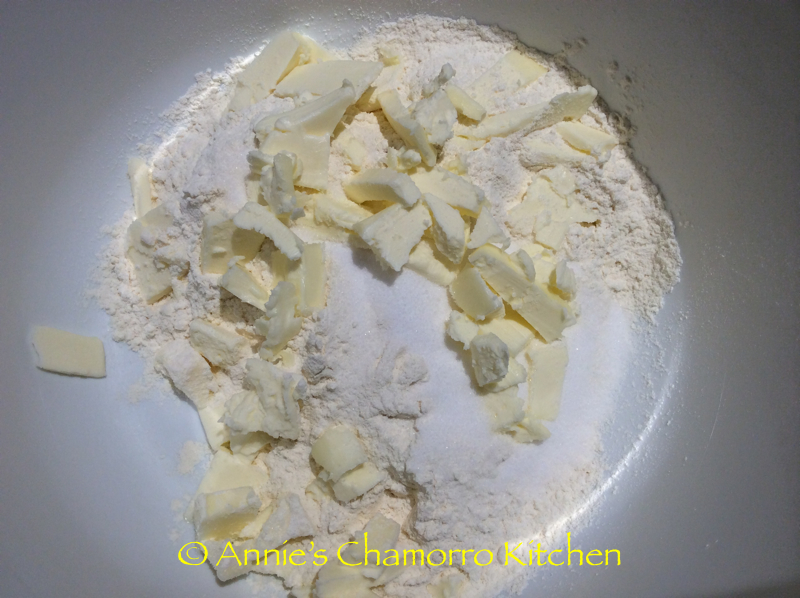
Make the Crust:
- 18 graham cracker squares
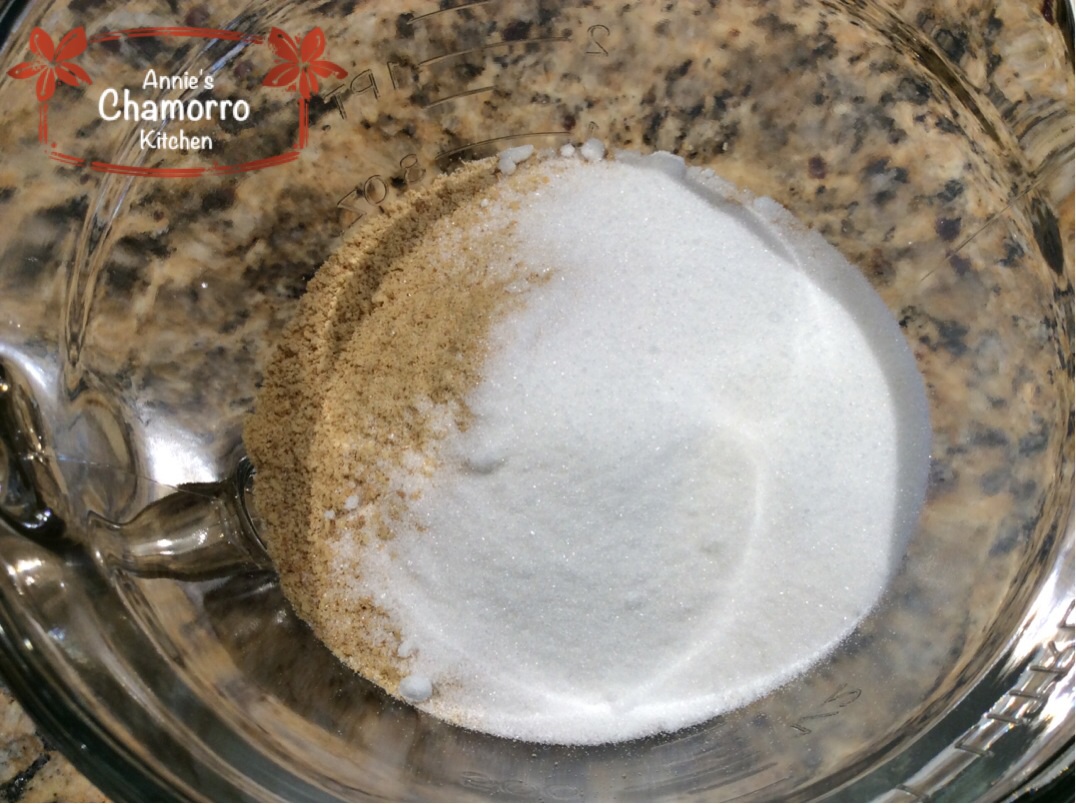
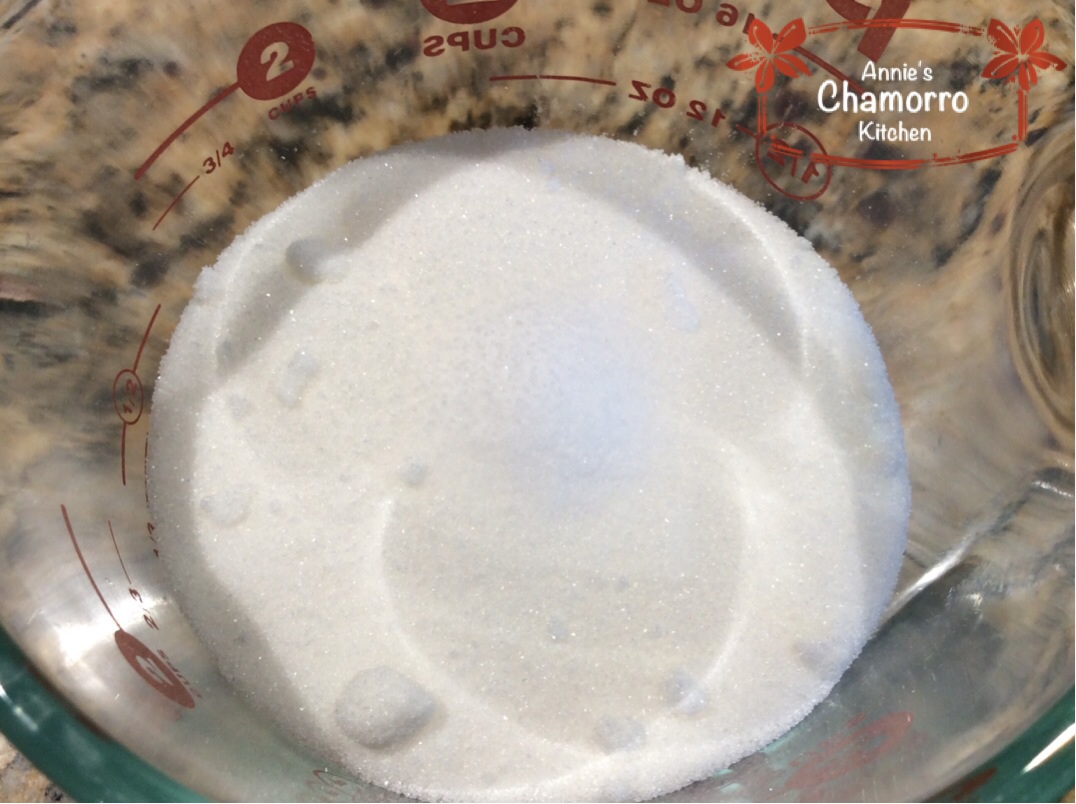
- 3 tablespoons white, granulated sugar
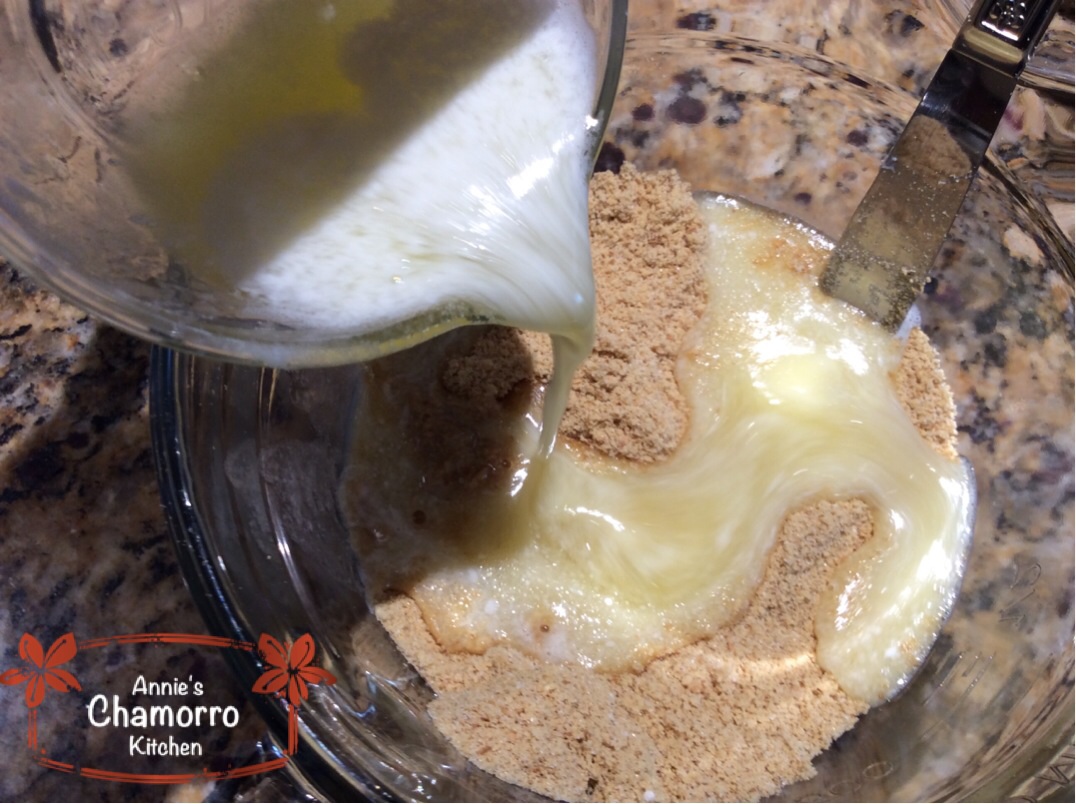
- 6 tablespoons unsalted butter, melted
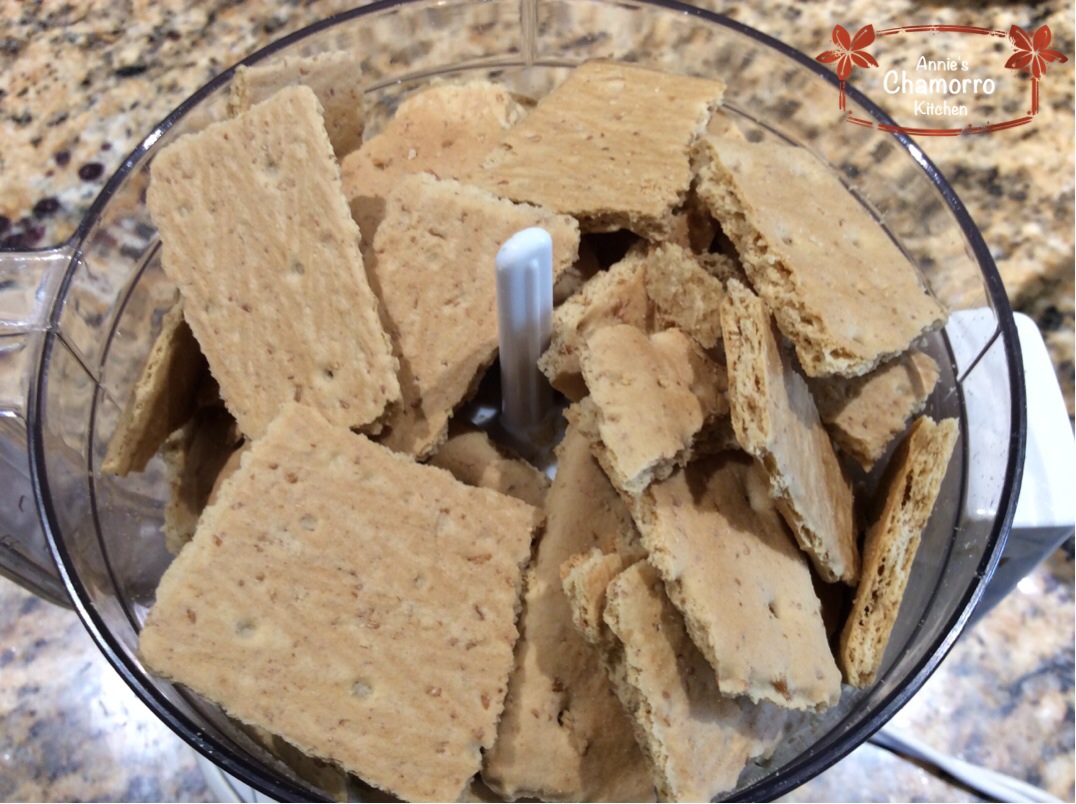
This is a photo of graham cracker “squares.” Depending on the brand, some graham crackers are rectangular shaped. I used plain graham crackers for this recipe. I do not recommend using graham crackers that have sugar and cinnamon on them.

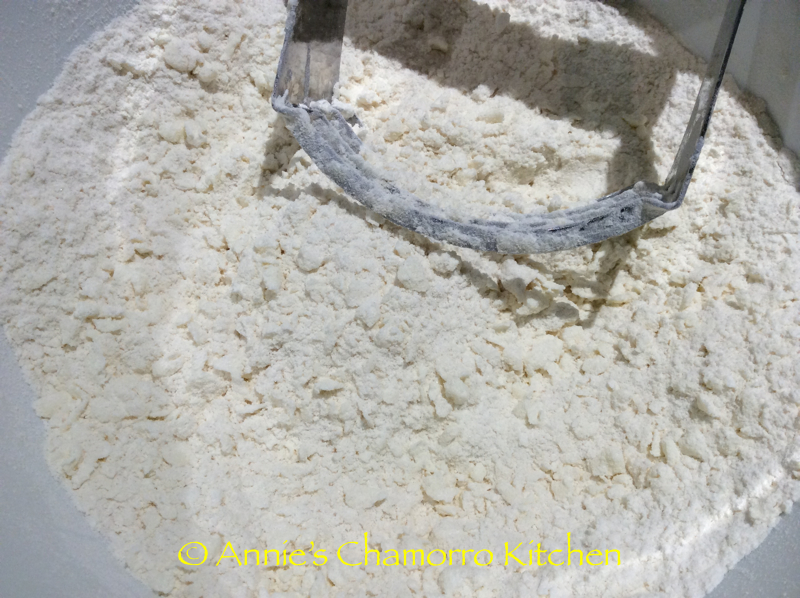
Break the squares into small pieces and place into a food processor.
Pulse until you get fine crumbs.
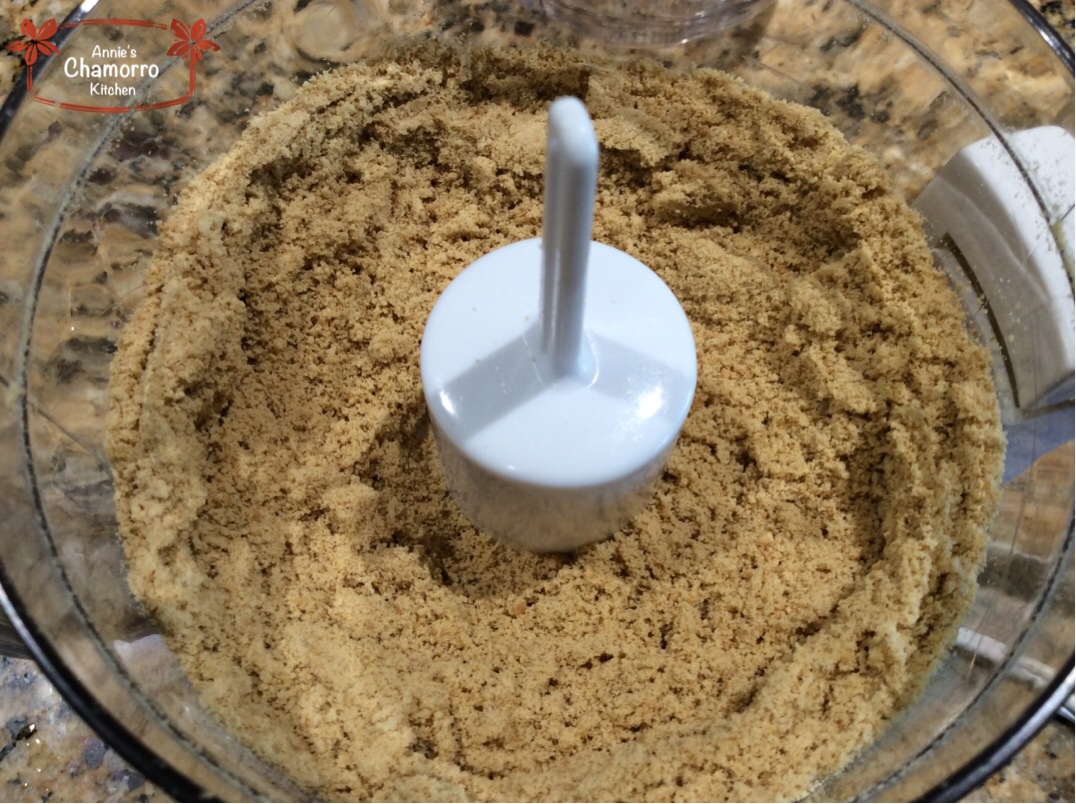
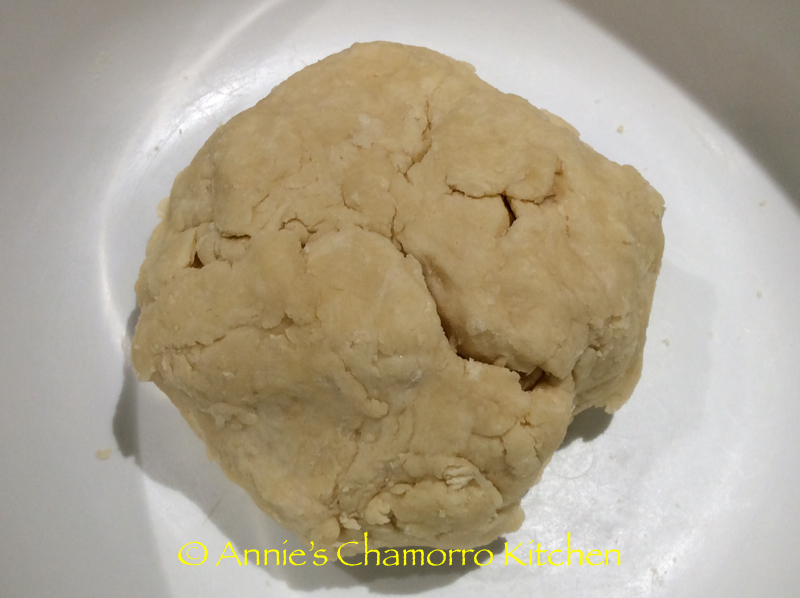
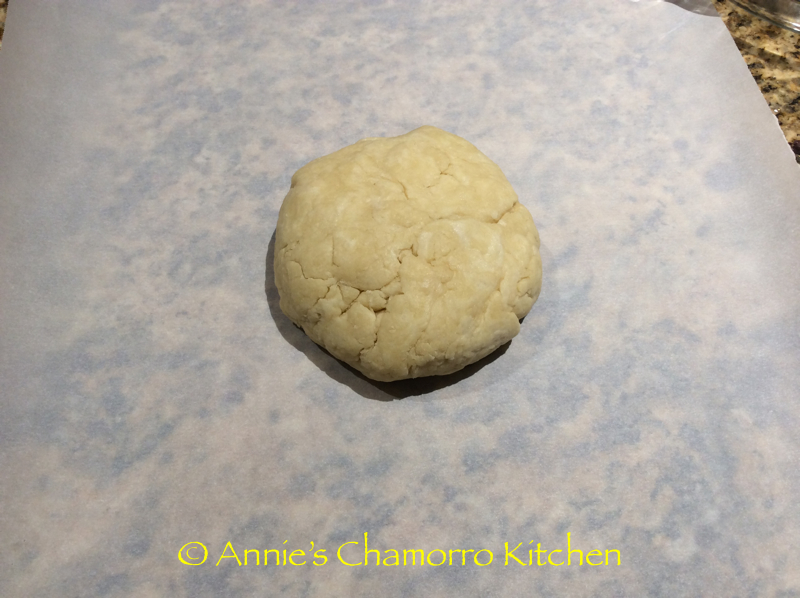
Pour the crumbs in a bowl, stir in the sugar, then fold in the melted butter.

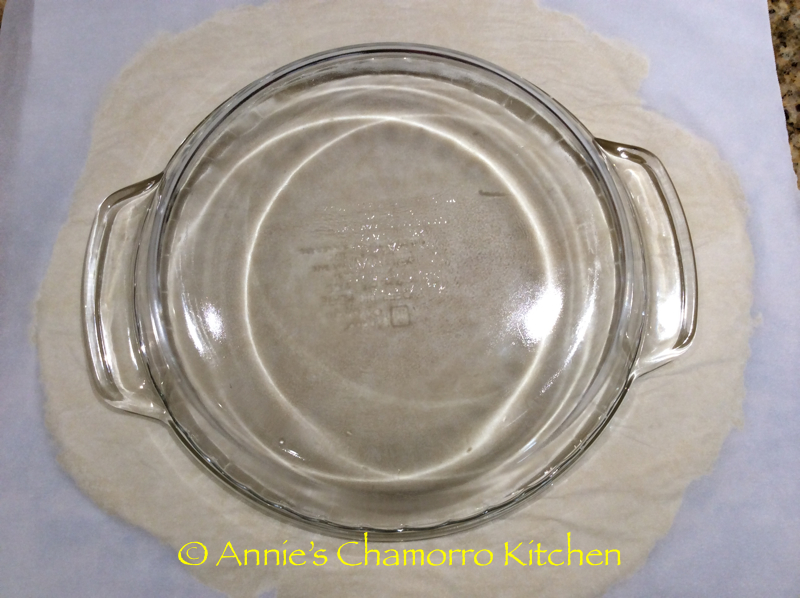
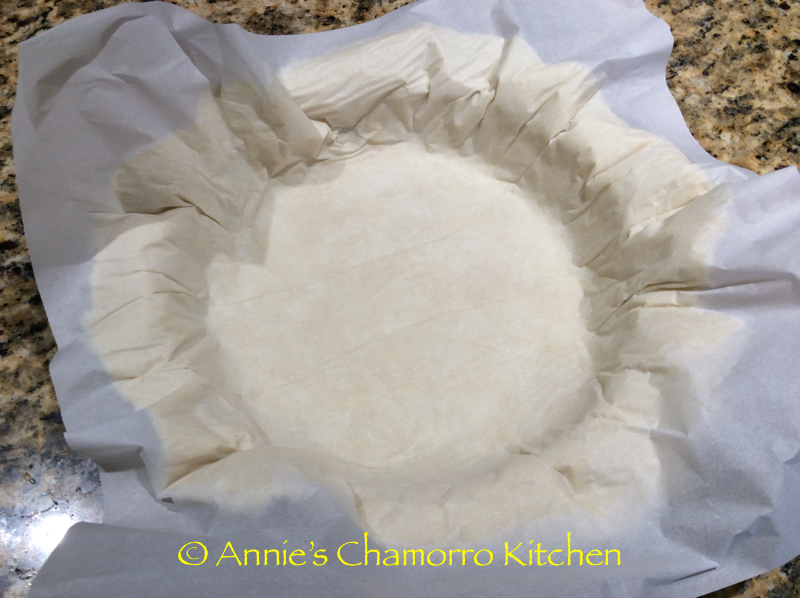
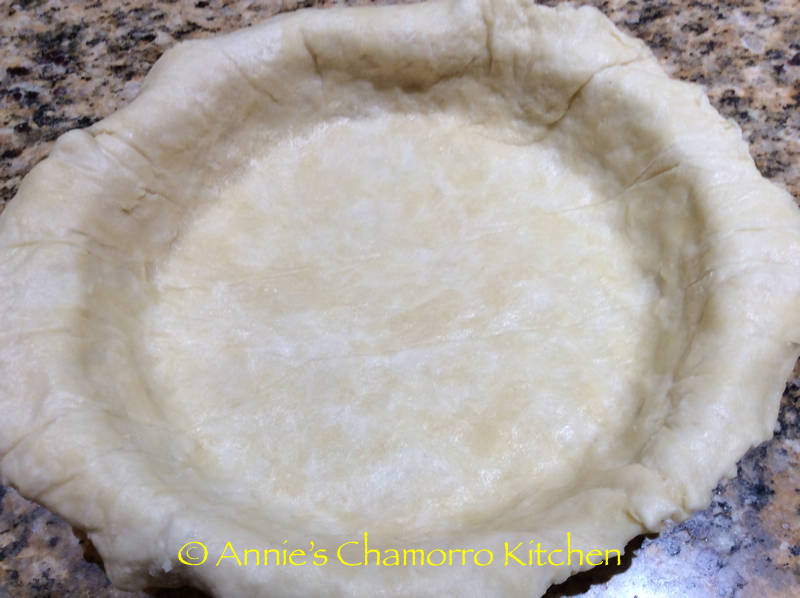
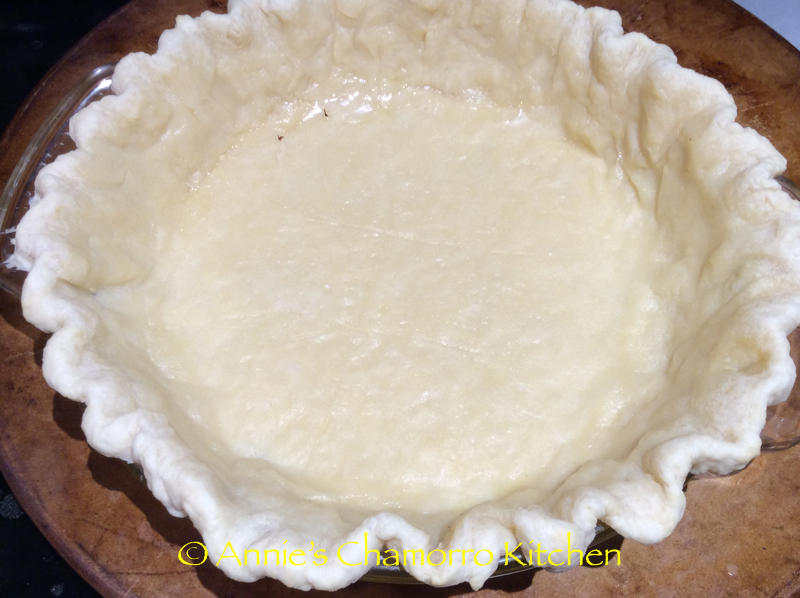
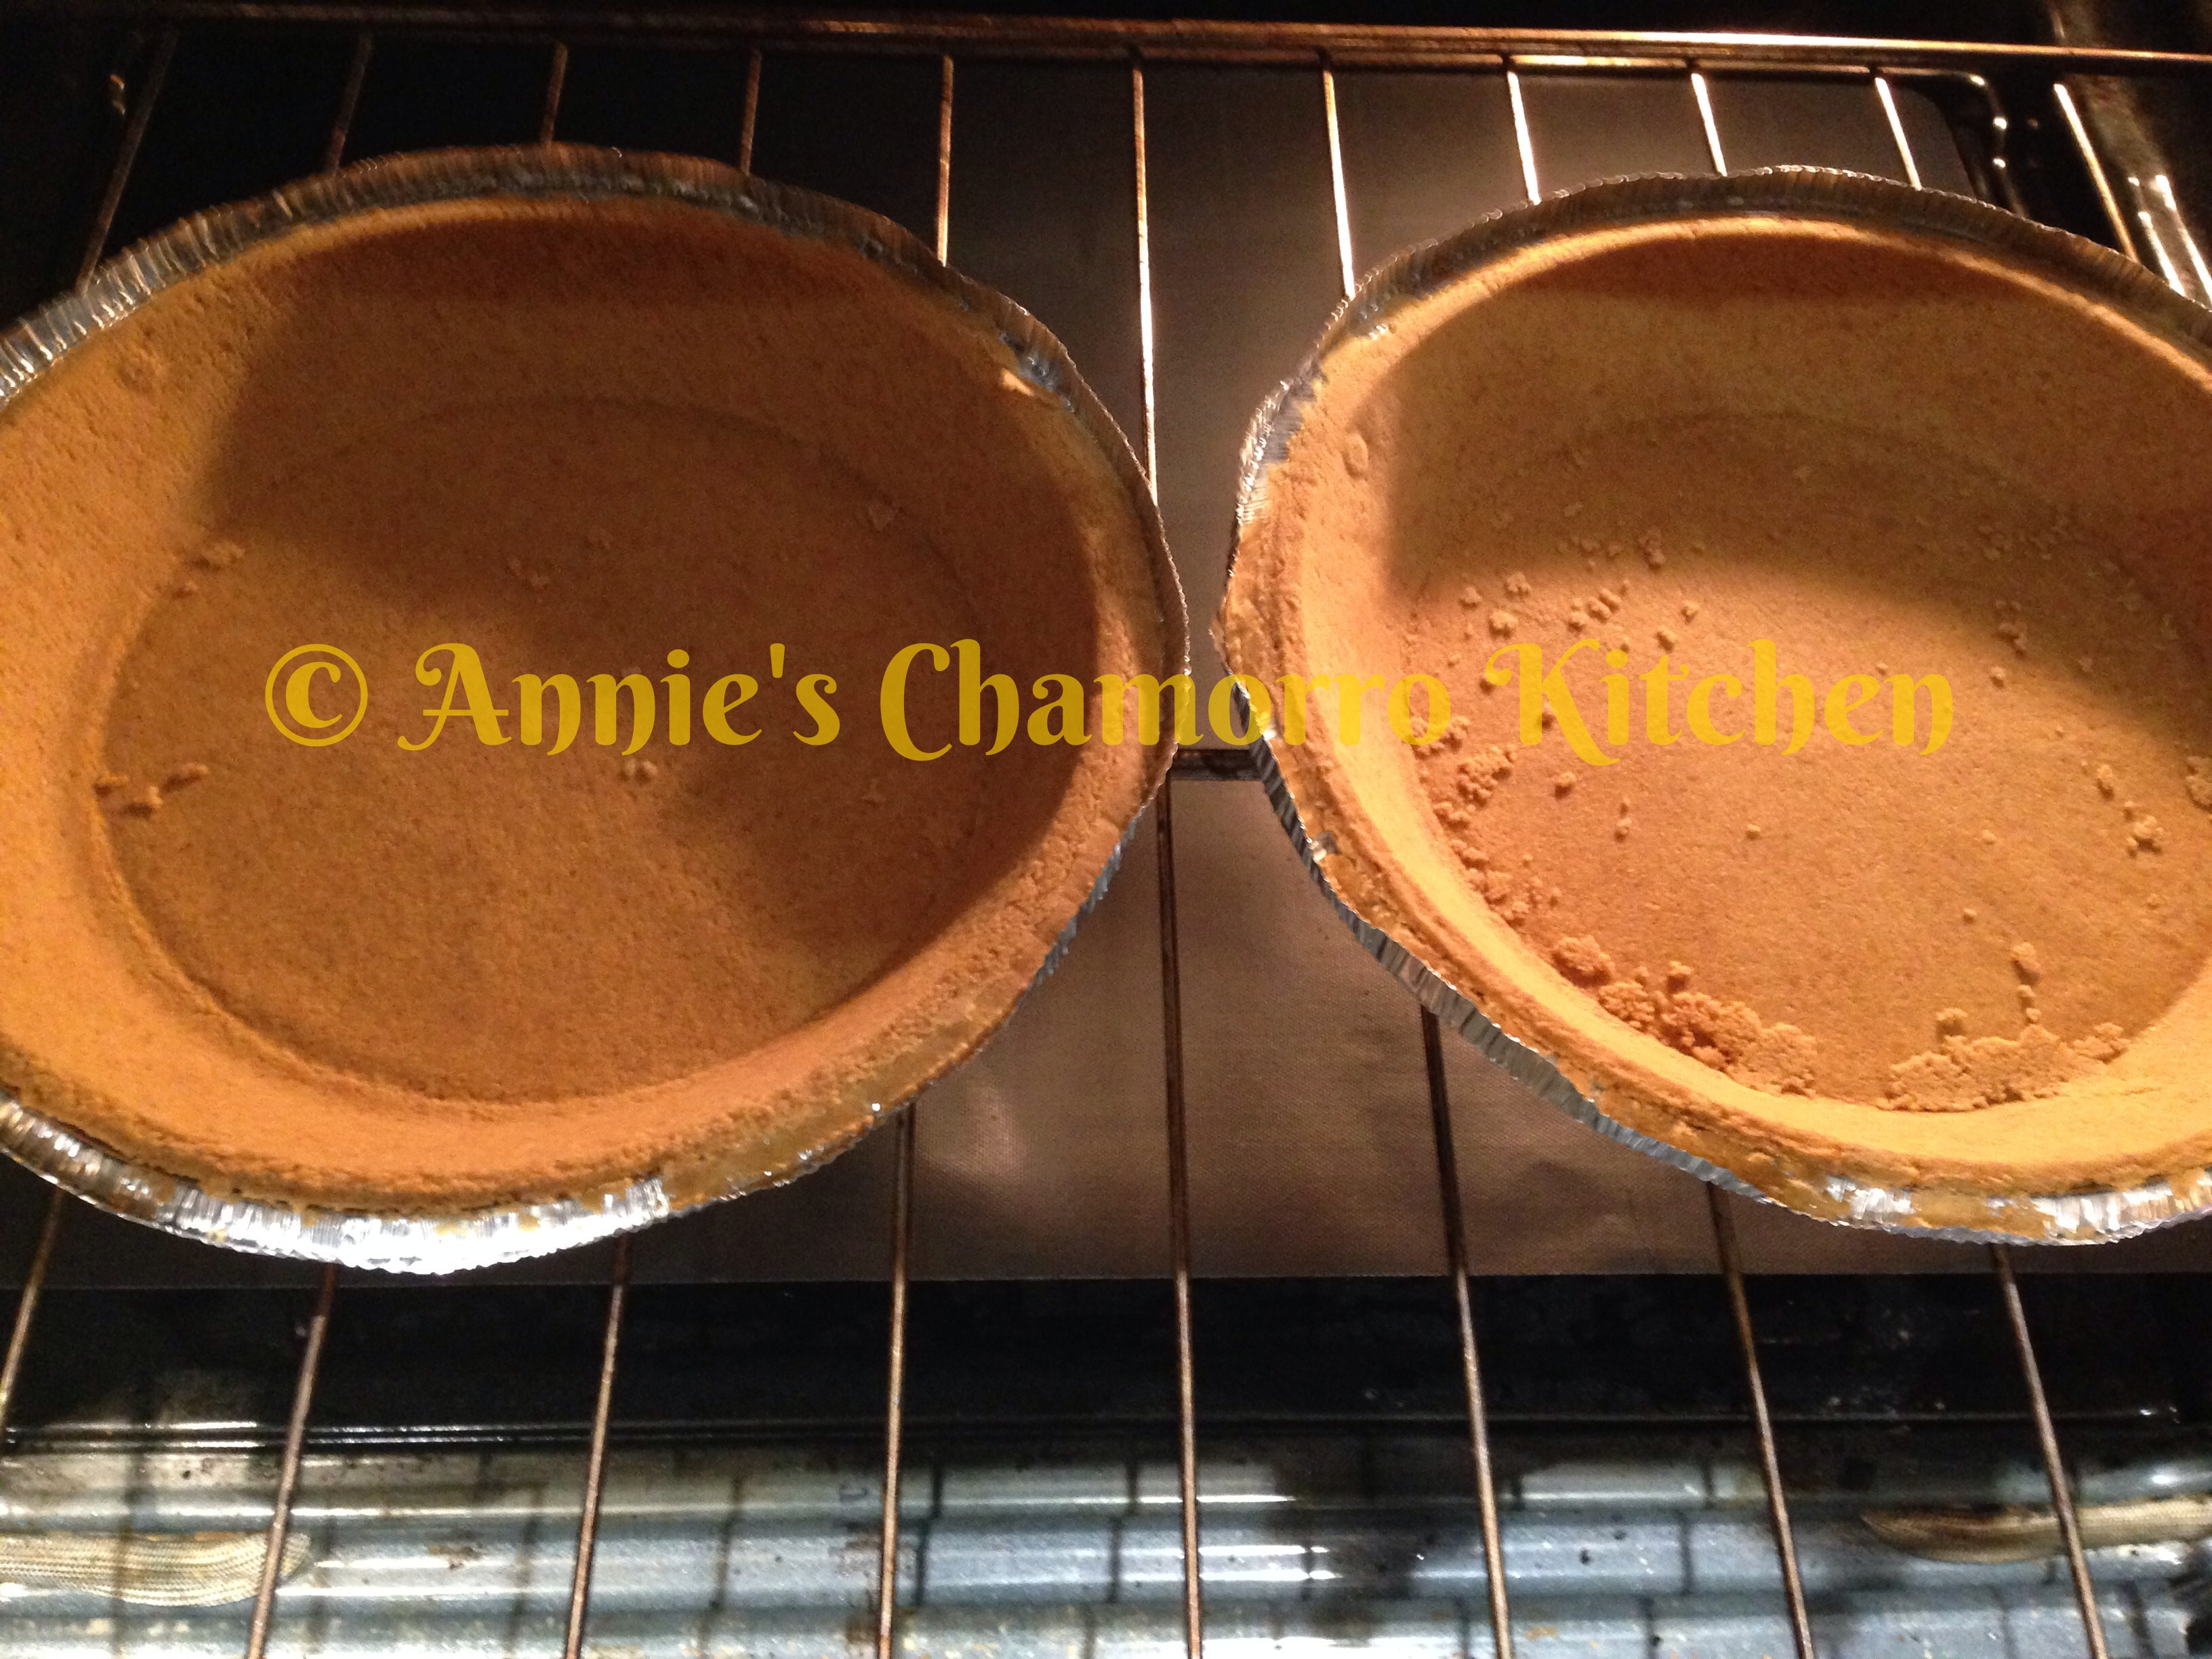
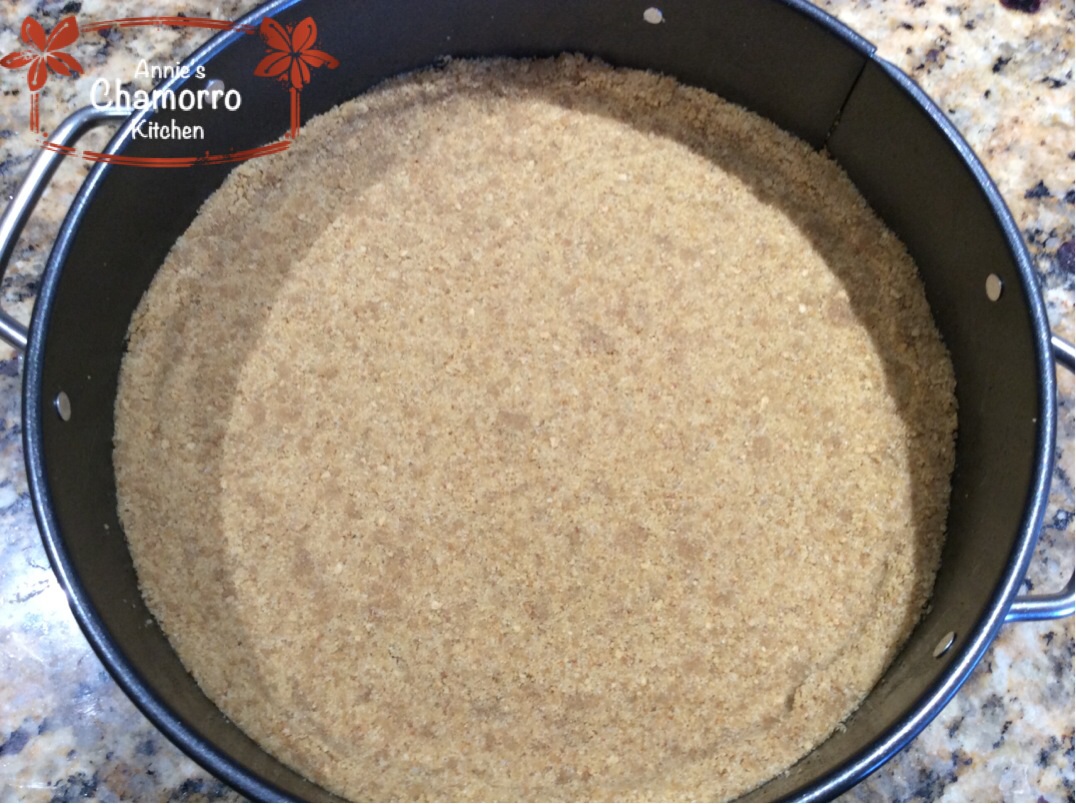
Spread the crust mixture in the bottom of a 9-inch springform pan that has been sprayed with non-stick cooking spray.
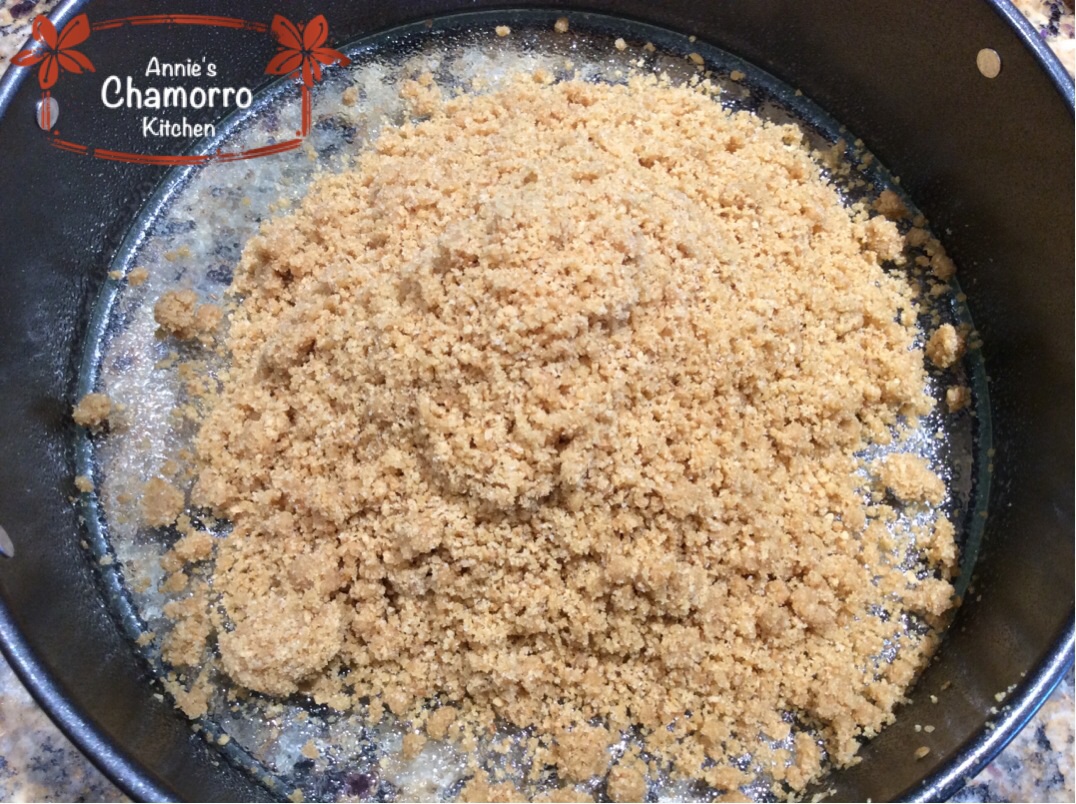
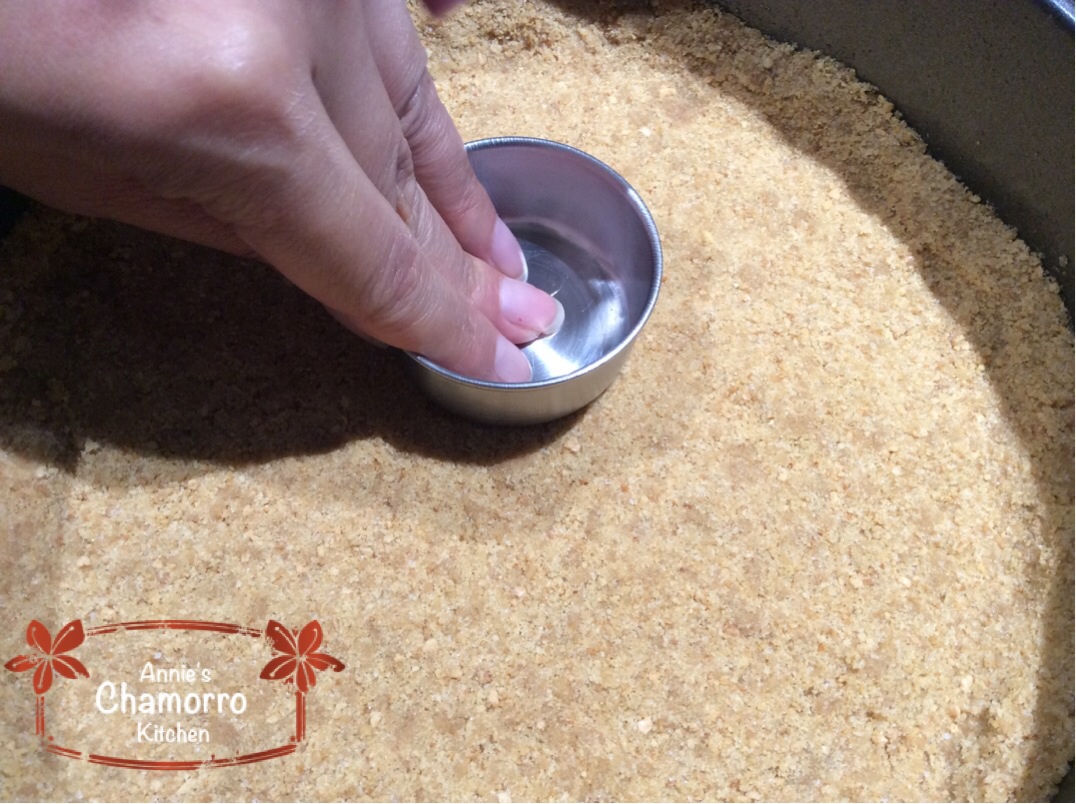
Press the crumbs into the bottom of the pan and just slightly up the side. I use a measuring cup to press down on the crust to really compress it.
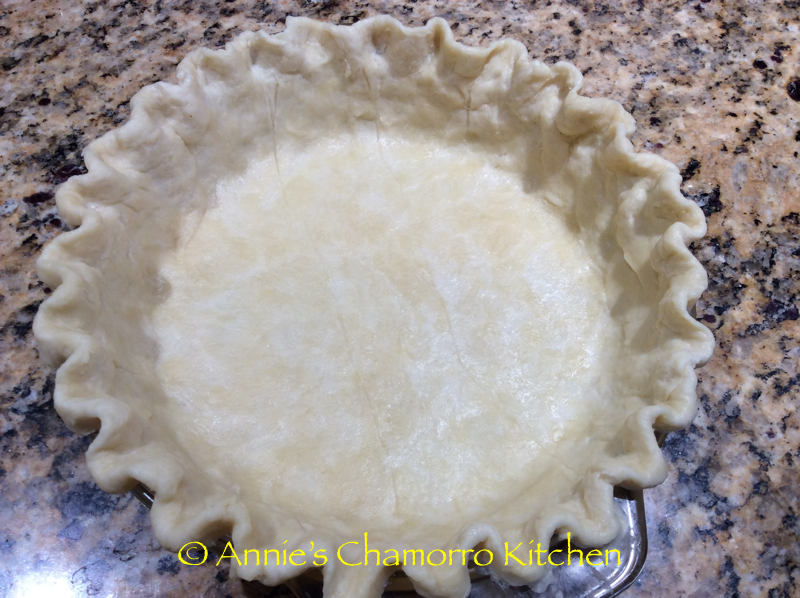
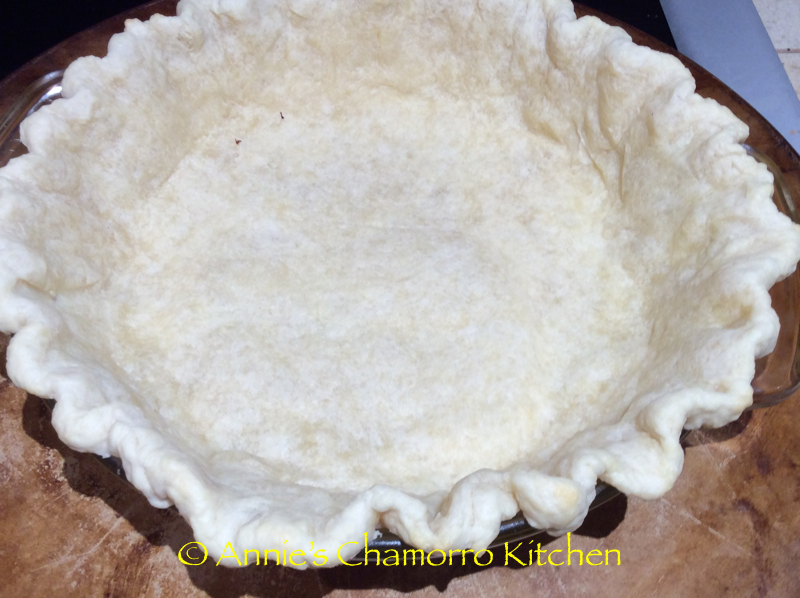
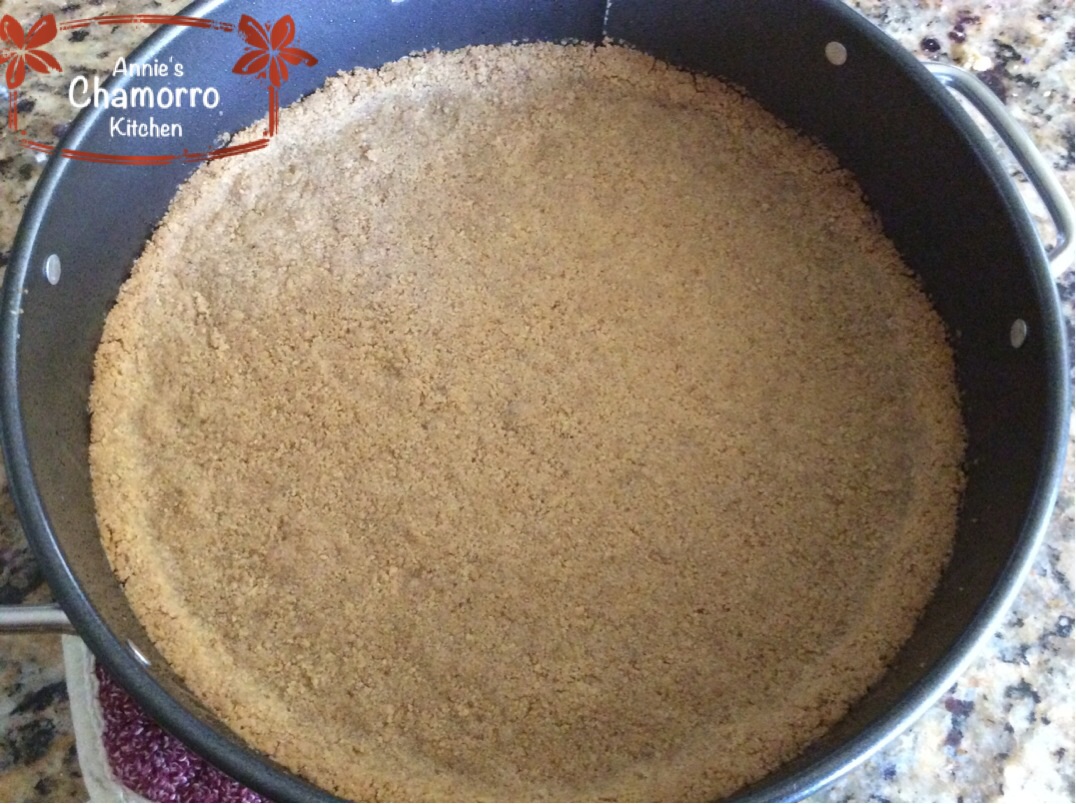
Bake for 15 minutes at 325 degrees, or until the crust turns a nice rich brown.
Make the Cheesecake Batter:
- 1 1/3 cups white granulated sugar
- 1/2 teaspoon salt
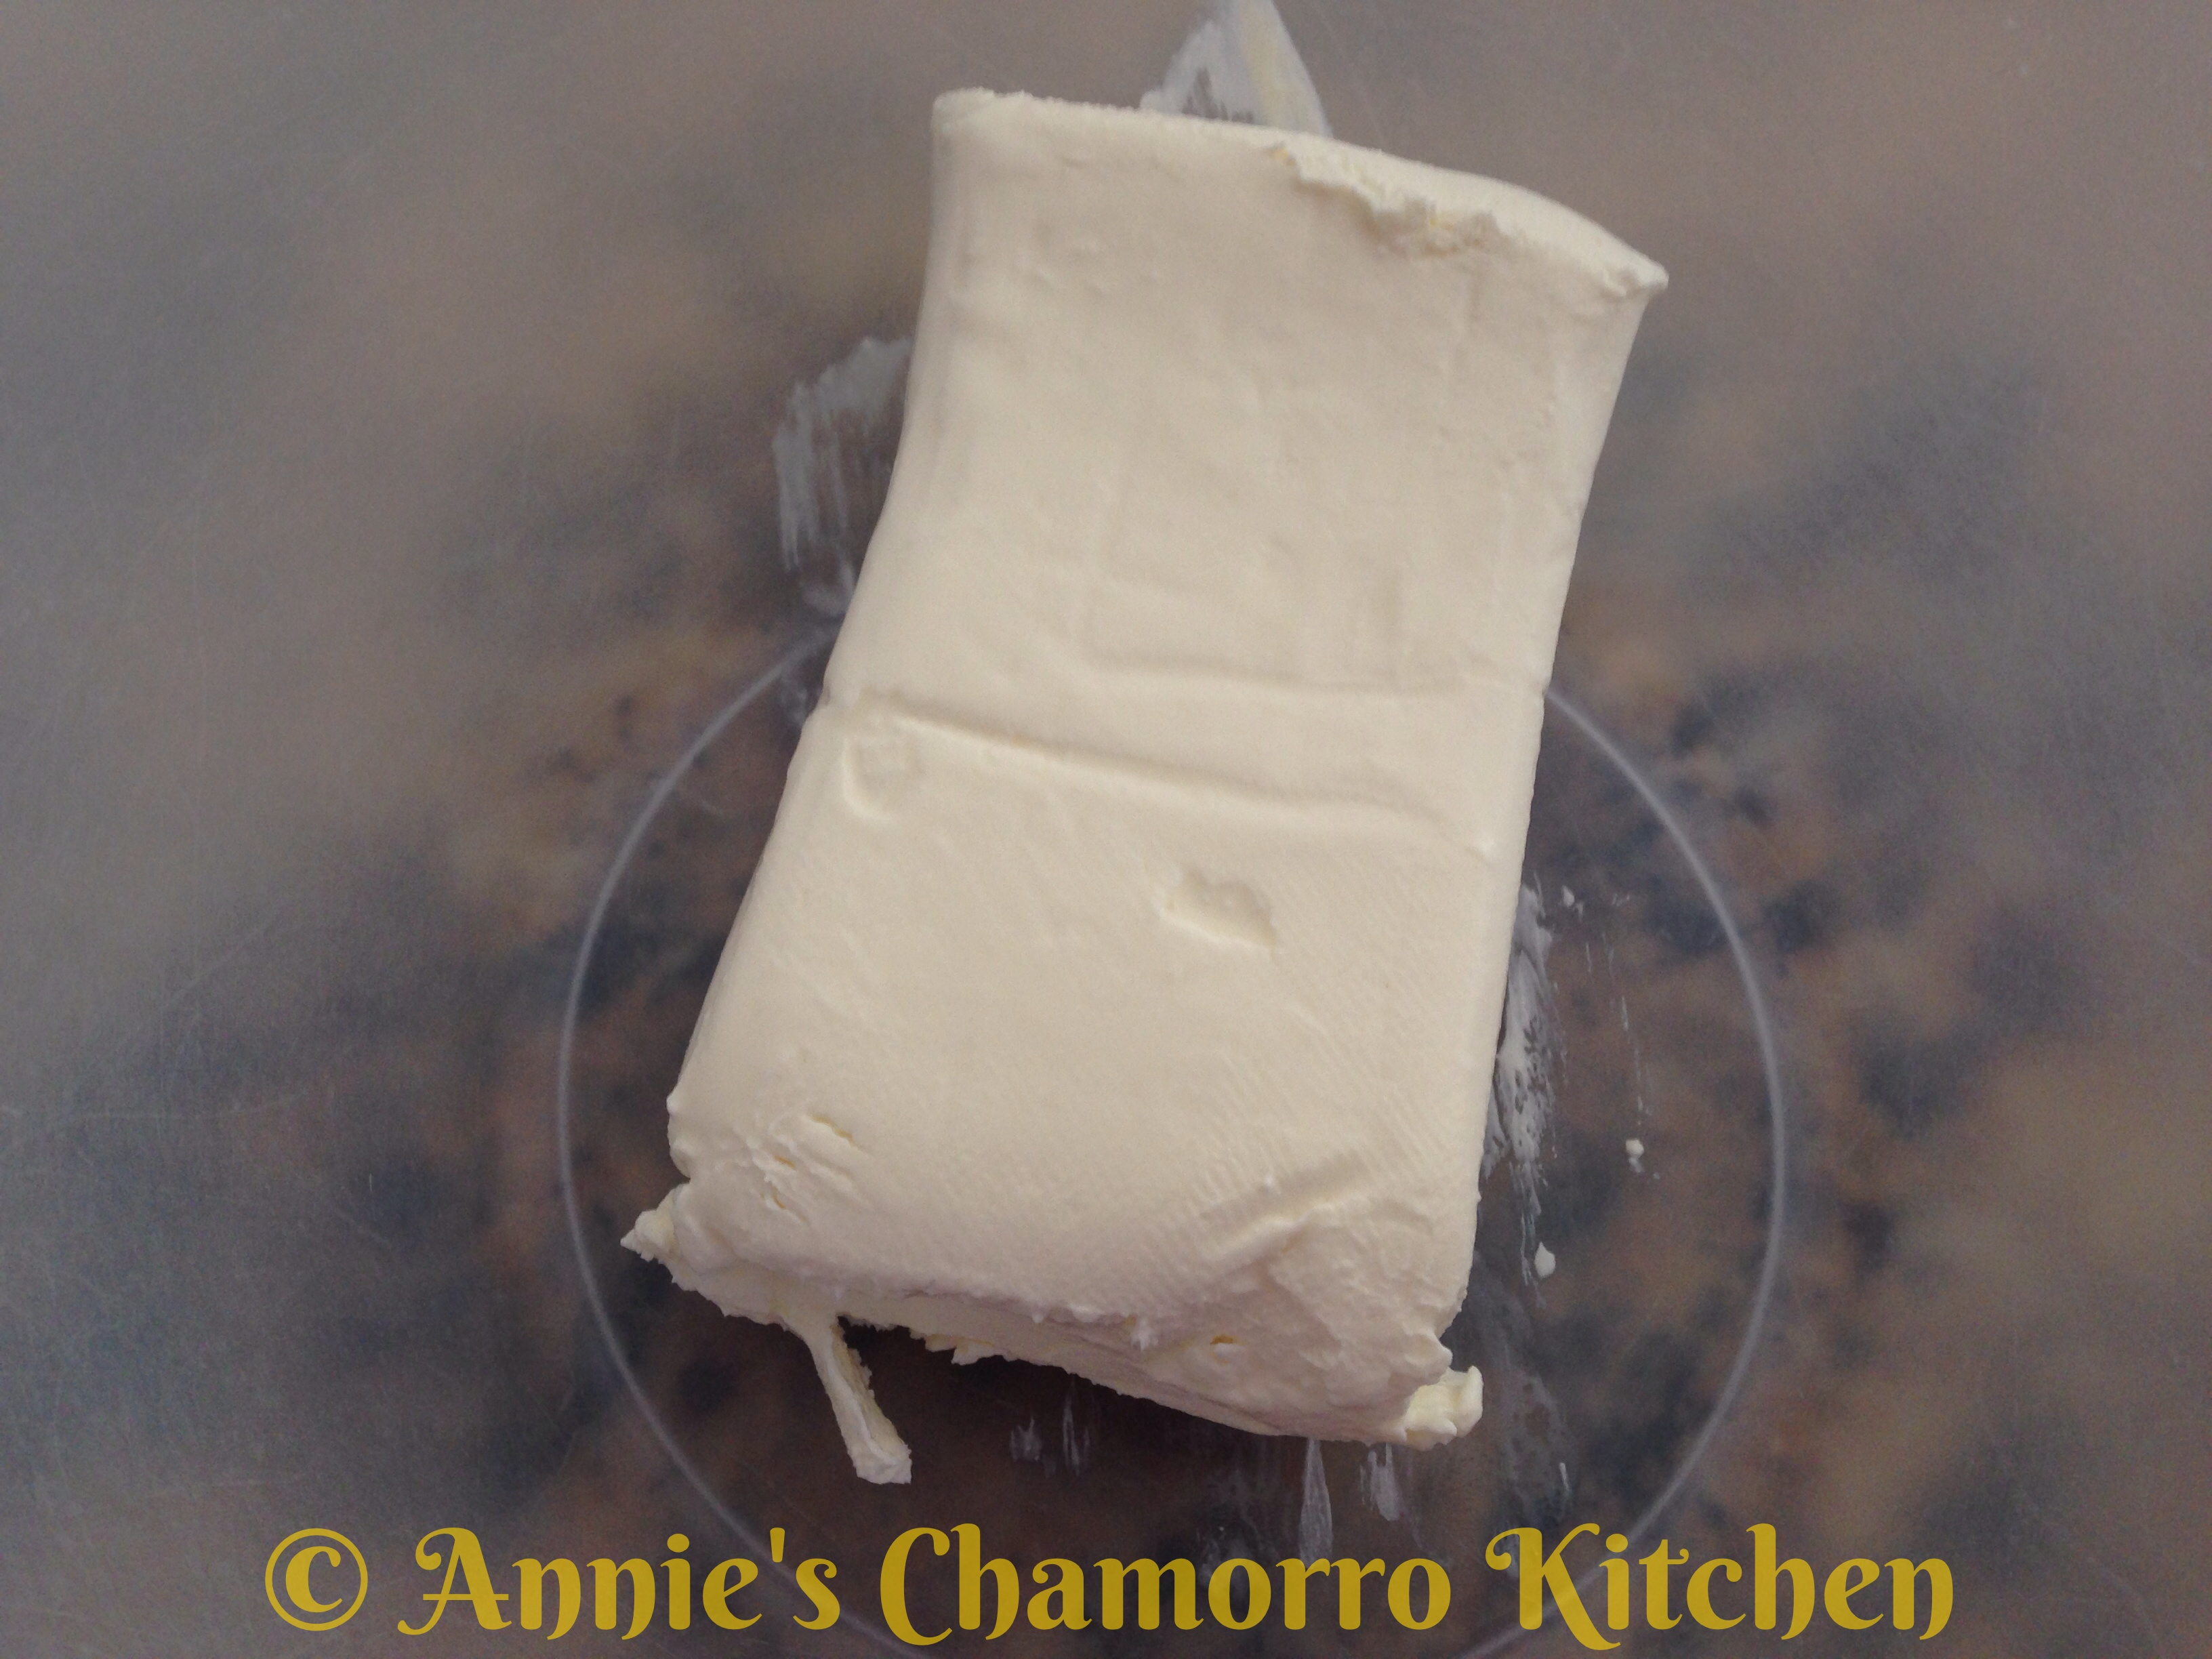
- 2 packages cream cheese, softened at room temperature
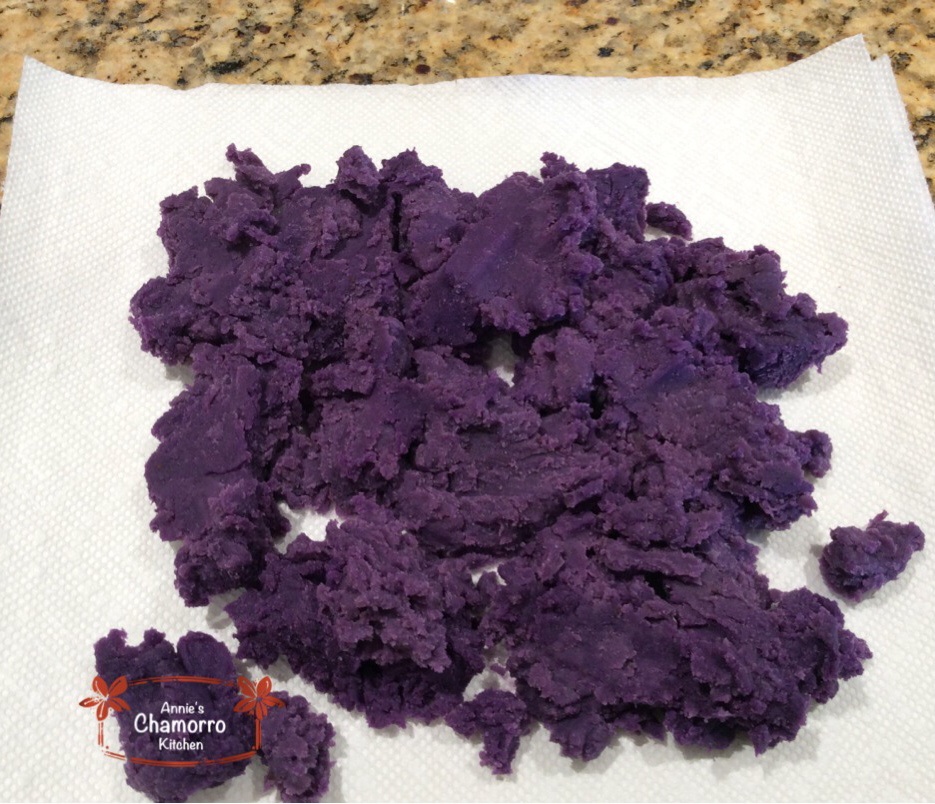
- 2 cups steamed and puréed purple yam, sweet potato, or sweet taro (about 1 large or 2 medium ones)
- 1 teaspoon vanilla extract
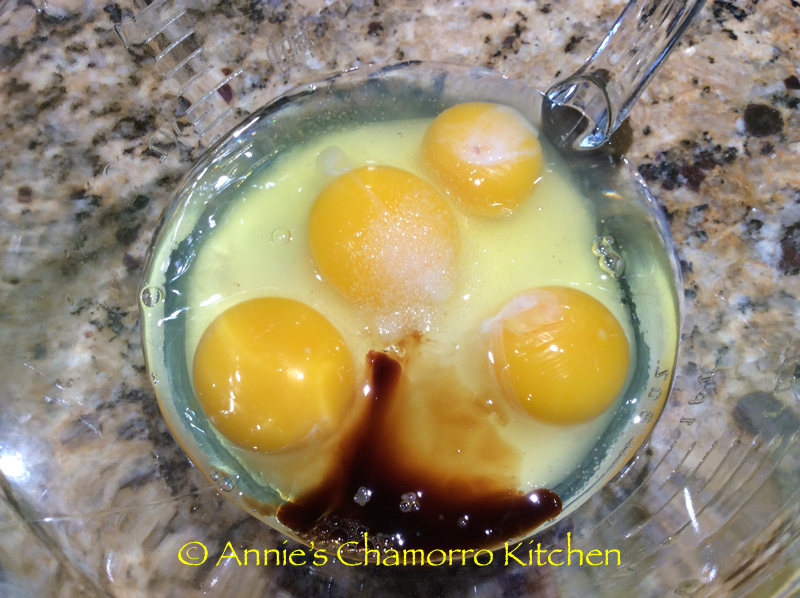
- 5 large eggs
- 1 cup heavy cream
Cook the yams:
There are many ways to cook yams. You can roast them in your oven, bake, boil or steam them. I prefer to roast yams if I’m eating them by itself as part of my meal. However, for this recipe, I decided to steam them.
Fill a pot with just enough water so that the water does not touch the steam basket when it’s placed into the pot. Bring the water to a boil.
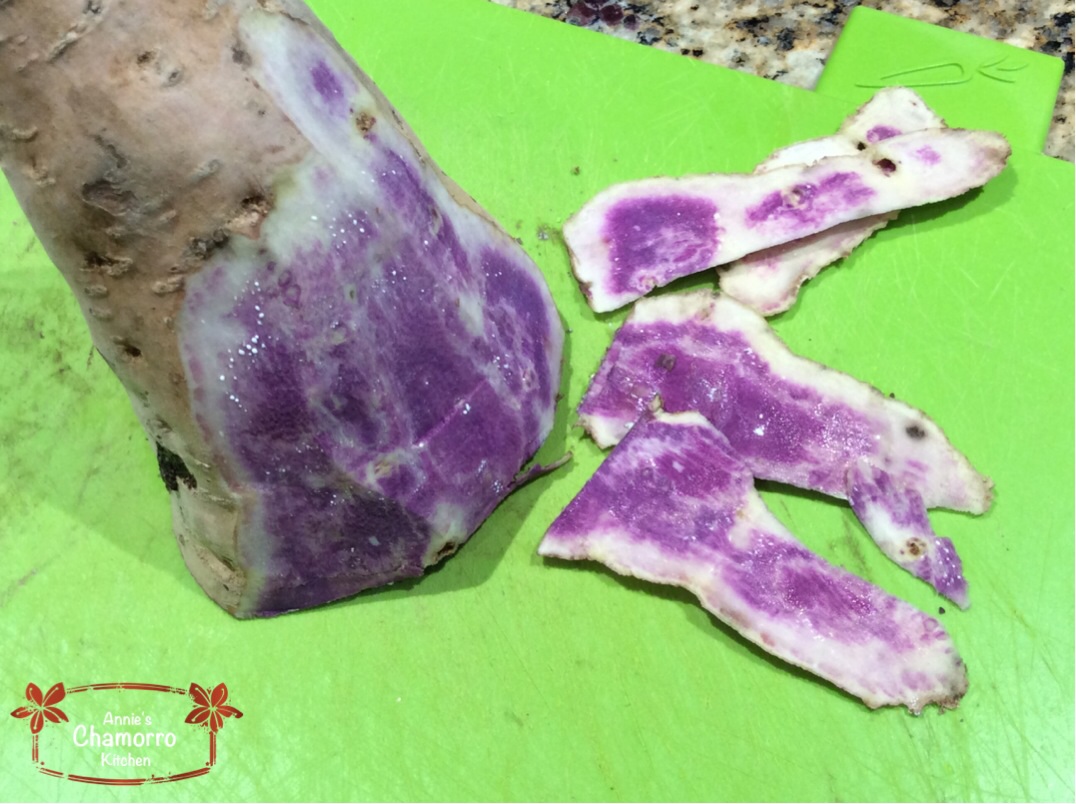
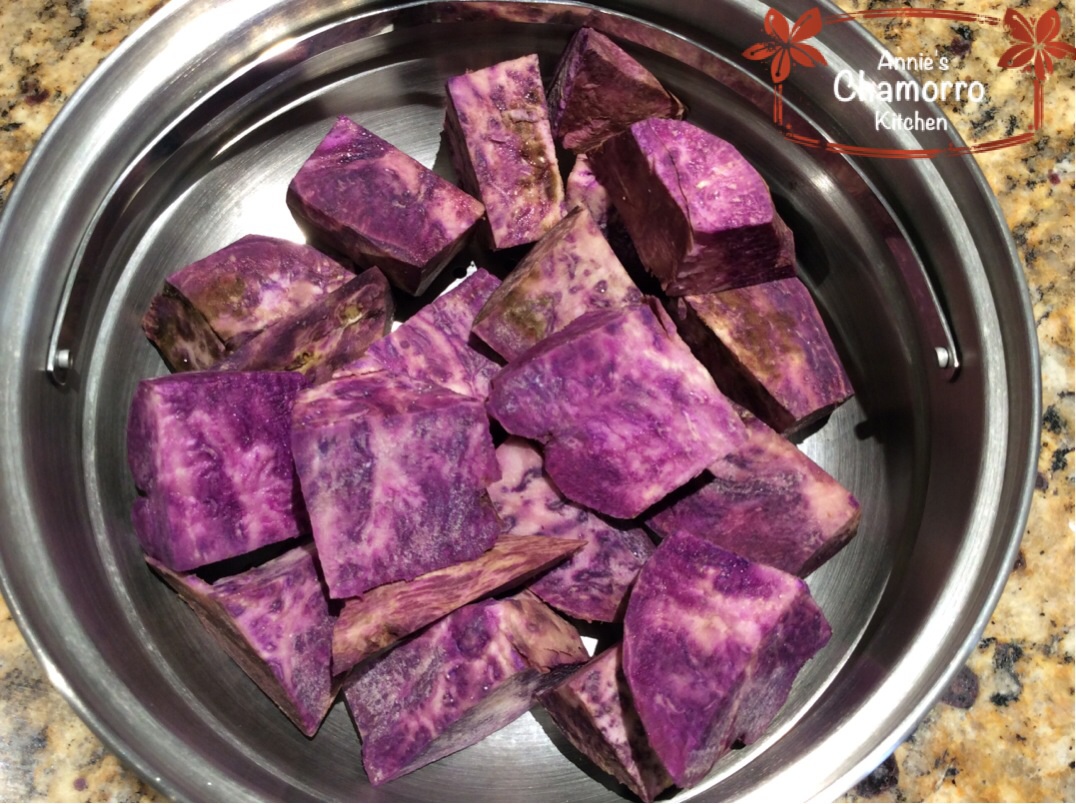
Wash the yams throughly. Use a dish scrubber to remove any dirt. Cut out any dark, rough spots.
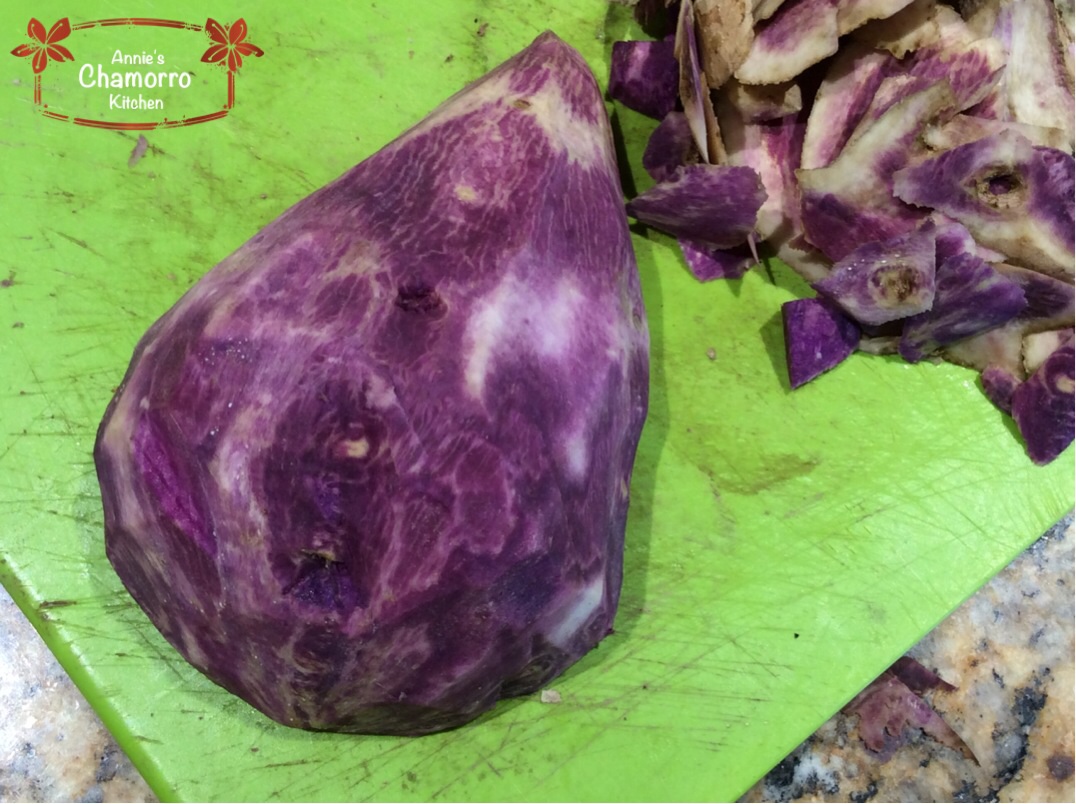
Peel the yams. Cut the yams into large chunks.
Place the yams into the steamer basket then place the basket over the pot of boiling water.
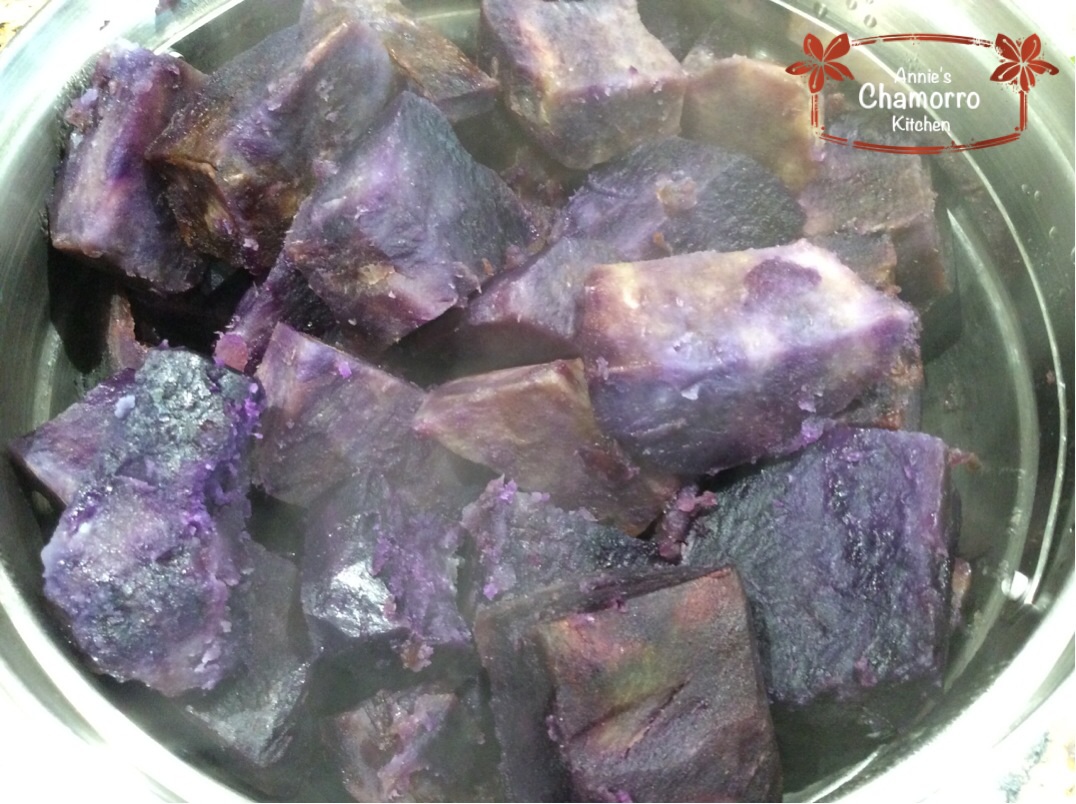
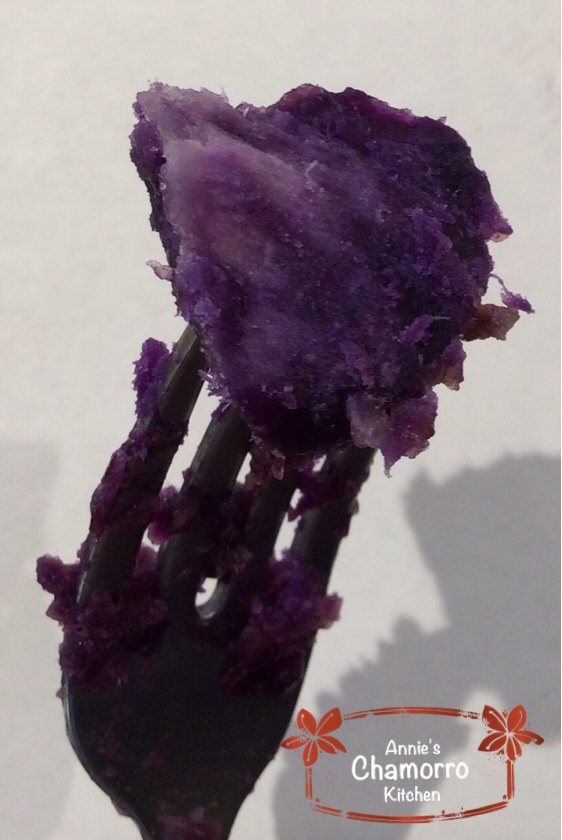
Cover the pot and let the yams steam for 25-30 minutes. The yams are ready when they are tender when pierced with a fork.
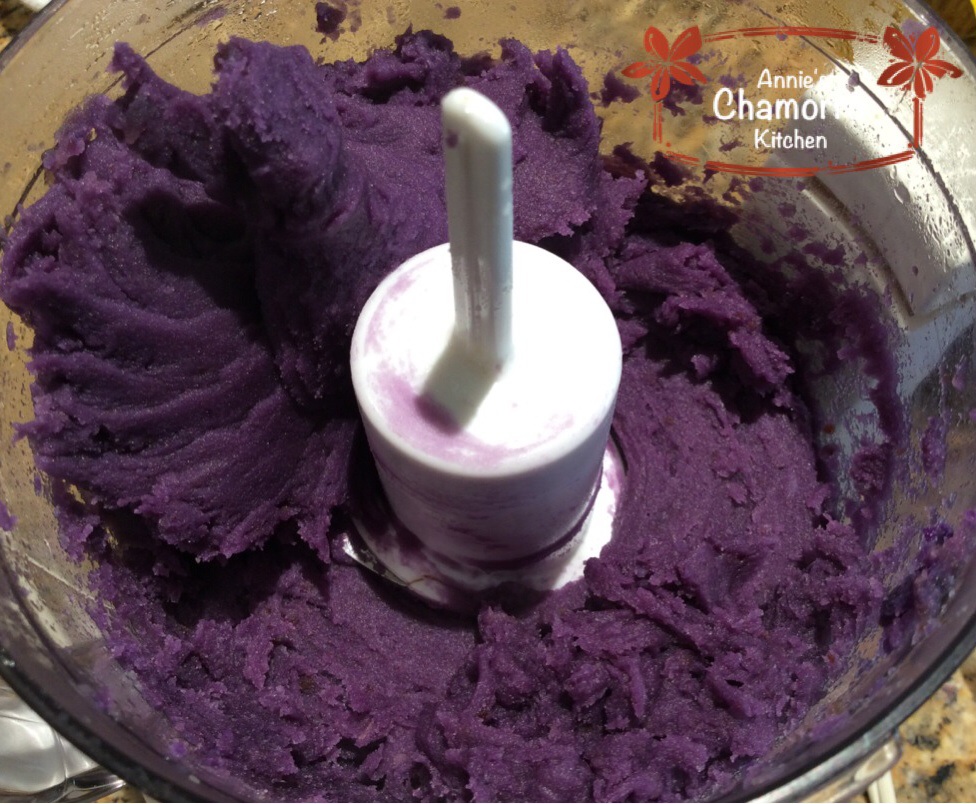
Place the yams into a blender or food processor. Pulse until the yams are smooth and creamy. Set aside for now.
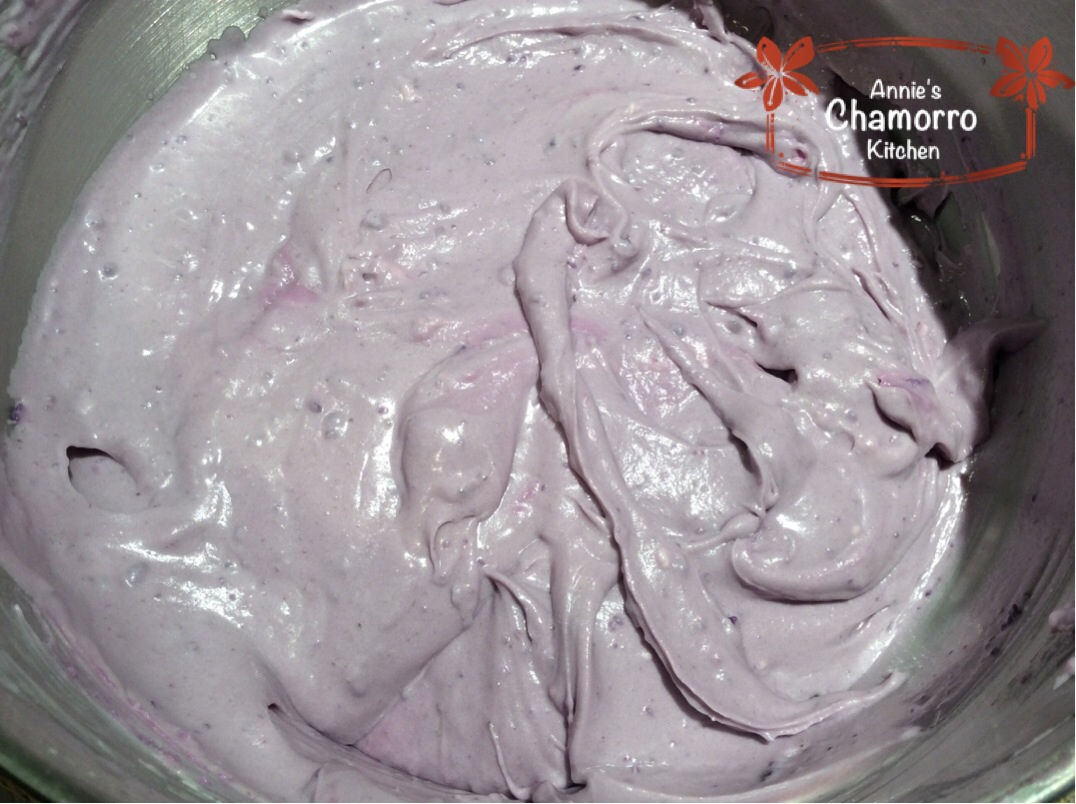
Make the Filling:
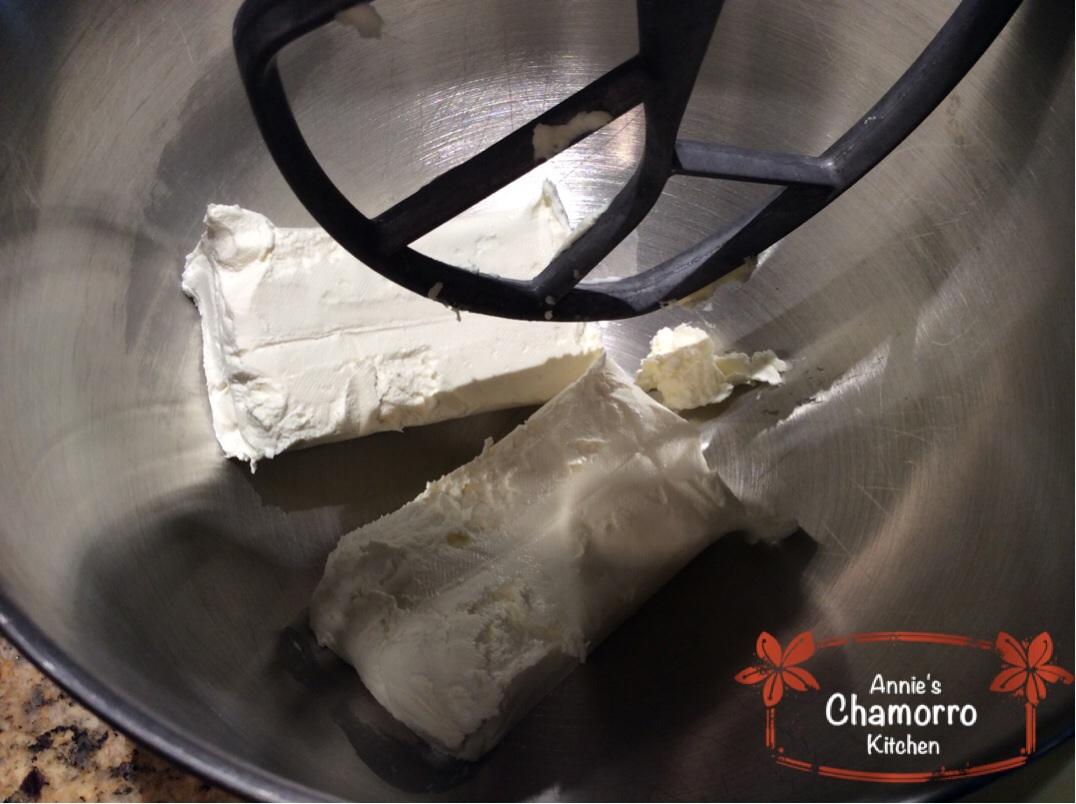
Before getting started on the filling, I need to say a word or two about the cream cheese…you really want to use full fat cream cheese in this recipe. Reduced fat cream cheese doesn’t bake well, especially in cheesecakes. I like Philadelphia brand cream cheese over other brands, but use the brand you like.
You’ll also notice I used heavy cream in my recipe instead of sour cream. The sour cream is traditionally used in recipes for New York style cheesecake, making for a tangier dessert. I didn’t want to overpower the yams so I opted for the milder heavy cream.
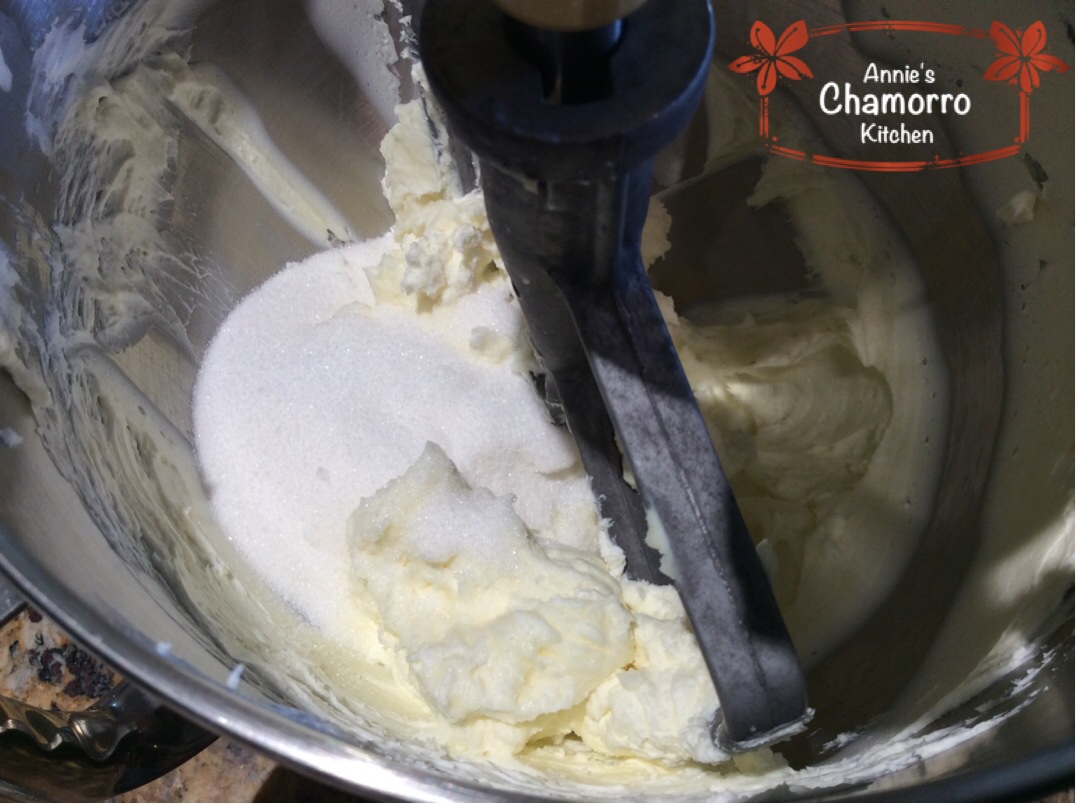
Alright, back to the filling. Whisk the sugar and salt together in a small bowl. Set aside.
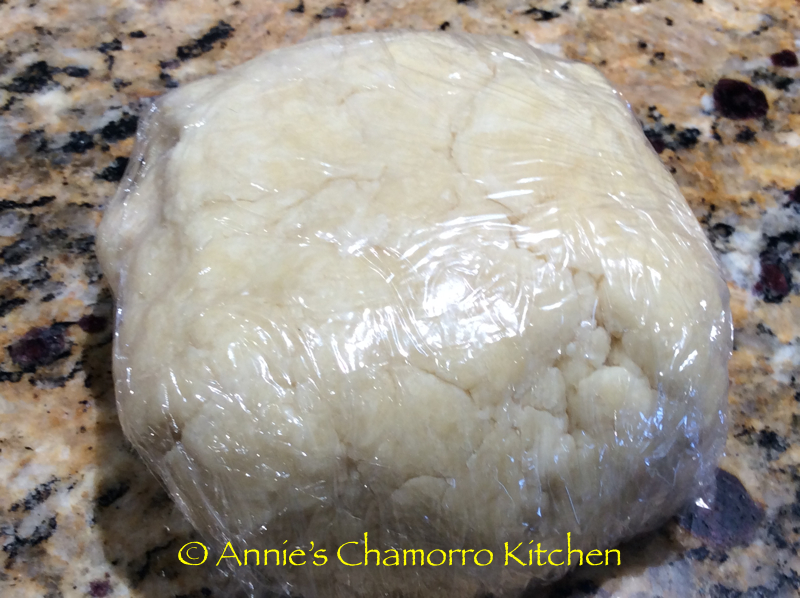
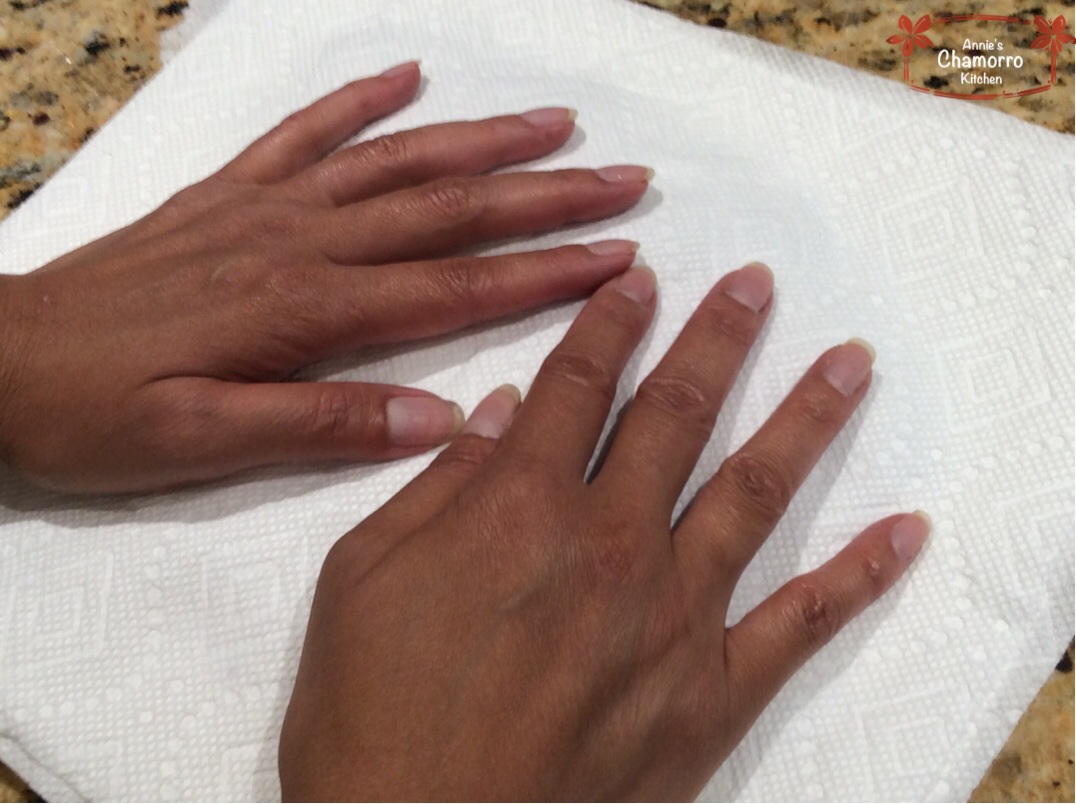
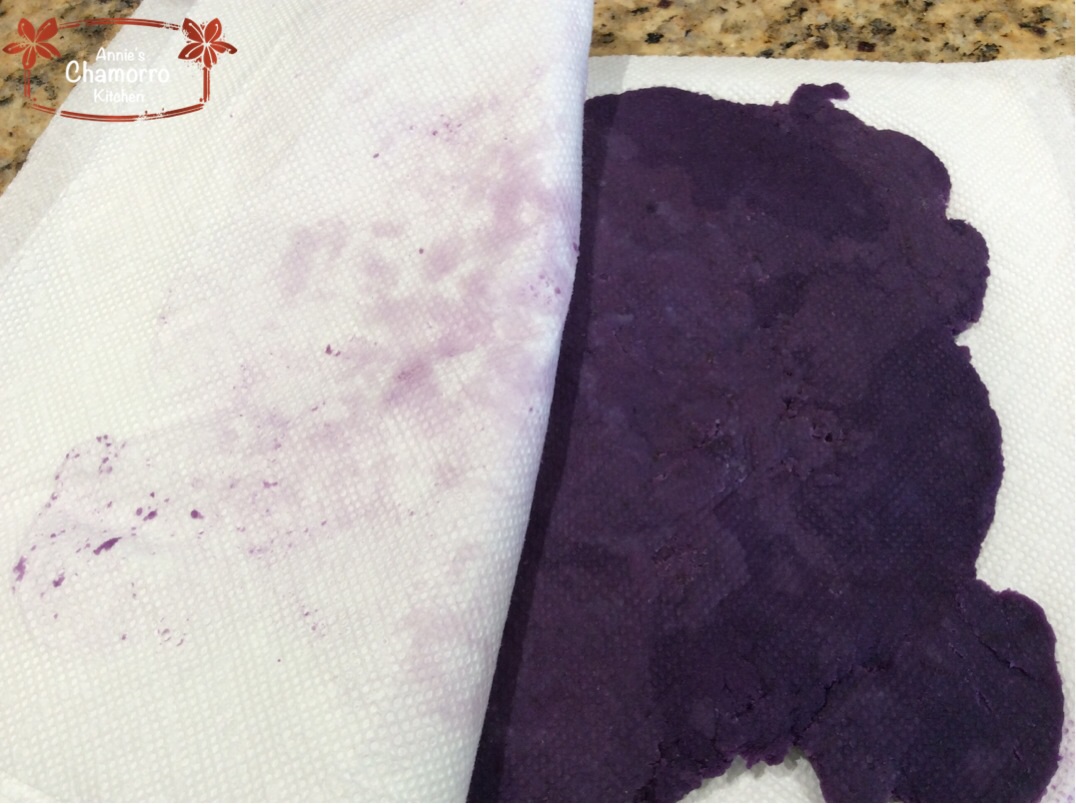
Spread the puréed yam on a triple layer of paper towels. Place another triple layer of paper towels on top of the yam. Press down on the paper towels to soak up as much moisture as possible. If you don’t press out the liquid, your cheesecake will turn out too wet and you’ll end up with a fall-apart, mousse-like pie.
Because I steamed the yams rather than boiled them, there wasn’t that much water to squeeze out.
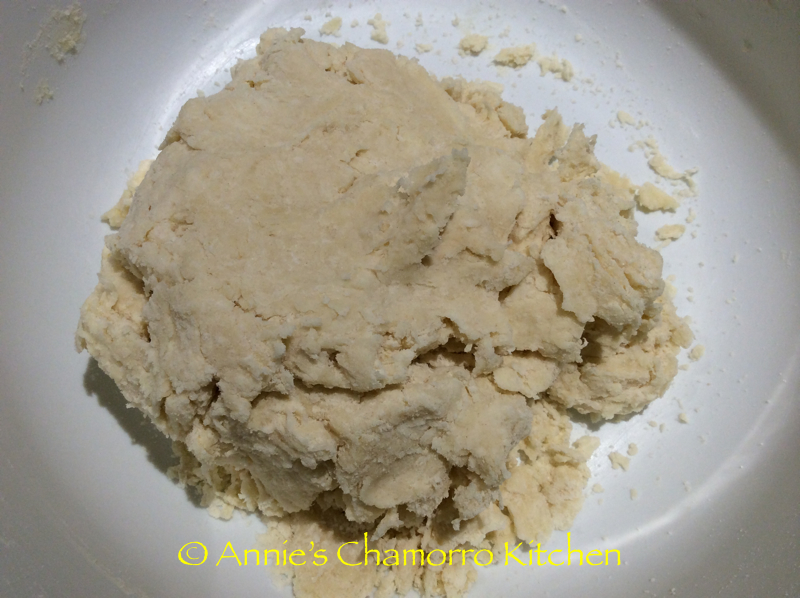
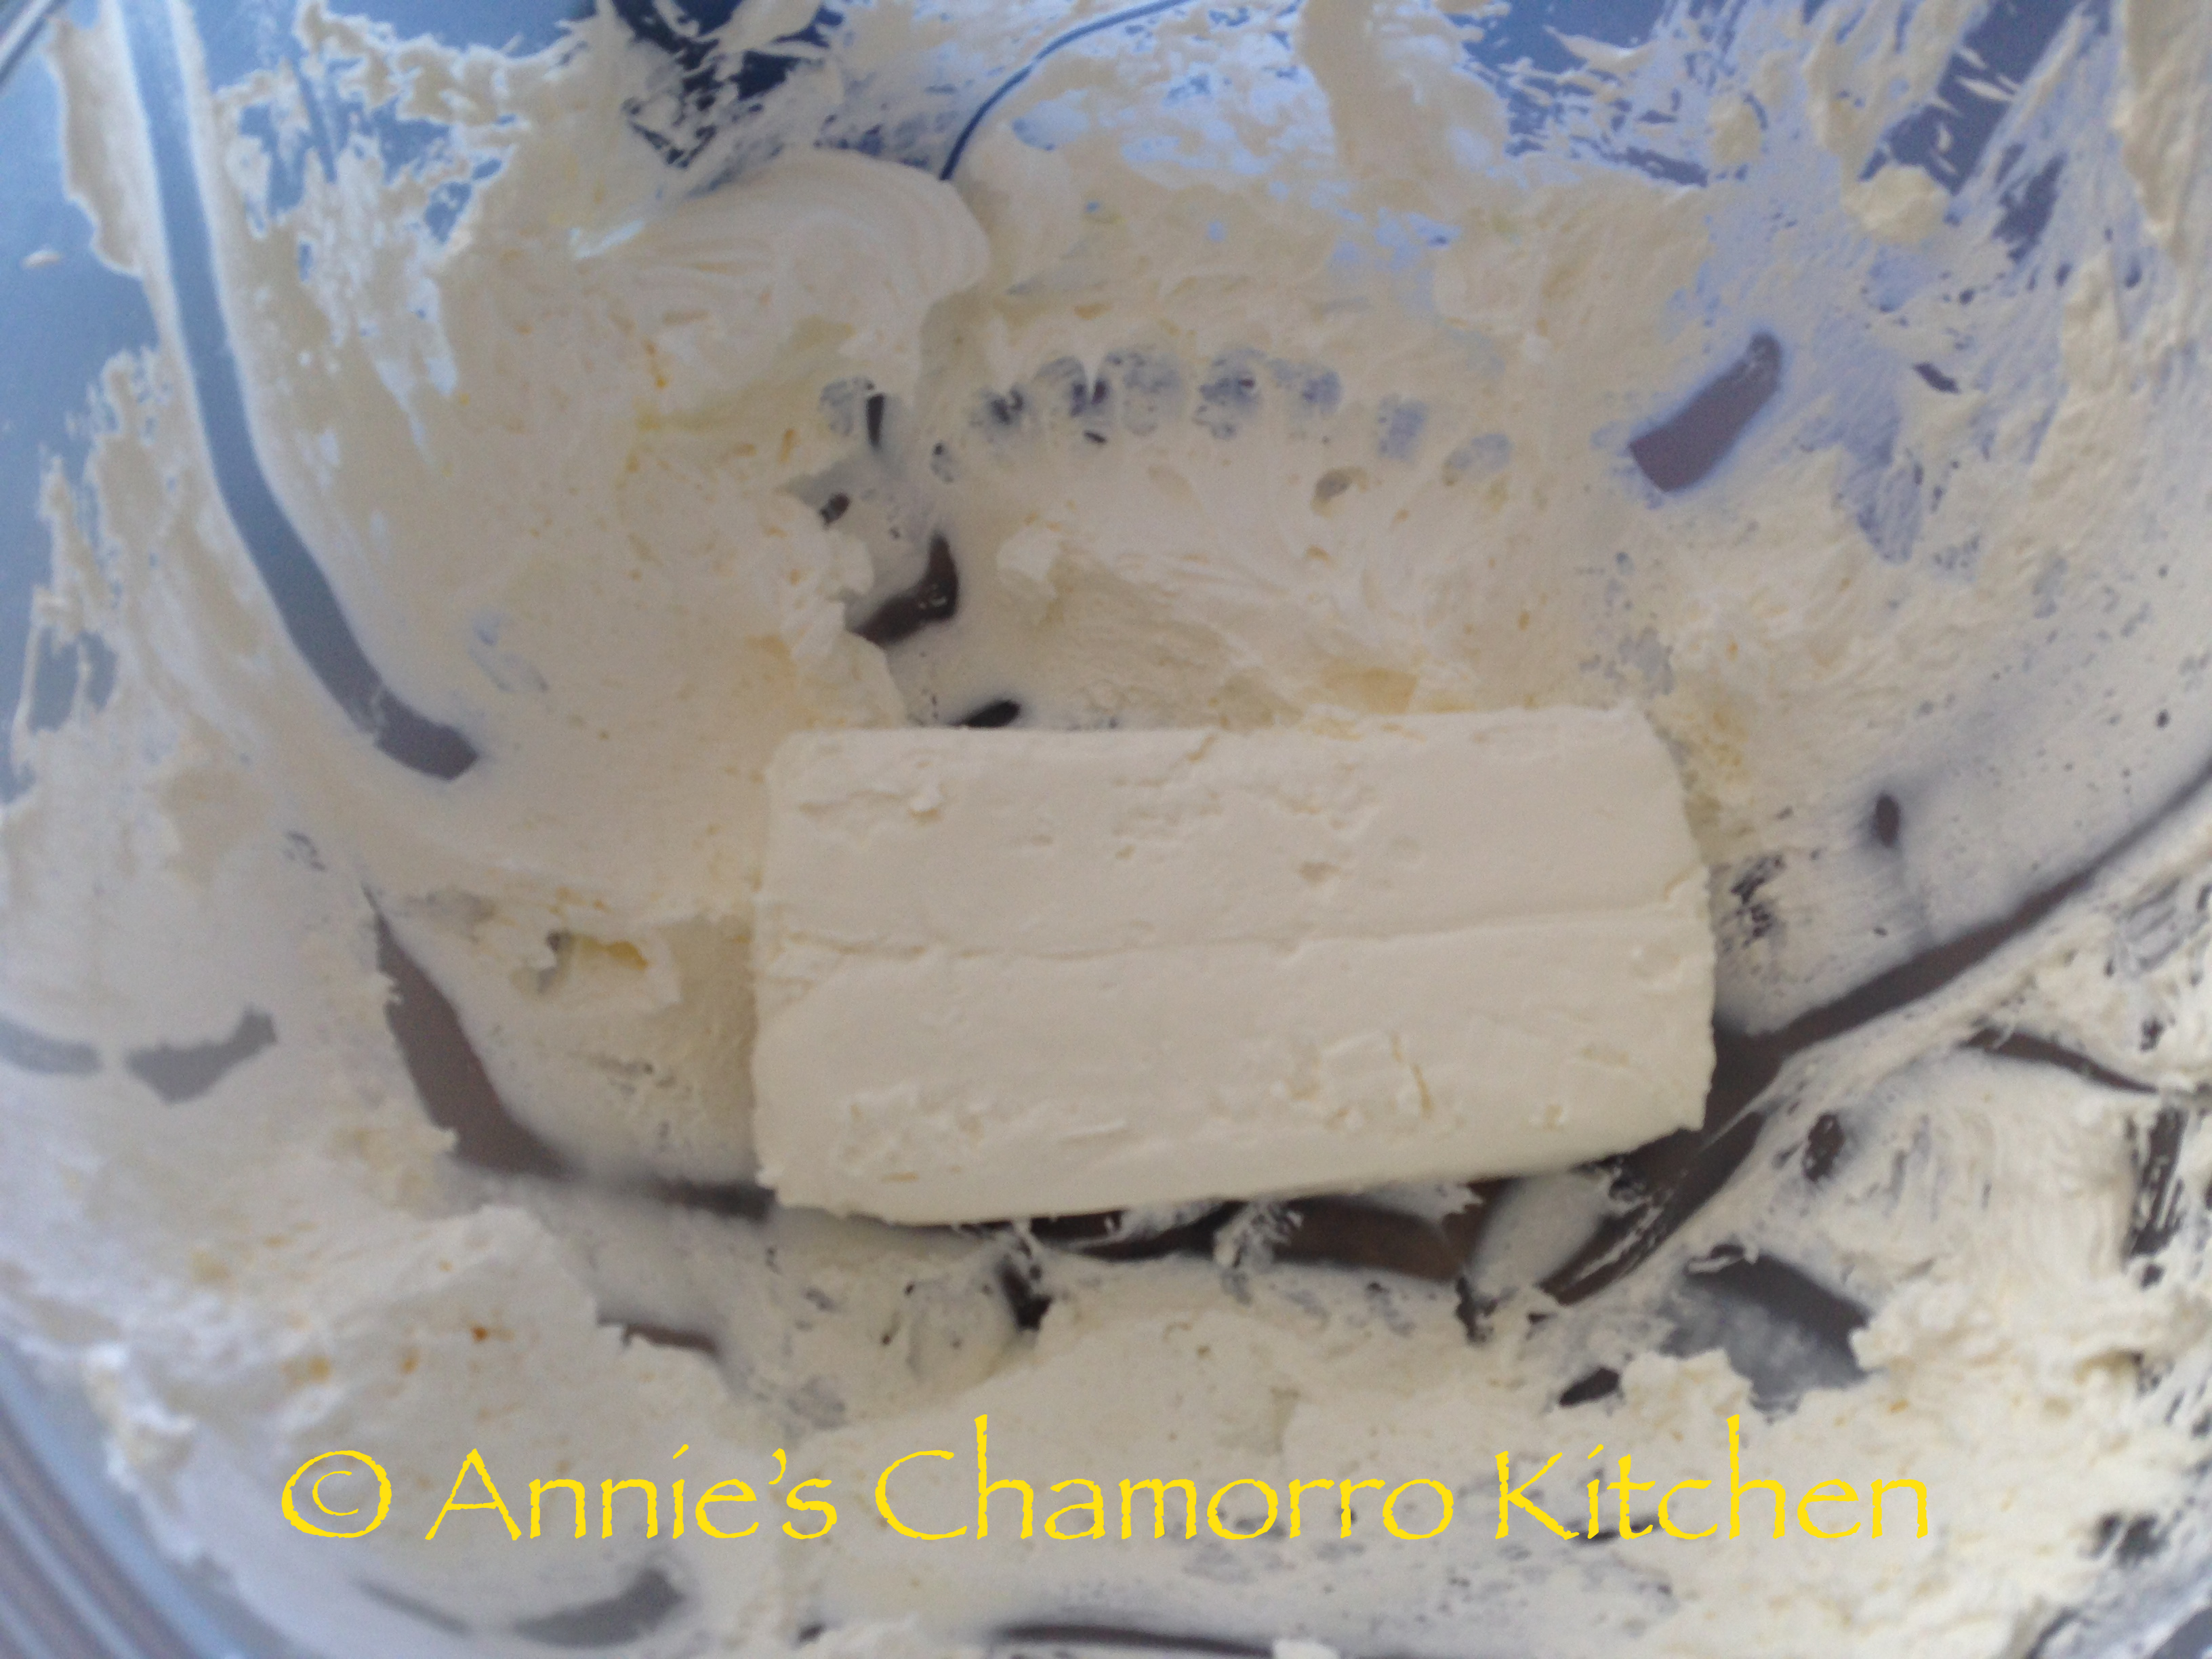
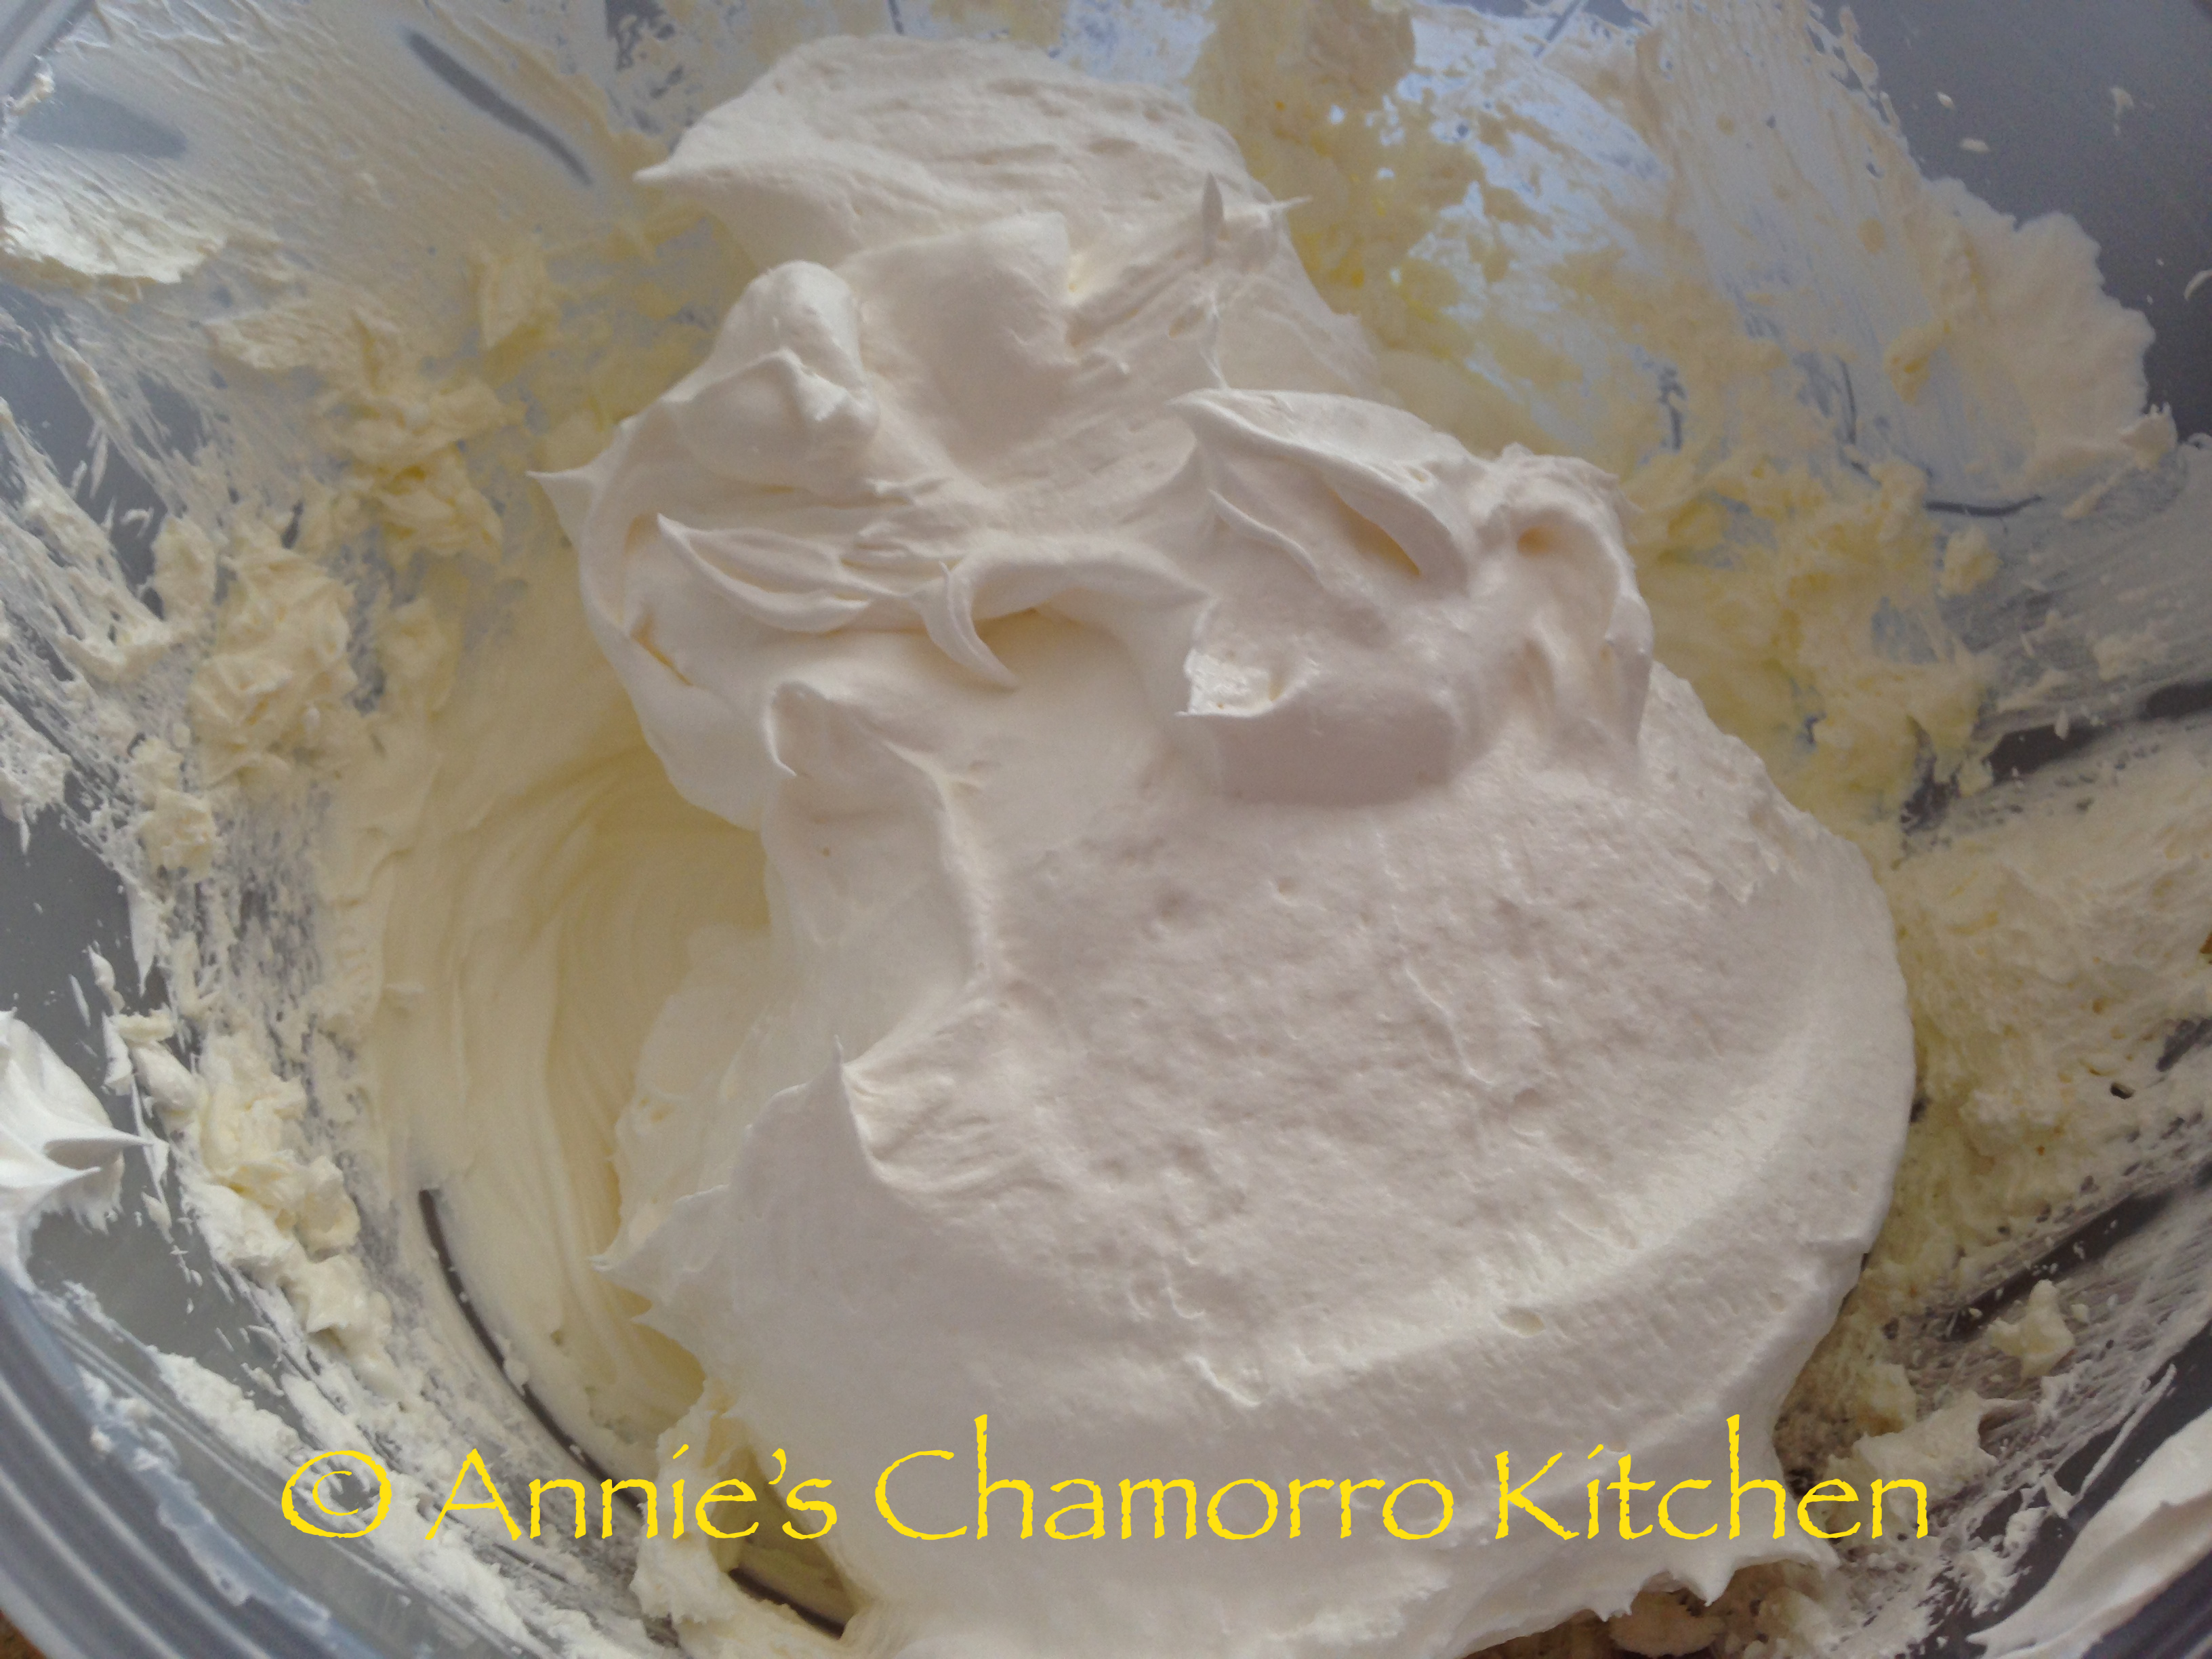
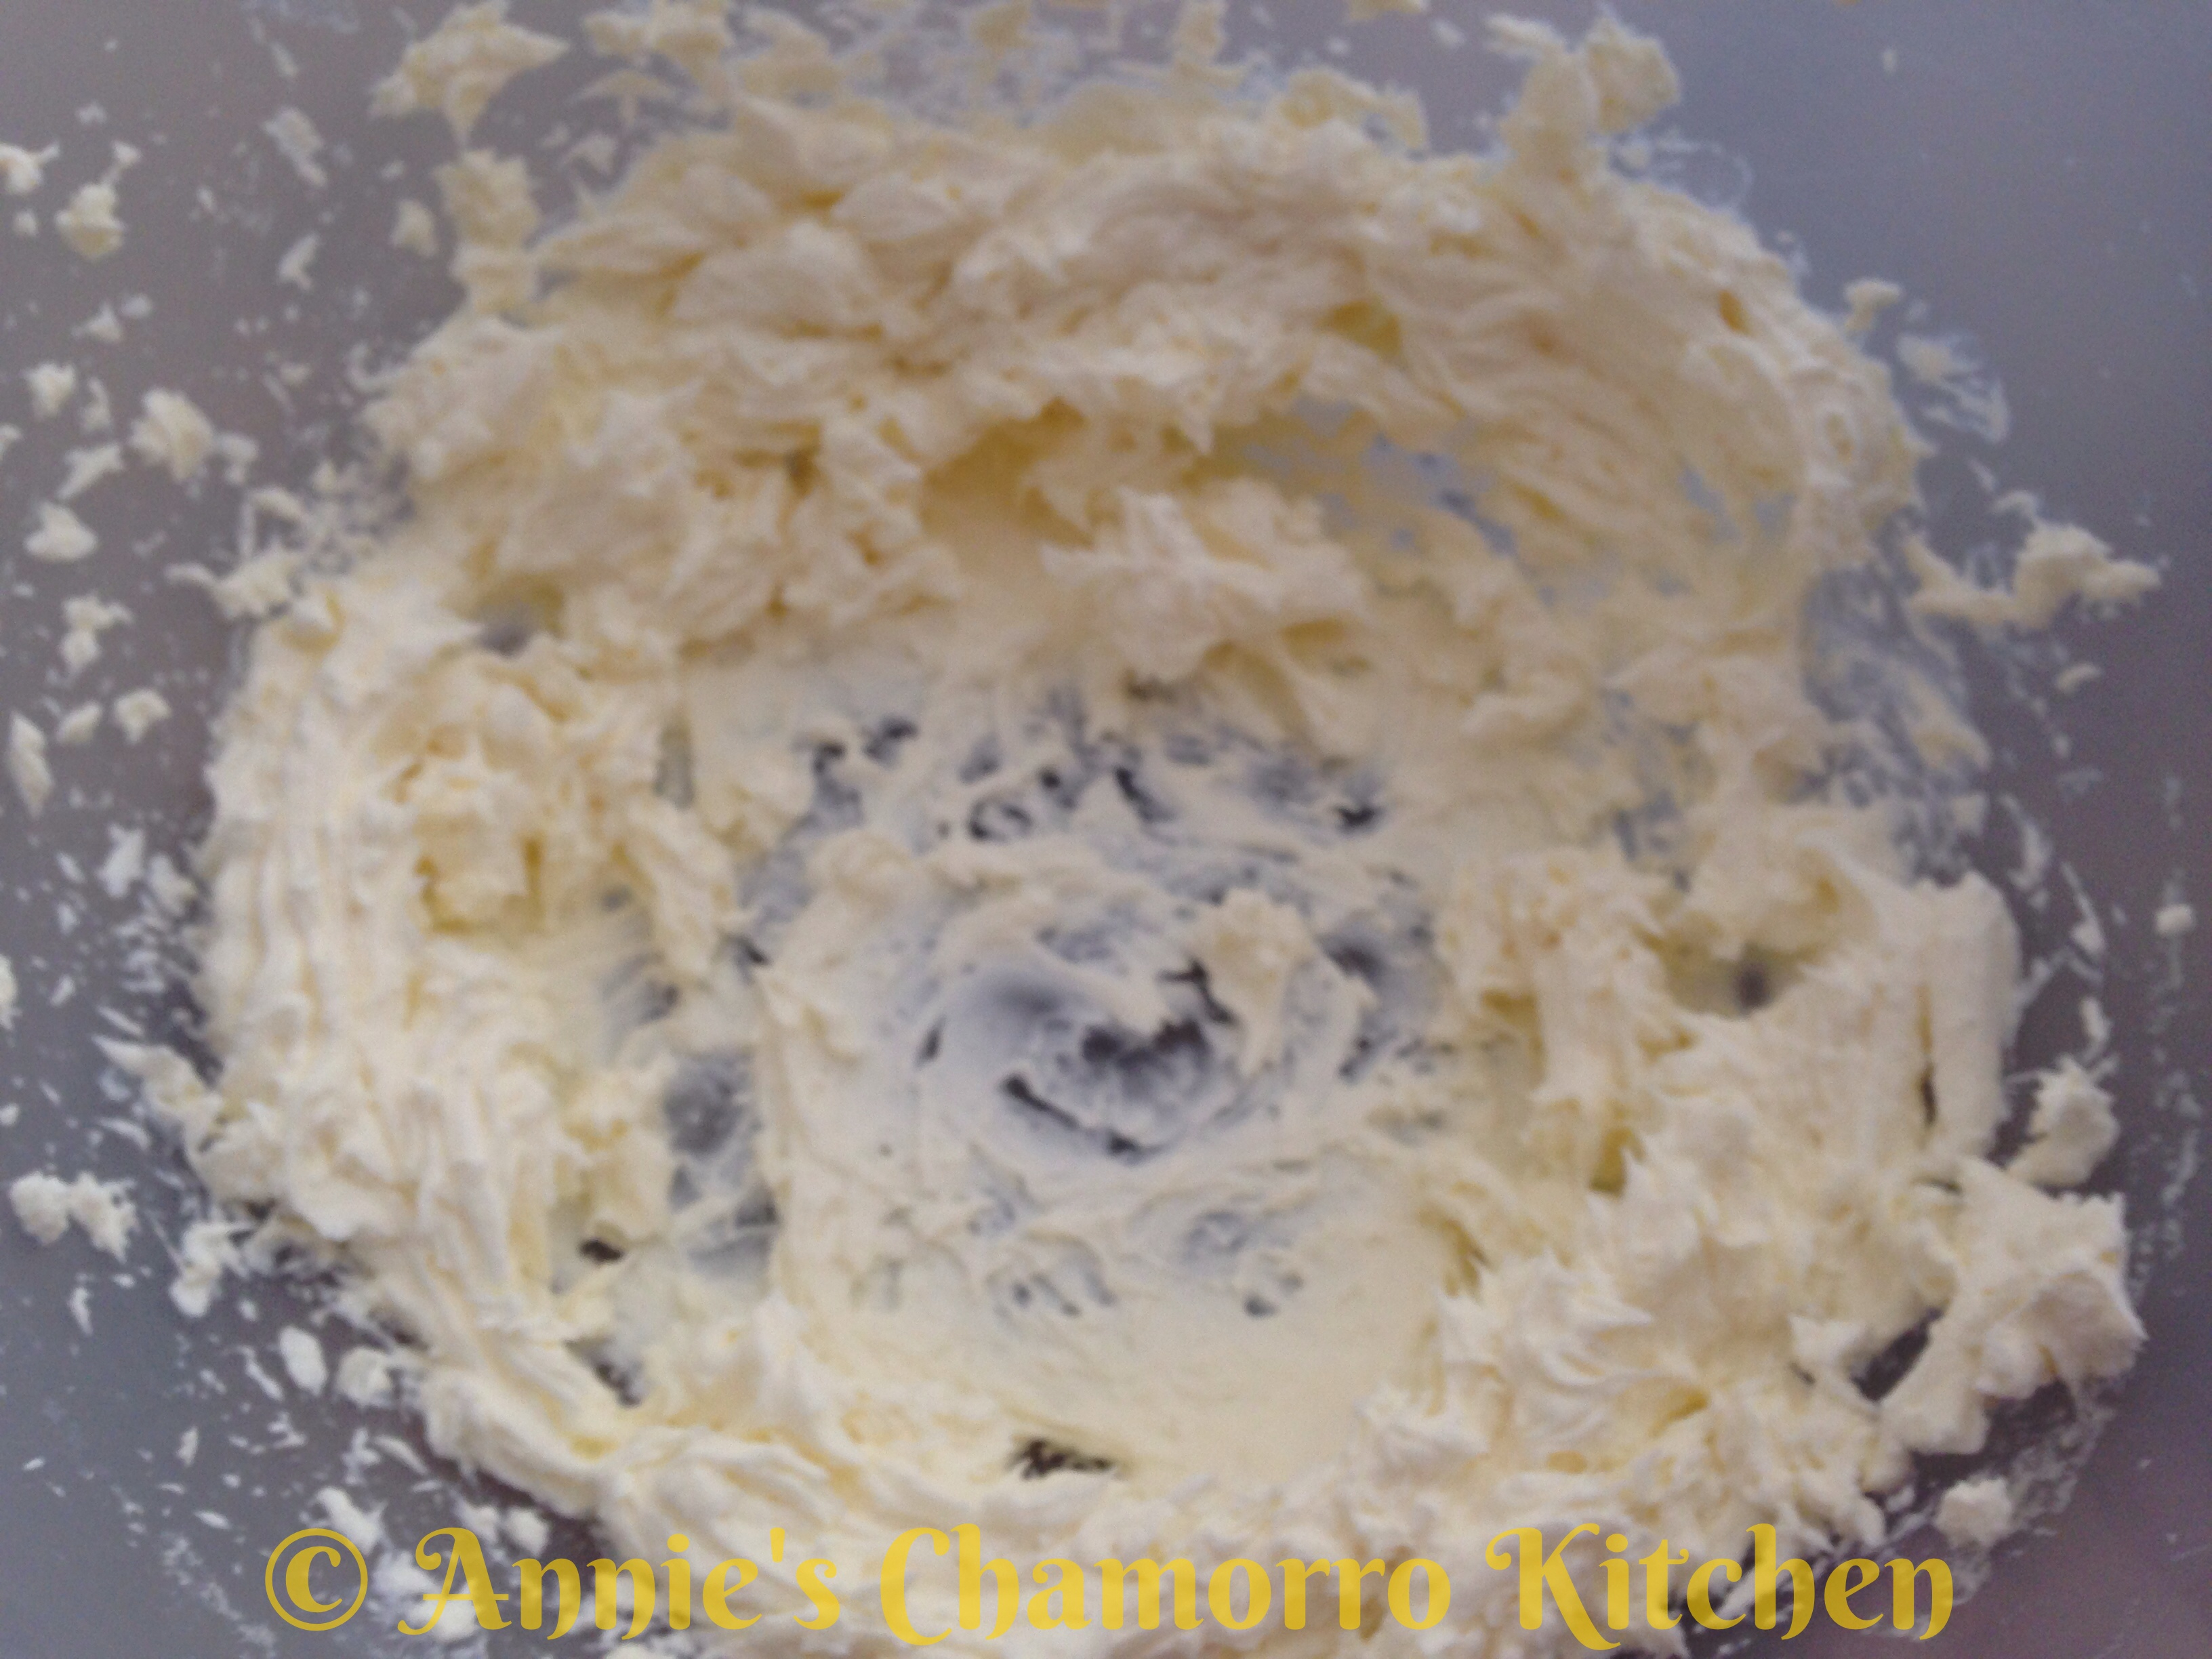
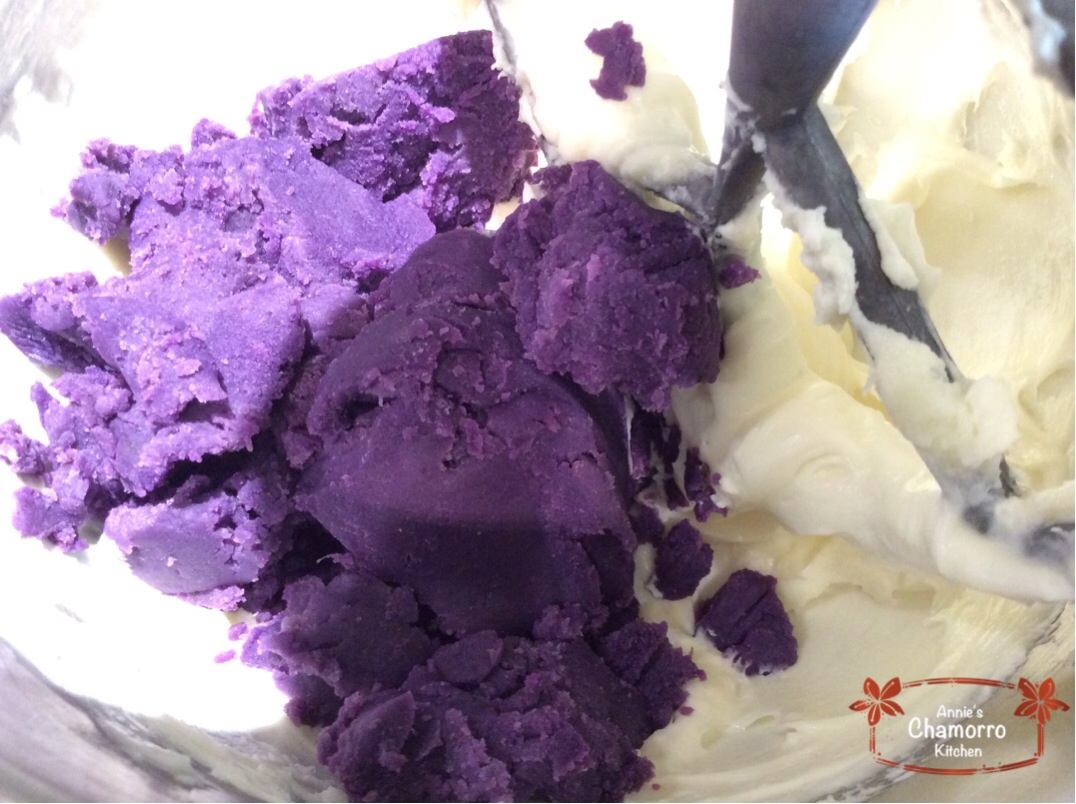
Place the softened cream cheese in a stand mixer on medium low speed; mix for a minute or two. Scrape down the sides of the bowl.
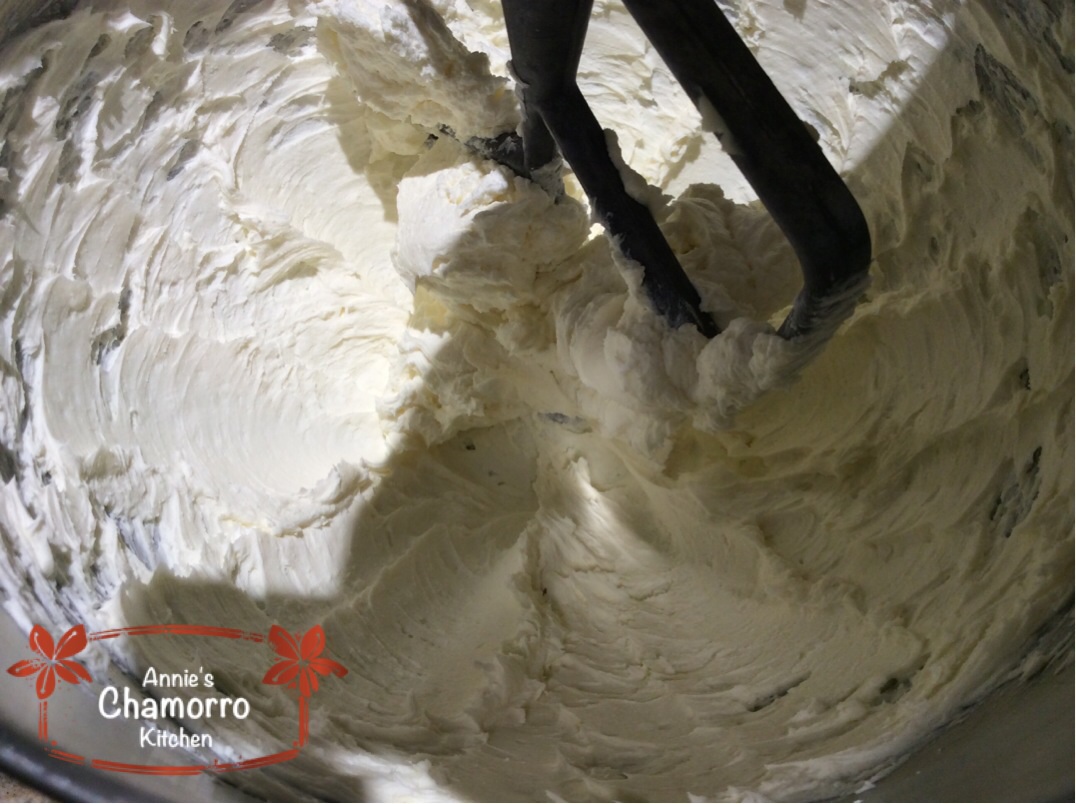
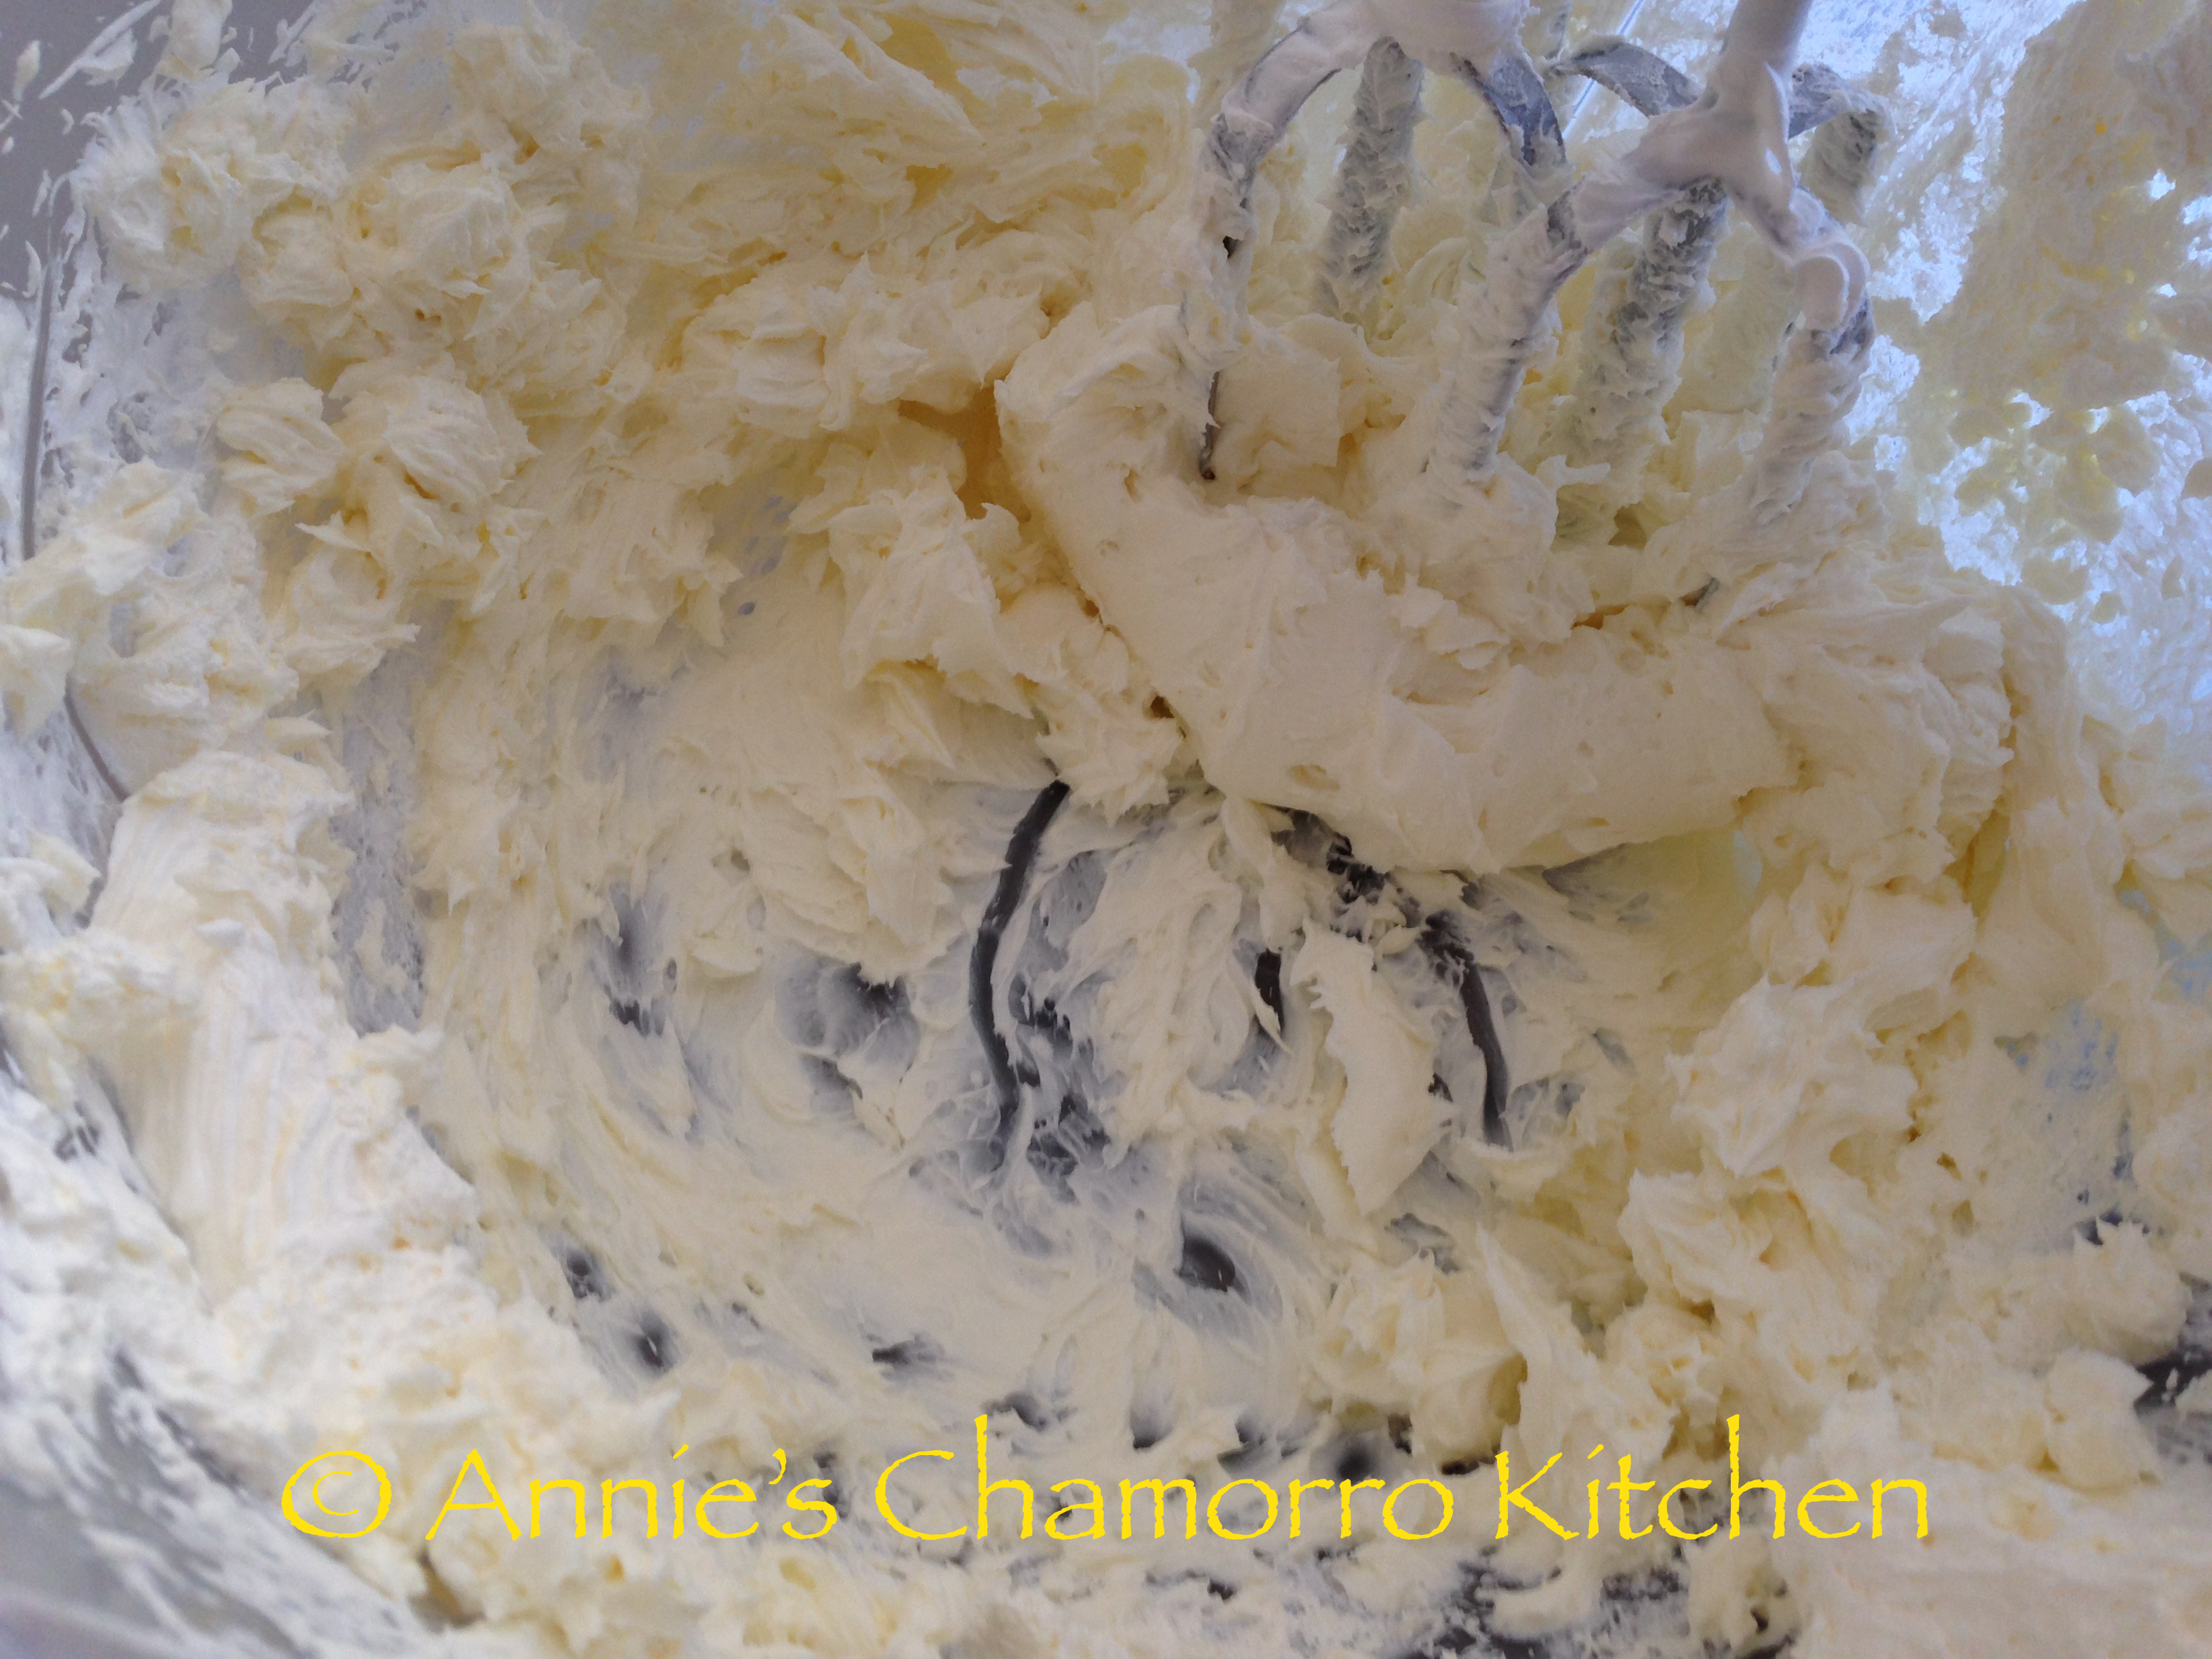
Mix 1/3 of the sugar mixture with the cheese. Mix on medium speed for a minute until the sugar is incorporated. Scrape down the bowl and paddle then add another 1/3 of the sugar. Mix again then scrape down the bowl and paddle. Add the remaining sugar; mix until creamy.
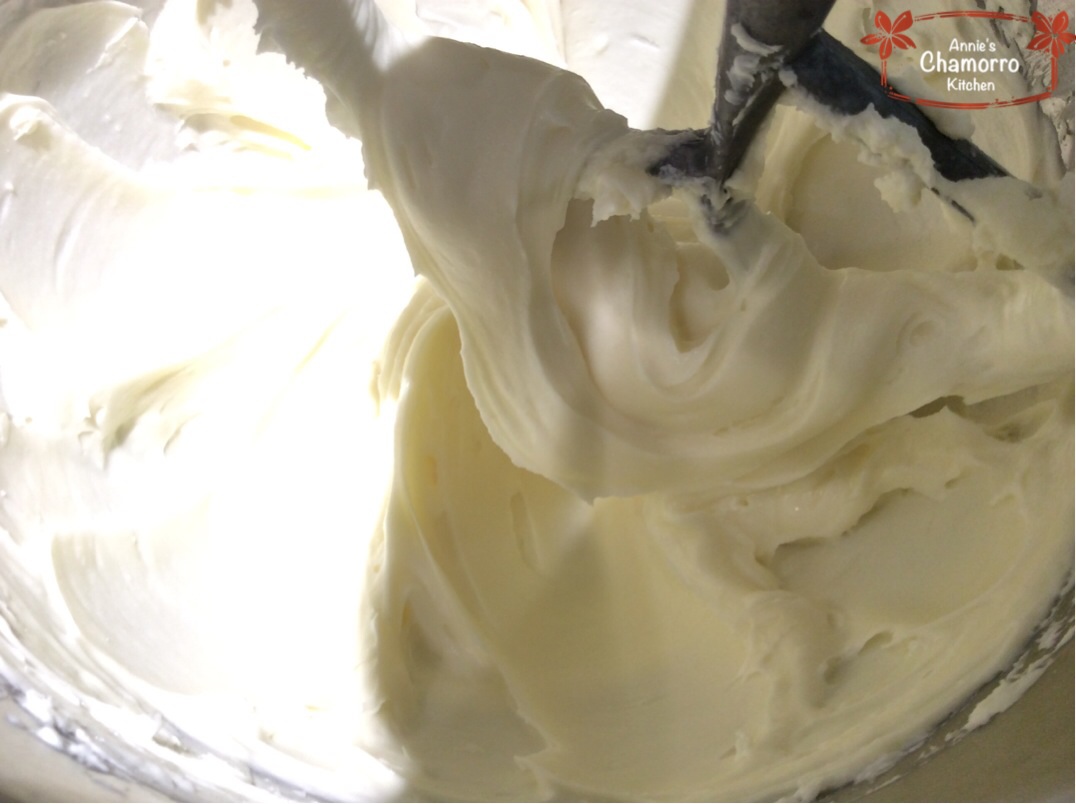
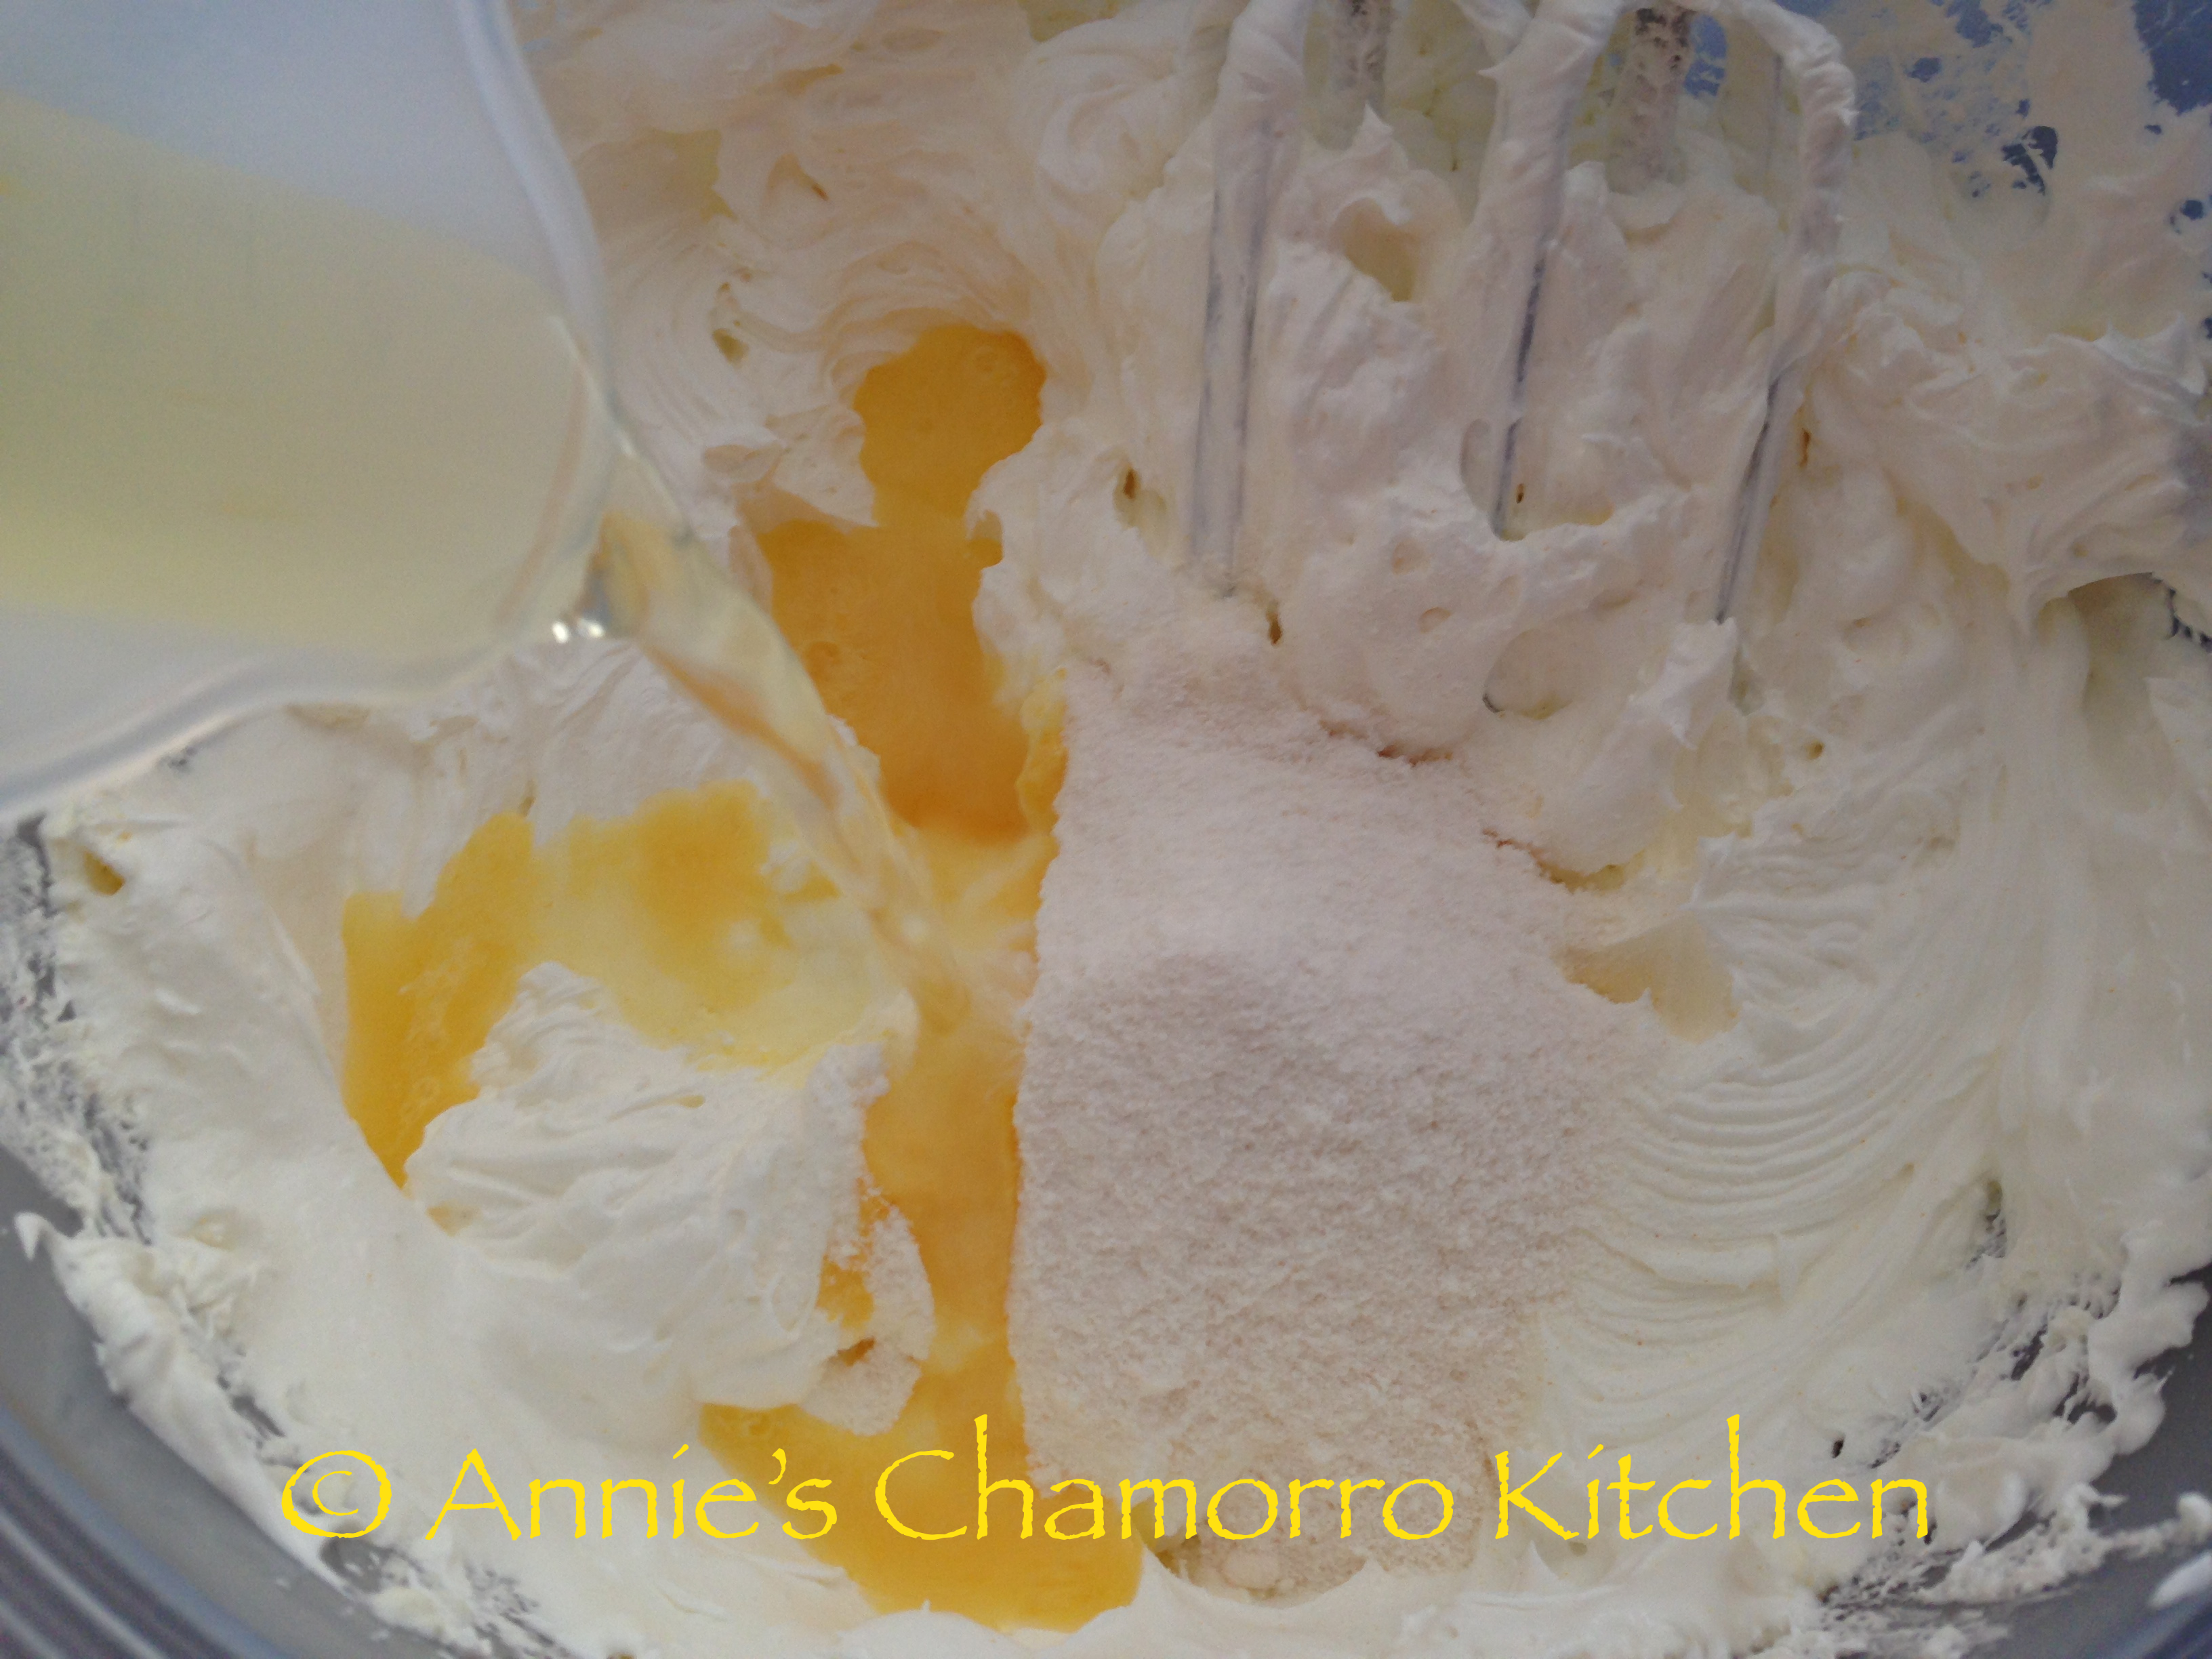
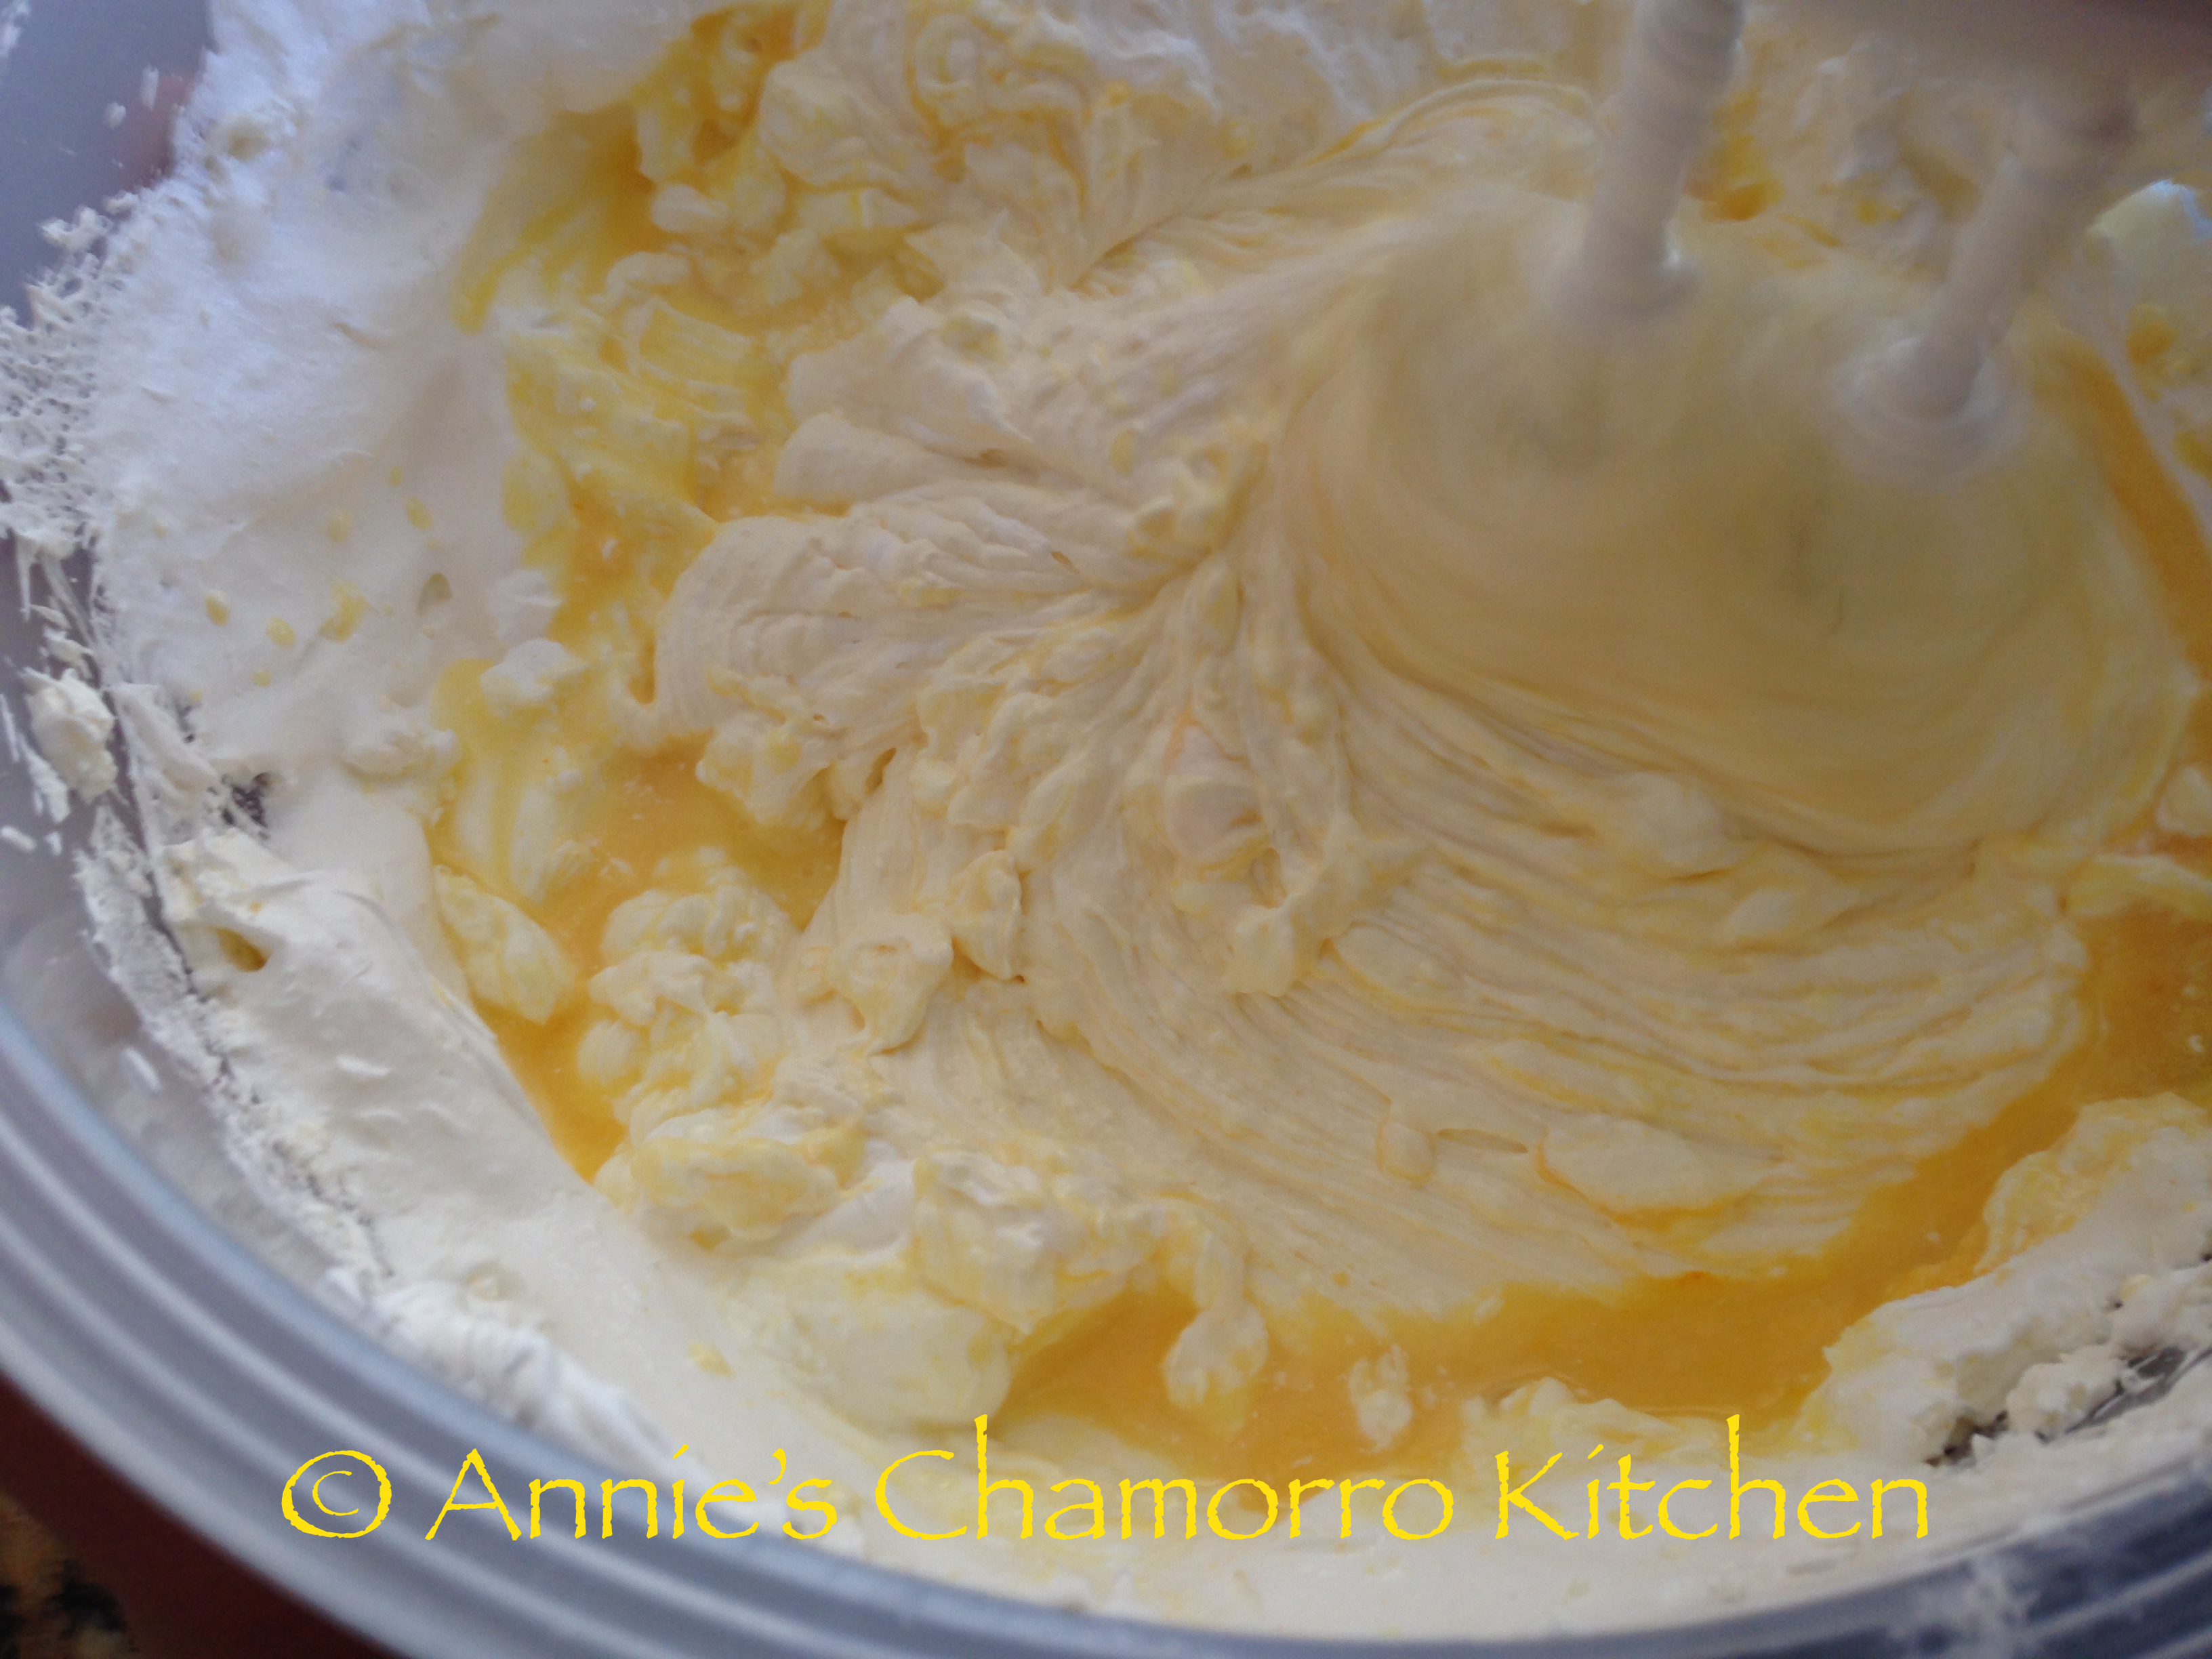
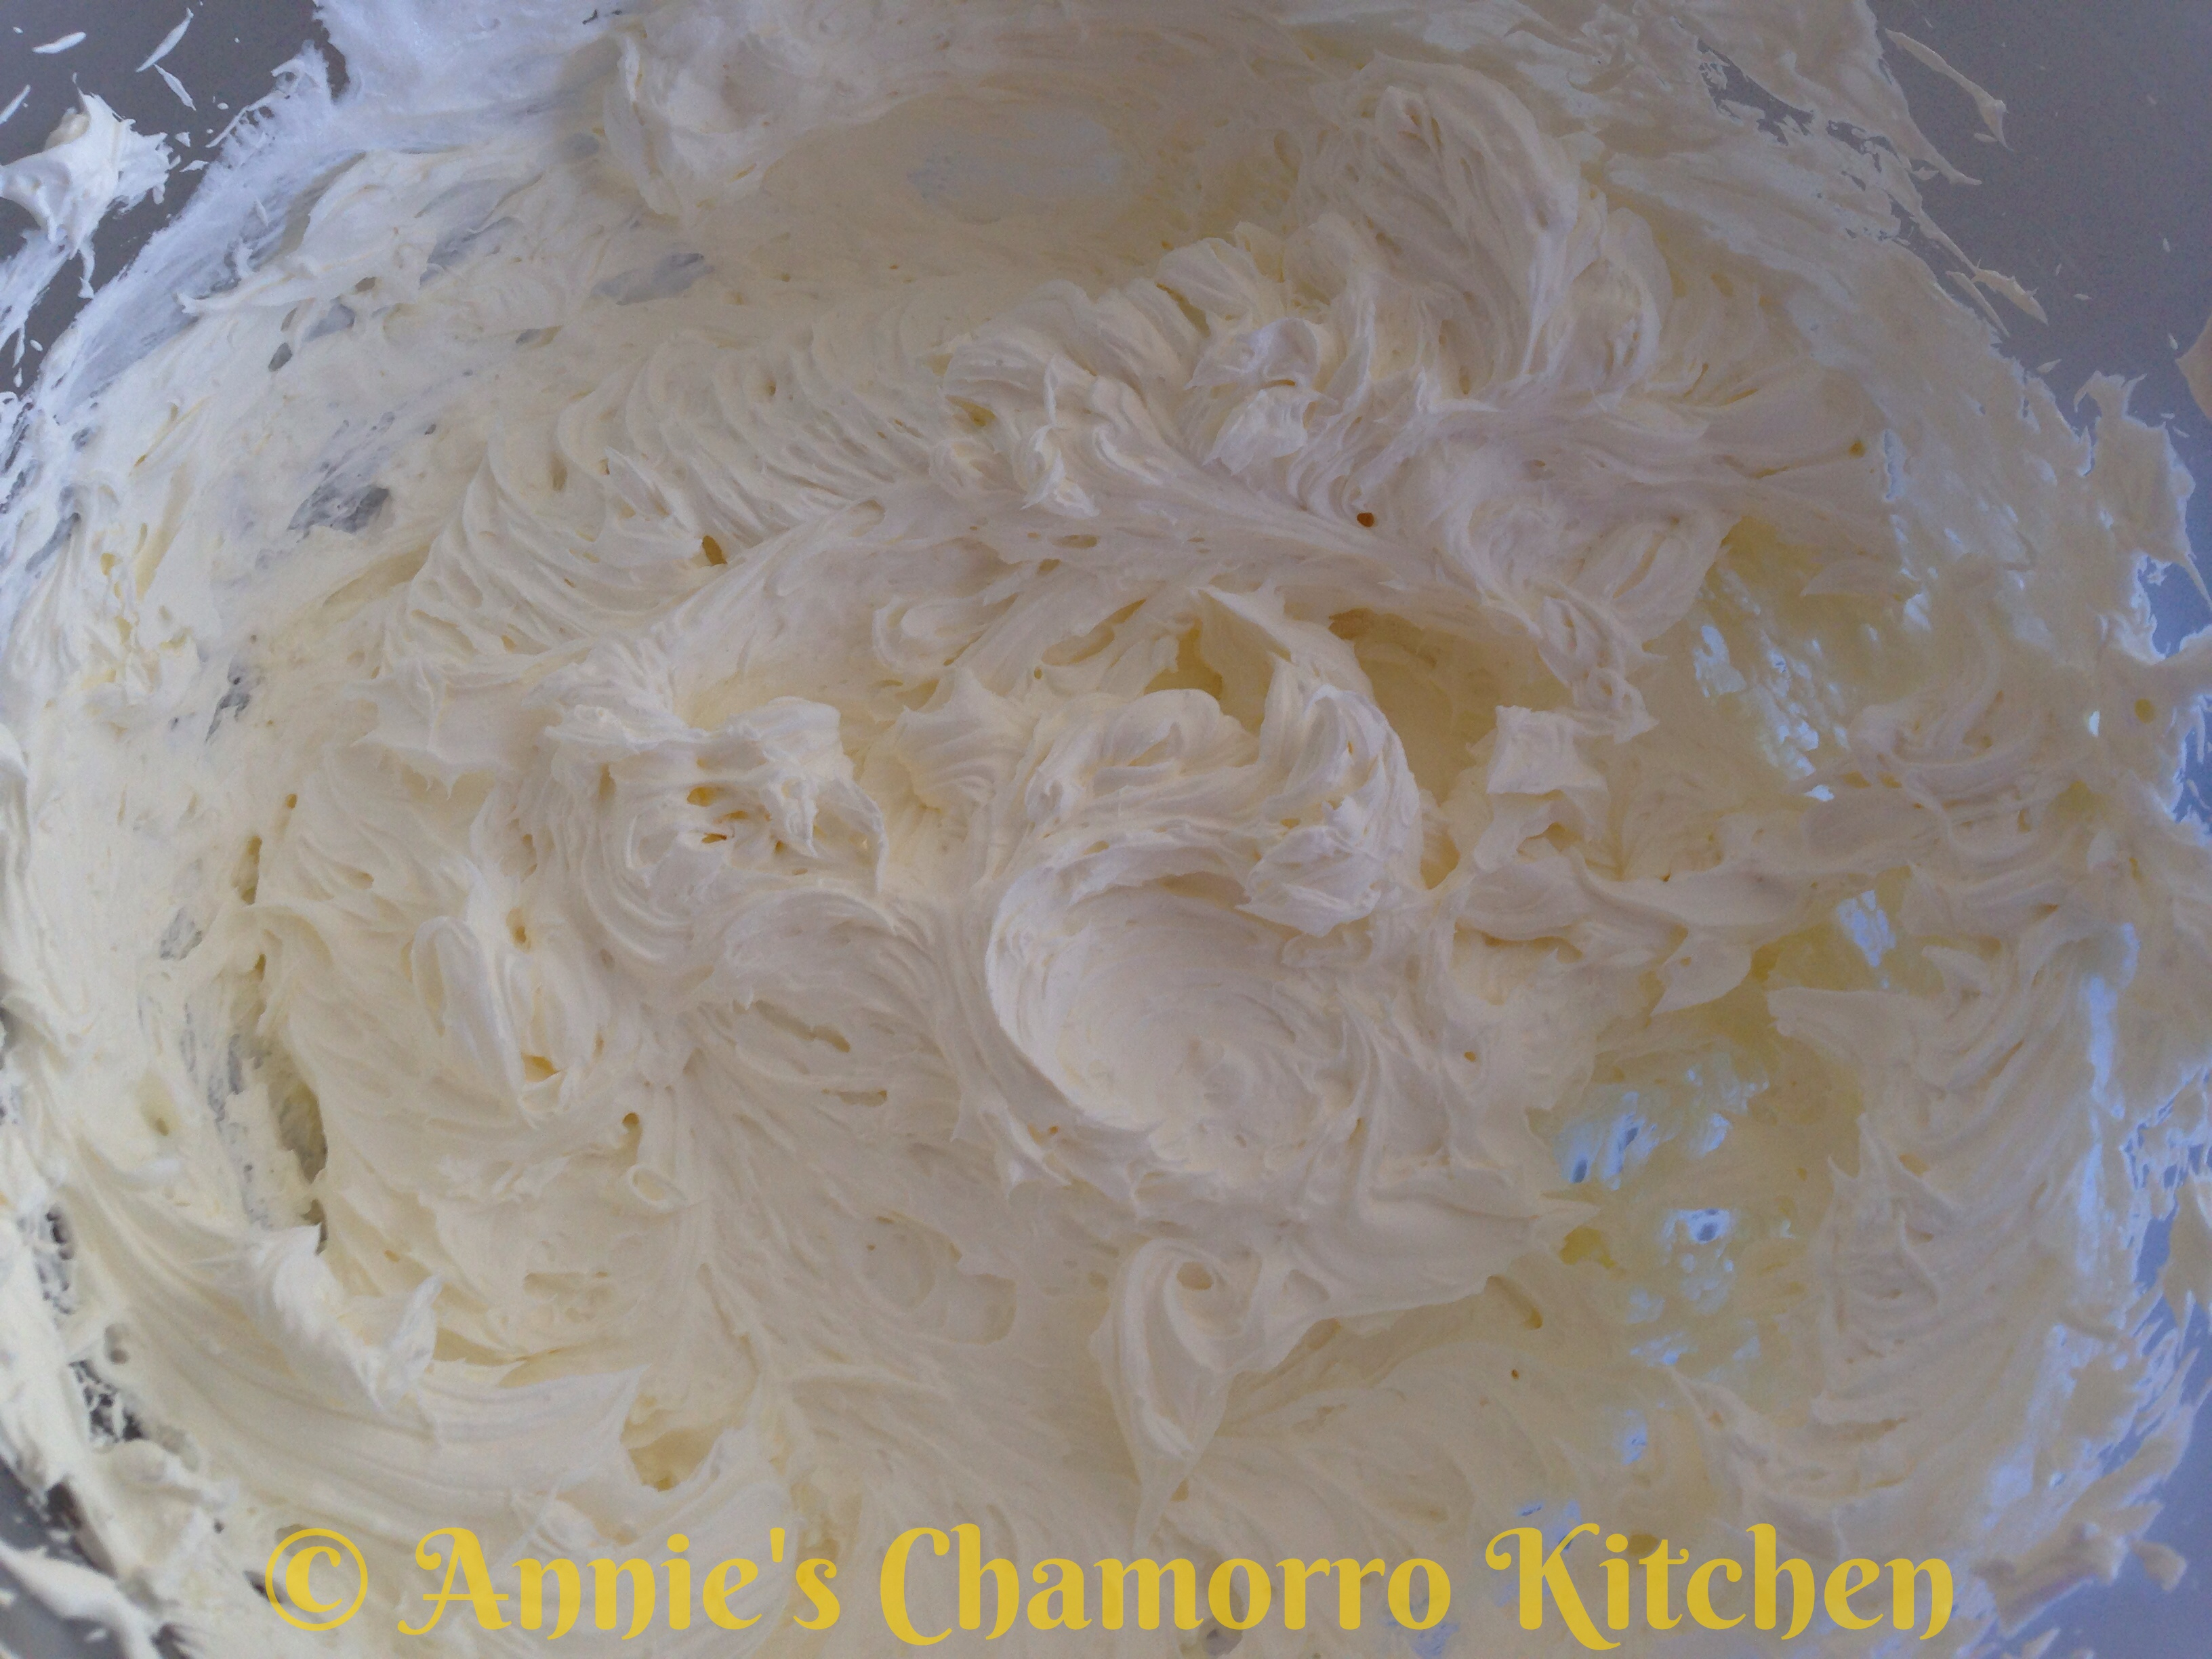
Add the pureed yam to the bowl, along with the vanilla extract. Mix on medium speed for a minute. Scrape the sides of the bowl again.
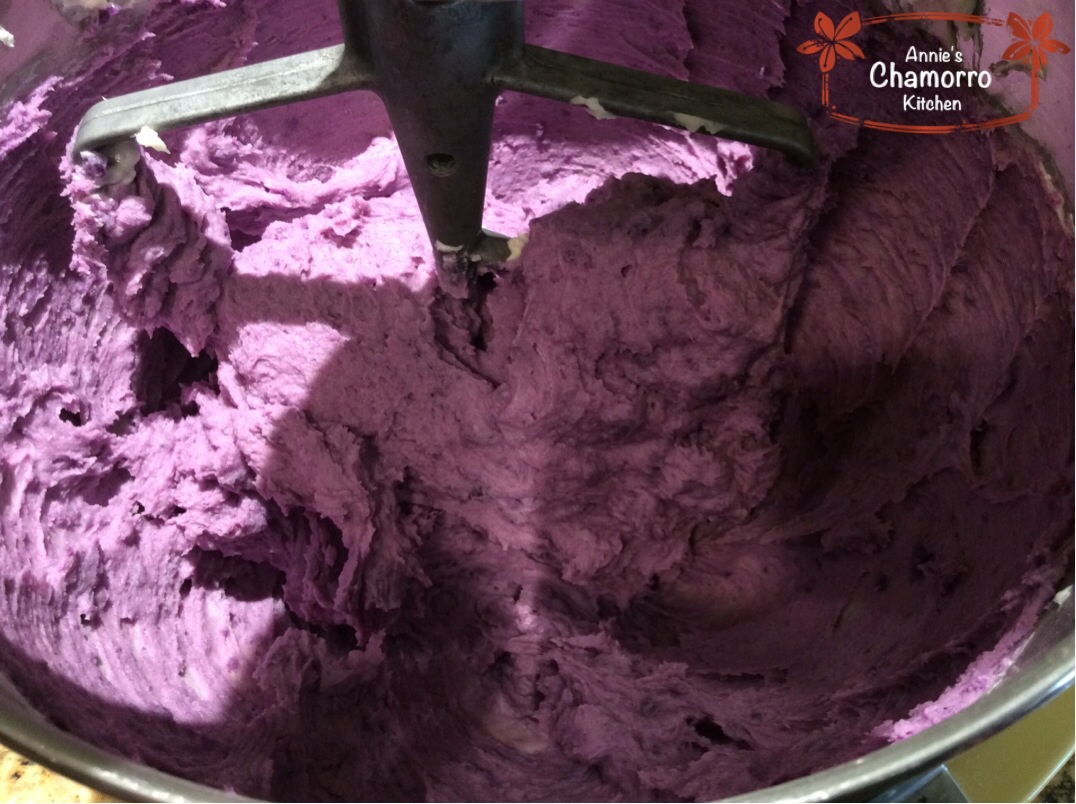
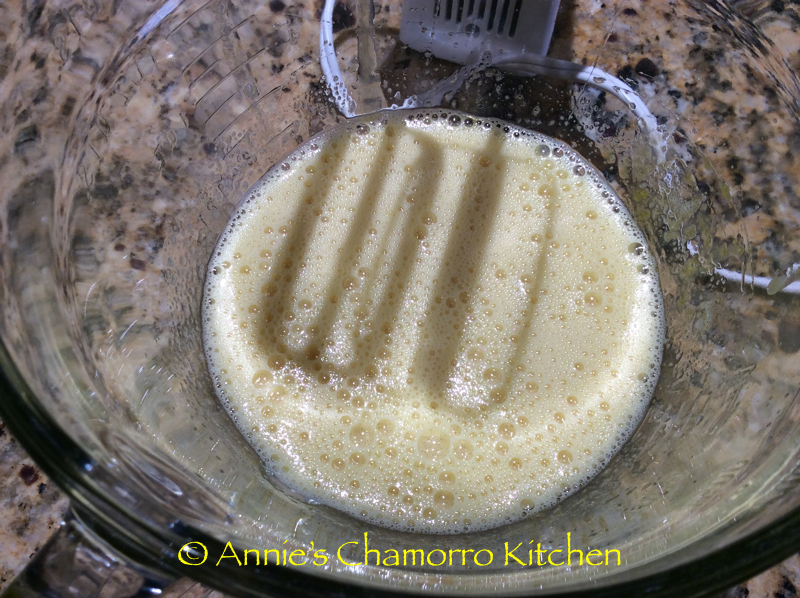
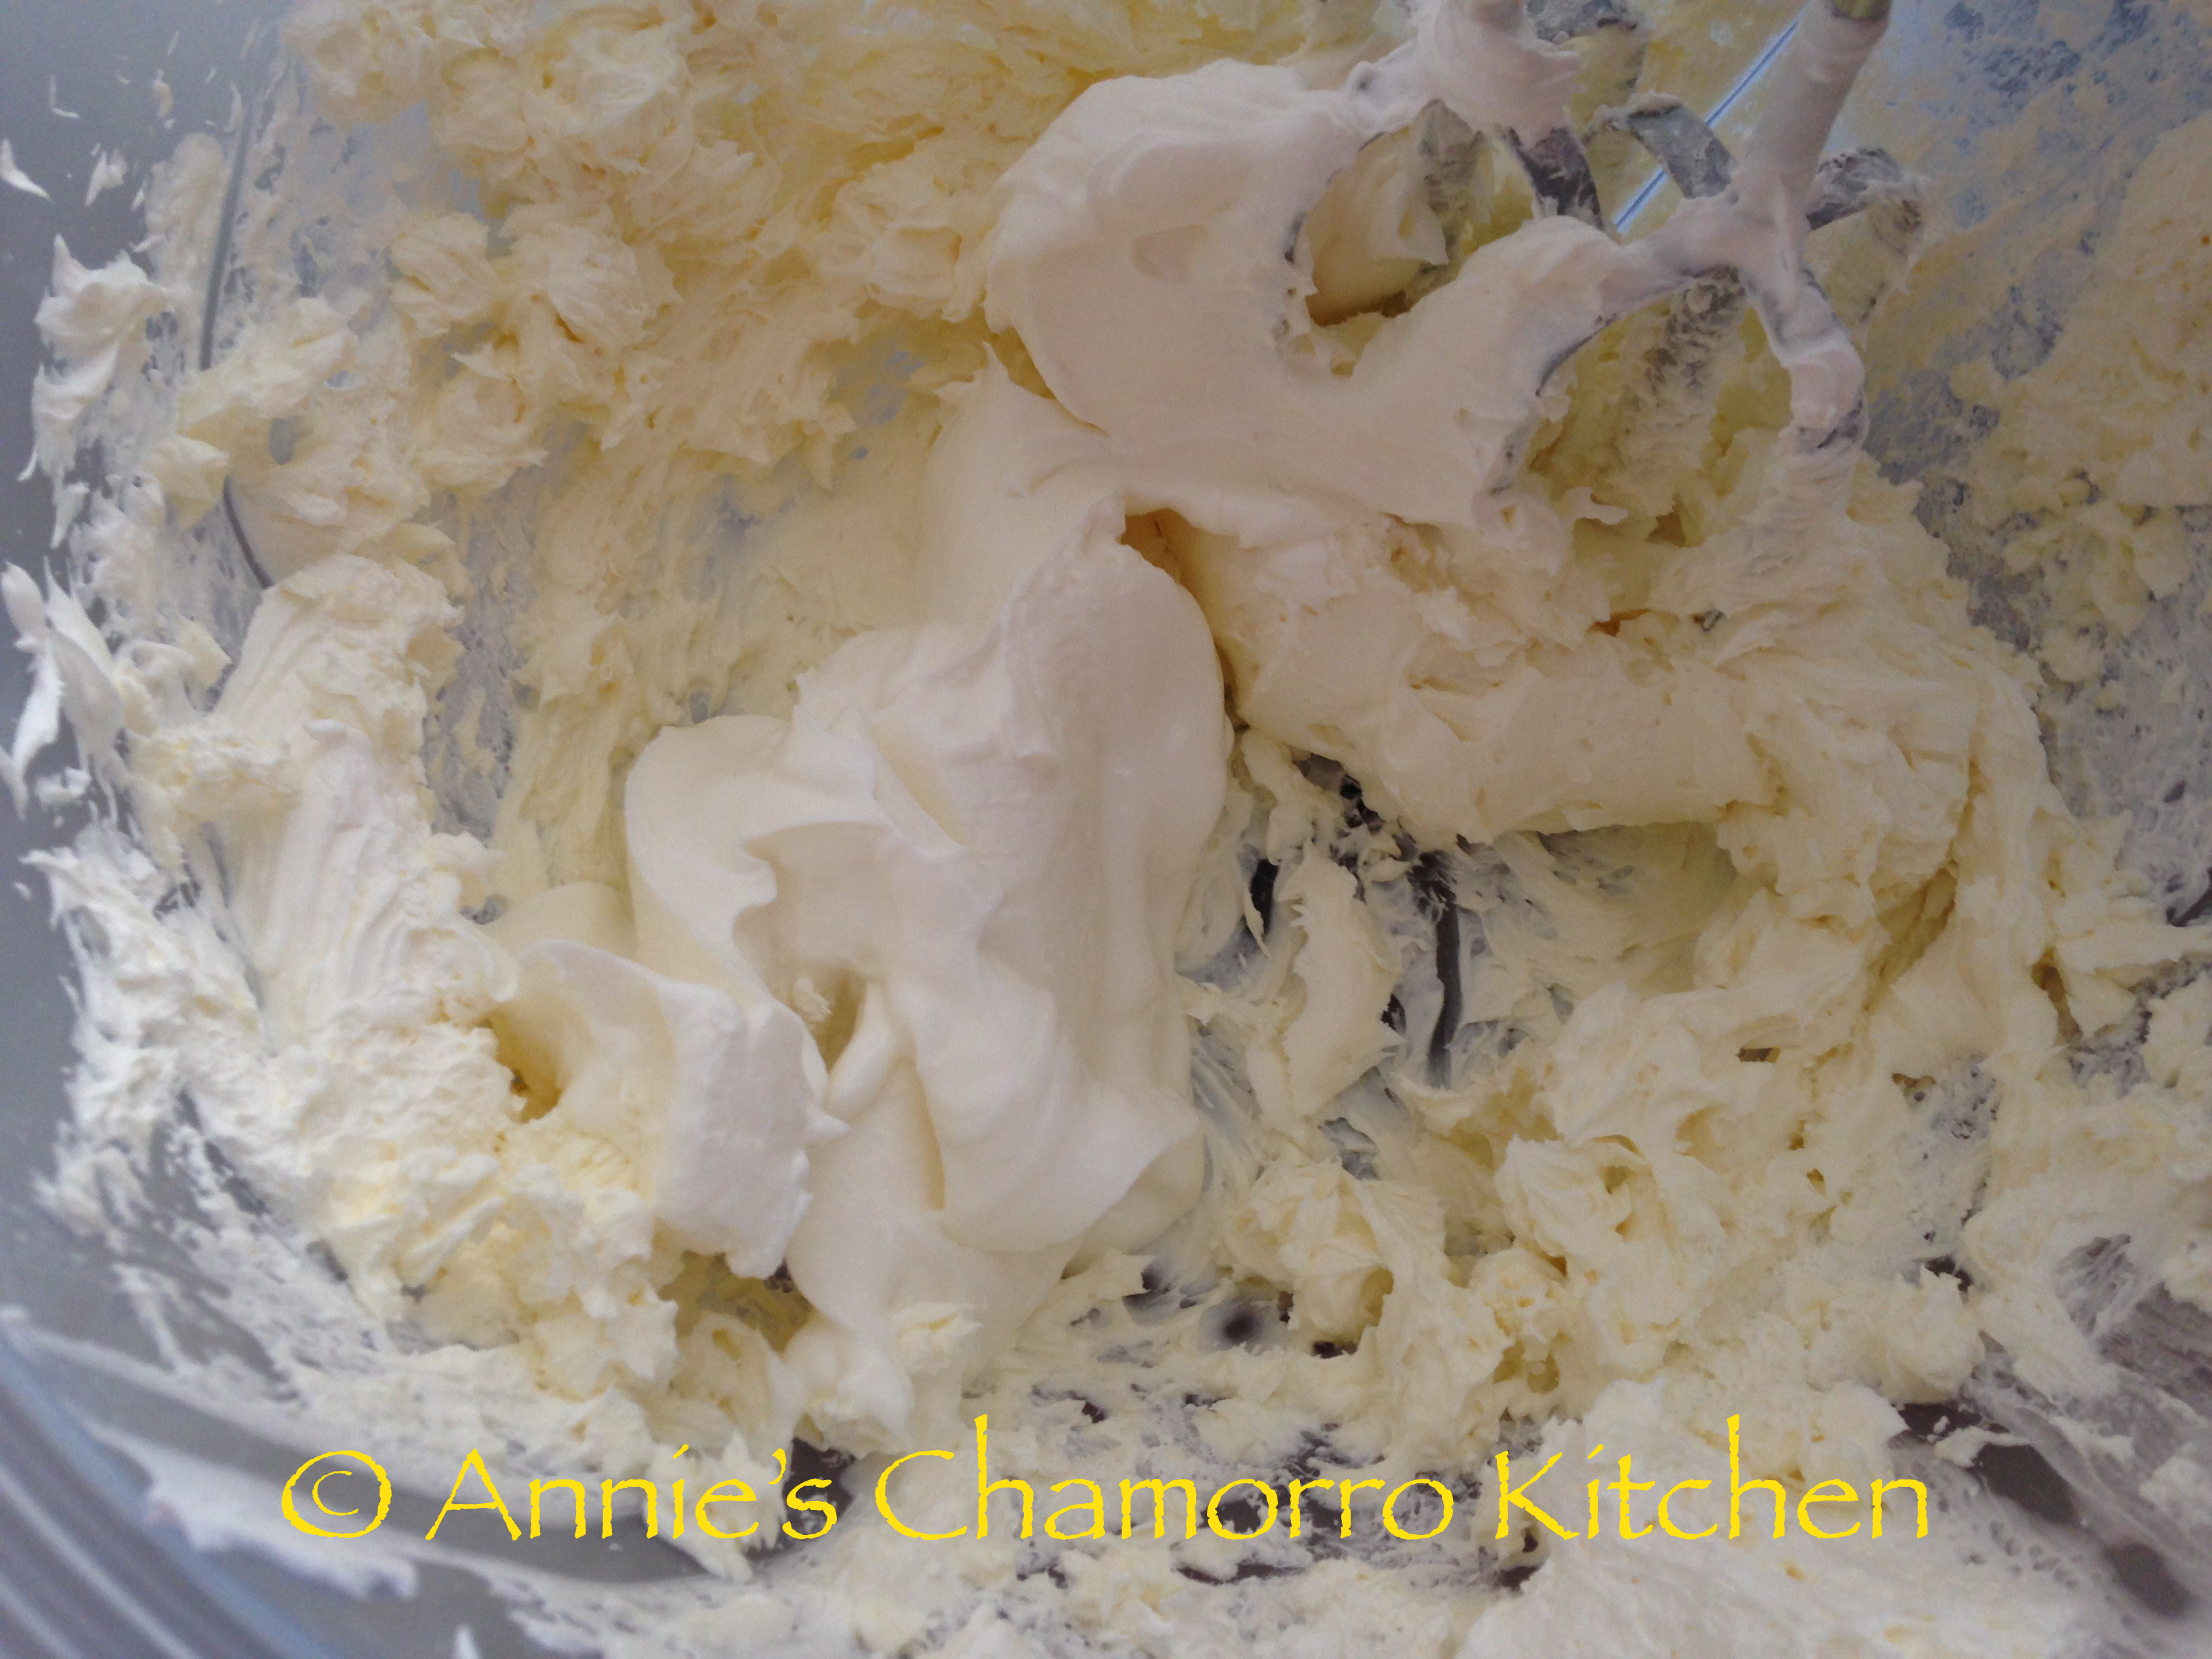
Add 3 eggs to the bowl, mix for a minute, scrape down the sides, then add the last 2 eggs, mix and scrape.

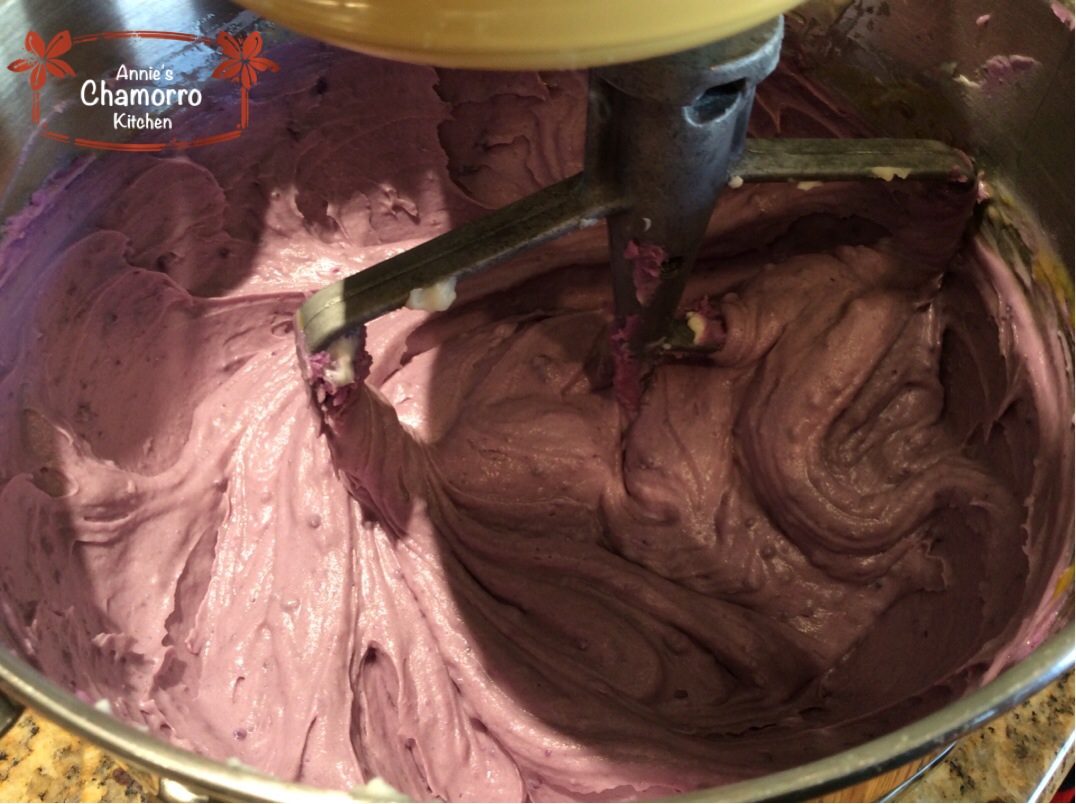
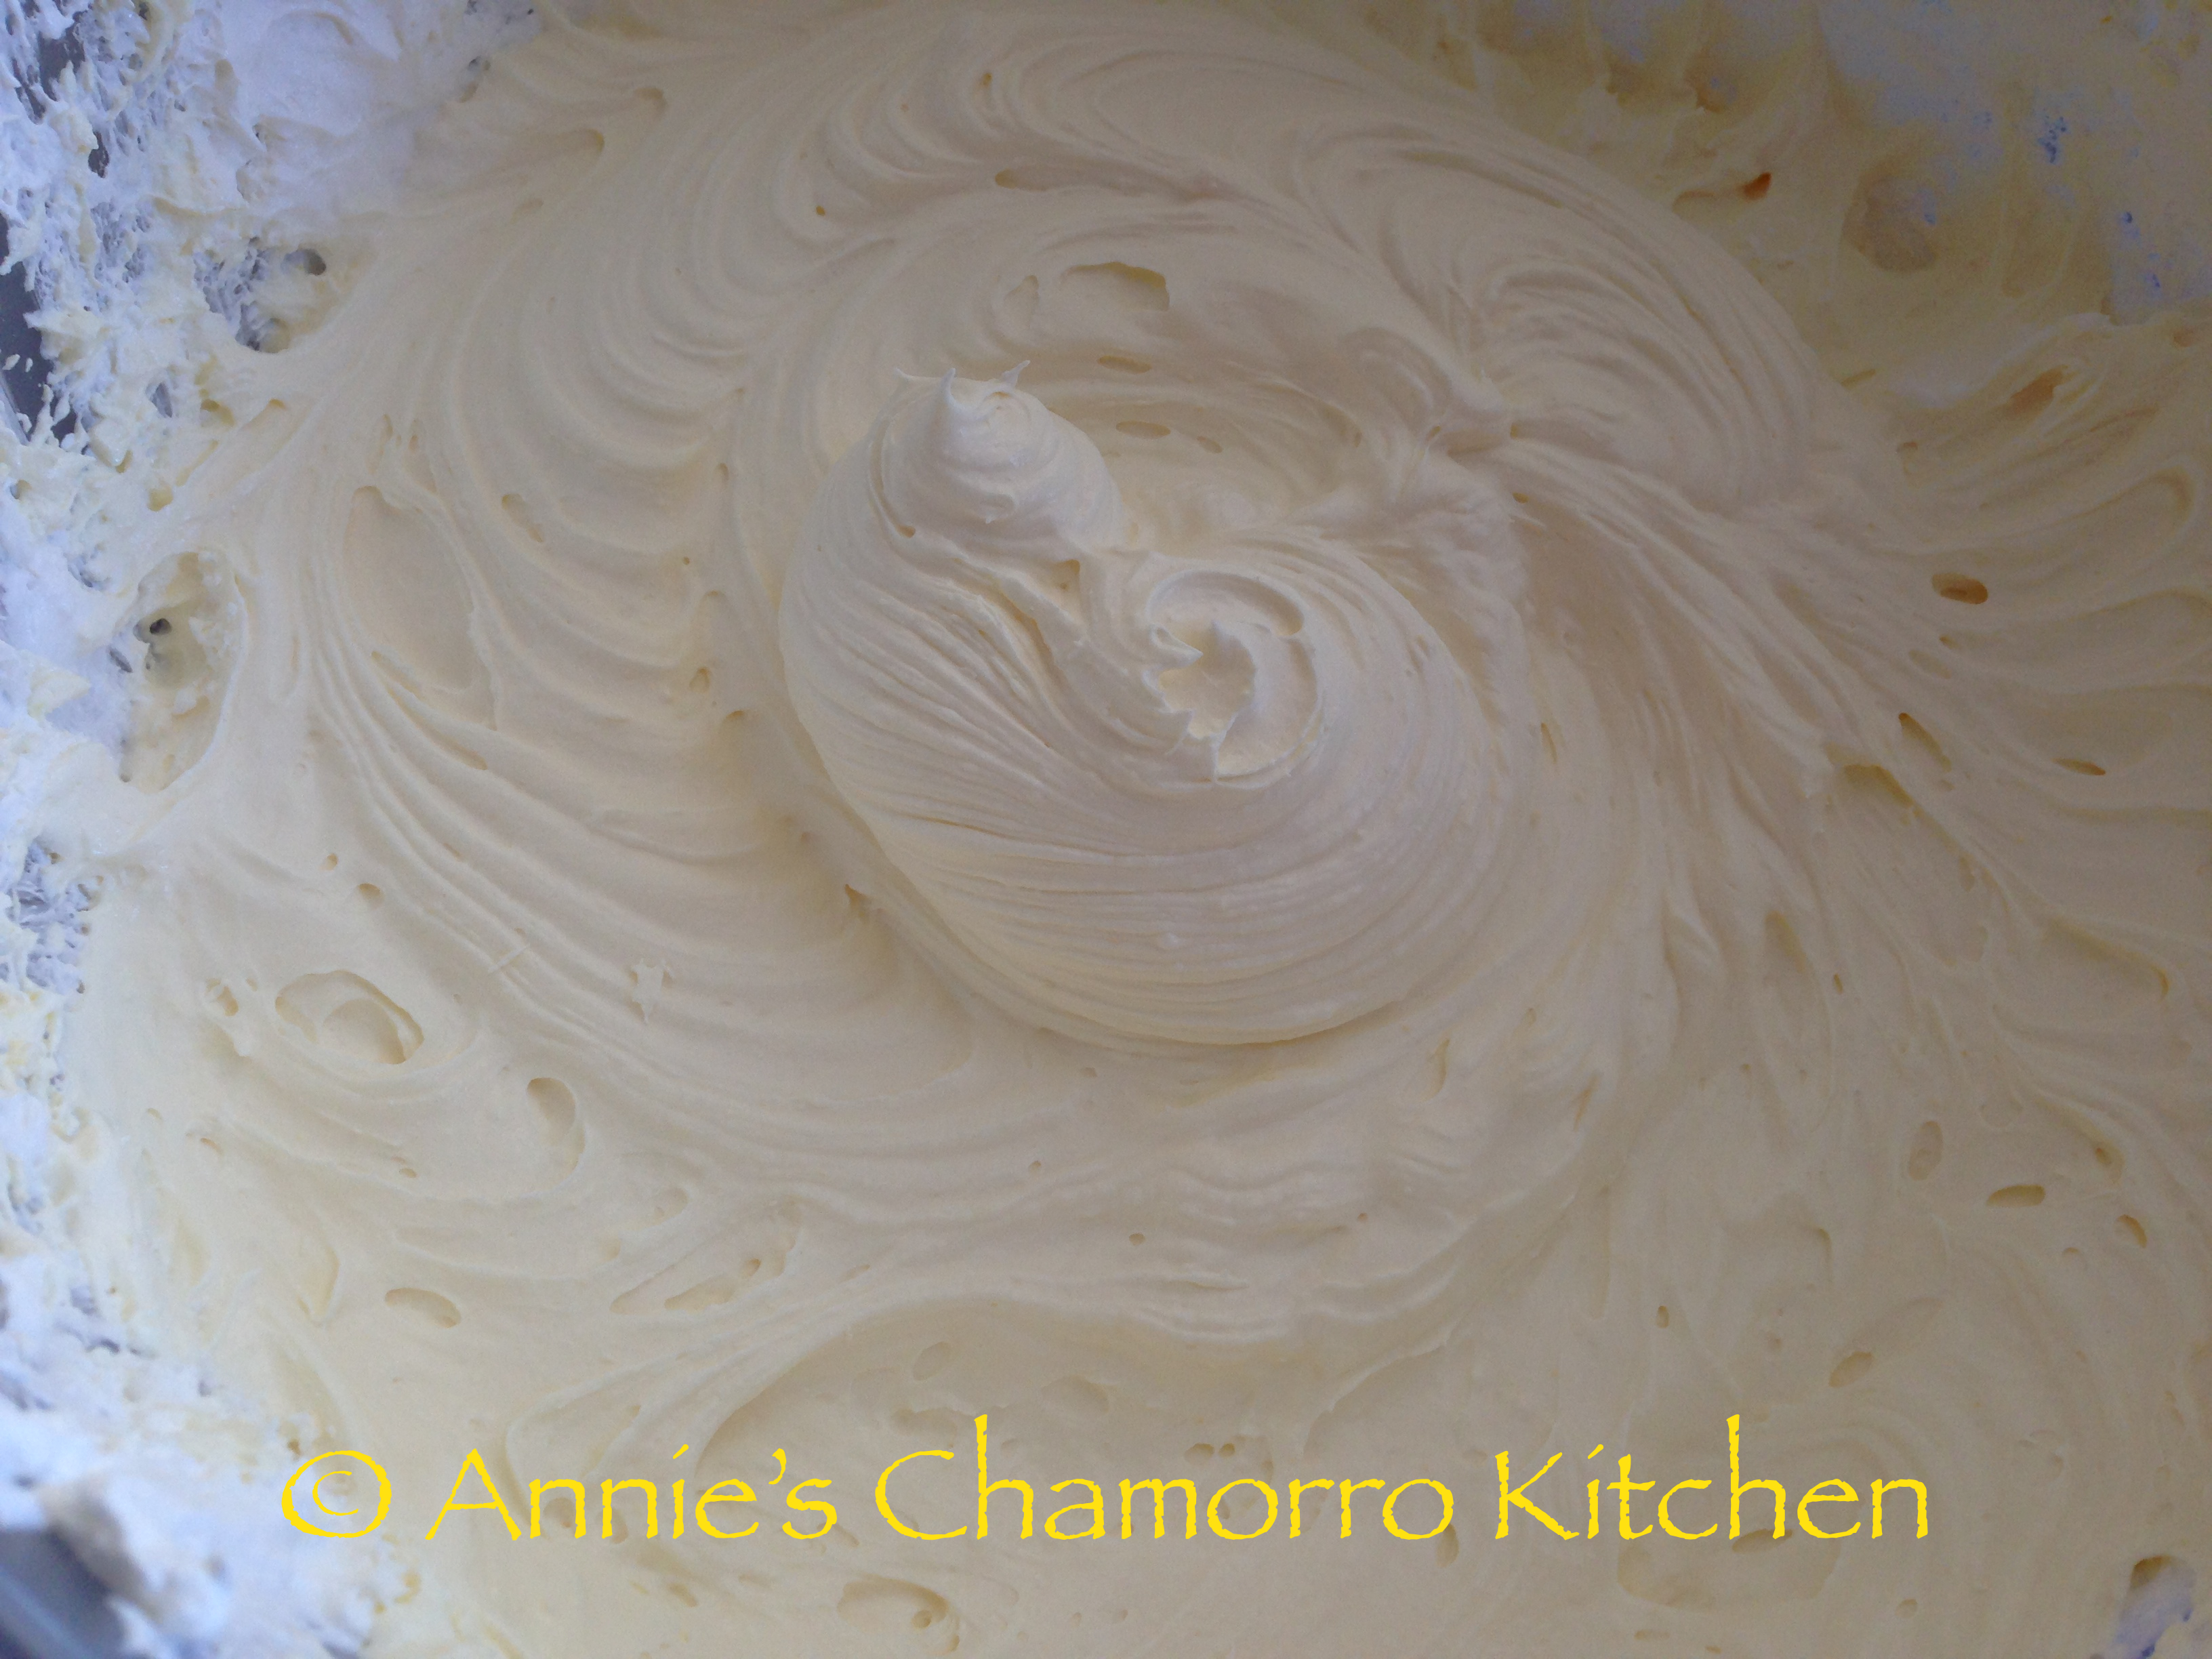
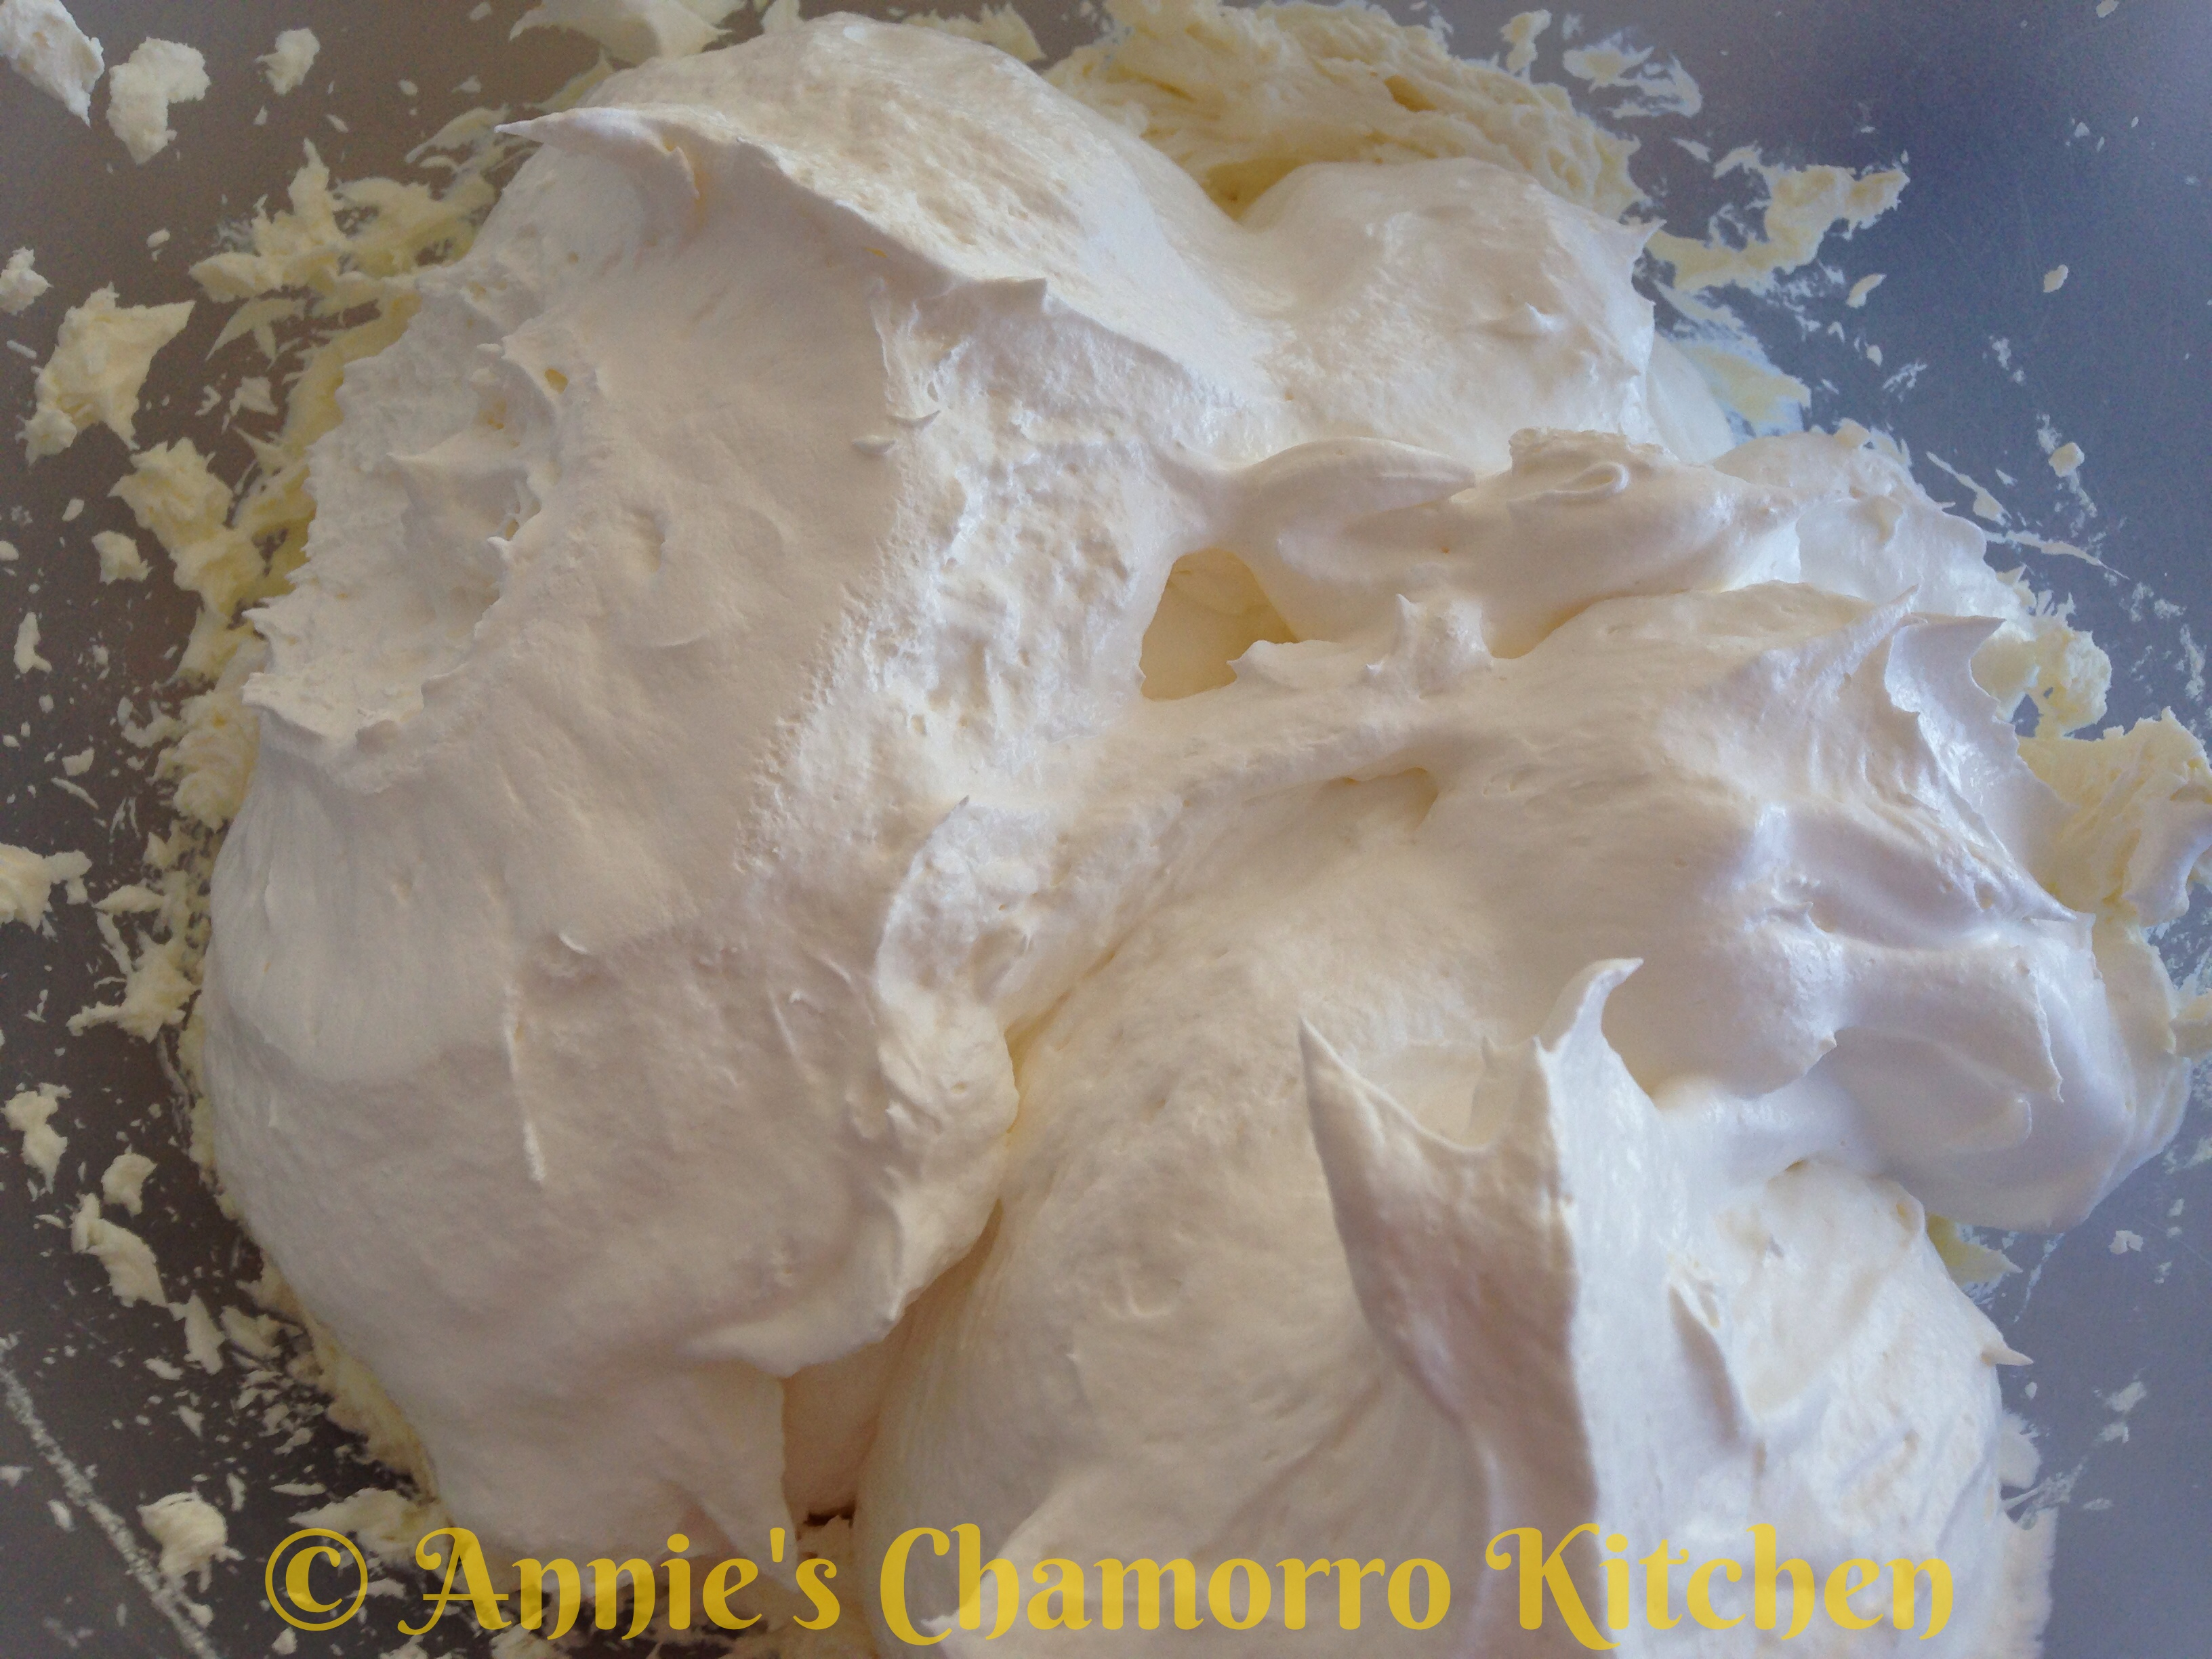
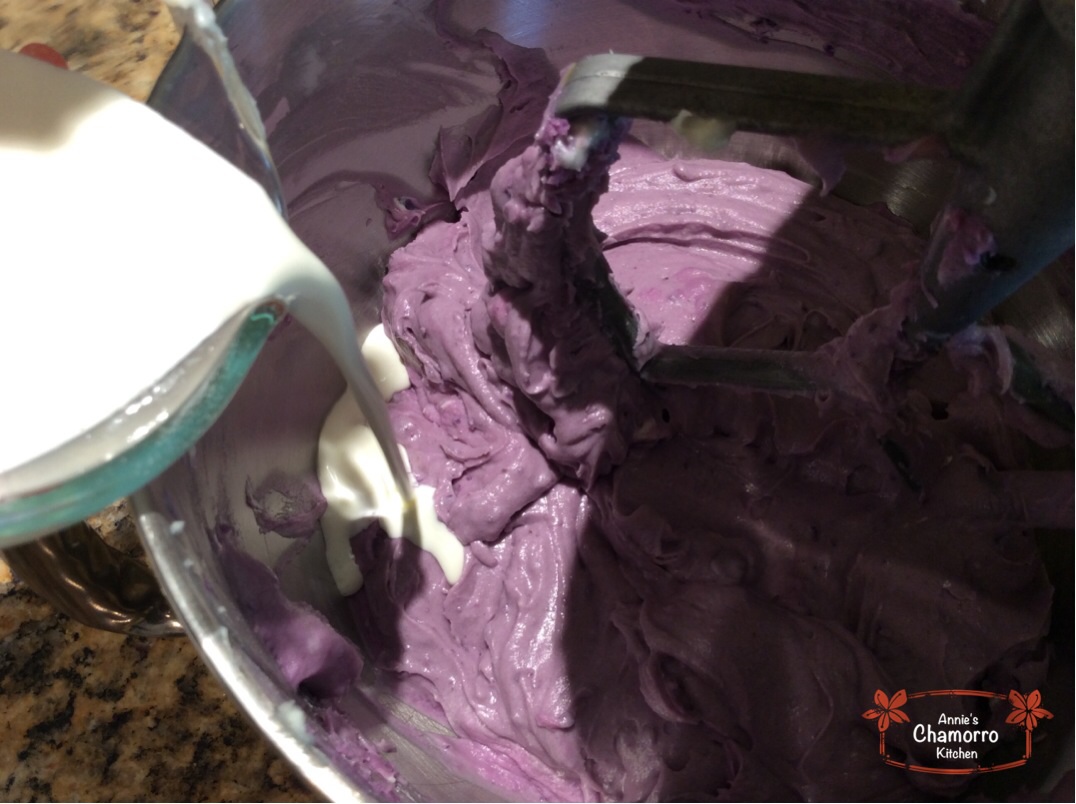
Add the heavy cream. Mix for another minute.
Bake the Cheesecake:
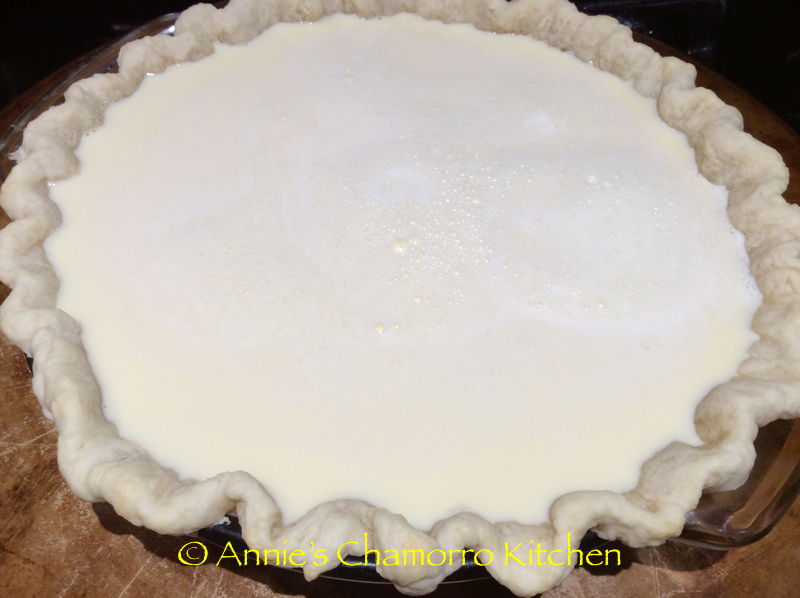
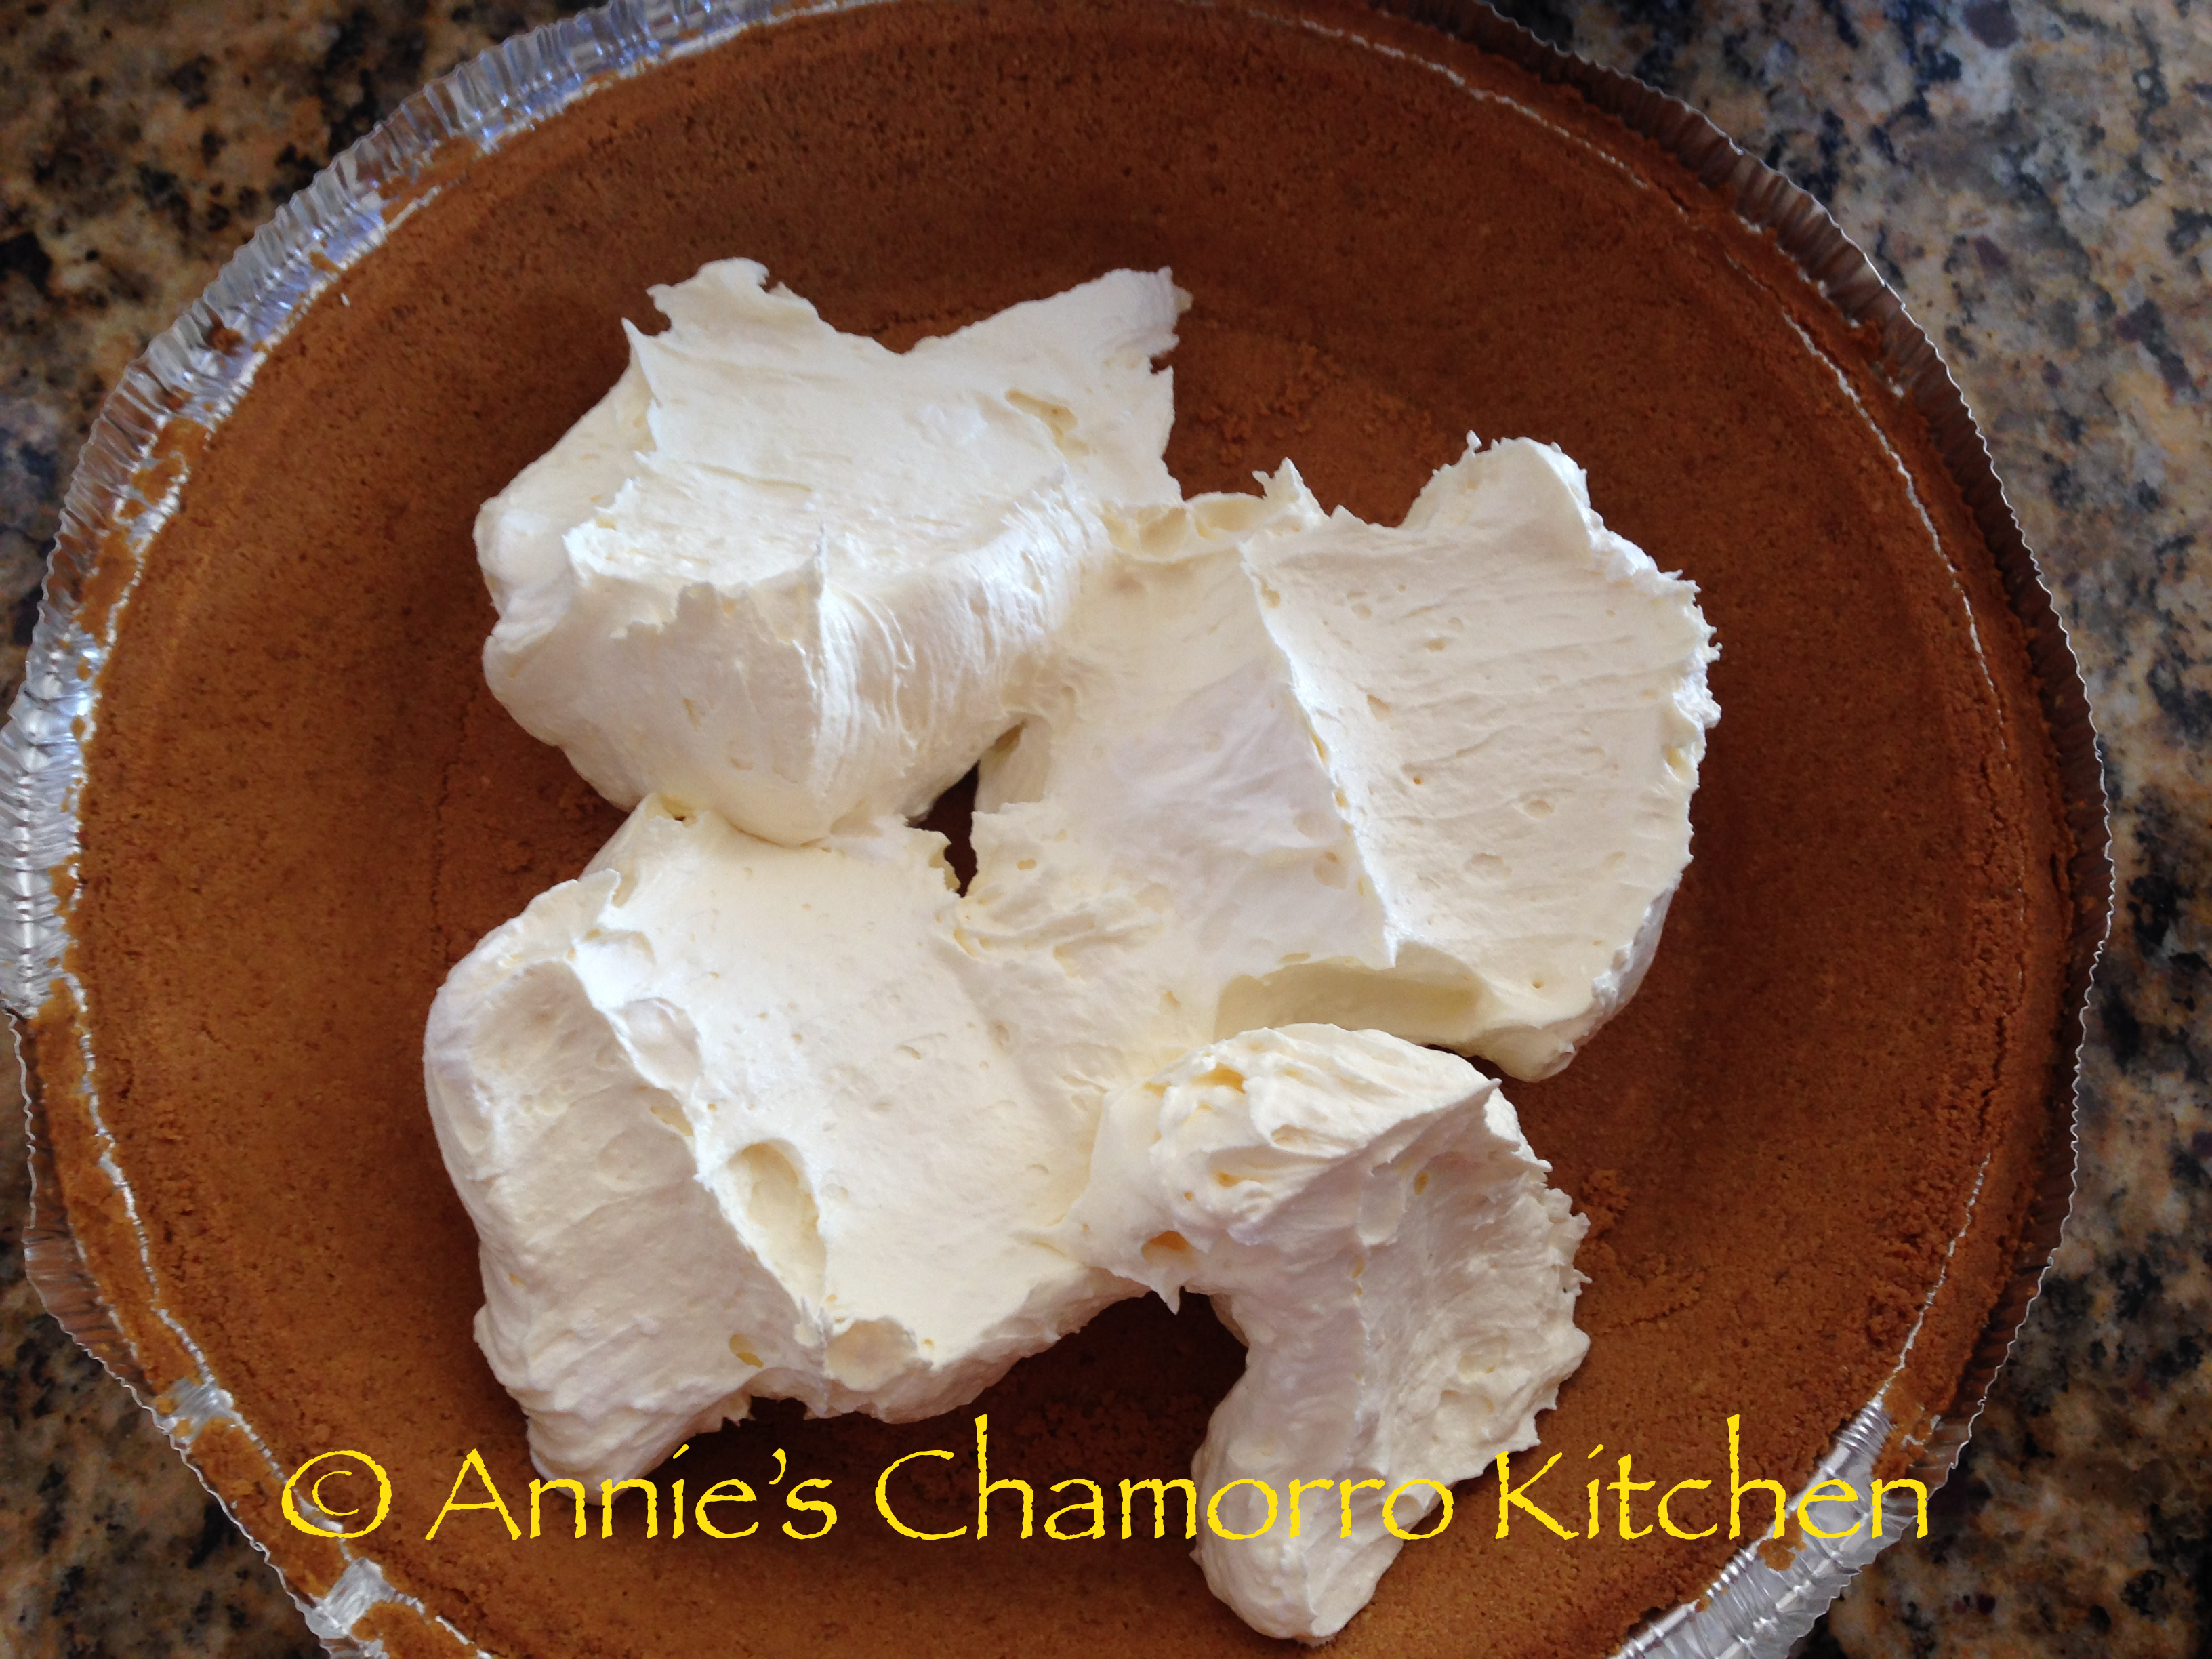
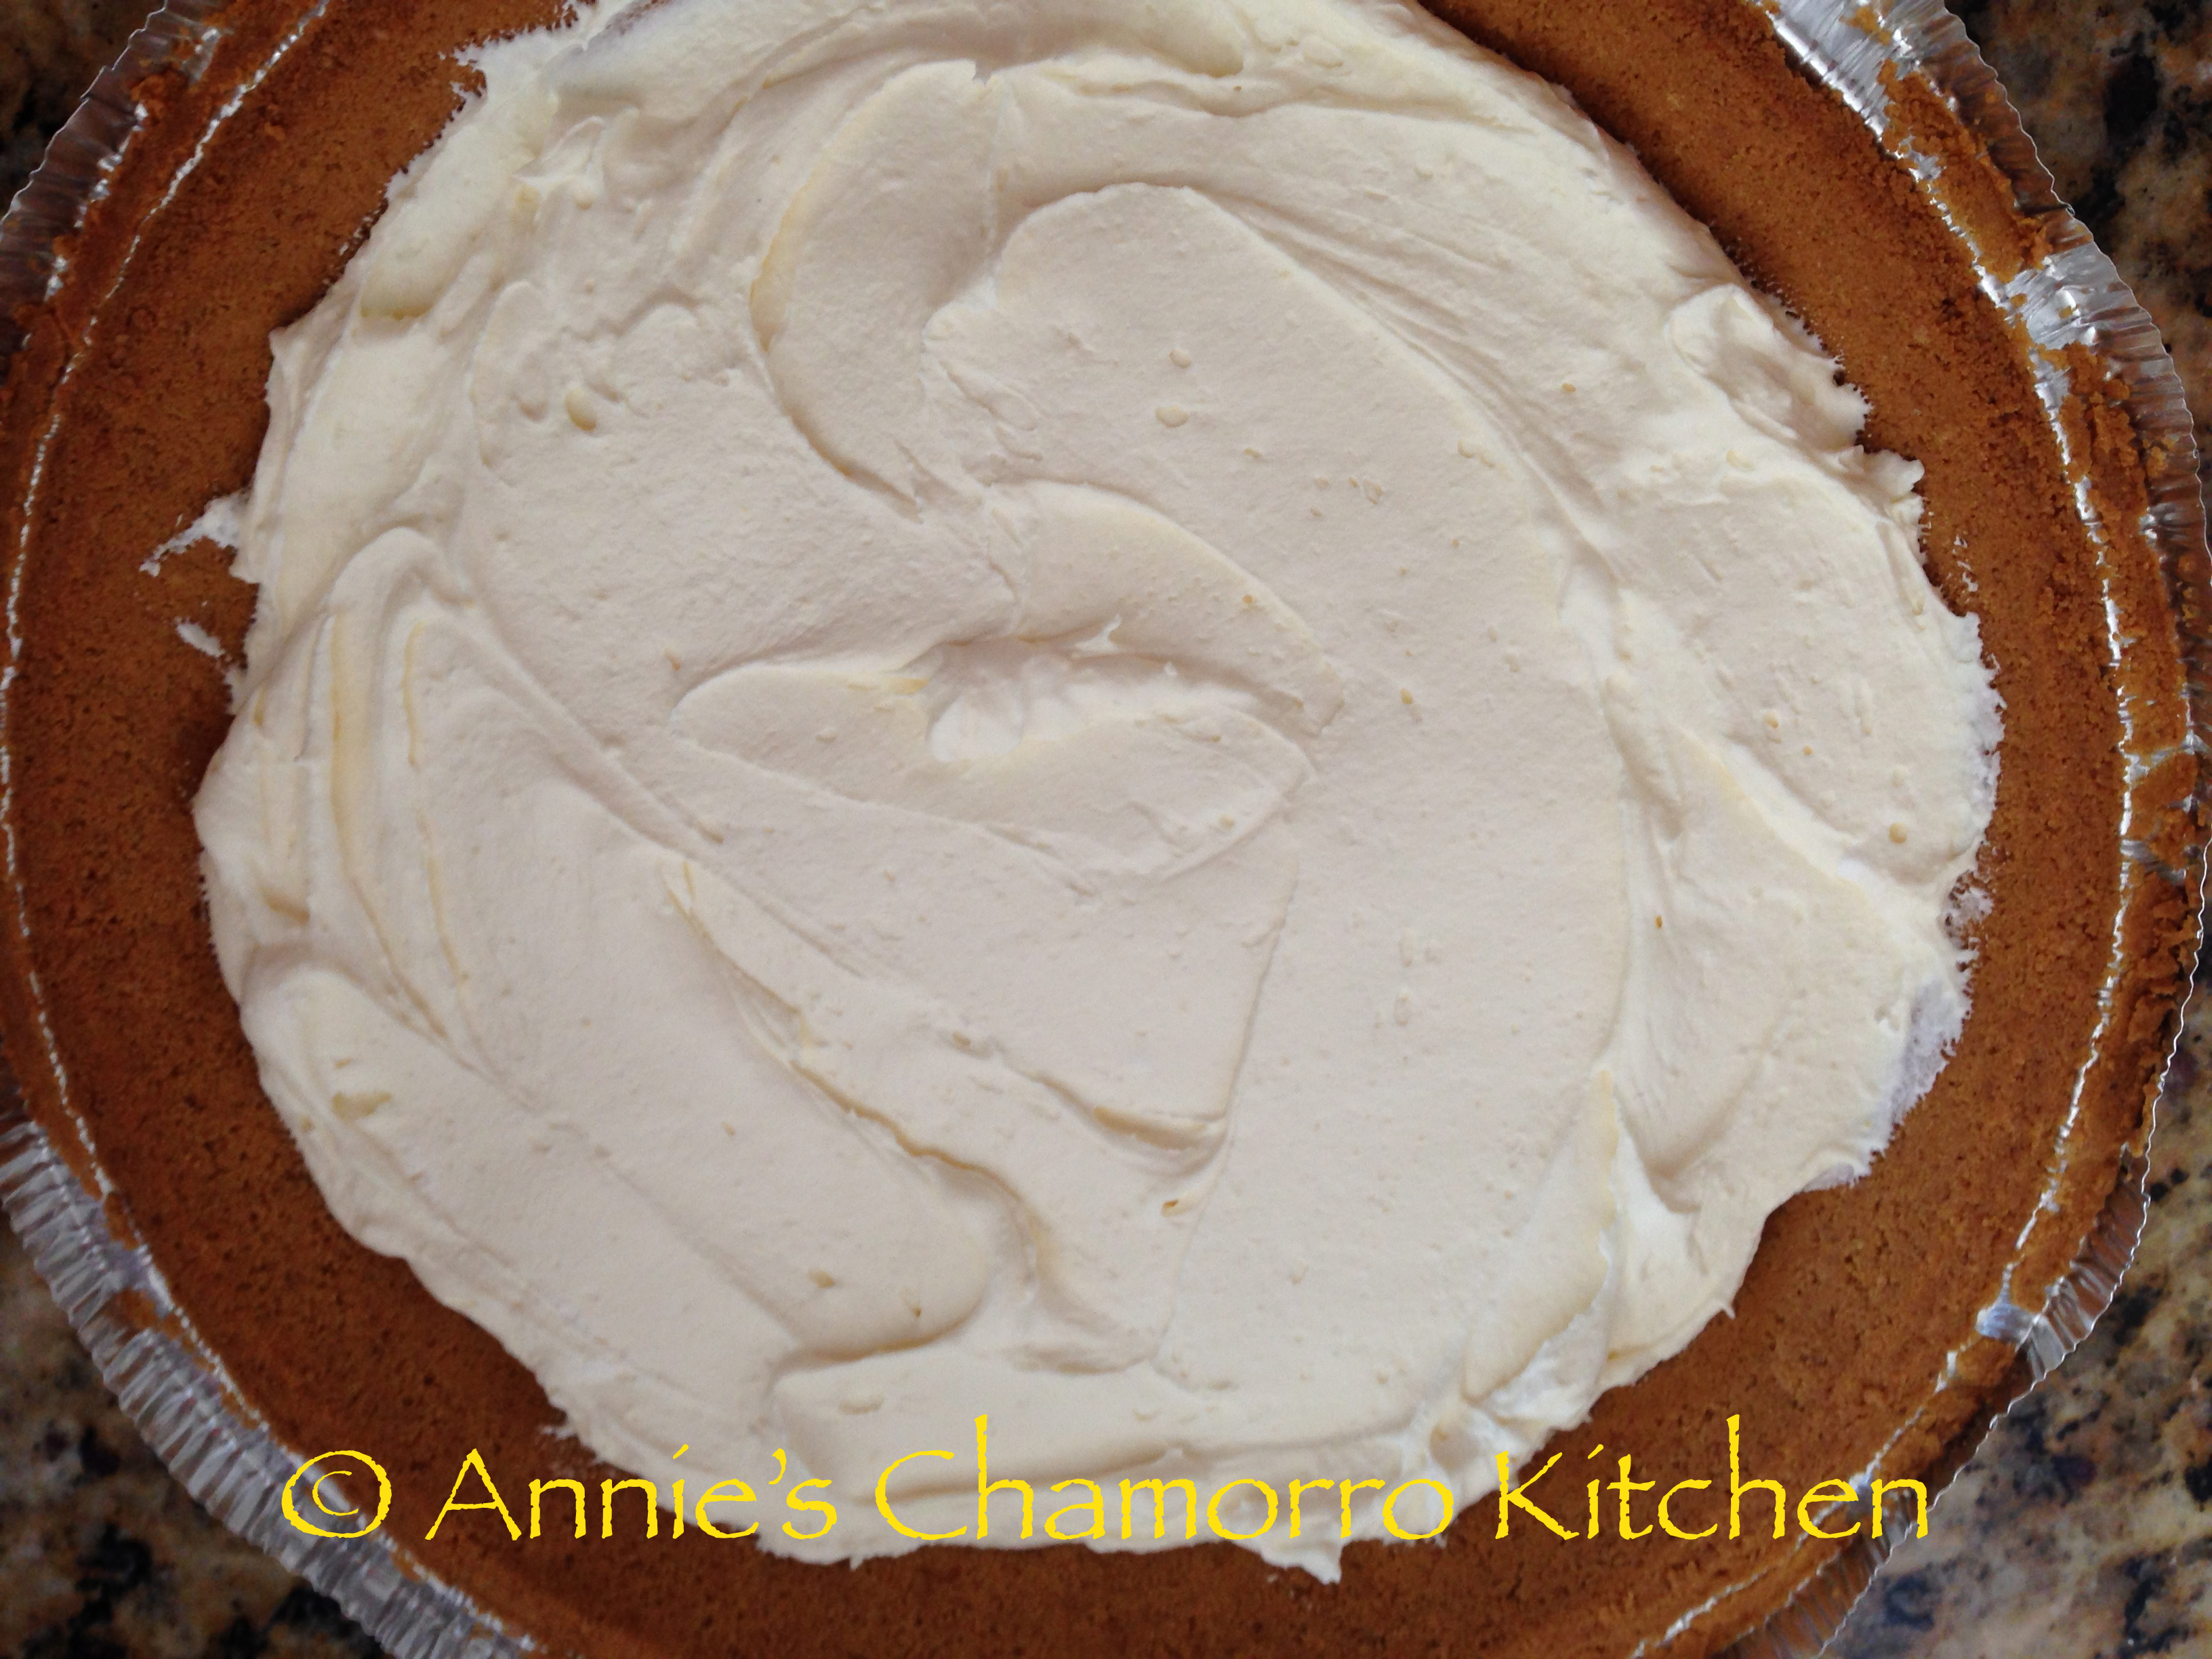
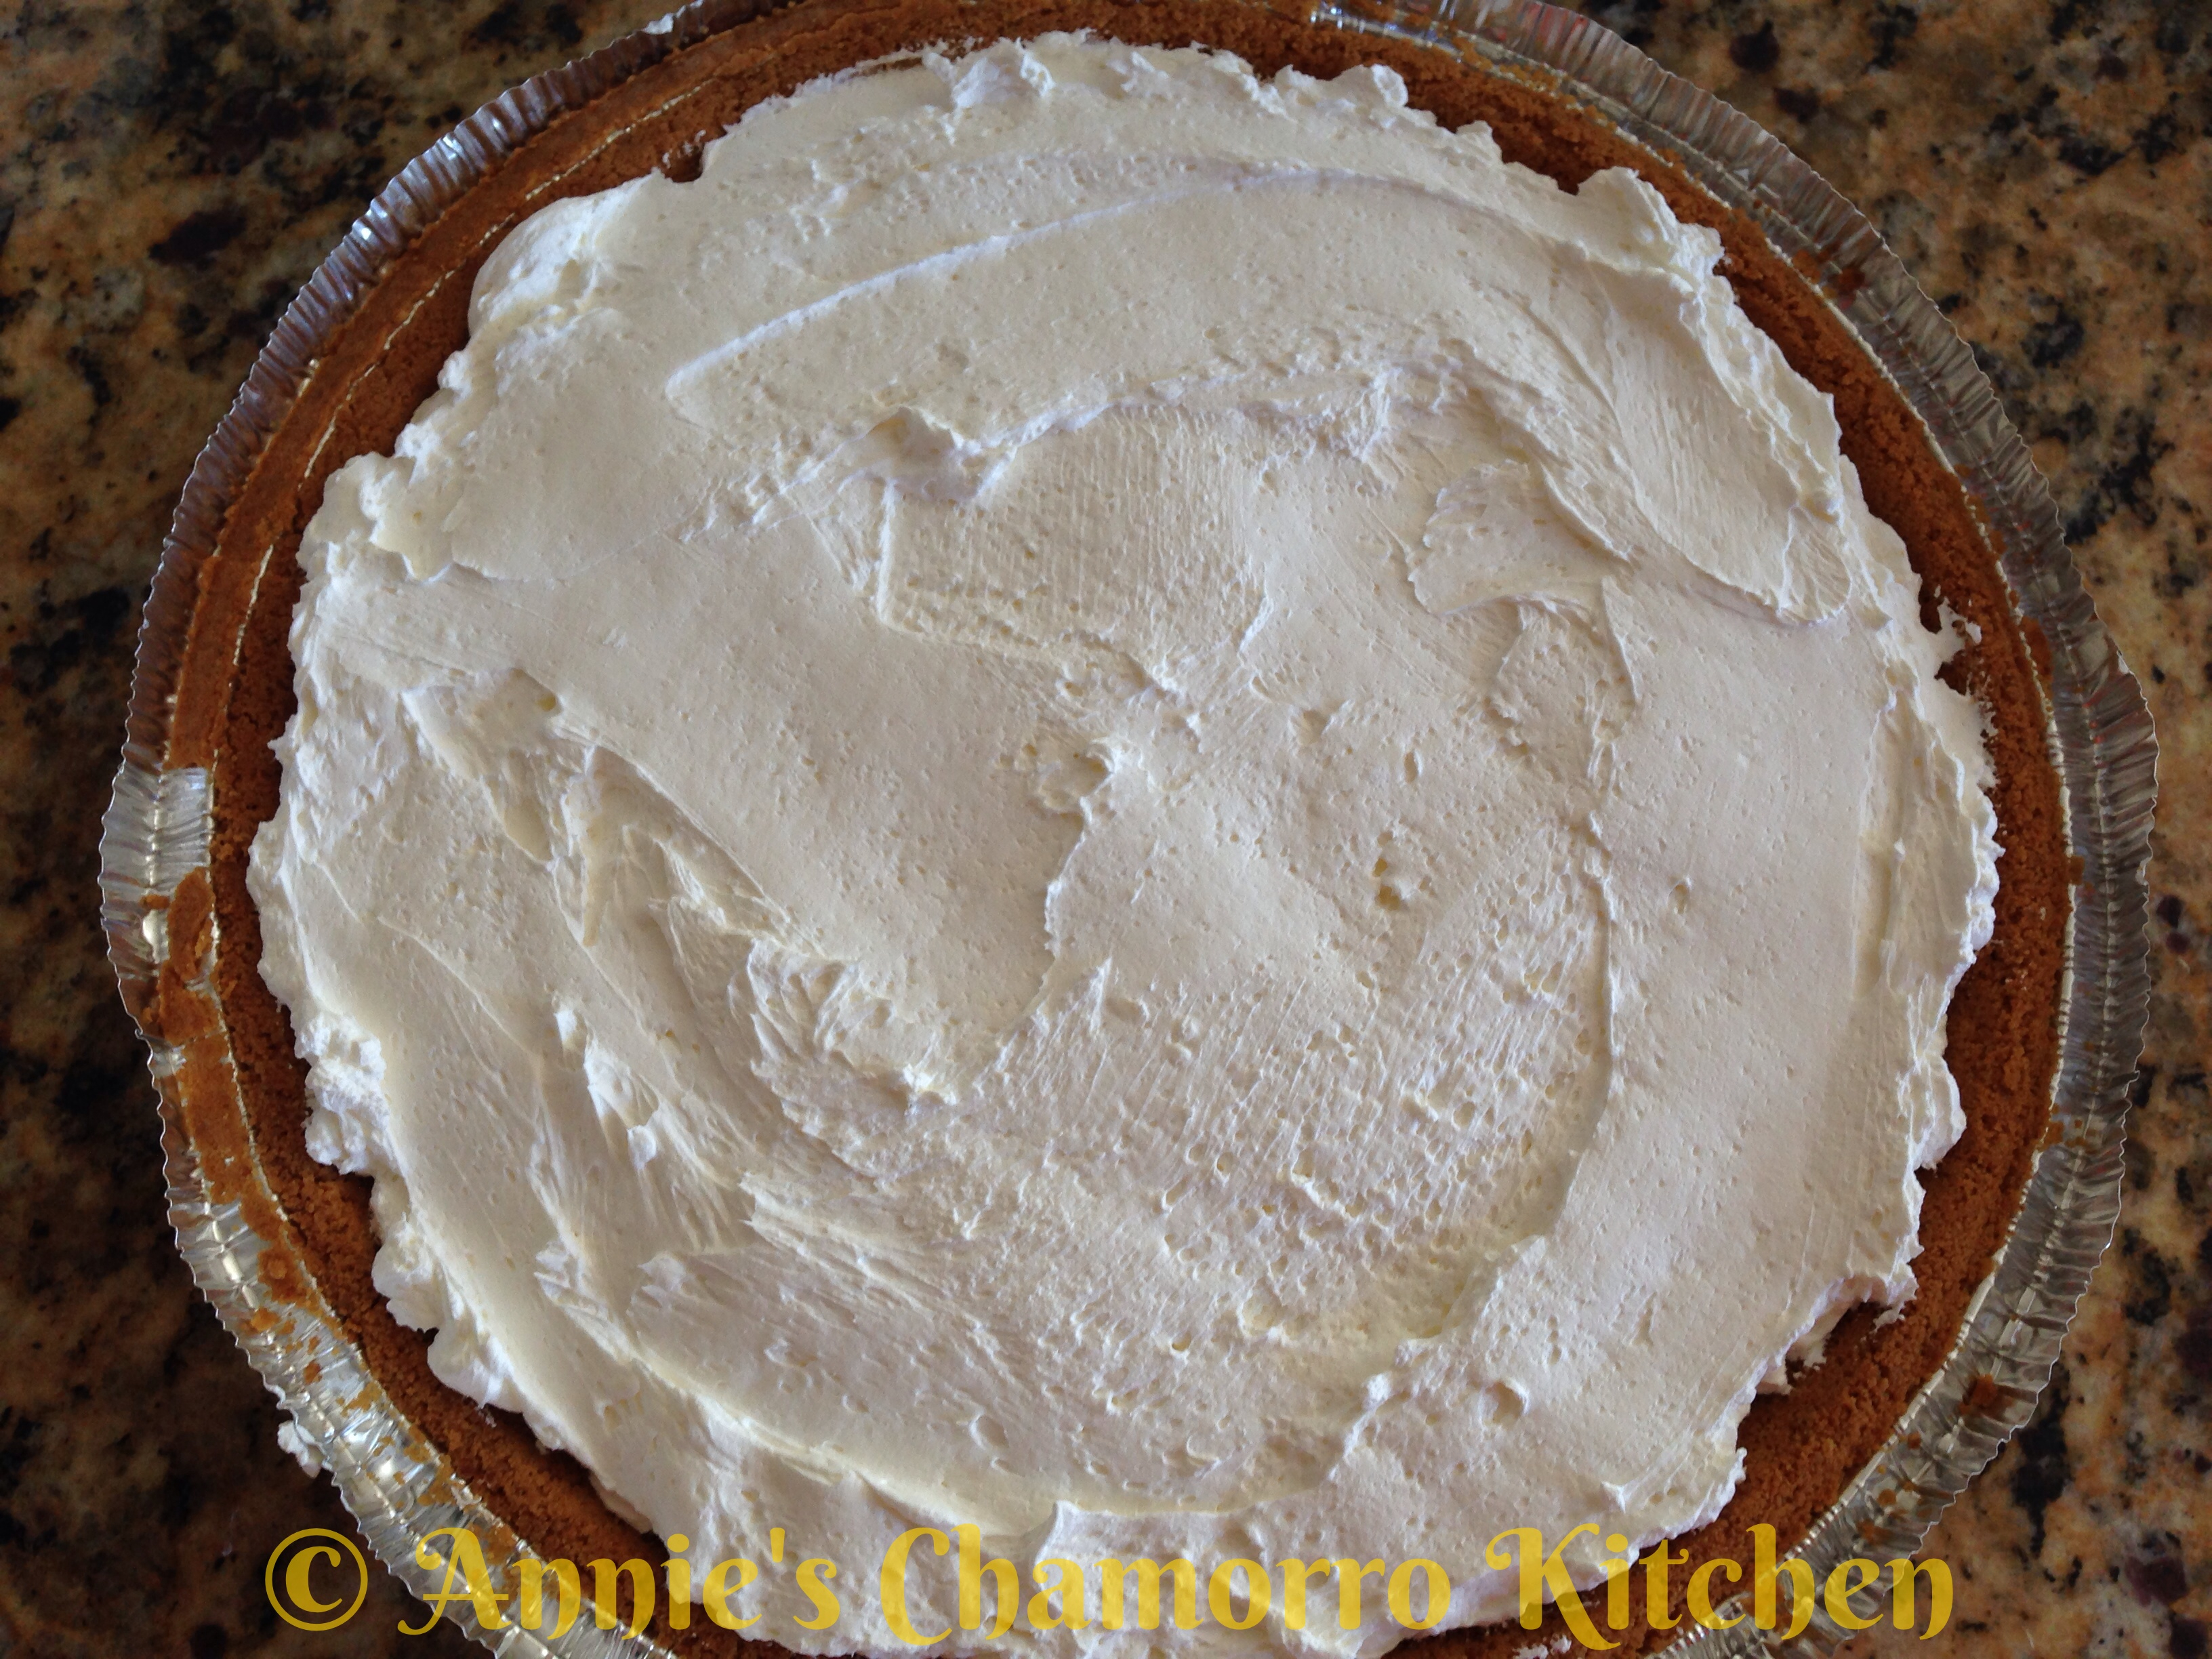
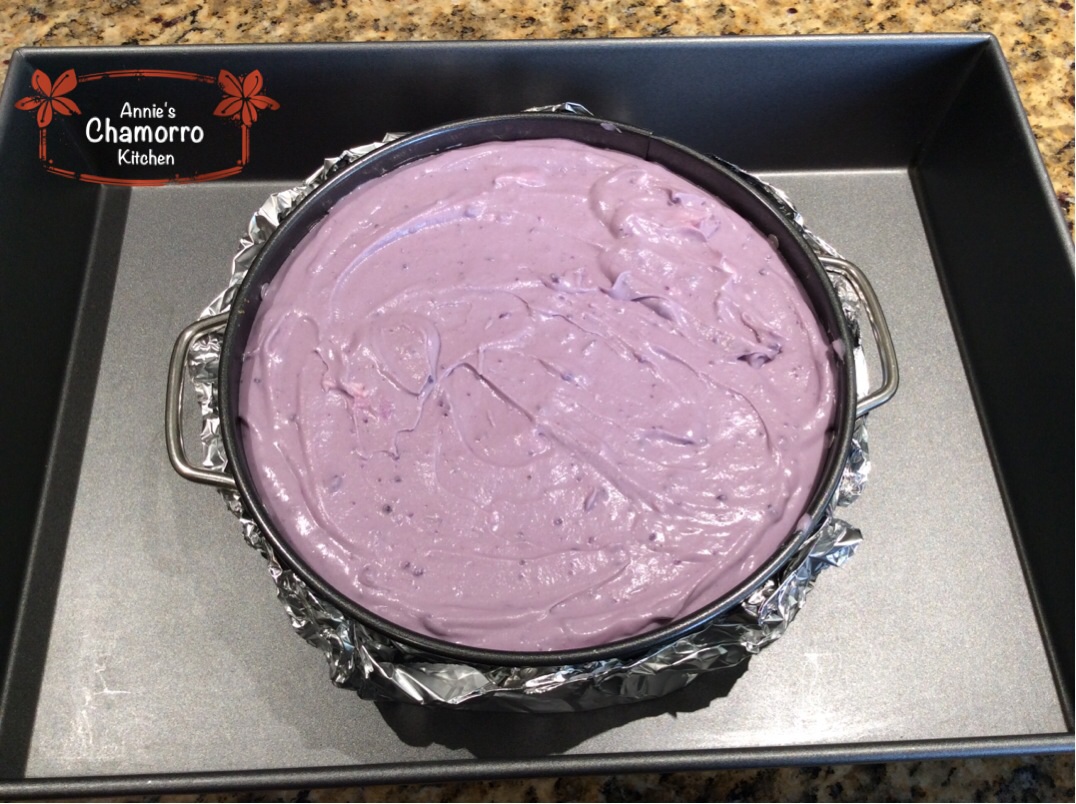
Pour the filling into the cooled crust.
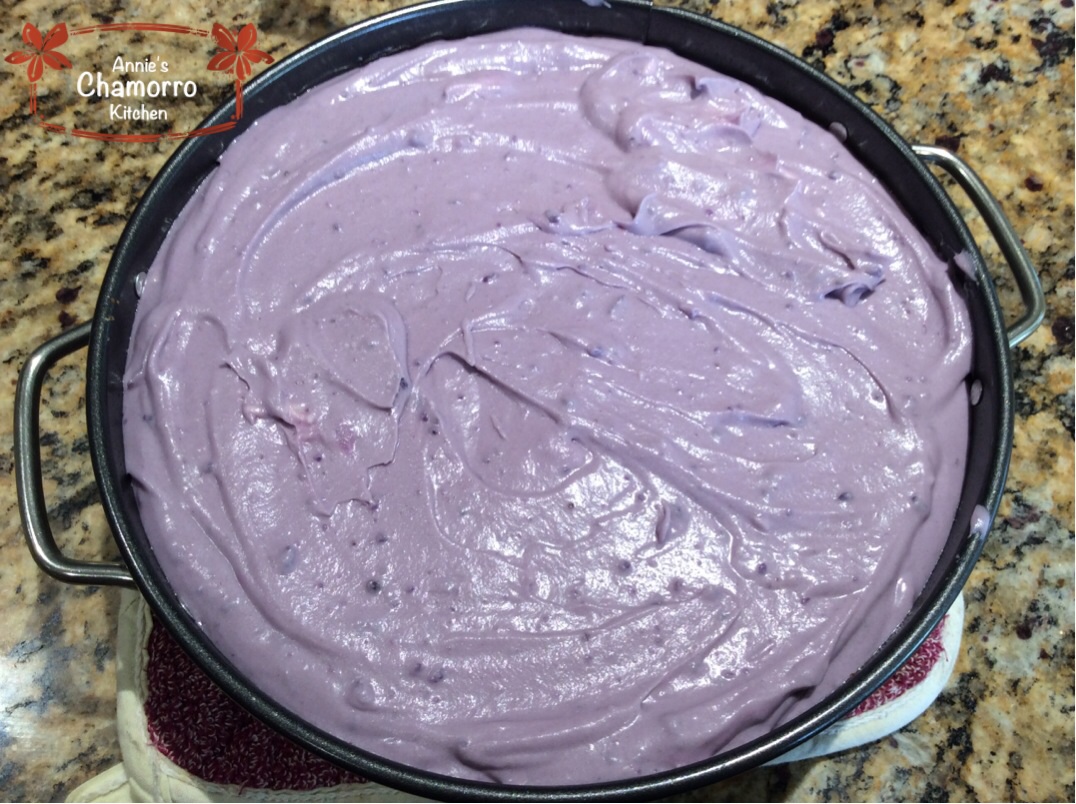
I decided to bake this cheesecake in a water bath. This prevents the top of the cheesecake from cracking during baking. You could also place a pan filled with water in the rack beneath the cheesecake. If using a water bath, place two layers of foil beneath the springform pan. Wrap the foil around the sides of the pan. This keeps the water from the water bath from seeping into the pan.
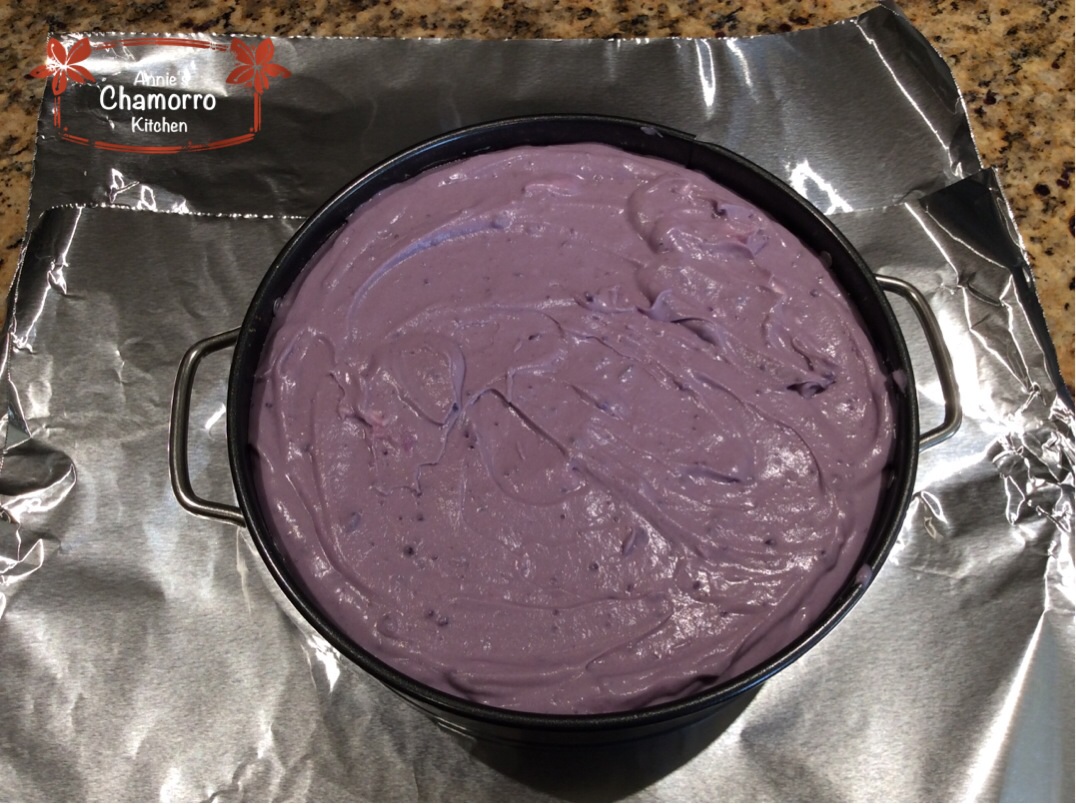
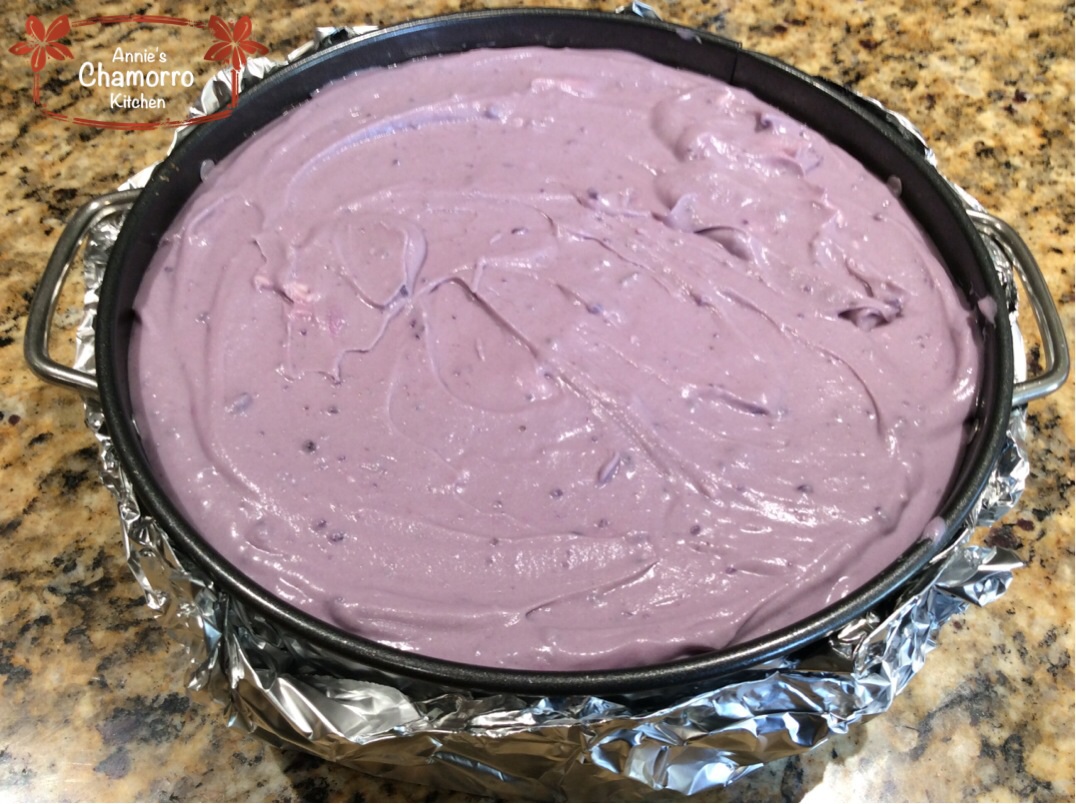
Place the foil-covered springform pan into a large roasting pan.
Place the roasting pan with the cheesecake inside it into a pre-heated 325 degree oven. Pour hot water into the roasting pan (be sure to wait until AFTER you place the pan into the oven to pour in the hot water). The water should come about halfway up the side of the springform pan.
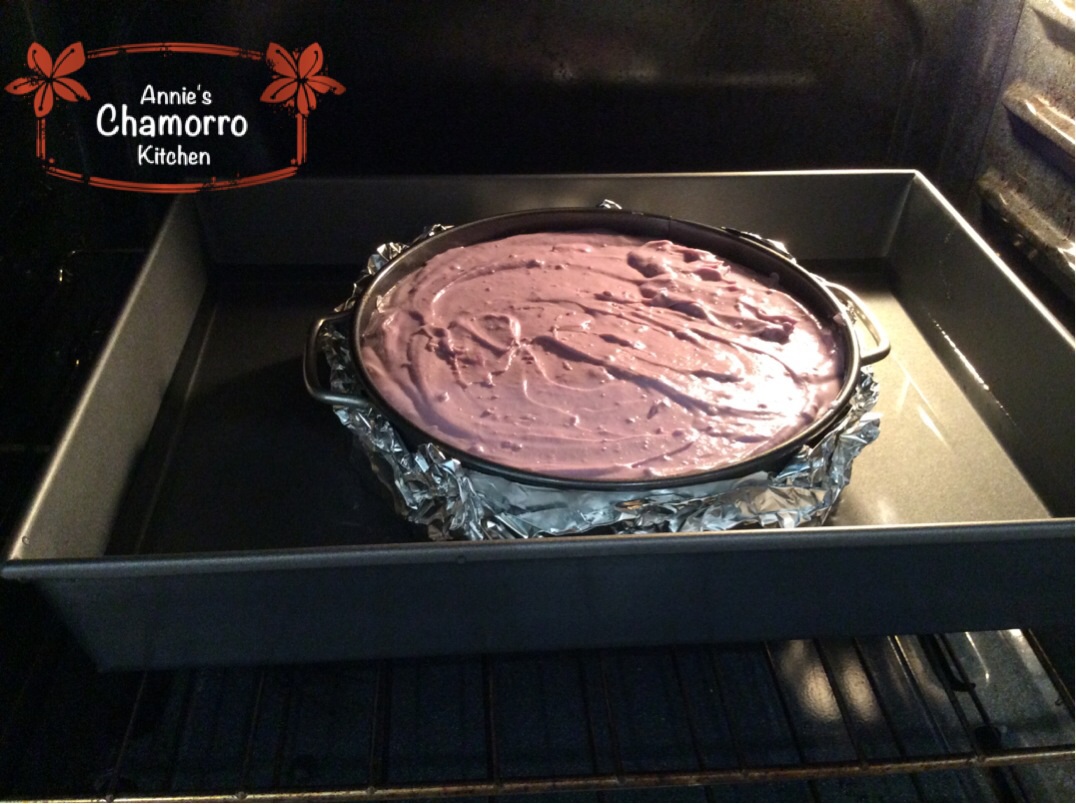
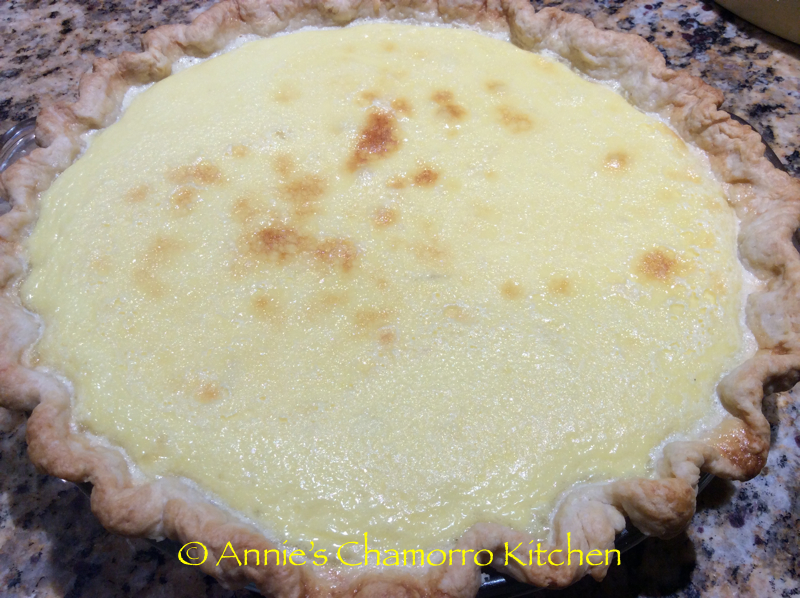
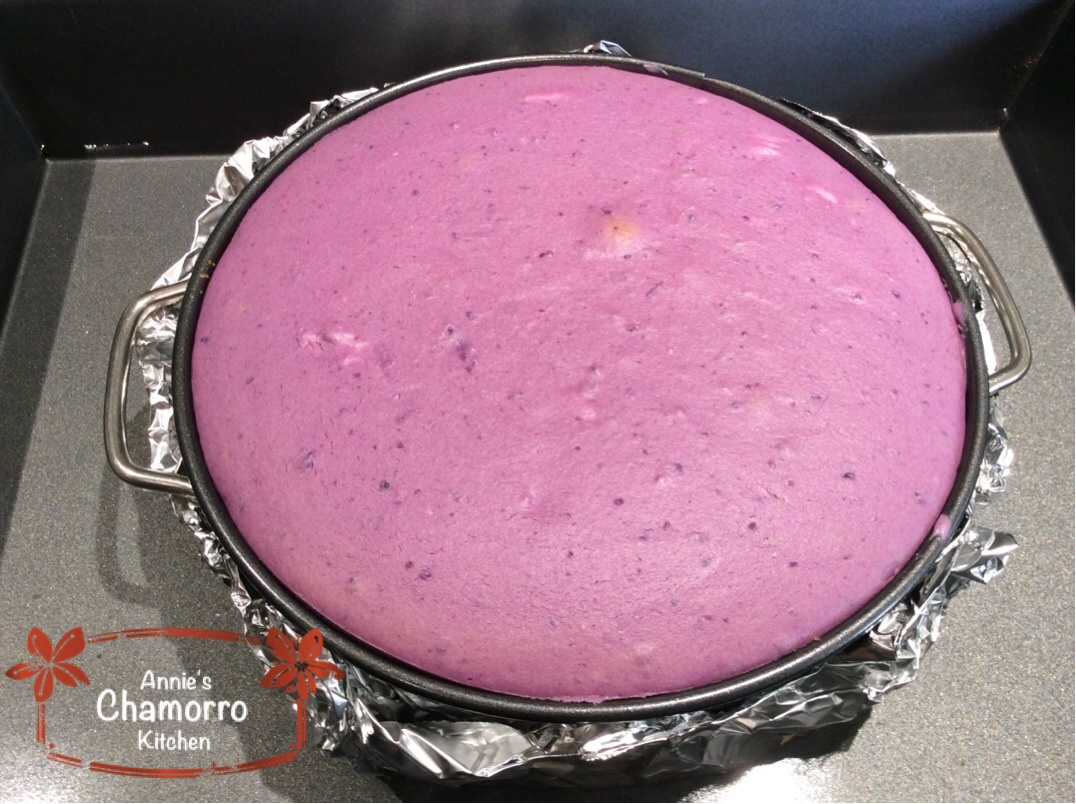
Bake for 1 1/2 hours. If you have a thermometer, take the temperature at the edge of the cheesecake to see if it is done. The cheesecake is done when the temperature reaches between 145 and 150 degrees. Or, do what I do and use the “jiggle method” to check for doneness. If you move the pan, the center of the cheesecake should move or jiggle only slightly. Too much jiggle in the middle means you need to cook it a bit longer (10-15 minutes should do it).
When the cheesecake is done, remove the roasting pan and cheesecake from the oven. CAUTION! Be very careful taking the pan out of the oven! You don’t want to spill hot water on yourself!! Leave the cheesecake in the pan of hot water for 1 hour before removing it from the roasting pan.
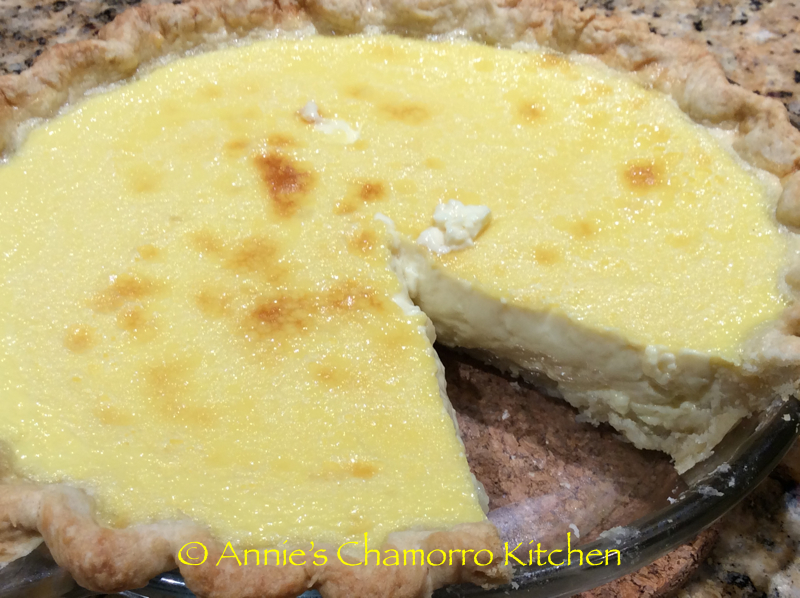
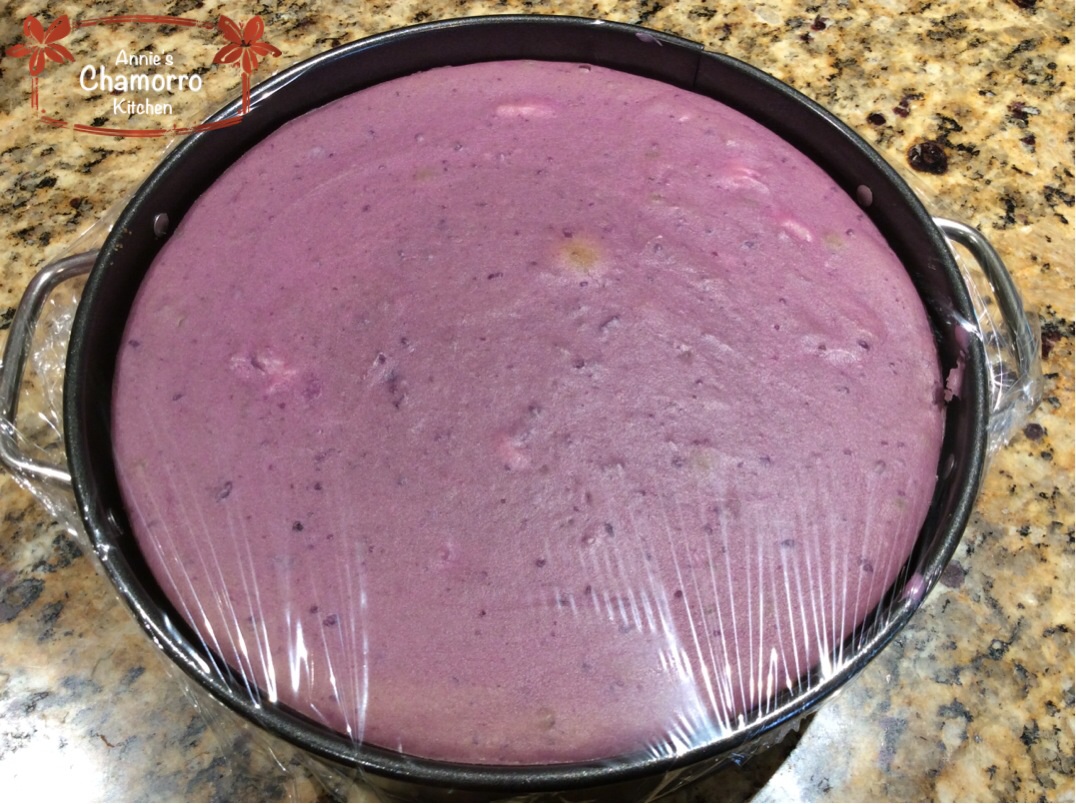
After an hour of cooling at room temperature, the cheesecake needs to now cool in the refrigerator. Cover the cheesecake with plastic wrap and chill for 4-6 more hours in the refrigerator; chilling overnight is even better.
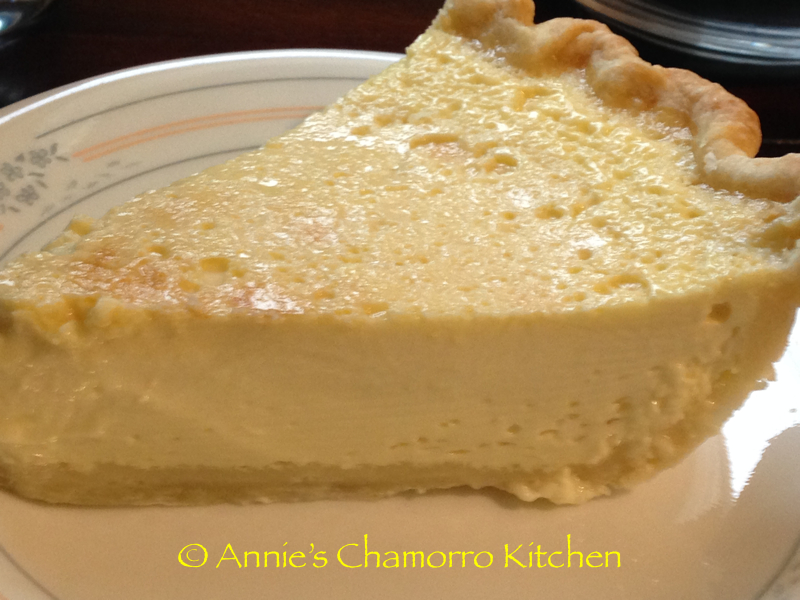
NOTE: After chilling for just 4 hours, I cut a slice of the cheesecake. The middle was still a bit softer and creamier than the edges. It appeared that the cheesecake was underdone, but it was cooked the right amount of time. All I needed to do was refrigerate it for a few more hours (overnight cooling did the trick). In the morning, the cheesecake was PERFECTLY set.
Caramelized Sugar Topping:
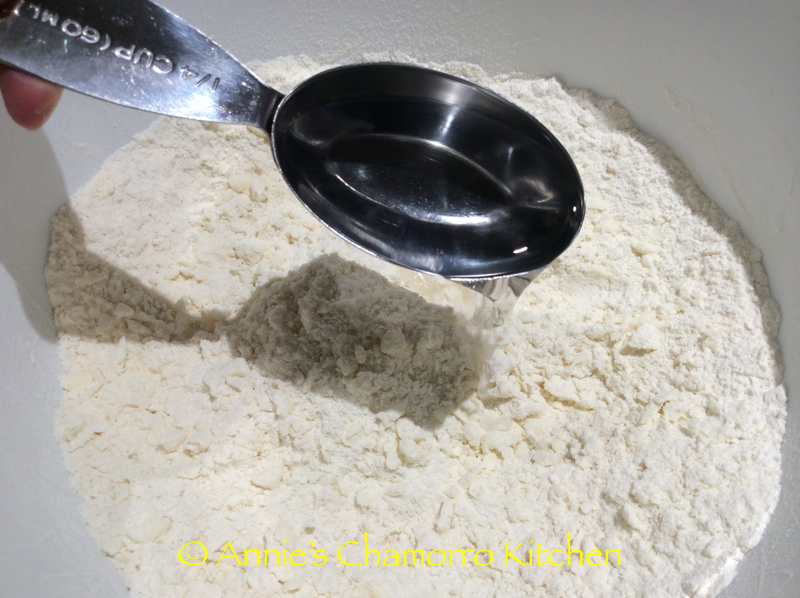
- 4 tablespoons superfine sugar
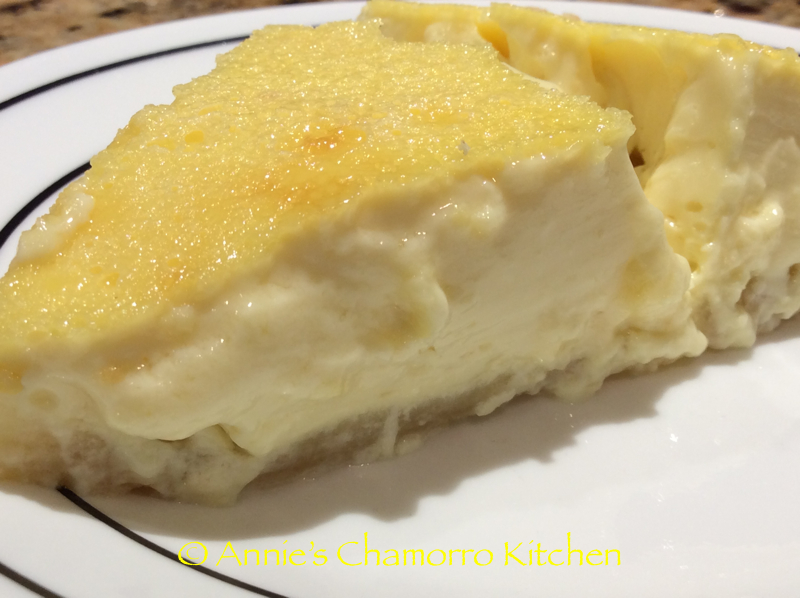
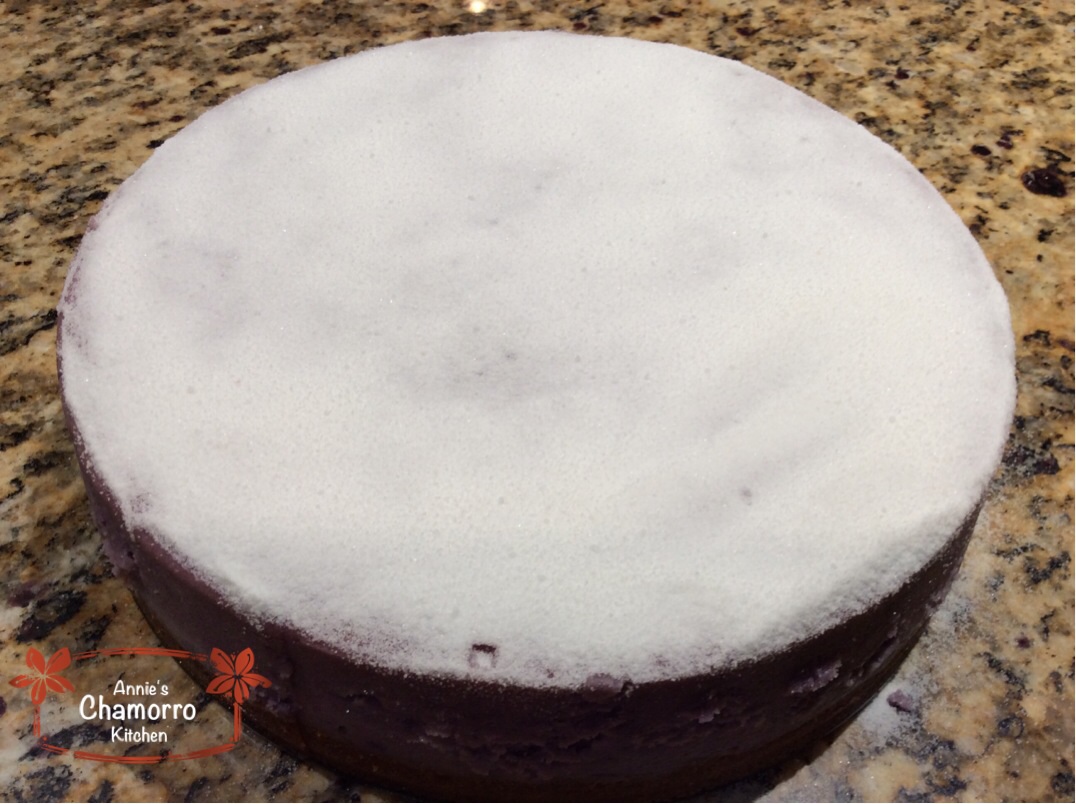
Before serving, sprinkle the superfine sugar all over the top of the slice of cheesecake.
NOTE: 4 tablespoons of sugar covers the ENTIRE cheesecake. You’ll need about one teaspoon of sugar per slice.
If you can’t find superfine sugar at your grocery store, just blend regular white, granulated sugar for a minute or two until you get superfine granules.
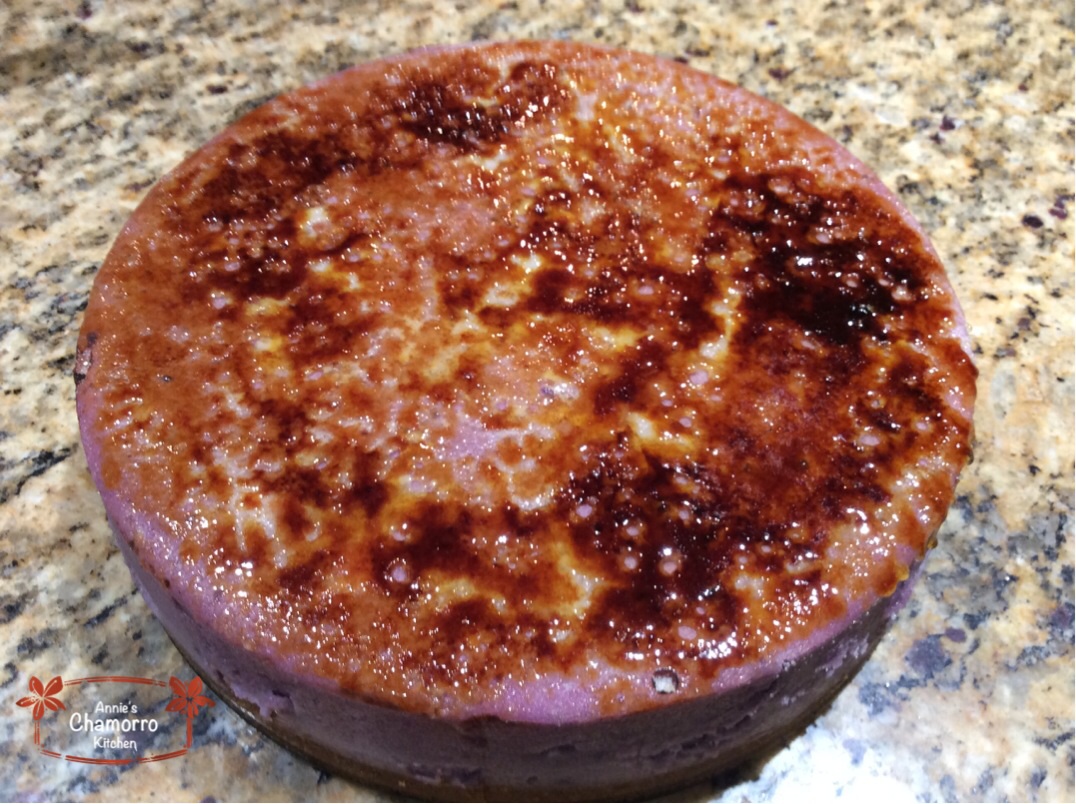
Use a creme brûlée torch to melt and caramelize the sugar. Allow the caramelized sugar to harden then serve.
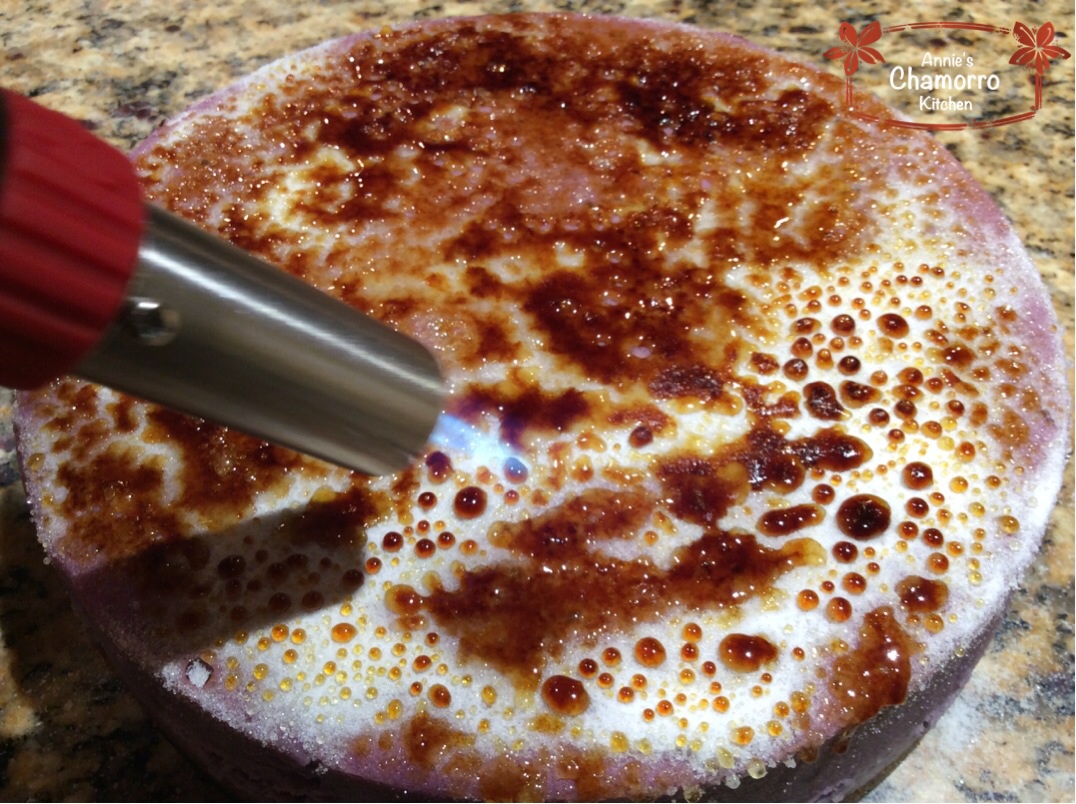
For presentation purposes (for pretty pictures 😉 ), I caramelized sugar on top of the entire cheesecake. However, I recommend you slice individual pieces of cheesecake BEFORE caramelizing sugar on top.
The melted sugar hardens and makes cutting clean slices a challenge if you caramelize sugar on top of the ENTIRE cheesecake rather than just one slice at a time.
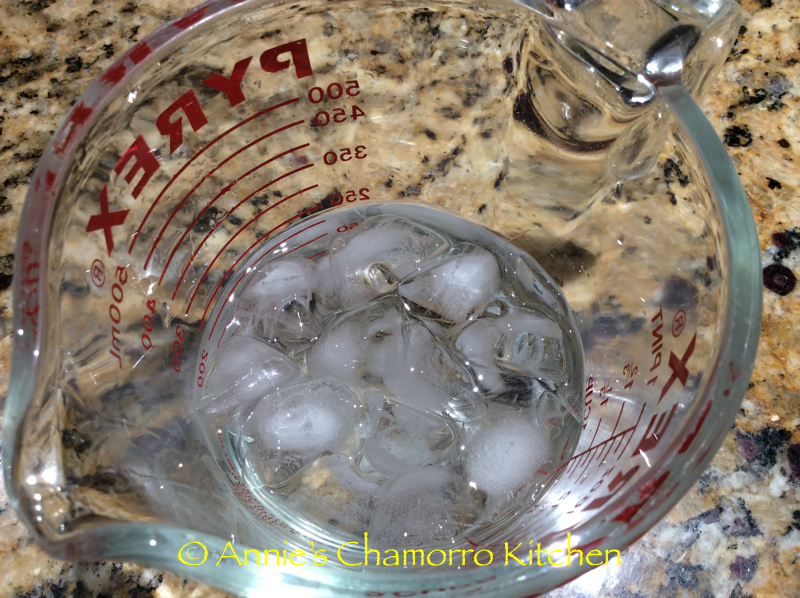
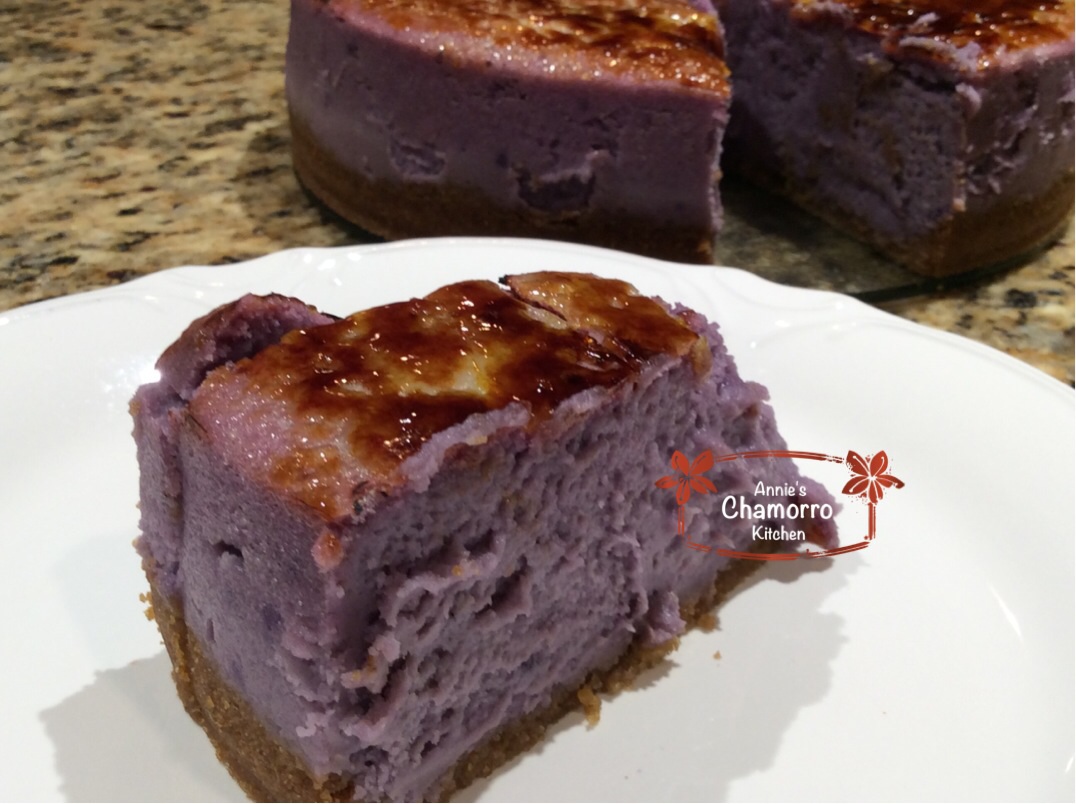
Here’s a tip for an easy way to cleanly slice the cheesecake. Dip a knife (a carving knife works well since it has a narrow blade) into a glass or pitcher of very hot water. Dry off the knife before slicing.
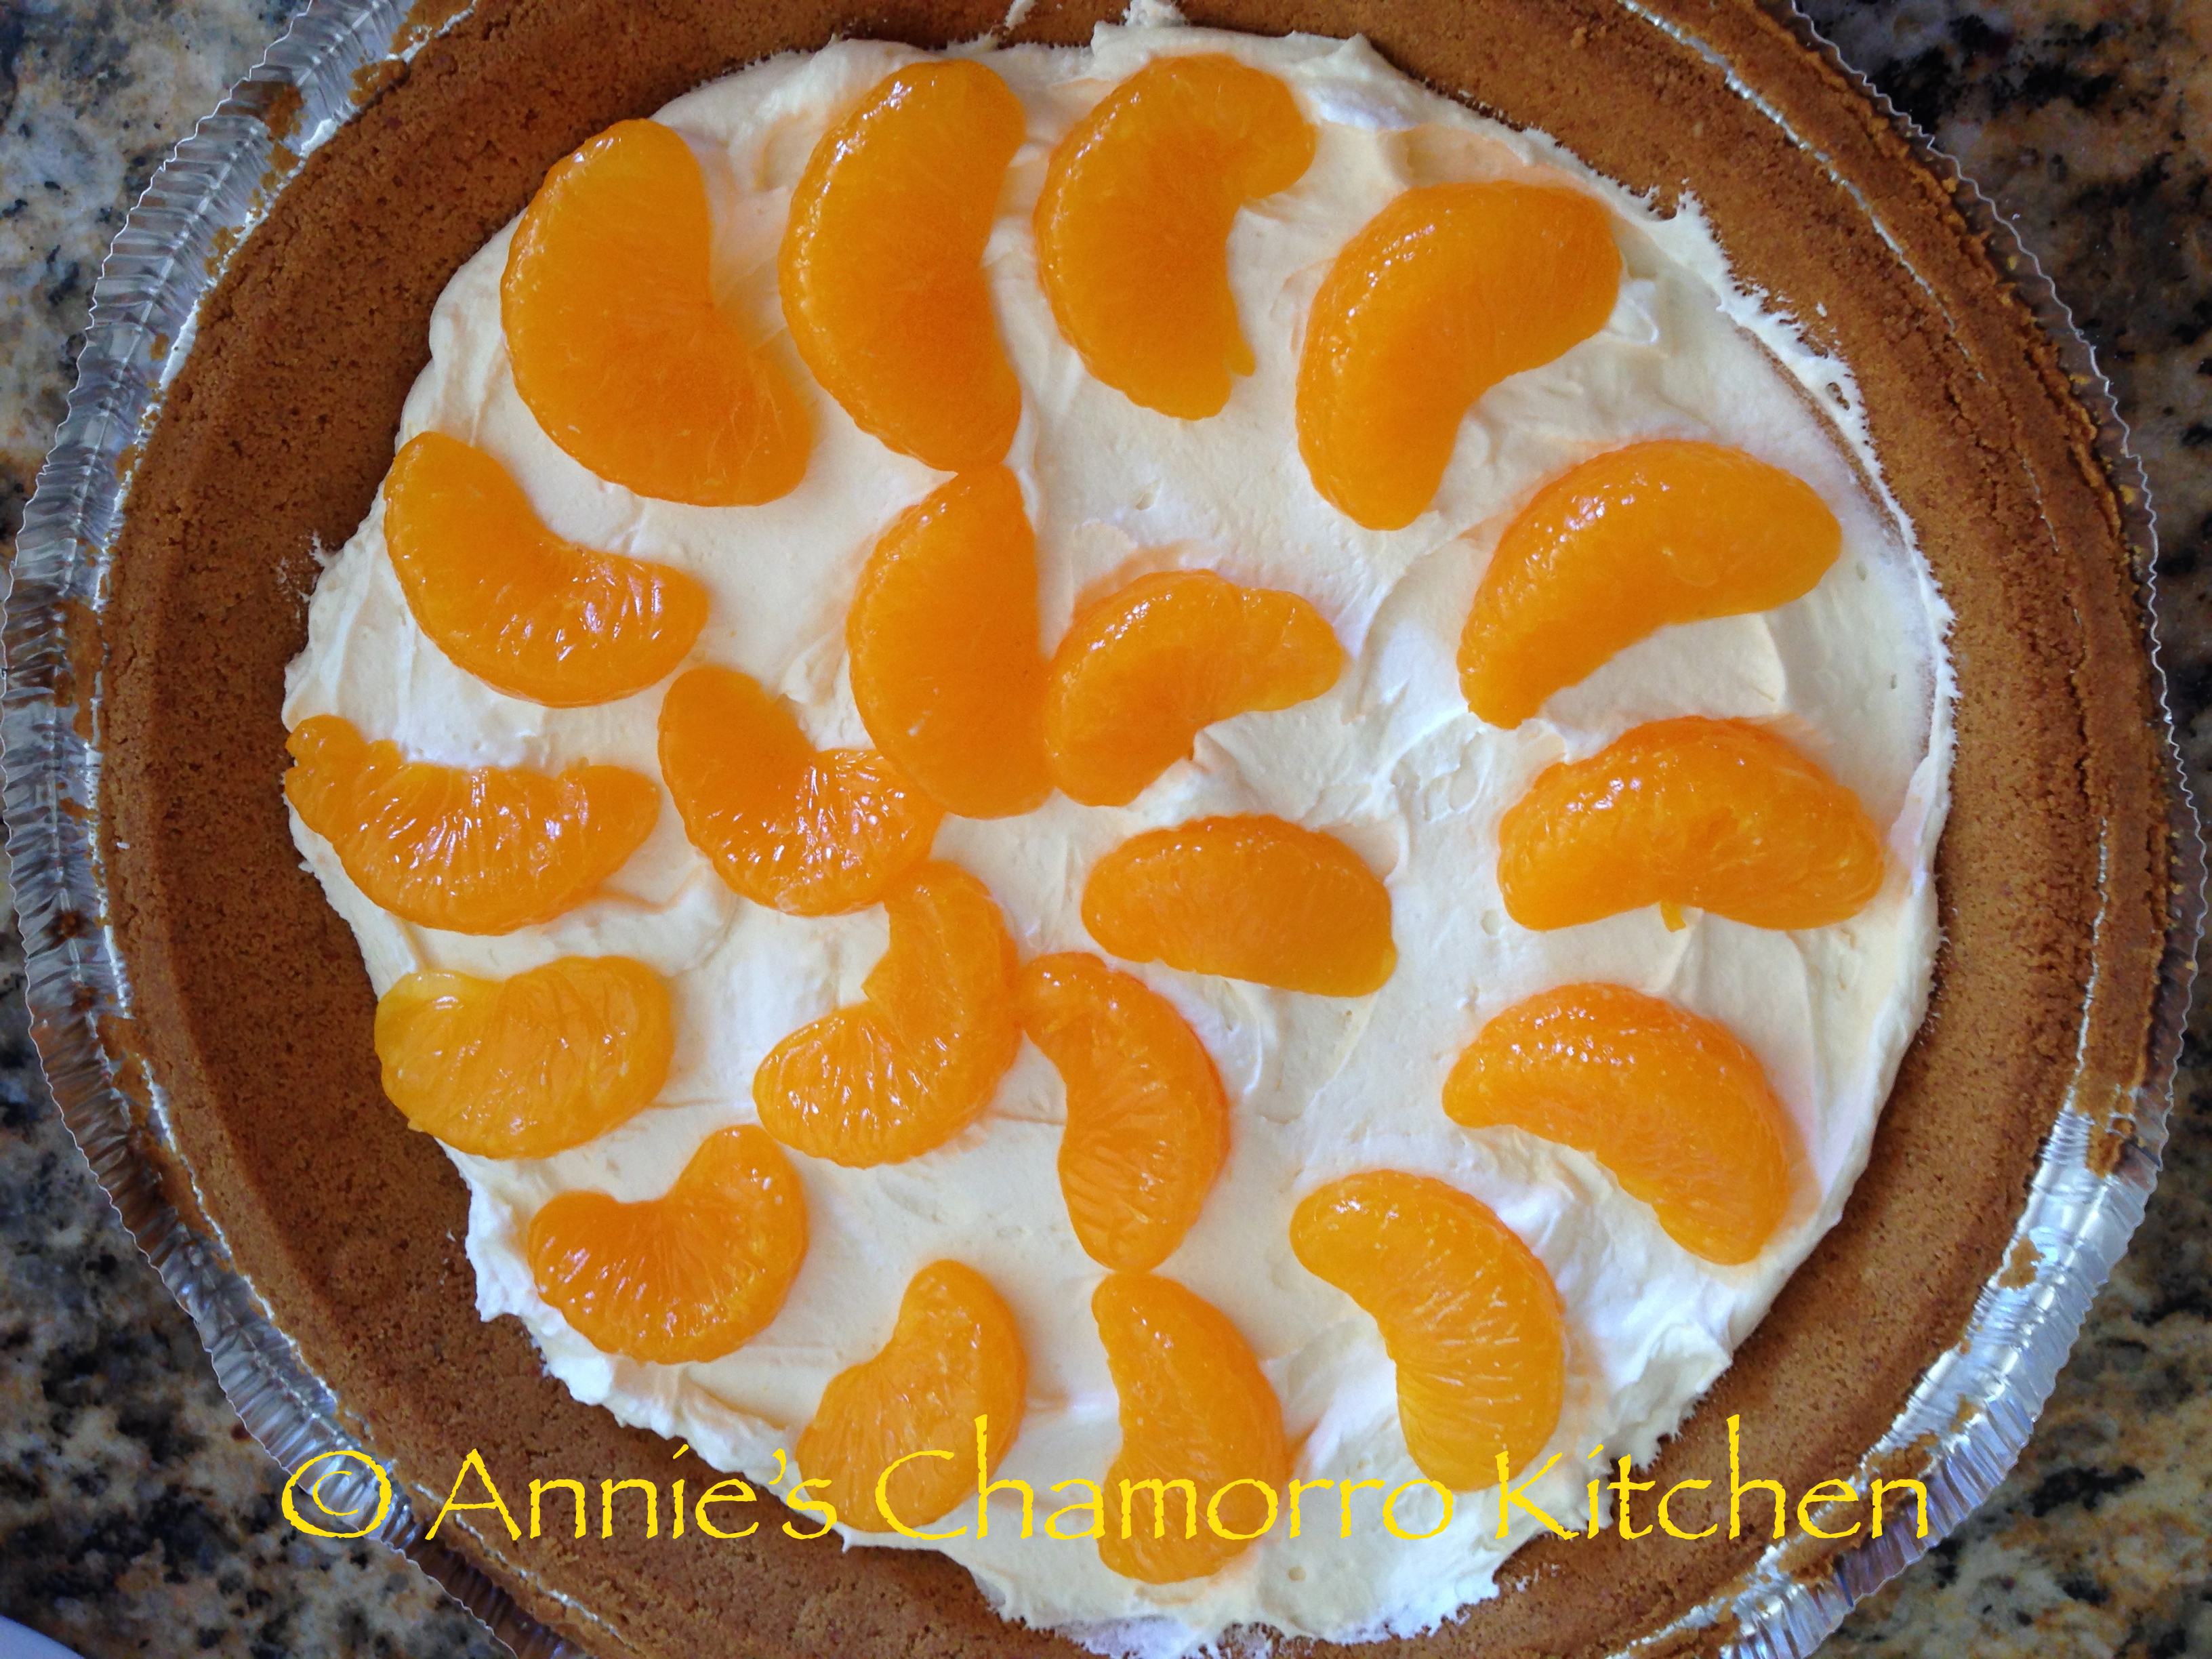
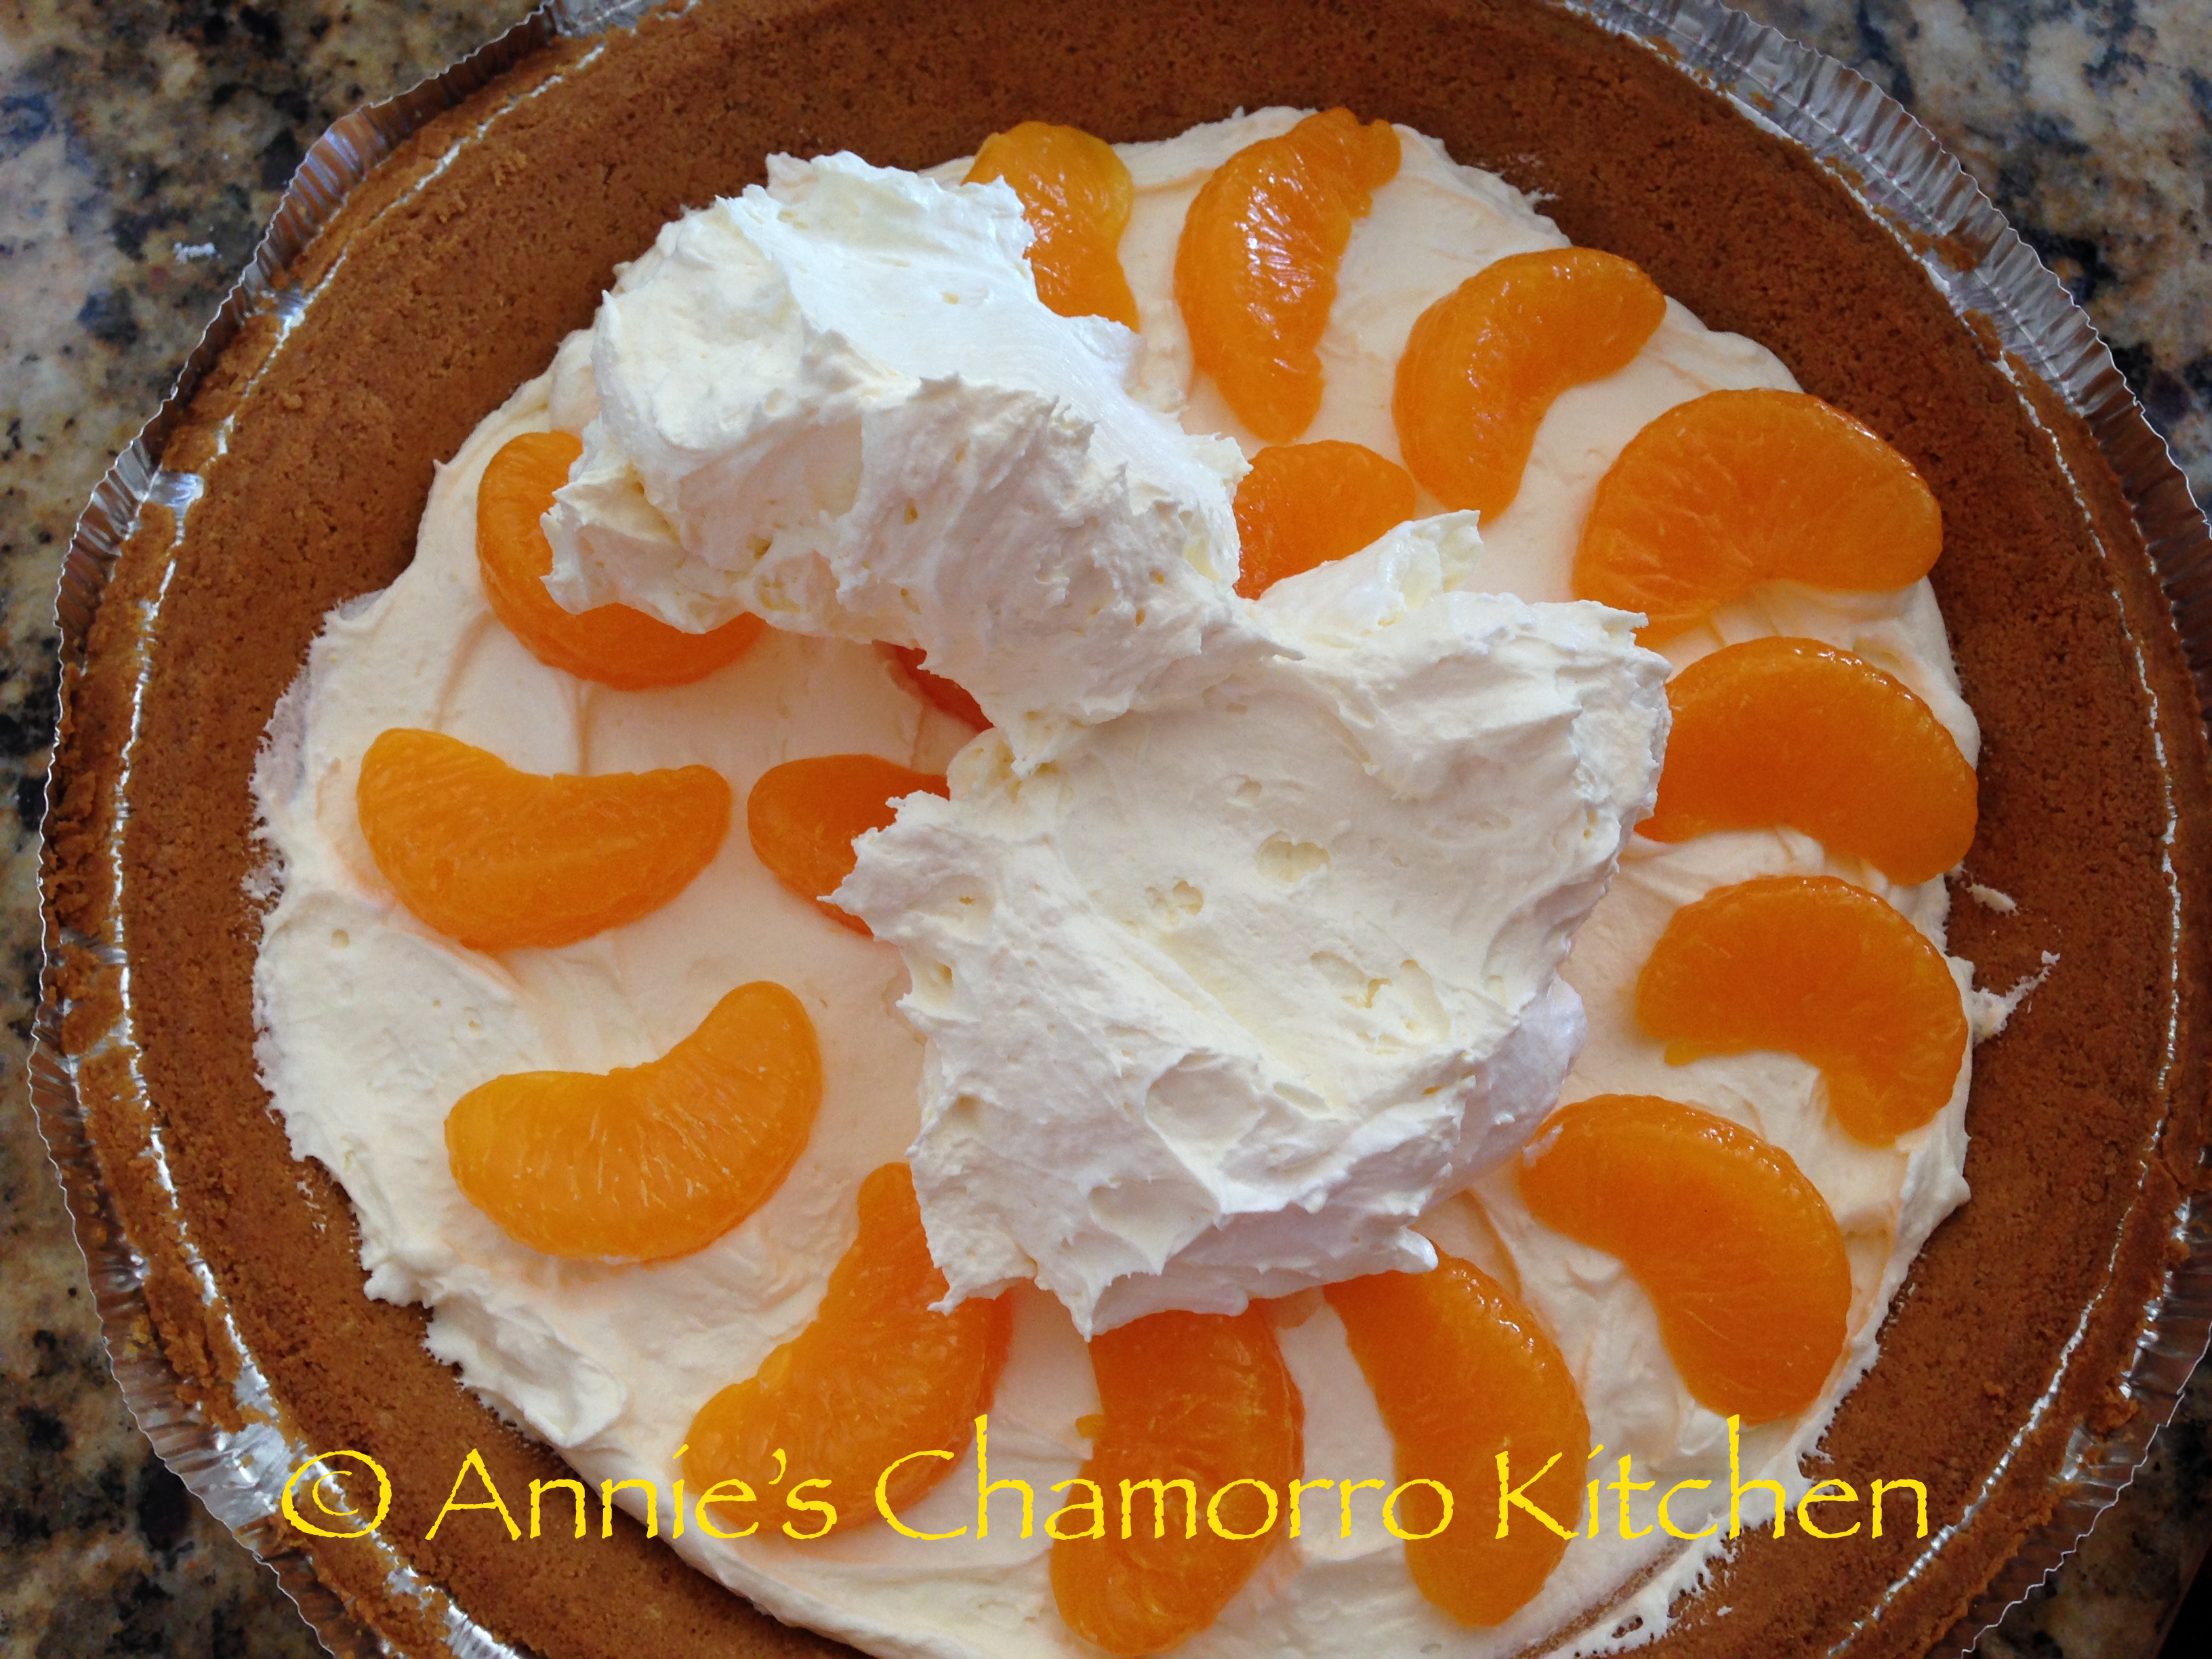
Serve and ENJOY!
- 18 plain graham cracker squares
- 3 tablespoons white, granulated sugar
- 6 tablespoons unsalted butter, melted
- 1⅓ cups white granulated sugar
- ½ teaspoon salt
- 2 packages cream cheese, softened at room temperature
- 2 cups steamed and puréed purple yam, sweet potato, or sweet taro (about 1 large or 2 medium ones)
- 1 teaspoon vanilla extract
- 5 large eggs
- 1 cup heavy cream
- 4 tablespoons superfine sugar
- Break the graham crackers into small pieces and place in a food processor. Pulse until you get fine crumbs.
- Place the crumbs into a small mixing bowl. Stir in the sugar, then fold in the melted butter.
- Spread the crumb mixture into the bottom of a 9-inch springform pan. Press the crumbs evenly on the bottom and slightly up the sides of the pan.
- Bake for 15 minutes at 325 degrees F, or until the crust is a rich brown color. Set aside to cool.
- If you’re using fresh yams (you can use frozen), peel then cut into cubes. Steam for 25-30 minutes or until soft through the middle. Place the steamed yams in a food process; pulse until the yams are smooth and creamy. Place the puréed yams in between several paper towels; press firmly to squeeze out as much water as possible. Set aside while you make the filling.
- Whisk the sugar and salt together in a small bowl. Set aside.
- Add the cream cheese to a large mixing bowl. Mix on medium low until creamy. Add the sugar-salt mixture to the cream cheese in thirds. Mix after each addition until creamy.
- Add the puréed yams and vanilla extract to the cream cheese mixture. Mix on medium speed for a minute, until the yams are just incorporated with the cream cheese.
- Add 3 eggs to the mixing bowl; mix for a minute then add the remaining 2 eggs. Mix for a minute.
- Add the heavy cream to the mixing bowl; mix for another minute.
- Pour the batter into the cooled crust.
- Wrap the bottom of the springform pan with two sheets of aluminum foil. Place the pan into a large roasting pan. Place the roasting pan into the oven. Pour hot water into the roasting pan, adding enough water to fill to halfway up the side of the springform pan.
- Bake in an oven preheated to 325 degrees F for 90 minutes (1½ hours). The cheesecake should measure between 145 and 150 degrees F when done, and the middle should jiggle slightly.
- Remove the roasting pan from the oven (CAUTION! BE CAREFUL NOT TO SPILL ANY HOT WATER WHILE TAKING THE ROASTING PAN OUT OF THE OVEN!).
- Leave the cheesecake in the pan of hot water for 1 hour before removing it from the roasting pan. After that hour, cover the cheesecake (still in the springform pan) with plastic wrap and refrigerate overnight.
- Slice the cheesecake into pieces.
- Sprinkle superfine sugar over individual pieces, about 1 teaspoon per slice. Use a cooking blow torch to melt and caramelize the sugar.
- Serve and enjoy!