Archive for Fina’ Mames (Chamorro Desserts)

Cassava Cake

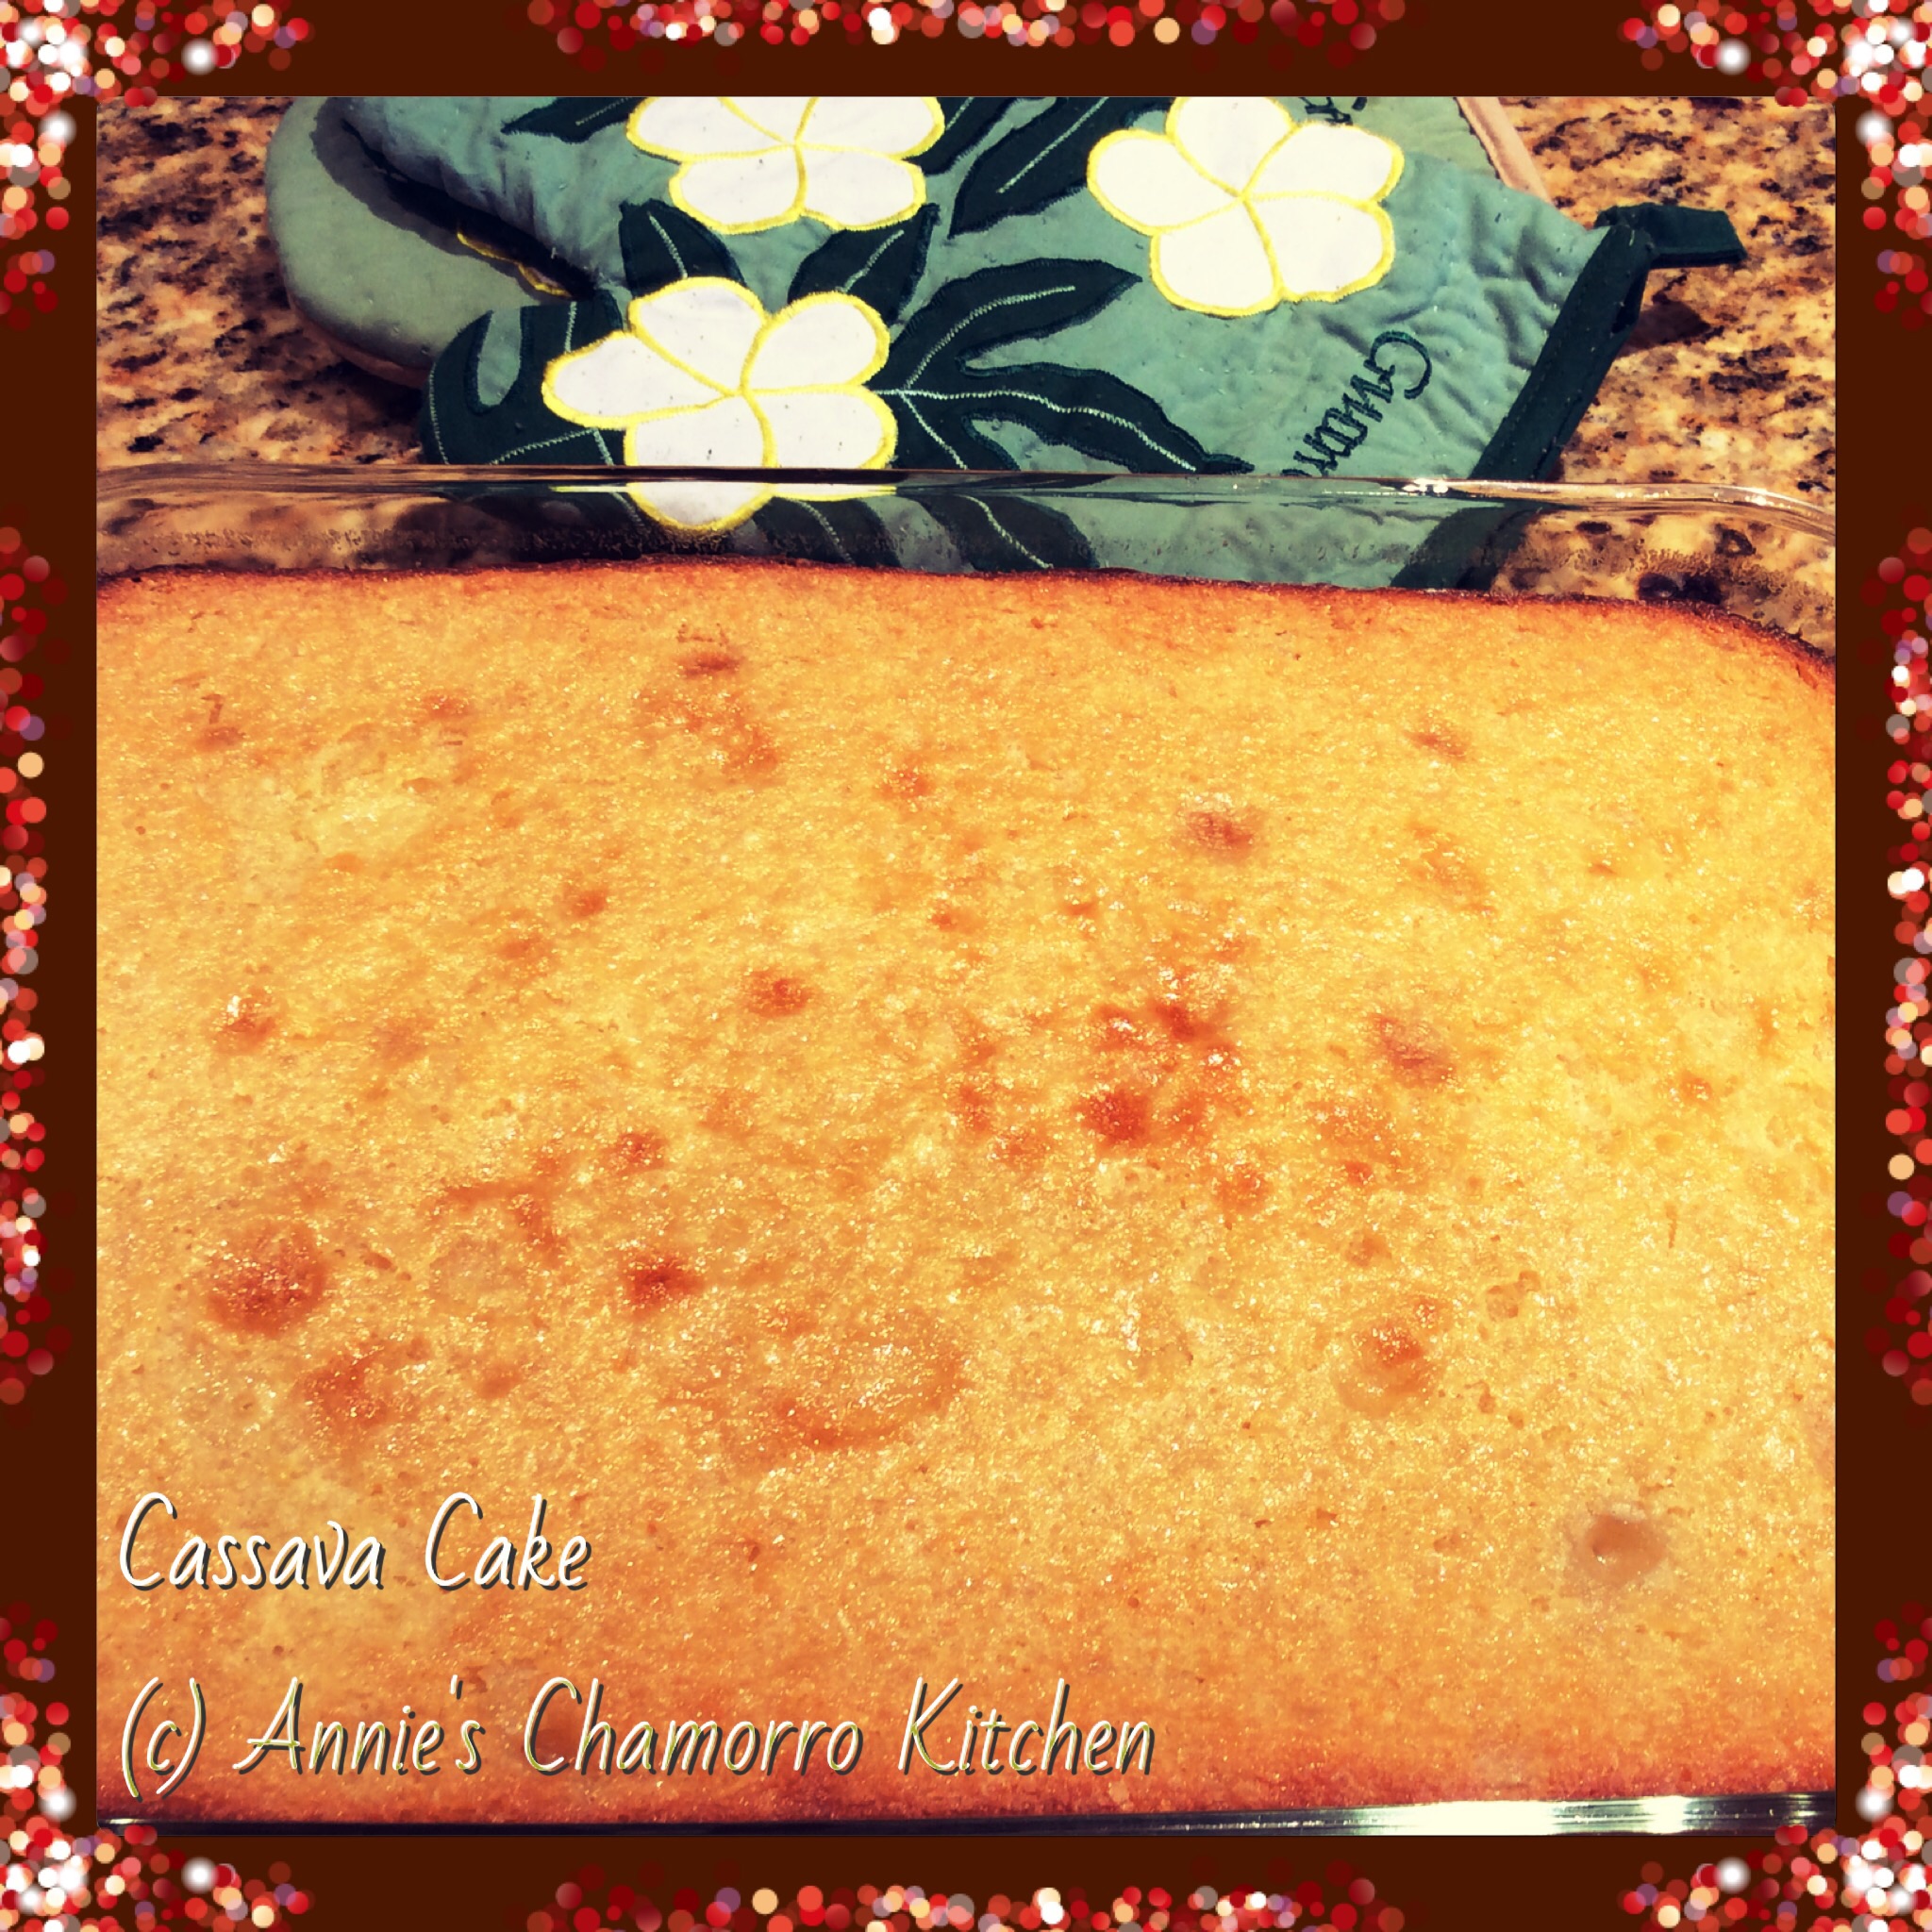
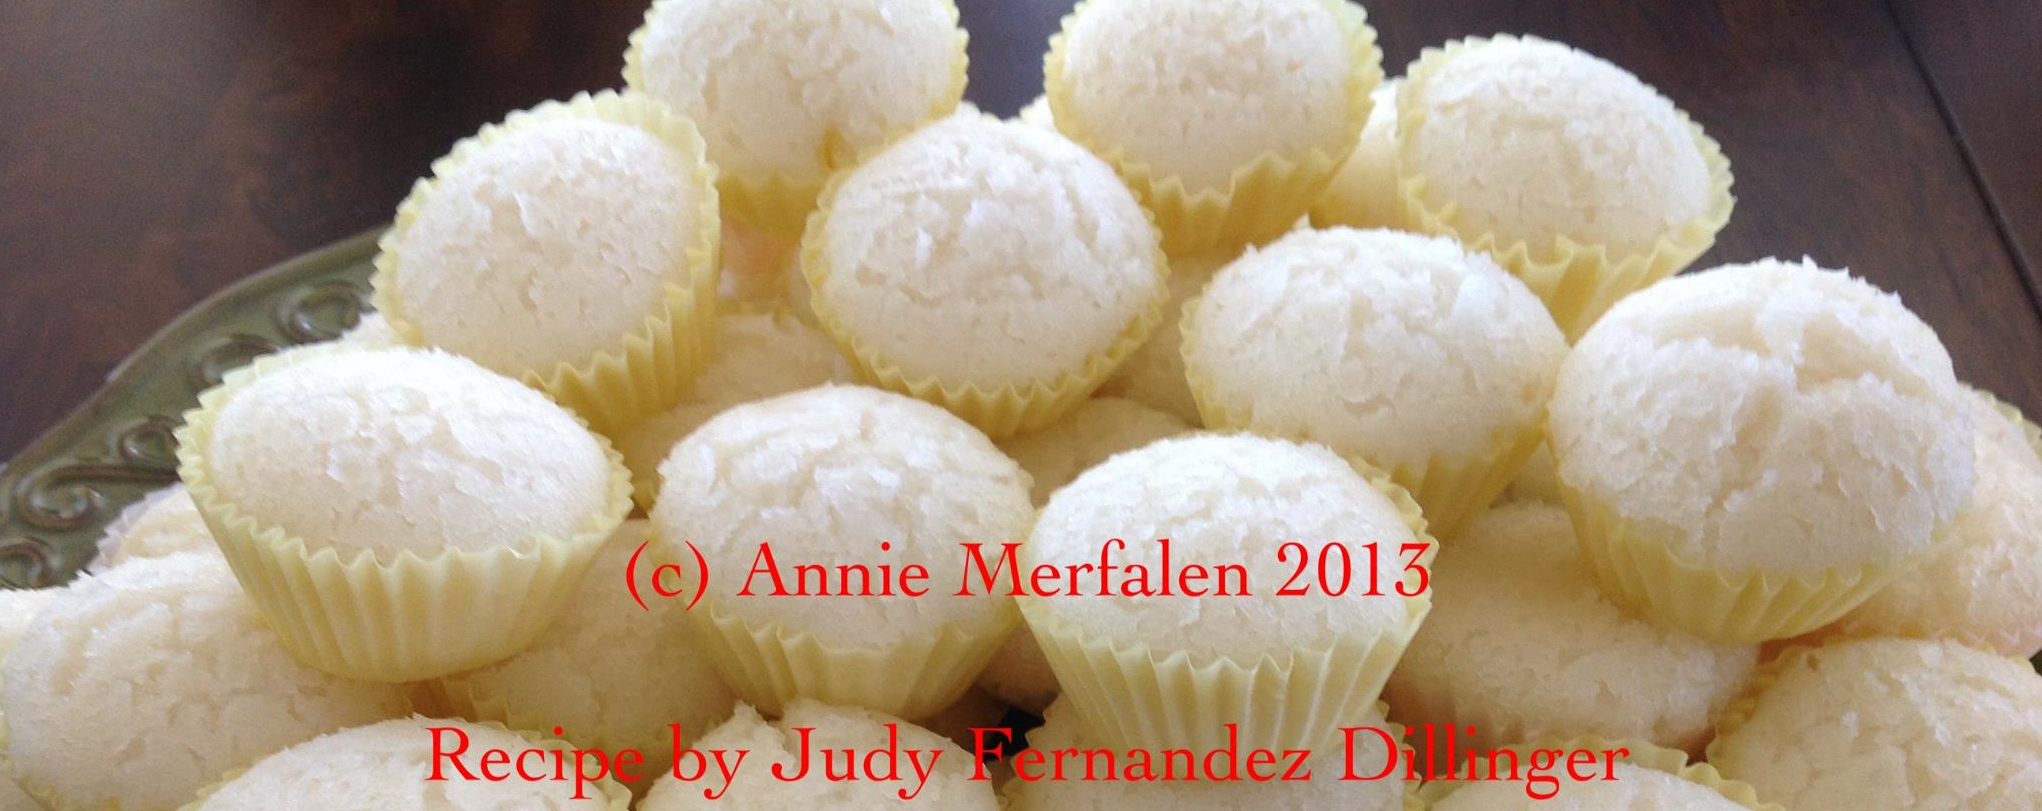
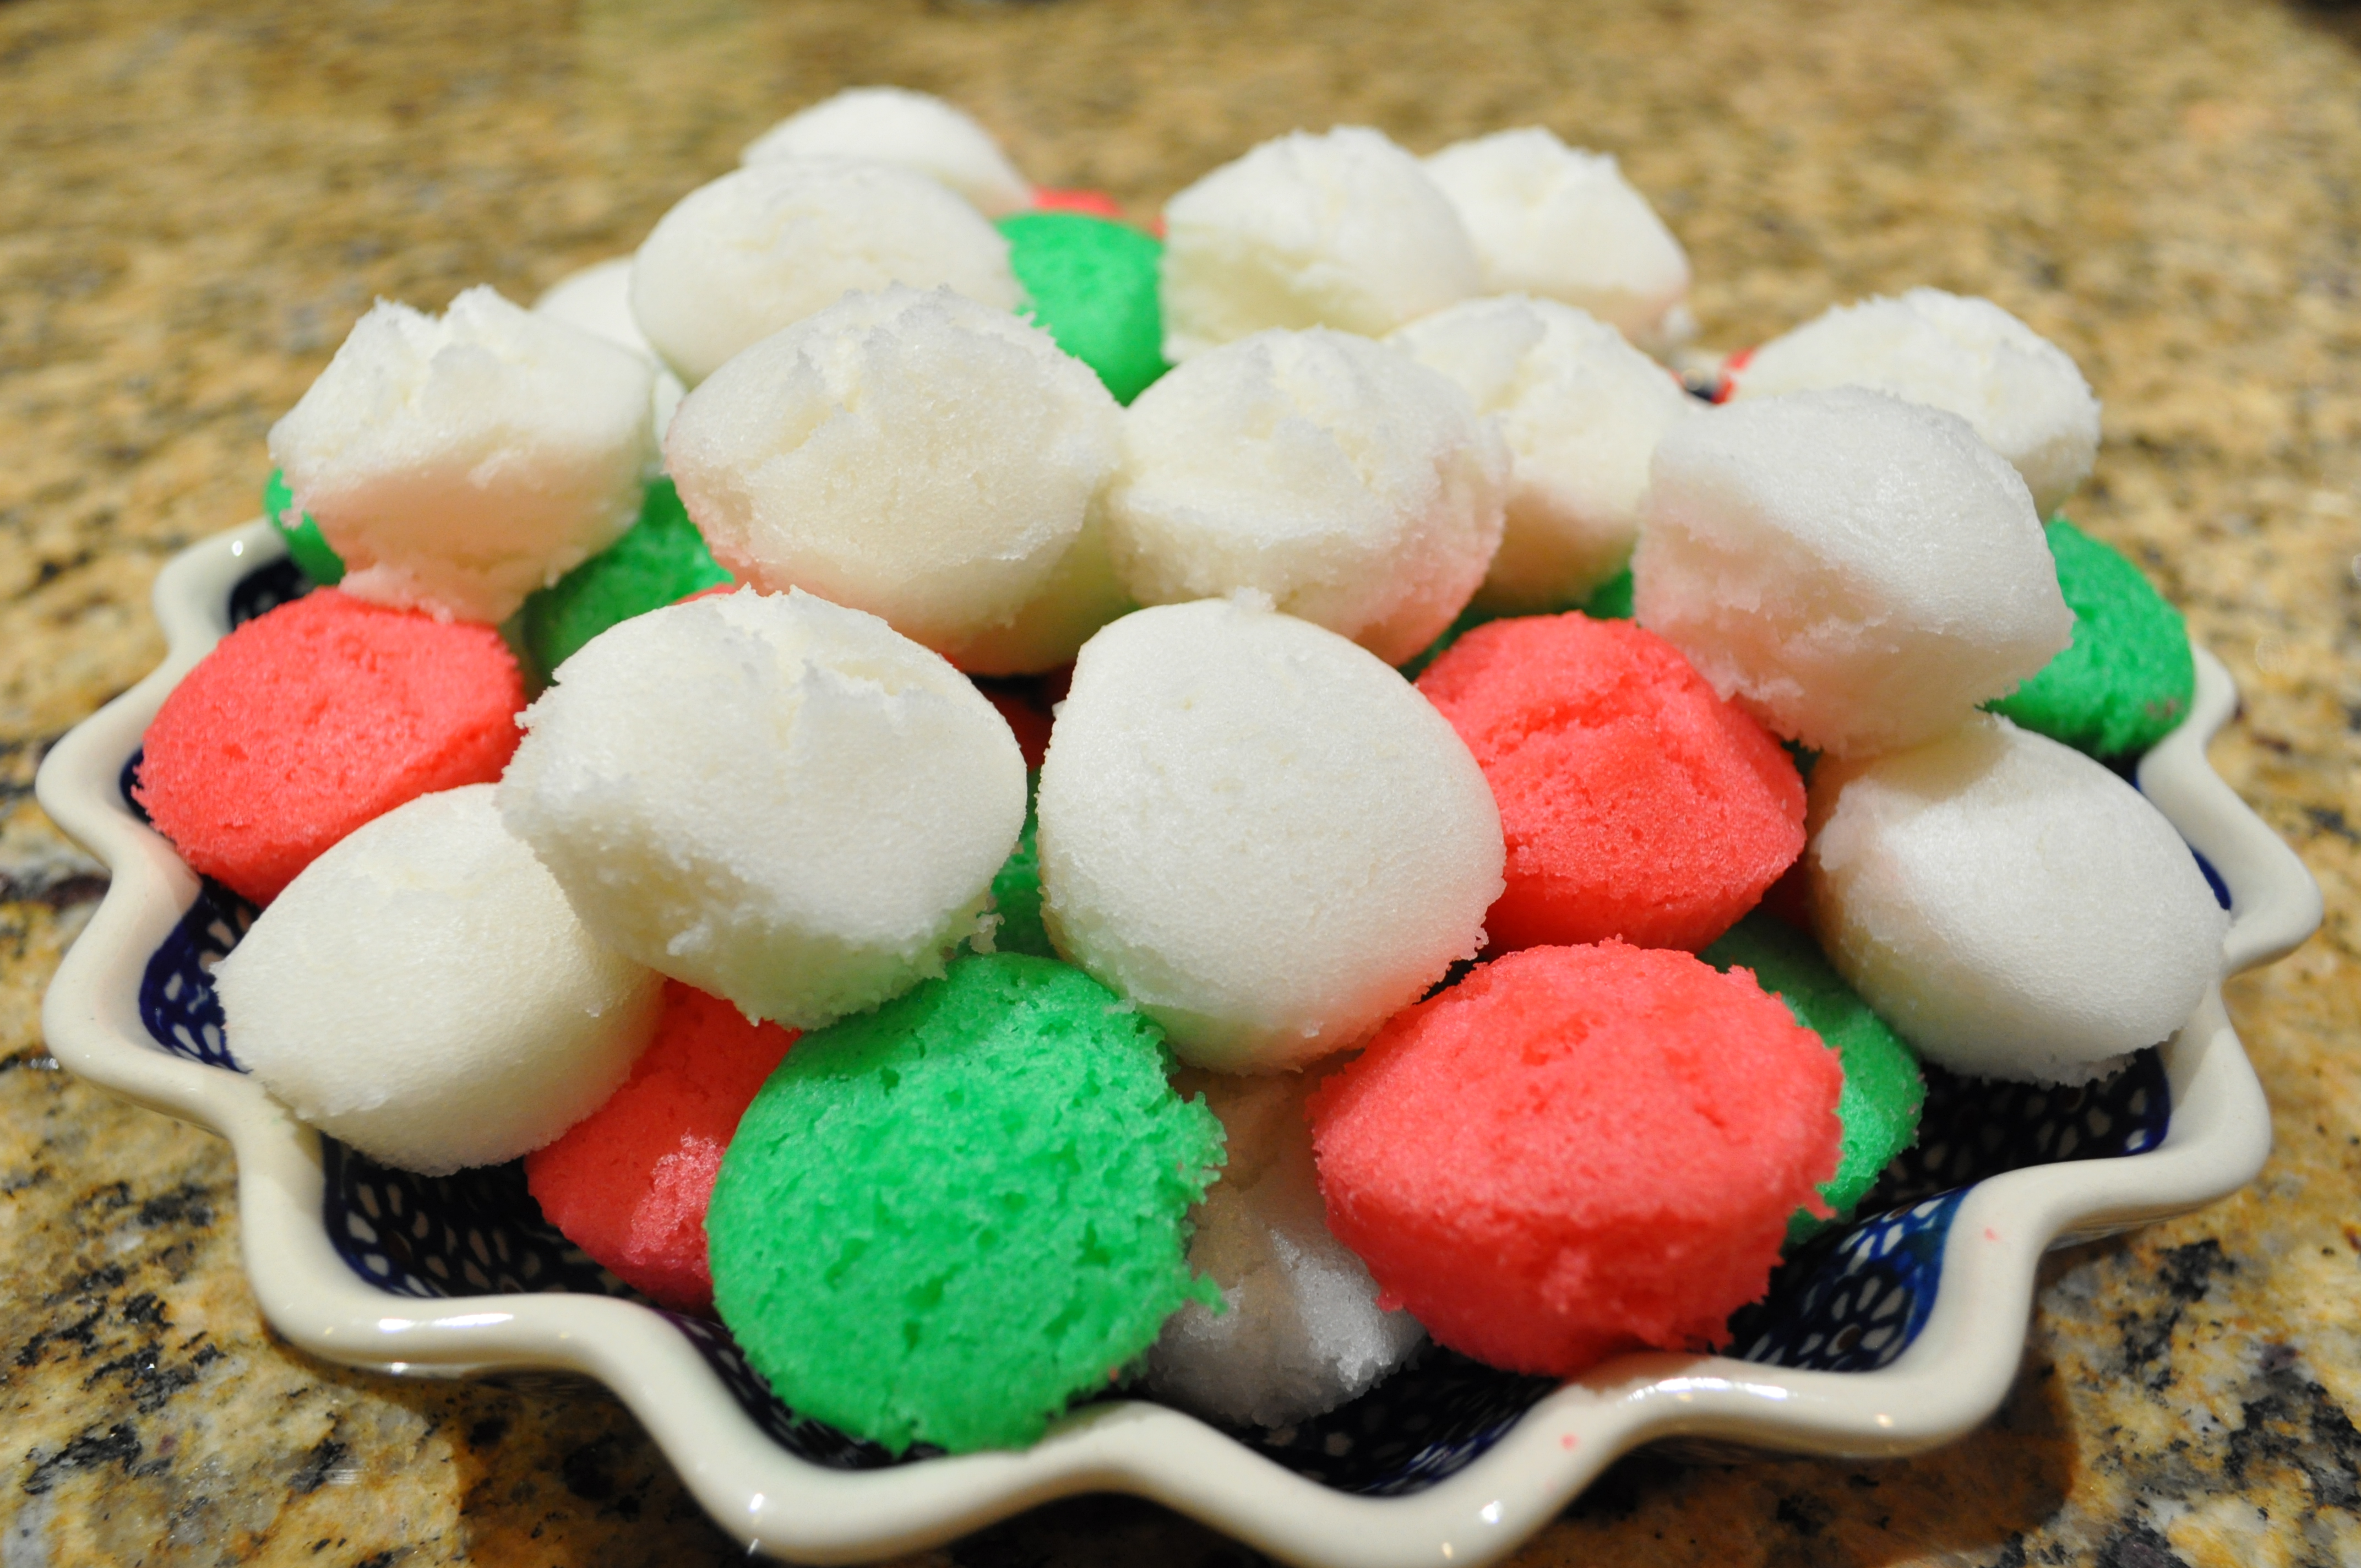
Cassava cake is traditionally made from grated cassava, coconut cream, sweet young coconut, eggs, sugar, butter and evaporated milk.  These ingredients are mixed together to form a thick batter, baked until firm, then topped with a mixture of sweetened condensed milk and coconut cream then broiled until the topping is a rich, caramel color.  It’s quite decadent and oh-so-delicious.

image

My version is based on my sister’s recipe, with a slight variation.  While I love the traditional version, I like my cassava cake less sweet so I omit the sweetened condensed milk topping.  I also like my version to be similar in consistency to Sweet Chamorro Tamales, so I add a bit more evaporated milk to my batter.  To give my cake greater depth of flavor, I also add just a bit of vanilla extract.

image

Give it a try and let me know how you like it. 🙂

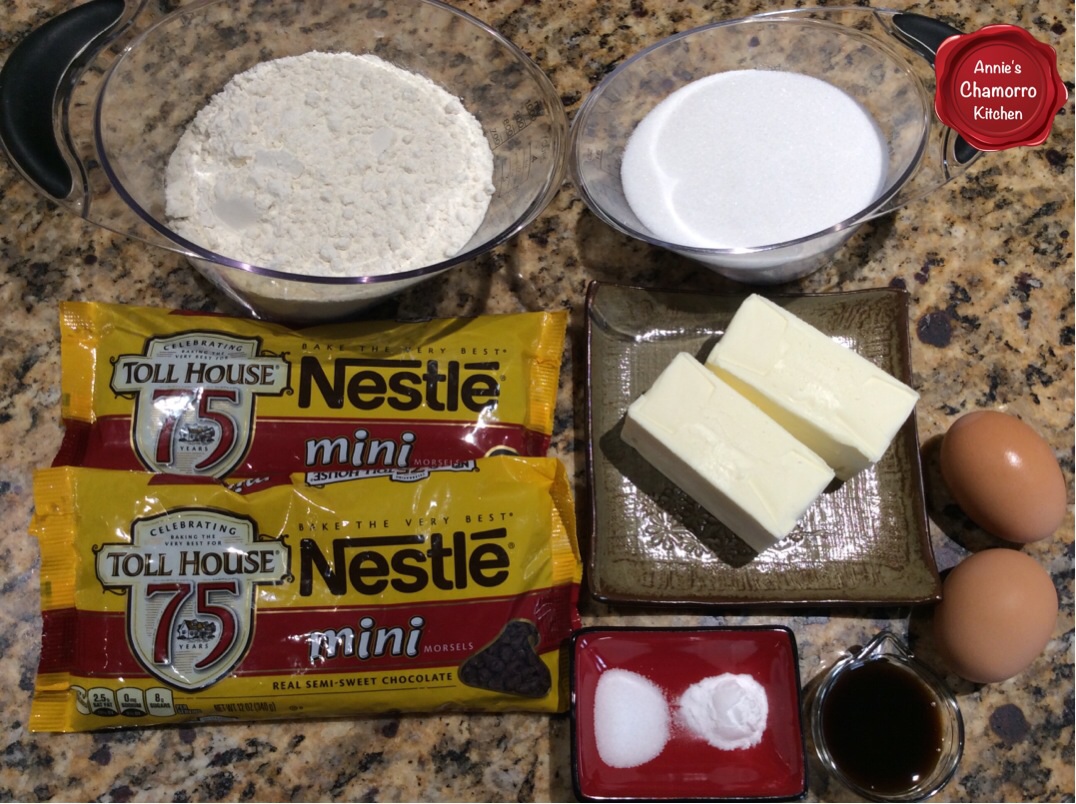
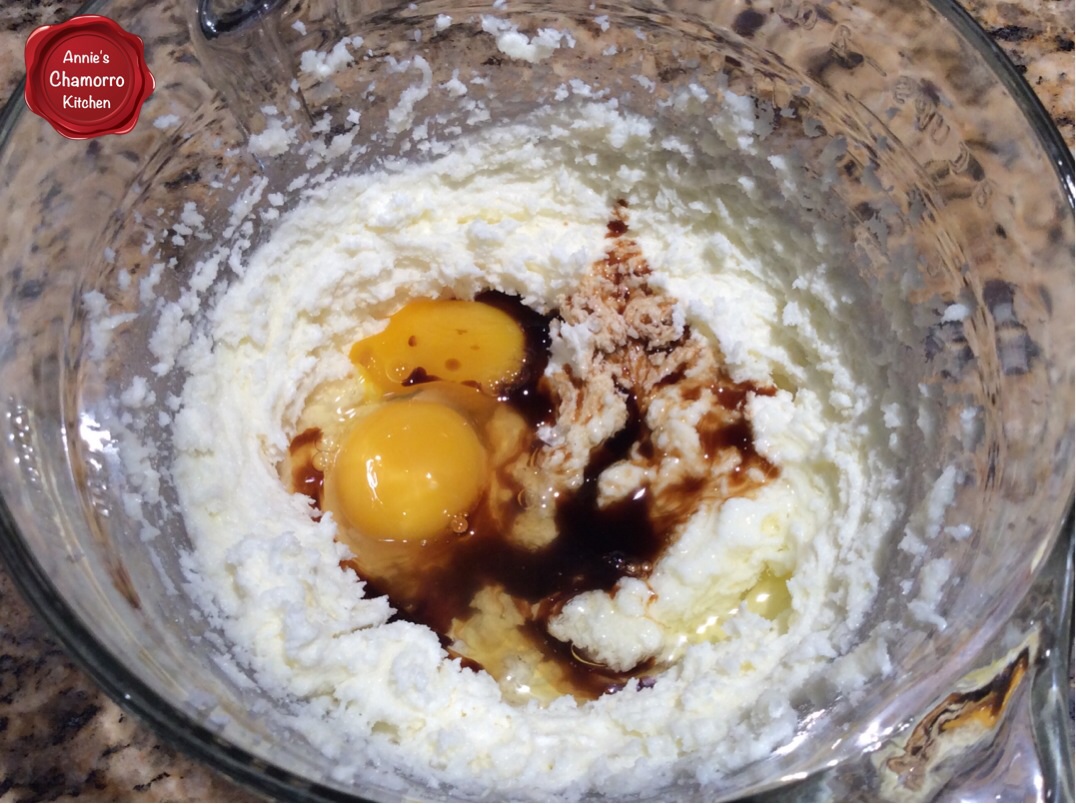
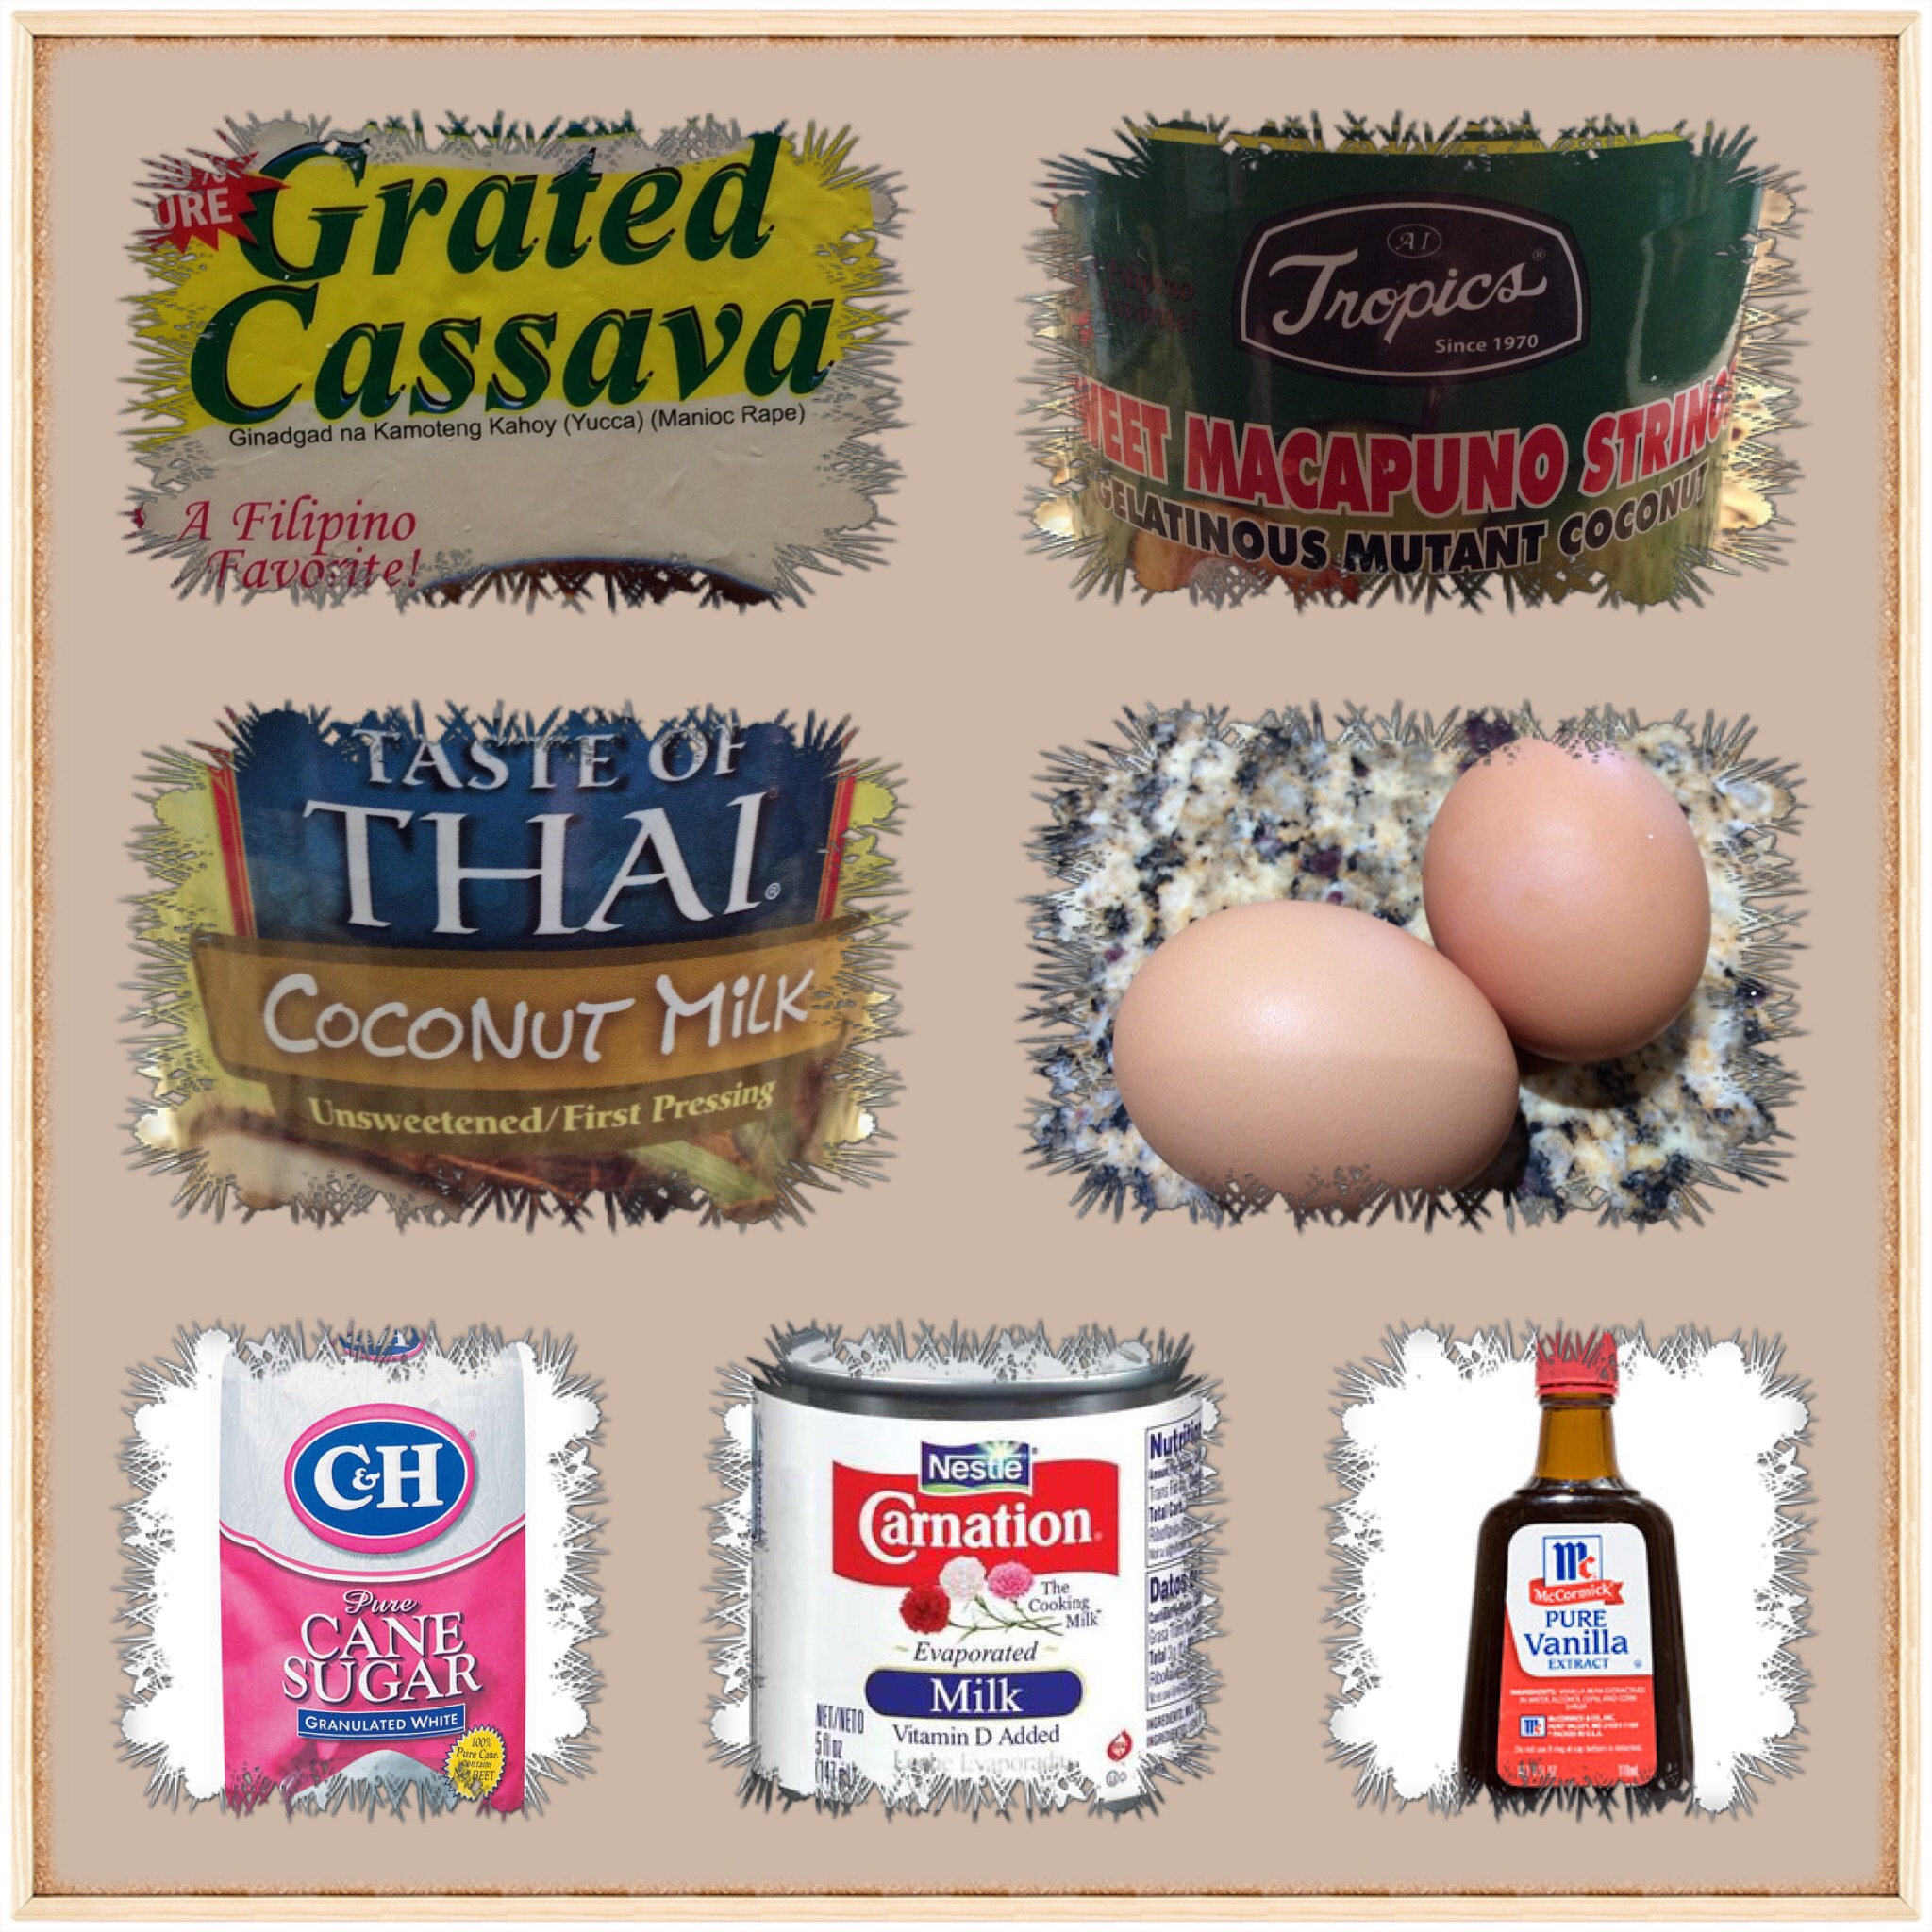
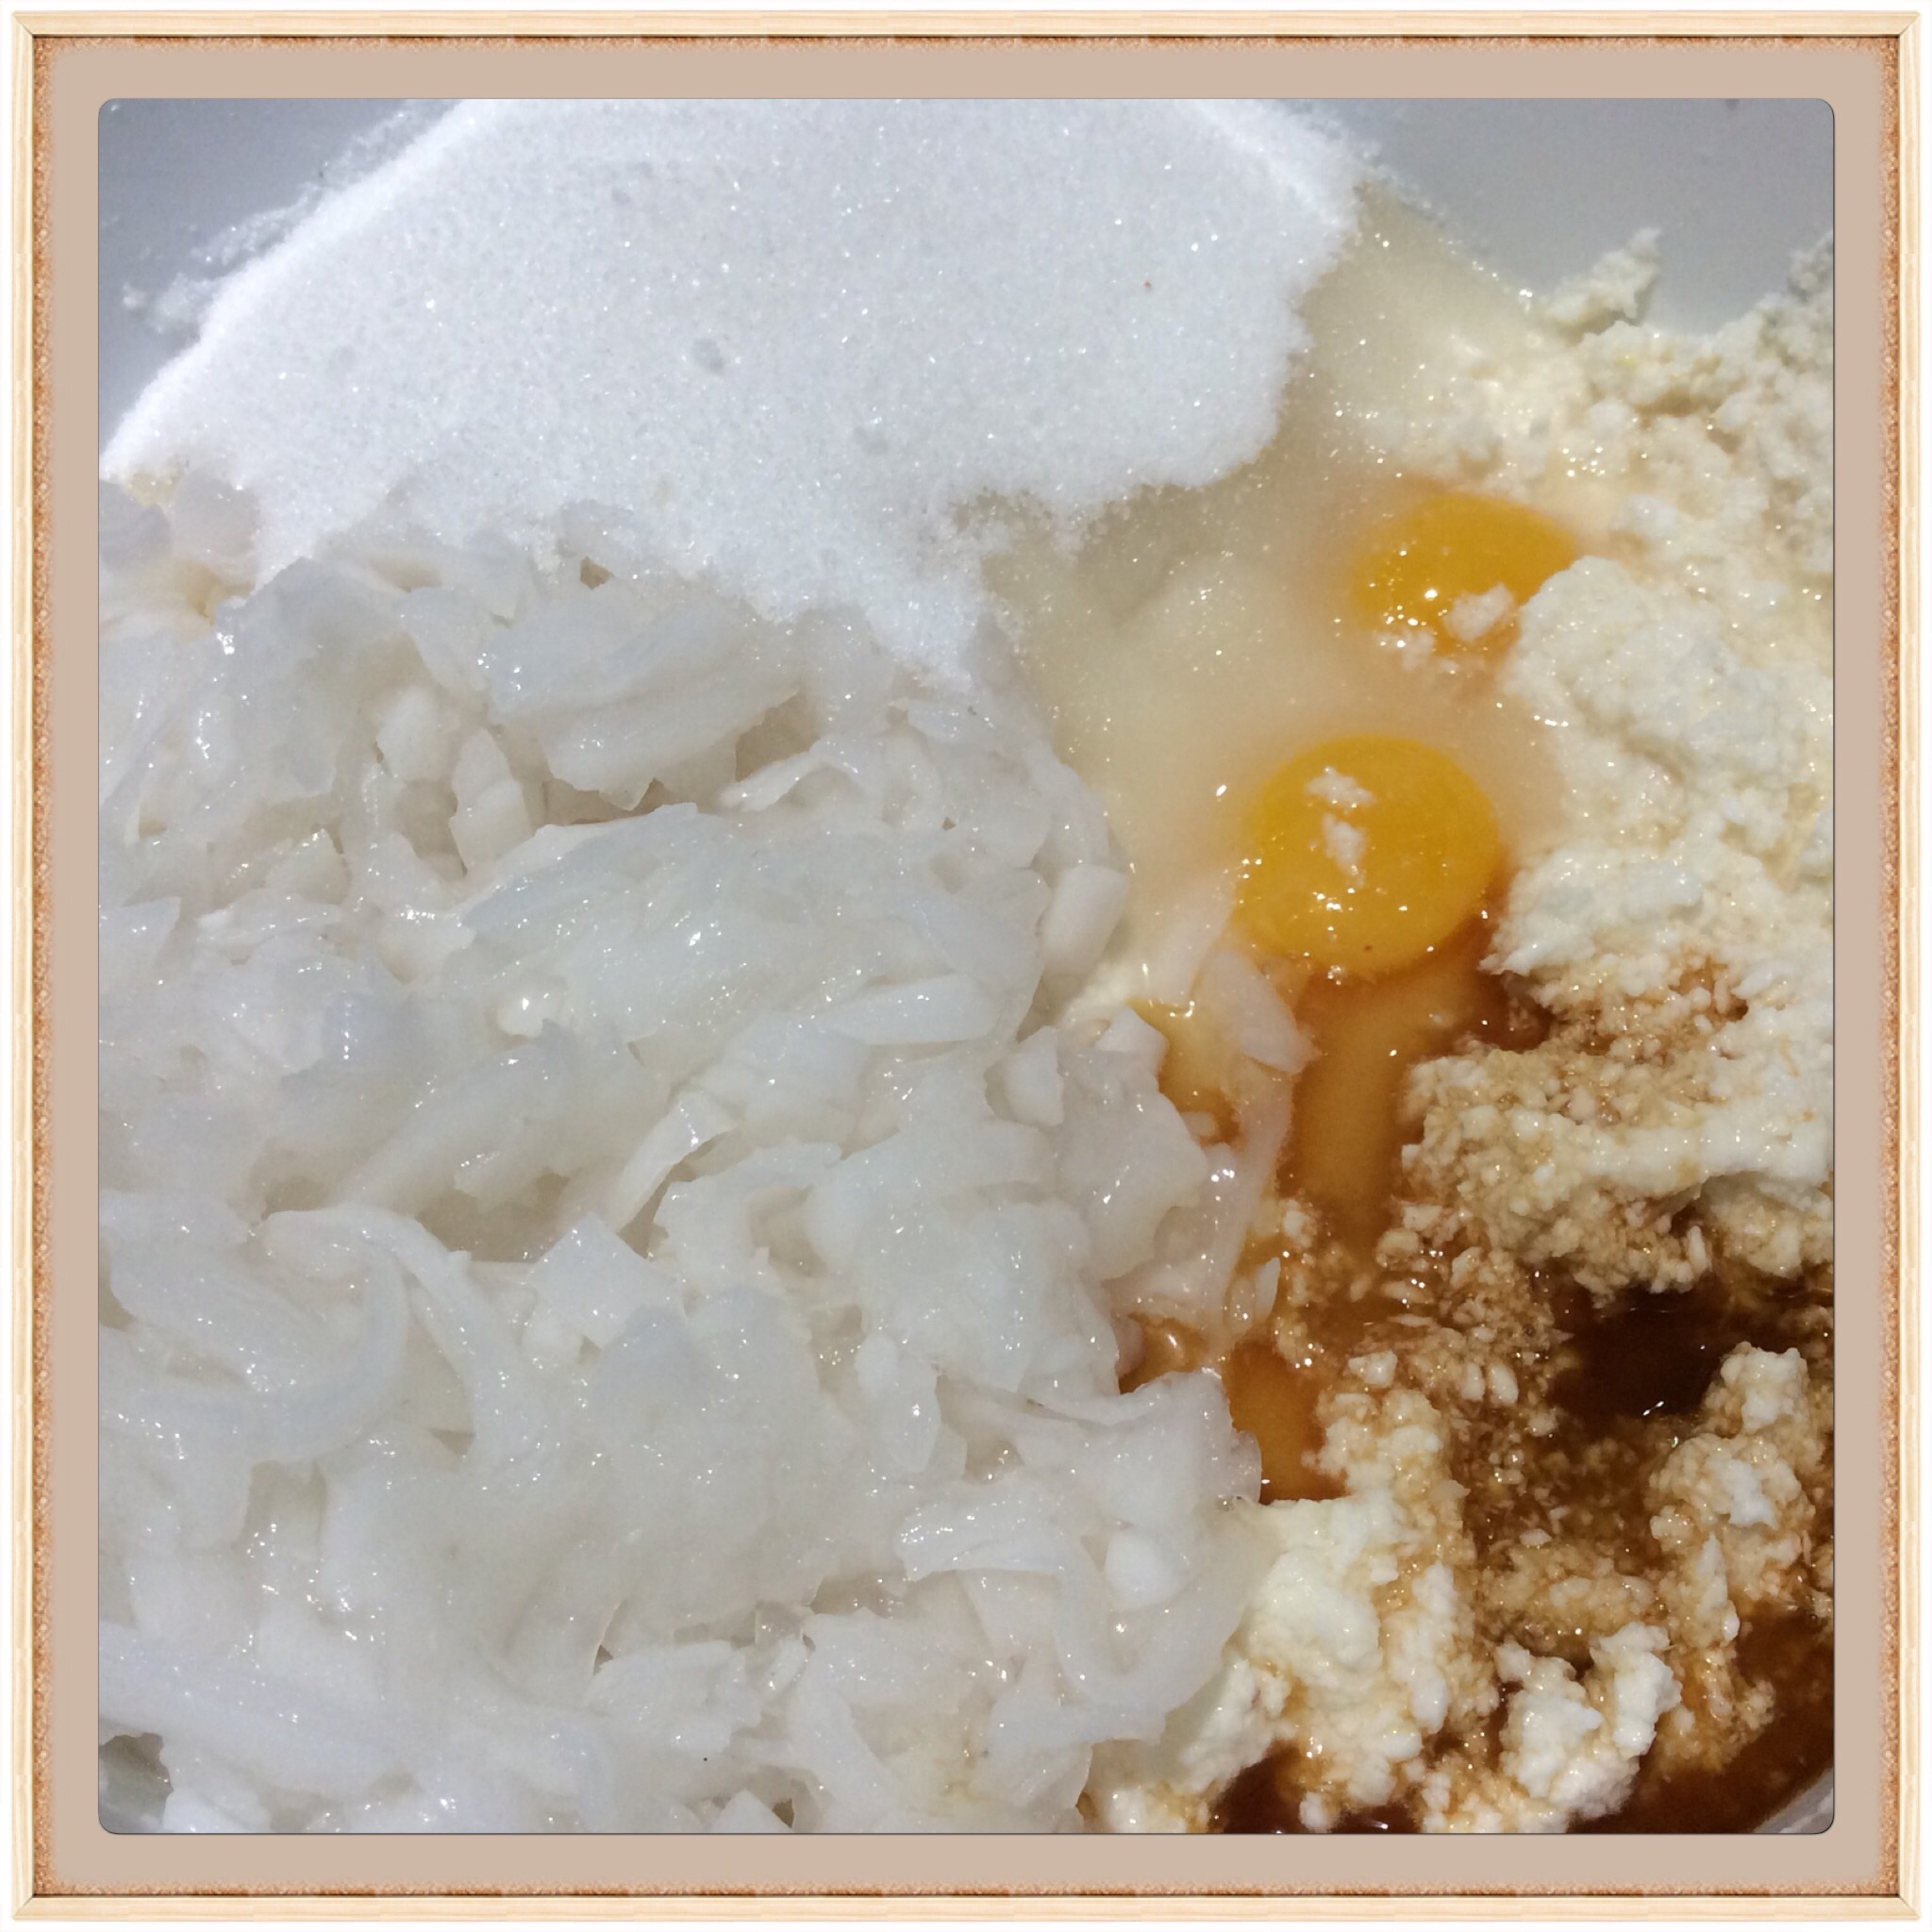
Here are the ingredients you’ll need (the butter is not shown in the photo).

image

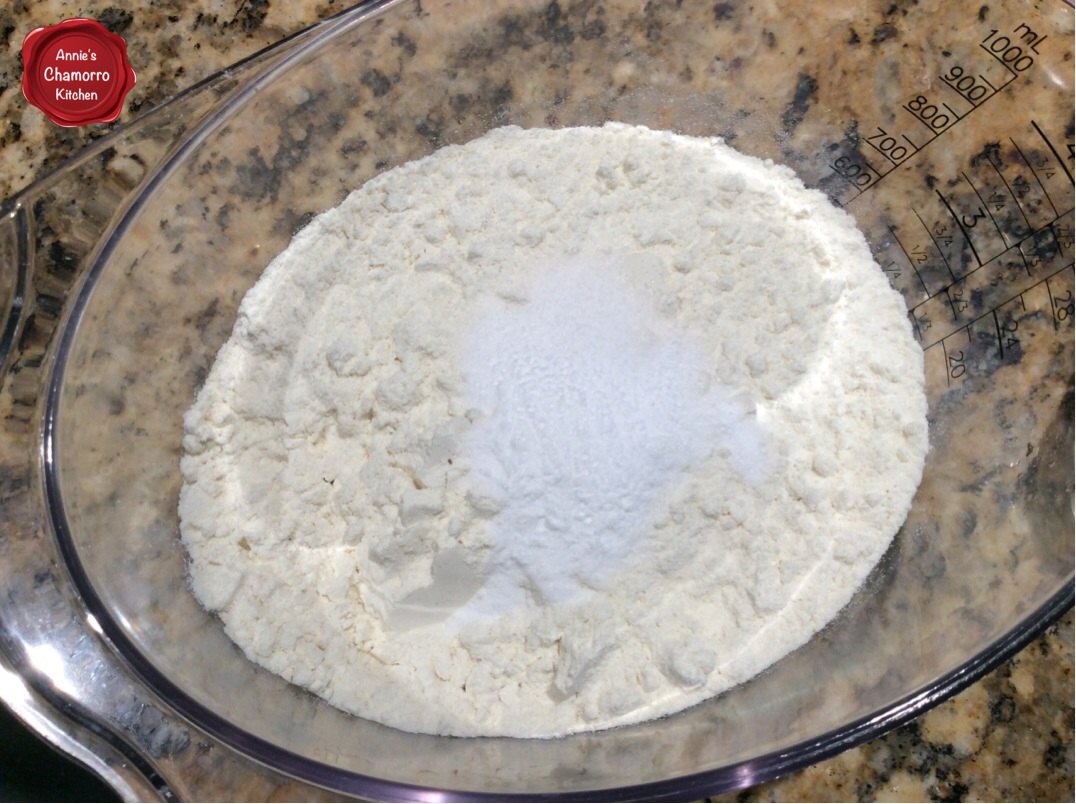
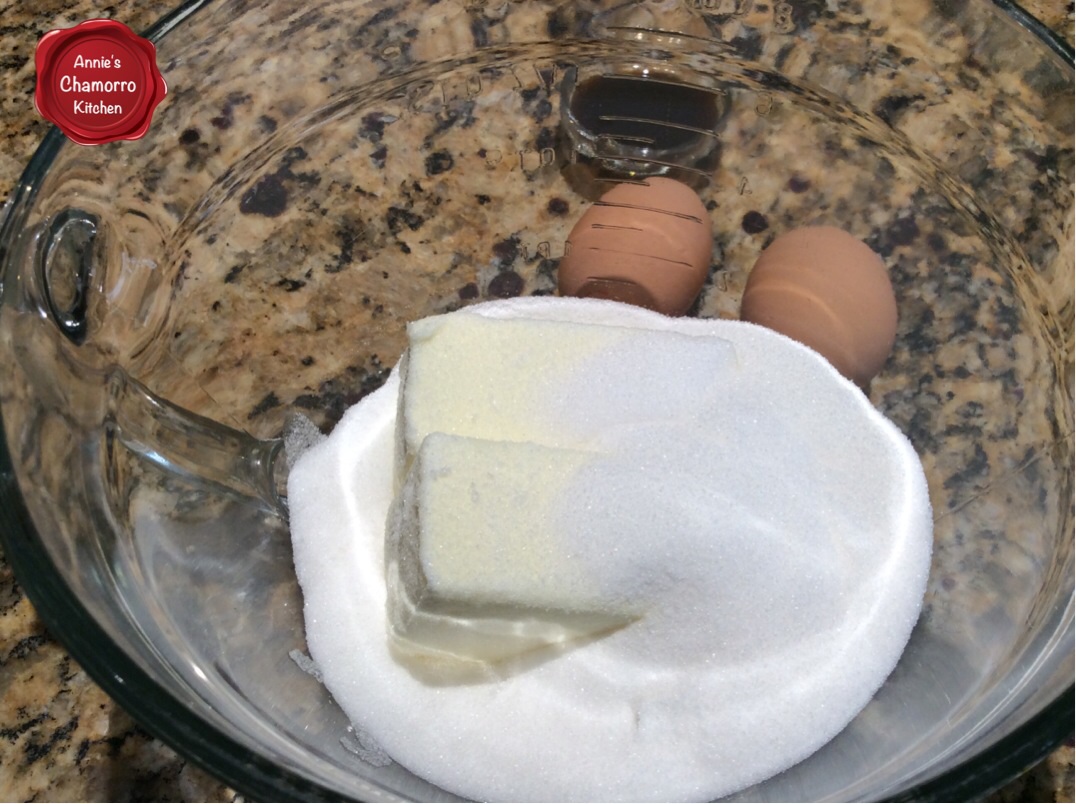
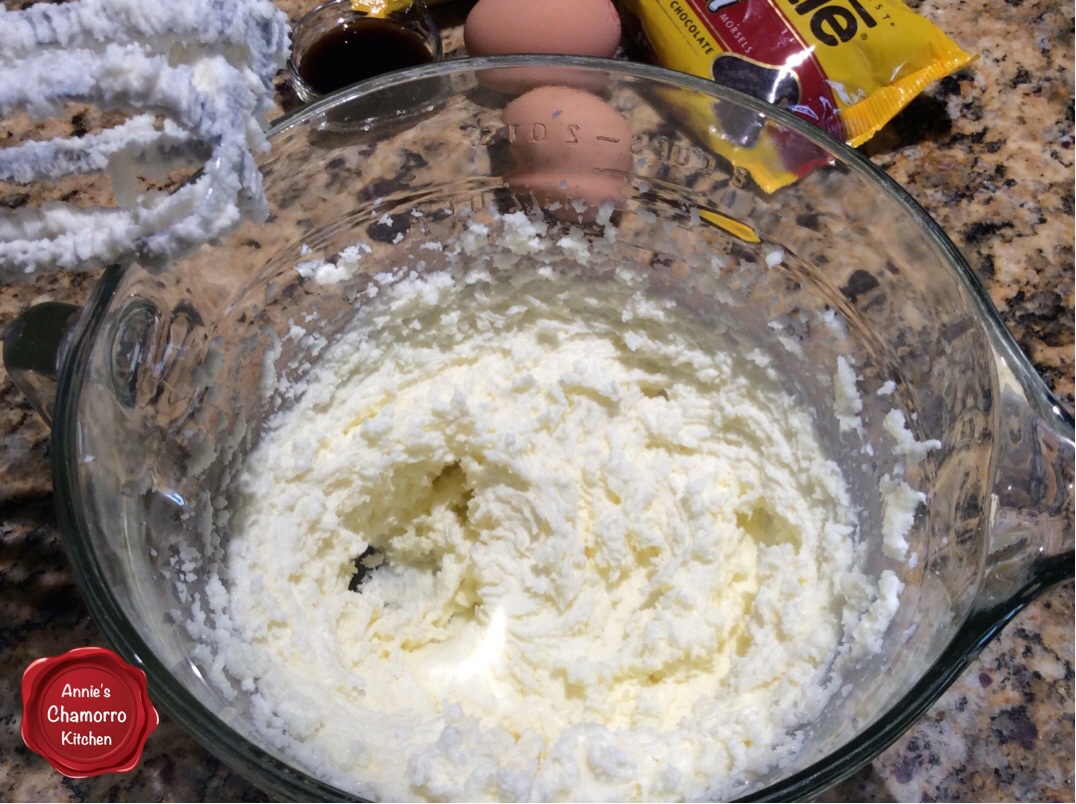
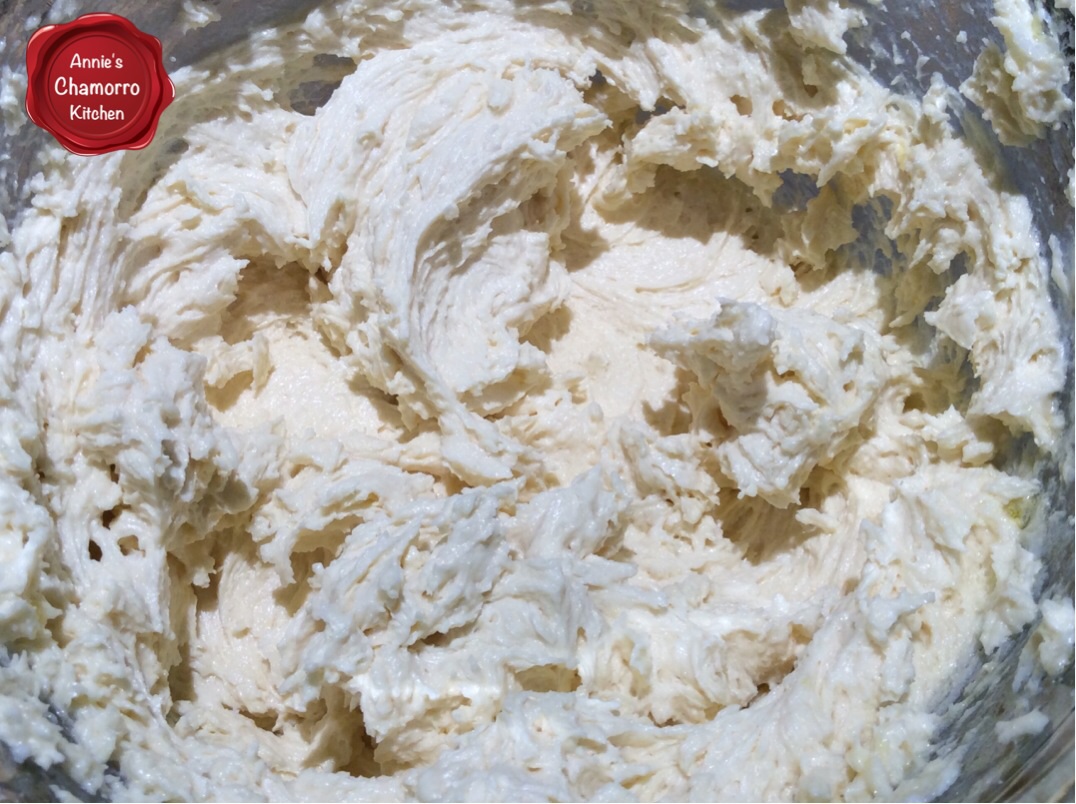
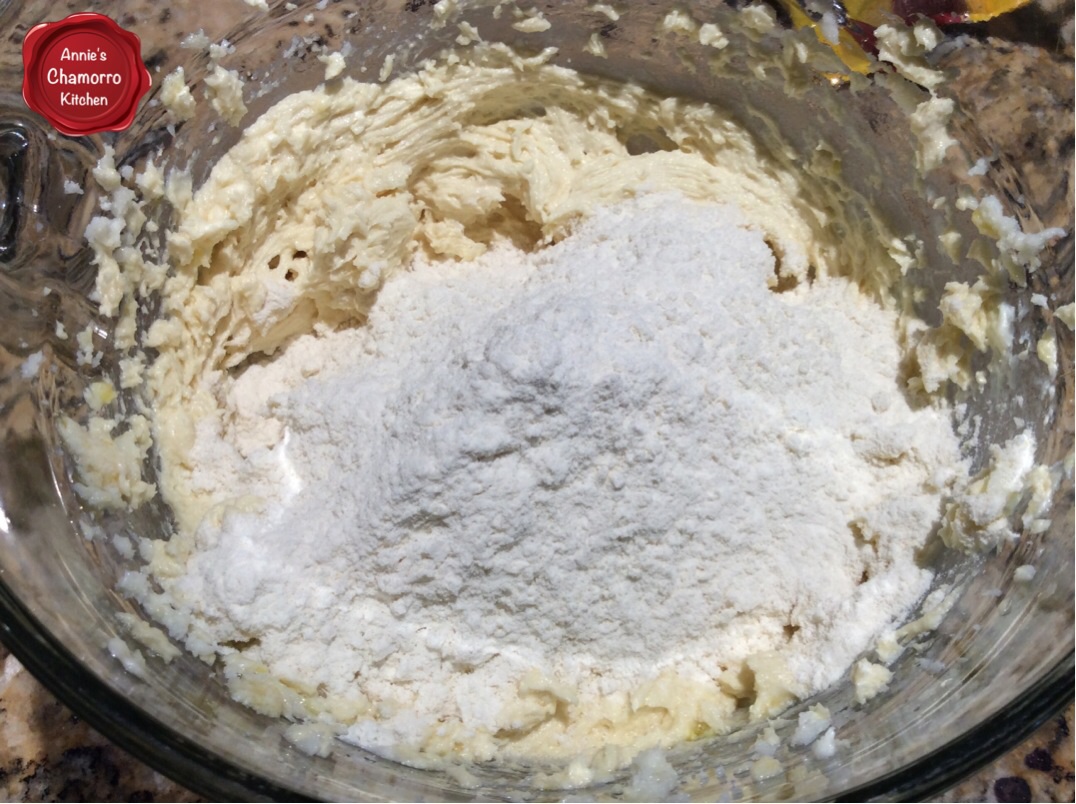
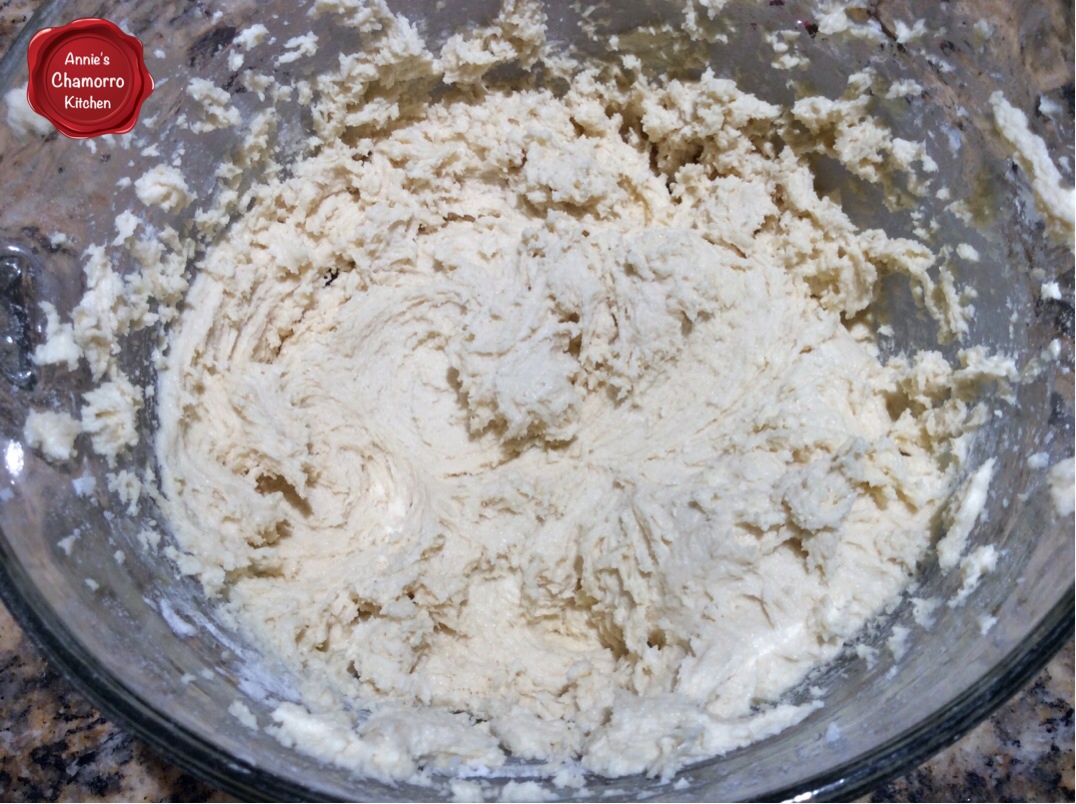
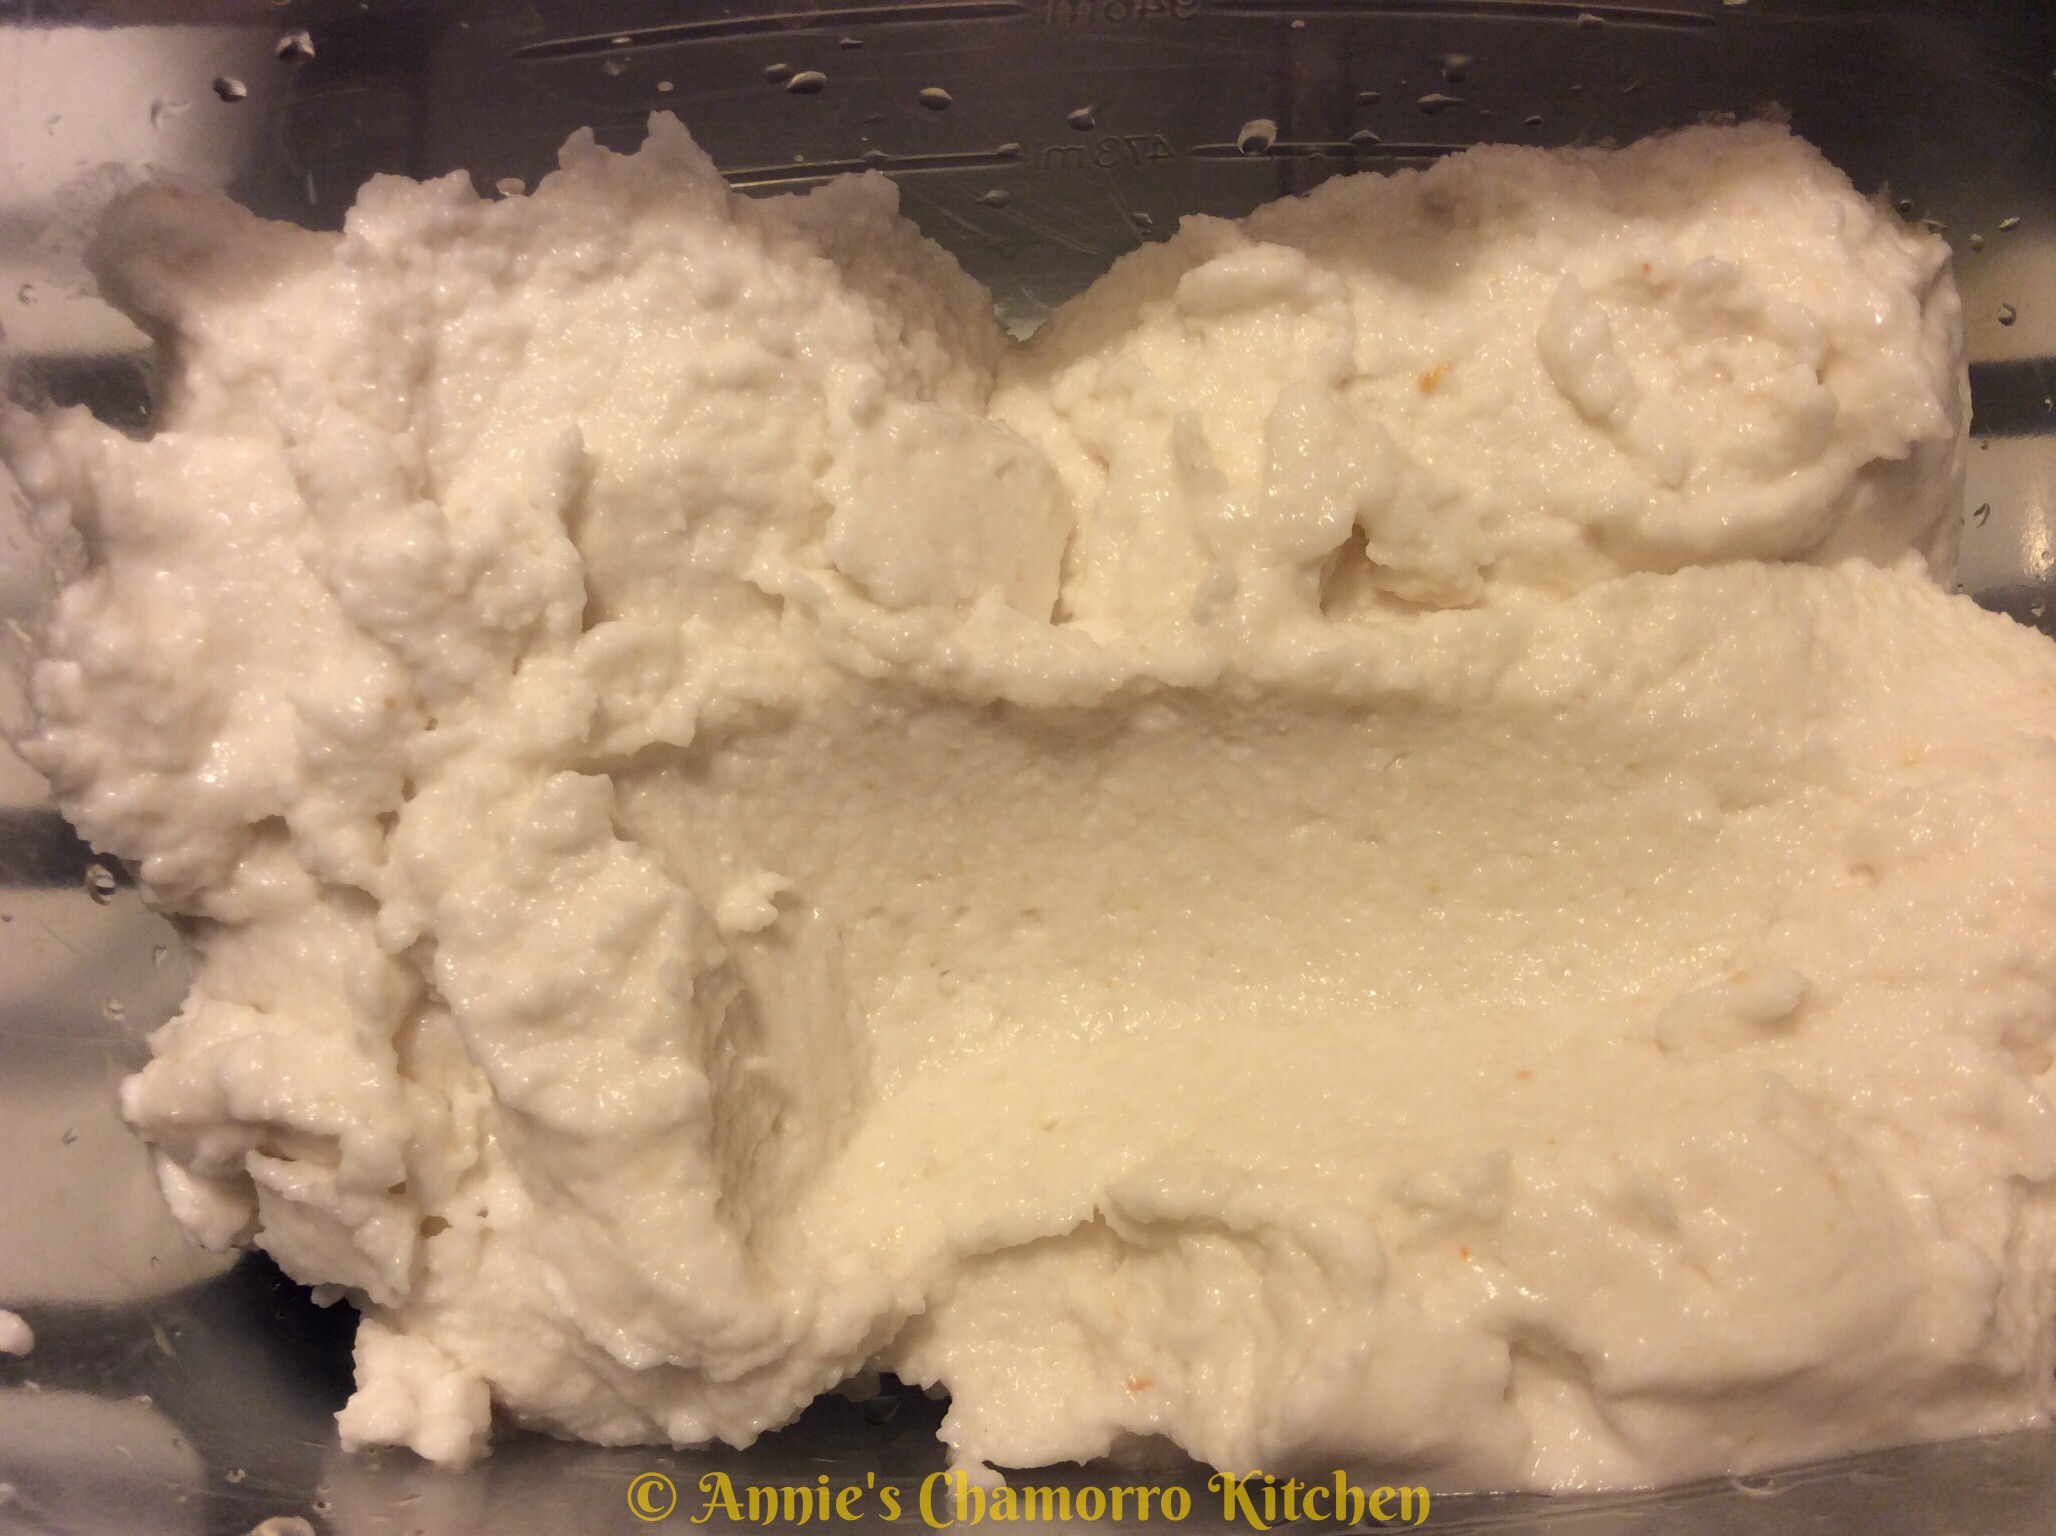
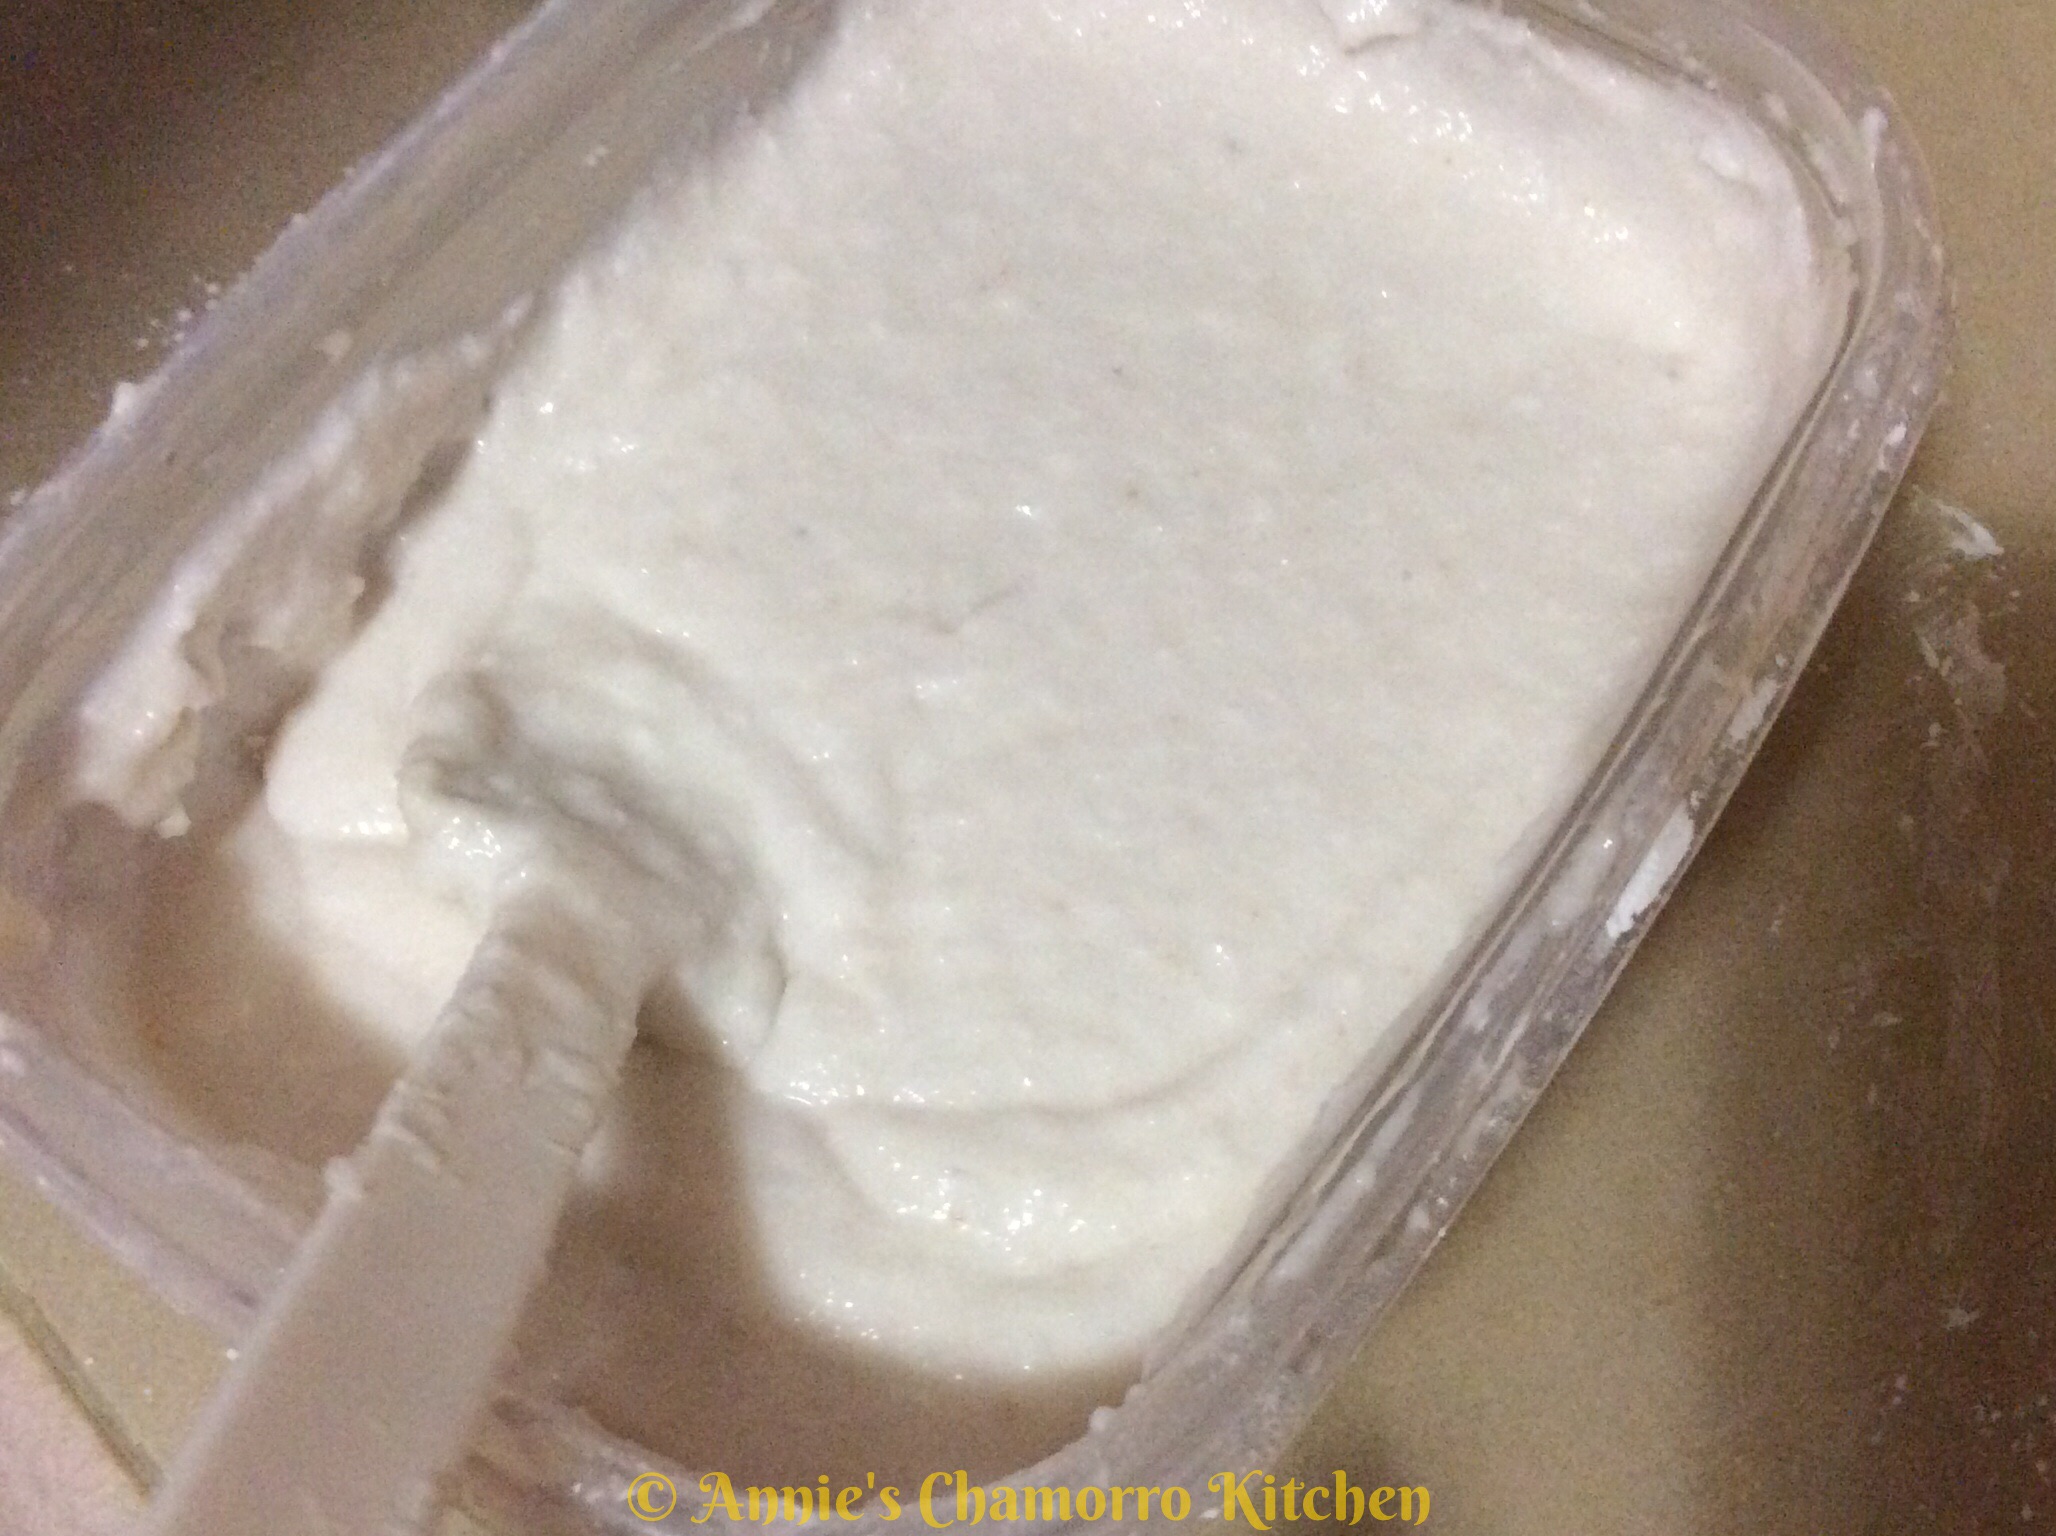
Place all of the ingredients into a large mixing bowl.  Stir to combine.

imagePour the mixture into a 9×13 baking pan sprayed with butter spray.

image

Bake at 375 degrees for 1 hour and 15 minutes (check after 1 hour; the top should be golden brown).

image

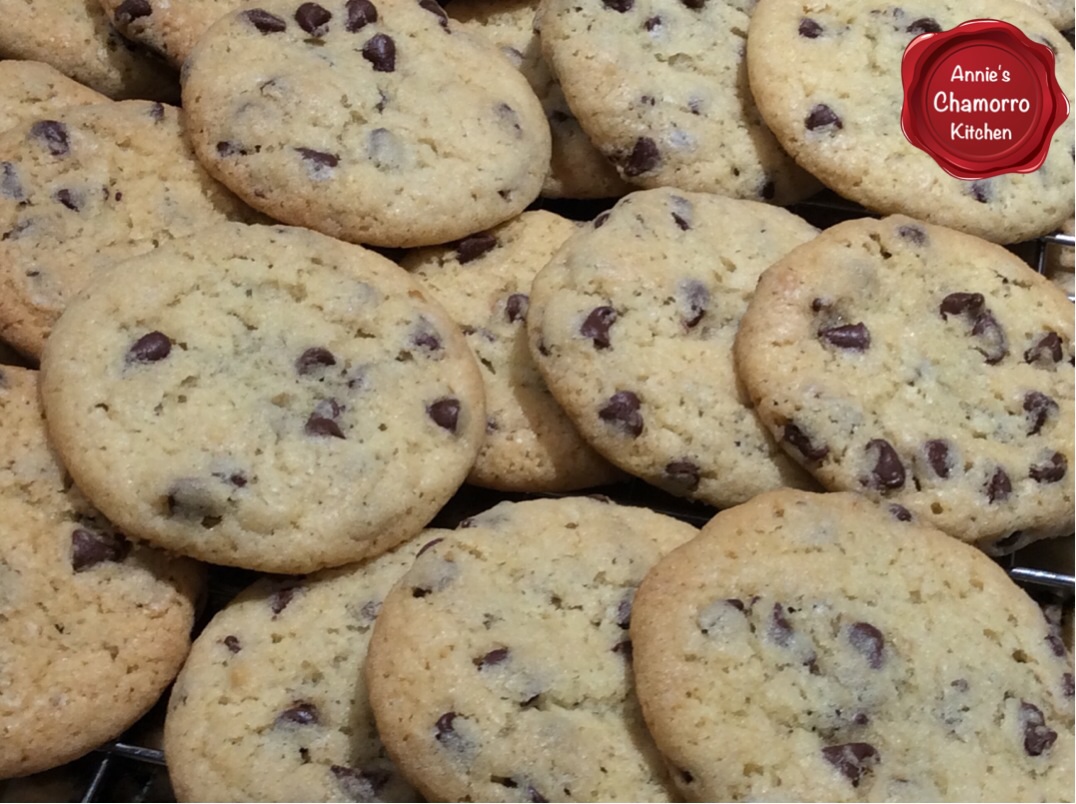
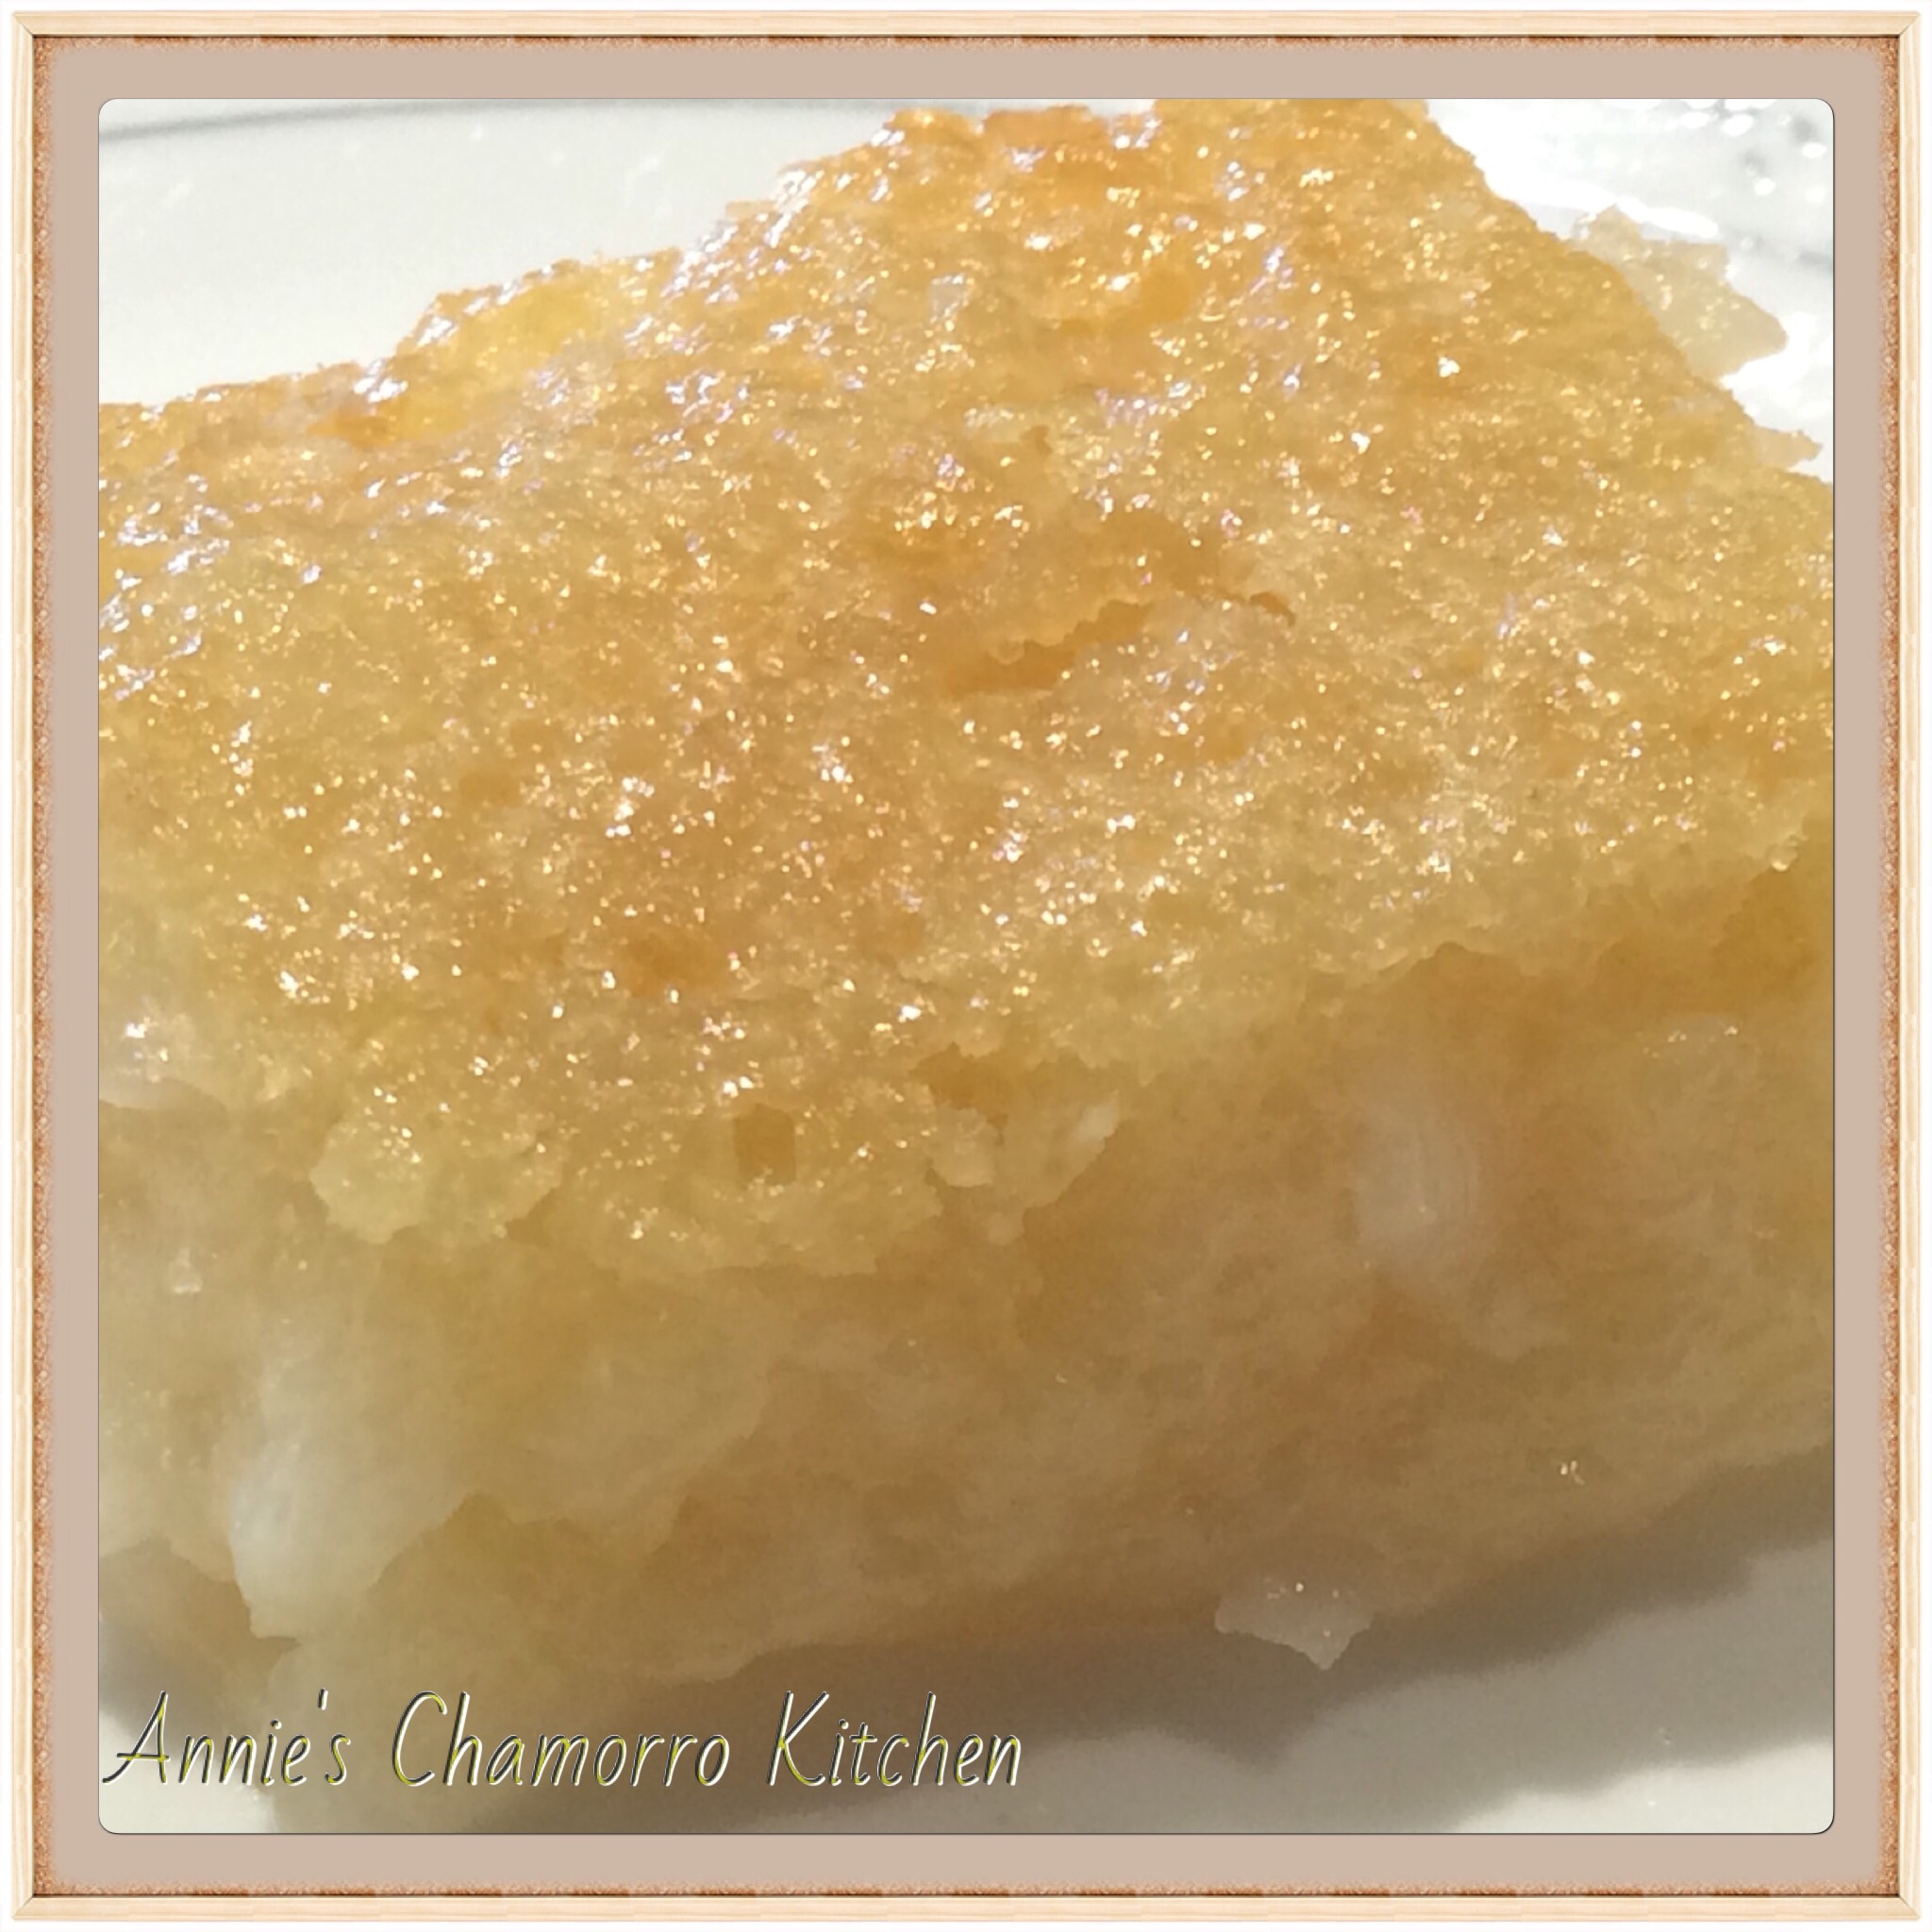
I think it’s perfect just as it is, but see below for instructions to add a sweet topping.  Let the cake cool then cut into squares.  Serve and enjoy!

Cassava Cake
 
Prep time
Cook time
Total time
 
Author:
Recipe type: Dessert
Cuisine: Chamorro
Ingredients
Cassava Cake:
  • 2 pounds grated cassava
  • 1 can coconut cream or coconut milk
  • 15 ounces evaporated milk (use just 12 ounces to make it less chewy like sweet tamales)
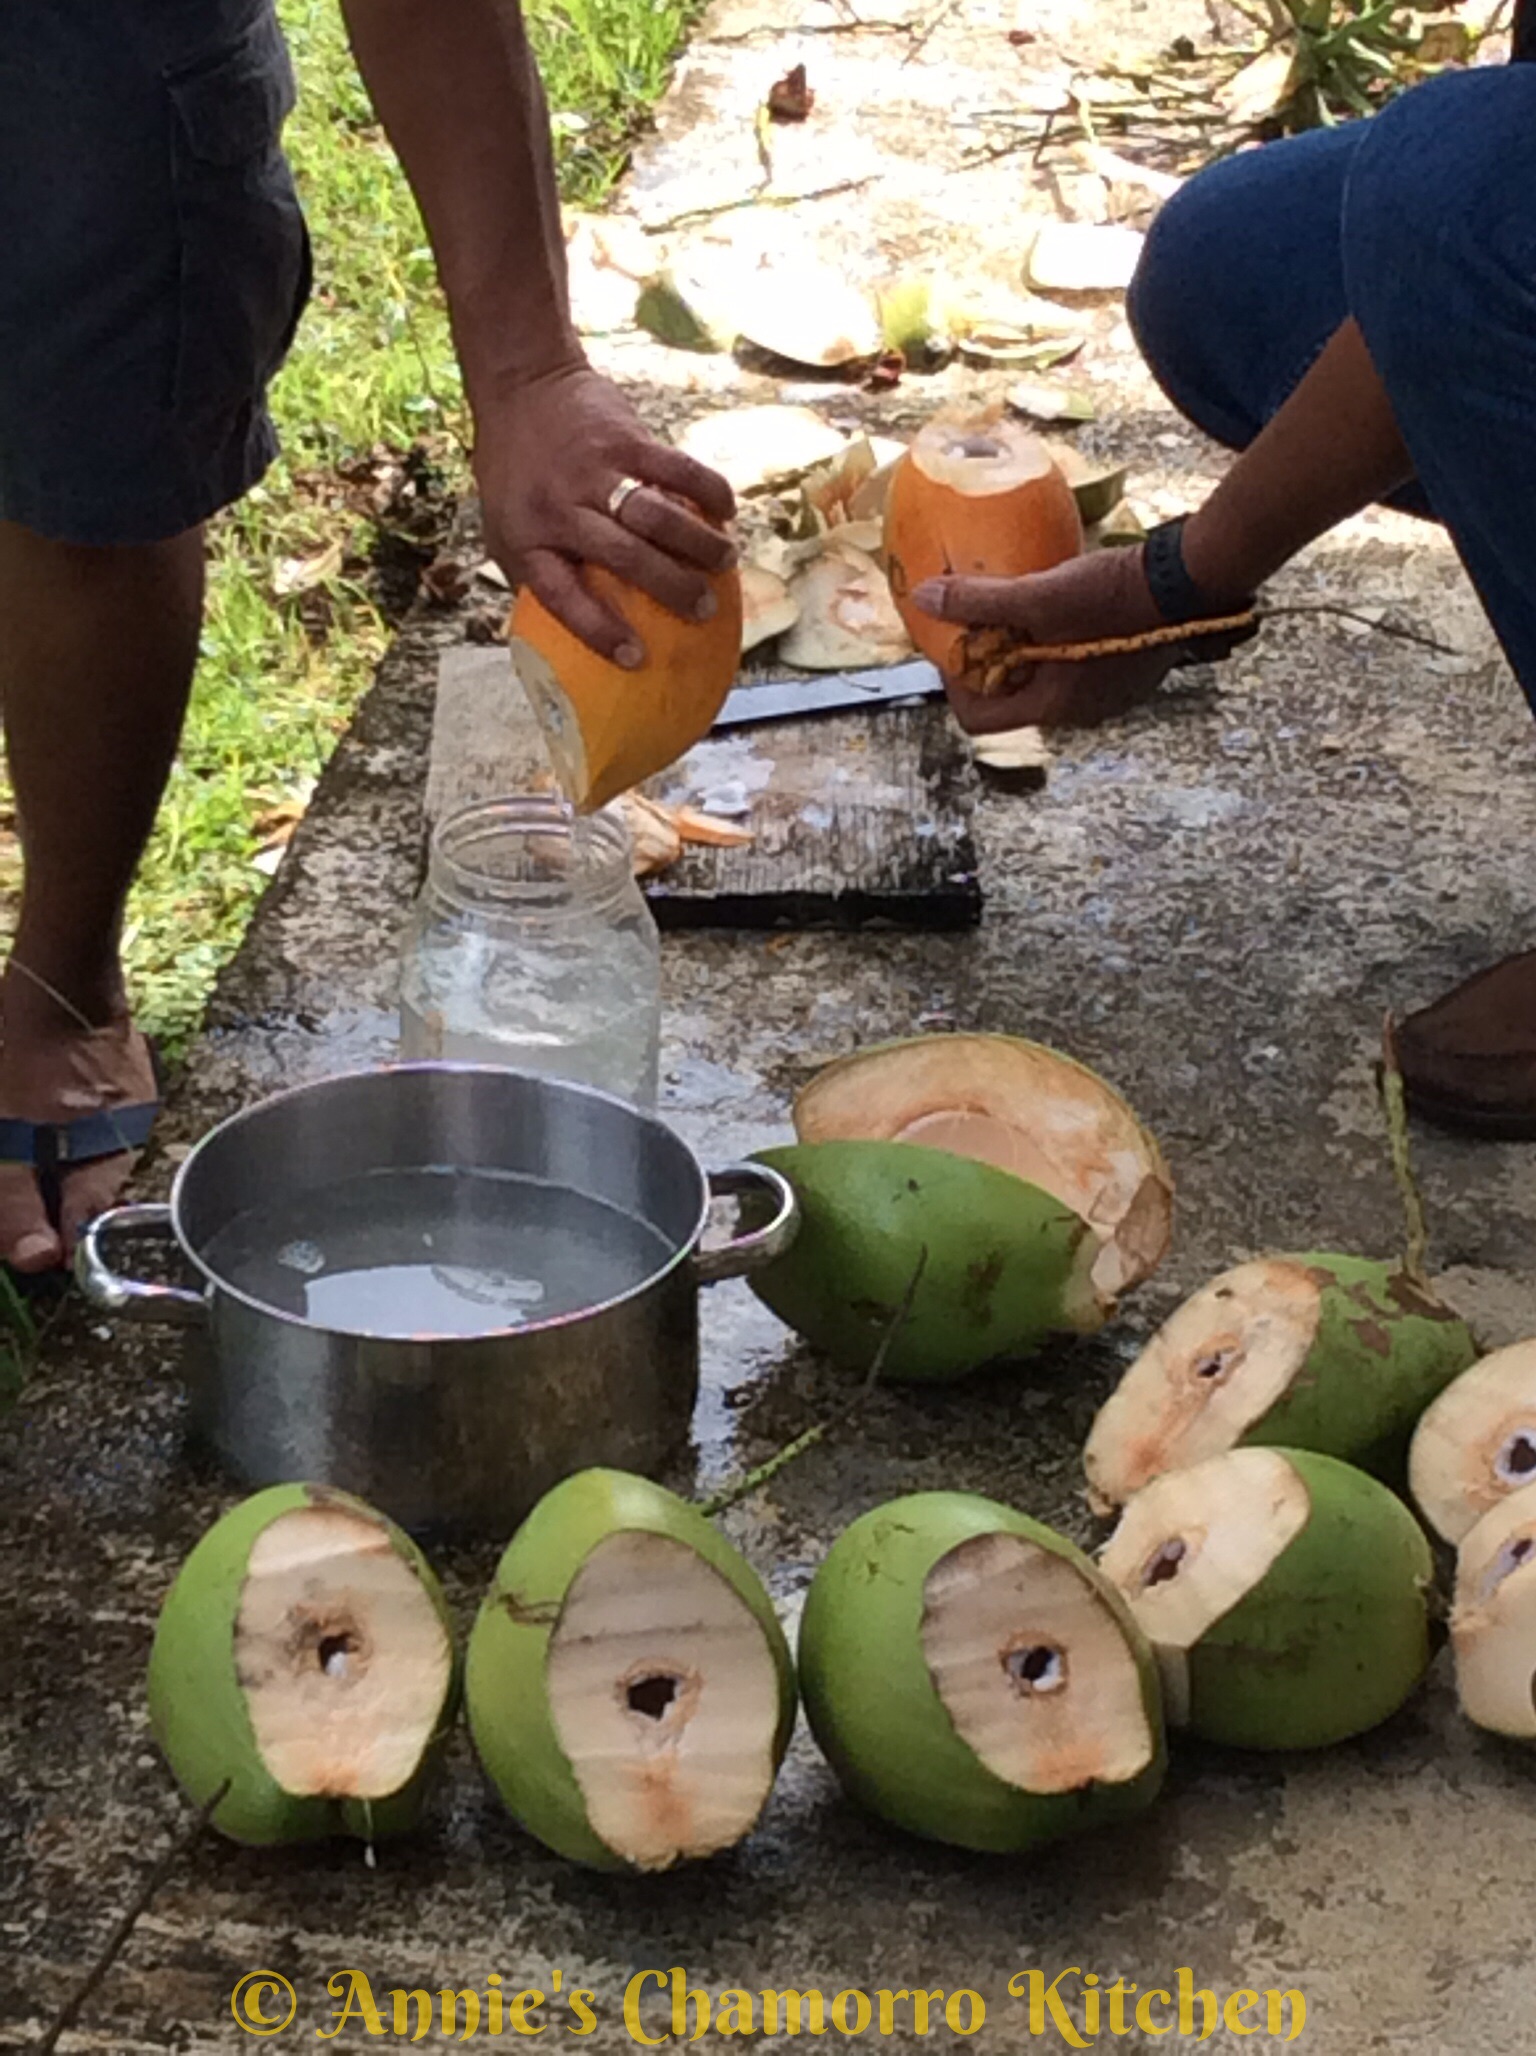
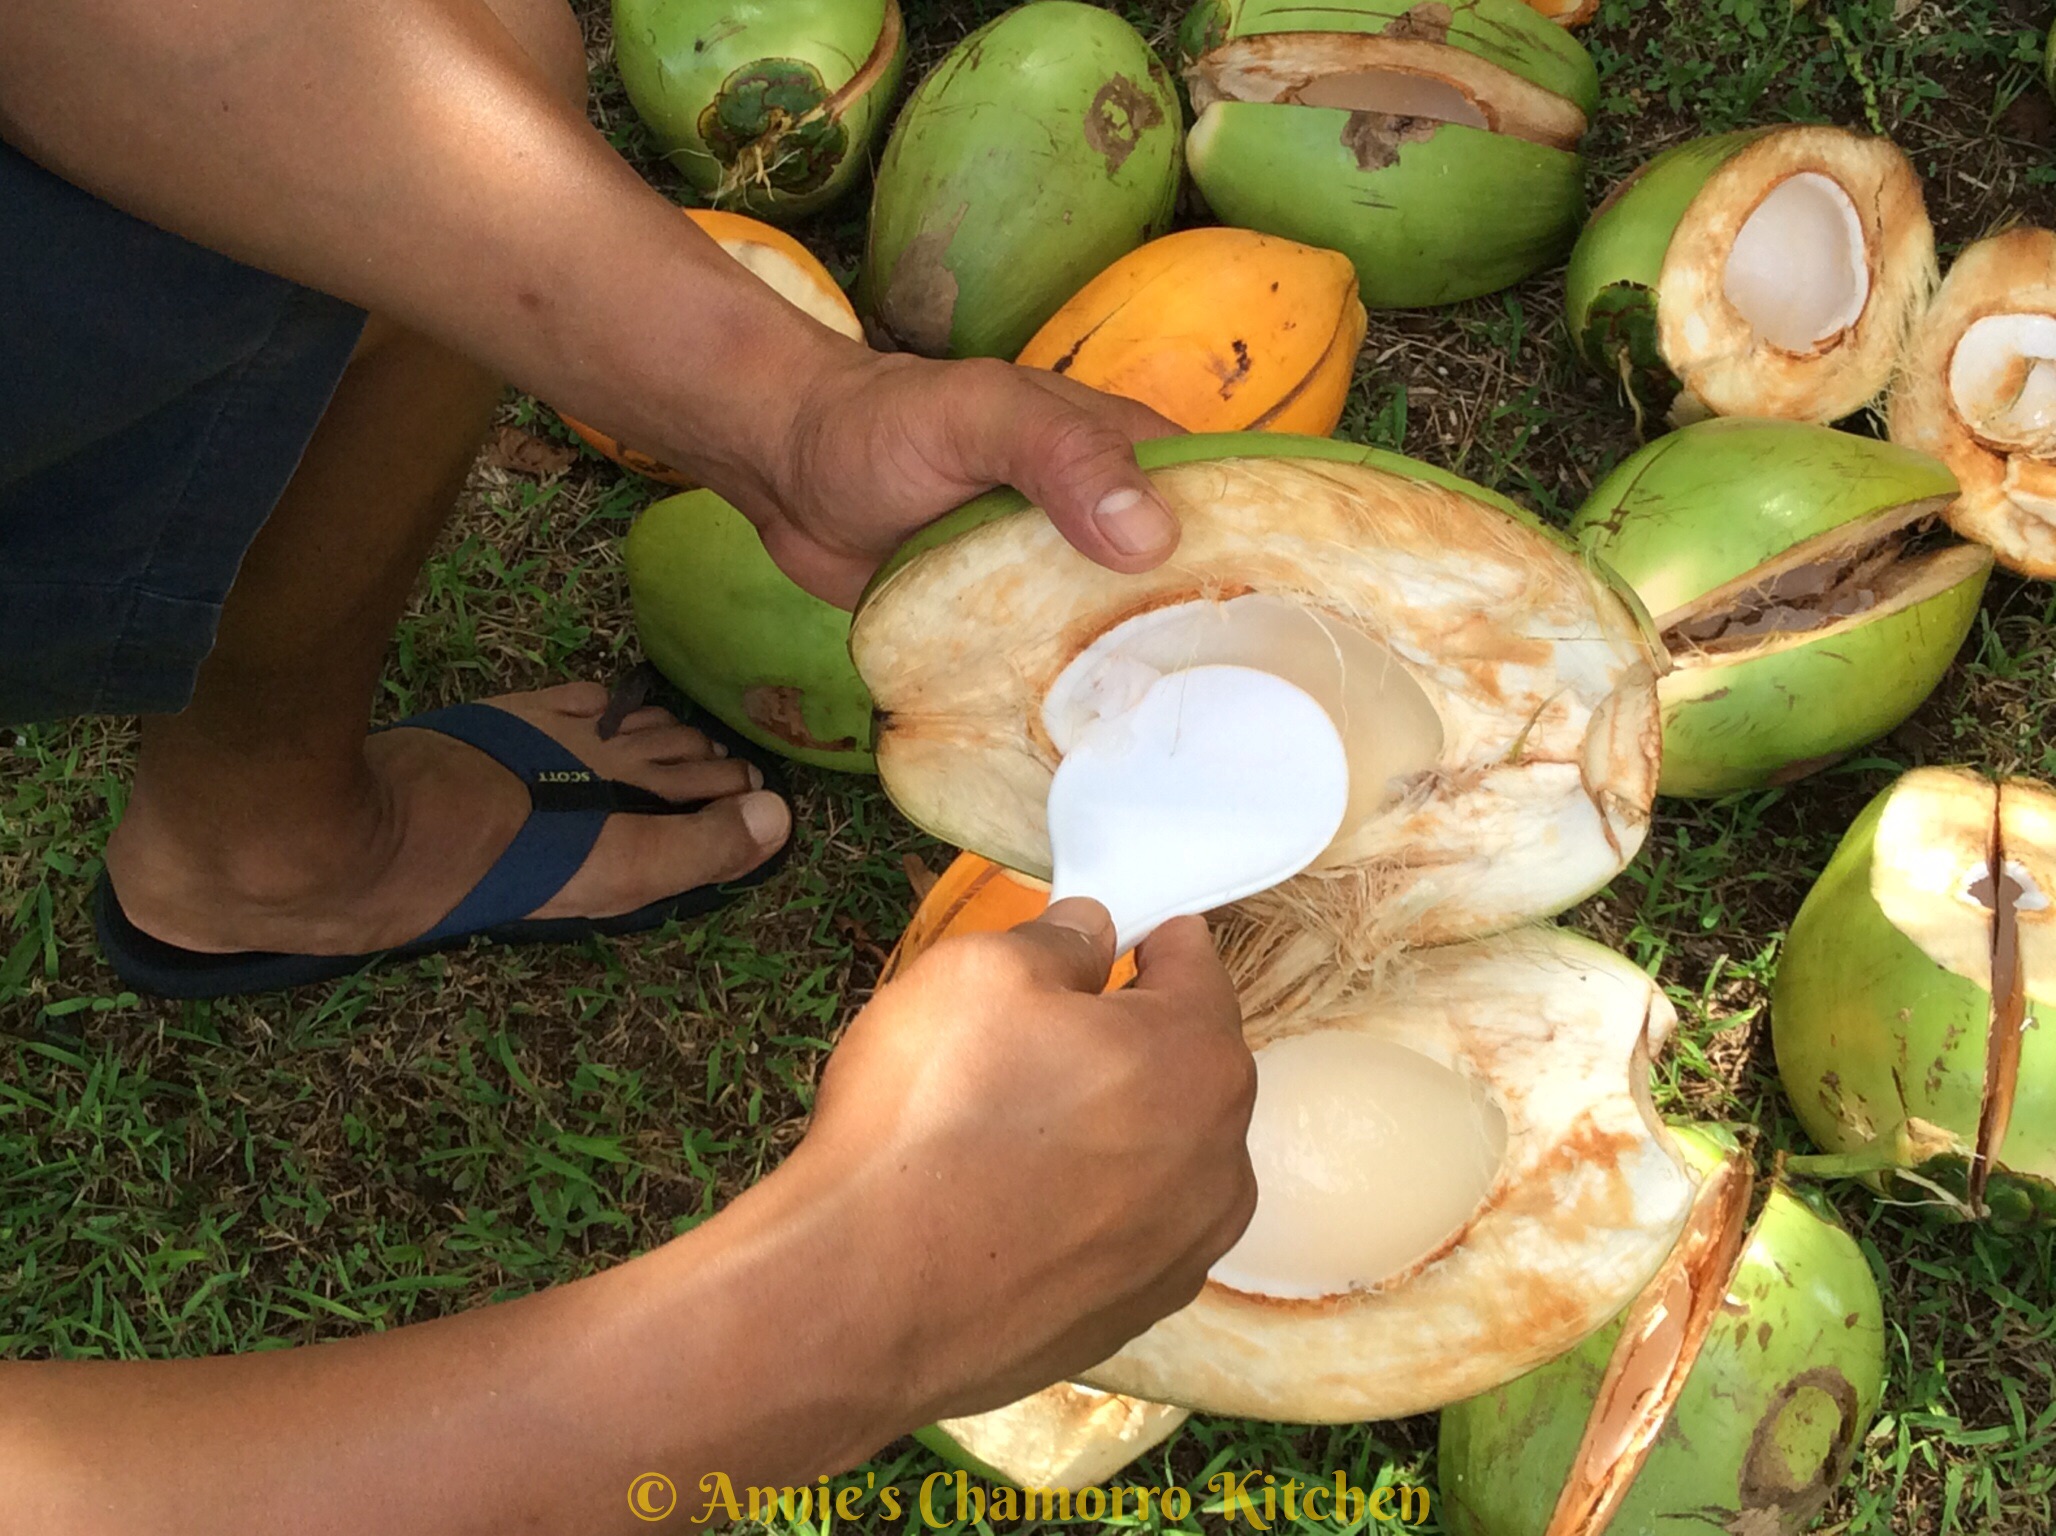
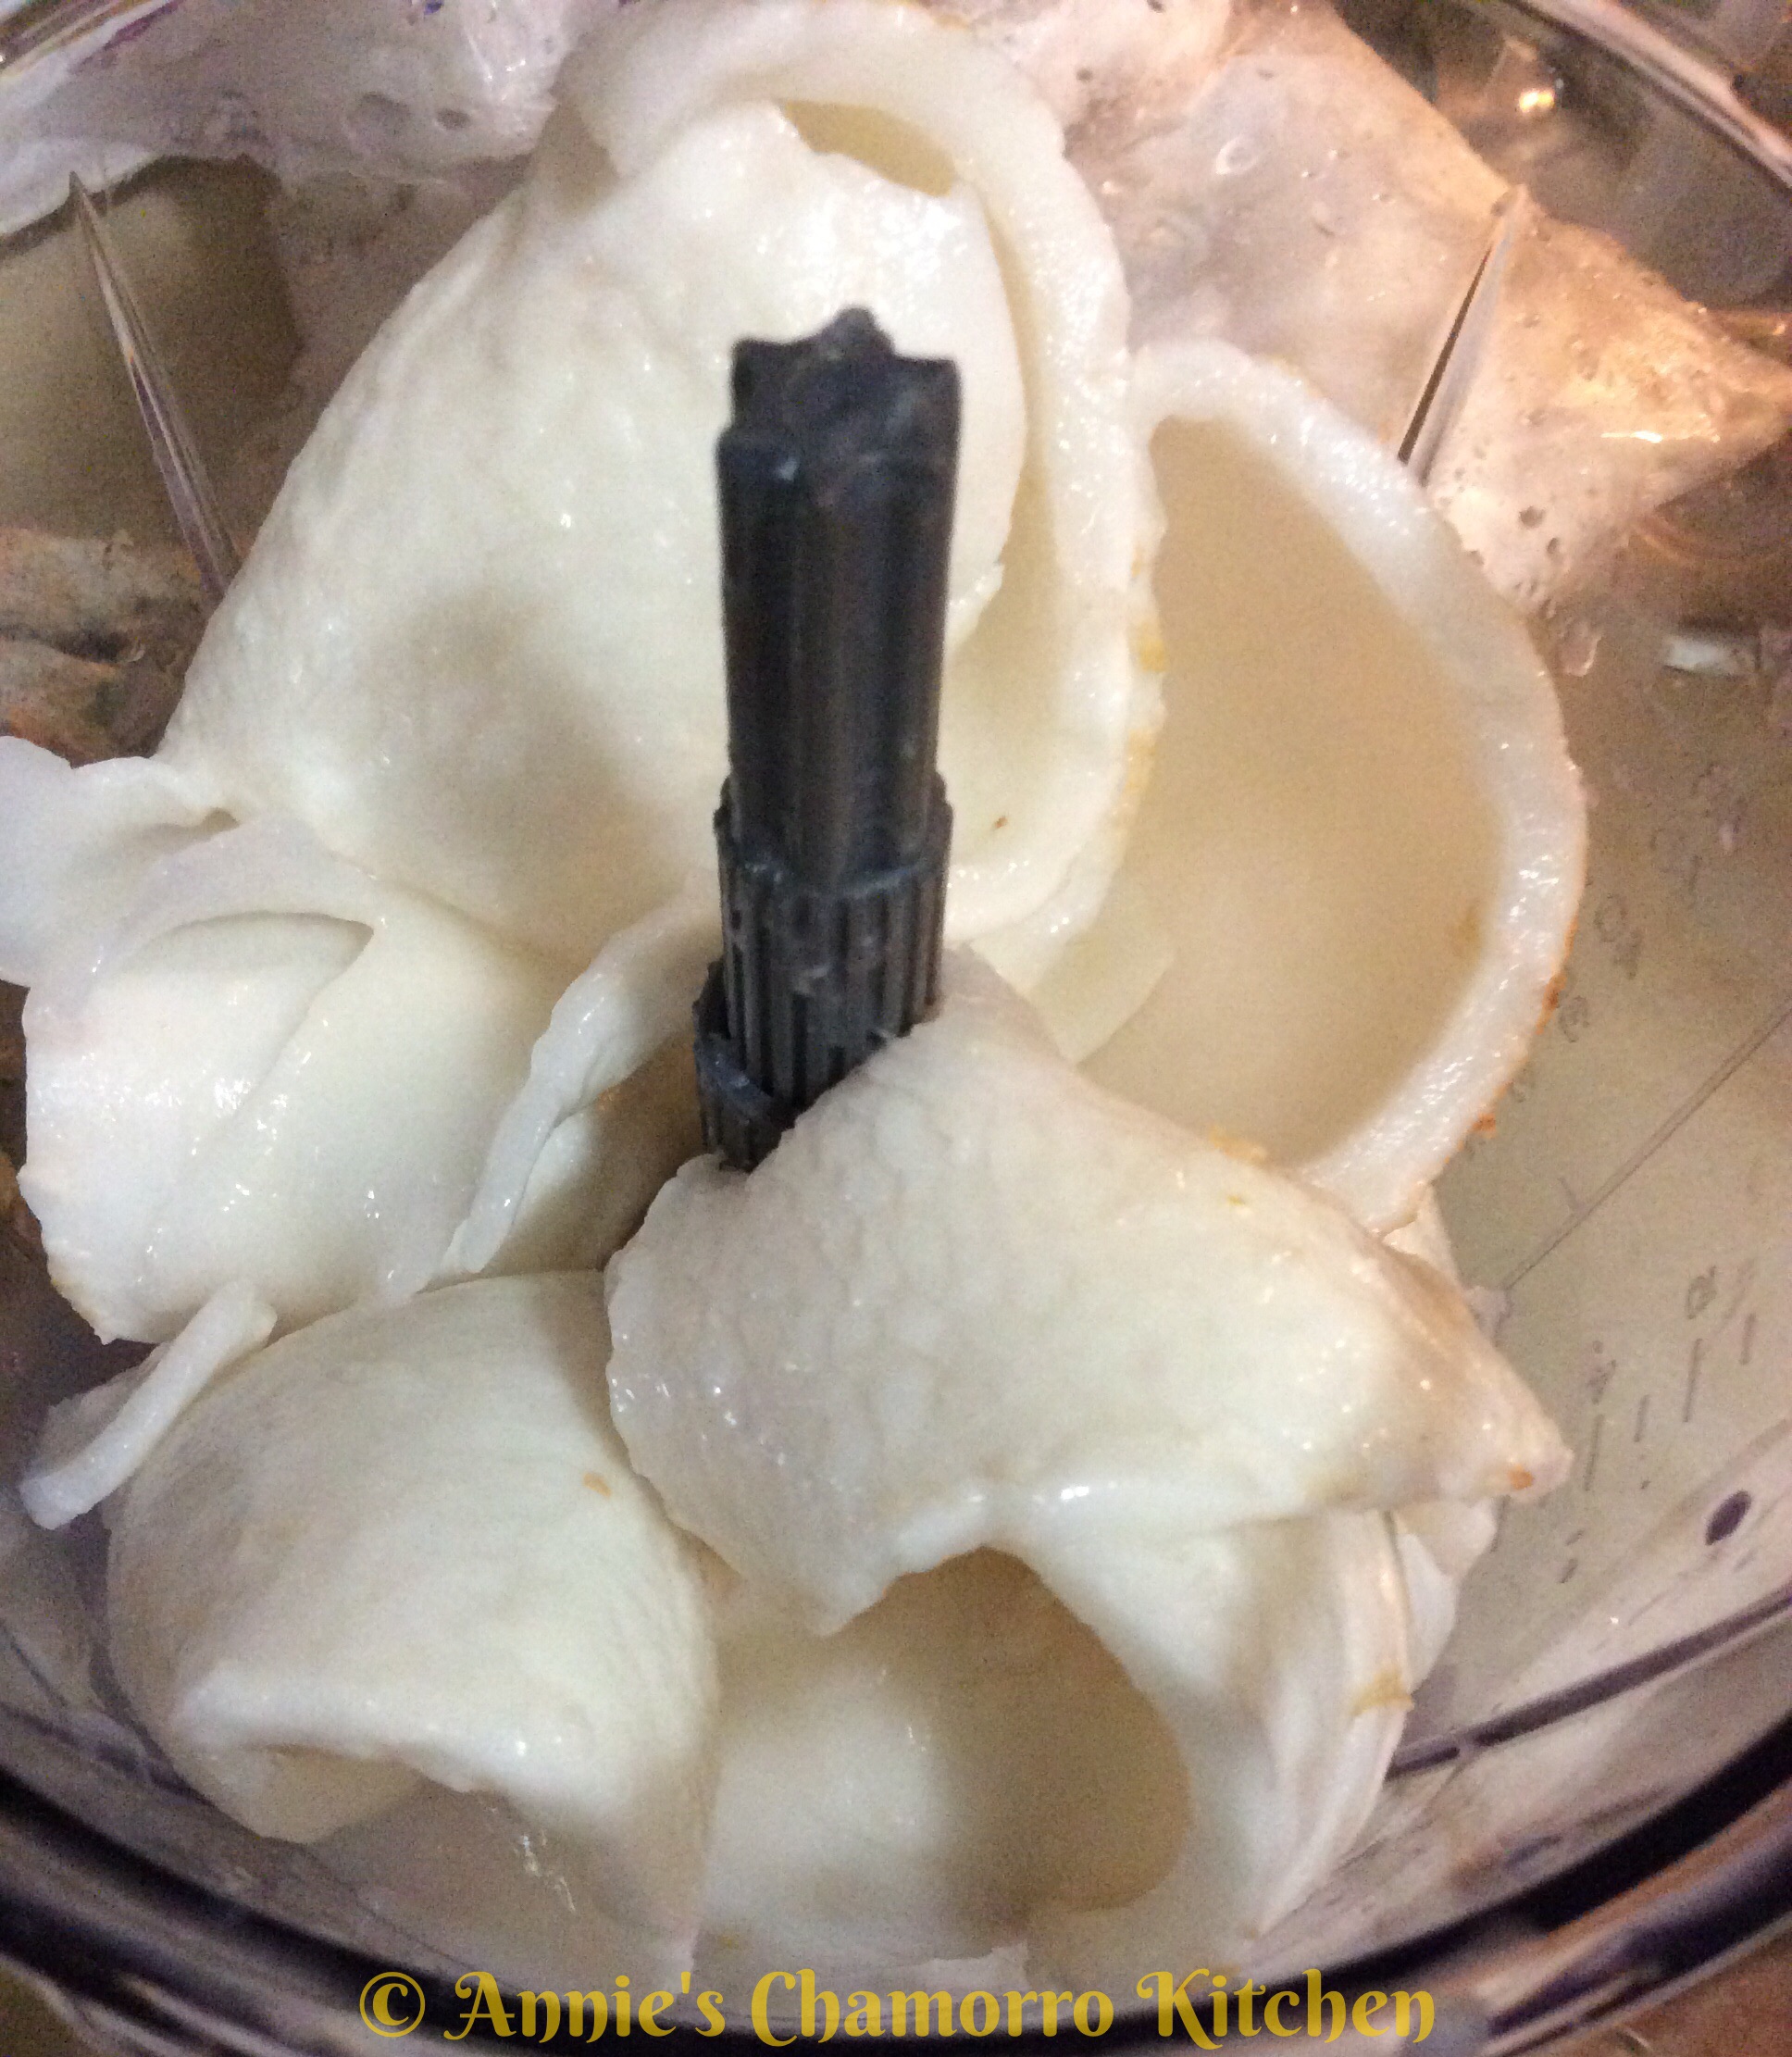
  • 1 jar macupono, drained and chopped
  • 1 cup sugar
  • ¼ cup butter, melted
  • 2 large eggs
  • 1 teaspoon vanilla extract (optional)
Topping (Optional):
  • ¾ cup sweetened condensed milk
  • ¾ cup coconut milk
  • 1 tablespoon sugar
  • 1 egg yolk
Instructions
Cassava Cake:
  1. Preheat your oven to 375 degrees. Spray a 9x13 baking pan with butter cooking spray.
  2. Mix the cake ingredients together in a large mixing bowl. Pour into the prepared baking pan.
  3. Bake for 1 hour (see note); if the top is not a nice caramel color, bake for an additional 15 minutes or until nicely browned on top. Remove from the oven and cool completely before cutting.
    Note: If adding the sweet topping, bake for 45 minutes; see instructions below for adding the topping.
Optional Topping:
  1. Mix the topping ingredients together. Place in a small sauce pan; cook over medium heat, stirring constantly until slightly thickened.
  2. After the cake has baked for 45 minutes, remove from the oven and carefully spread the topping over the top of the entire cake. Return the cake to the oven and cook for 15 more minutes.
  3. Turn the oven to broil (make sure your baking pan is broiler-safe). Broil for 5 minutes to brown the topping.
  4. Remove from the oven and let cool completely before cutting.
Serve and enjoy!


Print Friendly, PDF & Email

Banana Lumpia

Banana lumpia is a super simple dessert to make.  It requires just a few ingredients — cooking bananas, sugar, cinnamon, and lumpia wrappers.

These are the kind of cooking bananas I like to use.  There are several varieties you can buy.  The one I see at most Asian stores (you can also find them in Hispanic markets as well) are a variety called Burro bananas.  Thai bananas also work well here.  The bananas pictured below are the Thai variety.

You want to make sure the bananas are fully ripe before making your banana lumpia.  They should be a deep yellow with a few black spots.  The bananas will still be slightly firm as well.

To prepare the bananas, peel and slice 6 bananas in half, lengthwise.  Cut each half in half again, lengthwise, giving you four long pieces.  Each piece should be about four inches long.

Set the bananas aside for now while you prepare your lumpia wrappers.  The brand I prefer is Wei-Chuan spring roll shells.  I find they stay crisp longer, and they are very easy to separate, even when partially frozen.

Separate the wrappers, then cover with a clean cloth to keep them from drying out.

To assemble the lumpia, place brown sugar and cinnamon in a small bowl.  Use a fork to mix it all together.

Spread about a tablespoon of the cinnamon-sugar mixture on one corner of the lumpia wrapper.

Lay one piece of sliced banana on top of the cinnamon-sugar mixture.  Another option is to roll each banana slice in the sugar mixture then place the coated banana on the lumpia wrapper.

To roll the lumpia, begin by folding the bottom corner up and over the banana.  Slowly roll upward, sort of like forming a cigar shape.

Fold each side inward, as if you were making an envelope.

Continue rolling the lumpia, as tight as you can, until there are about two inches left of the top corner.

Dip your fingertip in some water then wet the top corner along the edges.  Finish rolling the lumpia over the moistened edge, pressing slightly to seal.

Finish rolling the lumpia.  If you plan on frying them right away, leaving them out is fine.  Otherwise, place rolled lumpia in an airtight container (a resealable bag also works well) and place in the refrigerator or freezer.

To fry the lumpia, heat oil in a large skillet to 350 degrees F.

Carefully add the lumpia to the hot oil, making sure not to crowd the oil.

Fry the lumpia until golden brown. They are ready at this point—as shown in the photo below.  One popular cooking option is to create a caramelized coating by sprinkling sugar over the lumpia as it fries.  I don’t particularly care for this as it makes a huge mess in the oil.  If you’d like, you can serve up your lumpia with some caramel sauce on the side (caramel sauce used for ice cream sauce works well) for drizzling or dipping.

Enjoy!


Banana Lumpia
 
Prep time
Cook time
Total time
 
A delicious, crispy dessert made with bananas and cinnamon-sugar, rolled in a lumpia wrapper and fried until golden brown and crispy.
Author:
Recipe type: Dessert
Cuisine: Chamorro, Filipino
Serves: 24
Ingredients
  • 6 cooking bananas, such as Burro or Thai variety
  • 1½ cups brown sugar
  • 1 tablespoon cinnamon

    Other:
  • Water, for sealing
  • Vegetable oil, for frying
Instructions
  1. Slice each banana in half, lengthwise, then slice each half in half again, lengthwise, giving your four pieces per banana.
  2. Separate the lumpia wrappers.
  3. In a small bowl, mix the cinnamon and sugar together.
  4. Place a tablespoon of the cinnamon-sugar mixture close to the bottom of a lumpia wrapper. Place one slice of banana over the cinnamon-sugar. Roll upward, like a cigar. Fold in the two edges, then continue rolling upward. Rub some water along the top edge of the lumpia wrapper; press to seal.
  5. Fry the lumpia in oil heated to 350 degrees until golden brown. Serve while hot and crisp.
  6. Option: serve with a side of caramel sauce for drizzling or dipping.

Print Friendly, PDF & Email

Åhu

Åhu is a sweet and warm soup of sorts, and is a very popular dessert drink on Guam.  It’s one of the first things I make when I go home for visits.

While you can make this dish using frozen månha (the meat from young coconuts) and the juice from the månha, there is nothing like using the real thing.

This delicious and sweet drink is thickened by the månha dumplings, made by mixing pureed månha, sugar and tapioca starch.  The dumplings — I call them lumps — cook in boiling hot månha juice until they float to the surface indicating they are done.

image

It doesn’t take long to cook up a huge pot of åhu.  What DOES take long, however, is cutting down a bunch of månha, cutting them open and collecting the juice, then scraping the meat.

Here’s an entertaining (at least I think so) video of the guys working hard at harvesting the månha for us. 🙂

I’ll bet many of you didn’t know there are some species of coconut that are orange when young, not just the common green ones.

My sister and I recruited the men to do the gathering with the promise we’ll do the cooking.  They eventually enjoyed the fruits of our labor and relaxed with a huge cupful of delicious åhu. 🙂

image

After draining out the juice, cut open the månha and scrape out the meat.  Be careful not to scrape out any of the husk if you can help it.  The månha meat is very tender; it doesn’t take much effort to scrape it out of the shell.

image

After you’ve collected the juice and meat, it’s time to get cooking.  Place the månha juice into a large pot.  You don’t need much juice to get great tasting åhu.  You can use all juice or a mixture of juice and water.  My dad likes to drink the månha juice so when my sister and I made this, we diluted it by mixing 8 cups of månha juice with 8 cups of water, saving the rest of the juice for dad.

If the juice is sweet, you don’t need much sugar.  We added about 3 cups of sugar to all that liquid.  Add a cup at a time and taste as you go, adding as much sugar as you like.

Bring the liquid to a slow boil while you make the månha dumpling mixture.

image

Place the månha in a food processor.  Use more månha if you like lots of “lumps” — we used 4 cups of månha (my family likes lots of lumps) for a large pot of åhu.

image

Process the månha until it’s smooth and creamy.

image

Add the entire bag of tapioca starch to the pureed månha.  Save the rest of the tapioca starch in case you need to thicken the åhu liquid later or to add more to the månha-starch mixture (more on this later).

image

image

Add sugar to the månha-starch mixture.  You don’t need much since you’ve already sweetened the liquid.  The amount of sugar also depends on how sweet the månha meat is.  This batch of månha was very sweet so we added just one cup of sugar.  The mixture will be very thick, thicker than cake batter.

image

Drop small dollops of the batter into the boiling liquid.  Do a test batch first to taste if it’s sweet enough.  Add more sugar if you want it sweeter.

image

The lumps will float to the top of the pot when done.  If the lumps break apart during the cooking, that means you need to add more starch.  Add a few spoonfuls at a time, then cook a test batch to make sure they stay intact.

image

This recipe makes a LOT of lumps — just the way my brother likes it.  The starch in the lumps also serves to thicken the åhu.  Let the mixture cook over low heat for a few minutes after all of the lumps are done.  If, after a few minutes, the liquid is not thickening, mix any reserved tapioca starch with a cup of water; stir the mixture into the åhu and cook for a few more minutes until thickened.

image

Serve while still hot and ENJOY! 🙂

image


Åhu
 
A warm, sweet dessert drink made from the juice and meat of young green coconuts.
Author:
Cuisine: Chamorro
Ingredients
Liquid
  • 8 cups Månha juice
  • 8 cups water
  • 3 cups sugar, more or less, to taste
Dumplings
  • 4 cups månha meat, pureed
  • 1½ (15 oz) bags tapioca starch
  • 1 cup sugar
Instructions
  1. Place the månha, juice, and sugar in a large pot. Bring to a boil over low heat.
  2. Mix together the pureed månha, one bag of starch (reserve the remaining half bag), and sugar to form the batter for the dumplings.
  3. Drop the batter into the boiling liquid by the teaspoonful. The dumplings will float to the top when done. If the dumplings break apart during cooking, add a couple of tablespoons more starch to the dumpling mixture. "Test cook" a few dumplings to ensure they don't break apart and is sweet enough. If the dumplings still break apart during cooking, add a couple more tablespoons of starch.
  4. After all of the dumplings are done, check to see if the åhu is thick enough for your liking. It should be the consistency of not-too-thick gravy. If you'd like it thicker, mix any remaining starch with 1 cup water; stir the mixture into the hot åhu. Cook for a few more minutes until the åhu thickens.
Serve while still hot and ENJOY! 🙂

Print Friendly, PDF & Email

Potu

Potu is a sweet steamed rice cake that’s a Chamorro favorite.  It’s traditionally made using sweet tuba, a Chamorro beverage made from fermenting (like wine) coconut juice.  Rice is soaked overnight in the tuba then ground into a super-fine consistency the next day.  The mixture is sweetened and steamed into these amazingly delicious rice cakes.

Events - 1423

When I was younger, I usually only had potu when we went to parties or (I don’t mean to be morbid) at rosaries.  My late aunt used to make potu as well.  I remember those sleepovers at her house —  Auntie Frances had the entire kitchen and dining room filled with tubs of soaking rice and pans of potu ready for delivery.  Ahh…those were the good ‘ole days.

Events - 0324

This is my friend, Judy Dillinger’s recipe.  Being away from home, I definitely don’t have access to a lot of home-grown ingredients, tuba being one of them.  Judy’s recipe makes use of readily available ingredients that you can find in almost any grocery store.  It’s also quick and easy, using rice flour instead of soaking rice overnight.

Events - 024

If you’d like to try another of my friend’s Potu recipes, take a look at this one by my friend, Rose Camacho.

I’ve made both recipes and I will tell you they are both equally delicious and definitely tried-and-true.

Give Judy’s or Rose’s recipes a try.  I think you’ll like them.

Here’s how to make Judy’s Potu.

Events - 017
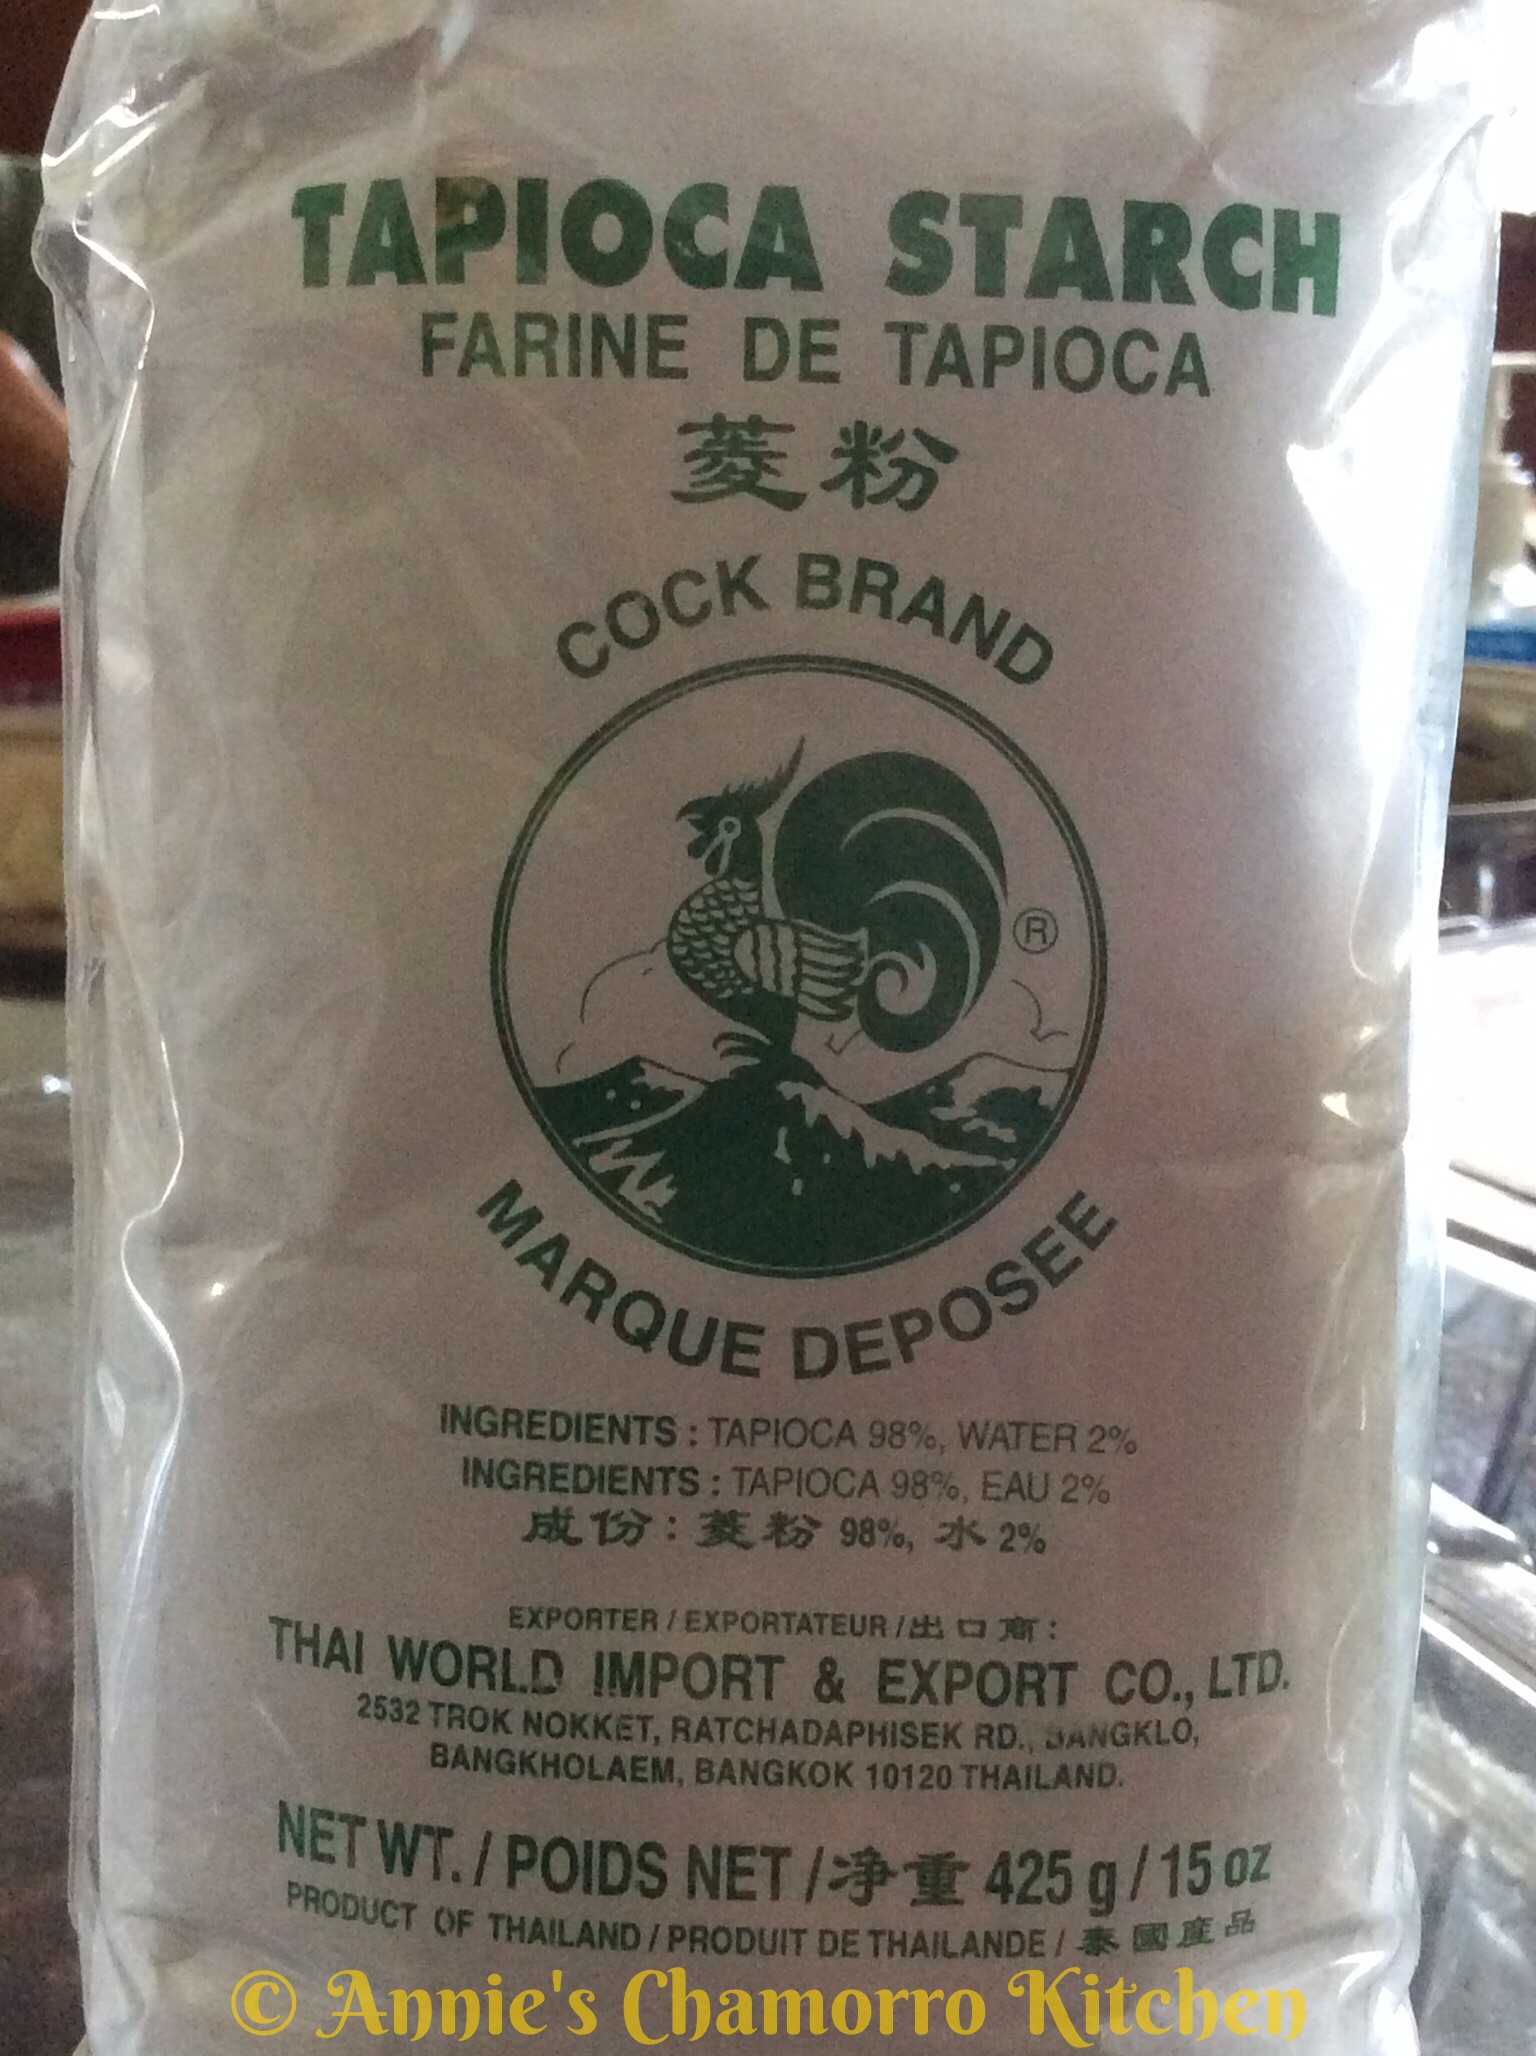
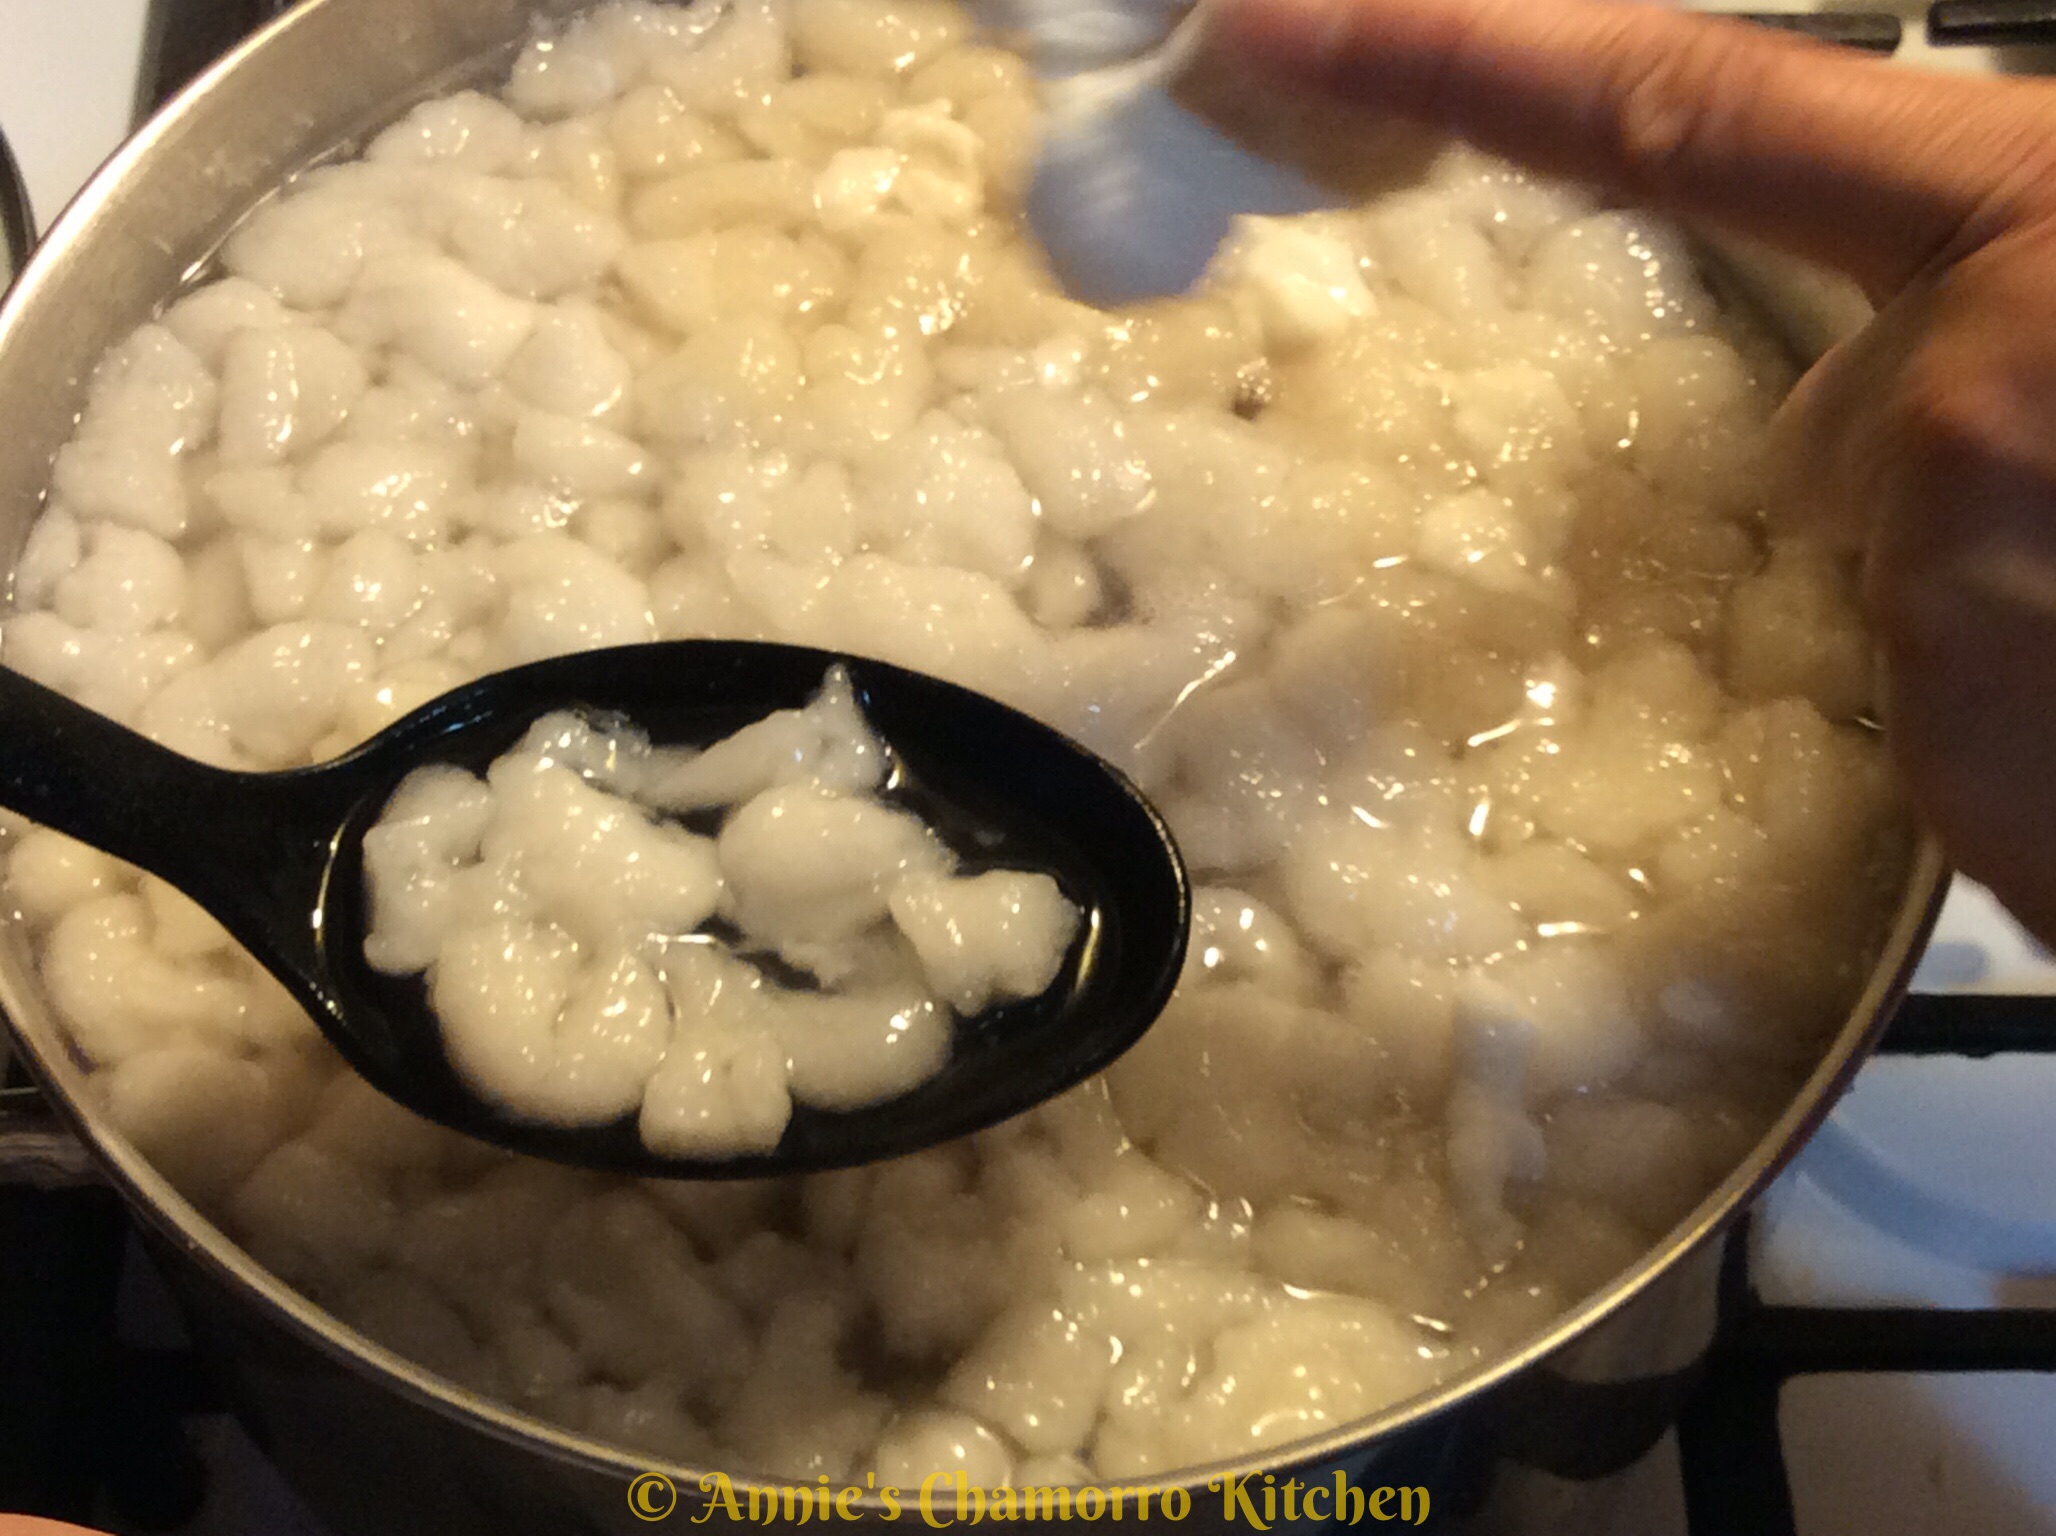
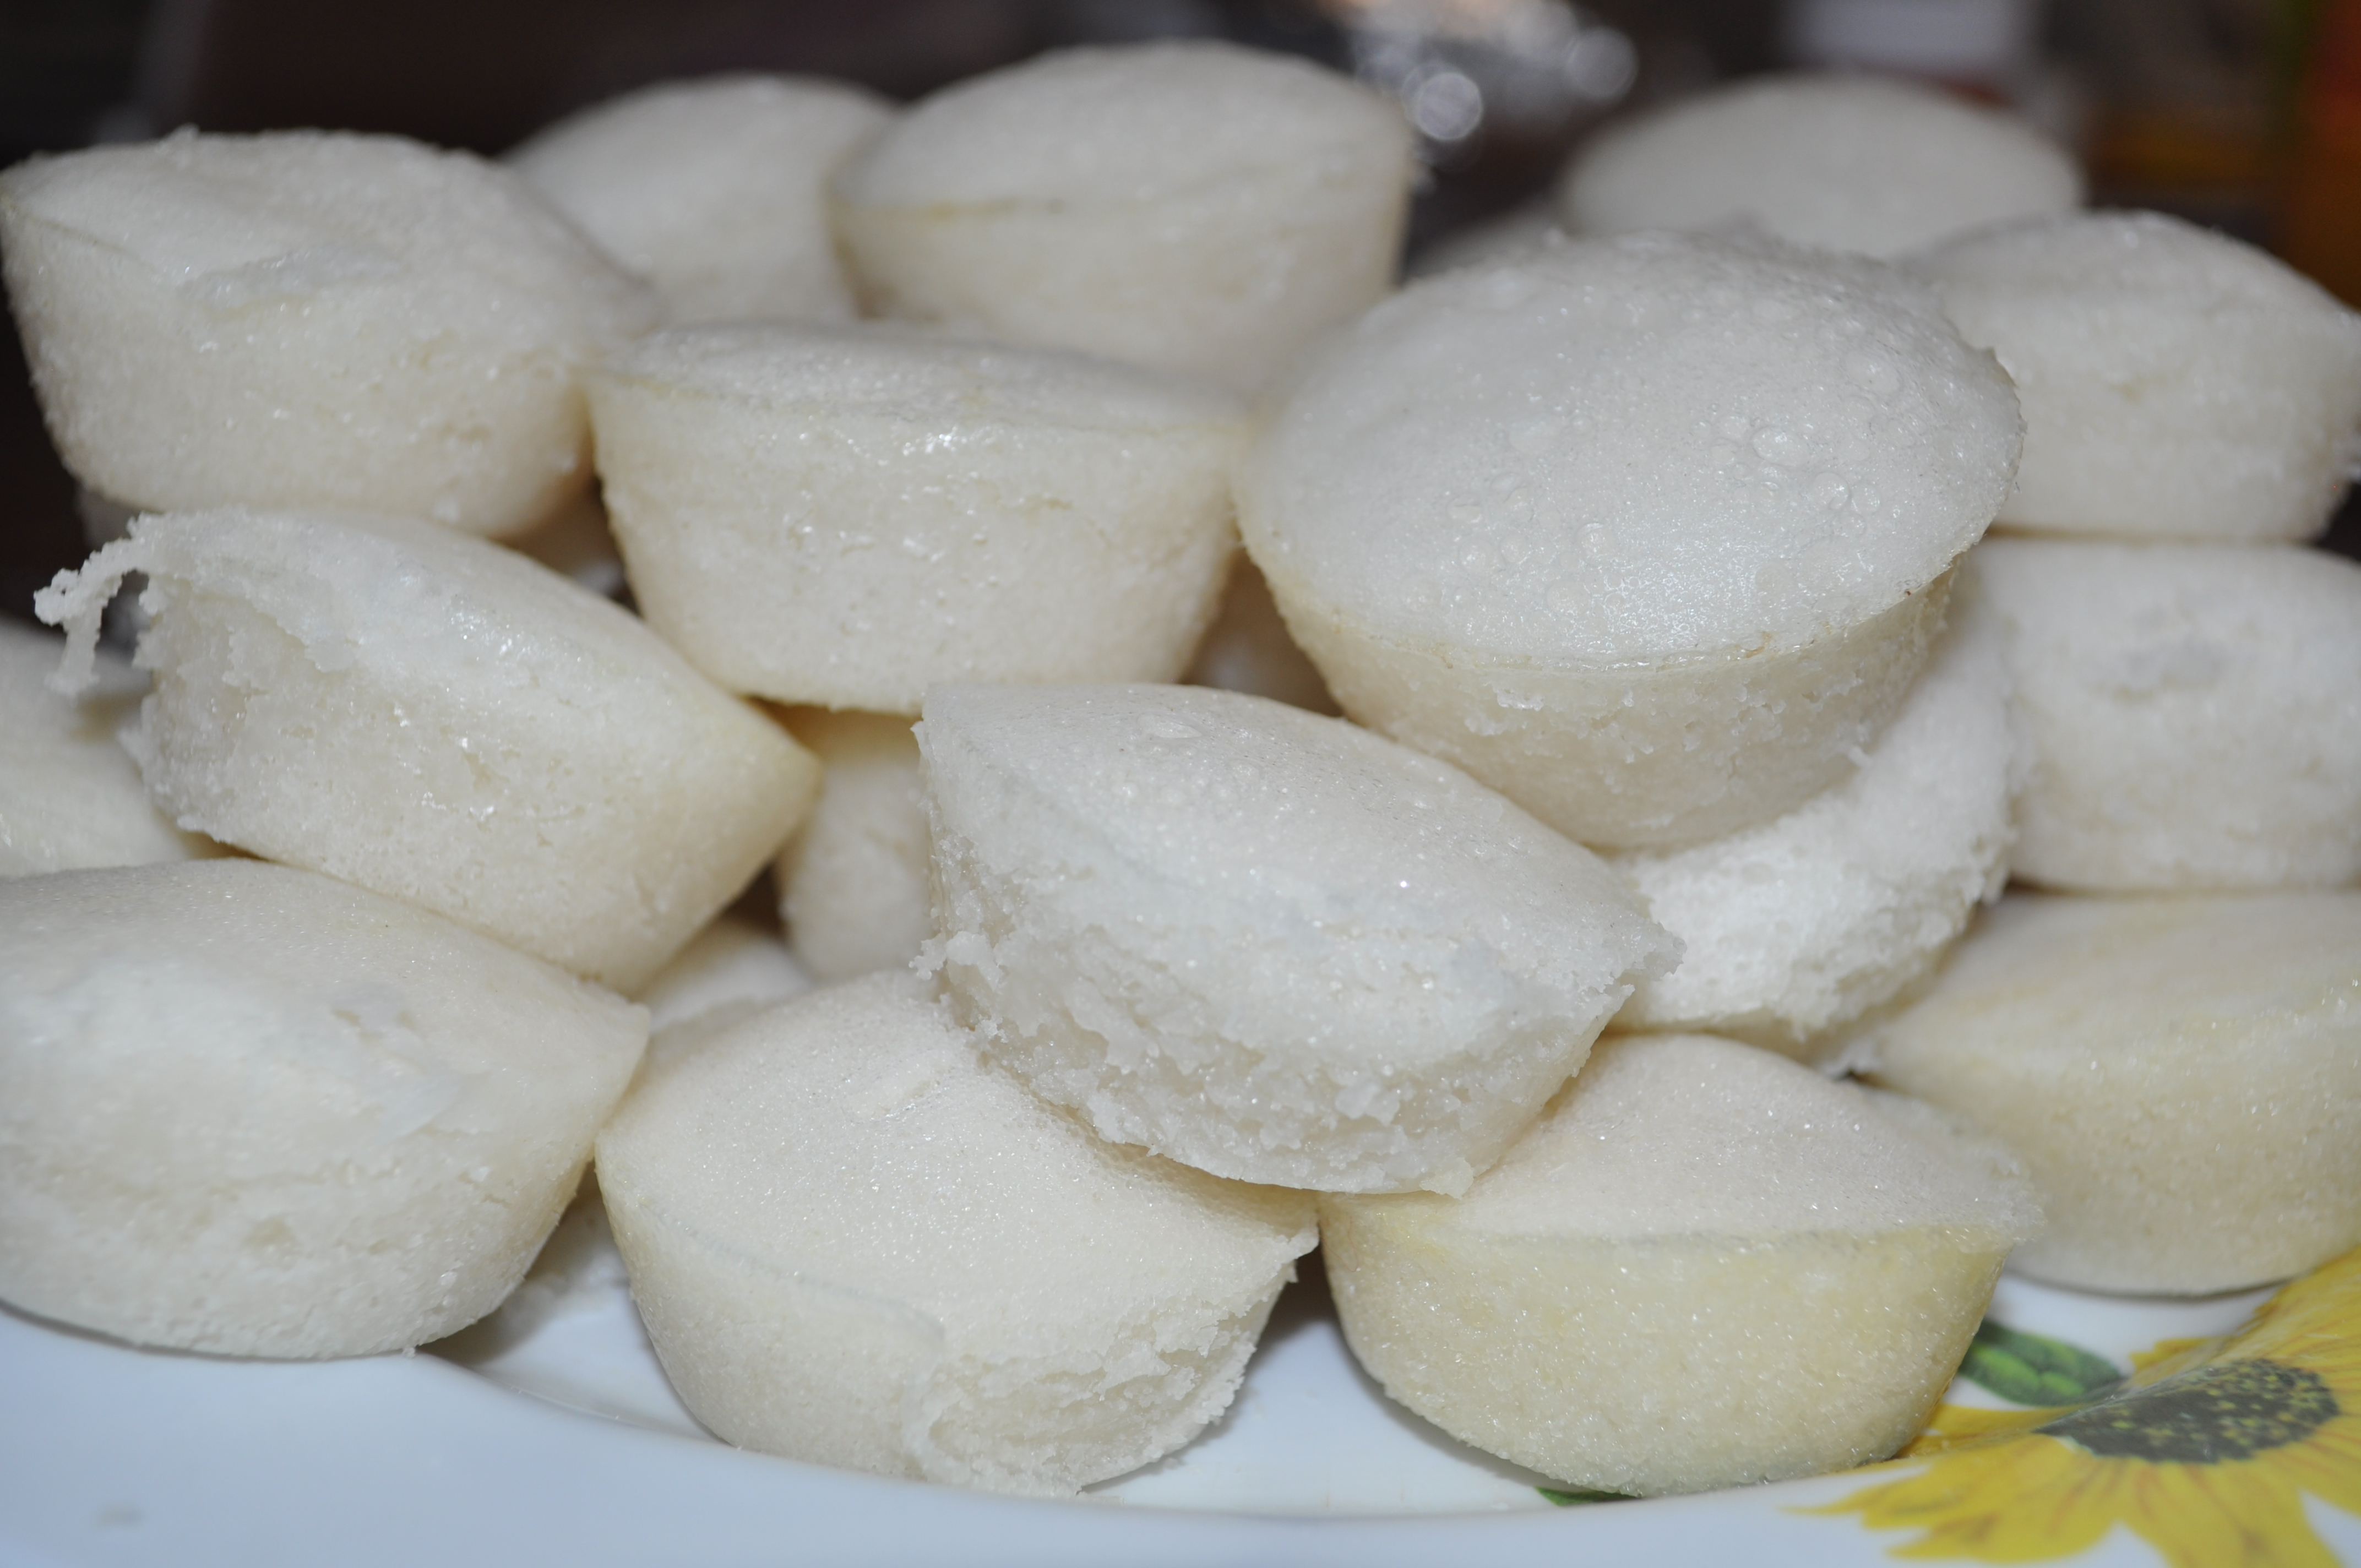
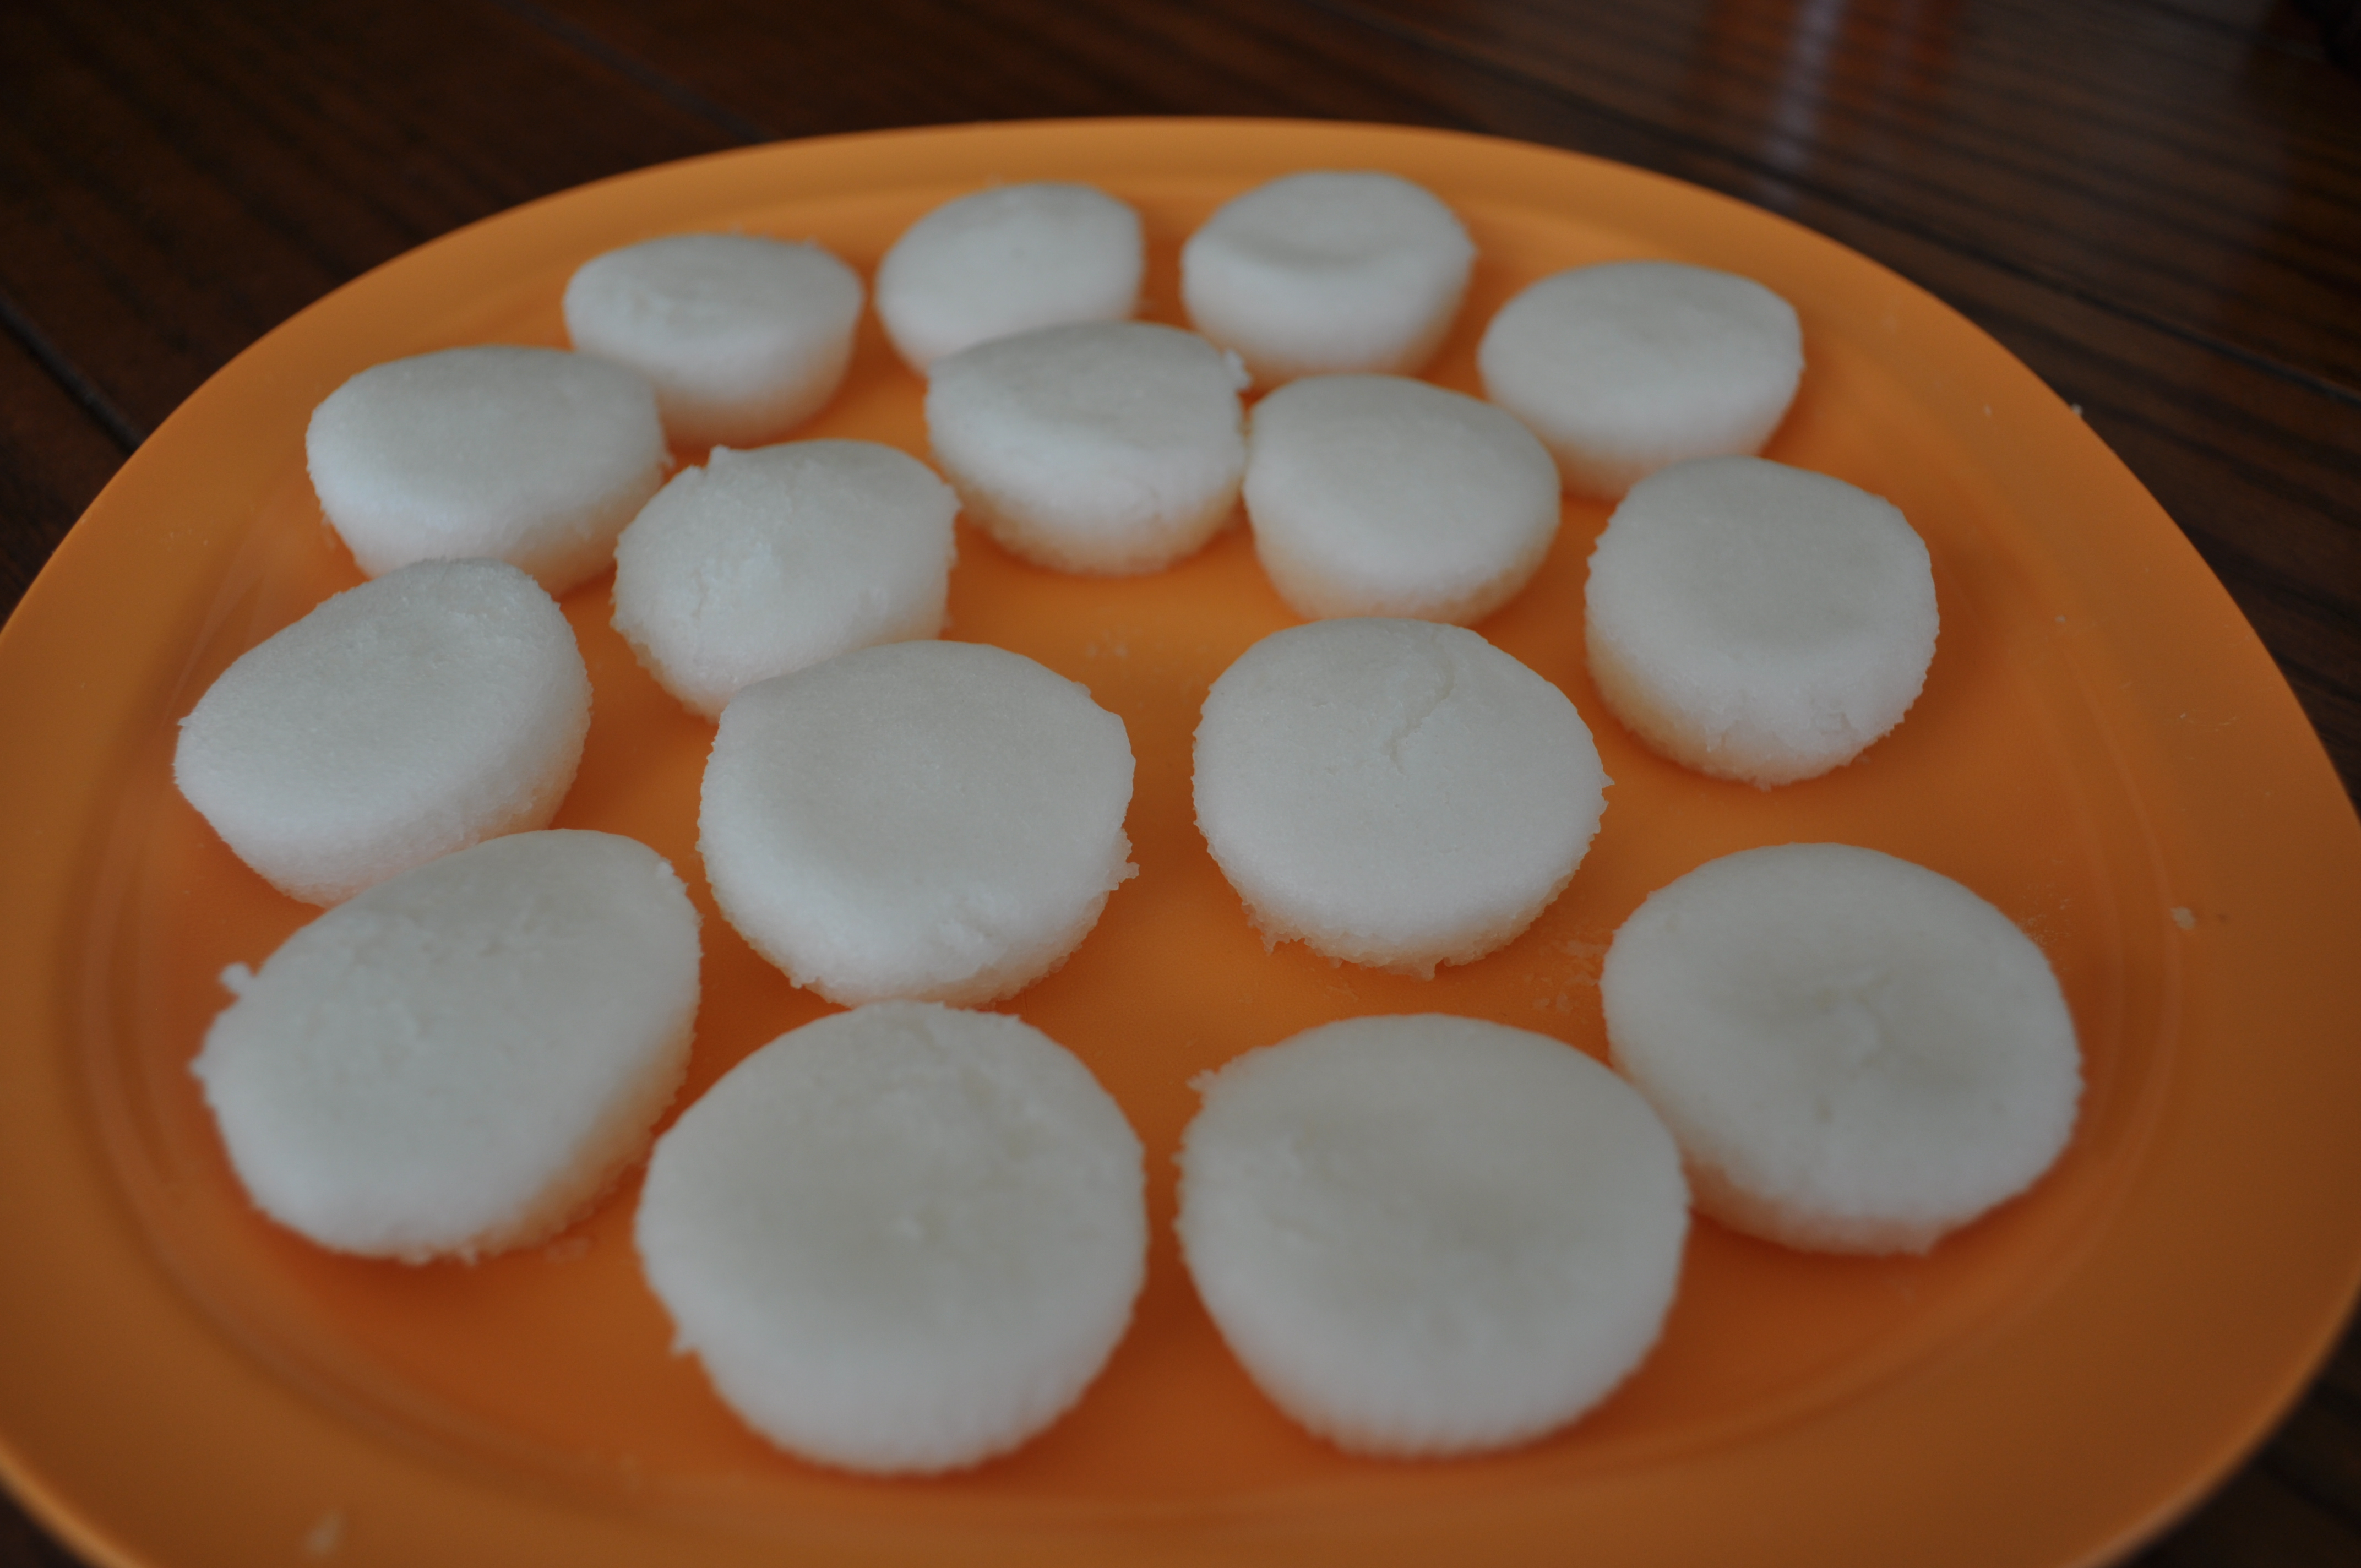
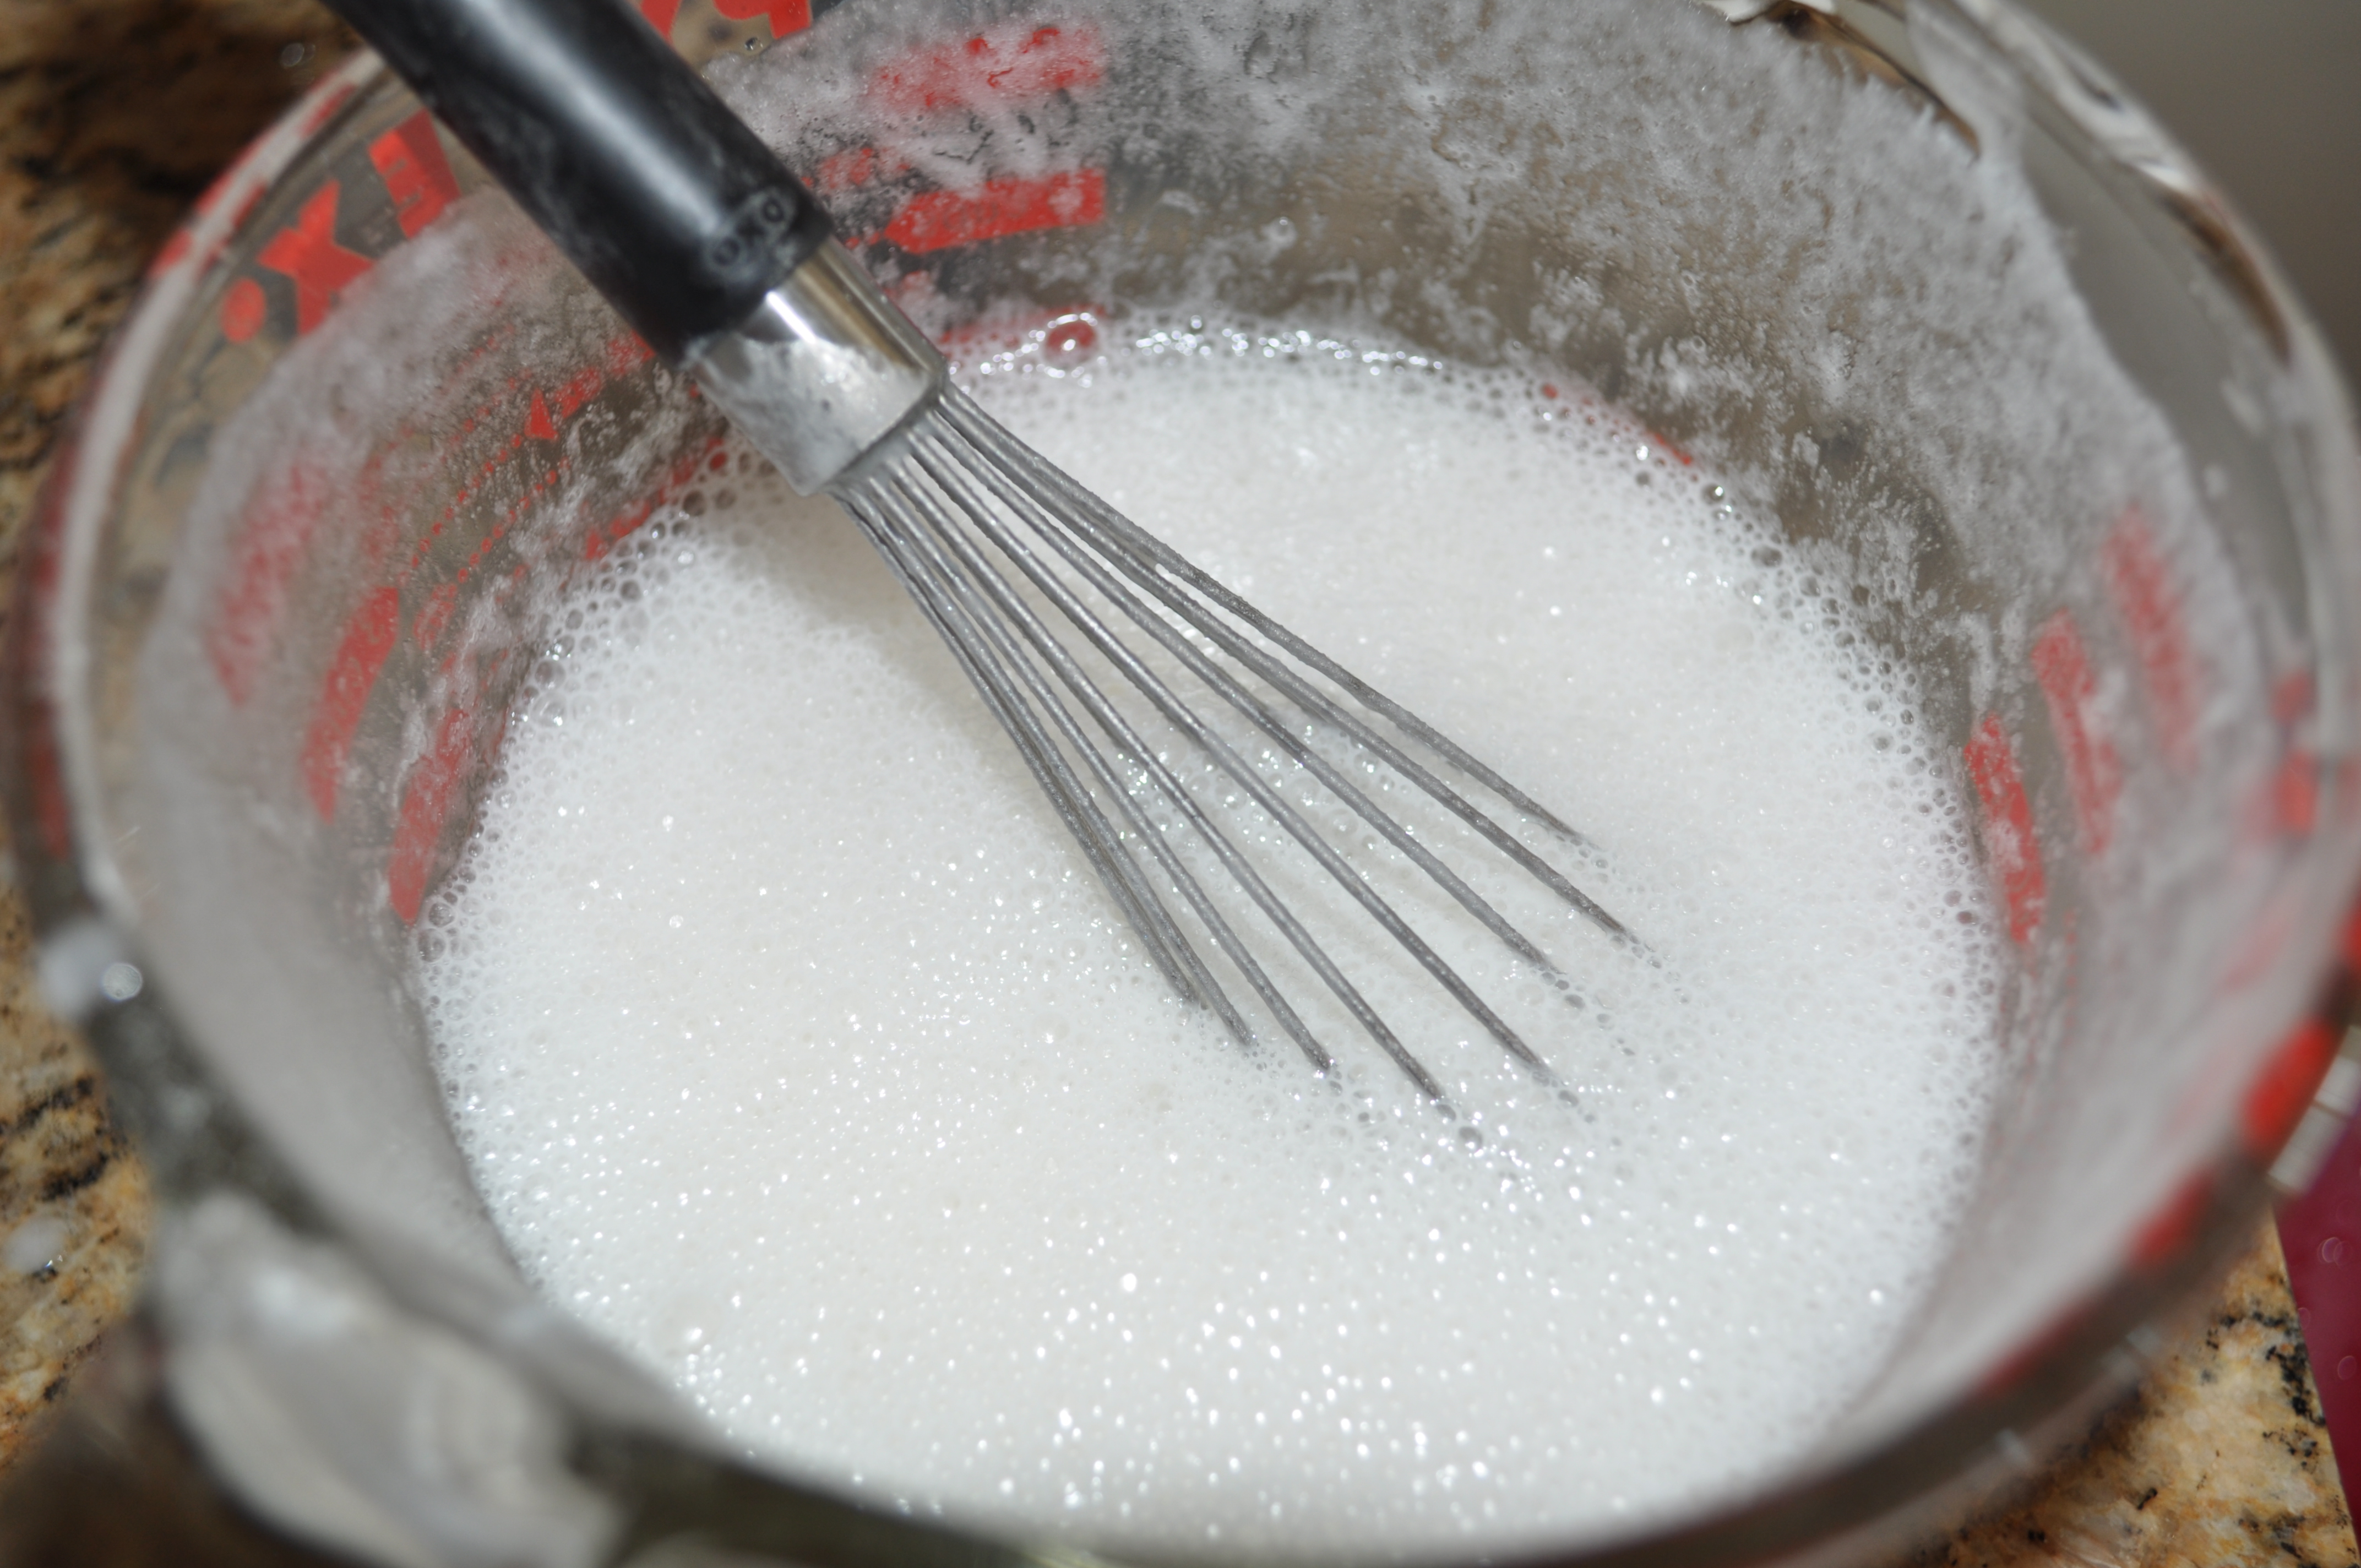
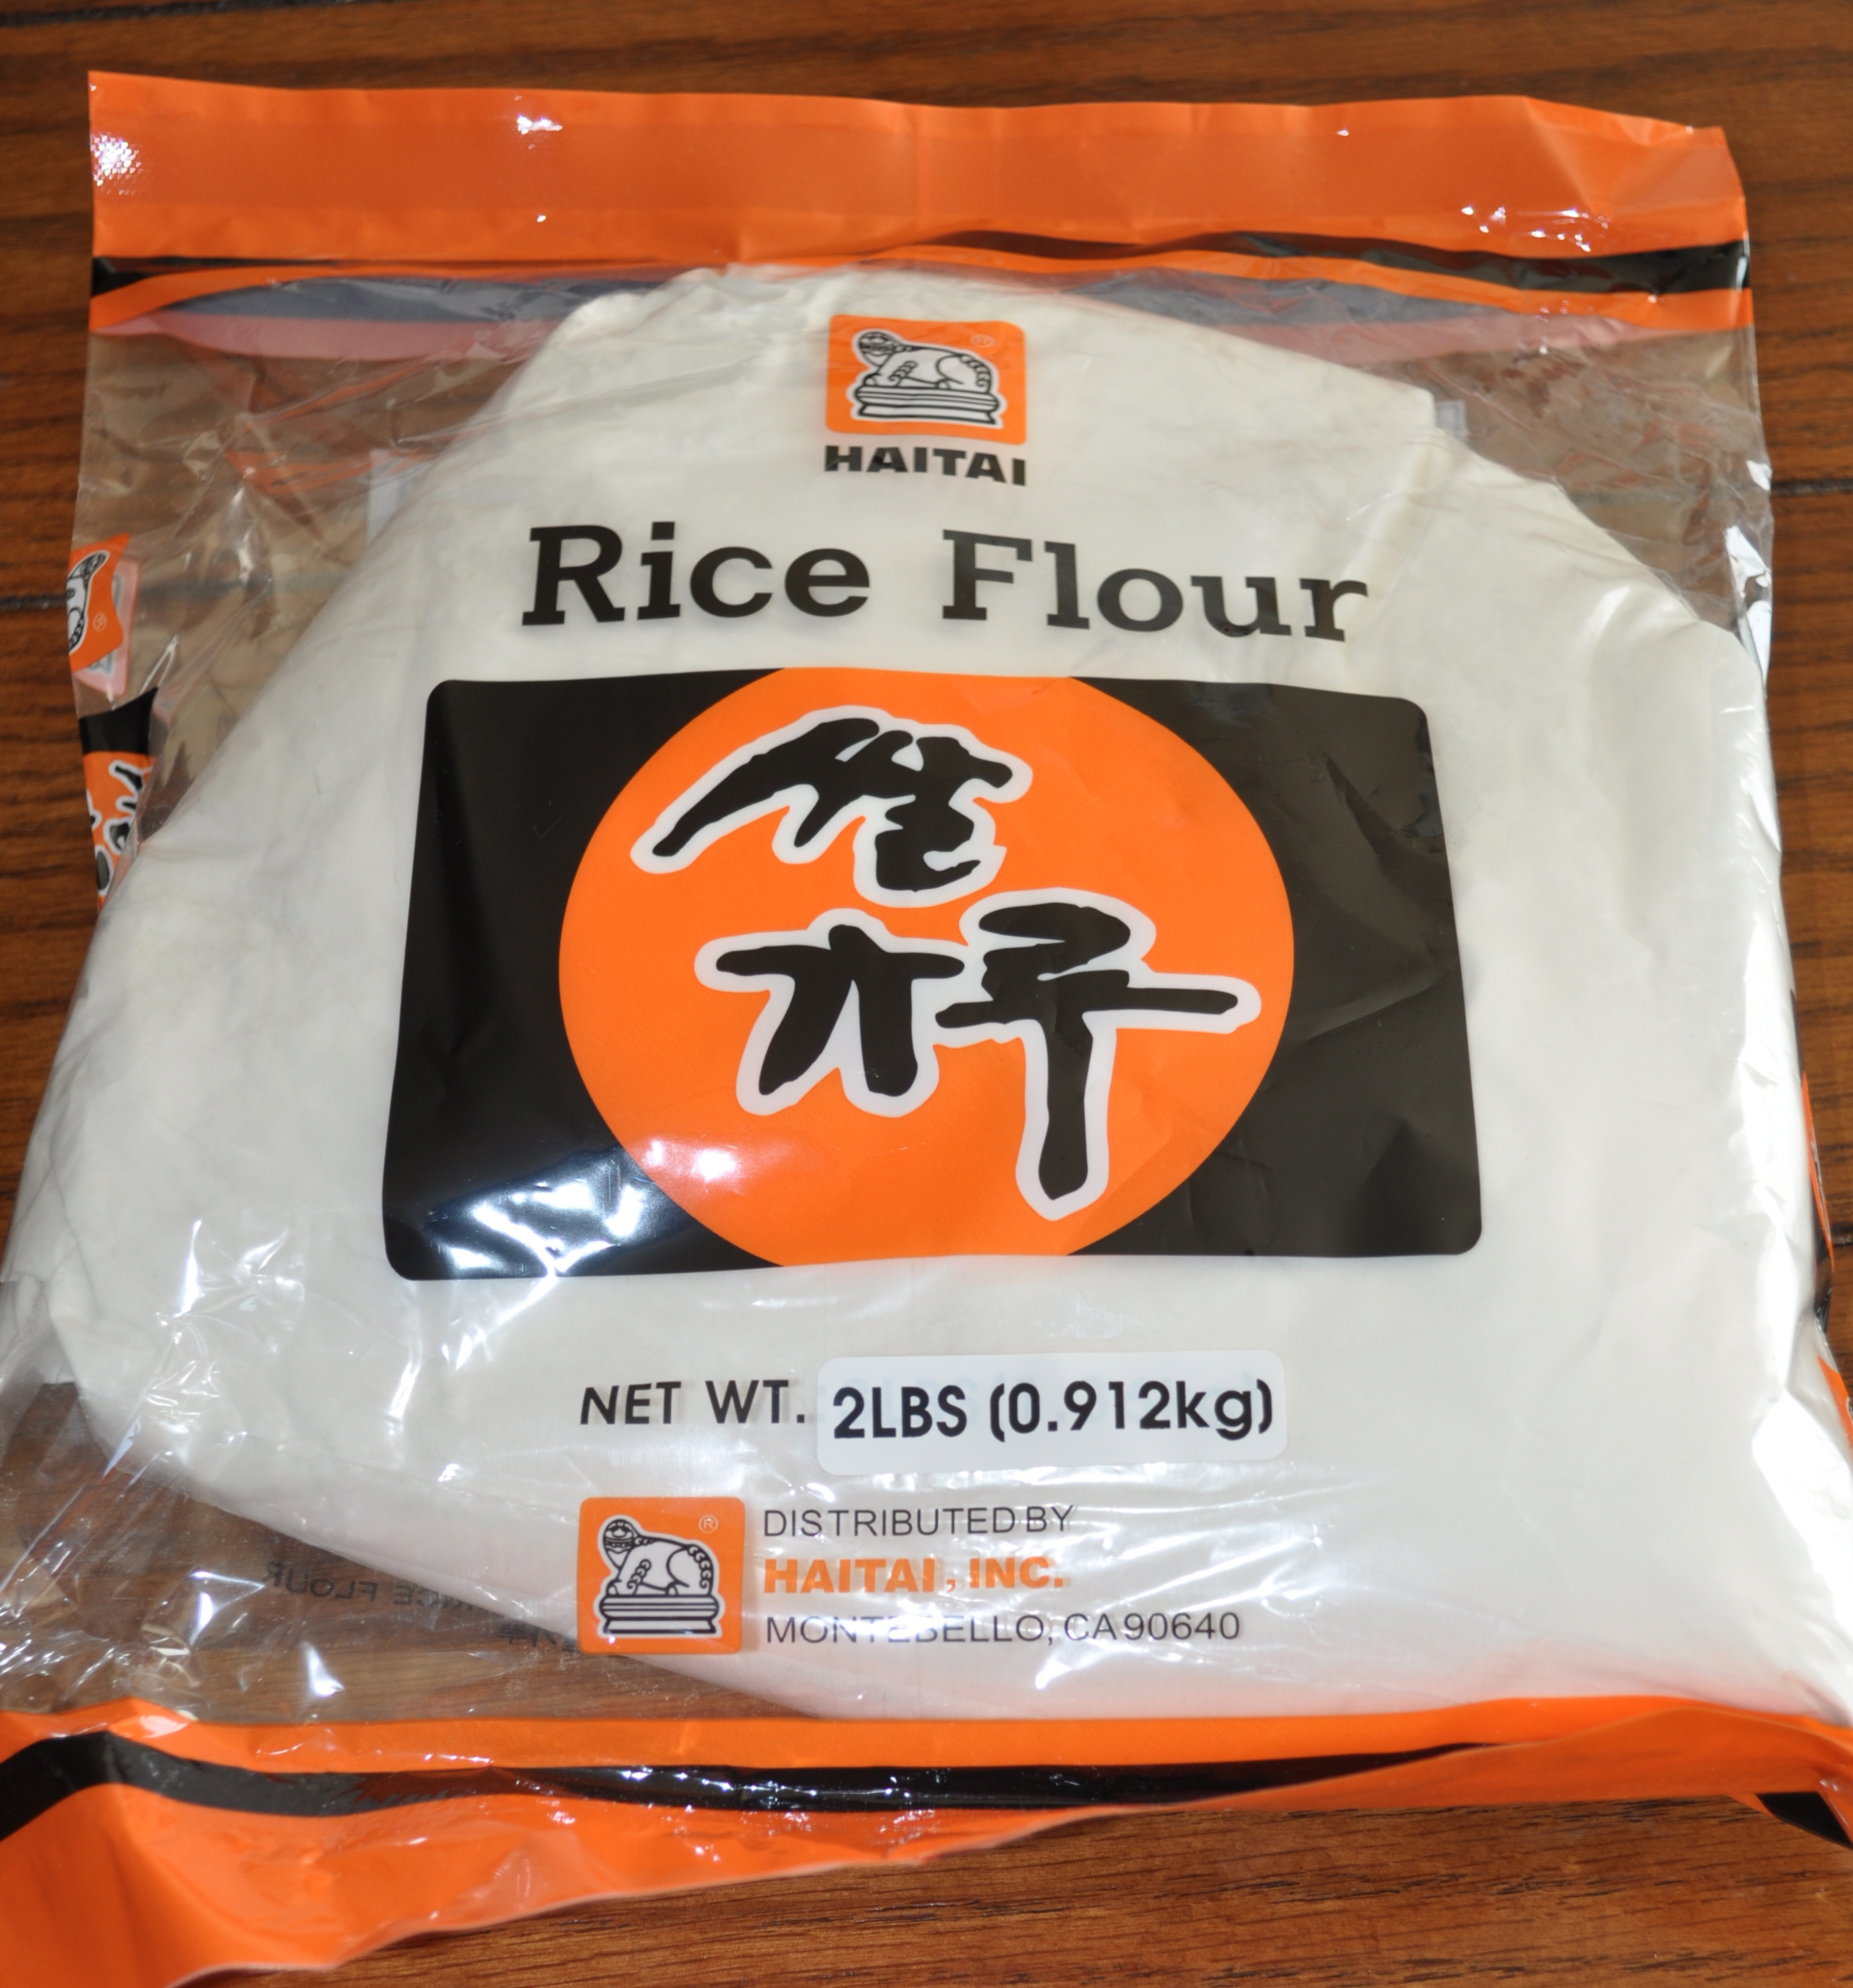
You’ll need to find rice flour that is NOT glutinous.  The label will tell you whether it’s glutinous or not.  The glutinous kind will NOT work for potu.  Glutinous rice flour is made by grinding sweet rice, which is very sticky when cooked.  The NON-glutinous rice flour (the kind you need for potu) is made by grinding short or medium-grain rice.

This is a photo of the brand of rice flour I used.  There are many different brands; make sure the label states non-glutinous.rice flour

I’ve also used this brand of rice flour (the red bag, pictured on the right).  Notice that the green bag clearly states “Glutinous.”  If you’re familiar with mochi, glutinous rice flour is used to make mochi.  Again, for potu, you want to use NON-glutinous rice flour.

Events - 0545
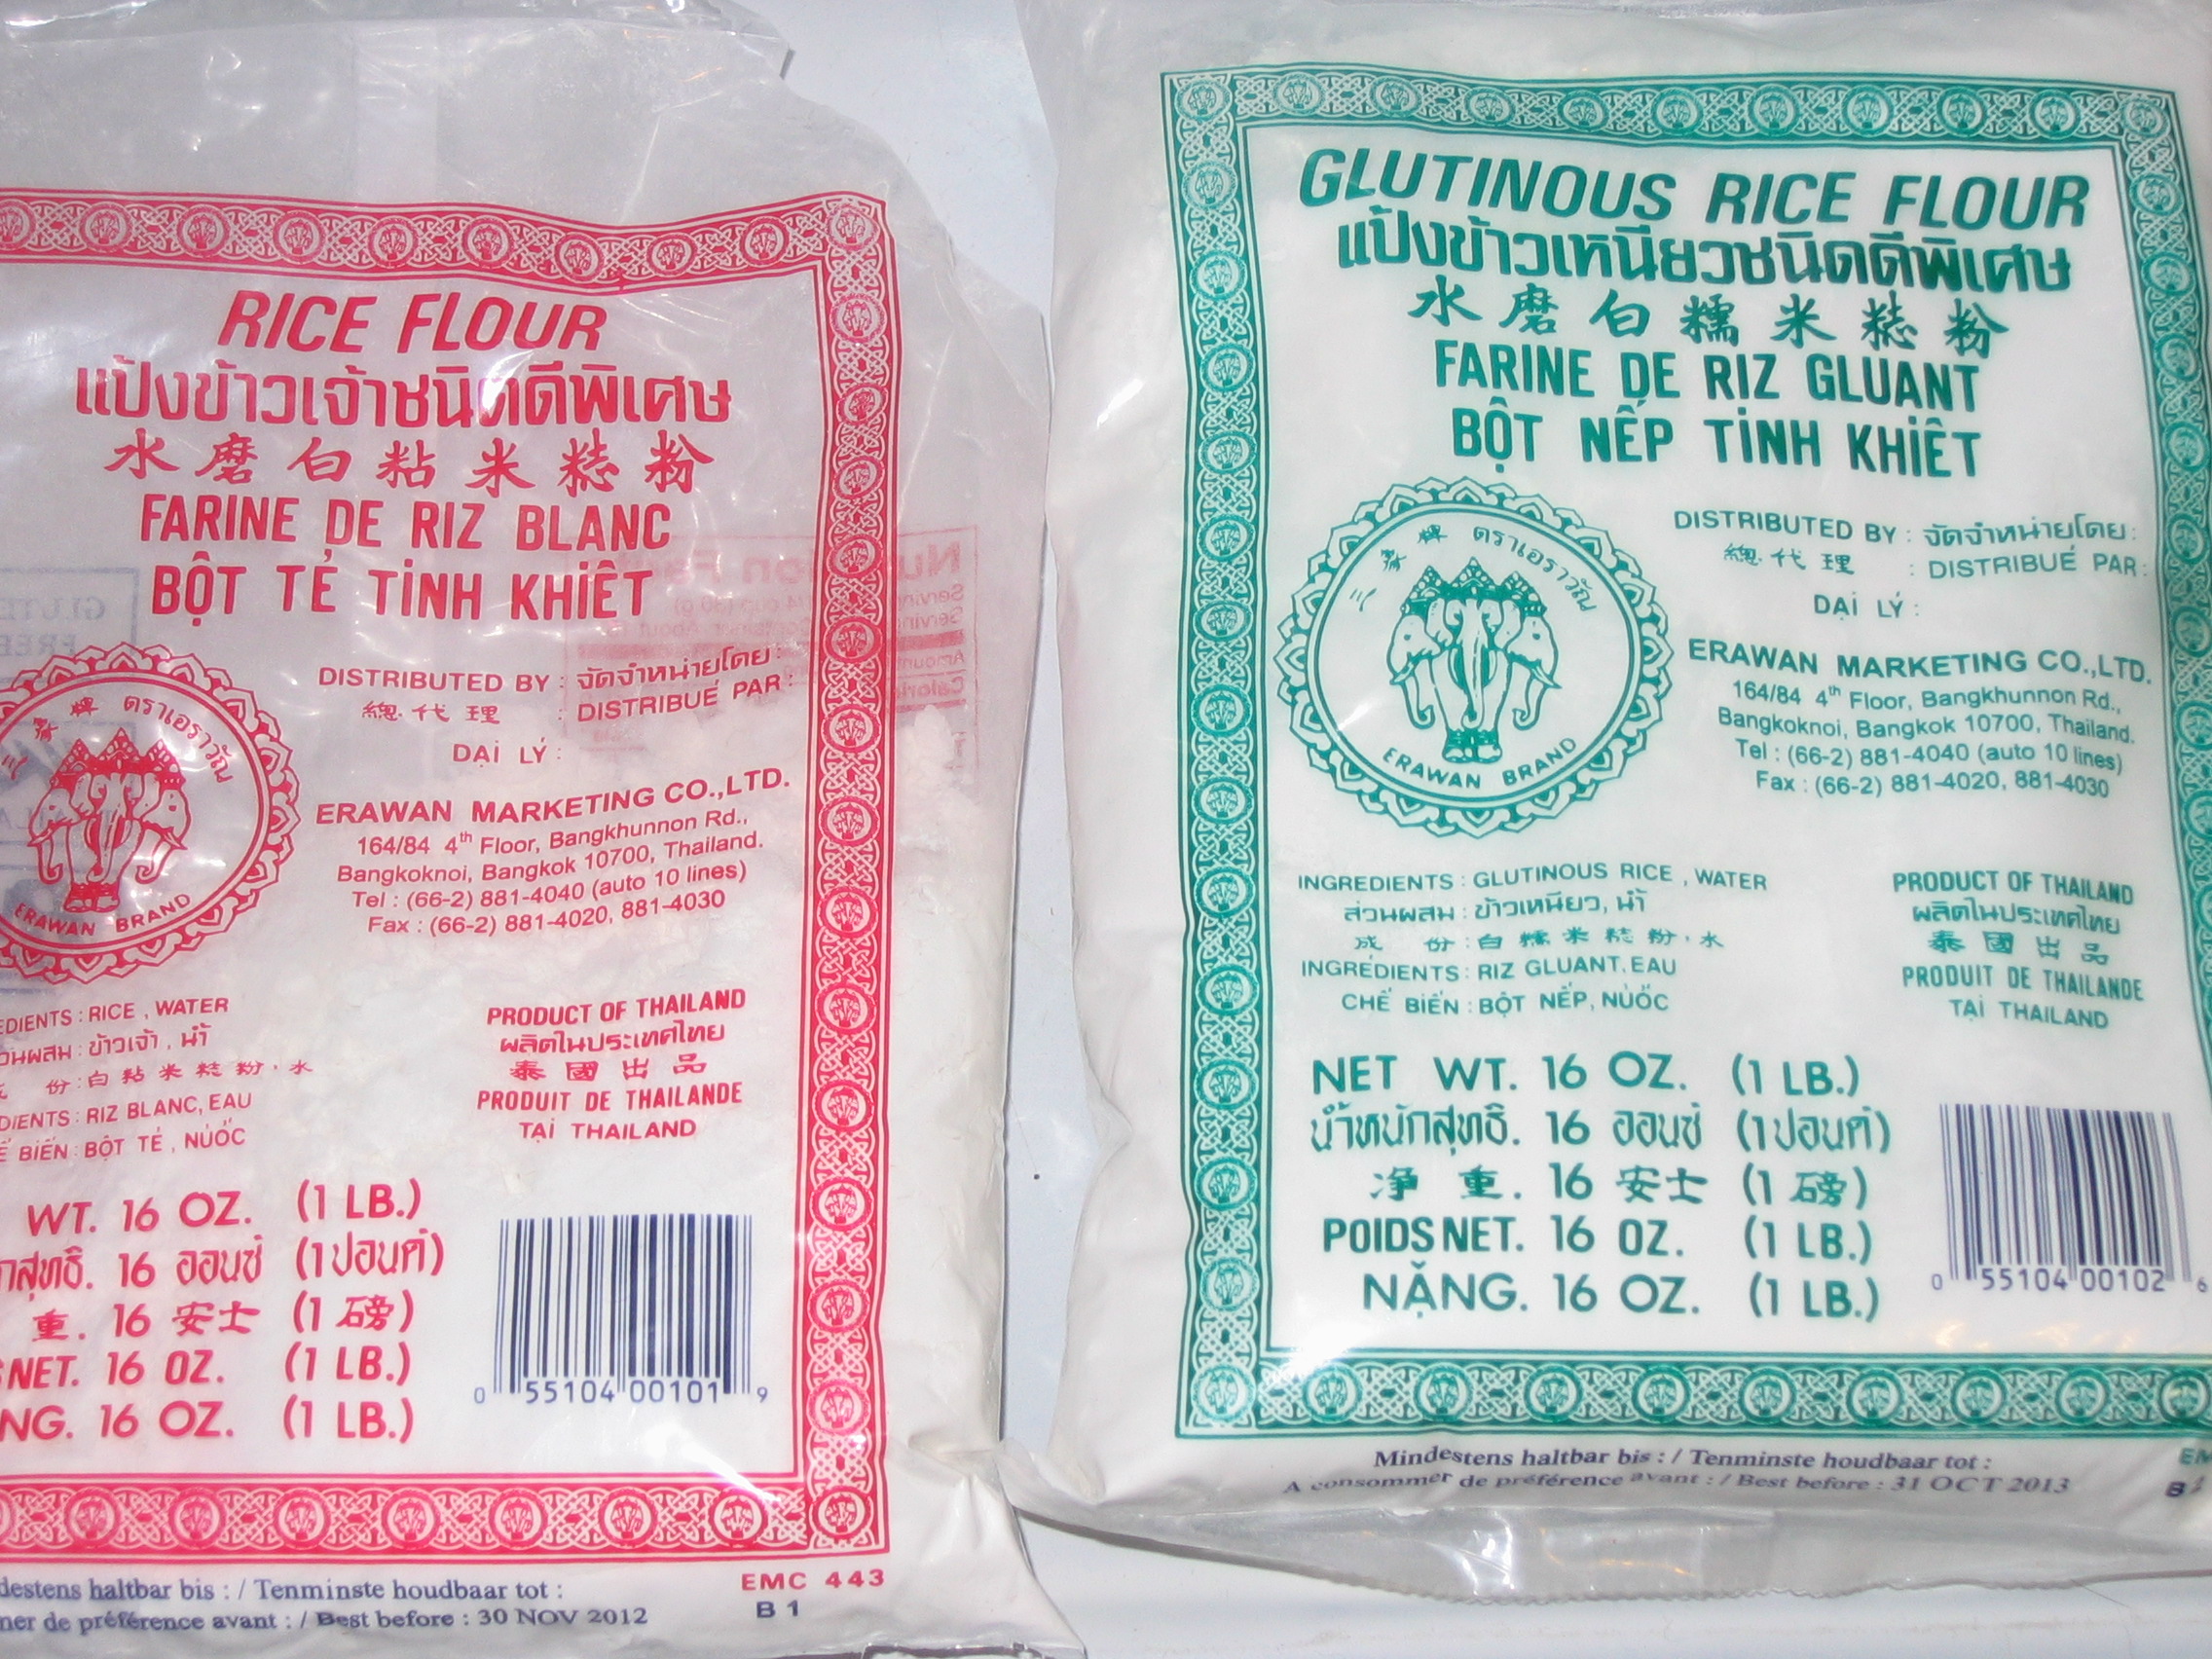
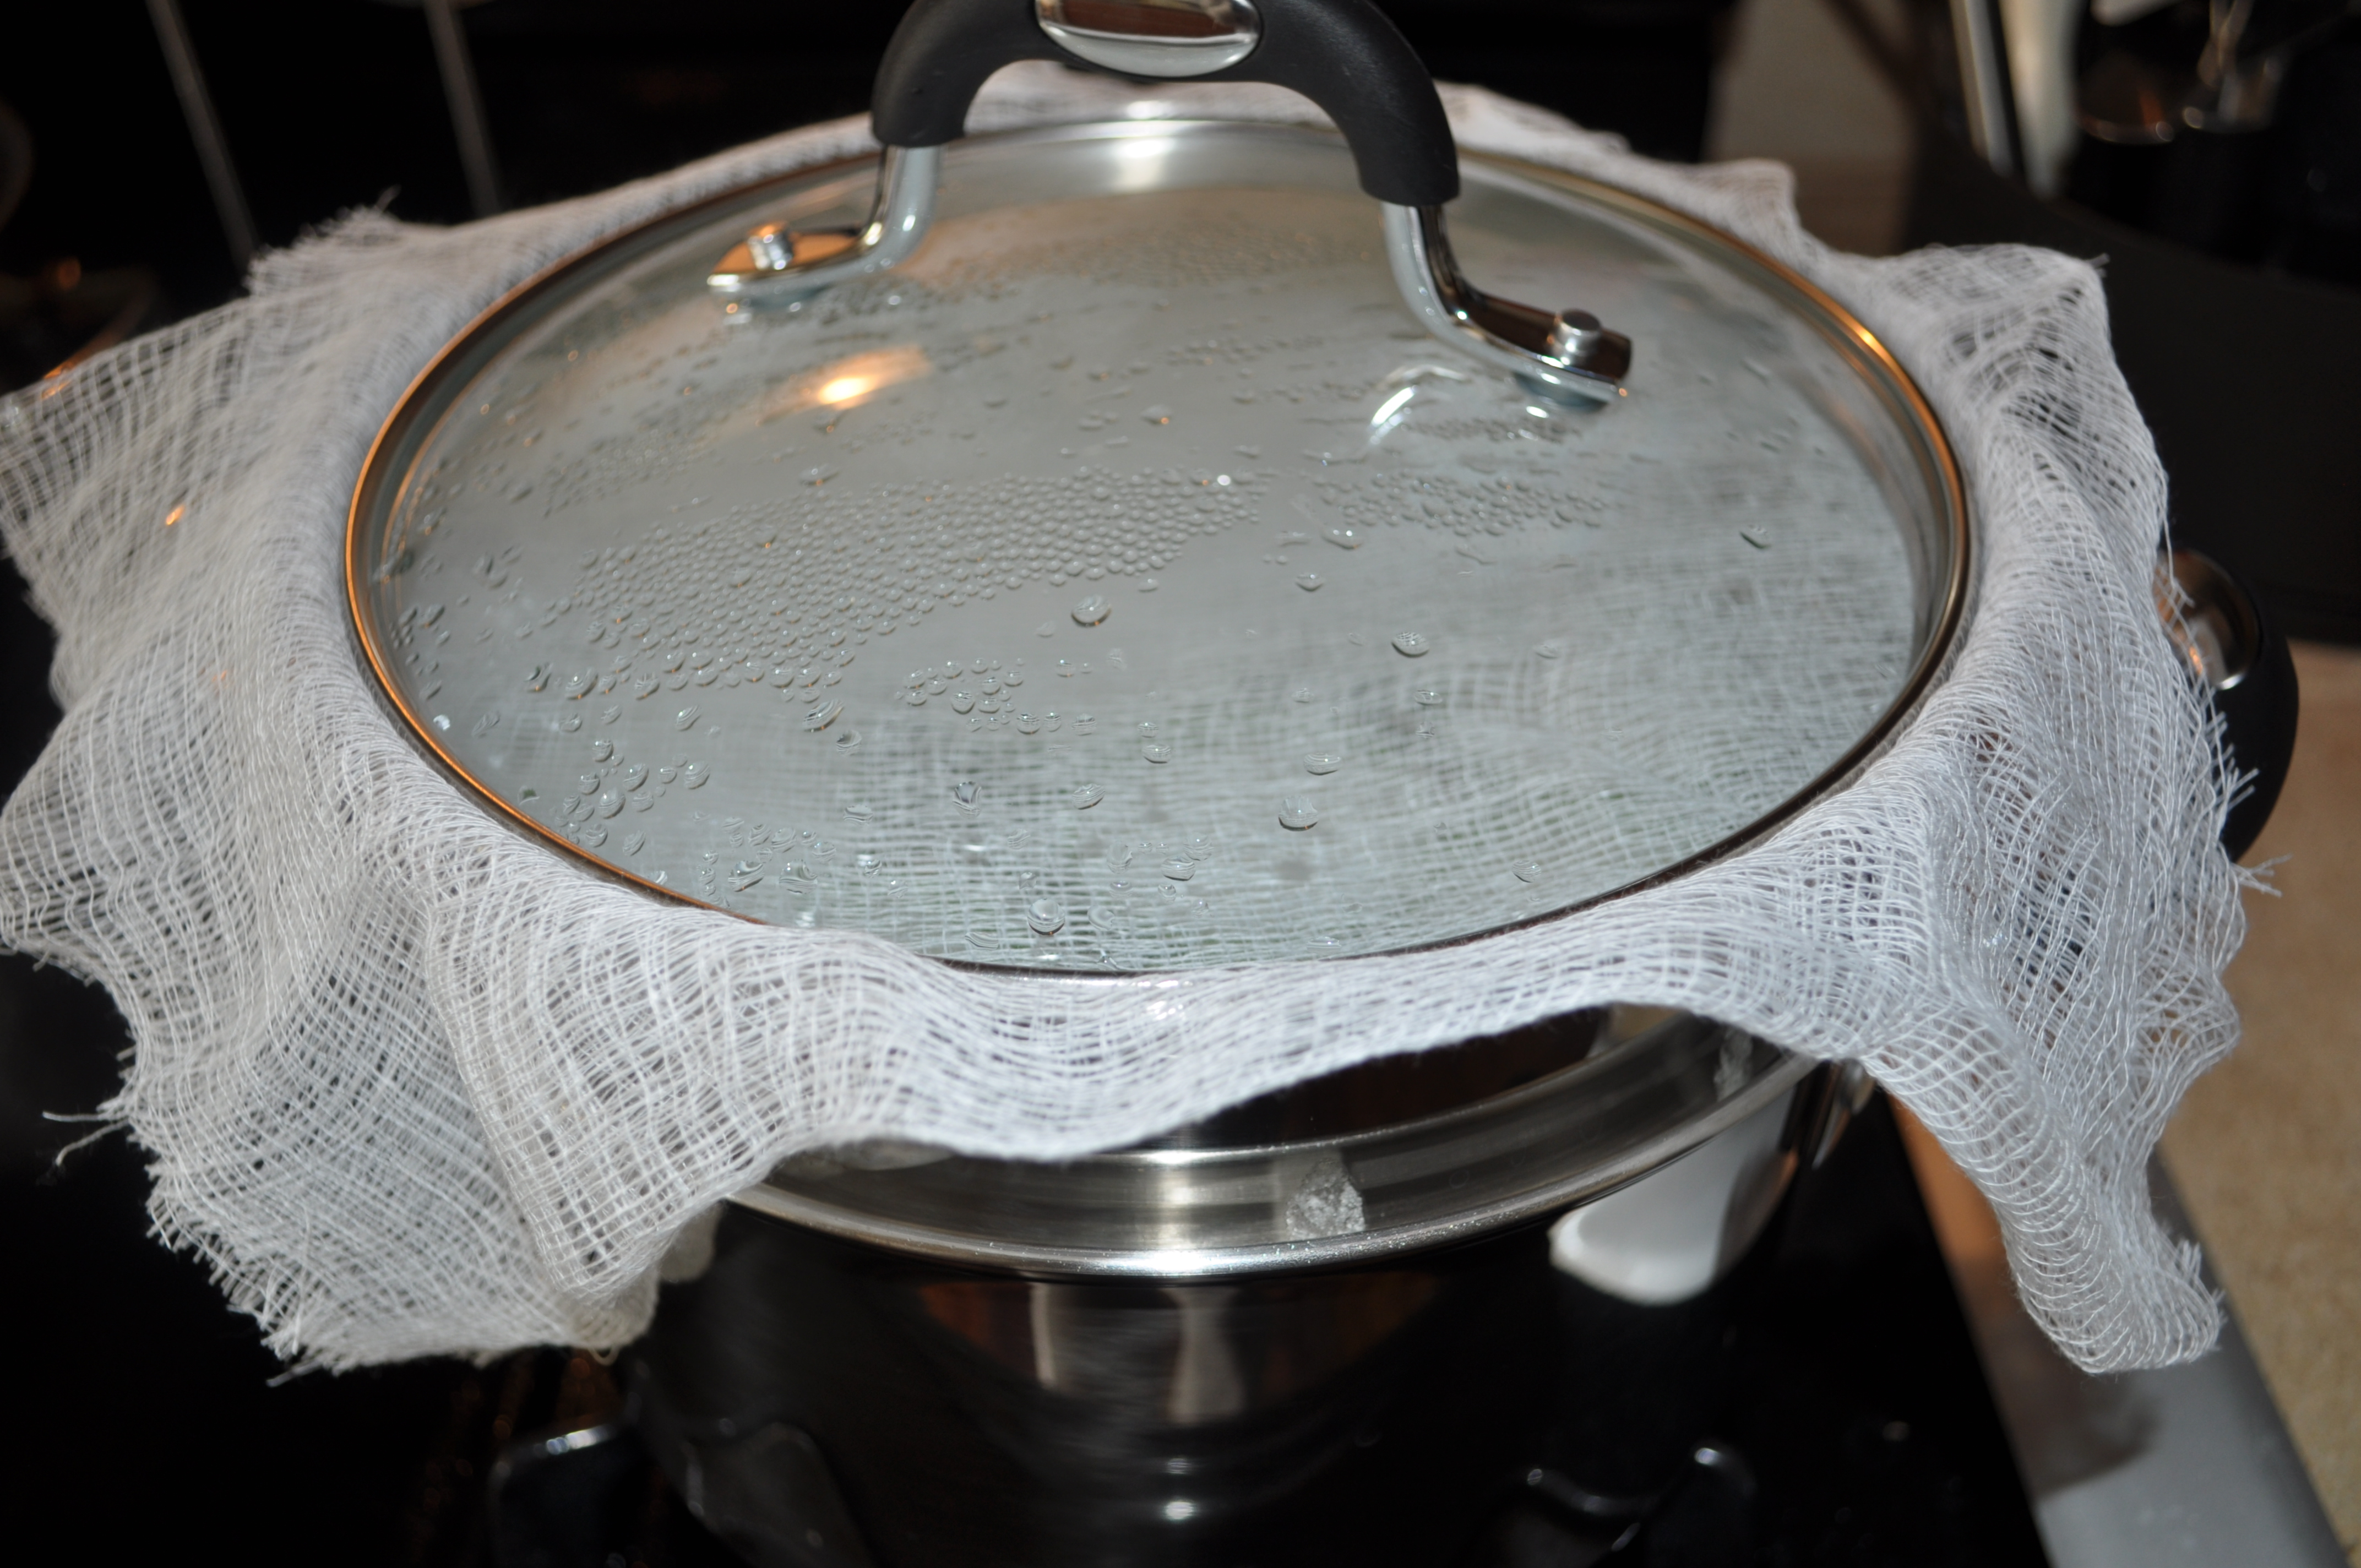
As I mentioned above, tuba is not available here in the states, unless you have a friend or family member visiting from home bring you some.  An easy substitute for tuba in this recipe is coconut vinegar.  You only need a little bit of vinegar.  Judy’s recipe calls for four tablespoons mixed with enough water to make one cup of liquid.  I actually cut the amount of vinegar in half because it’s quite pungent.  This is the brand of coconut vinegar I use.

Mix the vinegar with enough water to make one cup of liquid.  I only used two tablespoons of vinegar, but Judy’s recipe calls for four.  It’s all up to you, really, on how much vinegar to use.  Remember, a little goes a long way.

Mix the rice flour, sugar and baking powder with the vinegar-water mixture.  Let the mixture sit for a few minutes — it will get very bubbly.

Events - 022

Pour the batter into molds, filling them almost to the top.  I’ve used silicone molds, little glass cups and the silicone molds lined with mini cupcake paper liners, all with success.

Place the molds into your steamer basket before filling — it’s easier than trying to place full cups into the basket without spilling any batter.

Events - 020Place the steamer basket into the steamer.  Place a clean kitchen towel or cheesecloth beneath the lid to keep the condensation from dripping back onto the potu.

Events - 023Steam for about 20 minutes.  The tell-tale crack on top indicates the potu is done.  Let the potu cool for a few minutes before removing from the molds.  Serve and ENJOY! 🙂


Potu
 
A sweet steamed rice cake that's light and fluffy and easy to prepare.
Author:
Recipe type: Dessert
Cuisine: Chamorro
Serves: 2½ dozen
Ingredients
  • 1 cup rice flour (make sure it's NOT glutinous rice flour)
  • ¾ cup sugar
  • 1½ tablespoons baking powder
  • 4 tablespoons vinegar mixed with water to equal 1 cup of liquid (OR use 1 cup sweet tuba)
Instructions
  1. Mix all ingredients in a bowl and let it sit for about 15 minutes.
  2. Pour the mixture into miniature molds and steam for about 15-20 minutes.


Print Friendly, PDF & Email

Crispy Chocolate Chip Cookies

My entire family loves, loves, loves cookies!  Soft, chewy, crispy, crumbly, chocolate, butter, coconut, sugar, stuffed, double-stuffed, you name it, we’ll probably love it.

One of our favorites are a crispy cookie from Guam called Chamorro Chip Cookies.  They are crispy bite-sized cookies that are perfectly sweet and chocolaty.  I still remember requesting bags of cookies be sent to me in care packages.  I was absolutely over the moon one trip home when the airline served small packages of the delicious morsels in lieu of peanuts! 🙂

Well, gone are the days of free snacks on the airlines, but you don’t have to wait until you get to Guam or for someone to send you a care package to enjoy these delicious, sweet and crispy cookies. It takes just a few ingredients to mix up a batch, ingredients you’re likely to have on hand already.

My complete recipe is at the bottom of this post.  Give my recipe a try. I’m sure you’ll like it. 🙂

Crispy Chocolate Chip Cookies

~ My version of the beloved “Chamorro Chip Cookie”

image

These are all of the ingredients you need.  You probably have all of these on hand already.  As I mentioned above, my family loves cookies and baked goods, so I make sure I always have flour, sugar, butter, eggs, baking soda (and powder), salt, vanilla extract and chocolate chips in my pantry.

I made a double batch of cookies, which is why you see two bags of chocolate chips.  Otherwise, one batch uses only one bag of mini chocolate chip morsels.

image

Mix the flour, salt and baking soda together.

image

Place the butter and suar in a medium sized mixing bowl.

image

Use a hand-held mixer to cream the butter and sugar together.

image

Add the eggs and vanilla extract to the mixing bowl.

image

Mix until creamy.

image

Add one third of the flour mixture to the bowl.  Mix for a minute or until the dry ingredients are well-incorporated with the butter mixture.

image

Add another third of the flour mixture; mix another minute then add the remaining flour mixture.  Mix until all of the flour is well-incorporated and a thick, creamy cookie dough forms.

image

Add the entire bag of mini chocolate chips to the bowl.

image

Use a spatula to fold the chocolate chips into the cookie dough.

image

Place 1 tablespoon of cookie dough about 2 inches apart on a baking sheet.  I use a small cookie scoop to get nicely rounded scoops of dough.  These cookies will spread while baking so make sure you don’t place them too close together.

I used a Pampered Chef large round stoneware pan in the photo below.  I fit about 18 balls of dough on this pan — don’t try to fit much more than that on this size pan or your cookies will spread and touch during baking (my daughter calls those “butt cookies” when they spread and touch during baking).

I also used the rectangular stoneware pan (also Pampered Chef), fitting 20 balls of dough on it.

image

Bake the cookies in a pre-heated 400-degree oven for 12 minutes.  The cookies will be slightly brown around the edges.

image

Leave the cookies on the baking sheet for 5 minutes then place on a cooling rack to finish cooling.

Serve with a tall glass of milk and ENJOY!

image

Crispy Chocolate Chip Cookies
 
Prep time
Cook time
Total time
 
A crisp cookie loaded with mini chocolate chip morsels, reminiscent of one of Guam's favorite cookies, the "Chamorro Chip Cookie"
Author:
Recipe type: Dessert
Ingredients
  • 2⅔ cups all-purpose flour
  • 1 teaspoon salt
  • ½ teaspoon baking soda
  • 2 sticks unsalted butter, softened
  • 1½ cups white granulated sugar
  • 2 large eggs
  • 2 teaspoons pure vanilla extract
  • 1 bag (12-oz.) miniature semisweet chocolate chips
Instructions
  1. Preheat your oven to 400 degrees.
  2. Place the flour, salt, and baking soda in a medium bowl; mix together.
  3. Place the butter and sugar in a medium-sized mixing bowl. Use a handheld mixer to mix together until creamy.
  4. Mix in the the eggs and vanilla extract.
  5. Add the flour mixture to the butter mixture, one third at a time, mixing until you get a thick creamy dough.
  6. Fold in the chocolate chips.
  7. Scoop tablespoonfuls of dough onto the baking sheet, spacing them about 2-inches apart.
  8. Bake for 12 minutes or until the cookies are light brown around the edges.
  9. Leave the cookies on the baking sheet for 5 minutes then transfer to a wire rack to cool completely.
ENJOY!
This makes about 7½ dozen cookies about the size of a Chips Ahoy cookie.

Print Friendly, PDF & Email
« Older Entries