Archive for FEATURED RECIPES

Potu

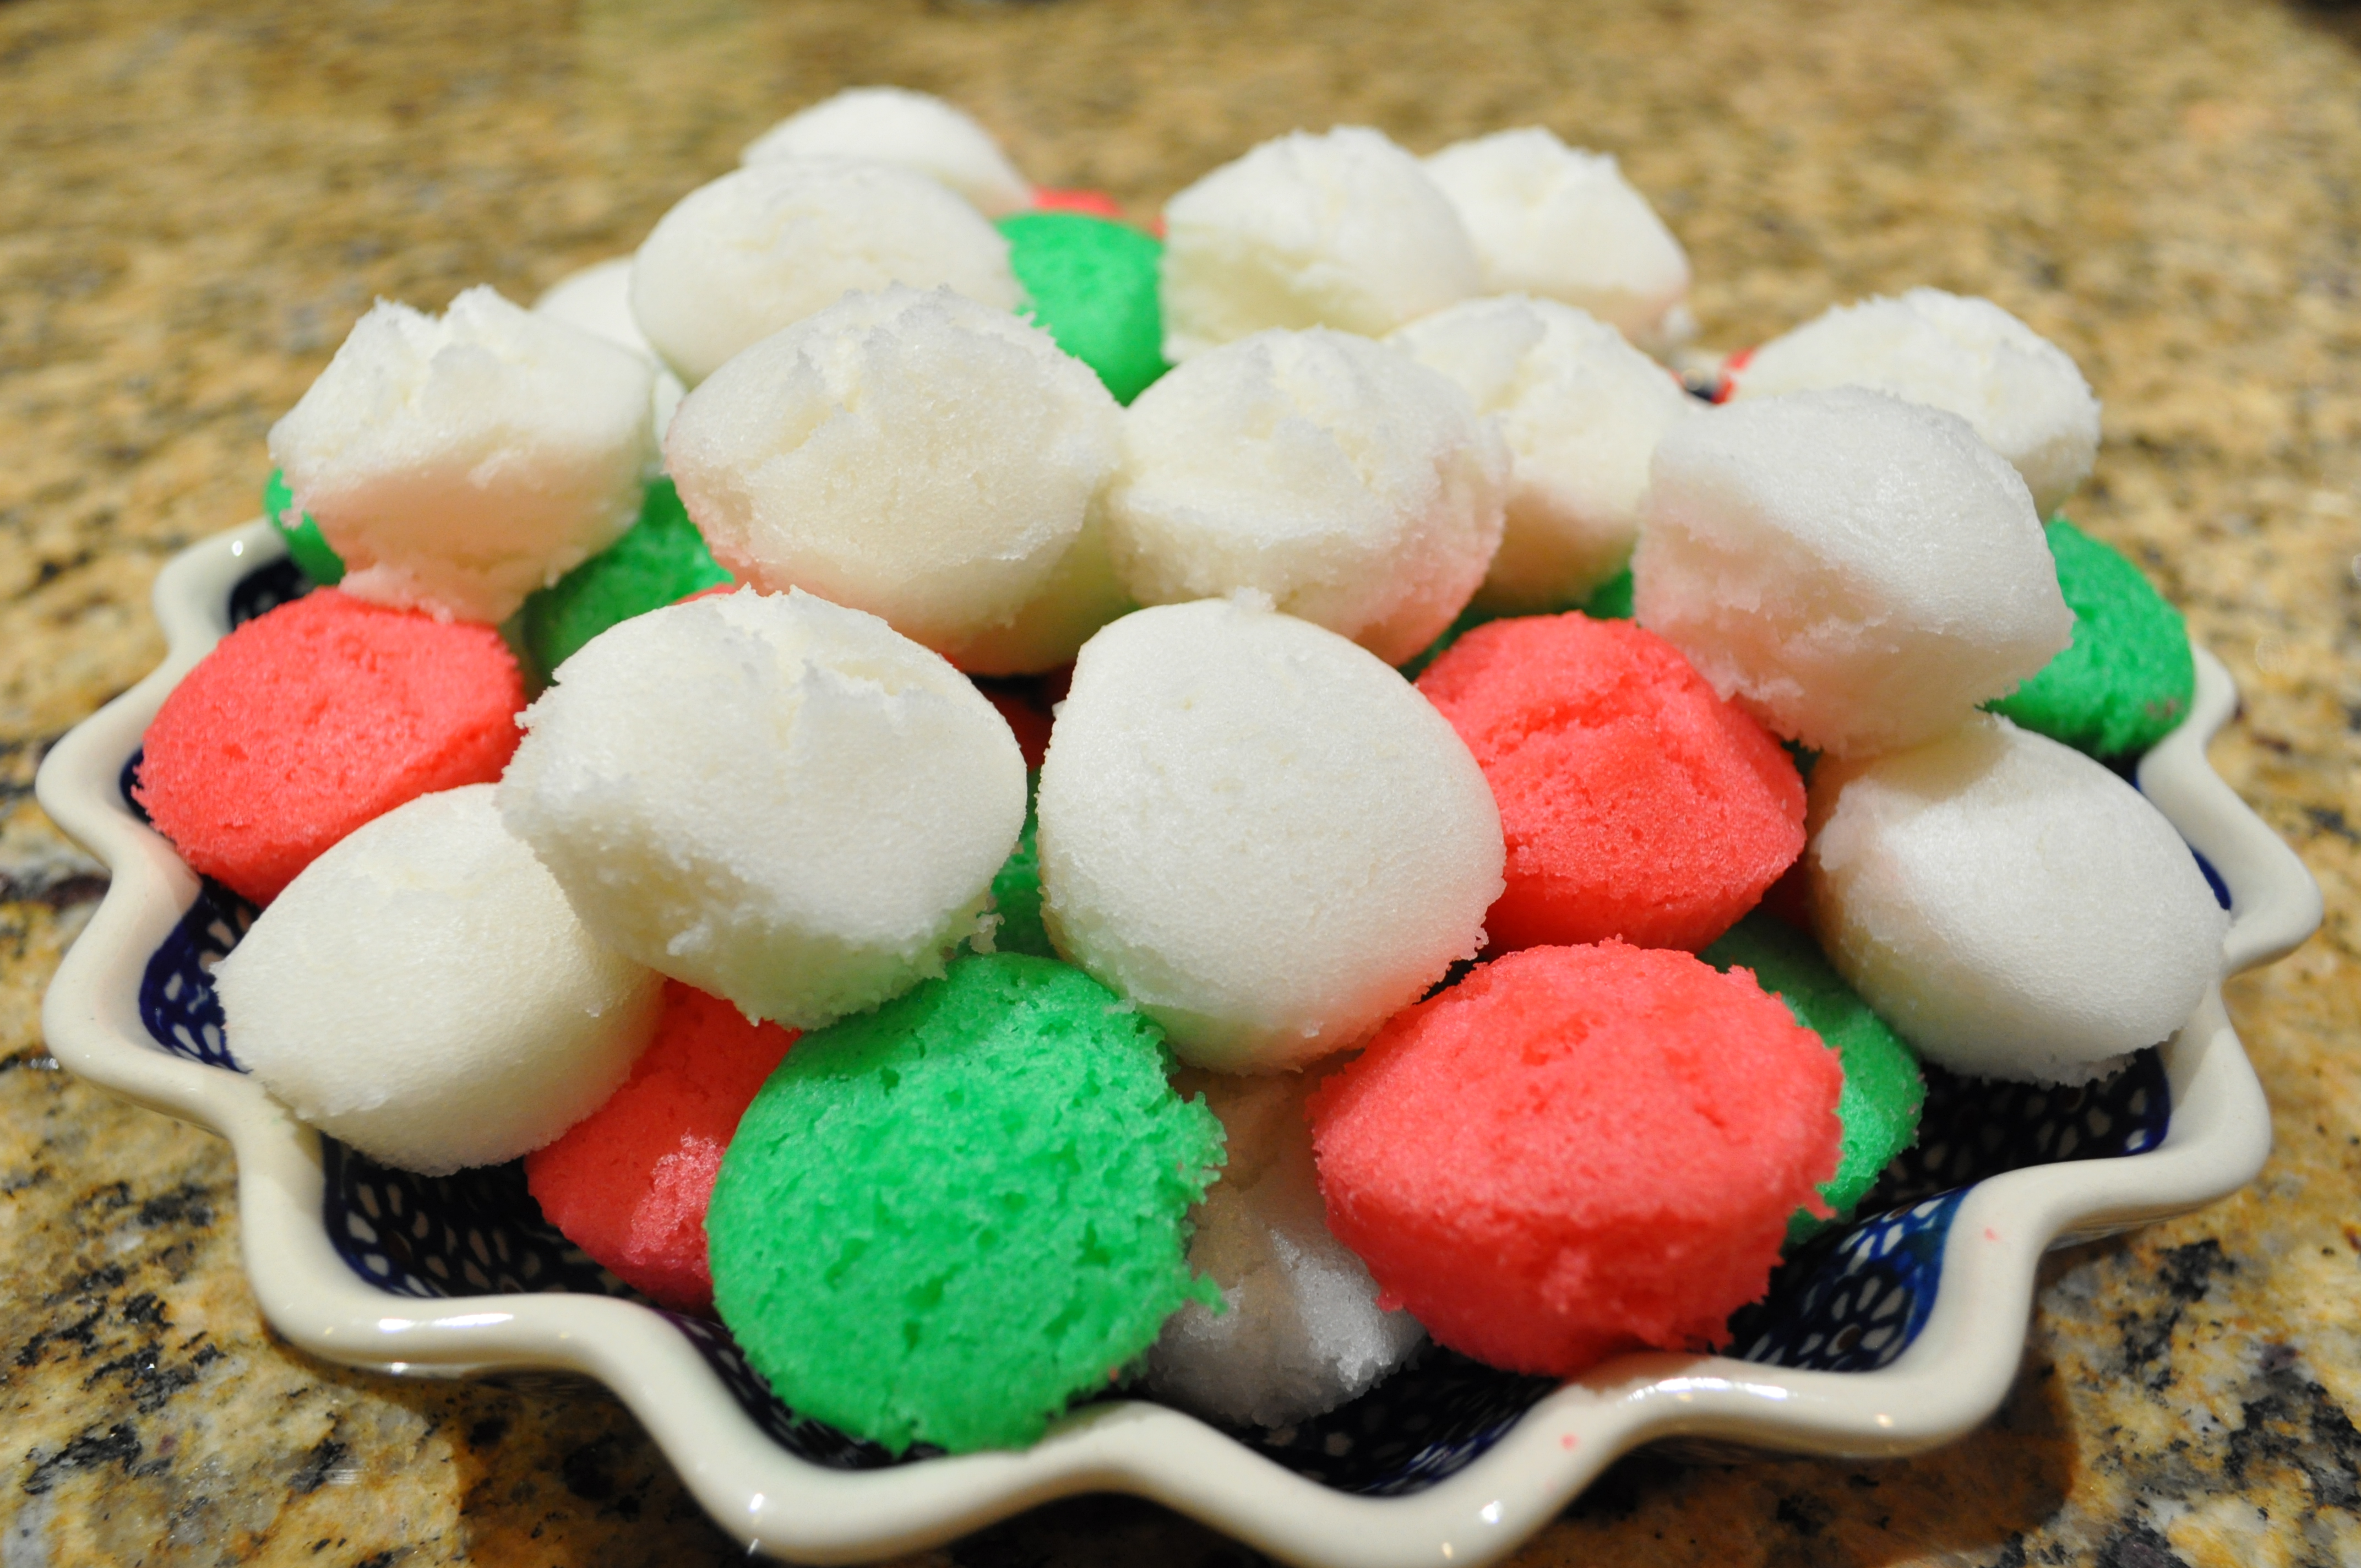
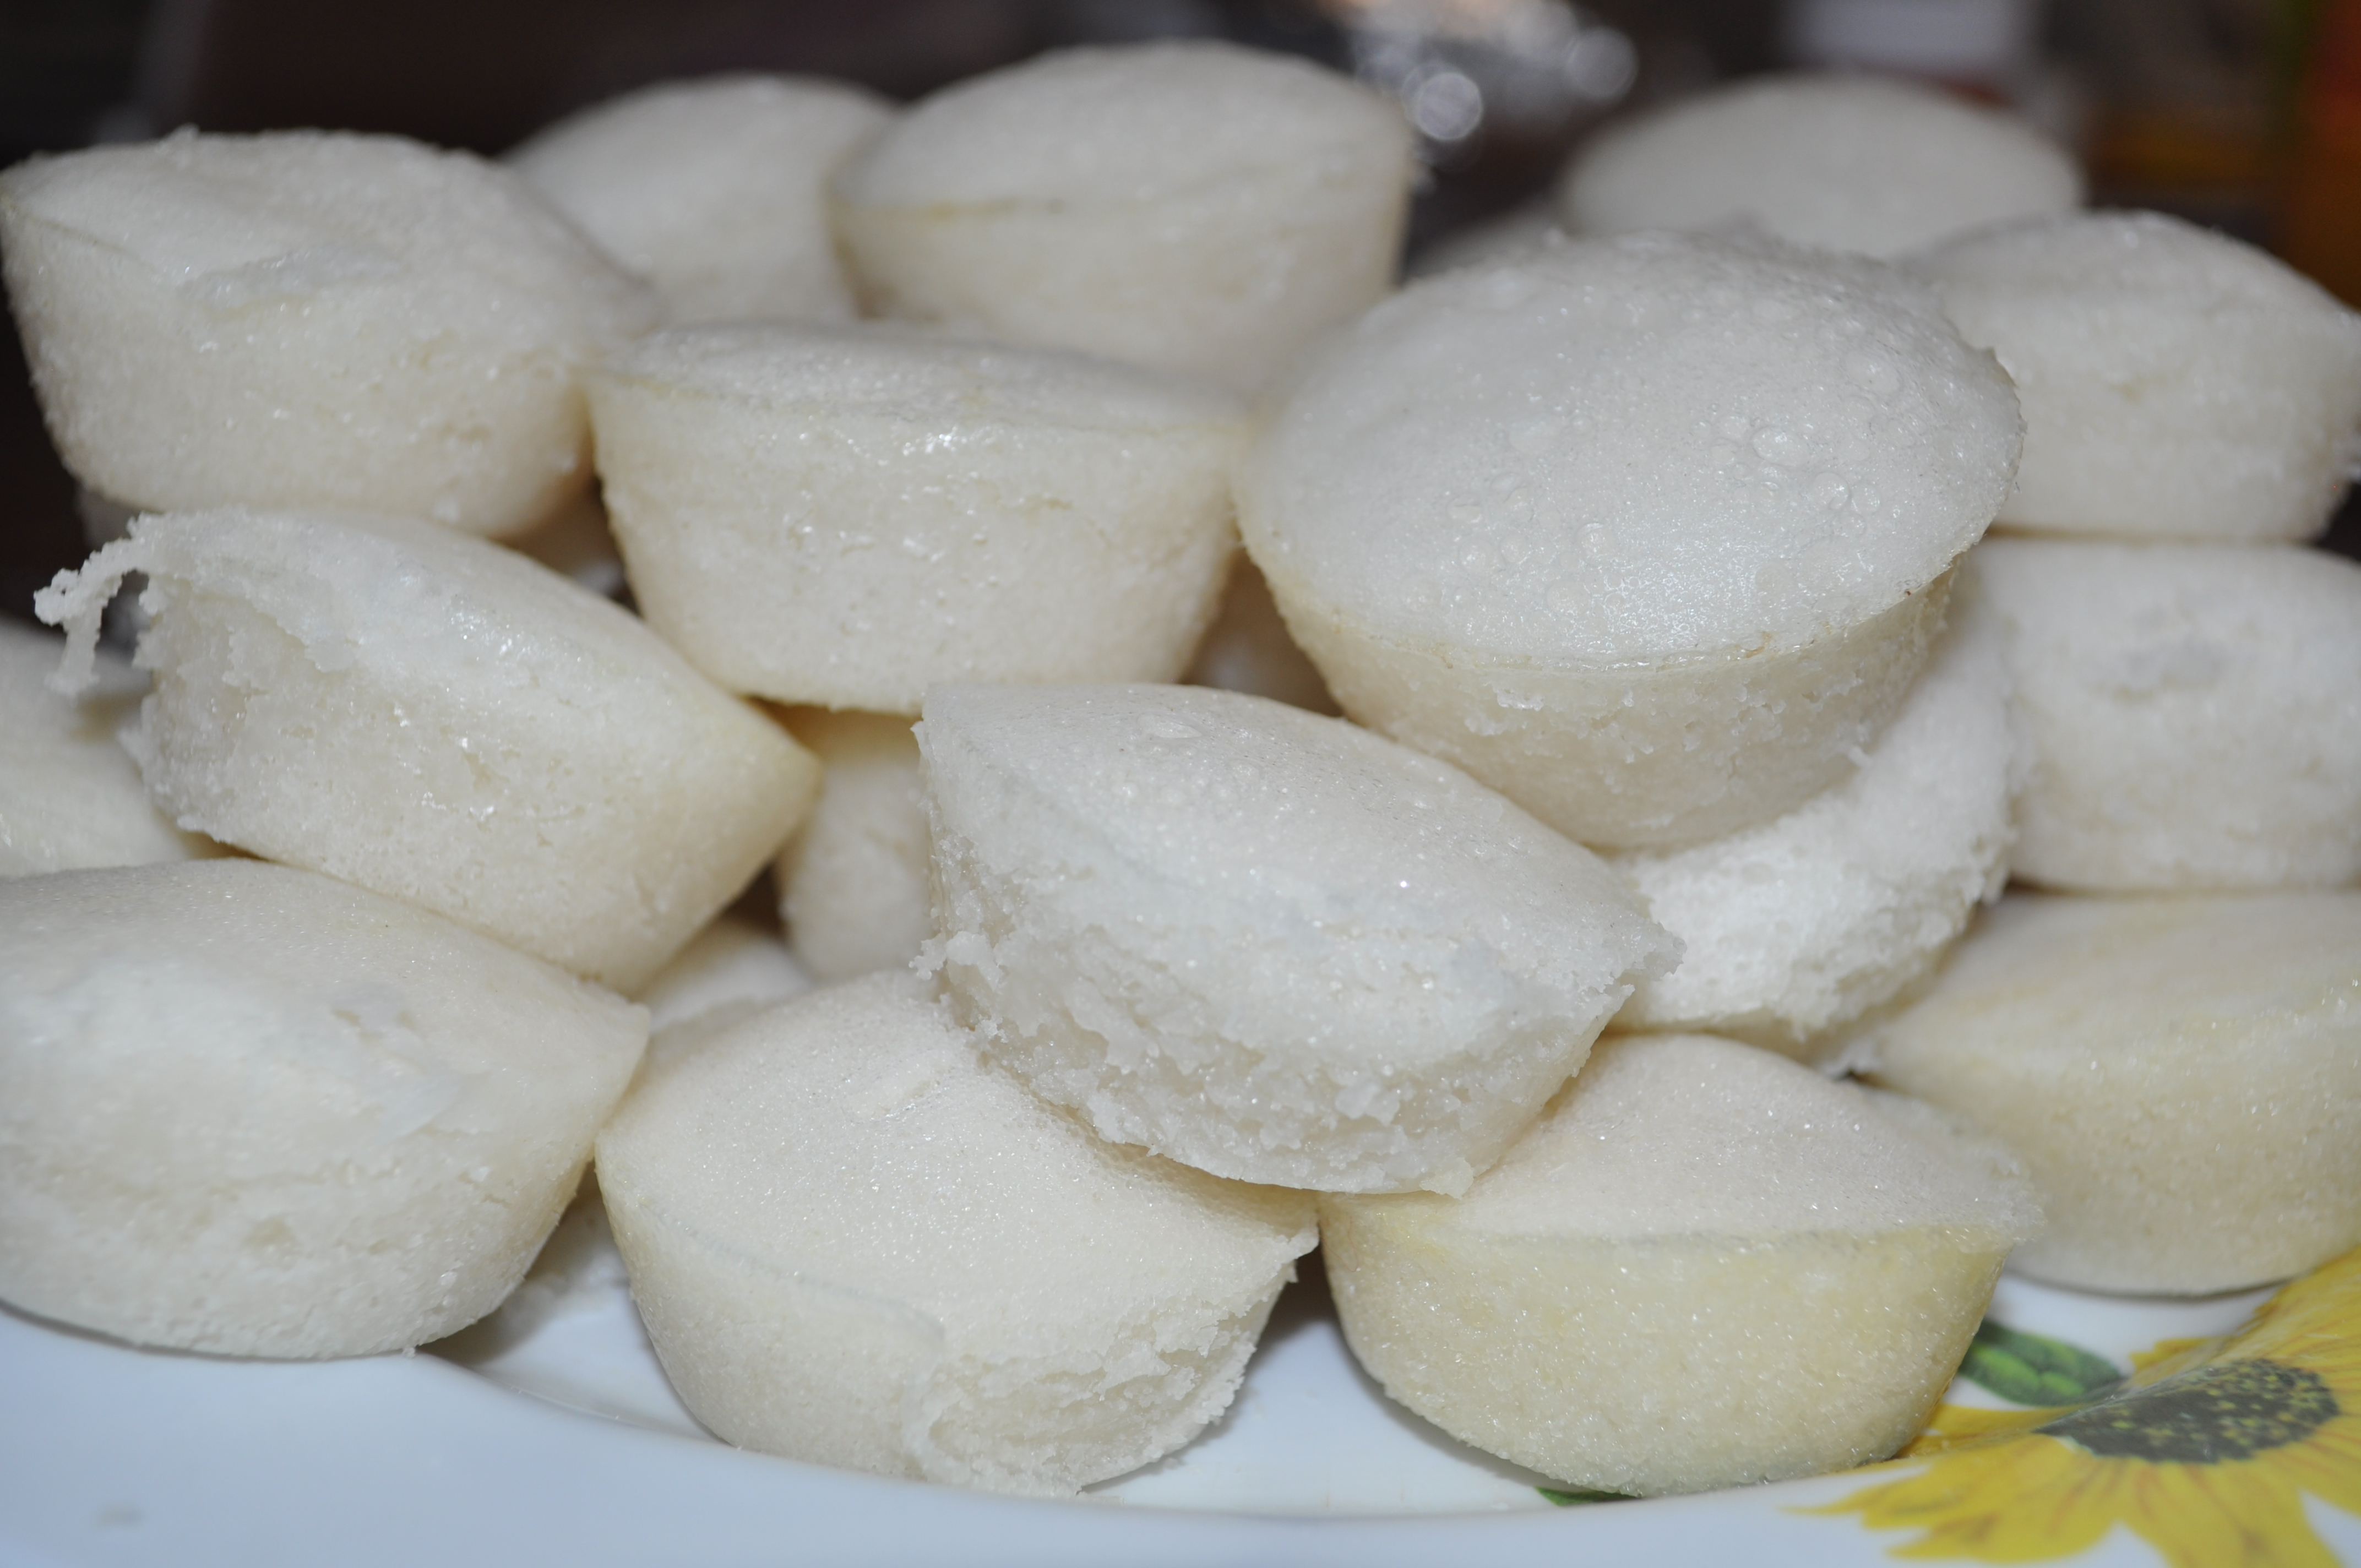
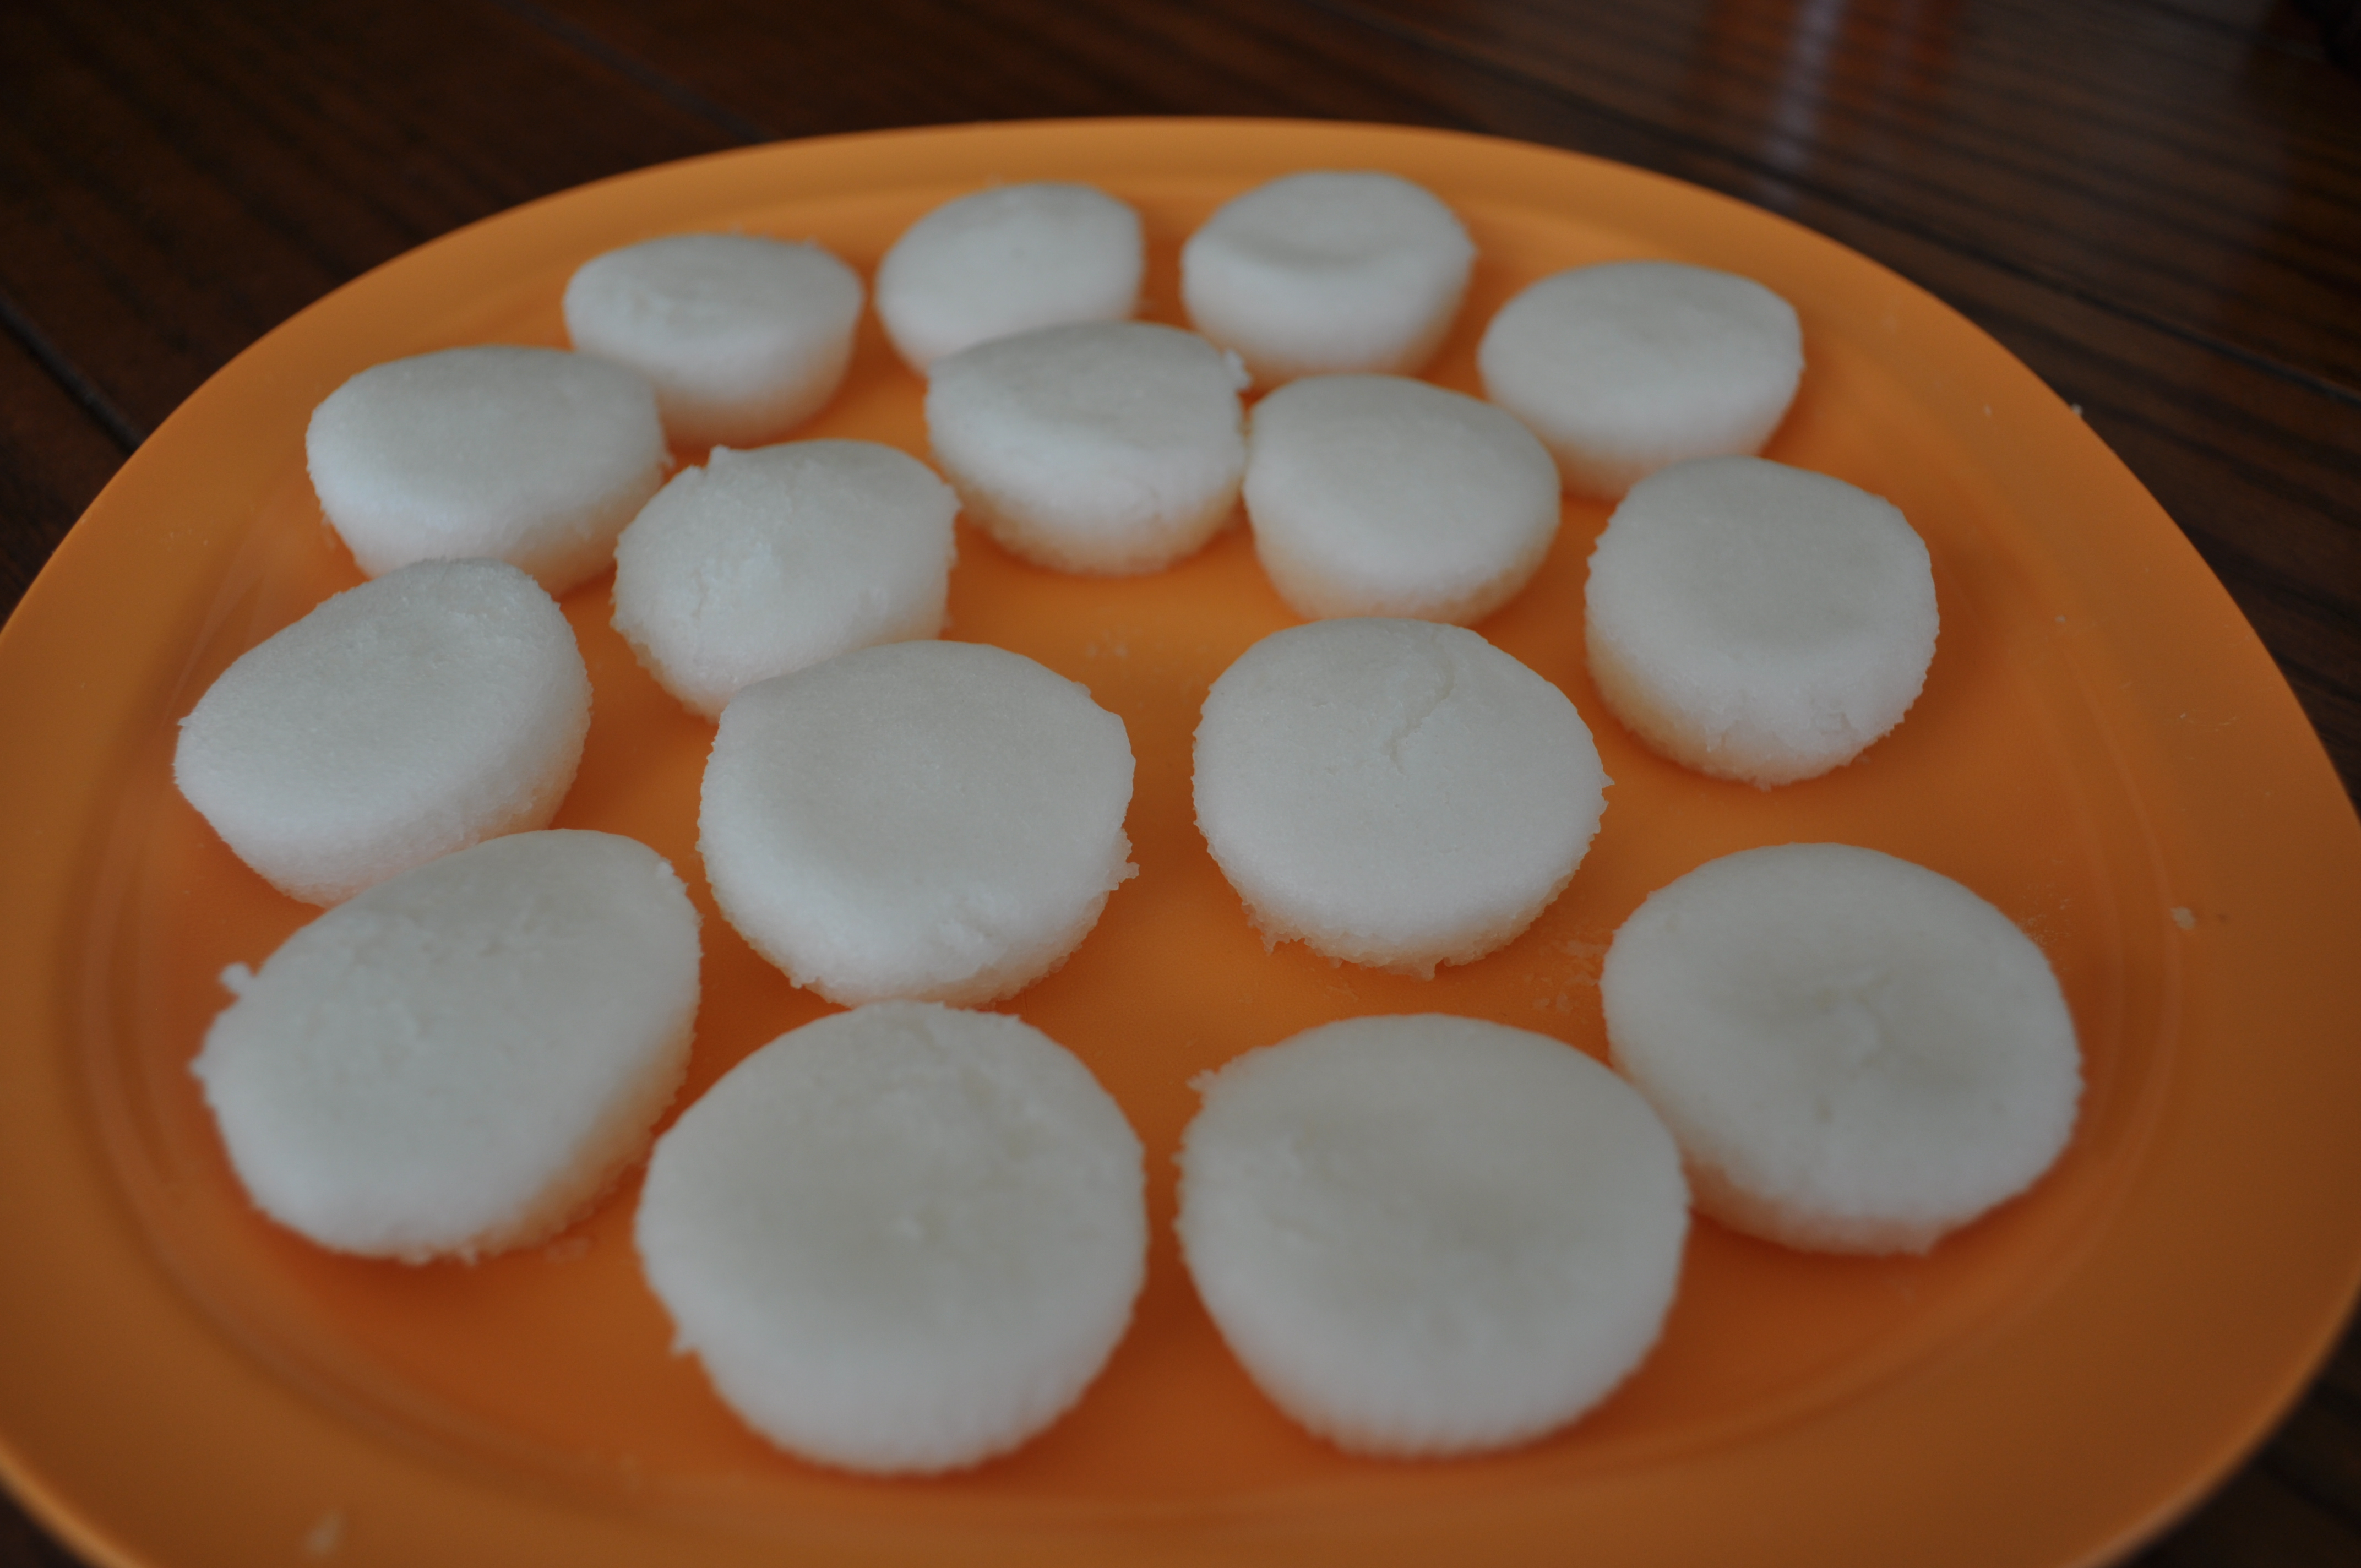
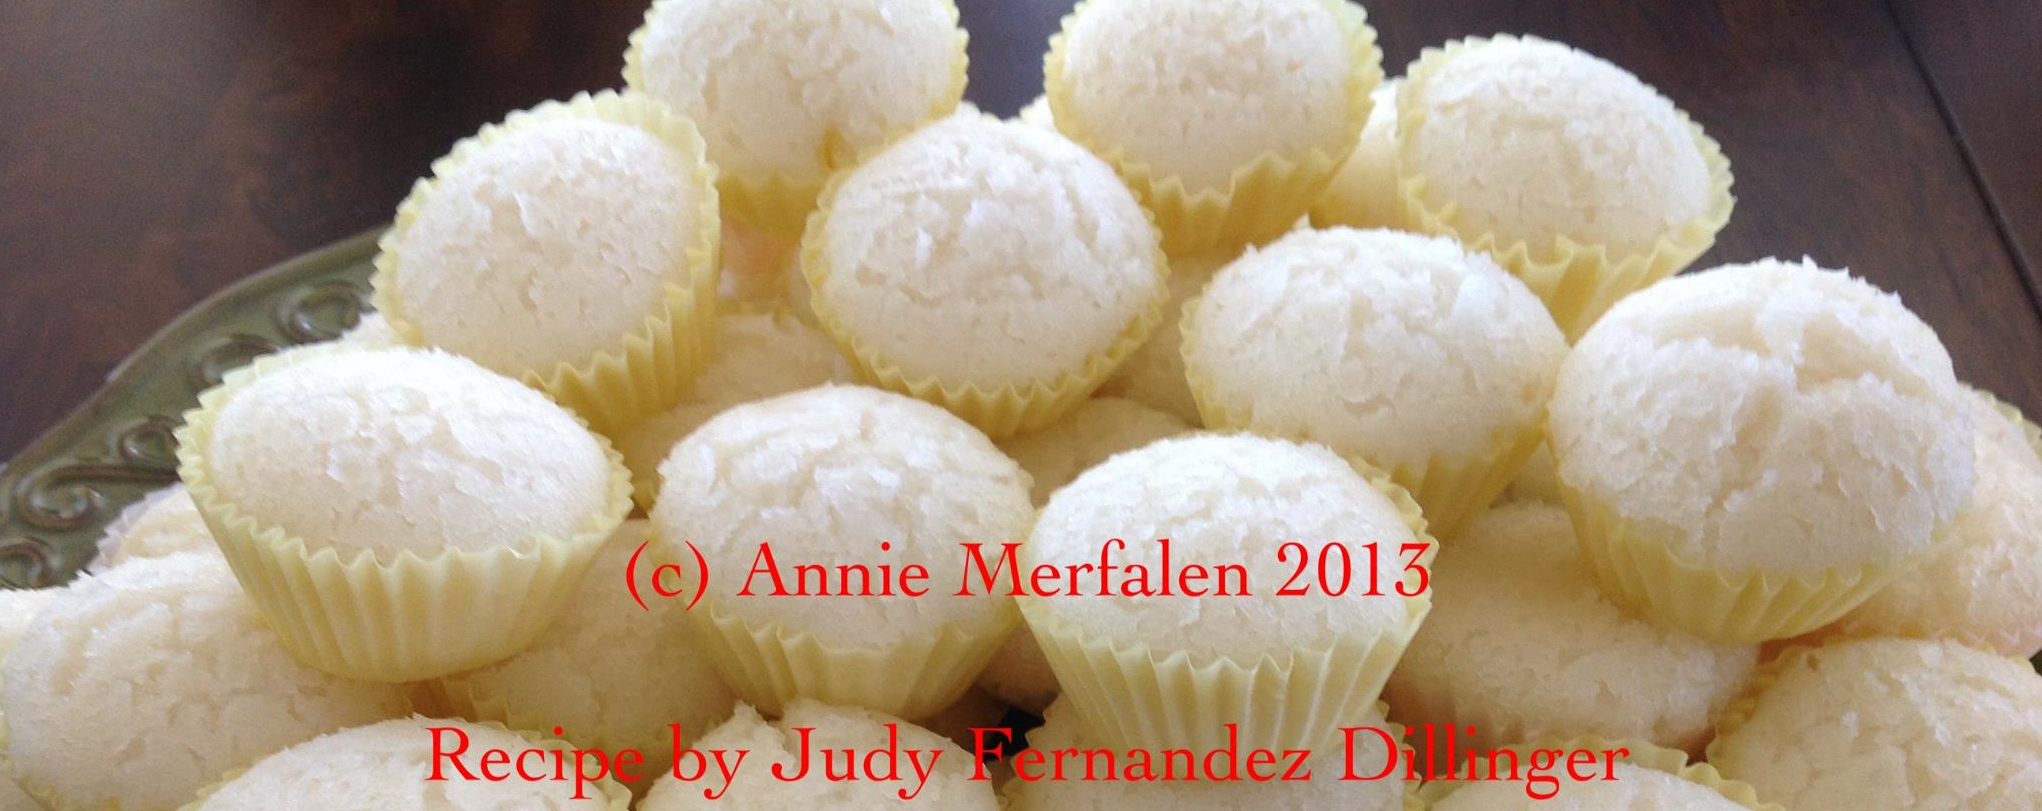
Potu is a sweet steamed rice cake that’s a Chamorro favorite.  It’s traditionally made using sweet tuba, a Chamorro beverage made from fermenting (like wine) coconut juice.  Rice is soaked overnight in the tuba then ground into a super-fine consistency the next day.  The mixture is sweetened and steamed into these amazingly delicious rice cakes.

Events - 1423

When I was younger, I usually only had potu when we went to parties or (I don’t mean to be morbid) at rosaries.  My late aunt used to make potu as well.  I remember those sleepovers at her house —  Auntie Frances had the entire kitchen and dining room filled with tubs of soaking rice and pans of potu ready for delivery.  Ahh…those were the good ‘ole days.

Events - 0324

This is my friend, Judy Dillinger’s recipe.  Being away from home, I definitely don’t have access to a lot of home-grown ingredients, tuba being one of them.  Judy’s recipe makes use of readily available ingredients that you can find in almost any grocery store.  It’s also quick and easy, using rice flour instead of soaking rice overnight.

Events - 024

If you’d like to try another of my friend’s Potu recipes, take a look at this one by my friend, Rose Camacho.

I’ve made both recipes and I will tell you they are both equally delicious and definitely tried-and-true.

Give Judy’s or Rose’s recipes a try.  I think you’ll like them.

Here’s how to make Judy’s Potu.
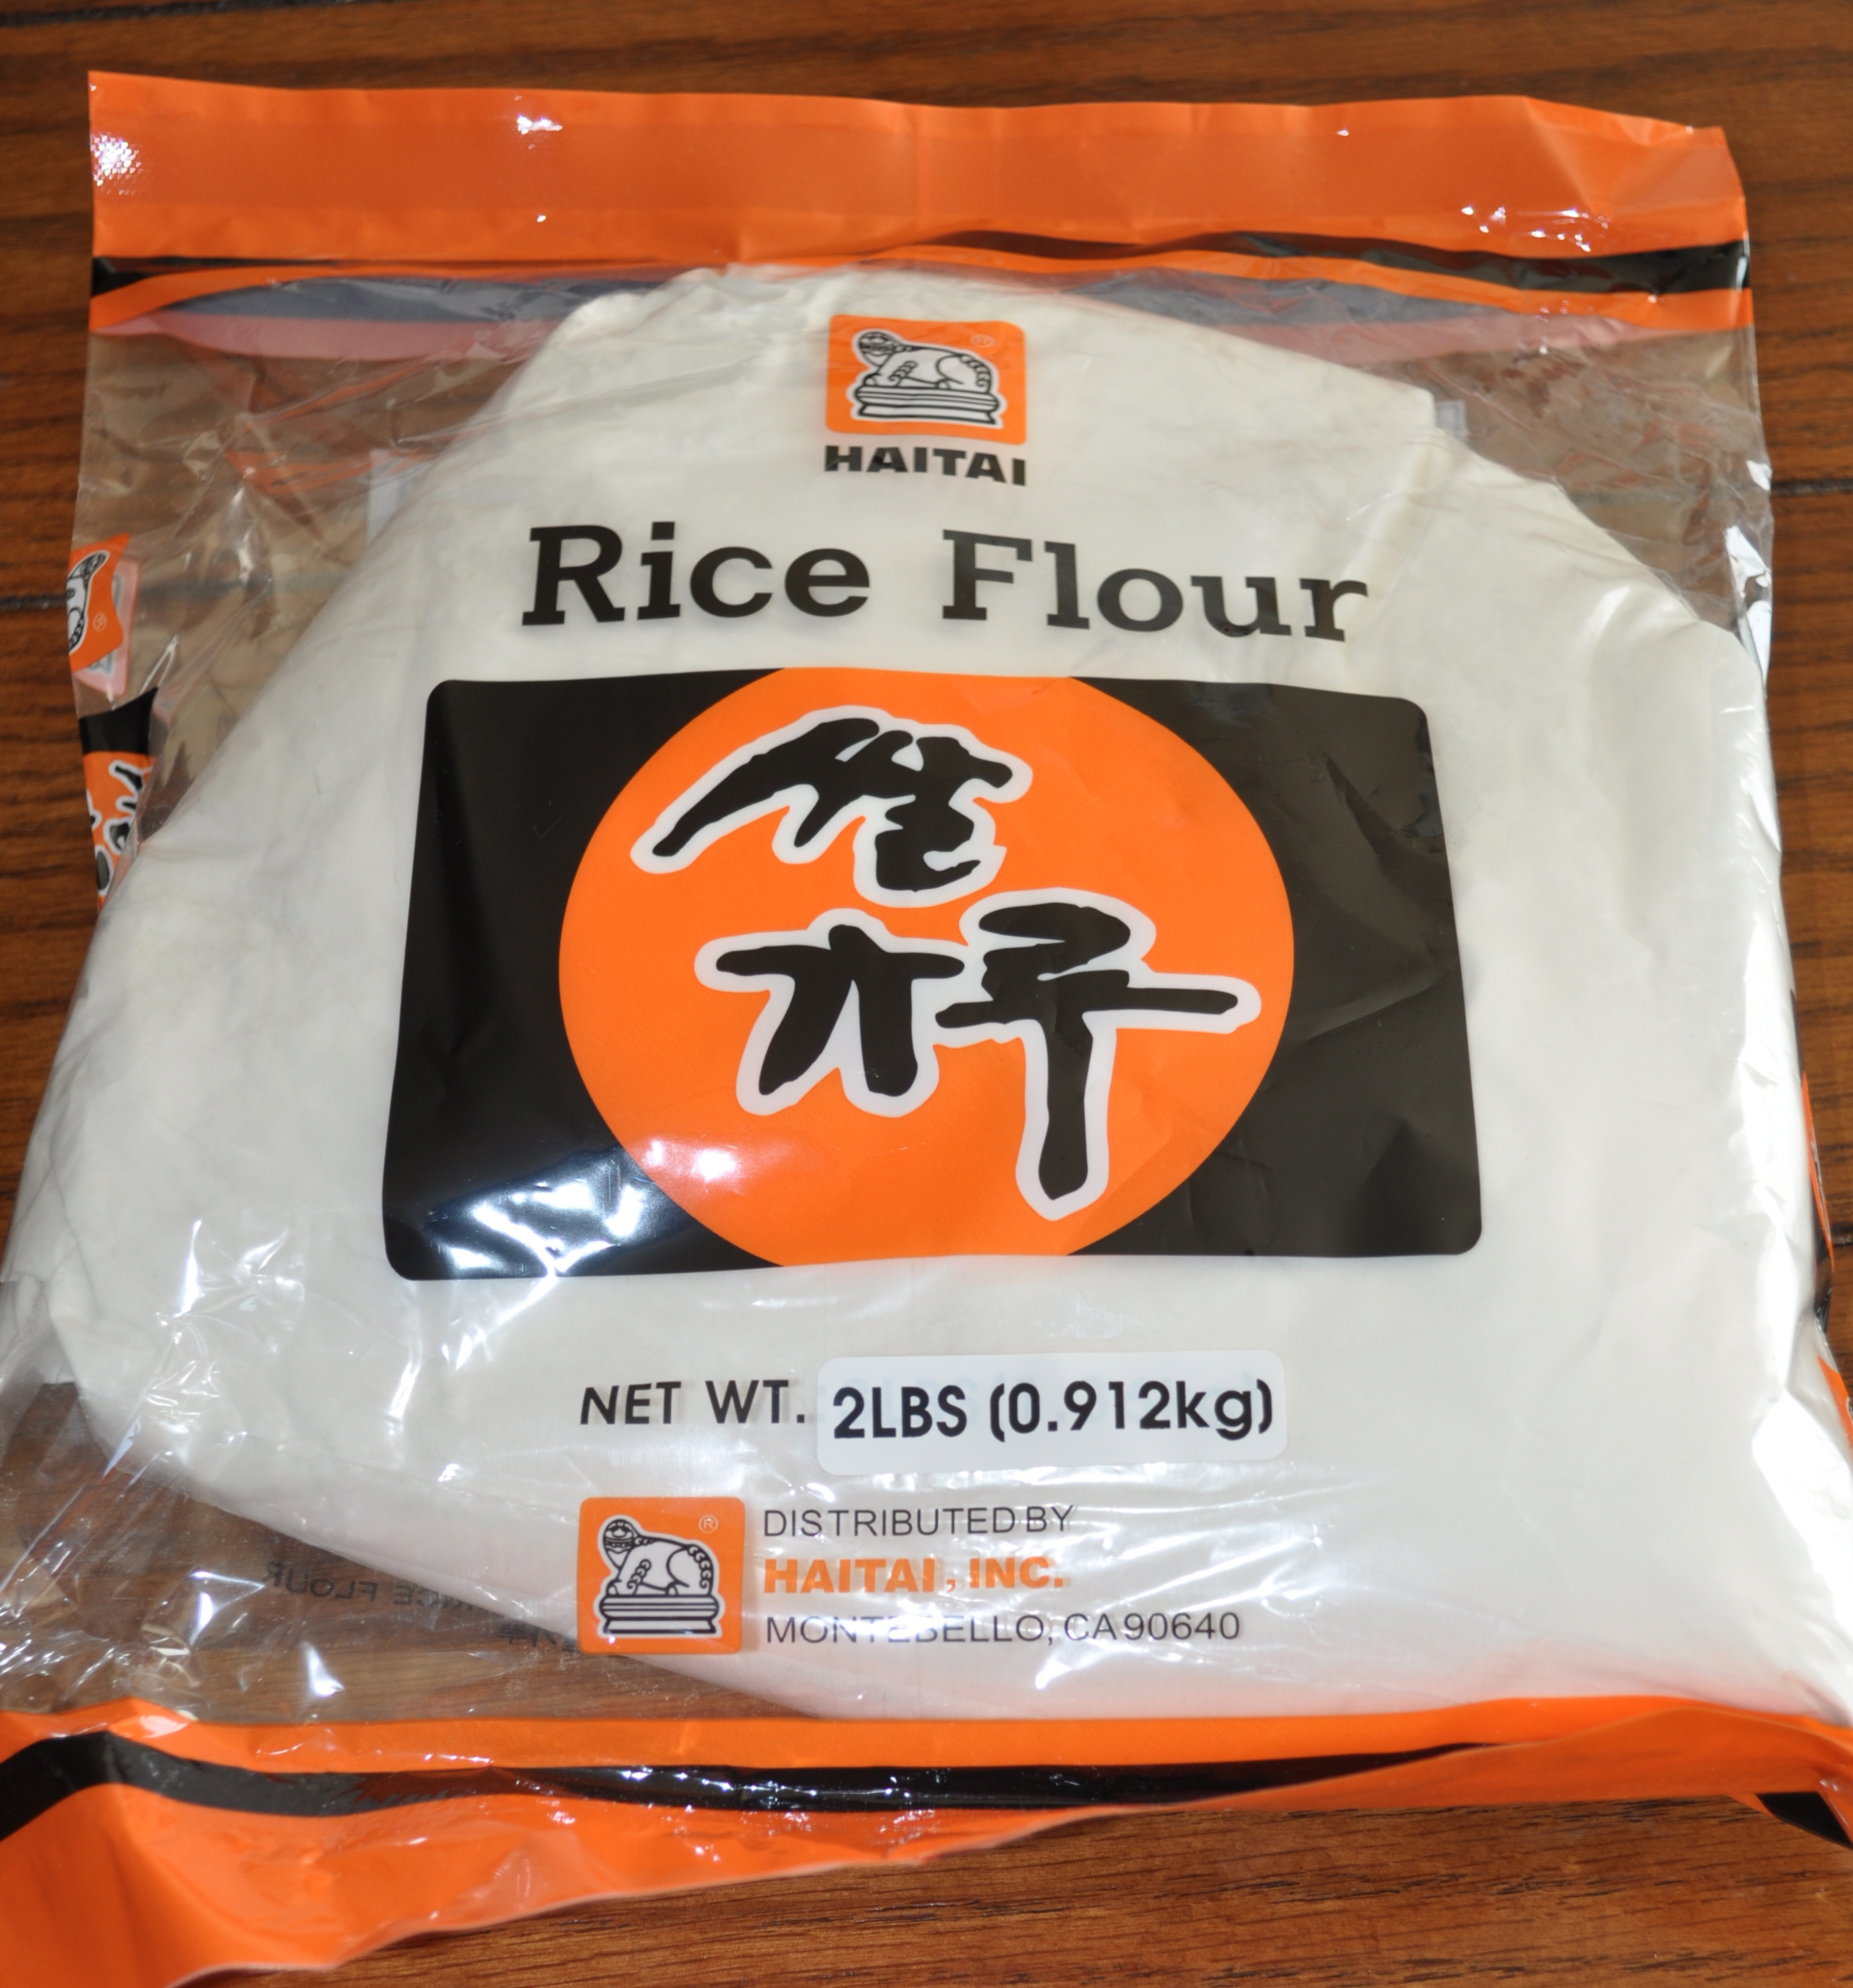
Events - 017You’ll need to find rice flour that is NOT glutinous.  The label will tell you whether it’s glutinous or not.  The glutinous kind will NOT work for potu.  Glutinous rice flour is made by grinding sweet rice, which is very sticky when cooked.  The NON-glutinous rice flour (the kind you need for potu) is made by grinding short or medium-grain rice.

This is a photo of the brand of rice flour I used.  There are many different brands; make sure the label states non-glutinous.rice flour
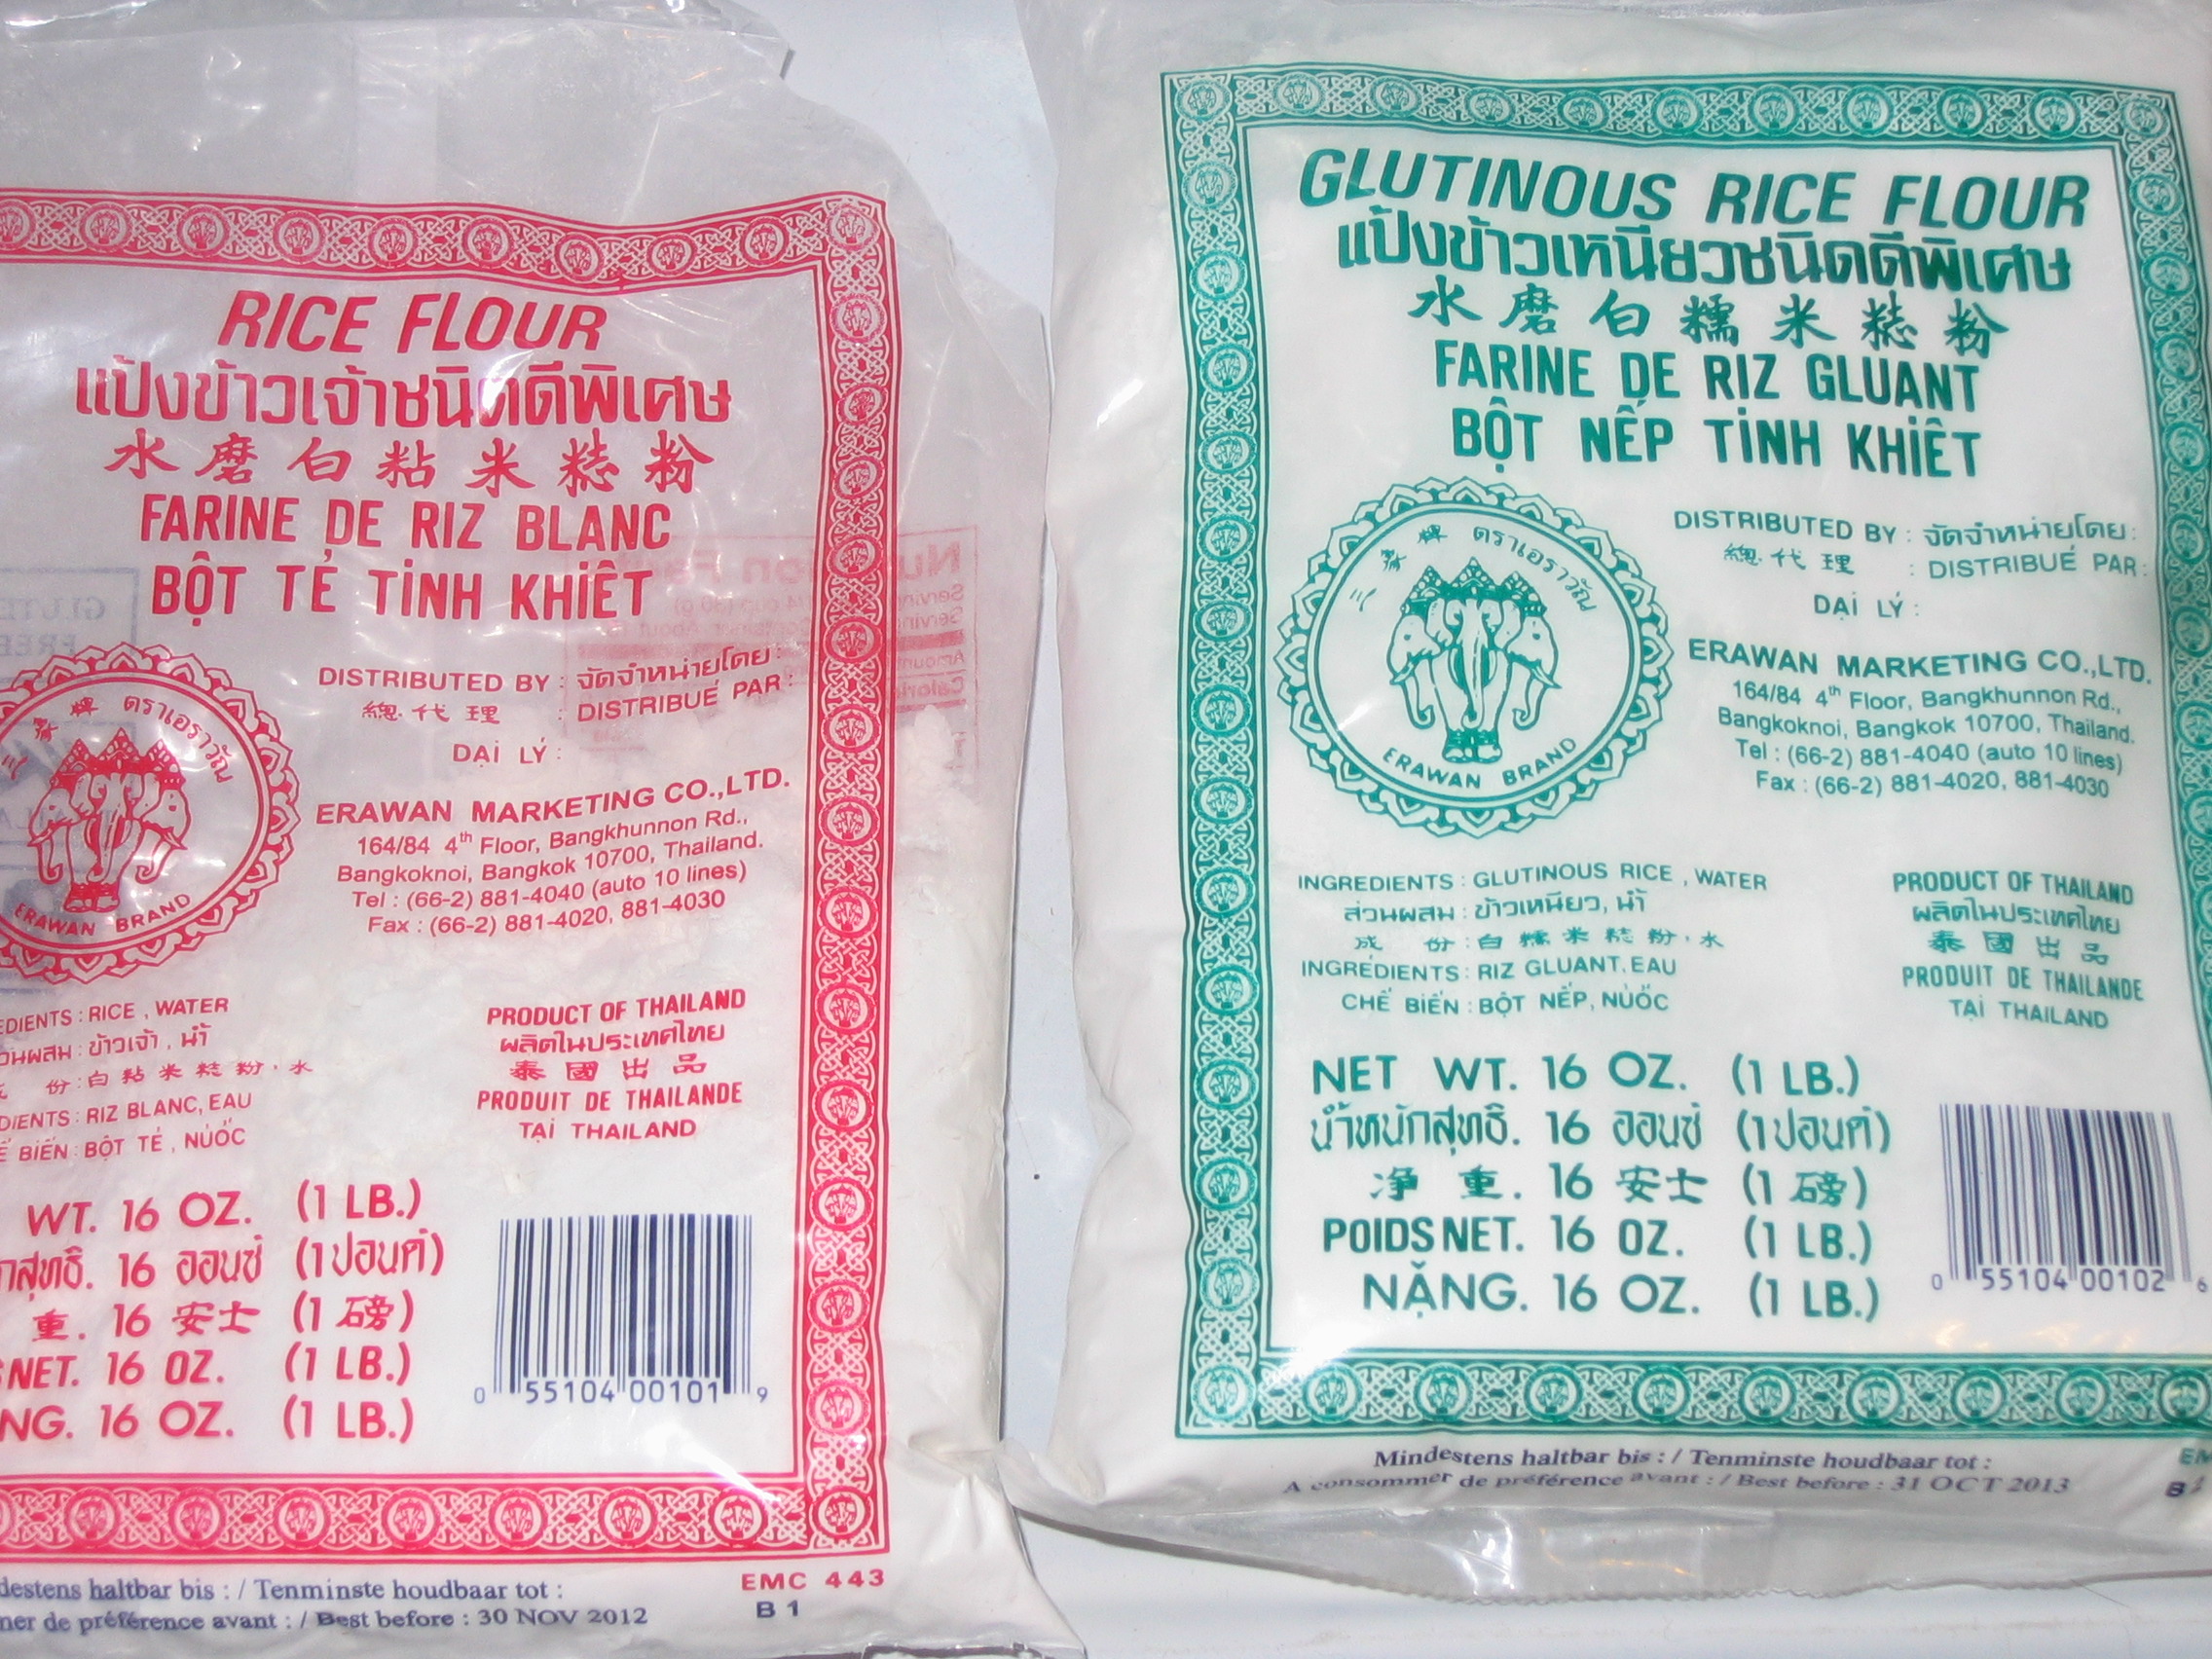
I’ve also used this brand of rice flour (the red bag, pictured on the right).  Notice that the green bag clearly states “Glutinous.”  If you’re familiar with mochi, glutinous rice flour is used to make mochi.  Again, for potu, you want to use NON-glutinous rice flour.
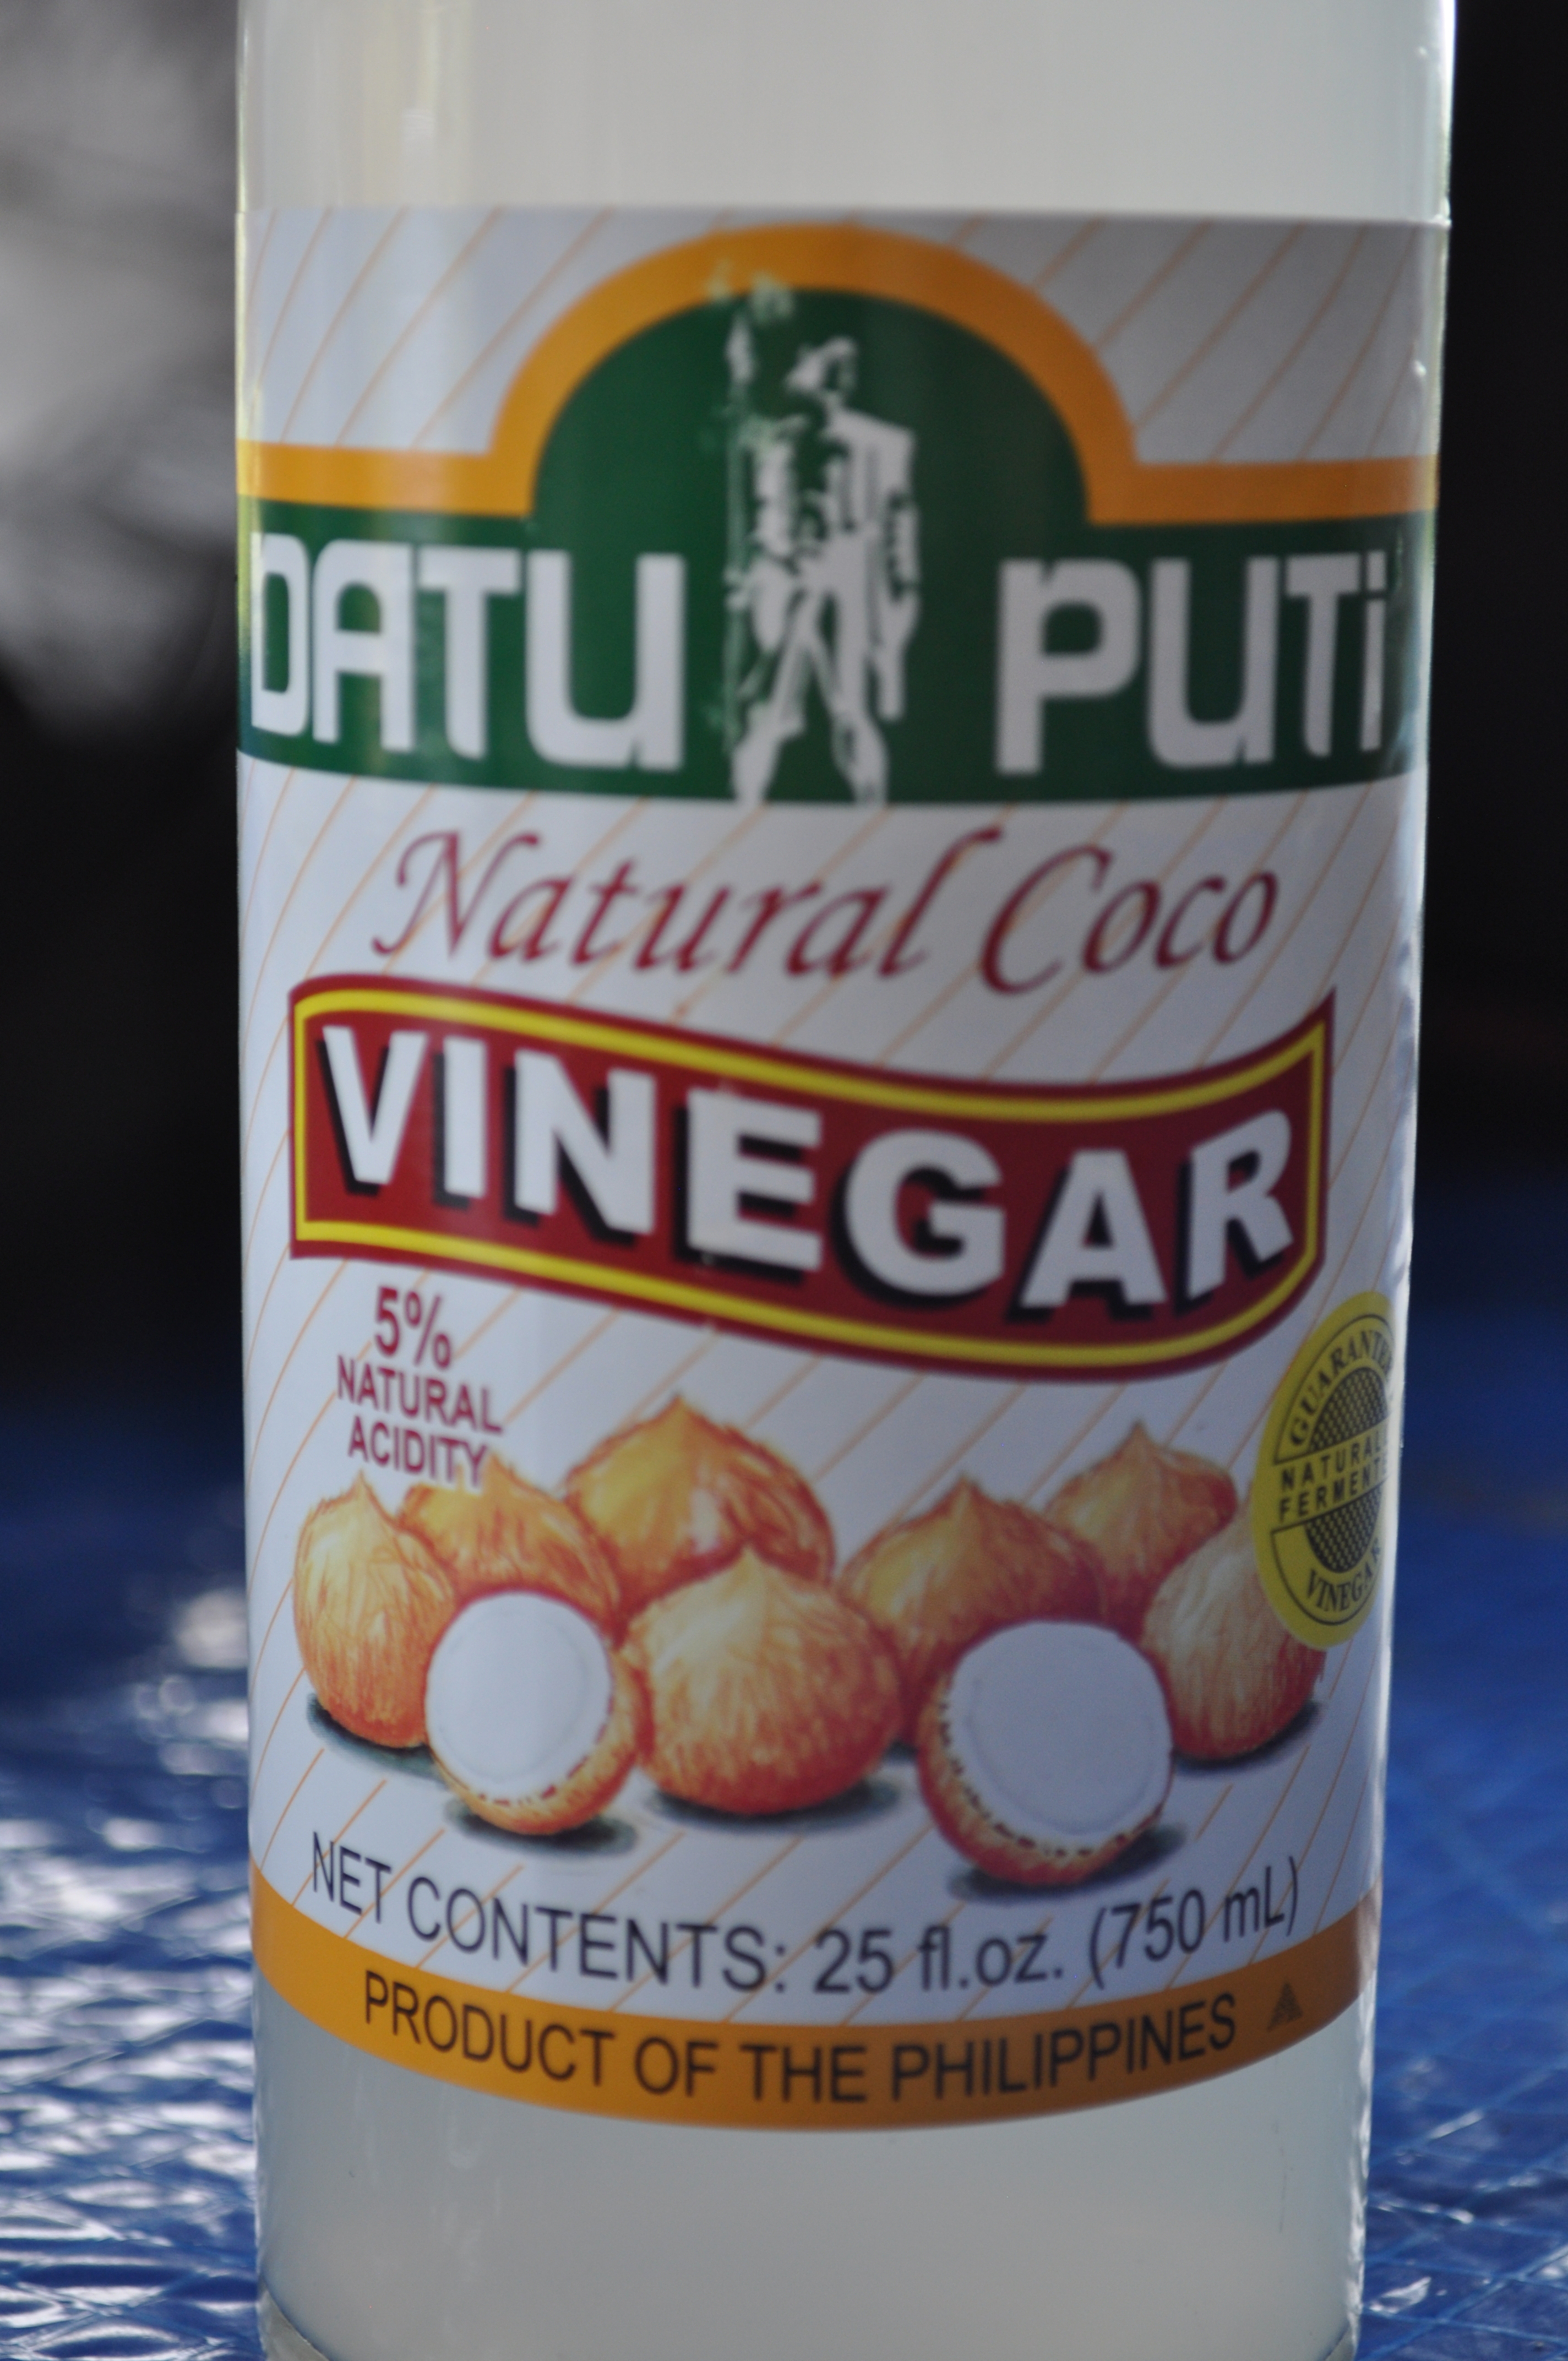
Events - 0545As I mentioned above, tuba is not available here in the states, unless you have a friend or family member visiting from home bring you some.  An easy substitute for tuba in this recipe is coconut vinegar.  You only need a little bit of vinegar.  Judy’s recipe calls for four tablespoons mixed with enough water to make one cup of liquid.  I actually cut the amount of vinegar in half because it’s quite pungent.  This is the brand of coconut vinegar I use.

Mix the vinegar with enough water to make one cup of liquid.  I only used two tablespoons of vinegar, but Judy’s recipe calls for four.  It’s all up to you, really, on how much vinegar to use.  Remember, a little goes a long way.

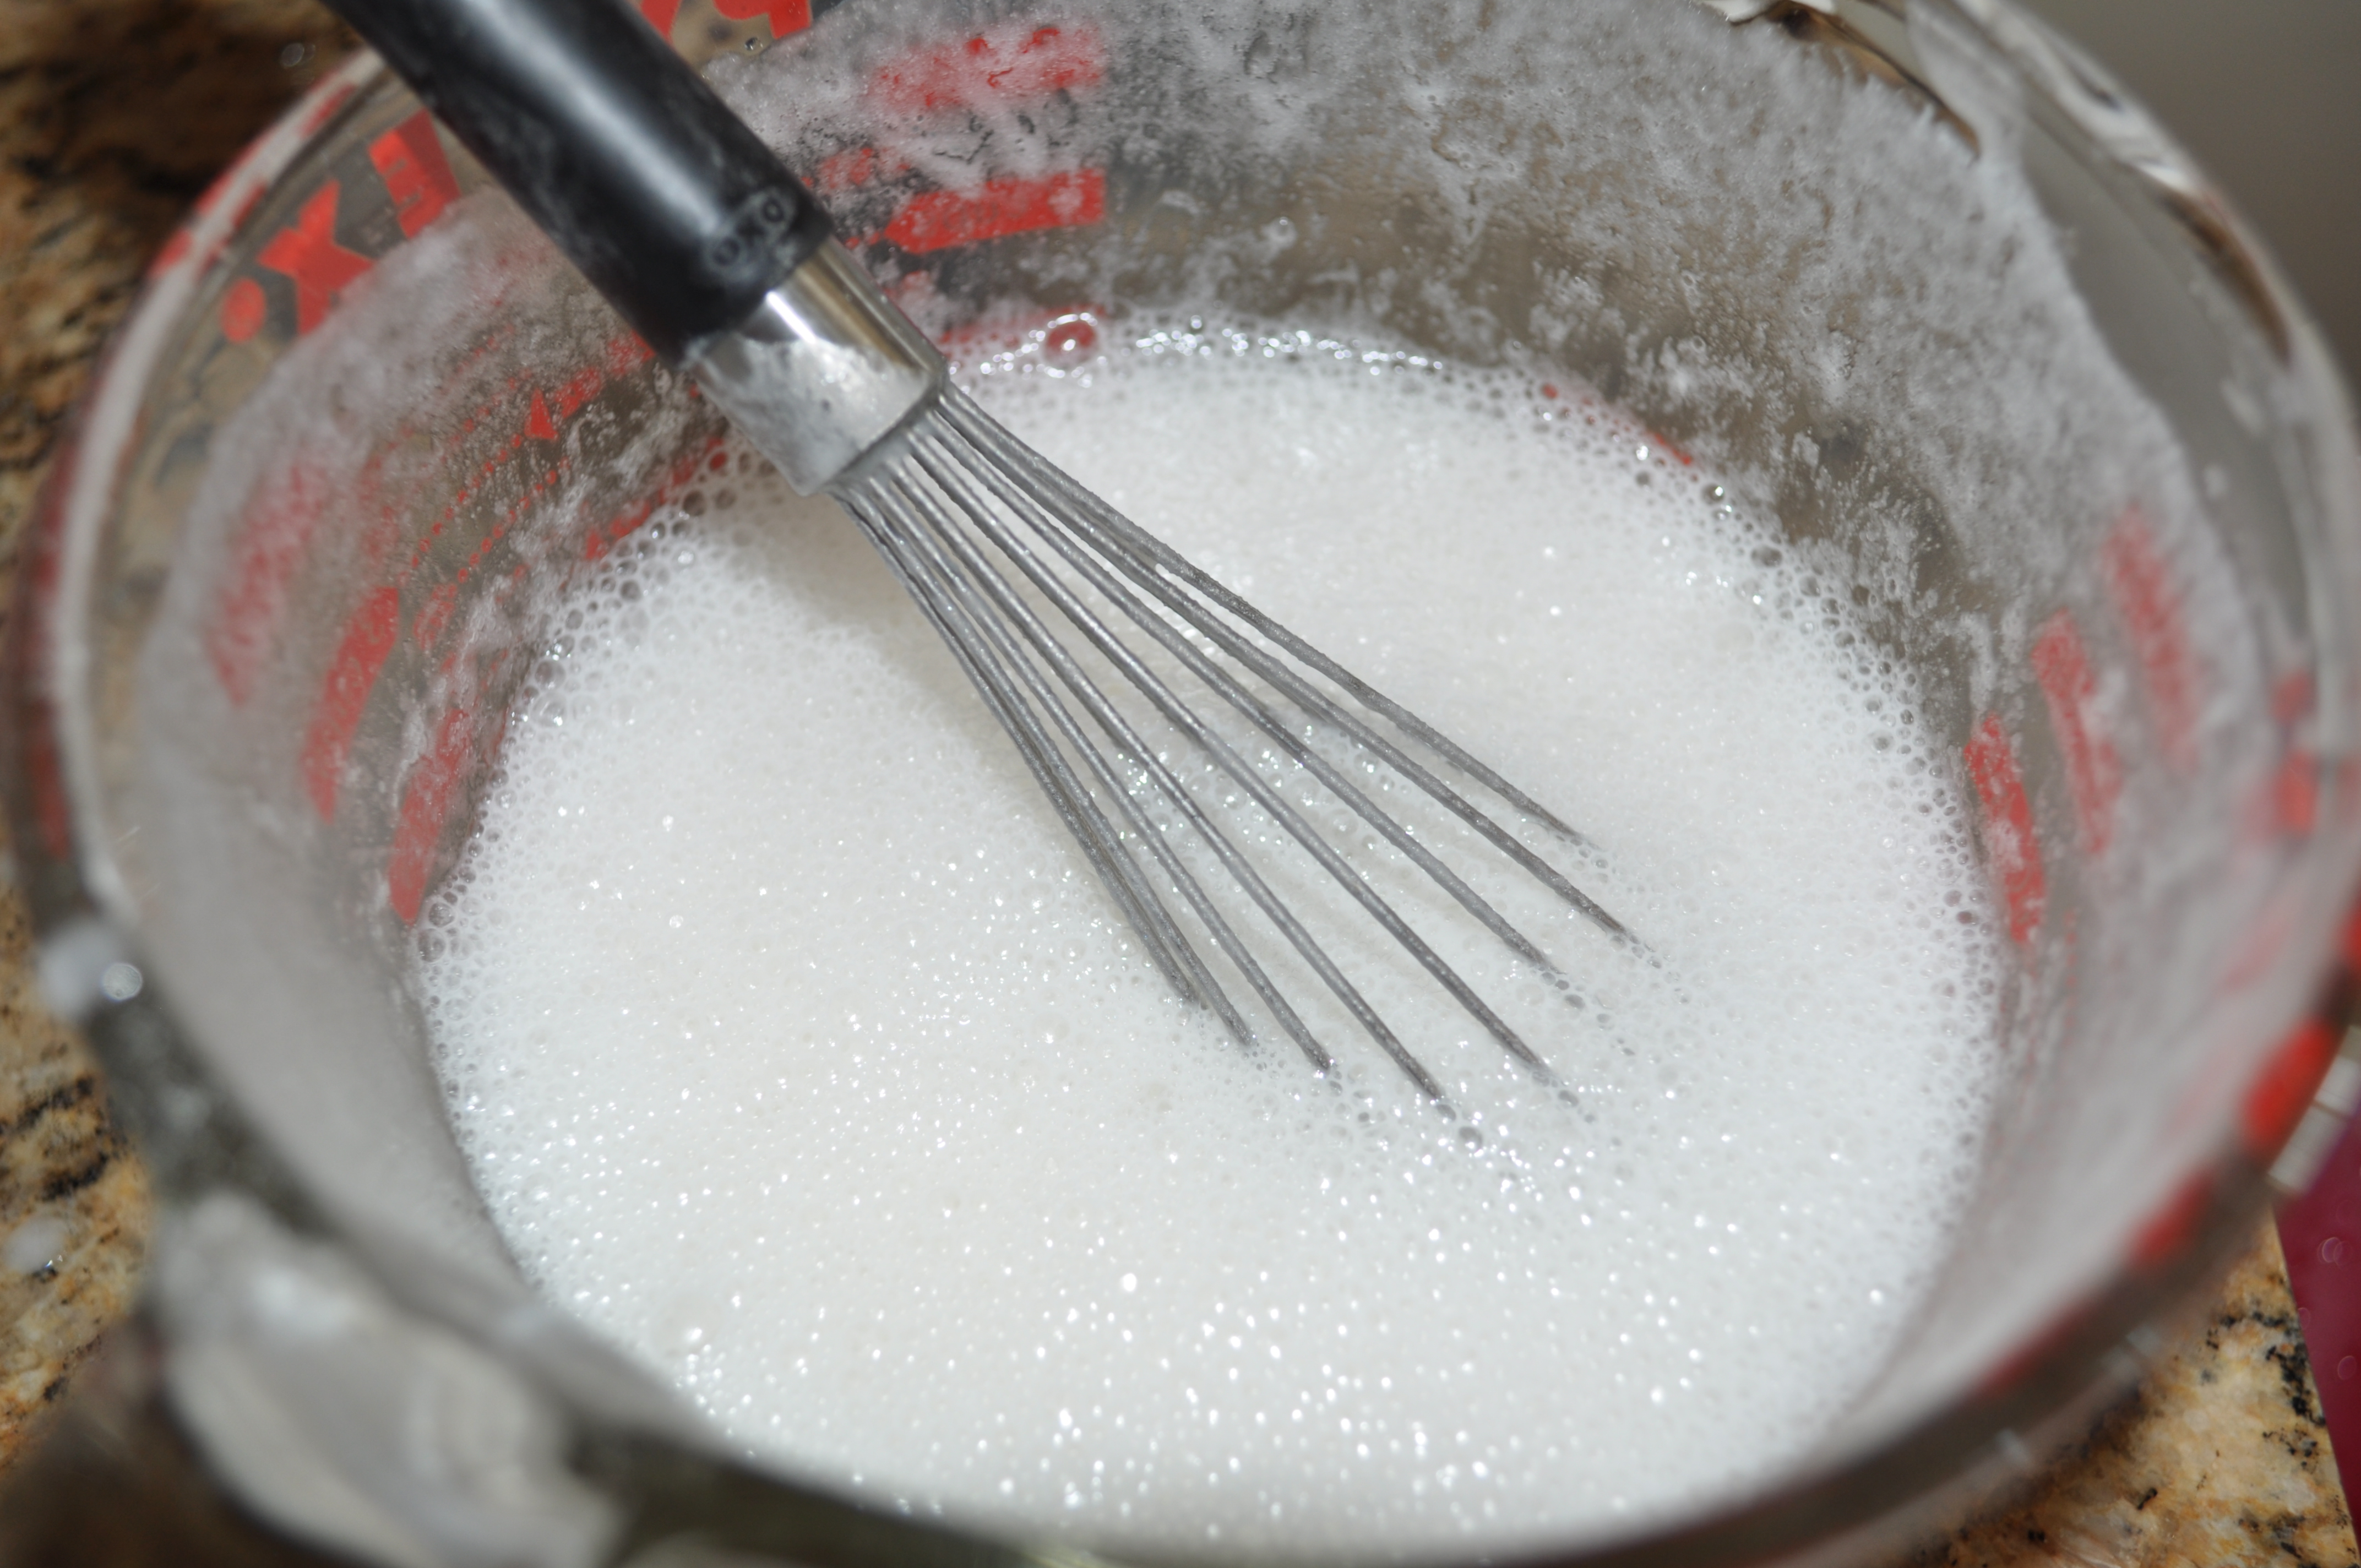
Mix the rice flour, sugar and baking powder with the vinegar-water mixture.  Let the mixture sit for a few minutes — it will get very bubbly.

Events - 022

Pour the batter into molds, filling them almost to the top.  I’ve used silicone molds, little glass cups and the silicone molds lined with mini cupcake paper liners, all with success.

Place the molds into your steamer basket before filling — it’s easier than trying to place full cups into the basket without spilling any batter.
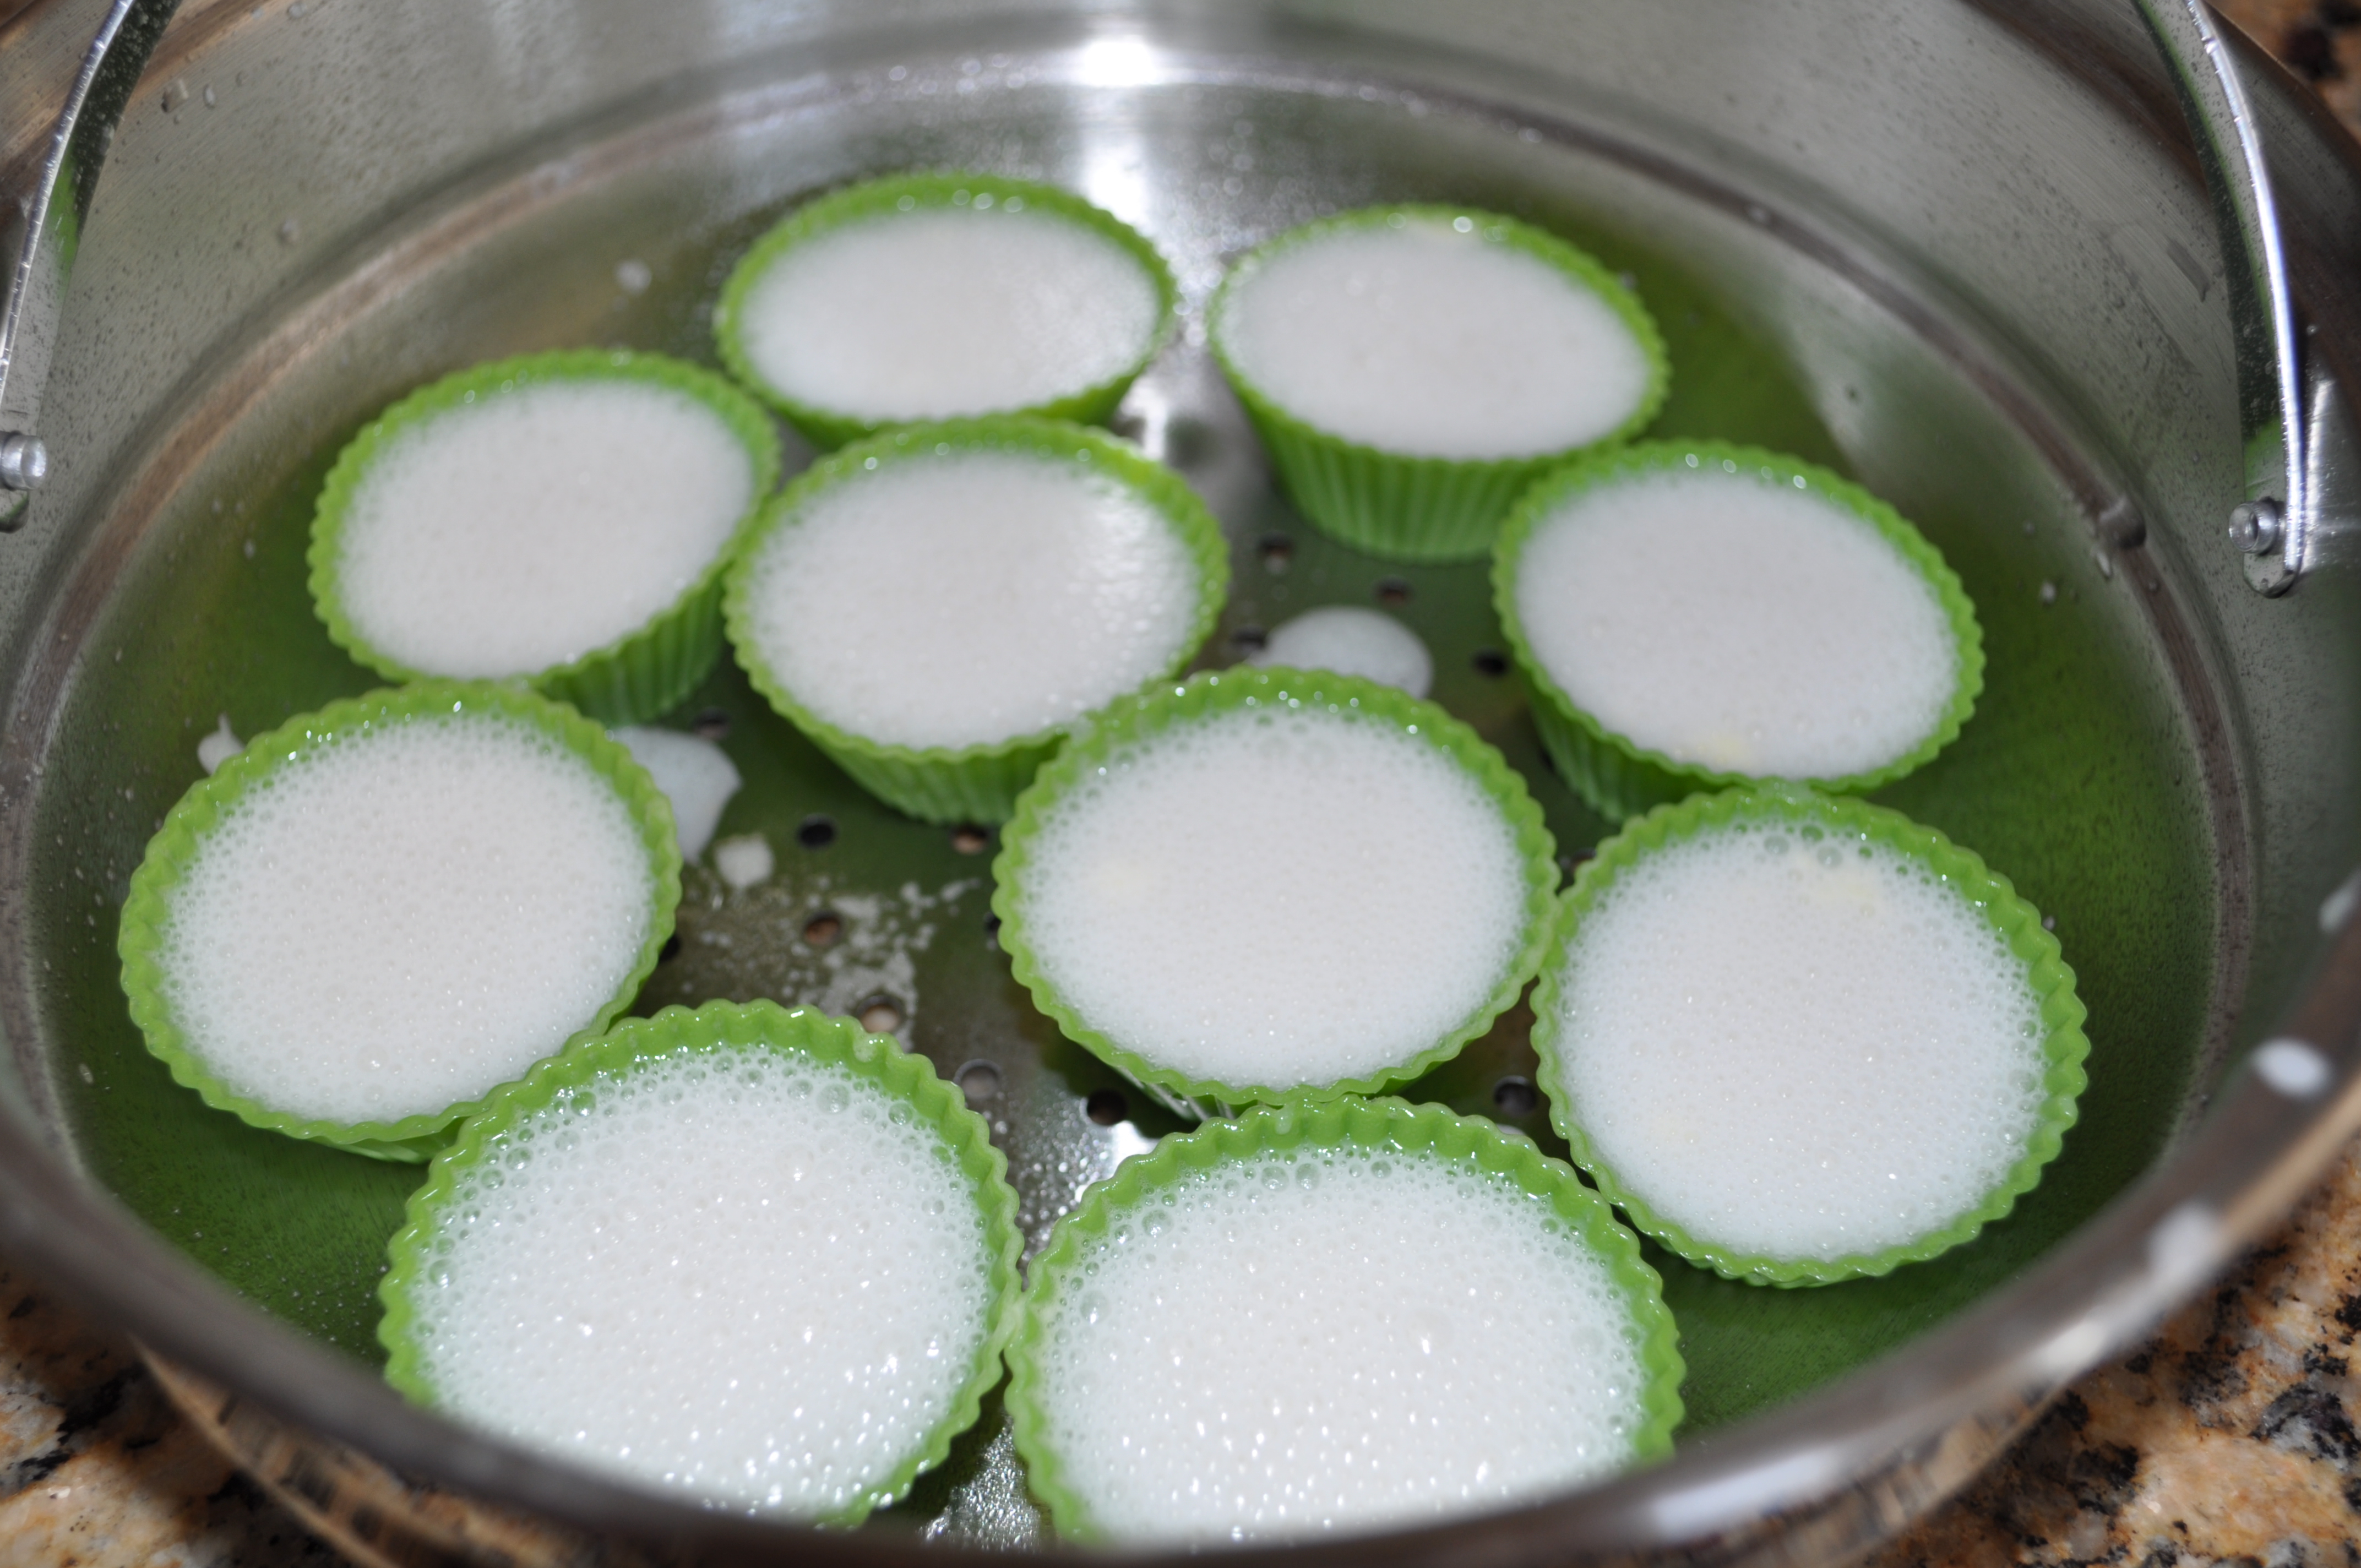
Events - 020Place the steamer basket into the steamer.  Place a clean kitchen towel or cheesecloth beneath the lid to keep the condensation from dripping back onto the potu.
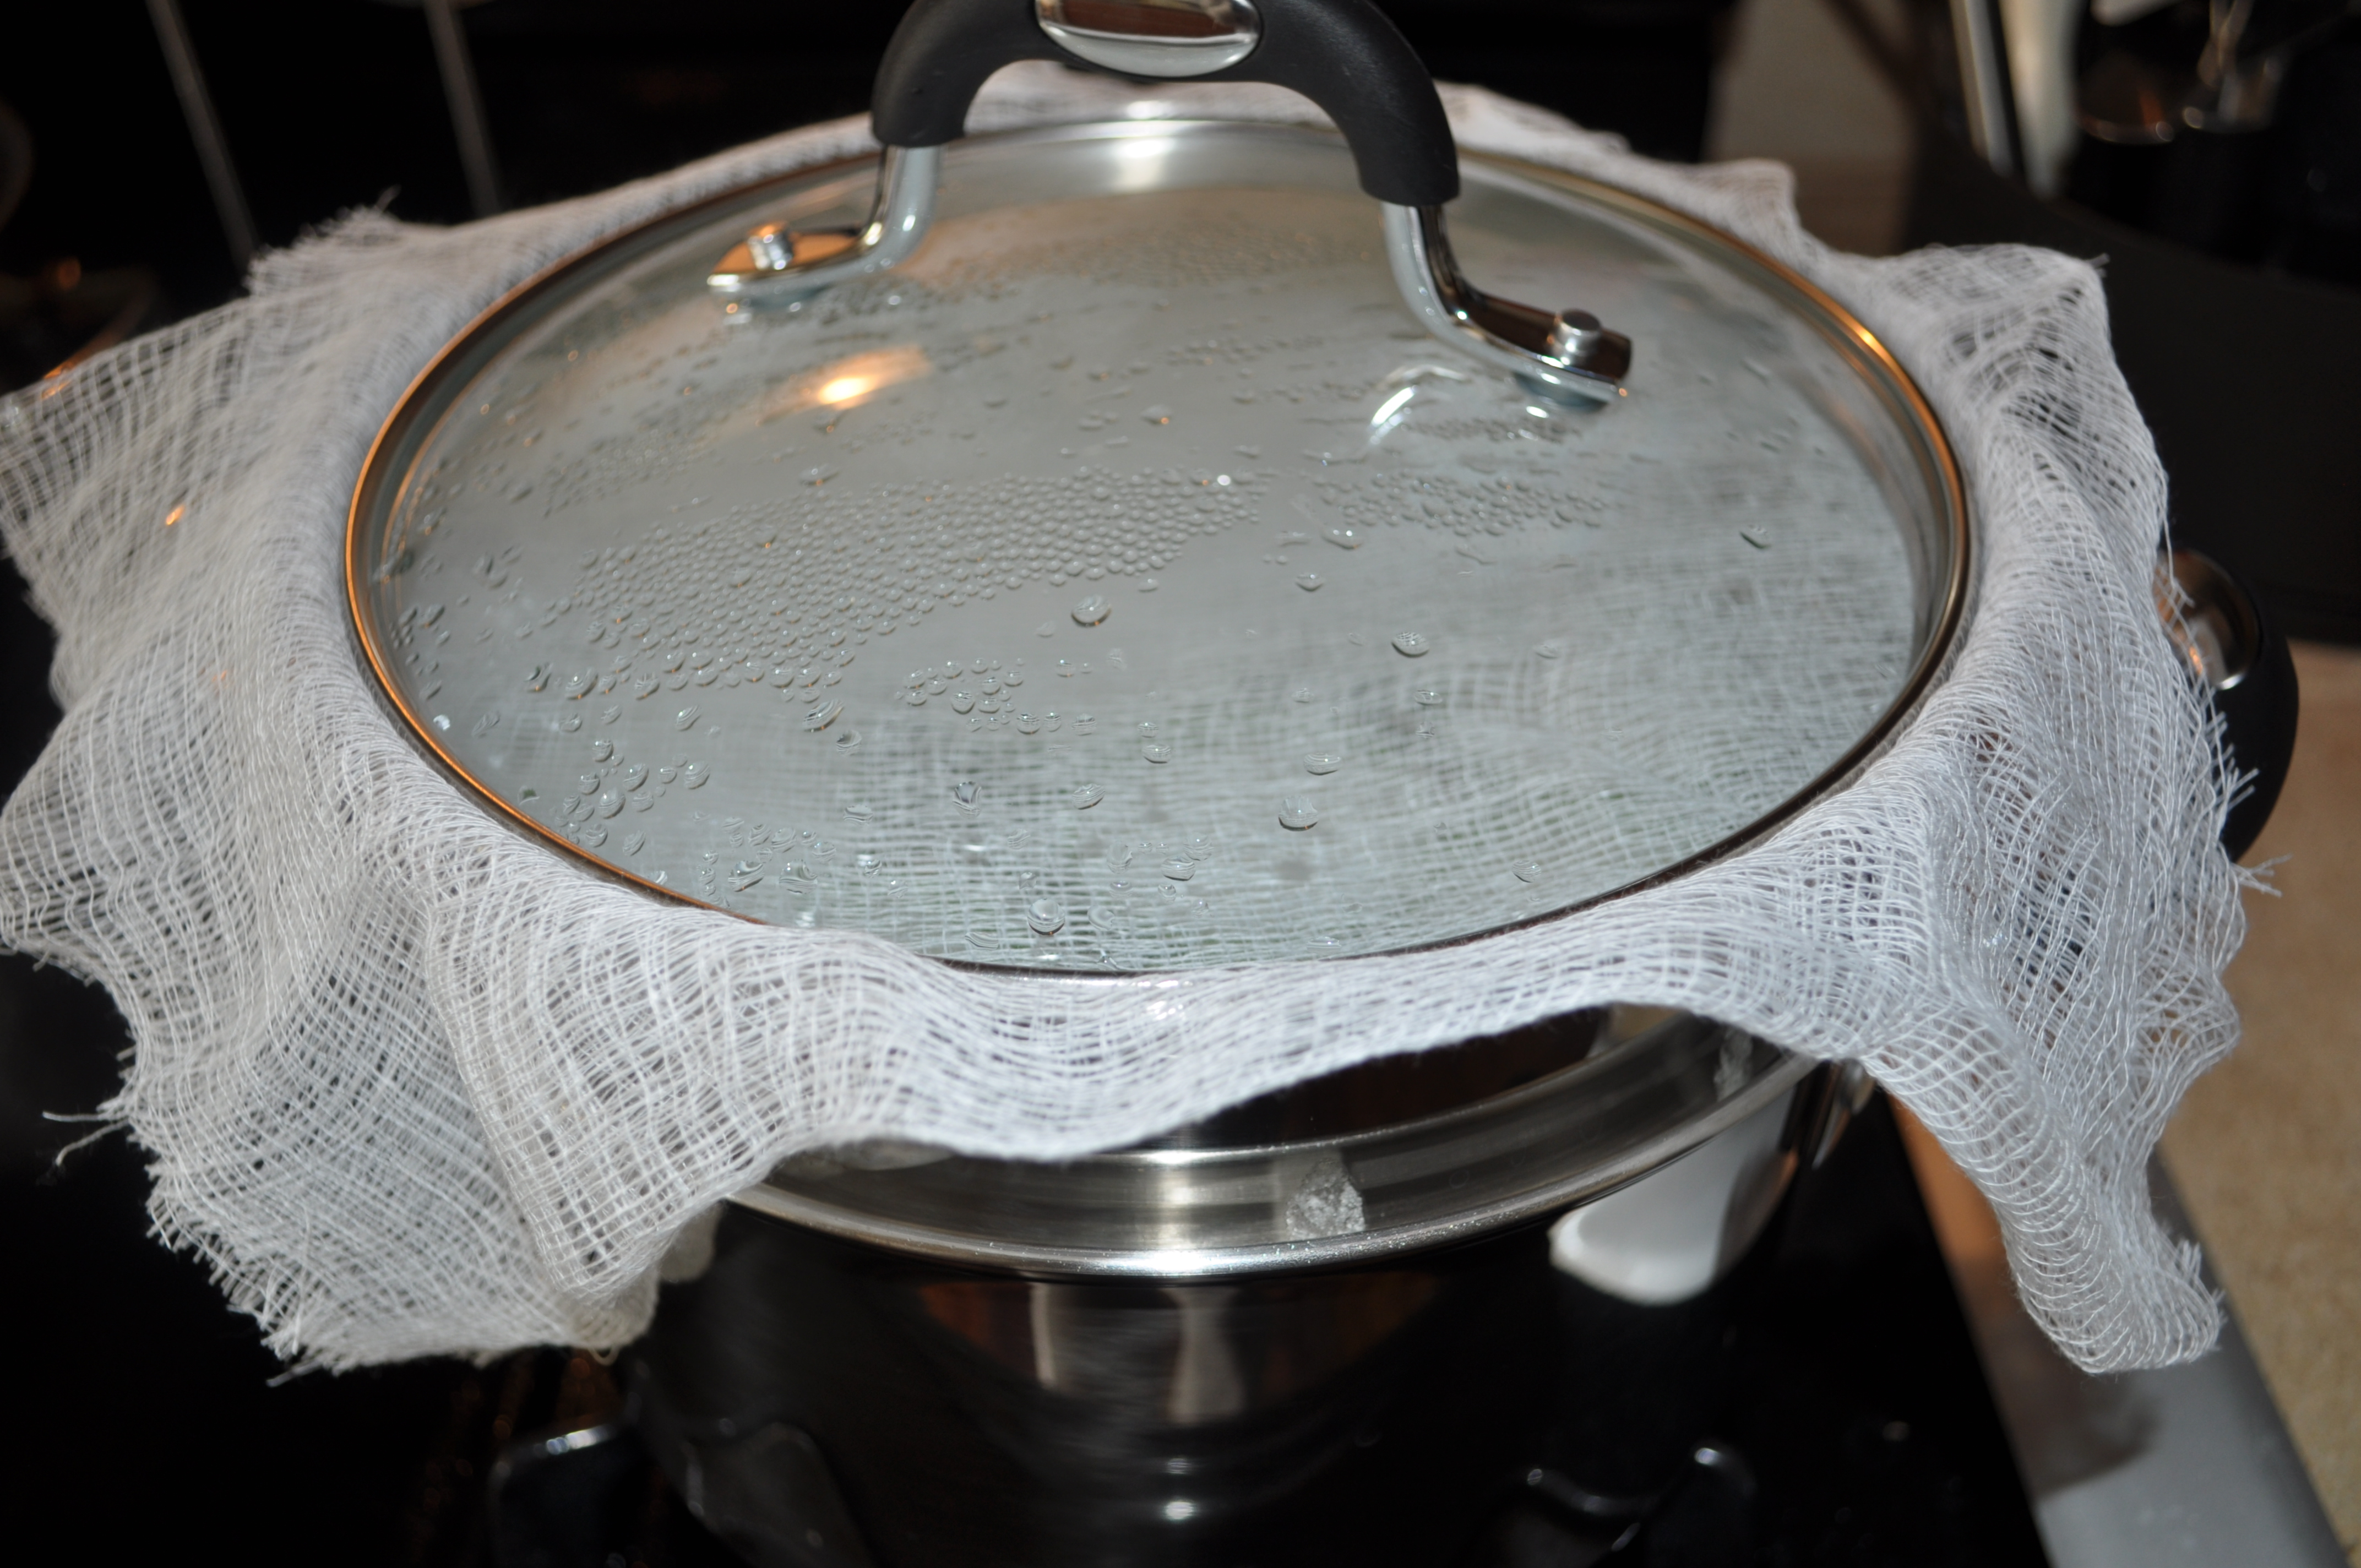
Events - 023Steam for about 20 minutes.  The tell-tale crack on top indicates the potu is done.  Let the potu cool for a few minutes before removing from the molds.  Serve and ENJOY! 🙂


Potu
 
A sweet steamed rice cake that's light and fluffy and easy to prepare.
Author:
Recipe type: Dessert
Cuisine: Chamorro
Serves: 2½ dozen
Ingredients
  • 1 cup rice flour (make sure it's NOT glutinous rice flour)
  • ¾ cup sugar
  • 1½ tablespoons baking powder
  • 4 tablespoons vinegar mixed with water to equal 1 cup of liquid (OR use 1 cup sweet tuba)
Instructions
  1. Mix all ingredients in a bowl and let it sit for about 15 minutes.
  2. Pour the mixture into miniature molds and steam for about 15-20 minutes.


Judy’s Empanadas

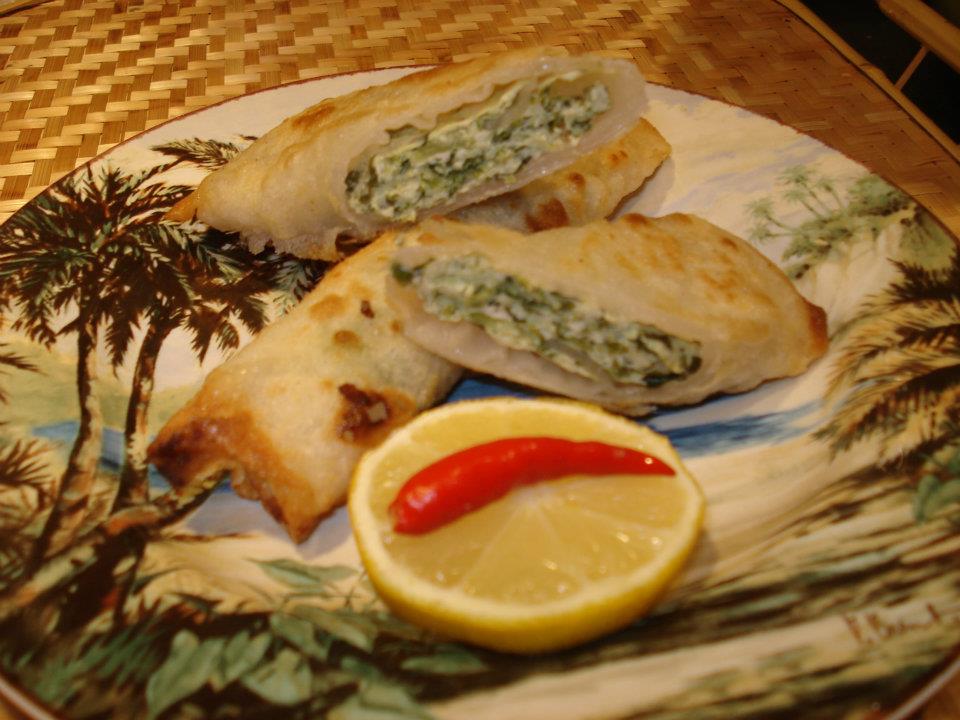
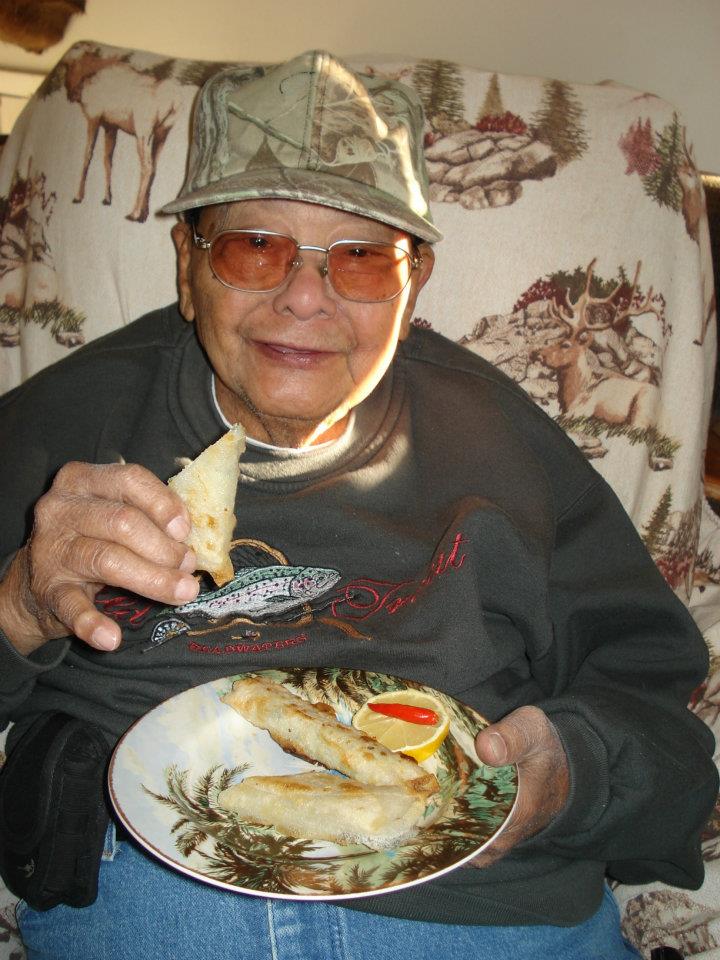
Chamorro empanadas are high up on the list of my favorite snacks, but they can easily be a meal in and of themselves.  In fact, when I was on Guam recently, I would visit the village store and buy empanadas, fresh out of the fryer, for breakfast.

My mom taught my sisters and me how to make empanadas years and years ago.  It’s quite the labor of love, although you can make the filling ahead of time, thereby cutting back on the actual preparation of the empanada.

A tortilla press, while not essential, is a great tool to have when making empanada.  While you’re at it, a bunch of kitchen helpers is good too. 😉  I remember when I was younger, we only had one tortilla press to share among my three sisters and mom; someone usually got stuck with using the much slower rolling pin.  We did it assembly-line style, with a couple of us flattening the dough, another couple of us filling it, and then someone sealing it tightly.

I’ve had a lot of requests for my empanada recipe, but my good friend, Judy Fernandez Dillinger, has an amazing recipe and she was gracious enough to allow me to feature it here.

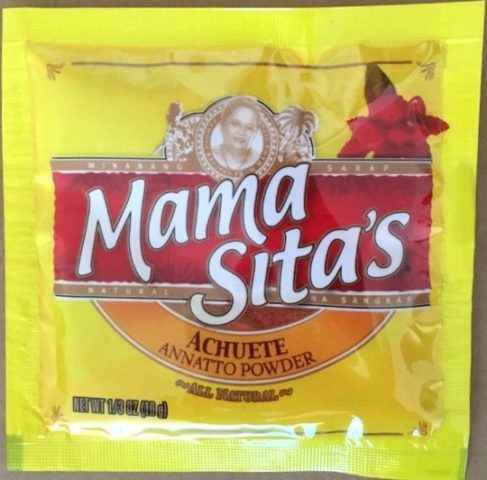
As a side note, this is the packet of achote powder used in Judy’s recipe below.  Each packet contains 1/3 ounce of powdered achote, which is roughly 2 teaspoons.  Use this as a guide.  Some people like more or less achote to make the crust lighter or darker.  I also know someone who doesn’t use achote at all.

So, without further ado, here is Judy’s empanada recipe.  Give it a try.  I KNOW you’ll love it. 🙂

Judy's Empanadas
 
Author:
Recipe type: Snack
Cuisine: Chamorro
Serves: 2 dozen
Ingredients
Filling:
  • ½ cup cream of rice mixed with ½ packet of achote powder*
  • 2 cups of chicken broth (you can use water but will have to season with salt)
  • ½ onion, minced
  • 3 cloves garlic, minced
  • ½ cup chopped chicken or imitation crab meat
  • black pepper to taste
  • hot pepper (optional)
Crust:
  • 2 cups masa harina
  • 1 packet achote powder*
  • ½ cup corn starch
  • ½ teaspoon salt
  • 3 teaspoons oil
  • 1½ - 1¾ cups chicken broth or water (if using water, increase salt to 2 teaspoons) - warm
*If you don't use achote powder, just make sure you soak achote seeds in the broth or water for color.
Instructions
For the filling:
  1. Saute onions and garlic in a large pot. Cook till onion becomes transparent. Add chicken and saute for about 2 minutes.
  2. Add chicken broth or water. Remember, if you use water you'll have to season it with salt (to taste). Bring to a boil.
  3. Using a whisk, gradually add the cream of rice. Keep stirring so that there are no lumps. Bring heat to medium and cook for about 3-4 minutes.
  4. Add hot pepper (as hot as you want it) and then remove from heat.
  5. Completely cool before filling the shells.
For the crust:
  1. Mix masa harina, corn starch, salt and achote powder in a bowl. Add oil and broth or water to the flour mixture. Kneed with hands until dough is pliable.
  2. Roll dough into 1 inch balls. Use a tortilla press to flatten to form a circle. Be sure that you press the dough between 2 sheets of wax paper.
  3. Fill the bottom half of the circle with the cooled filling. Fold over the top of the dough to meet the bottom and press to seal the edges.
  4. Deep fry until nice and crispy. The trick is to fry at a very low heat. I like to set my dial at the 4th interval, right below the middle. If you fry it at high heat it will burn and the crust will not be crunchy but stale.
Enjoy!


Chicken Drumstick Motsiyas

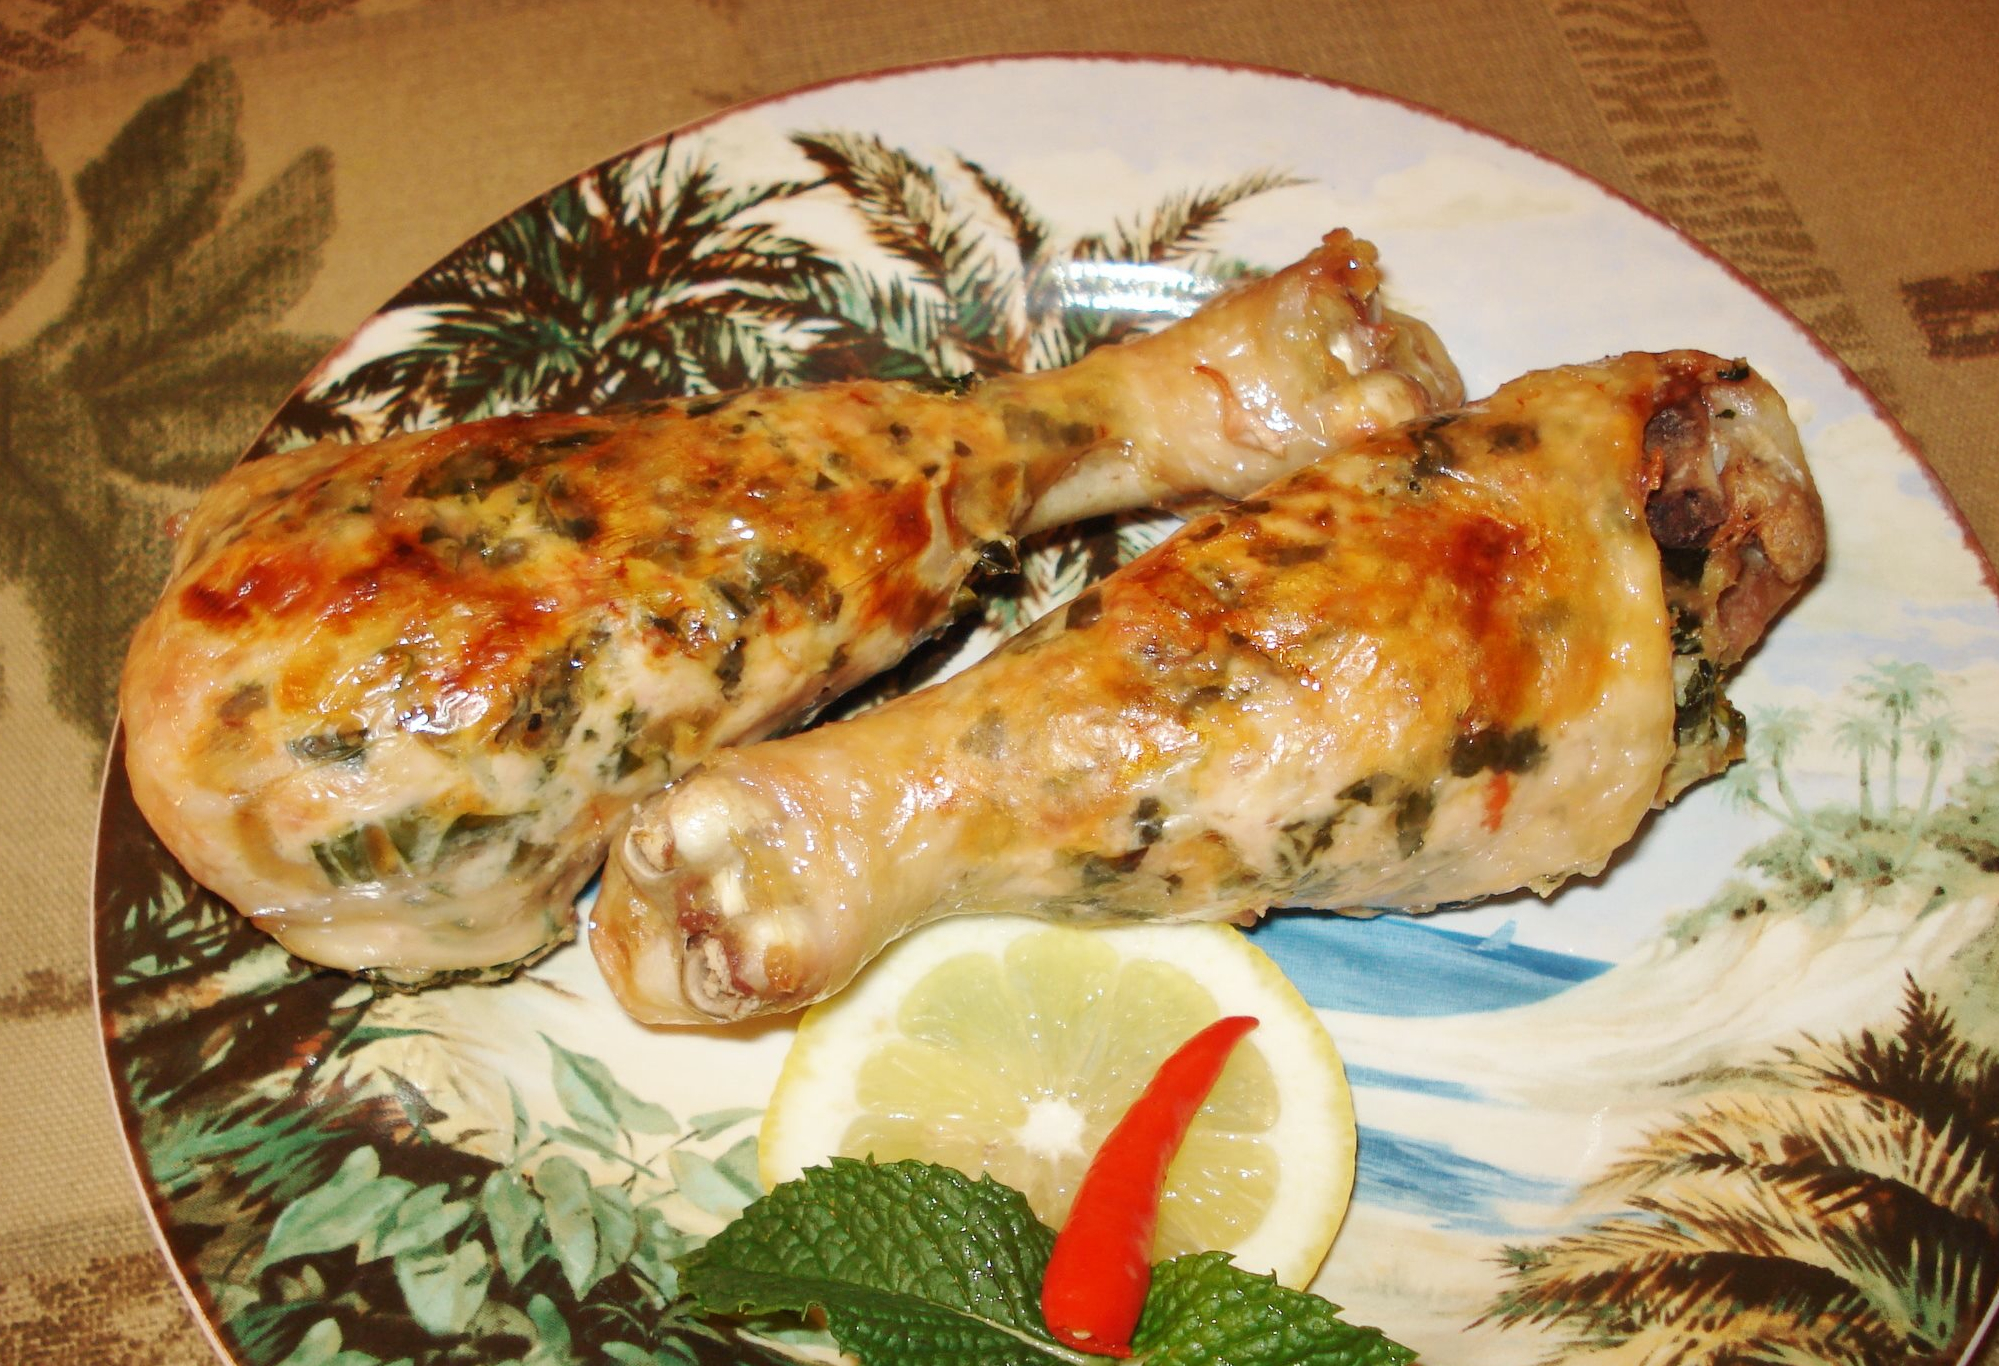
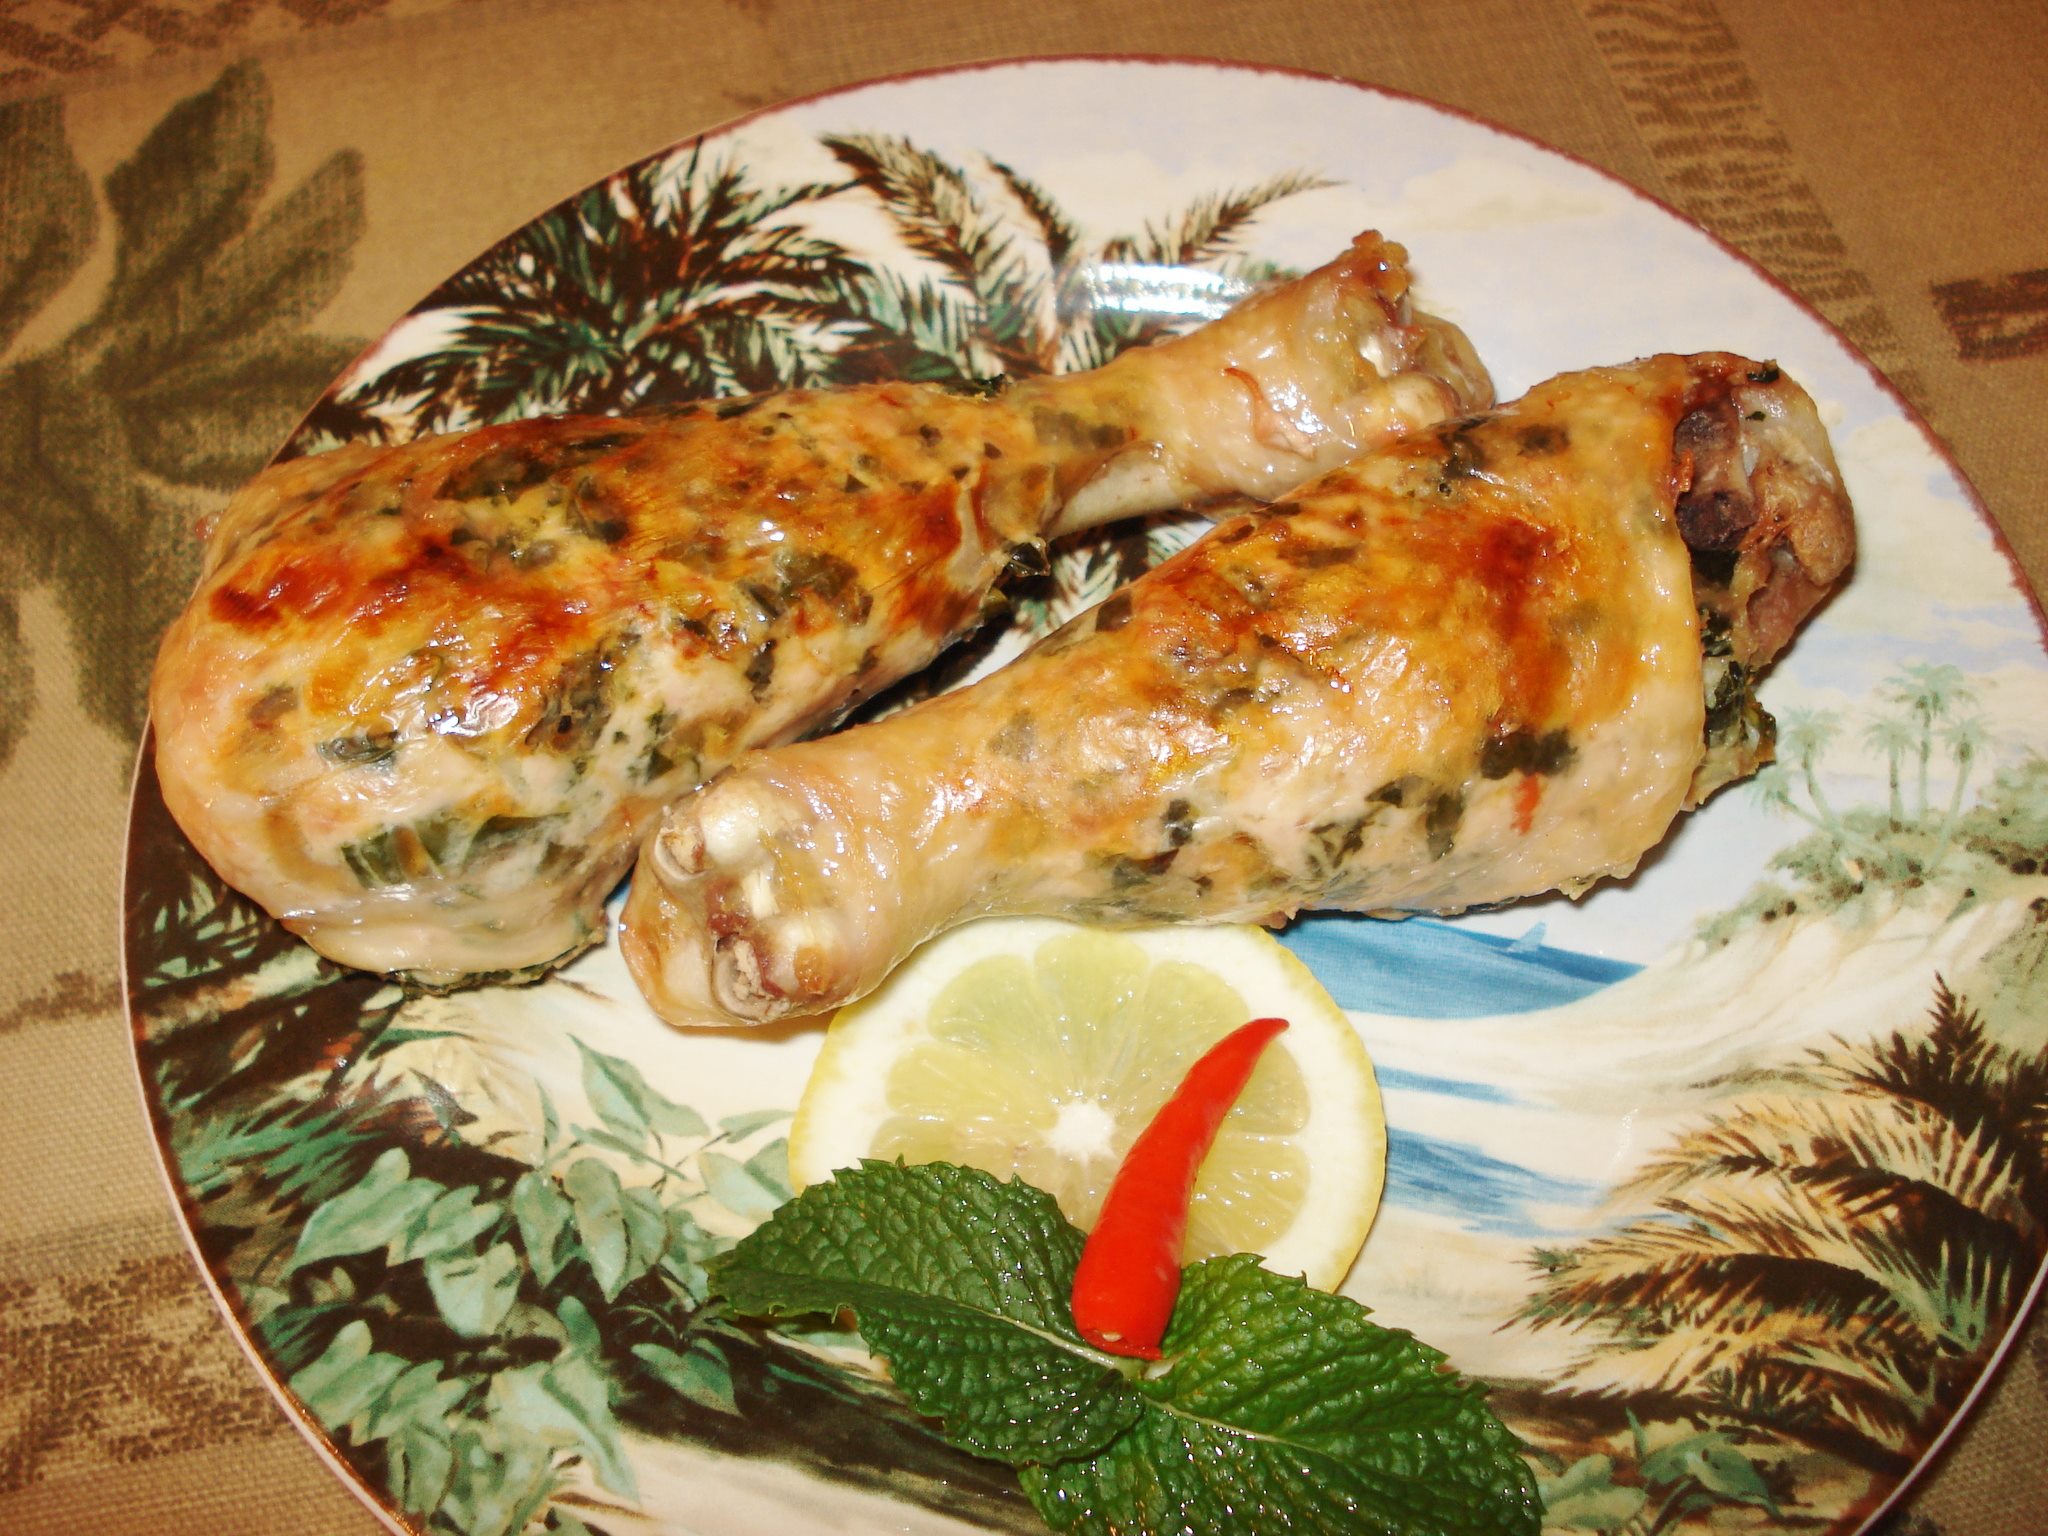
Motsiyas (pronounced mot-see-jas) is a delicacy on Guam.  It consists of a basic mixture of finely chopped or ground chicken (traditional recipes include most of the chicken parts, but I like just the meat, no organs), hot pepper leaves, tomato leaves, green beans, mint, lemon juice, salt and pepper.  You can also add other leafy greens to the mixture, as my friend, Arlene Sablan Aguon does (see her list of ingredients below).  To spice it up, add chopped chili peppers.  

The ingredients are then mixed together then wrapped in banana leaves and steamed in either water or chicken broth, and sometimes even in coconut milk.  

The recipe below is one of PoP Aguon’s treasured recipes, and the technique used to make them is a PoP Aguon original.  Wrapped in around the bone of a Chicken Drumstick with the skin surrounding it, this is a LABOR INTENSIVE recipe that requires that you de-bone and remove the meat and tendons of the chicken drumsticks, mix the multiple ingredients, then fill it back into the drumstick cavity.  It’s all worth it in the end, trust me.

Give PoP’s recipe a try.  I think you’ll like it. 🙂

Chicken Drumstick Motsiyas

Recipe adapted by Annie Merfalen
Original recipe by Arlene Sablan Aguon (as taught by PoP Aguon)
Photos by Arlene Sablan Aguon

Chicken Drumstick Motsiyas 1


Ingredients:

  • 4 pounds Chicken Drumsticks with Skin intact and not torn
  • 2 pounds boneless, skinless chicken thighs
  • 2 pounds boneless, skinless chicken breasts
  • Salt and Pepper, to taste
  • Freshly squeezed lemon juice, about 3/4 cup
  • 2 cups minced fresh mint
  • 2 cups thinly slices long beans or green beans
  • 2 cups diced baby bok choy
  • 4 cups diced mustard greens or spinach leaves
  • 1 cup diced white onions
  • 1 cup thinly diced green onions
  • 1/3 cup diced fresh Guam donne’ or Thai bird pepper (optional)
  • 4 cups chicken broth

Directions:

Debone the Drumsticks:
  1. Cut the chicken around the meaty part at the top of the drumstick (at the joint where the drumstick joins the thigh), loosening the meat from the bone in that area. Insert a pair of kitchen scissors or a small sharp knife as close to the bone as possible, cutting away the meat.  Be careful not to cut the skin around the drumstick.
  2. Slowly work your way down the drumstick, cutting and separating the meat from the bone.
  3. When you get to the bottom of the drumstick, turn the meat and skin inside out (be careful not to pull or cut the skin off!), then cut off the meat at the bottom, leaving the skin attached to the bone.
  4. Carefully pull your drumstick skin over the cleaned bone away from the knuckle. Place the drumstick meat in a resealable bag for later use.  You will not use the drumstick meat because of the tendons and ligaments (reserve and use for Kådun Pika later).
  5. Refrigerate the drumsticks (with skin intact) until you’re ready to stuff them.
Prepare the Motsiyas filling:
  1. Place the mint, beans, bok choy, mustard greens or spinach leaves, white onions, and green onions into a large mixing bowl.  Add the hot pepper if you want it spicy.
  2. Coarsely grind the chicken thigh and breast meat in a meat grinder, if you have one.  You can also coarsely chop or grind the chicken meat in a food processor.
  3. Mix the ground chicken and chopped vegetables together. Refrigerate the mixture overnight so the flavors can mix and marinate together.
The Next Day:
  1. Place the chicken broth into a rice cooker (placed on the “warm” setting).  You can also this on the stove top with a pot that has steaming baskets (heat the broth over medium-low heat).
  2. Add the salt, pepper and freshly squeezed lemon juice to the chicken mixture.
  3. Carefully pull back the drumstick chicken skin away from the knuckle. Shape your Motsiyas around the drumstick bone, carefully packing the filling into the skin and shaping it back into drumstick form.  Insert a wooden toothpick into the skin at the top of the drumstick to secure the skin while it cooks.
Cook the Motsiyas:
  1. Place the Motsiyas drumsticks into the steaming basket that comes with your rice cooker or steaming pot.
  2. If using a rice cooker, set it on COOK – the chicken broth will steam the Motsiyas.  If using a stove top steamer, turn the heat to medium-high, bringing the broth to a boil.  Place the steamer basket into the pot.  Cover the pot (or rice cooker) and steam for 20 minutes.
  3. Note: If you like your Motsiyas WET, you can place the drumsticks directly into the broth.
  4. If you like a crisp texture to the skin, bake the Motsiyas drumsticks at 375° F. until the skin begins to turn light golden brown (about 25 minutes).  Turn up the heat to 500° F. (or place it on Broil) and cook until the skin is a medium golden brown and the skin is crisp.
Serve and Enjoy!

Serve while still hot with a side of mint, donne’ (pepper) and lemon wedges.

As Arlene says, this is Munngi’-licious!

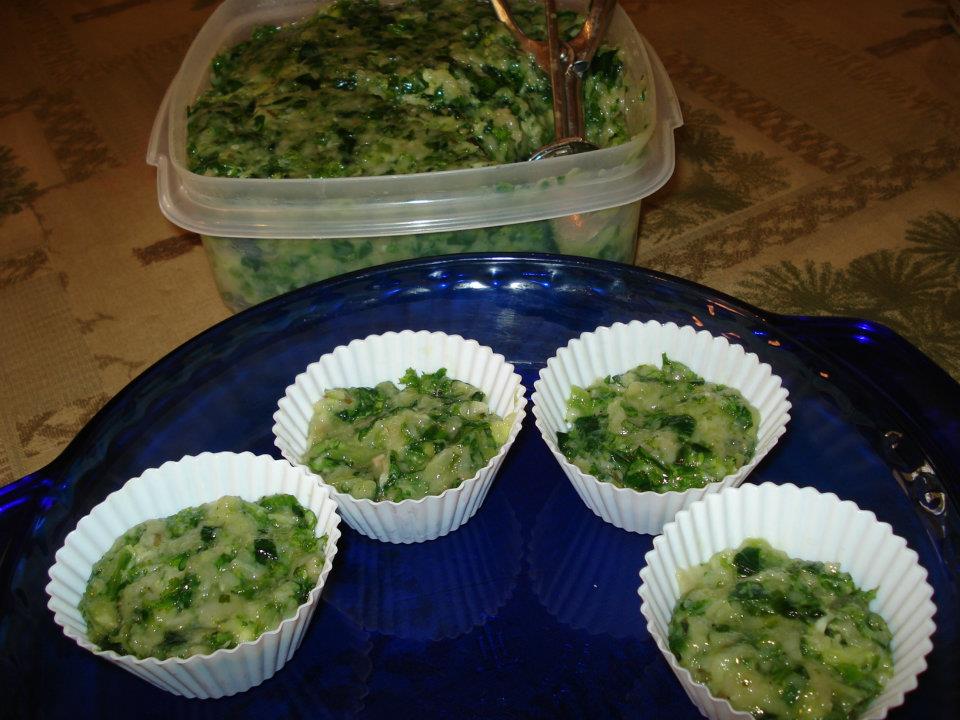
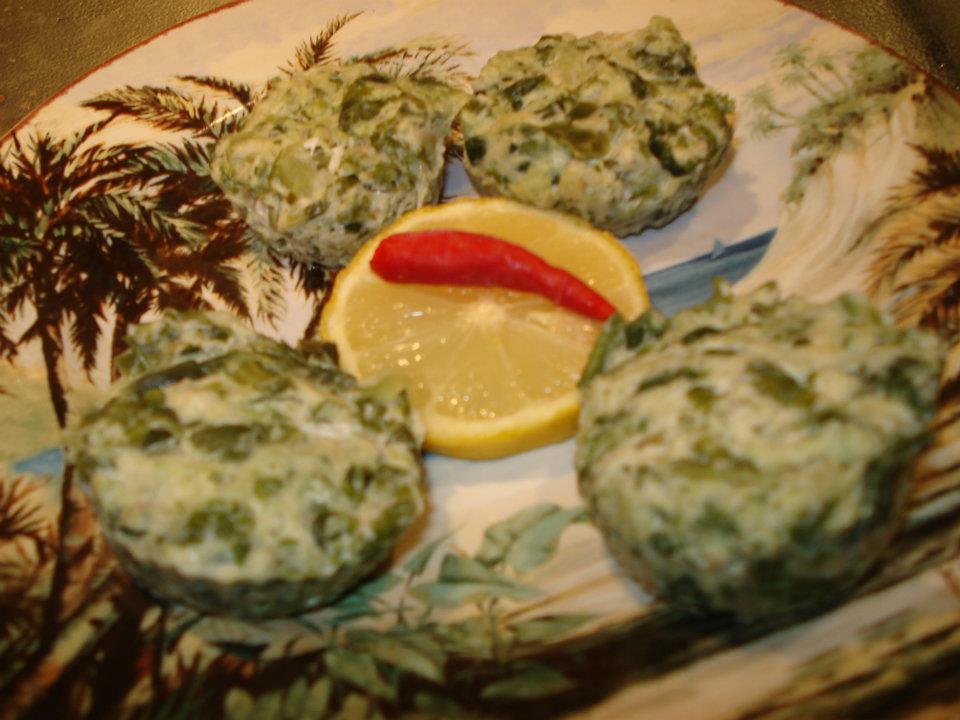
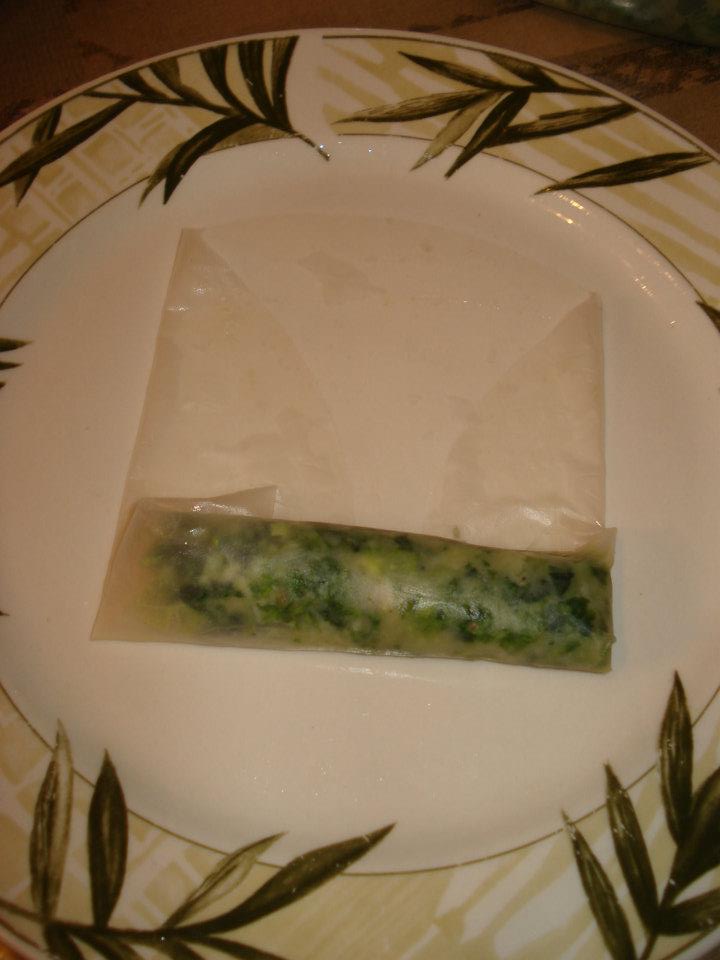
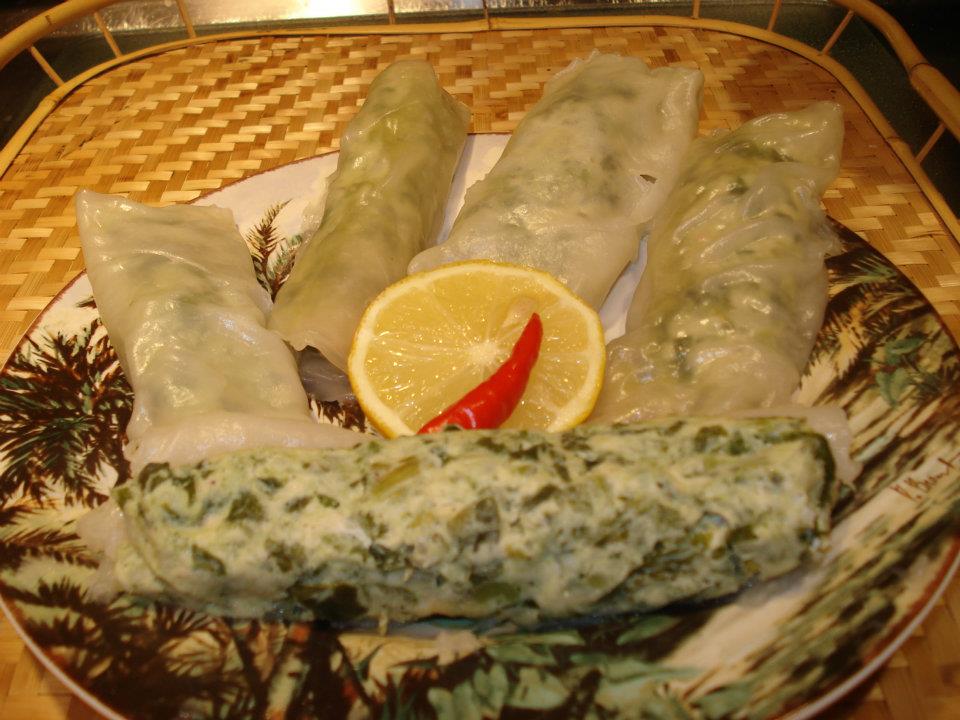
Other ways to prepare PoP’s Chicken Motsiyas:
Motisiyas 3 - stuffed neck

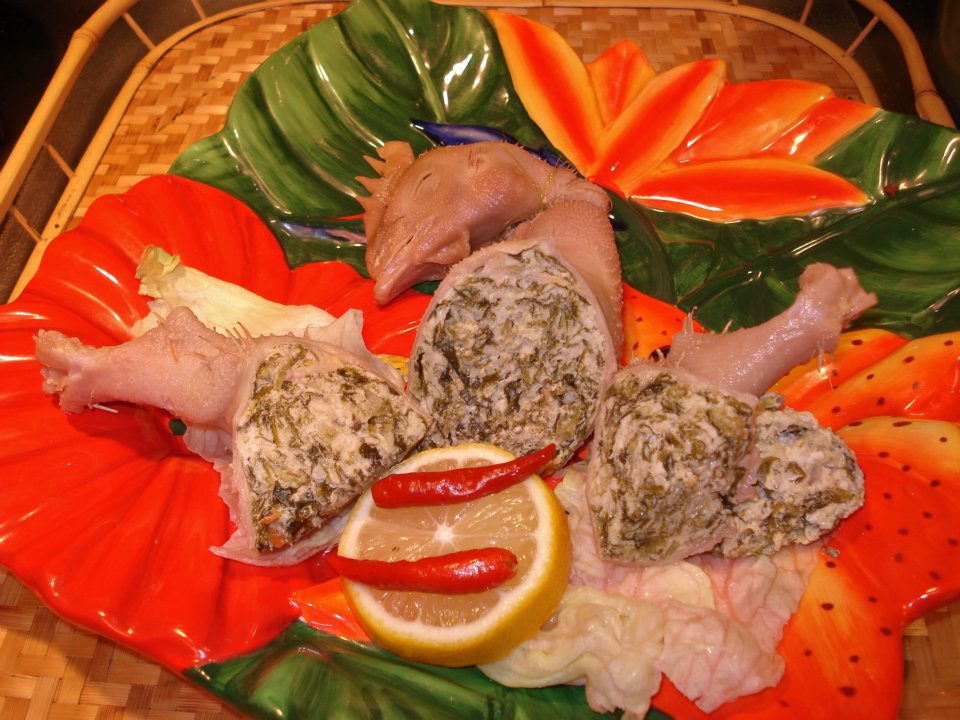
The traditional way: Stuffed Chicken Neck

Motsiyas 4 - ready for steaming

Fill silicone cups for steaming

Motsiyas 5 - steamed

Steamed Motsiyas

Motsiyas 7 - rice paper 2

Wrap the filling in Rice Paper

Motsiyas 10 - rice paper 5

Steamed Rice Paper Rolls

Motsiyas 11 - rice paper 6

Fried Rice Paper Rolls

Motsiyas 12 - pop 1

+PoP, enjoying his Rice Paper Motsiyas Rolls


@untie R’s Gluten-Free Blueberry Cheese Pancakes

I’m happy to feature my friend, Arlene Sablan Aguon’s healthy recipes.

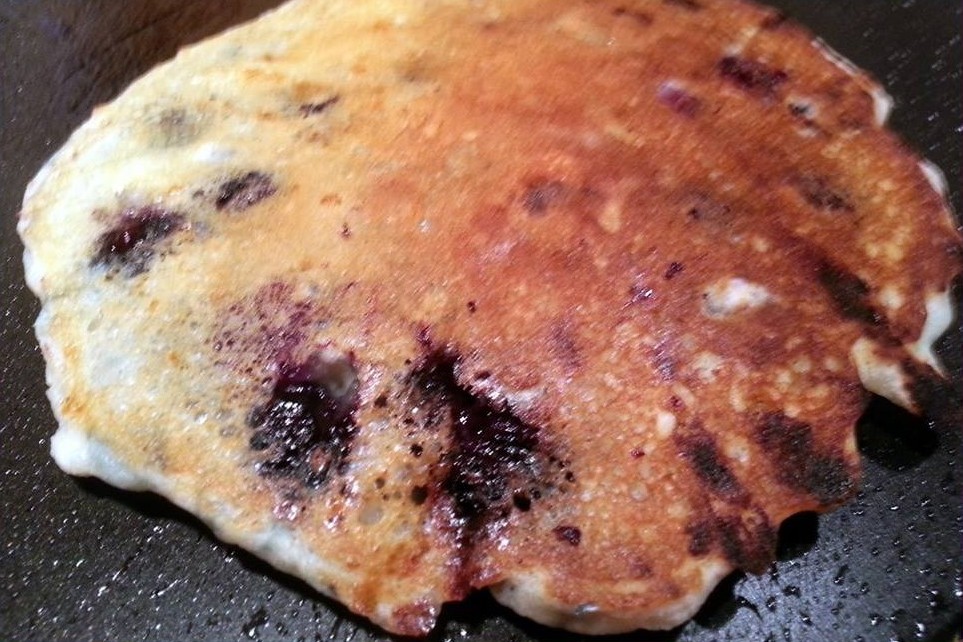
This particular recipe is a healthy alternative to regular pancakes. It’s gluten-free, delicious, and packed with nutrients that not only taste good but are good for you too!

Give Arlene’s recipe a try.  I think you’ll like it! 🙂

Yield: 4 pancakes

@untie R’s Gluten-Free Blueberry Cheese Pancakes

Gluten Free Blueberry Cheese Pancakes


Ingredients:

  • 2 cups gluten-free flour
  • 2 teaspoons baking powder (or 1 teaspoon of Xanthan Gum powder)
  • 1/4 teaspoon baking soda
  • 1/4 teaspoon salt
  • 2 tablespoons sugar
  • 2 tablespoons wheat germ or steel cut oats
  • 1 1/2 cups flax or soy milk
  • 1 cup small curd cottage cheese.
  • 1 large egg, lightly beaten (see notes below)
  • 1/4 cup coconut oil
  • 1 cup fresh or frozen blueberries

Directions:

Gluten Free Blueberry Cheese Pancakes

Sift together the flour, baking powder, baking soda and salt. Stir in sugar and wheat germ/oats; set aside.

Combine the milk, cottage cheese, and coconut oil.

Pour the flax or soy milk mixture all at once into the flour mixture; stir until moist. Add additional milk, a little at a time, if the batter is too thick (the batter should pour easily). Gently stir in the berries.

Pre-heat a skillet/grill over medium heat; lightly grease the skillet. Pour the mixture onto the skillet to the size you prefer. Cook until the tops are bubbly and appear dry; flip over to finish cooking.

Serve and enjoy!

NOTE from Arlene: I didn’t use the egg. The small curd cottage cheese acts as your binder with the coconut oil. Yummy too.

NOTE from Annie: You can use a “chia egg” in place of the regular egg. Mix 1 tablespoon ground chia seeds with 3 tablespoons water. Let the mixture sit until it forms a gel. Use the chia gel/egg in the recipe instead of the egg.


Chamorro Potu (Sweet Rice Cake)

Chamorro rice cakes, or Potu, are rice cakes that are made by soaking grains of rice in tuba, or a sweet fermented coconut sap.  The soaked rice is then ground and sweetened then steamed into a light and fluffy cake.

Living in the mainland U.S., I’ve had to learn to make substitutions for those ingredients not commonly found or sold here.  A key ingredient for potu as I mentioned above is tuba.  Since coconut trees don’t grow where I live, I’ve had to figure out a substitute for this potent potable.

I use a combination of palm or coconut vinegar and coconut water when I make my potu.  I also use non-glutinous rice flour for ease in preparation.  I’ll post my easy-peasy shortcut potu recipe soon, but until then, this post features my good friend, Rose Camacho’s recipe.

Rose doesn’t use rice flour when she makes her potu.  Instead, she soaks grains of jasmine rice then grinds it.  She also uses palm vinegar in her recipe.

Rose’s recipe is “tried and true” and loved by many.

Her original post is below.  Give it a try.  I know you’ll like it. 🙂


image

Rose’s original post and recipe for Chamorro Potu (Sweet Rice Cake):

Hmmm? How does one describe these pure white puff pillows of steamed ground rice?  Light, soft, sweet, and sticky!  Growing up, this has been many a childhood’s favorite.  Although the ingredients are simple, this recipe is pretty prized amongst the native Chamorro women and no one would share theirs.  It was a guarded secret recipe, and some have literally taken it to their grave!!

In my quest to find a GOOD recipe, because it is one of my husband’s favorite desserts, I’ve tweaked and wasted, and tweaked and wasted countless ingredients trying to perfect this recipe. I remember my sister-in-law, Mona and I, and mind you, she’s an EXCELLENT cook, I remember us mixing, beating, steaming and without any close results, have failed trying to perfect it.  I gave up! I just prayed that a passer by relative who’s flying in, stops and delivers some of these cakes, made all the way from the islands, to us.  I’d freeze them, steam them as we needed, and then one day our stash of sweet rice potu was G-O-N-E, gone!

With this recipe, I believe I’ve come close to, as close to can get, especially since one of the “main” ingredients is TUBA, which is not available in my area.  Because I have no access to this sweet “drink”,  I’ve had to improvise and use store bought jarred “Coconut vinegar OR Palm vinegar”.  Their flavor “ALMOST” mimics the taste of sweet Tuba, but of course, if you can get sweet Tuba, please use it.  This is how “I” make Chamorro Potu.  Please Please, pass on your comments and POSITIVE critiques, I would love to hear from you.  Until then, HAPPY COOKING, BAKING, and STEAMING! 😉

Ingredients:

1 cup Jasmine rice  (pictured below)
1 cup water
3 to 4  tablespoons Palm Vinegar (pictured below)
1/4 to 1/3 cup Sugar (I prefer less sweet)
2 teaspoons baking powder

Directions:

Because the rice kernels HAVE TO soak,  you need to start the night before you’re planning on serving it.  The brand of rice I use is pictured below.  If you decide to use another brand or type of rice, I will not be held responsible if you fail with this recipe.   I’ve only used this brand whenever I make my recipe.  The palm vinegar I used is also pictured below.  I’m sure other brands can be used.  I’ve also tried using coconut vinegar and it works fine.


Measure out 1 cup of the dry rice.  Wash the rice in water until the water runs clear!  Drain well.  Place into a container, add the  1 cup of water and cover.  Set this aside and allow to soak for a minimum of 8 hours but preferably overnight.

potu18    potu19

When you’re ready to prepare the recipe, start heating up the water in your steamer.  In the container that your rice is in, there may still be some water left from the soaking.  DO NOT drain this water.  Place the rice into a heavy duty blender container (I use my Vitamix Professional 750) for this process since it’s pretty heavy duty.  Add the sugar and palm vinegar to the rice and water.  NOTE:  If you do not have a heavy duty mixer, you may have to do this step in smaller increments.  Just process the rice in batches, rather than one whole time.  Although, I’ve never done it this way, if you have a heavy duty food processor, such as a KitchenAid,  I’m sure you could also use that.  The key is to grind the rice FINE!

potu7    potu6

Process this in your blender, until the rice kernels are finely ground.  Shut the blender off and add the baking powder.  Now process again for a minute or 2 being careful that the mixture doesn’t heat up.

potu21    potu22

While the mixture is still processing, line up your silicon cups in the steamer basket.   For easier handling, pour the batter into a smaller container and pour  3/4 of the way into each baking cup.  This mixture makes about 12 potu cakes OR more if you use smaller silicon cups.

potu24

Place the steamer basket into the steamer pot, which should already be producing heavy steam.  Place a CLEAN kitchen towel over the top of the steamer basket to catch any condensation that will occur during the steaming process.  Place the lid onto the pot.  The lid will also hold the towel taught so that it doesn’t fall onto the potu.  Steam this for a minimum of 20 minutes and up to 30 minutes, depending on the heat that’s produced.

potu17

After about 20 minutes, CAREFULLY lift the lid and towel away, to see how the process is going.  I get excited when I see that little “crack” in the center of my potu.  It tells me it’s gonna be PERFECT!  When done, the potu should spring back a bit, with a slight stickiness to the tops.

potu23

Remove from the steamer pot and allow them to cool before removing them from the basket.  Set them aside to cool completely before removing them from the silicon cups.

SERVE!  Place the leftovers in a plastic bag to keep them fresh.

potu25


Thank you, Rose Camacho (aka Chamorita Momma) for allowing me to repost and share your Tried and True Potu recipe!

« Older Entries