Archive for Fina’ Mames (Chamorro Desserts)

Månha Pie

This has got to be my most favorite Chamorro dessert!  For non-Chamorro-speaking friends, månha means the sweet, tender meat of the young, green coconut.

My recipe makes 6 — yes, SIX — pies, but in my family, we eat one or two when they’re done, save another two for breakfast, then give two to family members.  So, really, six is NOT ENOUGH.  😉

If you make this for a party, then six pies really won’t be enough!  Two might end up on the dessert table and the rest will be “set aside” for påtte (sharing or distributing amongst family) later! 🙂

My recipe uses “regular” pie crusts, not the deep-dish ones.  If you use ready-made deep-dish pie shells/crusts, you can probably make this into four pies instead of six.

I usually only make månha pie when I’m visiting Guam, and that’s because I prefer to use fresh månha.  You can used canned månha and juice, however.

It takes a while to make these pies, but the end result is worth every minute you spend slaving over the hot stove.

Give my recipe a try.  I know you’ll love it! 🙂

Månha Pie

Manha Pie


Ingredients:

  Filling:
  • 3 cups månha juice
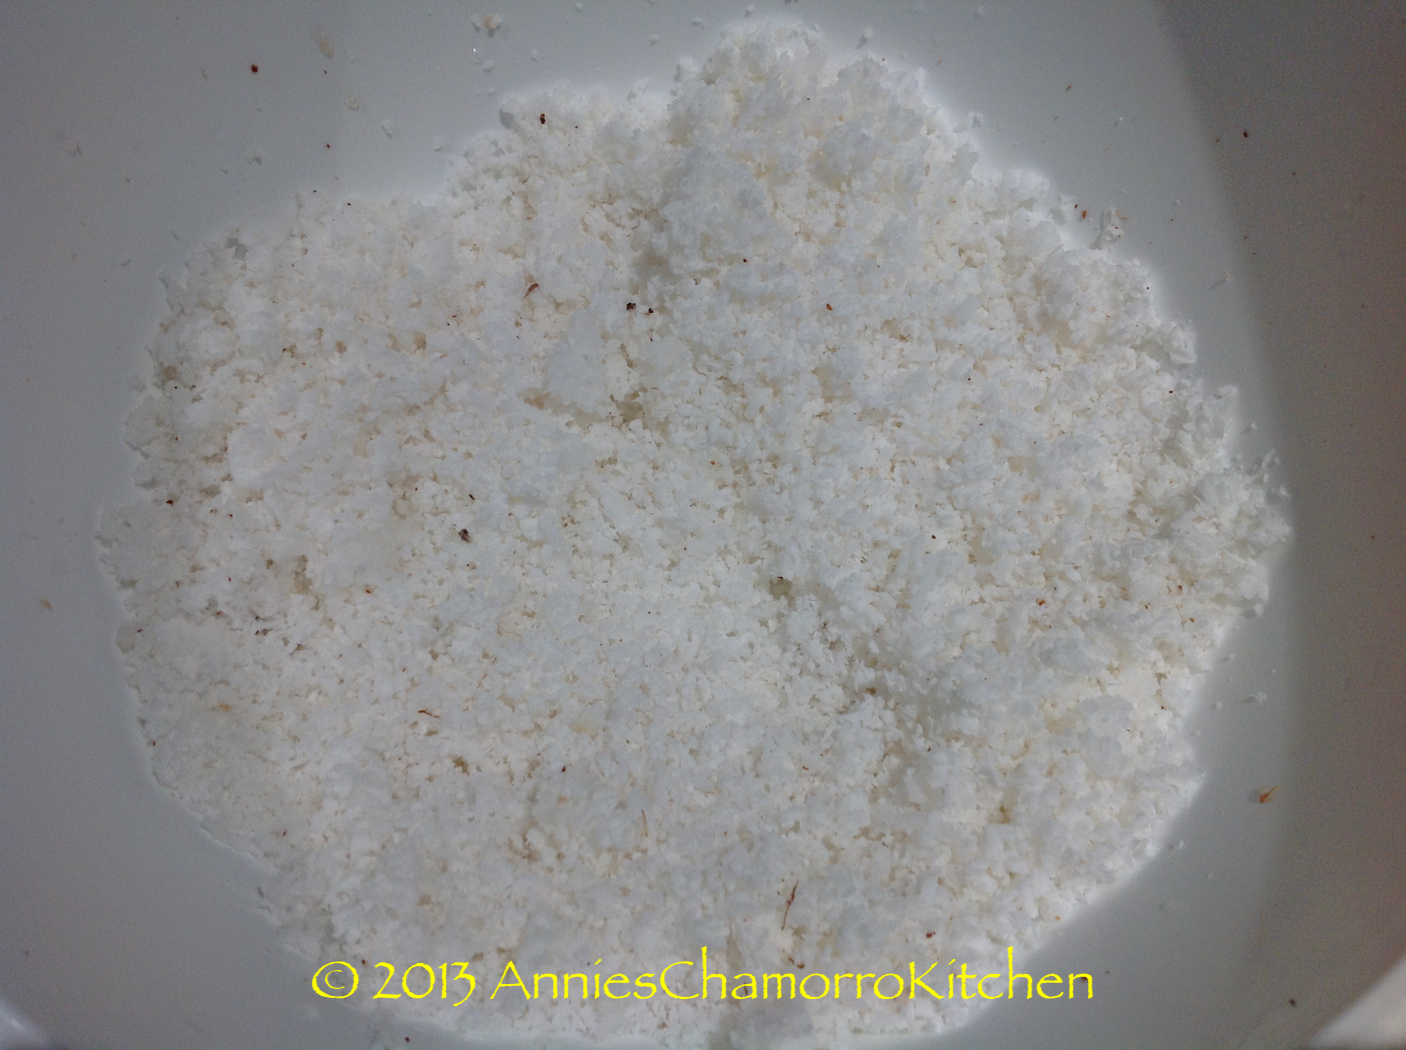
  • 2 cups chopped månha
  • 1 stick butter
  • 1 cup sugar
  • 2 cans (12 oz) evaporated milk
  • 2 cans (12 oz) water (use the milk cans)
  • 6 large egg yolks
  • ½ box cornstarch
  • 2 teaspoons vanilla extract
  • ½ cup water
  Meringue:
  • 6 large egg whites
  • 1 1/2 cups superfine or granulated sugar
  Additional ingredients for making Meringue in High Altitude areas: (see NOTE below)
  • 2 tablespoons cornstarch
  • 1/4 teaspoon salt
  • 1 cup water
  Other ingredients:
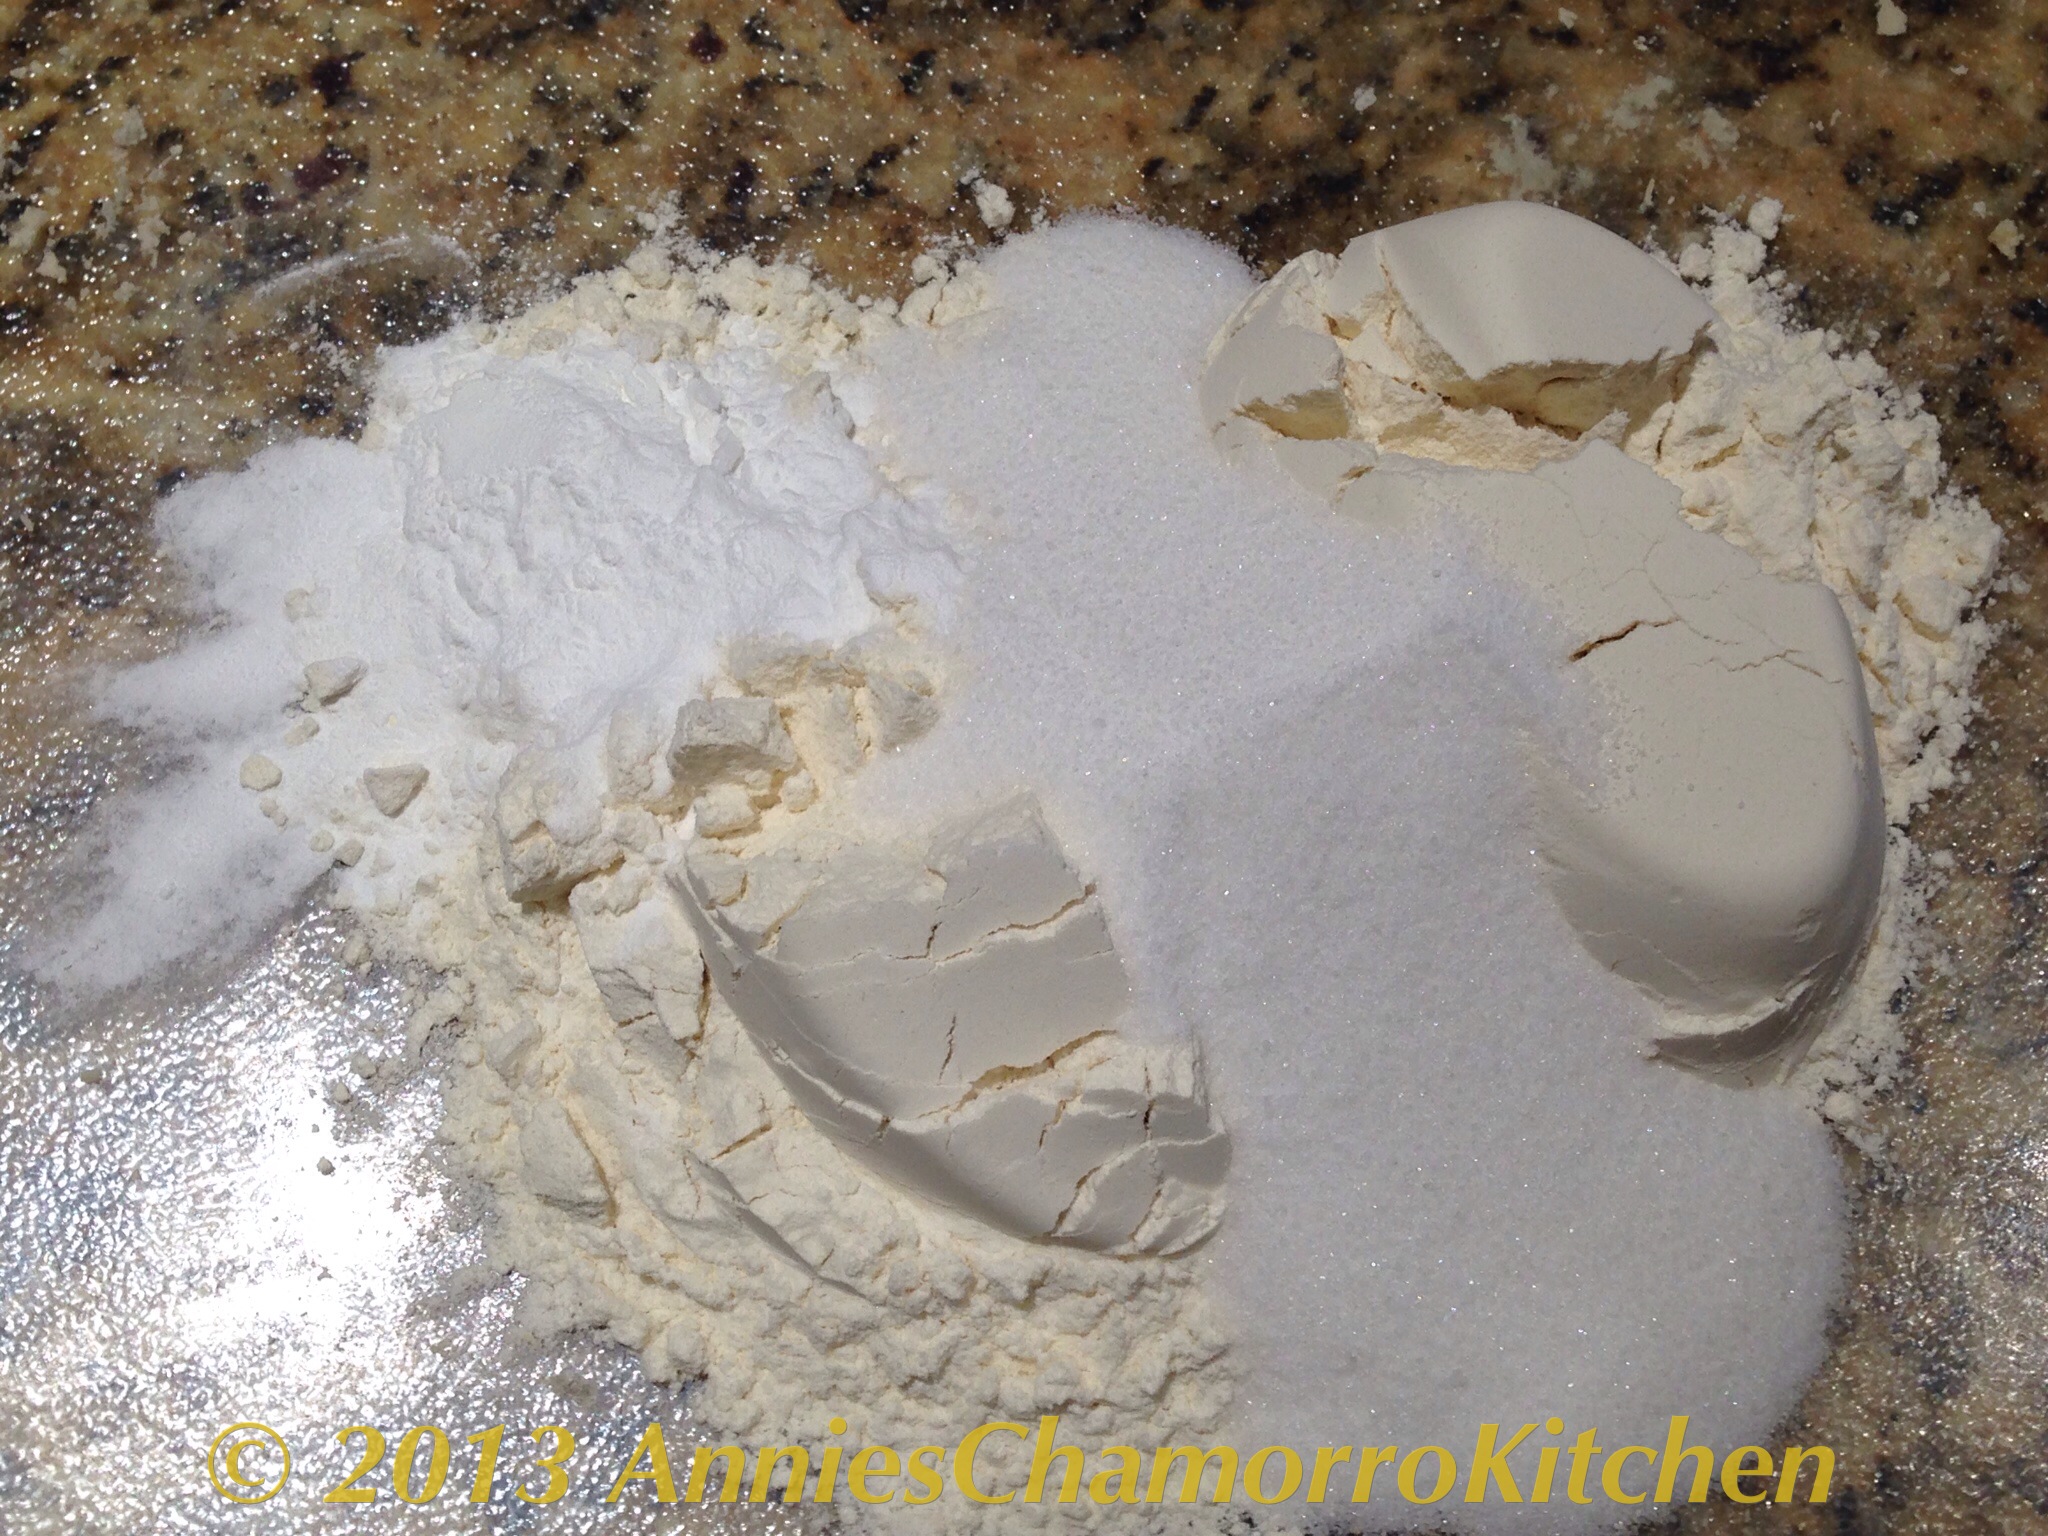
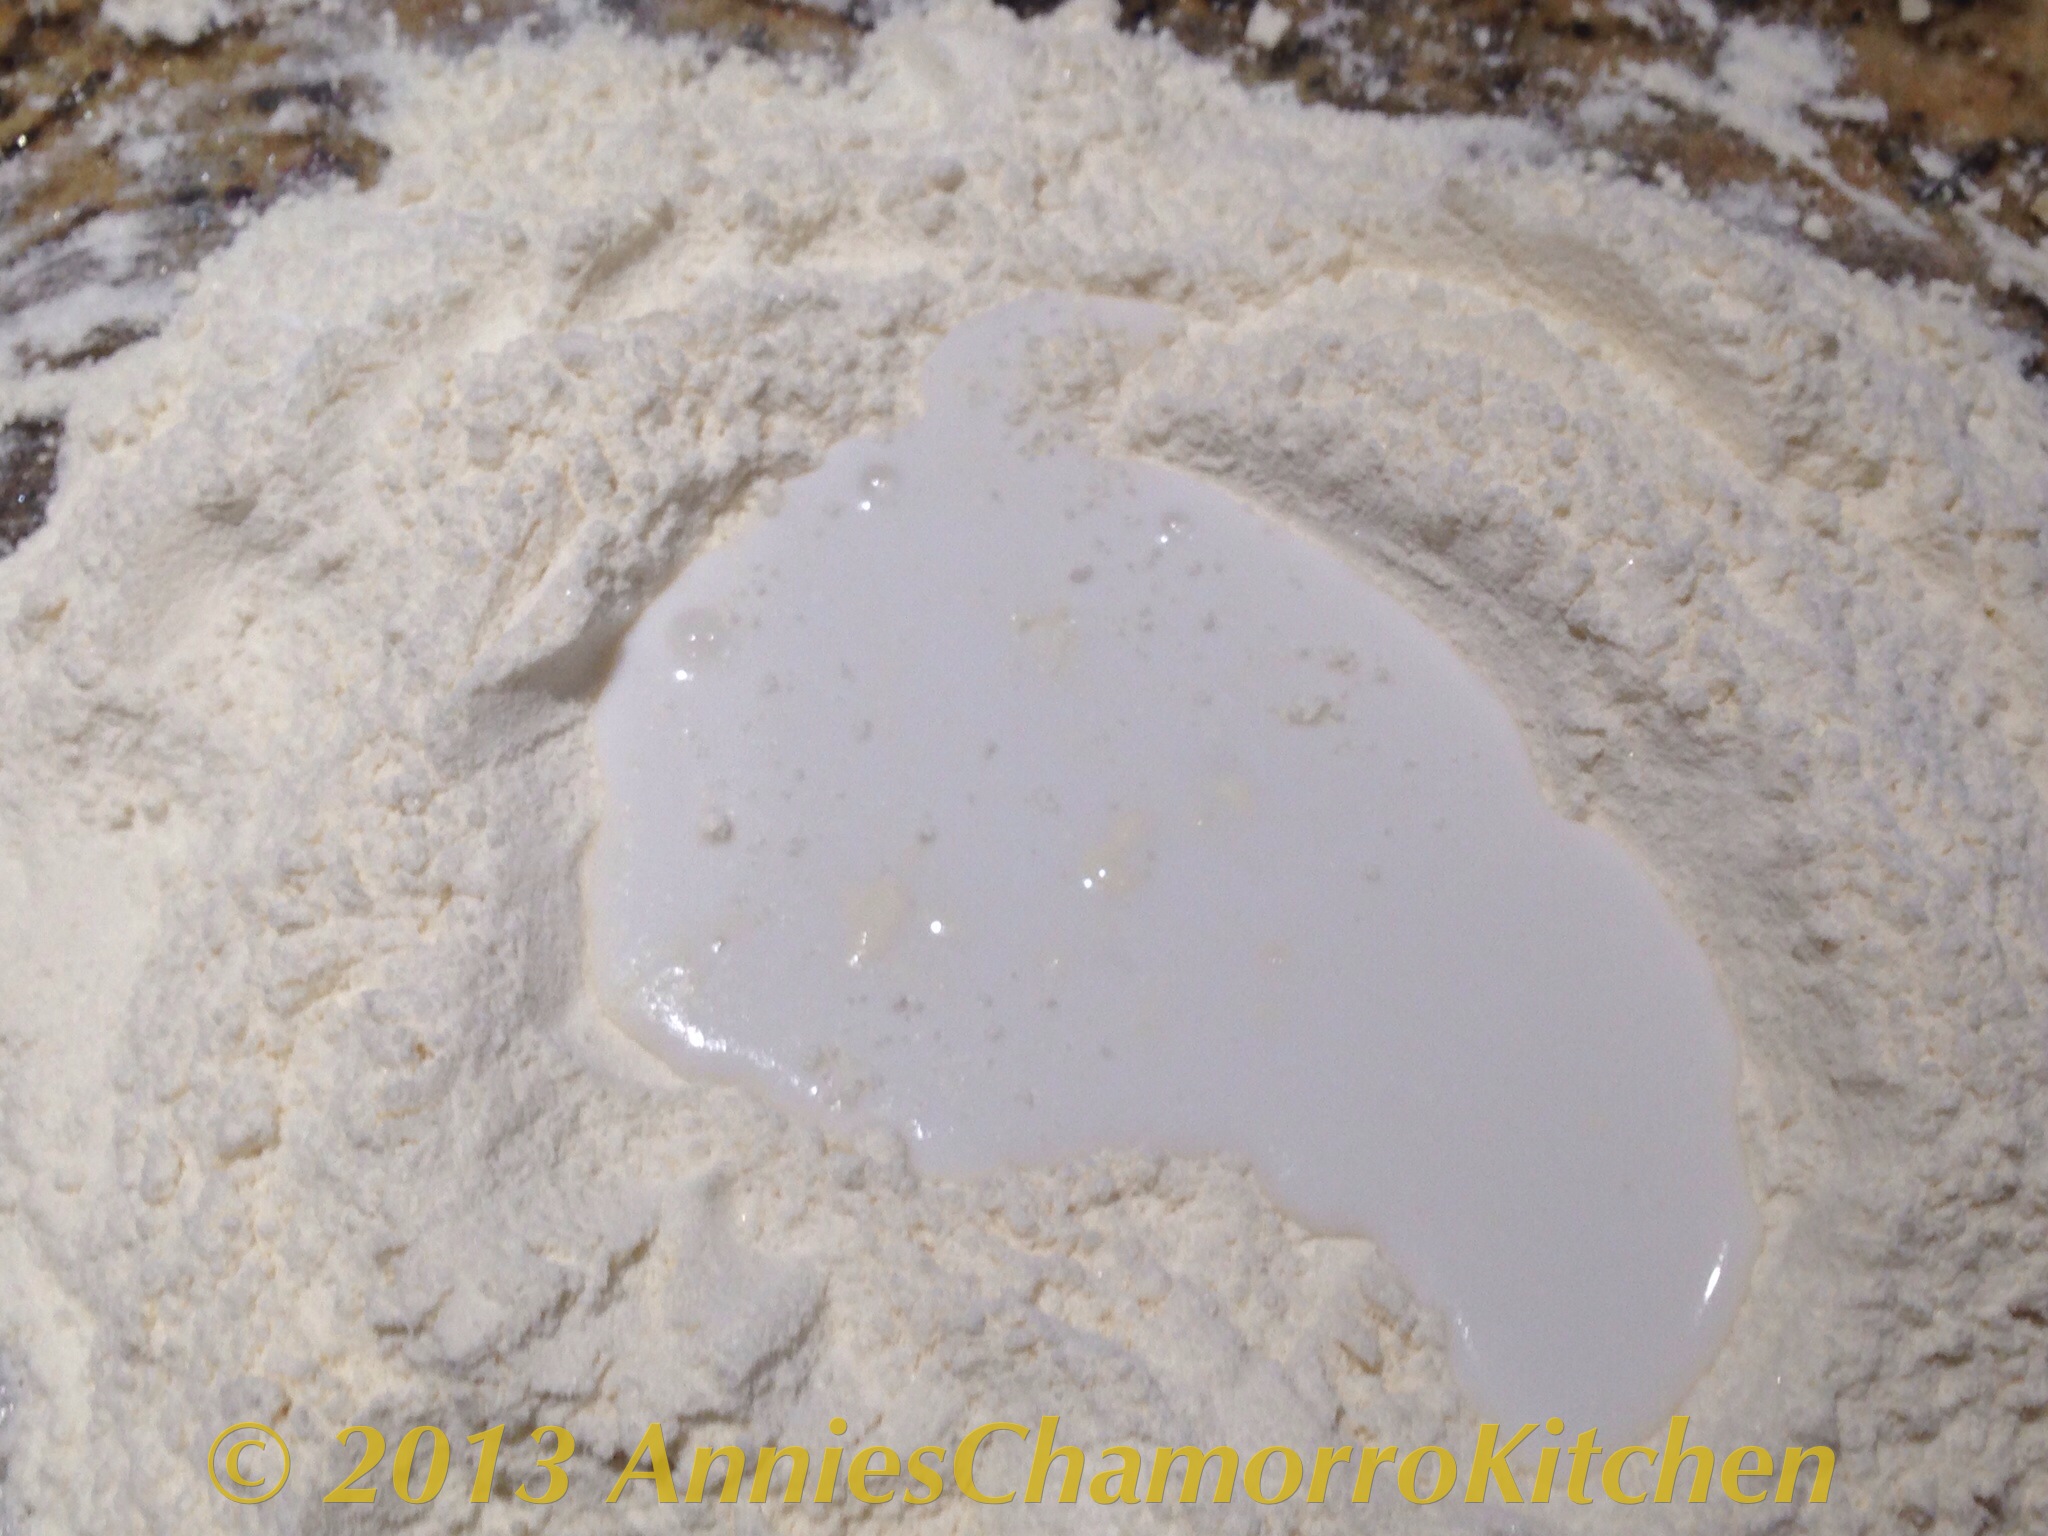
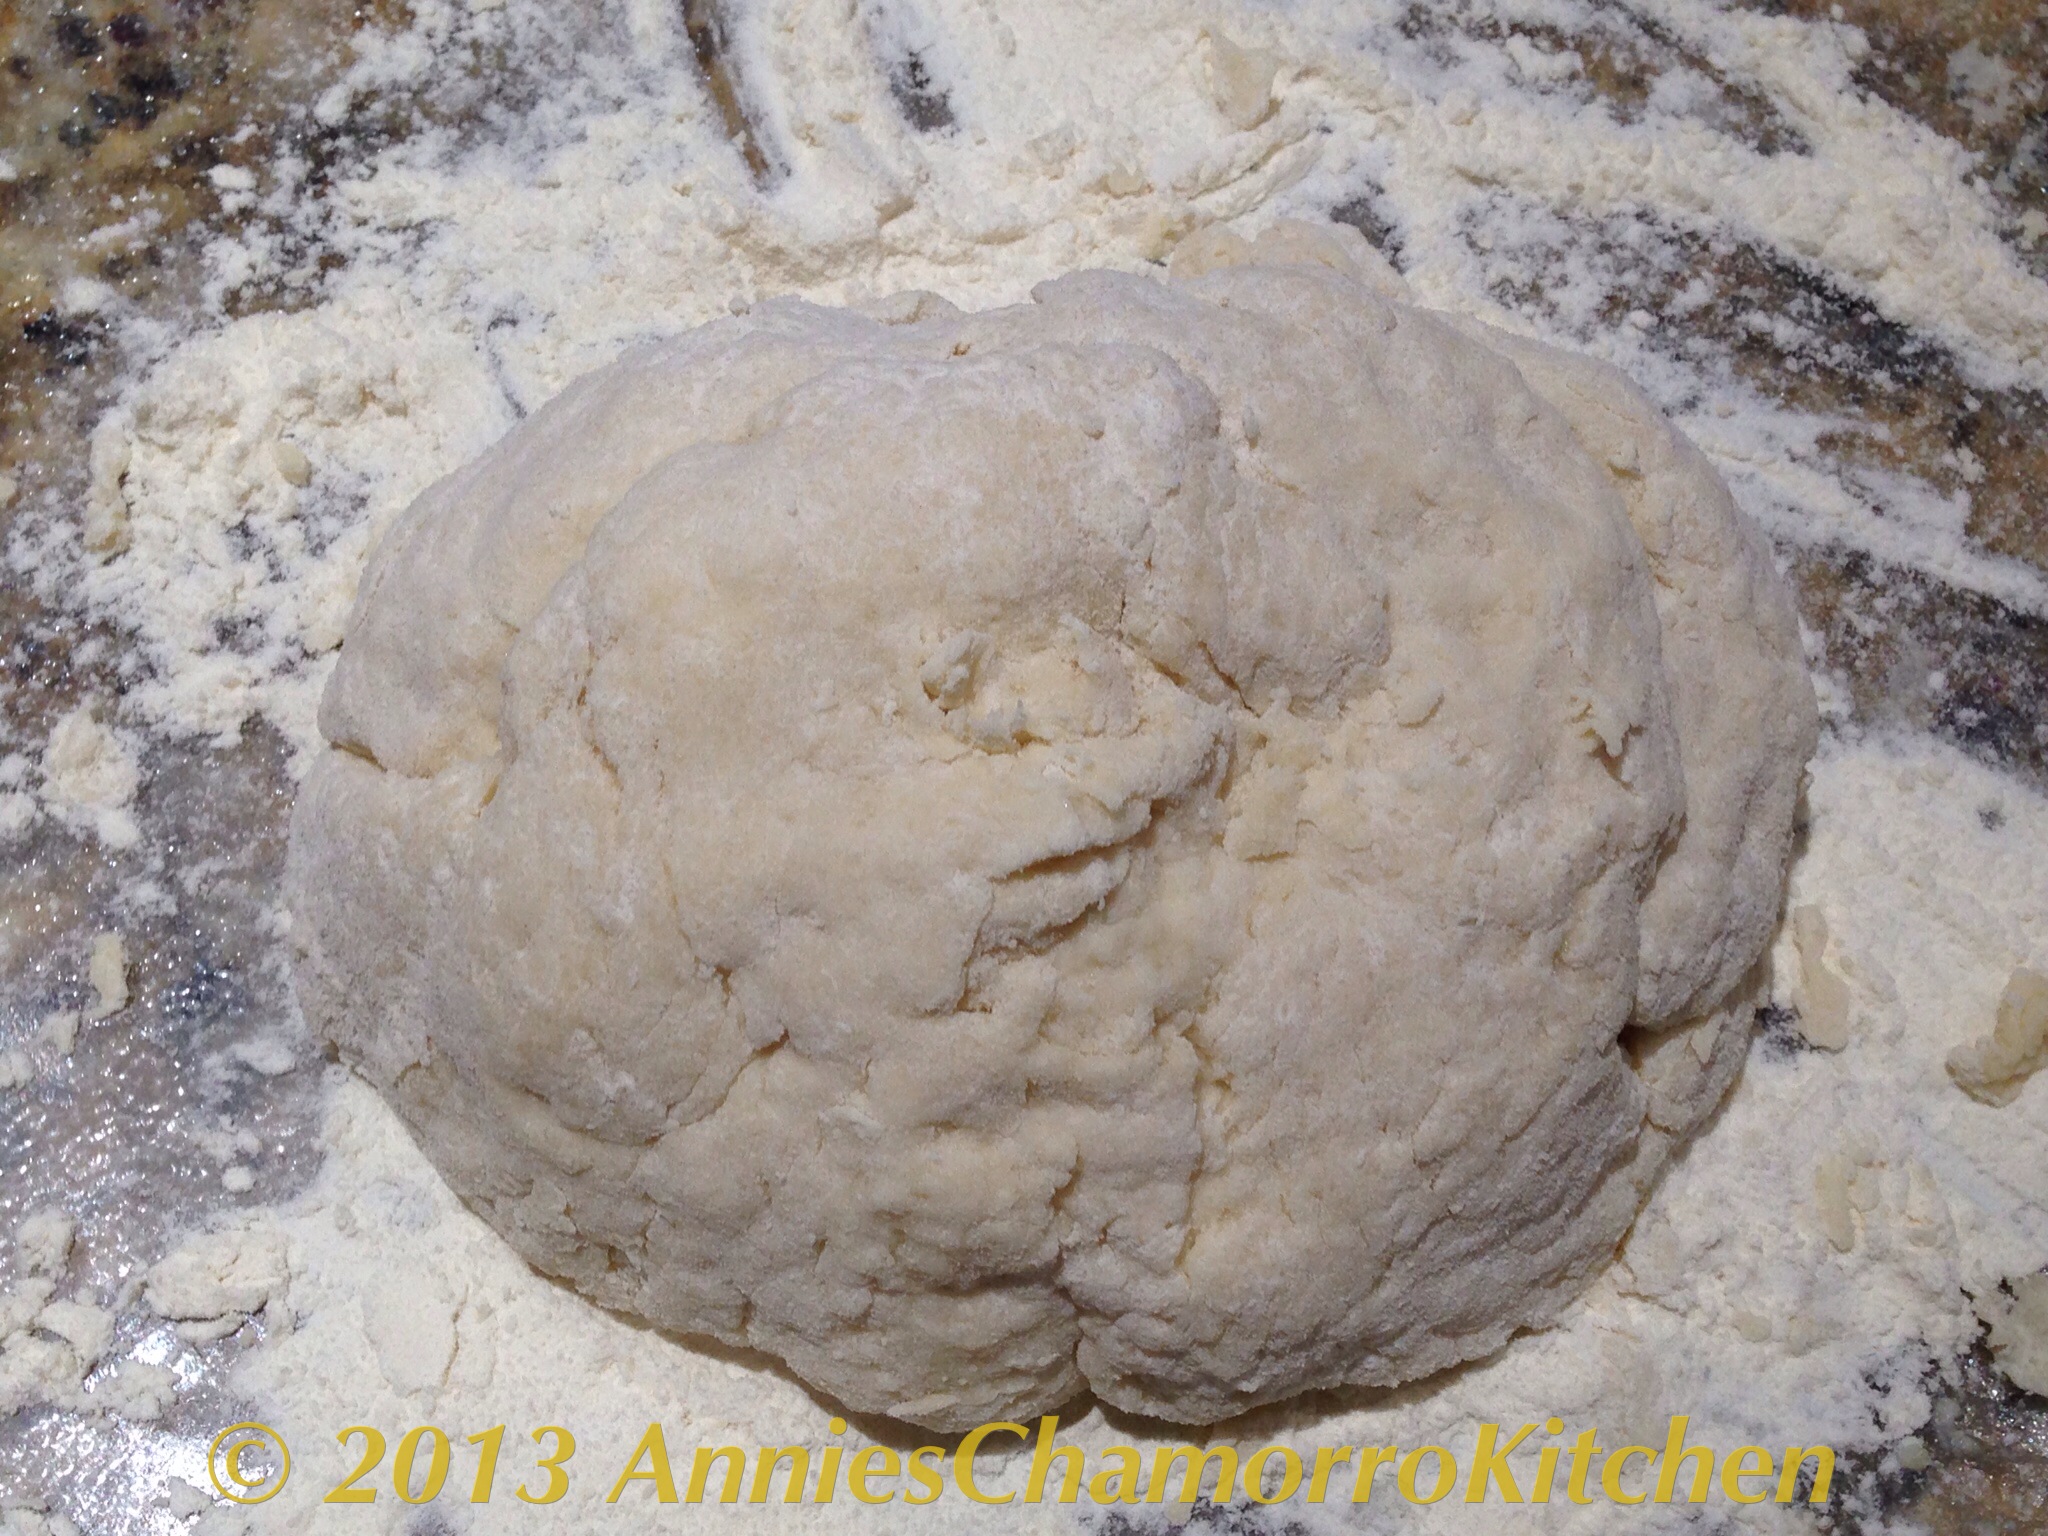
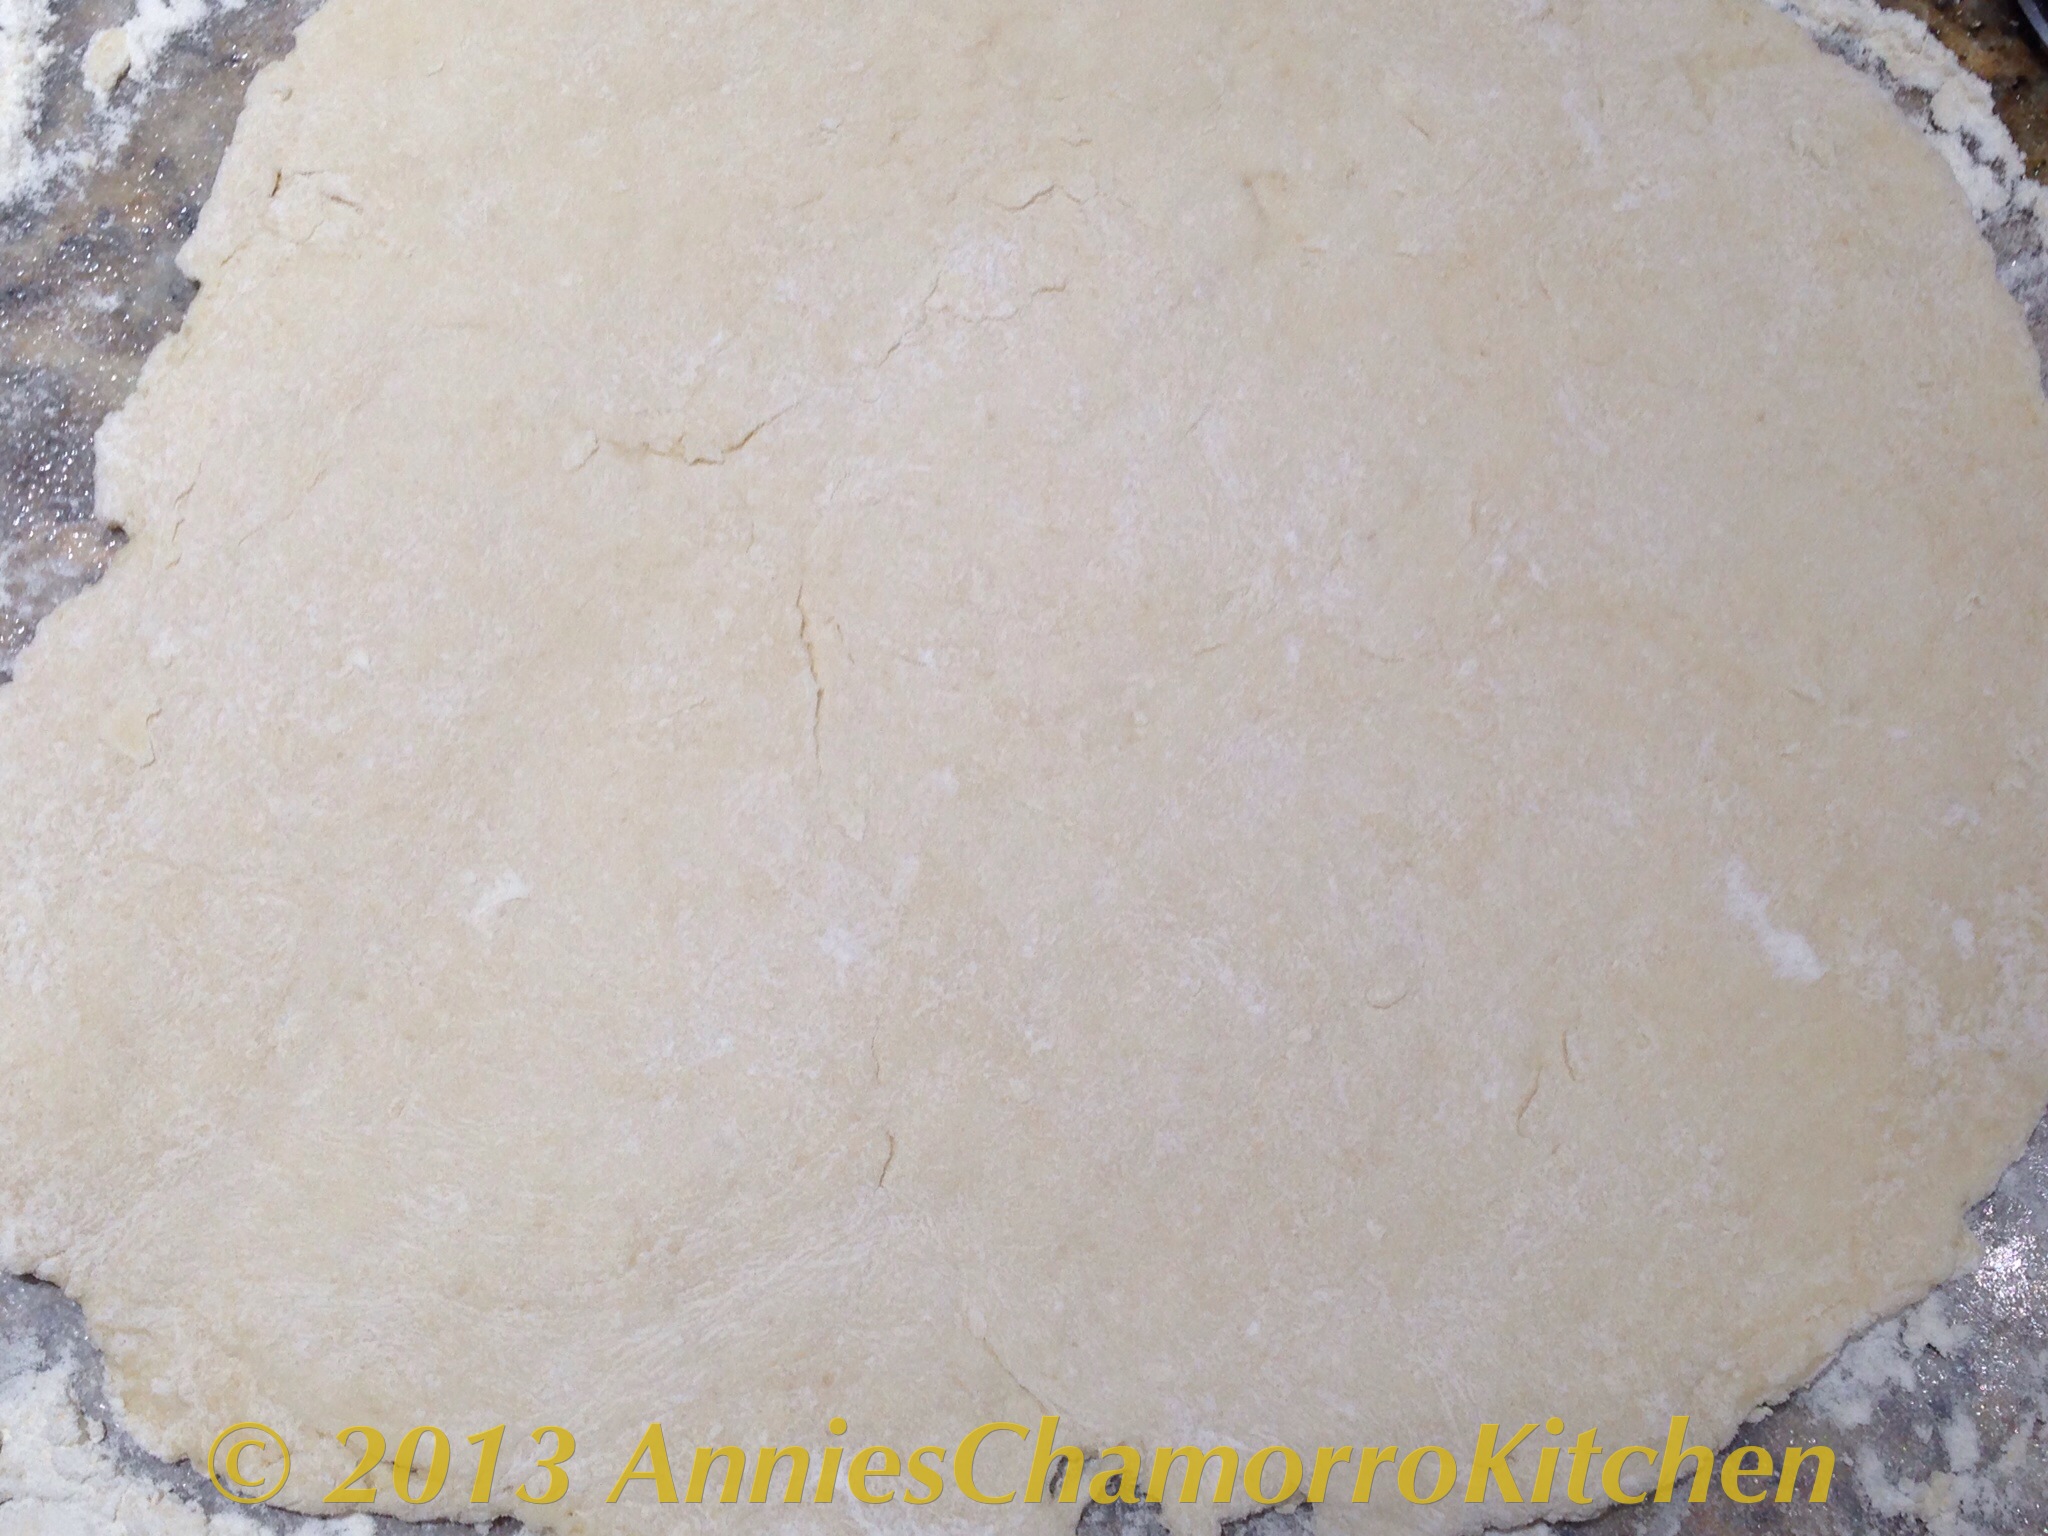
  • 6 “regular” 9-inch pie crusts (or 4 deep dish pie crusts), pre-baked
  • 1 egg plus 1 tablespoon water, beaten together

Directions:

1.  Pre-bake the pie crusts; this is also called “blind baking”:

If your pie crusts are frozen, remove all packaging material and place the crusts at room temperature until they are completely thawed.

Heat your oven to 400 degrees.

Pierce the bottom and sides of each crust with a fork.  This keeps air pockets or bubbles from forming during baking.

Line each crust with heavy-duty aluminum foil.  If you don’t have heavy-duty foil, just double regular foil.  Make sure the foil covers the entire bottom of the crust and up the sides.

Fill the foil with pie weights (I just use dried beans).  Use enough dried beans to fill the pie crust at least halfway up the sides.

Bake for 10-12 minutes.  The pie crust should be a pale brown.  Remove from the oven.

To prevent your crusts from getting soggy after baking the pies, brush with egg wash (the egg mixed with water) and return to the oven to bake for an additional 3 minutes.  Remove from the oven; set aside.

Save the dried beans for the next time you blind-bake pie crusts.

2.  Make the Meringue (low-altitude areas):

TIP:  Make the meringue first then prepare the filling. Place meringue on the HOT filling (the hot filling will start cooking the meringue, keeping it from shrinking too much during baking). When topping the filling, ensure you push the meringue all the way to the edge of the pie crust; this “seals” the meringue to the edge of the pie.  Using a stainless steel or glass bowl (ensure the bowl is completely dry before putting in the egg whites), beat the egg whites at medium-high speed until soft peaks form.

Once soft peaks have formed, gradually add the sugar, a few spoonfuls at a time, beating the entire time.  Keep beating on high speed until stiff peaks form.  The peaks are stiff enough when the tips stand straight (don’t droop over) when the beaters are lifted.  Once you start beating the egg whites, do not stop in the middle of the process or your meringue won’t form properly.

Spoon the meringue over the hot pie filling.

Make the Meringue (high-altitude areas):

*NOTE:  I live in a very high altitude area (approximately 6,300 feet above sea level).  If you live in an area with high elevation, prepare your meringue as follows in order for the meringue not to turn out weepy after baking.

In a microwave-safe bowl, mix together the sugar, cornstarch, salt and water.  Microwave for two minutes on max power.  Stir once more then set the mixture aside to cool.

Beat the egg whites as directed above, until soft peaks form.  Gradually pour the cooled cornstarch mixture into the bowl of egg whites, beating on high speed as you pour.  Continue to beat the mixture until stiff peaks form.  Cover the pie filling as directed above.

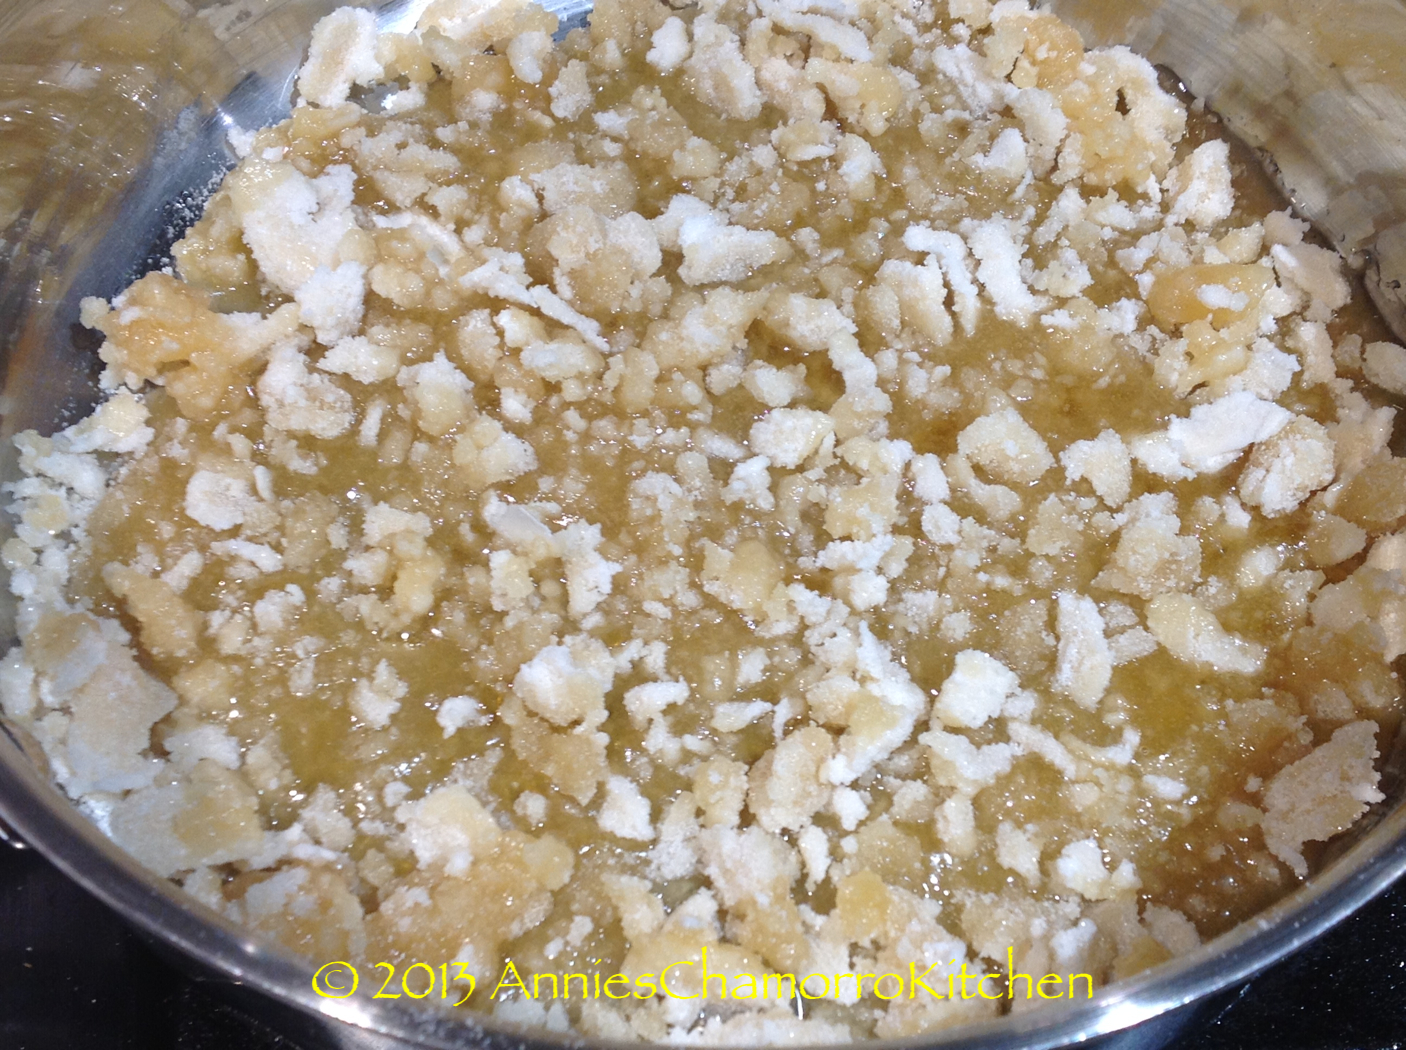
3.  Make the Filling:

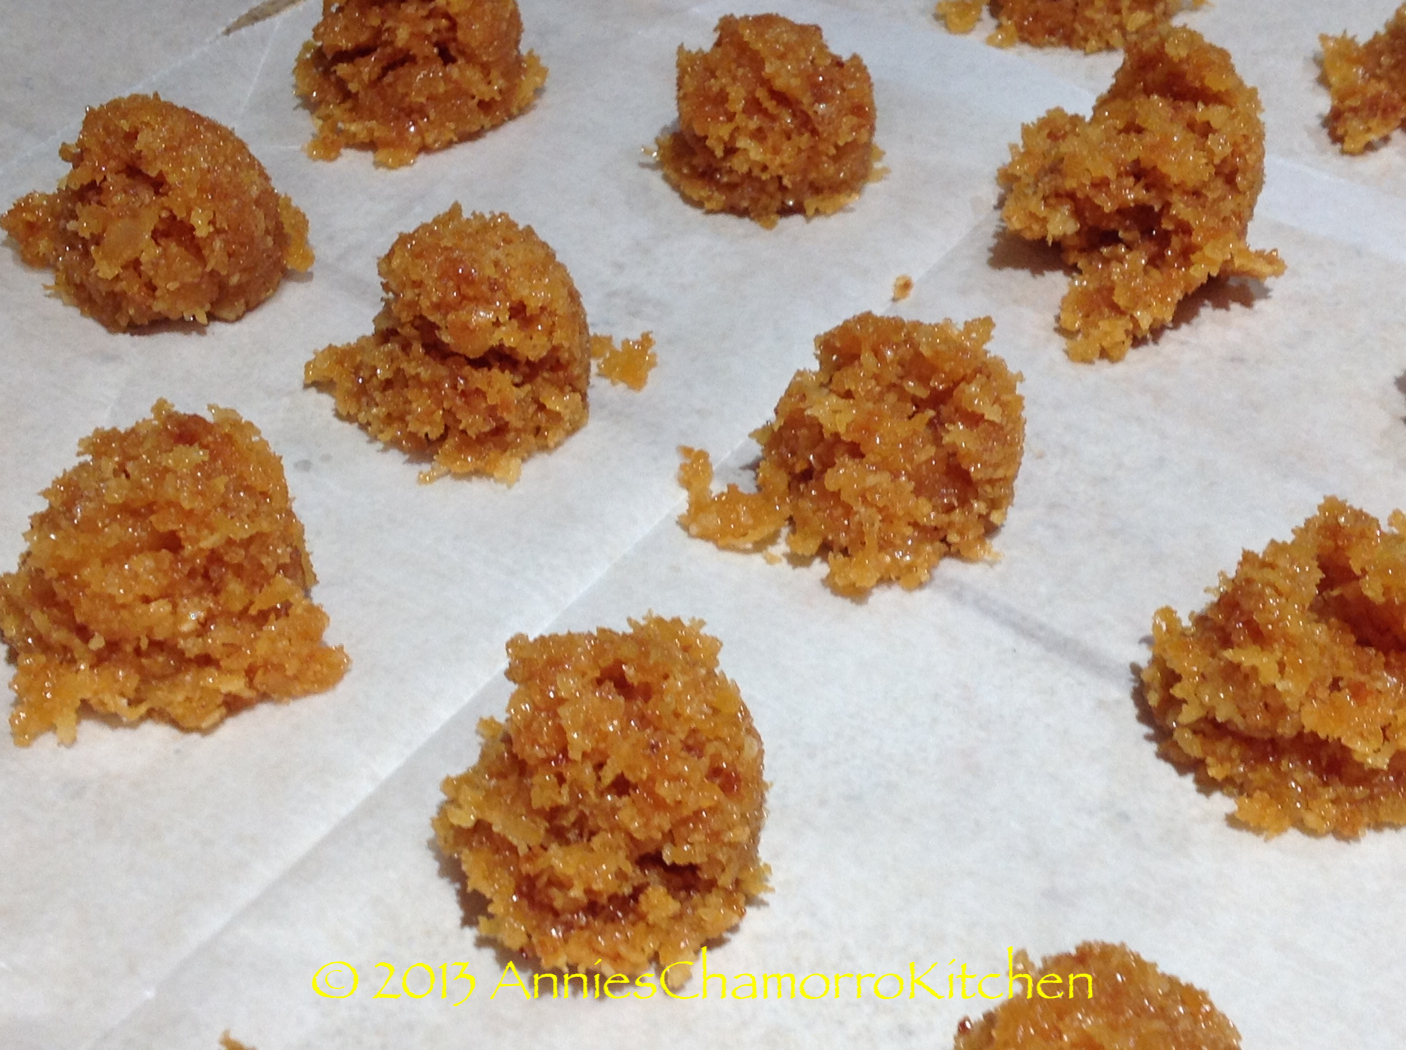
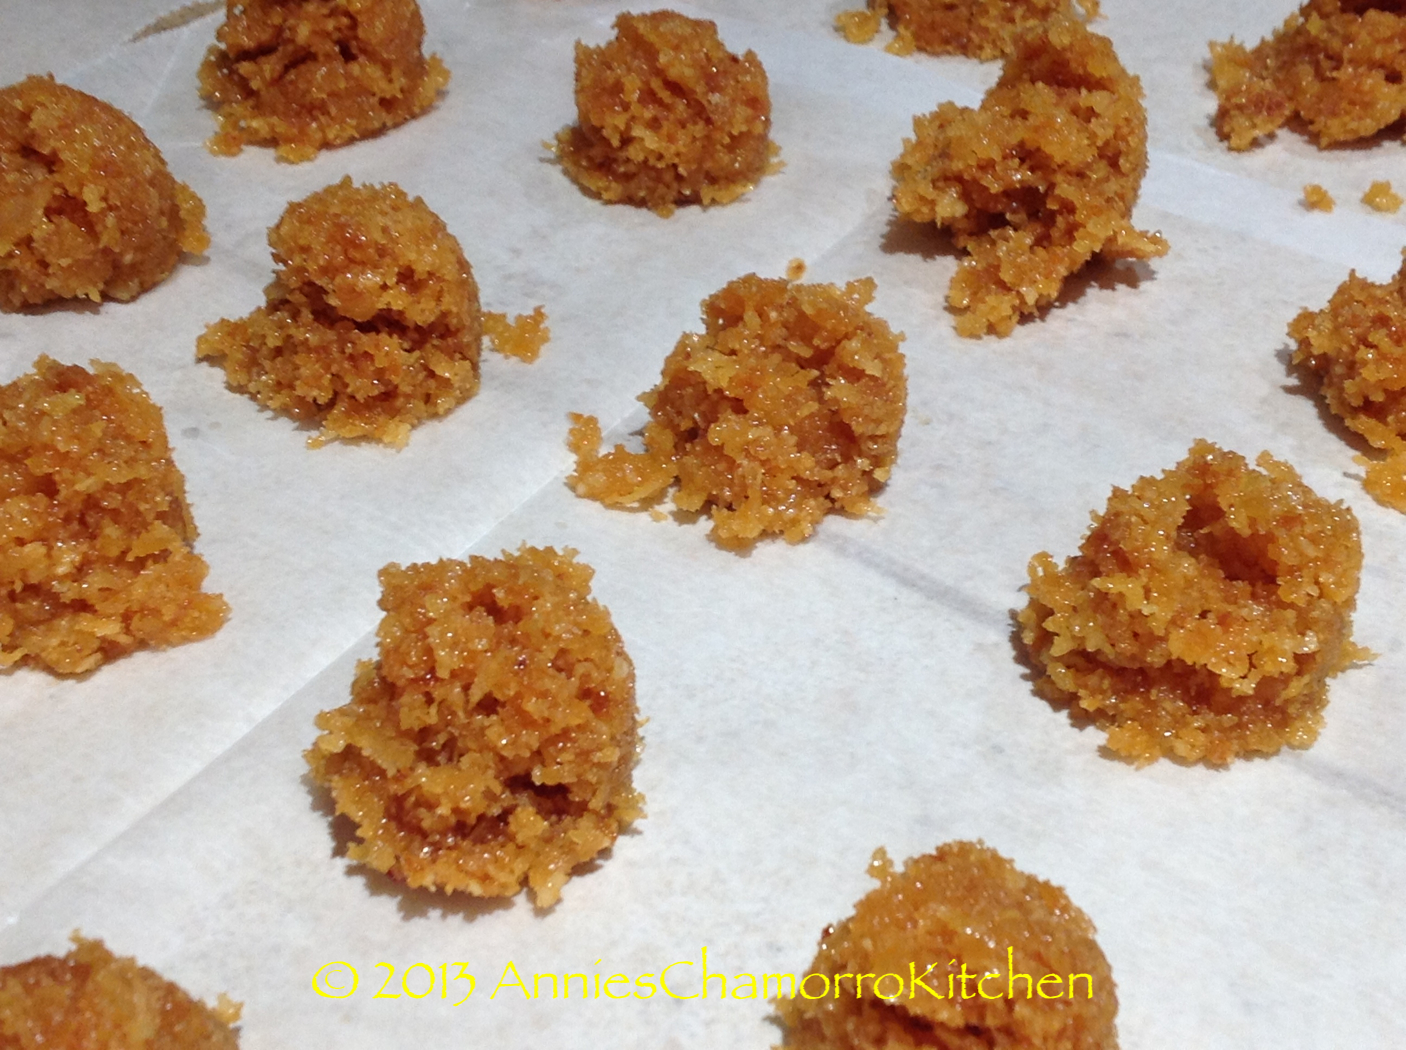
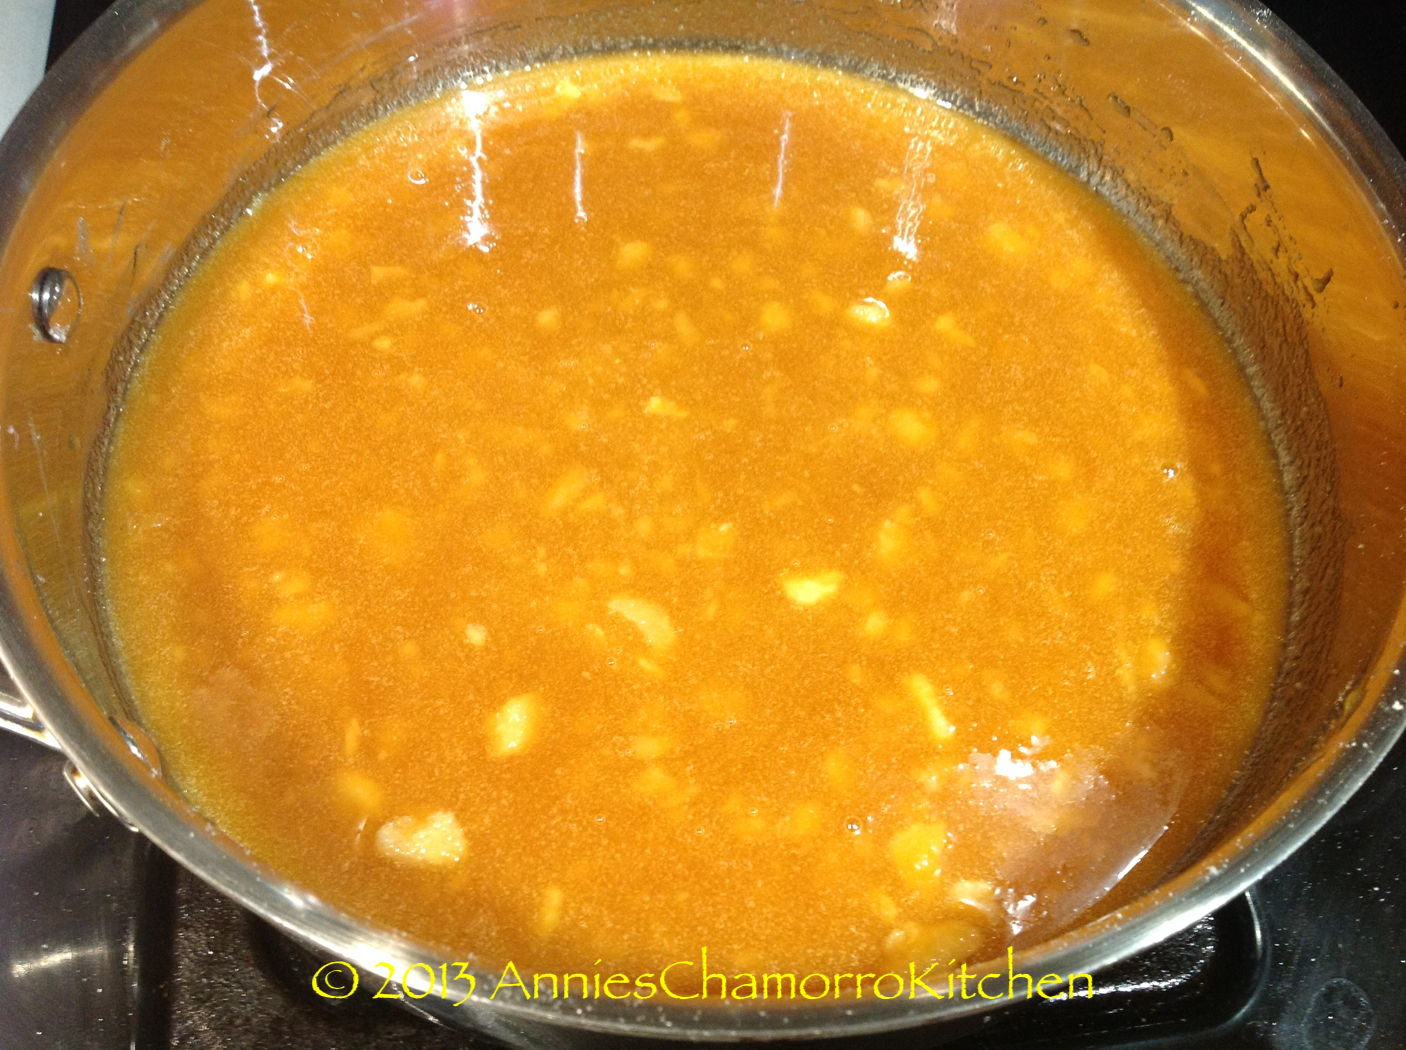
Place juice, månha, butter, and sugar in a medium saucepan over high heat. Add the evaporated milk and water; stir and bring to a boil.

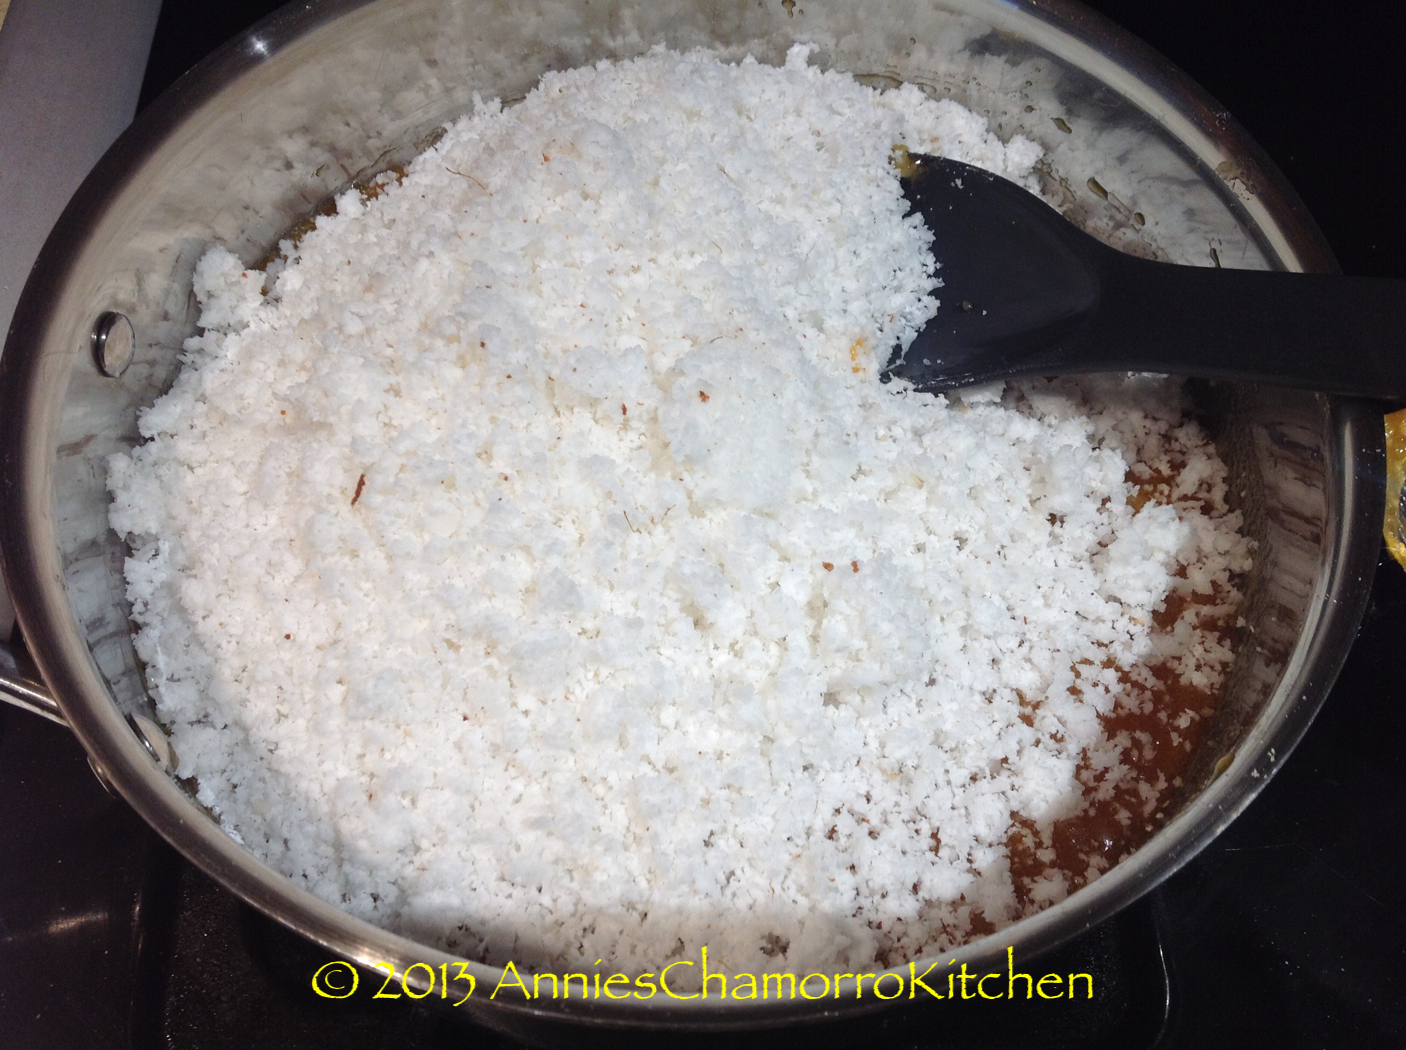
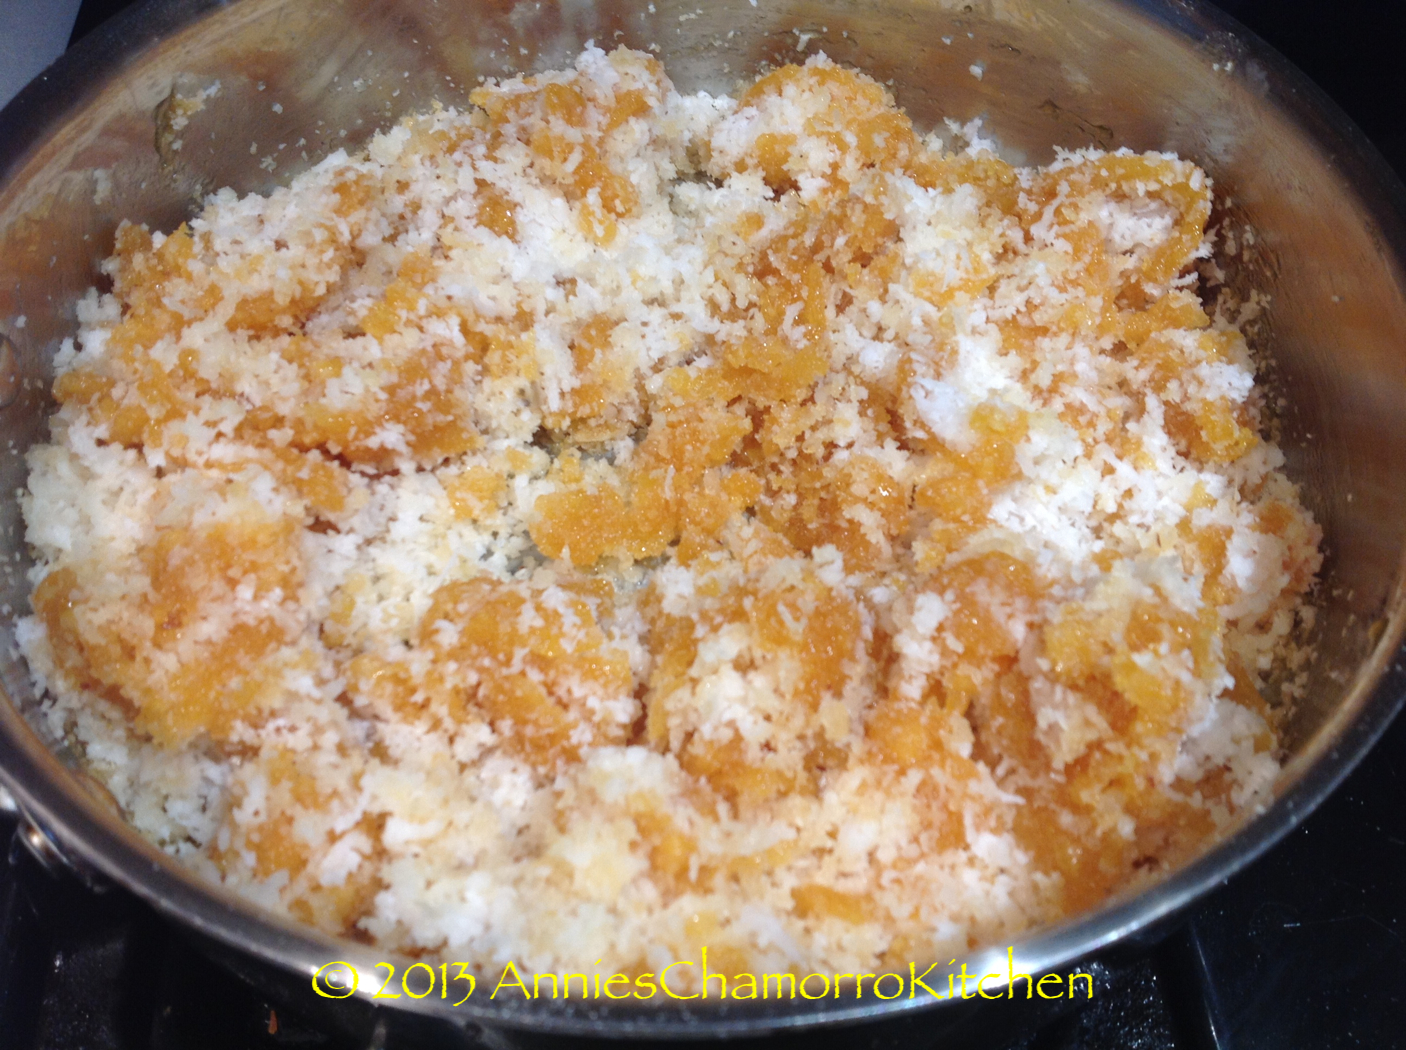
Mix the egg yolks, cornstarch, vanilla extract, and ½ cup water in a bowl. Add the egg yolk mixture to the månha mixture and cook until the mixture thickens, whisking constantly to prevent lumps from forming. The combined ingredients should thicken before it begins to boil. Cook a few minutes more then remove from the heat.

Pour two cups of the mixture into each prepared (baked) pie crust (or three cups if you are using deep dish pie shells).

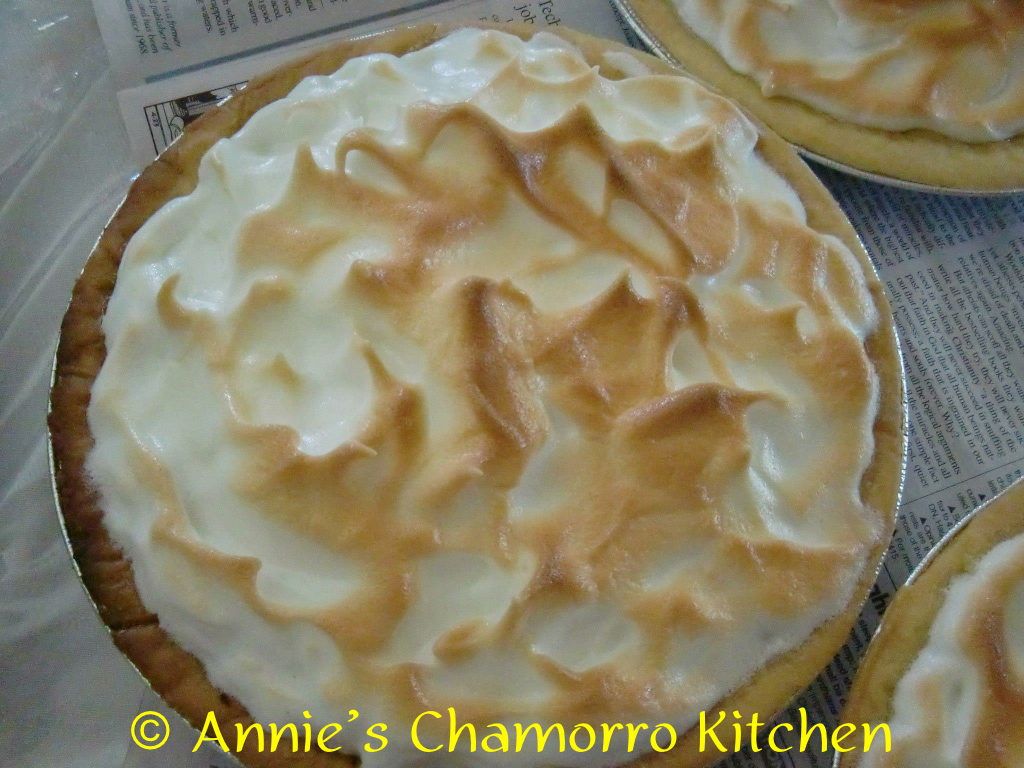
4.  Bake the meringue and serve:

Top the hot filling with meringue, making sure to cover the pie filling all the way to the edge of the crust. Use a small spoon to make decorative meringue swirls before baking.

Bake at 325 degrees for 20 minutes or until the meringue is golden brown.  If you’re in a hurry, bake at 450 degrees for 7-8 minutes, but then the meringue won’t turn out as “dry” as when you bake it longer at a lower temperature (it’ll still turn out delicious, though).

Let the pies cool then serve and ENJOY!

TIP: To make clean slices through the meringue, dip your knife in cold water before slicing the pie.

Refrigerate any uneaten pie (WHAAAT??? — uneaten pie???  Trust me, this pie will get eaten). 😉

Manha Pie

Print Friendly, PDF & Email

Chamorro Potu (Sweet Rice Cake)

Chamorro rice cakes, or Potu, are rice cakes that are made by soaking grains of rice in tuba, or a sweet fermented coconut sap.  The soaked rice is then ground and sweetened then steamed into a light and fluffy cake.

Living in the mainland U.S., I’ve had to learn to make substitutions for those ingredients not commonly found or sold here.  A key ingredient for potu as I mentioned above is tuba.  Since coconut trees don’t grow where I live, I’ve had to figure out a substitute for this potent potable.

I use a combination of palm or coconut vinegar and coconut water when I make my potu.  I also use non-glutinous rice flour for ease in preparation.  I’ll post my easy-peasy shortcut potu recipe soon, but until then, this post features my good friend, Rose Camacho’s recipe.

Rose doesn’t use rice flour when she makes her potu.  Instead, she soaks grains of jasmine rice then grinds it.  She also uses palm vinegar in her recipe.

Rose’s recipe is “tried and true” and loved by many.

Her original post is below.  Give it a try.  I know you’ll like it. 🙂


image

Rose’s original post and recipe for Chamorro Potu (Sweet Rice Cake):

Hmmm? How does one describe these pure white puff pillows of steamed ground rice?  Light, soft, sweet, and sticky!  Growing up, this has been many a childhood’s favorite.  Although the ingredients are simple, this recipe is pretty prized amongst the native Chamorro women and no one would share theirs.  It was a guarded secret recipe, and some have literally taken it to their grave!!

In my quest to find a GOOD recipe, because it is one of my husband’s favorite desserts, I’ve tweaked and wasted, and tweaked and wasted countless ingredients trying to perfect this recipe. I remember my sister-in-law, Mona and I, and mind you, she’s an EXCELLENT cook, I remember us mixing, beating, steaming and without any close results, have failed trying to perfect it.  I gave up! I just prayed that a passer by relative who’s flying in, stops and delivers some of these cakes, made all the way from the islands, to us.  I’d freeze them, steam them as we needed, and then one day our stash of sweet rice potu was G-O-N-E, gone!

With this recipe, I believe I’ve come close to, as close to can get, especially since one of the “main” ingredients is TUBA, which is not available in my area.  Because I have no access to this sweet “drink”,  I’ve had to improvise and use store bought jarred “Coconut vinegar OR Palm vinegar”.  Their flavor “ALMOST” mimics the taste of sweet Tuba, but of course, if you can get sweet Tuba, please use it.  This is how “I” make Chamorro Potu.  Please Please, pass on your comments and POSITIVE critiques, I would love to hear from you.  Until then, HAPPY COOKING, BAKING, and STEAMING! 😉

Ingredients:

1 cup Jasmine rice  (pictured below)
1 cup water
3 to 4  tablespoons Palm Vinegar (pictured below)
1/4 to 1/3 cup Sugar (I prefer less sweet)
2 teaspoons baking powder

Directions:

Because the rice kernels HAVE TO soak,  you need to start the night before you’re planning on serving it.  The brand of rice I use is pictured below.  If you decide to use another brand or type of rice, I will not be held responsible if you fail with this recipe.   I’ve only used this brand whenever I make my recipe.  The palm vinegar I used is also pictured below.  I’m sure other brands can be used.  I’ve also tried using coconut vinegar and it works fine.


Measure out 1 cup of the dry rice.  Wash the rice in water until the water runs clear!  Drain well.  Place into a container, add the  1 cup of water and cover.  Set this aside and allow to soak for a minimum of 8 hours but preferably overnight.

potu18    potu19

When you’re ready to prepare the recipe, start heating up the water in your steamer.  In the container that your rice is in, there may still be some water left from the soaking.  DO NOT drain this water.  Place the rice into a heavy duty blender container (I use my Vitamix Professional 750) for this process since it’s pretty heavy duty.  Add the sugar and palm vinegar to the rice and water.  NOTE:  If you do not have a heavy duty mixer, you may have to do this step in smaller increments.  Just process the rice in batches, rather than one whole time.  Although, I’ve never done it this way, if you have a heavy duty food processor, such as a KitchenAid,  I’m sure you could also use that.  The key is to grind the rice FINE!

potu7    potu6

Process this in your blender, until the rice kernels are finely ground.  Shut the blender off and add the baking powder.  Now process again for a minute or 2 being careful that the mixture doesn’t heat up.

potu21    potu22

While the mixture is still processing, line up your silicon cups in the steamer basket.   For easier handling, pour the batter into a smaller container and pour  3/4 of the way into each baking cup.  This mixture makes about 12 potu cakes OR more if you use smaller silicon cups.

potu24

Place the steamer basket into the steamer pot, which should already be producing heavy steam.  Place a CLEAN kitchen towel over the top of the steamer basket to catch any condensation that will occur during the steaming process.  Place the lid onto the pot.  The lid will also hold the towel taught so that it doesn’t fall onto the potu.  Steam this for a minimum of 20 minutes and up to 30 minutes, depending on the heat that’s produced.

potu17

After about 20 minutes, CAREFULLY lift the lid and towel away, to see how the process is going.  I get excited when I see that little “crack” in the center of my potu.  It tells me it’s gonna be PERFECT!  When done, the potu should spring back a bit, with a slight stickiness to the tops.

potu23

Remove from the steamer pot and allow them to cool before removing them from the basket.  Set them aside to cool completely before removing them from the silicon cups.

SERVE!  Place the leftovers in a plastic bag to keep them fresh.

potu25


Thank you, Rose Camacho (aka Chamorita Momma) for allowing me to repost and share your Tried and True Potu recipe!

Print Friendly, PDF & Email

Buñelos Dågu

If you had to list your favorite Christmas food, what would they be?  I’d have too many to list since I have quite a few favorites, but up near the top would be Buñelos Dågu.

A delicious treat, these fried yam donuts, or Buñelos Dågu in Chamorro, are synonymous with Christmas.  This is perhaps because the yams are harvested during the Christmas season.

There are several varieties of yams that you can use to make these donuts.  If you live on Guam or the other Mariana Islands, you can use Dågu, Nika, or Gadu’.  There are also both White and Red varieties of Dågu (called Dågun Å’paka’ or Dågun Agaga’, respectively).

Donuts made with dågu tend to be brownish in color after frying.  Nika donuts are much lighter, a golden brown on the outside and creamy white in color on the inside.  While I like both types, I prefer Nika donuts.

Living in the states, I found a great substitute for the white yams we know on Guam as Nika. It’s called Nahme (pronounced nah-may) Root in some Asian Stores.  I’ve even seen it called Namee or Nami.  If your local Asian market doesn’t have it, check the Hispanic stores, or ask the store manager to order some for you.

This is what Nahme looks like.

Nahme Root

If you’re lucky, you can find some dågu as well.  They are quite large, and look like monstrous hands with lots of “fingers”.  Here’s a photo of dågu.

dagu

Aside from making donuts with the yams, you can cook them as you would potatoes.  Yams are delicious cooked in a chicken stew or kådu with coconut milk.

You don’t have to wait for Christmas to have these delicious donuts.  Visit your local Asian or Hispanic store and buy some yams then give my recipe a try.  I think you’ll like it. 🙂

Buñelos Dågu

Bunelos dagu 2

Ingredients:

  • 2 ­pounds yam (Namee, dagu, etc.)
  • 1/2 cup all-­purpose flour
  • 1/4 cup sugar
  • 1 tablespoon baking powder
  • Oil for frying

Directions:

1.  Heat oil in a frying pan; the oil should come to about 1 inch in depth.

2.  Peel skin off the yam. Using the fine part of a box or hand­held grater, grate the yam into a mixing bowl.

When grating the yam, your skin might be mildly irritated.  The scientific explanation for this is that most yams contain oxalate crystals which can irritate the skin, mouth and sometimes tongue.  I get around this by wearing plastic gloves when I grate the yams.

3.  Mix in the flour, sugar, and baking powder.

4.  Drop batter by heaping tablespoonful into the hot oil. Fry until golden brown, turning frequently to ensure even browning on all sides.

Modern conveniences make it so easy to drop the batter into the oil.  Back home on Guam, we’d scoop up a handful of batter then squeeze out dollops between our thumb and pointer.   It sounds difficult, but it’s actually quite easy to squeeze it out from between your fingers. It just takes practice. If you can’t get the hang of forming them this way, use a small ice cream scoop (the 1-tablespoon sized scoop). Dip the scoop in water then scoop out some batter; the batter will slide right out and not stick to the scoop.

Bunelos dagu 1

5.  Serve with maple syrup or a simple syrup.

To make a simple syrup: in a microwave safe cup or bowl, mix together 1 cup of sugar with 1/4 cup water.  Microwave on high until the sugar is melted.  Stir thoroughly.  Let the syrup cool slightly before using. 

bunelos dagu 3


ENJOY!

Bunelos Dagu 2

Print Friendly, PDF & Email

Coconut Candy

Coconut candy is an island dessert that’s so simple to make, and fun to get the kids involved in making it.

Growing up, we’d make this a lot during Chamorro Week at school.  This was also a popular treat at bake sales; coconut candy was usually the first item to sell out.

Freshly grated coconut is a key ingredient, but you can easily substitute it with frozen grated coconut.  Just be sure NOT to use the sweetened coconut flakes.  I love the taste of coconut, but to me, the best part of this candy is the caramelized sugar (yum!).

Give my recipe a try…get the kids involved in making them too.  I’m sure they’d love making AND eating it. 🙂

Coconut Candy

Coconut Candy - 14

Ingredients:

  • 2 large coconuts
  • 2 cups white, granulated sugar

Directions:

1.  Finely grate the coconut; the smaller/finer the coconut flakes, the better.  You should get roughly 4 cups of grated coconut from 2 large coconuts.  If you can’t find fresh coconuts or don’t have a kåmyu (coconut grater), you can buy frozen grated coconut–make sure you use the UNsweetened kind.

Coconut Candy - 01

Before continuing with the directions, I think it’s important to explain how to choose fresh coconuts.  On Guam, we either cut the coconuts off the trees or pick up the brown ones (niyok) off the ground, then shake them vigorously, listening for the telltale sloshing of the coconut juice.  If you live in the states, it’s sometimes difficult to find coconuts that haven’t already spoiled.  For this batch, I actually bought four coconuts knowing I only needed two.  Sure enough, two of them ended up being spoiled and moldy inside.  Before buying coconuts, shake them.  You should hear (and feel) liquid sloshing around inside.  If you don’t hear and feel any liquid while shaking the coconut, do NOT buy it–it’s gone bad already.  The coconut should also feel rather heavy.  A coconut that either has very little liquid sloshing around or feels light (compared to the weight of other coconuts) are an indicator that the coconut meat inside is dried out or spoiled.

The coconuts I bought–the ones that ended up being bad–had liquid in them when I shook them.  However, the coconuts must have sat in the store for who knows how long. In one of the coconuts, the liquid smelled sour (a sure sign of spoilage) and the meat felt slimy (yuck).  The other bad coconut, after cracking it open, had mold growing between the meat and shell (more yuck!).  And to think I paid about $2 for each coconut….

For those of you living on Guam or in a place where coconut trees abound and you don’t have to pay an arm and a leg for them, be thankful.  Ahh…how I miss those days when I could just go out to the back yard and husk open coconuts that just fell off the trees.

Anyhow, on to making coconut candy.

2.  Caramelize the sugar.

Place the sugar into a large frying pan set over low heat.

Coconut Candy - 02

Leave the sugar alone until you see it begin to melt.

Using a heavy duty spoon or heat-safe rubber spatula, scrape the sugar from the edge of the pan to the middle.  You’re doing this for a couple of reasons — first, you want to keep the melted sugar from browning too fast and burning.  Second, you’re moving the unmelted sugar to the hotter spots on the pan to begin melting.

The photo below shows a bit of clumping of unmelted and melted sugar.  Don’t worry if yours looks like this — keep cooking the sugar over low heat and those clumps will melt right out.

Coconut Candy - 07

Keep cooking (and stirring) over low heat…

…and…cooking/stirring…

…and cooking/stirring some more.

Whew!  FINALLY the sugar is melted with a nice caramel color.  Use the back of your spoon to smush any stray lumps of sugar (like the ones shown below).

Coconut Candy - 08

3.  Add the coconut to the caramelized sugar.

The sugar will solidify after adding the coconut, but don’t worry, the sugar will re-melt.

Coconut Candy - 09

This is what the mixture looks like, with the sugar hardening after adding the coconut.

Coconut Candy - 10

Keep cooking the coconut-sugar mixture over low heat, stirring occasionally until the sugar re-melts. Turn off the heat once the sugar is melted again.  Stir the mixture one last time to evenly mix the sugar and coconut together.

Coconut Candy - 11

4.  Form the candy.

Using a couple of tablespoons (I used a small cookie scoop), scoop small amounts of coconut candy onto a piece of waxed or parchment paper.

Coconut Candy - 12

Let the candy cool for a couple of minutes, then use your impeccably clean hands to roll the candy into balls.  Wrap each ball of candy with plastic wrap.  The candy will keep for about 2 weeks (at room temperature), but I highly doubt they’ll last that long (before it gets devoured).  ENJOY! 🙂

Coconut Candy - 15


Print Friendly, PDF & Email

Buñelos Månglo’ (aka Typhoon Donuts)

Buñelos Månglo’ is another Chamorro dessert.  The name is loosely translated into “Air Donuts”.  I’m not sure why they’re called that.  Maybe it has something to do with WHEN Chamorros most often fry up a batch.  Often, during stormy weather when the rain is pouring down buckets and the wind is howling, many Chamorros fry up some Buñelos Månglo’.  No matter the origin of the name, this is another Chamorro comfort dish that you can make any time you want to, rain or shine.  Any way you look at it, it’s delicious.  You can’t go wrong with fried dough sprinkled with sugar.

Give my recipe a try.  I think you’ll like it.   🙂

BUÑELOS MÅNGLO’

IMG_1120

Ingredients:

  • 2 cups All-purpose flour
  • 1 tablespoon baking powder
  • 1/3 cup sugar
  • 3/4 cup coconut milk (*may need more or less, depending on your location. Dry/less humid places may require more liquid, up to a cup; more humid places may need just the 3/4 cup.)

Directions:

1. Mix flour, baking powder and sugar.

IMG_1104

2.  Add the coconut milk to the flour mixture.

IMG_1105

3.  Gently mix until a dough forms. The dough should be smooth and soft.

IMG_1106

4. Roll out to about 1/3 inch thick, then cut in diamond or triangle-shaped pieces using a pastry wheel/cutter or a knife.  *I used a pizza cutter.

IMG_1107

IMG_1108

IMG_1109

5. Preheat the oil.  When the oil is hot, drop the pieces of dough into the hot oil.  Turn the donuts frequently to ensure both sides are evenly browned.  Fry until golden brown, then remove from the oil and place in a colander or on paper towels to let any excess oil drip off.

IMG_1111

IMG_1122

6. Optional:  after the donuts have cooled slightly, place in a ziplock bag with 1/4 cup sugar.  Shake to coat each donut.

IMG_1123

ENJOY!

IMG_1118

Print Friendly, PDF & Email
« Older Entries Recent Entries »