Archive for Christmas

Soft and Chewy Gingerbread Cookies

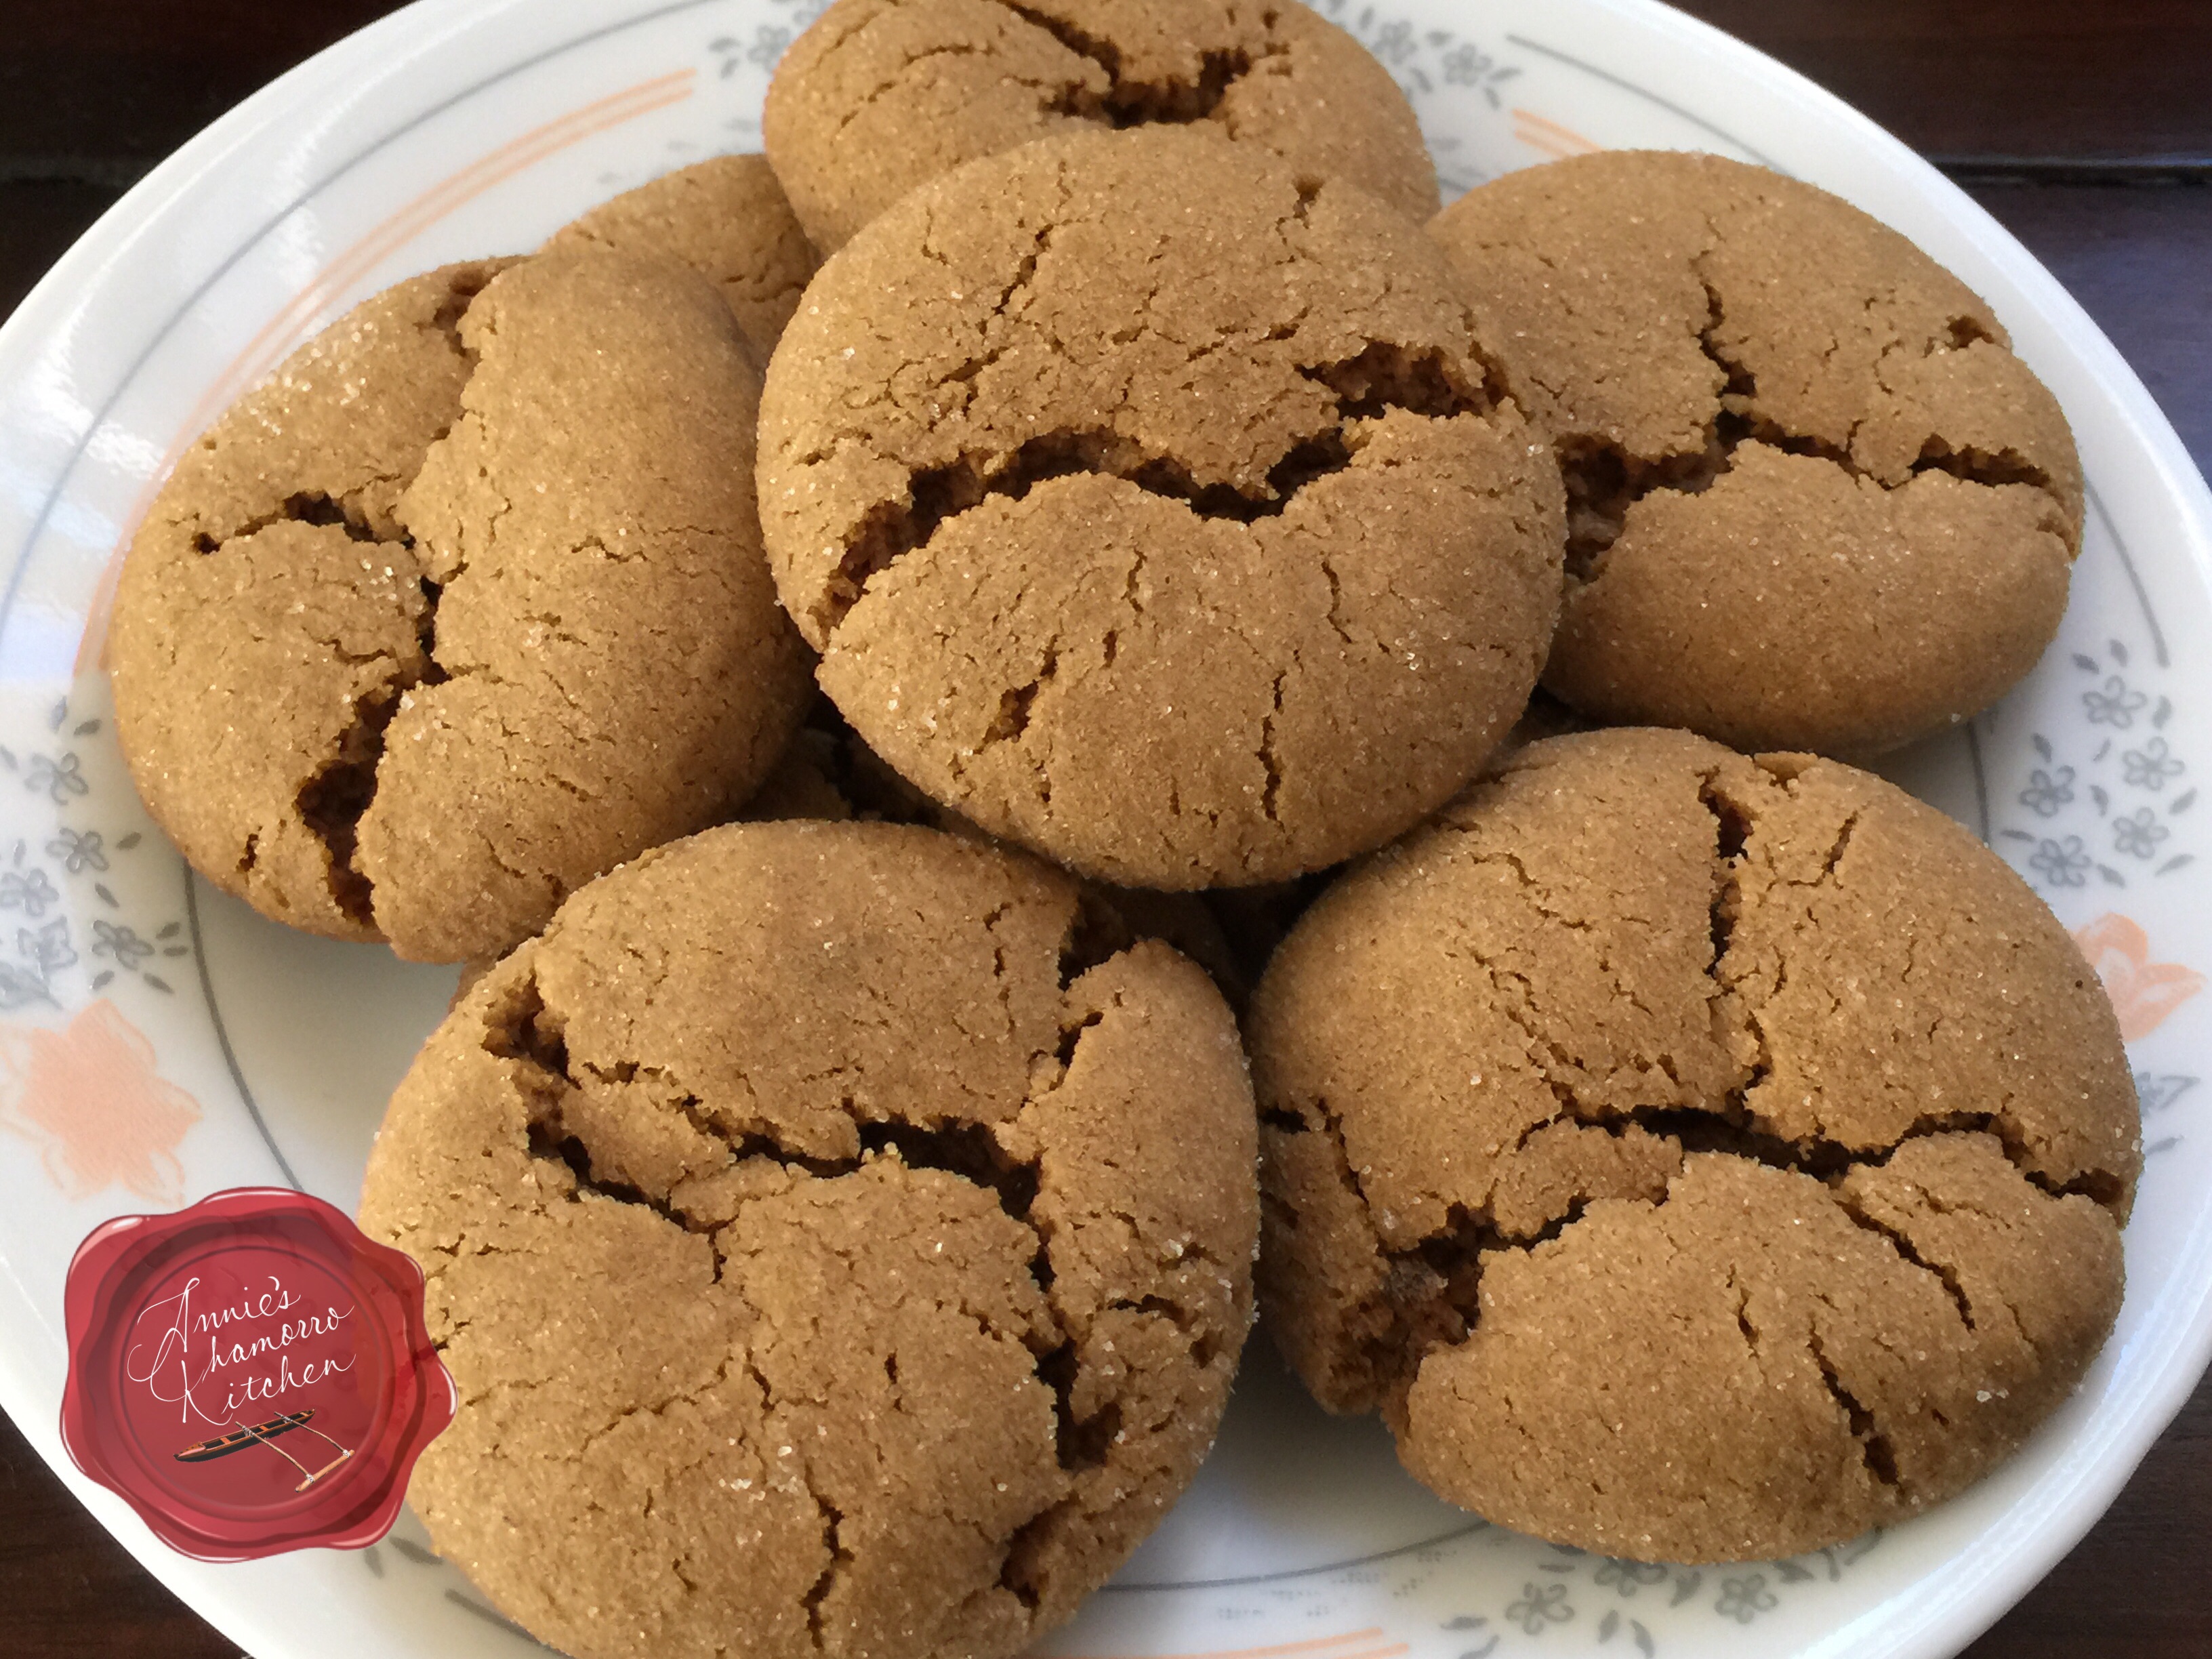
Gingerbread cookies are so much fun to make — and eat!  My daughter even says they “taste like Thanksgiving and Christmas.” 😉

image

These aren’t the kind of cookies that you bake and form into shapes suitable for ornaments or making gingerbread houses.

In fact, this dough cannot be rolled out like traditional gingerbread.  Rather, the dough is soft and moist (and actually requires chilling in order to handle it better), and the cookies bake up super fluffy, soft, and chewy.

image

Funny story here…

I brought a couple dozen cookies to work and offered them to my coworkers. They all smiled politely when I said they were gingerbread cookies, but then politely declined to eat any. The SECOND I told them they were SOFT and CHEWY, not the hockey-puck-rock-hard-gingersnap cookies, they ate them like they hadn’t eaten in days! 😀

image

So, let’s get to it, shall we?

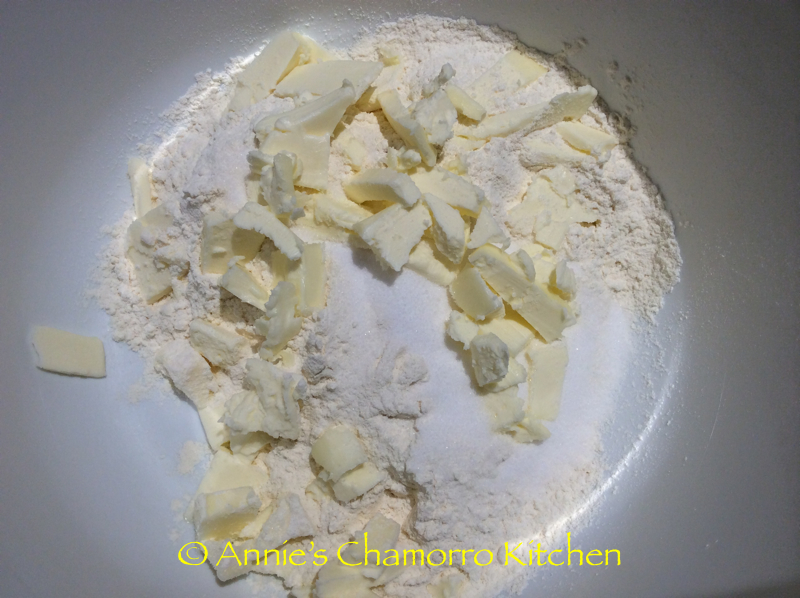
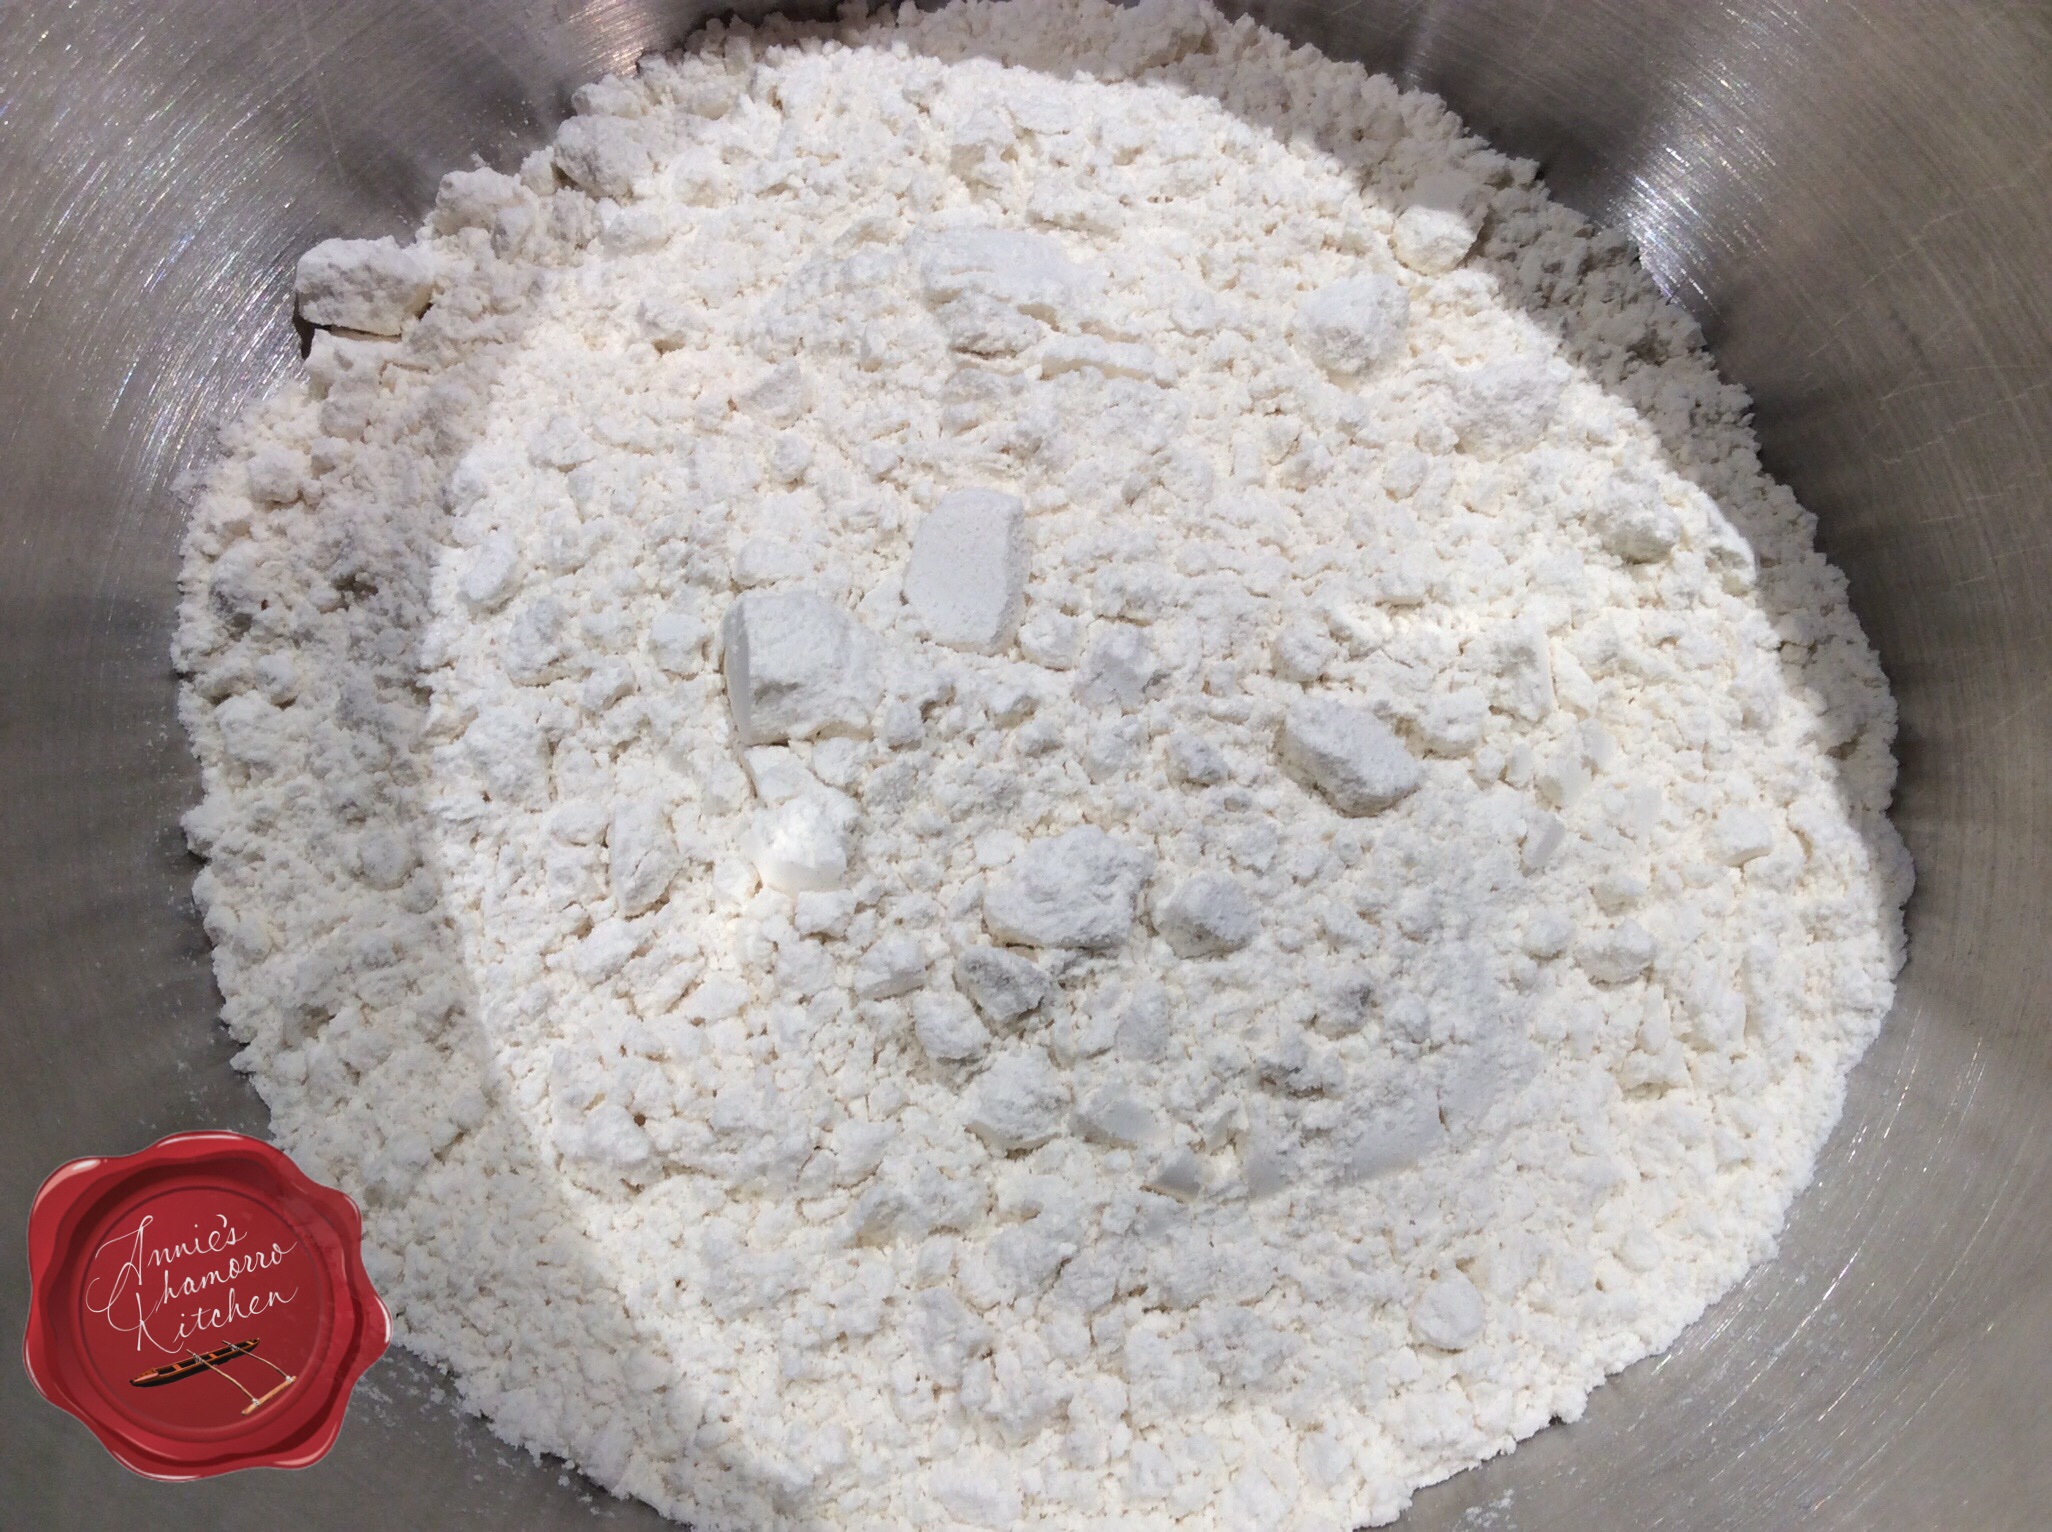
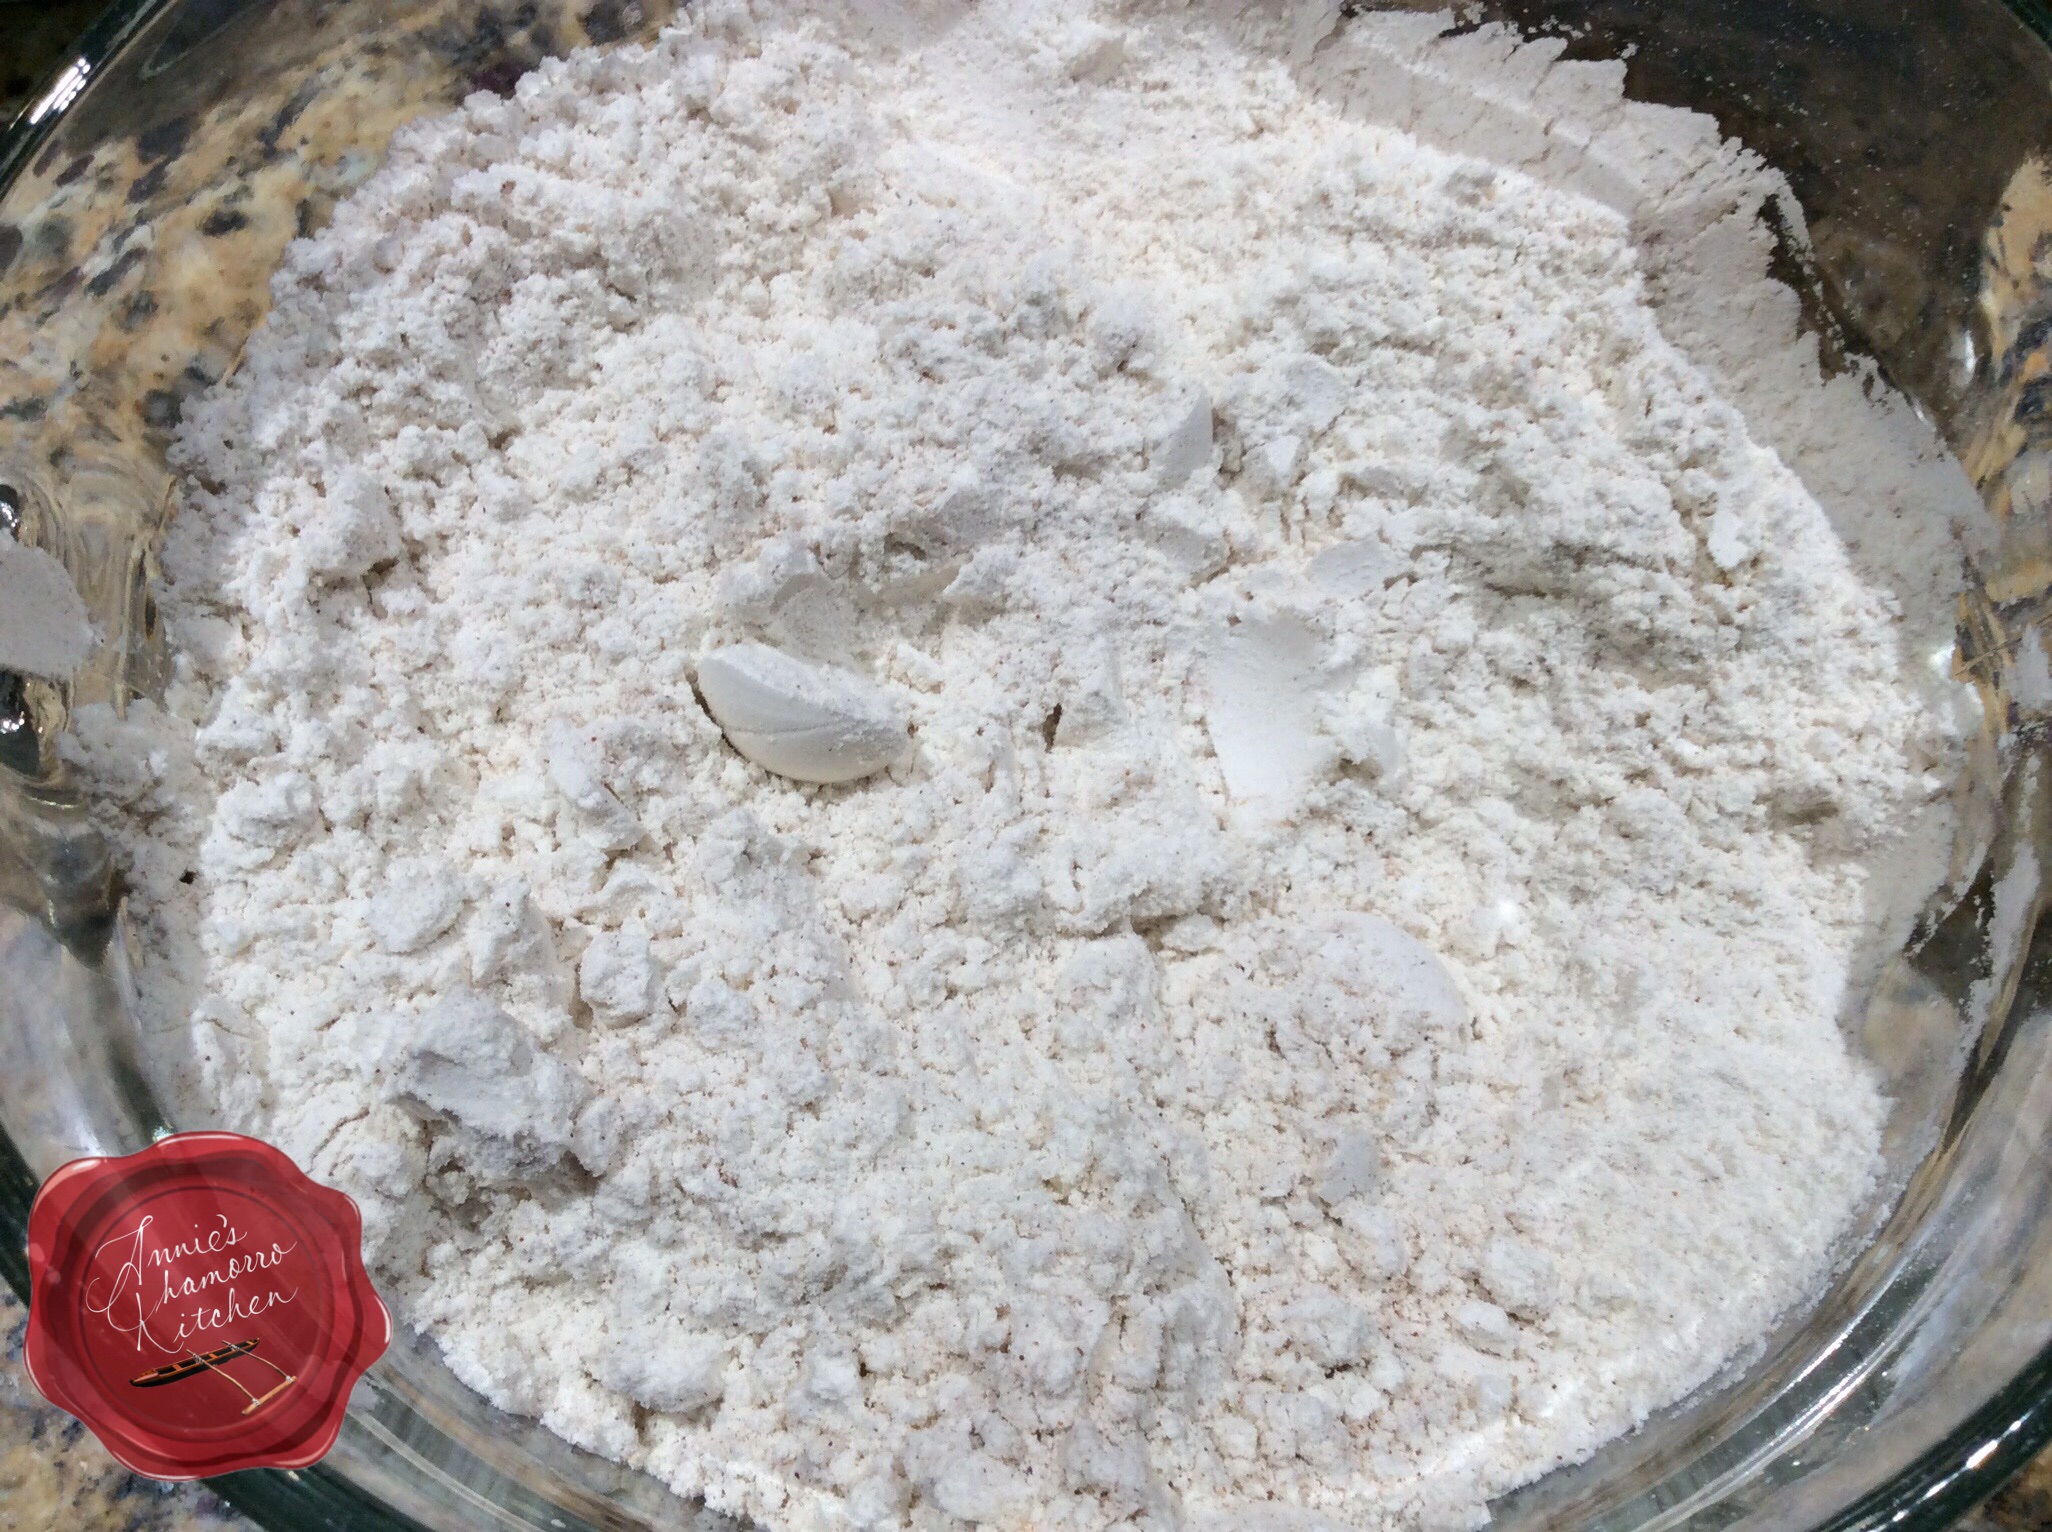
Start by placing the flour into a medium sized mixing bowl.

image

Now for the heart and soul of these incredible gingerbread cookies.  You’ll need baking soda, cinnamon, ground cloves, nutmeg, salt and ginger.  Even before the cookies bake, the aroma of these spices make you think of fall and Thanksgiving, and all that comes with holiday baking.

image

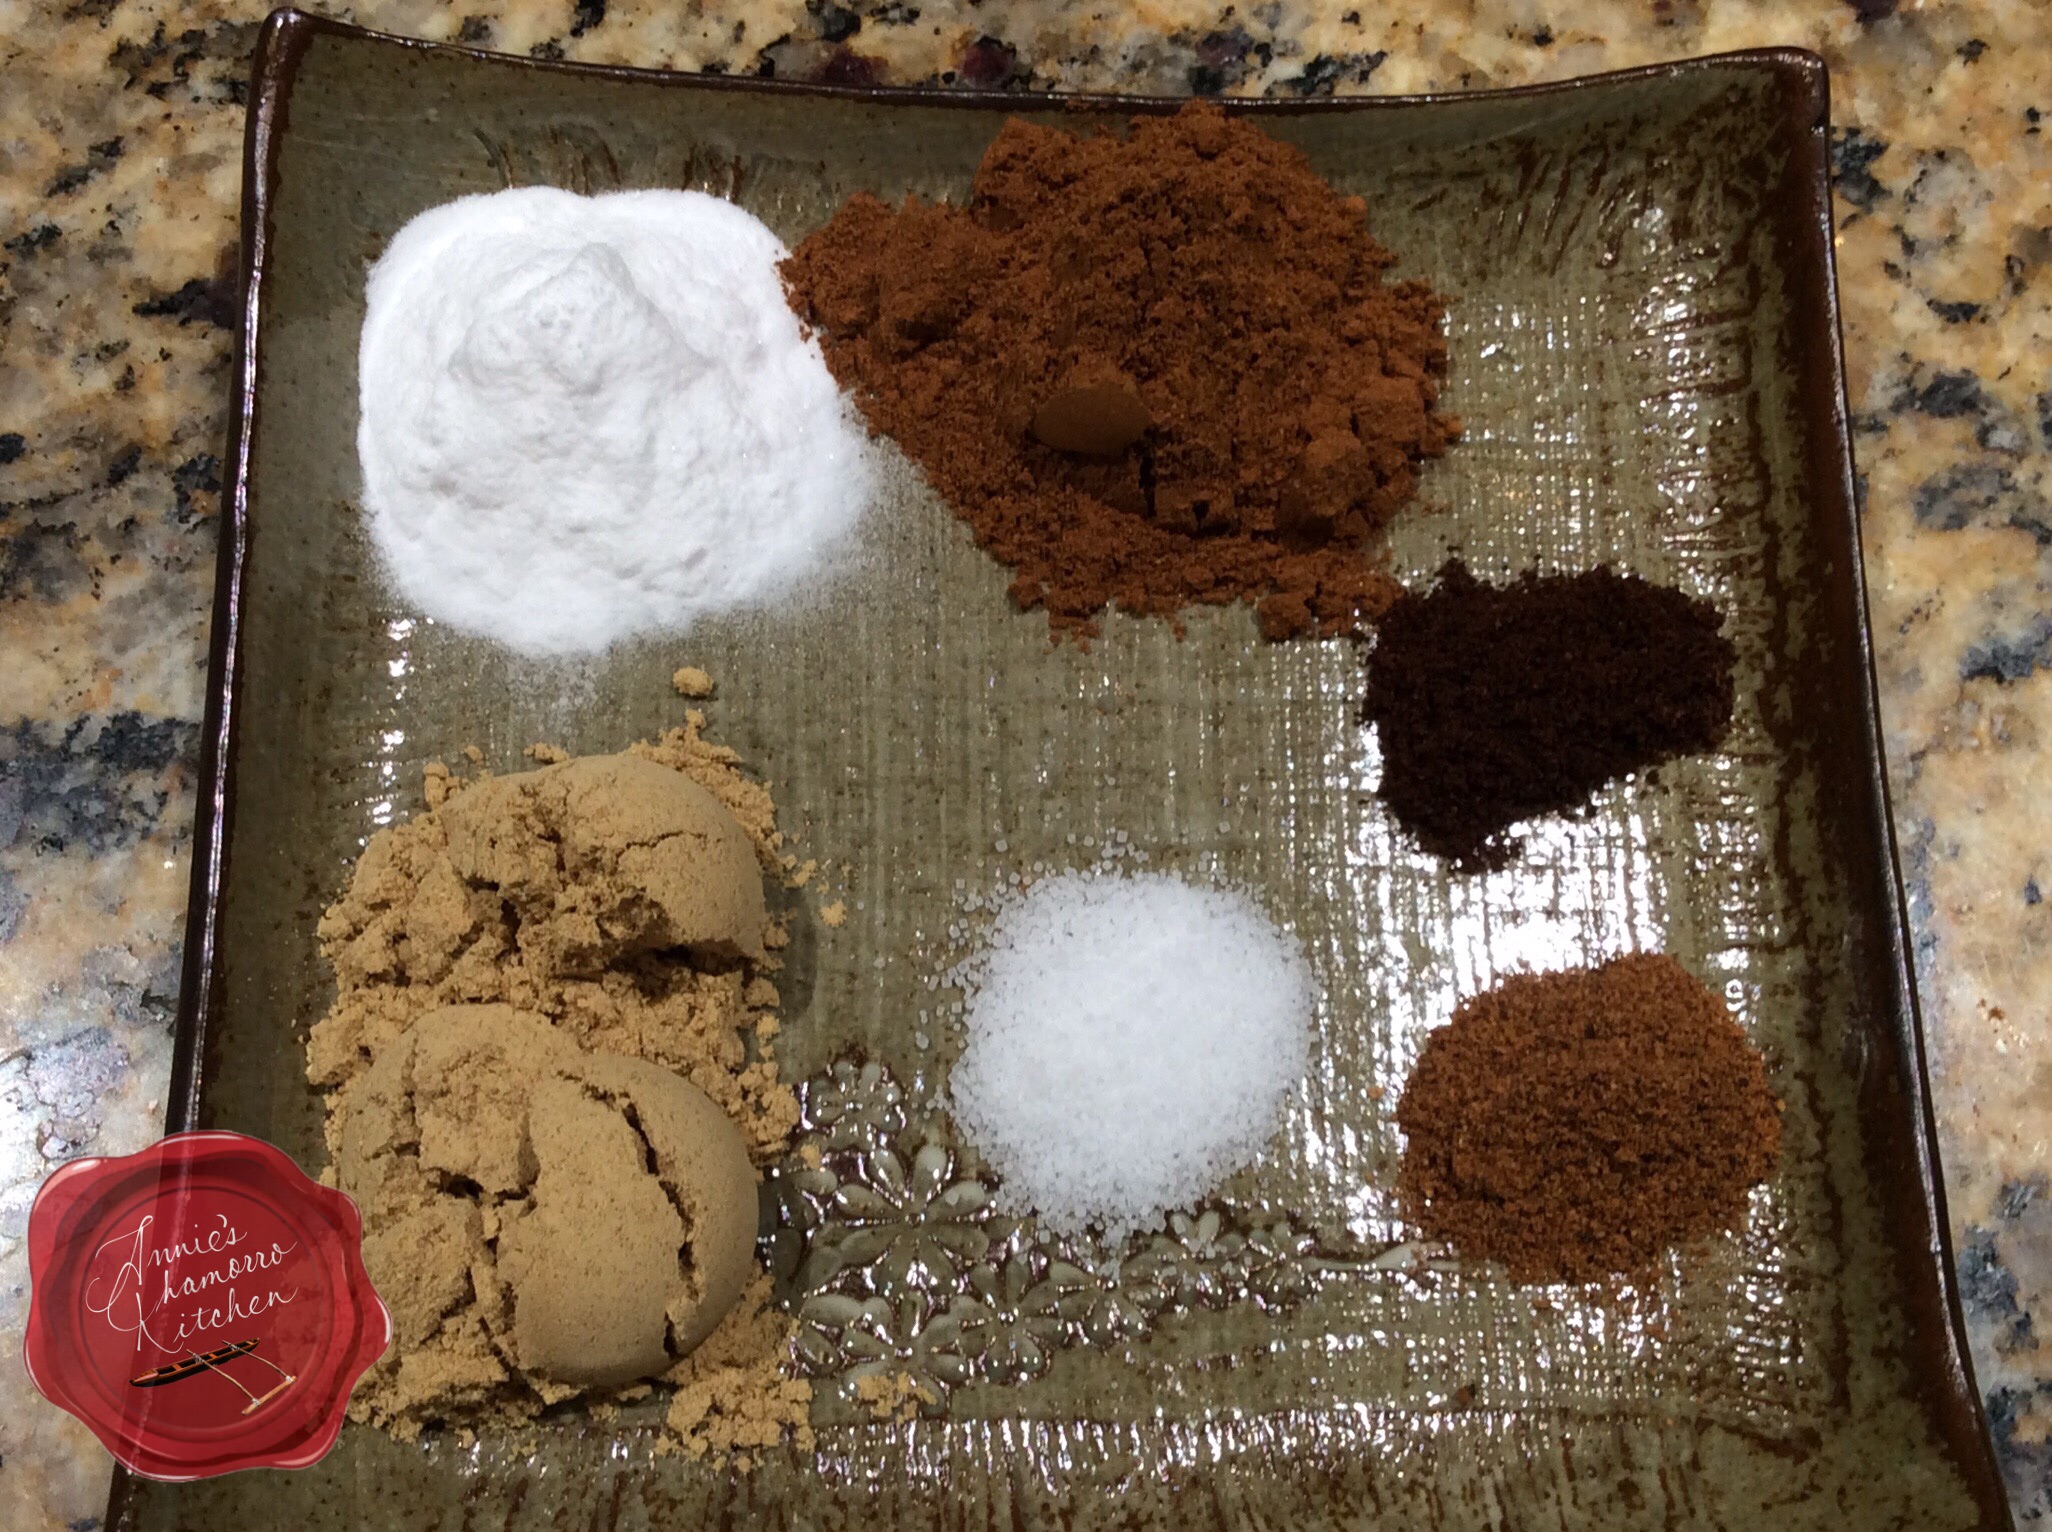
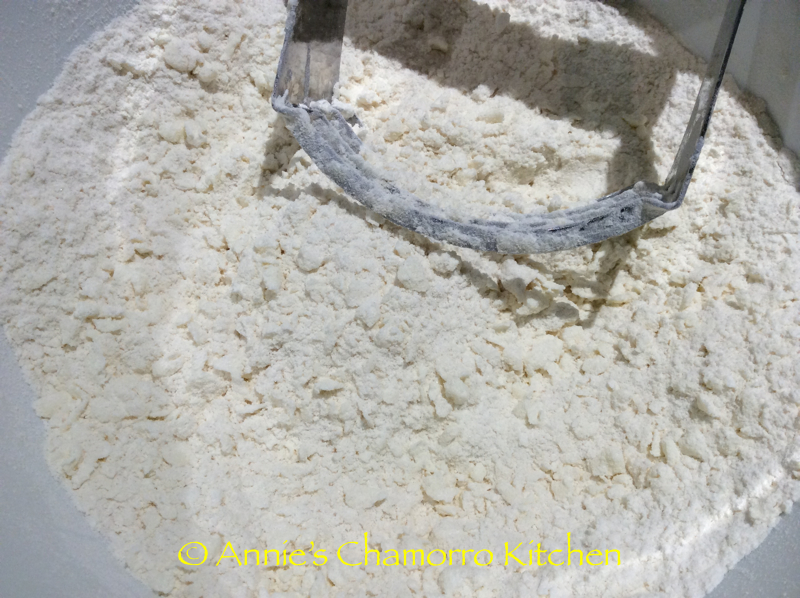
Mix the spices with the flour.  I use a whisk to really mix it all together.  You don’t want any of the seasonings to clump together when you mix it with the wet ingredients.  Set this flour mixture aside for now.

image

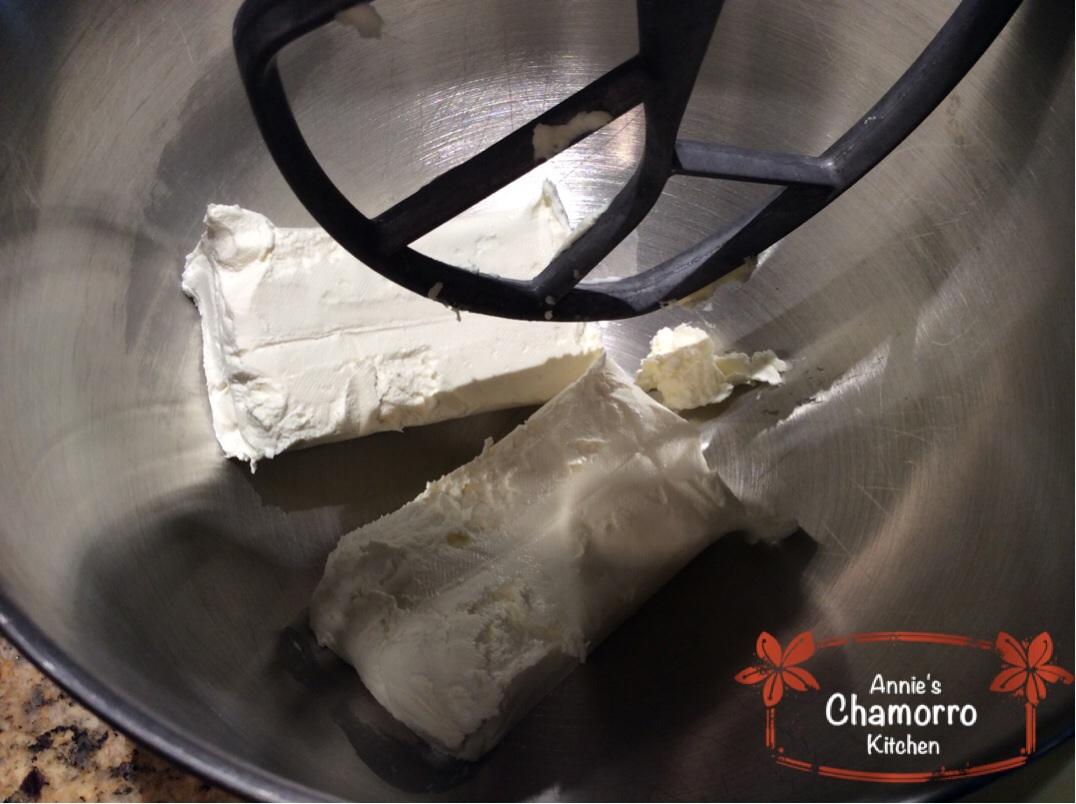
Place the softened butter in a large mixing bowl.  I use a stand mixer because this makes a lot of cookie dough, but you can use a hand mixer as well.

As mentioned above, this makes a large batch of cookie dough, but don’t worry.  These cookies are so good, you’ll be glad you made a lot of them. 🙂

image

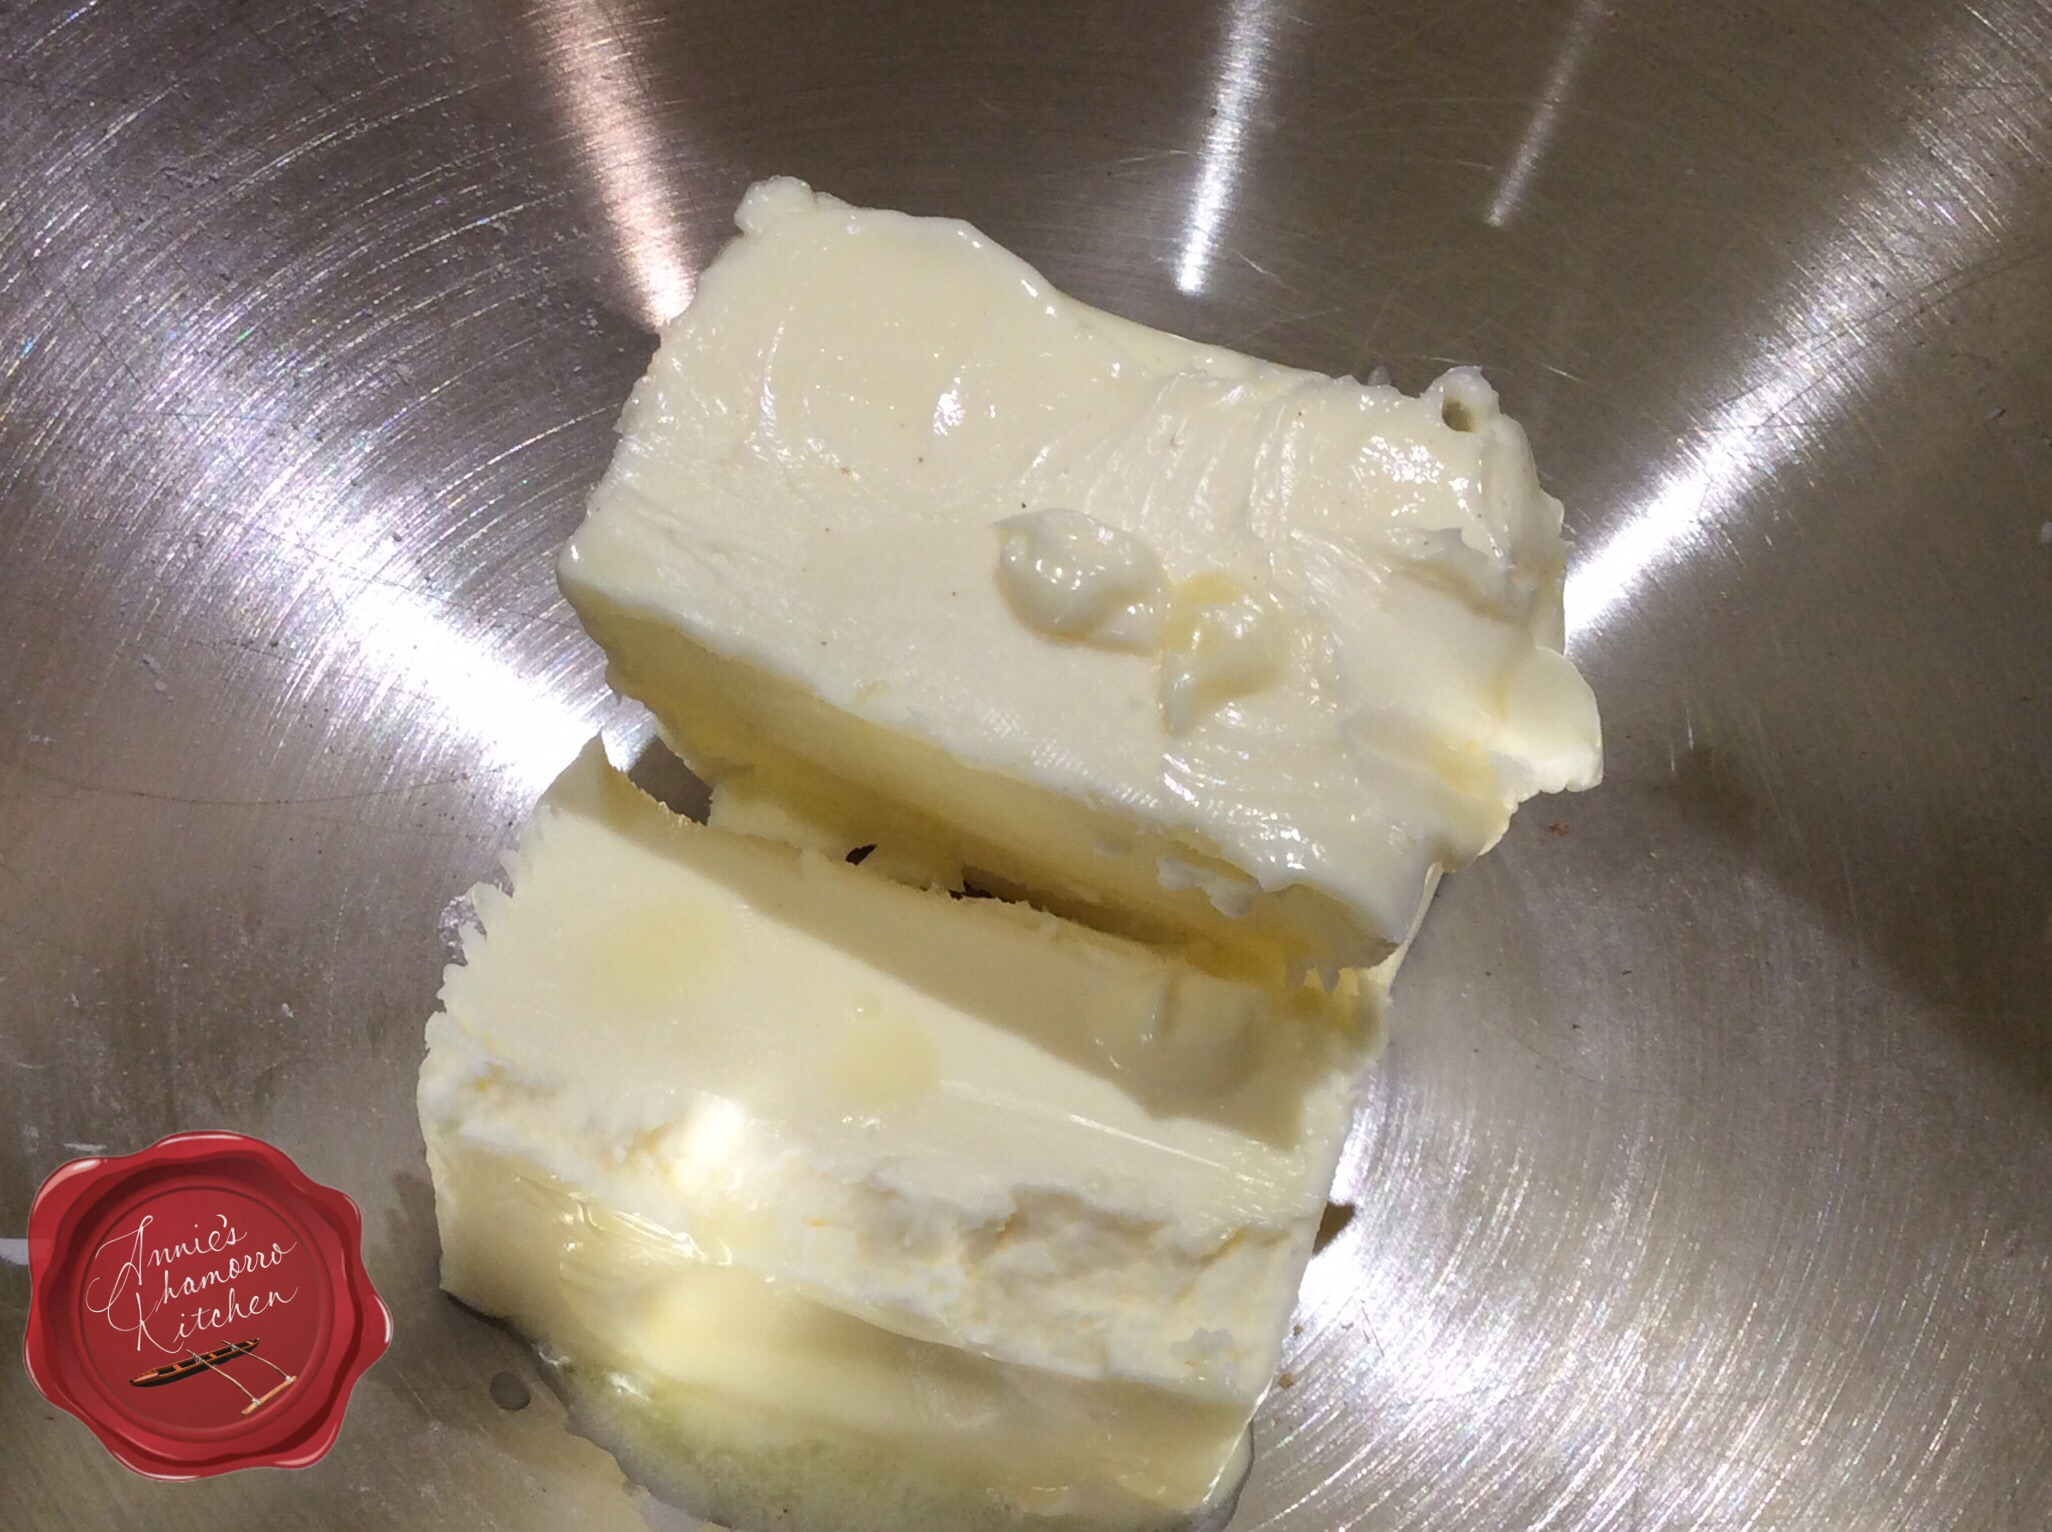
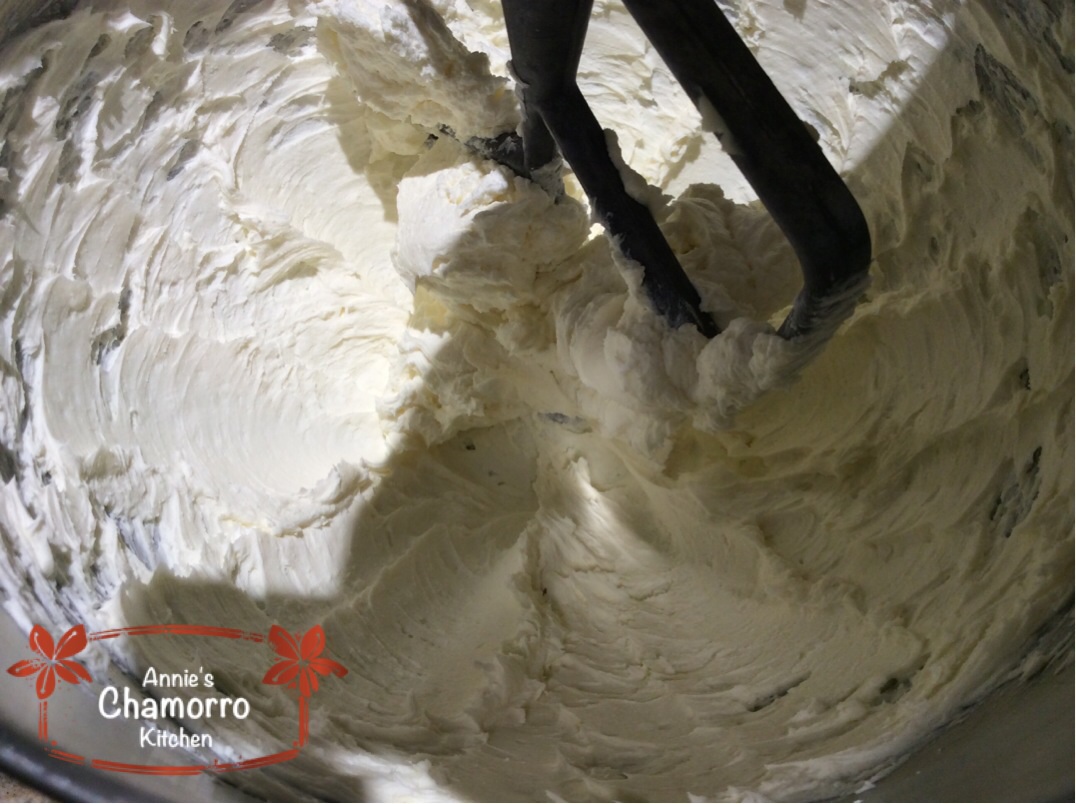
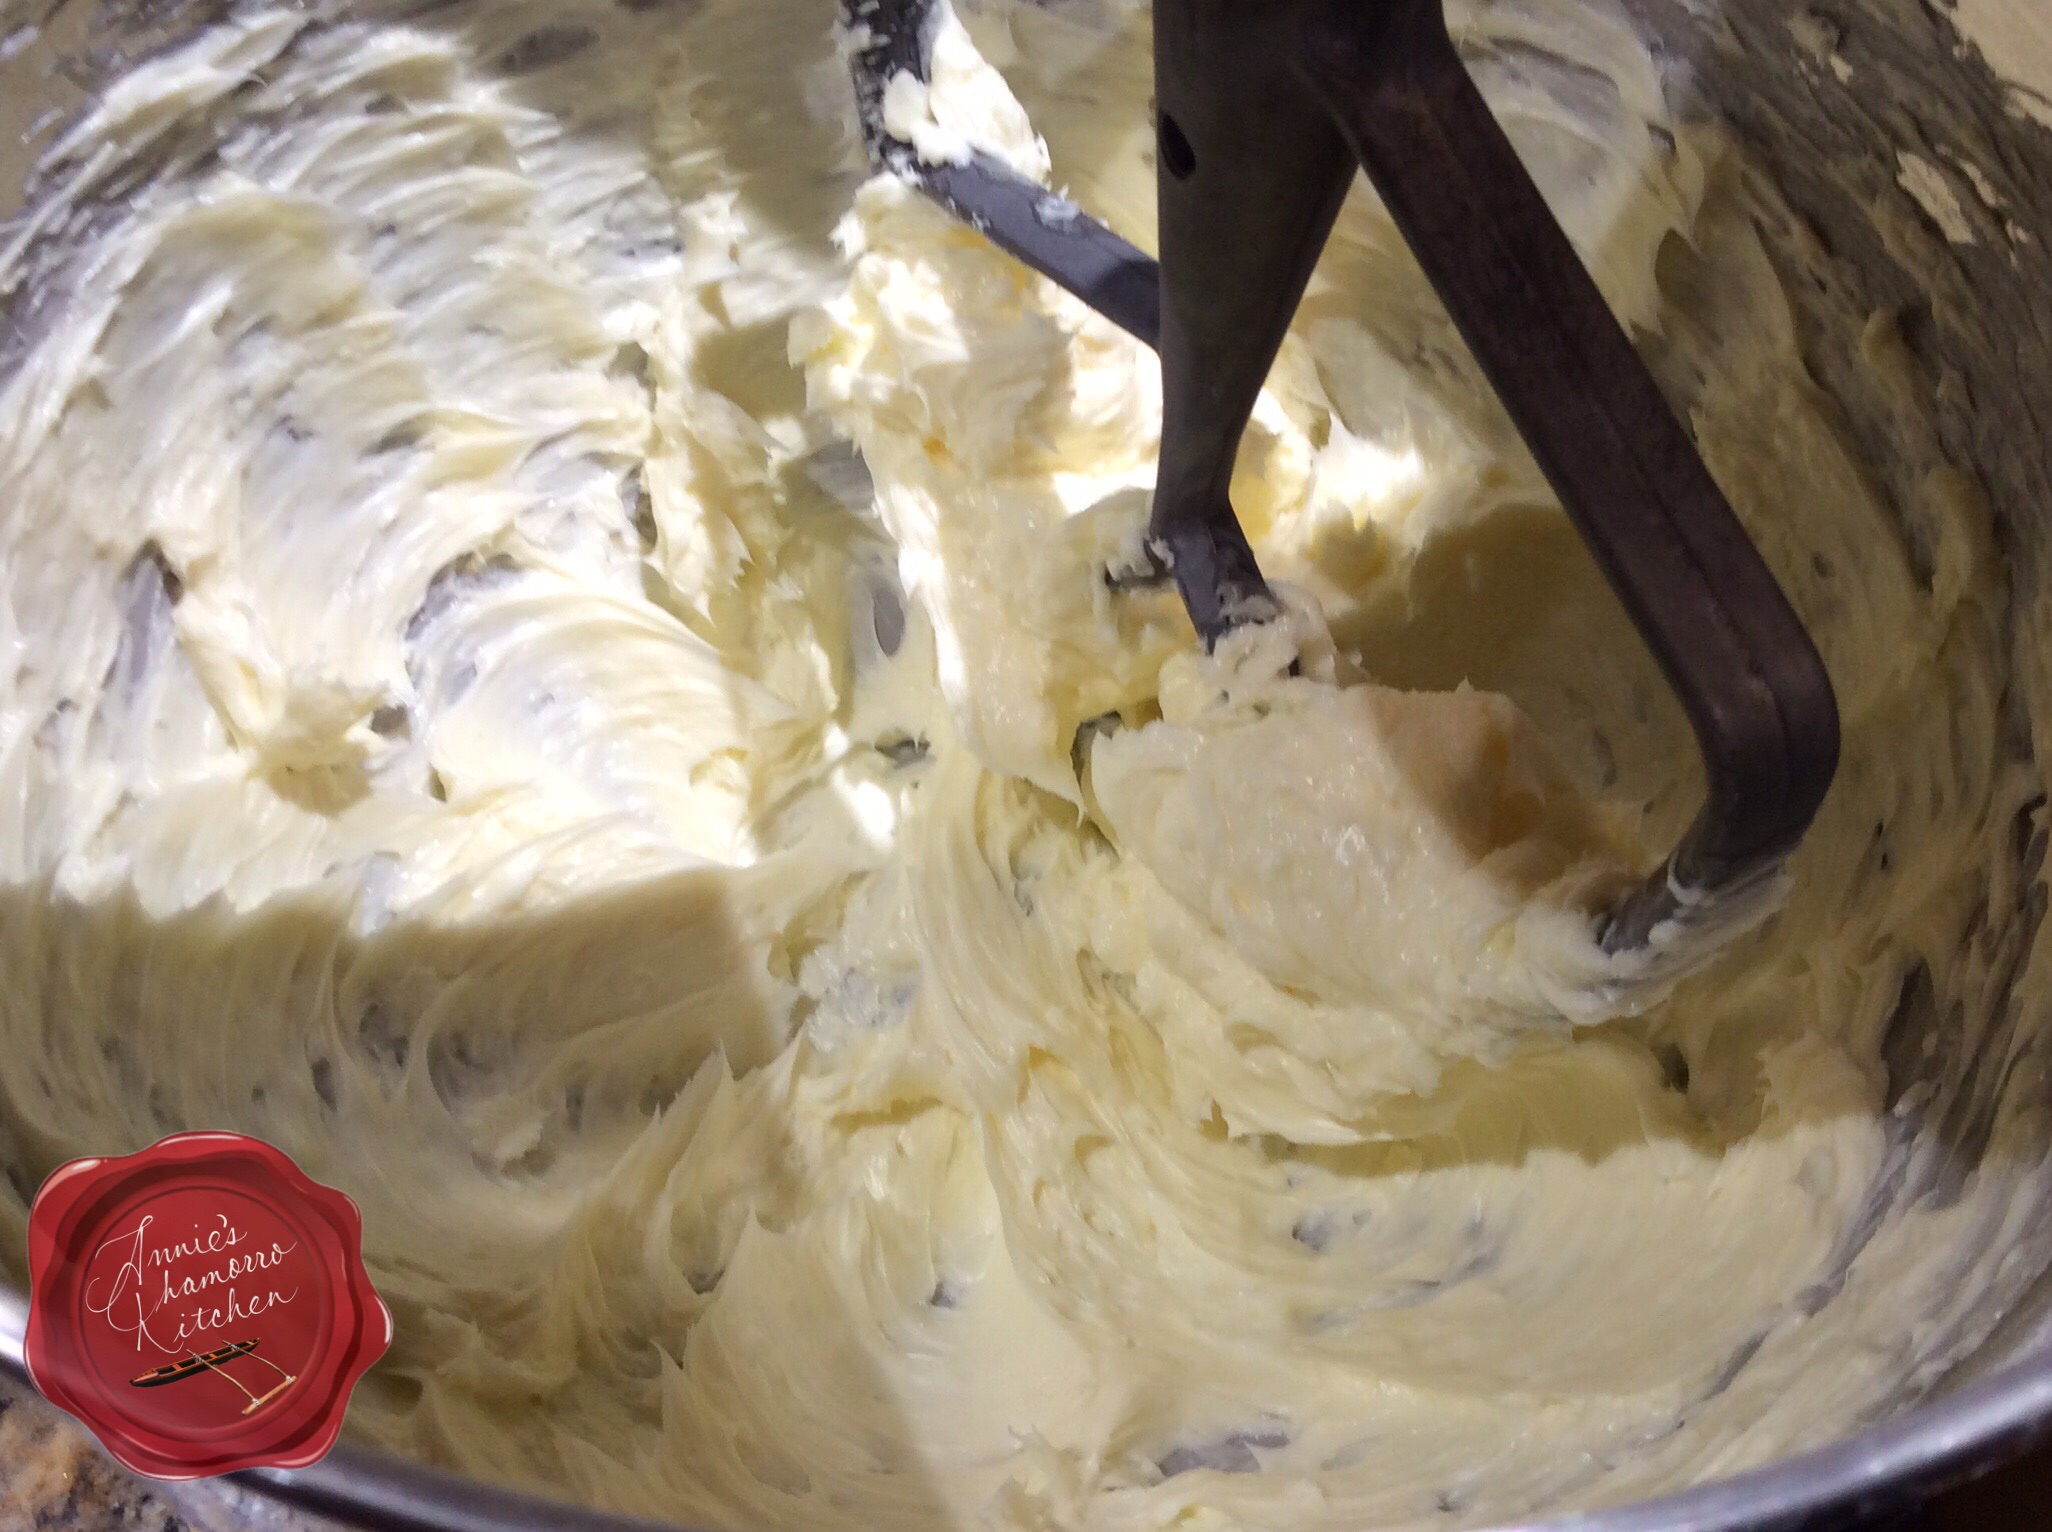
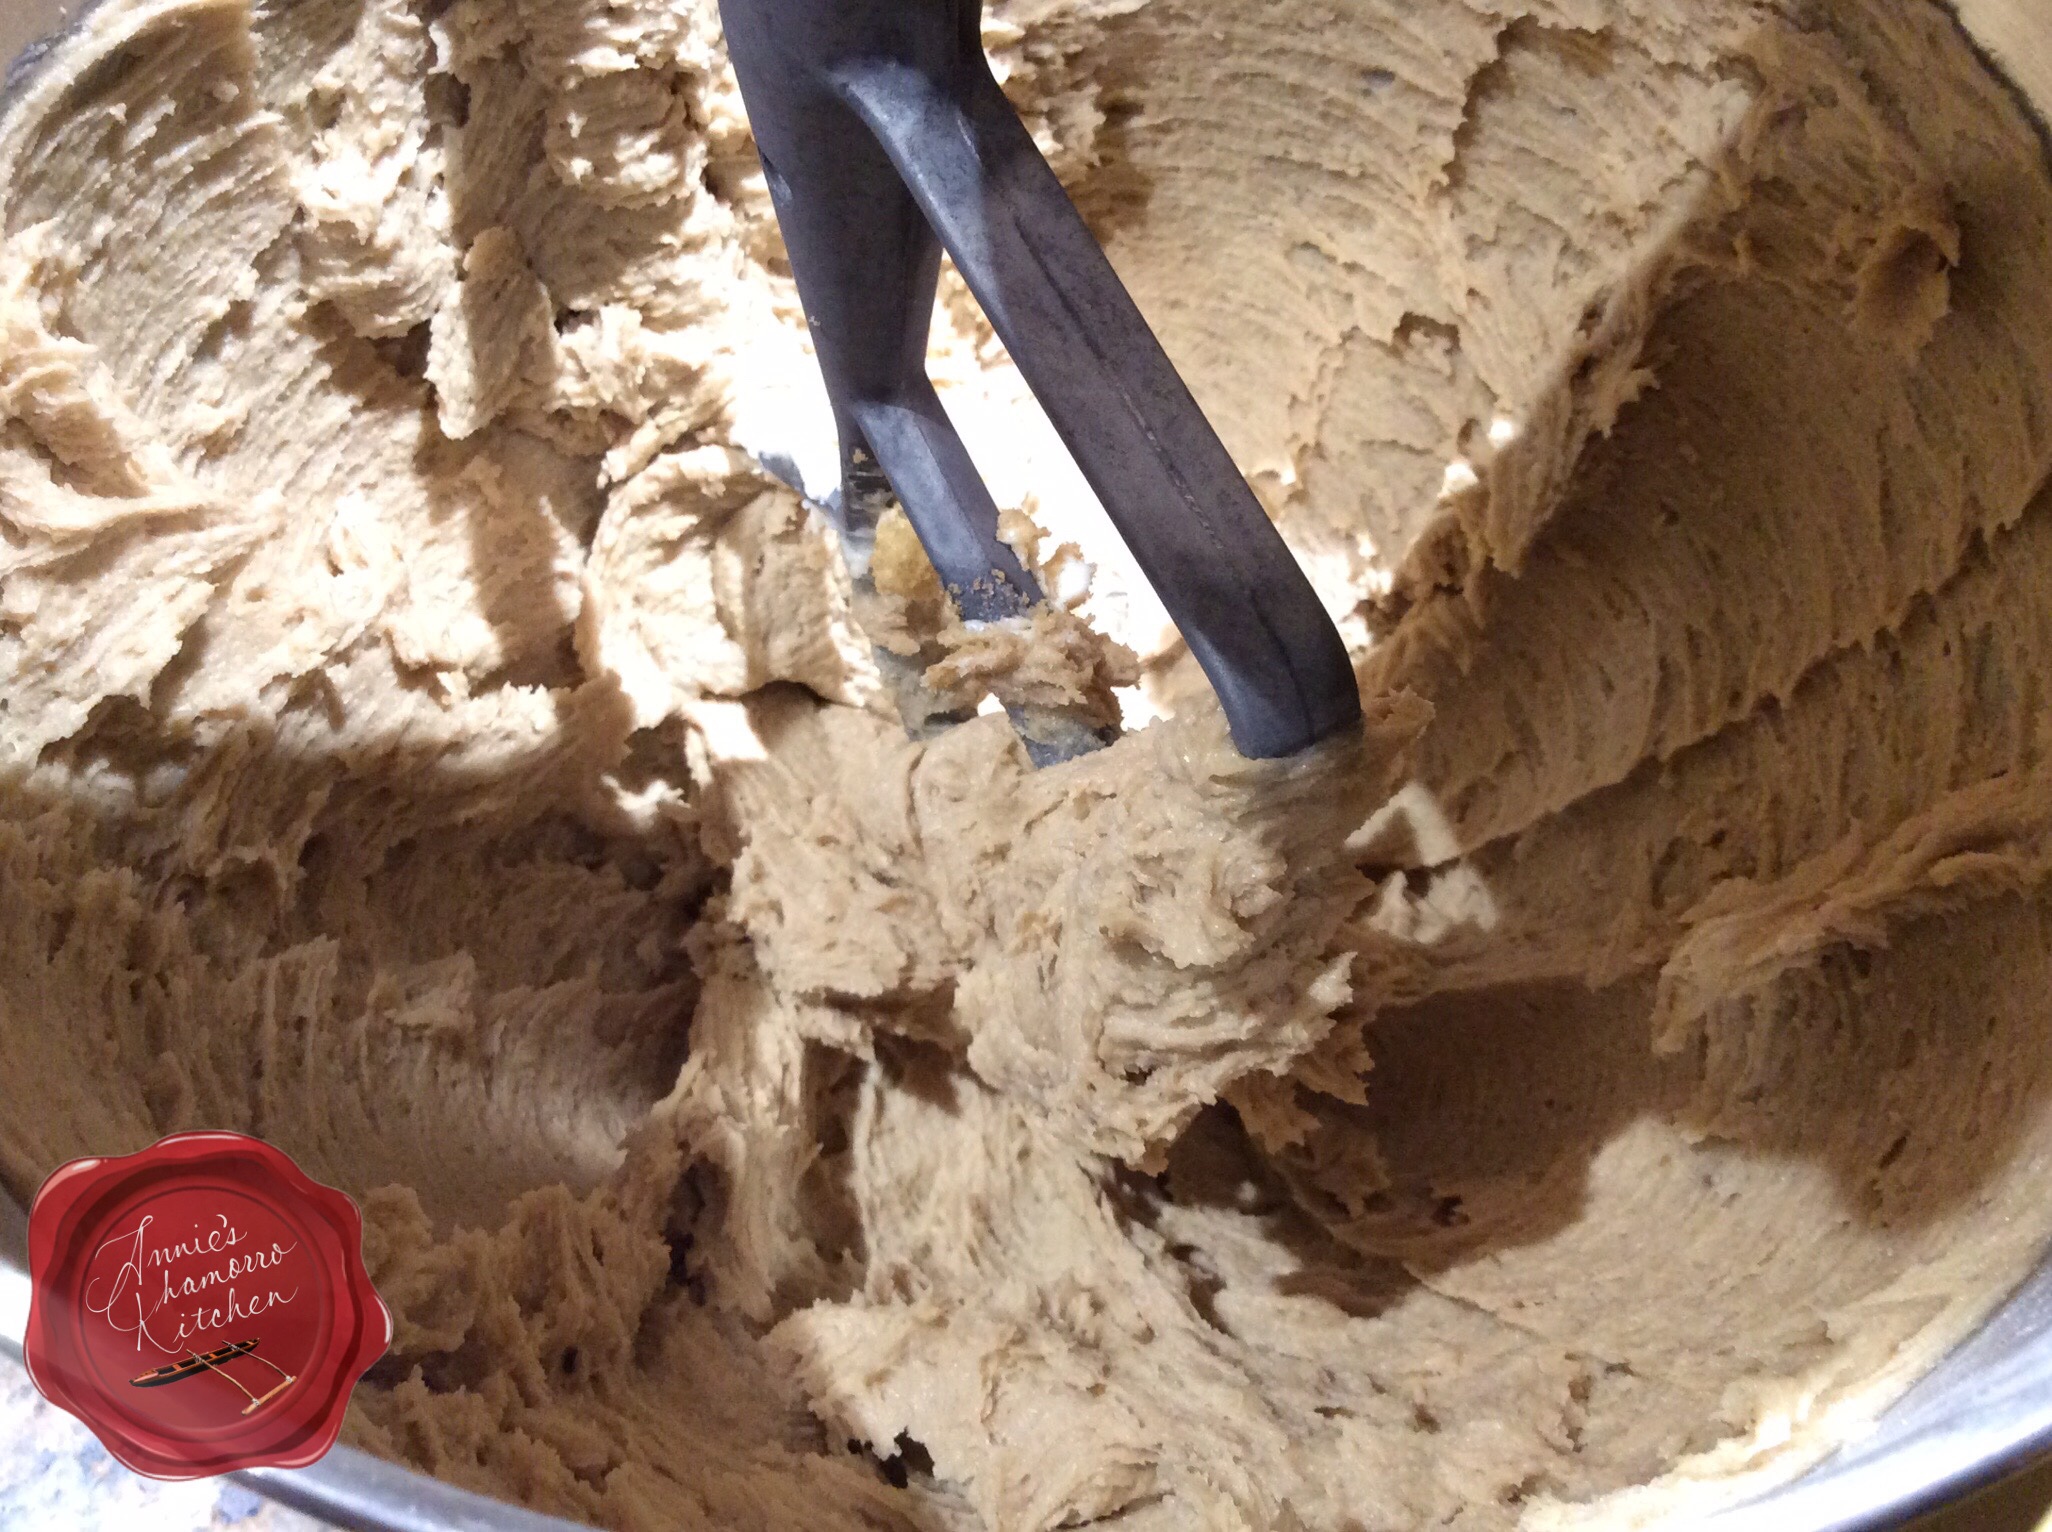
Beat the butter until creamy.

image

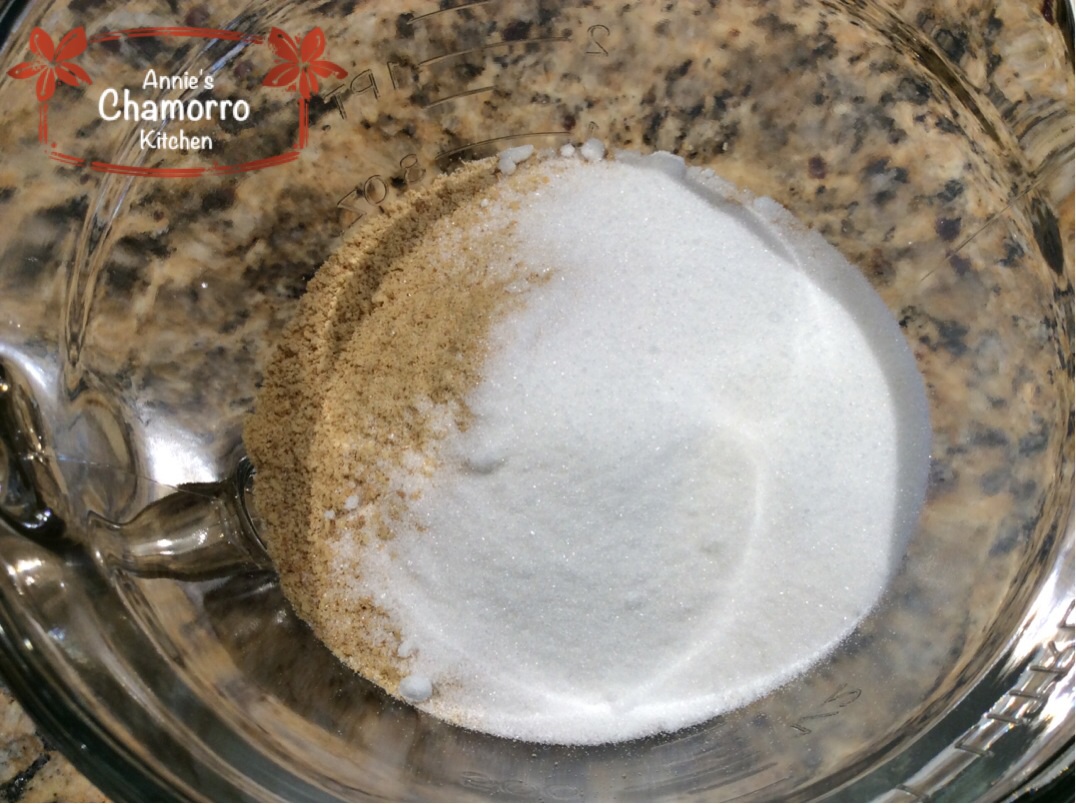
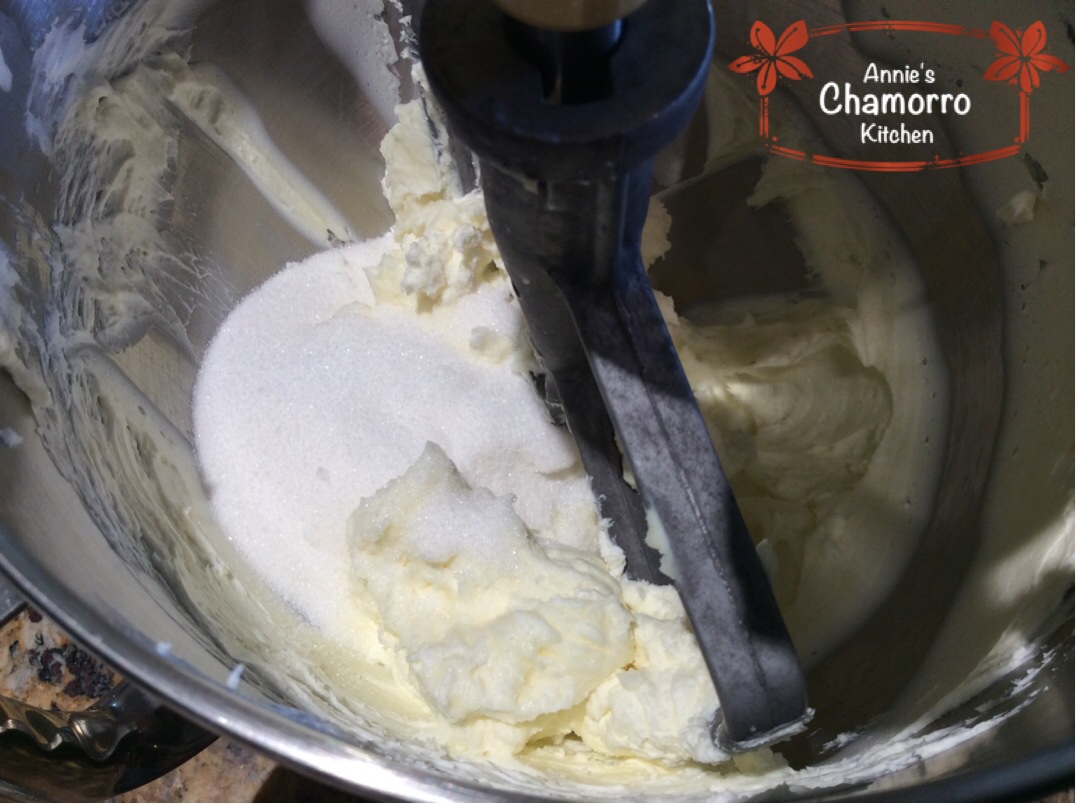
Add the brown sugar to the mixing bowl.

image

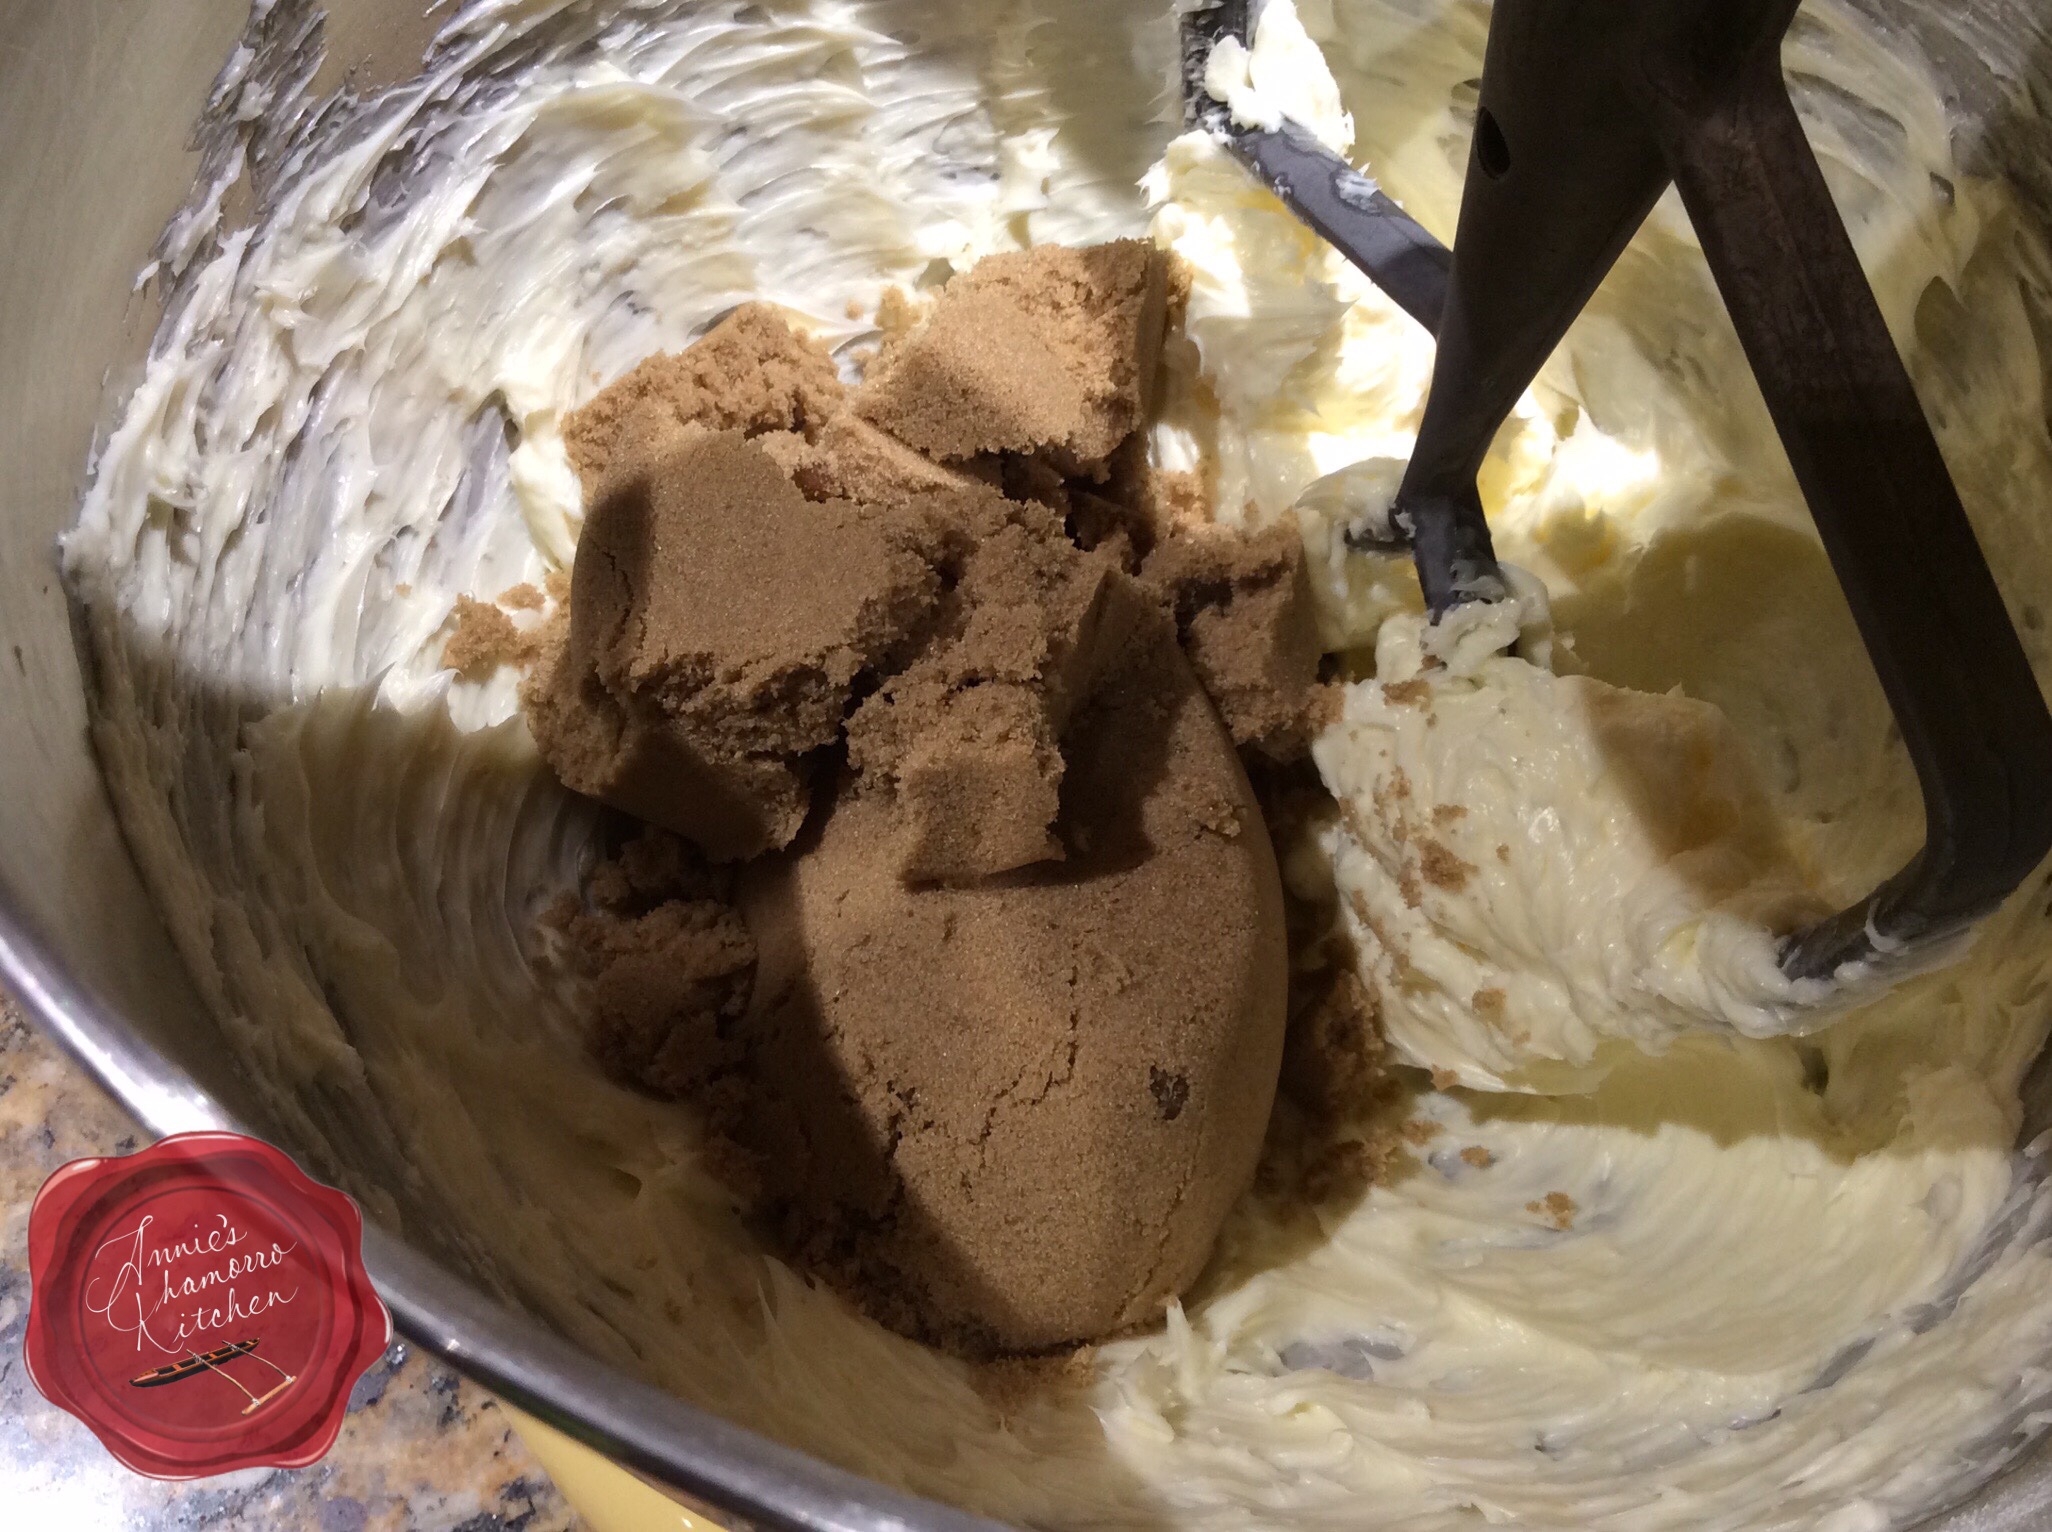
Mix until light and fluffy.

This is a great mixture to spread over hot dinner rolls, by the way.  Just add a teaspoon of ground cinnamon and voila! Sweet Cinnamon Butter!

image

Now I want to make some dinner rolls, but I digress.

Anyhoo…back to the cookies.

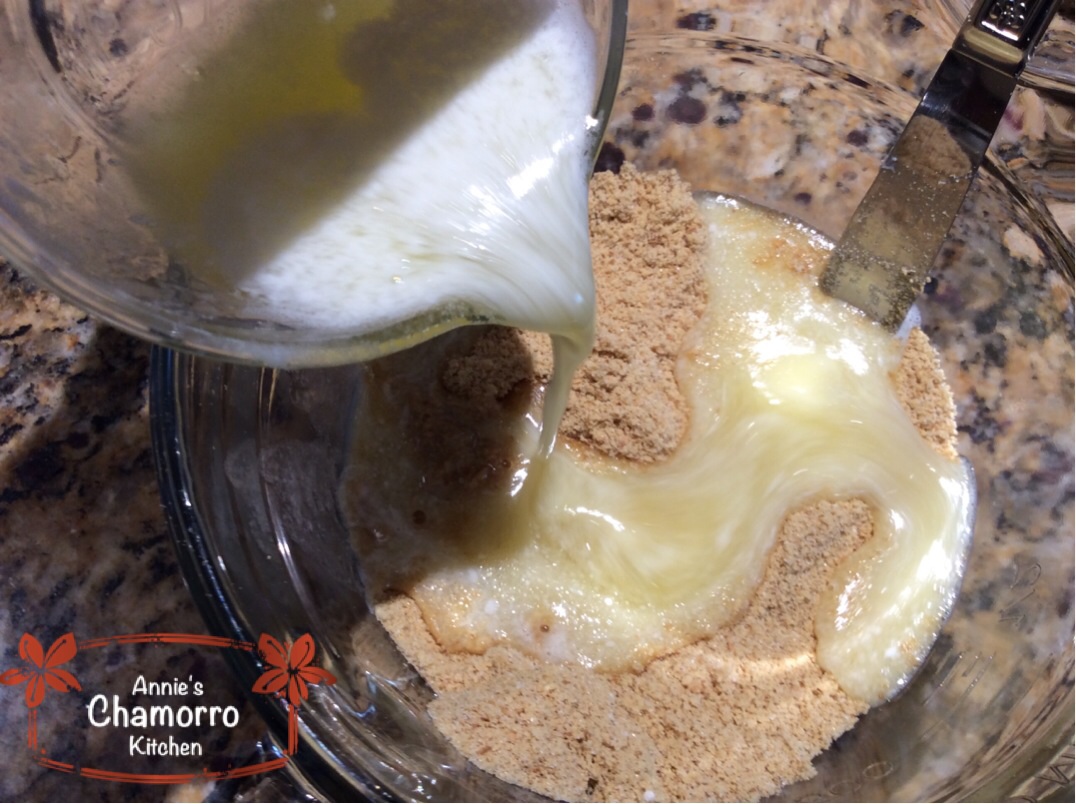
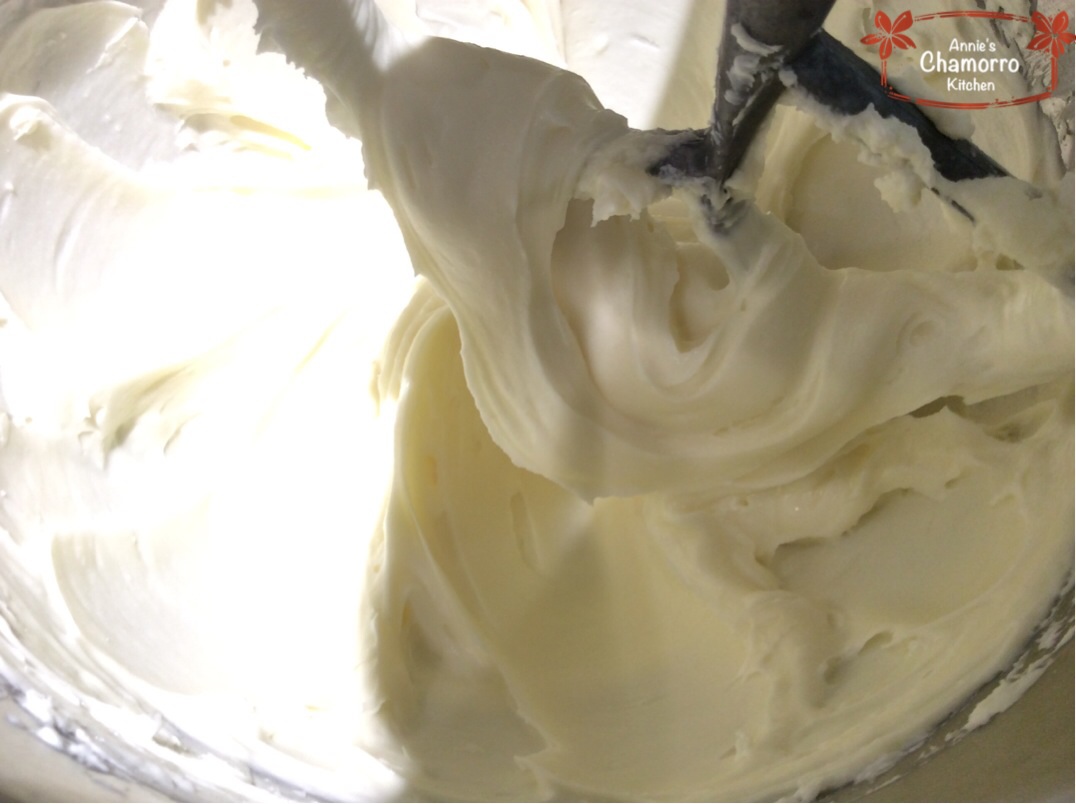
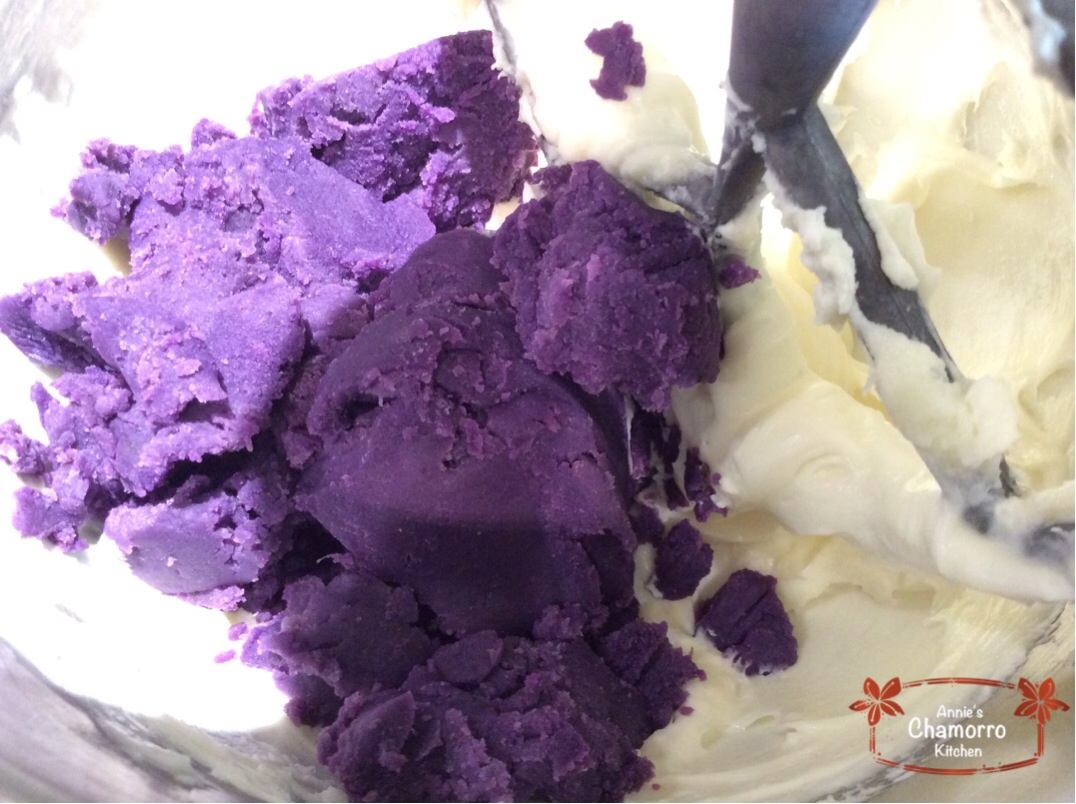
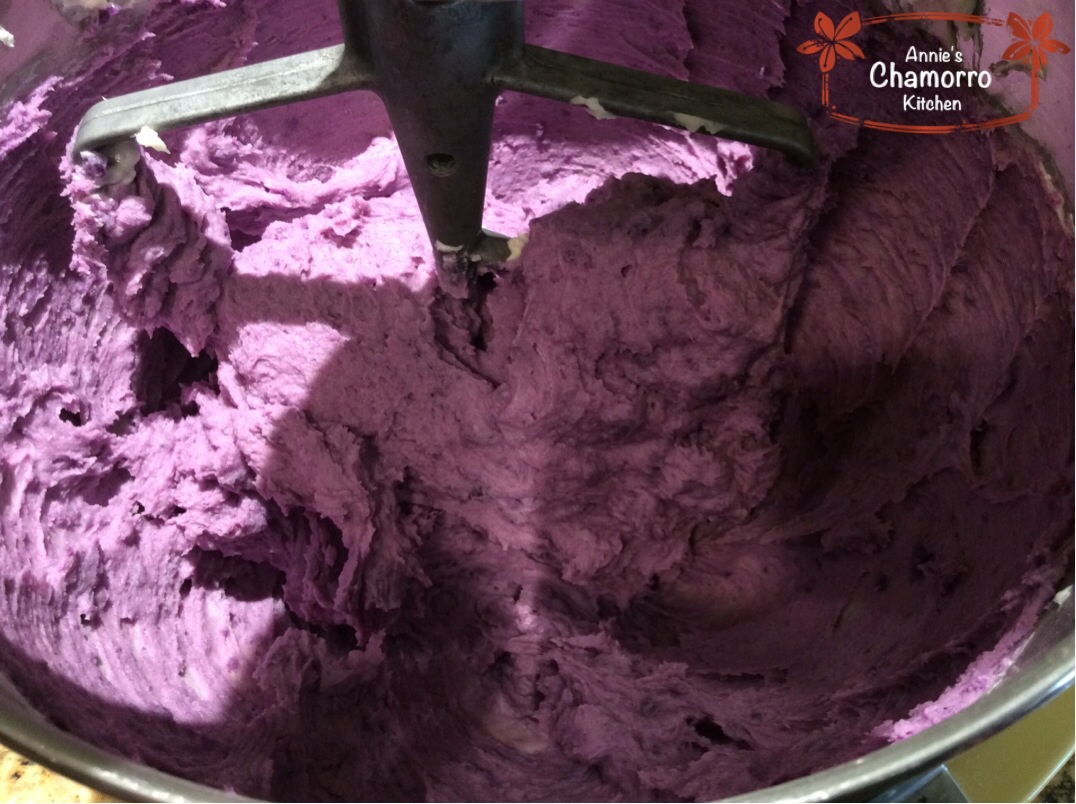
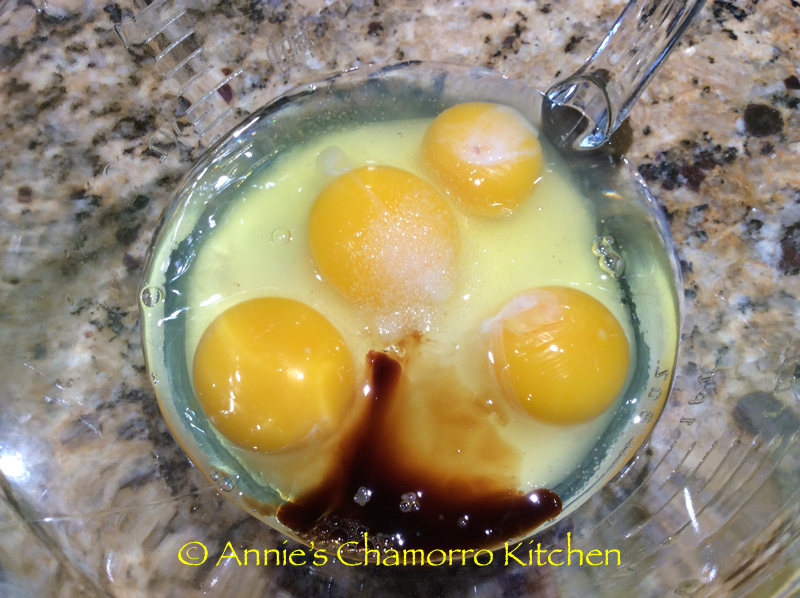
Add the molasses, eggs and vanilla extract to the mixing bowl.

image

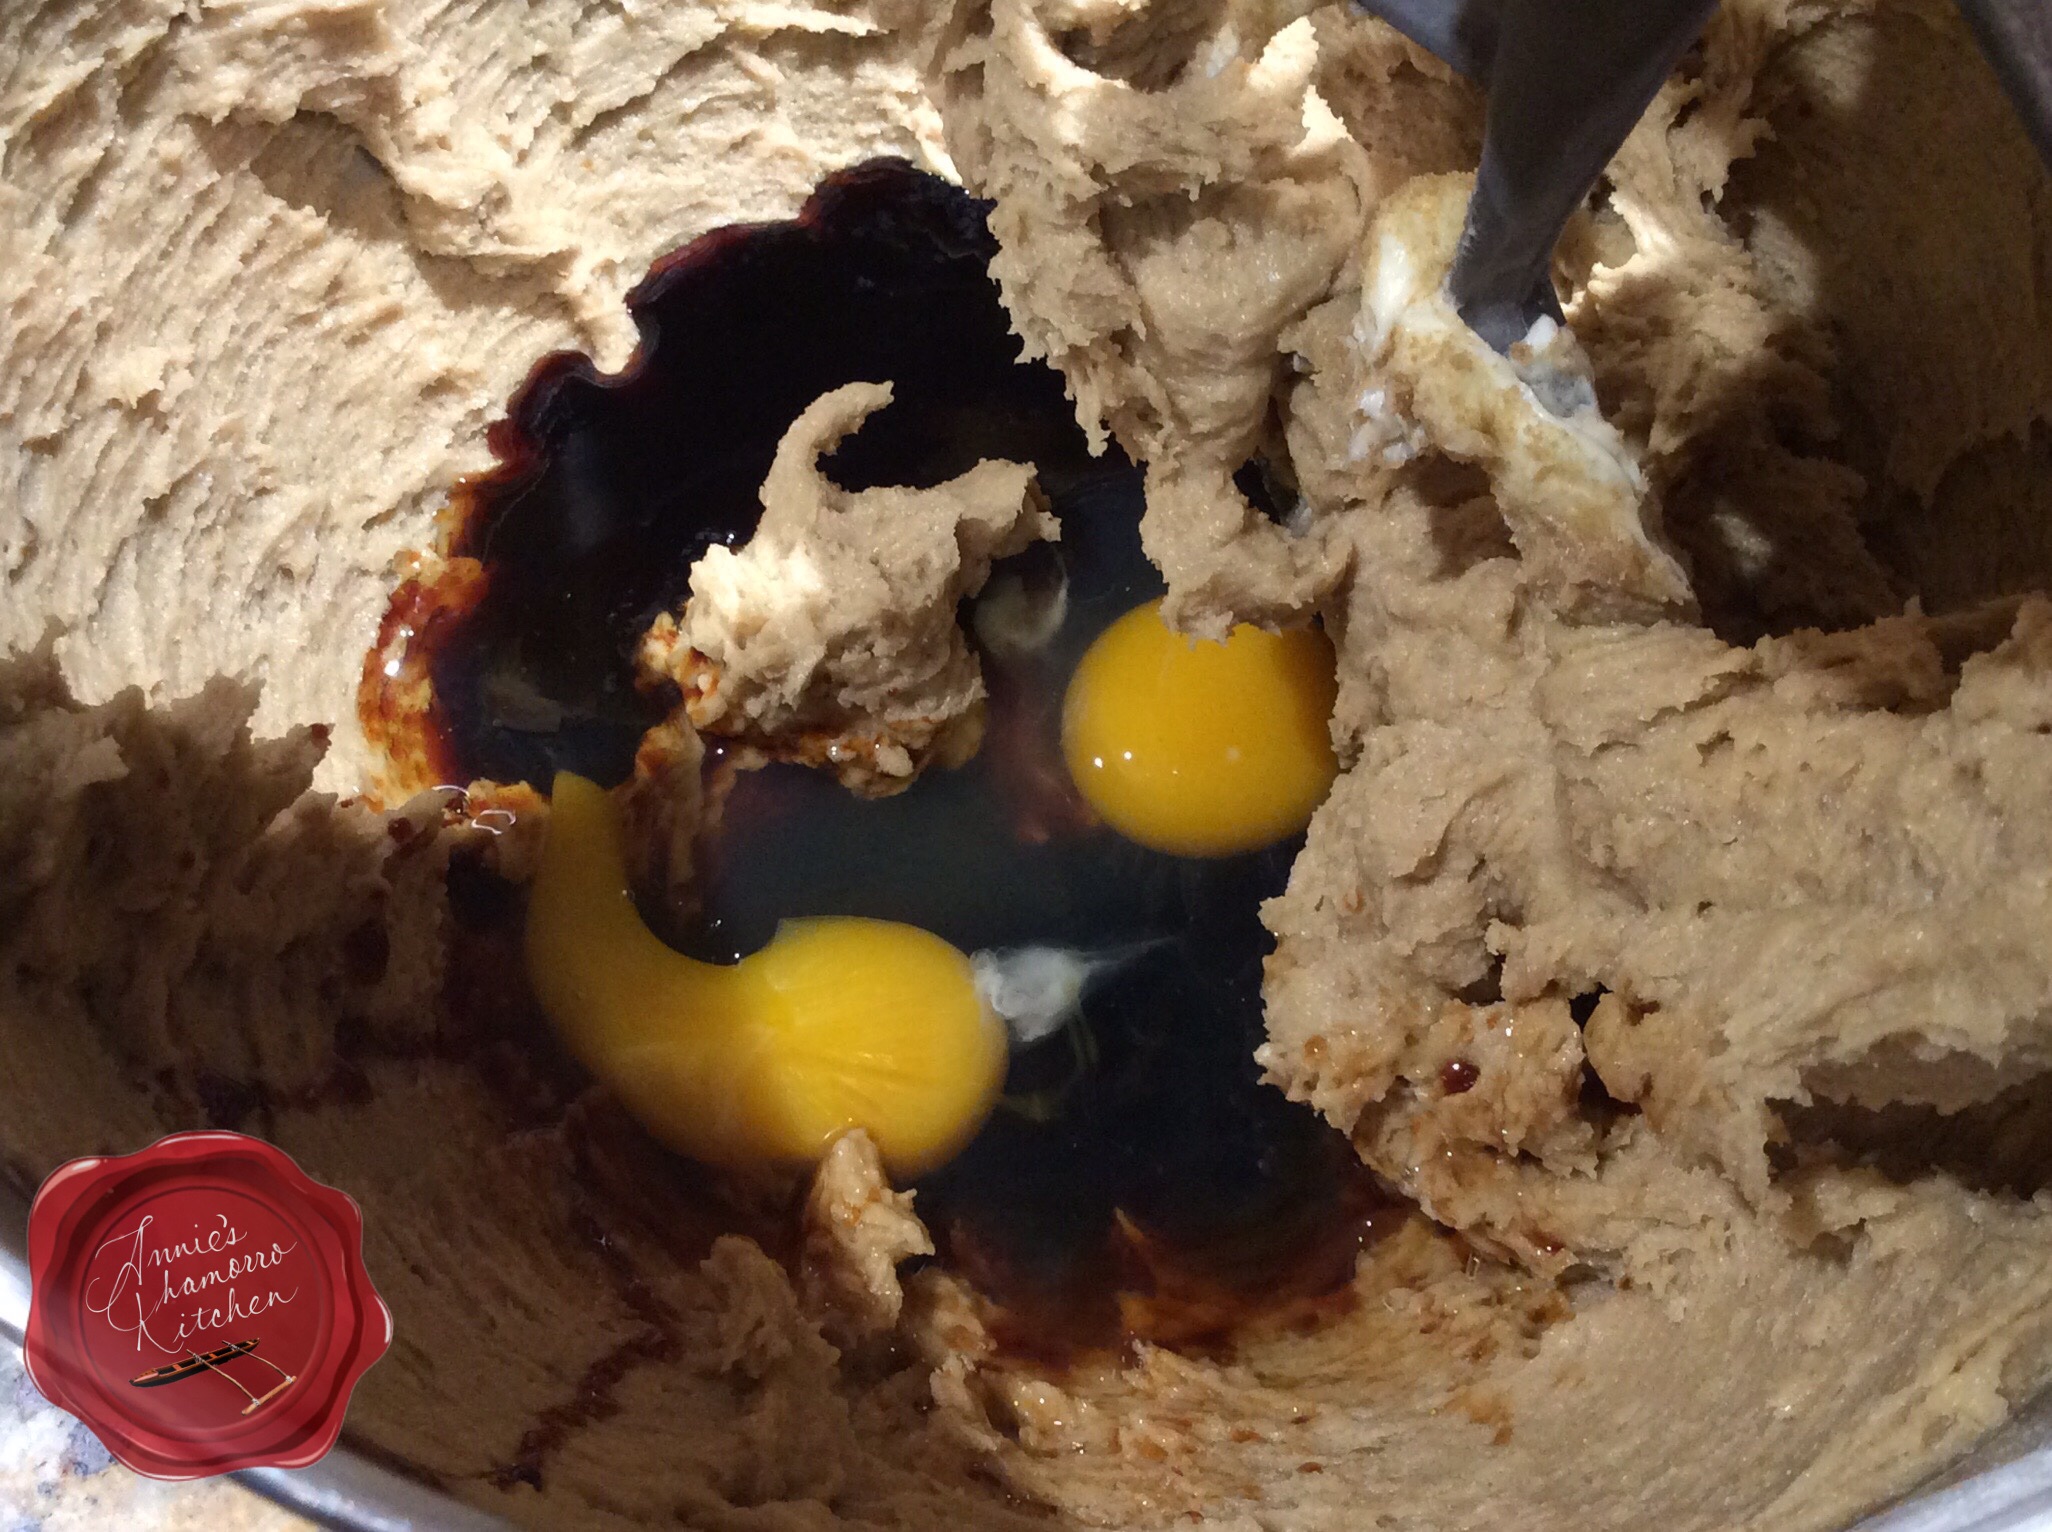
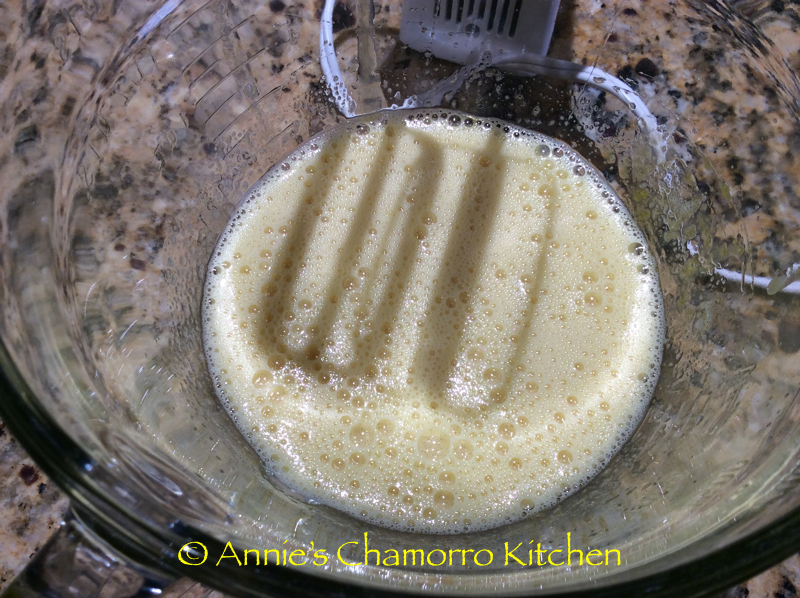
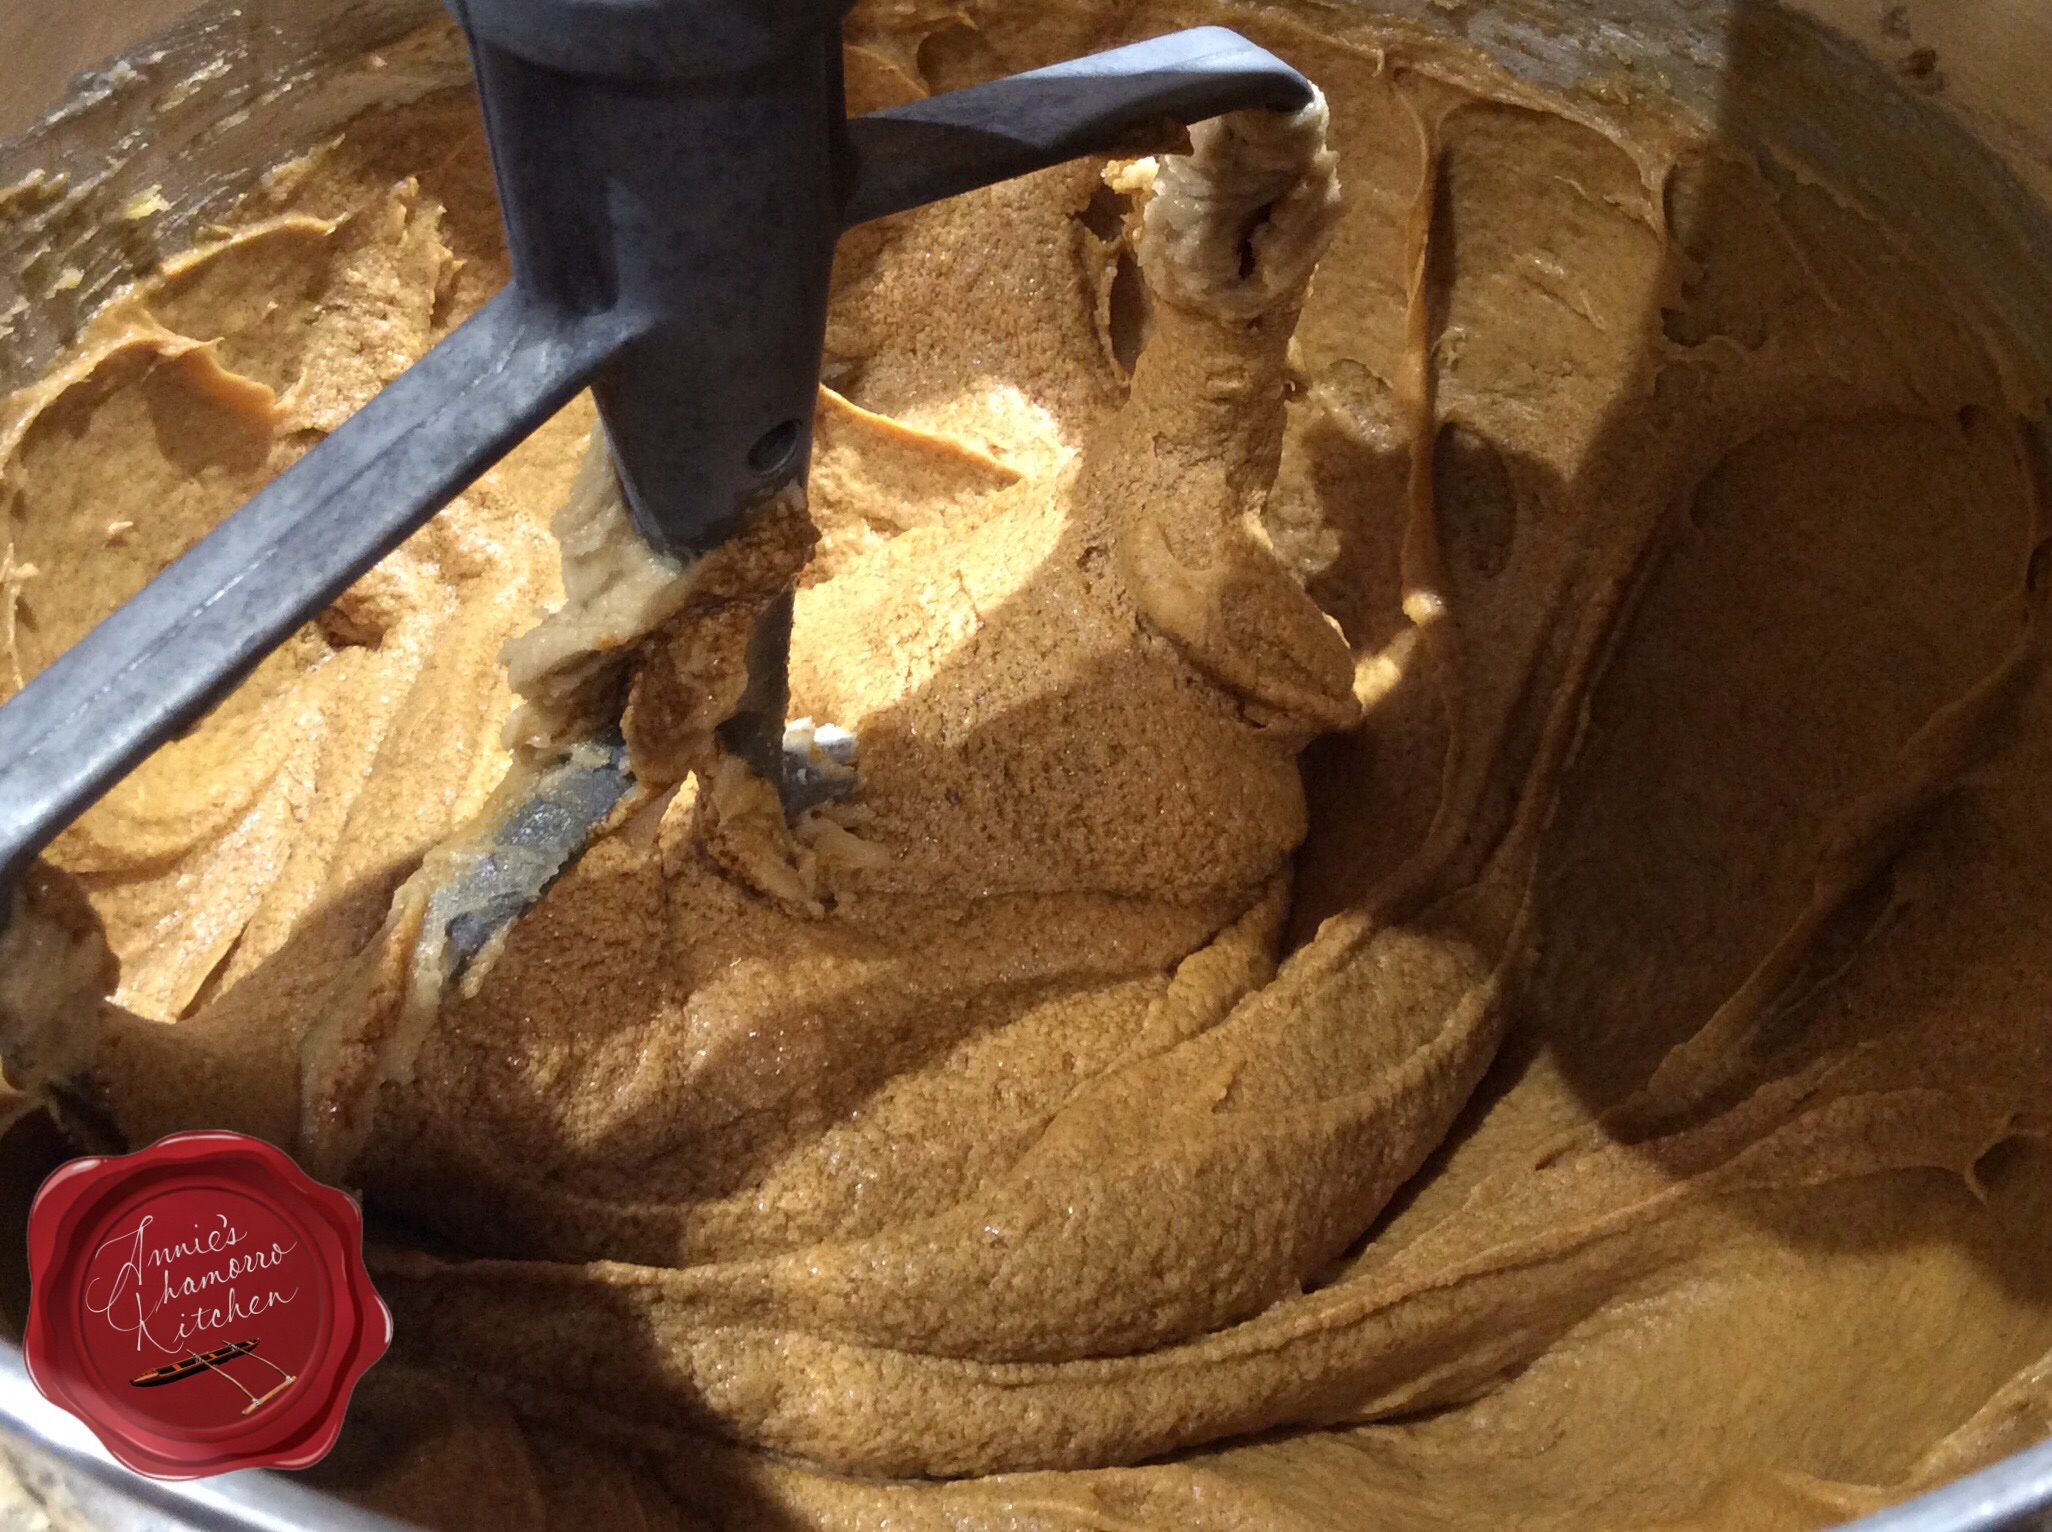
Mix on low speed for a minute or so, or until you get a nice creamy consistency like what’s pictured below.  Scrape down the sides of the bowl if you need to then mix again.

image

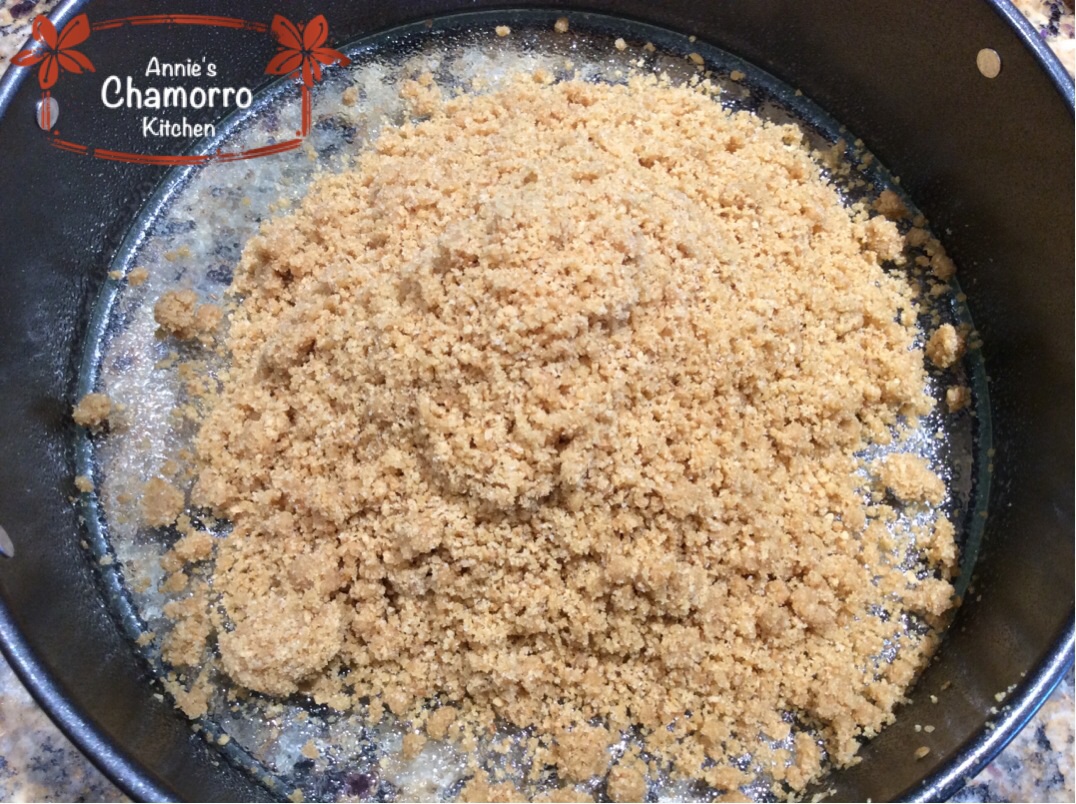
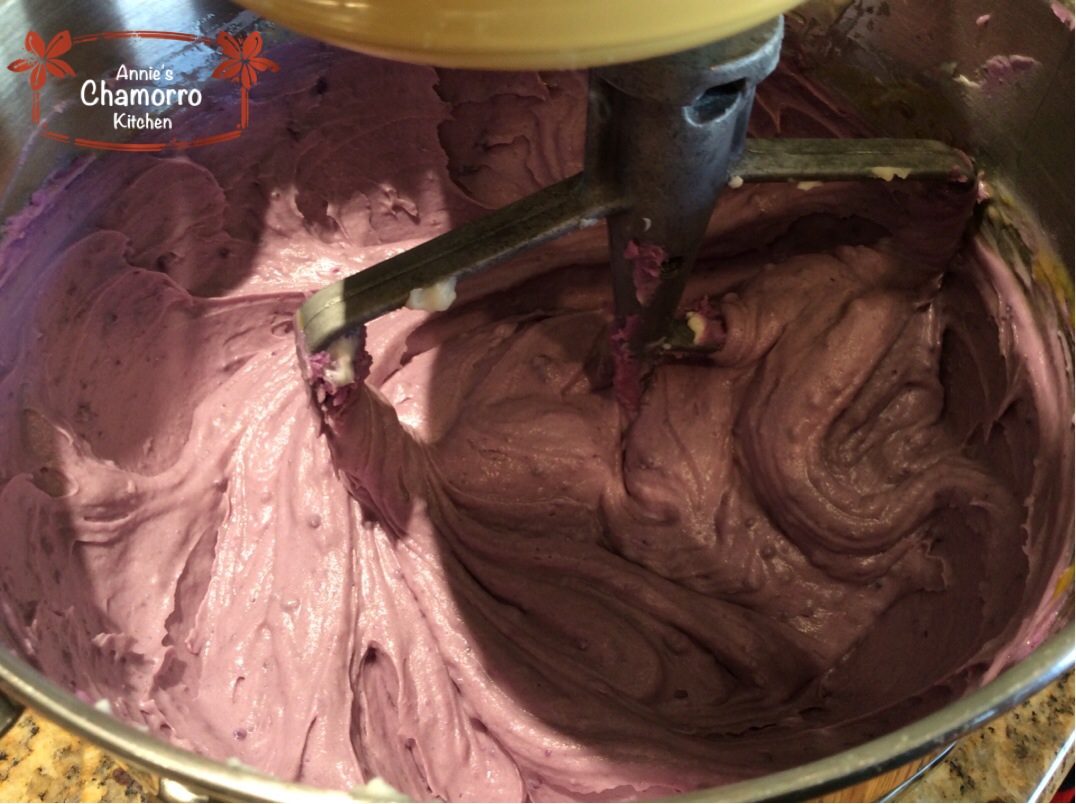
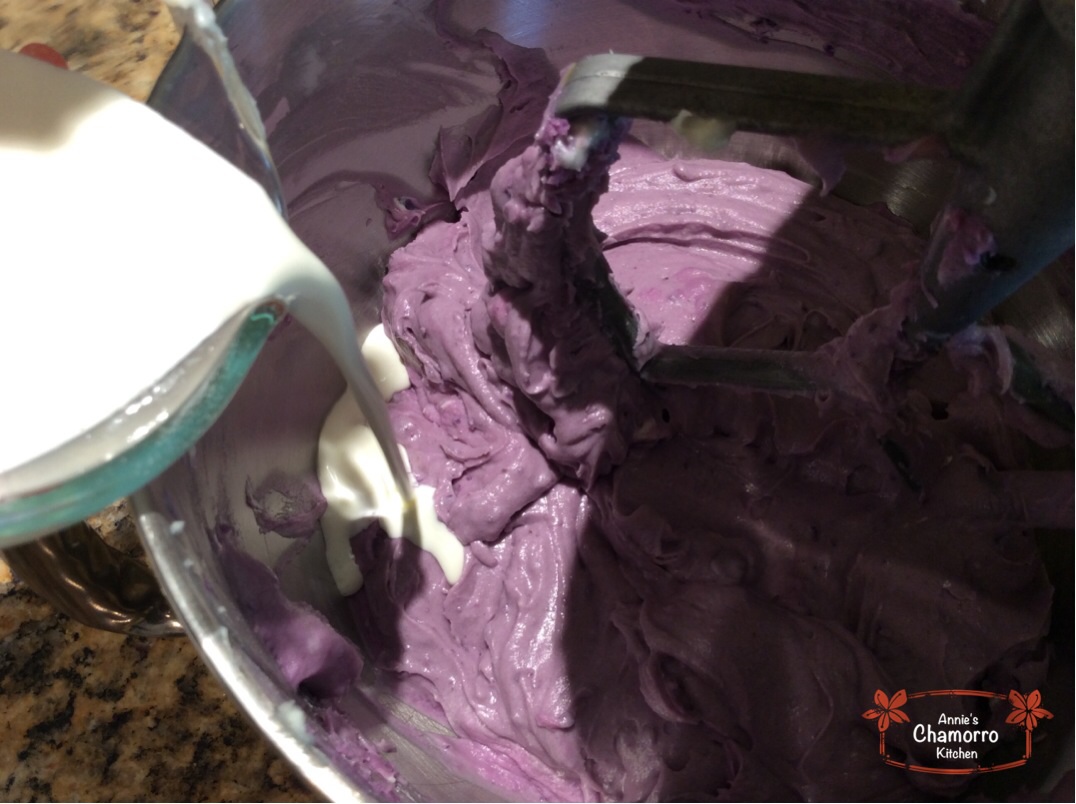
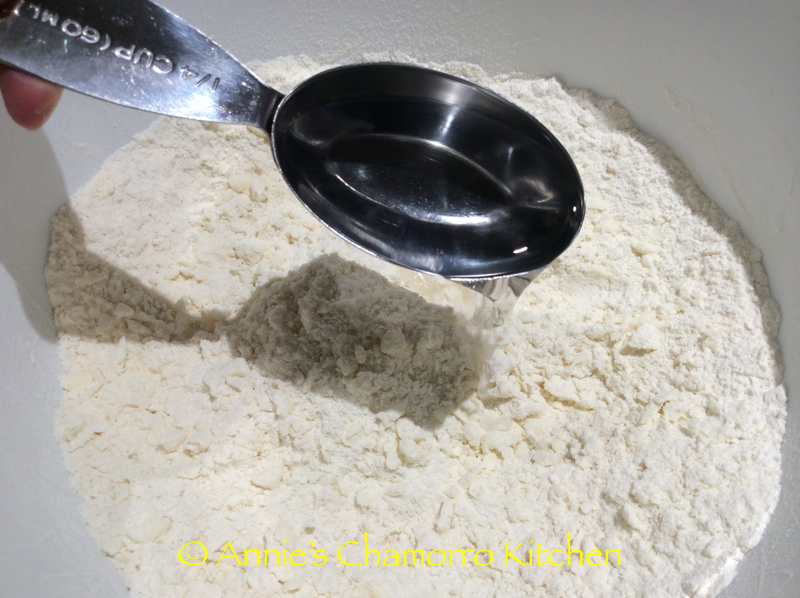
Add the flour mixture, one cup at a time, mixing on low speed just until the flour mixture is incorporated into the wet batter.

image

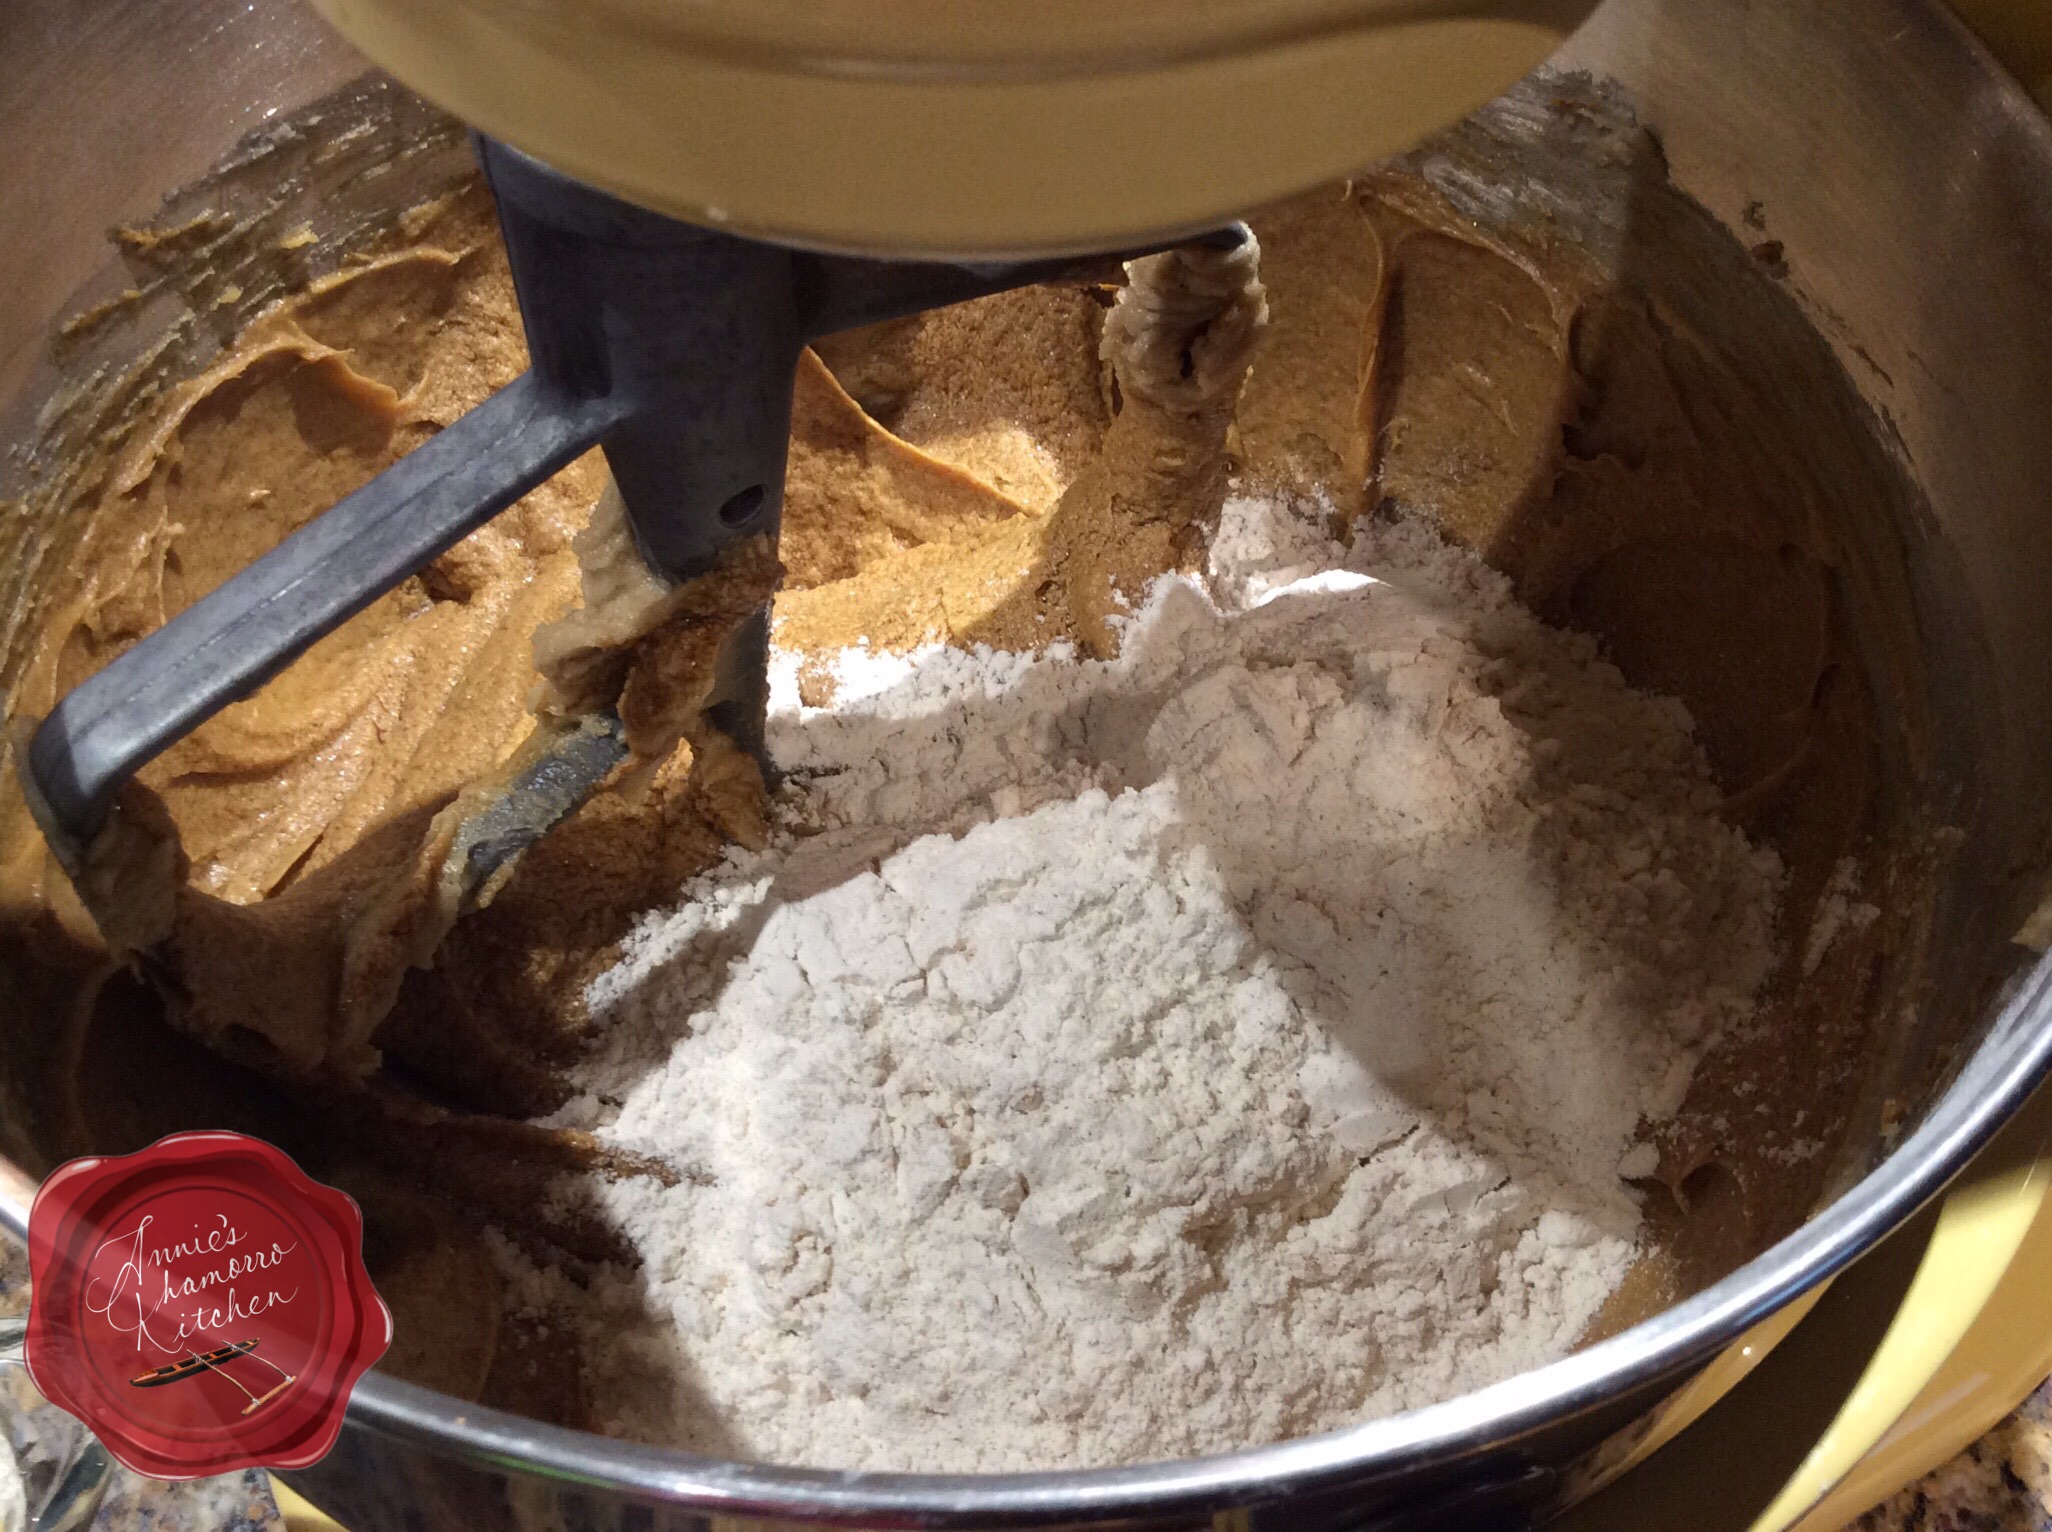
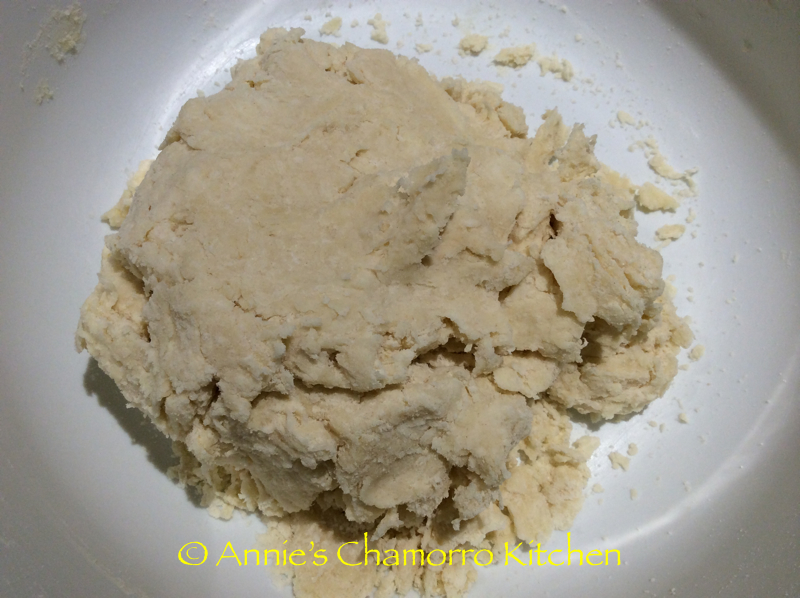
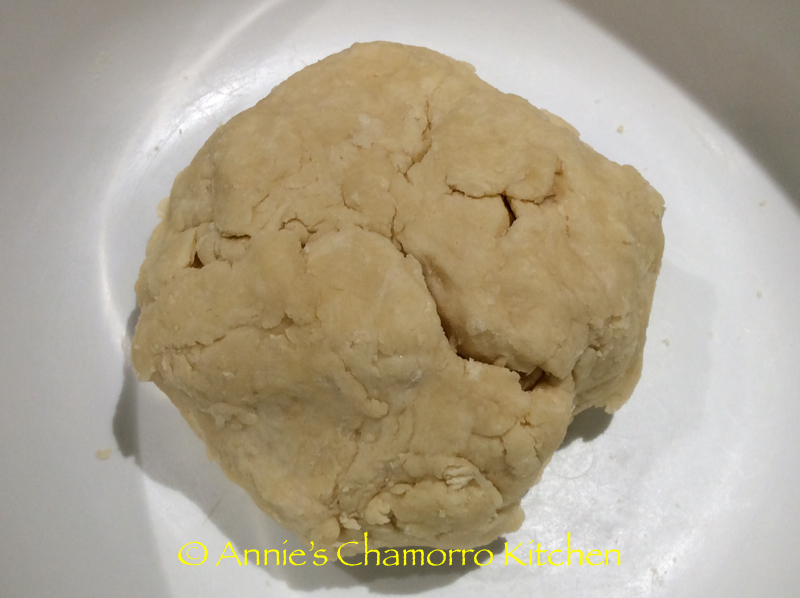
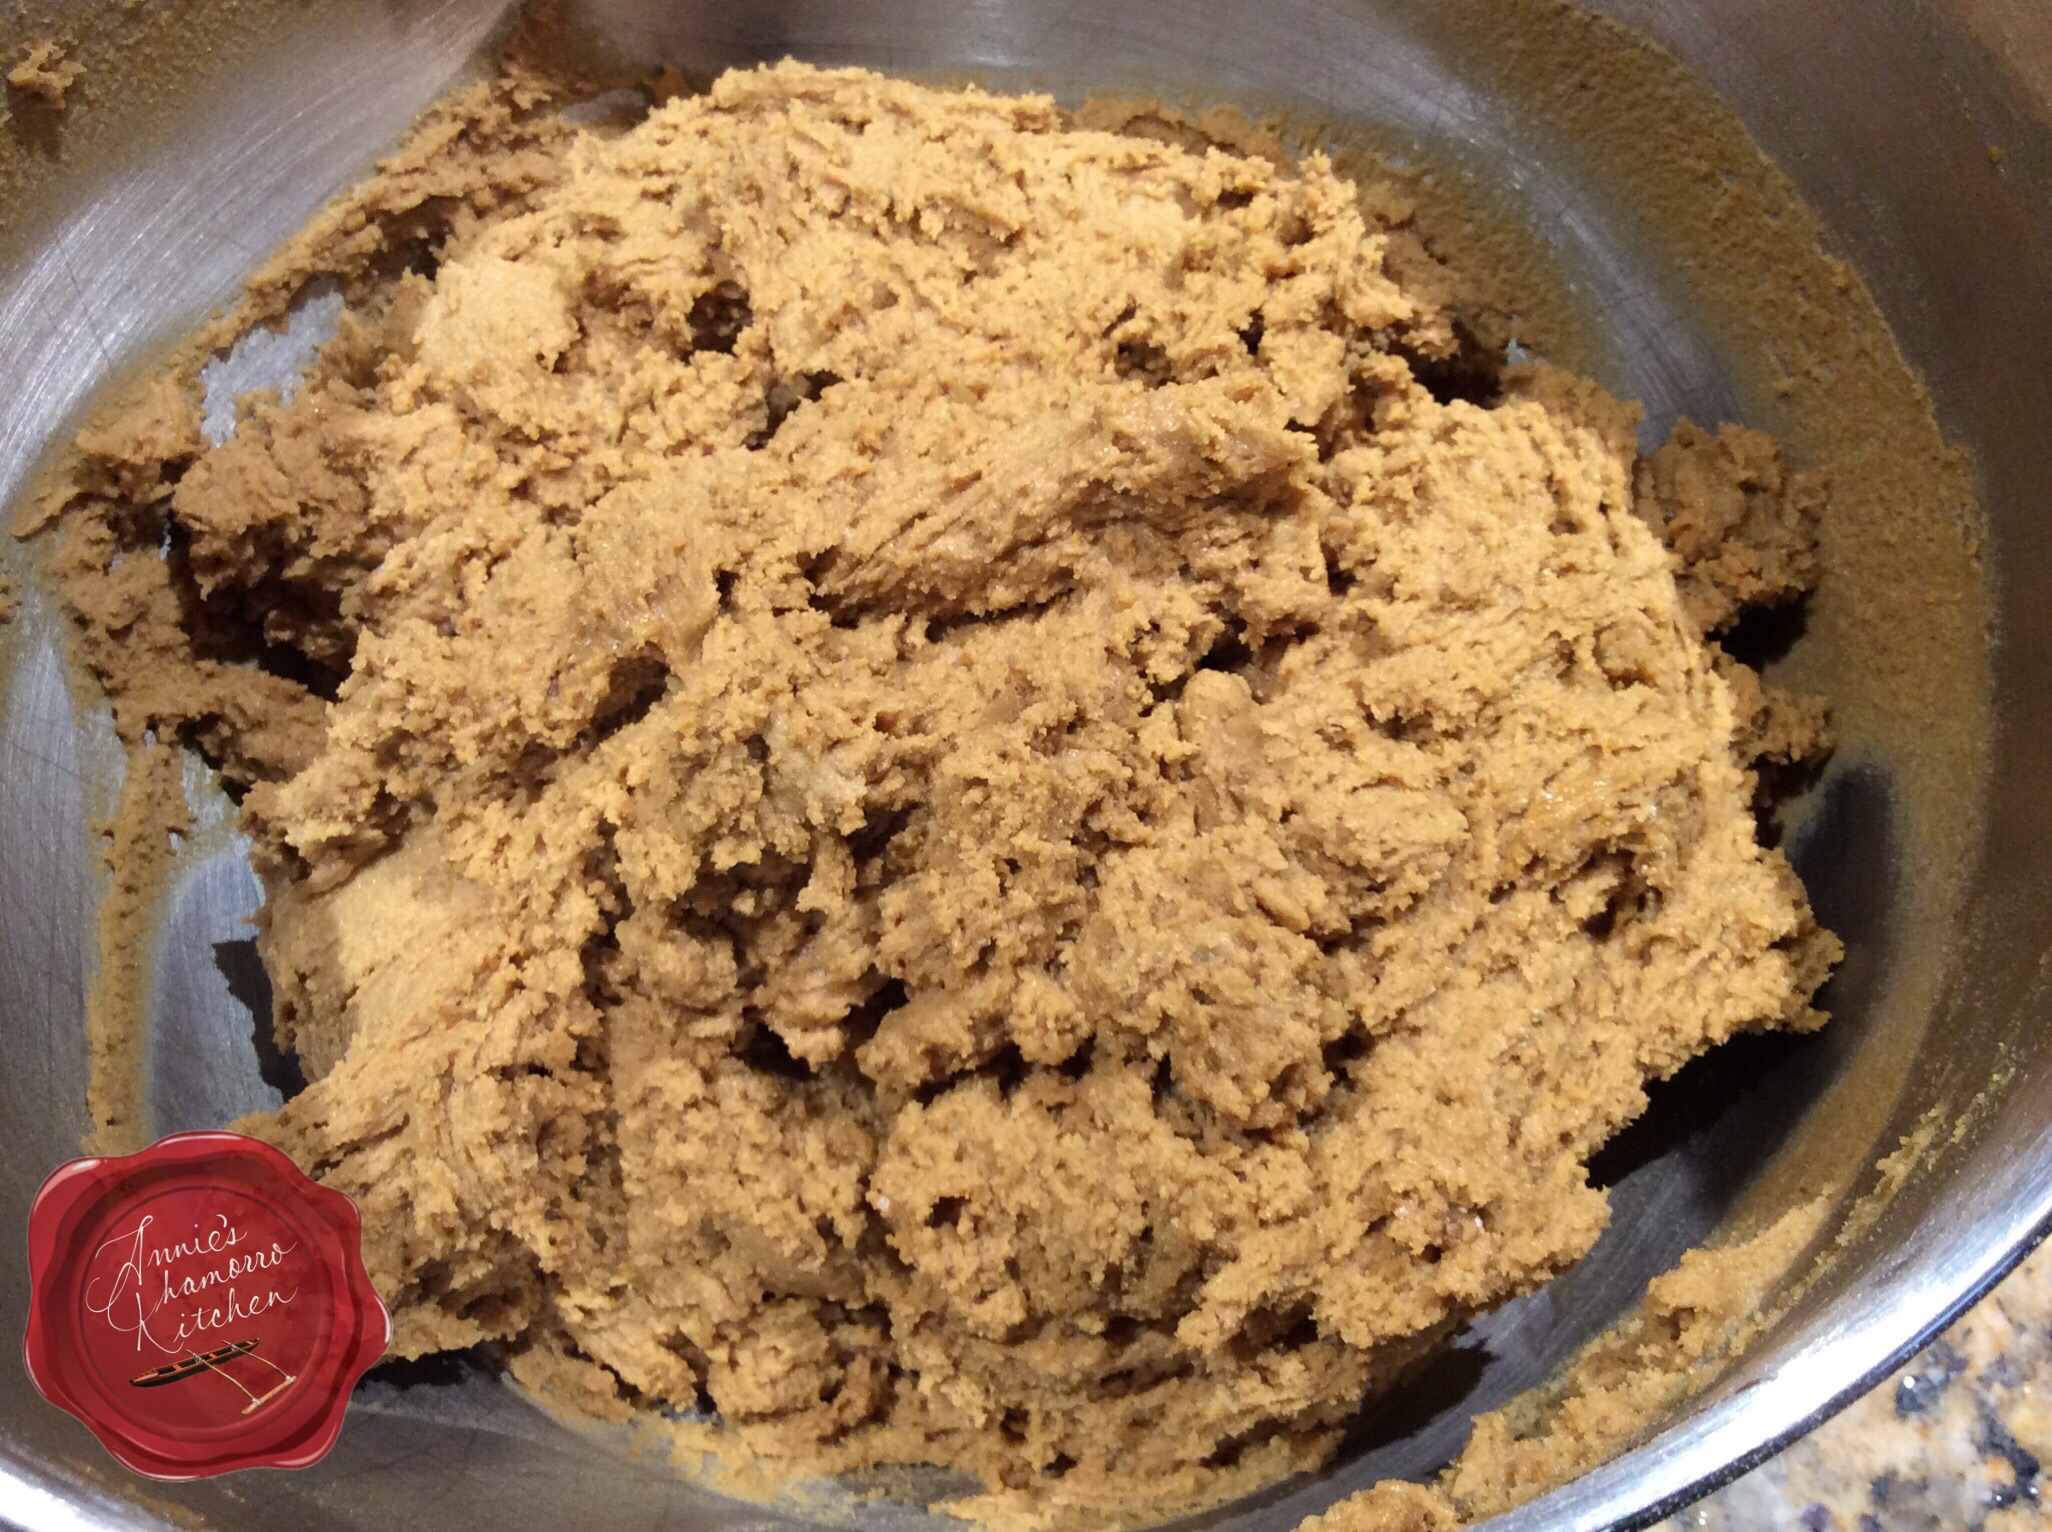
Continue mixing in the dry ingredients, a cup at a time, until a dough forms.  Stop mixing when you no longer see clumps of dry ingredients.  Do not over mix the dough.

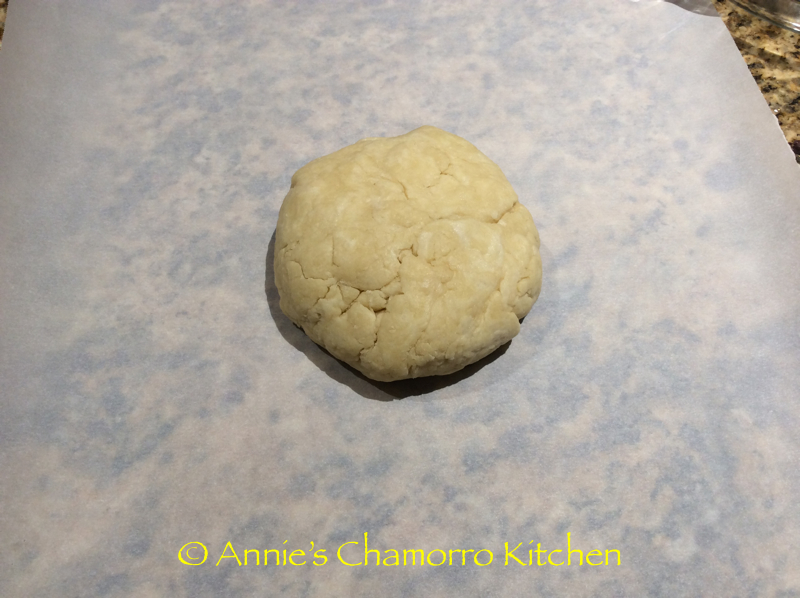
Because this is a really wet dough, you need to chill it for several hours before making dough balls.  I usually prepare the dough while dinner is cooking, then I pop the mixing bowl into the freezer while we eat dinner.  After dinner, I take the dough out of the freezer and bake the cookies.

image

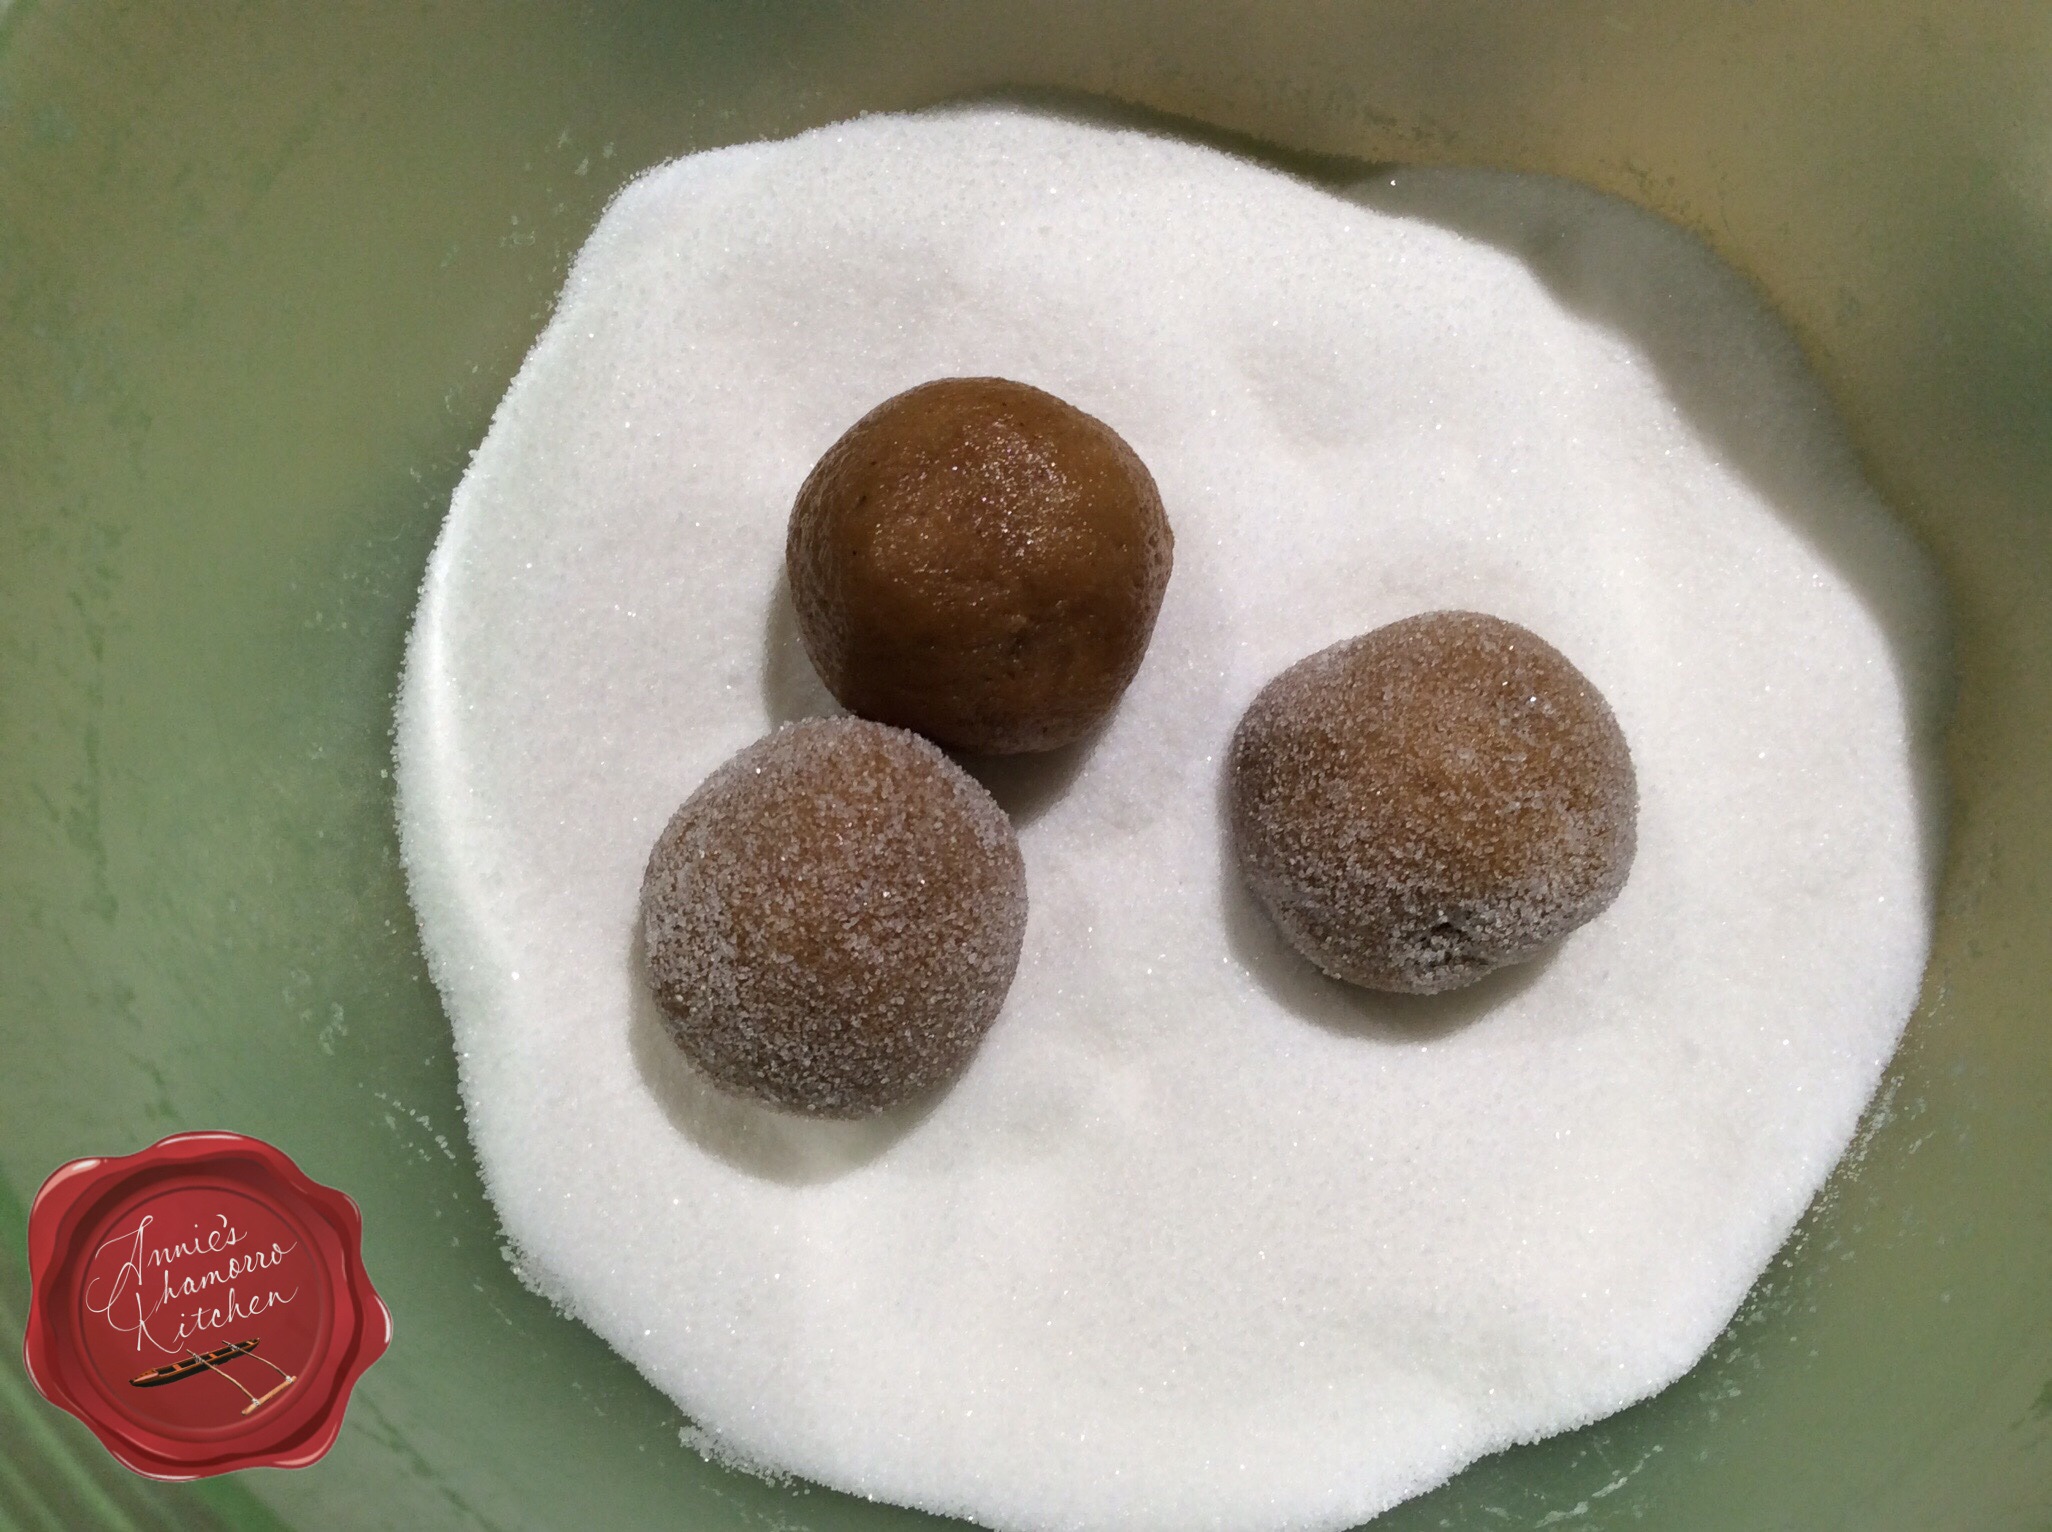
Now that your dough chilled sufficiently enough to handle, scoop out small amounts (about 1 1/2 to 2 tablespoons) and form into balls.  I use a small cookie scoop to do this — I have a bit of OCD; I like all of my cookies to be the same size. 😉

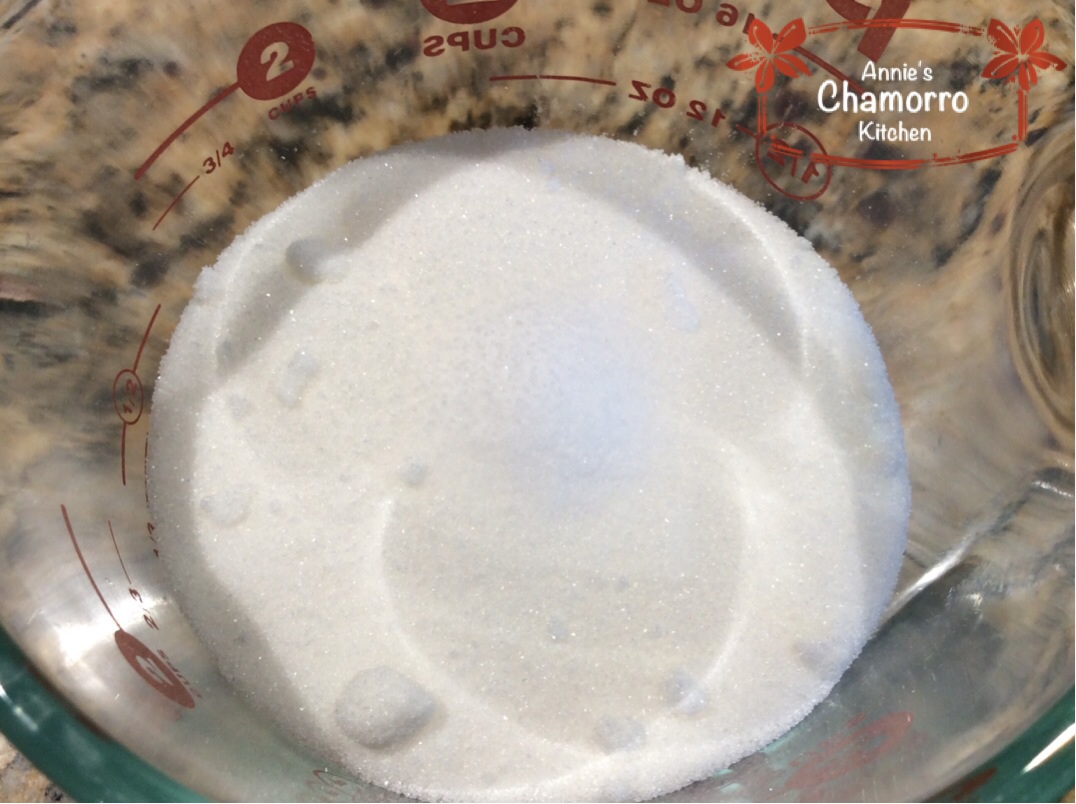
Roll the balls of dough in a bowl of granulated sugar.  Ensure the entire ball is well-coated with sugar.

image

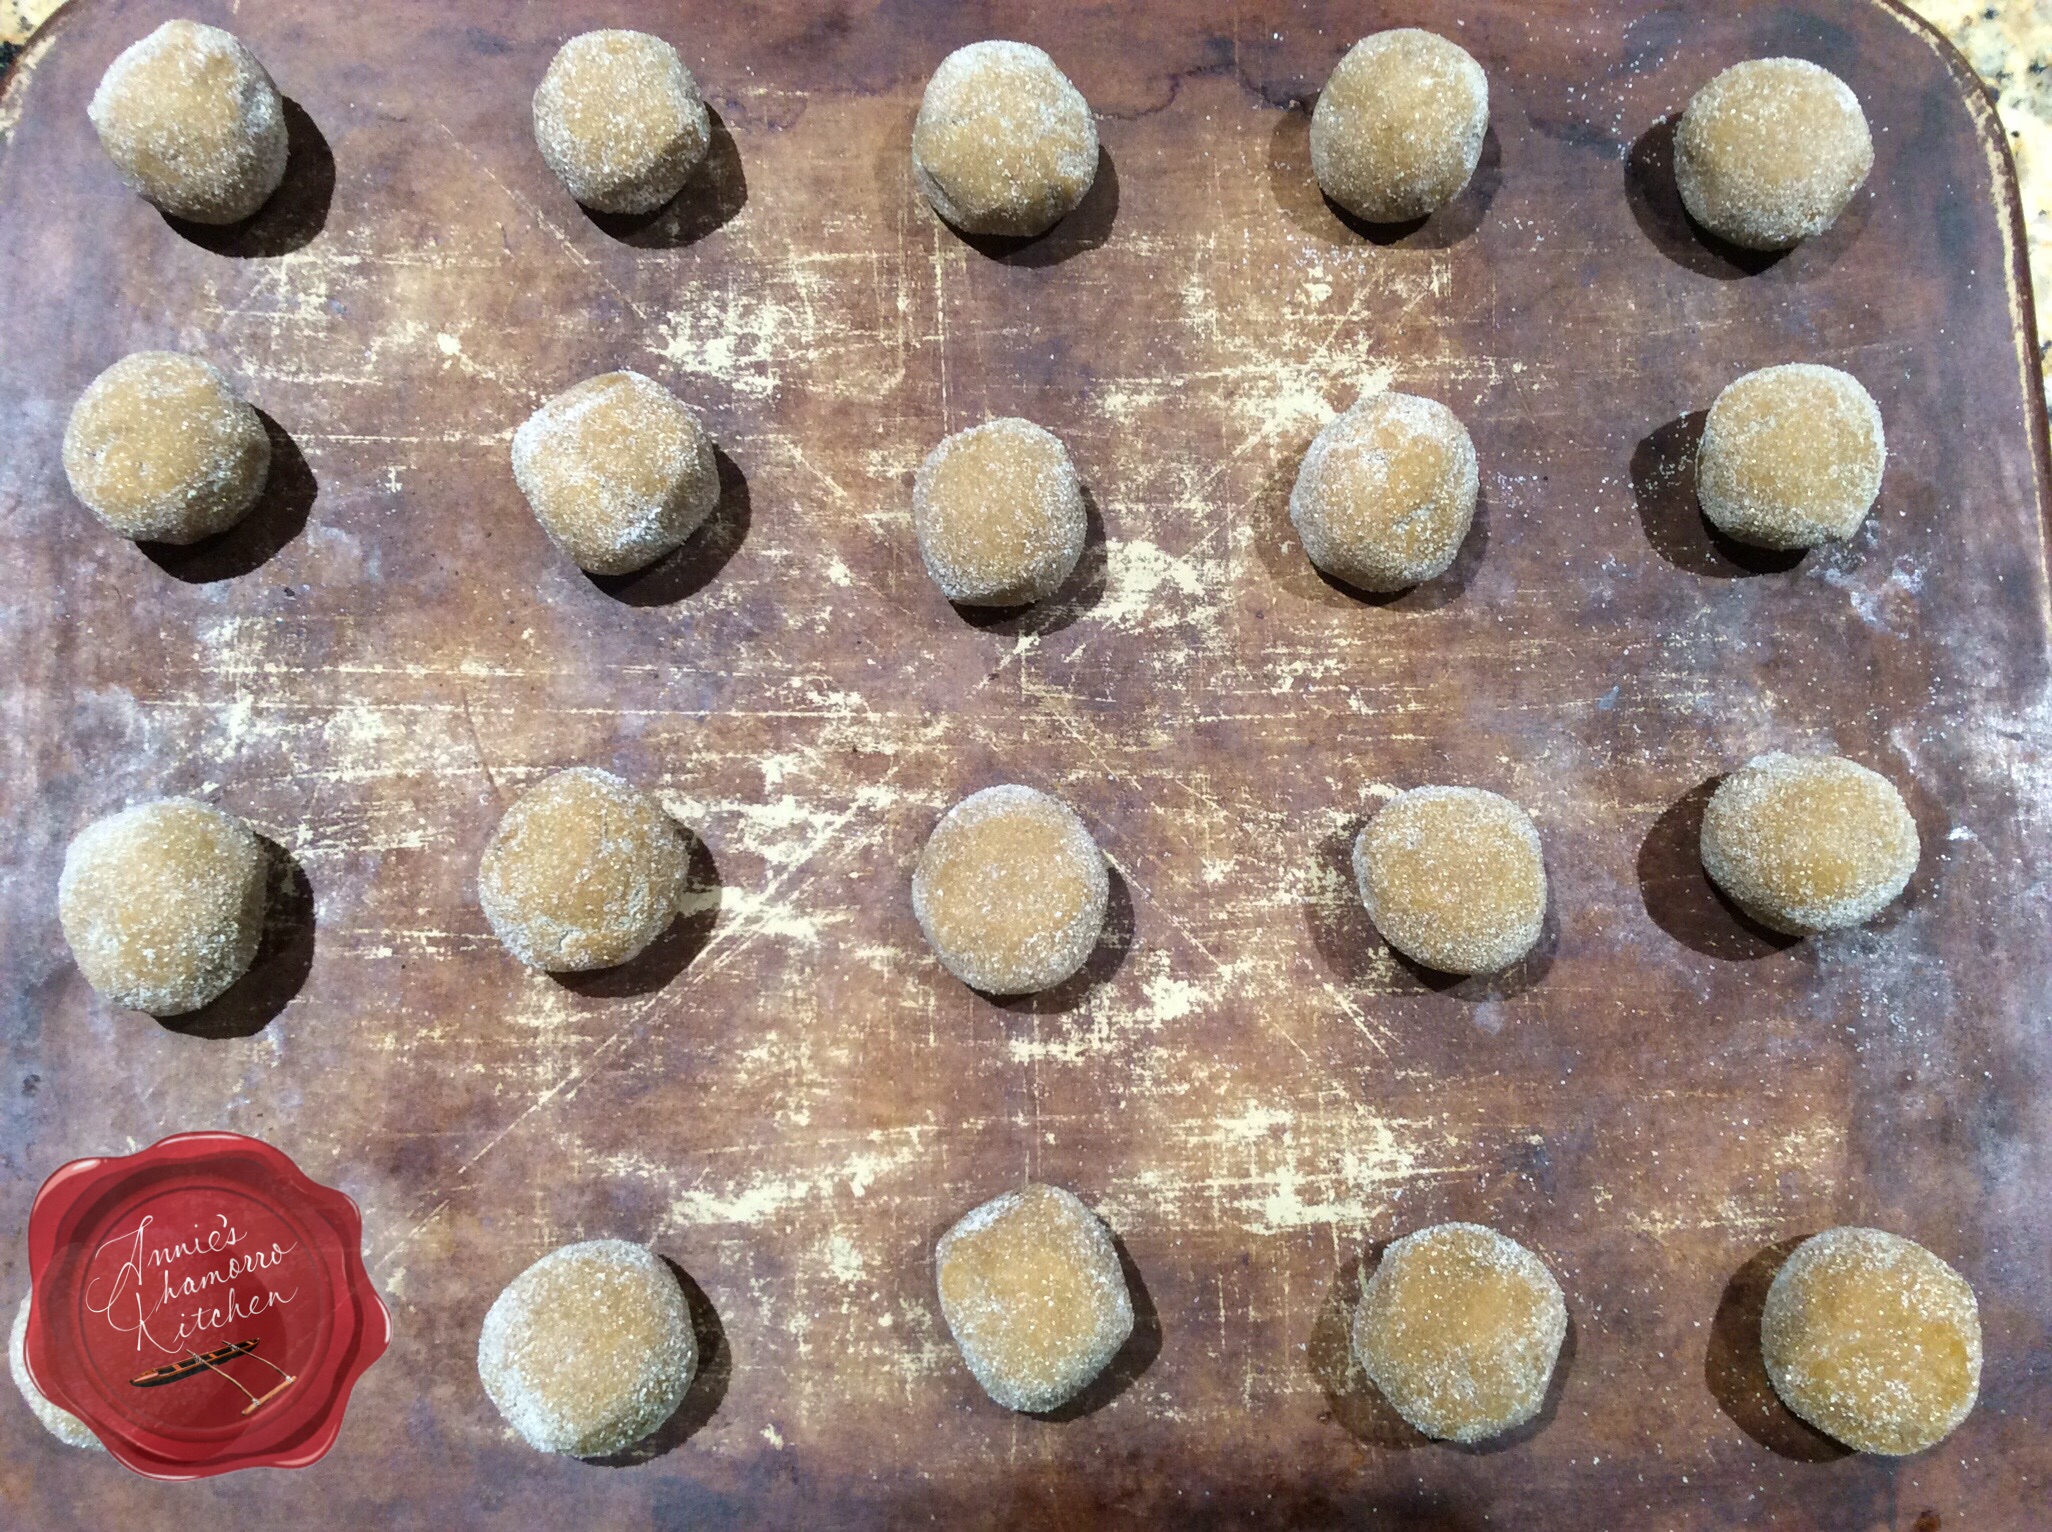
Place each ball of dough onto a baking pan.  If you have regular baking pans, make sure to line the pan with parchment paper first.  I use stoneware pans; there is no need to line them with parchment paper.

Place the balls about 1 1/2 to 2 inches apart.  These cookies will spread, but they won’t spread too much.

image

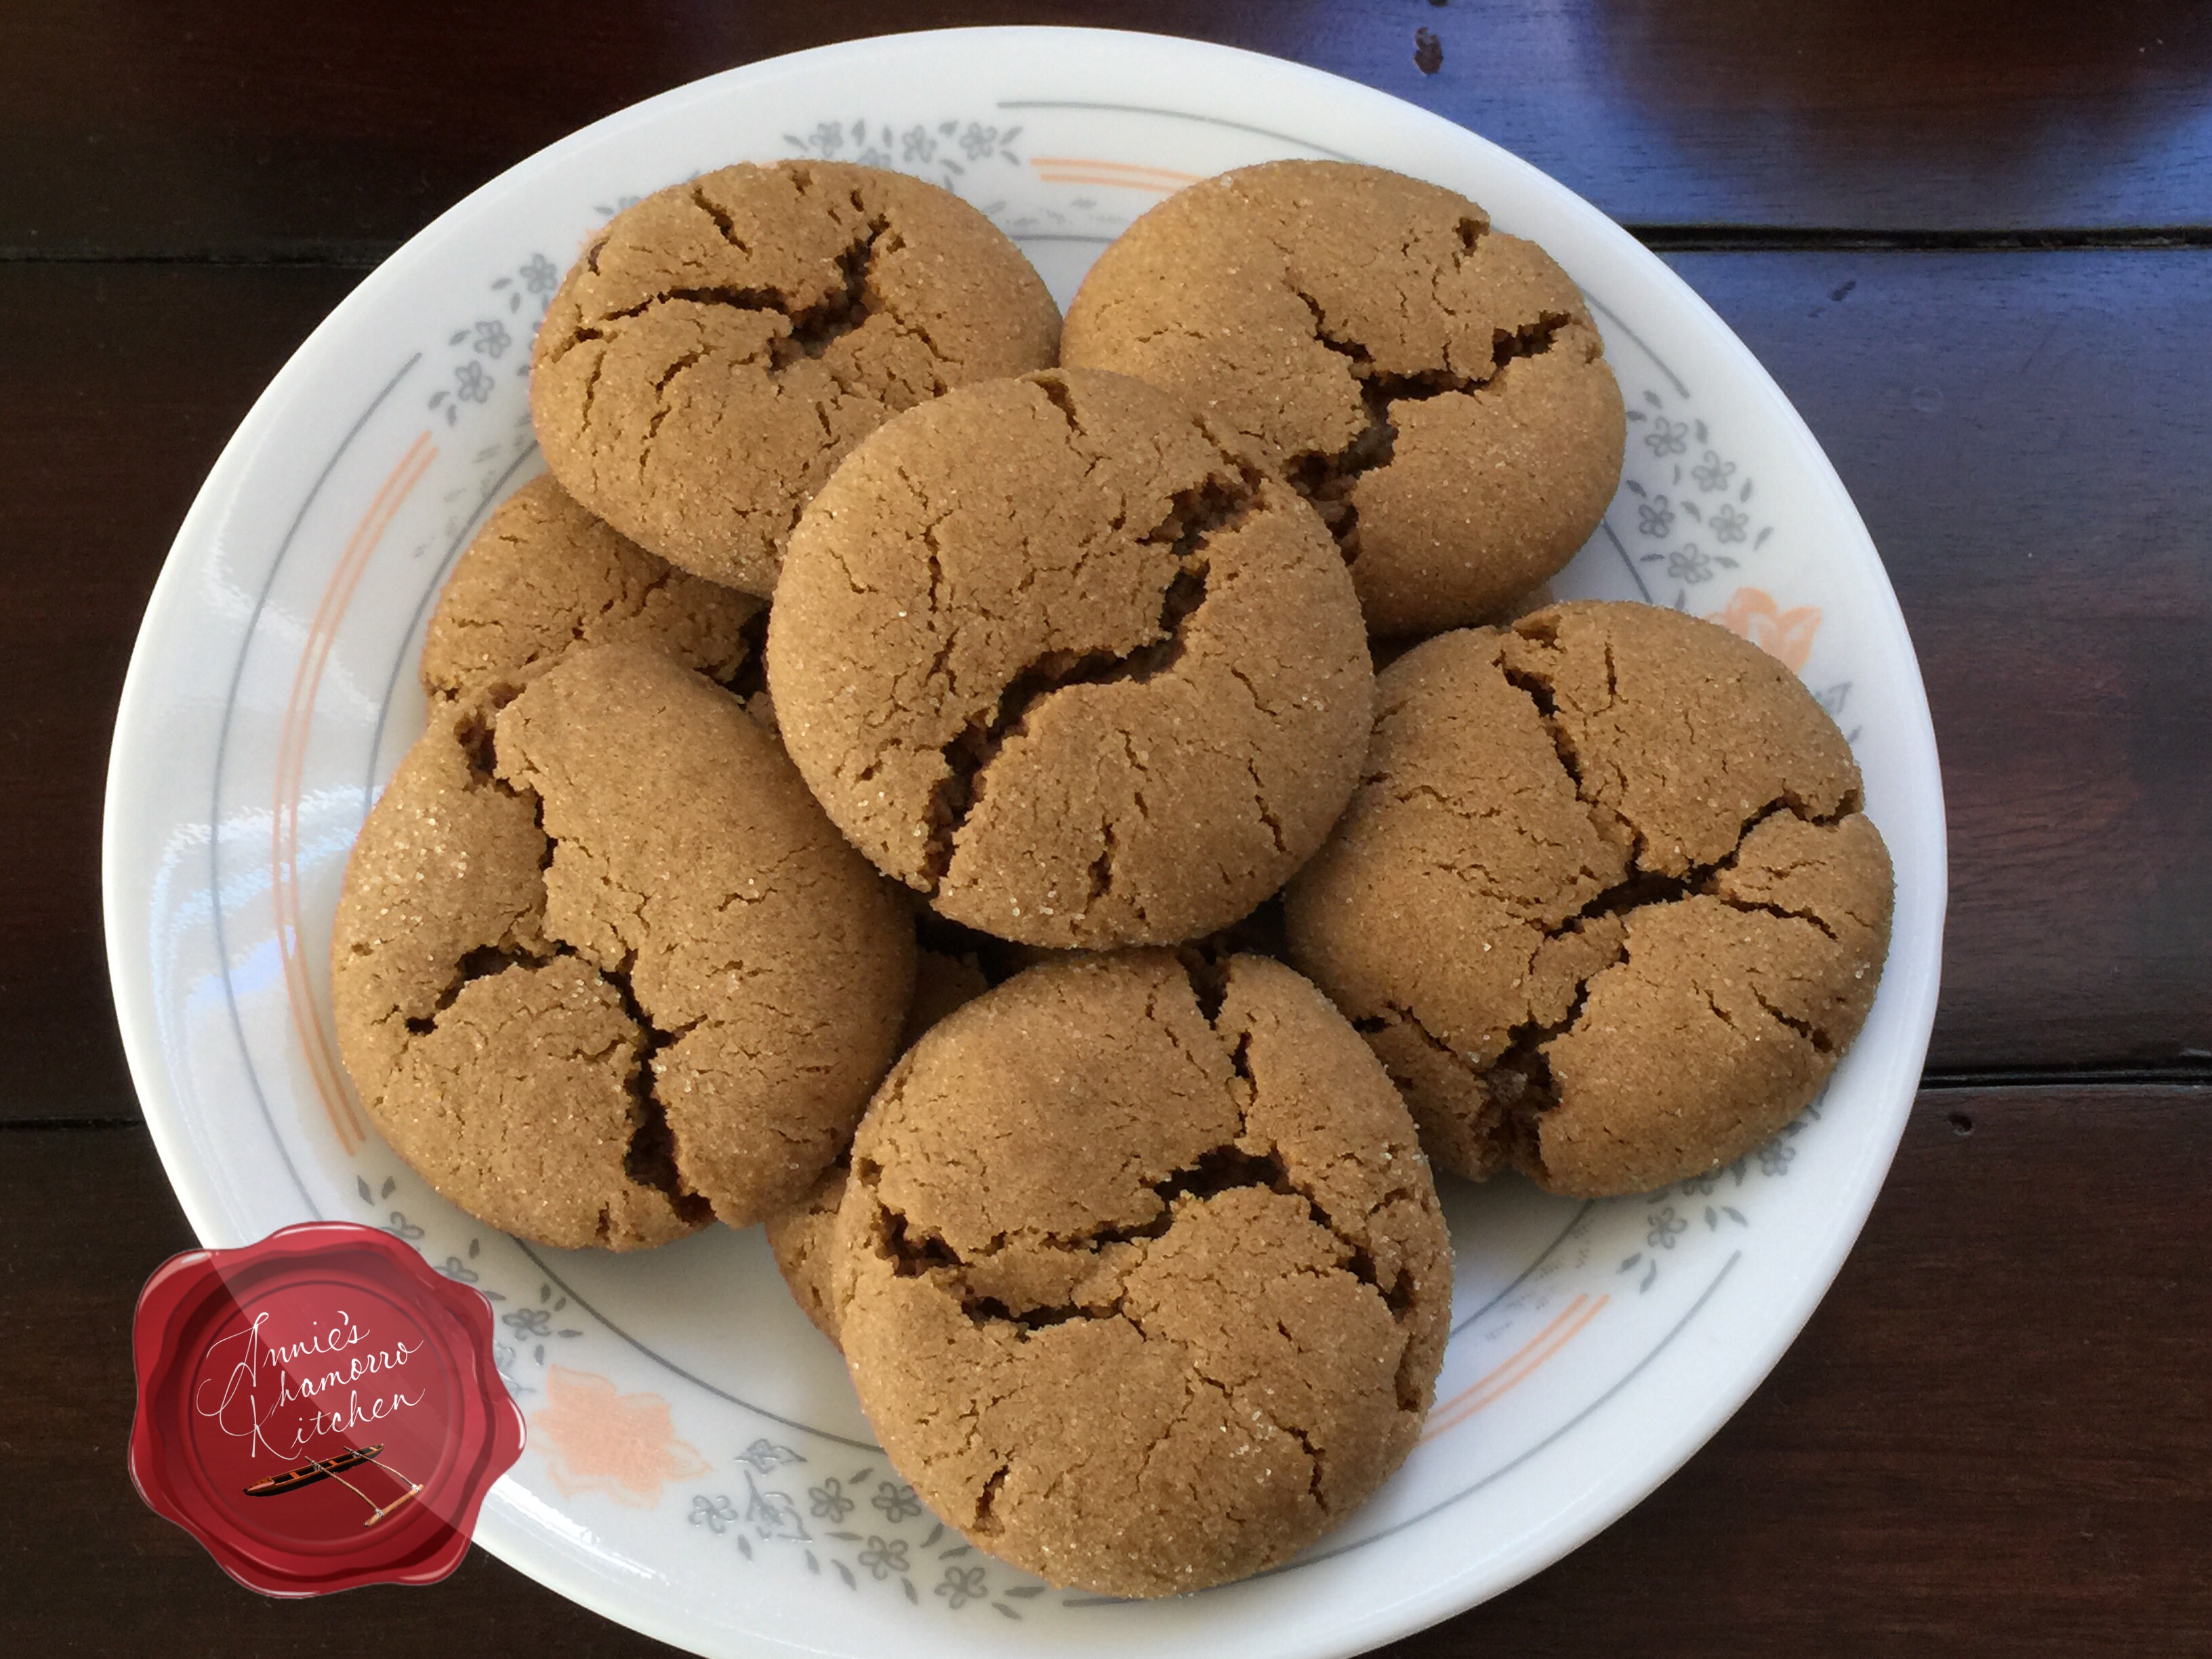
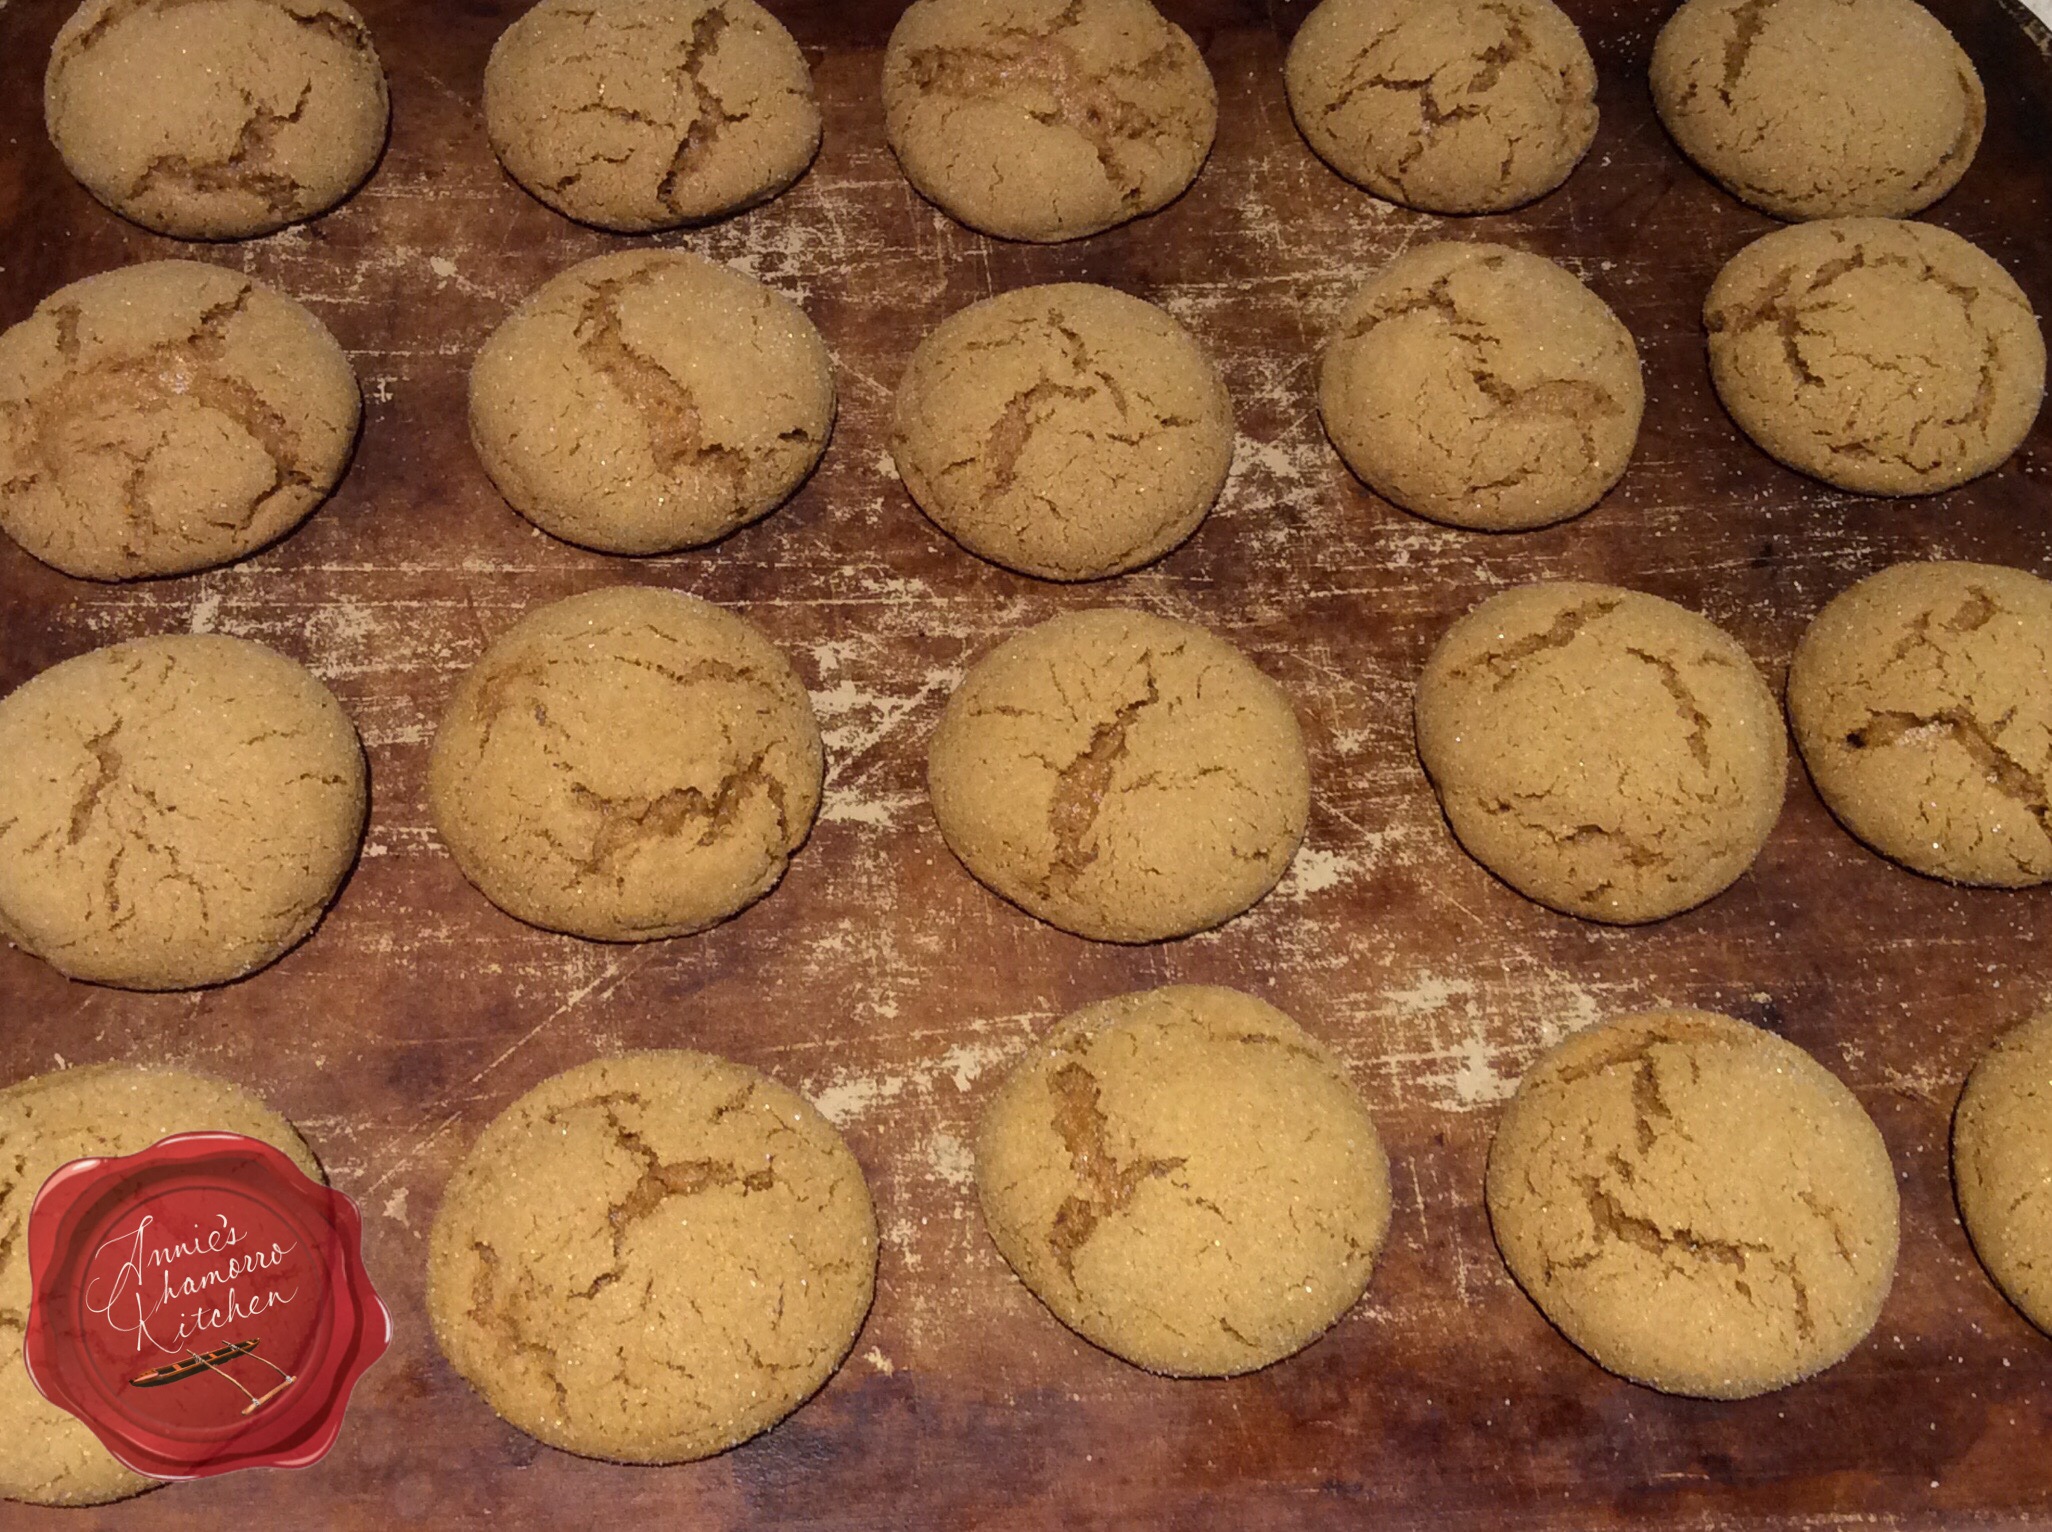
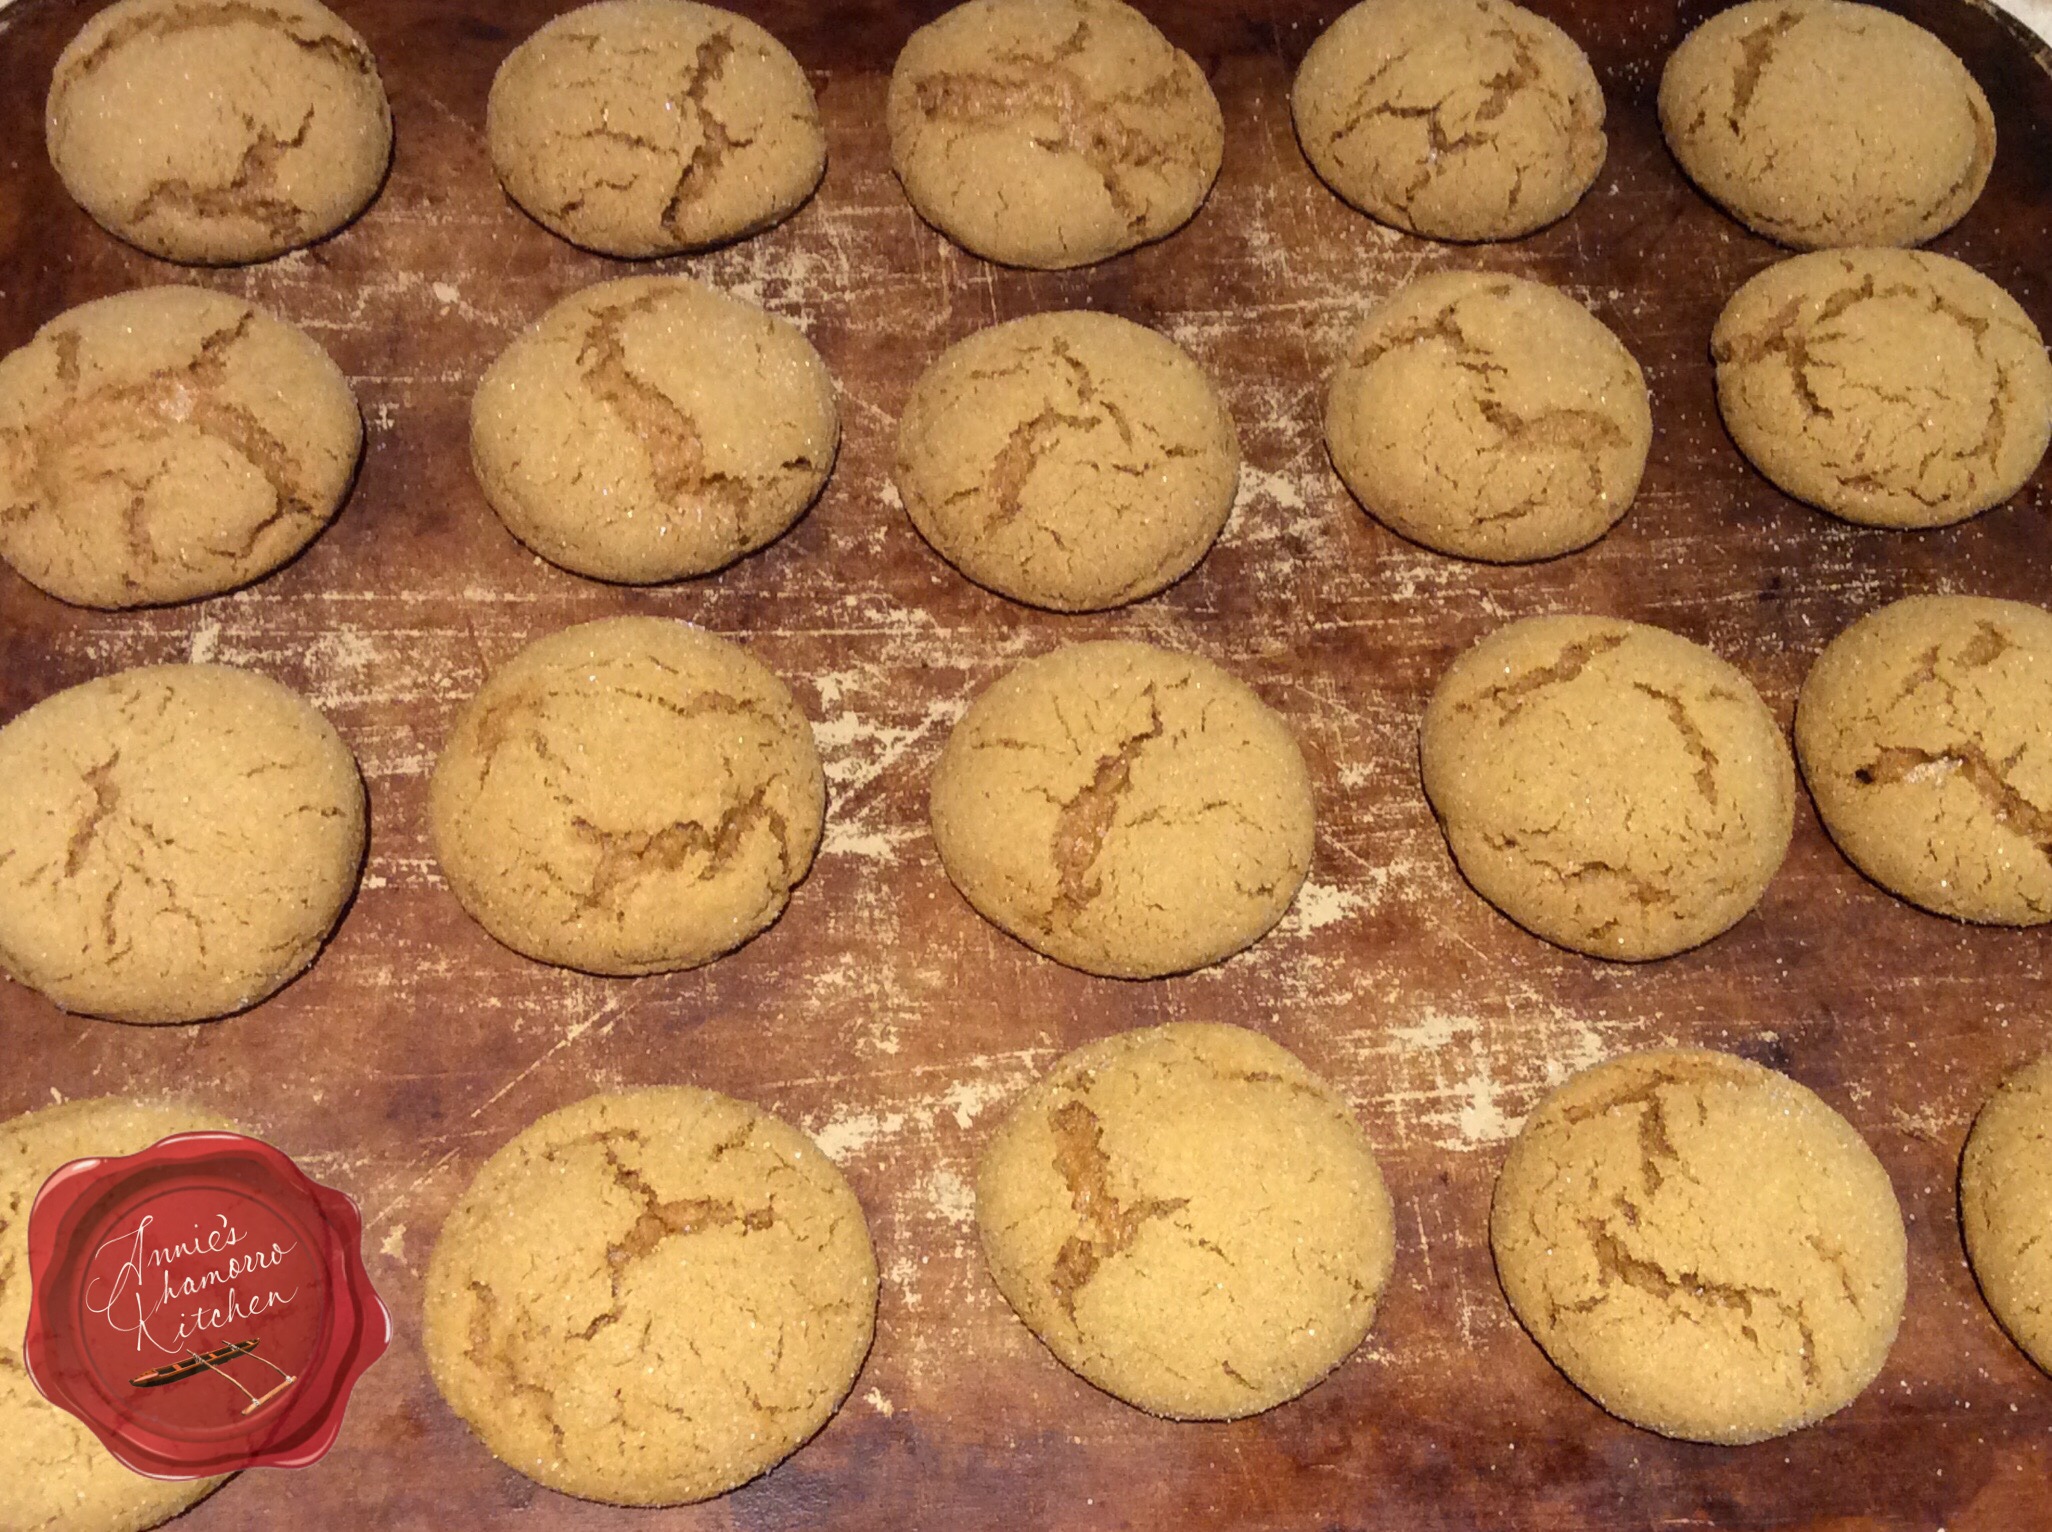
Bake the cookies for 10 minutes.  Let the cookies cool on the pan for a couple of minutes then remove them to a wire rack to finish cooling completely.

See how nicely they puff up?  As the cookies cool, they will settle just a little bit, but they will still be a bit puffy, and they will most definitely be soft and chewy.

image

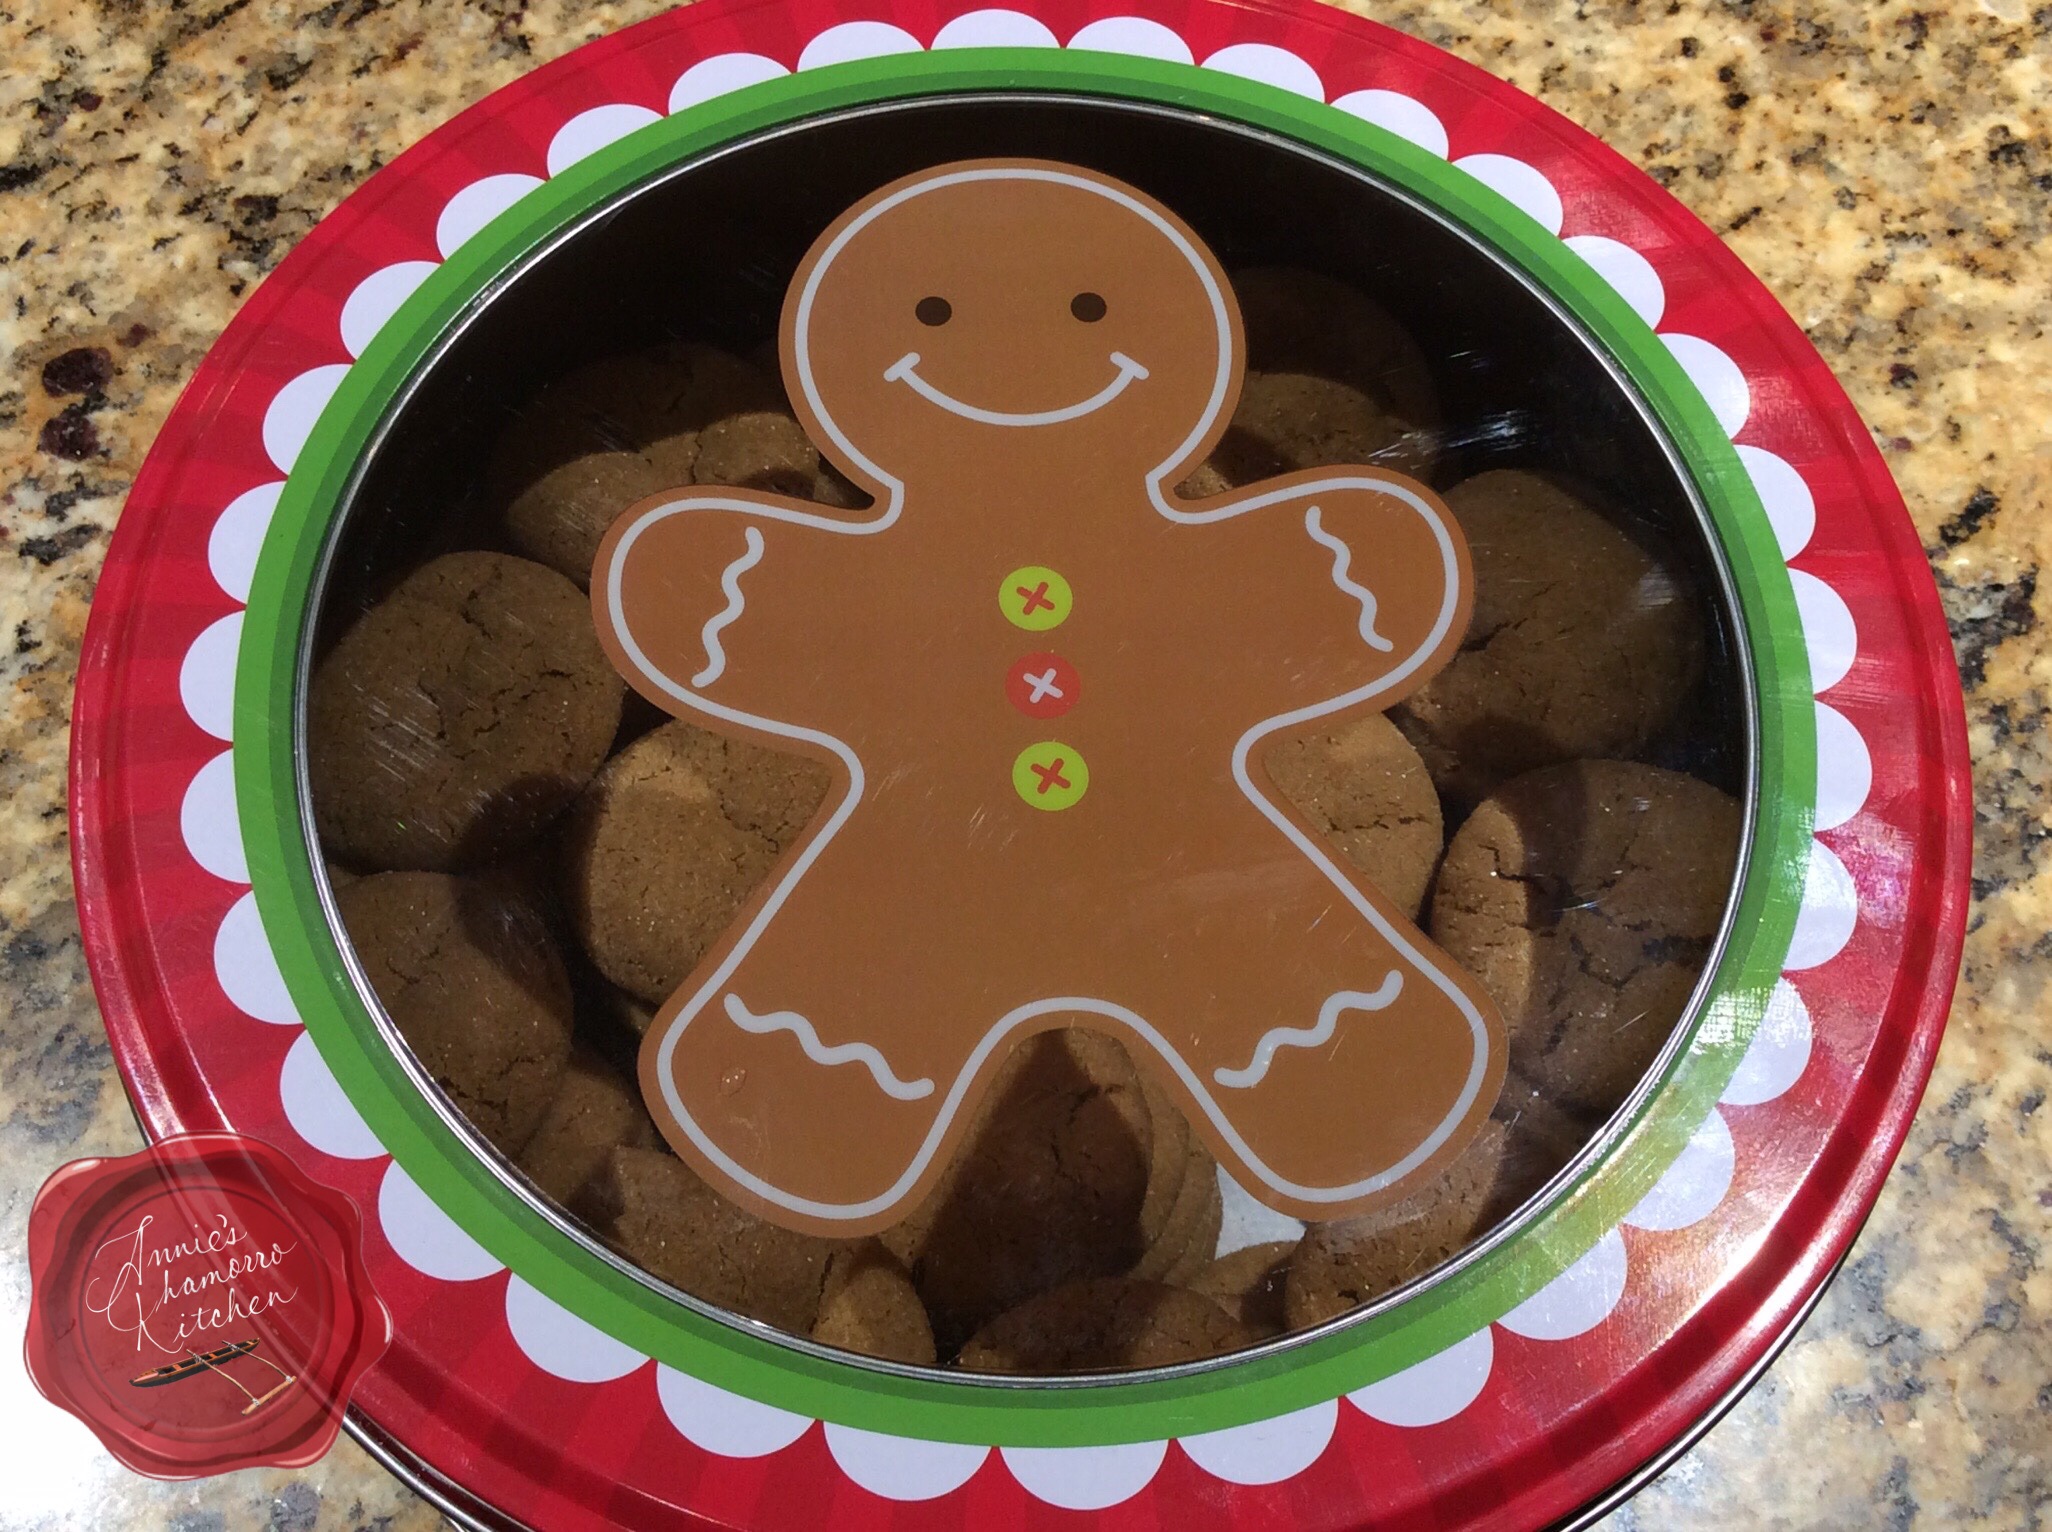
Place any uneaten cookies in an airtight container.  They will stay soft and chewy for several days (if they last that long). 🙂

image

Here’s my complete recipe.  I think you’ll really like this one.  ENJOY!


Soft and Chewy Gingerbread Cookies
 
Prep time
Cook time
Total time
 
SOFT & CHEWY gingerbread cookies that make you think of Thanksgiving and the holidays, all year round. These are NOT at all like the typical rock-hard gingersnap cookies.
Author:
Recipe type: Cookies
Cuisine: American
Ingredients
  • 6 cups all-purpose flour
  • 2 teaspoons baking soda
  • 1 tablespoon cinnamon
  • ½ teaspoon ground cloves
  • ½ teaspoon nutmeg
  • ½ teaspoon salt
  • 1½ tablespoons ground ginger
  • 1½ cups (or 3 sticks) unsalted butter, softened
  • 1½ cups dark brown sugar
  • ⅔ cup dark molasses
  • 2 large eggs
  • 2 tablespoons vanilla extract
  • ¾ cup white, granulated sugar (for coating the cookie dough balls)
Instructions
  1. In a medium sized bowl, place the flour, baking soda, cinnamon, cloves, nutmeg, salt, and ginger. Whisk to combine all the dry ingredients then set aside.
  2. Place the butter in a large mixing bowl. Using a stand or handheld mixer, beat the butter until creamy.
  3. Add the brown sugar to the creamed butter. Mix until fluffy.
  4. Add the molasses, eggs and vanilla extract to the butter-sugar mixture. Mix until well incorporated. Scrape down the sides if required and mix again.
  5. Mix the dry ingredients, one cup at a time, with the butter mixture. Stop mixing once the last bit of the dry ingredients are mixed into the dough (do not over mix).
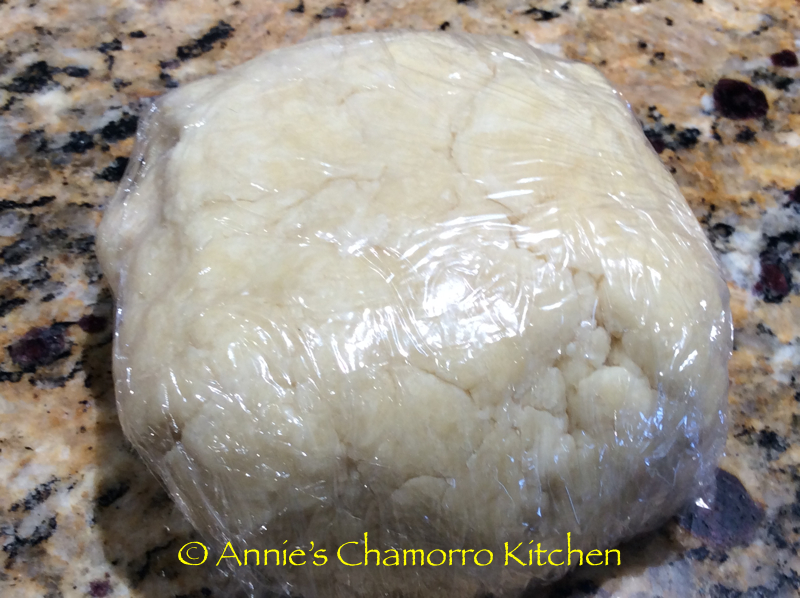
  6. Cover the mixing bowl with plastic wrap and refrigerate the dough for 2-3 hours. (I placed my bowl in the freezer for 30 minutes to speed things up.)
  7. Scoop out some chilled dough and roll into a ball. I use a small cookie scoop that holds 1½ tablespoons.
  8. Roll each ball of dough in the granulated sugar, coating the entire ball. Place the coated balls onto a parchment paper lined baking sheet (if you use a stoneware pan you don't need to line it), about 1½ inches apart. These cookies will spread only a little, so you don't need to space them too far apart.
  9. Bake in a preheated 350 degree oven for 10 minutes. Let the cookies cool on the pan for a couple of minutes then remove to a wire rack to finish cooling.
These cookies are soft and chewy, and will stay soft for several days (if they last that long!) when stored in an airtight container. This recipe makes about 6 dozen small cookies.


Print Friendly, PDF & Email

Chamorro Potato Salad

Chamorro Potato Salad is a must-have at any Chamorro gathering.  Your fiesta menu would not be complete without it.

There are several variations to this classic side dish, but Chamorros pretty much make it the same basic way.  We use potatoes (of course) — any kind good for baking, but russets are most common — eggs, black olives, pimentos, sweet pickle relish and mayo (more on this later).

Some people add other vegetables such as celery, carrots, or freshly diced pickles, but I like mine with just the ingredients I listed above.

I like a lot of eggs in my salad.  I usually add anywhere between 8 and 12 eggs for 5 pounds of potatoes.  When I was little, before I knew what I was missing, I would get my mom and sisters to pick out all of the eggs from their potato salad and give it to me — that was all I’d eat out of it, just the eggs.  Now I know better and eat it ALL.  It’s so good.

My complete recipe is at the bottom of this post.  Give it a try.  I think you’ll like it. 🙂
image

 Start by squeezing out as much liquid from the relish, pimentos and olives.

If you don’t squeeze out as much liquid as possible, your salad will be wet and runny, not to mention died the color of the olives, pimentos and relish.

Who wants to eat a mushy blackish-reddish-greenish concoction?  If that description had you grimacing in disgust, then it served its purpose.  Squeeze out the liquid.  Trust me, you’ll be glad you did. 😉

You can dump out all of the contents into a fine-mesh strainer, and using the back of a large spoon, press out as much liquid as possible.  I managed to press out about 3/4 cup of liquid from the relish, and that was BEFORE I used a cloth to really get the liquid out (see more about this technique below).image

image

Another option — which is my preferred method — is to place all of the wet ingredients into the center of a clean cheesecloth or kitchen rag (don’t use towel-like cloths or you’re likely to get strings of fabric into your salad).  Gather the edges of the cloth together, twisting at the top to compress the ingredients.  Squeeze the balled up portion to get out as much liquid as you can.  Keep squeezing until no more (or very little) liquid extrudes through the cloth.

Set the relish, pimentos and olives aside.image

Meanwhile, rinse the potatoes and place them into a large pot of hot water.  Add the eggs to the pot.  Bring the water to a boil.  Cook the eggs (in the boiling water) for 10-12 minutes then remove them from the pot.  Keep cooking the potatoes until they are done (insert a butter knife or metal skewer into the center of a potato — if it slides in smoothly and easily, the potatoes are done).
image

Remove the potatoes from the boiling water.  If you let cooked potatoes sit in water for too long, they soak up too much water, becoming mushy.

image

Allow the potatoes and eggs to cool before peeling the skin and shell off.  If you want to decorate the top of your salad, set aside one egg yolk.
image

Cut the potatoes and eggs into small cubes.  You can make them as big or as small as you like.  Don’t cut them too small, however, or you’ll end up with a mashed potato salad.
image

Add the seasonings to the dry mixture — I like adding onion powder, black pepper and salt.  The seasonings get distributed easier with the dry potatoes.  If you add the seasonings after adding the mayo and wet condiments (relish, olives and pimentos), you might get clumps of seasonings that don’t get mixed well.

Stir gently to mix the seasonings with the potato-egg mixture.  Taste it at this point and add more seasonings to your liking.  Don’t add more salt, however.  Mayonnaise has salt; wait until you mix the mayo into the salad before adding more salt.
image

Add the relish, olives and pimentos to the bowl.  Stir gently to combine.
image

Doesn’t it look so festive already?  If you like more olives, relish, and/or pimentos in your salad, by all means, add more.  Just be sure to squeeze out as much liquid as you can.

image

Fold in the mayo.  Chamorros will tell you that you MUST use Best Foods or Hellmann’s brand mayonnaise in Chamorro Potato Salad.  I must admit that I hold true to that sentiment as well.  Our classic Chamorro potato salad just doesn’t taste the same if you use “Dressing” (aka Miracle Whip).

I like my potato salad a little heavy on the mayo.  Use less if you like your salad a bit more on the dry side.
image

♩ ♪ ♫ ♬   Ta daaa!  ♬ ♫ ♪ ♩

It’s almost done.

My mom ALWAYS decorated the top of her potato salad, even if we were just eating it at home and not serving it at a party or family gathering.
image

Remember that egg yolk I told you to set aside?  Well, it’s time to for it to make its debut.  Place the yolk in a small fine-mesh strainer.

Oh…wait…before you do anything with the yolk, spread a very thin layer of mayo (a couple of tablespoons should do it) over the top of the salad.  This serves as the “canvas” for your egg yolk decoration.

image

Use a spoon or fork to gently push the yolk through the strainer, creating a “snowfall” of egg yolk over the top of the potato salad.  Mom always saved some pimento and olives to make pretty flowers as well, and she’d make flower stems using celery leaves.  Be as creative as you like.

image

See, isn’t this pretty (even without pimento and olive “flowers”)? 🙂

imageServe and ENJOY!

My potato salad goes perfectly with Red Rice, BBQ Chicken, Pancit and Diago’ Kimchi. 🙂

10177415_10205032220313494_3992143486966150129_n


Potato Salad
 
A classic Chamorro side dish that is a must-have on your Fiesta table.
Author:
Recipe type: Side
Cuisine: Chamorro
Ingredients
  • 5 pounds potatoes
  • 8 hard boiled eggs (set aside one yolk), diced
  • 1 tablespoon onion powder
  • 2 teaspoons salt
  • 1 teaspoon black pepper
  • 1 can (4.25 oz) chopped black olives, squeezed to remove as much liquid as possible
  • 2 jars (4 oz) diced pimentos, squeezed to remove as much liquid as possible
  • 1 jar (10 oz) sweet pickle relish, squeezed to remove as much liquid as possible
  • 3 cups mayonnaise
Instructions
  1. Rinse the potatoes then place in a large pot filled with hot water. Bring the water to a boil. Cook until the potatoes are done (it's done when a knife or fork easily pushes through the potato when pierced). Remove the cooked potatoes from the water; allow to cool completely then peel and discard the potato skin. Cut into small cubes.
  2. Place the cubed potatoes and diced eggs into a large mixing bowl.
  3. Add the onion powder, salt and black pepper. Stir gently to combine.
  4. Add the drained and squeezed olives, pimentos and relish to the bowl. Stir to combine.
  5. Fold in the mayonnaise. Taste and adjust the seasonings.
Serve and ENJOY!

Print Friendly, PDF & Email

Sweet Dinner Rolls ~ My Original Go-To Version

As the title for my recipe states, this is my go-to recipe when I want to whip up a tray of sweet dinner rolls.

Buttered and Sugared Dinner Rolls - 01

It’s also the same recipe I use in my tutorial videos for making dinner rolls (see below).

I’ve heard from many people who have made dinner rolls following this recipe and my instructions in my tutorial videos.  Most of them were successful at their first try, but I will tell you that baking with yeast requires PATIENCE and practice.

DSC_0049

If you don’t succeed in your first try, keep at it.  My very first attempt at baking with yeast was an epic failure — my rolls were as hard as rocks! But not anymore!  I can’t tell you how much money went down the drain, not to mention the valuable ingredients I wasted each time I tried, but tried I did until I got it right!

DSC_0055

Here are some tips when baking yeast breads:

  • Sometimes the dough is MEANT to be sticky.  Do not be tempted to add a ton of flour just to prevent it from sticking to your hands or you’ll end up with super dense and rock-hard rolls.  Instead of adding flour to the dough, flour your hands, or rub a bit of vegetable oil to your hands to prevent the dough from sticking to them.
  • Even if a recipe states to wait about an hour for dough to double in size, sometimes it takes longer depending on the temperature of your rising place.  BE PATIENT…the dough will rise and double eventually (provided your yeast is active).
  • Test the temperature of the water (or other liquid) you use to proof your yeast.  Use a thermometer if you have one.  Otherwise, use your finger to determine whether the liquid is too hot.  The perfect yeast-proofing temperature should feel like the temperature of your skin, or a low-grade fever (around 100-101 degrees).  Or, for you moms out there, if the temperature feels like it would be too hot to put in a baby’s bottle, then let it cool longer before adding the yeast.  Too hot of a temperature will KILL the yeast.
  • Yeast needs sugar to grow.  Make sure you add a tablespoon or two of sugar to the proofing liquid.  If your yeast doesn’t start to bubble after 5 minutes of proofing, chances are the liquid was too hot (and you killed the yeast), or the yeast was old, or you didn’t add any sugar to feed it.
  • Do not over knead the dough.  Hand kneading should take about 10-12 minutes, or 6-8 minutes if using a stand mixer.

Buttered and Sugared Dinner Rolls - 16

Give my recipe a try (posted beneath my tutorial videos).

Post any questions in the comment section below, or message me on Facebook at http://www.facebook.com/AnniesChamorroKitchen1/ for a quick response.

Good luck, and happy baking!

Tutorial Video, Part 1:


Tutorial Video, Part 2:


Sweet Dinner Rolls - My Original Go-To Version
 
Prep time
Cook time
Total time
 
Soft, fluffy and slightly sweet dinner rolls ~ perfect on its own, or slather with sweetened butter for a delicious dessert.
Author:
Recipe type: Yeast Bread
Serves: 28 rolls
Ingredients
  • 3 cups all-purpose flour
  • ¼ cup sugar (up to ¾ cup if you want it sweeter, but use 2 packets yeast if you add more sugar)
  • 1 teaspoon salt
  • ¼ cup butter
  • 1 large egg
  • ½ cup milk (low fat or whole milk)
  • 1 packet dry yeast
  • 1 teaspoon sugar (for proofing the yeast)
  • ¼ cup warm water (for proofing the yeast)
Instructions
  1. In a small bowl, mix together the yeast, 1 teaspoon sugar, and warm water. Stir together to dissolve the sugar and yeast. Let it stand for 5-10 to allow the yeast to proof.
  2. Meanwhile, melt together the ¼ cup butter and milk in a microwave. Let it cool slightly. Add some of the cooled milk mixture to the beaten egg (this is to temper the egg so it won't scramble when you add it to the milk mixture). Add the egg to the rest of the milk mixture. After the yeast has proofed for 10 minutes, add the milk- butter-egg mixture to the yeast. Stir to combine.
  3. In a stand mixer fitted with a dough hook, mix together 2½ cups of flour, sugar, and salt. Reserve the remaining flour (you might not need it). Pour in the yeast-milk mixture. Turn the mixer to medium, mixing until the dough pulls away from the sides. If the dough still looks very sticky and is not pulling away from the side of the mixing bowl, add in more flour, a few spoonfuls at a time until the dough pulls away from the sides of the bowl. (See NOTE below.) Once the dough pulls away from the sides, turn the mixer to medium high and knead for 5 minutes.
  4. After 5 minutes of kneading, remove the dough to a clean and greased bowl (you can use cooking spray). Cover with plastic wrap and place in a warm place to let the dough rise and double in size, about 1 hour. After the dough has doubled, take it out of the bowl and gently punch it down. Cut the dough into 28 small pieces then roll them out into balls. Place the balls of dough in a greased 9x13 pan (7 rolls across and 4 rolls down). Cover with plastic wrap and let it rise again until doubled.
  5. After the rolls have doubled in size, remove the plastic wrap and brush the tops with melted butter. Bake at 375 degrees for 20-25 minutes or until golden brown on top. Remove from the oven and brush with more butter.
NOTE:
In most types of yeast bread recipes, the ratio of flour to total liquid should be 3:1. For instance, this recipe calls for just over 1 cup of liquid (including the egg); therefore, use only about 3 c. flour. Start out by mixing in a little less flour than the recipe calls for; If your dough seems too sticky, use only a little more flour just to allow you to knead it, but resist the urge to keep adding flour just so the dough won't stick. Too much flour (and kneading too long and too roughly) will make your finished bread come out tough/hard.


Print Friendly, PDF & Email

Ube Cheesecake

Who doesn’t love cheesecake?  And for those of us who grew up in the islands, who doesn’t love ube-anything?  If you haven’t tried ube, or taro, now’s the time.

While vacationing on Guam not too long ago, I went to a restaurant that featured a taro cheesecake as one of their signature desserts.  It was to-die for!  The cheesecake was rich, creamy, and topped with a crispy caramelized sugar topping that took this dessert to an entirely new level!

I decided then and there that I would try my hand at making this cheesecake.  I decided to use steamed and puréed fresh purple yams instead of ube jam.  Ube jam is good, don’t get me wrong; I just wanted to control the amount of sugar I put into the cheesecake and ube jam is already sweetened.

I’m forewarning you…this cheesecake takes a while to prepare.  The mixing of the batter doesn’t take that long at all.  There are, however, several steps in making this cheesecake, but it’s worth it in the end.  The cooling process takes a very long time as well, about 4-6 hours, preferably overnight.  But don’t let all that discourage you from giving my recipe a try.  While there are a lot of steps, it’s a very easy recipe to make.

Give it a try and let me know how it turned out for you.

Ube Cheesecake

image


Make the Crust:

  • 18 graham cracker squares
  • 3 tablespoons white, granulated sugar
  • 6 tablespoons unsalted butter, melted

This is a photo of graham cracker “squares.”  Depending on the brand, some graham crackers are rectangular shaped.  I used plain graham crackers for this recipe.  I do not recommend using graham crackers that have sugar and cinnamon on them.

image

Break the squares into small pieces and place into a food processor.

image

Pulse until you get fine crumbs.

image

Pour the crumbs in a bowl, stir in the sugar, then fold in the melted butter.

image

image

image

Spread the crust mixture in the bottom of a 9-inch springform pan that has been sprayed with non-stick cooking spray.

image

Press the crumbs into the bottom of the pan and just slightly up the side.  I use a measuring cup to press down on the crust to really compress it.

image image

Bake for 15 minutes at 325 degrees, or until the crust turns a nice rich brown.

image


Make the Cheesecake Batter:

  • 1 1/3 cups white granulated sugar
  • 1/2 teaspoon salt
  • 2 packages cream cheese, softened at room temperature
  • 2 cups steamed and puréed purple yam, sweet potato, or sweet taro (about 1 large or 2 medium ones)
  • 1 teaspoon vanilla extract
  • 5 large eggs
  • 1 cup heavy cream

Cook the yams:

There are many ways to cook yams.  You can roast them in your oven, bake, boil or steam them.  I prefer to roast yams if I’m eating them by itself as part of my meal.  However, for this recipe, I decided to steam them.

Fill a pot with just enough water so that the water does not touch the steam basket when it’s placed into the pot.  Bring the water to a boil.

Wash the yams throughly.  Use a dish scrubber to remove any dirt. Cut out any dark, rough spots.

Peel the yams. Cut the yams into large chunks.

image image

Place the yams into the steamer basket then place the basket over the pot of boiling water.

image

Cover the pot and let the yams steam for 25-30 minutes. The yams are ready when they are tender when pierced with a fork.

image
image

Place the yams into a blender or food processor.  Pulse until the yams are smooth and creamy.  Set aside for now.

image


Make the Filling:

Before getting started on the filling, I need to say a word or two about the cream cheese…you really want to use full fat cream cheese in this recipe.  Reduced fat cream cheese doesn’t bake well, especially in cheesecakes.  I like Philadelphia brand cream cheese over other brands, but use the brand you like.

You’ll also notice I used heavy cream in my recipe instead of sour cream.  The sour cream is traditionally used in recipes for New York style cheesecake, making for a tangier dessert.  I didn’t want to overpower the yams so I opted for the milder heavy cream.

Alright, back to the filling.  Whisk the sugar and salt together in a small bowl.  Set aside.

image

Spread the puréed yam on a triple layer of paper towels.  Place another triple layer of paper towels on top of the yam.  Press down on the paper towels to soak up as much moisture as possible.  If you don’t press out the liquid, your cheesecake will turn out too wet and you’ll end up with a fall-apart, mousse-like pie.

Because I steamed the yams rather than boiled them, there wasn’t that much water to squeeze out.

image image image

Place the softened cream cheese in a stand mixer on medium low speed; mix for a minute or two.  Scrape down the sides of the bowl.

image image

Mix 1/3 of the sugar mixture with the cheese.  Mix on medium speed for a minute until the sugar is incorporated.  Scrape down the bowl and paddle then add another 1/3 of the sugar.  Mix again then scrape down the bowl and paddle.  Add the remaining sugar; mix until creamy.

image image

Add the pureed yam to the bowl, along with the vanilla extract.  Mix on medium speed for a minute.  Scrape the sides of the bowl again.

image image

Add 3 eggs to the bowl, mix for a minute, scrape down the sides, then add the last 2 eggs, mix and scrape.

imageimage

Add the heavy cream.  Mix for another minute.

image

image


Bake the Cheesecake:

Pour the filling into the cooled crust.

image

I decided to bake this cheesecake in a water bath.  This prevents the top of the cheesecake from cracking during baking. You could also place a pan filled with water in the rack beneath the cheesecake.  If using a water bath, place two layers of foil beneath the springform pan.  Wrap the foil around the sides of the pan.  This keeps the water from the water bath from seeping into the pan.

image image

Place the foil-covered springform pan into a large roasting pan.

image

Place the roasting pan with the cheesecake inside it into a pre-heated 325 degree oven.  Pour hot water into the roasting pan (be sure to wait until AFTER you place the pan into the oven to pour in the hot water).  The water should come about halfway up the side of the springform pan.

image

Bake for 1 1/2 hours.  If you have a thermometer, take the temperature at the edge of the cheesecake to see if it is done.  The cheesecake is done when the temperature reaches between 145 and 150 degrees. Or, do what I do and use the “jiggle method” to check for doneness.  If you move the pan, the center of the cheesecake should move or jiggle only slightly.  Too much jiggle in the middle means you need to cook it a bit longer (10-15 minutes should do it).

When the cheesecake is done, remove the roasting pan and cheesecake from the oven.  CAUTION!  Be very careful taking the pan out of the oven!  You don’t want to spill hot water on yourself!!  Leave the cheesecake in the pan of hot water for 1 hour before removing it from the roasting pan.

image

After an hour of cooling at room temperature, the cheesecake needs to now cool in the refrigerator.  Cover the cheesecake with plastic wrap and chill for 4-6 more hours in the refrigerator; chilling overnight is even better.

NOTE:  After chilling for just 4 hours, I cut a slice of the cheesecake.  The middle was still a bit softer and creamier than the edges.  It appeared that the cheesecake was underdone, but it was cooked the right amount of time.  All I needed to do was refrigerate it for a few more hours (overnight cooling did the trick).  In the morning, the cheesecake was PERFECTLY set.

image


Caramelized Sugar Topping:

  • 4 tablespoons superfine sugar

Before serving, sprinkle the superfine sugar all over the top of the slice of cheesecake.

NOTE:  4 tablespoons of sugar covers the ENTIRE cheesecake.  You’ll need about one teaspoon of sugar per slice.

If you can’t find superfine sugar at your grocery store, just blend regular white, granulated sugar for a minute or two until you get superfine granules.

image

Use a creme brûlée torch to melt and caramelize the sugar.  Allow the caramelized sugar to harden then  serve.

image

For presentation purposes (for pretty pictures 😉 ), I caramelized sugar on top of the entire cheesecake.  However, I recommend you slice individual pieces of cheesecake BEFORE caramelizing sugar on top.

The melted sugar hardens and makes cutting clean slices a challenge if you caramelize sugar on top of the ENTIRE cheesecake rather than just one slice at a time.

image

Here’s a tip for an easy way to cleanly slice the cheesecake.  Dip a knife (a carving knife works well since it has a narrow blade) into a glass or pitcher of very hot water.  Dry off the knife before slicing.

Serve and ENJOY!

image


Ube Cheesecake
 
Prep time
Cook time
Total time
 
Author:
Serves: 8 slices
Ingredients
Graham Cracker Crust:
  • 18 plain graham cracker squares
  • 3 tablespoons white, granulated sugar
  • 6 tablespoons unsalted butter, melted
Cheesecake Batter:
  • 1⅓ cups white granulated sugar
  • ½ teaspoon salt
  • 2 packages cream cheese, softened at room temperature
  • 2 cups steamed and puréed purple yam, sweet potato, or sweet taro (about 1 large or 2 medium ones)
  • 1 teaspoon vanilla extract
  • 5 large eggs
  • 1 cup heavy cream
Caramelized Sugar Topping:
  • 4 tablespoons superfine sugar
Instructions
Make the Graham Cracker Crust:
  1. Break the graham crackers into small pieces and place in a food processor. Pulse until you get fine crumbs.
  2. Place the crumbs into a small mixing bowl. Stir in the sugar, then fold in the melted butter.
  3. Spread the crumb mixture into the bottom of a 9-inch springform pan. Press the crumbs evenly on the bottom and slightly up the sides of the pan.
  4. Bake for 15 minutes at 325 degrees F, or until the crust is a rich brown color. Set aside to cool.
Make the Cheesecake Batter:
  1. If you’re using fresh yams (you can use frozen), peel then cut into cubes. Steam for 25-30 minutes or until soft through the middle. Place the steamed yams in a food process; pulse until the yams are smooth and creamy. Place the puréed yams in between several paper towels; press firmly to squeeze out as much water as possible. Set aside while you make the filling.
  2. Whisk the sugar and salt together in a small bowl. Set aside.
  3. Add the cream cheese to a large mixing bowl. Mix on medium low until creamy. Add the sugar-salt mixture to the cream cheese in thirds. Mix after each addition until creamy.
  4. Add the puréed yams and vanilla extract to the cream cheese mixture. Mix on medium speed for a minute, until the yams are just incorporated with the cream cheese.
  5. Add 3 eggs to the mixing bowl; mix for a minute then add the remaining 2 eggs. Mix for a minute.
  6. Add the heavy cream to the mixing bowl; mix for another minute.
Cook the Cheesecake:
  1. Pour the batter into the cooled crust.
  2. Wrap the bottom of the springform pan with two sheets of aluminum foil. Place the pan into a large roasting pan. Place the roasting pan into the oven. Pour hot water into the roasting pan, adding enough water to fill to halfway up the side of the springform pan.
  3. Bake in an oven preheated to 325 degrees F for 90 minutes (1½ hours). The cheesecake should measure between 145 and 150 degrees F when done, and the middle should jiggle slightly.
  4. Remove the roasting pan from the oven (CAUTION! BE CAREFUL NOT TO SPILL ANY HOT WATER WHILE TAKING THE ROASTING PAN OUT OF THE OVEN!).
  5. Leave the cheesecake in the pan of hot water for 1 hour before removing it from the roasting pan. After that hour, cover the cheesecake (still in the springform pan) with plastic wrap and refrigerate overnight.
Serve the Cheesecake:
  1. Slice the cheesecake into pieces.
  2. Sprinkle superfine sugar over individual pieces, about 1 teaspoon per slice. Use a cooking blow torch to melt and caramelize the sugar.
  3. Serve and enjoy!


Print Friendly, PDF & Email

Rich and Creamy Custard Pie

Rich, creamy, sweet and luscious Custard Pie…are you drooling yet?

Egg custard pie is so easy to make. Chances are you already have most of the ingredients in your refrigerator and pantry, so why not bake up one of these sweet and creamy pies for your dessert tonight?

Custard Pie - 30

This is not a pie that is a bake-and-eat option.  Because it’s a baked custard, you must let the pie fully set (cool) before serving.  Therefore, if you want this for your dessert after dinner, I advise making this pie in the morning or early afternoon (or even the night before).

I’ve tried many recipe variations for custard pie, most of which are good, but I wanted a really creamy filling.  Some recipes I’ve tried included butter in the custard filling — this is not necessary at all.  Other recipes I’ve tried use variations of milk — skim, low-fat, or whole milk.  I found that using rich heavy cream or half-and-half makes a custard filling that is out-of-this-world rich and creamy, just what I want in a custard pie!  My recipe below uses half-and-half.

I’ve also used store-bought/ready-made pie crusts before.  I am very picky about my pie crusts.  Most commercial brands taste too bland for me.  It’s so easy to make homemade pie crusts, so why buy the pre-made stuff?  I include a recipe for homemade pie crust as well.  Give it a try, but if you prefer the packaged kind, I recommend you still pre-bake (also called blind-baking) the crust before baking the custard.

One note about the pie crust and filling — my recipe below makes enough for one DEEP-DISH, 9-inch pie.  Make sure you use a deep dish pie plate (or buy a deep dish pie crust) when making this recipe or you’ll have leftover pie dough and filling that you’ll end up throwing out (it would be a shame to waste your ingredients).

Give my recipe a try.  I think you’ll like it. 🙂

Rich and Creamy Custard Pie

Custard Pie - 31

Ingredients:

Pie Crust:

  • 1 1/2 cups all-purpose flour
  • 1 stick COLD unsalted butter, cut into small pieces
  • 2 tablespoons sugar
  • 1/4 teaspoon salt
  • 1/2 cup ICE-COLD water

Custard Filling:

  • 3 cups half-and-half
  • 3/4 cup sugar
  • 4 large eggs
  • 1 teaspoon vanilla extract
  • 1/4 teaspoon salt

Other Items:

  • 1 9-inch deep dish pie pan
  • Dried, uncooked beans (any kind), about 3 cups
  • Parchment paper

Directions:

MAKE THE CRUST:

1.  In a large mixing bowl, place the flour, sugar, salt, and butter.

Custard Pie - 01

2.  Stir the ingredients together briefly, just enough to mix the flour, sugar and salt together.  Use a dough cutter (or you can use a food processor) to “cut” the butter into the flour.  You want to see very small pieces of butter (about the size of a pea).

Custard Pie - 02

3.  Pour the ice water over the flour mixture, starting with 1/4 cup of ice water.  Gently mix the water into the flour, forming a shaggy, loose dough.  Add more water, a spoonful at a time, until the dough comes together.  You should not need more than 1/2 cup of ice water.

Custard Pie - 03  Custard Pie - 06

This is what it looks like after the initial mixing of water and flour.  You can still see some dry bits at the bottom of the bowl, but this is the perfect consistency — you do not need any more water at this point.

Custard Pie - 08

Give it another minute or so of kneading and the dough will come together.

Custard Pie - 09

4.  Wrap the dough in plastic wrap and place in the refrigerator to rest for at least 15 minutes.  I actually place my dough in the freezer.  Don’t worry — the dough won’t freeze solid.  The goal is to get the butter very cold again (since the butter softened during the mixing process).  You want to still see chunks of butter when you roll out the dough and eventually bake it.  During the baking process, the melting butter creates steam, which is what makes your dough nice and flaky.

Custard Pie - 10

5.  After 15  minutes, remove the dough from the refrigerator (or freezer).  Place the dough between two large sheets of parchment paper.

Custard Pie - 11

6.  Roll the dough into a circle, about 1/8 inch thick and two inches larger in diameter than the width of your pie pan.  Turn the pie pan upside down on top of the parchment paper to measure.

Custard Pie - 13

7.  To place the dough in the pie pan, remove one sheet of parchment paper.  Turn the pie pan upside down over the dough.  Carefully slide your hand beneath the parchment paper and flip the dough and pie pan right-side-up.  Gently push the dough down into the pie pan.

Custard Pie - 14

8.  Carefully peel the parchment paper off the dough (save the paper for use later).  Push the dough into the sides of the pan (and pinch the dough to close any holes), if necessary.

Custard Pie - 15

9.  Trim off some of the dough around the edge, leaving a little bit of dough hanging over the side.  Use whatever method you like to flute the edge of the dough.  I just use my fingertips to create a fluted edge like you see below.

Custard Pie - 16

10.  It’s time to blind-bake the pie crust.  Pre-heat your oven to 425 degrees.  Place one sheet of parchment paper inside the pie pan.  Place the dried beans over the parchment paper.  I like to place my dried beans in oven cooking bags; this way I can reuse the beans the next time I bake a pie.

Custard Pie - 17

11.  Bake the pie crust for 15 minutes then remove it from the oven.  Remove the beans and parchment paper and return the pie crust to the oven to bake for 5 more minutes.

Custard Pie - 20

12.  During the last 5 minutes of baking, the bottom of the pie crust will very likely bubble up.  Do not panic.  After you remove the crust from the oven, immediately (but very gently) push down on the bubble to release the steam.  The bottom of the pie crust will flatten again once all of the steam is released.

Set the pre-baked crust aside while you prepare the custard filling.

Custard Pie - 21

MAKE THE FILLING:

1.  Decrease your oven temperature to 350 degrees.

In a small mixing bowl, place the sugar, eggs, vanilla extract and salt.  Use a hand mixer on low speed (or a whisk) to mix the ingredients together; mix for a couple of minutes only.  Do not over-mix or your resulting custard will turn out grainy.

Custard Pie - 18

2.  In a separate microwave-safe bowl, heat the half-and-half in the microwave on high for two minutes.  Mix the hot half-and-half — 1/2 cup at a time — into the egg mixture.  DO NOT add the hot liquid all at once or you will end up scrambling your egg mixture!  Adding the hot liquid a little at a time tempers the egg mixture.  Continue mixing in the hot liquid, a little at a time, until all the liquid is mixed with the egg mixture.

Custard Pie - 19

BAKE THE PIE:

1.  Place your oven rack in the bottom half of your oven.  Place a baking pan in the oven, then place the un-filled and pre-baked pie crust on top of the baking pan.

Carefully pour the filling mixture into the pie crust.  Be careful not to touch the hot oven with your arms or hands as you pour the liquid into the pie crust.

I do it this way because the filling will come to the very brim of the pie crust — it is much easier doing it like this than trying to fill the crust outside of the oven, then carrying the full crust to the oven without spilling it (yeah, that’s a mess waiting to happen). 😉

Custard Pie - 22

2.  Bake the pie for a total of 50 minutes.  After 40 minutes, if you need to, wrap a piece of foil (or use a pie shield) around the edge of the pie (to prevent the crust from burning or browning too much).  Bake for 10 more minutes then remove the pie from the oven.

The pie will be jiggly still when you take it out of the oven.  It will look something like jello, with the top surface of the pie rippling as you gently shake it.  You may think the pie is under-cooked, but TRUST ME, it is DONE.  Resist the urge to bake it longer.

You really don’t want to over-bake custard pies.  Have you ever had custard pies that tasted way too much like eggs?  That’s due to OVER-BAKING the custard — a real no-no.

Custard Pie - 26

3.  Now comes the hard part.  You MUST let the pie cool at room temperature for at least 2 or 3 hours before cutting into it.  As the pie cools, the filling is still “cooking.”  The pie will set (firm up) once completely cooled.

Ideally, after cooling at room temperature for a few hours, you want to refrigerate the pie another hour or so to finish cooling and allow the pie to set fully.

Custard Pie - 29

Of course, after the requisite 3 hours of room-temperature cooling, I just could NOT wait to eat this pie.  I went ahead and cut a small slice — to give it a taste test, you see.  As our family’s resident home chef, I just HAD to ensure this pie was fit for consumption! And it was. 🙂

As you can see, the pie is mostly set at this point, but another hour or longer of cooling in the refrigerator will be better.

Custard Pie - 27

This is the pie after cooling in the refrigerator overnight.  Make sure the pie is completely cooled at room temperature before placing in the refrigerator or else condensation will collect on the top of the pie as it cools in the fridge.  If that happens, don’t worry — just use a paper towel to soak up any accumulated condensation on top of the pie.

Custard Pie - 32

This makes the BEST breakfast!

Serve up a slice — or two — and ENJOY!

Custard Pie - 35


Print Friendly, PDF & Email
« Older Entries