These chicken lettuce wraps are a good choice if you’re looking for a quick dish to make for an appetizer or a light meal. I created this recipe when I was craving the popular appetizer served at a famous Chinese Restaurant chain. It’s quite easy to make. It only takes a few minutes to chop up the chicken and vegetables; you can have this on your table in about 30 minutes.
This is also a great dish if you have picky eaters like I do. My youngest daughter opted to eat the filling with rice instead of the “yucky green lettuce”, but boy did she devour the savory, saucy chicken and VEGETABLE-laden filling! 😉 (Shhhh….don’t tell her.)
My complete recipe is located at the bottom of this post. Give it a try. I think you’ll like it. 🙂
Asian Chicken Lettuce Wraps
Make the stir fry sauce.
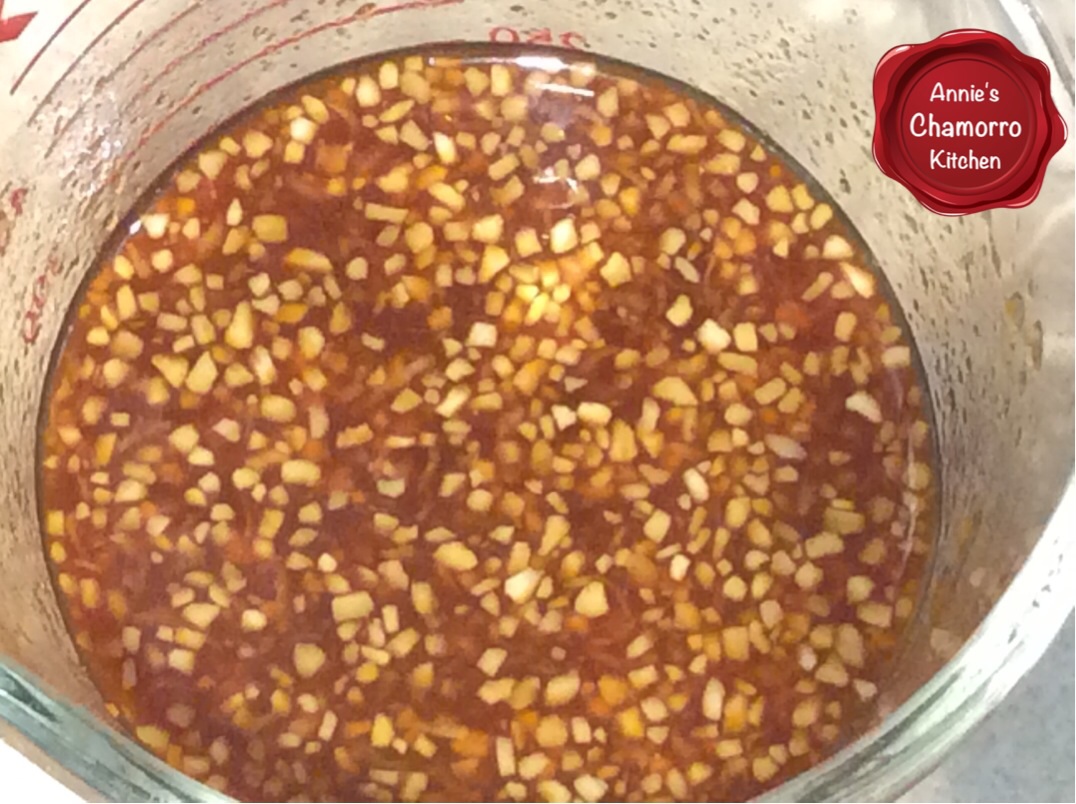
In a small bowl, mix all of the sauce ingredients together EXCEPT for the water and cornstarch mixture.
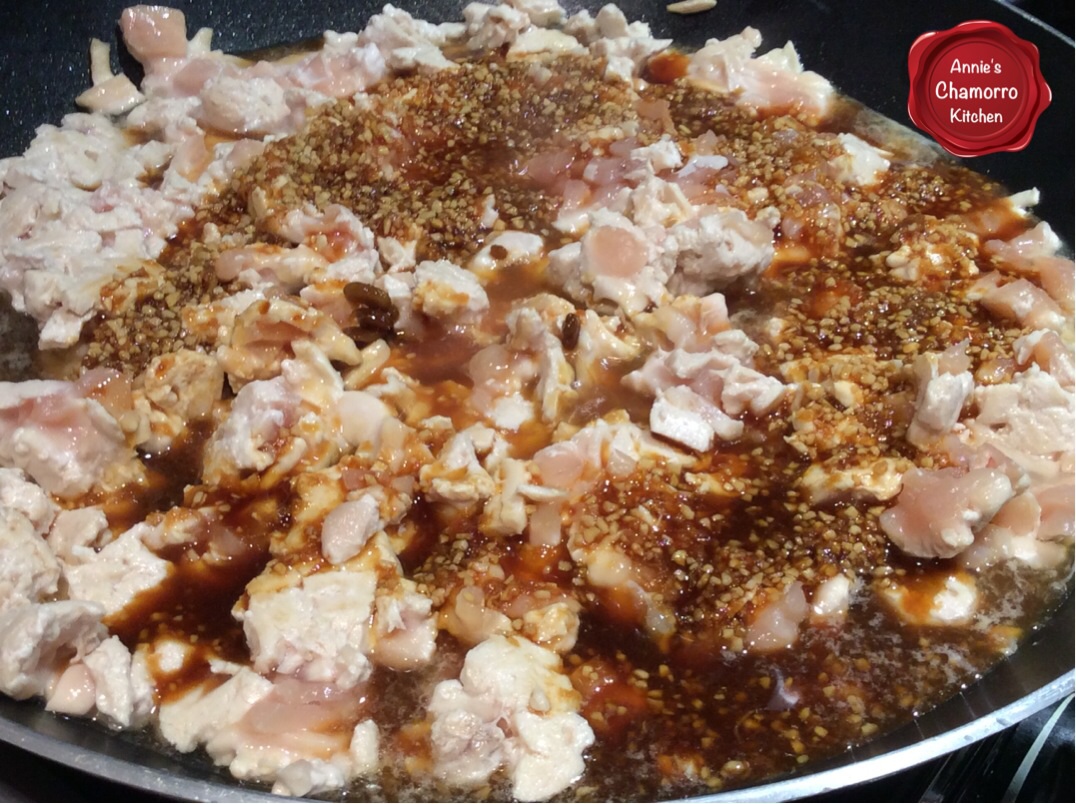
Heat a large pan or wok over medium-high heat. Add the sesame oil and chicken.

Pour the sauce into the pan with the chicken.
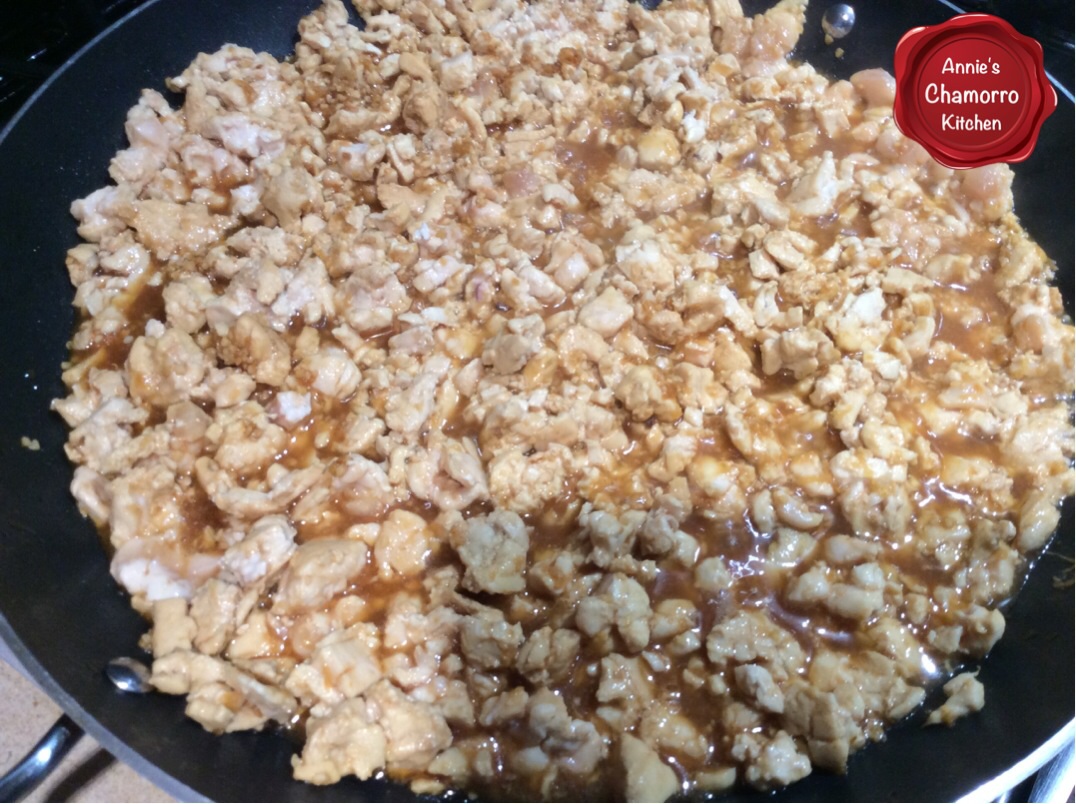
Stir occasionally, cooking until the chicken is no longer pink.
Add the water chestnuts, mushrooms, onion and Thai basil leaves.
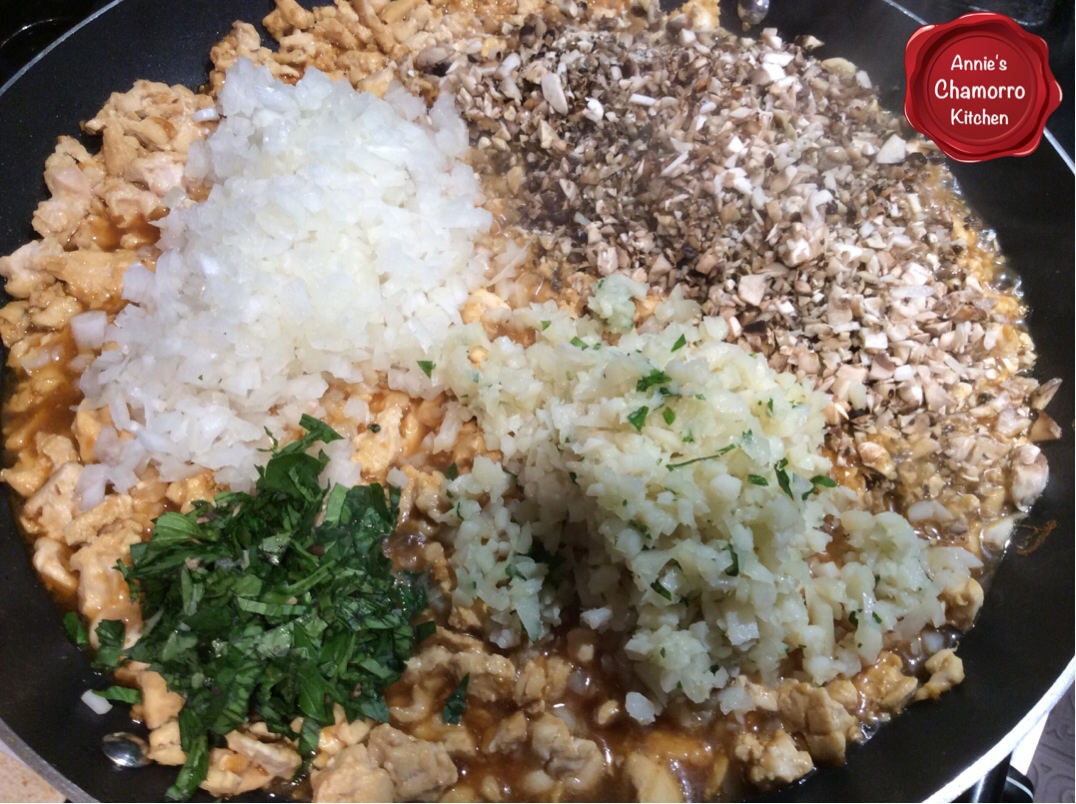
Cook the chicken and vegetable mixture for a couple of minutes.
Stir the cornstarch-water mixture then pour into the pan, stirring the chicken mixture as you pour. Cook for a couple more minutes, stirring constantly. The sauce will thicken as it cooks.
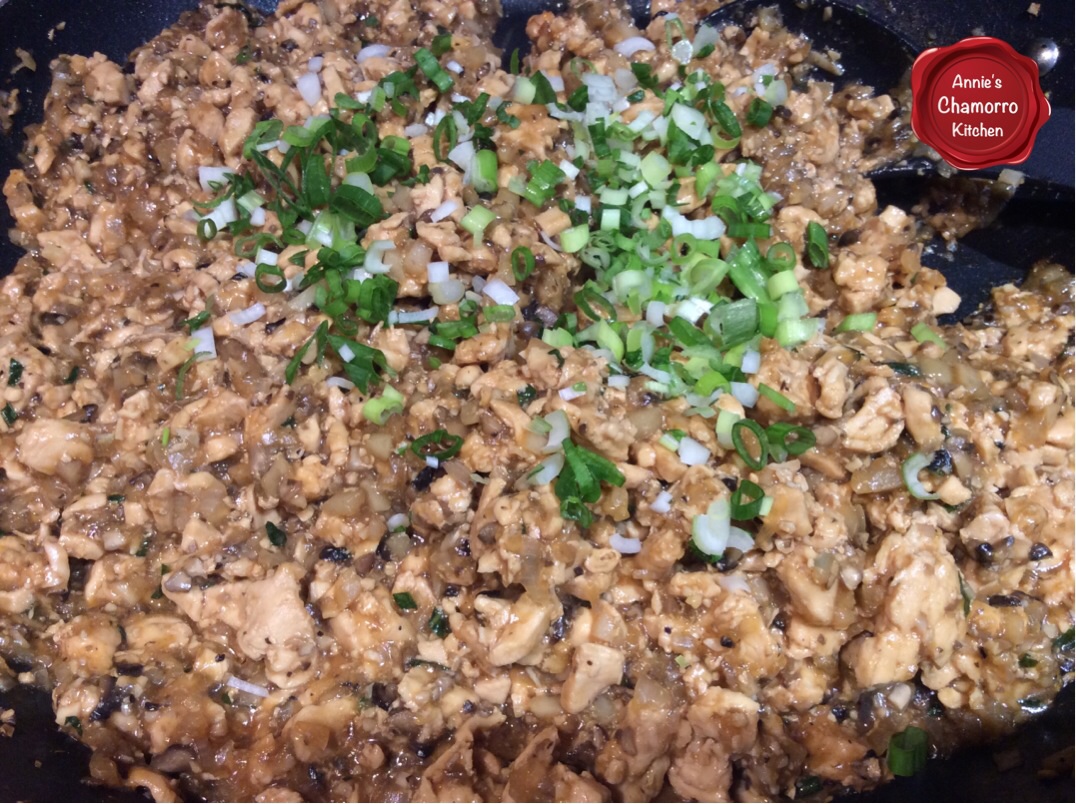
Stir in half of the green onions. Cook for a minute longer then remove from the heat.
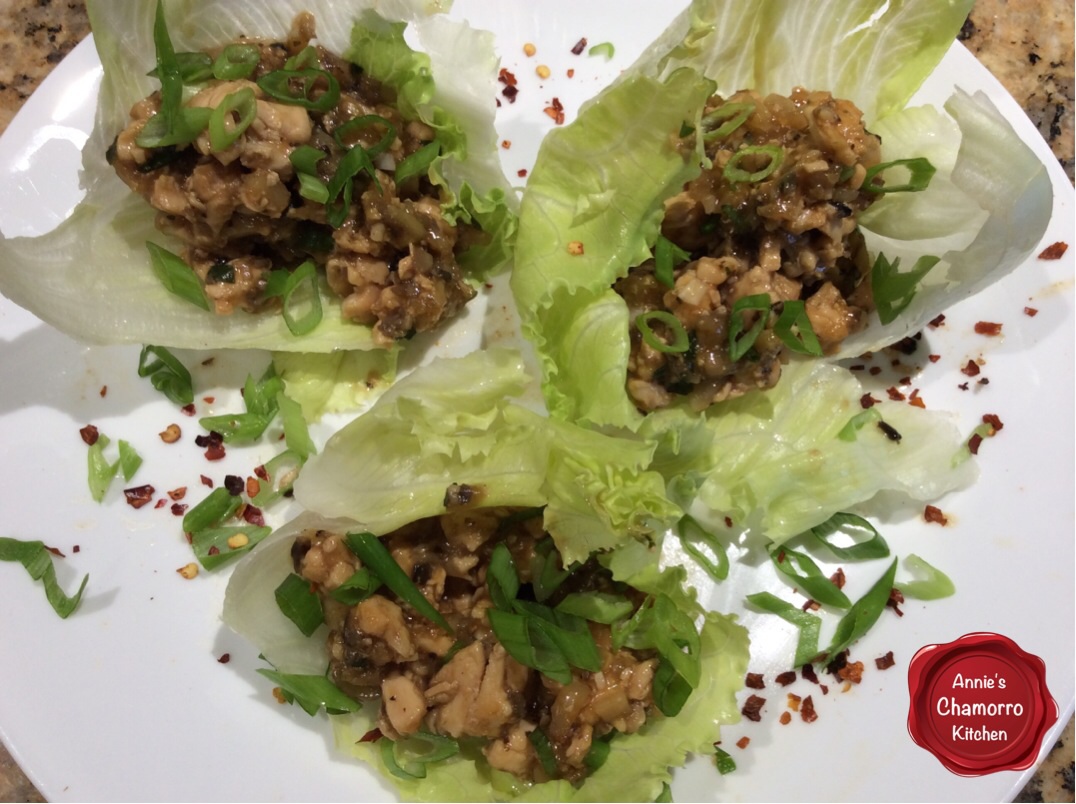
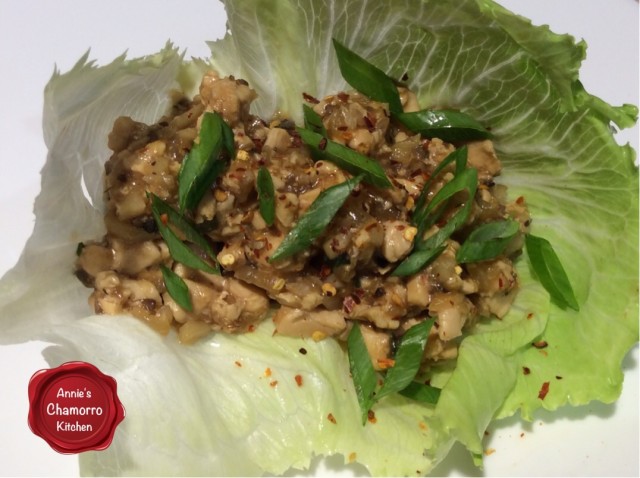
Fill the lettuce leaves with the chicken mixture. Top with more green onions and hot pepper flakes.
ENJOY!

- 4 tablespoons sesame oil
- 4 boneless skinless chicken breasts, diced (or 1 pound ground chicken)
- 2 cans water chestnuts, drained and diced
- 1 package fresh mushrooms, chopped
- 1 small onion, diced
- 8 Thai basil leaves, optional
- 8 stalks green onions, sliced
- 2 tablespoons chopped garlic
- 1-inch piece of ginger, peeled and grated
- ¼ cup brown sugar
- ¼ soy sauce
- ¼ cup hoisin sauce
- 2 tablespoons rice wine vinegar
- ¼ cup water mixed with 2 tablespoons corn starch
- 1 large head butter or iceberg lettuce, wash, dried and leaves separated
- Red pepper flakes, optional
- In a small bowl or measuring cup, mix together the garlic, ginger, brown sugar, soy sauce, hoisin sauce, and rice wine vinegar.
- Set aside the cornstarch and water mixture for now.
- Heat a large pan or wok over medium-high heat. Add the sesame oil and chicken.
- Pour the sauce over the chicken. Cook until the chicken is no longer pink, stirring occasionally.
- Add the water chestnuts, mushrooms, onion, and Thai basil leaves to the pan. Cook for 2-3 minutes.
- Stir the cornstarch-water mixture the pour into the pan, stirring as you pour. Cook for another couple of minutes until the sauce thickens.
- Stir in half of the green onions. Cook for a minute longer then remove from the heat.
- Scoop some filling into the lettuce leaves.
- Top with some sliced green onions and pepper flakes.