Archive for VEGETABLES

Mexican Street Corn

There’s something about eating grilled corn that makes it feel like summer as well as making a BBQ all that more exciting and delicious!

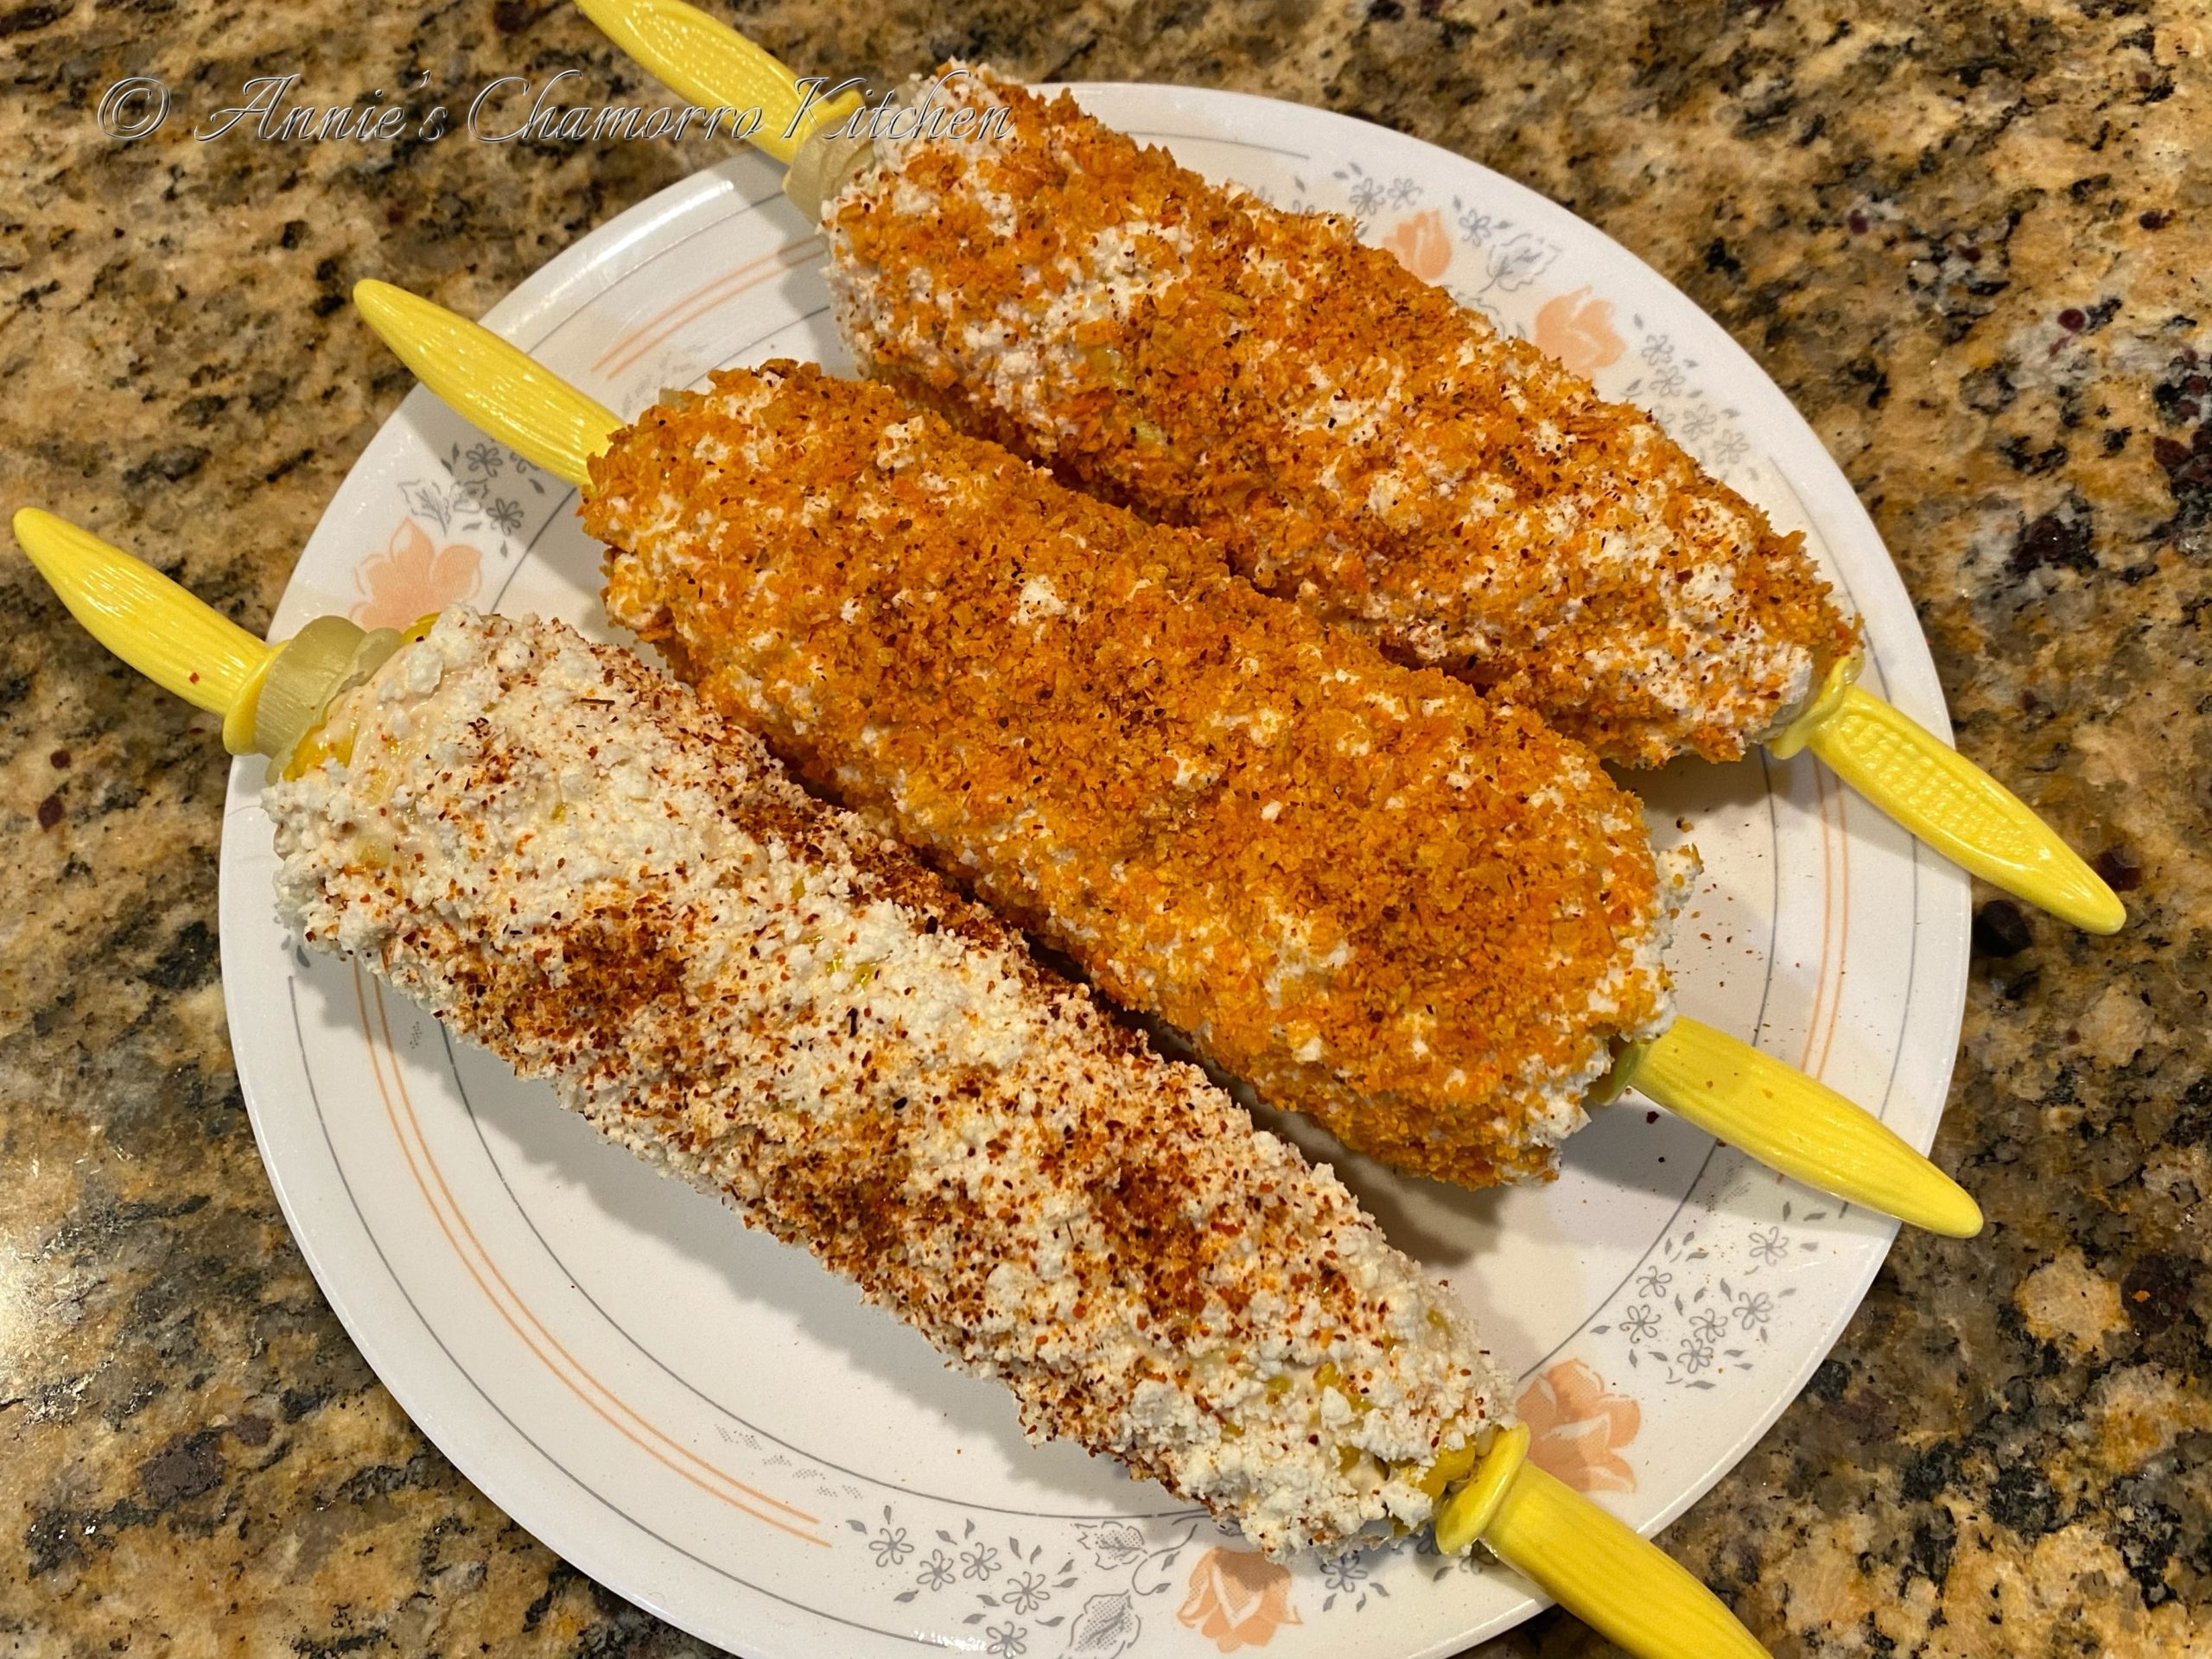
One of my favorite ways to eat corn on the cob is what’s called elotes or Mexican street corn. It’s grilled corn slathered with a mixture of Mexican crema and mayo, then covered in salty, yummy cotija cheese.  There are a few restaurants and local vendors here in town that make this, but why go out and buy it when you can make it right in your own kitchen?

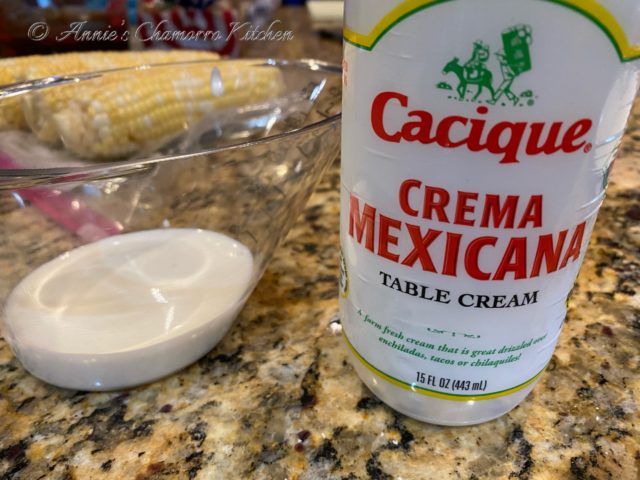
Crema looks like a more watery version of sour cream, bit it is actually similar to Crème fraiche as it has a higher butterfat content than sour cream and is less acidic.

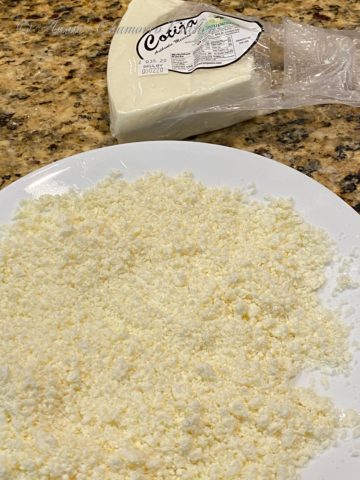
Cotija is a hard, crumbly Mexican cheese that is made from cow’s milk that resembles feta cheese.

To make this deliciousness, start by cooking your corn.  You want it cooled enough so that the crema-mayo mixture adheres to it without melting from the heat of the corn.

Add the crema to a small bowl.
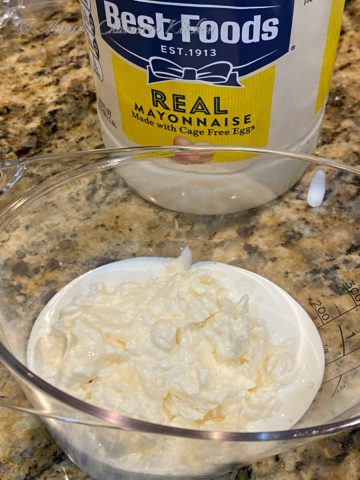


Add the mayo.


Add the garlic and onion powders.
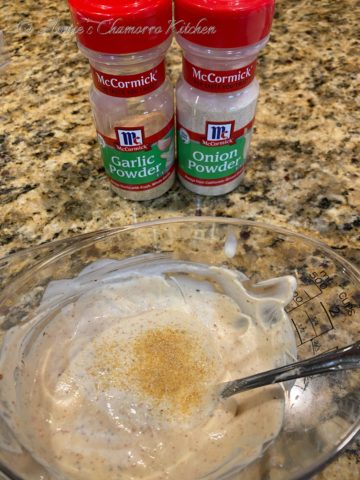


Add the tajin.


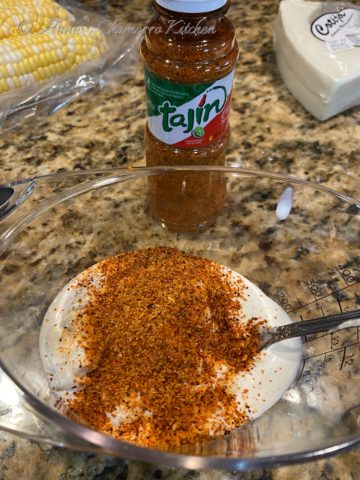
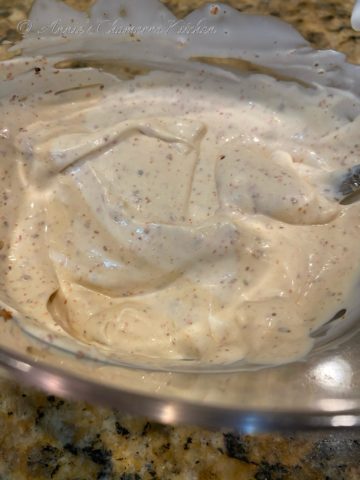
Stir to mix.  Set aside.


If your cotija cheese comes in a block or wedge, you need to crumble it.  You can use a food processor to do this, or if you’re like me and don’t want to dirty extra dishes or utensils, crumble it with a fork.


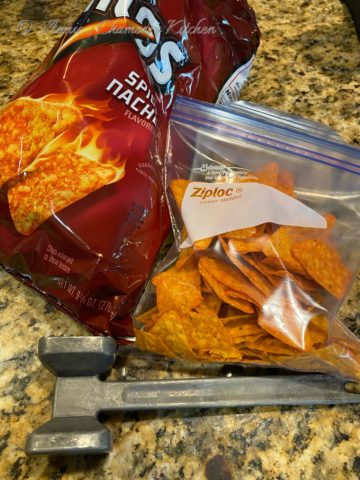
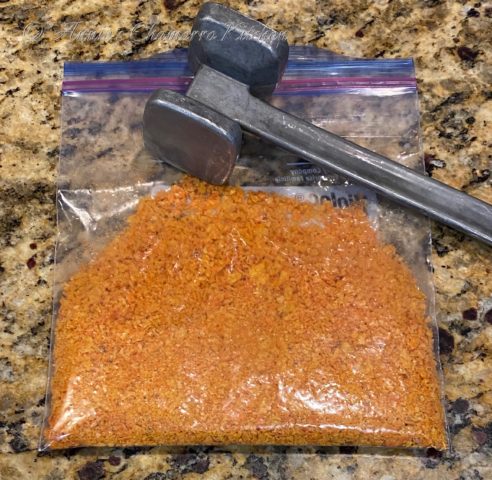
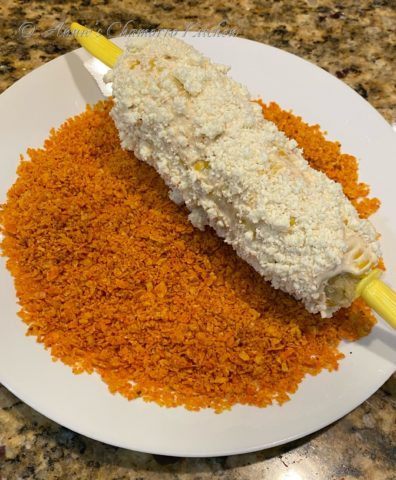
If you want an extra special touch to your corn, try adding your favorite crushed chips.  I used Doritos here.  Place the chips in a quart-sized resealable bag, about 3/4 full.  Use whatever you have on hand to crush the chips — a mallet, a can of soup, your fist — whatever works.  You want small crumbs, but don’t pulverize it into a powder.


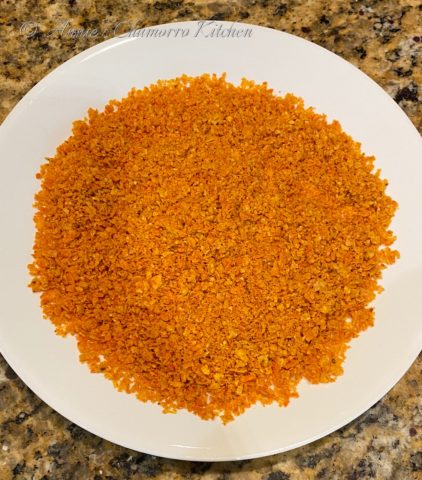
Pour the chips out onto a plate (it makes for easier coating if on a flat surface).


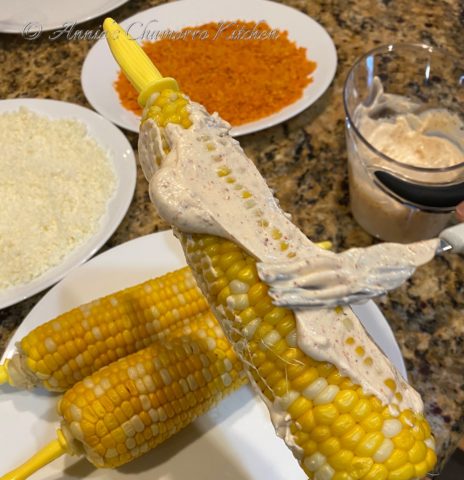
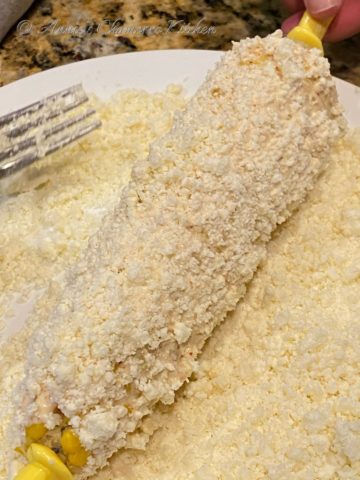
Now the fun part begins.  Take one ear of corn and slather it liberally with the crema-mayo mixture.


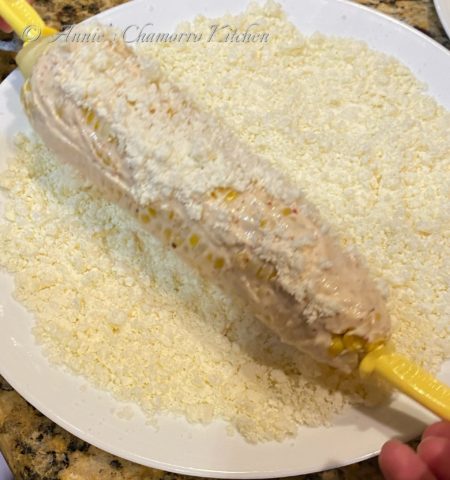
Roll the covered corn in the crumbled cotija cheese.  Use a fork to really get the cheese stuck onto the crema-mayo.


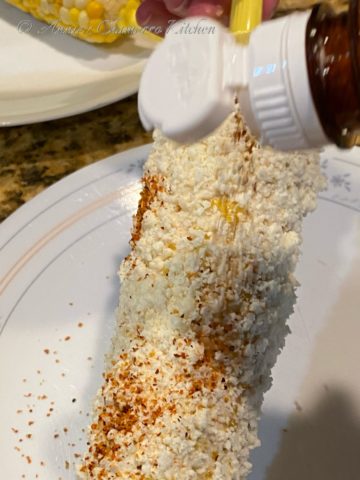
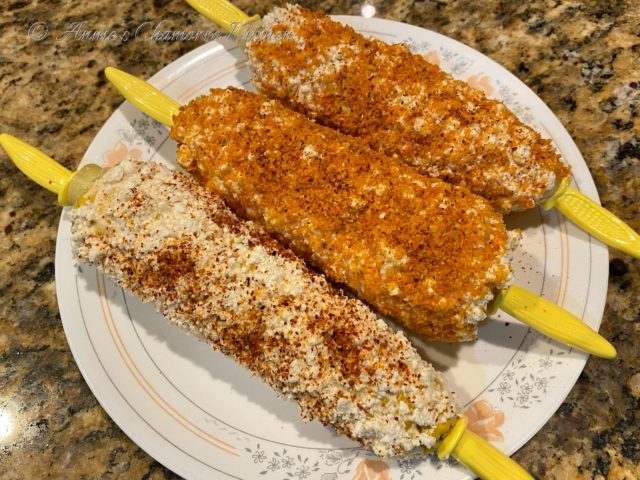
If you’re not feeling adventurous and don’t want to add crushed chips, that’s perfectly fine.  You can sprinkle on more tajin and call it good.


Or, go all-in and roll your elotes in some chips! Yeah, baby!  This is some good stuff, right here!


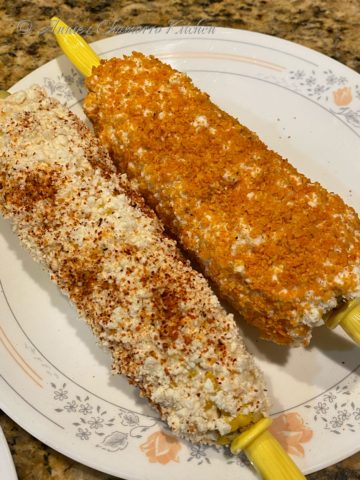
My recipe is enough to make four elotes.  Give it a try.  I think you’ll like it.


Mexican Street Corn
 
Prep time
Total time
 
Author:
Serves: 4
Ingredients
  • ⅓ cup Mexican crema
  • ⅓ cup mayonnaise
  • 2 teaspoons tajin
  • 1 teaspoon onion powder
  • 1 teaspoon garlic powder
  • 1 cup cotija cheese, crumbled
  • 1 cup crushed chips, optional
Instructions
  1. In a small bowl, stir together the crema, mayo, tajin, onion powder, and garlic powder.
  2. Slather the crema-mayo mixture over cooked and cooled ears of corn.
  3. Roll the crema-mayo covered corn in the crumbled cotija cheese.
  4. Roll the cheese-covered corn in the crushed chips if desired.


Print Friendly, PDF & Email

Ahi Tuna Poki Salad

image

This is a new twist on Ahi Tuna Poki. Marinate good quality cubes of ahi tuna in my Japanese Vinaigrette dressing and serve with your favorite salad greens and diced cucumbers.

It’s oh-so-good, trust me.  🙂

You can find my Japanese Vinaigrette recipe here.

Give it a try. I think you’ll like it. 🙂

image


Ahi Tuna Poki Salad
 
A new take on Ahi Tuna Poki that's served in my tangy and slightly sweet dressing with your favorite salad vegetables
Author:
Recipe type: Seafood, Salad
Cuisine: Japanese
Serves: 1 serving
Ingredients
  • Lettuce leaves (I like hearts of Romaine), as much as you like
  • ½ cup diced cucumbers
  • ½ cup diced red onions
  • ½ cup julienned carrots
  • 1 cup diced ahi tuna
  • ½ cup Japanese Vinaigrette
Optional:
  • Red pepper flakes
Instructions
  1. Make my Japanese Vinaigrette as directed in my recipe (see the link above).
  2. Marinate the ahi tuna in the vinaigrette for 10-15 minutes. Pour the tuna and dressing over the salad greens and other vegetables. Sprinkle red pepper flakes over the salad (optional).
Serve and enjoy!


Print Friendly, PDF & Email

Ramen Noodle Salad

Ramen noodle salad has been around for years. I love this dish because you can make endless varieties of it based on your favorite ingredients.

Make it for your next potluck, or serve it as a side dish for your next meal.

My complete recipe is at the bottom of this post.  Give it a try.  I think you’ll like it. 🙂

Ramen Noodle Salad

image

I start with the basic ramen noodles and almonds.  Toast them in the oven for a few minutes to bring out the flavorful almond oils and to get the noodles nicely browned.

image

I don’t like to use pre-packaged coleslaw mix in this salad, mainly because most of the time I buy the mixes, it already smells bad, indicating spoilage.  I buy a whole head of cabbage and slice it myself, saving the potential for food waste and sending good money down the drain.

On the other hand, I buy pre-sliced carrots.  I’ve never bought a bag of bad/spoiled pre-sliced carrots.  The pre-packaged kind saves oodles of time in the kitchen.

Place all of the salad vegetables in a large mixing bowl; mix in the toasted noodles and almonds.

image

You can buy a ready-made Asian vinaigrette for this salad, but a homemade dressing takes no time at all, and you can control the quality of ingredients.  See my full recipe below for my version of this sweet and tangy dressing that makes use of the ramen noodle seasoning packets.  If you want to cut back on the sodium, use half, just one, or none of the seasoning packets.  The dressing will still pack a whole heck of a lot of flavor without them.

image

Pour the dressing into the bowl; use a pair of tongs to toss it all together.  Serve and enjoy!

image


Ramen Noodle Salad
 
Prep time
Cook time
Total time
 
A crunchy salad with ramen noodles and a sweet and savory dressing
Author:
Recipe type: Side
Ingredients
Salad:
  • 4 packages ramen noodles
  • 2 cups sliced almonds
  • 2 cups julienned carrots
  • 3 stalks green onions, sliced
Optional:
  • 2 cups mandarin orange slices
  • 4 tablespoons toasted sesame seeds
  • 1 cup shelled and steamed edamame
  • 1 cup crumbled bacon
Dressing:
  • 1 teaspoon crushed garlic
  • 1 cup vegetable oil
  • ⅓ cup sesame oil
  • ⅔ cup good quality honey
  • ⅔ cup rice vinegar
  • 2 teaspoons soy sauce
  • 4 Ramen seasoning packets (from the ramen noodles used in the salad)
Instructions
Toast the noodles and almonds:
  1. Preheat your oven to 425 degrees.
  2. Break the noodles apart while still in the original packaging. Place the broken noodles on a large rimmed baking pan. Set the ramen noodle seasoning packets aside (to be used for the dressing).
  3. Add the sliced almonds to the pan. Mix the almonds and noodles together.
  4. Bake for 5 minutes then remove from oven and let it cool. Place in a large mixing bowl.
Prepare the salad:
  1. Slice the cabbage thinly, as if to make coleslaw. Place into the large mixing bowl with the noodles and almonds.
  2. Add the carrots and greens onions to the bowl.
  3. Add any other optional salad ingredients.
  4. In a small bowl, whisk all of the dressing ingredients together. Pour the dressing over the noodle and cabbage mixture. Toss to combine all the ingredients.
Serve and ENJOY!


Print Friendly, PDF & Email

Thai Beef Salad

This popular Thai beef salad can serve as an appetizer or a meal.  It’s quick and easy to prepare so you can have it on your table in just a few minutes.  Toss your favorite salad greens together then add thinly sliced grilled beef and a drizzle of my delicious Thai-style dressing for a perfect side salad, quick lunch or light dinner meal.

My complete recipe is located at the bottom of this post.  Give it a try.  I think you’ll like it. 🙂

Thai Beef Salad

image

Prepare the salad dressing.  Place all of the dressing ingredients into a small mixing cup, whisking together until you dissolve the sugar.  Set aside.

Next, grill your favorite cut of beef.  I like to use flank steak.  It only takes a few minutes to cook this cut of meat to what I consider perfection — slightly pink on the inside.  You can fire up the grill for this, but I usually use a grill pan and cook it on top of the stove over medium heat.  Season both sides of the meat with some salt and pepper.  Sprinkle some oil in the hot pan then cook the meat for 10 minutes on each side.  Once you place the meat onto the grill pan, LEAVE IT ALONE to cook.  Do not stab or poke at it.  The only time your utensils touch the meat is when you flip it.

image

See how nicely browned it got? 🙂

Don’t worry about the sides not being browned.

Don’t slice the meat right away or all the juices will run out and leave the meat dry.  Once done, remove the meat from the pan and let it rest while you prepare the vegetables for the salad.

imageIt’s time to layer the vegetables. Place the cucumbers at the bottom.  I do it this way so that the salad dressing can start to pickle the cucumbers.

One note about my photos.  As you can see, I’m making individual servings for packed lunches for my husband, daughter and me.

image

Add the leafy greens next.  I like using hearts of romaine, but any mixed leafy greens will do.

image

I like adding pre-sliced carrots to add some color and crunch.  Pre-sliced carrots cost a little more but it saves a lot of time in the kitchen too.  My older daughter loves to cook, and I’m still quite leery about letting her use a sharp knife to cut thin slivers of carrots. Pre-cut carrots saves me from worrying about her losing some fingers!

image

The cilantro leaves get added to the salad next; add as much or as little as you like.  Cilantro is one of those herbs that you either love or hate.  I happen to love it so my salad gets a healthy handful of cilantro. 😉

image

Thinly slice the red onions and add them to the salad.  I didn’t have any red onions on hand when I made these, so I added sliced green onions instead.

image

The beef rested long enough by now.  Use a sharp knife to cut thin slices of beef, being sure to cut across the grain.
image

Add the sliced beef to the top of the salad.

ENJOY!
image

image

image


Thai Beef Salad
 
Prep time
Cook time
Total time
 
Fresh salad with a spicy and savory salad dressing. Serve with sliced beef for a complete meal.
Author:
Cuisine: Thai
Serves: 4
Ingredients
SALAD DRESSING
  • The juice of 2 medium limes
  • 4 tablespoons fish sauce (I like the Three Crabs brand)
  • 4 tablespoons water
  • 2 tablespoons sugar
  • 1 teaspoon salt (omit if the fish sauce is salty enough for you)
  • 1 tablespoon chopped garlic
  • 2 hot chili peppers, diced, optional
SALAD GREENS
  • 1½ pound flank steak
  • Salt and pepper, to season the steak
  • 4 tablespoons vegetable oil, for the grill pan
  • 2 English cucumbers, sliced
  • 8 cups mixed salad greens
  • 2 small carrots, julienned
  • 1 bunch cilantro, stems removed
  • 1 small red onion, thinly sliced
  • Any other salad vegetables you like
Instructions
Make the Dressing
  1. Place all of the ingredients for the dressing in a small mixing bowl or measuring cup. Whisk together until the sugar dissolves. Set aside.
Grill the Meat
  1. Season the meat on both sides with salt and pepper. Place a grill pan over medium heat. Add the oil to the heated pan then cook the meat for 10 minutes on each side. Once the meat is done, set it aside to rest before slicing. After resting for about 15 minutes, thinly slice the meat against the grain.
Make the Salad
  1. Layer the cucumbers, salad greens, carrots, cilantro, and any other vegetables you like in a small salad bowl or plate.
  2. Add the thinly sliced beef to the top of the salad.
  3. Drizzle some salad dressing over the beef and salad greens.
Serve and enjoy!


Print Friendly, PDF & Email

Authentic Korean Cabbage Kimchi

My Korean sister-in-law, Min, is an excellent cook.  She’s the one who taught me how to make all my favorite Korean dishes, like Jap Chae, Bulgogi,  Denjang Chigae, Kimchi Chigae, Kim Bap, Kimchi Fried Rice and lots more!

This is Min’s cabbage kimchi recipe.  She makes different kinds of kimchi — cabbage, radish (my personal favorite), and cucumber — and they are all better than the cheap jarred stuff you buy in your grocery store.

It’s a bit labor-intensive, but it’s worth it in the end.  Eat it as a side dish with your favorite meals, or let it ferment a little longer and use it in Kimchi Chigae.  A small note about kimchi fermentation — kimchi stored at room temperature will ferment faster than refrigerated kimchi.  Refrigerated kimchi still ferments, but at a slower rate.

The photos below make it appear that this makes a ton of kimchi.  Once the leaves wilt, however, you’ll end up with enough kimchi to fill a large bowl or jar (like the size of large pickle jars that are sold in wholesale grocery stores such as COSTCO).  There is a Korean store here that sells homemade kimchi in those large jars, but they are so expensive!  It’s so much more economical to make your own at home.

Don’t worry about the quantity this makes.  The great thing about kimchi is that it lasts a long time (just keep it stored in an airtight container)! 😉 Or, you can be a nice friend, family member or neighbor and share some!

Give Min’s recipe a try.  I think you’ll like it. 🙂

Authentic Korean Cabbage Kimchi

Ingredients:

Rice Glue:

  • 2 cups sweet rice grains
  • 4 cups water

Cabbage plus brine:

  • 3 large heads nappa cabbage
  • 4 cups coarse sea salt
  • 8 cups water

Kimchi sauce:

  • 4 bunches green onions (about 12-16 stalks), cut into pieces about 1 1/2″ long
  • 1 bunch chives, cut the same size as the green onions (1 1/2″ long)
  • 3- or 4-inch piece of ginger, peeled and grated
  • 18 cloves fresh garlic, mashed or very finely minced
  • 6 tablespoons anchovy sauce
  • 6 tablespoons salted shrimp or shrimp sauce
  • 6 cups Korean red pepper flakes

This is what the salted shrimp and anchovy sauce look like:

salted shrimp and anchovy sauce

Directions:

Place the grains of rice in a small bowl. Cover the rice with water (use 2 cups of water; save the other 2 cups for later). Let the rice soak for several minutes while you prepare the cabbage.  Eventually you’ll make a rice paste or glue of sorts with the soaked rice grains.  This is a necessary ingredient to help the kimchi sauce ingredients stick to the cabbage leaves.

sweet rice  sweet rice

Separate and rinse the cabbage leaves.  Remove the core at the bottom of each head of cabbage.  Cut the leaves into pieces about 2″x4″.

Generously salt the cabbage leaves with the coarse sea salt.  Pour the water over the salted cabbage leaves.  Soak the leaves in the brine for about 30 minutes until the leaves wilt.  After the leaves have wilted, drain out all of the water.  Place the cabbage in a large strainer basket and rinse thoroughly.

salt the cabbage  cabbage brine

Now, let’s get back to making the rice glue.  Place the rice and water into a blender.  Min uses a VitaMix, but you can use any blender.  Here’s a tip: if your blender can grind ice (for slushy drinks), then it can probably grind rice with no issues.

You will need to add about 2 more cups of water to the blender.

soaked rice  rice and water

Grind the rice-water mixture until you get a smooth consistency.  Pour the rice mixture back into the bowl.

grind the rice  rice puree

Microwave the rice mixture for 2 minutes on High.  Set it aside to cool.  The rice paste will thicken slightly as it cools.

cook the rice  cook rice

Place the onions, chives, garlic and ginger into the bowl of drained and rinsed cabbage leaves.

add onions chives garlic ginger

Sprinkle the ground pepper flakes into the bowl.

pepper

Add the anchovy sauce and salted shrimp paste.

anchovy sauce  shrimp paste

Min also adds some ajinomoto (MSG), but this is optional.  If you choose to add it, sprinkle about 2 tablespoons into the bowl.

ajinomoto

Add the cooled rice paste to the bowl.

add the rice paste

Now this is important:  Put on a pair of CLEAN plastic gloves.  Don’t even think about using the same gloves you use to wash dishes with!  Buy a new pair or better yet, buy a box of disposable cooking gloves.  You are going to mix this by hand and you don’t want to get any hot pepper on your hands (trust me).  Mix it thoroughly, ensuring each piece of cabbage is covered with the kimchi sauce.

mix  mix

Place the kimchi into a resealable container.  Let the kimchi ferment for at least a day and a half before serving.  Remember, kimchi ferments faster at room temperature than if refrigerated.  The longer the fermentation time, the more sour the kimchi becomes.  I like my kimchi on the sour side, so I let mine ferment for about a week before eating.

This will keep for several weeks in the refrigerator.

ENJOY!

finished product


Print Friendly, PDF & Email
« Older Entries