Archive for Casseroles

Baked Sushi Casserole

My family loves, LOVES, LOVES sushi.  We love both the sushi with cooked ingredients (especially those with tempura shrimp — YUM!) as well as the ones with raw fish (spicy tuna is a fave).

We especially love the sushi that is either baked or fried and is served piping hot with the saucy filling practically oozing out of the wrapper.  OMG — I’m drooling as I type this.

image

Rather than make one sushi roll then bake sliced pieces, this recipe is made casserole style in a 9×13 baking dish.  Serve the baked casserole with sushi wrappers and you have a quick and easy — not to mention inexpensive (or at least not as expensive as buying sushi at a restaurant) — and delicious dish.  This is also great for potlucks too.

While you can use the large sushi wrappers with this dish, my family prefers serving it with the “snack sized” seasoned seaweed wrappers (pictured below).  You can find the smaller wrappers in the Asian aisle of most grocery stores.

image

Very little preparation is needed to make this yummy casserole.  Step-by-step instructions and photos follow.  See my complete recipe at the bottom of this post.

First, chop up some imitation crab meat.

image

Pre-cooked salad shrimp also cuts on the preparation time.  I prefer to chop these up as well, but you can certainly use them whole since they are rather tiny.

image

Place the chopped imitation crab and shrimp into a large mixing bowl.

image

Add sour cream, mayo, and furikake to the bowl.

image

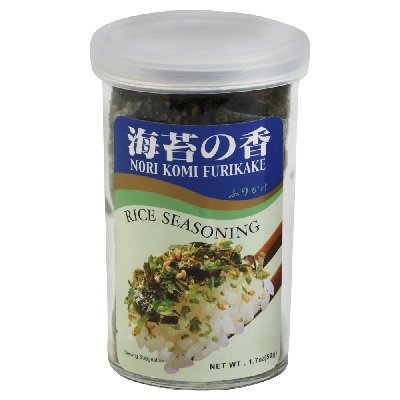
Furikake is a seasoning consisting of chopped seaweed, sesame seeds, sugar, and a few other spices.  It comes in different flavors; I use the “regular” furikake pictured below.  You can find this in the Asian aisle of your grocery store as well.

furikake

Stir to combine the ingredients for the shrimp and imitation crab mixture.  This is good just as it is, but sometimes I mix in a little squeeze of Sriracha sauce, or if you have it, some Kimchee Base as well to kick it up a notch.

image

I love a lot of “meat” in this dish, so into the bowl goes real lump crab meat.  Sometimes the can of crab meat has a few crab shells in it, so if you see any, be sure to pick them out and discard them.

Fold the crab meat into the shrimp and imitation crab mixture.

image

As I mentioned above, I love a lot of filling in this dish.  I don’t like using too much rice as I think it detracts from the deliciousness of the filling.

I cooked just two cups of rice for this recipe then spread it in the bottom of a 9×13 pan.  The rice layer is pretty thin — just how my family likes it.  If you like having more rice, by all means, cook more, and create a thicker layer.

image

The entire bowl of the shrimp and crab mixture gets spread on top of the rice.  It may seem like too much, but trust me, it’s the PERFECT amount.

image

Add more real crab meat to the top of the shrimp and crab mixture.  Hey, I did say I loved a lot of “meat” in this dish. 😉

If you prefer, you can add more salad shrimp instead of crab meat, or splurge and use both! 😀

image

More furikake goes on top of everything.  Because I didn’t season the rice or shrimp-crab mixture, the seasoned furikake is where most of the flavor and seasoning comes from.  Do not skimp on this or your casserole will taste quite bland.

Bake for 20 minutes in a 375-degree oven.

image

After baking, add as much or as little roe as you like.  We use capelin roe, or masago.  One of my children LOVES extra roe on hers.  She loves it so much that her serving looks completely orange with all the roe she adds.

image

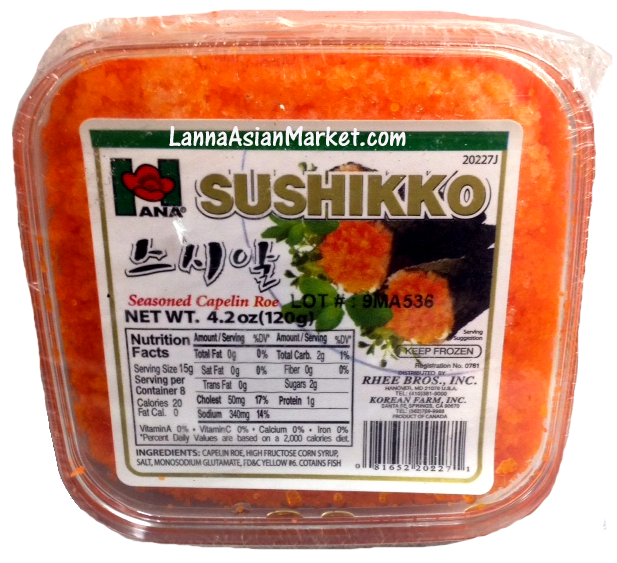
This is the brand of Capelin roe or Masago that I buy.  It’s sold frozen in our local Asian supermarket.

Masago

Serve the piping hot casserole with seasoned seaweed and ENJOY!

image


Baked Sushi Casserole
 
Cook time
Total time
 
Author:
Serves: 8
Ingredients
Crab Mixture:
  • 12 oz imitation crab meat, finely chopped
  • 12 oz cooked salad shrimp, chopped
  • 1 cup mayo
  • 1 cup sour cream
  • ¼ cup furikake
  • 1 cup real lump crab meat (I use lump claw meat)
Other Ingredients:
  • 2 cups medium grain rice, cooked
  • ½ cup real crab meat (I use lump claw meat)
  • ¼ cup furikake
  • ¼ cup seasoned capelin roe
  • Packages of seasoned seaweed wrappers, for serving with the casserole
Instructions
Make the Crab Mixture:
  1. Place the chopped imitation crab meat and chopped shrimp into a large mixing bowl. Add the mayo, sour cream, and furikake to the bowl. Stir the ingredients together.
  2. Fold the lump crab meat into the shrimp mixture. Set aside.
Layer the Sushi Casserole:
  1. Spread the cooked rice in the bottom of a 9x13 pan.
  2. Spread the crab and shrimp mixture on top of the rice.
  3. Spread the remaining lump crab meat on top of the crab-shrimp mixture.
  4. Sprinkle more furikake on top of the lump crab meat.
Finish it up:
  1. Bake the casserole for 20 minutes in a 375 degree oven.
  2. Top with roe.
  3. Serve with seasoned seaweed wrappers.
ENJOY!


Print Friendly, PDF & Email

Bacon and Sausage Breakfast Casserole

Cheese, Sausage, Bacon, Eggs, and Bread (well, garlic croutons in this case) all form the basis for this quick, easy, and delicious breakfast.

You can make in minutes…seriously.  I use a bag of already cooked sausage and bacon crumbles, but if you prefer a specific brand or flavor, by all means, use that.  Sometimes my kids request maple sausage and bacon instead of the pre-cooked stuff, so I make it for them.  Otherwise, aside from beating some eggs and half-and-half together, this recipe is easy-peasy.  In fact, this is a great recipe to get your kids into the kitchen and help cook.

image

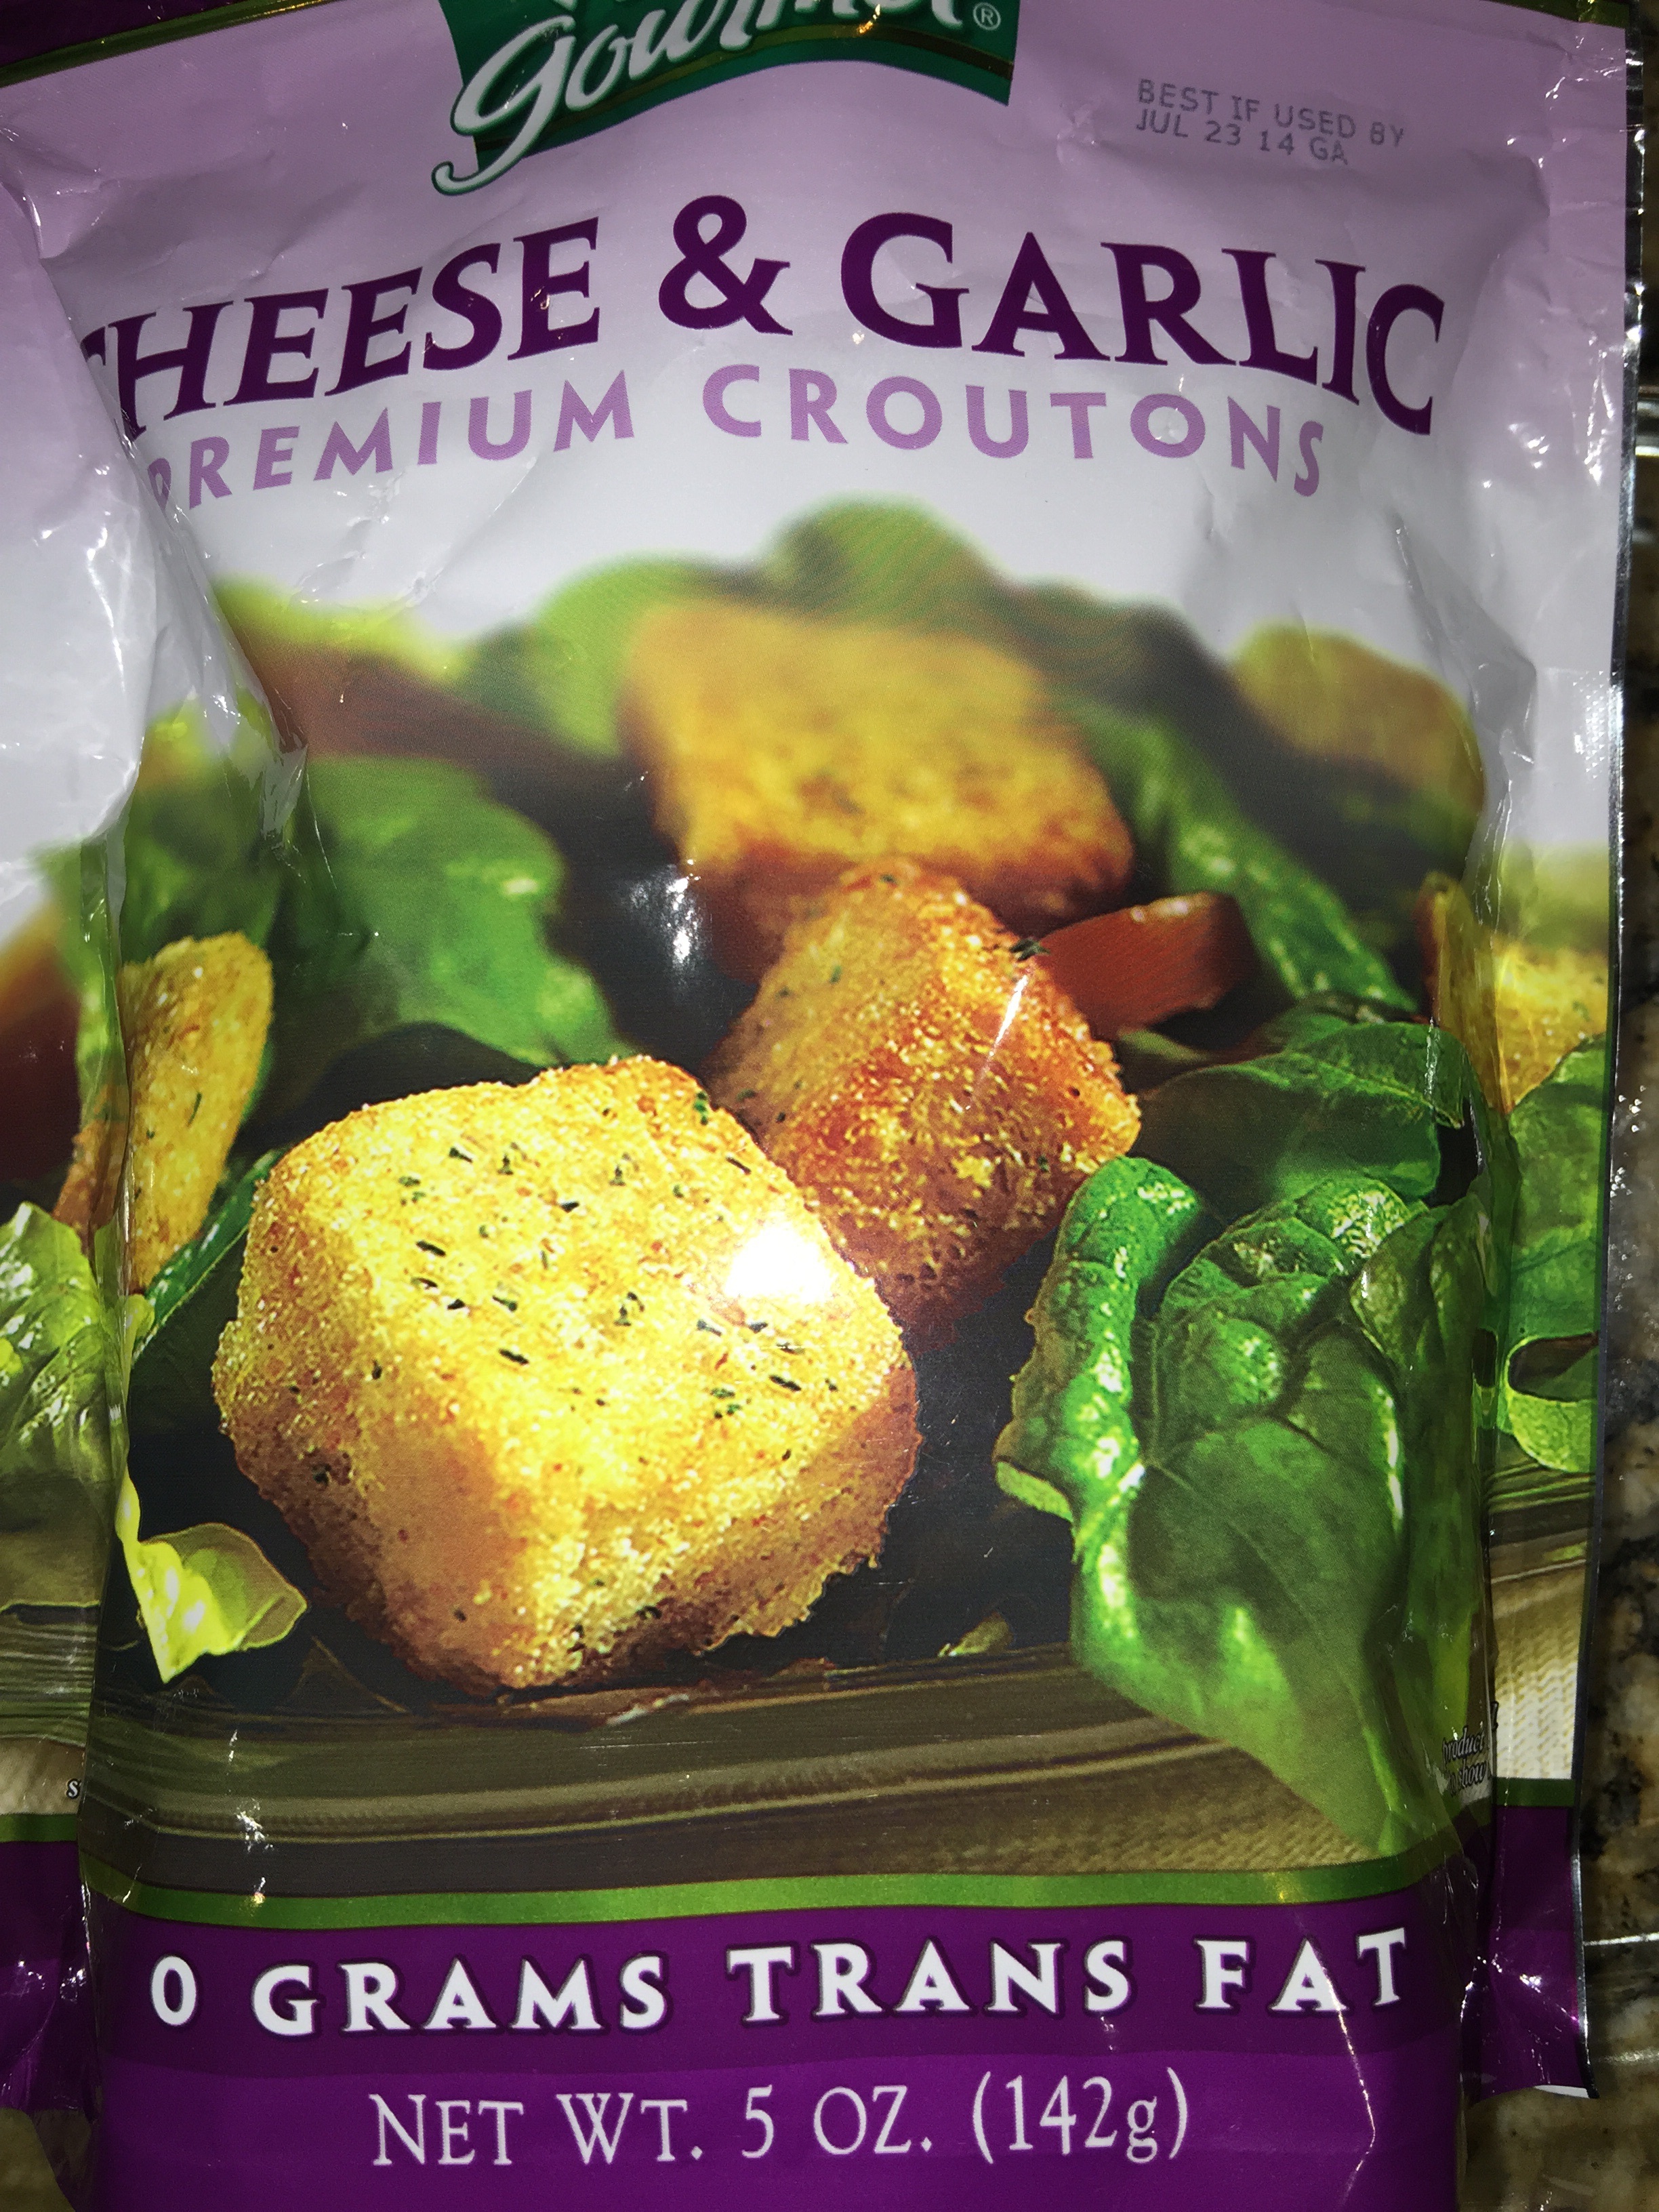
I usually have a bag of croutons in my pantry.  This is the kind we like to use.  You don’t have to use these particular type of croutons (use your favorite), or croutons at all for that matter.  If you have extra crusty bread on hand, use that.  I don’t recommend using regular sandwich bread for this recipe, however.  Regular sandwich bread would soak up all of the liquid quickly, and because this recipe cooks QUICKLY, the cooking time is not long enough to cook the soaked bread.  Using croutons ensures you don’t get soppy breading at the bottom.

image

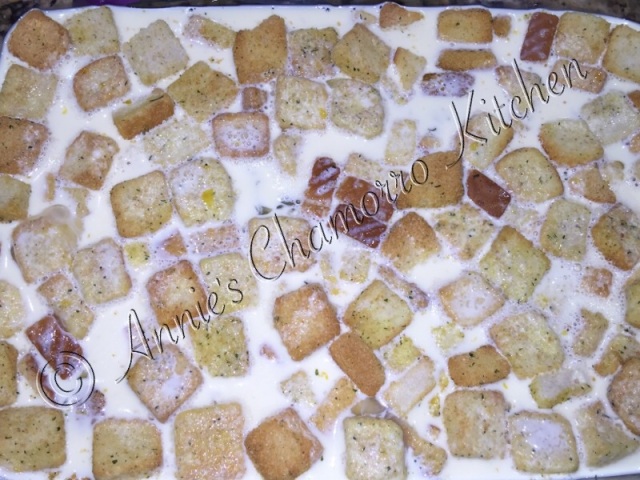
Pour the entire bag of croutons into the bottom of a 9×13 pan.

image

Crack the eggs into a medium sized mixing bowl.

image

Add the half-and-half (you can use cream instead, if you’d like).

image

Use a whisk to mix the eggs and half-and-half together.  You don’t need to whisk this for very long; mix just enough to break the yolks apart and mix up the whites so you don’t have any large globs of egg.

You can mix in some black pepper to this too.  DO NOT add any salt…the croutons, meat and cheese add enough sodium to this recipe.

image

Pour the egg mixture over the croutons.

image

Sprinkle the sausage and bacon mixture over the top of the pan.

image

This is the brand of sausage I buy.  It comes fully cooked, and this particular brand includes bacon.  You can use breakfast sausage if you prefer (since this IS a recipe for breakfast casserole), but I’m usually pressed for time most mornings, and this helps move things along in my house. 🙂

image

Okay, back to business.  Sprinkle some shredded cheese all over the top.  I used a mixture of grated mozzarella and cheddar cheese.

You can add other ingredients to this as well.  I think the next time I make this I’ll add chopped sun-dried tomatoes and maybe some diced bell pepper and onions.

image

Bake at 425 degrees for 20 minutes.

image

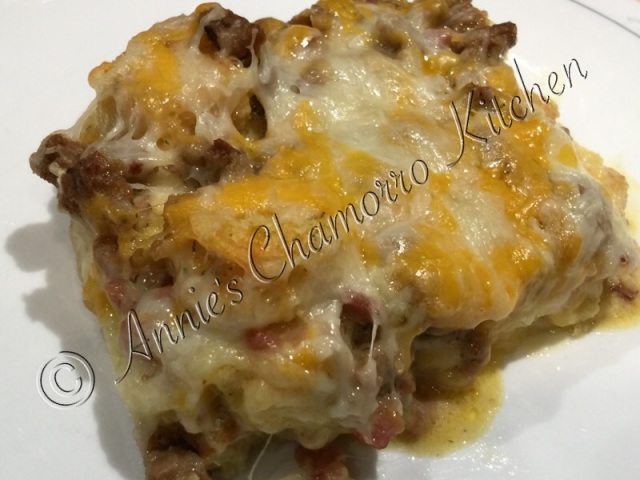
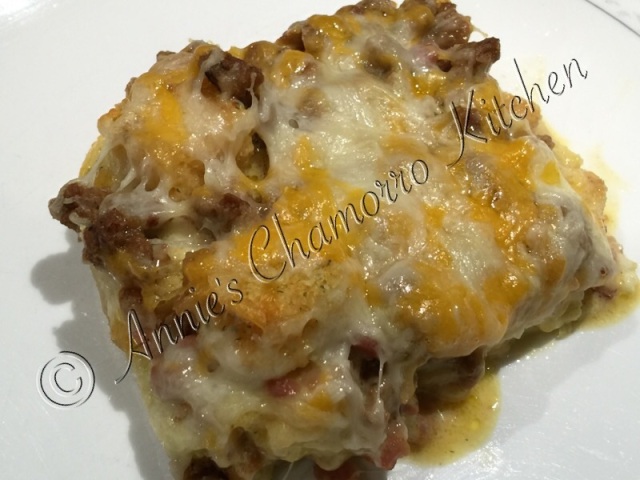
Cut into 12 pieces, serve, and ENJOY!

image


THM NOTE:

For any THMs reading this, this is still an S meal despite the croutons.  This particular brand of croutons has only 5g of total carbs per serving, which is about the amount in one serving of this casserole (the size of the photo above).  The casserole makes about 12 servings.


Breakfast Casserole
 
Prep time
Cook time
Total time
 
Author:
Serves: 12
Ingredients
  • 1 bag garlic flavored croutons
  • 6 large eggs
  • 2 cups half-and-half
  • 1 bag sausage and bacon crumbles
  • 2 cups shredded cheese
Instructions
  1. Layer the croutons on the bottom of a 9x13 pan.
  2. Mix the eggs and half-and-half together. Pour over the croutons.
  3. Sprinkle the sausage and bacon crumbles evenly on top of the crouton-egg mixture.
  4. Top with shredded cheese.
  5. Bake at 425 degrees for 25-30 minutes.
Serve and ENJOY!


Print Friendly, PDF & Email

Tater Tot Casserole

If you’re looking for a stick-to-your-ribs comfort dish, this one is it.  Tater tots, seasoned ground beef and cheese sauce are all baked into a casserole that will make your tummy and taste buds happy, happy, happy.

My complete recipe is located at the bottom of this post.  Give it a try.  I think you’ll like it. 🙂

Tater Tot Casserole

image

Although the name of this dish is “Tater Tot Casserole,” the real star is the cheese sauce that ties it all together.  If you do an online search, you’ll find that quite a few tater tot casserole recipes call for cream of mushroom or chicken soup.

While I do like the canned condensed soup, I thought I’d make my own for this recipe, and I’m glad I did.  Not only can you control the quality of ingredients that go into the dish, you can also control the amount of sodium as well.

Start by placing vegetable broth into a large pot.  You’ll use this same pot to eventually make the cheese sauce, so make sure your pot is big enough to fit the sauce base and all of the cheese and other delicious ingredients that go into it.

Bring the broth to a boil over medium-high heat.

image

Add chopped mushrooms, Dashida, garlic powder, black pepper, onion powder, and thyme to the pot.  Stir to combine, then place a lid on the pot.  Reduce the heat to medium and cook until the mixture returns to a boil.

image

While the broth is simmering, whisk some flour and milk together.

image

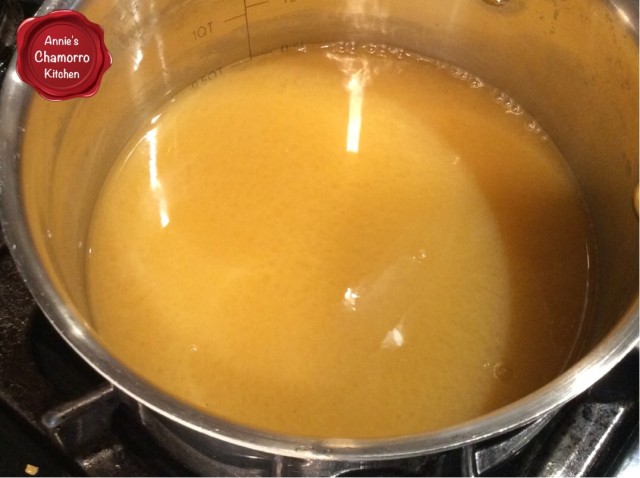
Pour the flour mixture into the boiling liquid, whisking as you pour so as to prevent lumps from forming.

image

Turn the heat down to medium-low.  Cook for a couple of minutes to allow the base to thicken.  See, doesn’t this look better than the canned condensed soup?

It tastes better too. 🙂

image

Once you’ve got the base done, you can finish up the cheese sauce.

Whisk in some milk.

image

Add shredded cheese and sour cream to the pot.  Stir the mixture until the cheese melts.  Turn the heat off and place a lid on the pot.  Set the cheese sauce aside for now while you cook the ground beef.

image

Brown lean ground beef in a skillet over medium-high heat.  Add onions, garlic powder and Dashida; cook for 5 minutes or until the onions become translucent.

imagePreheat the oven to 400 degrees.

Place a layer of frozen tater tots in the bottom of a DEEP baking dish.  A deep roasting pan works well.

Pack those babies in there!

image

I don’t show it here, but add half of the cheese sauce to the pan, on top of the tater tots.

Add all of the ground beef to the pan, on top of the cheese sauce.

image

Pour the remaining cheese sauce over the ground beef.

image

Top with more tater tots.  Bake for 25 minutes, or until the tater tots are golden brown and crispy on top and the sauce is bubbly.

Serve and ENJOY!

image


Tater Tot Casserole
 
Prep time
Cook time
Total time
 
Delicious comfort food combining the childhood favorite, Tater Tots, with seasoned ground beef and a creamy, cheesy sauce.
Author:
Recipe type: One Dish Meal
Cuisine: American
Serves: 8
Ingredients
Meat and Potato Filling:
  • 2 pounds lean ground beef
  • ½ small onion, diced
  • 2 teaspoons garlic powder
  • 2 tablespoons Dashida (Korean beef flavored seasoning)
  • 1 large bag Tater Tots
Sauce Base:
  • 2 cups vegetable broth
  • ¾ cup chopped mushrooms
  • 2 teaspoons Dashida
  • 1 teaspoon garlic powder
  • ½ teaspoon black pepper
  • ½ teaspoon onion powder
  • ½ teaspoon dried thyme
  • ¾ cup milk
  • ½ cup flour
Cheese Sauce:
  • 2 cups milk
  • 16 ounces shredded cheddar cheese (I like to use a Mexican cheese blend)
  • 1 cup sour cream
Instructions
Prepare the Sauce Base:
  1. Bring the broth to a boil over medium-high heat.
  2. Add the mushrooms, Dashida, garlic powder, black pepper, onion powder and thyme. Return the mixture to a boil.
  3. Whisk the milk and flour in a small cup or bowl. Pour the mixture into the boiling liquid, whisking as you pour to prevent lumps from forming. Reduce the heat to medium-low; cook for a couple of minutes to thicken the base.
Make the Cheese Sauce:
  1. Whisk the remaining milk into the sauce base.
  2. Stir in the shredded cheese and sour cream. Set the sauce aside.
Brown the Meat:
  1. Brown the ground beef in a skillet over medium-high heat.
  2. Add the onions and Dashida. Cook for 5 minutes or until the onions become translucent.
Layer the Casserole:
  1. Pre-heat the oven to 400 degrees.
  2. Using a DEEP DISH pan, layer the casserole as follows:
  3. ~ Tater tots, half the cheese sauce, meat, remaining sauce, then tater tots.
  4. Bake for 25 minutes or until the top layer of tater tots are golden brown and crispy and the cheese sauce is bubbly.
Serve and ENJOY!


Print Friendly, PDF & Email