Beef Shank Kådu with Fresh Vegetables and Vermicelli Noodles

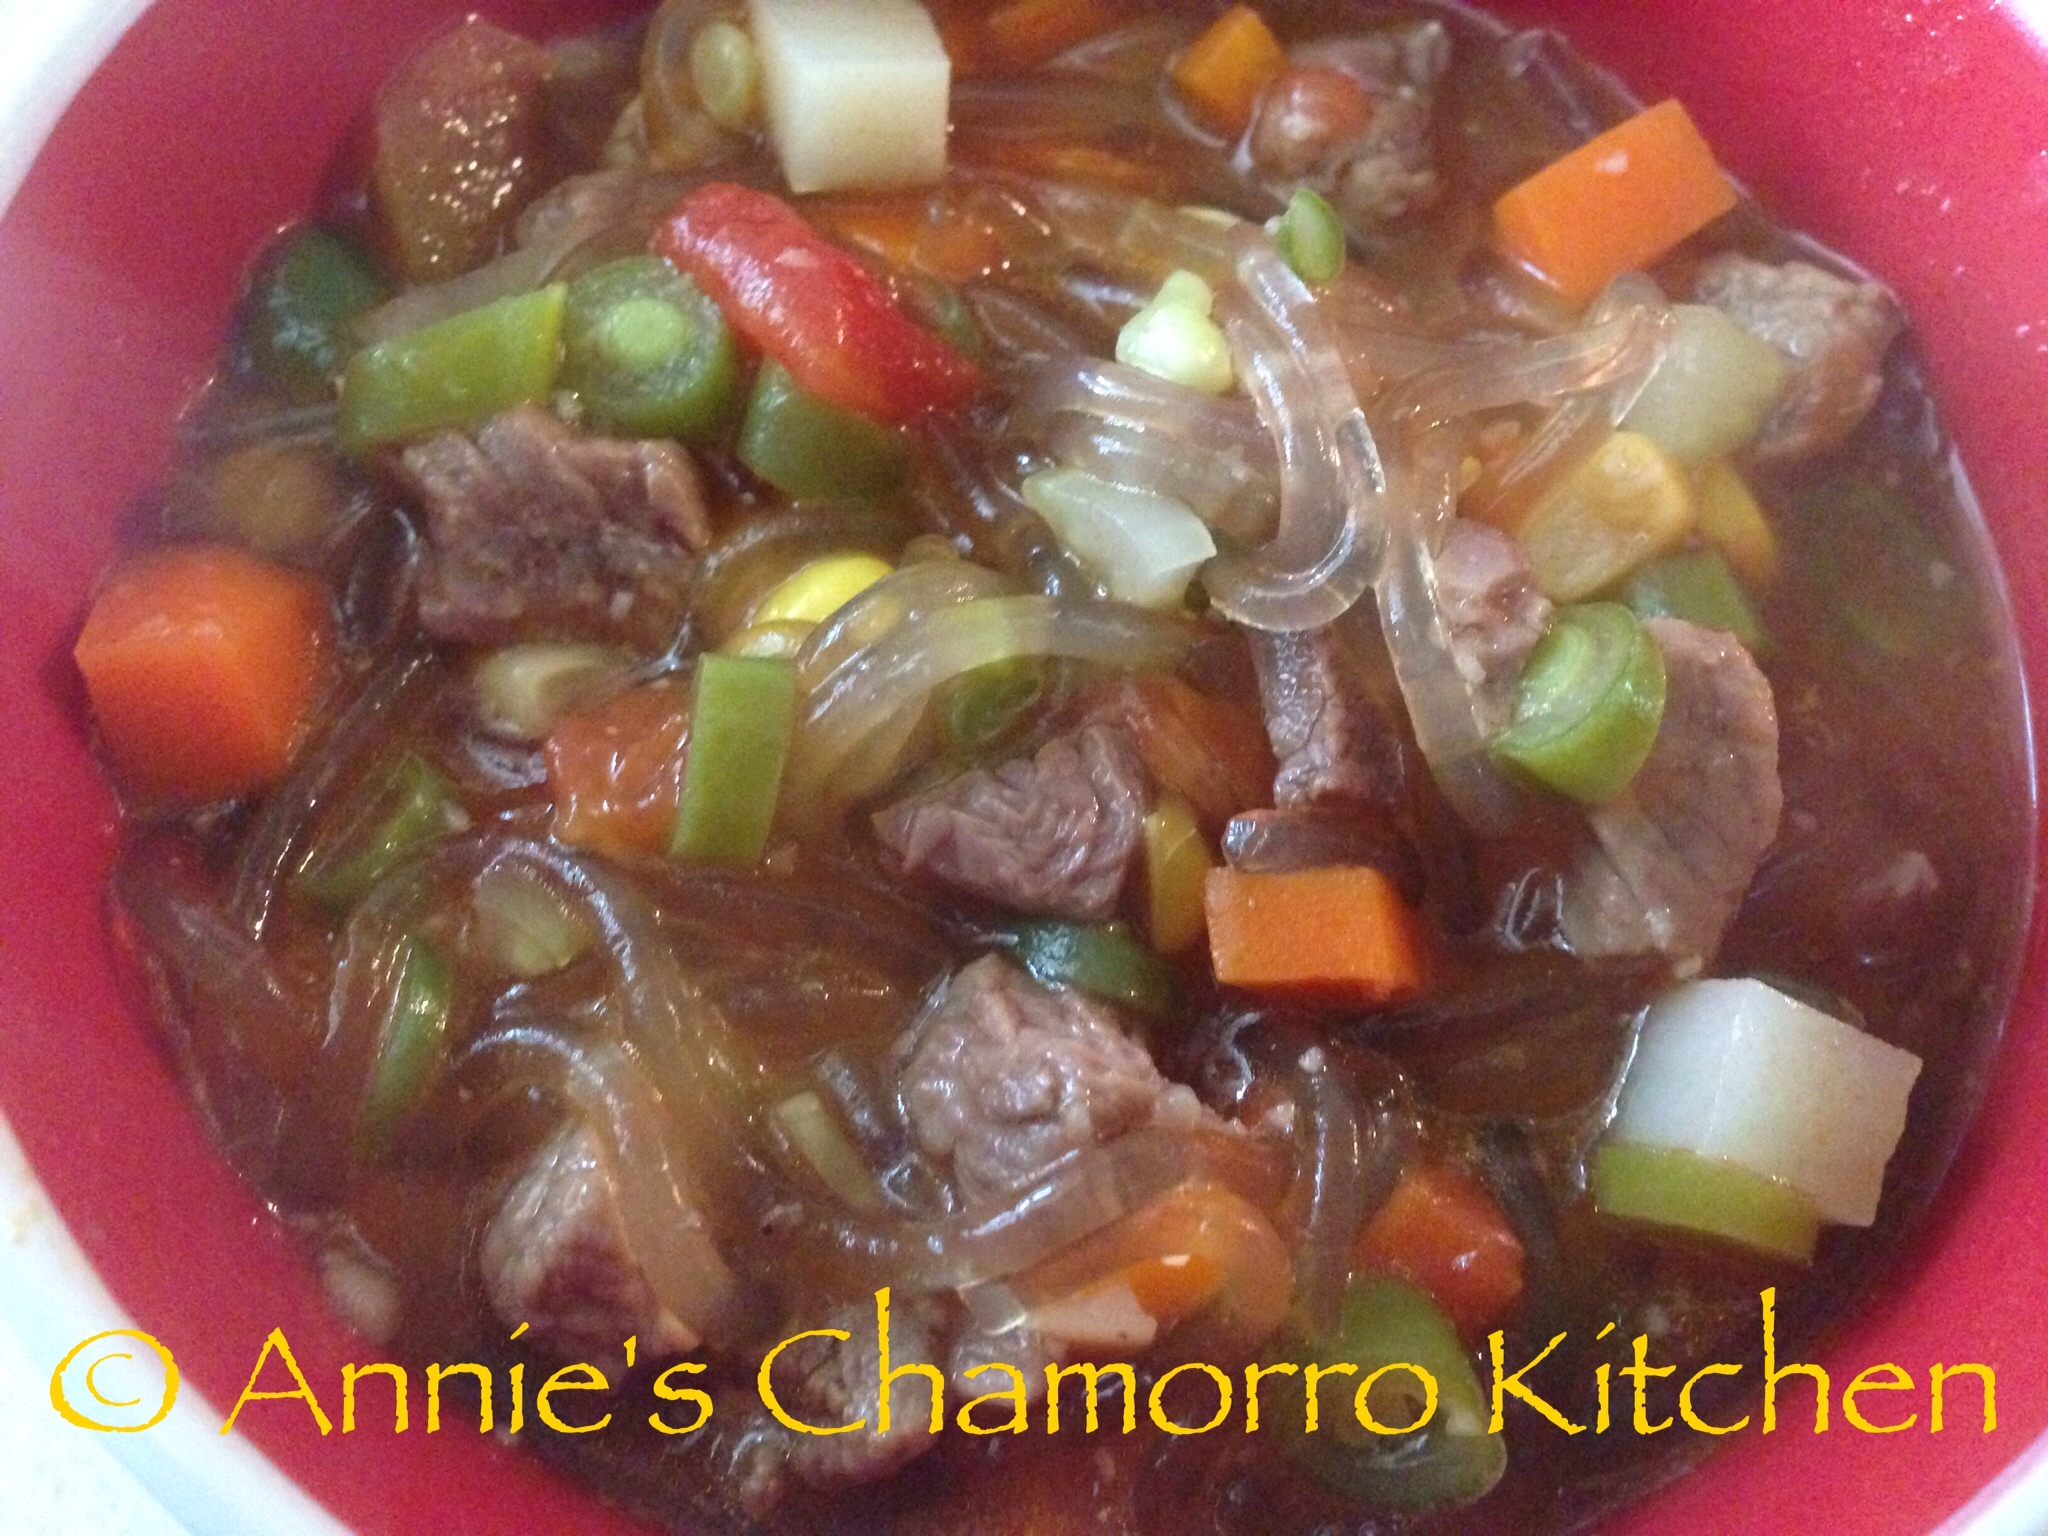
It’s currently 9 degrees outside, with a windchill of -11 degrees — it’s the perfect time for a pot of my delicious Beef Shank Kådu (which means soup, in Chamorro) with fresh vegetables and vermicelli noodles. Come to think of it, this soup is good at ANY time, not just when it’s cold and blustery outside. After all, we make kådu on Guam, where the temperature is in the 80’s year-round! 😉

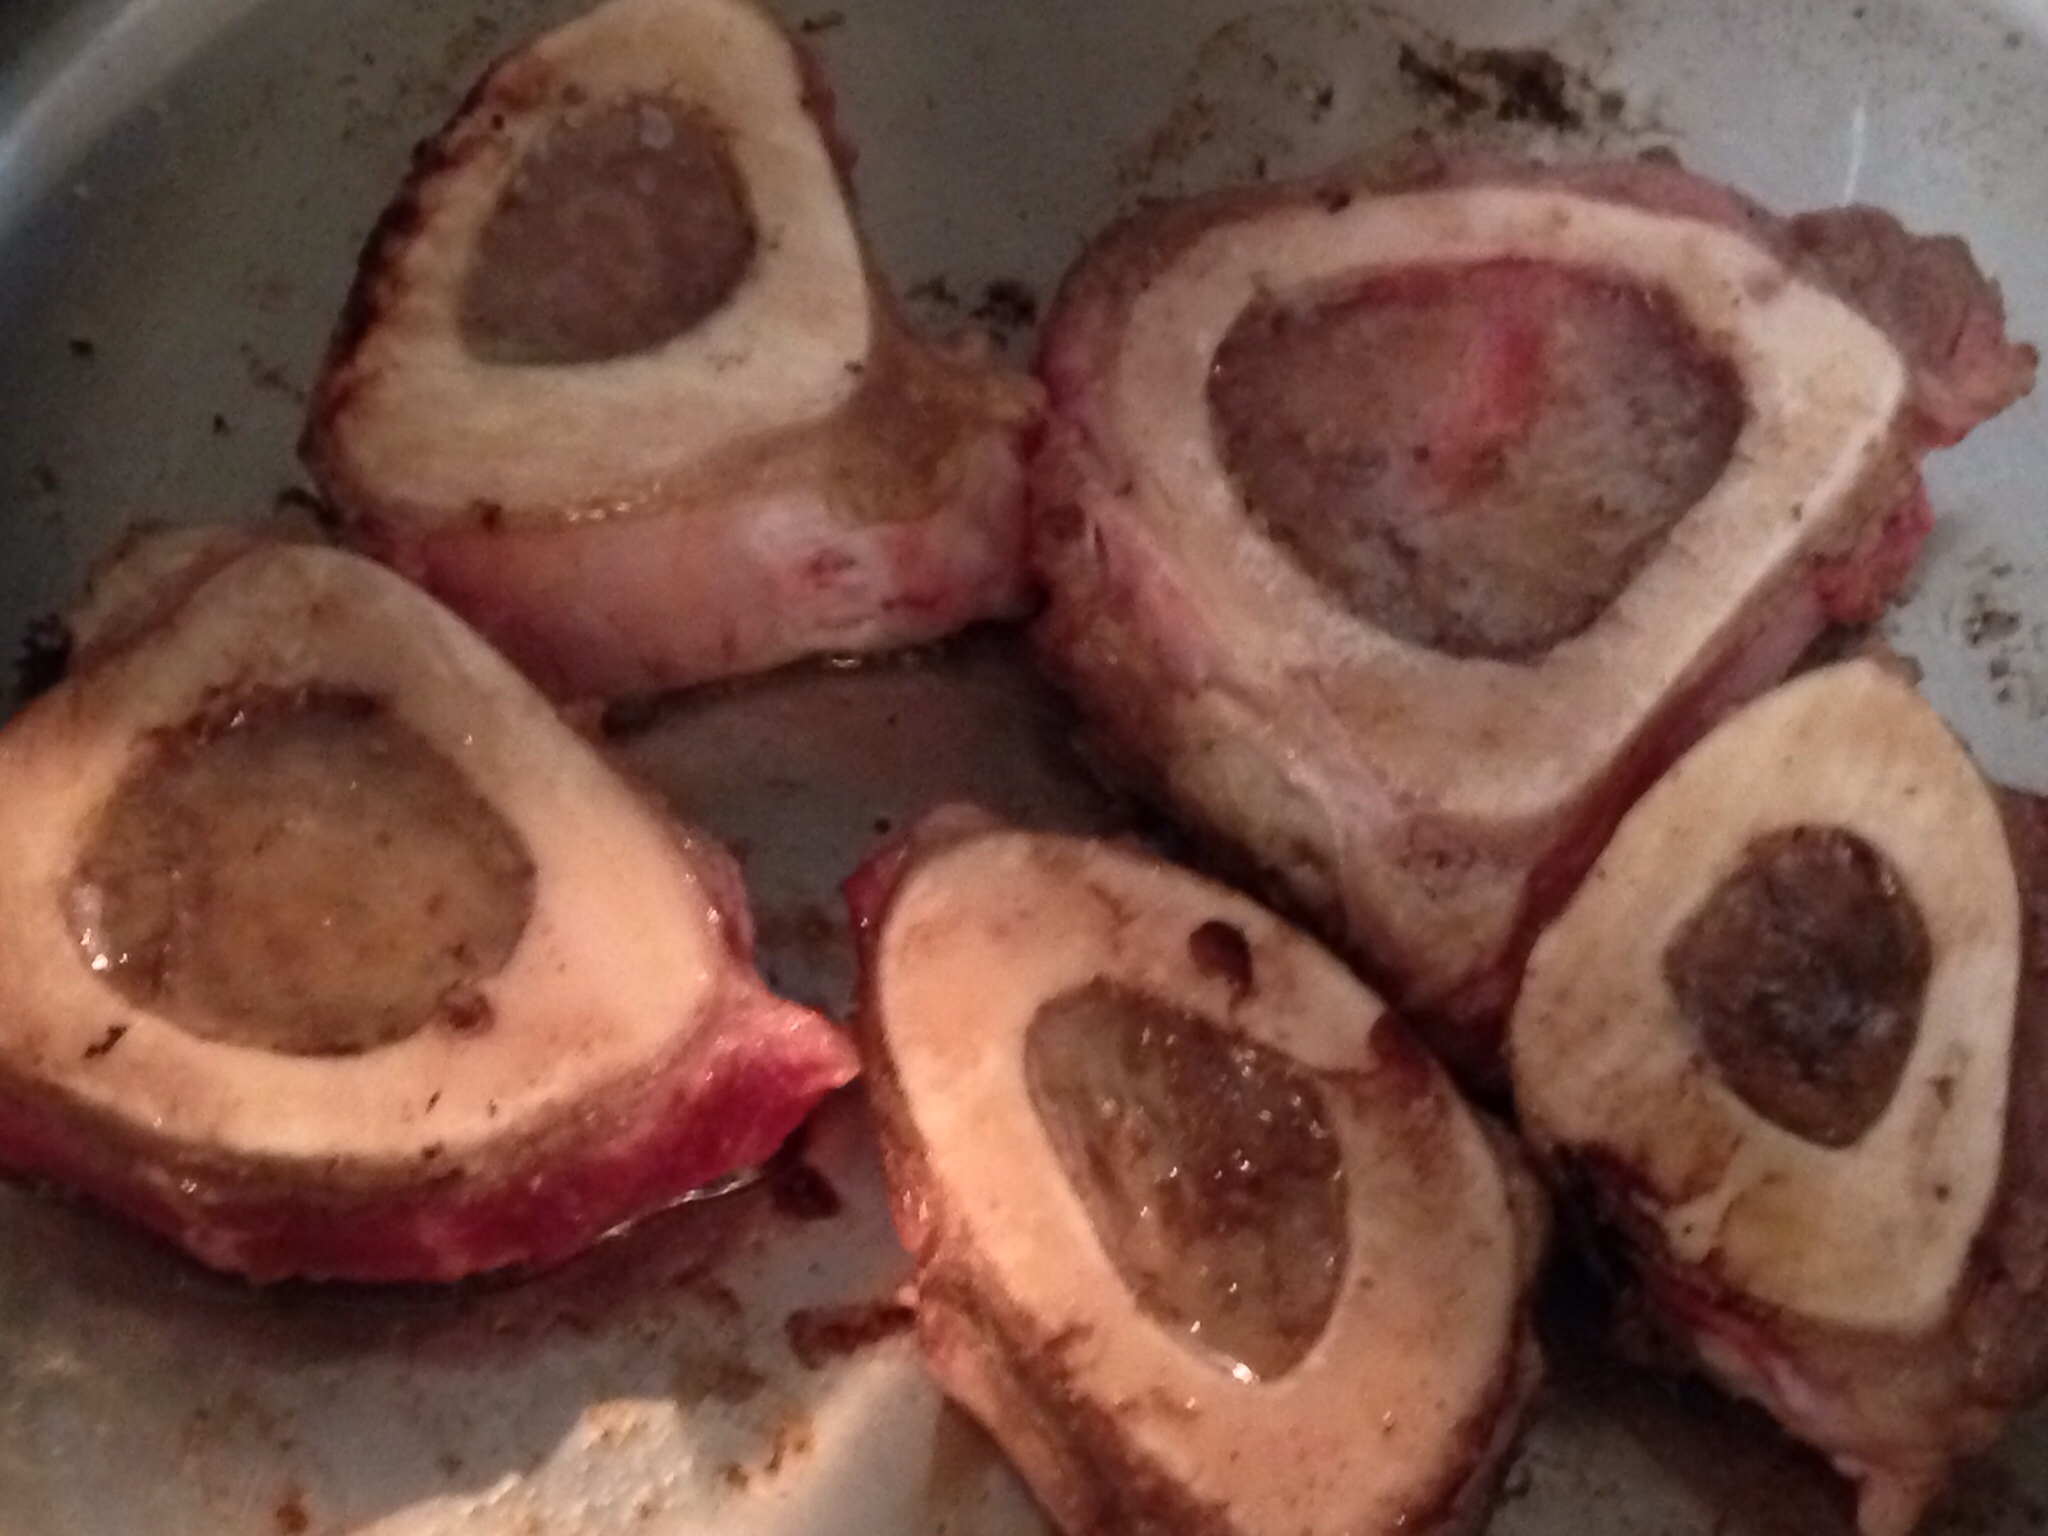
I used beef shanks (with bones) for this recipe, but you can use any lean cuts of beef you like. I like shanks because the bone marrow in the bones give the broth an extra rich and concentrated beef flavor. Most shanks are marbled with sinew. If I’m pressed for time, I’ll cook the meat in a pressure cooker, along with some onions, garlic and water, just long enough to break down the sinew and tenderize the meat. I started this soup around 8 am, cooked the meat low and slow for a couple of hours, then added the vegetables the last half hour before eating. If you don’t braise the meat long enough, the sinew in the meat won’t break down enough and you’ll end up with tough, dry meat in your soup.

I prefer using fresh vegetables when I make soup (with the exception of canned tomatoes and corn). I know, you can cut your prep and cooking time by more than half if you use frozen vegetables, but I don’t particularly like that the frozen vegetables are cut so large (I end up cutting each one smaller–that’s very time consuming), nor do I like that it’s overcooked by the time my soup is done. Nope — it’s fresh vegetables for this soup or I don’t make it.

I know what you’re thinking by now…you’re probably thinking, “gosh, she sure is picky.” Well, for this soup, I am. I think it’s because this is how my mom made it, using vegetables picked fresh from my dad’s ranch. Sometimes we’d have wing beans and green beans in our soup, along with squash and onions. Other times we’d have fresh corn and tomatoes picked fresh off the vines.

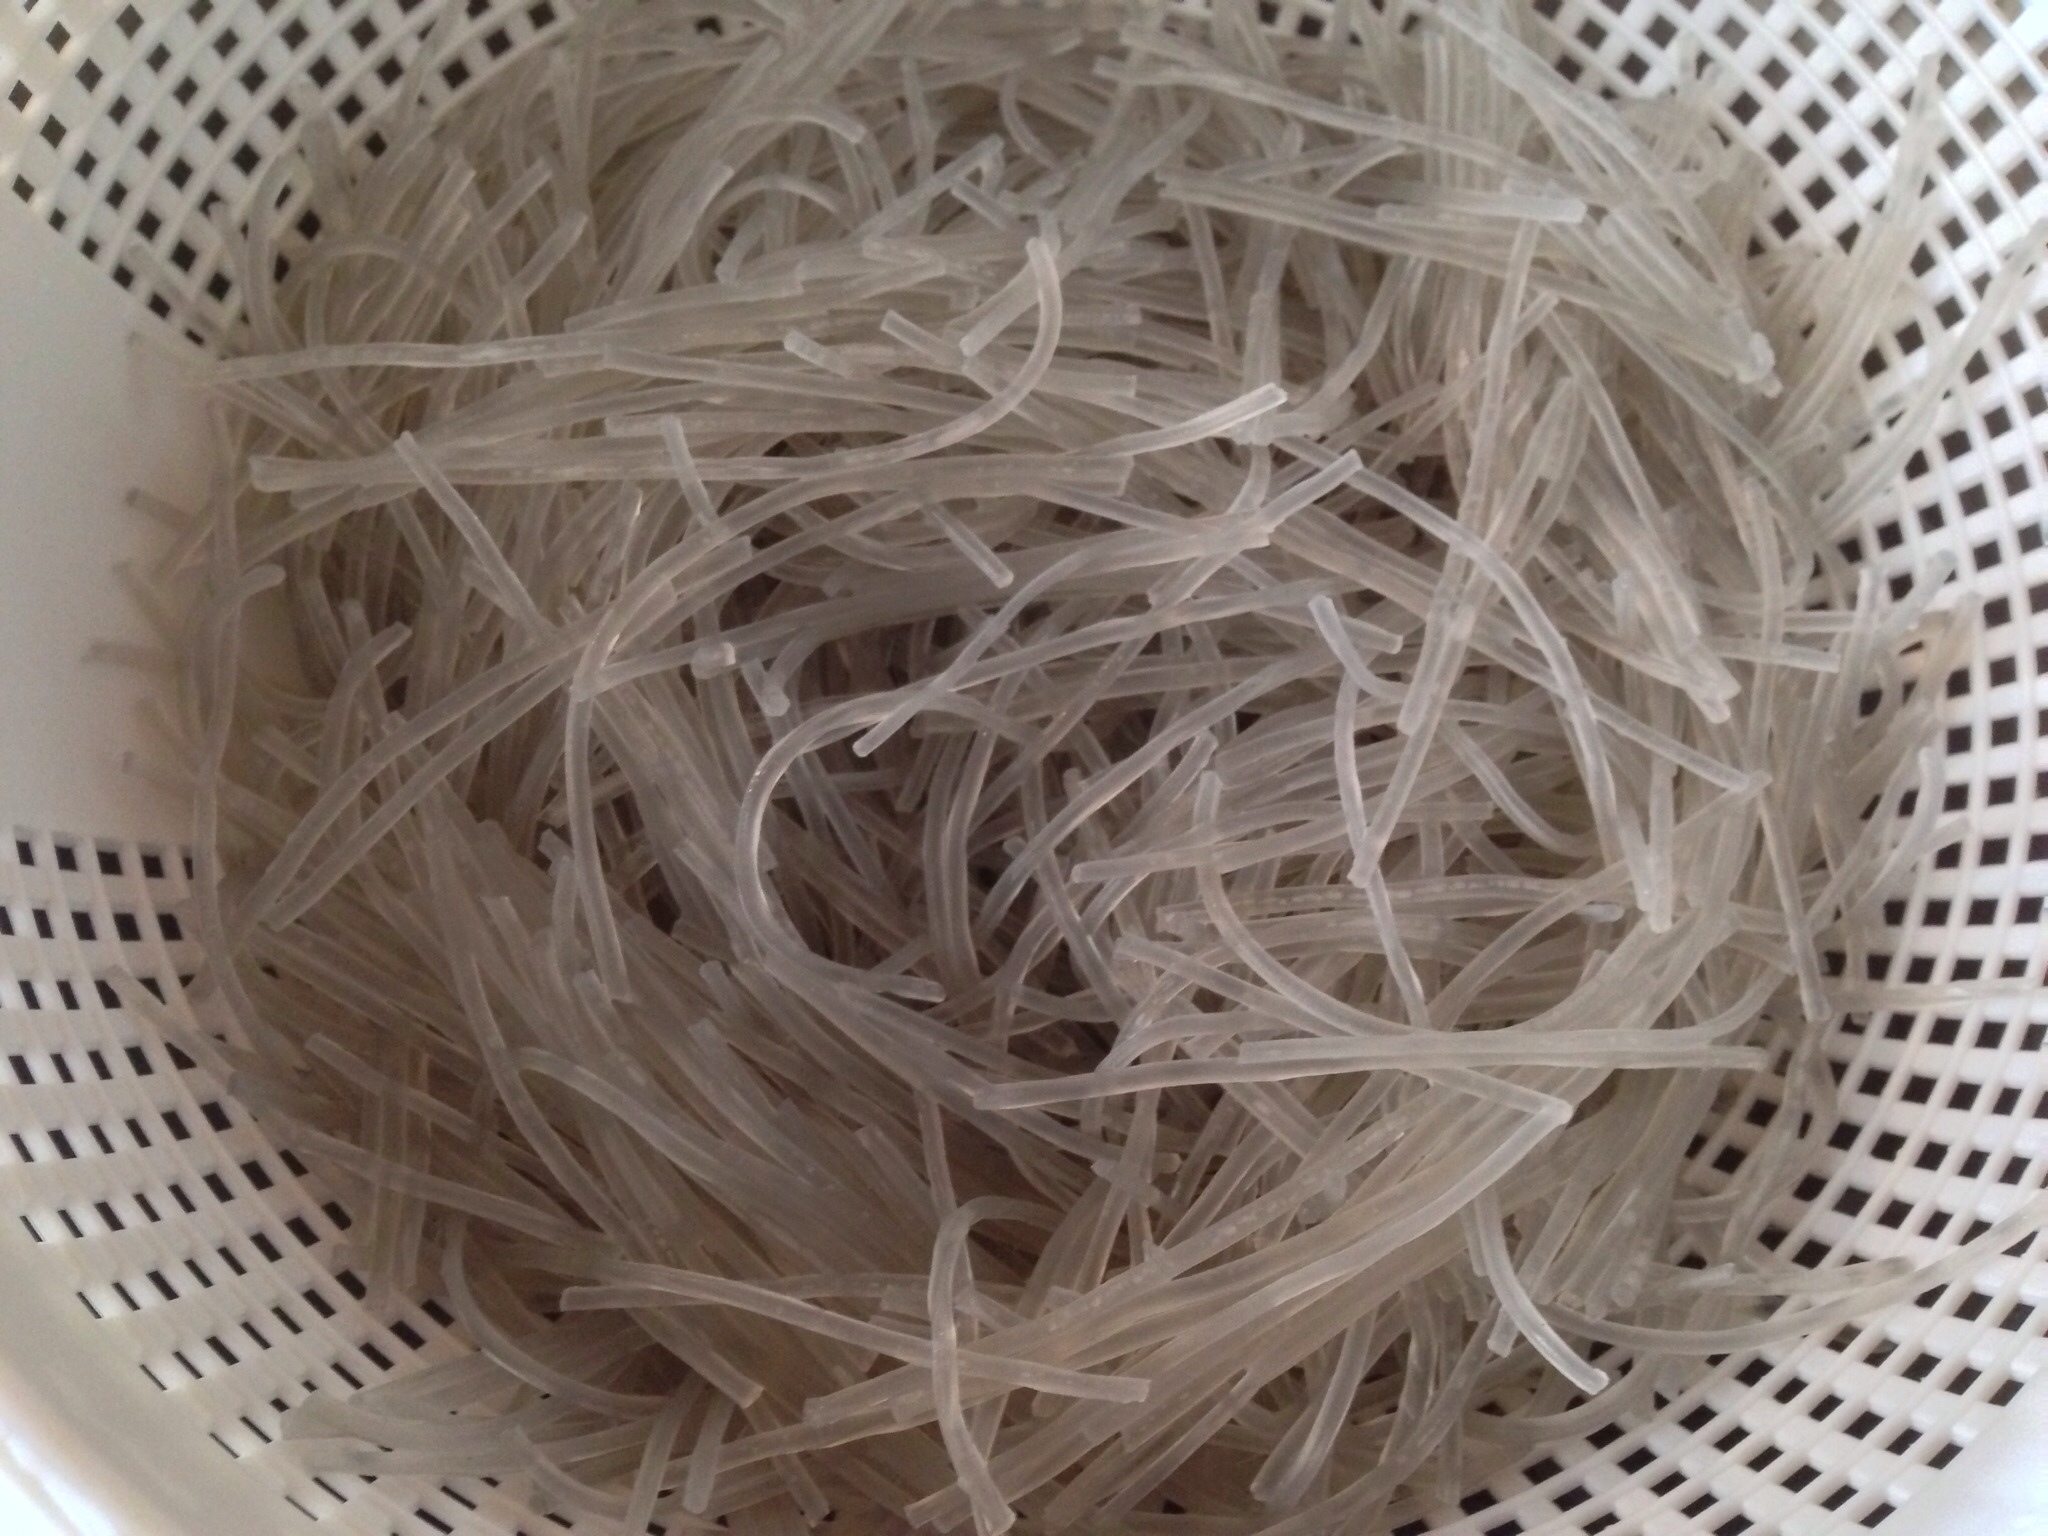
If you thought I was picky with my choice of fresh over frozen vegetables, let me tell you about my choice of noodles. I’ve tried making this soup with rice noodles, but it’s just not the same as using vermicelli or glass noodles. There are many brands of vermicelli noodles (not the kind used for Italian pasta dishes, mind you). I like using Korean vermicelli noodles, namely the kind used for Jap Chae (or Chap Chae). If you don’t know what type to buy, go to your local Korean or Asian market and ask a clerk for Korean Jap Chae noodles.

Give my recipe a try. I think you’ll like it. 🙂

Beef Shank Kadu with Fresh Vegetables and Vermicelli Noodles

Ingredients:

  • 5 medium sized beef shanks, with bone
  • 1/2 teaspoon black pepper
  • 2 tablespoons garlic powder (or 6 cloves fresh garlic, minced)
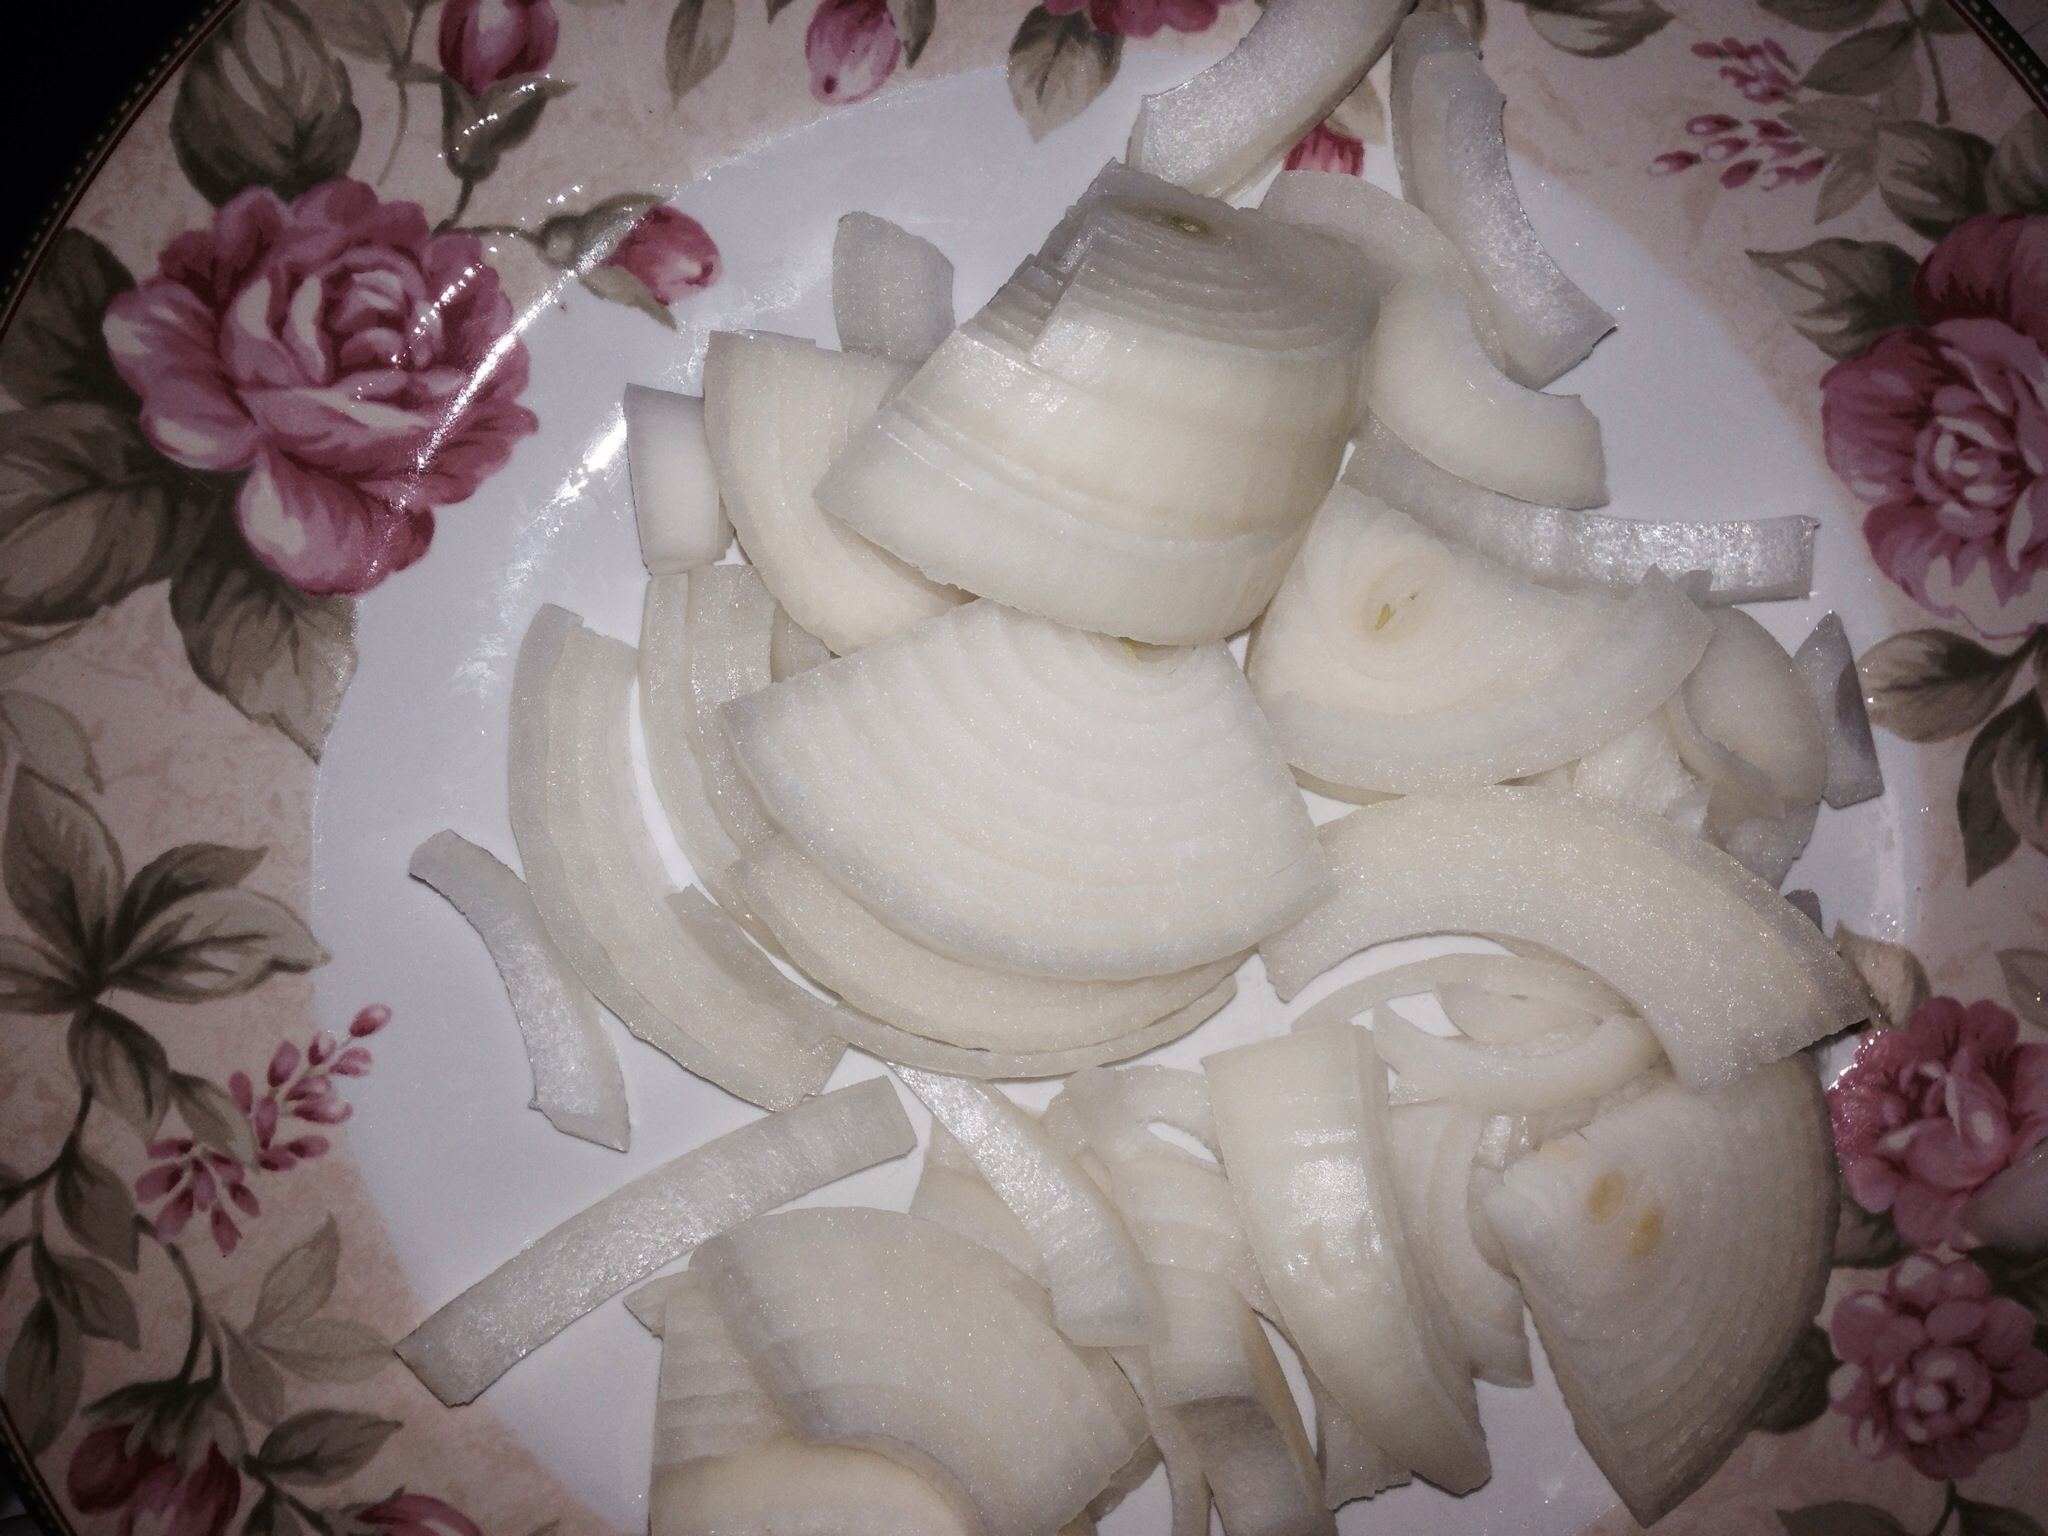
  • 1 tablespoon onion powder (or 1 small onion, diced)
  • 6-8 tablespoons Dashida (Korean beef flavored powdered seasoning)
  • 10 cups water
  • 2 large carrots
  • 2 stalks celery
  • 1 (2-inch) piece of ginger root
  • 1 medium potato
  • 1 handful of green beans
  • 1 can (28 oz.) petite diced tomatoes, drained
  • 1 can (15.25 oz.) corn kernels
  • 1 bag Korean vermicelli noodles (plus enough hot water to submerge the noodles in)

Directions:

1. Rinse each piece of meat. Trim off and discard any excess fat around the meat. Cut around the bones to separate them from the meat. Place the bones in a large stock pot over medium low heat.

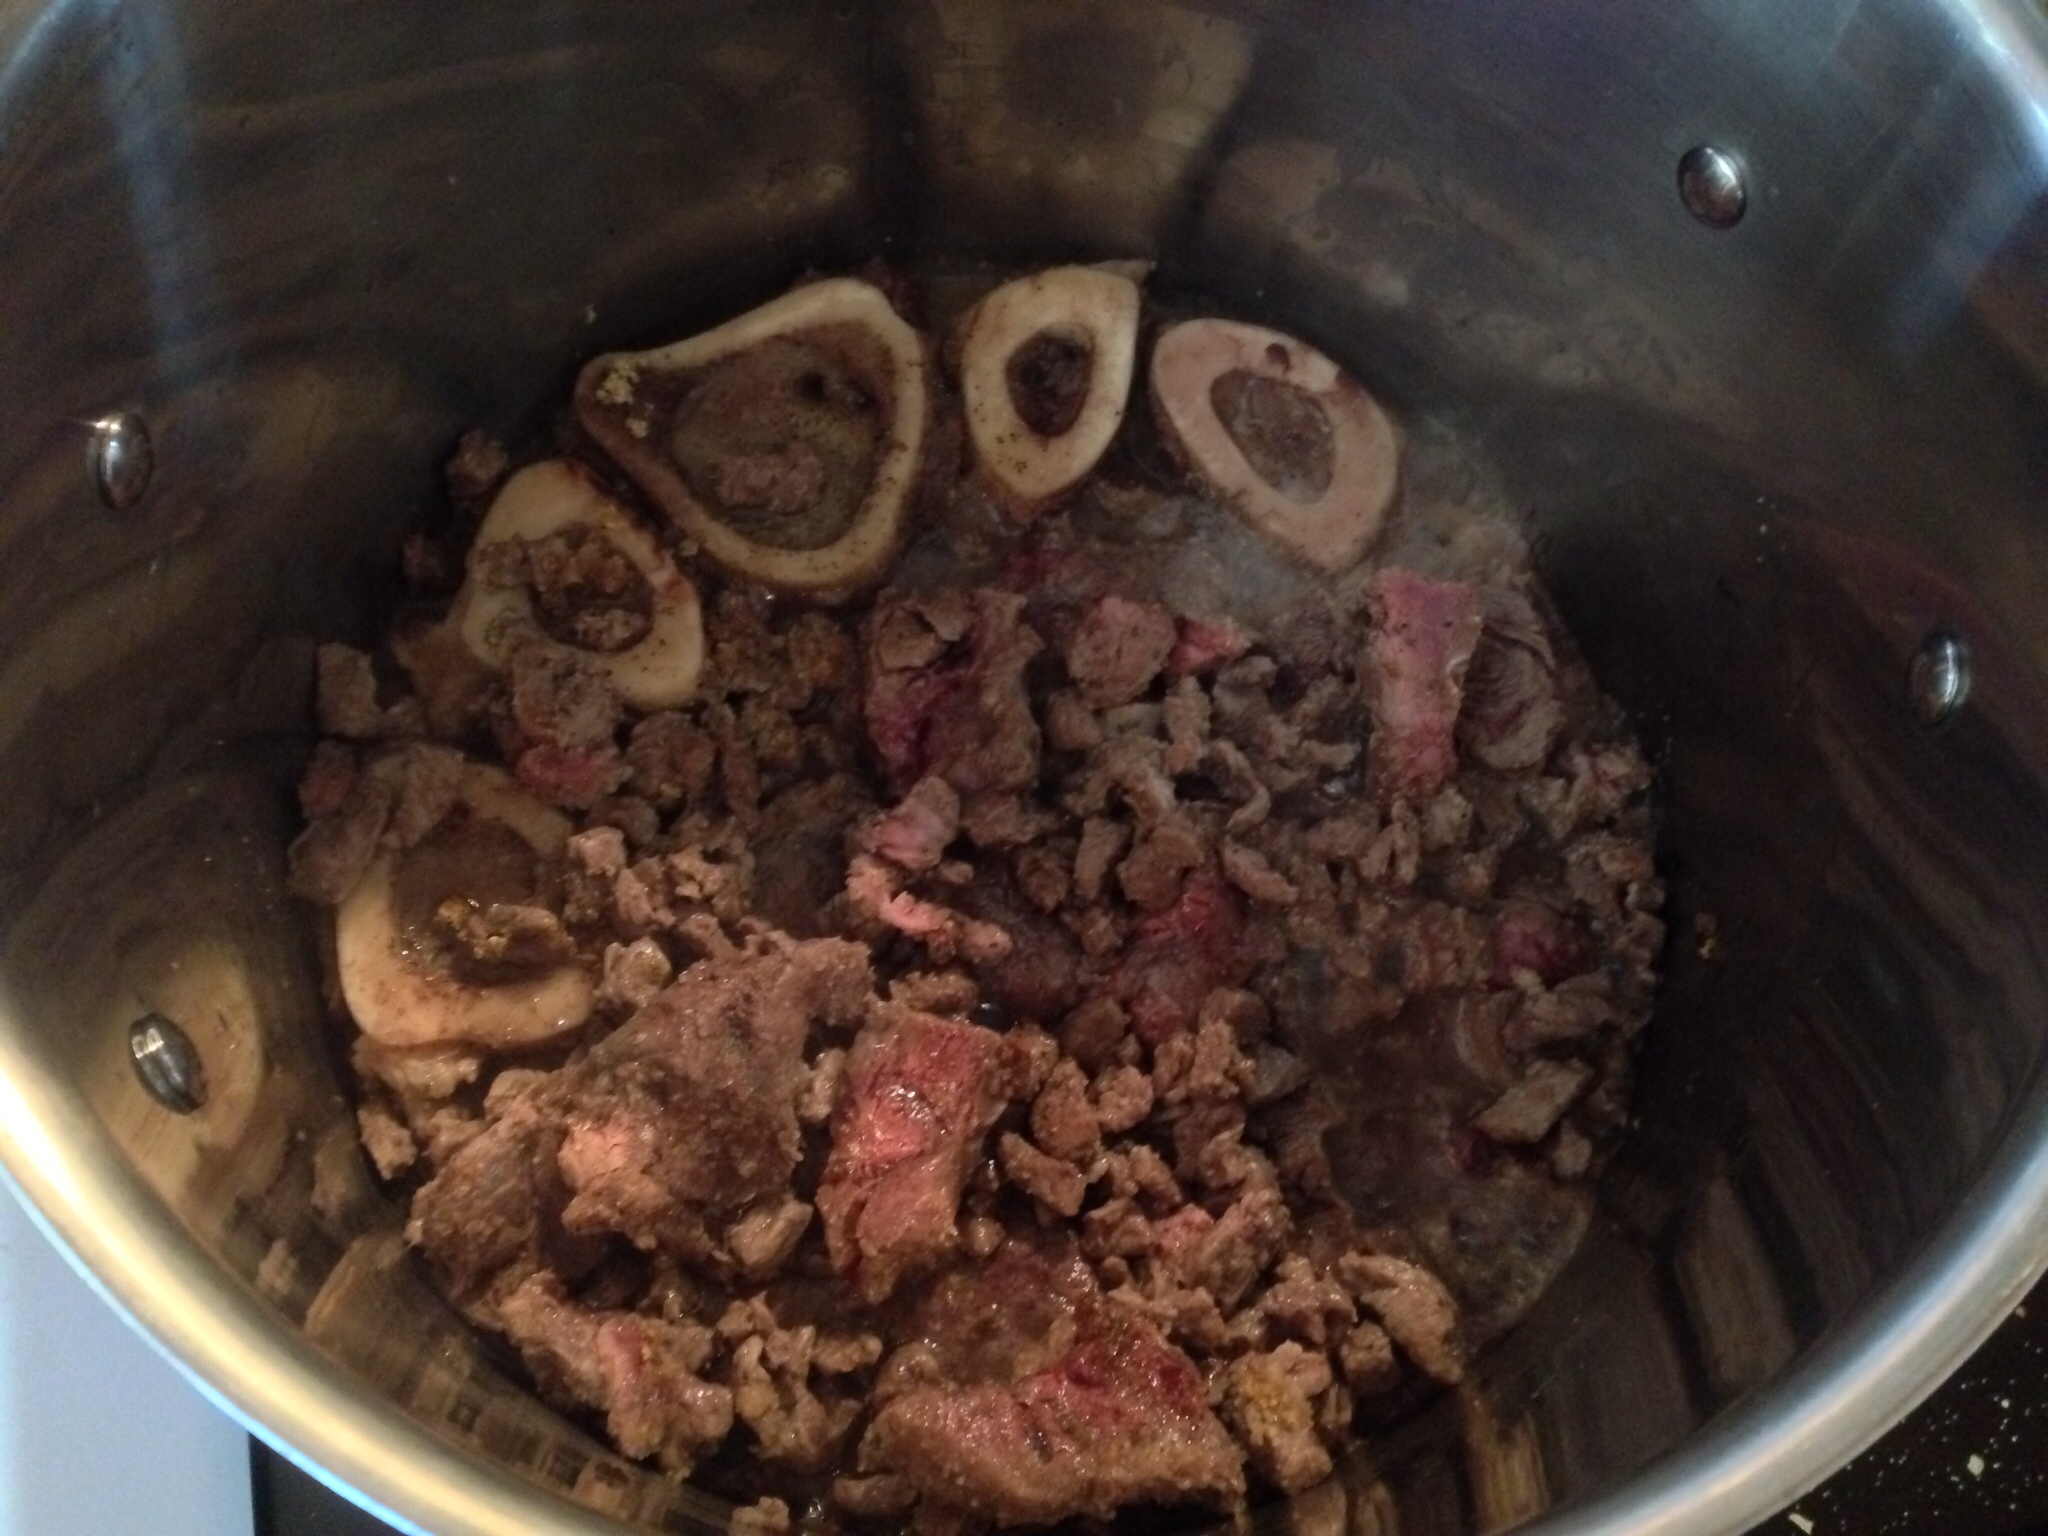
2. Cut the meat into small pieces; I cut the shank meat that had a lot of sinew marbled through it into large chunks.  Place the meat into the pot. Cook over medium low heat until the meat starts to brown. After most of the meat has browned, add the black pepper, garlic and onion powders (or fresh garlic and onions), and Dashida. Stir to combine, then add the 10 cups of water. Keep the heat at medium low. With the pot covered, simmer for about 2 hours. Every now and then, skim off any fat and sediment from the surface of the broth and discard.

Tip: After cooking, let the meat and broth cool to room temperature then place in the refrigerator. After several hours, remove the solidified fat off the surface of the broth and discard. Continue with the remaining steps below.

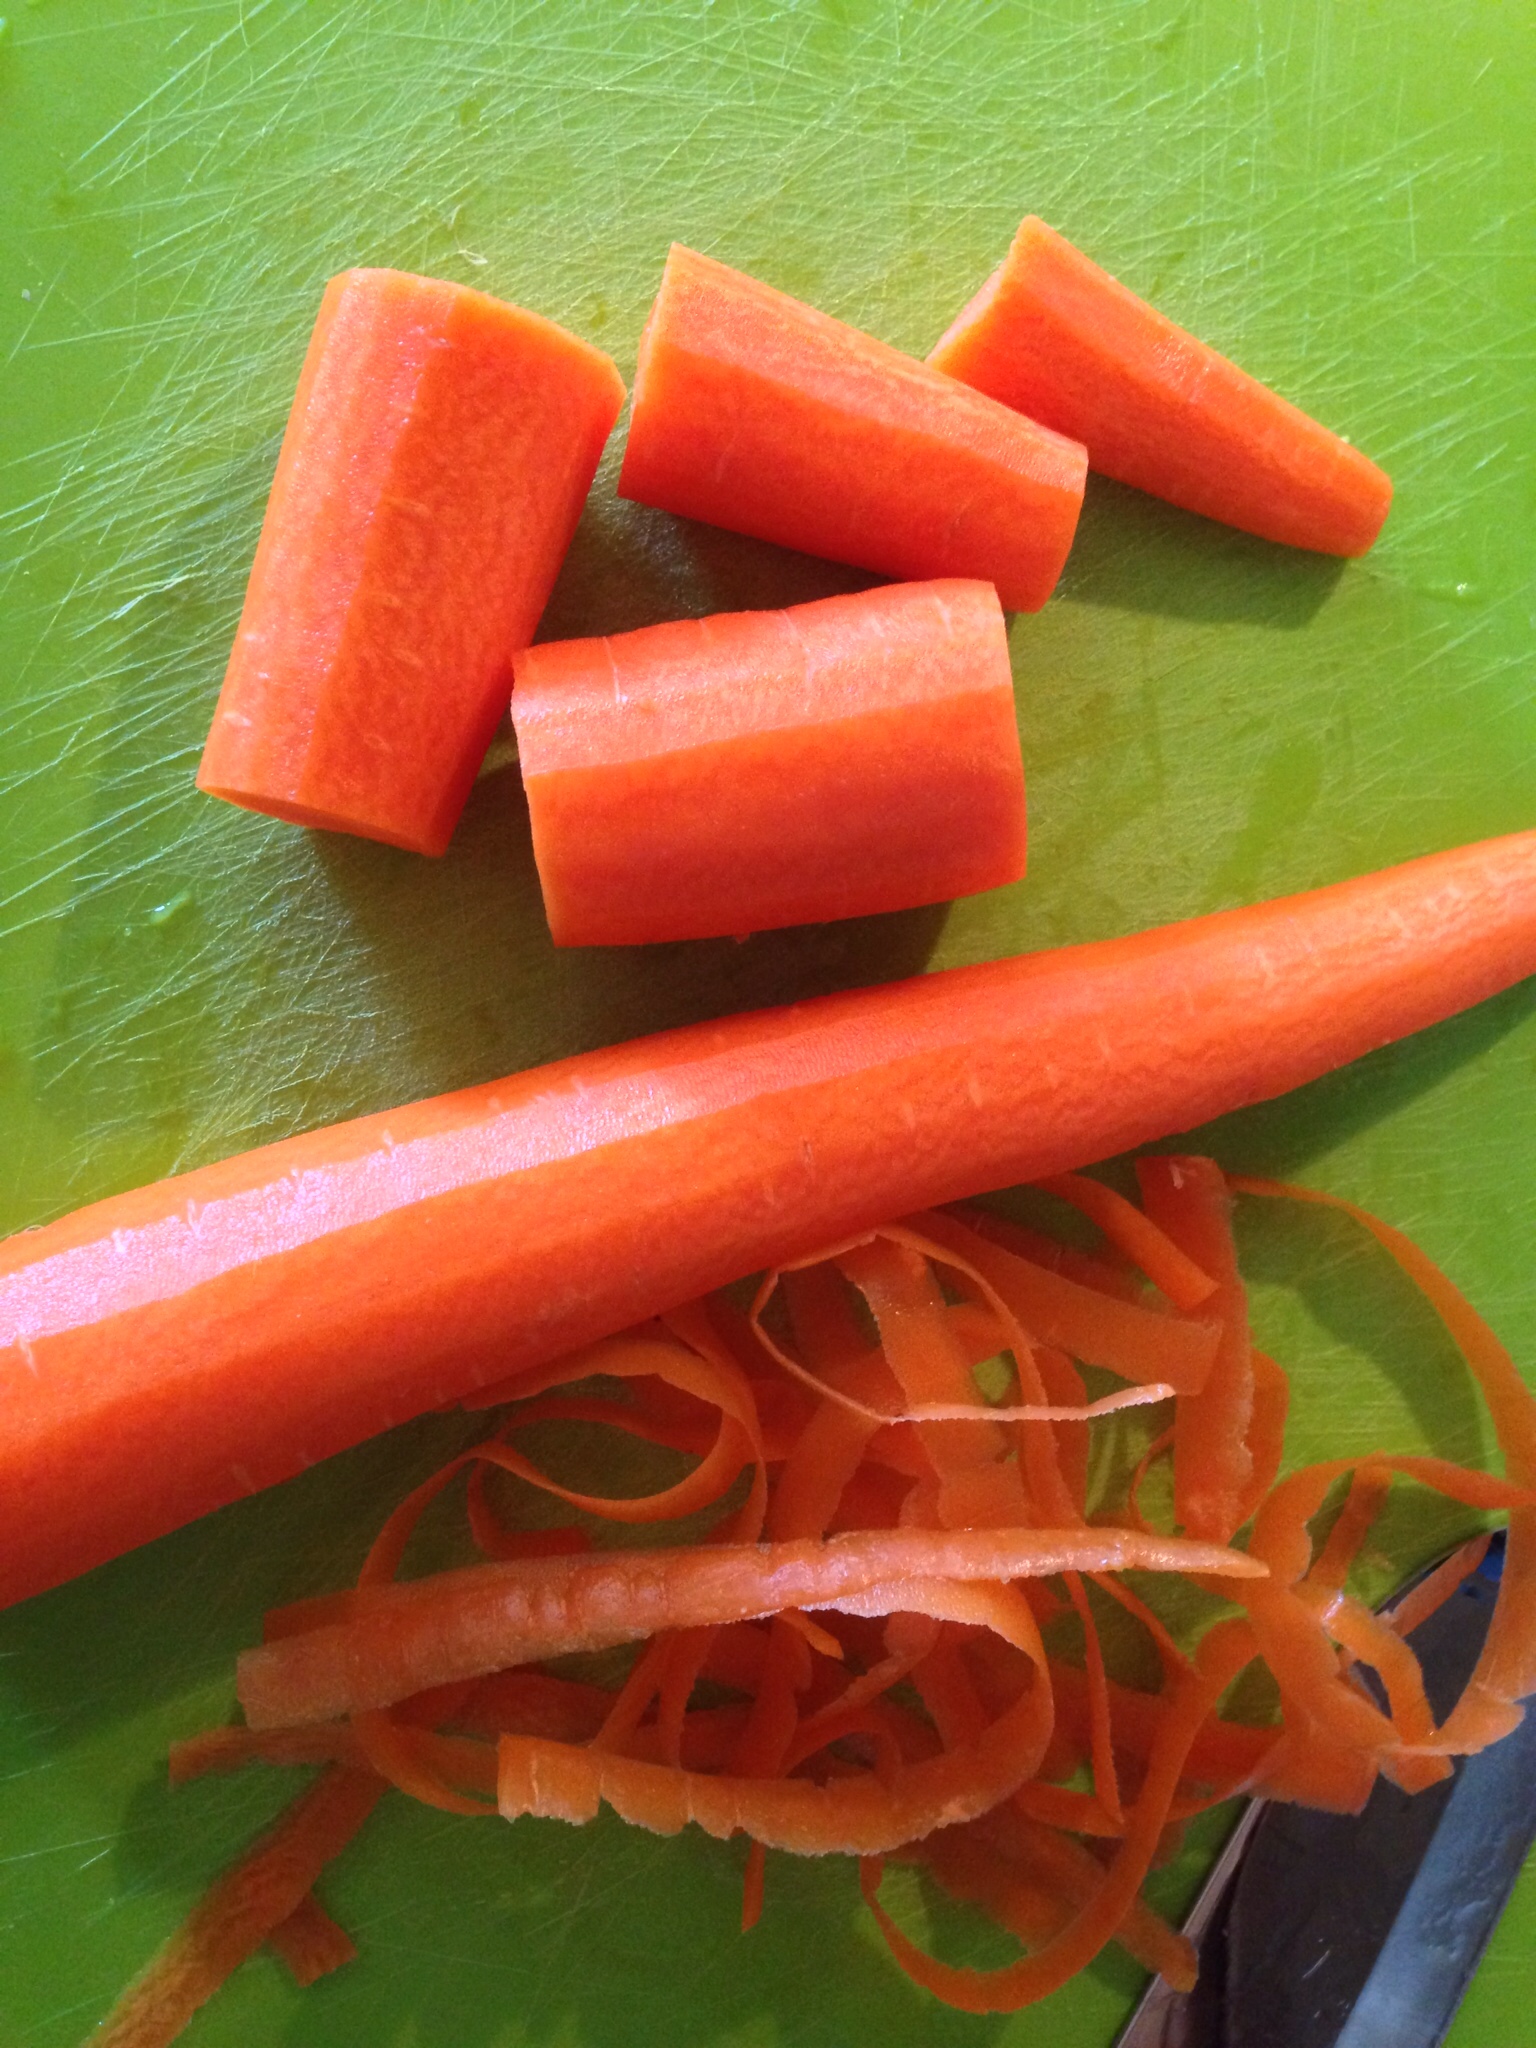
3. While the meat is simmering away, prepare the vegetables.

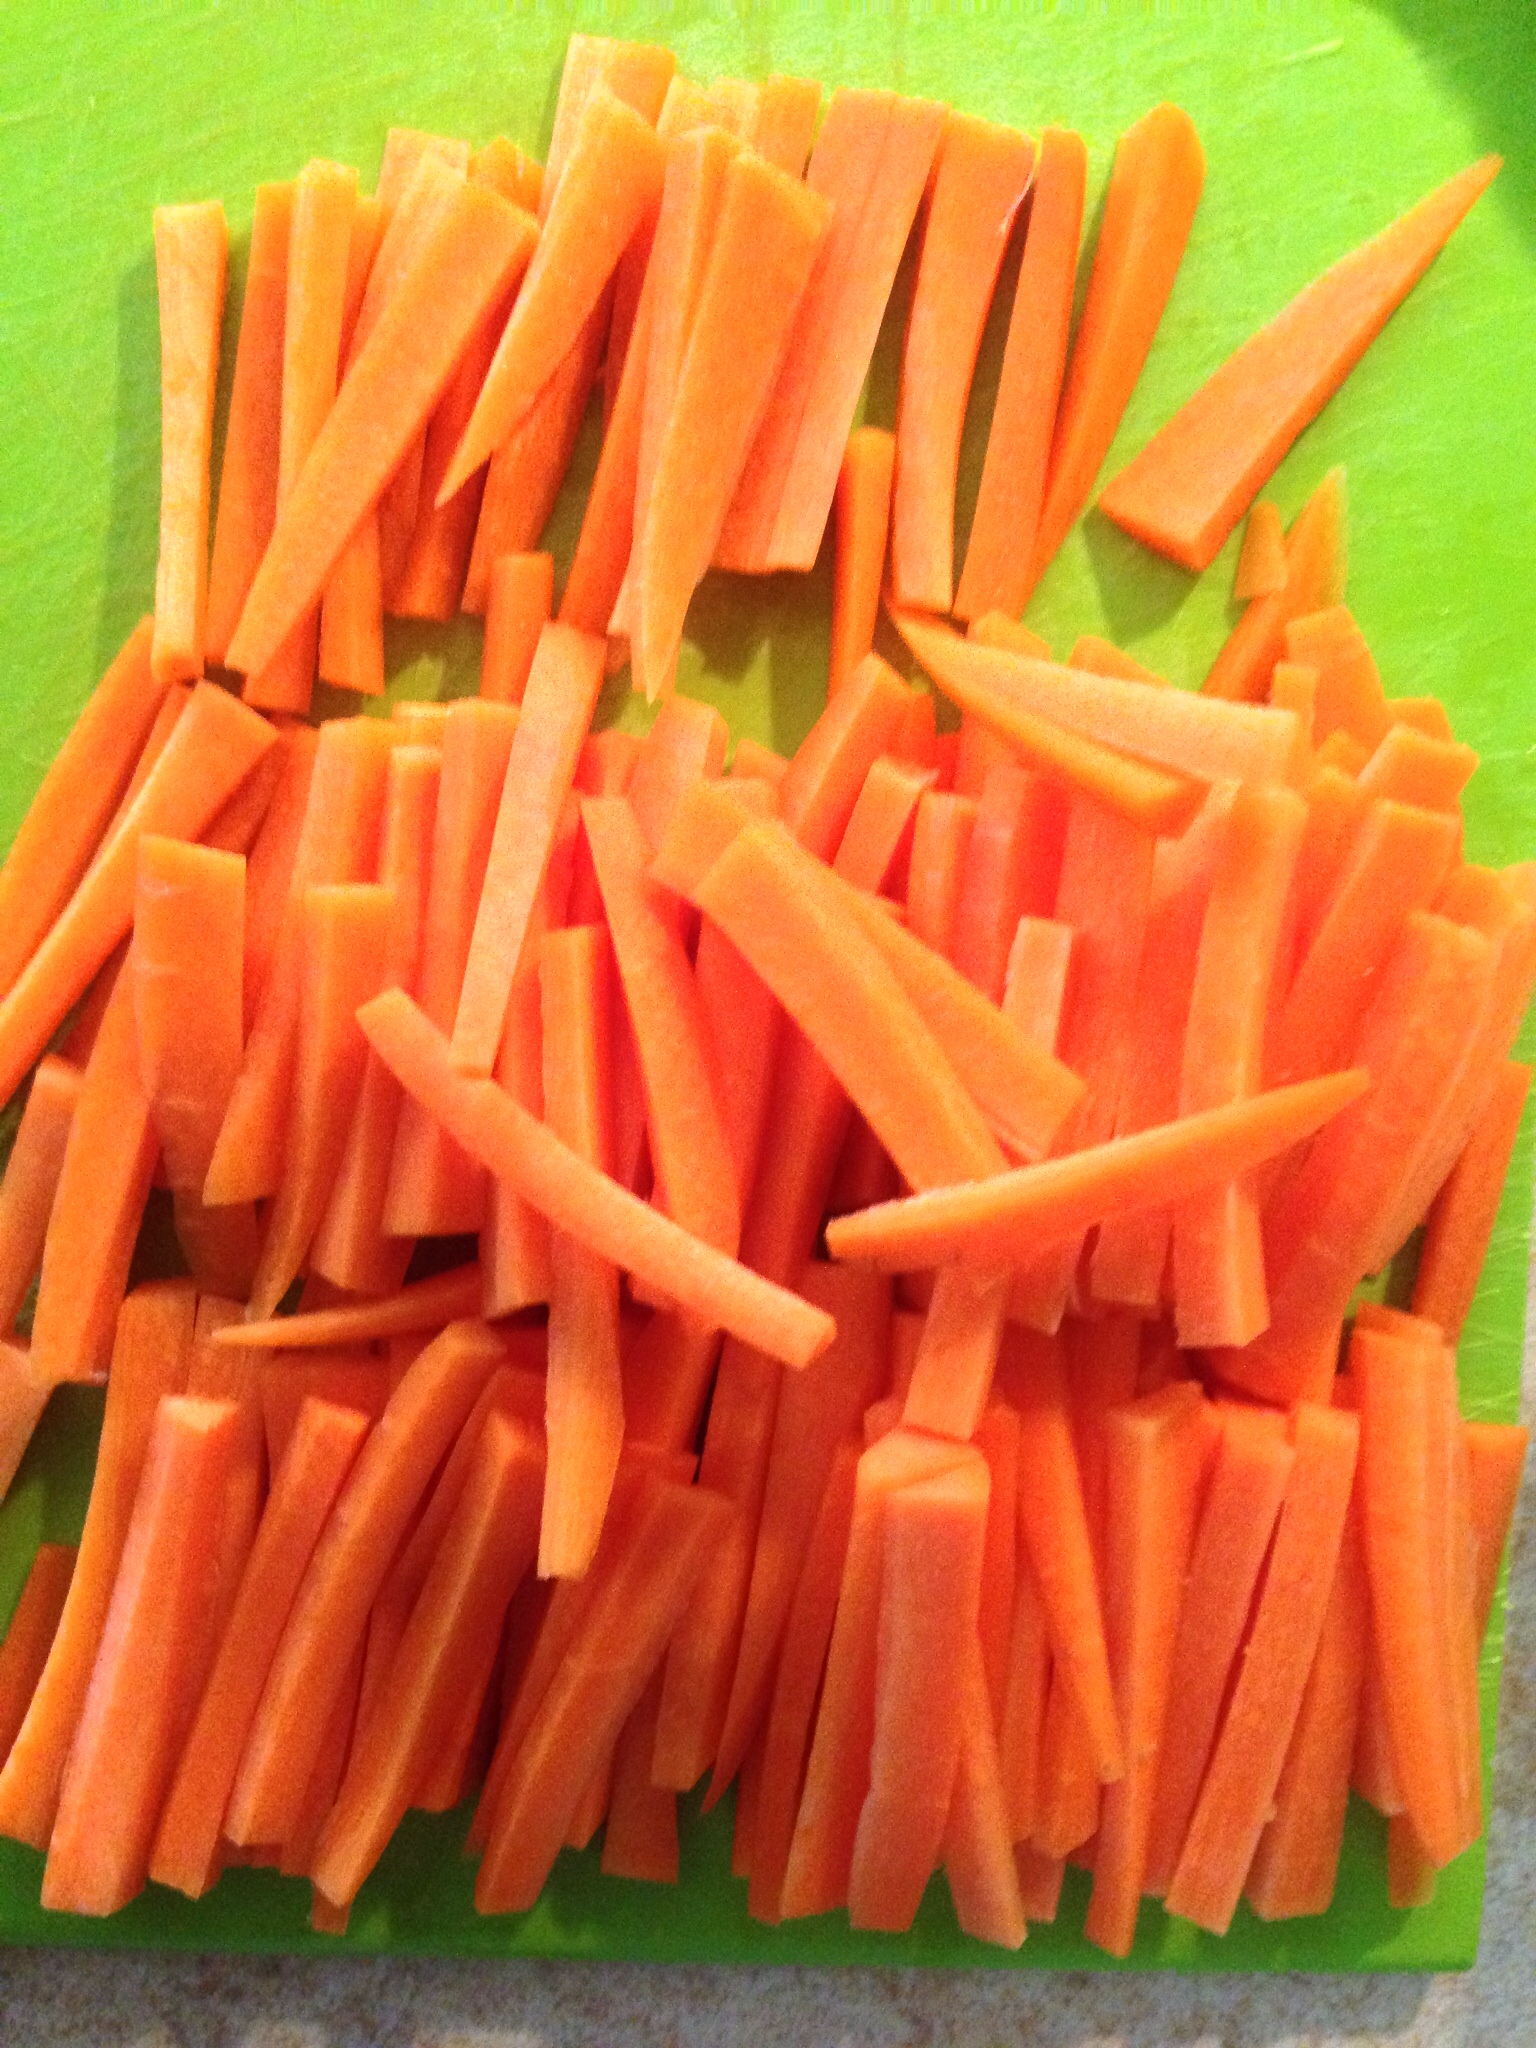
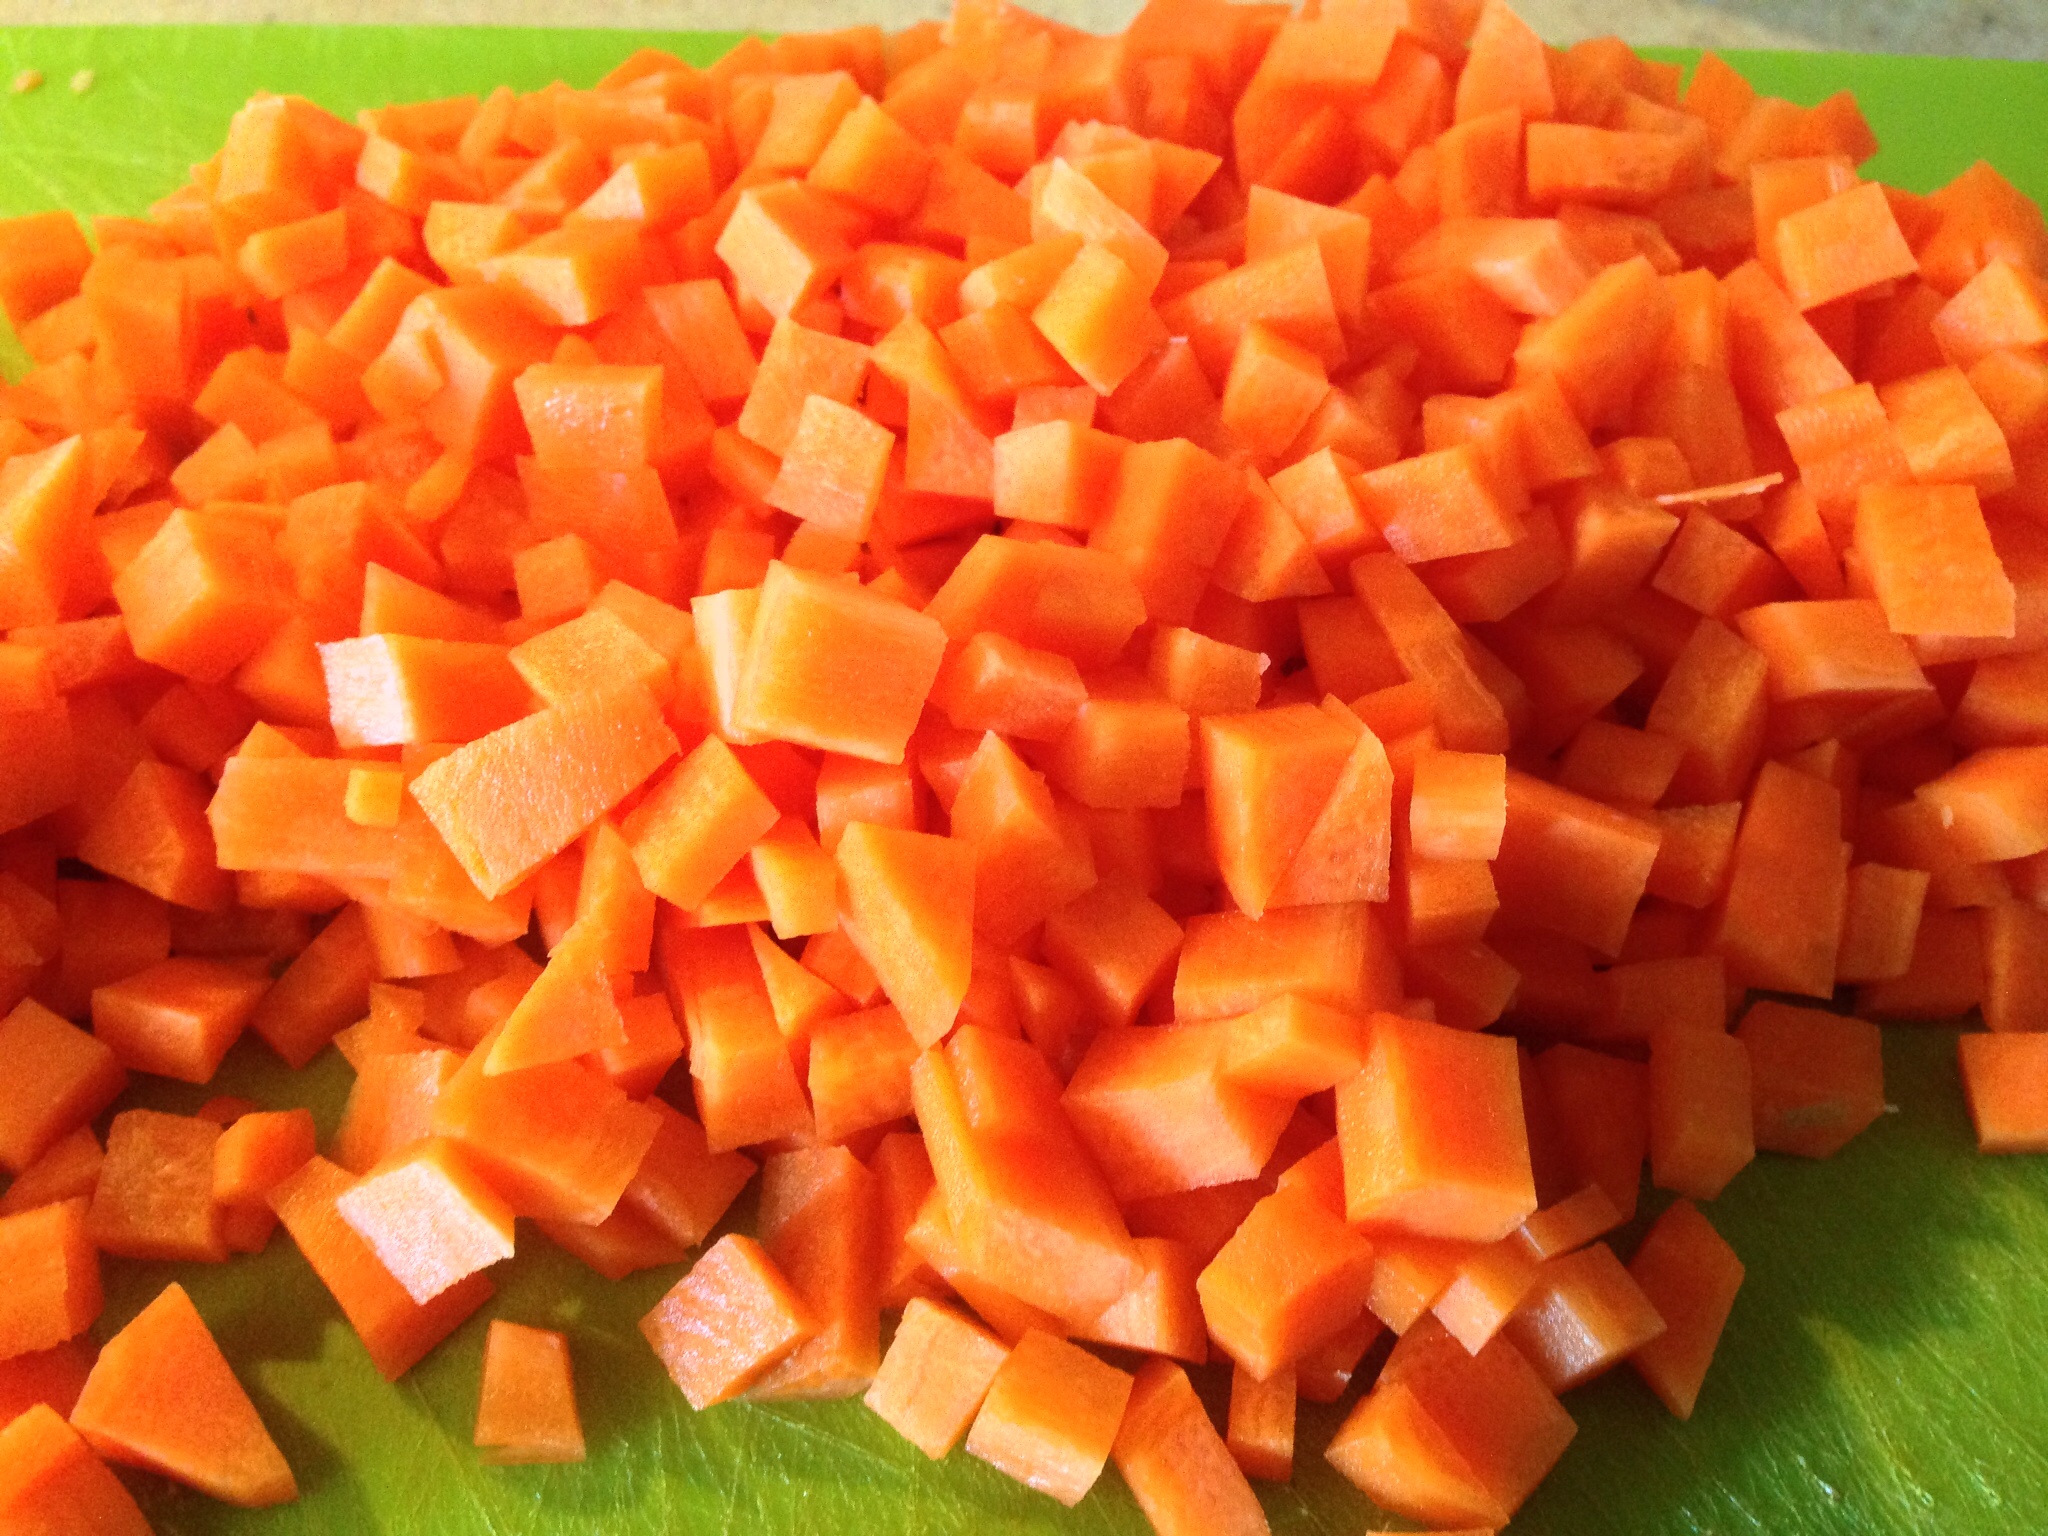
Prep the carrots: Peel the carrots. Slice into sticks, then dice.

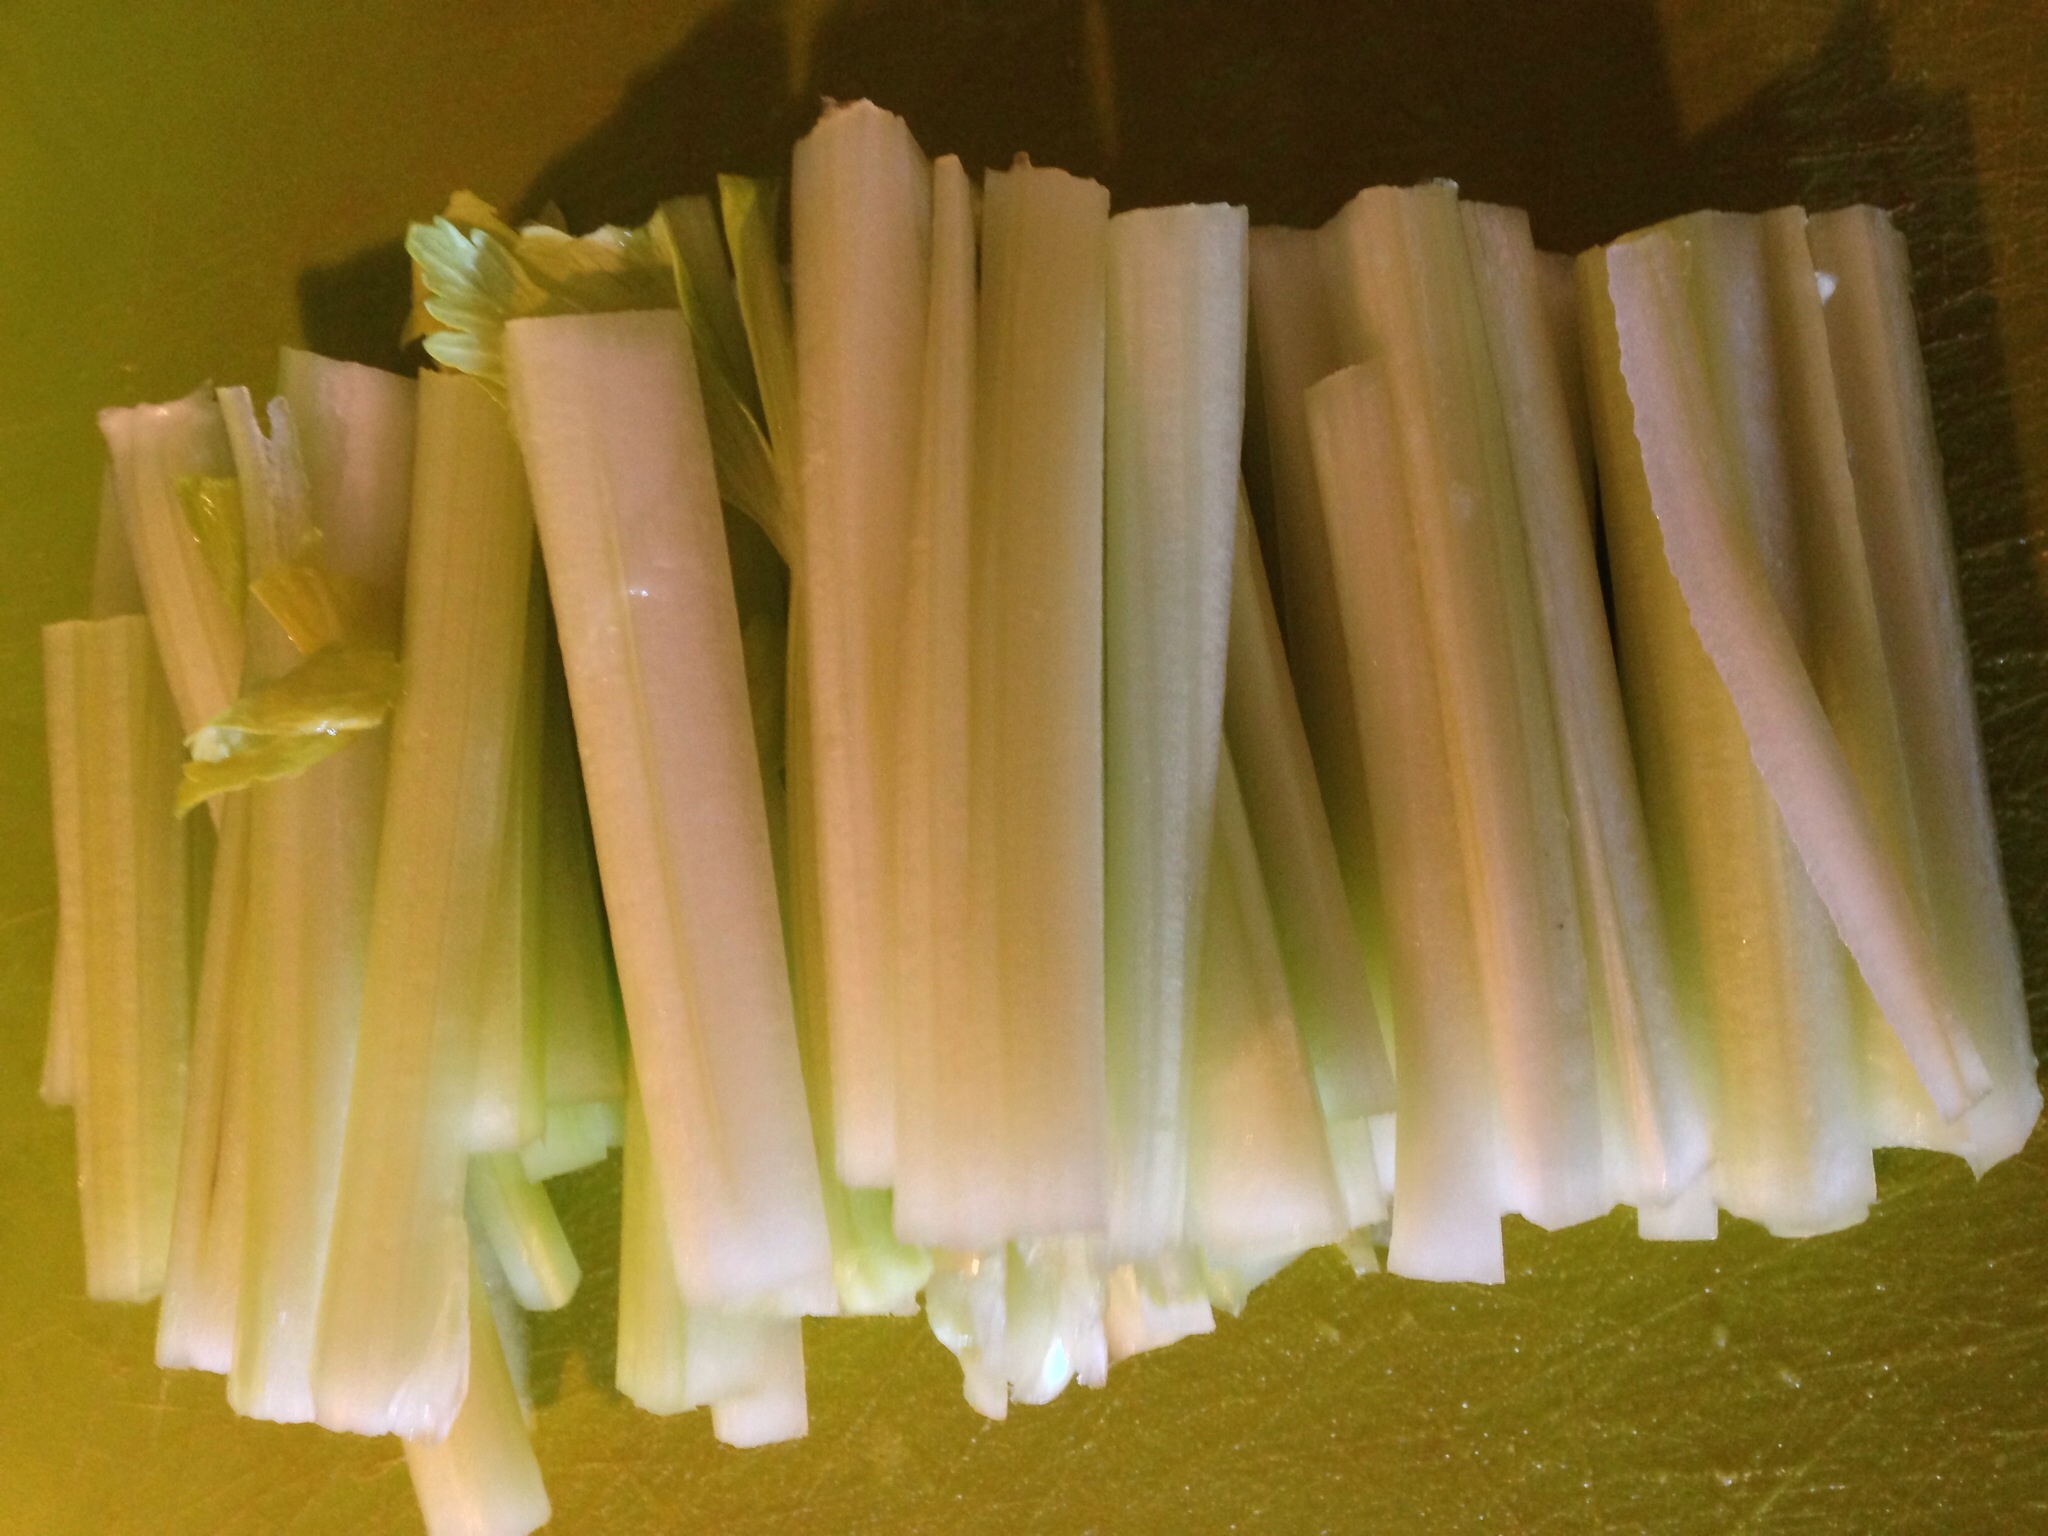
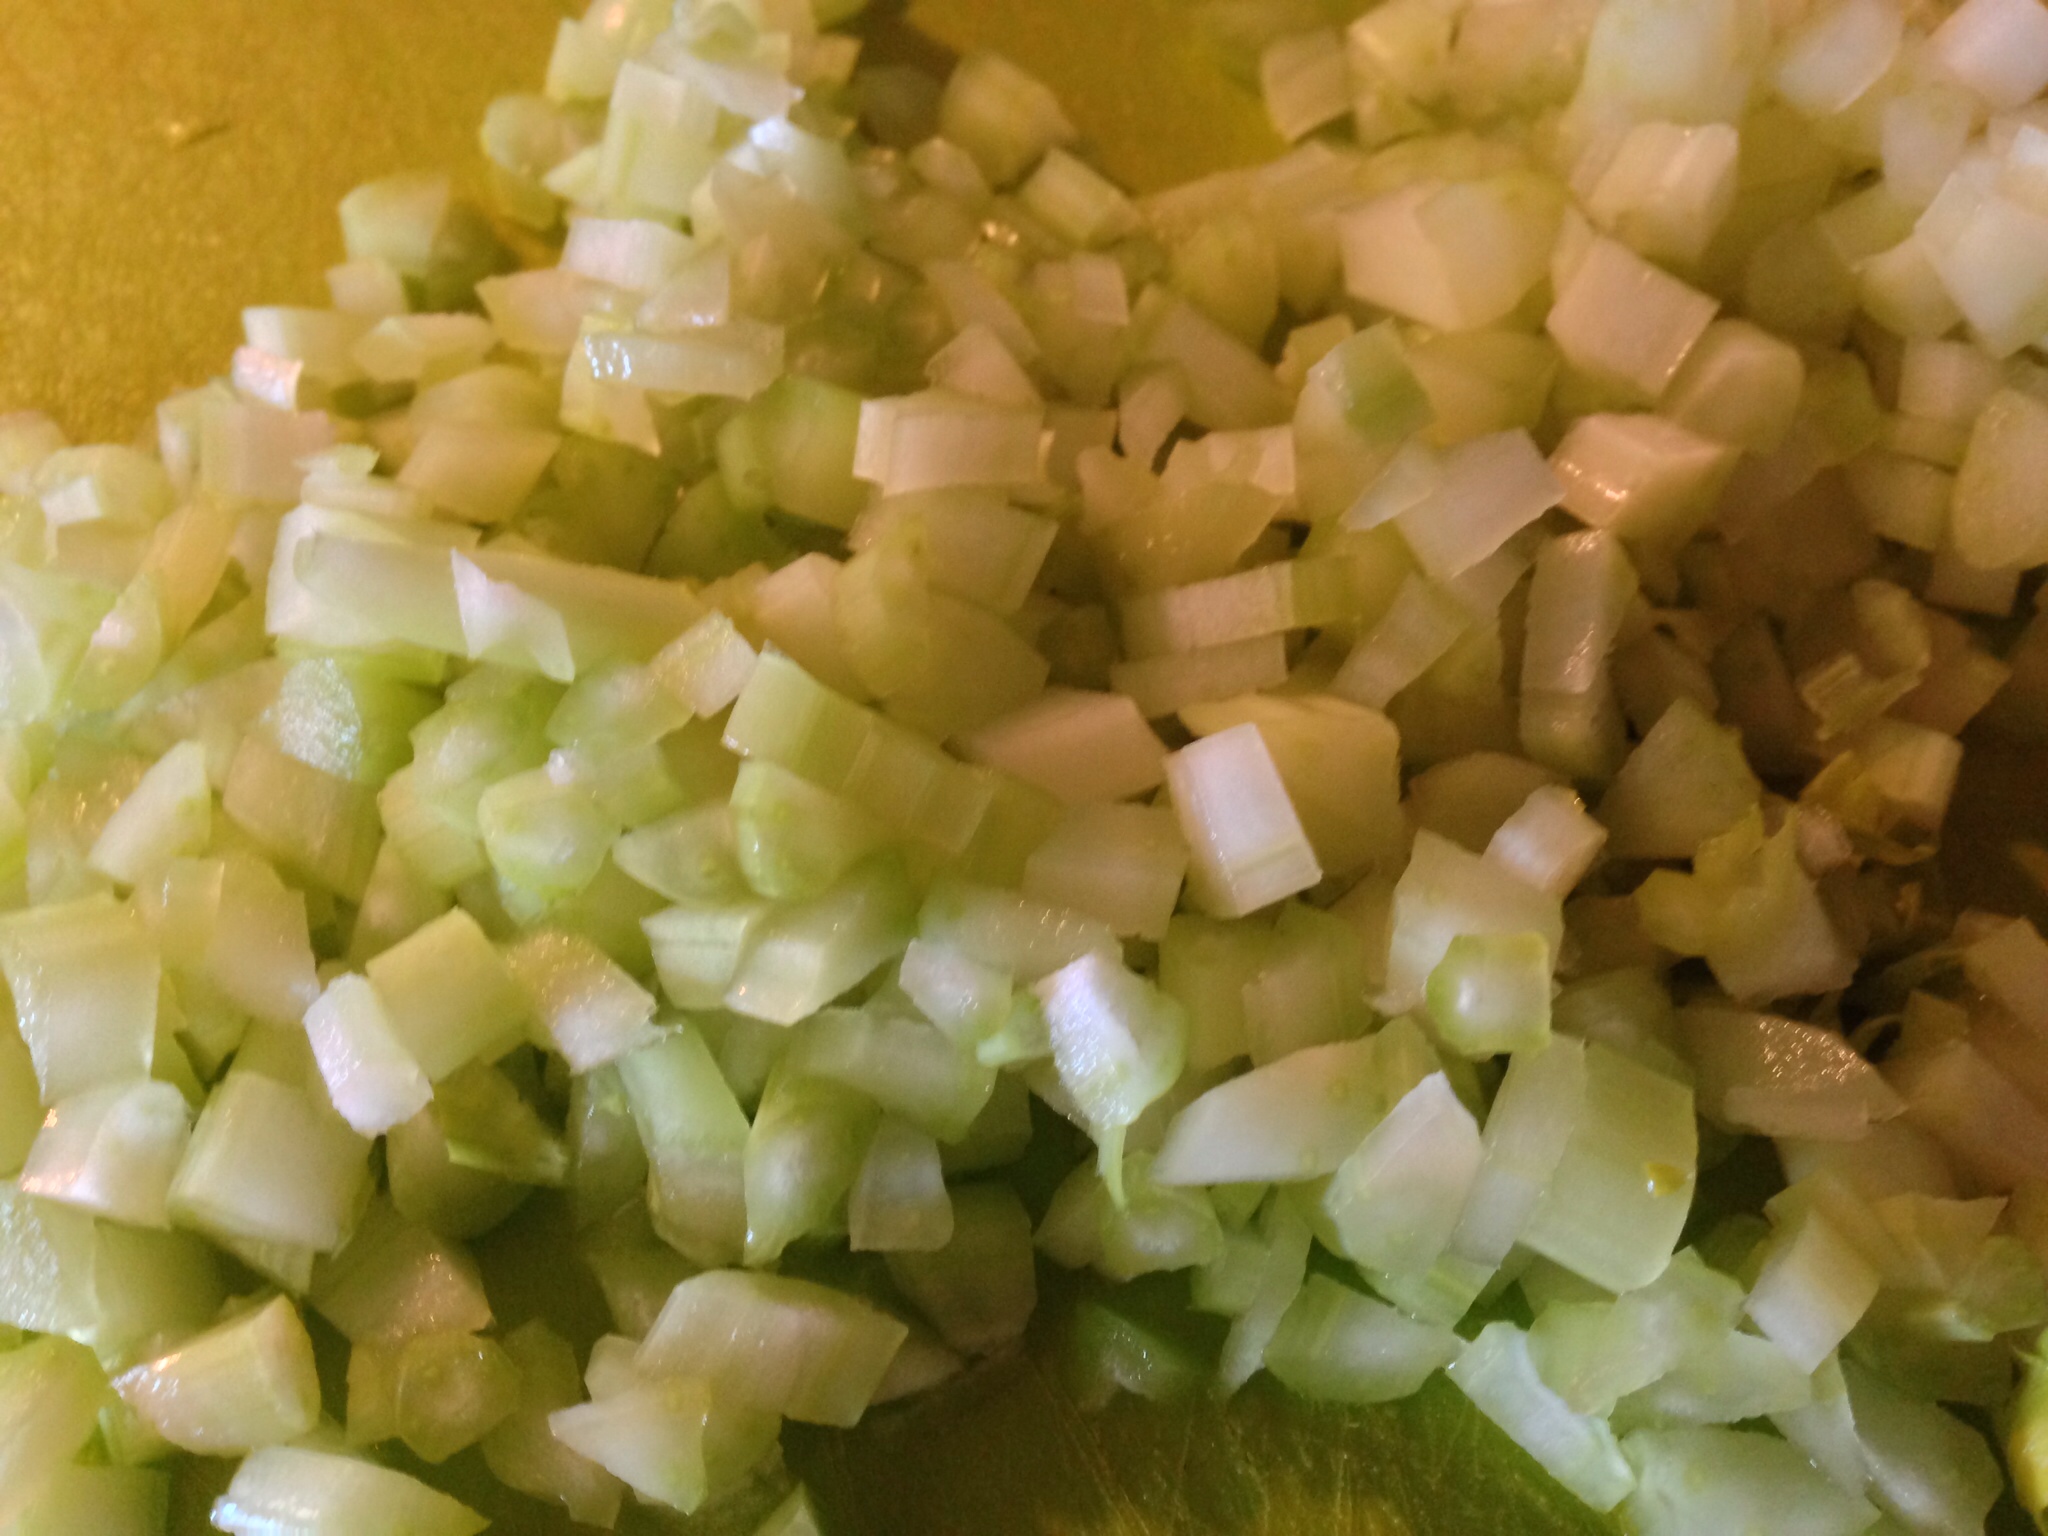
Prep the celery. Cut into sticks then dice.

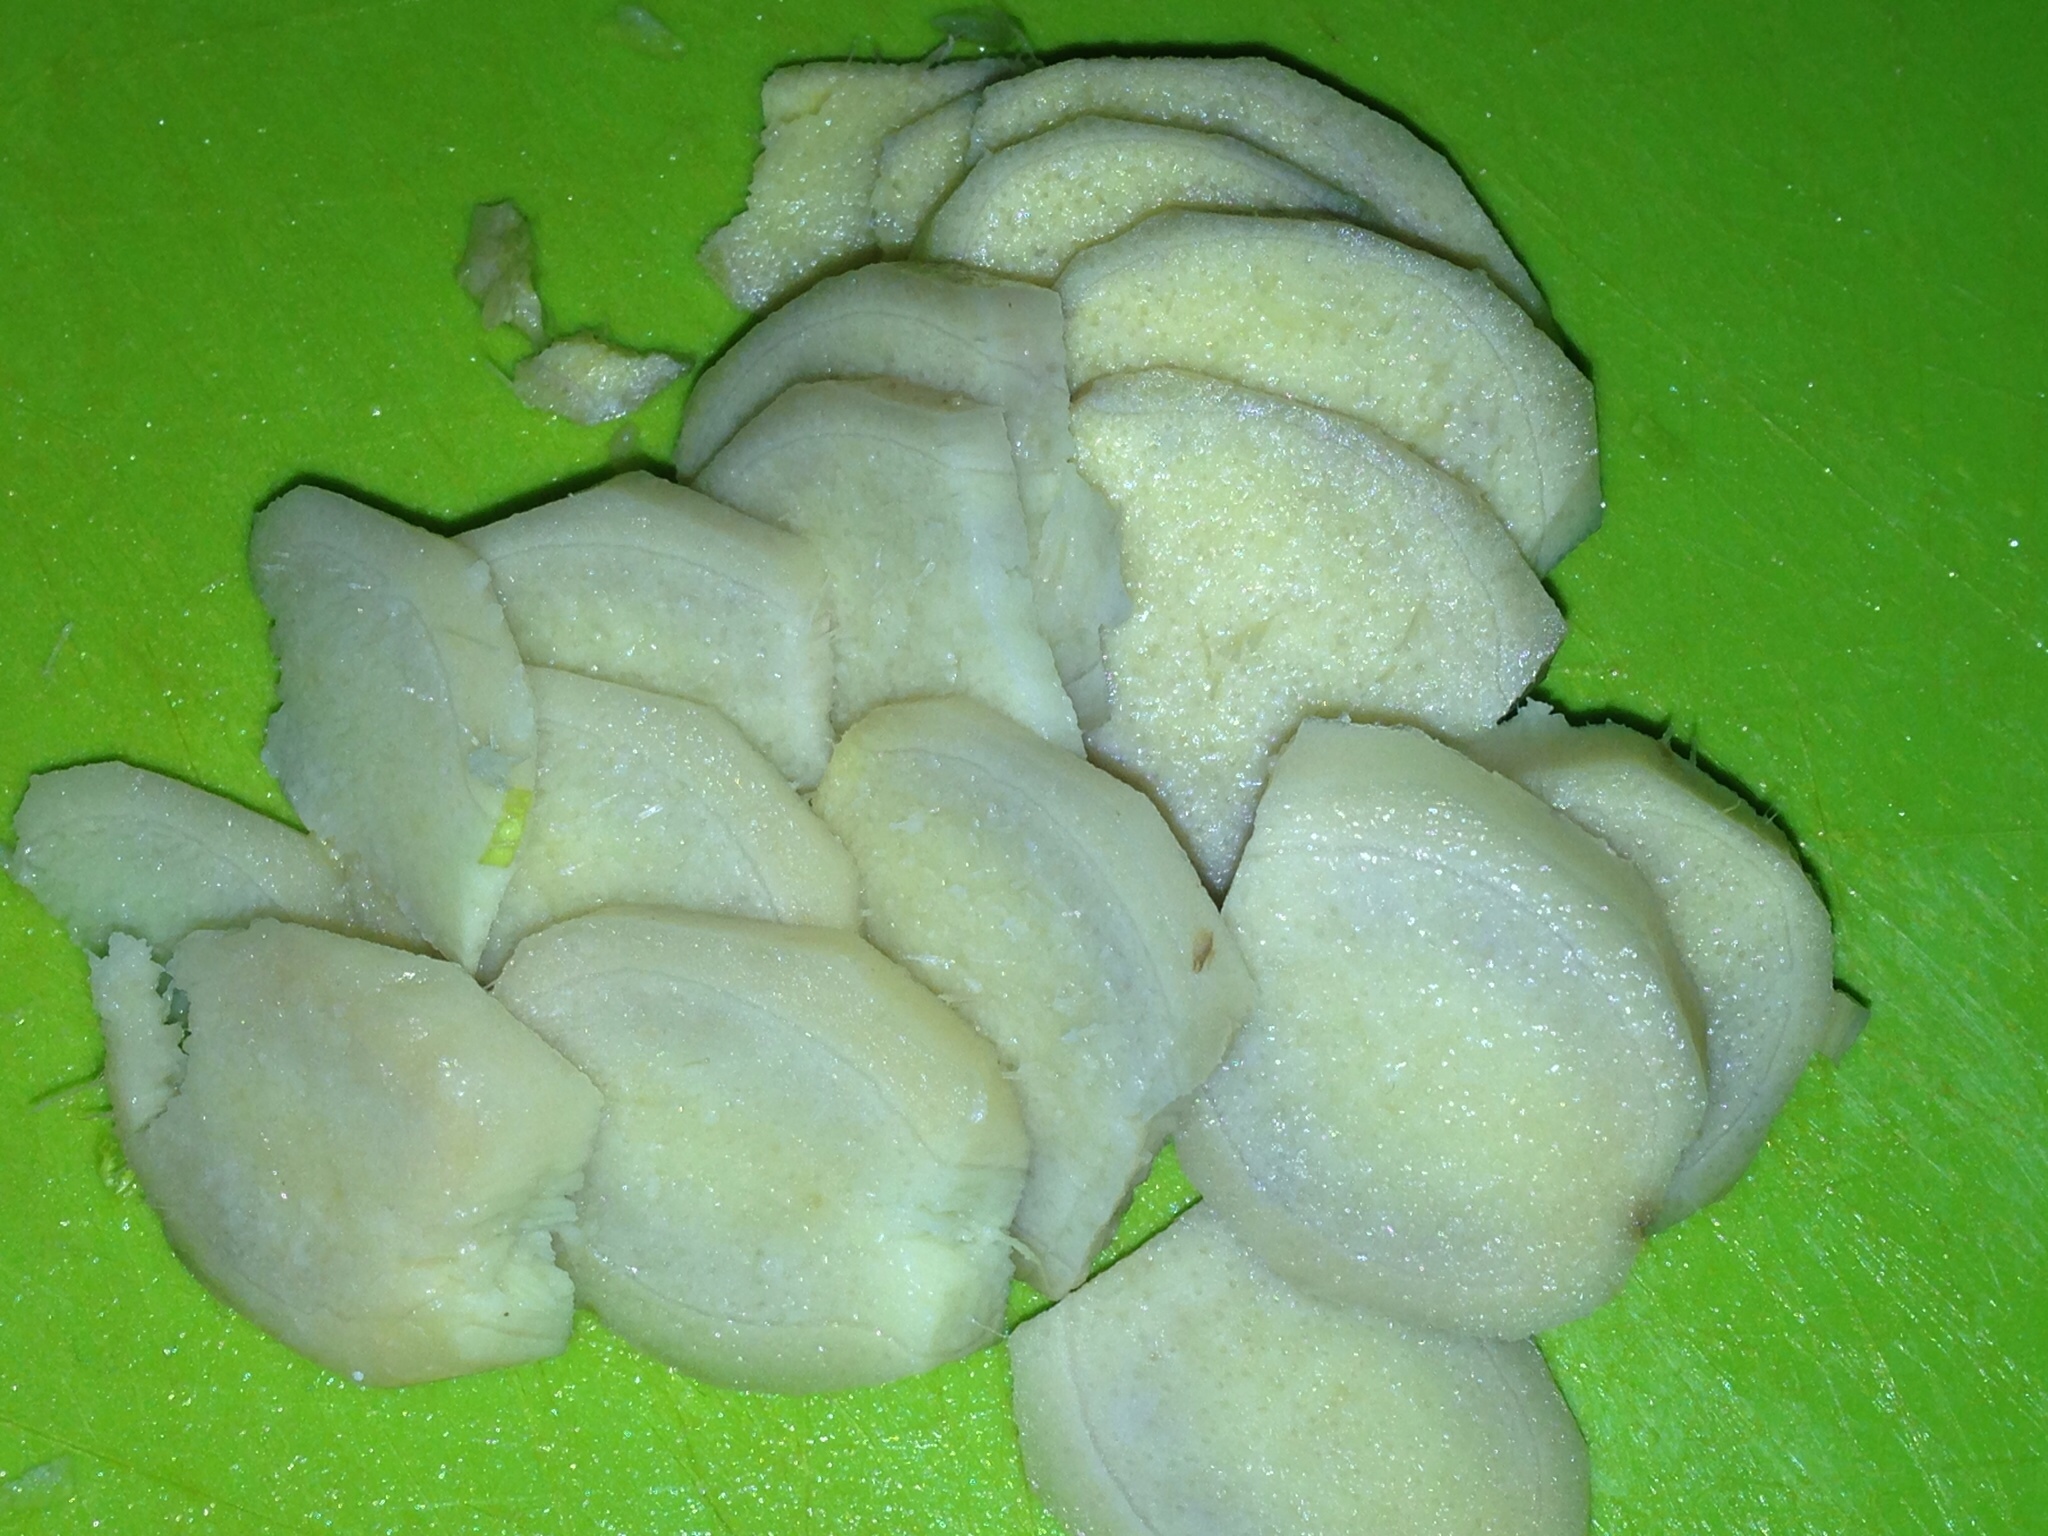
Prep the ginger. Peel (scrape the skin with a spoon) then thinly slice the ginger.

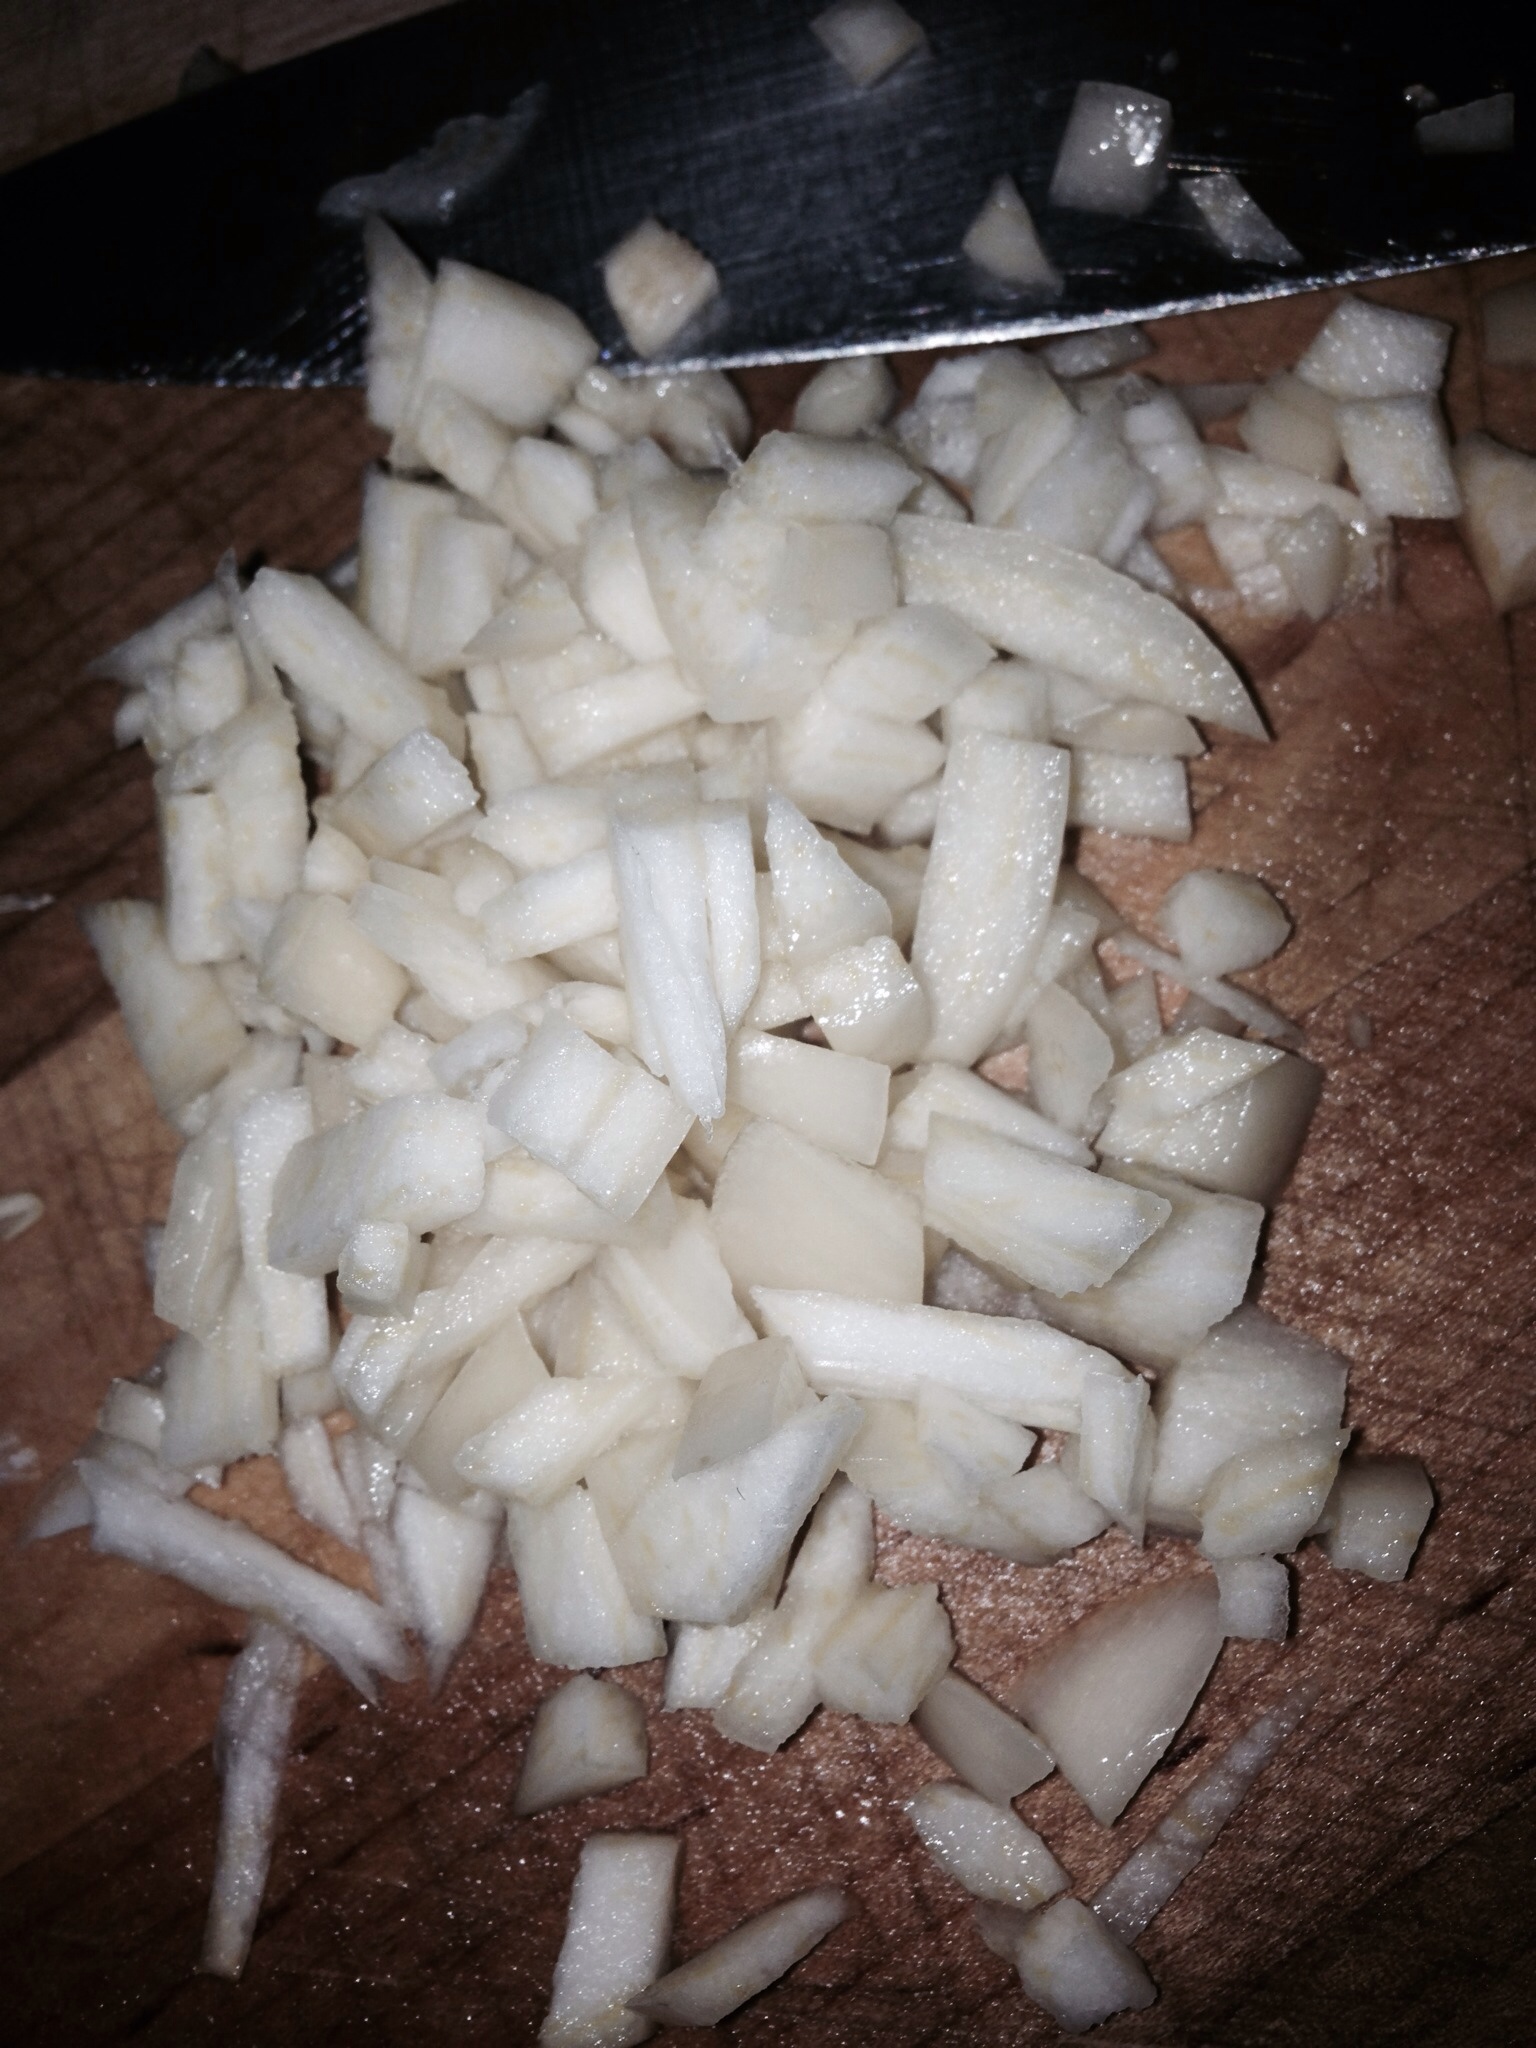
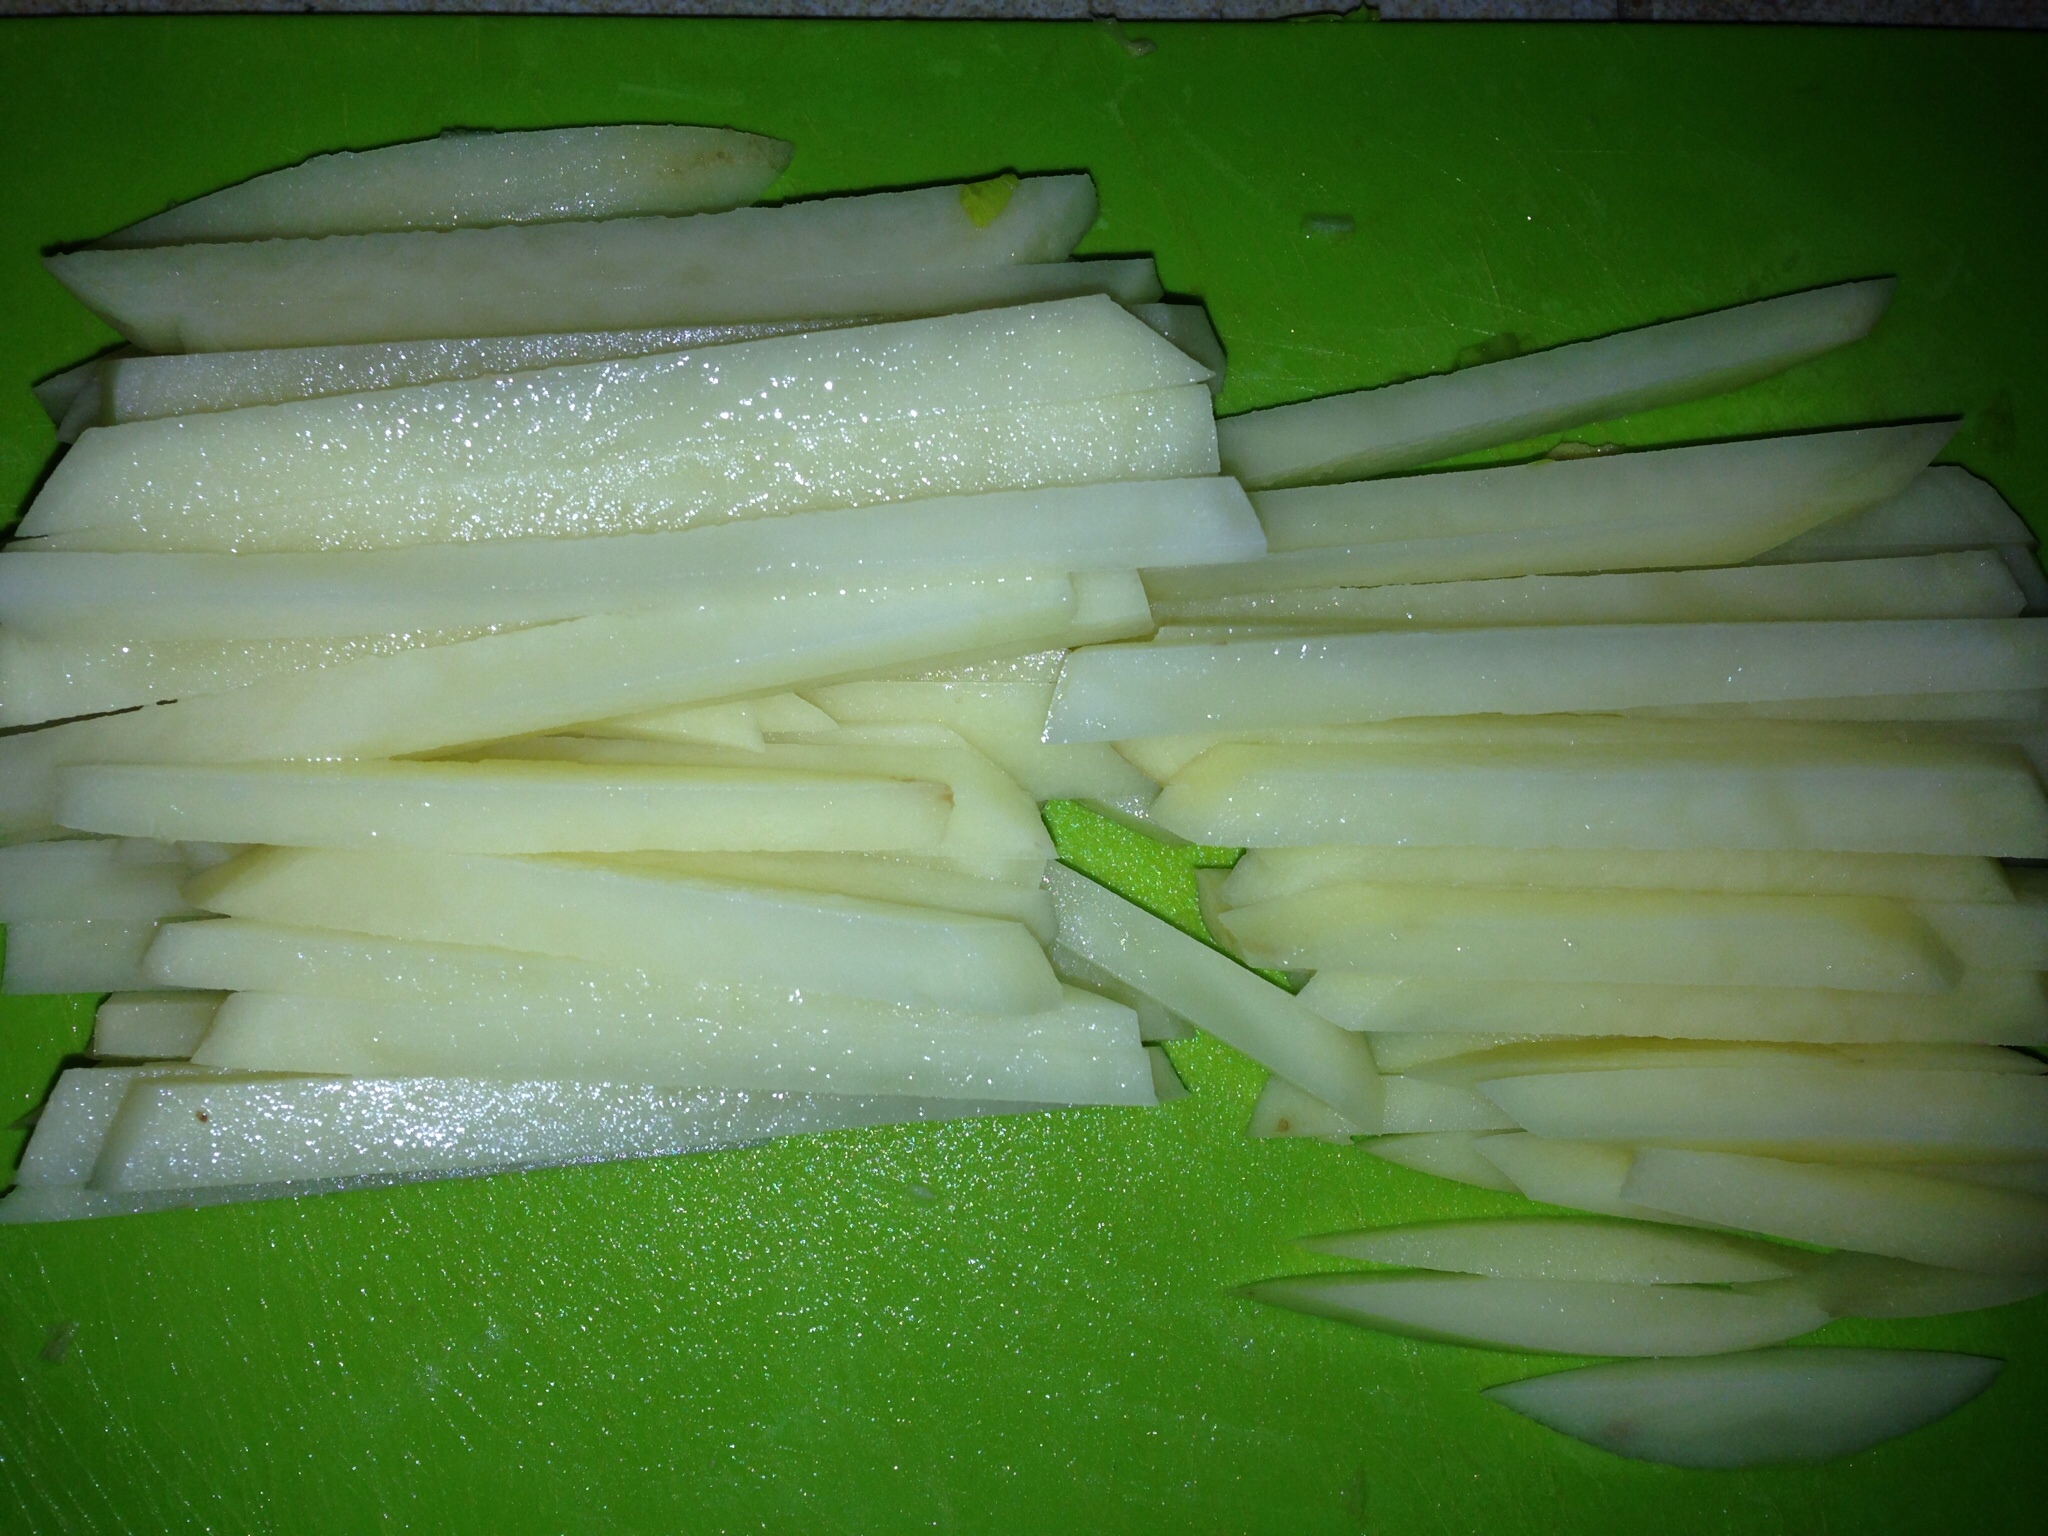
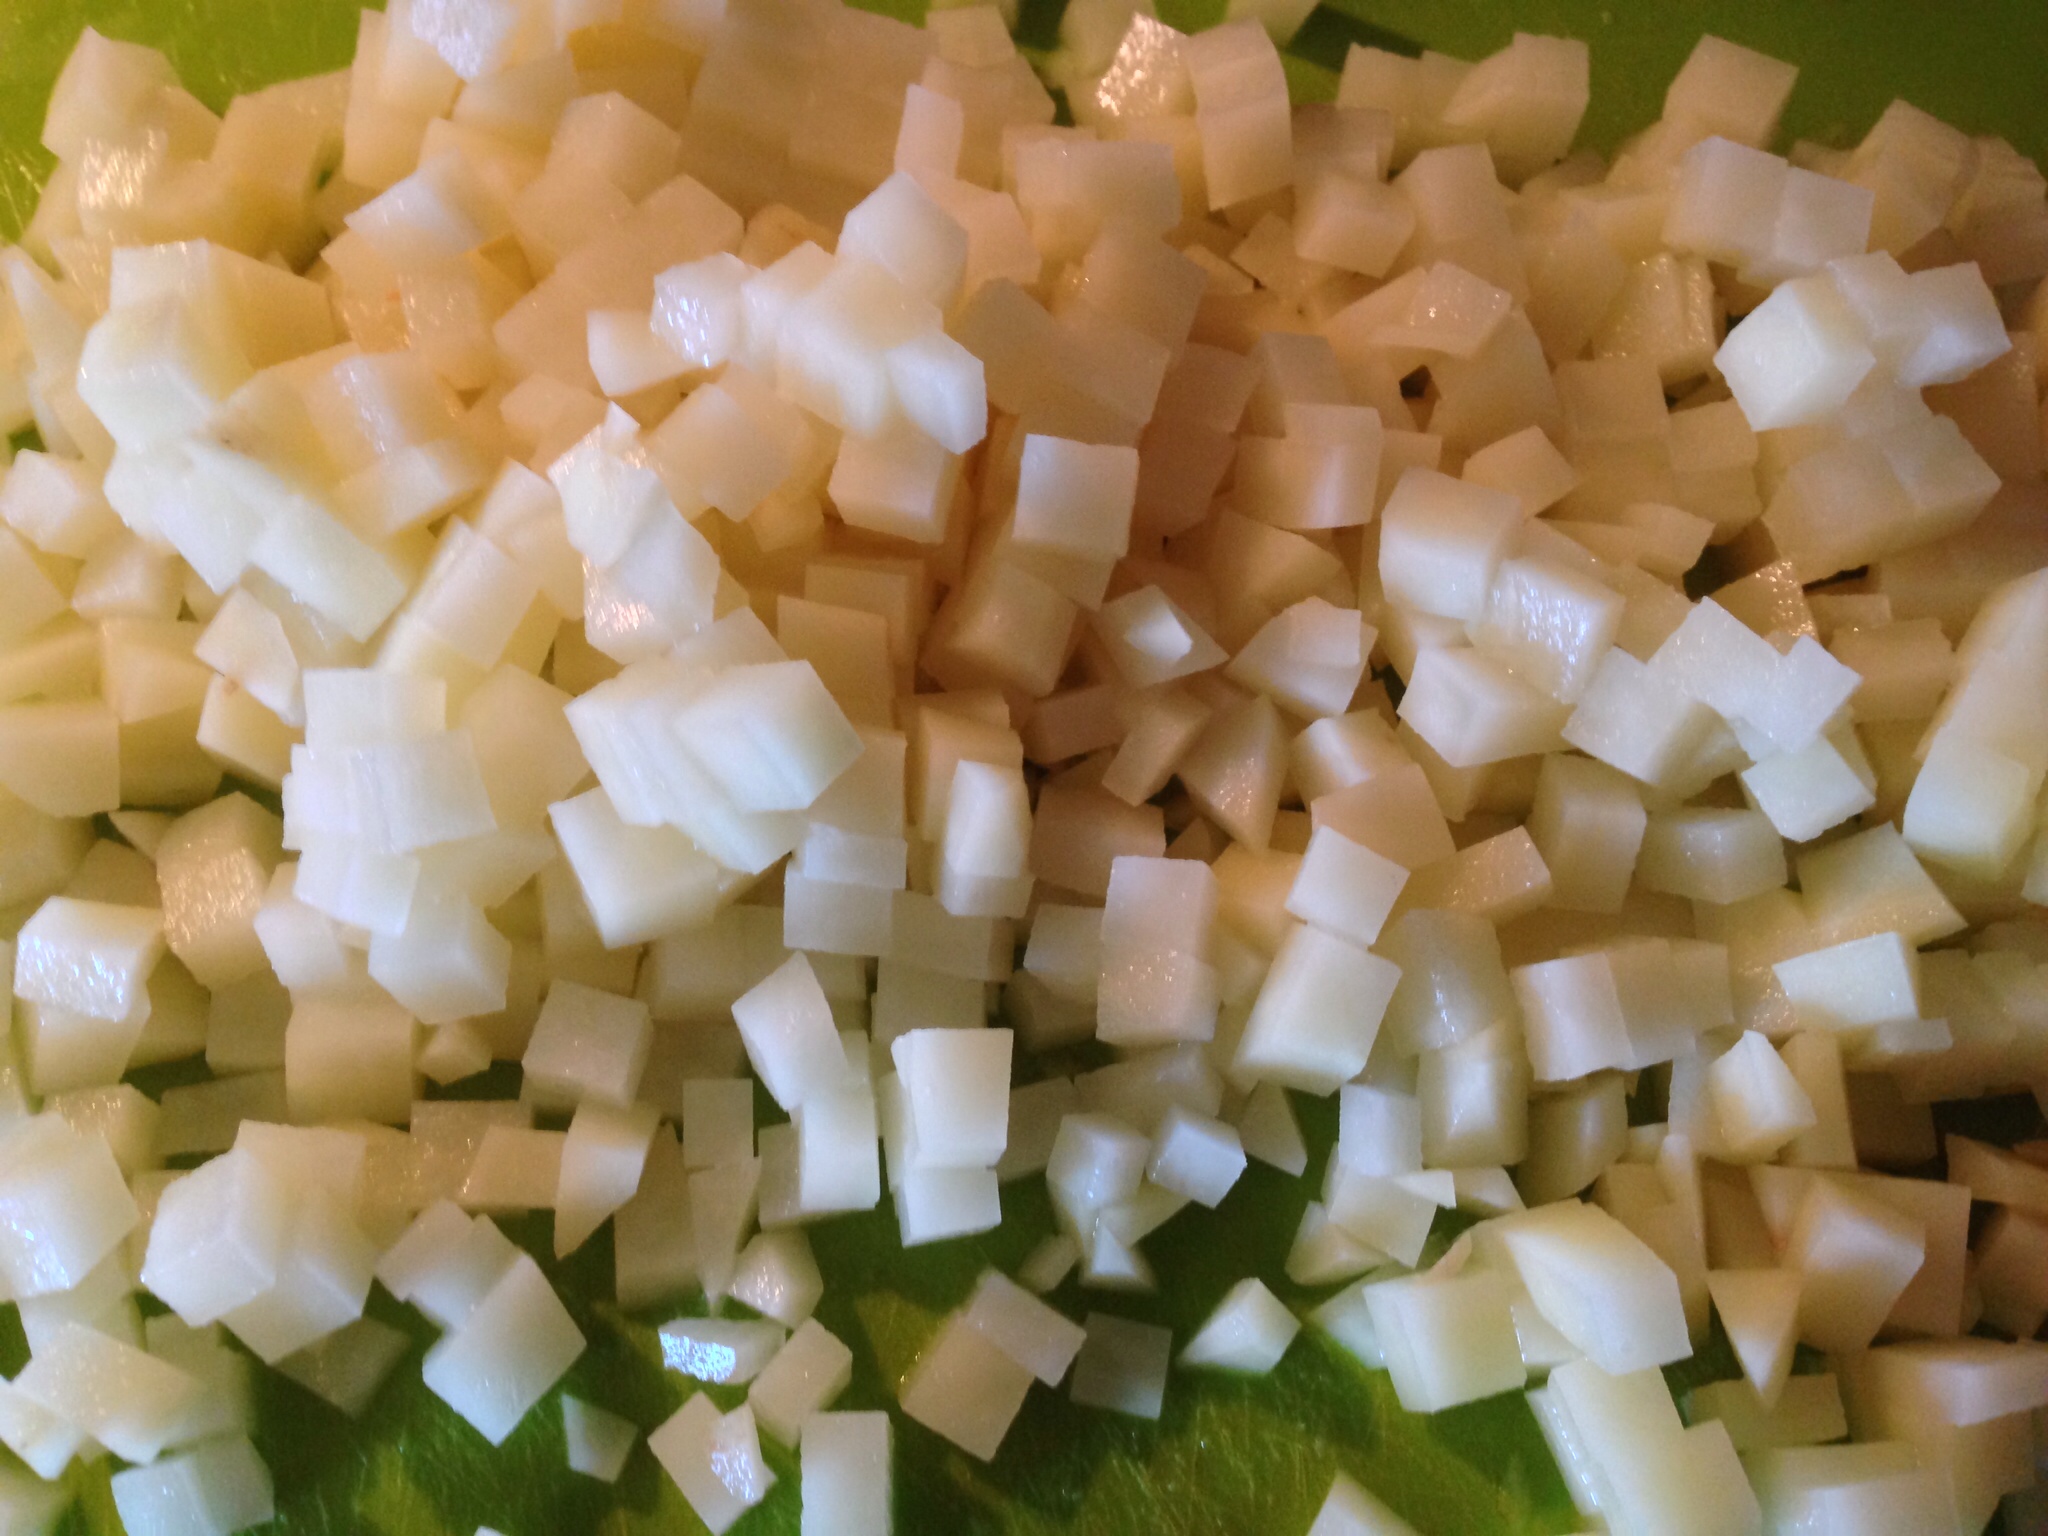
Prep the potato. Peel the potato. Cut into sticks (like french fries) then dice.

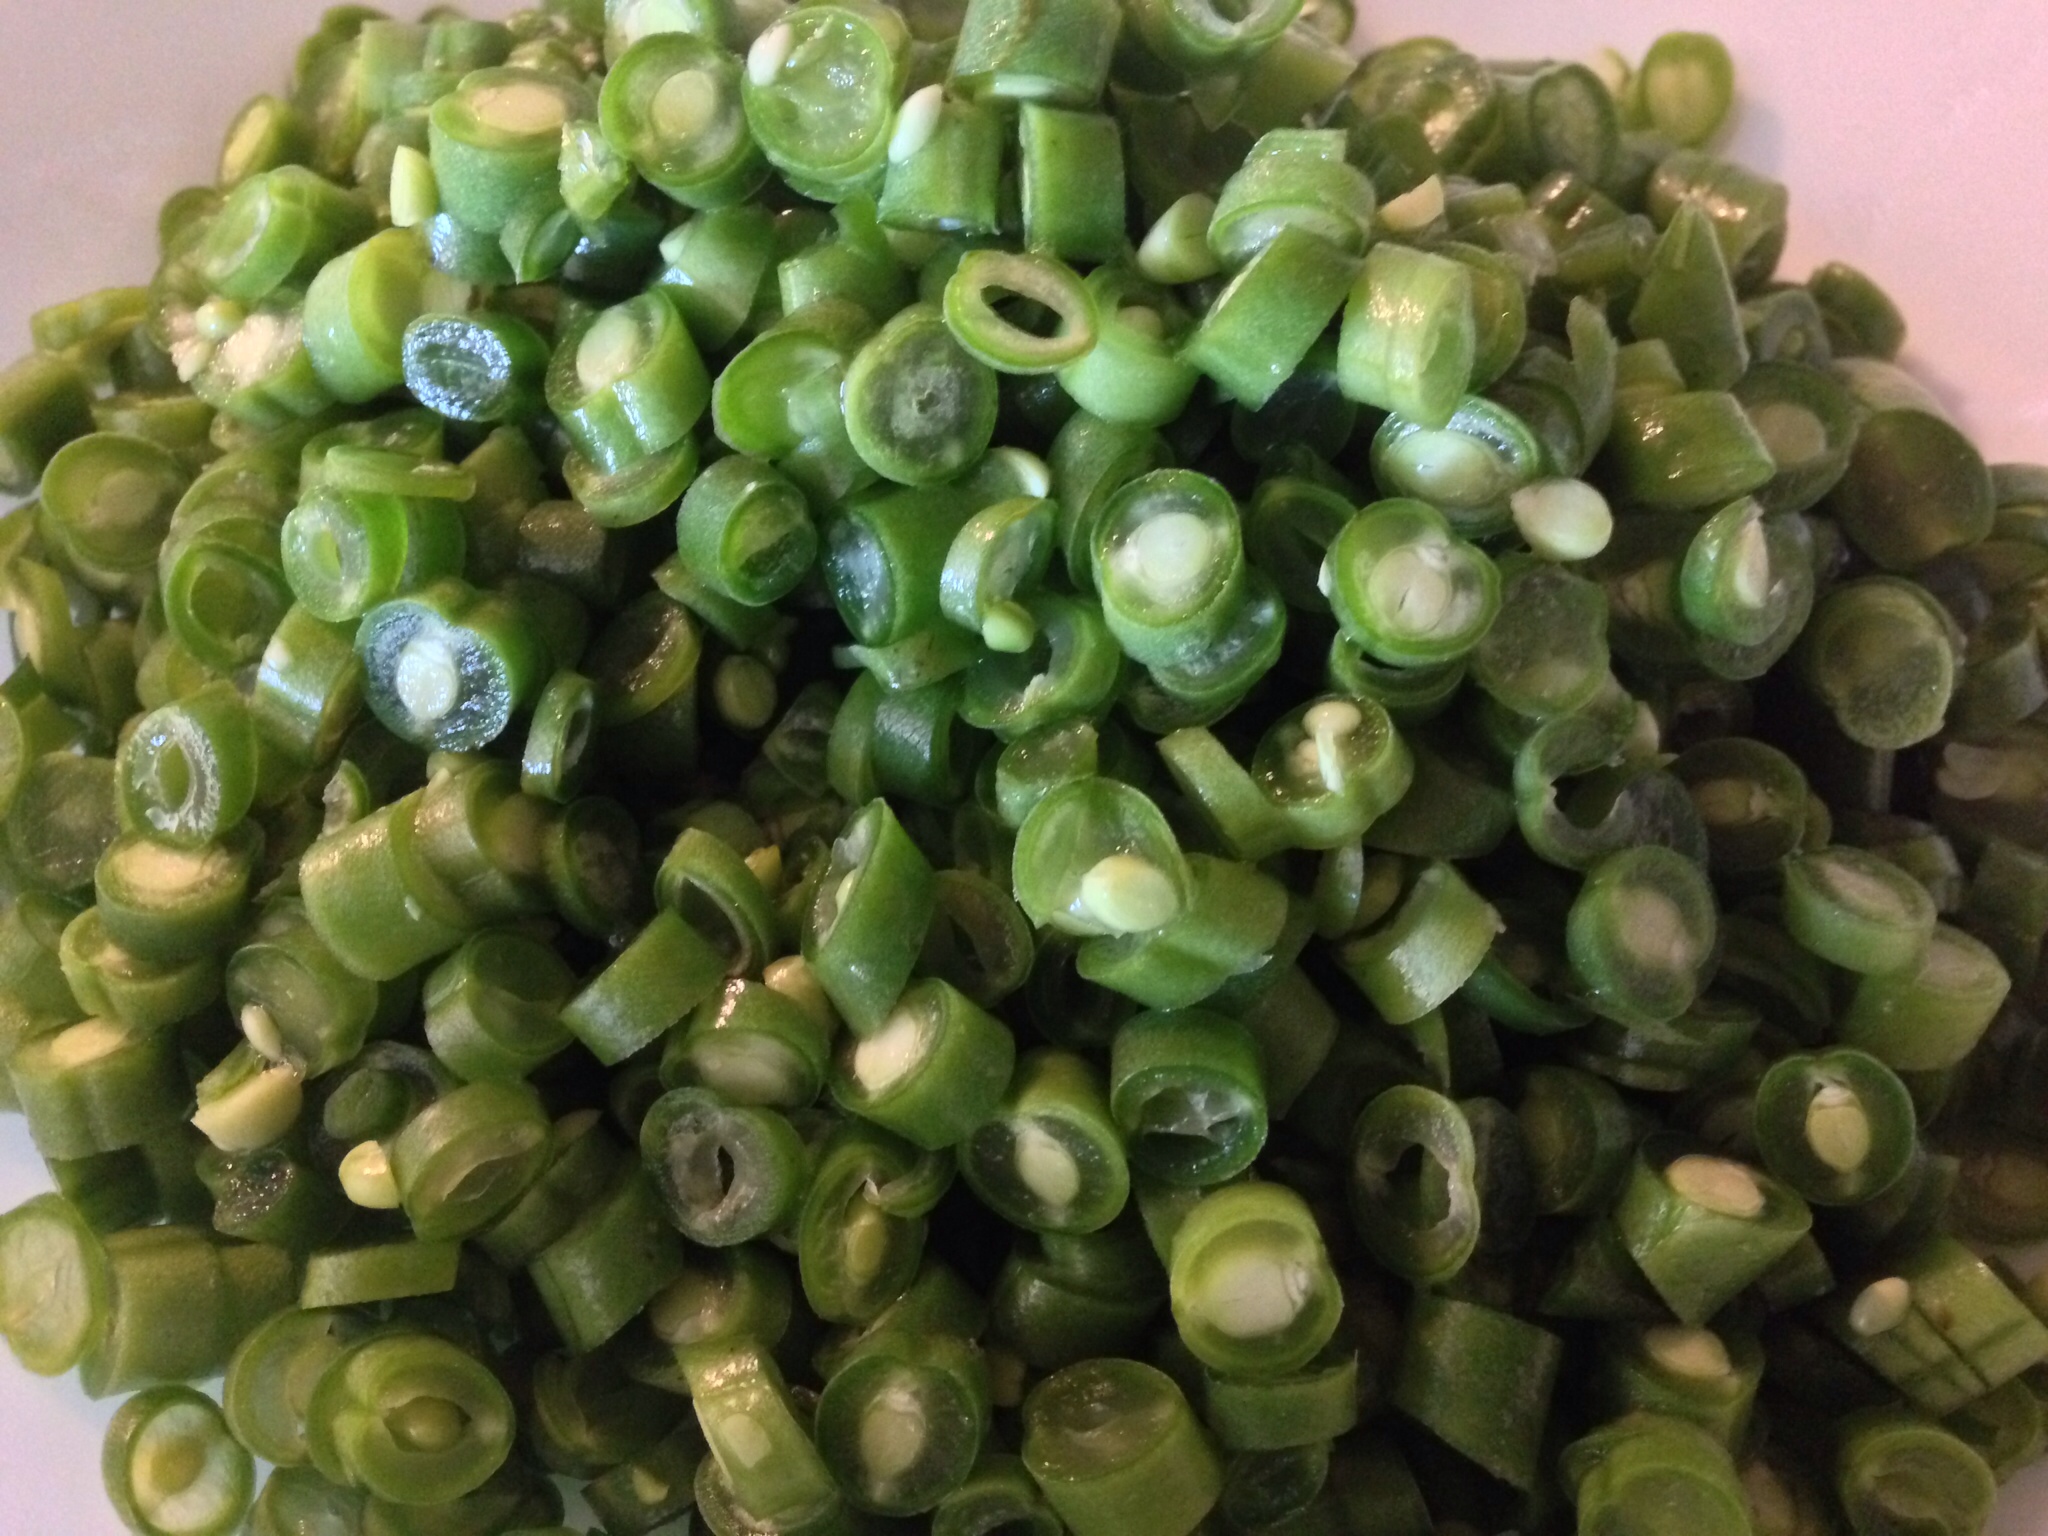
Prep the beans. In my list of ingredients, I stated “a handful” of beans was enough. This is what I mean by “a handful.”

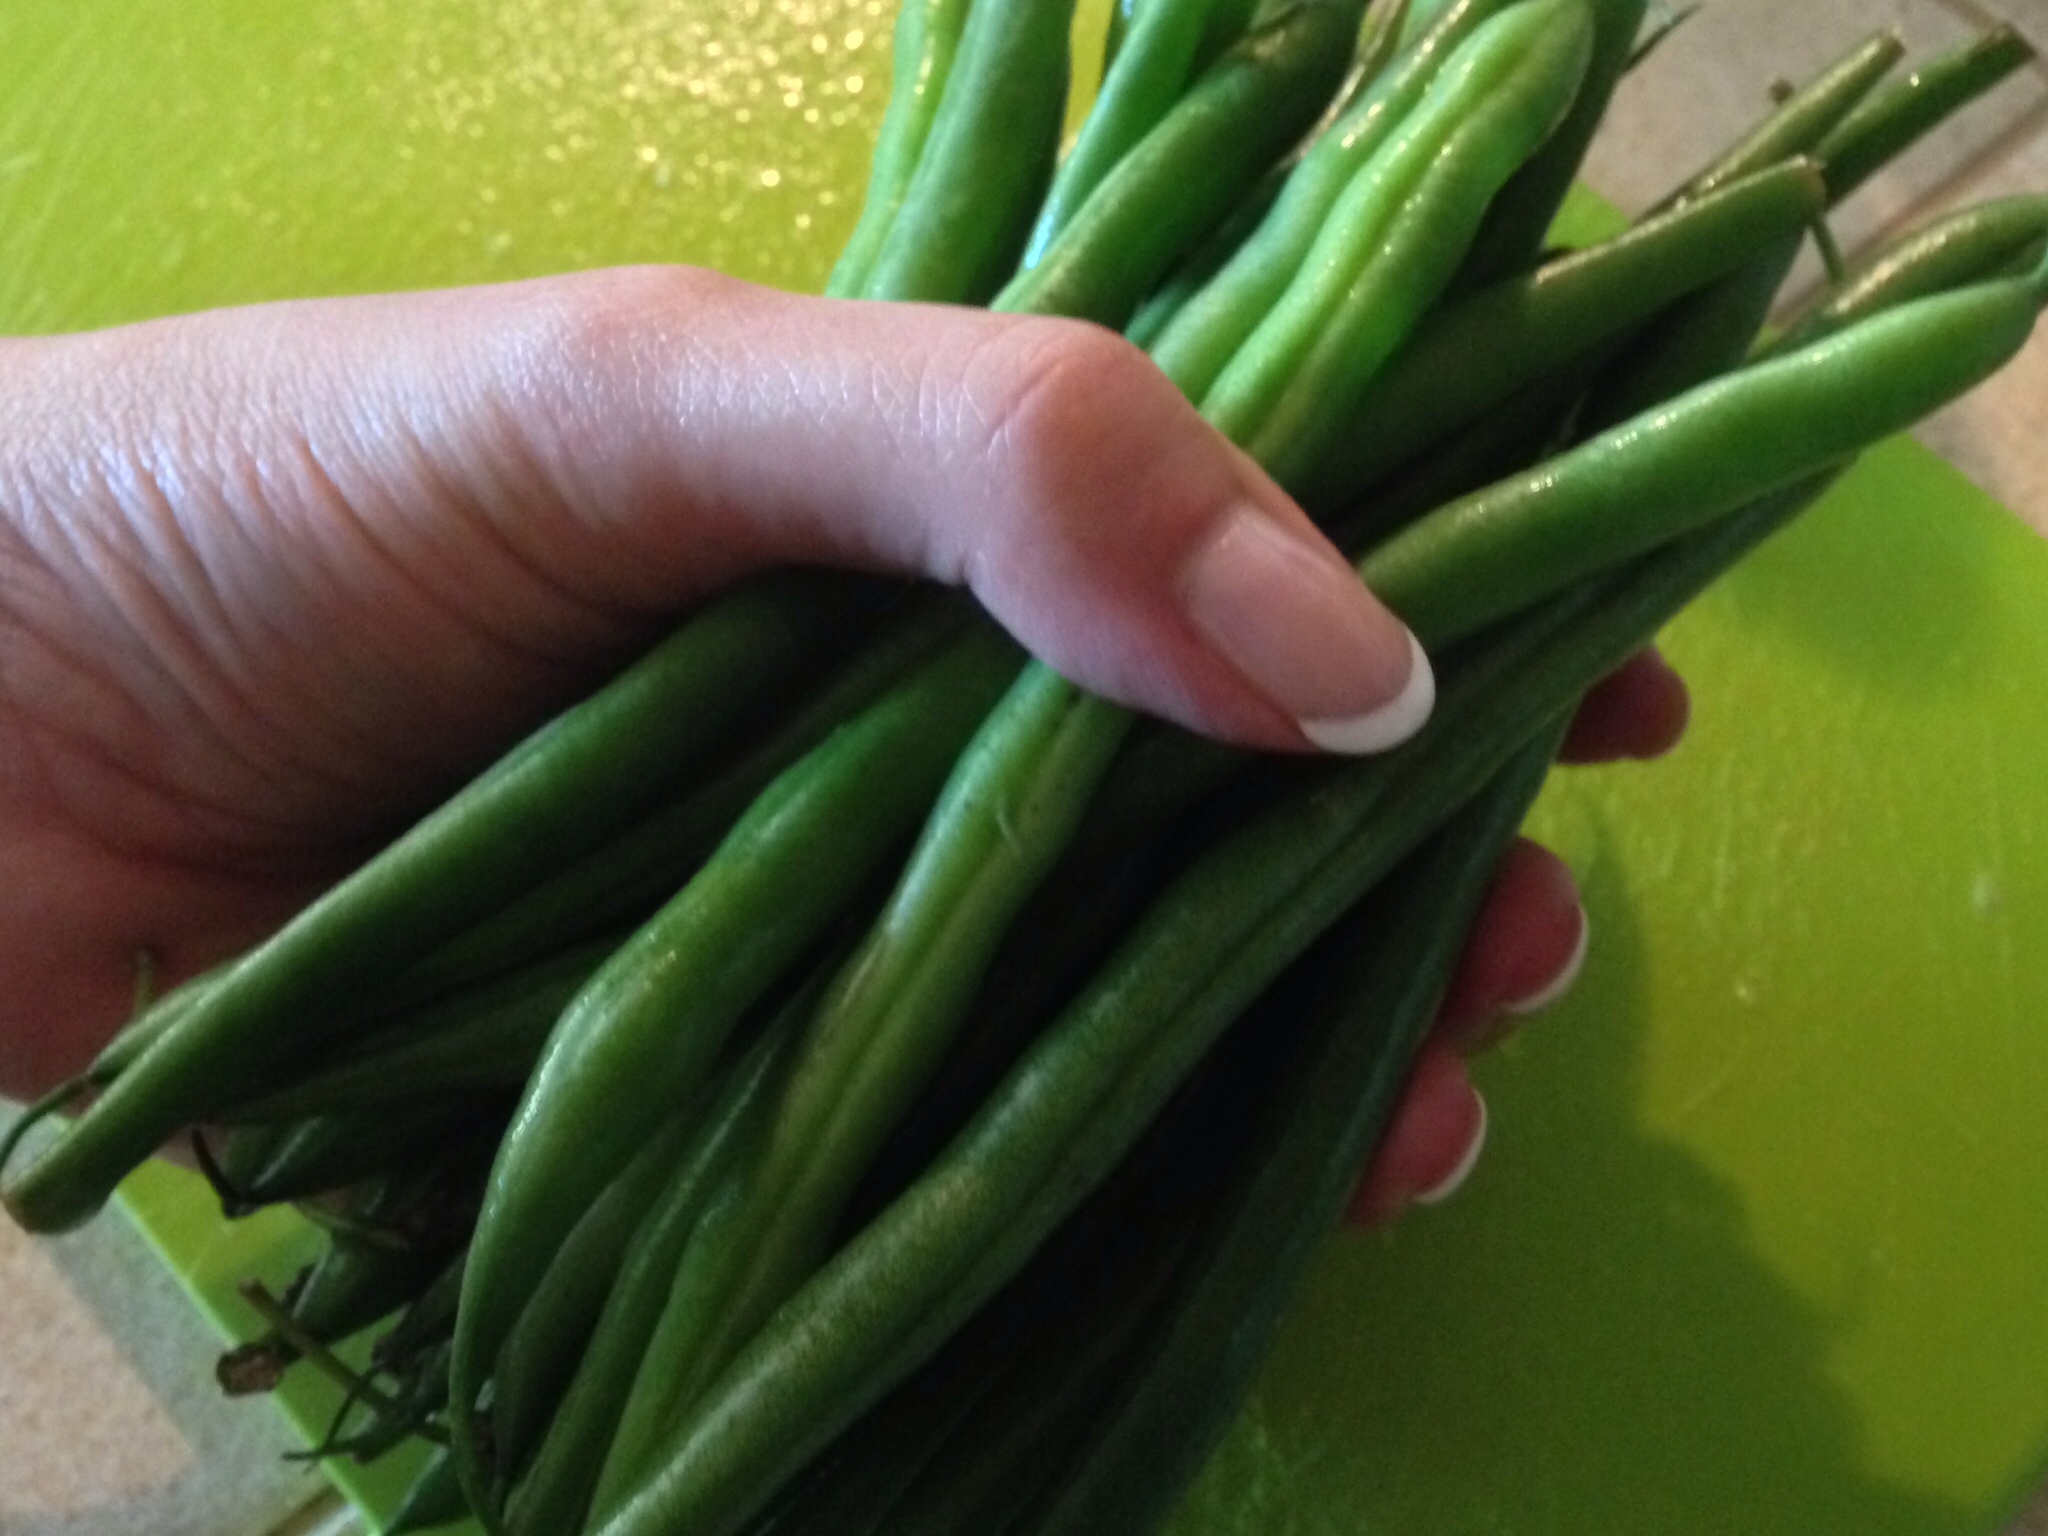
Cut the tips off the ends of the beans, then thinly slice them.

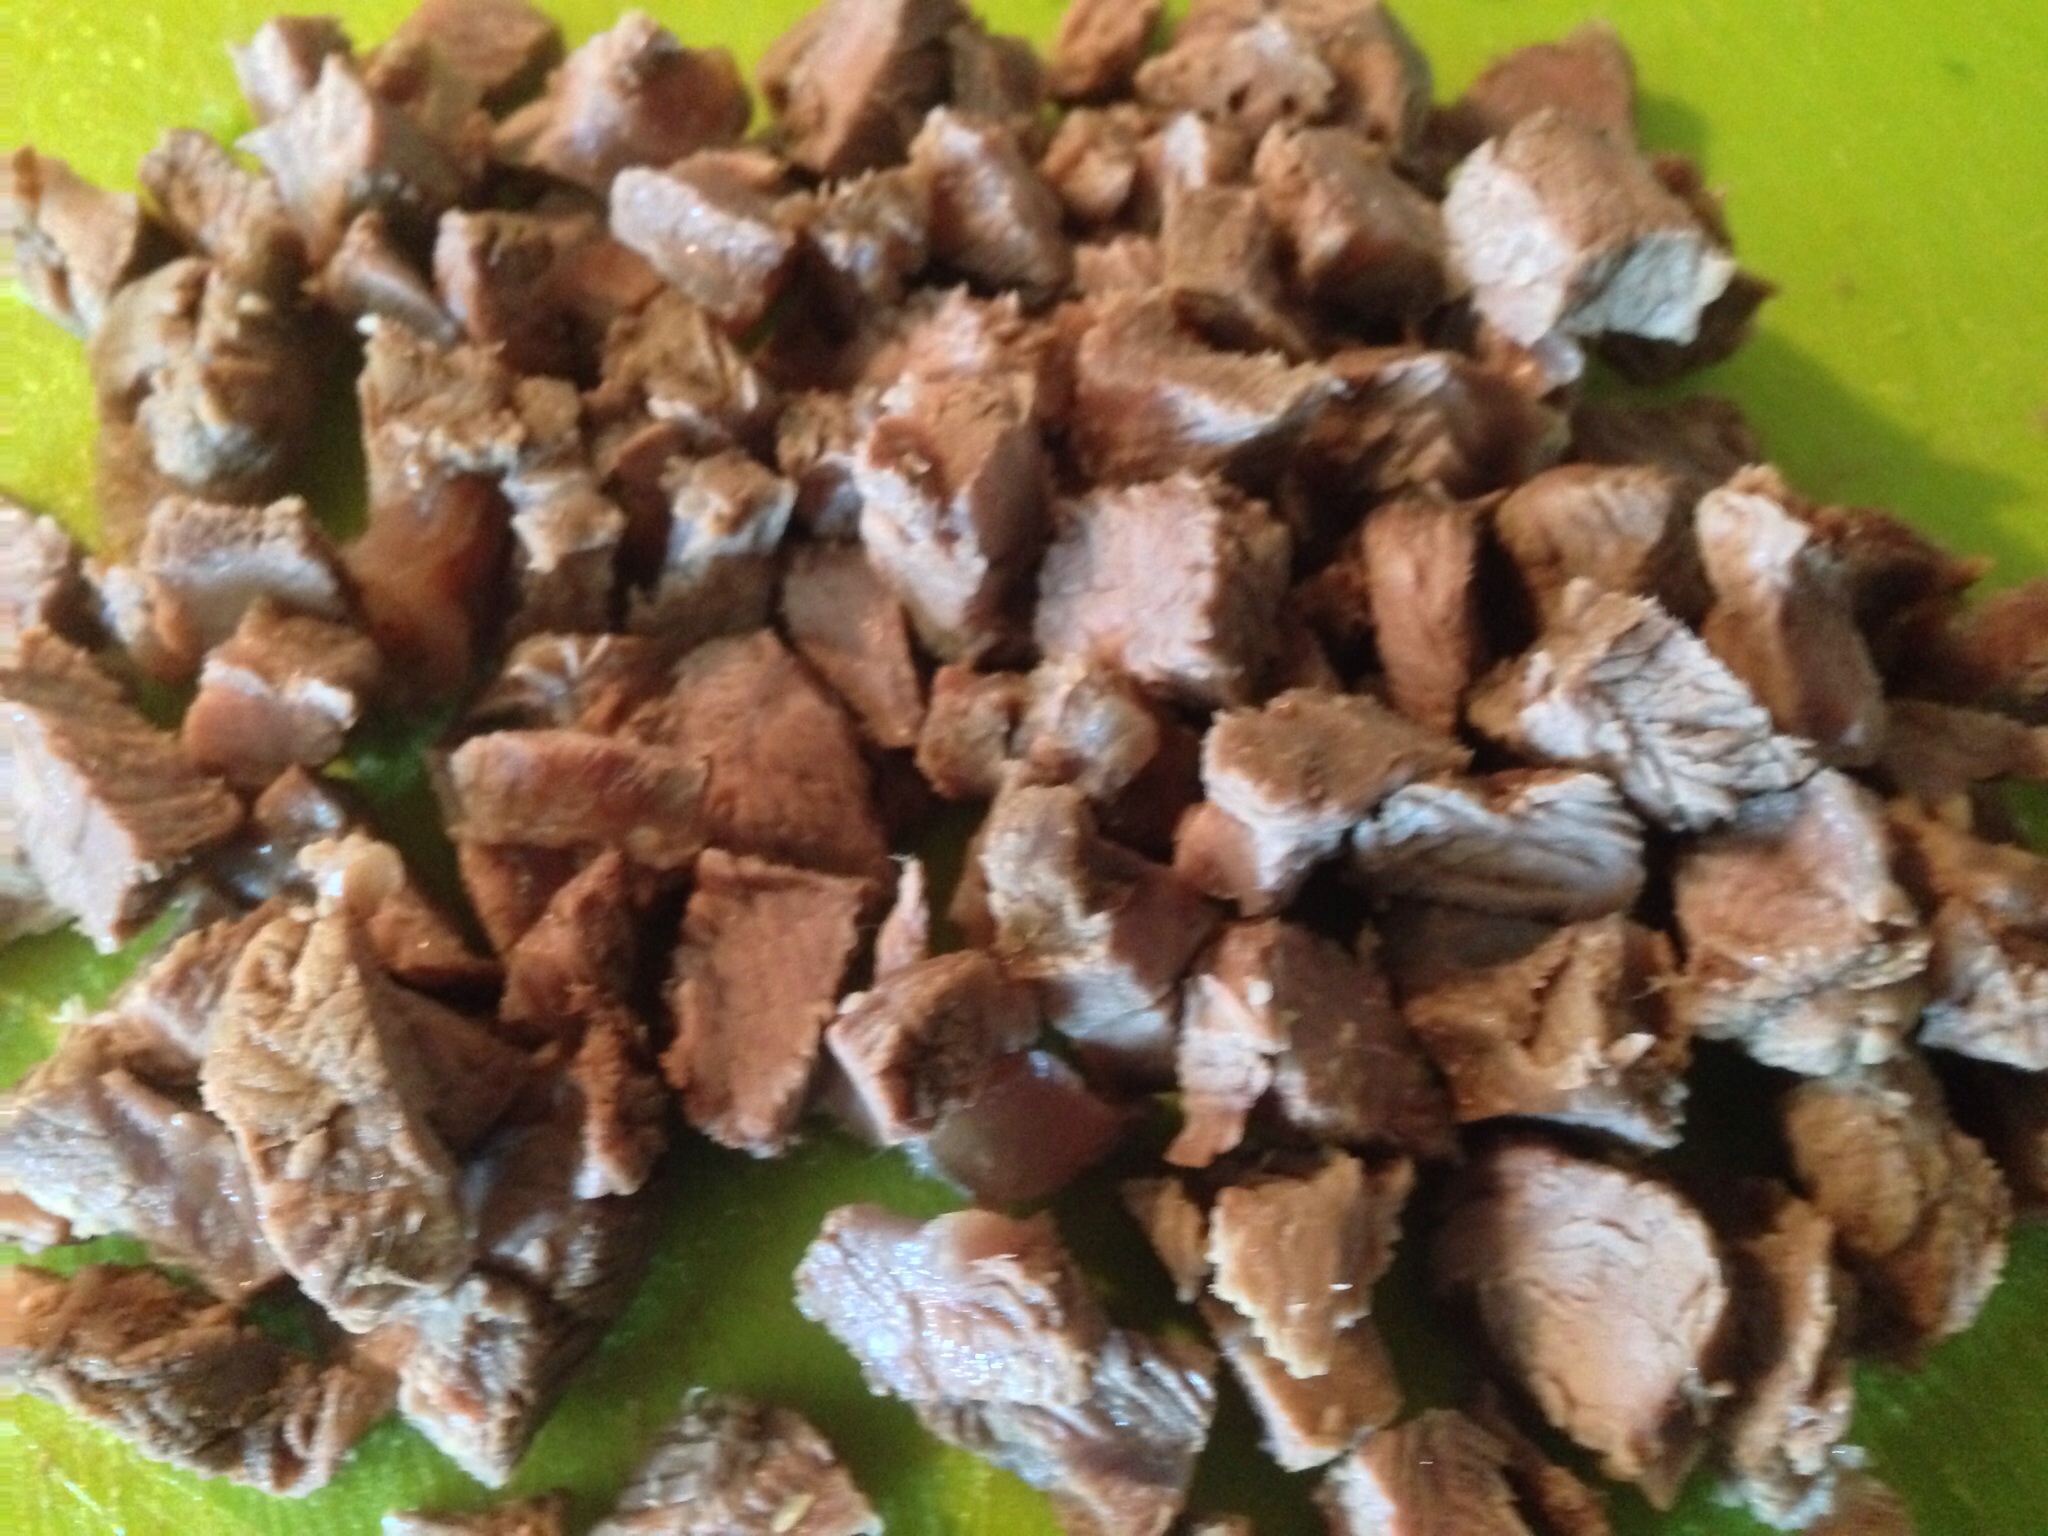
4. After a couple of hours of simmering, the sinew in the large chunks of shank meat should have broken down and softened. Remove the large chunks of meat from the pot. Let it cool then cut the meat into small pieces then return the meat to the pot.

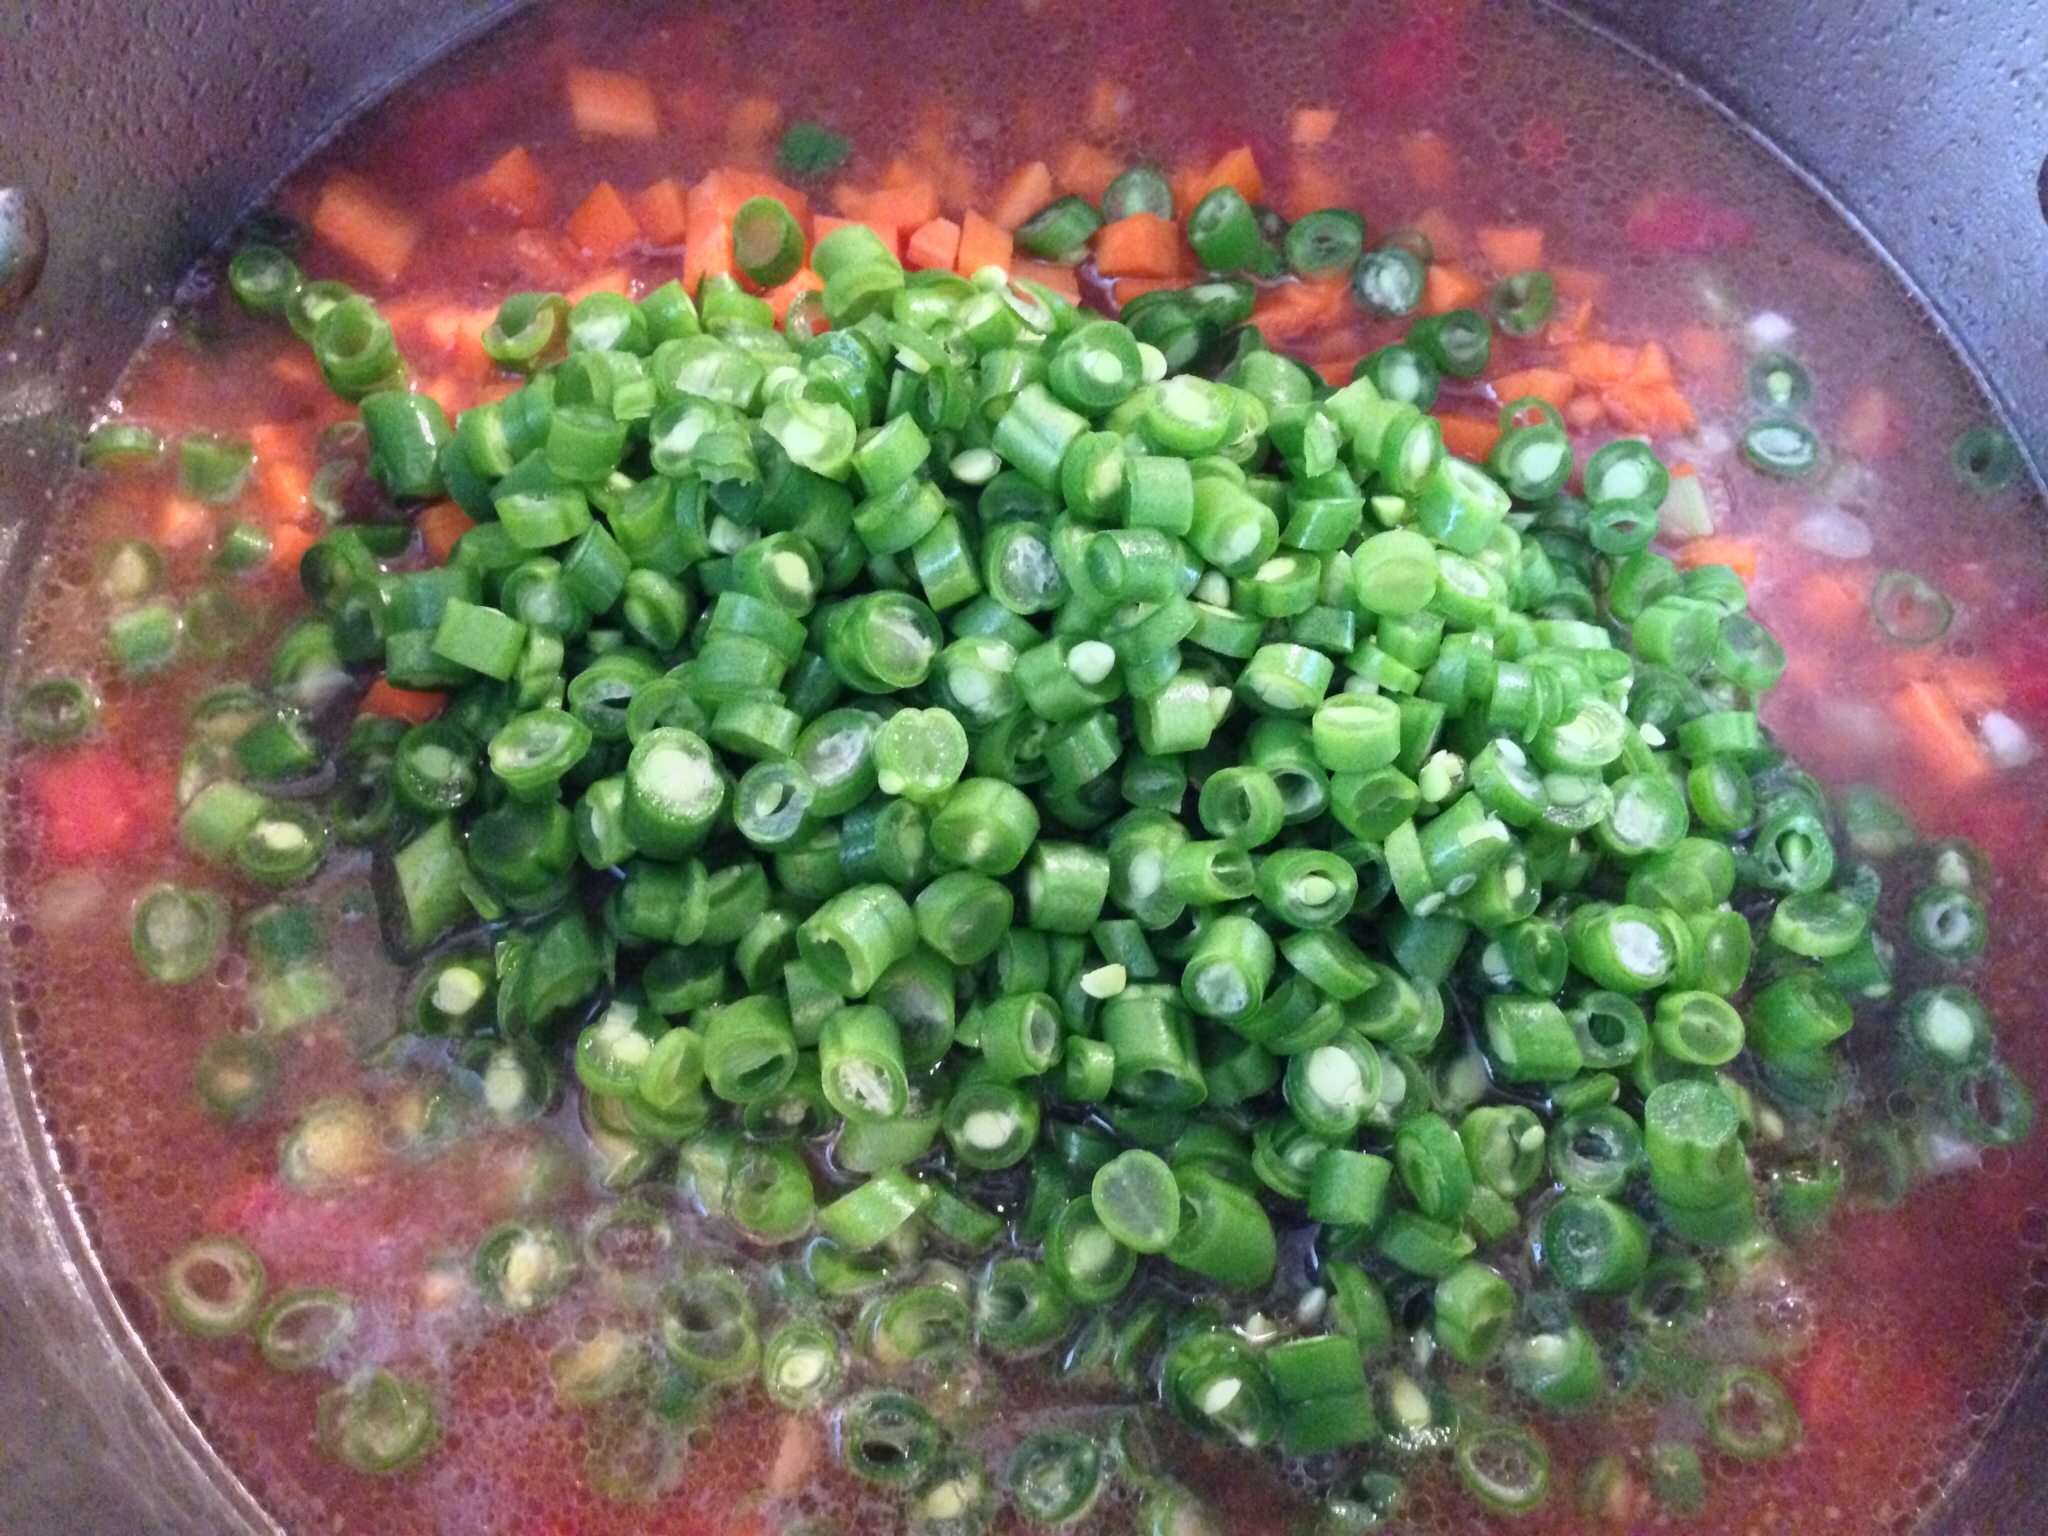
5. Add the tomatoes (don’t forget to drain the liquid!) and cut vegetables to the pot. Stir to combine.

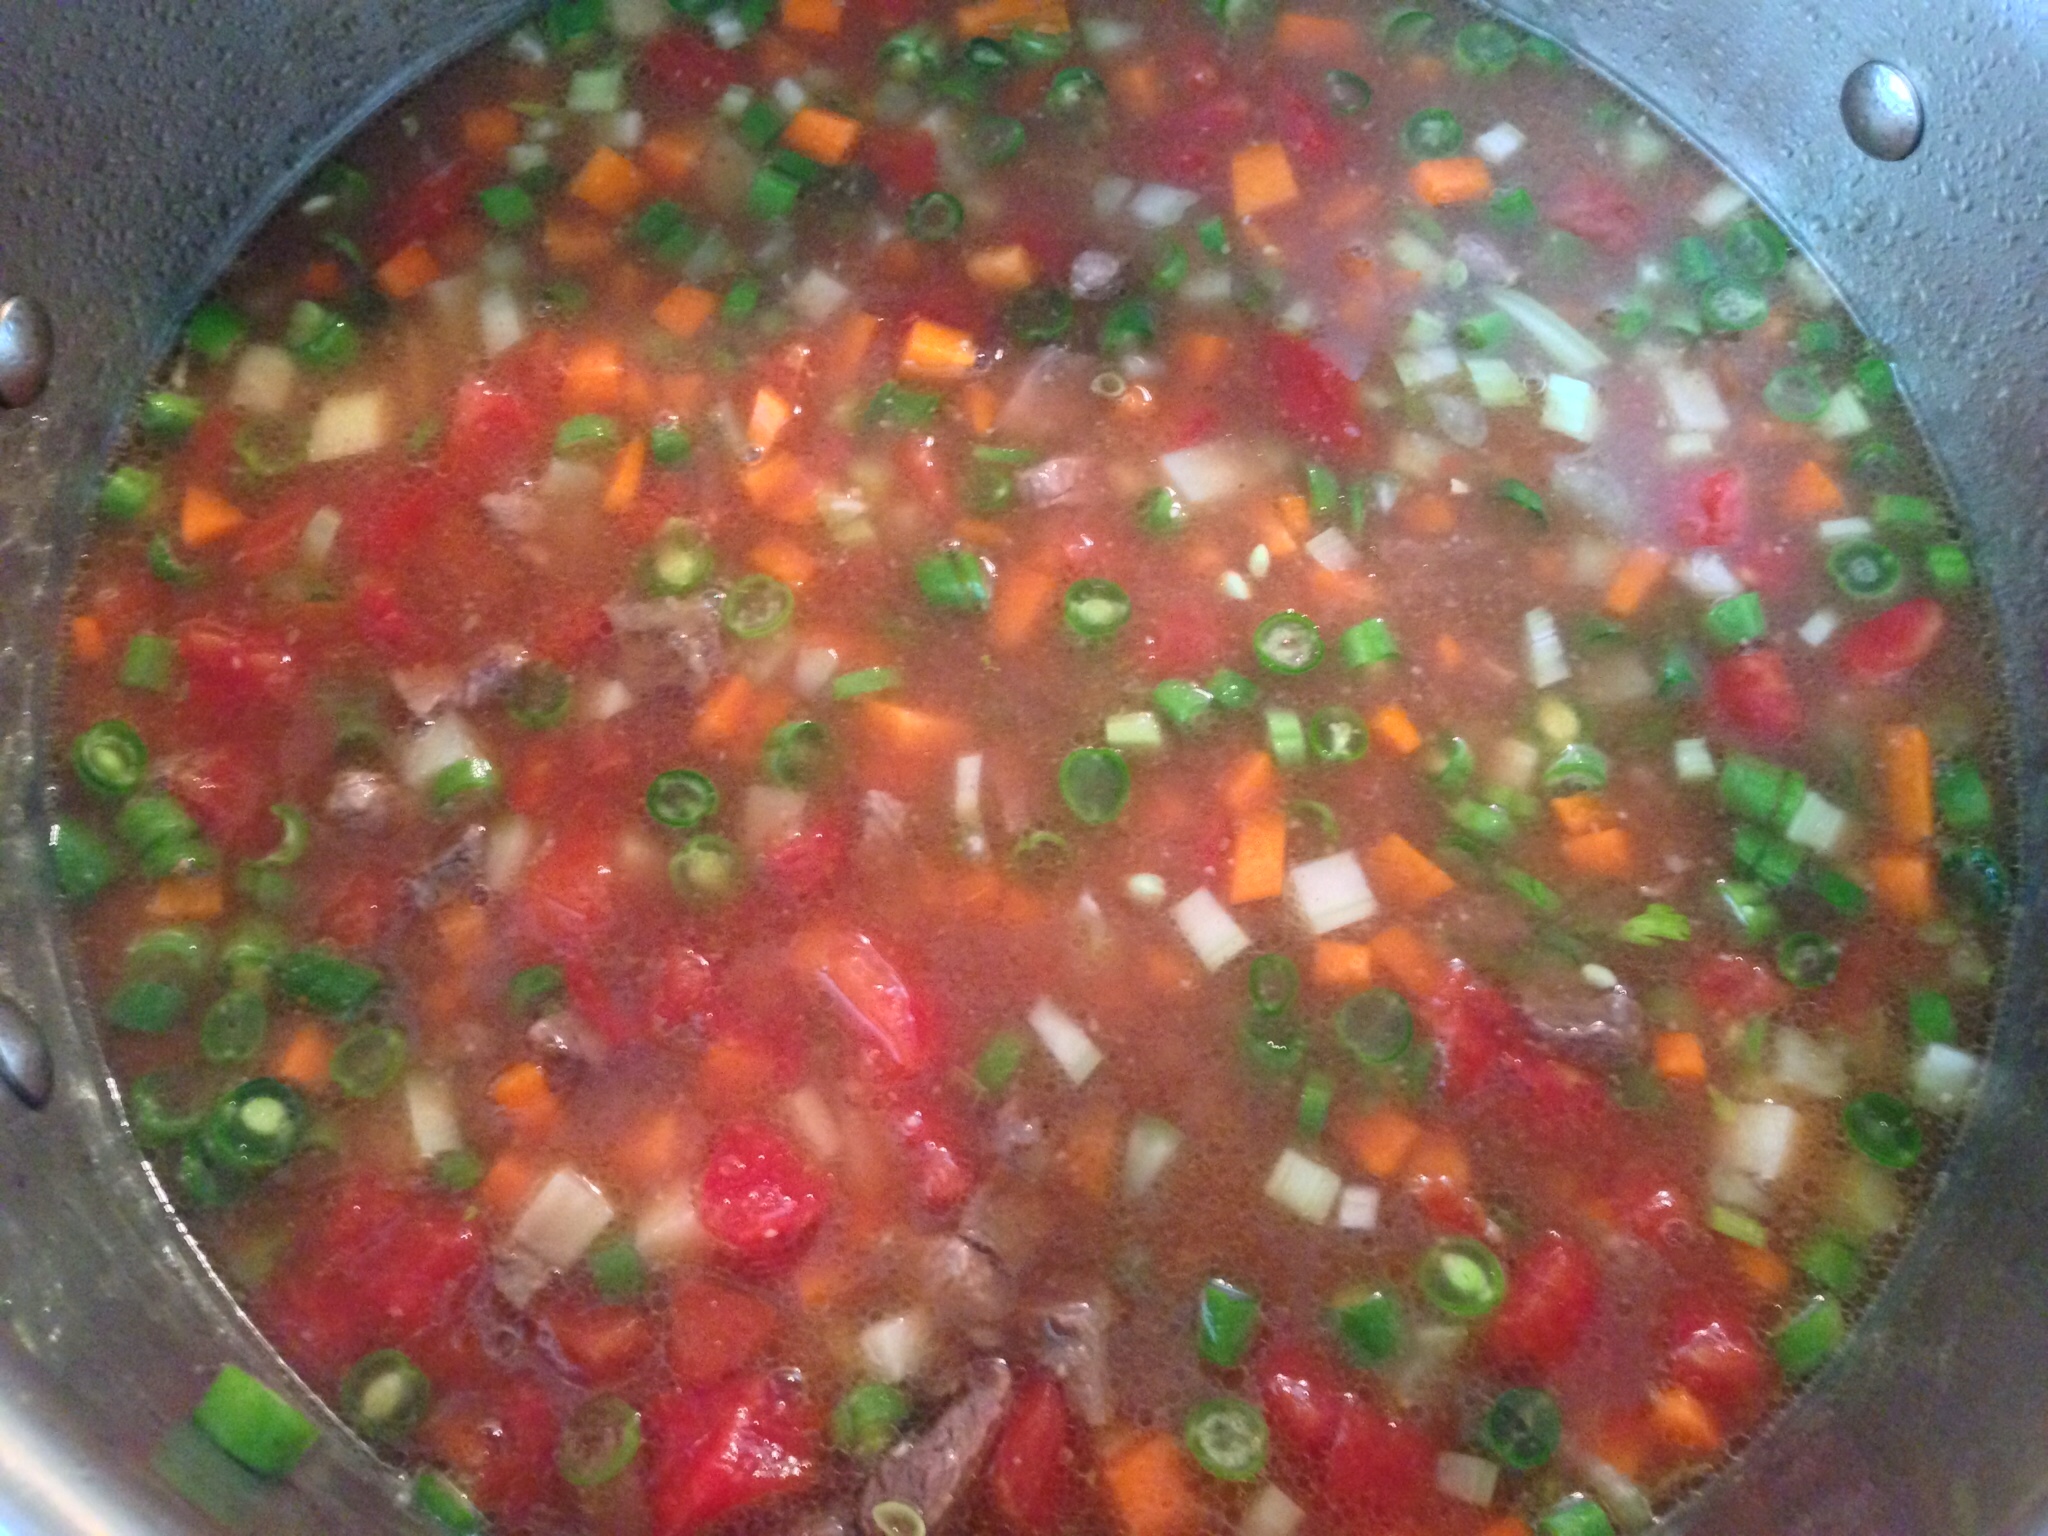
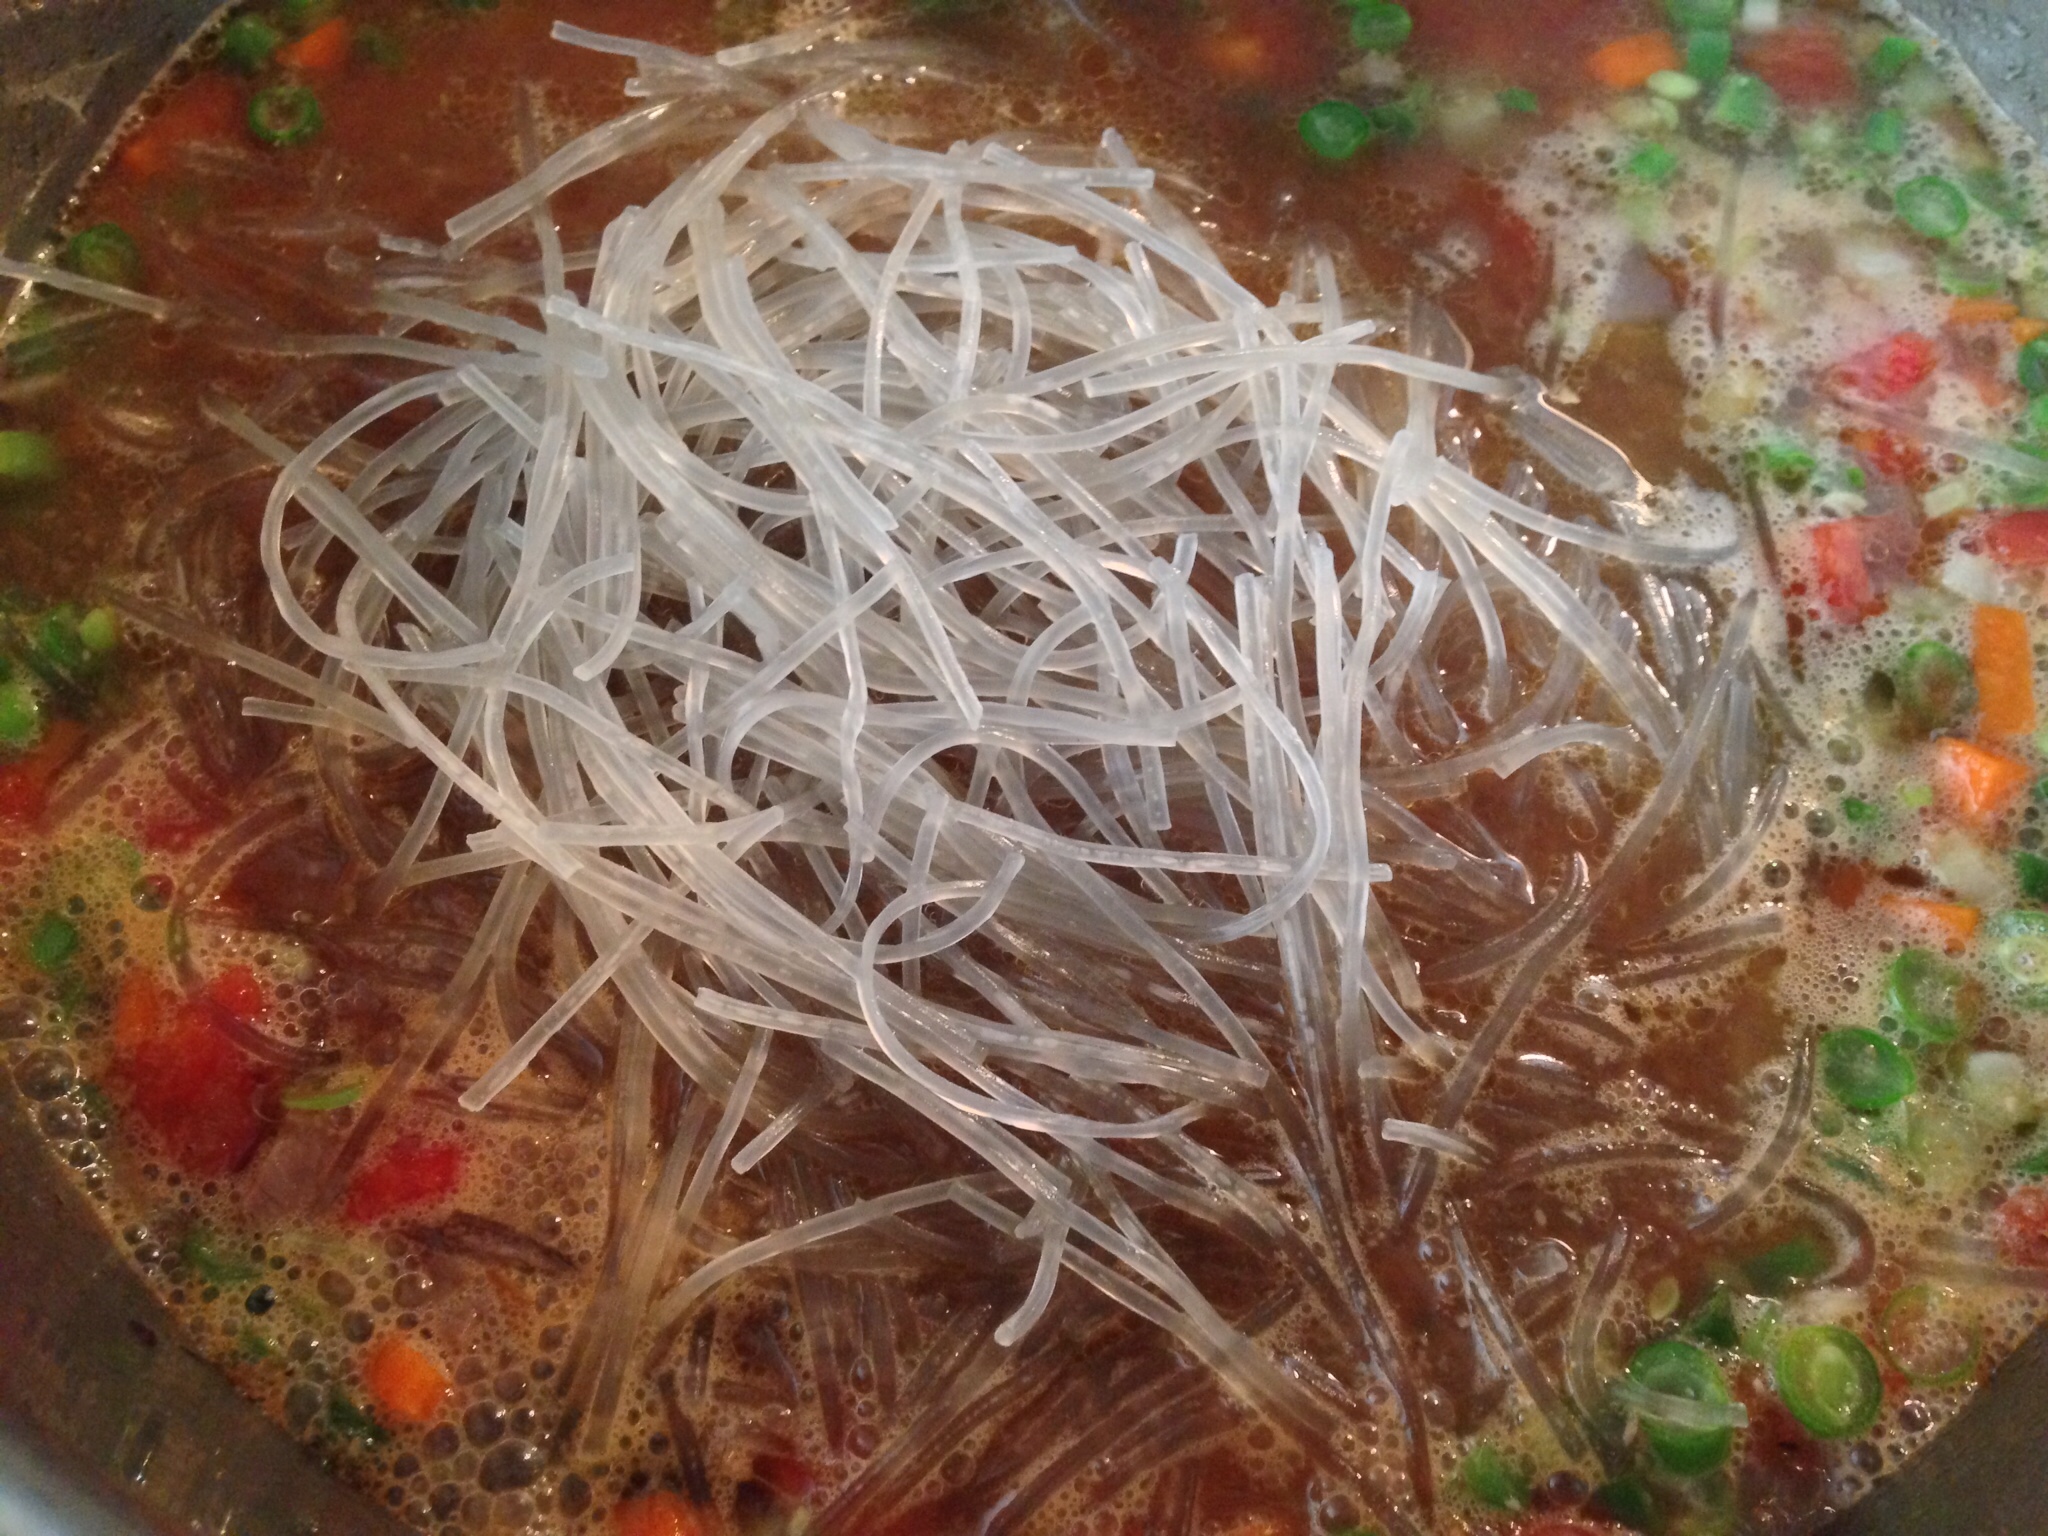
6. Simmer the vegetables over medium high heat for 10 minutes. Meanwhile, prepare the noodles. Place the noodles into a large bowl. Pour hot water (I used hot water from the tap) over the noodles; use enough water to completely submerge the noodles. Let the noodles sit in the hot water for 5 minutes to soften slightly. After the noodles have softened, use a pair of kitchen scissors to cut the noodles into small pieces, about 3 inches in length. Drain the noodles in a colander then add them to the pot, stirring to combine.

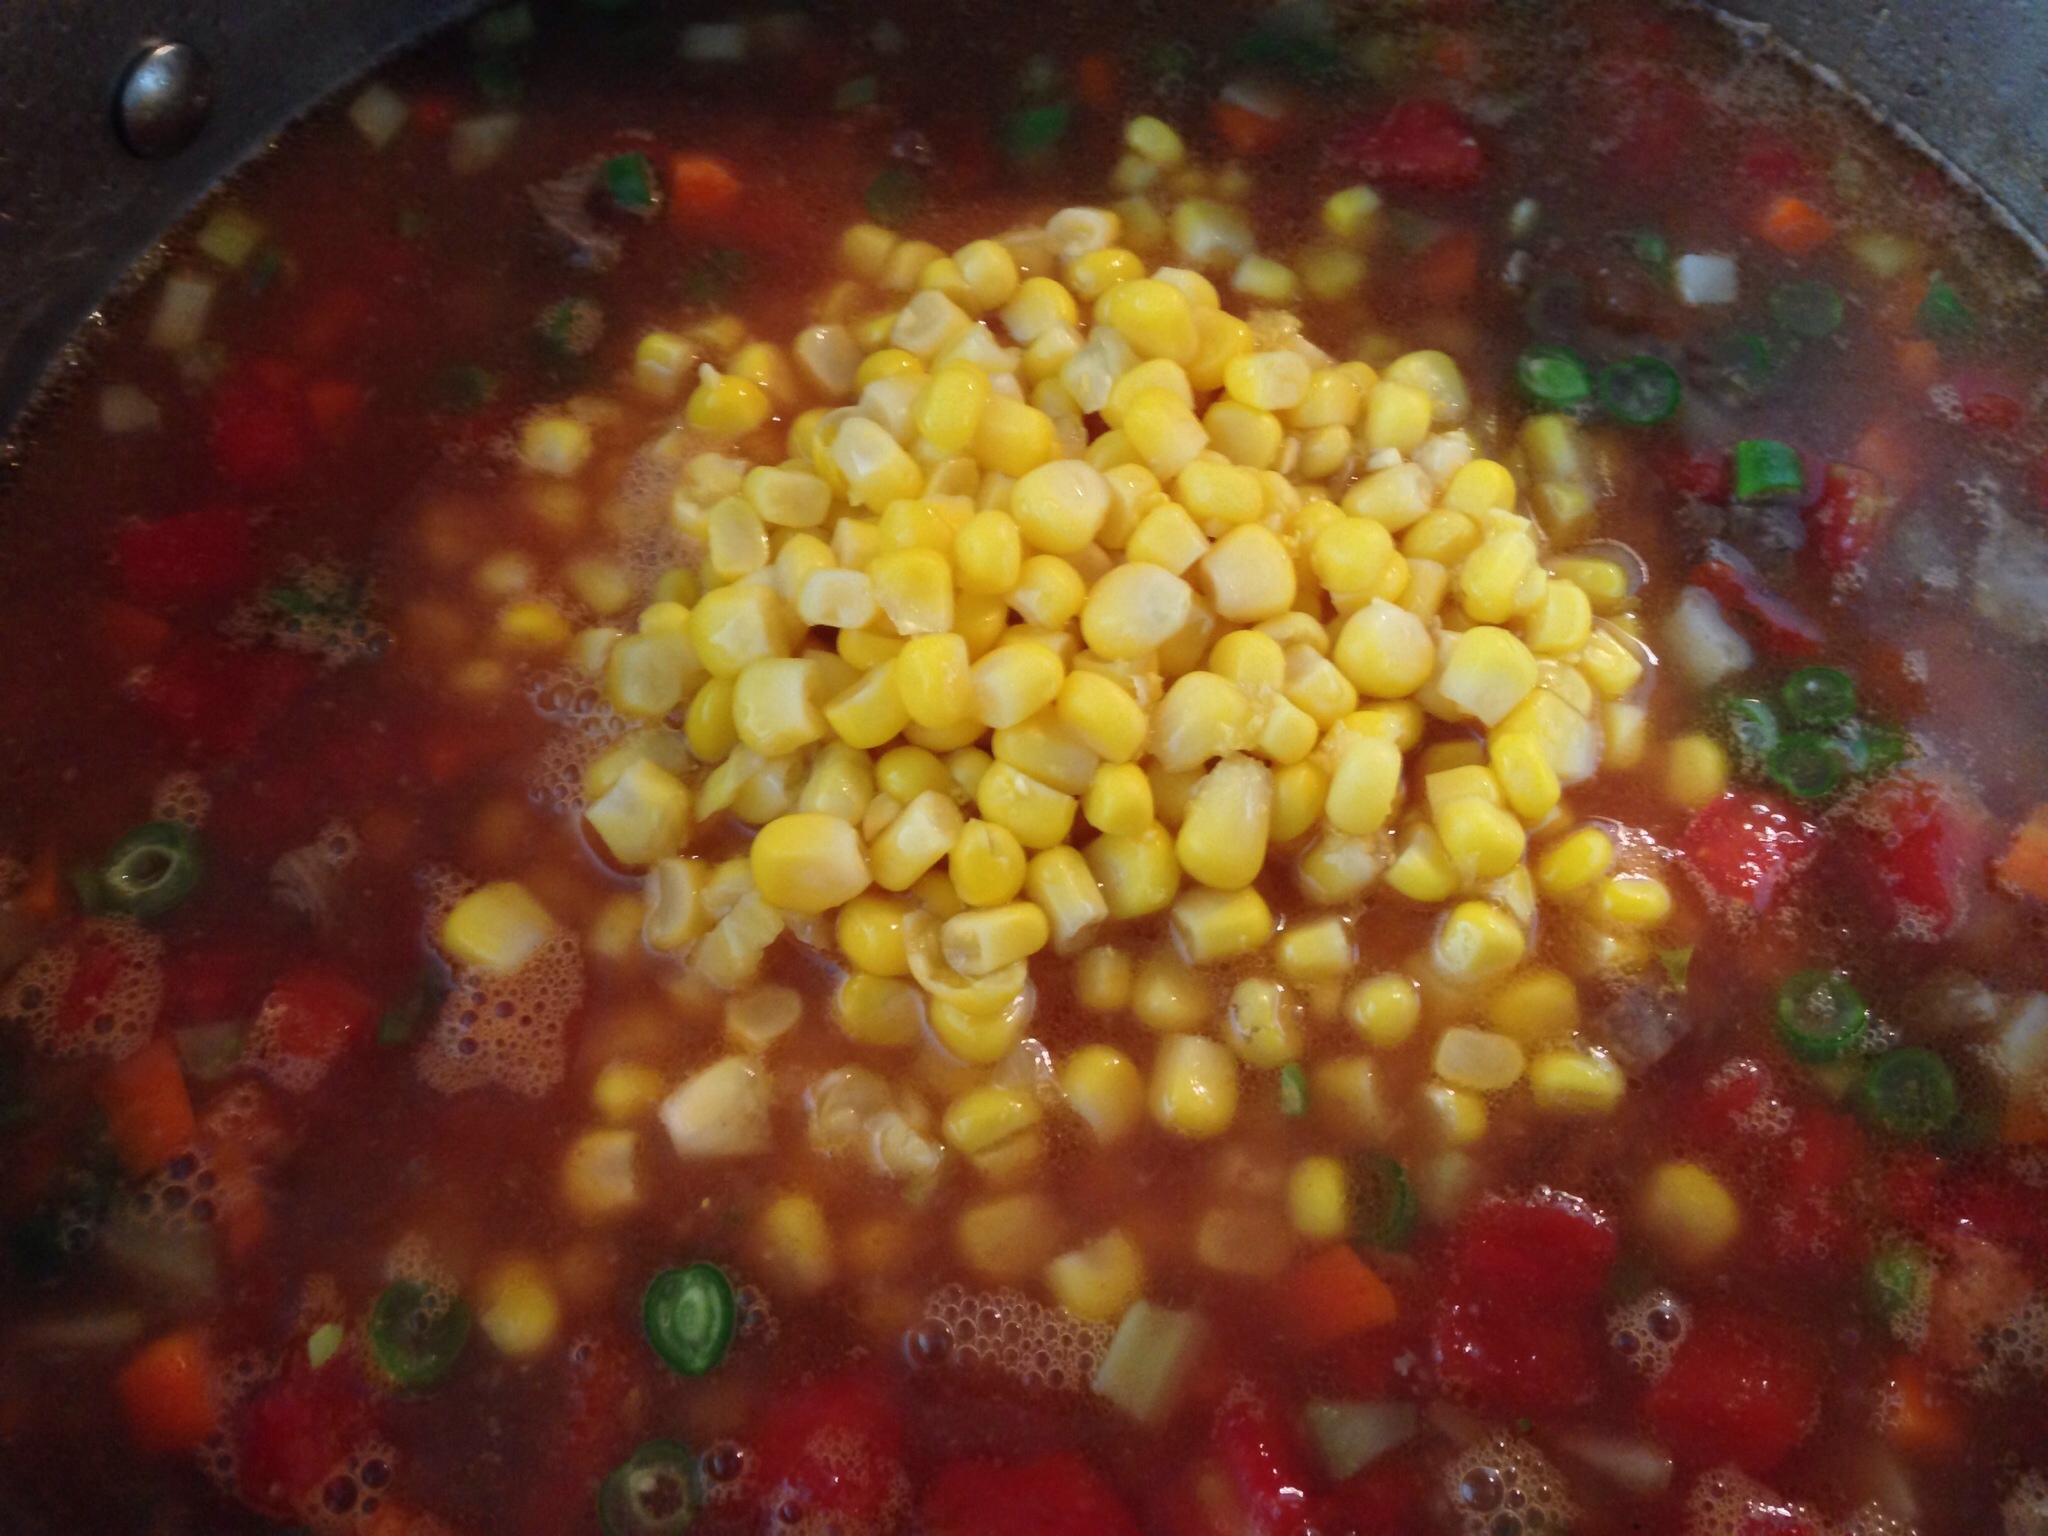
7. Add the drained corn to the pot. Stir to combine. Cook for another 10 minutes or so, or just until the potatoes and carrots are cooked through (don’t over cook them).

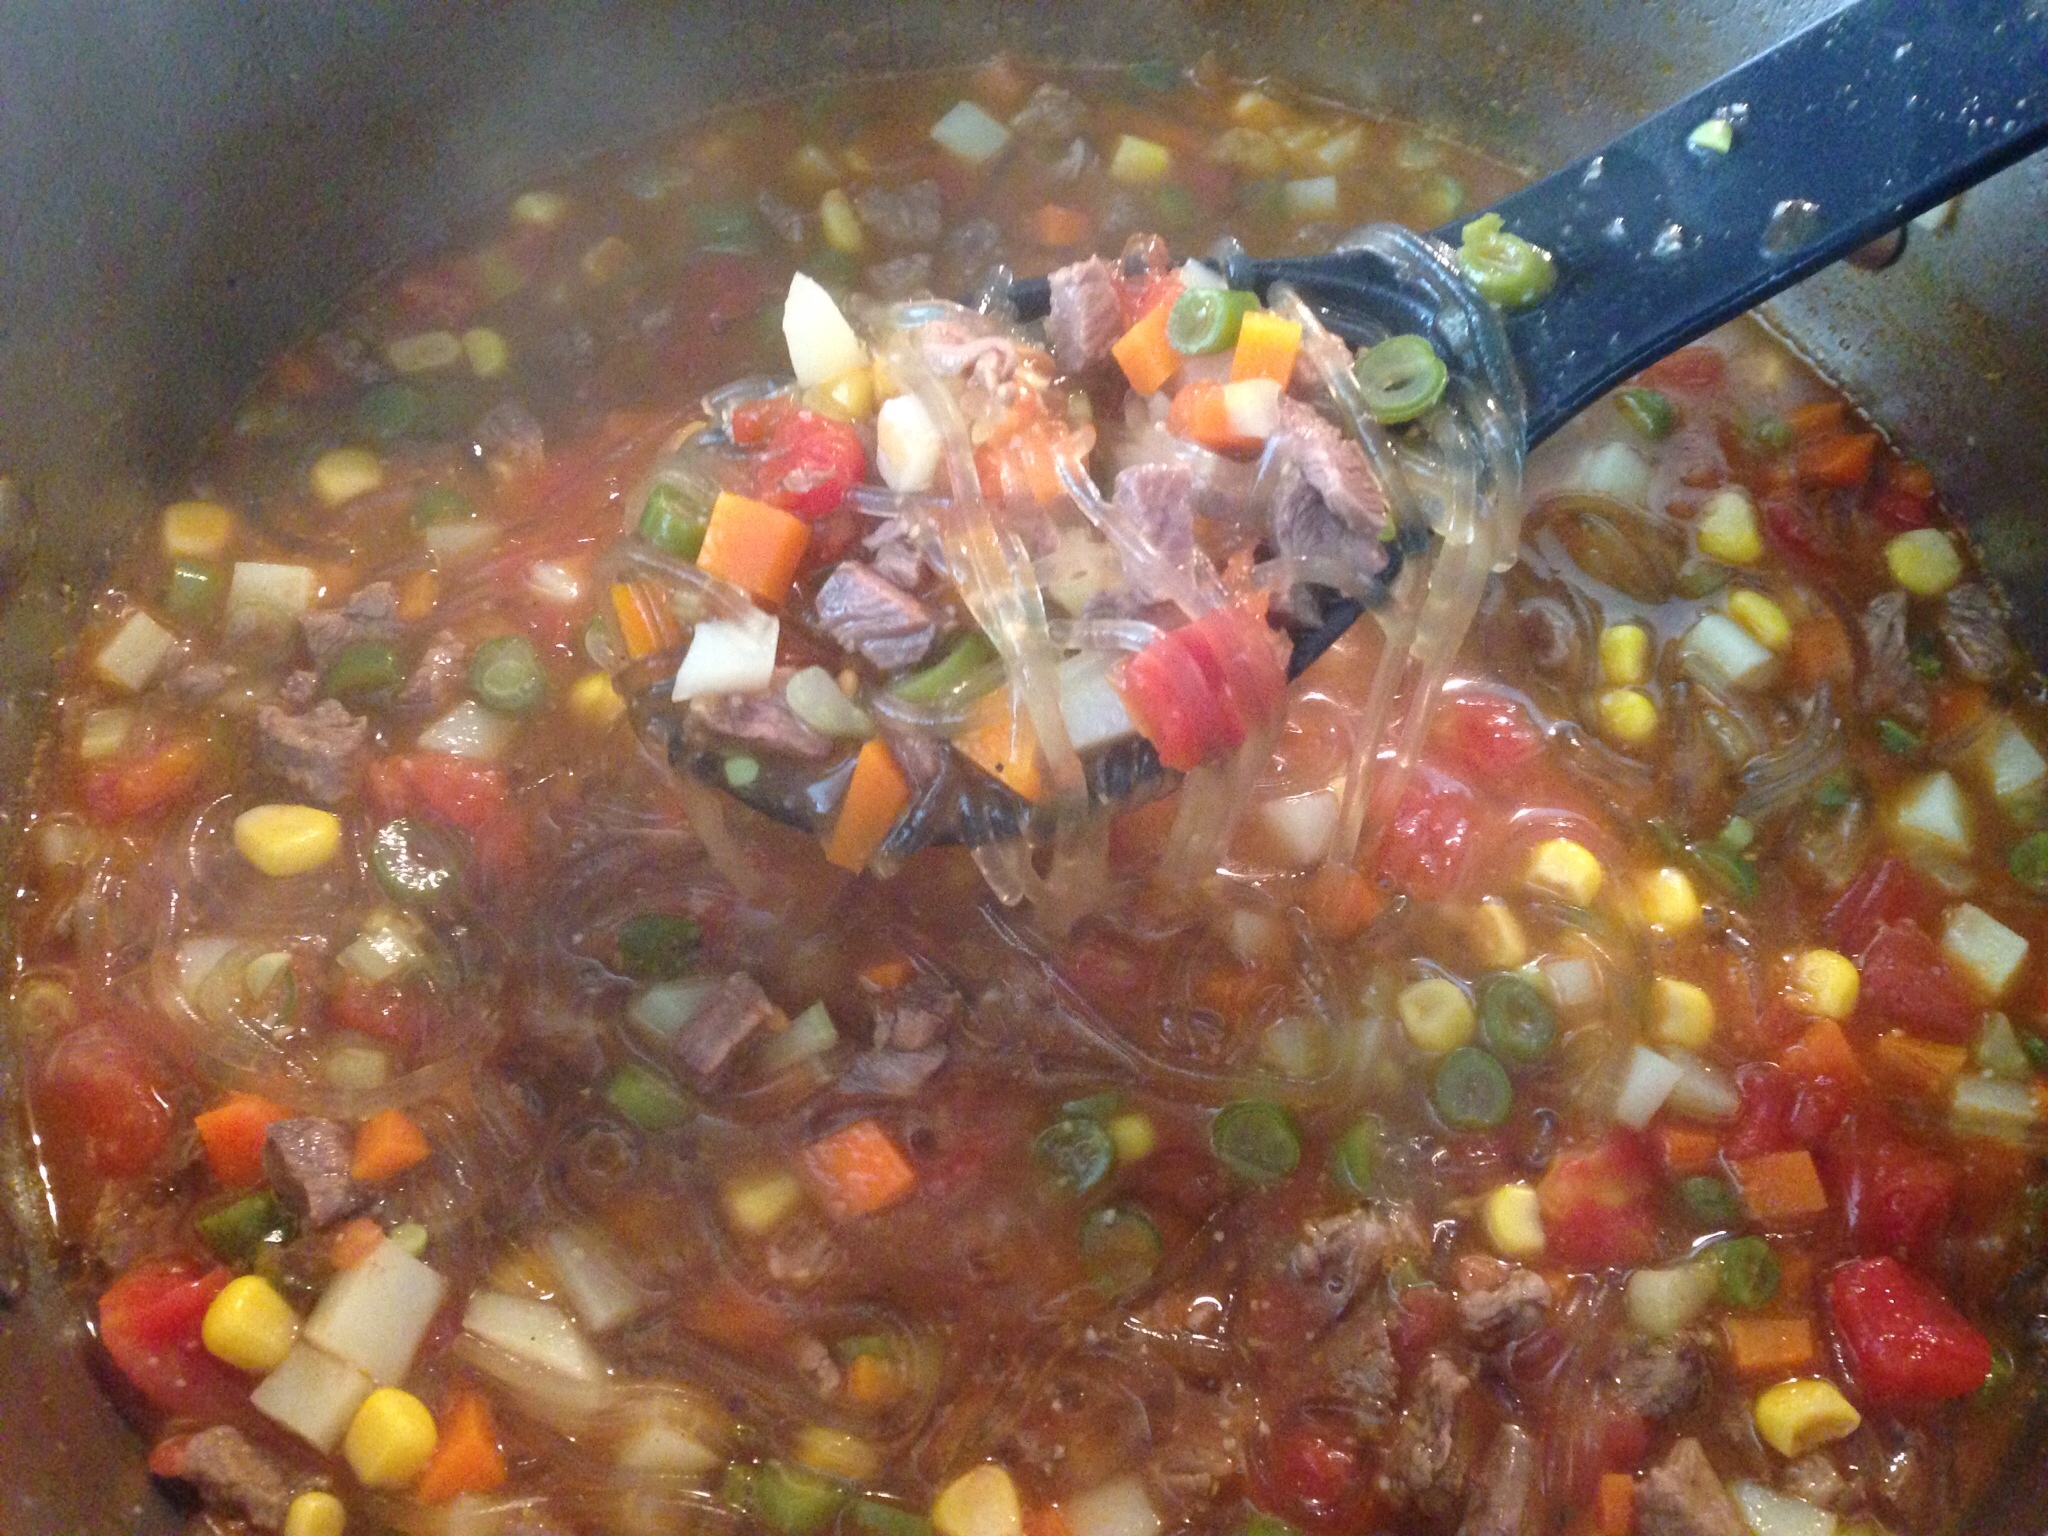
8. Remove from the heat and serve while hot. ENJOY!

Save the bone marrow for me, please! 🙂


Chamorro Cucumber Salad

Chamorro Cucumber Salad is a staple on most fiesta tables. With just a few ingredients, you can whip it up and have it on your dinner table in minutes.

I love serving this cucumber salad with fried chicken and red rice, but it’s delicious served alongside most meat dishes.

Give my recipe a try. I think you’ll like it.

Chamorro Cucumber Salad

Ingredients:

  • 2 large cucumbers
  • 2 tablespoons salt
  • 1 small onion, thinly sliced
  • 4 cloves garlic, minced
  • 1 cup soy sauce
  • 1/2 cup white vinegar

Directions:

1. Slice the cucumbers about 1/4 inch thick. Place the cucumber slices into a plastic colander then place the colander into a large bowl. Sprinkle the salt over the cucumbers; stir to combine. Let the salted cucumber slices sit for about 15 minutes to allow excess water to drain out. After 15 minutes, pour out any water that drained into the bowl. Rinse the salt off the cucumbers; drain.

2. Place the rinsed and drained cucumbers into the large bowl. Add the onion, garlic, soy sauce and vinegar. Stir to combine.

3. Let the cucumbers sit for several minutes to allow the cucumbers to soak up all of the flavors. Serve with your favorite meat dish and enjoy!

Carolyn’s Kådun Pika (Spicy Chicken)

Kådun pika is a spicy Chamorro chicken dish that’s somewhat similar to chicken adobo. It’s an easy dish to make — it takes only a few ingredients and a few simple steps and voila! — you’ll have dinner served in no time.

Pika means “hot” or “spicy” in Chamorro. You can omit the hot chili peppers in this recipe, but then it won’t be called Kådun Pika without the “pika”. 🙂 I have one daughter who doesn’t like anything spicy. I usually prepare this dish, omitting the peppers. When it’s done, I separate a small bowlful for my daughter, then add the peppers to the rest of the pot.

The recipe below is my sister, Carolyn’s. Give it a try. I think you’ll like it. 🙂

Carolyn’s Kådun Pika (Spicy Chicken)

Ingredients:

  • 5 pounds chicken pieces
  • 1 large onion, diced
  • LOTS AND LOTS of garlic, as much as you like (or about 1/2 cup chopped garlic)
  • 1/2 cup soy sauce (more or less to taste)
  • 1/4 cup white vinegar
  • 1/2 teaspoon black pepper
  • 2 tablespoons tabasco sauce
  • 8 Thai chili peppers, chopped (more or less to taste)

Directions:

Rinse the chicken pieces; cut into smaller pieces if desired. Place the chicken in a large soup pot over medium heat. Add the onions and garlic. Cook for 5-10 minutes or until the chicken is slightly browned.

Add the rest of the ingredients to the pot. Turn the heat down to medium-low. Simmer for about 30 minutes or until the chicken is cooked through.

Taste, then adjust the seasonings (soy sauce, hot peppers) to taste.

Serve with hot white rice and ENJOY!


Chocolate Cake Donuts

Moist chocolate cake…chocolate chips…chocolate ganache…enough said. 🙂

Seriously, though. If you are like me, you LOVE LOVE LOVE chocolate! Take a moist chocolate cake batter load it with chocolate chips, bake it into a donut, then dredge it in a rich, creamy chocolate ganache and you’ll be in Heaven!!

Give my recipe a try. I know you’ll love it! 🙂

Chocolate Cake Donuts

image

INGREDIENTS:

image

Dry Ingredients:

1 3/4 cups all purpose flour

2/3 cup cocoa powder

1 1/4 cups light brown sugar

1 teaspoon baking powder

1 teaspoon baking soda

1 teaspoon salt

3/4 teaspoon instant espresso powder, or instant coffee granules

3 tablespoons buttermilk powder

1 cup semi-sweet chocolate chips

Wet Ingredients:

2 eggs

3/4 cup water

2 teaspoons vanilla extract

1 stick unsalted butter, melted

Chocolate icing:

2 cups chocolate chips

8 tablespoons heavy cream

 Toppings (Optional):

 Sweetened coconut flakes

Toffee bits

Mini chocolate chips

Chocolate cookie bits

Multi-colored sprinkles


 DIRECTIONS:

Preheat your donut maker.  Mine has an orange light and green light.  The green light turns on when the donut maker is heated to the right temperature. 

image


In a large mixing bowl, whisk together the dry ingredients:

Place the flour into the bowl.

image

Add the cocoa powder.  It isn’t necessary to sift the cocoa powder; just dump it in the bowl.

image

Add the brown sugar.

image

Add the baking powder, baking soda, salt and espresso powder (or instant coffee granules).  You can omit the espresso powder if you’d like.  However, I find that the coffee enhances the flavor of the cocoa, making the donuts taste so much more rich and decadent. 

image

Add the buttermilk powder. 

If you can’t find buttermilk powder in your grocery store, use 3/4 cup of liquid buttermilk INSTEAD OF the buttermilk powder and 3/4 cup water.  Add the buttermilk with the wet ingredients as described below.

Another easy substitution for buttermilk is to place 1 teaspoon of either white vinegar or lemon juce in a cup.  Mix in enough regular milk to make 3/4 cup of total liquid (milk plus vinegar).  Stir to combine, then let the mixture sit for a minute or so (it will thicken a bit).  Again, you’d omit the buttermilk powder and 3/4 cup of water if you did it this way.  Add the milk-vinegar mixture with the wet ingredients as described below.

I personally prefer to use buttermilk powder.  I don’t use buttermilk that often in my cooking (aside from the occasional pancake breakfast, and these delicious donuts, of course), so the powdered buttermilk works well.  Keep in mind that the powdered buttermilk must be refrigerated after you break open the sealed container.

image

Add the chocolate chips.  I guess I should have named these Chocolate-Chocolate Chip Donuts, huh? 🙂

image

Use a whisk to mix all of the dry ingredients together.  Or, you can use a fork.

image


In a separate mixing bowl, mix together the wet ingredients:

Place the eggs, water, vanilla extract, and melted butter into the bowl; stir to combine.  Note: after melting the butter, let it sit for a minute or so to cool slightly.  You don’t want scorching hot butter when you mix it with the eggs or else you’ll end up with scrambled eggs.  That’s no bueno for these yummy donuts.

image

Stir in the wet ingredients with the dry ingredients.  Mix only until a batter forms; it’s okay if you have a few lumps.  I used a rubber spatula to stir the batter (so that the chocolate chips didn’t get stick in between the whisk wires).

image

image

Spoon the batter into the wells of your pre-heated donut maker, filling according to manufacturer’s instructions.  I use a small cookie scoop to fill my donut maker with about 2 tablespoons of batter. My donut maker has a non-stick surface; if yours is not non-stick, spray each donut well with butter-flavored cooking spray.

I own a Sunbeam donut maker.  I’m pretty satisfied with this brand.  The only thing I’d like better is one that made more than five donuts at a time.  Otherwise, it’s a great machine.  You can find it (and other brands) at Target, WalMart, K-Mart, or your military Exchange.

image

image

Bake per your donut maker’s instructions, or until the donuts feel slightly firm to the touch. My donut maker has a light that turns green when the donuts are done.

image

Remove the donuts from the donut maker. These can get very hot, so be careful when taking the donuts out of the donut maker. I find it very easy to use two chopsticks (stick one chopstick through the donut hole and use the other chopstick to nudge the donut out of the donut well). 

You don’t have chopsticks, you say?  Use the ends of wooden cooking spoons instead, or the handles of forks or spoons.

image

Place the donuts on a wire wrack to cool. Ensure the donuts cool completely before icing.

image

To make the chocolate icing: Combine the chocolate chips and heavy cream in a microwave-safe bowl.

image

Heat for 45 seconds then remove from the microwave and stir with a fork (or use a whisk), mixing until the icing is shiny, smooth and creamy.

image

If the chocolate chips aren’t melted enough after stirring (you still see chunks of chocolate), heat for another 10-15 seconds then stir again.

image

After the donuts are cool, dip the top of each one in the warm icing.

image

Place the iced donuts back on the wire wrack to allow the frosting to set (or you can just devour them at this point!). 🙂

image

Optional:  Sprinkle your favorite toppings on top of the donuts immediately after dipping in the warm icing.

image

This is what the donuts look like in the inside — moist and chocolaty, with the added bonus of chocolate chips.  imageServe with a tall glass of milk or a cup of your favorite coffe and ENJOY!

image


Soy Ginger Tilapia

Tilapia is a great choice when you’re looking for a quick and easy (healthy too!) meal. With just 8 simple ingredients (including the fish), you can have this dish on your dinner table in less than 30 minutes!

For a healthier alternative, use low sodium soy sauce in place of the regular soy sauce and oyster sauce if you want to cut back on sodium.

Give my recipe a try. I think you’ll like it. 🙂

Soy-Ginger Tilapia

Ingredients:

16 small tilapia filets (I buy them frozen, skinned and deboned)

1 cup soy sauce

1/2 cup red wine vinegar

3 tablespoons oyster sauce

3 tablespoons honey

1 tablespoon minced garlic

1 tablespoon grated ginger

1 bunch green onions (about 7 stalks), thinly sliced

Directions:

Prepare the tilapia:

I buy my tilapia frozen. They come about 16 small filets to a bag, with each filet individually wrapped. If you buy the fish frozen like I do, thaw them out, then remove each filet from the wrapping. Rinse the filets then place them in a shallow baking dish. I use two 9×13″ baking pans, placing 8 filets in each one. It’s okay of the filets overlap a bit.

Now that you’ve prepared the fish, make the soy-ginger sauce.

It’s also a good time to preheat your oven to 375 degrees F.


Make the Soy Ginger Sauce:

In a small microwave-safe mixing bowl, combine the soy sauce, red wine vinegar, oyster sauce, honey, garlic, and ginger. Microwave the mixture for one minute — you want to heat the mixture so that you can easily dissolve the honey. After heating, stir with a fork to combine all the ingredients.

Add the green onions; stir to combine.

Pour the mixture over the tilapia filets. It may look like too much sauce, but trust me, you want the filets covered in the mixture so that it soaks into the fish during baking. That, and you’ll want some of the extra sauce to pour over your rice! 🙂

Bake the fish at 375 degrees F. for 12 to 15 minutes. This fish cooks fast, so check for doneness at the 12-minute mark. The fish is white, and flakes easily with a fork when done.

Serve with hot white rice, and don’t forget to pour some of the delicious soy-ginger sauce over the rice too!

ENJOY!


« Older Entries Recent Entries »