Hoisin Honey Glazed Salmon

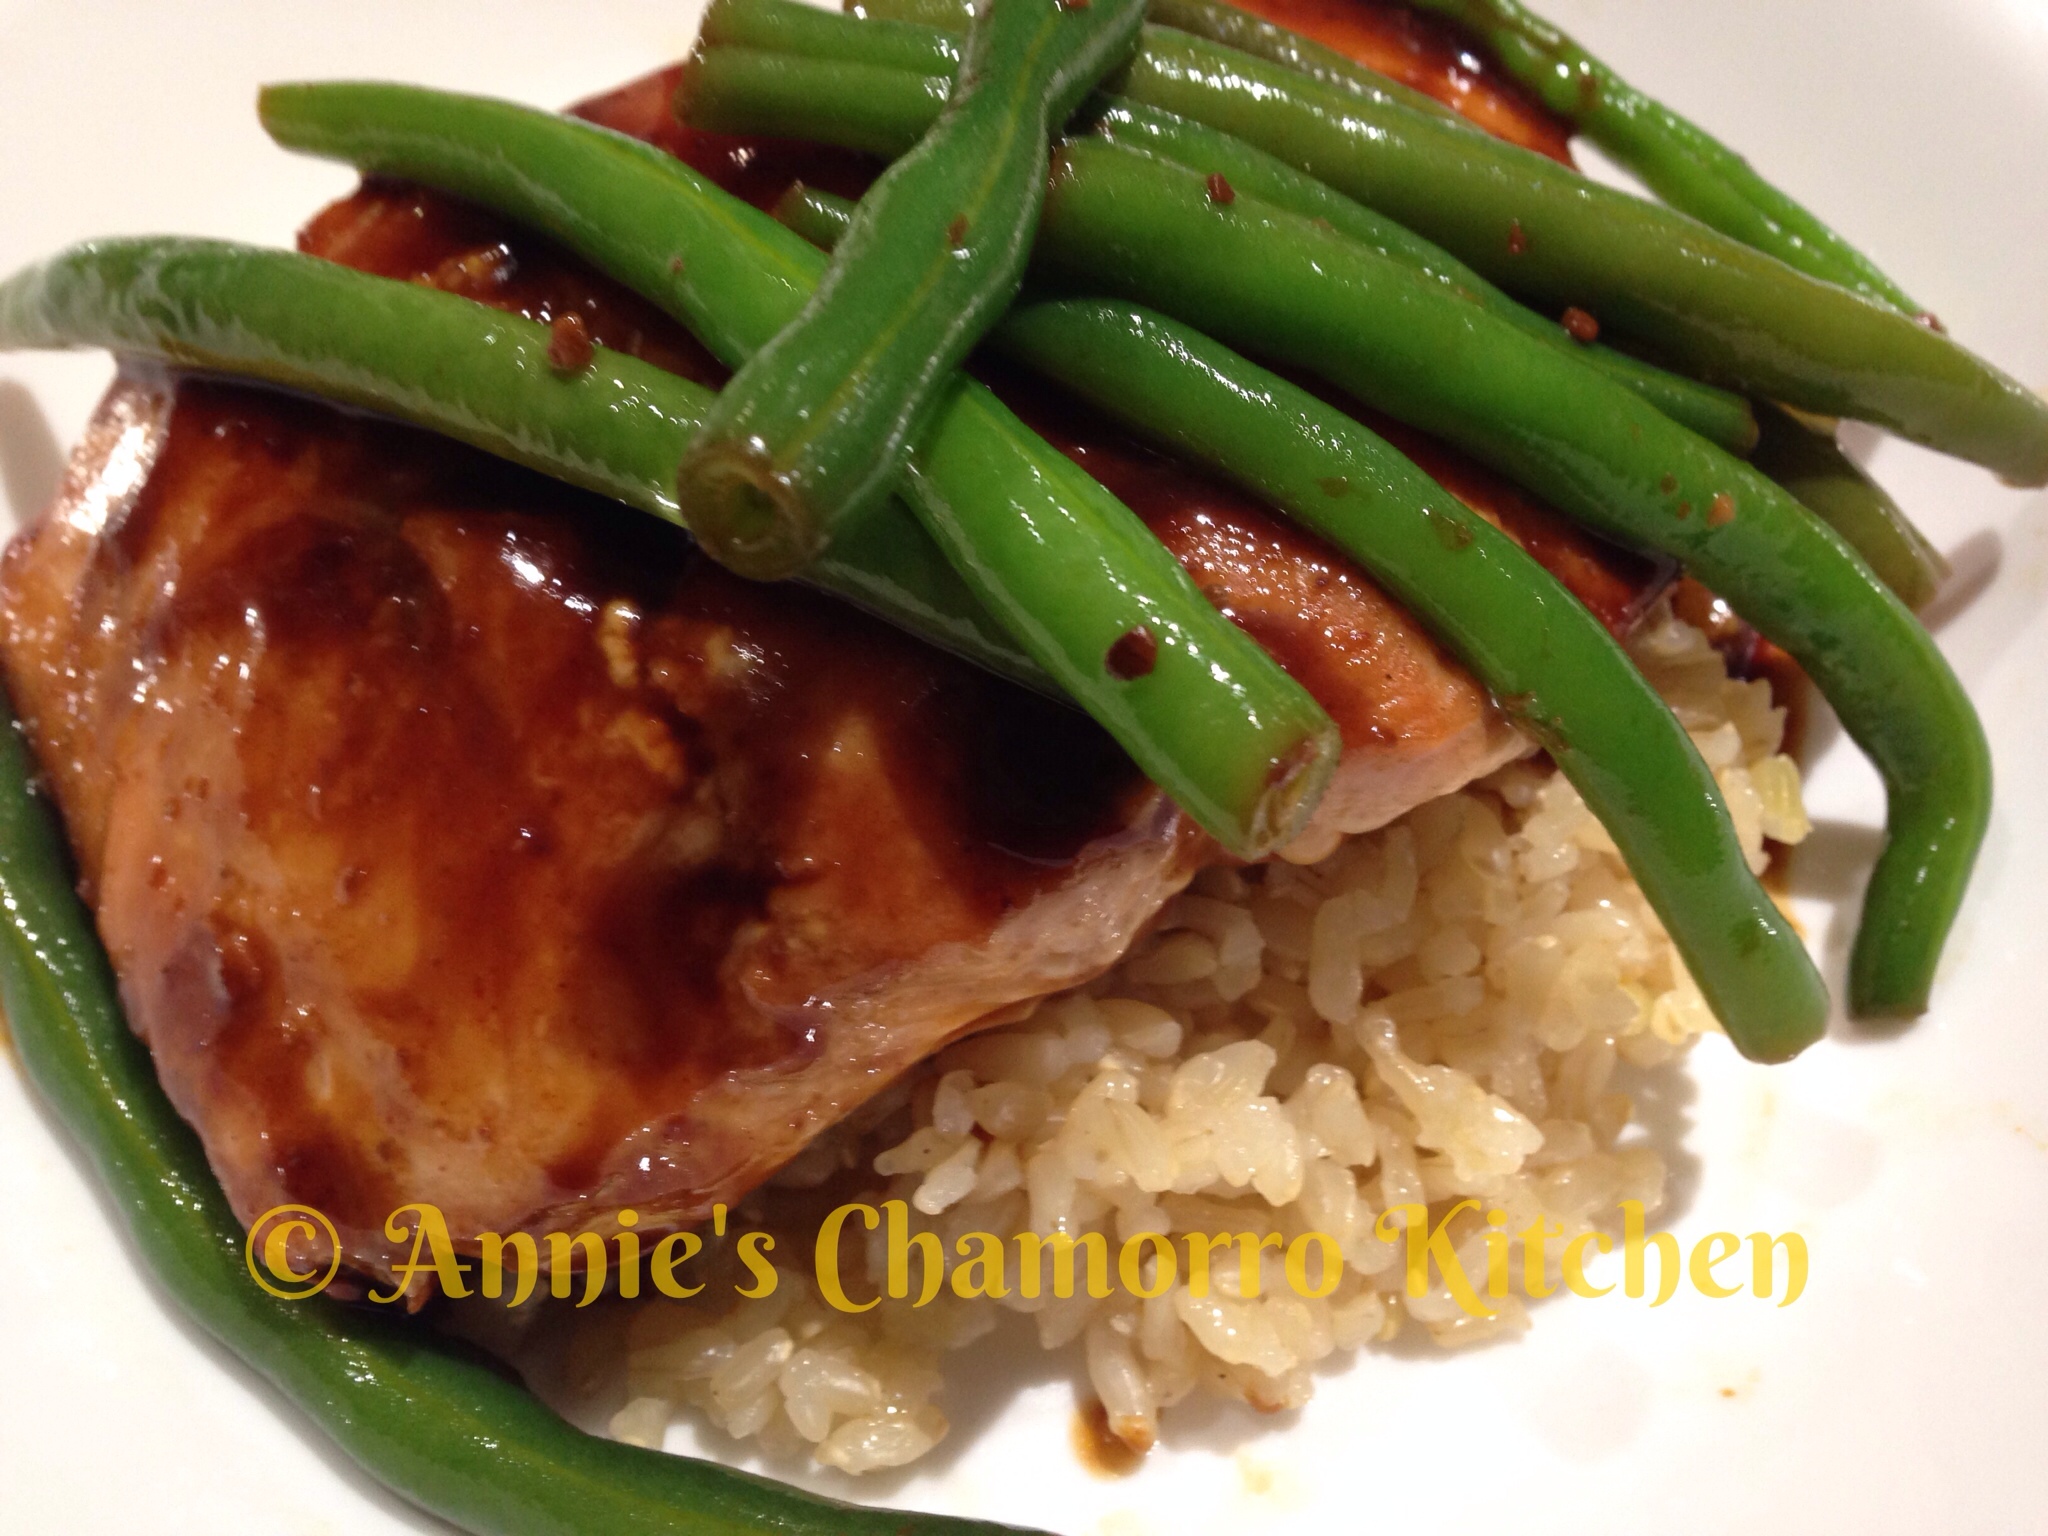
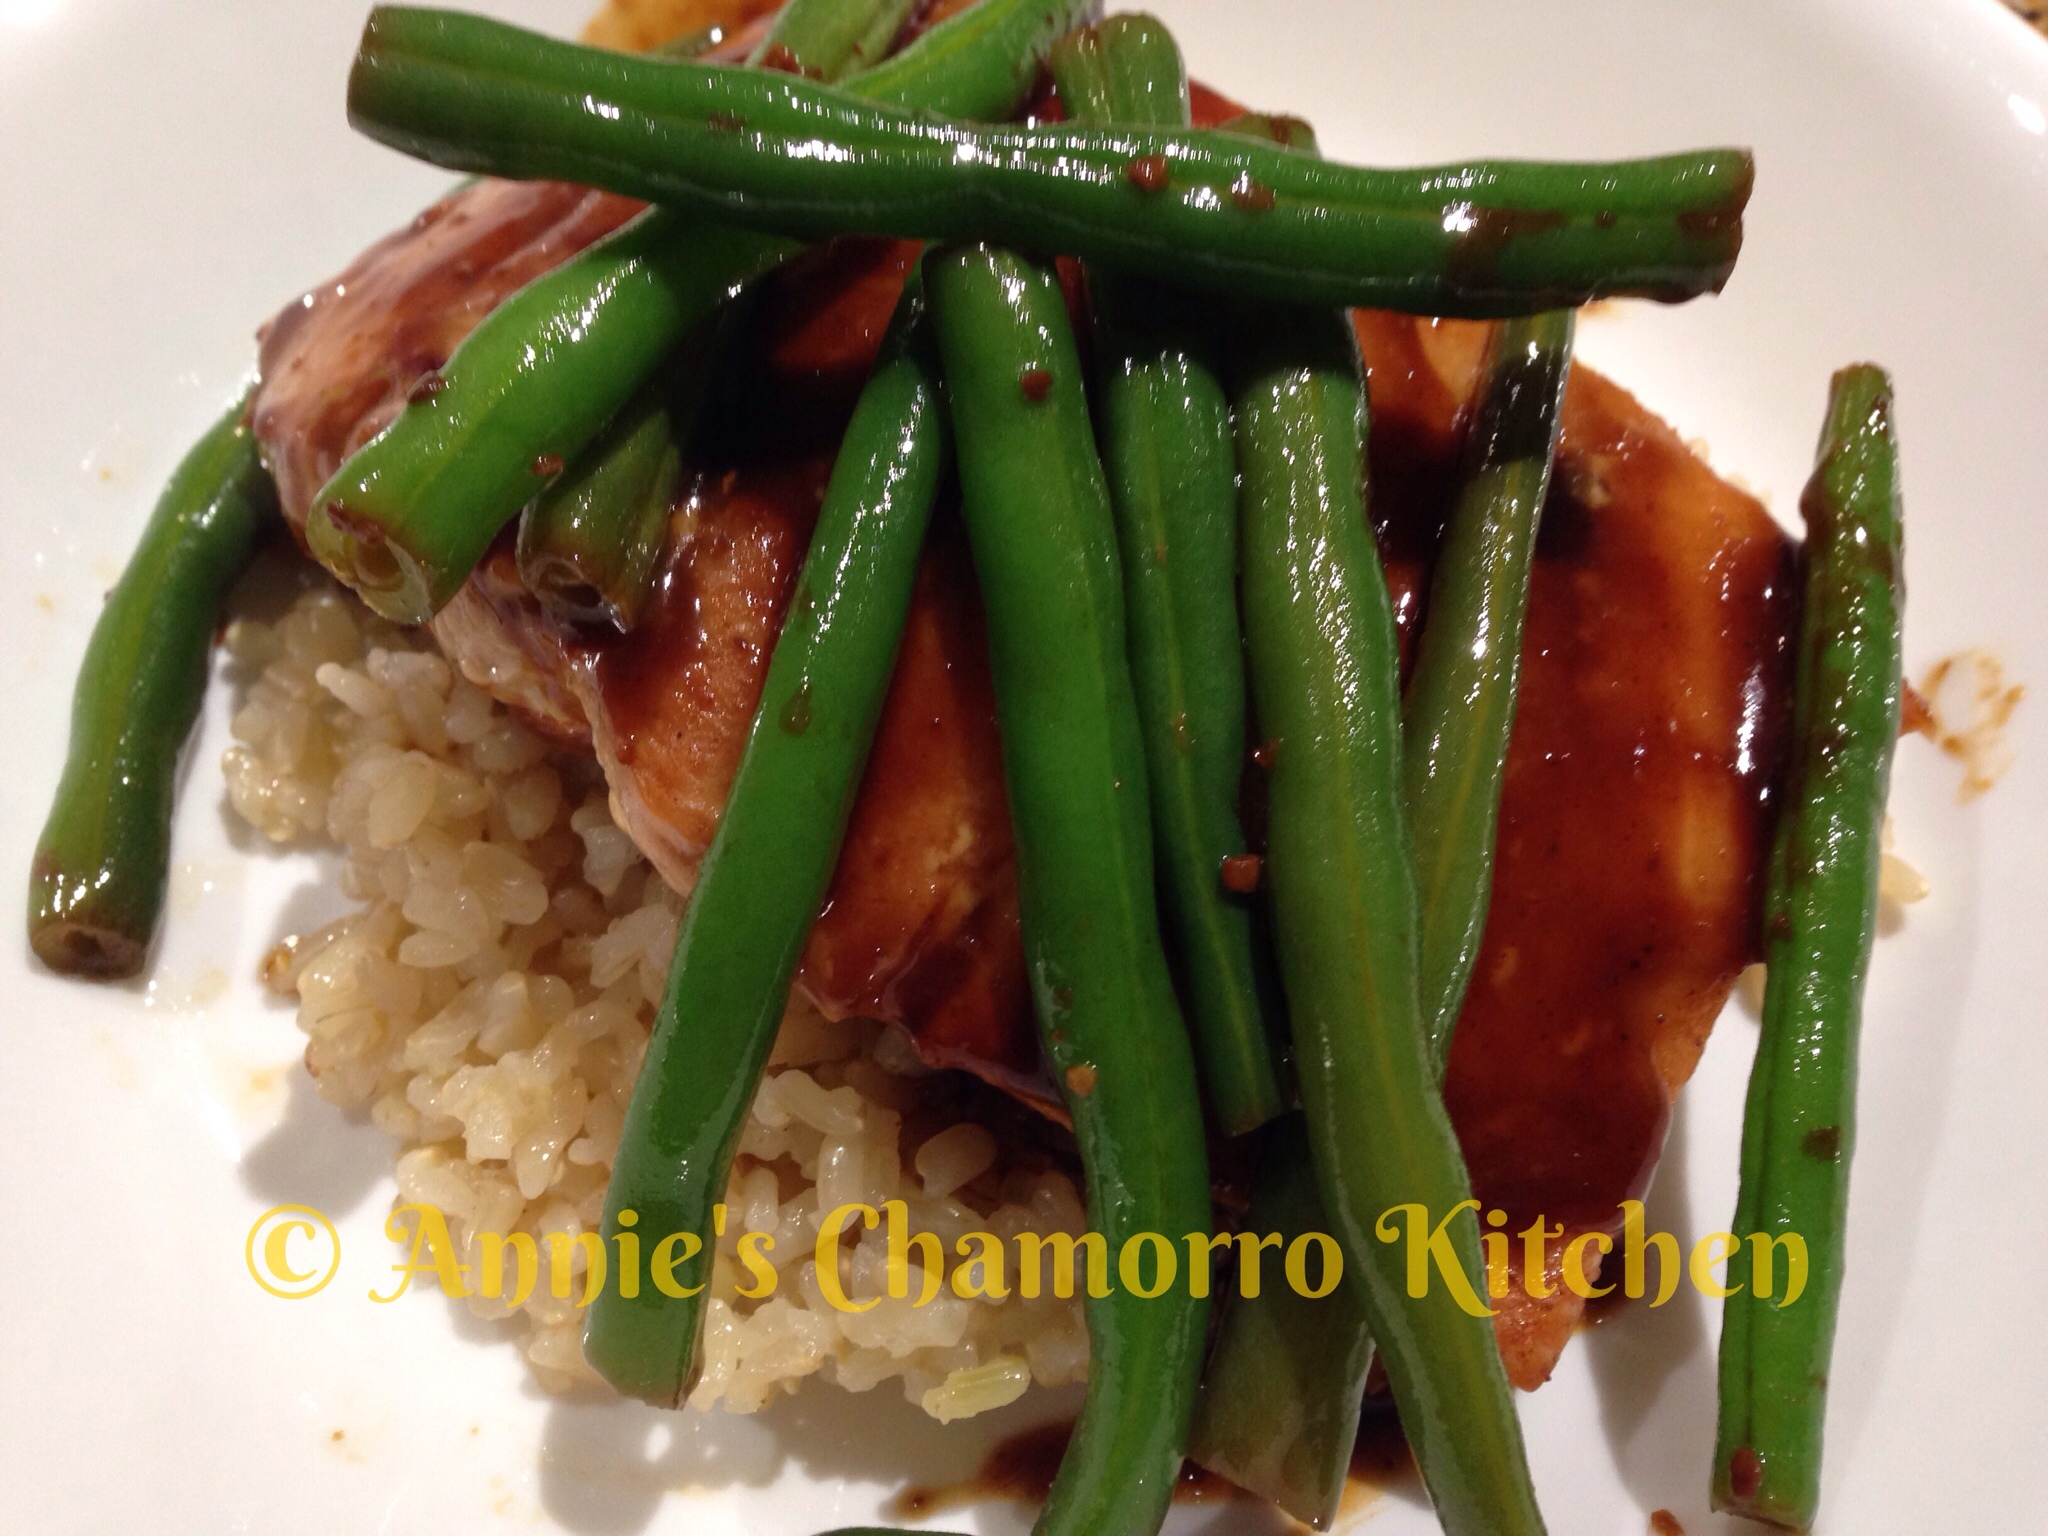
One of my favorite ways to prepare salmon is to bake it with some sort of savory sauce.  The sauce keeps the salmon moist (adds tons of flavor too), and it bakes up in just minutes so you can have dinner on the table in no time.

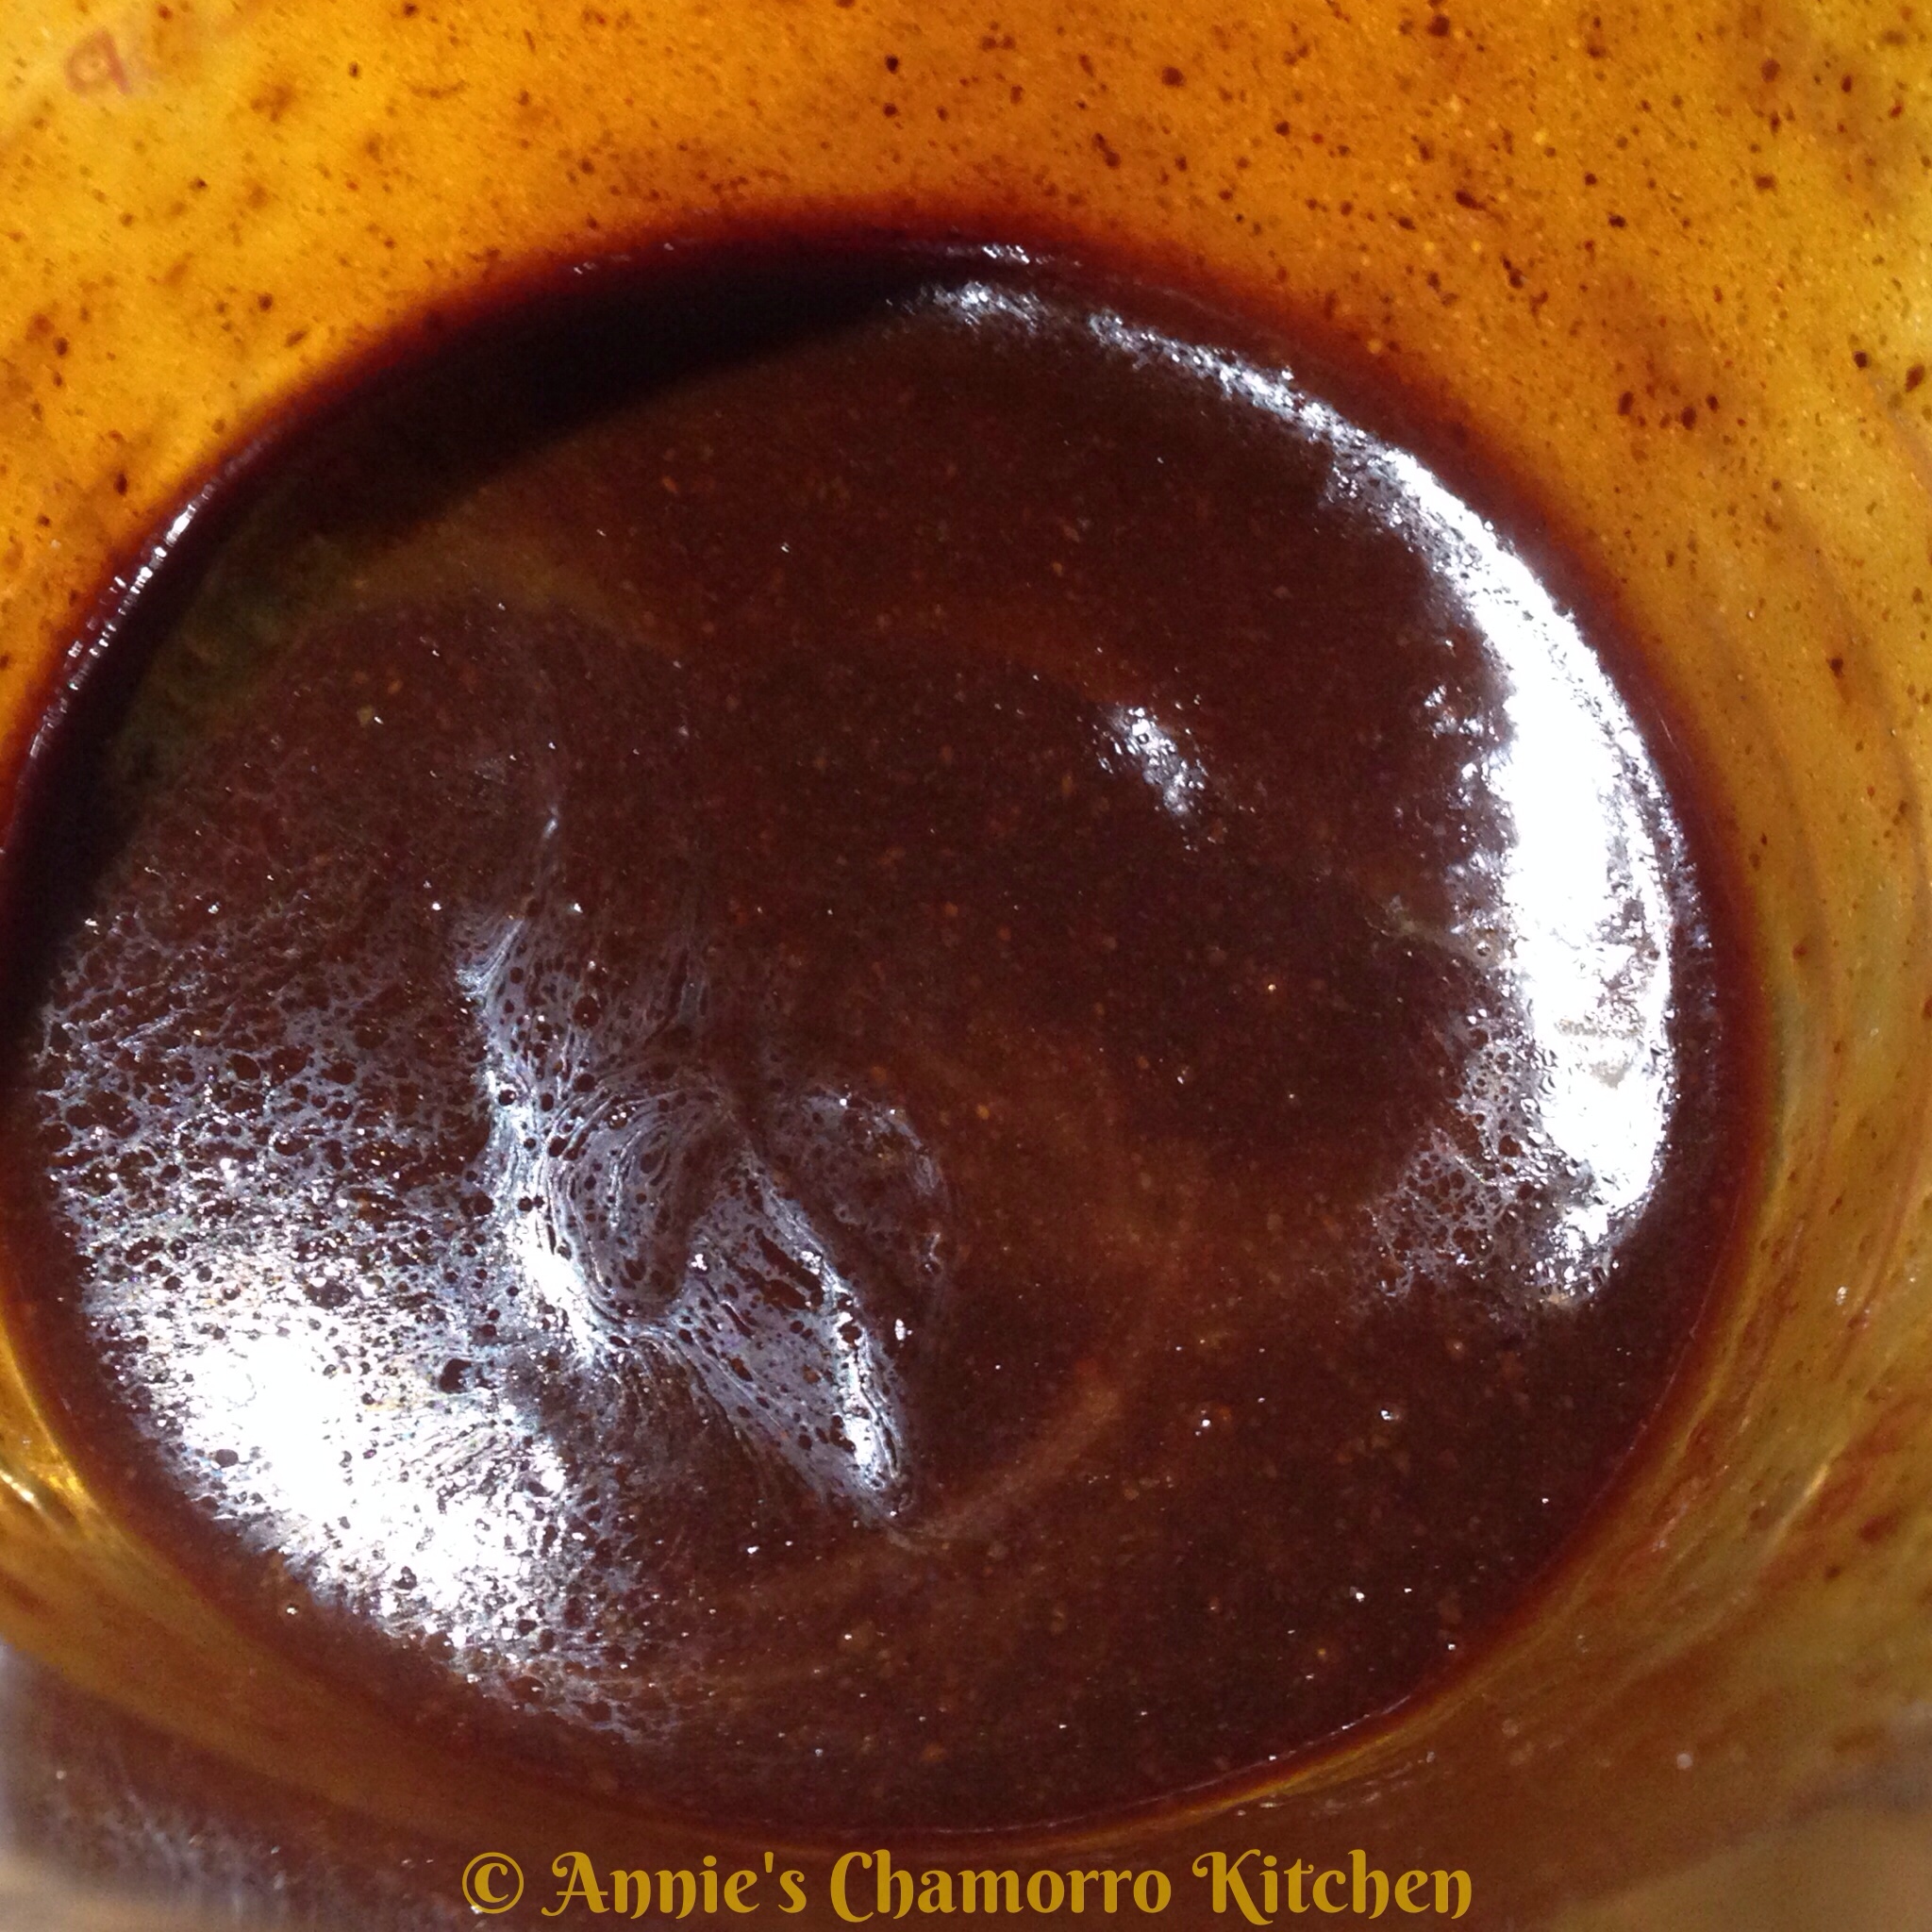
This sauce is super delicious; if you like sauce (like I do), you might want to double the recipe so you have enough to drizzle over your rice. 🙂

Give my daughter’s recipe a try.  I think you’ll like it.

Hoisin Honey Glazed Salmon


Ingredients:

  • 4 medium salmon filets
  • 5 tablespoons hoisin sauce
  • 4 tablespoons low sodium soy sauce
  • 2 teaspoons sesame oil
  • 1 tablespoon honey

Directions:

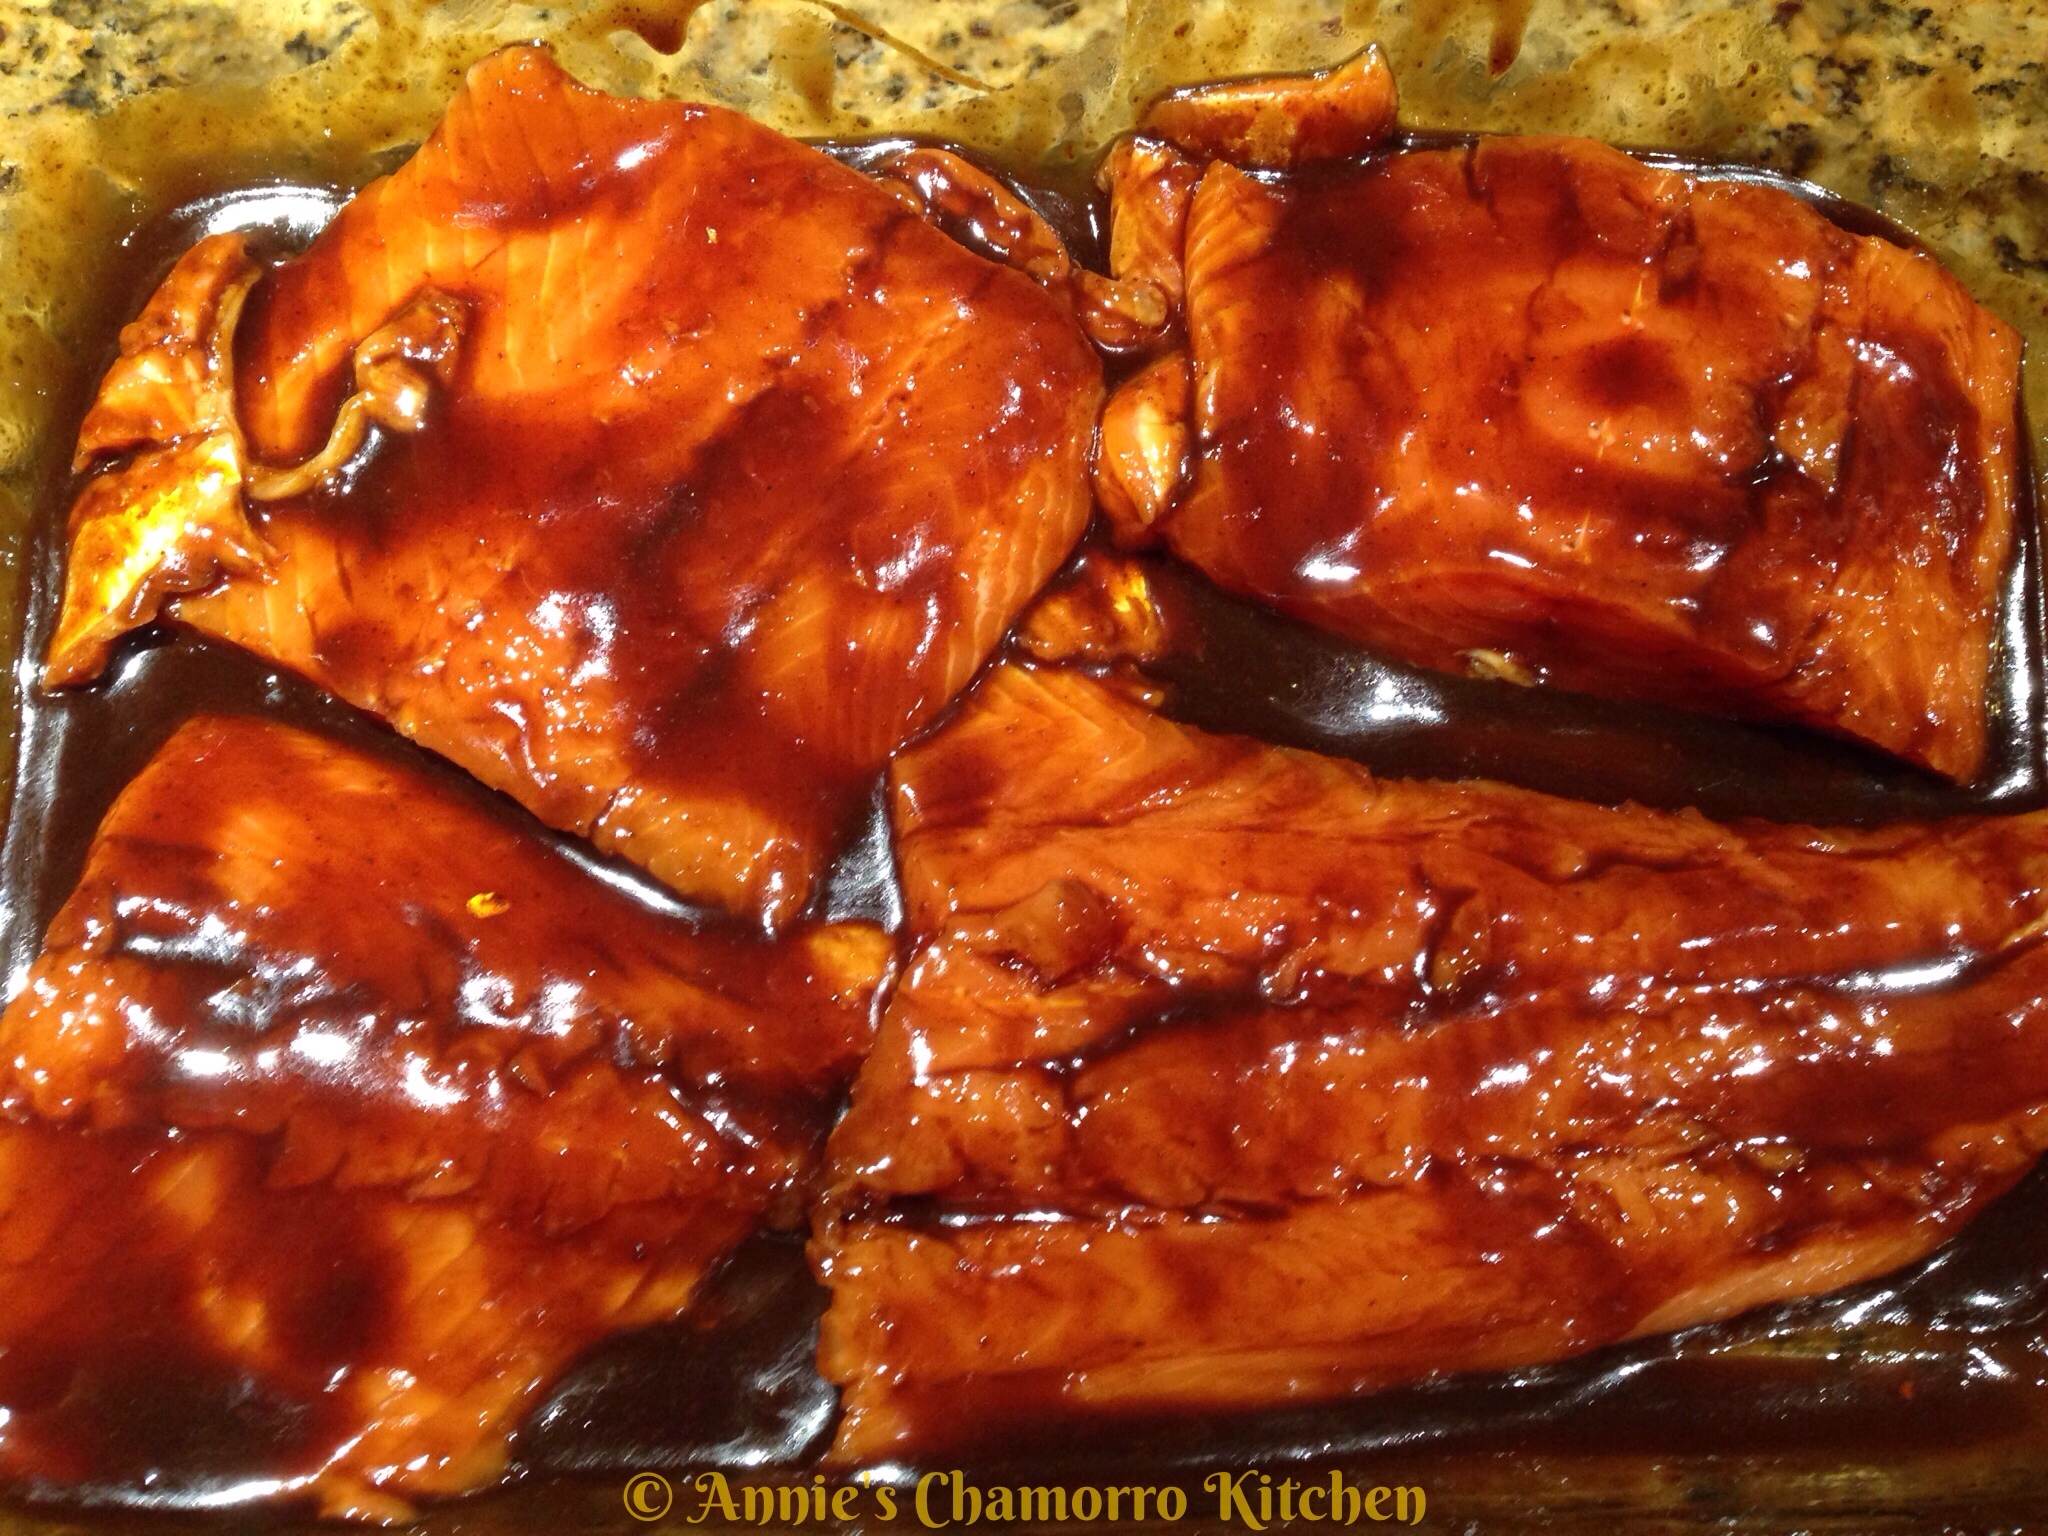
1.  Clean and debone the salmon filets.  Place in a 9X13 pan.  Set aside.

2.  In a small mixing bowl, place the hoisin sauce, soy sauce, sesame oil and honey.  Stir to combine.

3.  Pour the sauce over the salmon filets.  Bake at 400 degrees for 15 minutes.

4.  Serve with my Kicked Up Brown Rice and my daughter’s Sesame Garlic Green Beans and ENJOY! 🙂

Easy Guava Cake

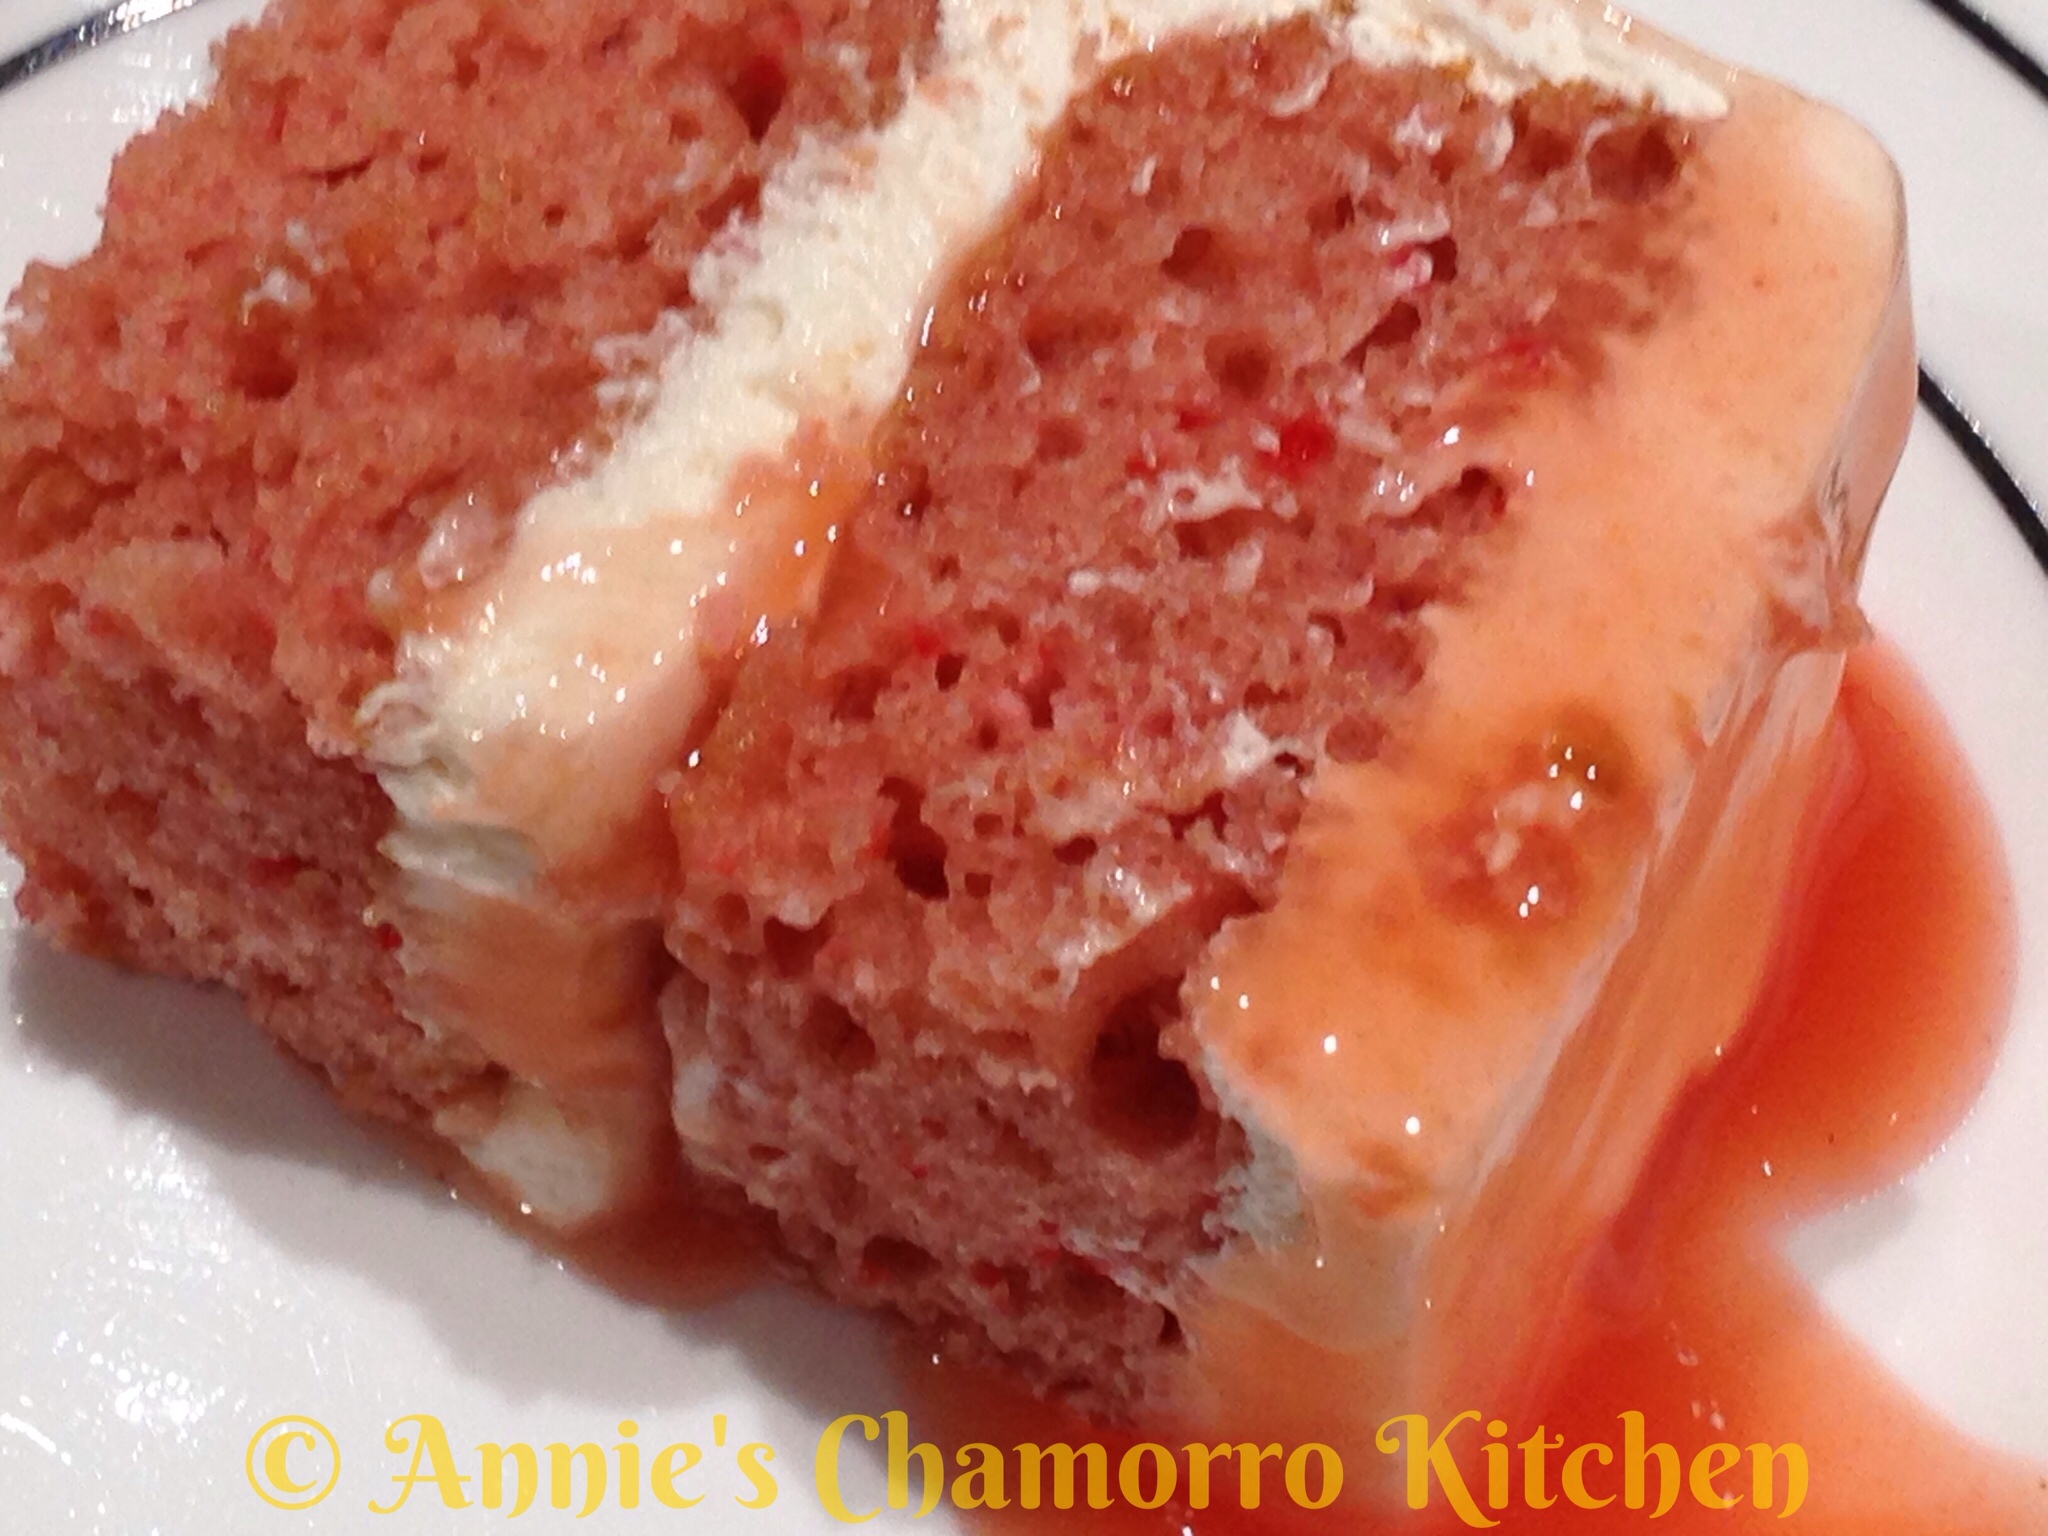
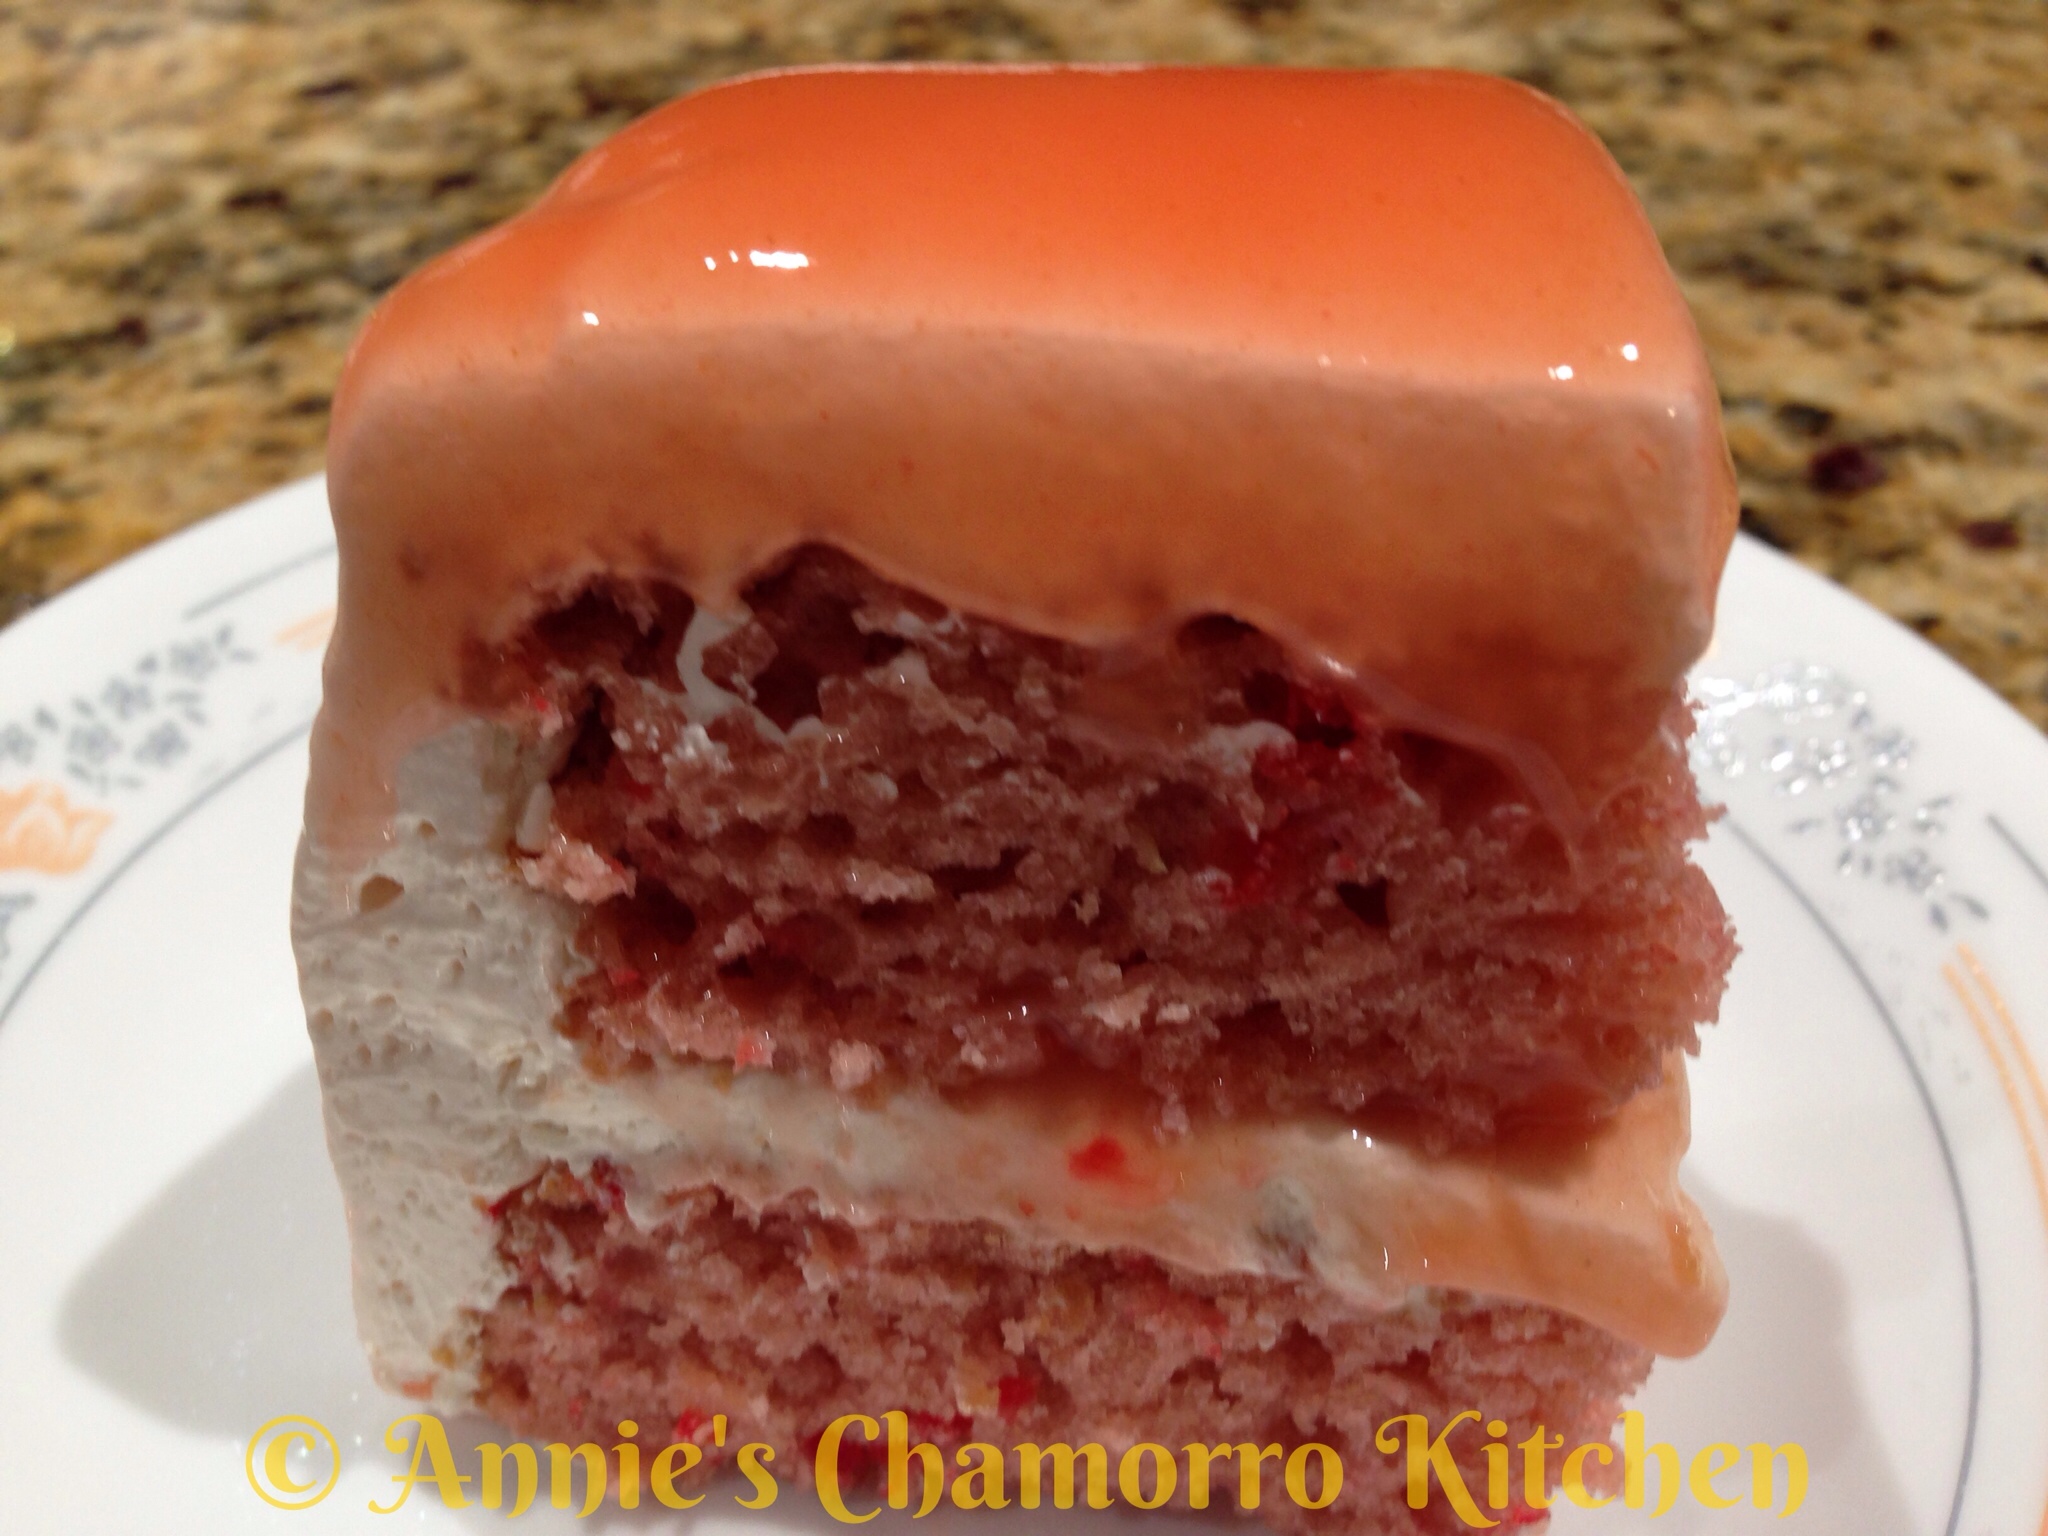
Guava Cake is a delicious Hawaiian dessert that is quickly becoming popular nationwide.  It’s traditionally made with chiffon cake, but my quick and easy recipe uses boxed cake mix.

I like using strawberry cake mix for my recipe–it amps up the guava flavor in my opinion.

Give my recipe a try.  I think you like it. 🙂

Easy Guava Cake
Ingredients:

  • 1 12-oz can frozen concentrated guava nectar
  • 1 1/2 cups water
  • 8 ounces cream cheese
  • 12 ounces Cool Whip
  • 1 box strawberry cake mix
  • 3 eggs
  • 1/3 cup vegetable oil
  • 2 tablespoons corn starch
  • 4 tablespoons water
  • Optional:  1 cup guava jelly

Directions:

1.  Prepare the Guava Juice.

Empty the contents of the frozen concentrated guava nectar into a small bowl or measuring cup.
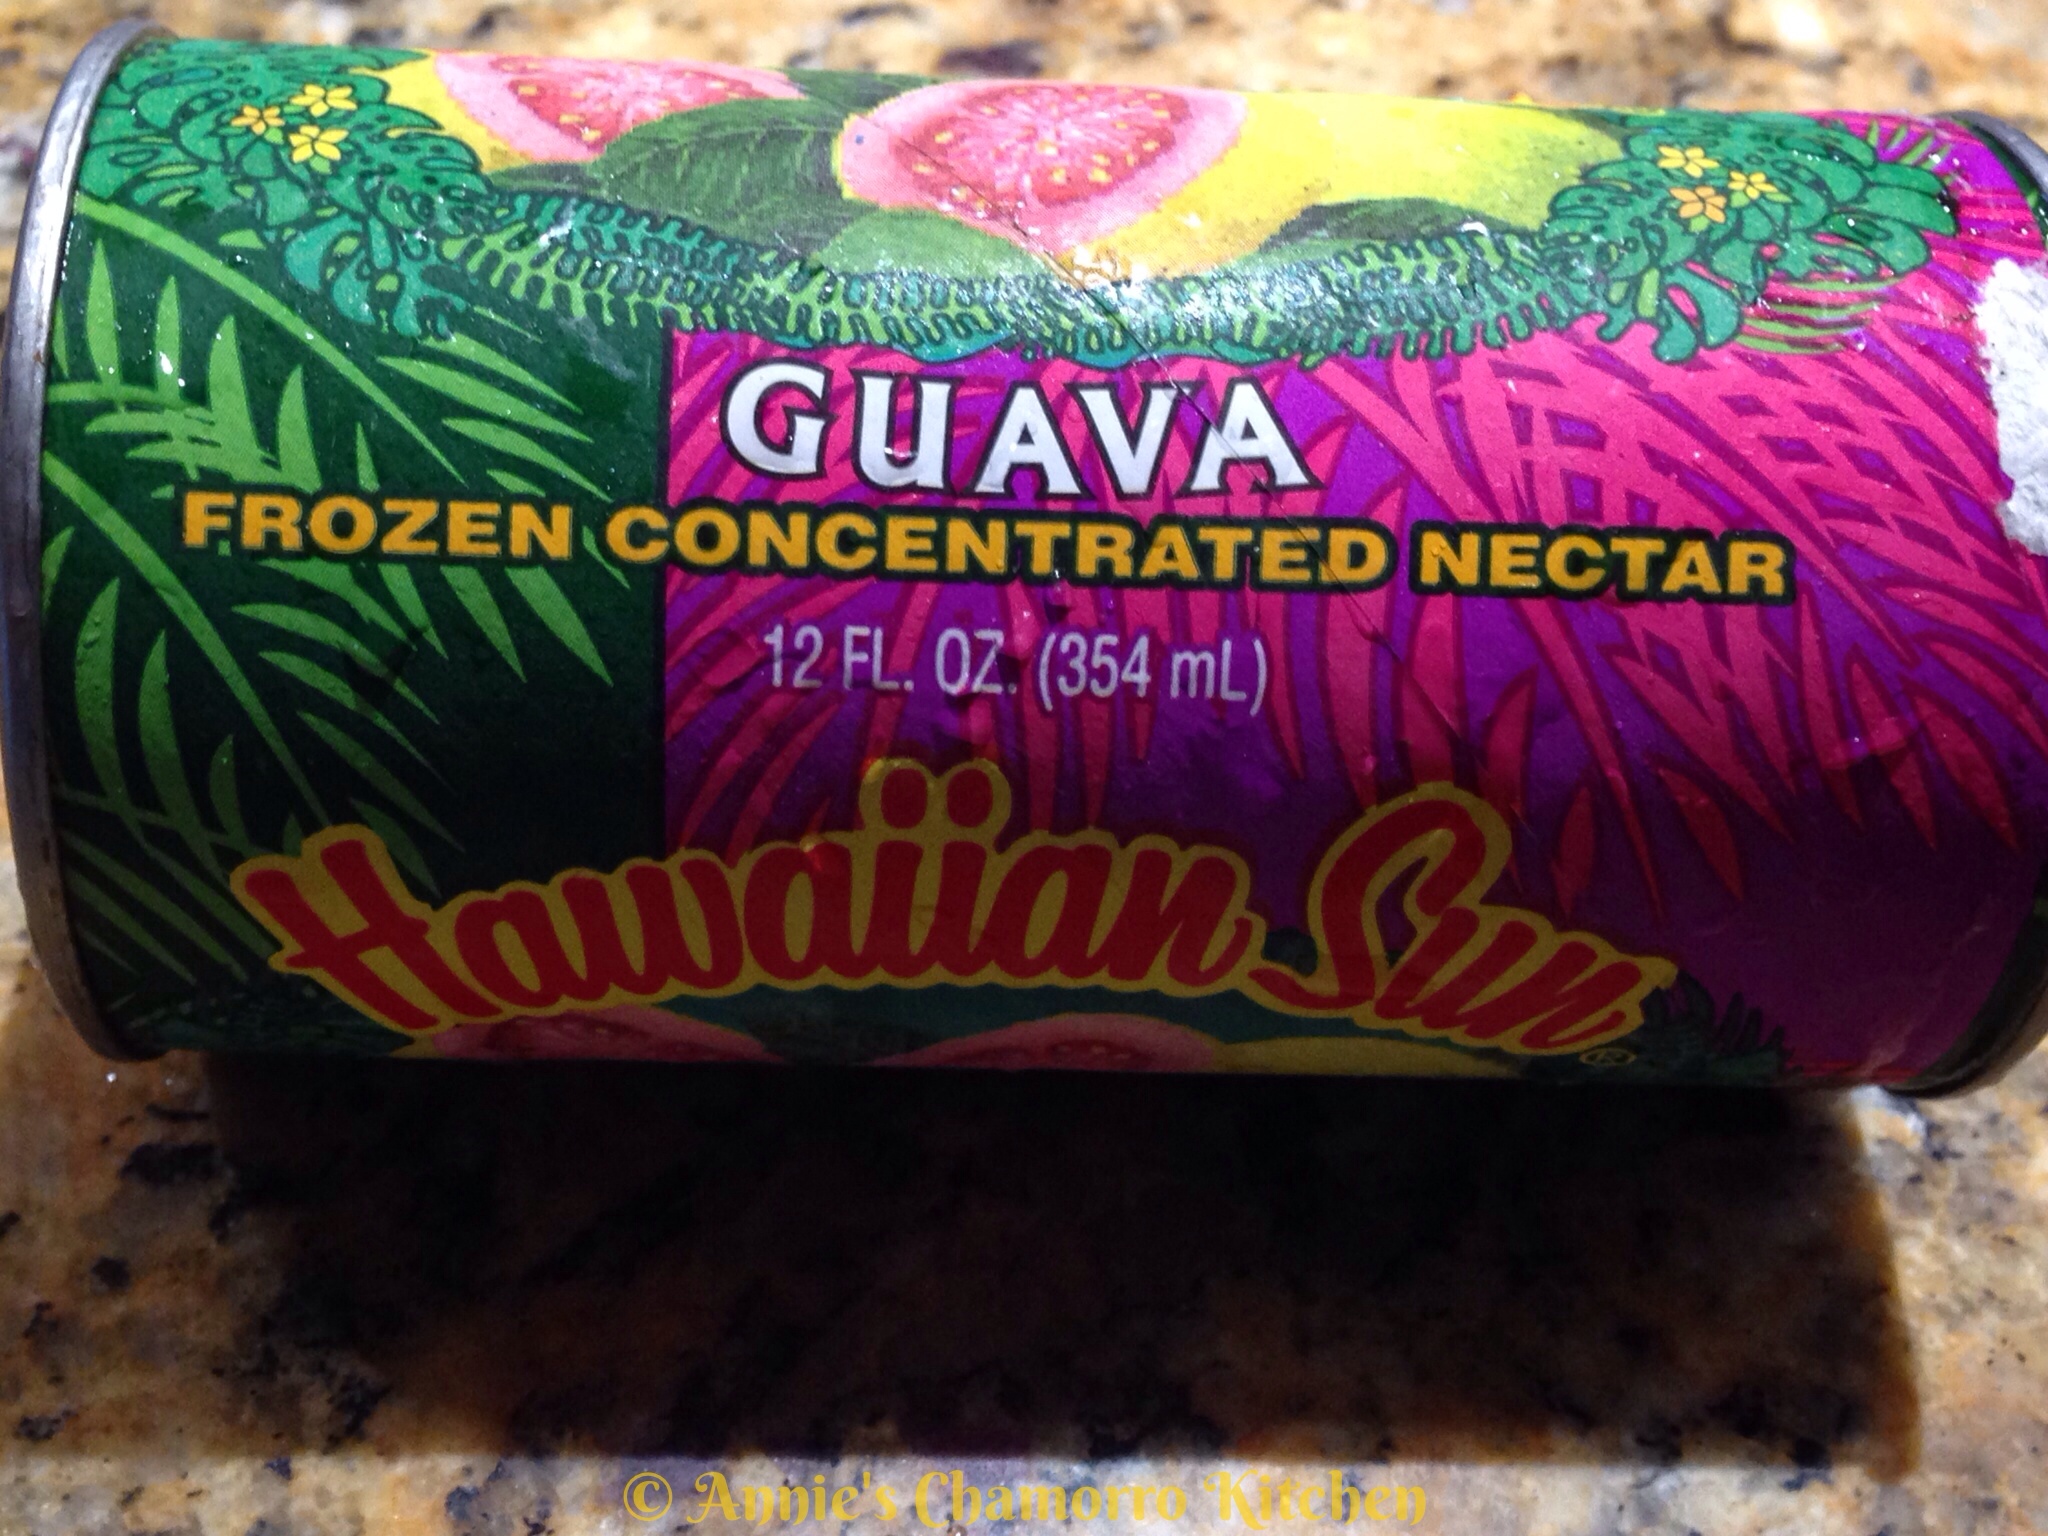
Remove 2 teaspoons of the concentrated nectar and place into a small mixing bowl.  Set this aside for now (you will use this when you make the frosting).

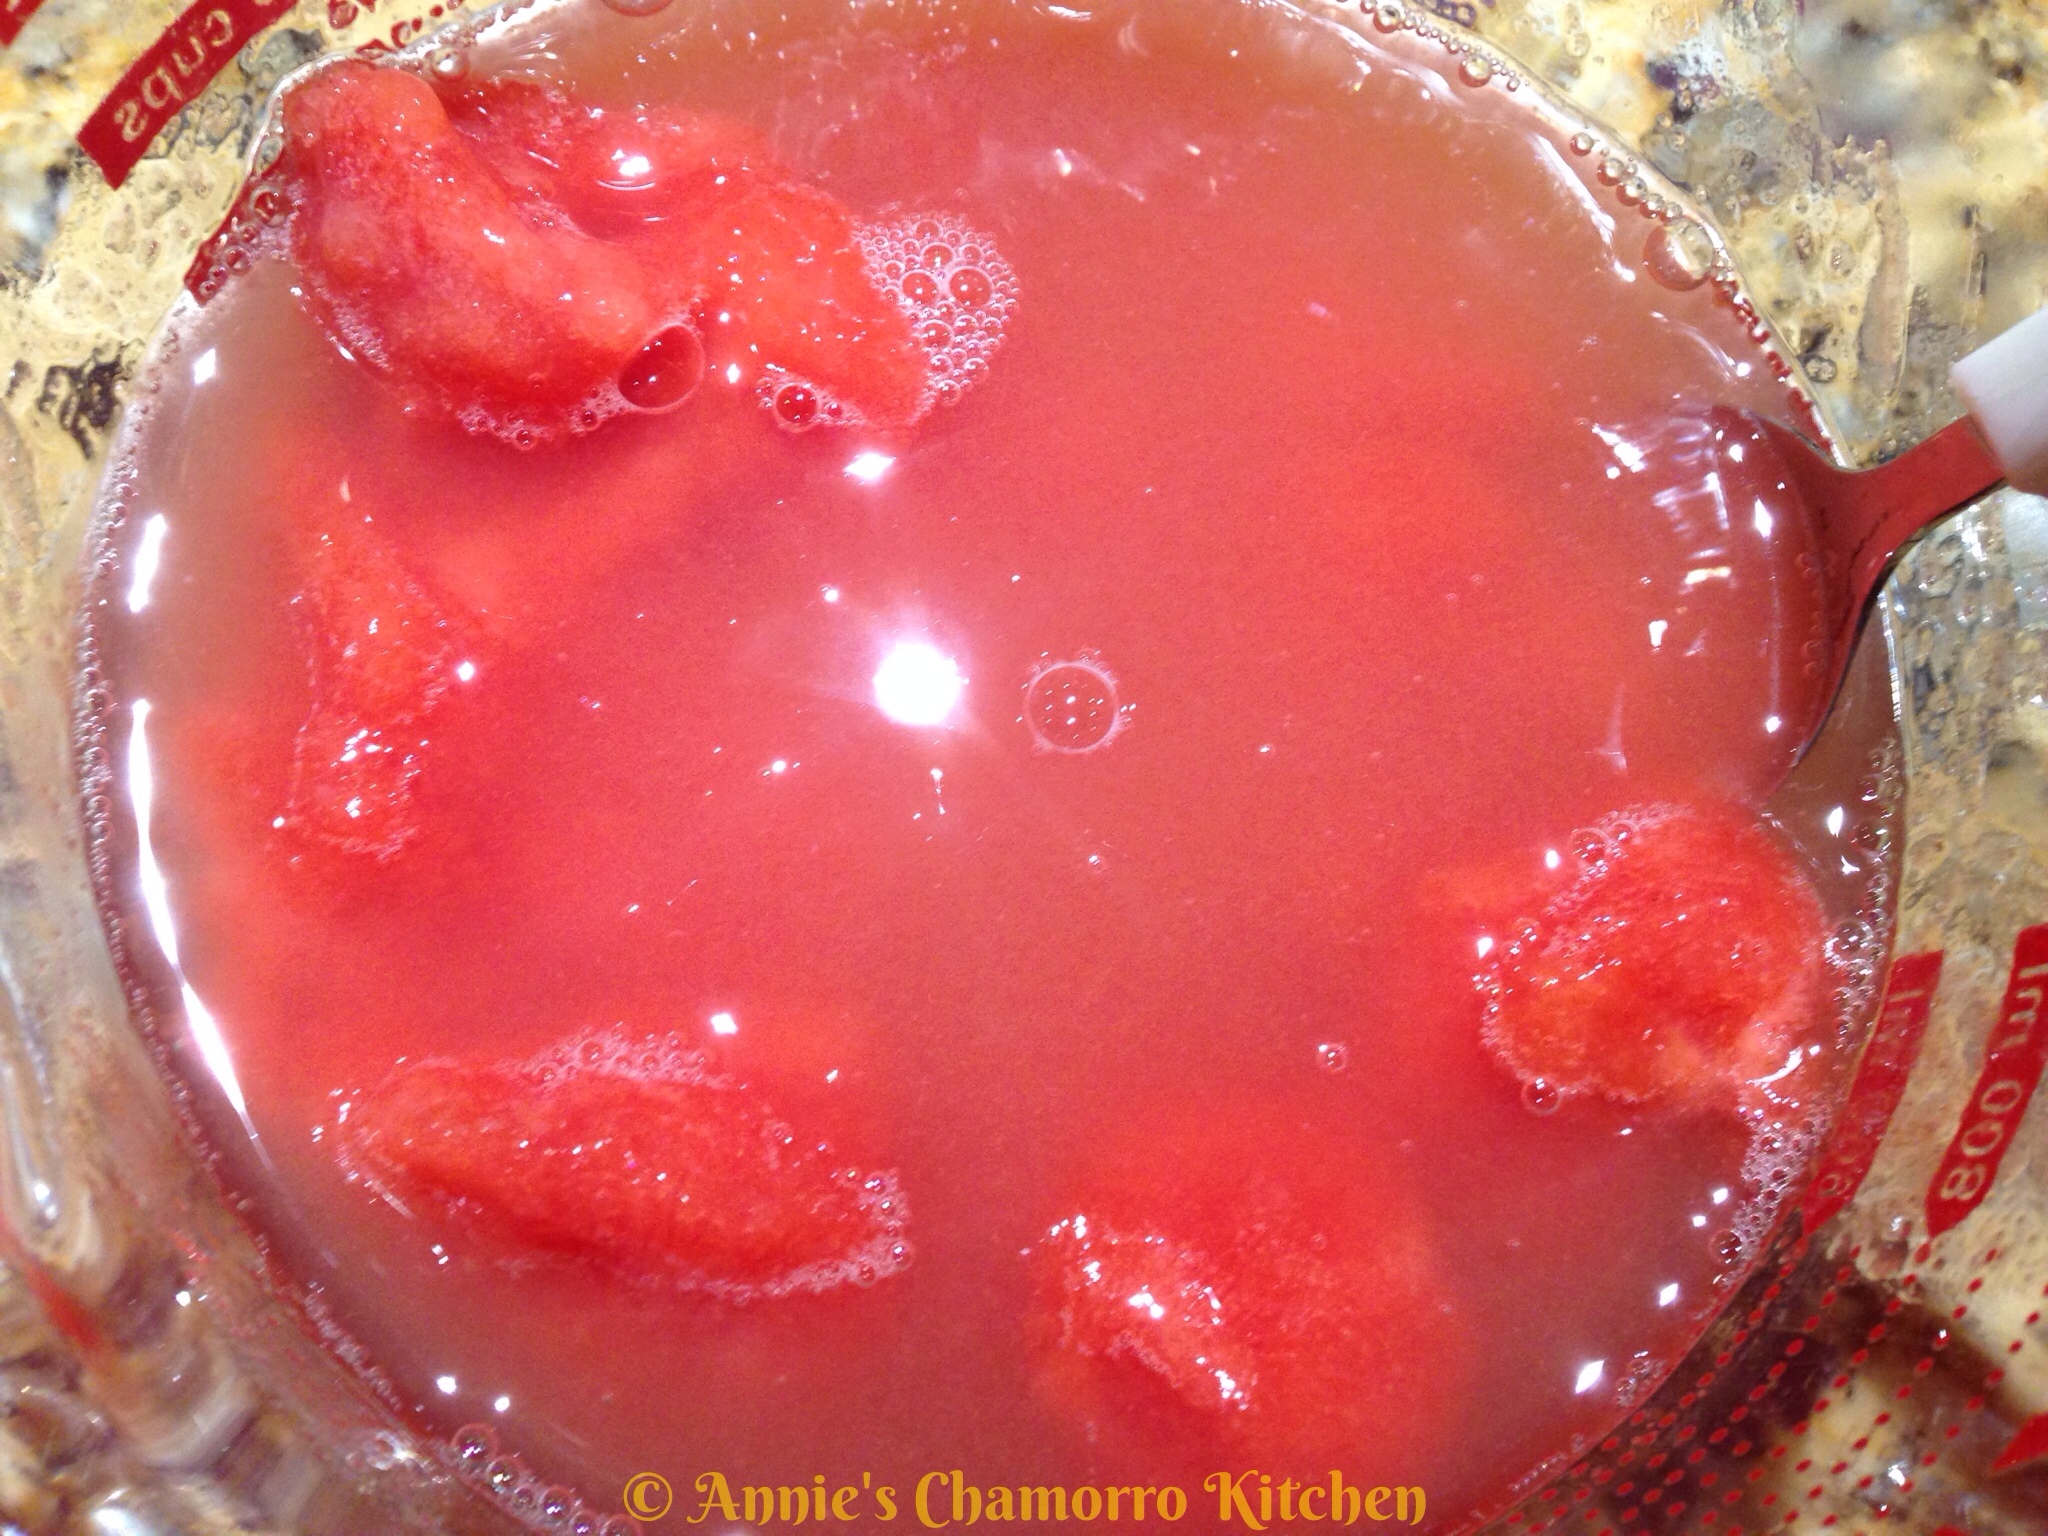
Add 1 1/2 cups of water to the remaining frozen concentrated nectar.  Stir until the frozen nectar completely dissolves/melts and combines with the water.  You should have about 3 cups of juice.  Set aside.
2.  Make the frosting.

Add the cream cheese to the mixing bowl with the reserved 2 teaspoons frozen concentrated guava nectar.

Note:  I had a jar of guava jam in the fridge; I also added a teaspoon of jam to the bowl, but this is totally optional.  If you don’t have any guava jam, don’t worry about it.  I just like to add it to the frosting to give it a guava flavor.
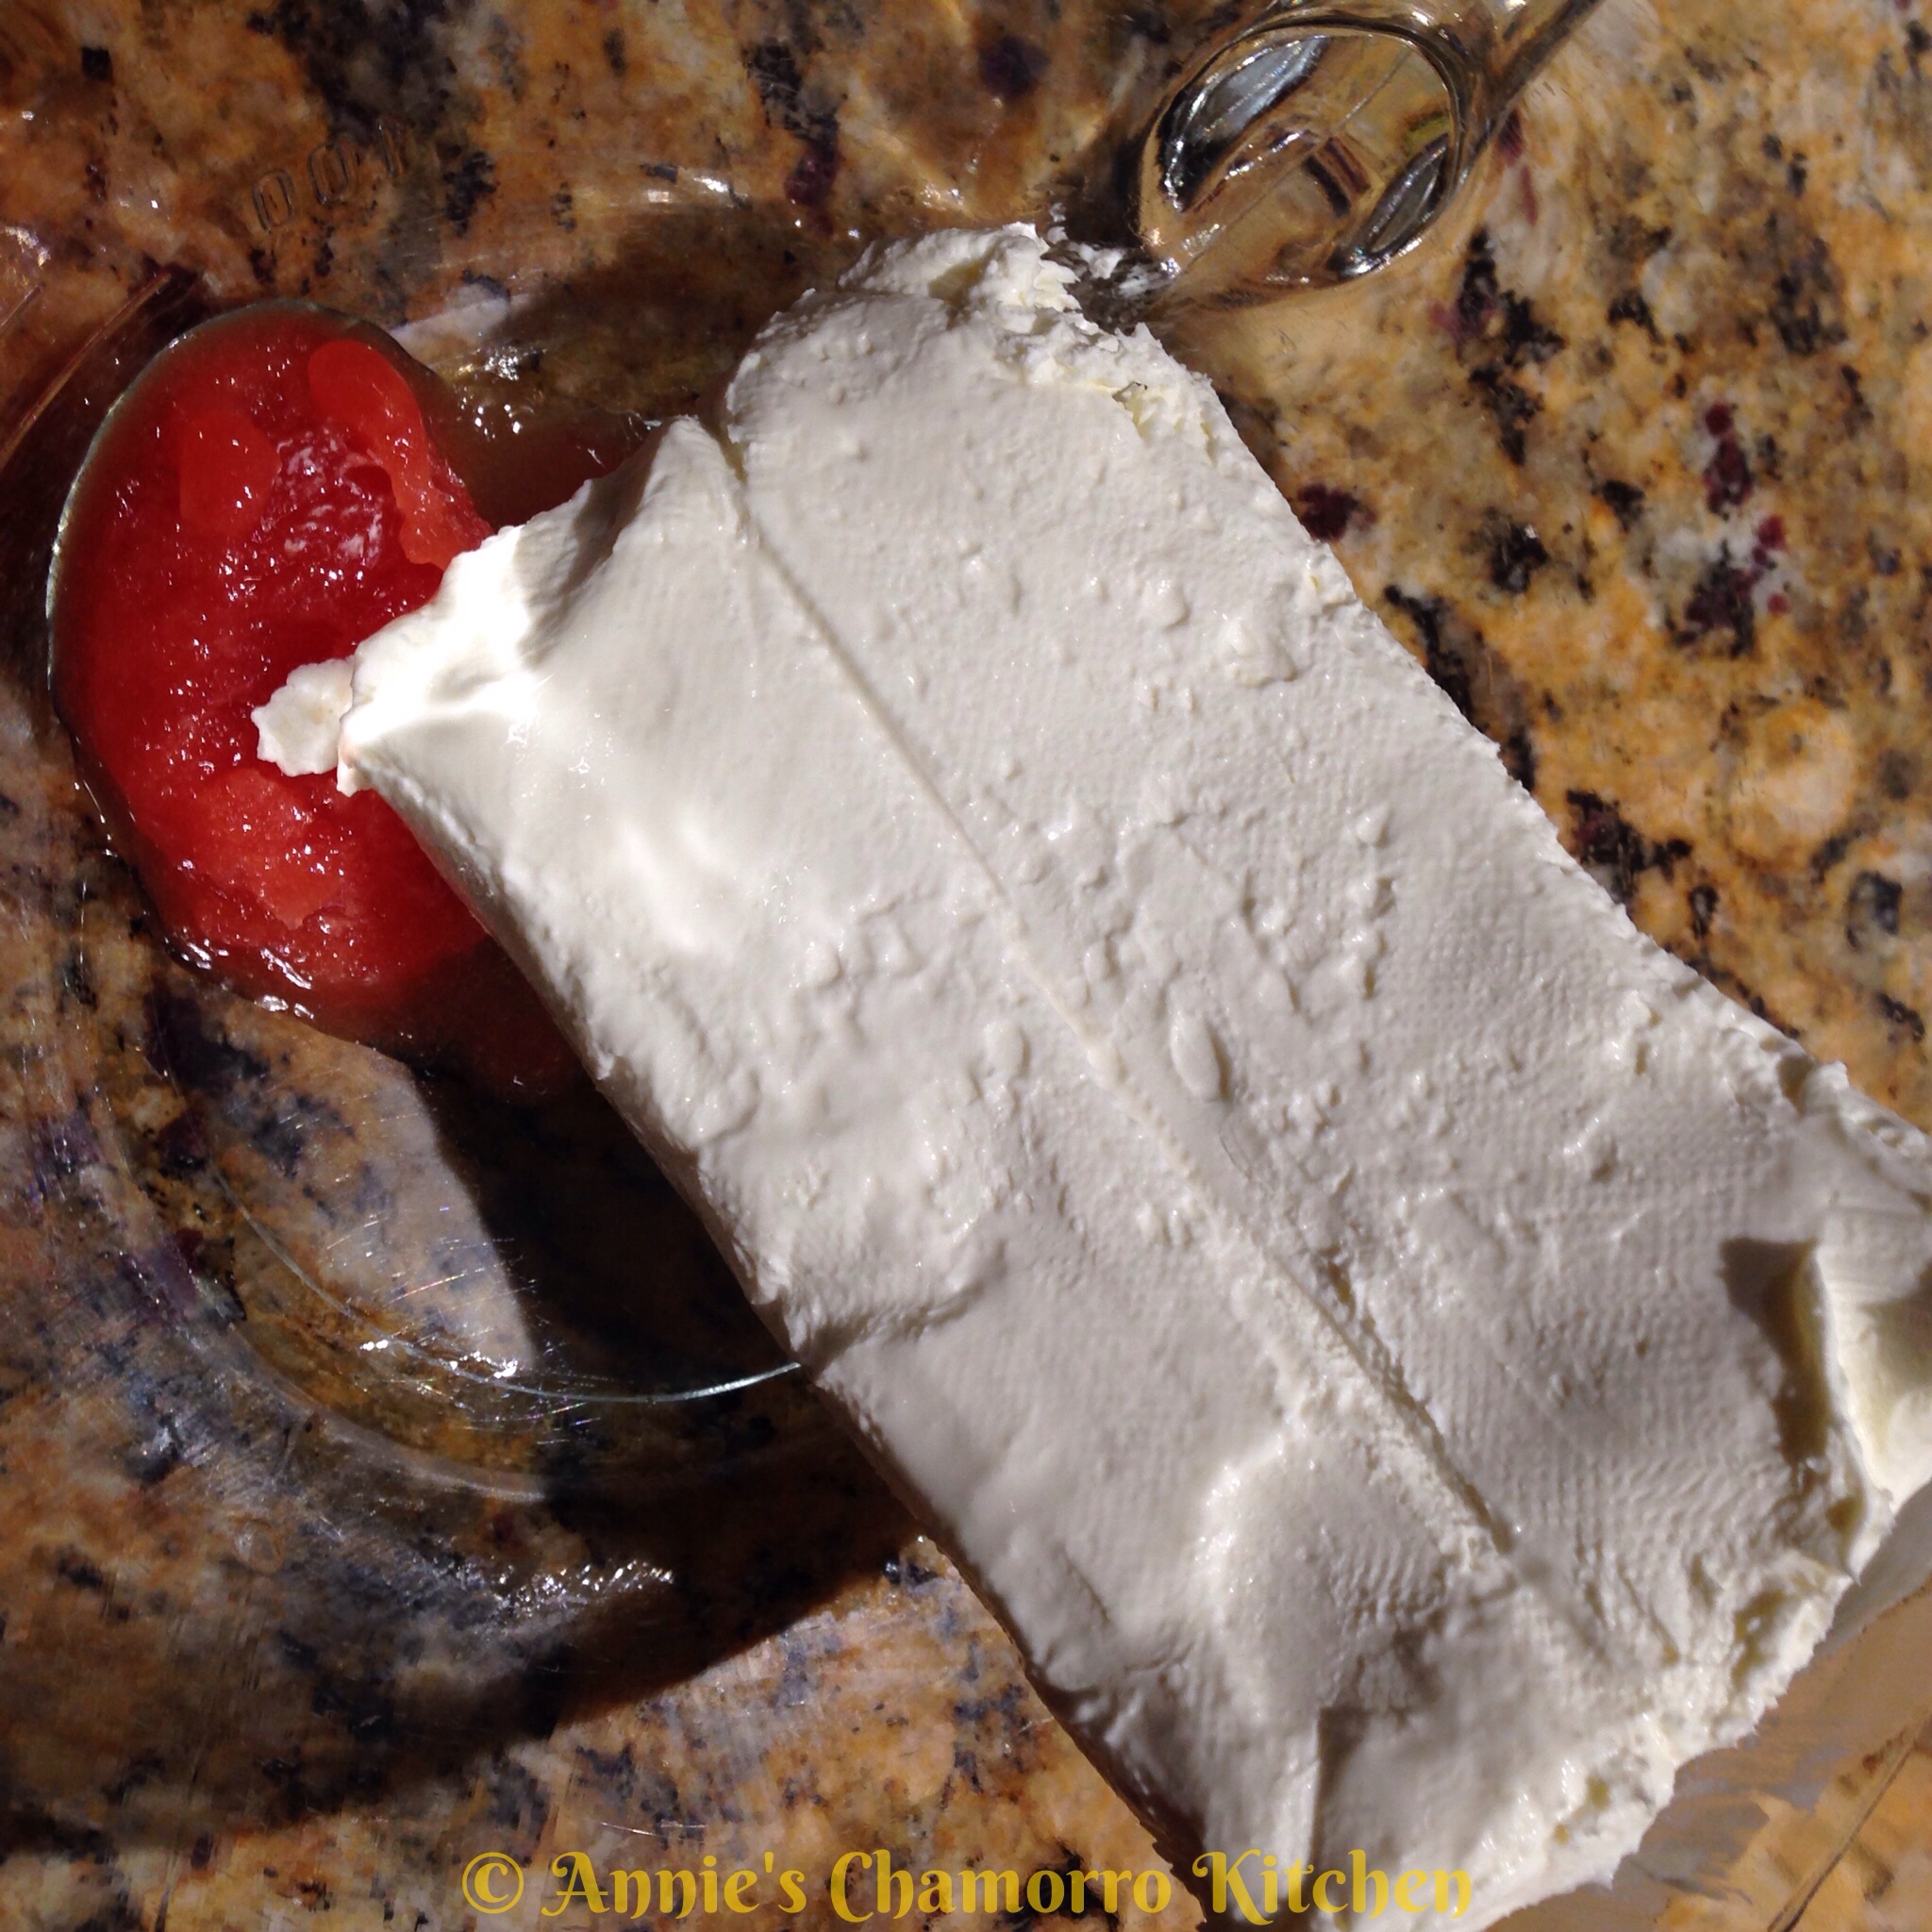
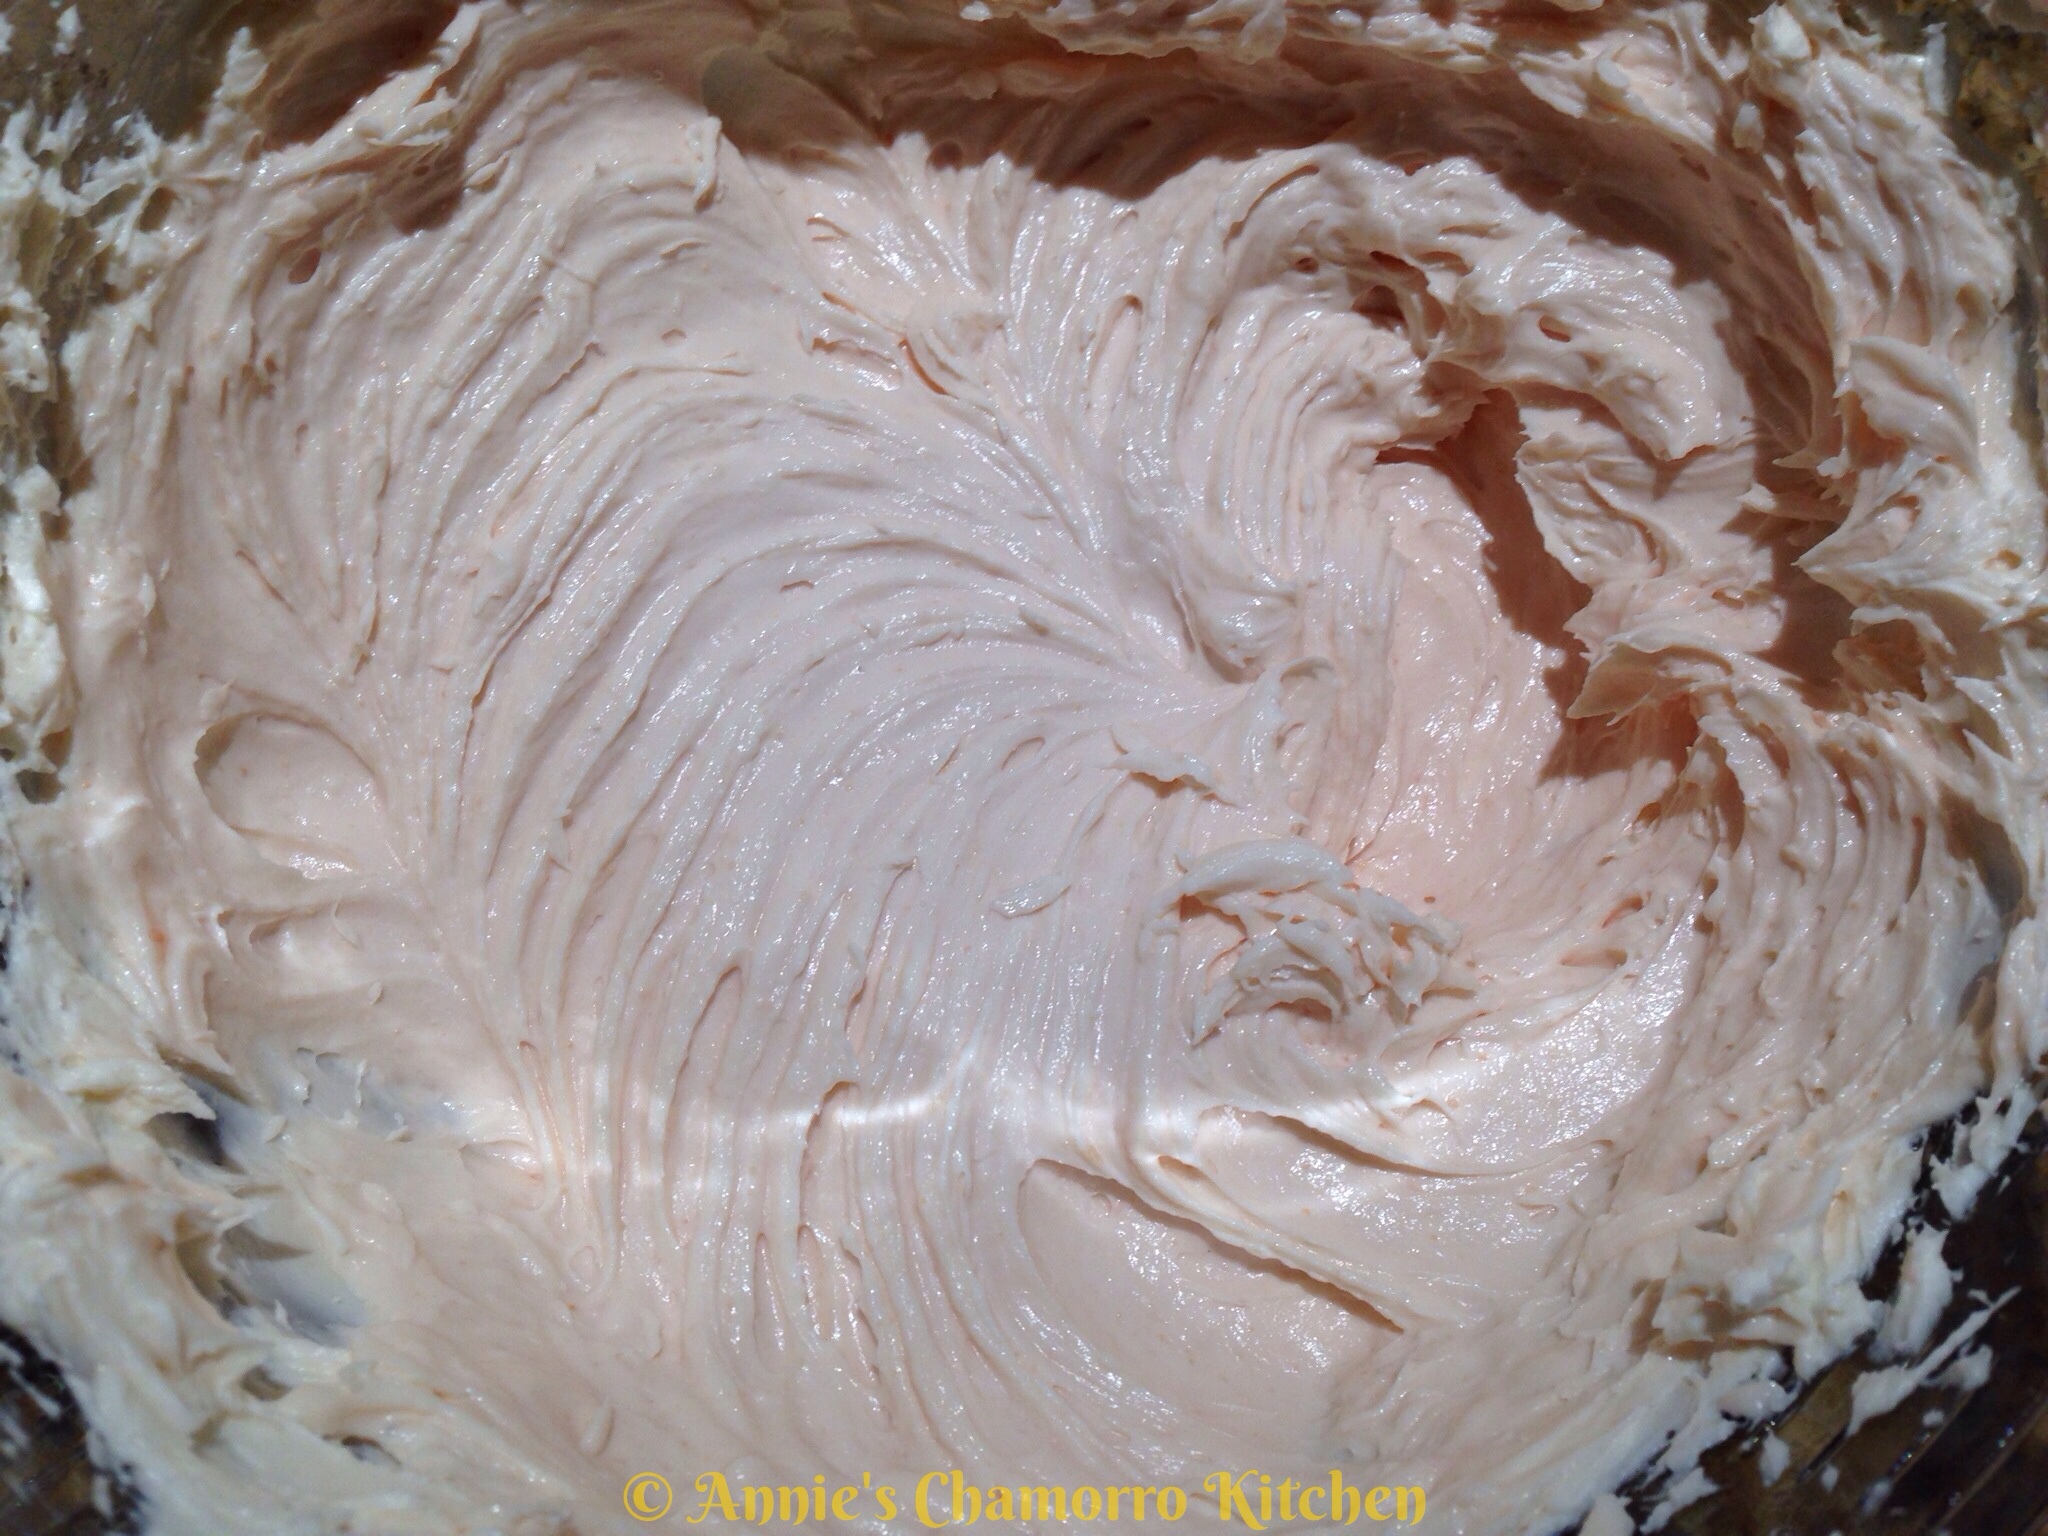
Using a hand mixer, mix the cream cheese and guava nectar until creamy.
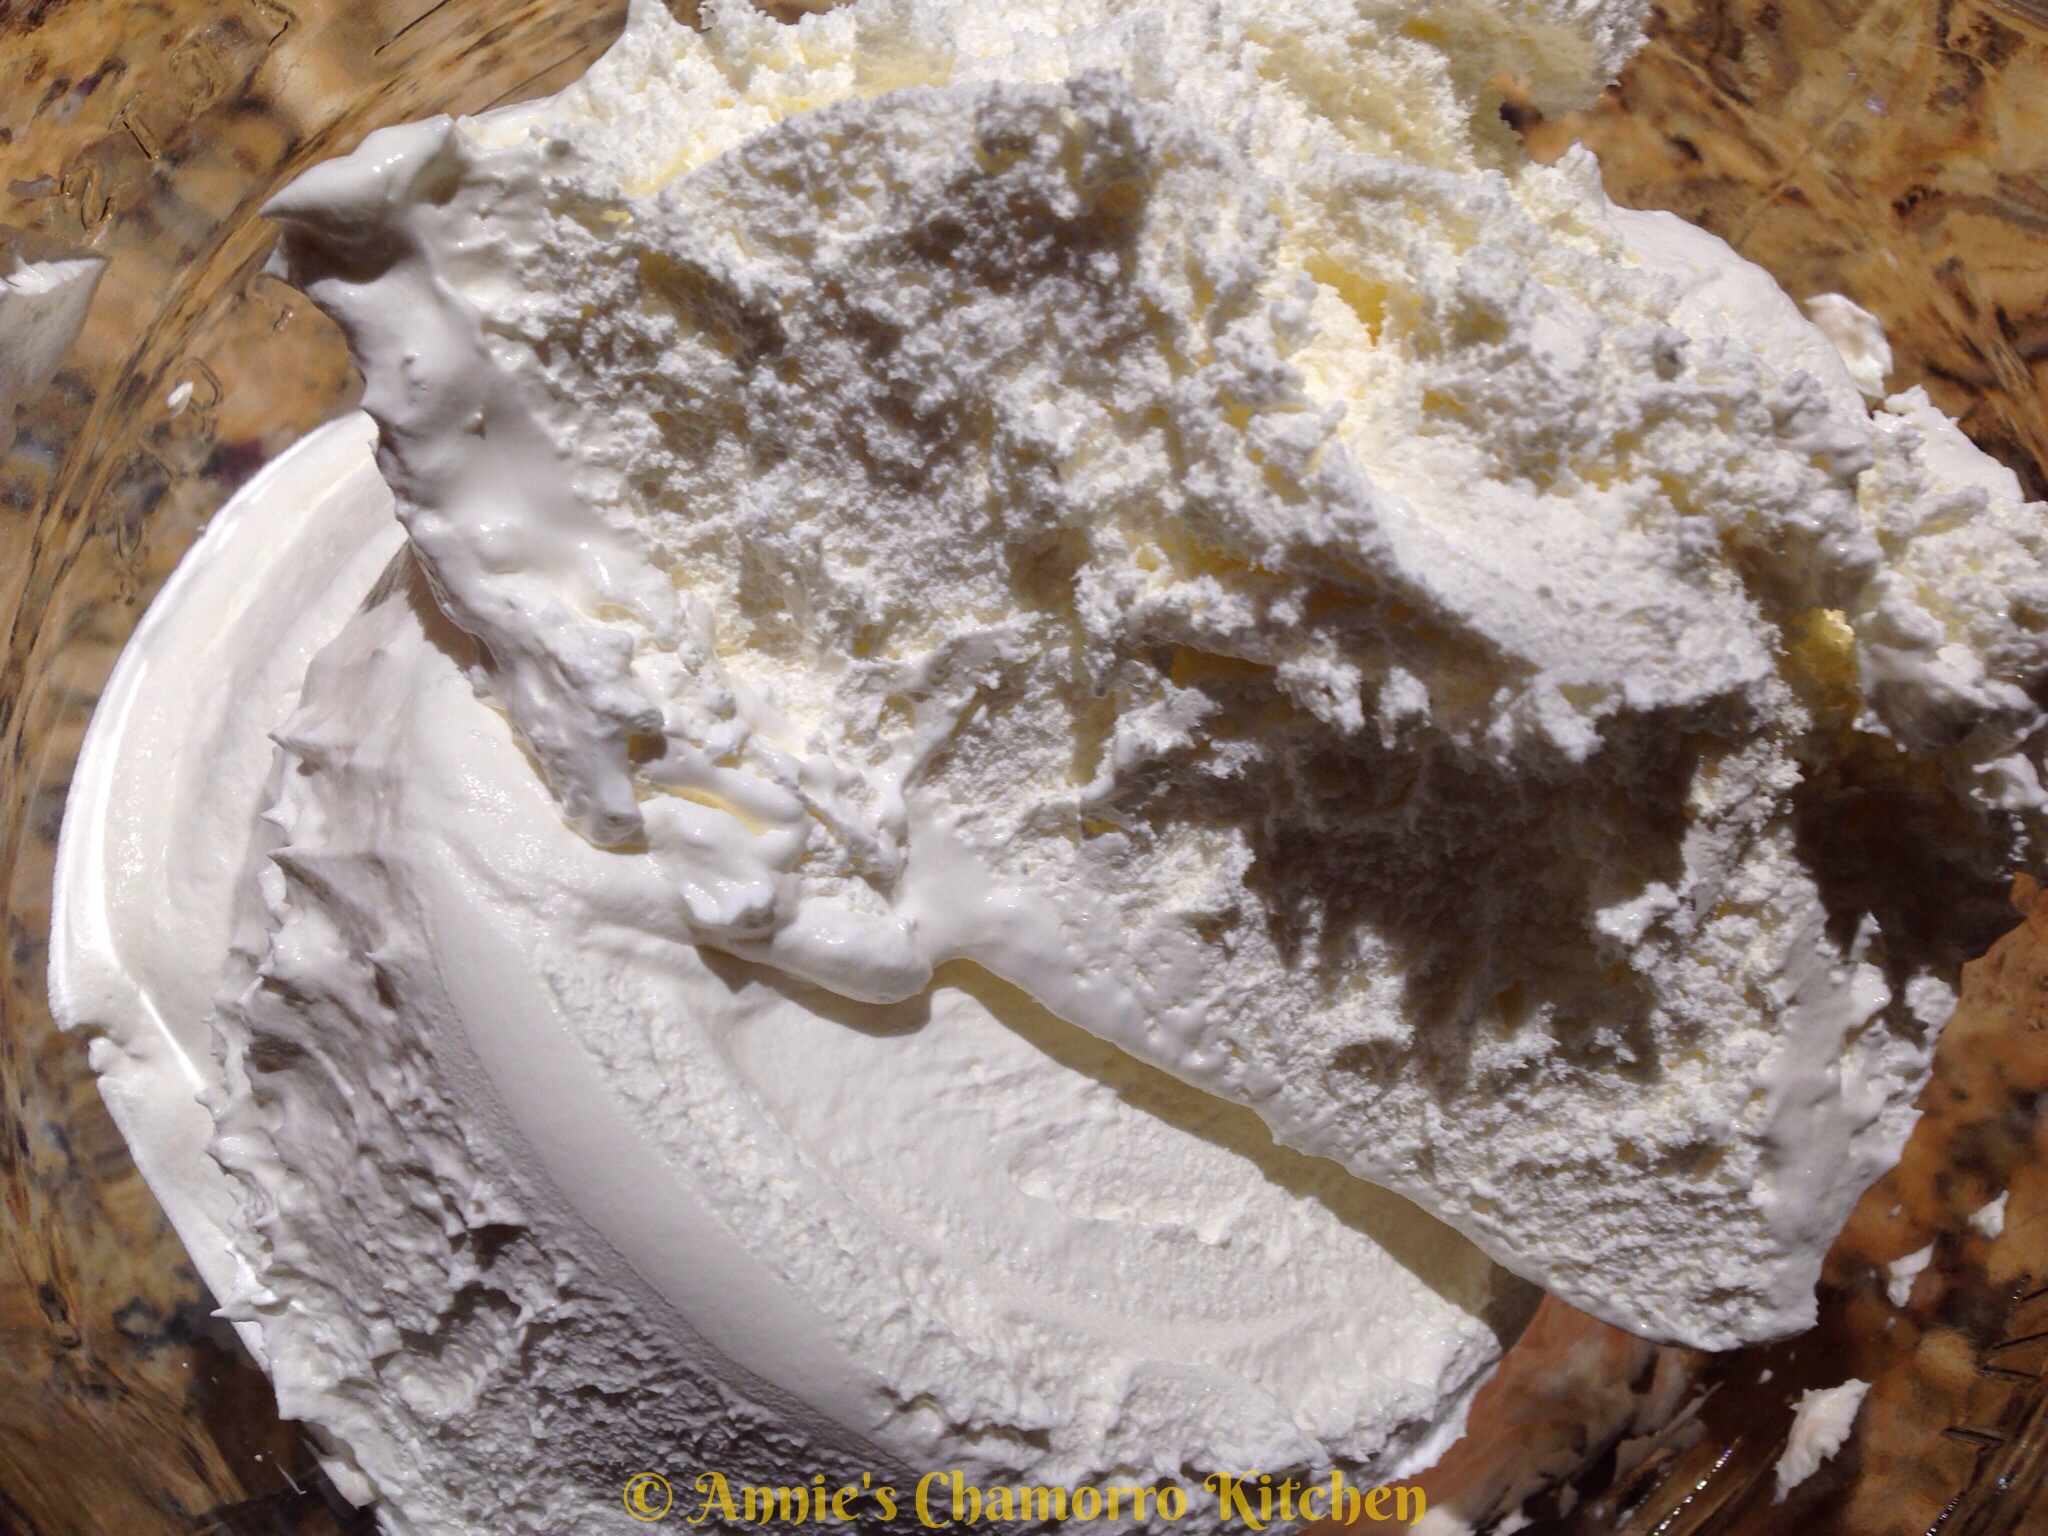
Add the Cool Whip to the mixing bowl.
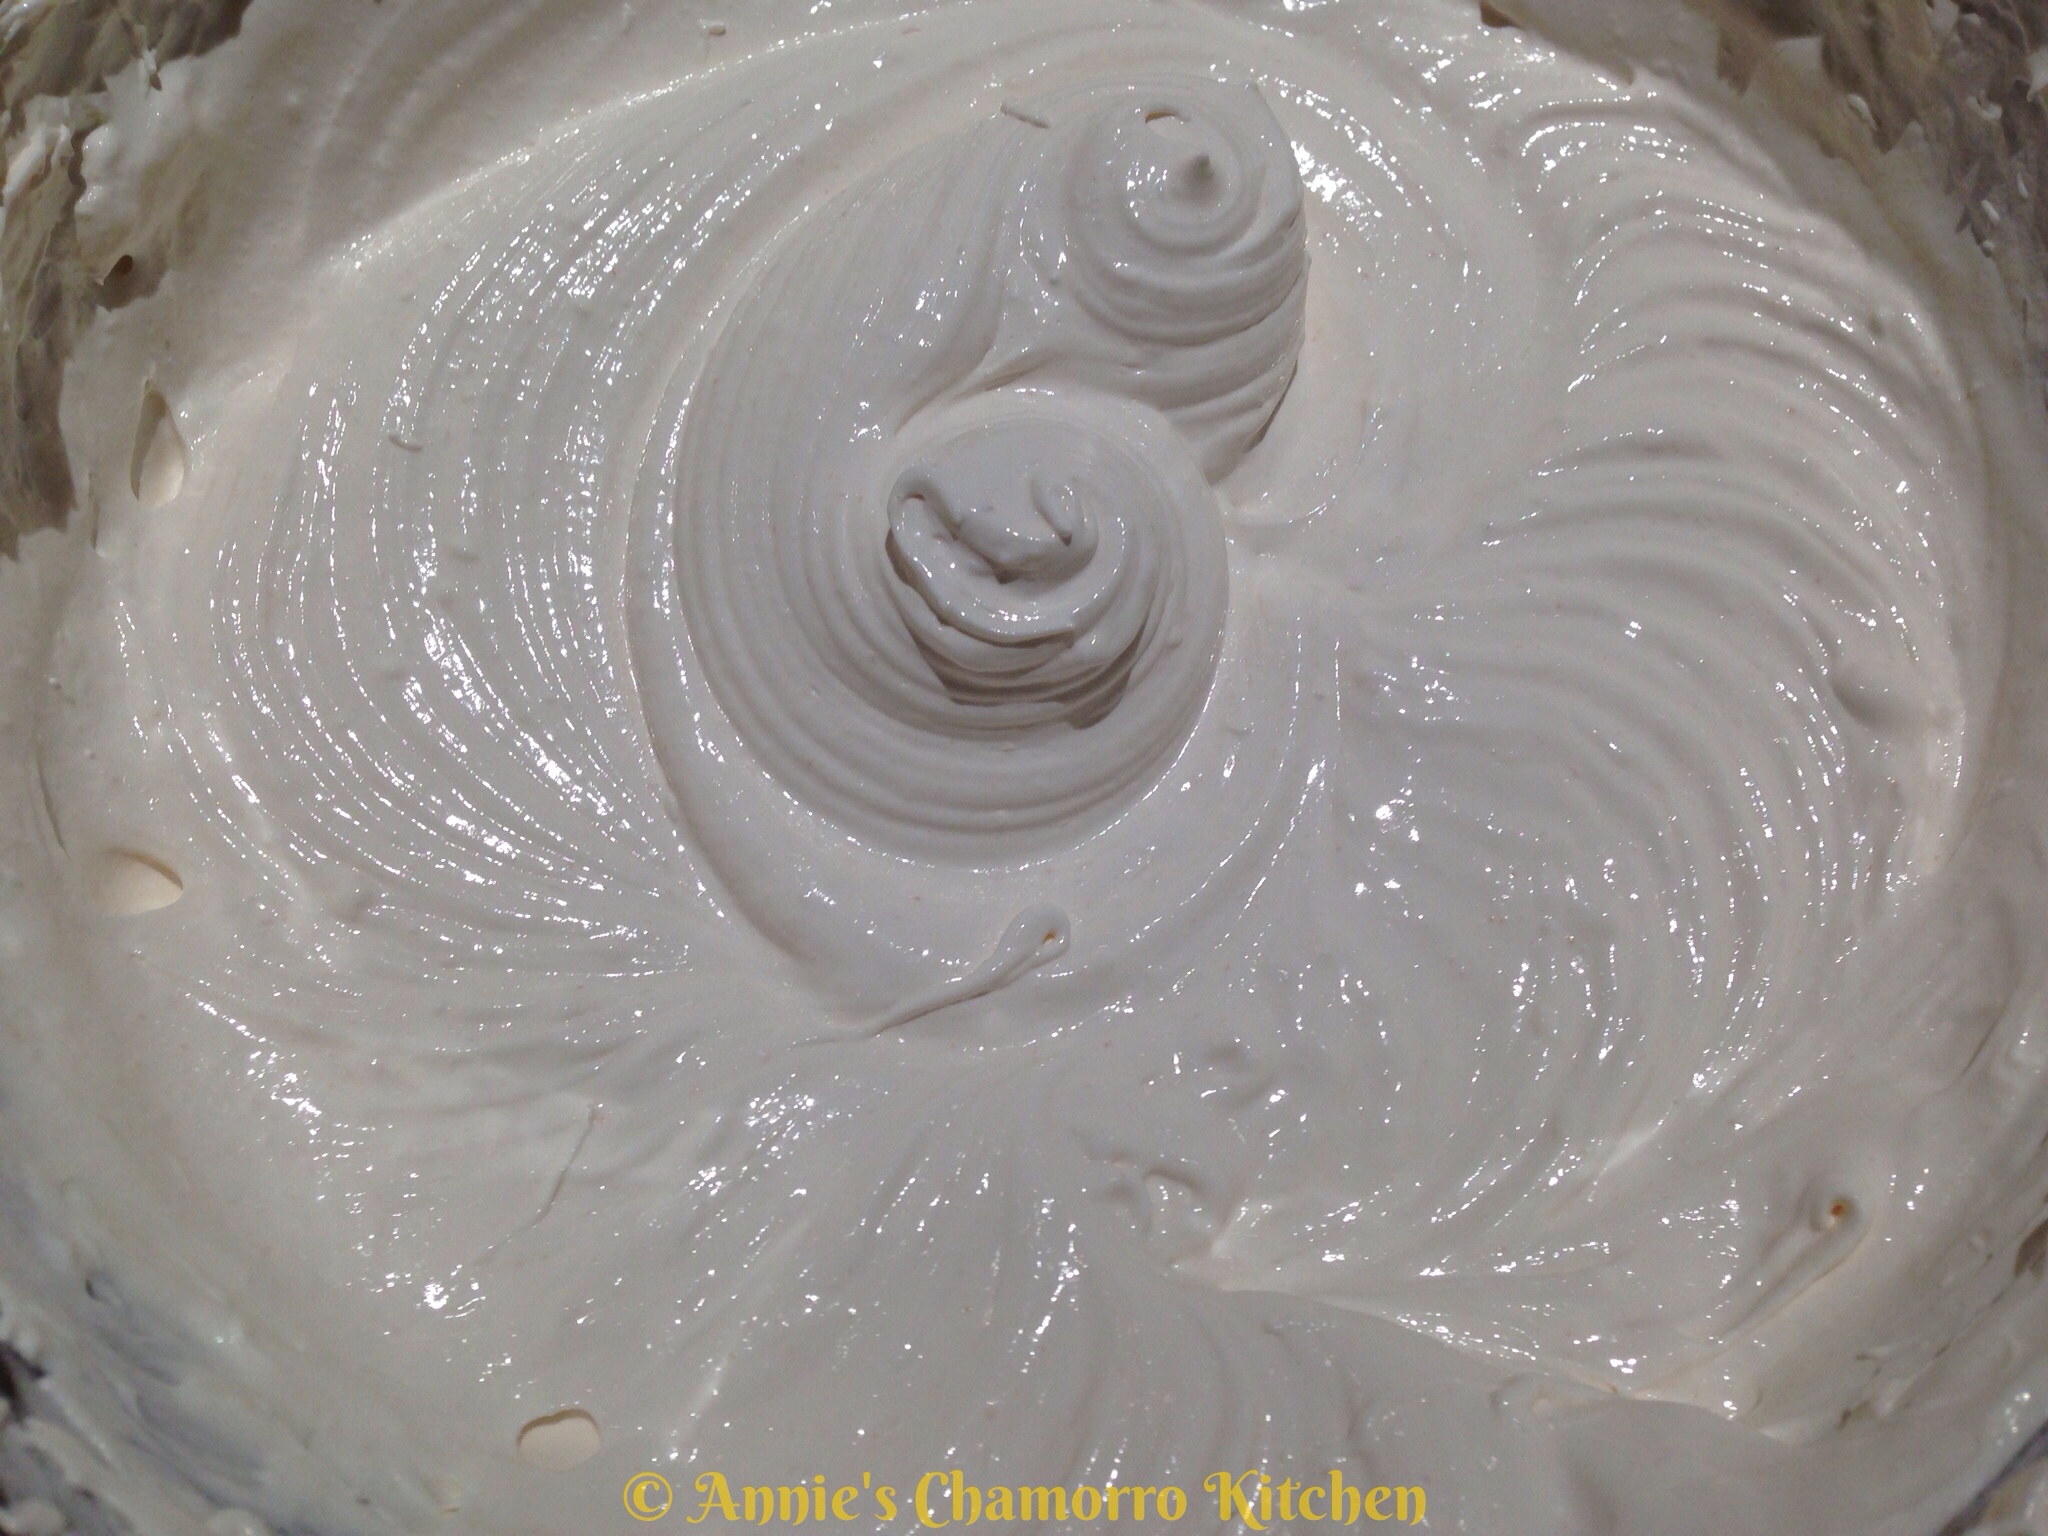
Mix until creamy.  Place the frosting in the refrigerator until ready to use.
3.  Bake the cake.

Empty the contents of the cake mix into a mixing bowl.
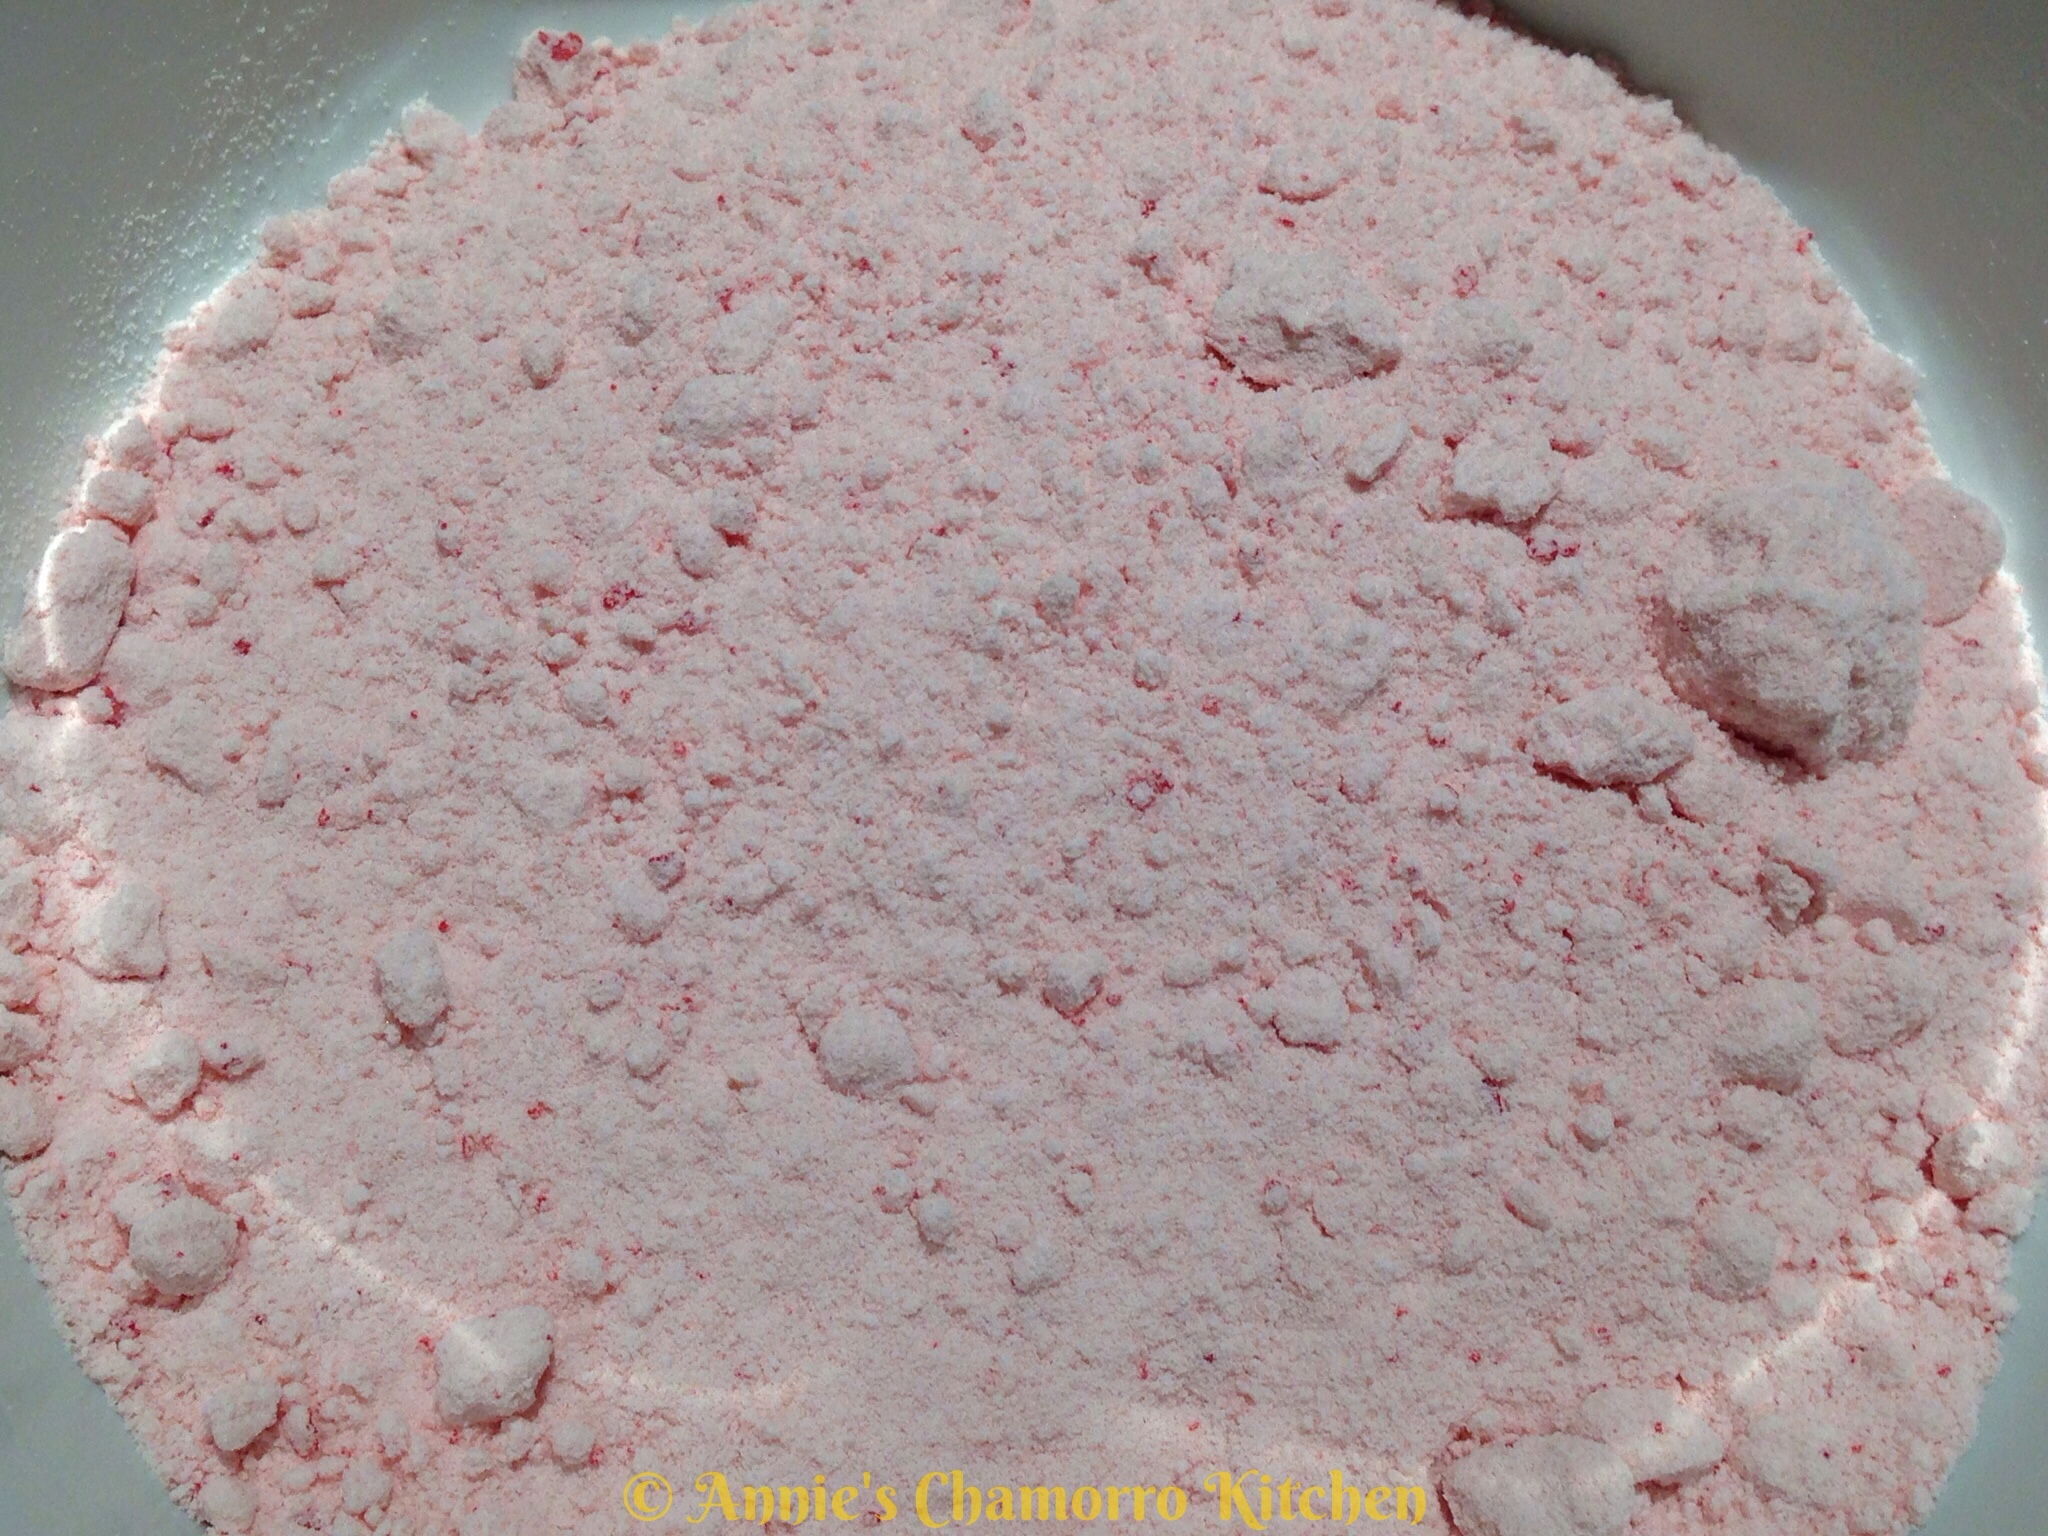
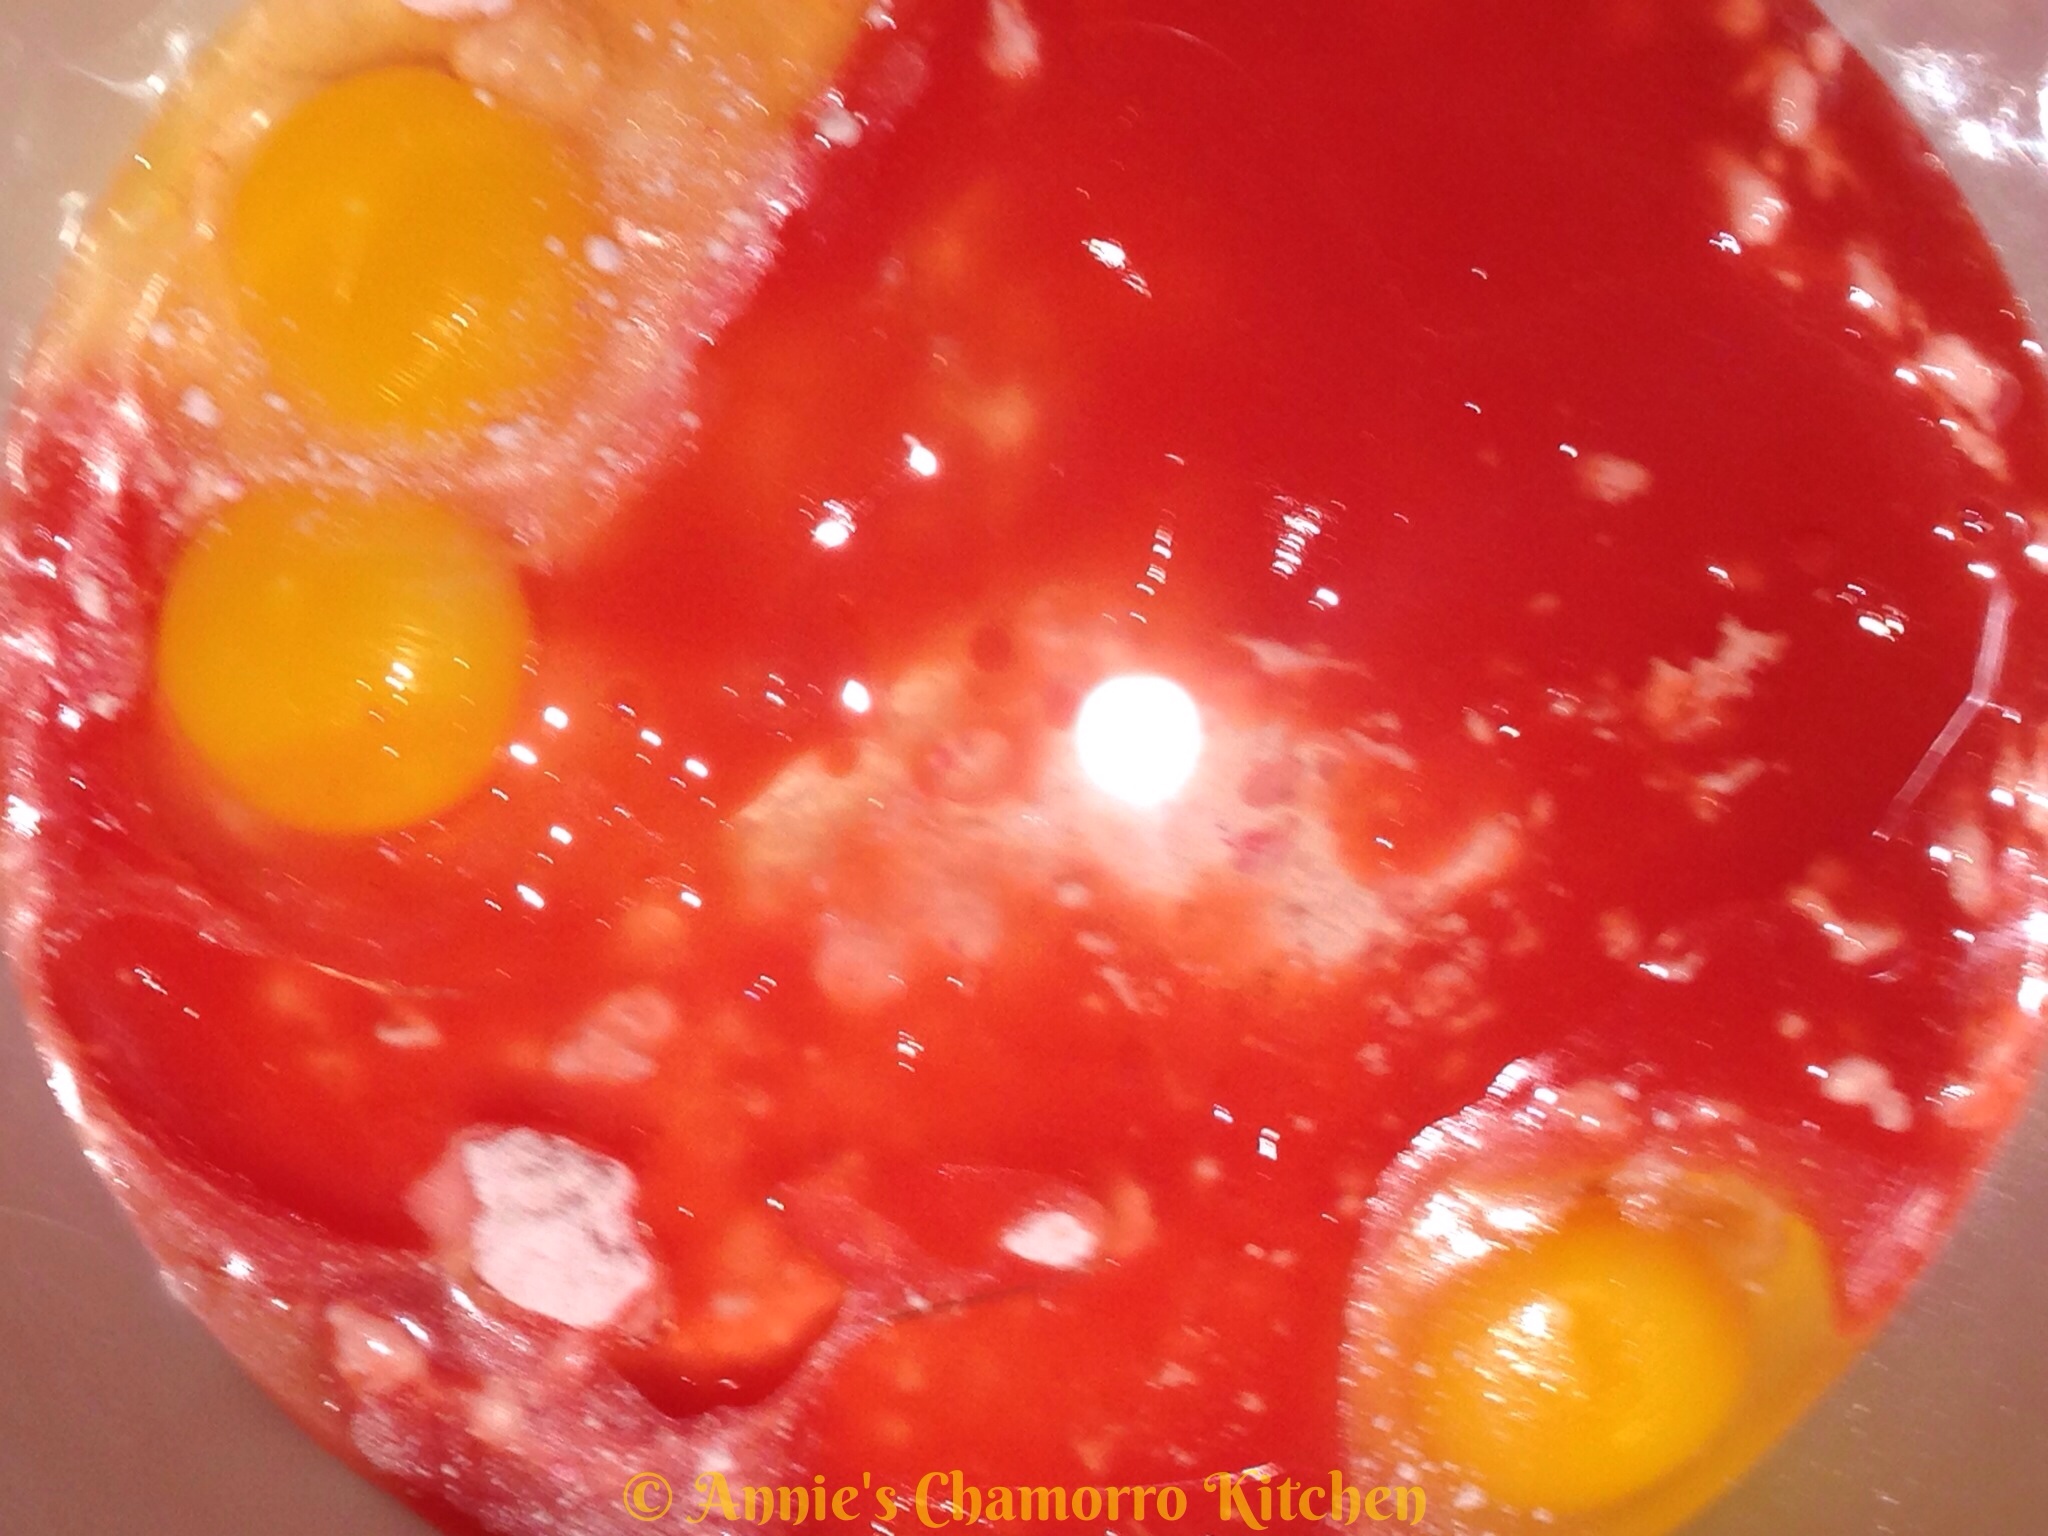
Into the bowl add the eggs, vegetable oil, and 1 cup of the guava juice (set the remaining juice aside–it will be used later to make the guava sauce).
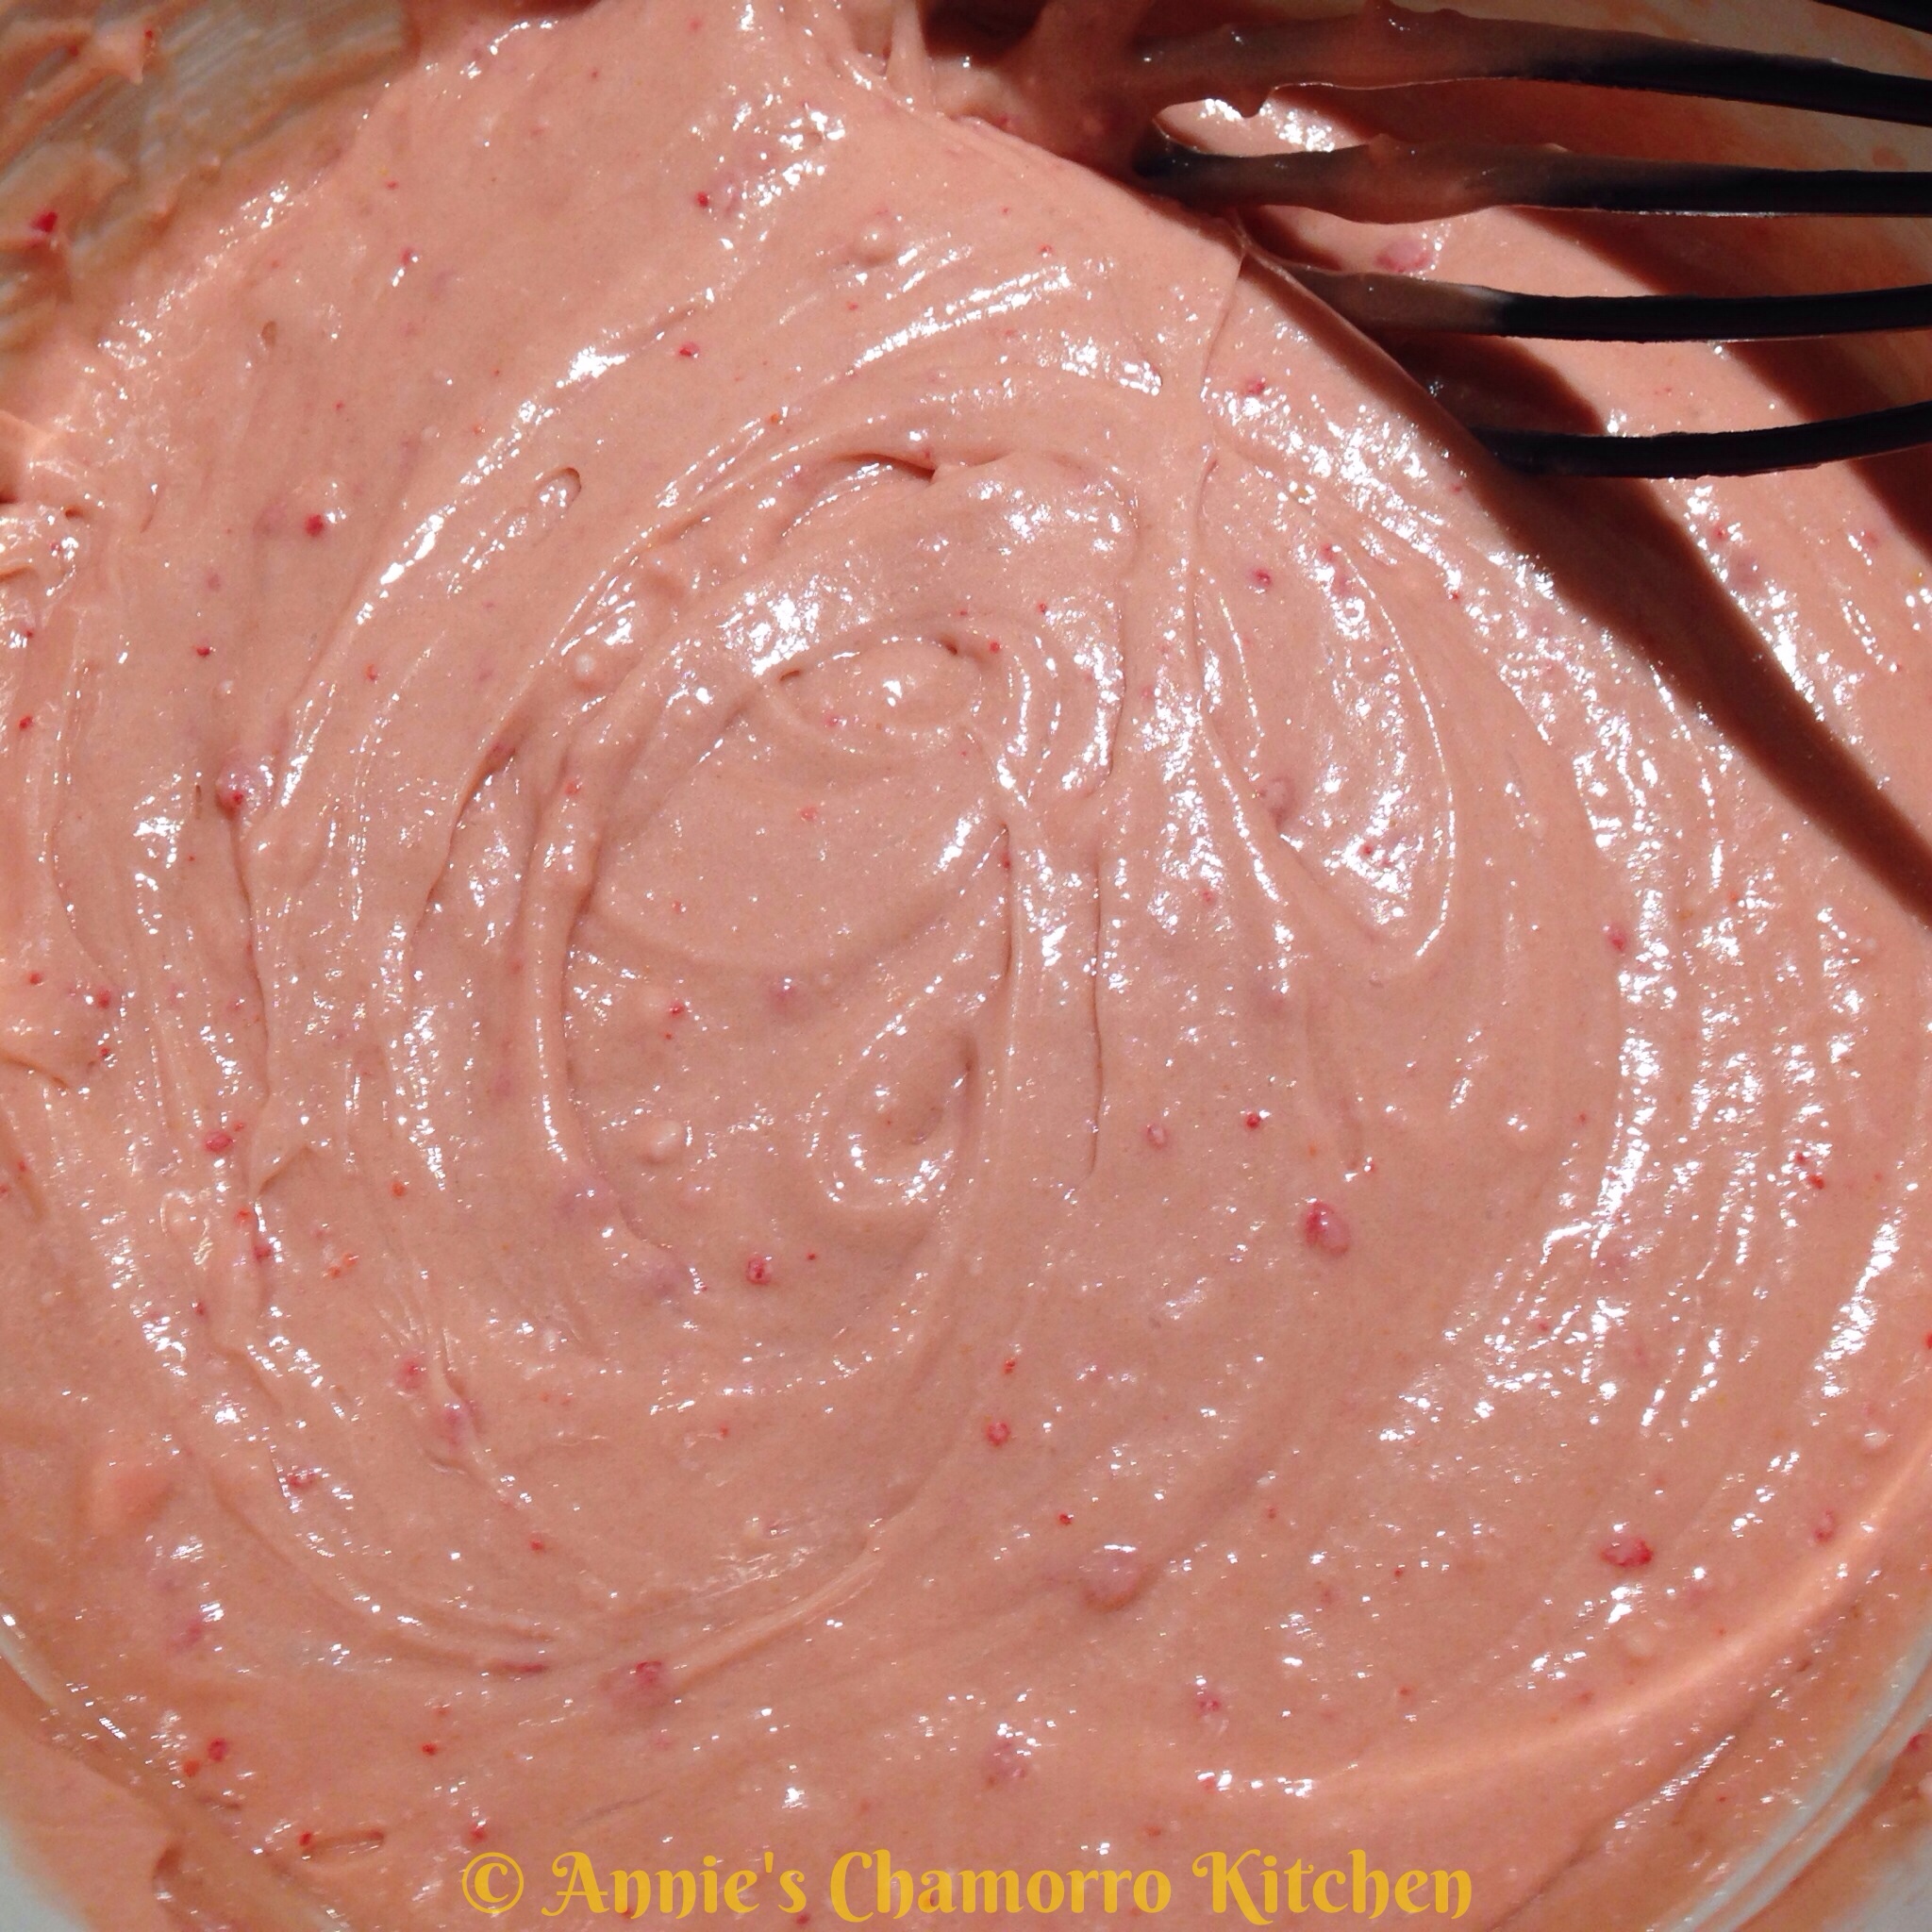
Using a whisk or mixing spoon, mix the ingredients together.  Don’t over-mix the batter; mix only until the large lumps disappear.
 Split the batter between two small pans.
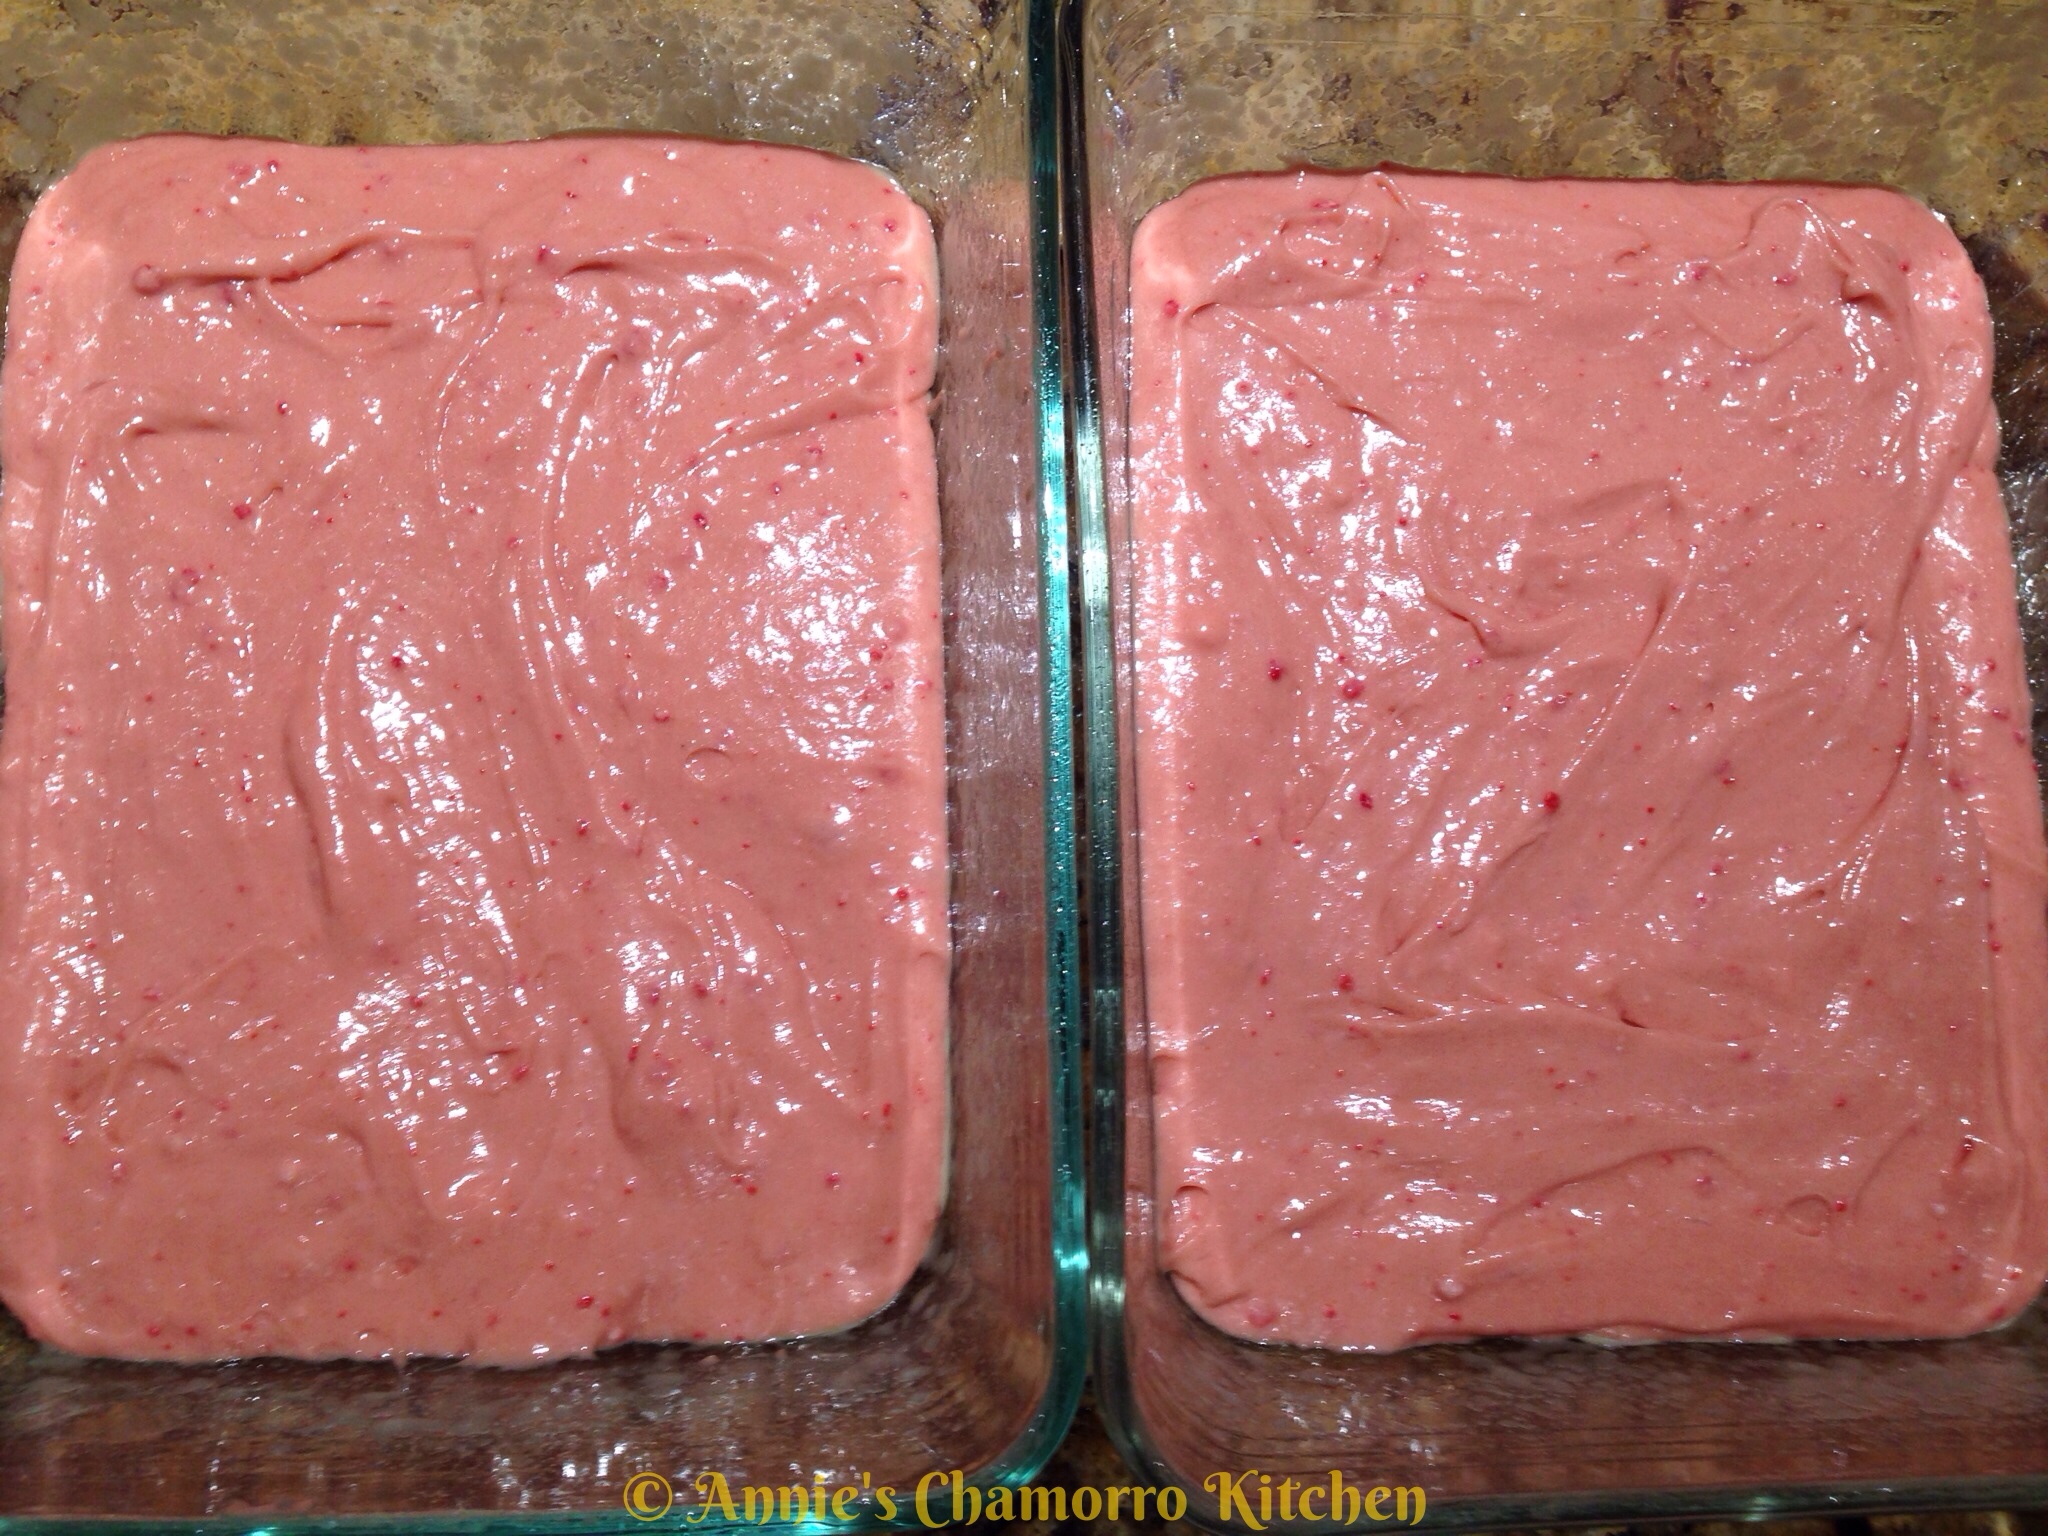
Bake at 350 degrees for 25 minutes or until a toothpick inserted into the middle comes out clean.  Let the cake cool completely (I inverted it onto a plate to finish cooling).
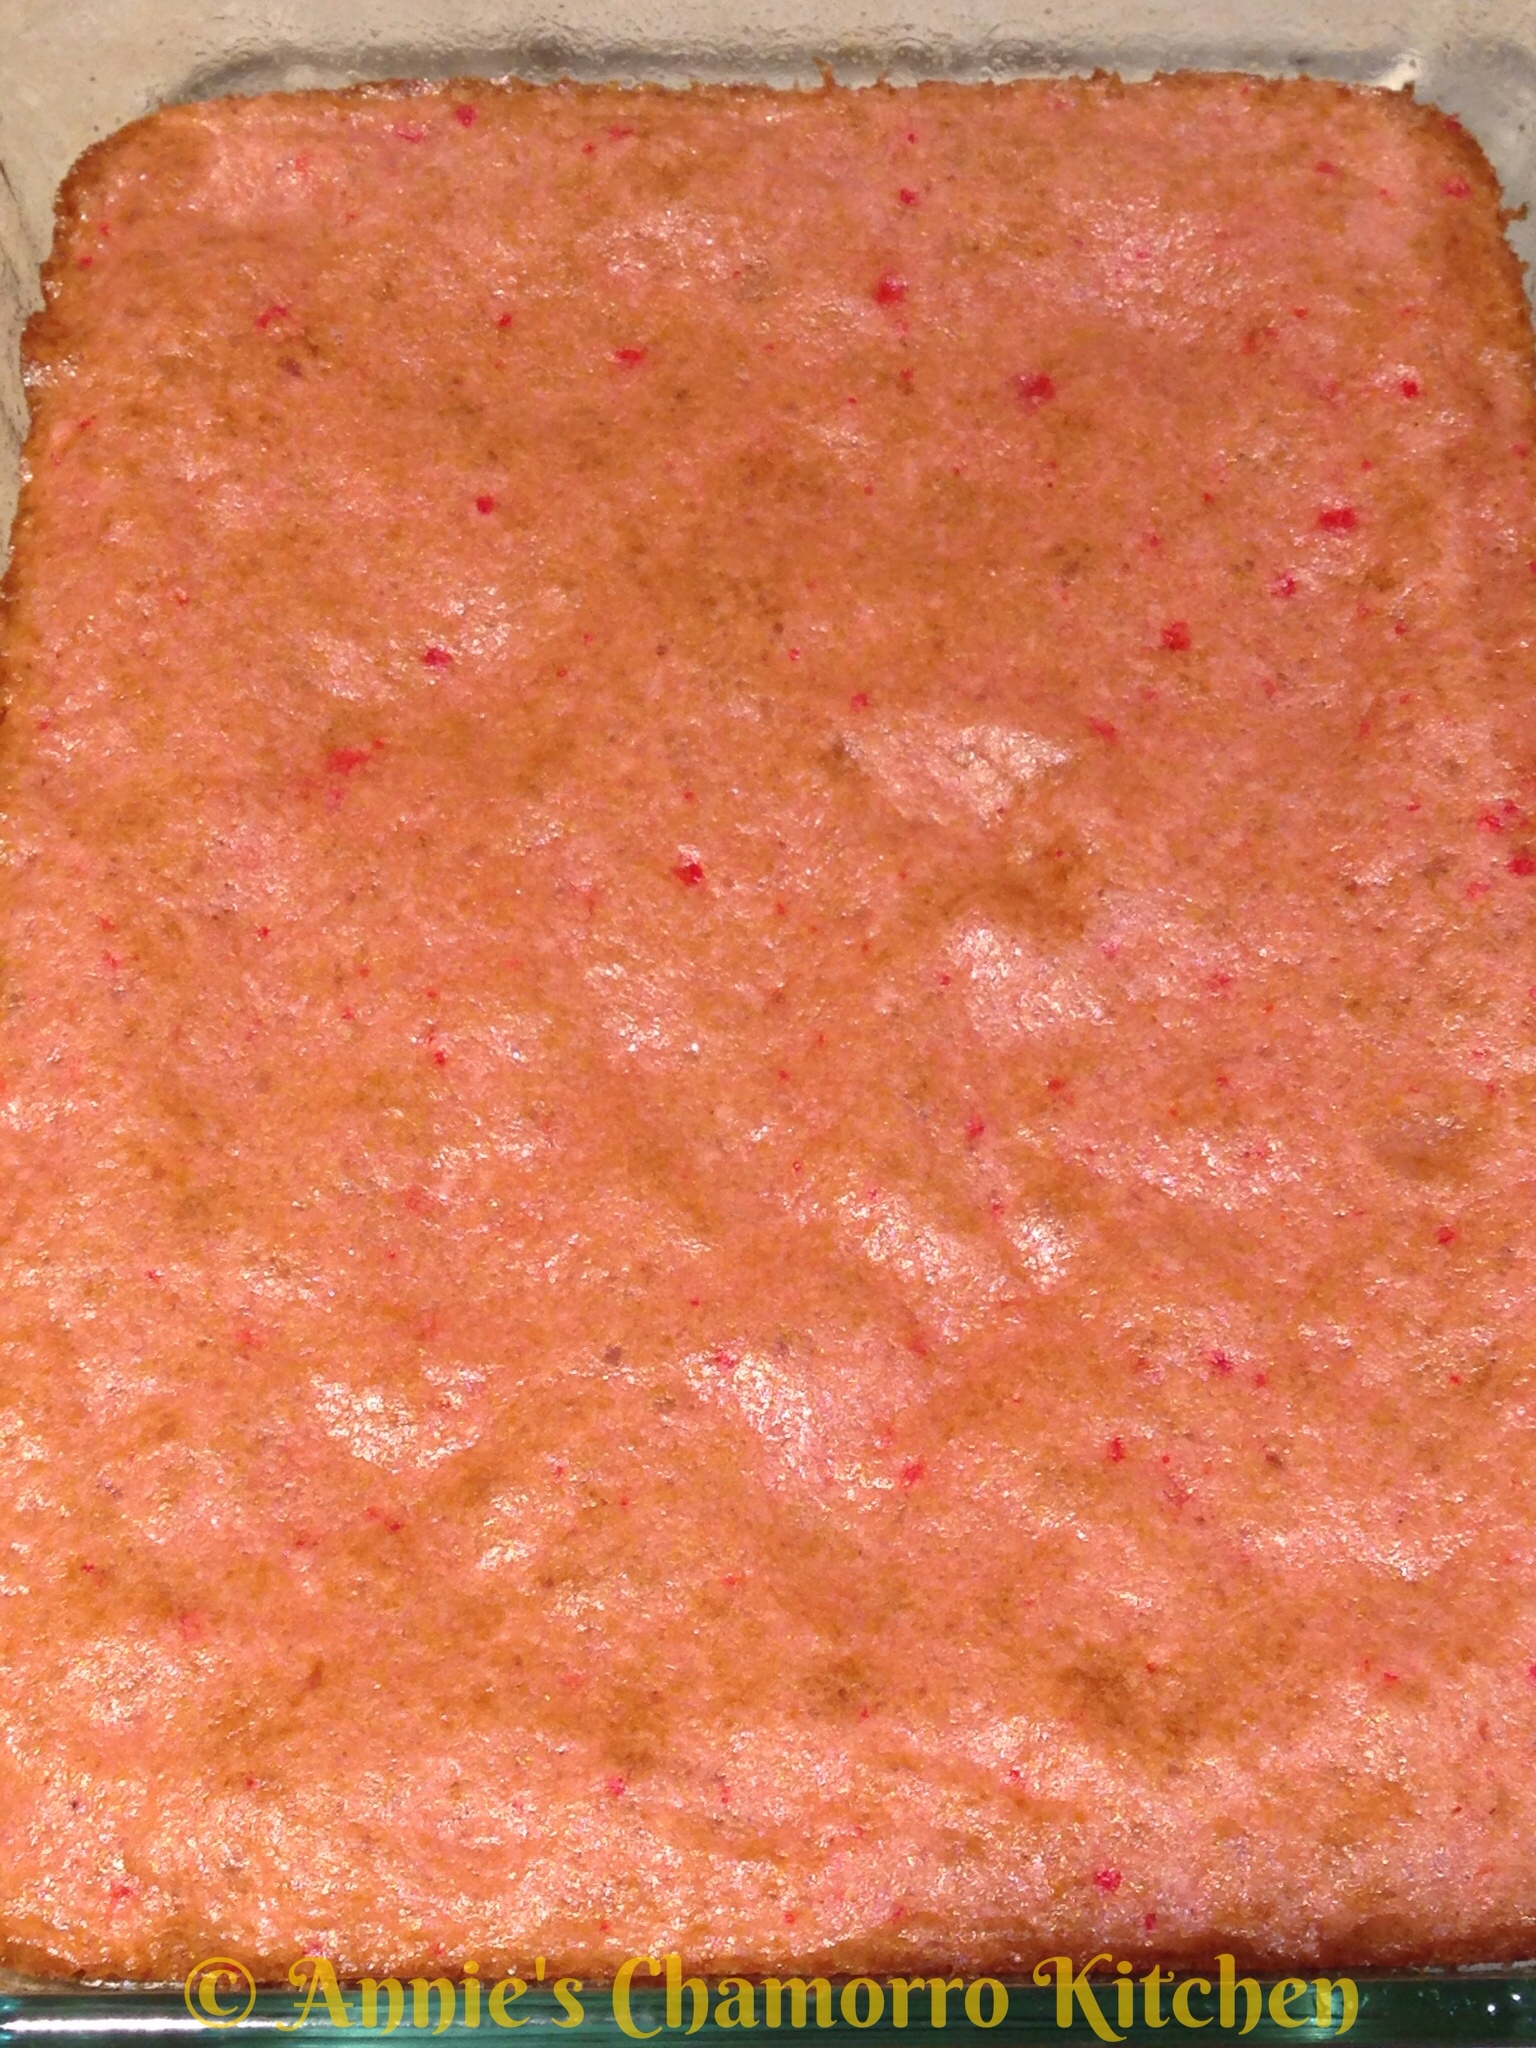
OPTIONAL:

To give your guava cake a boost of guava flavor, split the cakes in half while still warm.  Heat the jelly in a microwave-safe cup for one minute.  Spread the guava jelly over the top surface of each of the cake halves.  Allow to cool then place the halves back together.  Proceed with the remaining instructions.

image

4.  Make the guava sauce.

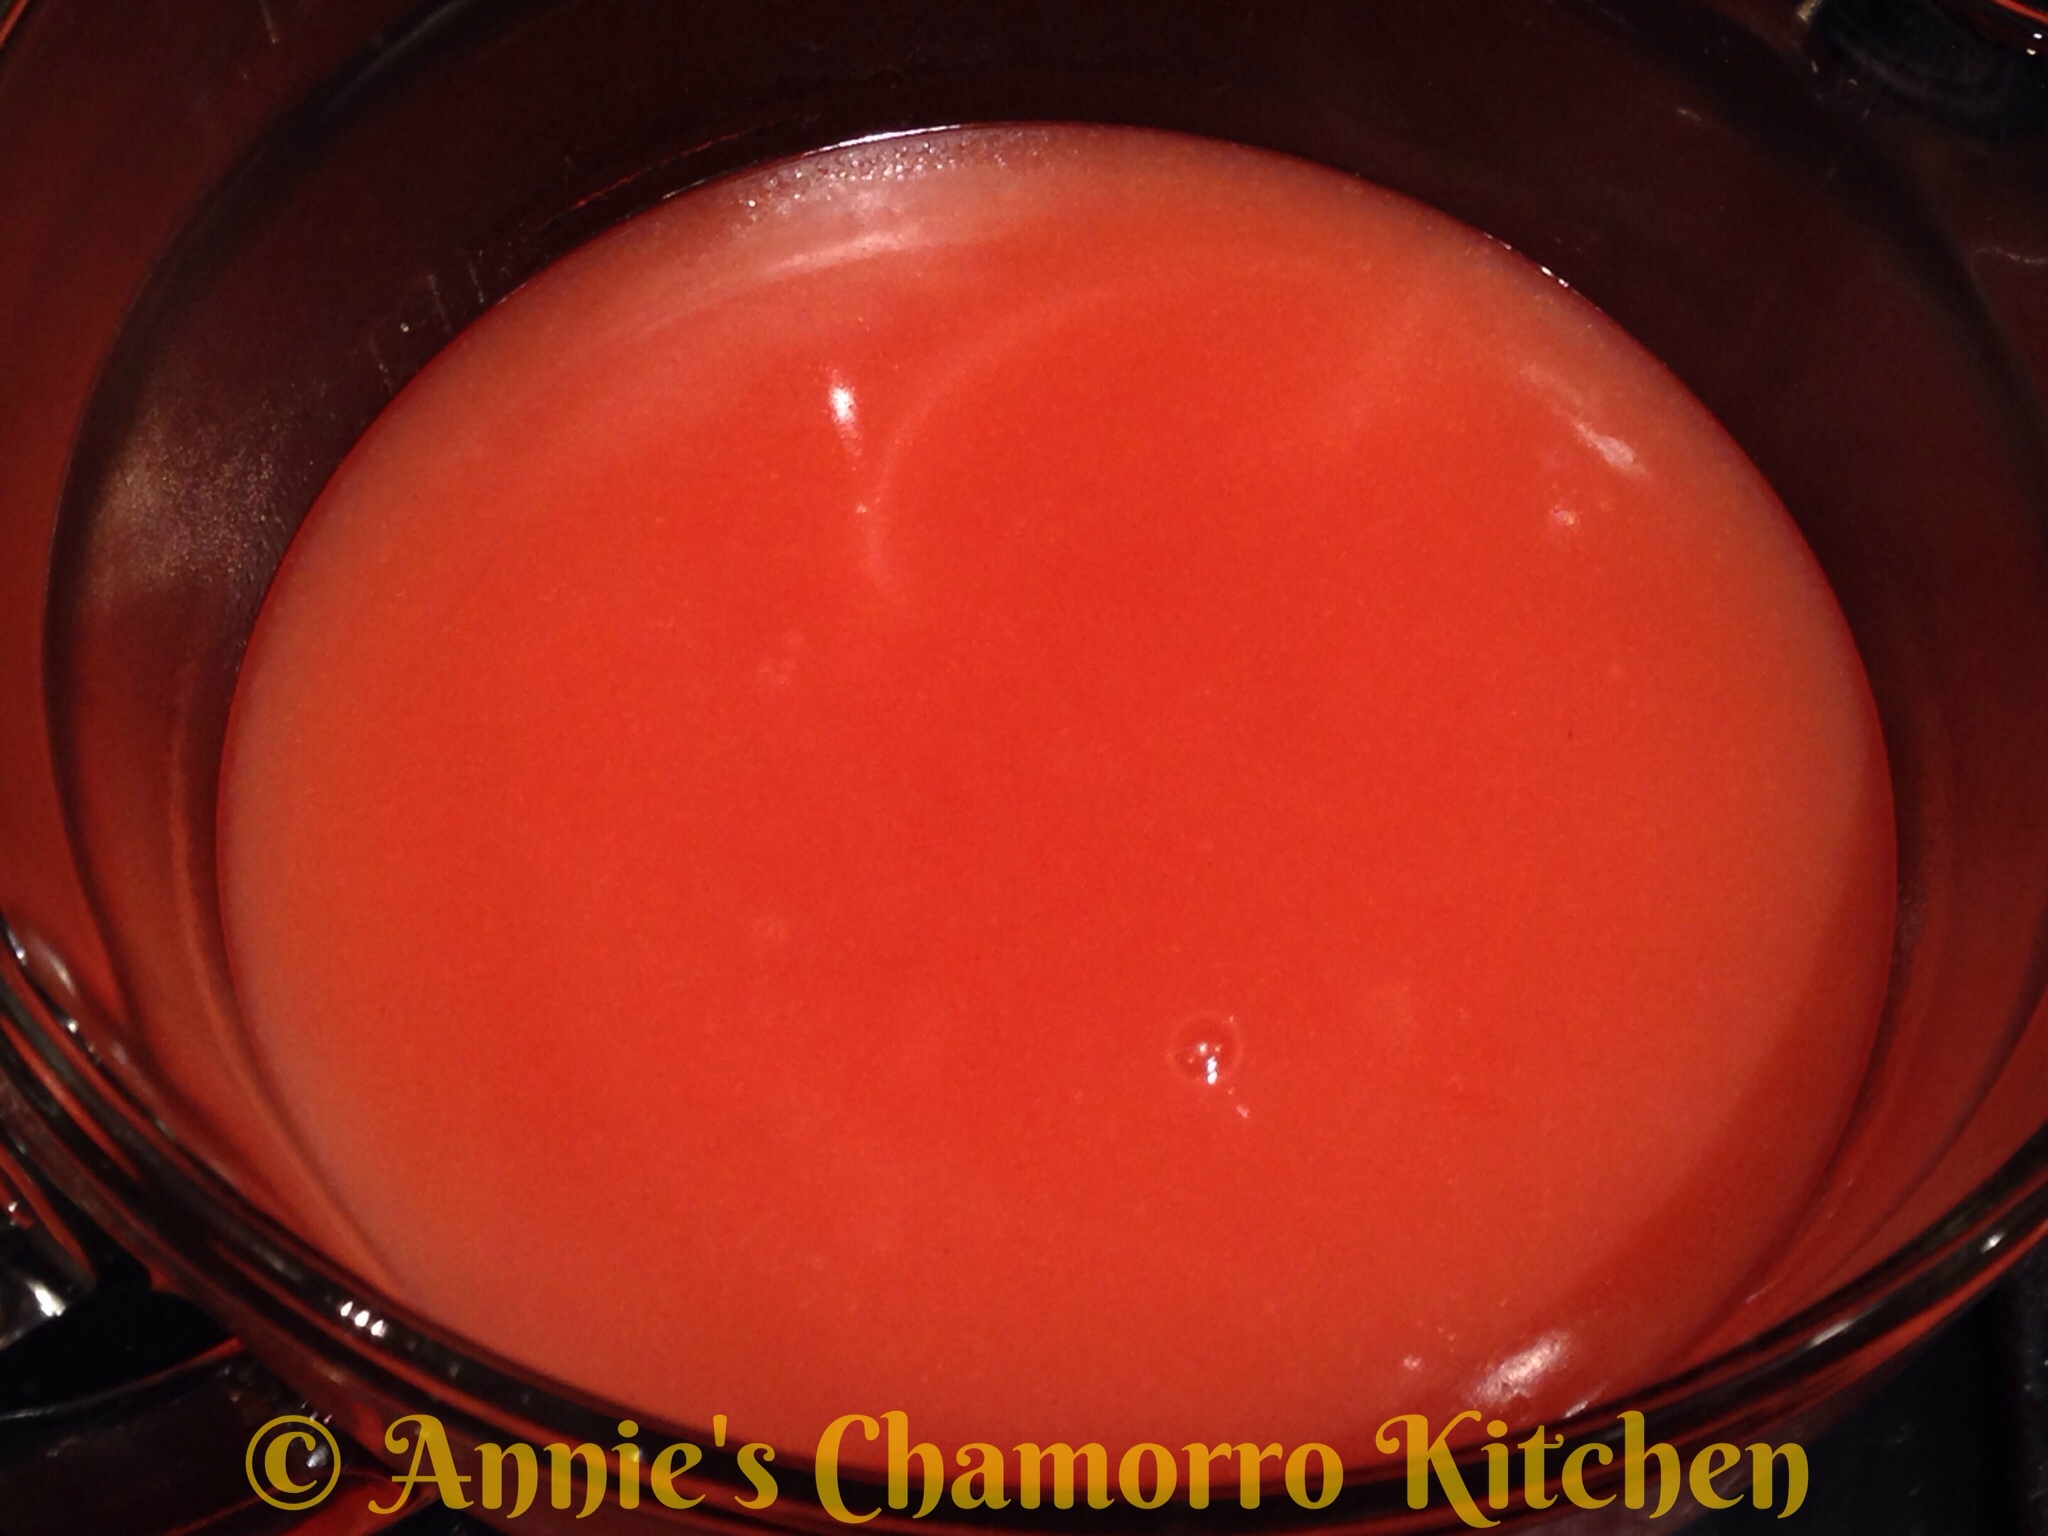
Place the remaining 2 cups of guava juice into a small saucepan.  Turn the heat to medium high.
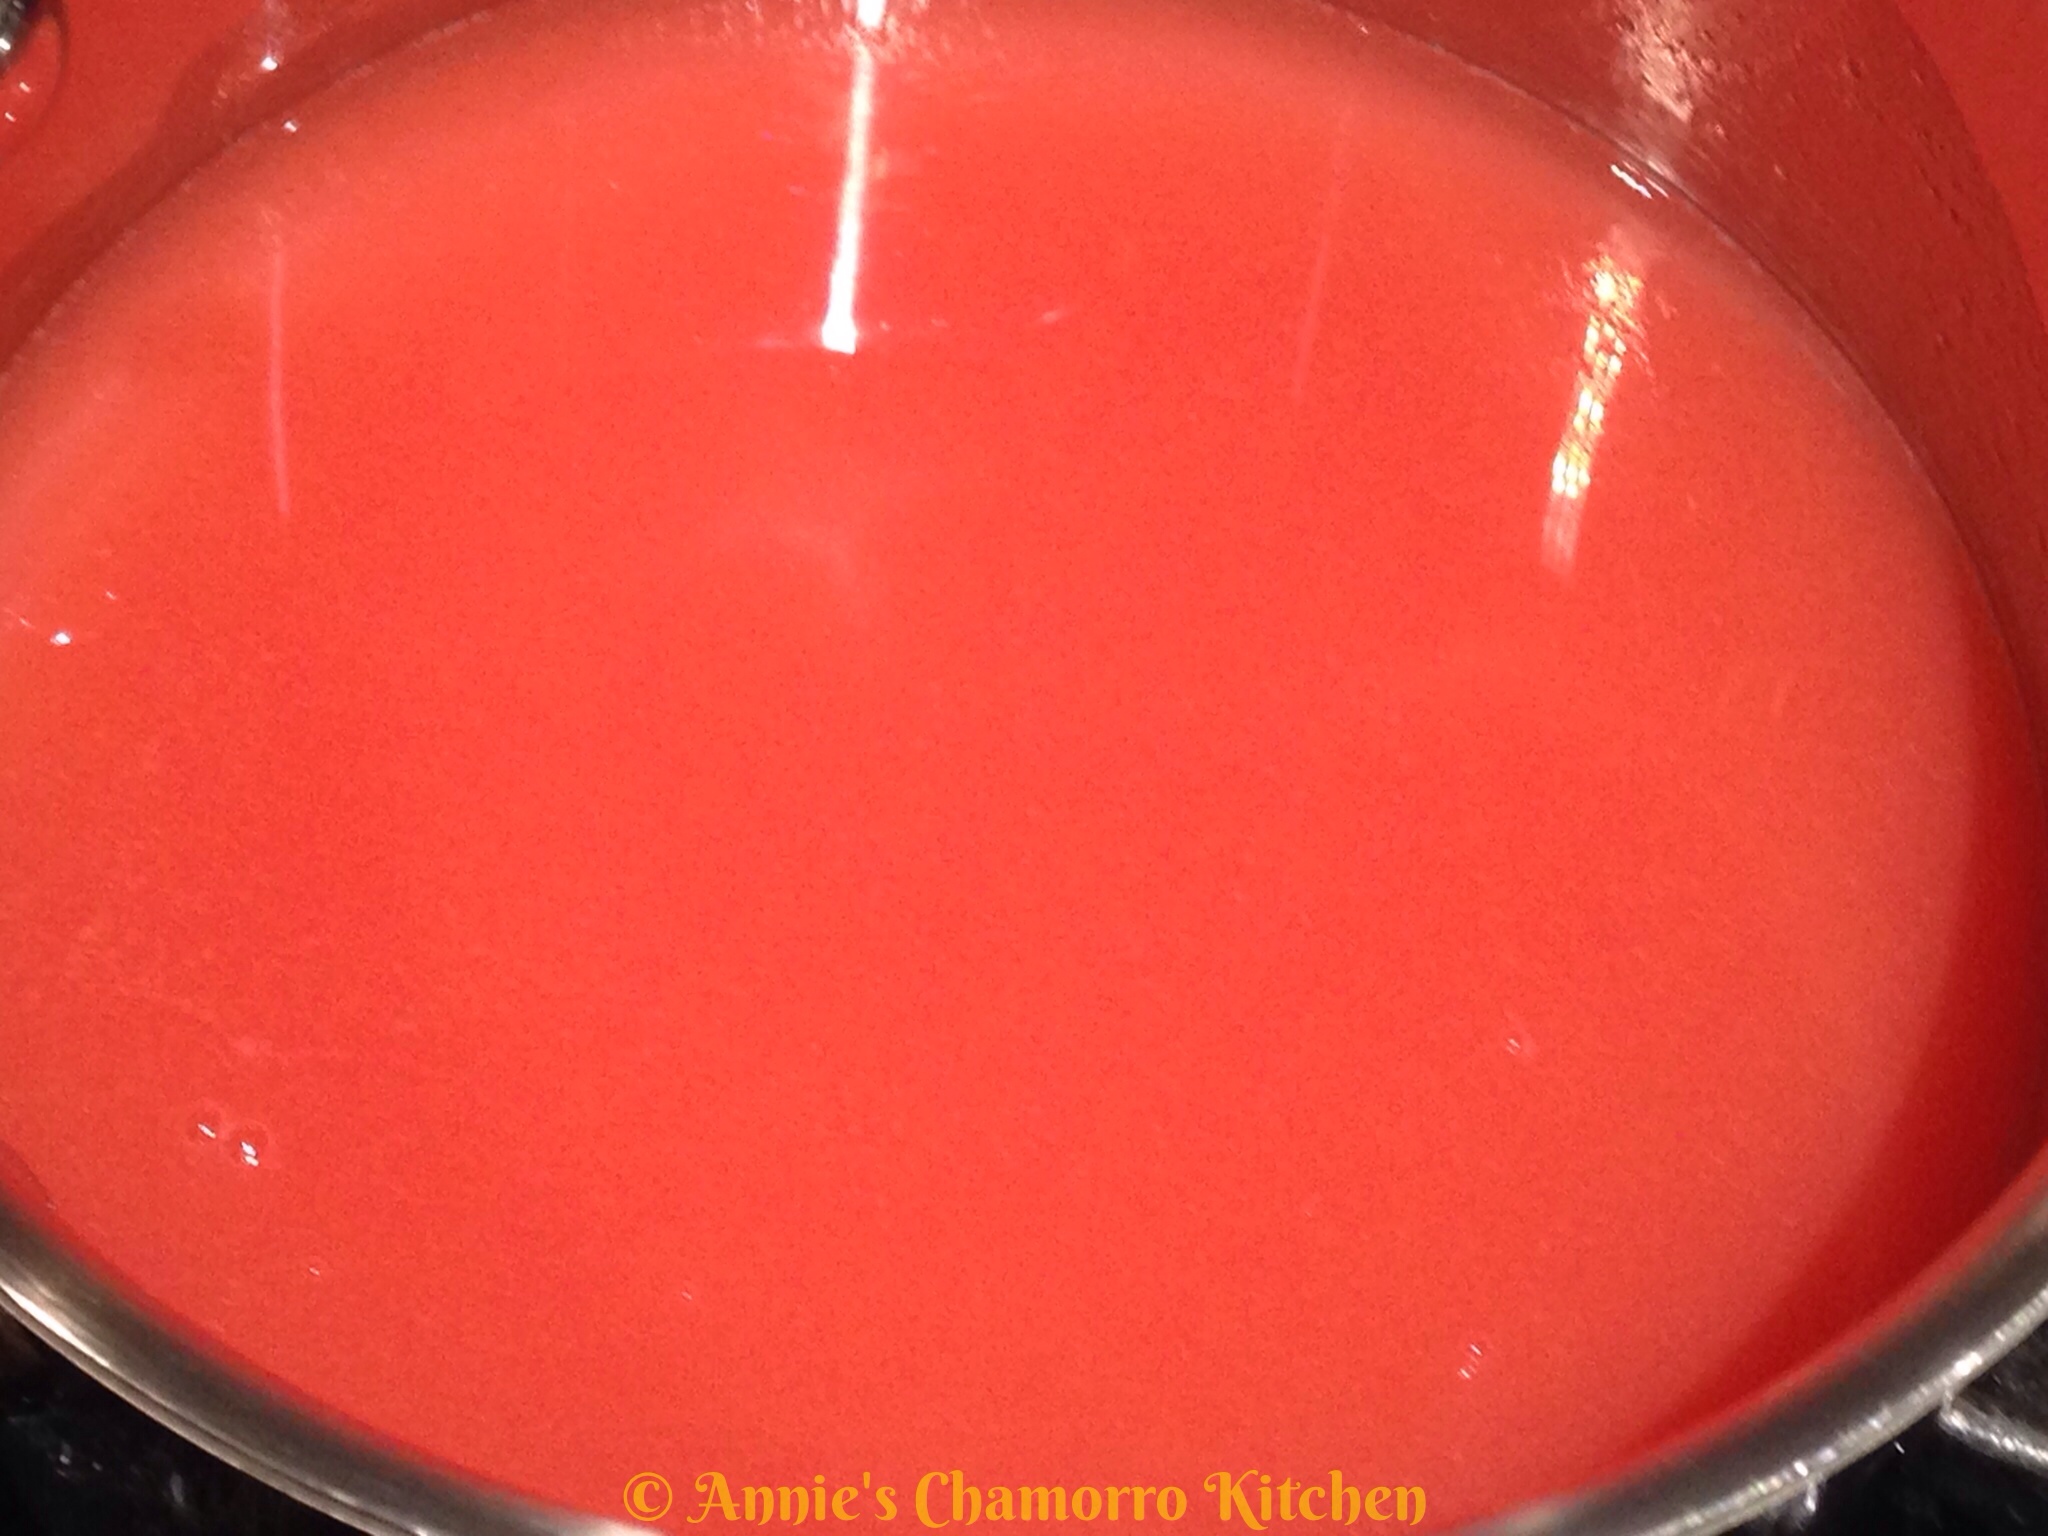
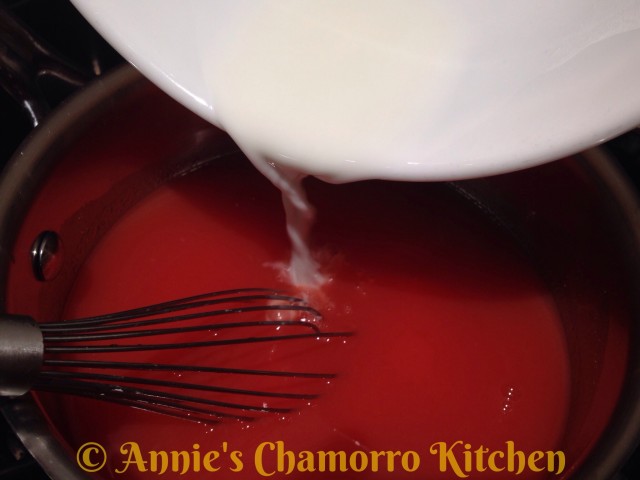
Mix the cornstarch with 4 tablespoons of water.  Pour the cornstarch mixture into the pan, mixing with a whisk.
wpid-Photo-Feb-13-2014-632-PM.jpg

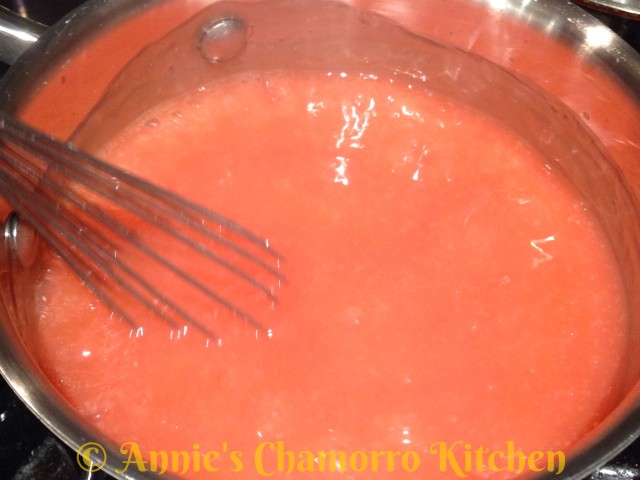
Continue whisking the mixture over medium high heat, cooking until the sauce begins to thicken.

The sauce will thicken only after it comes to a boil.  Once the mixture starts to boil, reduce the heat to medium low; continue cooking for a couple of minutes then remove from the heat.
wpid-Photo-Feb-13-2014-638-PM.jpg

Pour the sauce into a small bowl or measuring cup.  Refrigerate until ready to use.

Note: Let the sauce cool completely before pouring onto the cake.
5.  Assemble the cake.

Place one of the cake layers onto a serving plate.
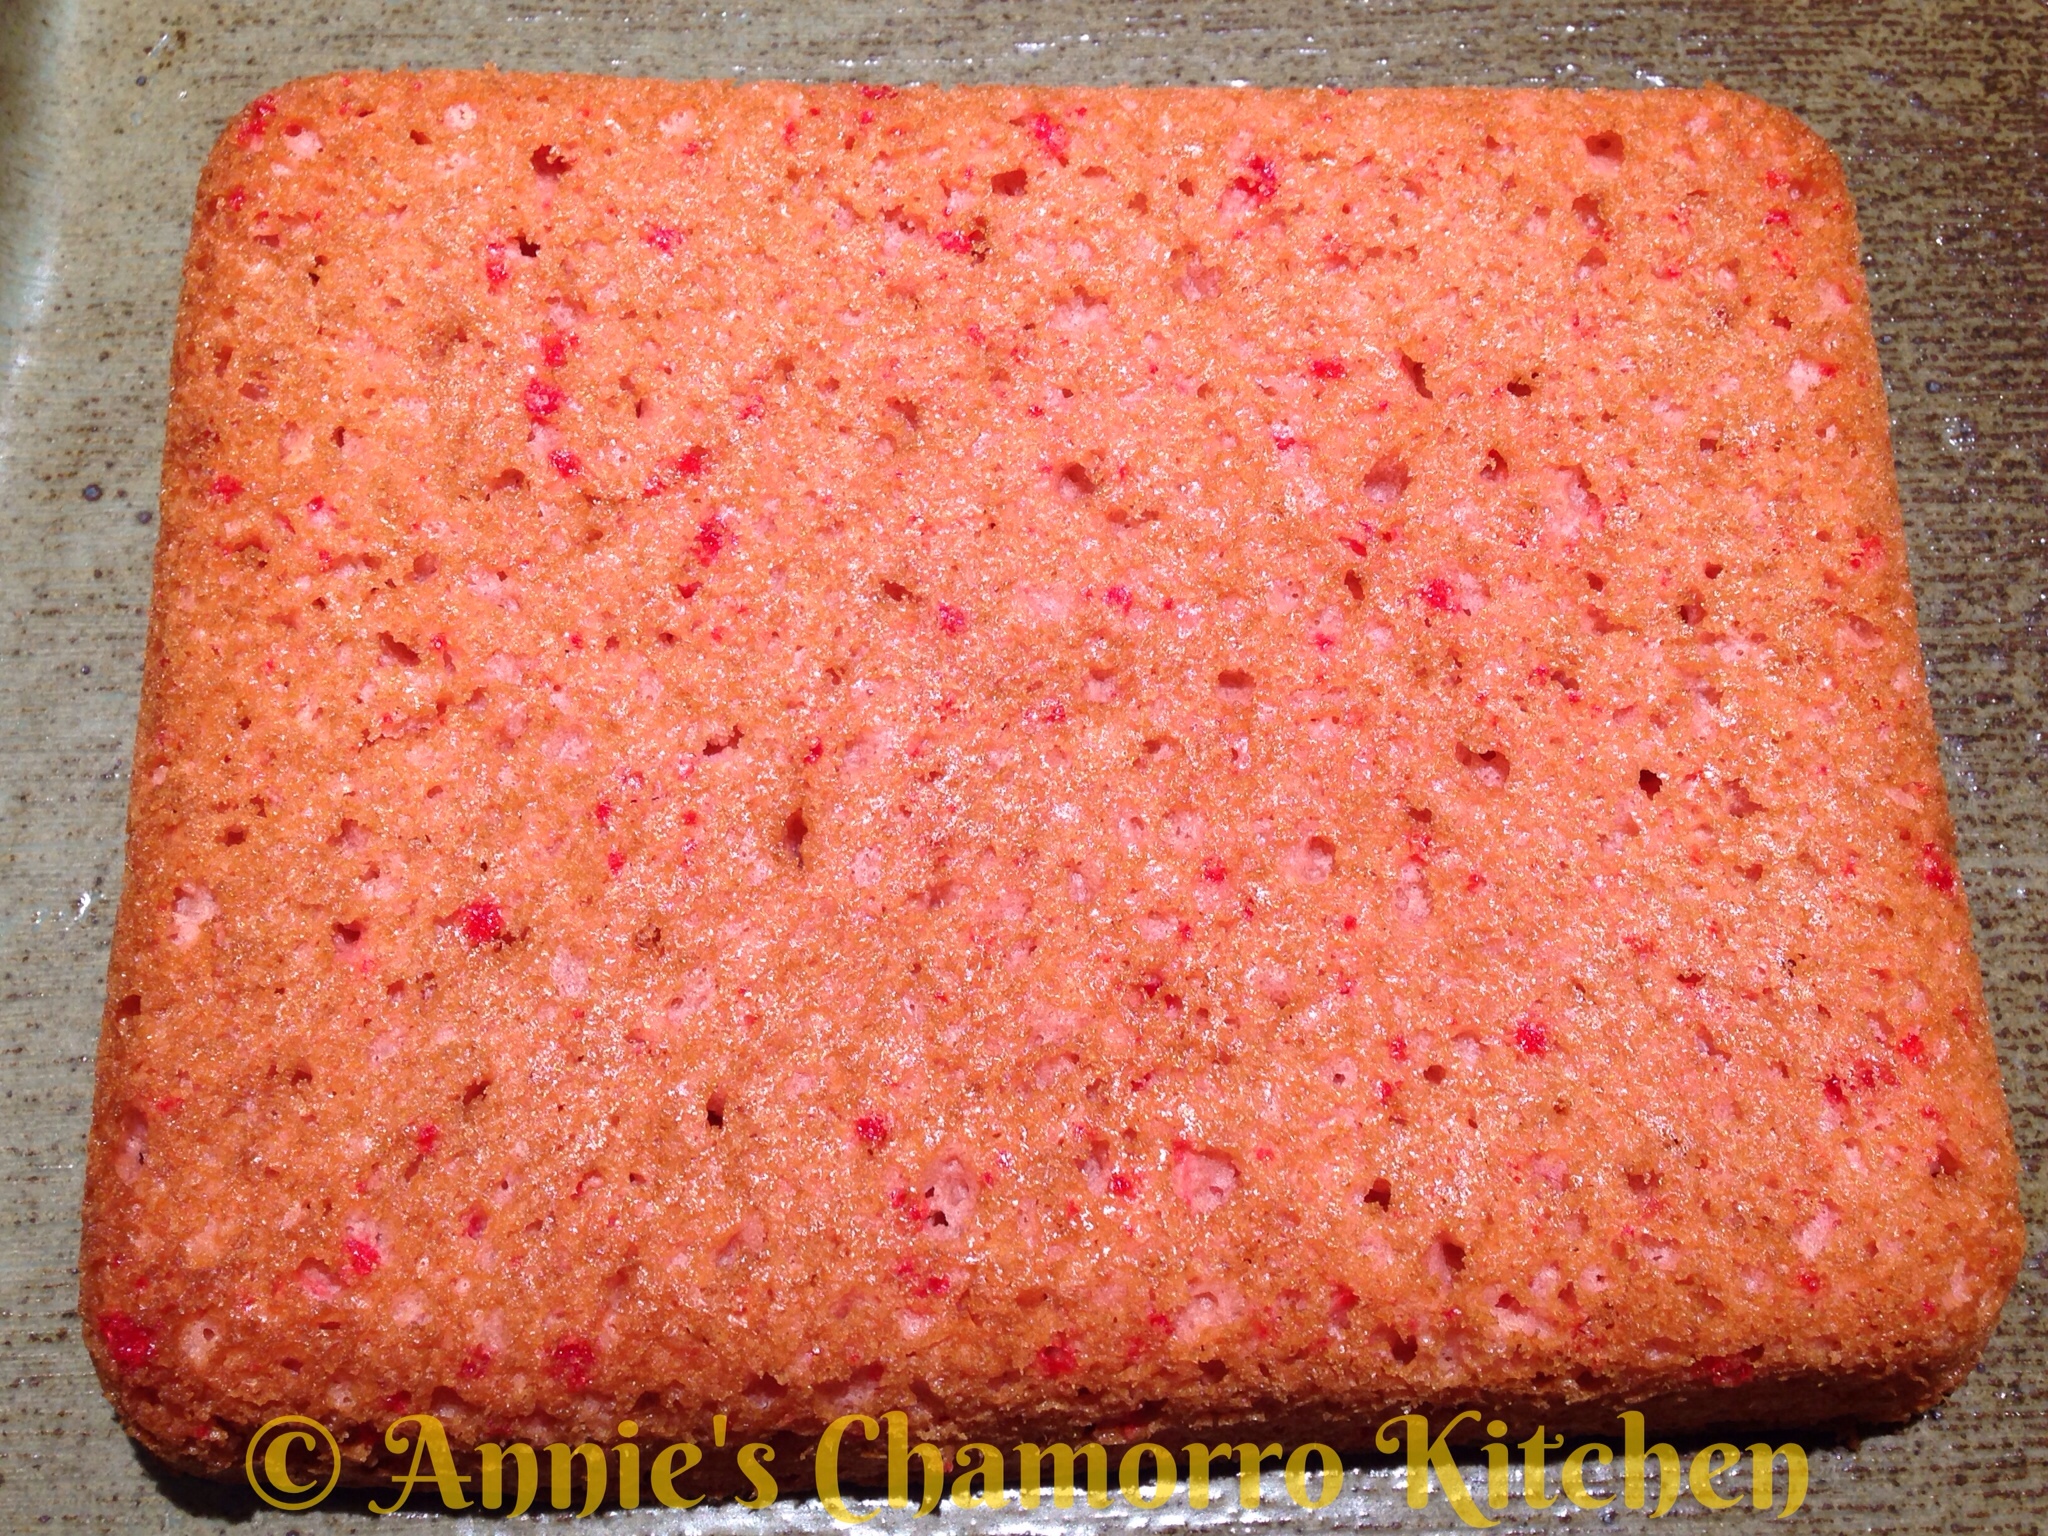
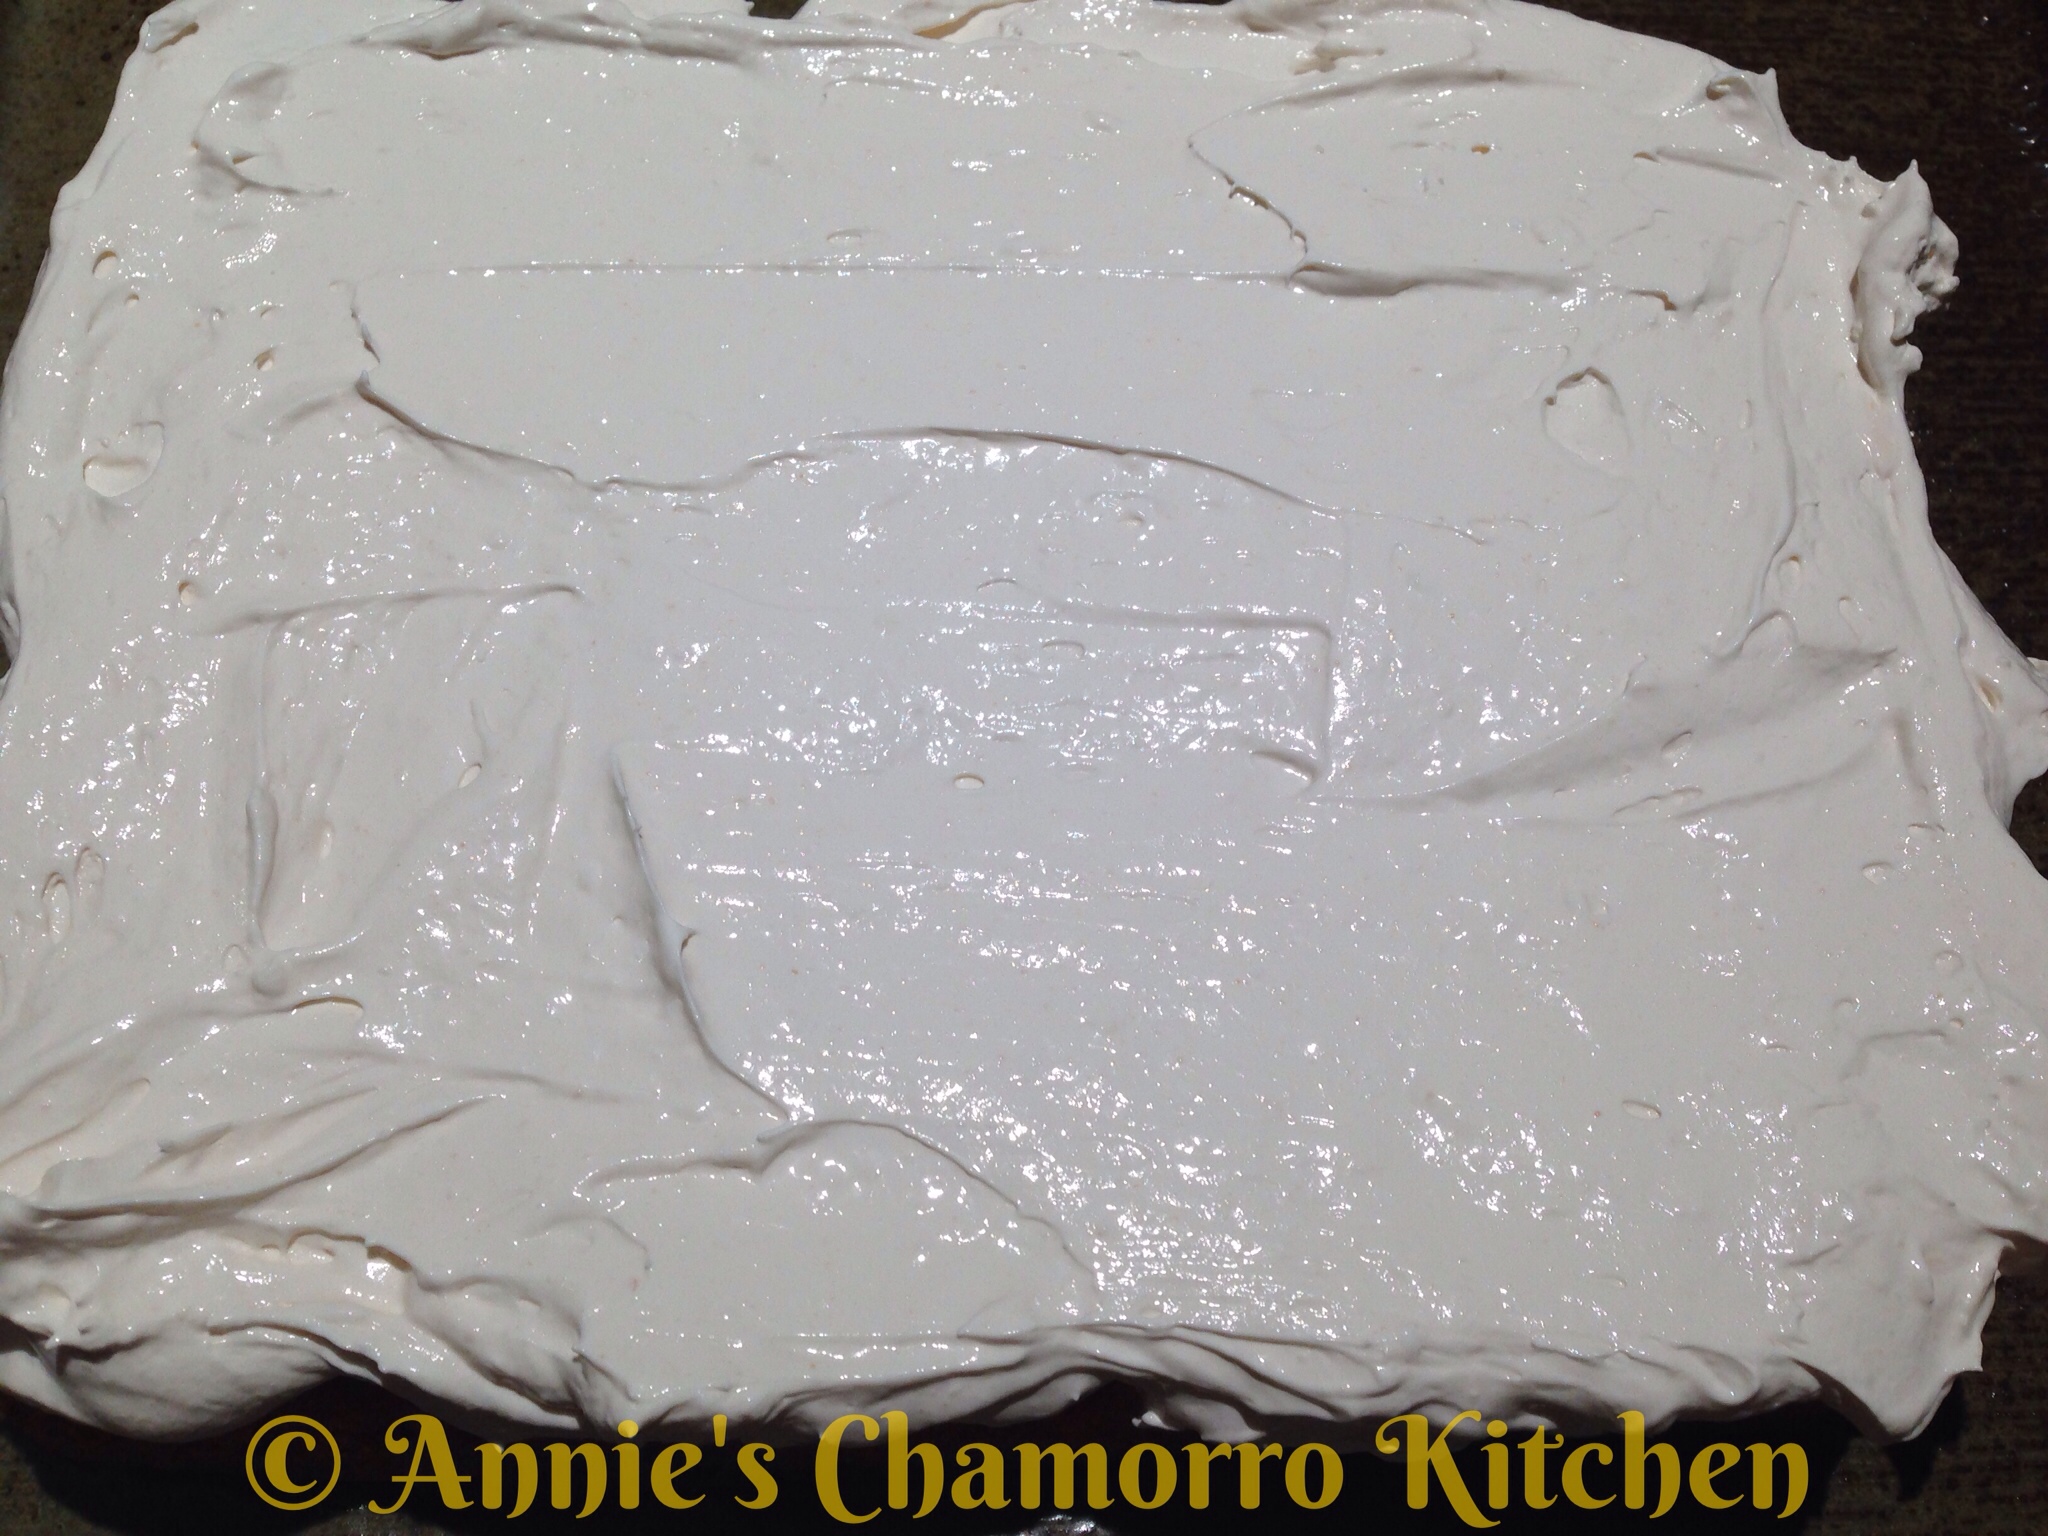
Spread a thin layer of frosting onto the cake.
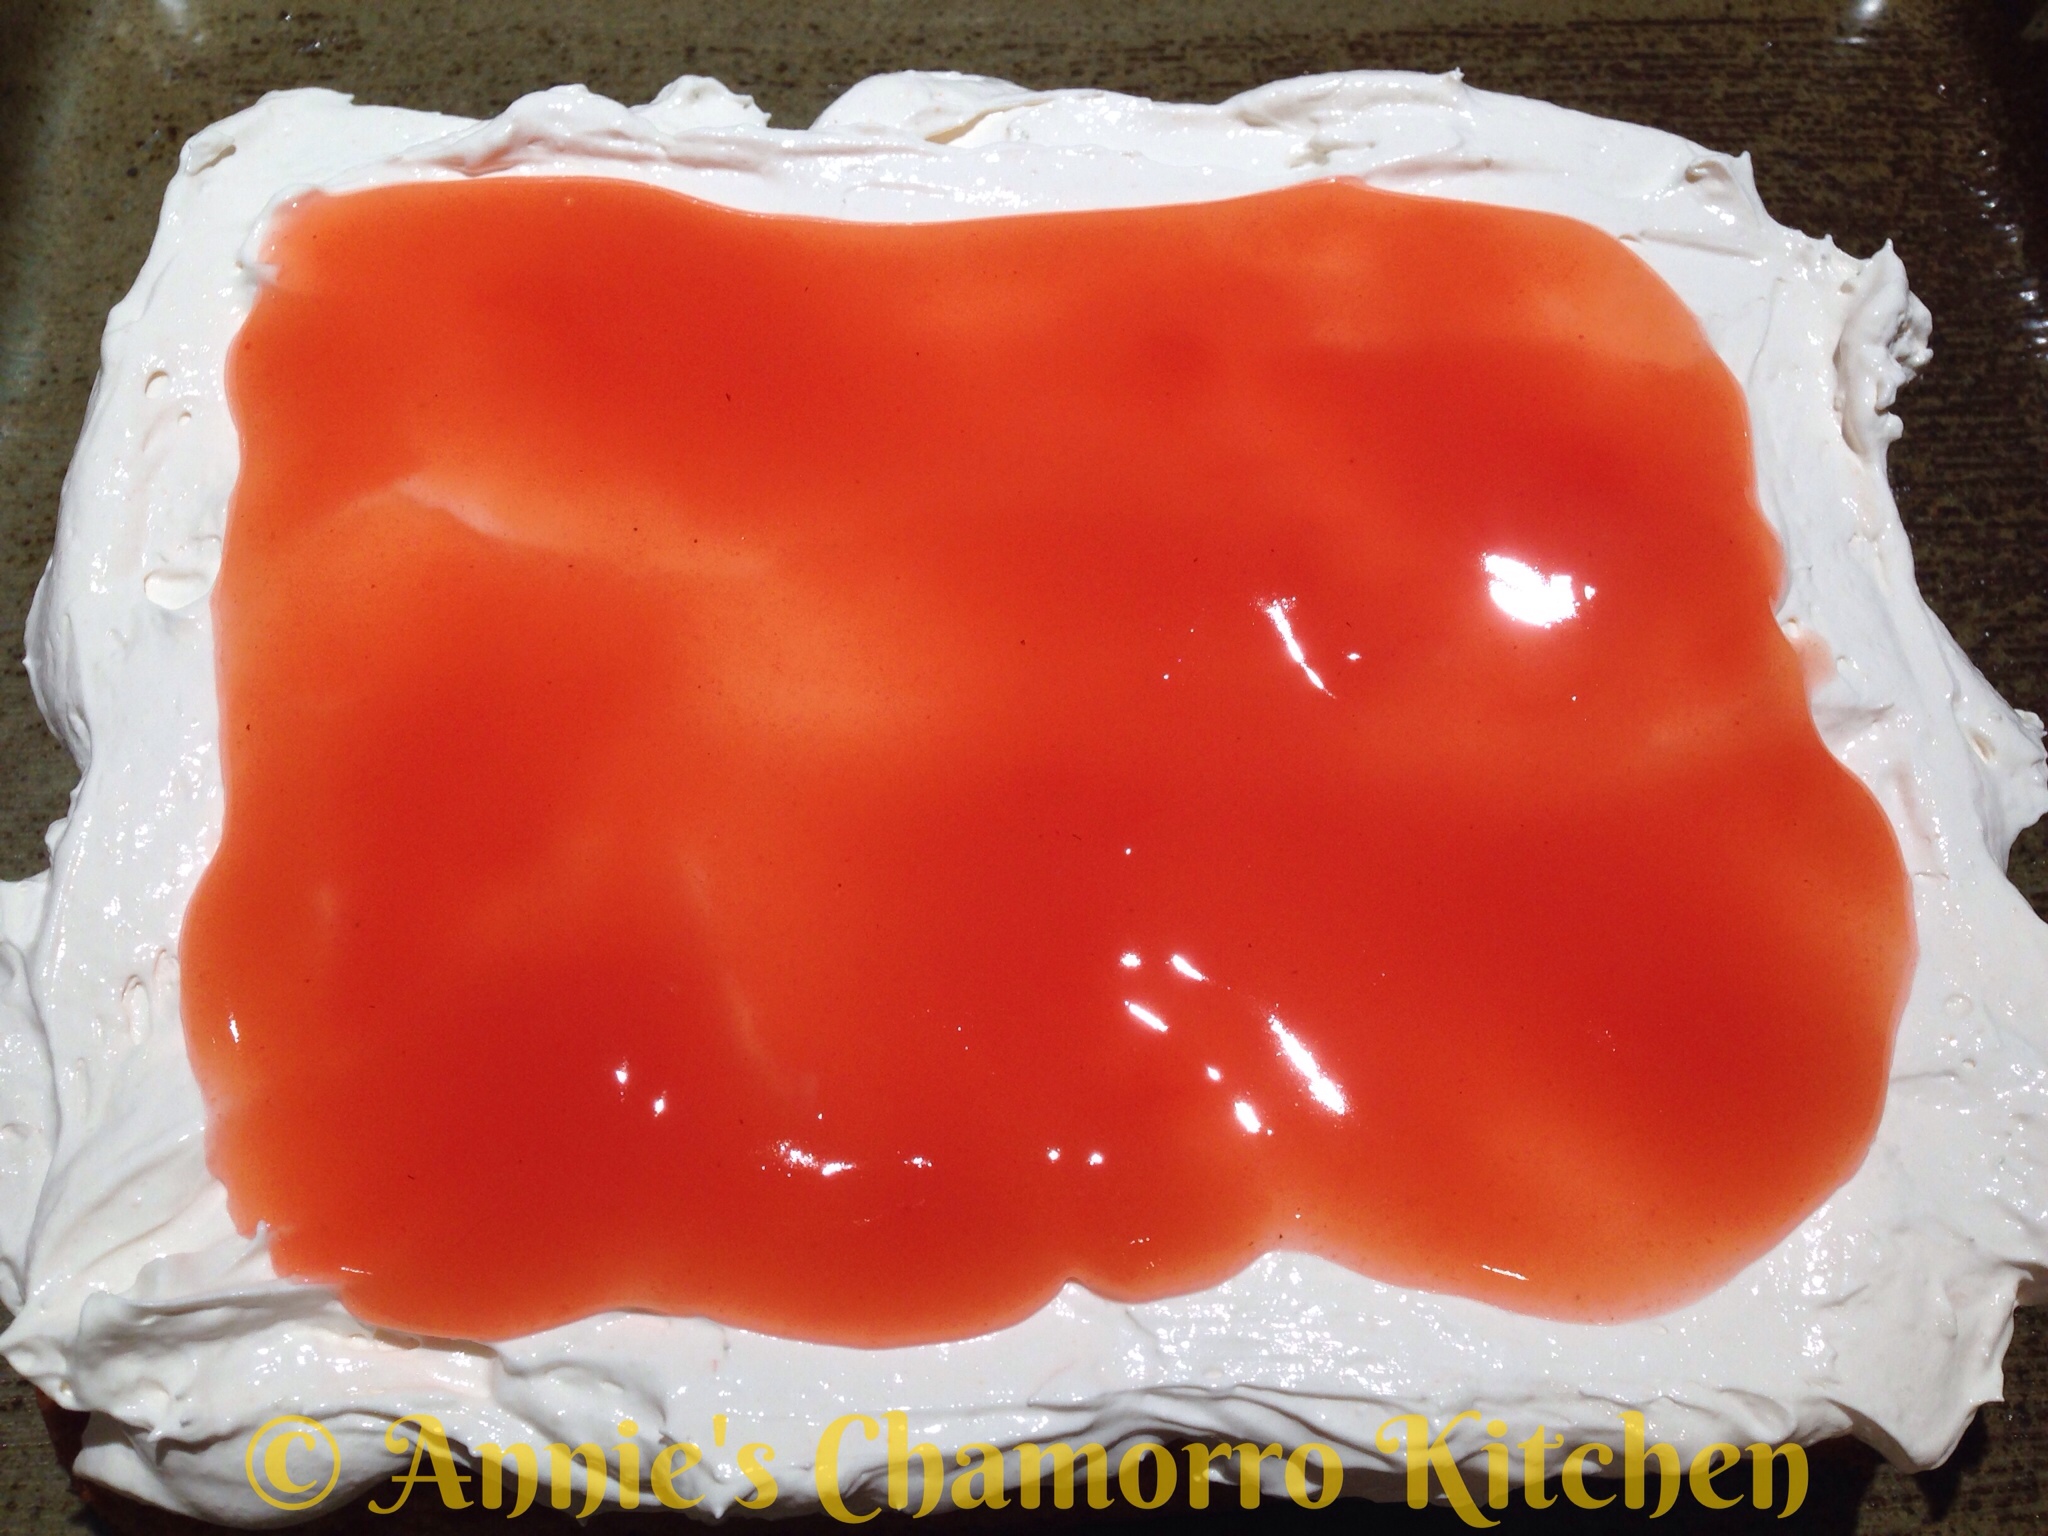
Spread some of the guava sauce on top of the frosting, staying about one inch from the edge.
Place the second layer of cake on top of the first layer.
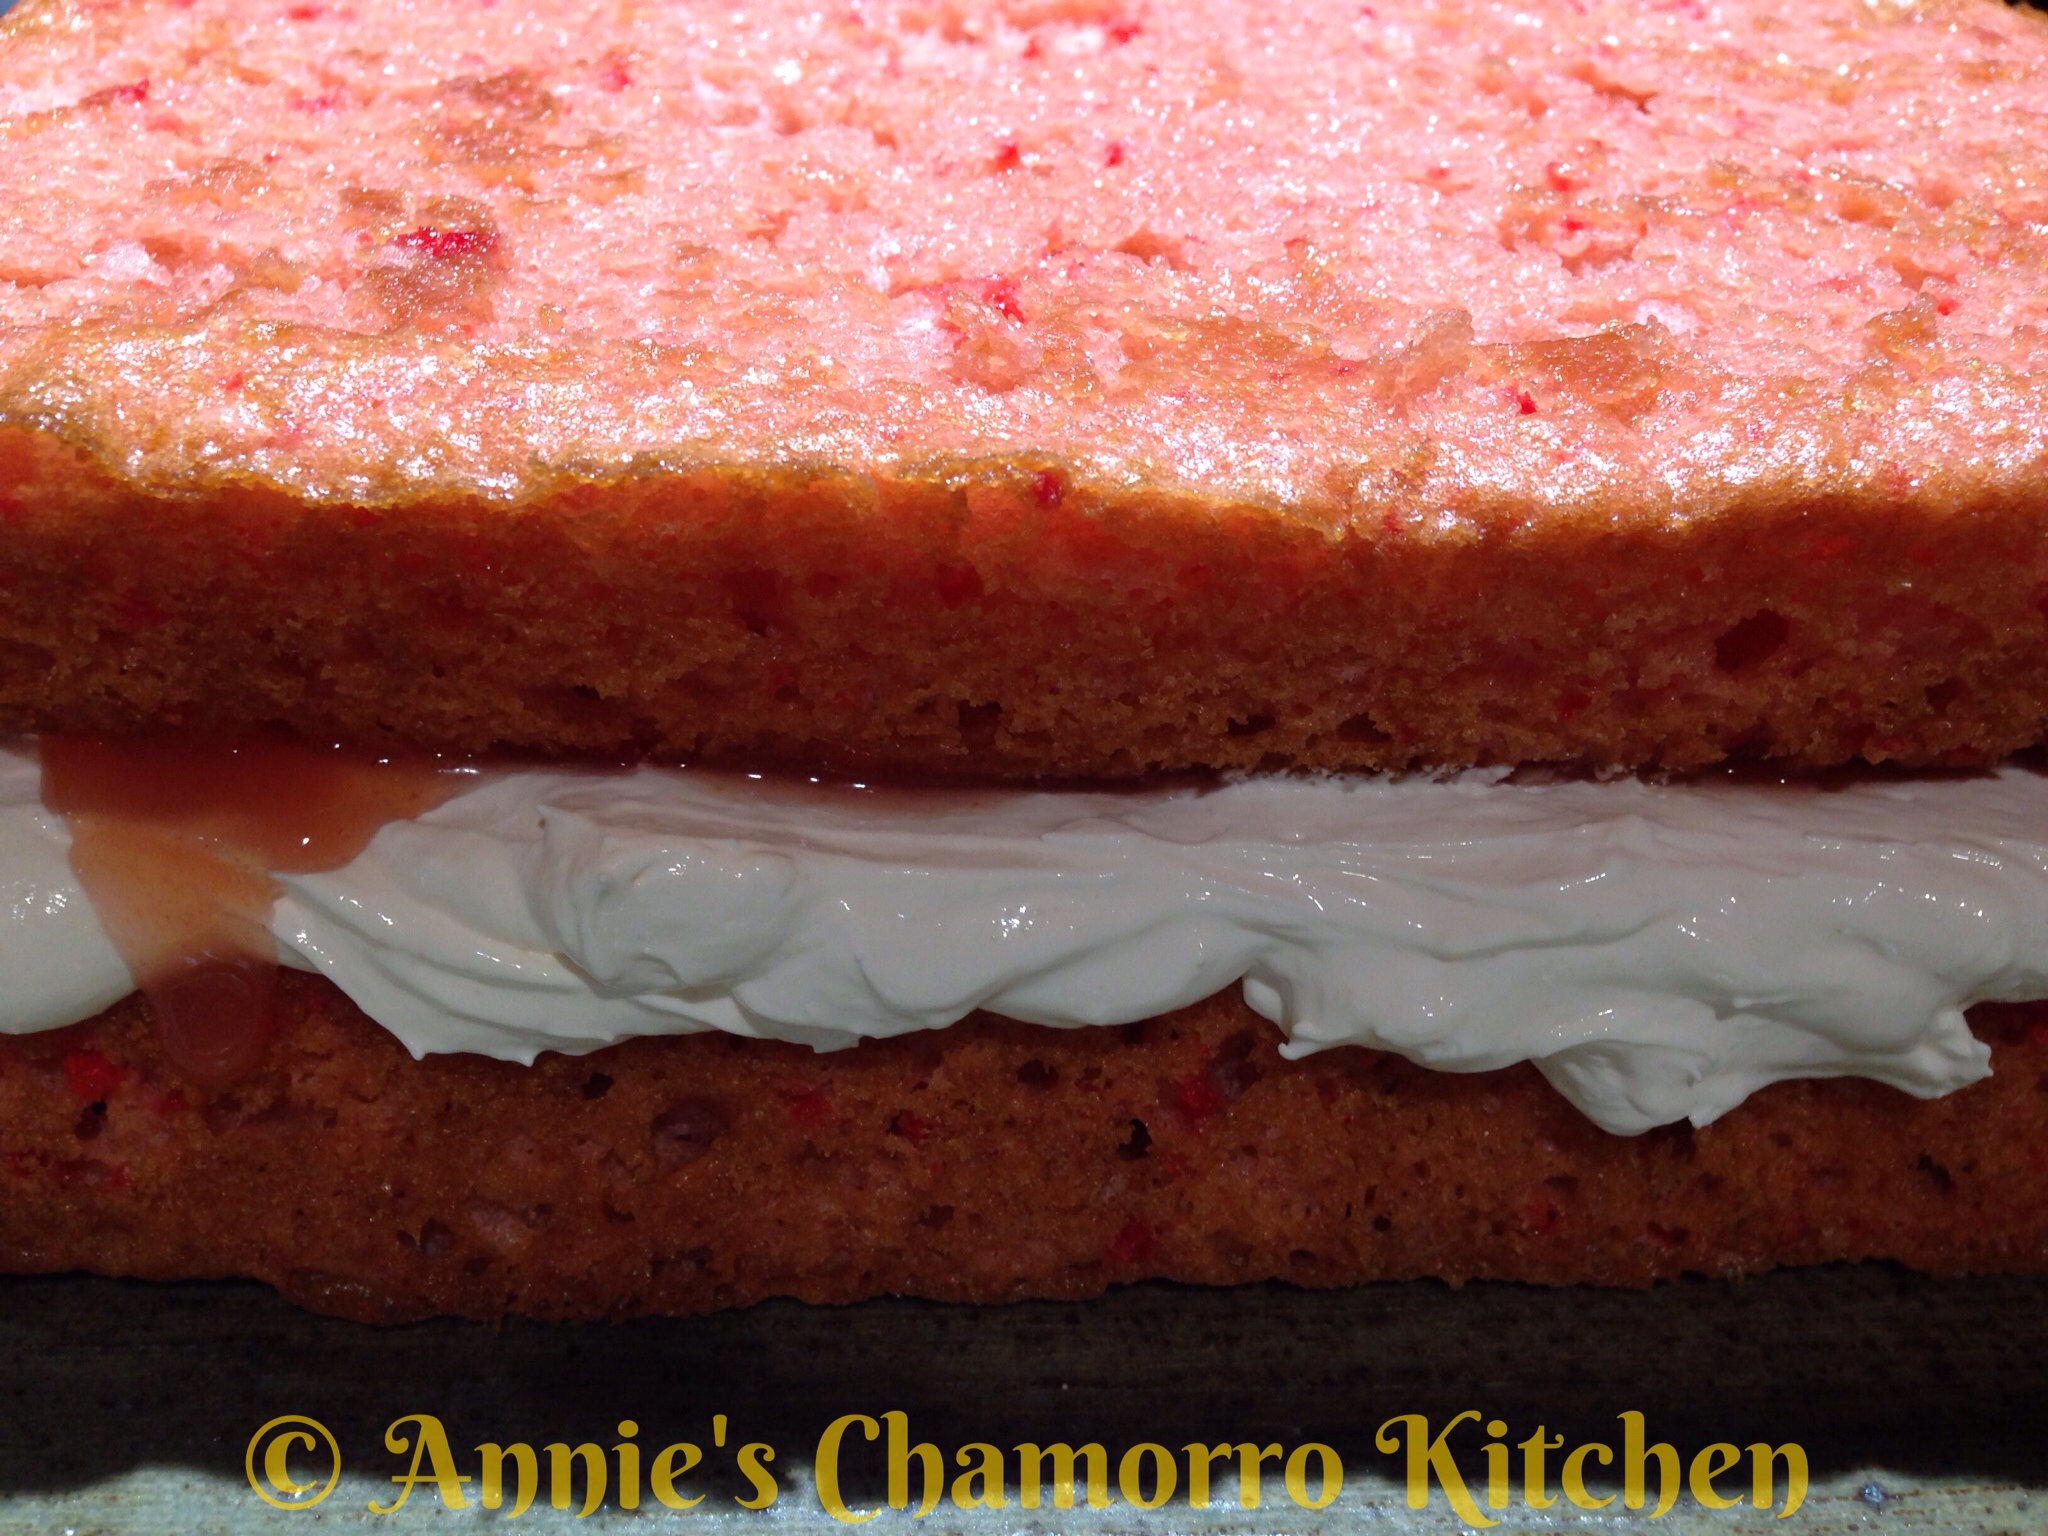
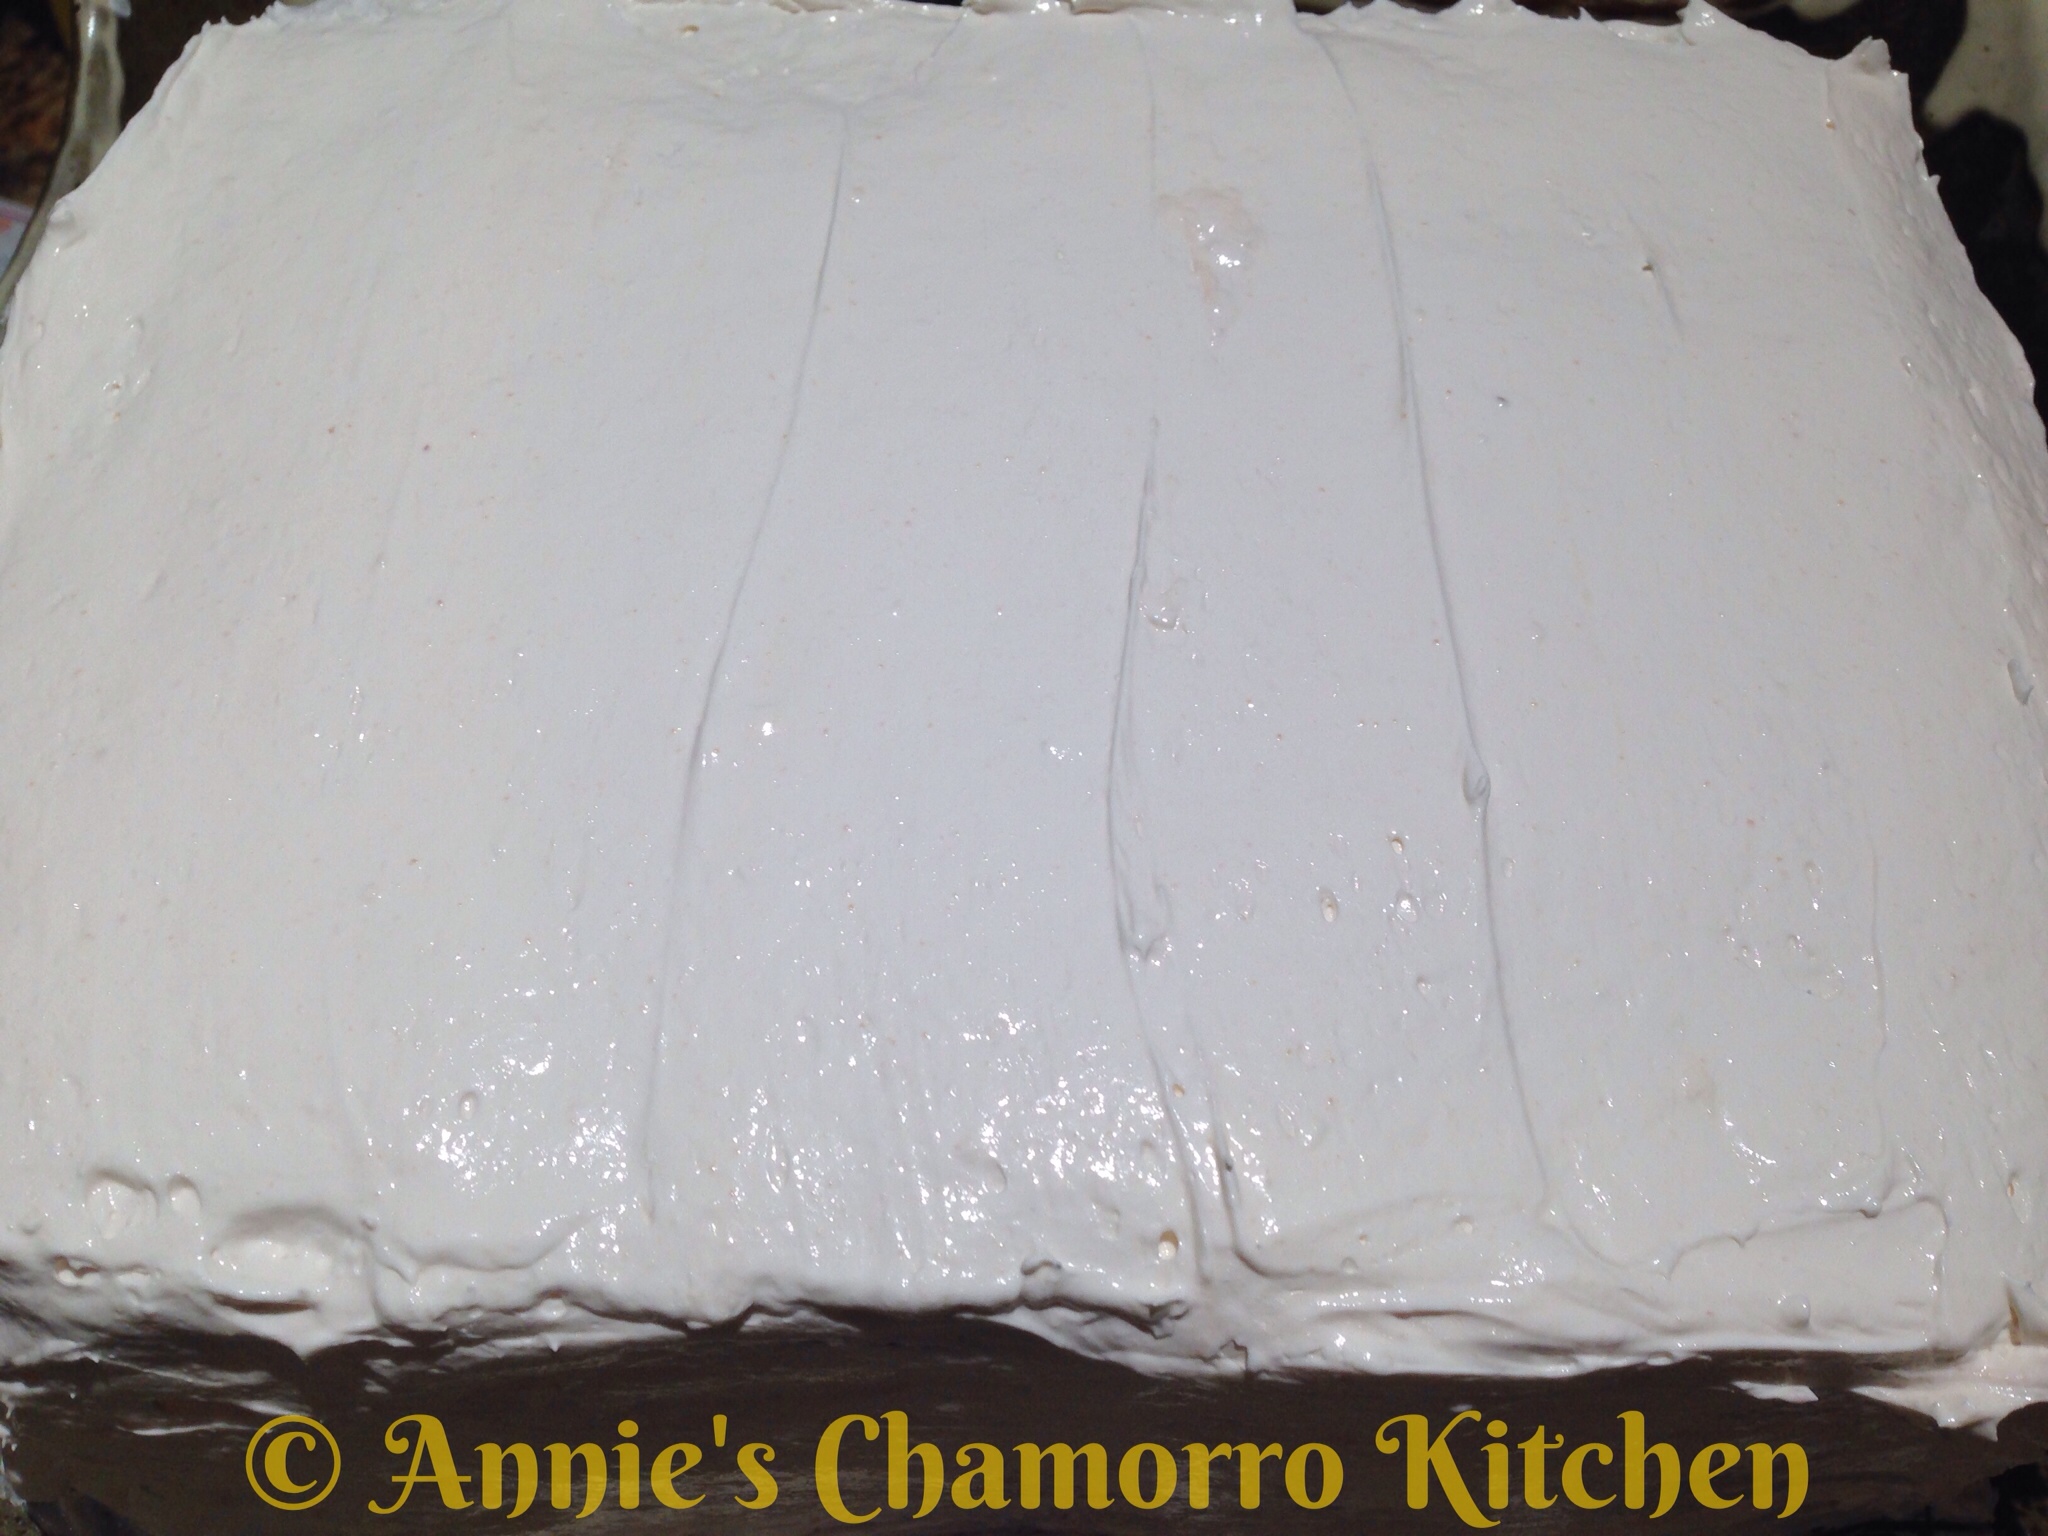
Frost the cake (top and sides) with the remaining frosting.
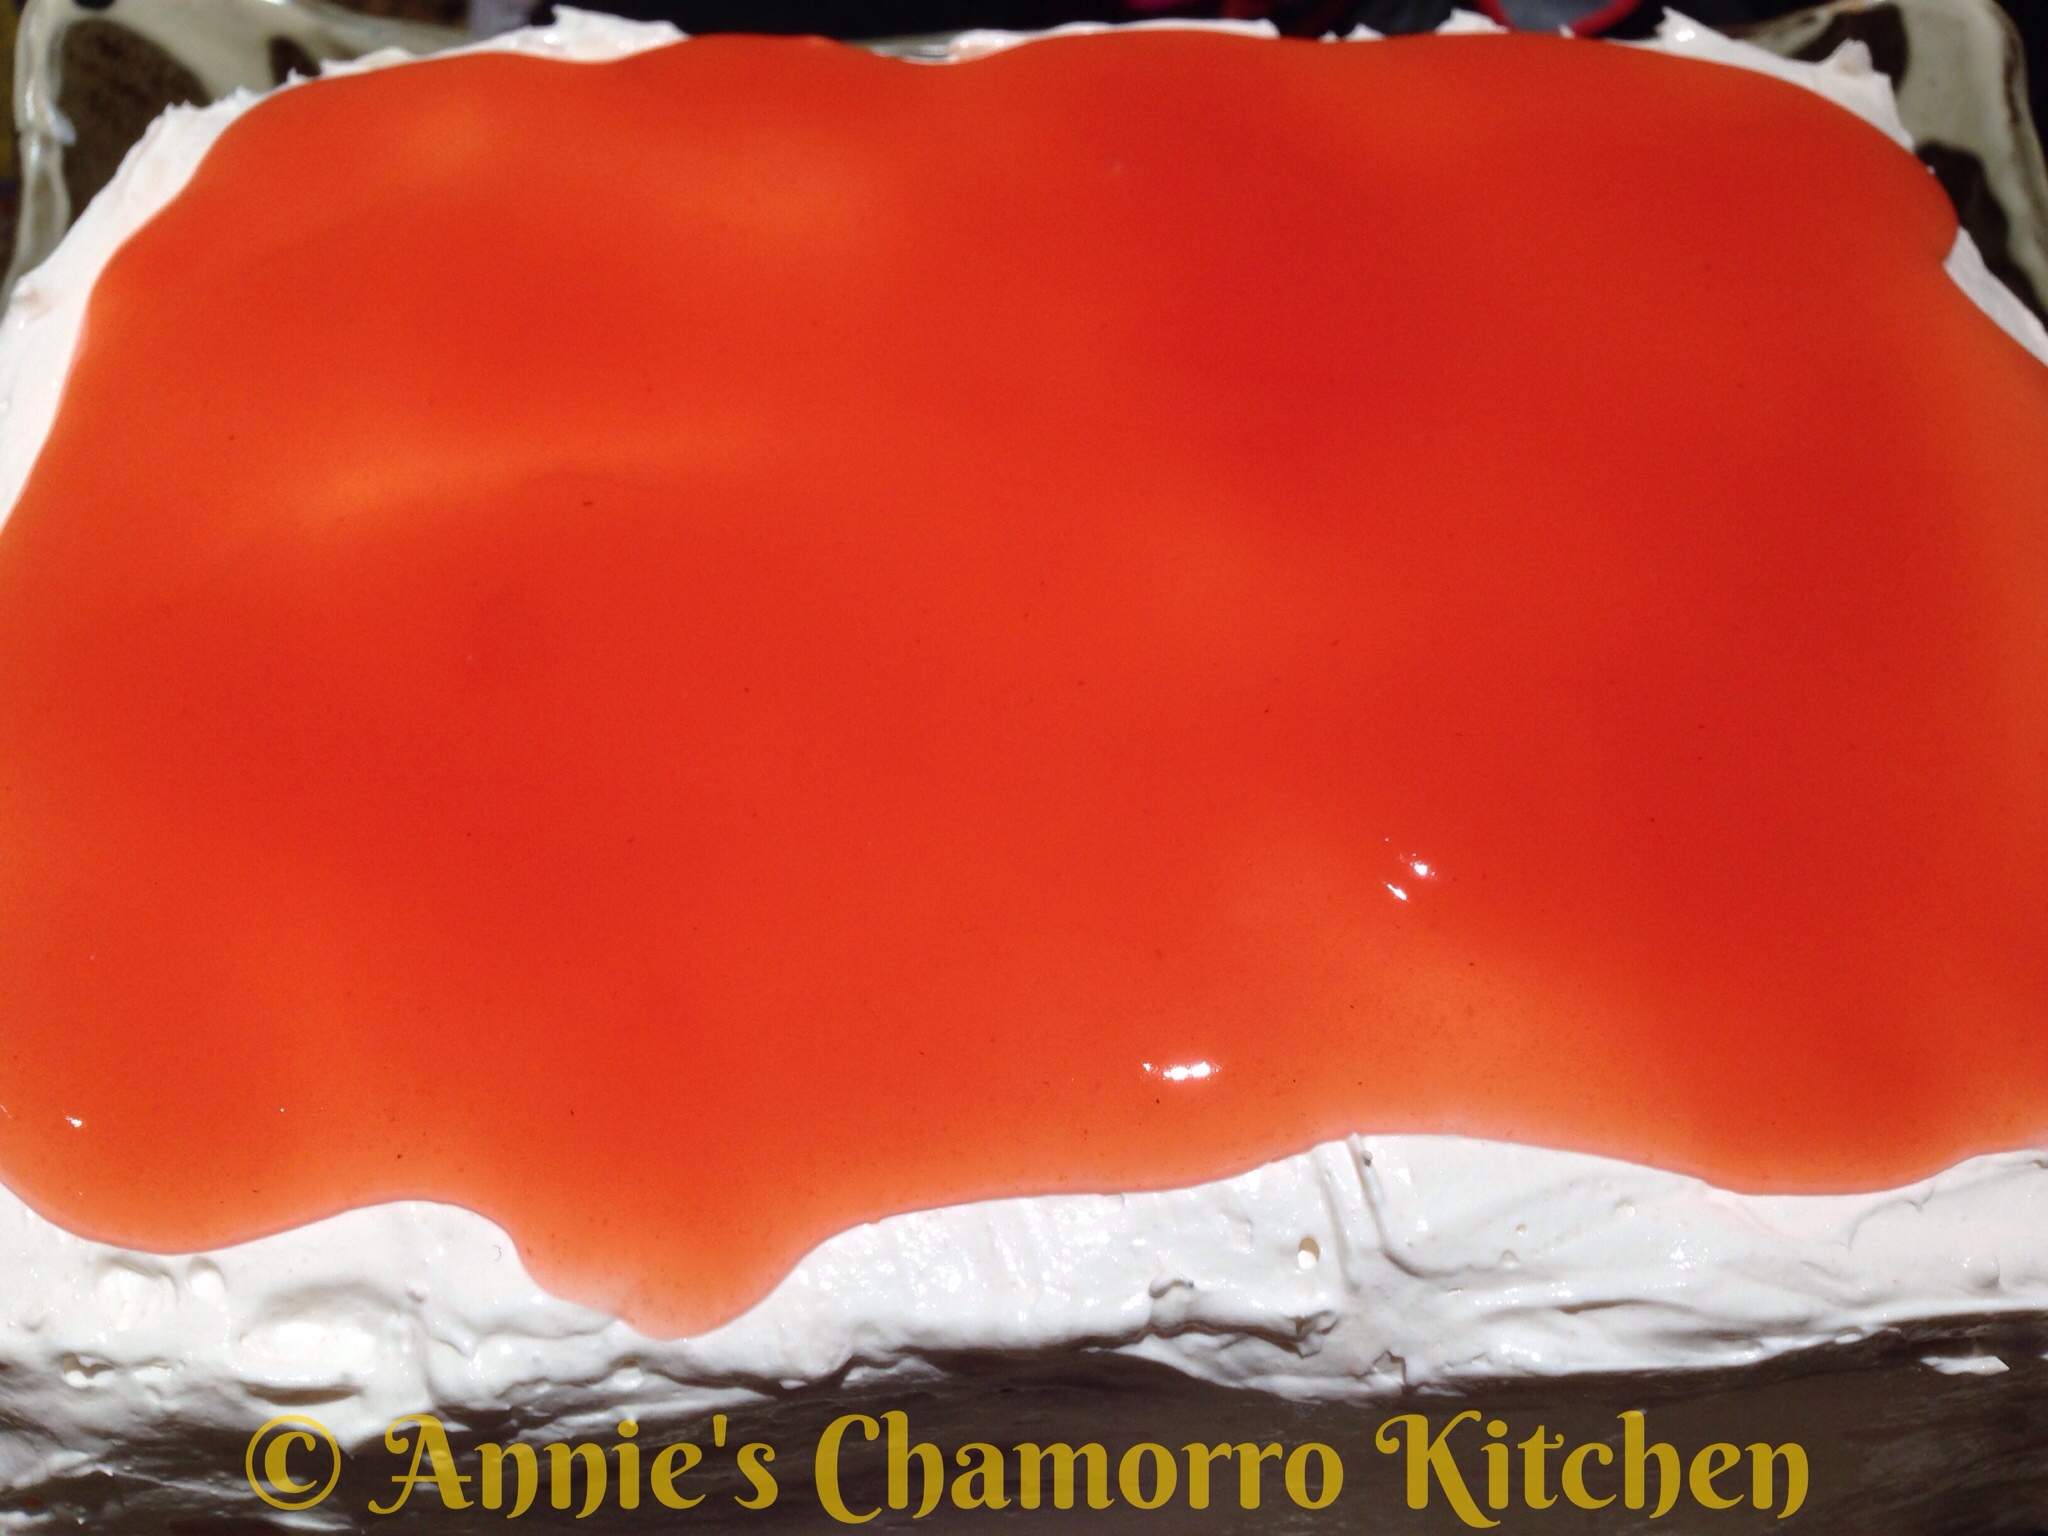
Pour the remaining sauce on top of the cake.  If you have room in your fridge, refrigerate the cake until the sauce and frosting sets completely.  If you have a cake decorating bag and tips, you can be fancy and pipe a border around the edge to keep the sauce nice and pretty in the middle of the cake.
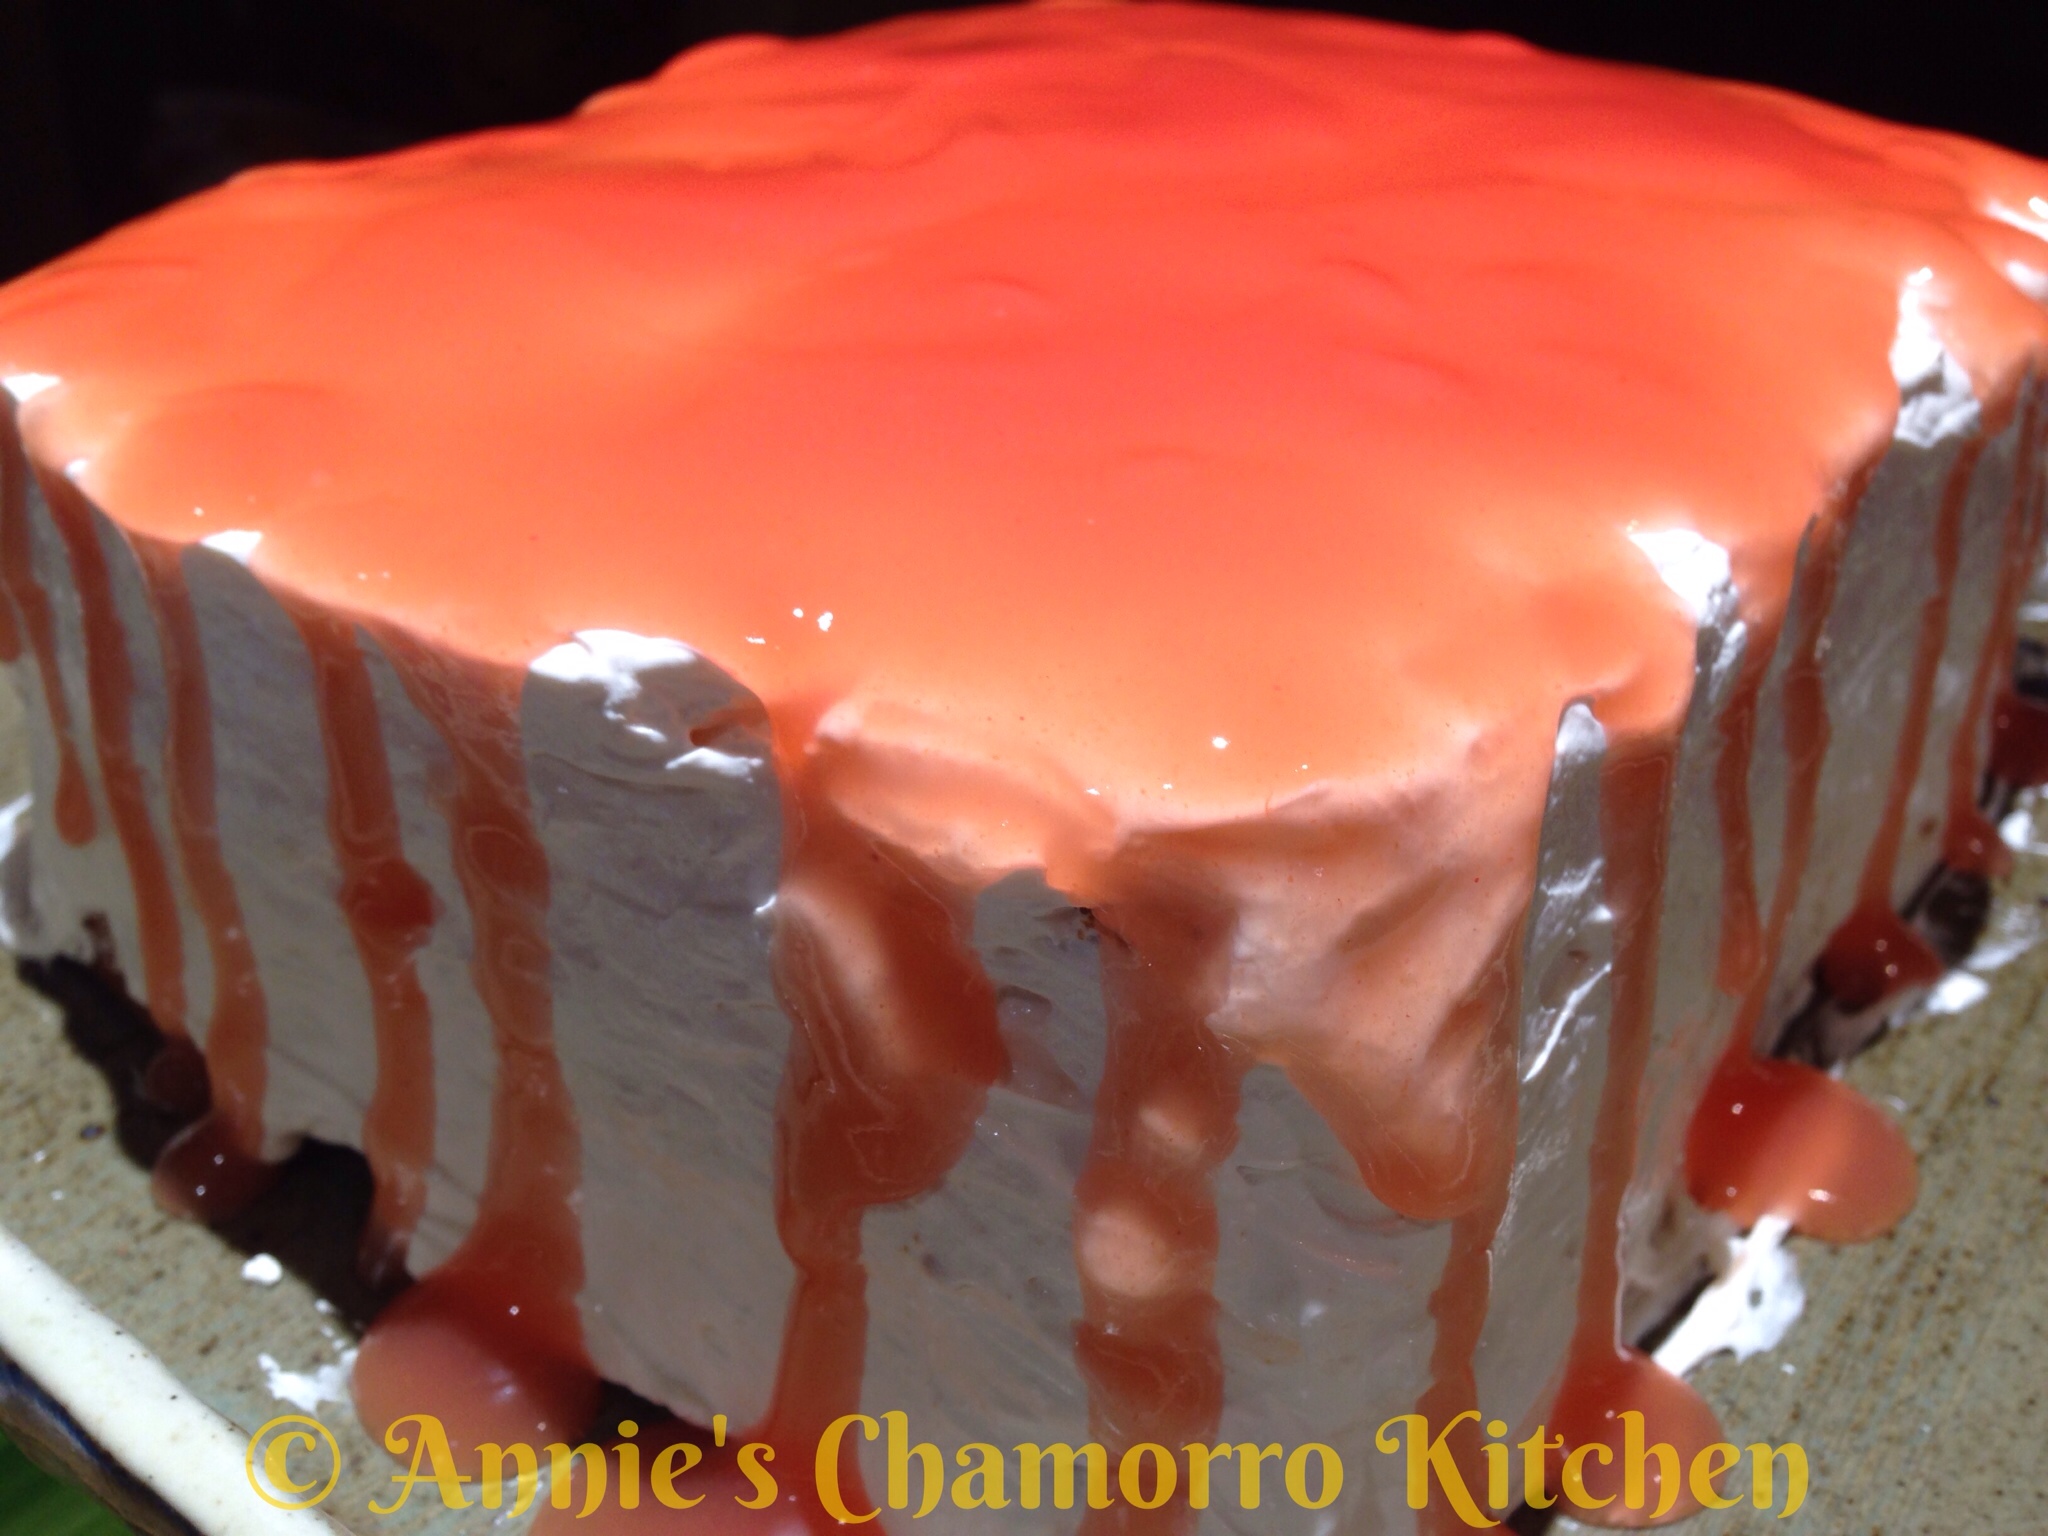
I,  on the other hand, couldn’t stop there.  I’m a sauce kind of girl, so I just HAD to pour MORE sauce over the cake, letting it drip down the sides (yum!). 😉
Slice, serve, and ENJOY!
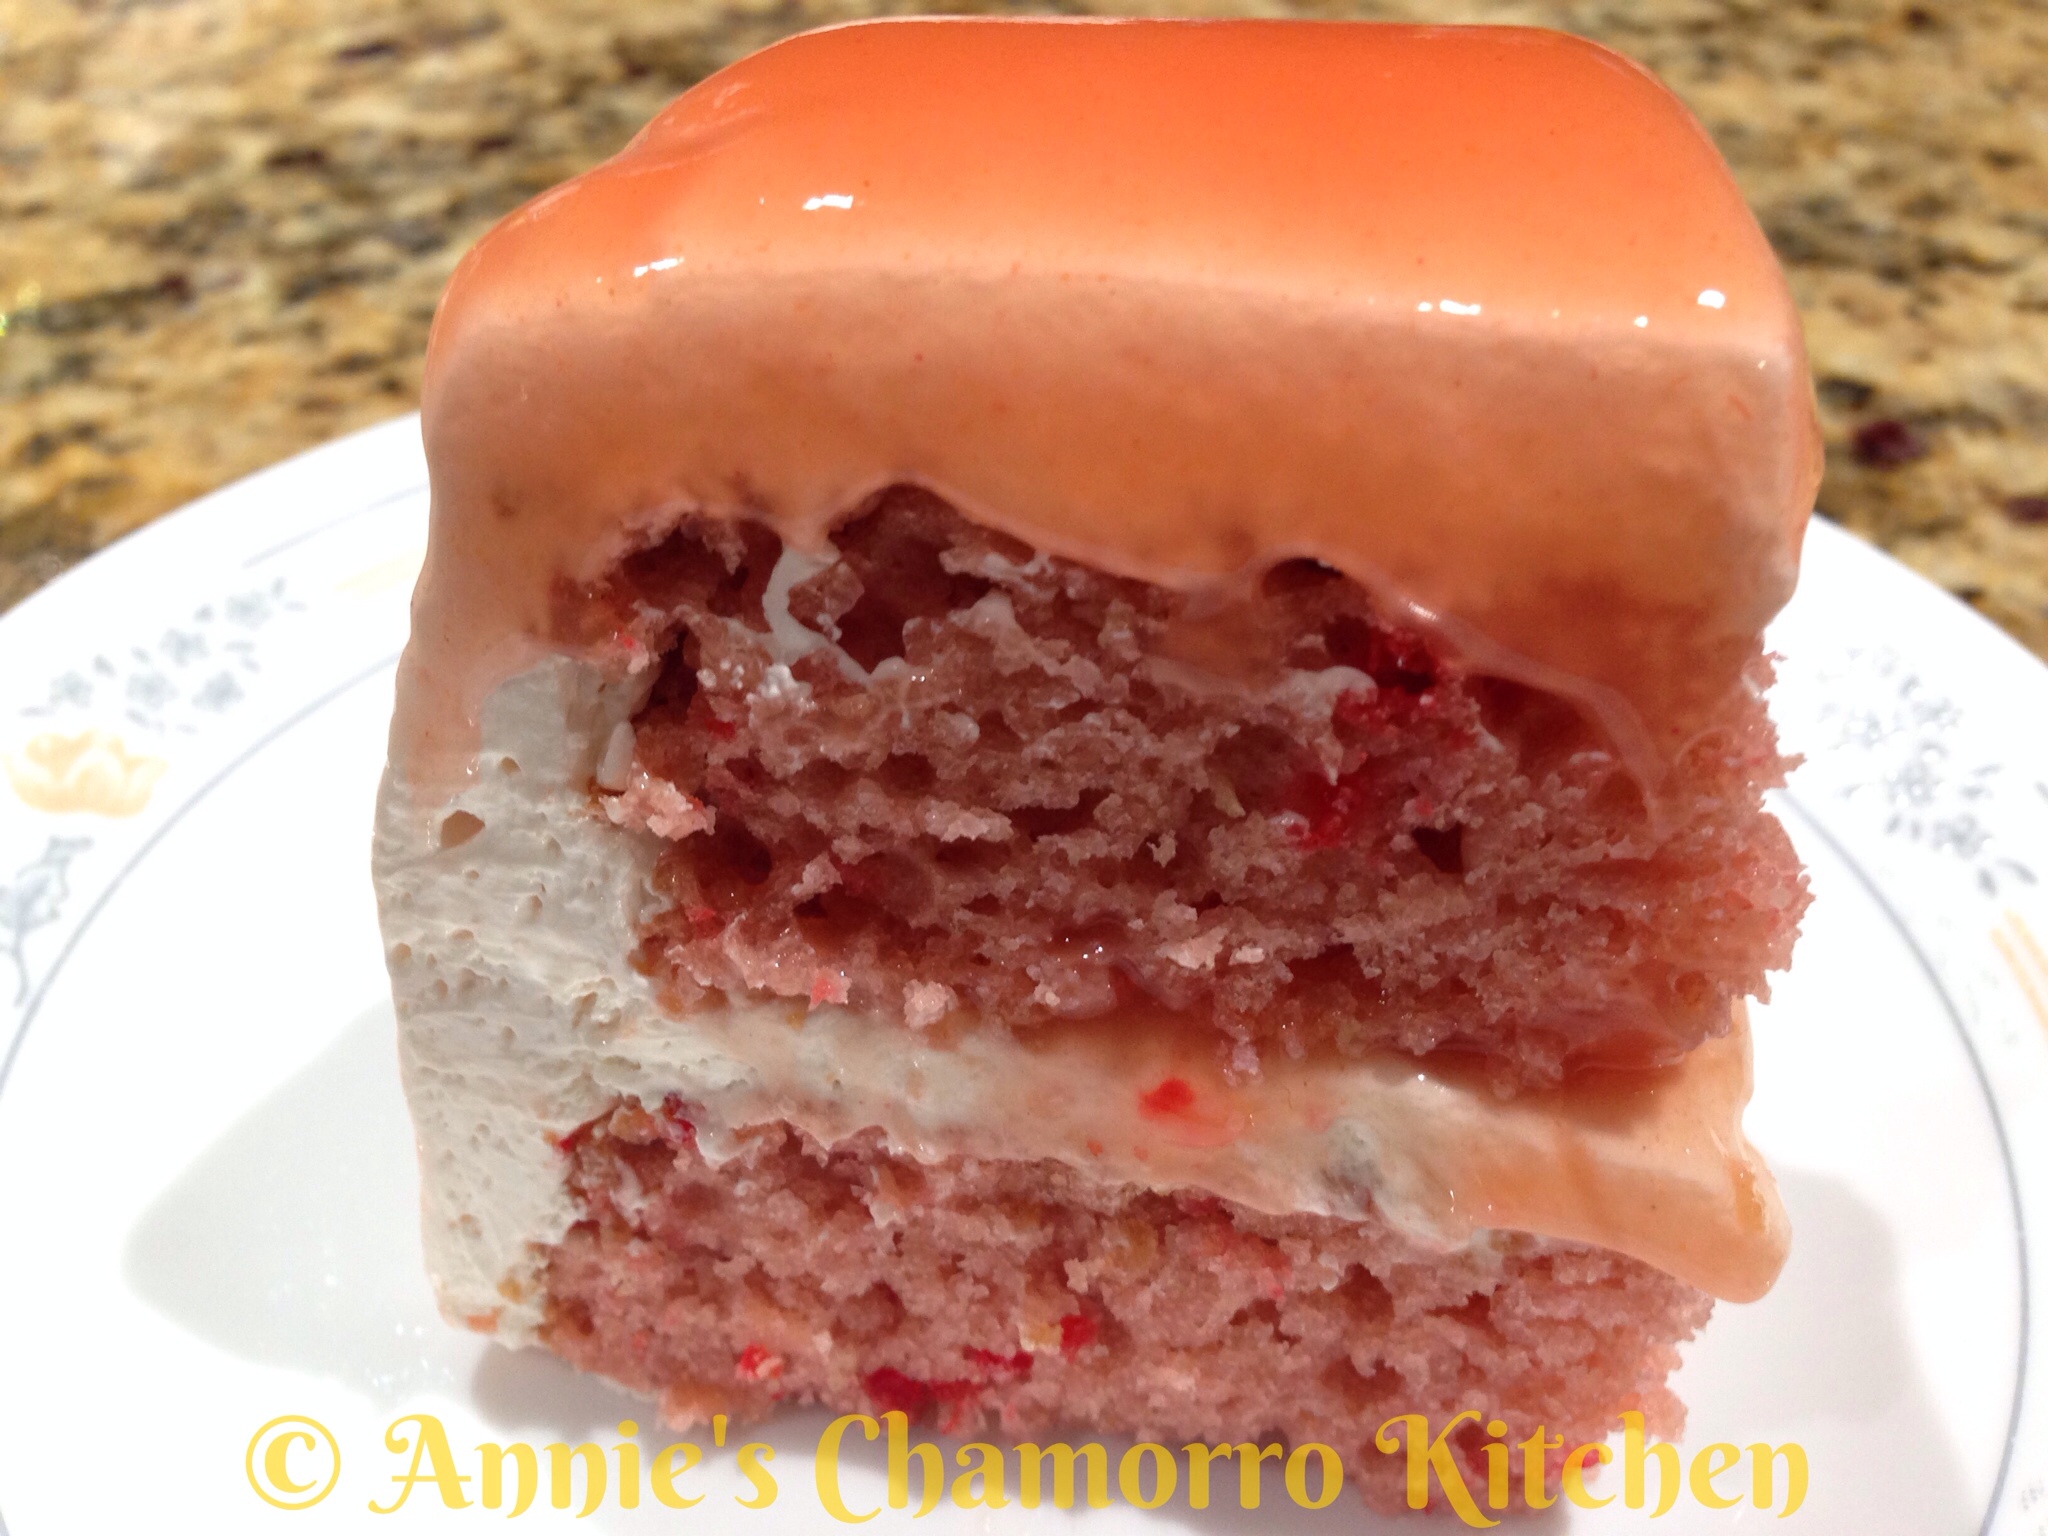
I couldn’t wait for the sauce to set, so I cut into this cake IMMEDIATELY.  Ahh…it’s all good.  DELICIOUS in fact. 😀
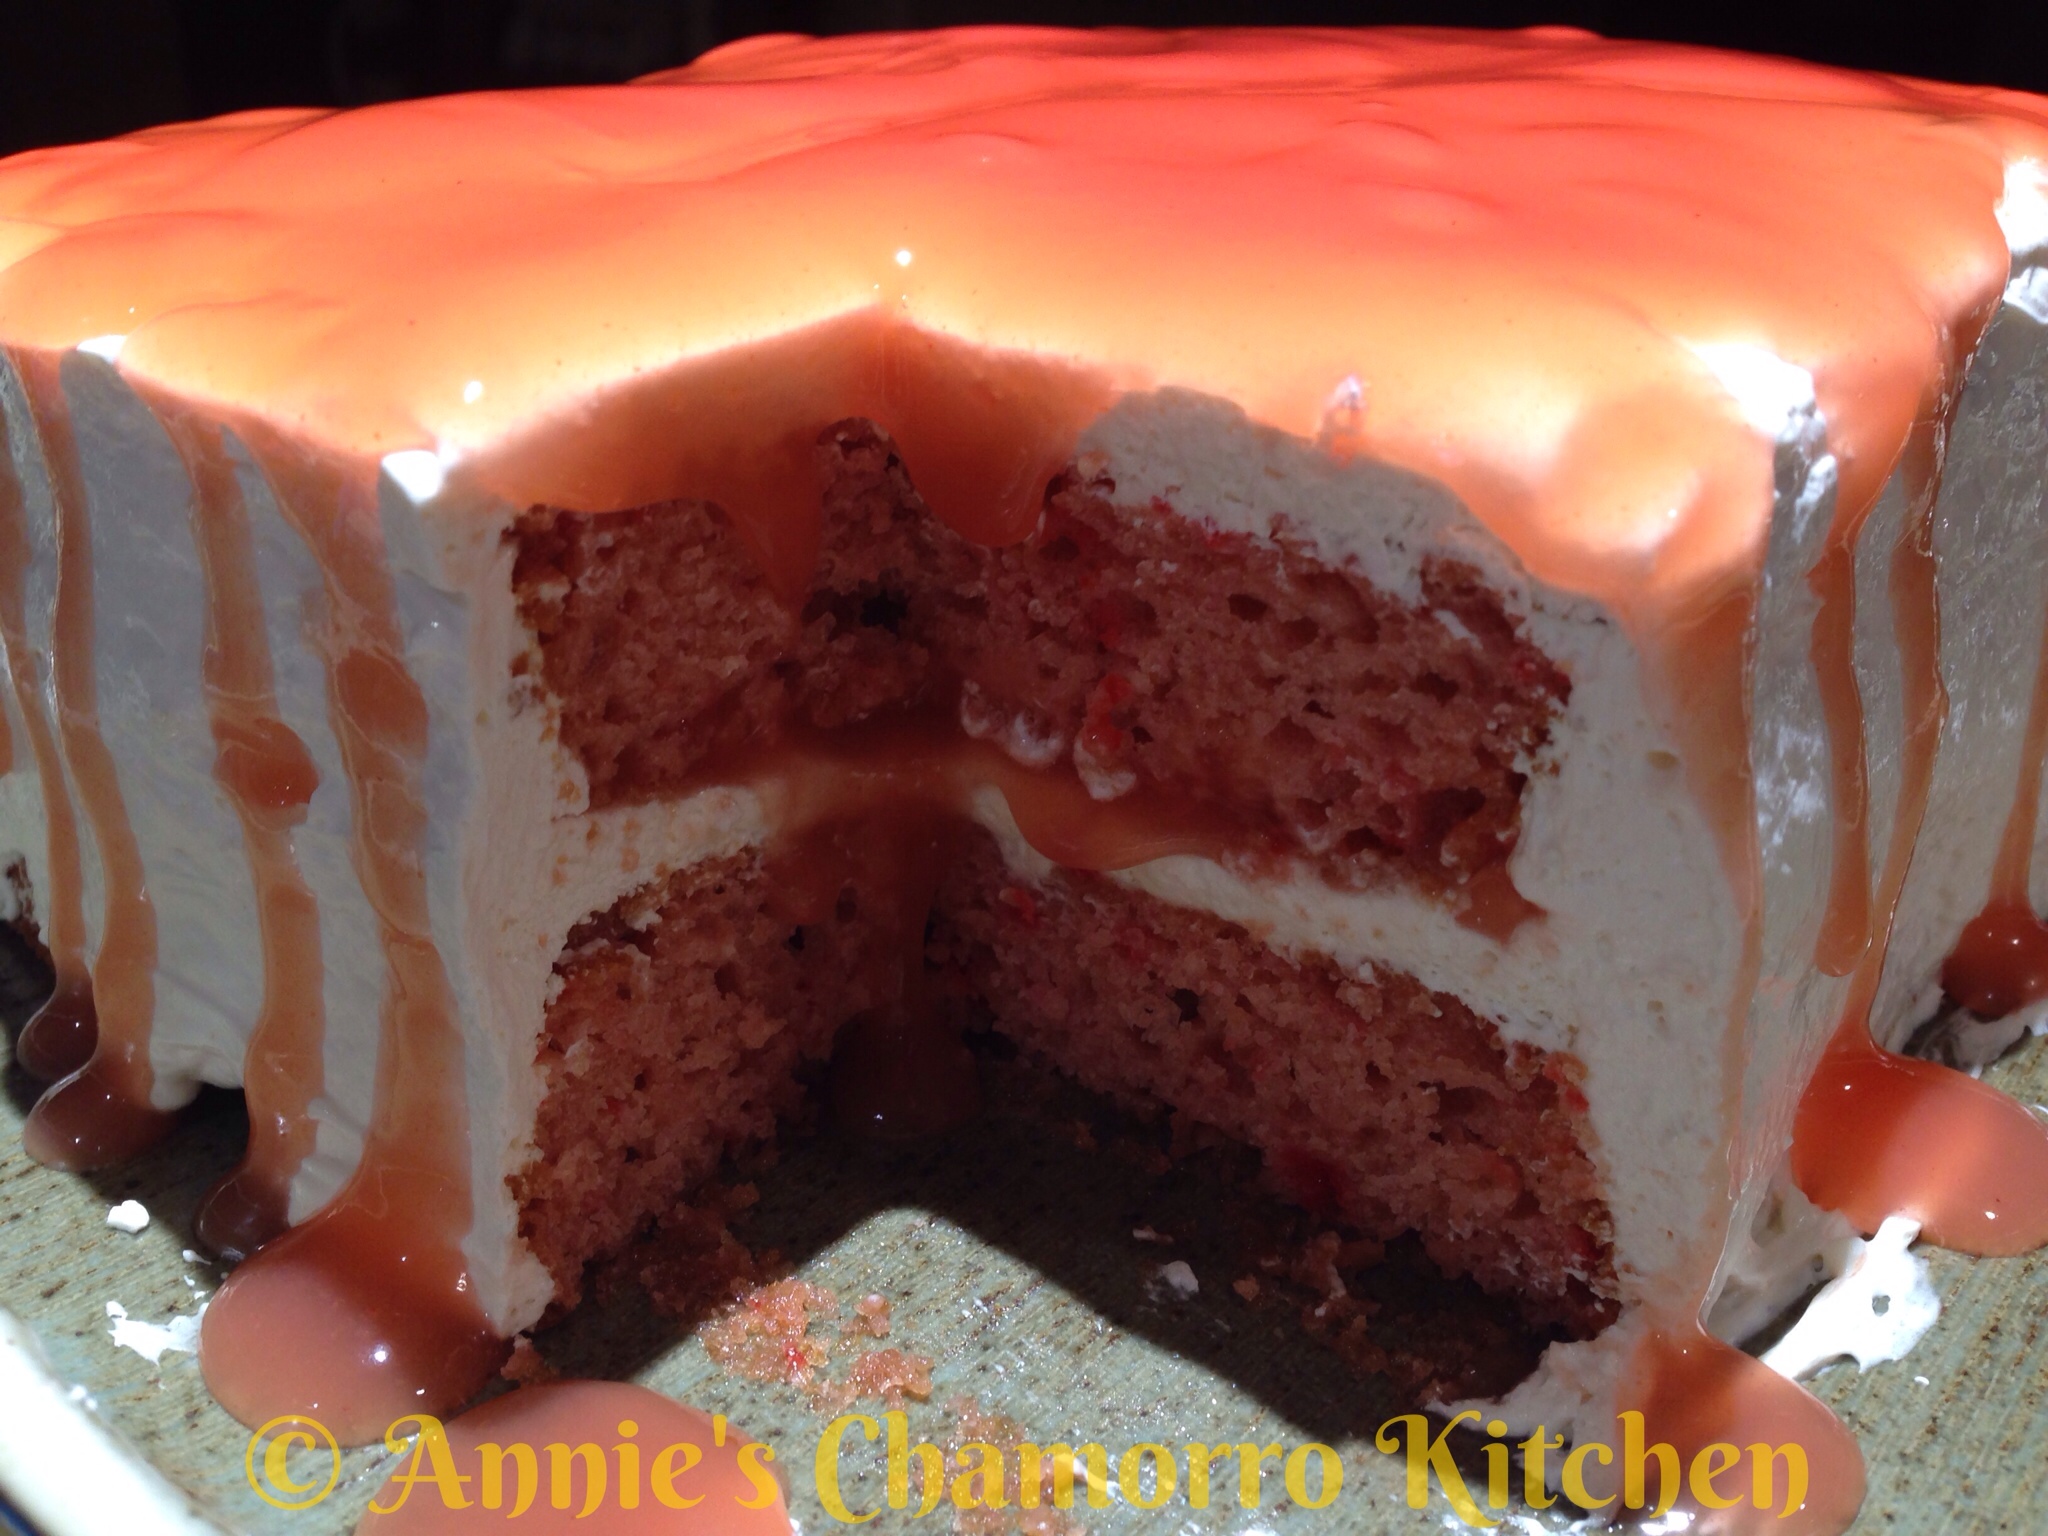
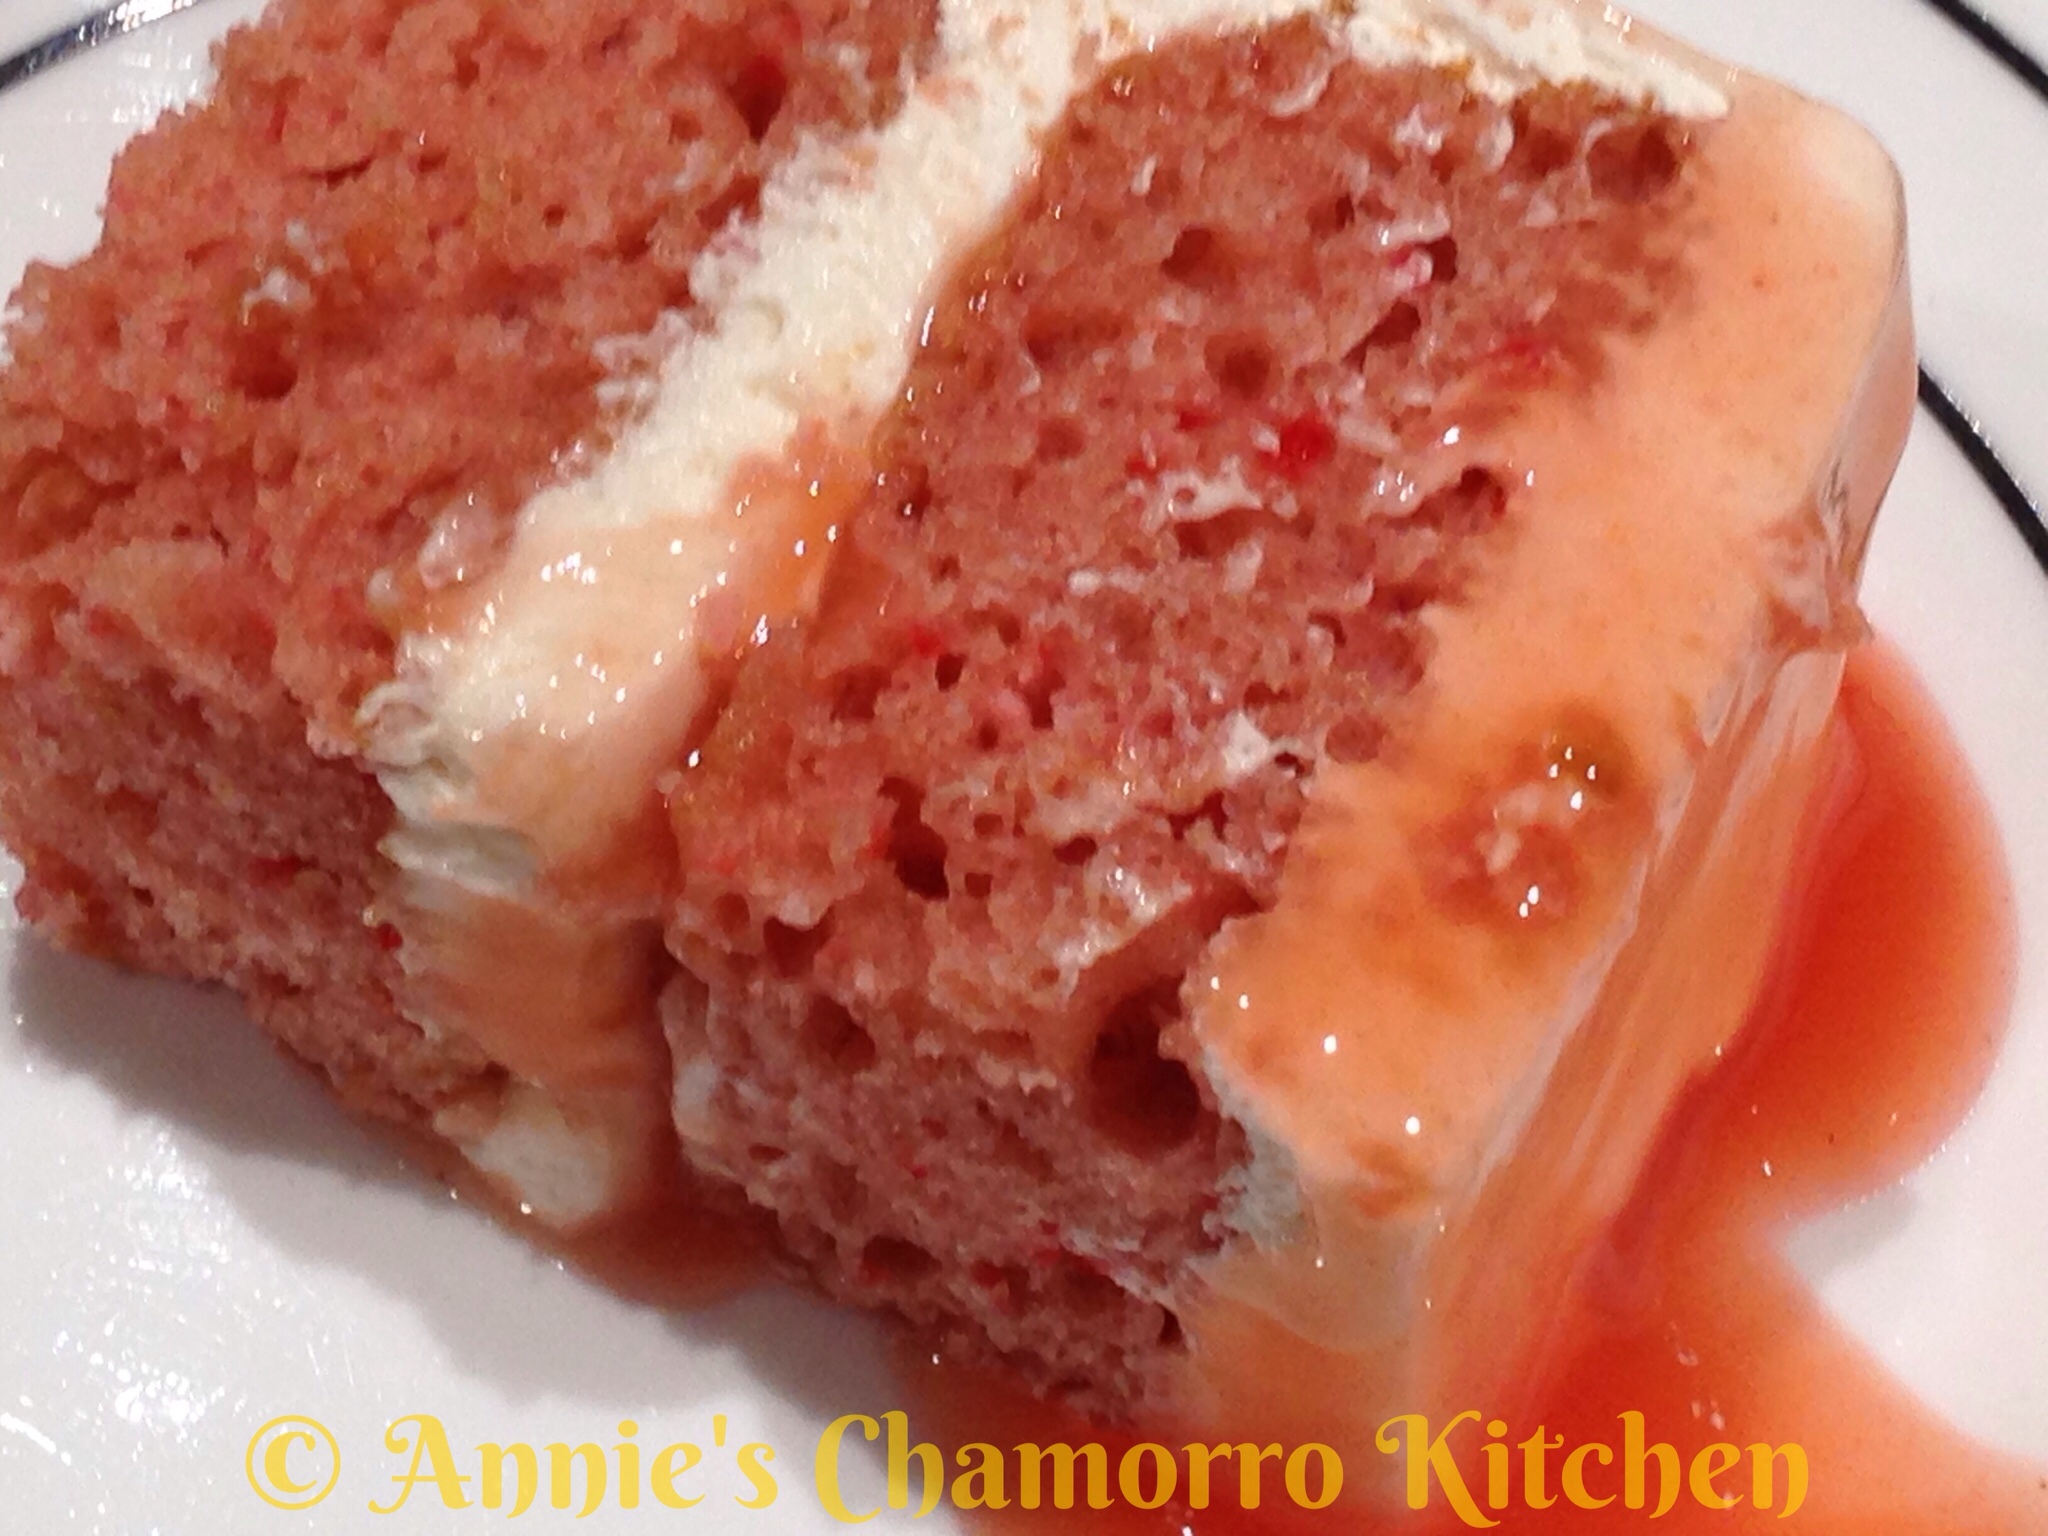
If you have any sauce left, pour some over the cake–man oh man–I want some more cake (I ate 3–yes 3–pieces).

ENJOY!
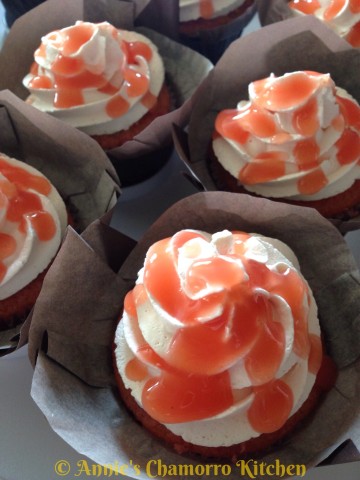
I also made some guava cupcakes. You can place some guava sauce in the middle (cut a piece of cake out of the top), top it with frosting, then drizzle more sauce on top.
image

image

Stuffed Biscuits

Create a super easy breakfast or brunch with my recipe for Stuffed Biscuits. You can have it all prepped and served in about 30 minutes.

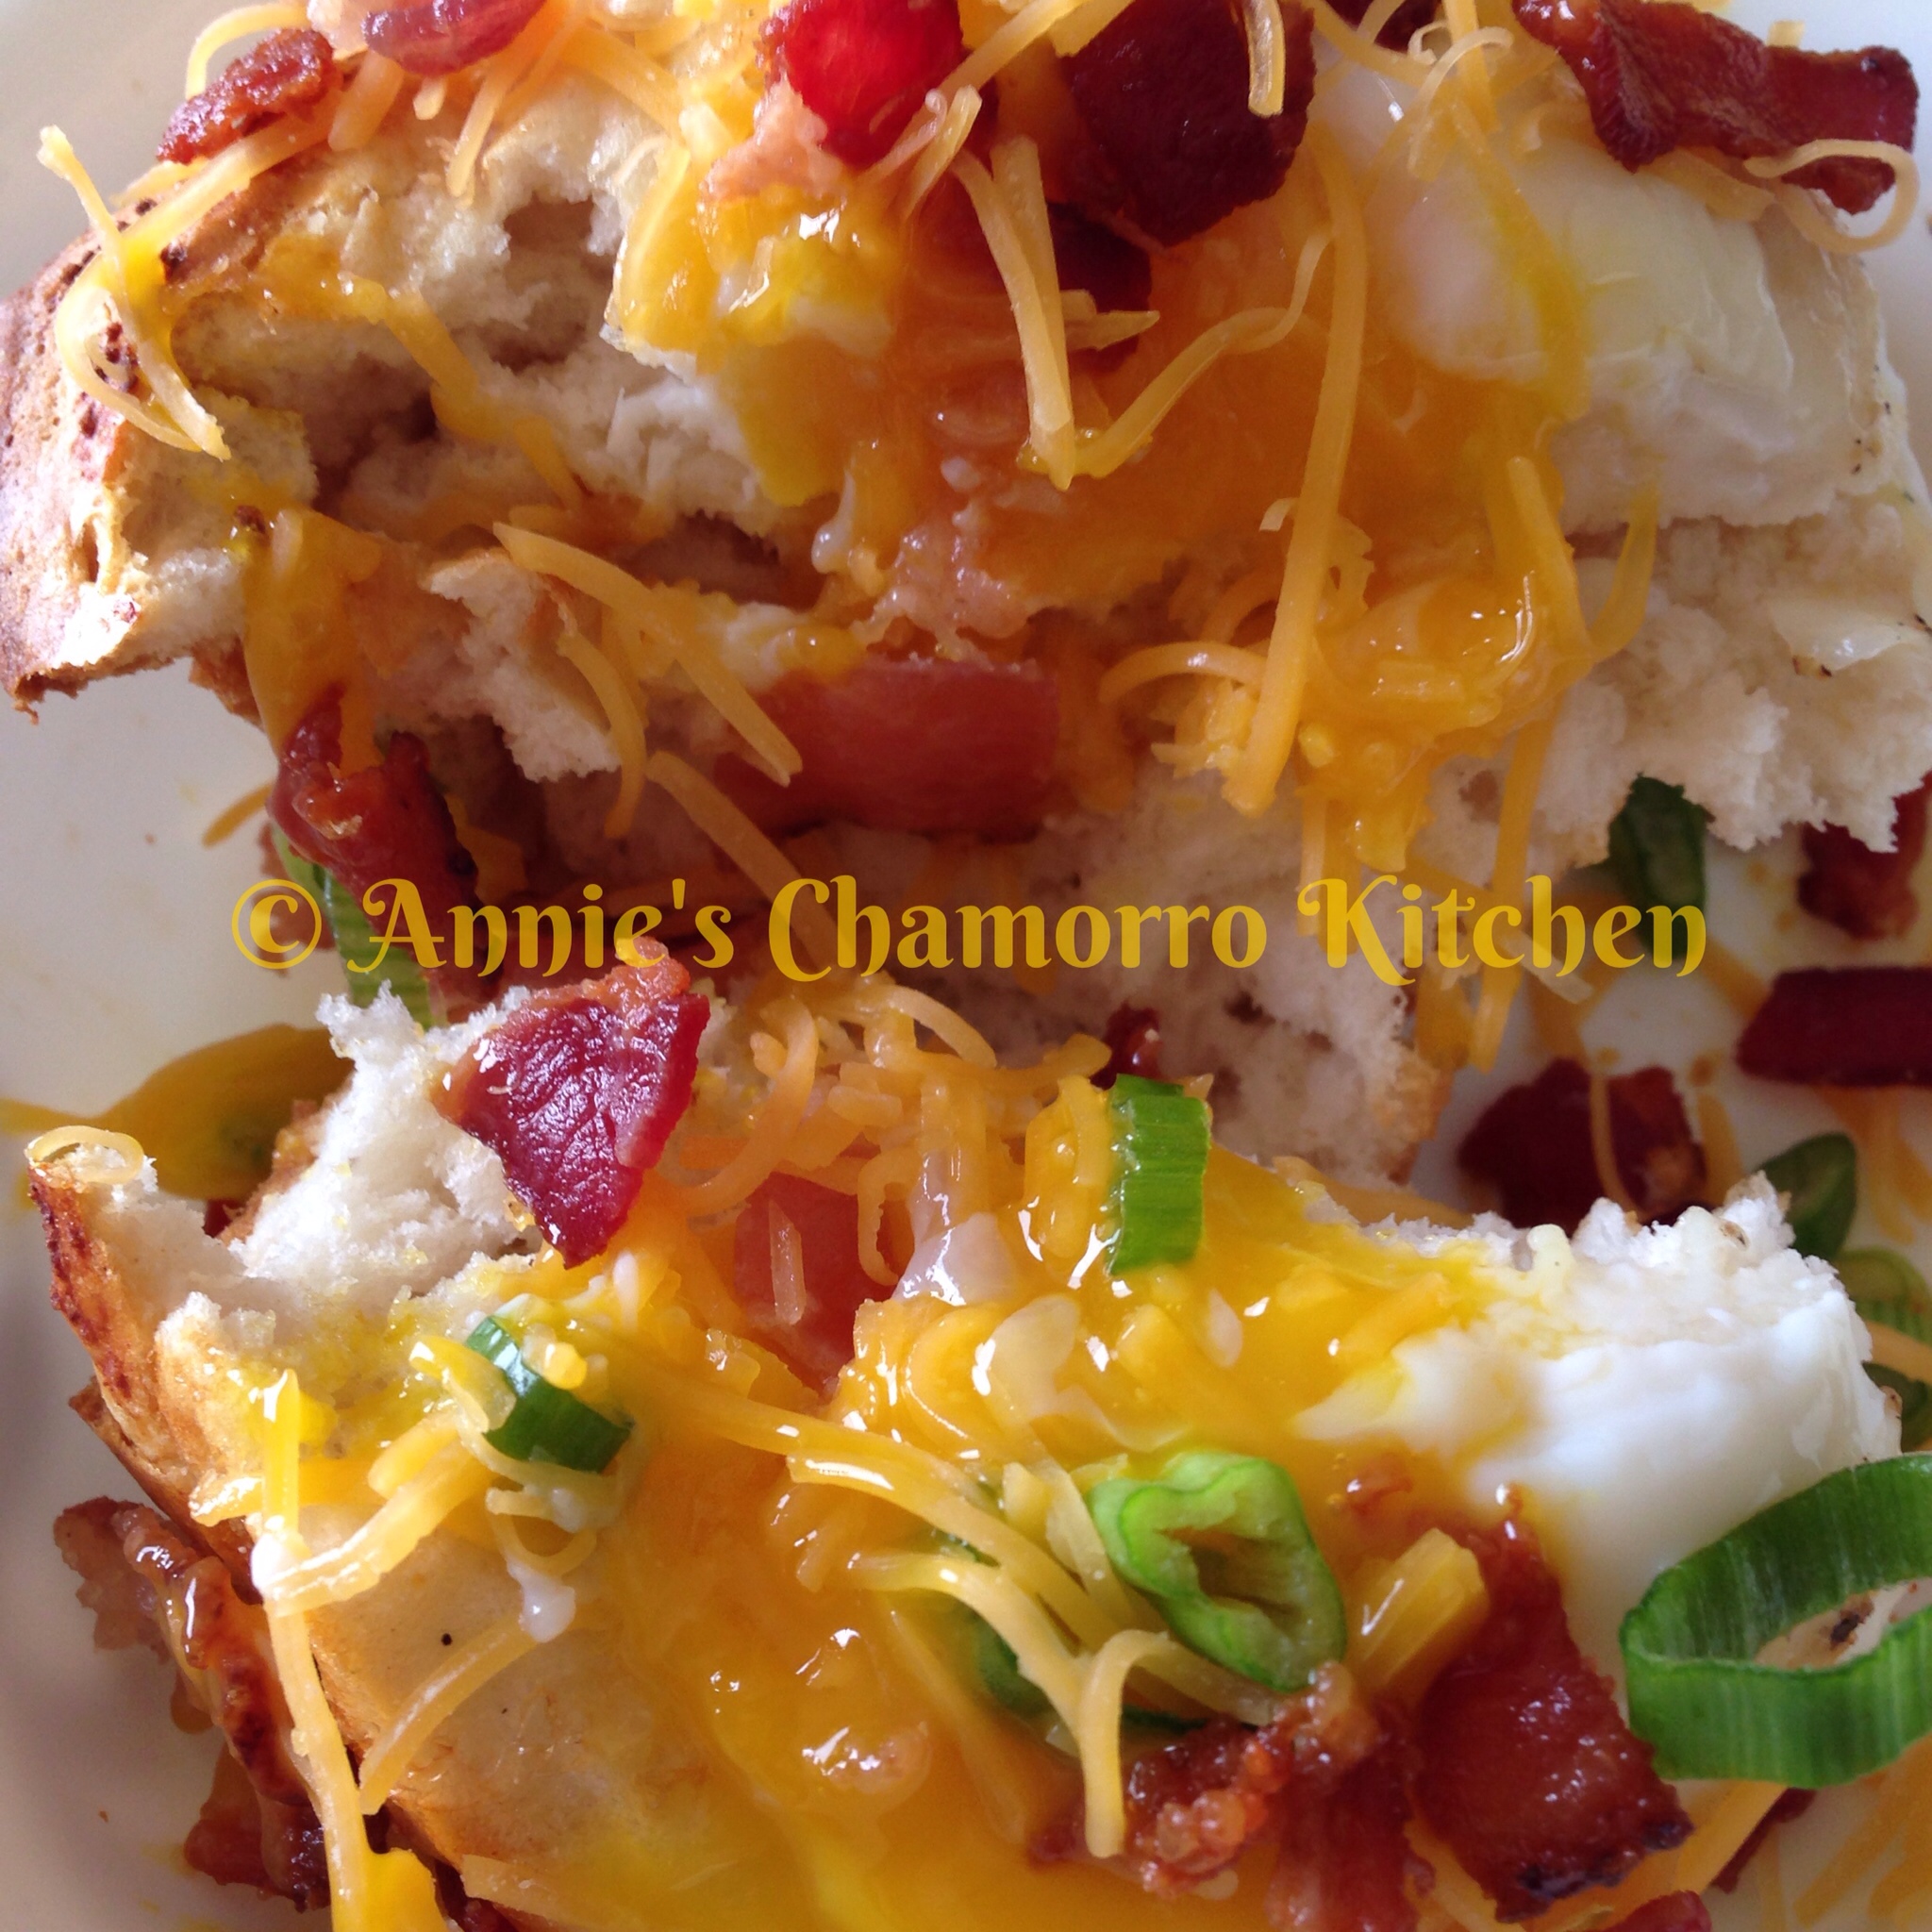
Start out by making a batch of my Soft & Fluffy Biscuit dough (click here for the recipe). An egg gets baked right into the biscuit dough, then top with your favorite breakfast foods (bacon and cheese top the list in my family).

Serve and ENJOY!

Give my recipe a try. I think you’ll like it. 🙂

Stuffed Biscuits

Ingredients:

  • 1 batch of biscuit dough (click here for my recipe)
  • 1 package of bacon (we love maple bacon)
  • 1 dozen large eggs
  • Garlic powder (to taste)
  • Black pepper (to taste)
  • Dashida (to taste)
  • 4 stalks green onions, sliced
  • Grated sharp cheddar cheese, as much as you like

Optional Ingredients:

  • Red pepper flakes
  • Chopped mushrooms
  • Tomatoes, diced small
  • Cooked and crumbled breakfast sausage

Directions:

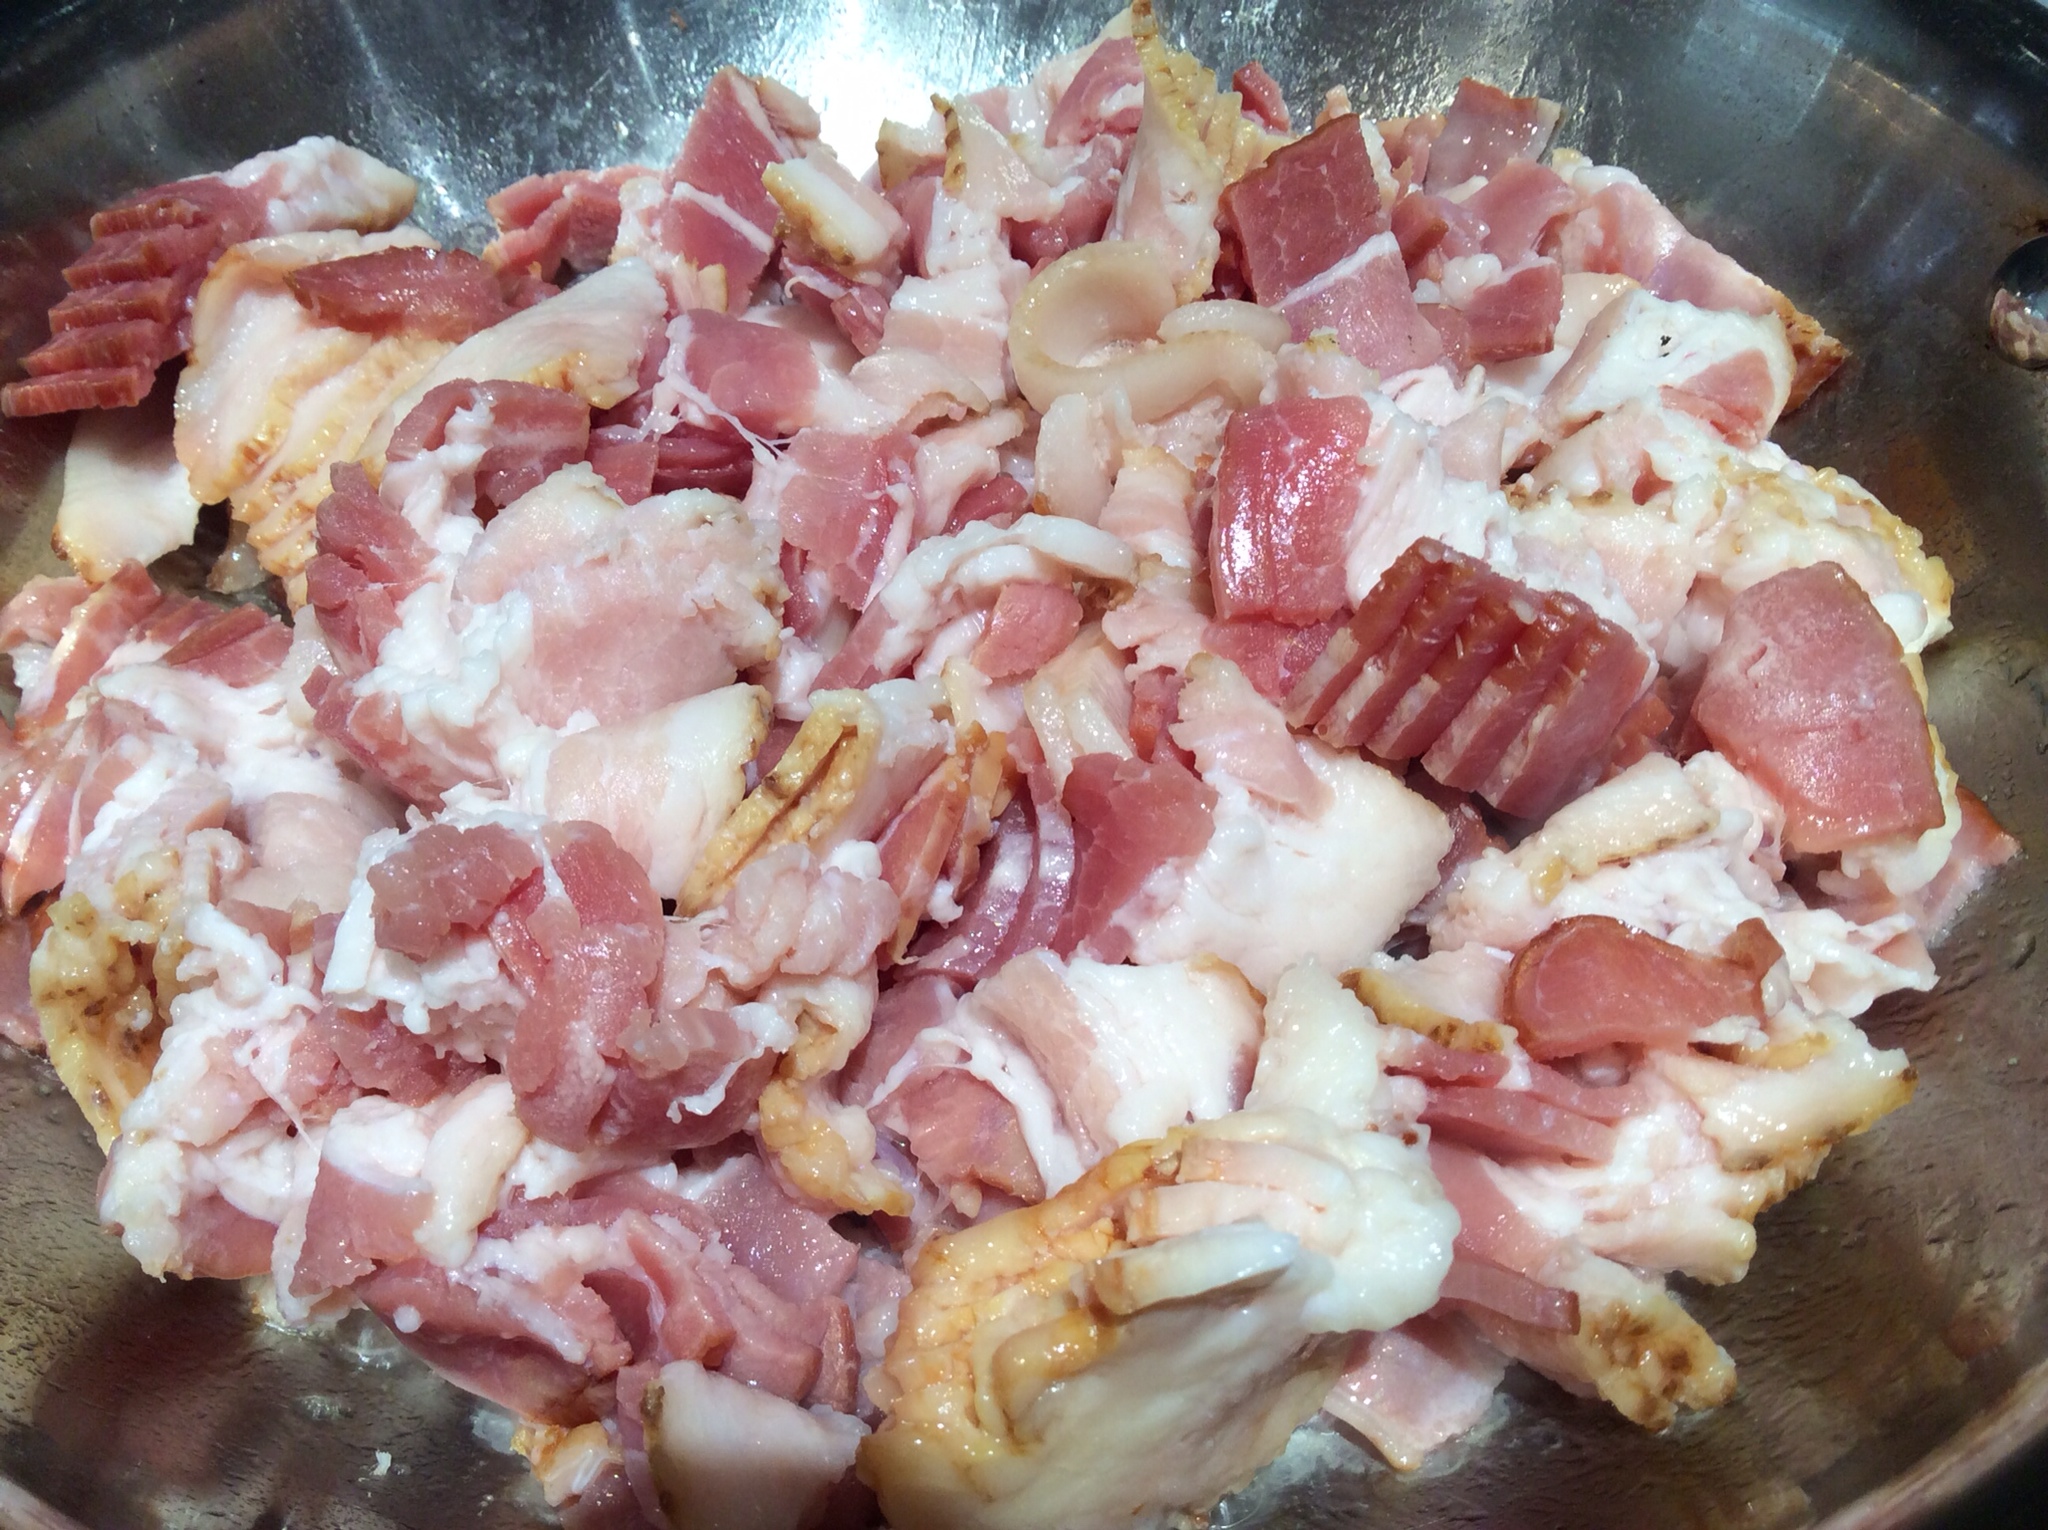
1. Cut the bacon into small pieces. Fry until crisp; place on paper towels to drain excess oil. Set aside.

image

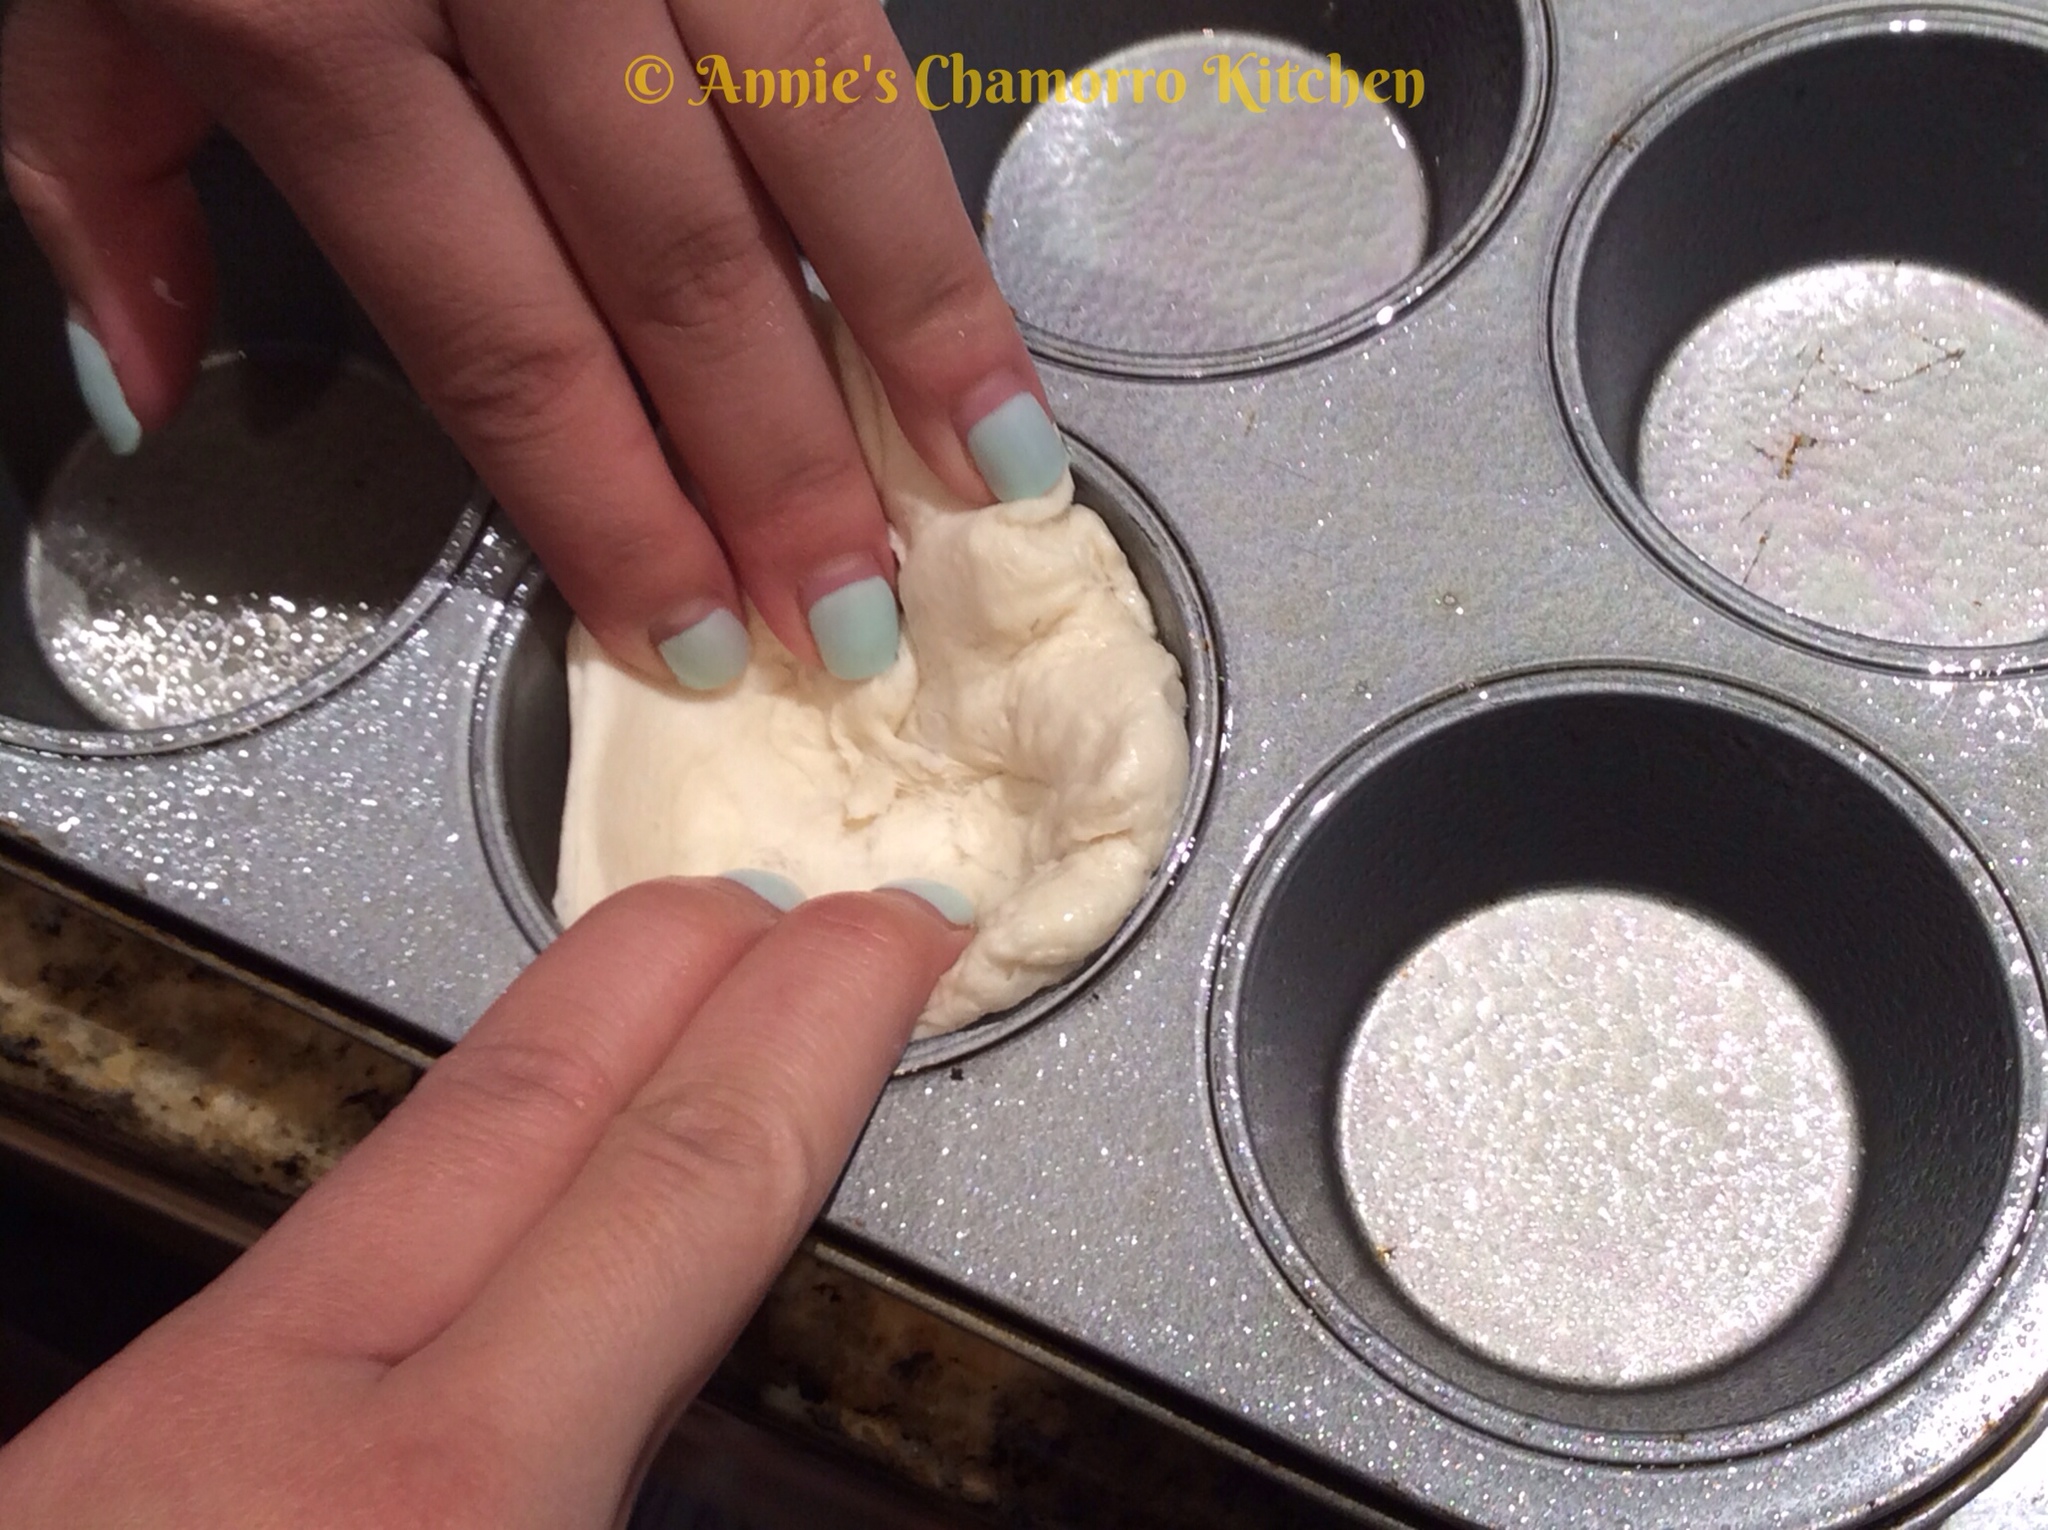
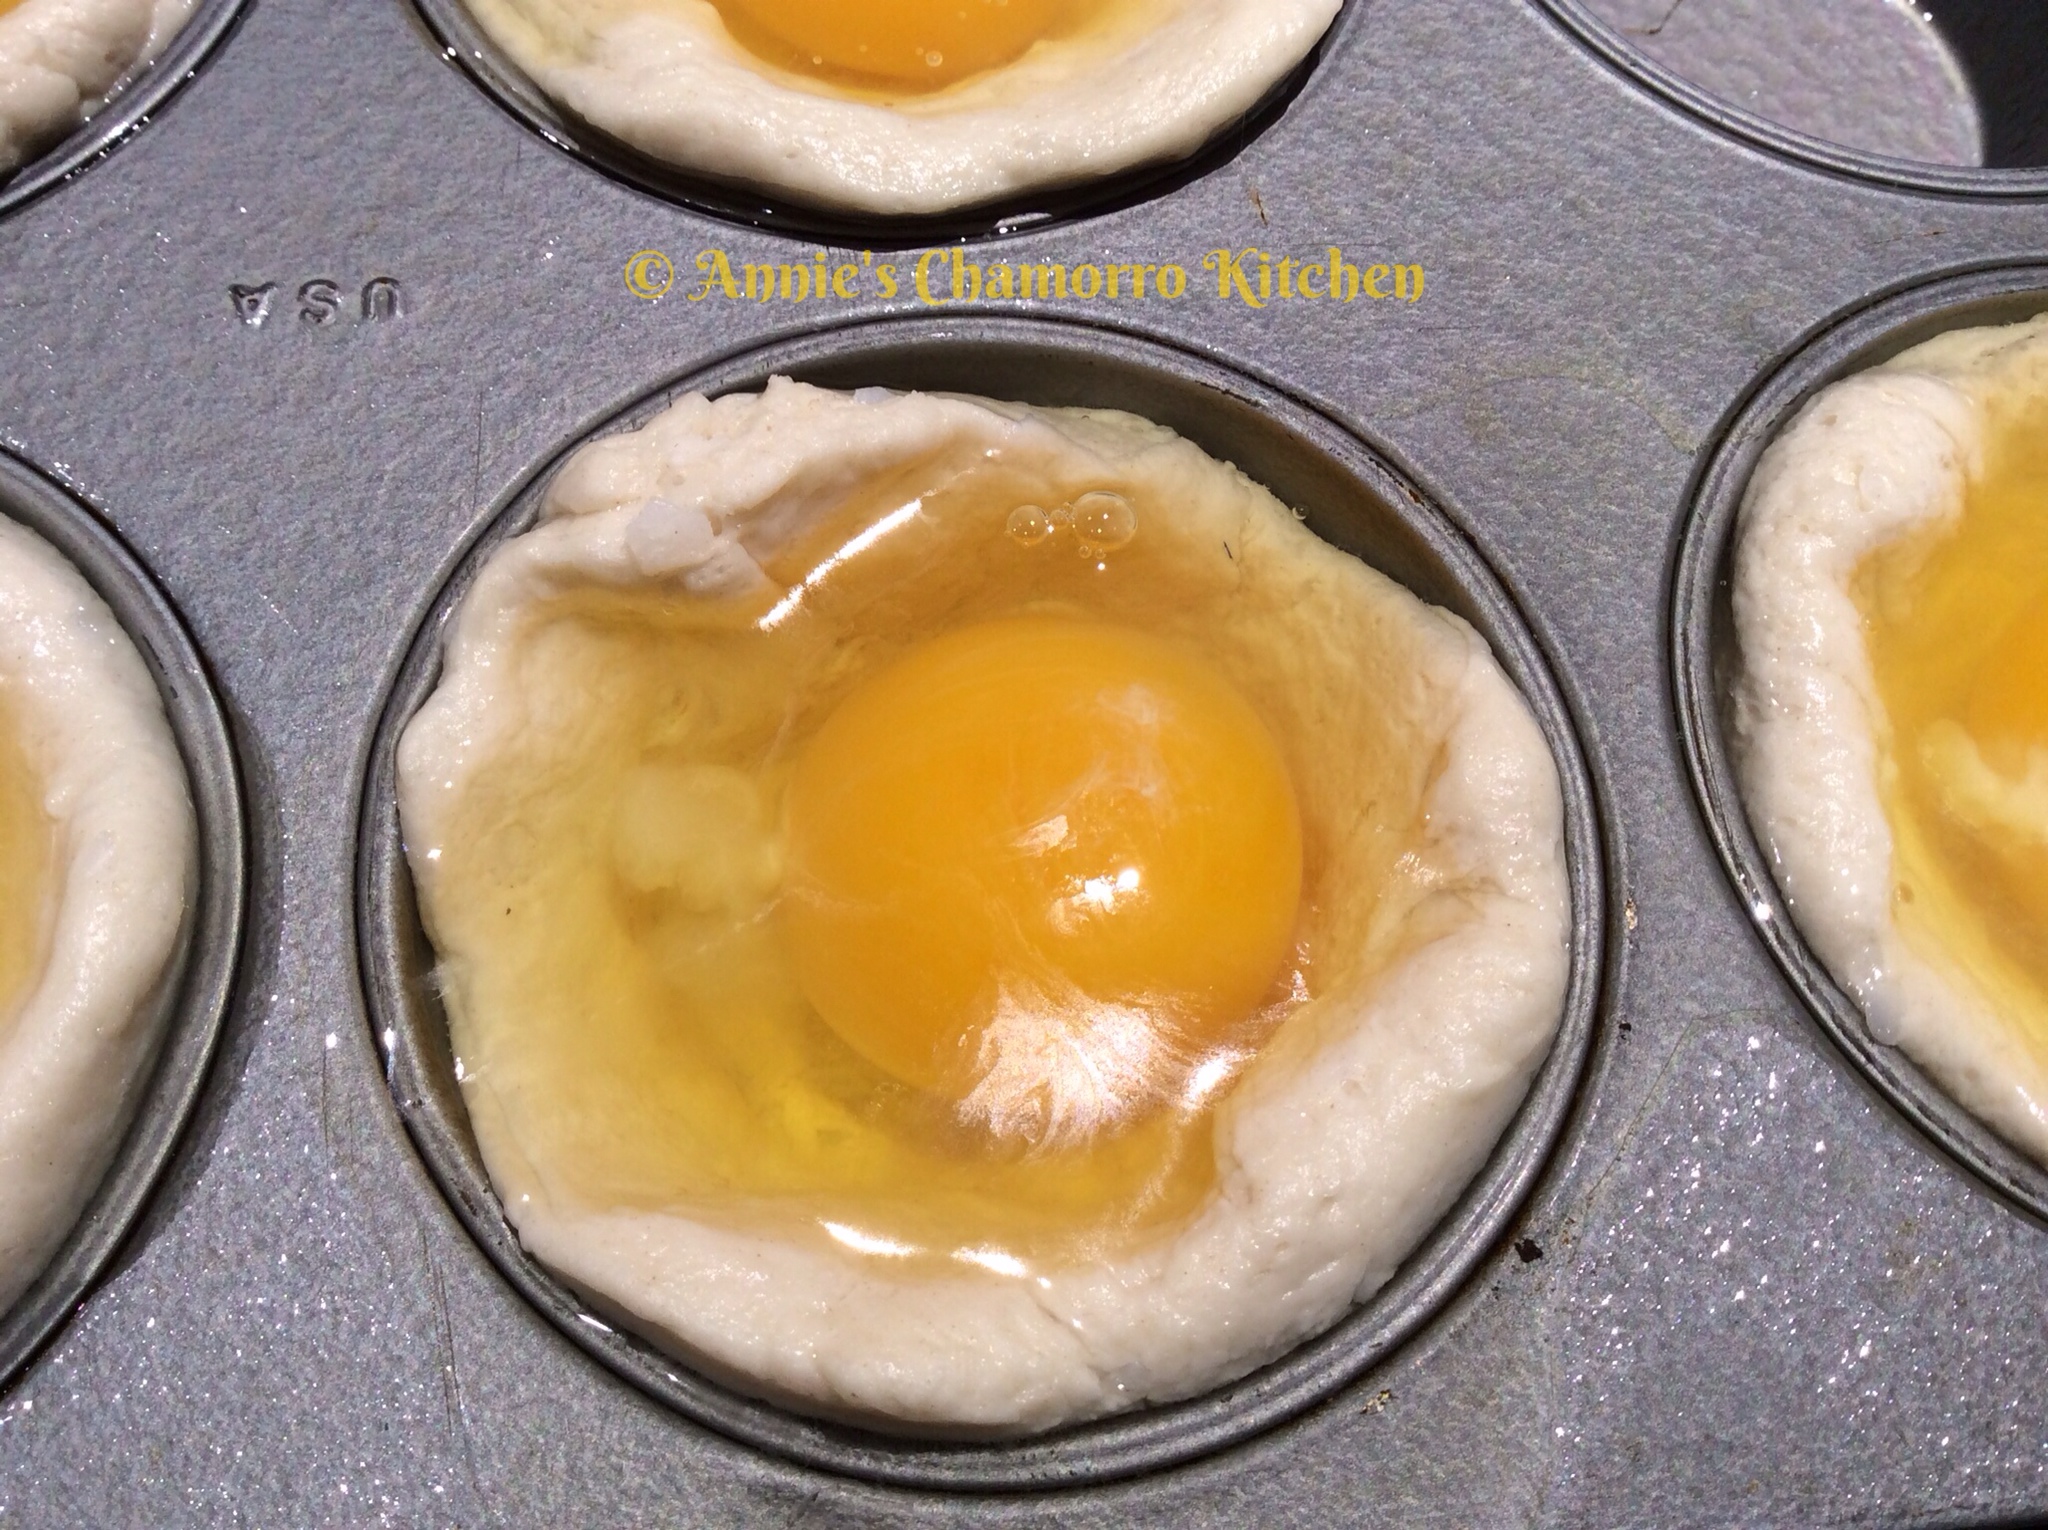
2. Separate the biscuit dough into 12 pieces. Spray a muffin tin with butter-flavored cooking spray. Spread each piece of biscuit dough into each of the 12 cups of the muffin tin, making sure you pull the dough up and around the sides, creating a “biscuit cup.”

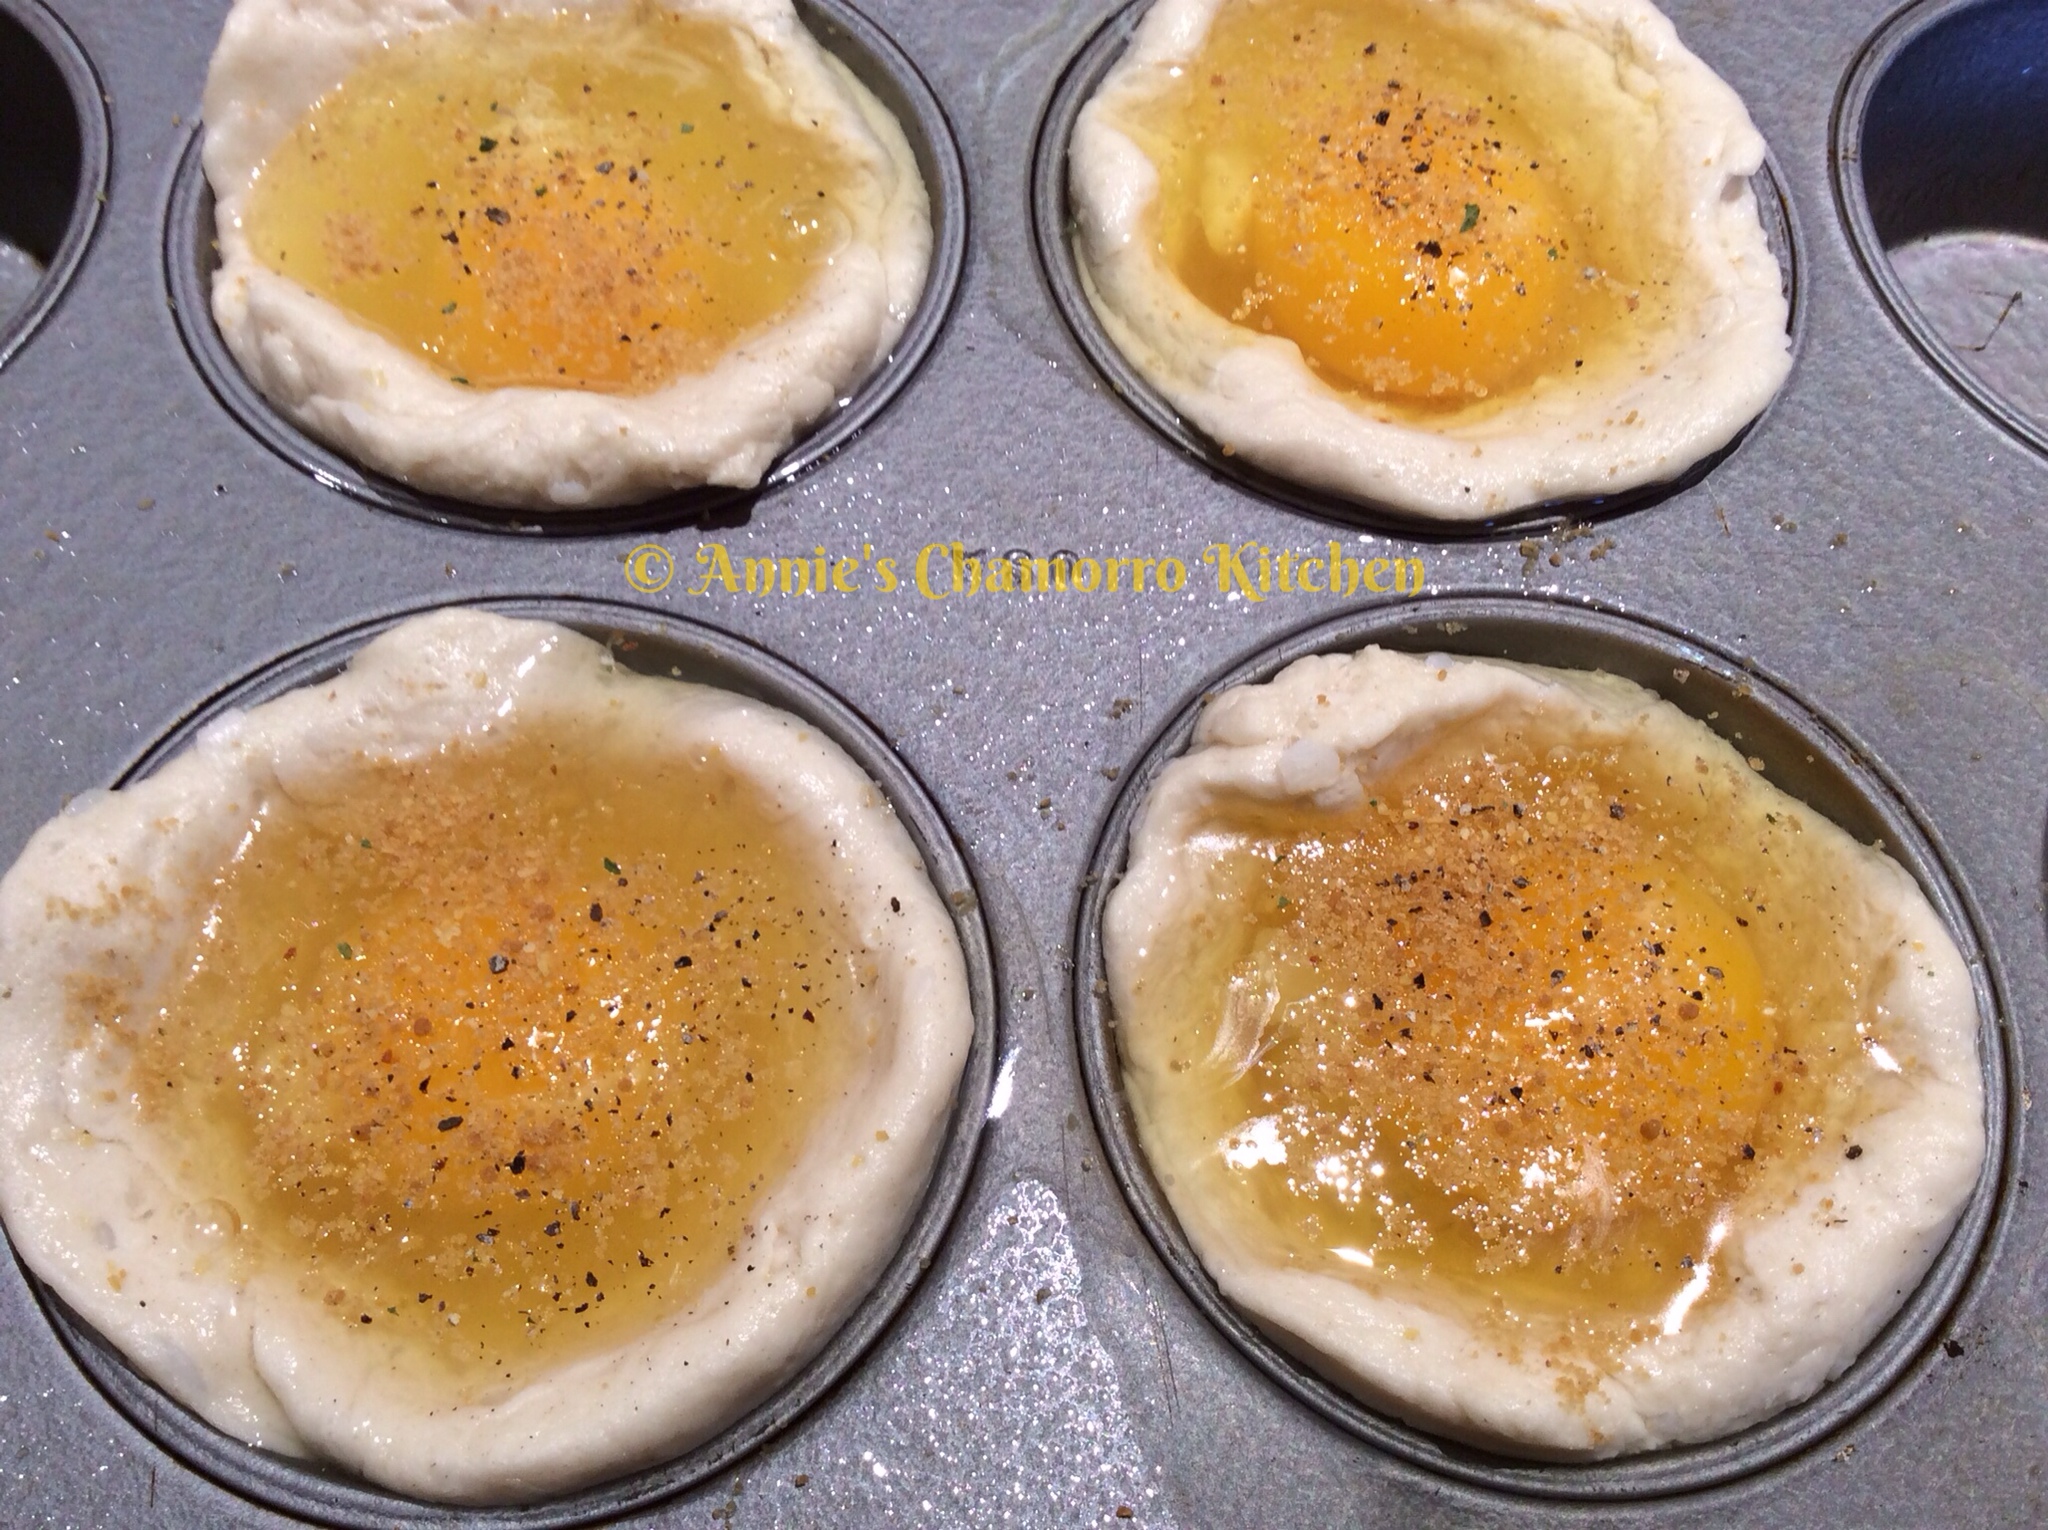
3. Crack one egg into each biscuit cup.

4. Sprinkle garlic powder, black pepper and Dashida seasoning over each egg.

As an option, before baking, sprinkle on top of each egg: red pepper flakes, mushrooms and tomatoes.

5. Bake at 400 degrees for 15-18 minutes, or until the sides of the biscuit are a golden brown. The eggs will be soft-set.

6. After baking, top with bacon, green onions, cheese, and any other of your favorite toppings. Serve immediately and ENJOY! 🙂

Red Rice

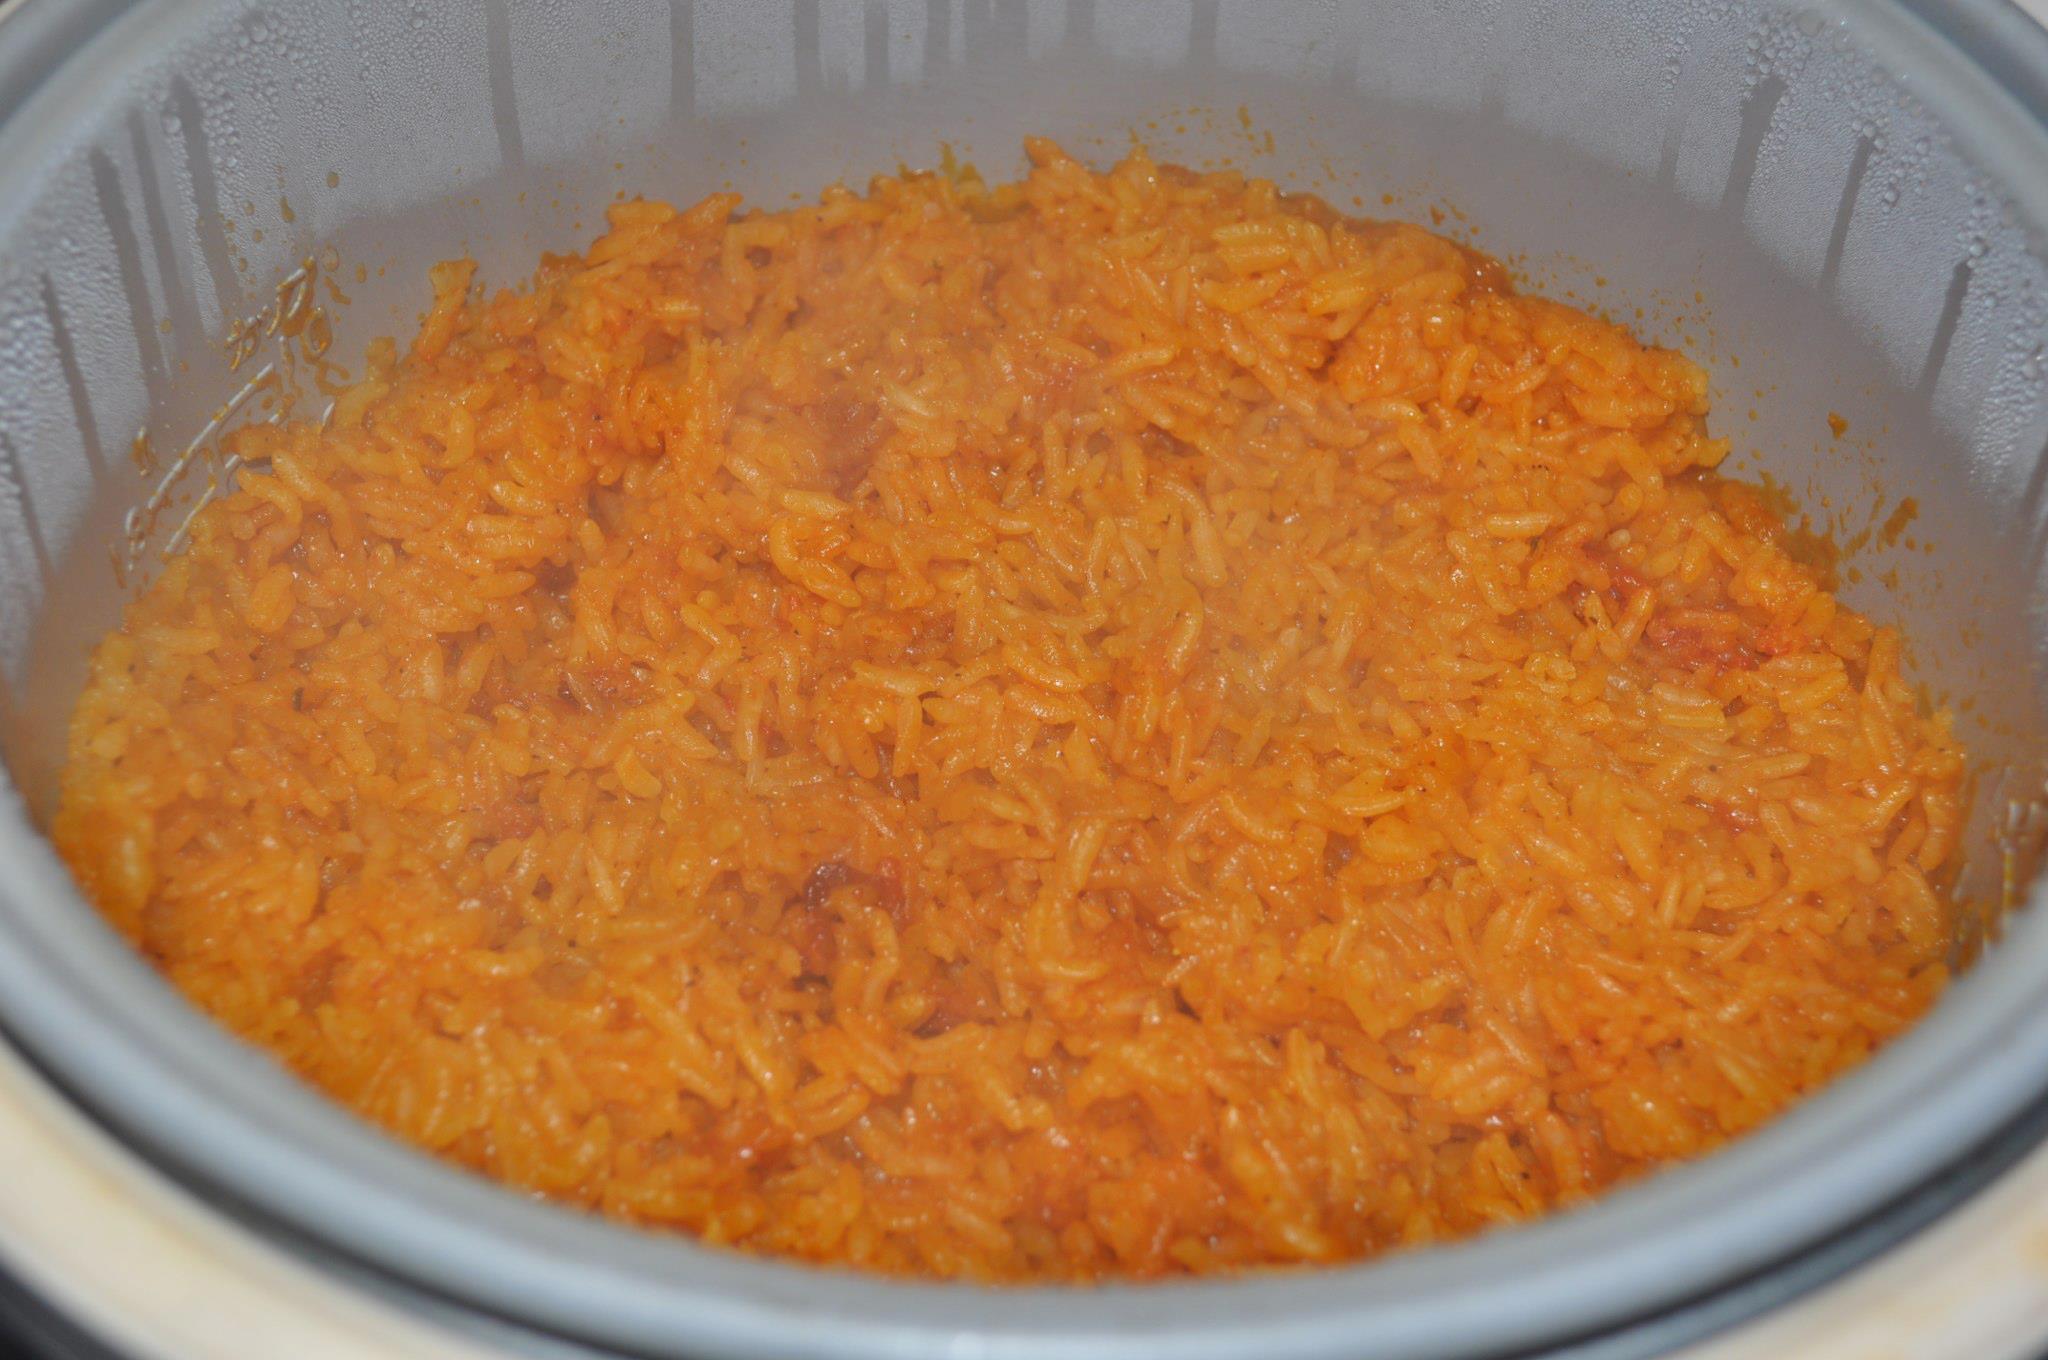
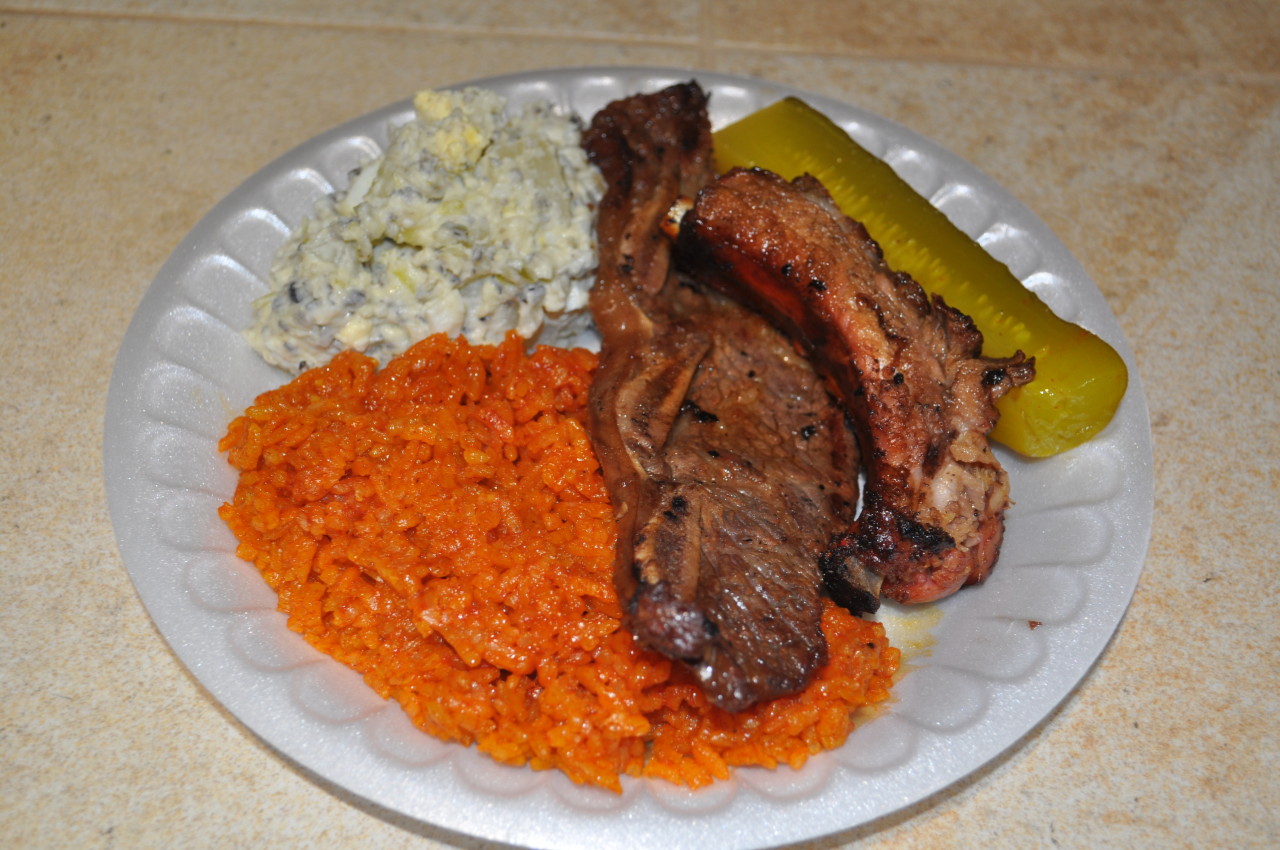
Red Rice is a must-have for any Chamorro Fiesta menu.  Without red rice, it just won’t seem much like a fiesta.

You don’t need to go to a party or fiesta to enjoy this Chamorro staple.  My family loves red rice served with fried chicken, or pan-fried Spam. 🙂

Some people add peas to their red rice, but I like mine without it.

Serve some Chamorro Red Rice at your next gathering for that extra special touch.

Give my recipe a try.  I think you’ll like it. 🙂

Red Rice

882592_10200795309433370_2126476614_o

Ingredients:

  • 3 cups rice (medium or long grain)
  • 1 tablespoon Dashida seasoning
  • 1 tablespoon bacon fat (or substitute with olive or vegetable oil)
  • 1/4 teaspoon black pepper
  • 1 teaspoon chopped garlic
  • 4 stalks green onions, sliced
  • 1 packet achote powder (see note below)
  • 3 1/2 cups hot water (see note below)

To make 10 cups of red rice (enough for a small BBQ), use the following measurements:

  • 10 cups rice
  • 3 tablespoons Dashida
  • 3 tablespoons bacon fat
  • 1/2 teaspoon black pepper
  • 1 tablespoon chopped garlic
  • 8 stalks green onions, sliced
  • 3 packets achote powder
  • 11 1/2 cups hot water

Note:

You can use achote water made with achote seeds instead of using powdered achote.  Scrub about 1/4 cup of achote seeds in 3 1/2 cups warm water.  Add the achote water (make sure to strain out the seeds and add just the achote water) to the pot where the directions call for adding water and achote powder.

Directions:

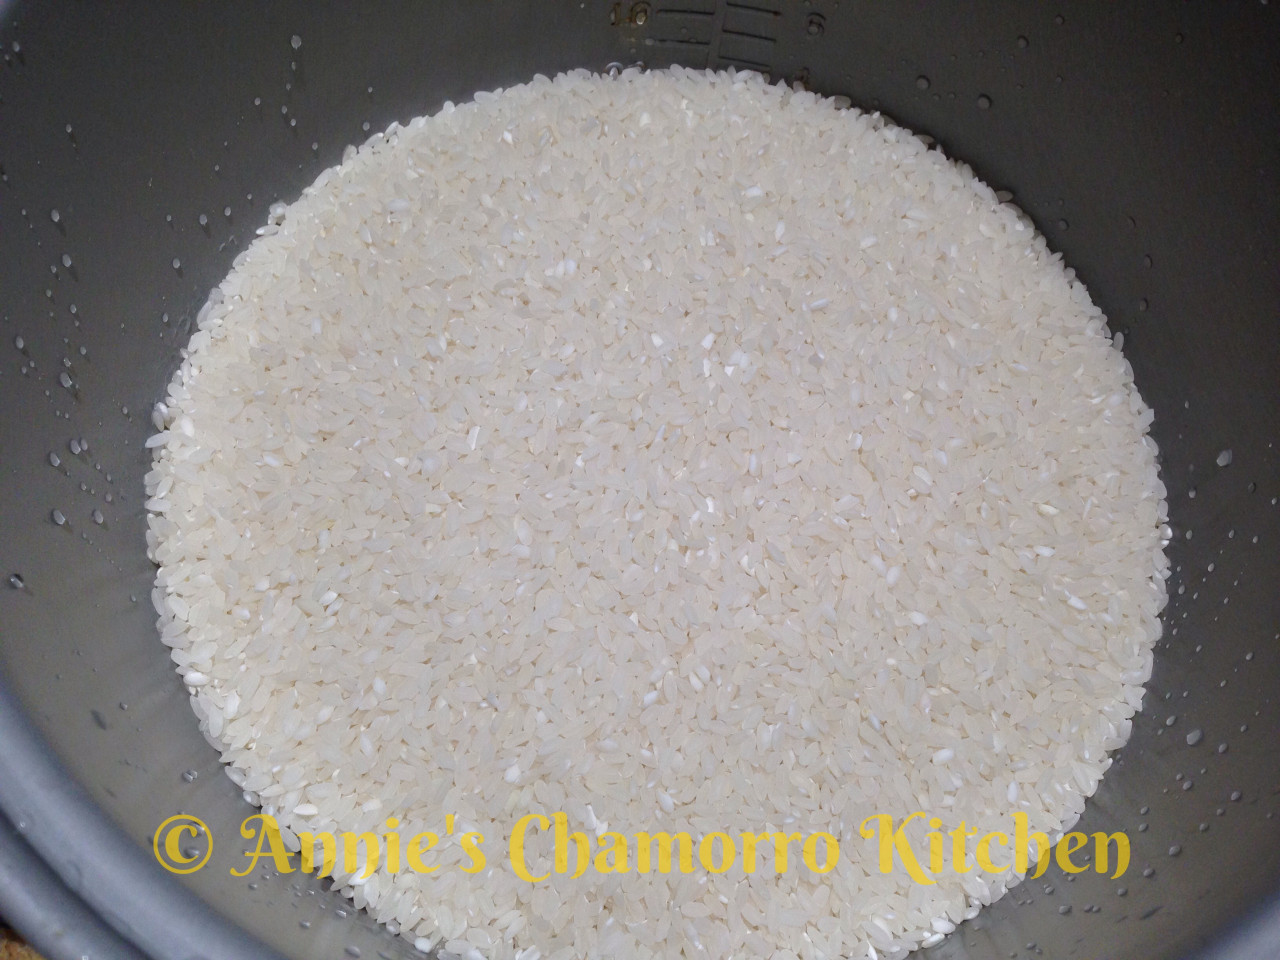
1.  Place the rice into your rice cooker pot.  Rinse the rice as required, draining out any excess water.

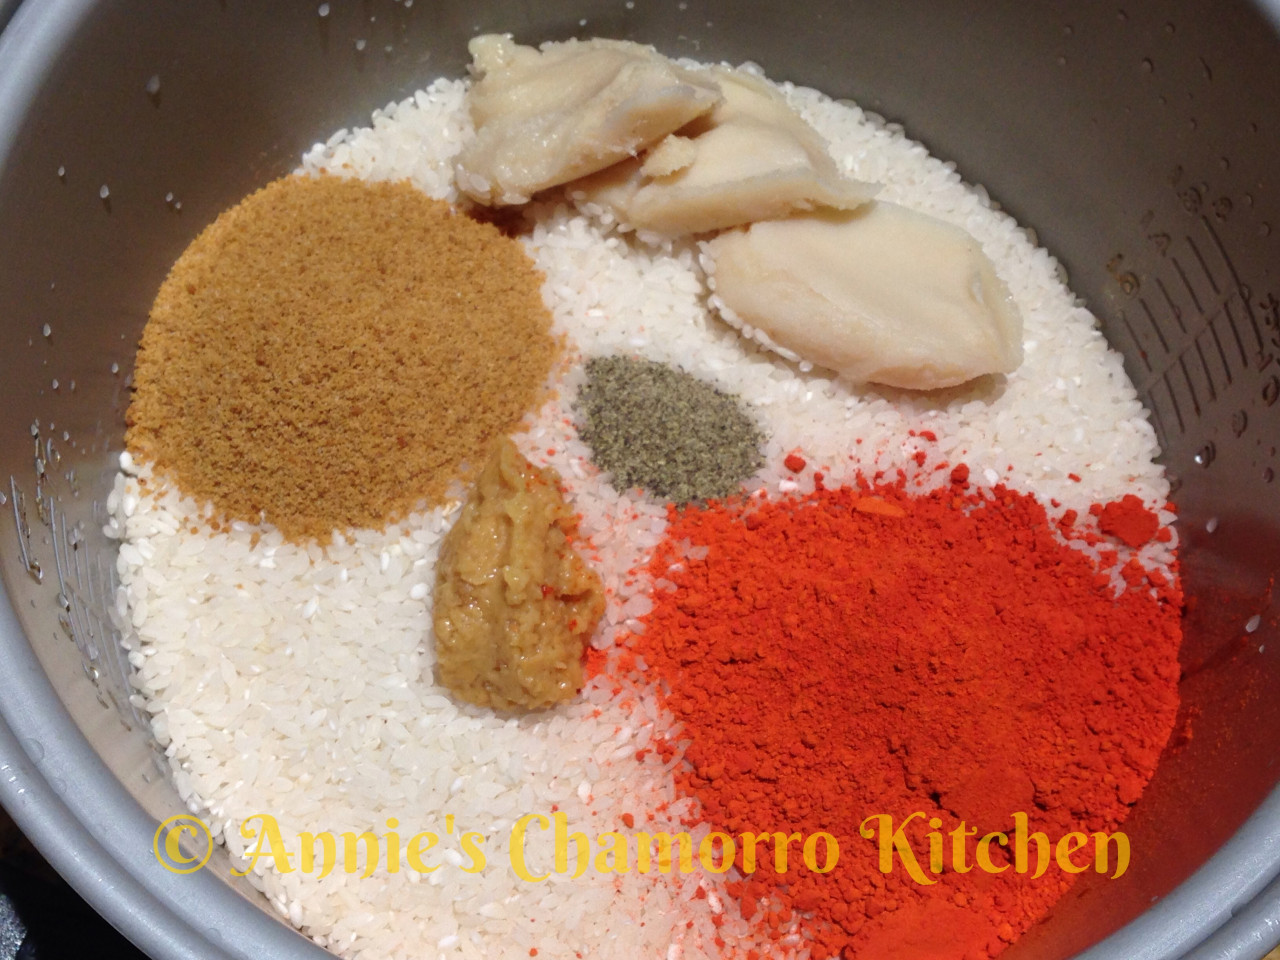
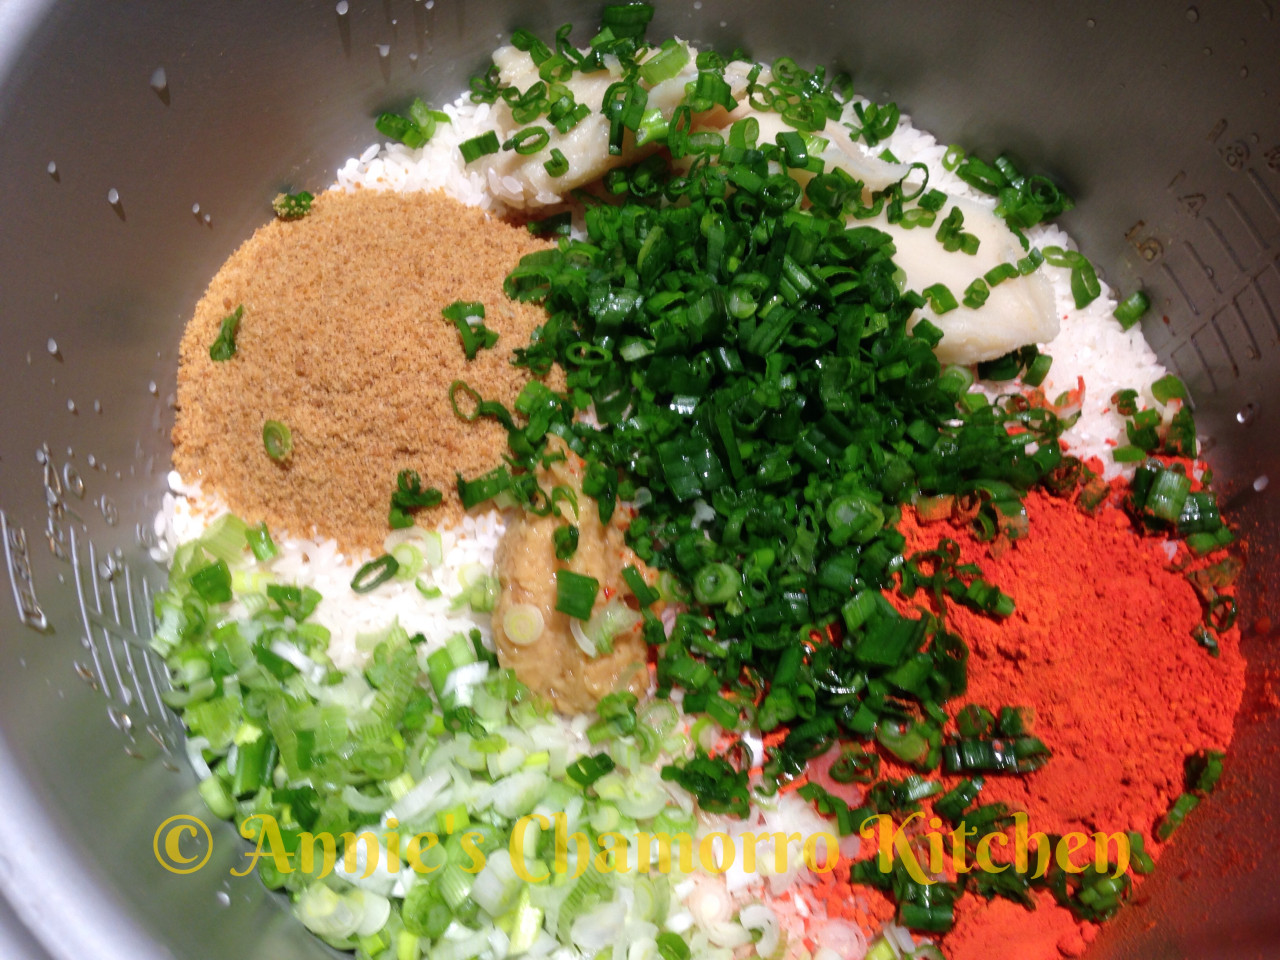
IMG_31472.  Into the pot, add the Dashida, bacon fat, black pepper, garlic, and achote powder.  If you don’t have any saved bacon fat, substitute with olive or vegetable oil. IMG_31493.  Add the green onions to the pot.   IMG_31504.  Carefully pour the hot water into the pot.  Stir to combine all the ingredients and to dissolve the achote powder and Dashida.  The bacon fat will start to melt; don’t worry if it doesn’t completely melt at this time.

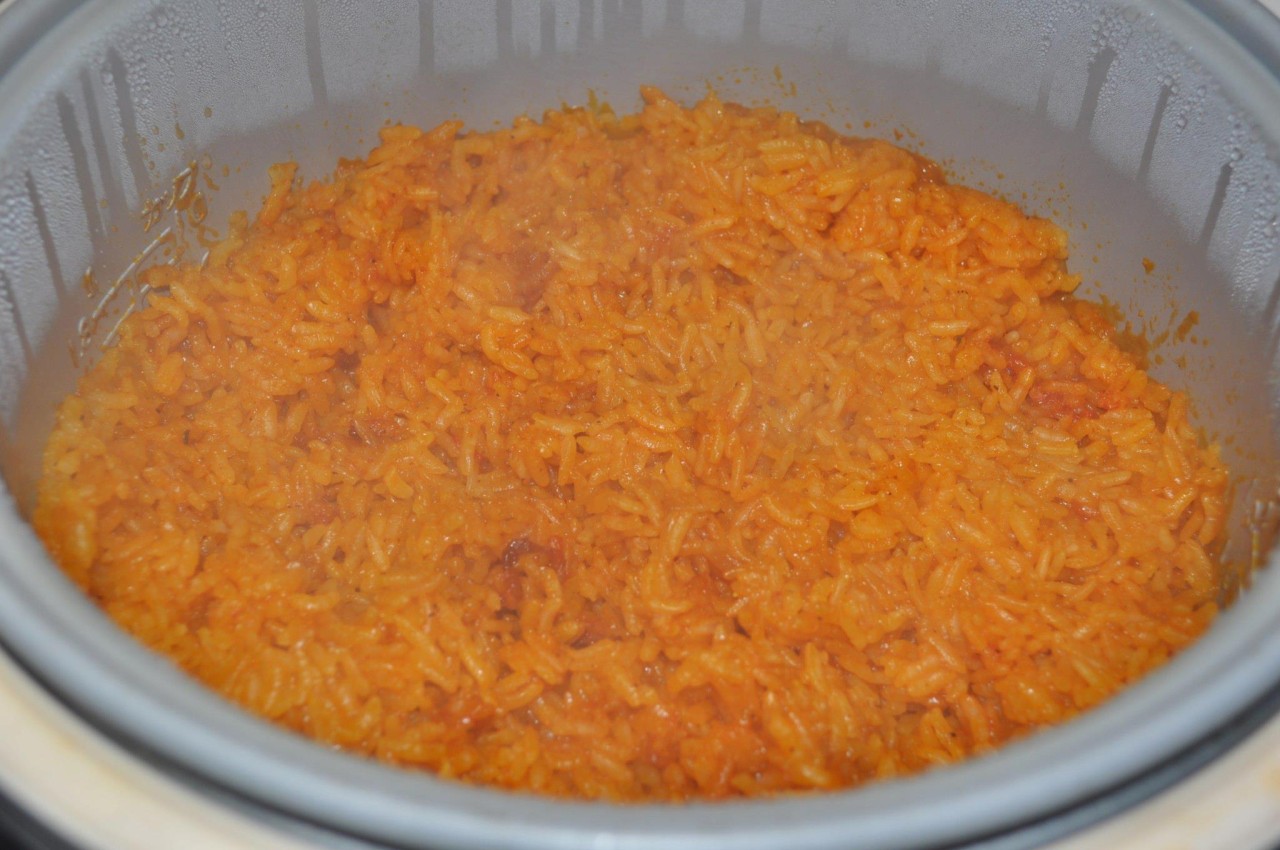
Turn the rice cooker to the “cook” setting.  The only thing left to do is to stir the rice a couple more times.  Wait a couple of minutes then stir to ensure even mixing after the bacon fat melted.  Wait another 5 minutes or so and stir once more to ensure the rice at the bottom of the pot is evenly coated with achote coloring.

After stirring the rice for a second time, leave the rice to cook/steam until done.

IMG_0667 IMG_1995

5.  Serve with your favorite meat dish (Chamorro BBQ, fried chicken, or pan-fried Spam goes fantastic with red rice!) and ENJOY! 😀

Events - 2607 Events - 2606

Pillow Soft and Fluffy Biscuits with Homemade Gravy

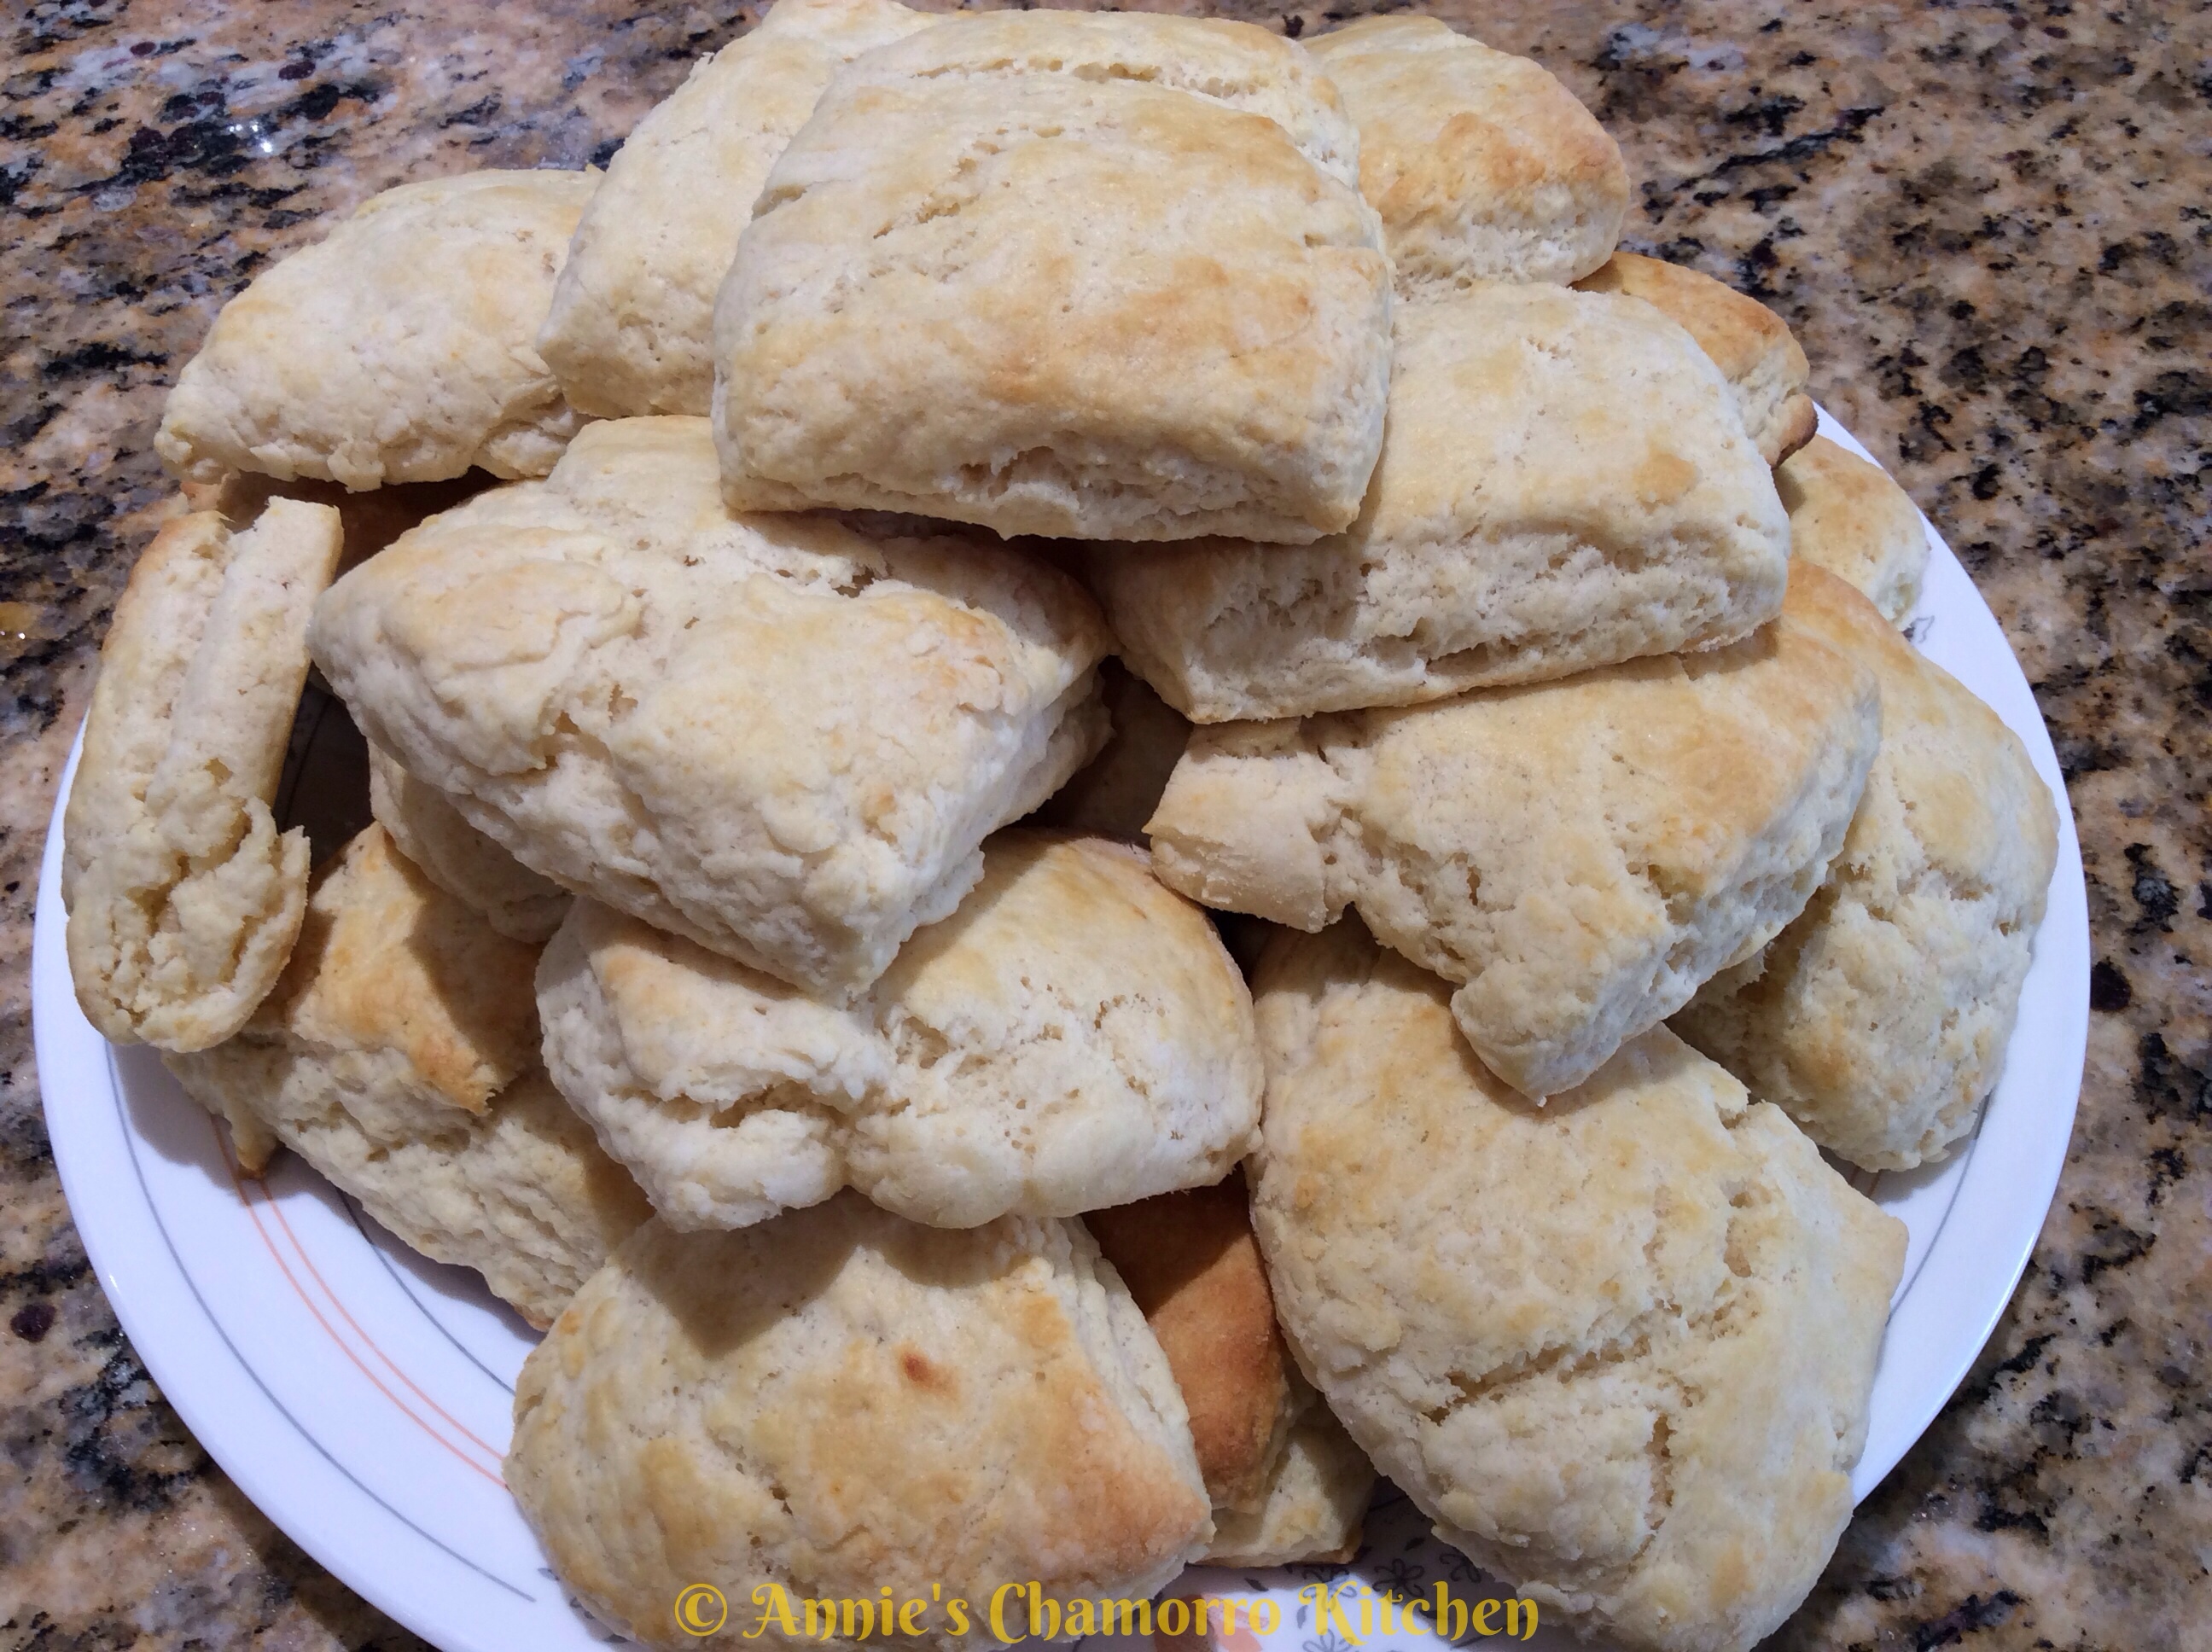
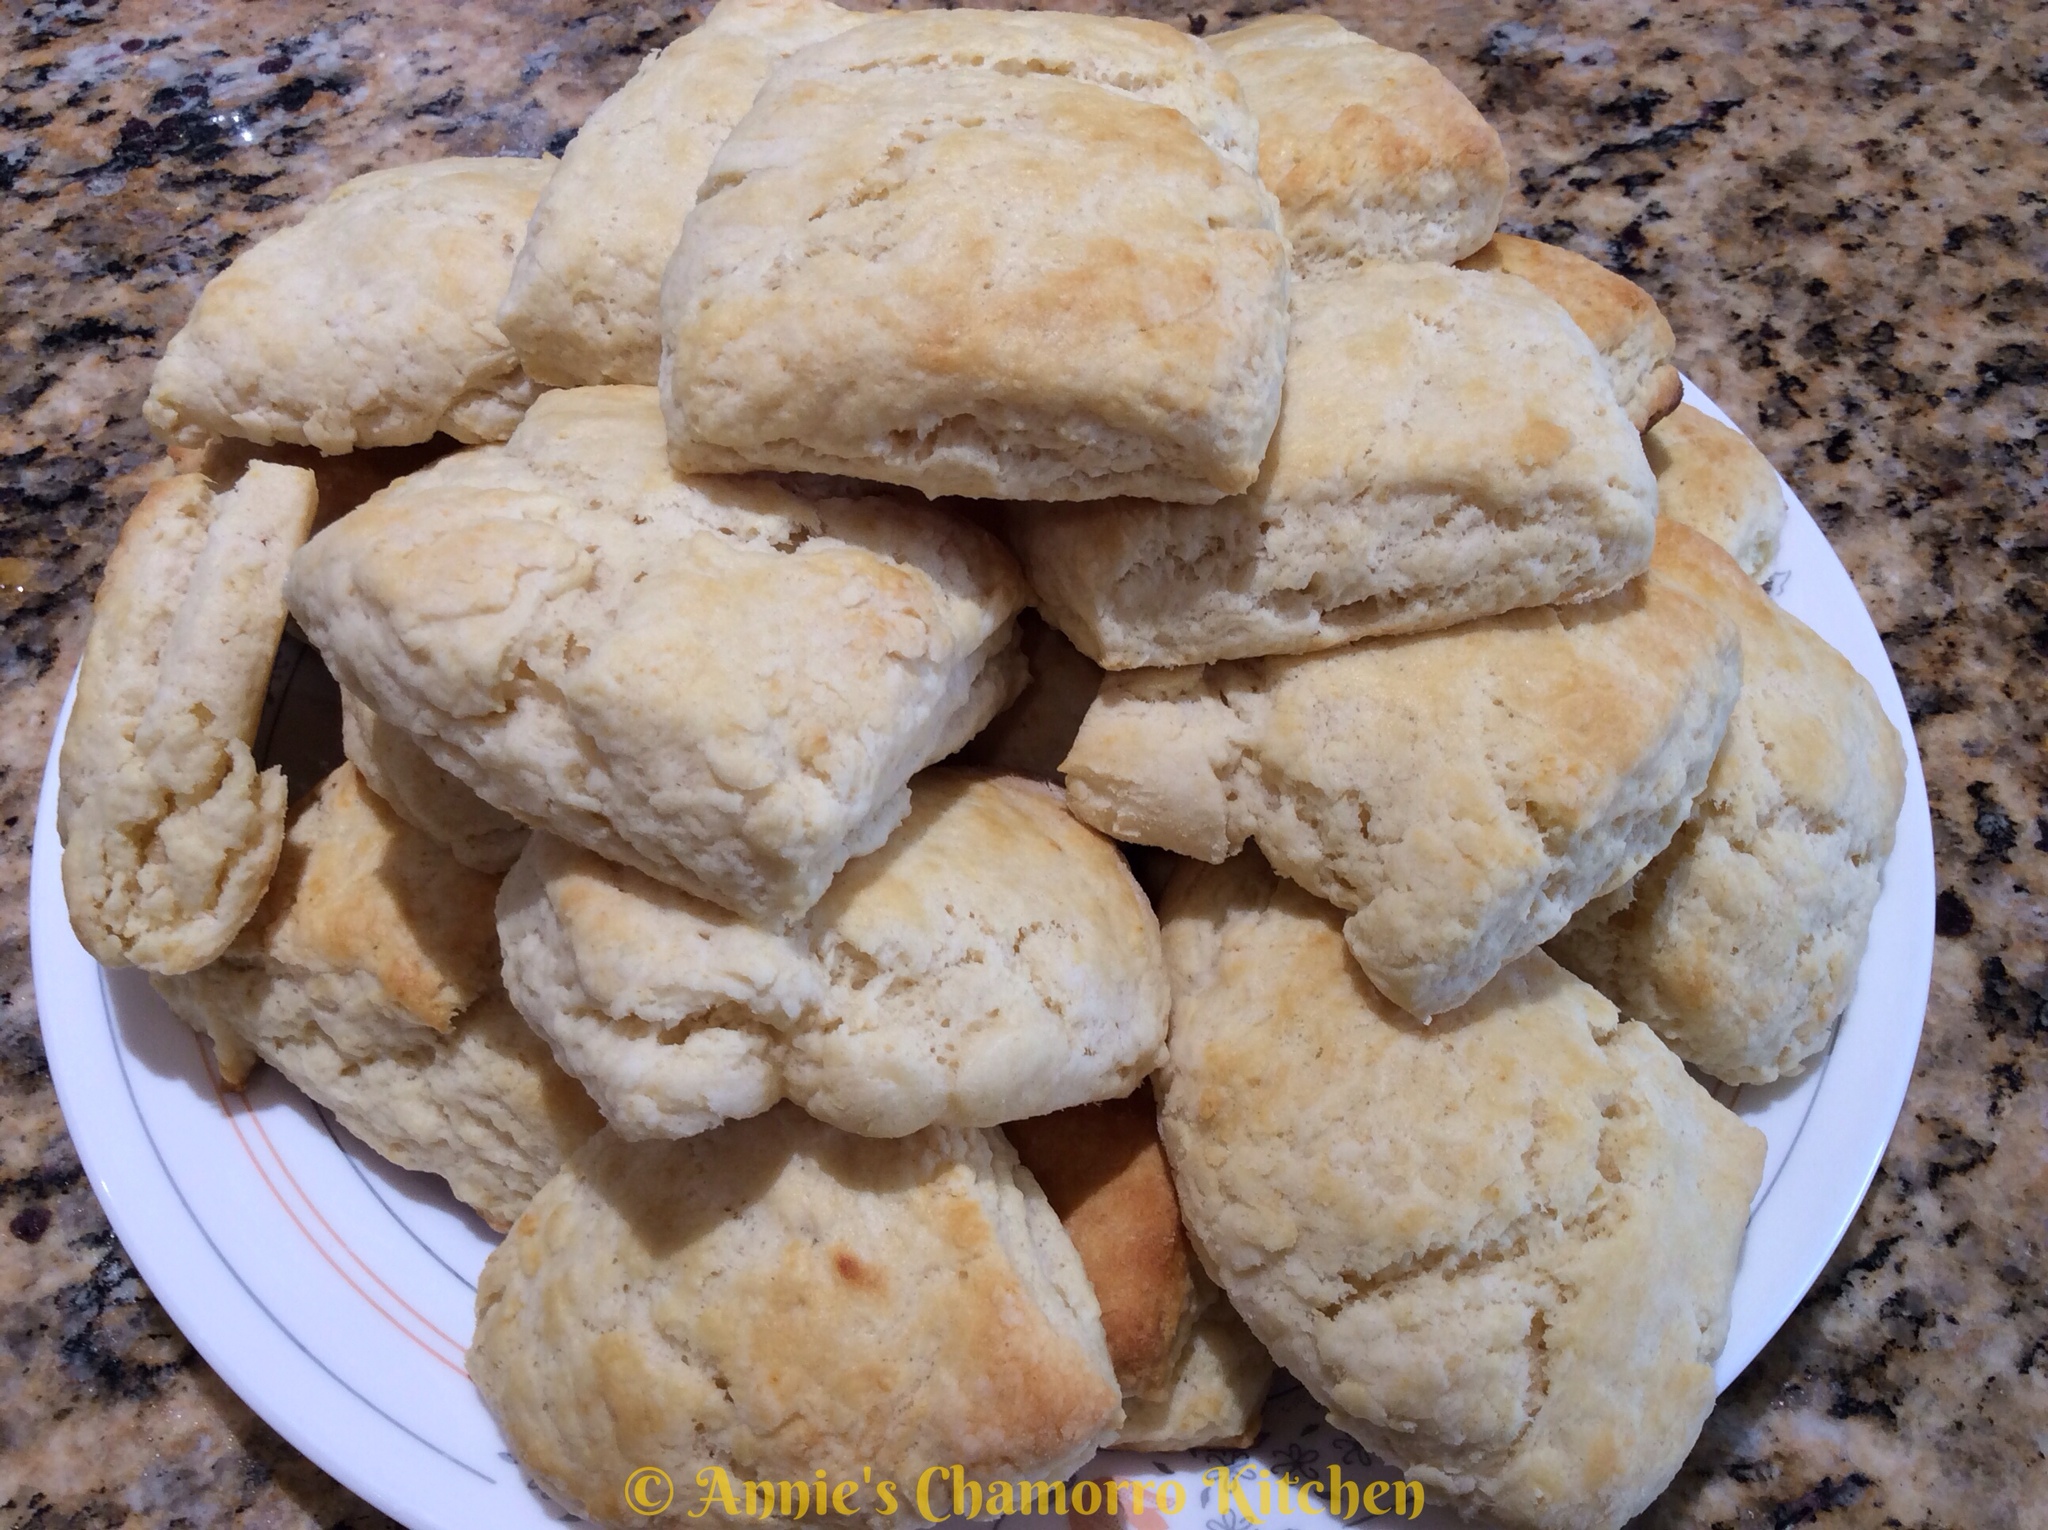
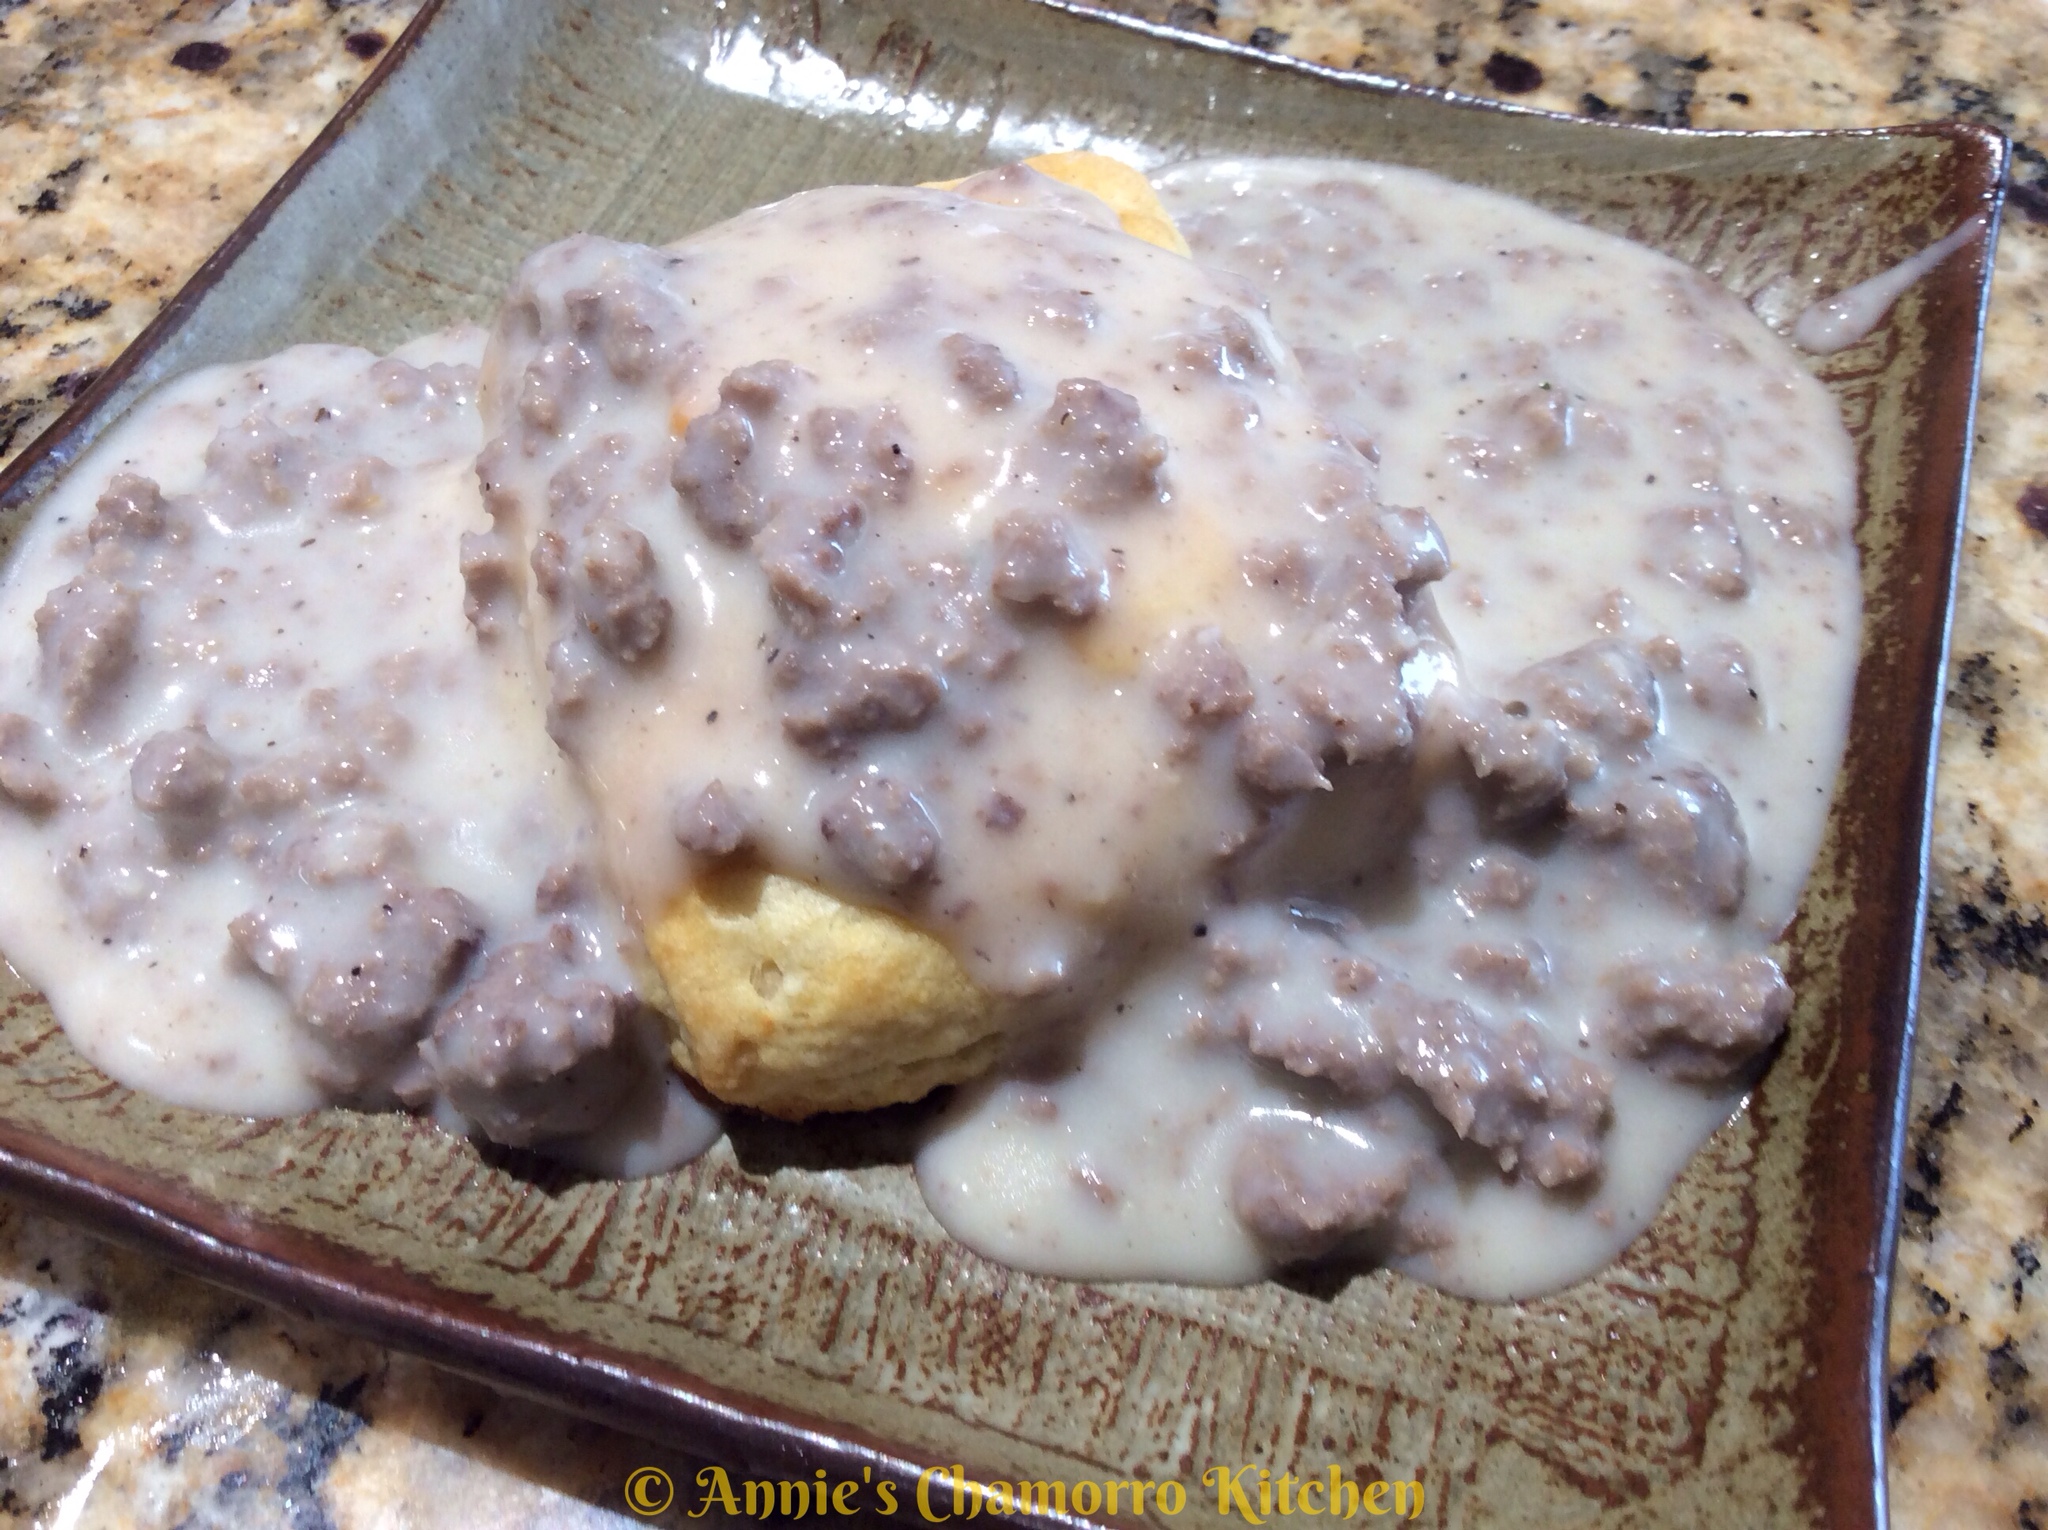
Biscuits and gravy is a classic breakfast dish. A serving (or two or three) of soft, fluffy biscuits topped with a savory, meaty gravy is a perfect way to start the day.

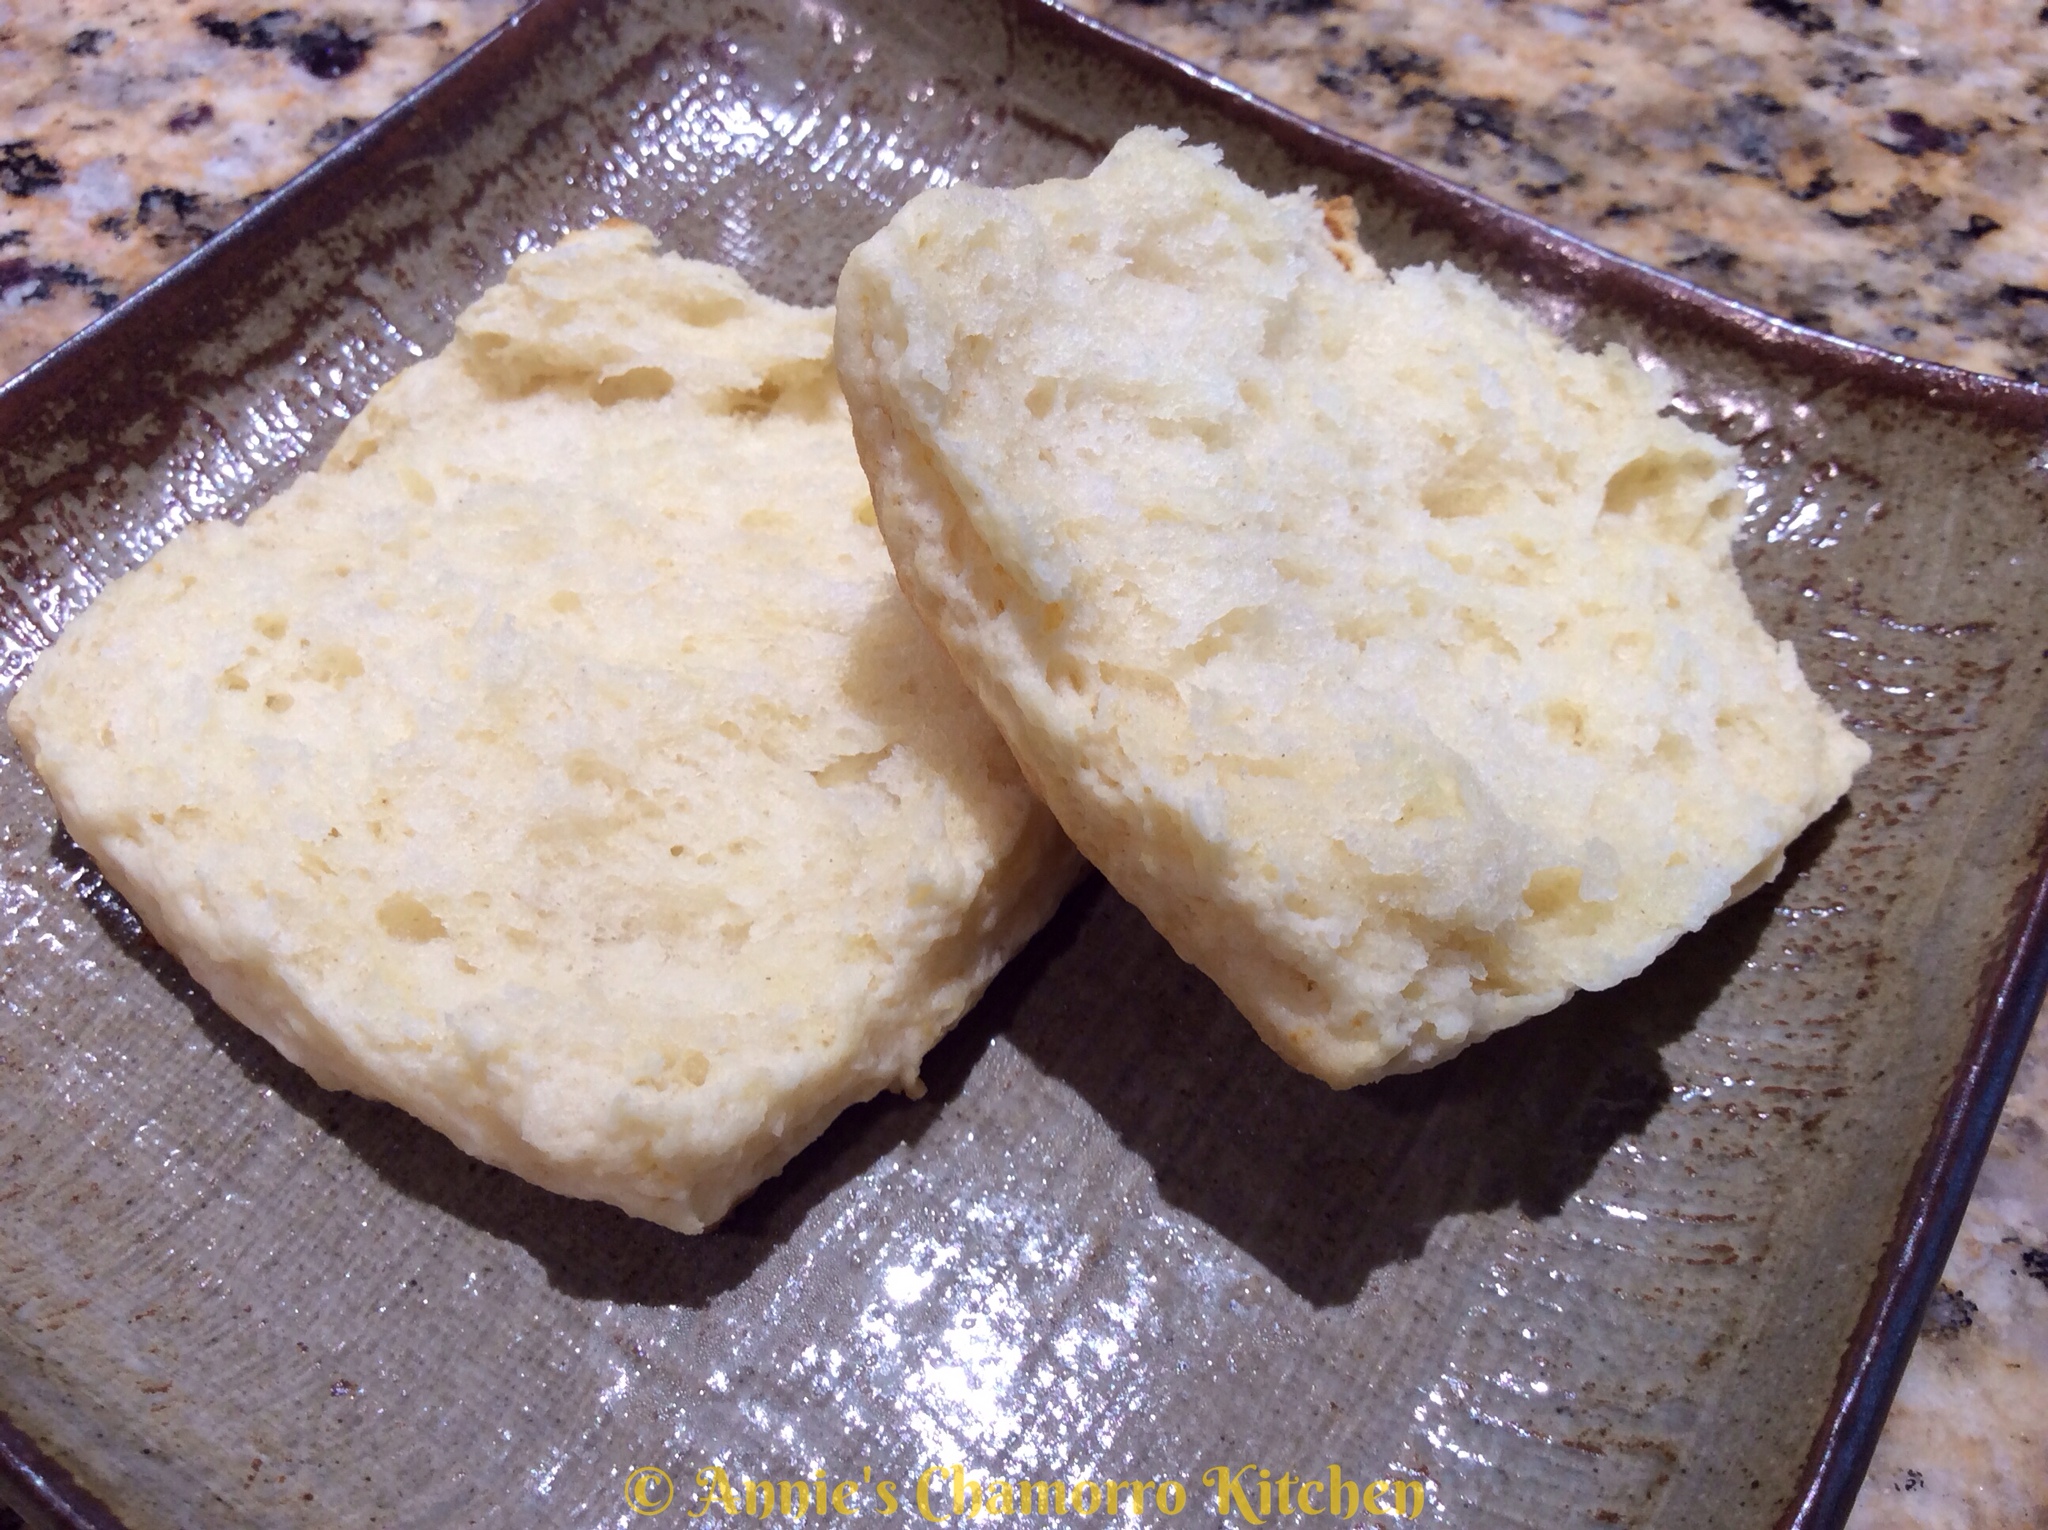
These biscuits are so soft, they practically melt in your mouth. Seriously.

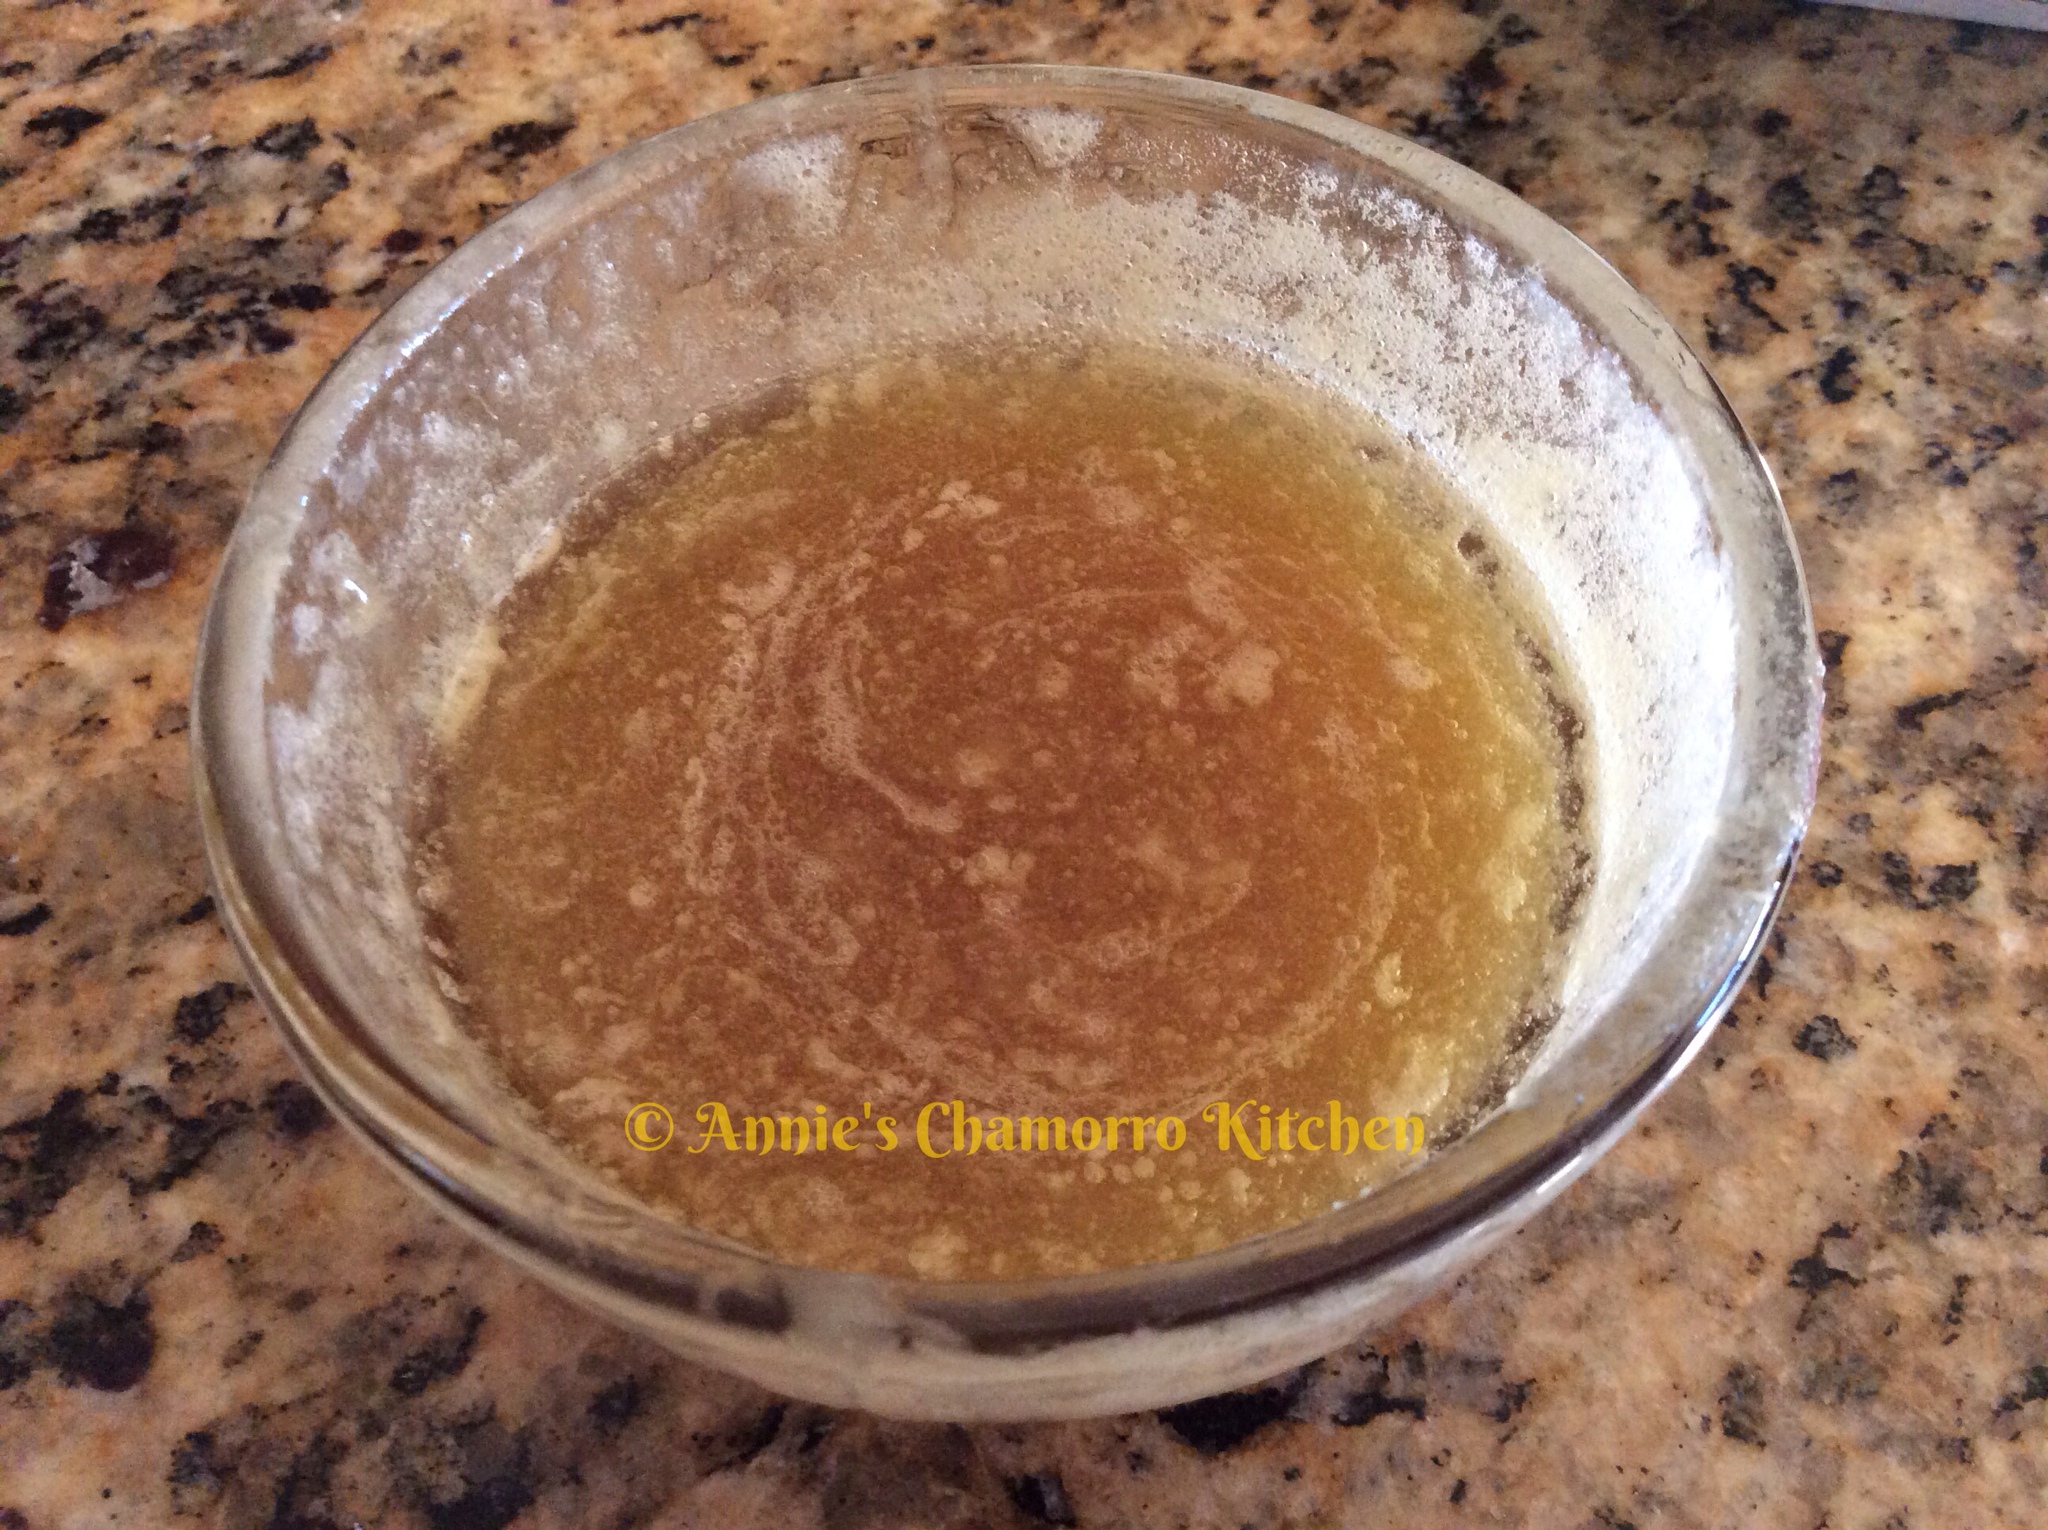
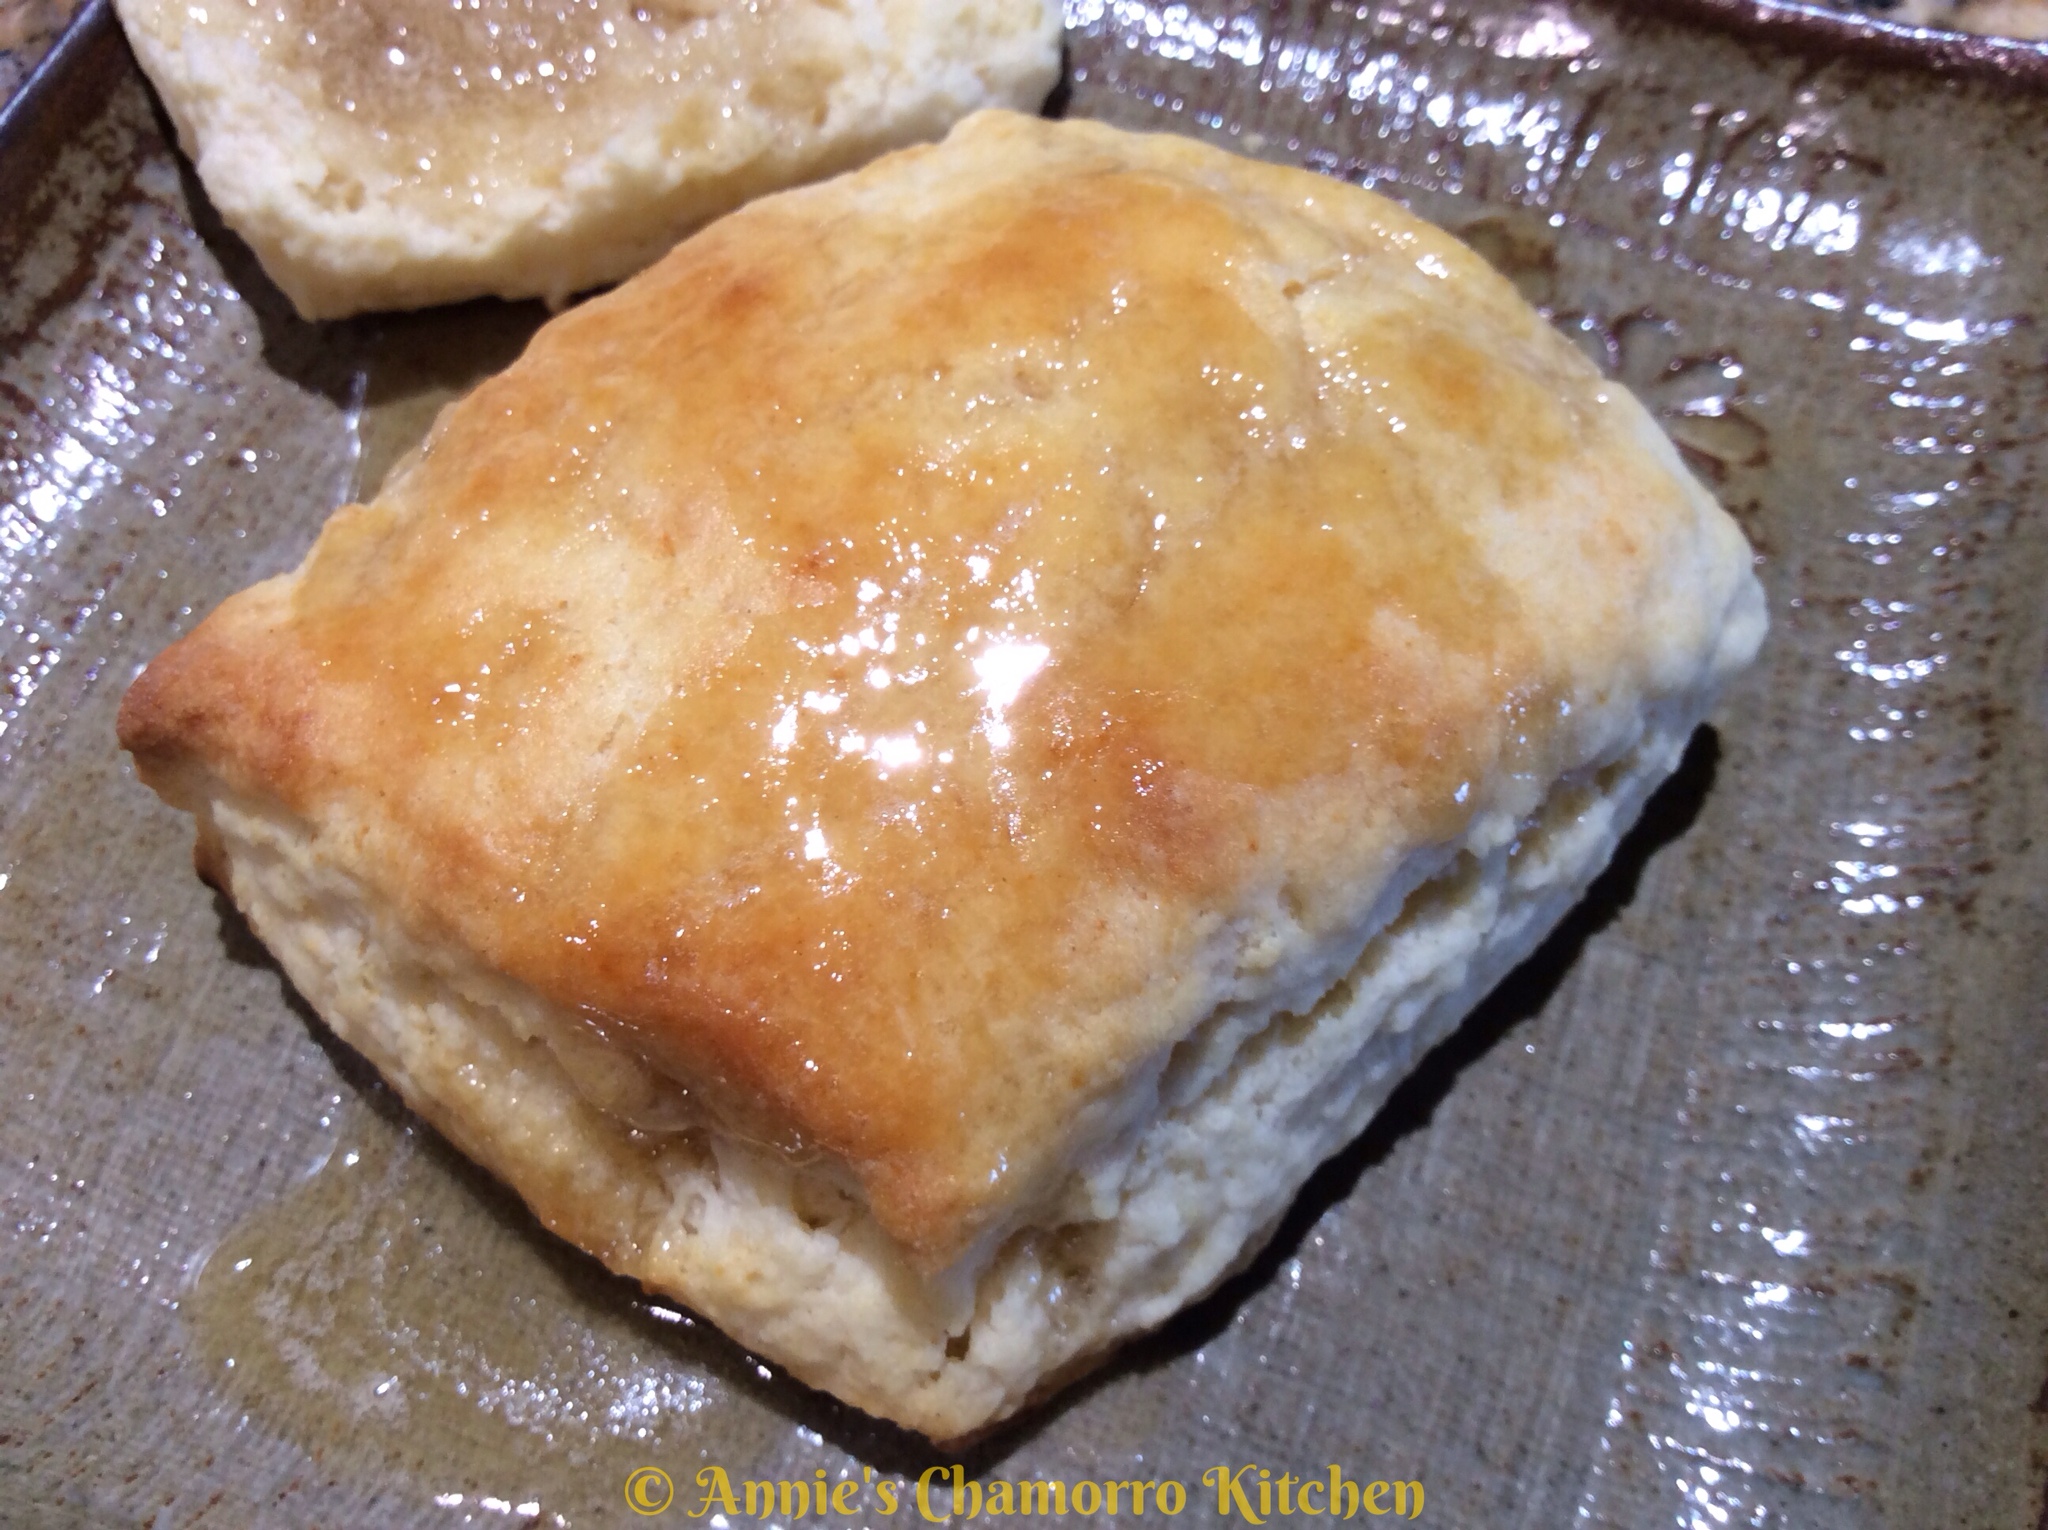
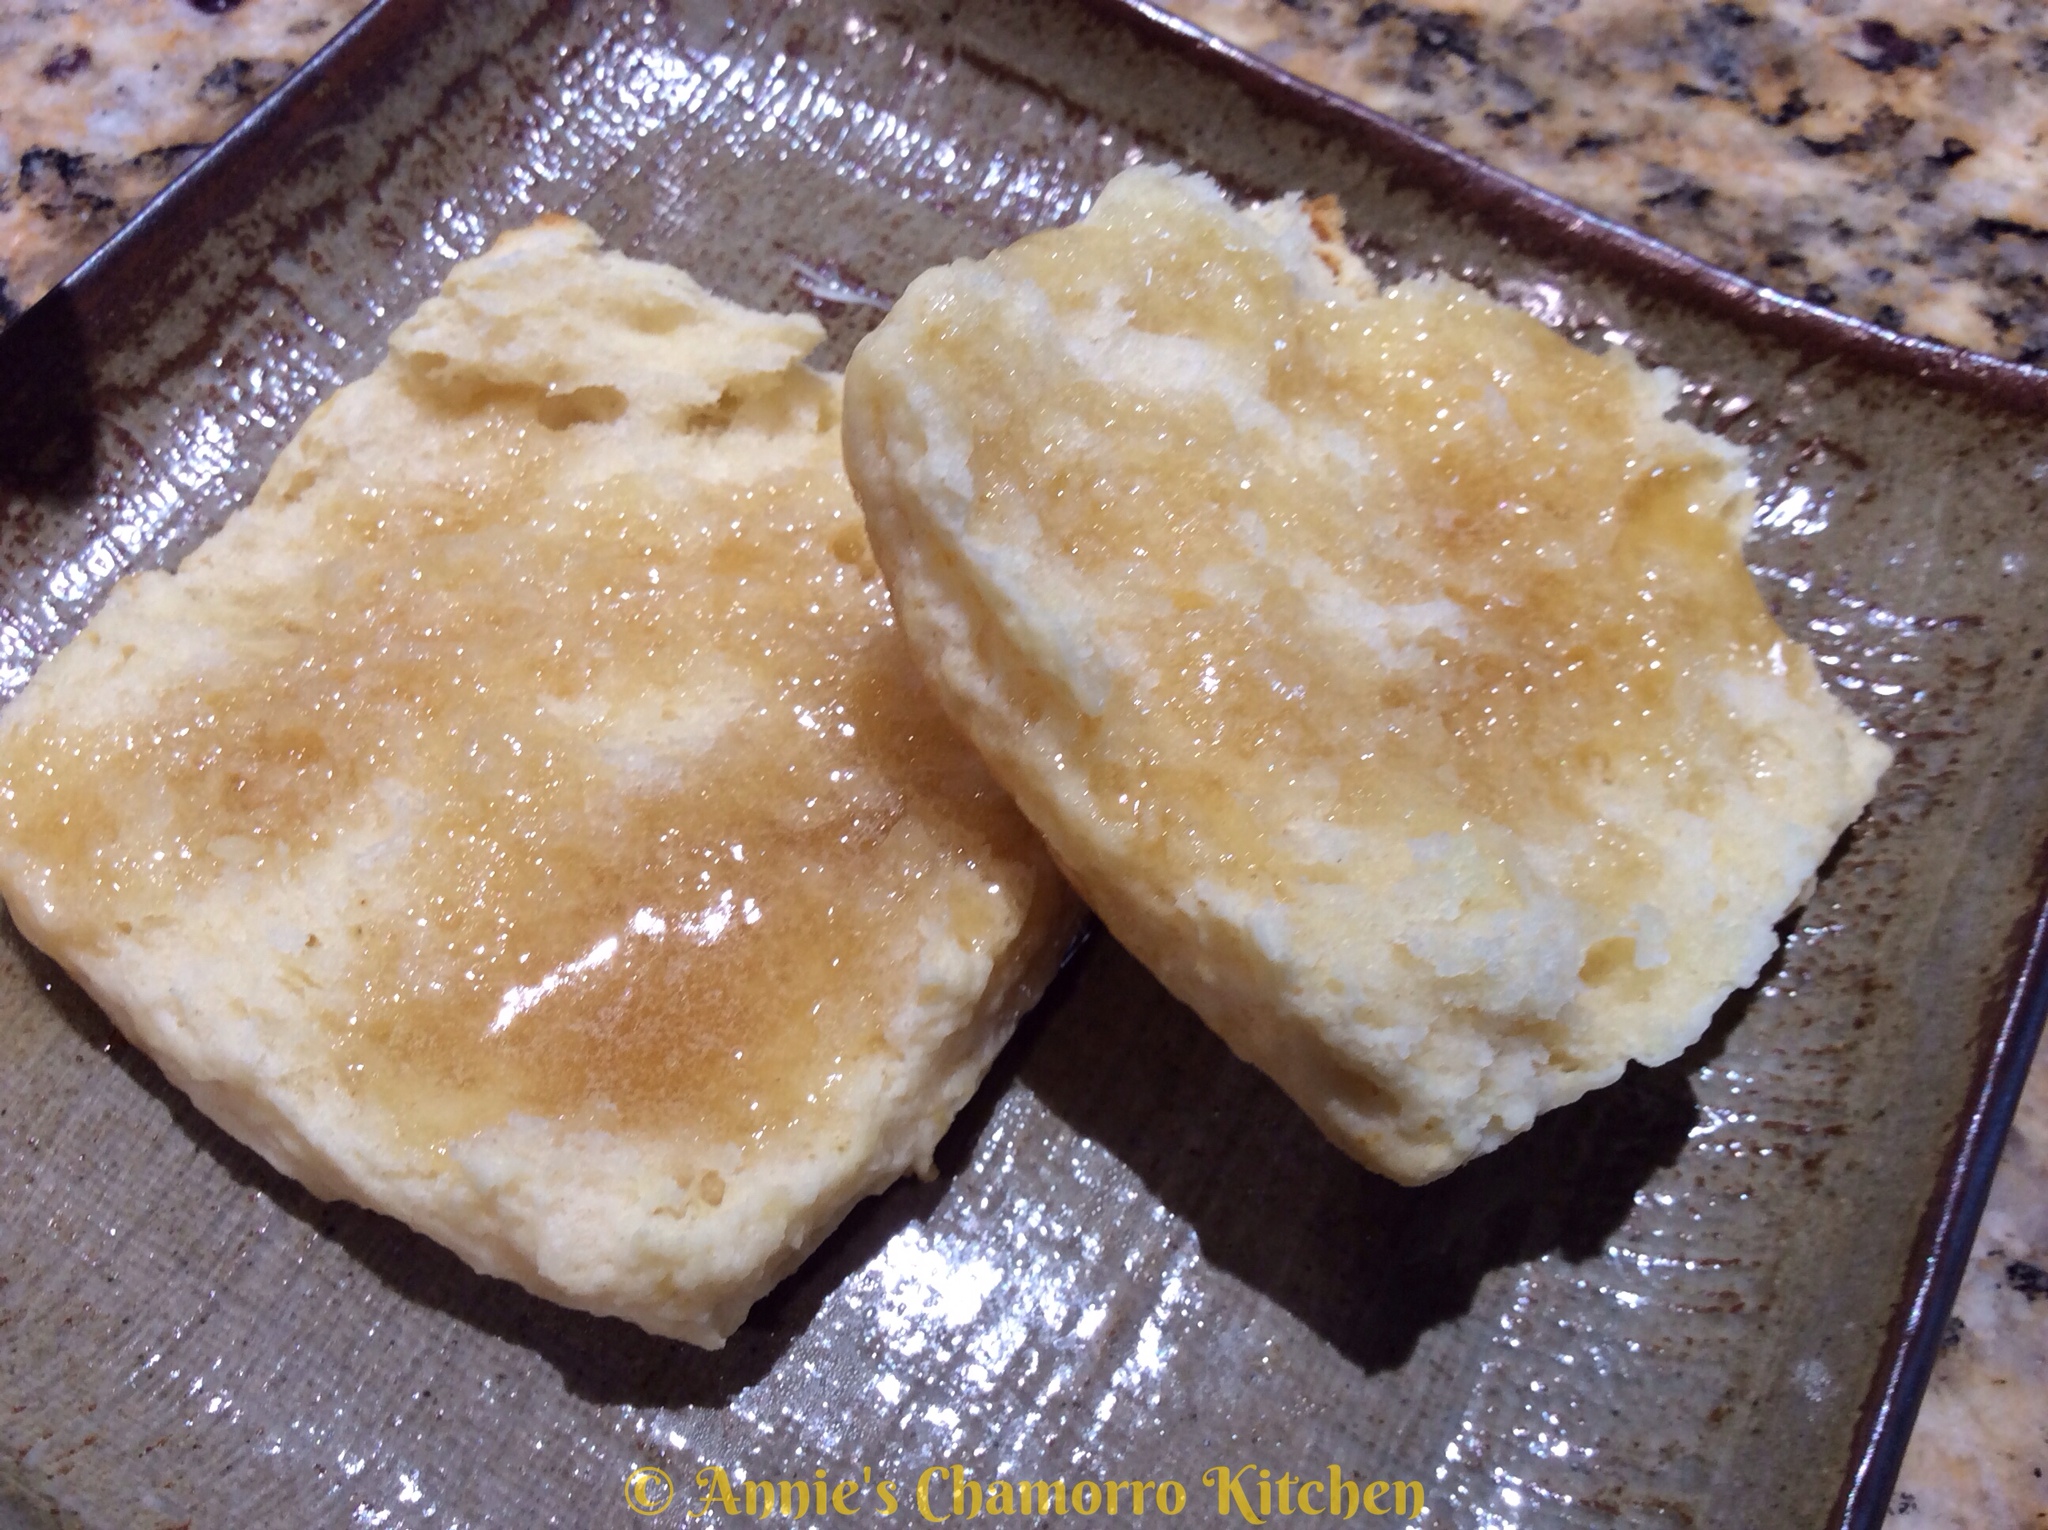
These biscuits are so soft that you tend to smoosh them when trying to spread butter on them. That’s why I like making a Honey-Butter Sauce that you can just drizzle on top–there’s no need to spread anything on them! 🙂

Aside from serving these for breakfast, you can also serve ’em up with some fried chicken and a side of hot buttered corn for an absolutely delightful dinner.

Give my recipes a try. I think you’ll like them. 🙂

Be sure to scroll down for my Homemade Gravy and Honey-Butter Sauce recipes.

Soft Fluffy Biscuits

Ingredients:

  • 4 1/4 cups all-purpose flour
  • 3/4 cup corn starch
  • 10 tablespoons buttermilk powder
  • 2 teaspoons baking powder
  • 1 teaspoon baking soda
  • 1 teaspoon salt
  • 2 teaspoons sugar
  • 2 sticks (1 cup) very cold unsalted butter, cut into small pieces
  • 1 1/2 cups water

Directions:

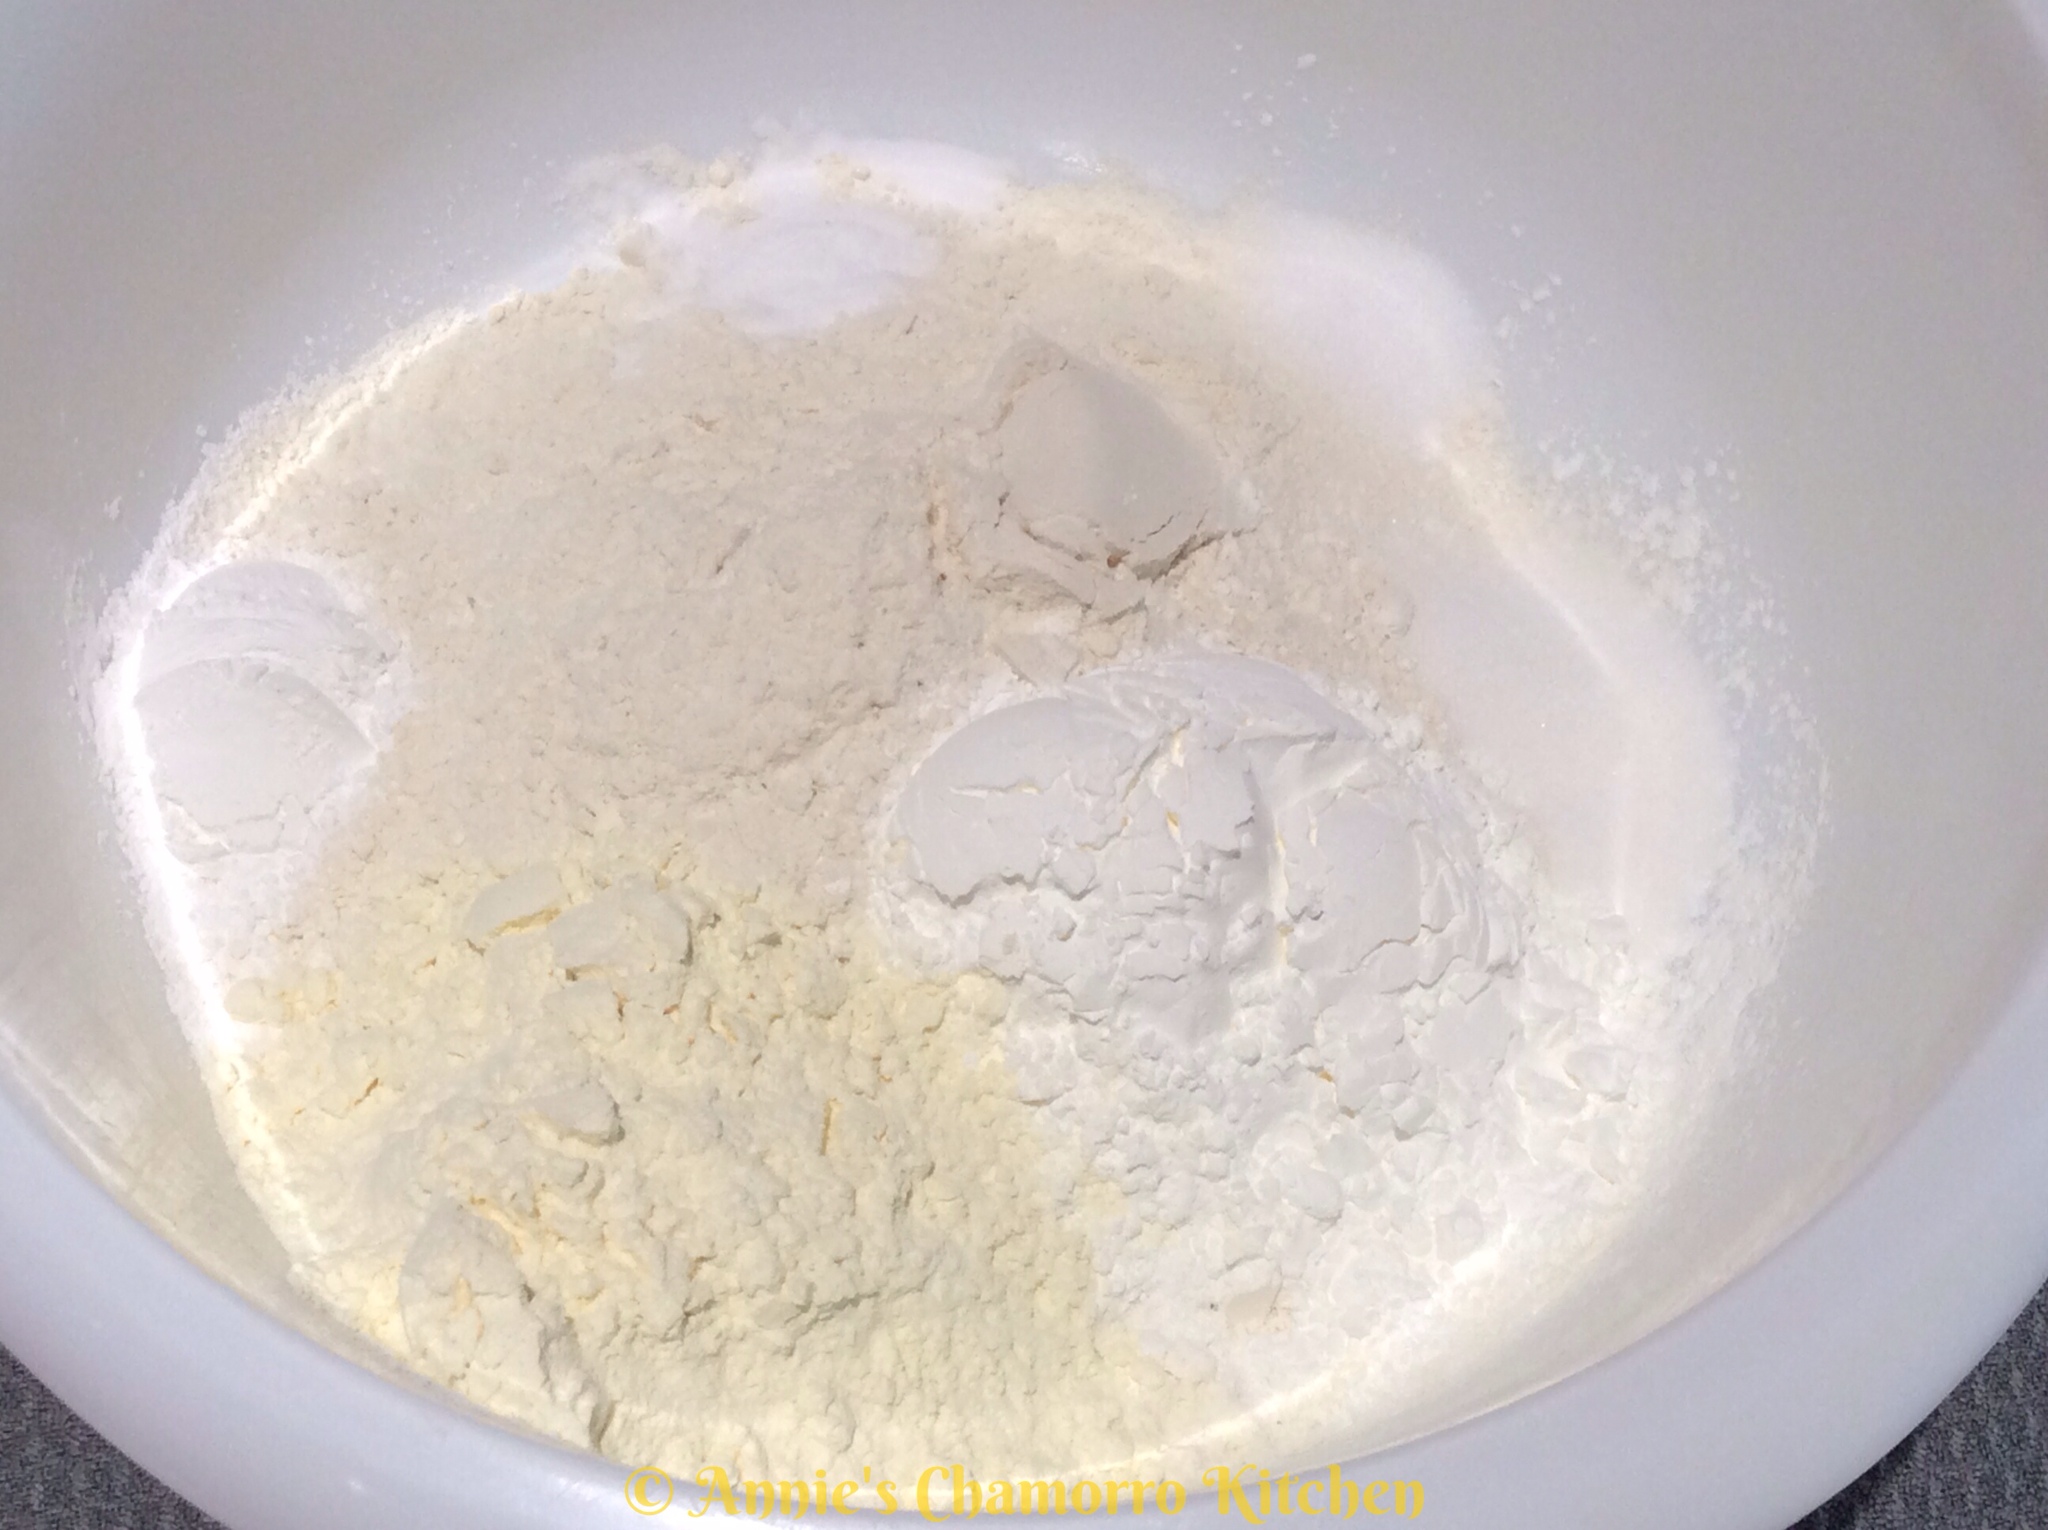
1. Place the flour, cornstarch, buttermilk powder, baking powder, baking soda, salt and sugar into a large mixing bowl. Stir to combine all of the ingredients.

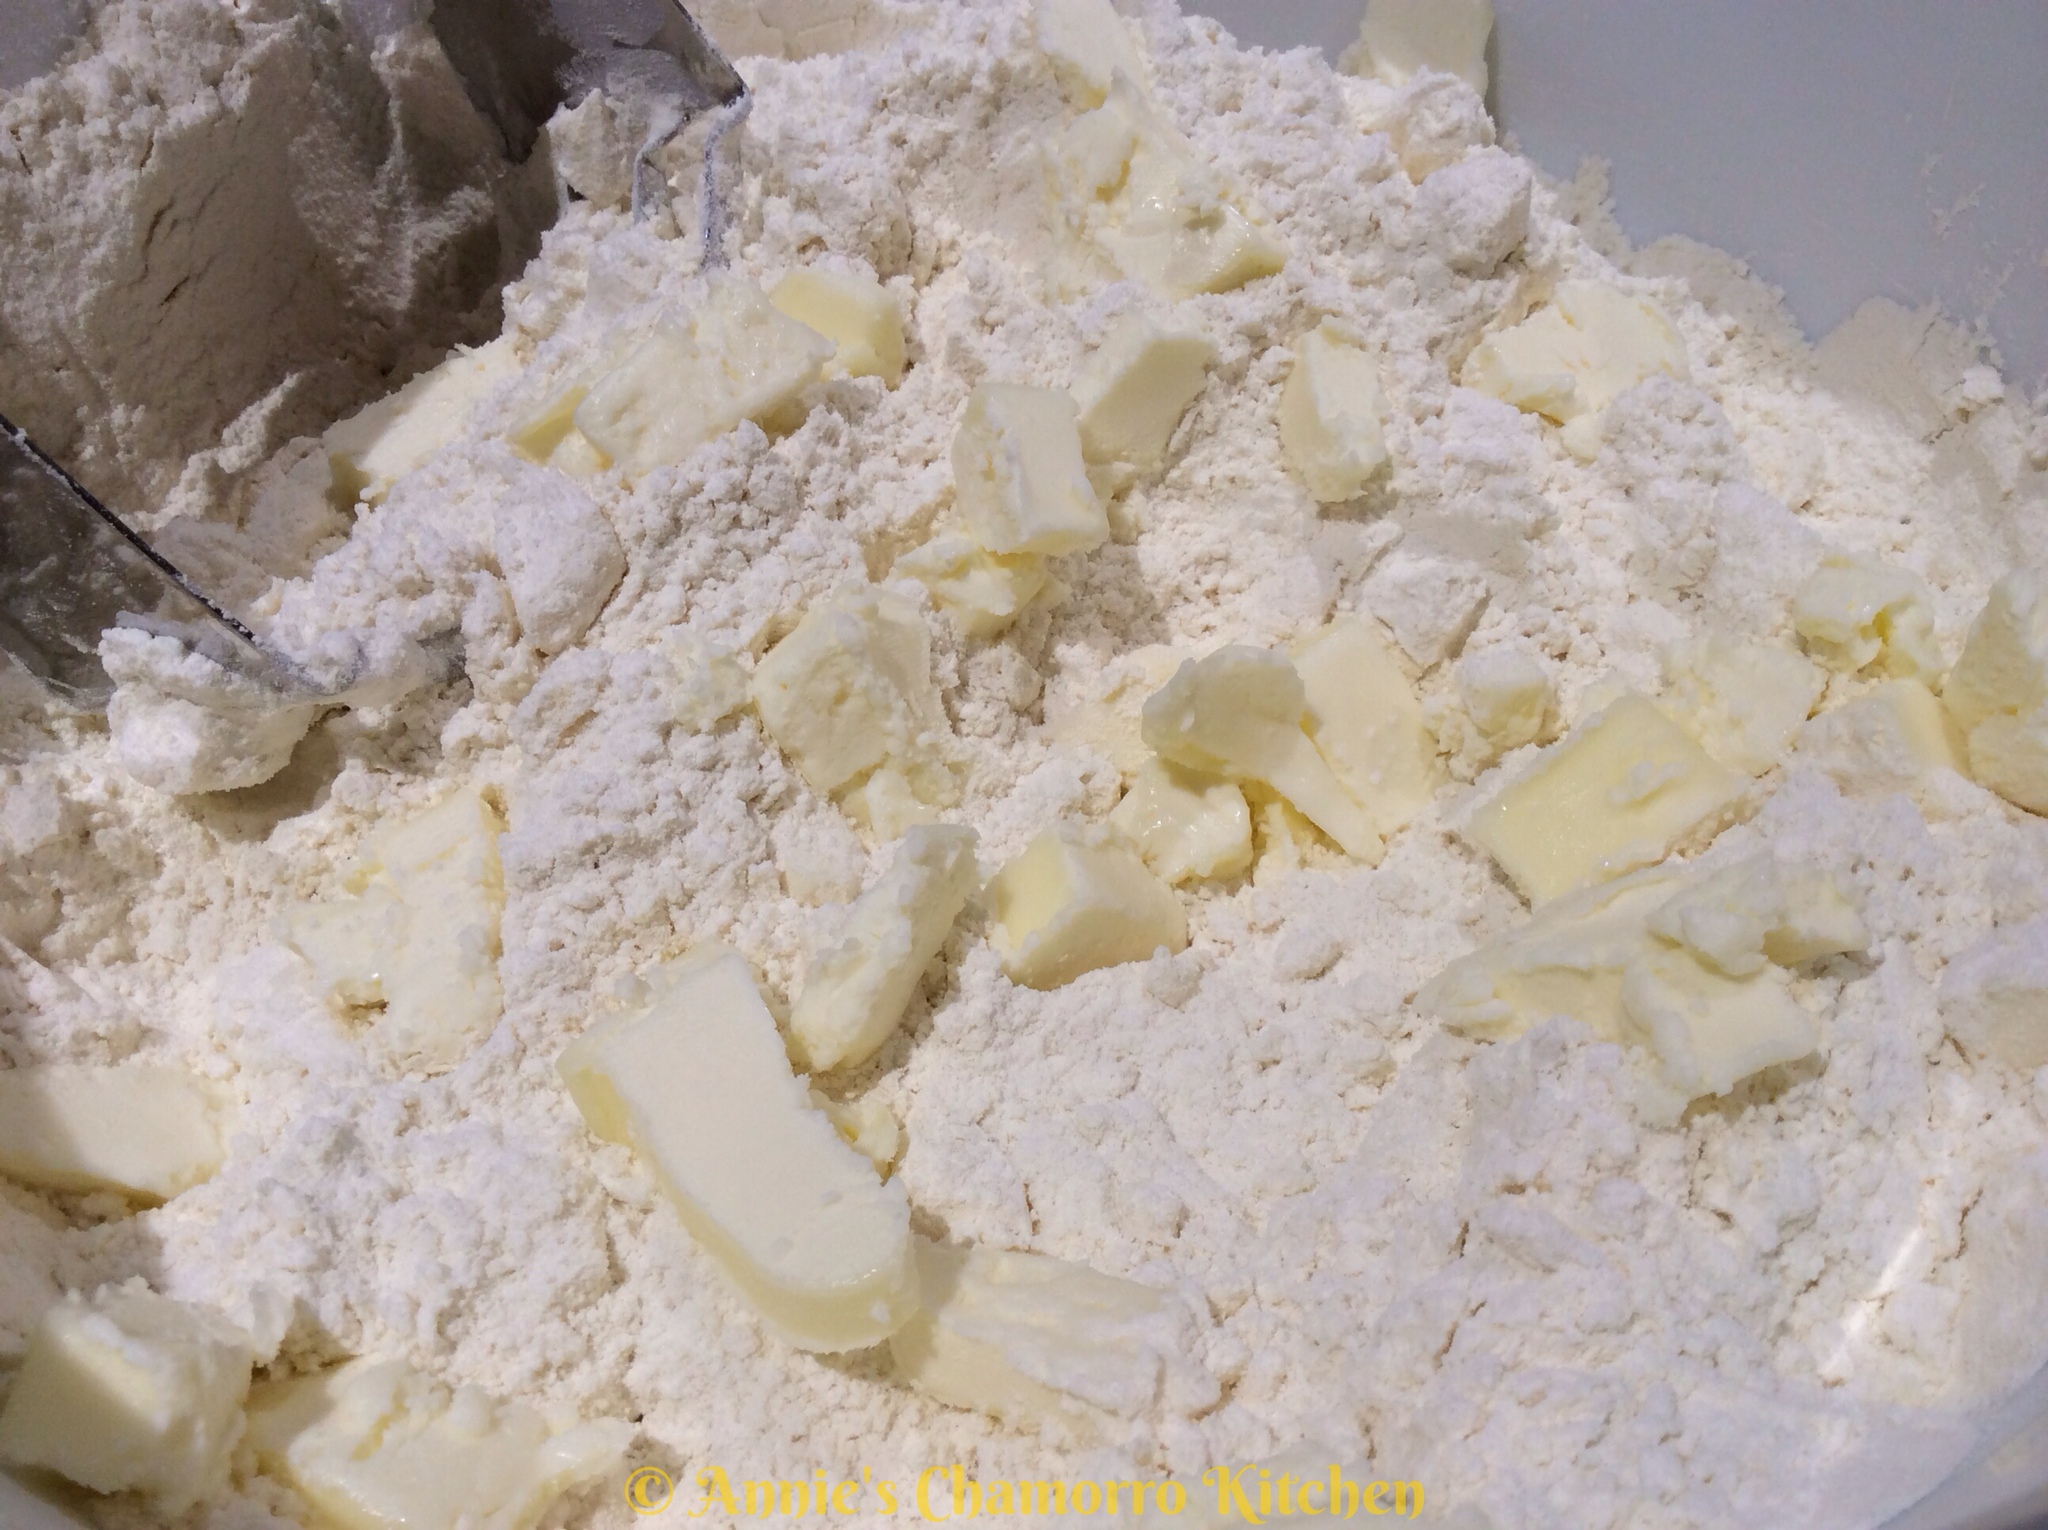
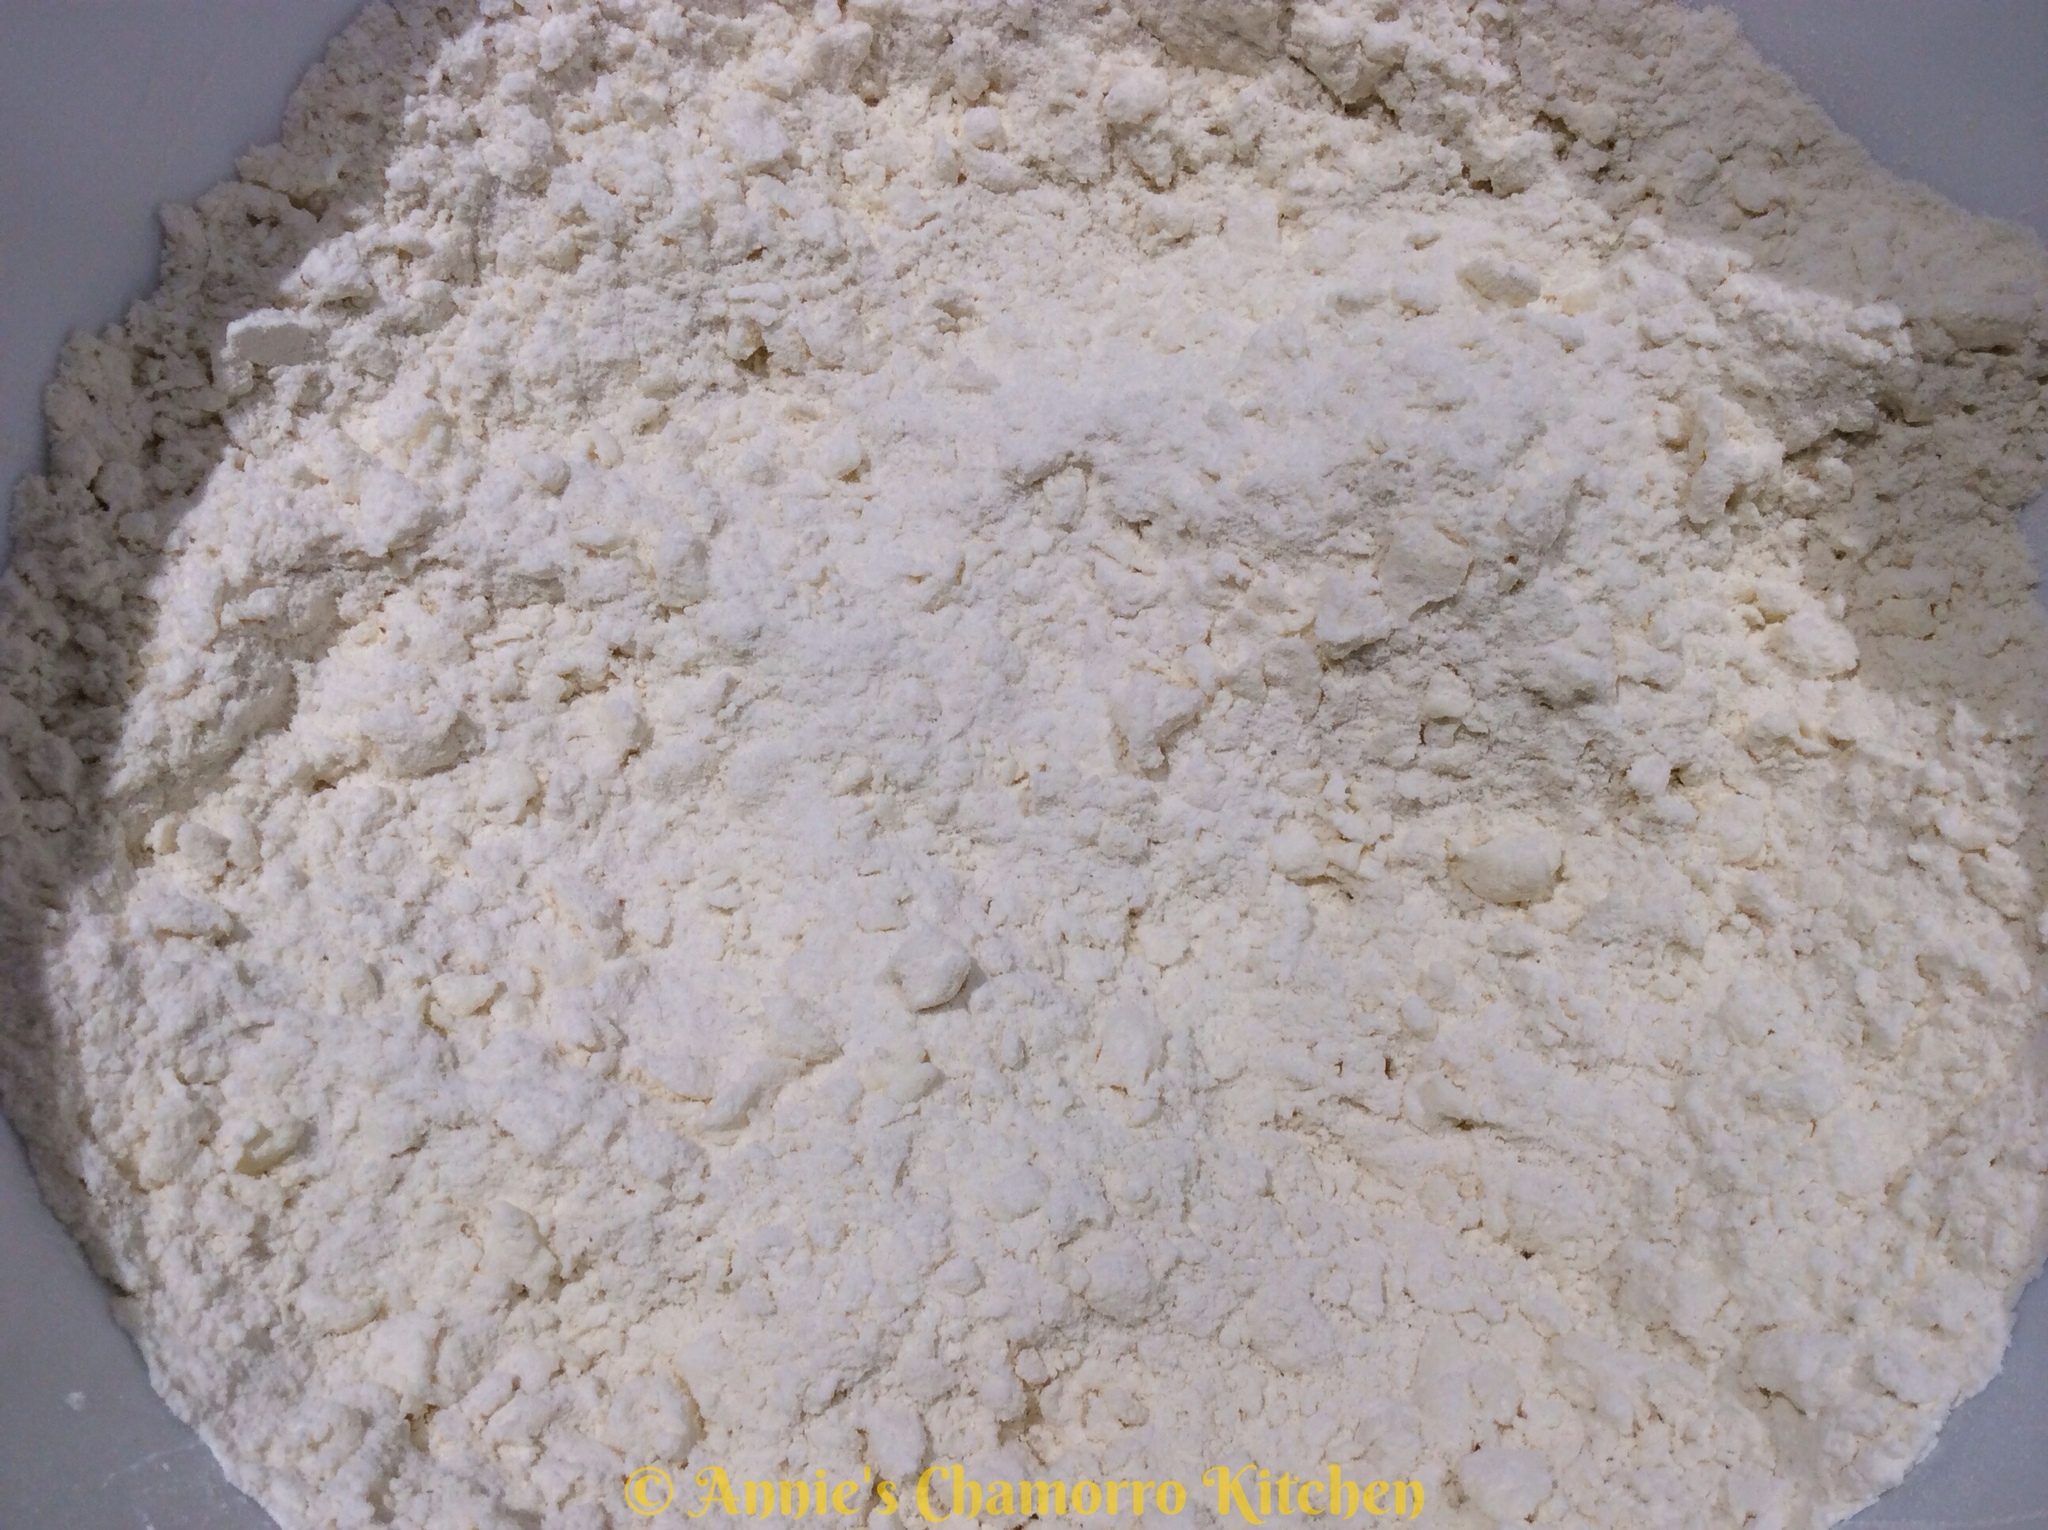
2. Add the pieces of butter to the bowl. Use a pastry cutter (you can also do this in a food processor) to cut the butter into the flour.

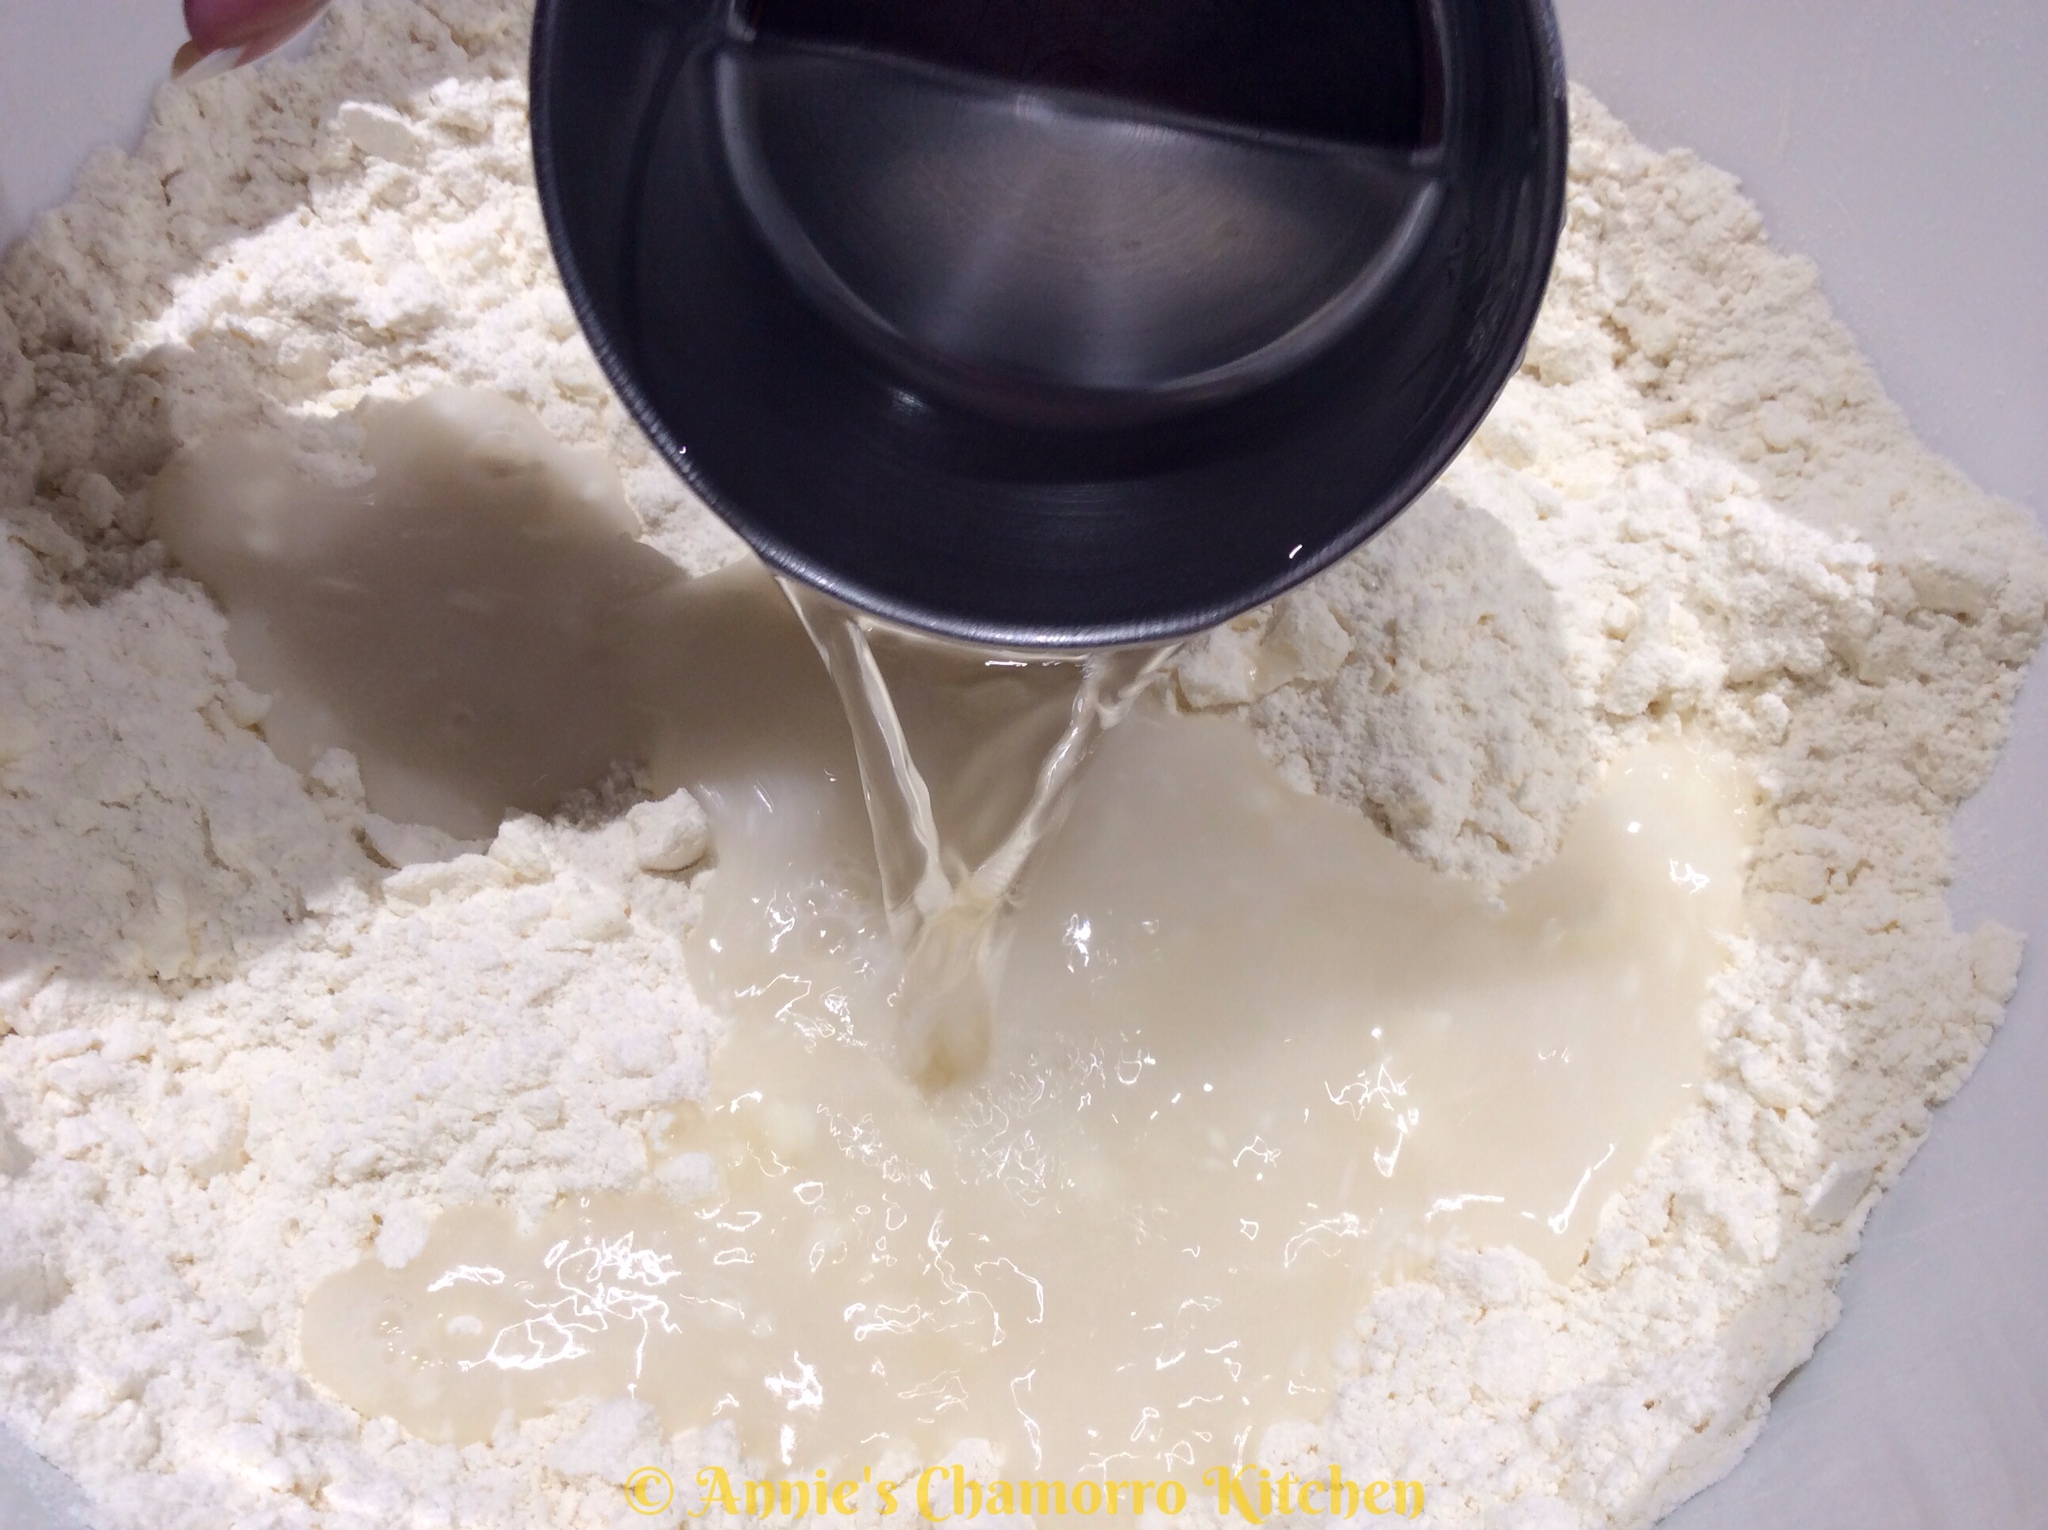
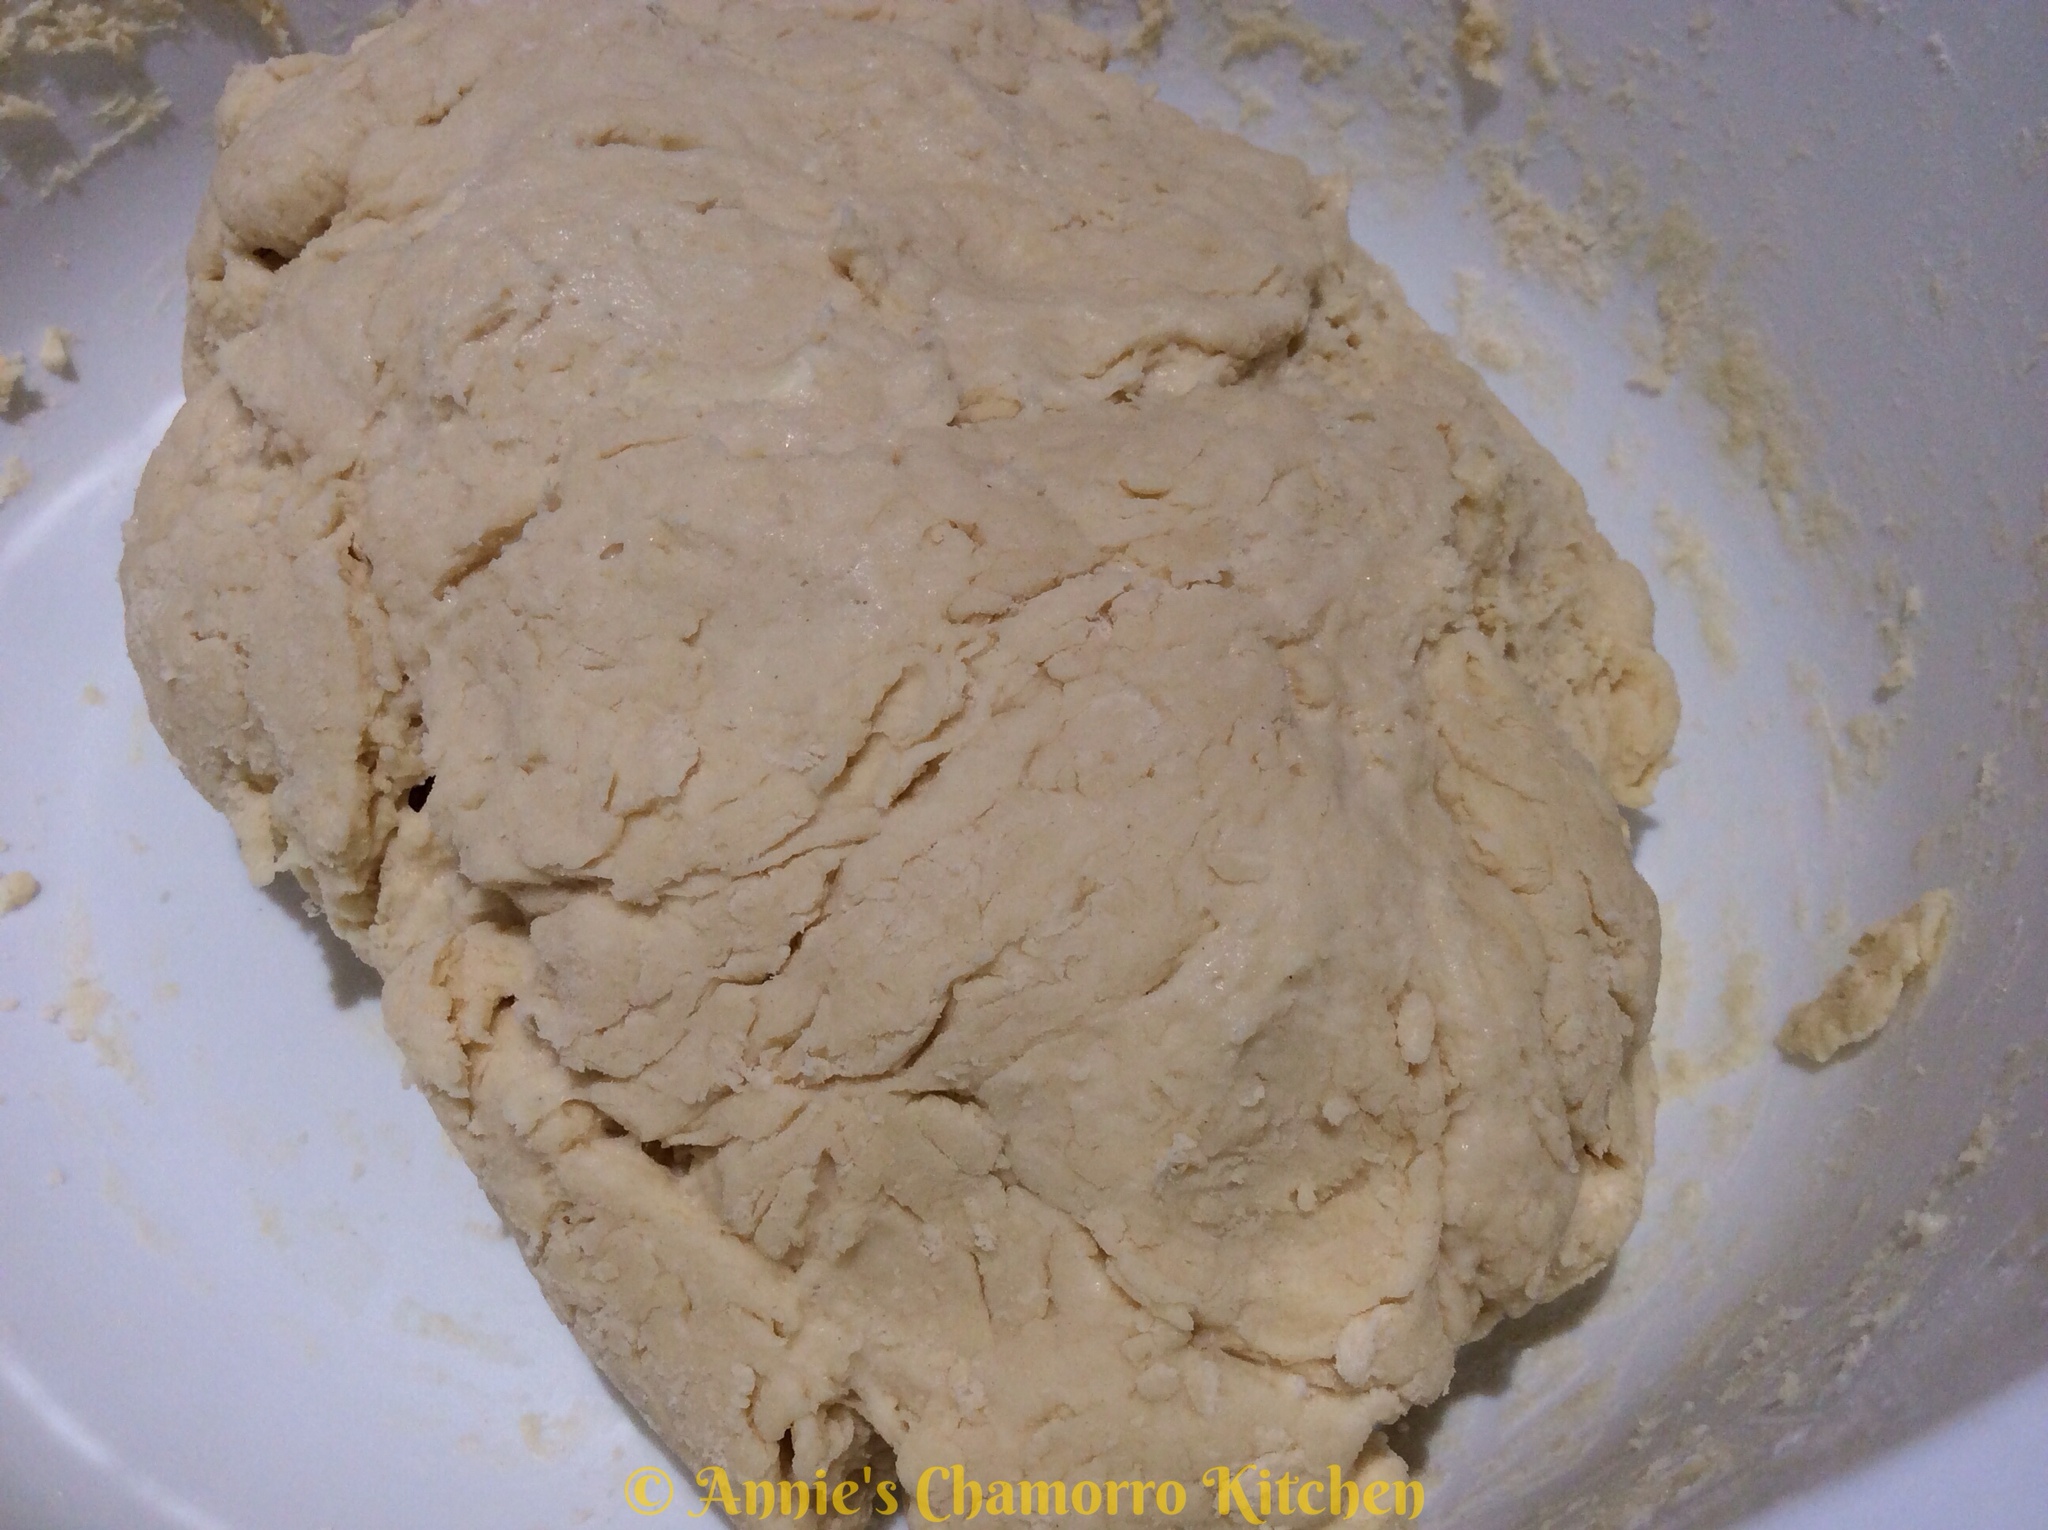
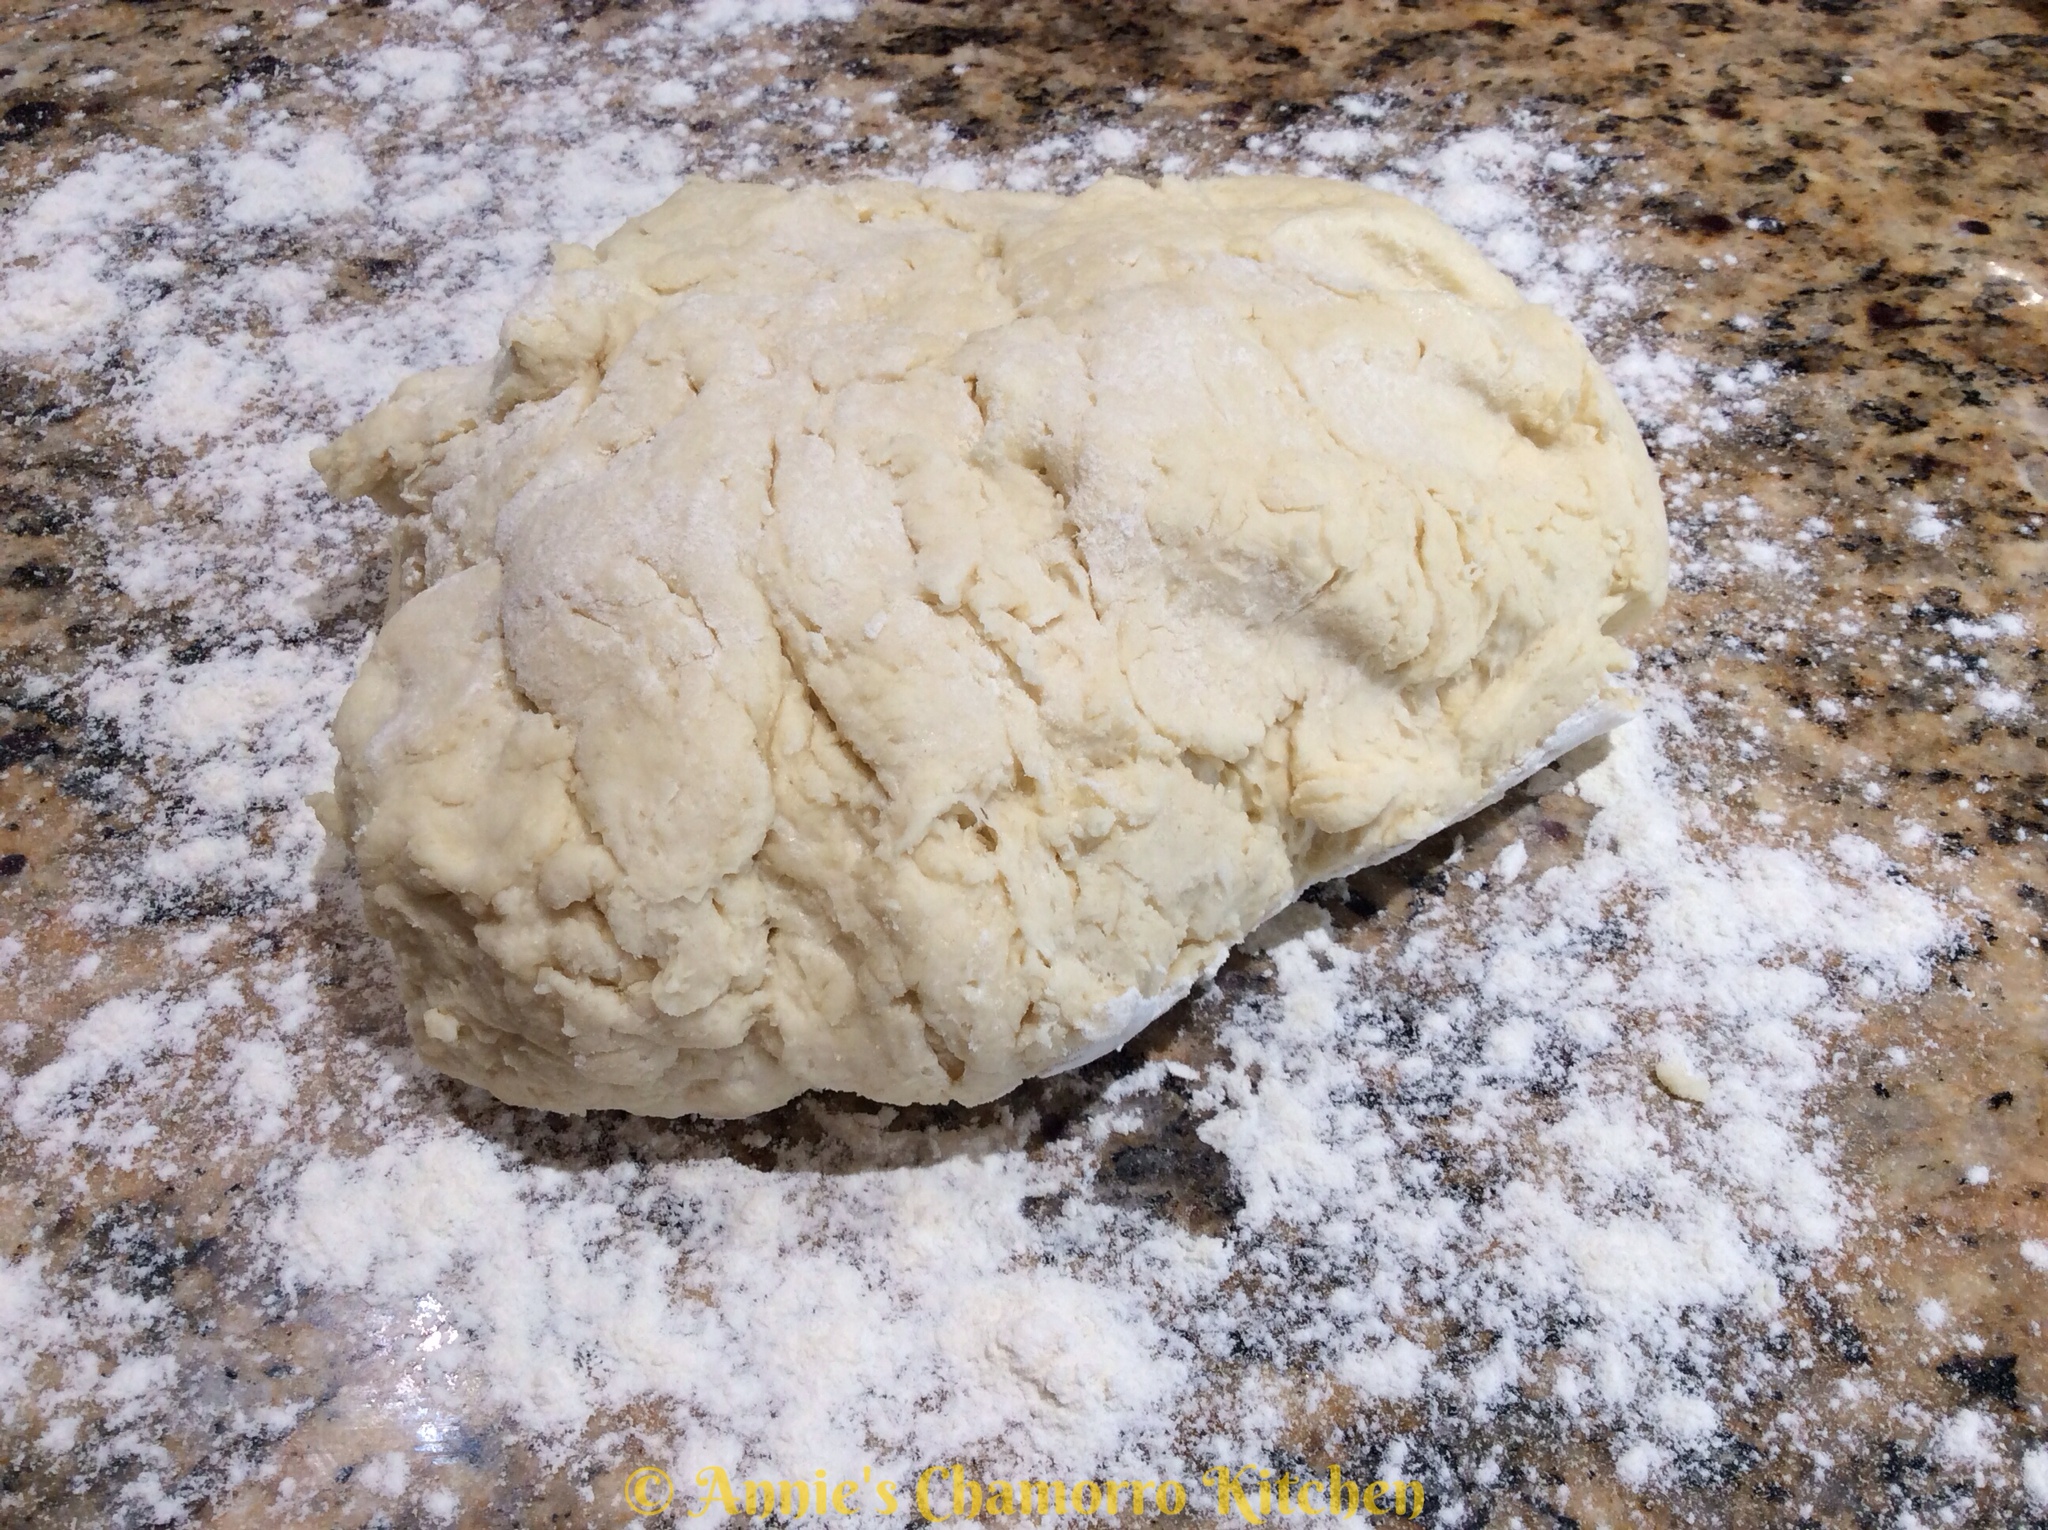
3. Add the water to the flour mixture. Gently mix with your hands until a dough forms. Do not knead or over-mix the dough.

4. Place the dough onto a floured surface.

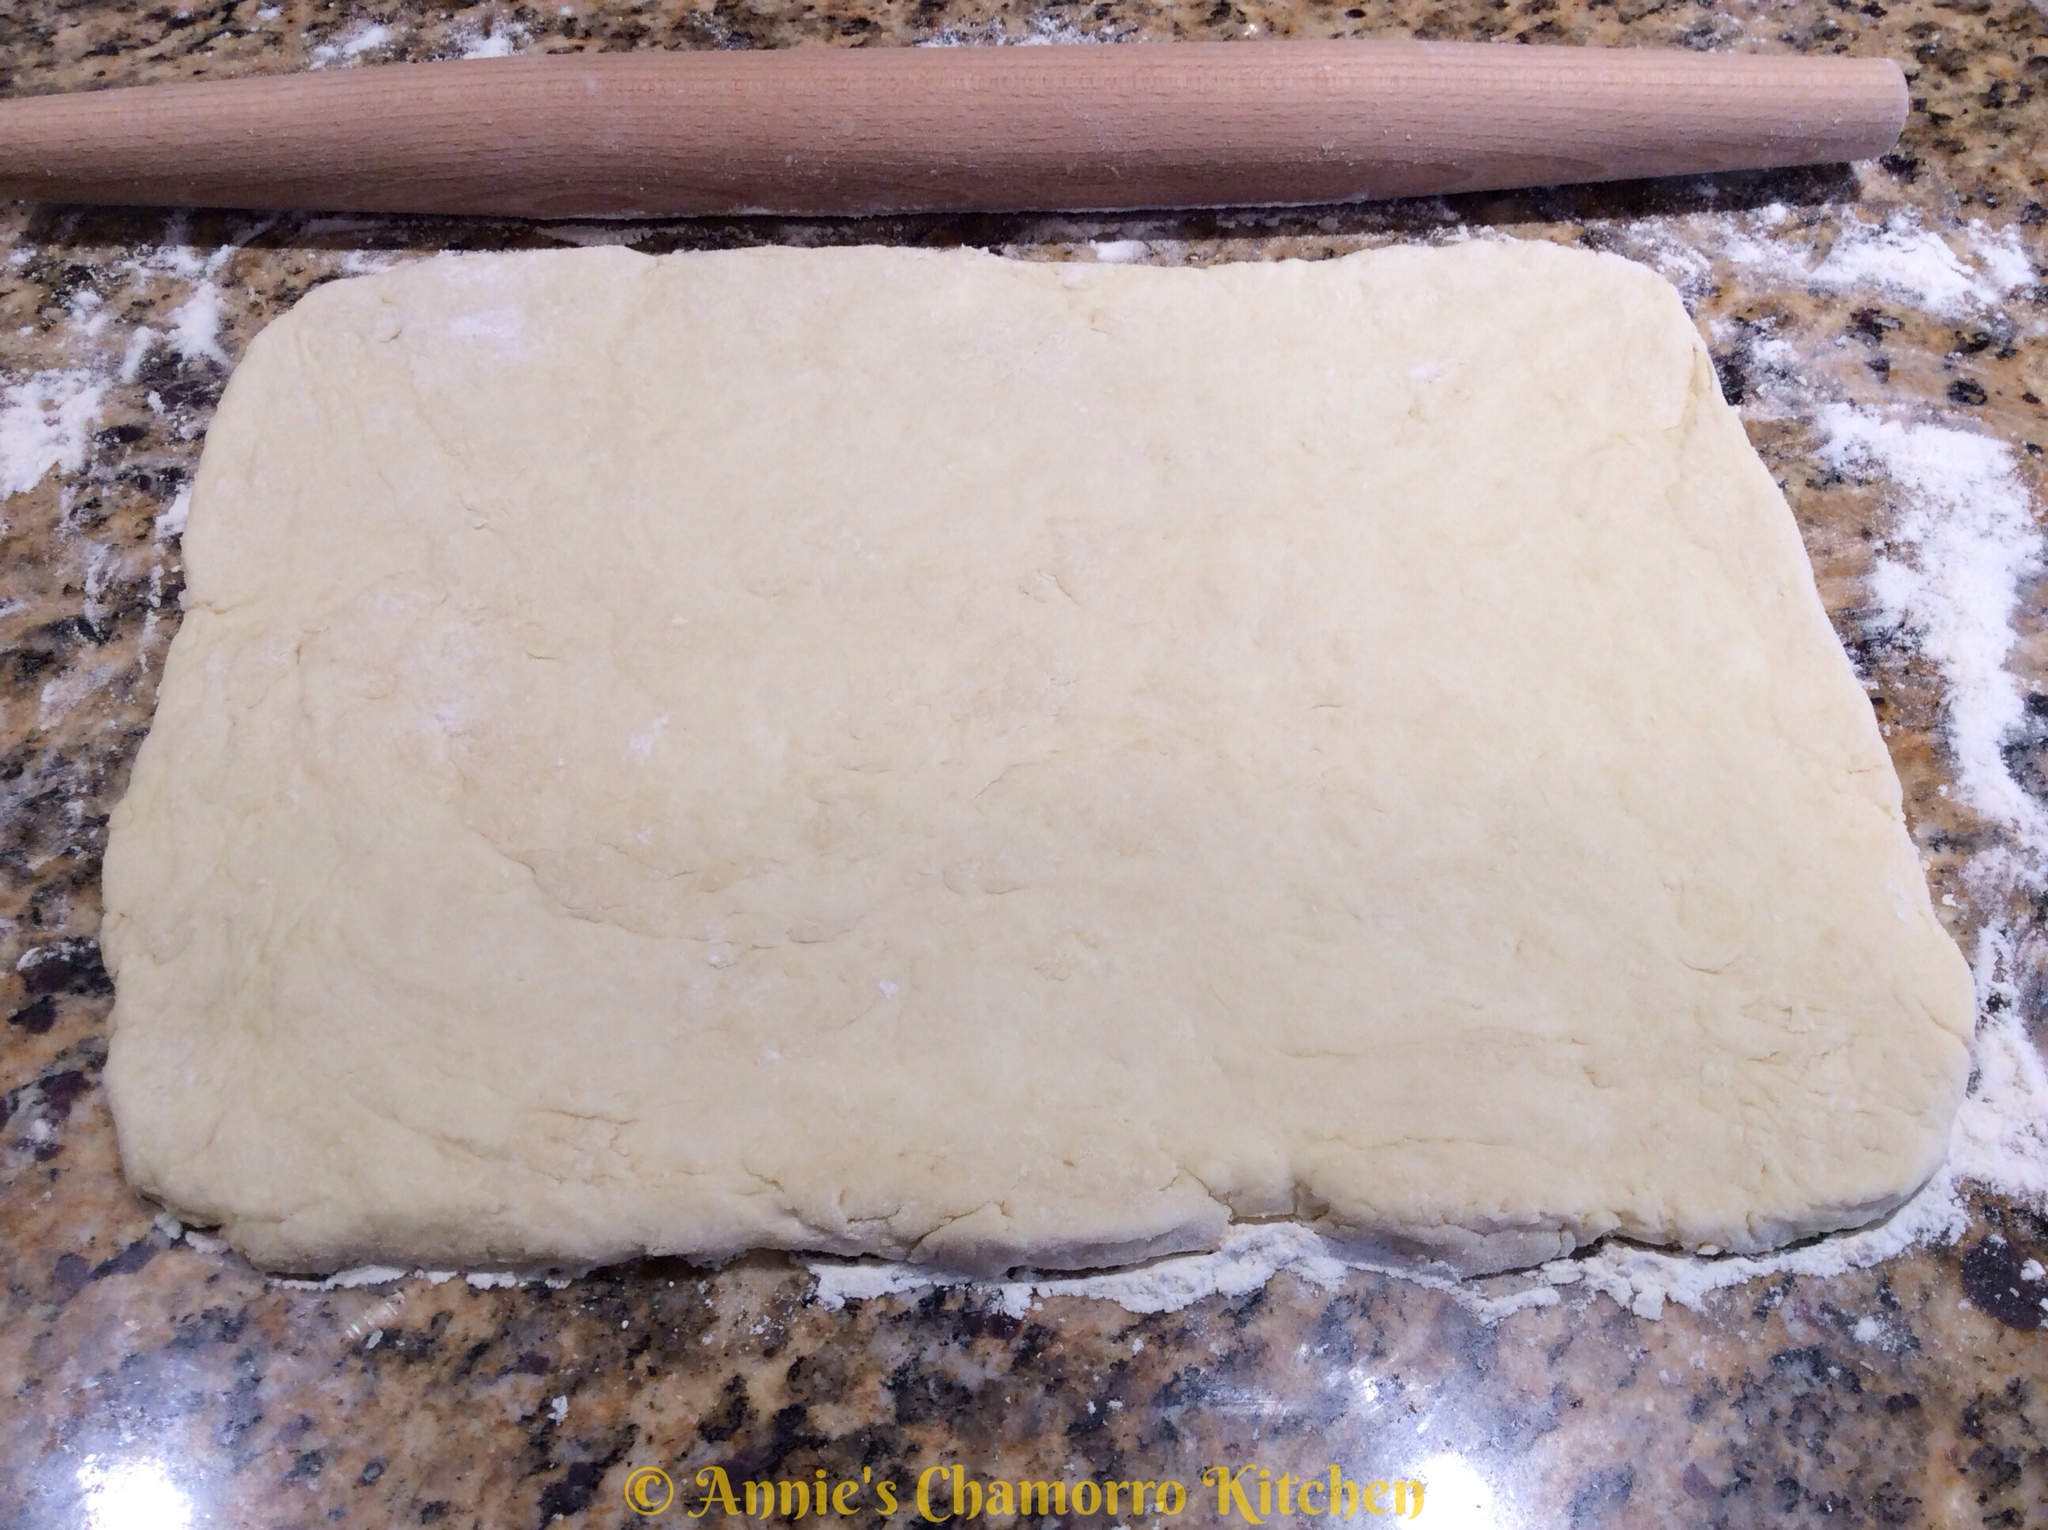
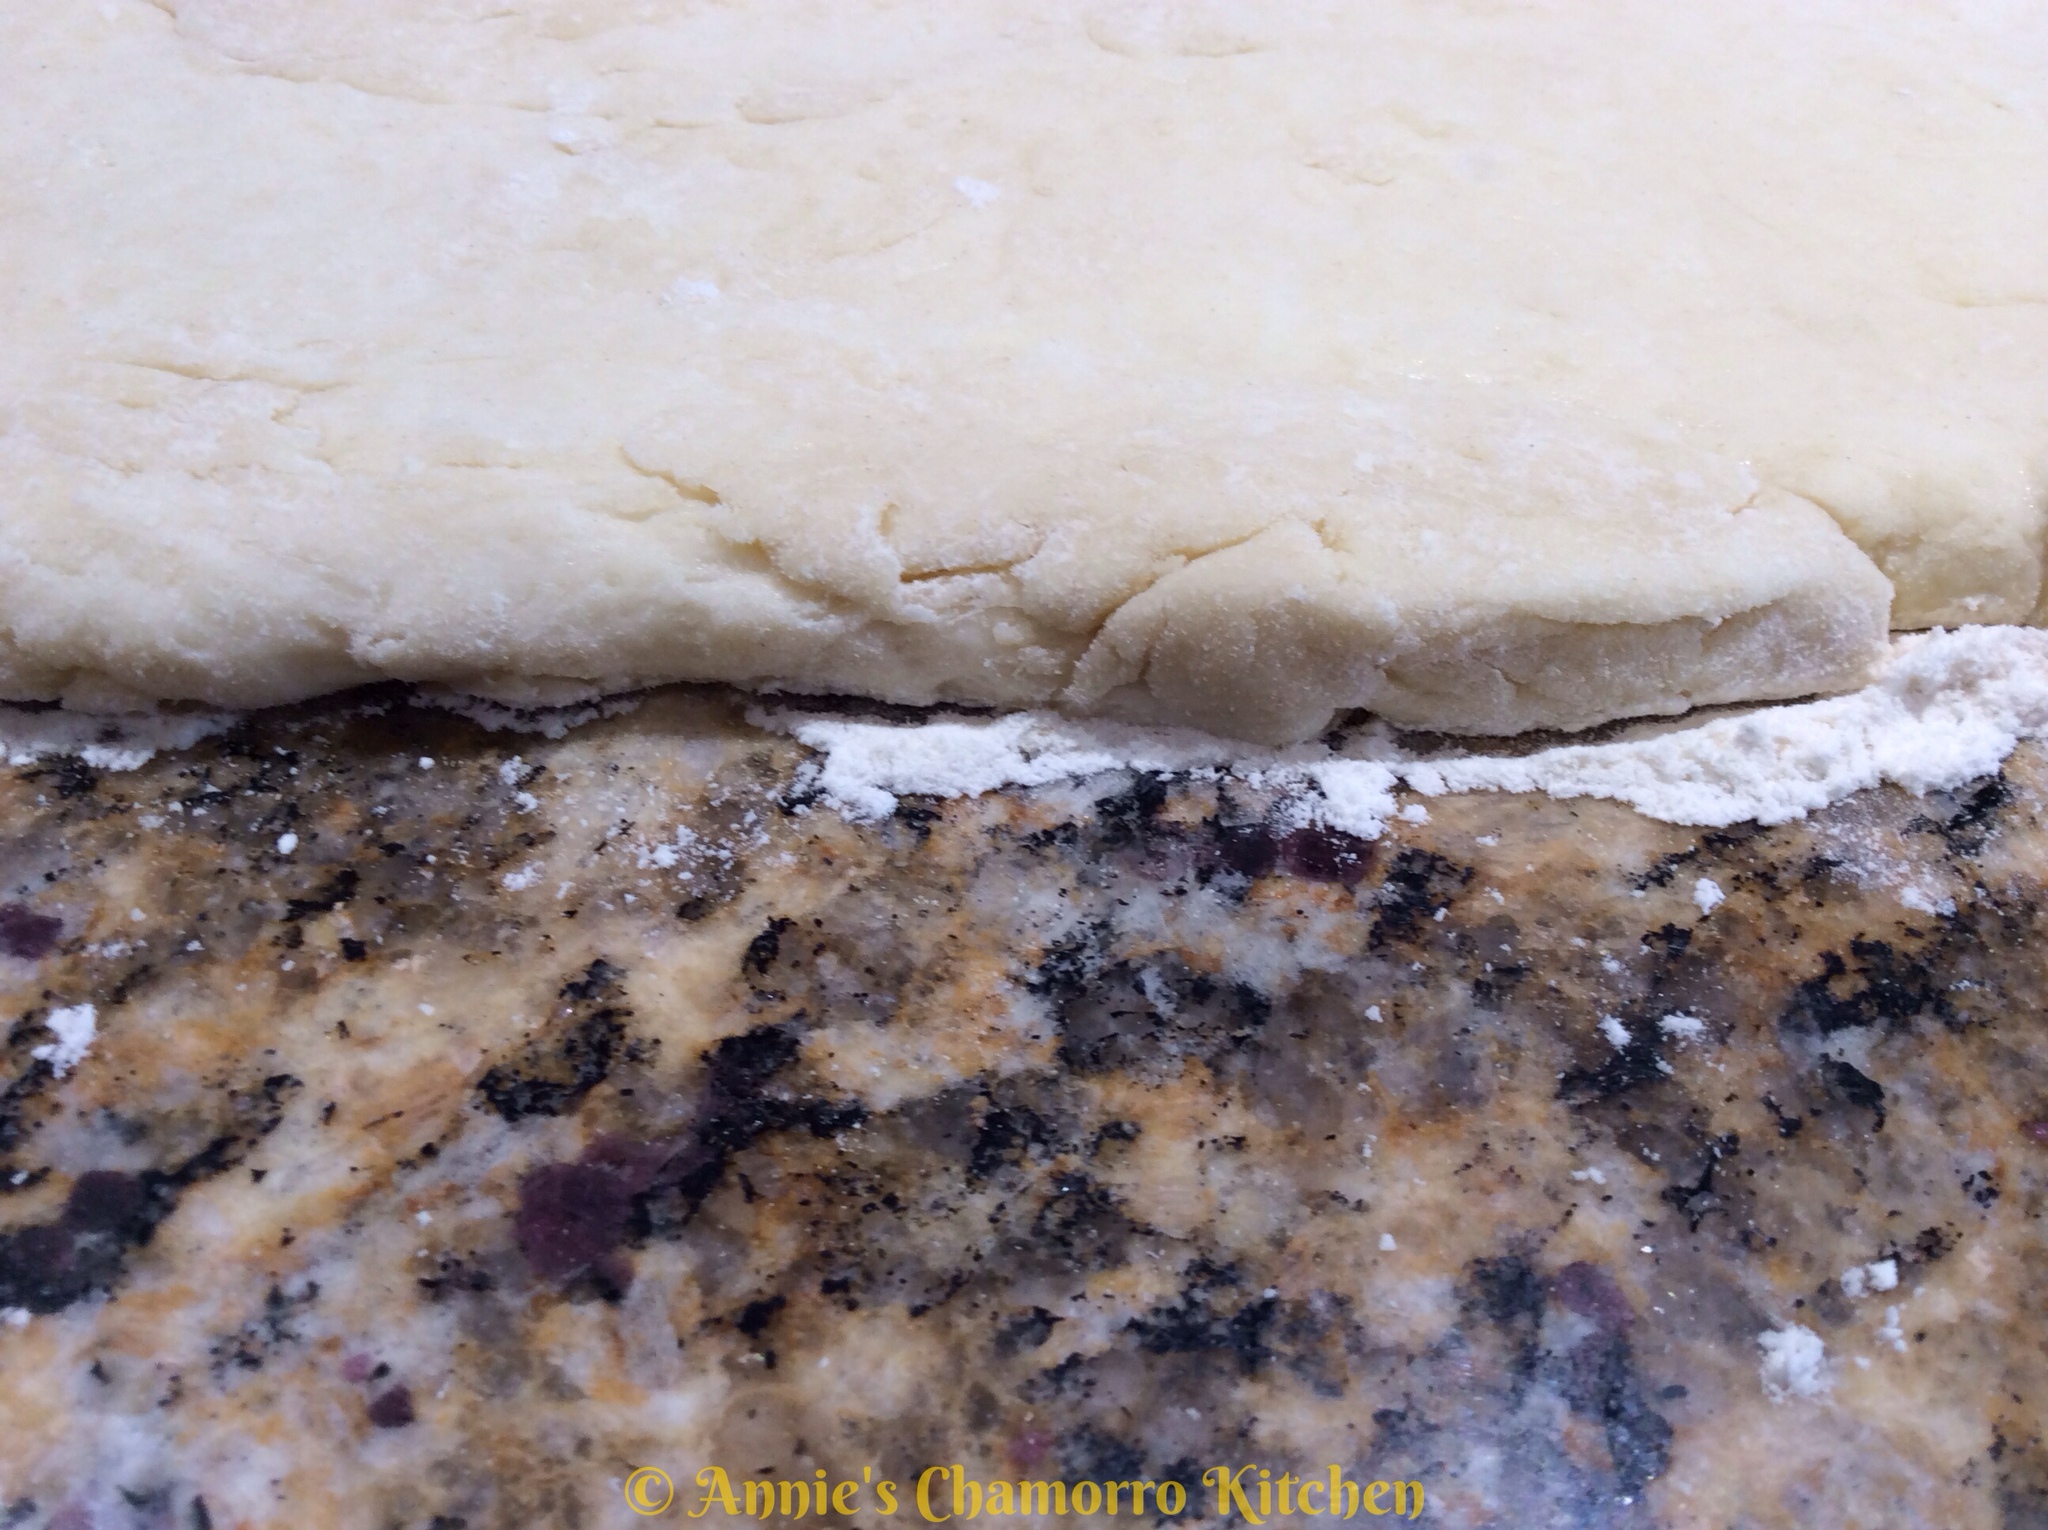
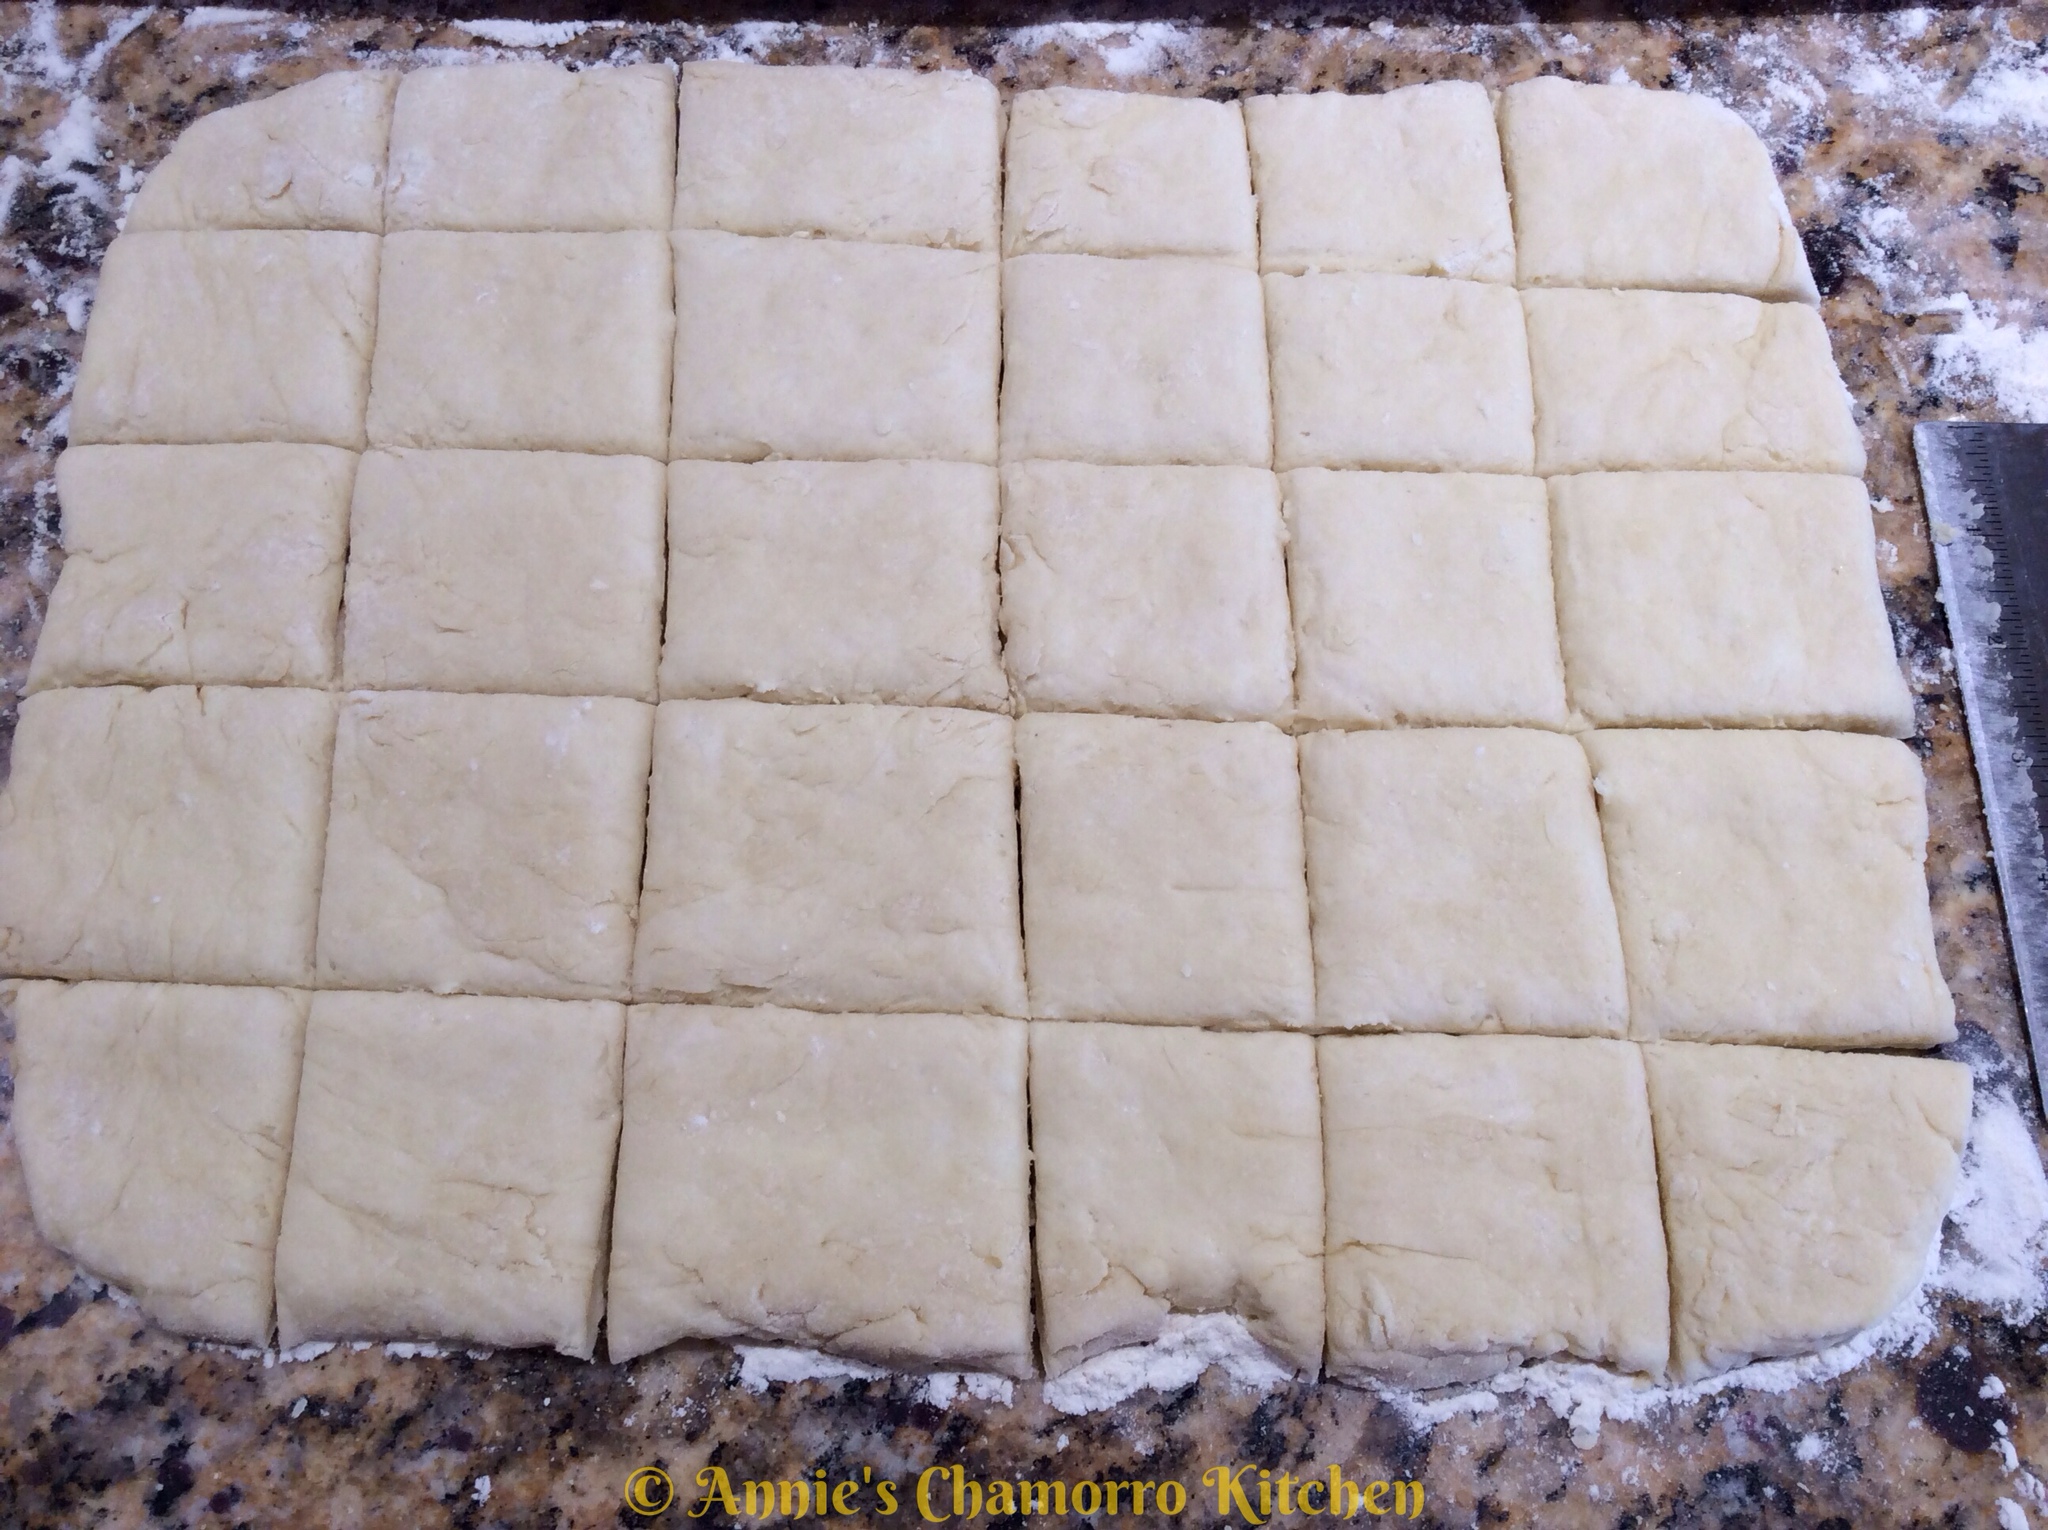
5. Roll the dough out into a rectangle or square, about 1/2 inch thick.

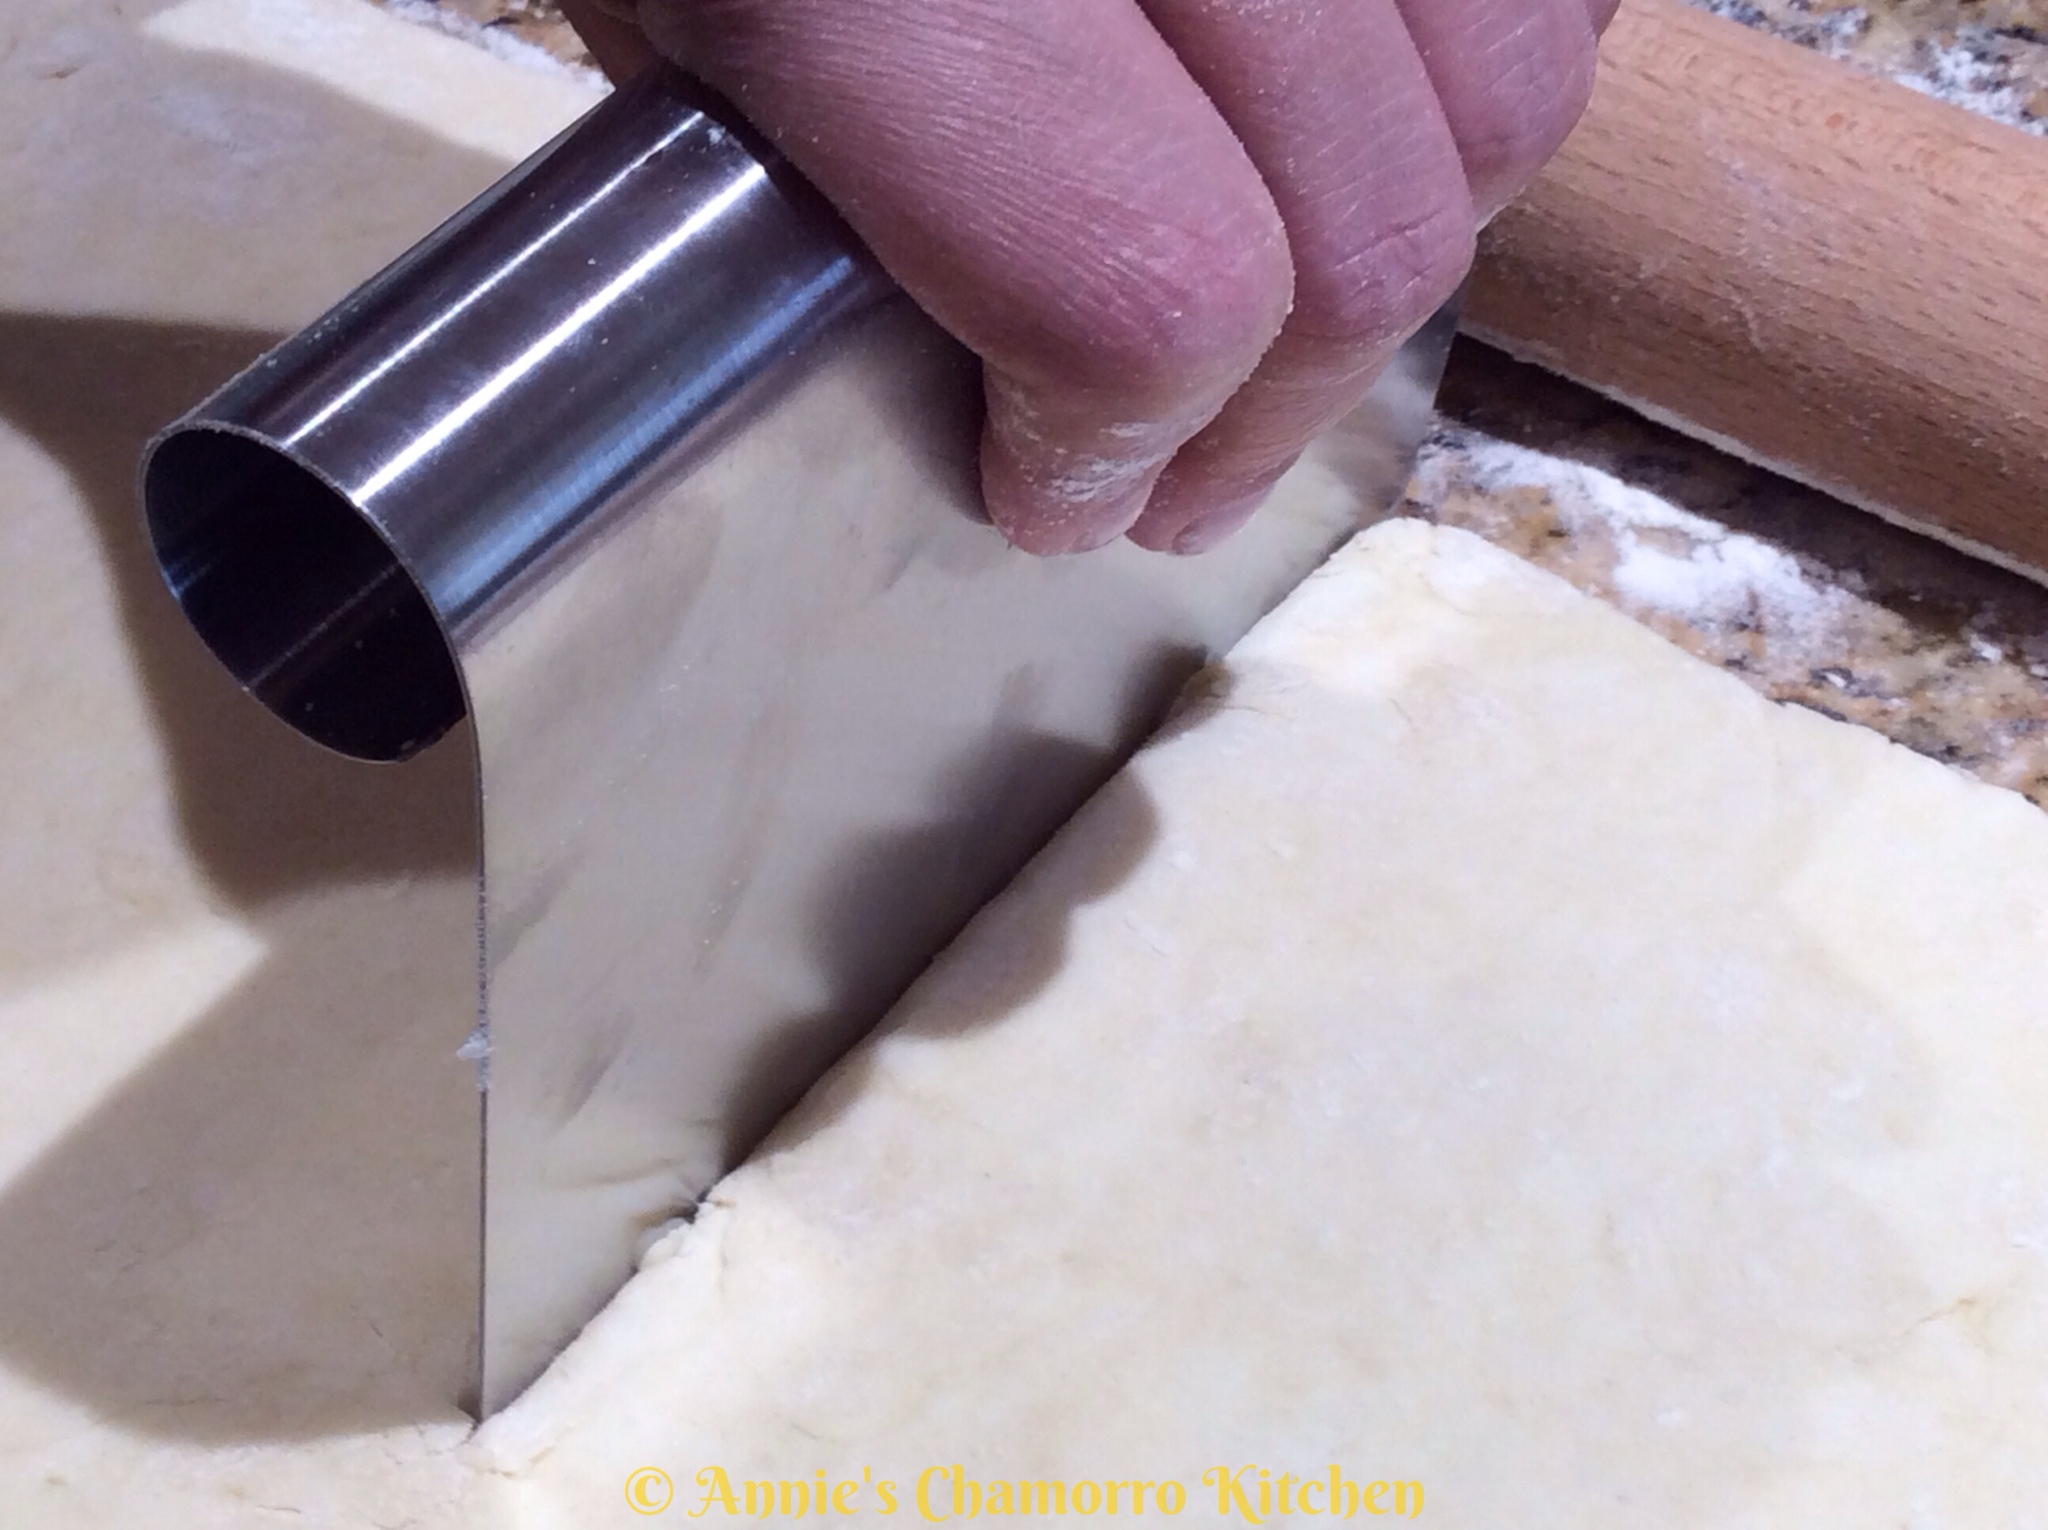
6. Use a dough scraper to cut the dough into evenly sized squares. I prefer to make square biscuits rather than round ones. Using round cutters leaves you with extra dough that has to be re-formed and rolled out again, causing you to over-handle the dough which turns out tough biscuits. By making square-shaped biscuits, you roll the dough out once, yielding incredibly soft, fluffy biscuits.

I rolled out the dough a little less than a 1/2 inch thick. They still bake up nice and tall if you roll the dough out less than a 1/2 inch, but if you like tall biscuits, keep the dough at 1/2 to 3/4 inch thick. Less than that and you’ll yield about 30 little biscuits, cut the way I did below. Thicker and you should get about a dozen or so biscuits.

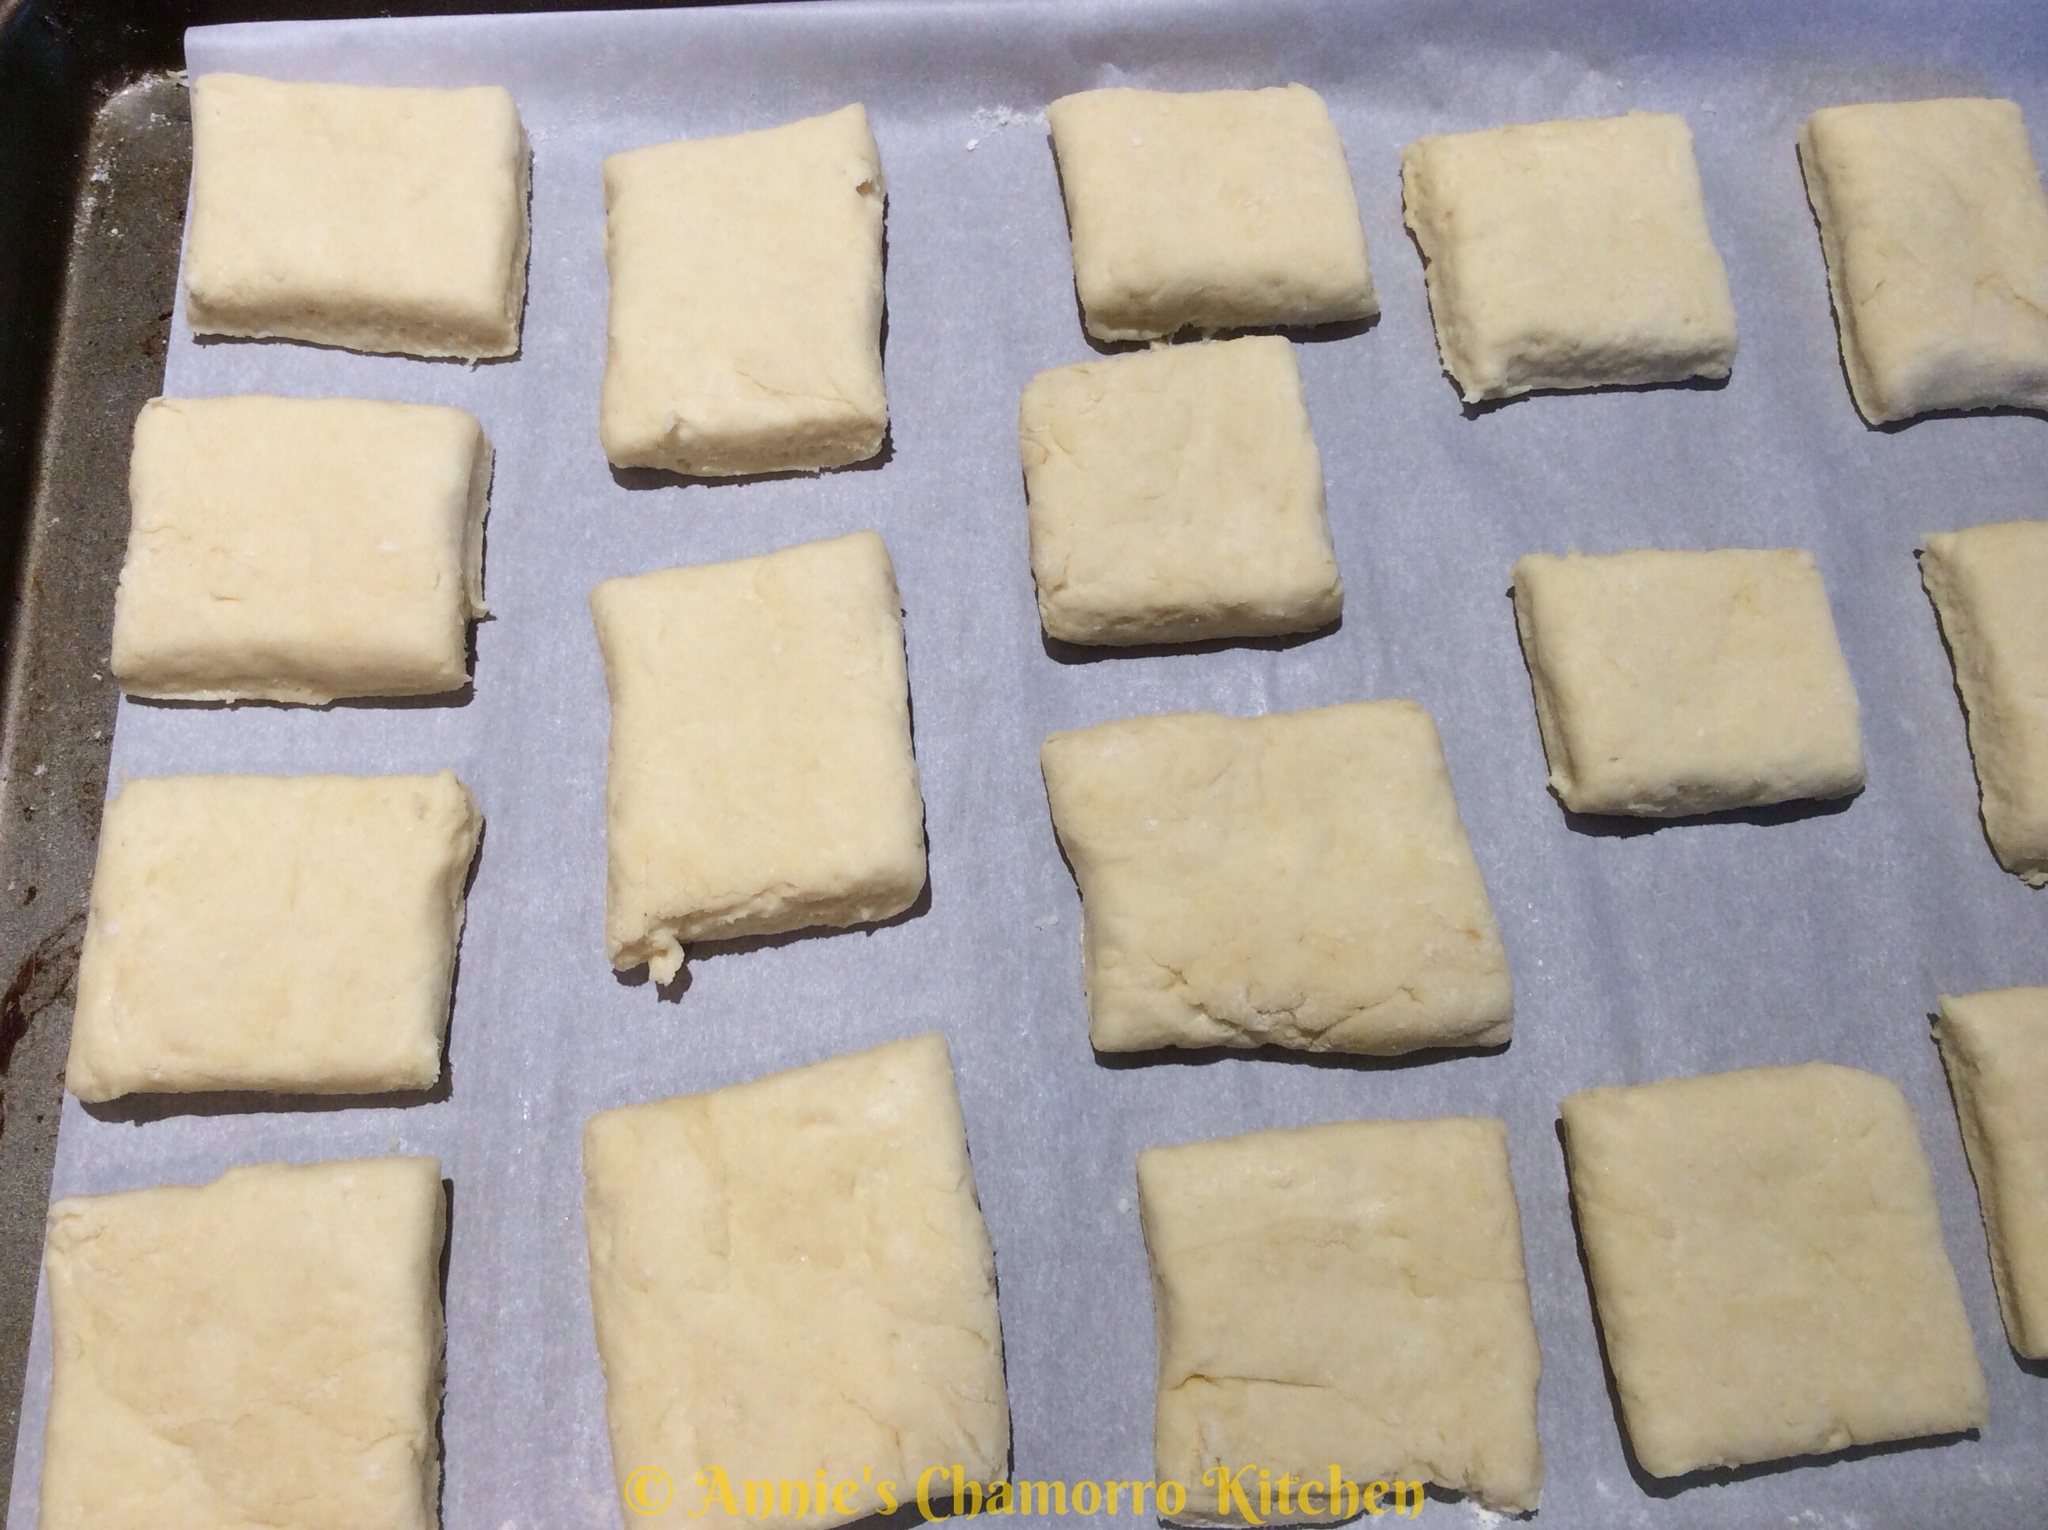
7. Line a baking sheet with parchment paper. Place the biscuit squares onto the baking sheet, about an inch apart.

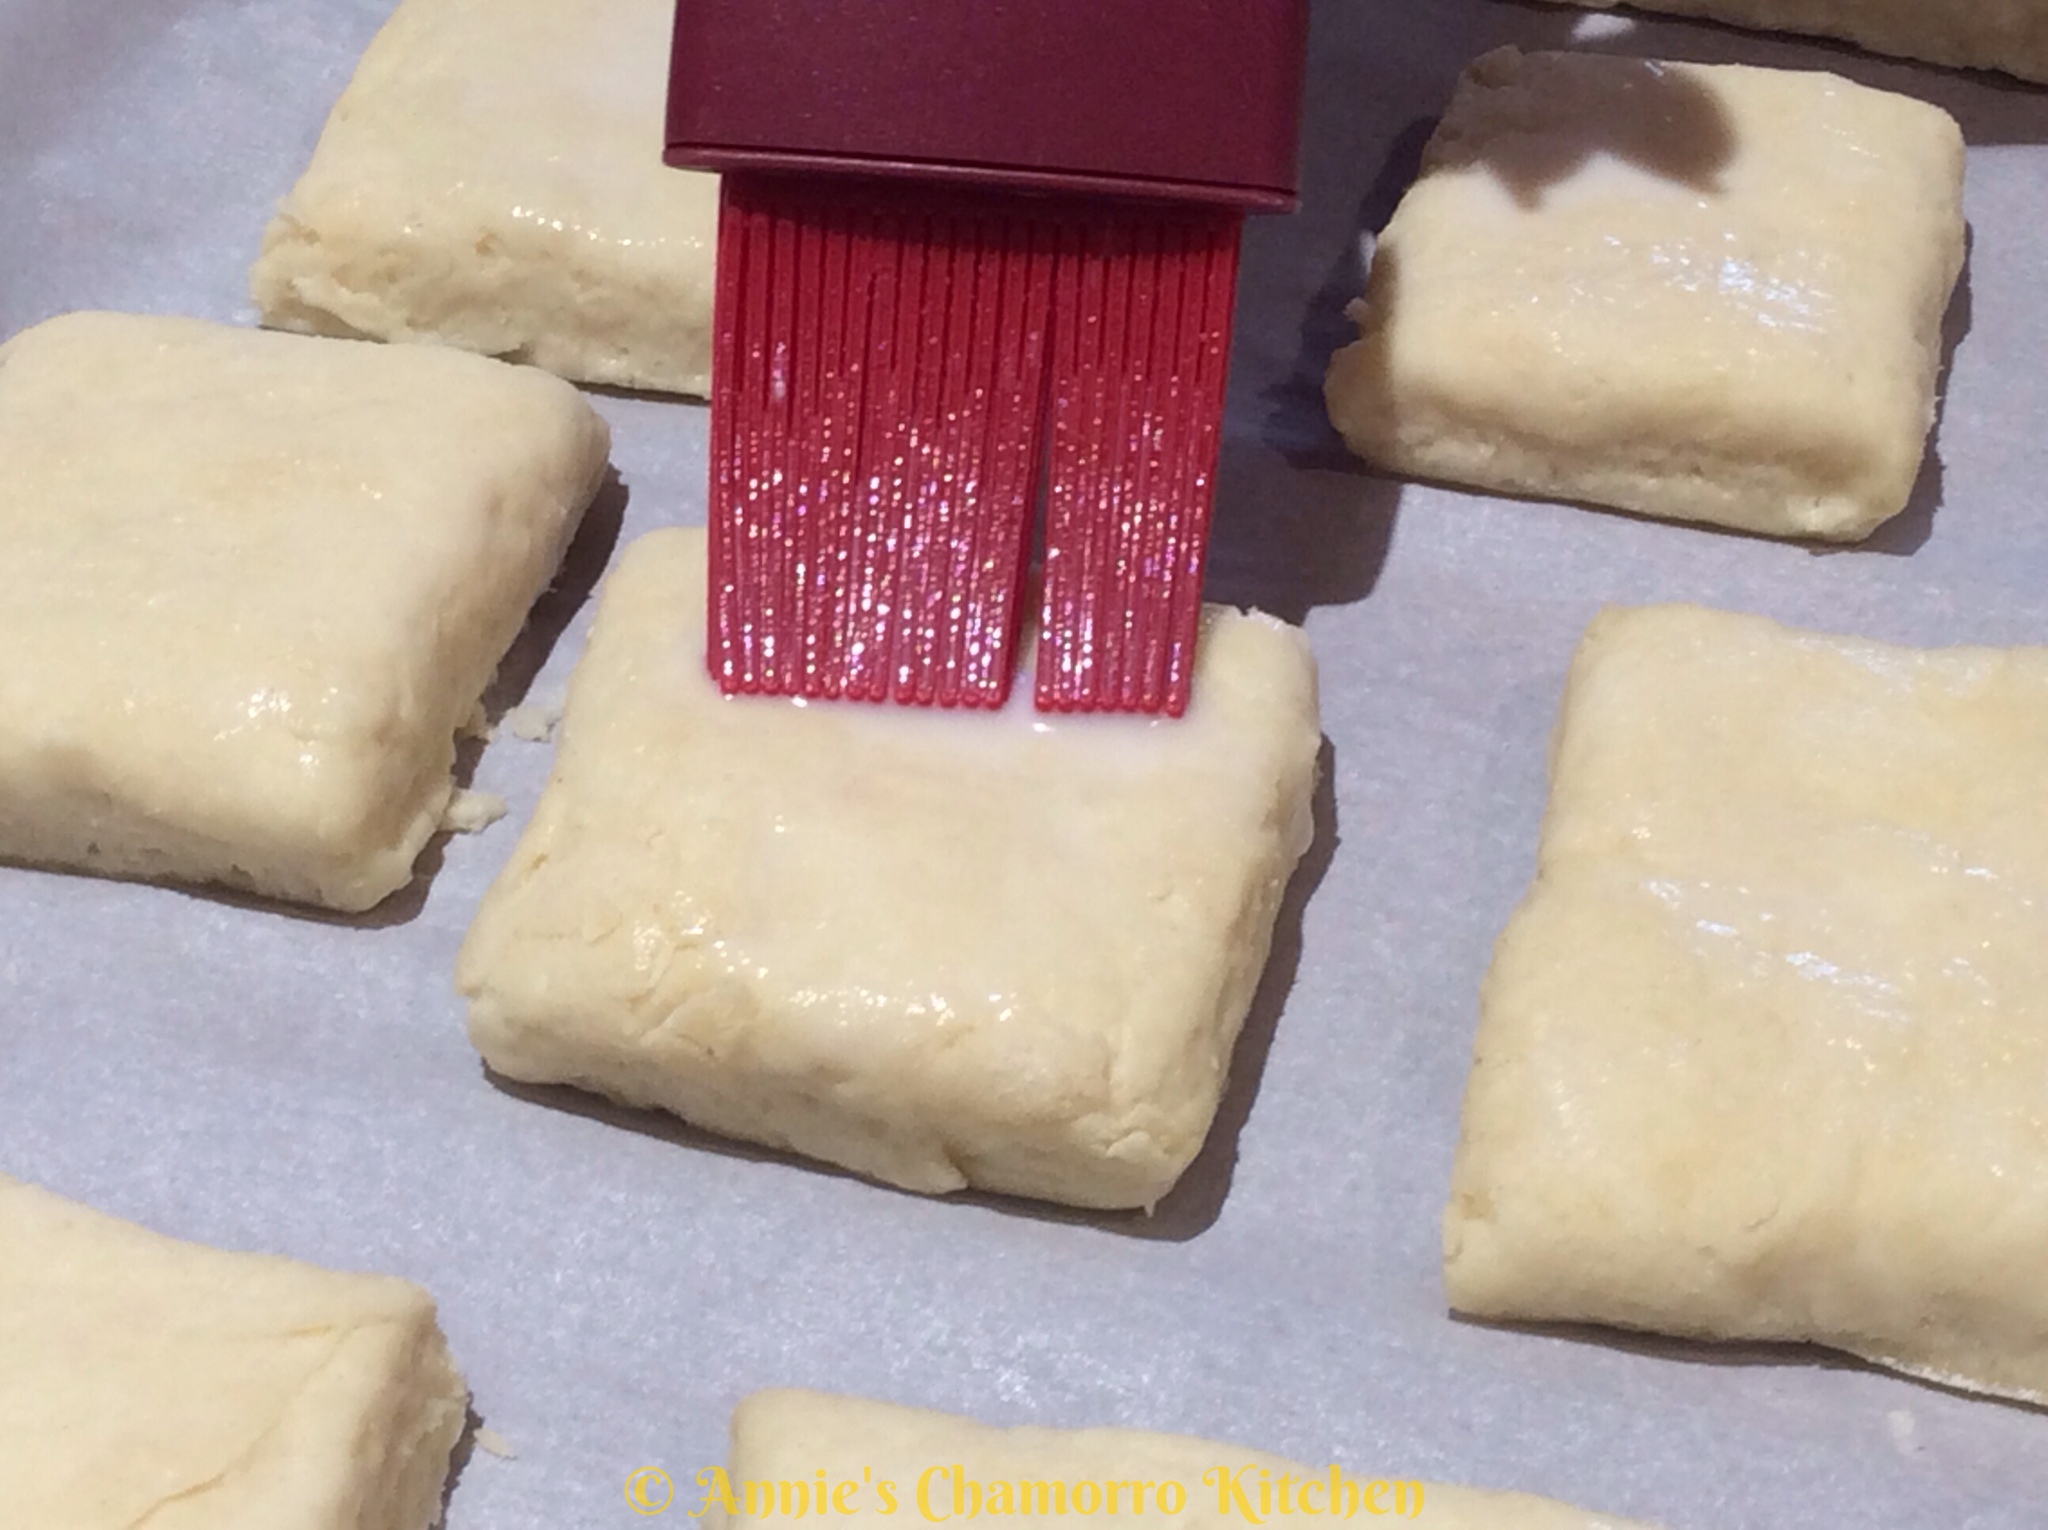
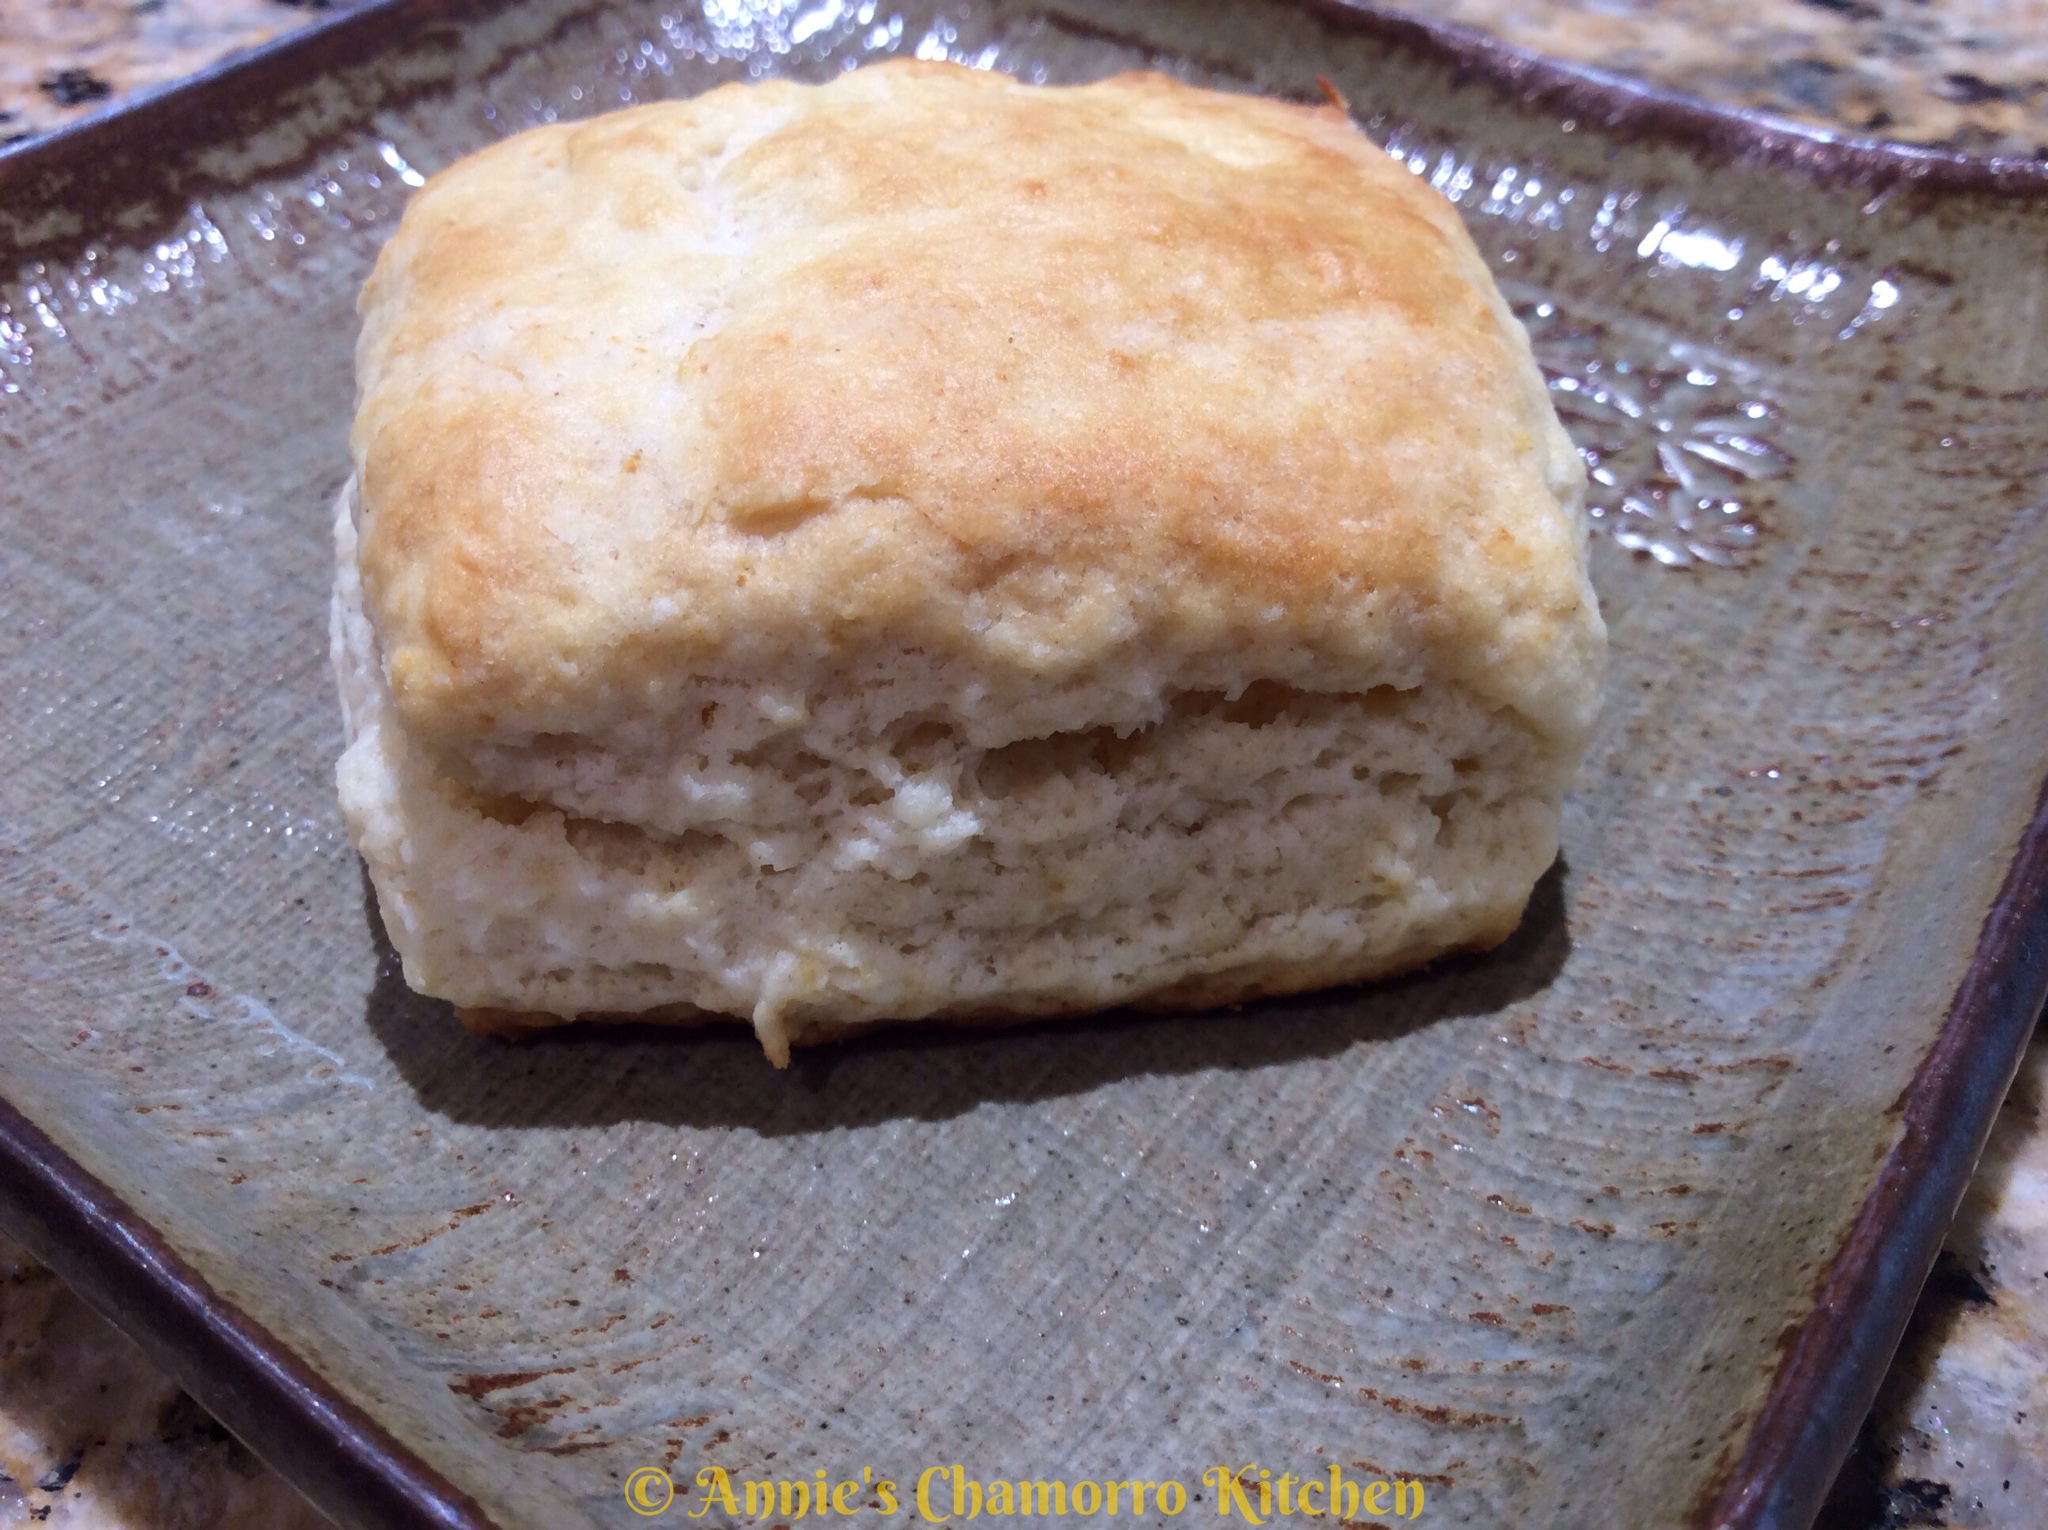
Brush the tops of each square with milk. Bake at 425 degrees for 15-20 minutes. My oven runs hot, so mine bake up nice and golden brown after just 15 minutes. Again, this was 15 minutes for dough rolled out a little less than 1/2 inch. 20 minutes of baking should suffice for dough rolled out to between 1/2 and 3/4 inch thick.

Serve these fluffy wonders with Homemade Gravy or drizzled with Honey Butter Sauce and ENJOY!

See how fluffy they are? Yum!!

Homemade Gravy

Ingredients:

  • 1 pound ground beef (or you can use your favorite sausage)
  • 1/3 cup all-purpose flour
  • 1 teaspoon garlic powder
  • 1 teaspoon onion powder
  • 1/2 teaspoon black pepper
  • 2 tablespoons Dashida seasoning
  • 3 cups milk (I used 1 1/2 % reduced-fat milk)

Directions:

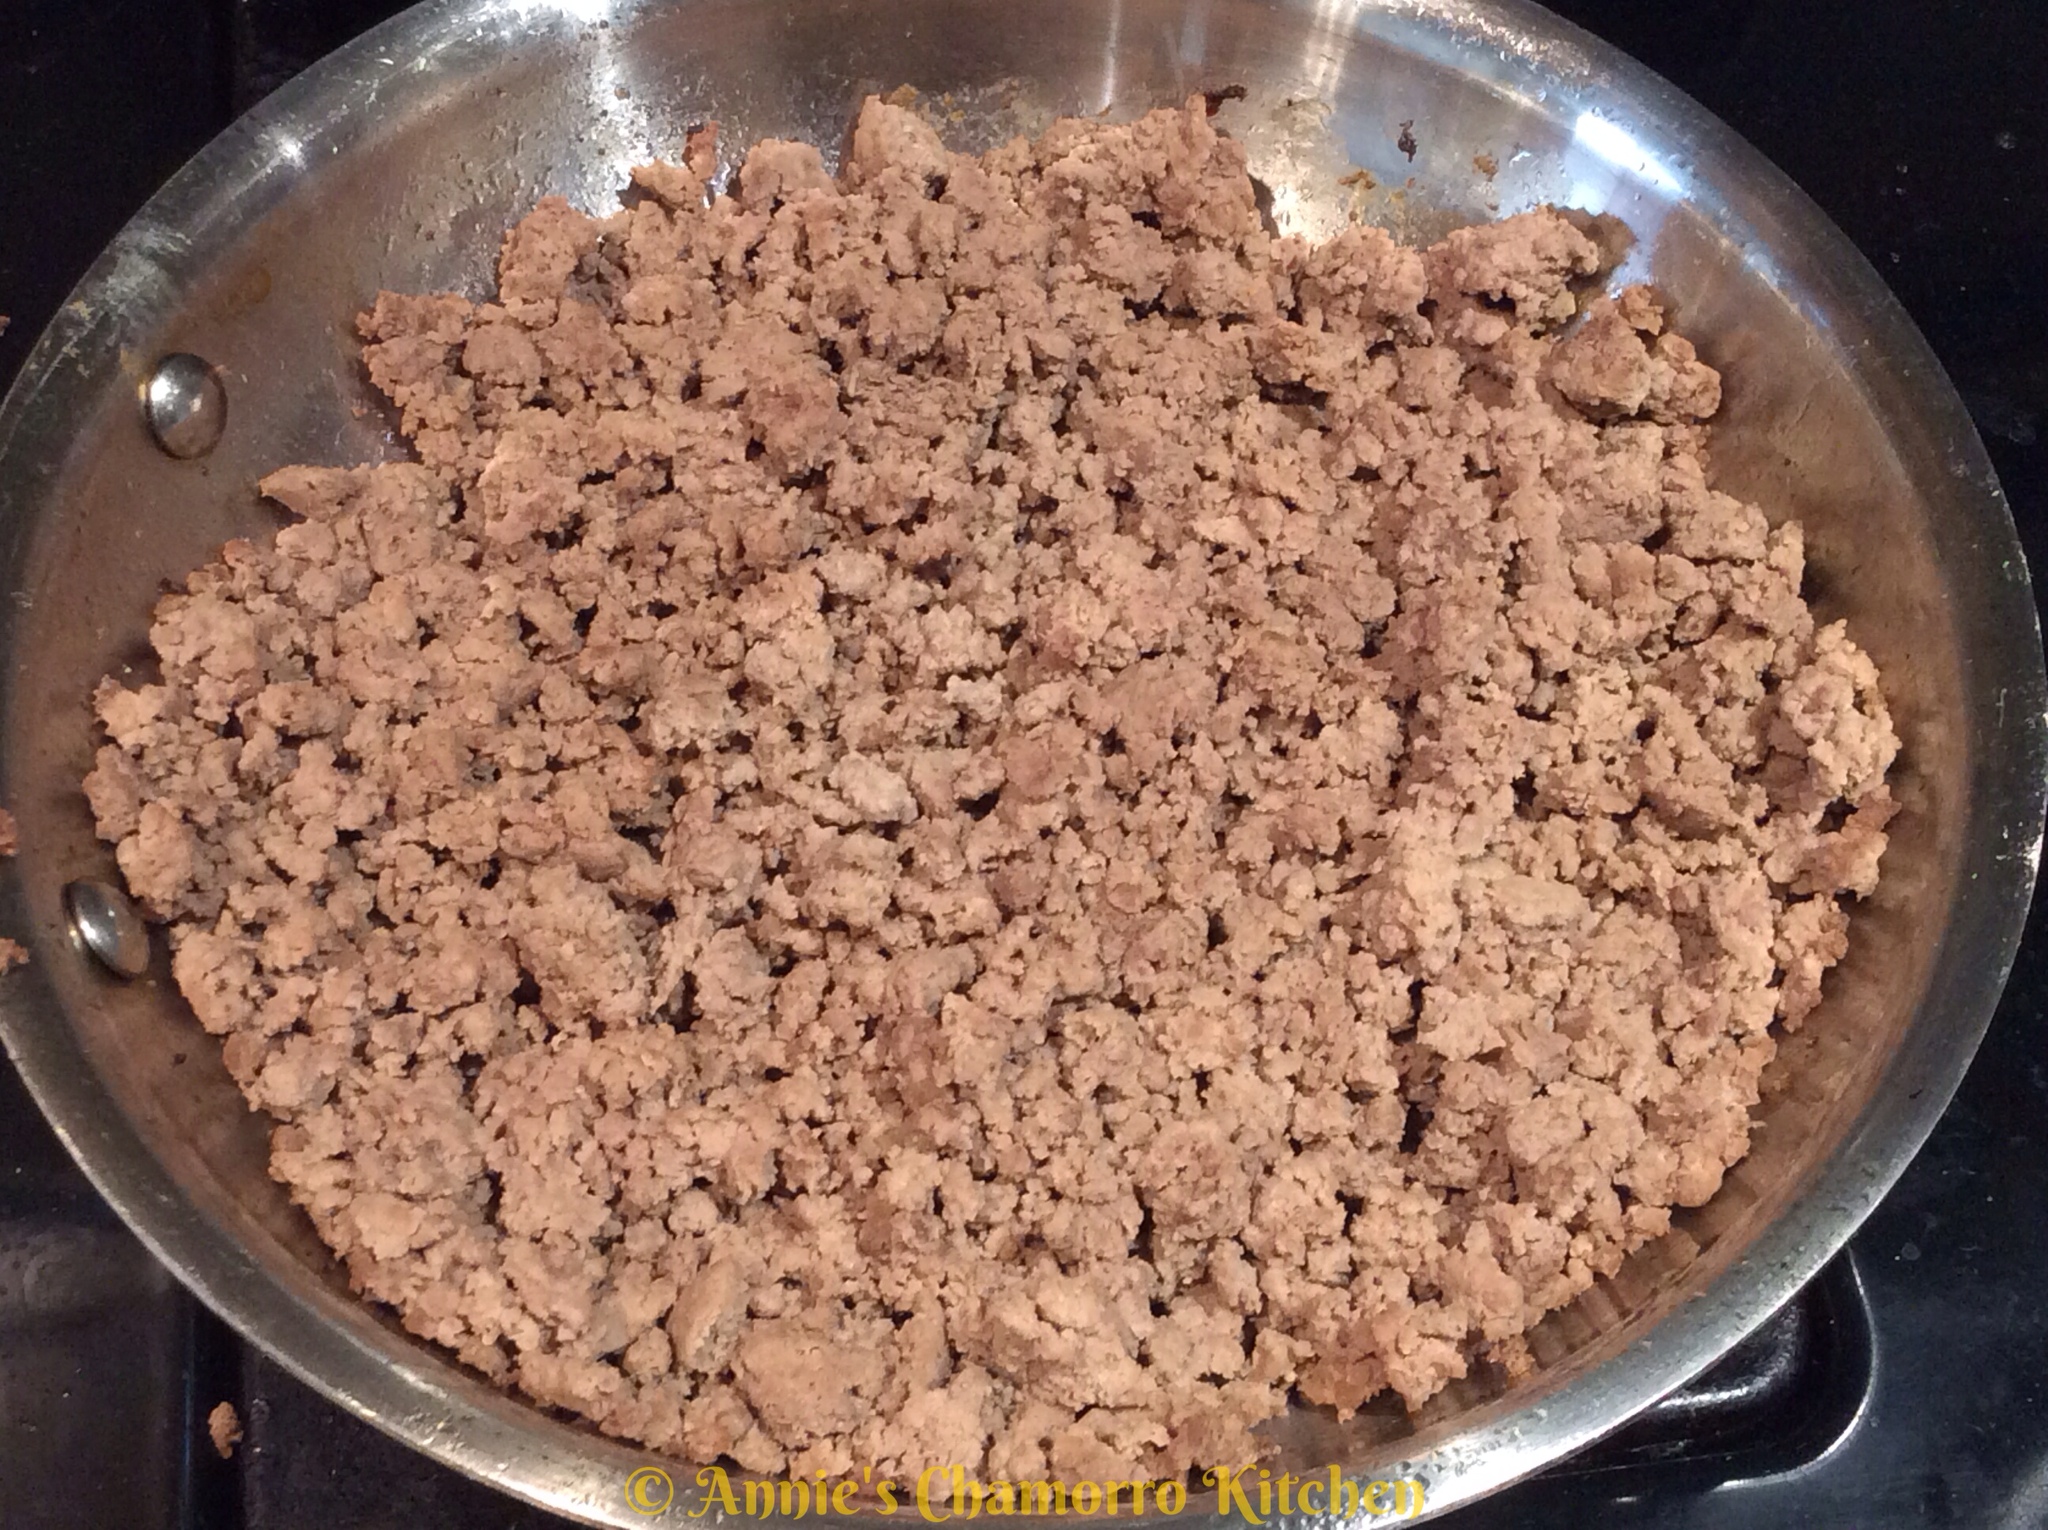
1. Brown the ground beef in a large skillet.

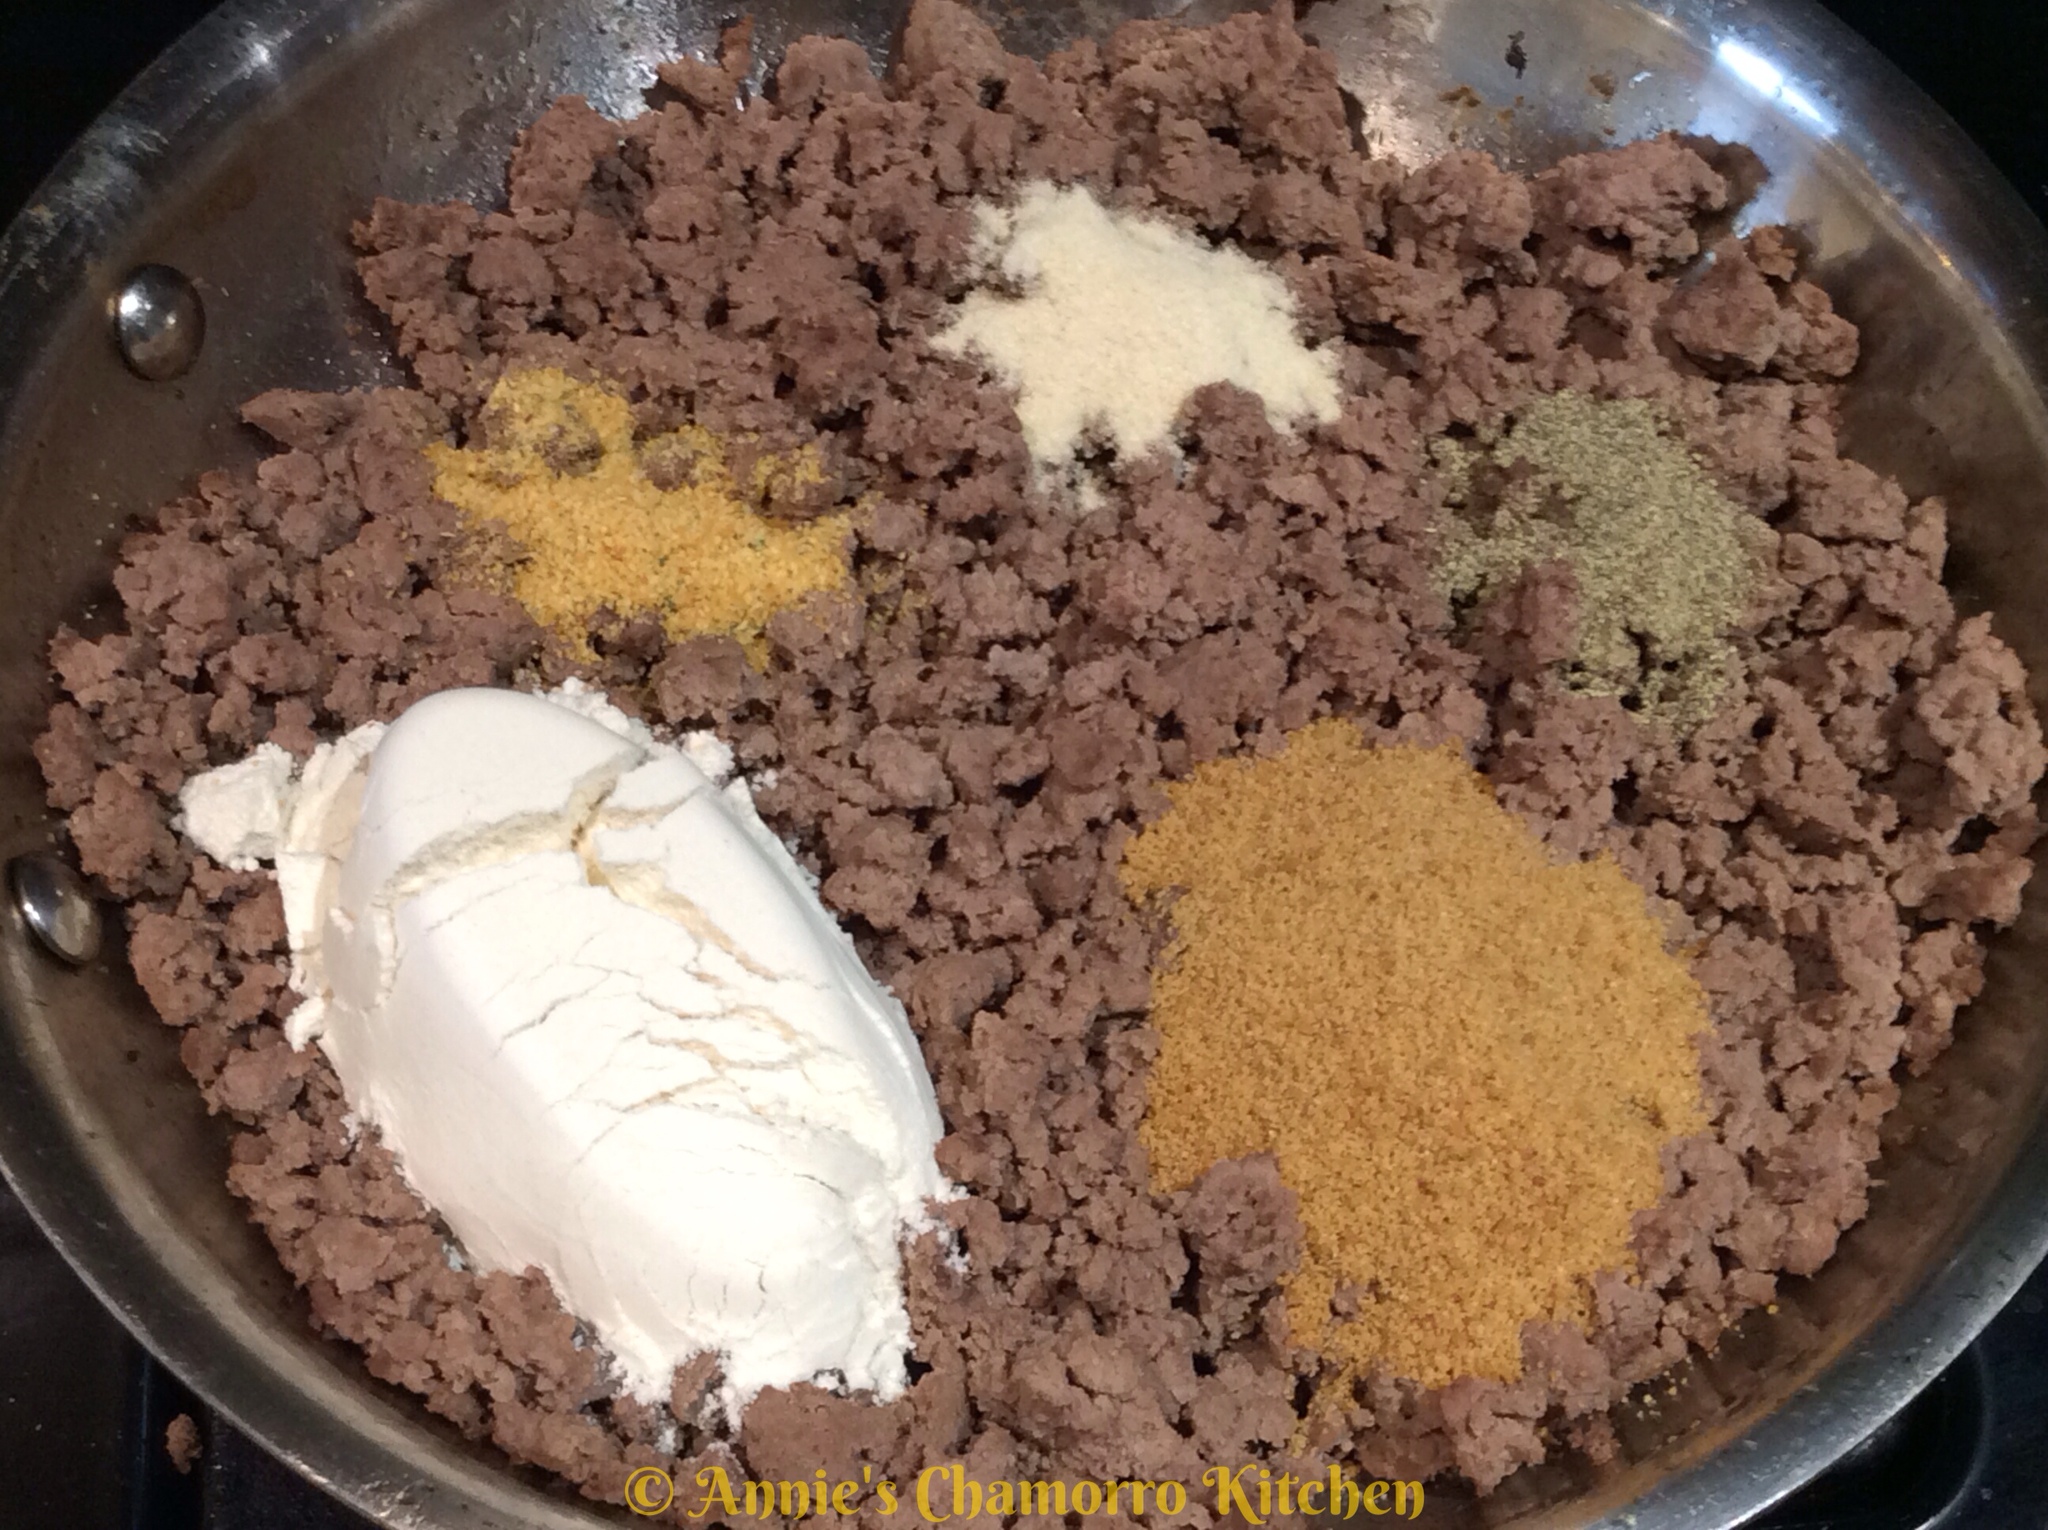
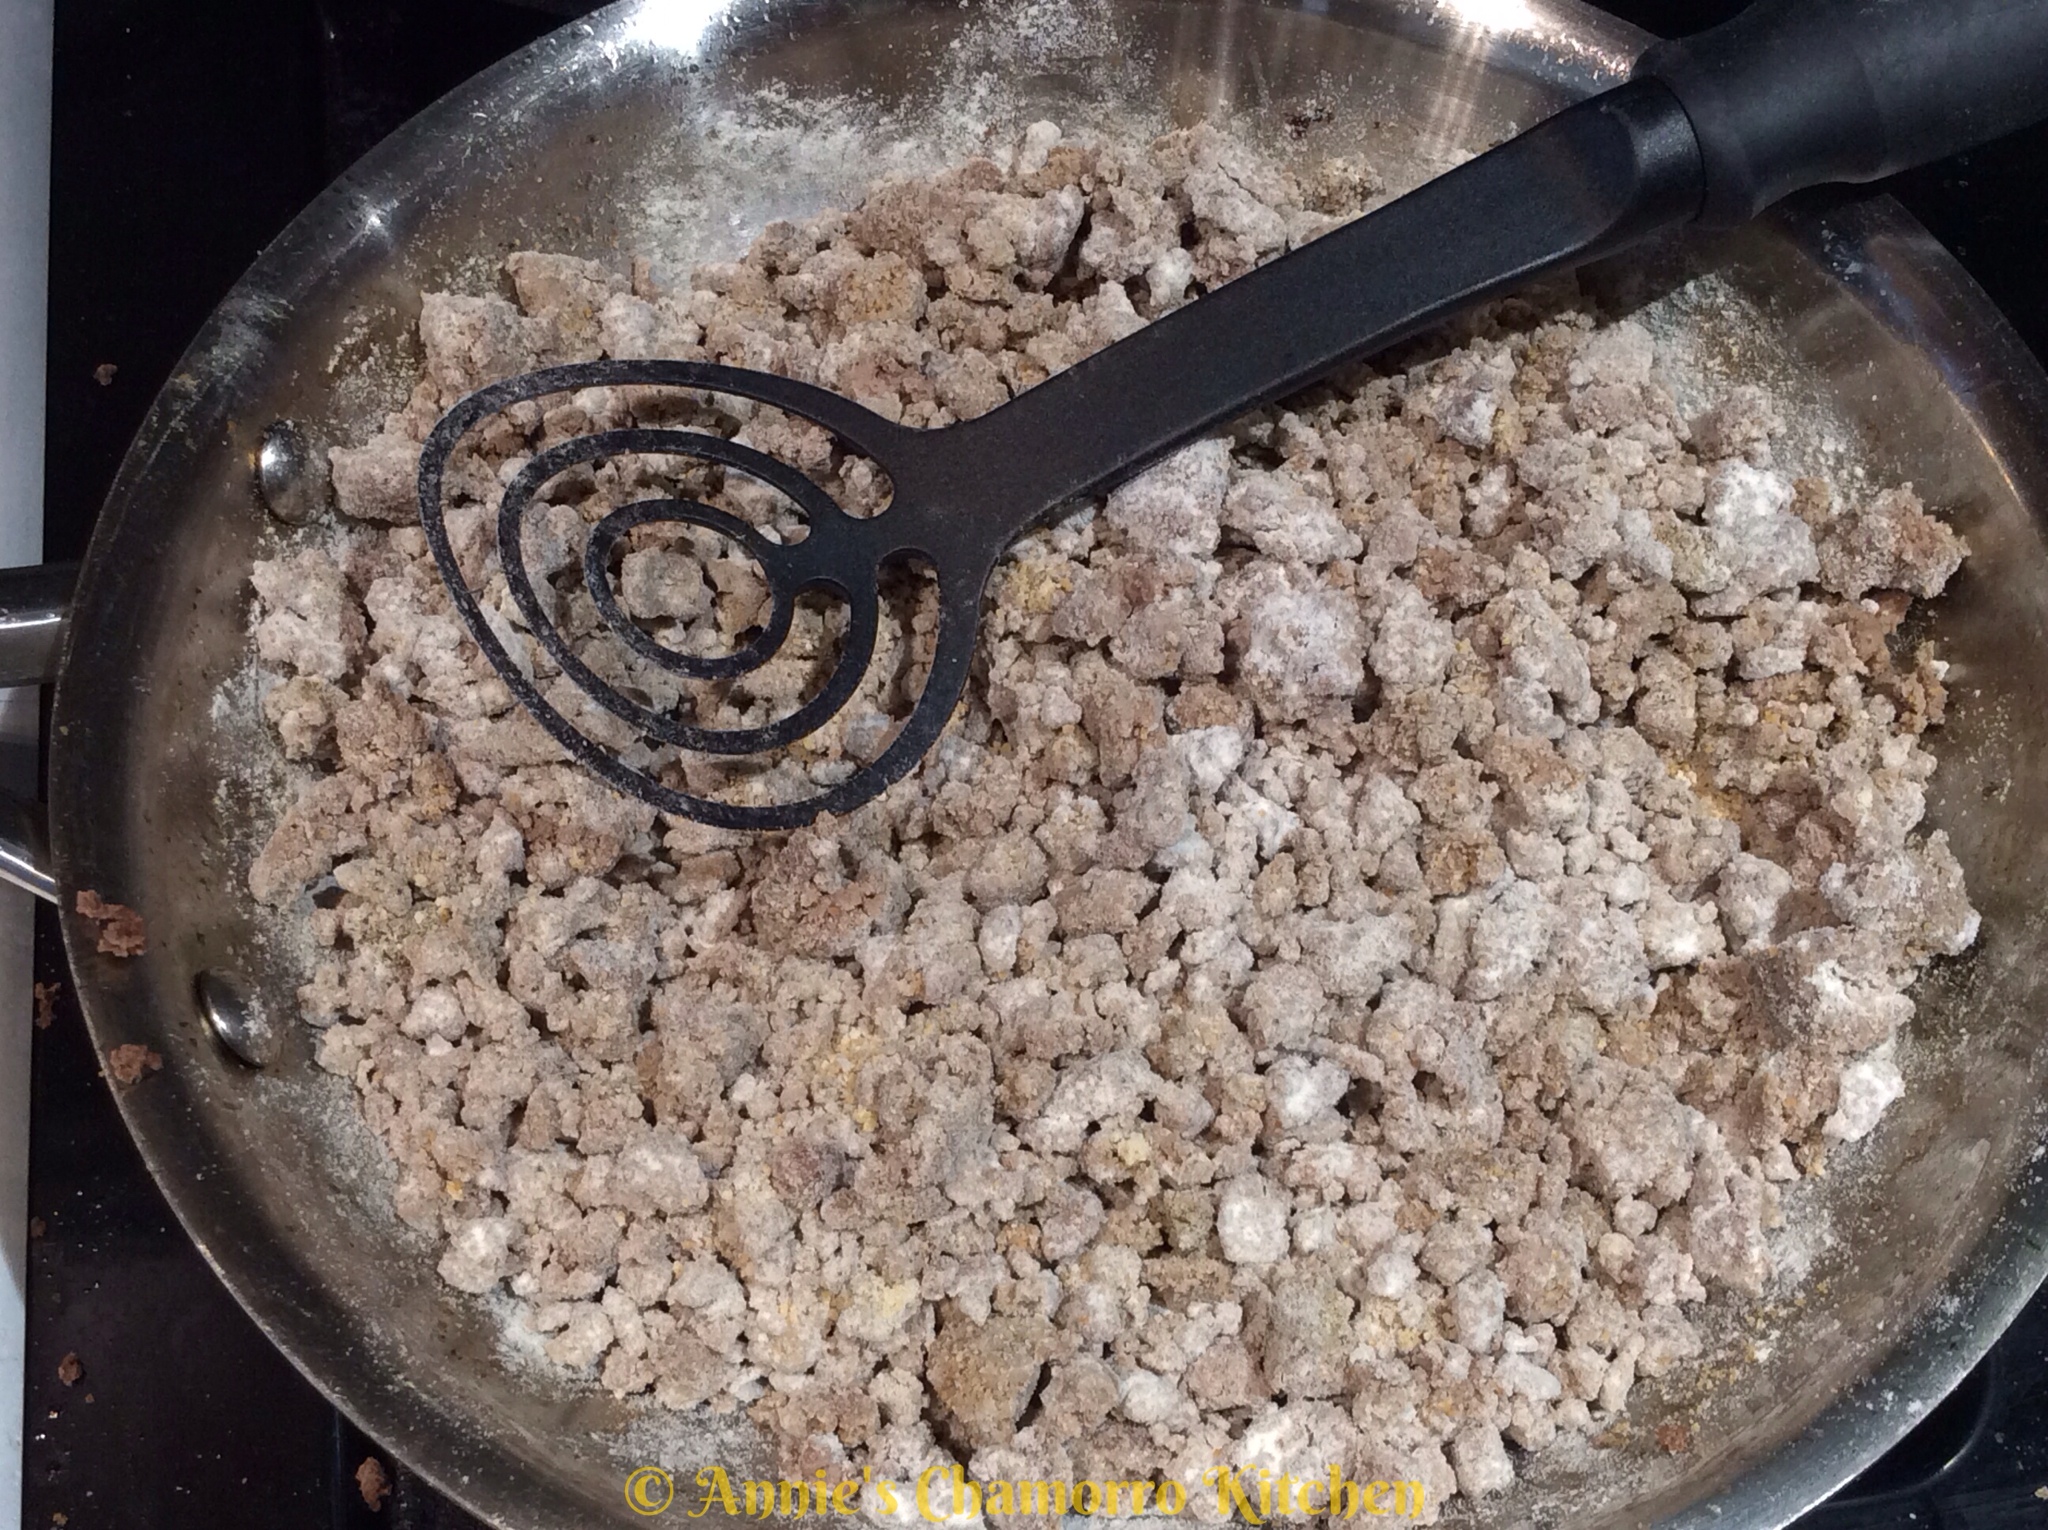
2. Add the flour and all the seasonings to the skillet.

3. Stir to combine all of the ingredients. Turn the heat up to medium high.

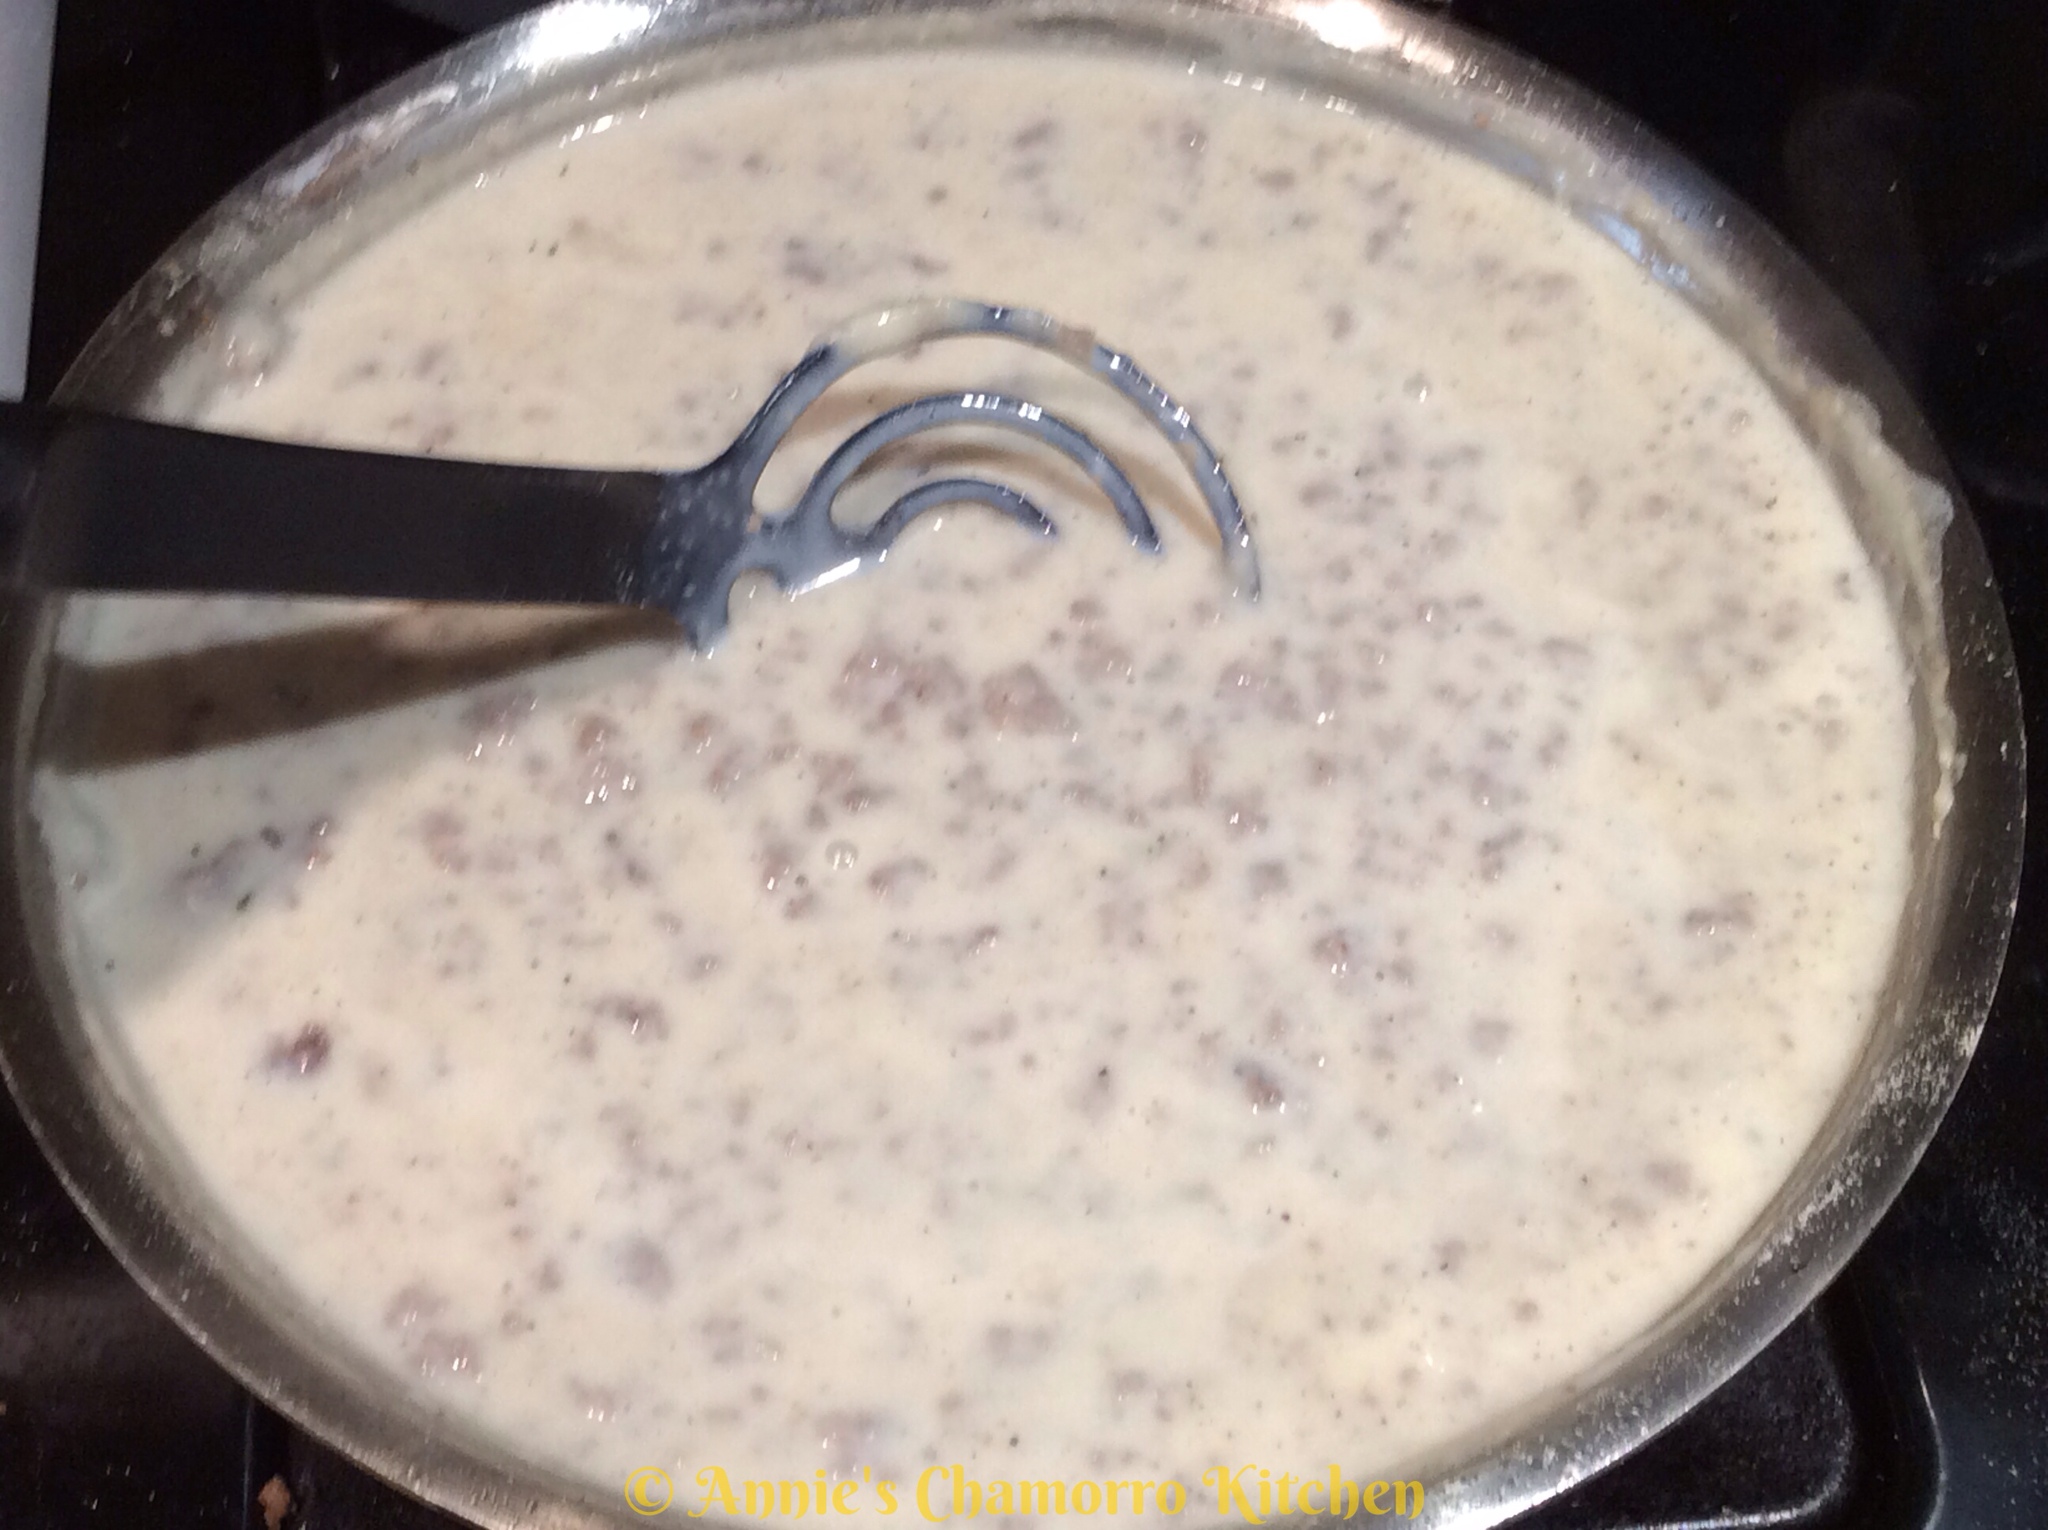
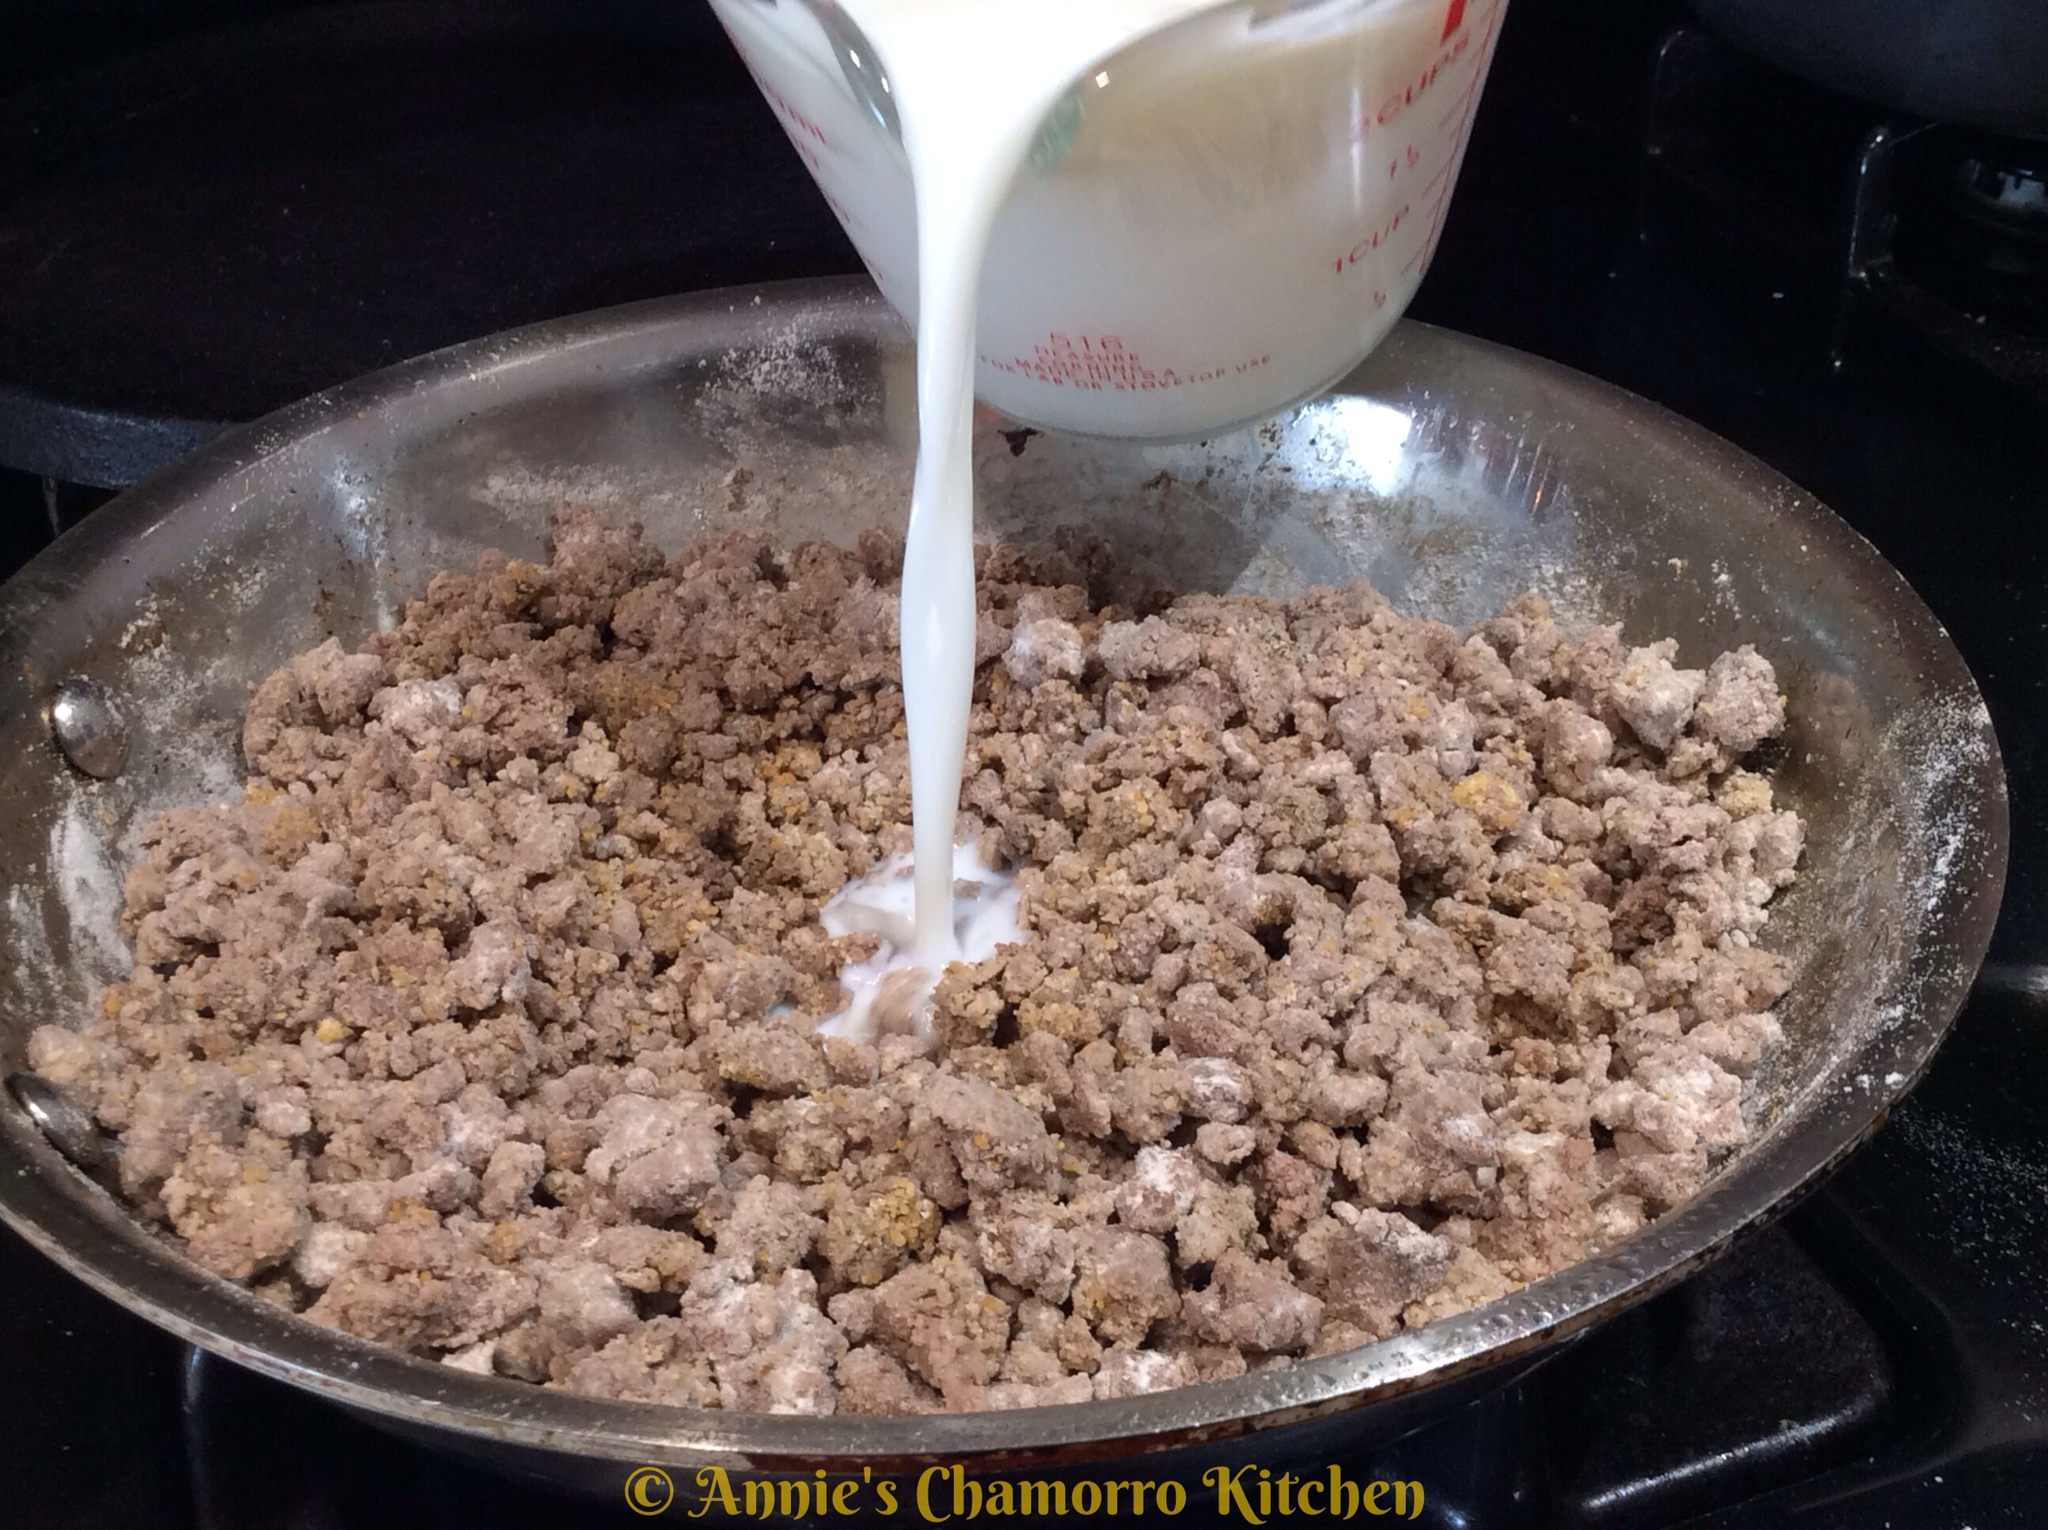
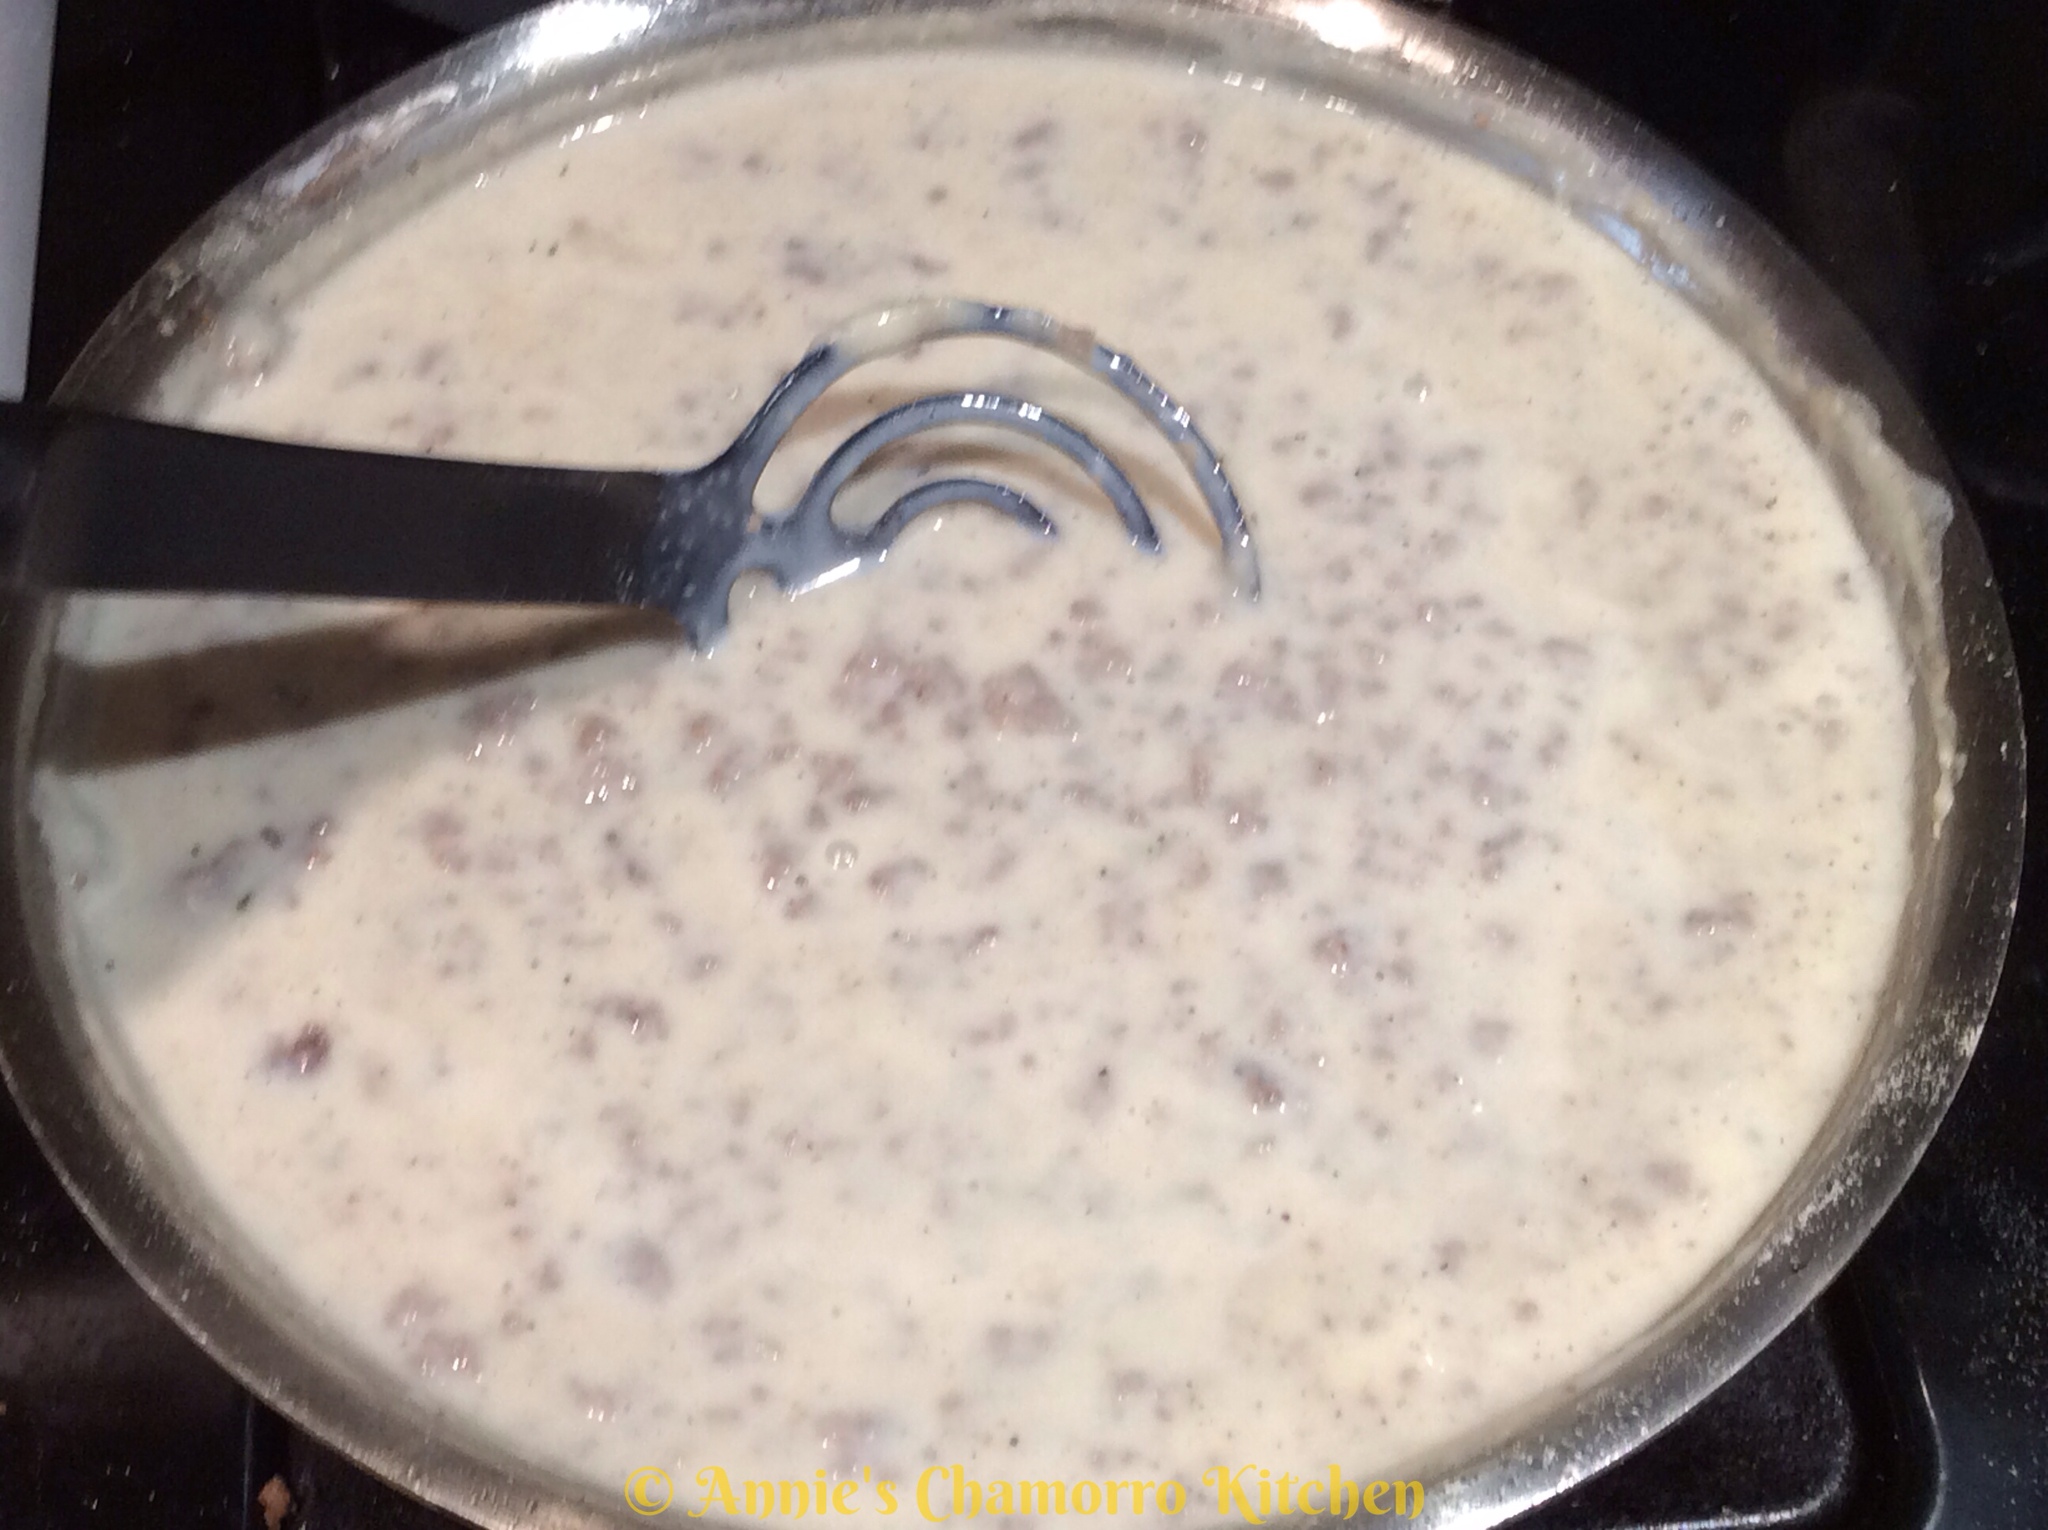
4. Pour the milk into the skillet. I use a whisk that can withstand the heat and be used for cooking (see the photo above) to stir as I add the milk.

5. Stir constantly until the gravy thickens.

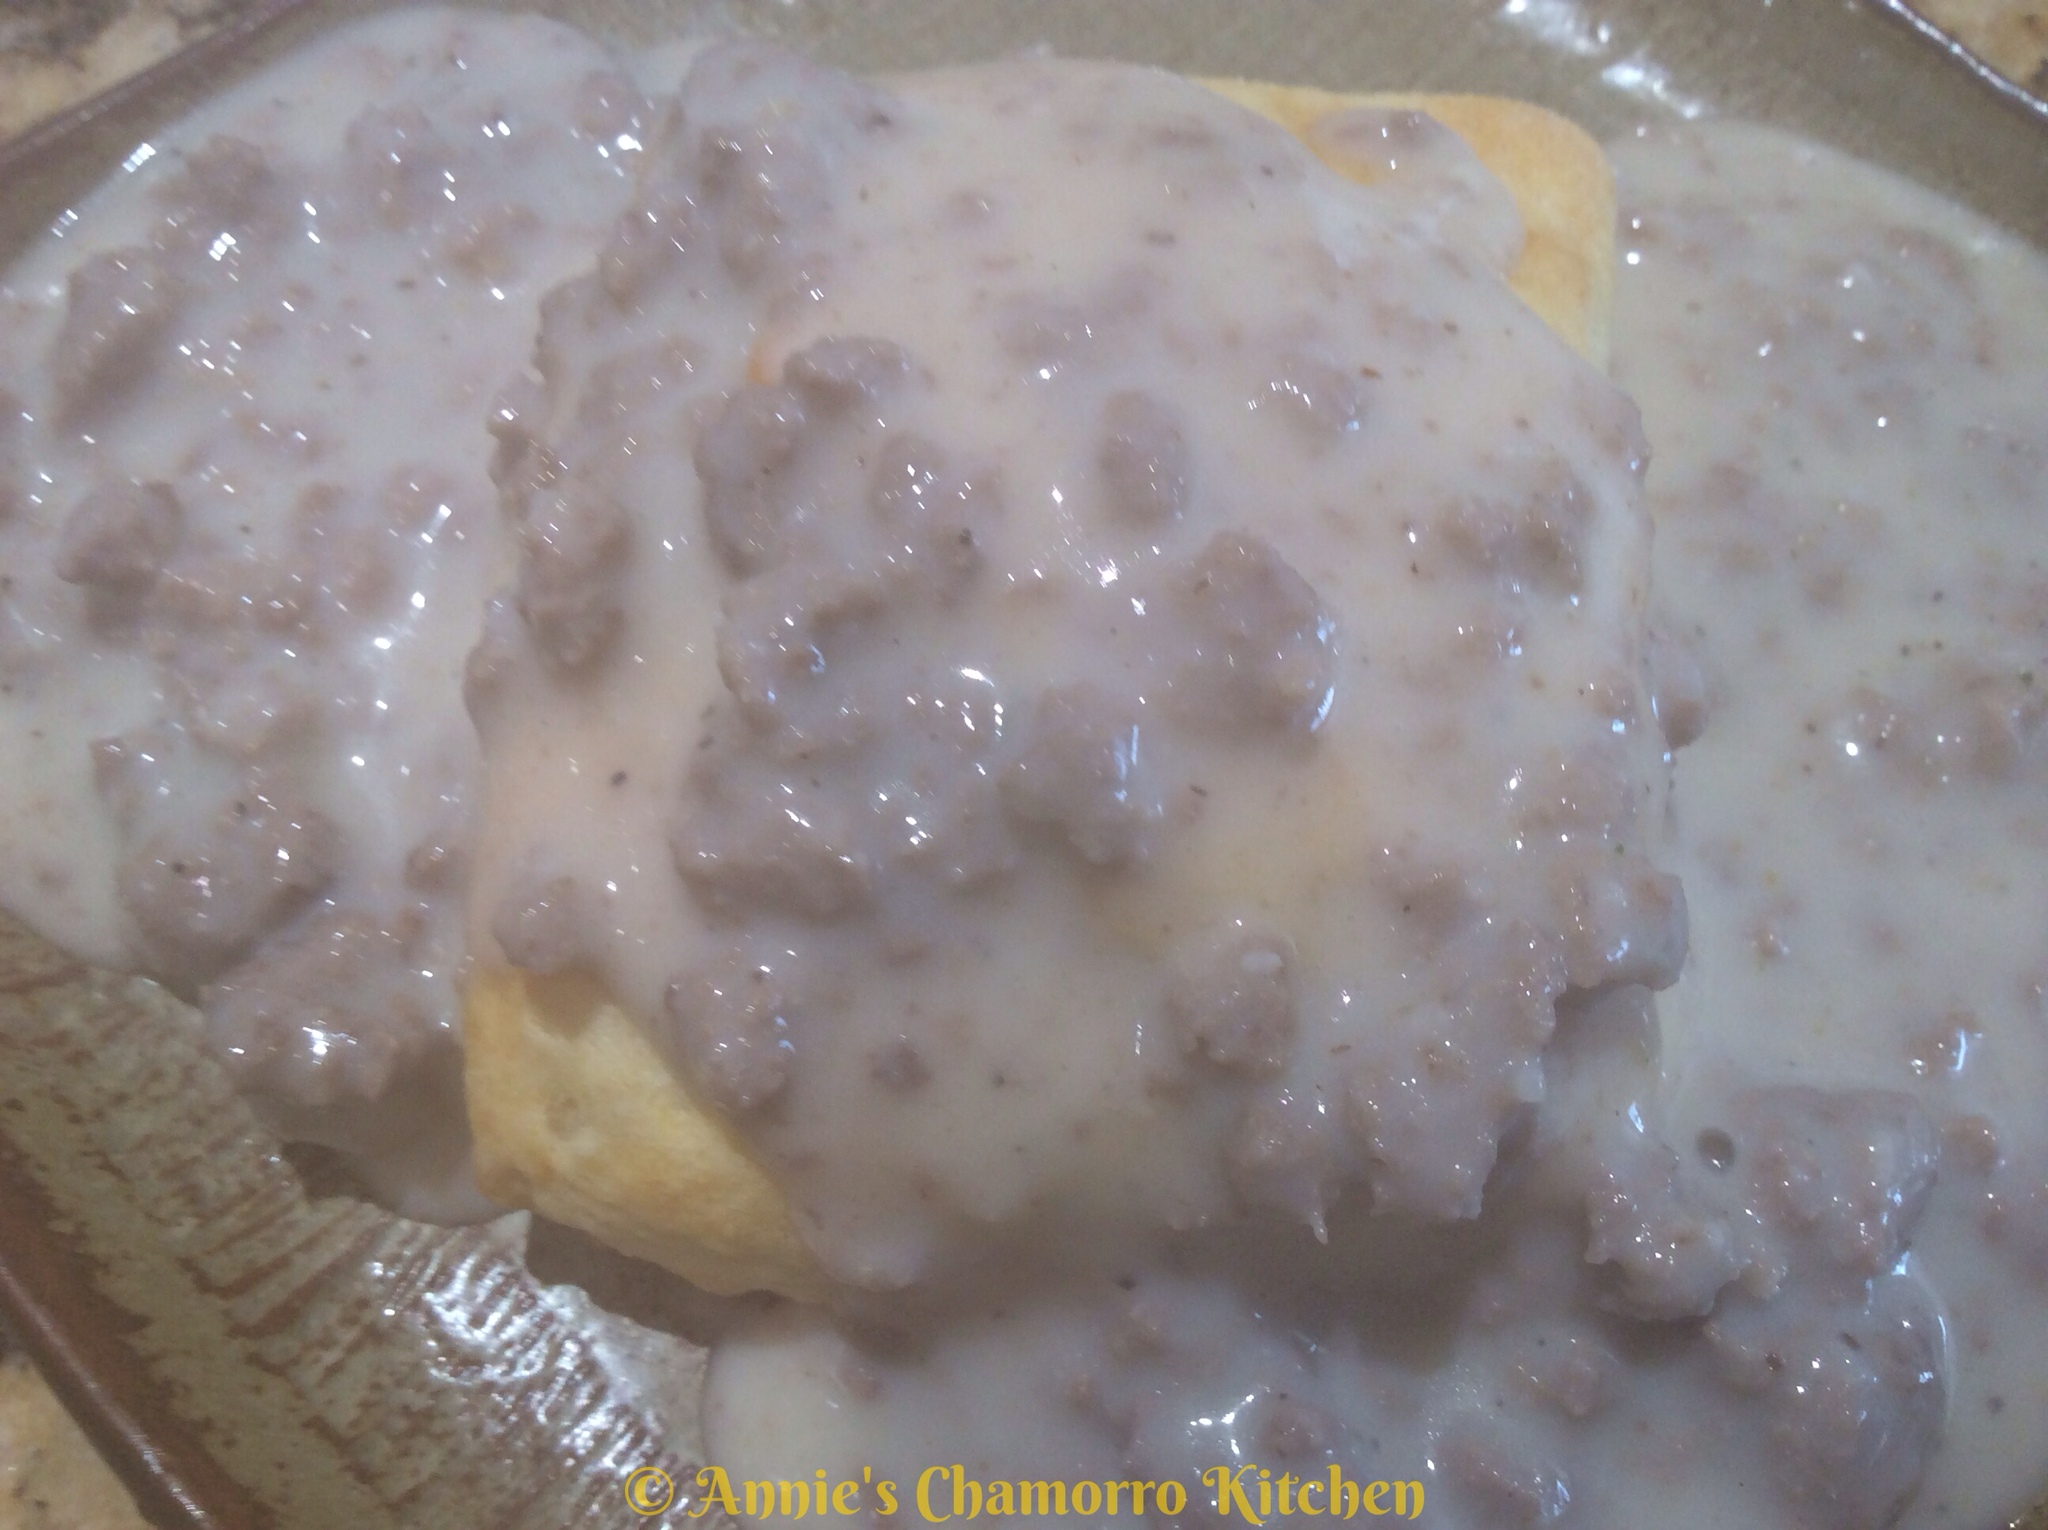
6. Serve with my soft and fluffy biscuits and ENJOY! 🙂


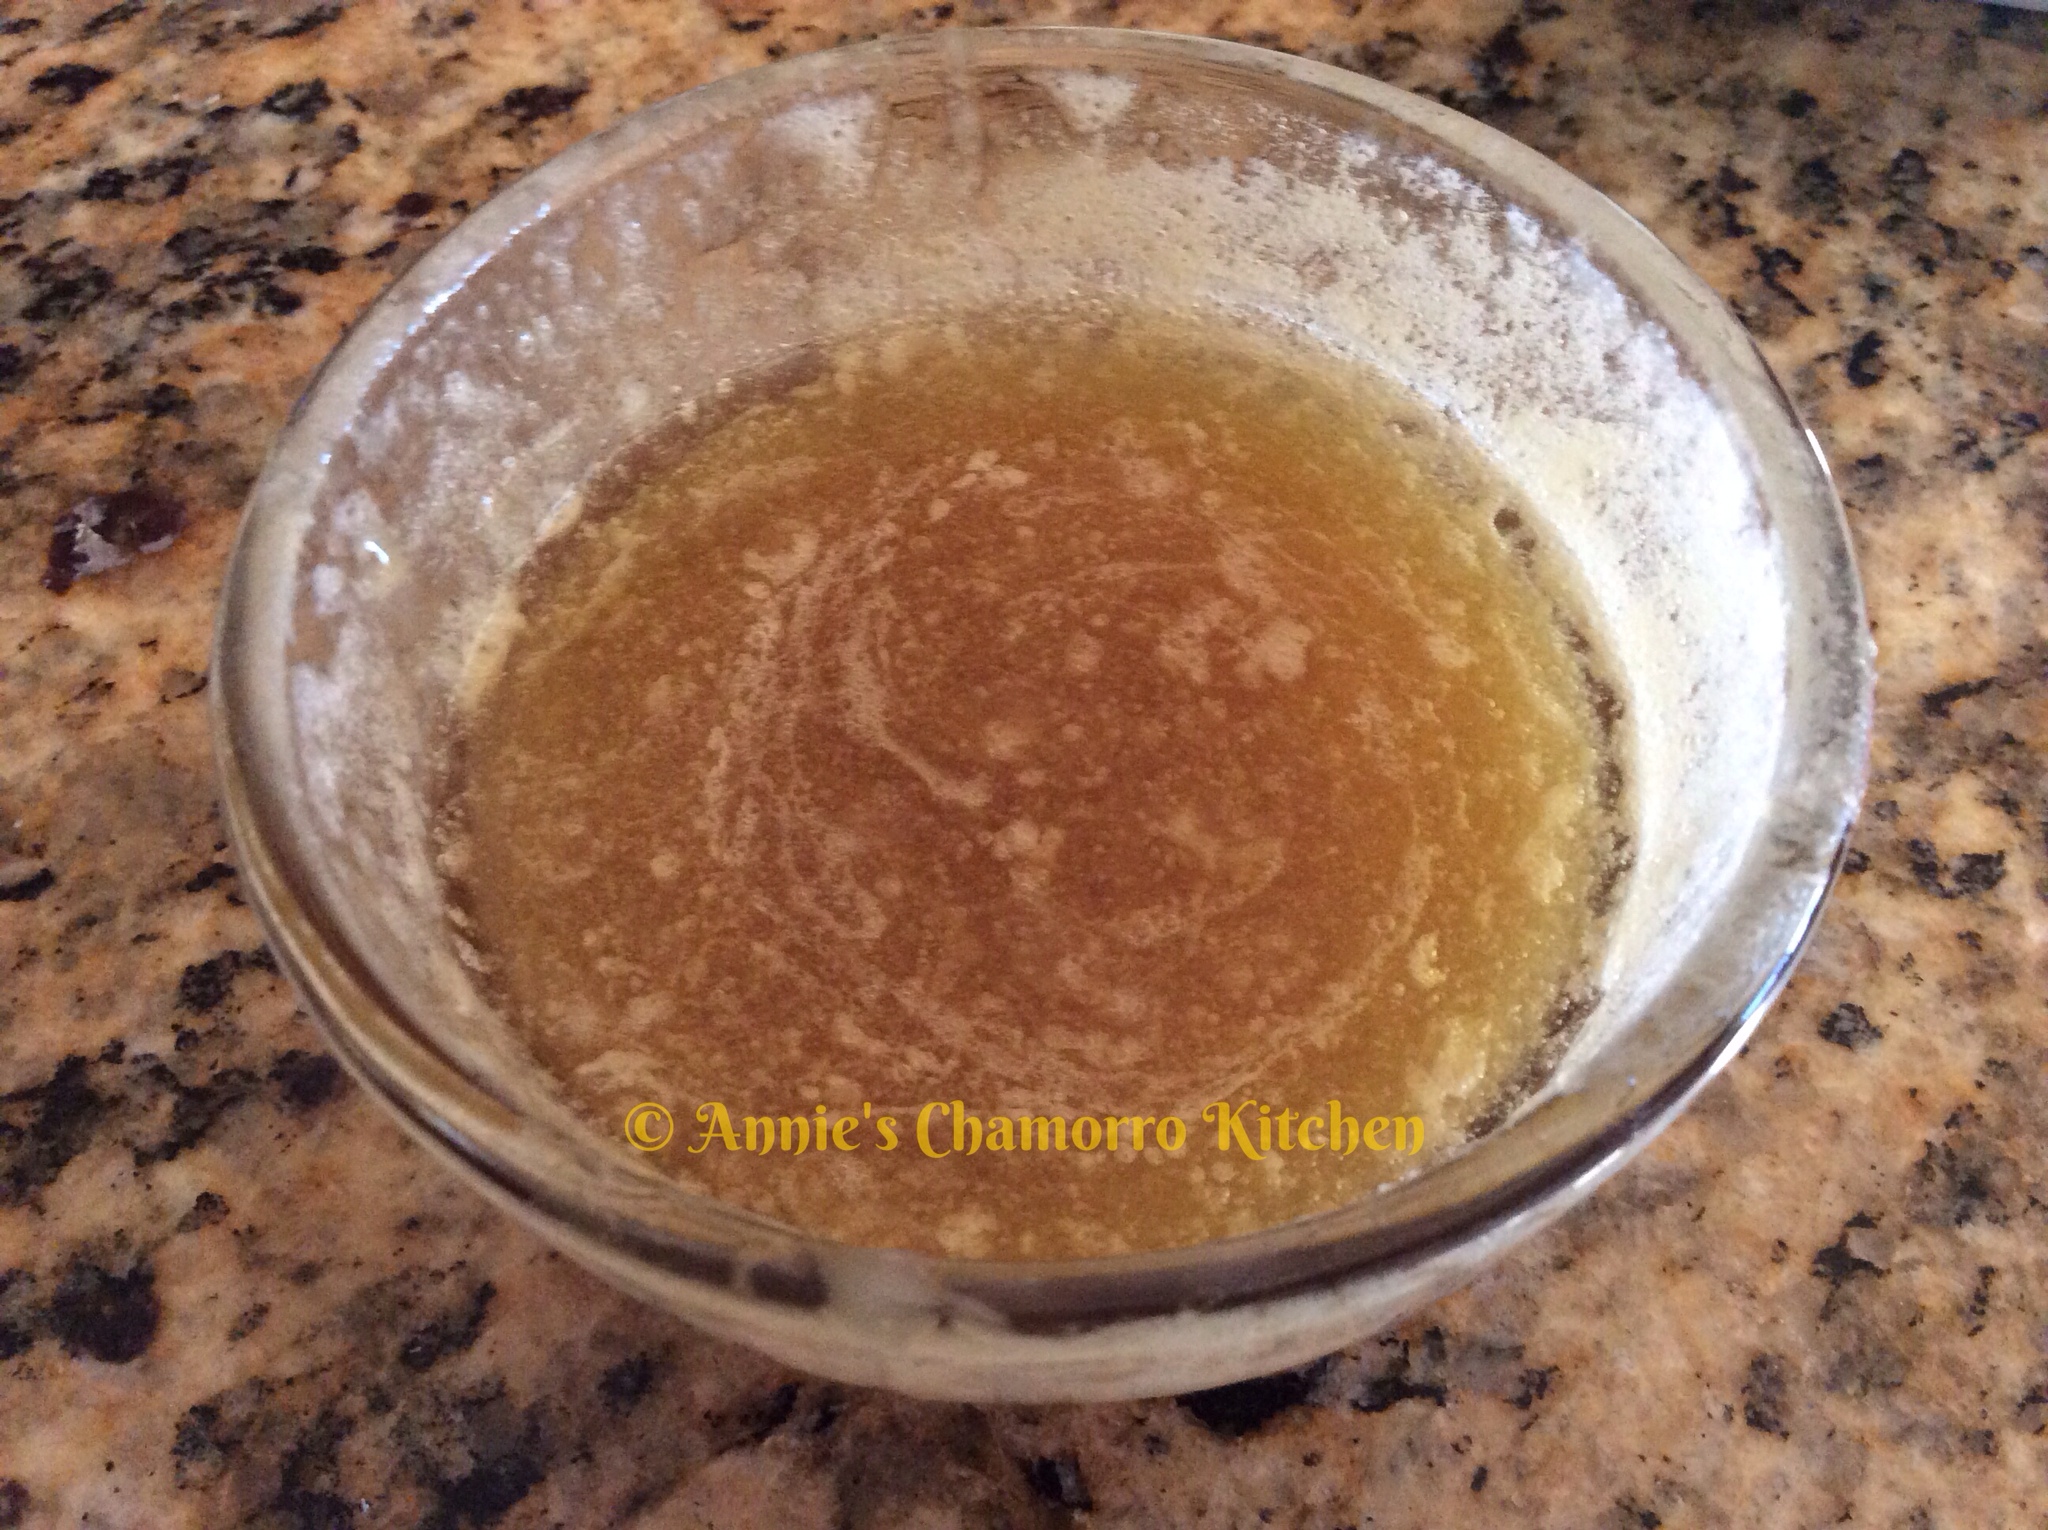
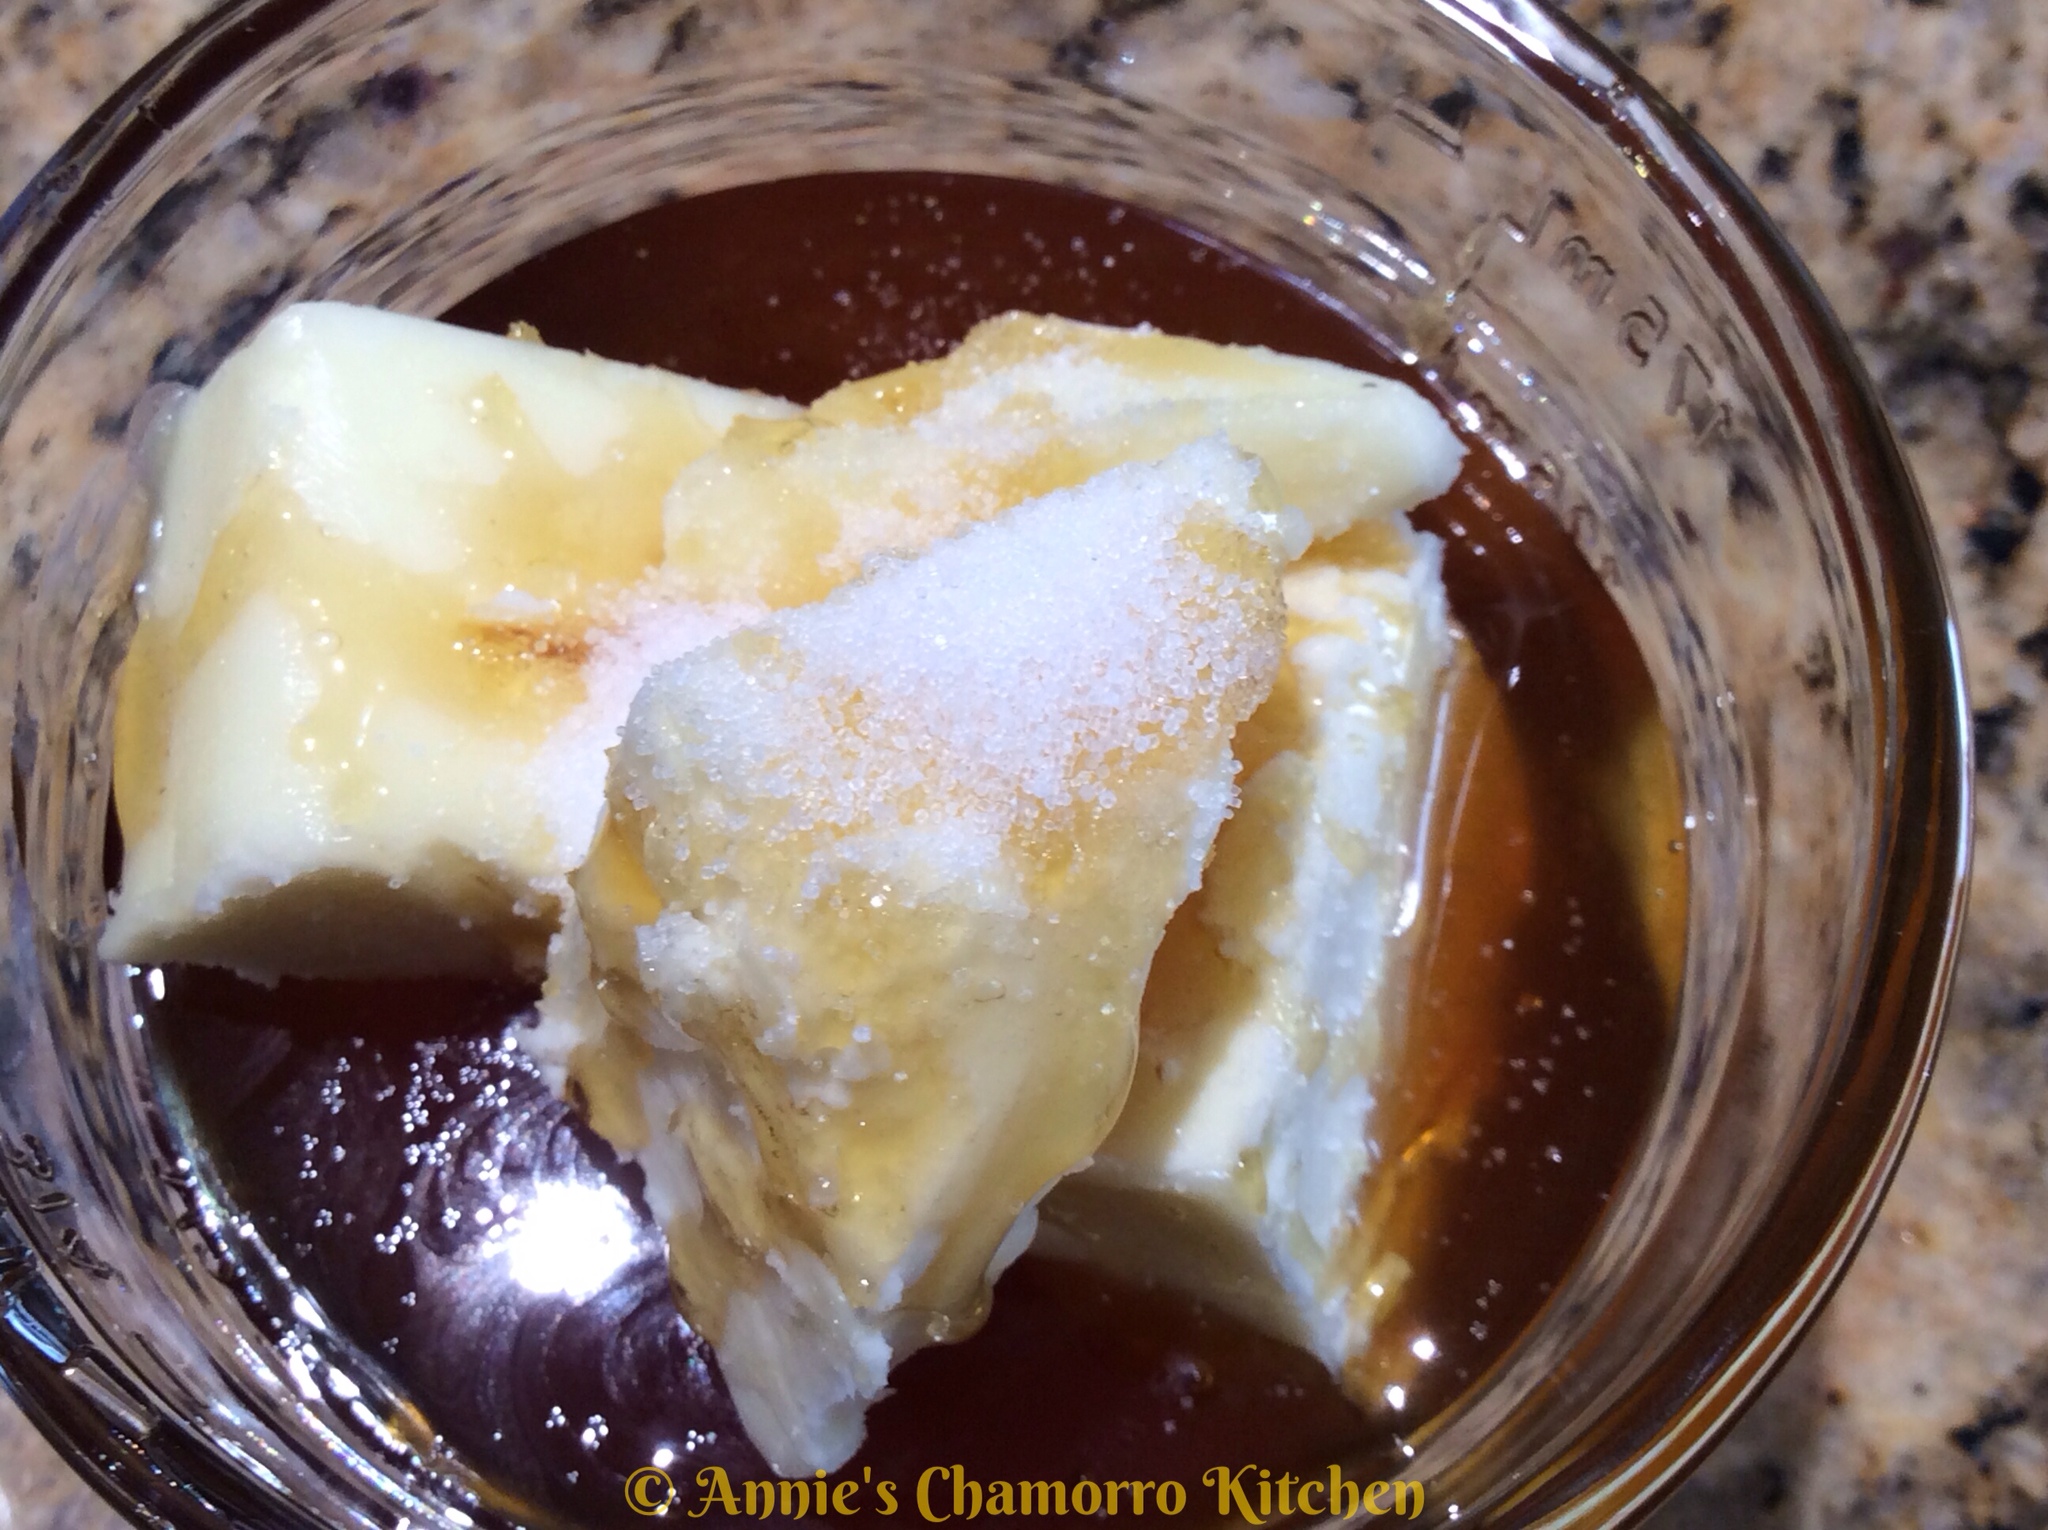
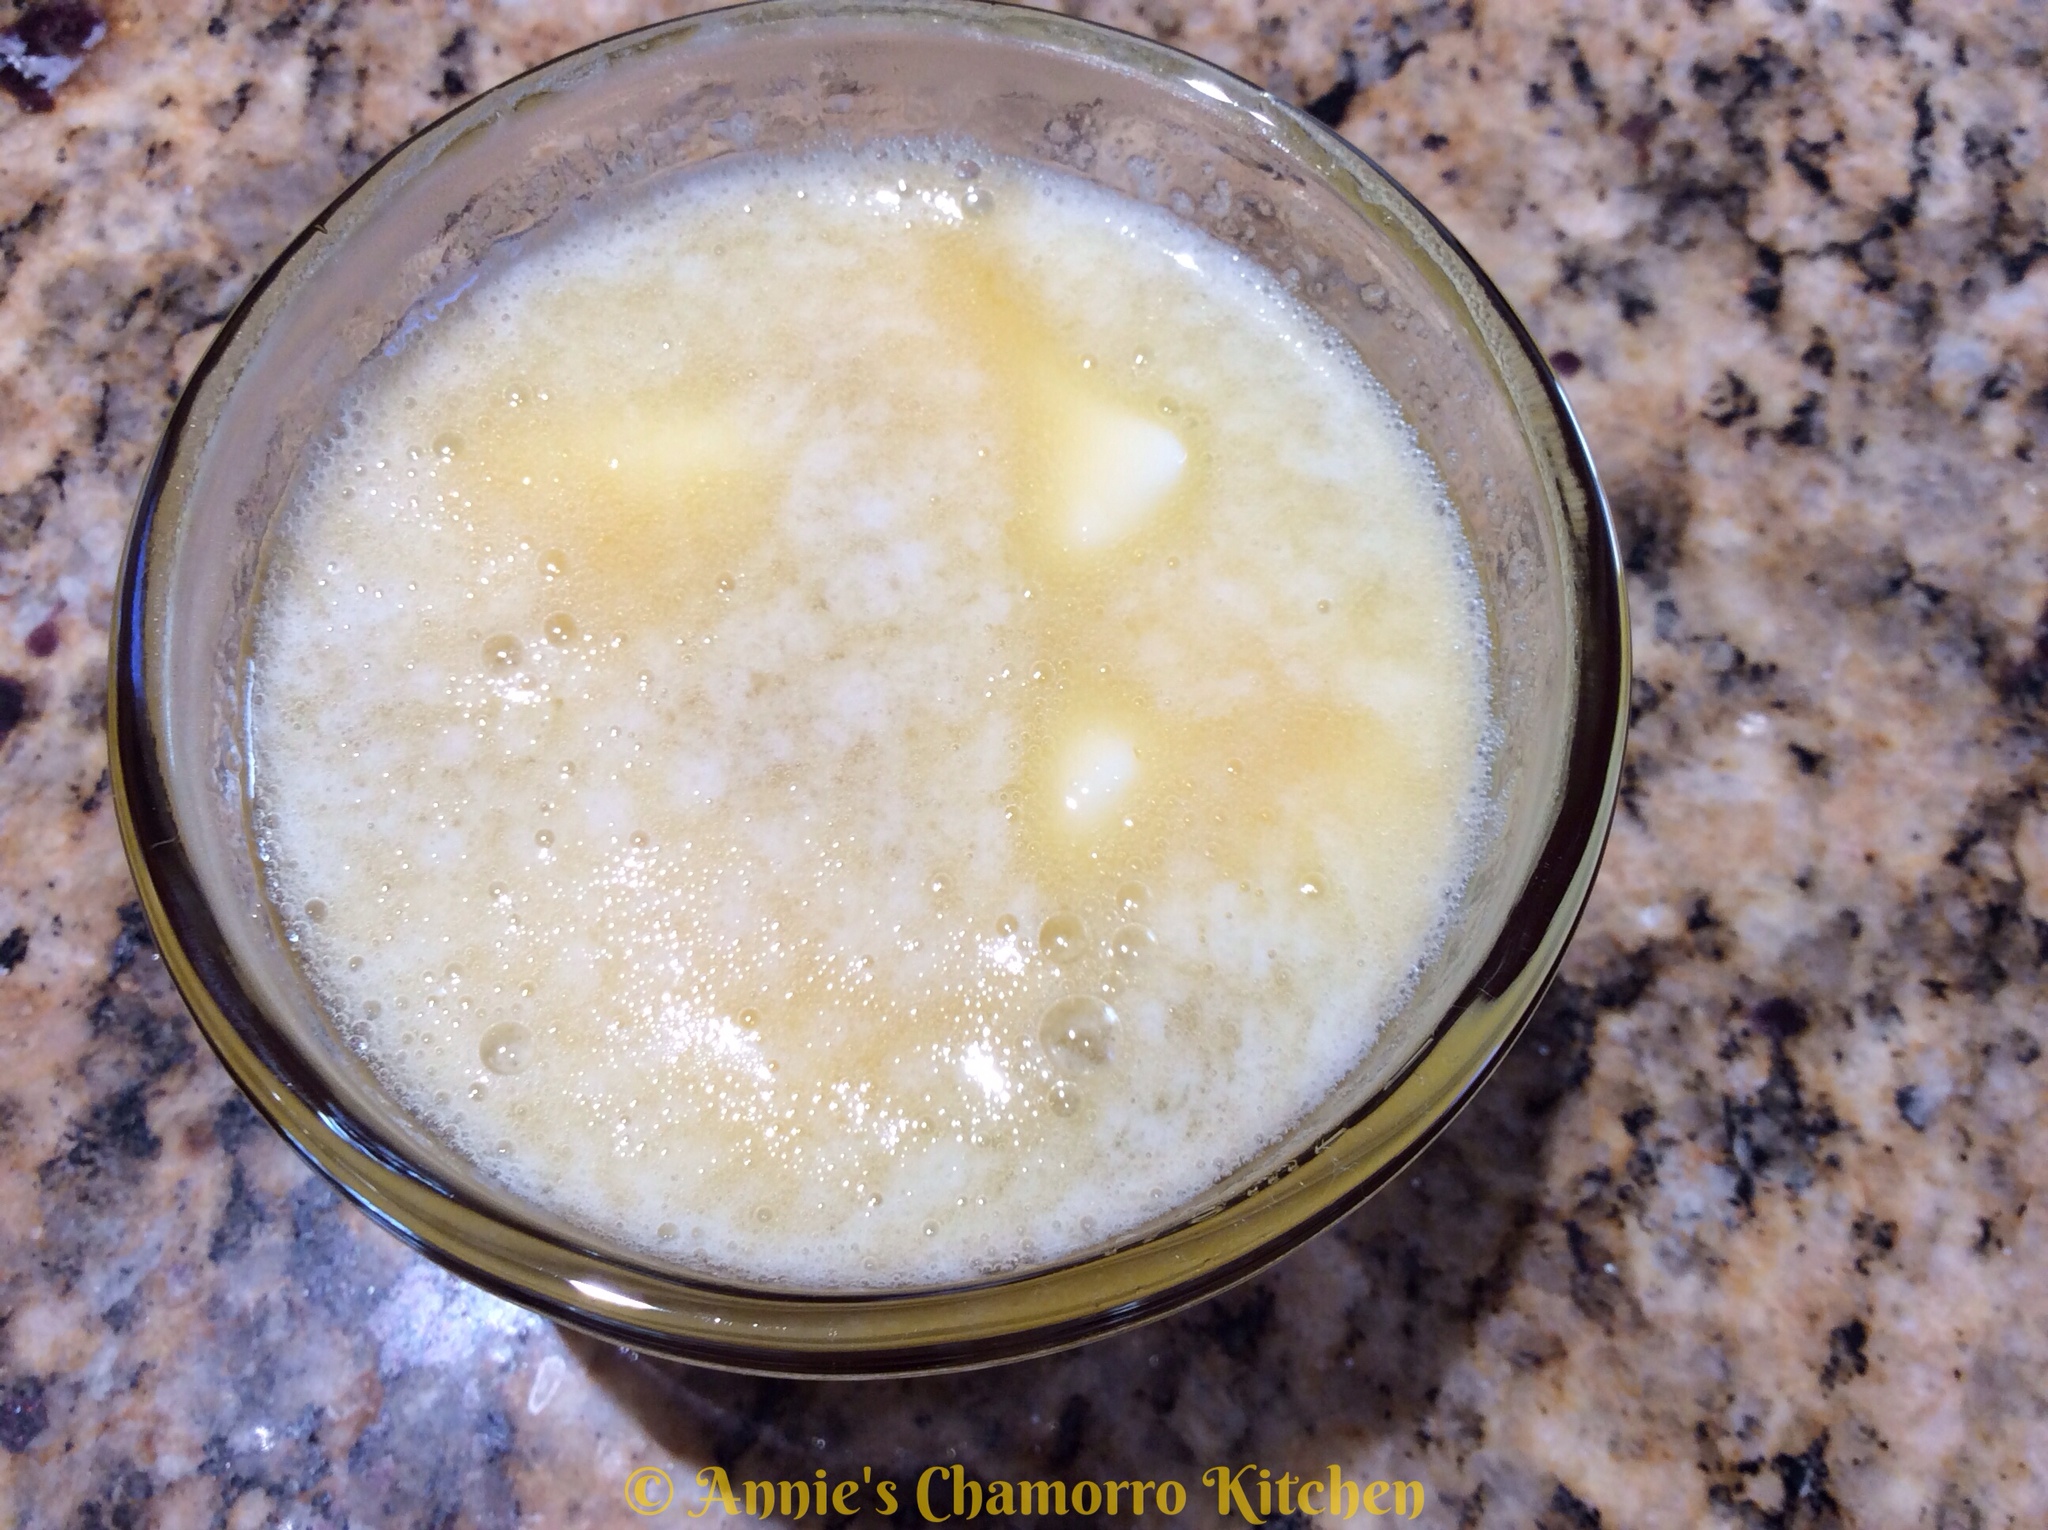
Honey Butter Sauce

Ingredients:

  • 1 teaspoon water
  • 4 tablespoons unsalted butter
  • 4 tablespoons honey
  • 1/4 teaspoon salt

Directions:

1. Place all of the ingredients into a microwave-safe bowl.

2. Microwave in 30-second intervals until the butter melts.

3. Stir to combine the ingredients.

4. Drizzle over freshly baked soft and fluffy biscuits and ENJOY! 🙂

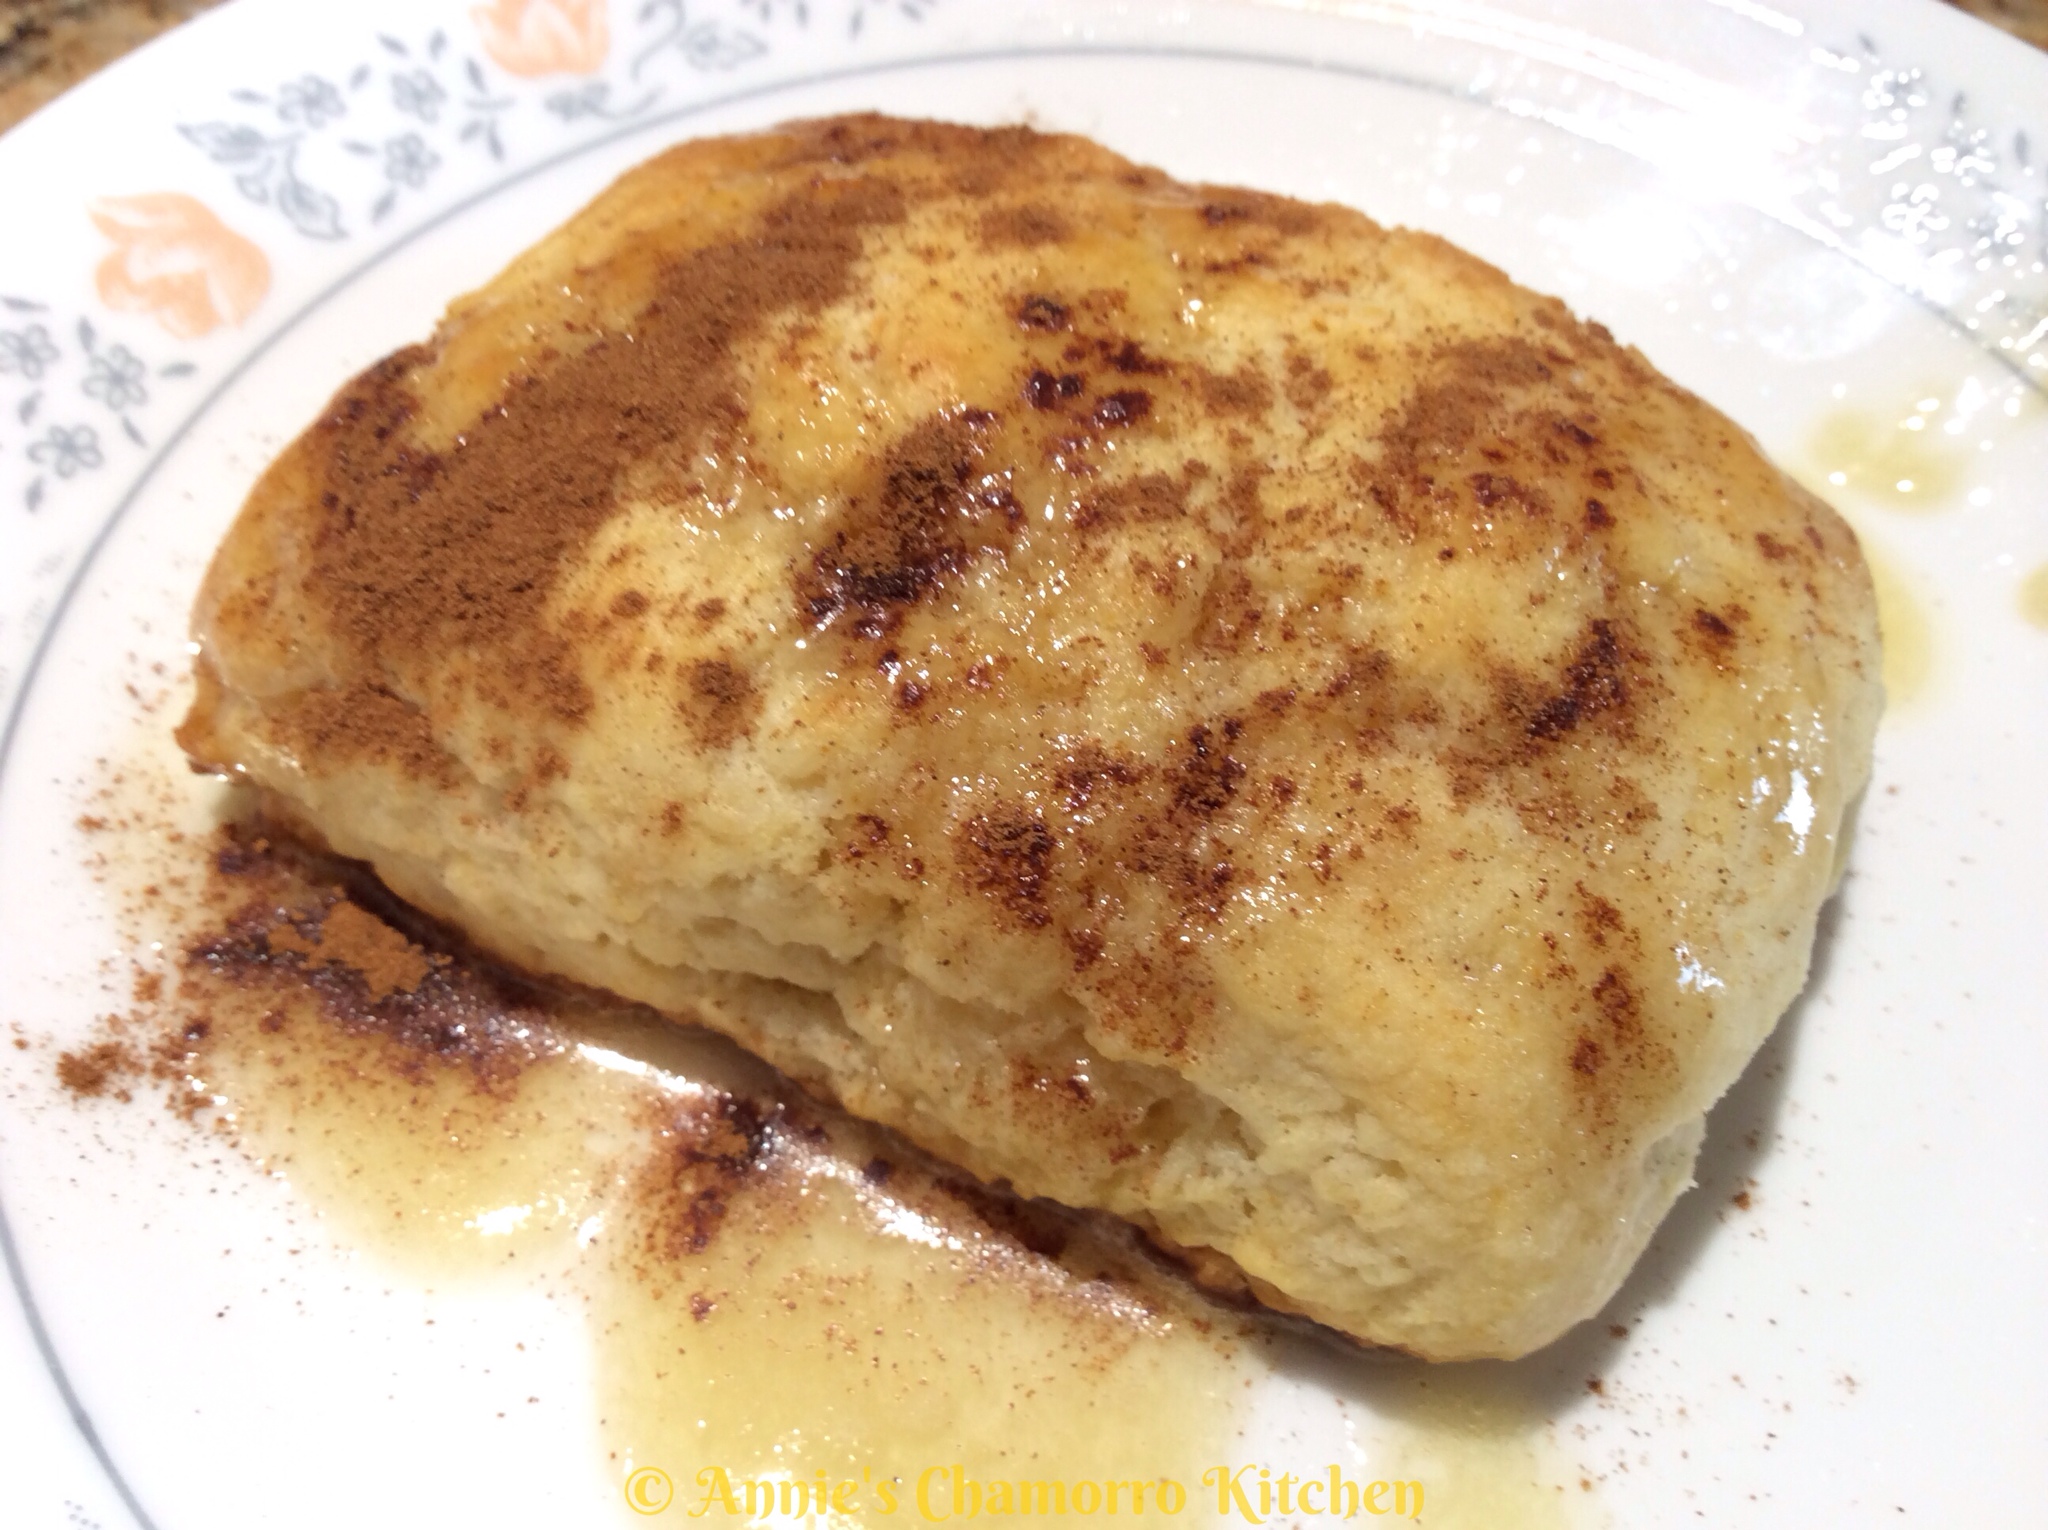
Try sprinkling some cinnamon over the warm honey butter sauce. Yum!


« Older Entries Recent Entries »