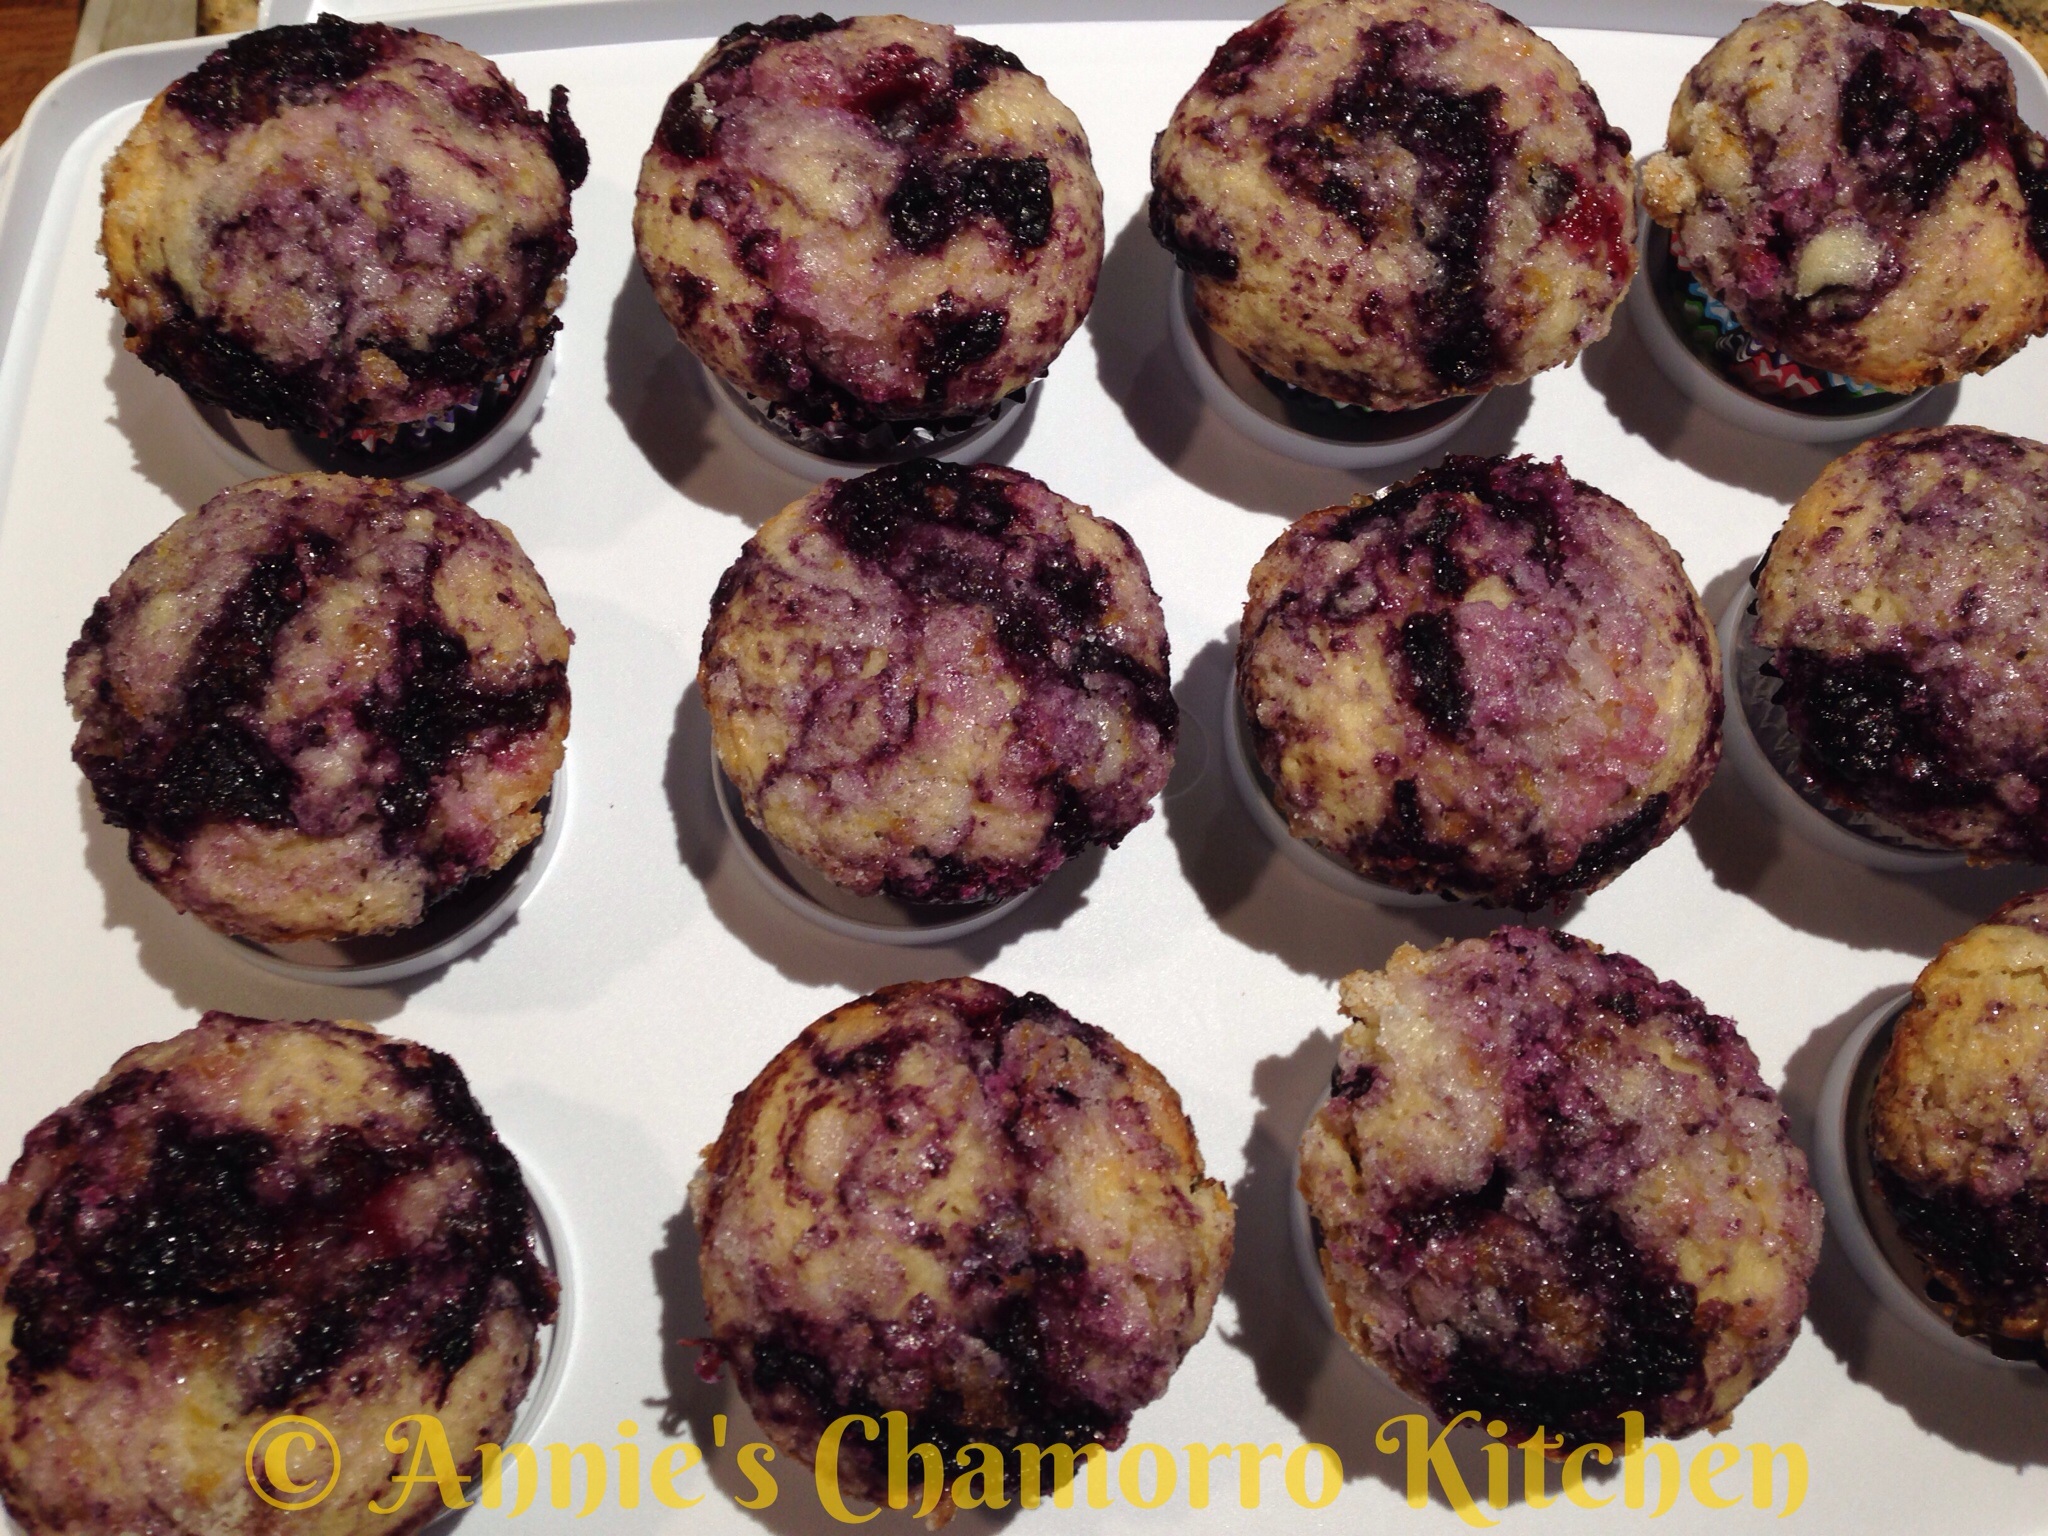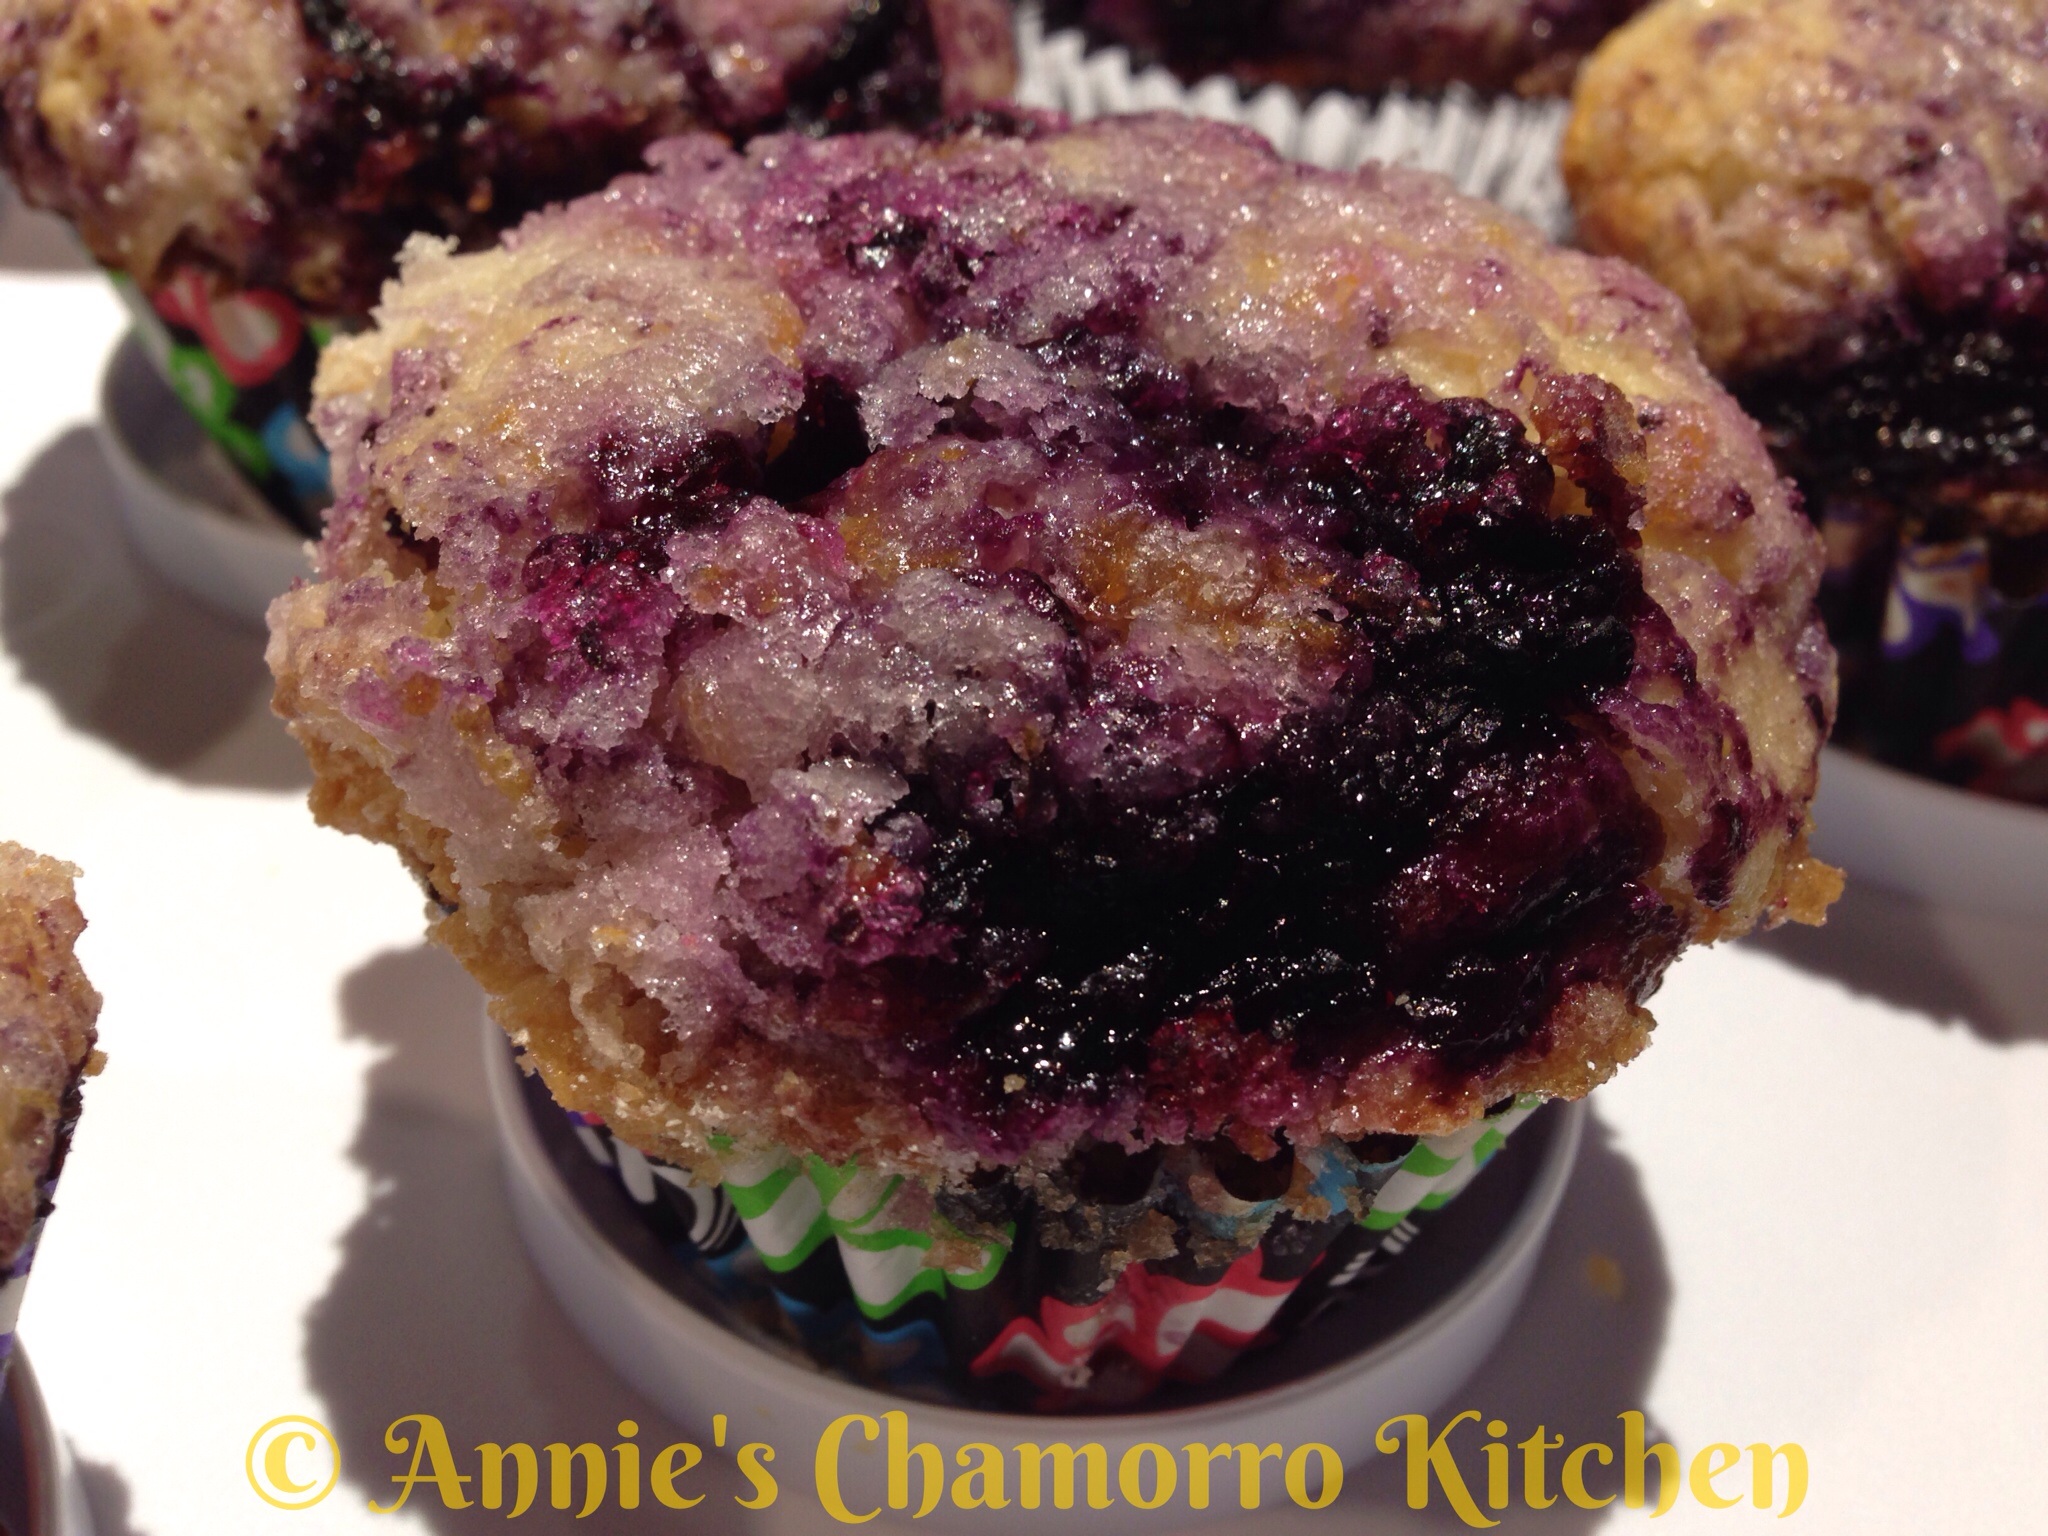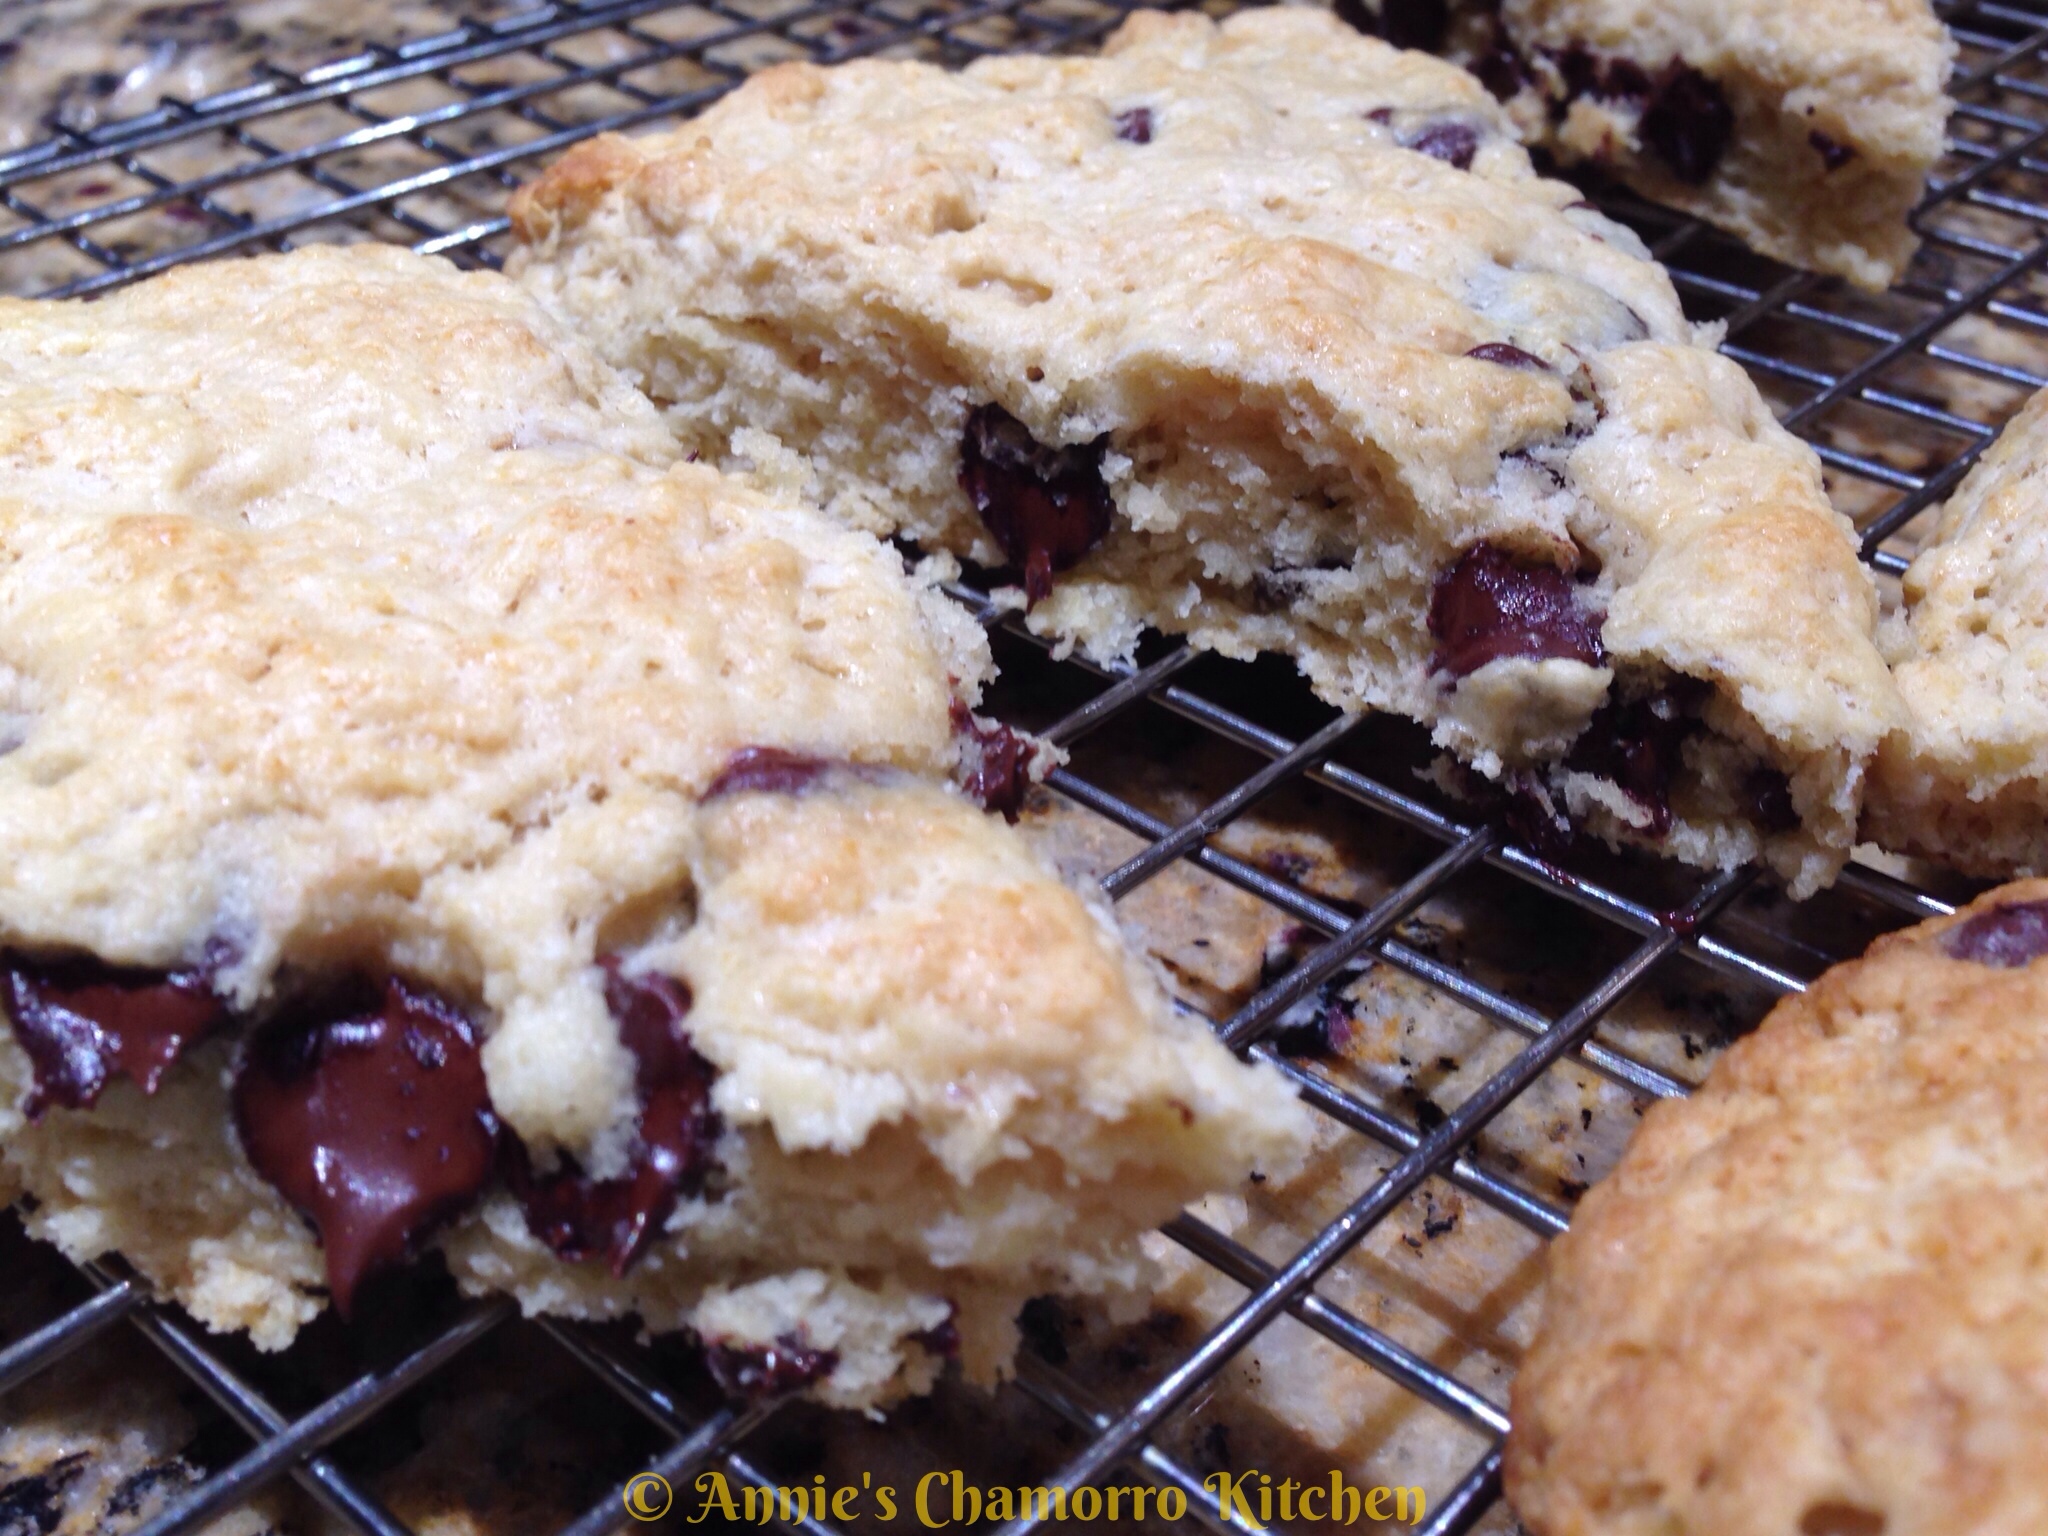
Apples and cranberries go so well together. Pair them together in these muffins topped with sweet streusel topping and you’ve got a real treat on your hands.
I made these for a PTA-sponsored Teacher Appreciation Day one year and it was wiped out in no time. These muffins are great for potluck breakfasts, and they make great snacks for a packed lunch.
Top the muffins with my apple cream cheese frosting (recipe below) and now you’ve got a decadent dessert.
Give my recipes a try. I think you’ll like them. 🙂

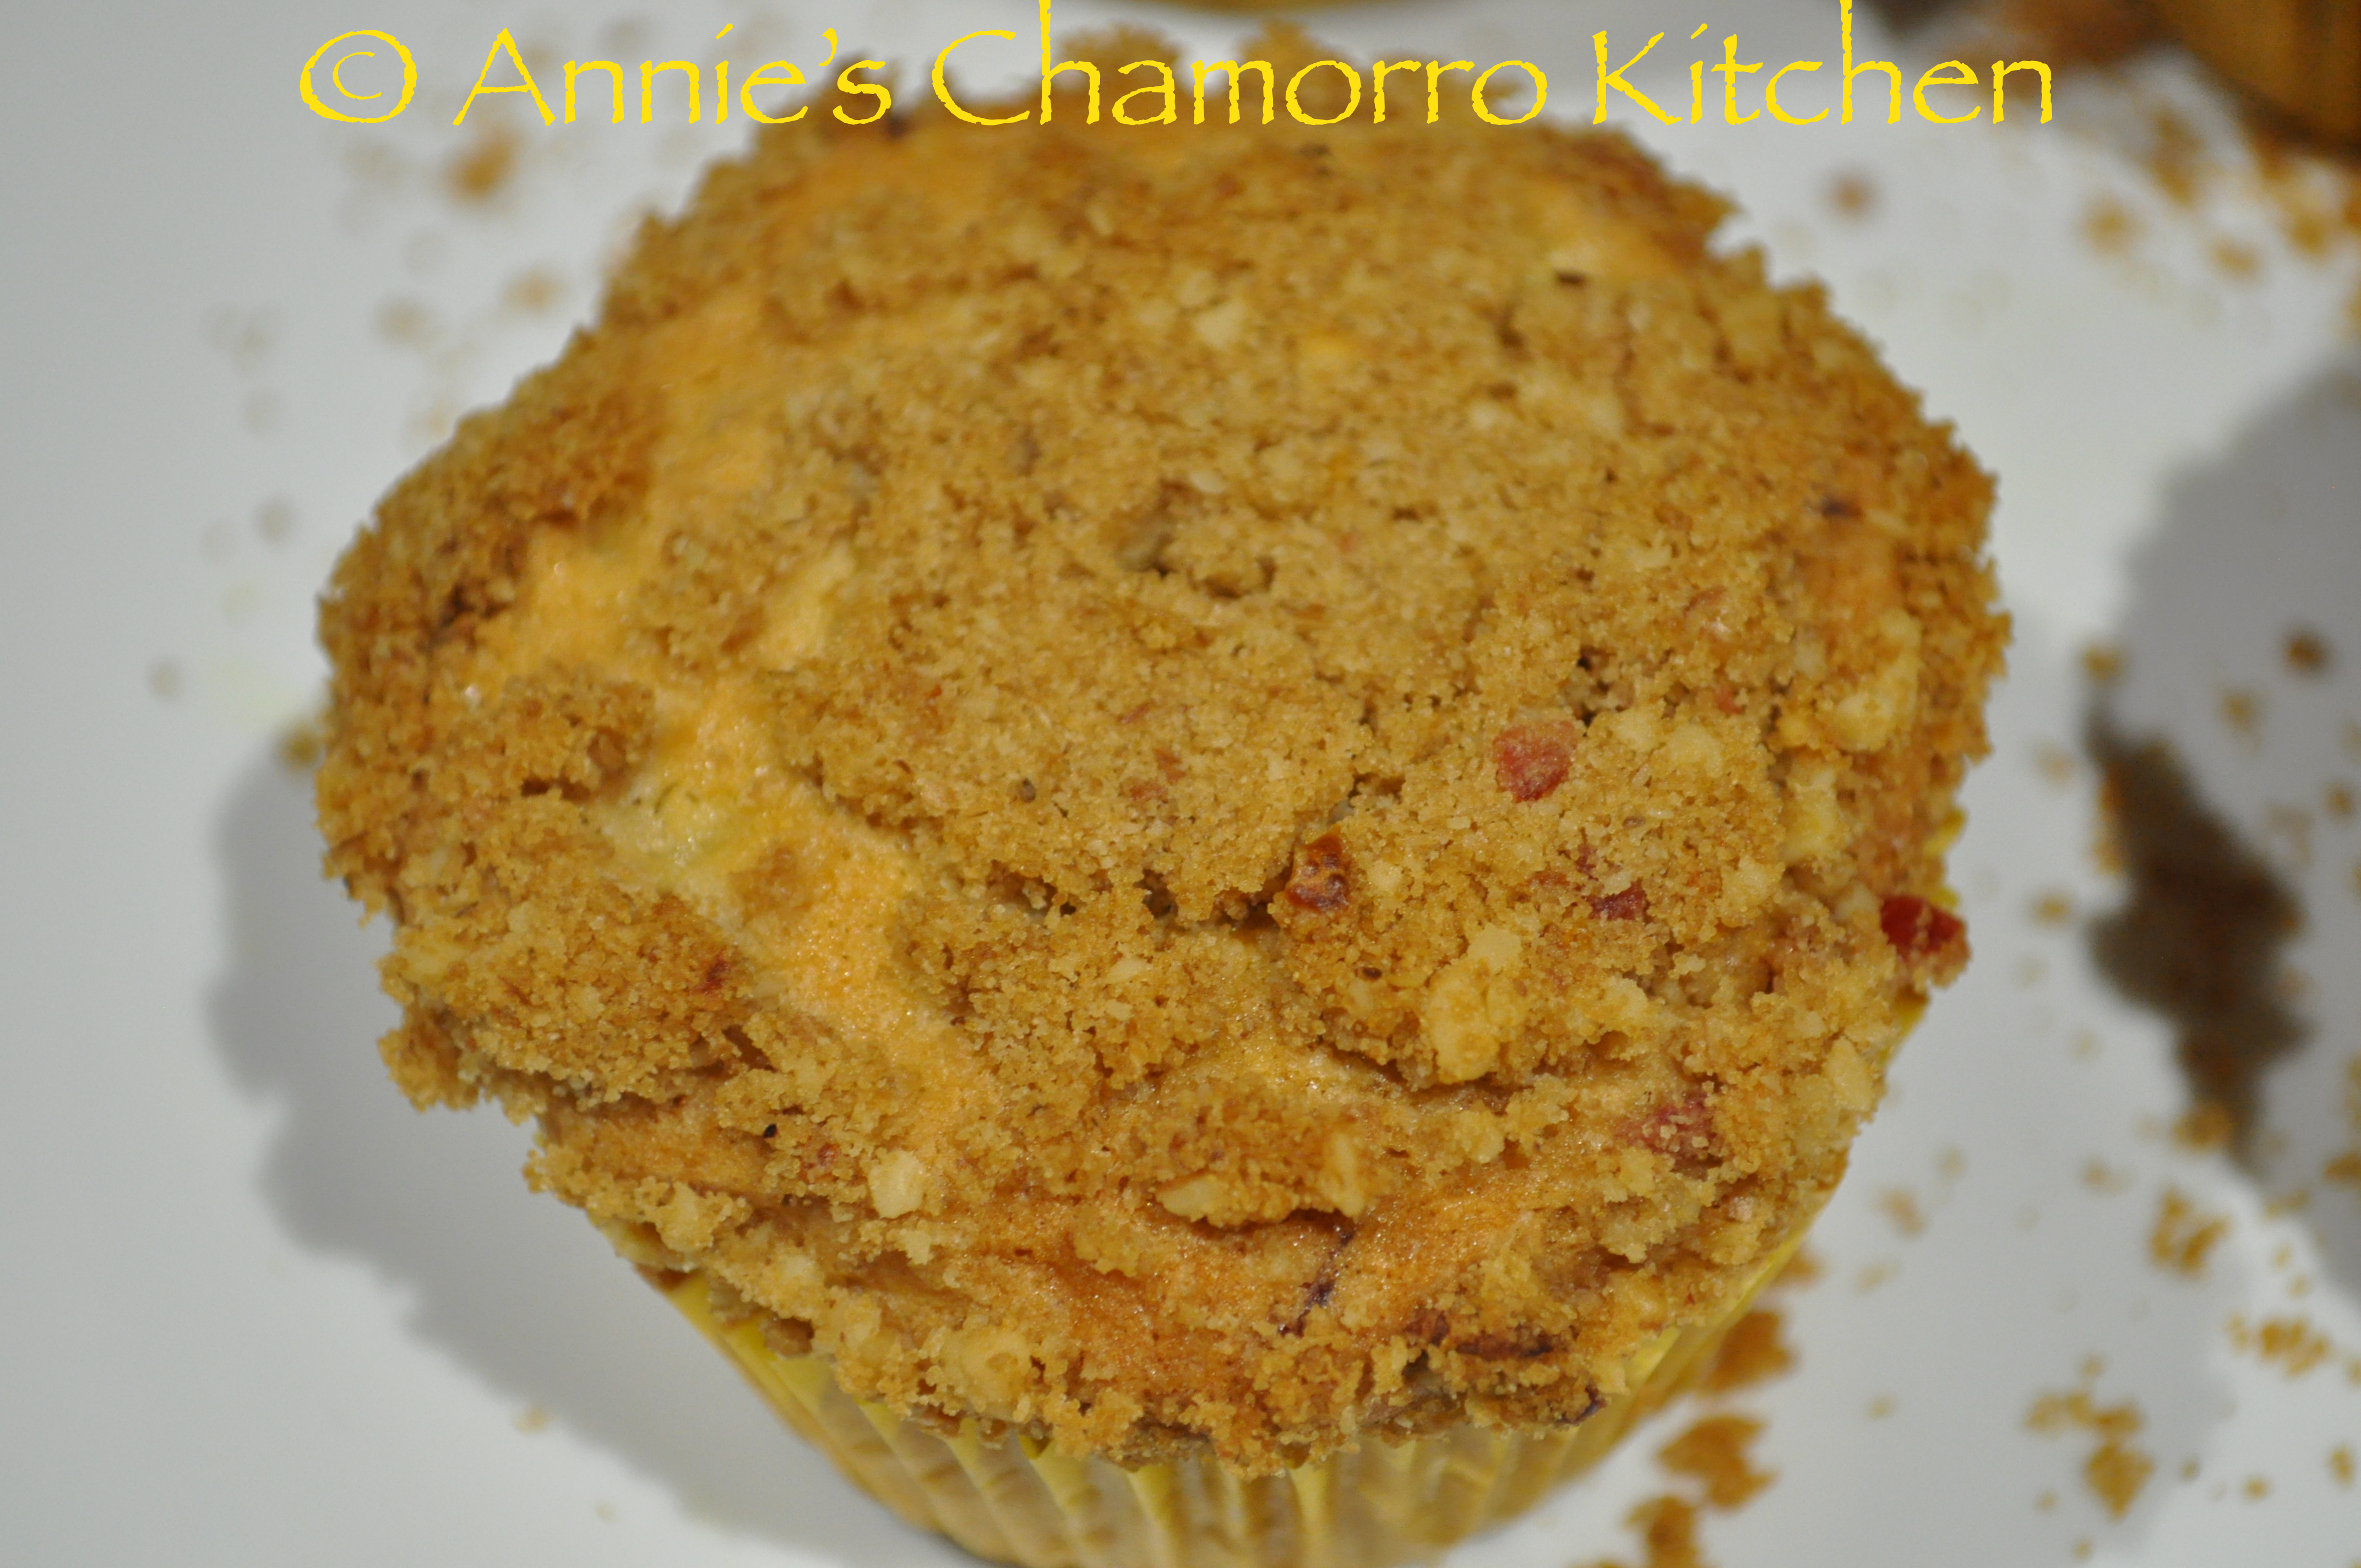
Apple Cranberry Muffins with Streusel Topping
Prep time
Cook time
Total time
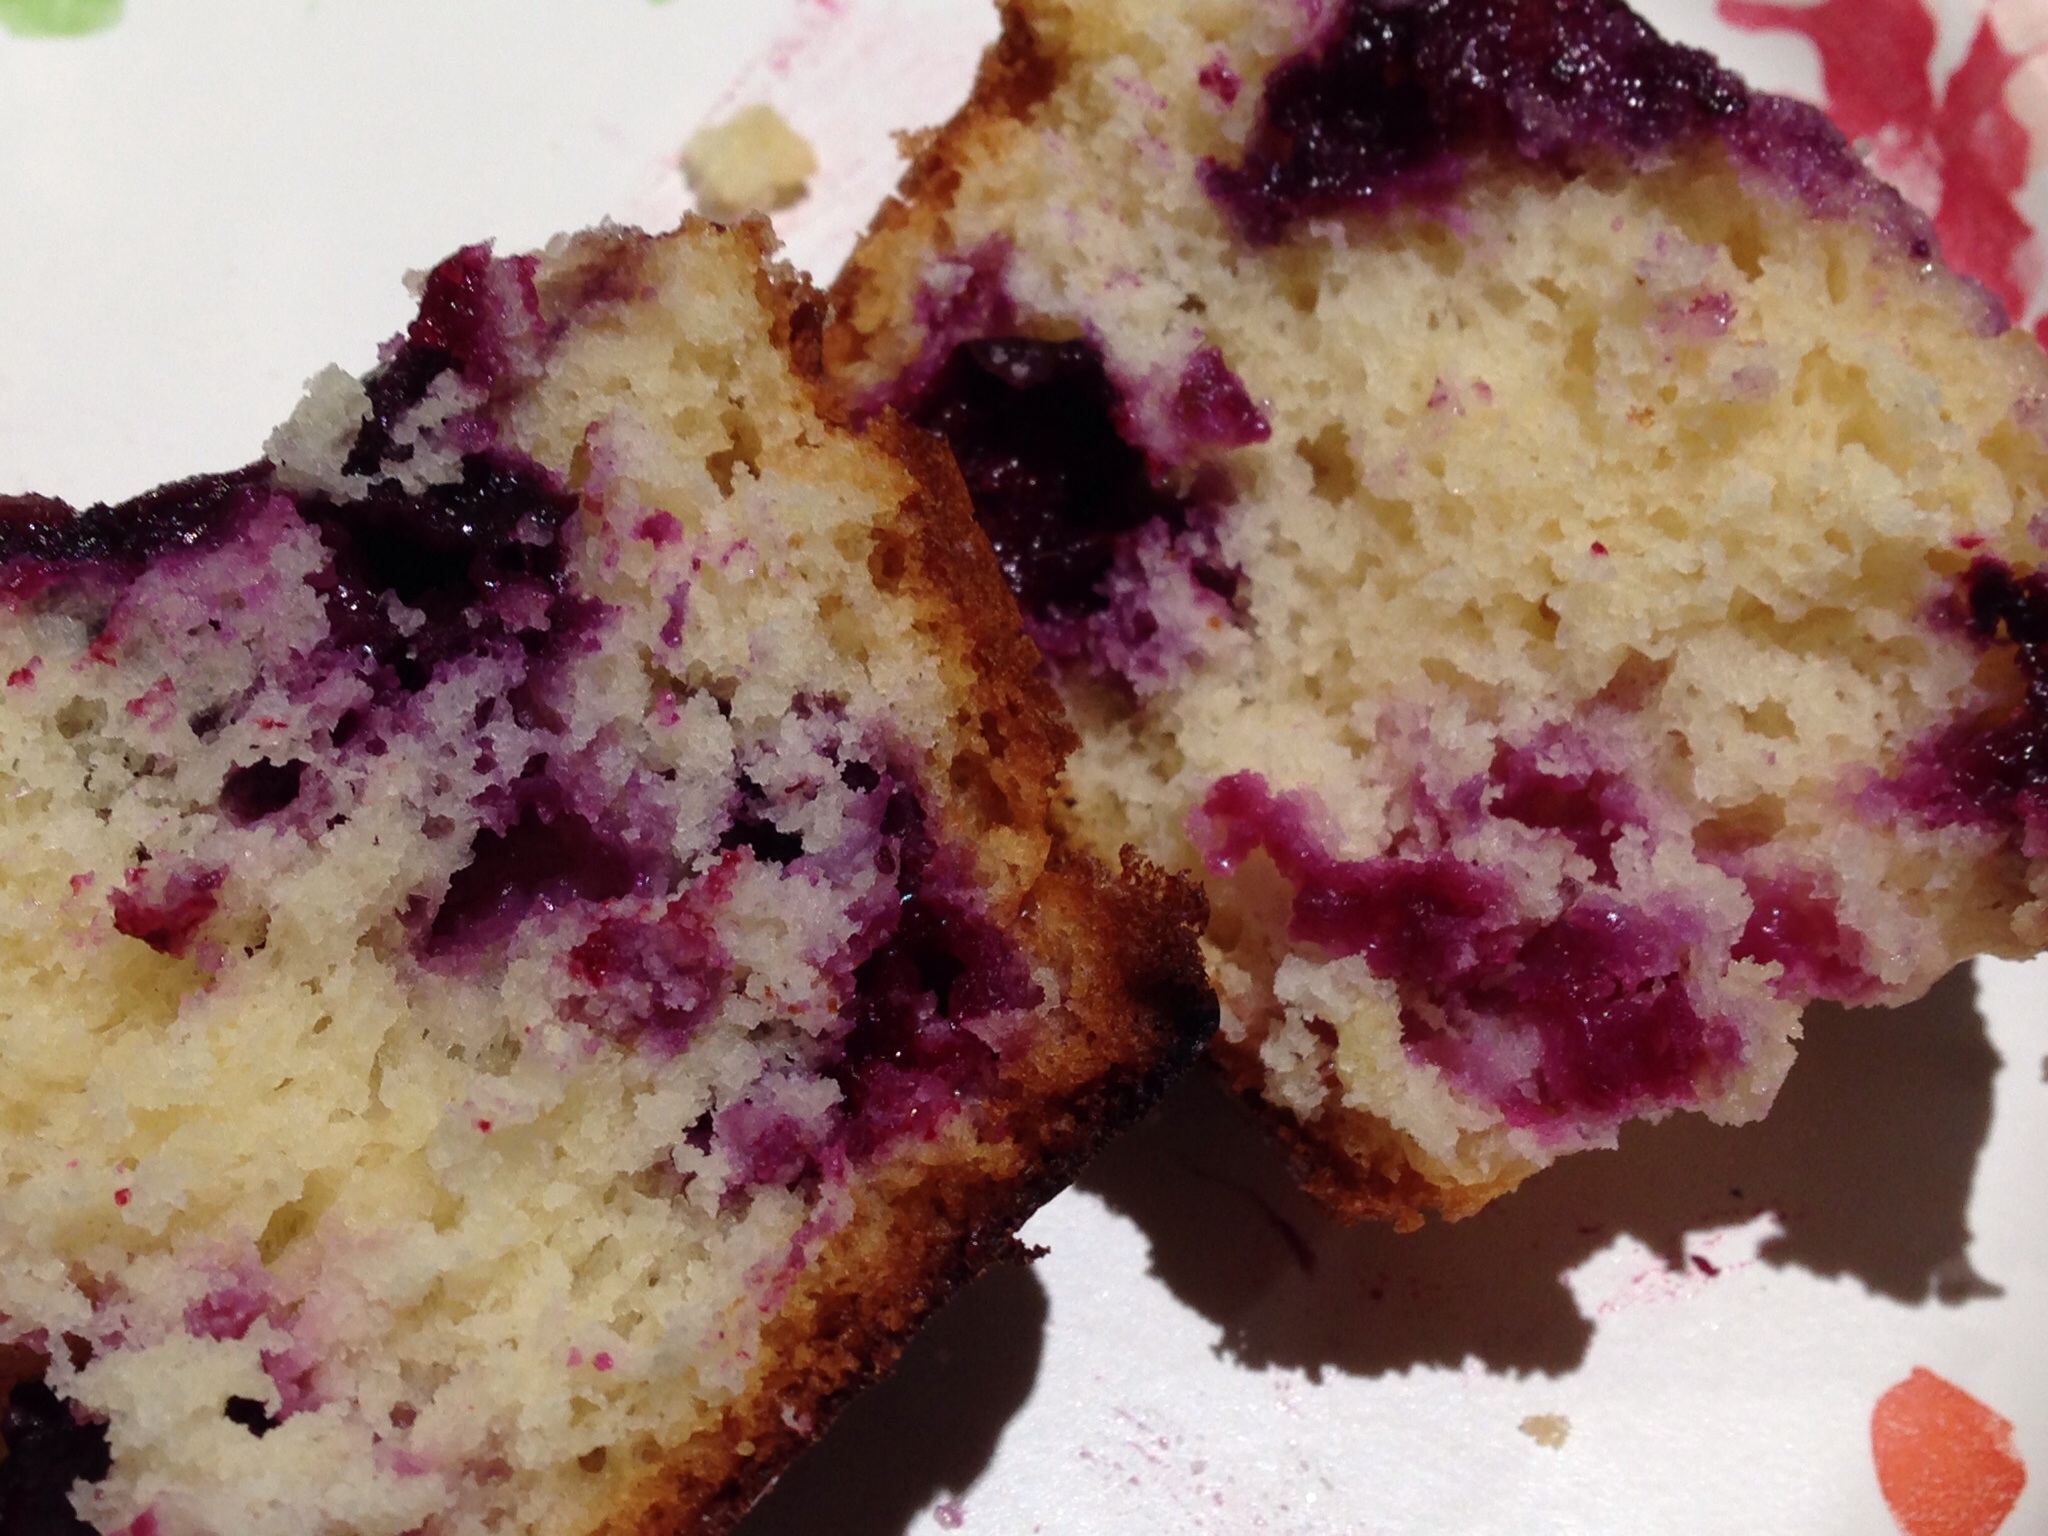
Apple and cranberries baked in a moist muffin and topped with a sweet streusel and buttery apple frosting
Author: Annie @ Annie's Chamorro Kitchen
Serves: 2 dozen
Ingredients
Ingredients for the Muffins:
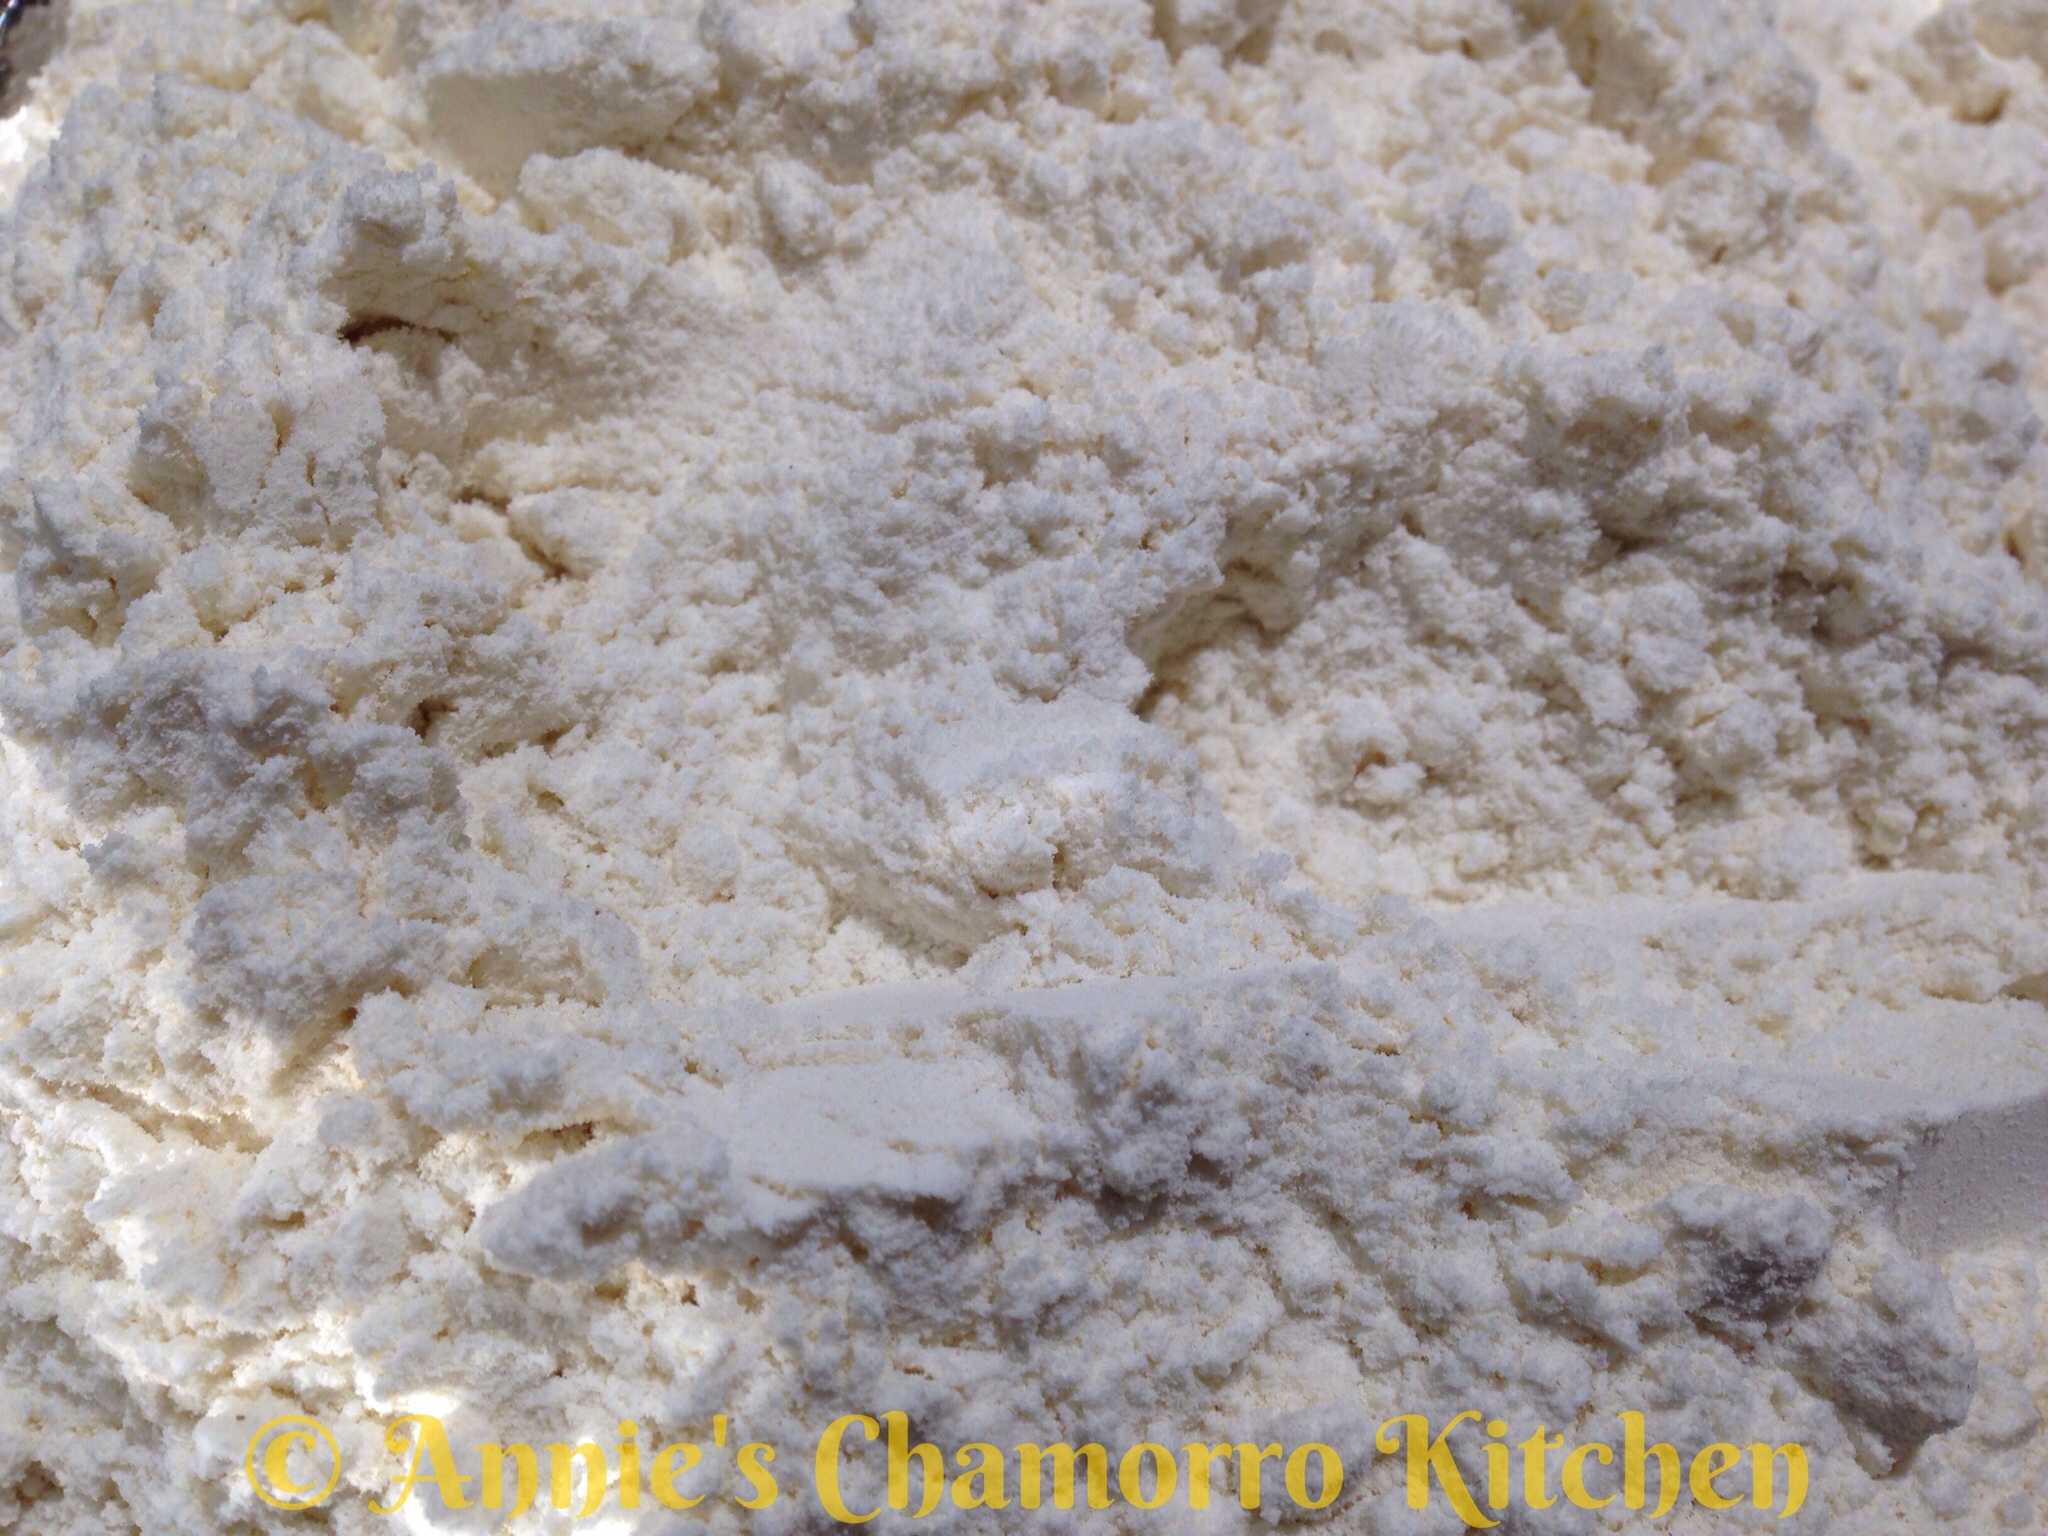
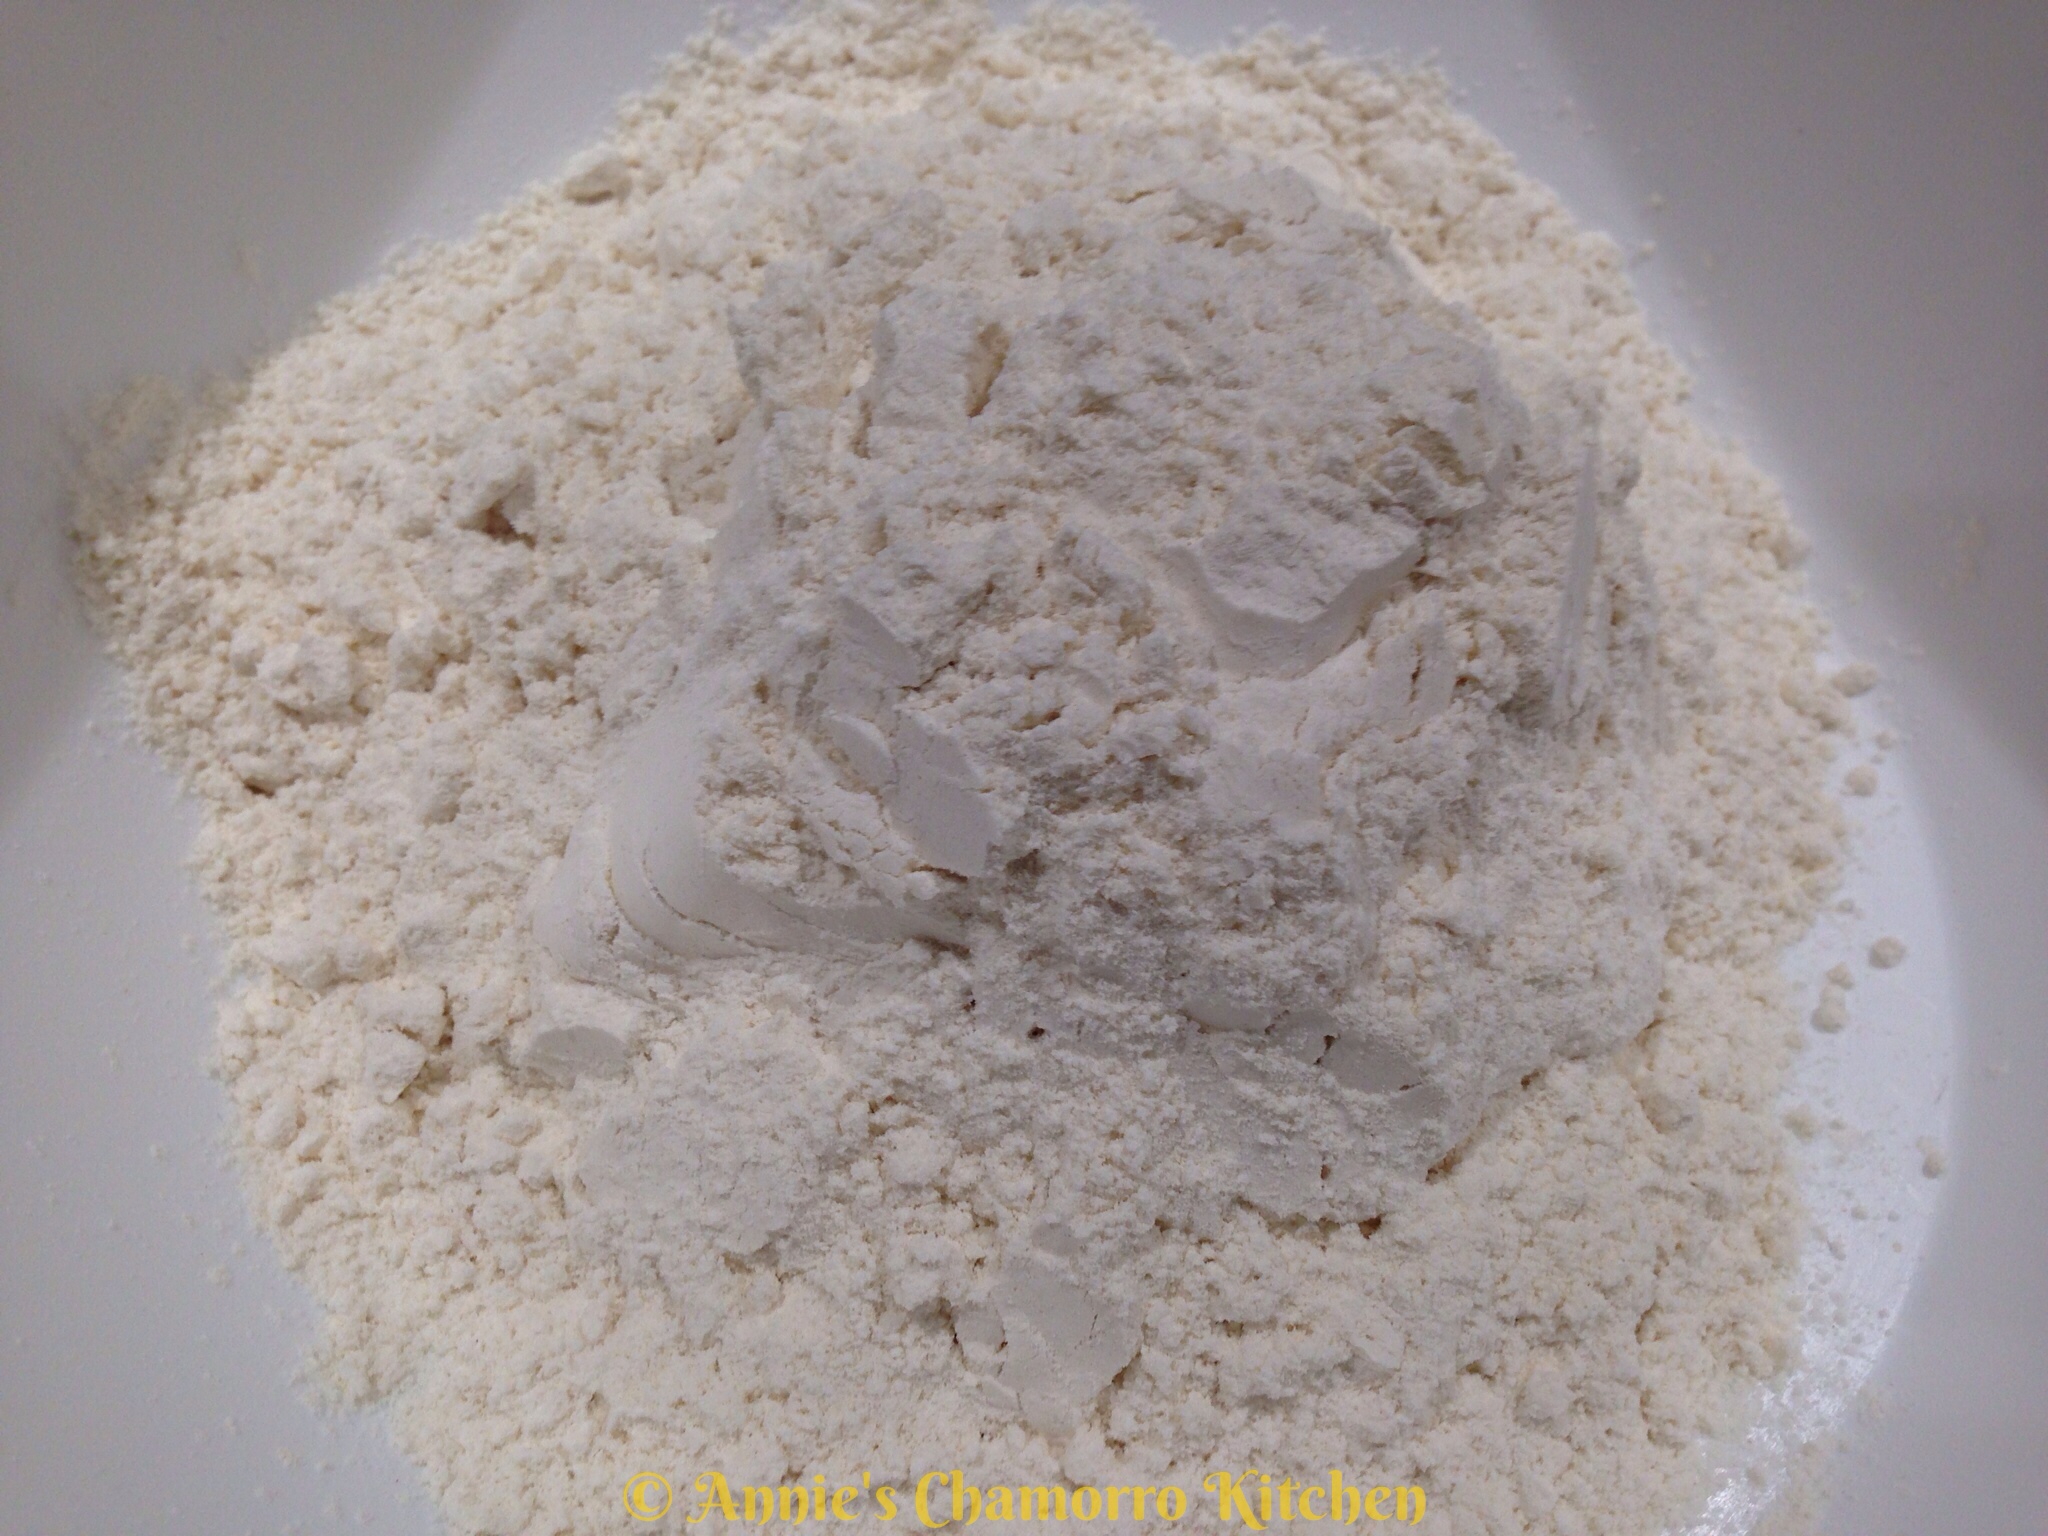
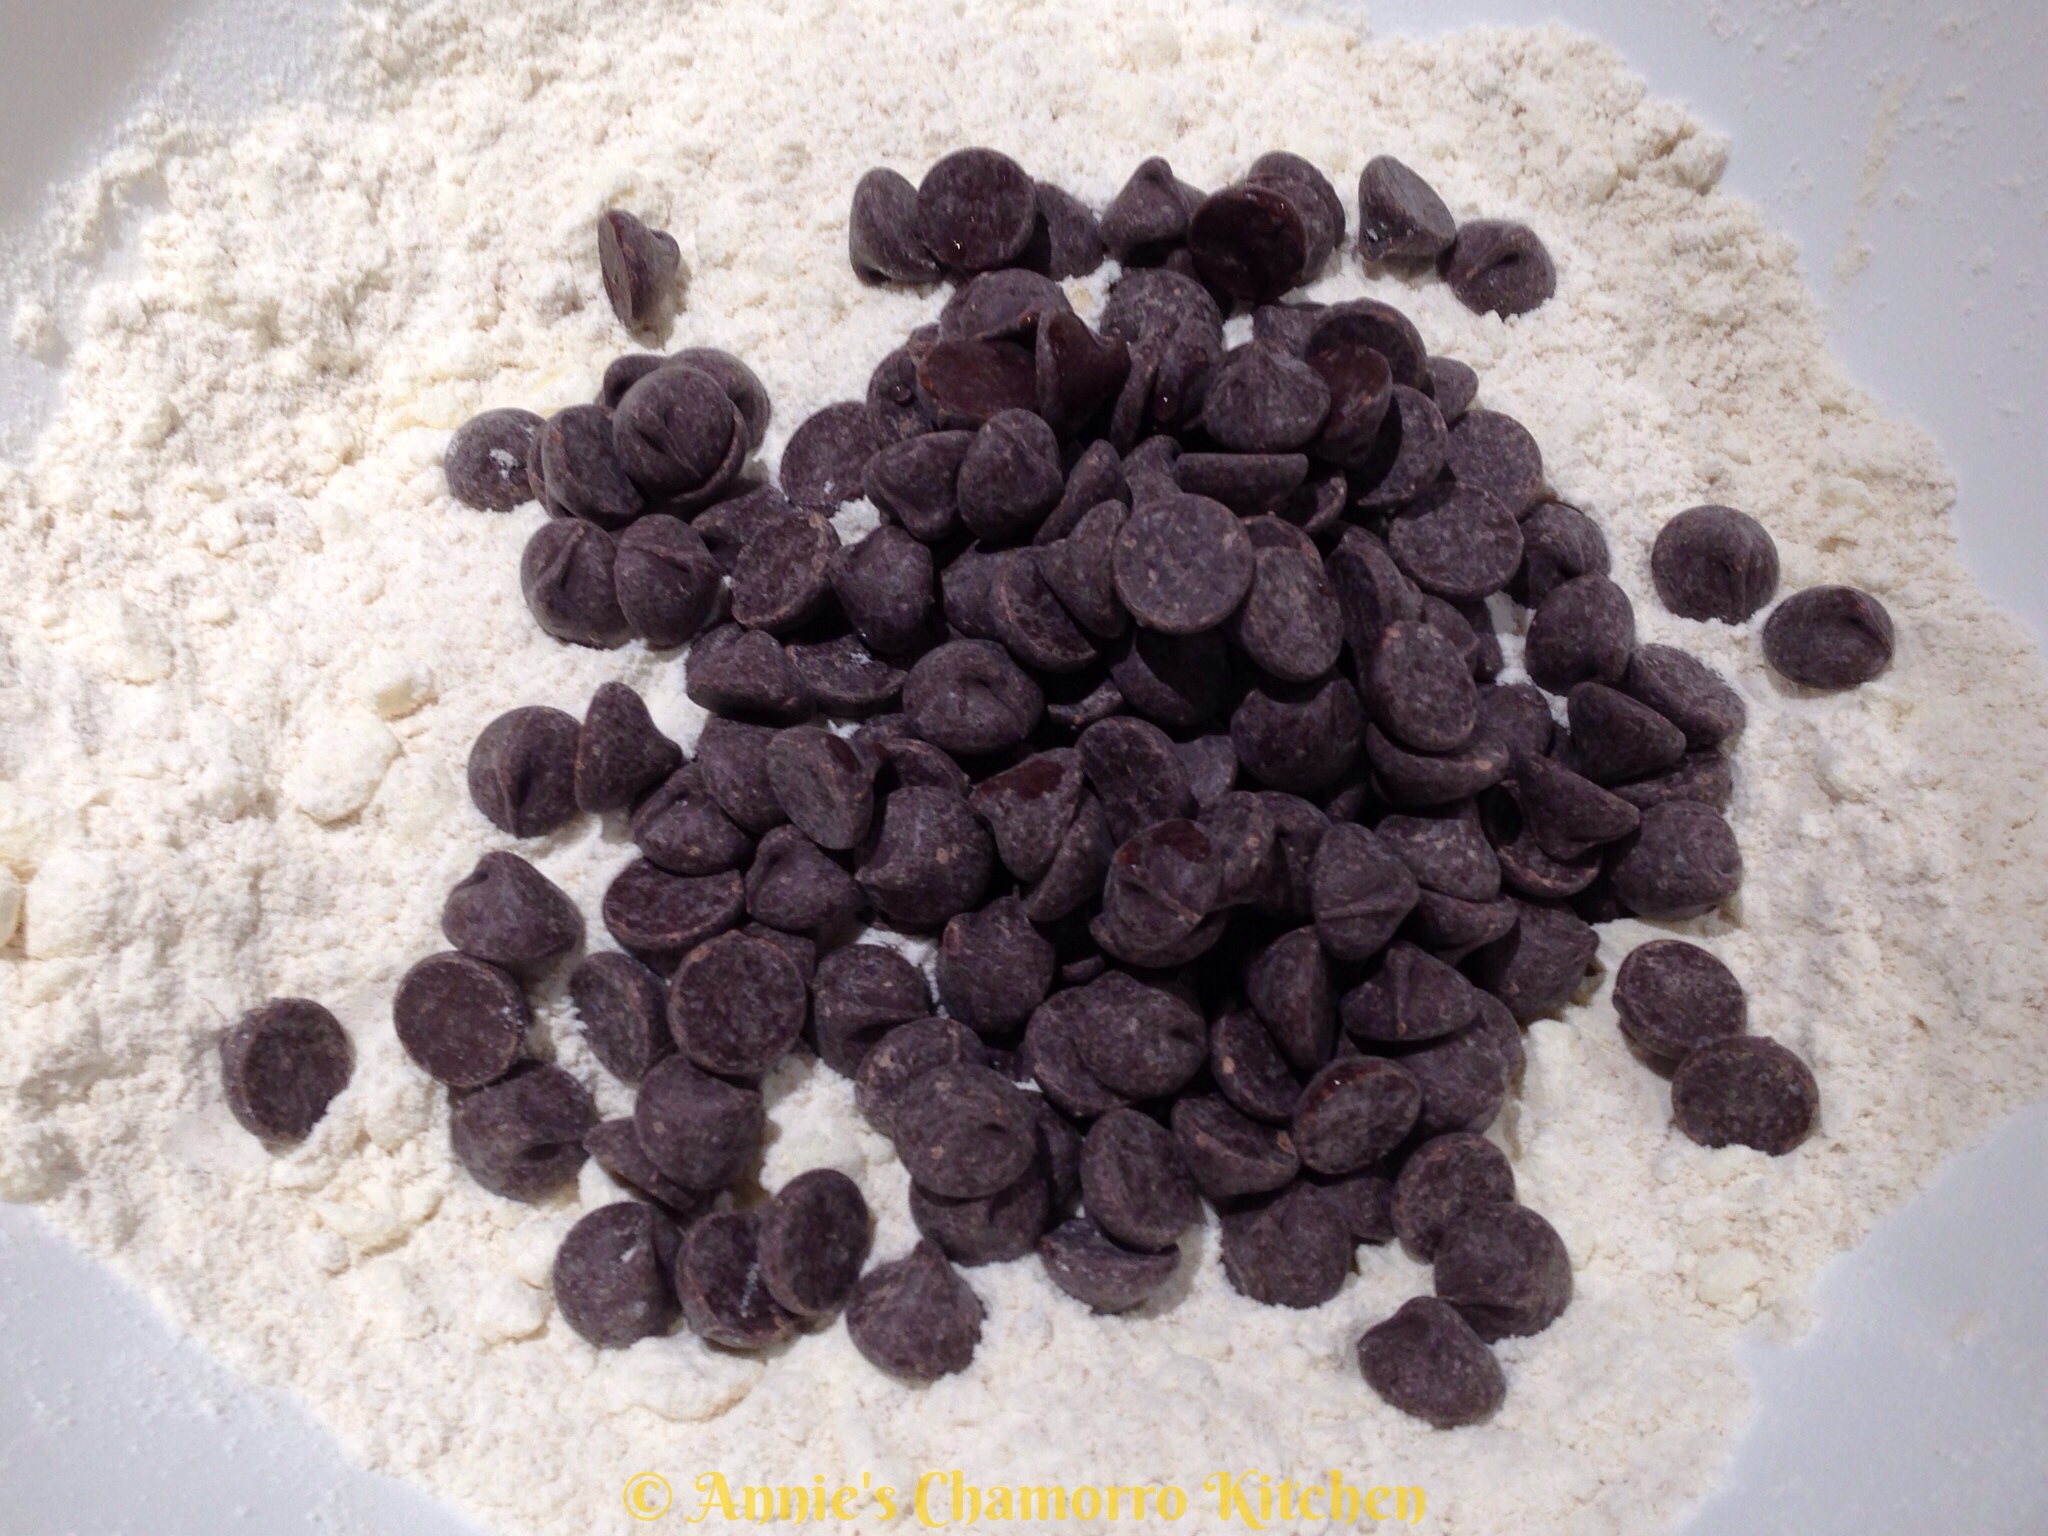
- 4 cups all-purpose flour (set aside 4 tablespoons out of the 4 cups of flour)
- 2 granny smith apples, peeled, cored, and diced
- 2 sticks butter, softened
- 2 cups white, granulated sugar (you can use Splenda or Truvia made for baking)
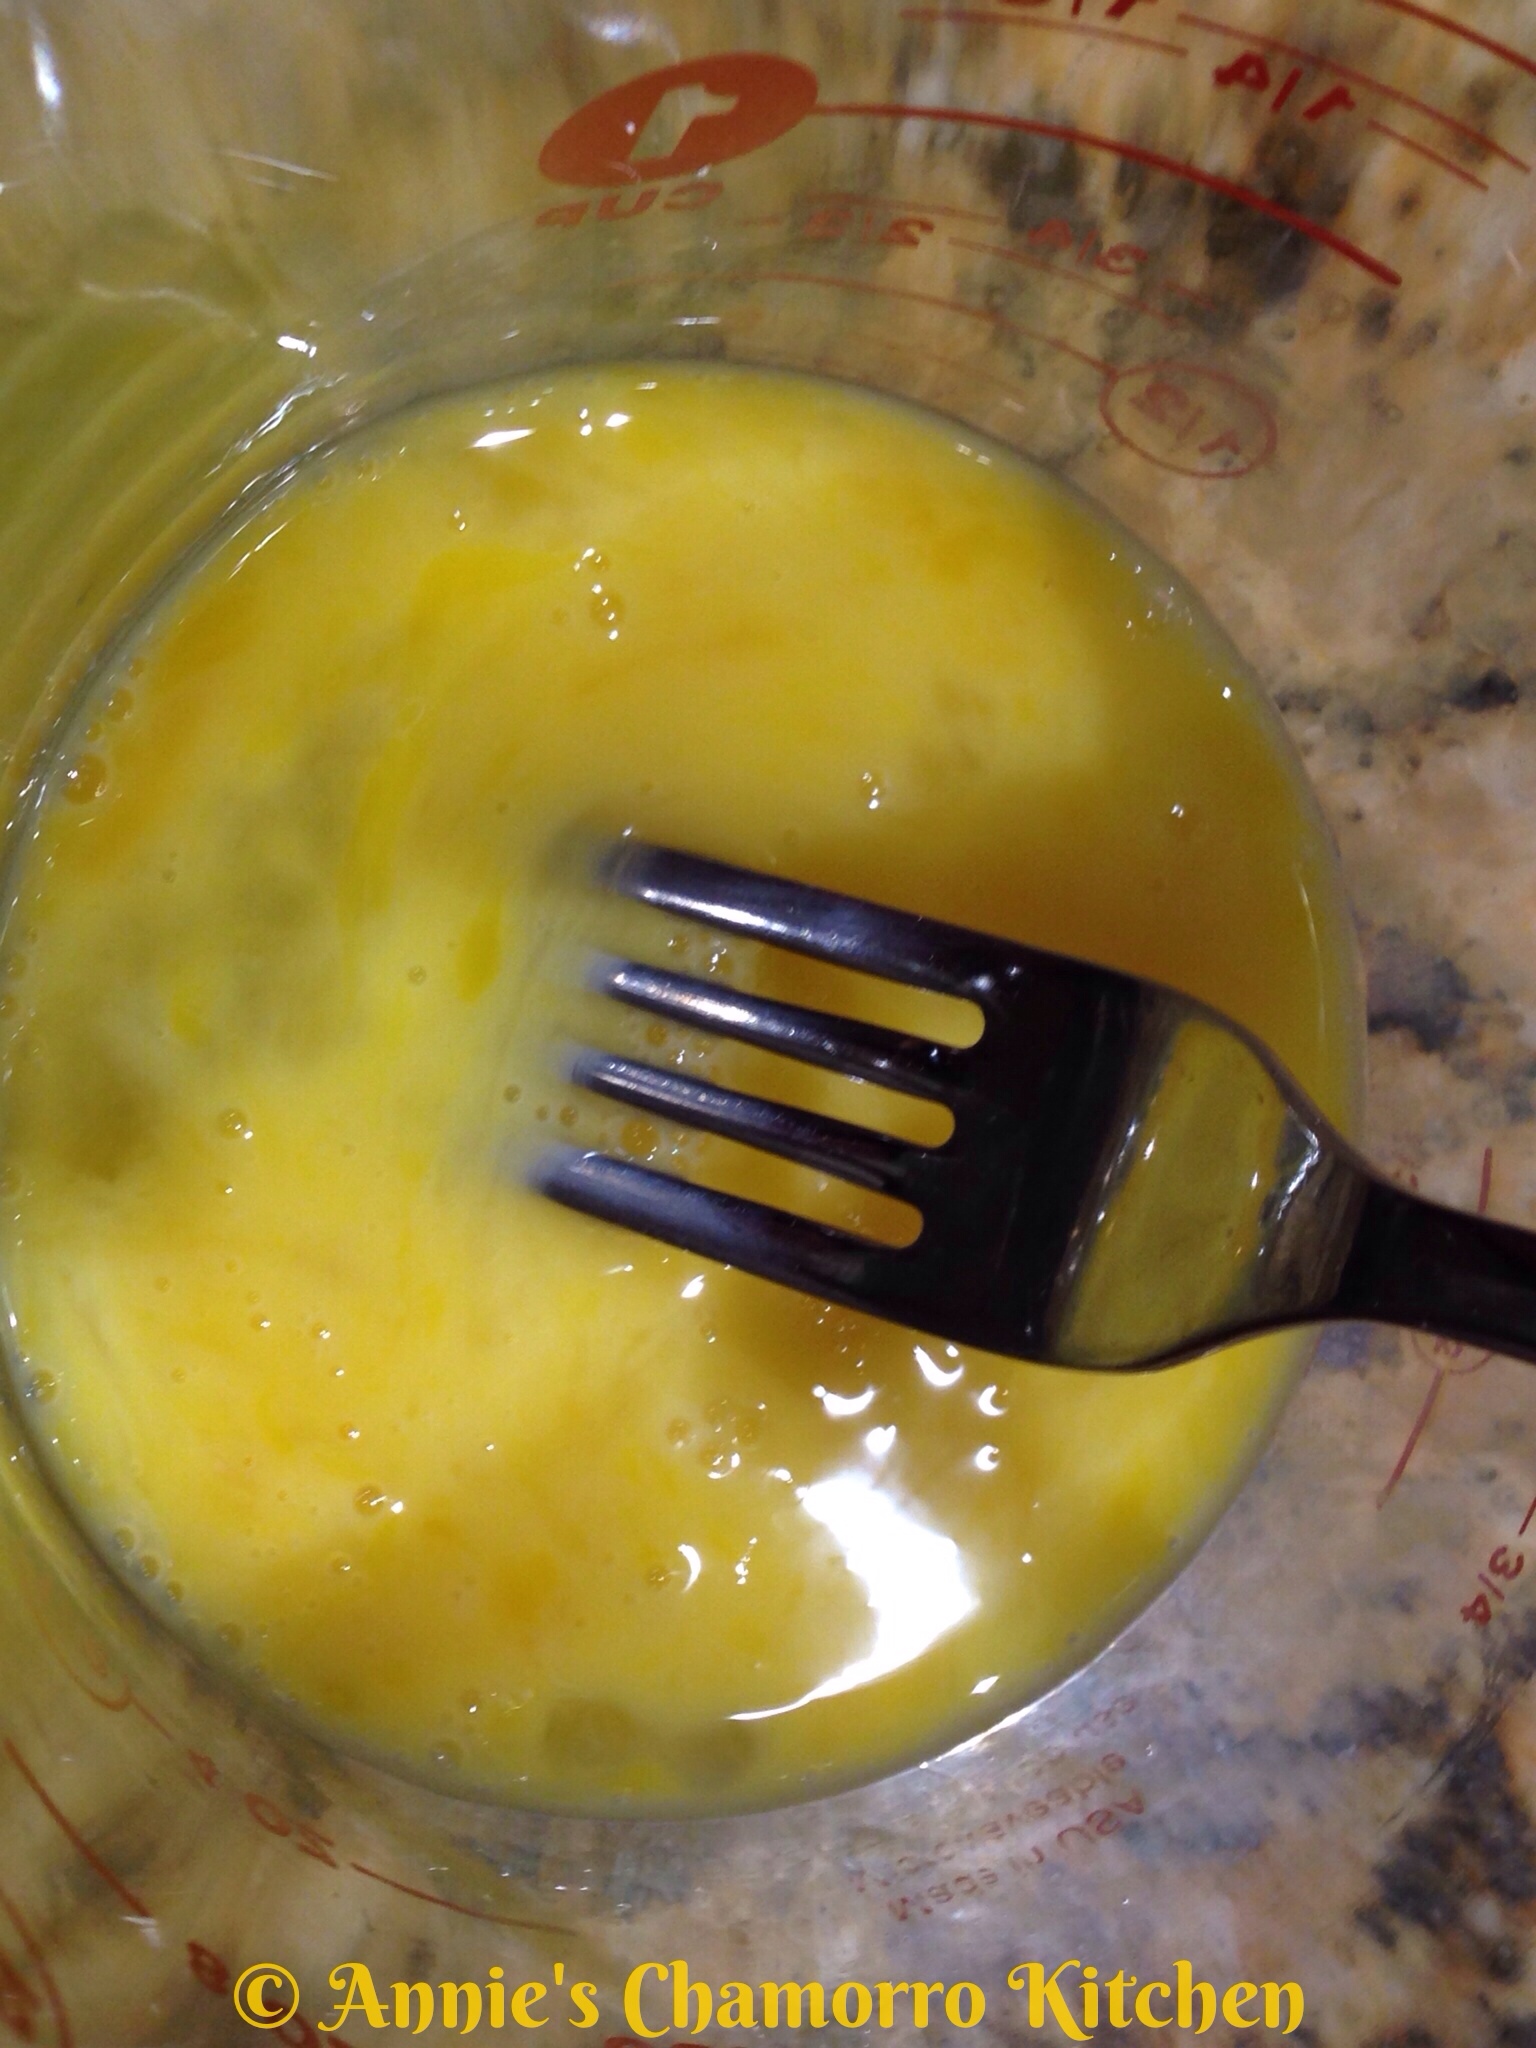
- 4 large eggs
- 2 teaspoons vanilla extract
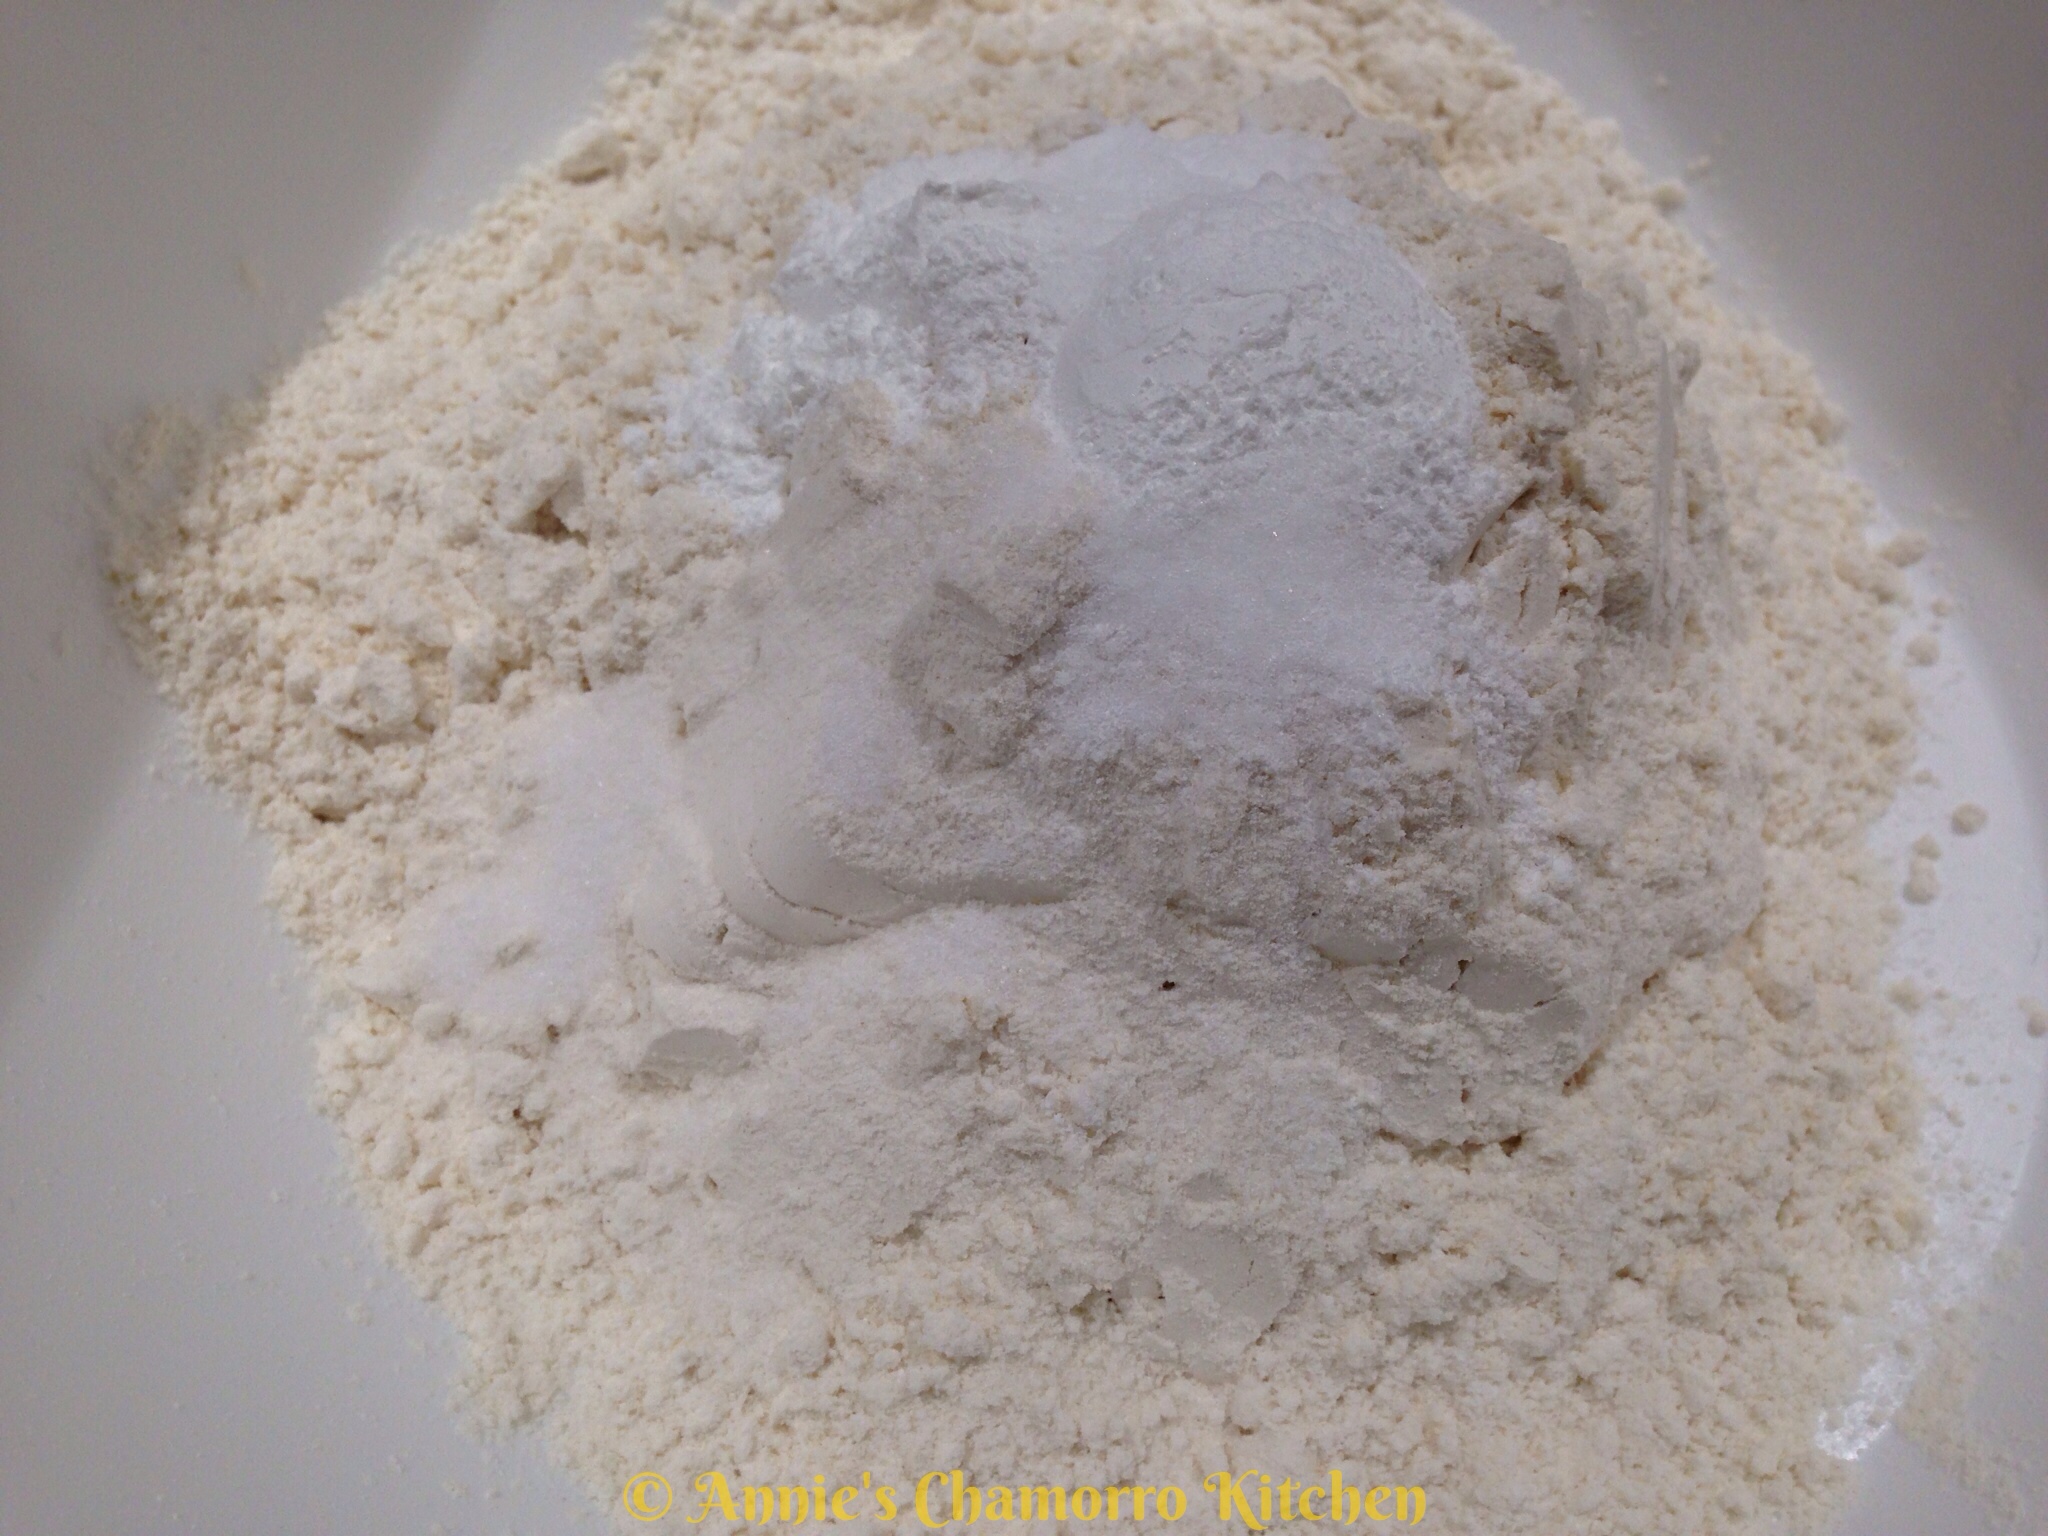
- 2 teaspoons baking soda
- 1 teaspoon salt
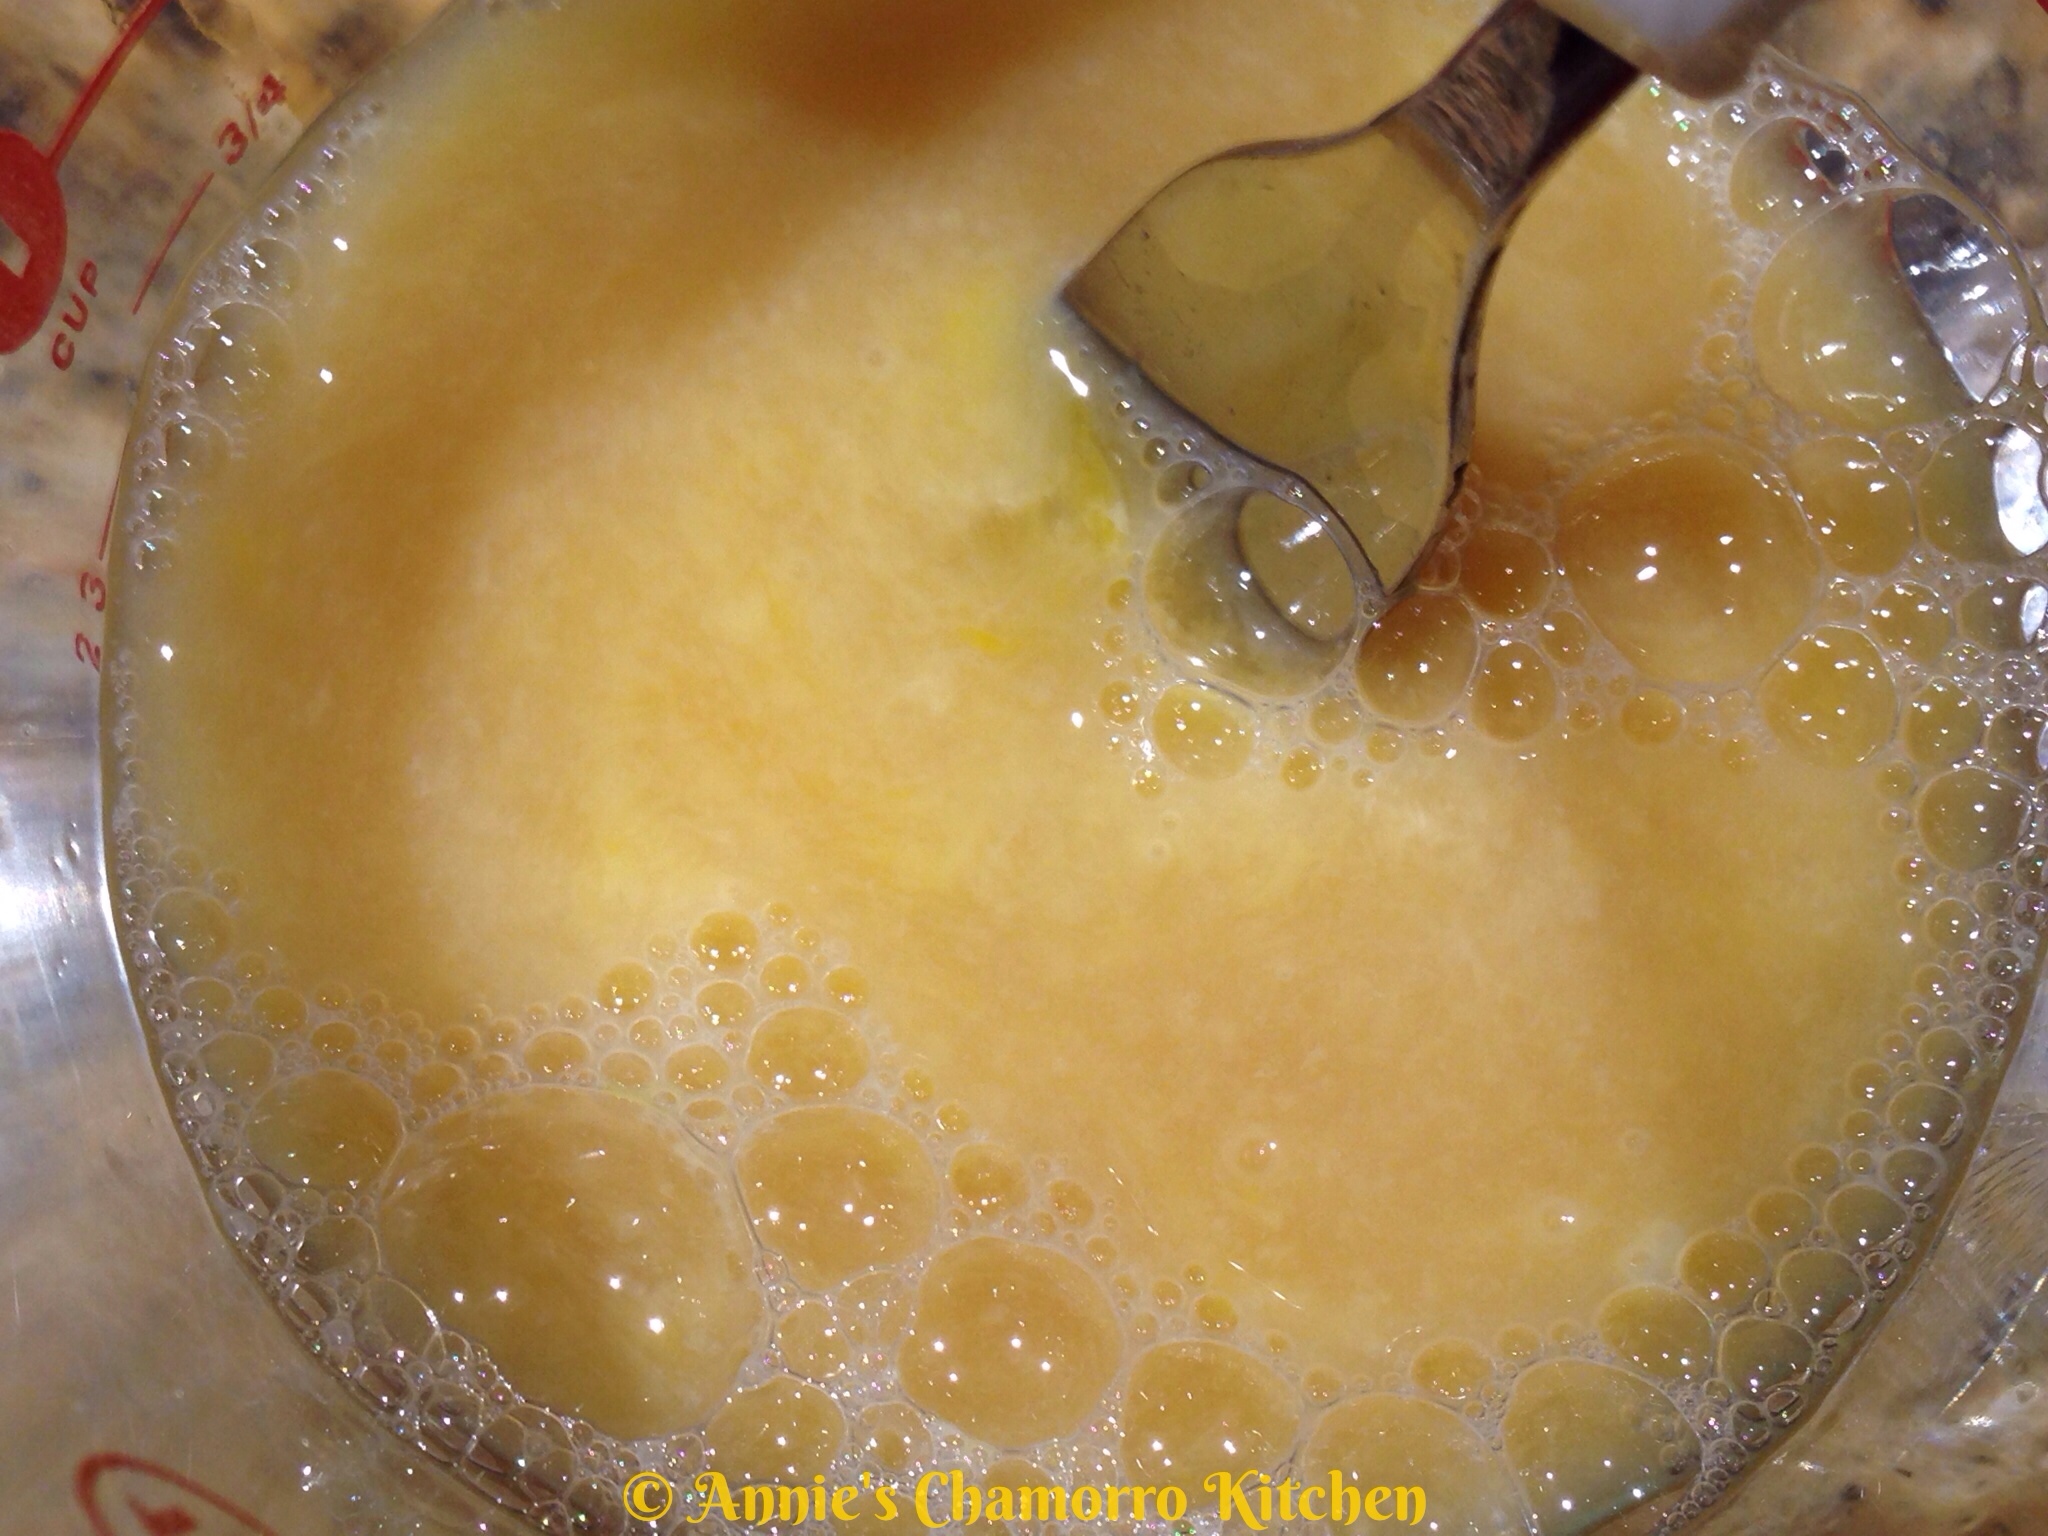
- ⅔ cup orange juice (with pulp)
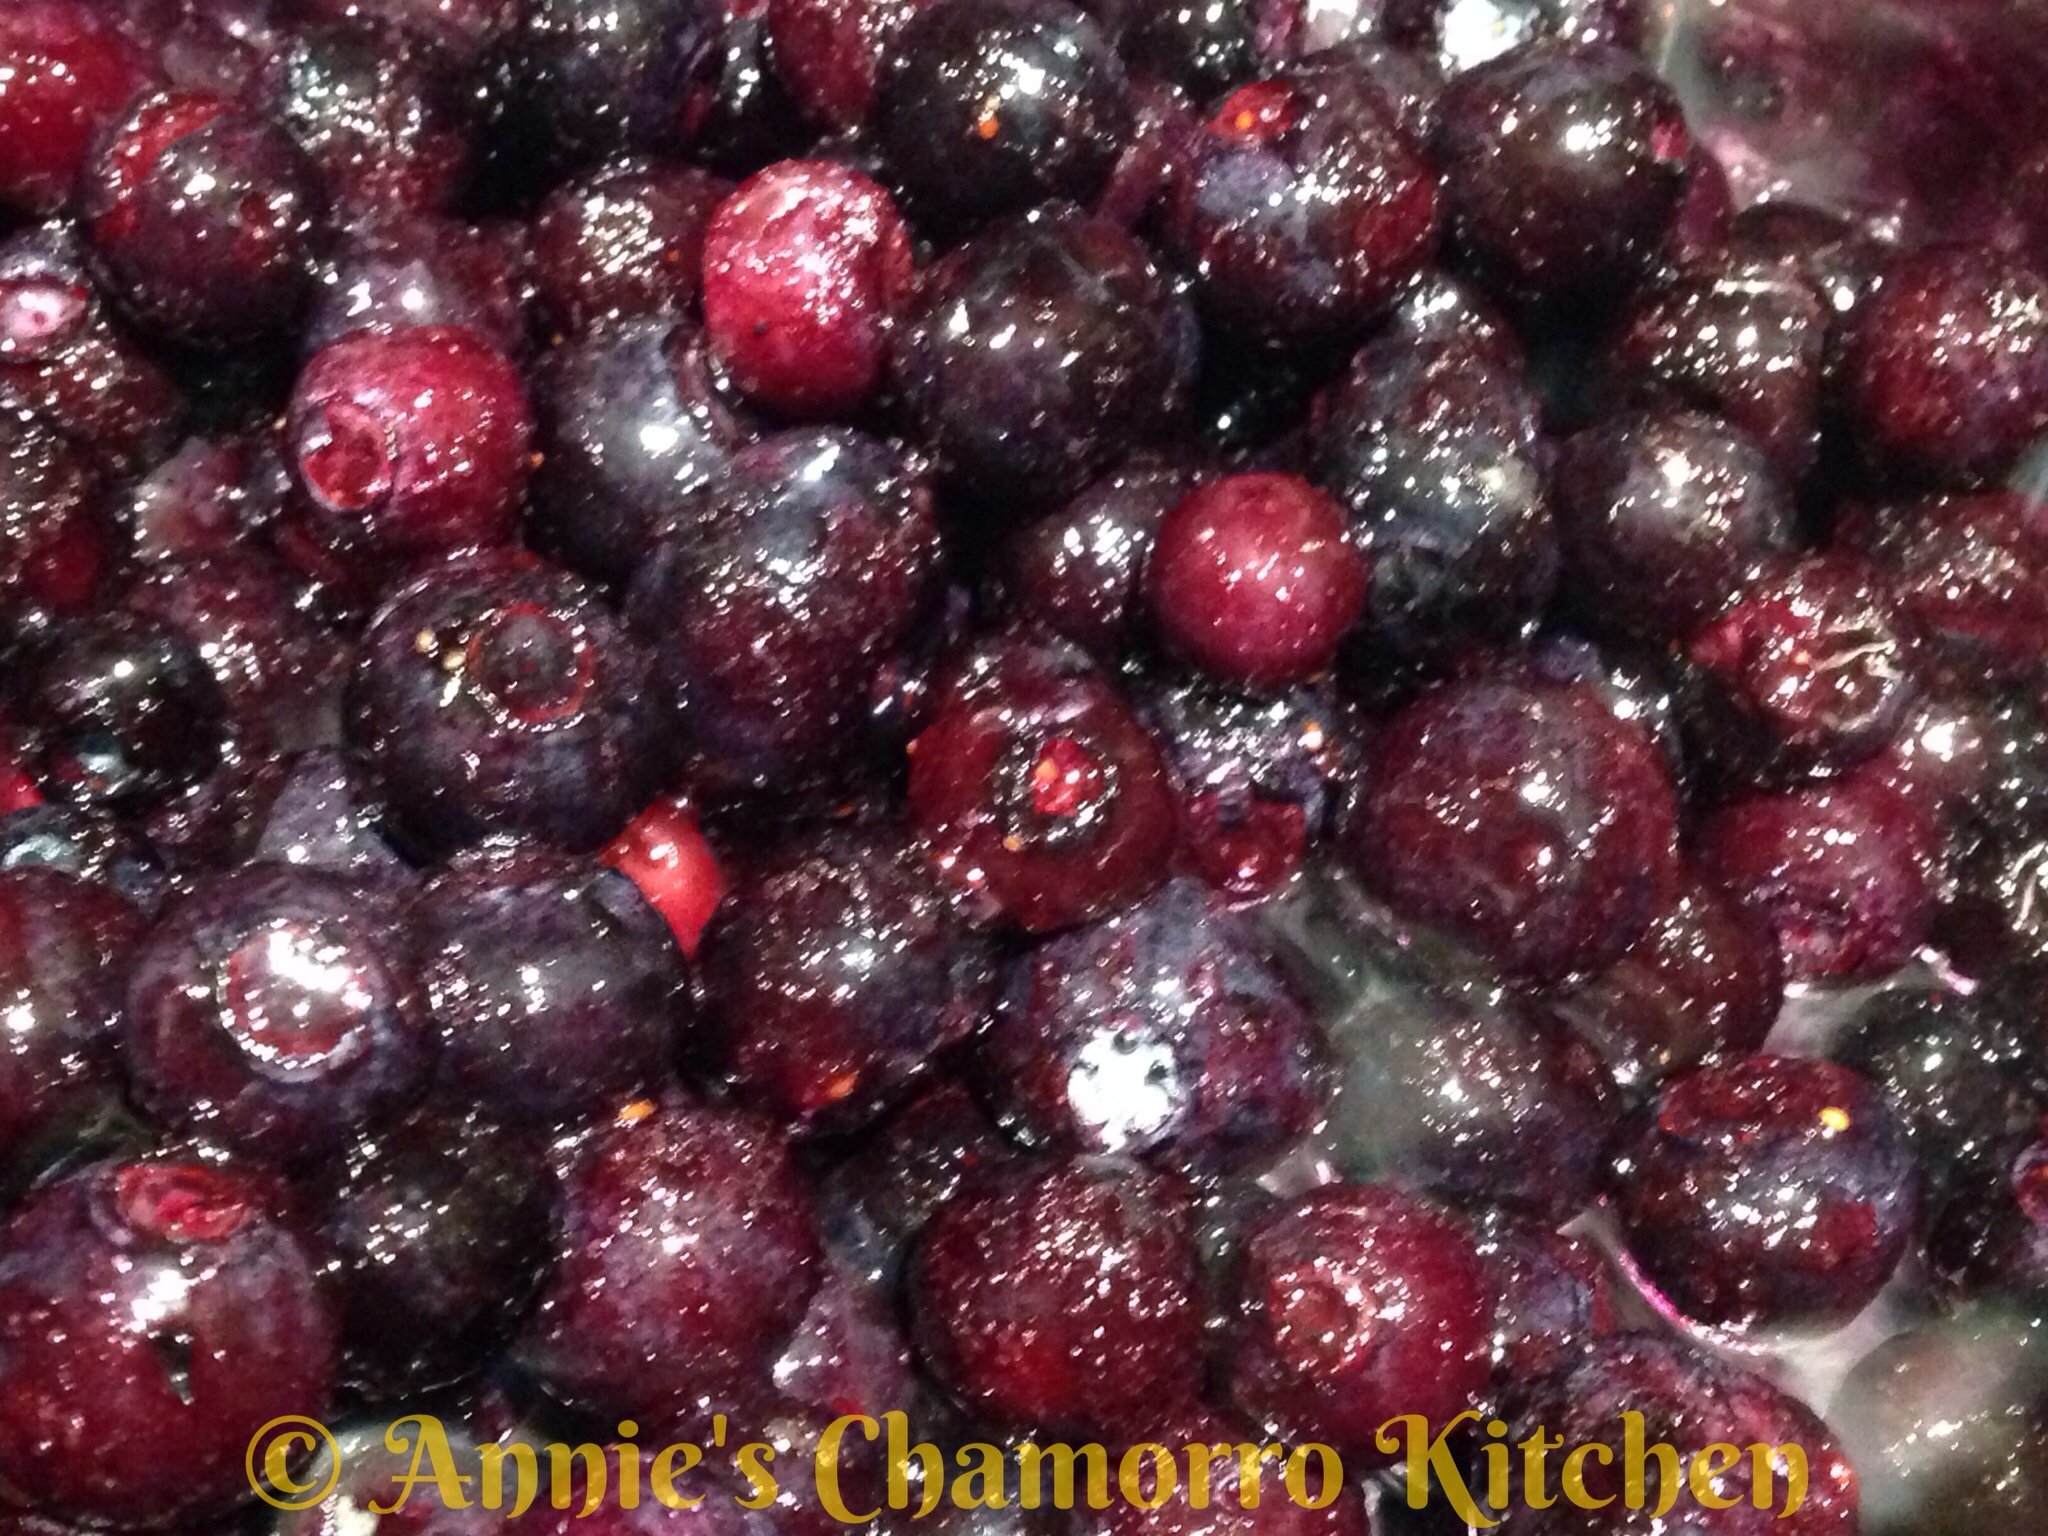
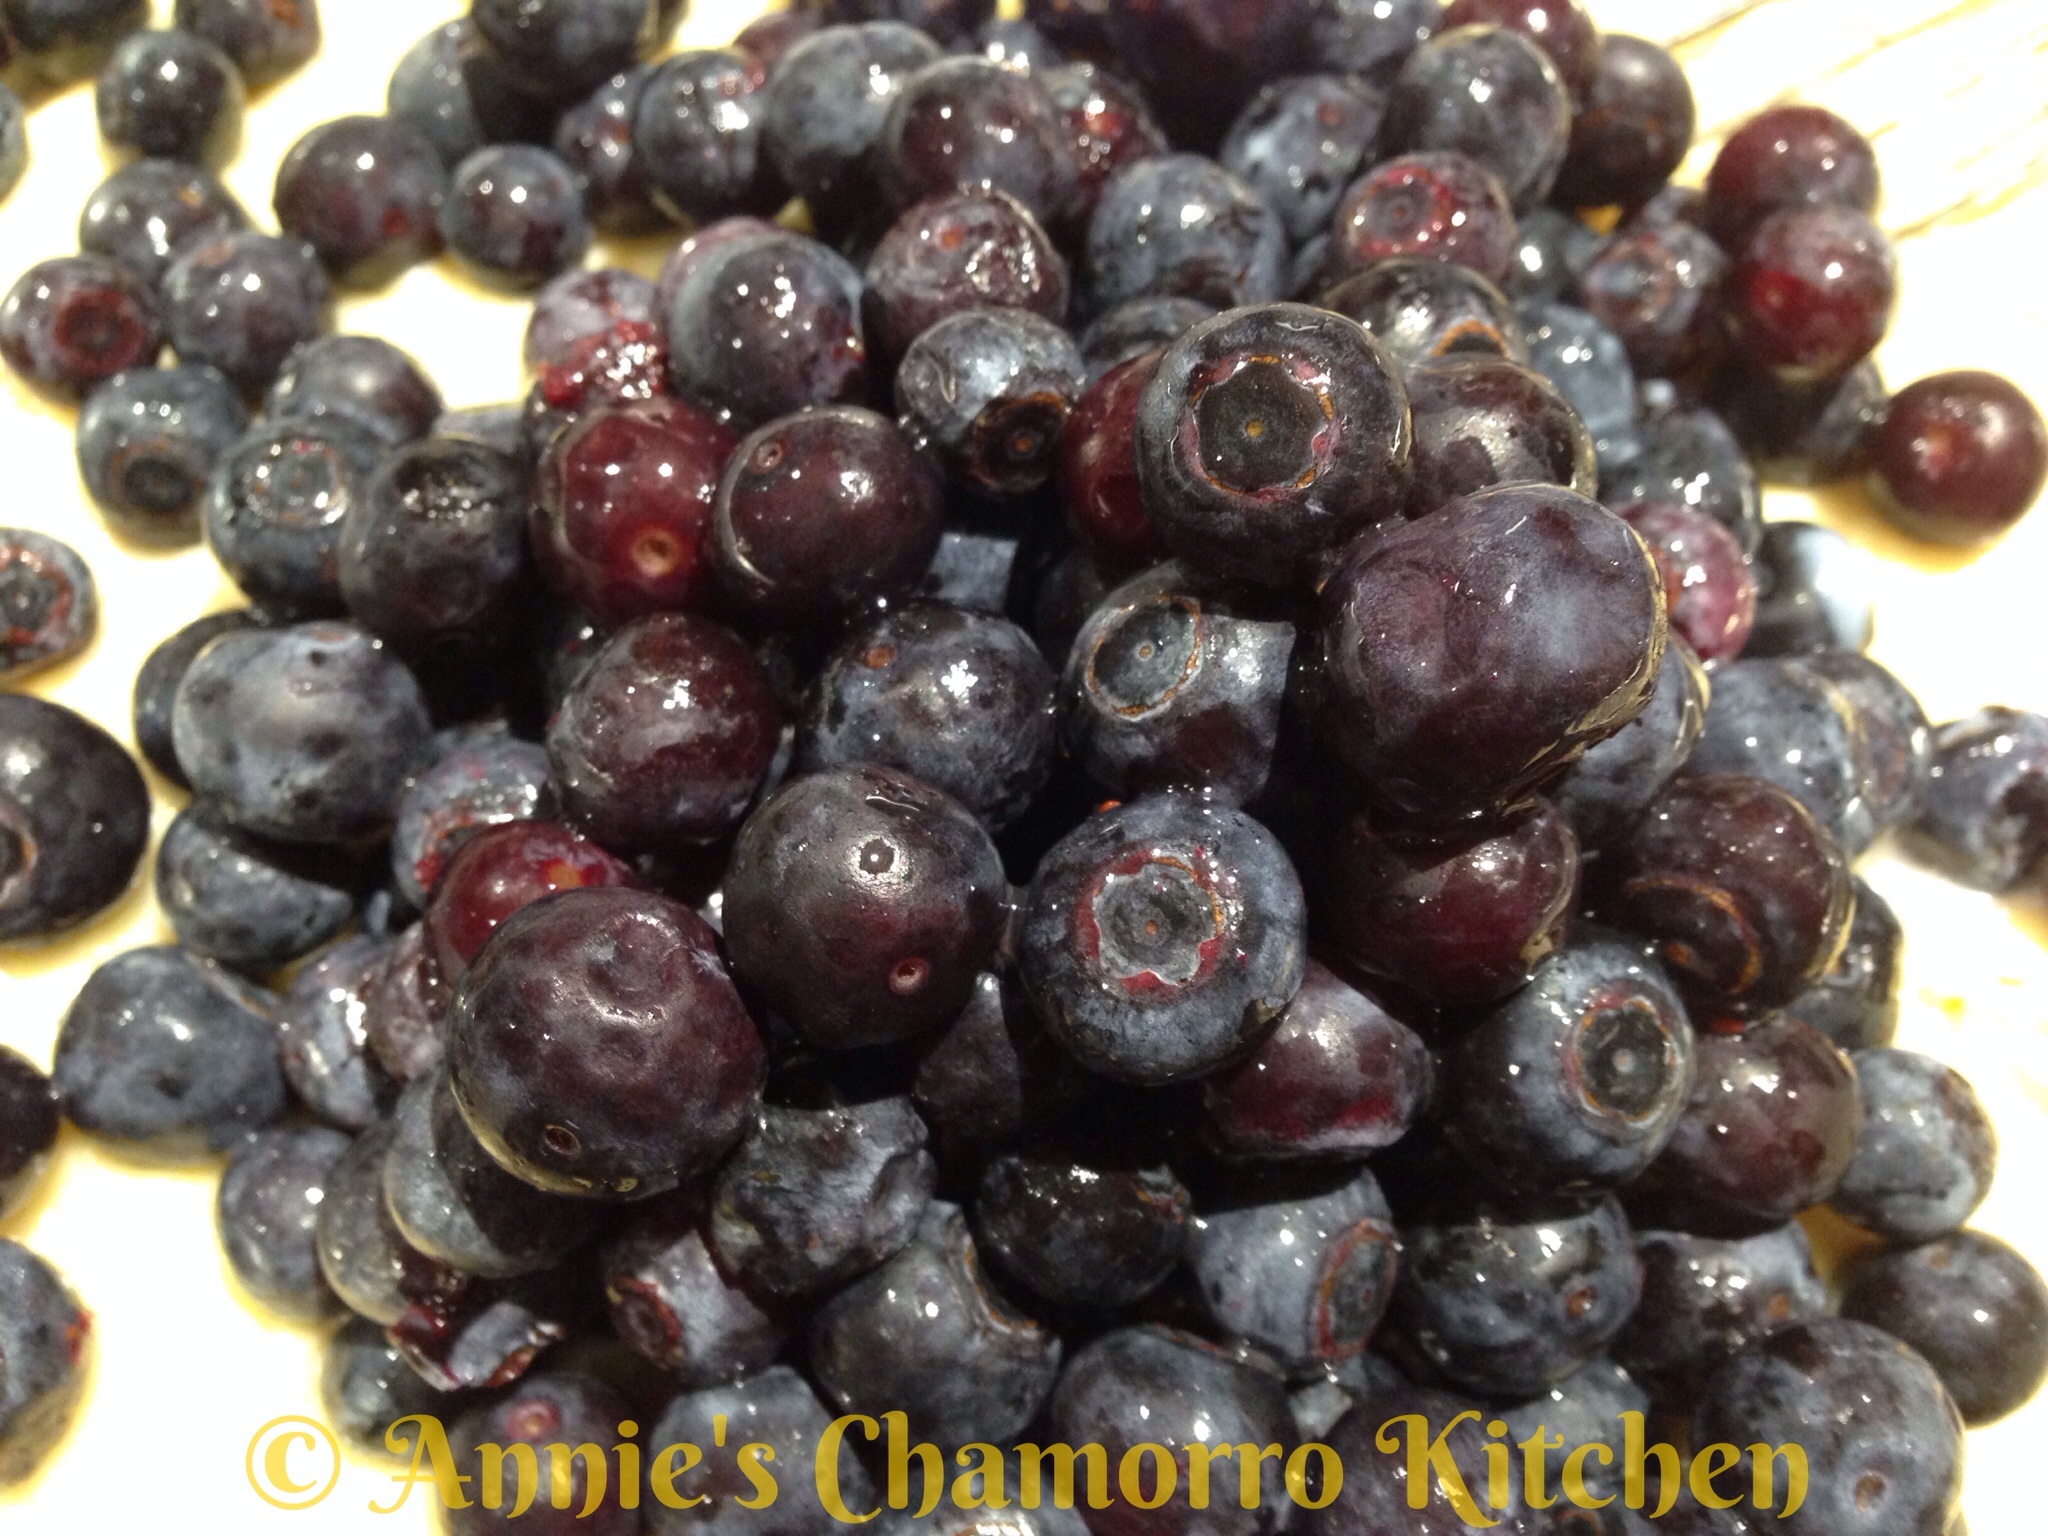
- 1 cup craisins
- ⅔ cup coarsely chopped walnuts, optional
Ingredients for Streusel Topping:
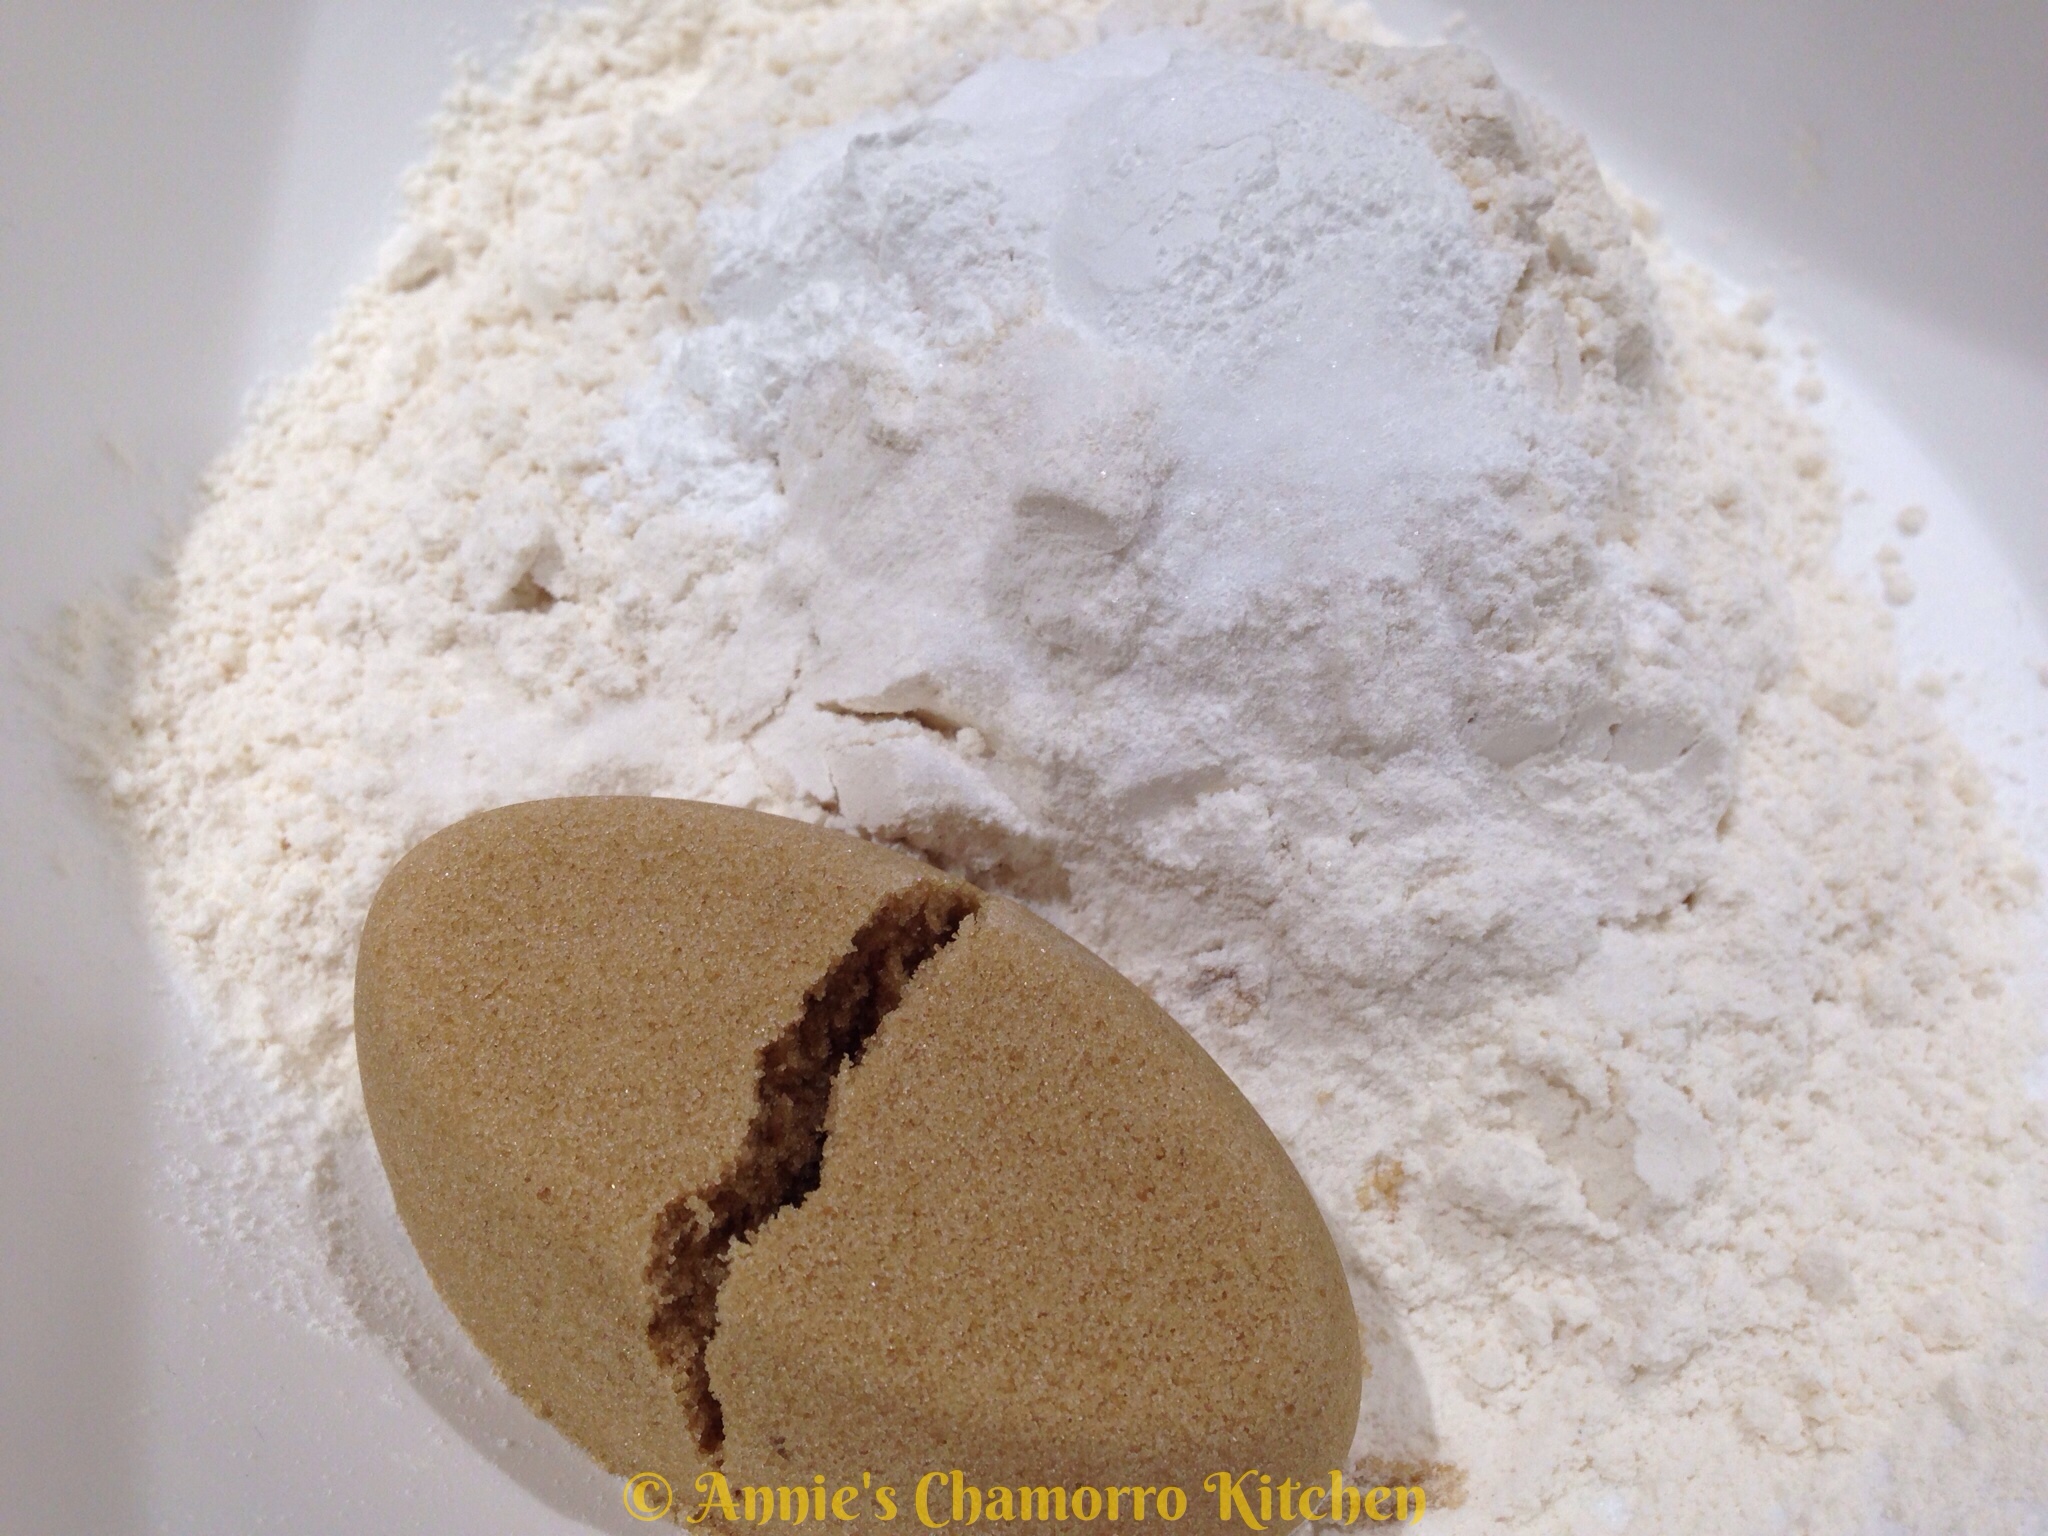
- ⅔ cup packed brown sugar
- 4 tablespoons all-purpose flour
- 2 teaspoons lemon zest
- 2 tablespoons butter, melted
- ⅔ cup finely chopped walnuts, optional (or use your favorite nut)
Ingredients for the Apple Cream Cheese Frosting:
- 1 granny smith apple, peeled, cored, and diced
- 2 tablespoons brown sugar
- 2 tablespoons butter
- 1 stick butter, softened
- 8 ounces cream cheese
- 1 box powdered sugar
Instructions
Directions for the muffins:
- Place cupcake liners in two regular sized muffin pans. Preheat oven to 350 degrees.
- In a small bowl toss 4 tablespoons of flour with the diced apples; set aside.
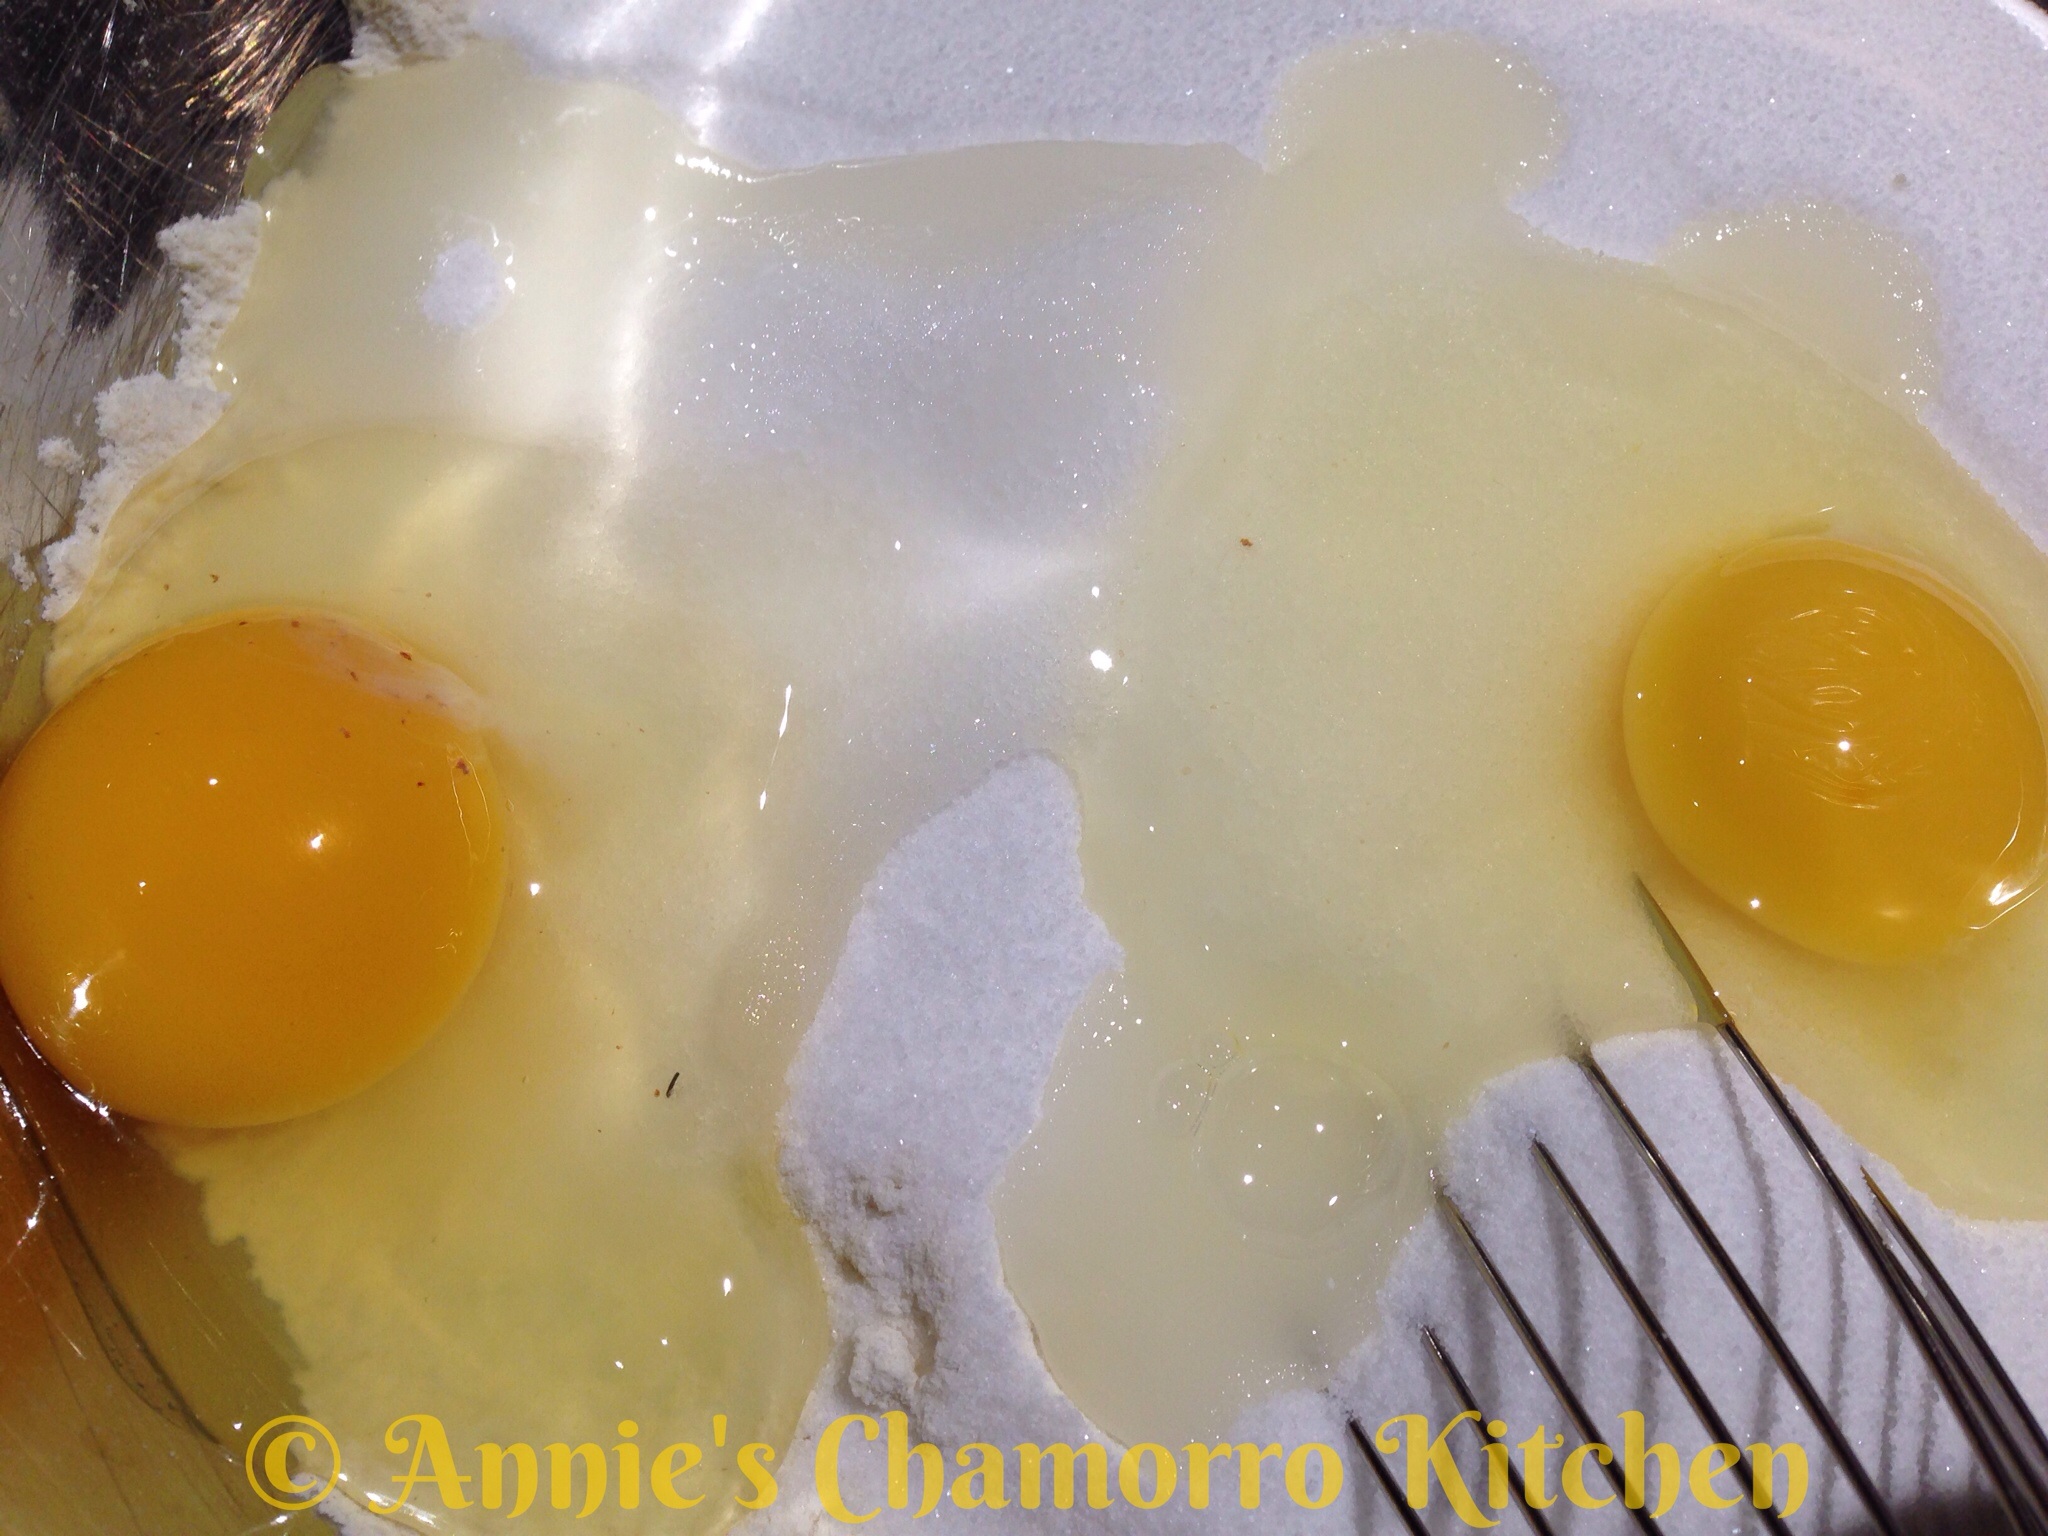
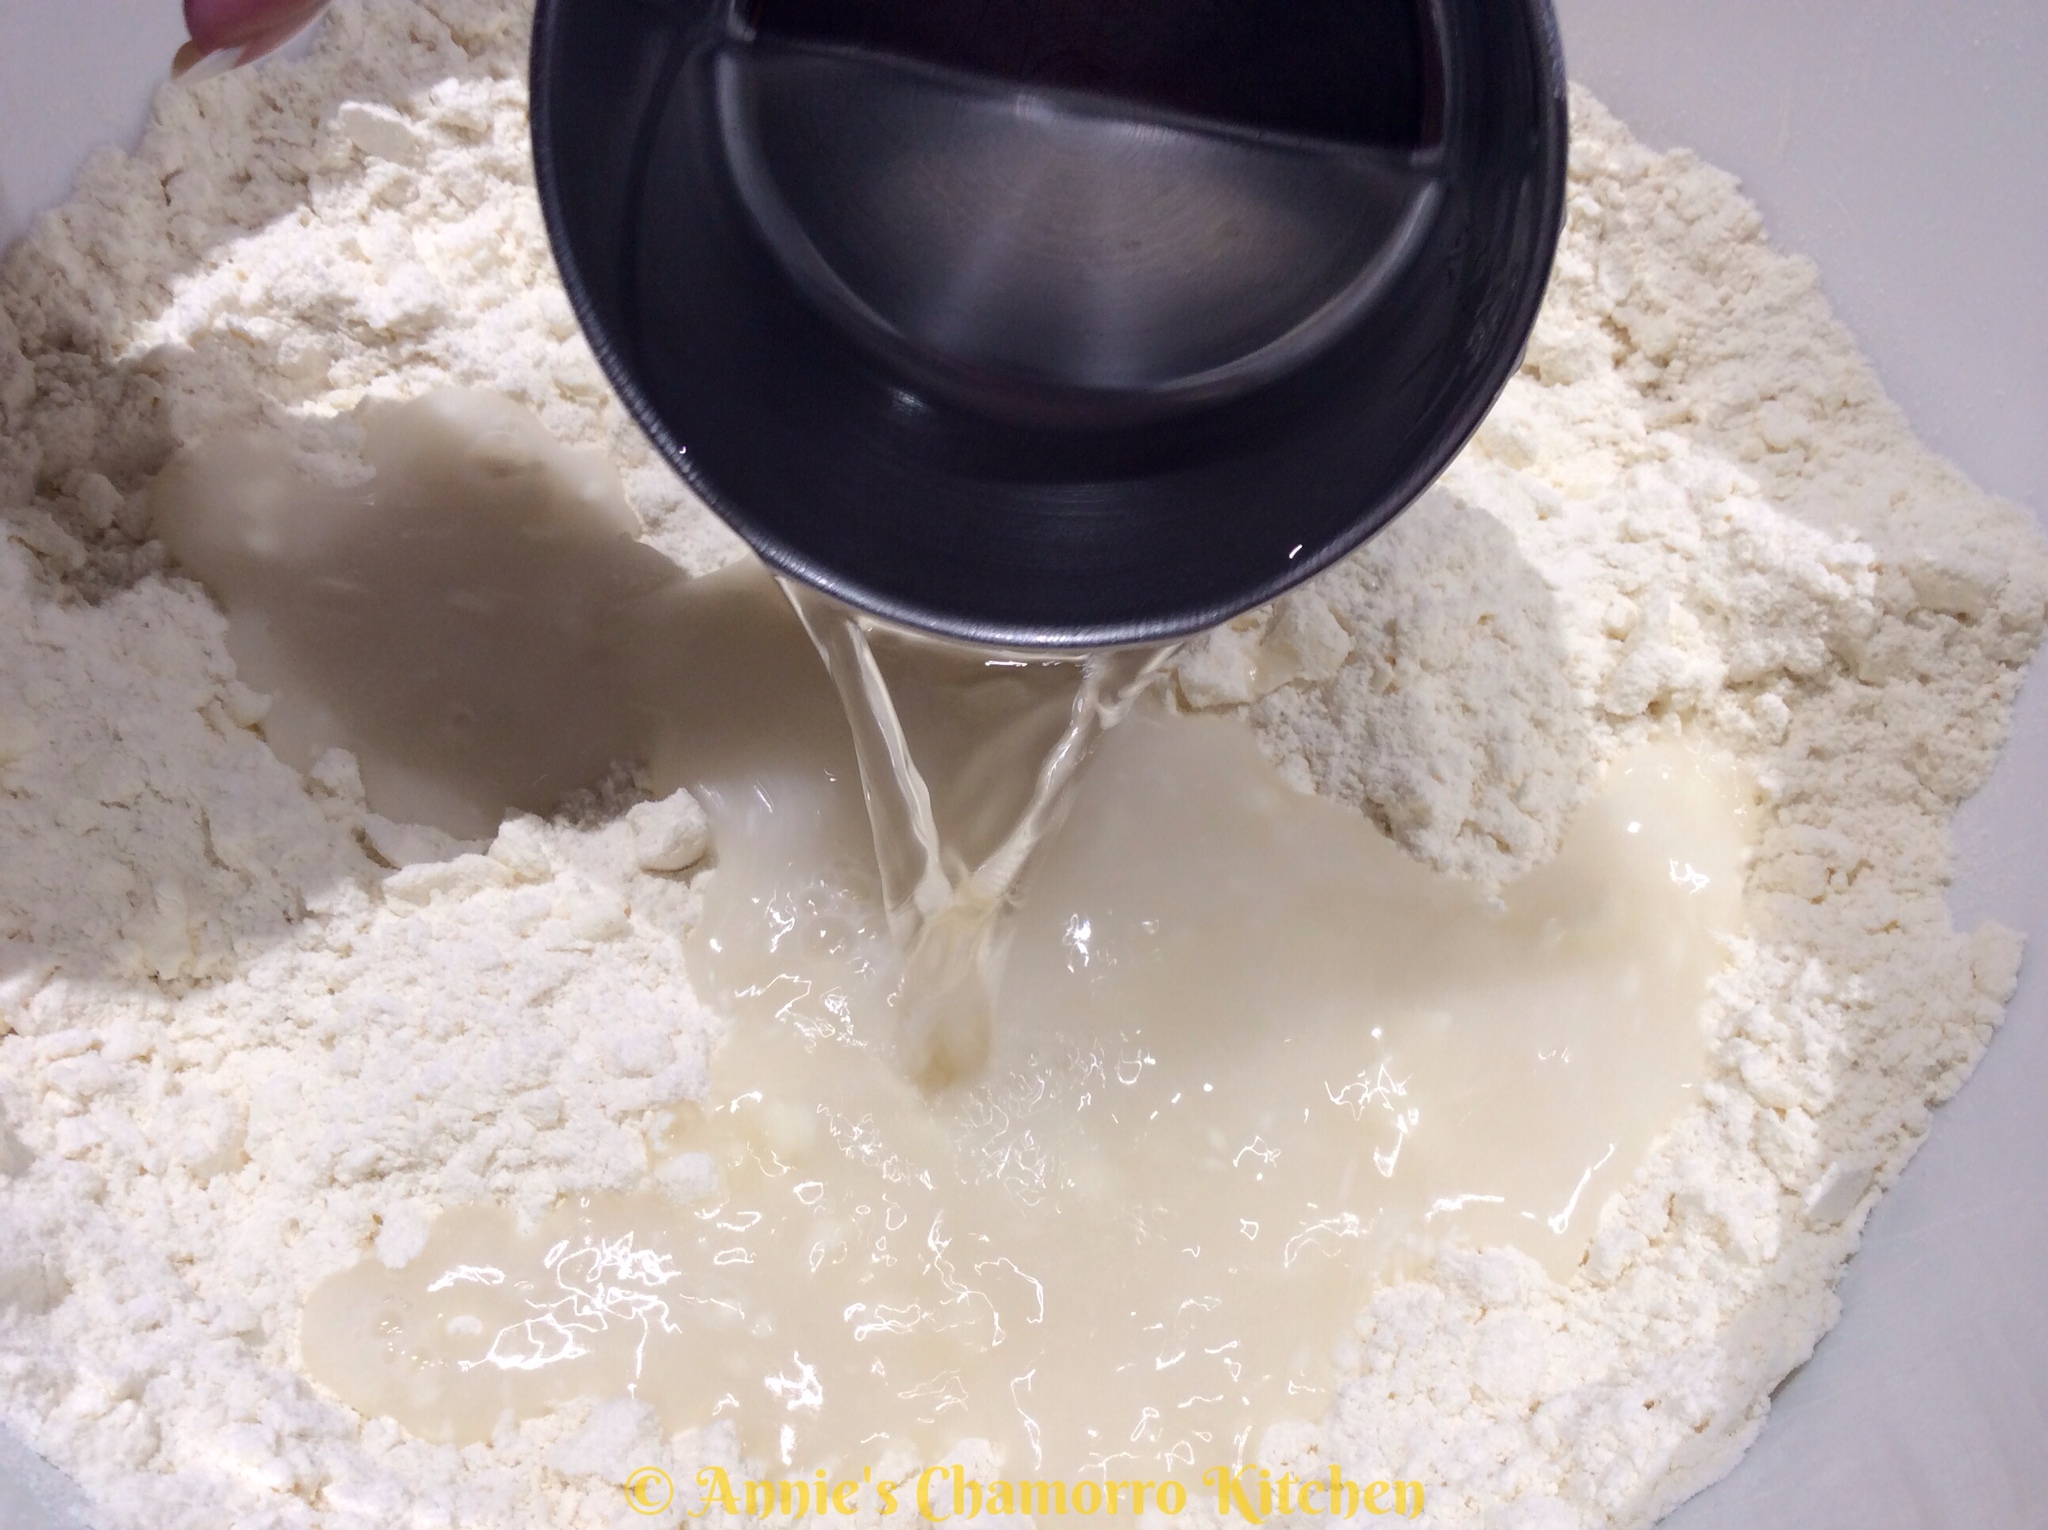
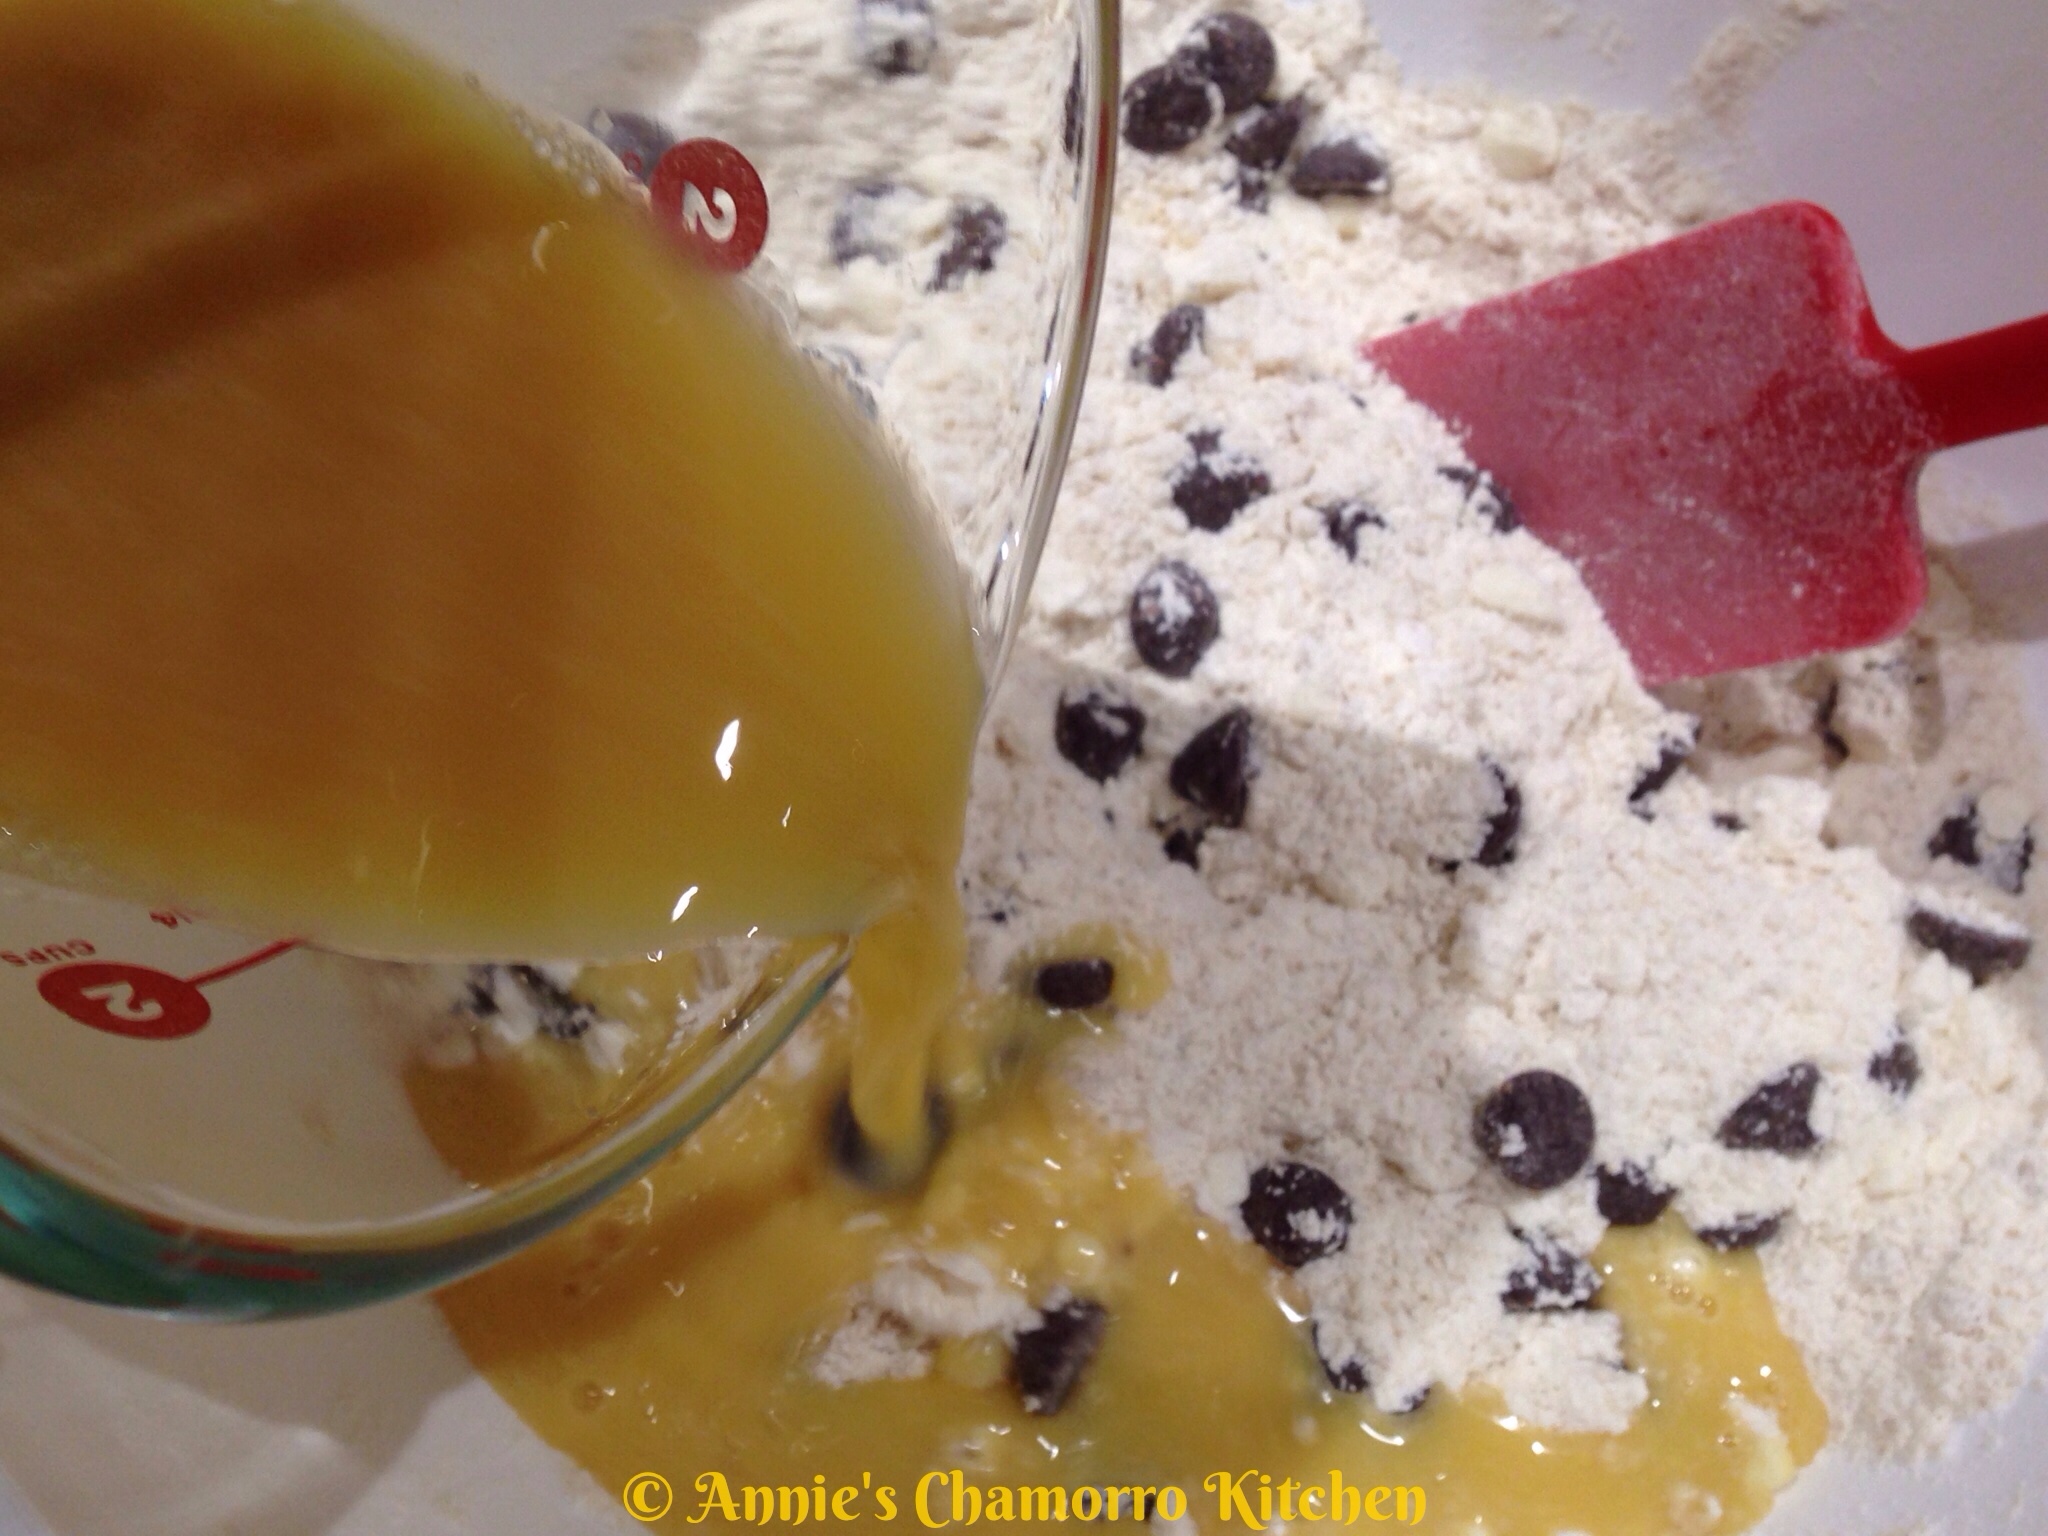
- In a large mixing bowl cream the 2 sticks of butter with the granulated sugar. Add the eggs, vanilla and orange juice; mix until creamy.
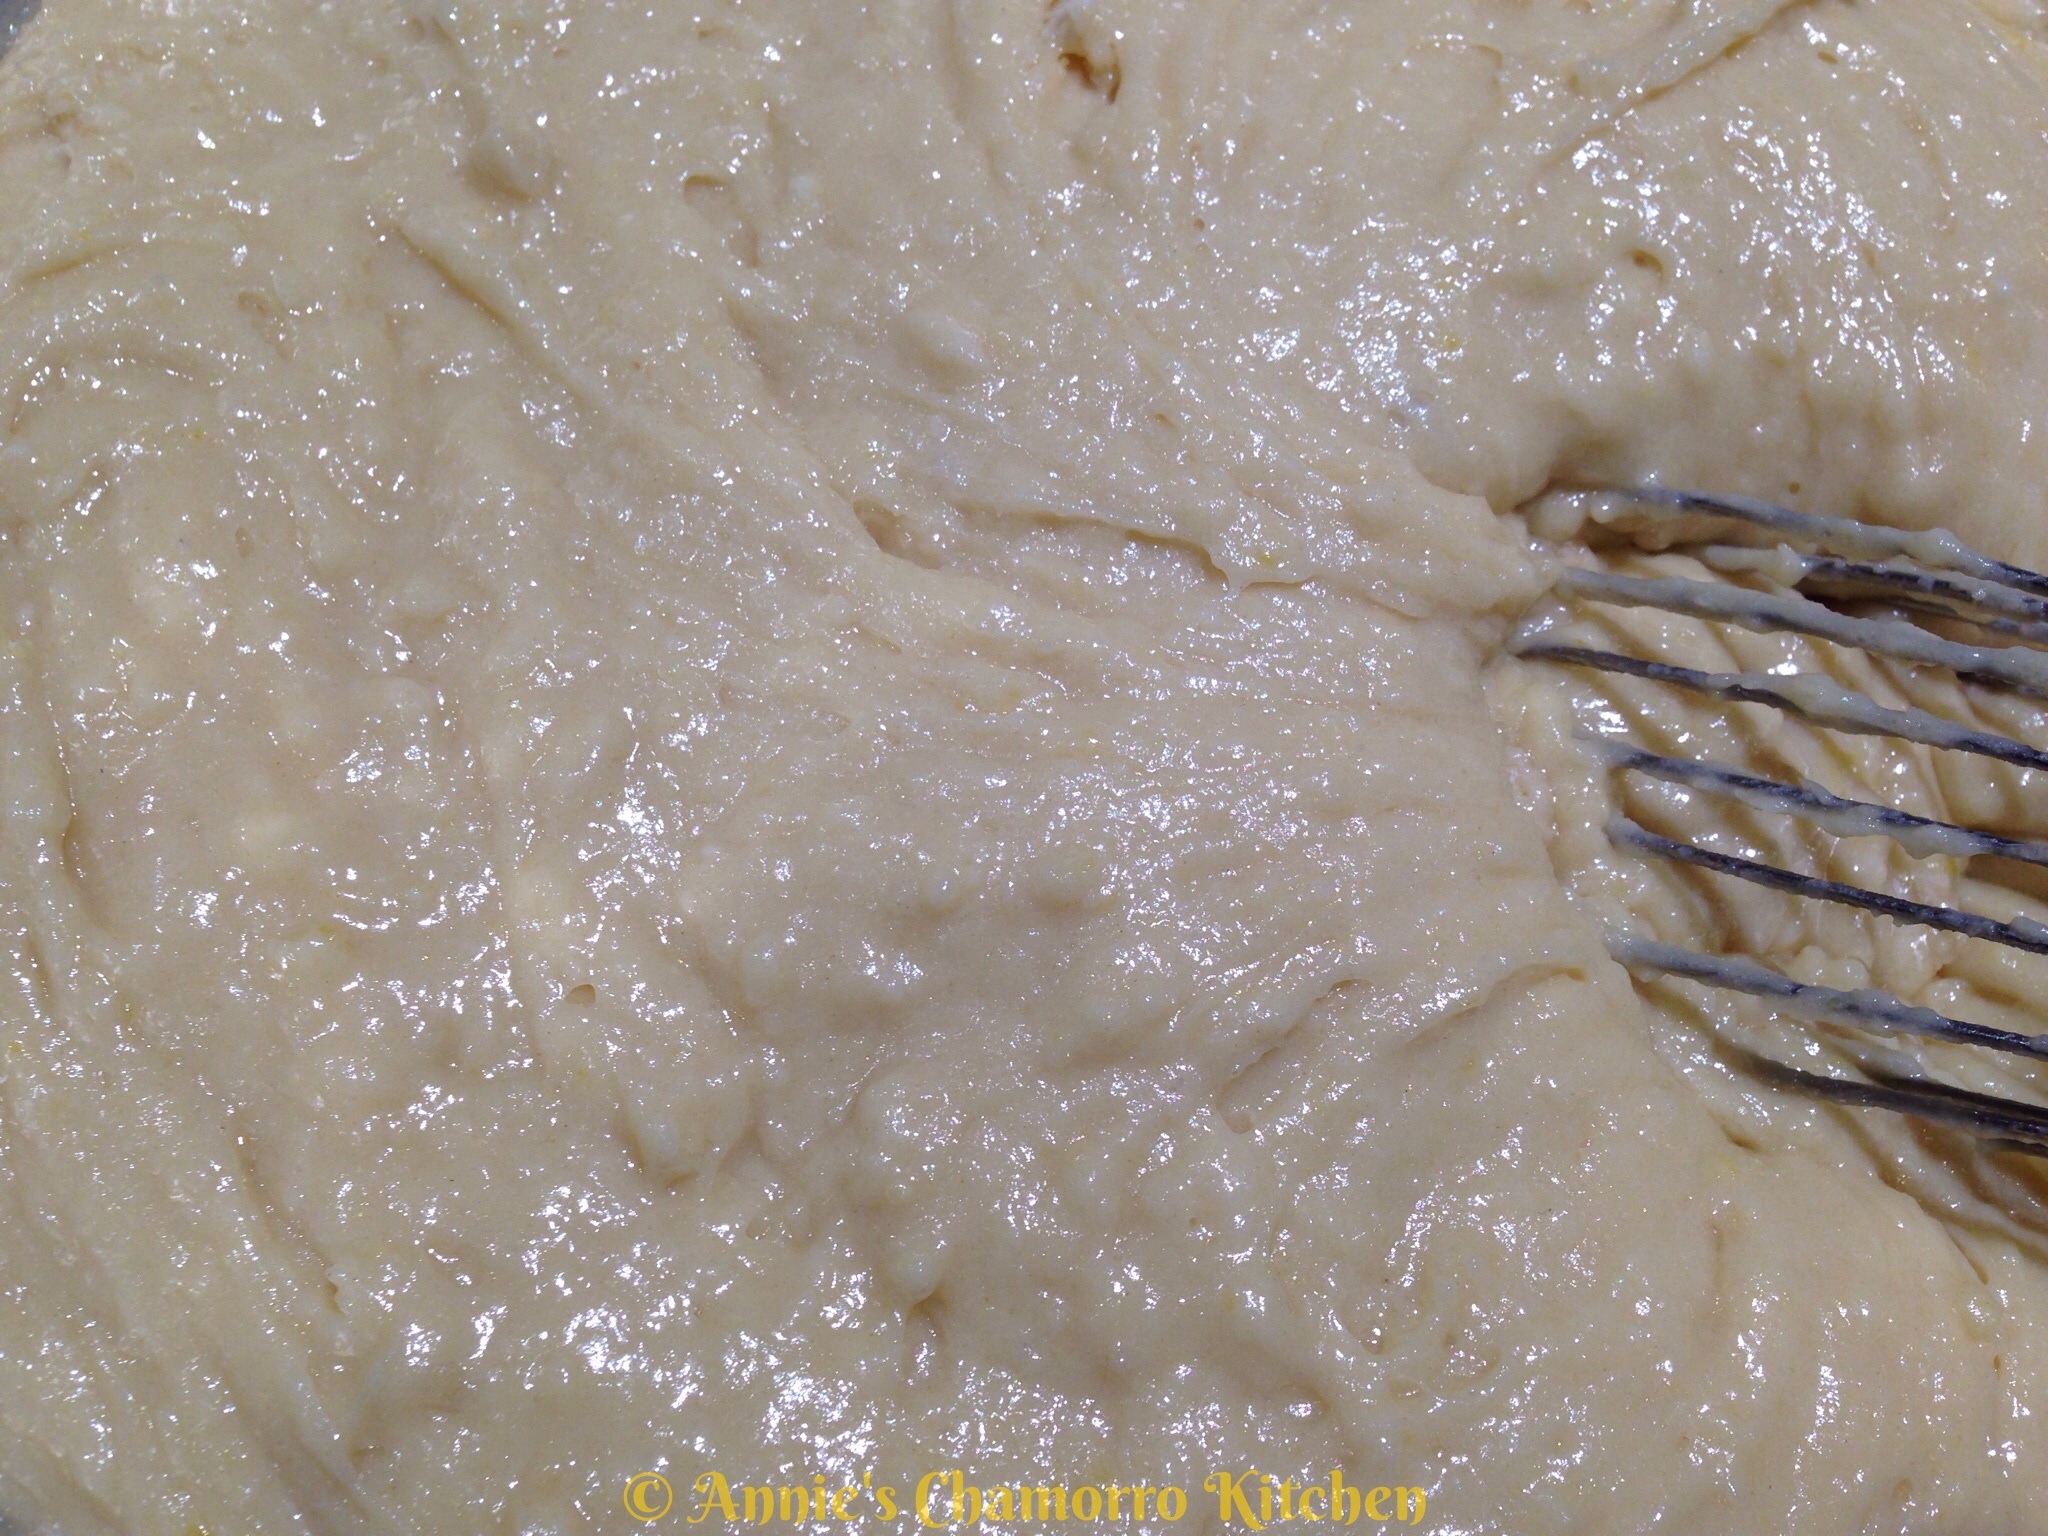
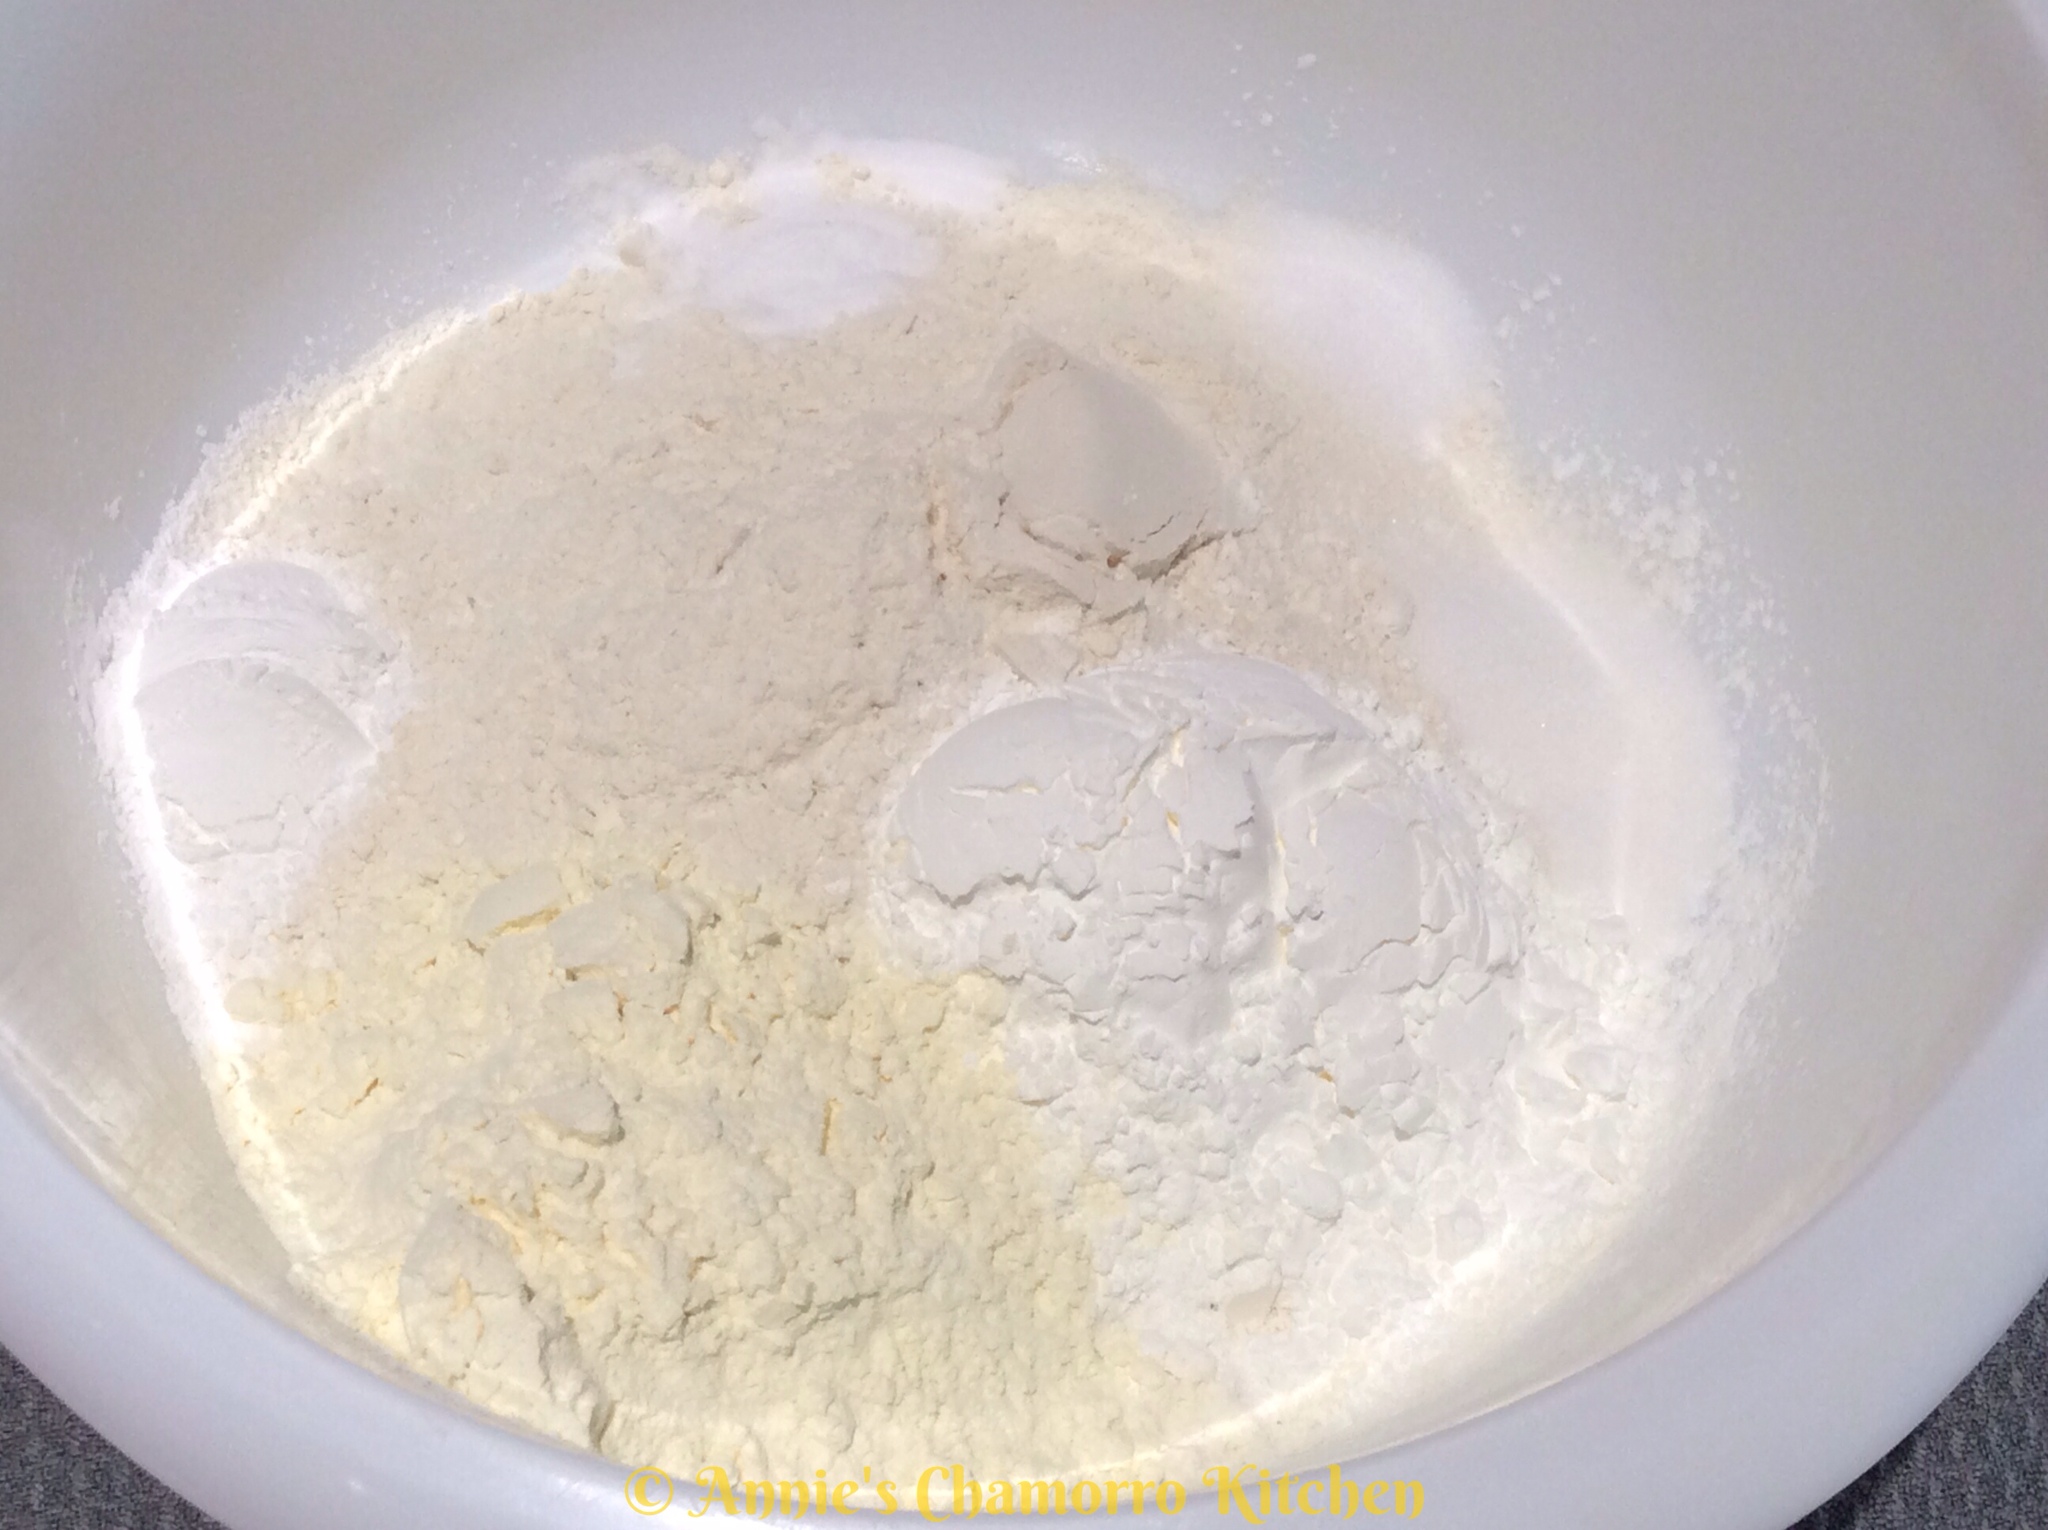
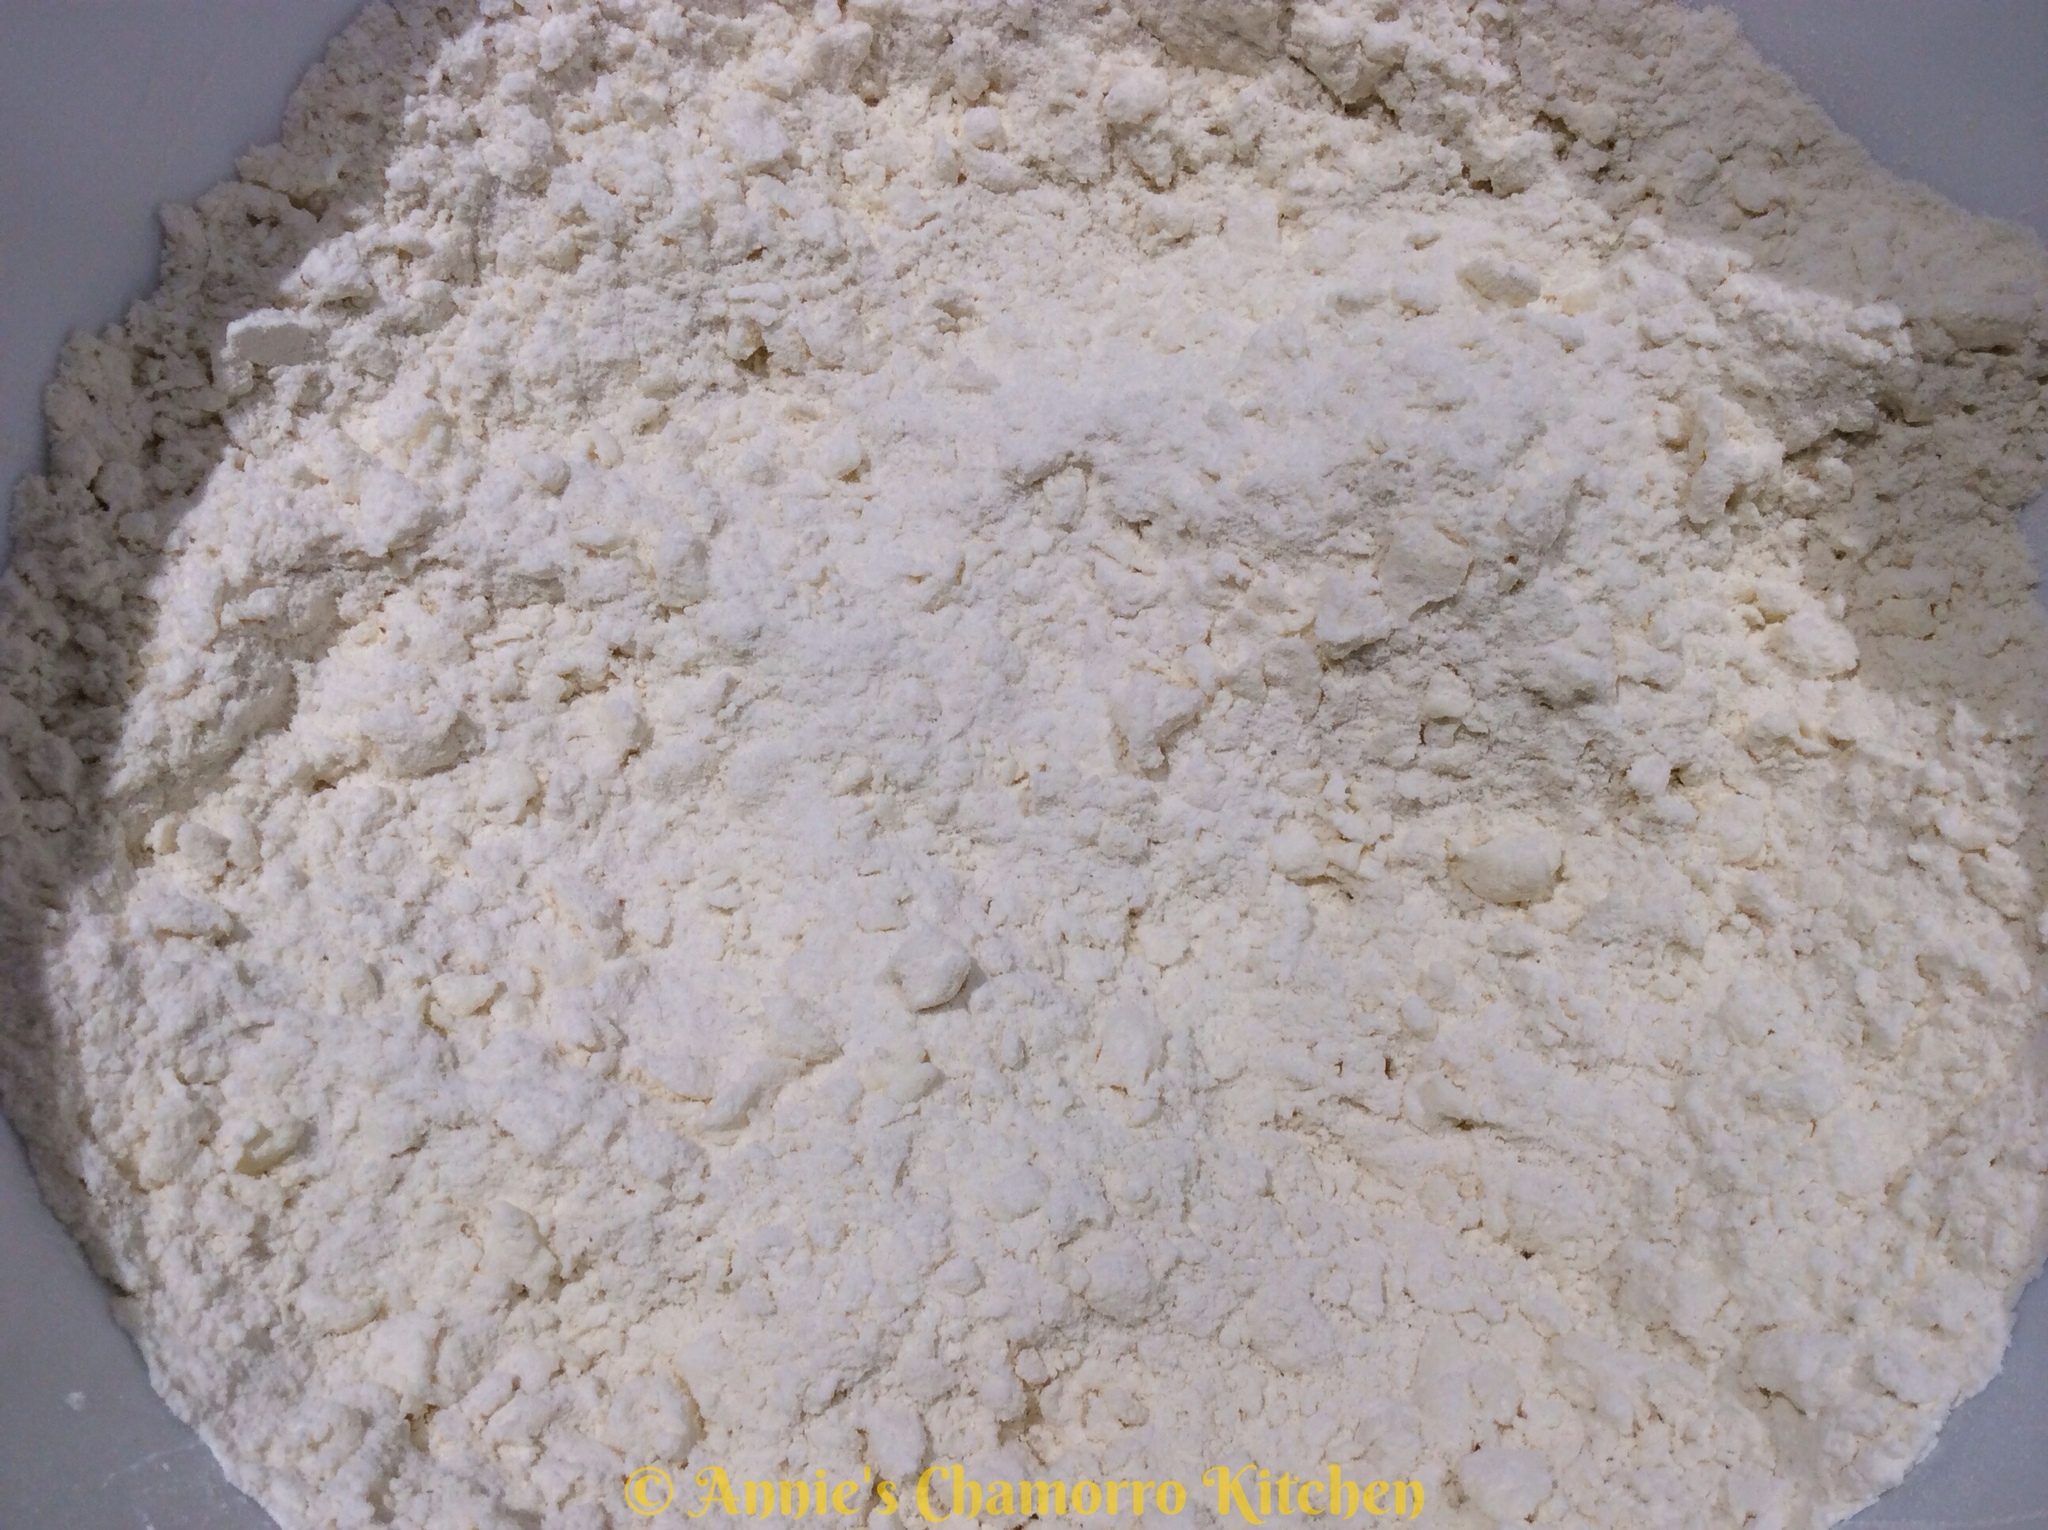
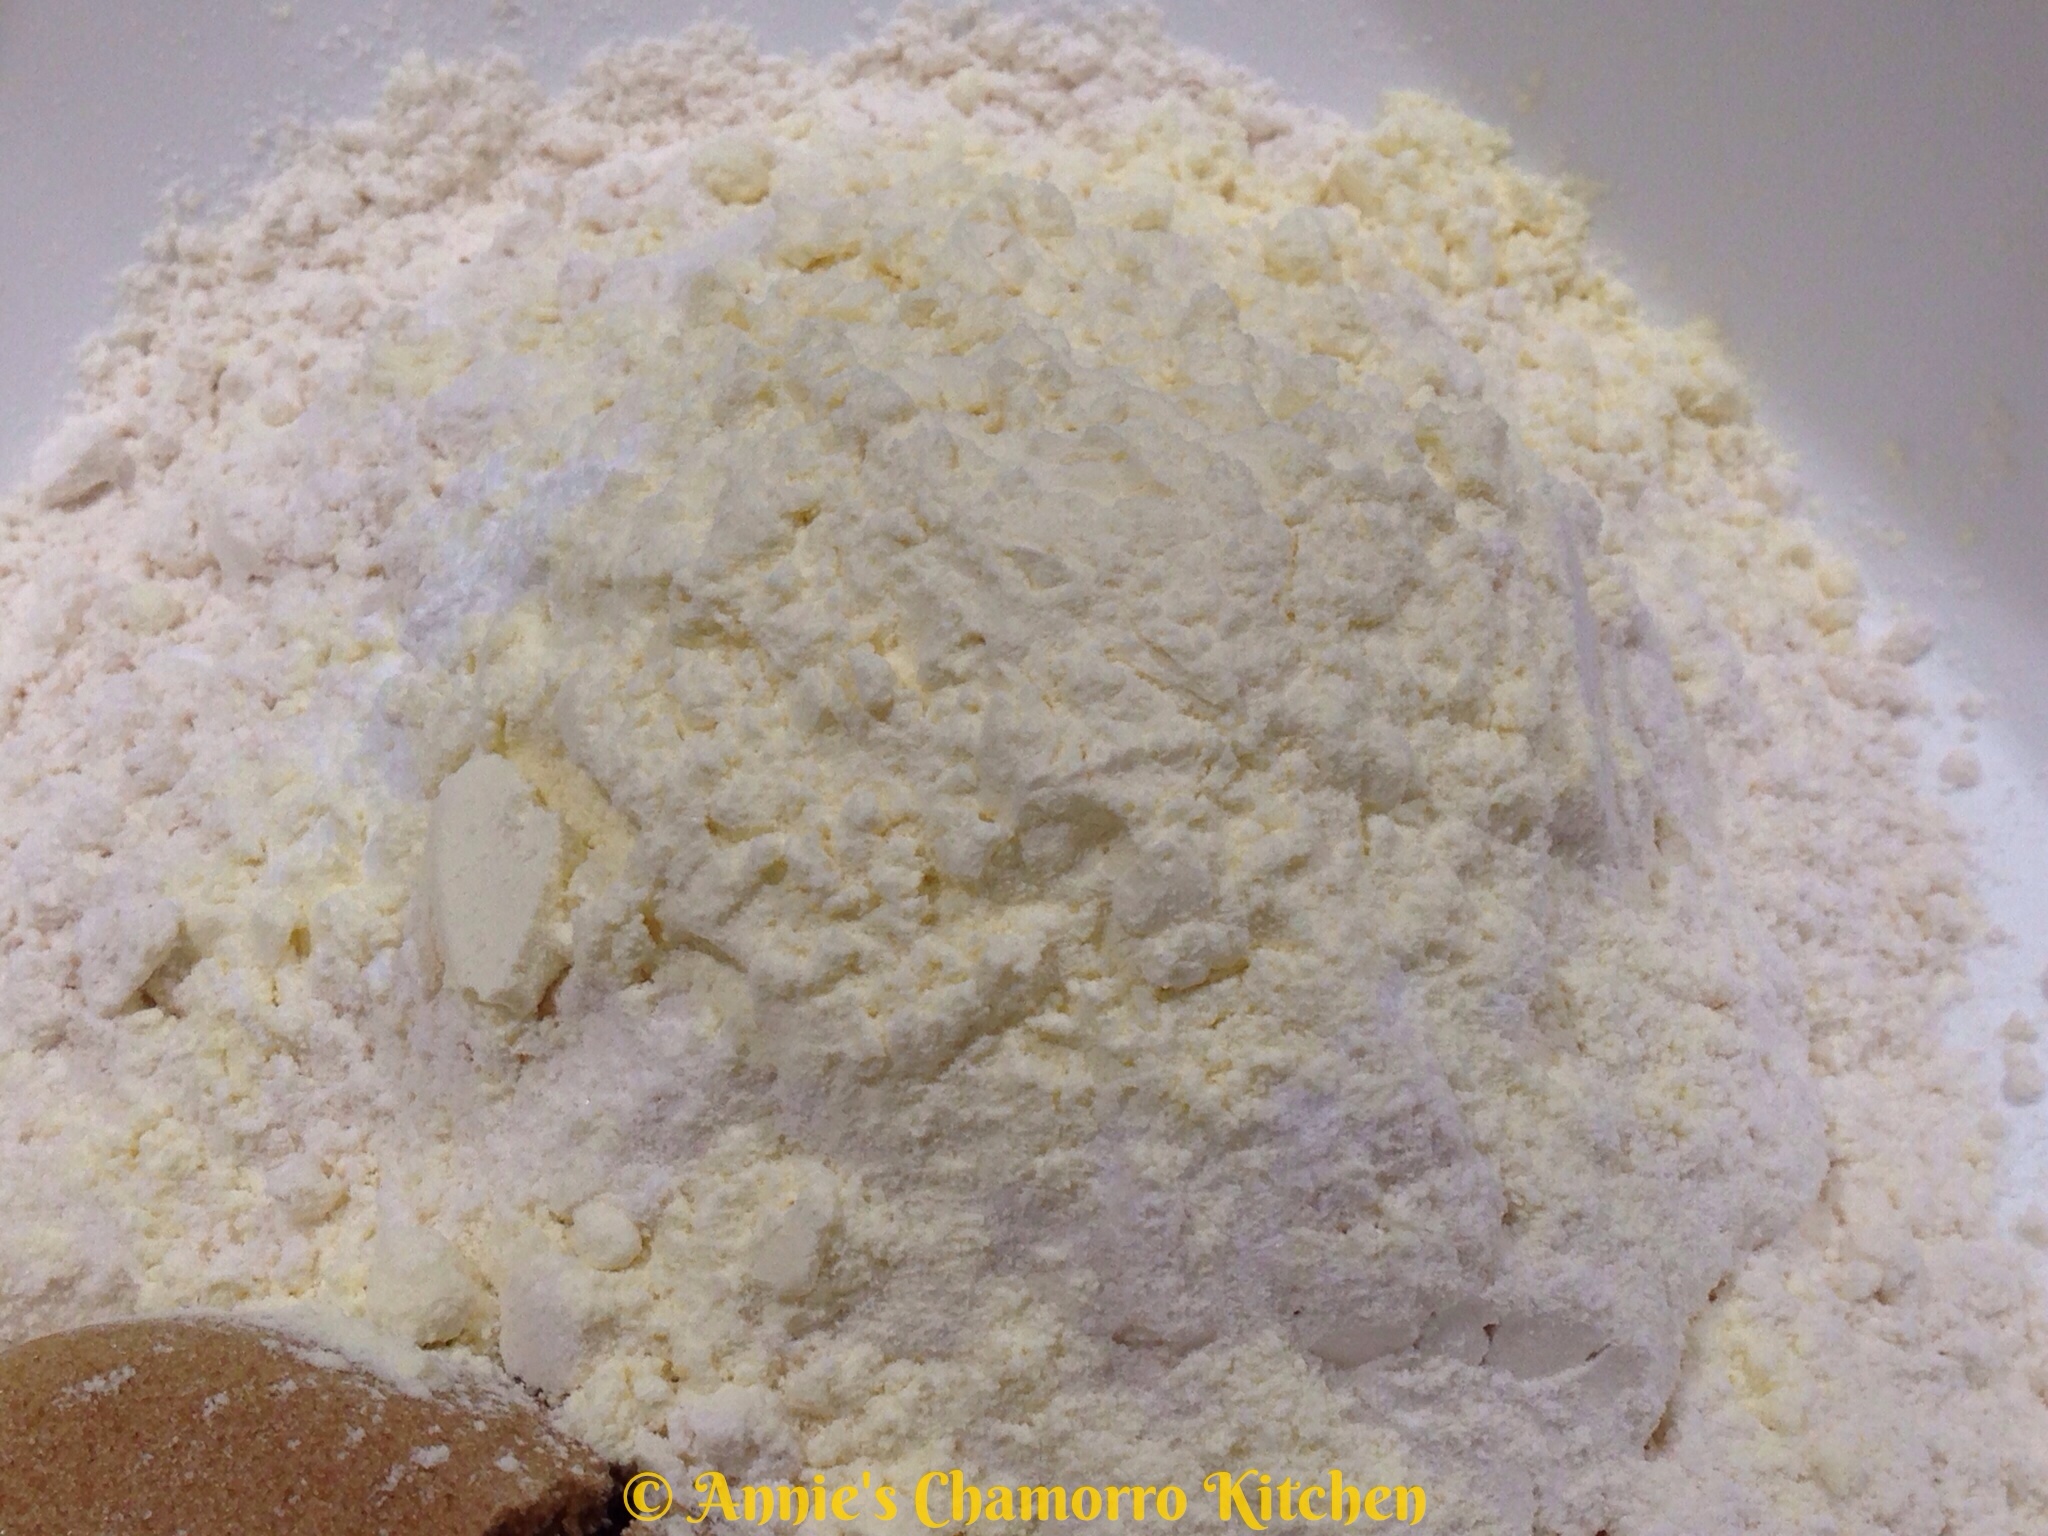
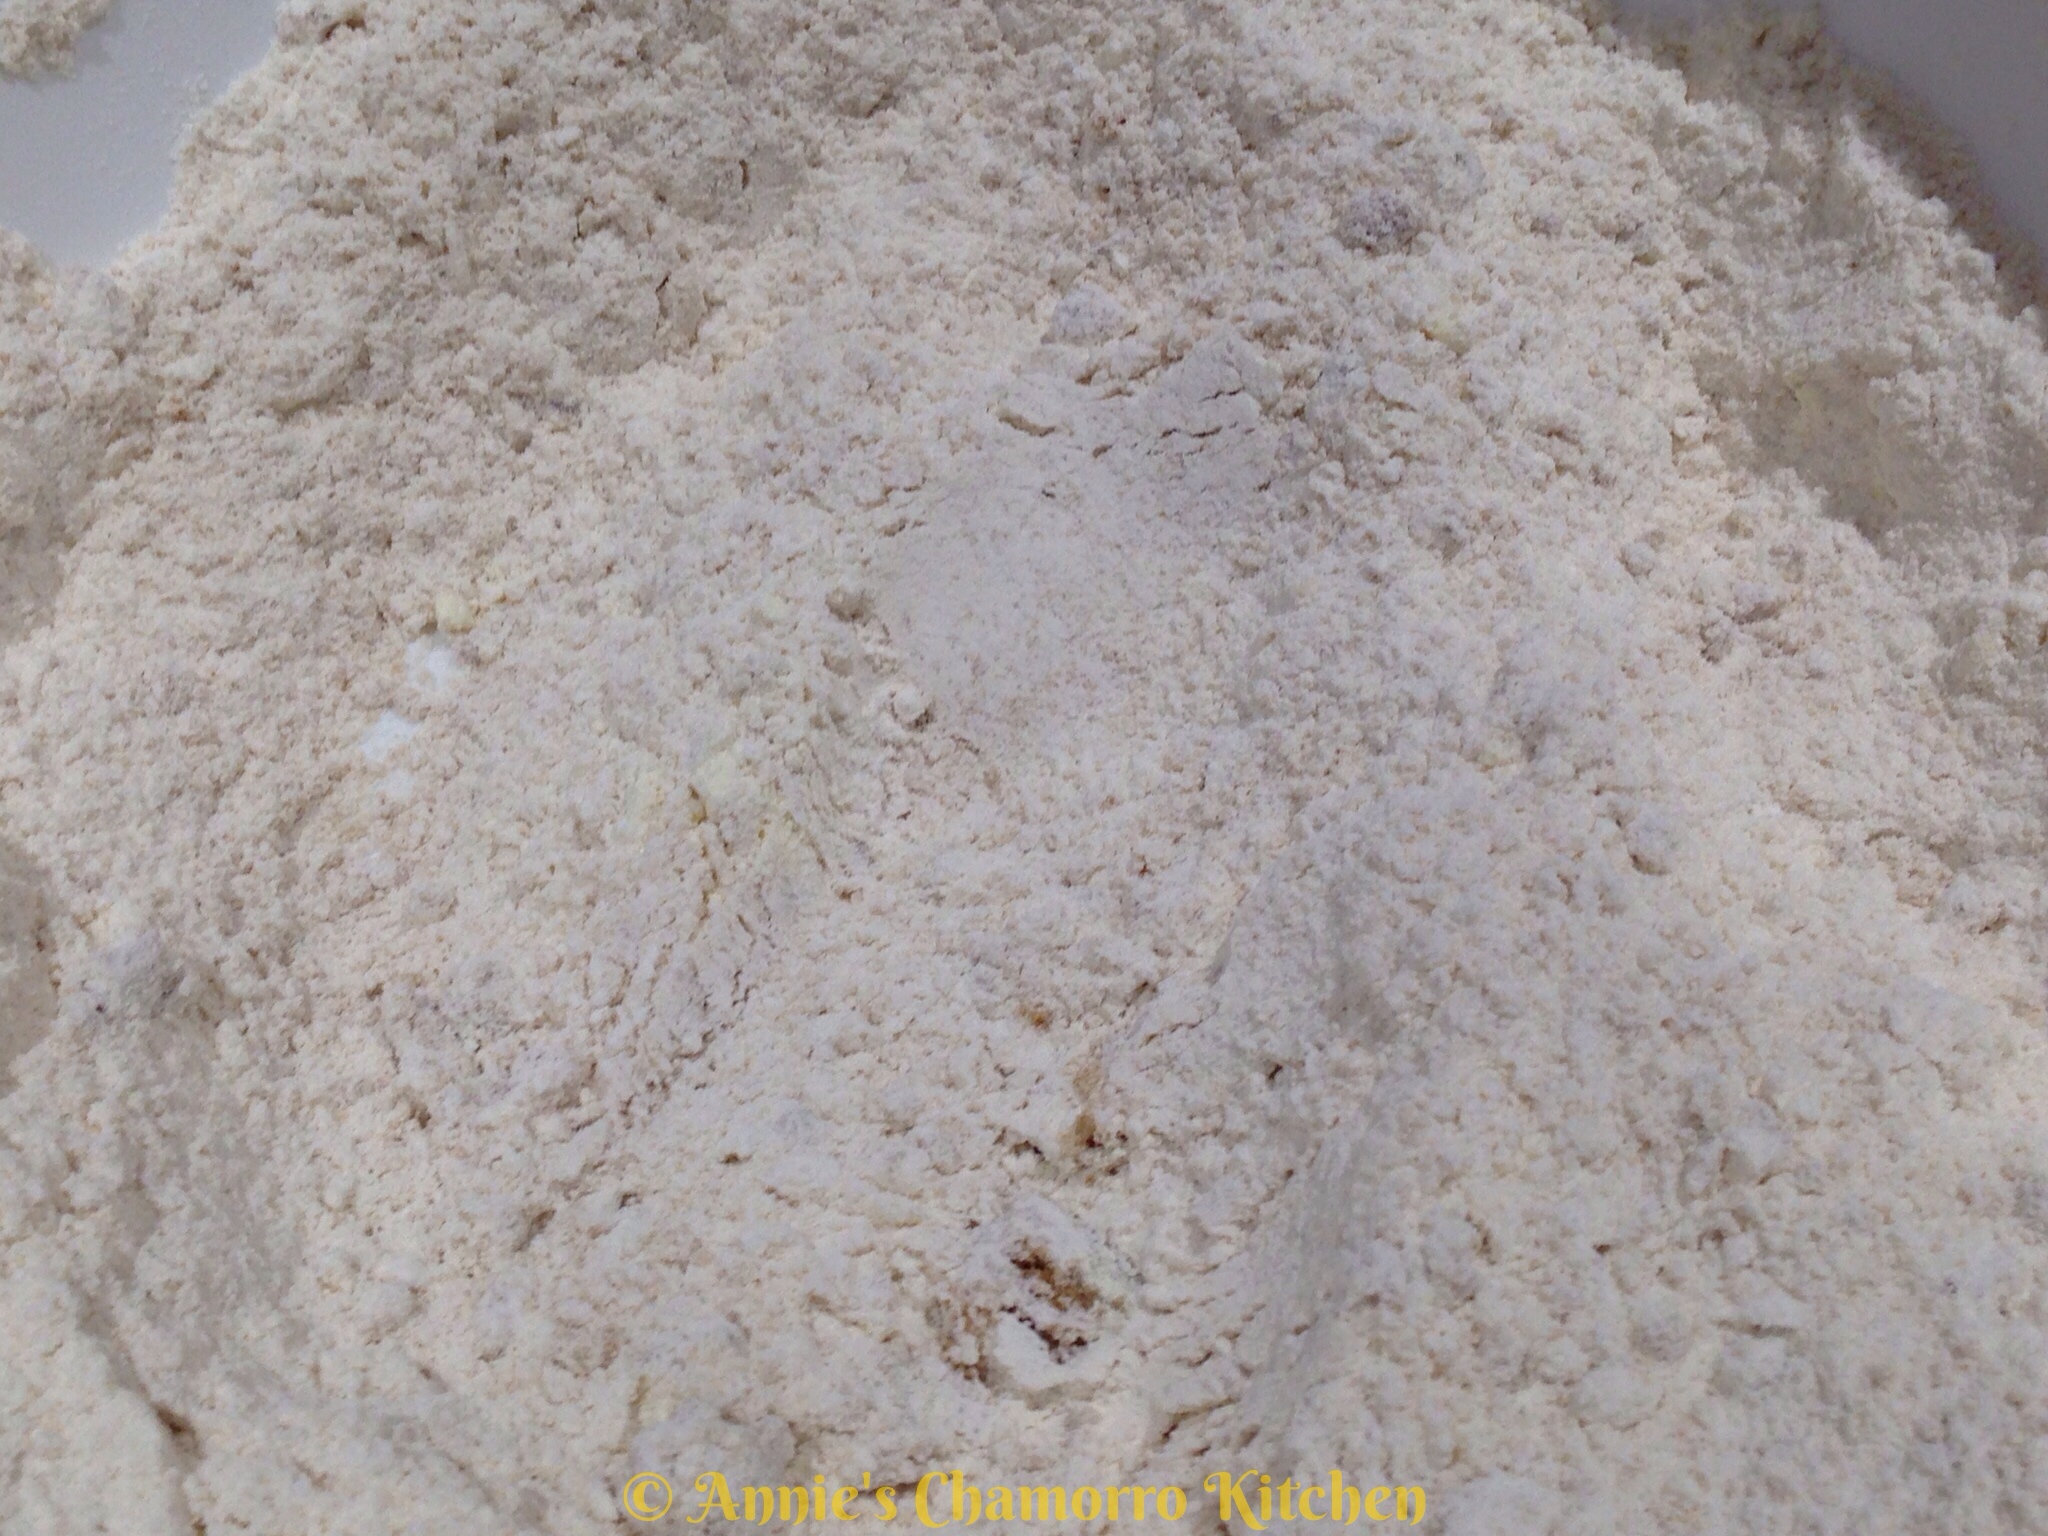
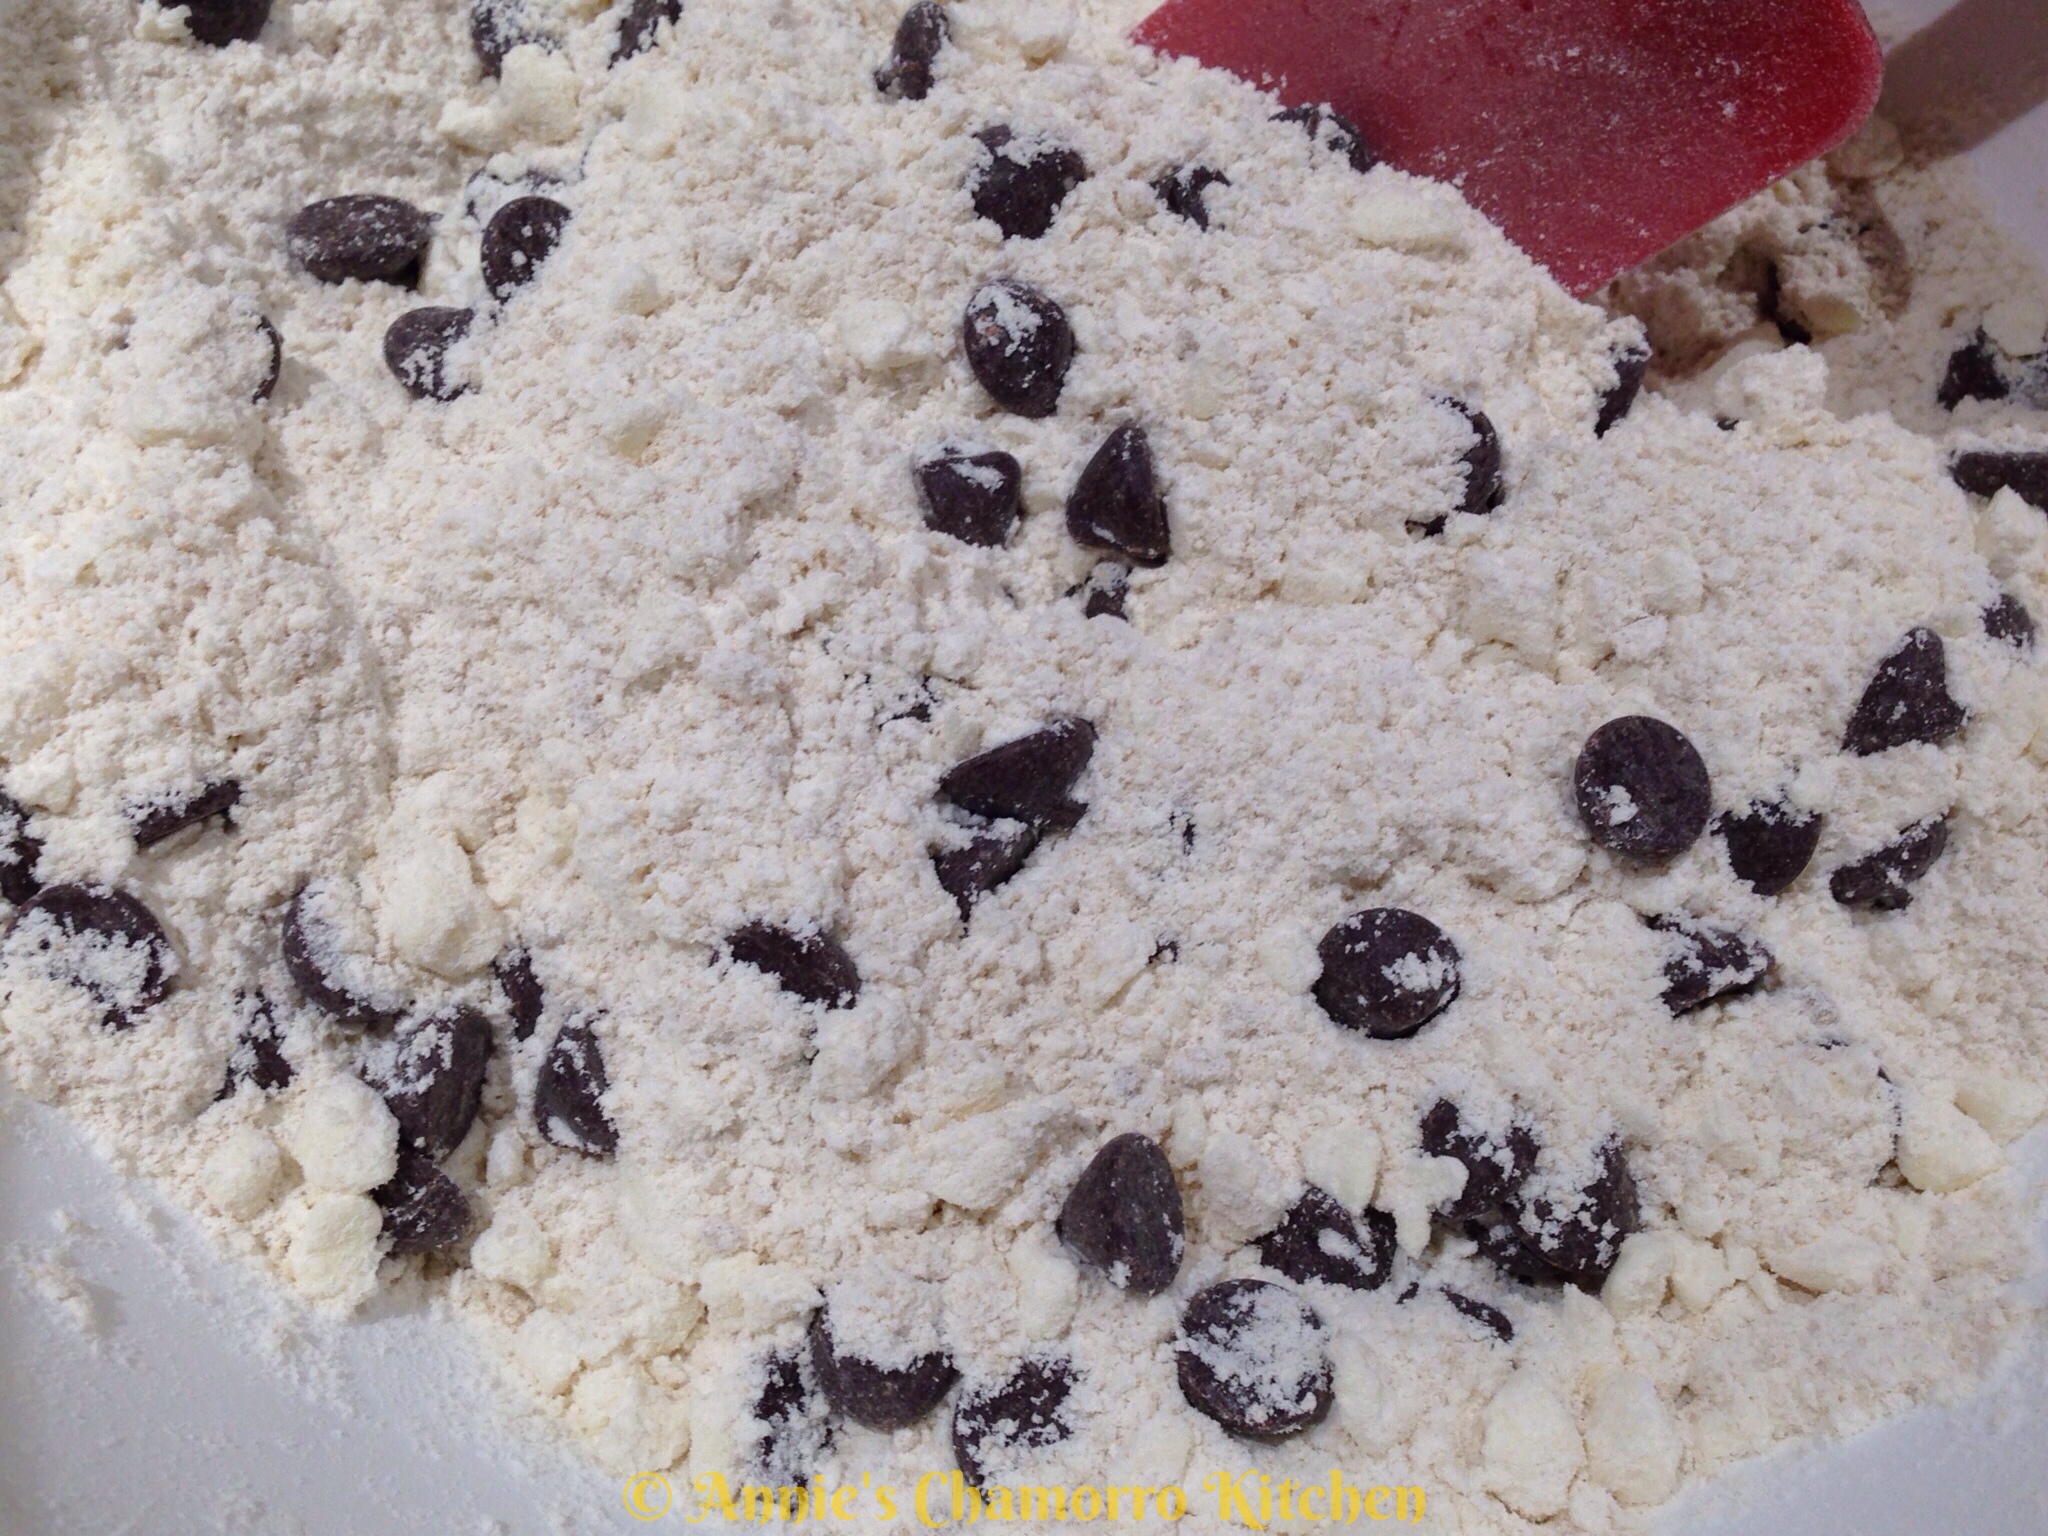
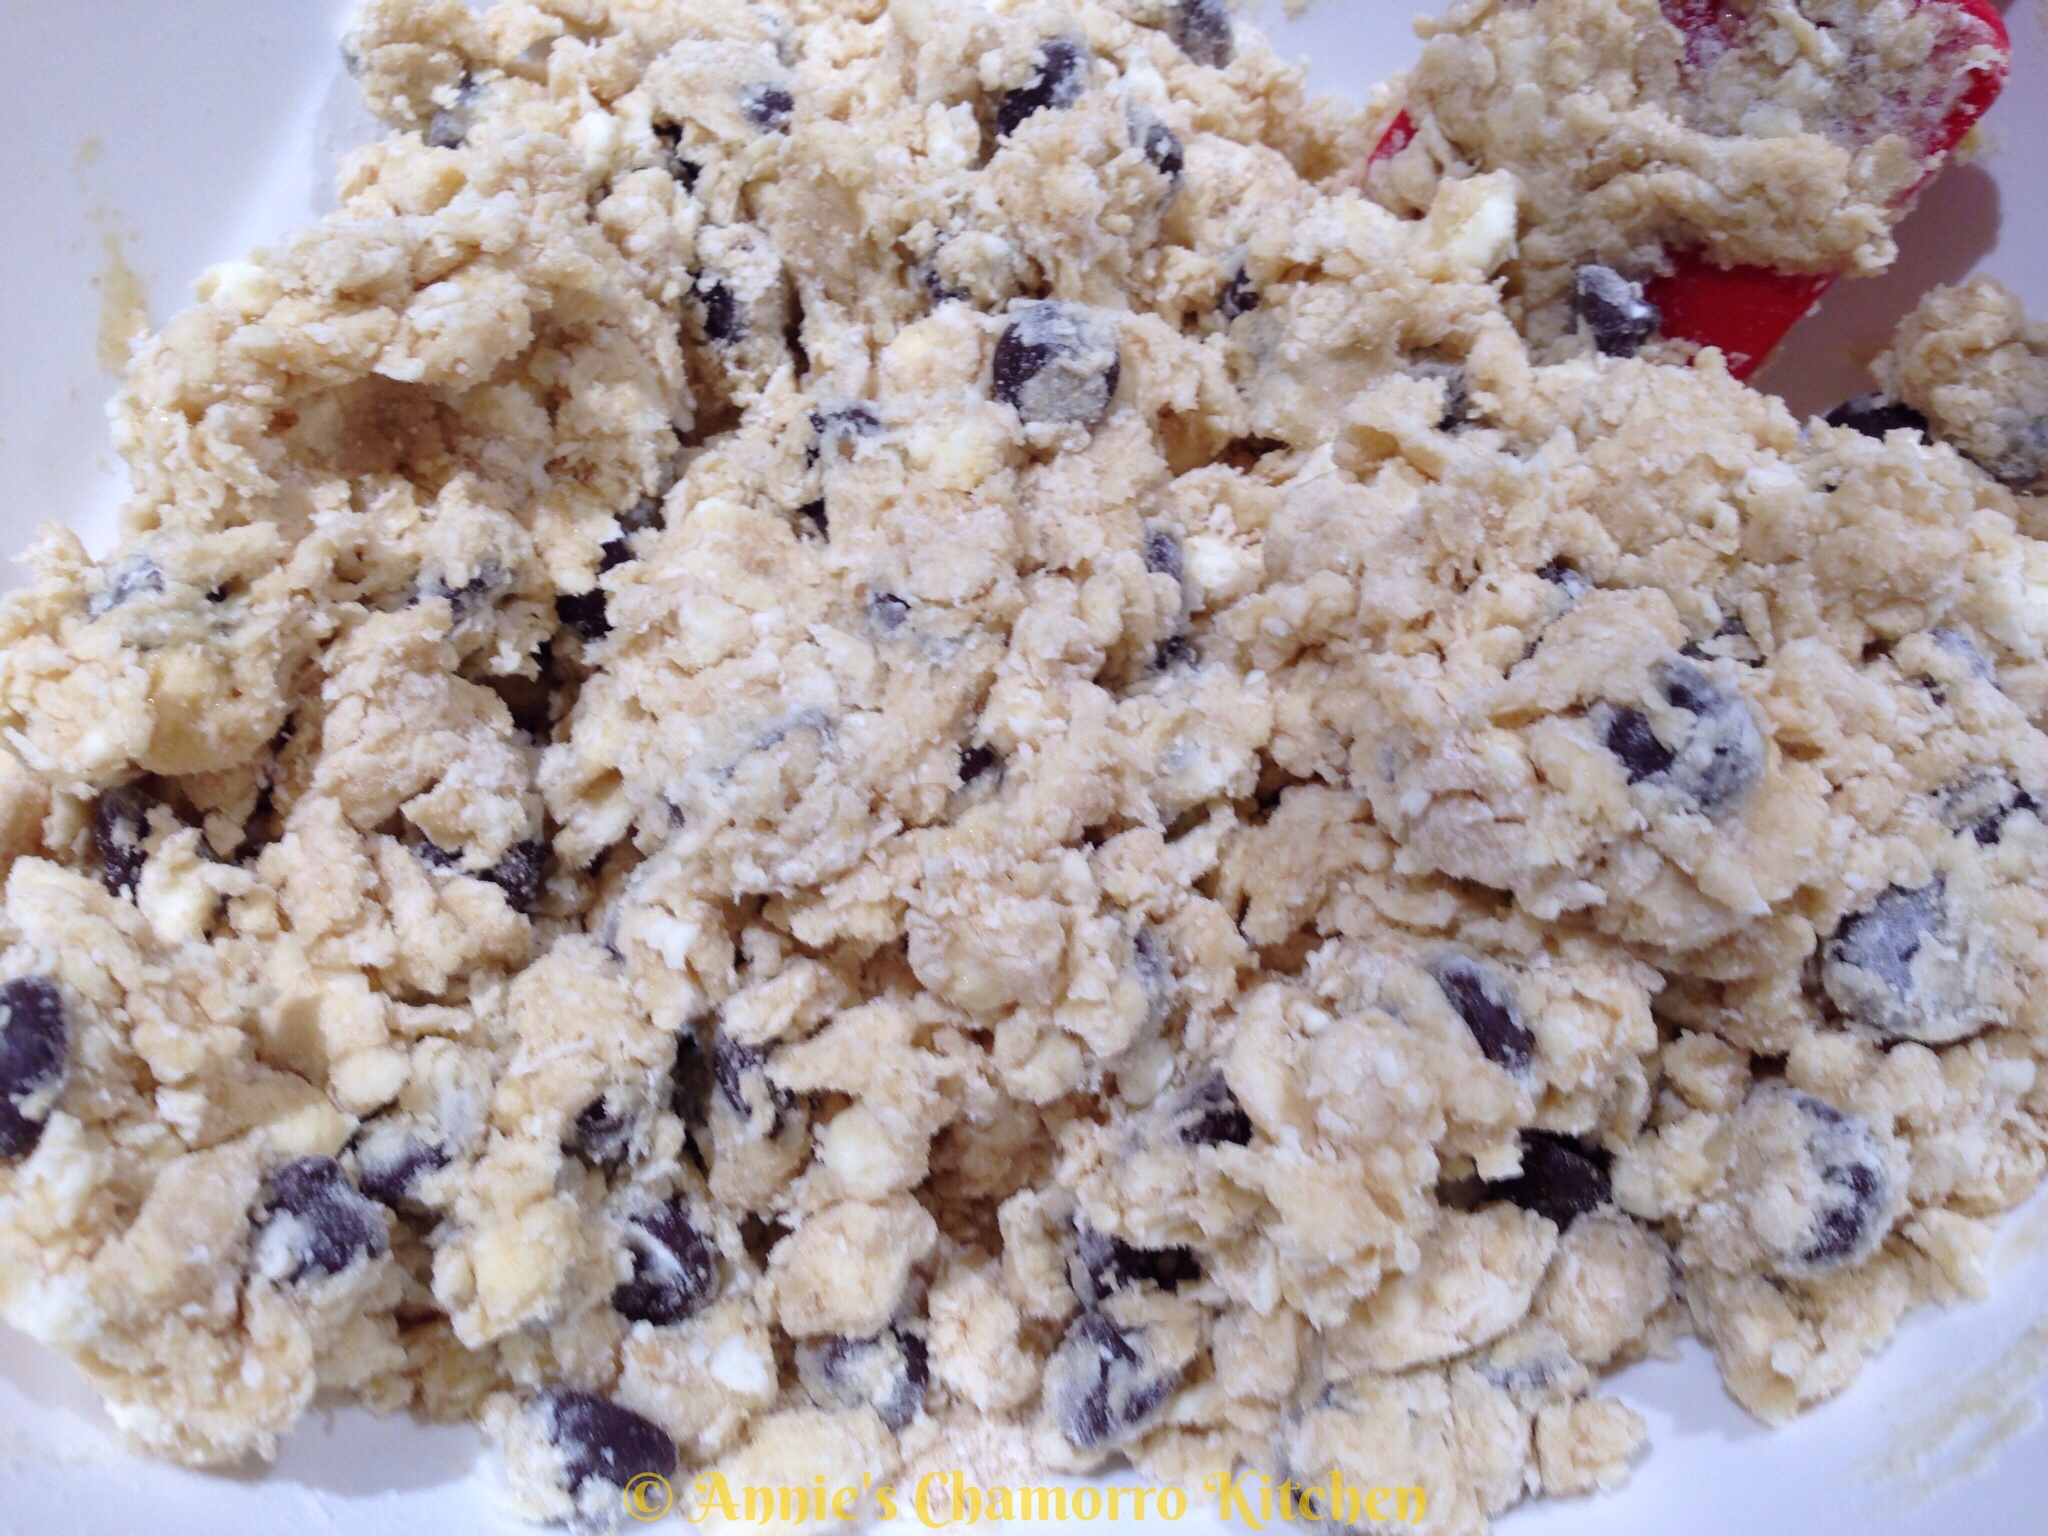
- Mix together the remaining flour, baking soda and salt; add to the butter mixture.
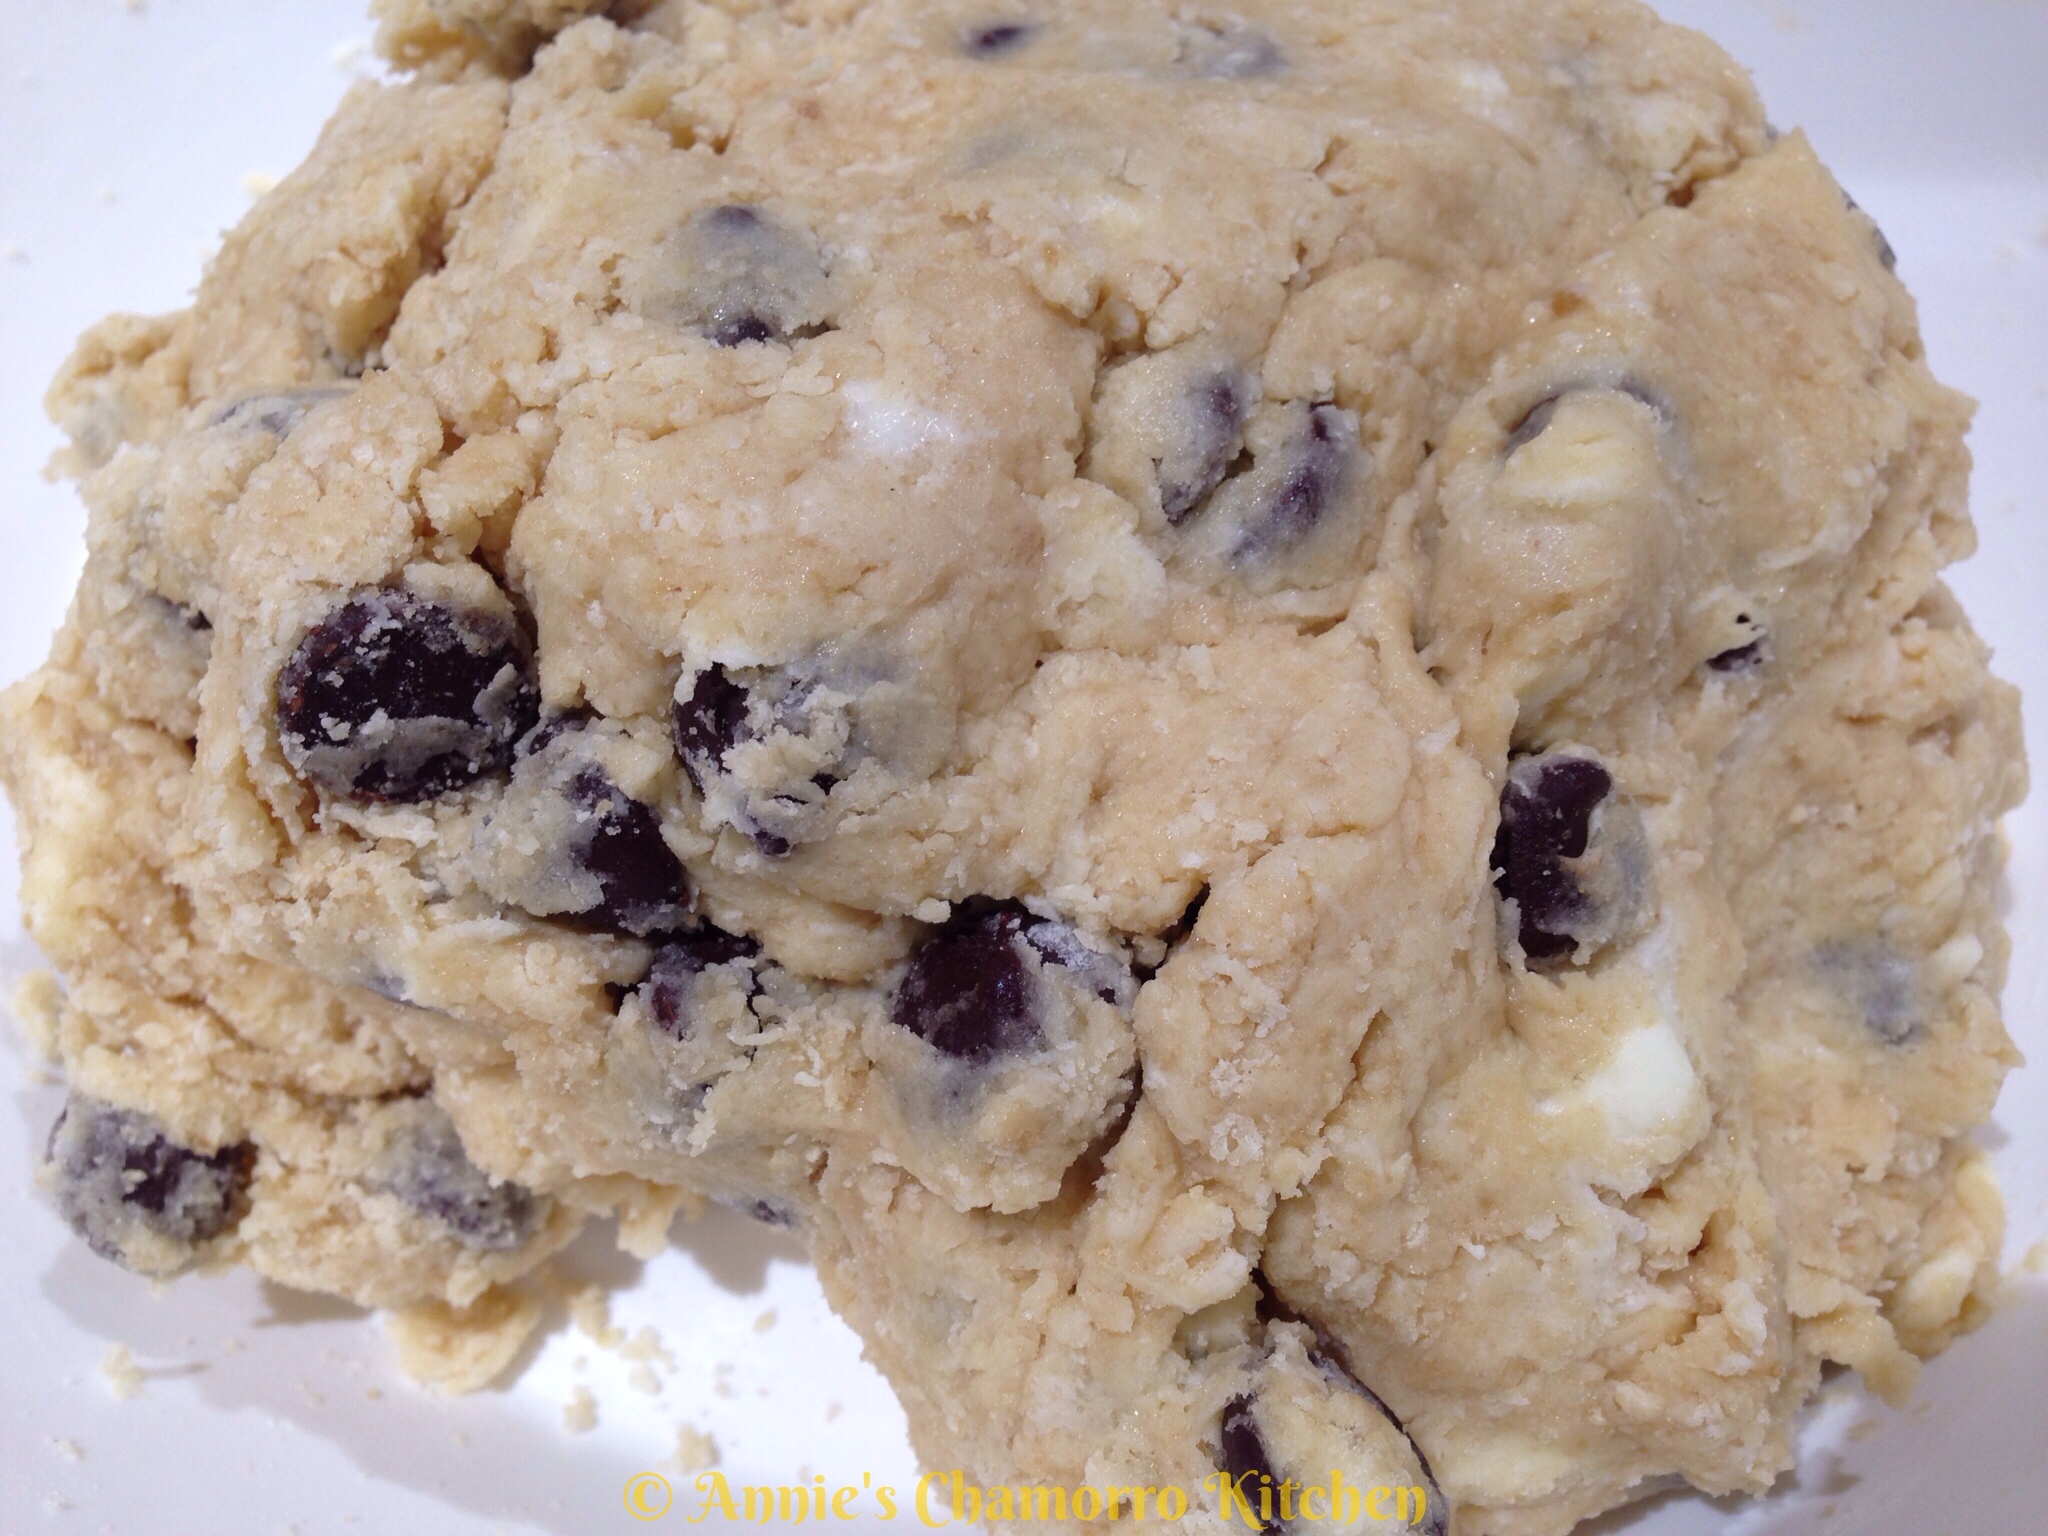
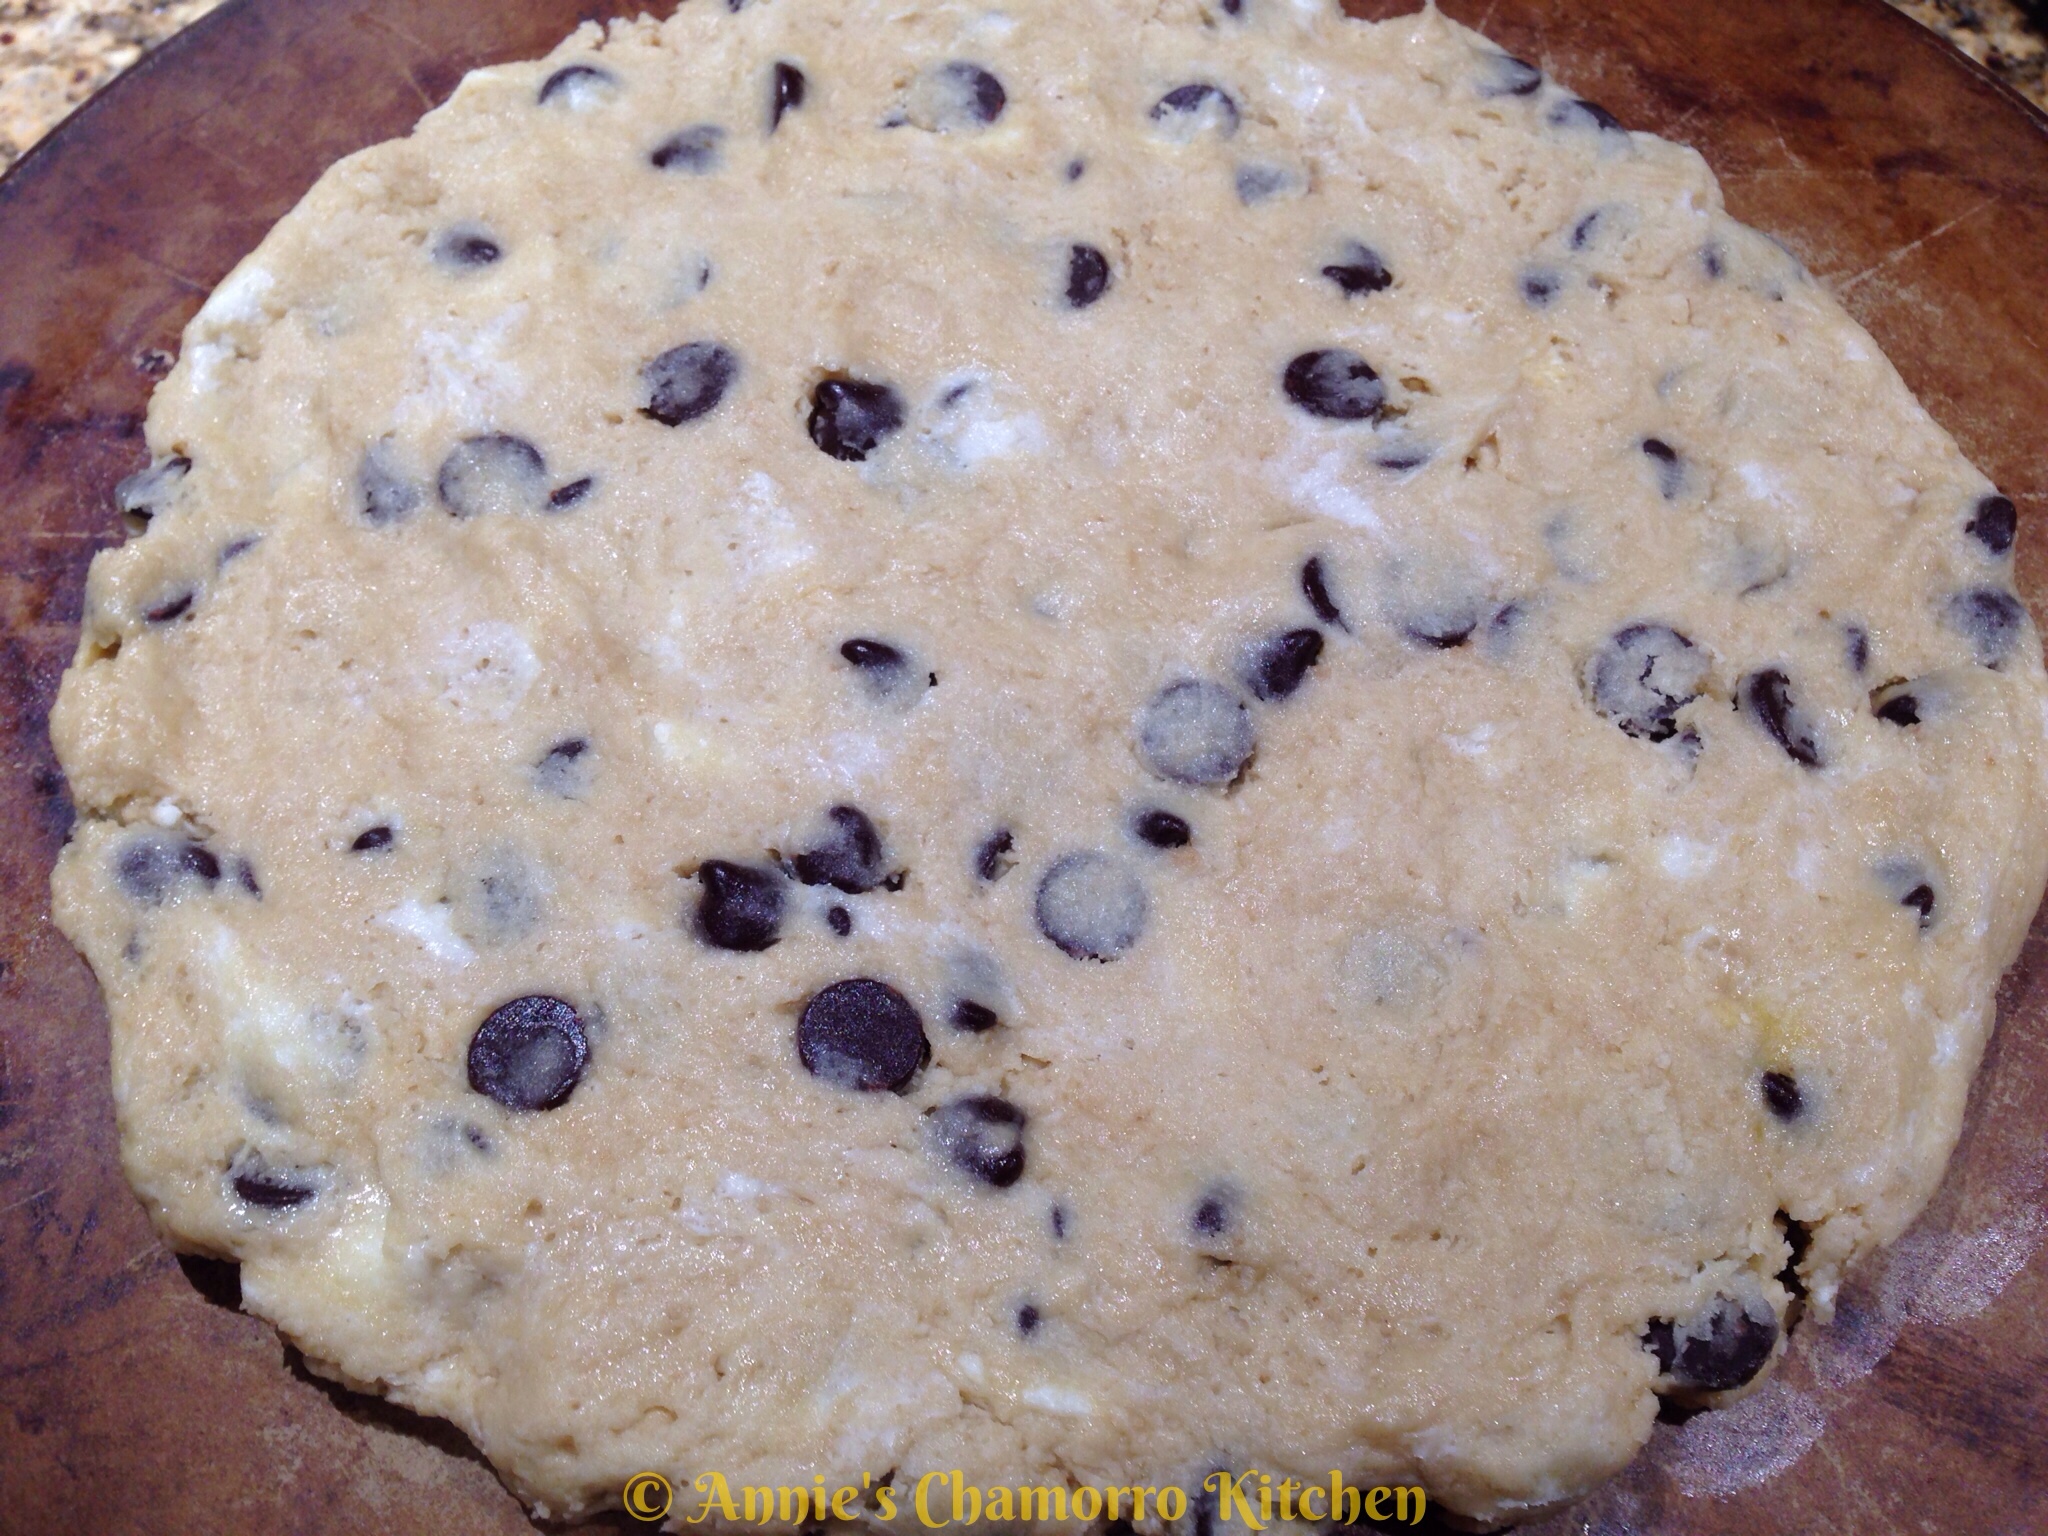
- Fold the apple mixture, craisins and chopped walnuts into the batter (it will be quite thick).
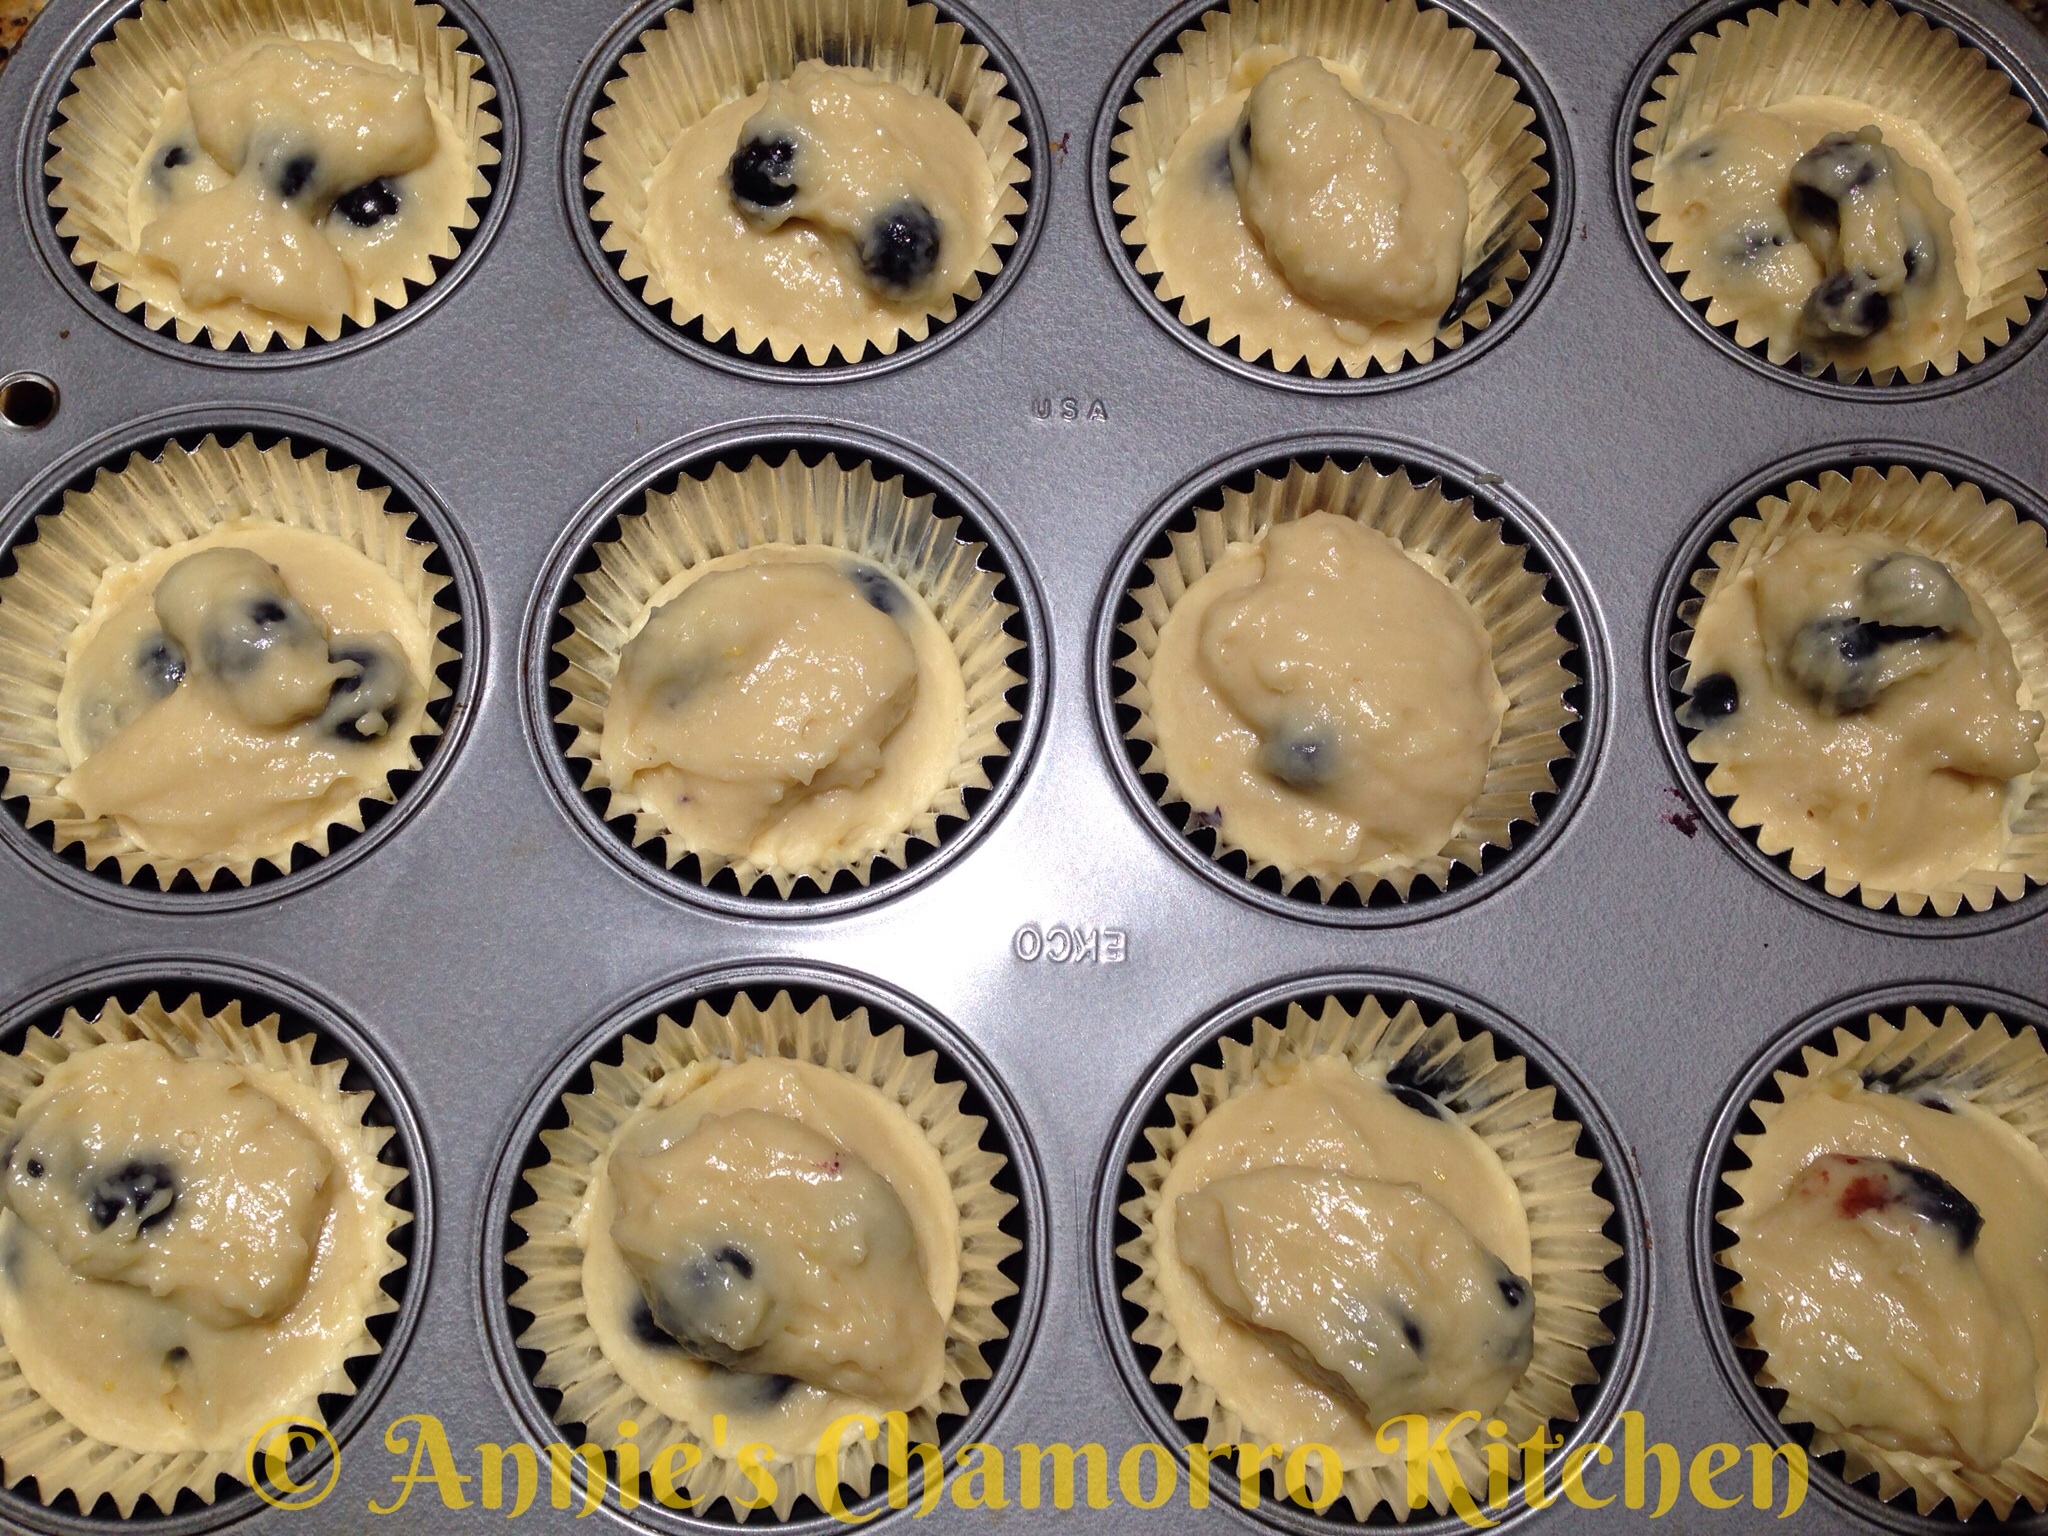
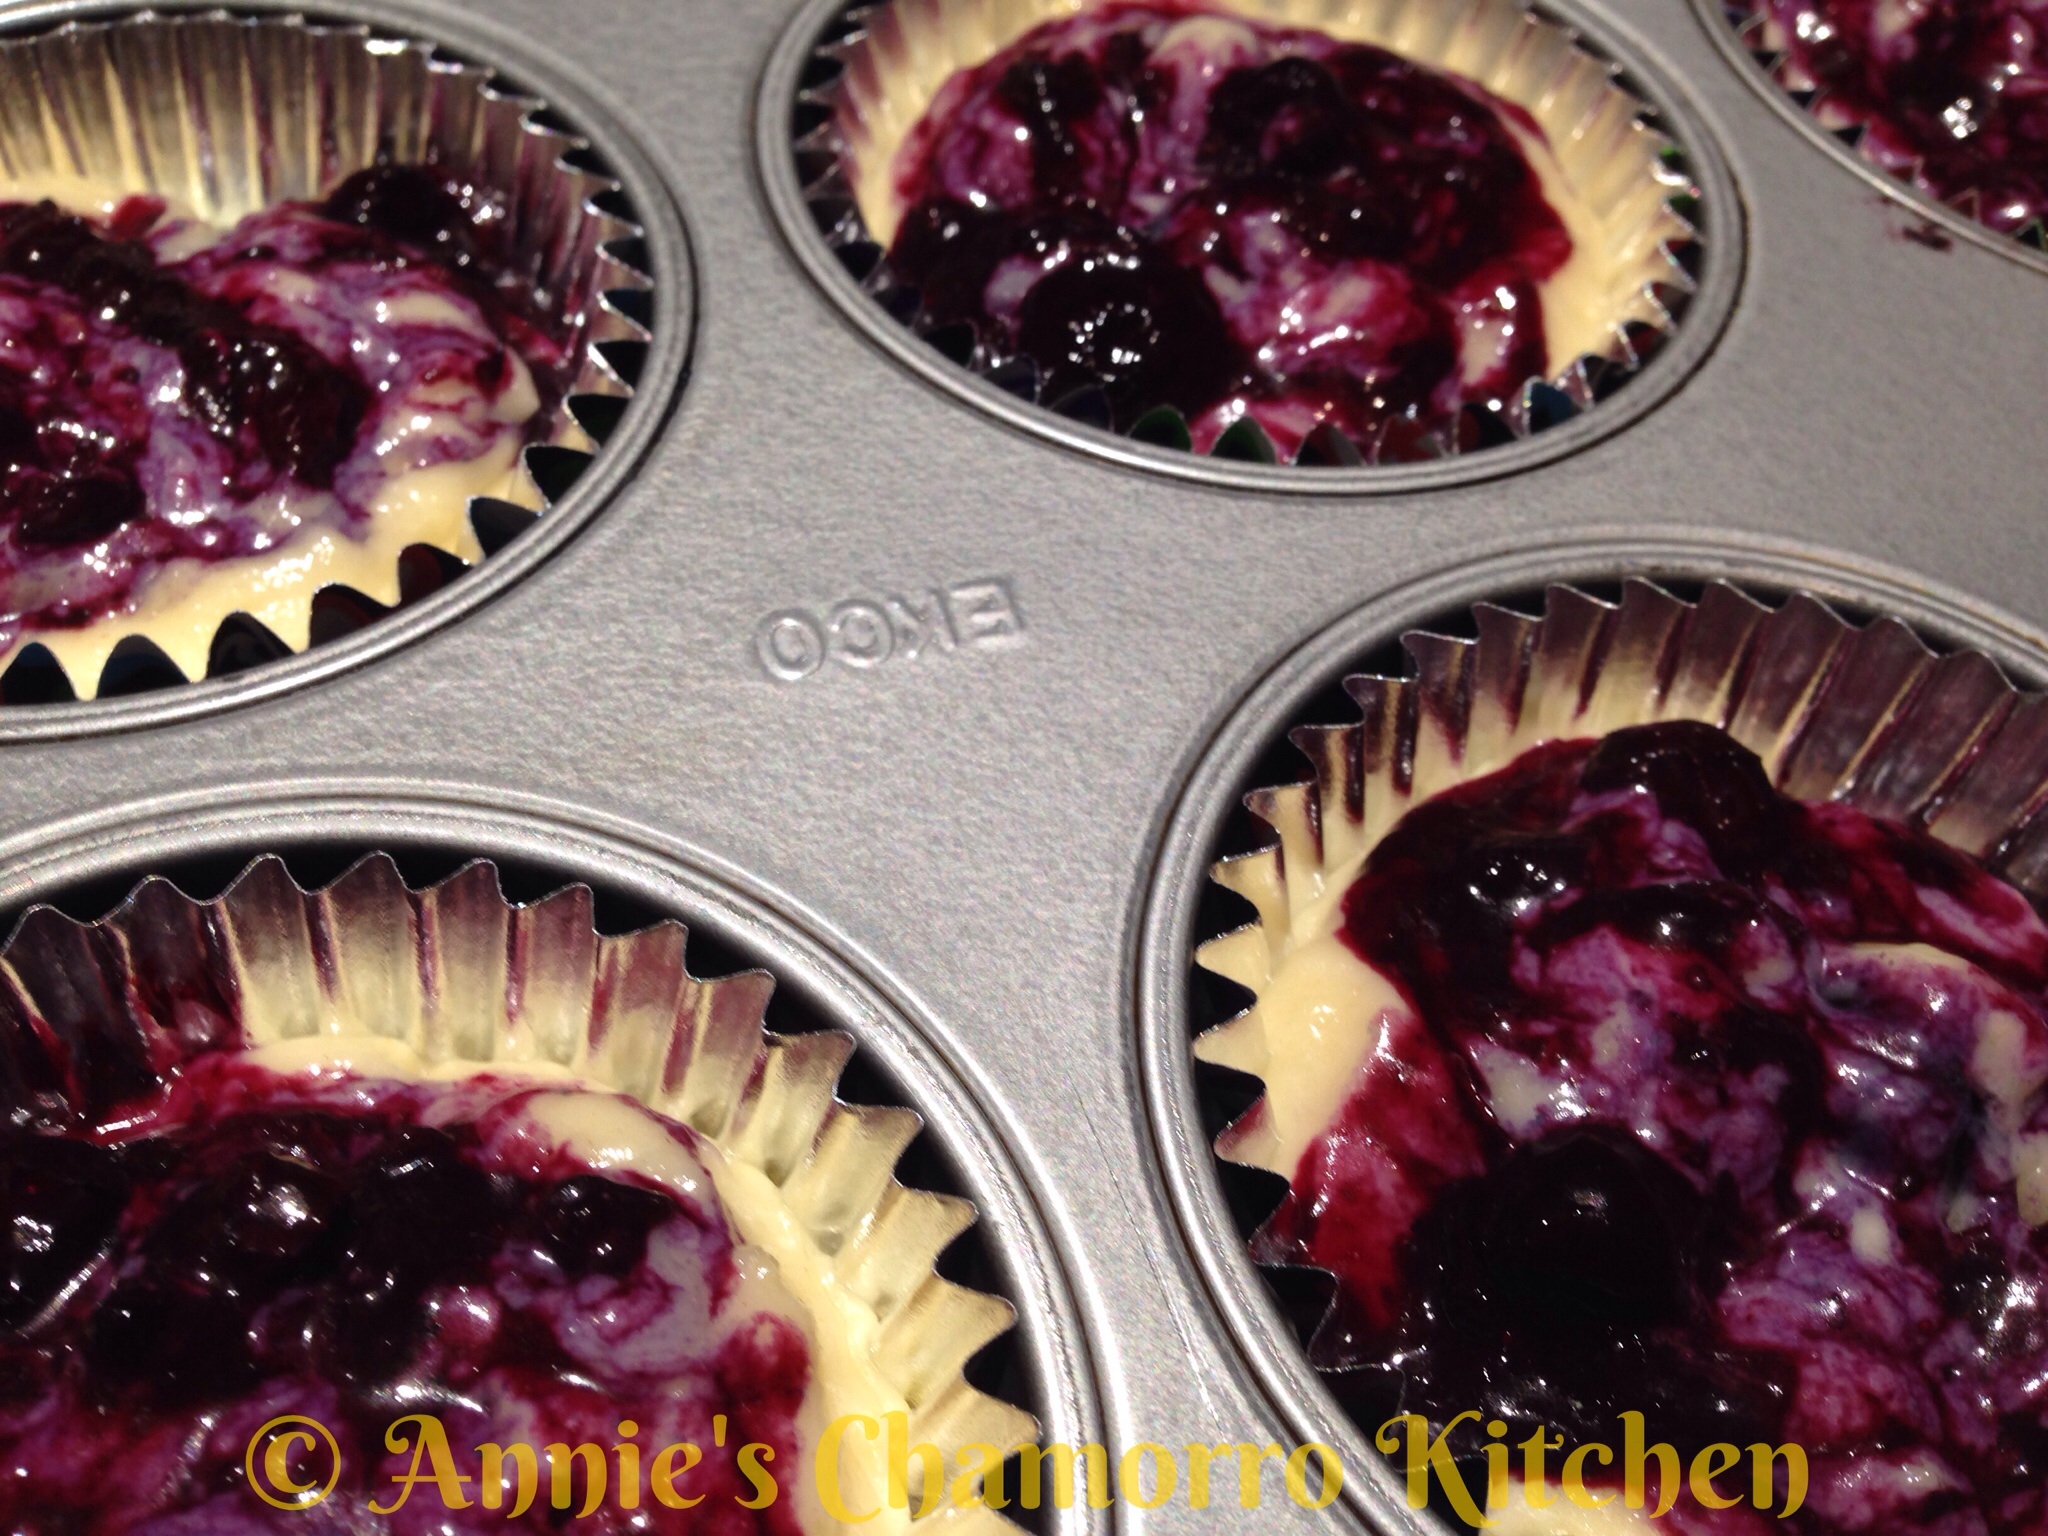
- Spoon the batter into the cupcake liners, filling about ⅔ full.
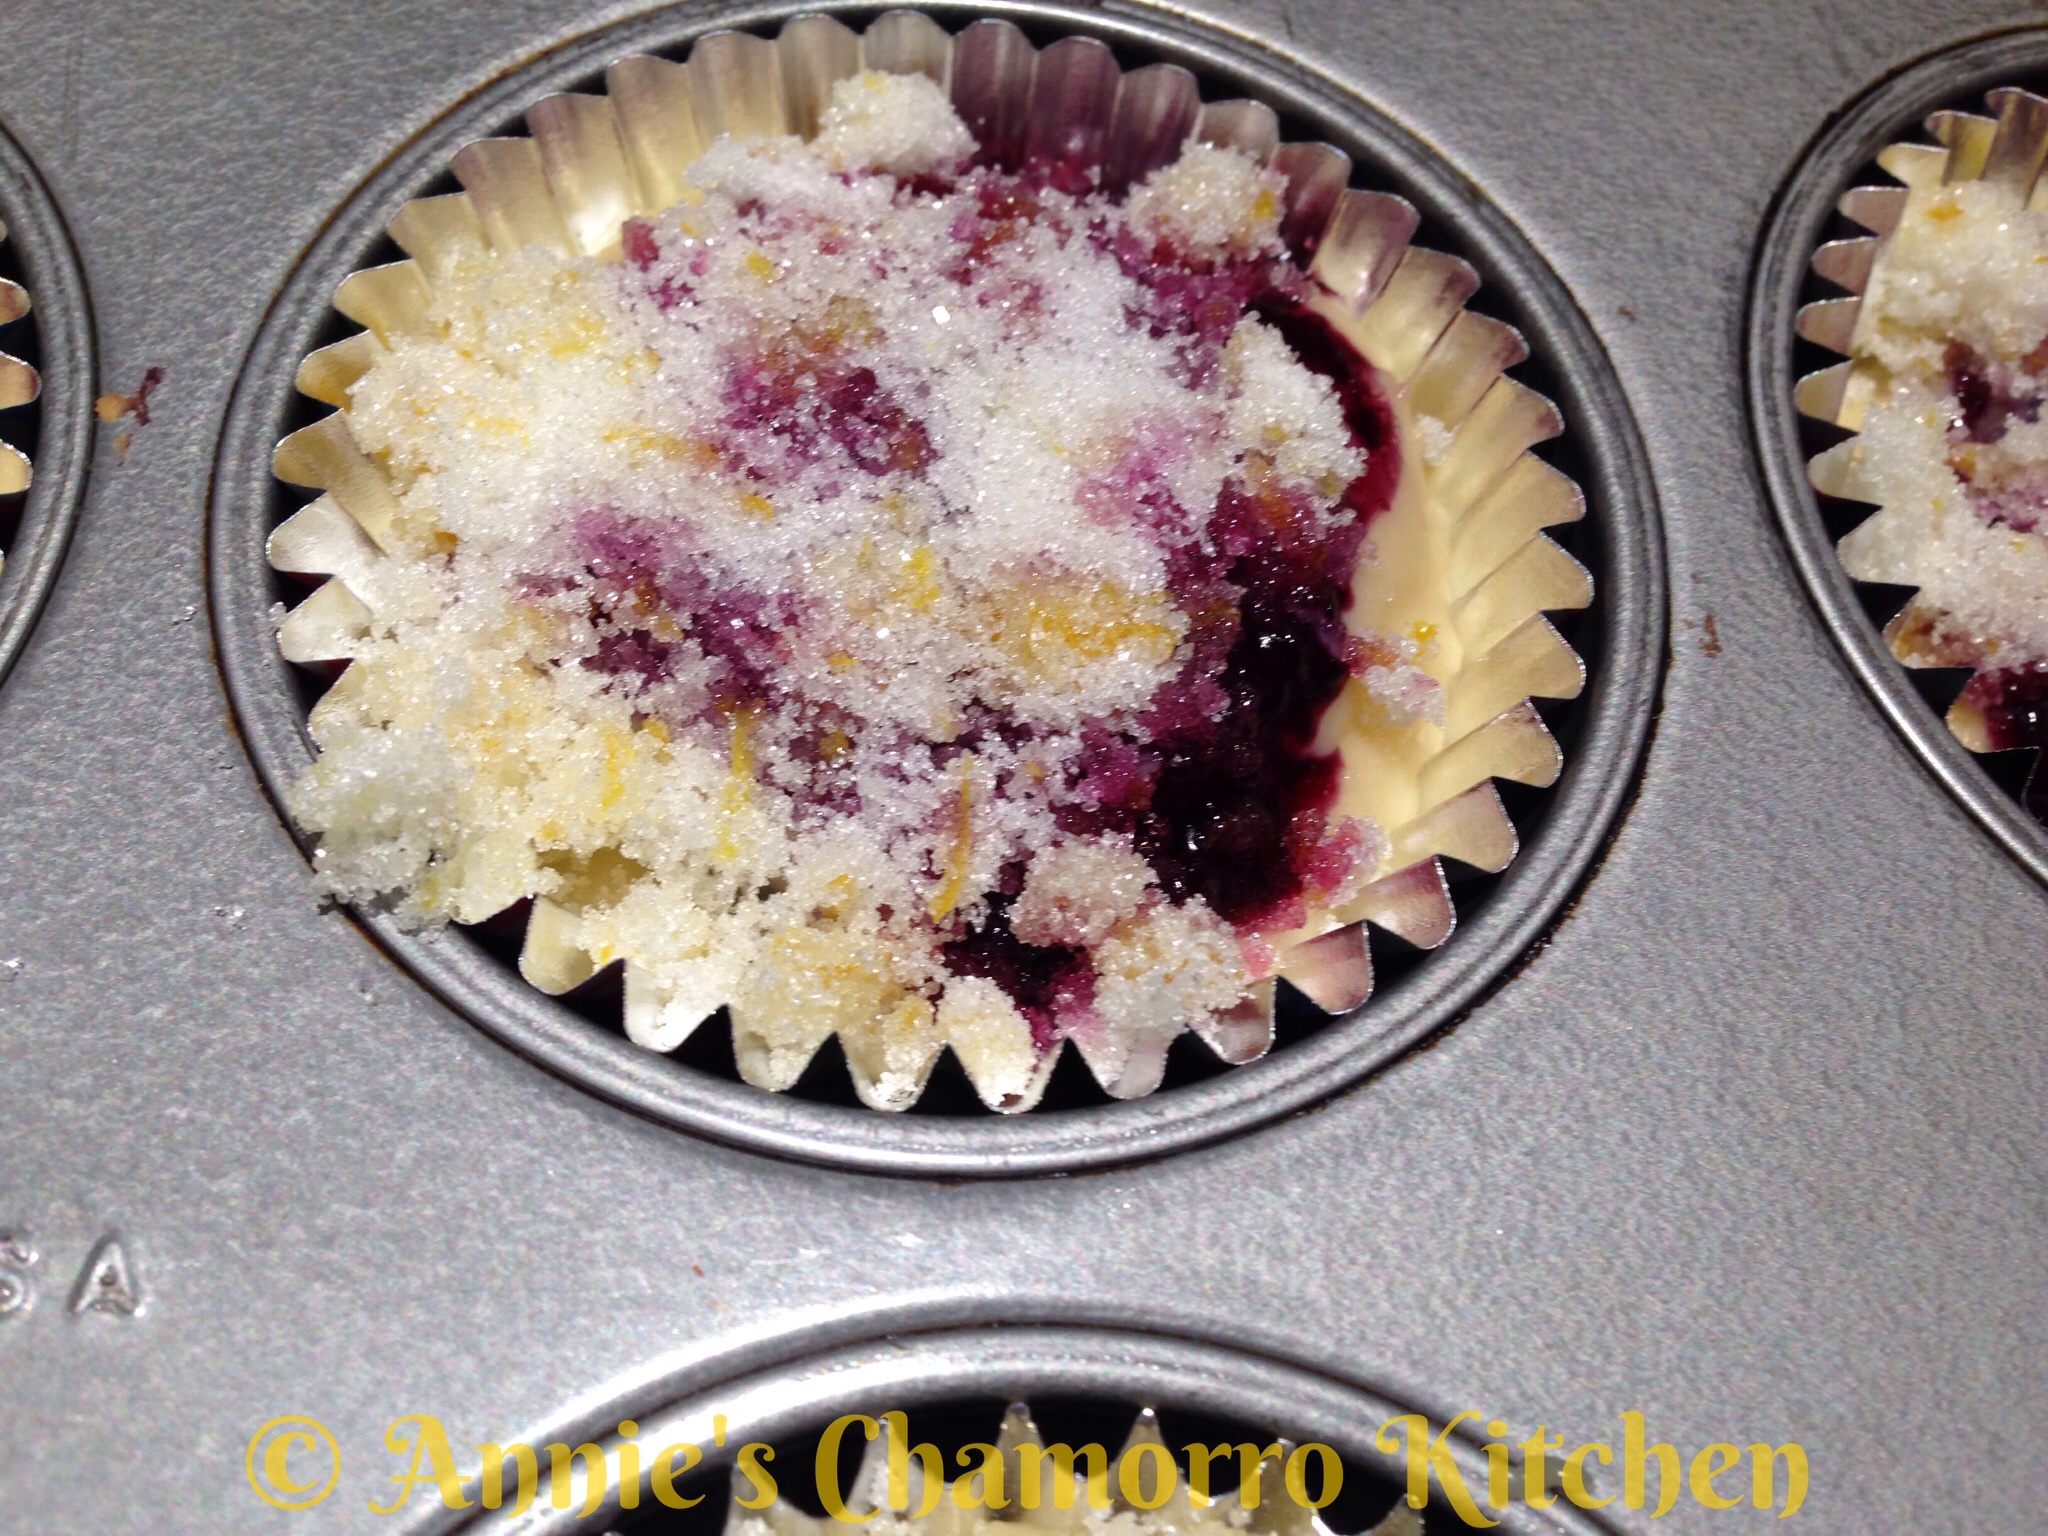
- Top with streusel topping then bake for 20-25 minutes or until a toothpick inserted near the center comes out clean.
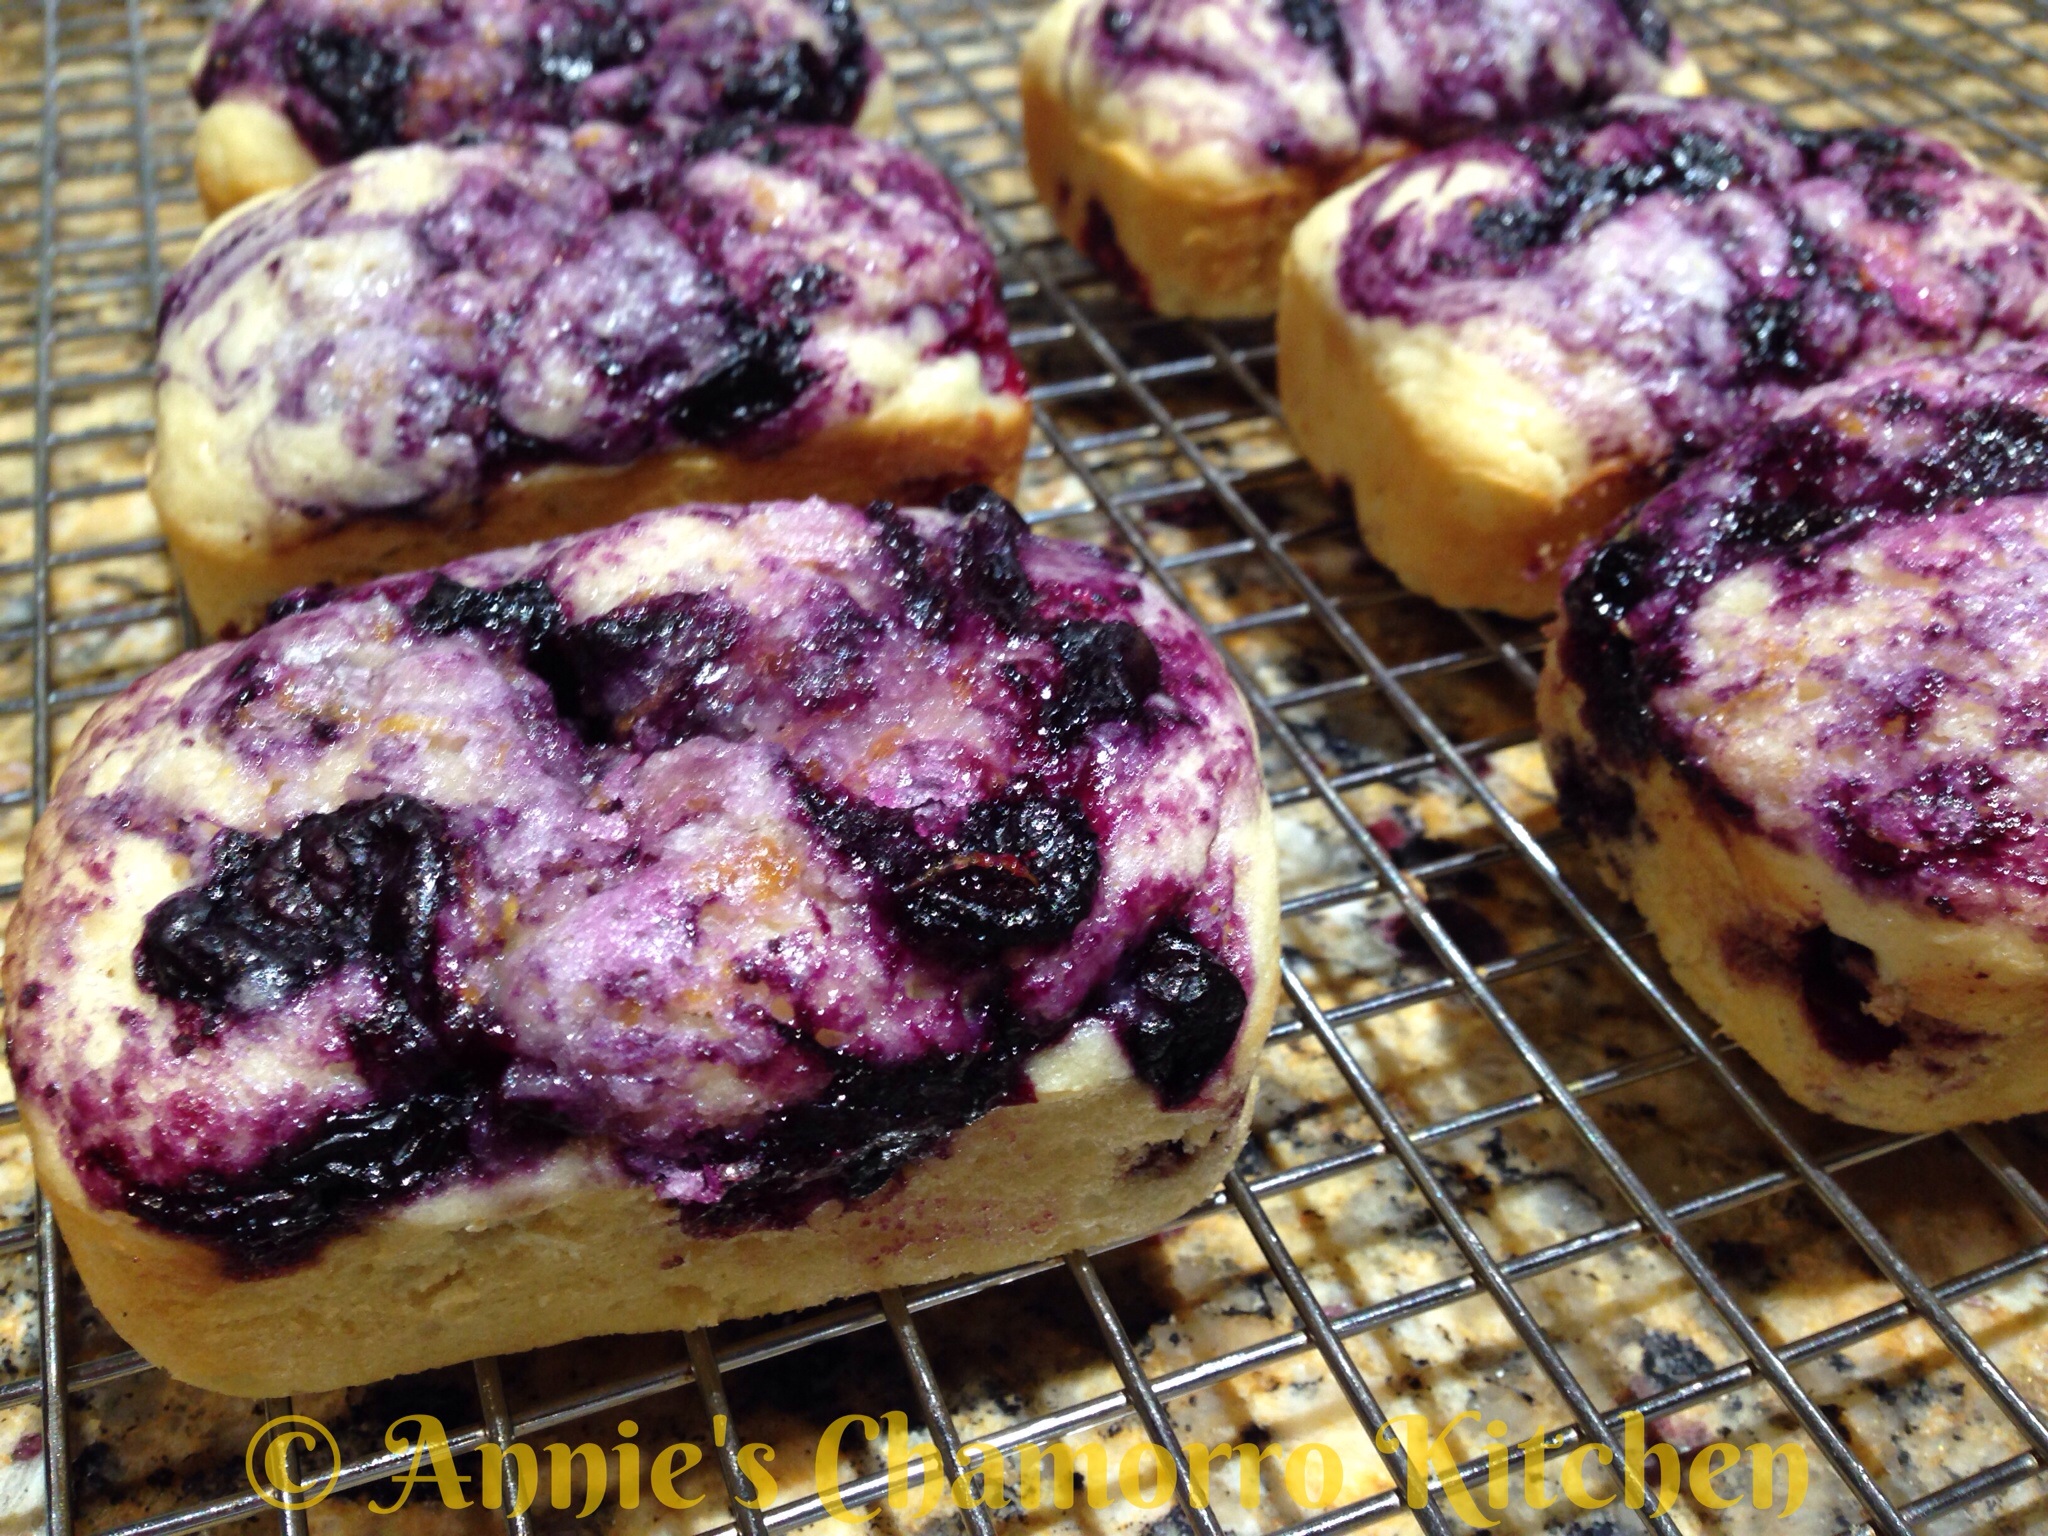
- Cool the cupcakes/muffins in the pan for 10-15 minutes then remove from the pan and cool completely on a wire rack.
Make the Streusel Topping:
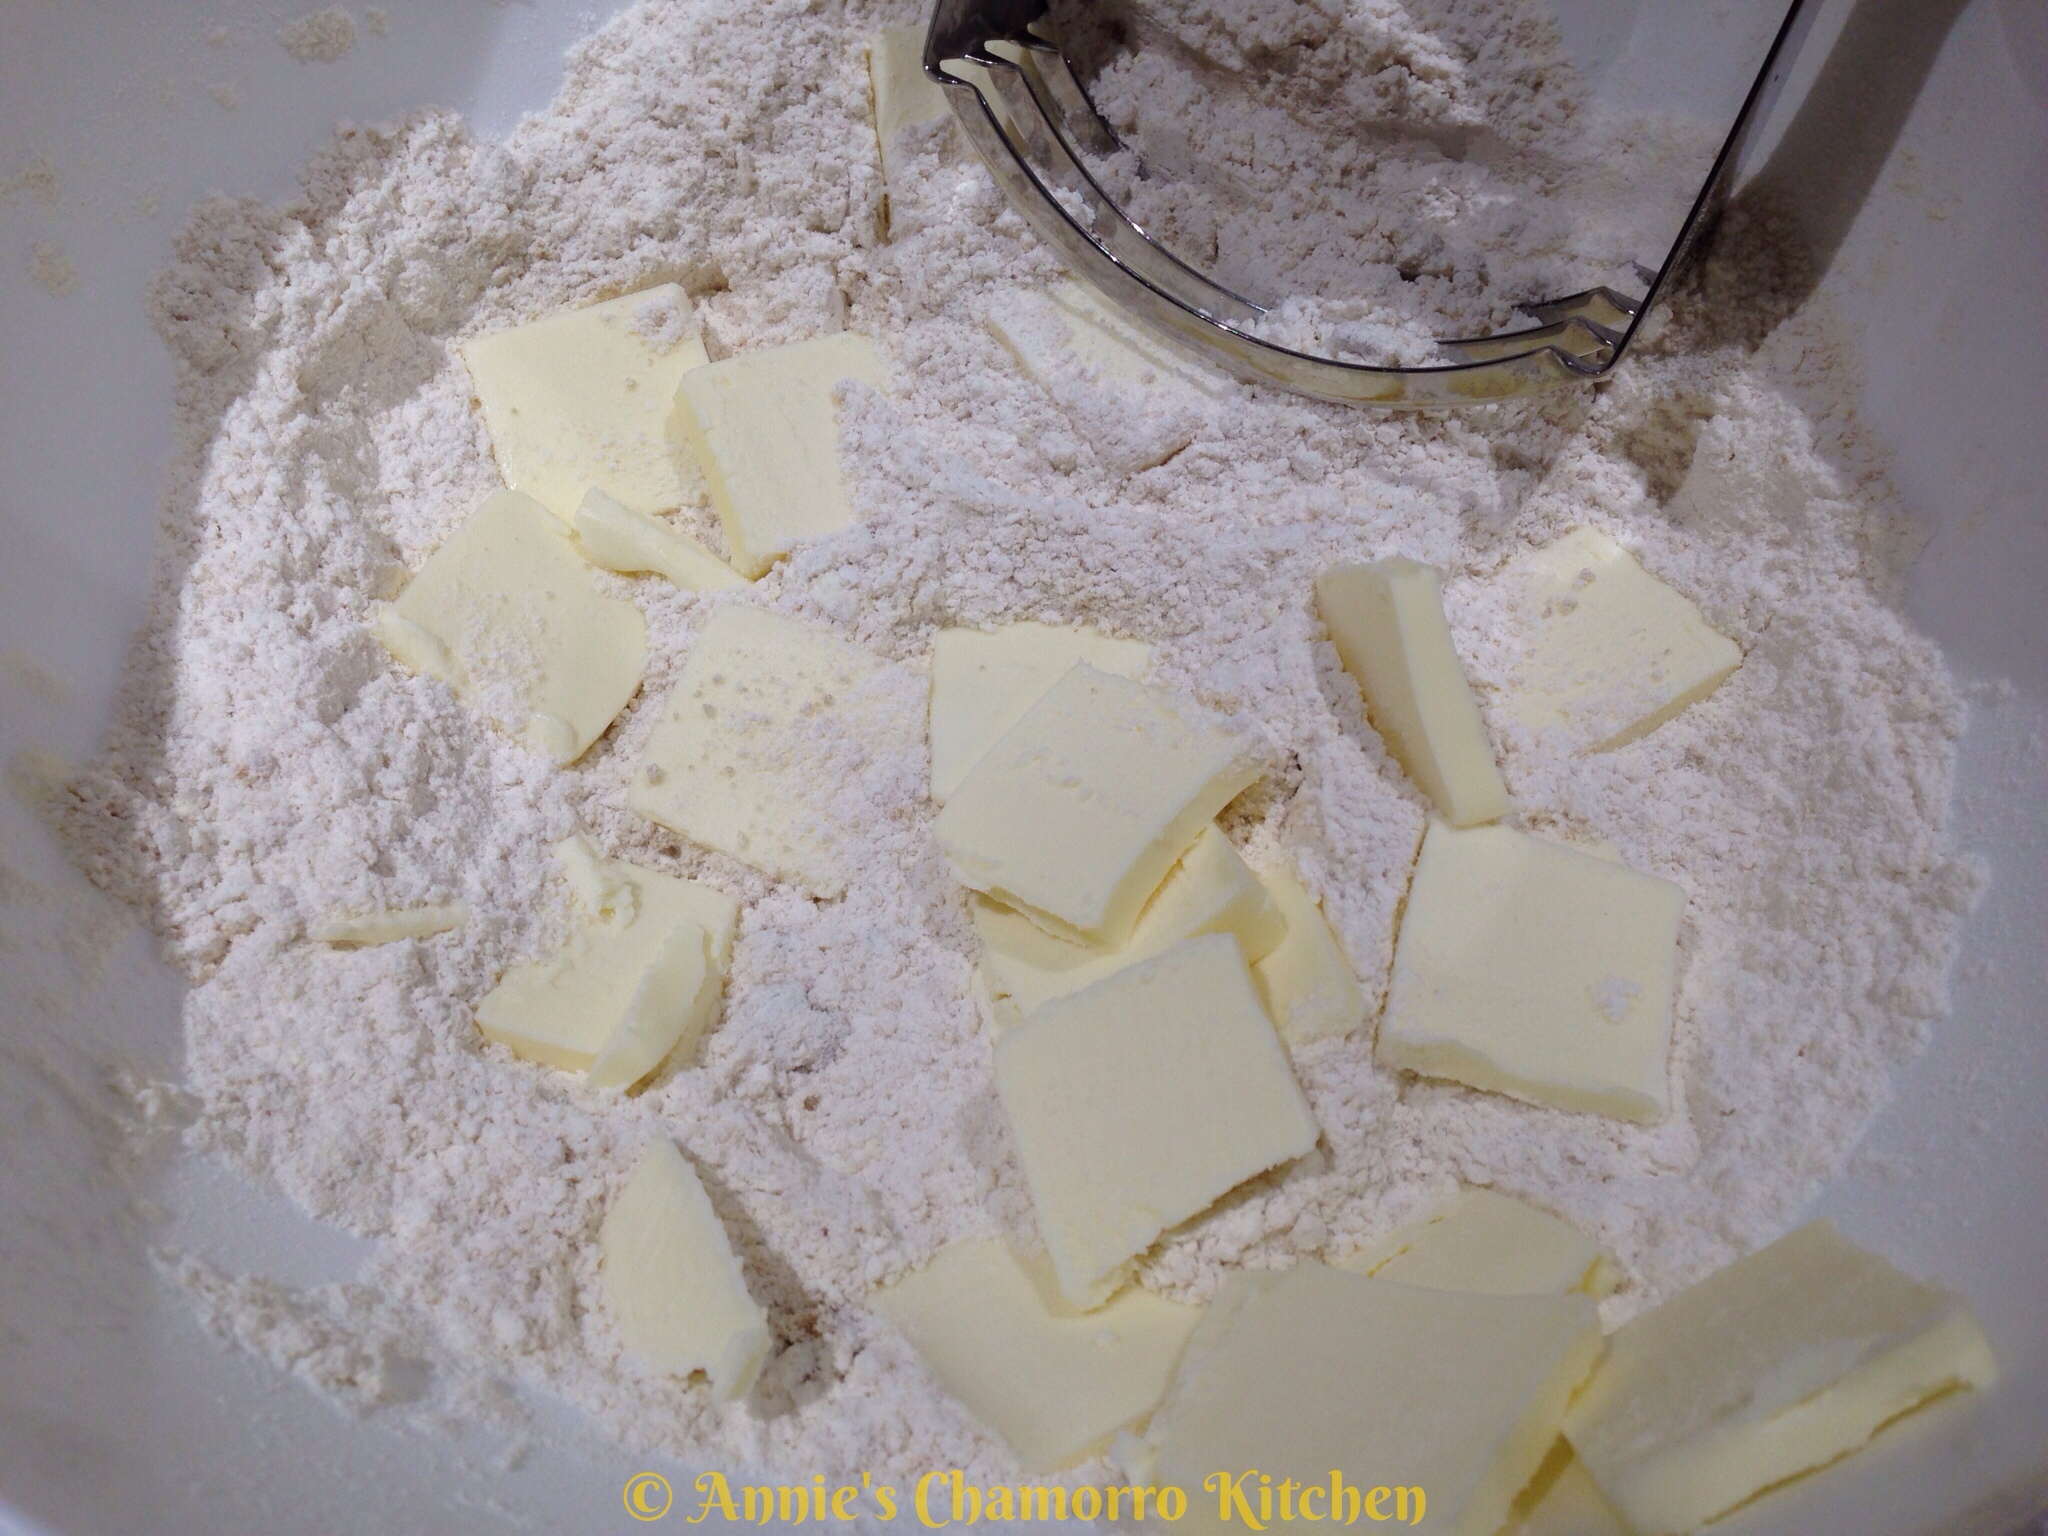
- In a medium bowl combine the brown sugar, 4 tablespoons of flour, lemon zest, melted butter and chopped nuts (you can use a food chopper to chop these nuts very fine).
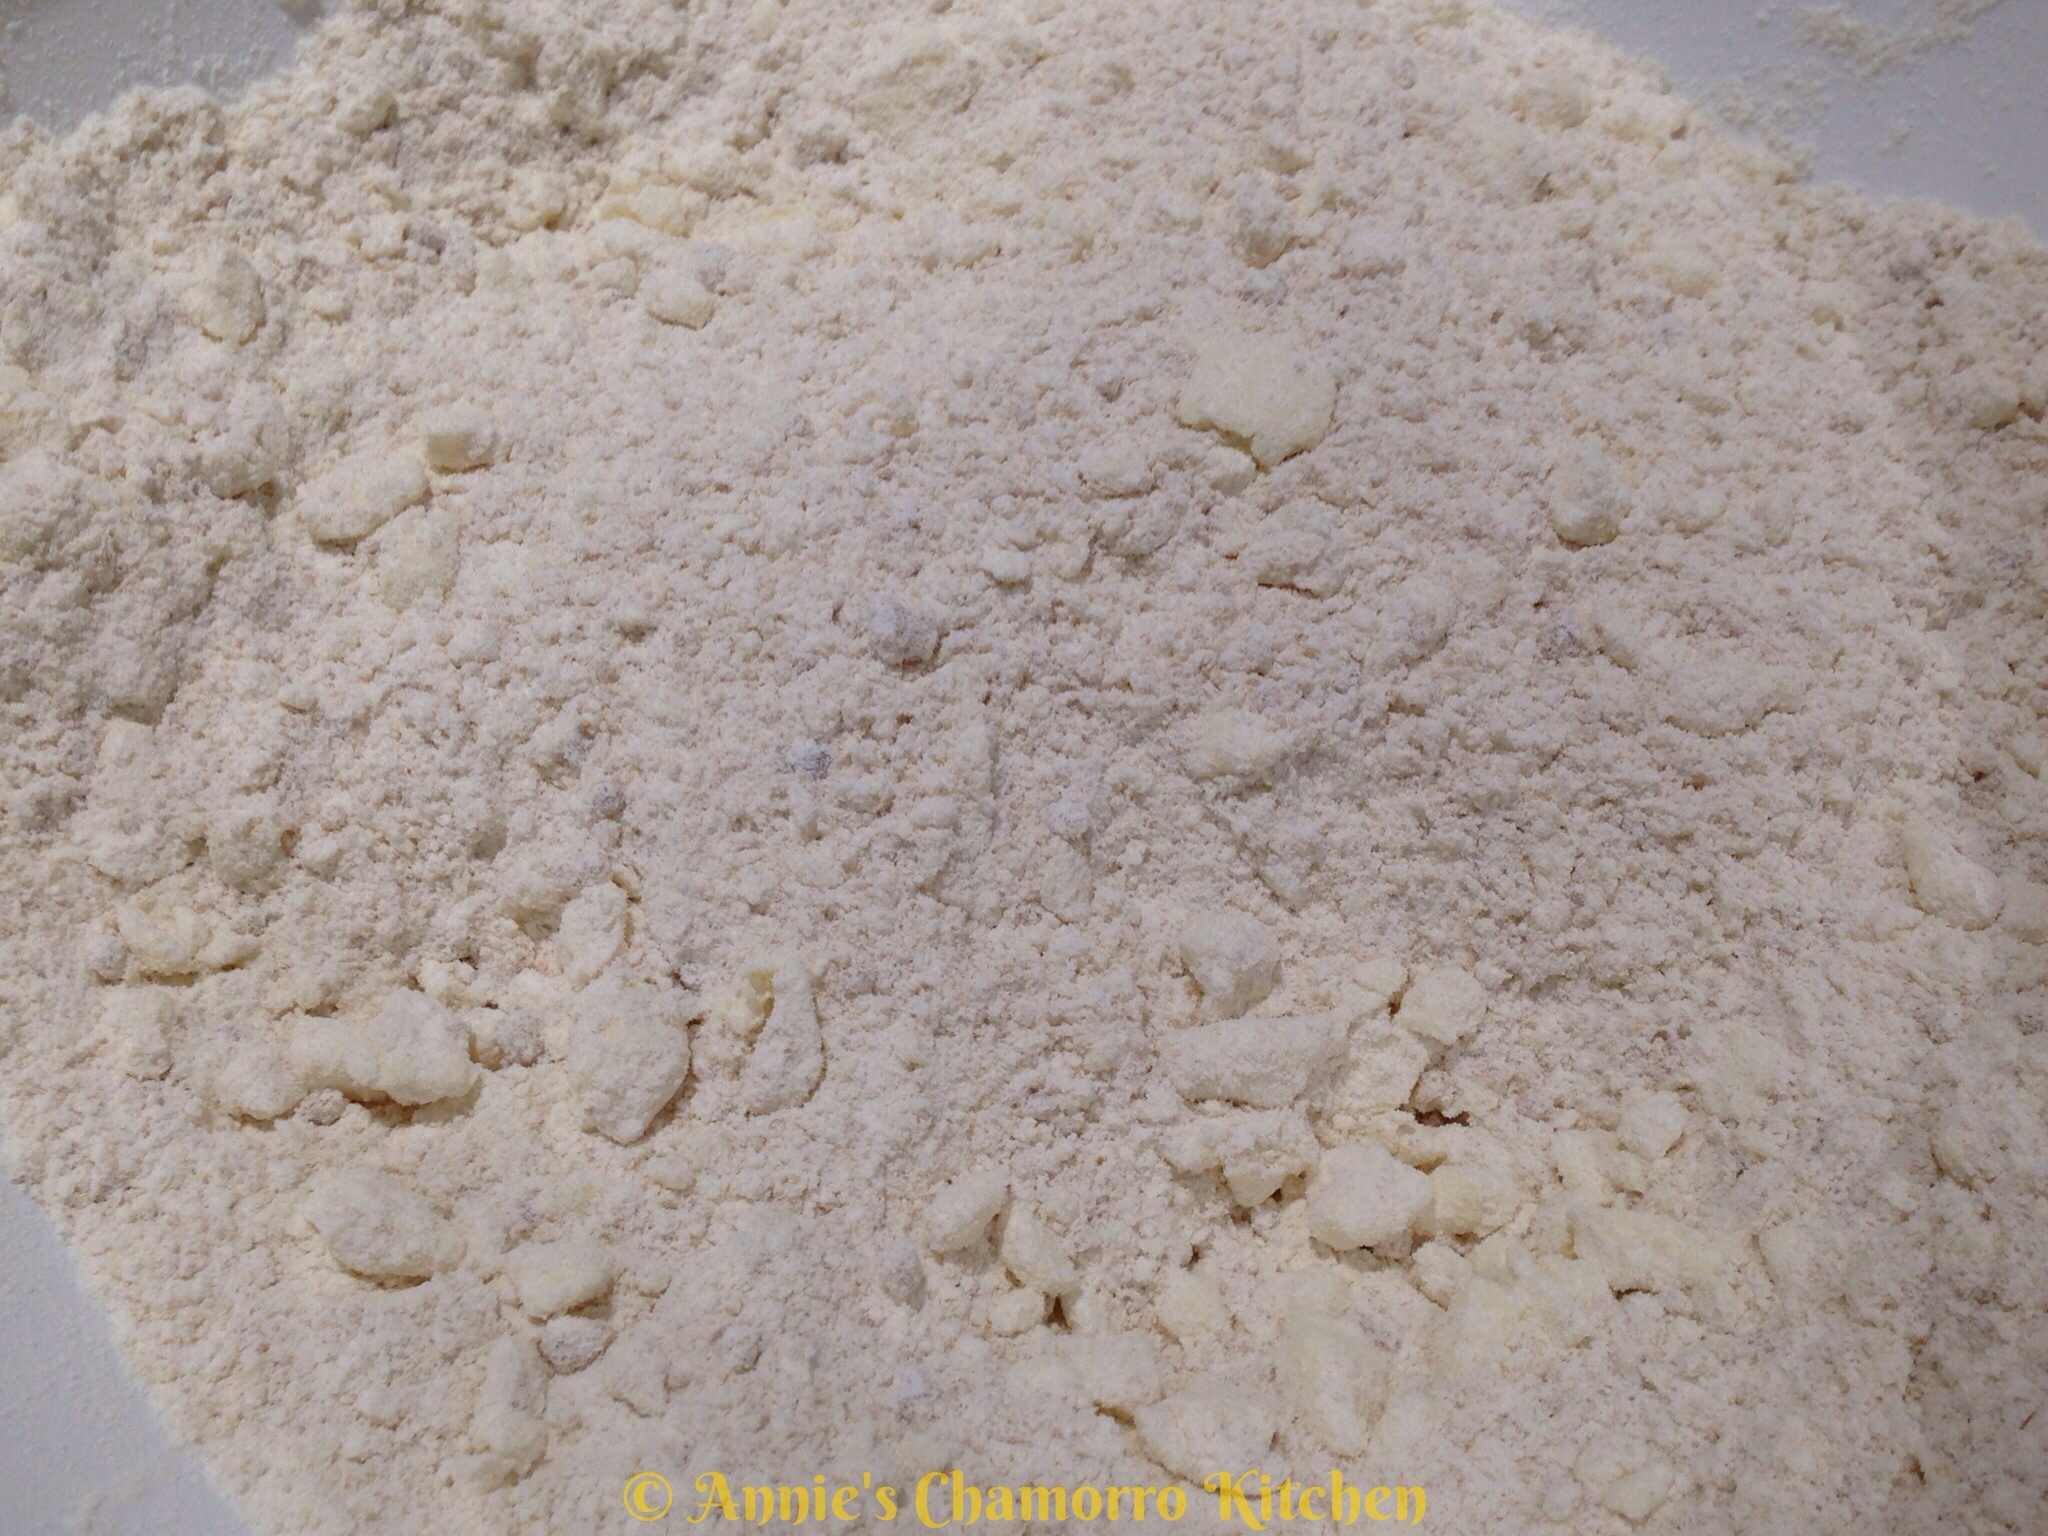
- Mix well (you can use a fork) until the mixture resembles coarse crumbs.
Make the Apple-Cream Cheese Frosting:
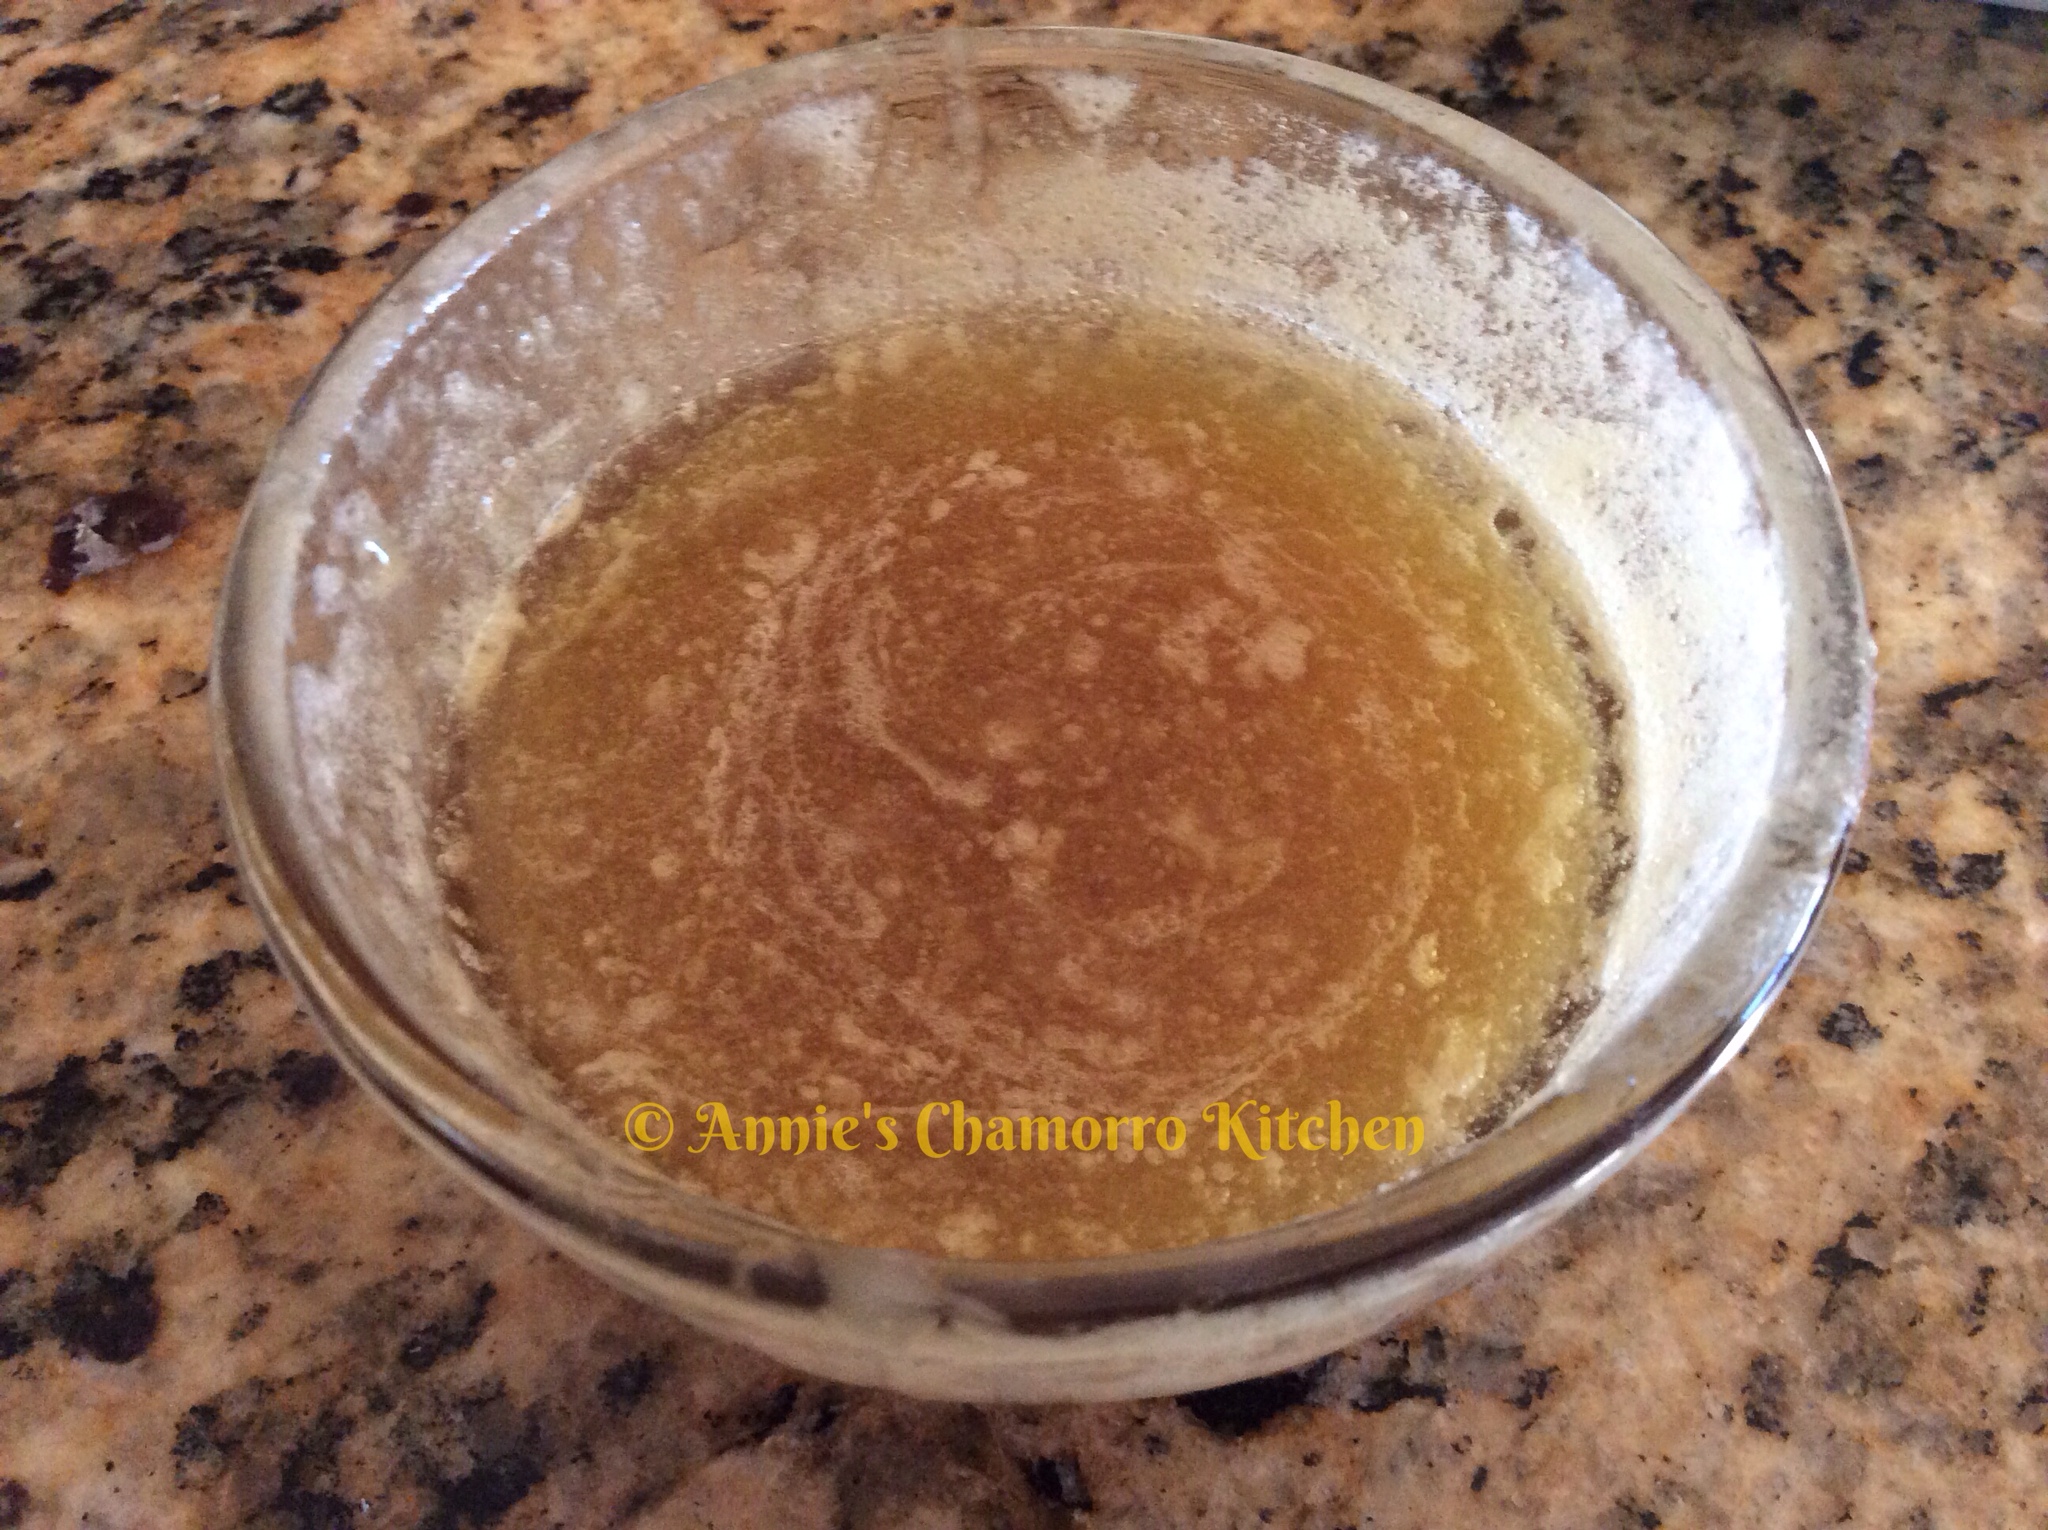
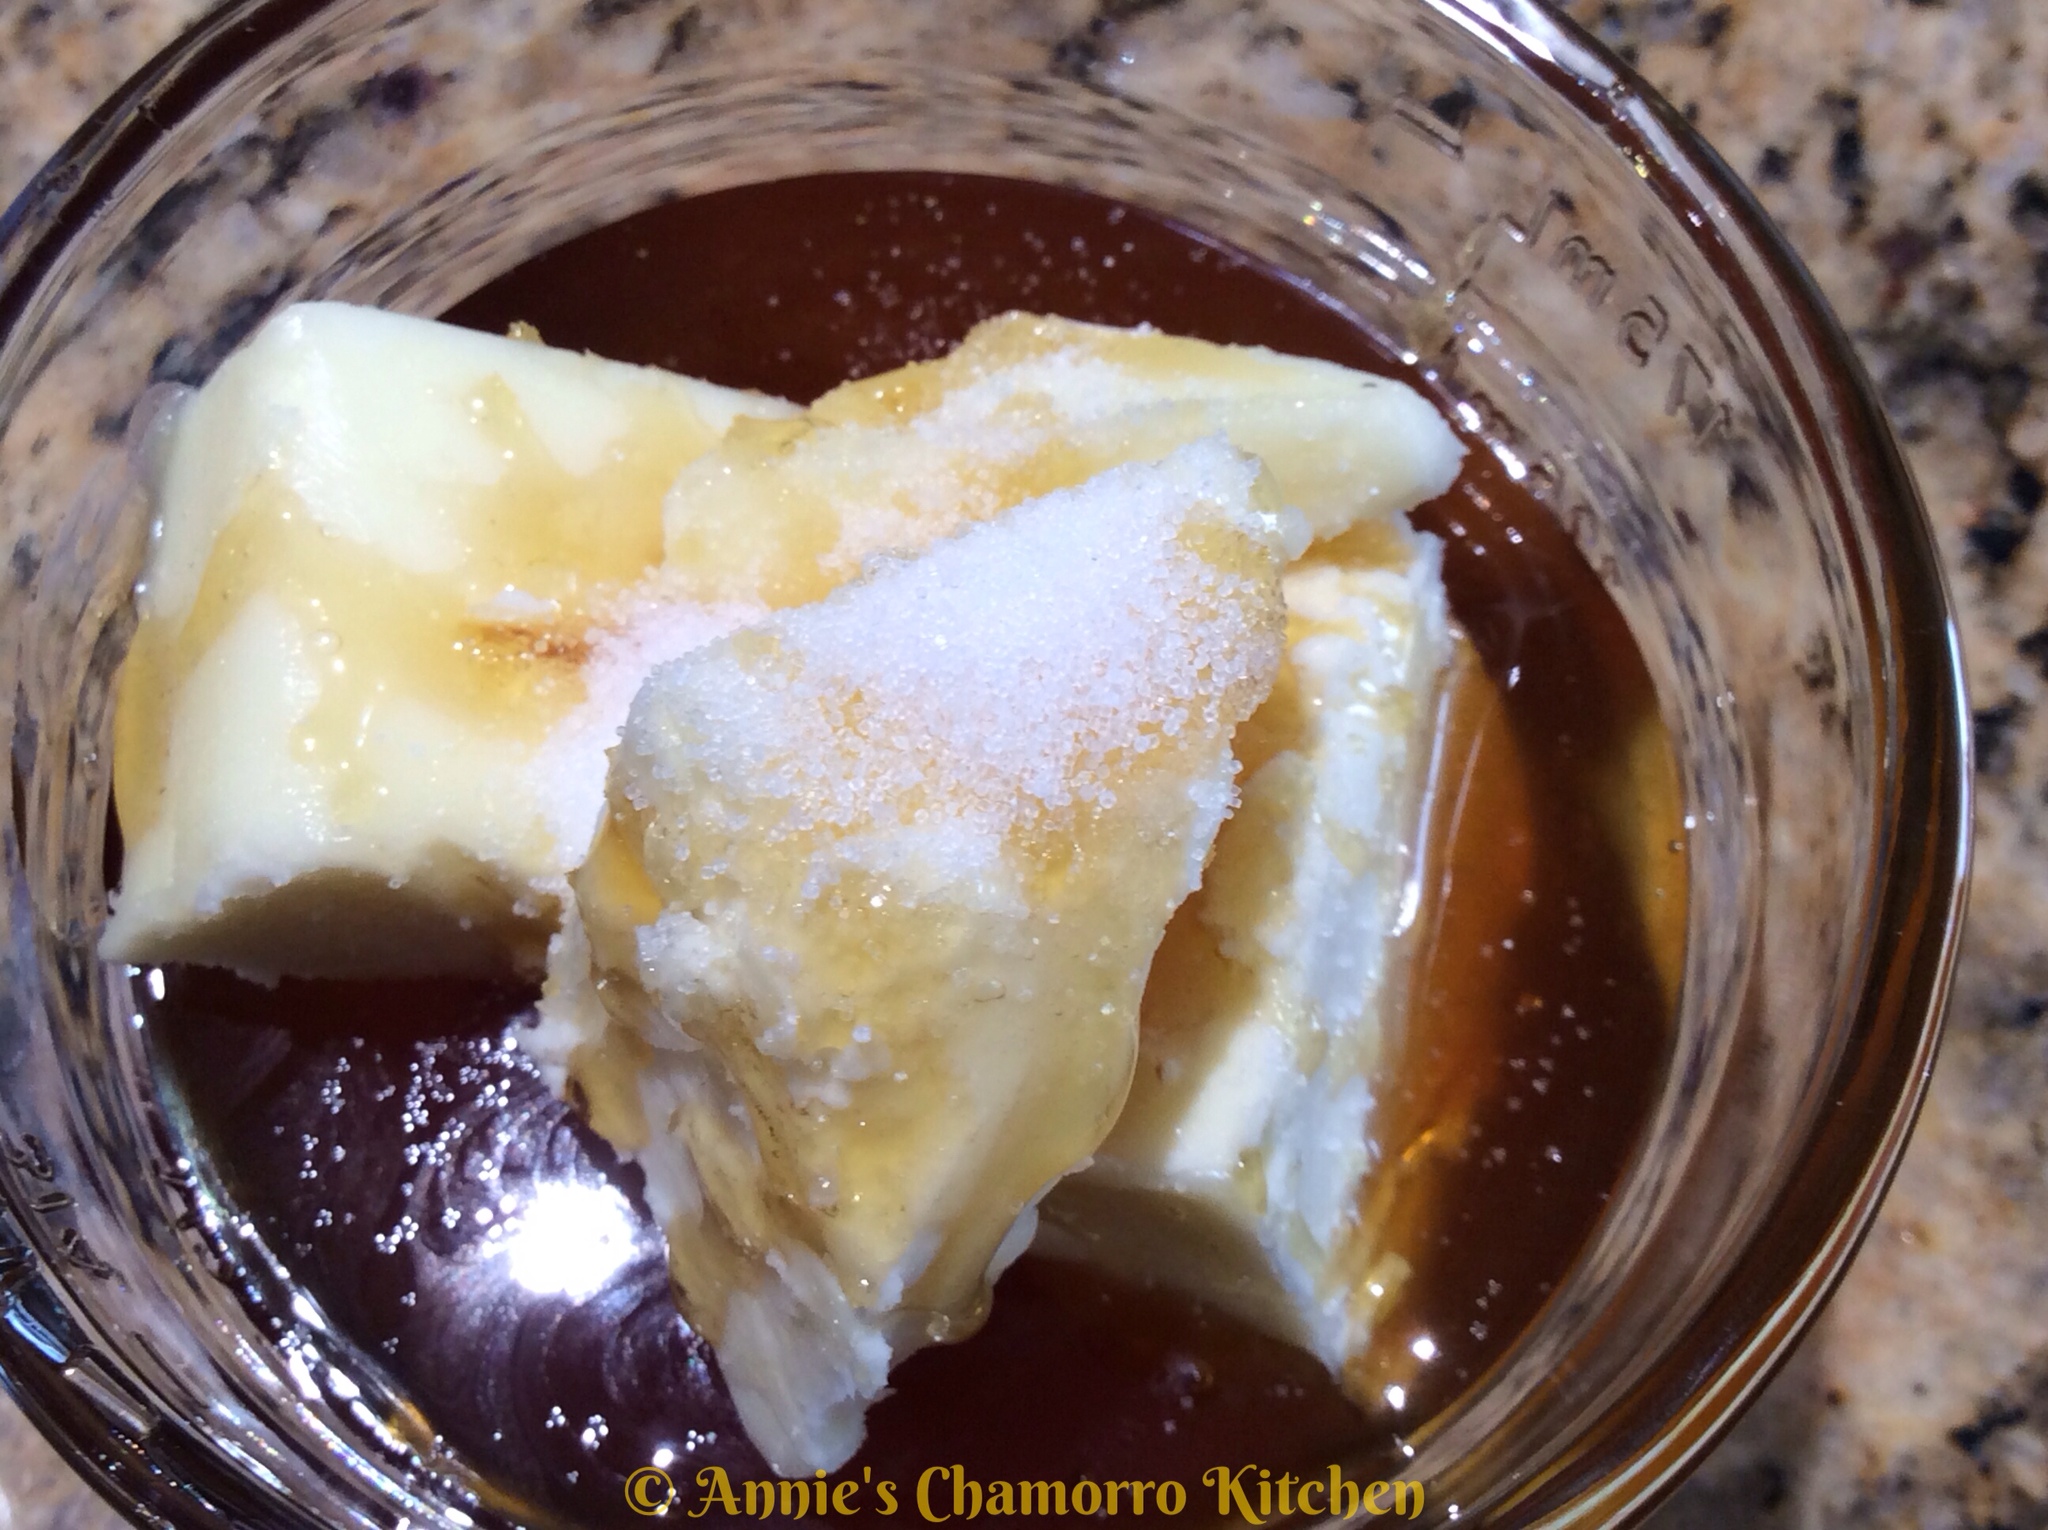
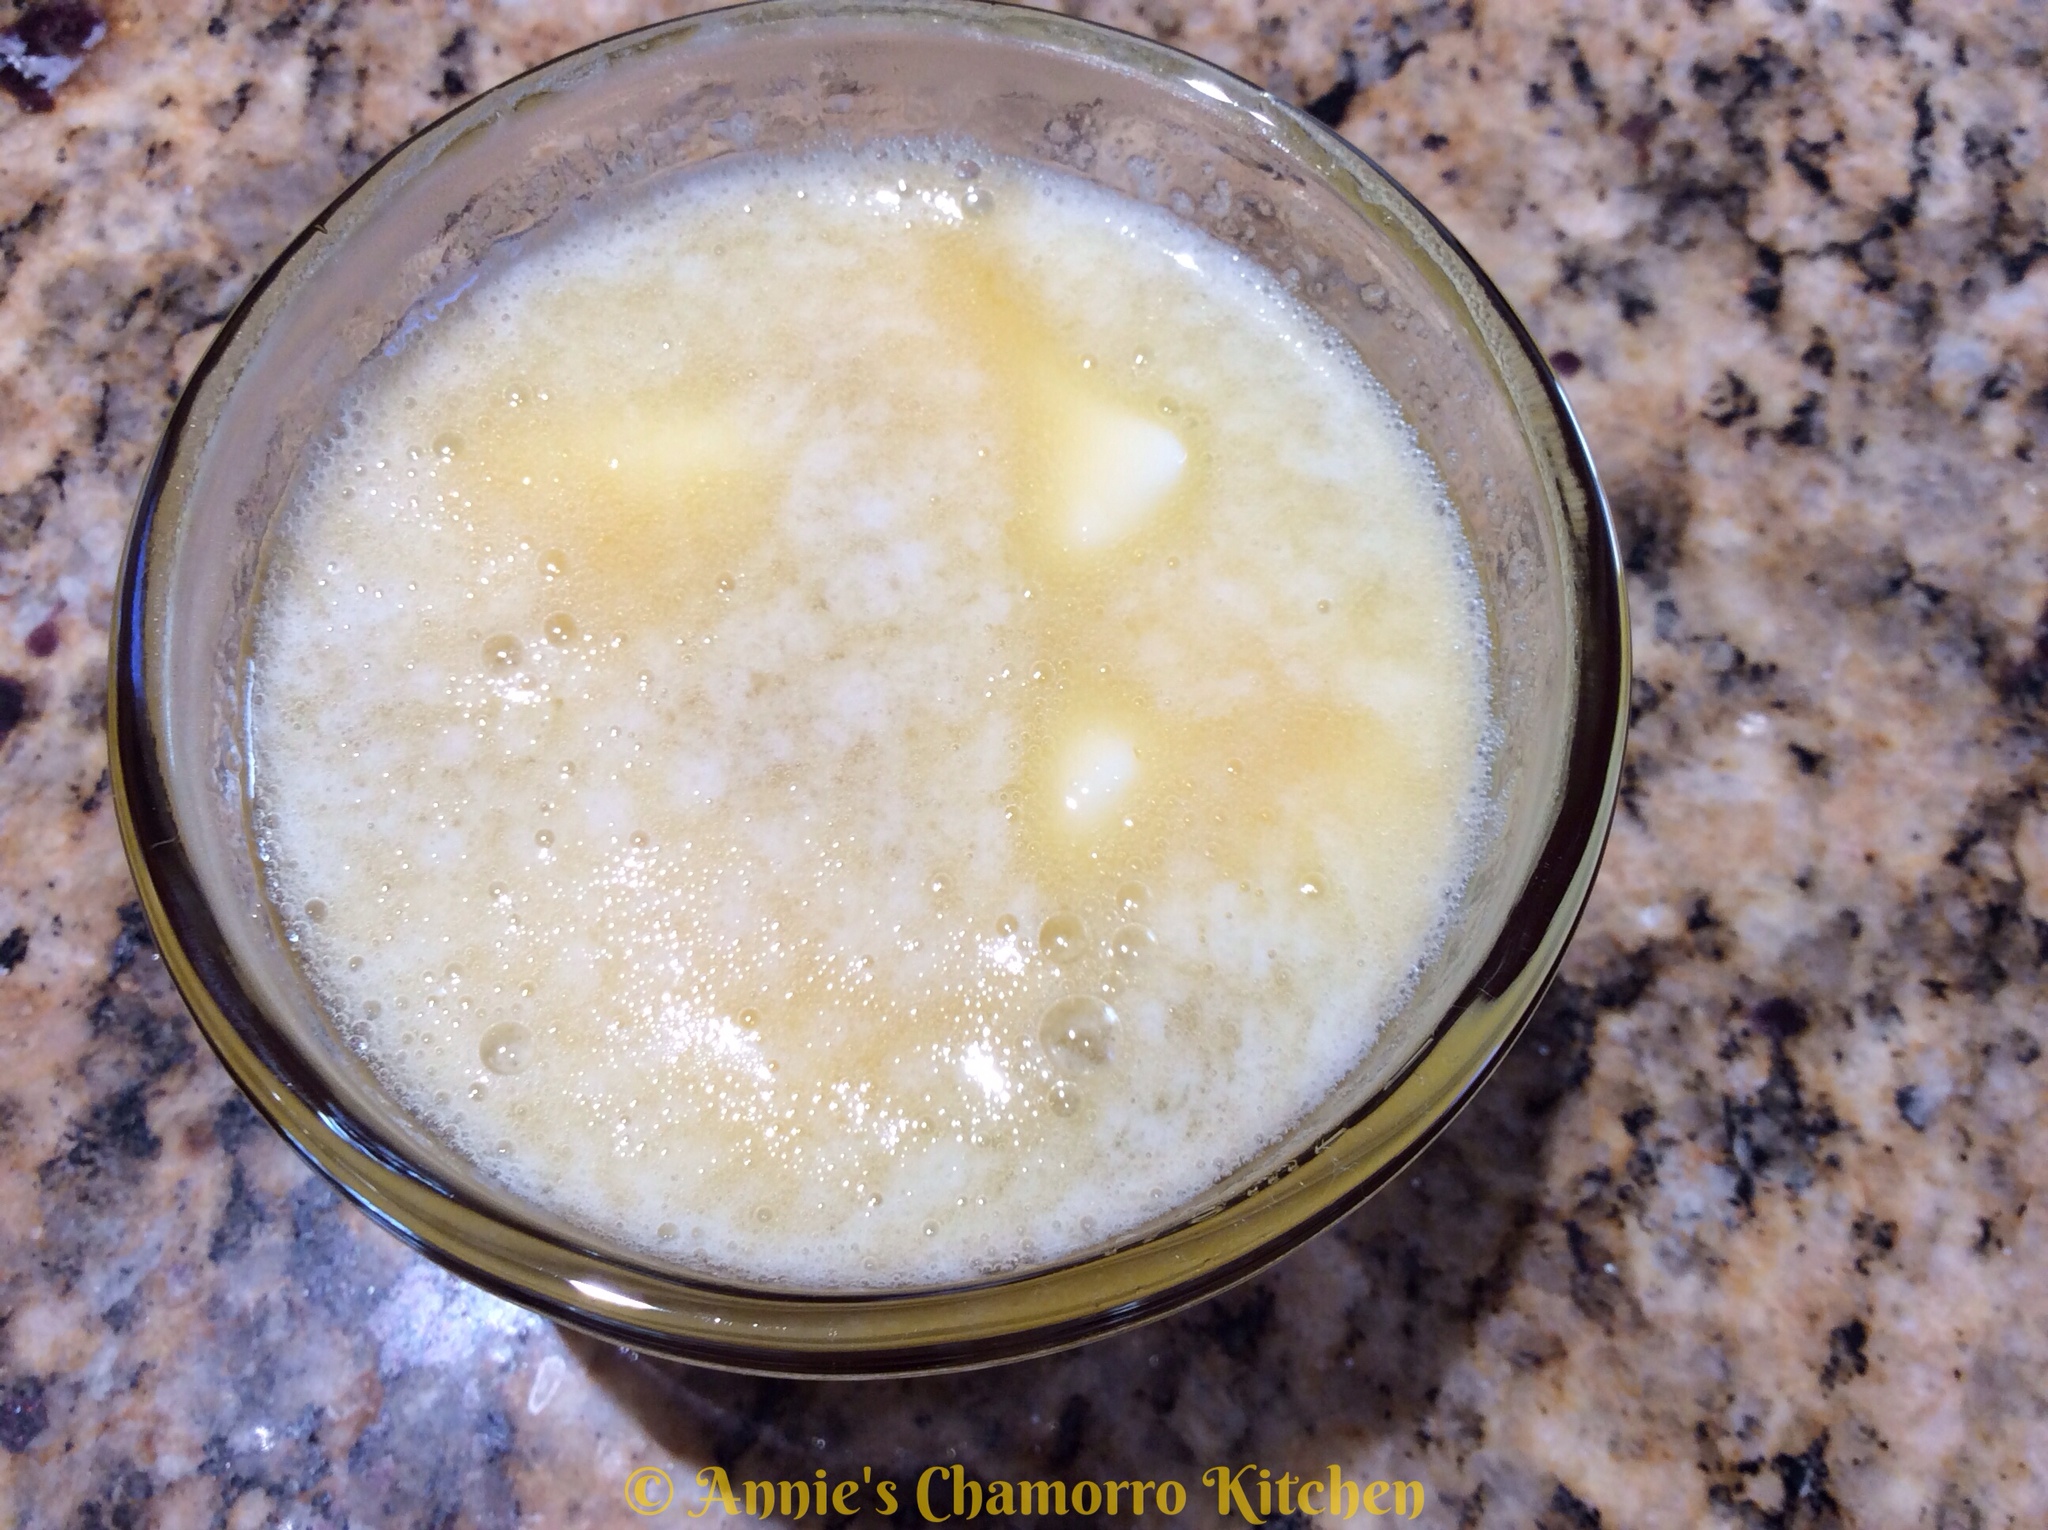
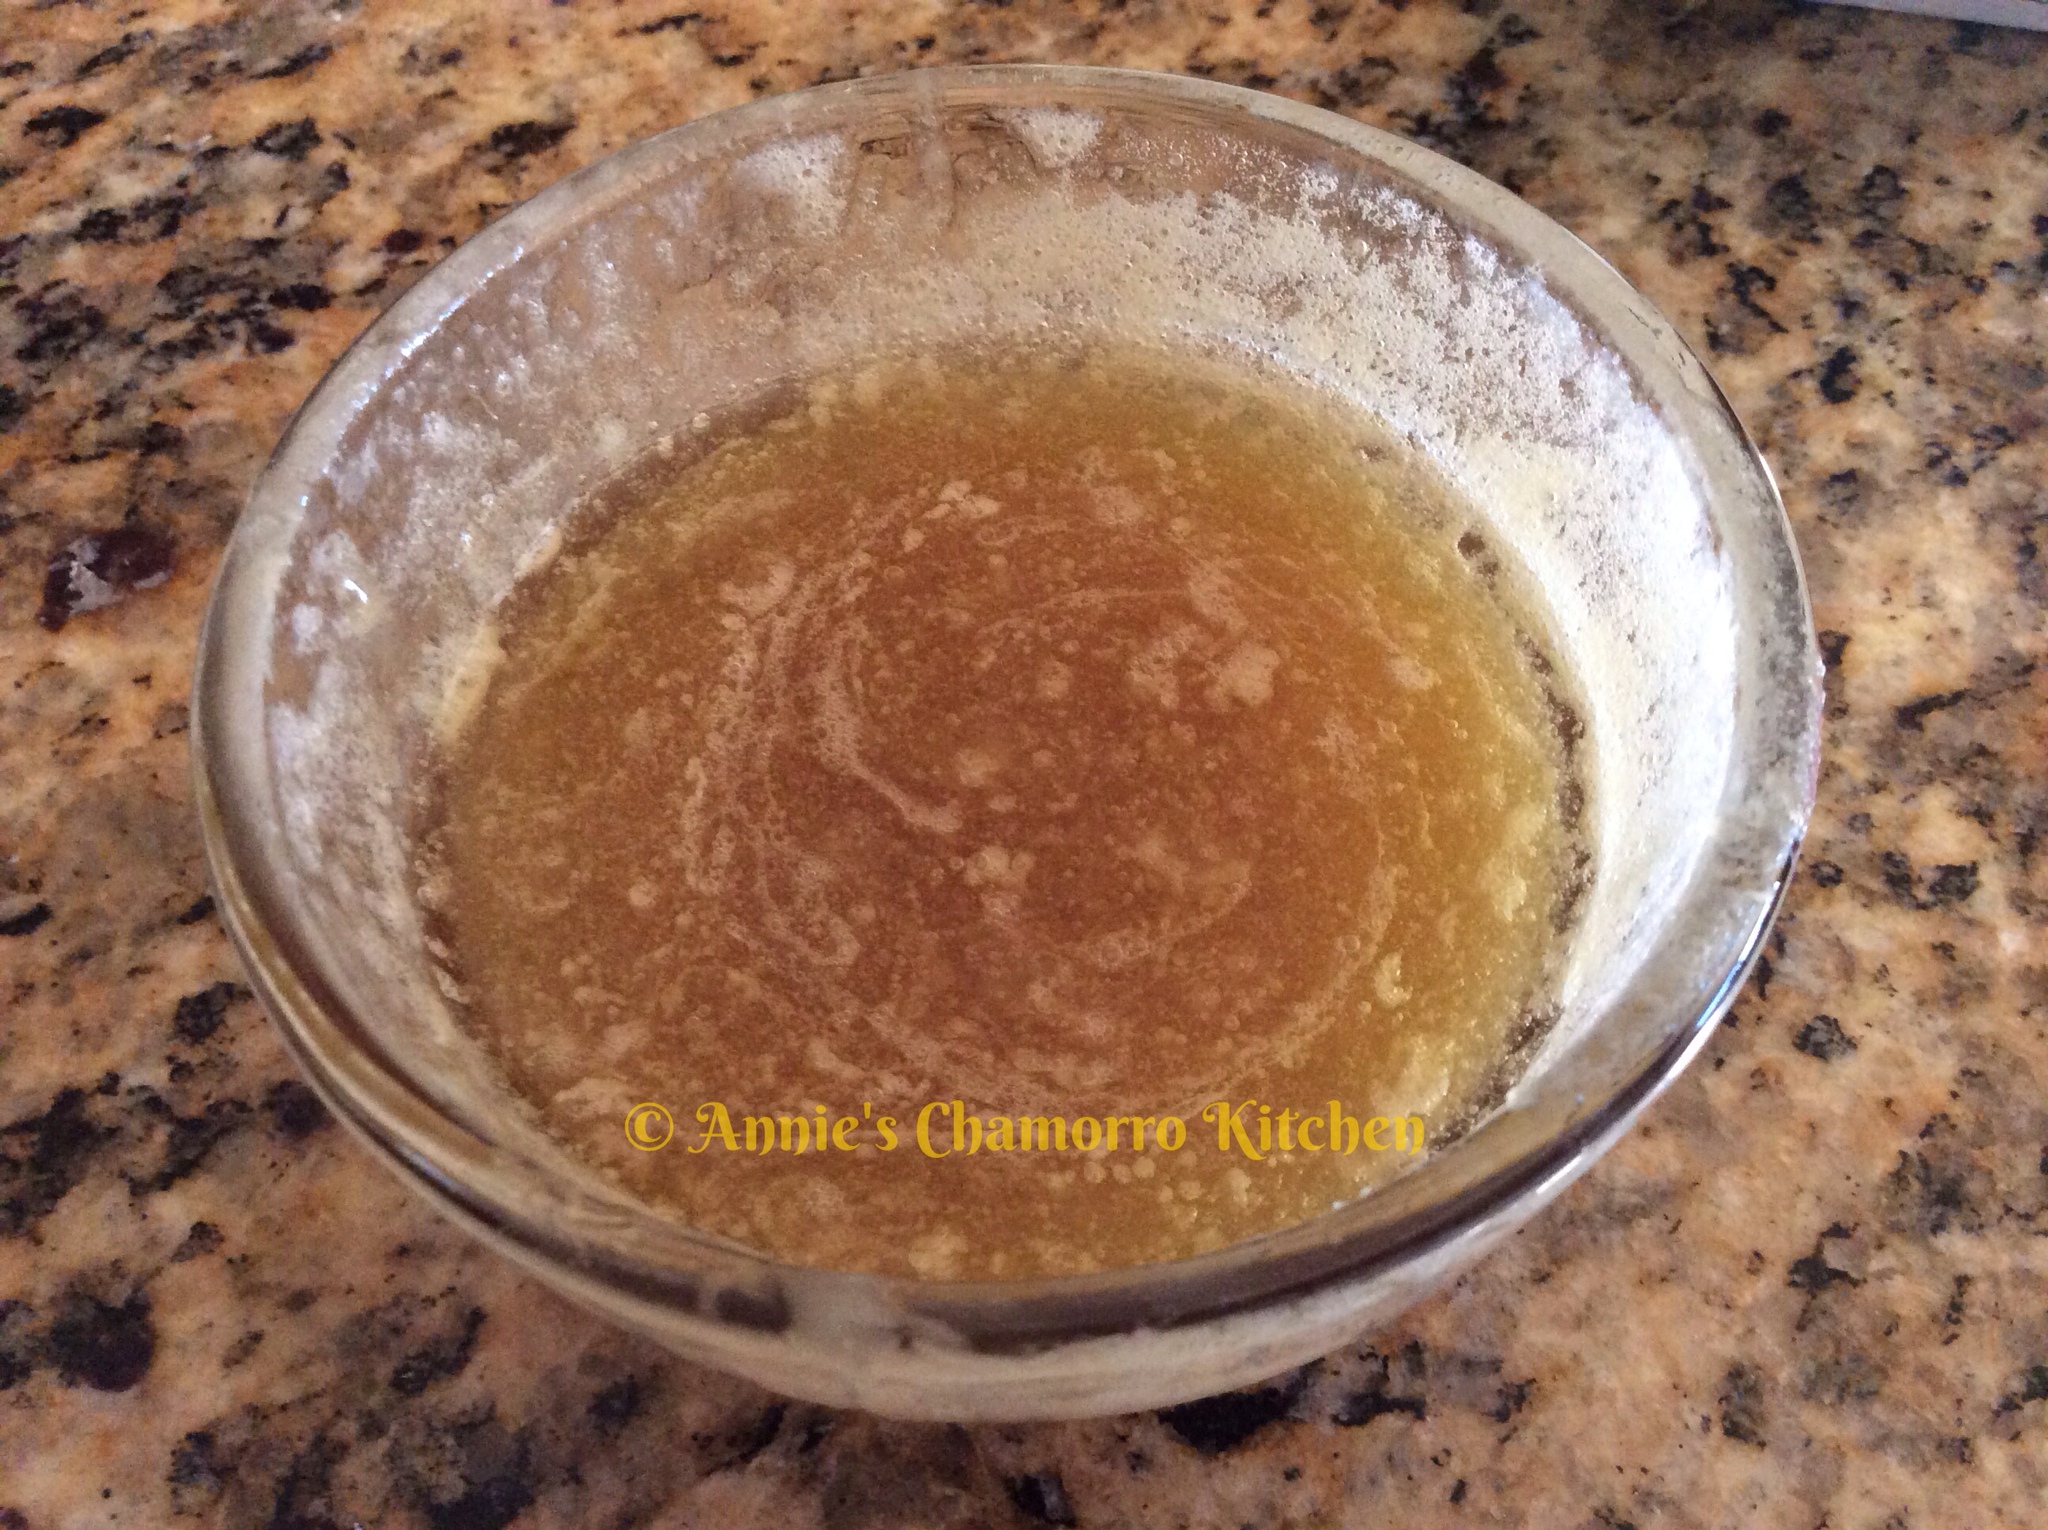
- Place the diced apples, brown sugar and 2 tablespoons butter in a small saucepan. Cook over medium heat until the apples have softened, stirring frequently to prevent burning. Place the cooked apple mixture in a blender or food processor to finely chop the apples (small bits are okay). Set aside to cool completely.
- In a mixing bowl, cream the butter and cream cheese together with an electric mixer. Add the apple mixture; mix until combined. Mix in the powdered sugar, one cup at a time, until creamy. Refrigerate the frosting until you’re ready to ice the cupcakes/muffins.