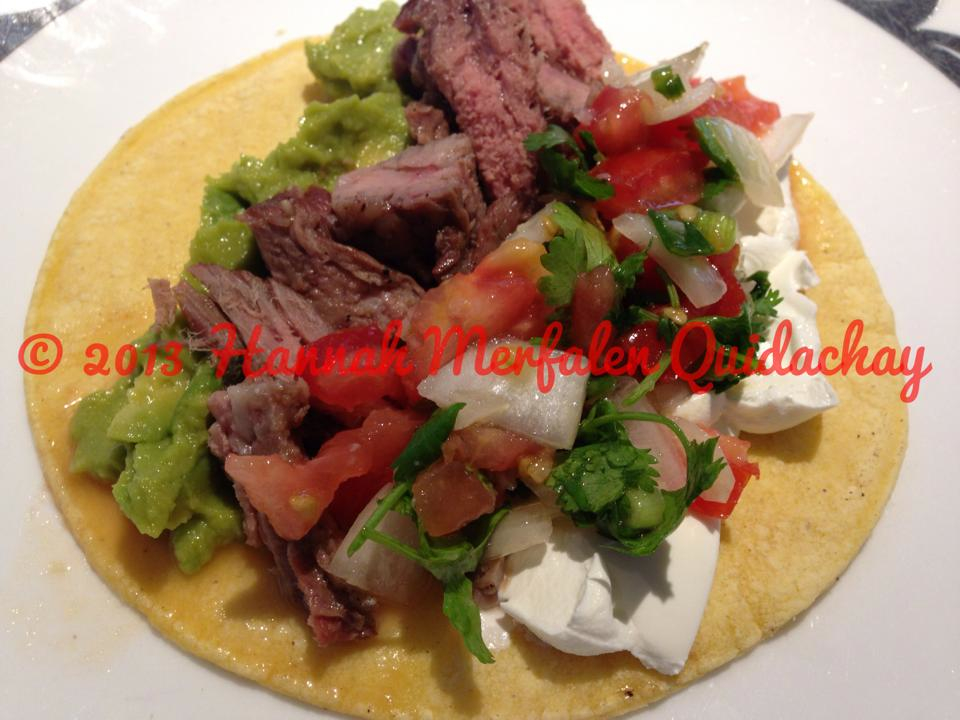
Hannah’s Carne Asada Tacos

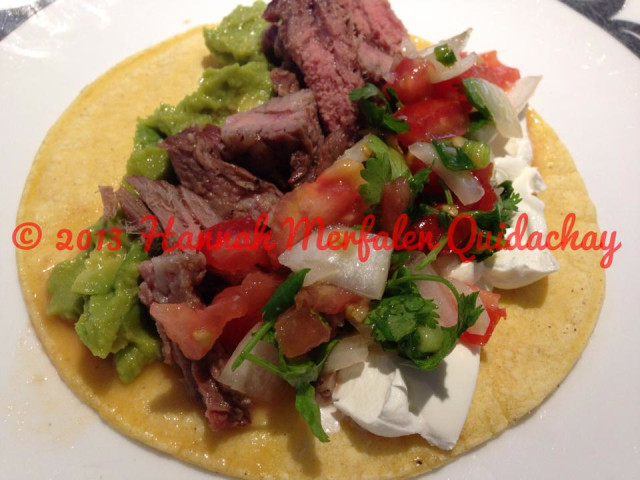
My daughter loves to cook as much as I do, and she loves to experiment with new dishes.  This is her take on Carne Asada Tacos, complete with her recipes for the Marinade, Guacamole, and Pico de Gallo.

Give her recipes a try.  I think you’ll like them. 🙂

Hannah’s Carne Asada Tacos

carne asada tacos

Ingredients:

  • 4 pounds skirt steak, with excess fat trimmed off
  • 12 corn tortillas
  • Sour cream
  • Guacamole
  • Pico de gallo
  • Shredded Mexican cheese blend

Hannah’s Carne Asada Marinade:

  • 1/2 cup lime juice
  • The juice of 2 oranges
  • 2 tablespoons minced garlic
  • 2 teaspoons salt
  • 1/4 cup olive oil
  • 1 cup of chopped cilantro

Hannah’s Pico de Gallo:

  • 1 large tomato, diced
  • 1 small onion, diced
  • 1 cup chopped cilantro
  • The juice of 2 limes
  • Salt, to taste
  • Optional: chopped hot peppers

Hannah’s Guacamole:

  • 3 large avocados, peeled, seeded, and cut into small pieces
  • 1 small red onion, finely minced
  • The juice of 3-4 limes
  • Salt, to taste
  • 1 tablespoon minced garlic
  • 1/2 cup chopped cilantro
  • 2 teaspoons chili powder
  • Optional: 1 medium tomato, diced (the guac pictured here doesn’t have any tomatoes since I made pico de gallo)
  • Optional: diced hot peppers, like jalapenos

1.  MARINADE AND GRILLING DIRECTIONS:

Mix all marinade ingredients together. Pour over the skirt steak (I recommend marinating the steak in a ziplock bag). Let the steak marinate for at least 2 hours. Grill until done to your liking. Slice the meat against the grain (so that it isn’t tough when you bite into it). 

2.  PICO DE GALLO DIRECTIONS:

Mix all the Pico de Gallo ingredients together. Let the mixture sit for at least 30 minutes to allow the flavors to develop. Serve with your carne asada tacos.

3.  GUACAMOLE DIRECTIONS:

Mix all the guacamole ingredients together. I like to gently stir my guacamole so that you still have chunks of avocado. If you prefer, you can mash the avocados with a fork for a smooth texture. Serve with your carne asada tacos or with chips.

4.  TACO ASSEMBLY:

Grill a tortilla until warmed. Fill with slices of carne asada, some guacamole, pico de gallo, sour cream and cheese. Enjoy!

Baked “Fried” Chicken

Healthy Fried Chicken — is there even such a thing? 🙂

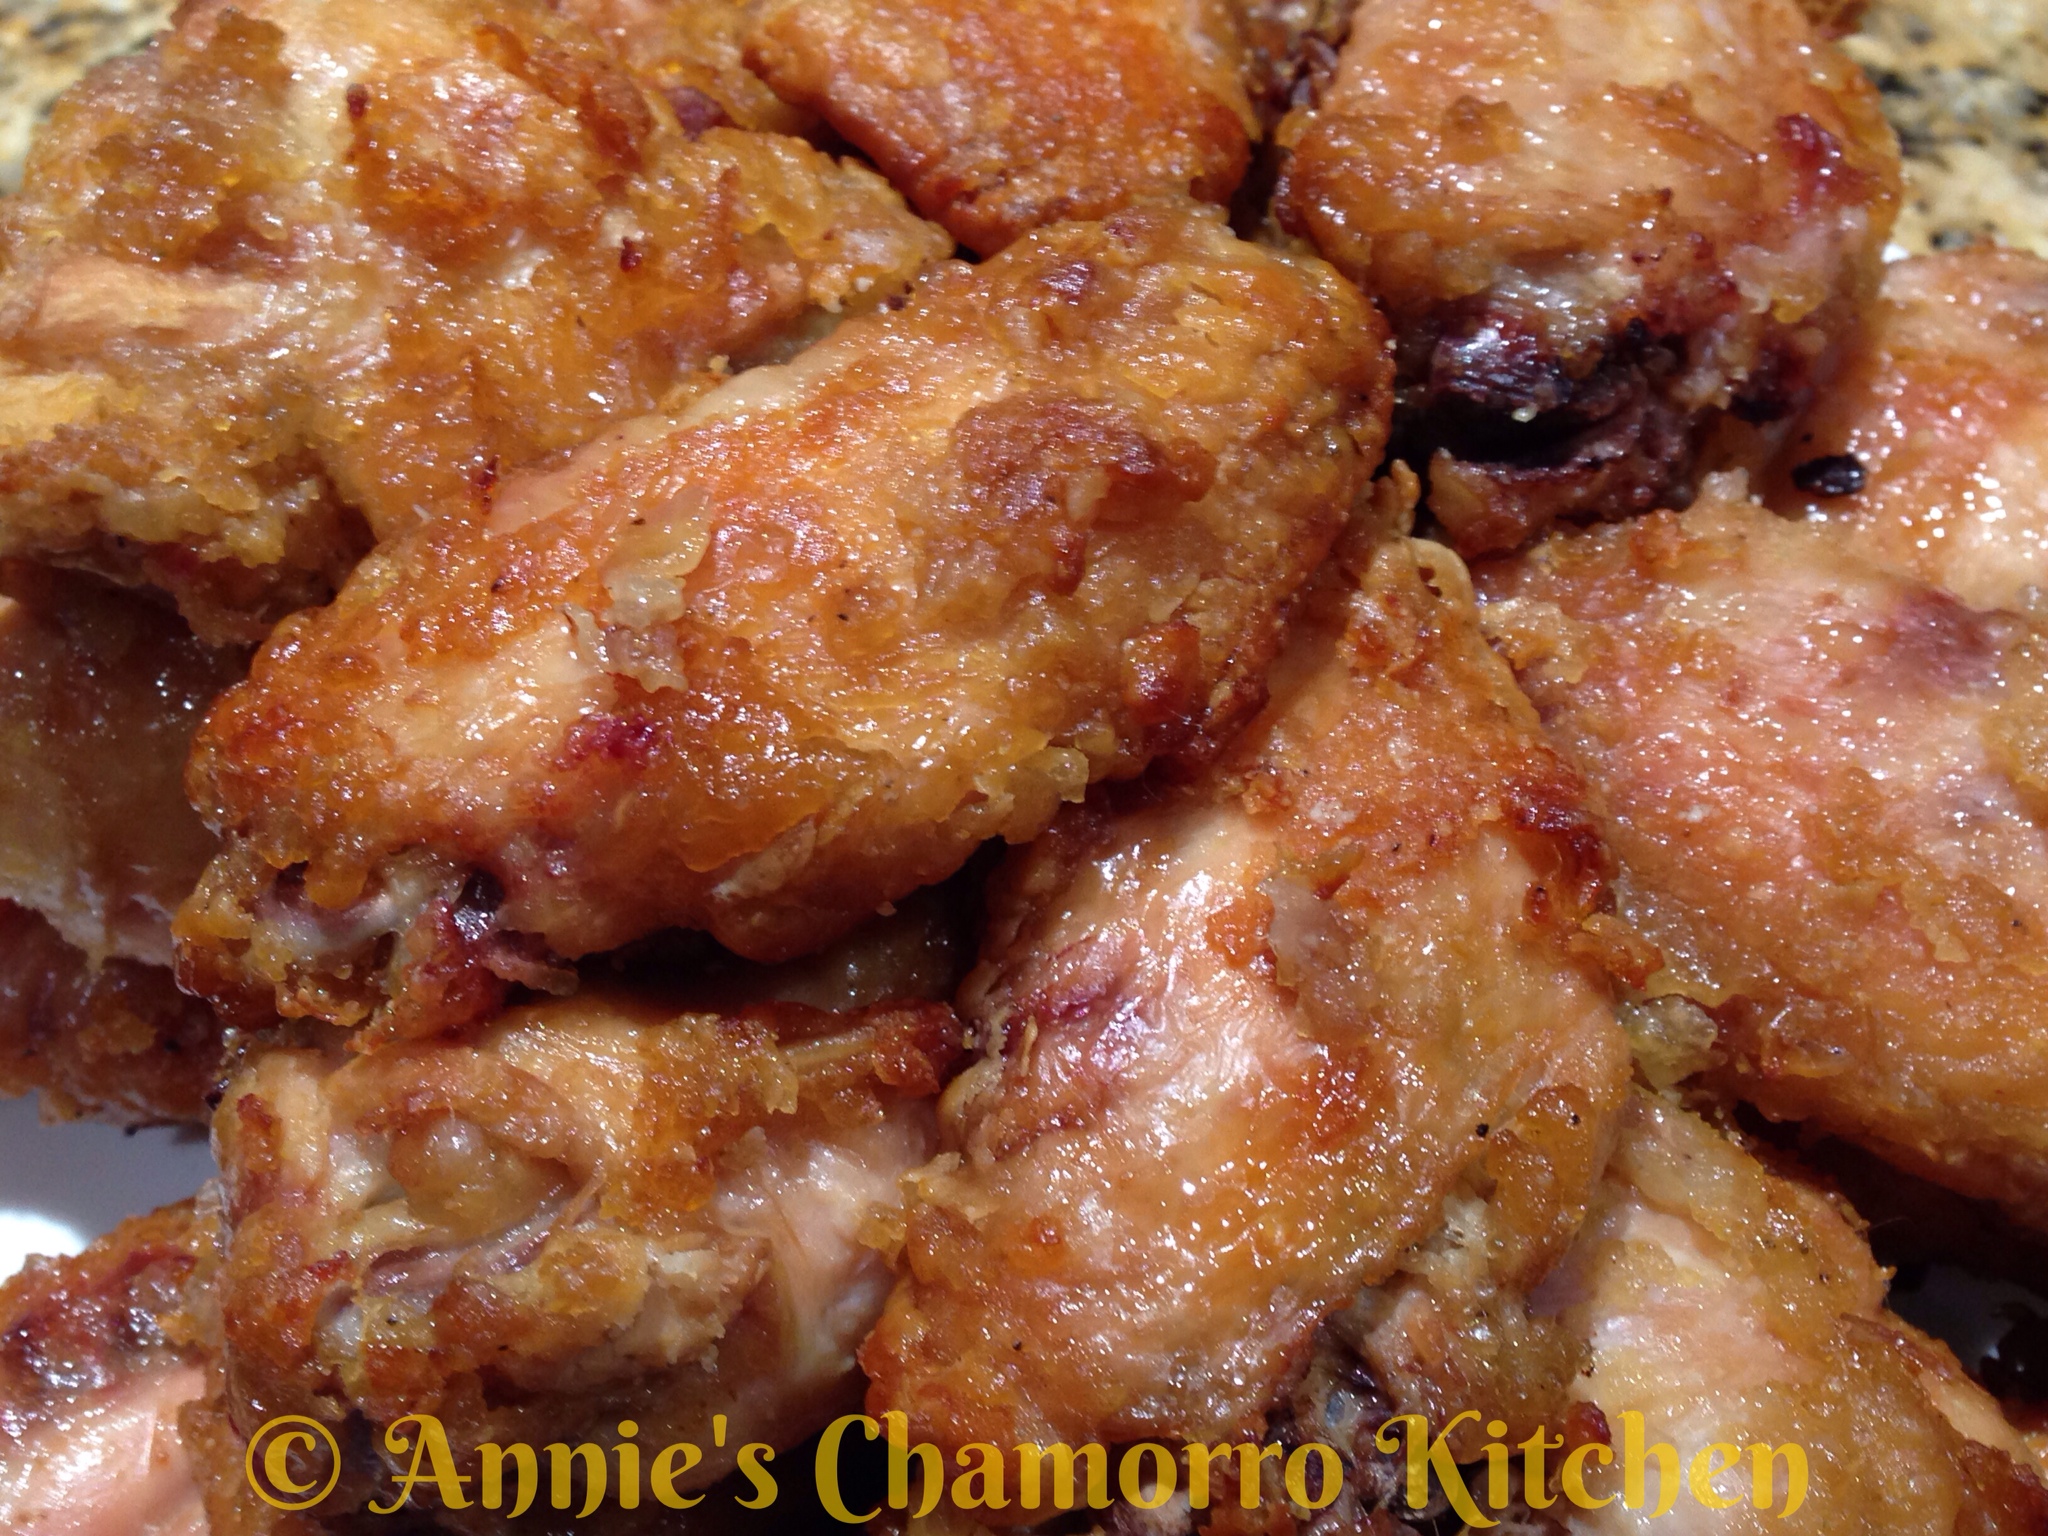
My recipe below is healthy, or at least it’s a less unhealthy version, and it does not skimp on flavor. Despite being baked, you still get that crispness we equate to delicious fried chicken. How, you ask? Well, let me tell you.

Use chicken WITH the skin on. The fat from the skin will crisp the chicken as it bakes.

I also marinate the chicken for several hours — up to a day. My marinade is very similar to what you’d use to make Karaage Chicken. Don’t skip the marinade — it takes it to a whole other level, let me tell you!

This is also a gluten-free recipe since I dredge the chicken in corn starch instead of flour. Be sure to look on the corn starch label to ensure it’s gluten-free (not all brands are). I use Argo brand cornstarch, one of the few that is gluten-free.

Give my recipe a try. I think you’ll like it. 🙂

Baked “Fried” Chicken

Ingredients:

  • 5 pounds chicken wings (or your favorite chicken pieces, skin on)
  • 3 cups cornstarch, for dredging the chicken pieces in
  • 1 tablespoon garlic powder
  • 1/2 teaspoon black pepper


Marinade Ingredients:

  • 2-inch piece of ginger
  • 3 tablespoons sherry cooking wine
  • 3 tablespoons rice vinegar
  • 3/4 cup soy sauce
  • 2 tablespoons chopped garlic
  • 4 tablespoons sugar

Directions:

1. Prepare the marinade.

In a small bowl, mix all of the marinade ingredients together.

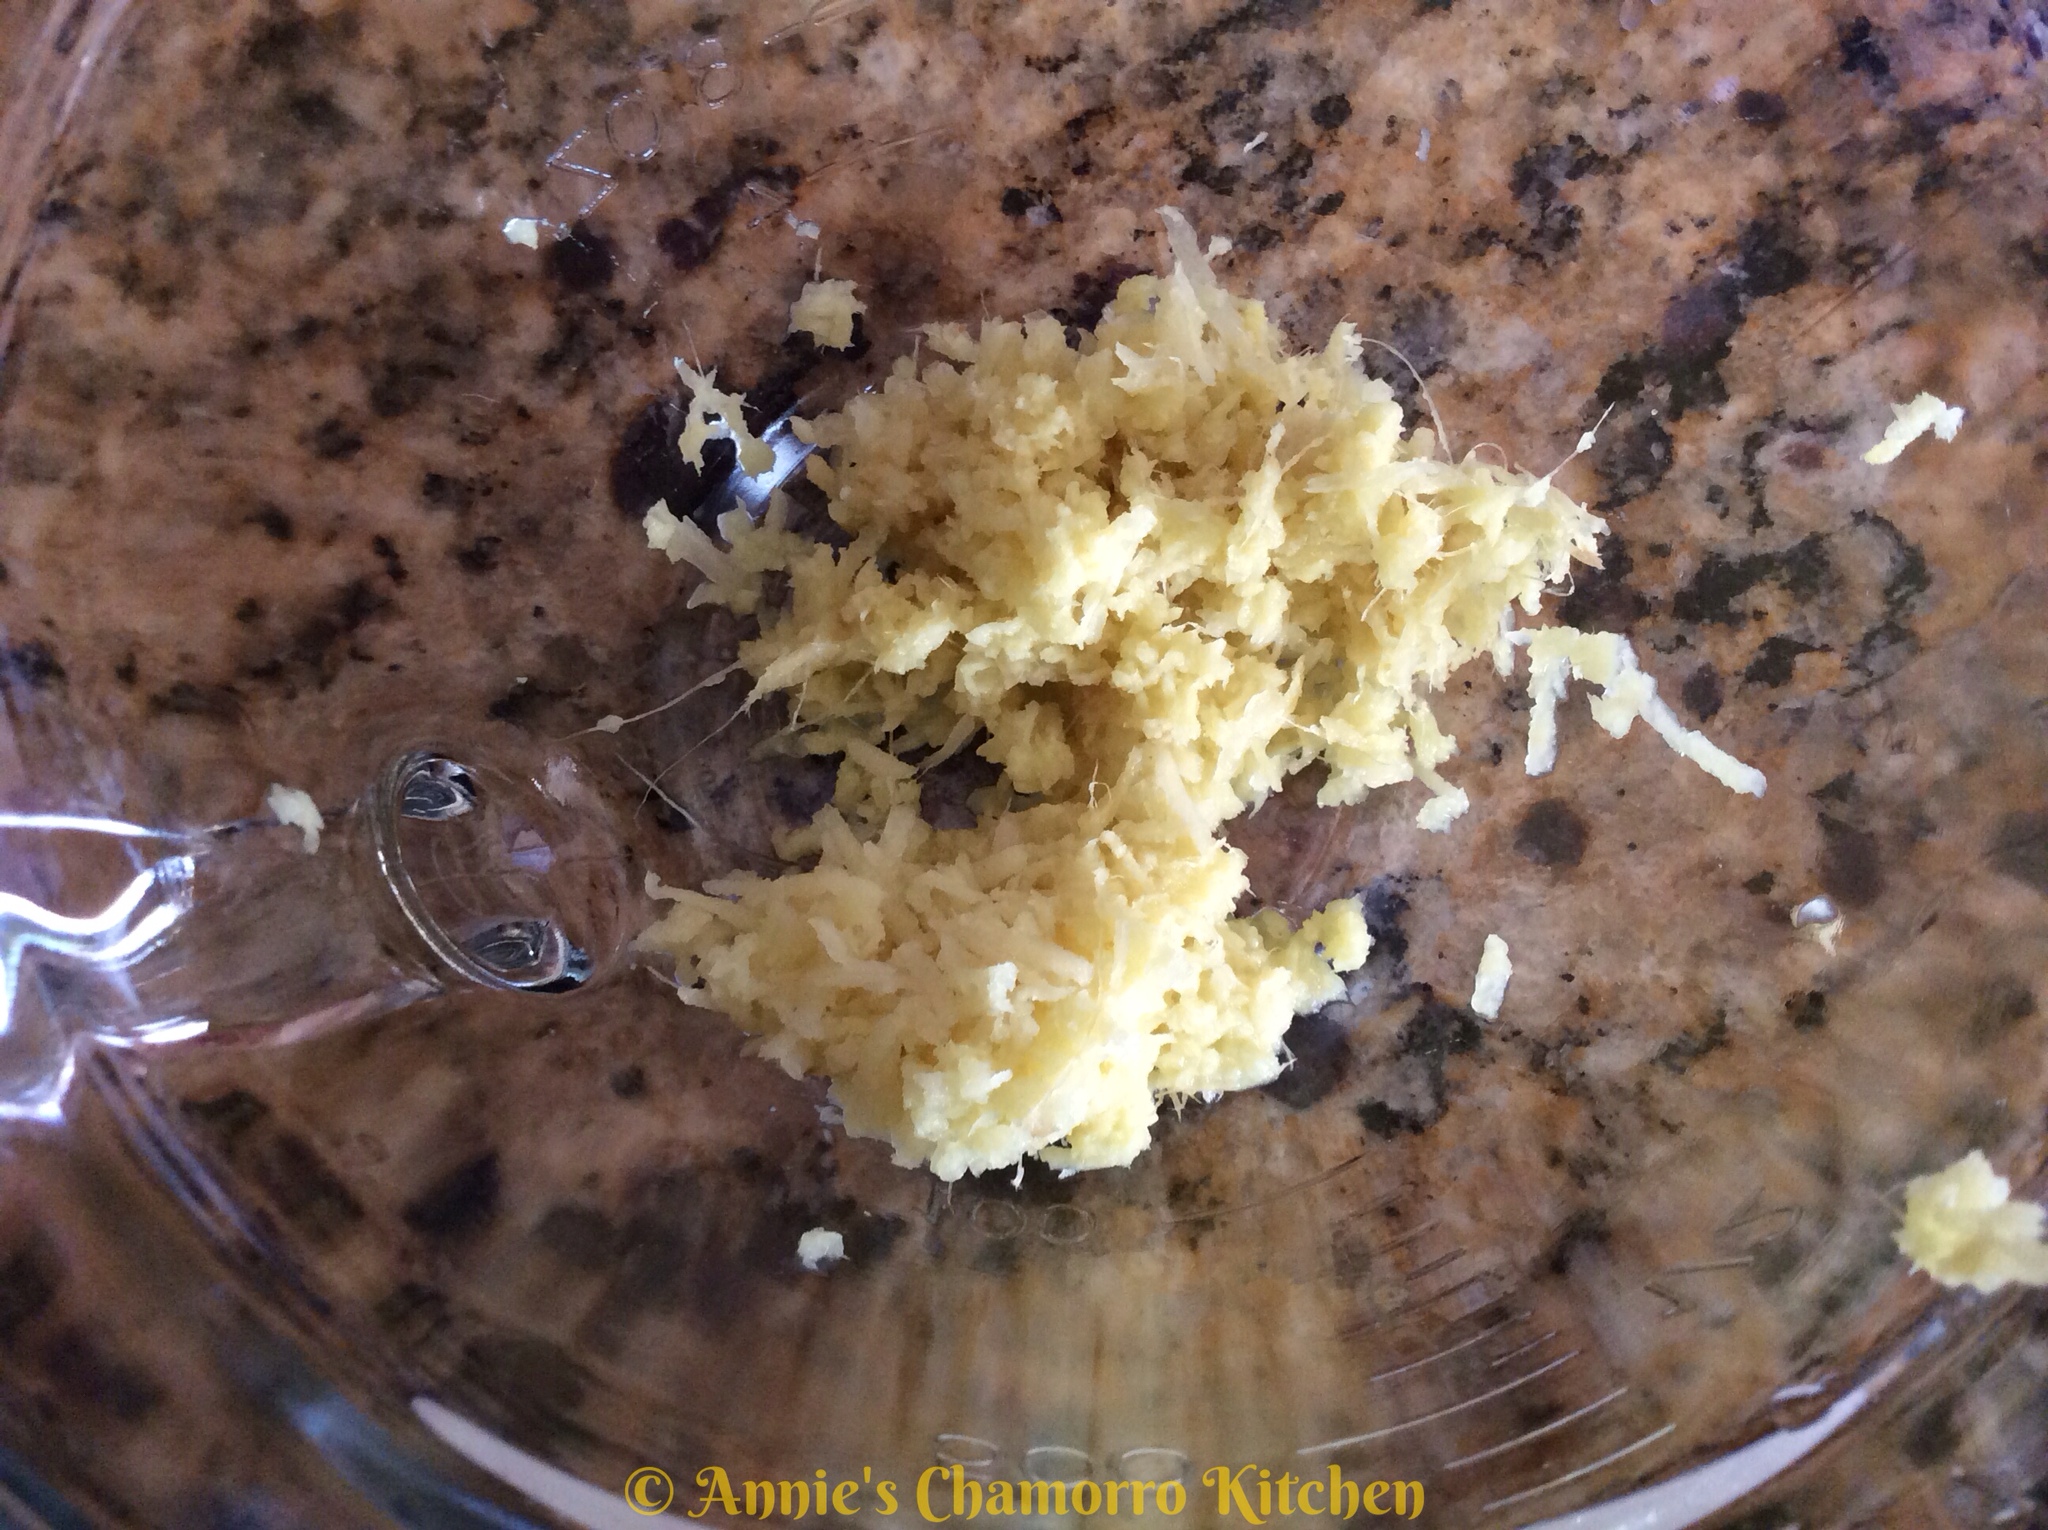
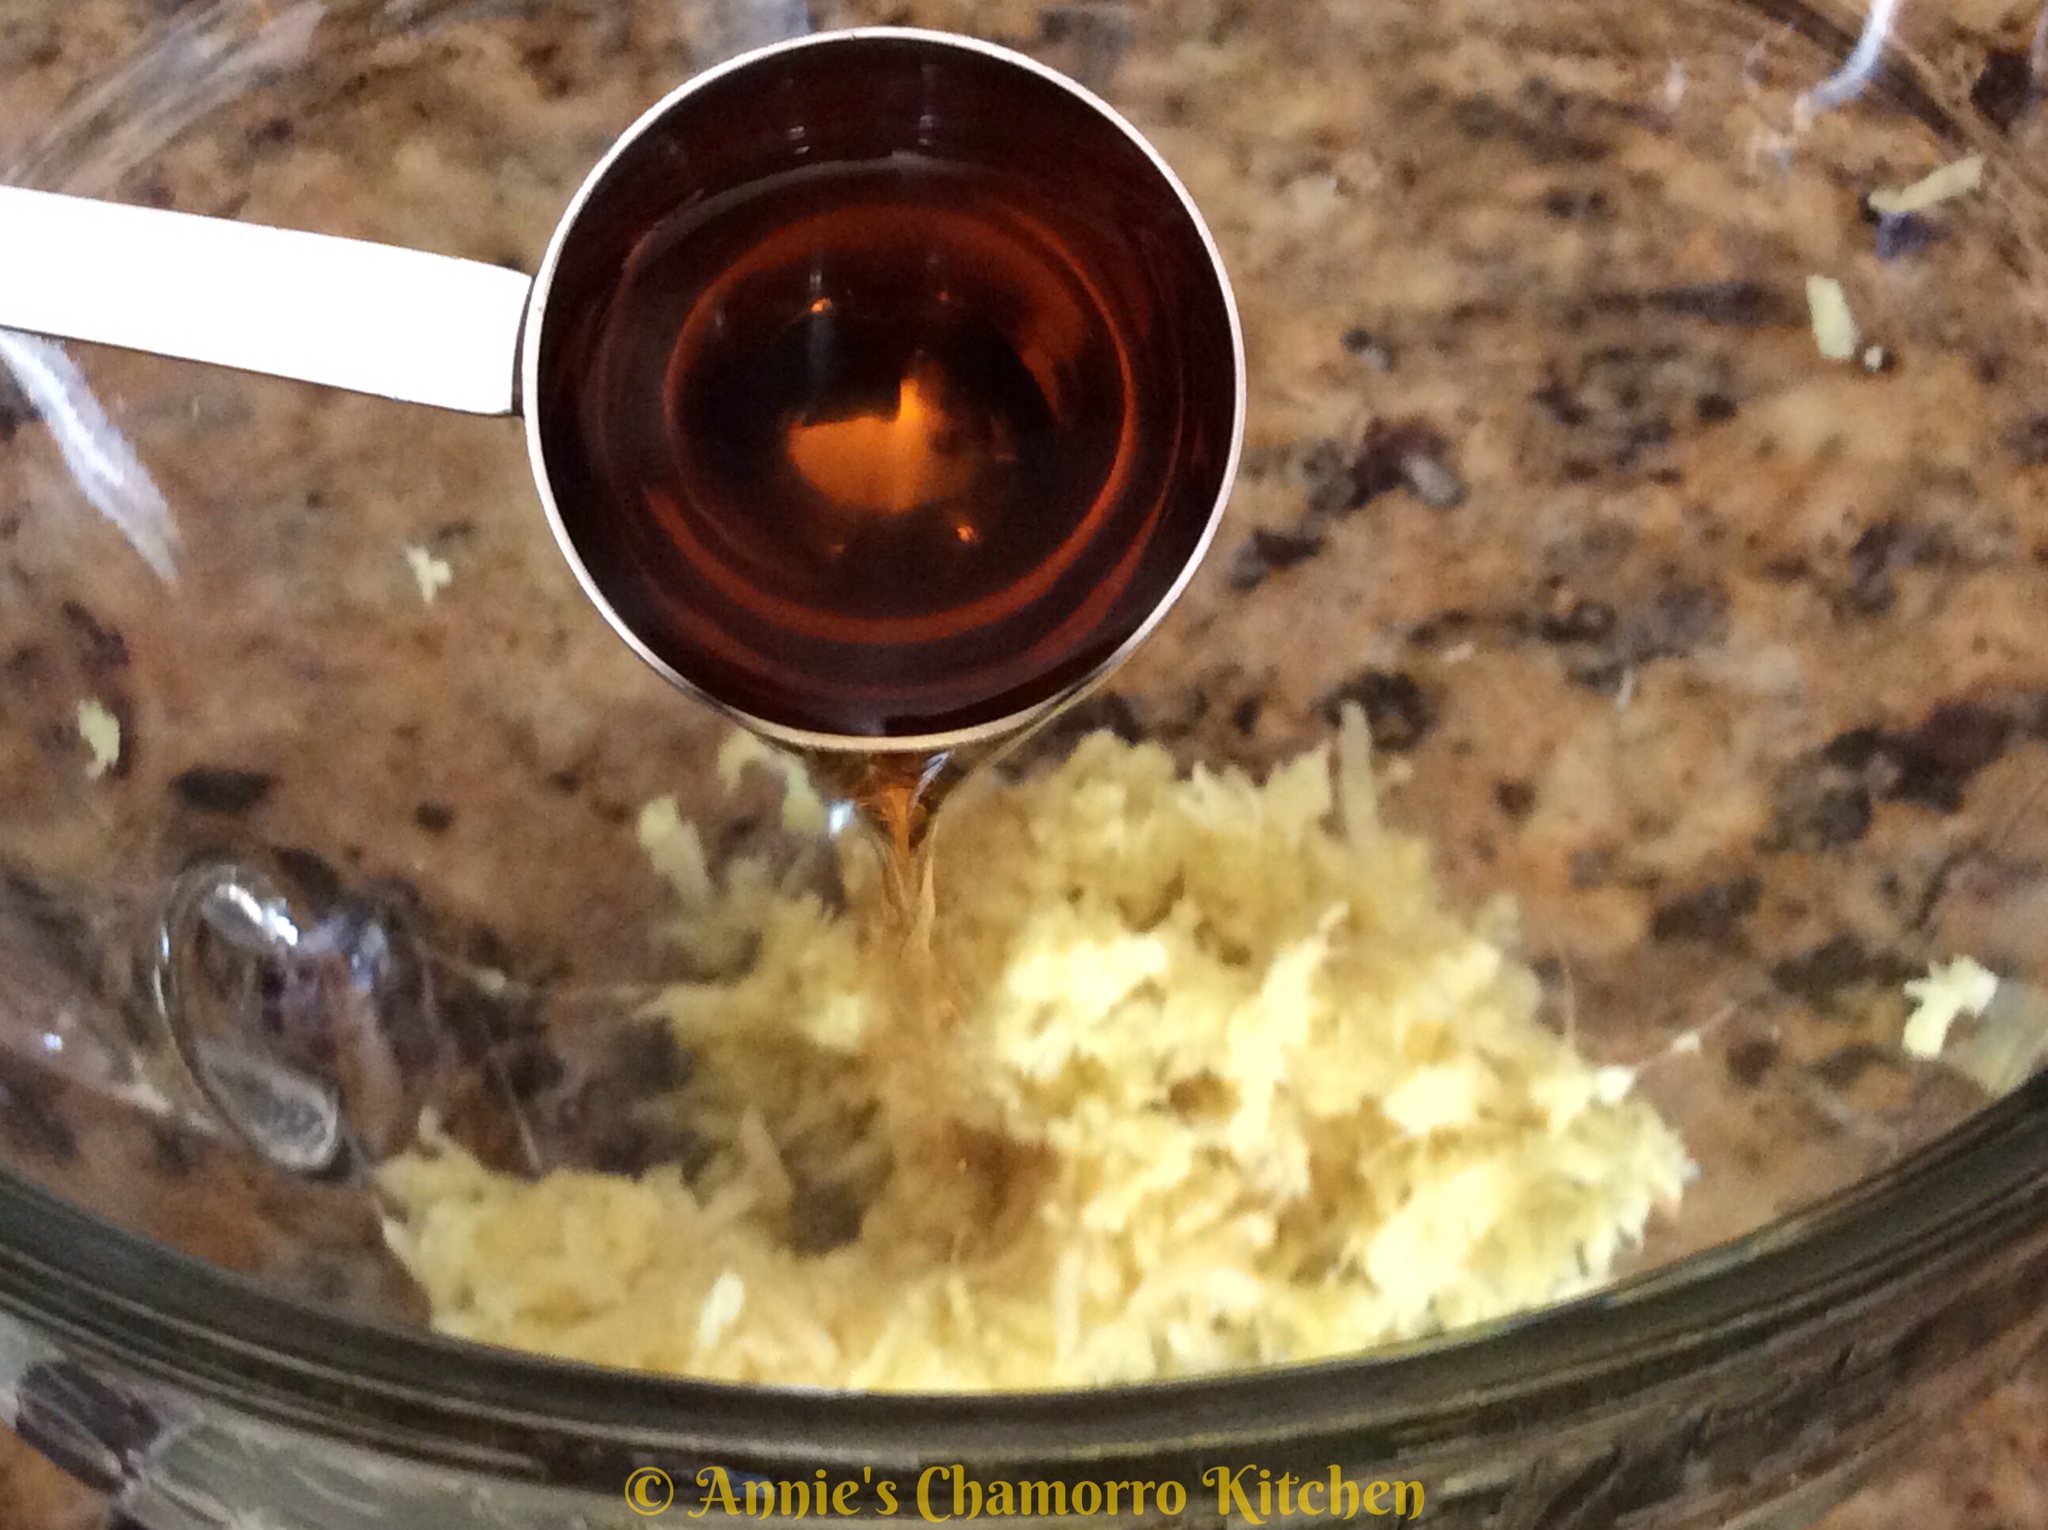
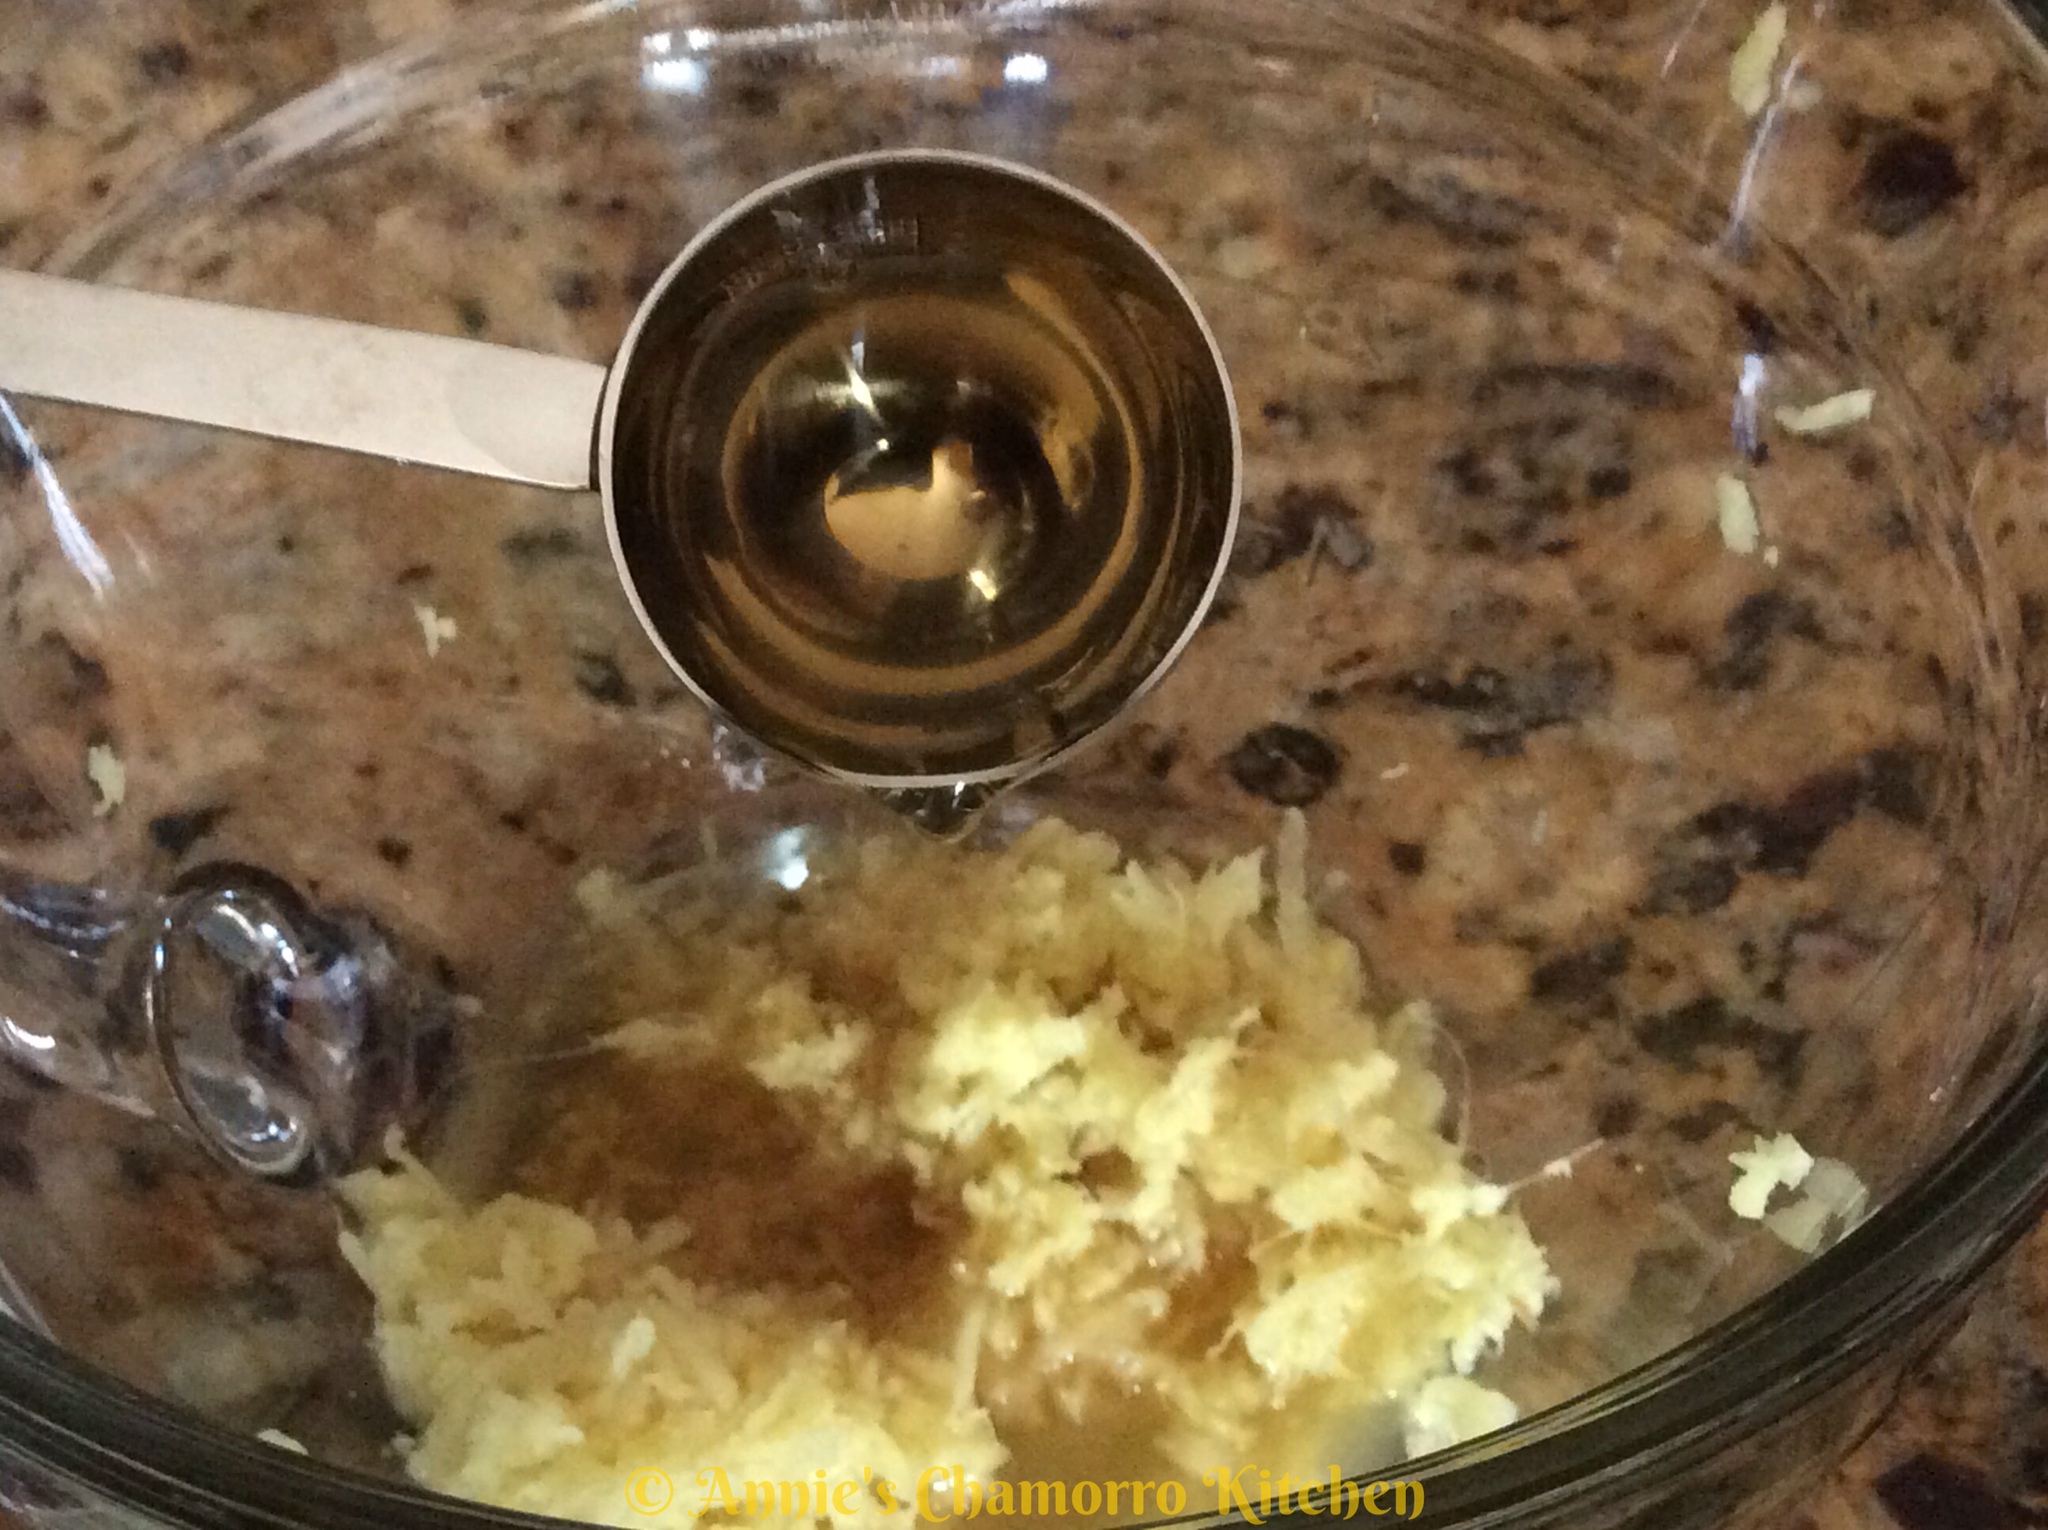
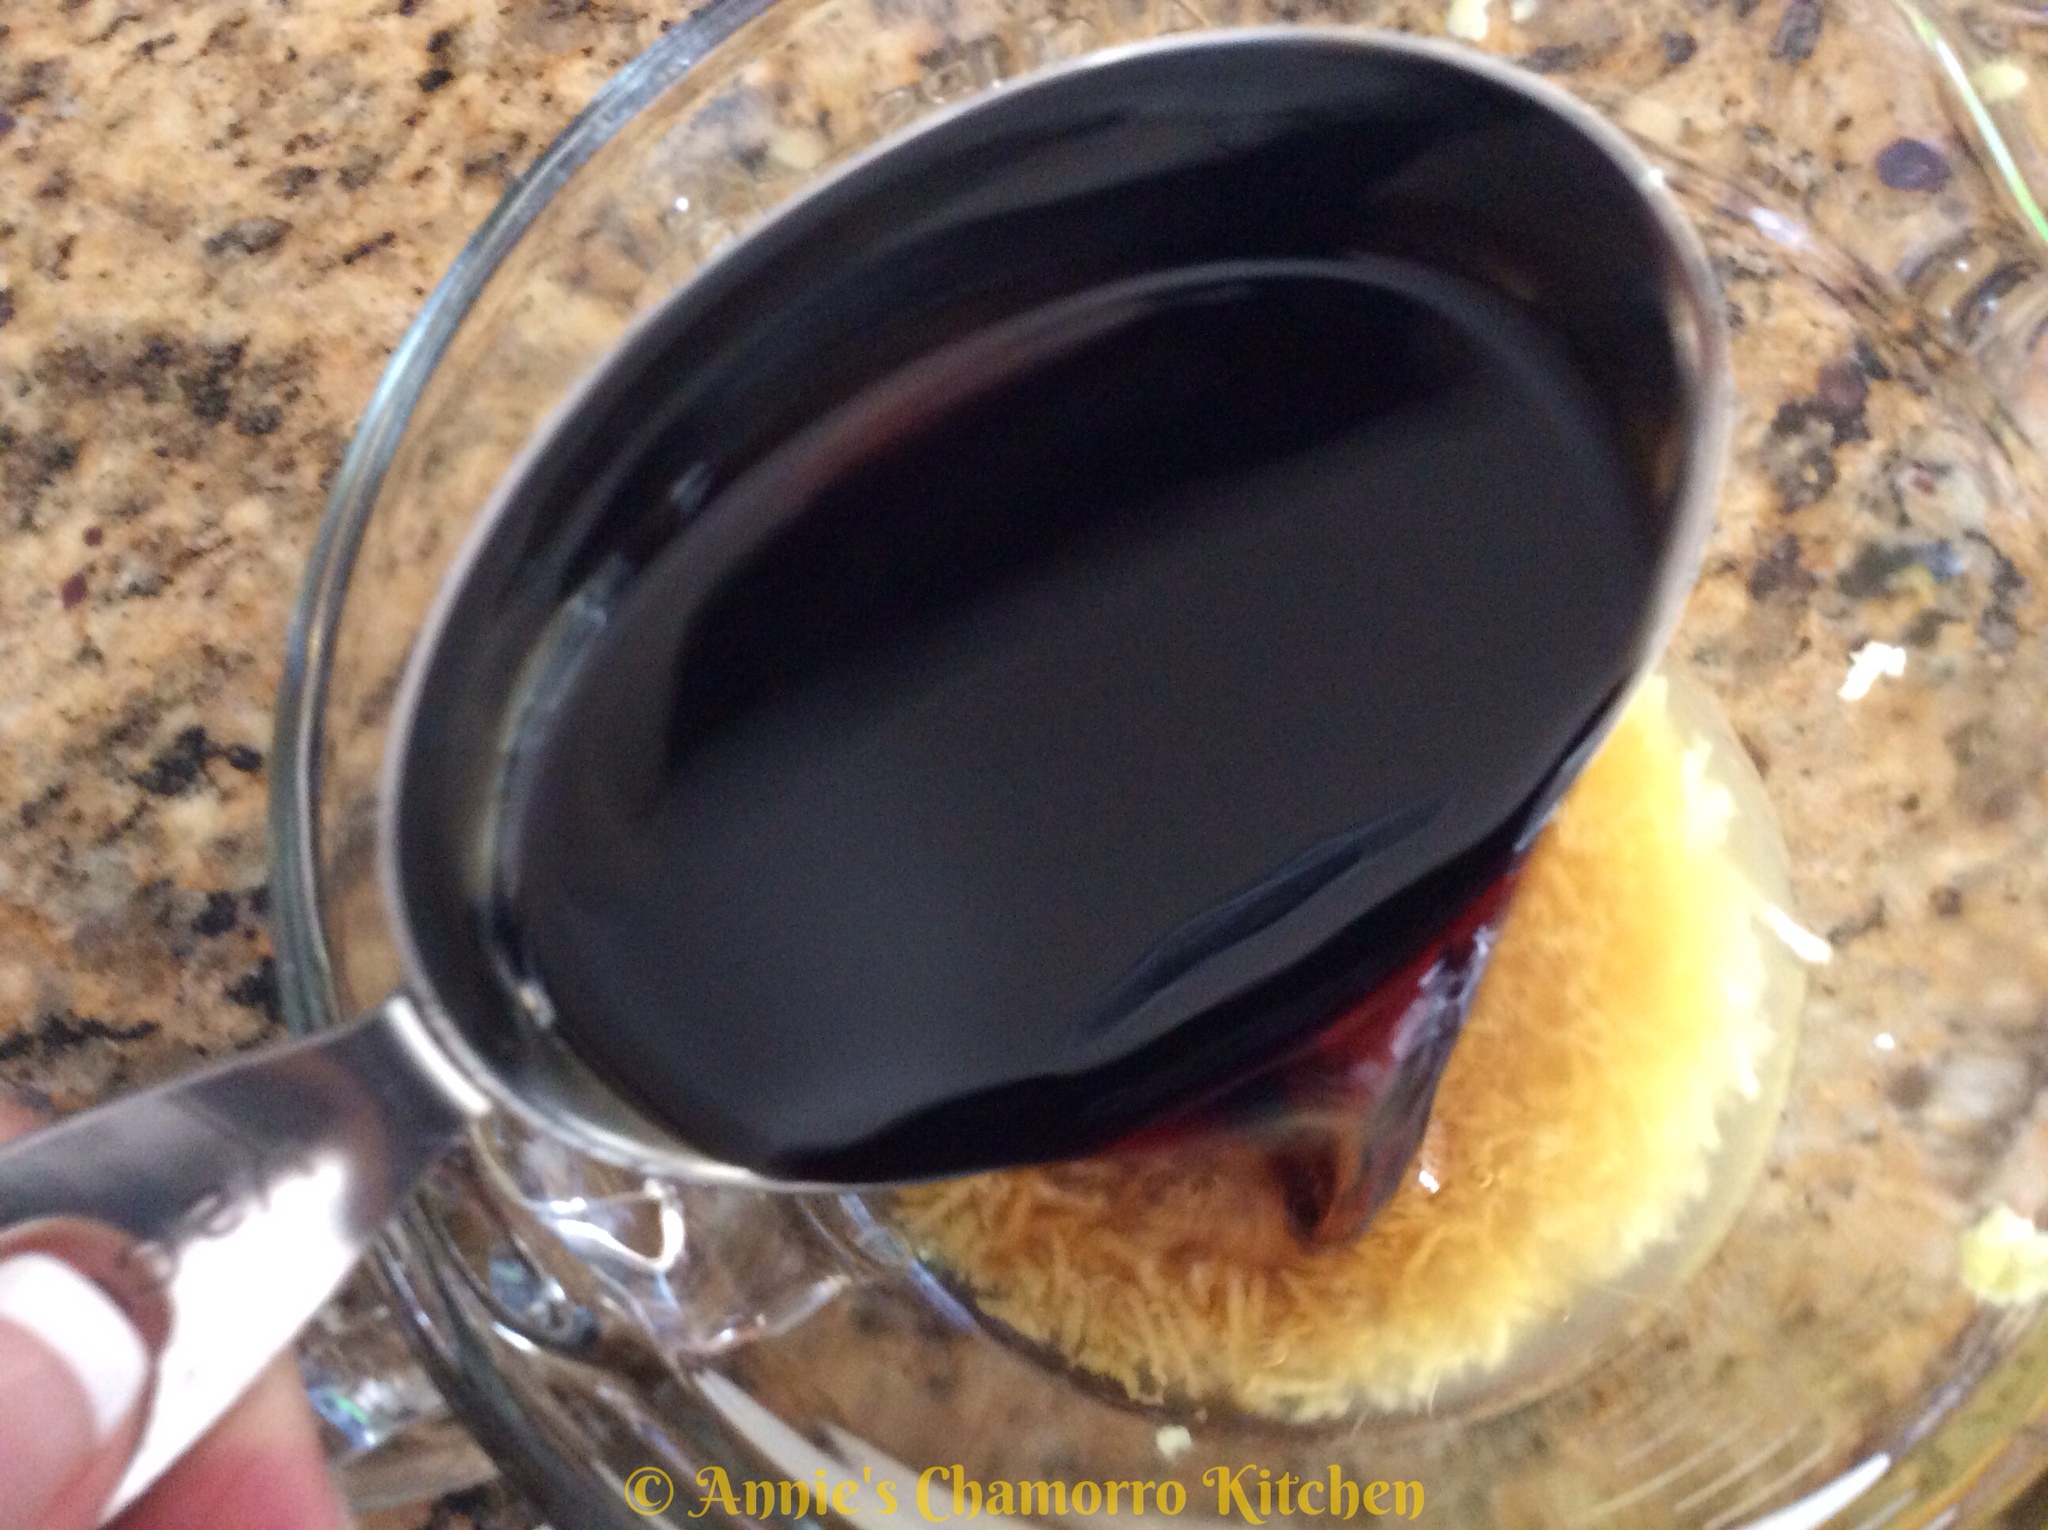
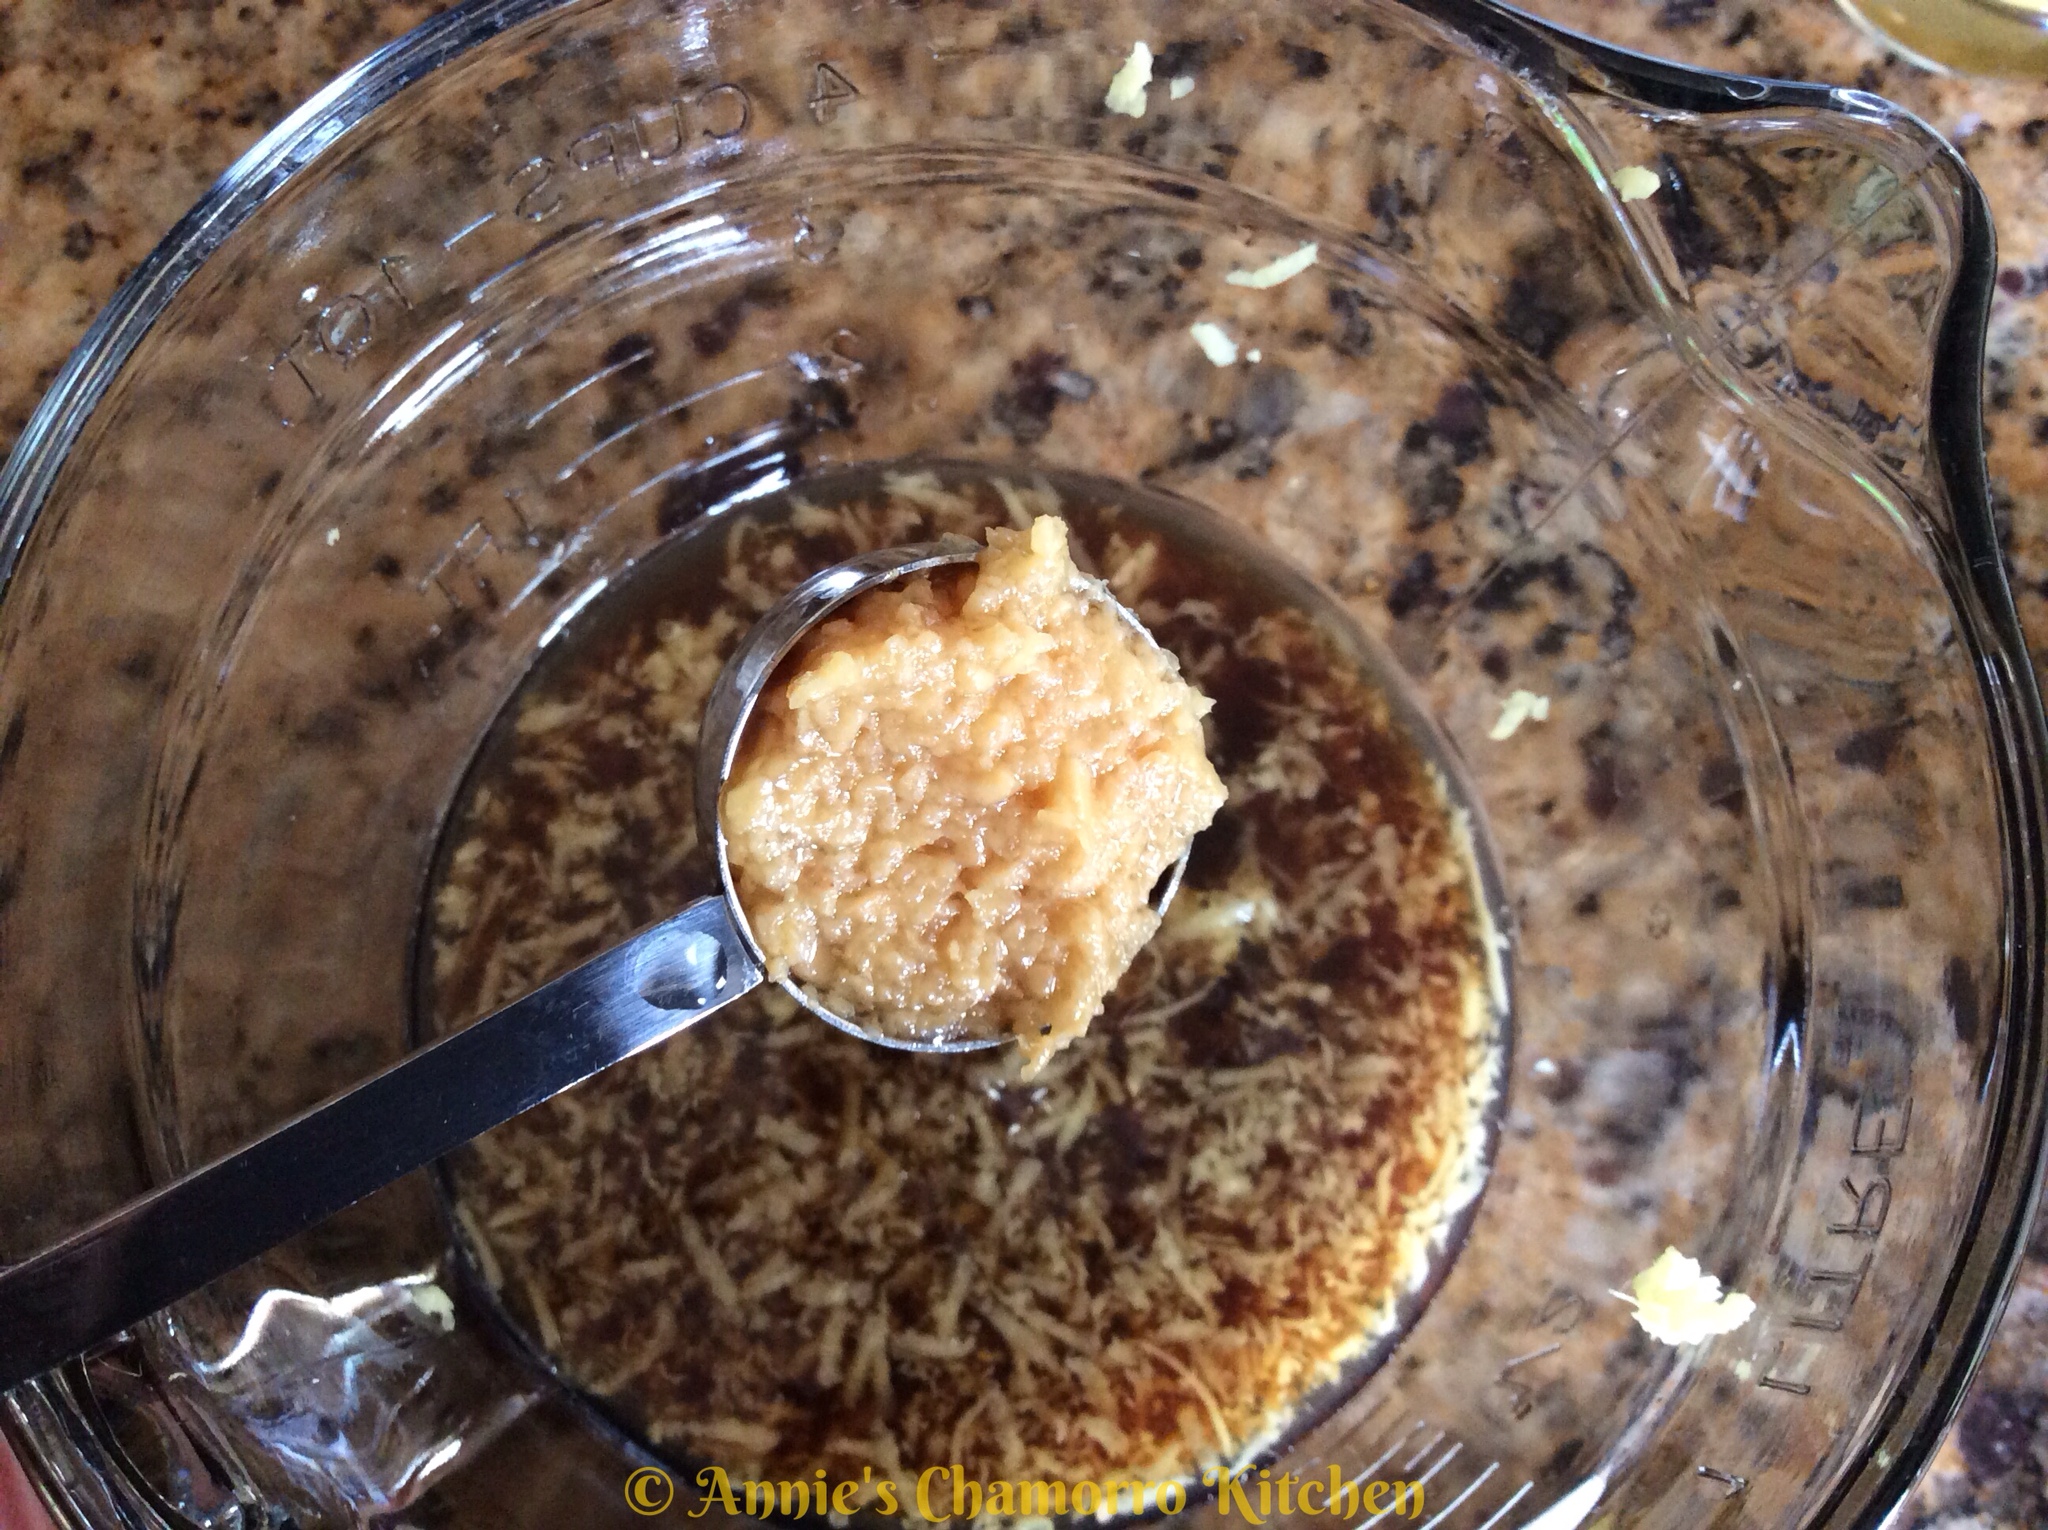
Grate the ginger into the bowl.  Add the sherry cooking wine, rice vinegar, and soy sauce.


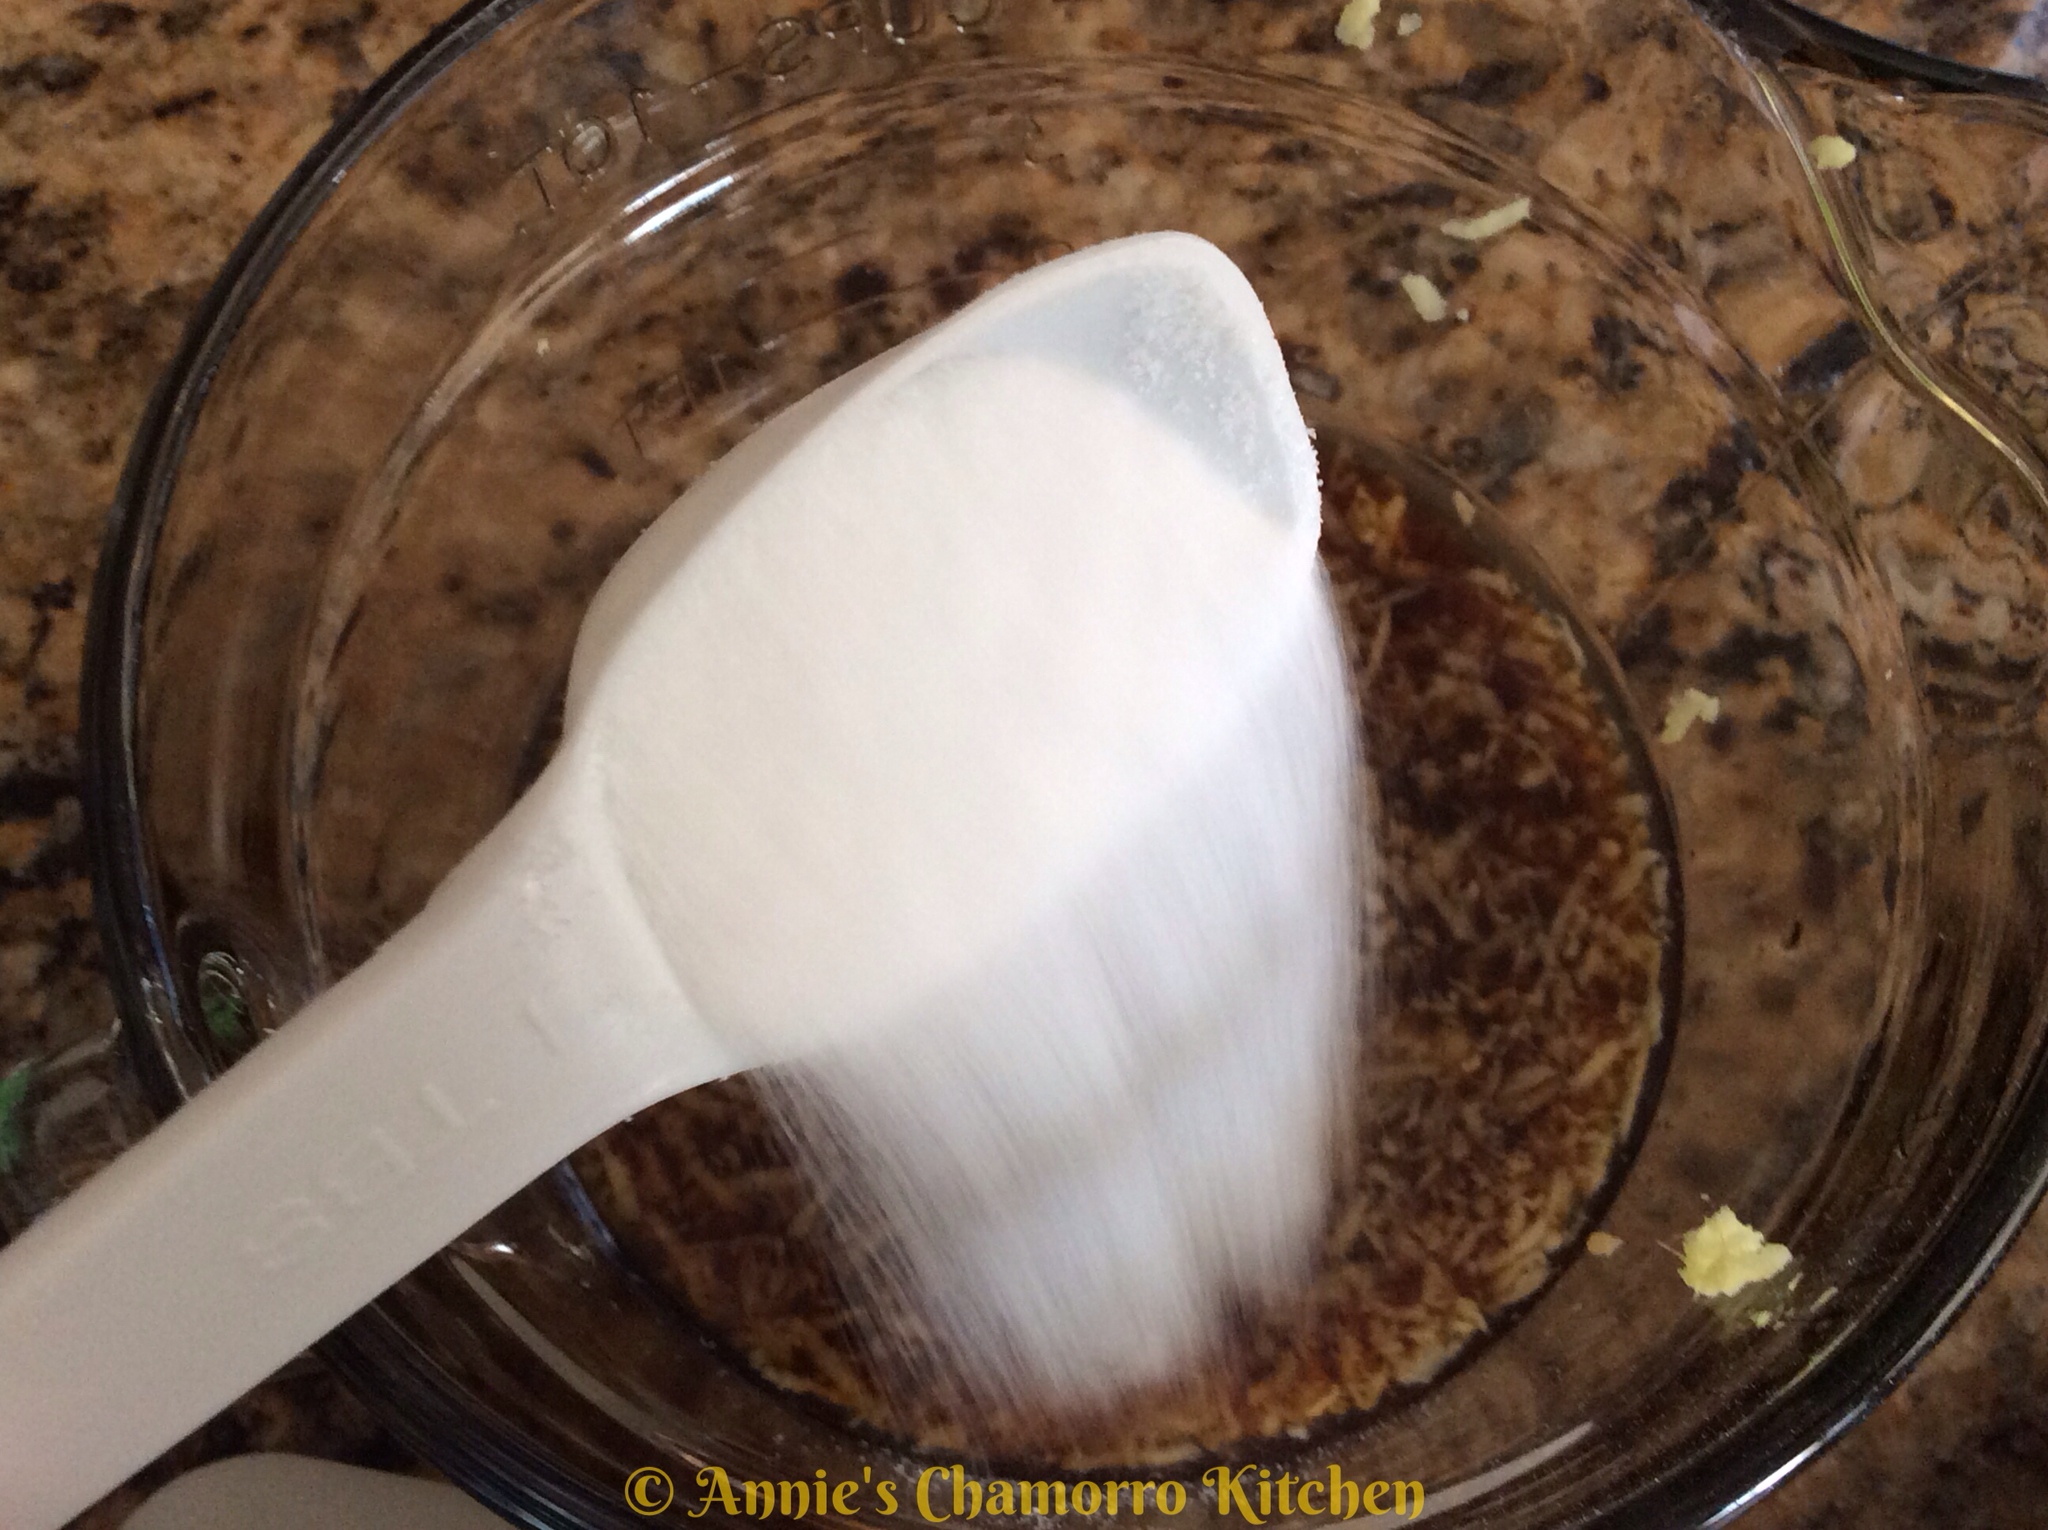
Add the garlic and sugar.


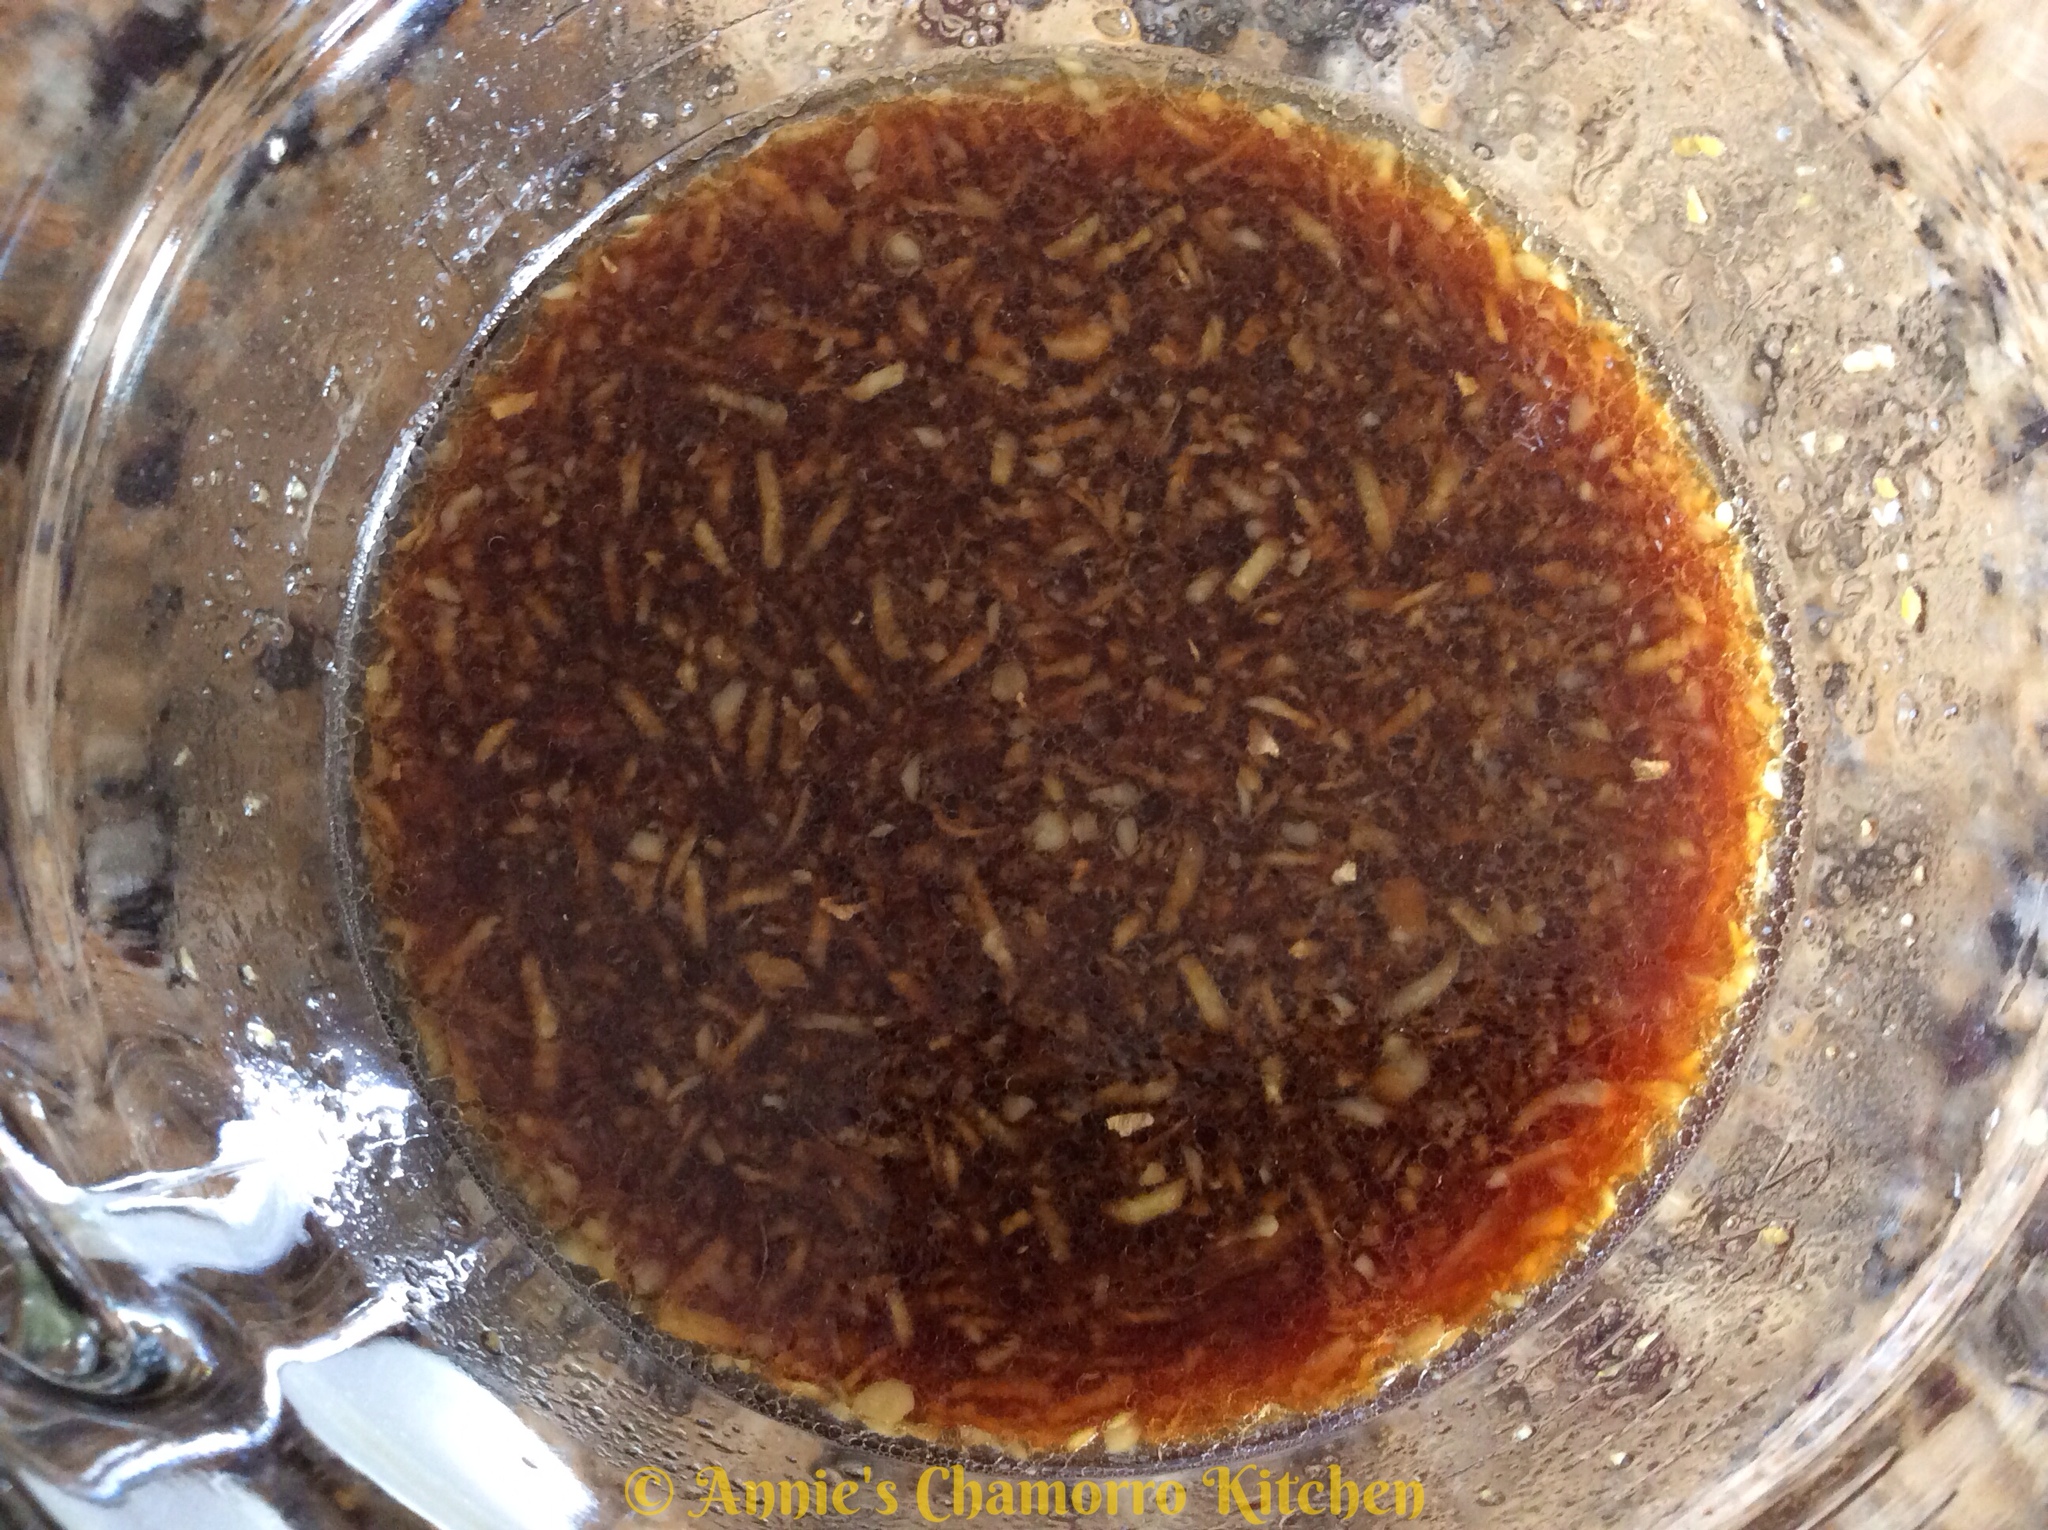
Stir to combine. Set the marinade aside for now.

2. Marinate the chicken.

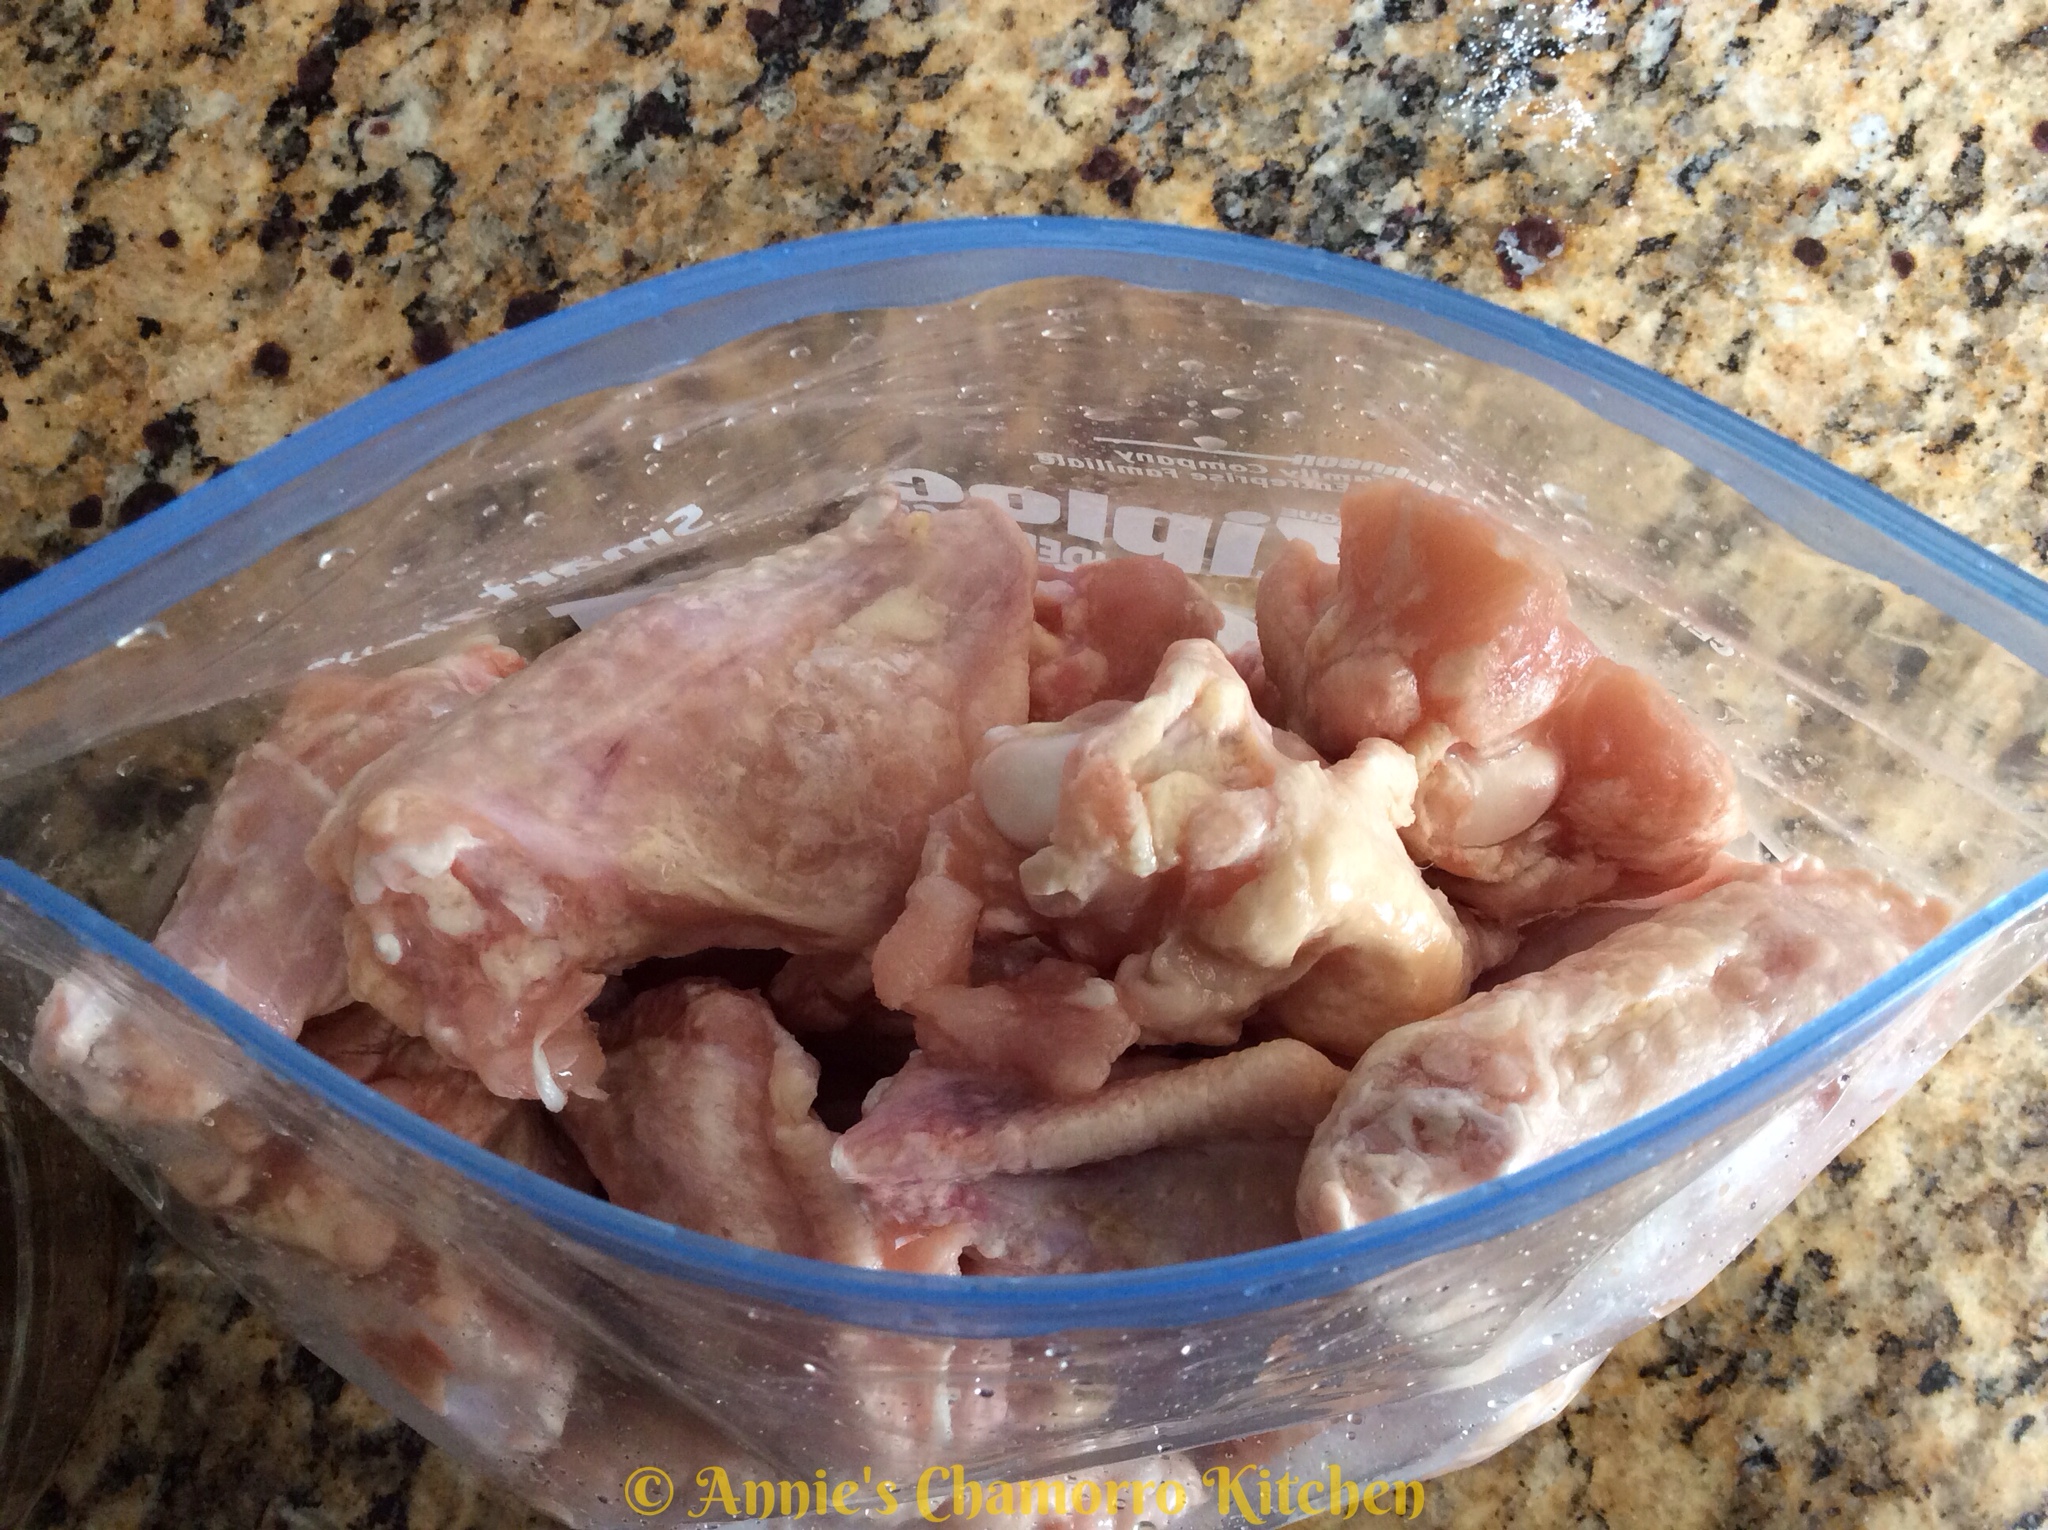
Rinse and clean the chicken pieces. Place into a large ziplock bag.

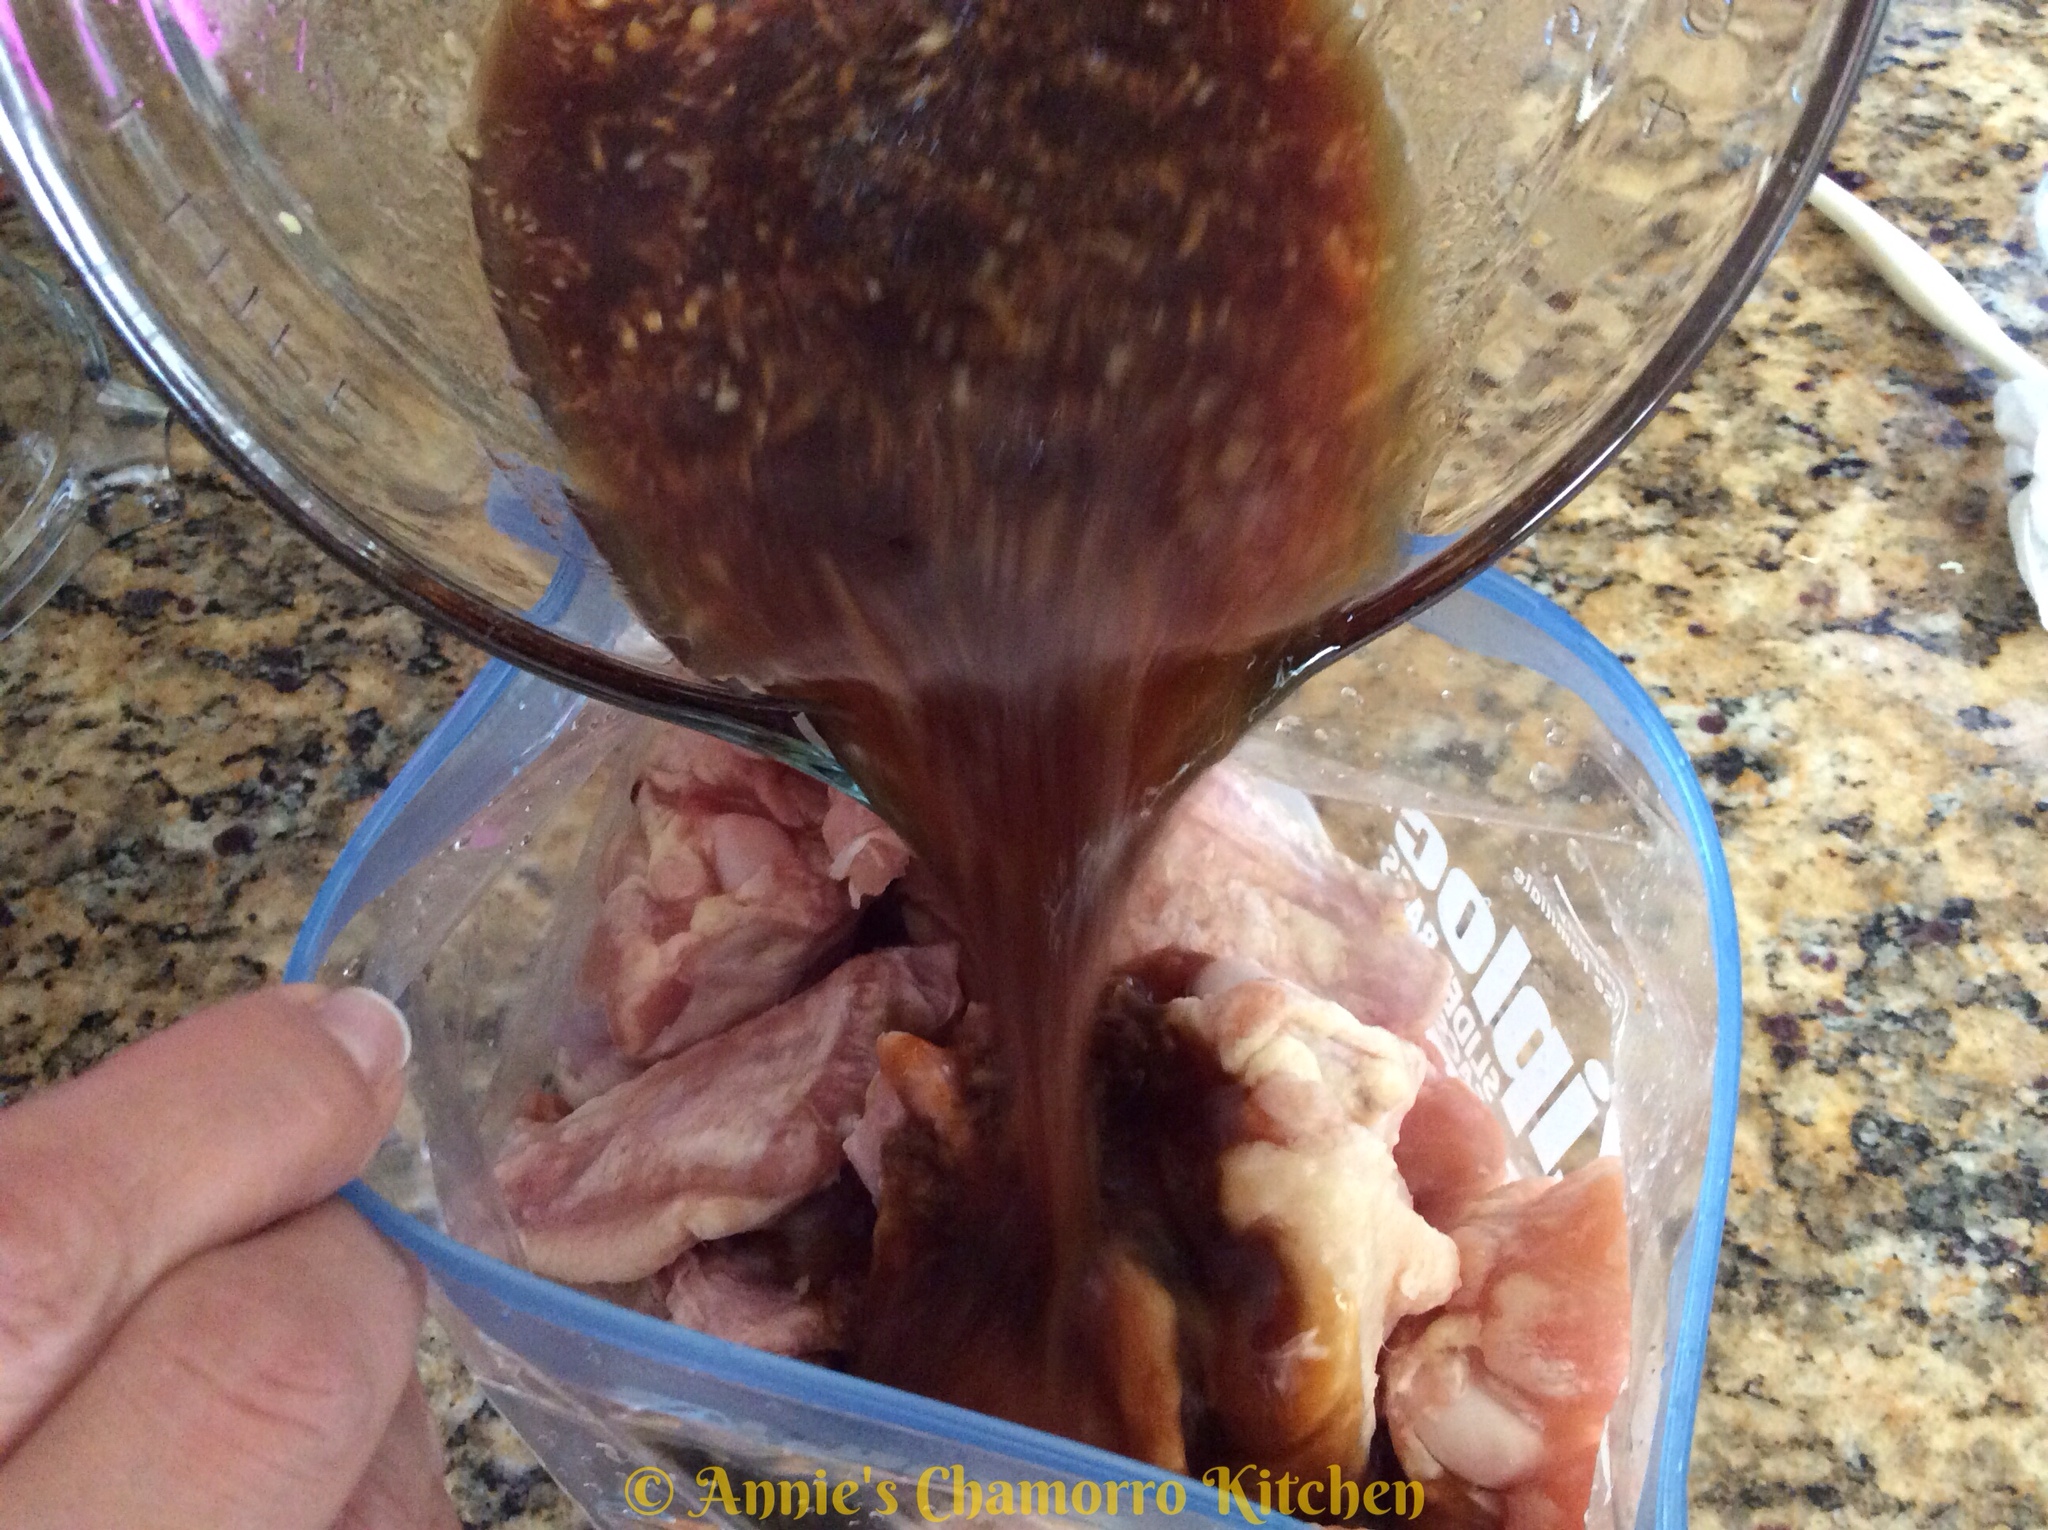
Pour the marinade into the bag.

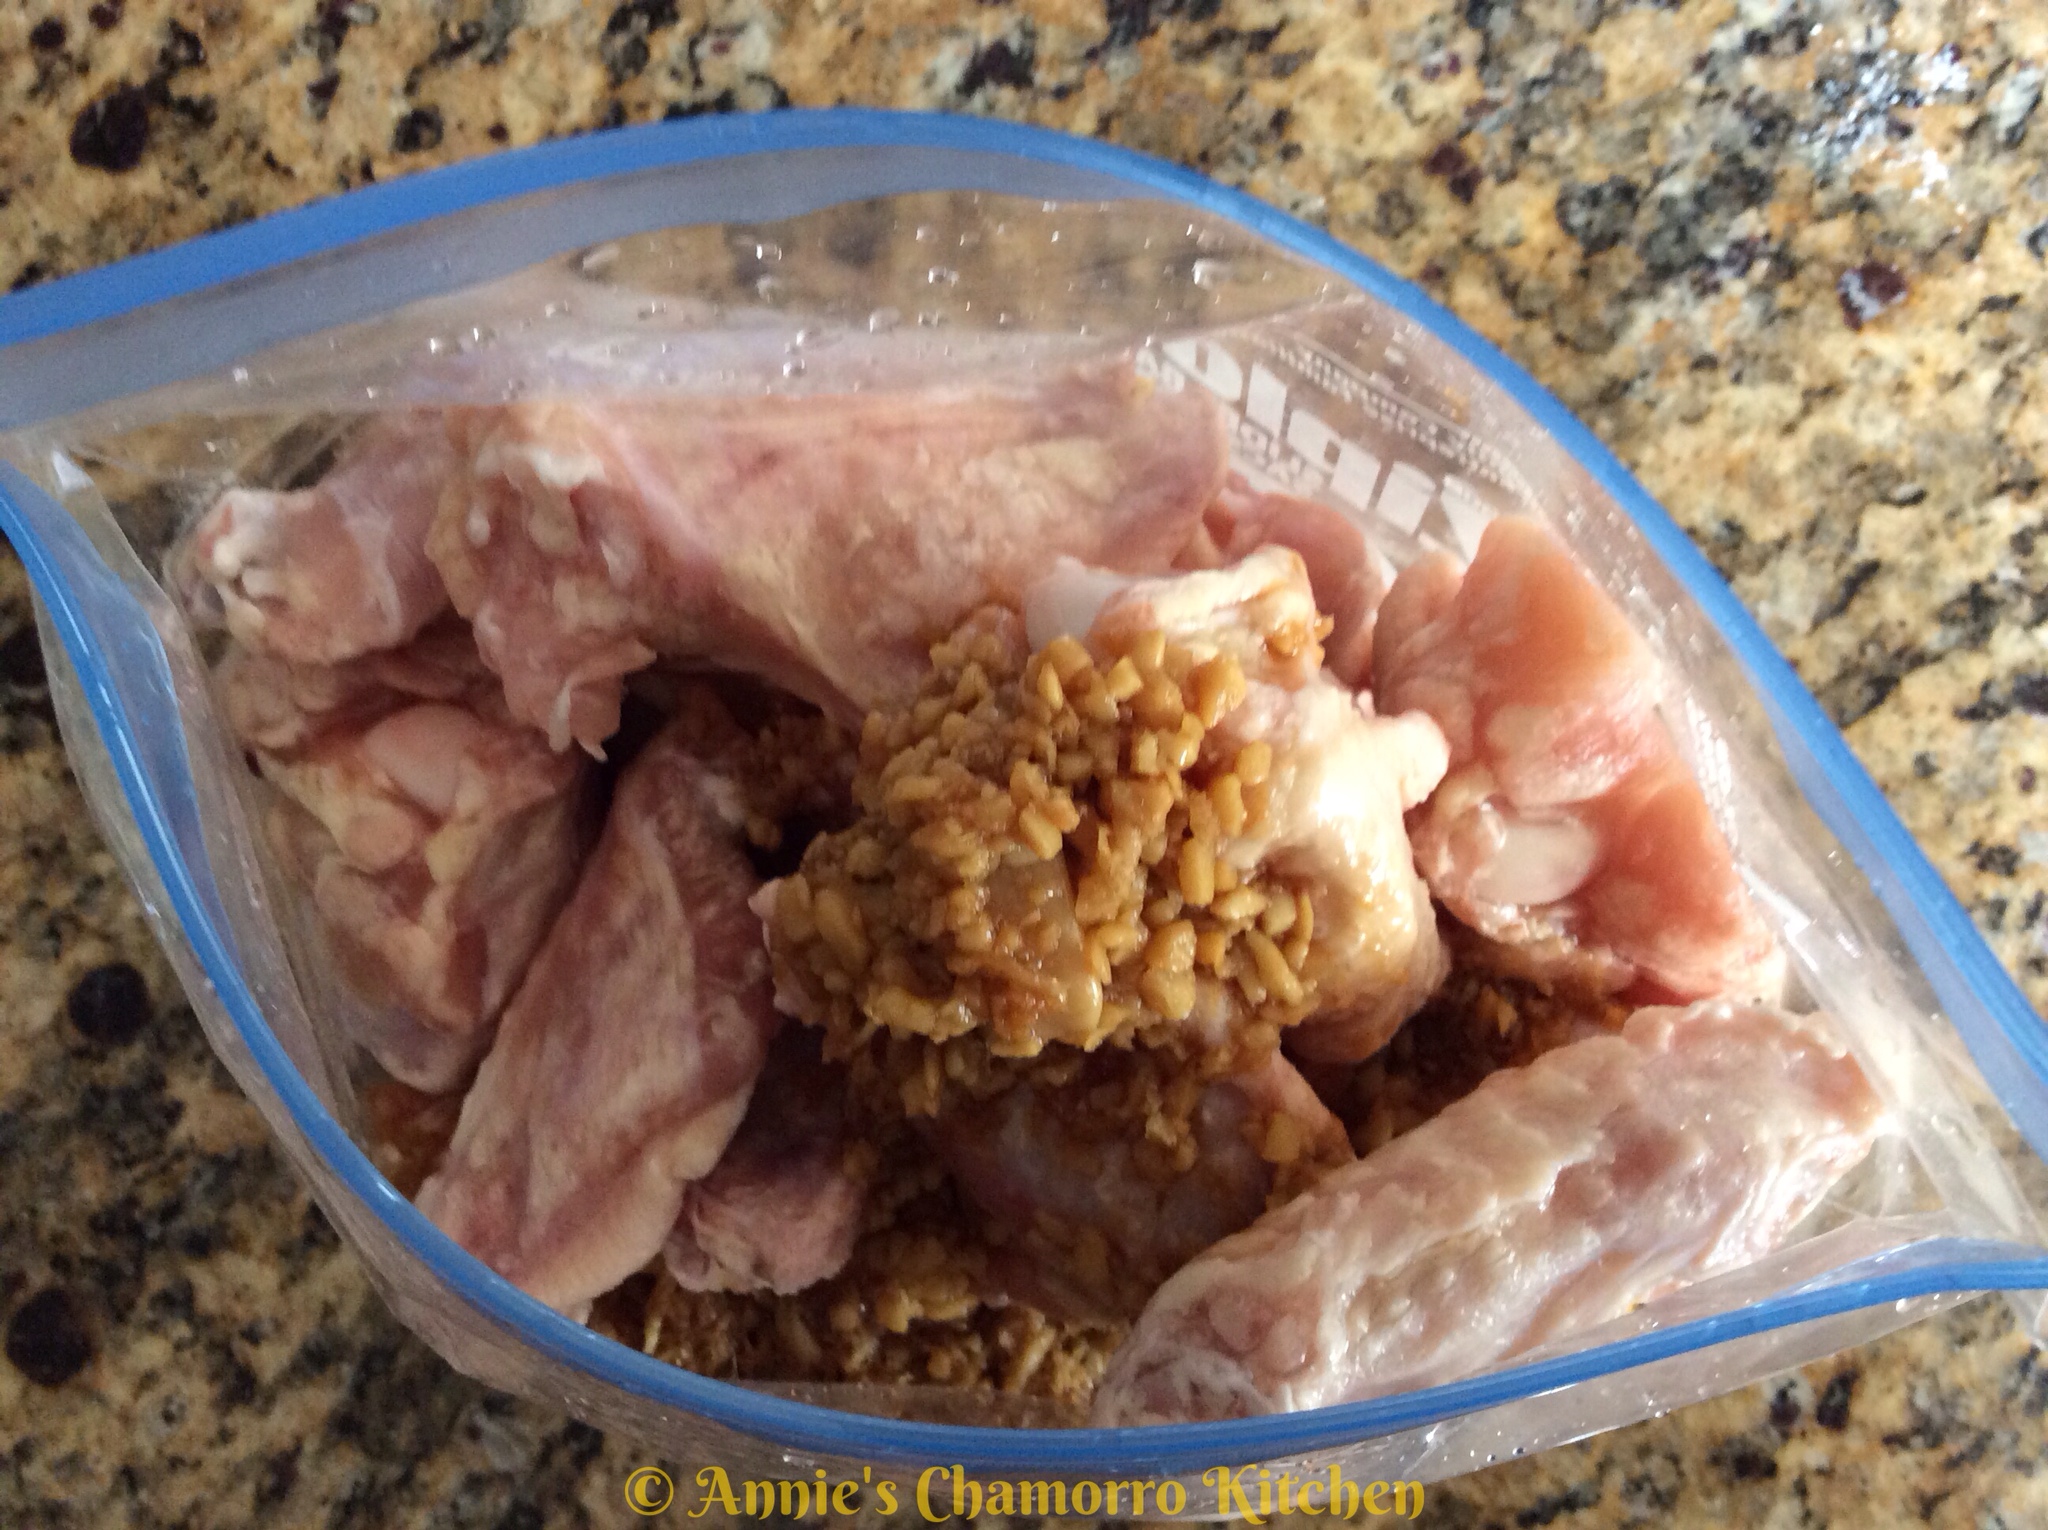
Make sure to get all the garlic and ginger out!

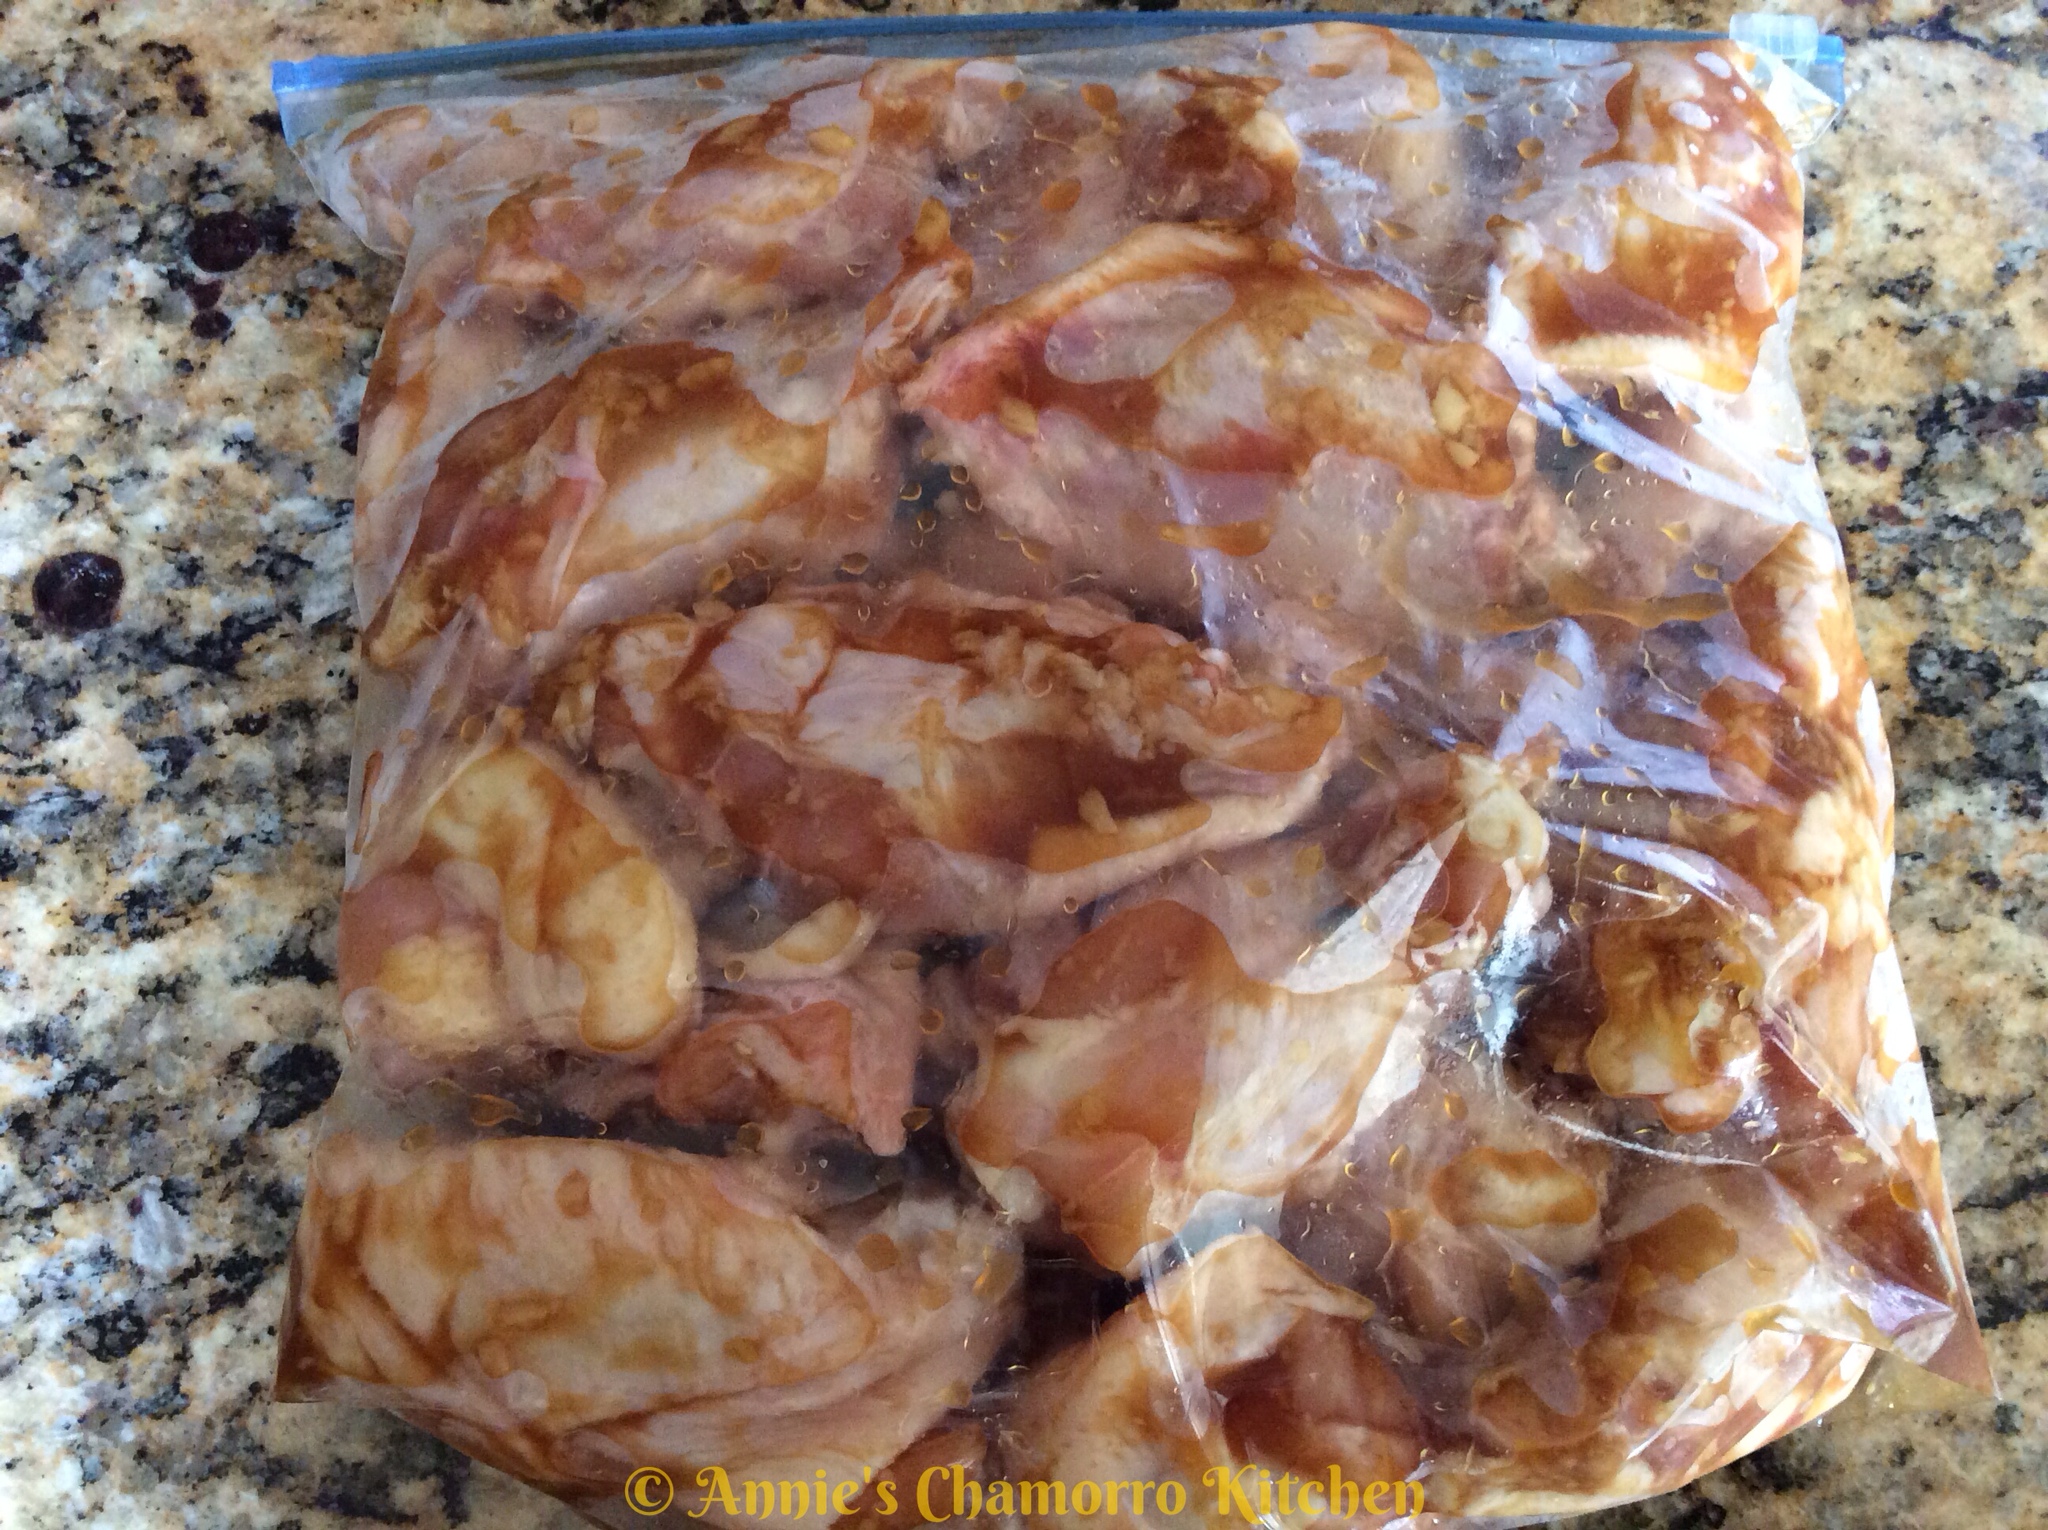
Squeeze any excess air out of the bag before sealing. Marinate the chicken for a few hours or up to a day. Keep the bag refrigerated while the chicken marinates.

3. Bake the chicken.

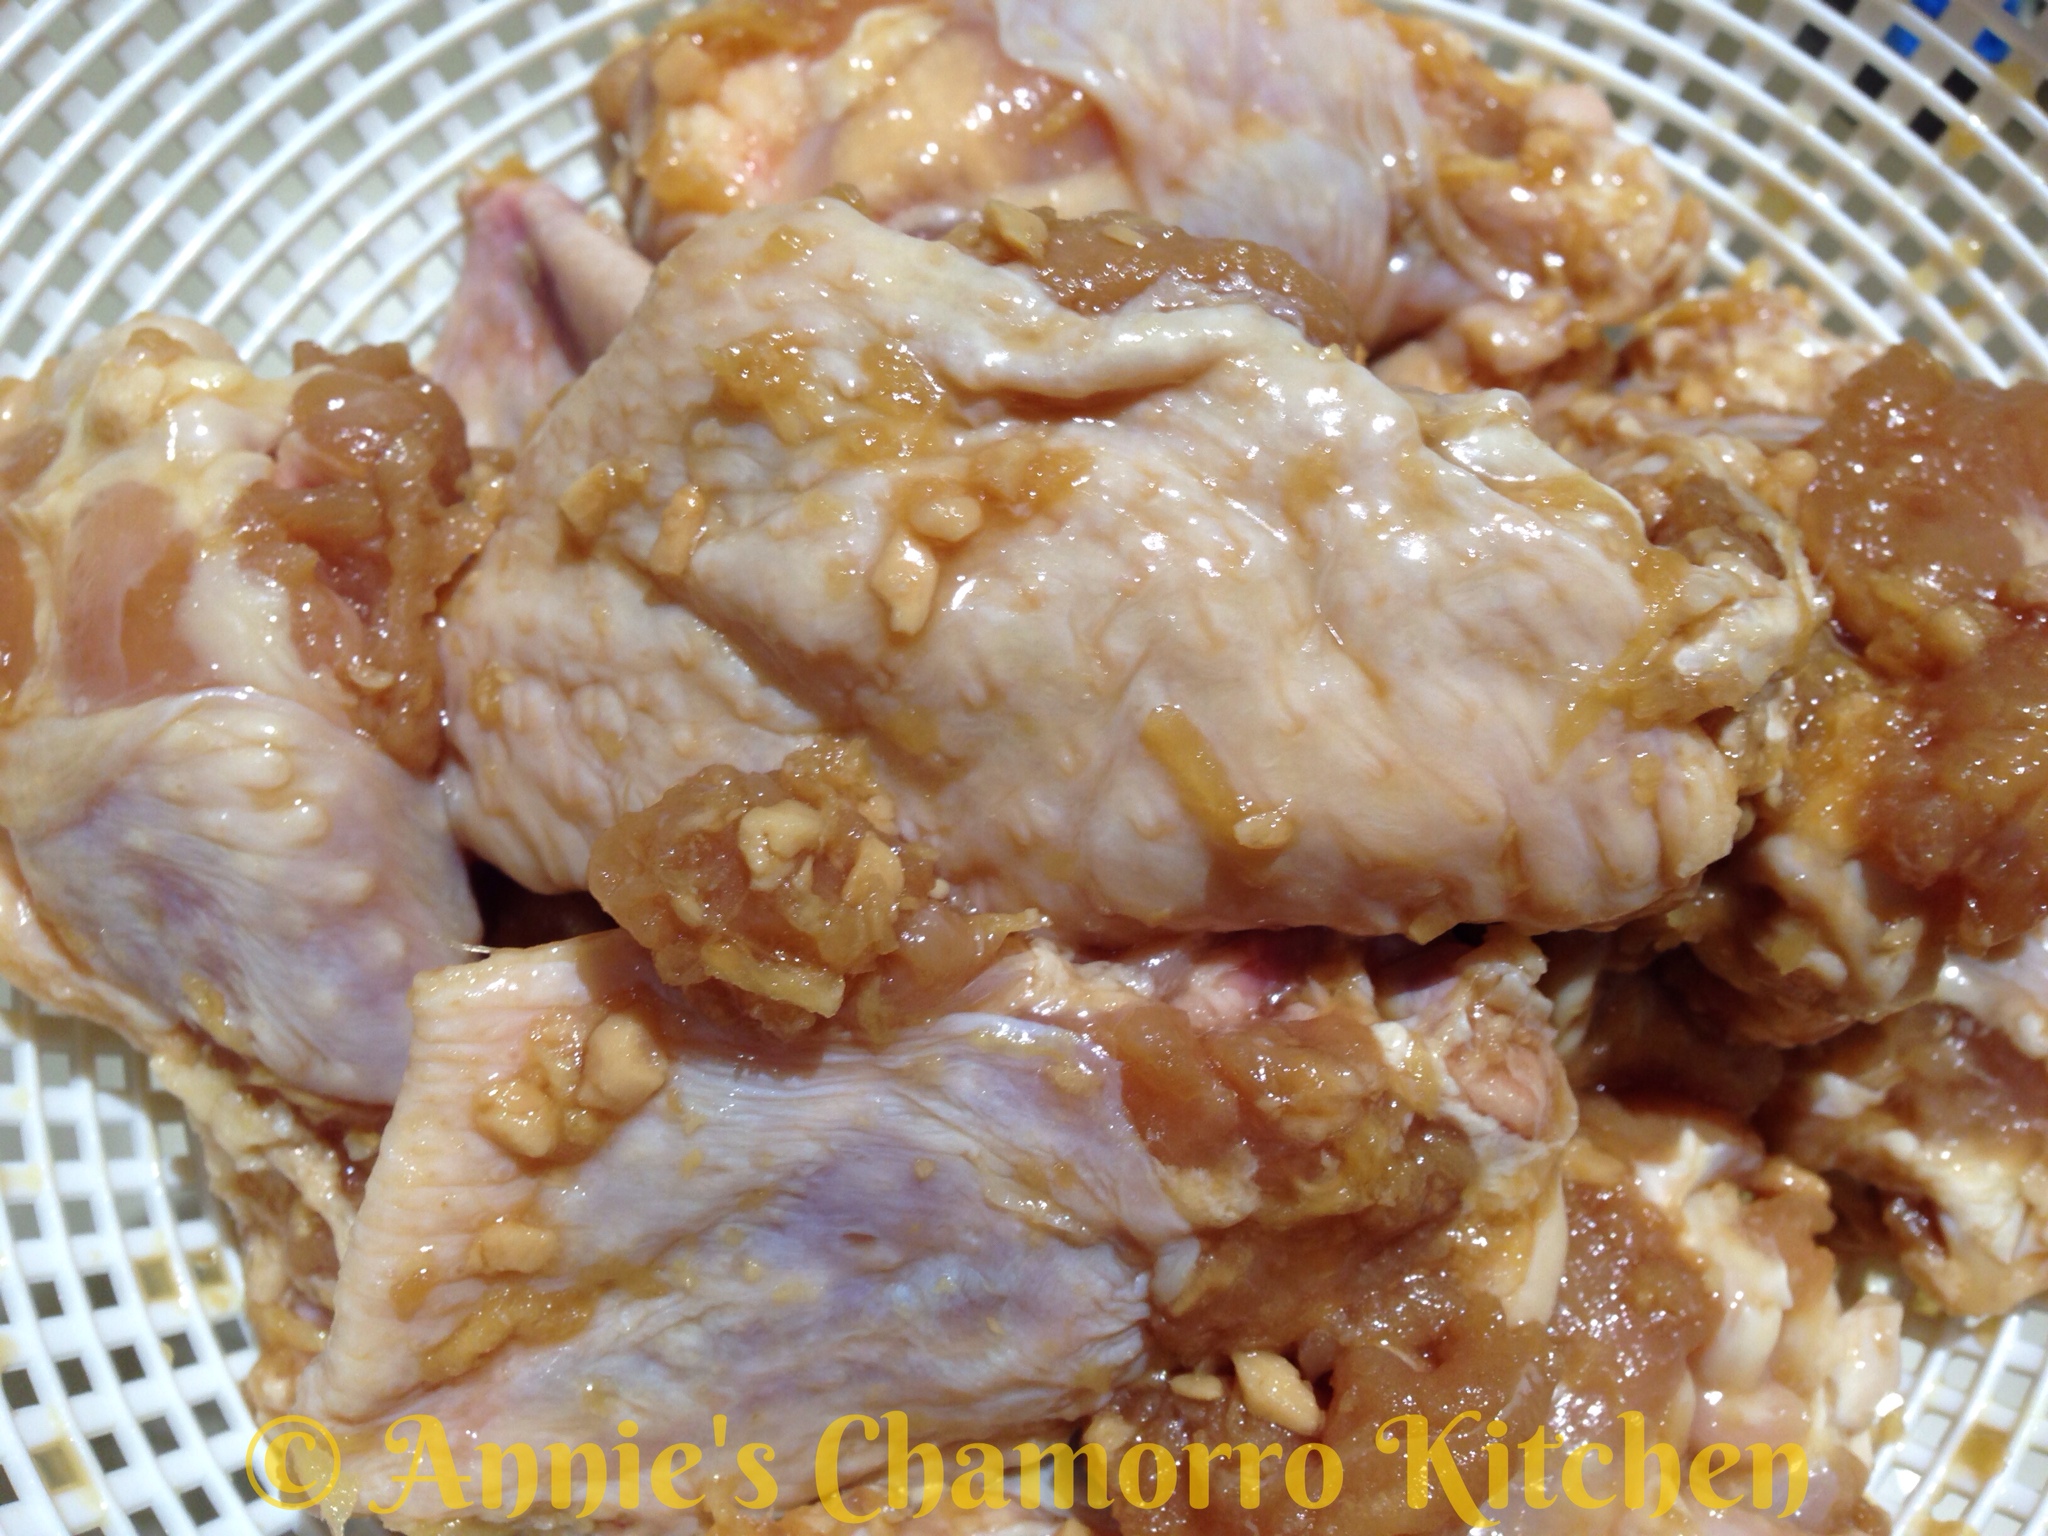
Pour the chicken out into a colander to drain out the marinade.

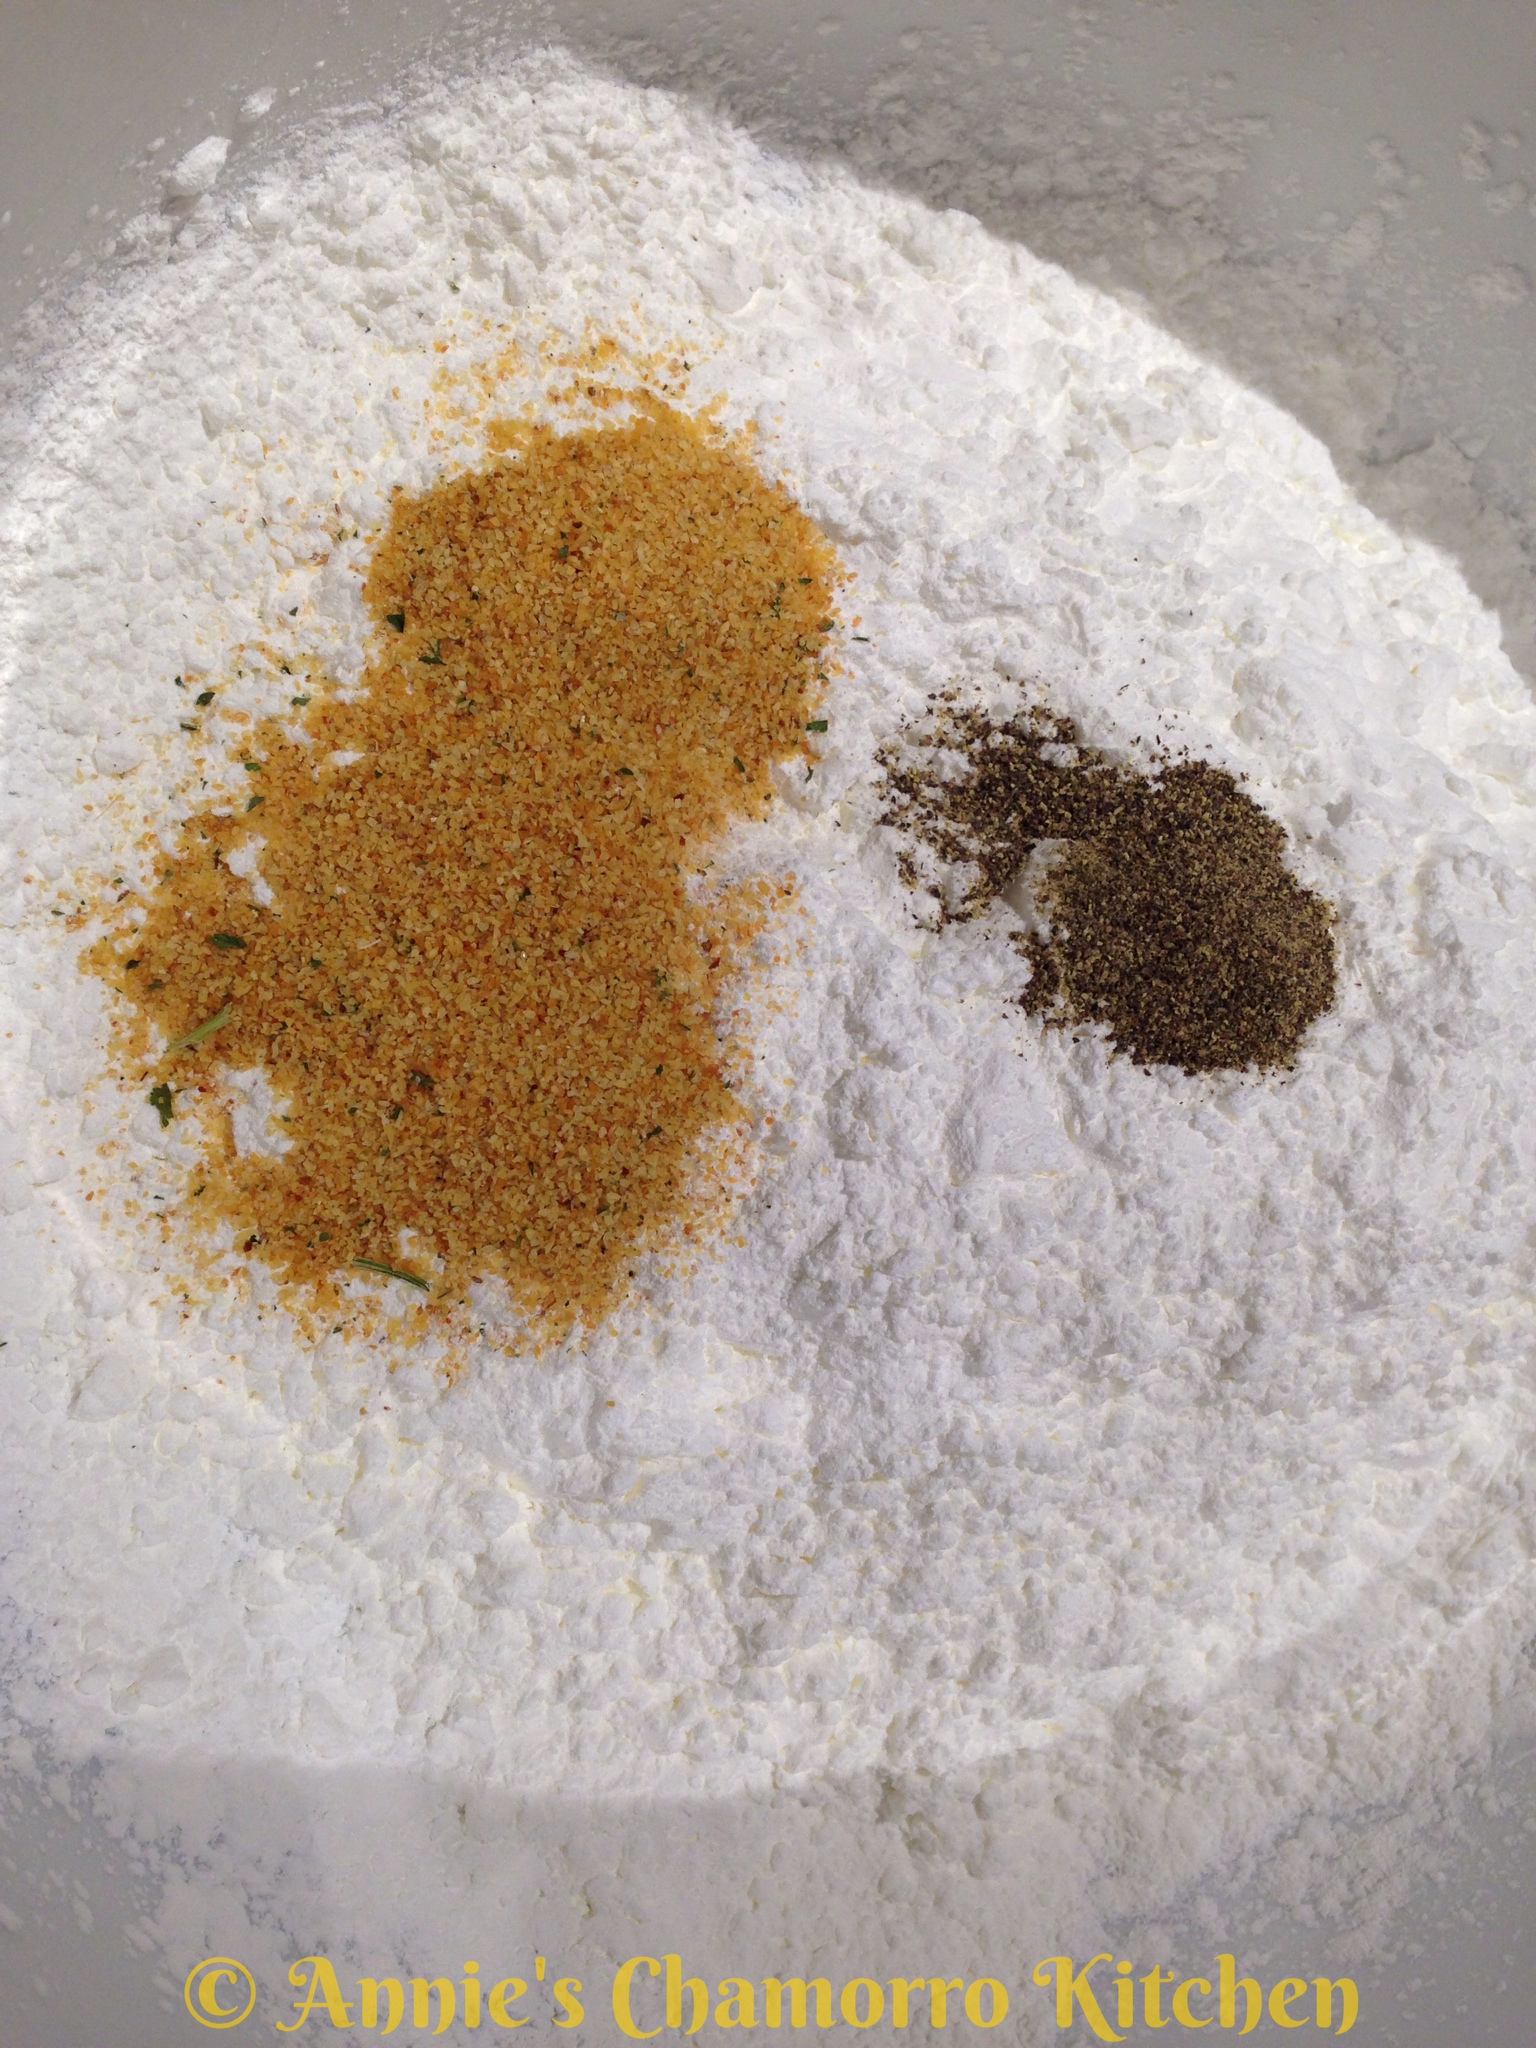
Prepare the cornstarch mixture. Mix together the cornstarch, garlic powder and black pepper.

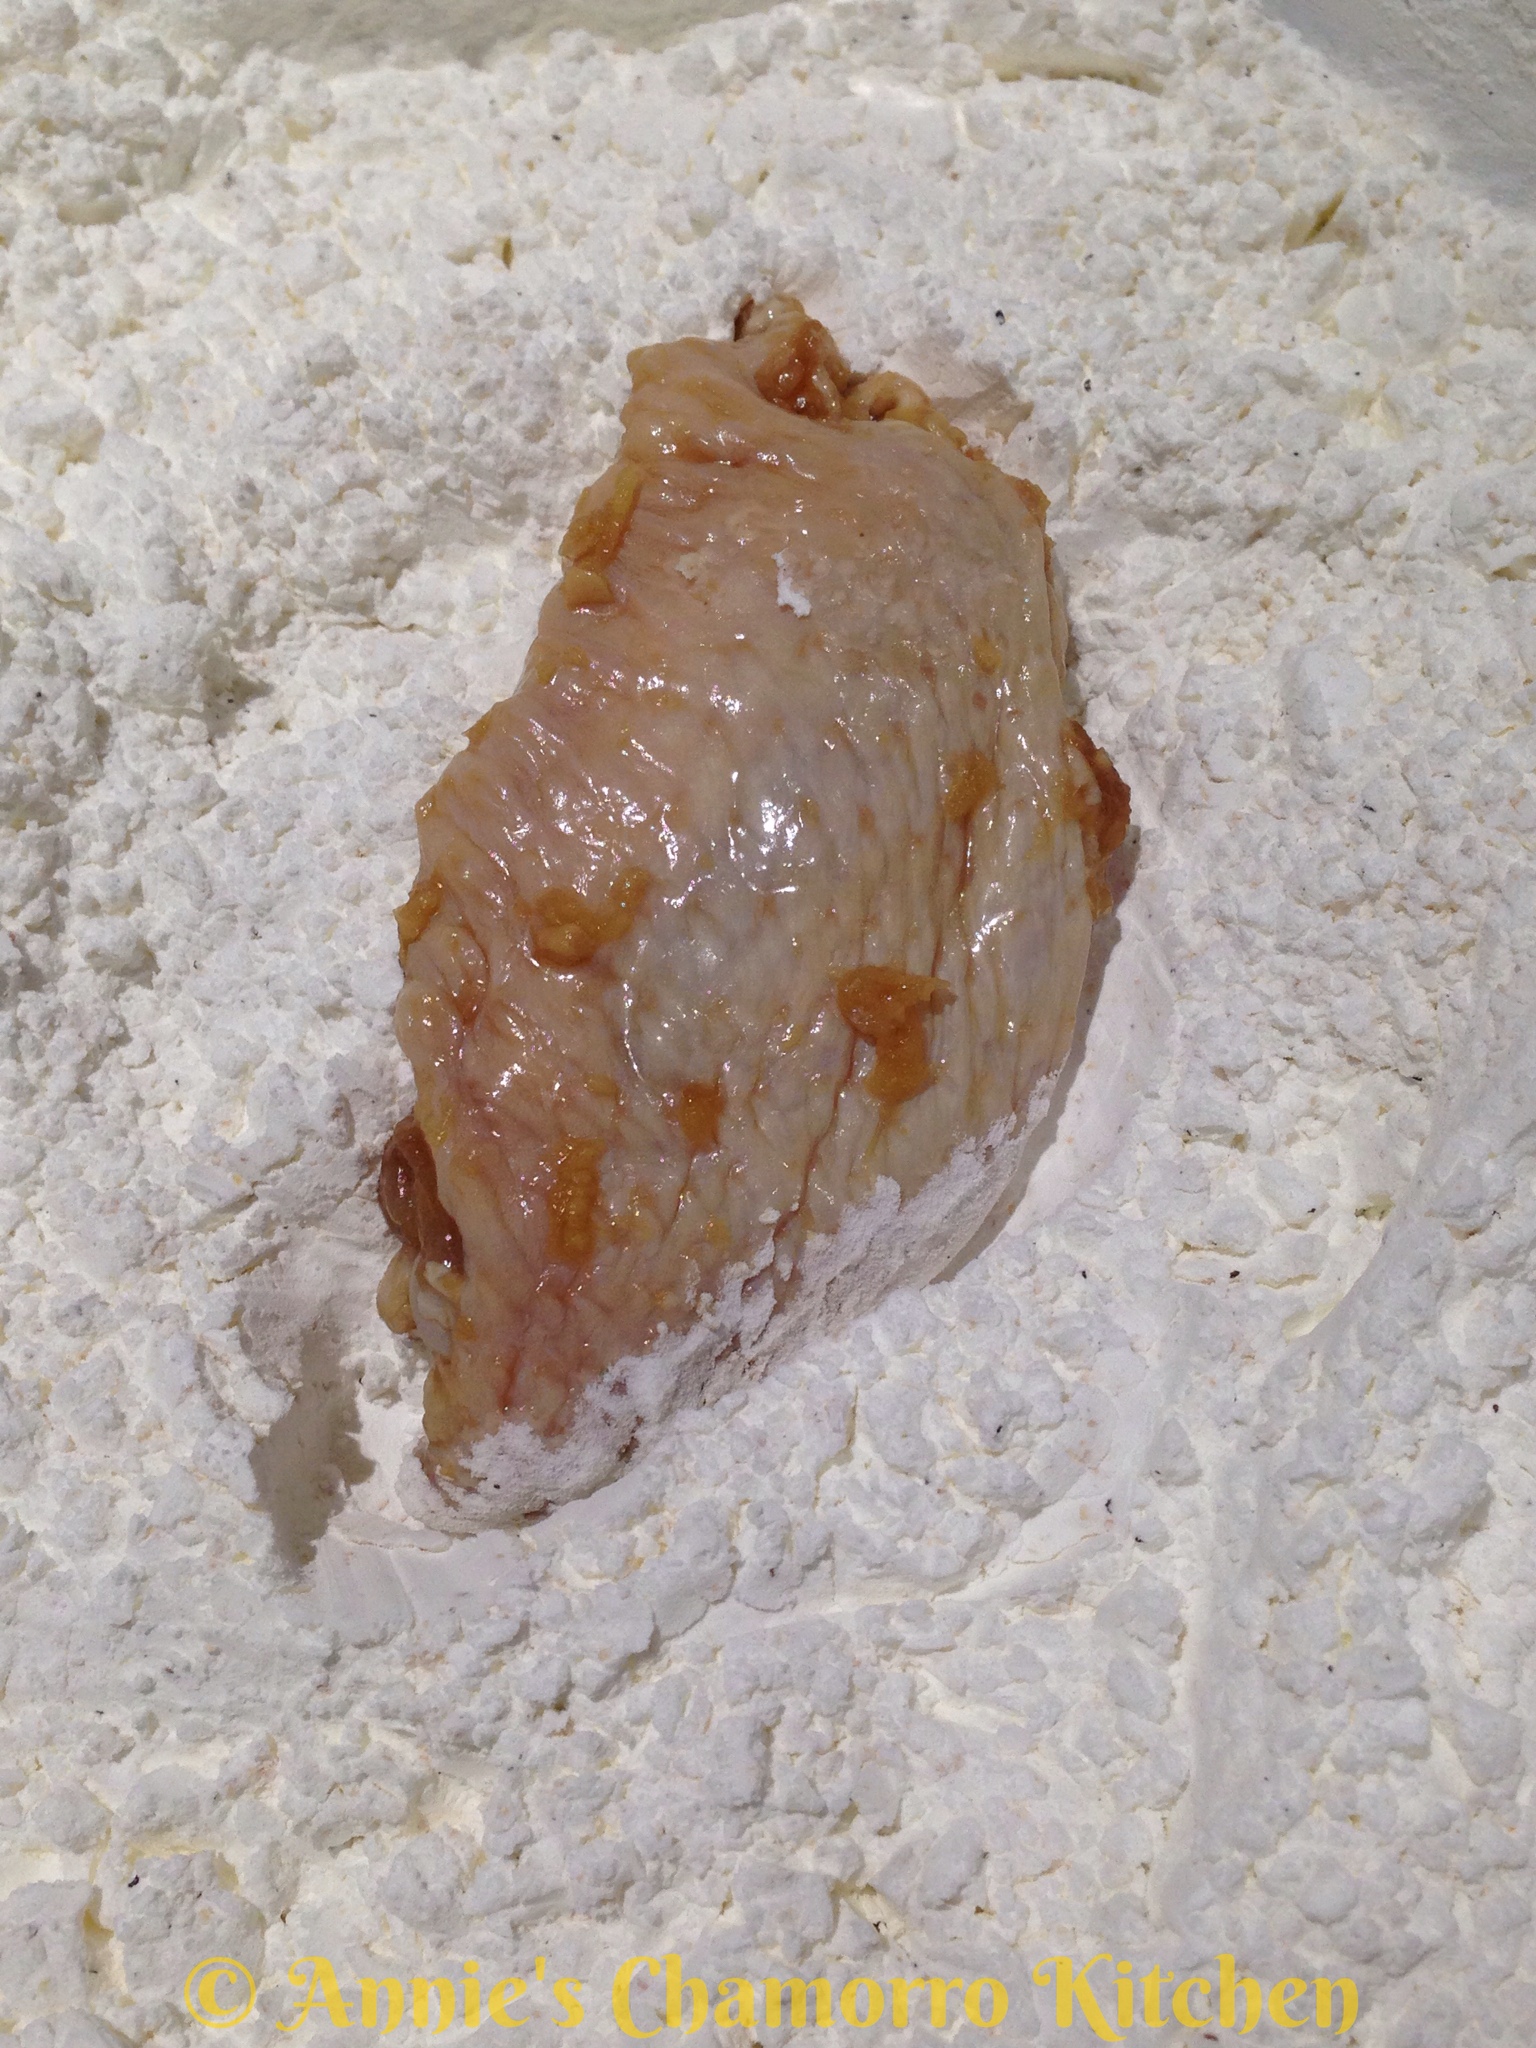
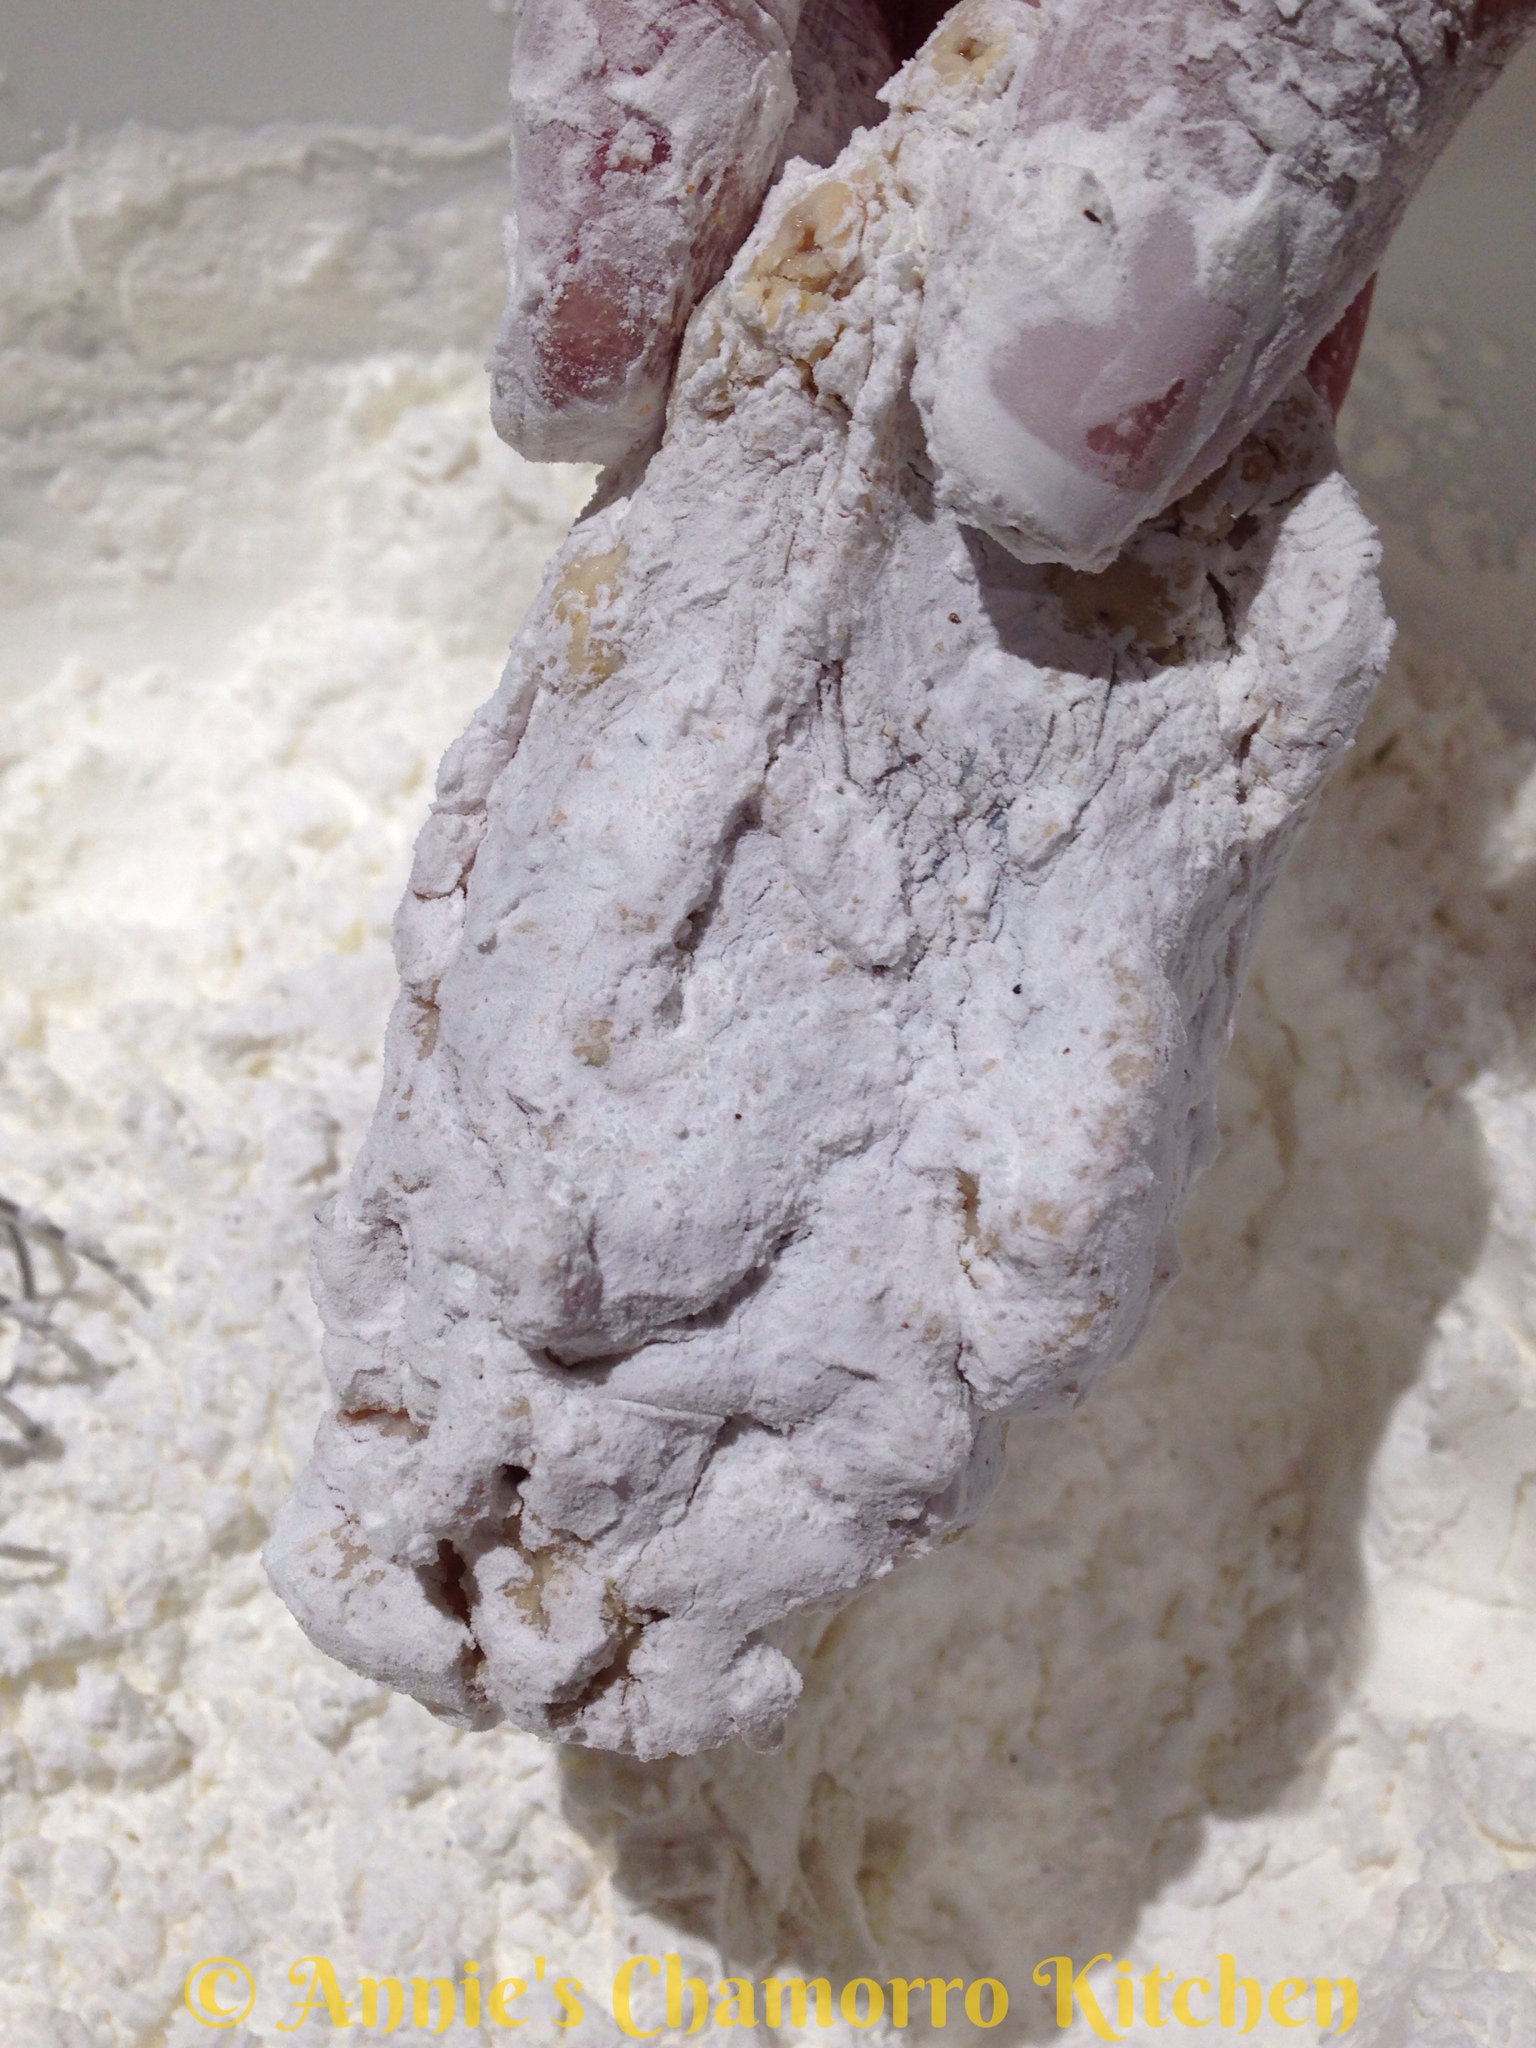
Dredge the chicken pieces in the cornstarch mixture.


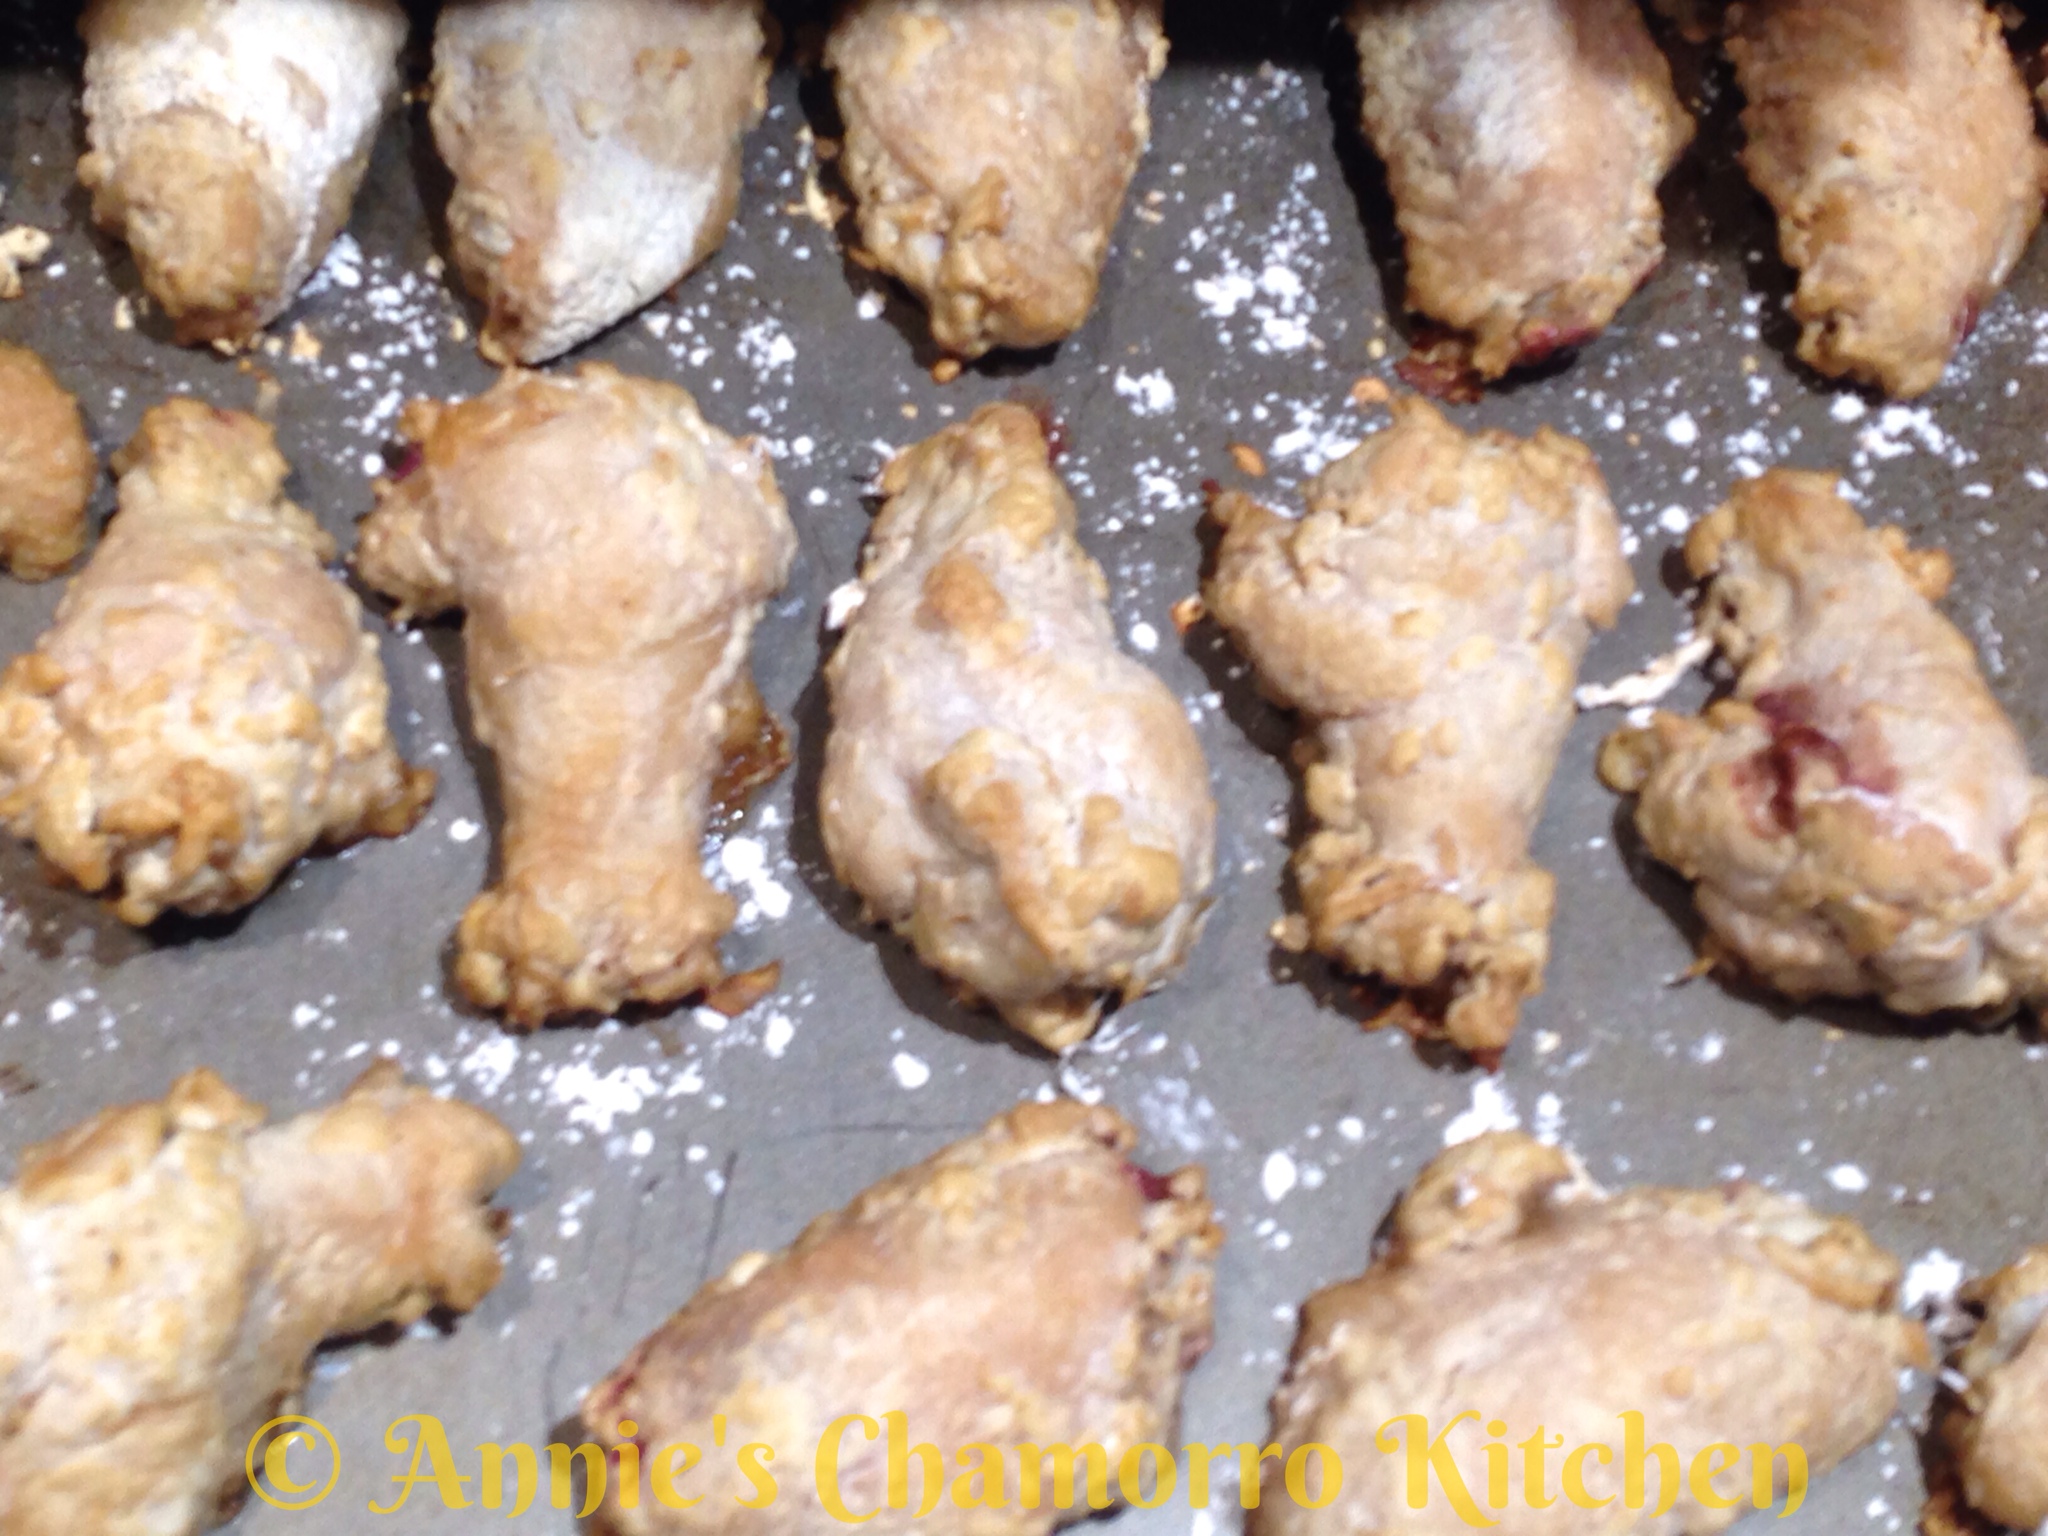
Place the chicken (skin side up) onto a baking pan lined with parchment paper.

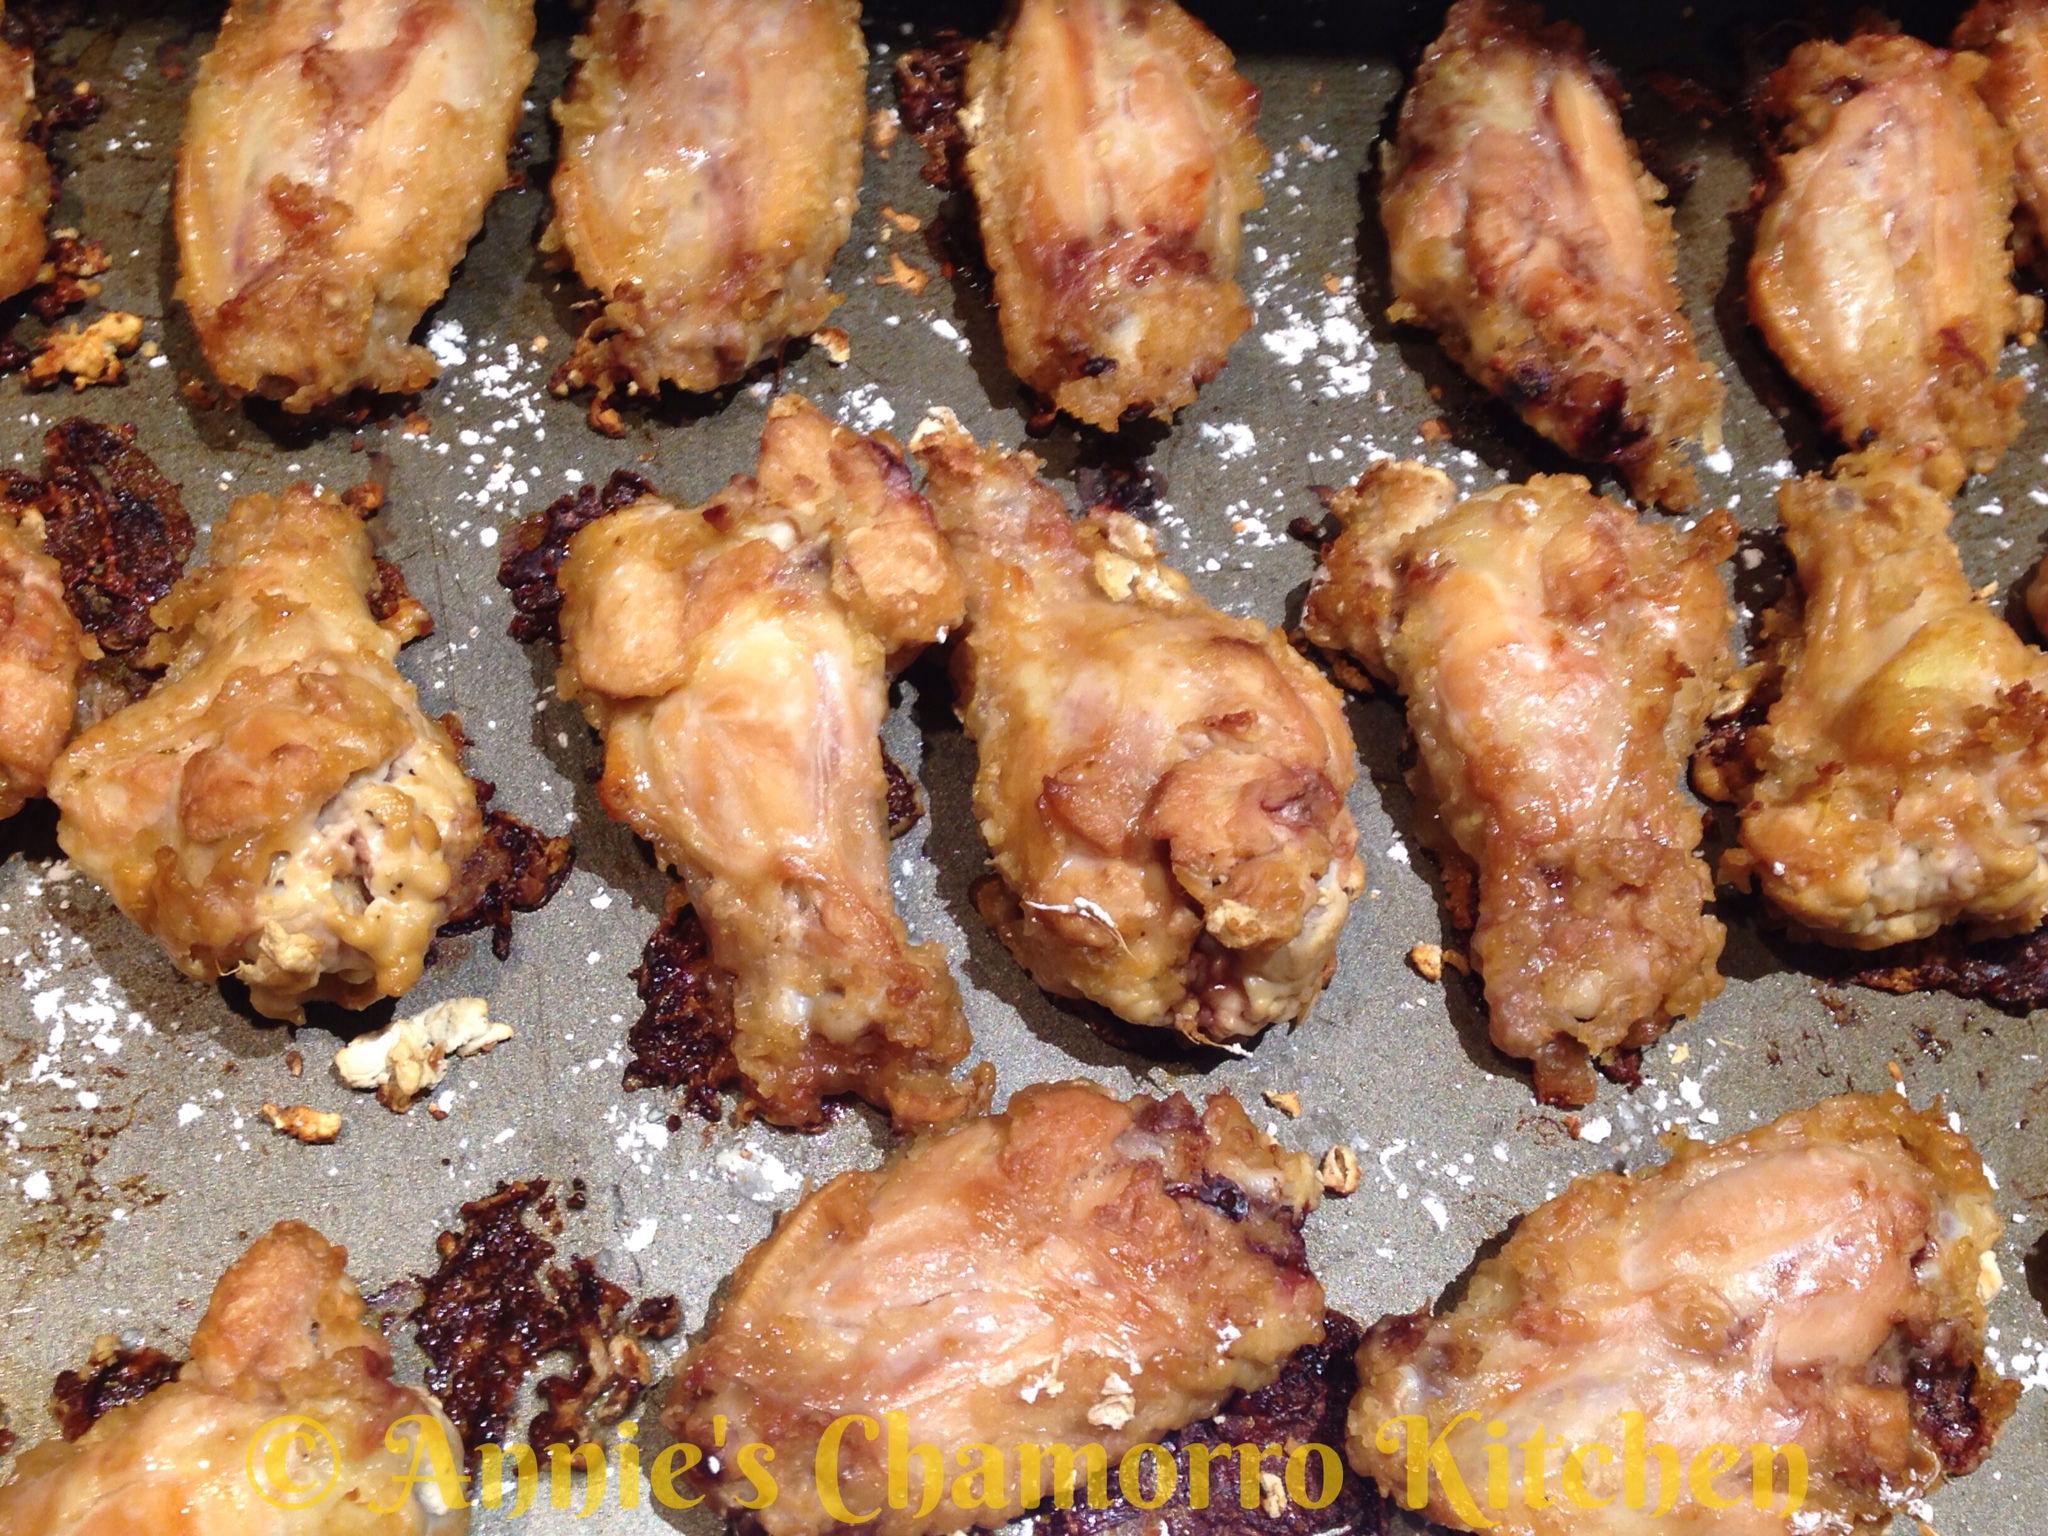
Note: In the photo below, the pan is not lined with parchment paper (I forgot to do it). DO NOT forget like I did or the chicken skin will stick to the pan as it bakes…especially metal pans. I also baked half of the chicken on a stoneware pan; the chicken baked up better on the stoneware pan without being lined with parchment paper (most of the wings didn’t stick but some still did).

Bake the chicken at 400 degrees for a total of 45 minutes.

After baking for 15 minutes, turn the chicken over. Bake for another 15 minutes, skin side down.

After 30 minutes of baking, turn the chicken over, making it skin side up again. Bake for the final 15 minutes.

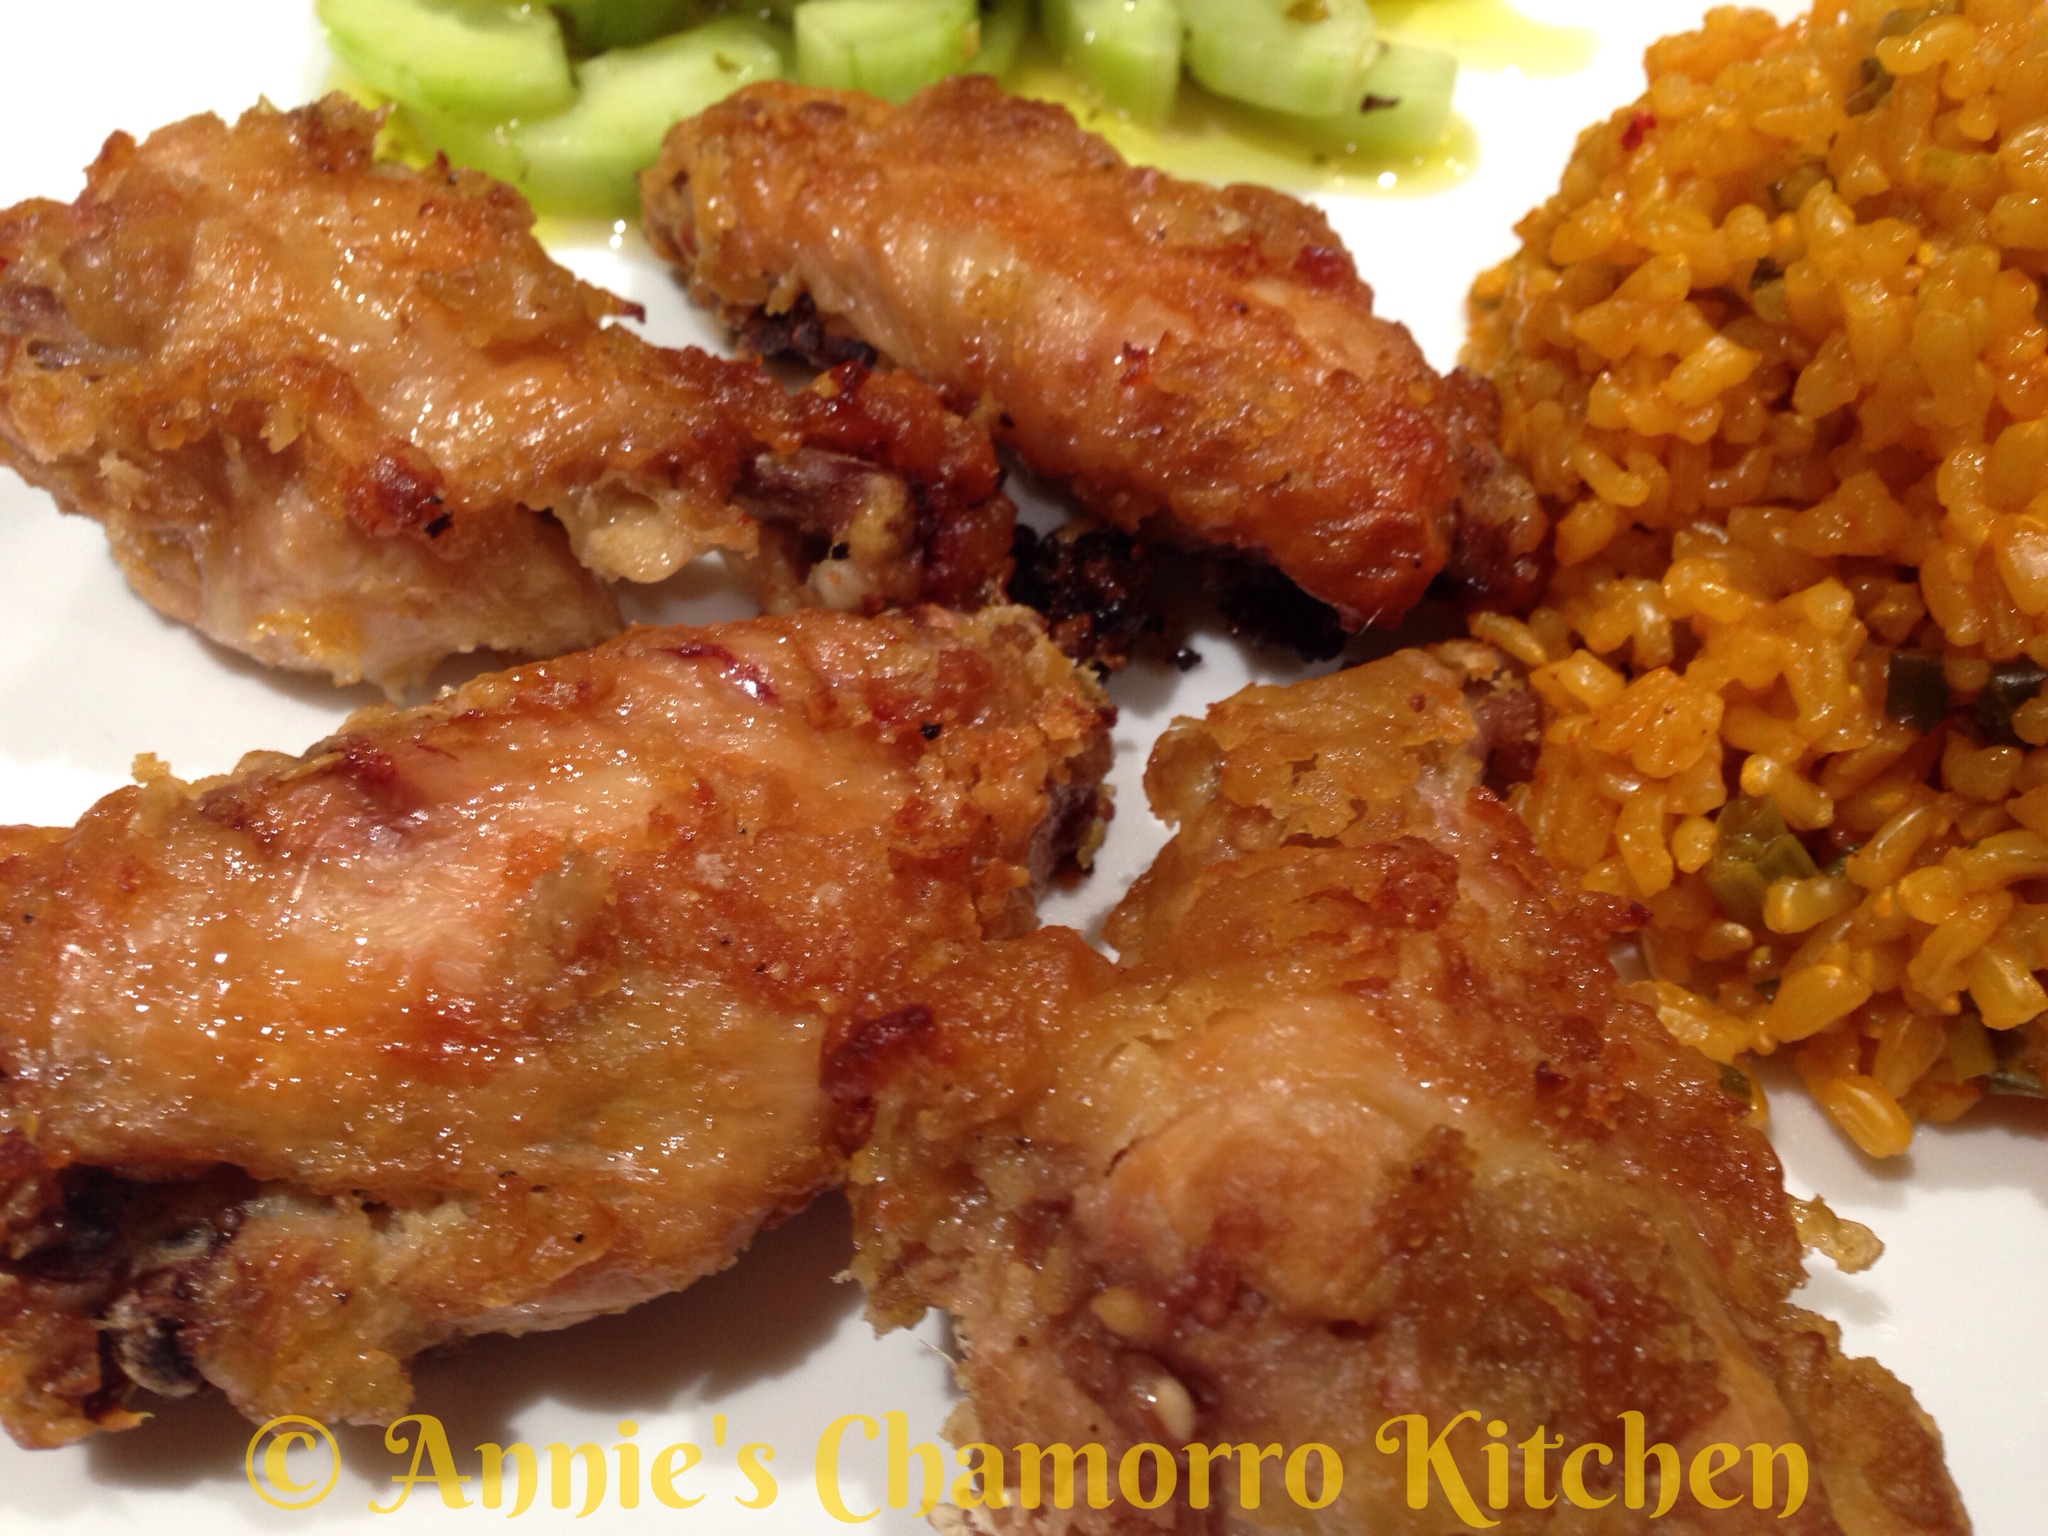
Serve immediately and ENJOY! 🙂

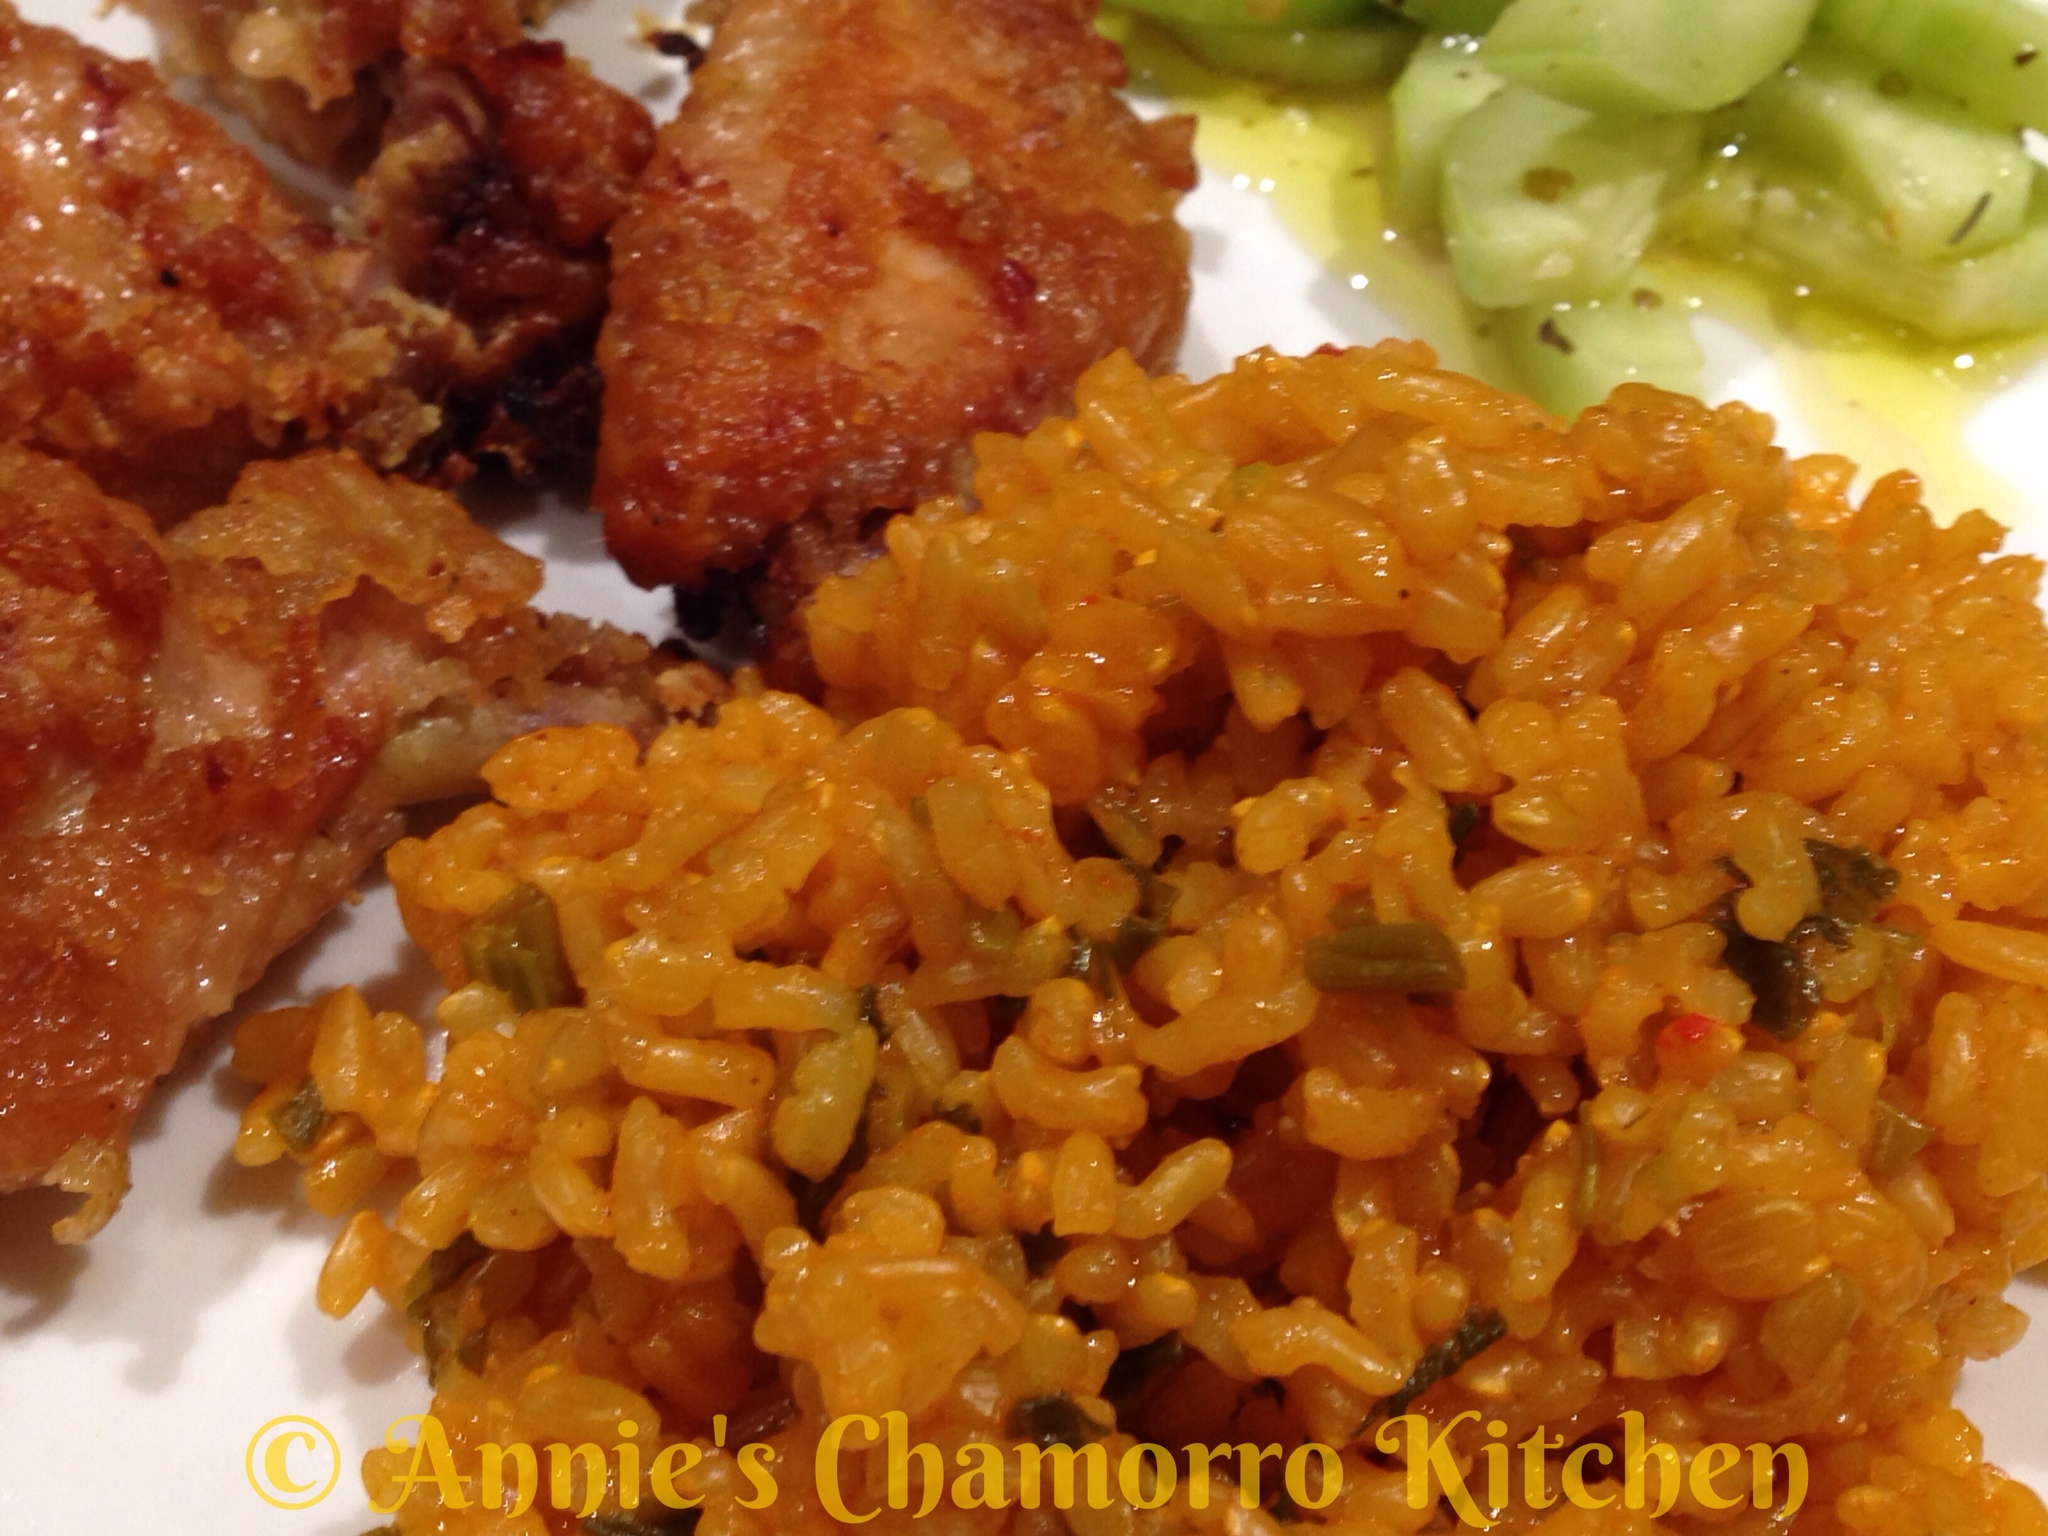
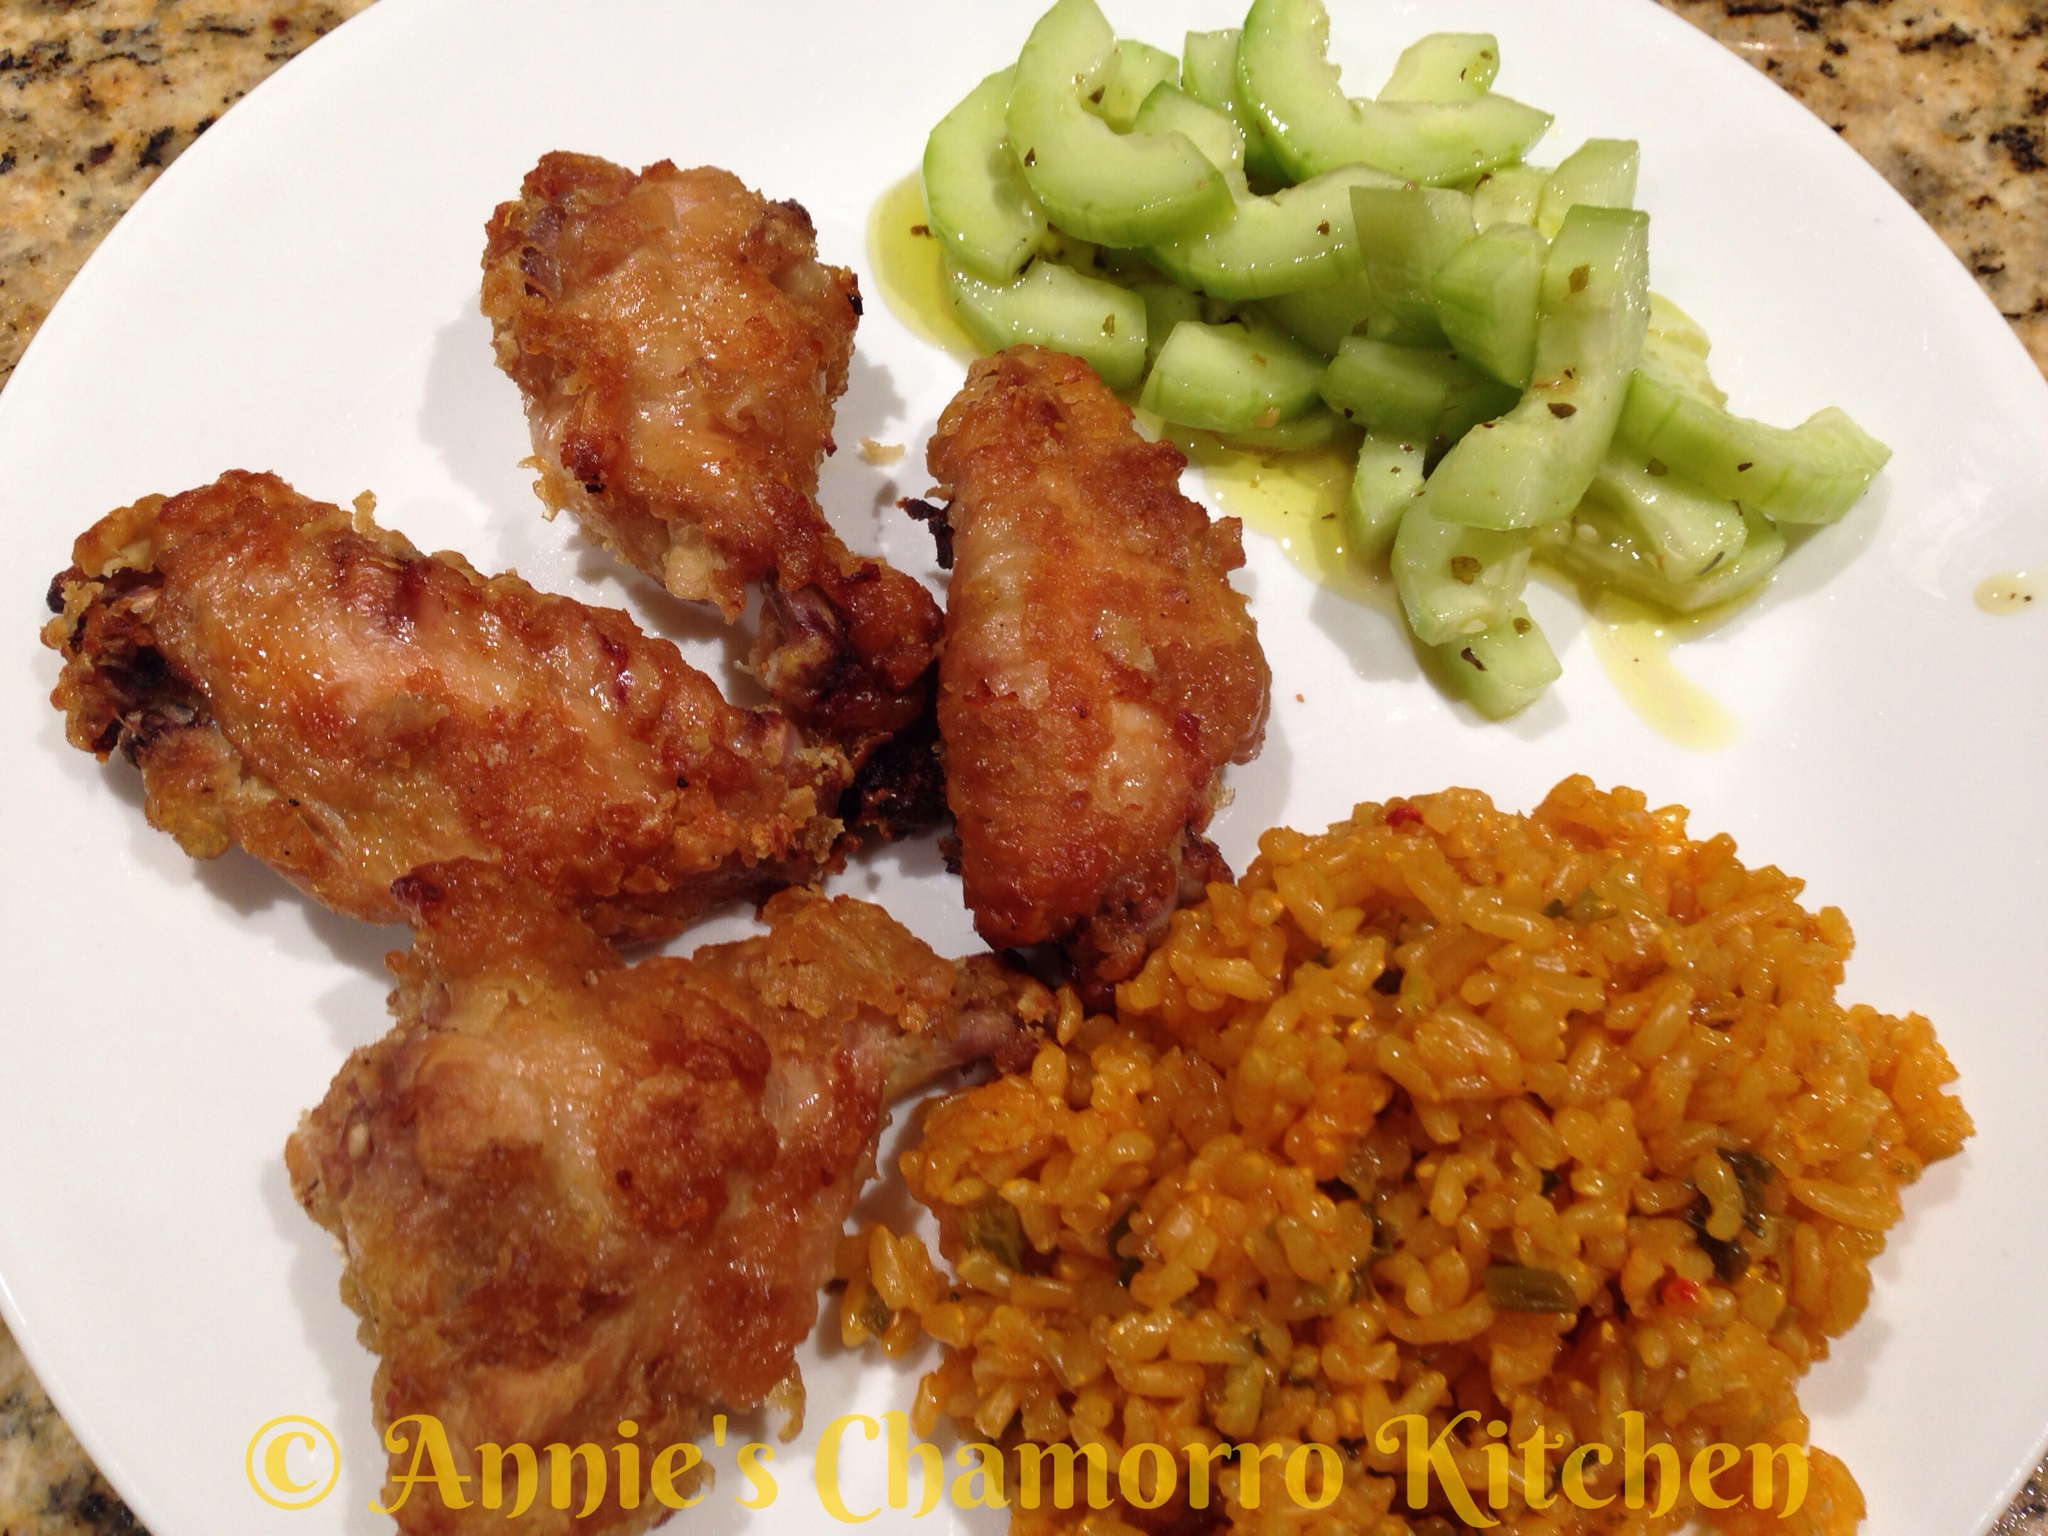
This goes great with red rice. Click here for my recipes for Red Rice and Red Rice using Brown Rice.


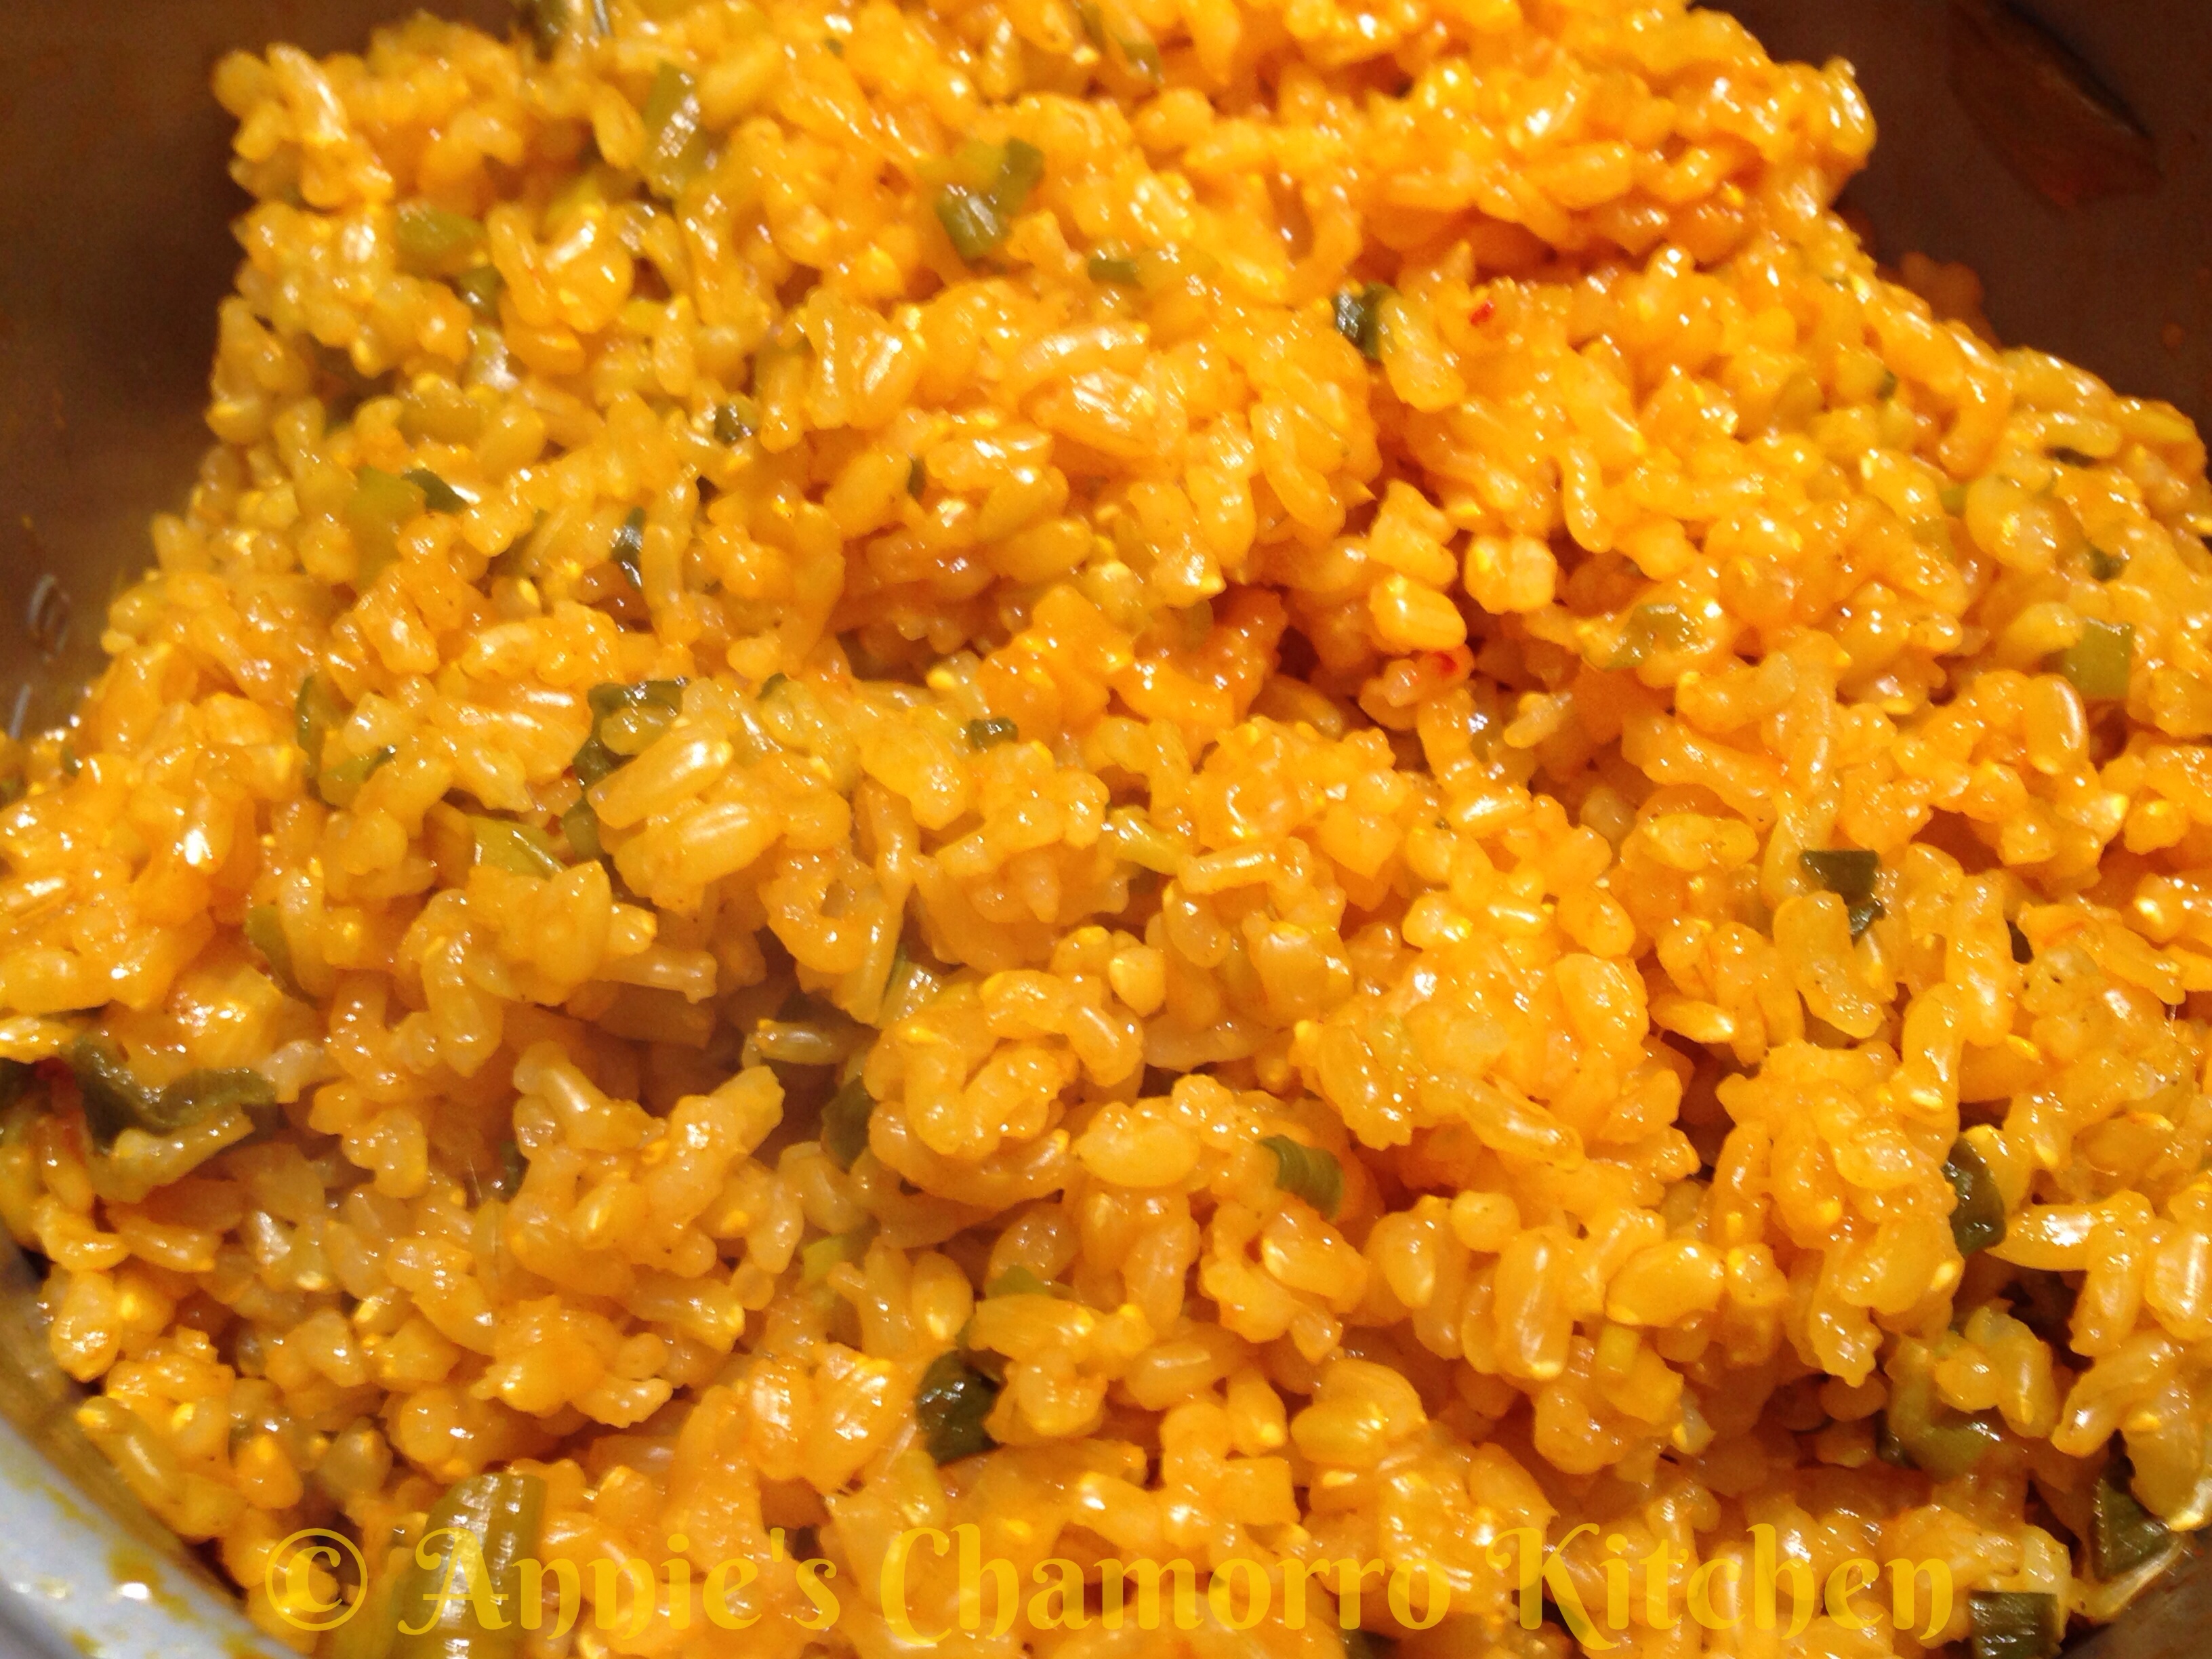
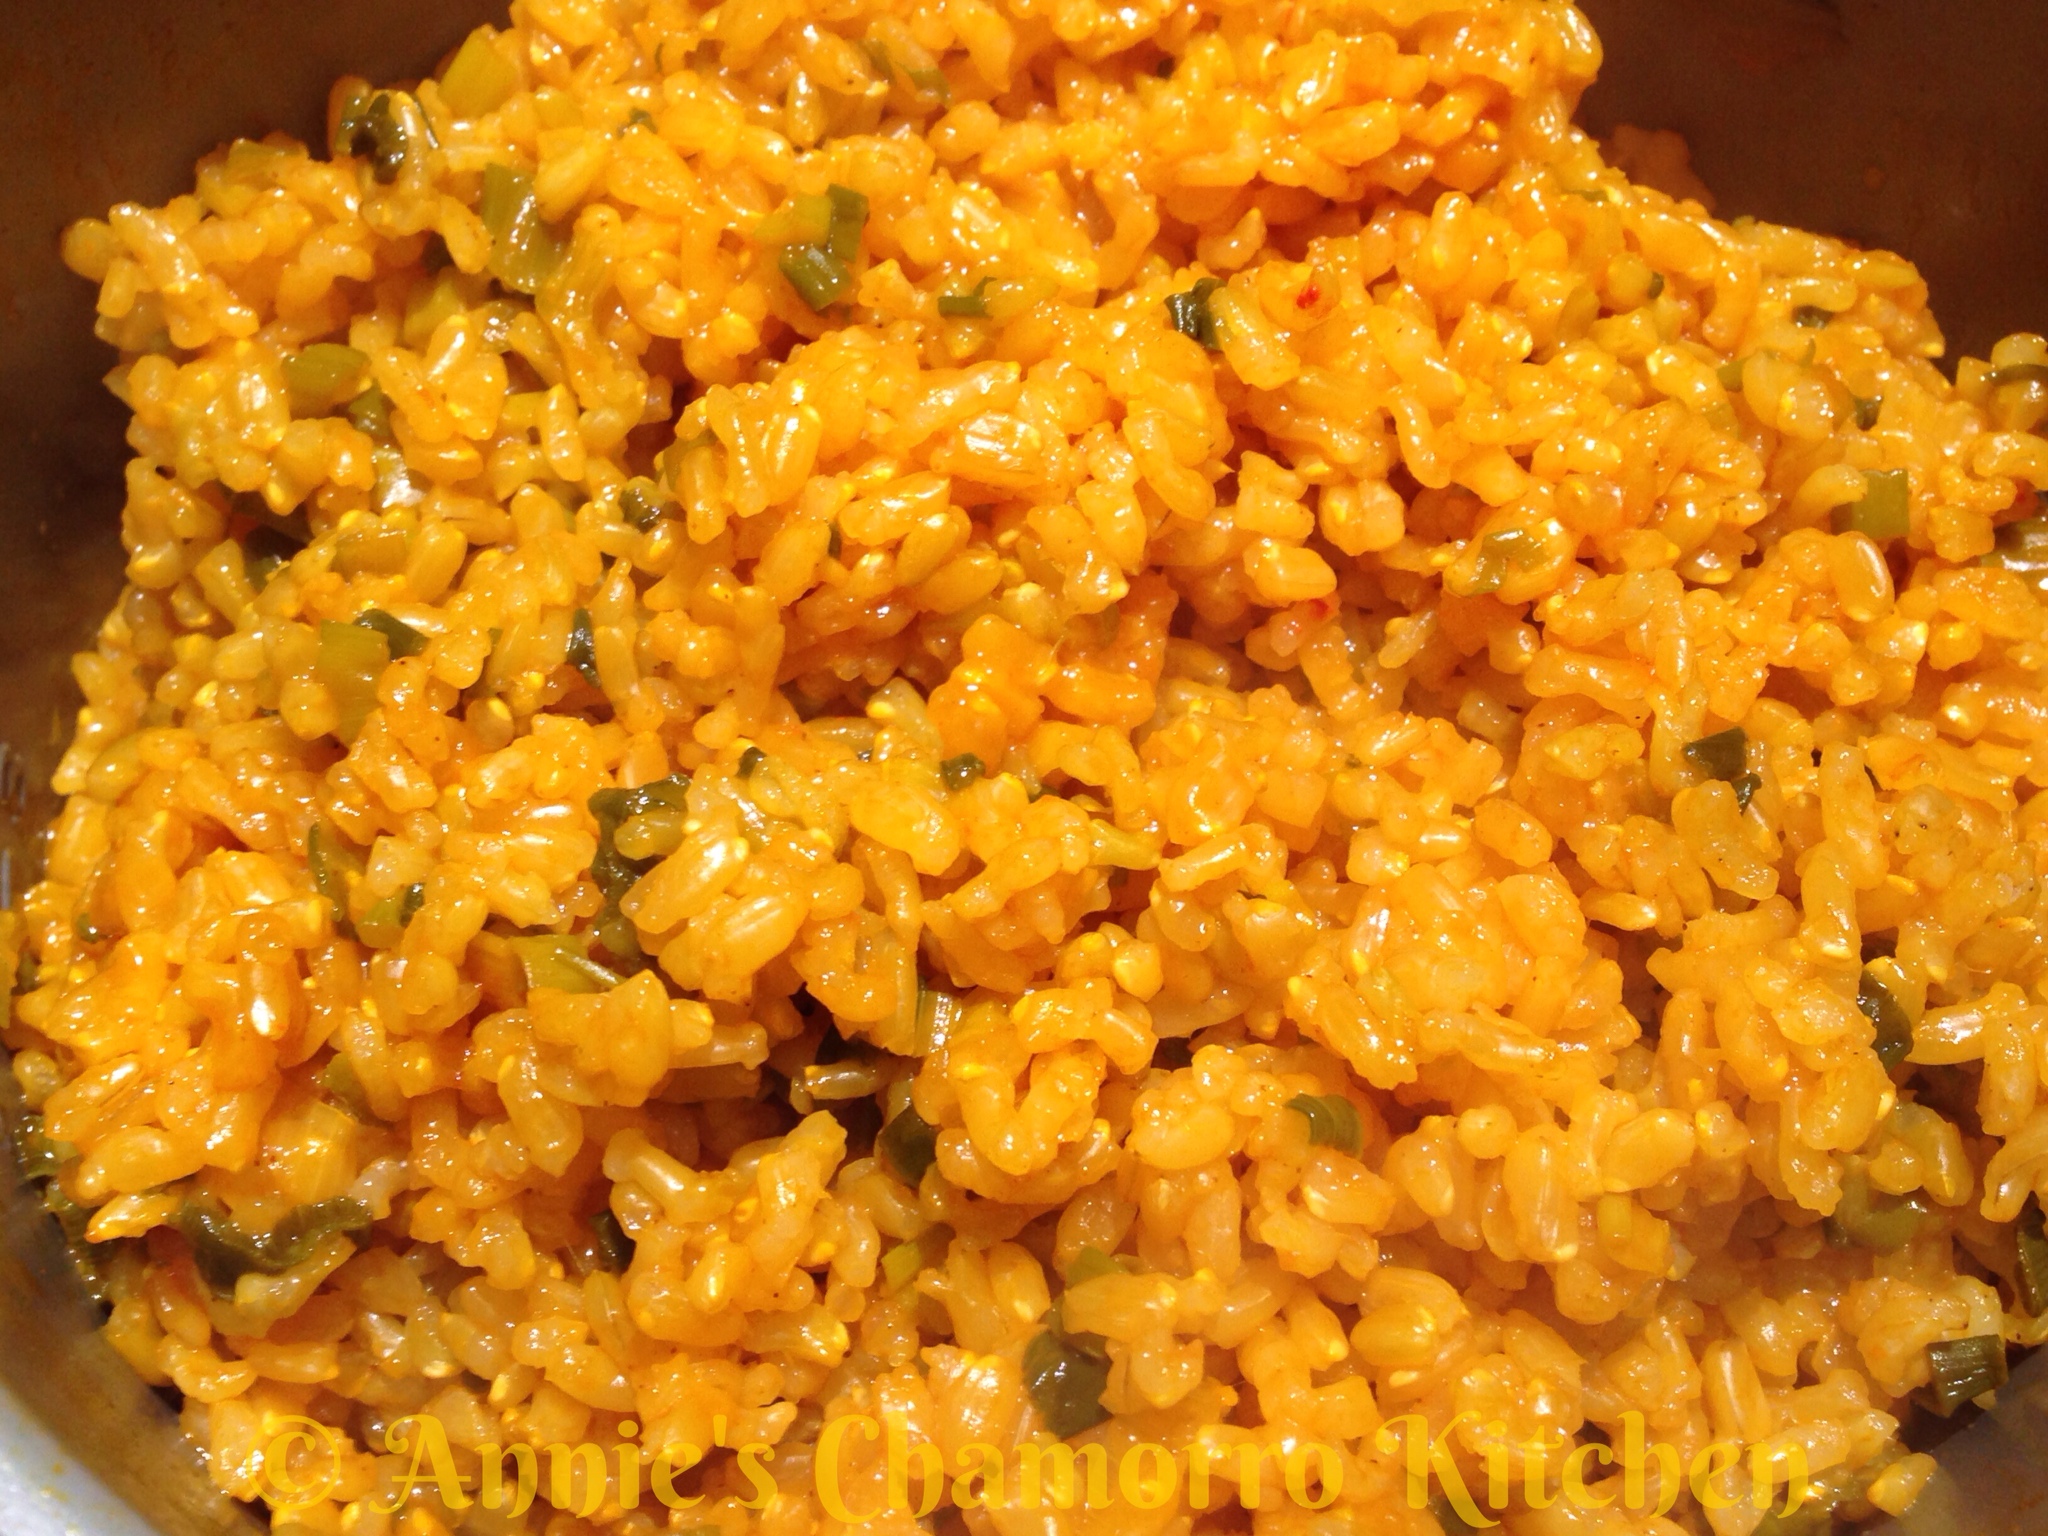
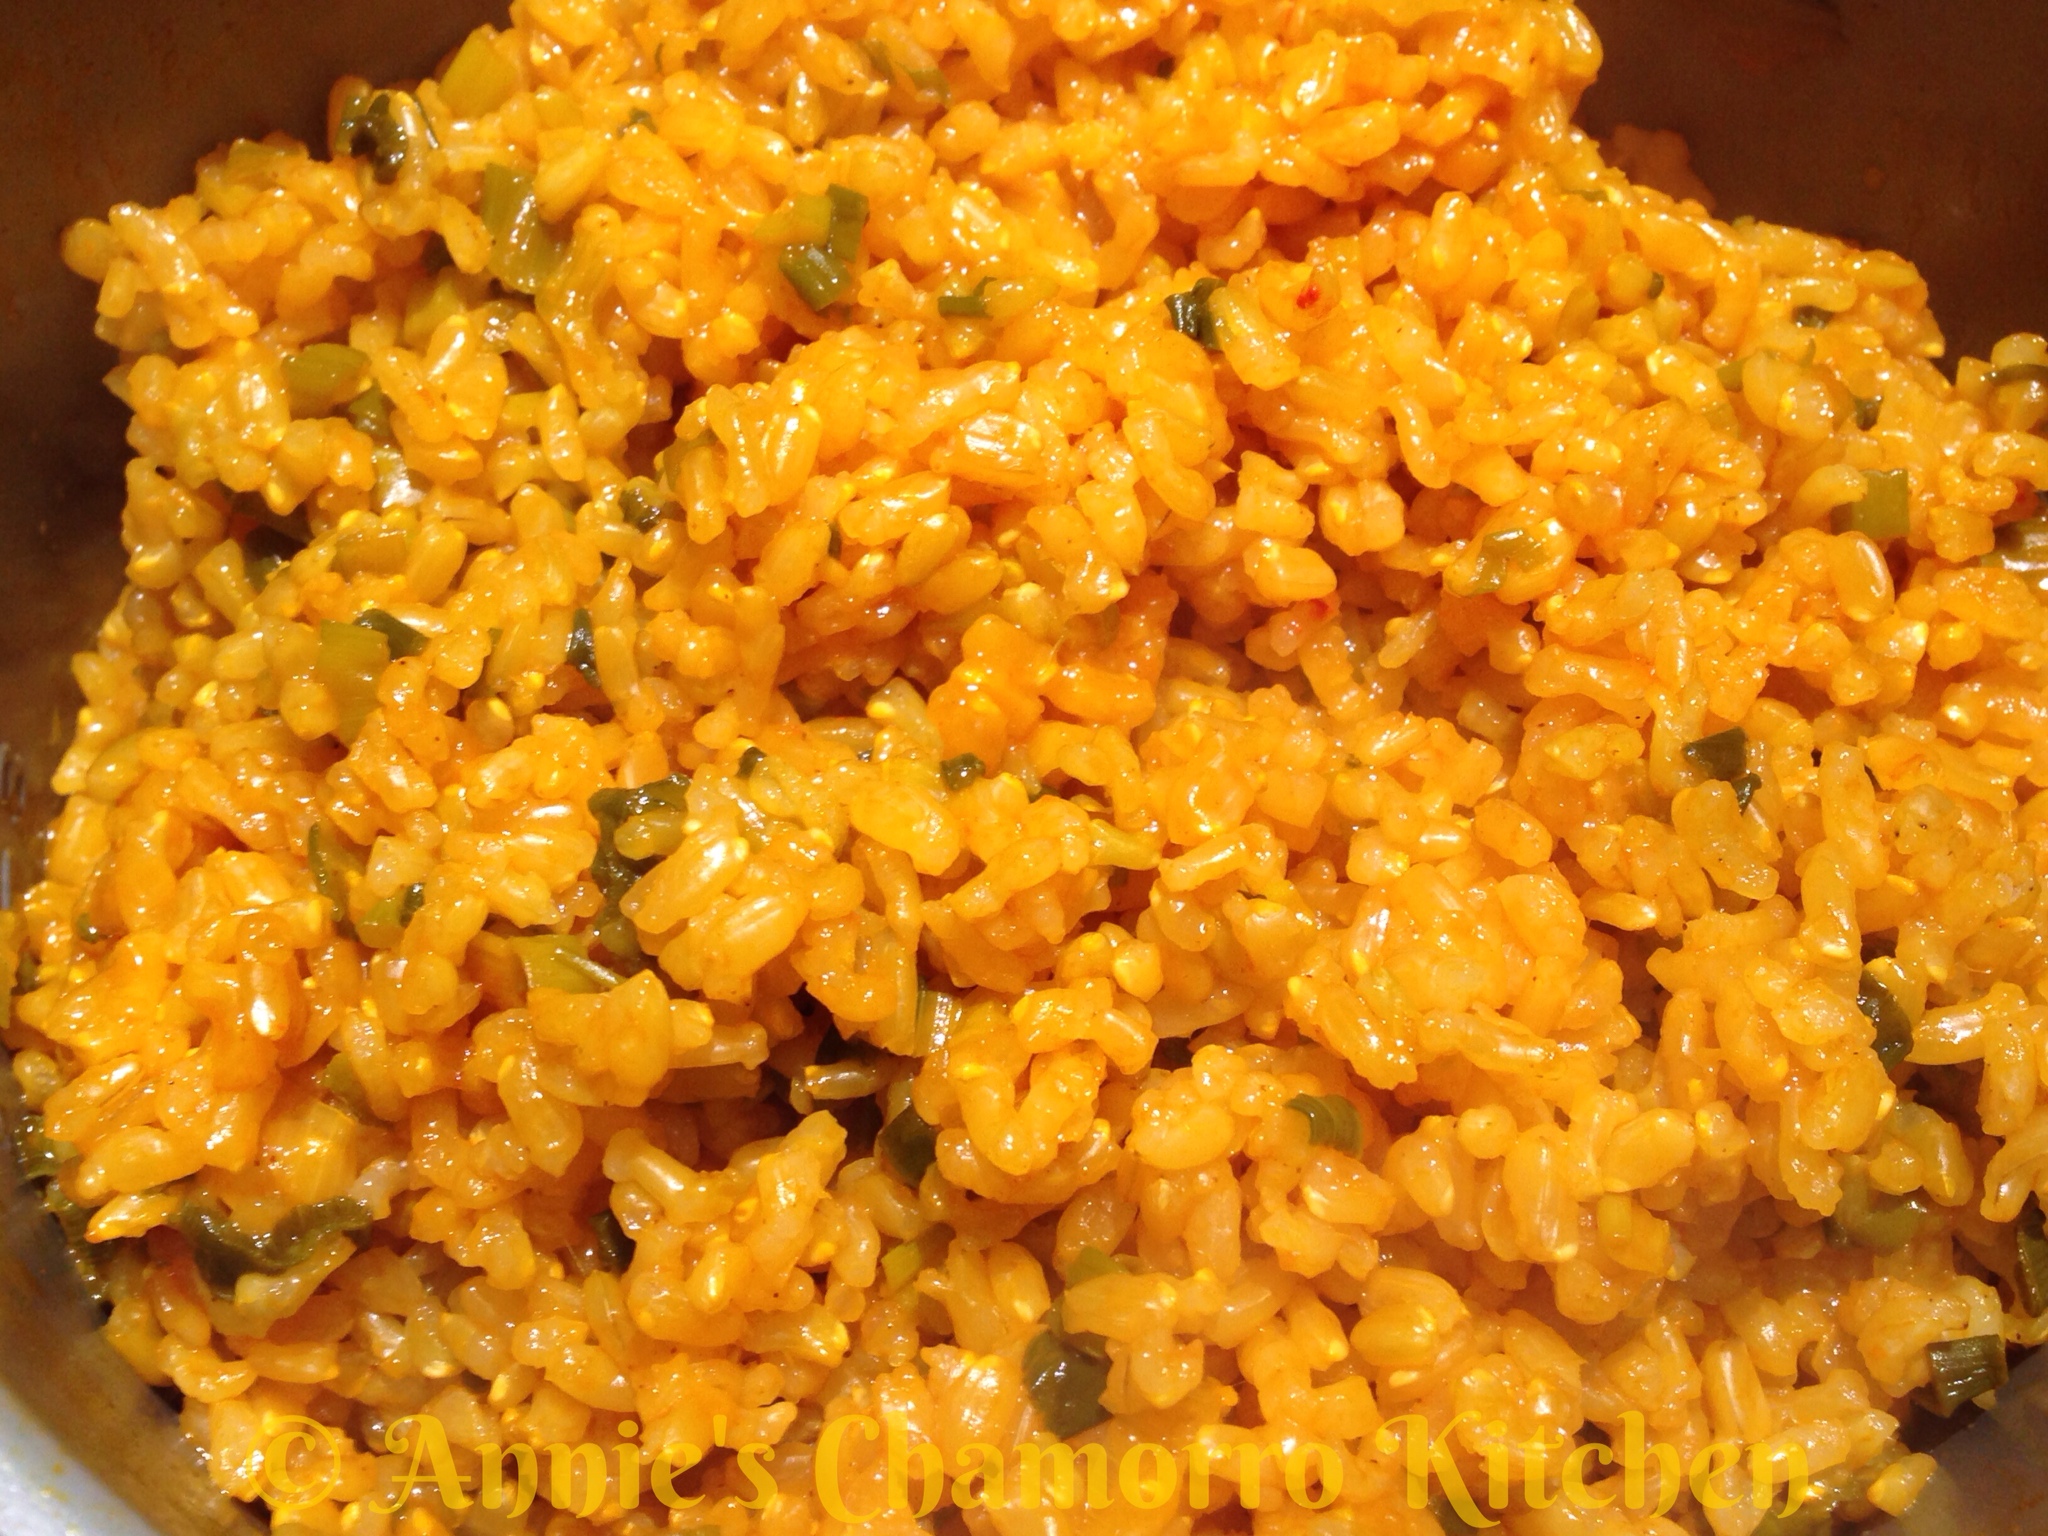
Red Rice made with Brown Rice

My family is making a concerted effort to develop healthier eating habits. We’re making small changes in the foods we eat as well as how we prepare them.

One change we definitely like is that we’ve made the switch from white to brown rice. I admit, it took some getting used to, but we actually like it. Of course, I have to season the brown rice whenever I cook it.

I wanted to see if the classic Chamorro Red Rice would taste good using brown rice instead of the usual white medium or long grain rice we know and love.

The result? Delicious! Granted, you can definitely tell you’re eating brown rice (it’s firmer and a bit nuttier than white), but delicious nonetheless.

Give my recipe a try. I think you’ll like it. 🙂

Red Rice made with Brown Rice

aka Red Brown Rice 🙂

Ingredients:

  • 3 cups brown rice (use your rice cooker cup)
  • 6 1/3 cups water (use your rice cooker cup) (*See note below)
  • 1 packet achote powder (*See note below)
  • 1 tablespoon olive oil
  • 1 bunch green onions, sliced
  • 1 tablespoon Dashida seasoning (or salt, to taste)

Note: You can use achote water made with achote seeds instead of achote powder. Scrub the seeds in the water; strain out the seeds before using.

Directions:

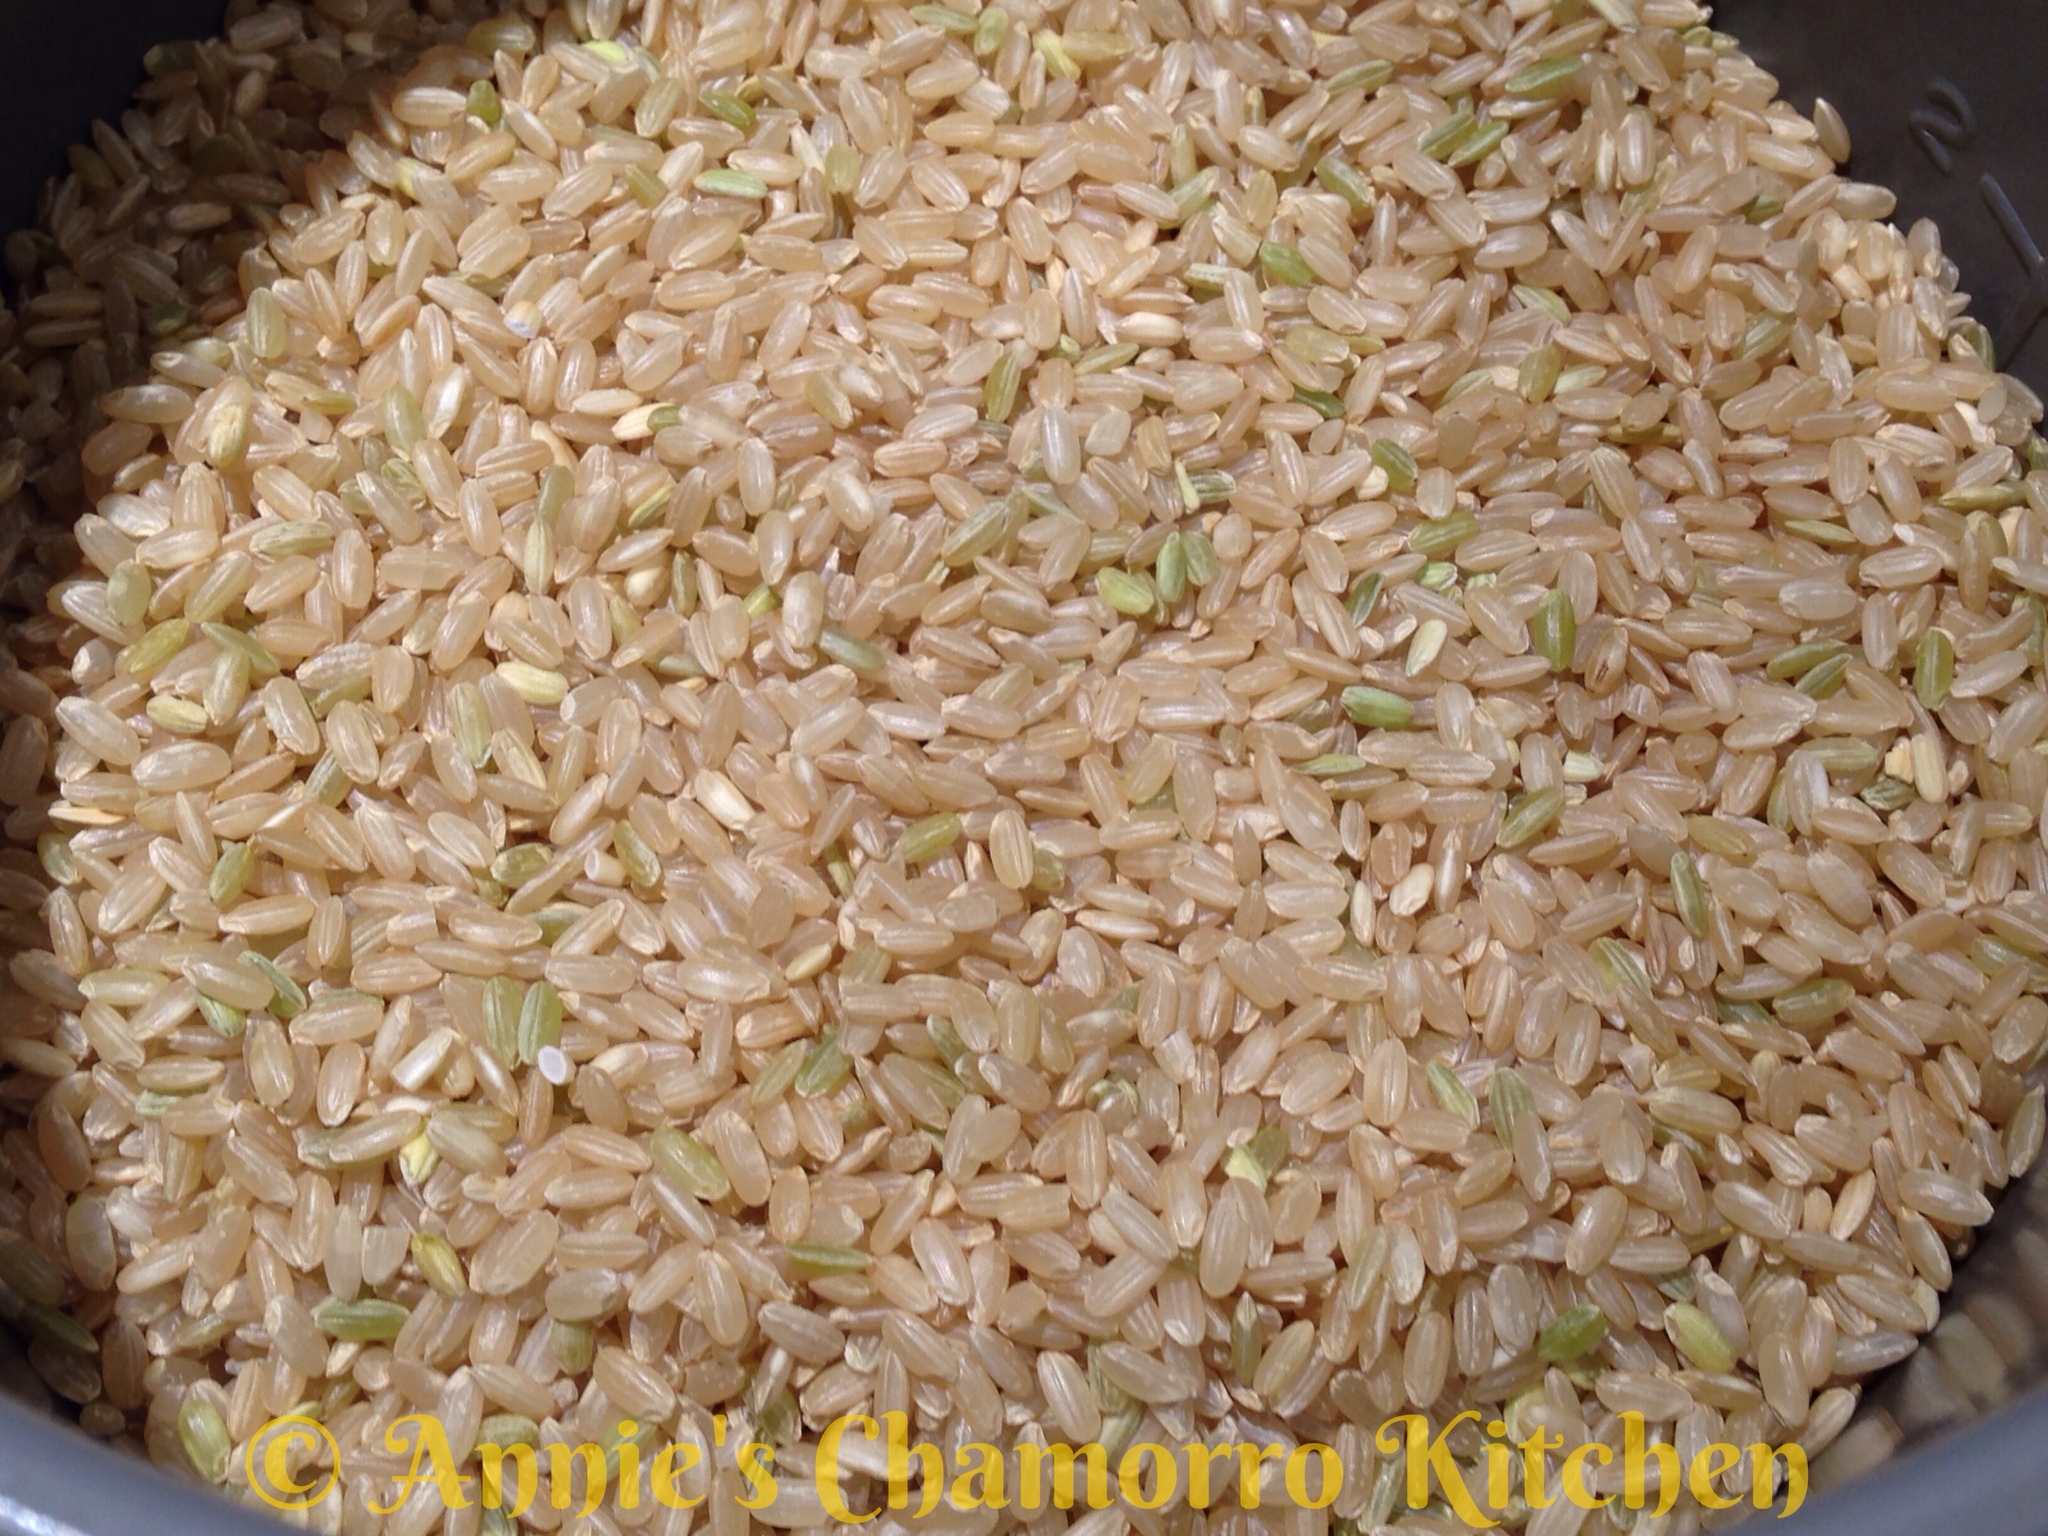
1. Rinse the rice then place into your rice cooker pot.

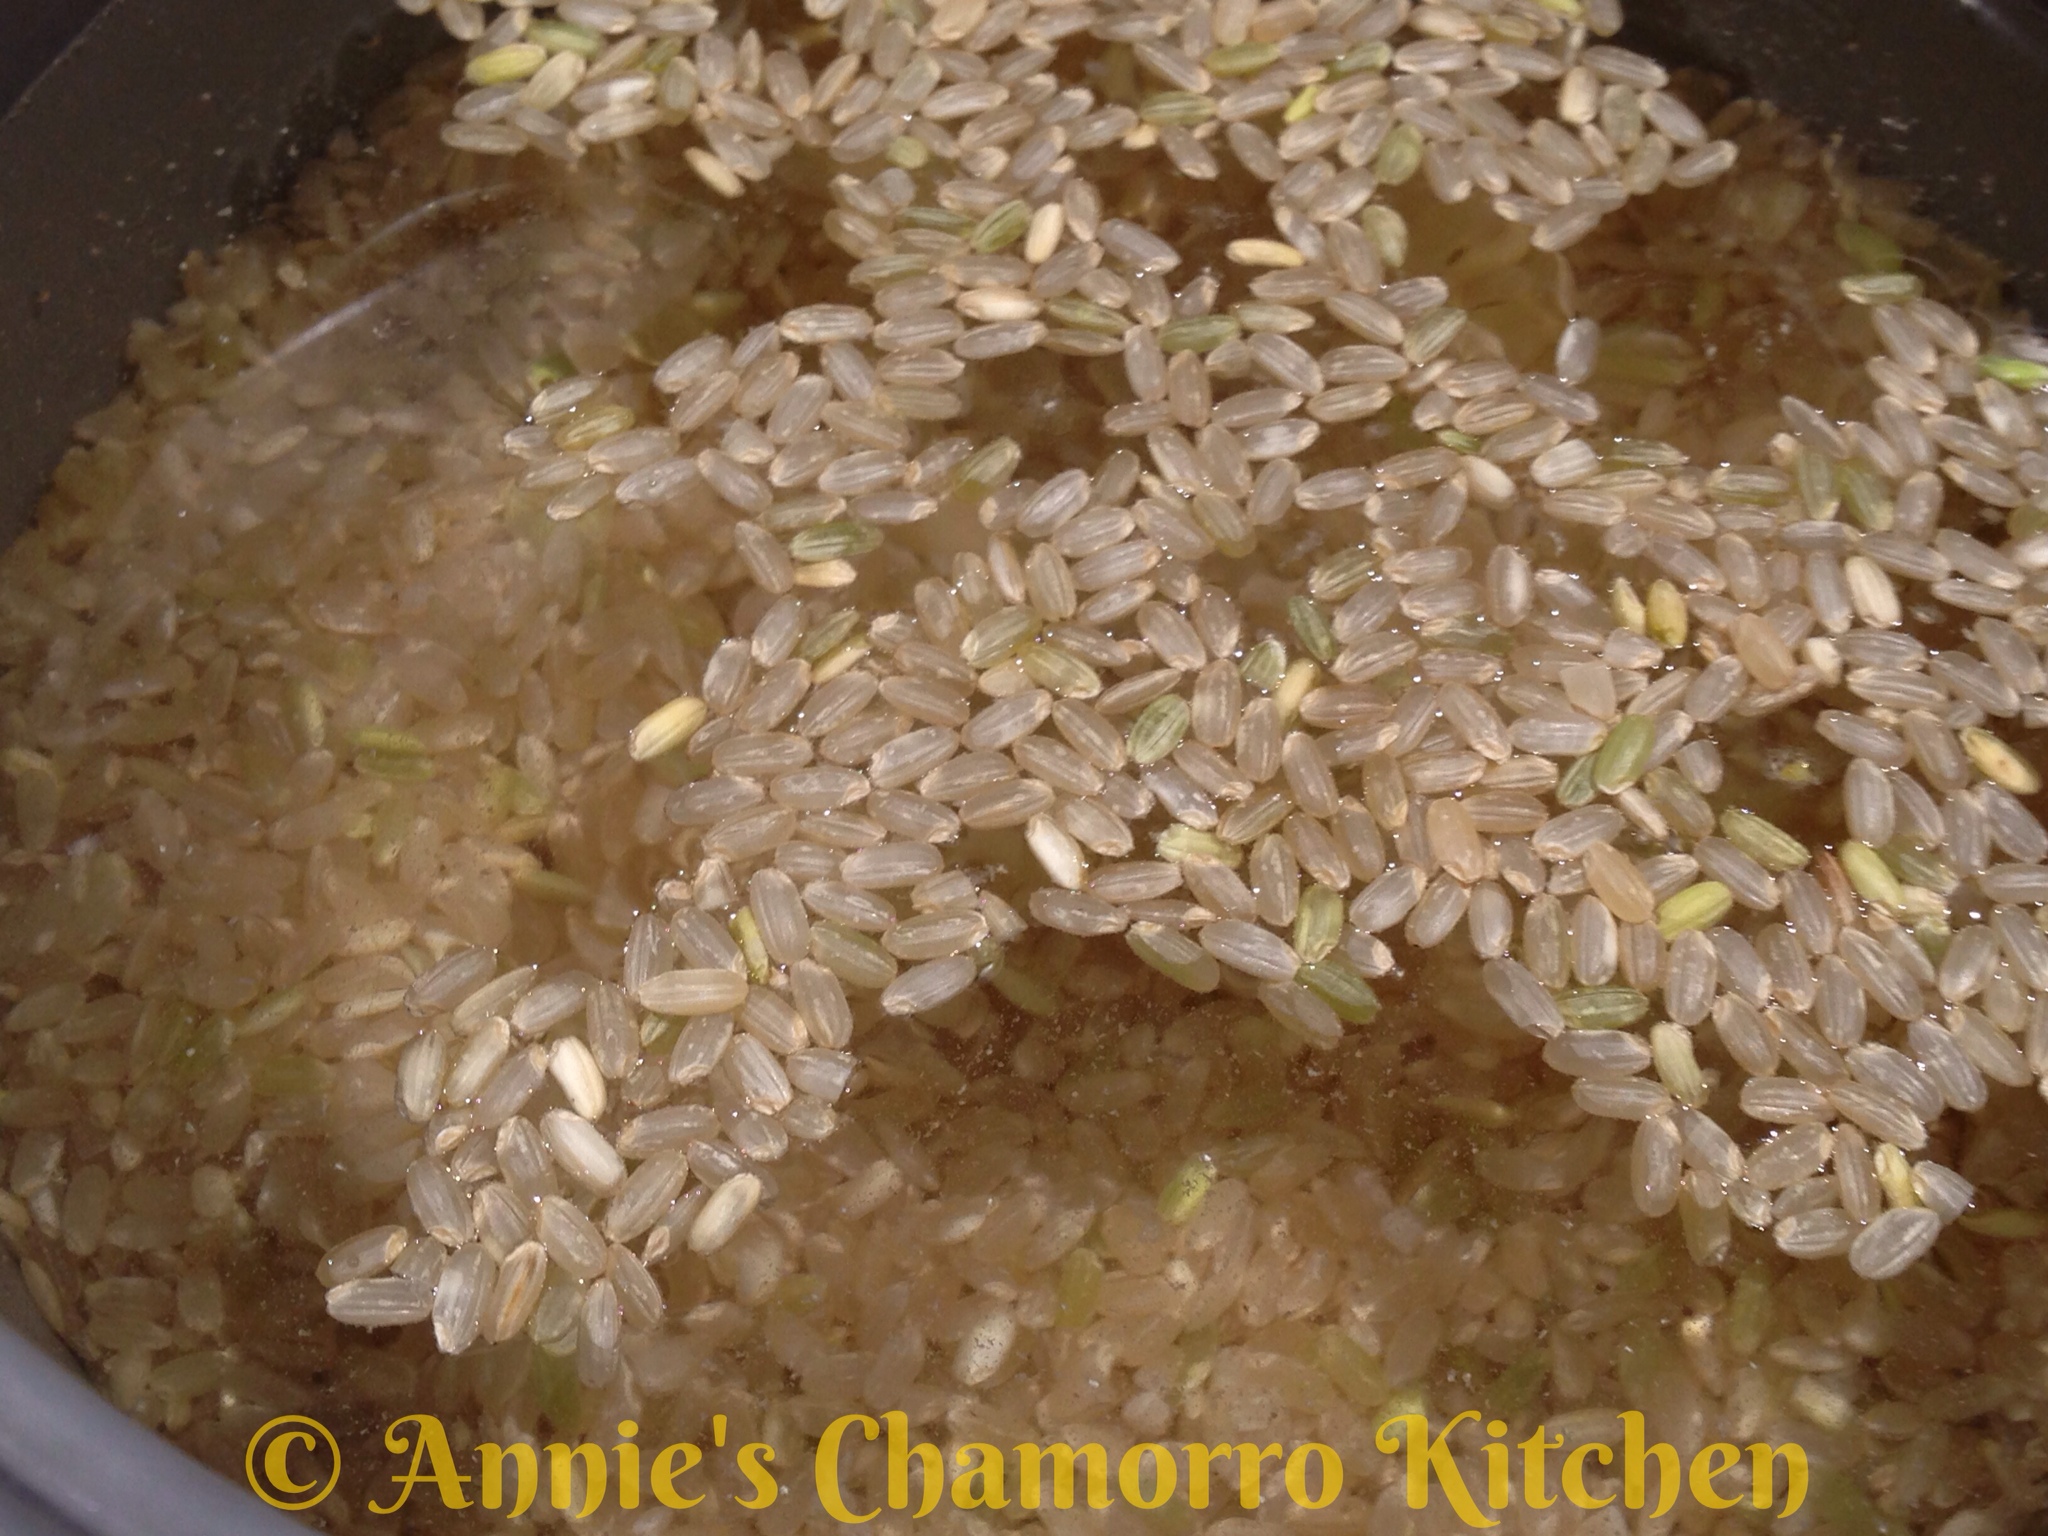
2. Add the water.

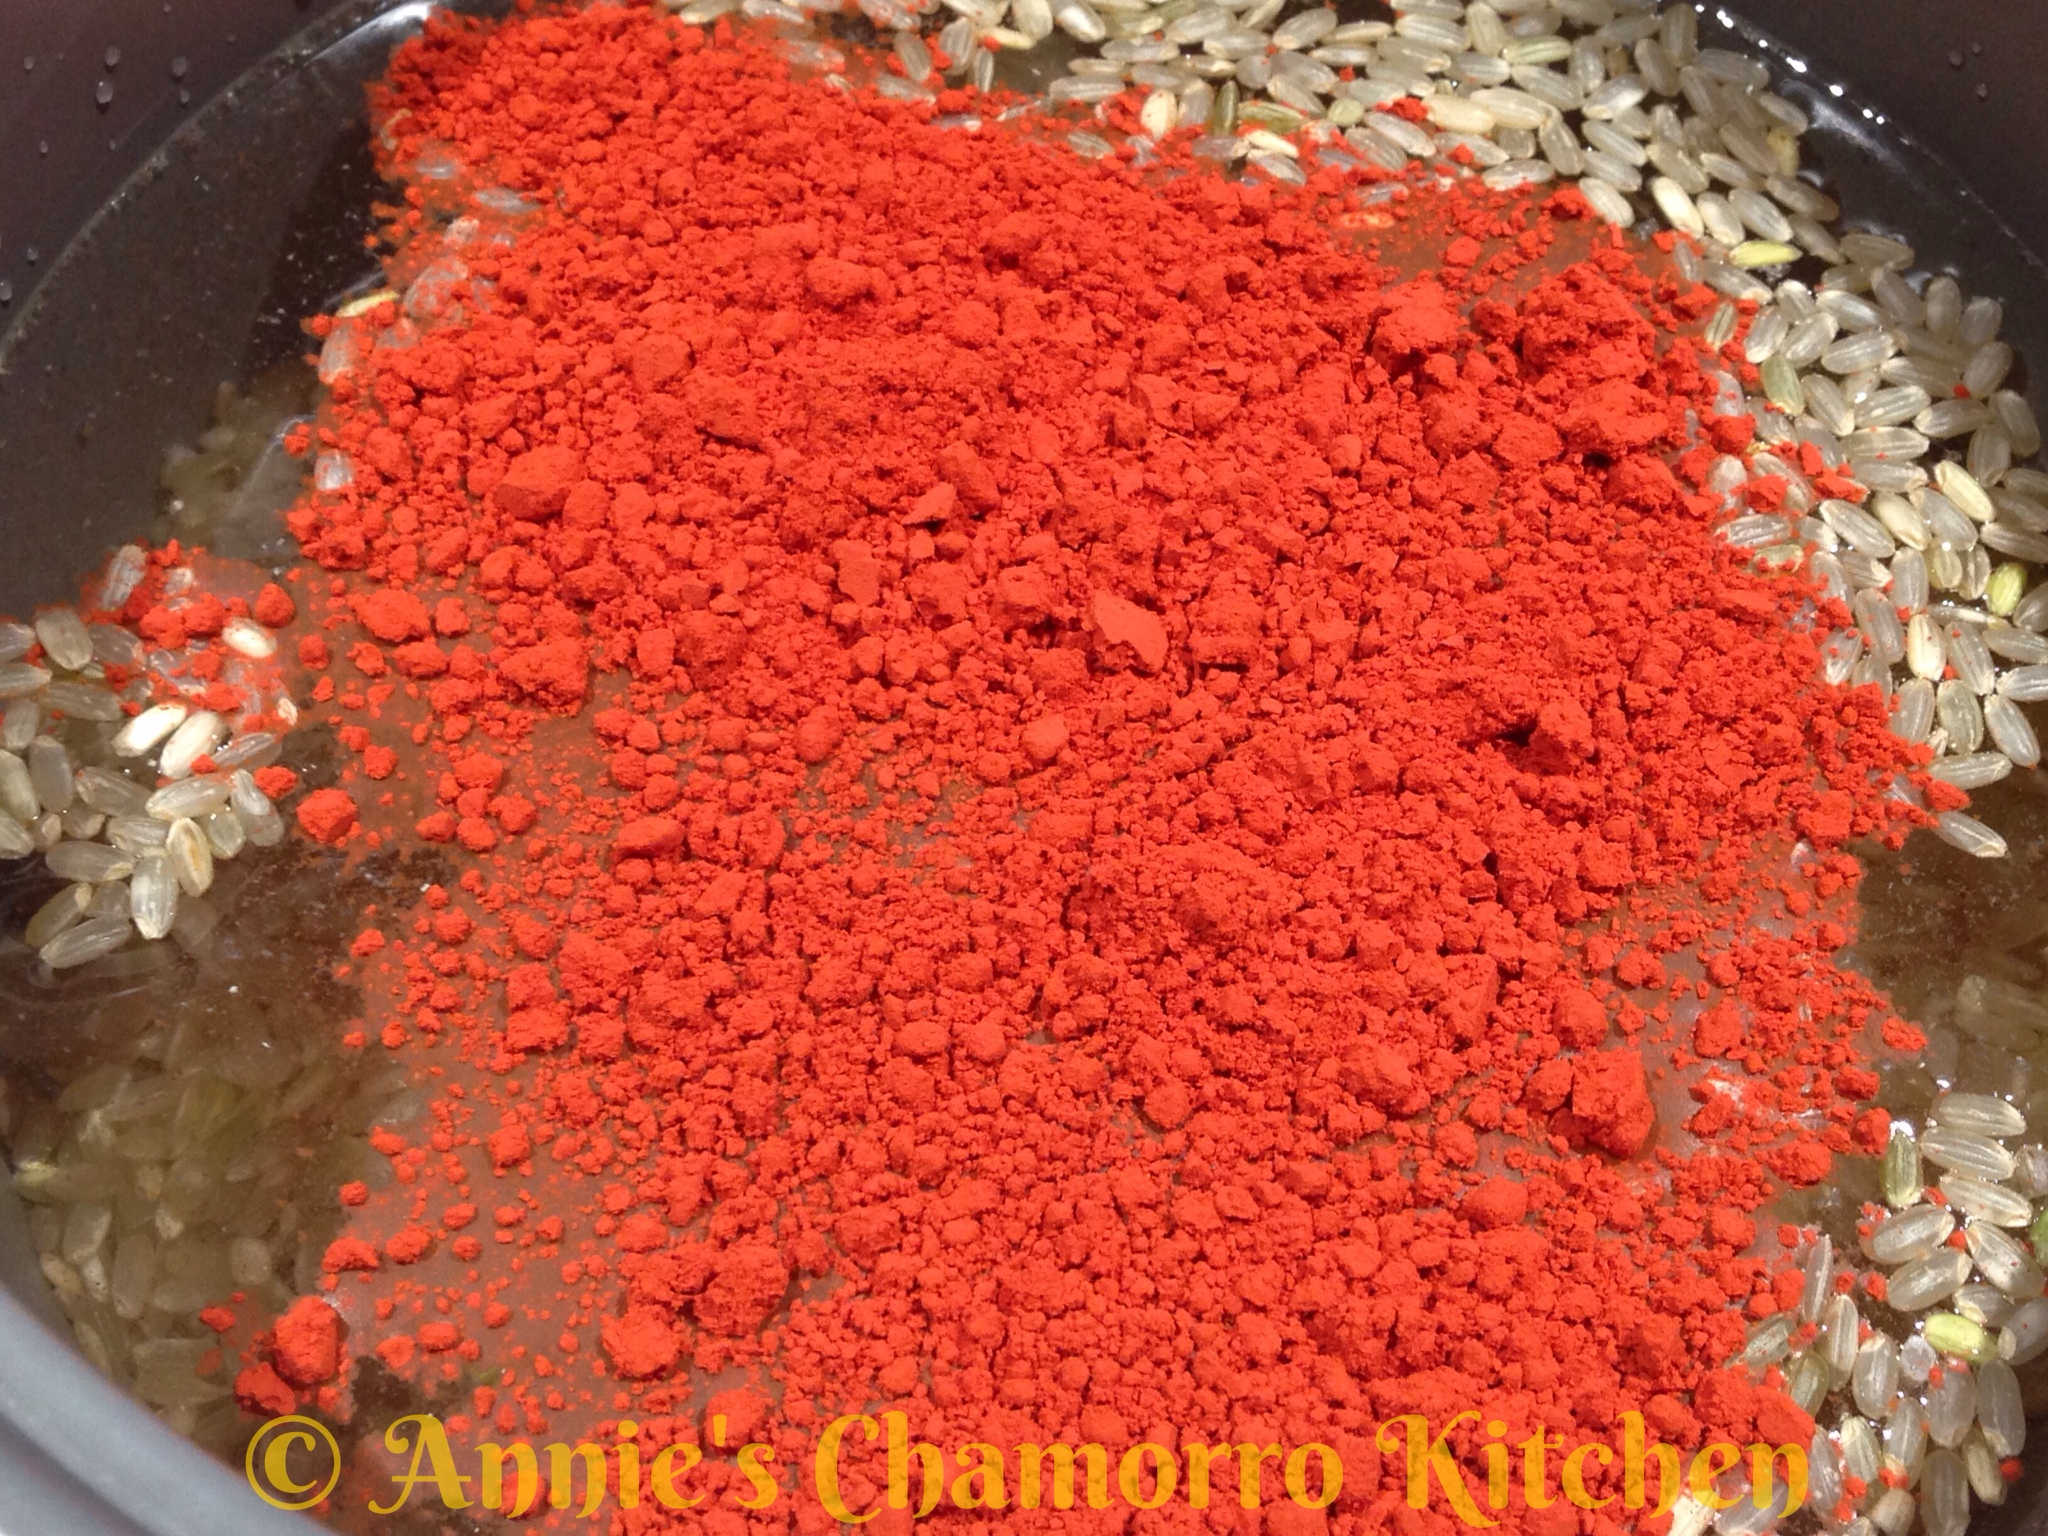
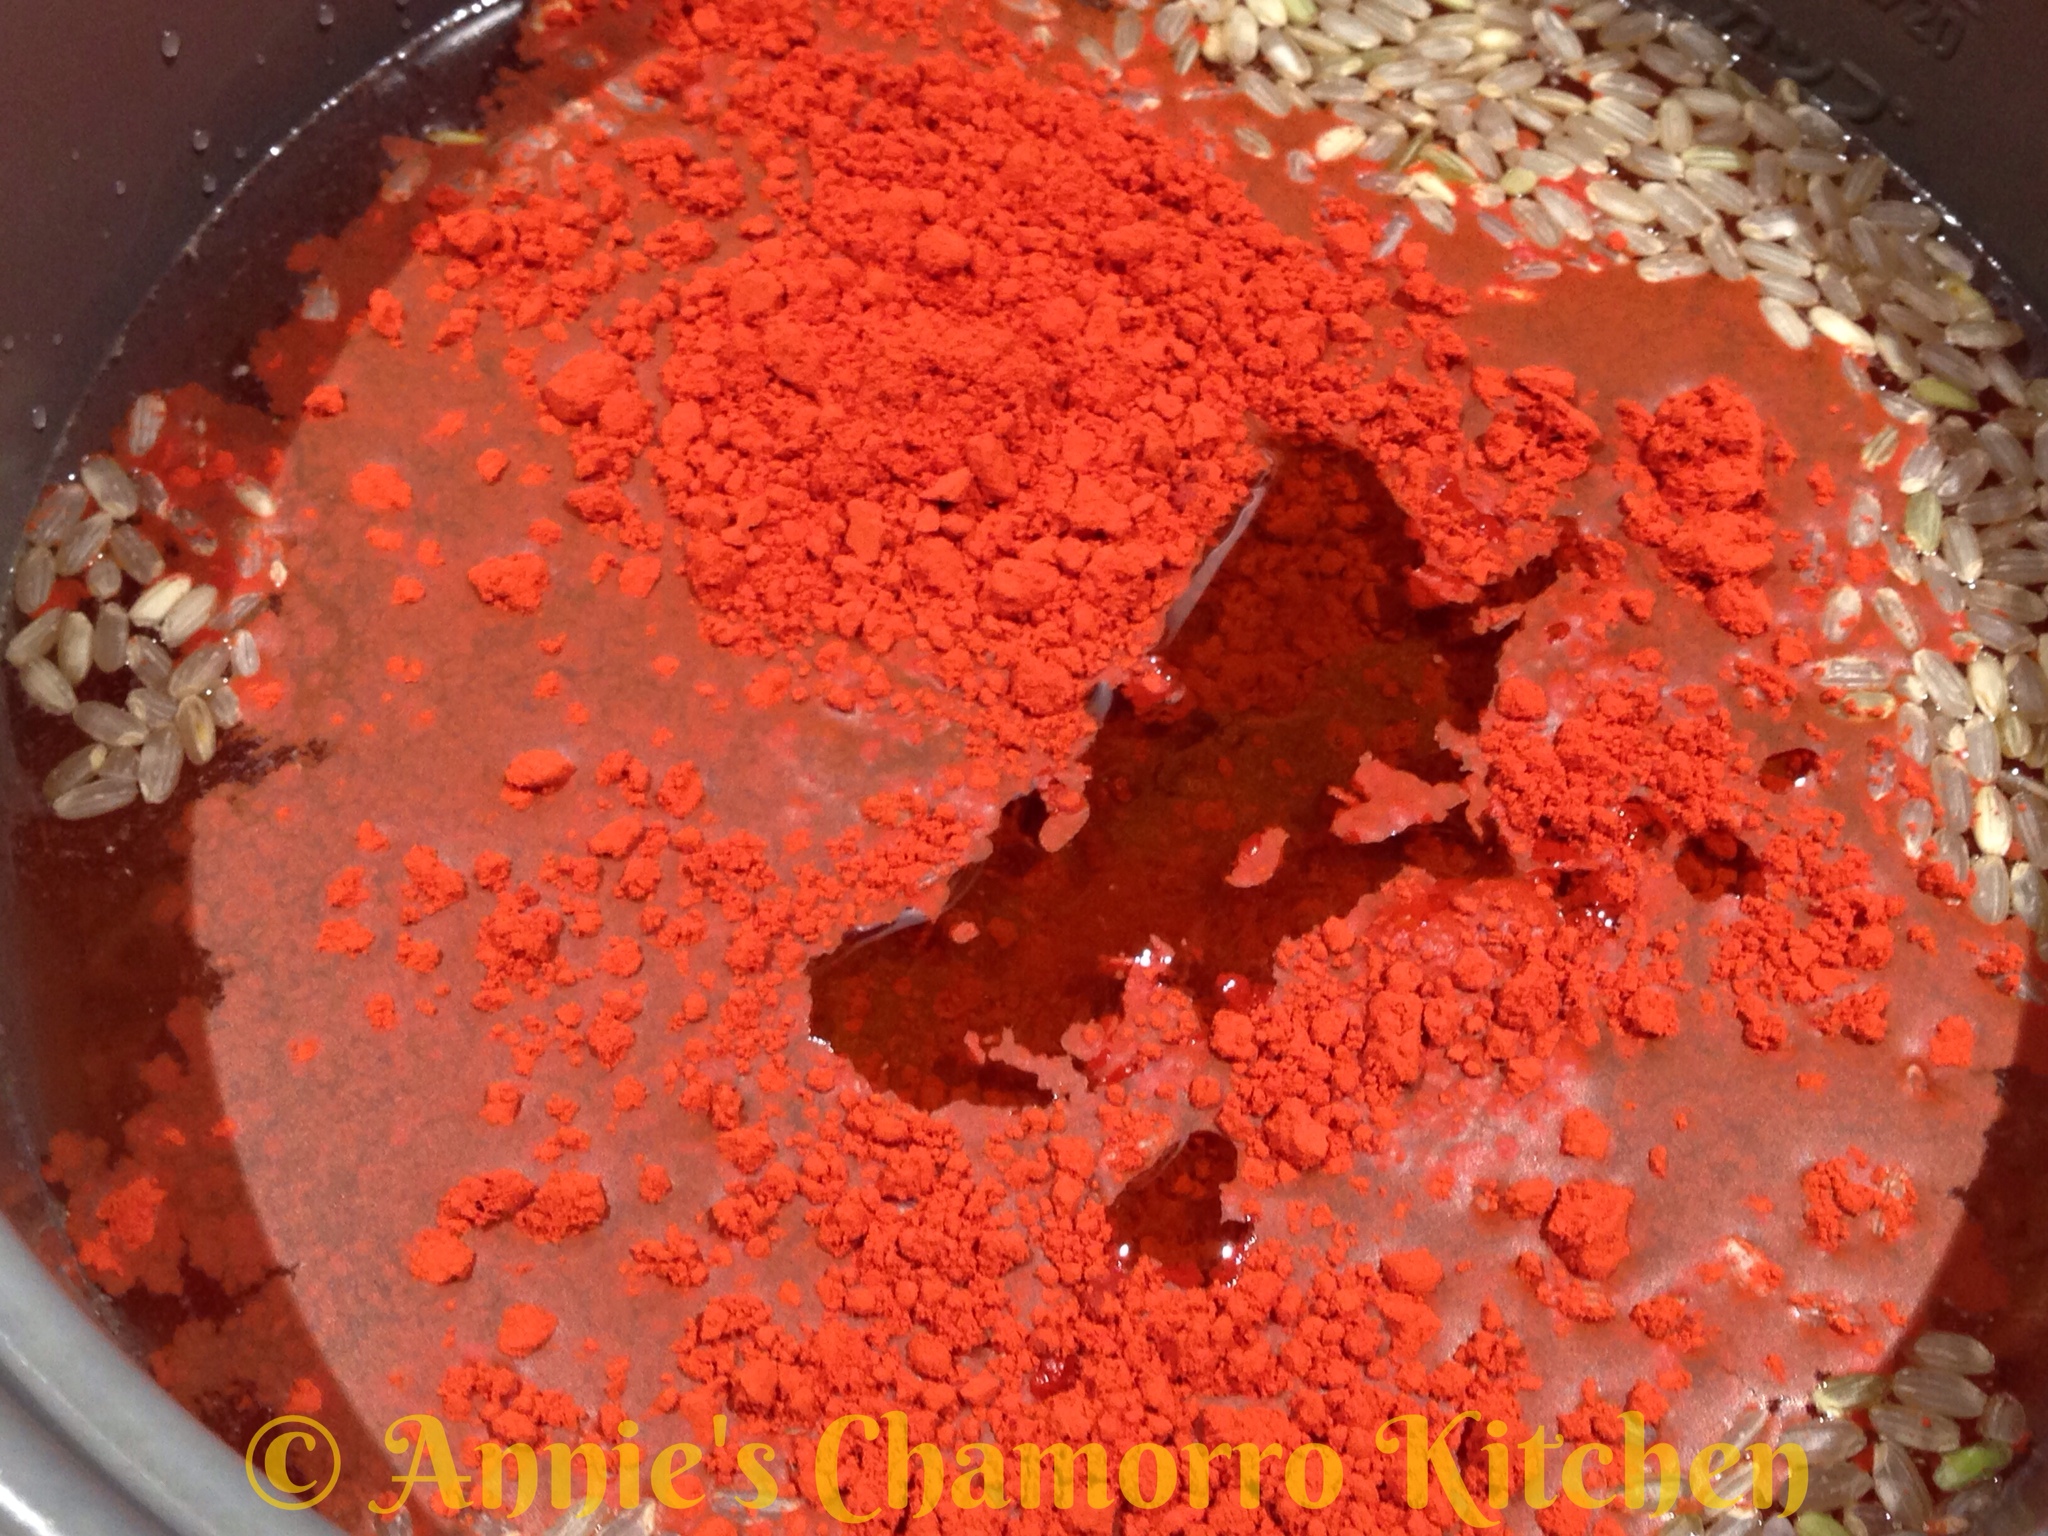
3. Add the achote powder.

4. Add the olive oil.

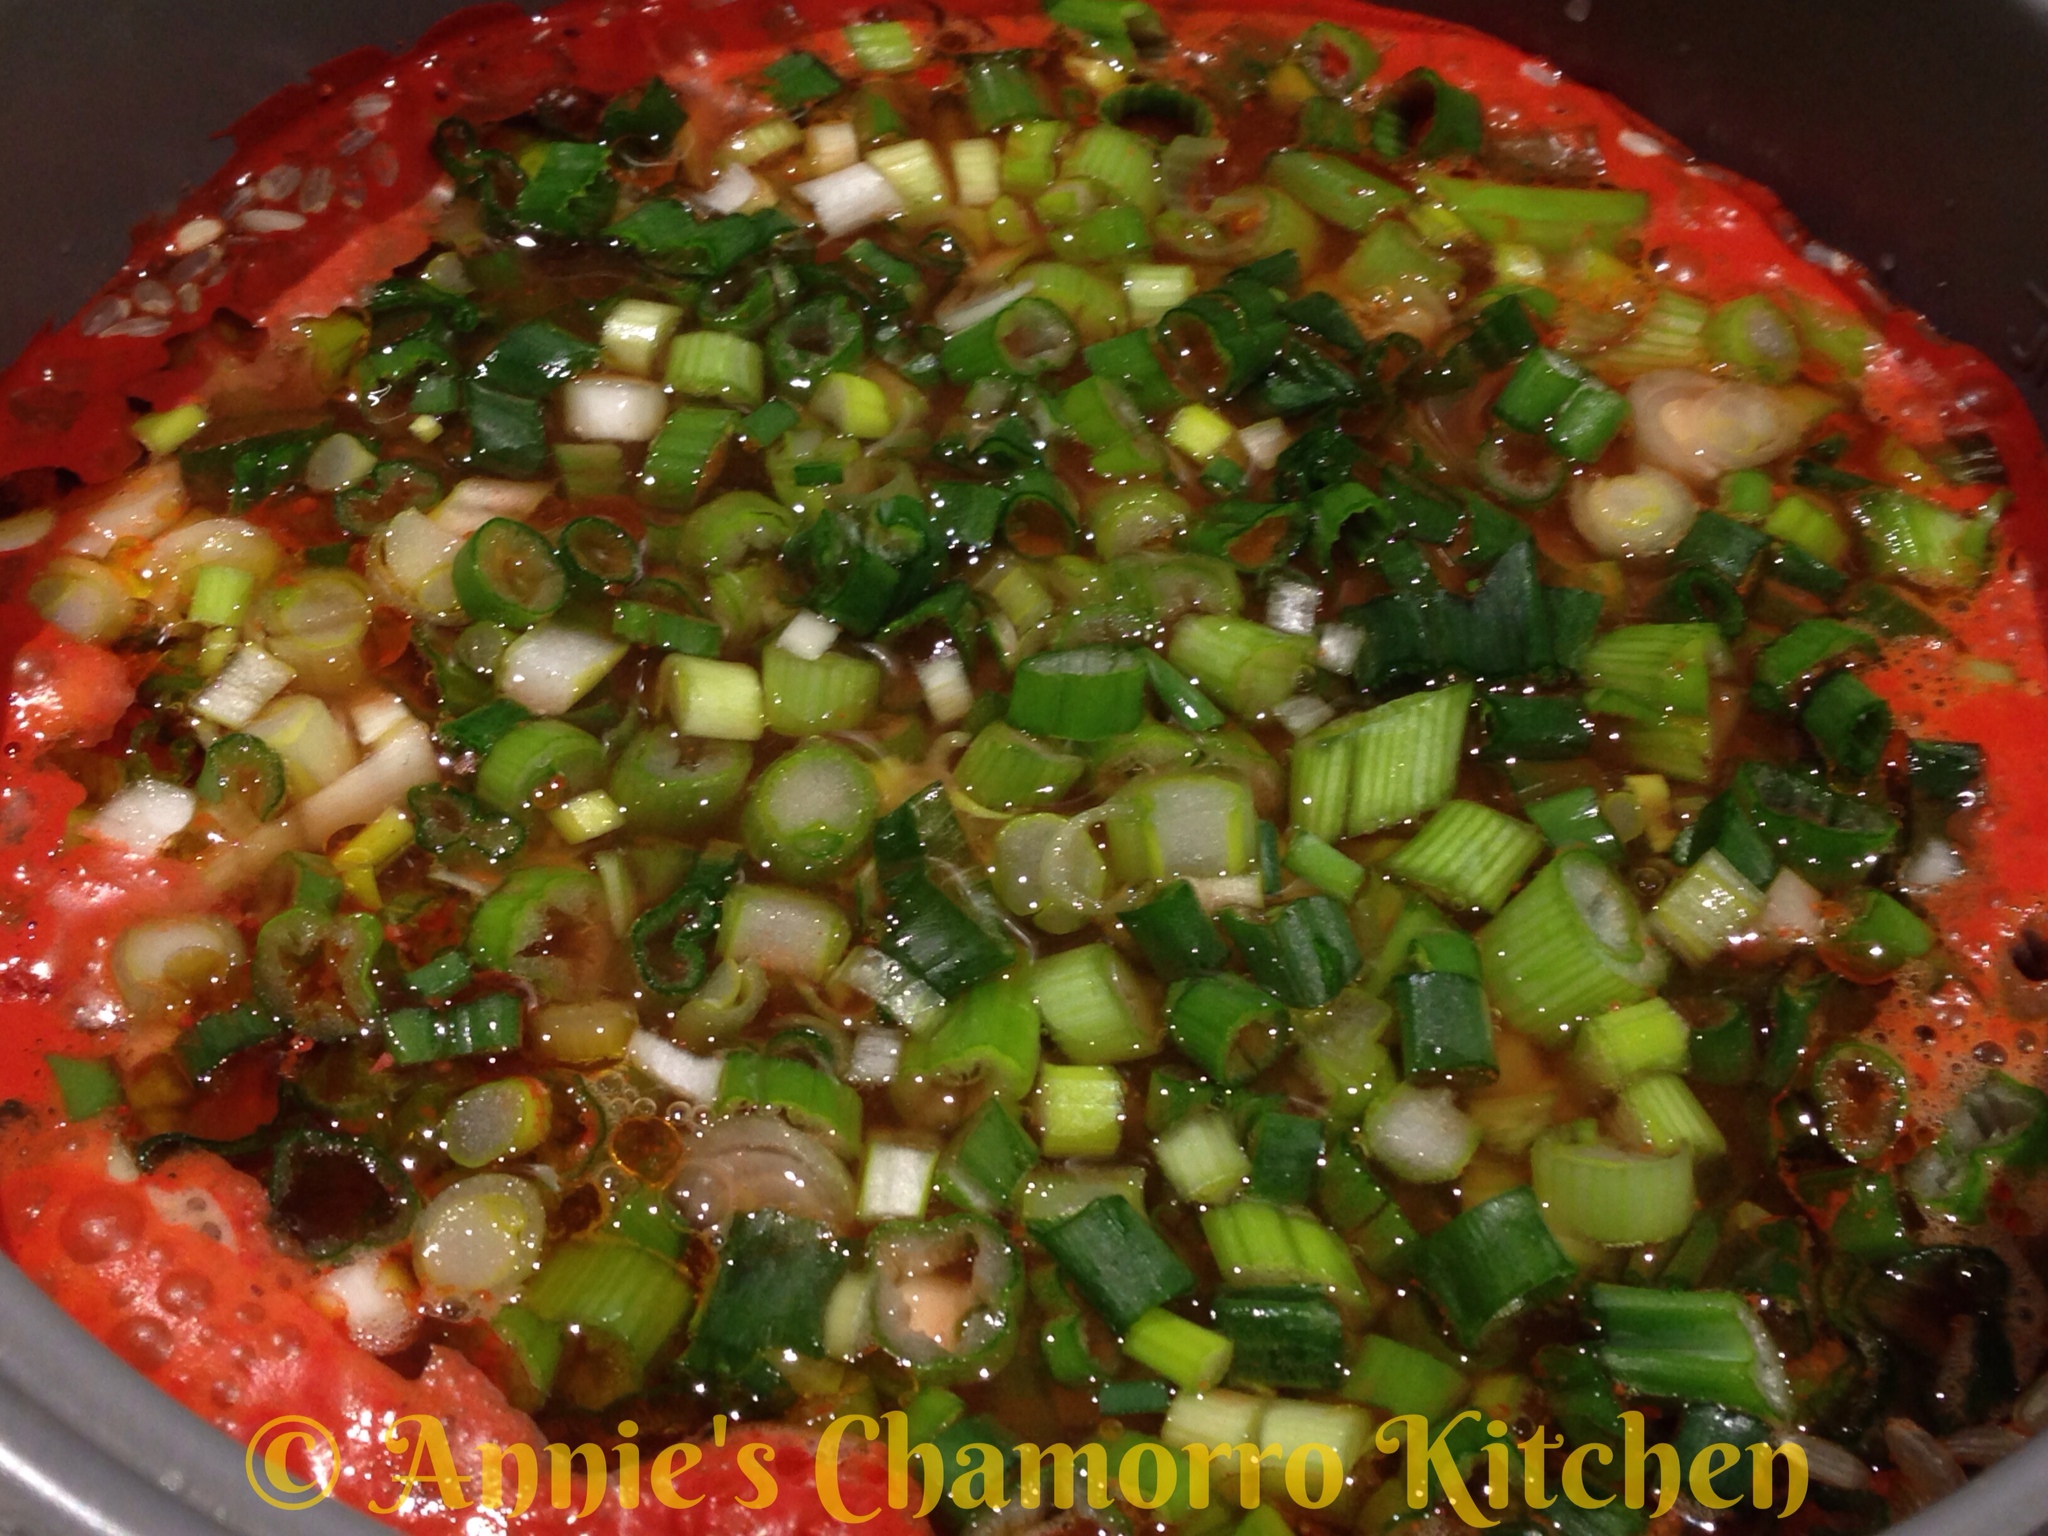
5. Add the green onions.

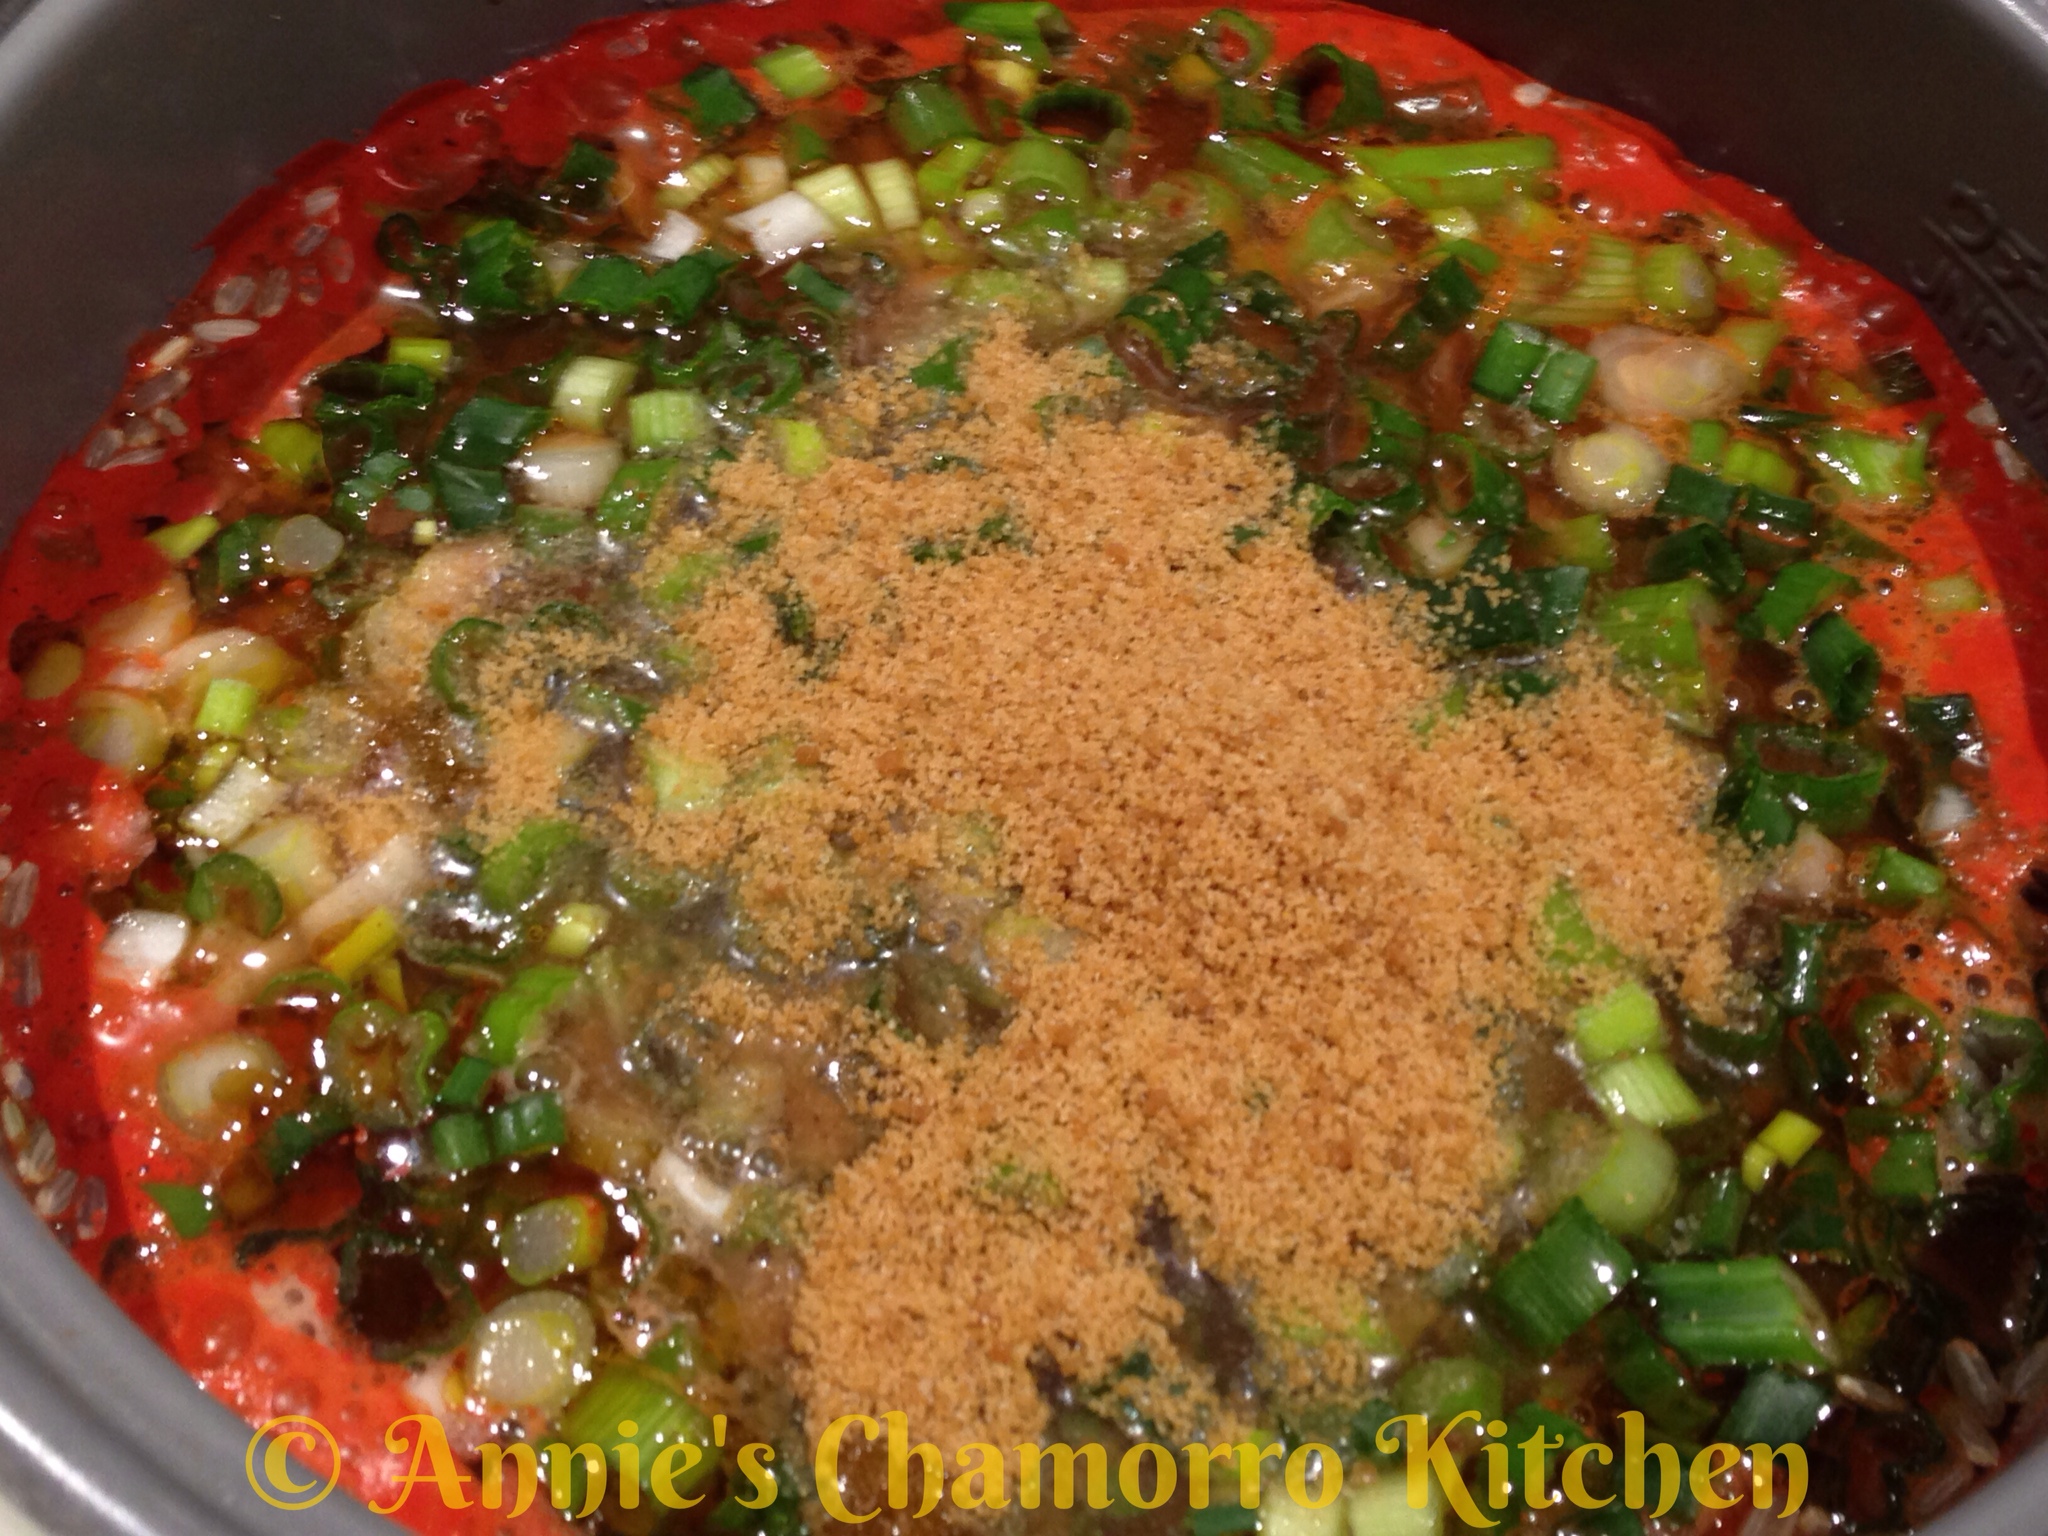
6. Add the Dashida seasoning.

7. Cover the pot then turn it on or place it on “cook.” After about 5 minutes, open up the lid and stir the rice, ensuring the achote powder and Dashida seasoning are dissolved and evenly distributed. Place the cover back on the pot and let it finish cooking. After your rice cooker turns from “cook” to “warm” (or the equivalent for your rice cooker model), be sure to keep the lid closed, letting the rice continue steaming for 10-15 minutes before serving.

8. We love red rice with fried chicken and cucumber salad. Serve with your favorite main dish(es) and enjoy!
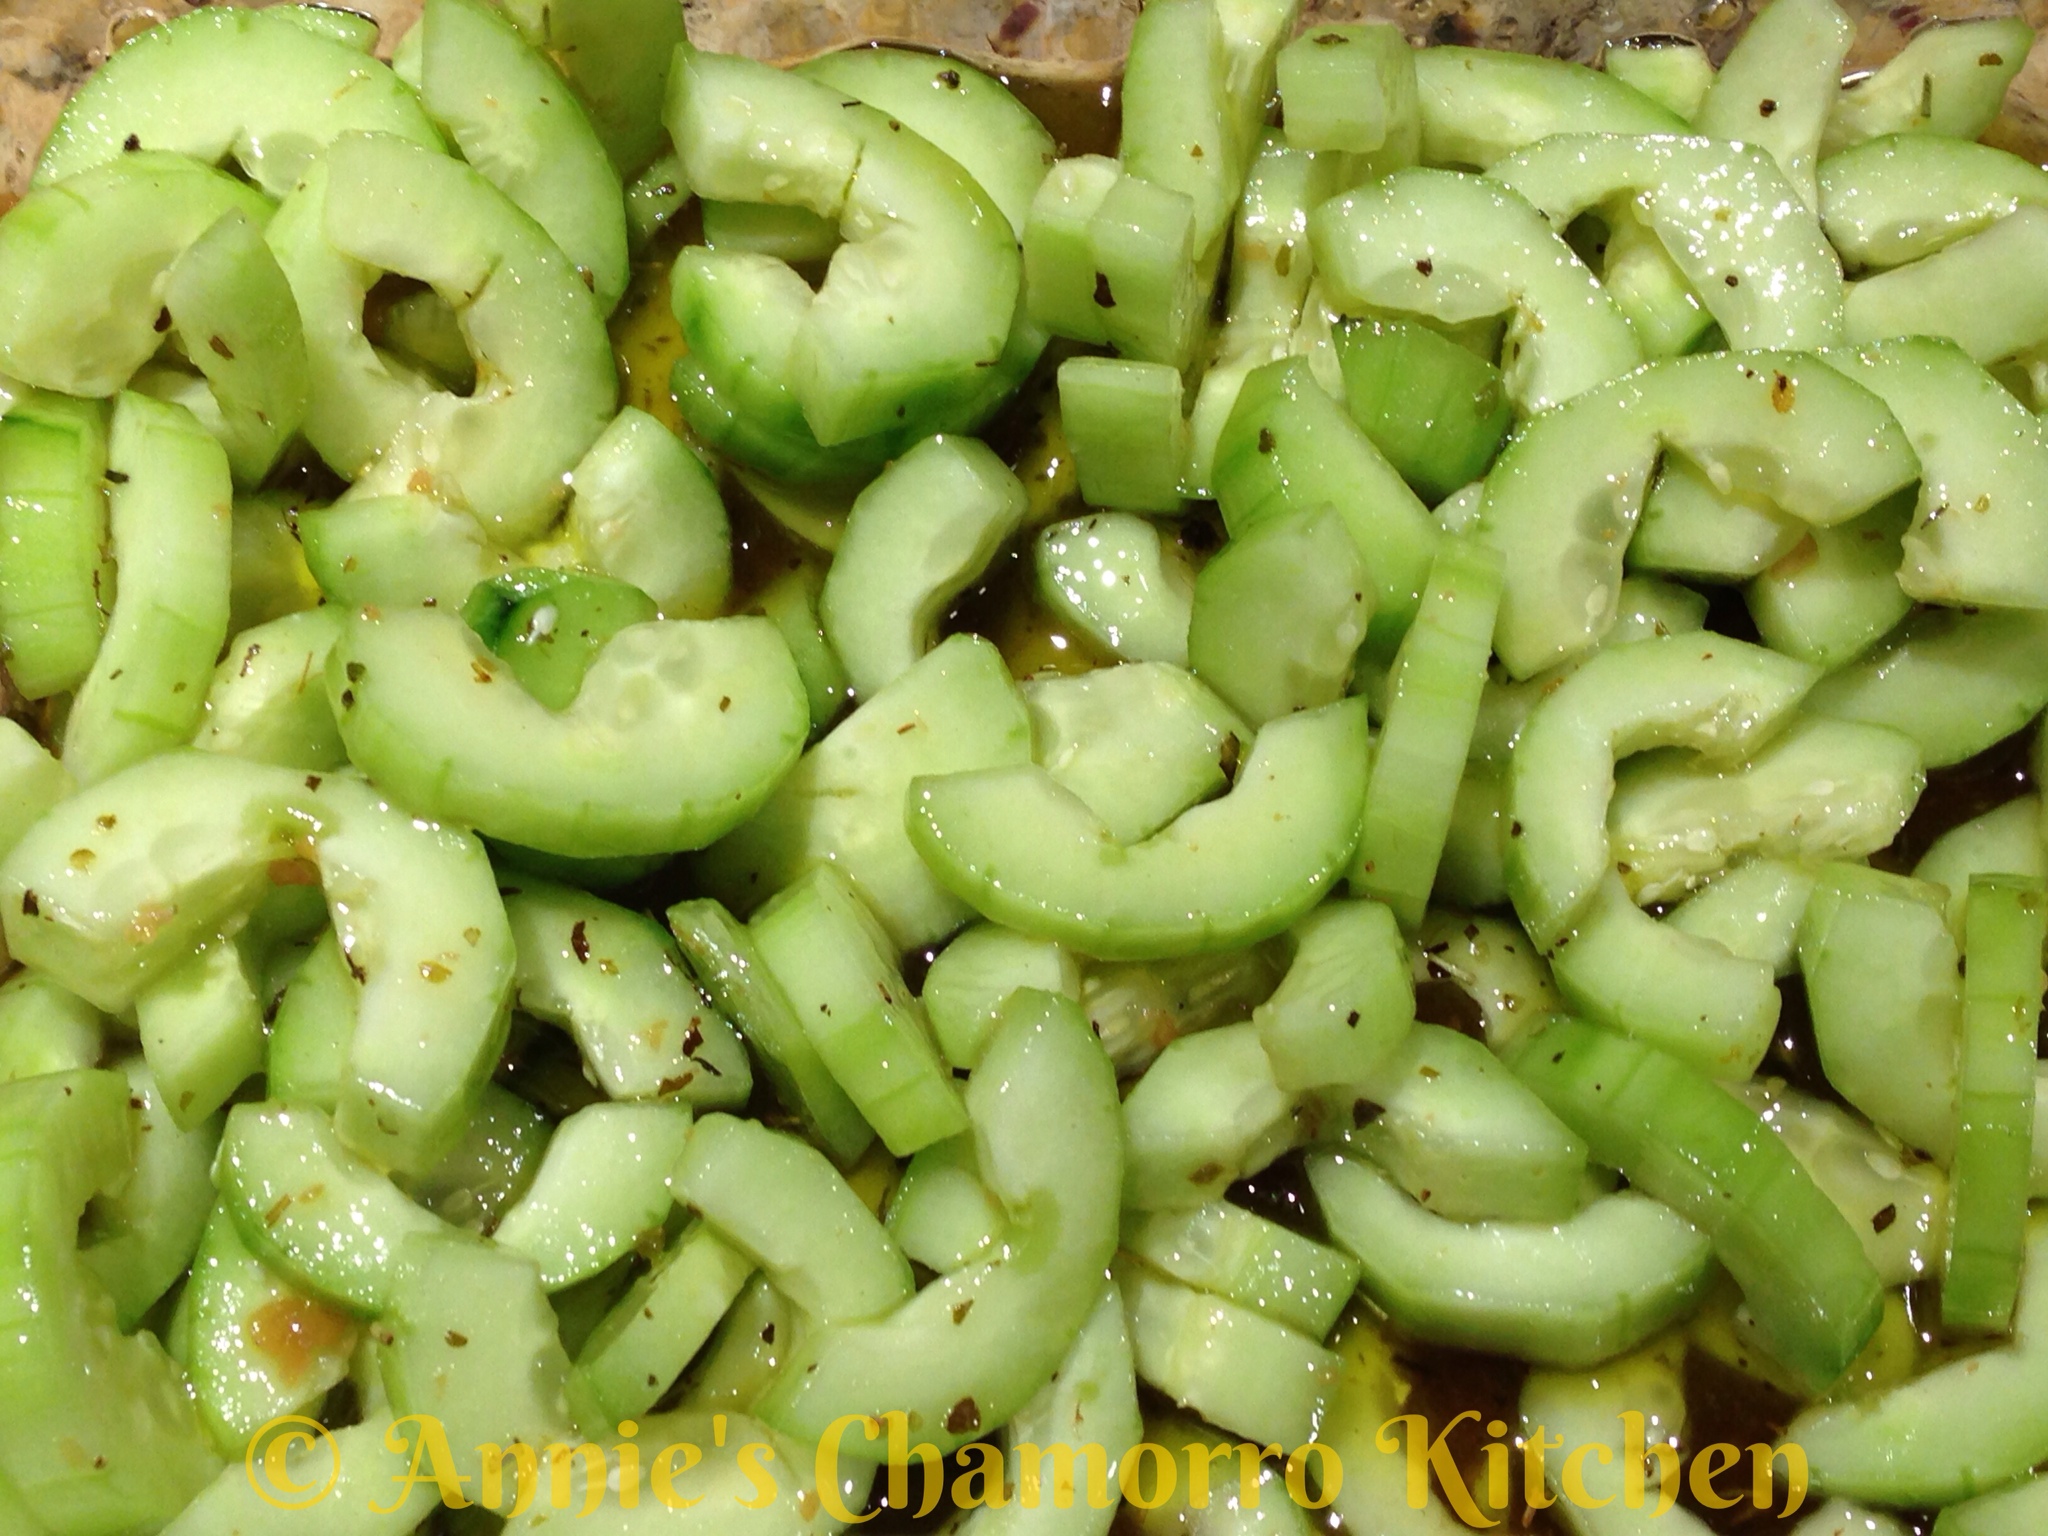
 

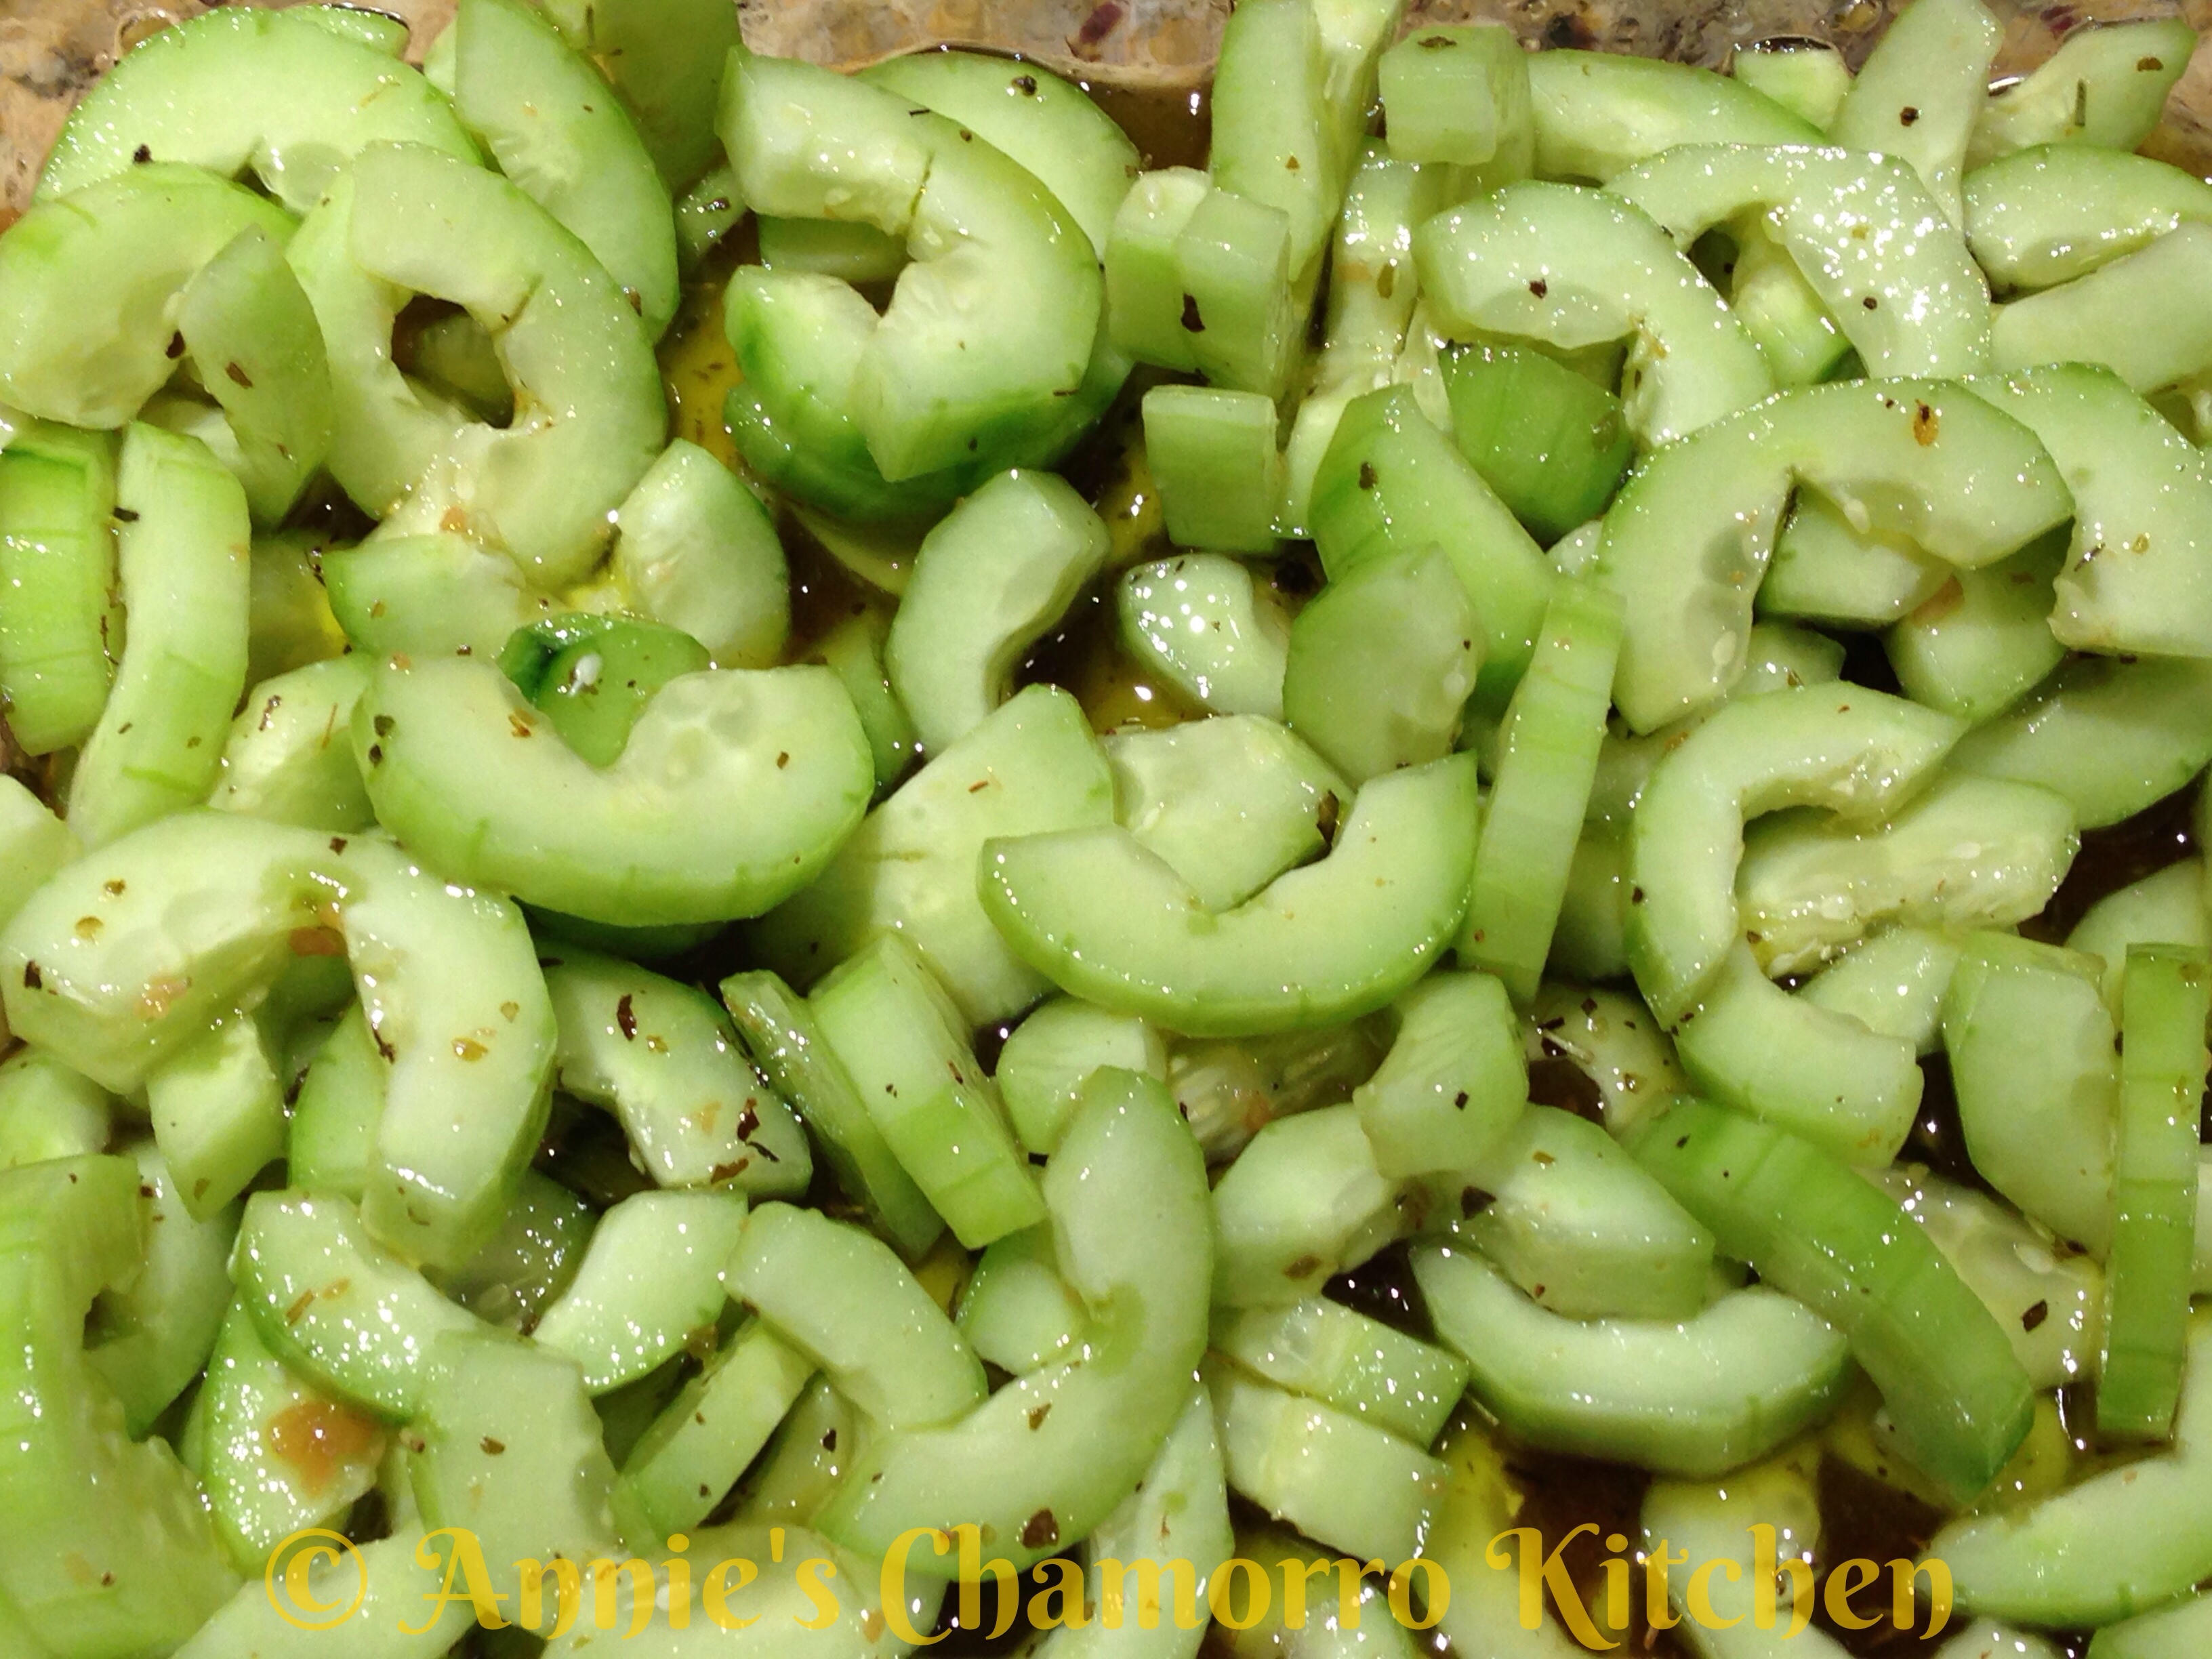
Cucumber Salad with Homemade Italian Dressing

This is a very quick and simple dish. I like to make this salad ahead of time to allow the cucumbers to absorb the delicious tangy dressing.

Give my recipe a try. I think you’ll like it. 🙂

Cucumber Salad with Homemade Italian Dressing

Ingredients:

  • 4 medium cucumbers, peeled, seeded and sliced
  • 1/2 cup balsamic vinegar
  • 1/2 teaspoon salt
  • 1/2 teaspoon onion powder
  • 1 teaspoon Italian seasoning
  • 1 tablespoon chopped garlic
  • 1 tablespoon sugar
  • 1 cup olive oil
  • Optional: 1 tablespoon soy sauce (for a Chamorro Twist)

Directions:

  1.  Place the cucumbers into a small bowl.
  2.  Place the remaining ingredients together in a small mixing bowl. Use a whisk to mix the ingredients together.  Pour the dressing over the cucumbers.
  3.  Let the cucumbers marinate in the dressing for about 30 minutes before serving.
  4.  Serve and ENJOY!


Sesame Garlic Green Beans

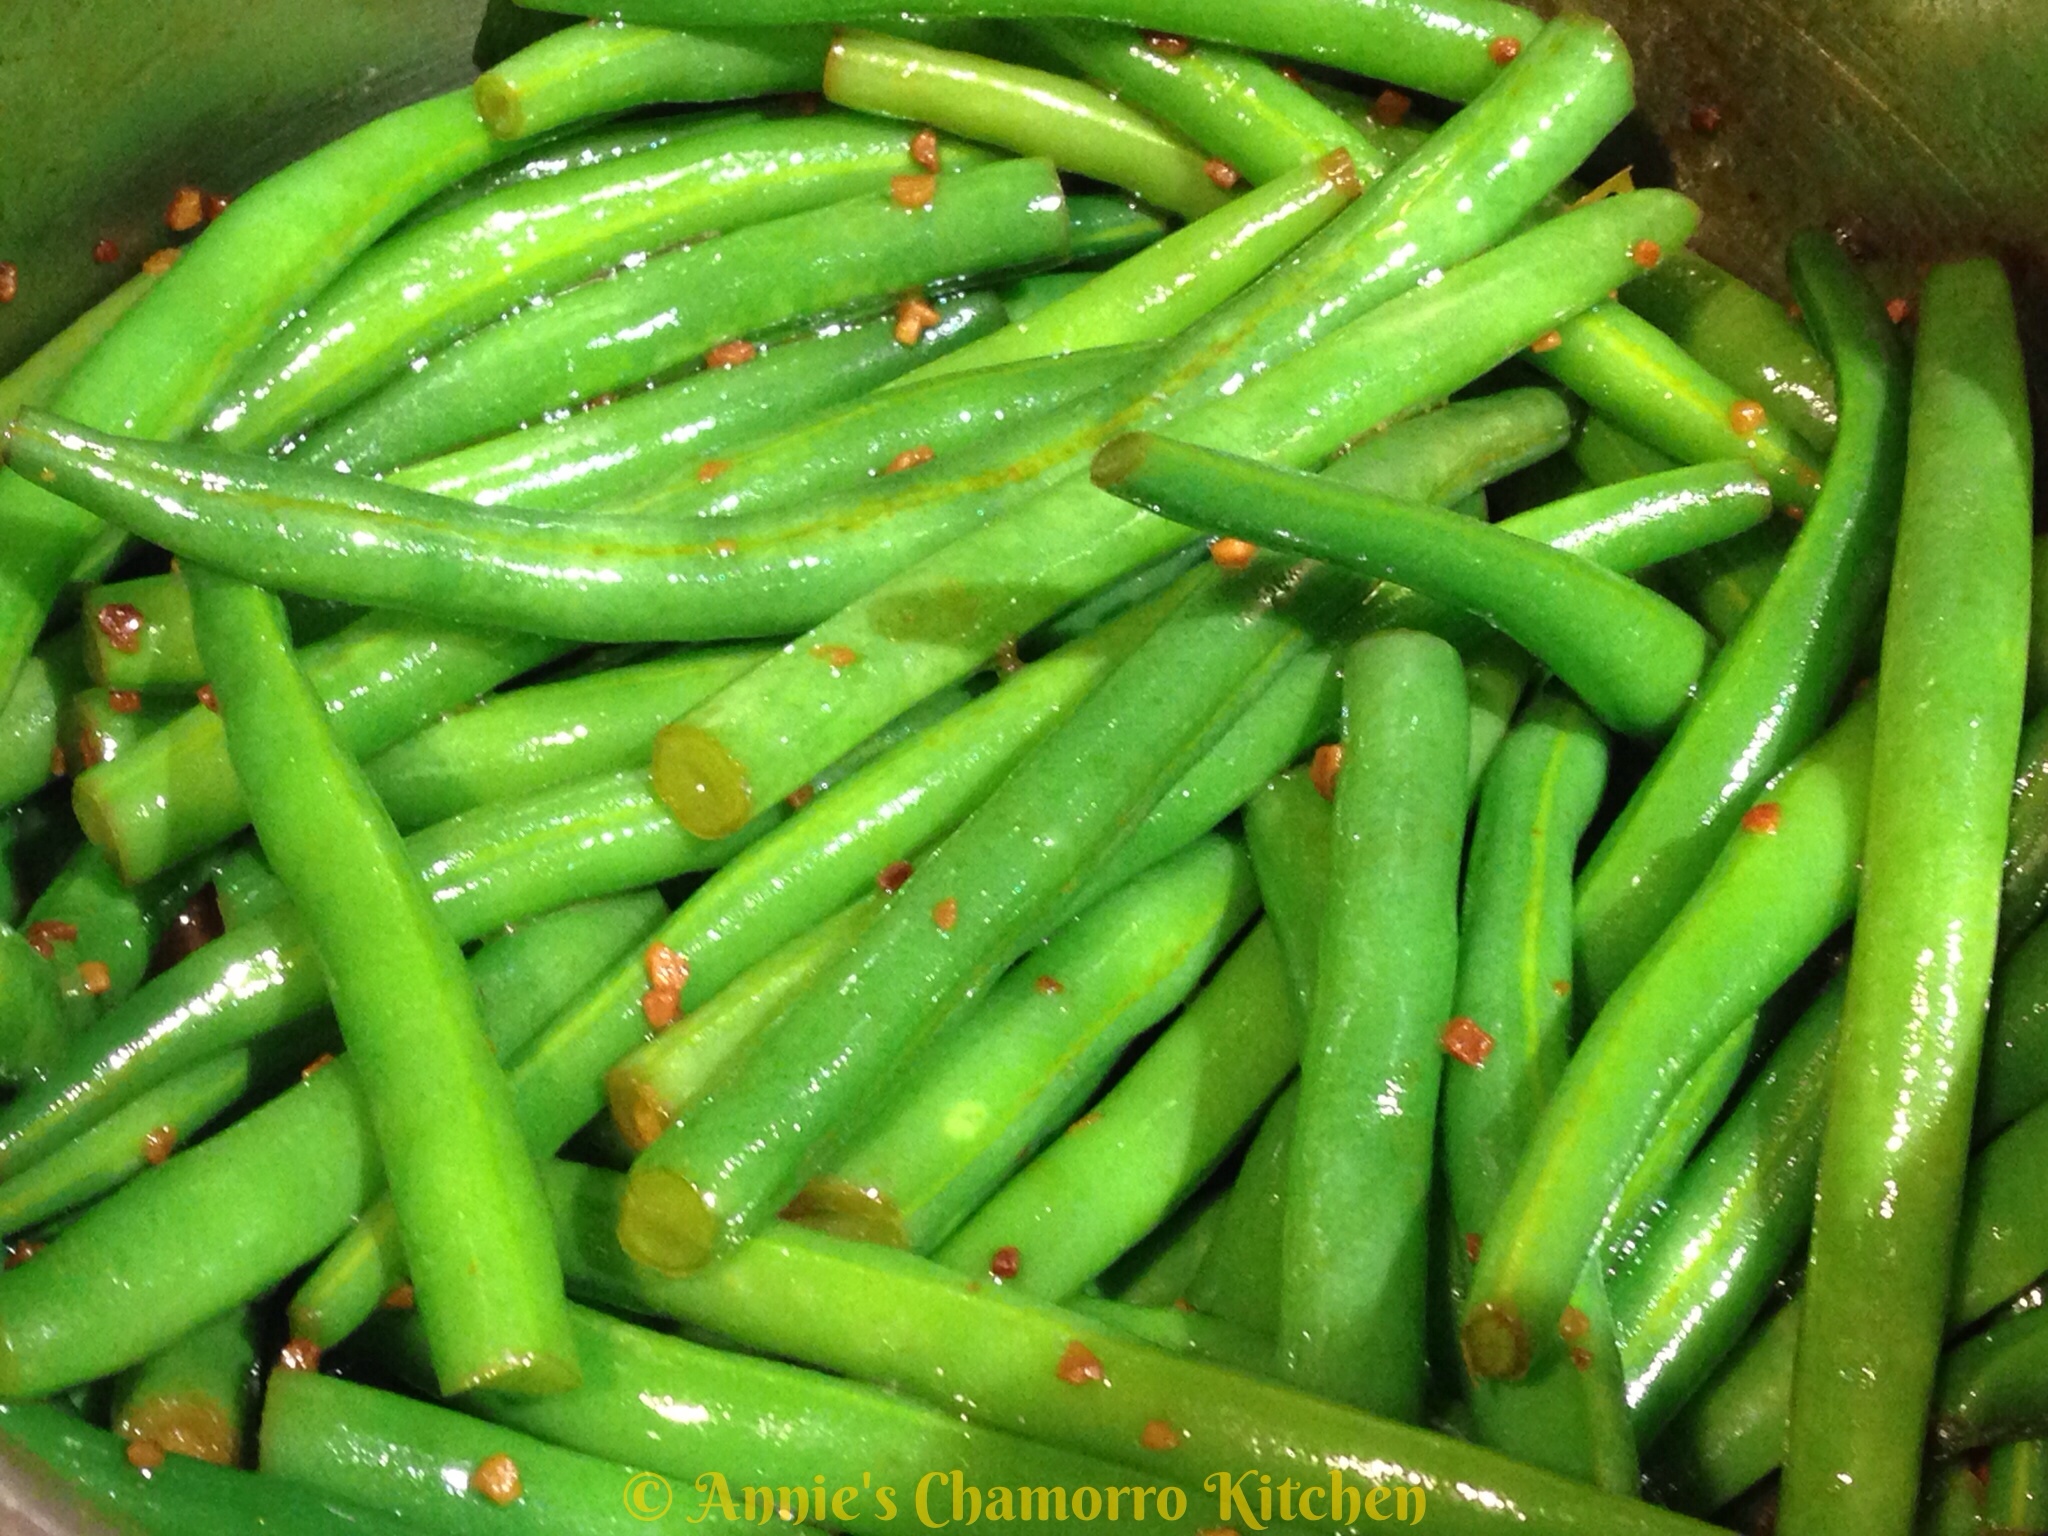
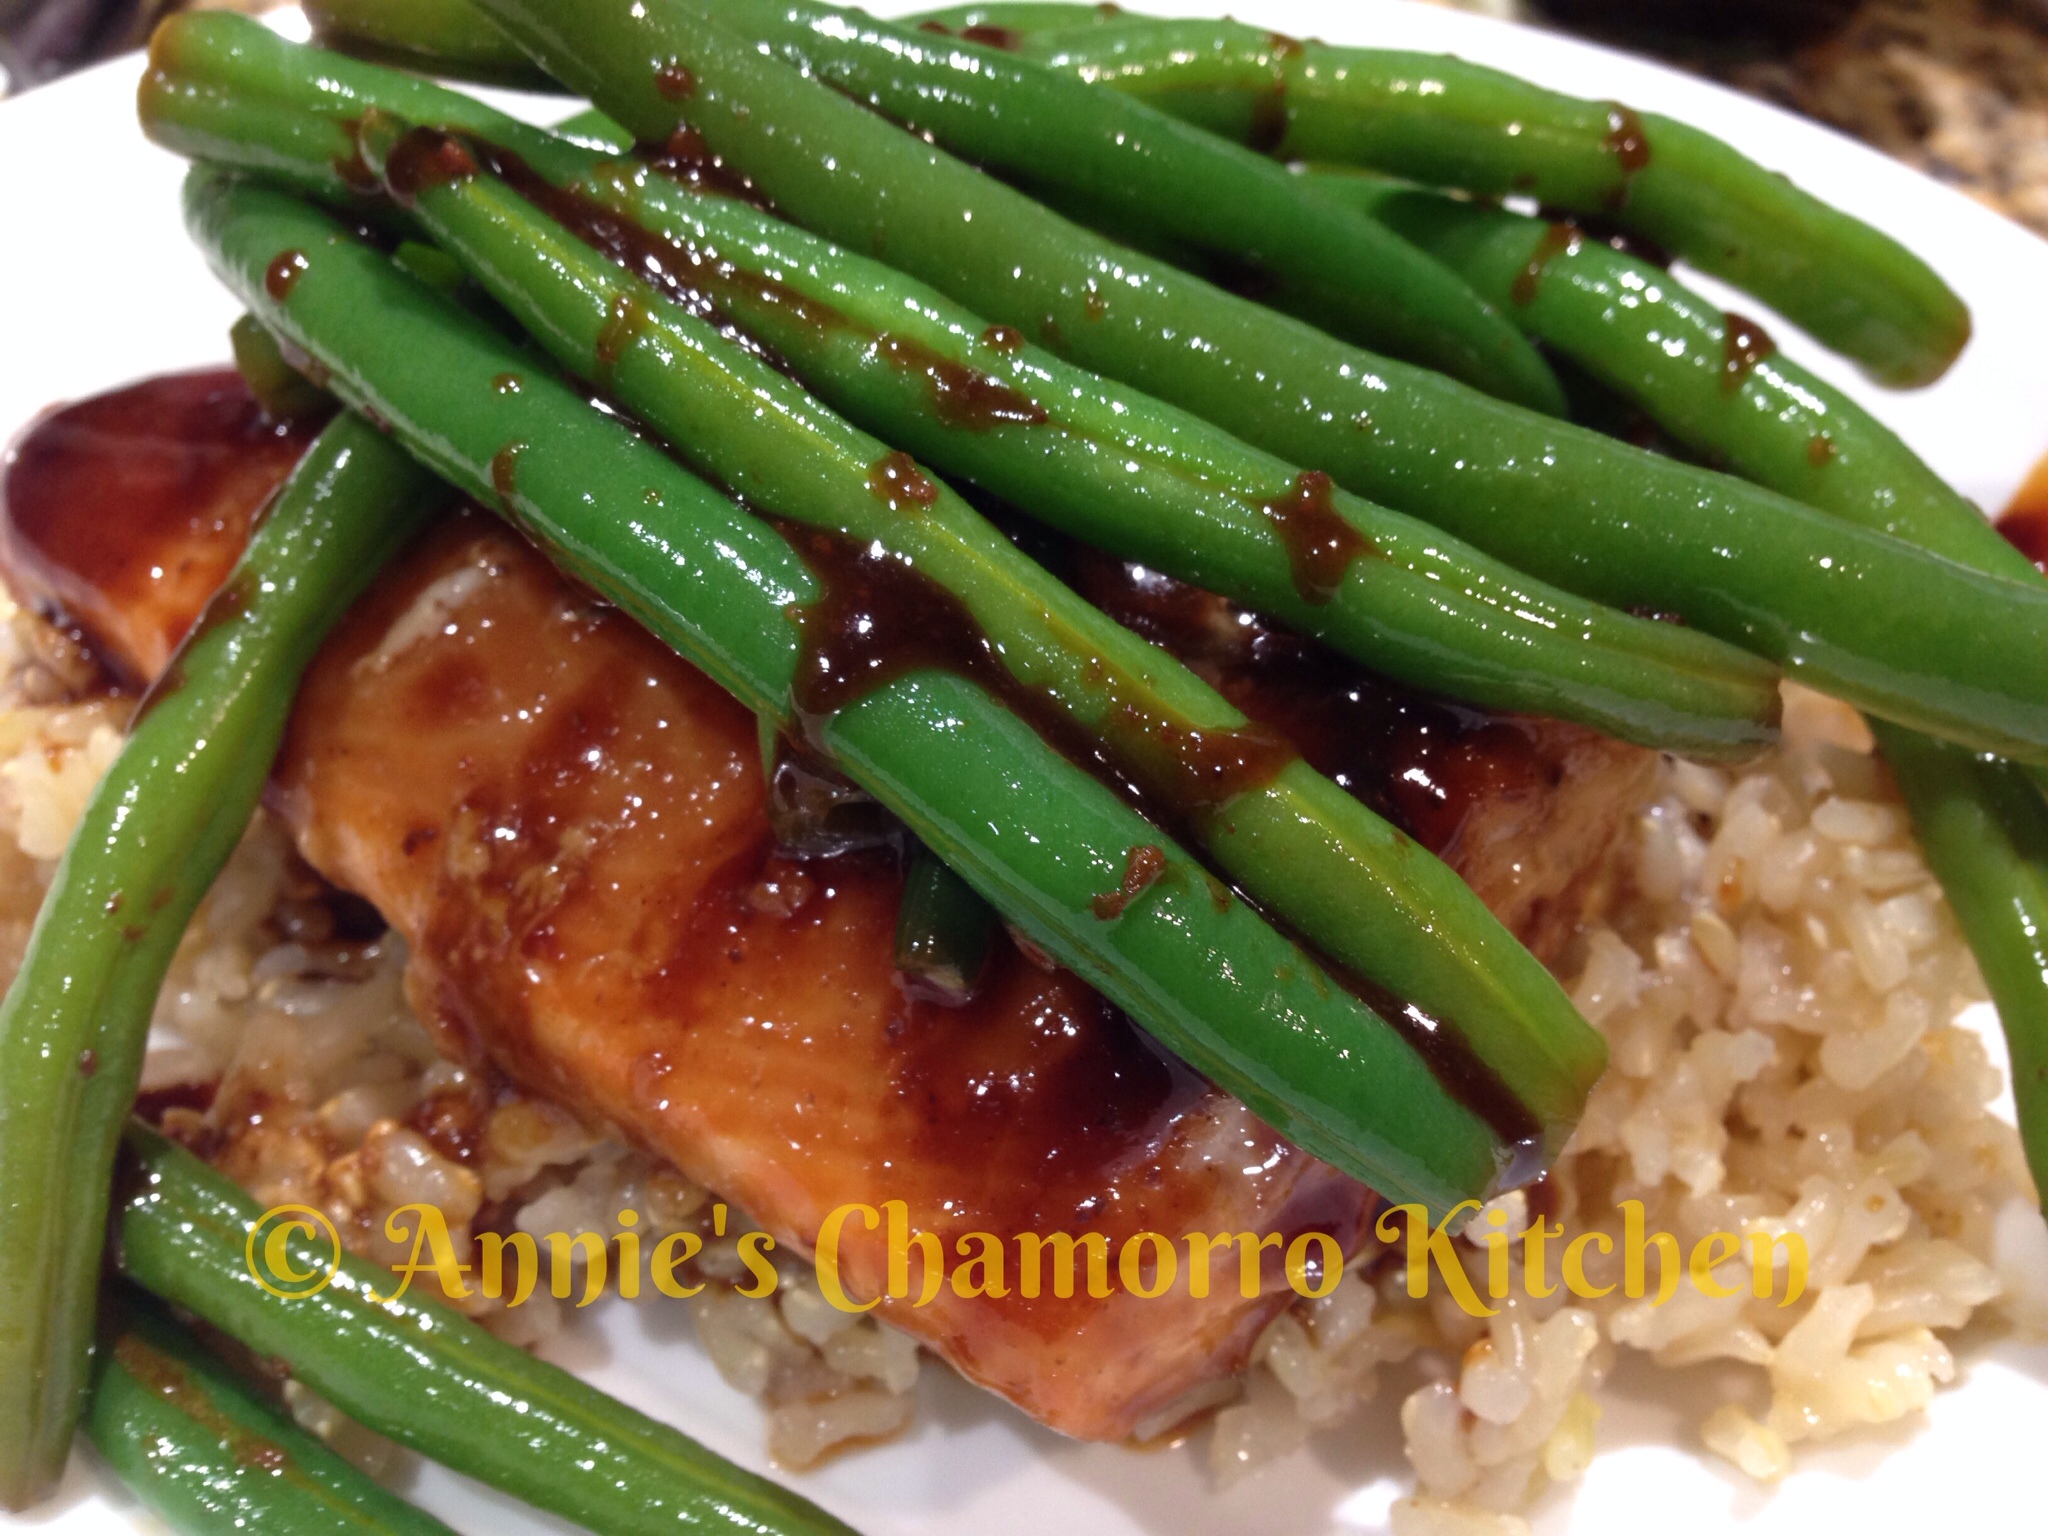
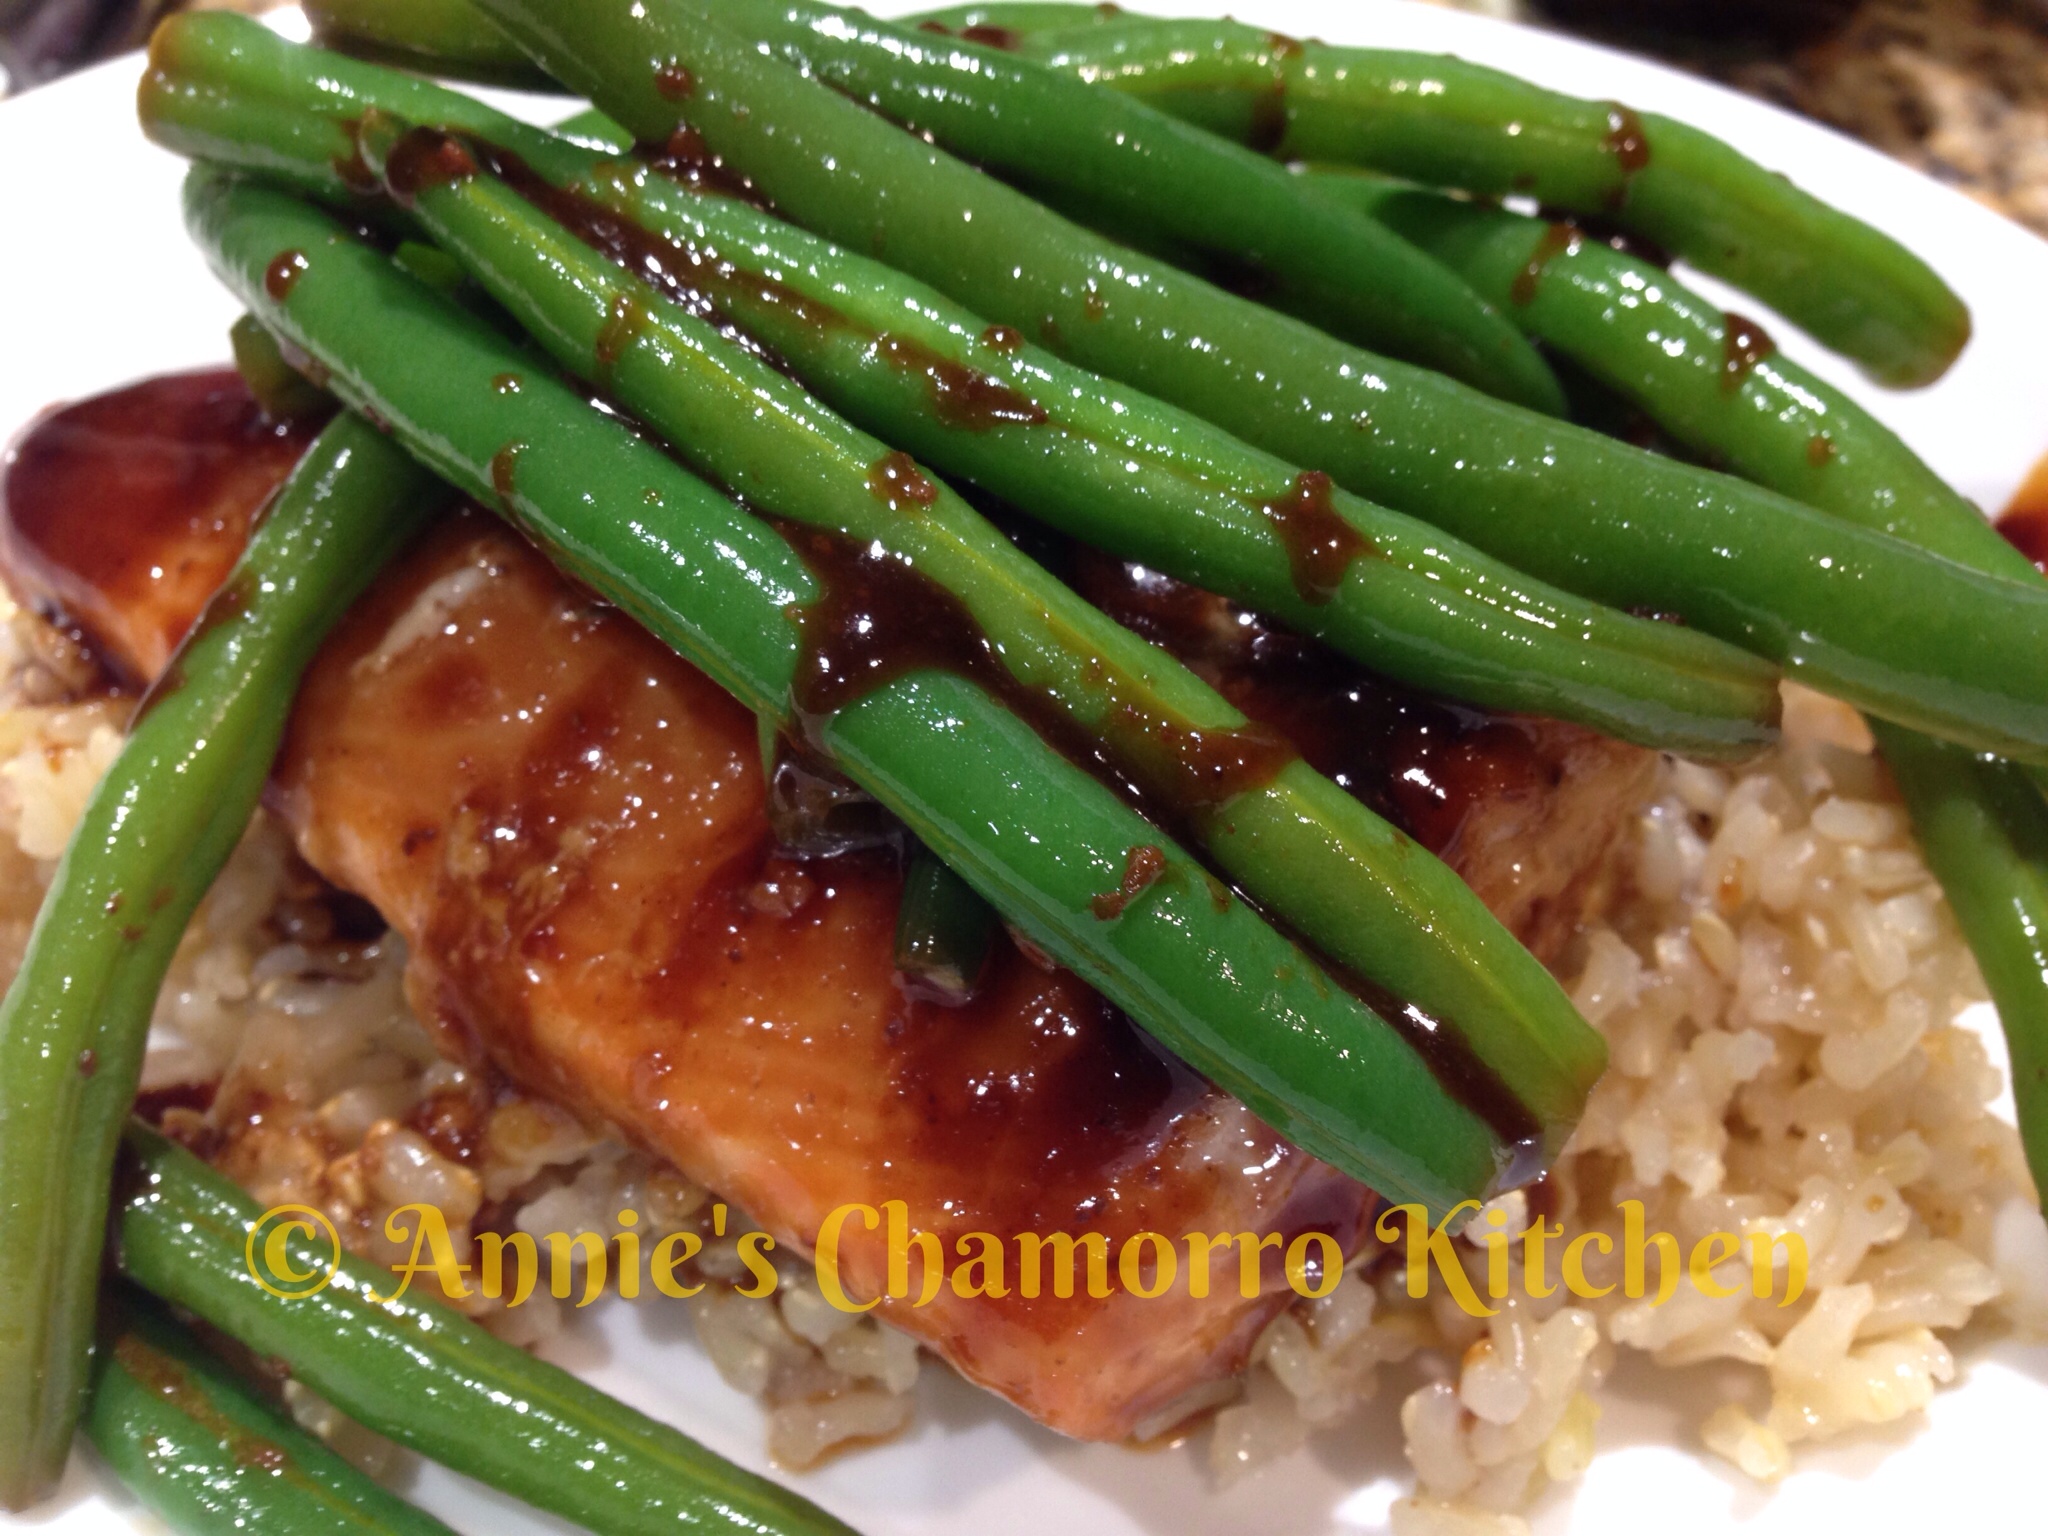
Are you looking for a quick, easy and TASTY vegetable side dish?  Try my daughter’s recipe for Sesame Garlic Soy Green Beans.

They are perfect with just about any main dish.  Give it a try with my daughter’s other delicious recipe: Hoisin Honey Glazed Salmon.

Give Hannah’s recipe a try.  I think you’ll like it. 🙂

Sesame Garlic Green Beans

Ingredients:

  • 1 pound fresh green beans
  • A pot of water (about 5 cups)
  • A large bowl of ice
  • Salt
  • 1 tablespoon butter
  • 1 tablespoon sesame oil
  • 1 tablespoon chopped garlic
  • 2 tablespoons low sodium soy sauce
  • Sesame seeds

Directions:

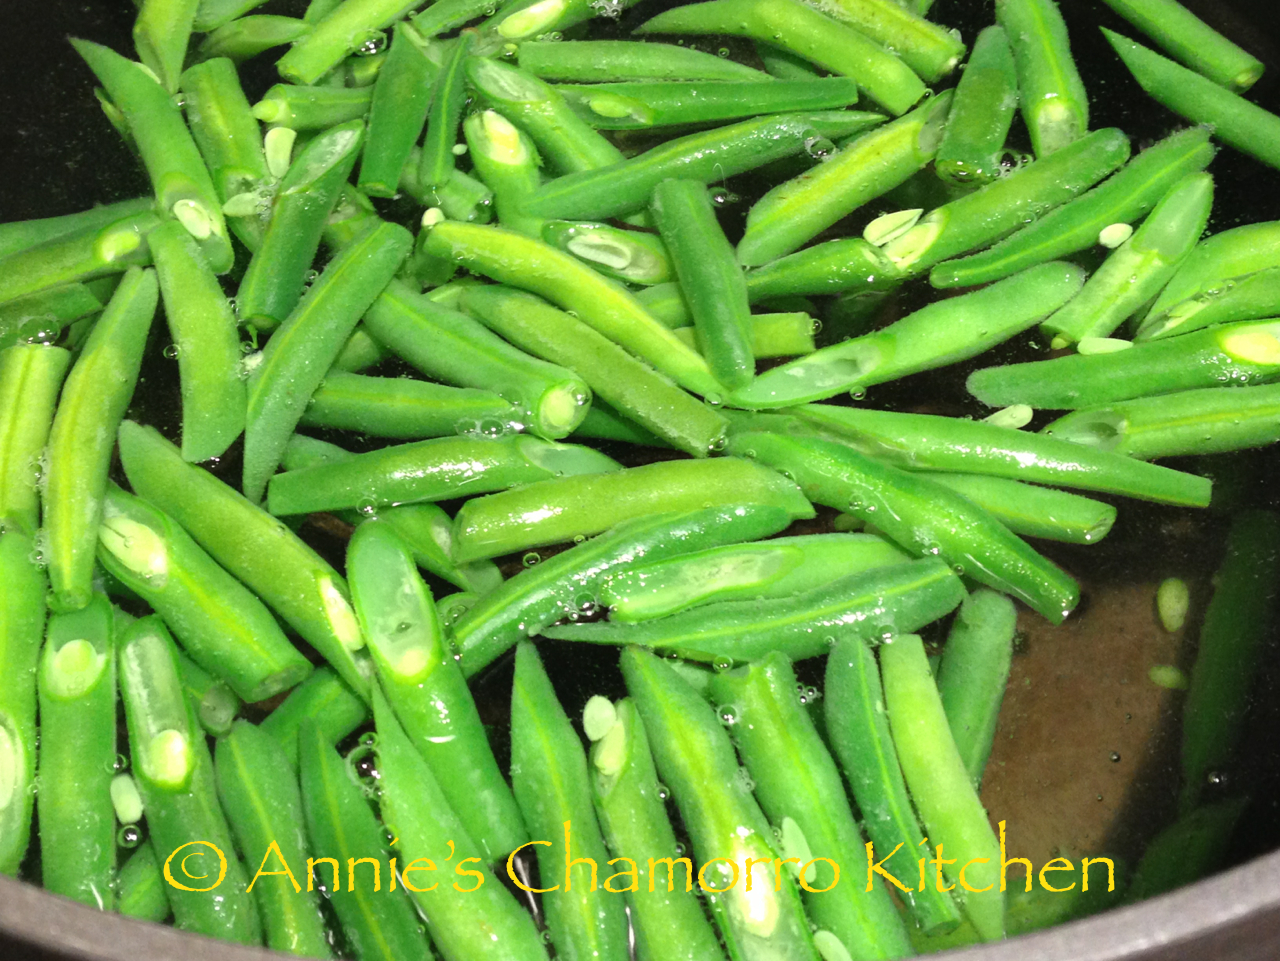
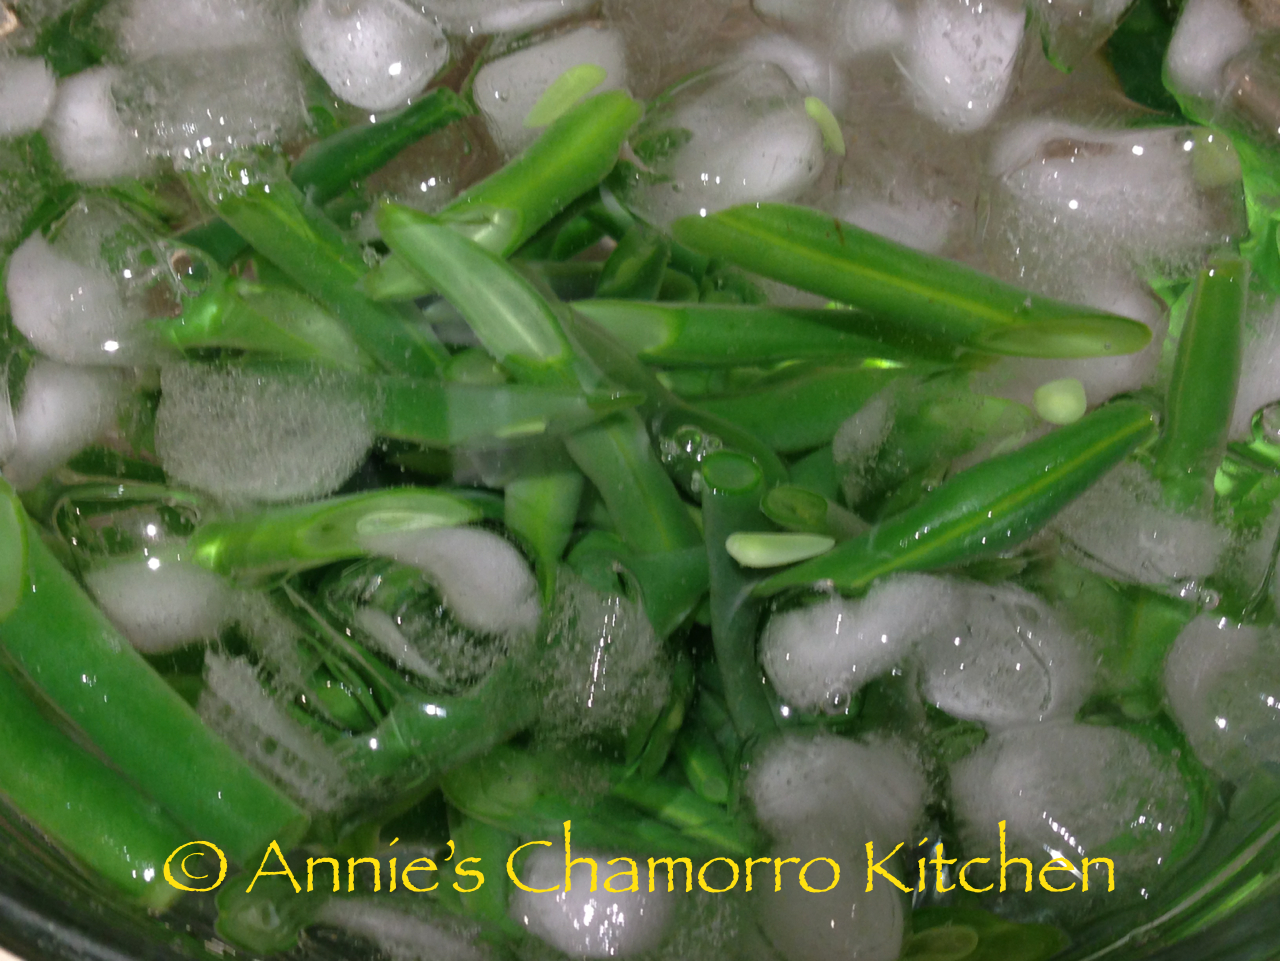
1.  You will need to blanch the green beans first.  Blanching means to put vegetables into a pot of boiling water, let it cook for a few minutes, then remove the vegetables and immediately place them into a bowl of ice water to stop the cooking.

Here’s how it’s done.

In a large pot, bring about 5 cups of water to a rapid boil over high heat. Add enough salt so the water tastes faintly salty. While the water heats, fill a medium sized bowl about three quarters full with ice, then add enough cold water to cover the top of the ice.

IMG_3247

When the water is boiling and the ice bath is ready, trim the green beans to the size you need. It’s best to trim them just prior to cooking so they won’t oxidize or dehydrate. Add the beans to the boiling water in batches small enough to ensure that the water doesn’t lose its boil. Boil the beans only until they’re barely cooked through but still tender. To test, remove one piece with a slotted spoon, dip it into the ice bath to cool, and eat it.

IMG_3246

As soon as the beans are done, remove them as fast as you can and submerge them in the ice bath. Remove them from the ice bath as soon as they are no longer warm.  Set aside.

IMG_3248

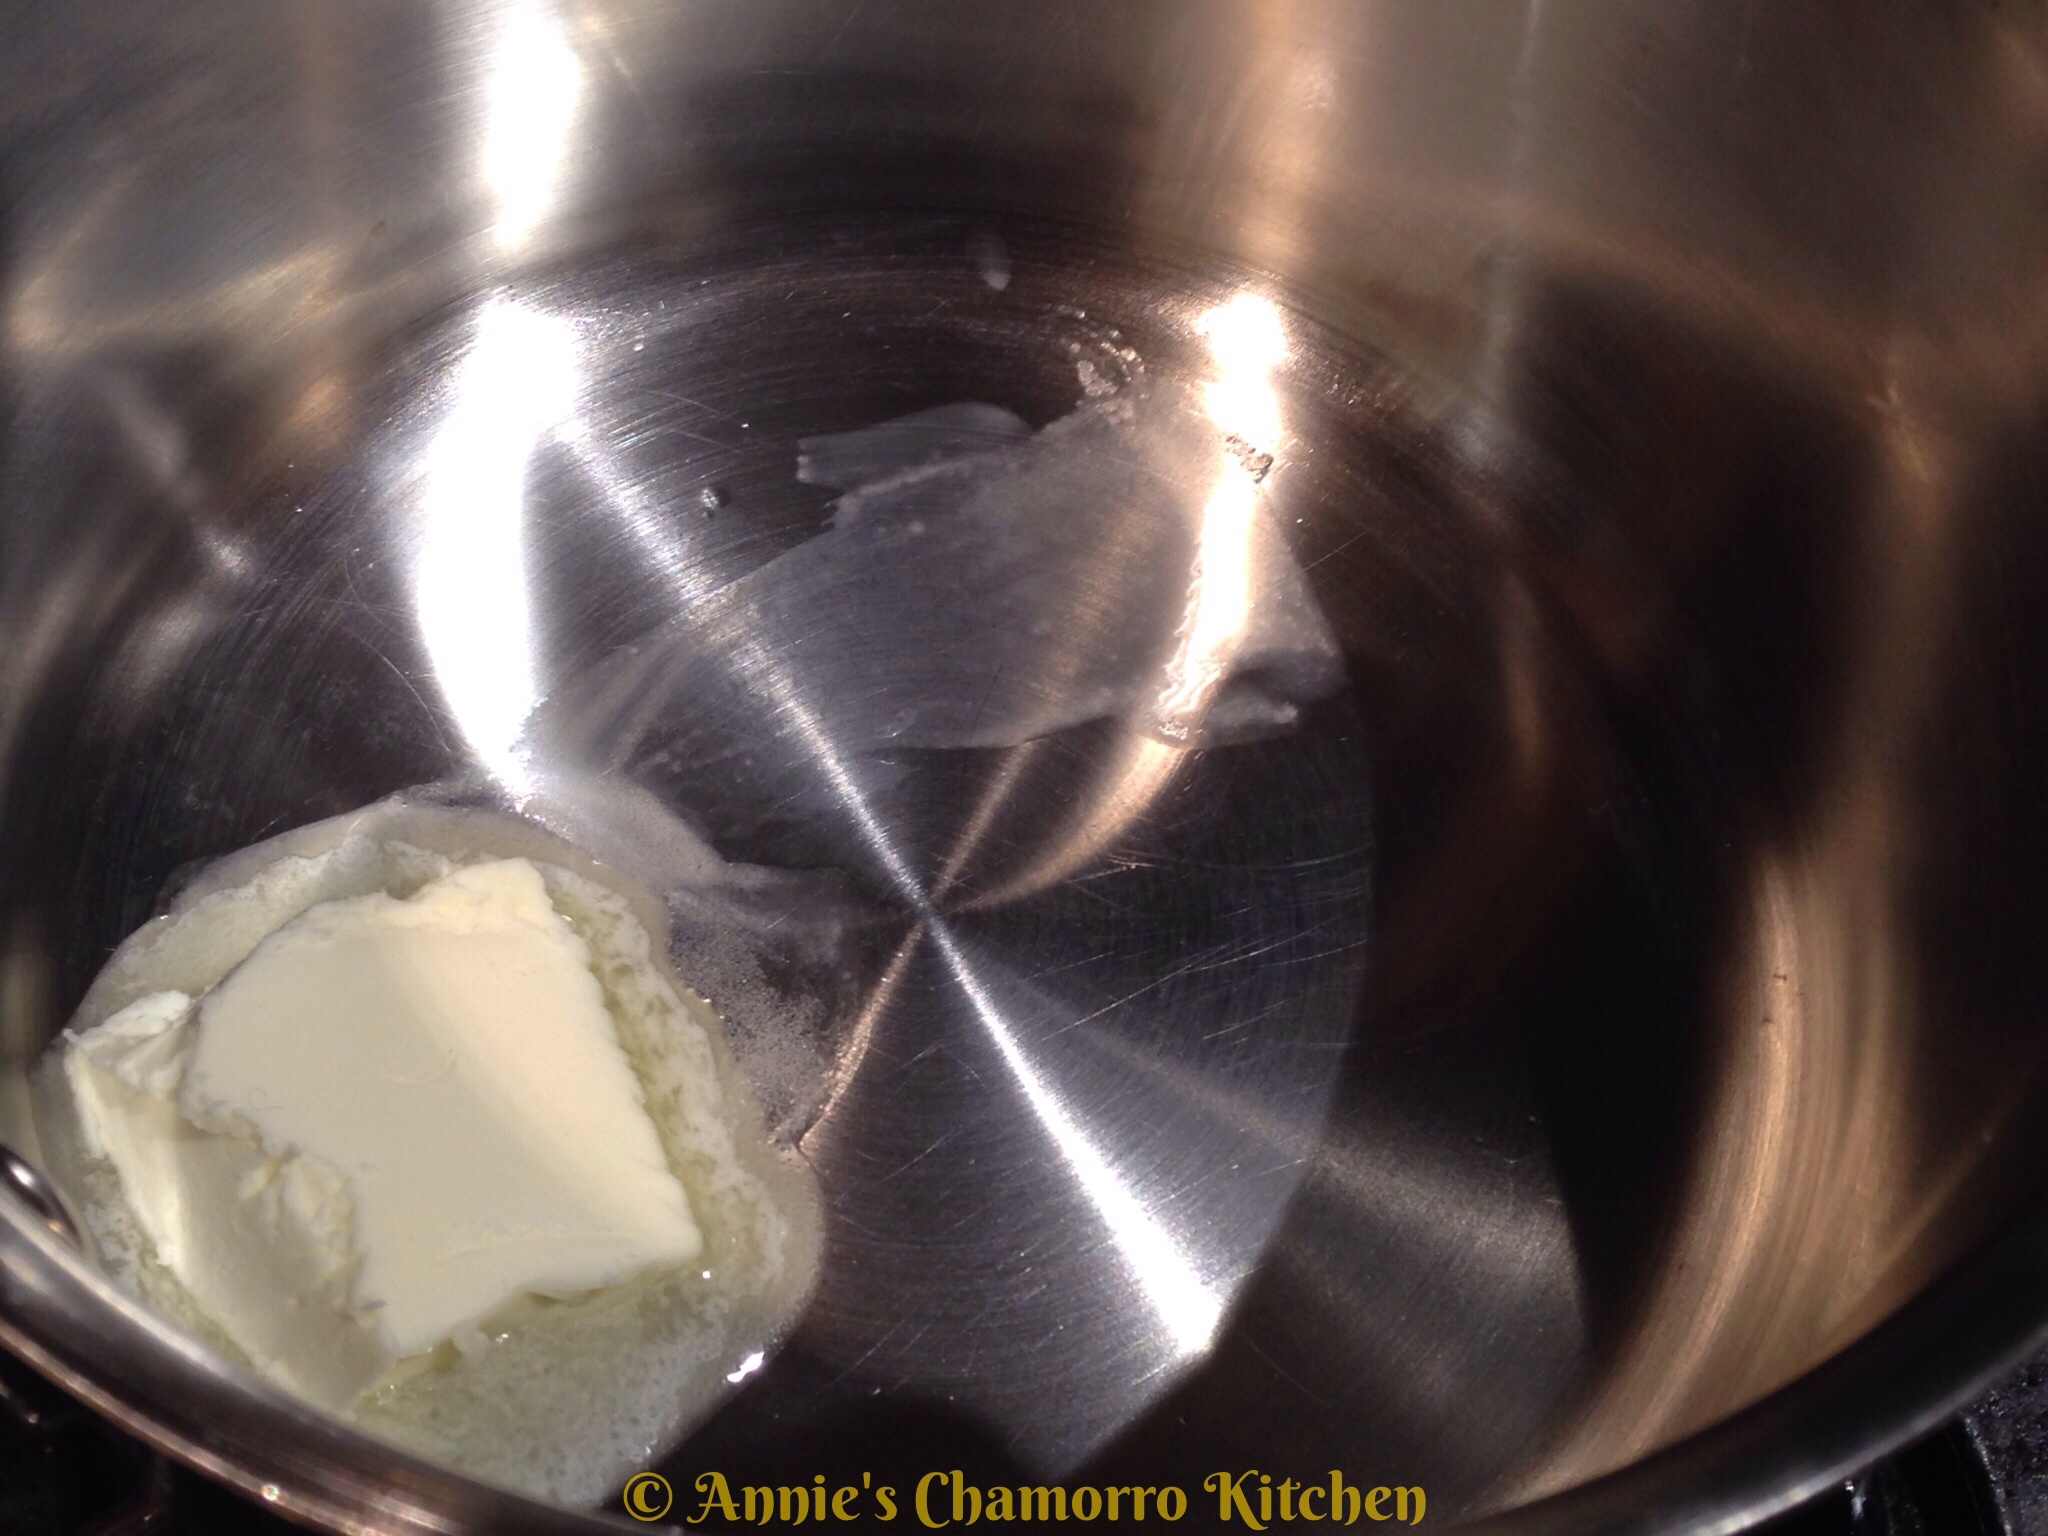
2.  Melt the butter in a small skillet over medium heat.

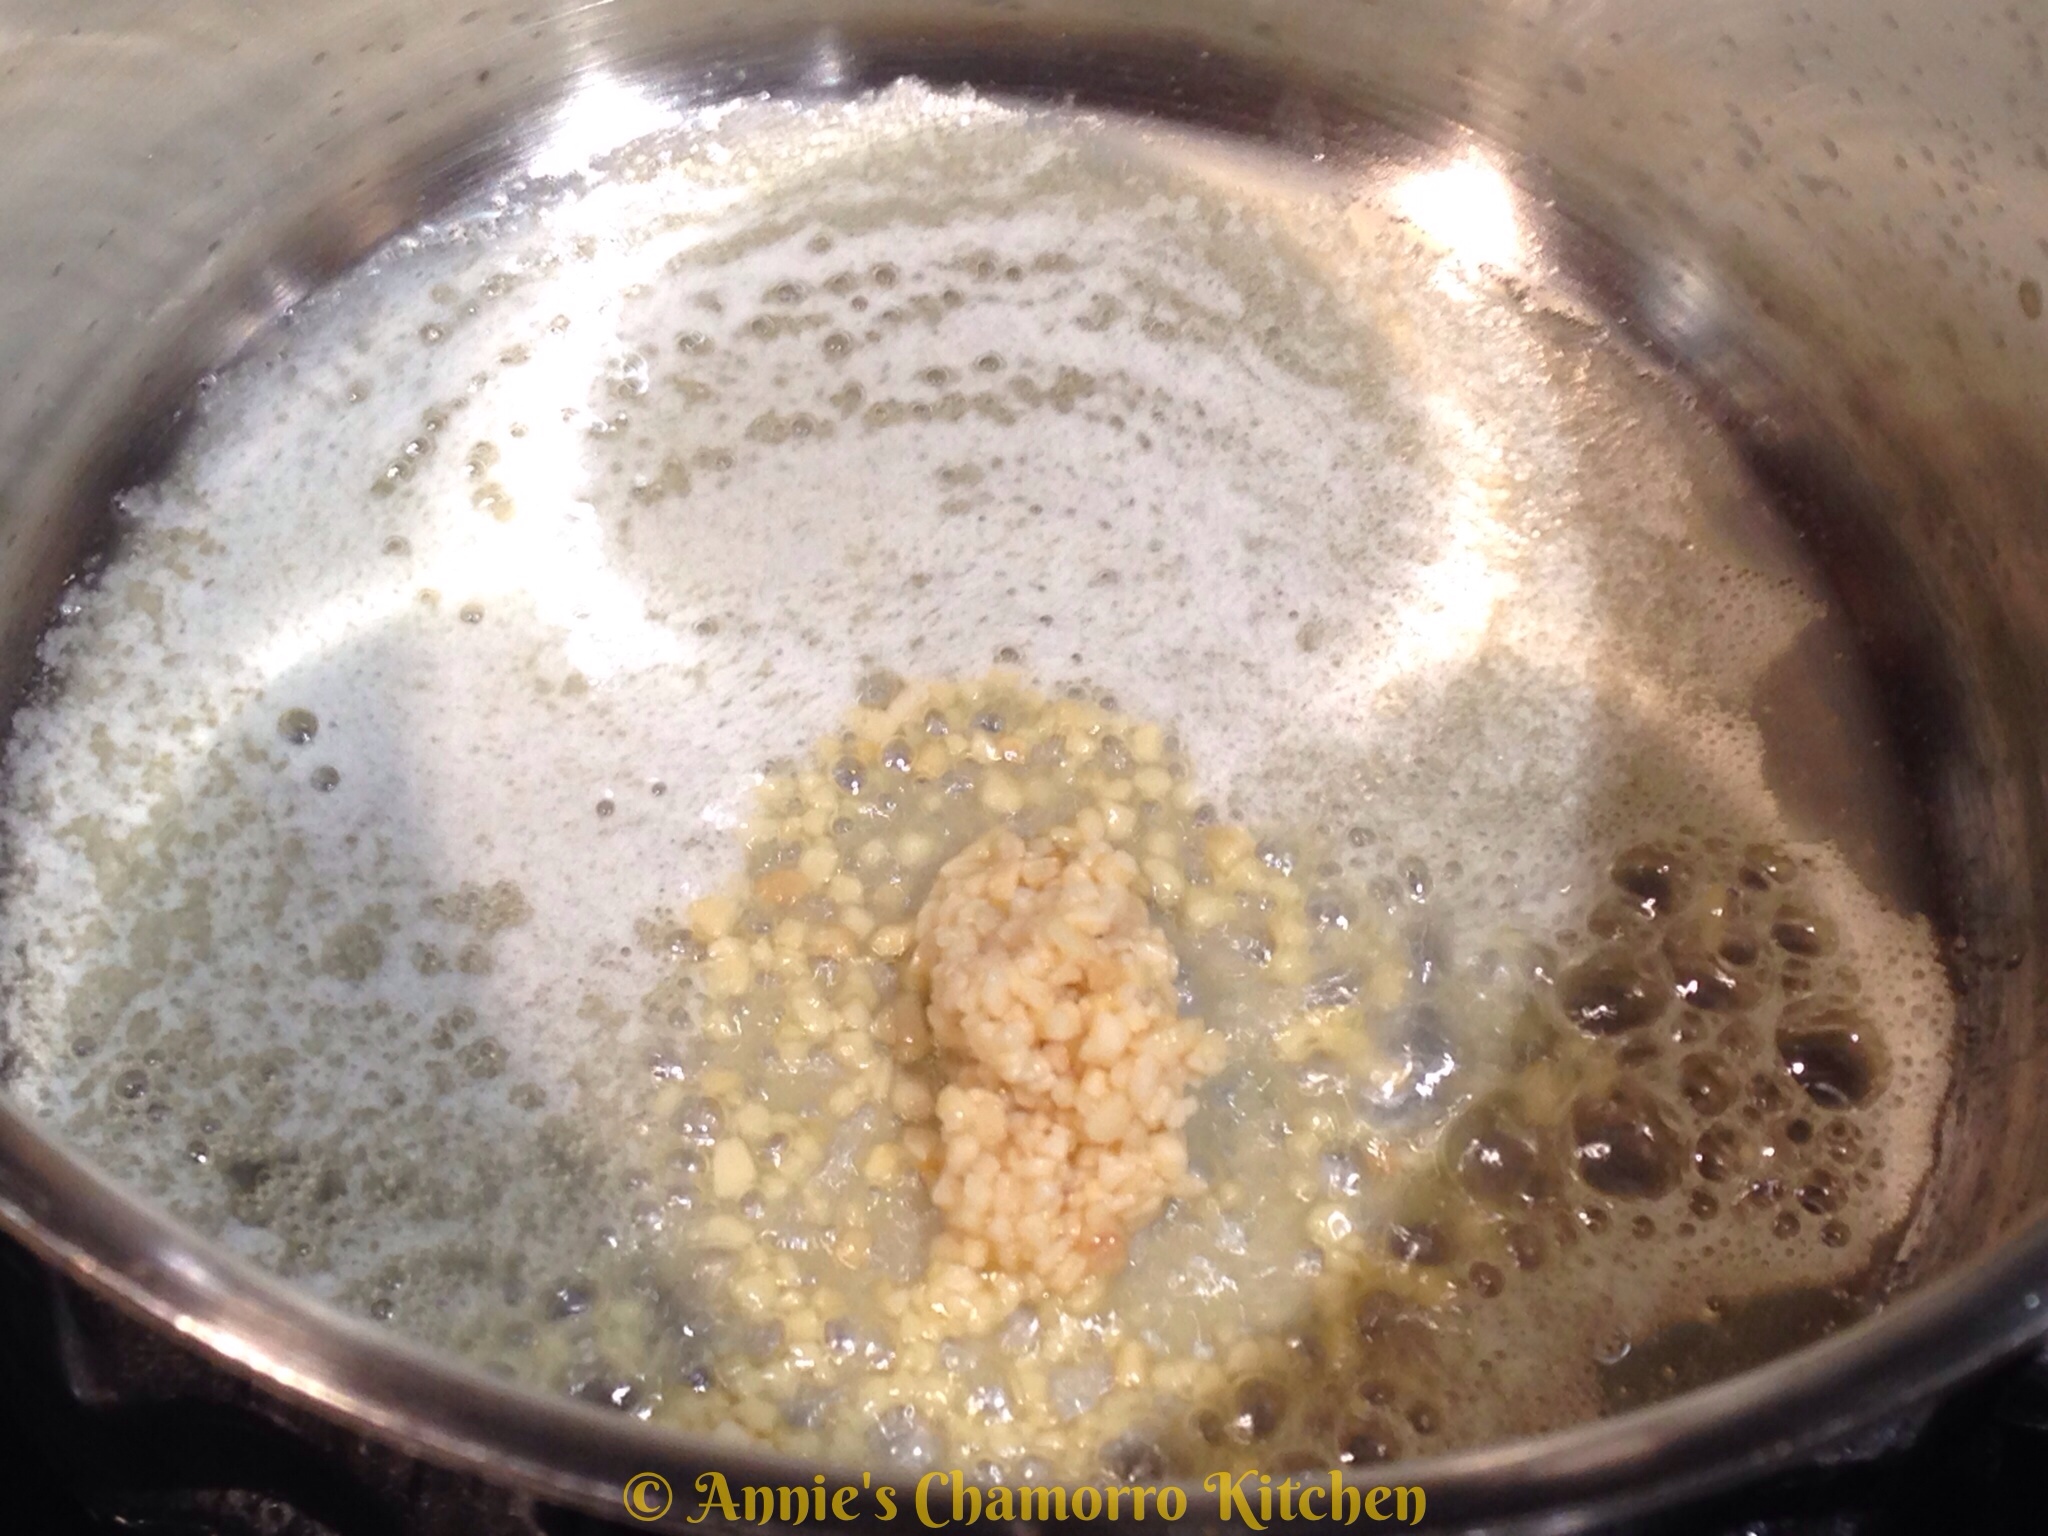
3.  Add the sesame oil and garlic to the pan.  Cook until the garlic begins to brown slightly.

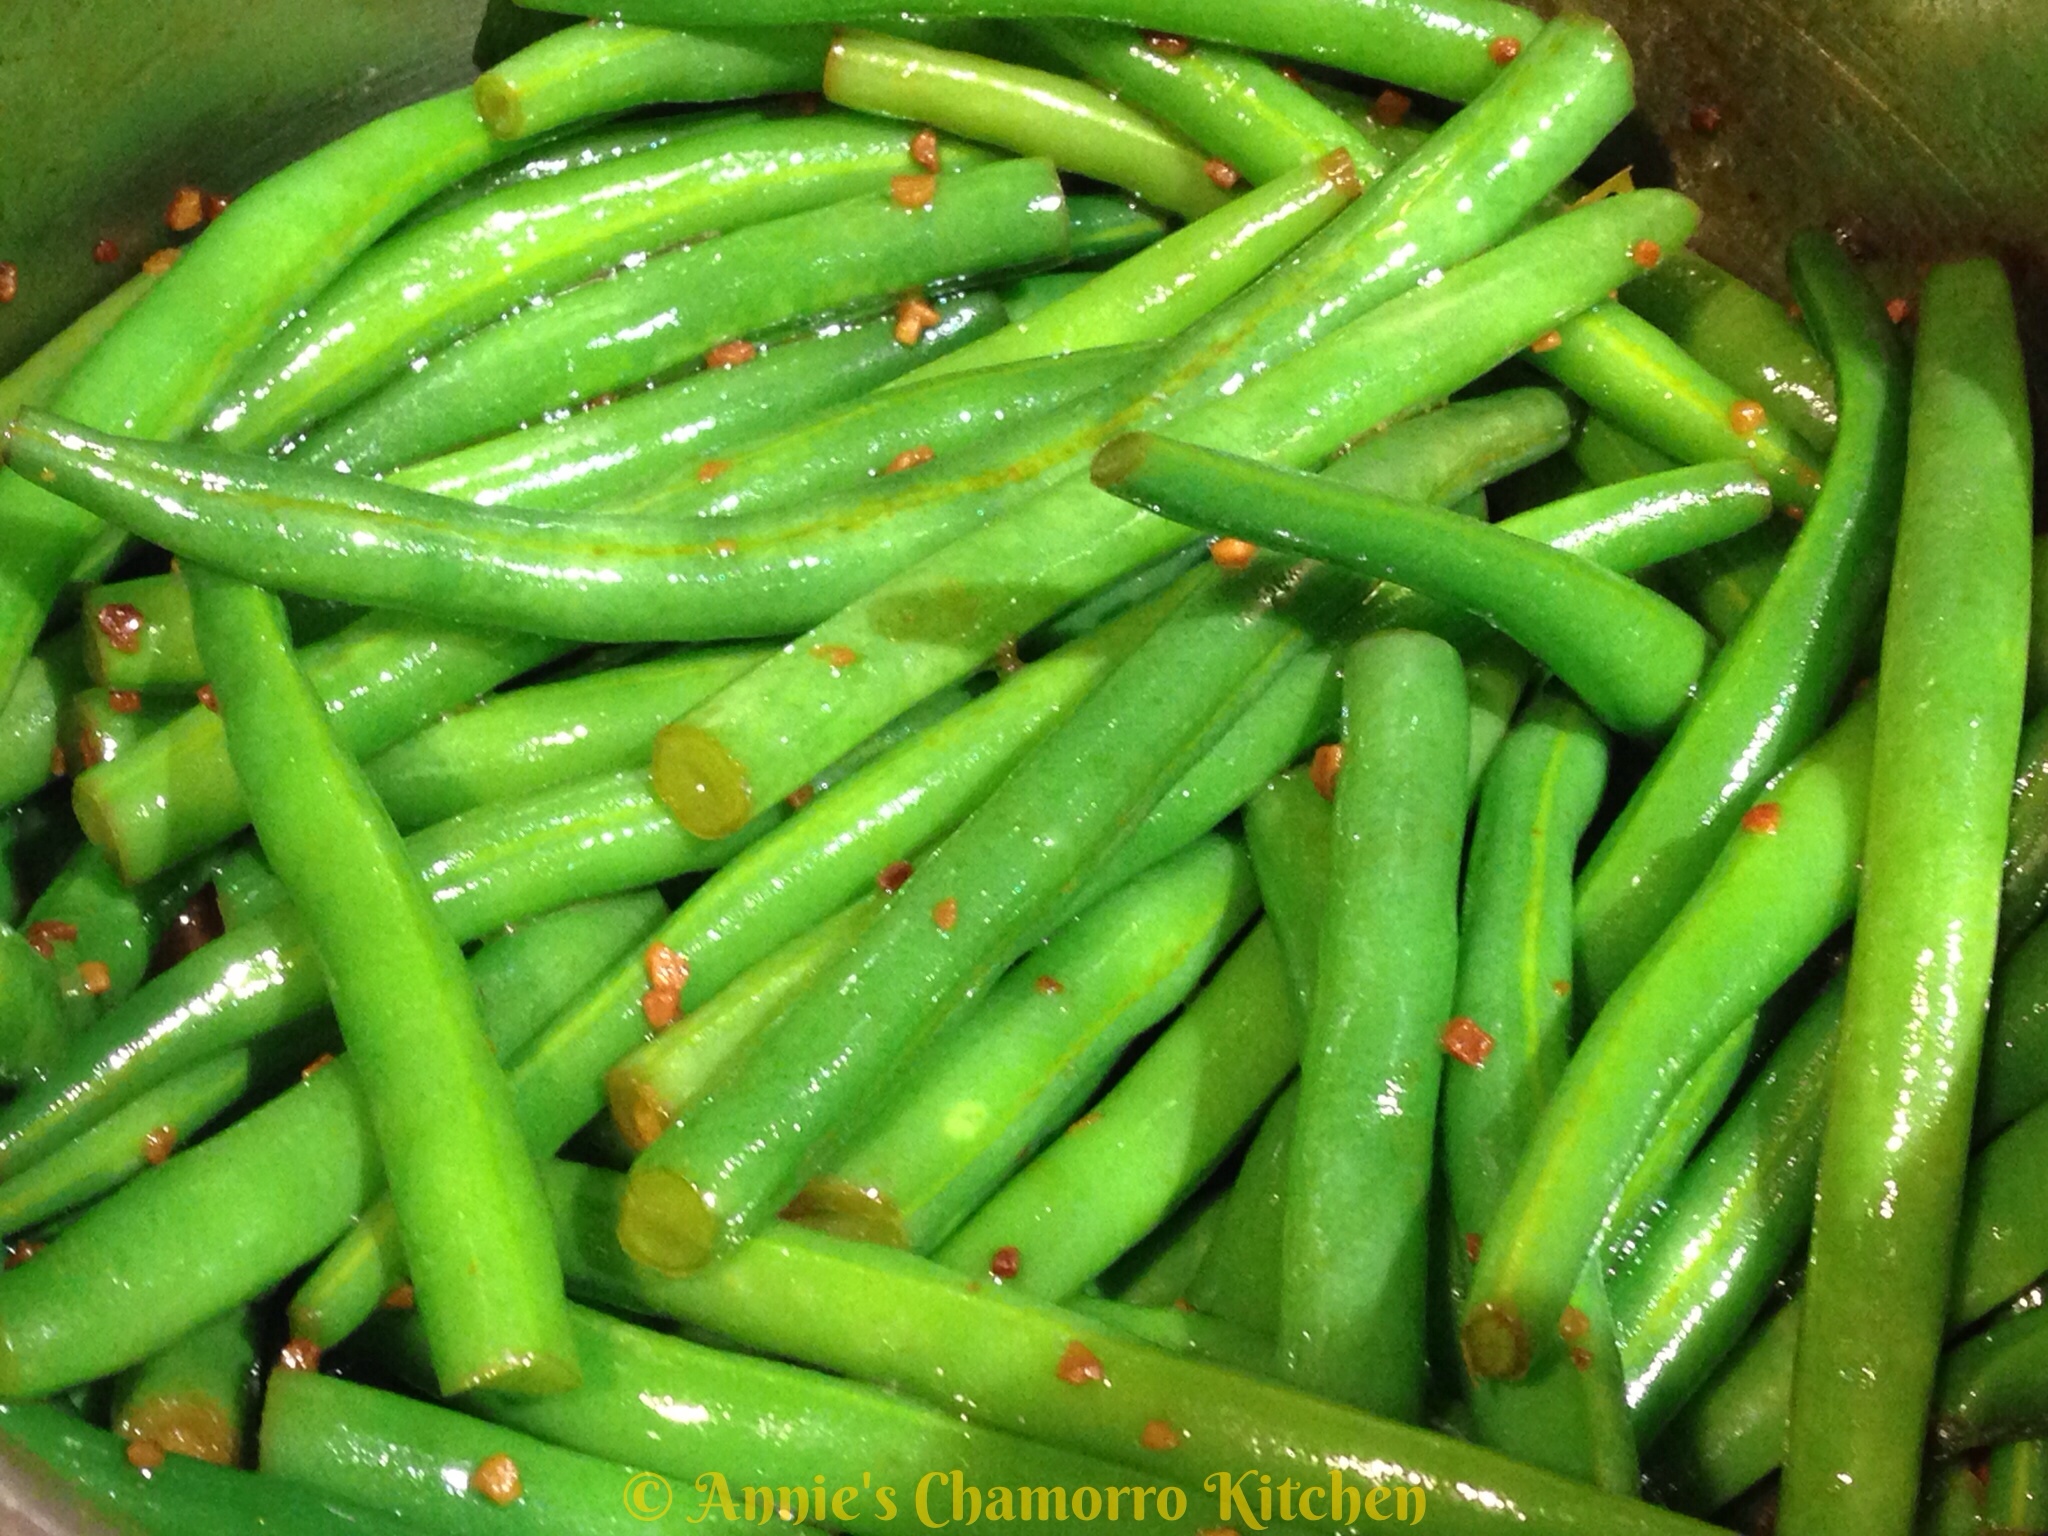
4.  Add the beans and soy sauce to the pan.  Stir to coat the beans in the sauce; cook for a couple of minutes then remove from the heat.

5.  Sprinkle with sesame seeds, serve, and ENJOY!

« Older Entries Recent Entries »