There is a sushi restaurant I frequent that serves a creamy white salad dressing with their salads that I just love. It’s sweet, savory, and slightly tangy, and has a definite sesame flavor that makes this dressing stand out.
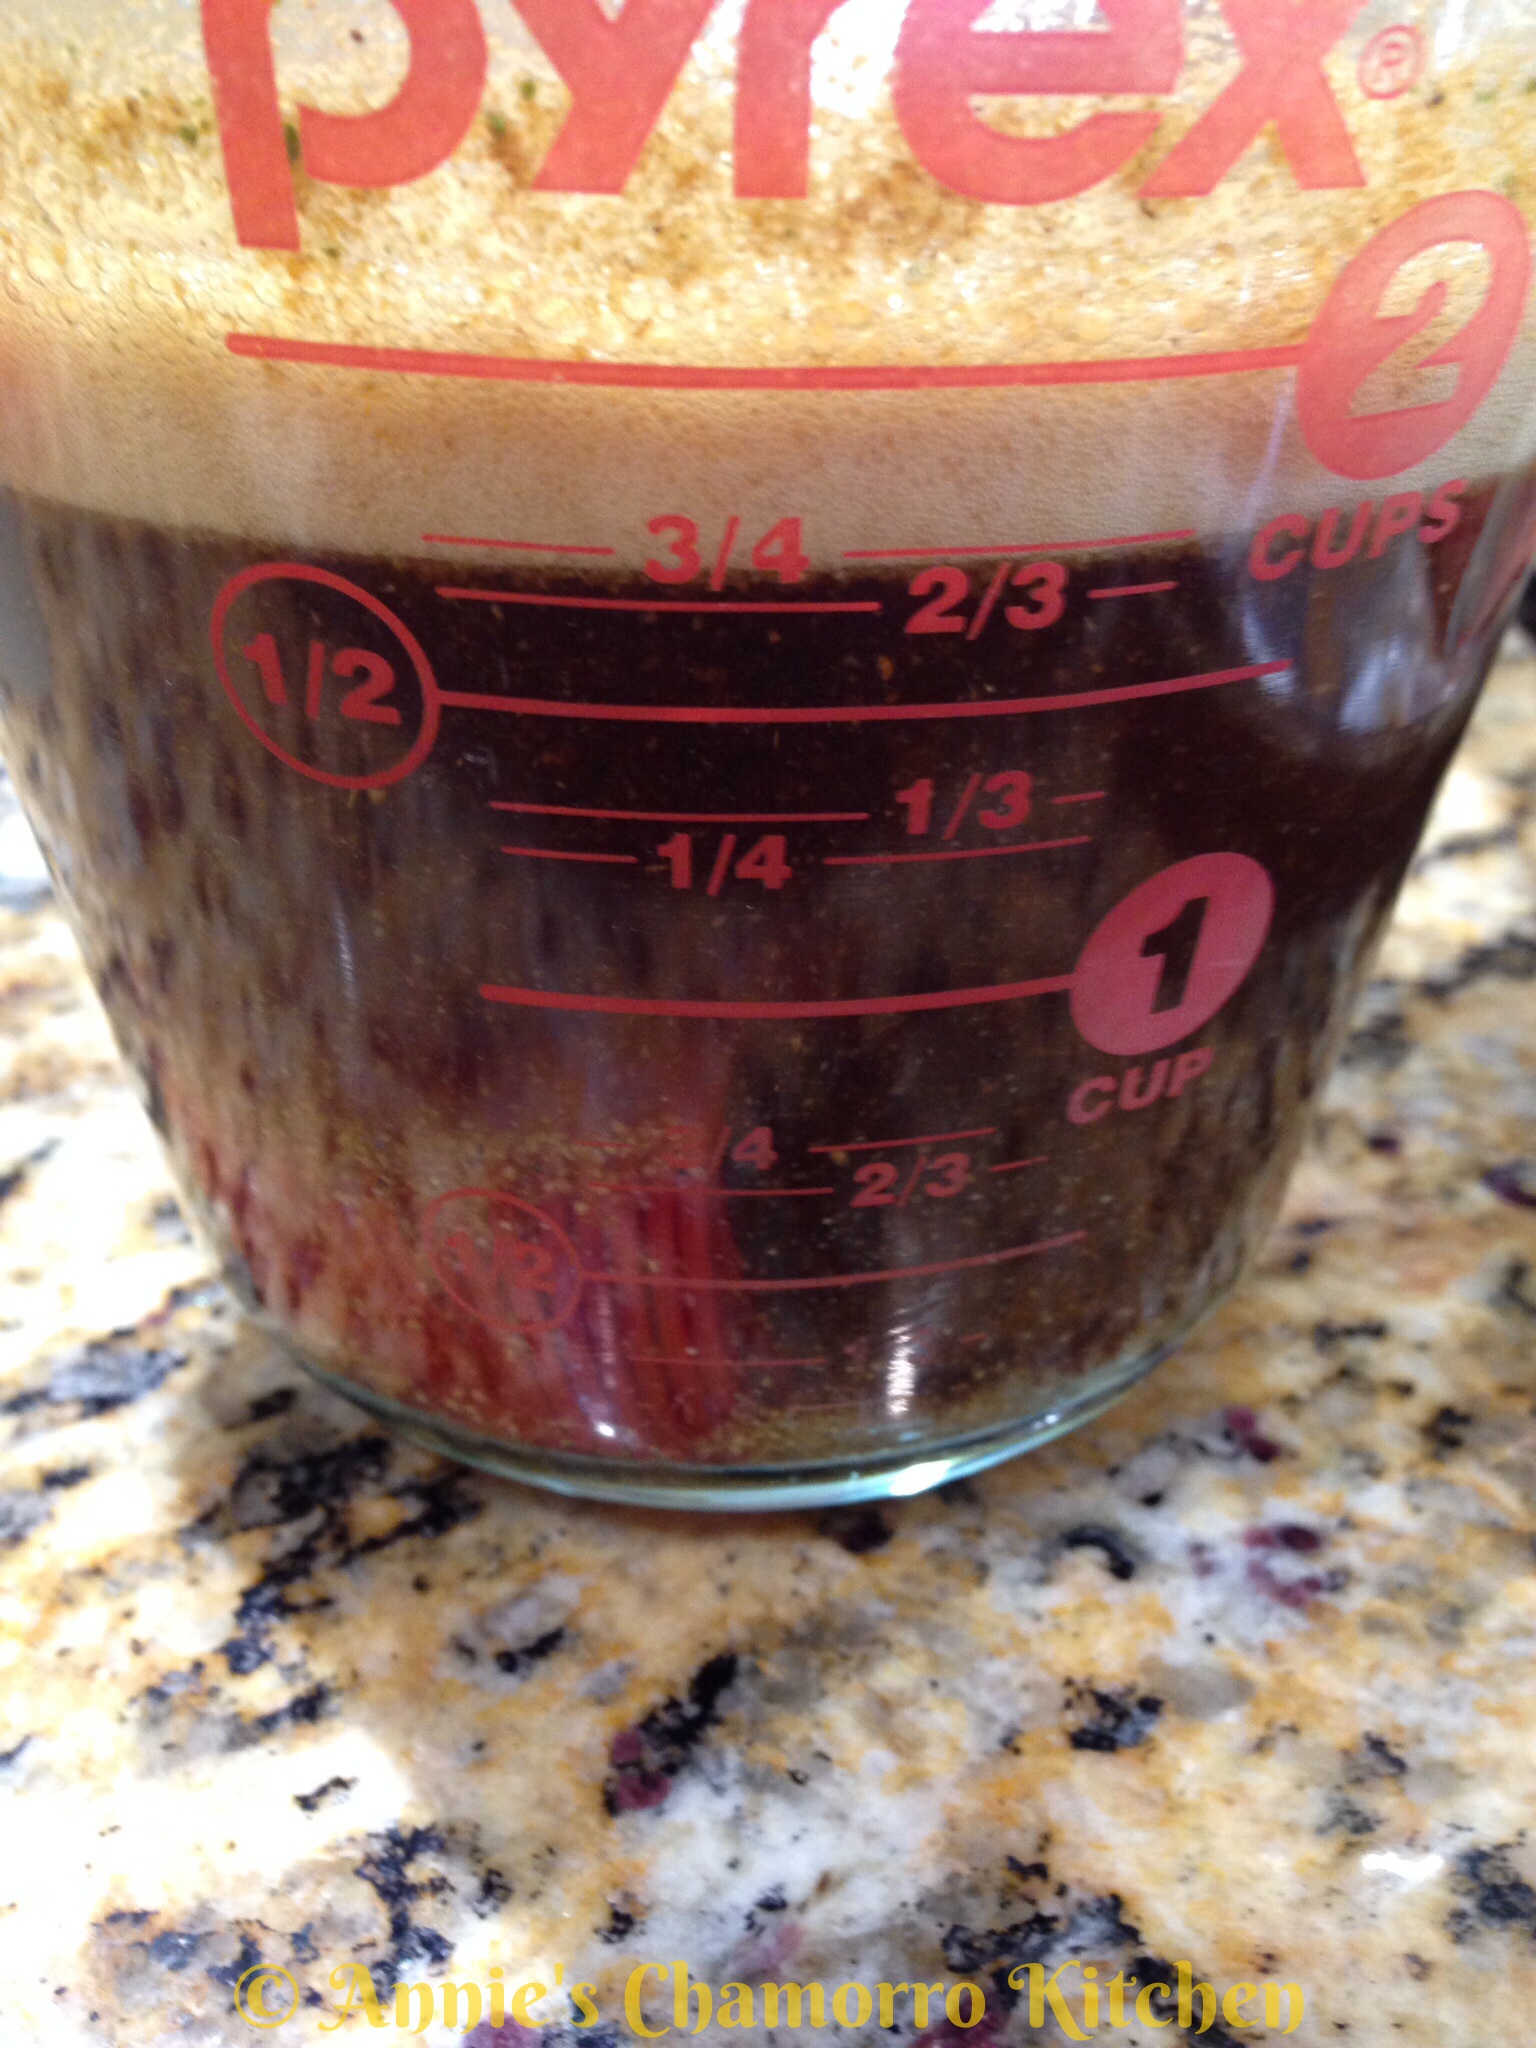
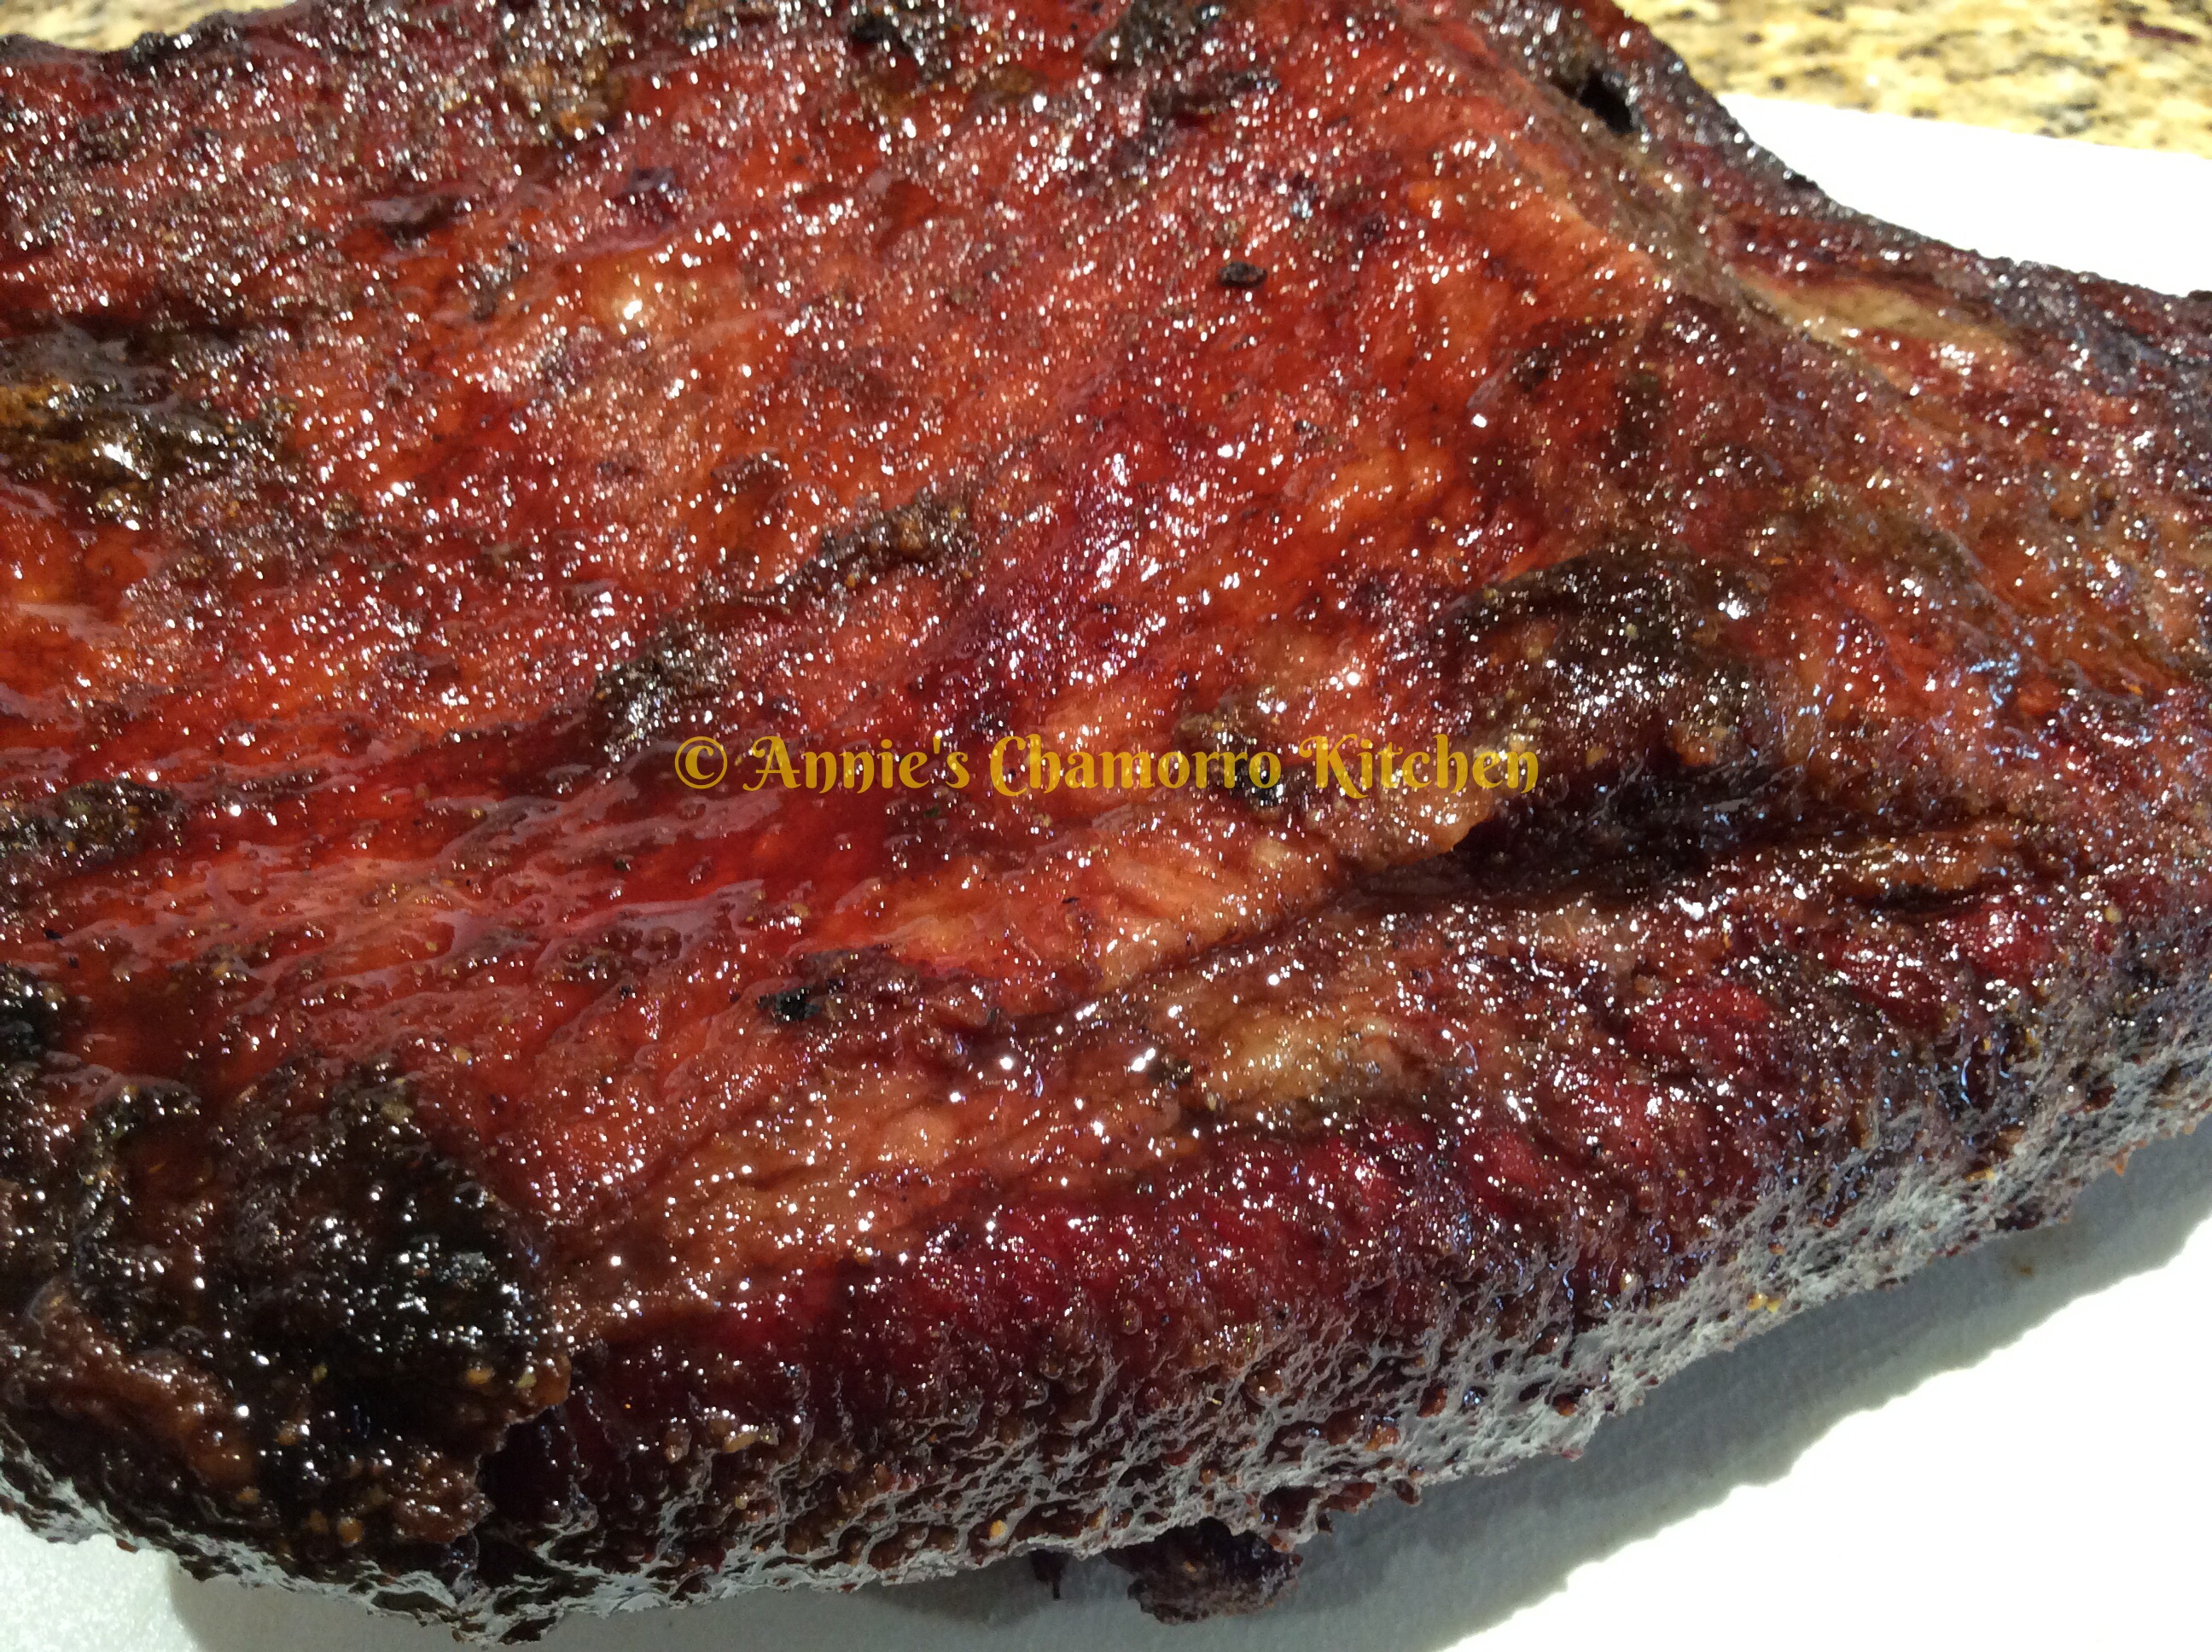
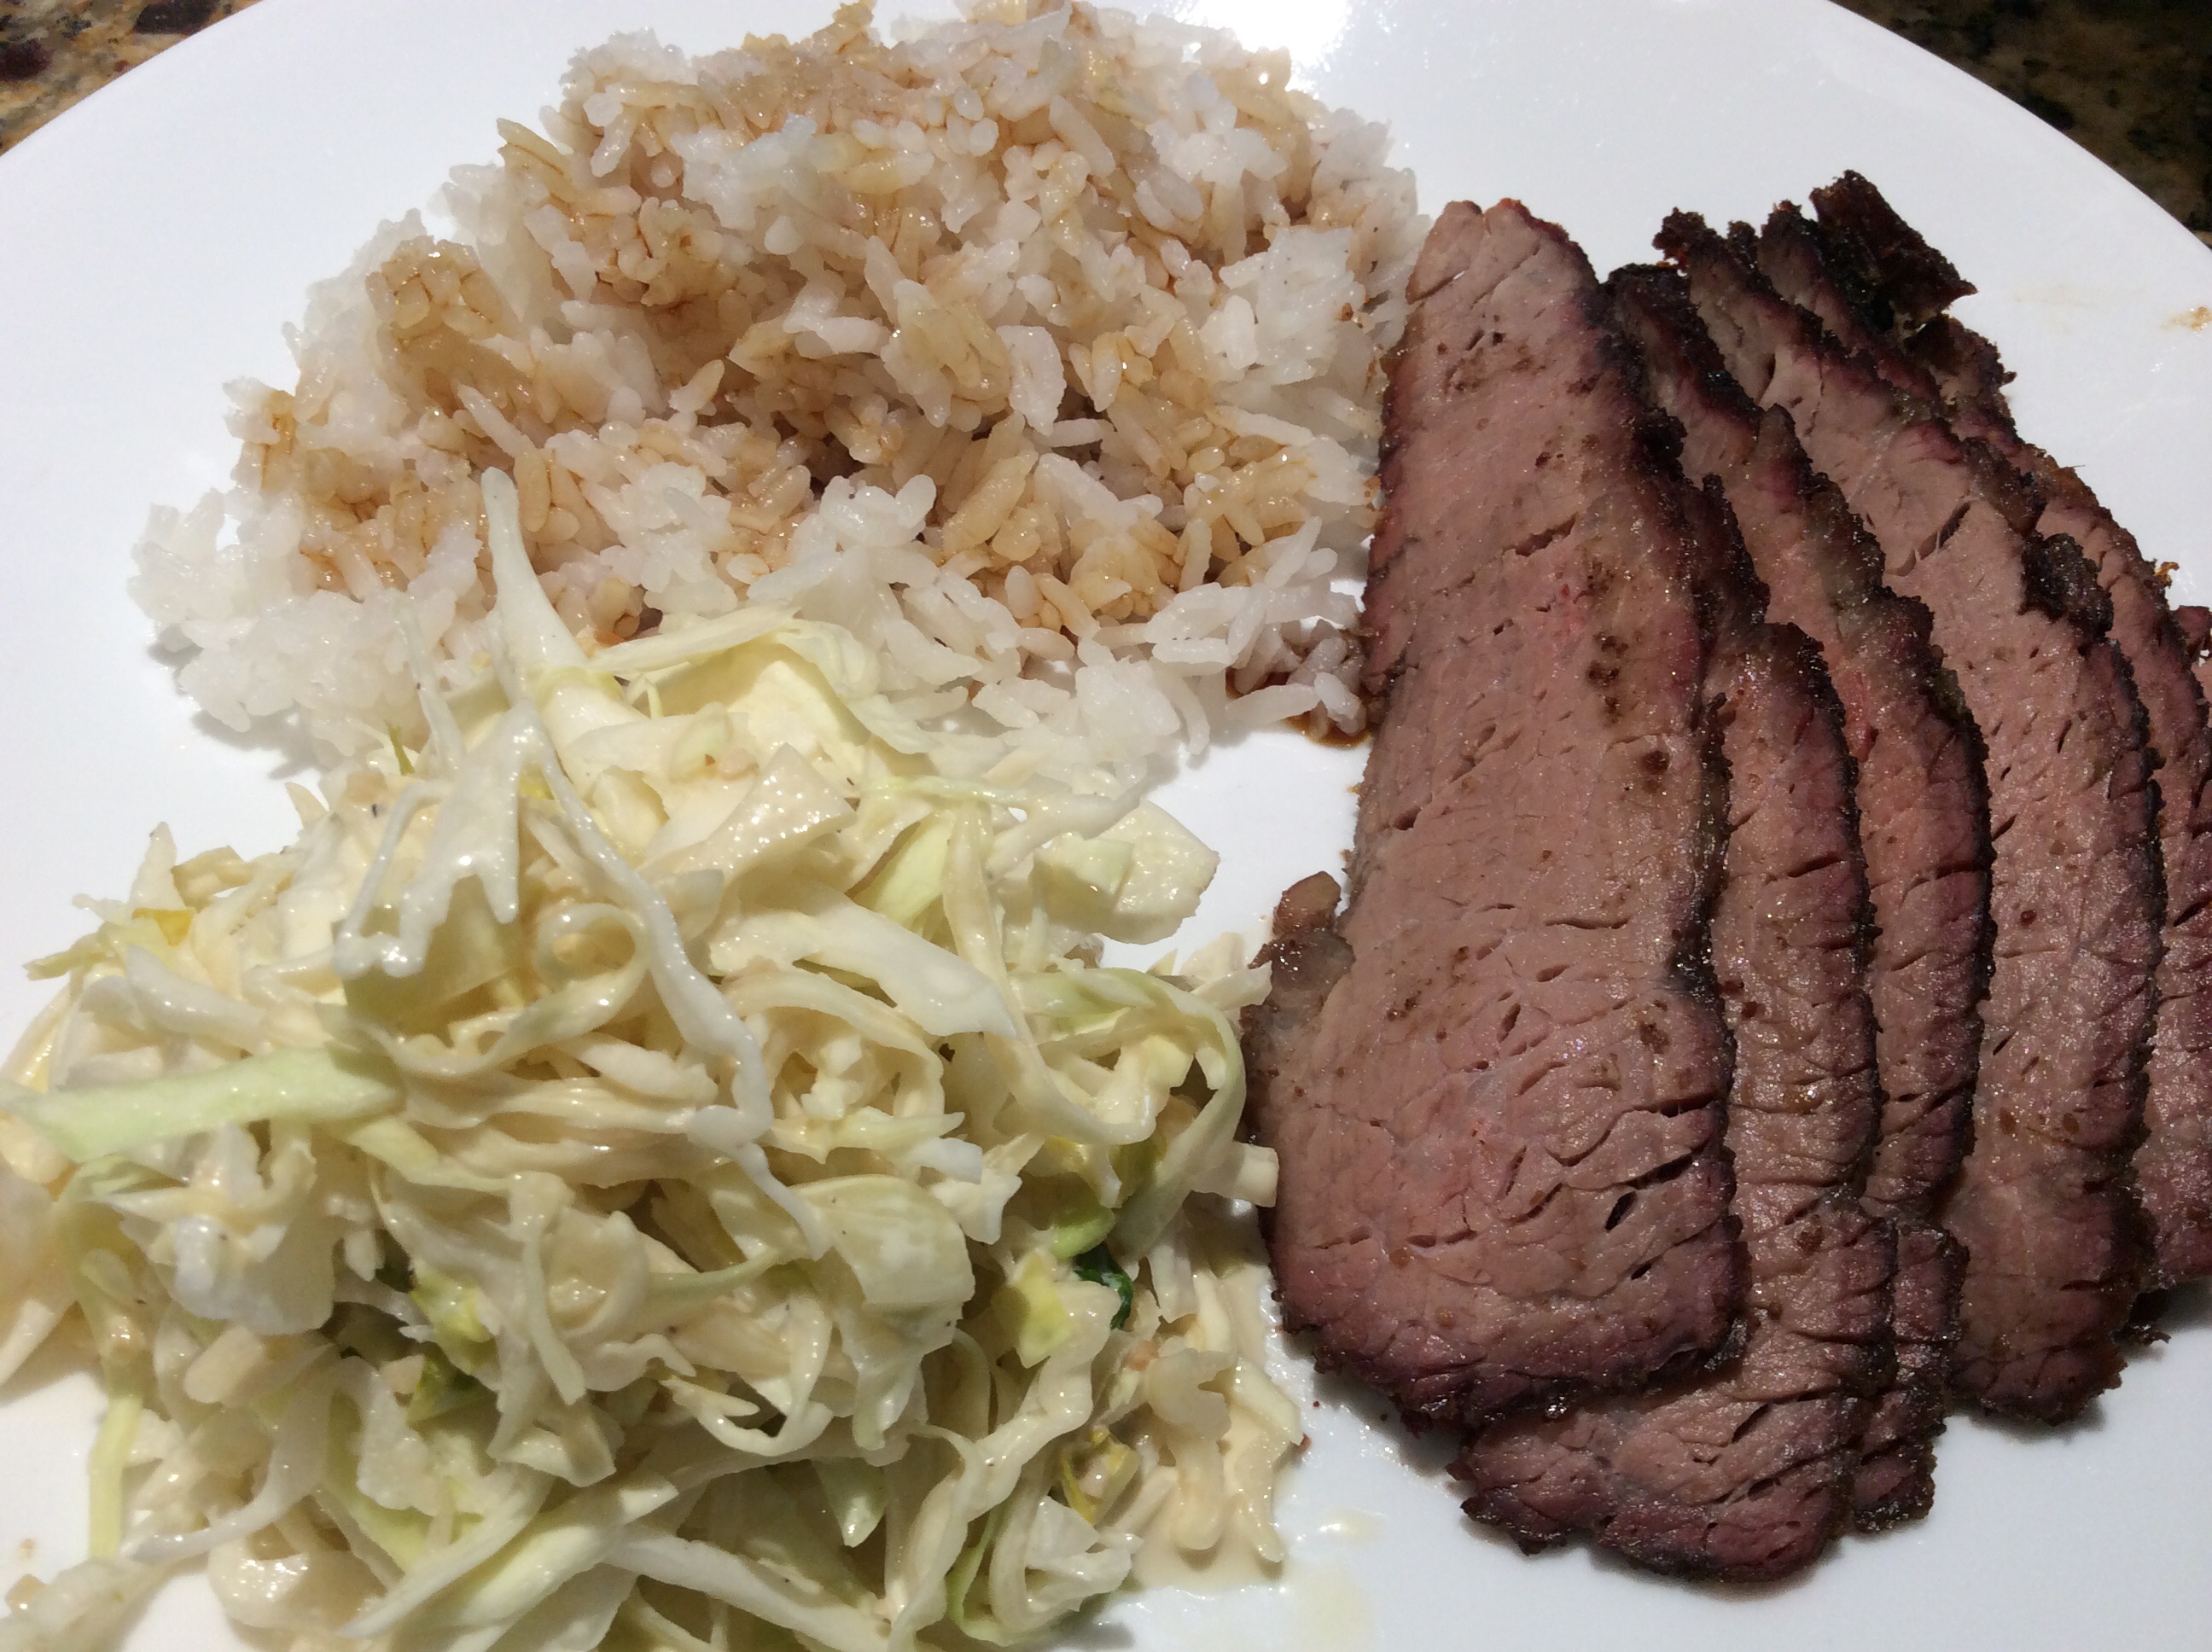
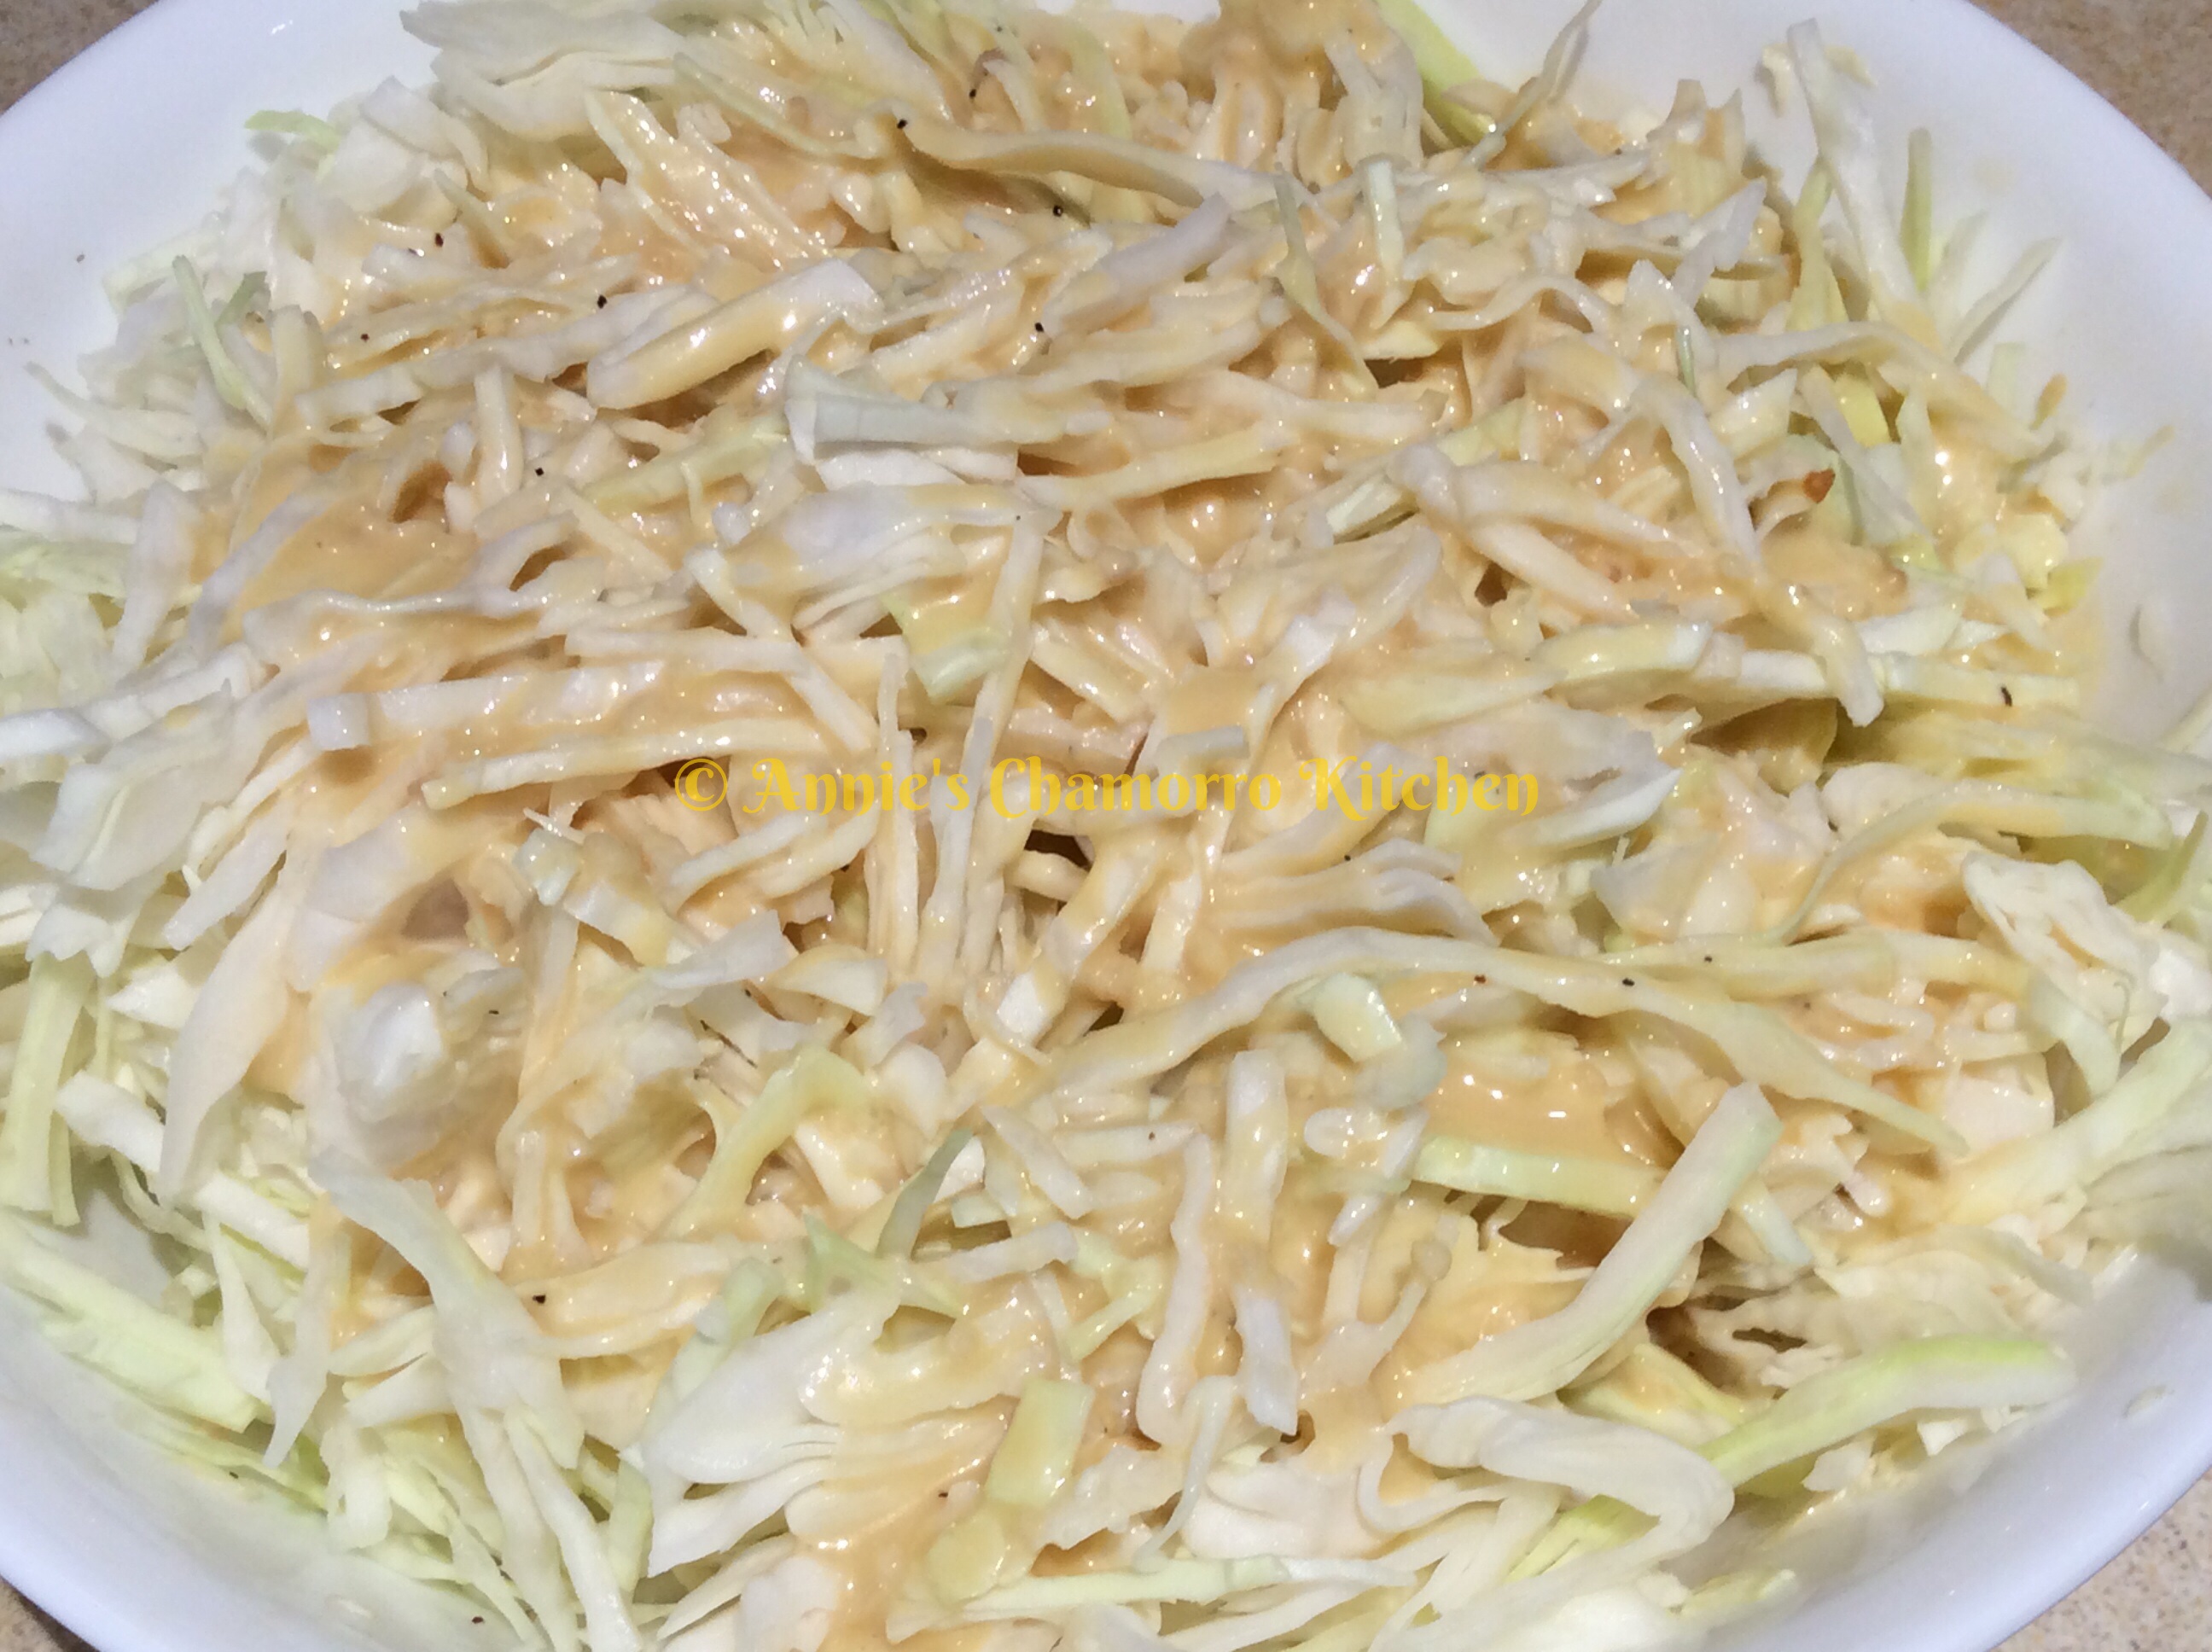
This is my version of that dressing. It’s quick and easy to prepare; you can mix some up in just a few short minutes. My recipe below makes enough dressing for several servings. Keep it refrigerated and it can last for about a week. In addition to tossing salad greens with this dressing, it’s perfect for a Japanese-style cole slaw; just drizzle it over finely shredded cabbage leaves and carrots and you’ll have a delicious and uniquely tasting cole slaw.
I use Kewpie mayonnaise instead of regular mayonnaise because it’s a little sweeter and richer. You can find kewpie mayo at most Japanese or Asian markets. However, be forewarned — kewpie mayo contains monosodium glutamate. If you’re allergic to MSG, use regular mayo when you make this.
If you can interchange the types of mayo, why use kewpie, you may be wondering? Well, kewpie is creamier and slightly yellower than mayo brands like Best Foods or Hellman’s. That’s because kewpie mayo is made using only egg yolks — Hellman’s or Best Foods uses whole eggs. Kewpie is also made with different types of vinegar, whereas the other regular mayo brands use lemon juice.
Give my recipe a try. I think you’ll like it. 🙂
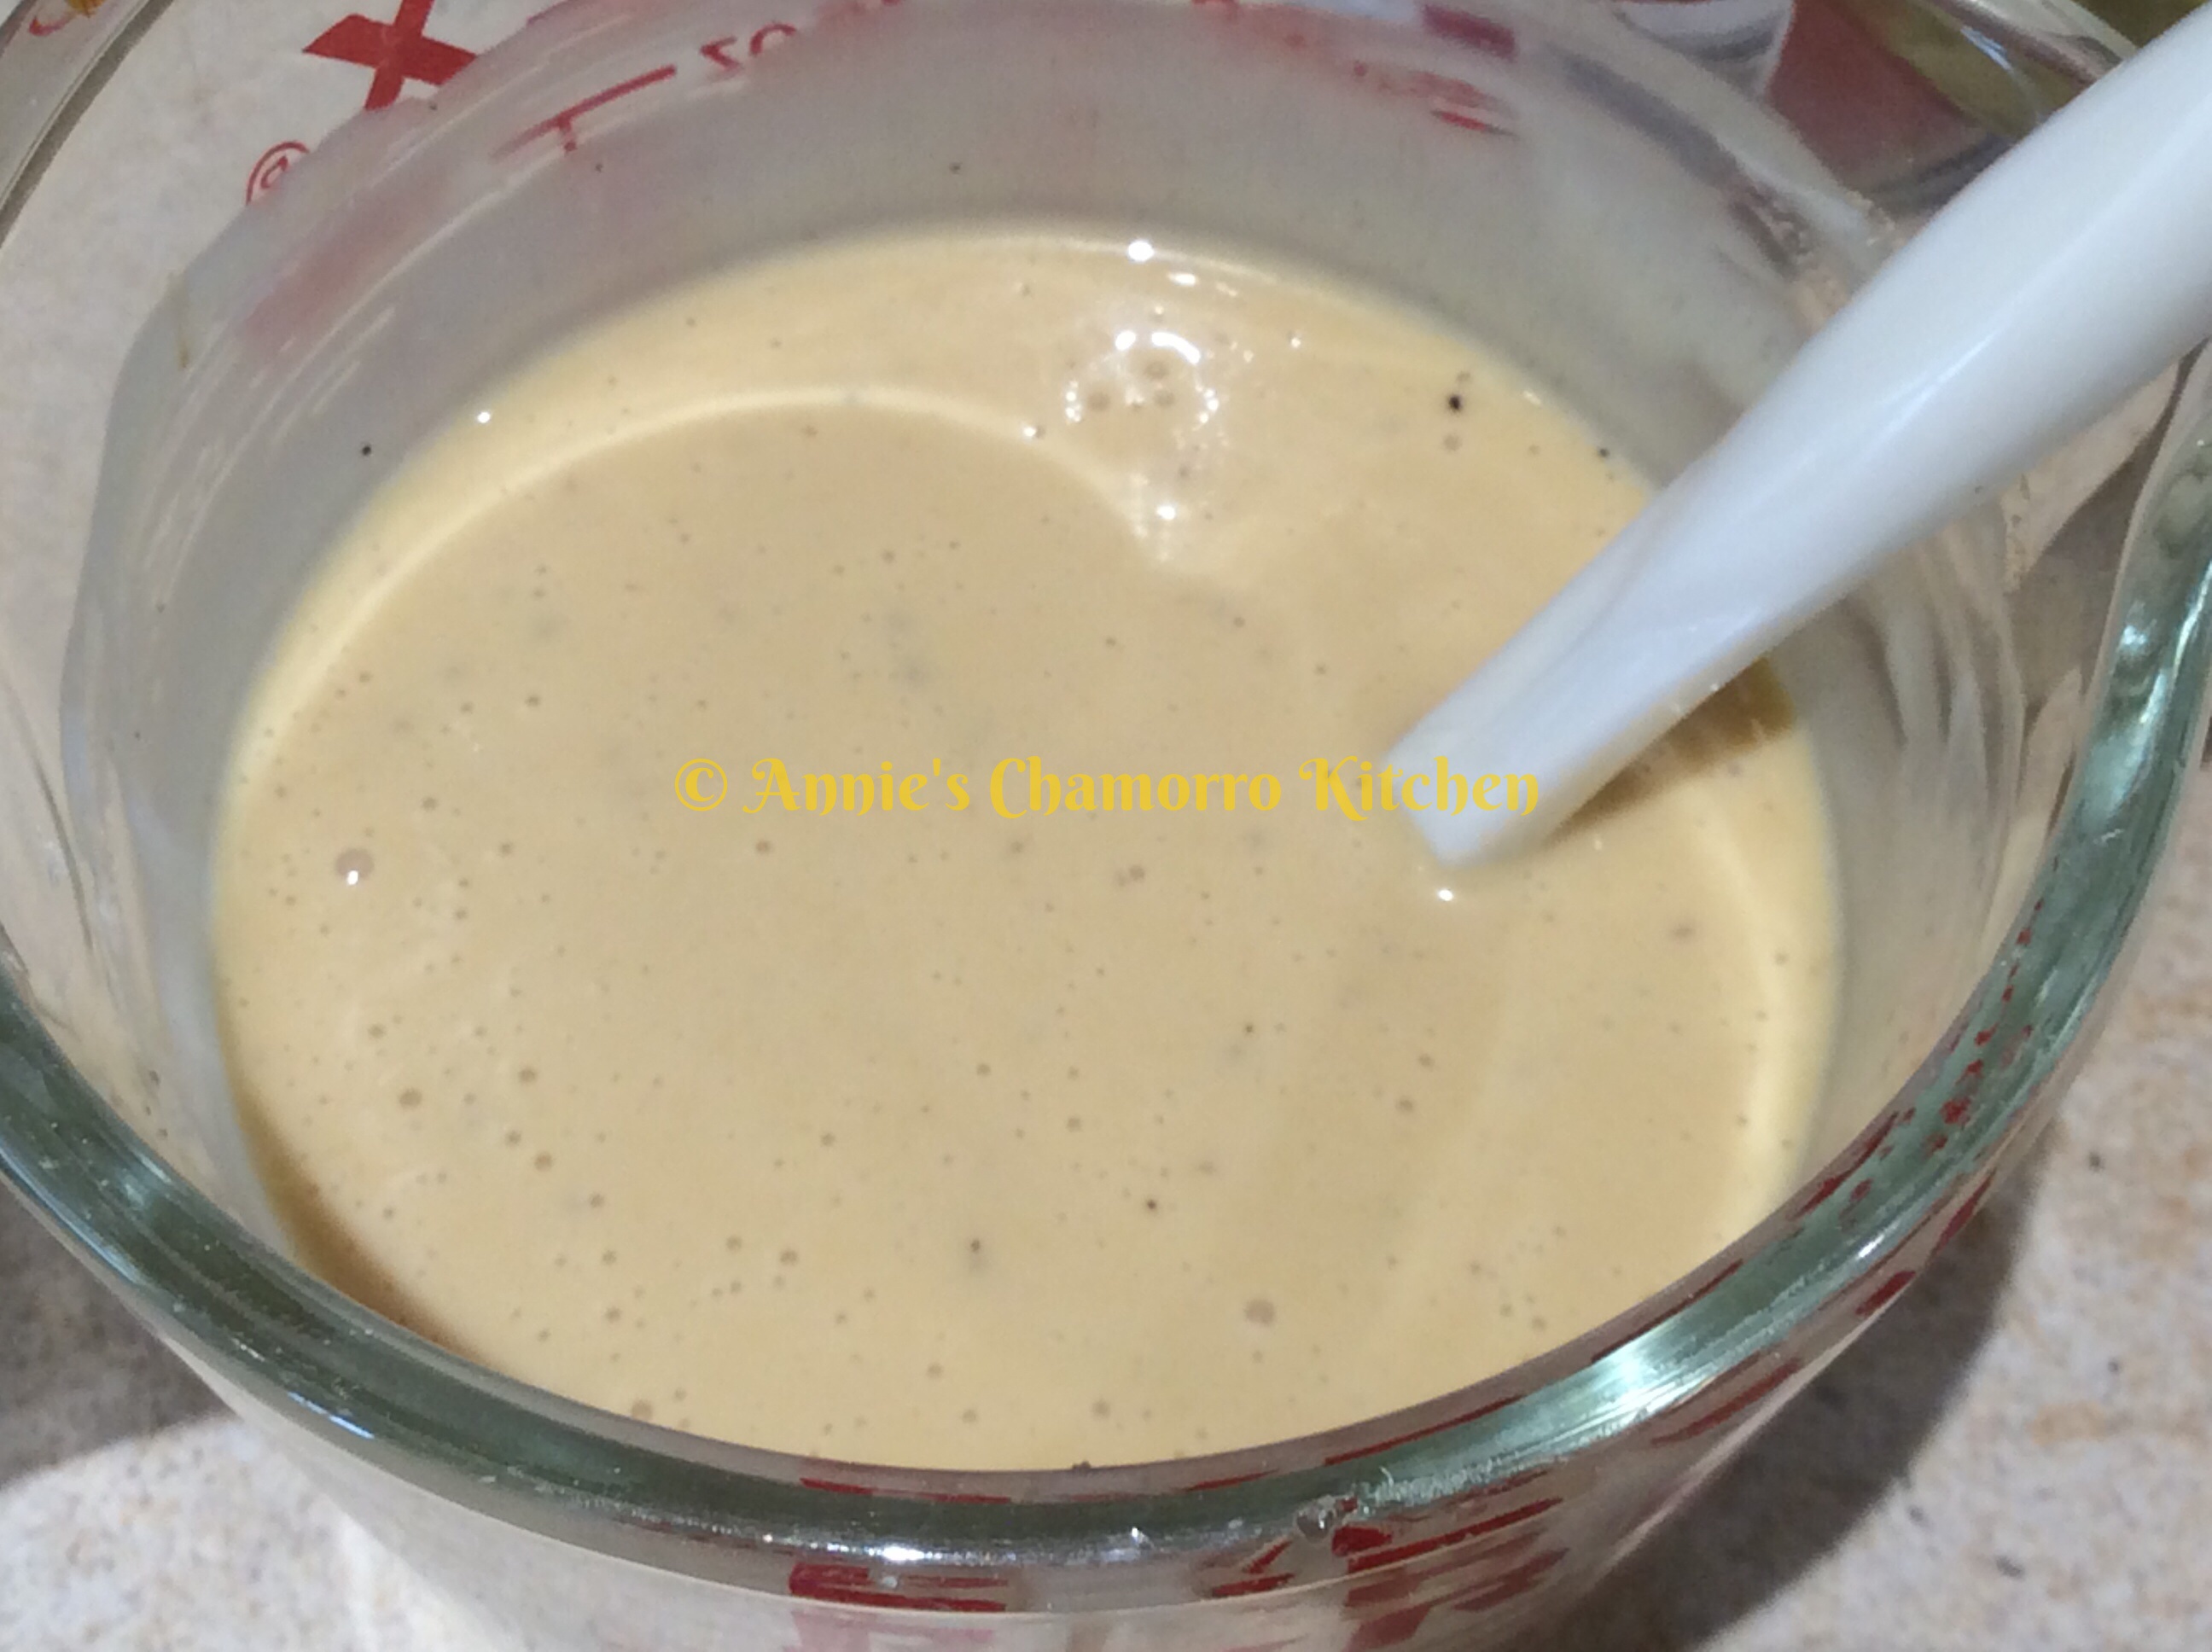
Japanese Salad Dressing
Ingredients:
- 1 cup kewpie mayonnaise
- 1 tablespoon soy sauce
- 1 tablespoon chopped garlic
- 1 tablespoon sesame oil
- 2 tablespoons rice wine vinegar
- 1 tablespoon mirin seasoning
- 1/2 teaspoon sea salt
- 3 tablespoons sugar
- Pinch of black pepper
Optional Ingredients:
- 1 tablespoon grated onion
- 1 teaspoon grated ginger root
Directions:
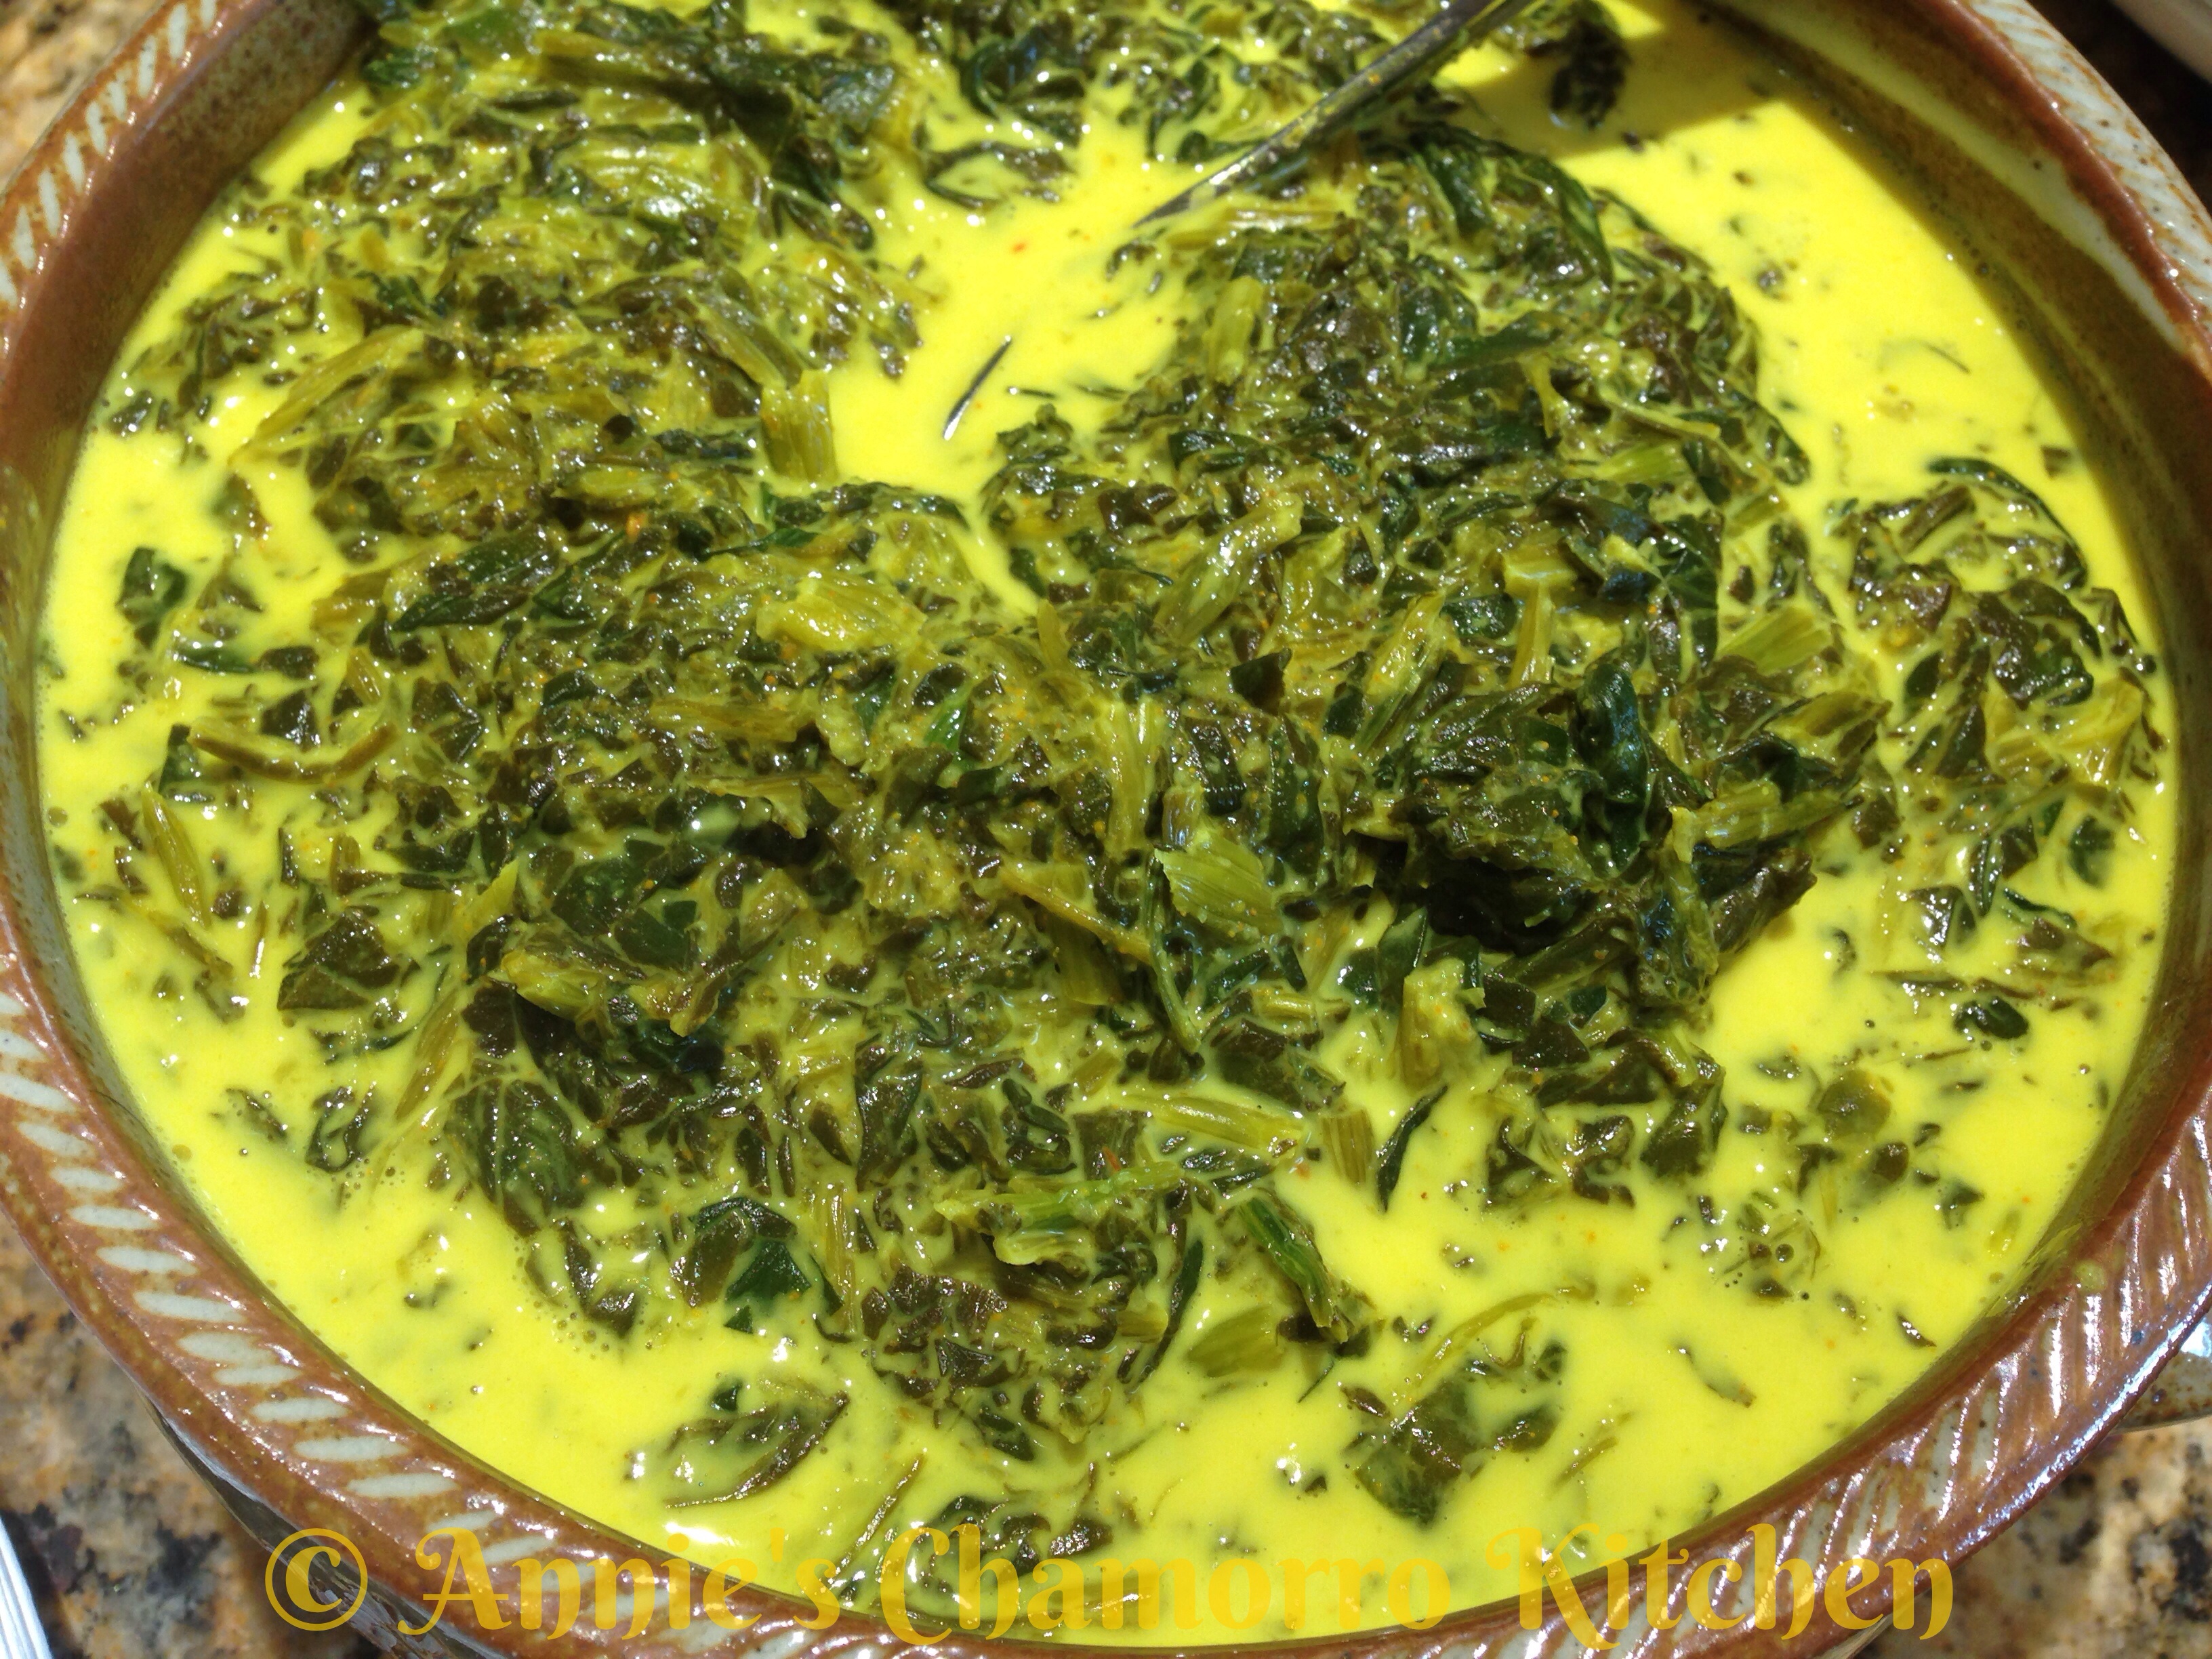
Mix all of the ingredients together until creamy. Serve over salad greens or shredded cabbage. Refrigerate any unused dressing.
Enjoy!