Thai Beef Salad

This popular Thai beef salad can serve as an appetizer or a meal.  It’s quick and easy to prepare so you can have it on your table in just a few minutes.  Toss your favorite salad greens together then add thinly sliced grilled beef and a drizzle of my delicious Thai-style dressing for a perfect side salad, quick lunch or light dinner meal.

My complete recipe is located at the bottom of this post.  Give it a try.  I think you’ll like it. 🙂

Thai Beef Salad

image

Prepare the salad dressing.  Place all of the dressing ingredients into a small mixing cup, whisking together until you dissolve the sugar.  Set aside.

Next, grill your favorite cut of beef.  I like to use flank steak.  It only takes a few minutes to cook this cut of meat to what I consider perfection — slightly pink on the inside.  You can fire up the grill for this, but I usually use a grill pan and cook it on top of the stove over medium heat.  Season both sides of the meat with some salt and pepper.  Sprinkle some oil in the hot pan then cook the meat for 10 minutes on each side.  Once you place the meat onto the grill pan, LEAVE IT ALONE to cook.  Do not stab or poke at it.  The only time your utensils touch the meat is when you flip it.

image

See how nicely browned it got? 🙂

Don’t worry about the sides not being browned.

Don’t slice the meat right away or all the juices will run out and leave the meat dry.  Once done, remove the meat from the pan and let it rest while you prepare the vegetables for the salad.

imageIt’s time to layer the vegetables. Place the cucumbers at the bottom.  I do it this way so that the salad dressing can start to pickle the cucumbers.

One note about my photos.  As you can see, I’m making individual servings for packed lunches for my husband, daughter and me.

image

Add the leafy greens next.  I like using hearts of romaine, but any mixed leafy greens will do.

image

I like adding pre-sliced carrots to add some color and crunch.  Pre-sliced carrots cost a little more but it saves a lot of time in the kitchen too.  My older daughter loves to cook, and I’m still quite leery about letting her use a sharp knife to cut thin slivers of carrots. Pre-cut carrots saves me from worrying about her losing some fingers!

image

The cilantro leaves get added to the salad next; add as much or as little as you like.  Cilantro is one of those herbs that you either love or hate.  I happen to love it so my salad gets a healthy handful of cilantro. 😉

image

Thinly slice the red onions and add them to the salad.  I didn’t have any red onions on hand when I made these, so I added sliced green onions instead.

image

The beef rested long enough by now.  Use a sharp knife to cut thin slices of beef, being sure to cut across the grain.
image

Add the sliced beef to the top of the salad.

ENJOY!
image

image

image


Thai Beef Salad
 
Prep time
Cook time
Total time
 
Fresh salad with a spicy and savory salad dressing. Serve with sliced beef for a complete meal.
Author:
Cuisine: Thai
Serves: 4
Ingredients
SALAD DRESSING
  • The juice of 2 medium limes
  • 4 tablespoons fish sauce (I like the Three Crabs brand)
  • 4 tablespoons water
  • 2 tablespoons sugar
  • 1 teaspoon salt (omit if the fish sauce is salty enough for you)
  • 1 tablespoon chopped garlic
  • 2 hot chili peppers, diced, optional
SALAD GREENS
  • 1½ pound flank steak
  • Salt and pepper, to season the steak
  • 4 tablespoons vegetable oil, for the grill pan
  • 2 English cucumbers, sliced
  • 8 cups mixed salad greens
  • 2 small carrots, julienned
  • 1 bunch cilantro, stems removed
  • 1 small red onion, thinly sliced
  • Any other salad vegetables you like
Instructions
Make the Dressing
  1. Place all of the ingredients for the dressing in a small mixing bowl or measuring cup. Whisk together until the sugar dissolves. Set aside.
Grill the Meat
  1. Season the meat on both sides with salt and pepper. Place a grill pan over medium heat. Add the oil to the heated pan then cook the meat for 10 minutes on each side. Once the meat is done, set it aside to rest before slicing. After resting for about 15 minutes, thinly slice the meat against the grain.
Make the Salad
  1. Layer the cucumbers, salad greens, carrots, cilantro, and any other vegetables you like in a small salad bowl or plate.
  2. Add the thinly sliced beef to the top of the salad.
  3. Drizzle some salad dressing over the beef and salad greens.
Serve and enjoy!


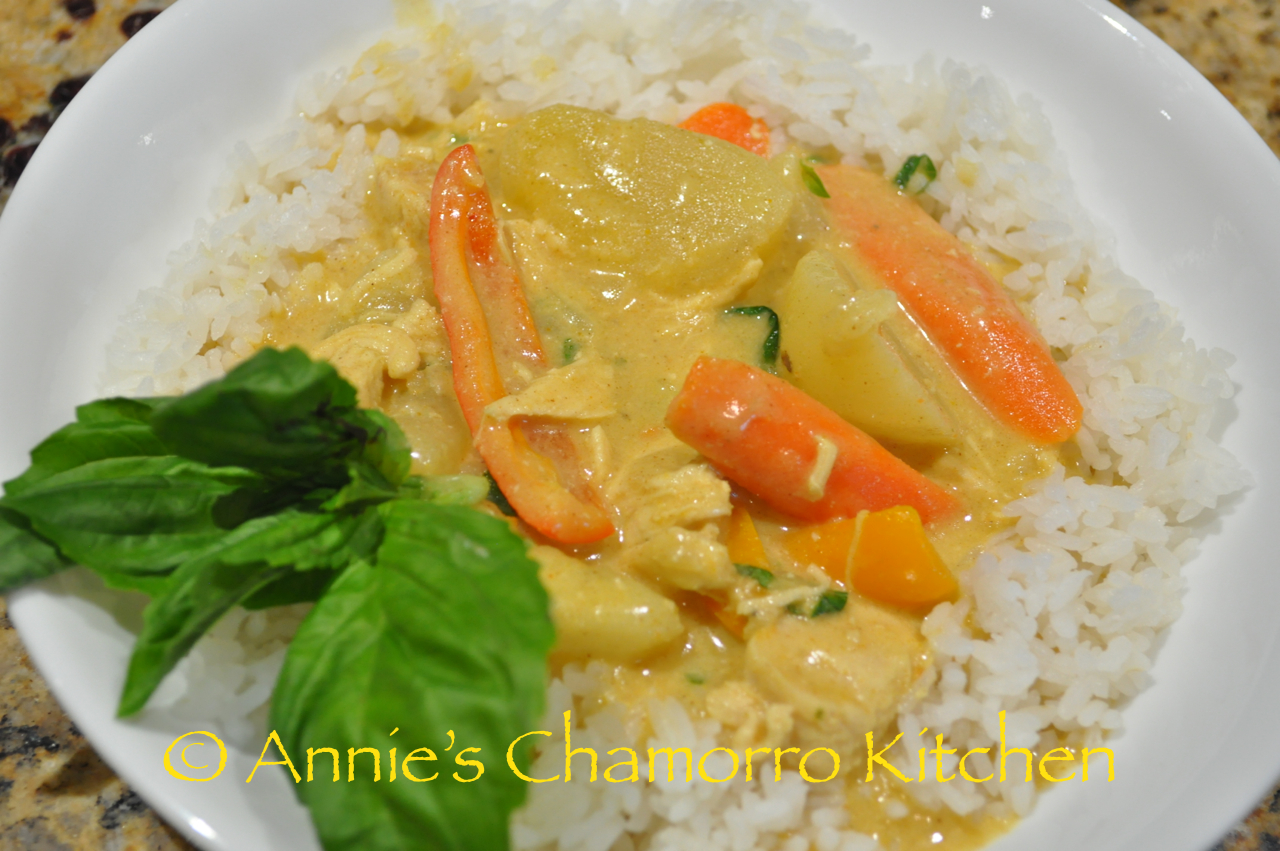
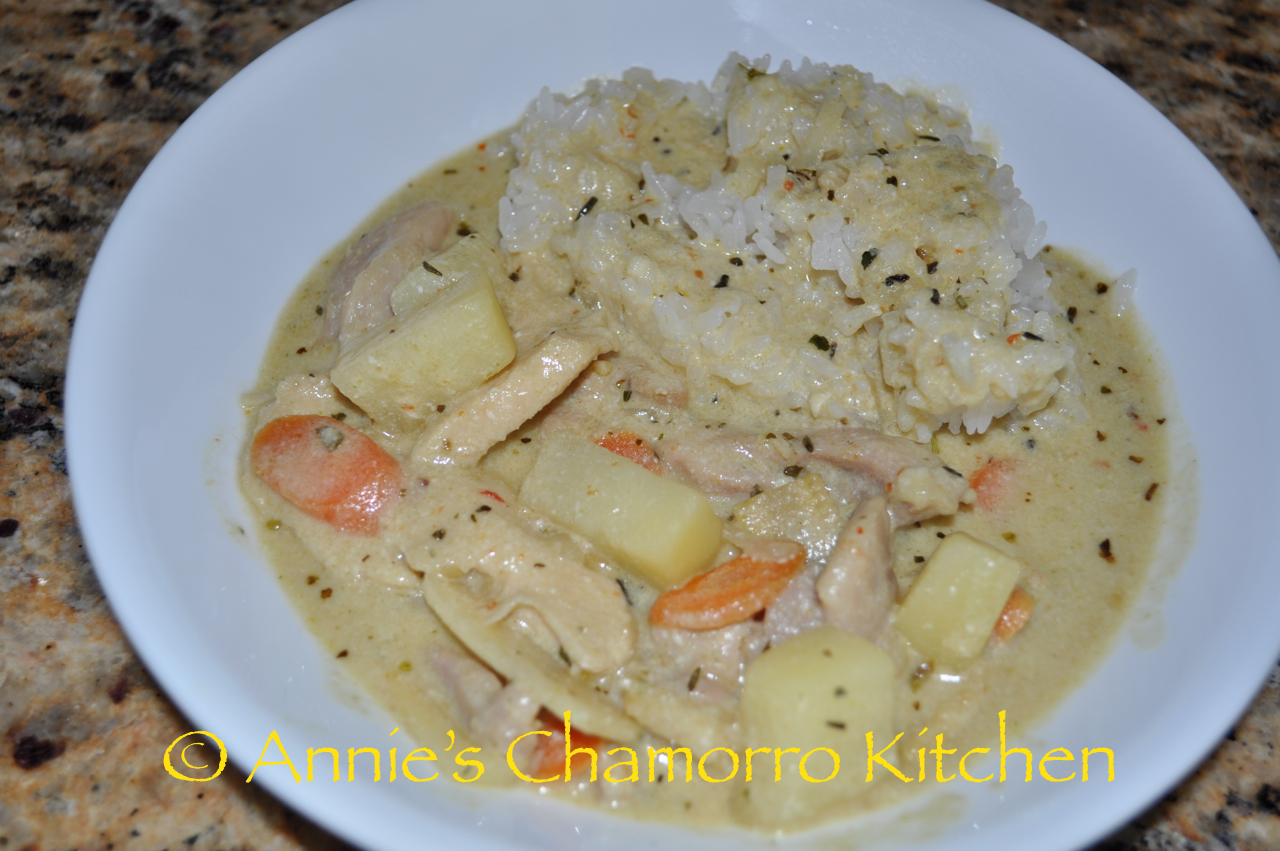
Green Chicken Curry

There are so many varieties of curries — from chicken, to beef, to all vegetable — I haven’t found a curry I didn’t like. 😉

It’s such a versatile dish too.  Just find your favorite recipe and modify it to your liking.  Use your favorite vegetables and meat and add as much or as little spice as you want and voila!, chicken curry!  Serve over hot, steamed white rice and you’ll have yourself a delicious meal.

Give my recipe a try.  It think you’ll like it. 🙂

Green Chicken Curry
 
Author:
Recipe type: Soups & Stews
Cuisine: Thai
Serves: 6
Ingredients
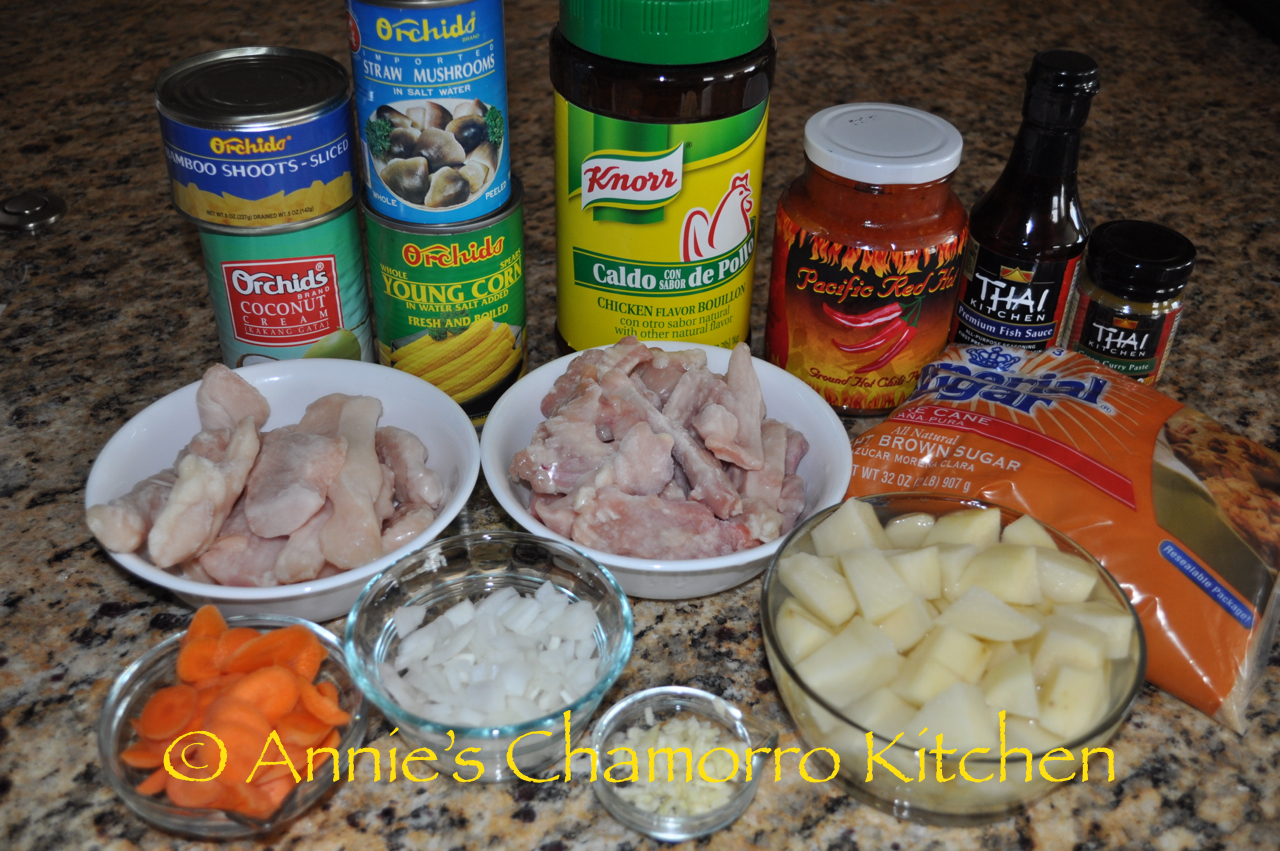
  • 4 large chicken breasts, cut into small pieces (or a mixture of white/dark chicken meat)
  • 1 tablespoon brown sugar
  • 2 tablespoons green curry paste
  • 2 tablespoons fish sauce
  • 2 cloves garlic, minced
  • ½ cup chopped onion
  • 1 cup sliced carrots
  • 1 medium potato, cubed
  • 1 medium bell pepper, sliced
  • 1 can (10 oz) straw mushrooms or you can use fresh mushrooms, sliced
  • 1 can (15 ­oz) young corn, sliced into 1½ inch pieces
  • 1 can (8 oz) bamboo shoots
  • 1 can (14 oz) coconut cream or coconut milk *Use 2 cans if you like lots of kadu.
  • Other vegetables of your choosing
  • 1 tablespoon dried basil or use ½ cup freshly chopped sweet basil leaves
  • 2 tablespoons chicken bouillon or 2 bouillon cubes
  • Hot chili peppers, sliced, ­­optional
  • Black pepper, to taste
  • 1 cup water
Instructions
  1. In a medium saucepan, add water, bouillon, onions, garlic, pepper, and chicken pieces; bring to a boil; cook for approximately 10 minutes over medium­high heat.
  2. Add potatoes to chicken; continue cooking for 5 more minutes.
  3. Add curry paste, brown sugar, fish sauce, and remaining vegetables to pot; stir well to dissolve curry paste and brown sugar. Reduce heat to medium and continue to cook for 5 more minutes.
  4. Add coconut cream to pot. Turn heat down to low and simmer for 5­8 minutes, or until potatoes are cooked through.
  5. Add hot pepper to taste.
  6. Serve over hot rice.
ENJOY!


Judy’s Empanadas

Chamorro empanadas are high up on the list of my favorite snacks, but they can easily be a meal in and of themselves.  In fact, when I was on Guam recently, I would visit the village store and buy empanadas, fresh out of the fryer, for breakfast.

My mom taught my sisters and me how to make empanadas years and years ago.  It’s quite the labor of love, although you can make the filling ahead of time, thereby cutting back on the actual preparation of the empanada.

A tortilla press, while not essential, is a great tool to have when making empanada.  While you’re at it, a bunch of kitchen helpers is good too. 😉  I remember when I was younger, we only had one tortilla press to share among my three sisters and mom; someone usually got stuck with using the much slower rolling pin.  We did it assembly-line style, with a couple of us flattening the dough, another couple of us filling it, and then someone sealing it tightly.

I’ve had a lot of requests for my empanada recipe, but my good friend, Judy Fernandez Dillinger, has an amazing recipe and she was gracious enough to allow me to feature it here.

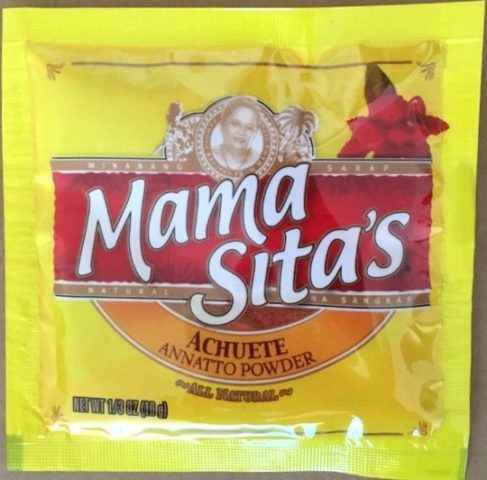
As a side note, this is the packet of achote powder used in Judy’s recipe below.  Each packet contains 1/3 ounce of powdered achote, which is roughly 2 teaspoons.  Use this as a guide.  Some people like more or less achote to make the crust lighter or darker.  I also know someone who doesn’t use achote at all.

So, without further ado, here is Judy’s empanada recipe.  Give it a try.  I KNOW you’ll love it. 🙂

Judy's Empanadas
 
Author:
Recipe type: Snack
Cuisine: Chamorro
Serves: 2 dozen
Ingredients
Filling:
  • ½ cup cream of rice mixed with ½ packet of achote powder*
  • 2 cups of chicken broth (you can use water but will have to season with salt)
  • ½ onion, minced
  • 3 cloves garlic, minced
  • ½ cup chopped chicken or imitation crab meat
  • black pepper to taste
  • hot pepper (optional)
Crust:
  • 2 cups masa harina
  • 1 packet achote powder*
  • ½ cup corn starch
  • ½ teaspoon salt
  • 3 teaspoons oil
  • 1½ - 1¾ cups chicken broth or water (if using water, increase salt to 2 teaspoons) - warm
*If you don't use achote powder, just make sure you soak achote seeds in the broth or water for color.
Instructions
For the filling:
  1. Saute onions and garlic in a large pot. Cook till onion becomes transparent. Add chicken and saute for about 2 minutes.
  2. Add chicken broth or water. Remember, if you use water you'll have to season it with salt (to taste). Bring to a boil.
  3. Using a whisk, gradually add the cream of rice. Keep stirring so that there are no lumps. Bring heat to medium and cook for about 3-4 minutes.
  4. Add hot pepper (as hot as you want it) and then remove from heat.
  5. Completely cool before filling the shells.
For the crust:
  1. Mix masa harina, corn starch, salt and achote powder in a bowl. Add oil and broth or water to the flour mixture. Kneed with hands until dough is pliable.
  2. Roll dough into 1 inch balls. Use a tortilla press to flatten to form a circle. Be sure that you press the dough between 2 sheets of wax paper.
  3. Fill the bottom half of the circle with the cooled filling. Fold over the top of the dough to meet the bottom and press to seal the edges.
  4. Deep fry until nice and crispy. The trick is to fry at a very low heat. I like to set my dial at the 4th interval, right below the middle. If you fry it at high heat it will burn and the crust will not be crunchy but stale.
Enjoy!


Easy Phở

Phở is a Vietnamese noodle soup made with an intensely flavorful broth poured over flat rice noodles and garnished with thinly sliced meat.  A friend once told me that what I just described is considered the “northern Vietnamese Phở” whereas the “southern Vietnamese” version adds aromatic herbs.  I like the southern version myself.  The more vegetables and herbs, the better. 🙂

Phở also varies with the types of condiments, vegetables and noodles used.  Most Vietnamese restaurants serve phở with a side of bean sprouts, Thai basil (not the sweet basil commonly added to pasta sauces), cilantro or coriander leaves, and various hot chili peppers.  You might see a squeeze bottle filled with hoisin sauce, or get a small bowl of fish sauce served alongside your phở.  Hot pepper sauce in lieu of fresh hot peppers is also an option.  As for the varieties of noodles used, rice is most common, but you can use potato noodles as well.

I’ve also had phở a little more on the sweet side, and other restaurants I’ve been to serve their phở less sweet or not sweet at all.  My preference is to omit the sugar.  I like a savory and aromatic broth, not a sweet one.

You can use beef or chicken in your phở.  Your choice of meat will determine your choice of broth.  My family likes beef phở so I use beef broth.  Chicken phở, logically, uses chicken broth.

Speaking of broth, I think this is what determines a GOOD Phở from an average or so-so one.  You can serve as many different herbs and vegetables as you like with the broth, but if the broth is flavorless, you might as well call your concoction a tea, or water infused with herbs.   As your broth cooks, get a whiff of it — if the aroma doesn’t make you want to dunk your face into the pot, then you need to add some spice to it.

You can find my complete recipe at the bottom of this post.  Give it a try.  I think you’ll like it. 🙂

These are the ingredients I like to use.image
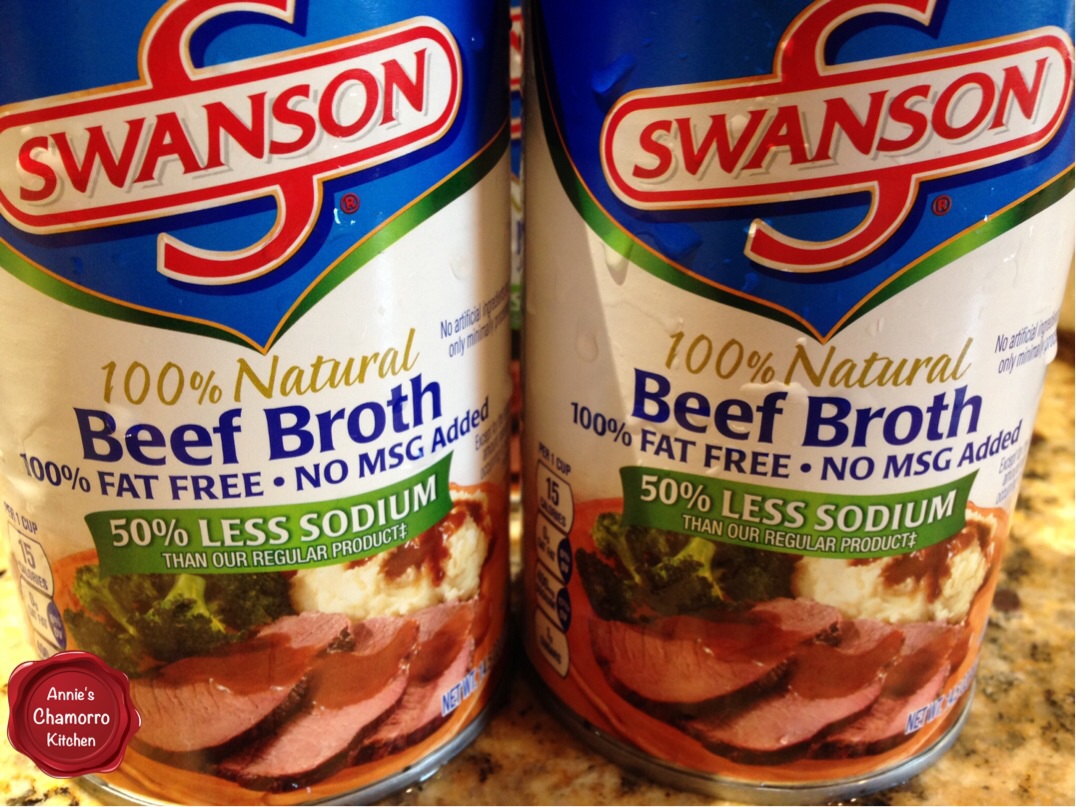
If you have the time, homemade beef broth from scratch is always best, but you can use good quality ready-made broth.  To save time, I use 100% natural, low sodium broth.  If you want a less concentrated broth, you can use 1/2 broth and 1/2 water, but you may need to add some salt.  Just make sure you have enough liquid as called for in my recipe below.
image


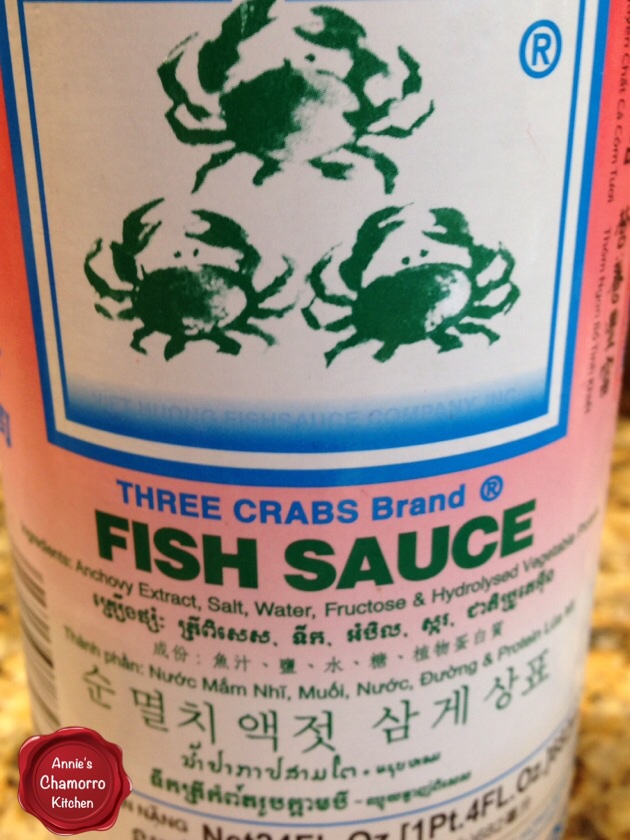
Fish sauce goes into the broth, but a little goes a long way.  You only need a couple of tablespoons of this pungent but flavorful sauce.  Don’t omit it…while you can’t really tell it’s in the broth, you CAN tell that something is missing from it if you don’t add it.  I recommend using Three Crabs Brand fish sauce.  It’s not as pungent as most other brands.
image


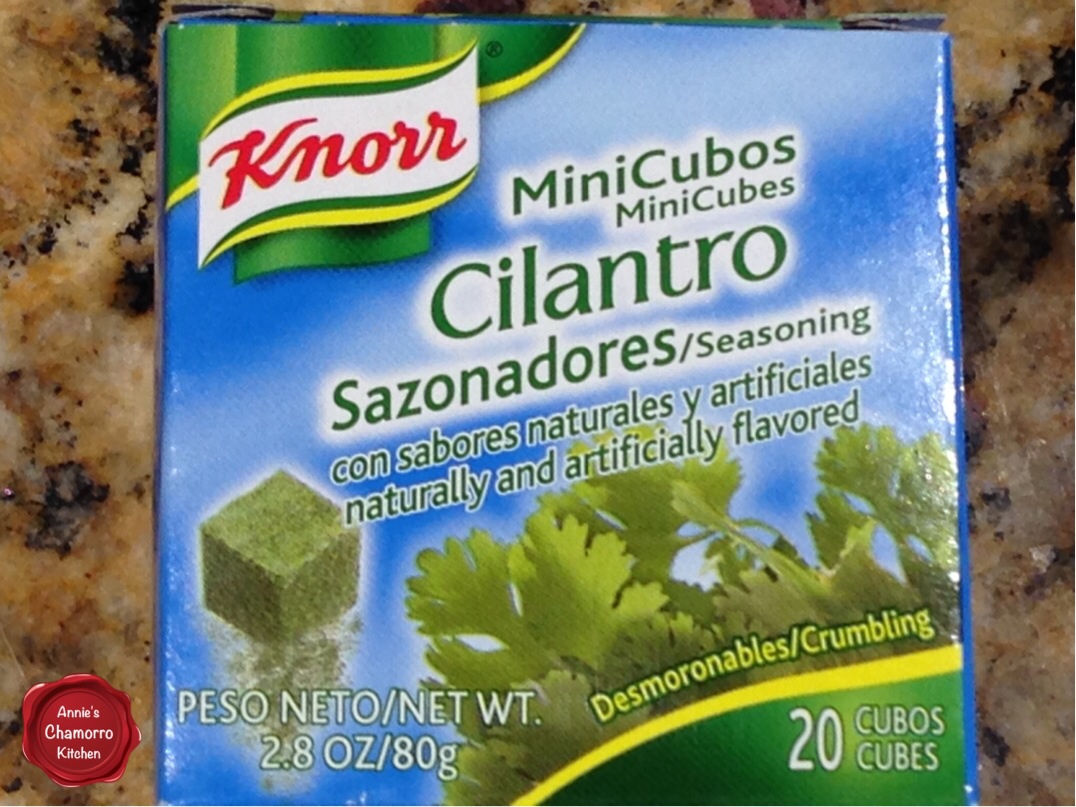
Look in the Hispanic foods section of your grocery store for a small package of cilantro cubes.  It will most likely be next to other bouillon-type seasonings.  I add fresh cilantro leaves to the finished dish, but adding cilantro seasoning to the broth gives it a greater depth of flavor.
Anise seed and star anise

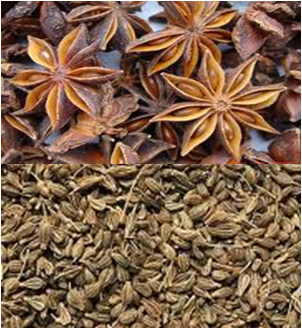
I also use anise seed to flavor my broth.  You can find it in the spice section of your grocery store.  If you have some star anise already on hand, you can use that instead of anise seed, but you’ll need 3 whole star anise to every tablespoon of anise seed for my recipe.  If these ingredients are new to you, star anise and anise seeds are two very different spices.  Anise is an herb in the parsley family and produces small seeds with a strong, licorice-like flavor.  Star anise is the star-shaped fruit of a tree that’s a member of the magnolia family.  The two spices contain the same flavor compound, a substance called anethole, but whole star anise is a bit more bitter in my opinion.
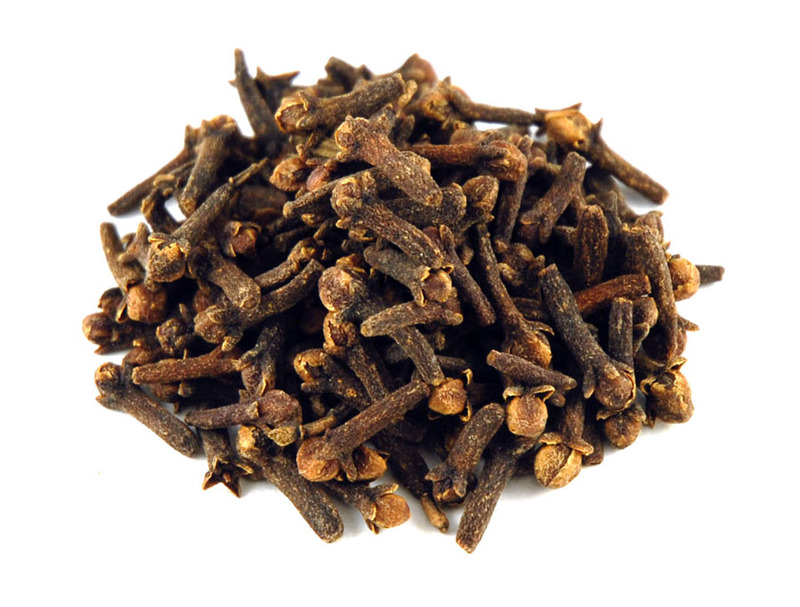
whole clovesWhole cloves go into the broth, and like the other ingredients I described above, this packs quite a flavor punch.  You only need a few — I use about 6 in my recipe.  If you’re not familiar with whole cloves, you might recognize it as those tiny wood-like spikes studding a baked ham.  See the picture on the right for what it looks like.  You can find it in the spice section of your grocery store.
image


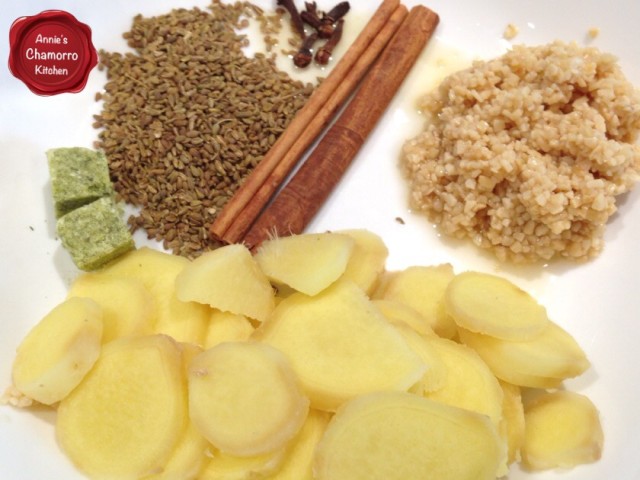
You’ll need a few more aromatic and savory ingredients to flavor the broth. Into the pot goes some whole cinnamon sticks, chopped garlic (lots of it), and fresh ginger.

Pictured on the left (clockwise from the top) are Whole cloves, cinnamon sticks, garlic, ginger, cilantro cubes, and anise seeds.
image


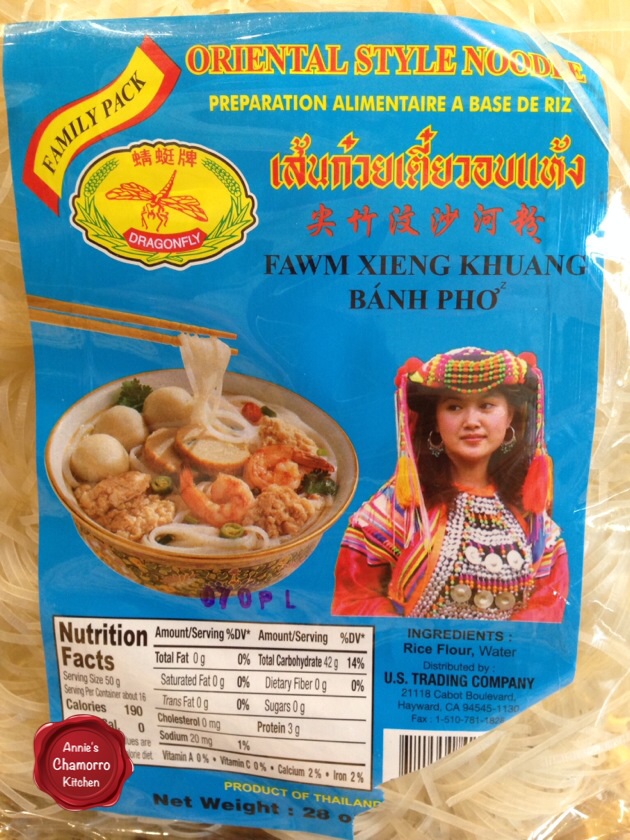
At the local Asian market where I live, there are several different brands and types of dried noodles.  Look for the package that says “Bánh Phở”.  This is the brand I buy (see the photo on the right).  The noodles are in little bundles within the package.  I cook about half the package for my family of four, estimating about two bundles per person (my husband, who usually orders a LARGE bowl of phở at Vietnamese restaurants, gets three bundles).

Now let’s get down to the business of making Phở.

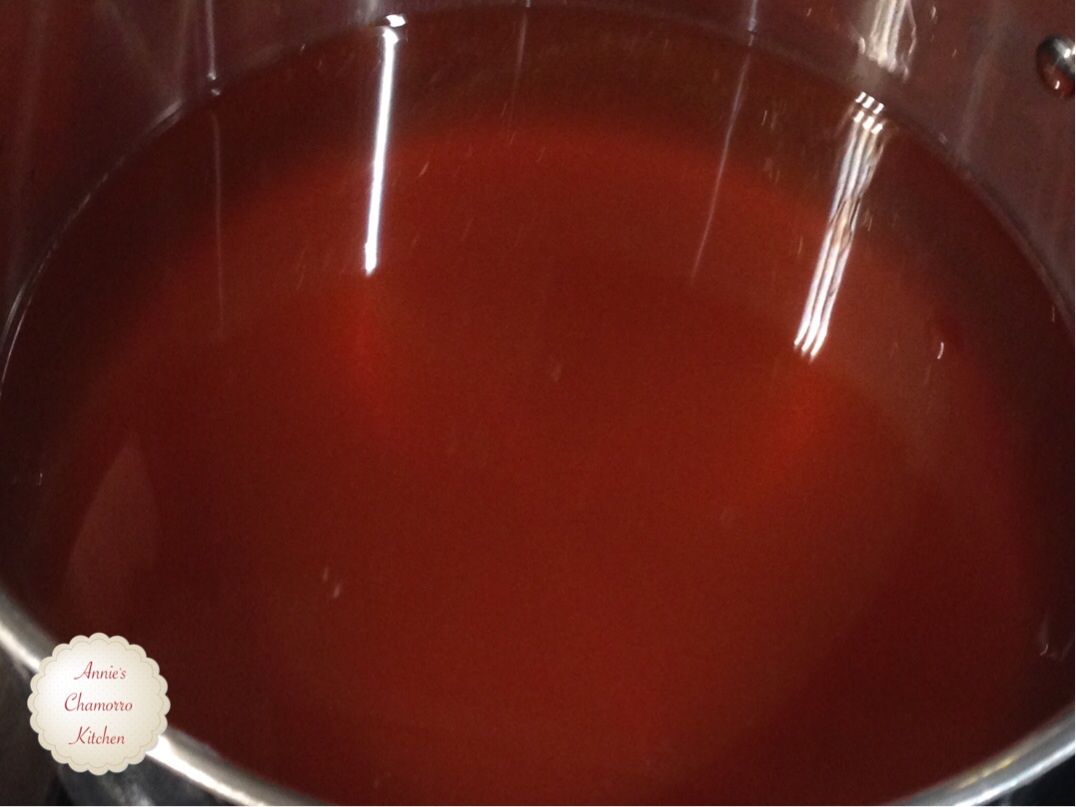
First, you’ll need to get the broth going.  Place the broth (or broth-water mixture) in a large soup pot.
image

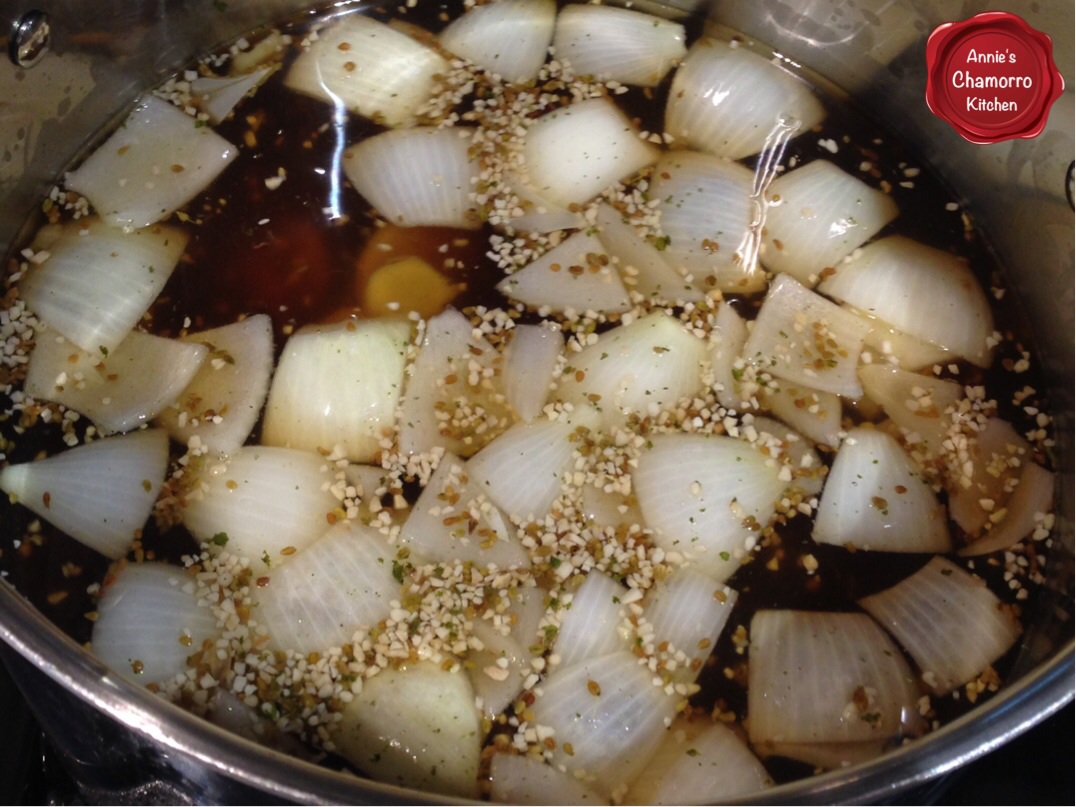
Add the fish sauce and the rest of the herbs and aromatics (cloves, cinnamon sticks, garlic, ginger, cilantro cubes and onions).  Cover the pot and turn the heat to medium-high.  Bring this to a rolling boil.  Most of the herbs will sink to the bottom of the pot as the broth cooks.  If you have a small cheesecloth, you can place all of the aromatics in it, creating a sachet d’espice.  Or, just before serving, pour the broth through a strainer and into a large bowl, discard the aromatics then return the broth to the pot.  Bring the broth to a boil again before serving.  I actually don’t bother straining this out.  You can safely eat the cooked onions and any anise seeds that find their way into your bowl.  However, I recommend discarding any cloves, cinnamon and large pieces of ginger that accidentally get poured into your bowl.
image

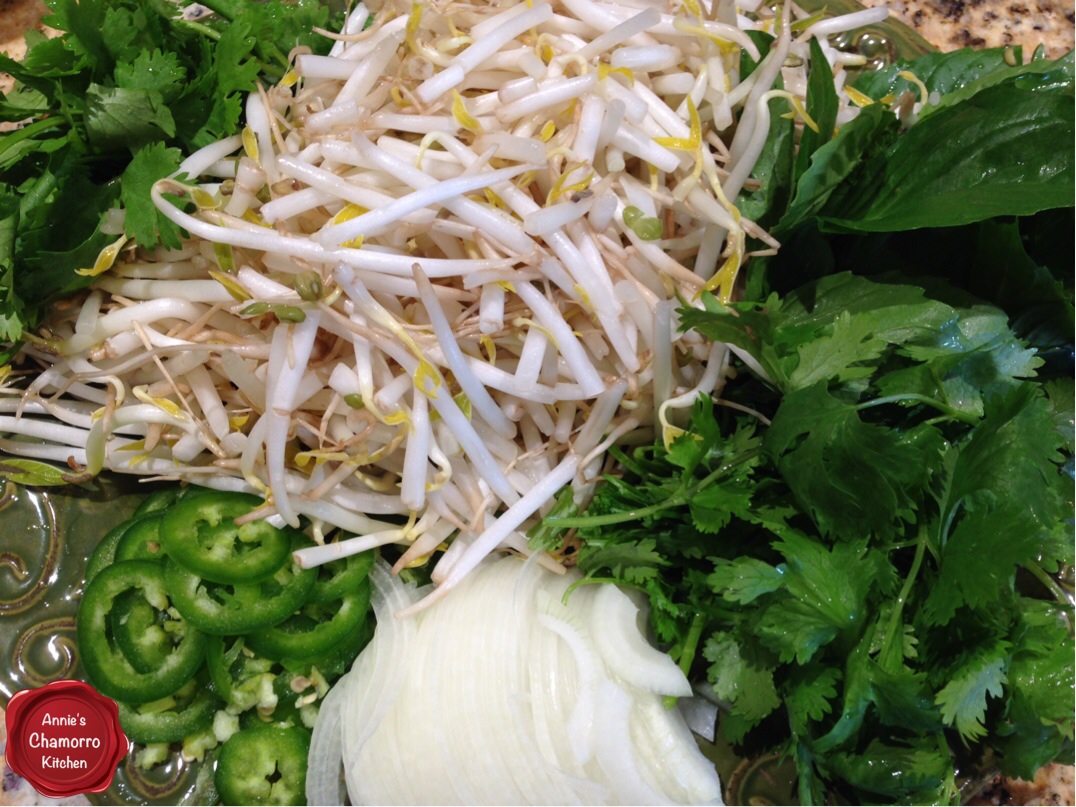
While the broth is happily cooking, prepare the vegetables.  Rinse the leafy greens and bean sprouts.  Slice the onions and peppers.  Arrange everything on a large platter.
image

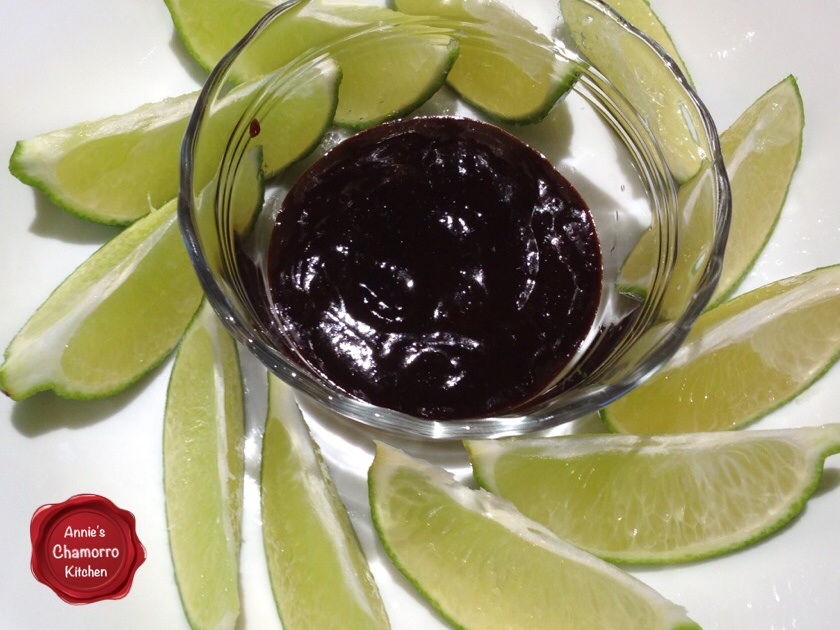
Slice the limes into wedges.  That’s hoisin sauce in the little bowl.  My youngest daughter and husband like stirring some hoisin sauce into their broth.  My oldest daughter and I prefer it without.
image

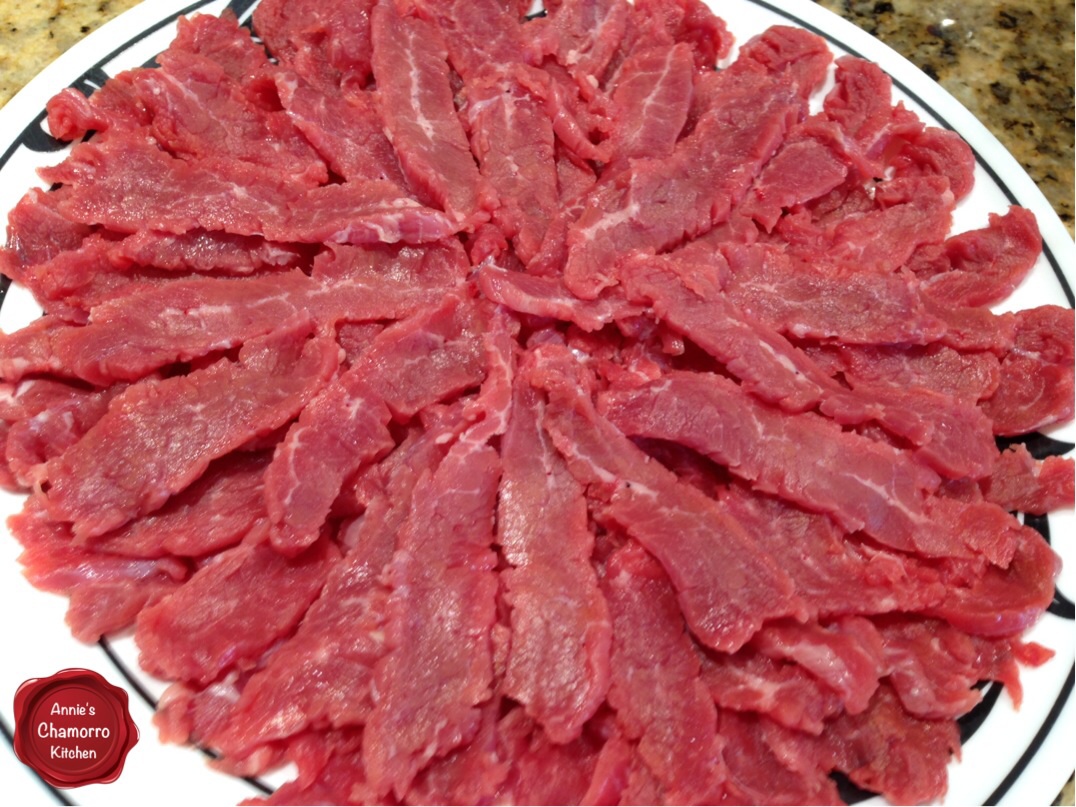
Slice the beef as thinly as you can.  It’s easier to create thin slices when the meat is still partially frozen.  I like using flank steak, but you can use any cut of lean beef.  The reason for slicing the beef as thin as possible is because it’s cooked only when you pour the boiling broth over it.  If you prefer to cook the beef instead of adding it raw, it’s simple — just add the sliced beef to the pot of boiling broth.
image

Once the vegetables and meat are prepped, it’s time to get the noodles going.

Set a medium pot filled 3/4 full with water to boil.

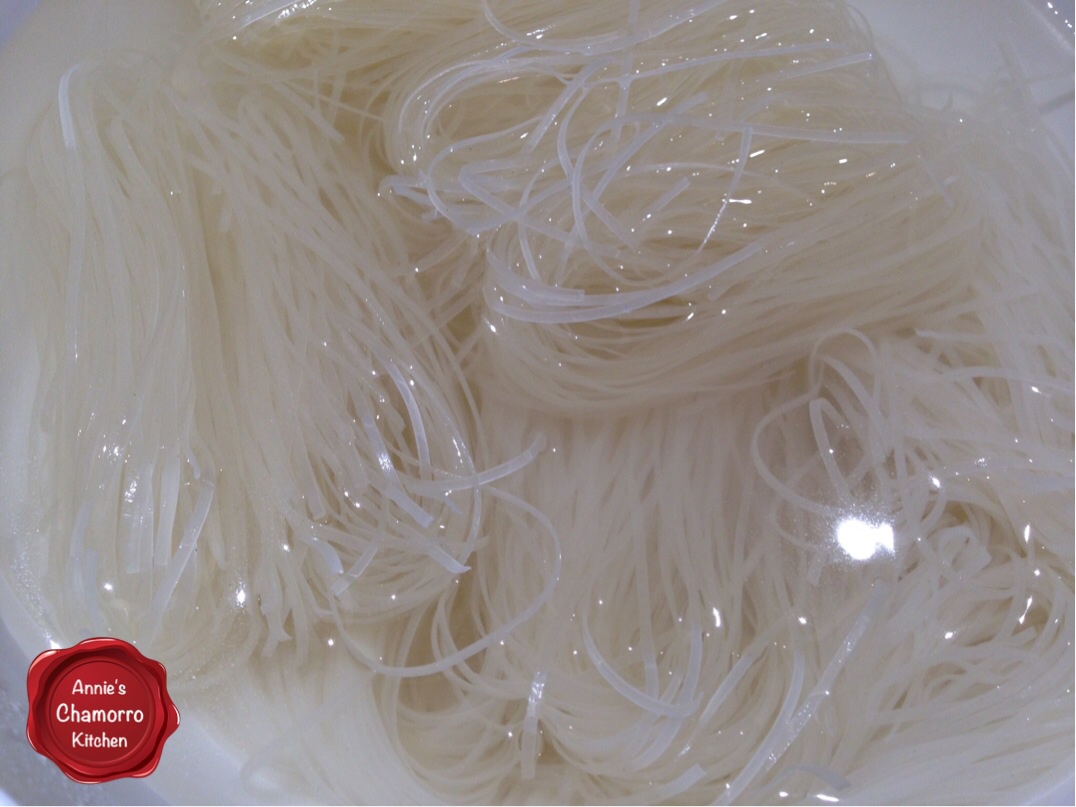
Fill a large bowl with hot water.  Add the dry noodles to the bowl.  Let the noodles soak in the hot water for about 5 minutes, or until pliable.
image

As soon as the pot of water comes to a boil, and once the noodles are soft and pliable, you’ll need to cook the noodles.  Place some of the noodles in a metal colander or strainer.  Use a strainer that can fit easily into your pot of boiling water.  You’re going to submerge the strainer — noodles and all — into the hot water.  Do not dump the noodles into the pot.  The reason for using the strainer is so that you can easily lift the noodles out of the pot.

image

Keep the noodles submerged in the boiling water for about a minute.  The noodles don’t take long to cook.  Lift the strainer out of the pot, allowing the water to drain out.

image

Place the drained noodles into your serving bowl.

image

Add some sliced beef to the bowl.

image

Pour the boiling-hot broth over the meat and noodles.

image

It’s important to keep the broth at a rolling boil right up until you’re ready to serve.  The hot liquid cooks the raw meat.  If you’re cooking the beef in the broth, just be sure to scoop out some meat and pour it into the bowl along with the broth.

image

Add some of the sliced onion to the bowl.  The hot broth will begin to cook this too.

image

Now you can add the rest of your vegetables.  I like adding a couple of handfuls of bean sprouts to my bowl.

image

Add some cilantro leaves and Thai basil, tearing up large leaves into small pieces.  Add sliced peppers if you like your soup spicy.  My husband adds a Chamorro twist to this by stirring in lots of Tabasco sauce AND donne’ dinanche. 🙂

image

Squeeze some lime juice over the top, and add some hoisin sauce too if you’d like.

image

Serve and ENJOY!


Easy Phở
 
Prep time
Cook time
Total time
 
Author:
Recipe type: Soup
Cuisine: Vietnamese
Serves: 4
Ingredients
Broth:
  • 3 quarts beef broth (4 quarts if you prefer more broth than noodles)
  • 2 tablespoons fish sauce
  • 1 tablespoon anise seeds
  • 6 whole cloves
  • 2 cinnamon sticks
  • 2 tablespoons chopped garlic
  • 6-inch piece of ginger, peeled and sliced
  • 1 medium onion, cut into large pieces
  • Salt and pepper, to taste
Vegetables:
  • ½ small onion, very thinly sliced
  • 4 cups fresh bean sprouts
  • 1 bunch cilantro, leaves only
  • 1 bunch Thai basil, leaves only
  • 2 limes
Other:
  • ½ pound flank steak or other lean beef
  • 8 small bundles dry phở noodles
Optional:
  • 1 jalapeño pepper, sliced
  • 1 hot red chili pepper (Thai, Dragon, or other pepper), sliced
  • Sriracha pepper sauce
  • Hoisin sauce
Instructions
Prepare the broth:
  1. Place the broth in a large soup pot. Add the fish sauce, anise seed, cloves, cinnamon sticks, garlic, ginger and onion. Bring to a rolling boil.
Prepare the vegetables and beef:
  1. Rinse the bean sprouts, cilantro and Thai basil. Remove the thick, large stems from the cilantro and basil. Place the clean vegetables on a large serving platter along with the sliced onion and peppers.
  2. Slice the limes into thin wedges. Place on the serving platter.
  3. Slice the beef as thin as you can. It's easier to slice partially frozen meat then when it's thawed out completely. Place onto a separate serving dish.
Prepare the noodles:
  1. Fill a medium sized pot ¾ full of water; bring to a boil. Meanwhile, soak the dry noodles in a bowl of hot water. Once the noodles are pliable, place in a metal strainer, one that can fit into the pot with boiling water, and one that can be removed easily. Dip the metal strainer (with the noodles) into the boiling water. Let the noodles cook for a minute then lift the strainer from the pot and allow the water to drain. Place the noodles into your serving bowl.
Assemble the soup:
  1. Place the beef slices on top of the noodles. Pour the hot broth over the meat; the boiling hot broth will cook the raw meat. If you prefer not to use raw meat, you can add the slices of beef to the pot of hot broth to cook it.
  2. Add the thinly sliced onion next, then add the bean sprouts, cilantro and Thai basil.
  3. Add sliced peppers and pepper sauce if you like your soup spicy.
  4. Drizzle some hoisin sauce over the top if you want your broth a bit more salty.
  5. Enjoy!


Chicken Macaroni Salad

Macaroni salad one of my family’s favorite side dishes.  There are many, many macaroni salad variations, but we’re simple…we like two specific kinds.  The first is a Hawaiian style macaroni salad and the other is Filipino style Macaroni salad.

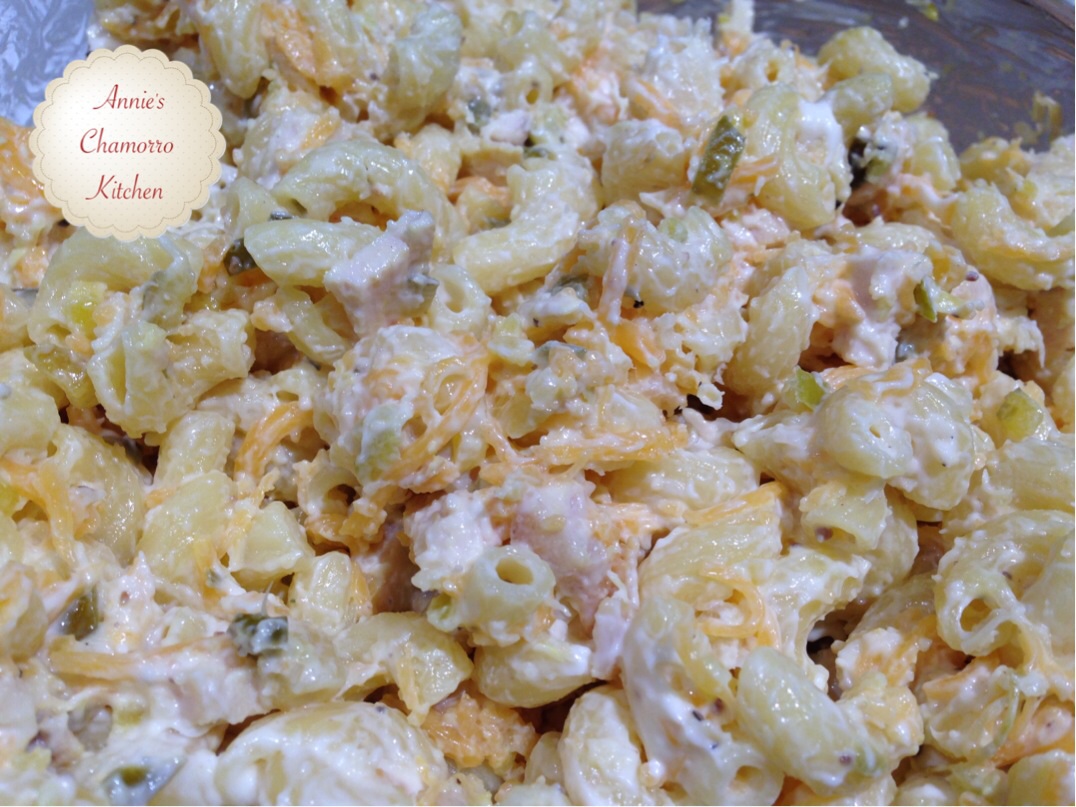
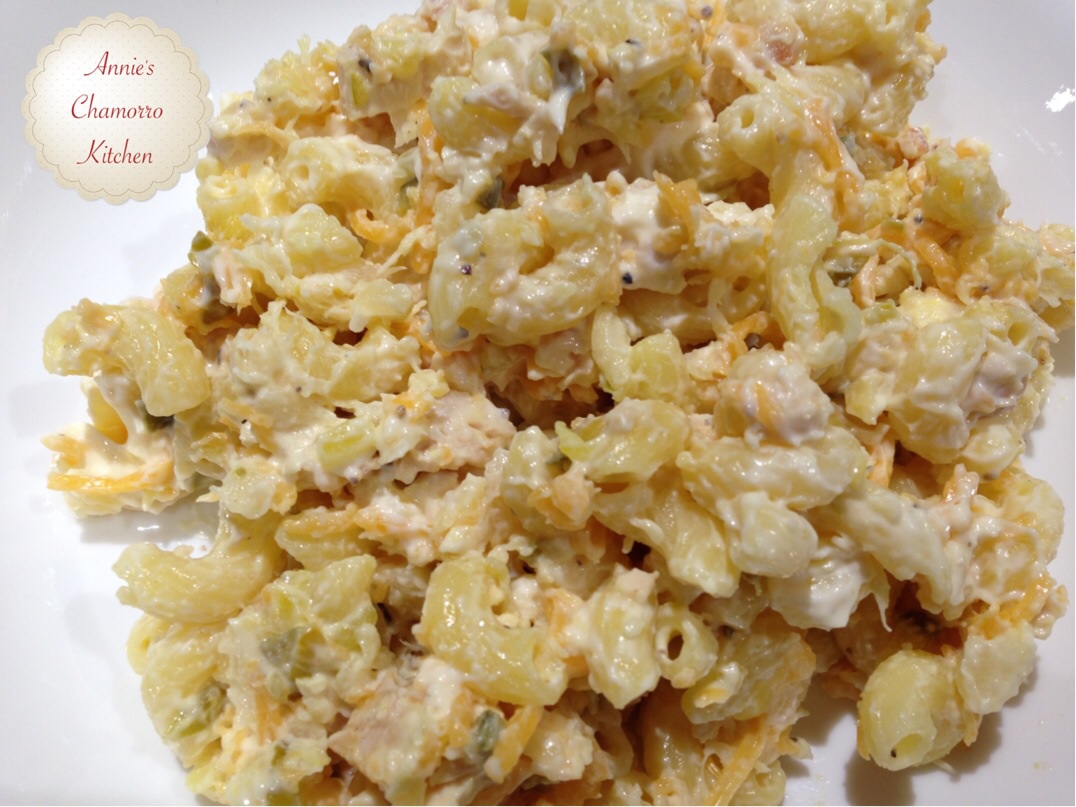
My recipe below is for a very basic Filipino macaroni salad.  It has chicken, cheese, pineapple, and sweet relish, but you can also add other ingredients such as hard-boiled eggs, ham, and raisins.  Some of my Filipino friends also add a spoonful or more of sweetened condensed milk, but I don’t like mine too sweet (to me, the relish and pineapples add just the right amount of sweetness) so I don’t add it.

This dish is best made the night before you intend to serve it.  An overnight stay in the ‘fridge allows all the pasta to absorb all the delicious flavors.

I like to add lots of chicken (more than what I have in my recipe below) whenever I want to serve this as my main dish.  It’s great for packed lunches, and it’s also a quick and easy pot-luck dish.

Give my recipe a try.  I think you’ll like it. 🙂

Chicken Macaroni Salad

image

Ingredients:

  • 1 large chicken breast
  • Salt, black pepper, and garlic powder (for the chicken)
  • 1/4 cup all-purpose flour
  • 2 tablespoons vegetable oil
  • 5 cups cooked macaroni
  • 1 teaspoon black pepper (for the macaroni salad)
  • 1 10-ounce jar sweet pickle relish, with as much juice squeezed out as possible
  • 1 20-ounce can crushed pineapple, with as much juice squeezed out as possible
  • 7 ounces shredded cheddar cheese
  • 1 1/2 cups mayonnaise

Optional Ingredients:

  • 1/2 cup raisins
  • 2 hard boiled eggs, diced

Directions:

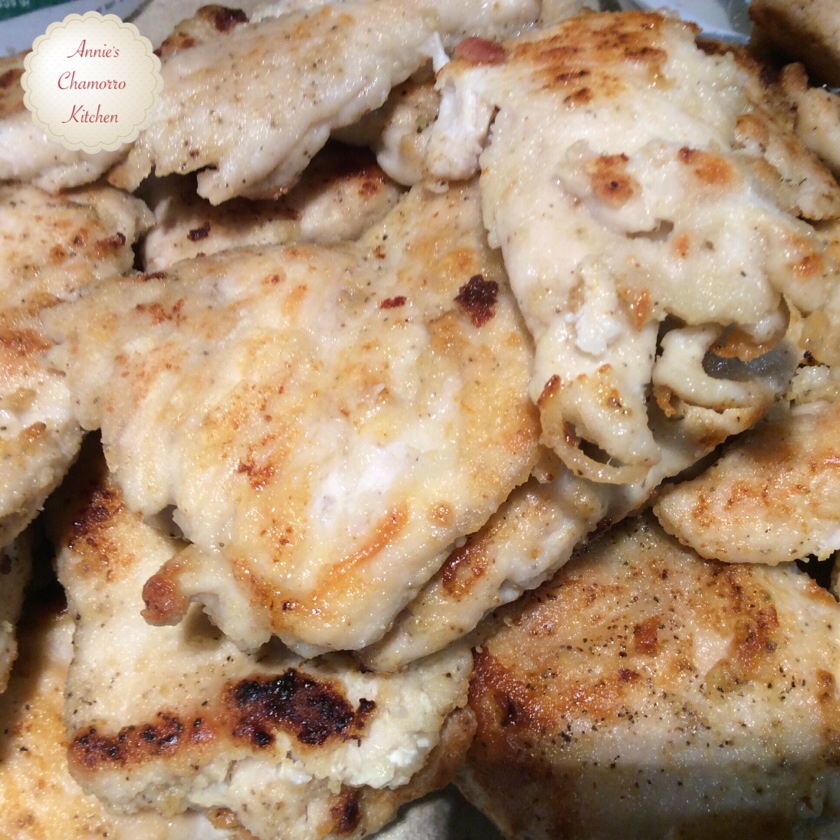
NOTE:  The photos below of the chicken show around 9 or 10 chicken breasts.  We like to cook several chicken breasts at a time so that we can use it throughout the week in various dishes.  We used one breast to make this salad; about 6 breasts were used in my daughter’s Chicken Marsala, and a couple more went into my daughter’s other dish, Mac-n-cheese with Chicken.  Cooking in bulk is a great way to save time during the week, especially if you’re pressed for time each morning.  It saves time at night too, when you’re trying to prepare dinner after a long day at work or school.

Prepare the chicken.

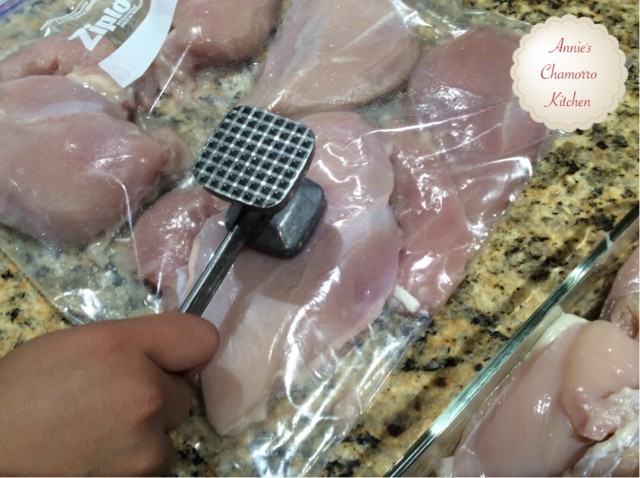
Place the chicken breast into a ziplock bag.  Use a kitchen mallet to flatten the chicken into about 1/4-inch thickness.

image

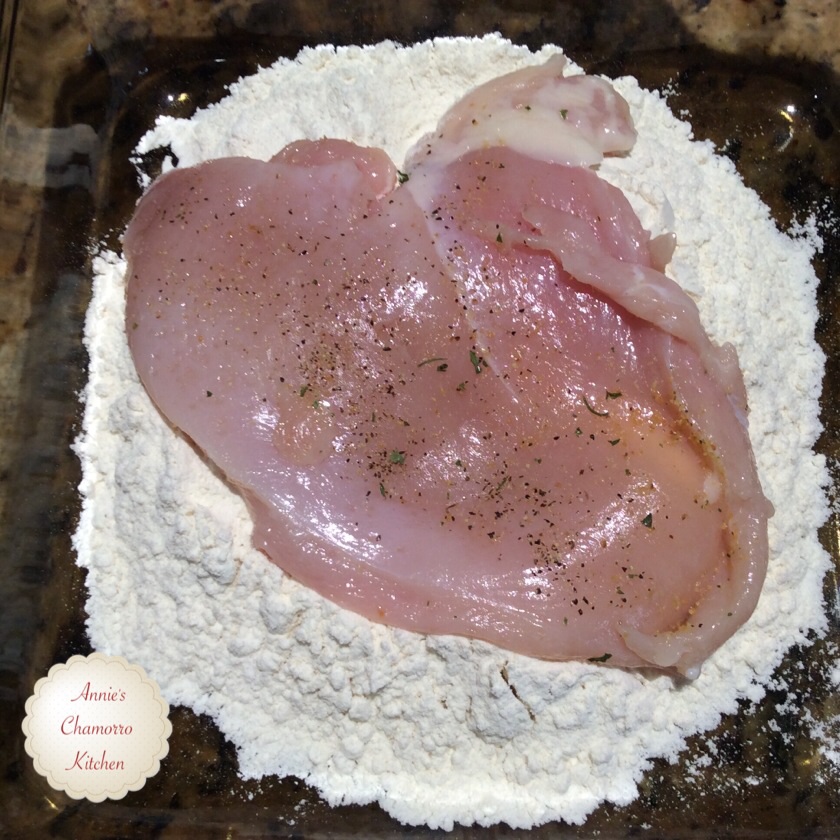
Sprinkle both sides of the chicken breast with salt, black pepper and garlic powder.

image

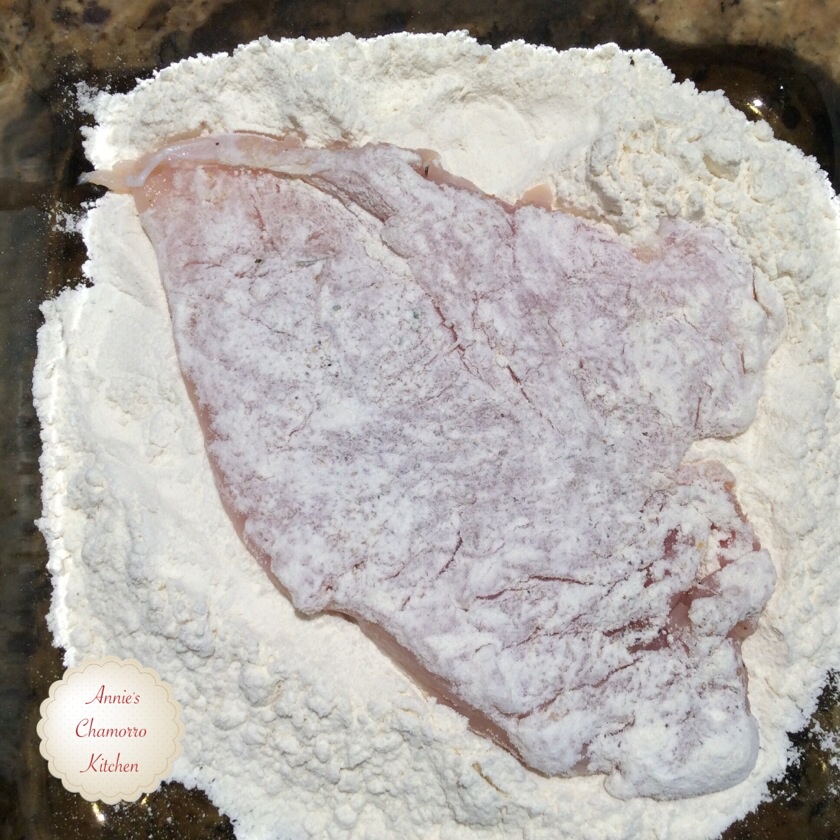
Dredge the seasoned chicken breast in the flour, covering both sides.

image  image

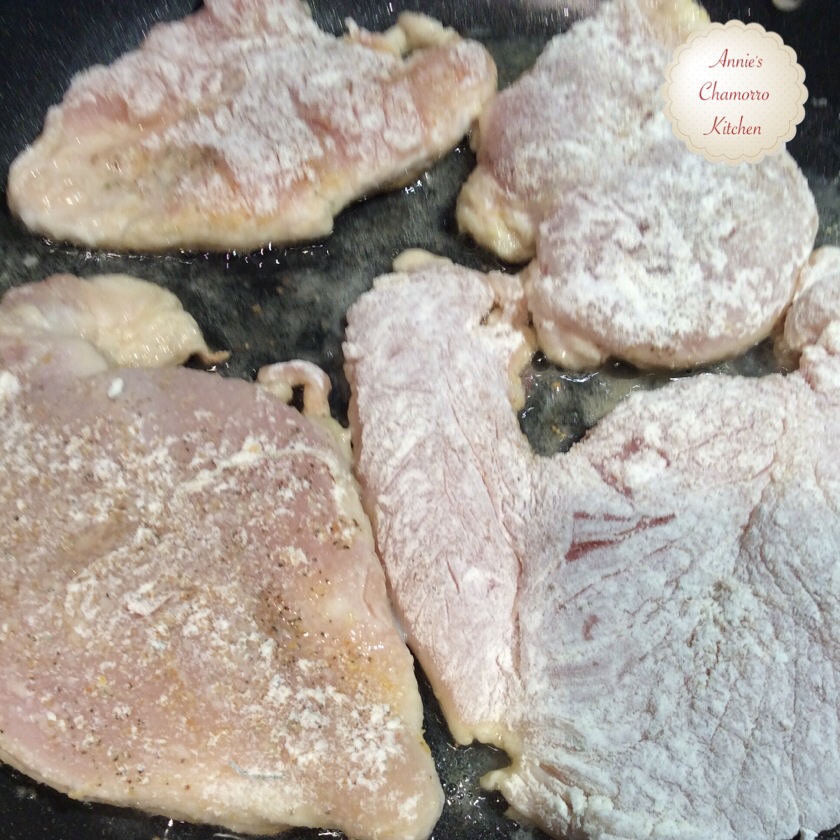
 Place a skillet over medium-high heat.  Add the vegetable oil to the pan.

image

 Place the chicken in the pan when the pan and oil are hot.  Reduce the heat to medium.

image

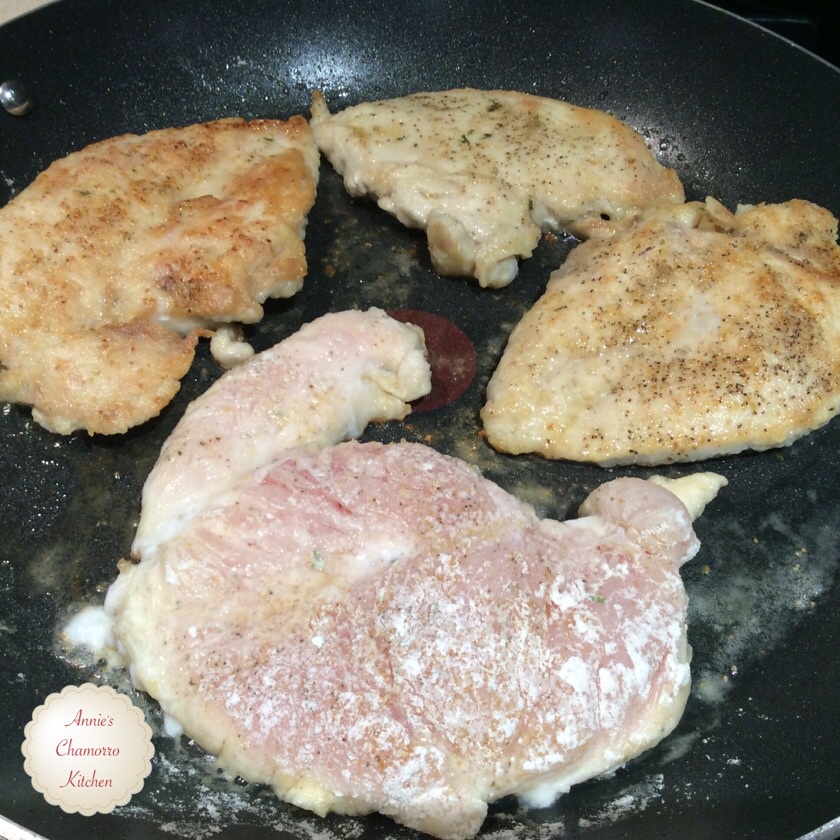
 Cook the chicken for about 4-6 minutes on each side.

Turn occasionally to evenly brown both sides.

image

 Shred or thinly slice the cooked chicken and set it aside.

image


Prepare the macaroni salad.

Place the shredded chicken breast, cooked macaroni, black pepper, relish, crushed pineapple, cheese and mayo in a large mixing bowl.  Add in any other optional ingredients.

Gently fold all of the ingredients together.  Refrigerate for 30 minutes to an hour to allow the flavors to meld.

Serve and ENJOY!

image


« Older Entries Recent Entries »