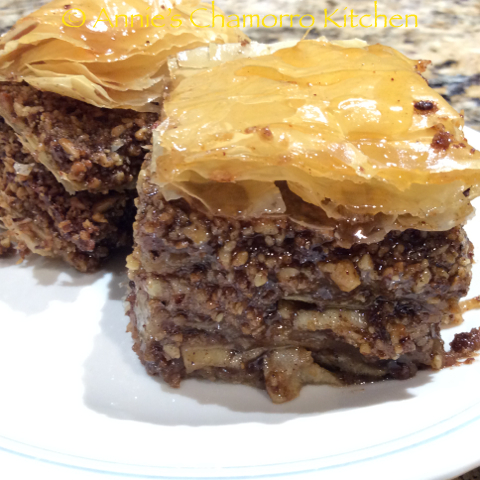
If you’ve visited my “kitchen” before, you’ll know there is probably no dessert I won’t like. 😉 Baklava is no exception. A bite of the sweet nutty filling sandwiched between crispy, buttery phyllo dough with a gooey honey syrup is like heaven in your mouth.
I also love most apple desserts — apple pie, turnover, donuts, cobbler, cake — there are so many delicious things you can make with apples.
This recipe is a combination of apple pie and baklava. It’s the sweet, nutty, syrupy stickiness of baklava with the flavors of apples and apple pie spices.
Give it a try. I think you’ll like it. 🙂
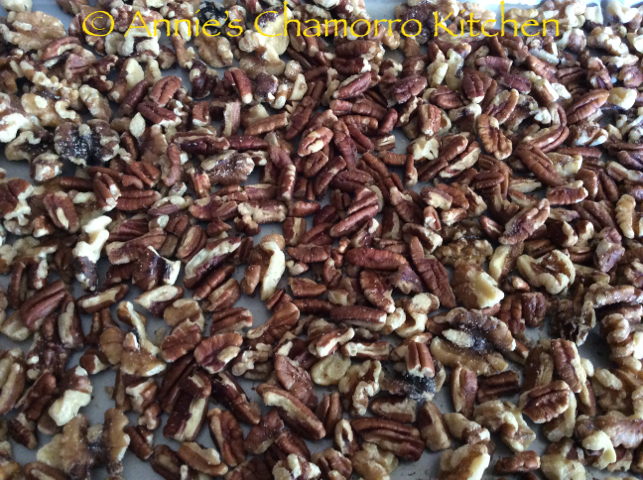
Use a total of 3 cups of your favorite nuts. Because I’m adding apples, I omitted the pistachio nuts traditional in baklava and used only pecans and walnuts.
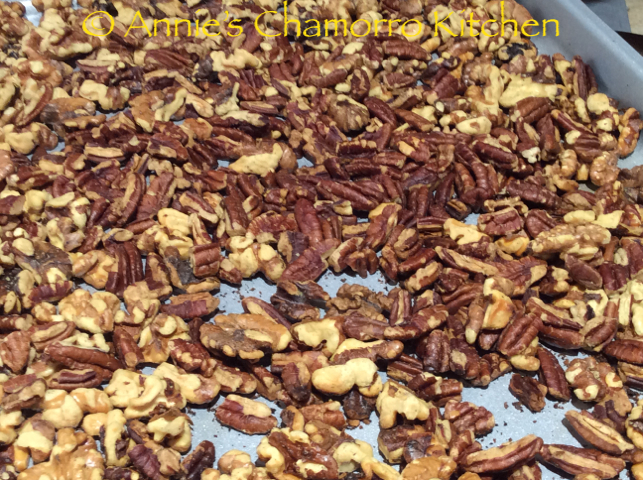
Toasting the nuts in the oven for a few minutes brings out the natural oils in the nuts and intensifies the nuttiness.
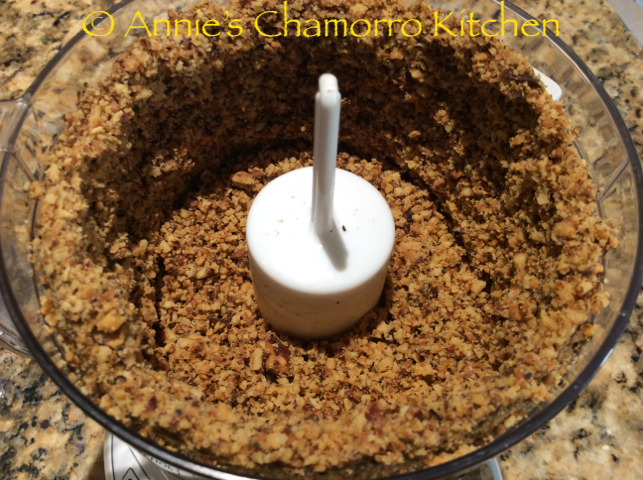
Pulse the nuts for a couple of minutes in a food processor until finely chopped.
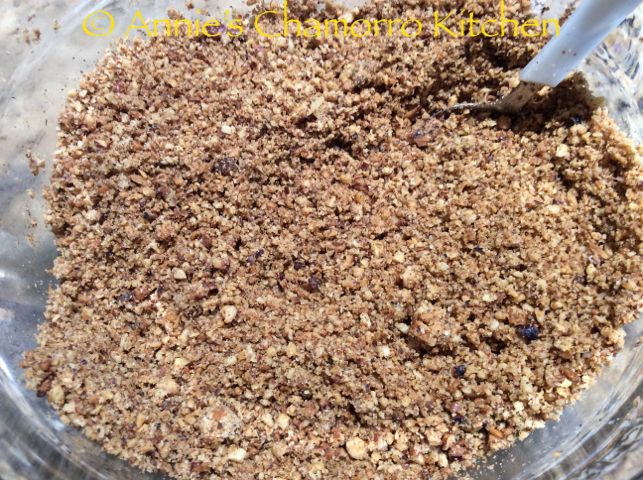
Add brown sugar and cinnamon to the chopped nuts.
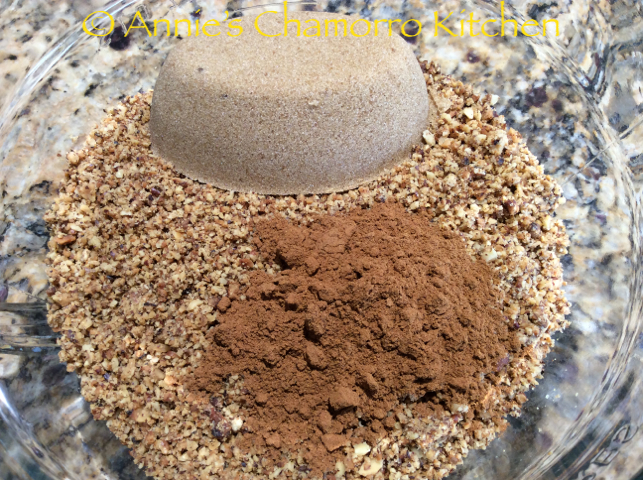
The nut mixture smells so good already!
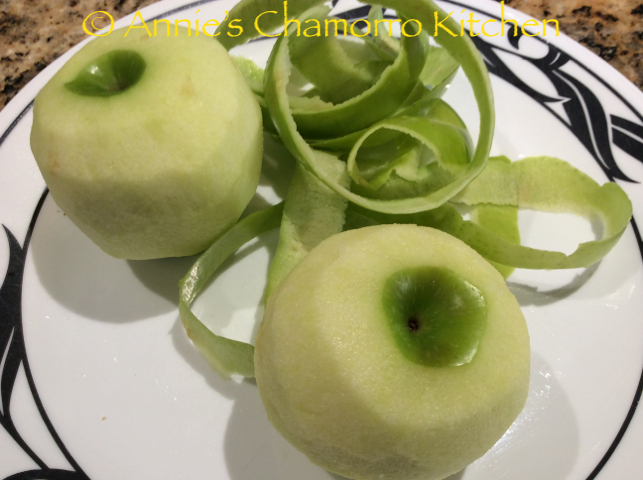
Peel and core two small apples, three if you want more apples in the baklava. I used granny smith apples in this recipe but your favorite apples will do.
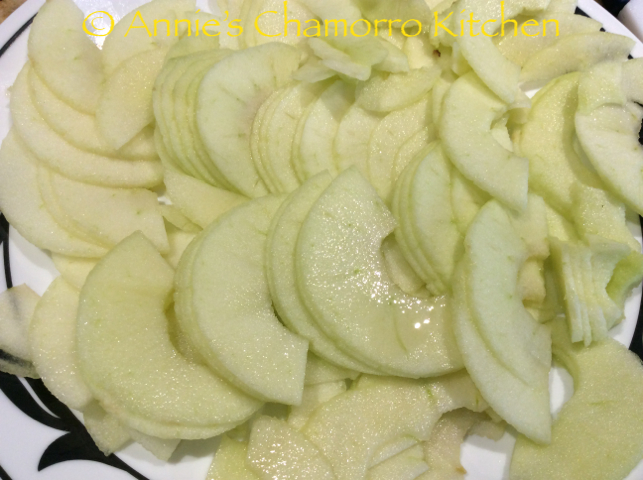
Slice the apples into very thin slices. Squeeze a little bit of lemon or lime juice over the sliced apples to keep them from browning.
Now this is the tricky part — working with phyllo dough.
A frozen package of phyllo dough usually has two rolls of dough in it. You will need one roll of phyllo dough for this recipe. One roll of dough has about 25 sheets.
Phyllo dough dries out very quickly when left uncovered, making them quite brittle.
Defrost the dough at room temperature then carefully unroll it until the sheets are flat. The dough comes pre-wrapped in parchment or wax paper, but there isn’t enough parchment paper to completely encase the dough. Wrap the dough with plastic wrap so that it’s completely covered, then place a very damp kitchen towel over the plastic-wrapped dough.
DO NOT prepare the phyllo dough until you’re ready to start layering your baklava.
Spray the bottom and sides of an 8×8 baking pan with butter flavored cooking spray.
The baklava is made by alternating layers of phyllo dough, nuts, apples, then more nuts.
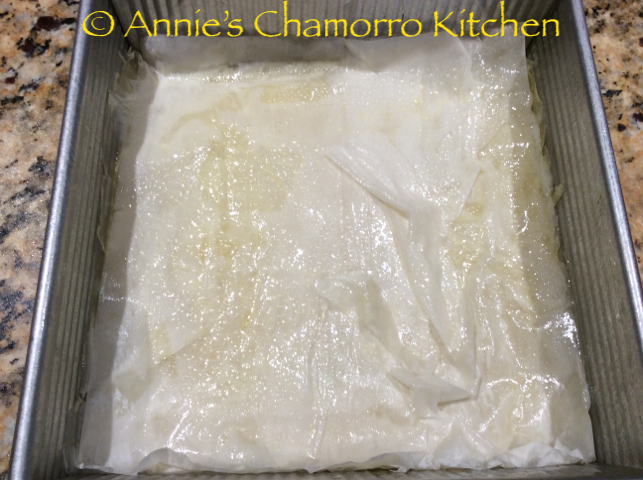
Begin by placing several sheets of phyllo dough in the bottom of the pan. You’ll need 6 sheets of dough for each layer.
Place one sheet of dough on the bottom of the pan. Spray the surface of the dough with butter-flavored cooking spray. You can use melted butter instead of the spray, but I’m trying to cut back on the calories from butter. Butter spray works just fine in this recipe, but if you use melted butter, use a pastry brush to brush the melted butter over each sheet of phyllo dough.
Each sheet of dough is larger than the 8×8 pan, so after spraying the top, fold over any excess dough and spray once more over the un-sprayed part. Repeat the layering process until you’ve used six sheets of phyllo dough (dough-spray-fold excess-spray-repeat).
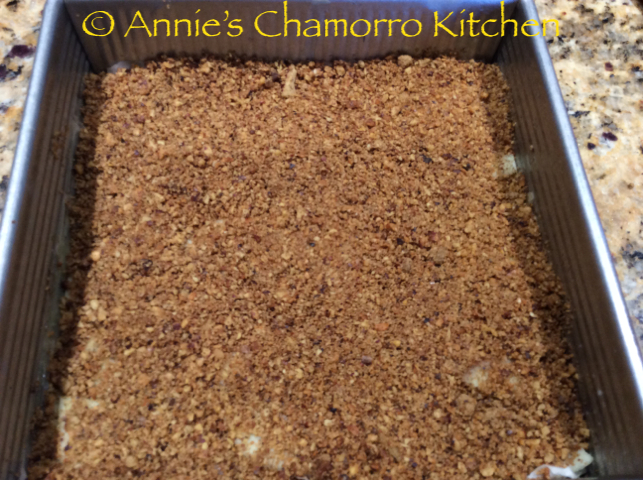
Spread a half cup of the nut mixture over the layer of dough.
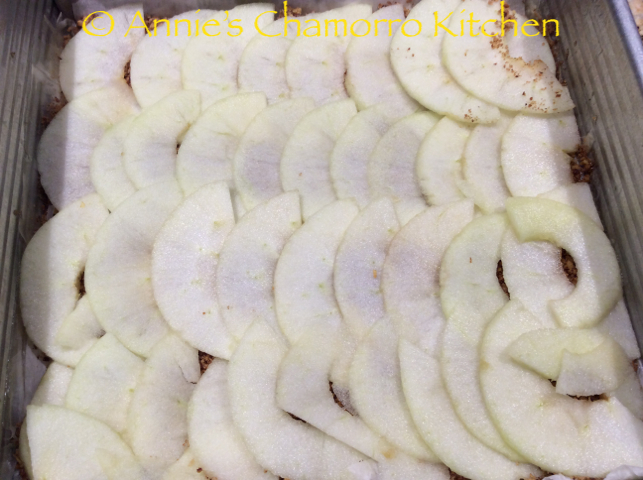
Add a layer of apple slices over the nuts.
Add another half cup of nuts over the apple slices.

Repeat the layering two more times. Each full layer consists of six sheets of phyllo dough, followed by nuts, then apples, then more nuts.
Don’t forget to spray each layer of dough with butter spray, or brush melted butter on each one.
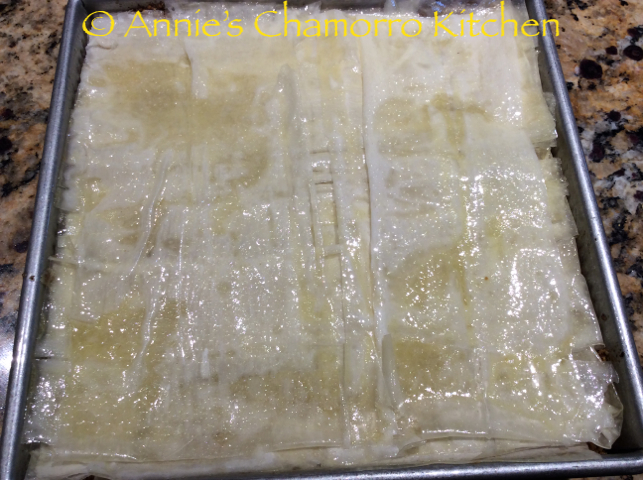
After adding your last layer combination of dough-nuts-apples-nuts, you should have about 6 or 7 sheets of phyllo dough left. These last few sheets go on the top of the baklava. Layer them as before, ensuring you spray each one or brush with melted butter.
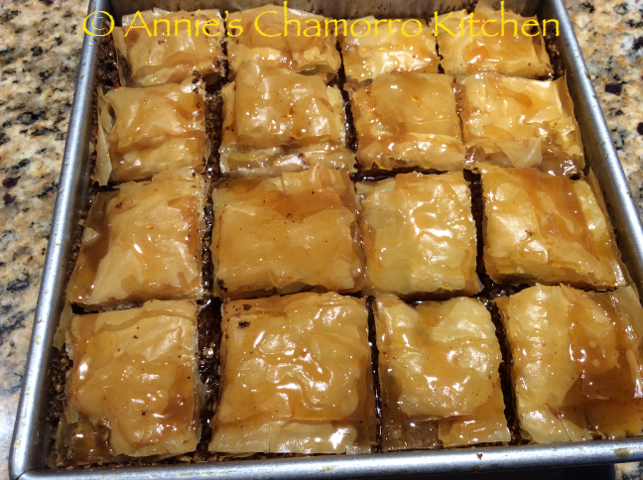
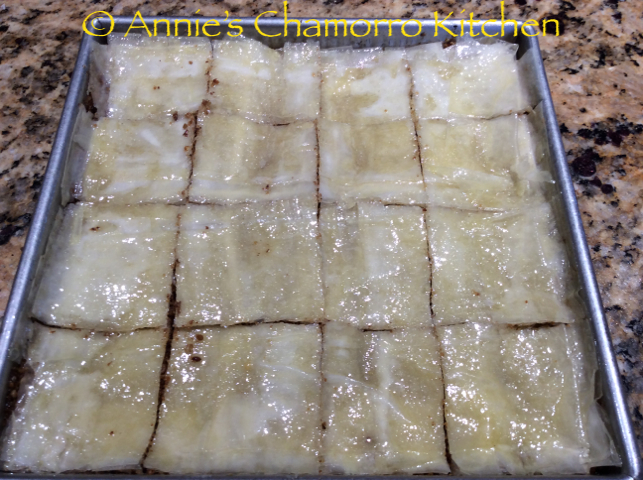
Using a sharp knife, cut the baklava into 16 pieces. It’s essential you cut the baklava before baking it. The baked phyllo dough is very crispy so cutting BEFORE baking will make things easier. 🙂
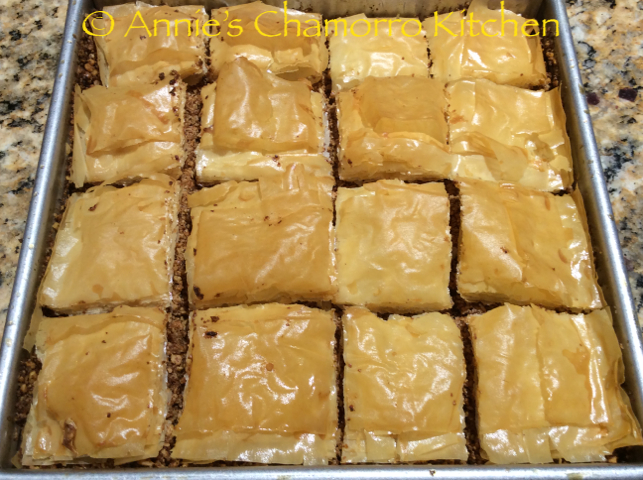
Bake for 45 minutes or until the top is golden brown.
While the baklava bakes, prepare the syrup. Although I love the nuts and apples and the crisp phyllo dough, I think the syrup is what makes baklava so special.
Traditional baklava syrup is usually made with a mixture of honey and fragrant rosewater, and sometimes with the added zest of lemons and oranges.
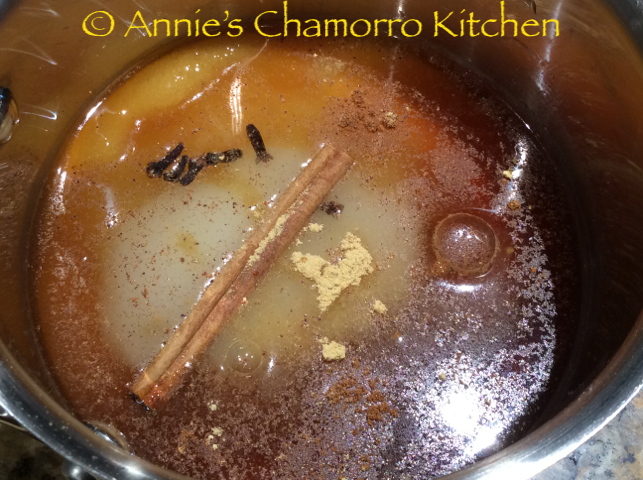
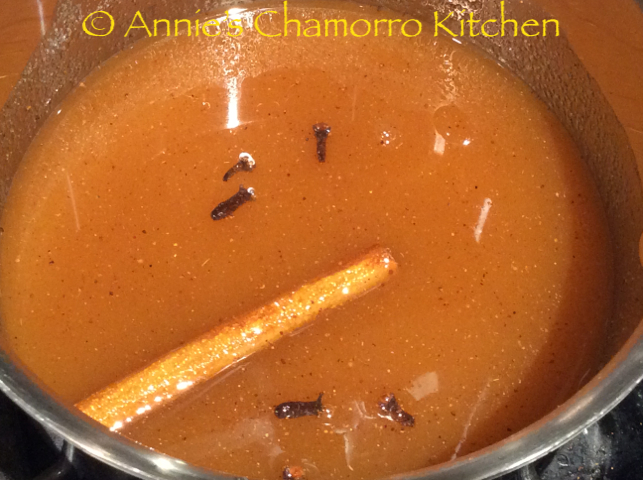
Because I want the flavors of apple pie, I’m making a syrup of honey, sugar, water, lemon extract, cinnamon (I use a cinnamon stick in the syrup since I added lots of ground cinnamon to the nut mixture), whole cloves, and a tiny bit of ground ginger.
Place all the ingredients into a pot, bring it to a boil over low heat, and cook until the syrup reduces by half.
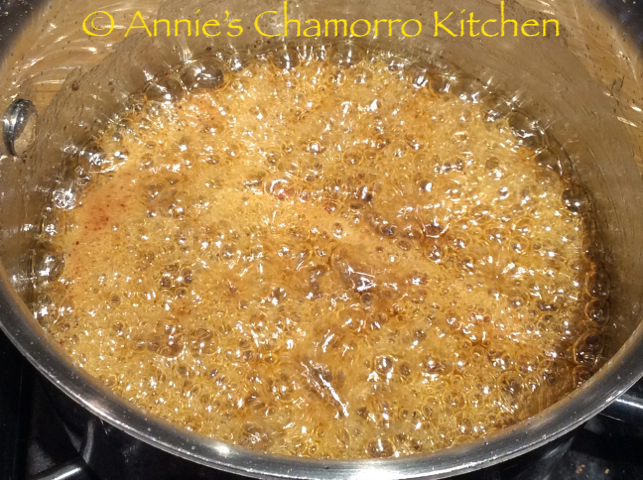
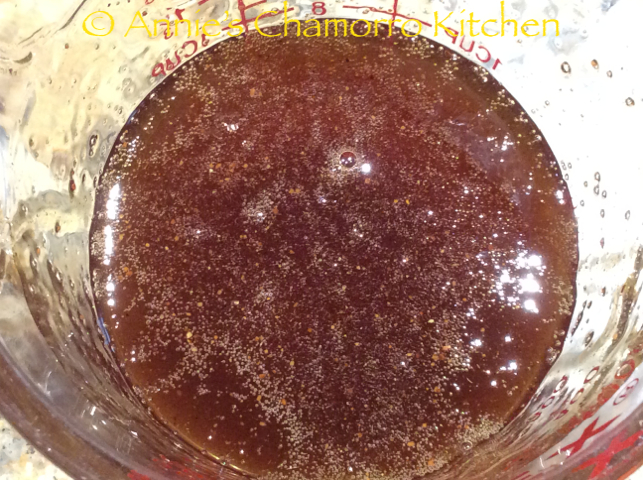
Once the syrup reduces by half, set it aside to cool. I poured the syrup into a measuring cup so that I could easily pour it over the baked baklava.
Be sure to remove the cinnamon stick and cloves!
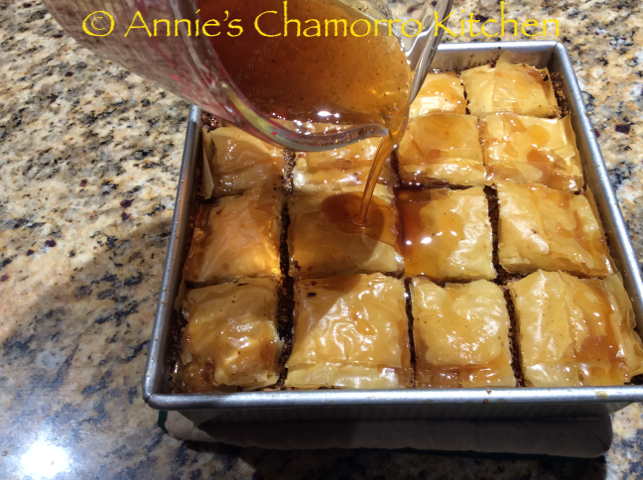
As soon as the baklava comes out of the oven, pour the syrup all over it.
Let the baklava cool for a few minutes before serving.
I prefer to let the syrup soak into the baklava for at least an hour before digging in.
SERVE & ENJOY!
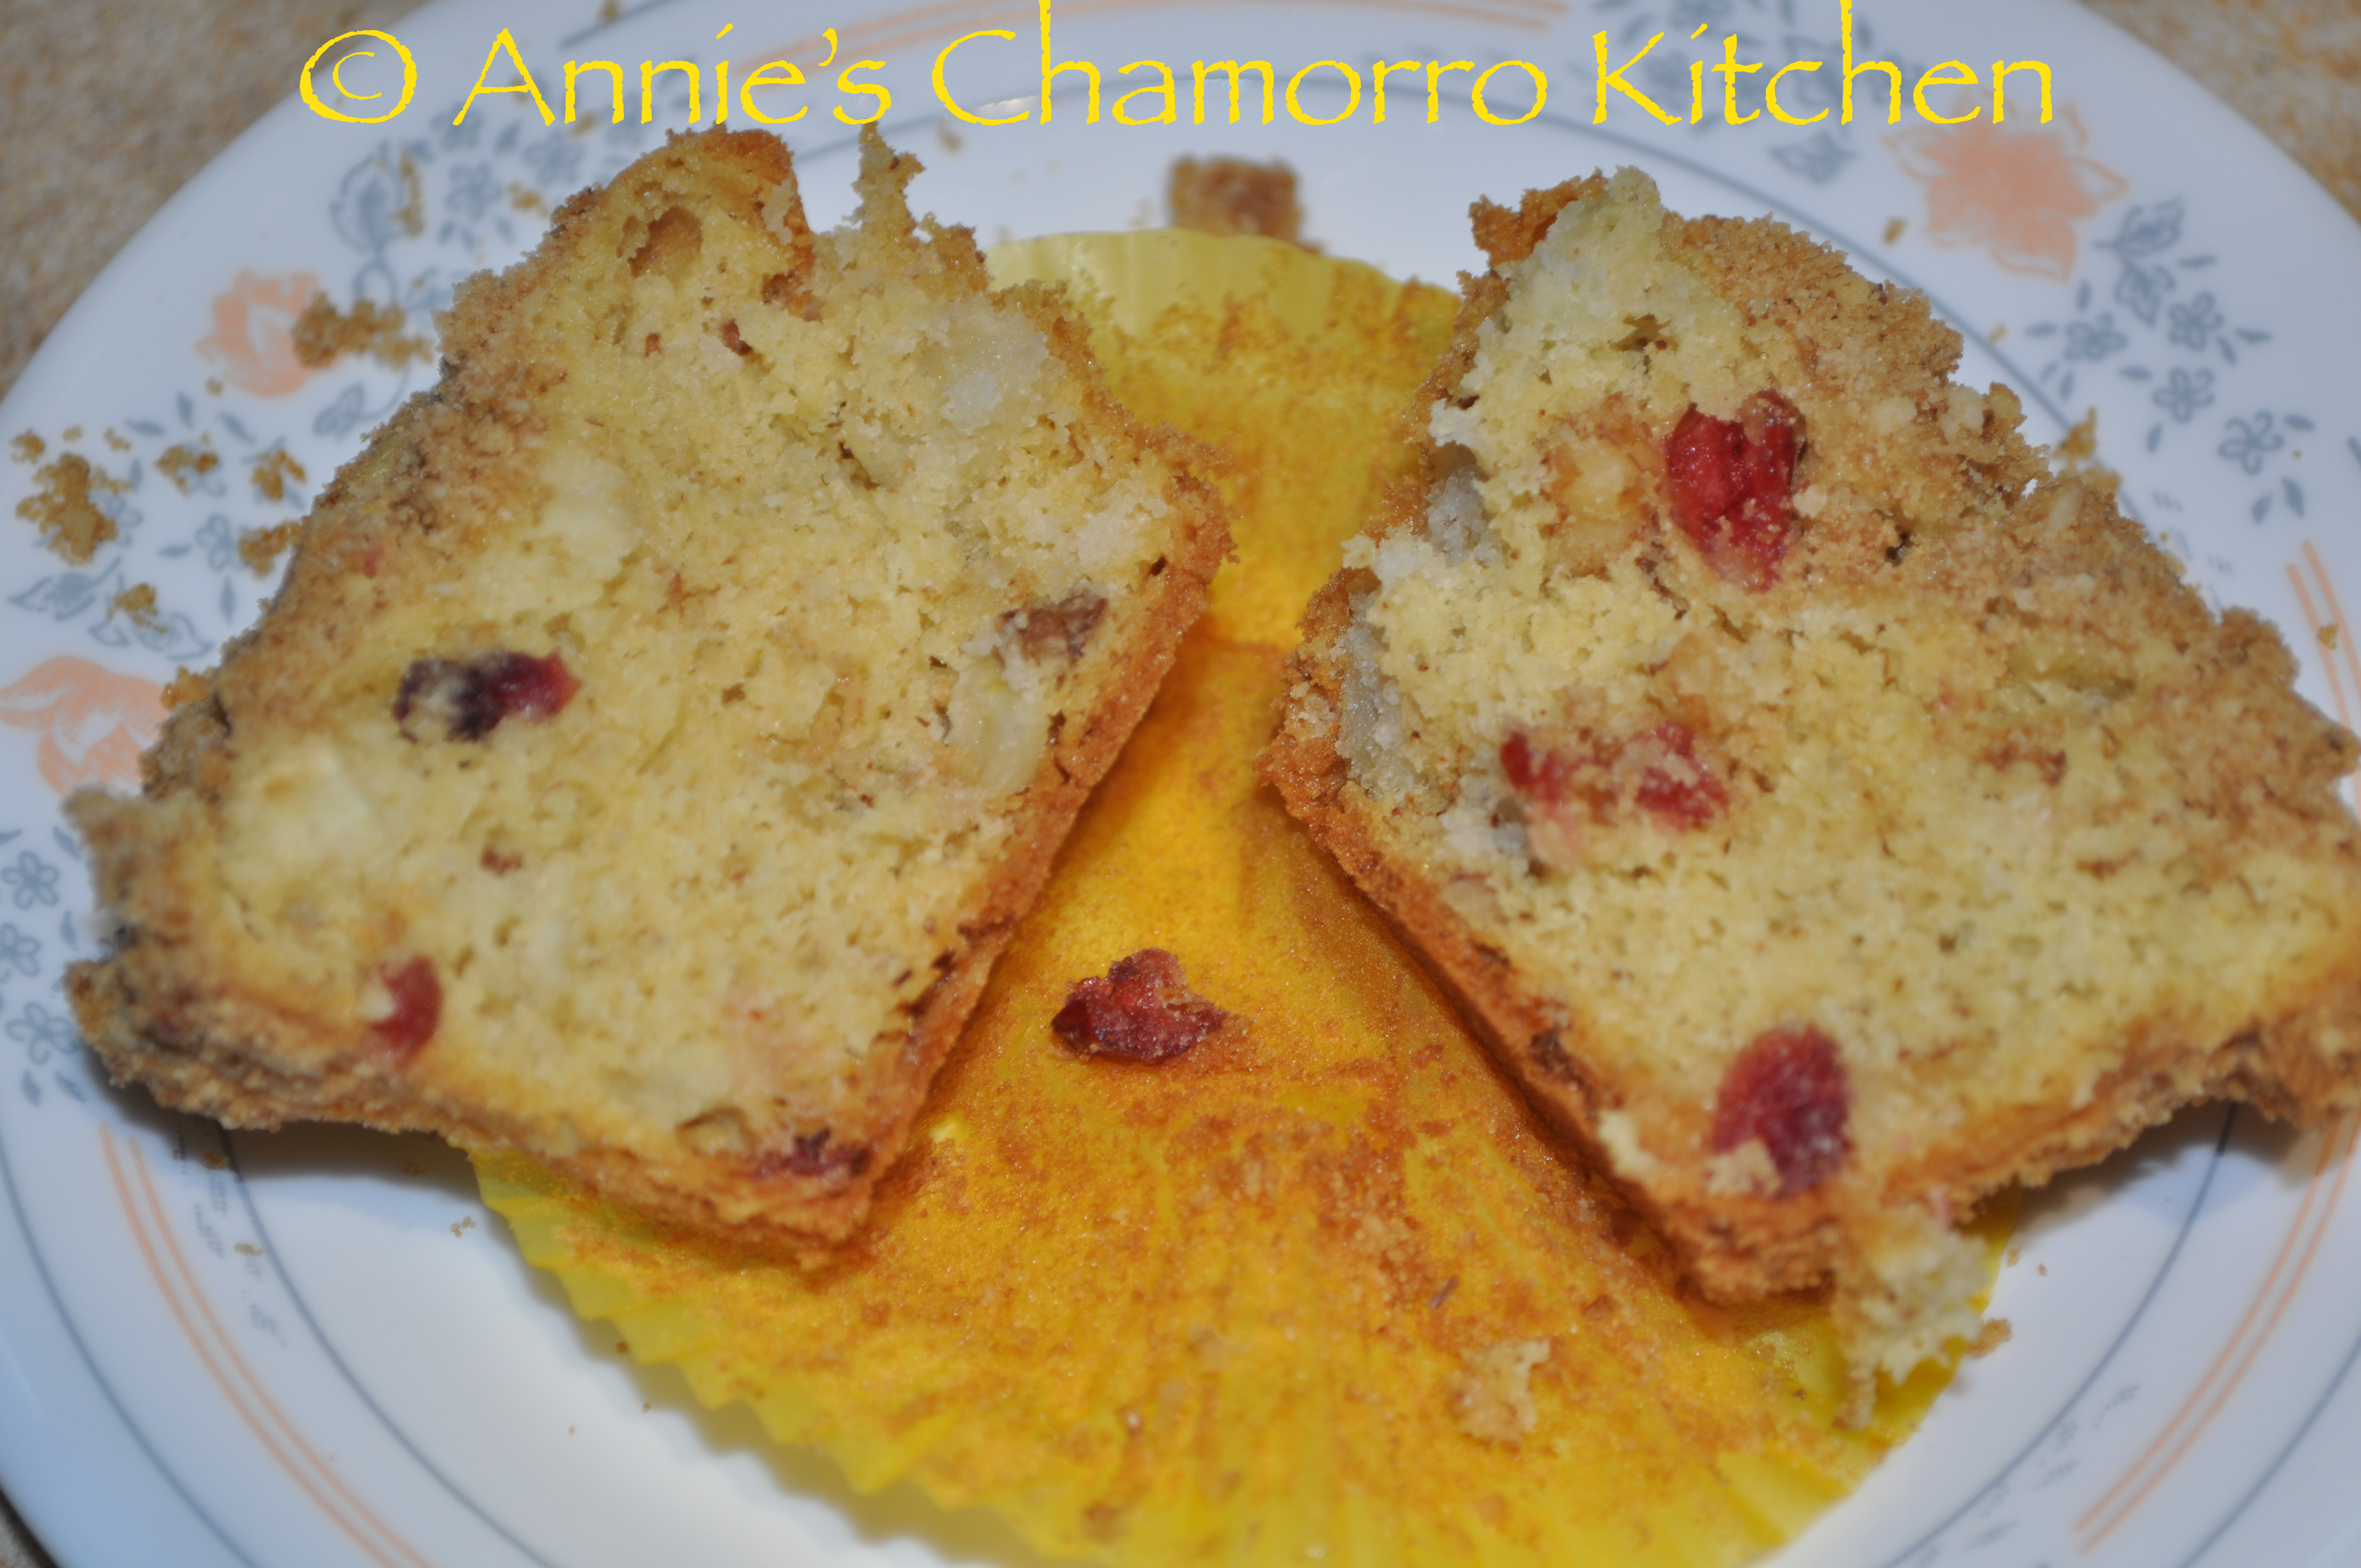
Look at the apples peeking out below! 🙂
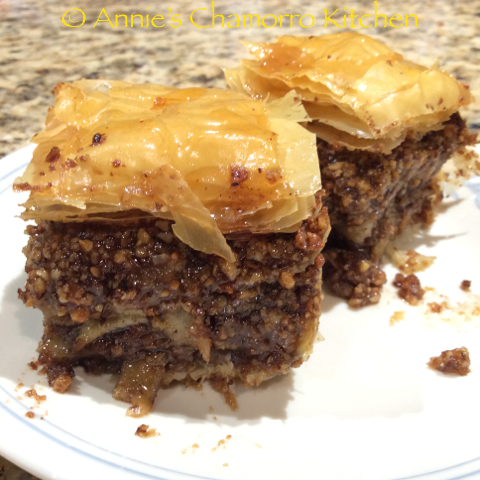
Apple Baklava
Author: Annie @ Annie's Chamorro Kitchen
- 2 cups walnuts
- 1 cup pecans
- ¾ cup packed brown sugar
- 1½ tablespoons ground cinnamon
- 3 small apples, peeled and very thinly sliced
- 1 roll frozen phyllo dough, thawed (25 sheets)
- Butter-flavored cooking spray (or 4 sticks of butter, melted)
- 1 cup white, granulated sugar
- ½ cup good quality honey
- 1 cinnamon stick
- ½ cup water
- 1 teaspoon lemon or orange extract
- ½ teaspoon ground ginger
- ½ teaspoon ground nutmeg
- 6 whole cloves
- Spread the nuts onto a large sheet pan.
- Bake at 275 degrees for 5 minutes or until you start to smell the aroma of the toasted nuts. Set the nuts aside to cool.
- Place the nuts in a food processor; pulse for a couple of minutes or until the nuts are finely chopped.
- Add the brown sugar and ground cinnamon to the chopped nuts; stir to mix. Set aside.
- Defrost one roll of dough (about 25 sheets) at room temperature then carefully unroll it until the sheets are flat.
- Place plastic wrap over the dough so that it's completely covered, then place a very damp kitchen towel over the plastic-wrapped dough.
- Spray the bottom and sides of an 8x8 baking pan with butter flavored cooking spray.
- Layer 1:
Place one sheet of dough on the bottom of the pan. Spray the surface of the dough with butter-flavored cooking spray or brush melted butter over it. Fold over any excess dough, spraying any dry dough with cooking spray. Repeat this process until you've used six sheets of phyllo dough -- dough-spray-fold excess-spray-repeat.
Spread ½ cup of the nut mixture over the layer of dough.
Add a layer of apple slices over the nuts (use ⅓ of the sliced apples).
Add another ½ cup of nuts over the apples. - Layer 2:
Repeat the layering process as you did for Layer 1 (6 sheets of dough, nuts, apples, nuts). Be sure to butter each sheet of dough. - Layer 3:
Repeat the layers one more time (6 sheets of dough, nuts, apples, nuts). - Layer 4:
By now, you finished all of the nuts and apples, but you should still have about 6 sheets of phyllo dough left. This last layer uses the remaining sheets of phyllo dough (brush melted butter or spray between each sheet). - Use a sharp knife to cut the unbaked baklava into 16 pieces.
- Bake at 350 degrees for 45 minutes or until golden brown on top.
- Place the syrup ingredients into a small sauce pan. Bring to a boil over medium heat; reduce to low and simmer until the syrup reduces by half. Set aside to cool, discarding the cinnamon stick and cloves.
- Pour the cooled syrup over the baked baklava.
3.2.2807

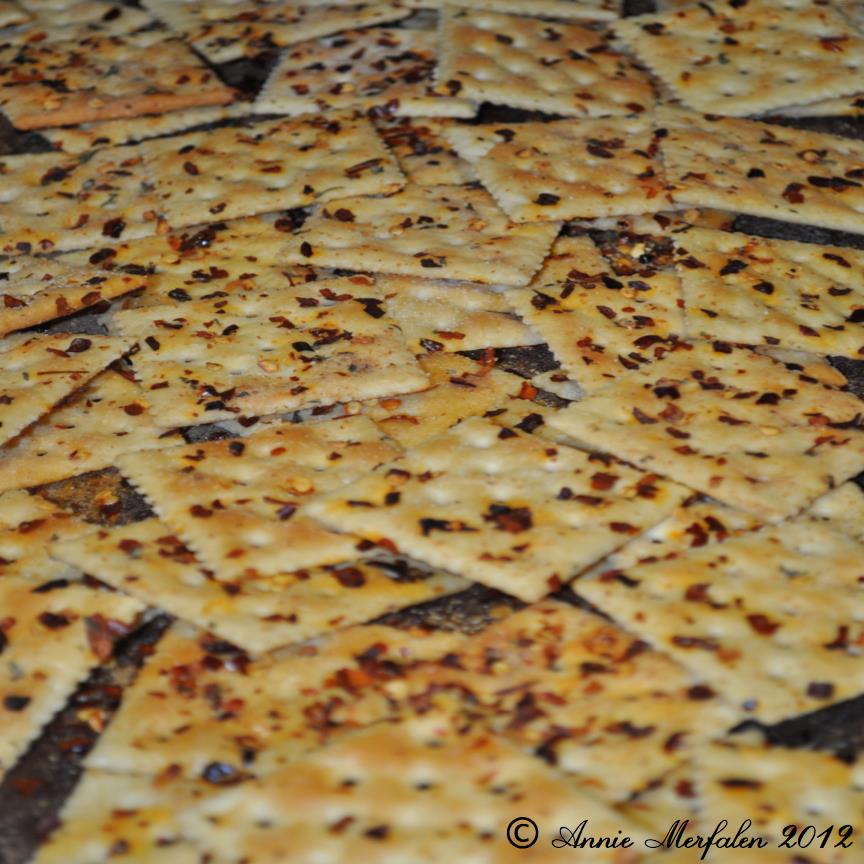


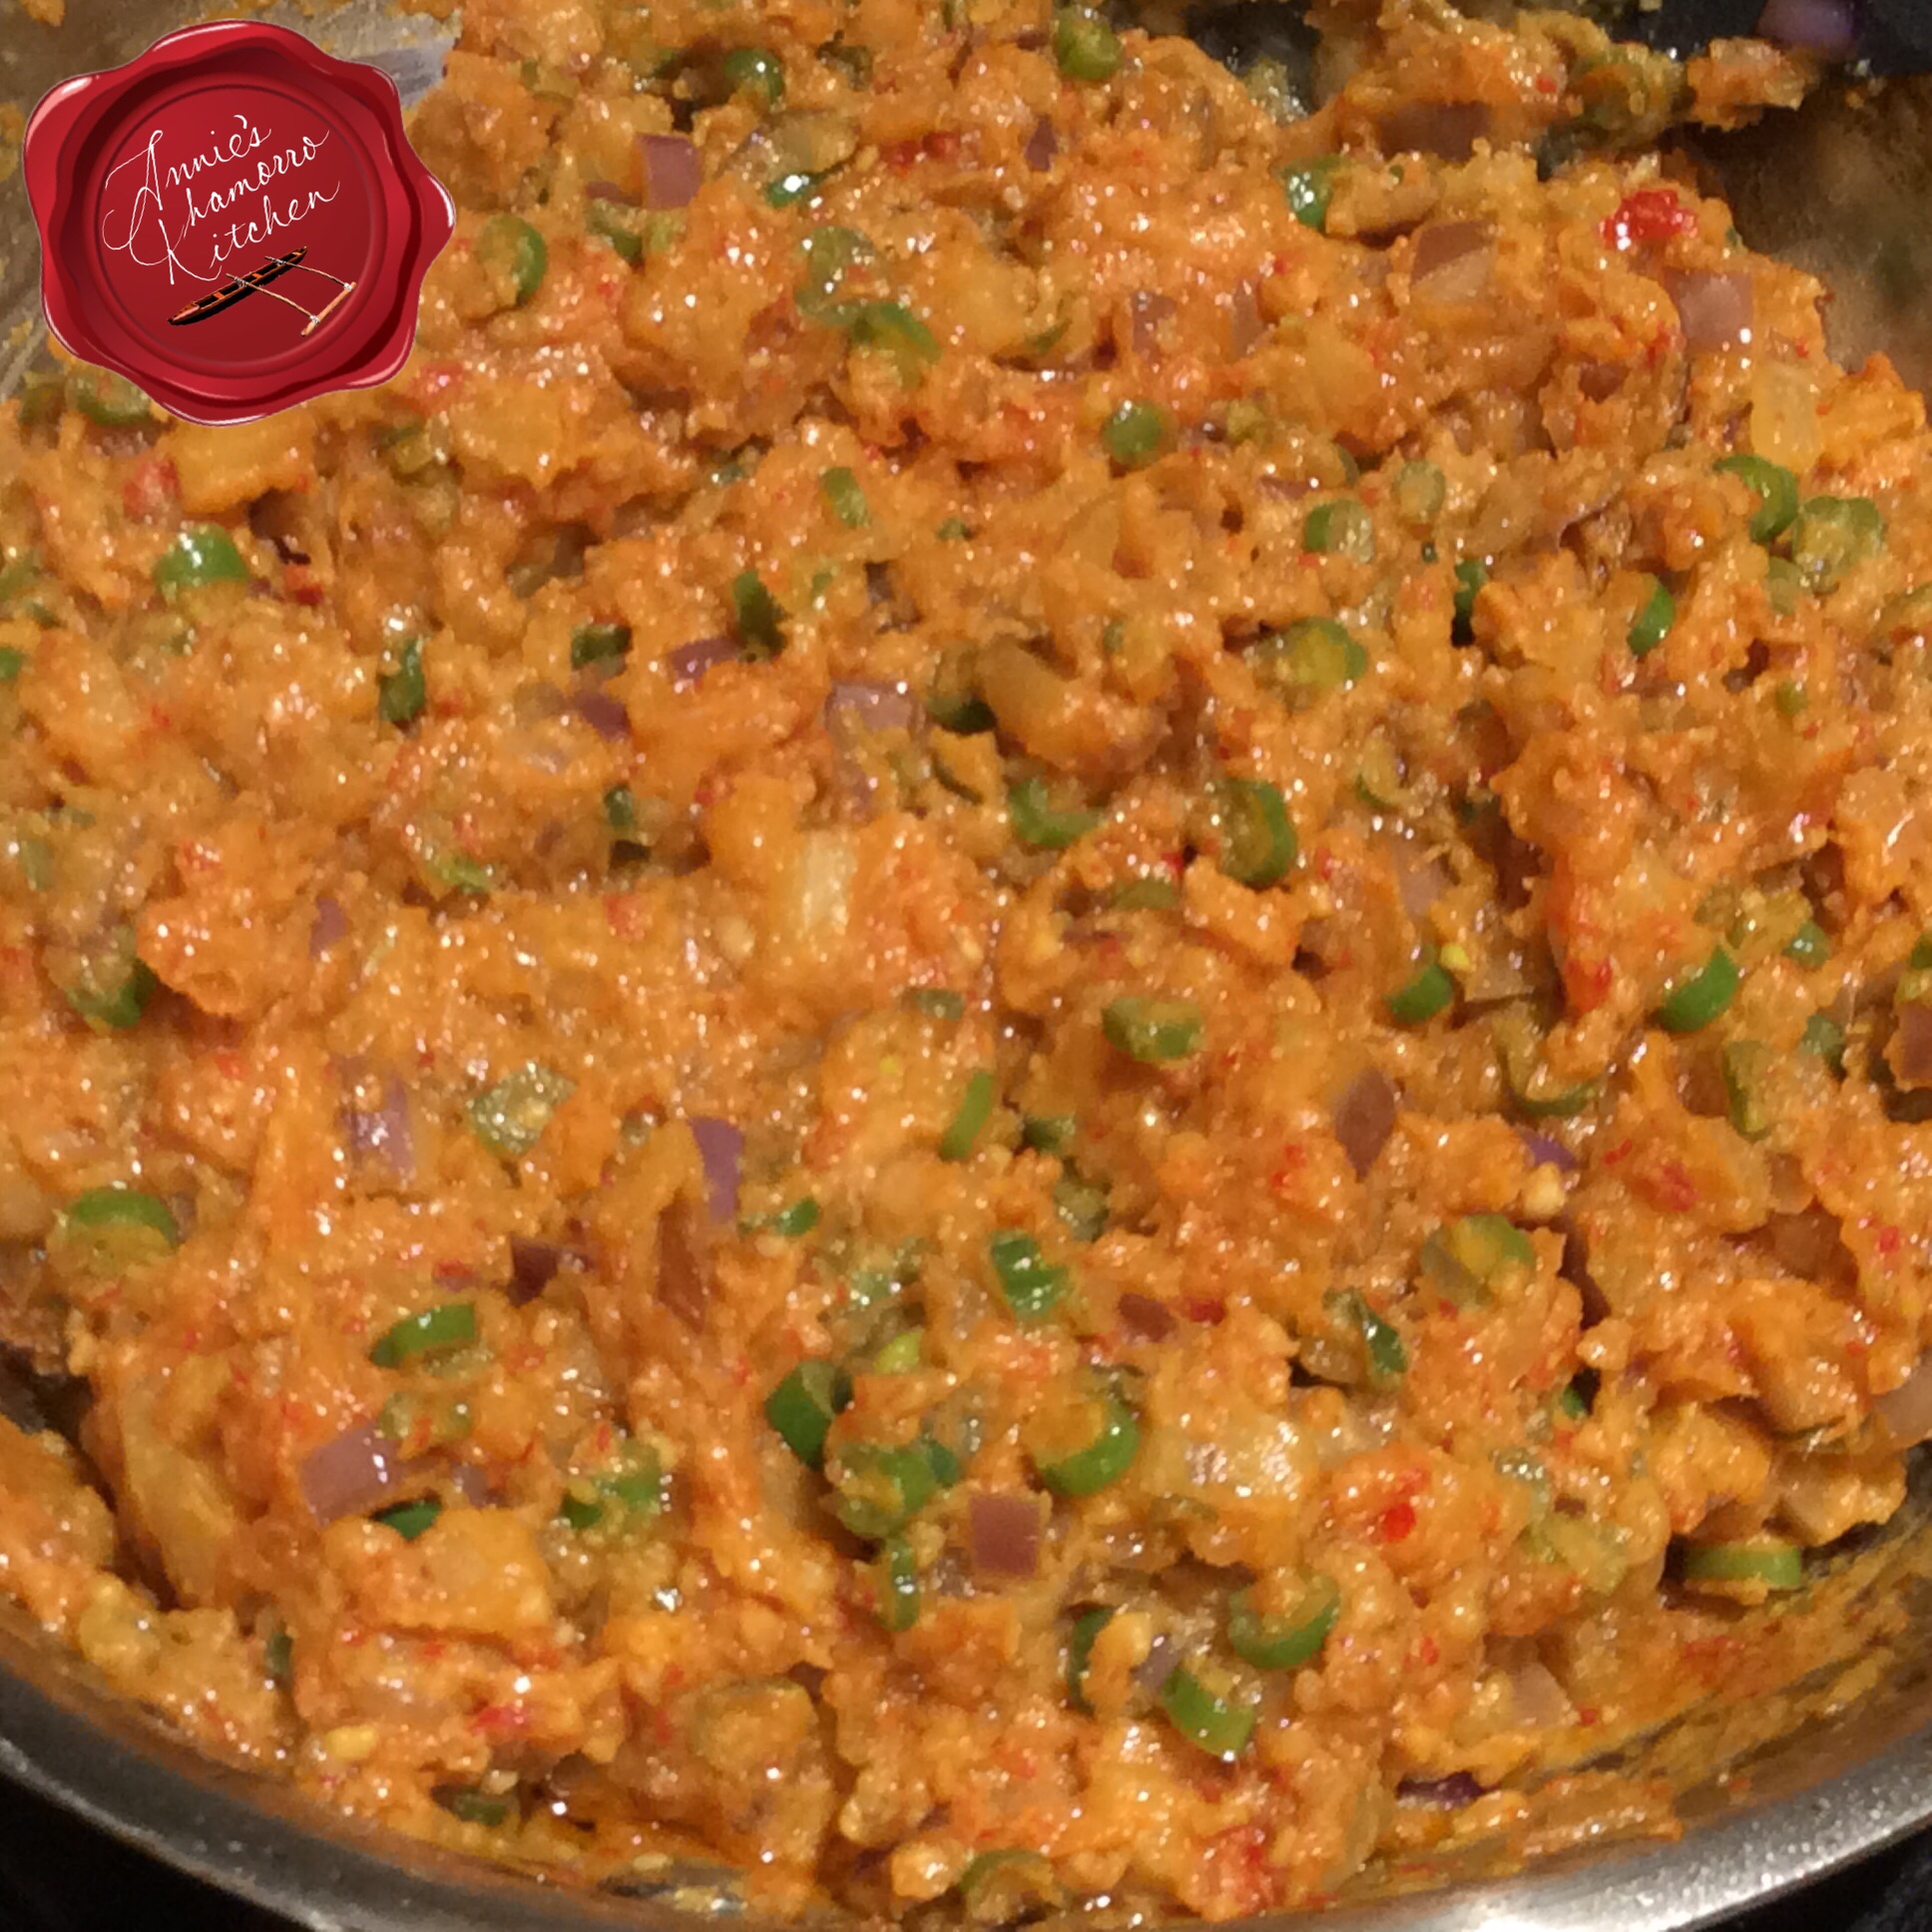
 You can make your own donne’ dinanche if you don’t have any of the pre-packaged kind. Use a blender you’re willing to dedicate solely for grinding peppers; using the blender for after you use it to grind peppers will most likely add a spice to the other food. I don’t know about you but spicy smoothies don’t taste all that good to me. Blend about 3 cups of hot chili peppers, adding a few spoonfuls of some sort of liquid–coconut oil, lemon juice or water–if the blender is not grinding the peppers into a smooth consistency.