Mini Chocolate Eclairs (or Cream Puffs)

Homemade eclairs are super easy to make.  They are a French dessert also known as profiteroles, cream puffs, or choux à la crème.  I just call it “delicious.” 😉

This is a great recipe to get your kids to help with.  In fact, they are so easy to make that my daughter (13 years old at the time the photo below was taken) makes them anytime she gets a craving for them.

Cream Puffs - 04

These tender pastry cups are so versatile; you can make them into delectable desserts like I’ve done here, or you can create amazing appetizers by filling them with your favorite dips or spreads.

Cream Puffs - 01

I like making these into cute, miniature puffs.  I use a small ice cream scoop to create evenly-sized pastries.

Cream Puffs - 02

Add these scrumptious treats to your table and your family (or guests) will be delighted and amazed.  Only YOU will know how easy they were to prepare! 😉Cream Puffs - 03

Other options for these delicious treats:

  • Dust the tops with powdered sugar to make Cream Puffs
  • Fill with ice cream for a frozen treat
  • Experiment with different pudding flavors (cheesecake pudding filling is delicious!)
  • Experiment with different extract flavors (try peppermint extract with chocolate pudding)
  • To make this a savory dish, fill with crab dip (or your favorite dip) for an easy appetizer

Give my recipe a try.  I think you’ll like it. 🙂


Mini Chocolate Eclairs
 
Author:
Ingredients
SHELL:
  • ½ cup unsalted butter (or 1 stick)
  • 1 cup water
  • ⅛ teaspoon salt
  • 1 cup all-purpose flour
  • 4 large eggs
FILLING:
  • 1 box (3.4 oz.) instant vanilla pudding (plus ingredients to make the pudding, per pkg. directions)
  • 1 tub (8 oz.) Cool Whip whipped topping
  • 1 teaspoon almond extract
CHOCOLATE TOPPING:
  • ½ cup chocolate chips
  • 1½ teaspoons dark corn syrup
  • 1½ teaspoons milk
  • 2 tablespoons unsalted butter
Instructions
Make the Shell:
  1. Preheat oven to 400 degrees. Combine butter, water, and salt in a medium saucepan; bring to a boil over high heat.
  2. Add flour all at once to boiling liquid, stirring constantly with a wooden spoon. Remove from heat and continue stirring until the flour mixture leaves the sides of the pan.
  3. Add eggs, one at a time, into the flour mixture, mixing well after each addition. Continue stirring until the the dough is smooth and not lumpy. Set aside for 15 minutes to allow to thoroughly cool.
  4. After the dough cools, drop by rounded heaping teaspoonfuls onto an ungreased cookie sheet, placing dough 23 inches apart. Bake for 35-40 minutes or until golden brown. Immediately split shells in half while hot to allow steam to escape and to keep shells crisp. Cool thoroughly before filling.
Make the Filling:
  1. Follow the directions on the box of pudding. Fold in Cool Whip and almond extract.
  2. Fill cream puff shells with prepared pudding mixture.
Make the Chocolate Topping:
  1. Place all ingredients into a microwave safe bowl.
  2. Microwave on medium heat for 20 seconds; stir the mixture. If the chocolate chips and butter are not completely melted after stirring, microwave for 10 more seconds (and at 10-second intervals if they are still not melted), stirring afterward until the mixture is totally melted and smooth.

Sticky Toffee Pudding

If you’ve stumbled on this recipe by accident, search no more.

Y O U    M U S T    M A K E    T H I S    D E S S E R T……..T O D A Y.

image

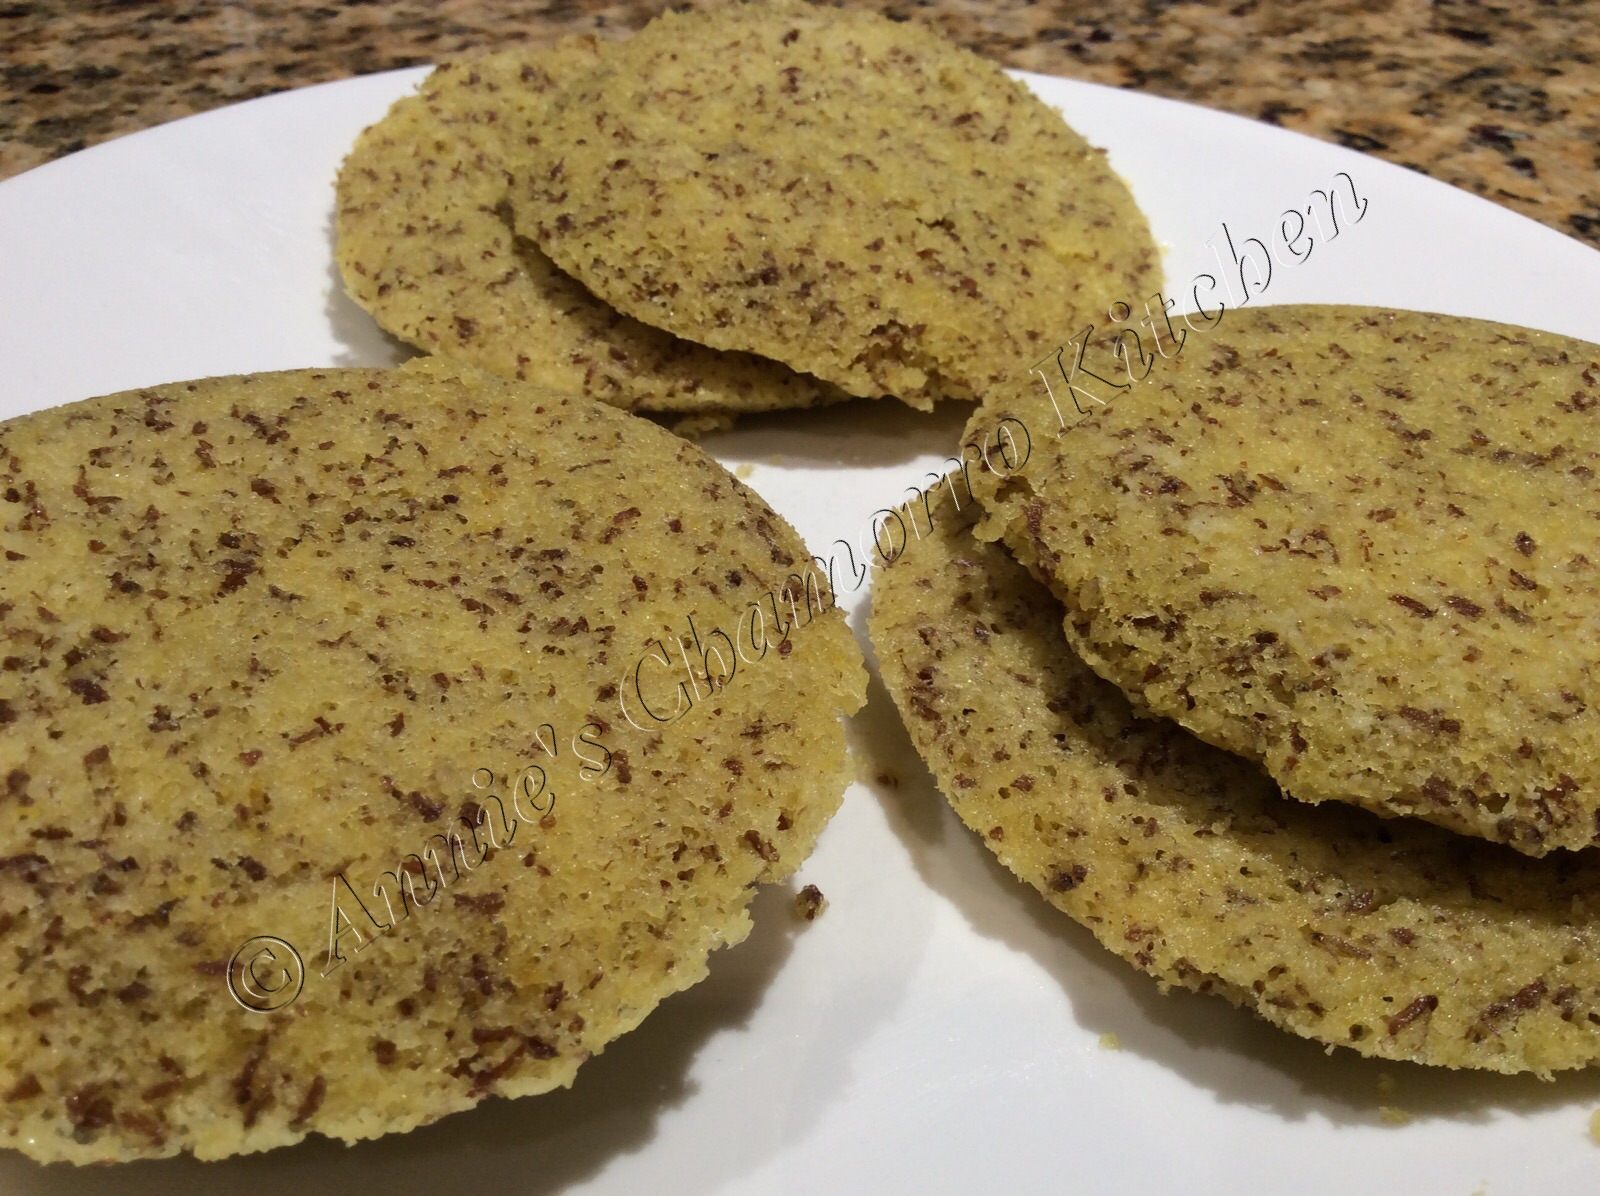
Sticky toffee pudding is a deliciously decadent dessert.  This is really more of a cake than what you’re probably envisioning as a creamy pudding.

“Pudding” has origins as an English food, with “pudding” referring to either sweet or savory dishes that are steamed or boiled.  Sticky Toffee Pudding is neither steamed nor boiled, however, but rather it is baked in a water bath.

image

Don’t let the water bath baking deter you from making this wonderful dessert.  As incredible as it tastes, it is also incredibly easy to make (you can find my complete recipe at the bottom of this post).

image

Chances are you have most of the ingredients on hand already — flour, eggs, brown sugar, butter, baking soda, salt, eggs, and vanilla extract.  The only ingredient you most likely need to purchase are whole pitted dates.

You don’t need to buy exotic, expensive dates for this recipe.  The most common type of dates you see in most grocery stores are from California.  This is the type of dates I use.  You can use dried dates for this recipe, but if you can find them, use moist, undried dates.  A 10-ounce bag of dates is the perfect amount for this recipe (or about 1 1/2 cups of chopped dates).

image

If dried dates are all you can find, don’t worry, you can still use those.  To rehydrate them, place the dried dates in a bowl and cover it completely with boiling water.  Let the dates sit in the hot water for 15-20 minutes until they plump up; drain the water once rehydrated.  For added flavor, cover the dried dates with rum or your favorite liquor (brandy is good too) instead of boiling water.  Heat the liquor for about 90 seconds in the microwave then pour the hot liquid over the dried dates.

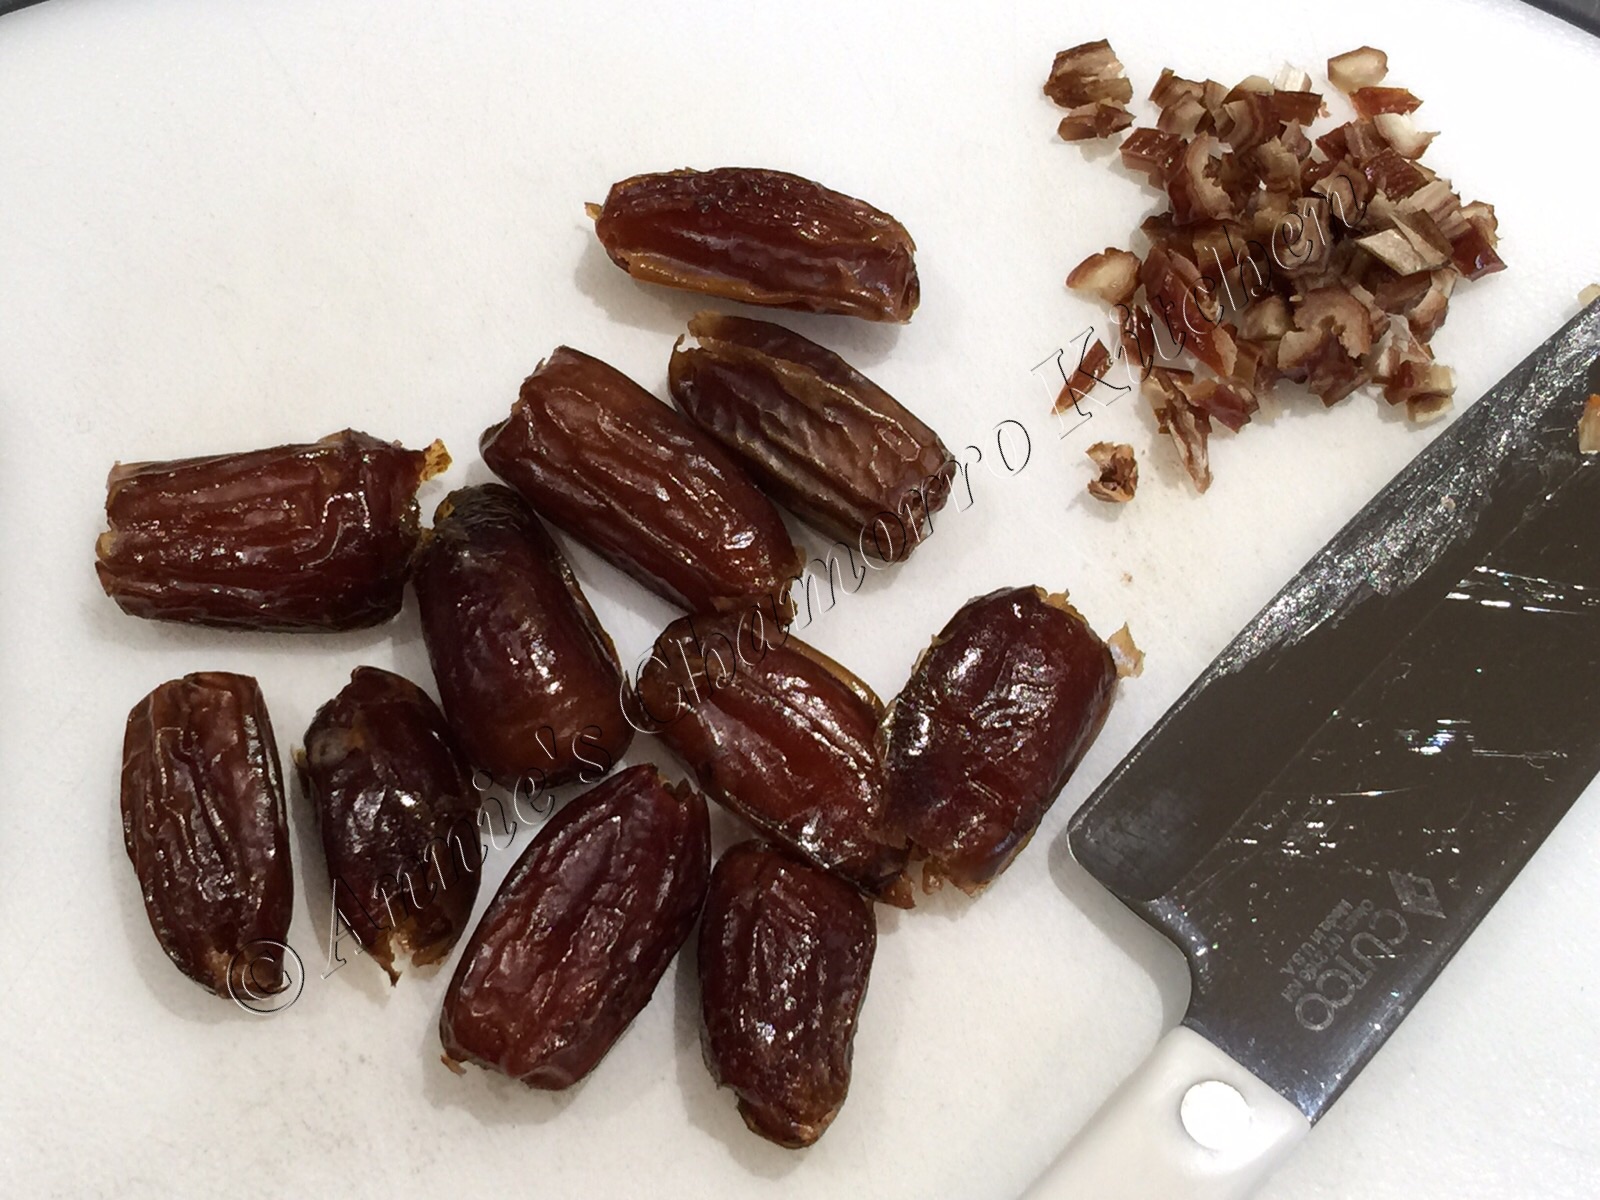
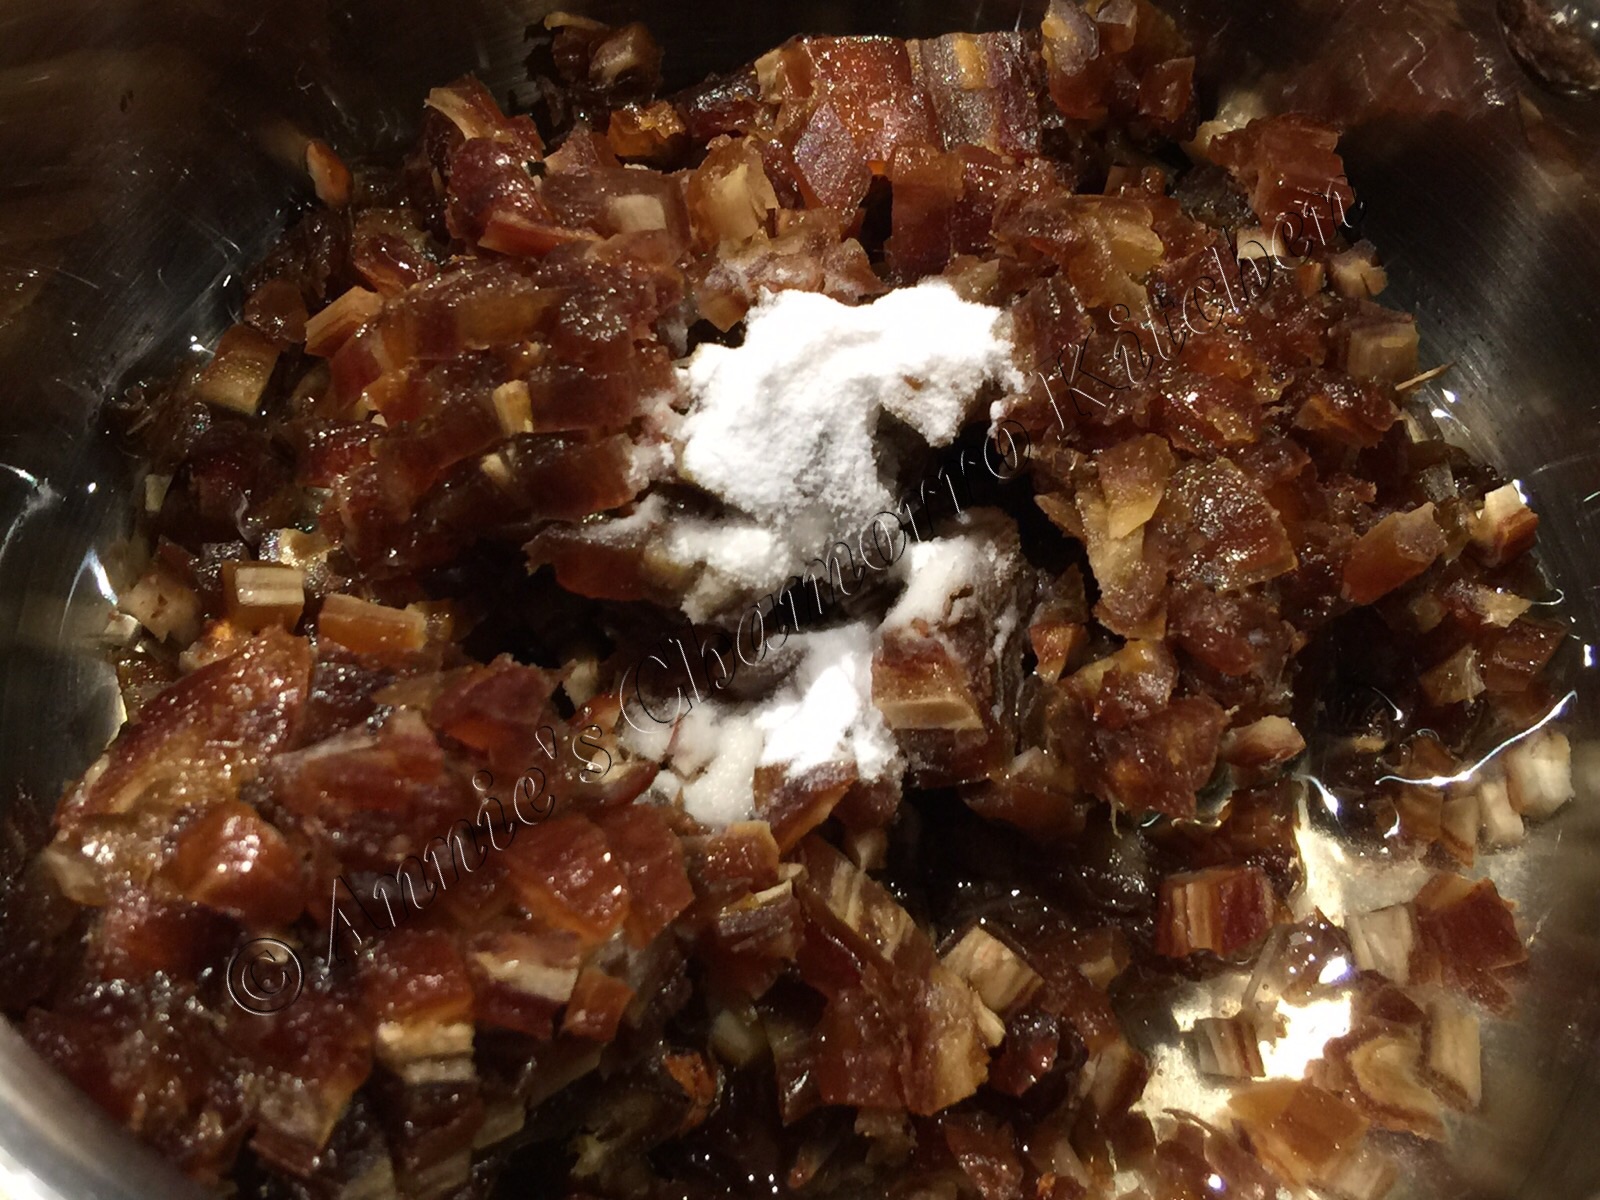
Chop the dates into small pieces.  You don’t have to cut them too small; I actually like the little bit of chewiness in the cake that you get with larger pieces.

image

Place the chopped dates into a small pot, along with a bit of water and baking soda.  If you soaked dried dates in some type of liquor, save a half cup of the soaking liquid and discard the rest; place the soaking liquid/liquor into the pot instead of water (see my recipe below).

image

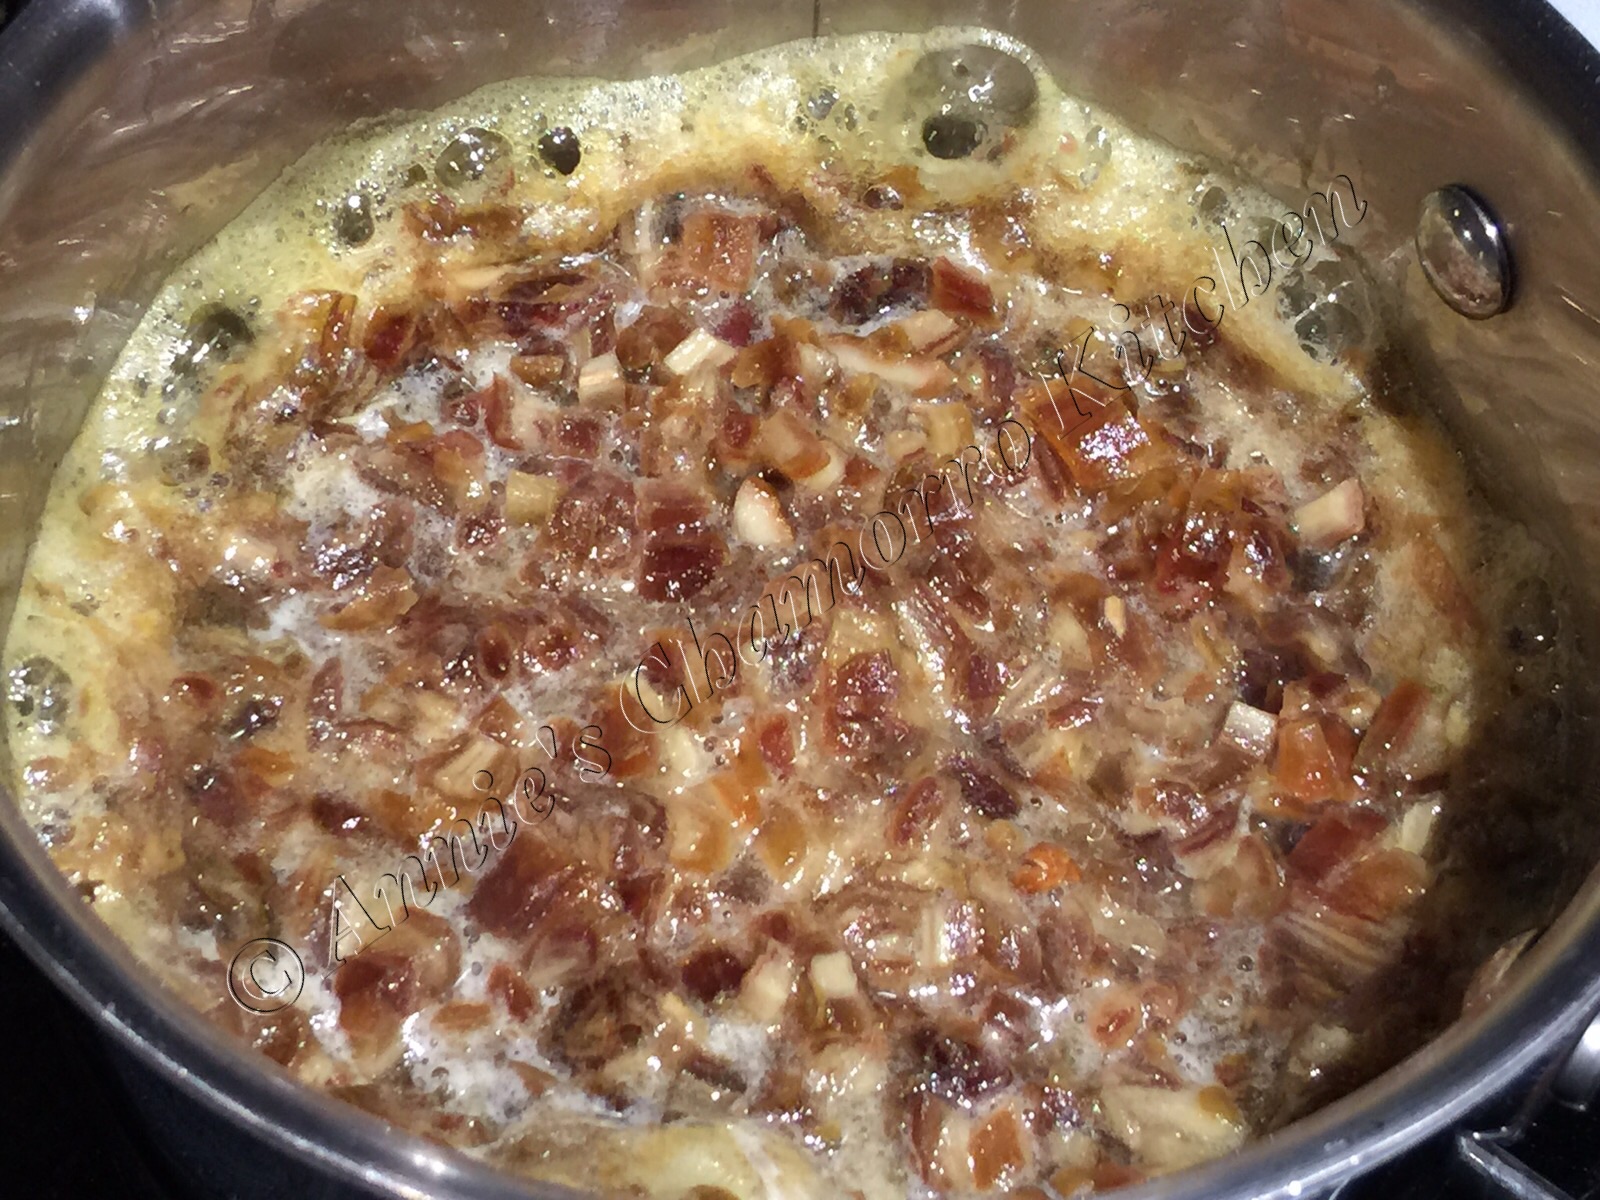
Bring the mixture to a boil over medium high heat.  Turn the heat off once the mixture begins to boil. Leave the dates in the pot to cool. If using dried dates, this step also helps to fully rehydrate them.

image

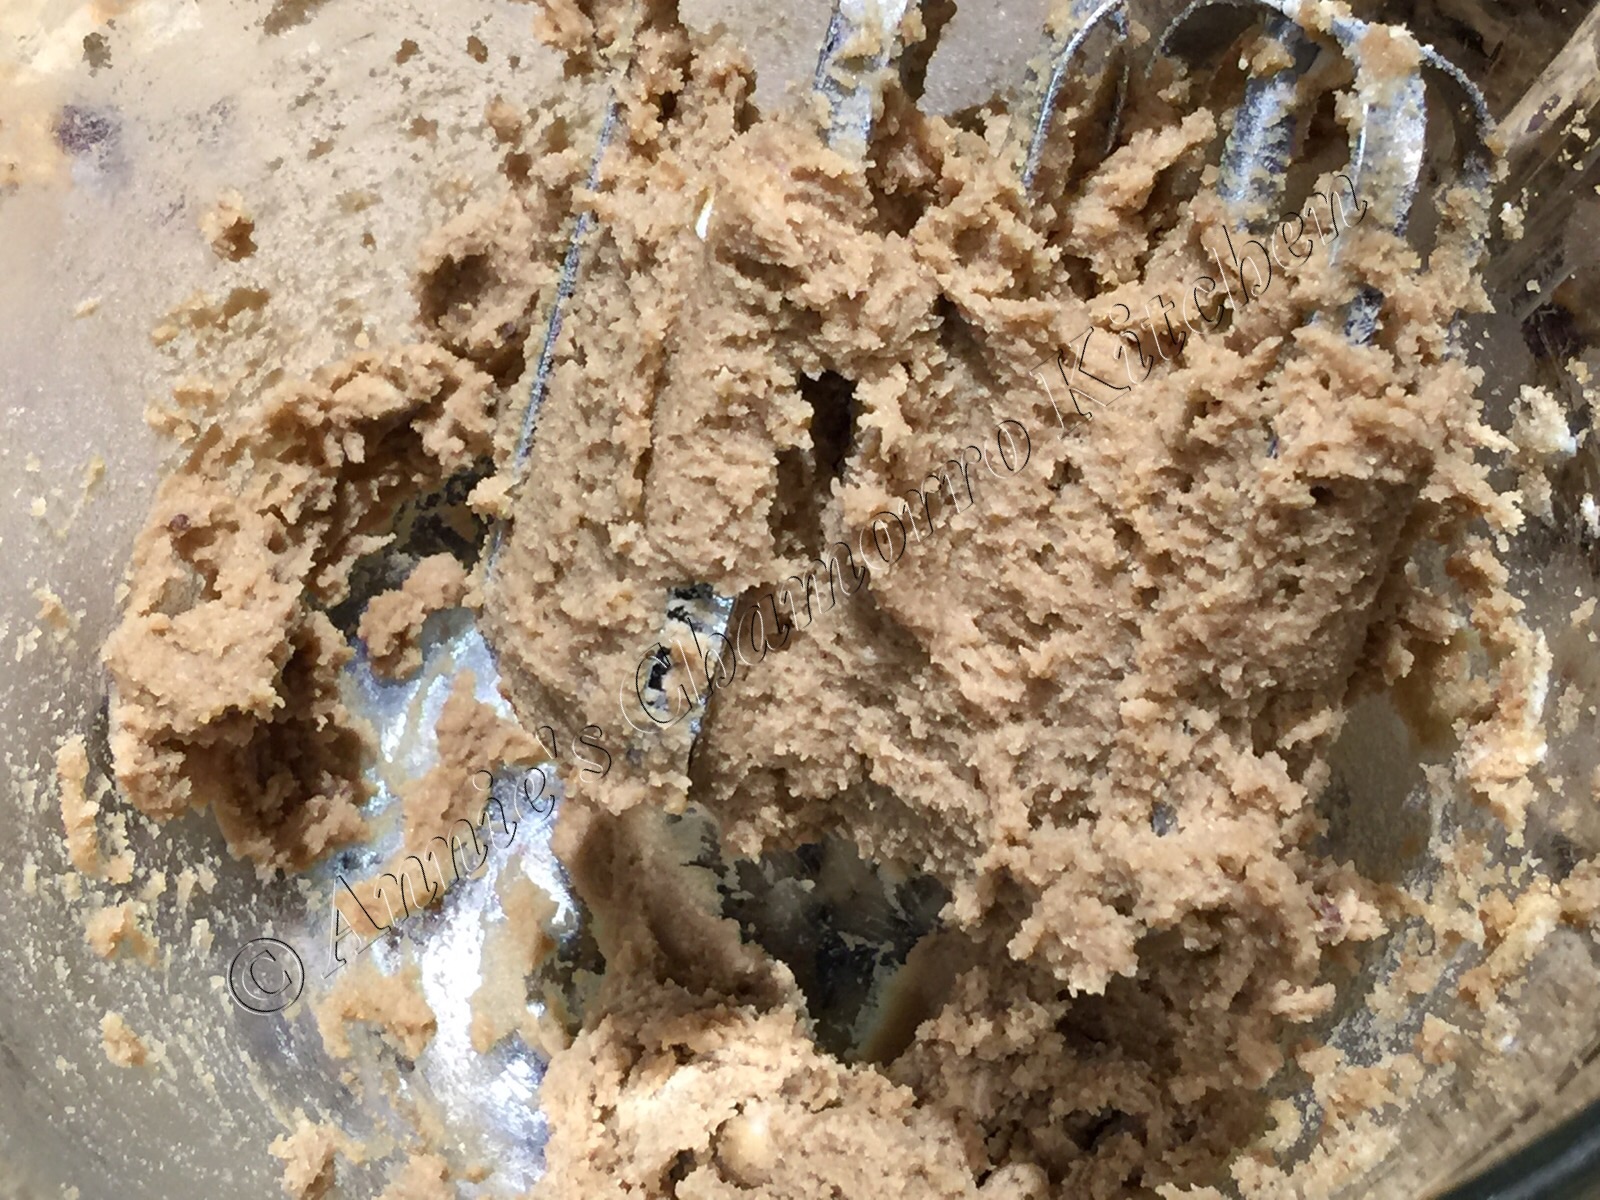
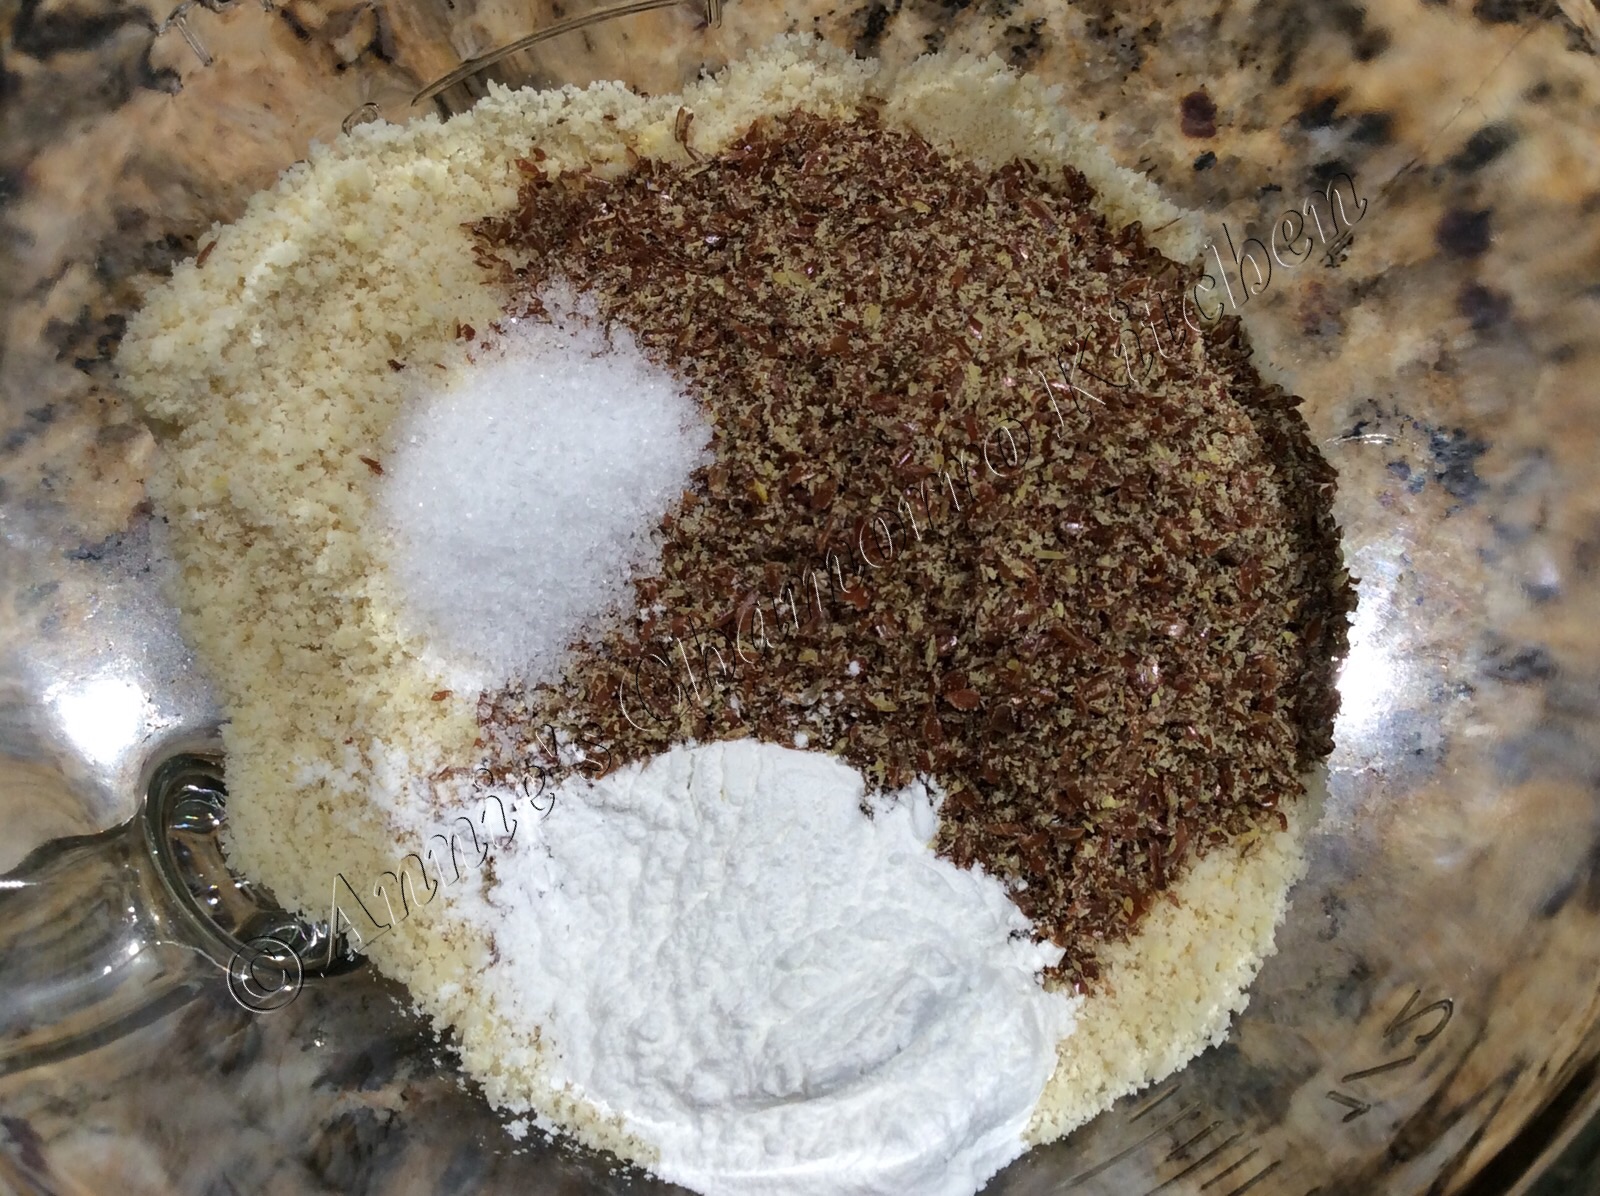
While the dates cool, prepare the cake batter.  First off, preheat your oven to 350 degrees. Next, cream butter and brown sugar in a medium sized mixing bowl. You can use a hand-held mixer to do this.

image

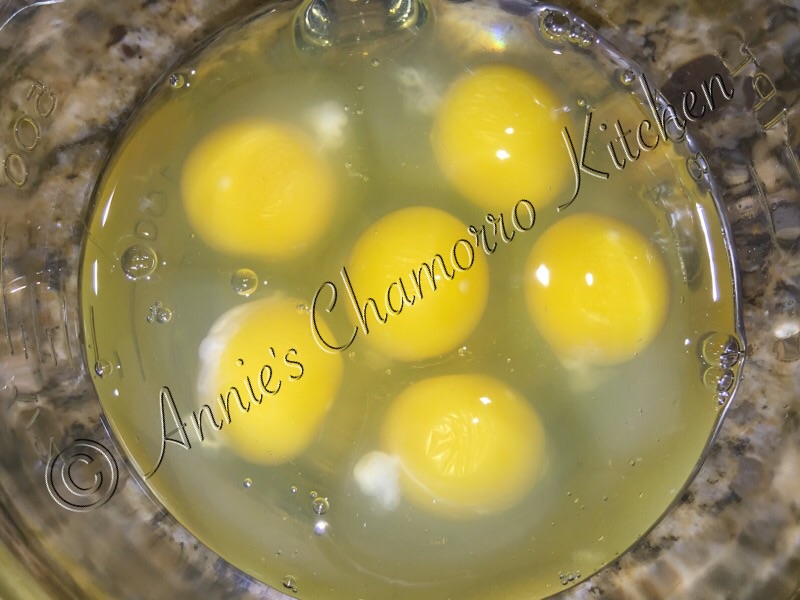
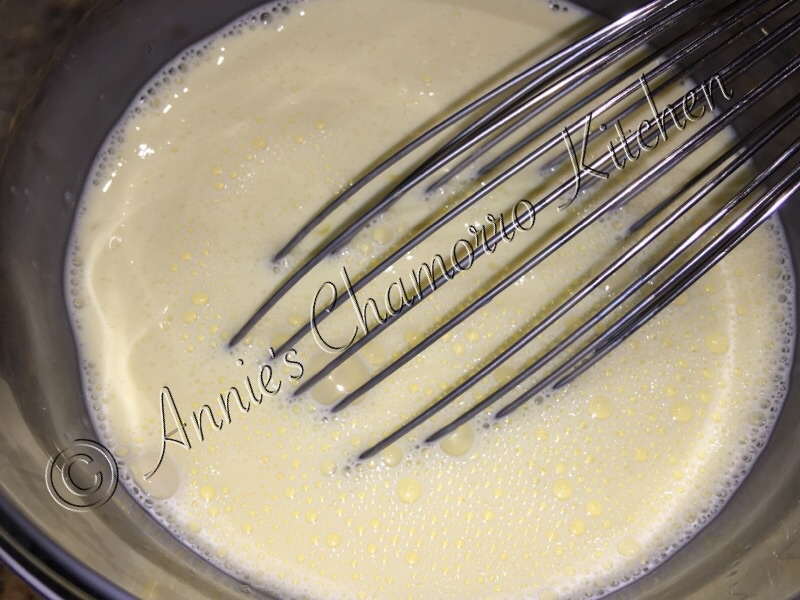
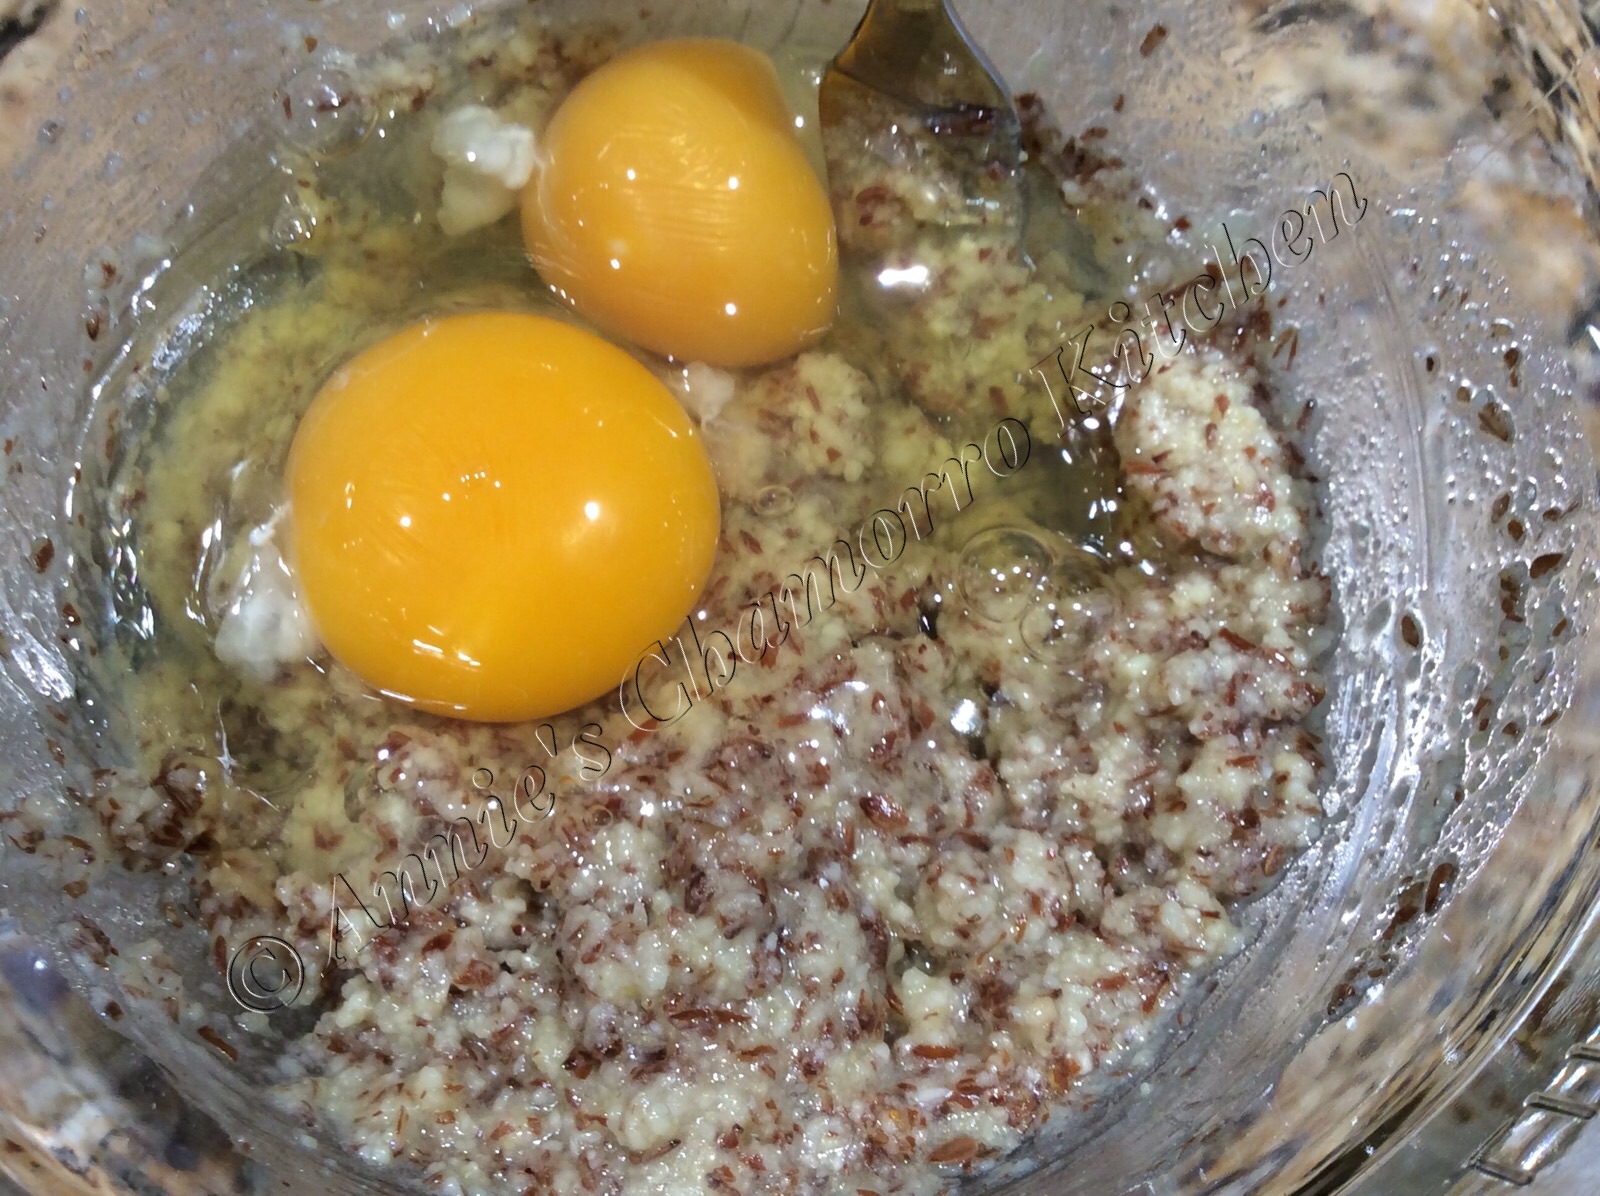
Add a couple of large eggs and a some vanilla extract to the bowl.
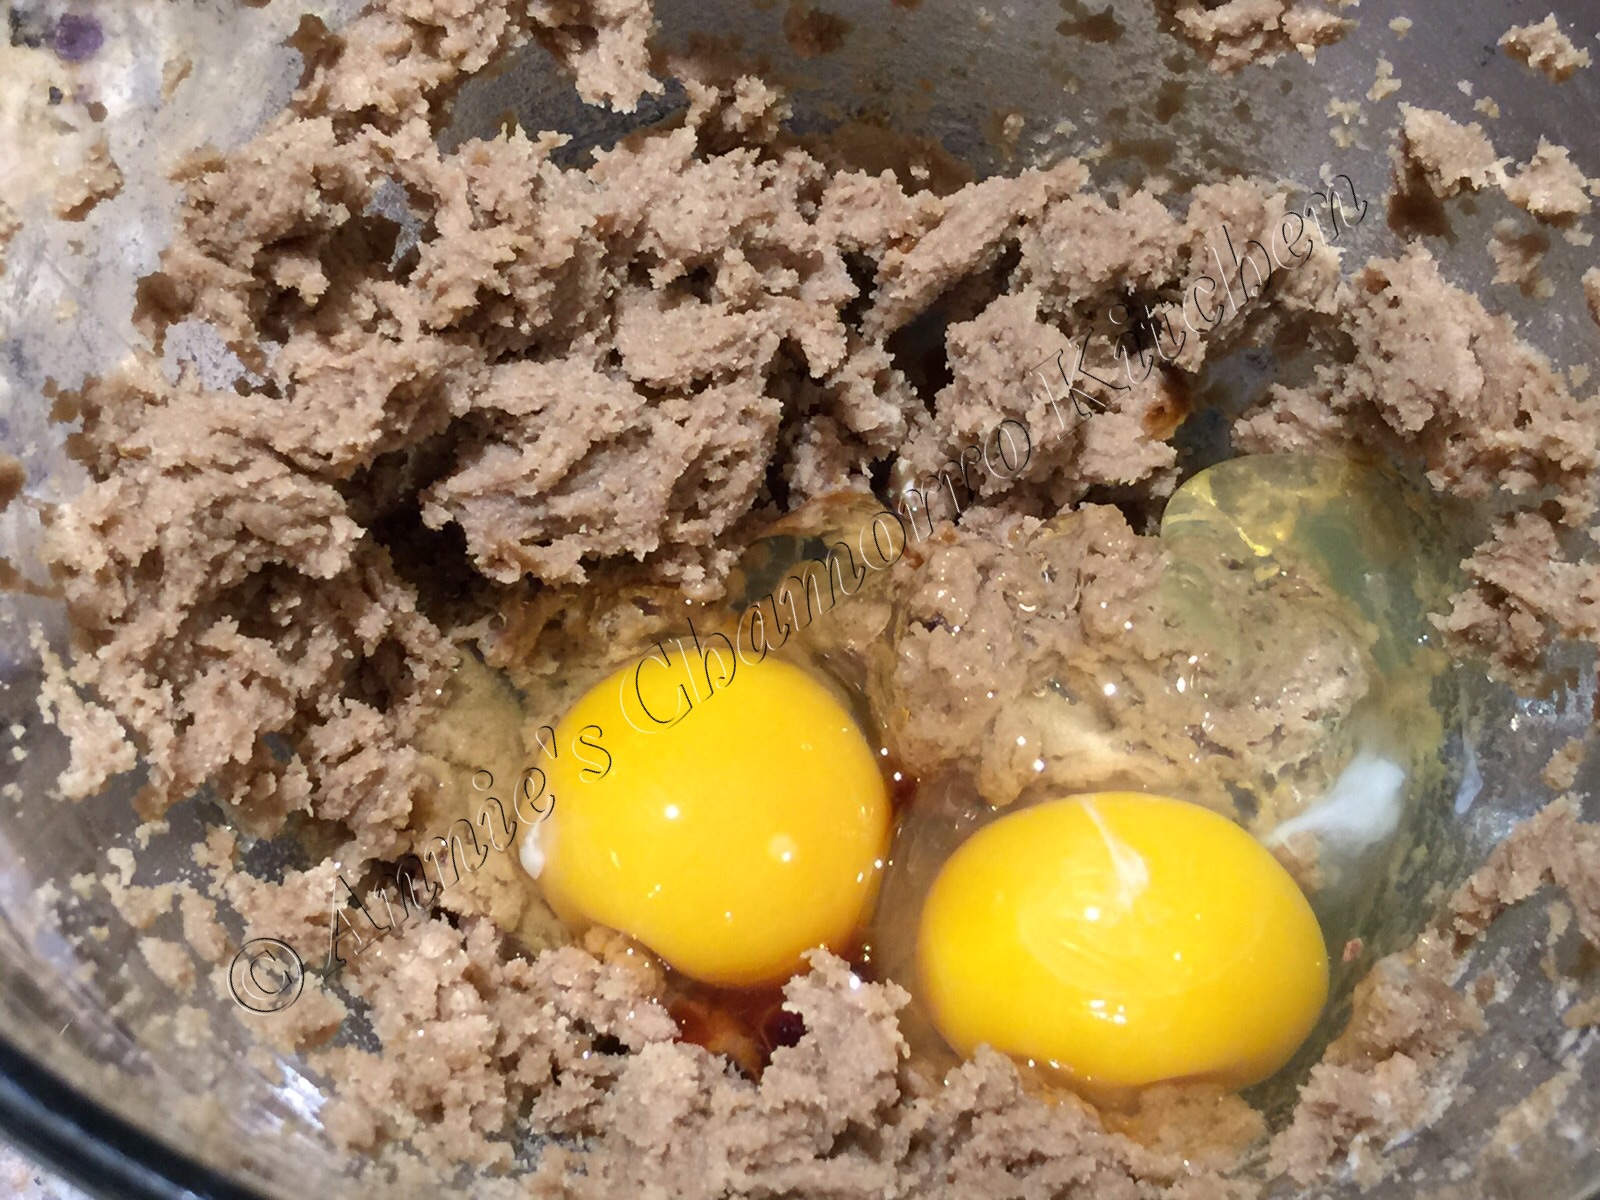
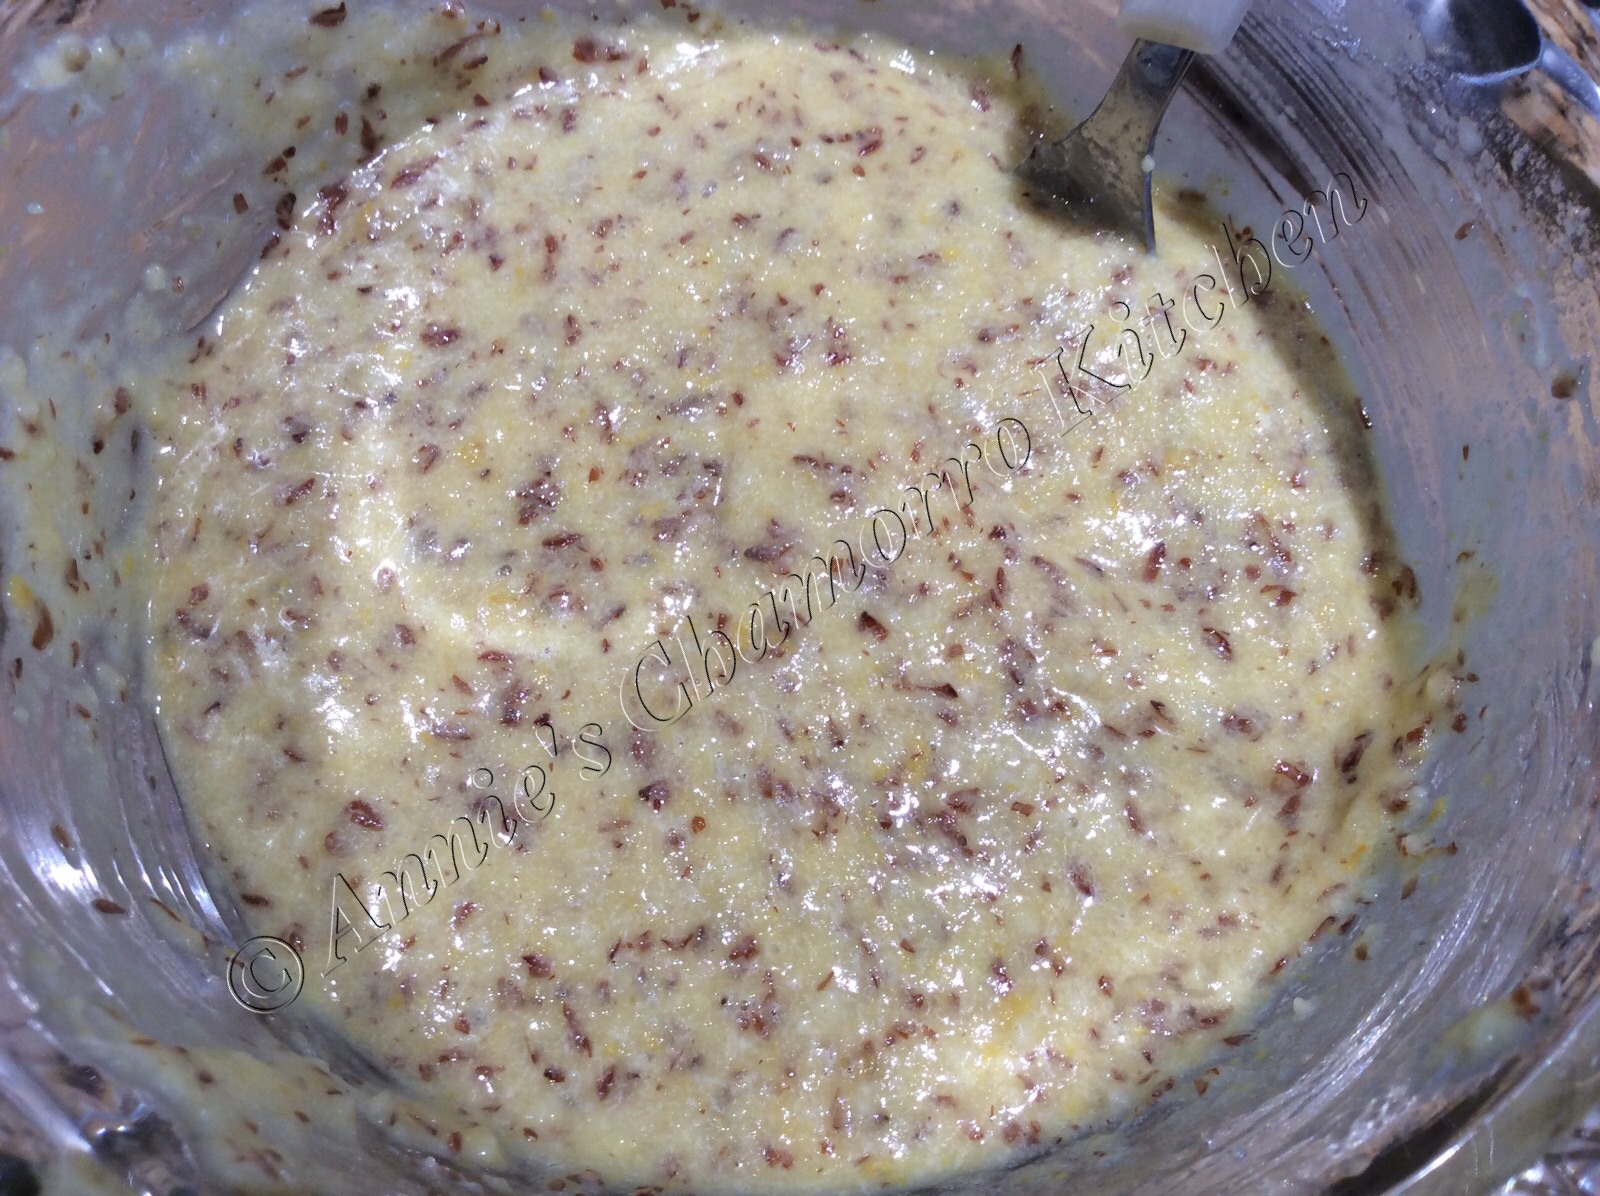
image

Mix until creamy.

image

Set aside the mixer now.  You don’t want to overmix this batter.  The rest of the mixing will be done using a large mixing spoon or spatula.

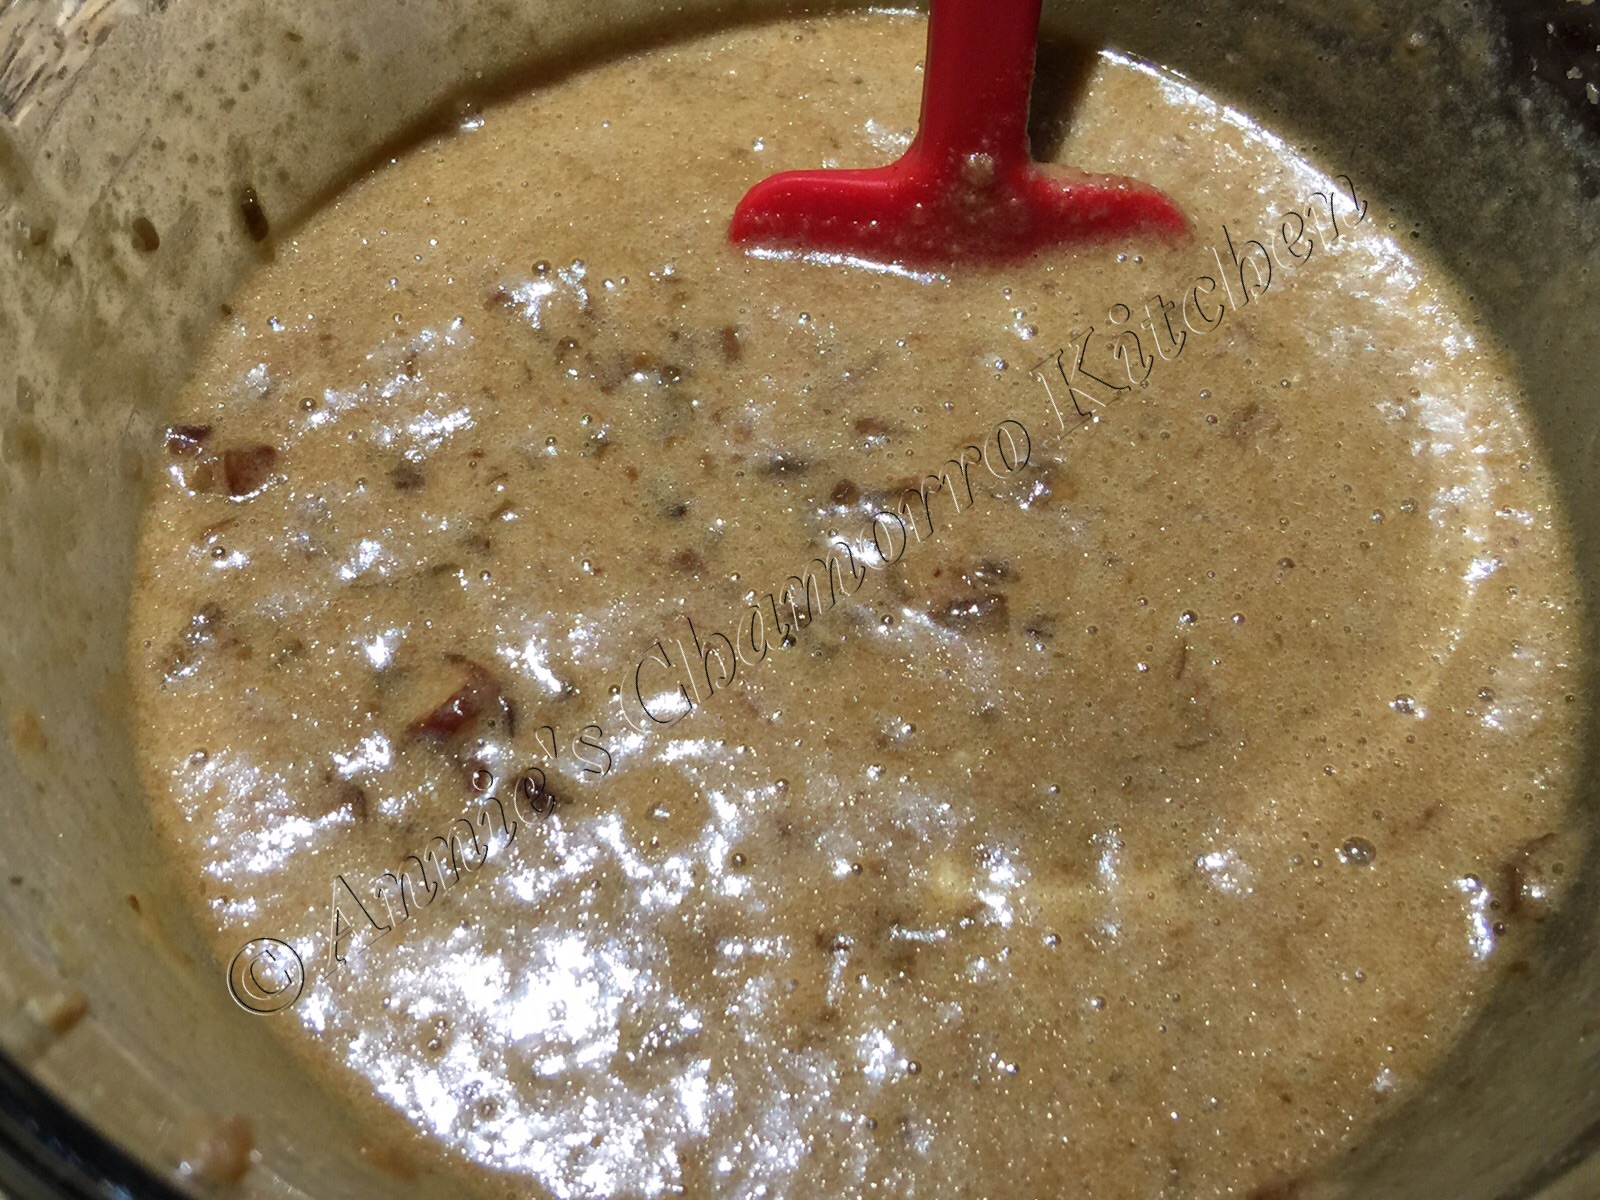
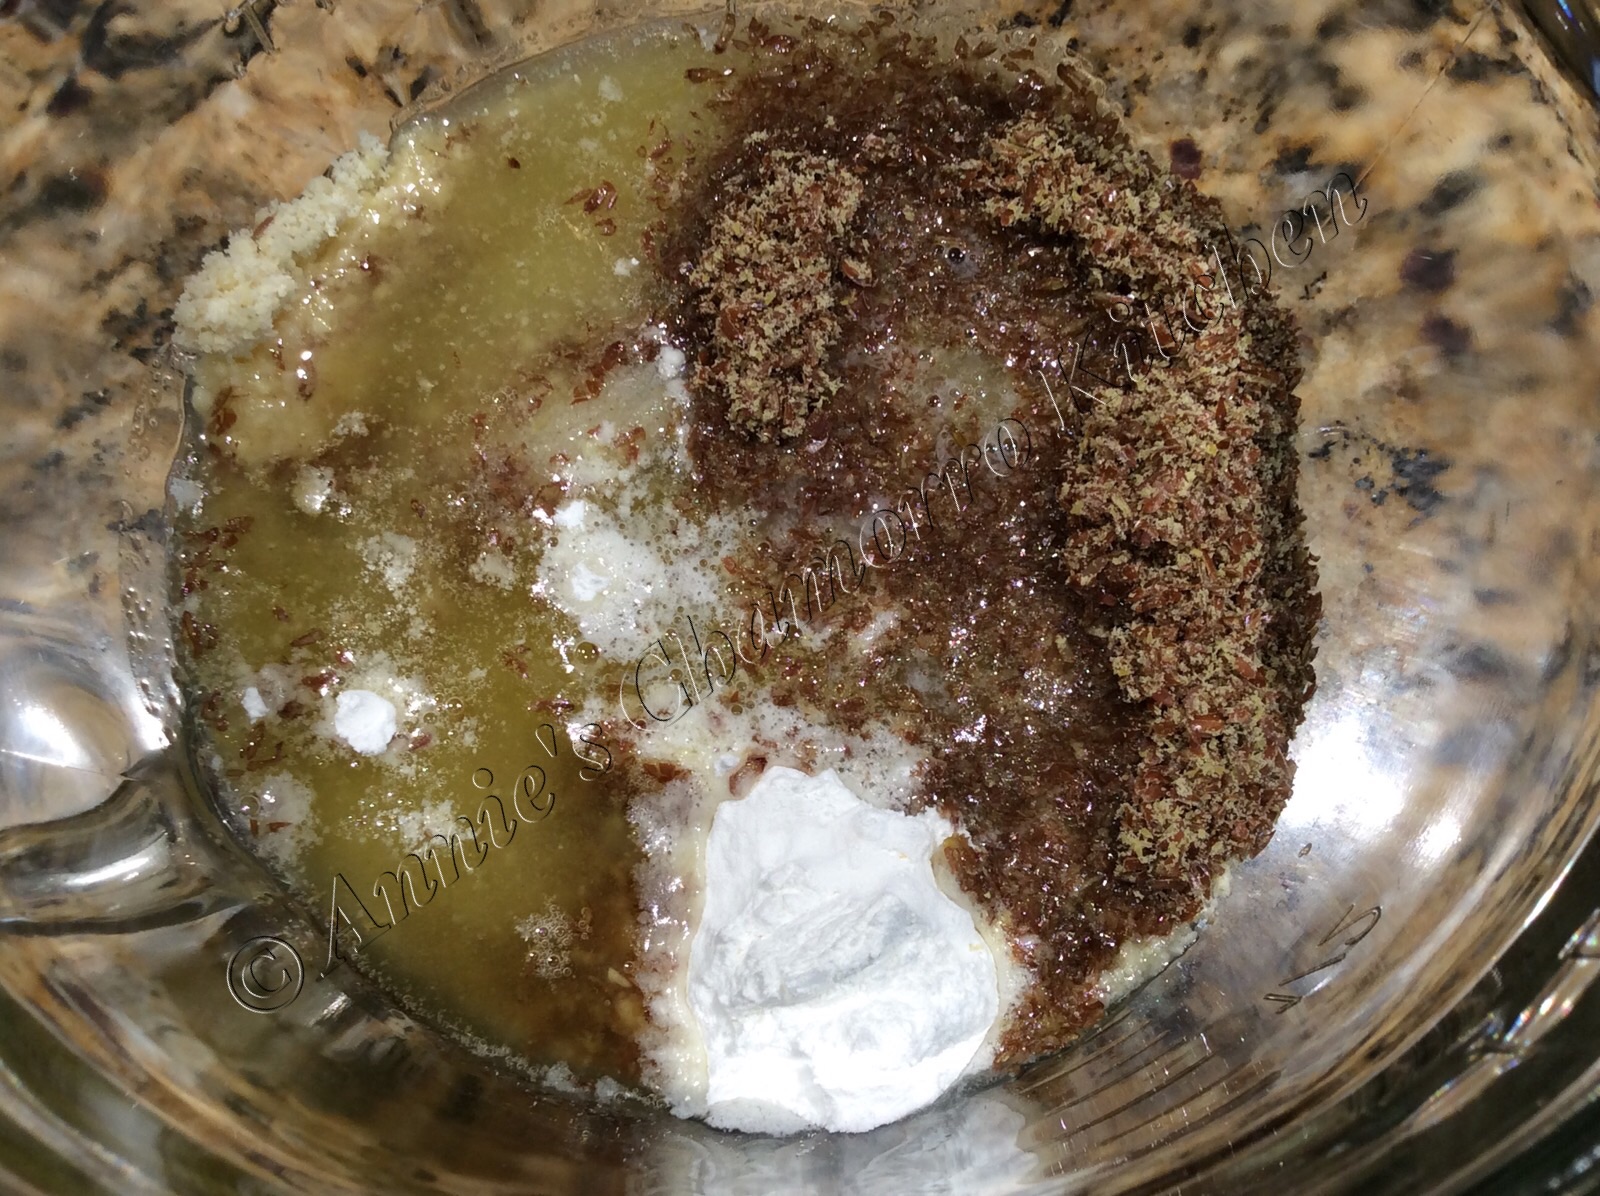
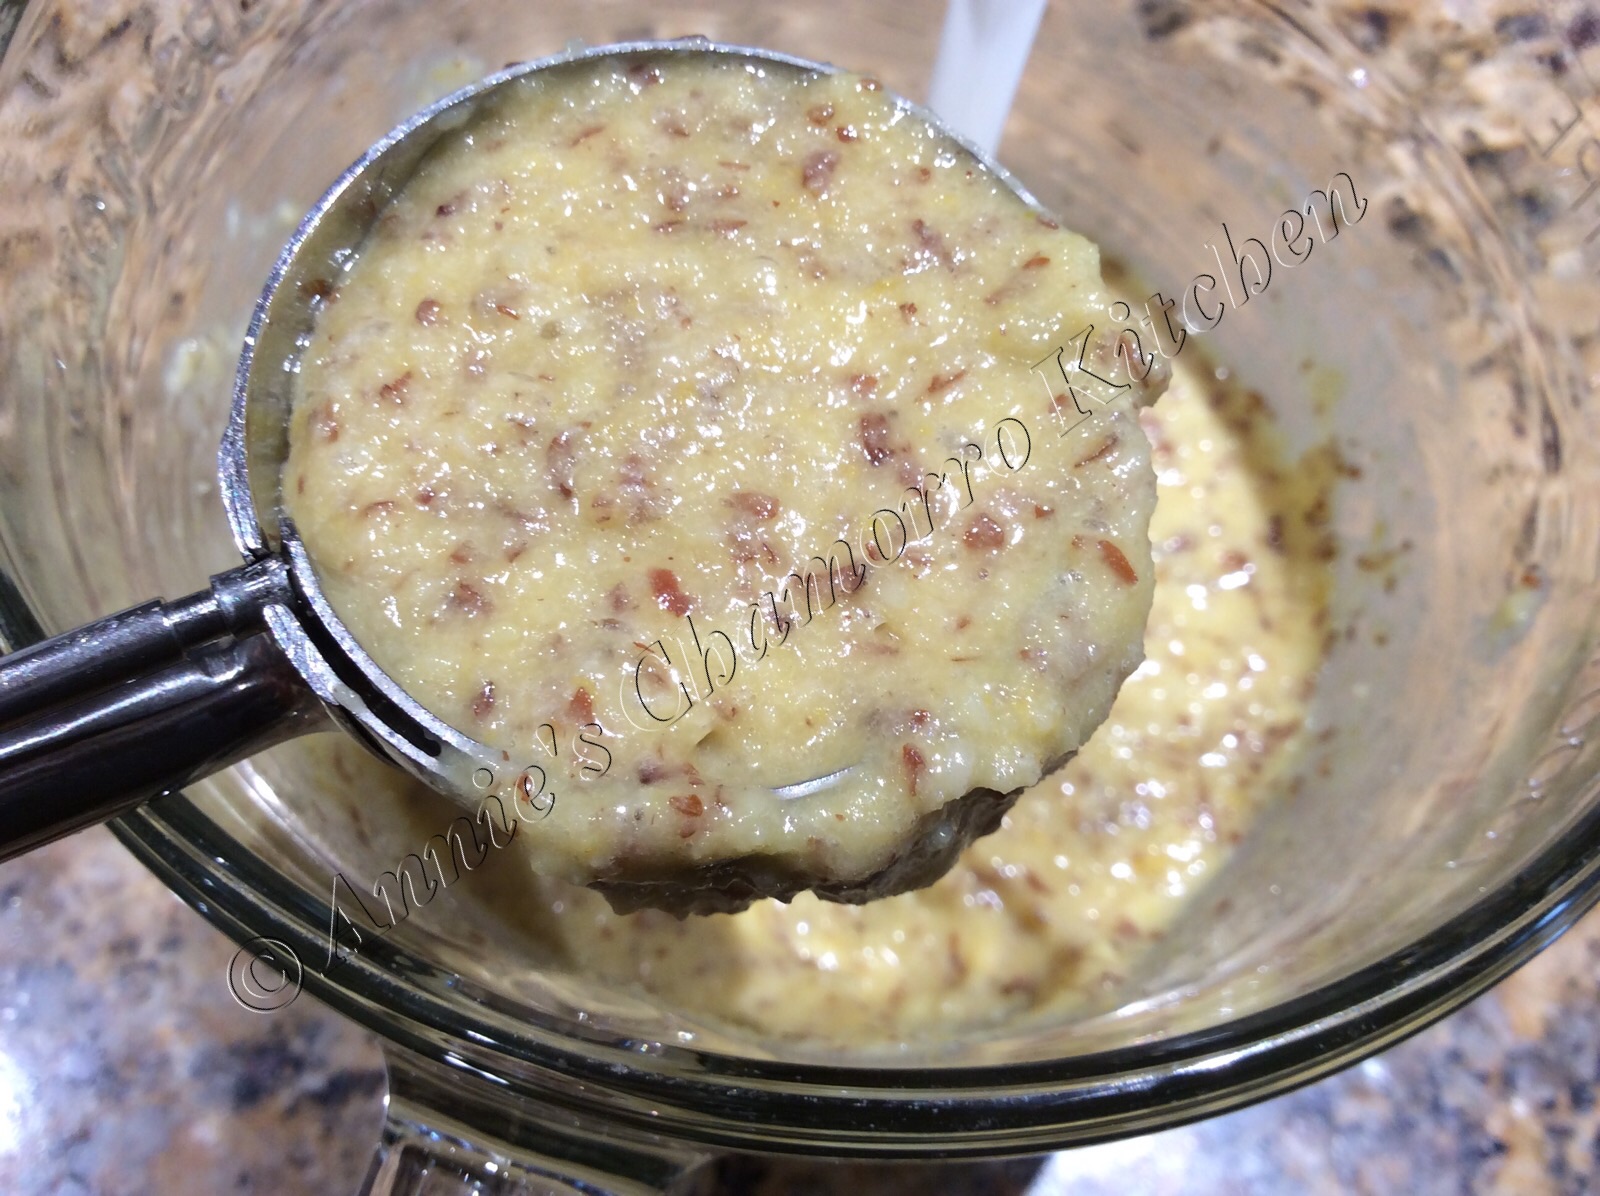
Add the cooled dates to the bowl (add all the liquid in the pot as well).

image

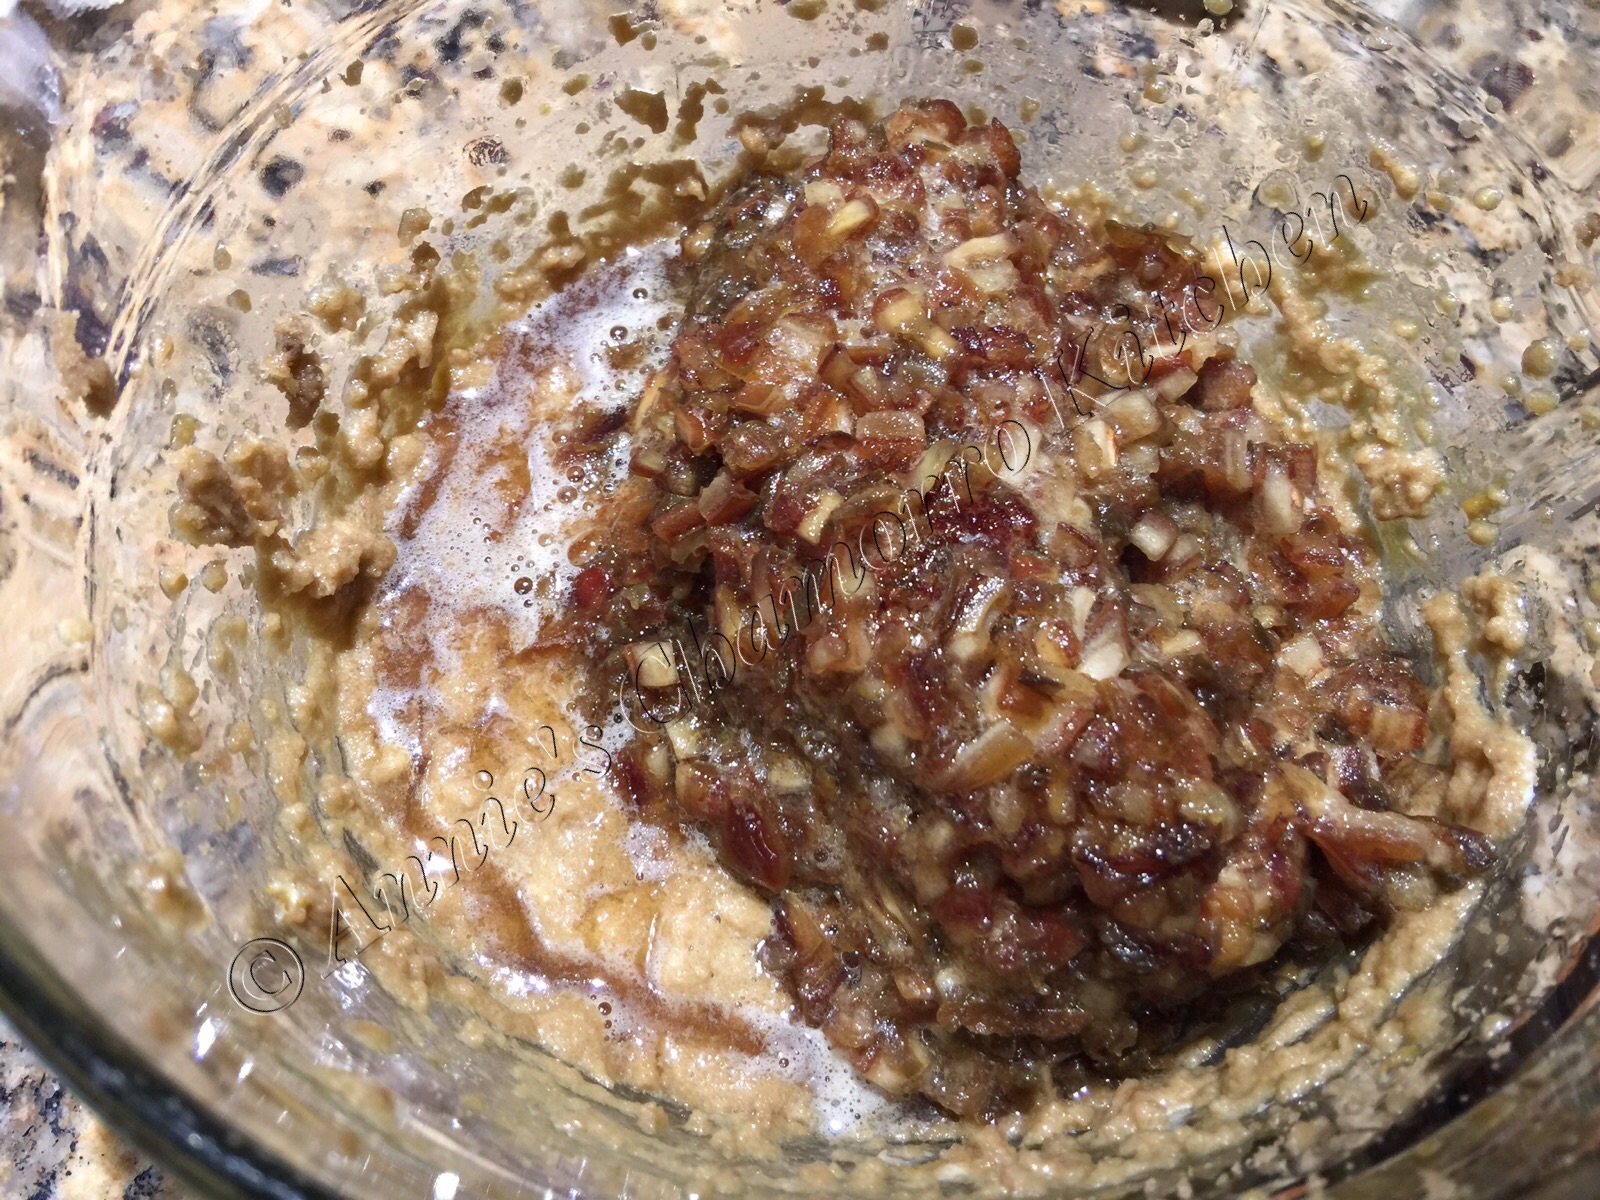
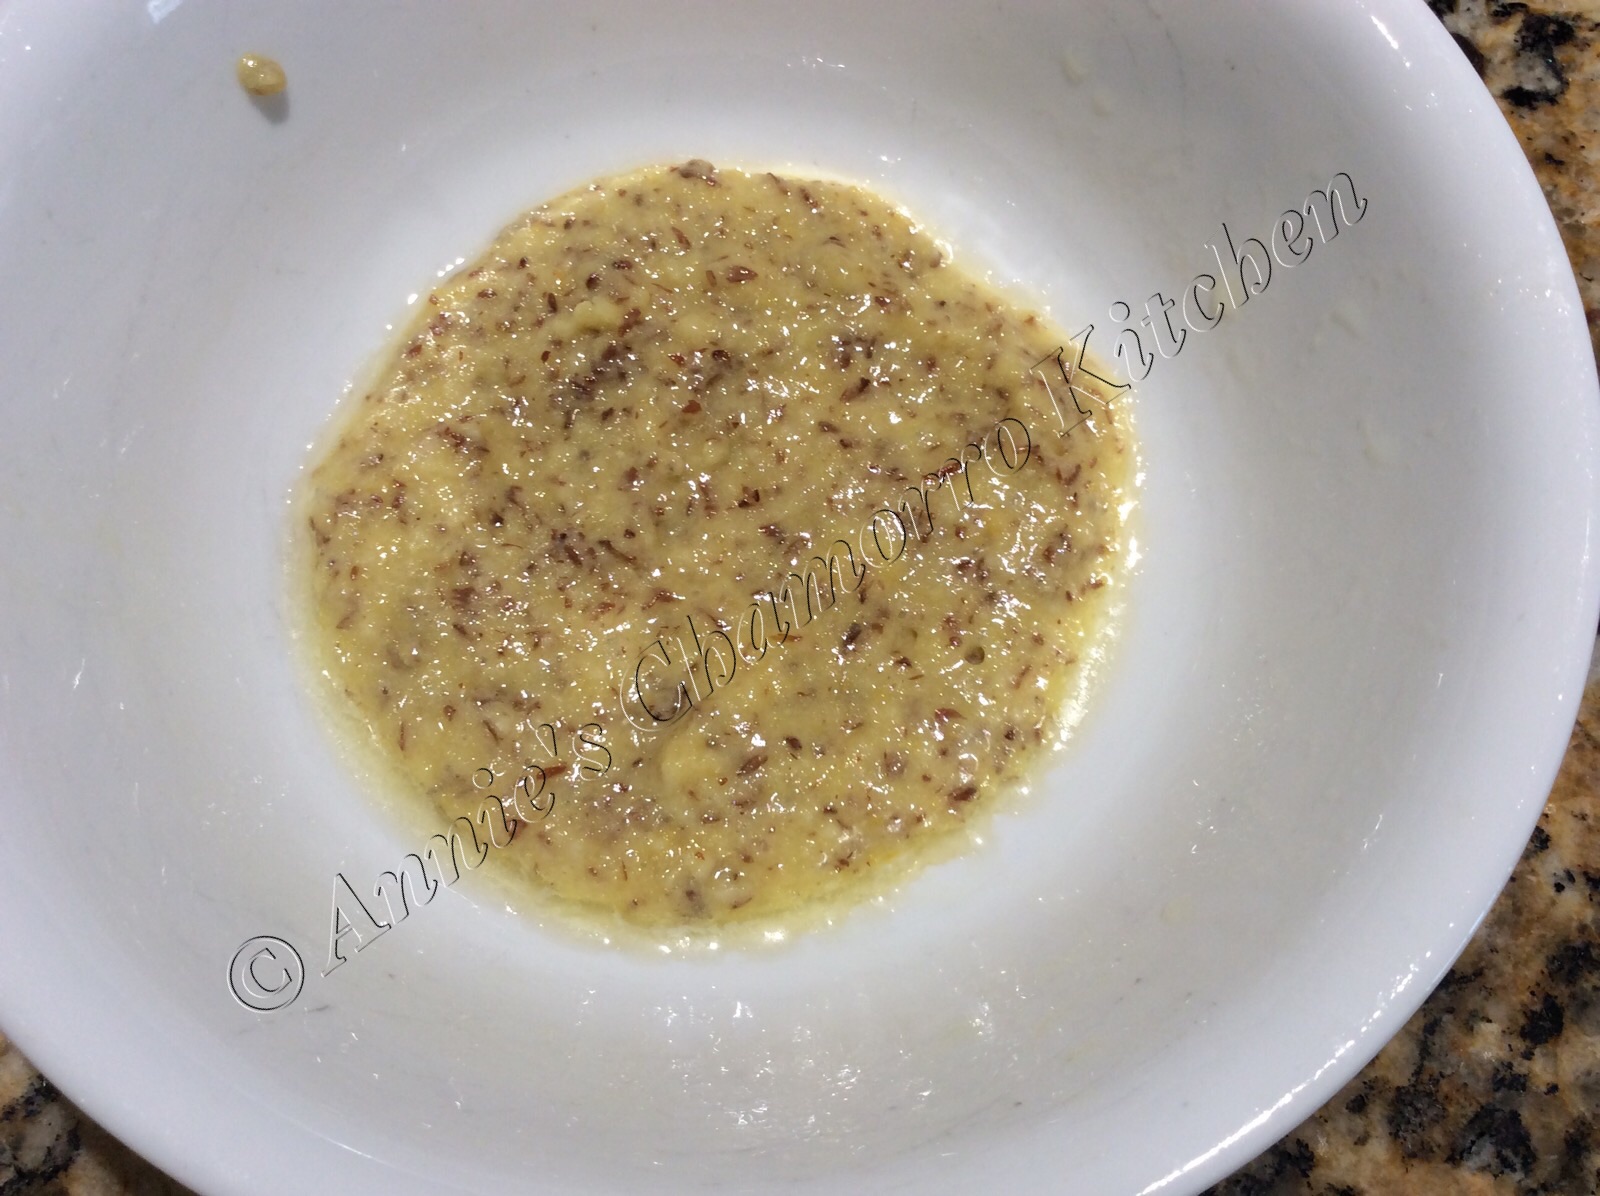
Stir gently, just until the dates are mixed into the batter.  The batter will be very thin at this point.

image

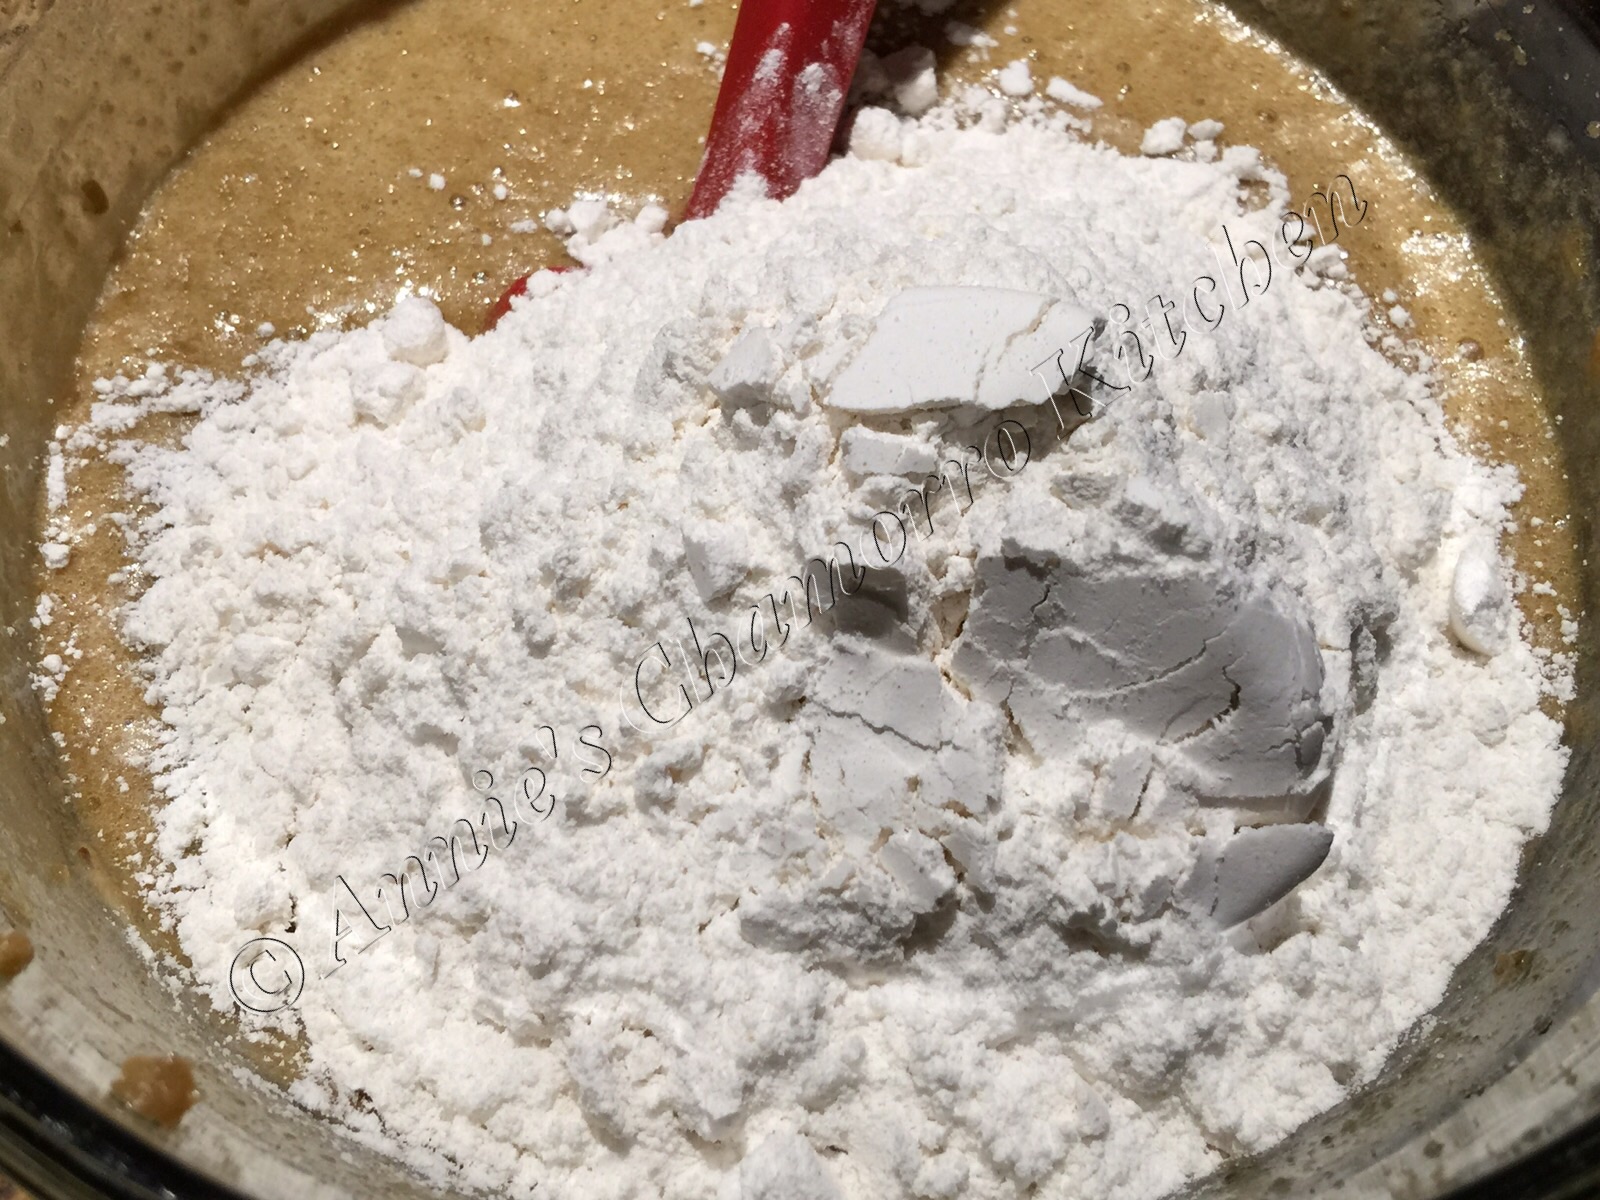
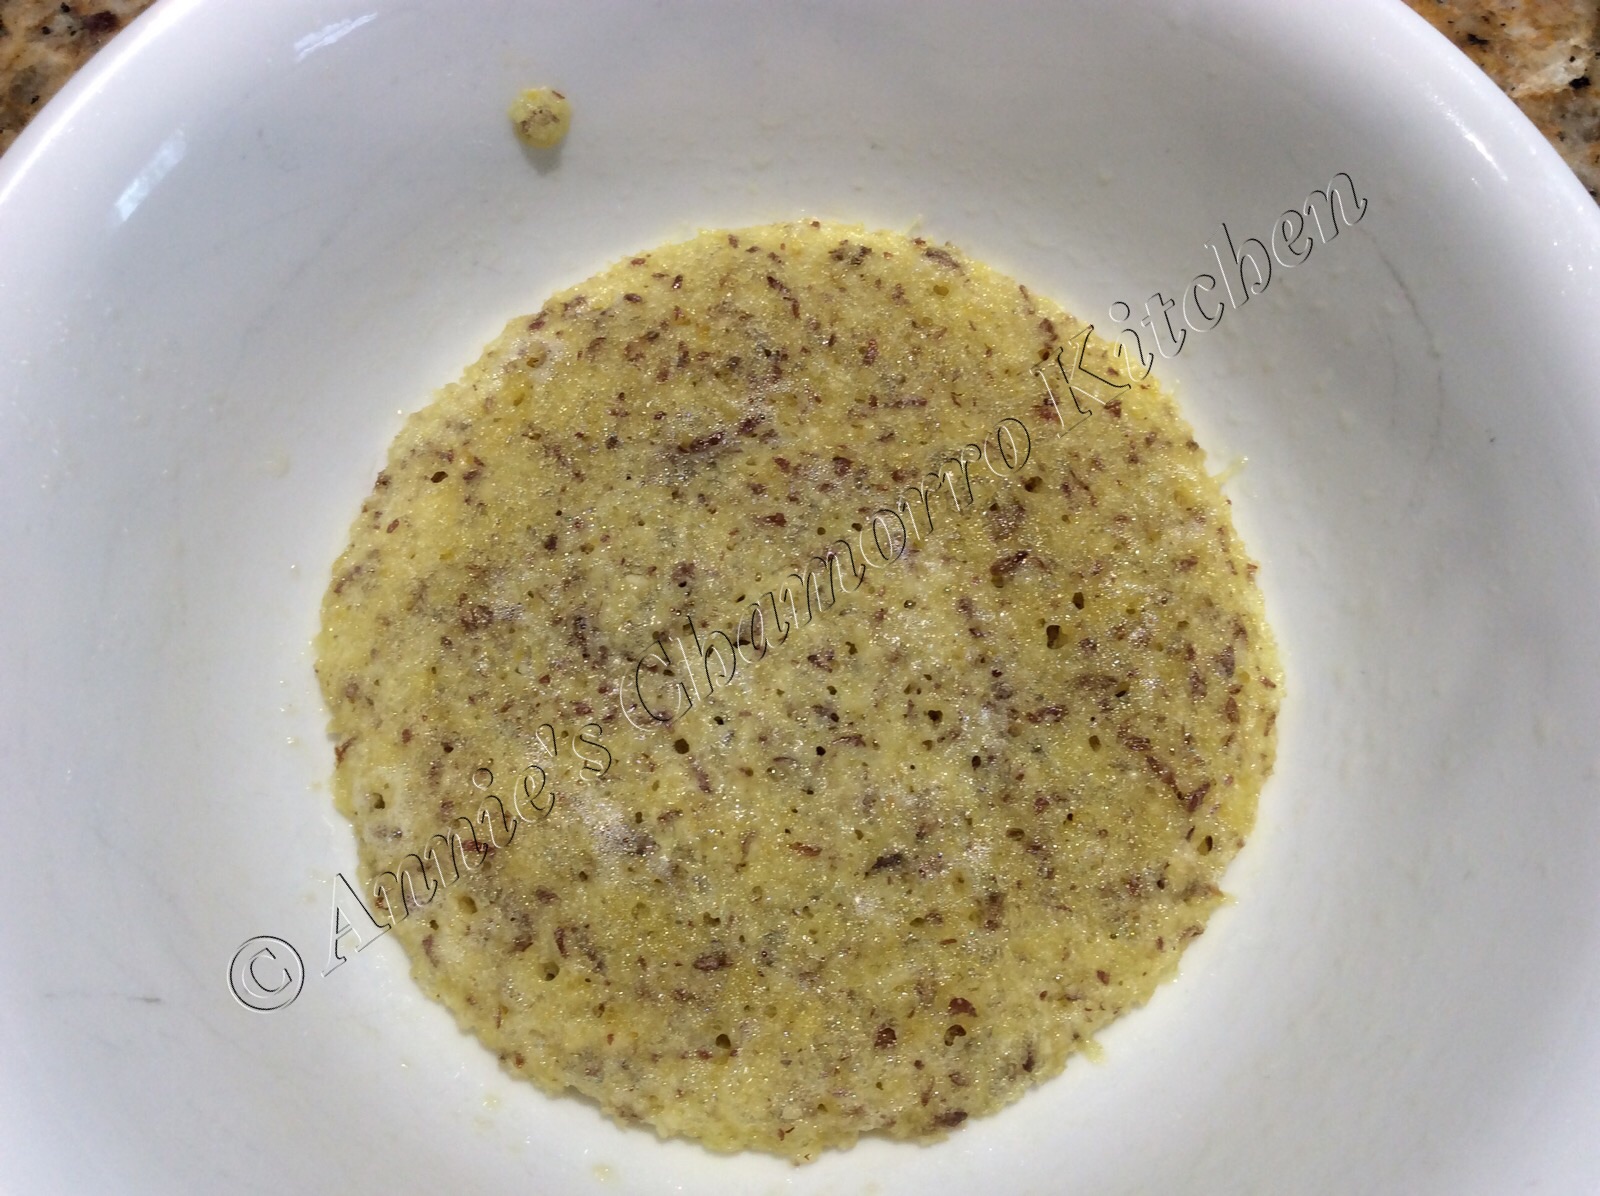
Place the flour and salt in a small bowl.  Use a whisk to mix the flour and salt together then add the mixture to the batter.  Fold the flour into the batter; stop once you incorporate the dry mixture with the wet.  Don’t overmix.

image

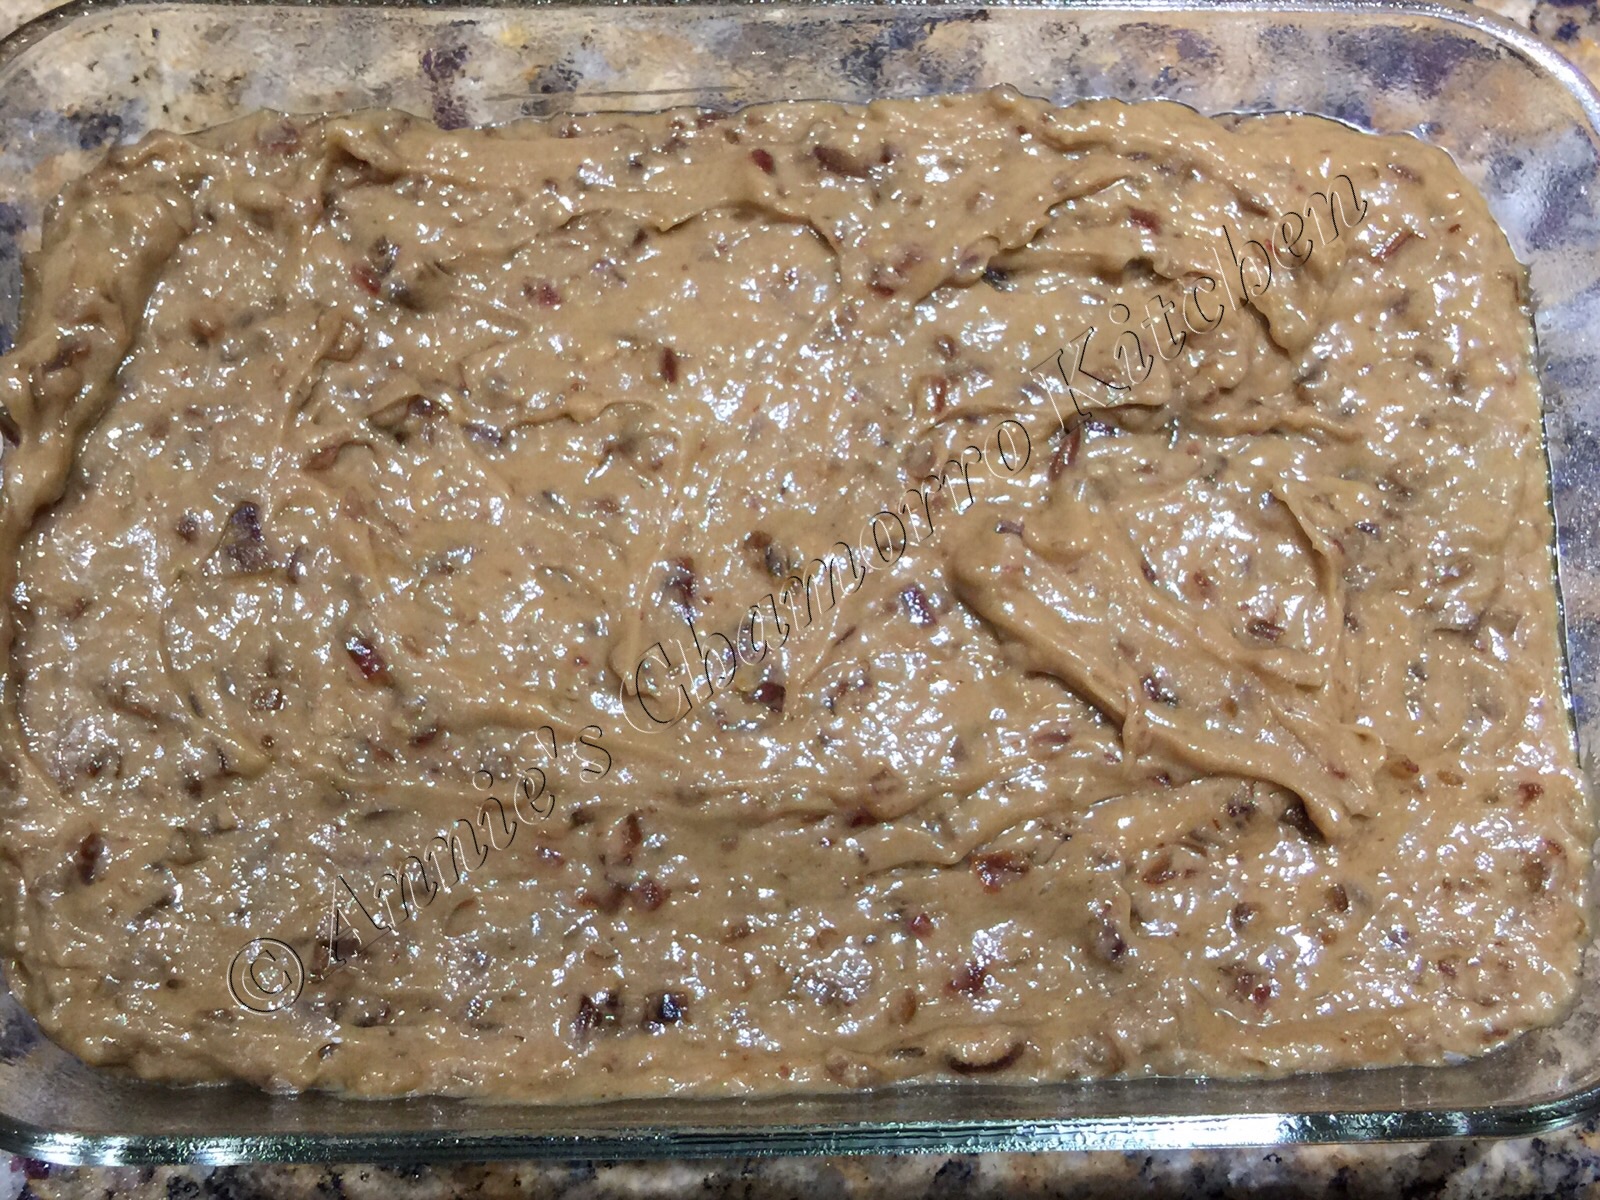
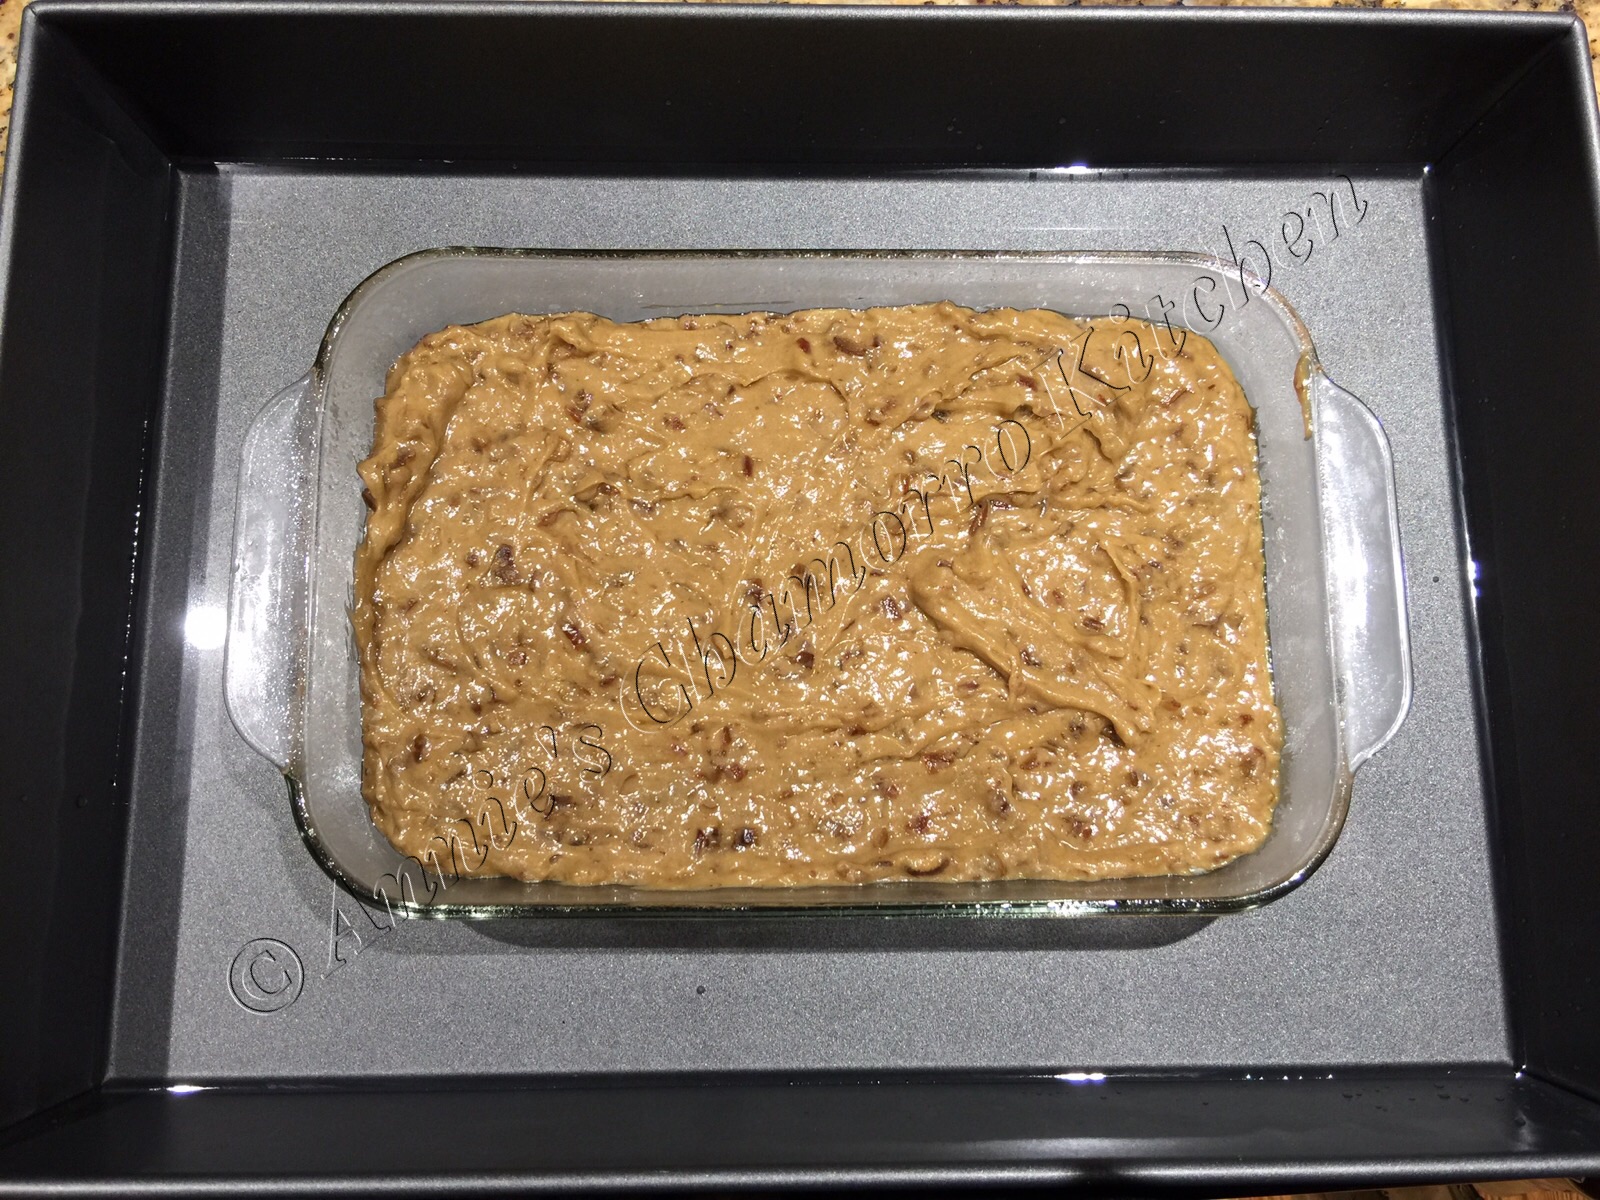
Spread the batter into a small baking dish (I use a 2-quart, 11×7″ rectangular baking pan).

image

Now this is important — place the cake pan in a water bath.

To create a water bath, place the cake pan into a large roasting pan.  Fill the roasting pan with hot water until it comes half-way up the side of the cake pan.

image

If you don’t have a large pan to create a water bath, don’t worry.  Instead, place another baking pan half-full of hot water beneath the cake as it bakes.  The purpose of the water bath is to create moisture in the oven as well as to create a milder heat source than the direct heat of the oven so that the “pudding” can cook without cracking on top.

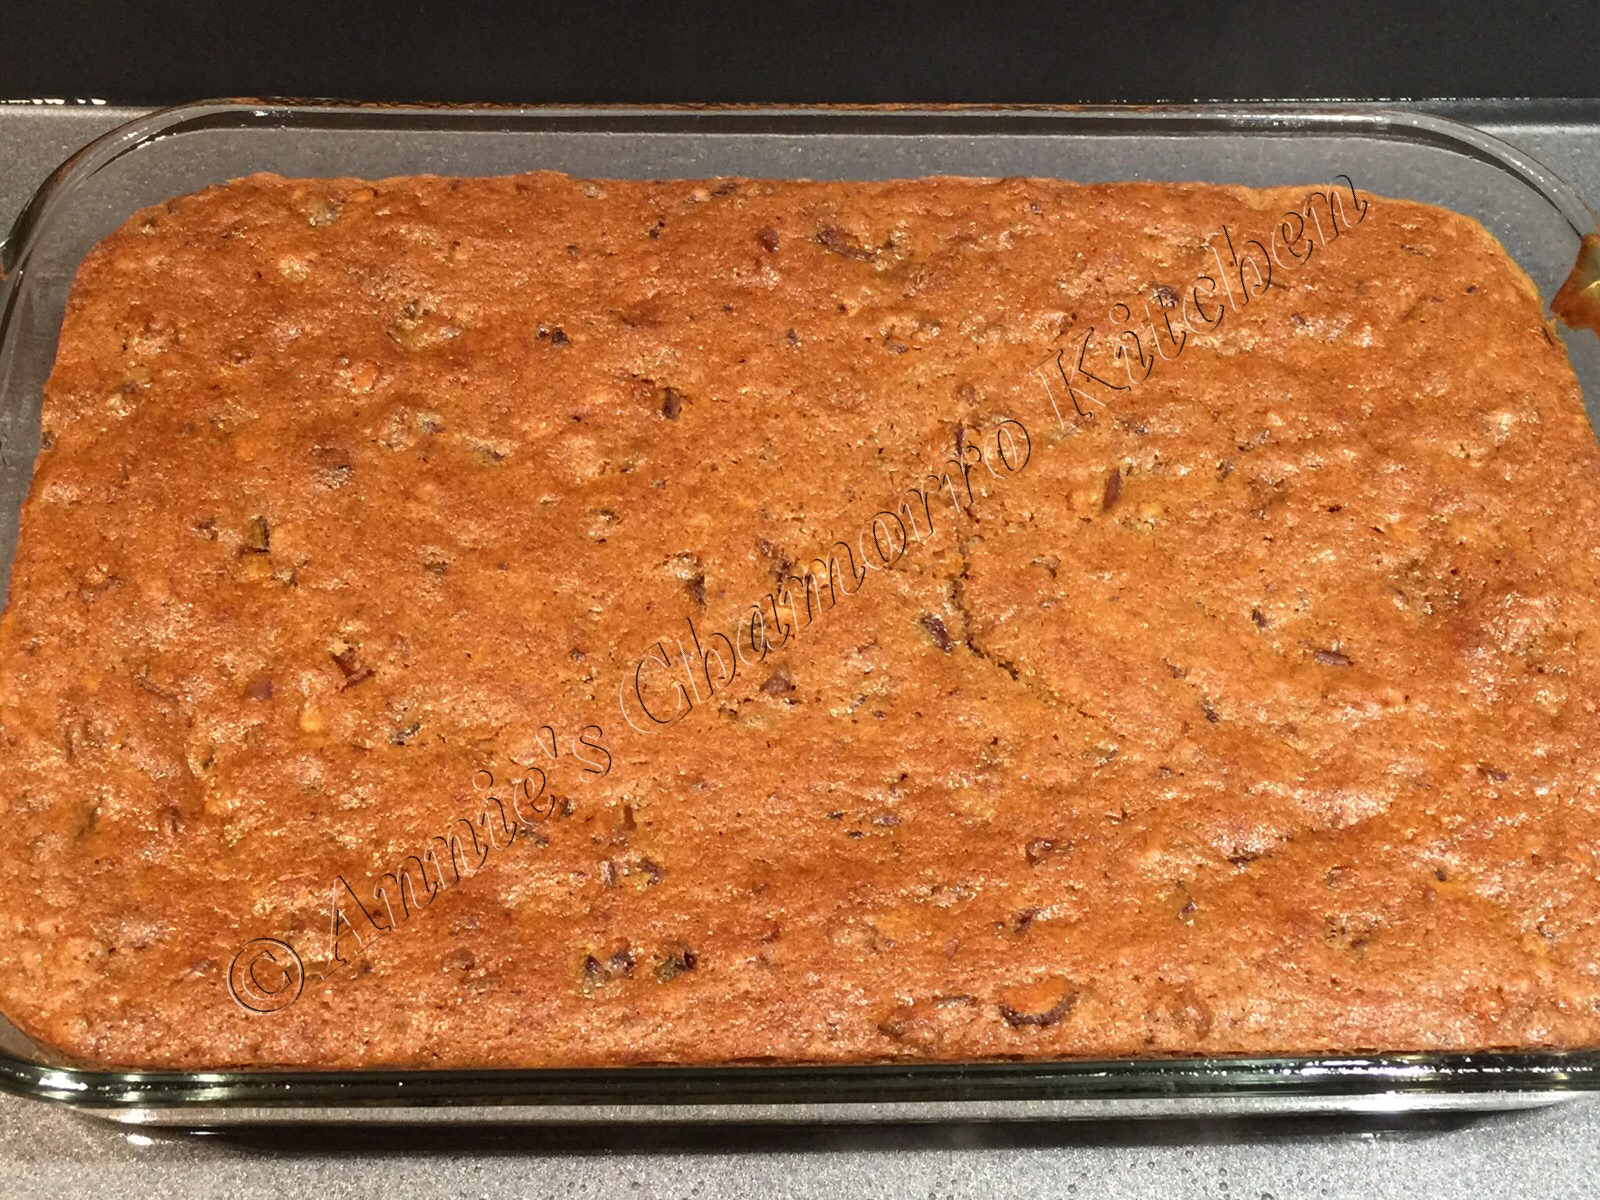
Bake in a 350-degree oven for one hour.  Because not all ovens are alike, your oven may cook faster or slower than others.  To determine if the cake is done, press the middle of the cake with your fingers (be careful — you’re only pressing the cake really quick so you shouldn’t burn yourself, but be careful nonetheless).  The cake should feel firm when you press it.  Additionally, the top of the cake should be a rich brown color.

Leave the cake in the water bath to cool.

image

Prepare the sticky toffee sauce while the cake cools.

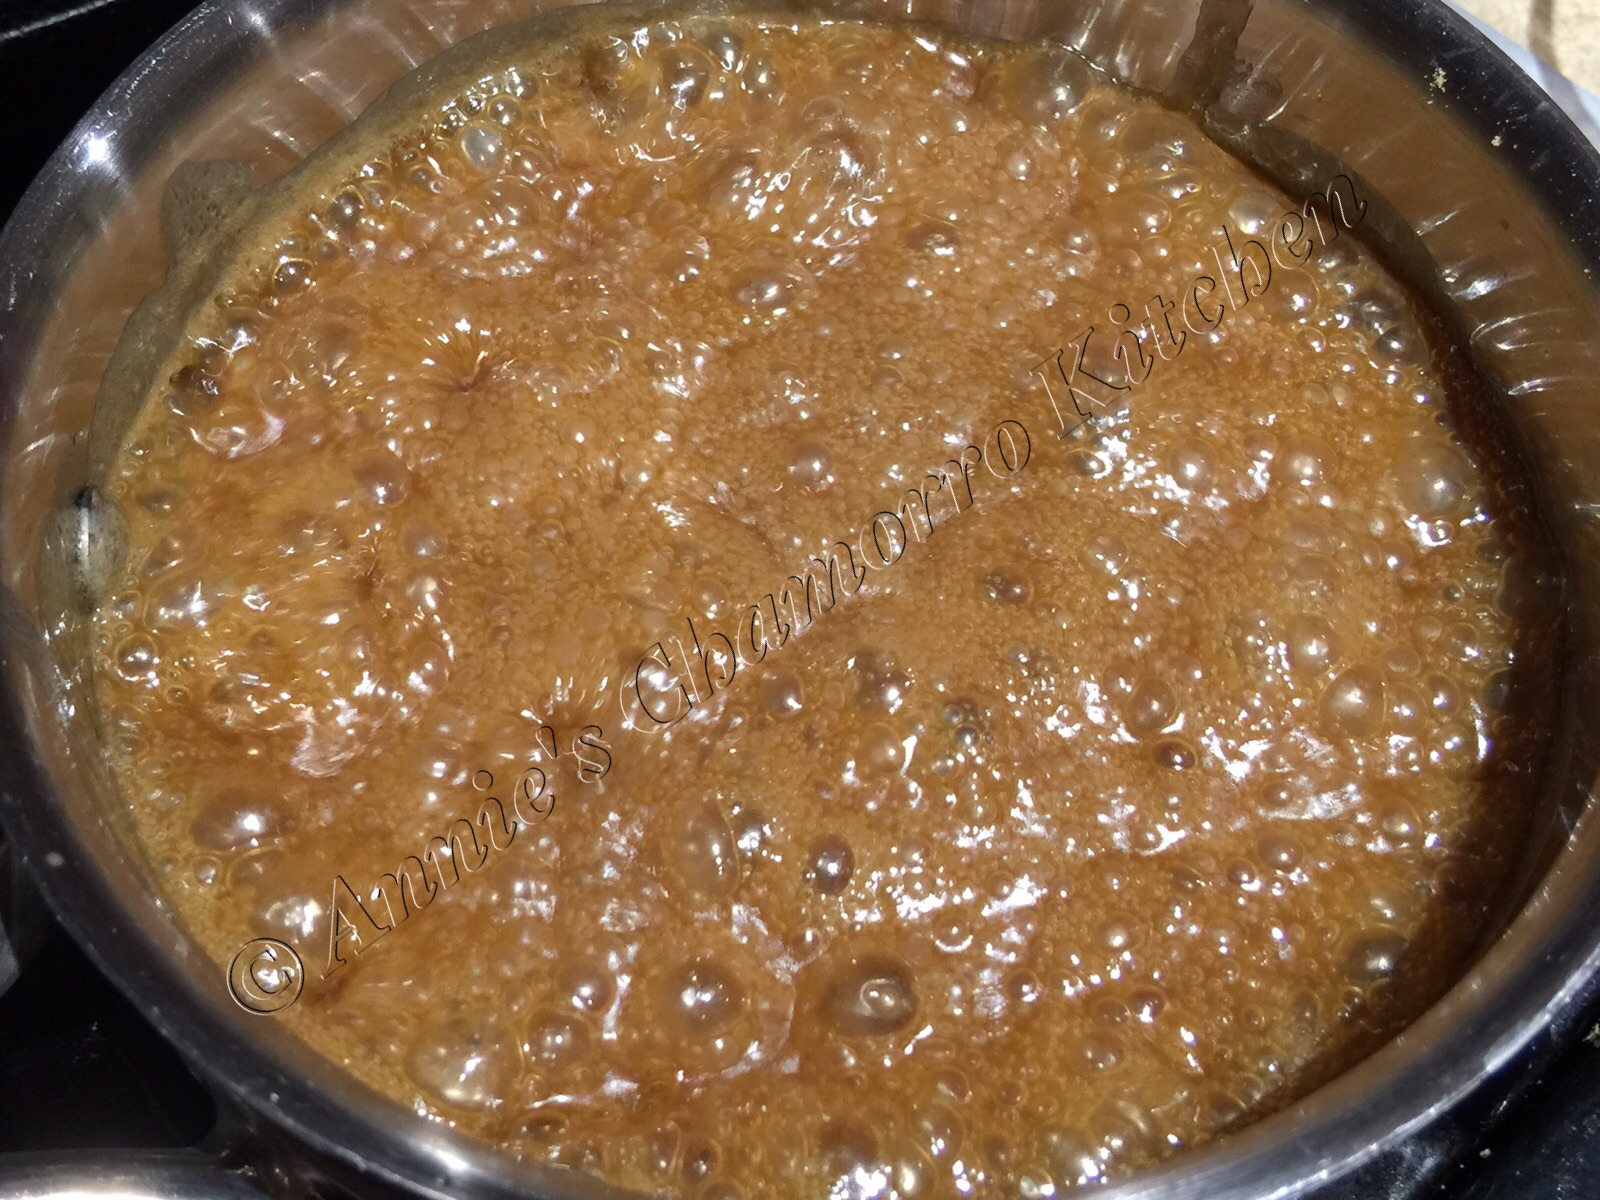
In a small sauce pan, melt some butter.  Add brown sugar and vanilla extract to the melted butter.

image

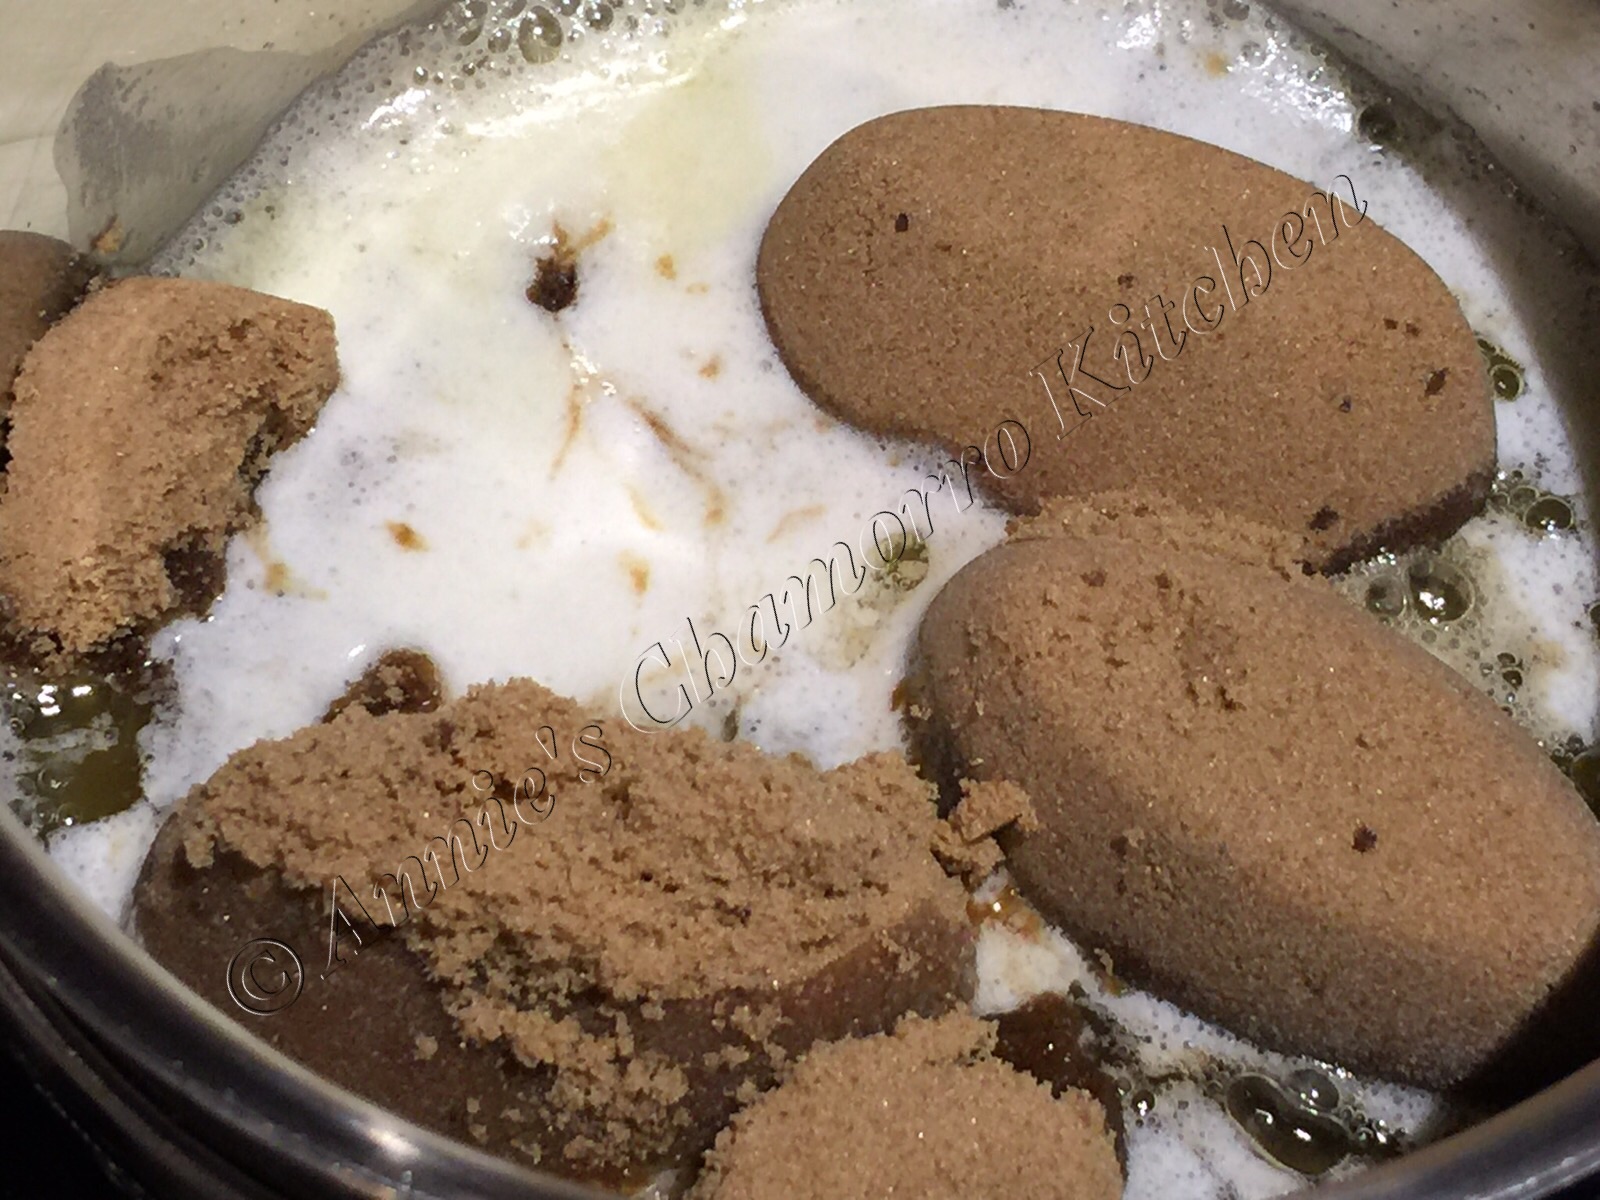
Bring the mixture to a boil over medium heat, cooking until the sugar is completely melted.

image

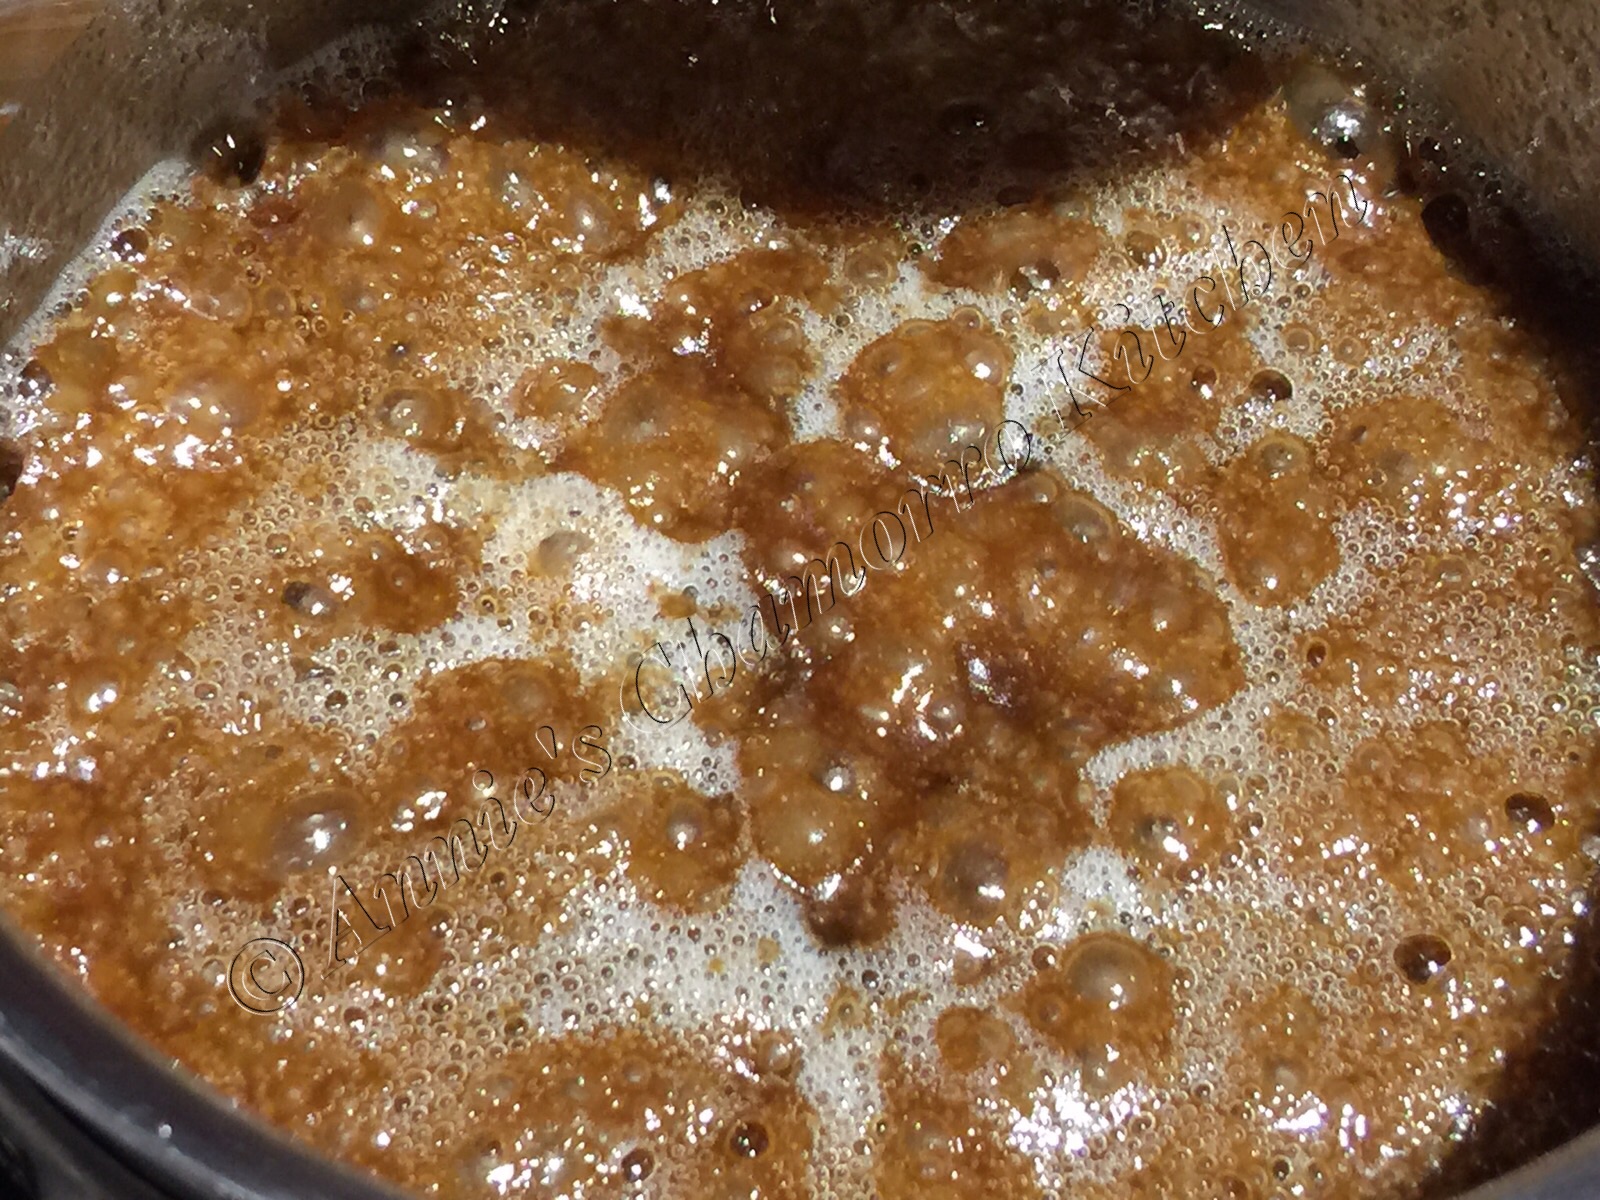
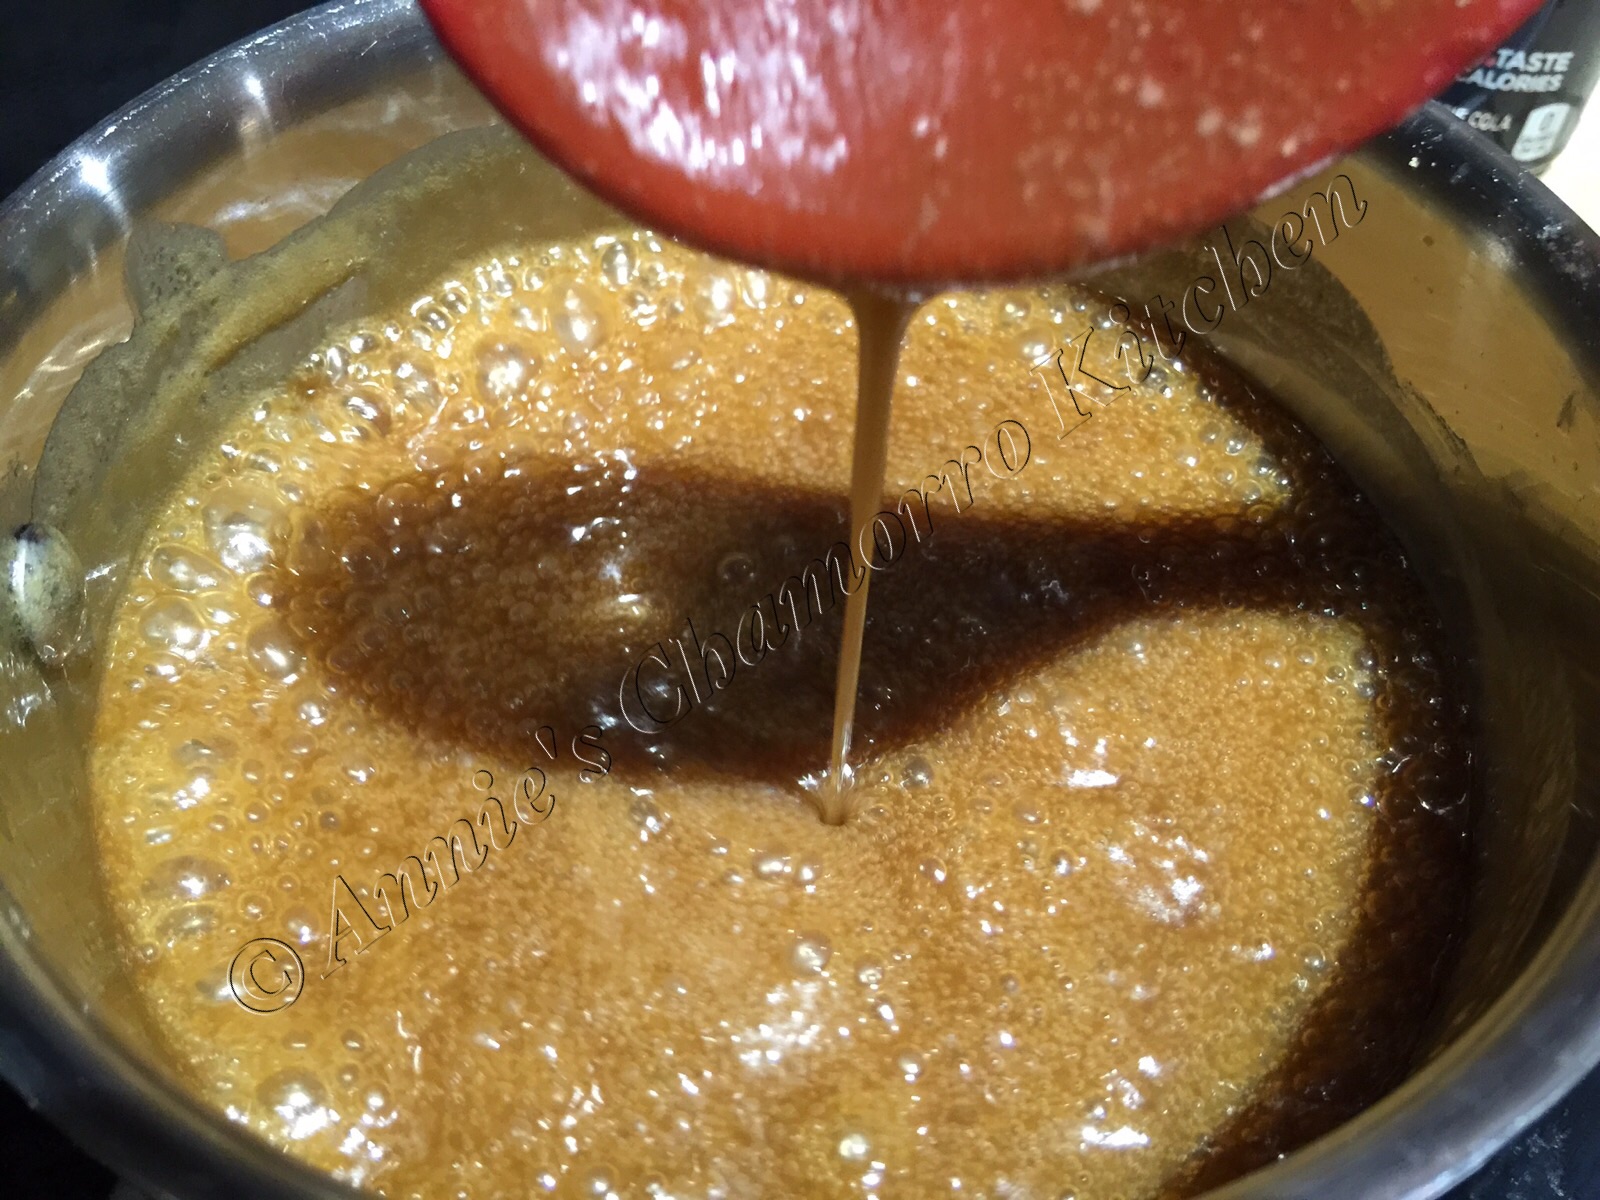
Stir in the heavy cream.

image

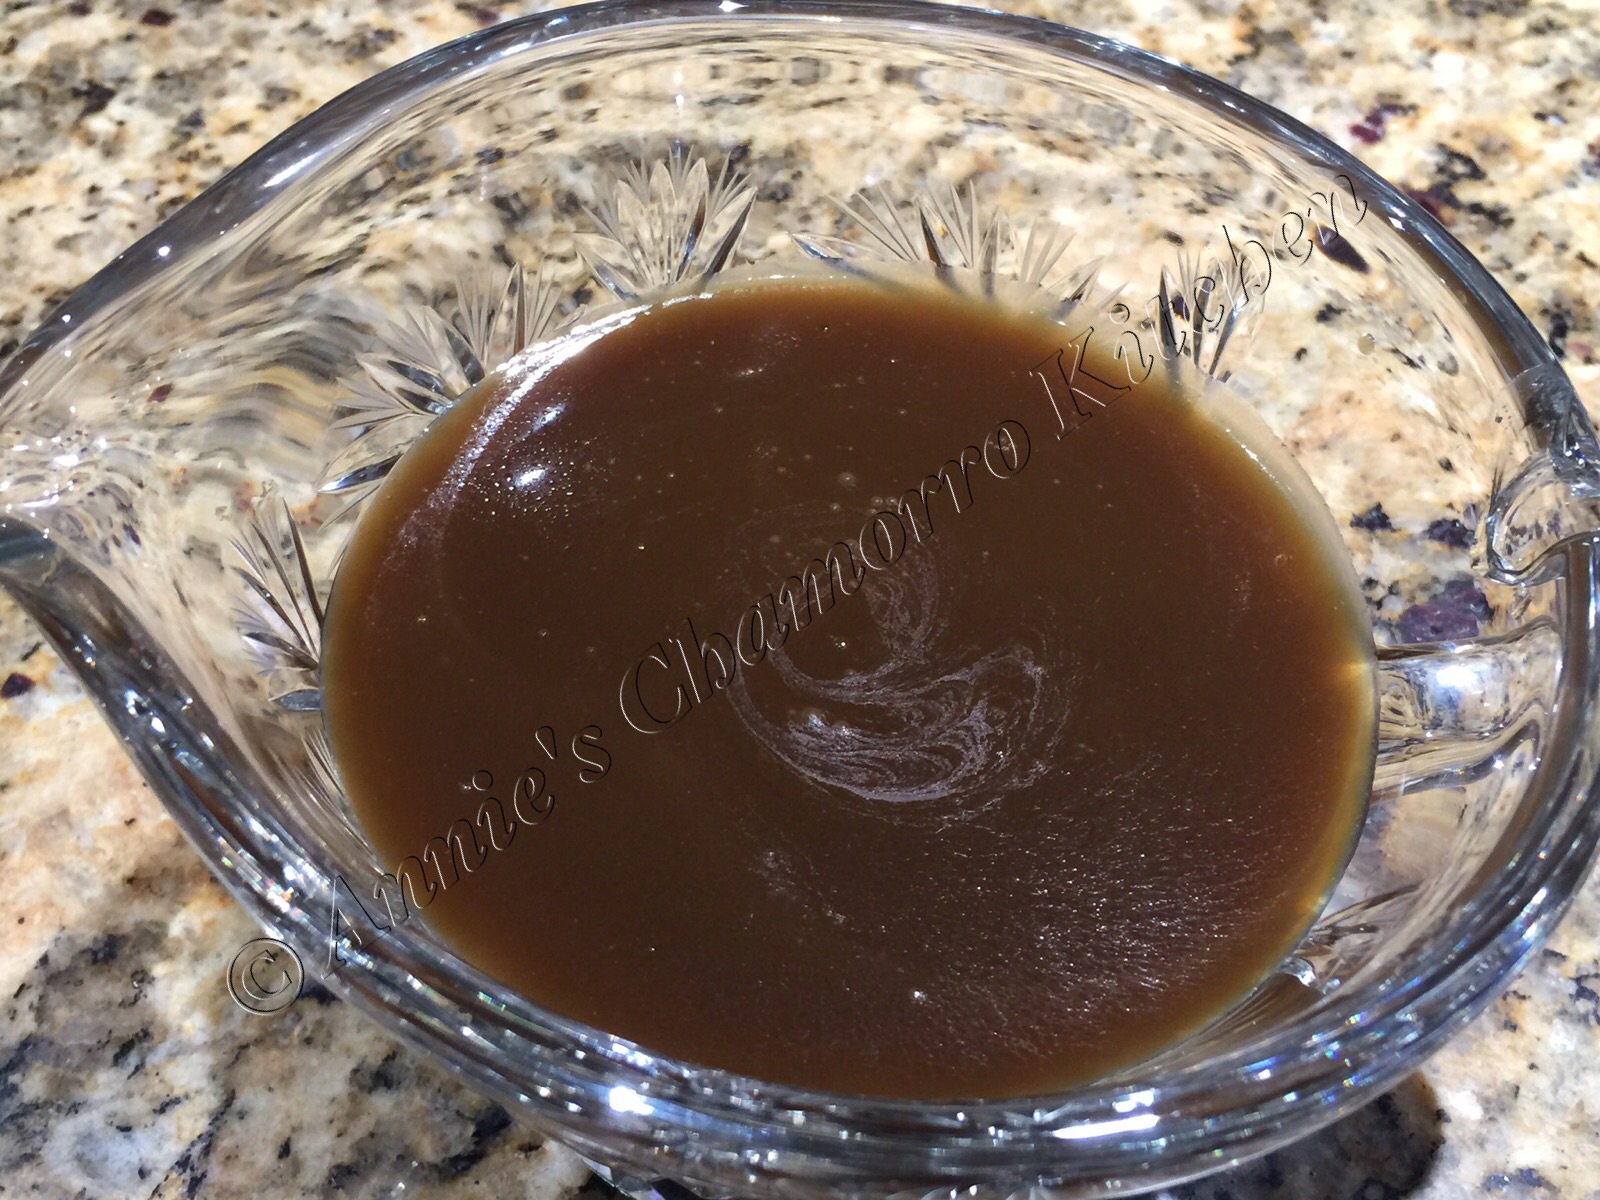
Reduce the heat to low; simmer the sauce for a couple of minutes to thicken it slightly.  Remove the sauce from the heat. The sauce will continue to thicken as it cools.


image

Use a skewer or chopstick to poke holes all over the top of the cake (it’s okay if the cake is still warm at this point).

image

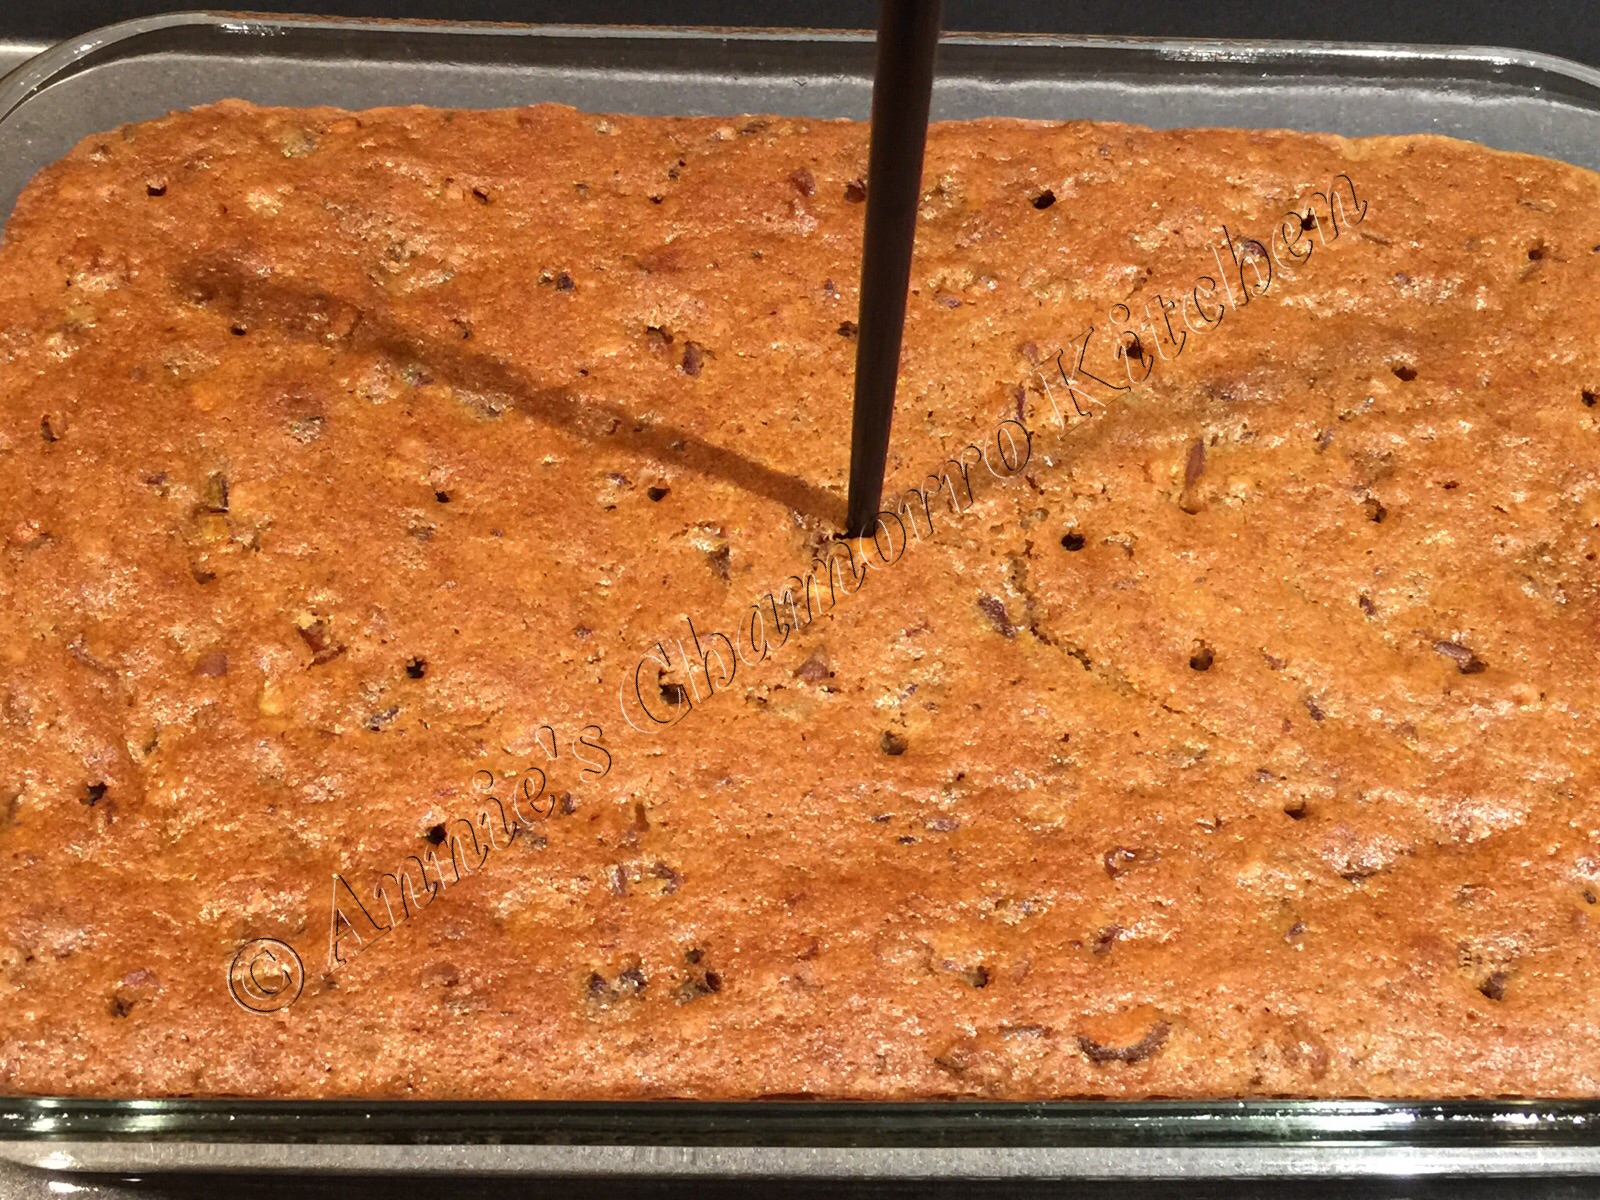
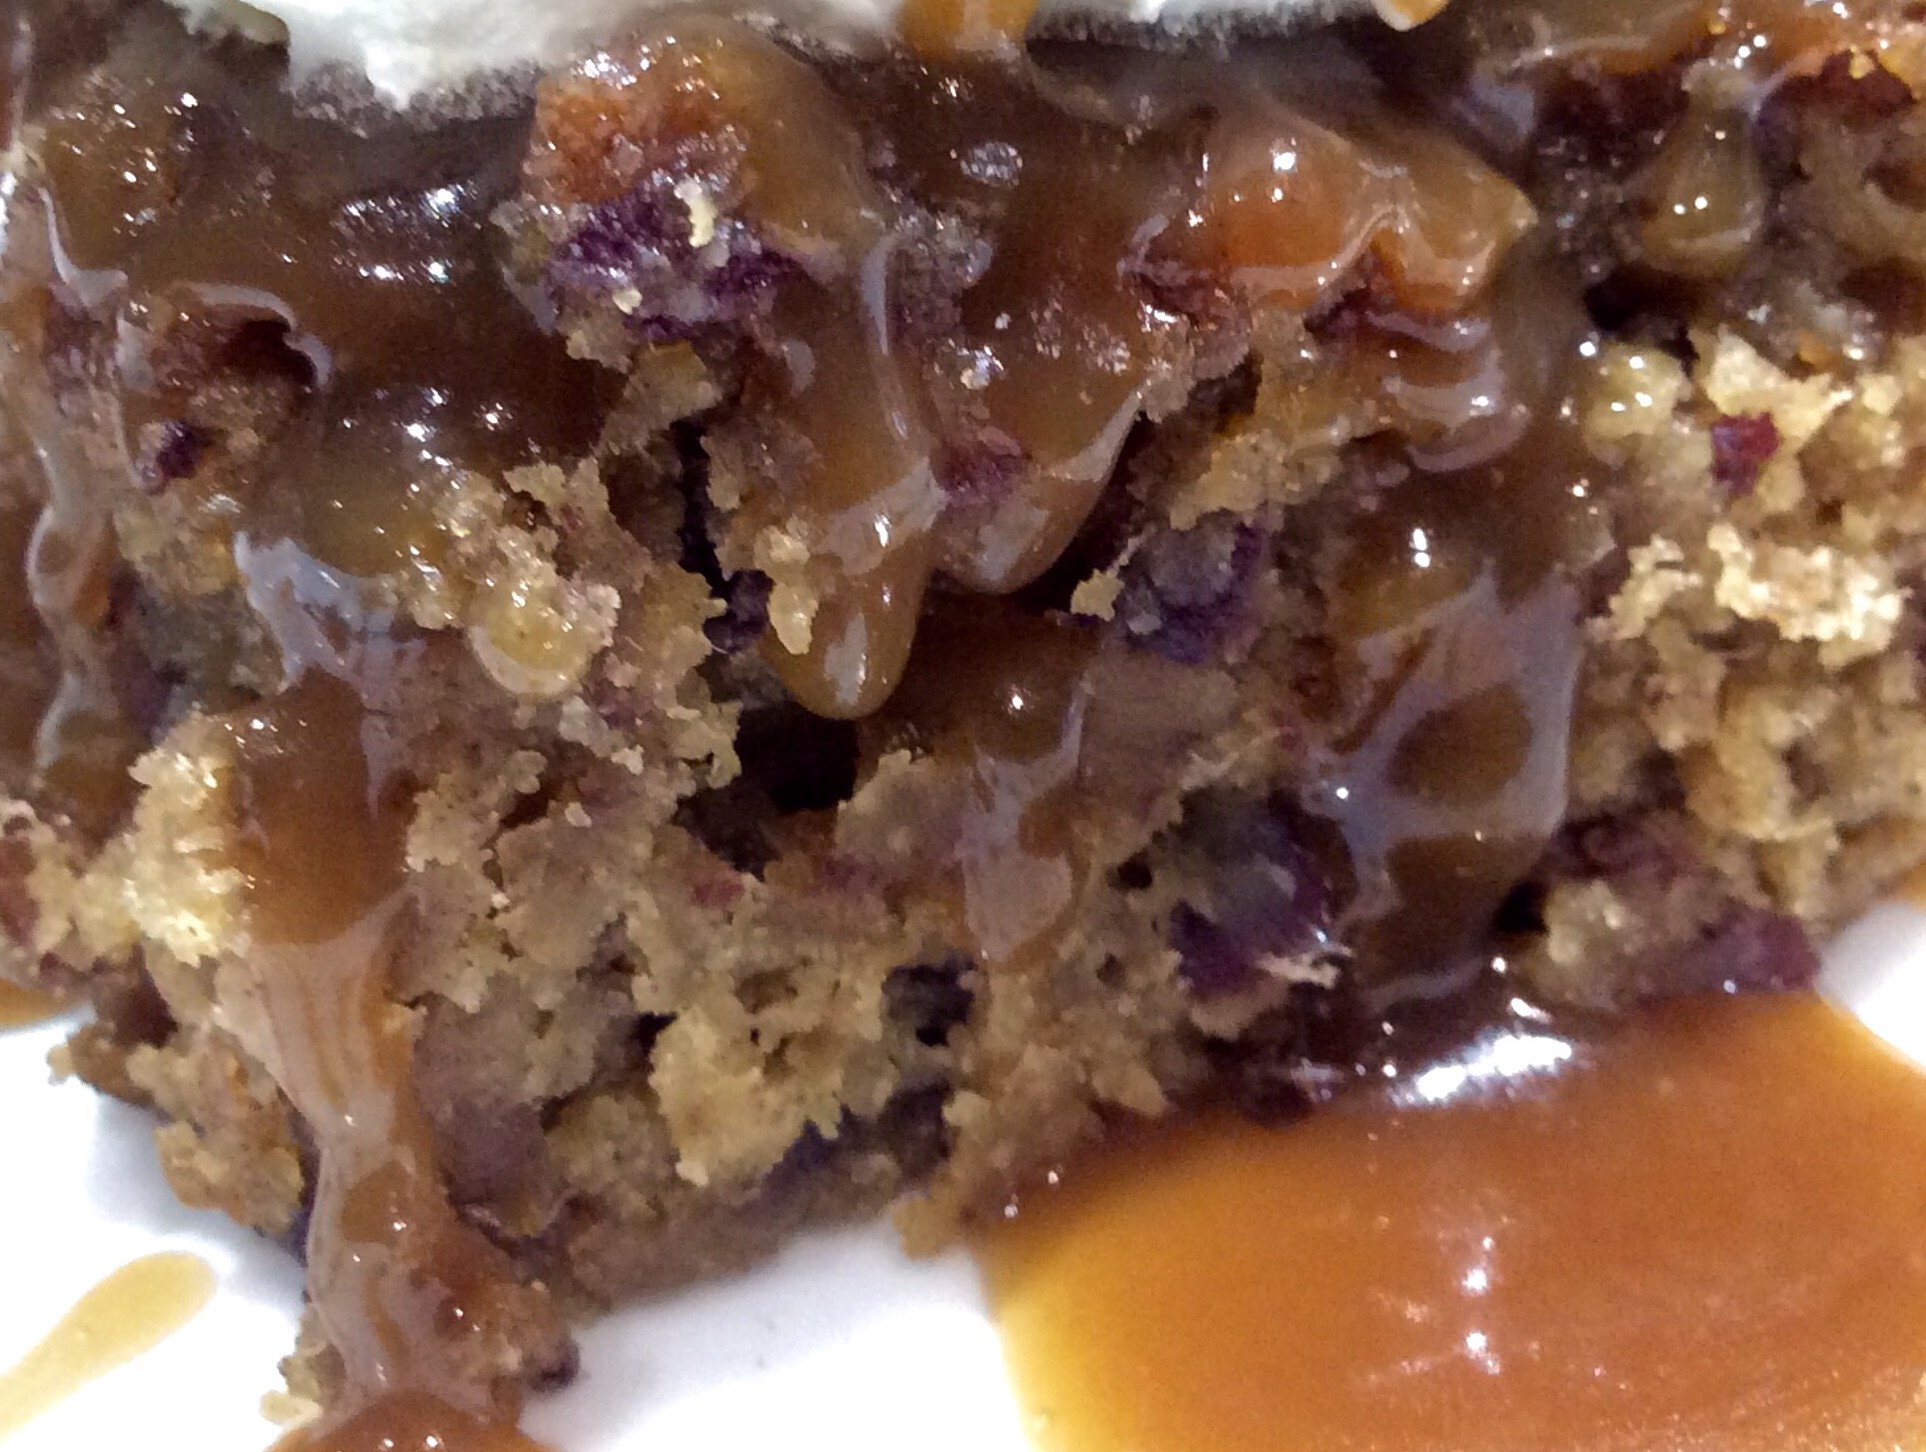
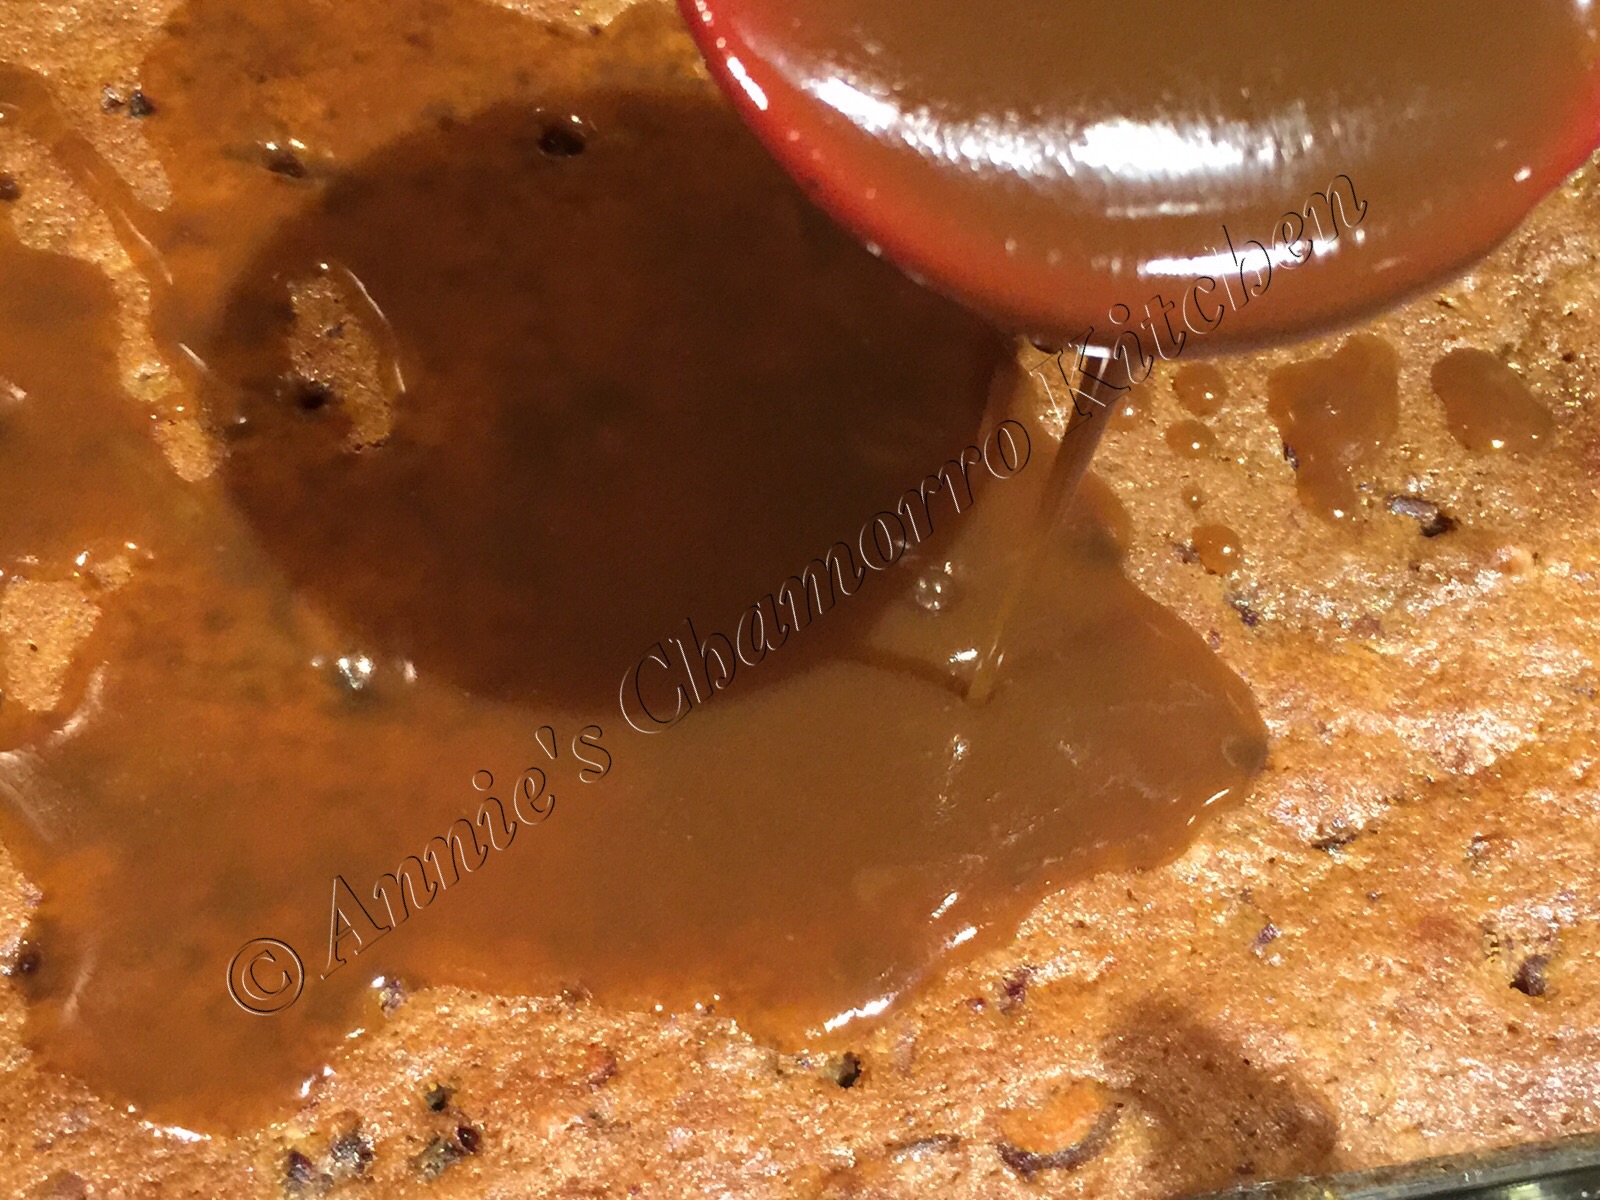
Pour about 3/4 to 1 cup of the warm, sticky toffee sauce over the top of the cake, filling all of the holes.

imageSet the sauce-covered cake aside to cool completely.

image

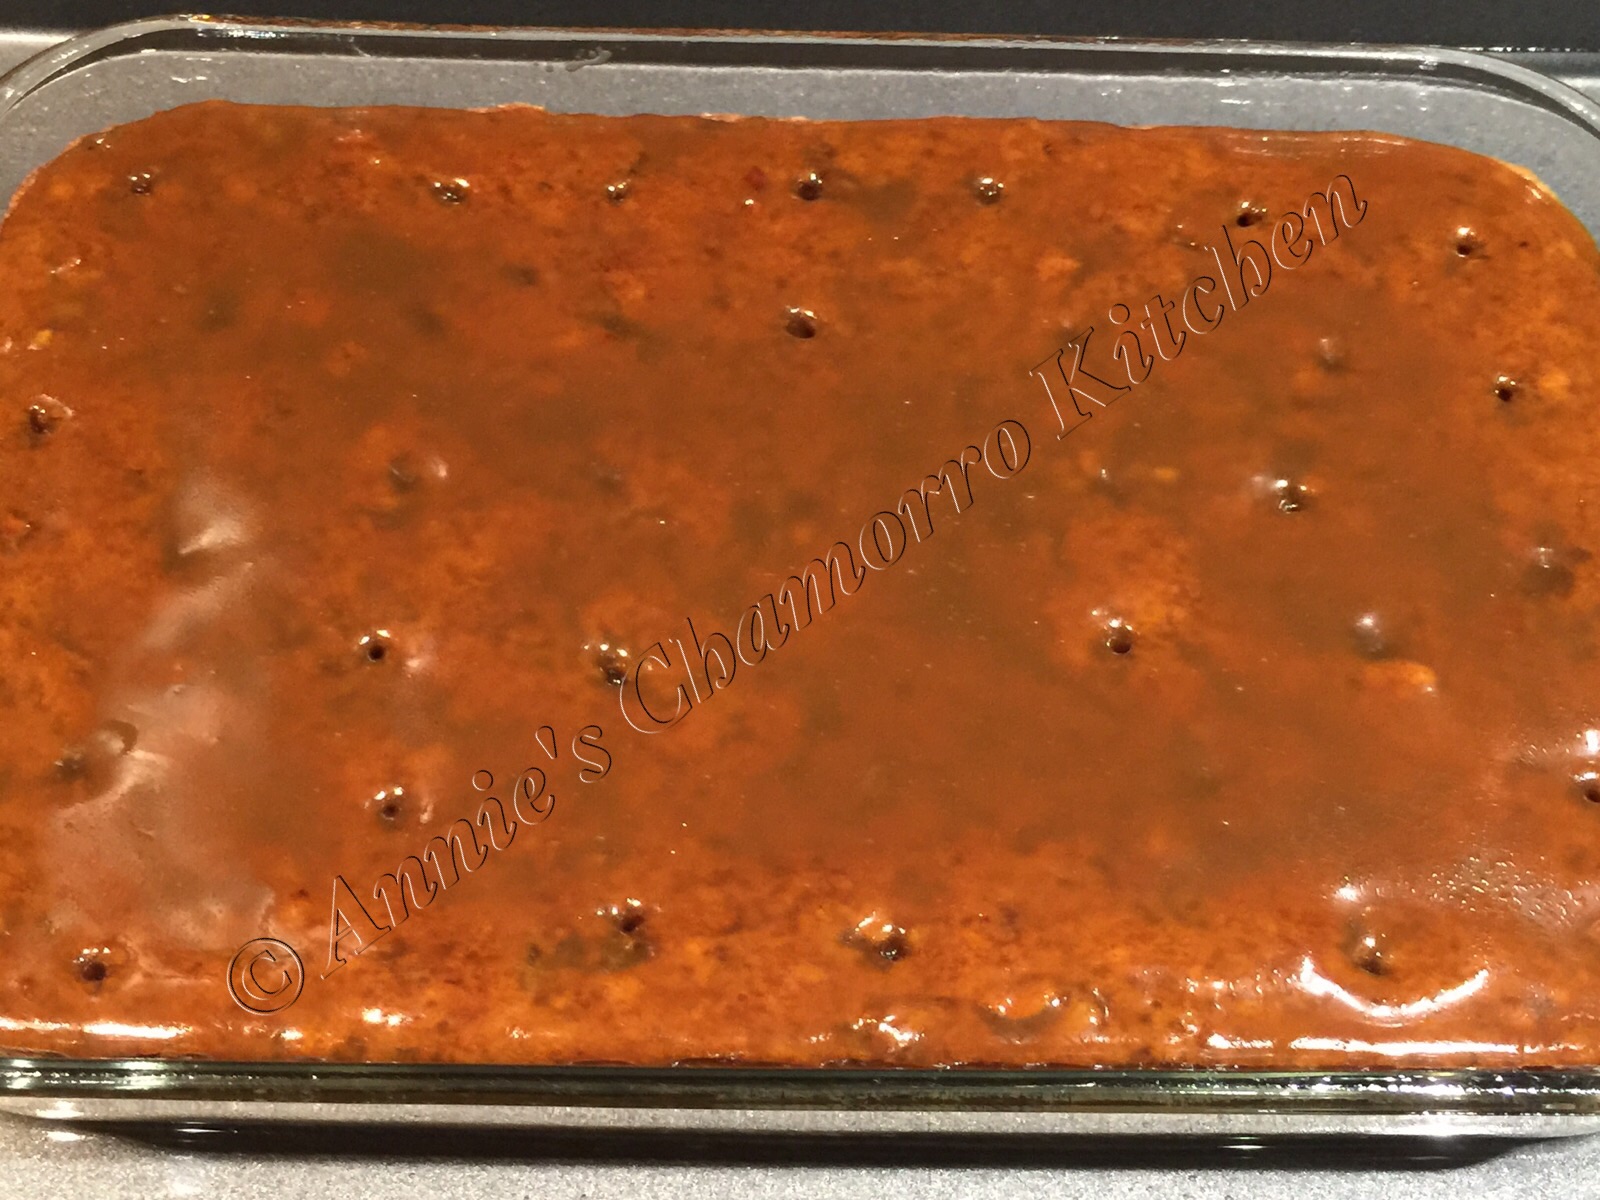
Place any remaining toffee sauce in a small bowl to drizzle over the cake when serving.

image

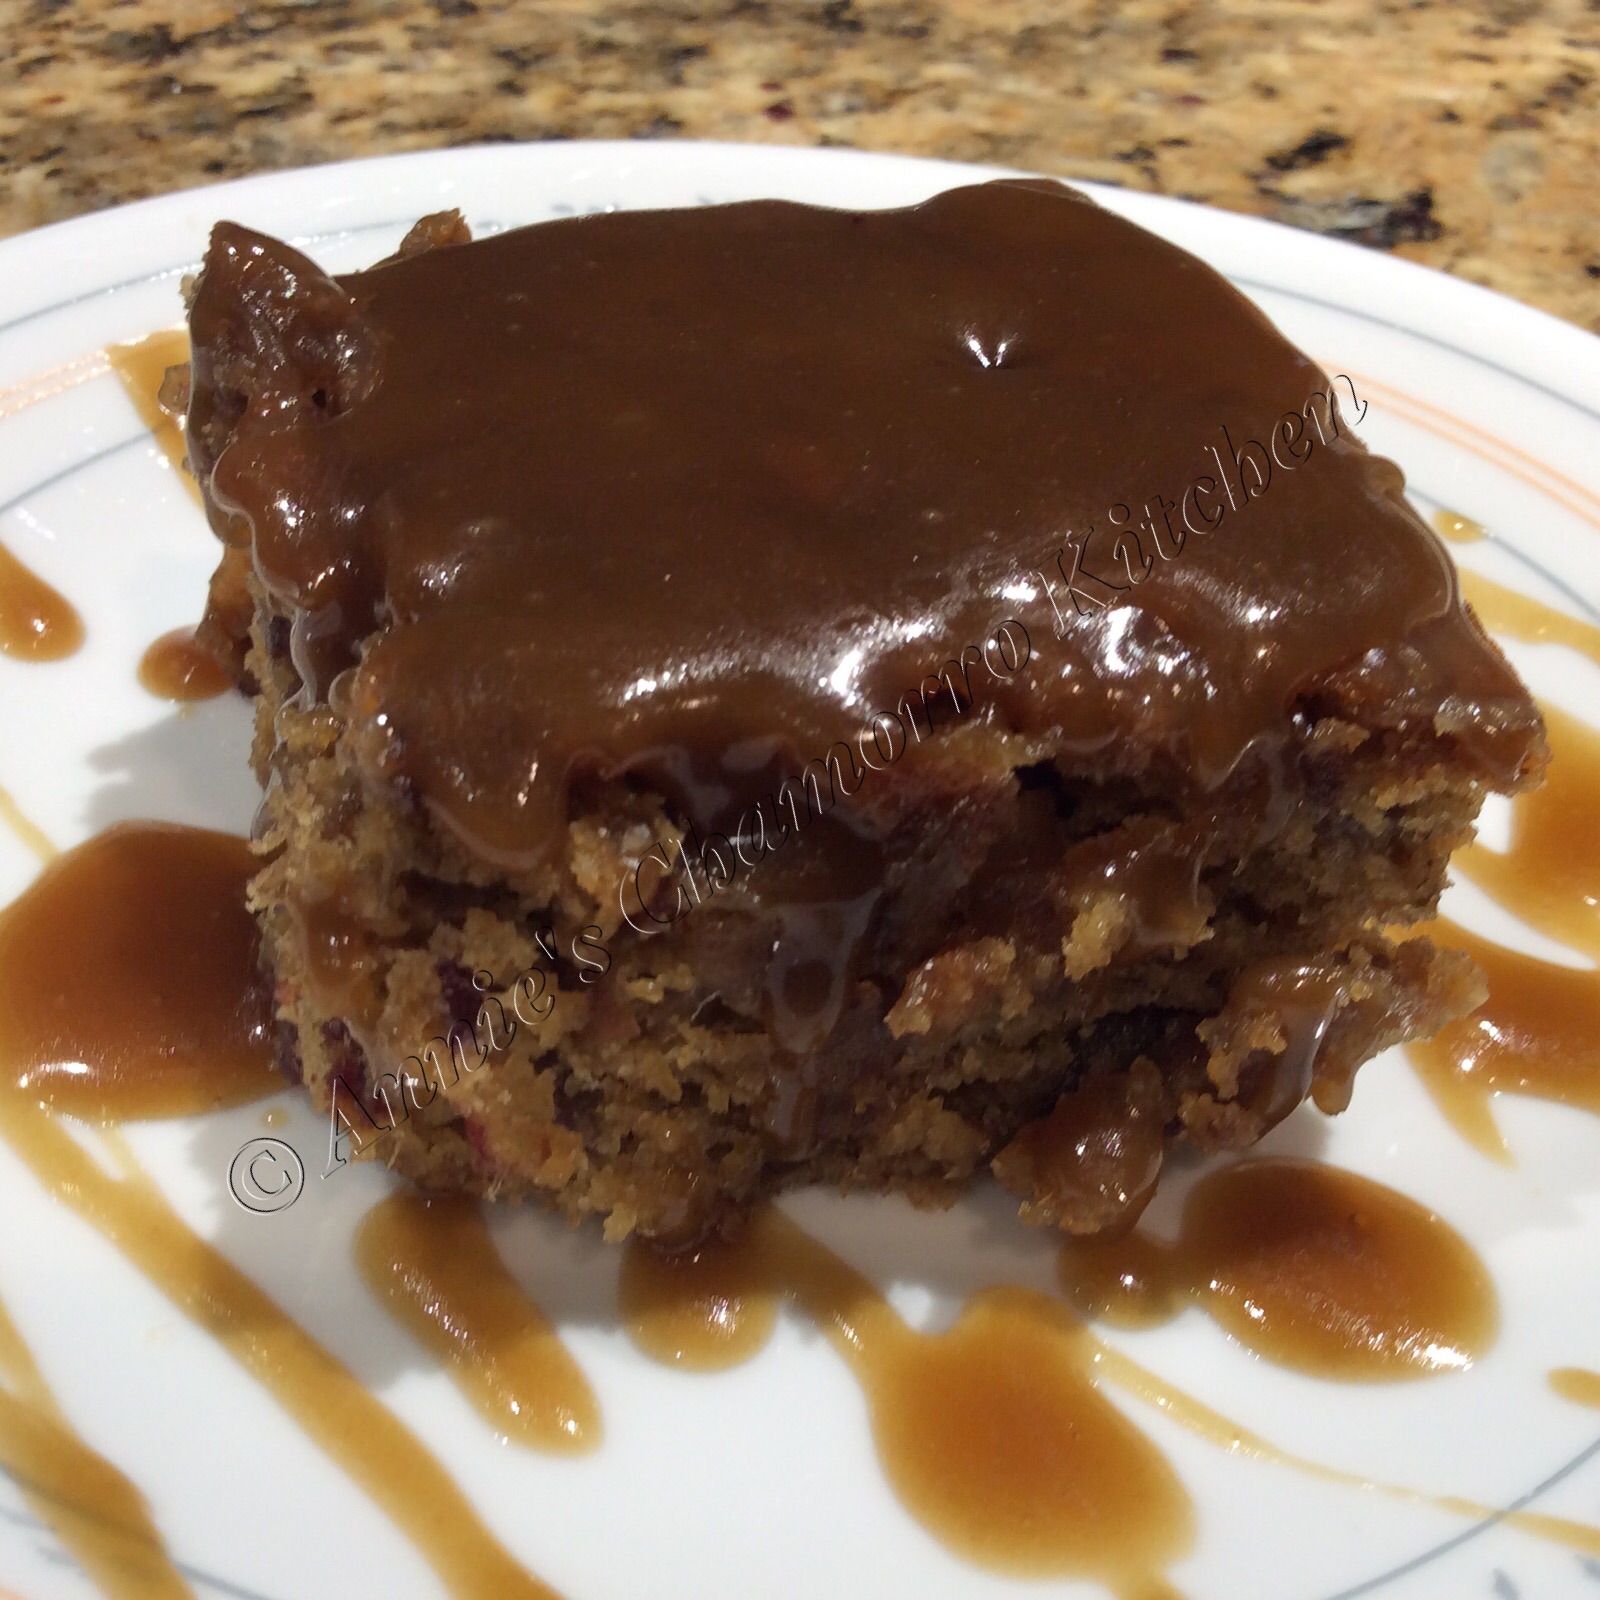
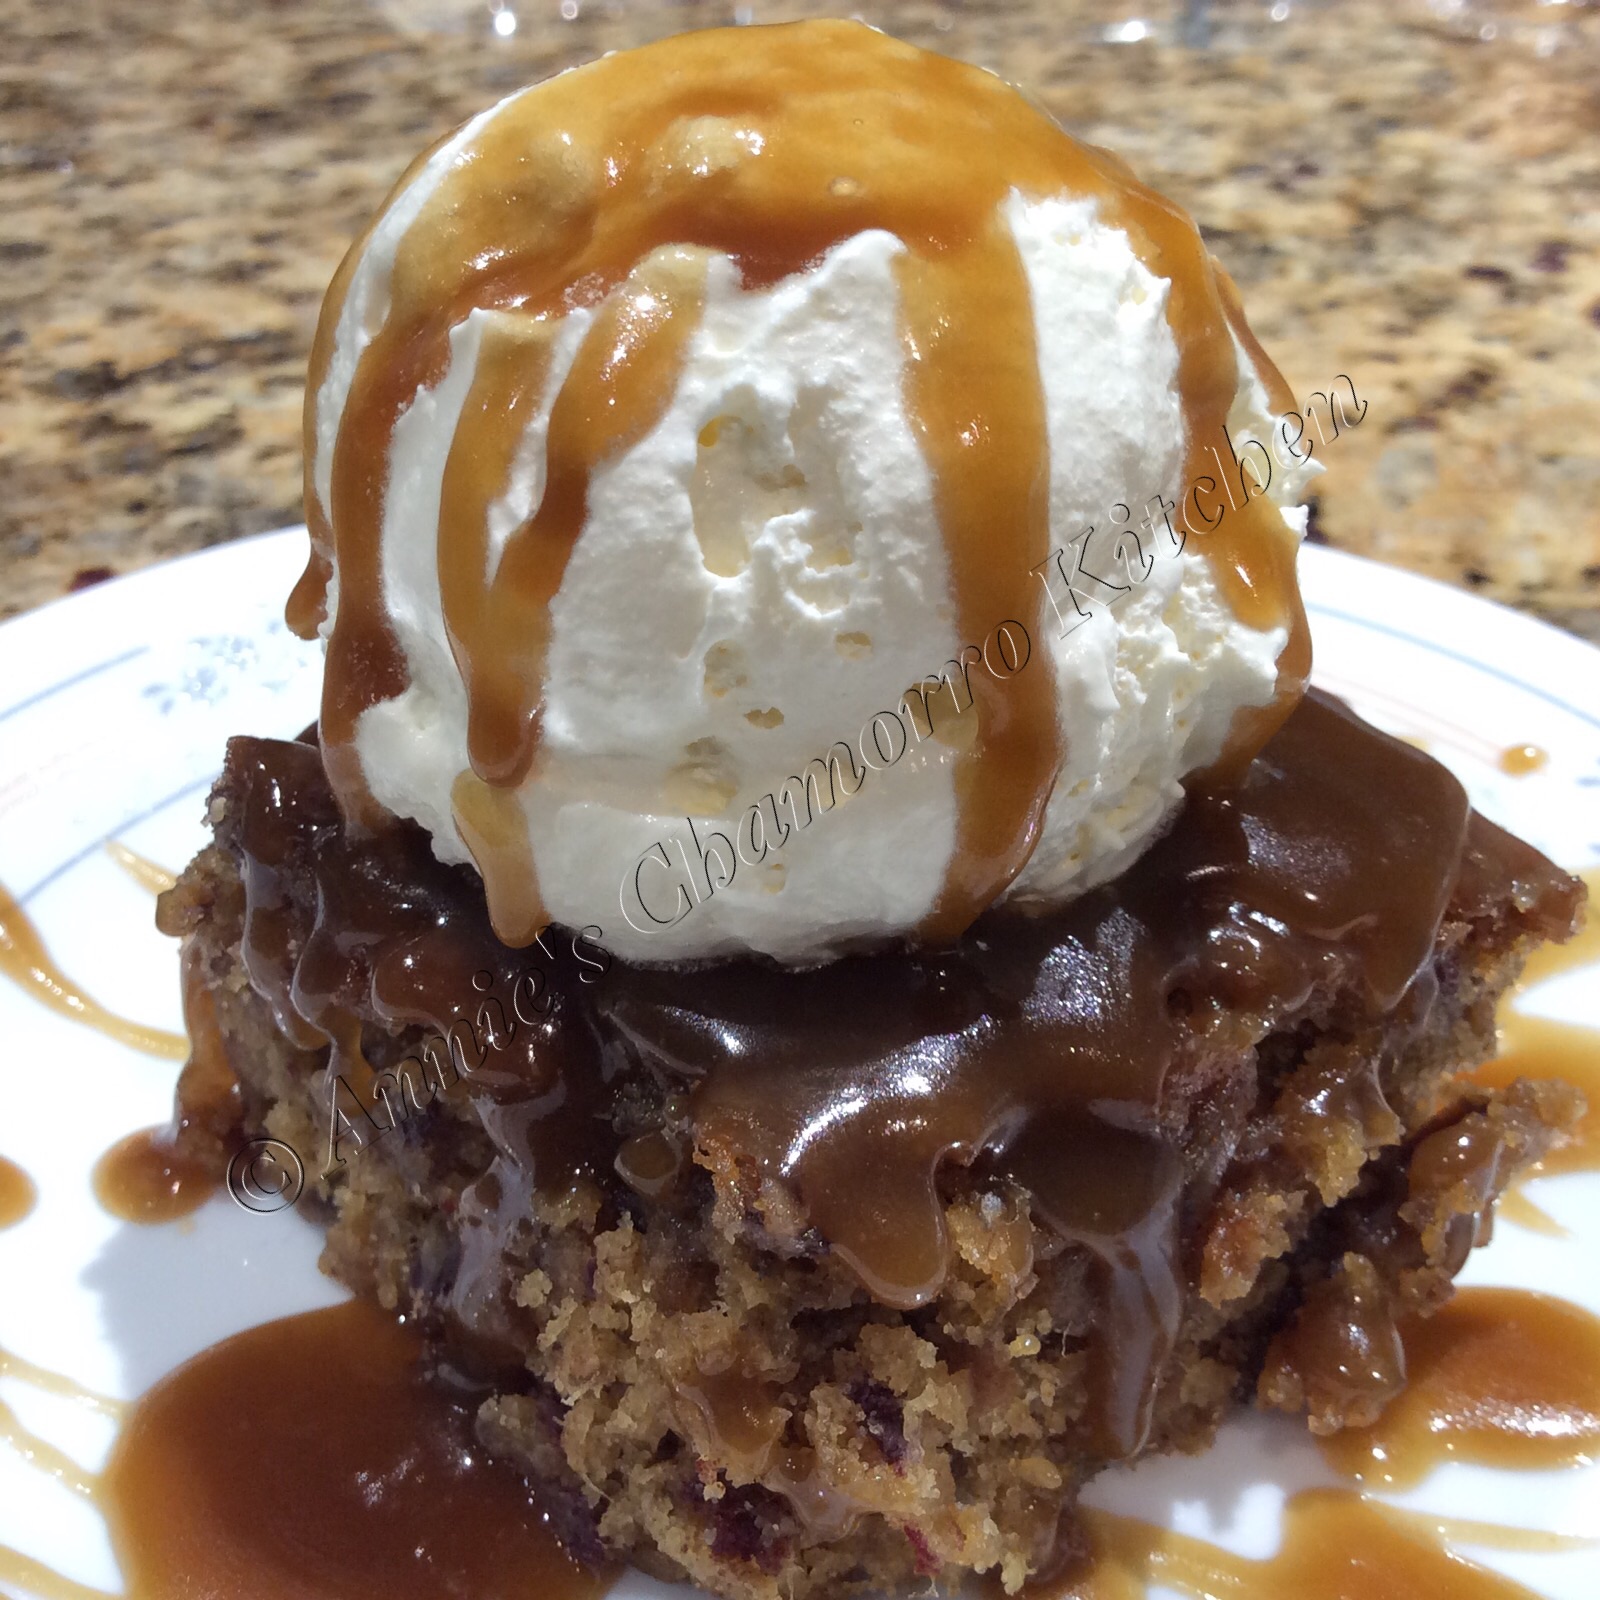
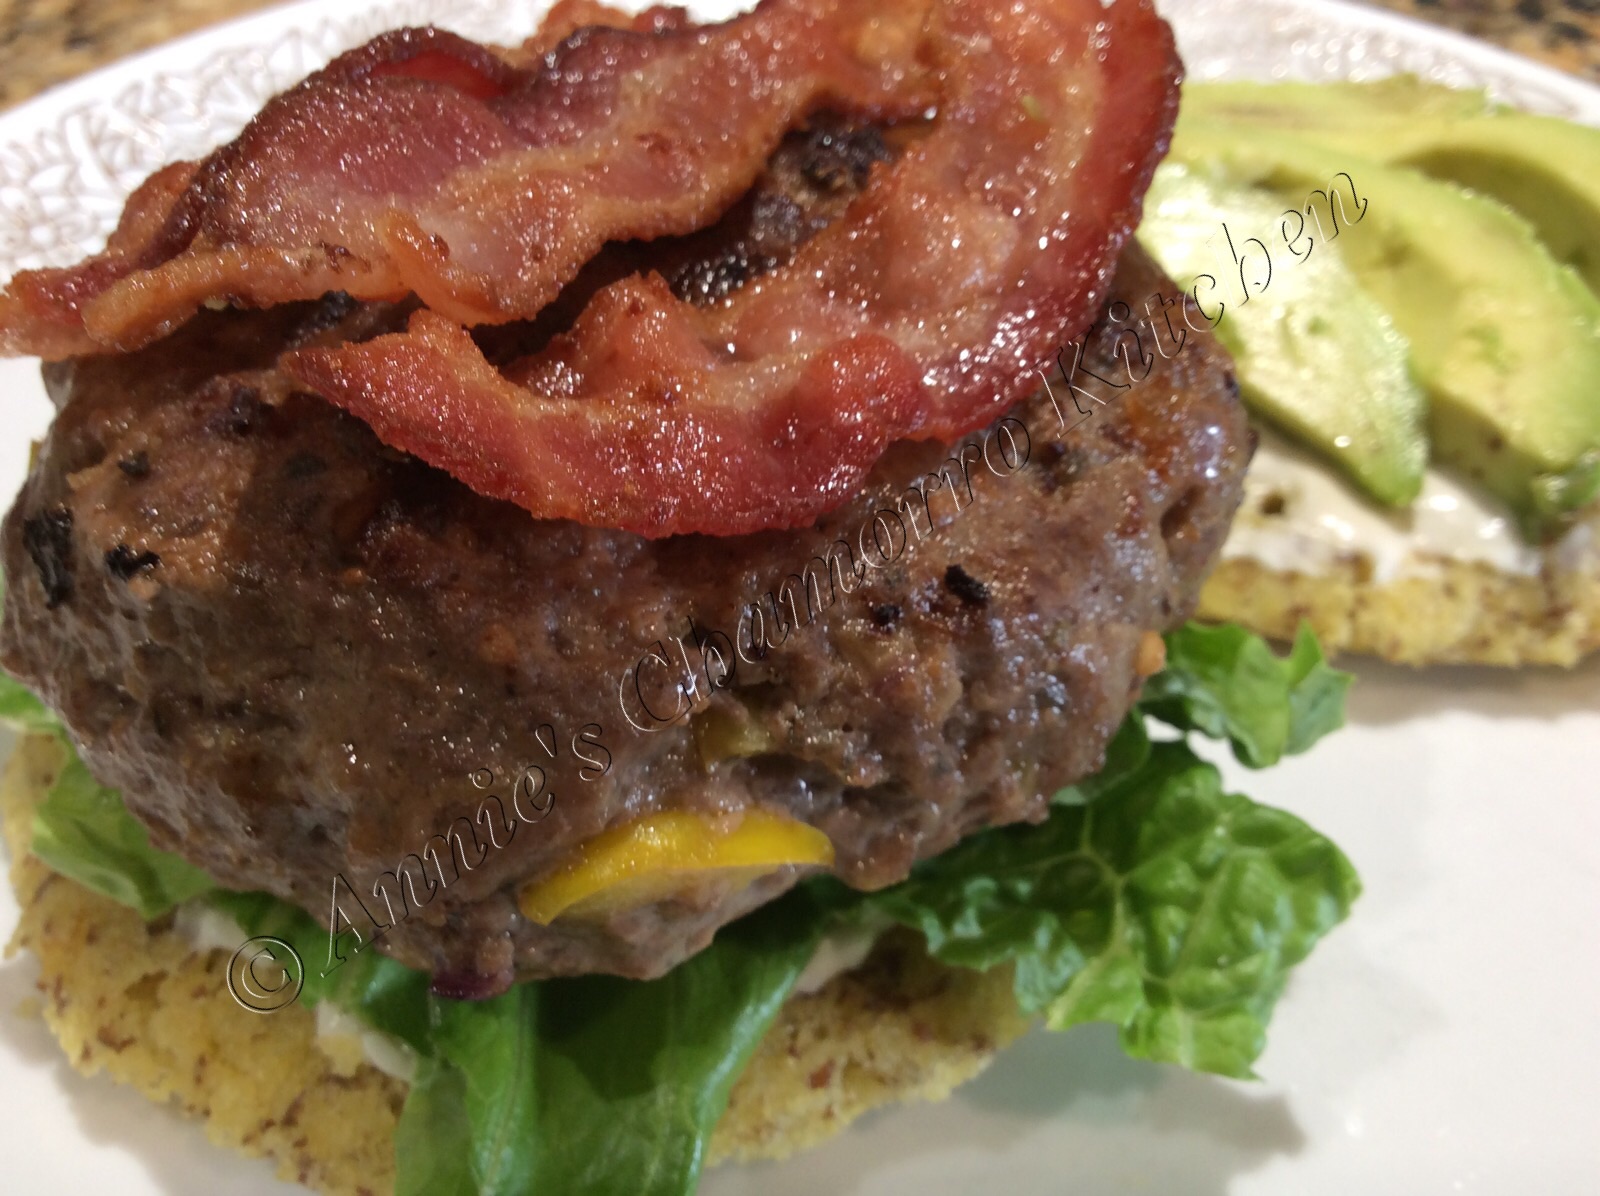
Serve with a dollop of whipped cream or and more sticky toffee sauce drizzled all over. ENJOY!

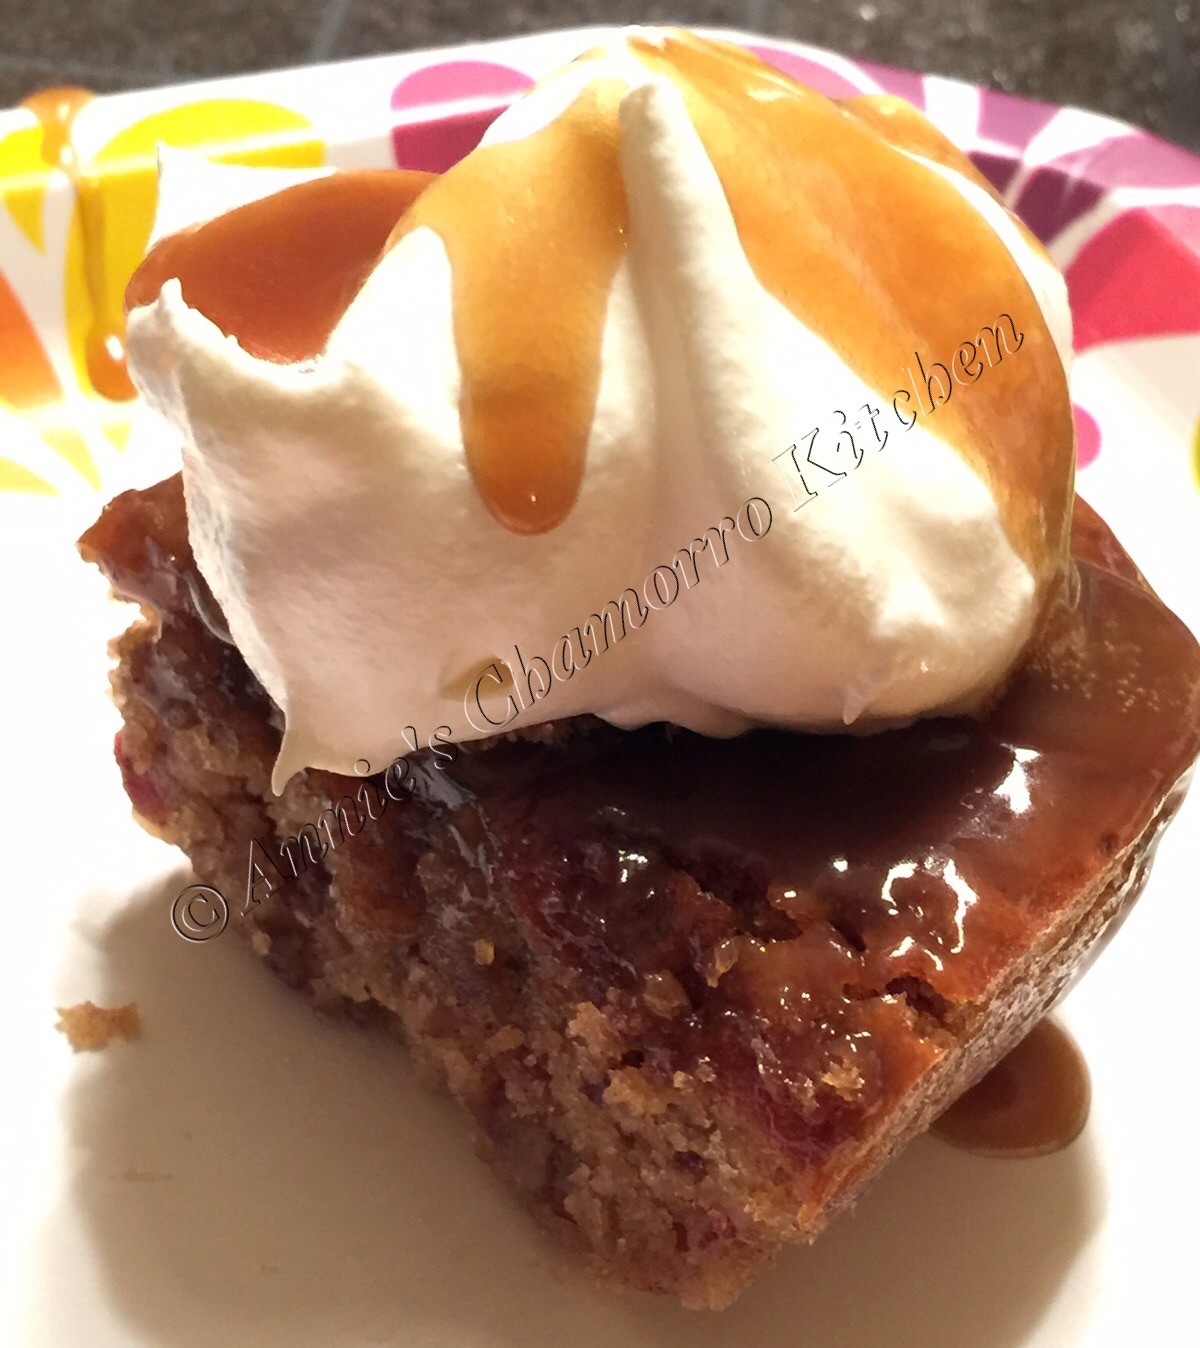
A scoop of vanilla ice cream is delicious with this too!

image

Mmmm mmmm good!

image


Sticky Toffee Pudding
 
A rich and decadent cake made with dates and topped with a sweet and flavorful toffee sauce.
Author:
Recipe type: Dessert
Ingredients
Dates:
  • 10 ounces dates, chopped
  • ½ cup water
  • 1 teaspoon baking soda
Batter:
  • 1 stick butter, softened
  • 1 cup dark brown sugar
  • 2 large eggs
  • 1 teaspoon vanilla extract
  • 1½ cups all-purpose flour
  • 1 teaspoon salt
Toffee Sauce:
  • 1 stick butter
  • 1 cup dark brown sugar
  • 1 teaspoon vanilla extract
  • ½ cup heavy whipping cream
Instructions
Prepare the dates.
  1. Place the chopped dates in a small sauce pan, along with the water and baking soda.
  2. Bring the mixture to a boil then remove from the heat. Set aside.
Mix the batter.
  1. Cream the butter and sugar. Add the eggs and vanilla extract; mix until creamy.
  2. Fold in the prepared dates, including any liquid in the pot.
  3. In a separate bowl, whisk together the flour and salt. Add to the butter-date mixture. Fold the flour mixture into the batter; mix just until the dry ingredients are incorporated. Do not overmix.
Bake the cake.
  1. Pour the batter into a 2-quart, 11x7" baking pan.
  2. Place the pan into a large roasting pan. Add hot water to the roasting pan to create a water wath. The water should come halfway up the side of the cake pan.
  3. Bake in an oven preheated to 350 degrees for one hour.
Make the toffee sauce.
  1. Place the butter in a small sauce pan over medium high heat. Cook until the butter melts.
  2. Add the brown sugar and vanilla to the pan. Cook until the sugar melts.
  3. Stir in the heavy cream; reduce the heat to low and simmer for a couple of minutes to thicken the sauce slightly. Remove from the heat.
Finish the cake.
  1. Poke holes all over the top of the cooled cake.
  2. Pour ¾ to 1 cup of warm toffee sauce over the top of the cake. Set aside to cool completely.
  3. Place any remaining sauce in a small bowl.
Serve with a dollop of whipped cream or ice cream; drizzle more toffee sauce over the top. ENJOY!


Sardine Kelaguen

Yes…kelaguen…with sardines.  Don’t knock it ’till you try it. 🙂

Events - 1311

This is one of my favorite foods.  If you know what kelaguen is and you’ve never tried sardine kelaguen, you’ve got to try it now.  If kelaguen is new to you, the basic recipe for this island favorite is quite simple.  Chop up your favorite meat or seafood, then season ti with lemon or lime juice, salt, onions, and hot chili peppers.  Optional ingredients are freshly grated (or store-bought unsweetened) coconut.  All ingredients (except for the meat and/or seafood) is added to taste, meaning if you like your kelaguen more on the tangy side, add more lemon or lime juice.  Like it salty?  Add more salt.  Like it mouth-on-fire-hot?  Add lots of hot chili peppers.  See, it’s simple.

Click here to view my recipes for different types of kelaguen.

As for sardine kelaguen, you use canned sardines.  The photo below show “fish steaks” — this is fine too; the “steaks” are small, bite-sized herring that works just fine in this recipe. While you most certainly can use sardines packed in water, I really prefer sardines packed in soybean oil, and it’s what I recommend for this recipe.

sardines in oil

I have a family of four, but only three of us like this (my extremely picky daughter won’t get near this with a 10-foot pole).  That’s okay, though — that just leaves more for the rest of us. 😉

10857795_10205567269329385_6147451900526166530_n

Remove the sardines from the can, pouring off the excess oil.  Split the sardines in half, lengthwise, then remove and discard the bones (I also remove the stomach but leave it in if you like that kind of stuff).  Place the cleaned sardines into a bowl.

IMG_1499

I like lots of onions — sliced green onions or diced white or yellow onions — it doesn’t matter; add your favorite kind.  I added both. 🙂

IMG_1502  IMG_1504

Add lemon juice, salt, and hot pepper, to taste. IMG_1508

Mix well, serve and enjoy! IMG_1510

I love this with hot, steamed white rice, or served as a dip with tortilla chips.  You can also make tortilla wraps (I recommend soft corn tortillas) or one of my favorites, stuffed in taco shells with lettuce leaves or mix salad greens.

10857795_10205567269329385_6147451900526166530_n

Give my recipe a try.  I think you’ll like it. 🙂


Sardine Kelaguen
 
Sardines with lemon juice, salt, onions, and hot chili peppers. Serve as an appetizer with tortilla chips. These make incredible fish tacos!
Author:
Cuisine: Chamorro
Ingredients
  • 6 cans sardines packed in oil
  • The juice of 2 lemons (more or less, to taste)
  • Salt, to taste
  • 1 small onion, finely diced
  • *You can also use sliced green onions; add as much as you like
Optional:
  • Crushed or sliced hot chili peppers, to taste
  • Grated coconut, as much as you like
Instructions
  1. Remove the sardines from the cans; remove and discard the bones. Place in a bowl.
  2. Add the remaining ingredients; stir to combine.
Serve and ENJOY!


Bacon and Sausage Breakfast Casserole

Cheese, Sausage, Bacon, Eggs, and Bread (well, garlic croutons in this case) all form the basis for this quick, easy, and delicious breakfast.

You can make in minutes…seriously.  I use a bag of already cooked sausage and bacon crumbles, but if you prefer a specific brand or flavor, by all means, use that.  Sometimes my kids request maple sausage and bacon instead of the pre-cooked stuff, so I make it for them.  Otherwise, aside from beating some eggs and half-and-half together, this recipe is easy-peasy.  In fact, this is a great recipe to get your kids into the kitchen and help cook.

image

I usually have a bag of croutons in my pantry.  This is the kind we like to use.  You don’t have to use these particular type of croutons (use your favorite), or croutons at all for that matter.  If you have extra crusty bread on hand, use that.  I don’t recommend using regular sandwich bread for this recipe, however.  Regular sandwich bread would soak up all of the liquid quickly, and because this recipe cooks QUICKLY, the cooking time is not long enough to cook the soaked bread.  Using croutons ensures you don’t get soppy breading at the bottom.

image

Pour the entire bag of croutons into the bottom of a 9×13 pan.

image

Crack the eggs into a medium sized mixing bowl.

image

Add the half-and-half (you can use cream instead, if you’d like).

image

Use a whisk to mix the eggs and half-and-half together.  You don’t need to whisk this for very long; mix just enough to break the yolks apart and mix up the whites so you don’t have any large globs of egg.

You can mix in some black pepper to this too.  DO NOT add any salt…the croutons, meat and cheese add enough sodium to this recipe.

image

Pour the egg mixture over the croutons.

image

Sprinkle the sausage and bacon mixture over the top of the pan.

image

This is the brand of sausage I buy.  It comes fully cooked, and this particular brand includes bacon.  You can use breakfast sausage if you prefer (since this IS a recipe for breakfast casserole), but I’m usually pressed for time most mornings, and this helps move things along in my house. 🙂

image

Okay, back to business.  Sprinkle some shredded cheese all over the top.  I used a mixture of grated mozzarella and cheddar cheese.

You can add other ingredients to this as well.  I think the next time I make this I’ll add chopped sun-dried tomatoes and maybe some diced bell pepper and onions.

image

Bake at 425 degrees for 20 minutes.

image

Cut into 12 pieces, serve, and ENJOY!

image


THM NOTE:

For any THMs reading this, this is still an S meal despite the croutons.  This particular brand of croutons has only 5g of total carbs per serving, which is about the amount in one serving of this casserole (the size of the photo above).  The casserole makes about 12 servings.


Breakfast Casserole
 
Prep time
Cook time
Total time
 
Author:
Serves: 12
Ingredients
  • 1 bag garlic flavored croutons
  • 6 large eggs
  • 2 cups half-and-half
  • 1 bag sausage and bacon crumbles
  • 2 cups shredded cheese
Instructions
  1. Layer the croutons on the bottom of a 9x13 pan.
  2. Mix the eggs and half-and-half together. Pour over the croutons.
  3. Sprinkle the sausage and bacon crumbles evenly on top of the crouton-egg mixture.
  4. Top with shredded cheese.
  5. Bake at 425 degrees for 25-30 minutes.
Serve and ENJOY!


Buns in a Bowl

These gluten free “Buns in a Bowl” cook in just 40 seconds in the microwave.

This is a sturdy bread bun that I created just for eating burgers, but they’d be great for regular sandwiches.  I needed a bun that could hold up to all the fixins’ my family loves in a burger — a thick and juicy patty, lettuce, tomatoes, avocados, onions, and pickles.

image

To make them bun-shaped, I used an ordinary cereal bowl.   This is also a good size for sandwiches, although if you want a more traditional shape to your bread, you can use a container like the one pictured below.

image

I don’t usually microwave plastic containers, so if I want a larger piece of bread (larger than what my cereal bowl makes), I use a larger bowl or plate.

image

This recipe makes eight buns, enough for four burgers or sandwiches.  If you’d like my recipe for juicy burgers, click here.

image

I included my easy, step-by-step process below.  My complete recipe is at the bottom of this post.  For THMs, this is an “S” recipe.

Give it a try and let me know what you think. 🙂

Here’s how to make it:

In a small mixing bowl, place almond flour, flaxseed meal, baking powder, truvia, salt and nutritional yeast.  Adding a sweetener is completely optional, but I find I like this bread better with just a hint of sweetness.  I had truvia packets on hand so that’s what I used here (one packet), but you can use stevia, THM sweet blend, or your favorite brand of sweetener.

image

Next, mix in some melted butter.

image

I mix in the eggs last — and separate from the hot melted butter — so that they don’t scramble in the hot butter.

image

You don’t need a whisk to mix this together.  A fork will do just fine.

Let the batter sit for a few minutes to allow the almond and flaxseed flours to soak up the liquid and thicken up a bit.

image

One of my favorite — and most used — kitchen gadgets is a cookie scoop.  I have many different sizes.  For this recipe, I used a two-tablespoon scoop.  One scoop is the perfect amount for one bun.  As you can see below, I slightly underfill the scoop in order to keep the buns slightly thin.  For taller/higher buns, fill the scoop to the rim (and maybe even a bit above the rim).

image

Spread the batter evenly in the bottom of a cereal bowl.  It doesn’t look like much now, but once cooked, it’s the perfect size to hold a burger.

image

Microwave on high for 40 seconds.

image

Flip the bun out of the bowl and onto a plate to cool.

image

Continue cooking the buns until all the batter is used up.  Depending on how full you fill your scoop, you can get anywhere between six and eight buns.

image

Add your favorite burger fixins’ and ENJOY!  If you’d like my recipe for juicy burgers, click here. 🙂

image


Buns in a Bowl
 
Author:
Serves: 8
Ingredients
  • ¾ cup almond flour
  • ½ cup flaxseed meal
  • 1 tablespoon baking powder
  • 1 packet truvia
  • 1 teaspoon salt
  • 2 teaspoons nutritional yeast
  • 6 tablespoons butter, melted
  • 2 large eggs
Instructions
Make the batter:
  1. Place the almond flour, flaxseed meal, baking powder, truvia, salt and nutritional yeast into a small mixing bowl. Stir to combine.
  2. Add the melted butter; stir.
  3. Add the eggs; stir to combine. Let the mixture sit for a few minutes.
Make the buns:
  1. Place two tablespoons of batter in a cereal bowl.
  2. Microwave on high for 40 seconds. Flip the bun out of the bowl and onto a plate to cool.


« Older Entries Recent Entries »