Archive for Kådu

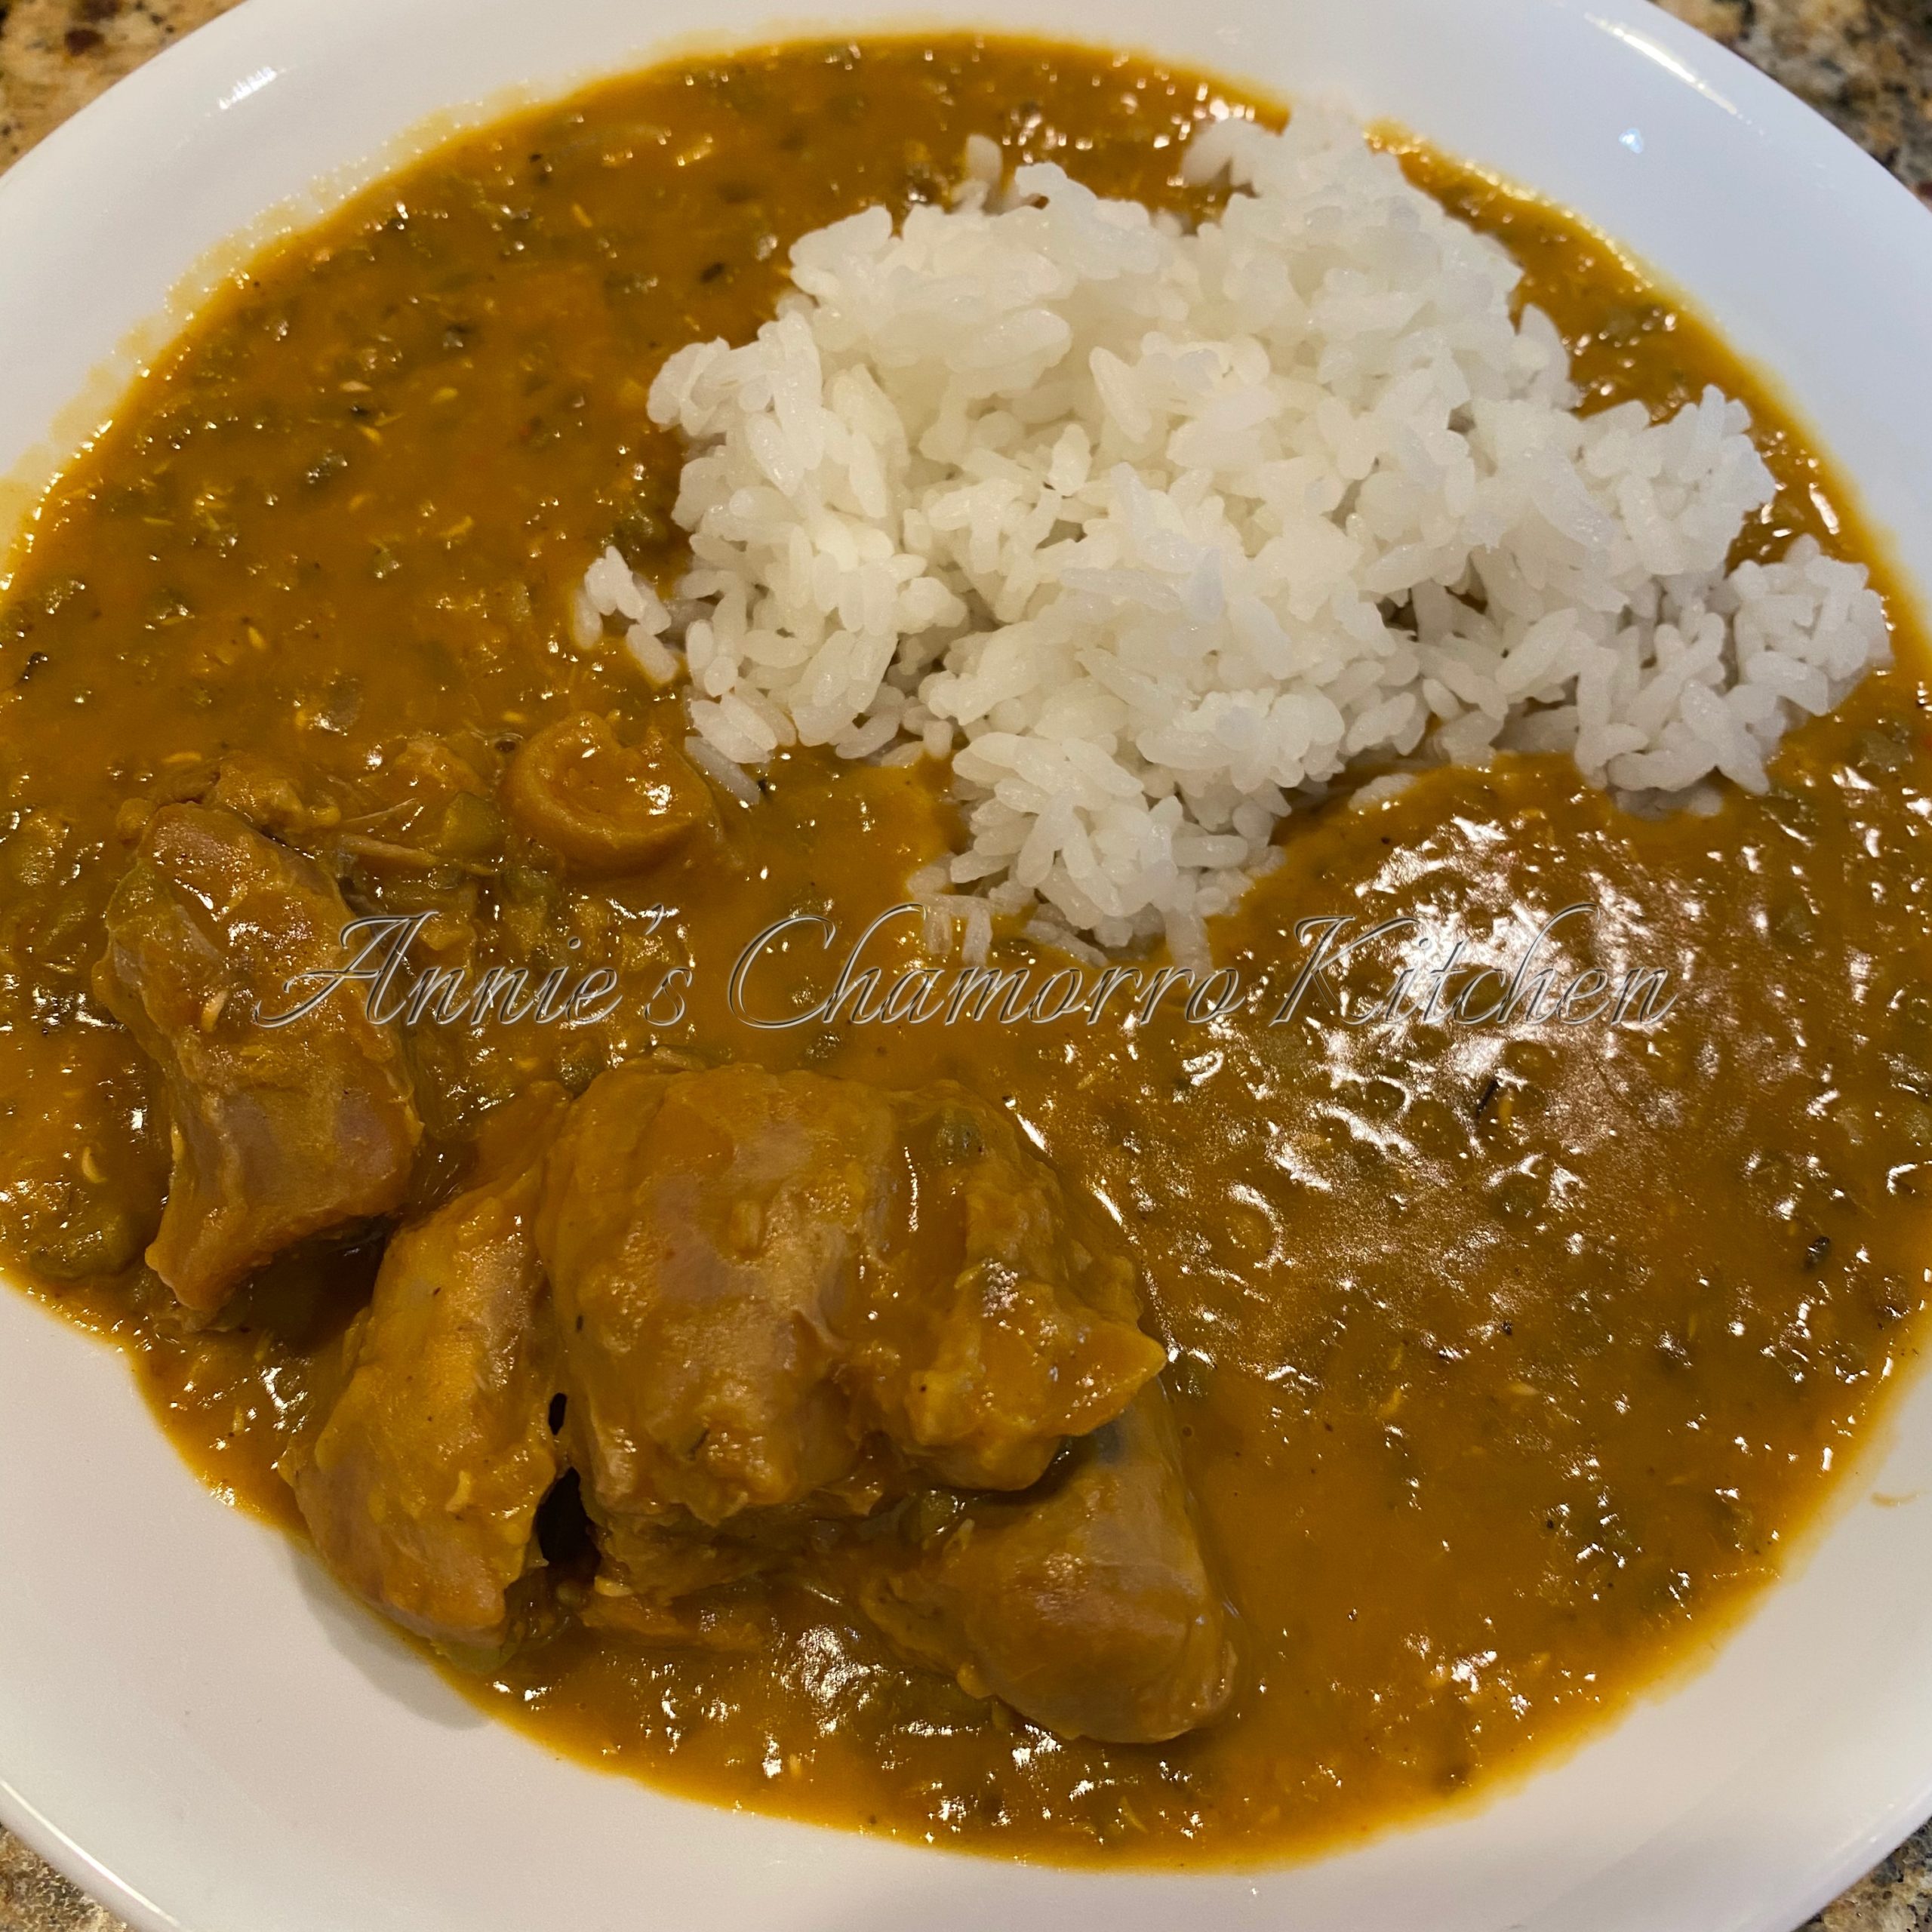
Ham Hocks with Mongo (Mung) Beans

Ham hocks and beans go so well together.  For those who’ve never heard of it before, a ham hock is the pork knuckle and is usually salt-cured and smoked. It’s typically cooked long and slow until tender, with added beans and broth for the ultimate comfort food.

The Chamorro way to cook this is with mongo (or mung) beans and coconut milk. (Read below for what my grandmother and mom think about this addition. 😁)

Give my recipe a try.  I think you’ll like it.

HAM HOCKS WITH MONGO (MUNG) BEANS
 

You’ll need:

Mongo Beans:

  • 1 bag mung beans
  • 1 tablespoon Dashida seasoning
  • 1 tablespoon onion powder
  • 1 tablespoon garlic powder
  • 1 teaspoon black pepper
  • Water (initially, 2 inches above the level of beans)


Ham Hocks:

  • 1 package ham hocks (smoked, if you can find it), about 3-4 large pieces in a package
  • Water
  • 1 medium onion, diced
  • 4 cloves garlic, chopped
  • 1/2 cup soy sauce
  • 1/4 cup vinegar
  • Black pepper, to taste
  • 1 package achote powder
  • 1/2 teaspoon liquid smoke (omit if you are using smoked ham hocks)
  • 1 can coconut milk


You can find my full, printable recipe at the bottom of this page.


The first thing we need to is prepare the mung beans.  Ideally you’ll do this the day before you intend to cook your ham hocks.

Place the dry beans in a medium sized bowl.
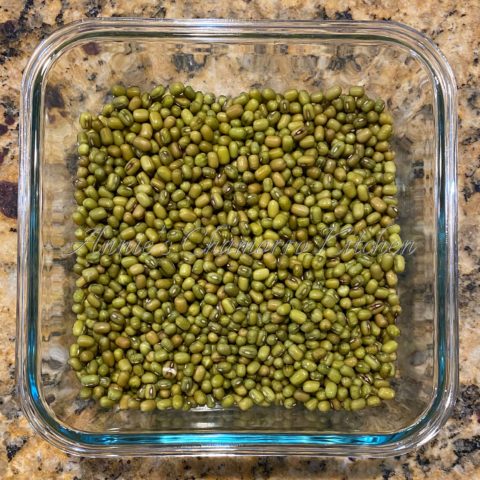
 

Add water and soak overnight.  Make sure to add enough water to go at least 2 inches above the beans.
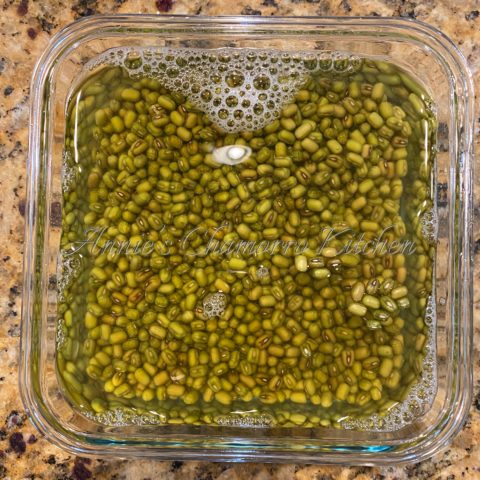
 

The next morning, pour out the soaking water, if any is left. Rinse once more and drain.

Look how plump the beans have become after soaking in all that water overnight.
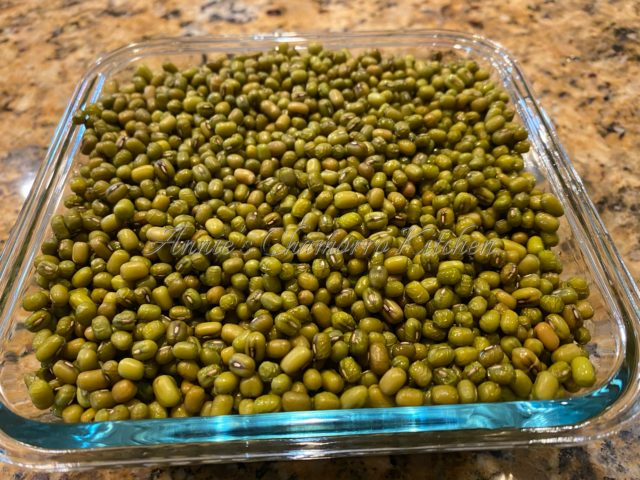
 

Add the mung beans to a medium sauce pan. Add more water, enough for it to reach about 2” above the beans.  Stir in the dashida, onion powder, garlic powder, and black pepper.
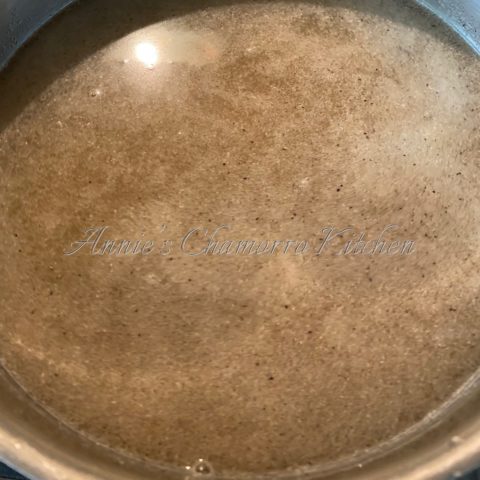
 

Bring to a boil then reduce the heat to low.  Simmer (covered) until the beans have softened, about 1 hour, stirring periodically. Add more water if required (you don’t want the beans cooking “dry”). Note: you should not need to add more water if you’ve soaked the beans overnight.

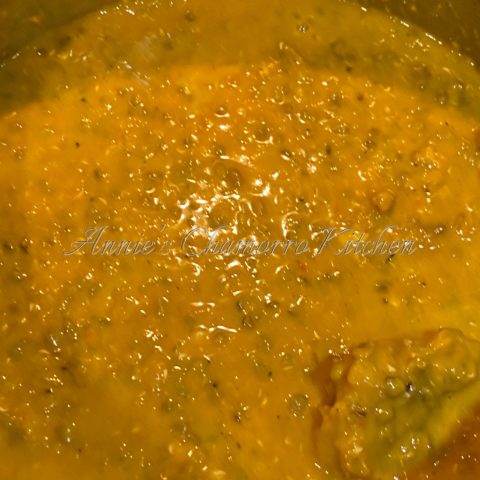
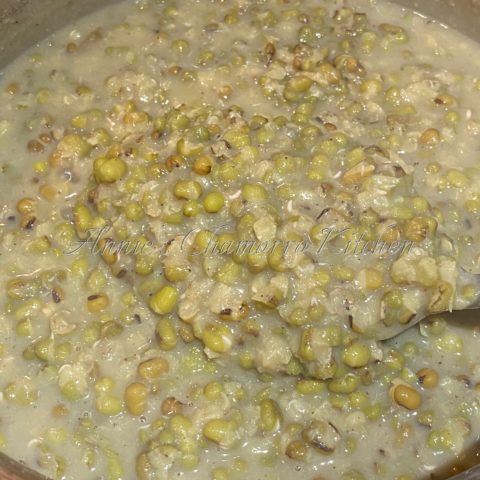
This is what the beans look like after one hour of cooking.  Remove the pot from the heat and set the beans aside.  The beans will not be not fully cooked at this point.  It will continue cooking with the ham hocks later.
 

Place the ham hocks in a large pot.

Note: Smoked ham hocks are usually what’s used for this dish.  However, I could only find “regular, uncooked/raw” ham hocks.  I will make a note of recipe adjustments where required for when using smoked ham hocks.
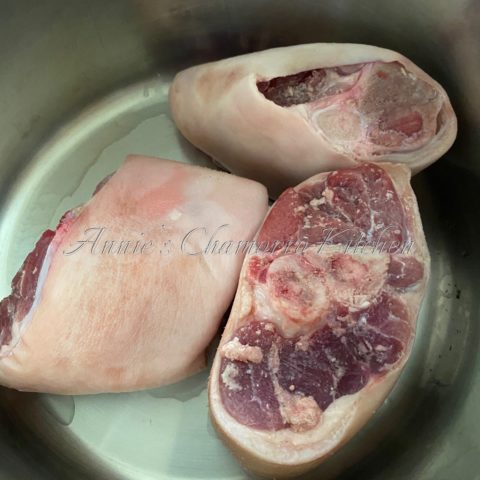
 

Add water until the ham hocks are submerged.  
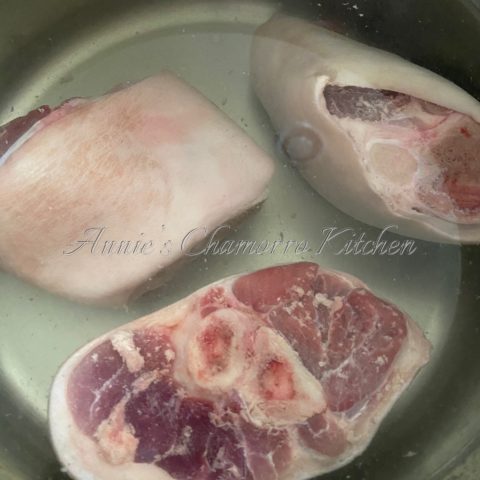
 

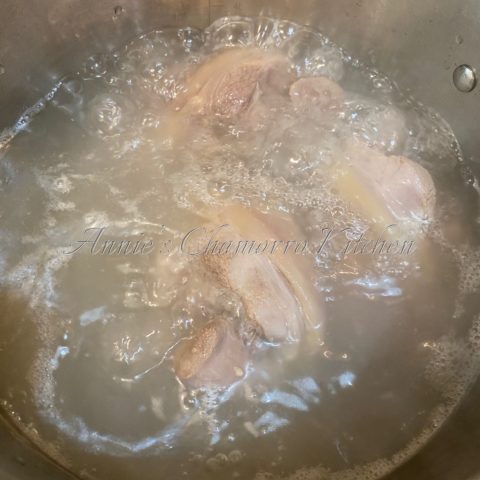
Bring to a boil and cook for 30 minutes. Drain the water, being careful not to burn yourself.  Don’t worry about seasoning the water at this point since the intent is to cook off a lot of the fat beneath the skin as well as to tenderize the meat.
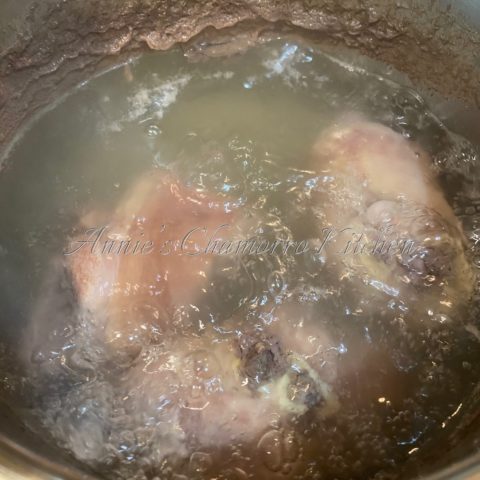
 

Repeat the previous step once more (add water, bring to a boil, cook, drain).
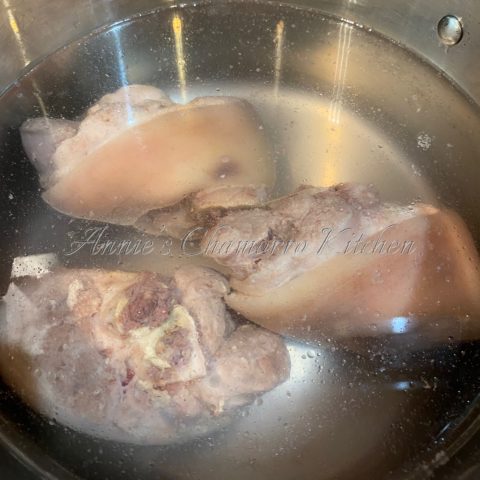
 

After you’ve drained the cooking water, this is what the ham hocks should look like.  This is optional, but I like to cut the ham hocks into smaller pieces and discard the thick skin.  Place the cut pieces back into the pot.
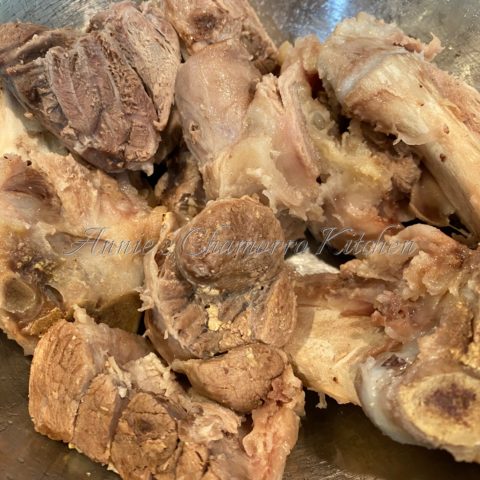
 

Add the diced onions, soy sauce, vinegar, black pepper and liquid smoke.  If you’re using smoked ham hocks, omit the liquid smoke.
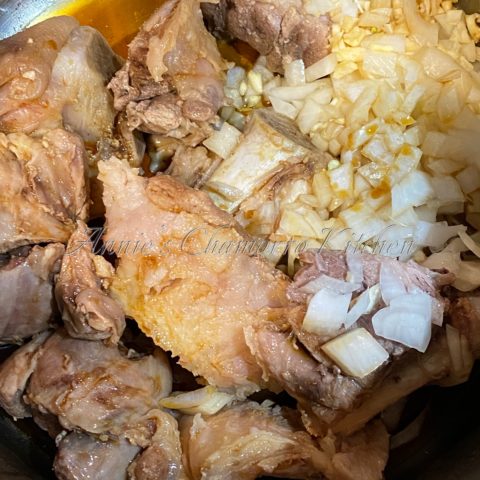
 

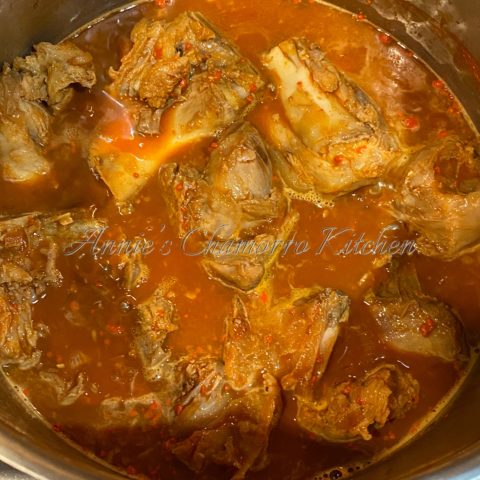
Cook the ham hocks as if you’re cooking estufao.  Cook until the liquid has reduced—you want a relatively dry pot (no or not too much gravy/kådu).  This should take about 10-15 minutes over medium-low heat.
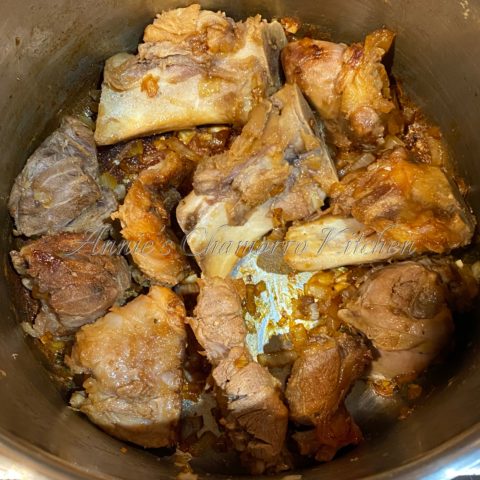
 

When the liquid has dried down, add more water (as much water for the amount of kådu you want, but keep in mind that you’ll be adding coconut milk and the cooked mung beans got the pot as well).  I added 3 cups of water.
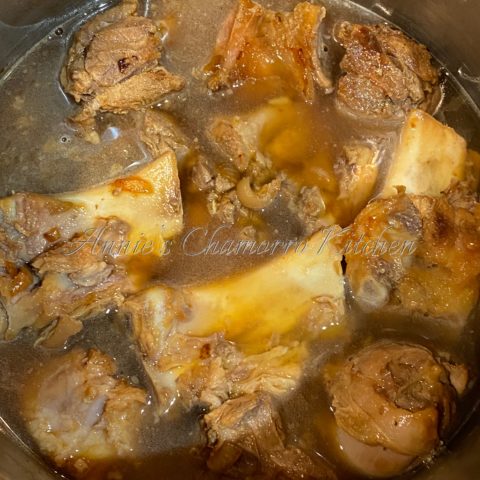
 

Turn the heat up to medium; cook for a few minutes, just long enough for the water to heat up (achote powder dissolves better in hot liquid).  Add the achote powder, stirring until it dissolves in the liquid.
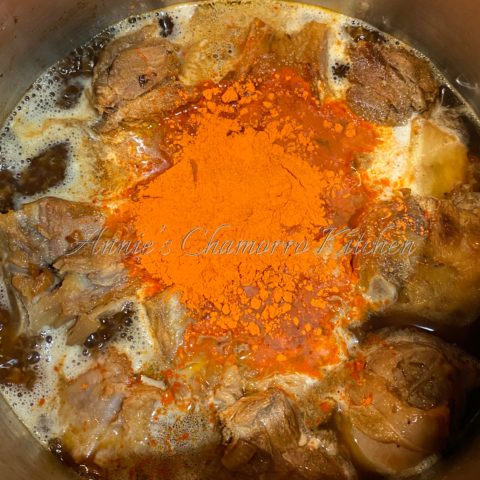
 

Add the partially cooked mung beans to the pot.  Taste and adjust your seasonings at this point.  I added a tiny bit more salt as the ham hocks I used were not smoked and needed a bit more flavor.

Turn the heat down to low.  Simmer for 45 more minutes to one hour, or until the ham hocks are tender.  If you want to cut down on the cooking time, you can transfer the mixture to a pressure cooker at this point.  I like to cook this the slower stovetop method as I can periodically check to see if I need to add more water if it’s drying down too much.  Speaking of which, if your mixture is drying down too much during this last hour of cooking, add some water, about a half cup at a time.  Don’t forget that toward the end of the cooking time, you’ll be adding more liquid in the form of coconut milk.
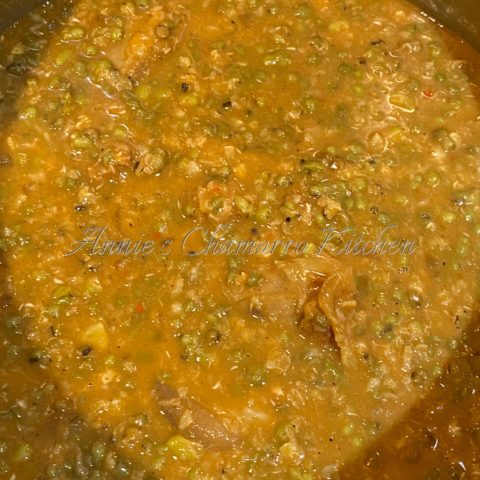
 

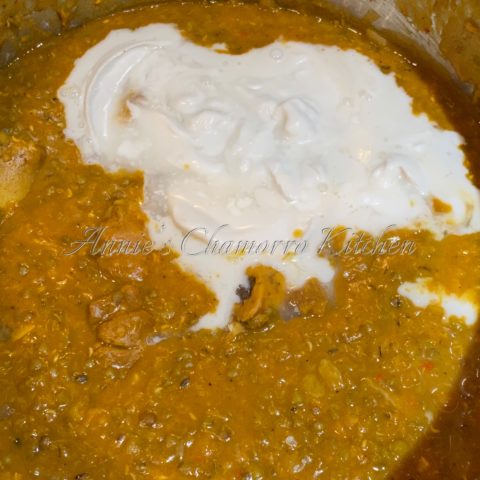
When the ham hocks are tender enough to your liking, stir in the coconut milk.

My grandmother and mother never added coconut milk to their ham hock kådu.  My grandmother always said you don’t eat pork with coconut milk.  I rather like it myself. 😉
 

Serve with hot steamed rice and enjoy!
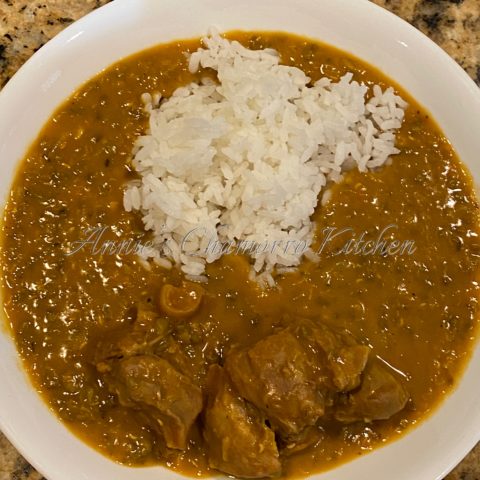
 

Ham Hocks with Mongo (Mung) Beans
 
Author:
Ingredients
Mongo Beans:
  • 1 bag mung beans
  • 1 tablespoon Dashida seasoning
  • 1 tablespoon onion powder
  • 1 tablespoon garlic powder
  • 1 teaspoon black pepper
  • Water (initially, 2 inches above the level of beans)
Ham Hocks:
  • 1 package ham hocks (smoked, if you can find it), about 3-4 large pieces in a package
  • Water
  • 1 medium onion, diced
  • 4 cloves garlic, chopped
  • ½ cup soy sauce
  • ¼ cup vinegar
  • Black pepper, to taste
  • 1 package achote powder
  • ½ teaspoon liquid smoke (omit if you are using smoked ham hocks)
  • 1 can coconut milk
Instructions
Mongo Beans:
  1. Place the beans in a medium sized bowl. Add water to 2 inches above beans and soak overnight. The next morning, pour out any remaining soaking water. Rinse the beans and drain.
  2. Place the soaked beans in a medium sized pot. Add more water, again up to 2 inches above the beans. Bring to a boil then simmer (covered) for one hour. Add more water if required. Note: you shouldn’t need to add more water if you’ve soaked the beans overnight.
Ham Hocks:
  1. Place the ham hocks in a large pot. Add water to cover the ham hocks. Bring to a boil and cook for 30 minutes. Drain the water.
  2. Repeat once more (add water, cook 30 minutes, drain).
  3. Cut the ham hocks into smaller pieces and return to the pot.
  4. Add diced onions and garlic to the pot, as well as the soy sauce, vinegar and black pepper. Add liquid smoke if you are not using smoked ham hocks.
  5. Cook over medium-low heat until the liquid has dried down.
  6. Add more water (add as much as you’d like for a soup) to the pot (I added 3 cups of water). Cook for a few minutes to allow the water to heat up.
  7. Add the achote powder; stir until the powder dissolves in the water.
  8. Add the mung beans to the pot. Taste and adjust your seasonings.
  9. Reduce the heat to low. Simmer for 45 minutes to one hour, or until the ham hocks are tender. Add water periodically if the liquid is drying down too much.
  10. Stir in the coconut milk when the ham hocks are tender.
Serve with steamed rice and enjoy!


Chicken Soup (Kådun Månuk)

Kådu is the Chamorro term for soup or broth.  Think of it as Chamorro Comfort Food.  It could be 90 degrees outside on Guam, but serve some kådu for lunch or dinner and chances are, you’ll forget your worries–and the hot weather–as you enjoy a steaming bowl of delicious soup.

image

There isn’t a particular occasion that kådu is served.  If made at home, kådu is usually served as the main course — chicken, beef or other kådu is the starring attraction, served over steamed rice with fina’denne’ on the side.  Whereas if you see kadu at parties, it’s usually something more along the lines of a drinkable soup, like Chamorro Corn Soup or Beef Soup with Noodles and Vegetables.

Growing up, kådu was made using whatever we had on hand.  Most often my mom would make chicken kådu, using the chickens raised in our yard, of course.  She’d also add whatever vegetables my dad happened to be growing at our ranch, or vegetables growing in the back yard.  My favorite vegetables to add to kådu were squash and pumpkin tips, and if we had some potatoes and onions, into the pot they went as well.  Freshly squeezed coconut milk was a must; that was usually my job when I was younger — grating the coconut then pressing out the thick and creamy milk.

Give my recipe a try.  It’s great for those bleary days when warm chicken soup seems to be the only thing to chase the cold away.  Find my complete recipe at the bottom of this post.  My recipe makes enough to serve 6-8 people, plus enough left over to pack lunch the next day.

You can also try my recipe for Beef Shank Kådu with Vermicelli Noodles and Vegetables.  I think you’ll like that one too. 🙂

Here’s how to make my Chicken Kådu.

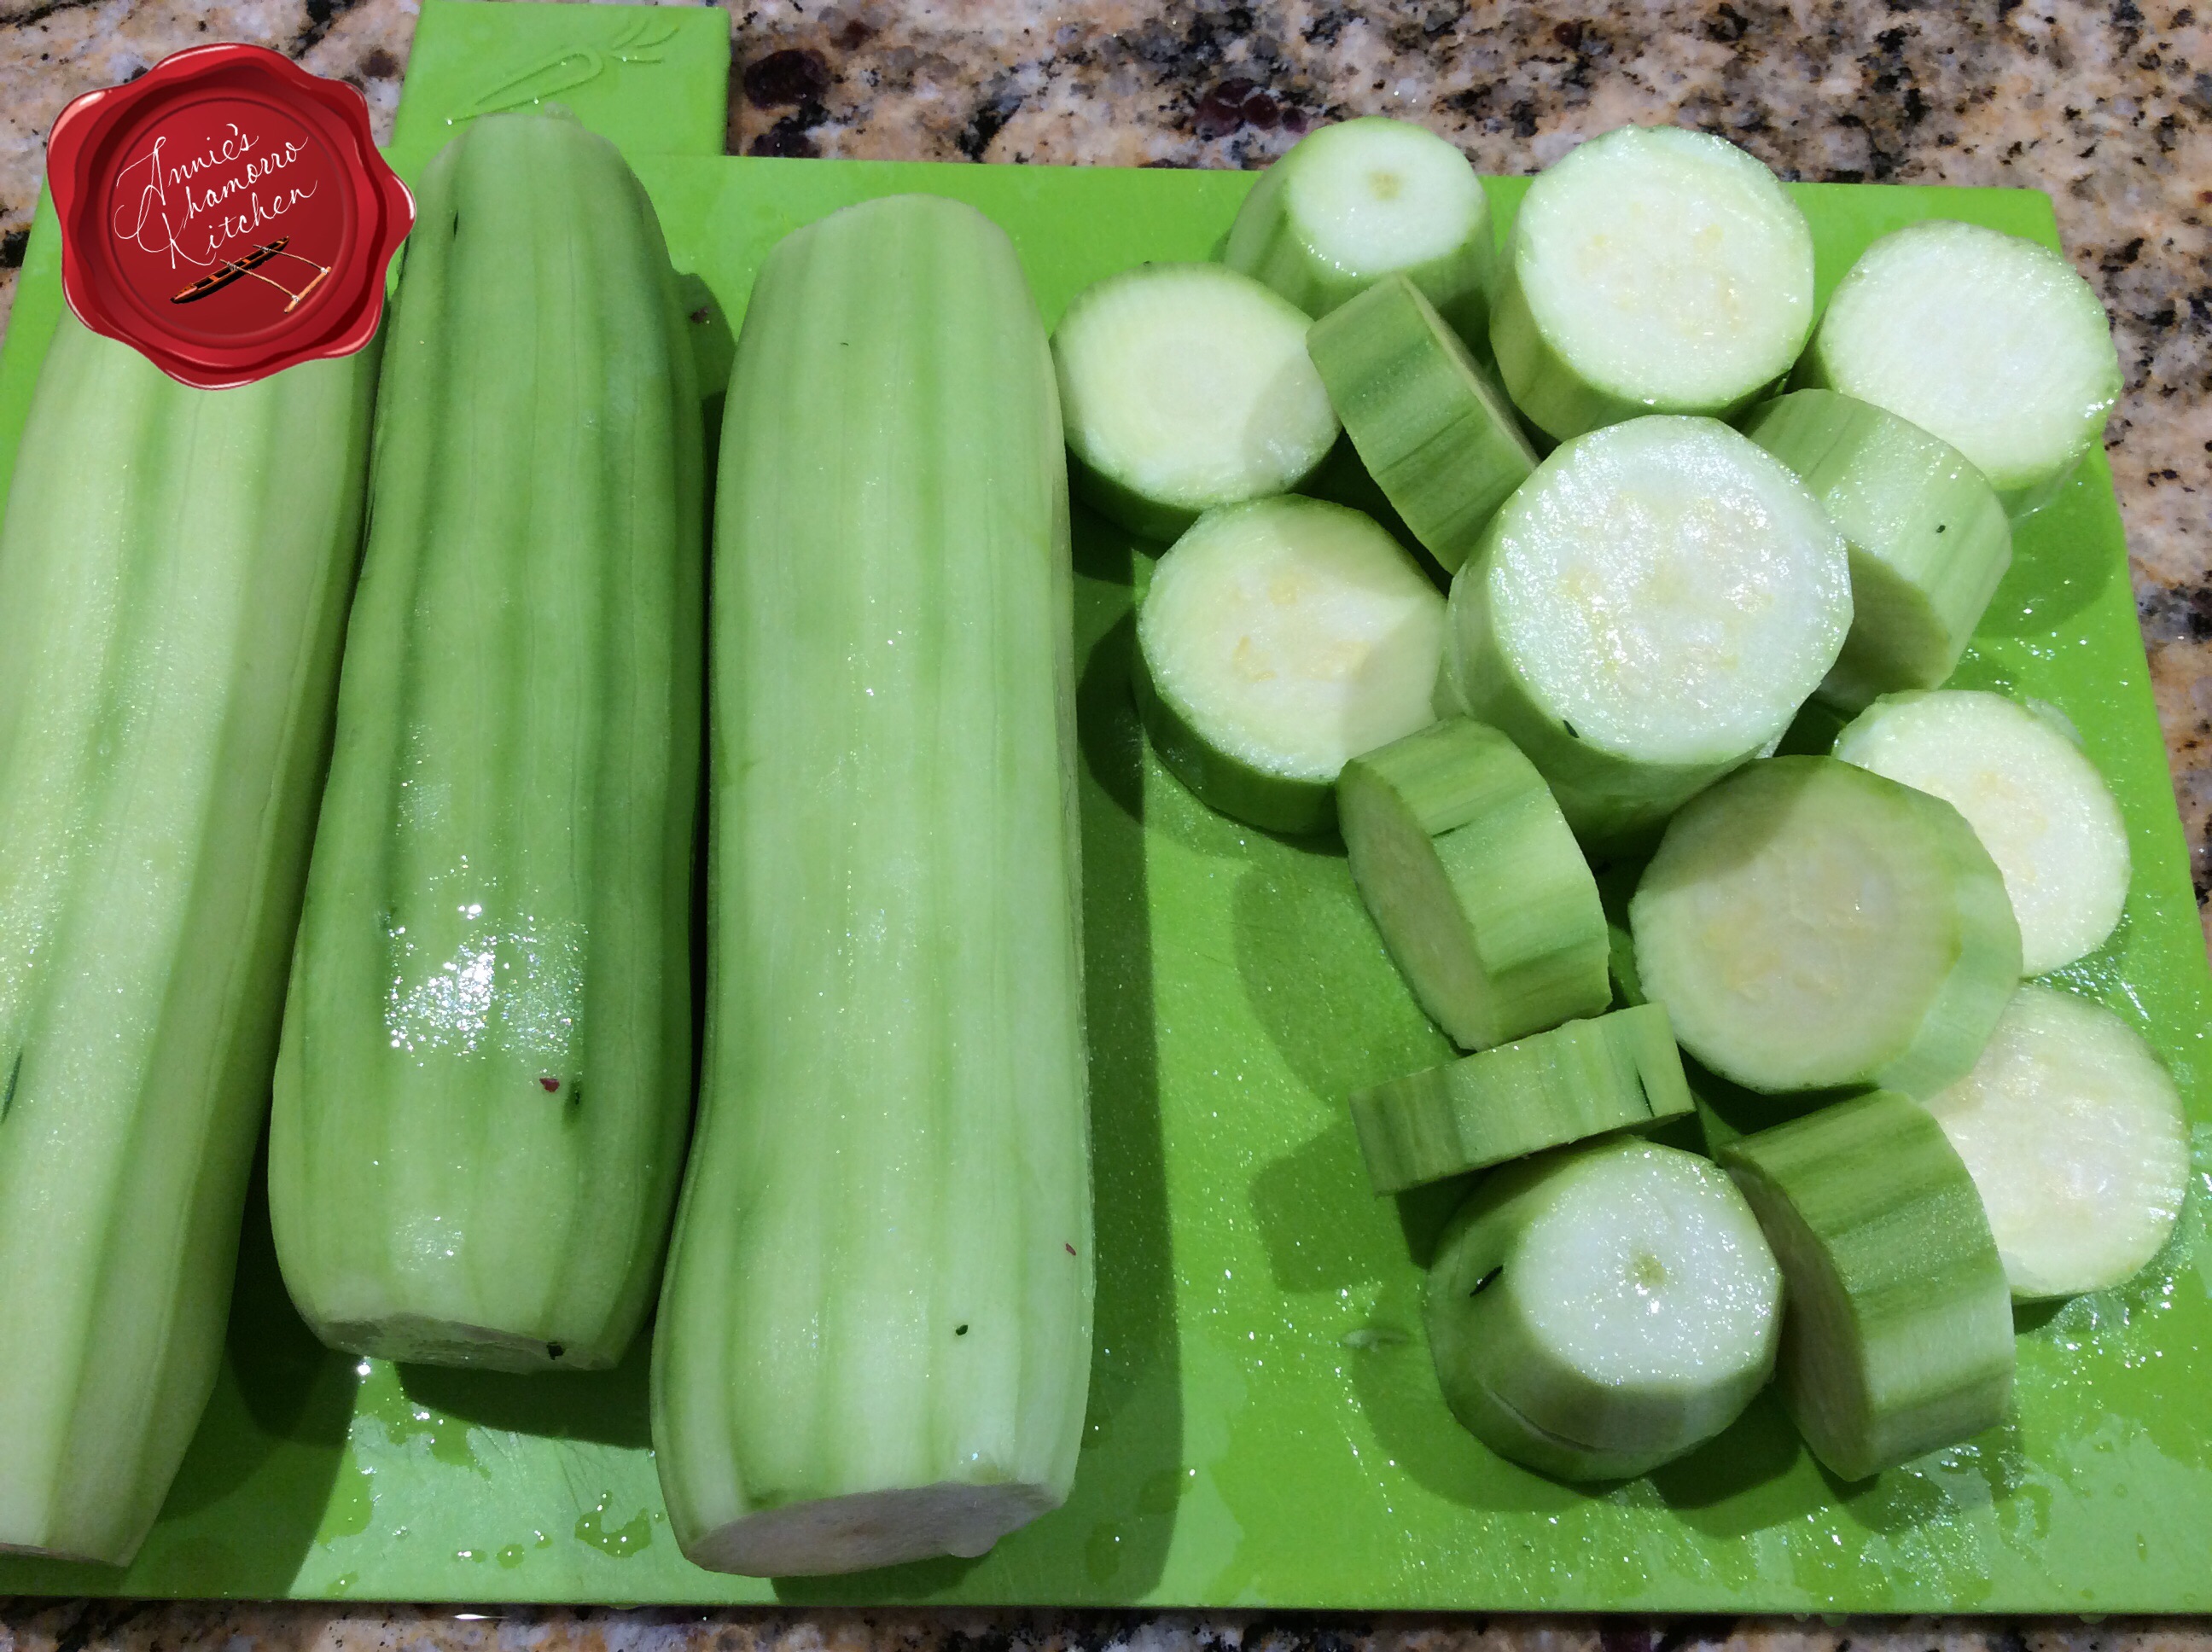
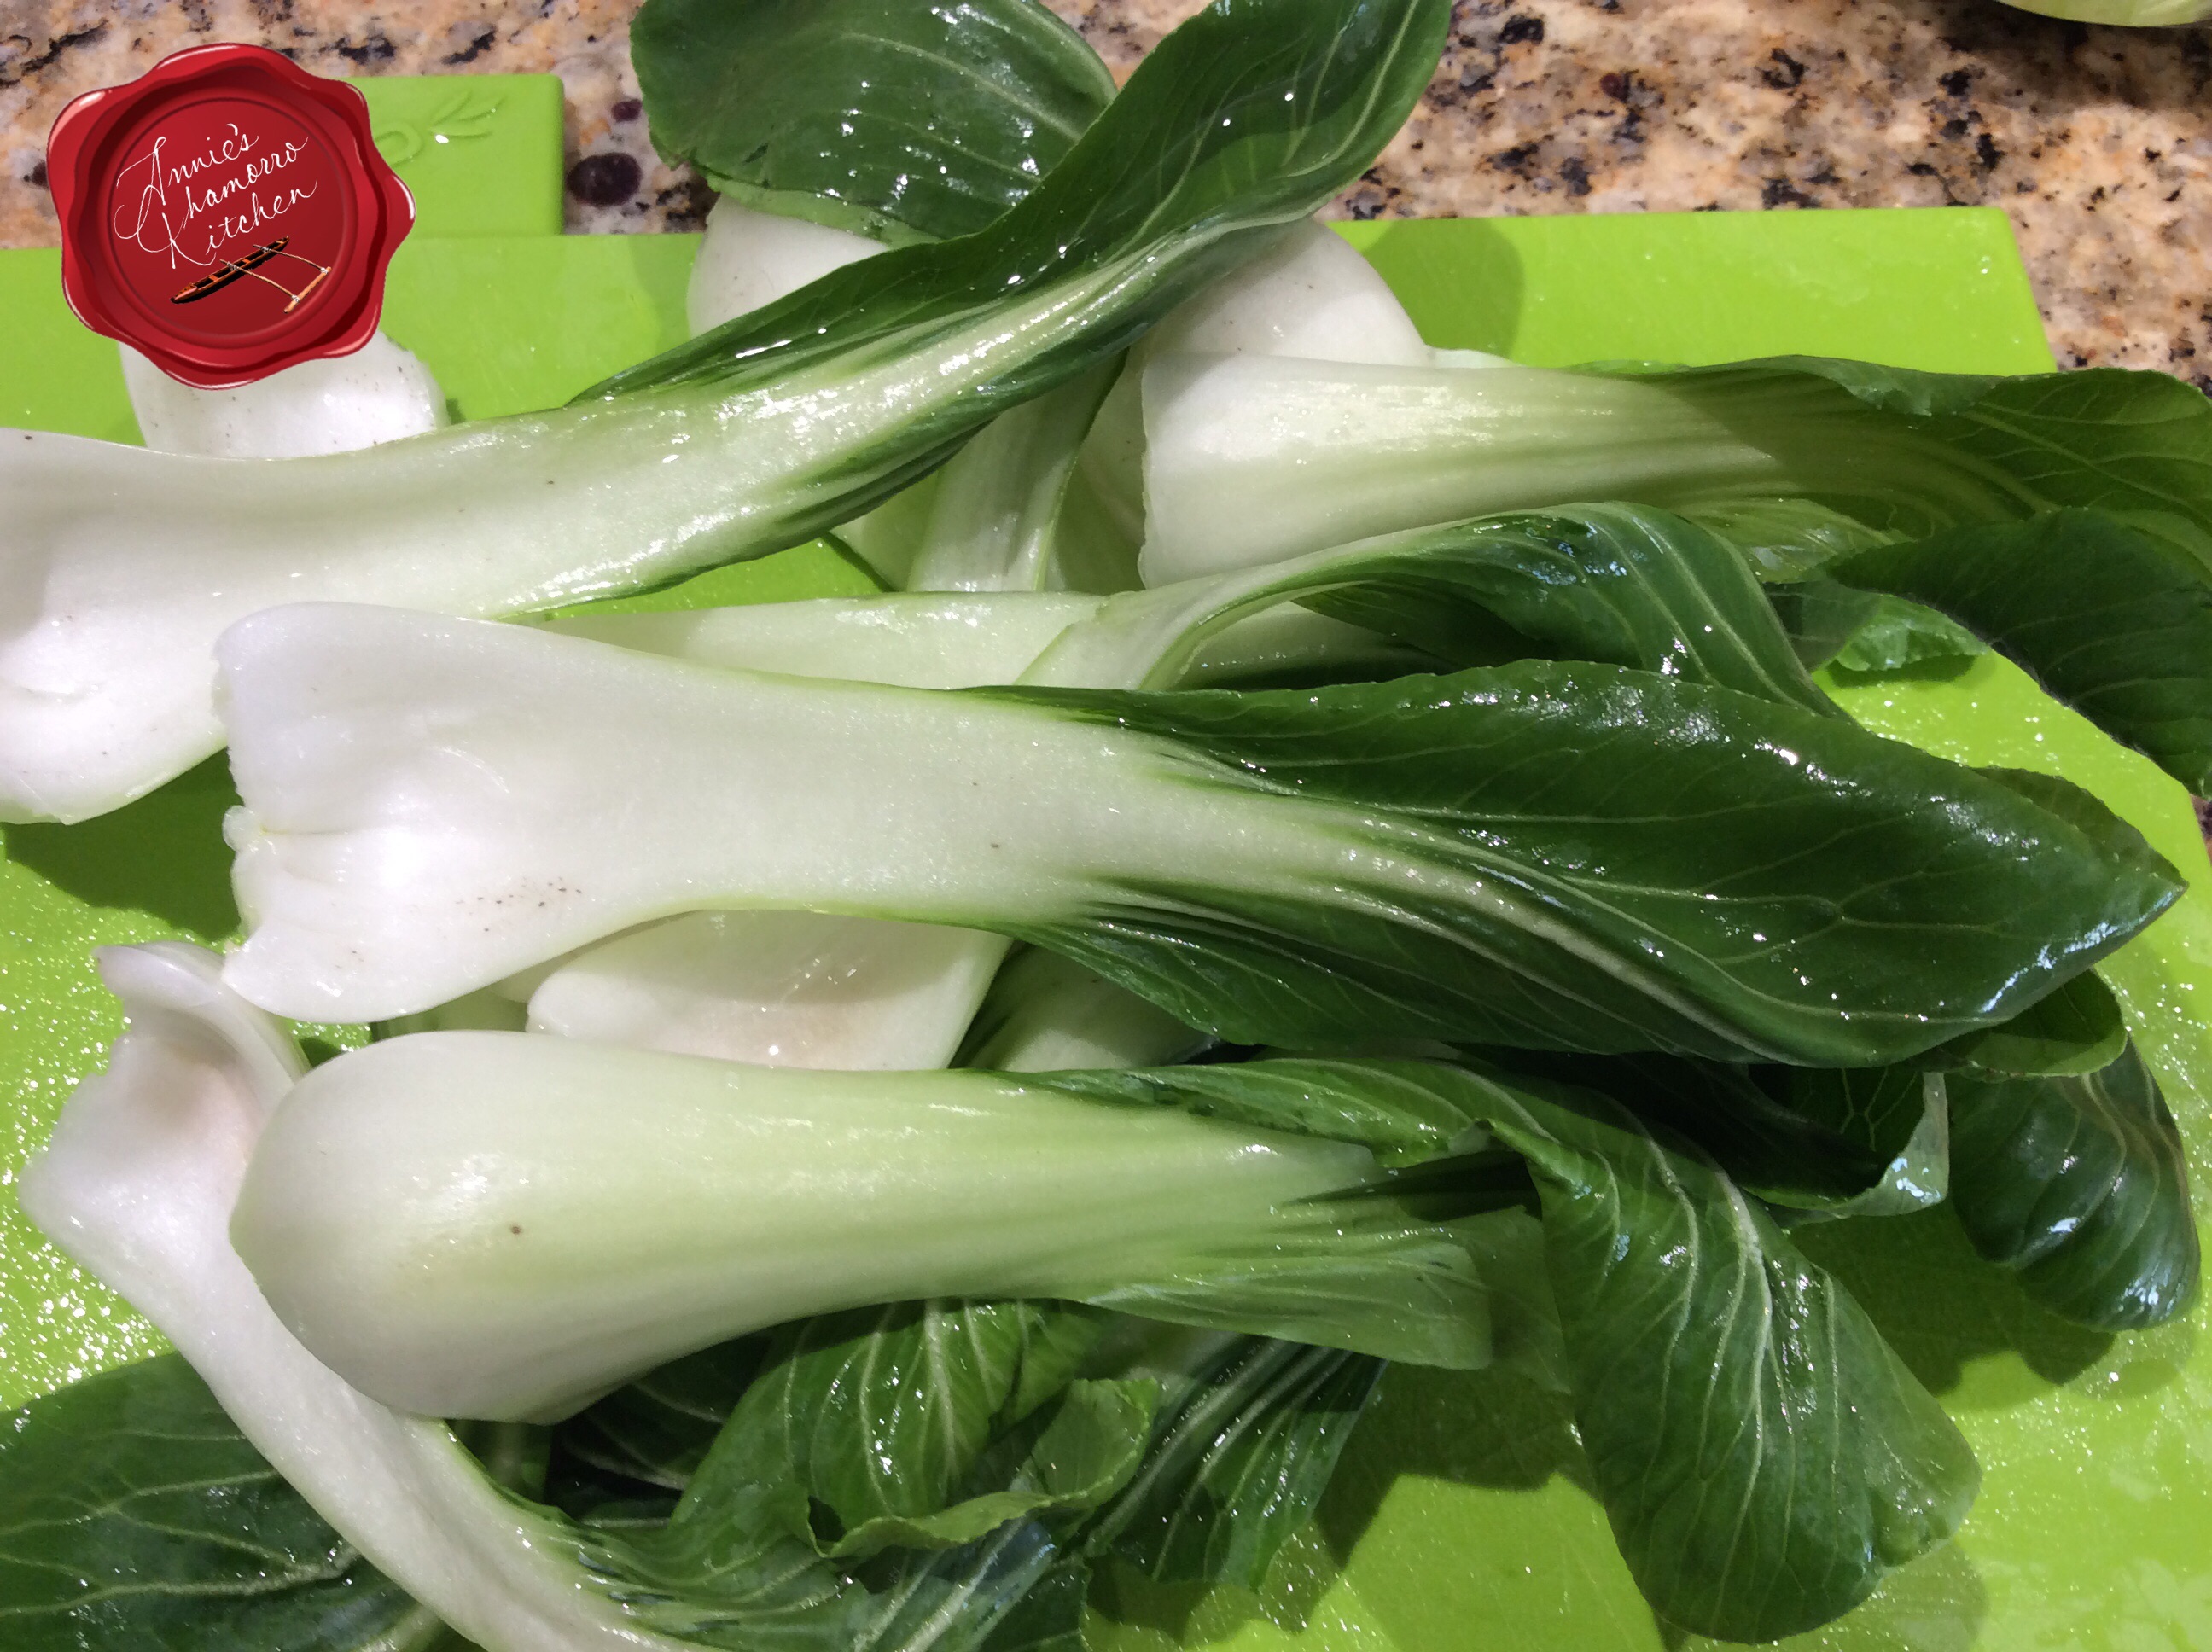
Prepare your vegetables.  Peel and cut your vegetables in to large chunks.  I used zucchini, potatoes and baby bok choy in this version; you can use your favorite vegetables.

Peel the zucchini and thickly slice them.  I sliced these about 3/4 to 1 inch thick.

image

Separate the baby bok choy leaves.  Rinse each leaf thoroughly to remove all dirt trapped in between the leaves.

image

Peel and cut the potatoes into large chunks.  I used small red potatoes and cut them half.  Place the cut potatoes in cold water to keep them from oxidizing and turning brown.

Set all the vegetables aside for now while you cook the chicken.image

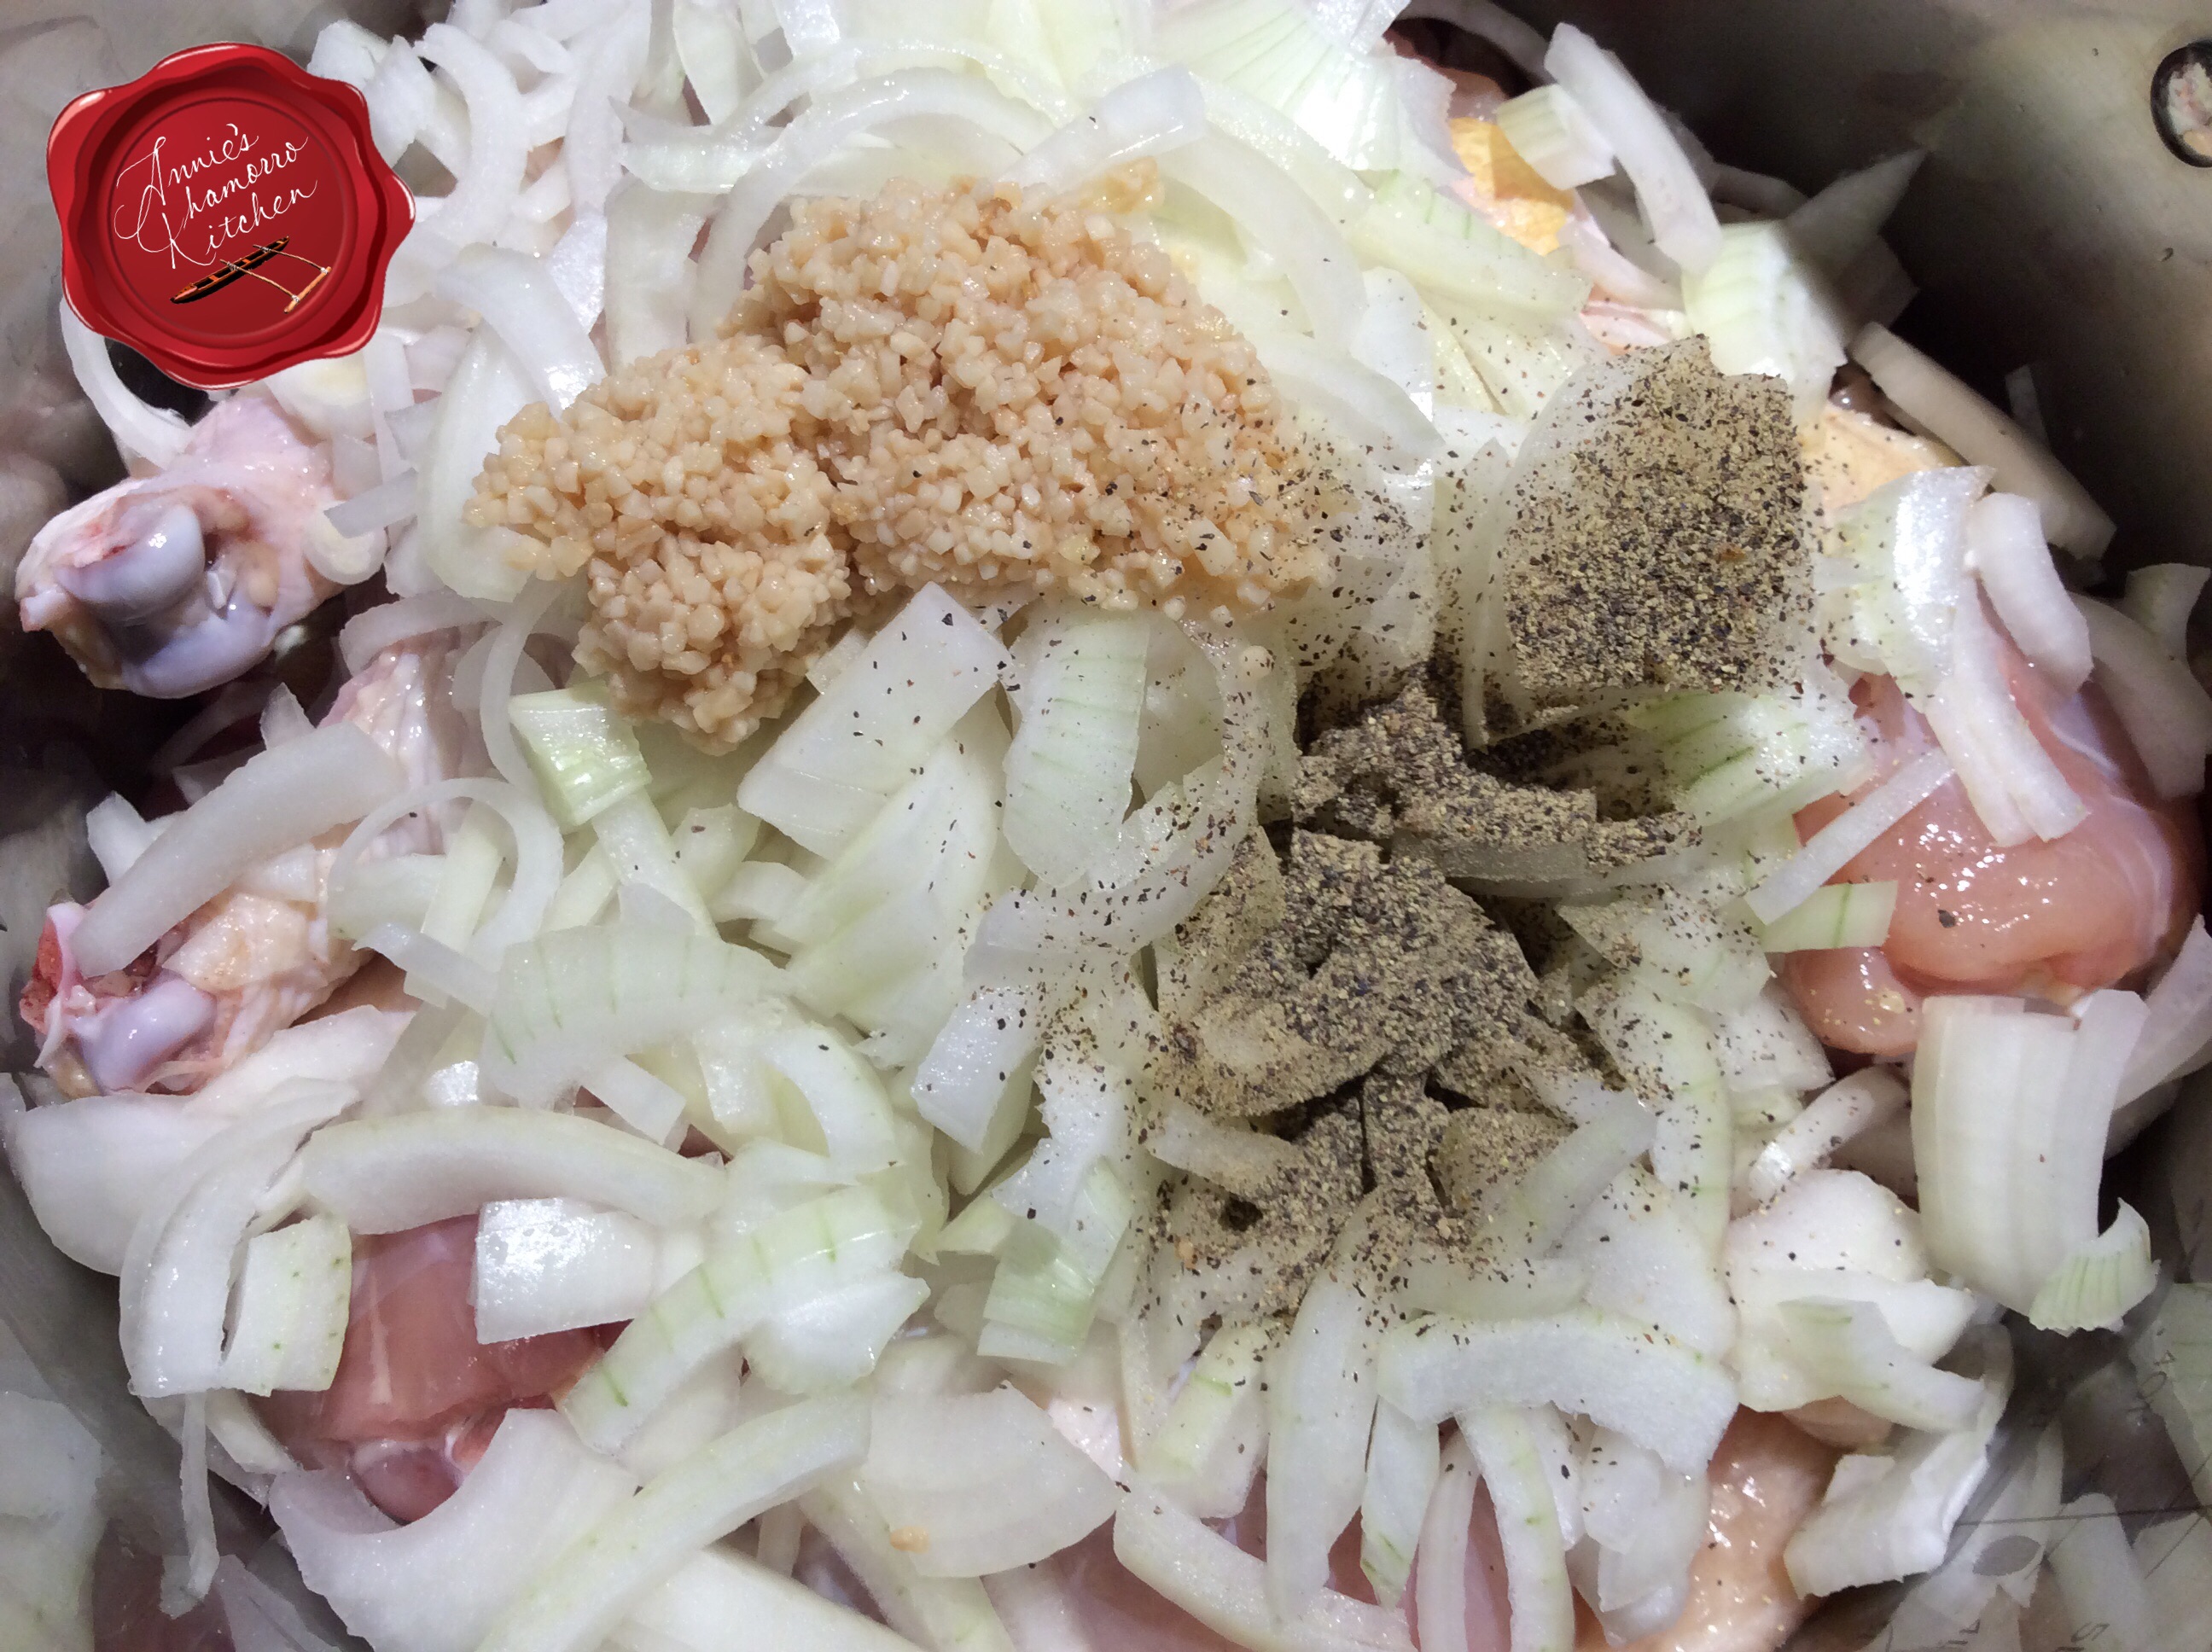
Place the chicken into a large pot along with sliced onions, chopped garlic, chicken seasoning and black pepper.
image

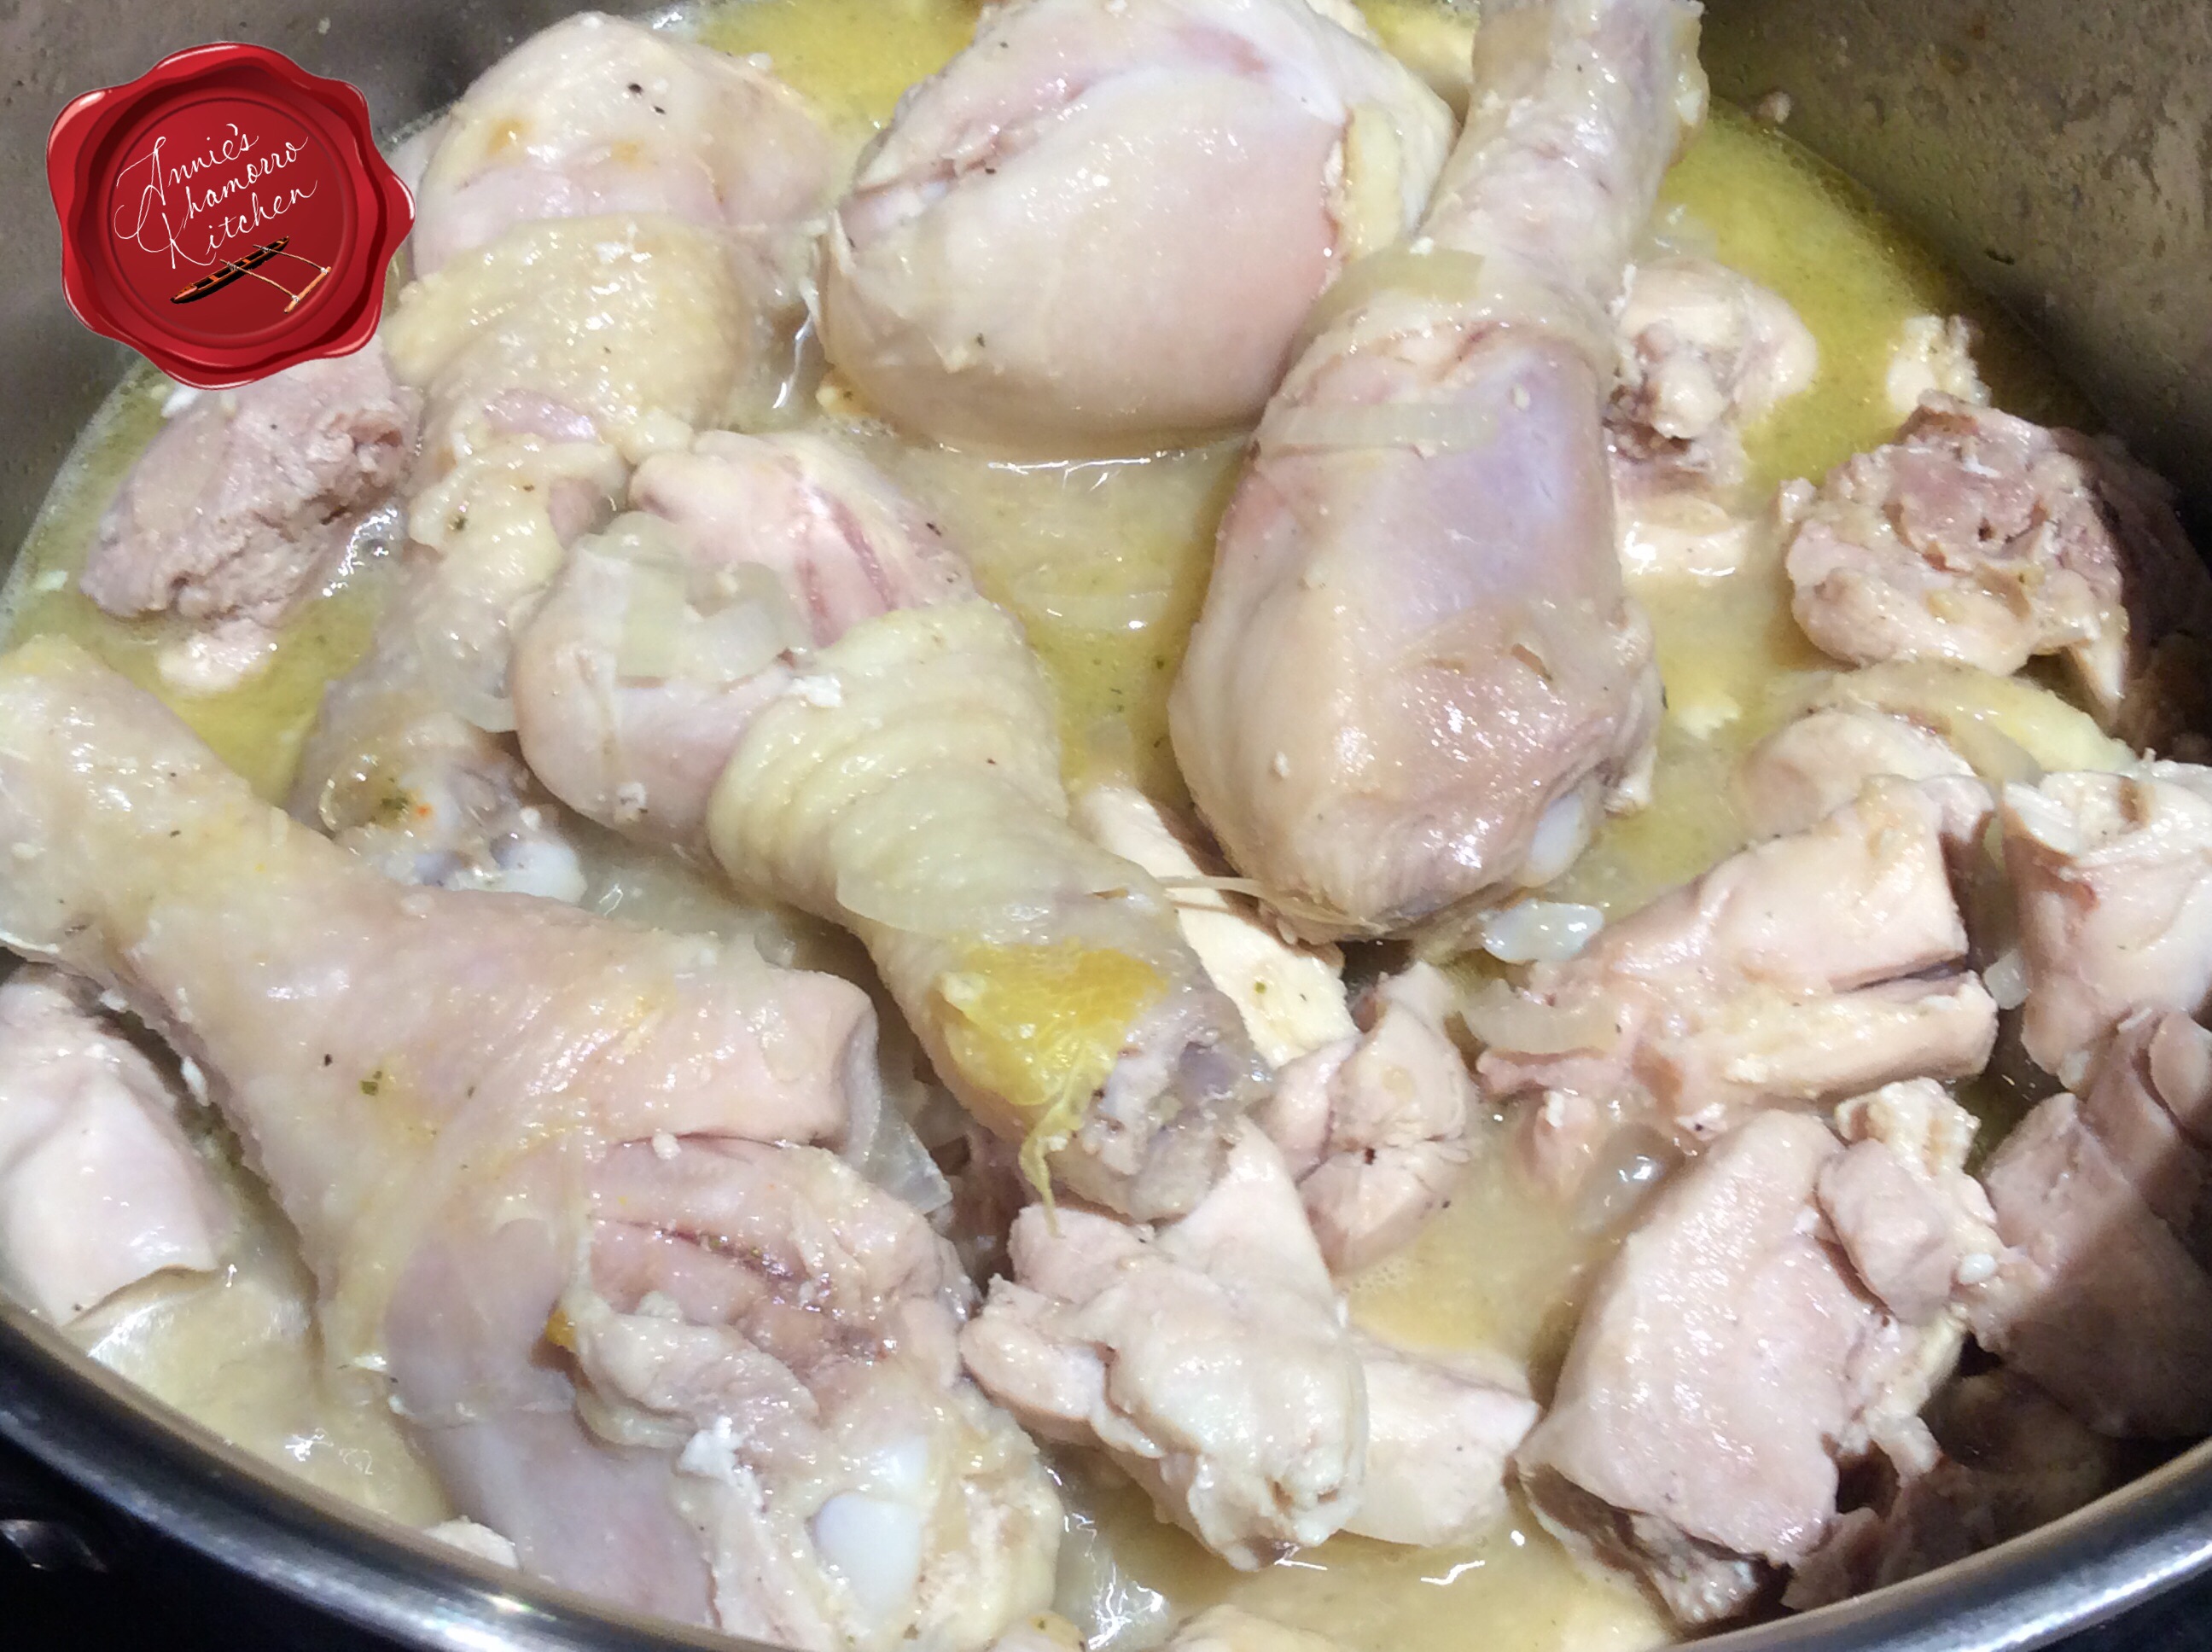
Cook the chicken over medium-high heat until done.

image

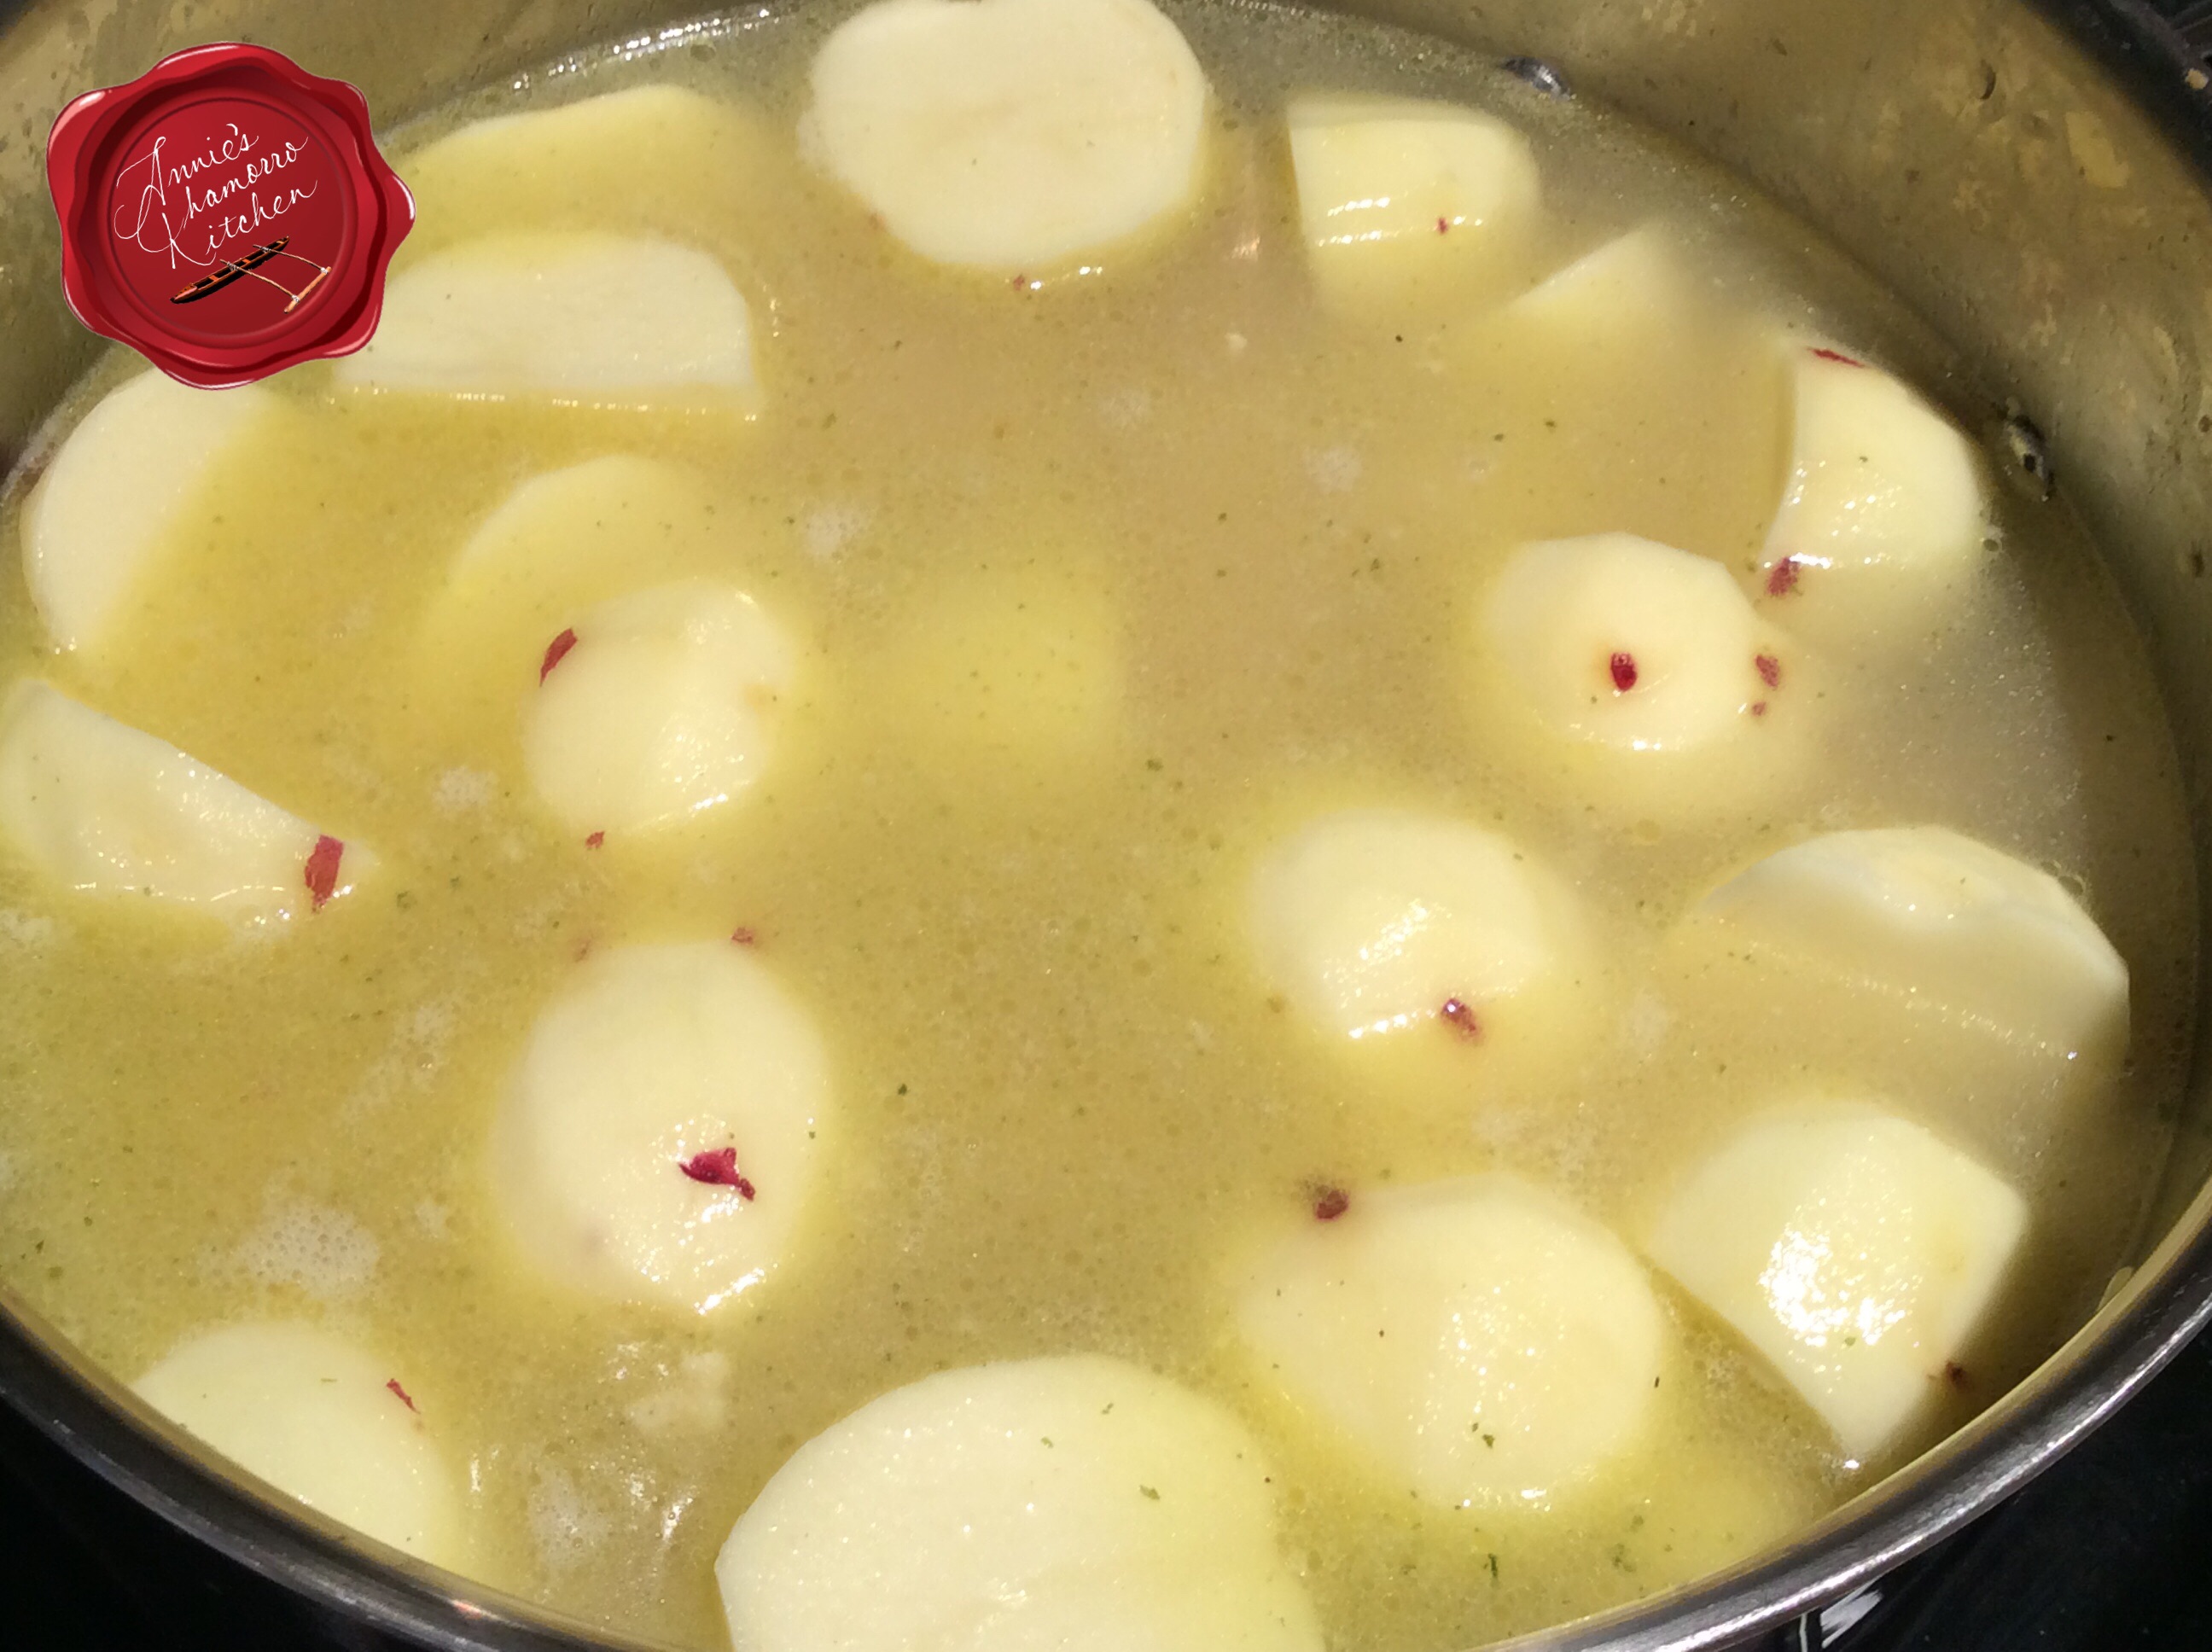
Add the potatoes to the pot along with enough water to cover the potatoes.  Cover the pot and bring the soup to a boil.  Cook the potatoes for about 8-10 minutes or until they are almost done (the potatoes should still be a bit difficult to pierce easily with a fork).  The potatoes will continue cooking when you add the rest of the vegetables.

image

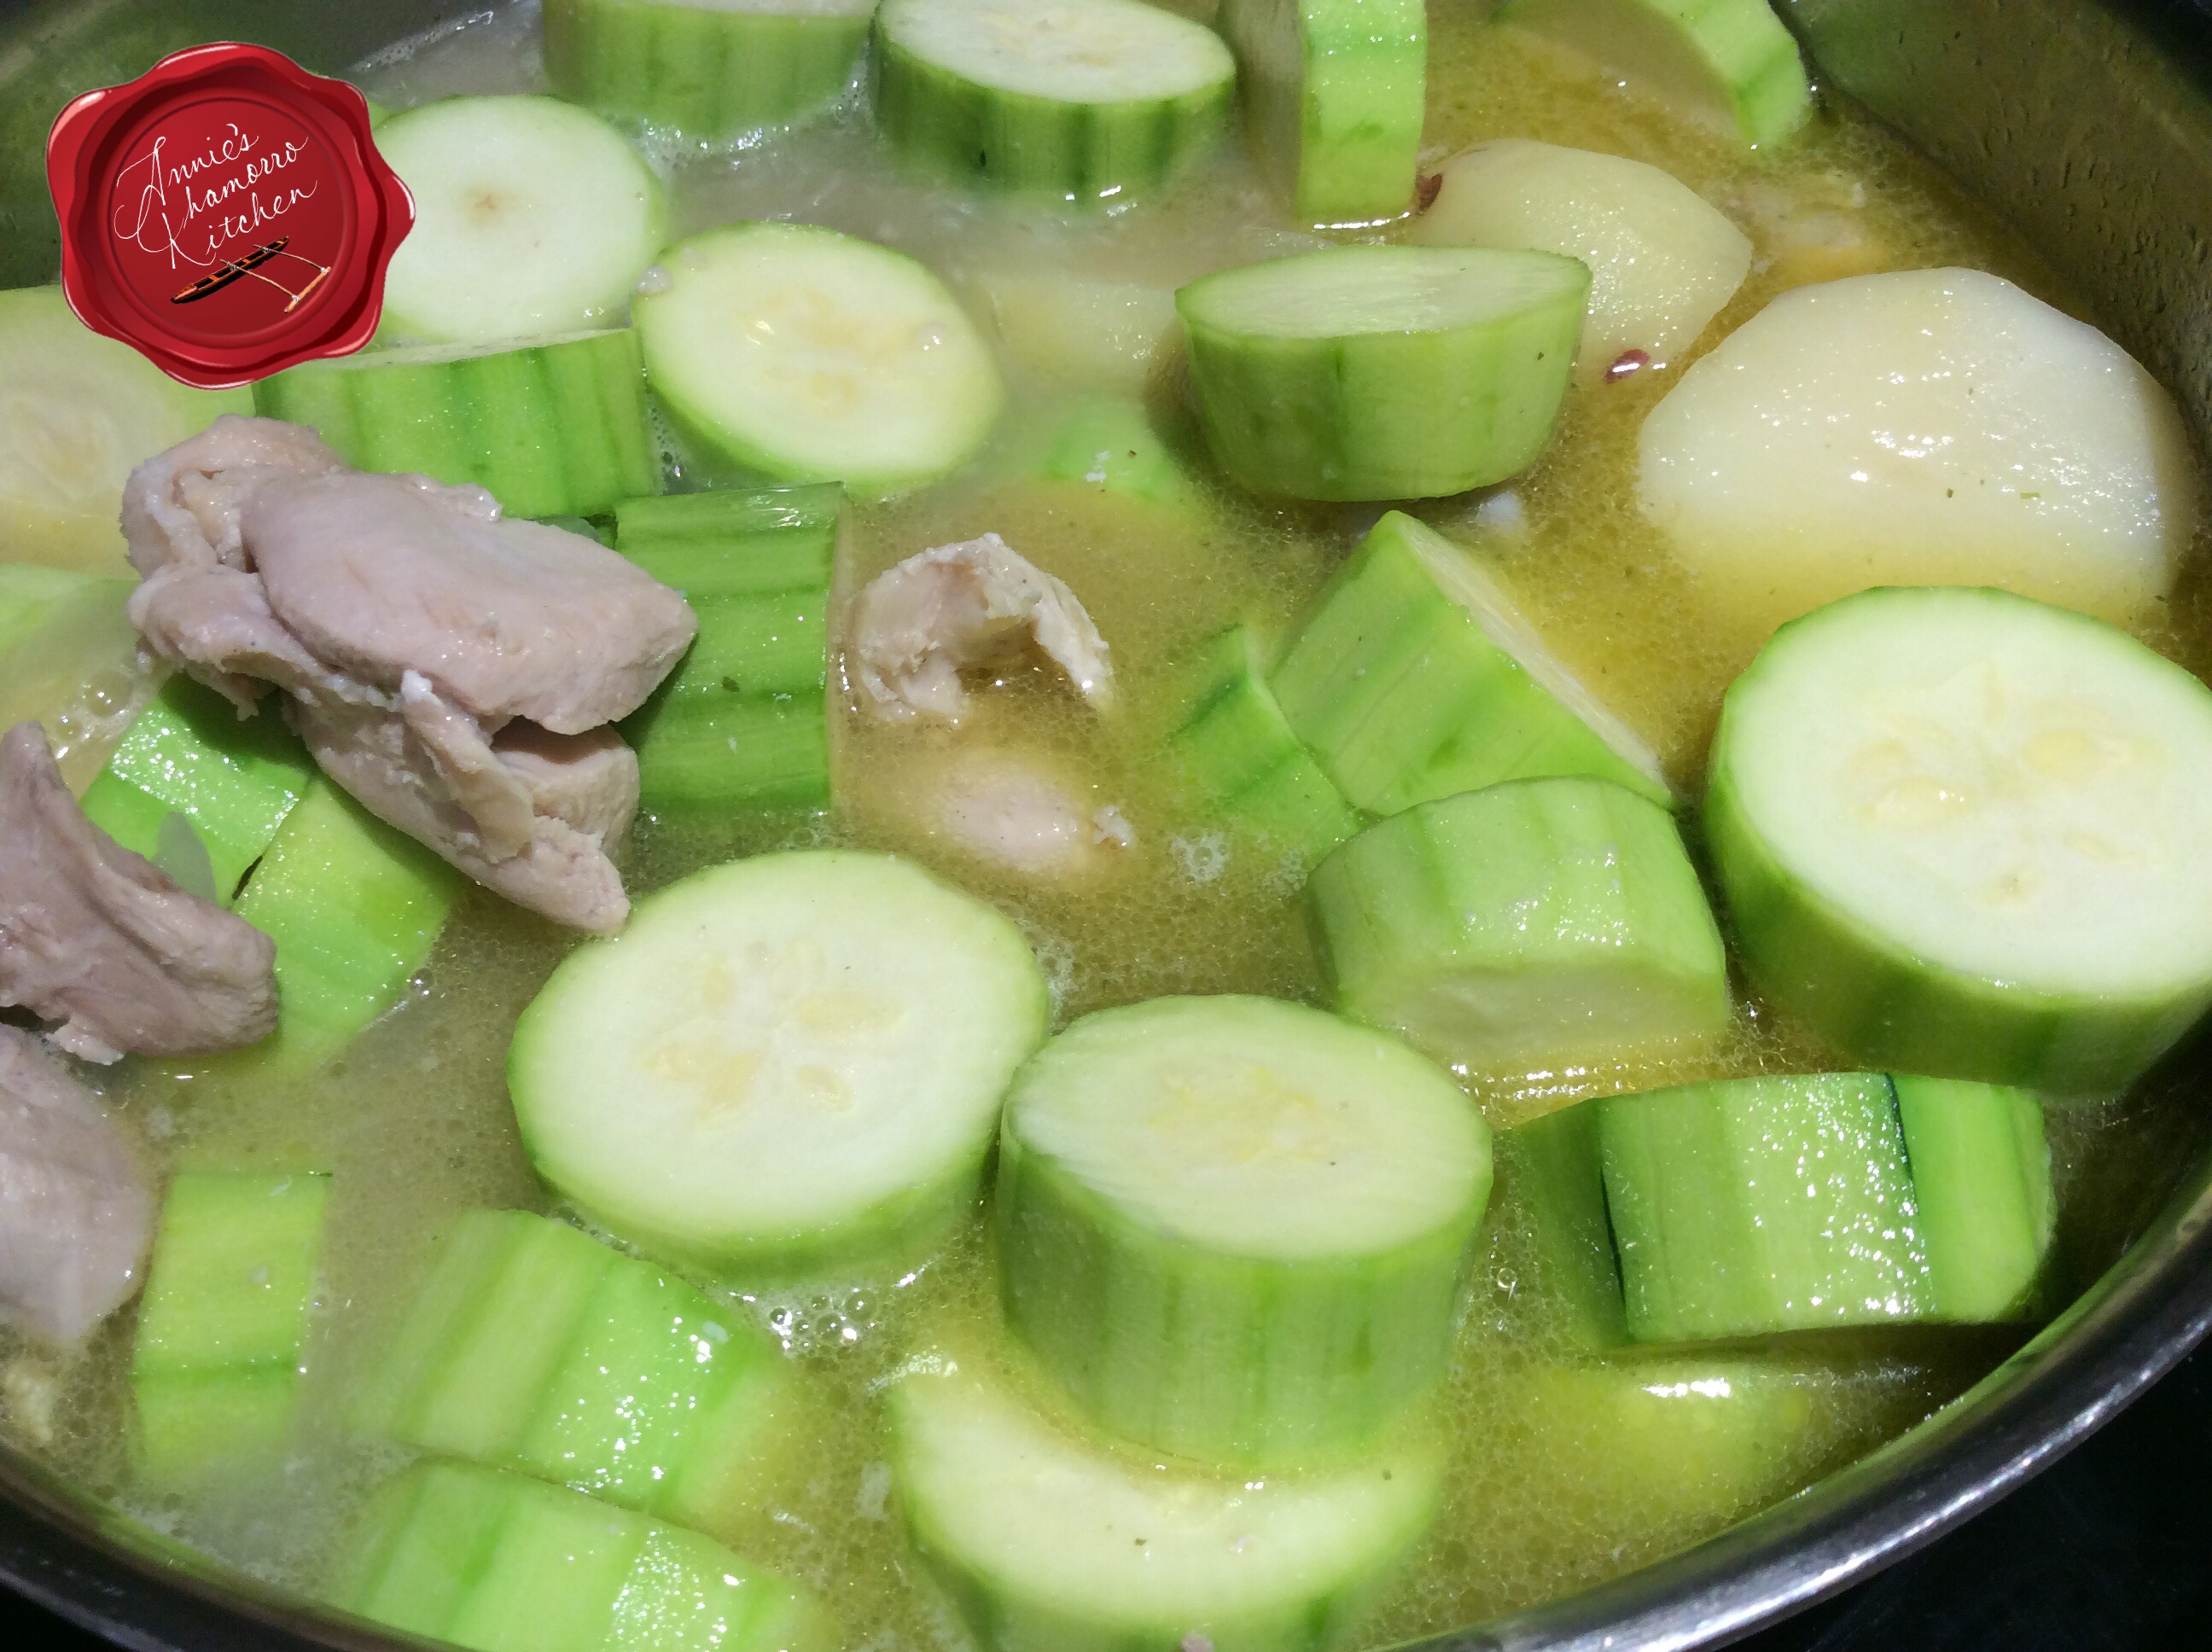
Add the zucchini to the pot once the potatoes are just about done.  It doesn’t take long for squash to cook, so be sure to add them to the pot at the end.  Replace the lid on the pot; cook the squash for just a few minutes.

image

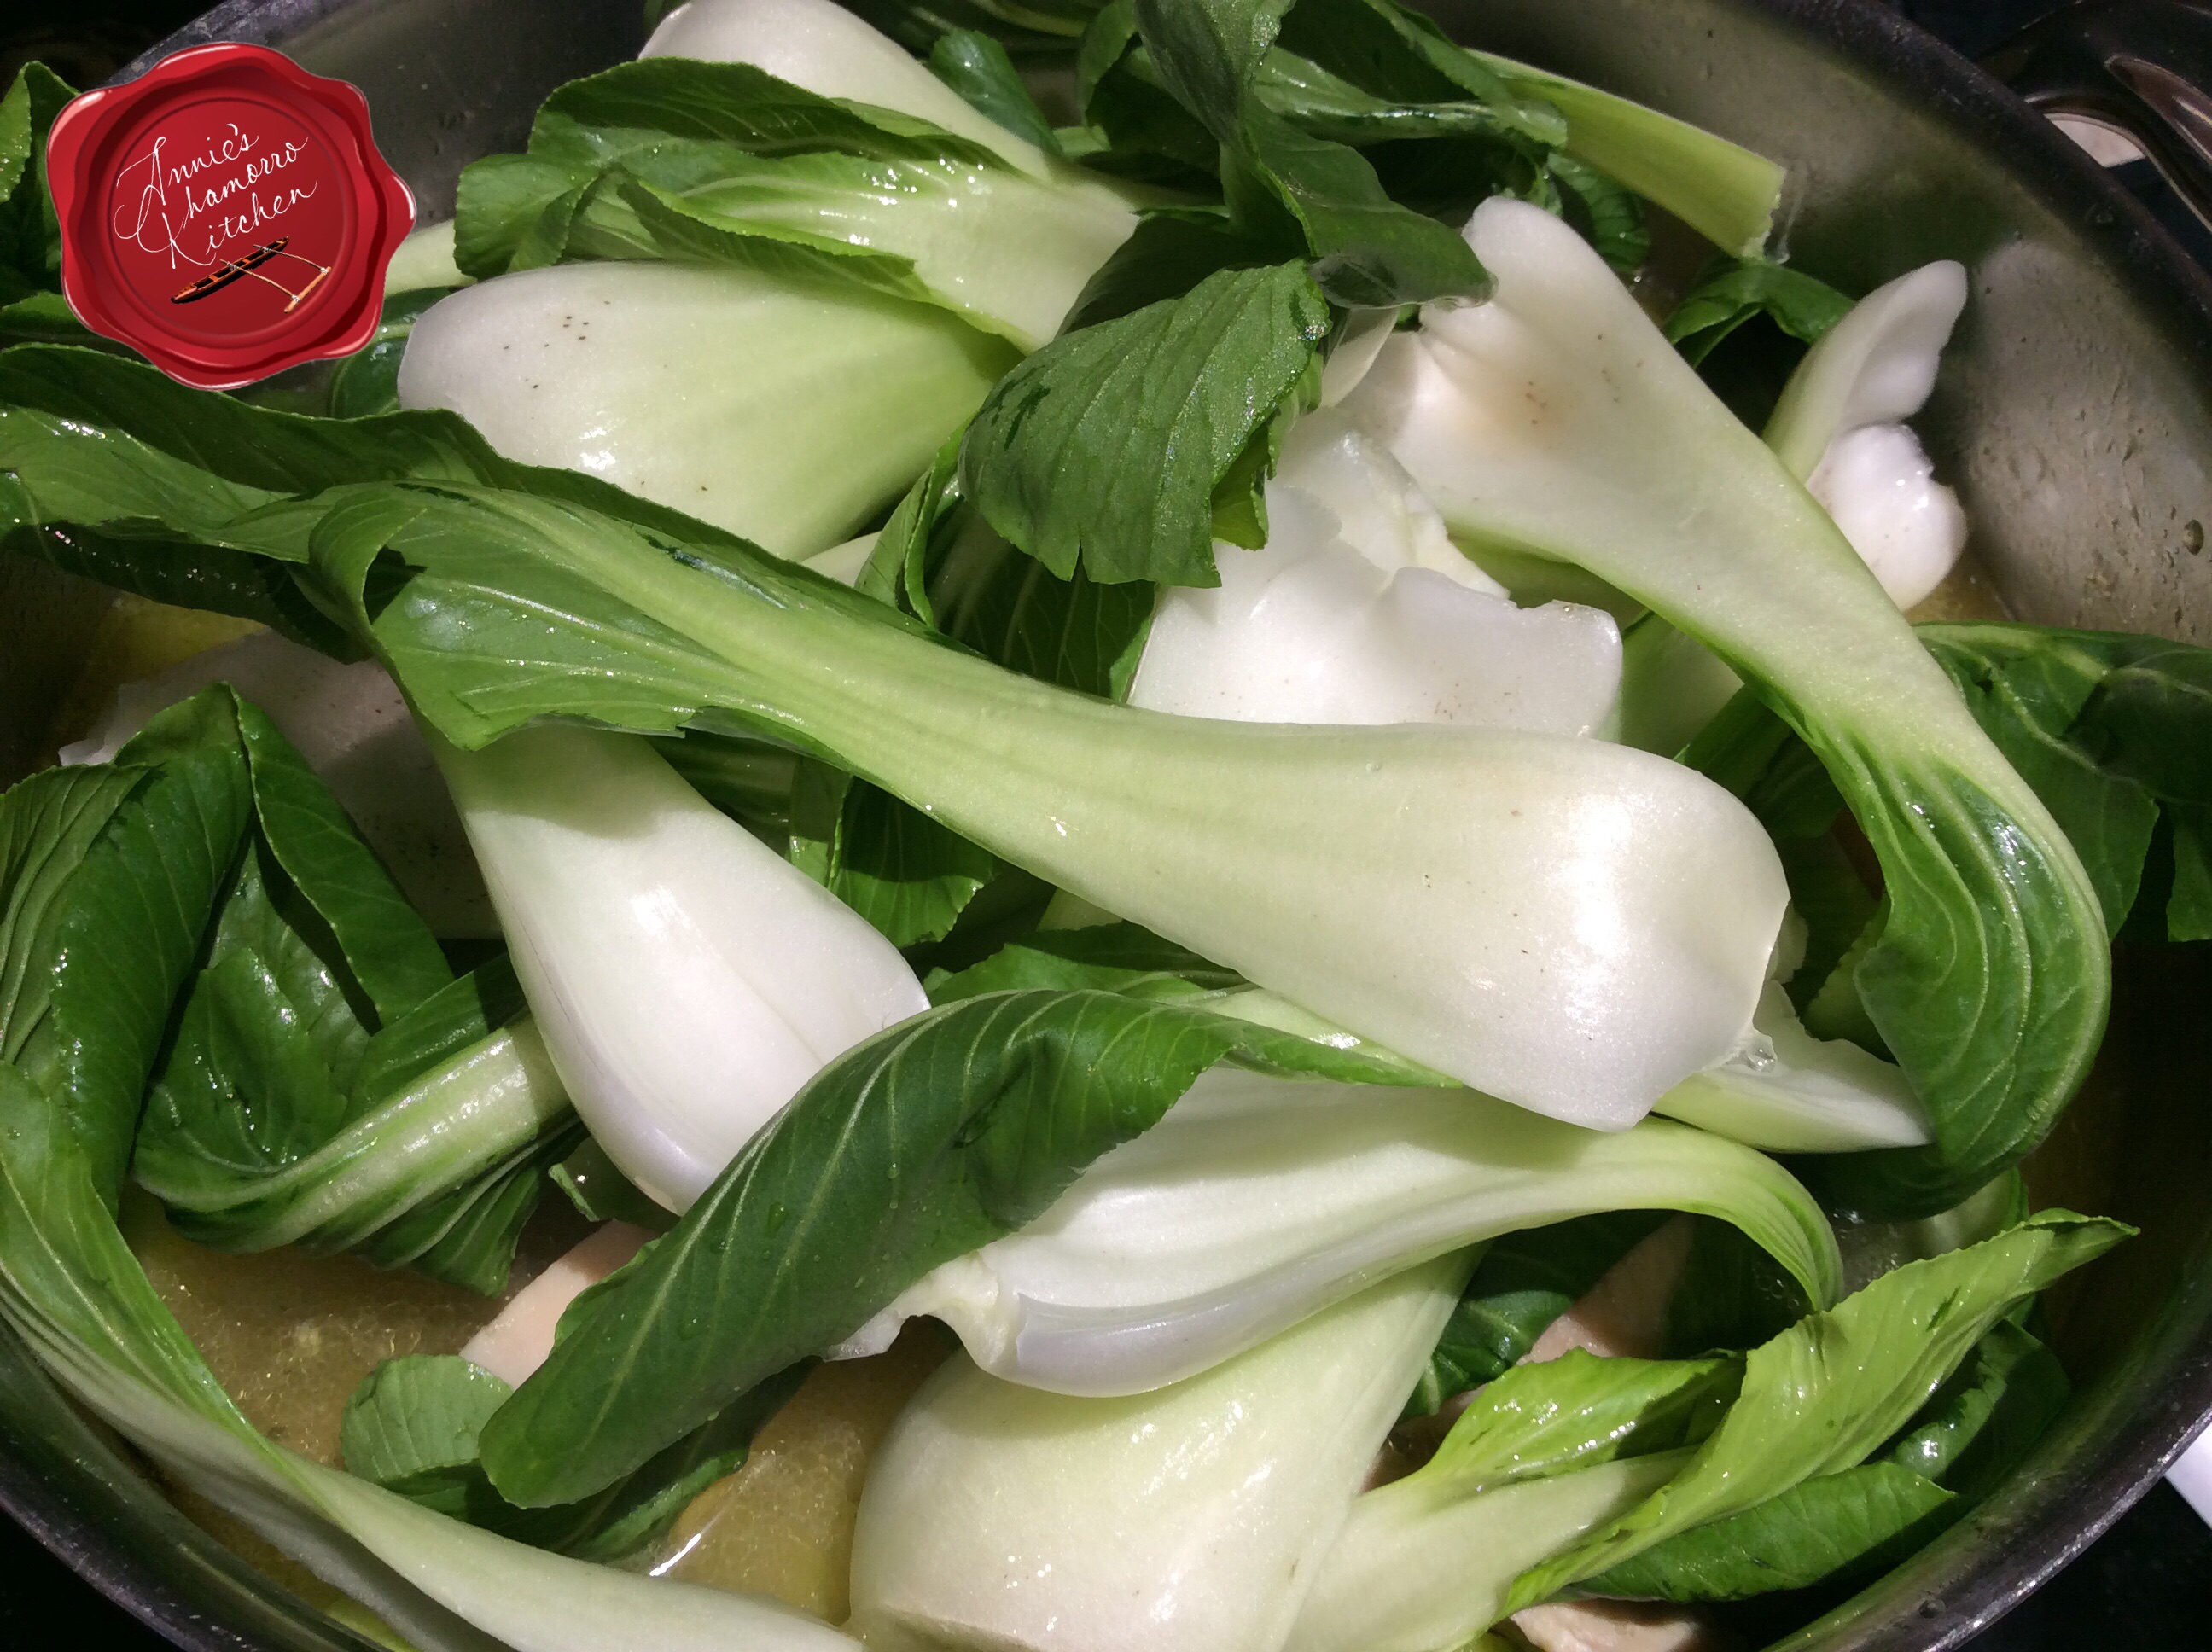
Baby bok choy also cooks very quickly.  In fact, the steam from the pot will cook the tender leaves sufficiently.  Add the bok choy leaves to the pot once the squash is done then turn the heat to low; replace the lid on the pot.

image

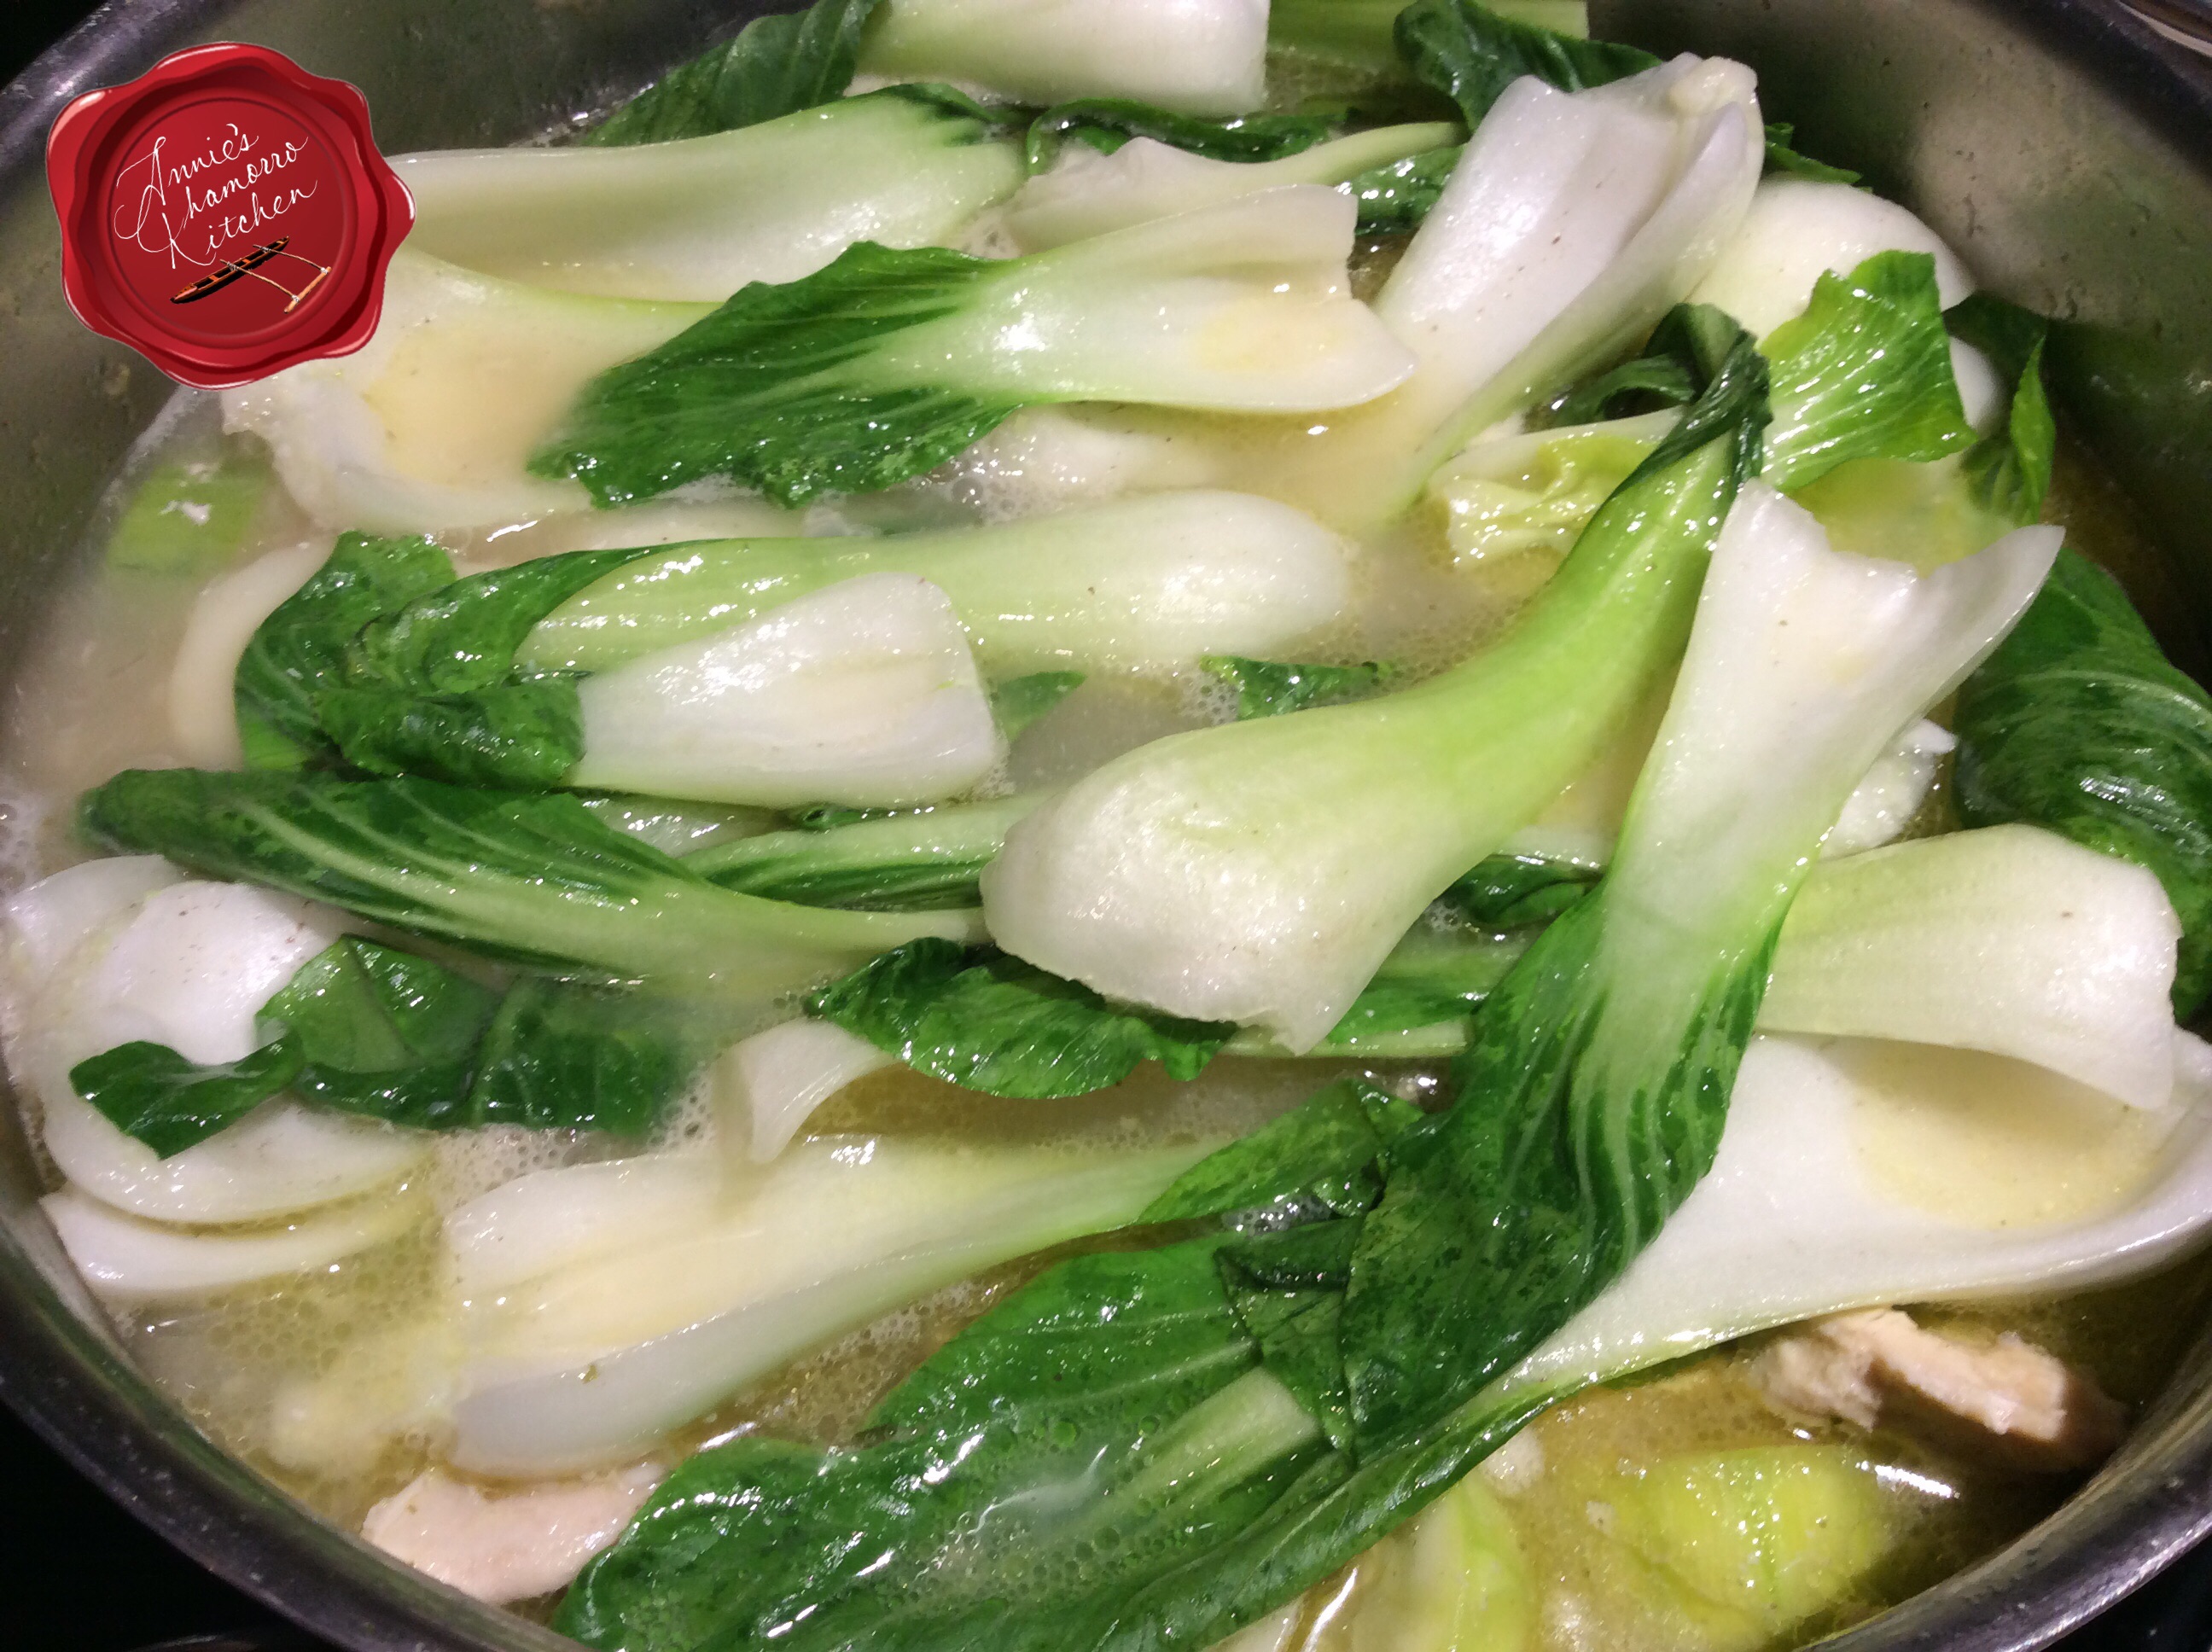
It takes just a couple of minutes for the bok choy to wilt.  Turn off the heat once it does.

image

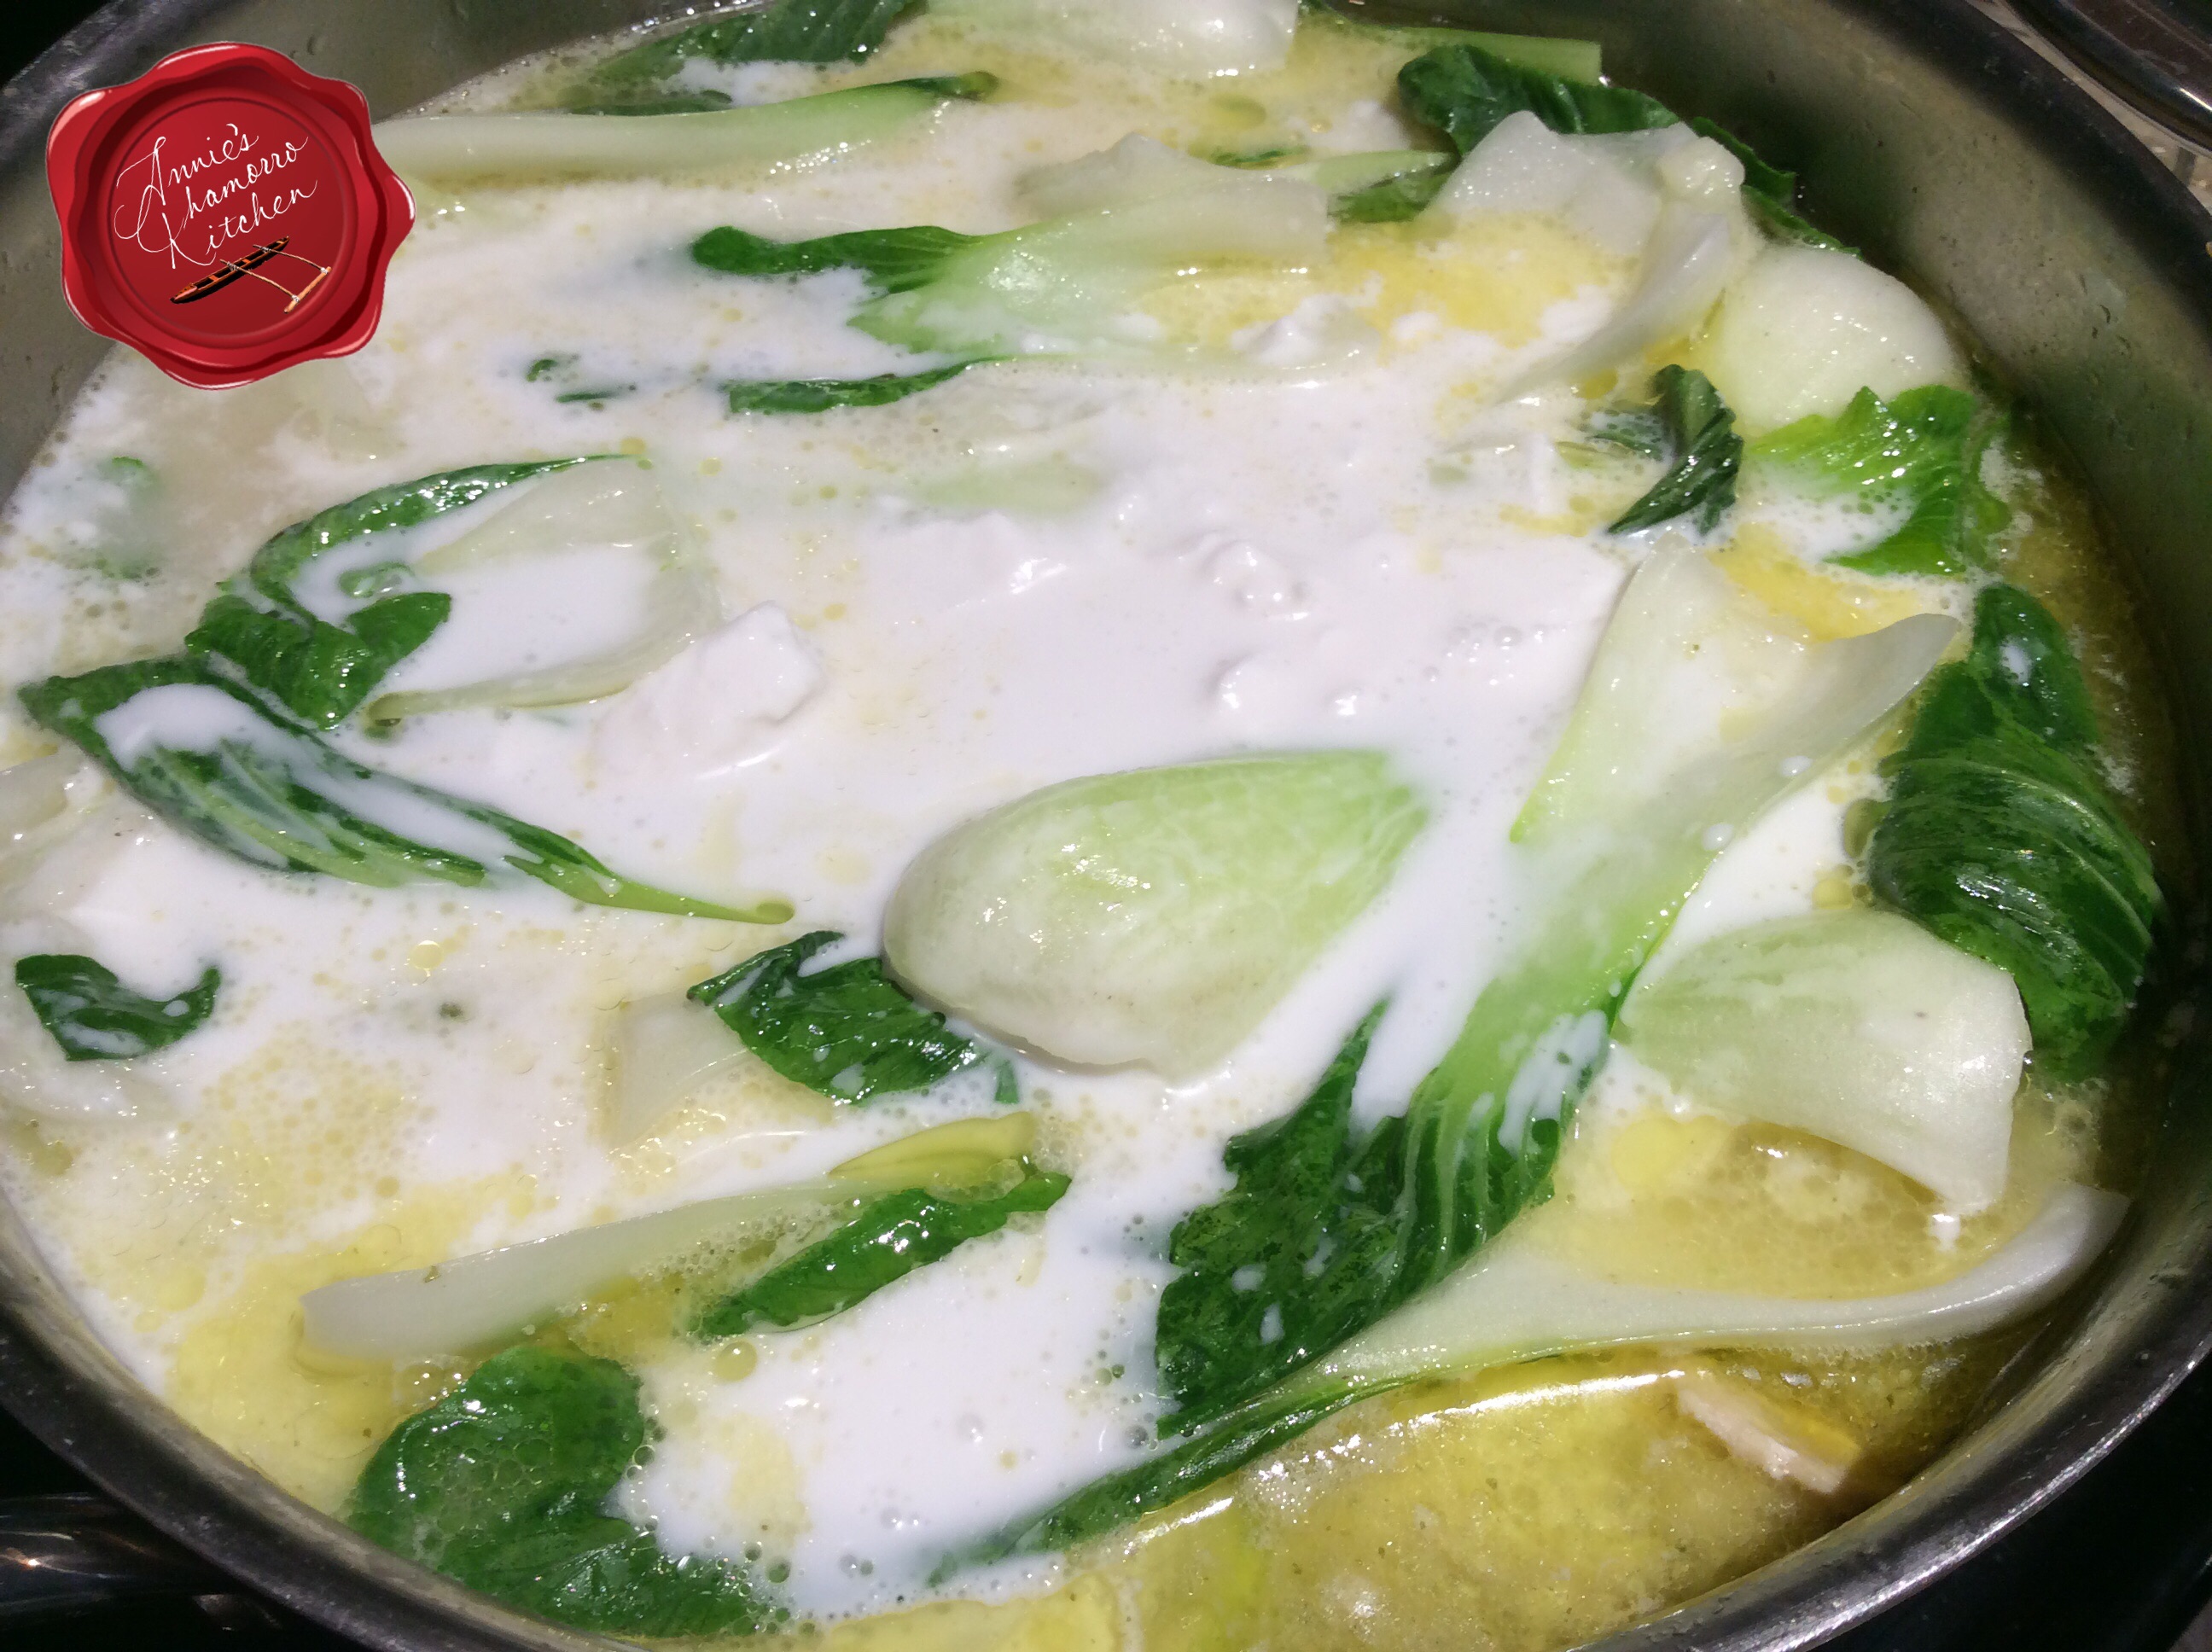
All that’s left to do is stir in the coconut milk.  You don’t want to boil coconut milk or it will separate after prolonged cooking.  The soup is quite hot at this point, hot enough to warm the coconut milk, which is all you need to do.  Give it a stir, then taste and adjust the seasoning if necessary.  Add more salt (or chicken seasoning) and pepper, to taste.

image

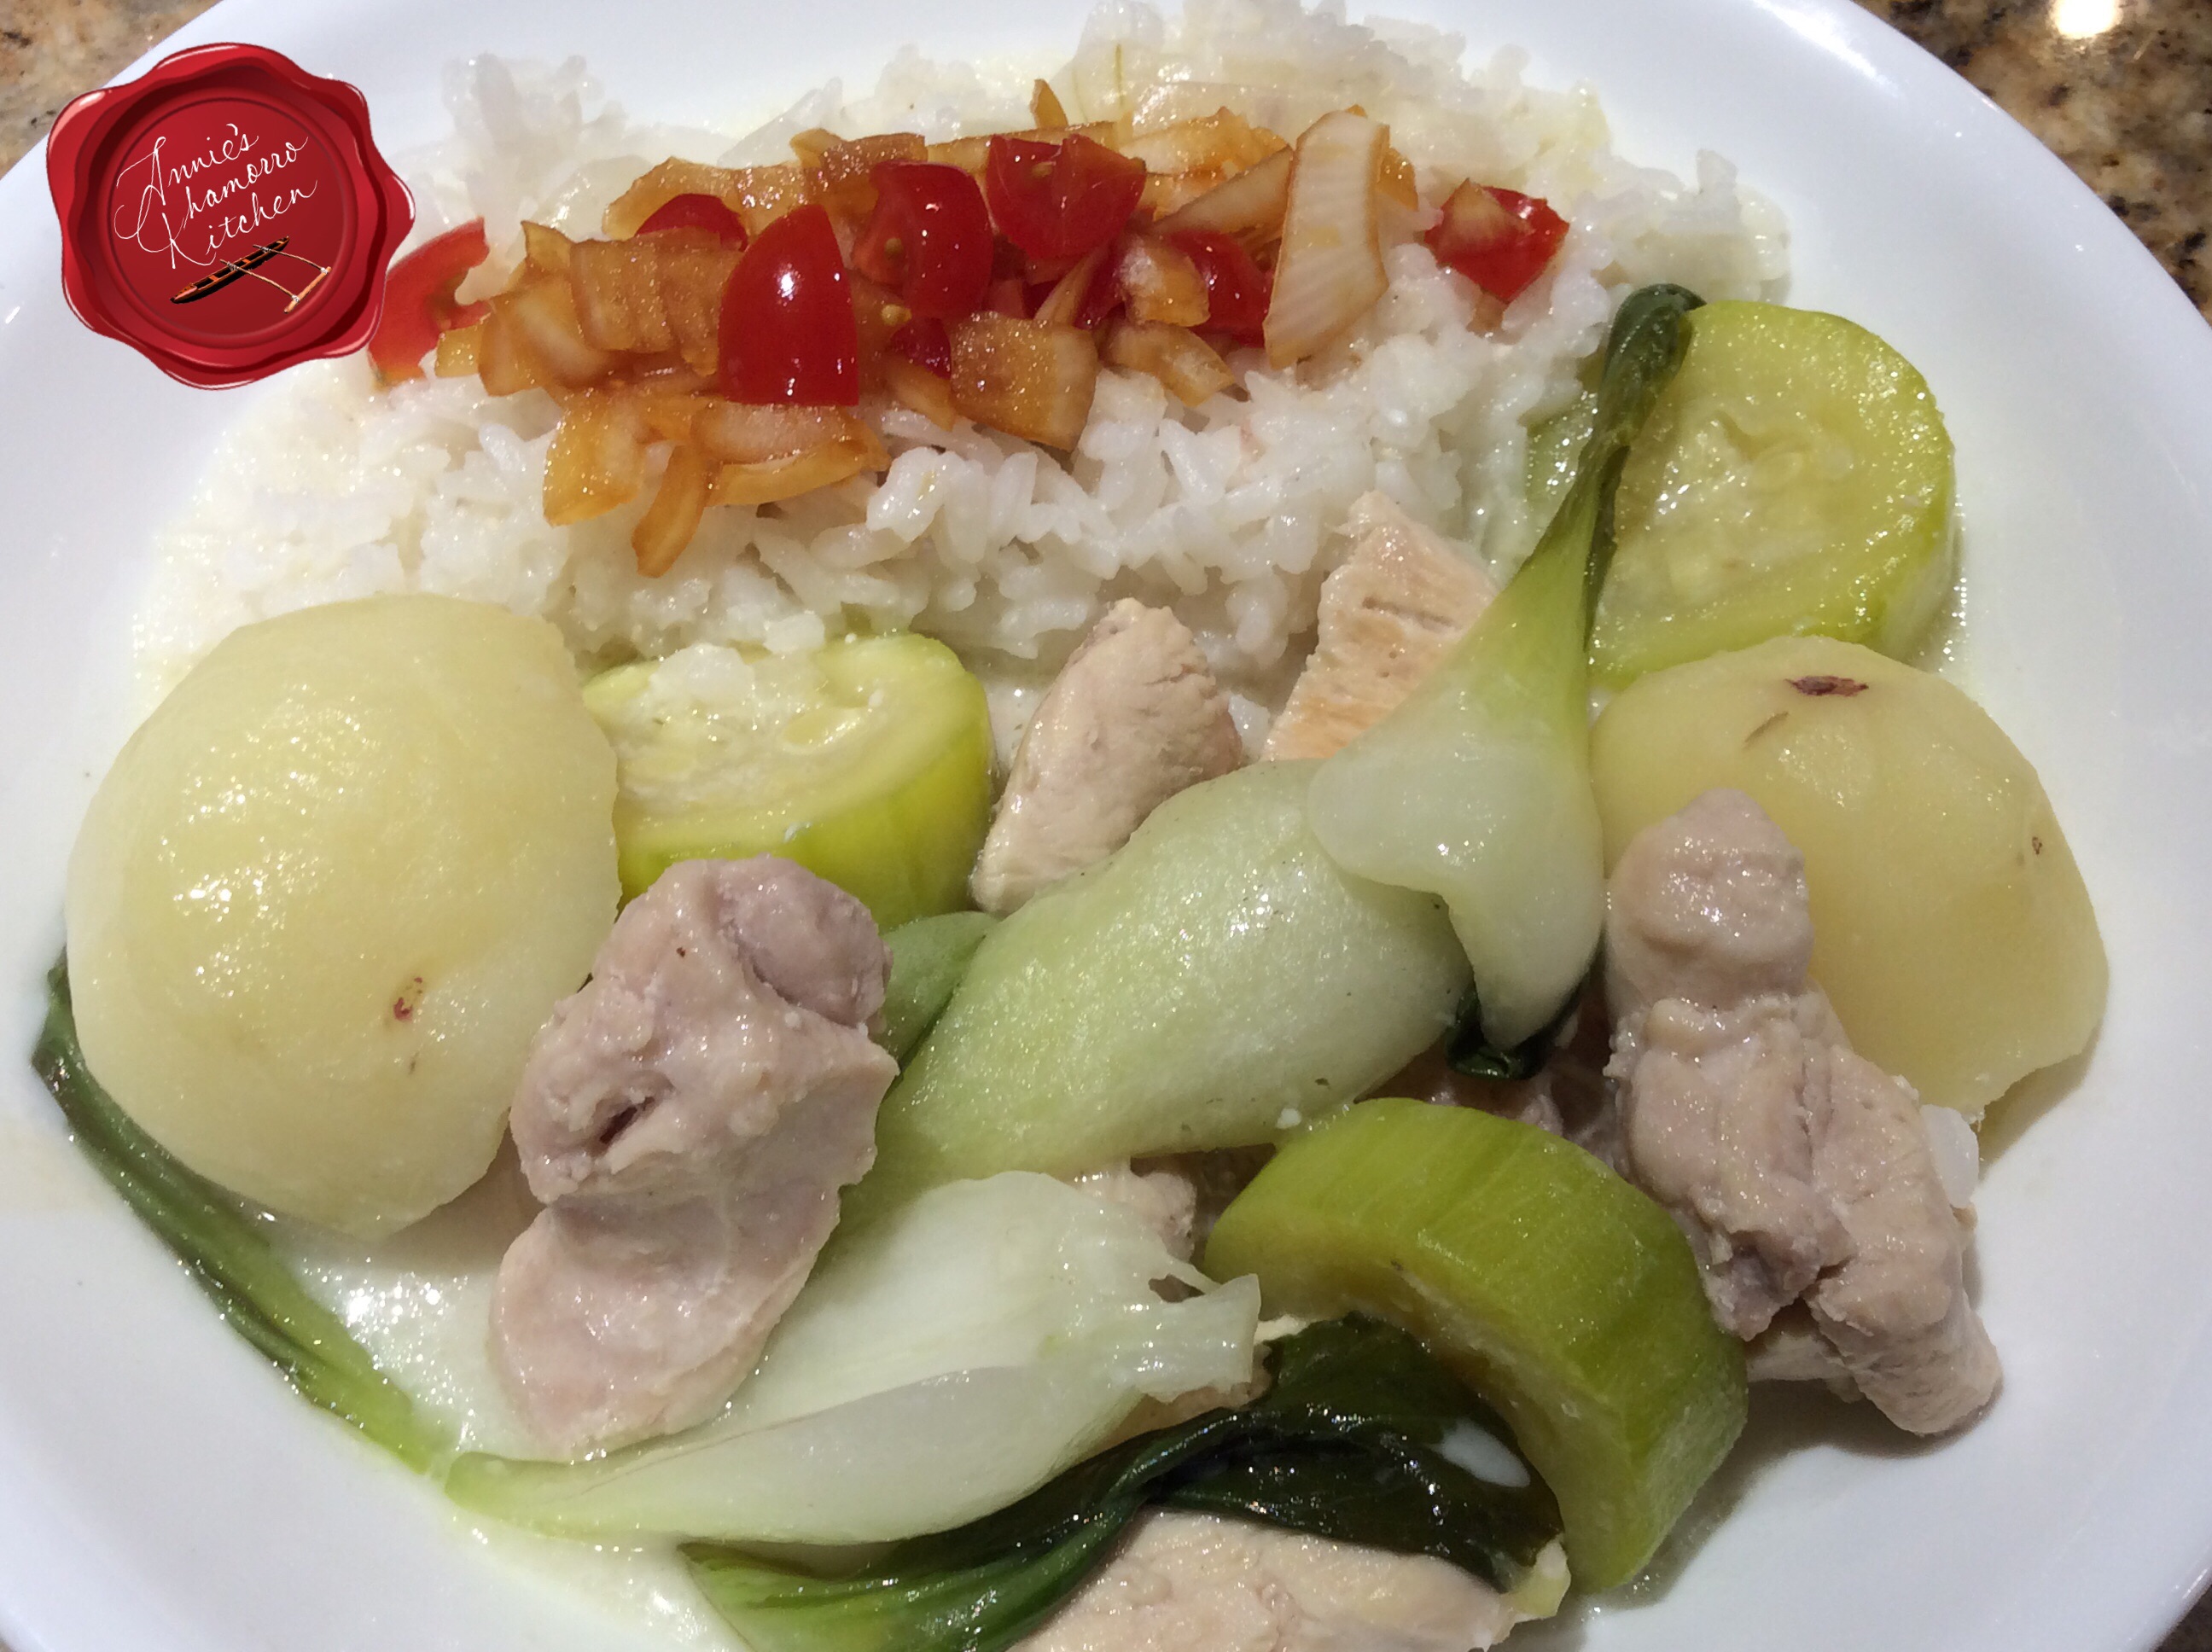
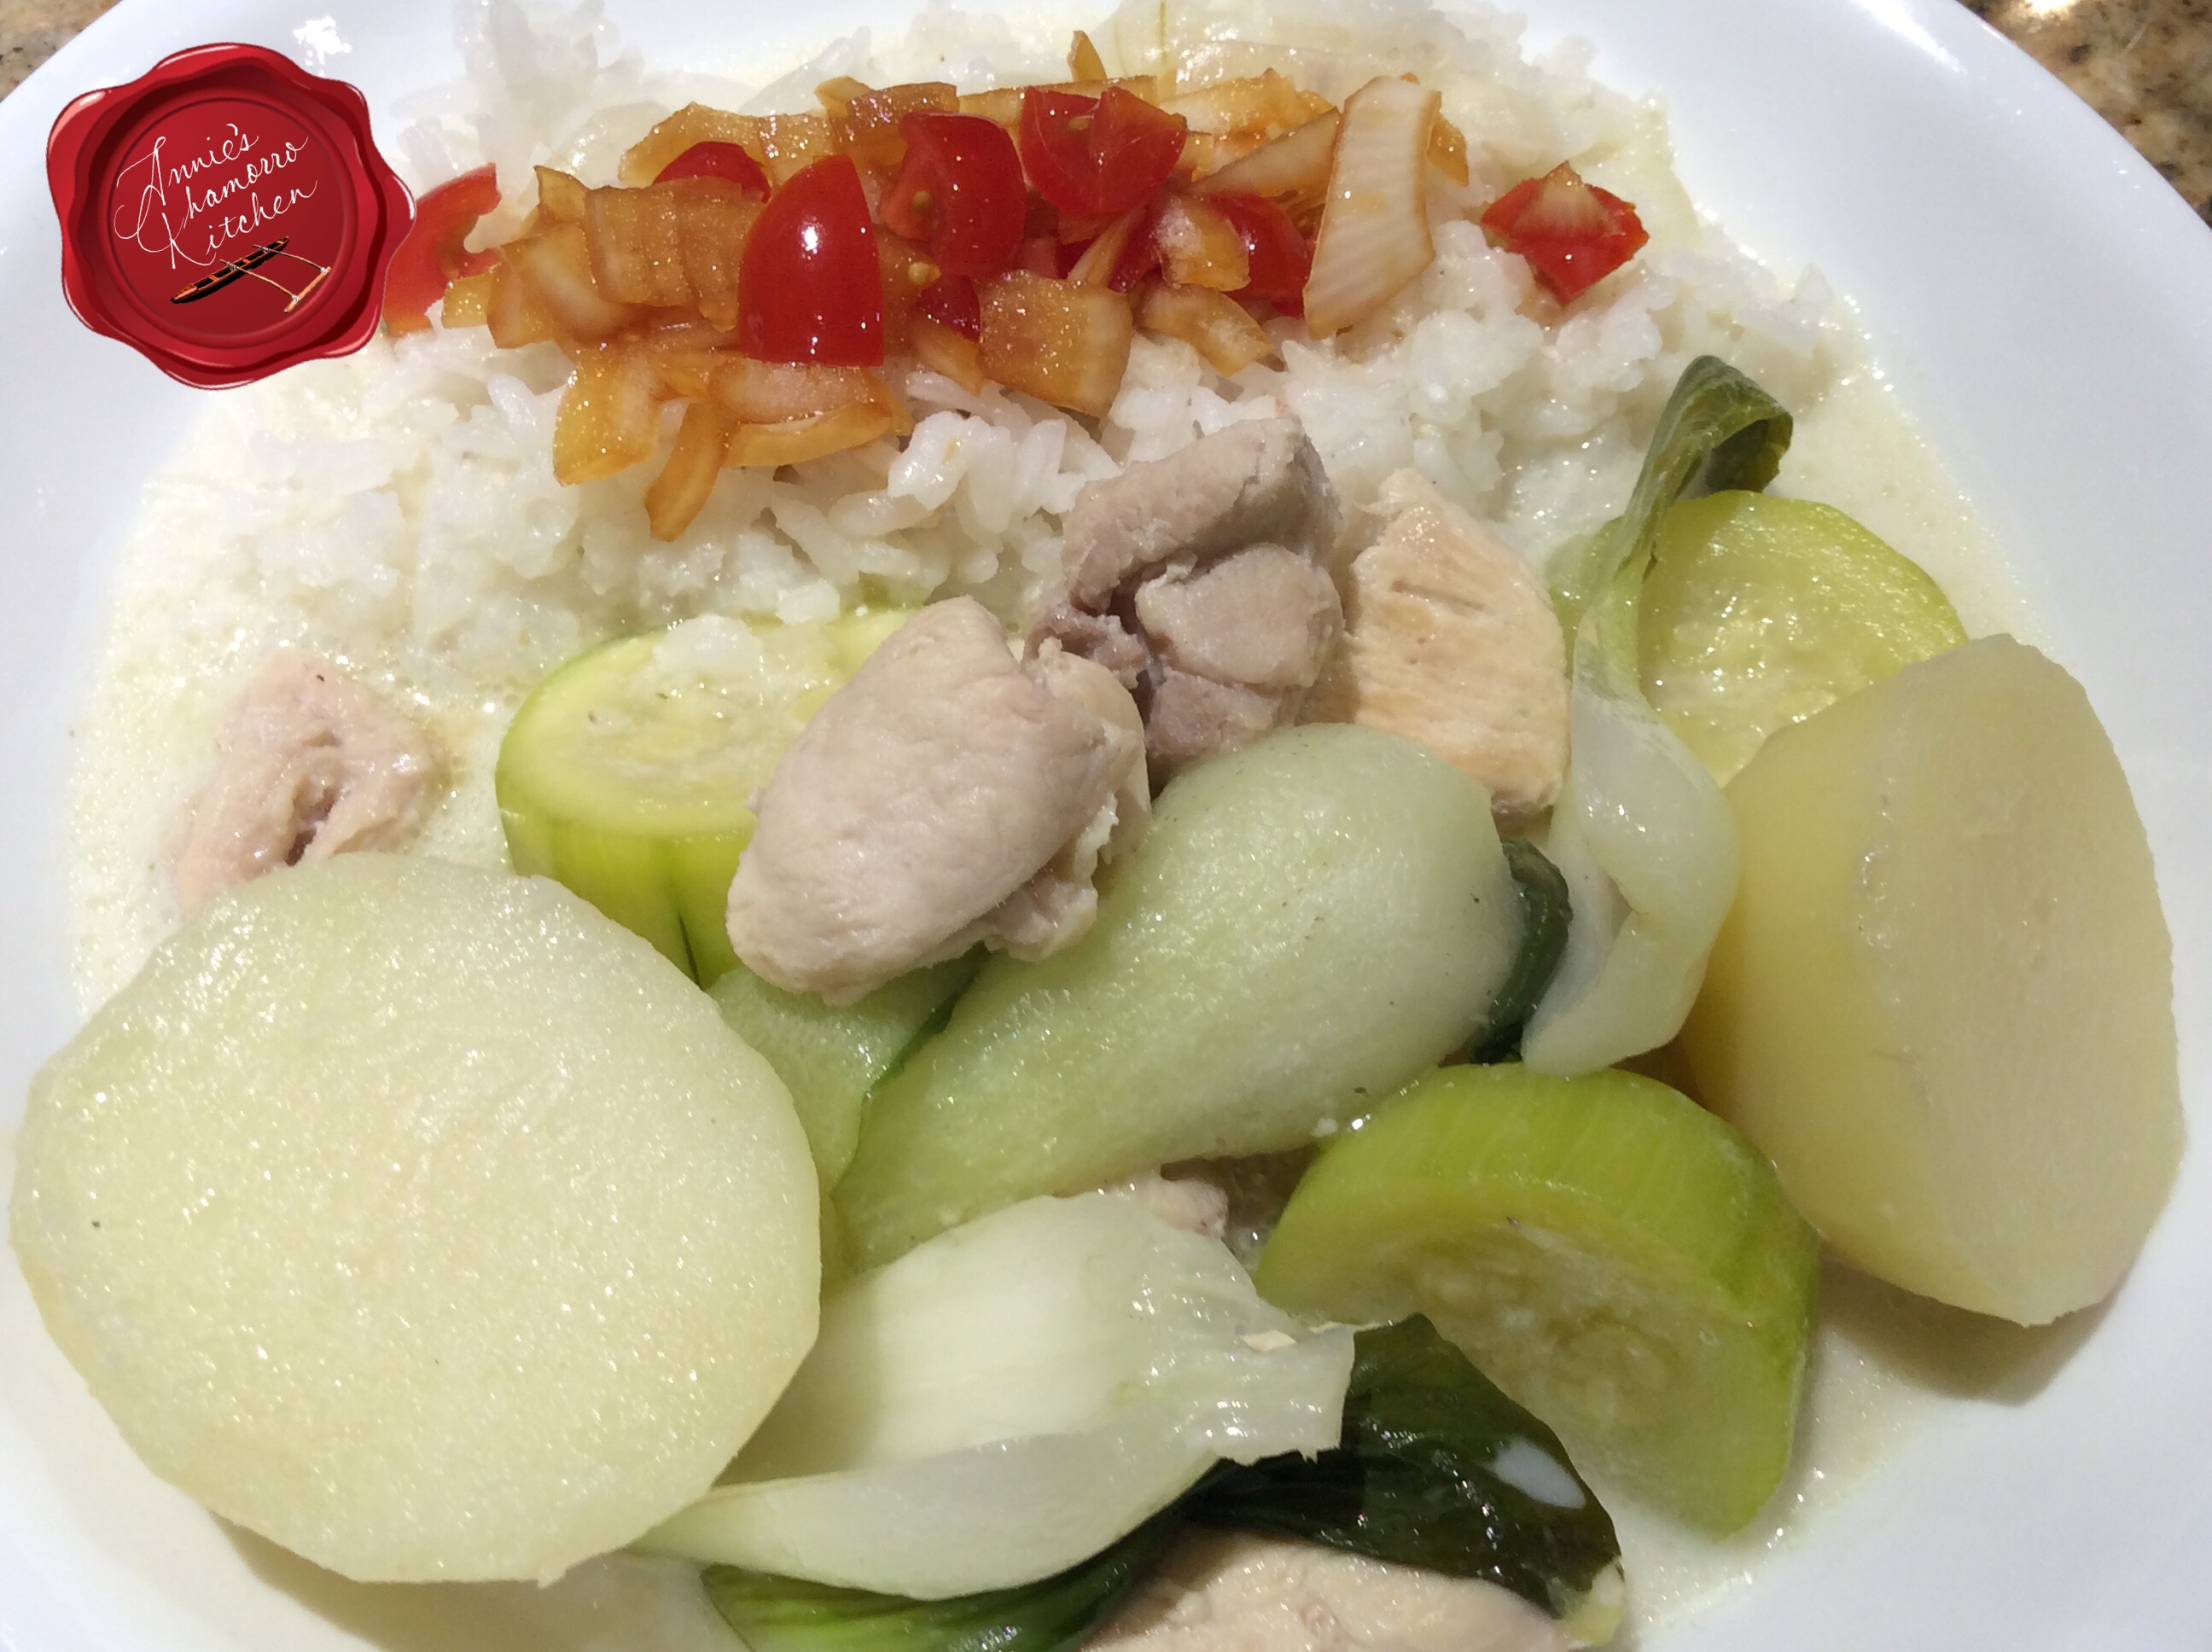
Serve with steamed white rice and fina’denne’ and ENJOY! 🙂

image

Chicken Soup (Kådun Månuk)
 
Prep time
Cook time
Total time
 
This is not your ordinary chicken soup -- it's chicken soup with a Chamorro flare, made with potatoes, squash, baby bok choy, and thick coconut milk.
Author:
Recipe type: Soup
Cuisine: Chamorro
Serves: Serves 6-8
Ingredients
  • 8 boneless, skinless chicken thighs, cut into small pieces
  • 4 boneless, skinless chicken breasts, cut into small pieces
  • 6 drumsticks
  • 1 large onion, sliced
  • 2 tablespoons chopped garlic
  • 1 teaspoon black pepper
  • 4 tablespoons chicken seasoning (or powdered chicken bouillon)
  • 10 small red potatoes, peeled and cut in half
  • 4 cups water
  • 8 bunches baby bok choy, leaves separated
  • 6 medium zucchini squash, peeled and sliced into 1-inch pieces
  • 2 cans coconut milk
Instructions
  1. Place the chicken, onions, garlic, black pepper and chicken seasoning in a large pot. Cook over medium-high heat until the chicken is done.
  2. Add the potatoes and water to the pot. Bring the soup to a boil; cook for 8-10 minutes or until the potatoes are almost done.
  3. Add the squash to the pot; cook for a couple of minutes.
  4. Add the baby bok choy leaves to the pot and reduce the heat to low. Cook just until the leaves wilt.
  5. Turn the heat off then stir in the coconut milk.
Serve with steamed white rice, fina'denne' and ENJOY!


Braised Oxtail Soup

Don’t let the name of this dish turn you off.  Oxtail, as the name describes, was commonly the meaty part of the tail of an ox.  Nowadays, they are cut from the tails of cattle.  Oxtail is quite meaty, but it requires a long and slow braising to tenderize the tough meat.

image

You can cut the cooking time down several hours by using a pressure cooker.  I prefer braising the oxtail long and slow, however, which helps to develop an incredibly rich broth.
image

Look for oxtail with a lot of meat and not much fat.  Rinse the oxtail then trim off as much fat as you can.  This is what I trimmed off from 5 packages of oxtail (with about 4 oxtails per package).

image

The richness of your broth starts by browning the oxtail.  I did this in batches so that I could turn each oxtail over to ensure even browning.  Browning creates amazingly delicious flavor compounds that ultimately gives the resulting dish an extremely rich, deep flavor.  Don’t skip the browning process; trust me.

image

The next step to developing that incredibly rich flavor is to brown your aromatics.  Do this BEFORE adding any liquid.

Add onions, garlic and black pepper to the pot.  Do this when you have just one layer of oxtail in the pot.  Set the rest of the browned oxtail aside for now; you’ll add it back to the pot in a few minutes.  Cook the onions just to the point where they become a golden brown and begin to caramelize.

image

Now the magic begins.  Add the rest of the oxtail back into the pot then pour in enough water to completely cover the oxtail.  Place a lid on the pot and cook over medium-low heat.  If you decide to braise the oxtail long and slow, plan ahead as this will take several hours — I braised mine for about 5 1/2 hours over a slow boil.

A note about boiling meat:  As meat boils, a foamy substance forms on the surface.  This is called scum.  The scum is denatured protein.  It is harmless, and eventually the foam breaks up and disperses into the stock.  Although harmless (and flavorless), the scum leaves the broth gray and cloudy.  Every so often, skim the surface, removing the scum.

Every 30 minutes or so, at about the same time you skim the scum off the broth, check to ensure the level of liquid stays above the meat.  Add enough water to maintain the level of liquid above the oxtail.  Keep doing this for the first three hours.

After hour number three of braising, add my secret ingredient (shhh…don’t tell anyone):  half a bottle of marsala wine.  Marsala wine adds deep, savory notes to the broth.  After adding the wine, if the level of liquid is still not above the meat, add more water.  Continue to cook over medium-low heat for another two hours.

After five hours of braising, taste the broth.  Add salt and pepper, to taste.  Instead of salt, I like adding a few tablespoons of Dashida seasoning.  If you can’t find Dashida (a Korean beef-flavored powdered seasoning), use beef bouillon.  Taste and adjust the seasonings to your liking.

Add your favorite vegetables during this last 30 minutes of cooking.  Sometimes I add potatoes and carrots, or squash (a favorite).  Baby bok choy is another favorite.  Squash cooks quickly, so add it last to prevent overcooking them.  Baby bok choy cooks in just a few scant minutes, so add them at the very end, just before serving.

image

Serve over hot white rice with a good amount of broth and ENJOY! 🙂

Give my recipe a try.  I think you’ll like it.

image


Braised Oxtail Soup
 
Prep time
Cook time
Total time
 
Author:
Serves: Serves 4-6
Ingredients
  • 15-20 pieces of oxtail, excess fat trimmed off
  • 1 medium onion, diced
  • 2 tablespoons chopped garlic
  • 1 teaspoon black pepper
  • Water, enough to completely cover the oxtail
  • ½ bottle marsala wine, about 2 cups
  • 4 tablespoons Dashida seasoning (or powdered beef bouillon)
  • Salt and pepper, to taste
  • 4 medium squash, peeled and cut into large pieces
  • 12 baby bok choy
Instructions
  1. Brown the oxtail in batches over medium-high heat (brown one layer of oxtail at a time). Set the browned oxtail aside.
  2. Add the onions, garlic and black pepper to the pot. Cook until the onions begin to caramelize.
  3. Return all of the oxtail to the pot. Add enough water to cover the oxtail. Cover the pot and reduce the heat to medium-low; simmer for 5½ hours, skimming the scum off the surface periodically. Keep the water level above the meat throughout the braising.
  4. After three hours of simmering, add the wine to the pot. Simmer for 2½ more hours.
  5. Add the Dashida. Taste the broth then add salt and pepper to taste.
  6. Add any vegetables last, cooking until the vegetables are done to your liking.
Serve and ENJOY!


Chicken Chalakiles

Chicken Chalakiles is one of my favorite Chamorro comfort foods.  It’s a soup made with chicken, onions and garlic, thickened with toasted ground rice, and made even more rich with the addition of coconut milk.

Chalakiles can be served as your main dish or as a soup served before your entrée.

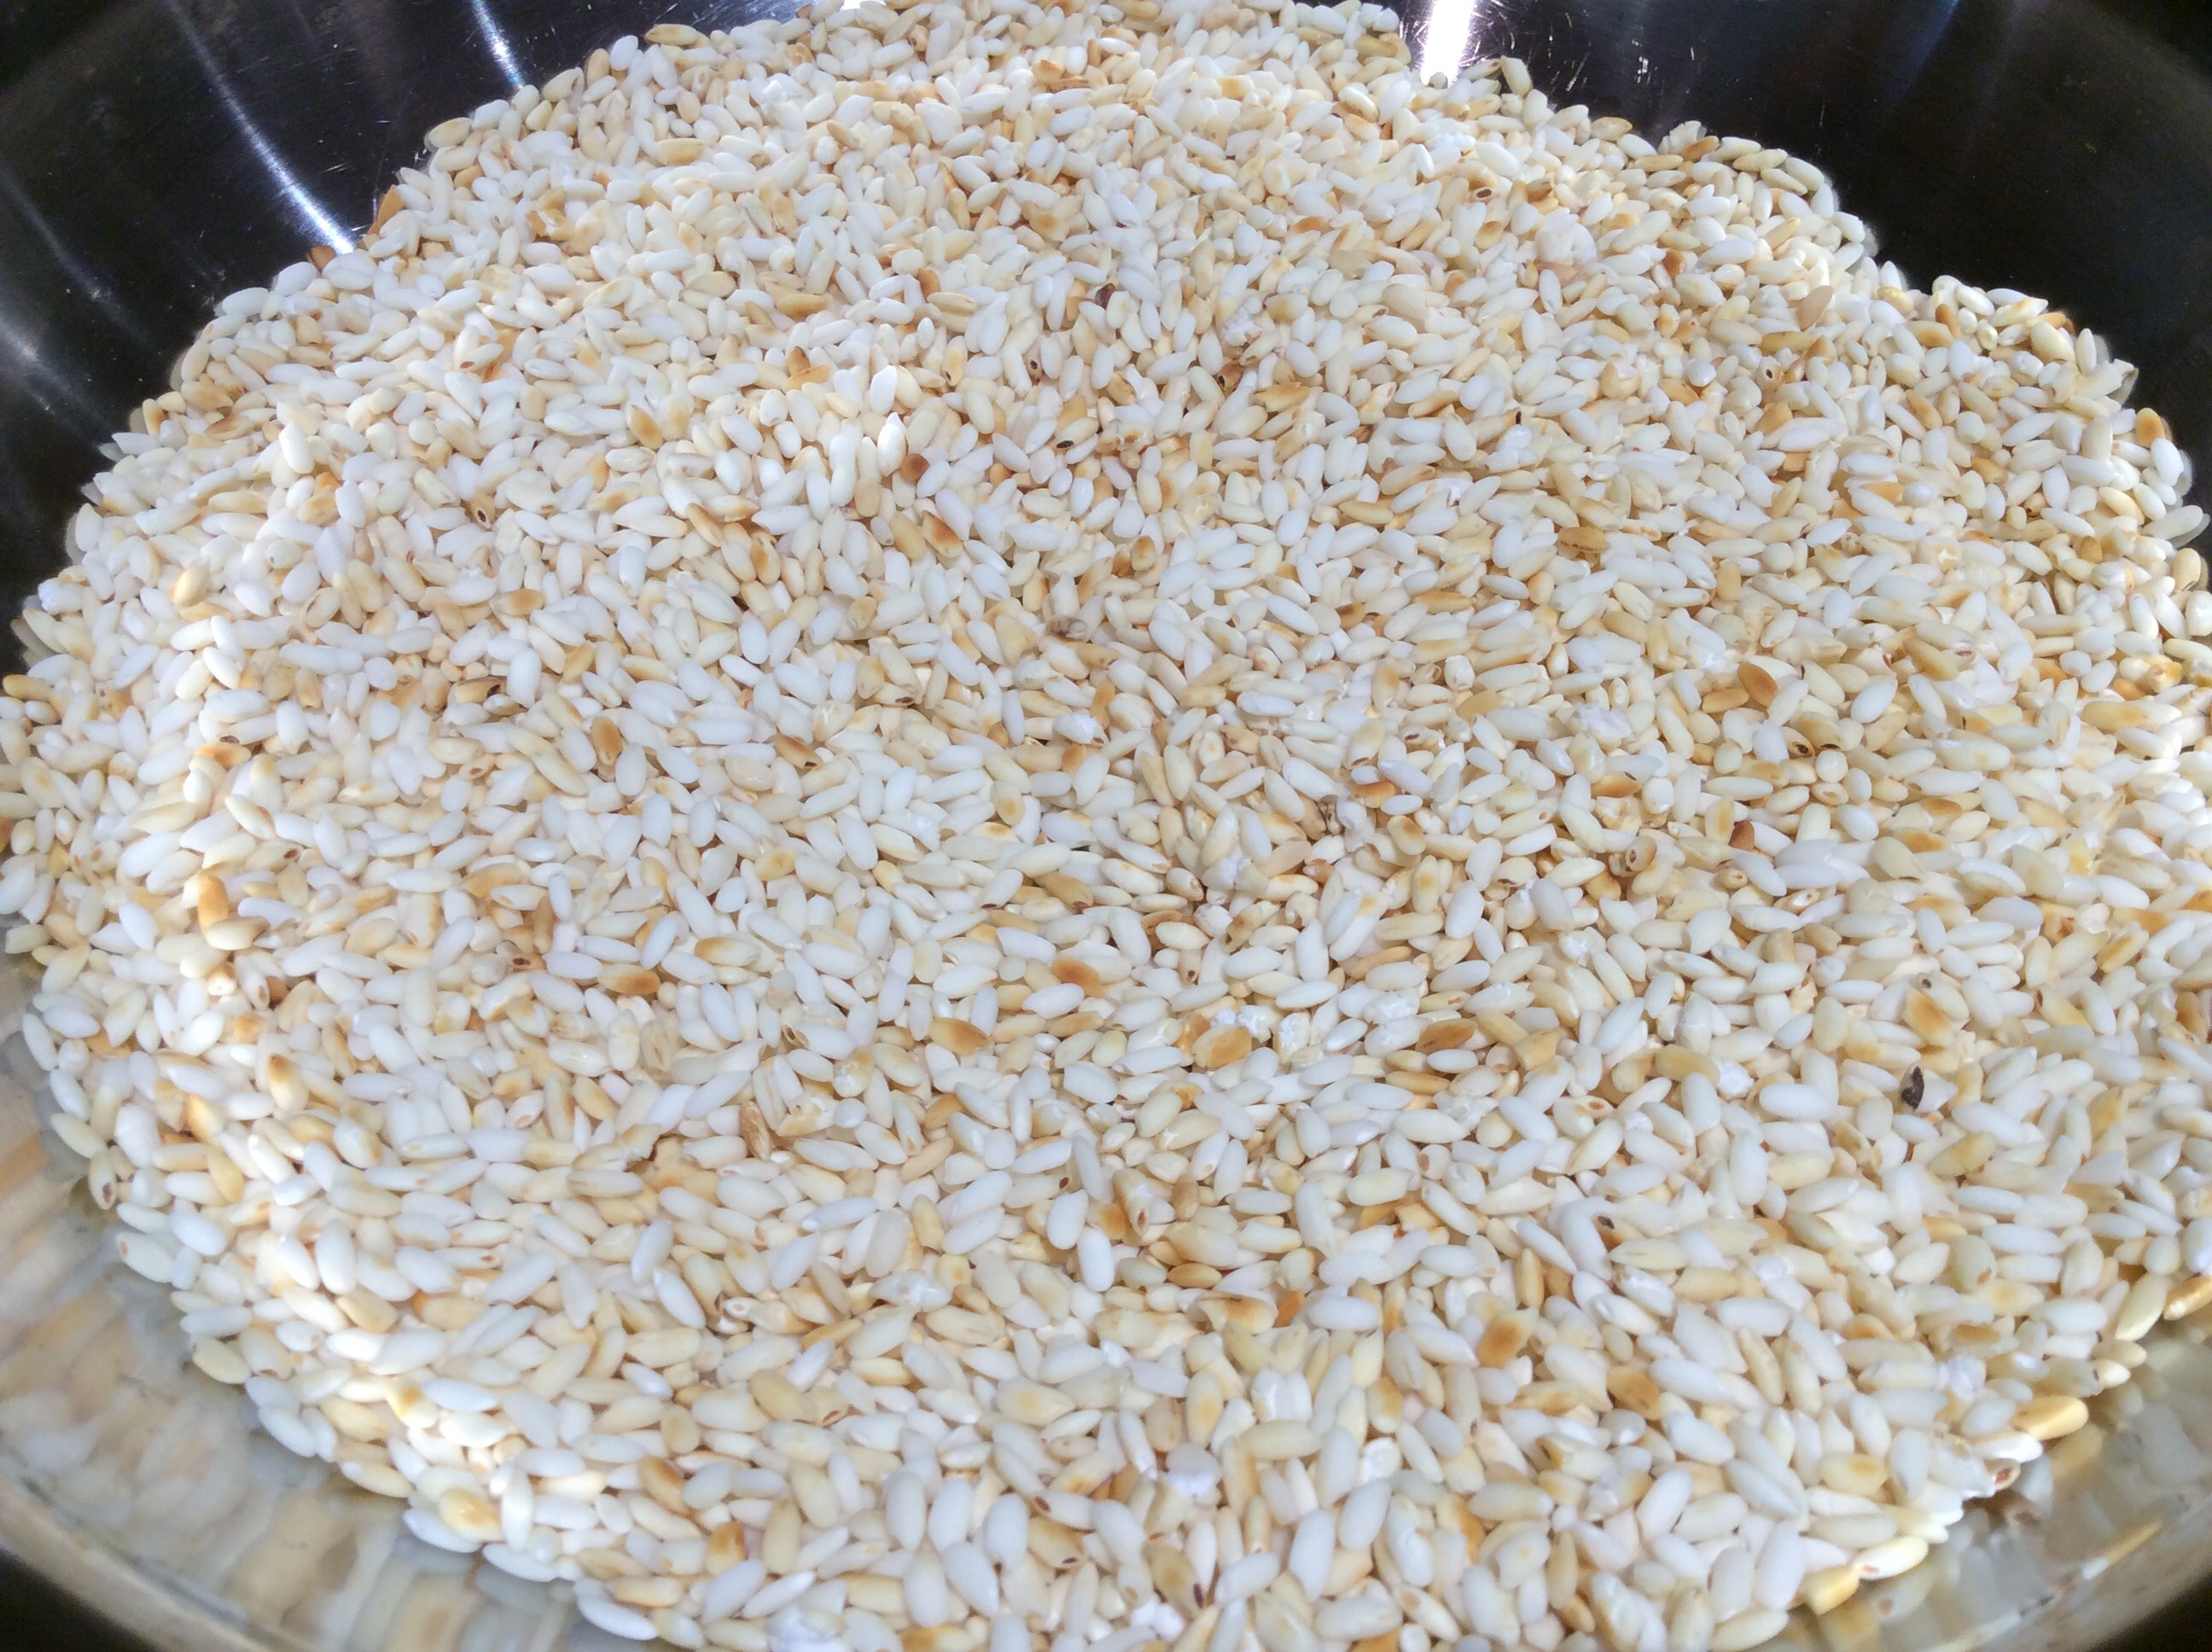
I make my Chalakiles the way my mom taught me — with freshly toasted and ground rice.  A quick and easy substitute is to use Cream of Rice instead. Toasting rice is easy.  Place the rice in a skillet over medium heat.  Cook until the rice turns golden brown, stirring constantly to prevent any rice from over-browning (and burning).

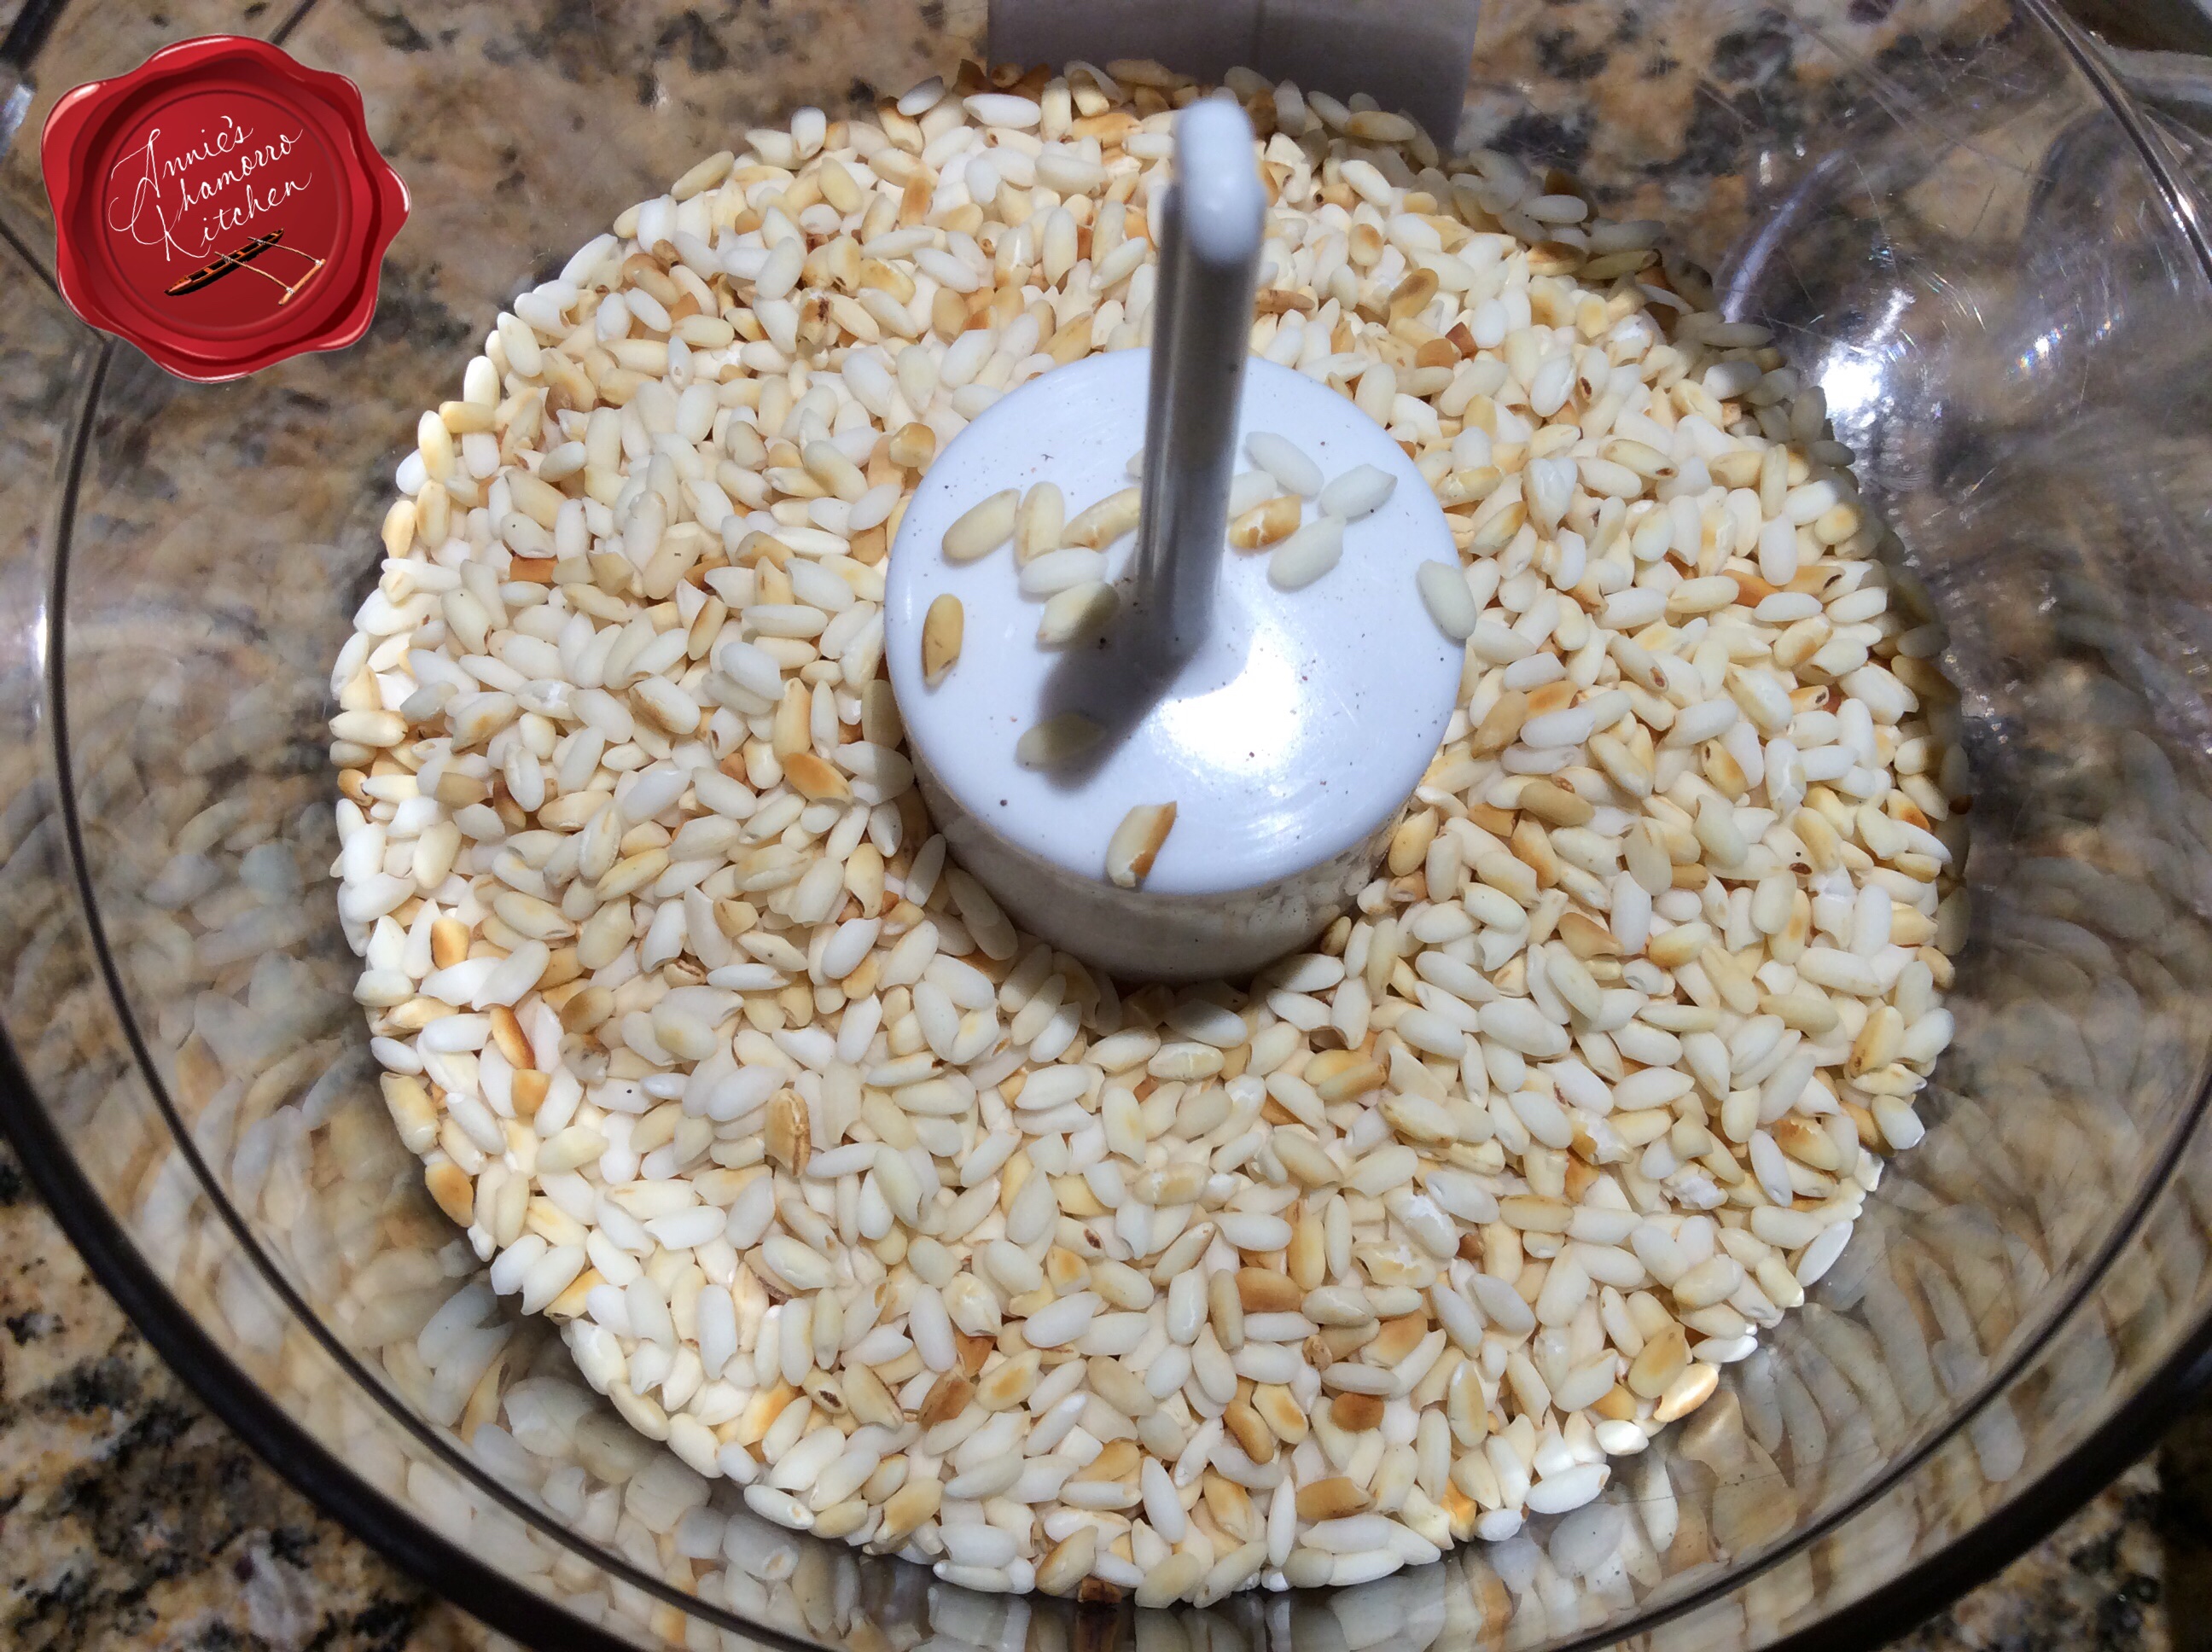
Let the rice cool for a few minutes then place in a food processor (I have a mini food chopper/grinder that works well).

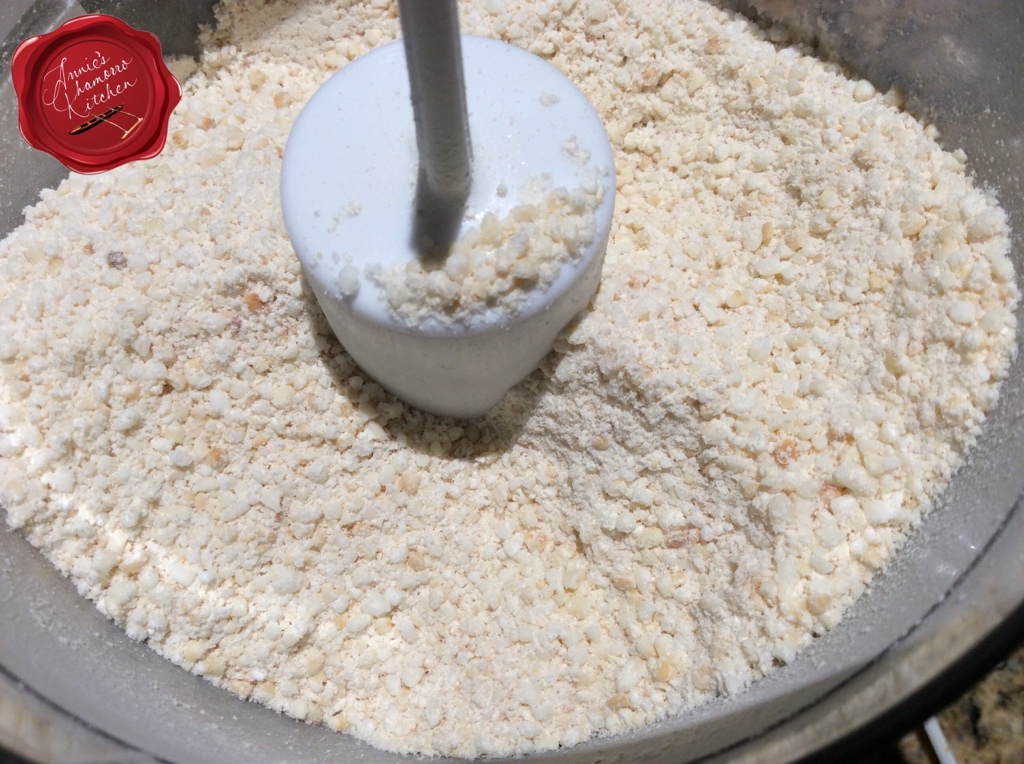
Grind the rice into a mixture that looks like cornmeal.  A few large pieces of rice is okay; it will add texture to your Chalakiles once cooked.  Set the ground rice aside.

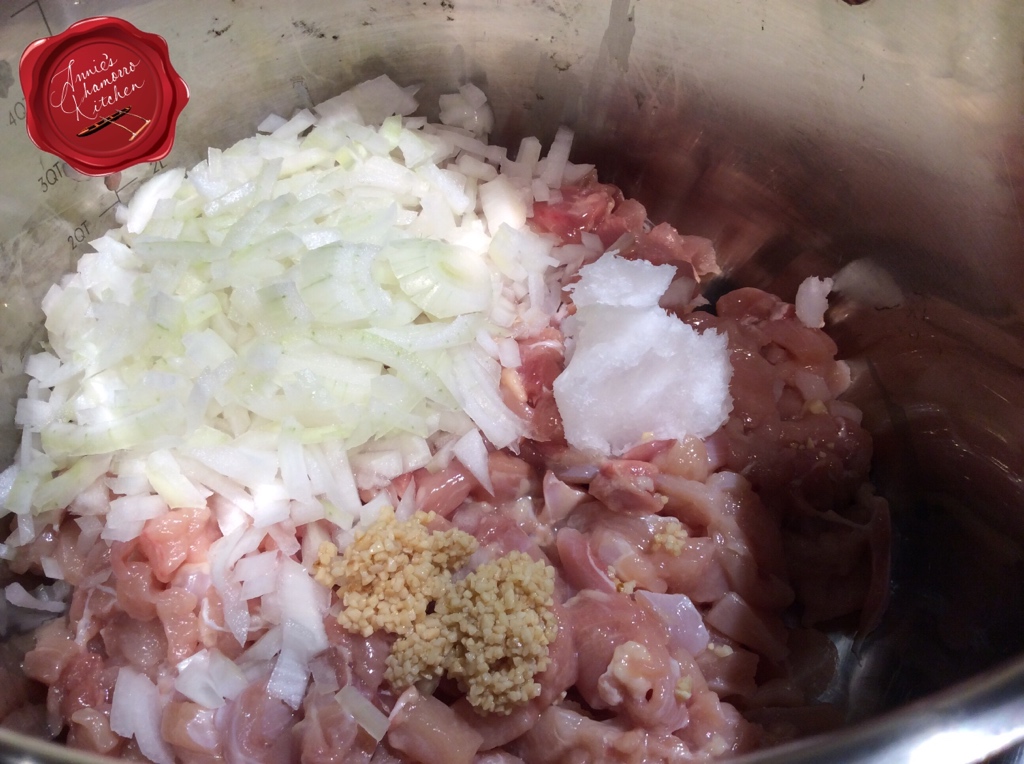
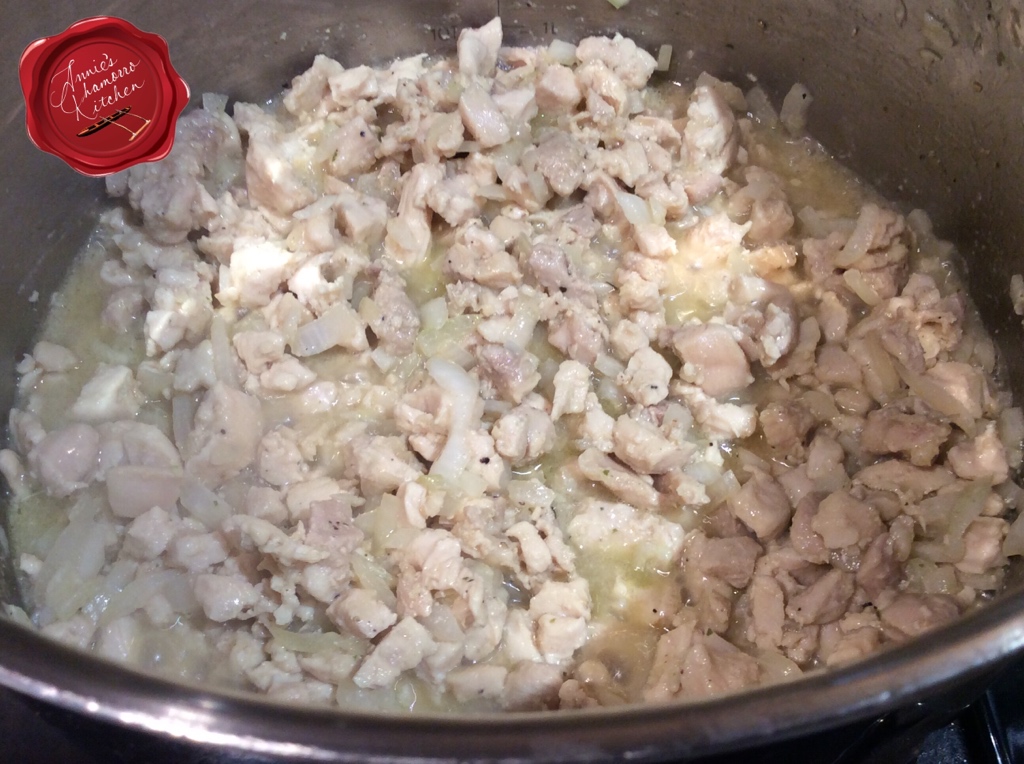
Place your chicken into a large soup pot.  You can cut the chicken to your desired size.  I diced them small here so that we could have more of a soup. My mom would use chicken drummettes or leave the chicken pieces whole if we served this as a meal.  She’d make it more on the soupy side as well so that we could also serve this with some steamed rice. Cook the chicken with onions, garlic, coconut oil and black pepper.

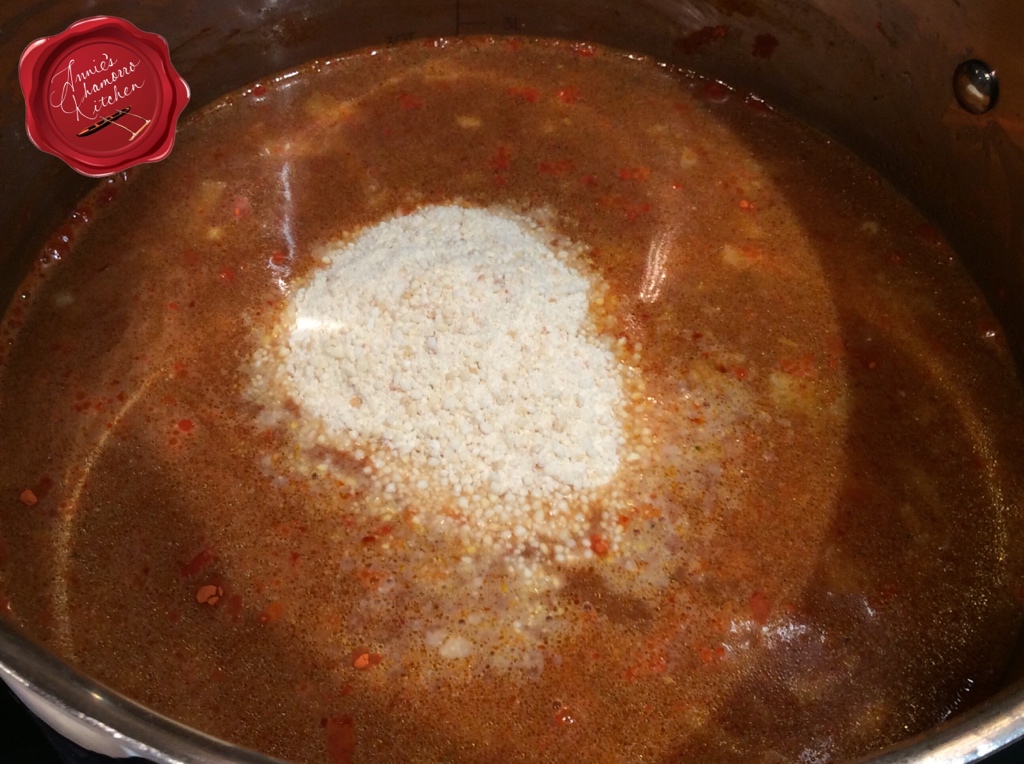
Once the chicken is cooked through and no longer pink, add chicken broth (or water and chicken seasoning), achote powder, and the ground toasted rice.

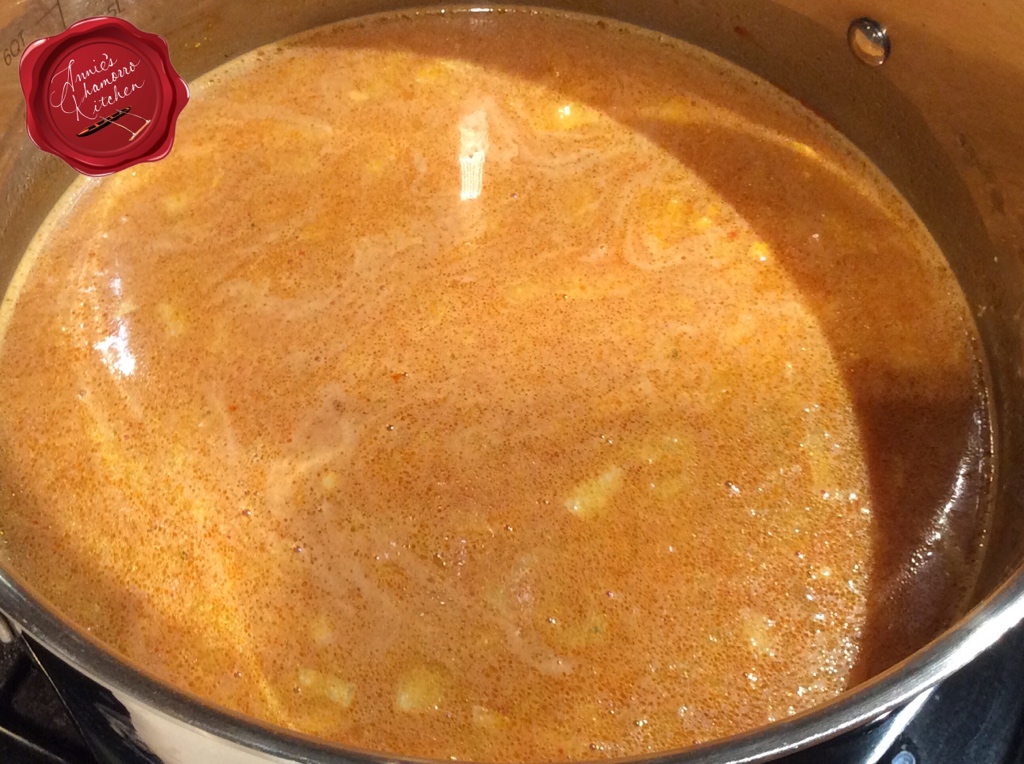
Bring the mixture to a boil; cook over medium heat for about 10 minutes (keep the pot uncovered).  Stirring occasionally to prevent the rice from settling and sticking to the bottom of the pot.

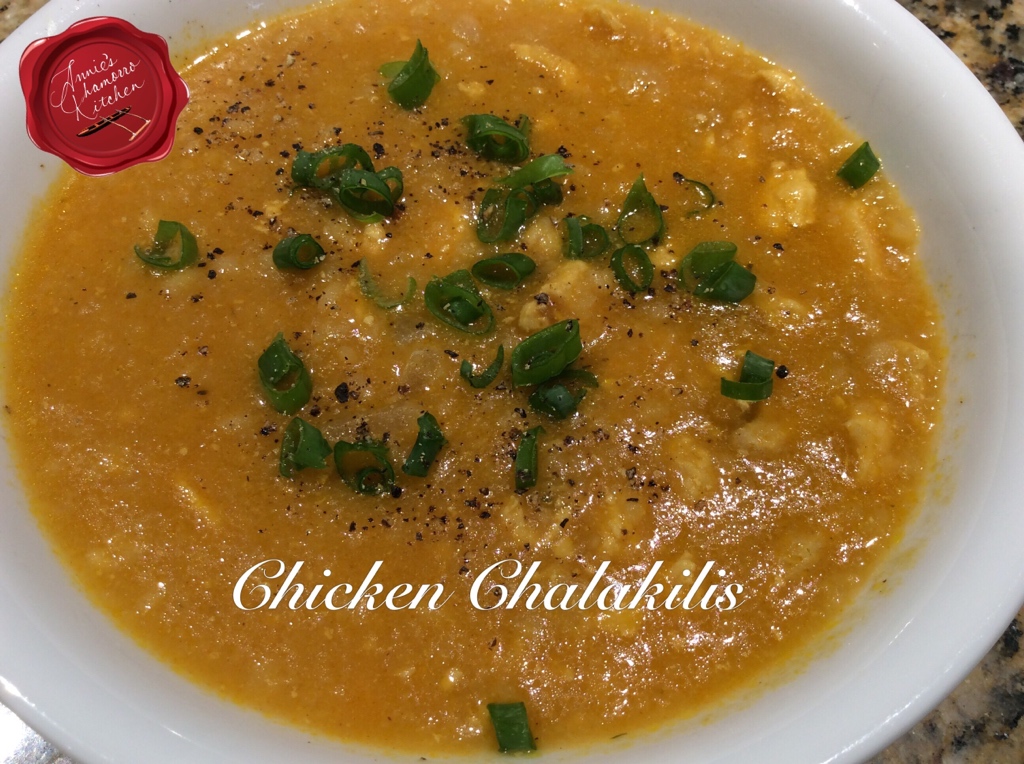
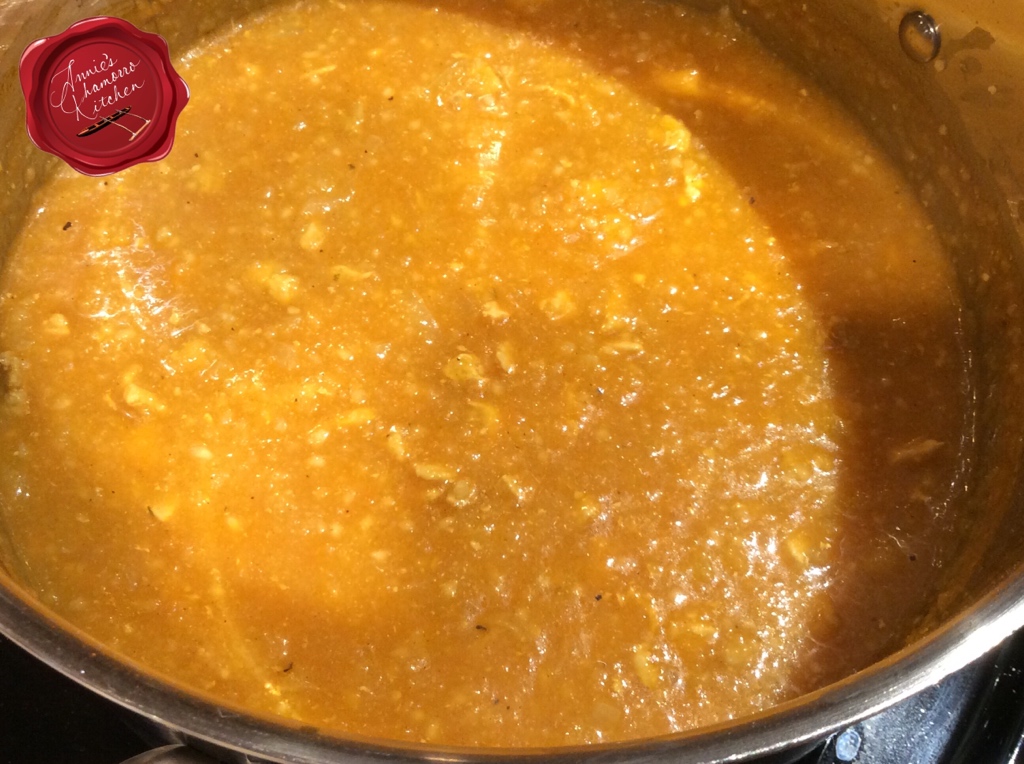
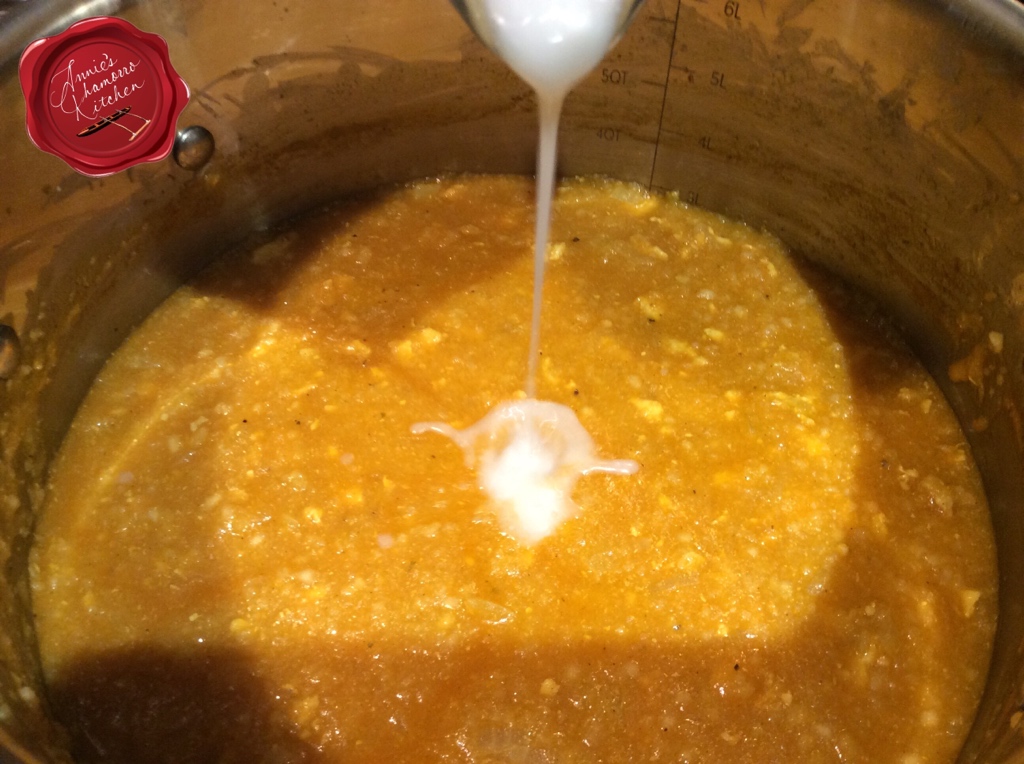
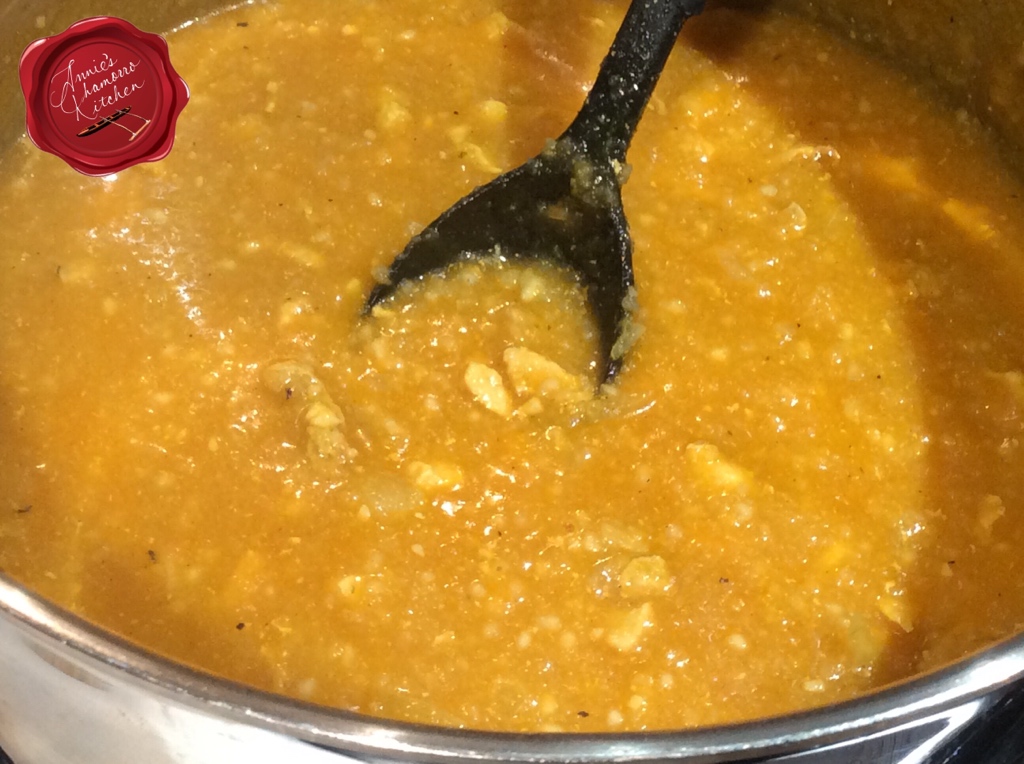
This is what the Chalakiles looks like after the rice is done.  The mixture is quite thick at this point, but will thin down once you stir in the coconut milk.

Stir in the coconut milk.  Cook for another couple of minutes, just long enough to heat up the mixture after adding the milk.  Remove from the heat.

If you want a thinner soup, either add more water or another can of coconut milk.  Taste and adjust the seasonings to your liking.

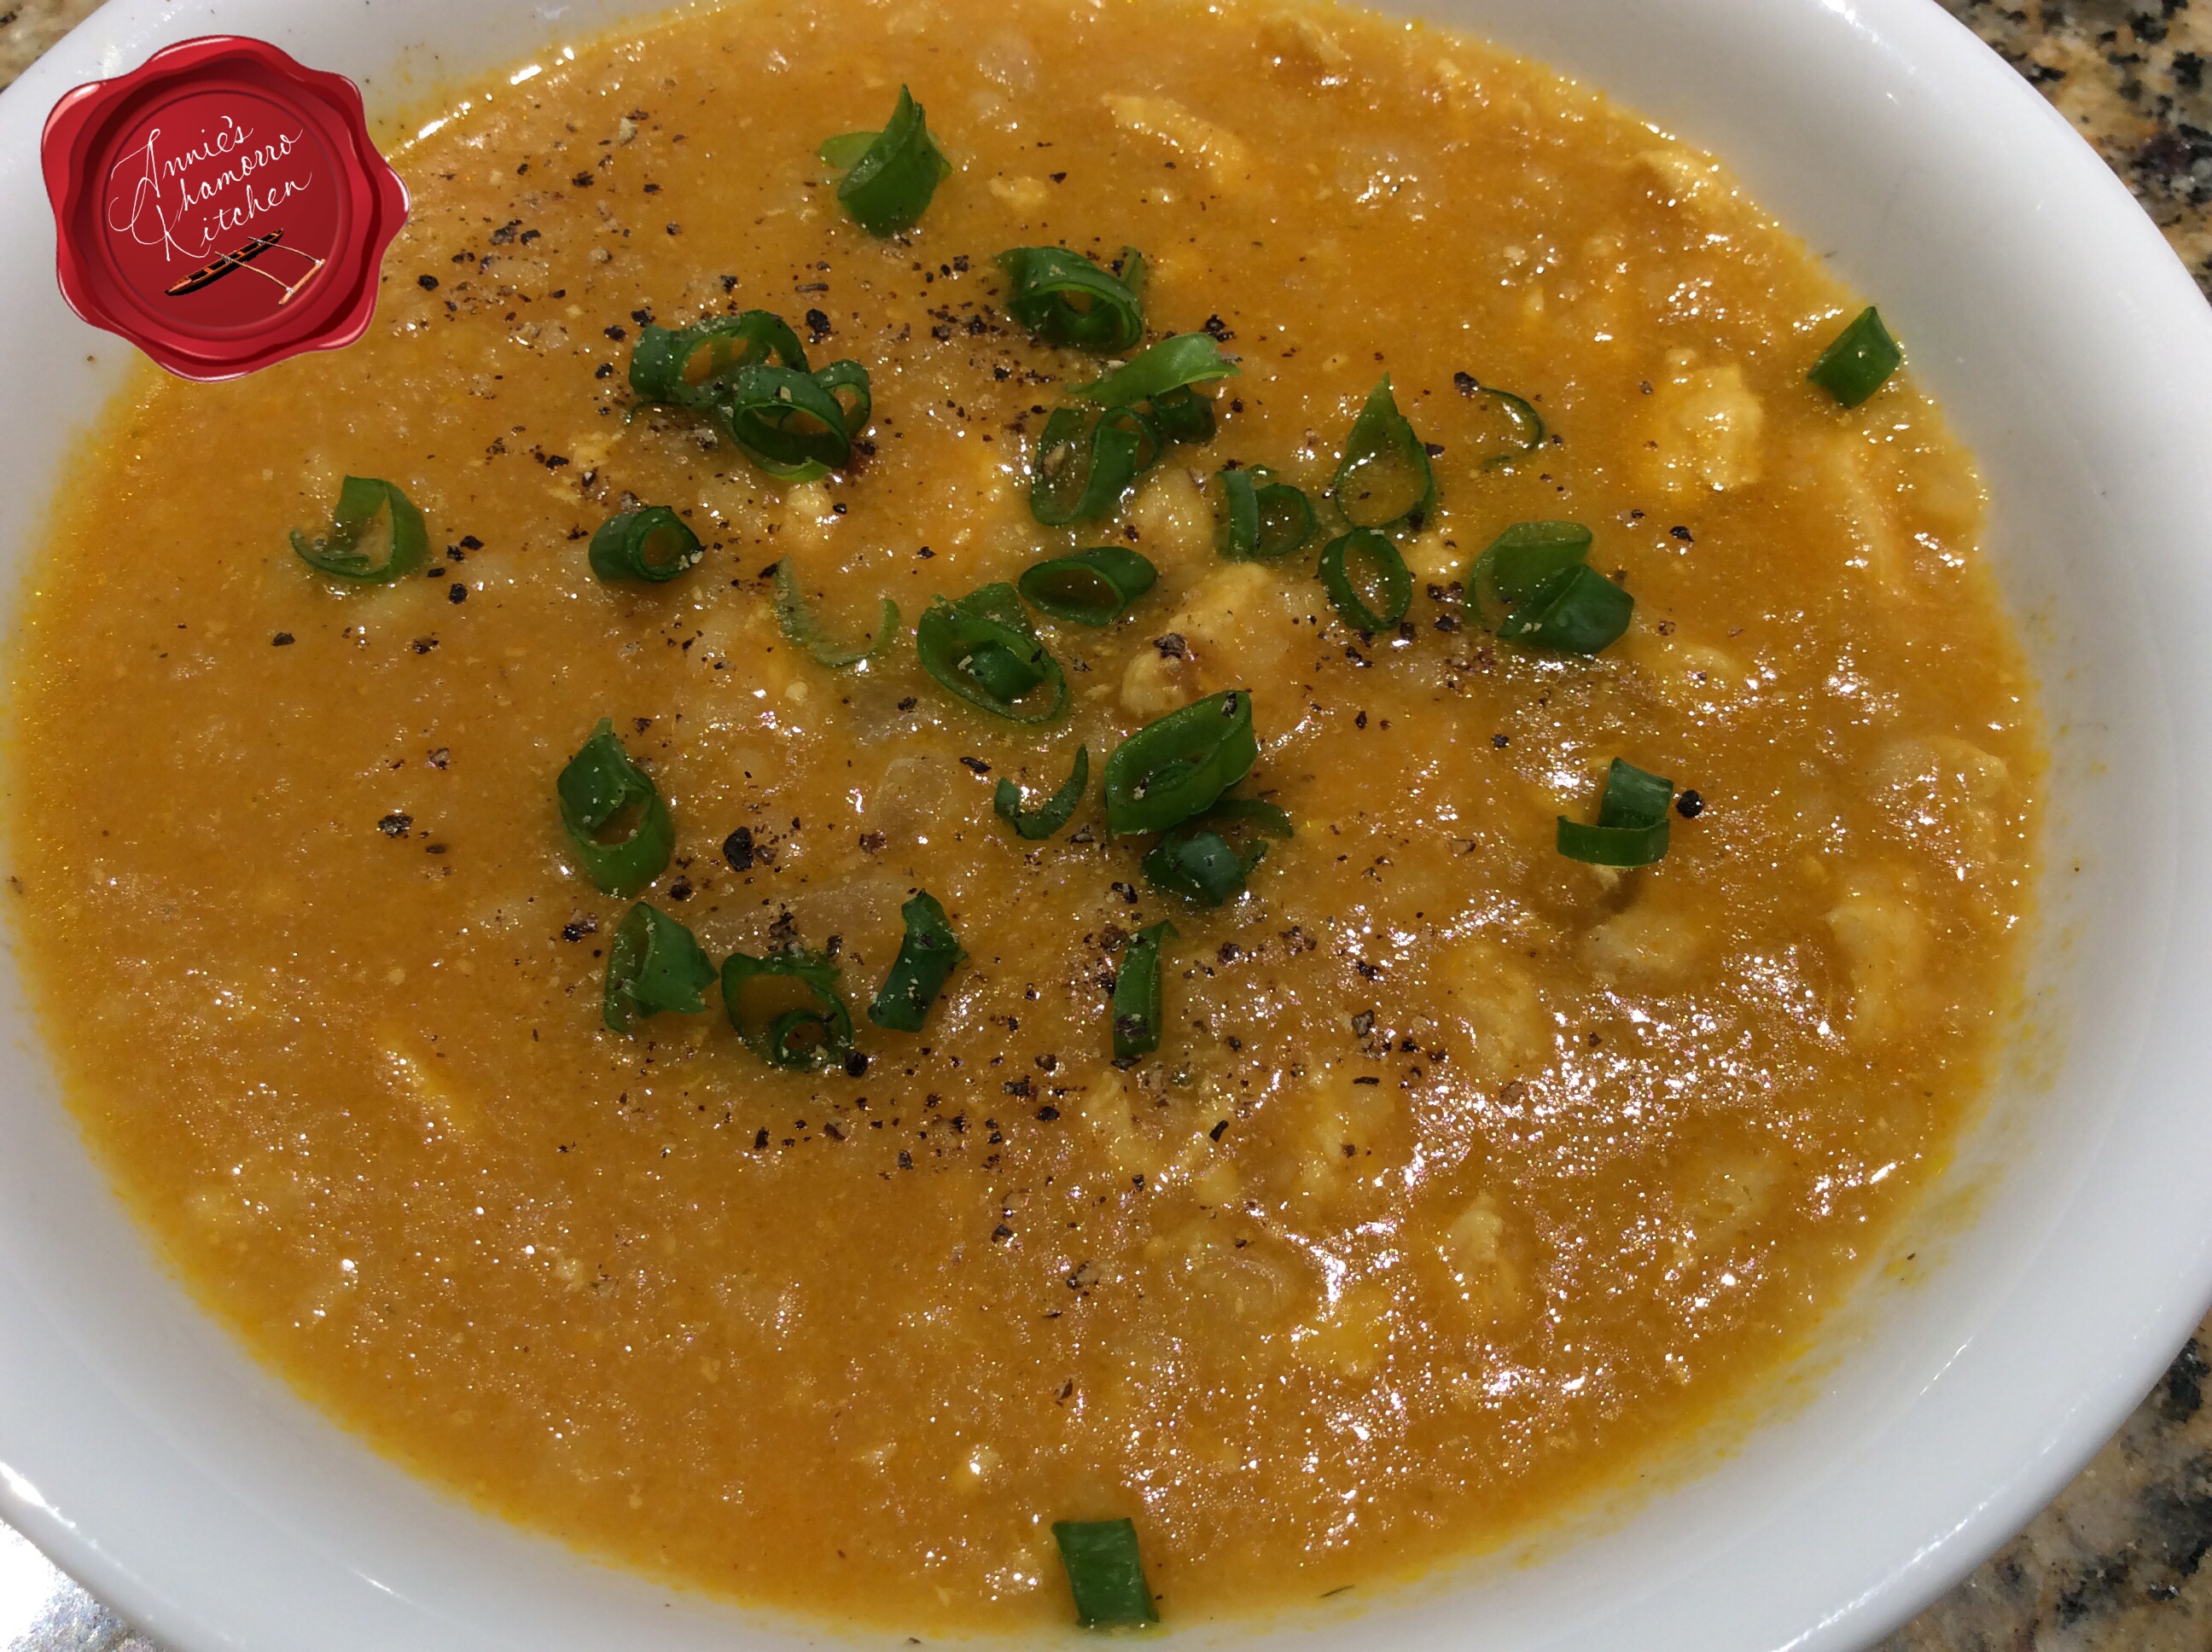
My recipe makes enough for a family of four plus enough leftover for lunch the next day. Serve and ENJOY!


Chicken Chalakiles
 
Prep time
Cook time
Total time
 
A savory soup made with chicken and ground toasted rice.
Author:
Serves: 8 servings
Ingredients
  • 2 cups uncooked rice
  • 2 boneless skinless chicken breasts, cut into small pieces
  • 3 boneless skinless chicken thighs, cut into small pieces
  • 1 med onion, diced
  • 1 tablespoon chopped garlic
  • 1 tablespoon coconut oil
  • ½ teaspoon black pepper
  • 3 tablespoons chicken seasoning*
  • 10 cups water*
  • 1 packet achote powder
  • 1 can (14-oz) coconut milk
  • Red pepper flakes, to taste (optional)


  • *Note: You can use chicken broth instead of water; omit the water AND chicken seasoning if using chicken broth.
Instructions
  1. Place the uncooked rice in a skillet over medium heat. Cook for a few minutes until the rice is evenly browned, stirring occasionally to ensure even browning. Let the toasted rice cool then grind in a food processor until you get the consistency of cornmeal. Set aside.
  2. Place the chicken, onion, garlic, coconut oil and black pepper into a large soup pot. Cook over medium heat until the chicken is no longer pink.
  3. Add the chicken seasoning, water, achote powder and ground rice to the pot. Stir to combine the ingredients then bring the mixture to a boil. Cook, uncovered, for 10 minutes, stirring occasionally.
  4. Stir in the coconut milk; cook for a couple of minutes then remove from the heat.
Serve and ENJOY!


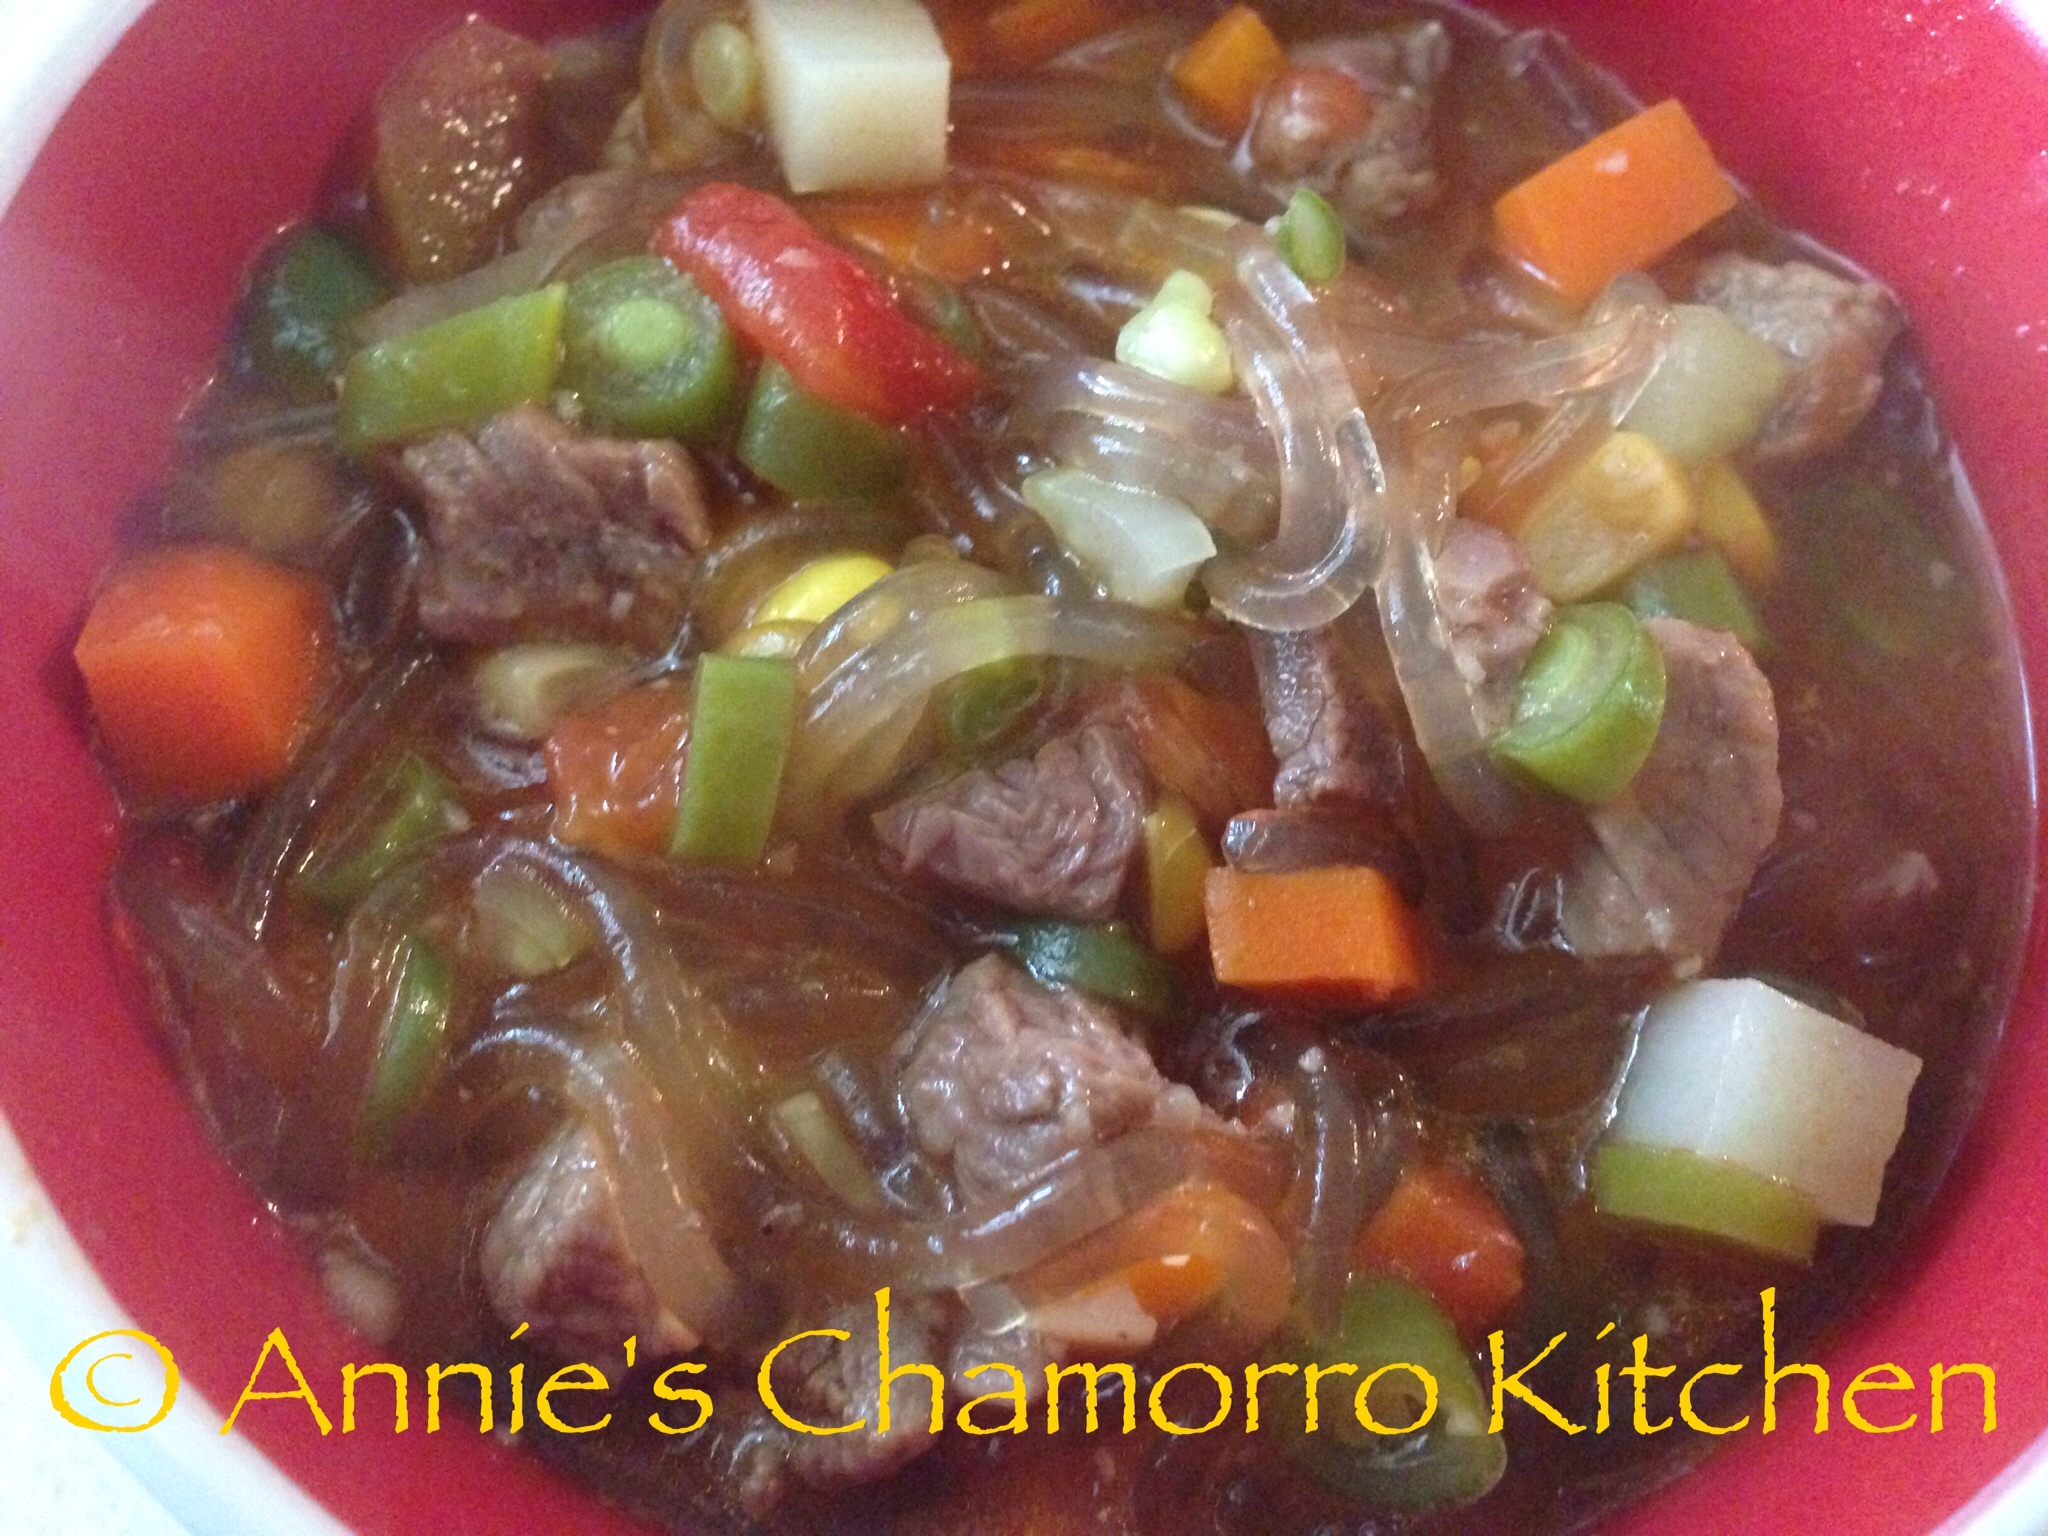
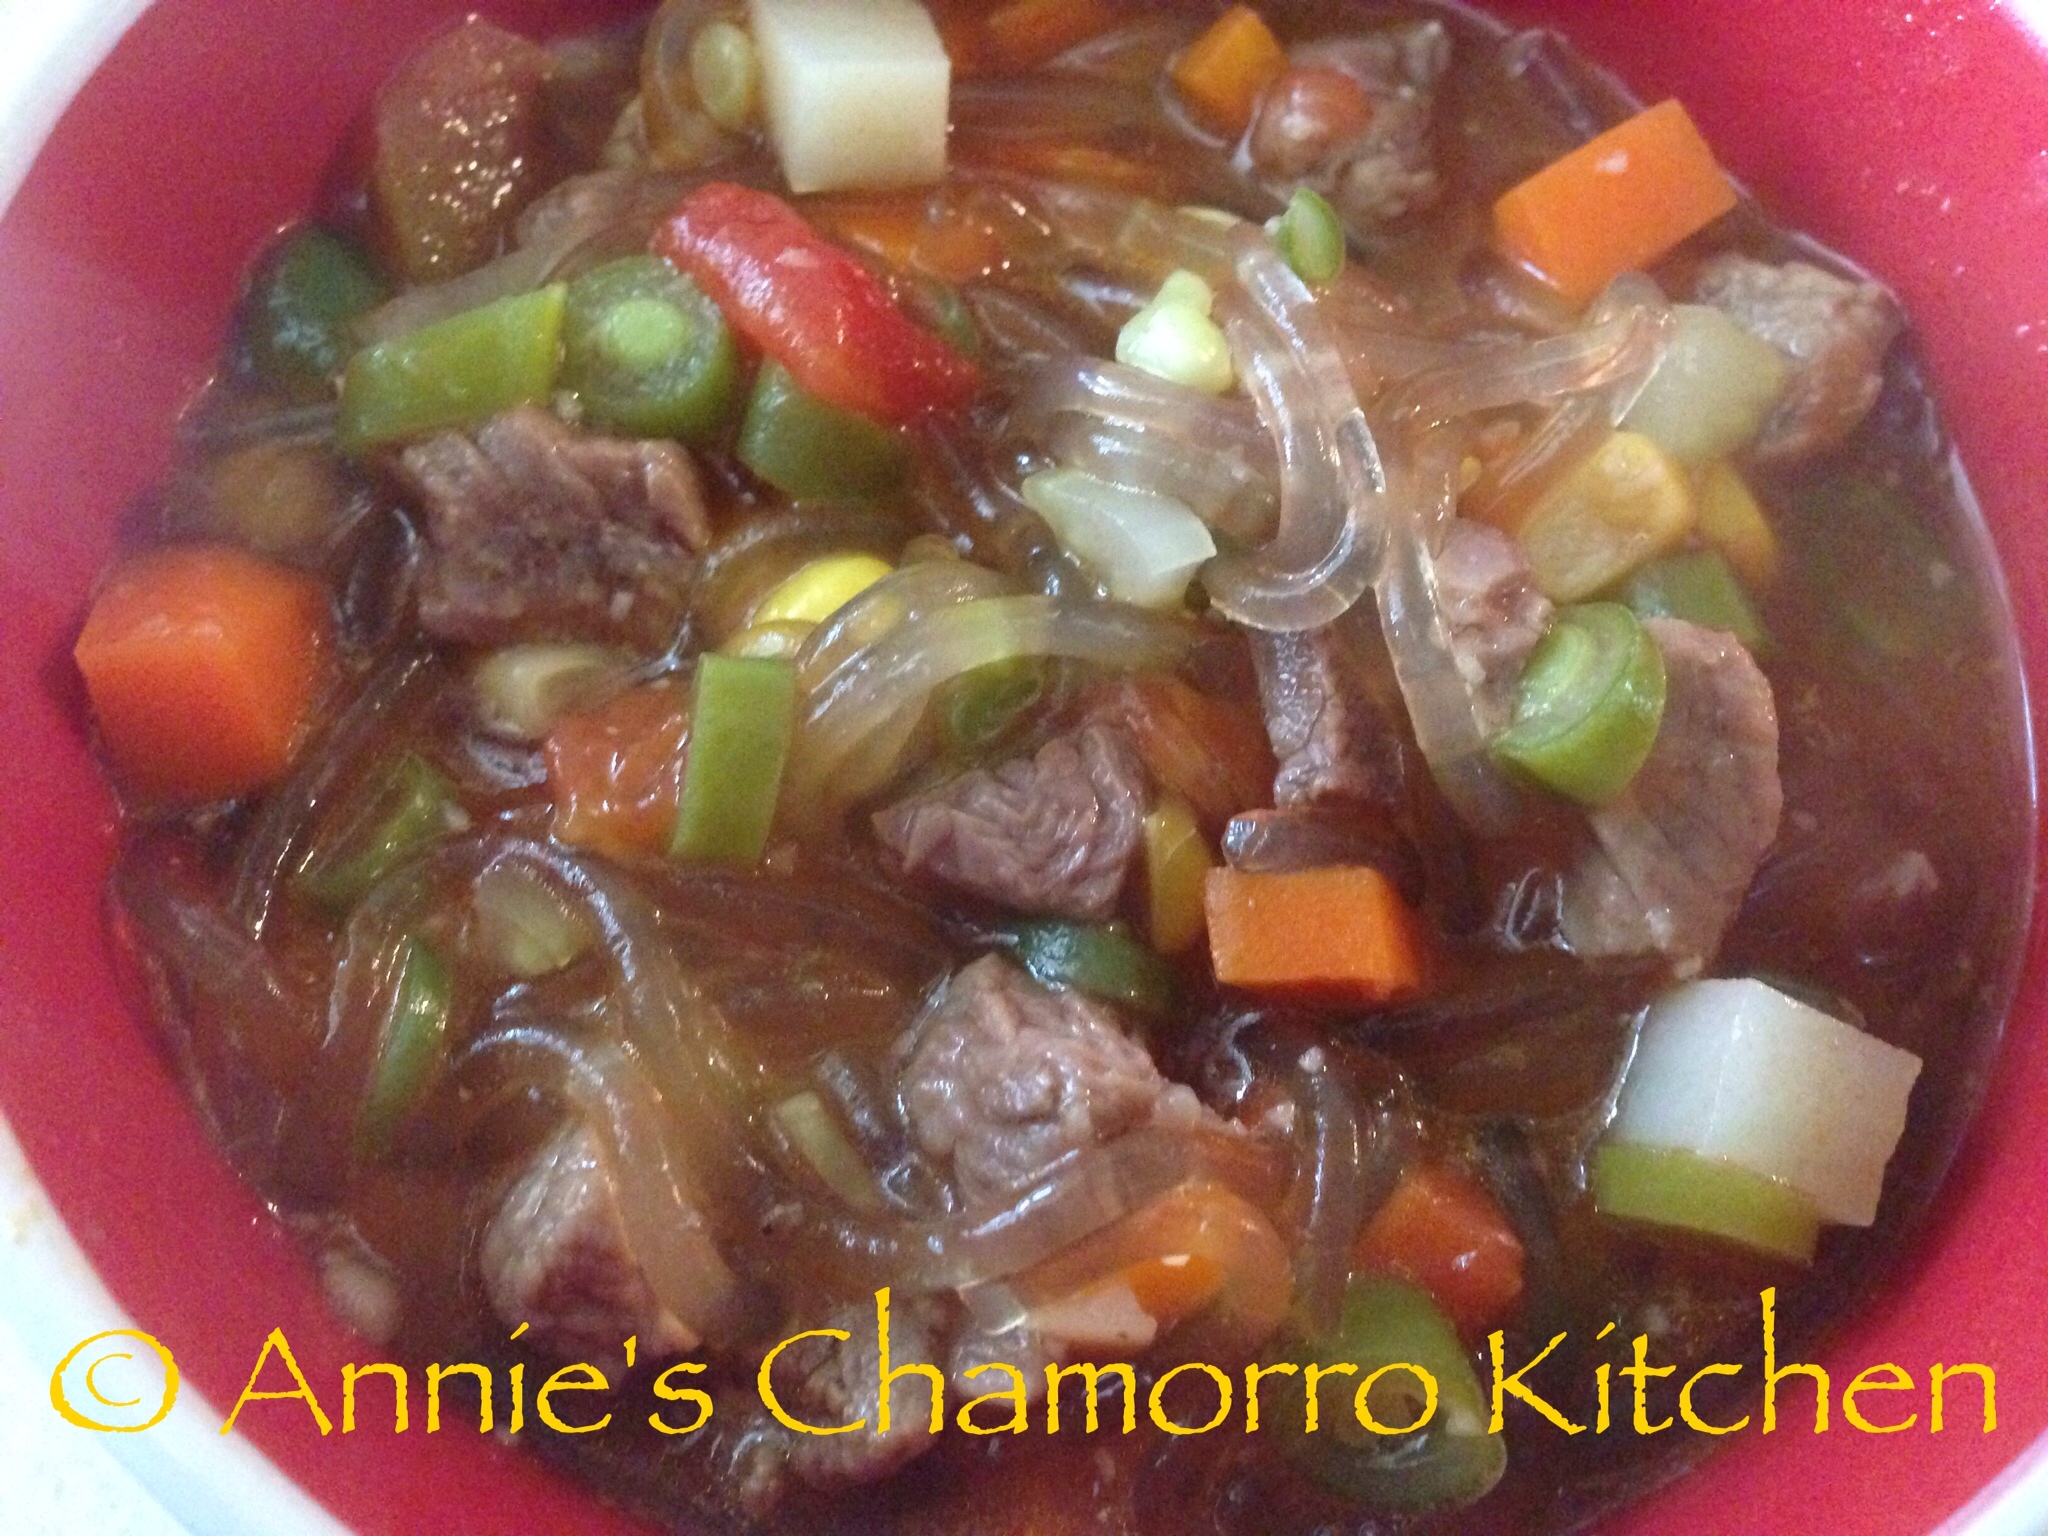
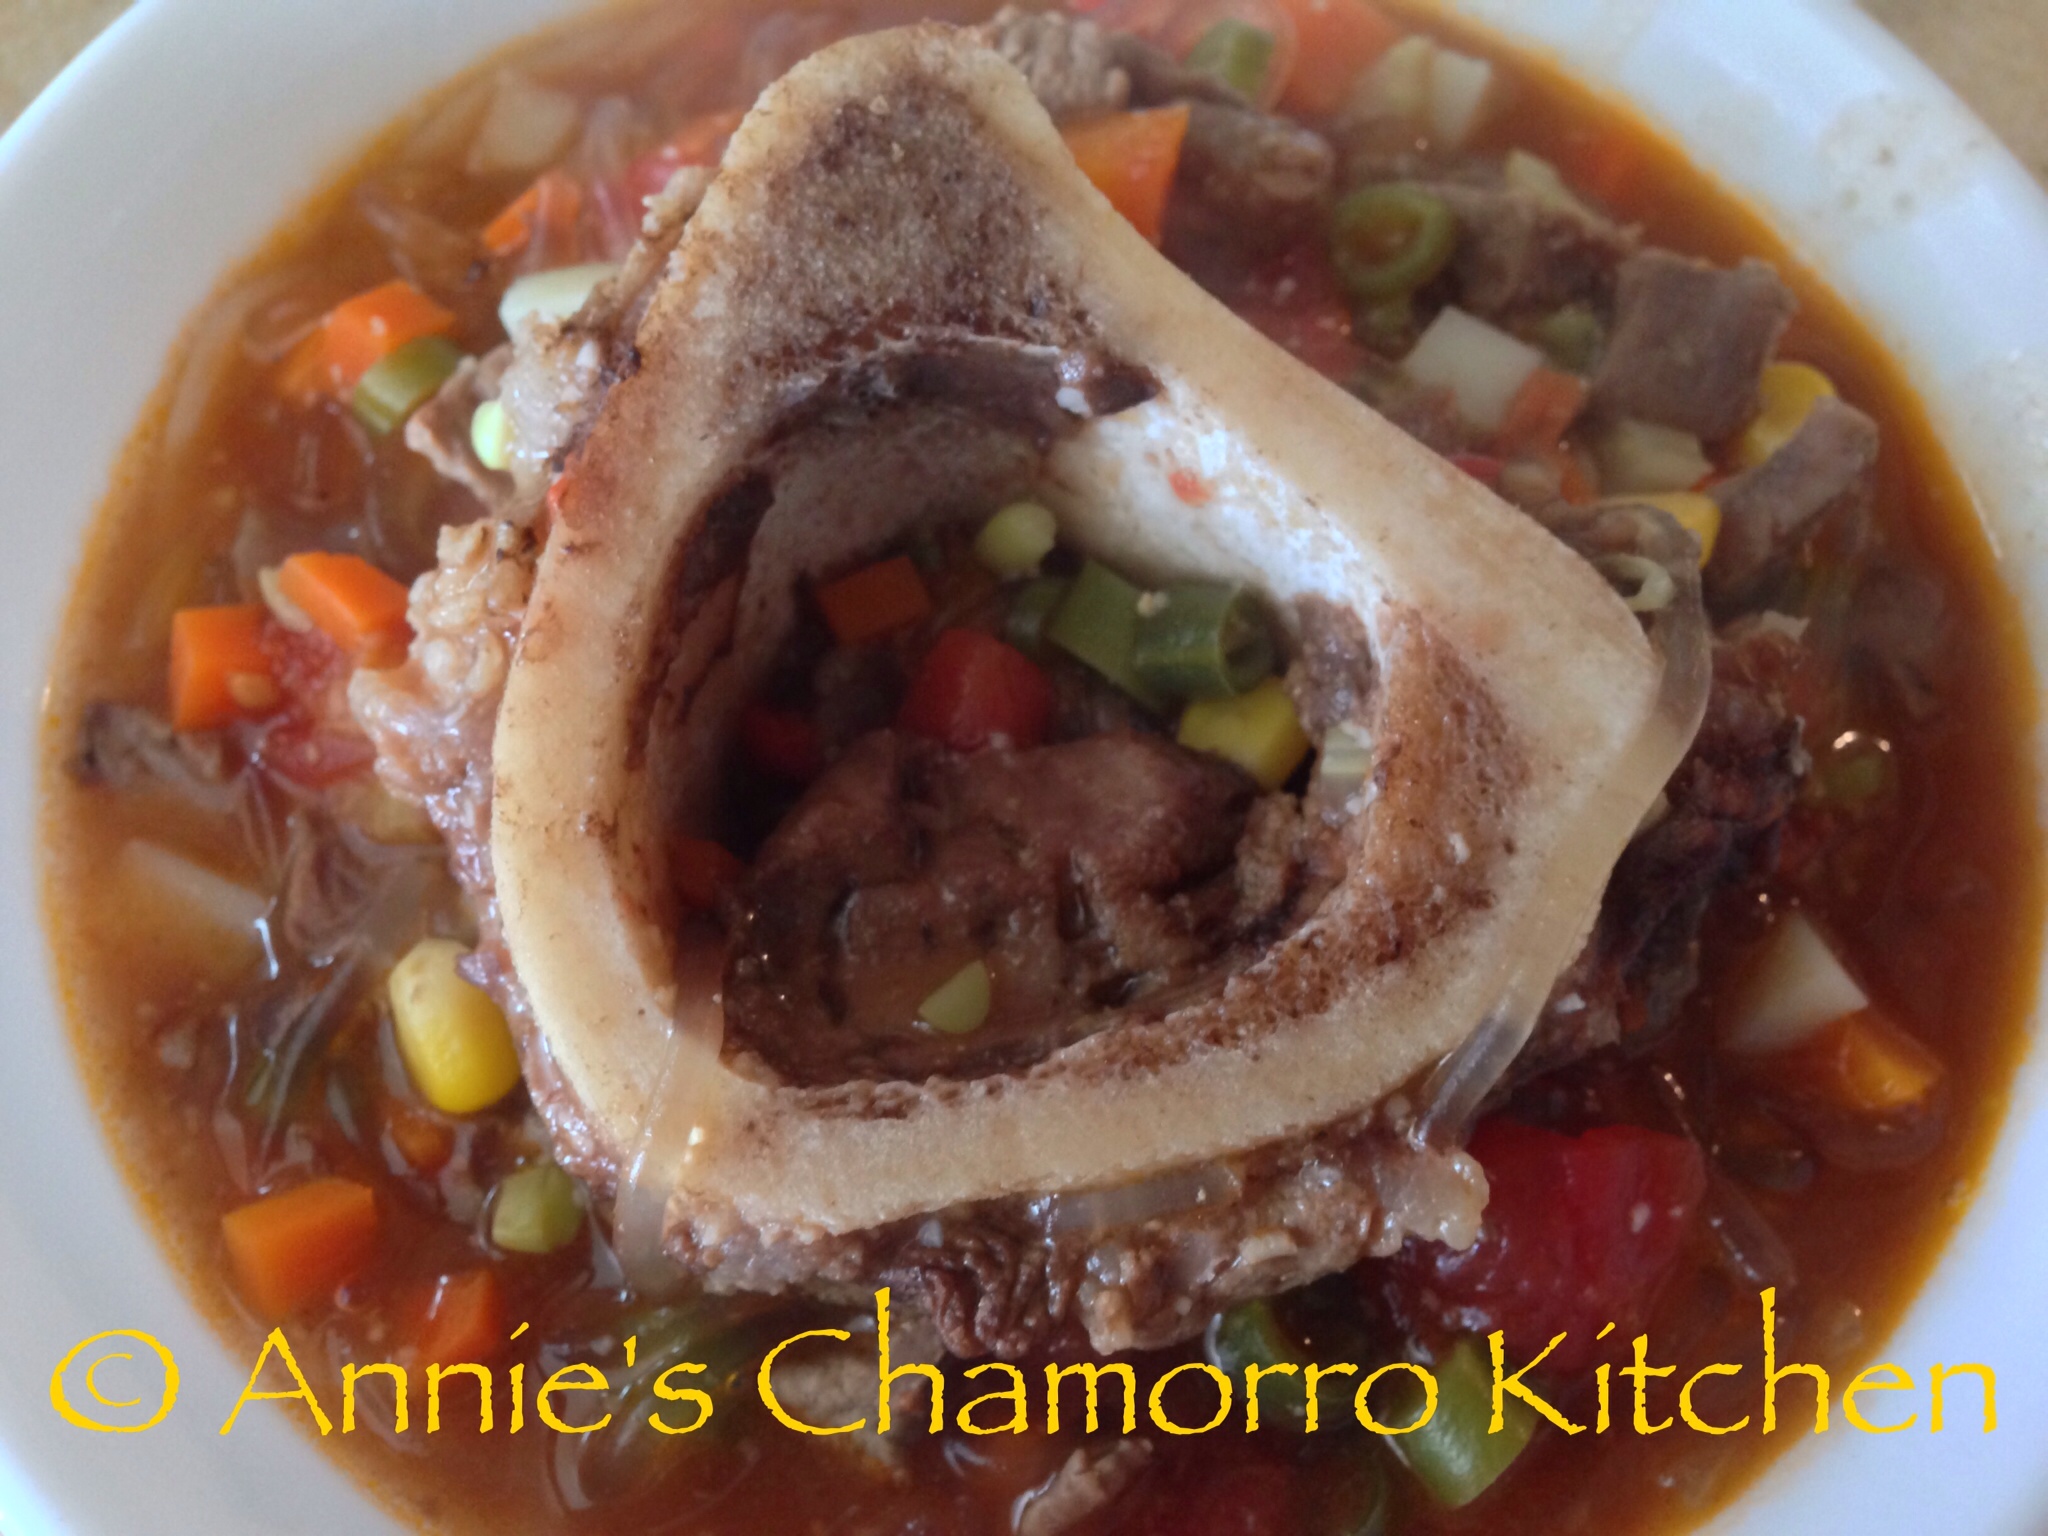
Beef Shank Kådu with Fresh Vegetables and Vermicelli Noodles

It’s currently 9 degrees outside, with a windchill of -11 degrees — it’s the perfect time for a pot of my delicious Beef Shank Kådu (which means soup, in Chamorro) with fresh vegetables and vermicelli noodles. Come to think of it, this soup is good at ANY time, not just when it’s cold and blustery outside. After all, we make kådu on Guam, where the temperature is in the 80’s year-round! 😉

I used beef shanks (with bones) for this recipe, but you can use any lean cuts of beef you like. I like shanks because the bone marrow in the bones give the broth an extra rich and concentrated beef flavor. Most shanks are marbled with sinew. If I’m pressed for time, I’ll cook the meat in a pressure cooker, along with some onions, garlic and water, just long enough to break down the sinew and tenderize the meat. I started this soup around 8 am, cooked the meat low and slow for a couple of hours, then added the vegetables the last half hour before eating. If you don’t braise the meat long enough, the sinew in the meat won’t break down enough and you’ll end up with tough, dry meat in your soup.

I prefer using fresh vegetables when I make soup (with the exception of canned tomatoes and corn). I know, you can cut your prep and cooking time by more than half if you use frozen vegetables, but I don’t particularly like that the frozen vegetables are cut so large (I end up cutting each one smaller–that’s very time consuming), nor do I like that it’s overcooked by the time my soup is done. Nope — it’s fresh vegetables for this soup or I don’t make it.

I know what you’re thinking by now…you’re probably thinking, “gosh, she sure is picky.” Well, for this soup, I am. I think it’s because this is how my mom made it, using vegetables picked fresh from my dad’s ranch. Sometimes we’d have wing beans and green beans in our soup, along with squash and onions. Other times we’d have fresh corn and tomatoes picked fresh off the vines.

If you thought I was picky with my choice of fresh over frozen vegetables, let me tell you about my choice of noodles. I’ve tried making this soup with rice noodles, but it’s just not the same as using vermicelli or glass noodles. There are many brands of vermicelli noodles (not the kind used for Italian pasta dishes, mind you). I like using Korean vermicelli noodles, namely the kind used for Jap Chae (or Chap Chae). If you don’t know what type to buy, go to your local Korean or Asian market and ask a clerk for Korean Jap Chae noodles.

Give my recipe a try. I think you’ll like it. 🙂

Beef Shank Kadu with Fresh Vegetables and Vermicelli Noodles

Ingredients:

  • 5 medium sized beef shanks, with bone
  • 1/2 teaspoon black pepper
  • 2 tablespoons garlic powder (or 6 cloves fresh garlic, minced)
  • 1 tablespoon onion powder (or 1 small onion, diced)
  • 6-8 tablespoons Dashida (Korean beef flavored powdered seasoning)
  • 10 cups water
  • 2 large carrots
  • 2 stalks celery
  • 1 (2-inch) piece of ginger root
  • 1 medium potato
  • 1 handful of green beans
  • 1 can (28 oz.) petite diced tomatoes, drained
  • 1 can (15.25 oz.) corn kernels
  • 1 bag Korean vermicelli noodles (plus enough hot water to submerge the noodles in)

Directions:

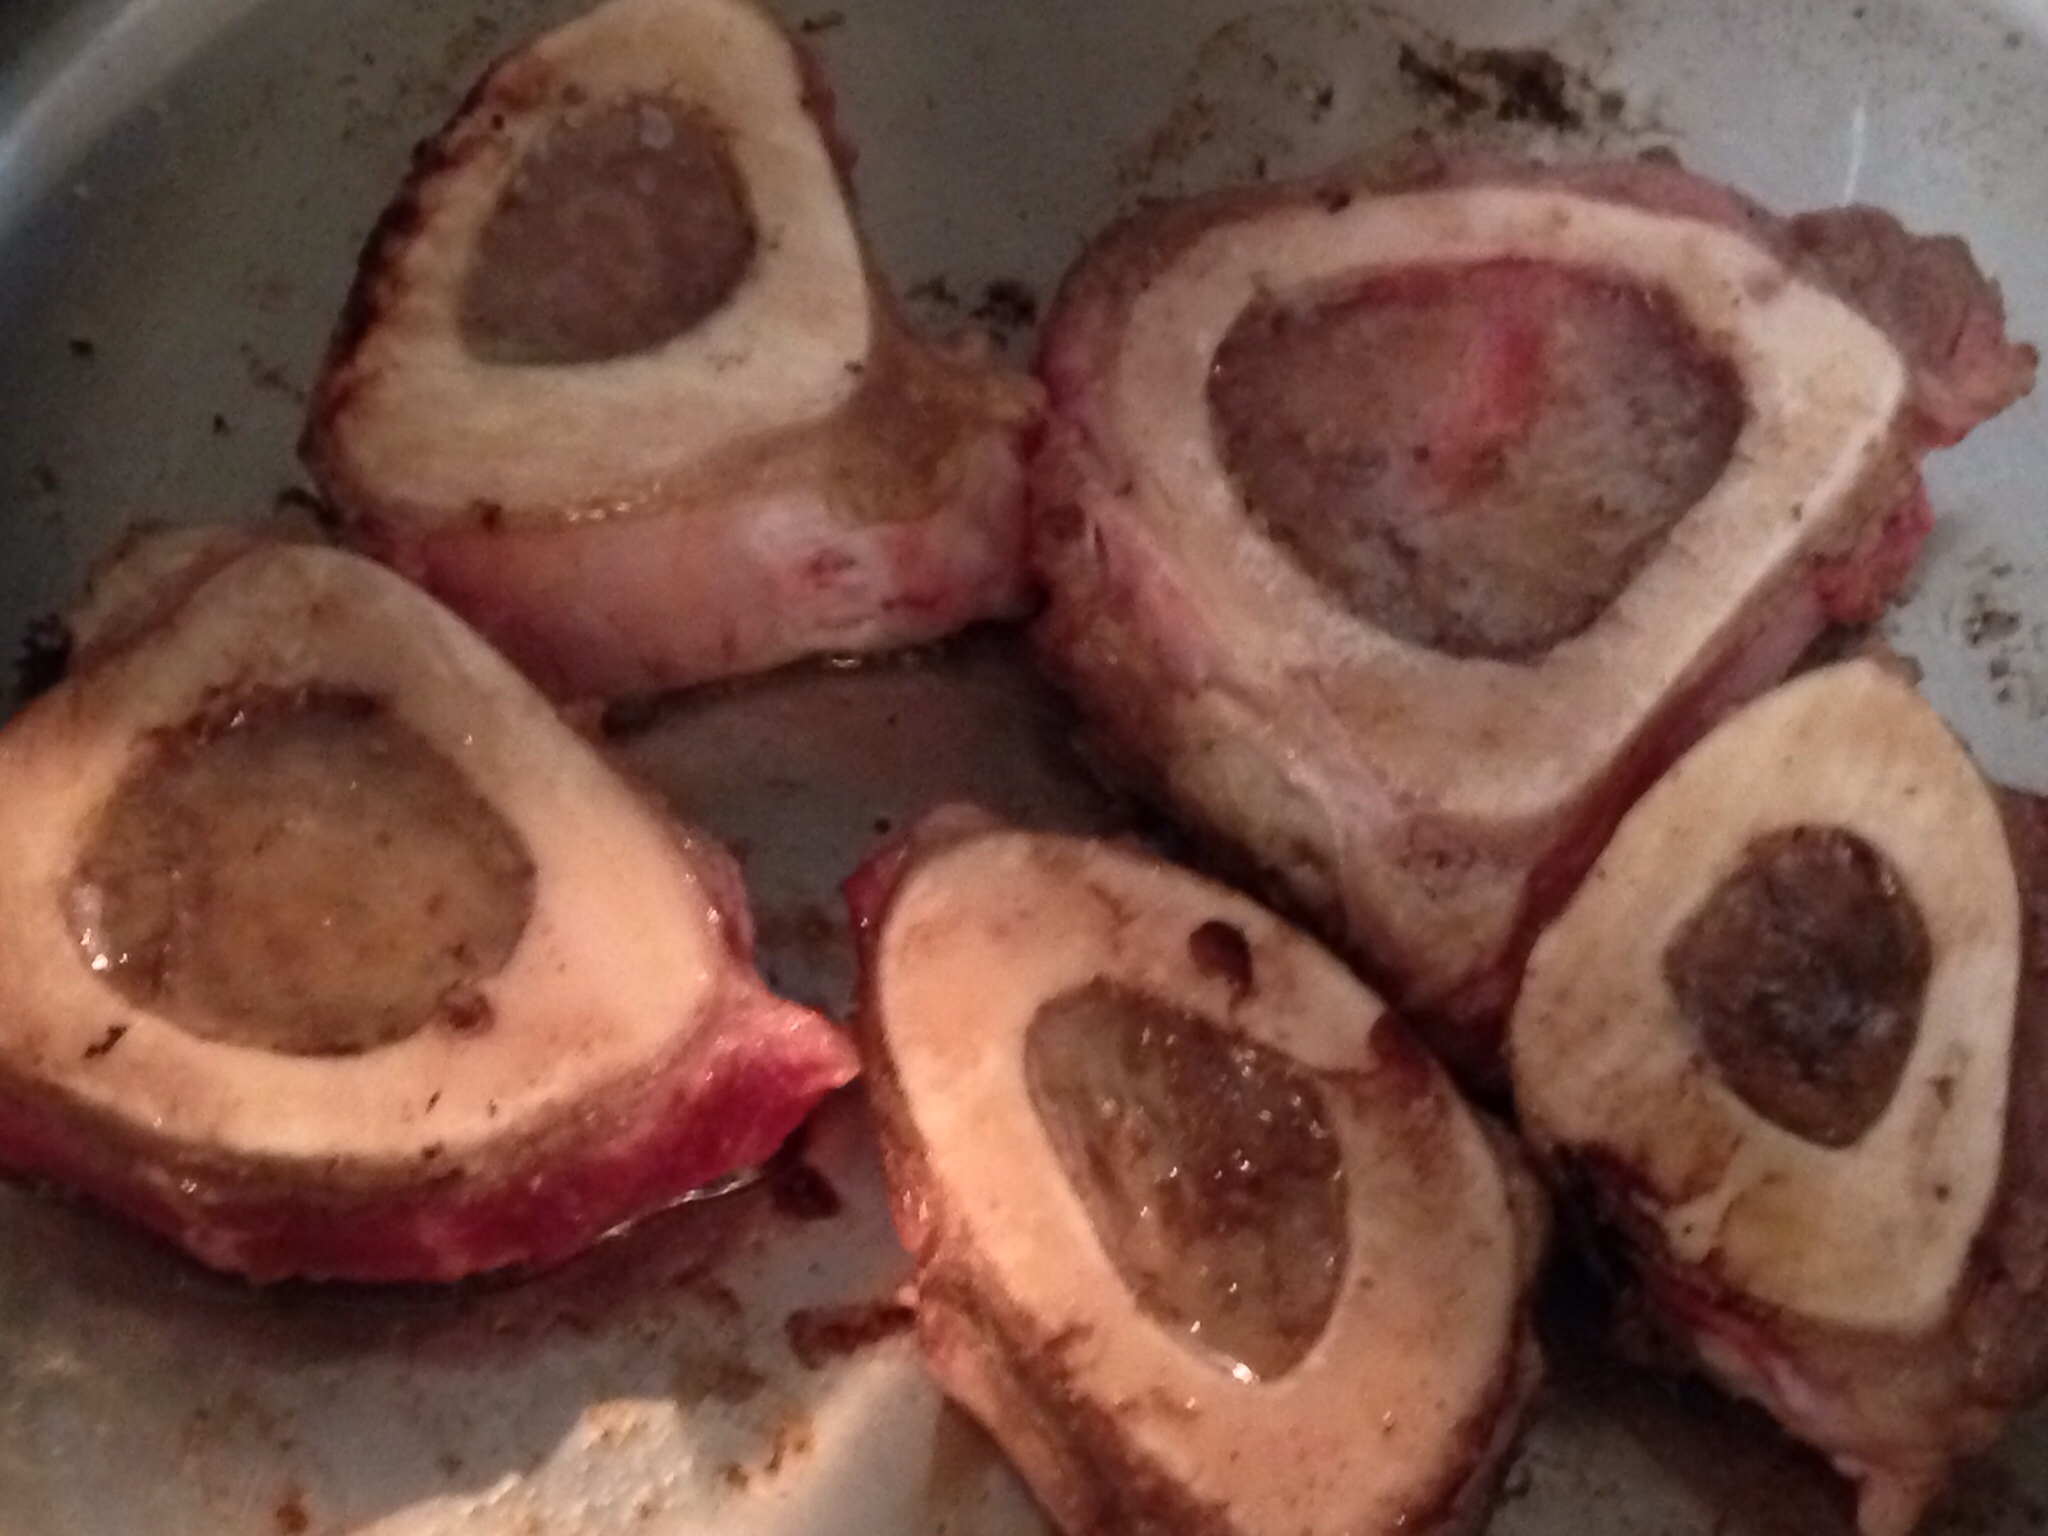
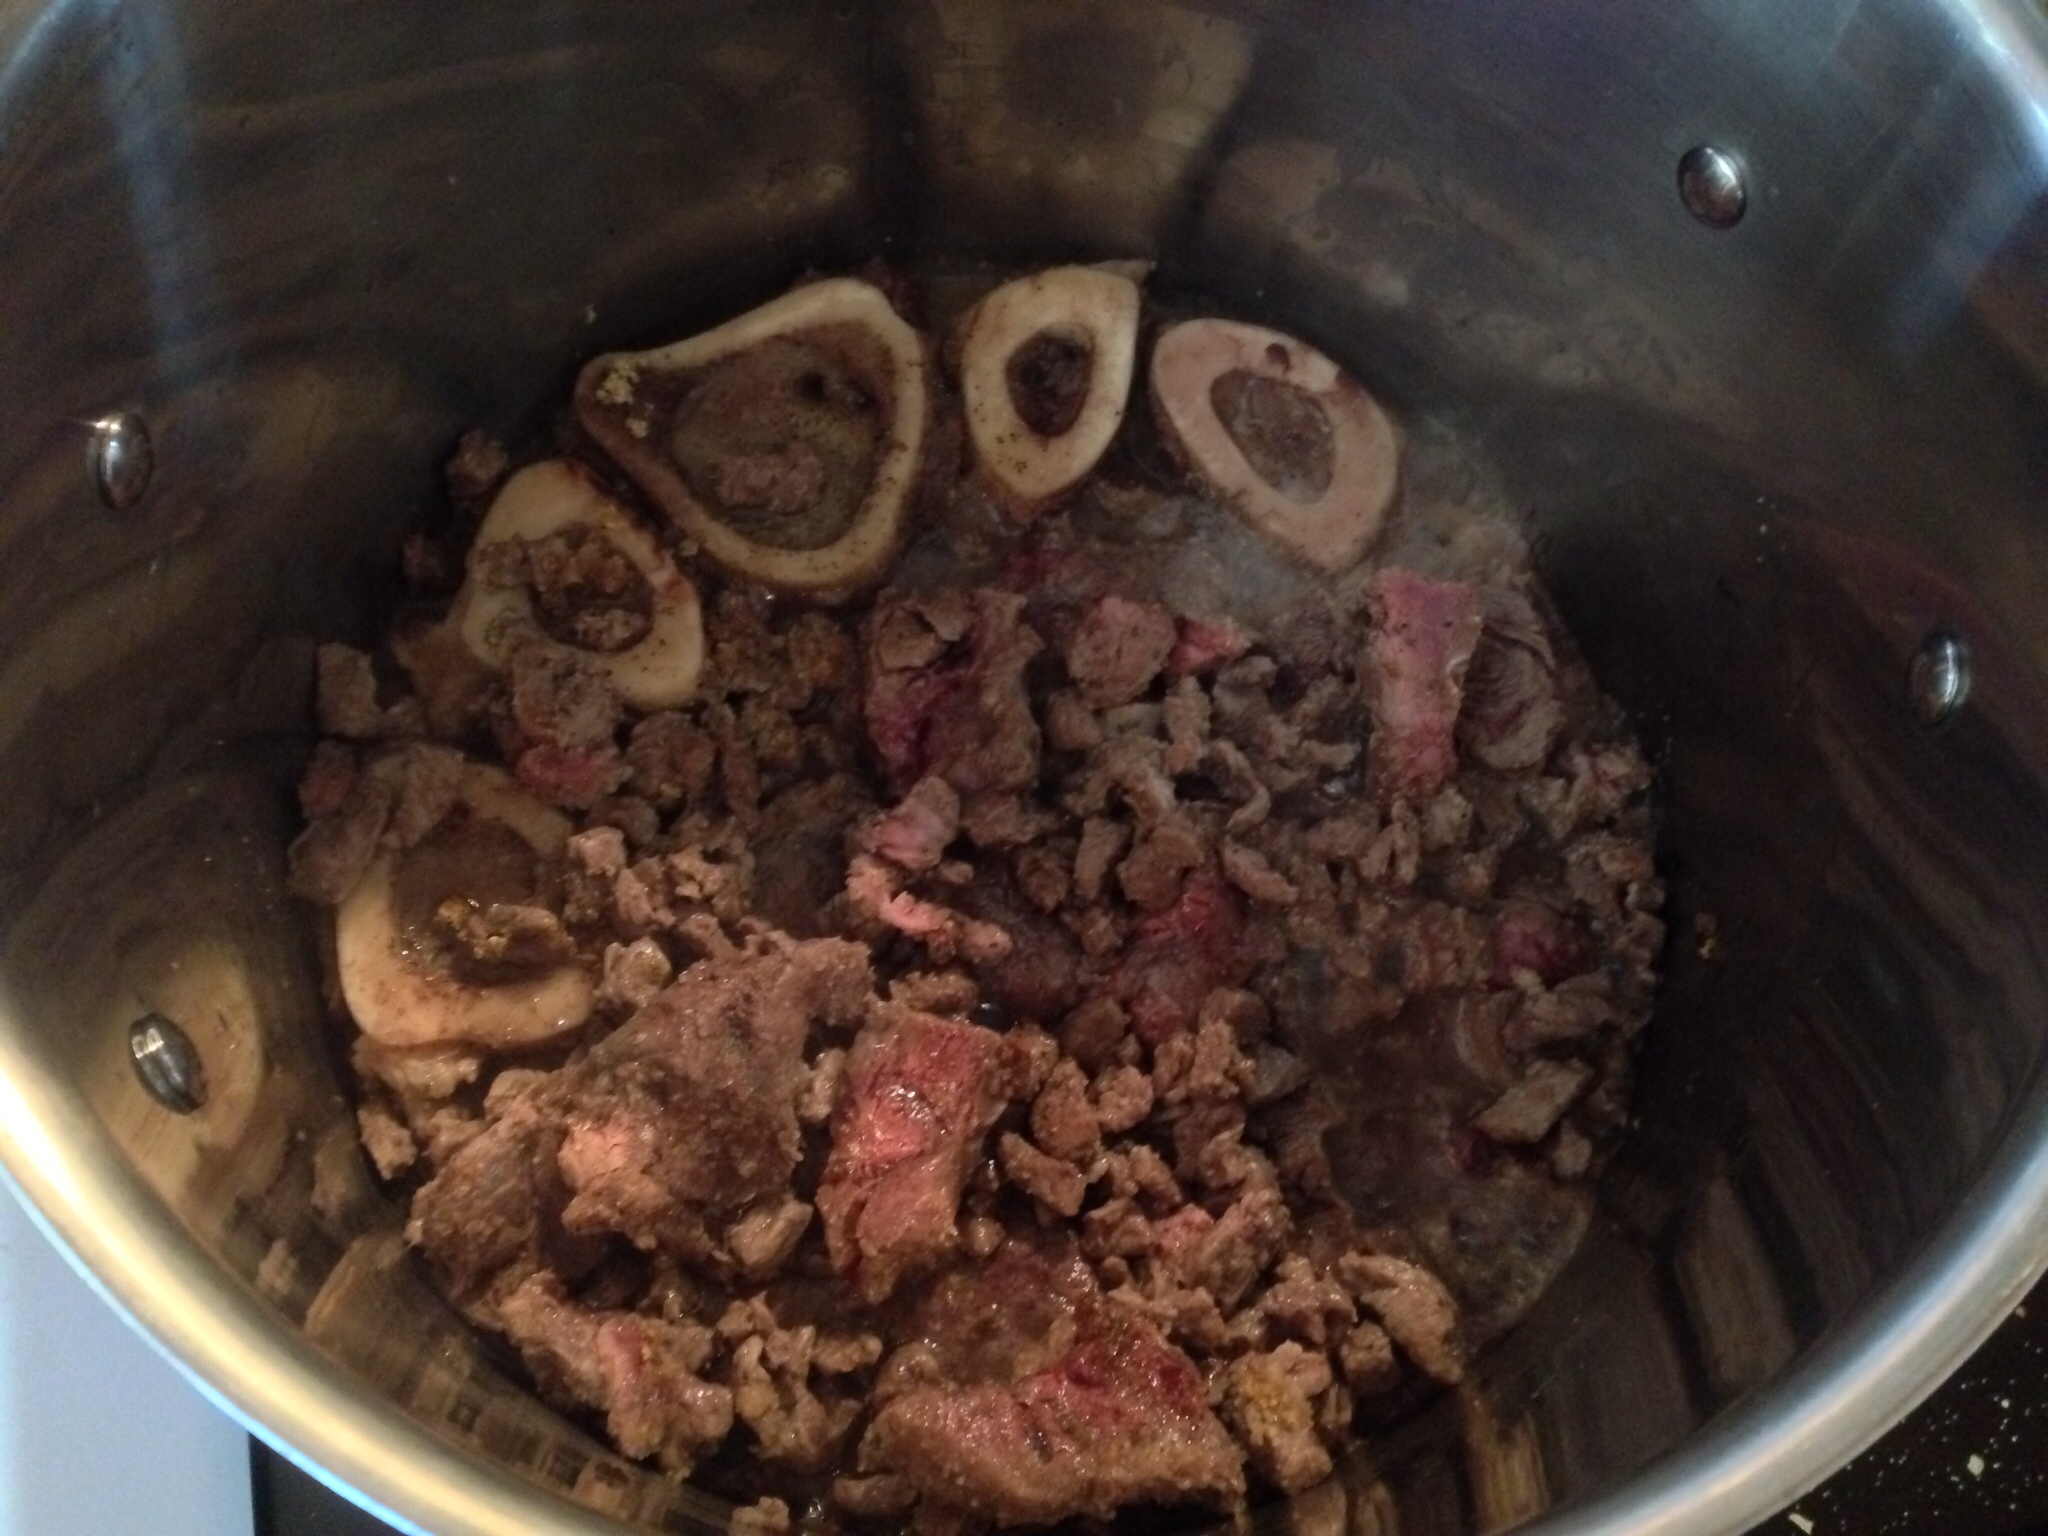
1. Rinse each piece of meat. Trim off and discard any excess fat around the meat. Cut around the bones to separate them from the meat. Place the bones in a large stock pot over medium low heat.

2. Cut the meat into small pieces; I cut the shank meat that had a lot of sinew marbled through it into large chunks.  Place the meat into the pot. Cook over medium low heat until the meat starts to brown. After most of the meat has browned, add the black pepper, garlic and onion powders (or fresh garlic and onions), and Dashida. Stir to combine, then add the 10 cups of water. Keep the heat at medium low. With the pot covered, simmer for about 2 hours. Every now and then, skim off any fat and sediment from the surface of the broth and discard.

Tip: After cooking, let the meat and broth cool to room temperature then place in the refrigerator. After several hours, remove the solidified fat off the surface of the broth and discard. Continue with the remaining steps below.

3. While the meat is simmering away, prepare the vegetables.

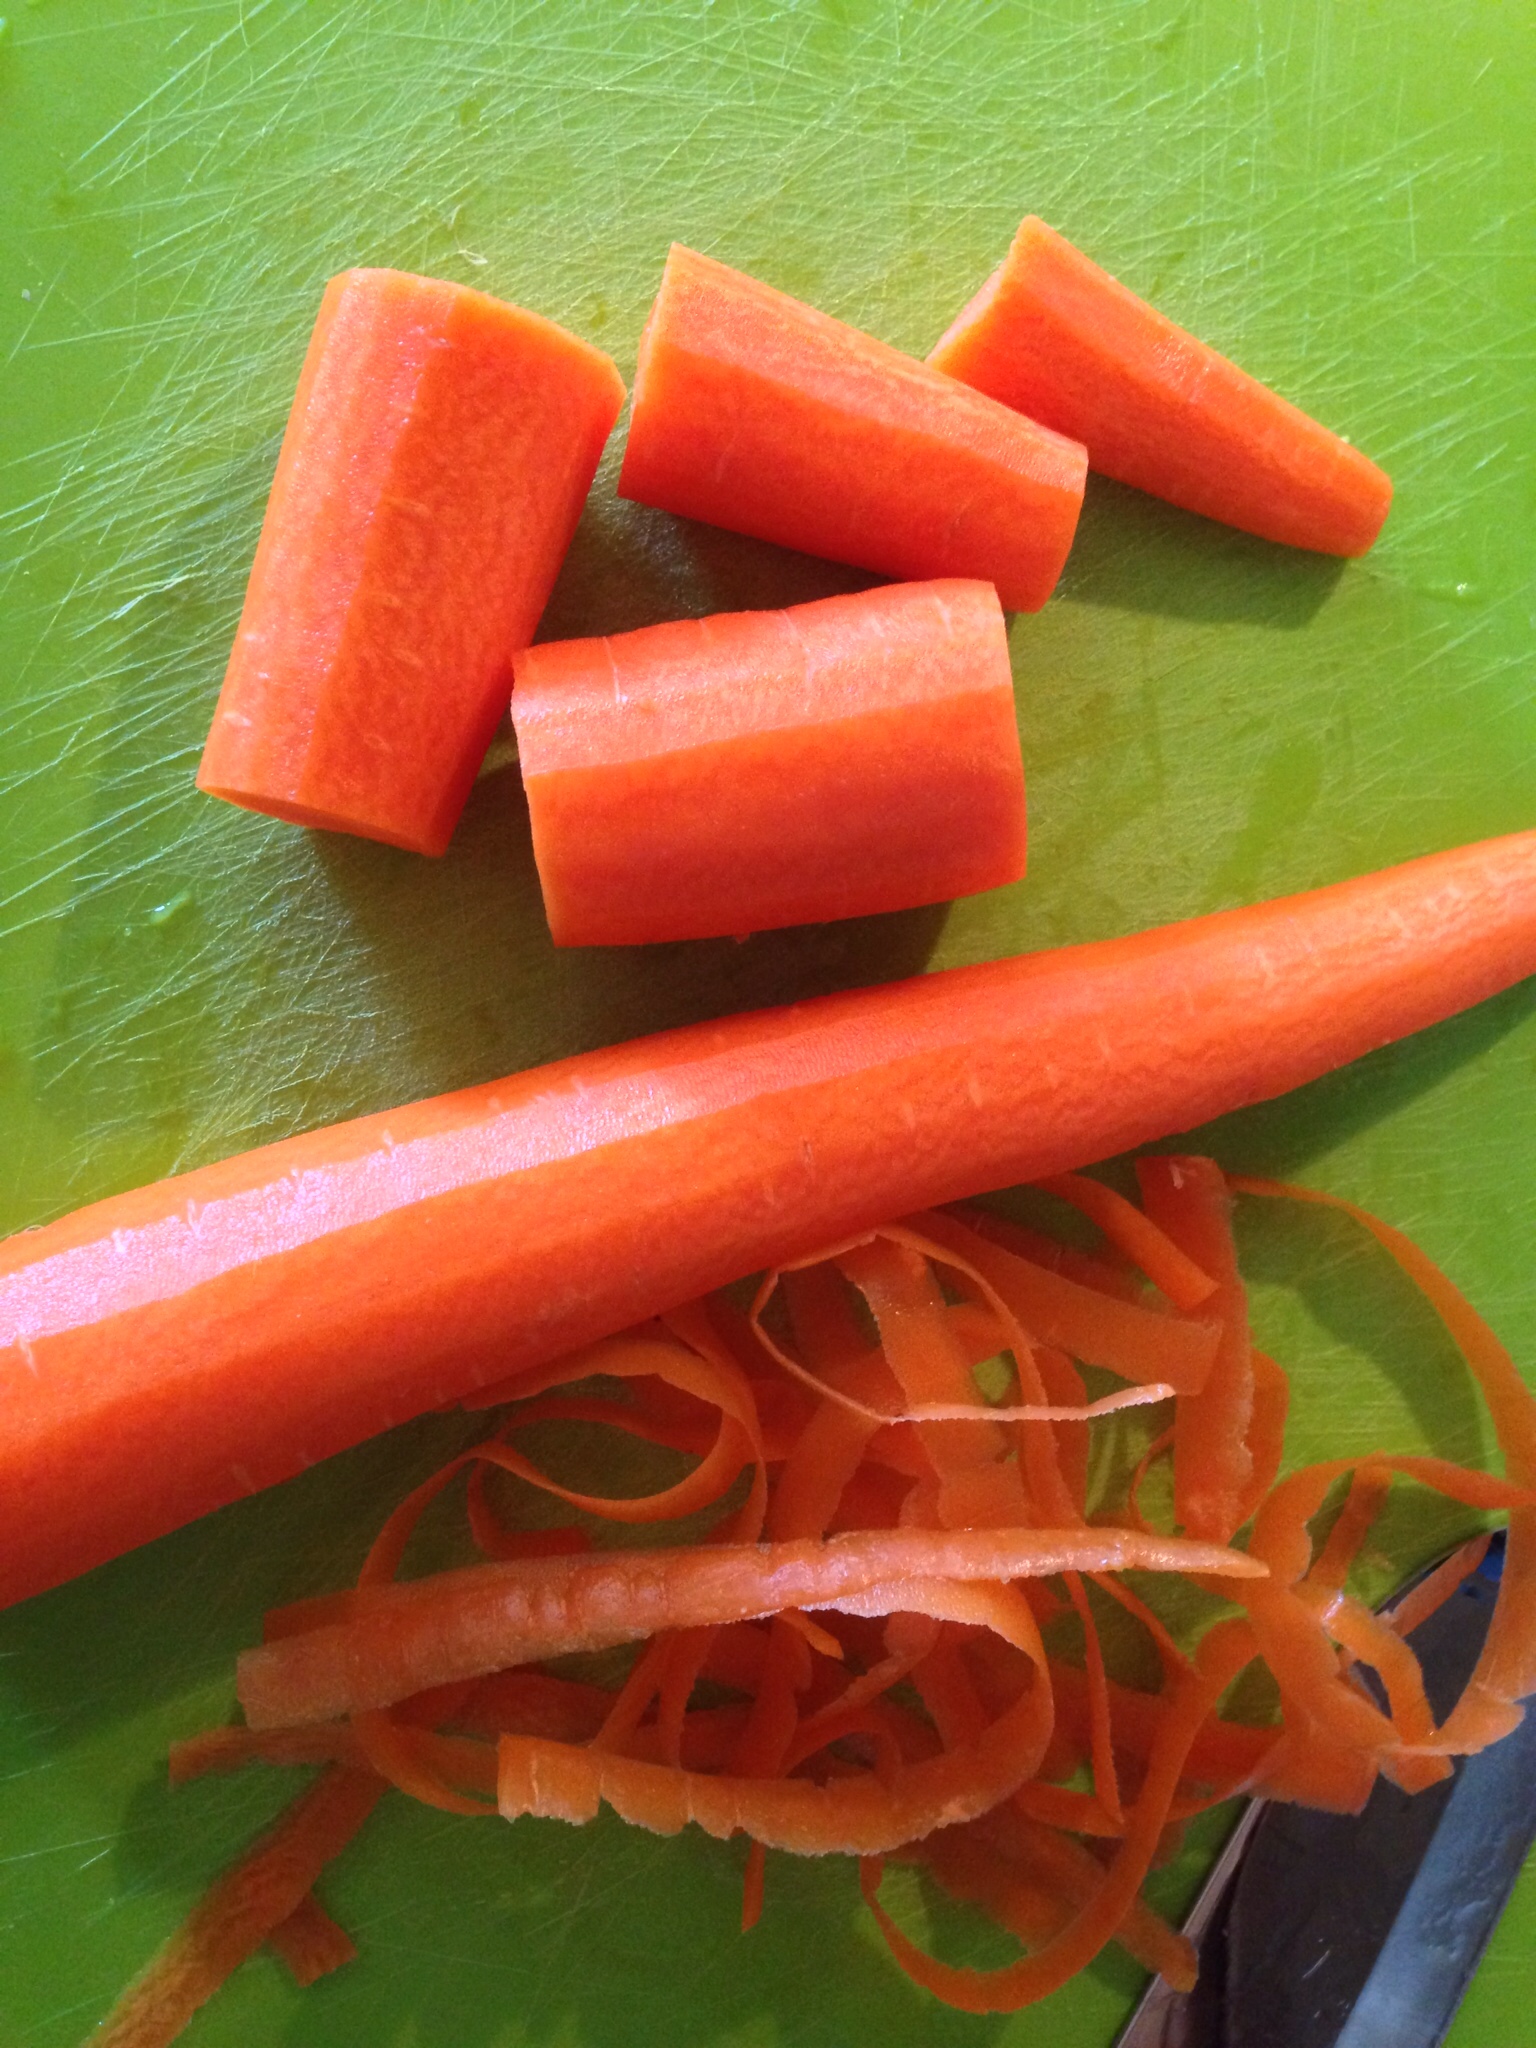
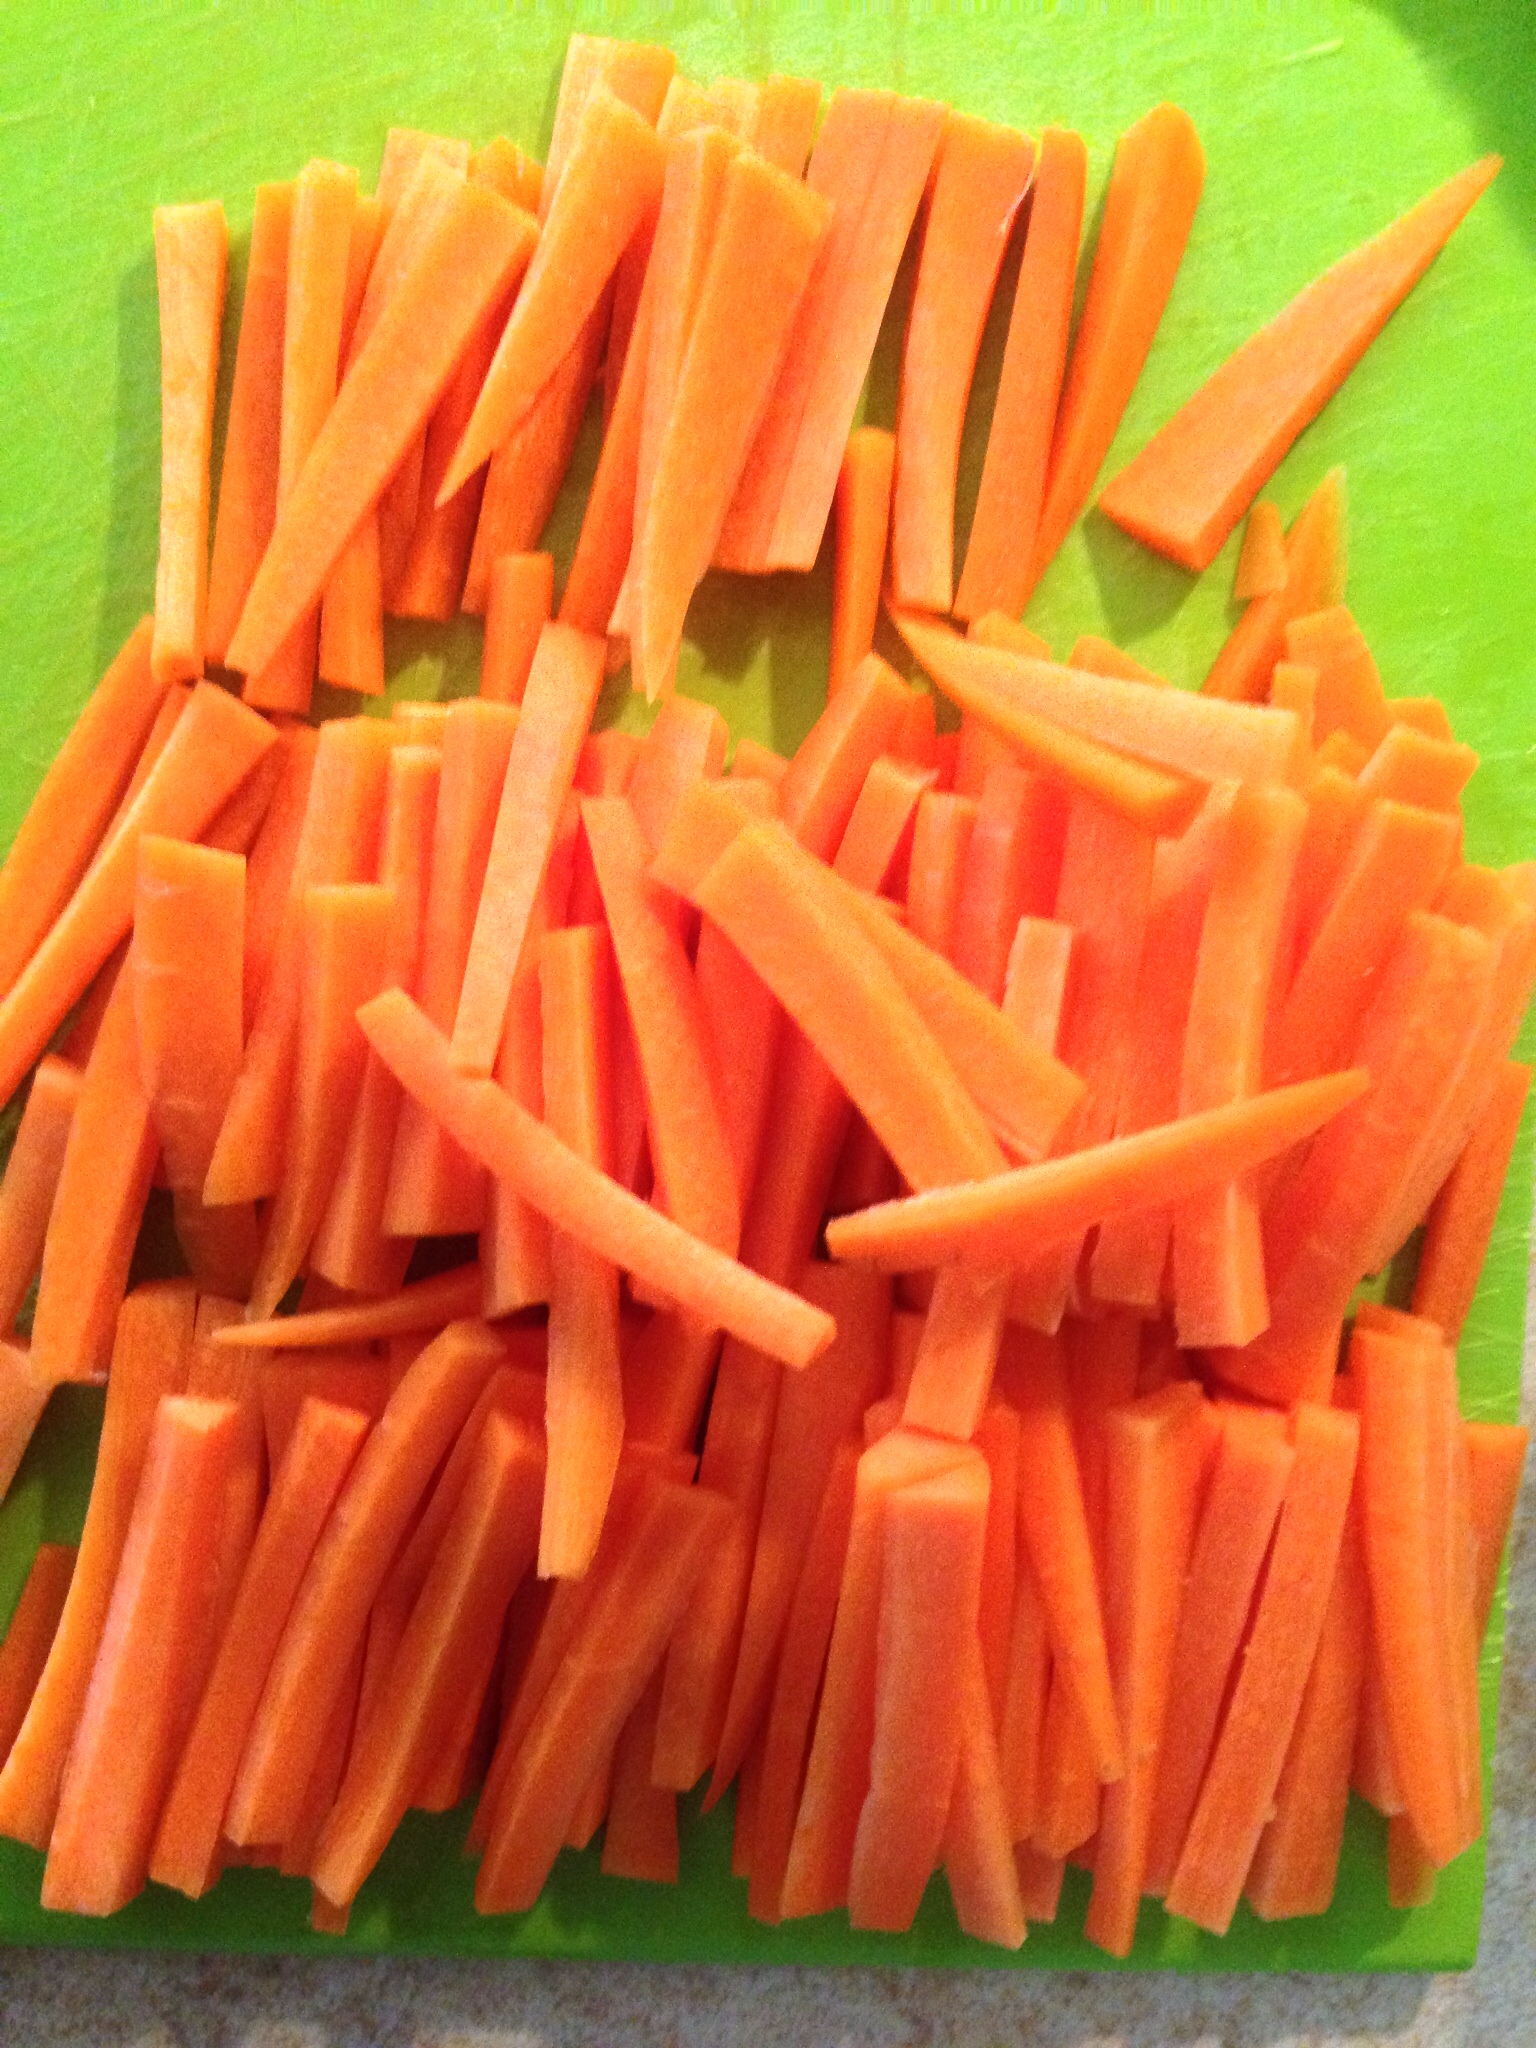
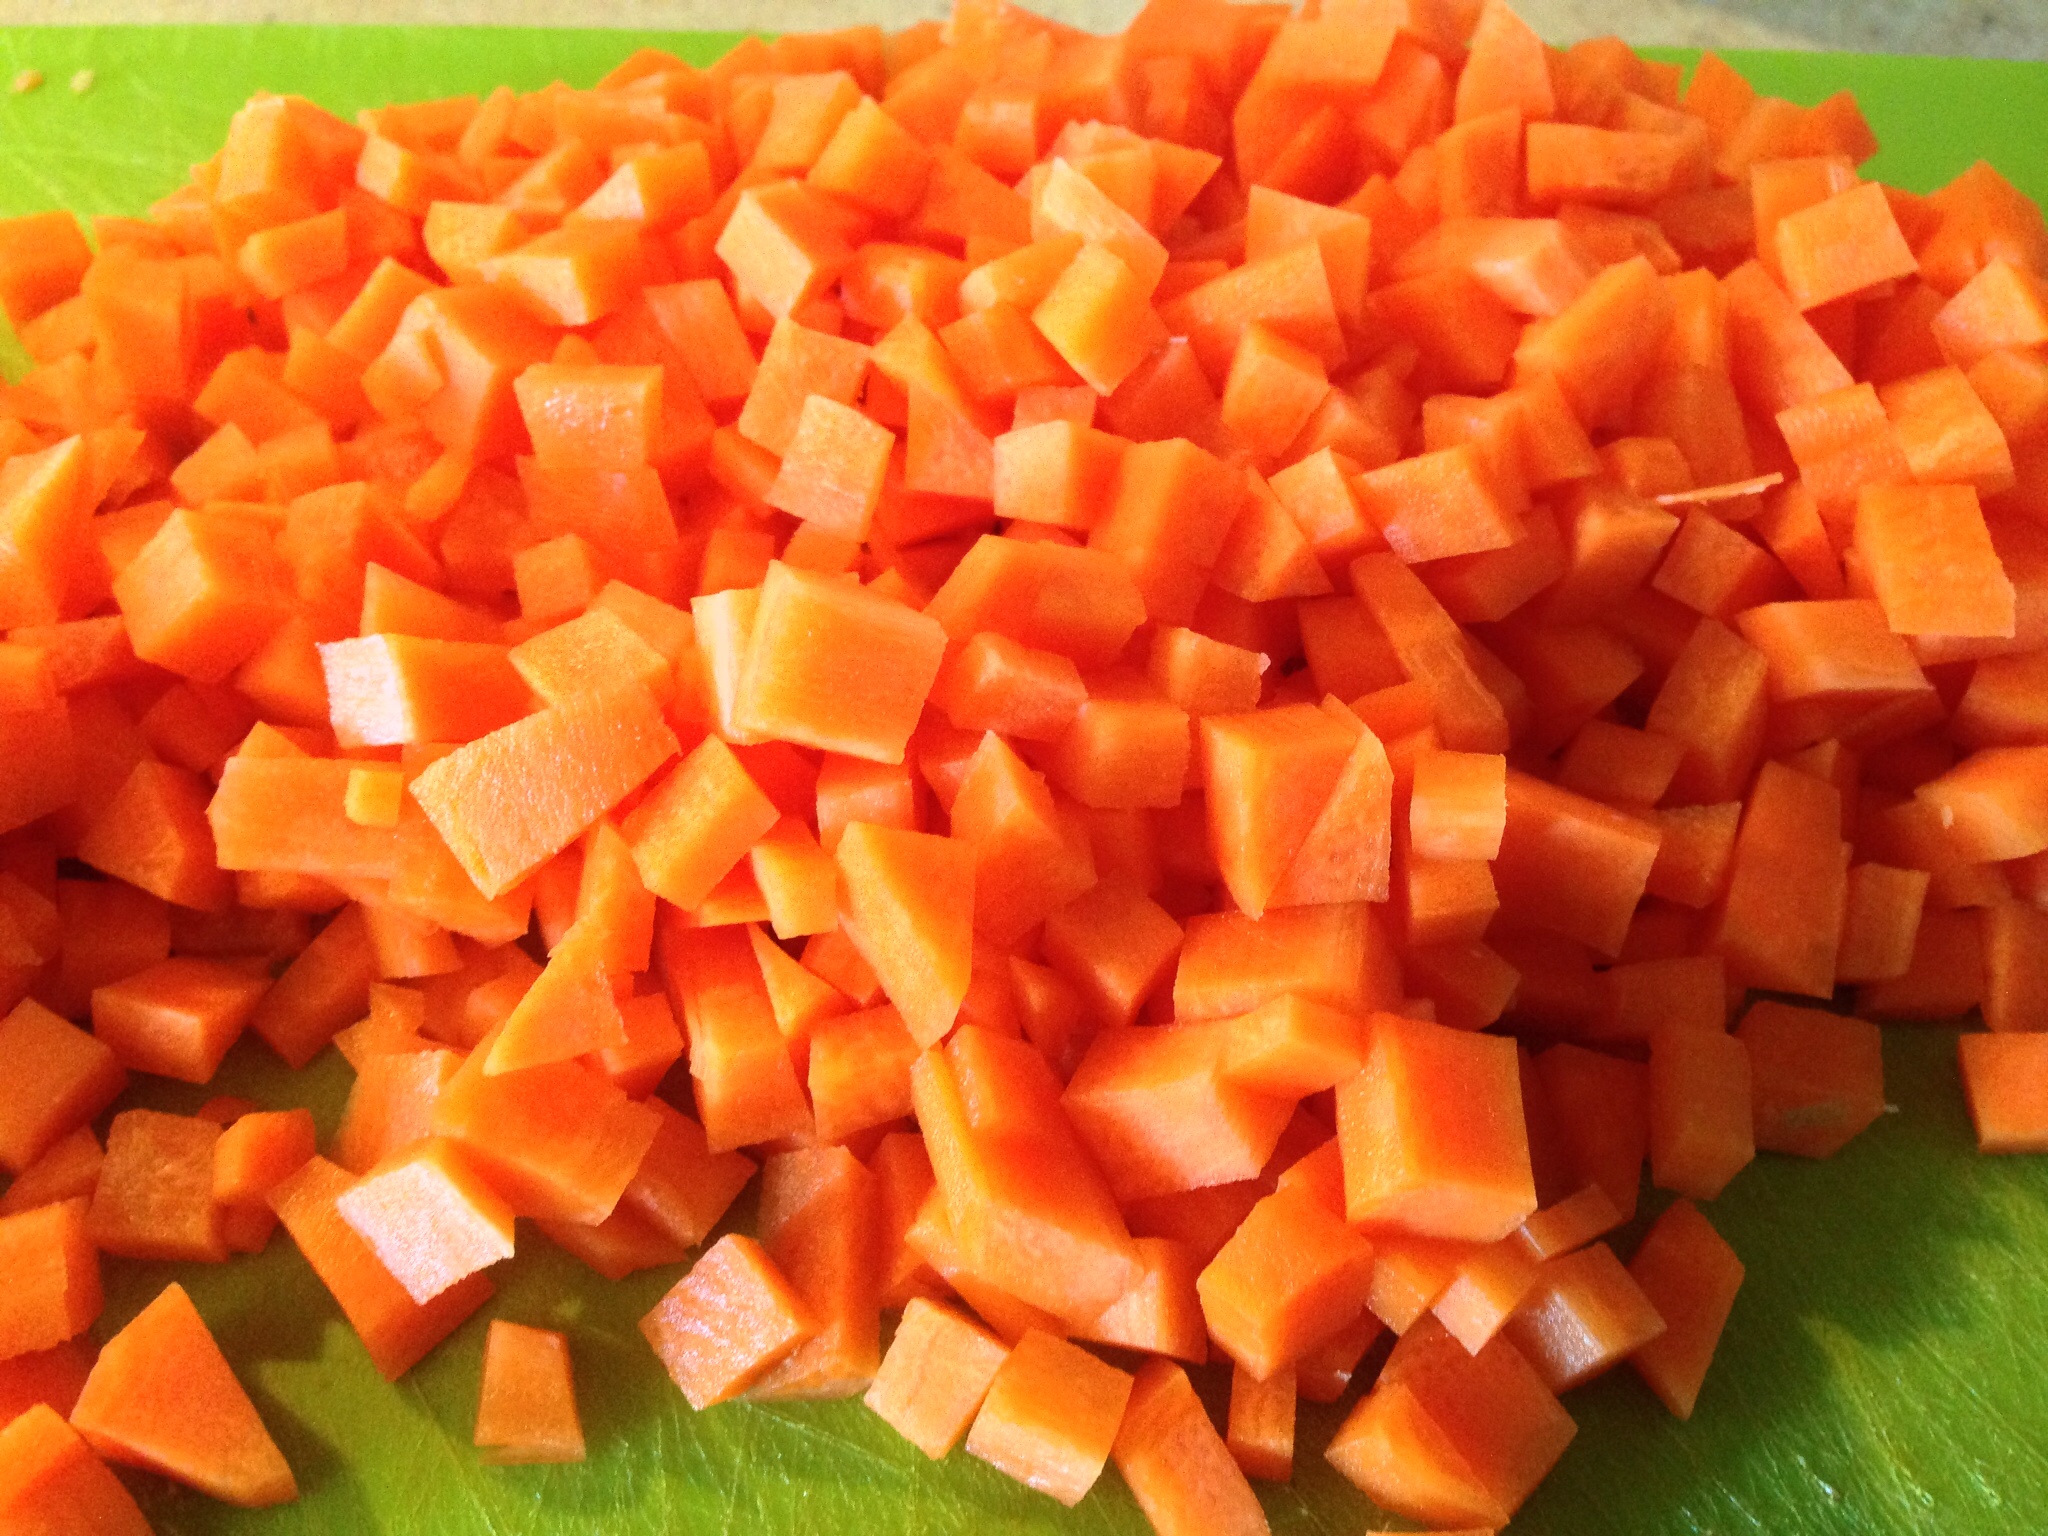
Prep the carrots: Peel the carrots. Slice into sticks, then dice.

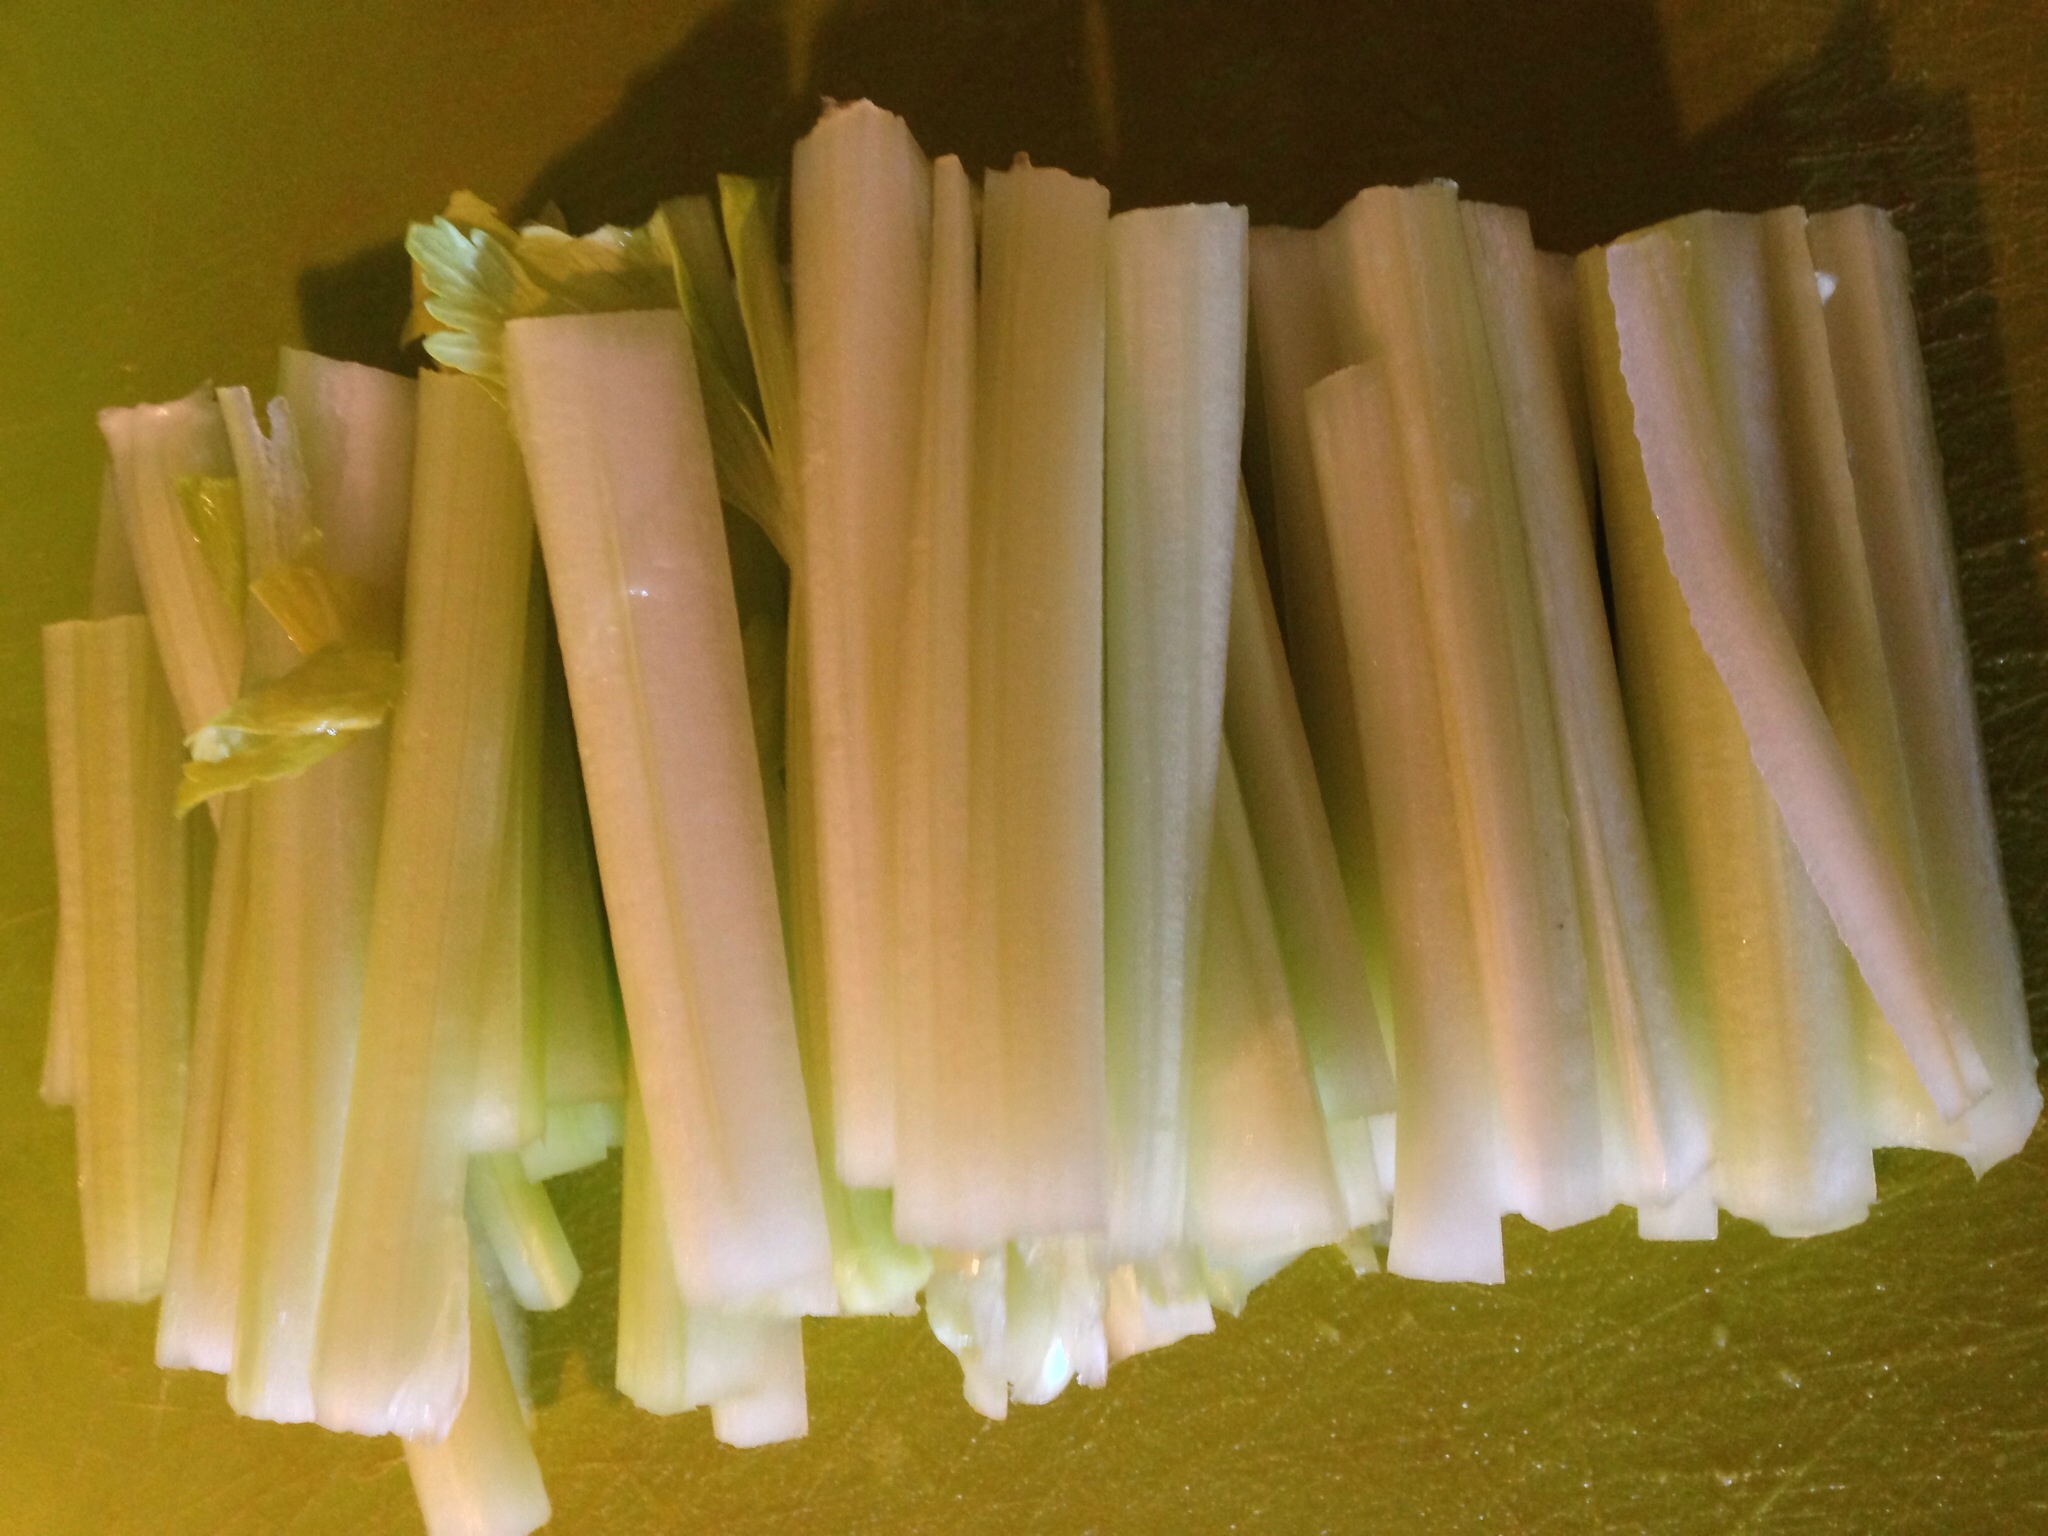
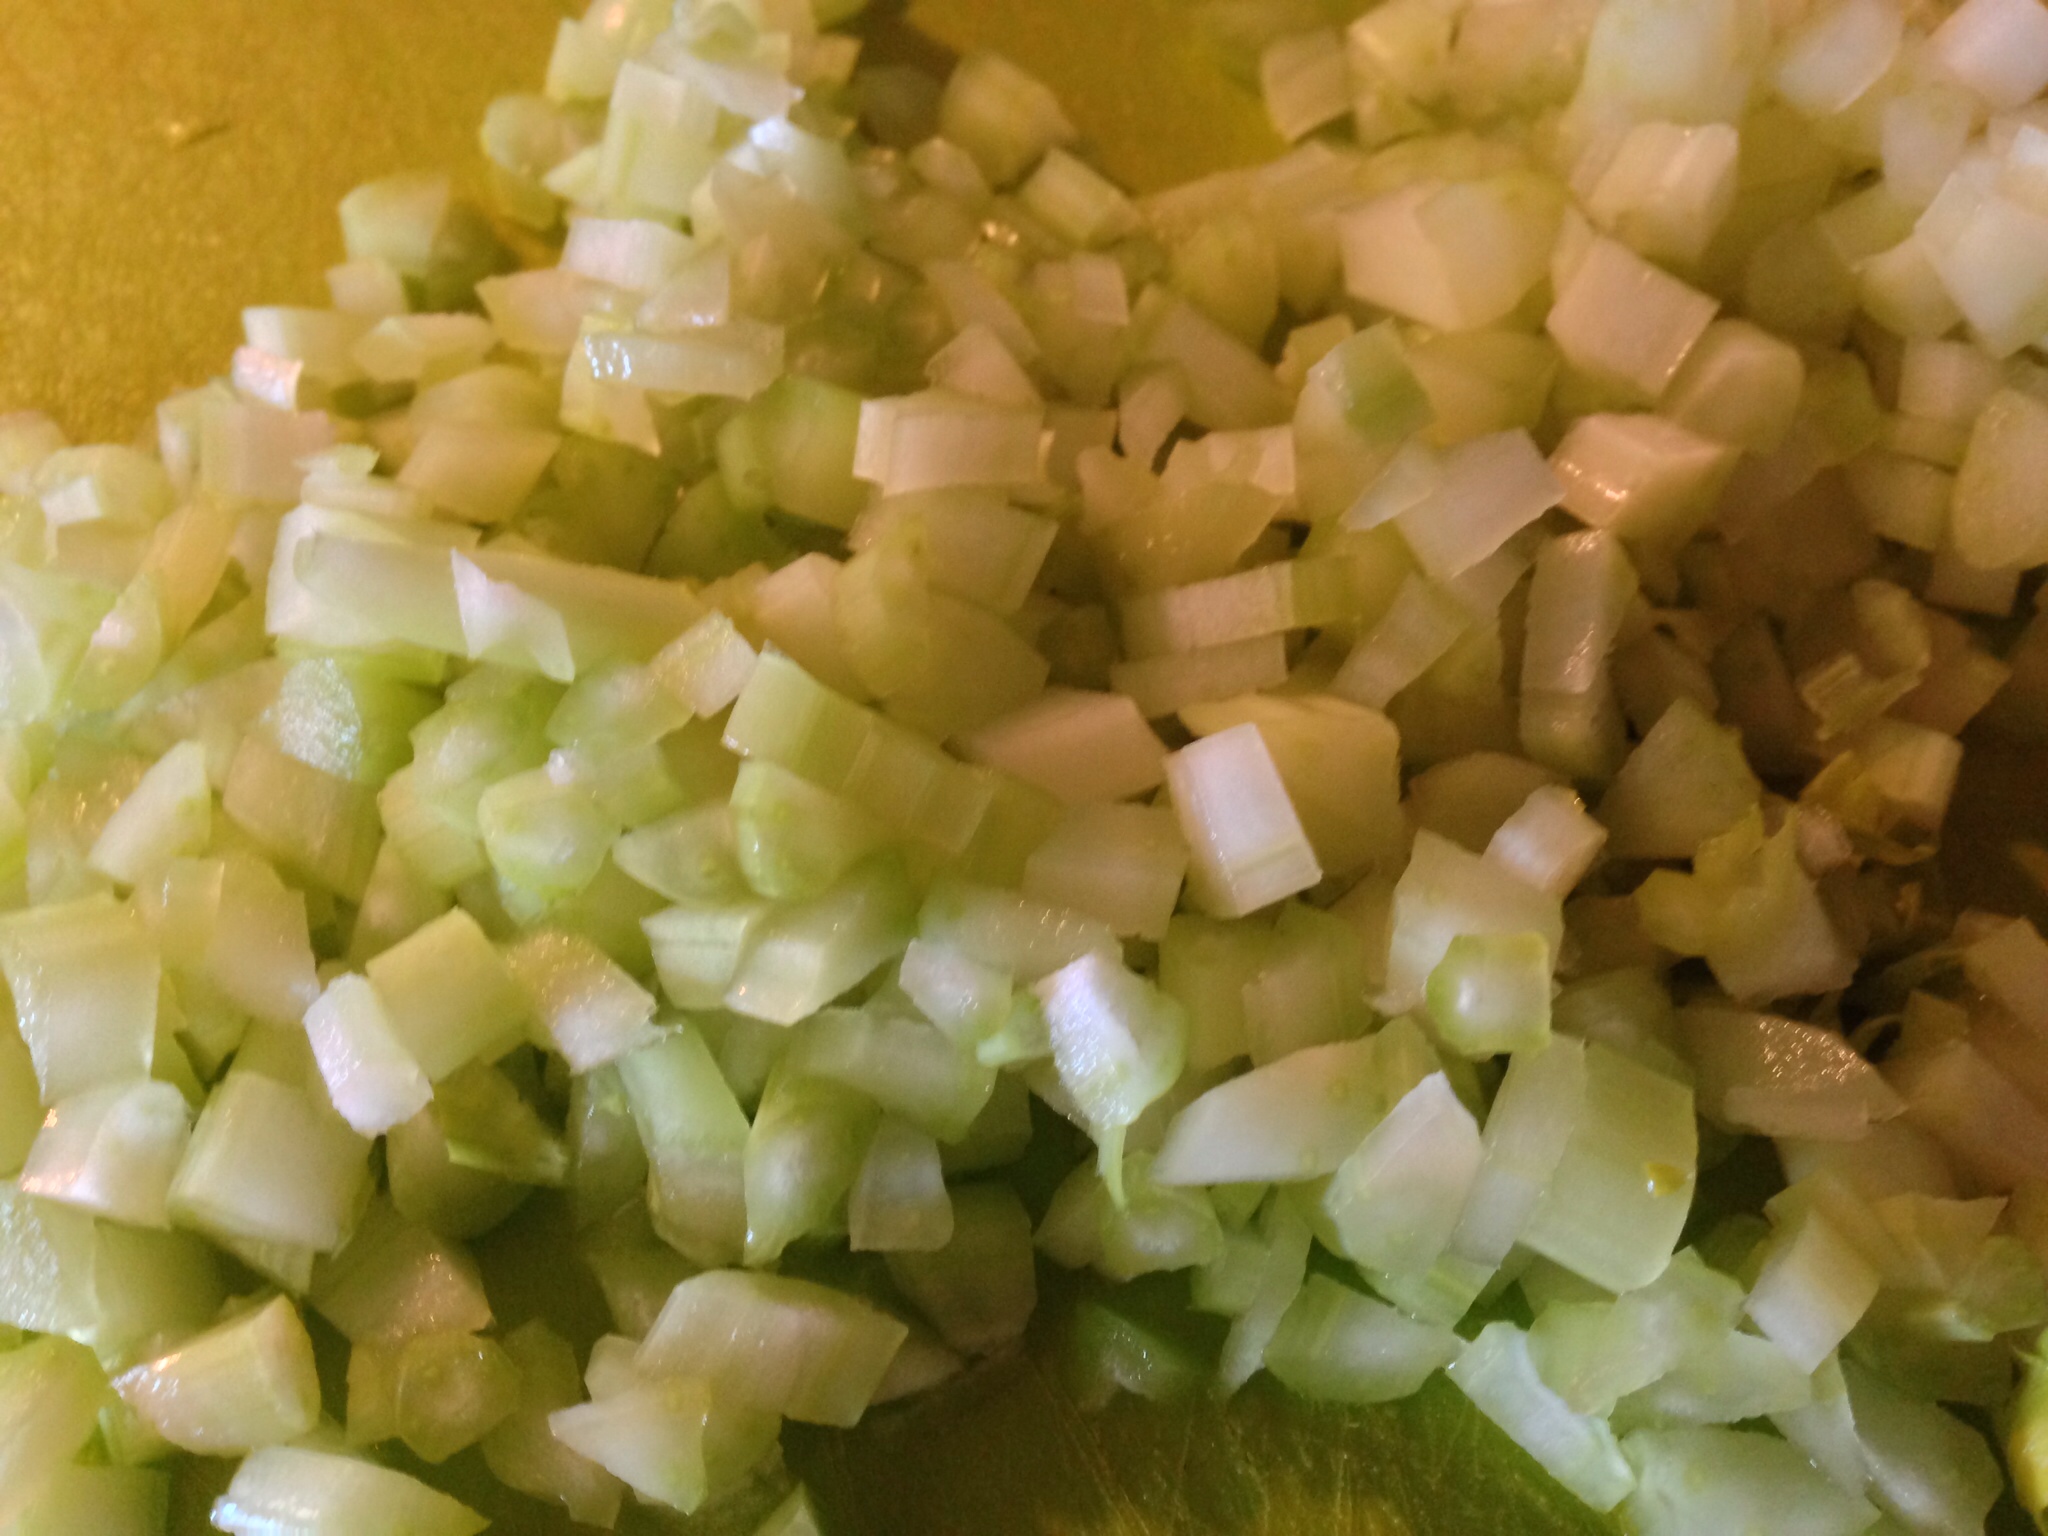
Prep the celery. Cut into sticks then dice.

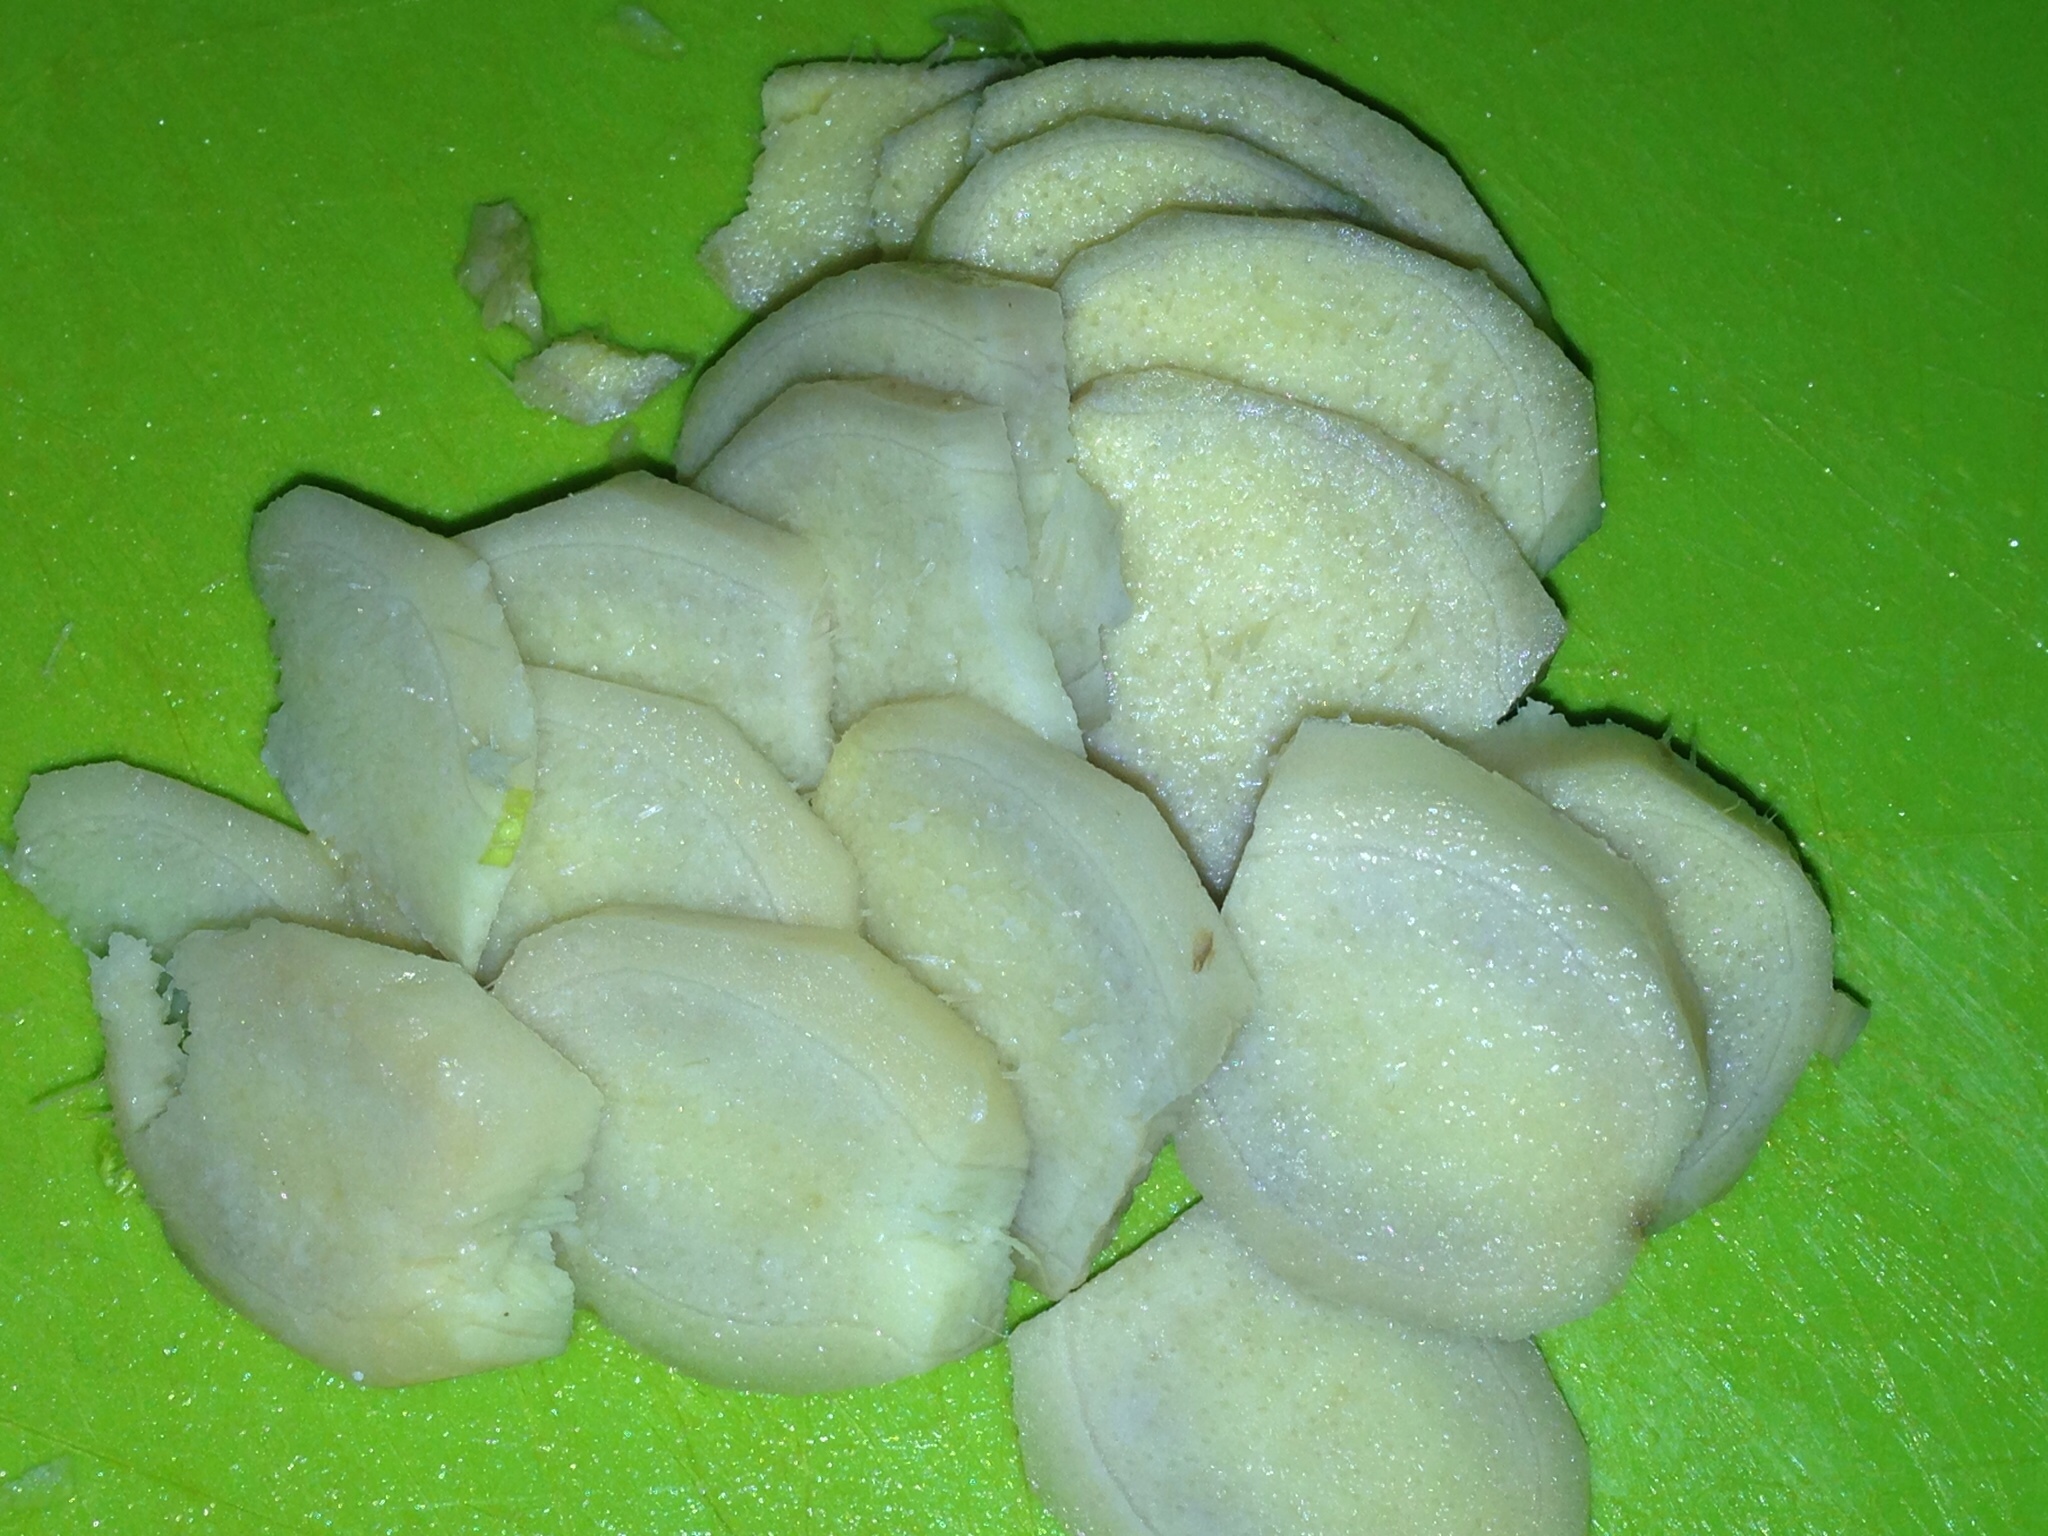
Prep the ginger. Peel (scrape the skin with a spoon) then thinly slice the ginger.

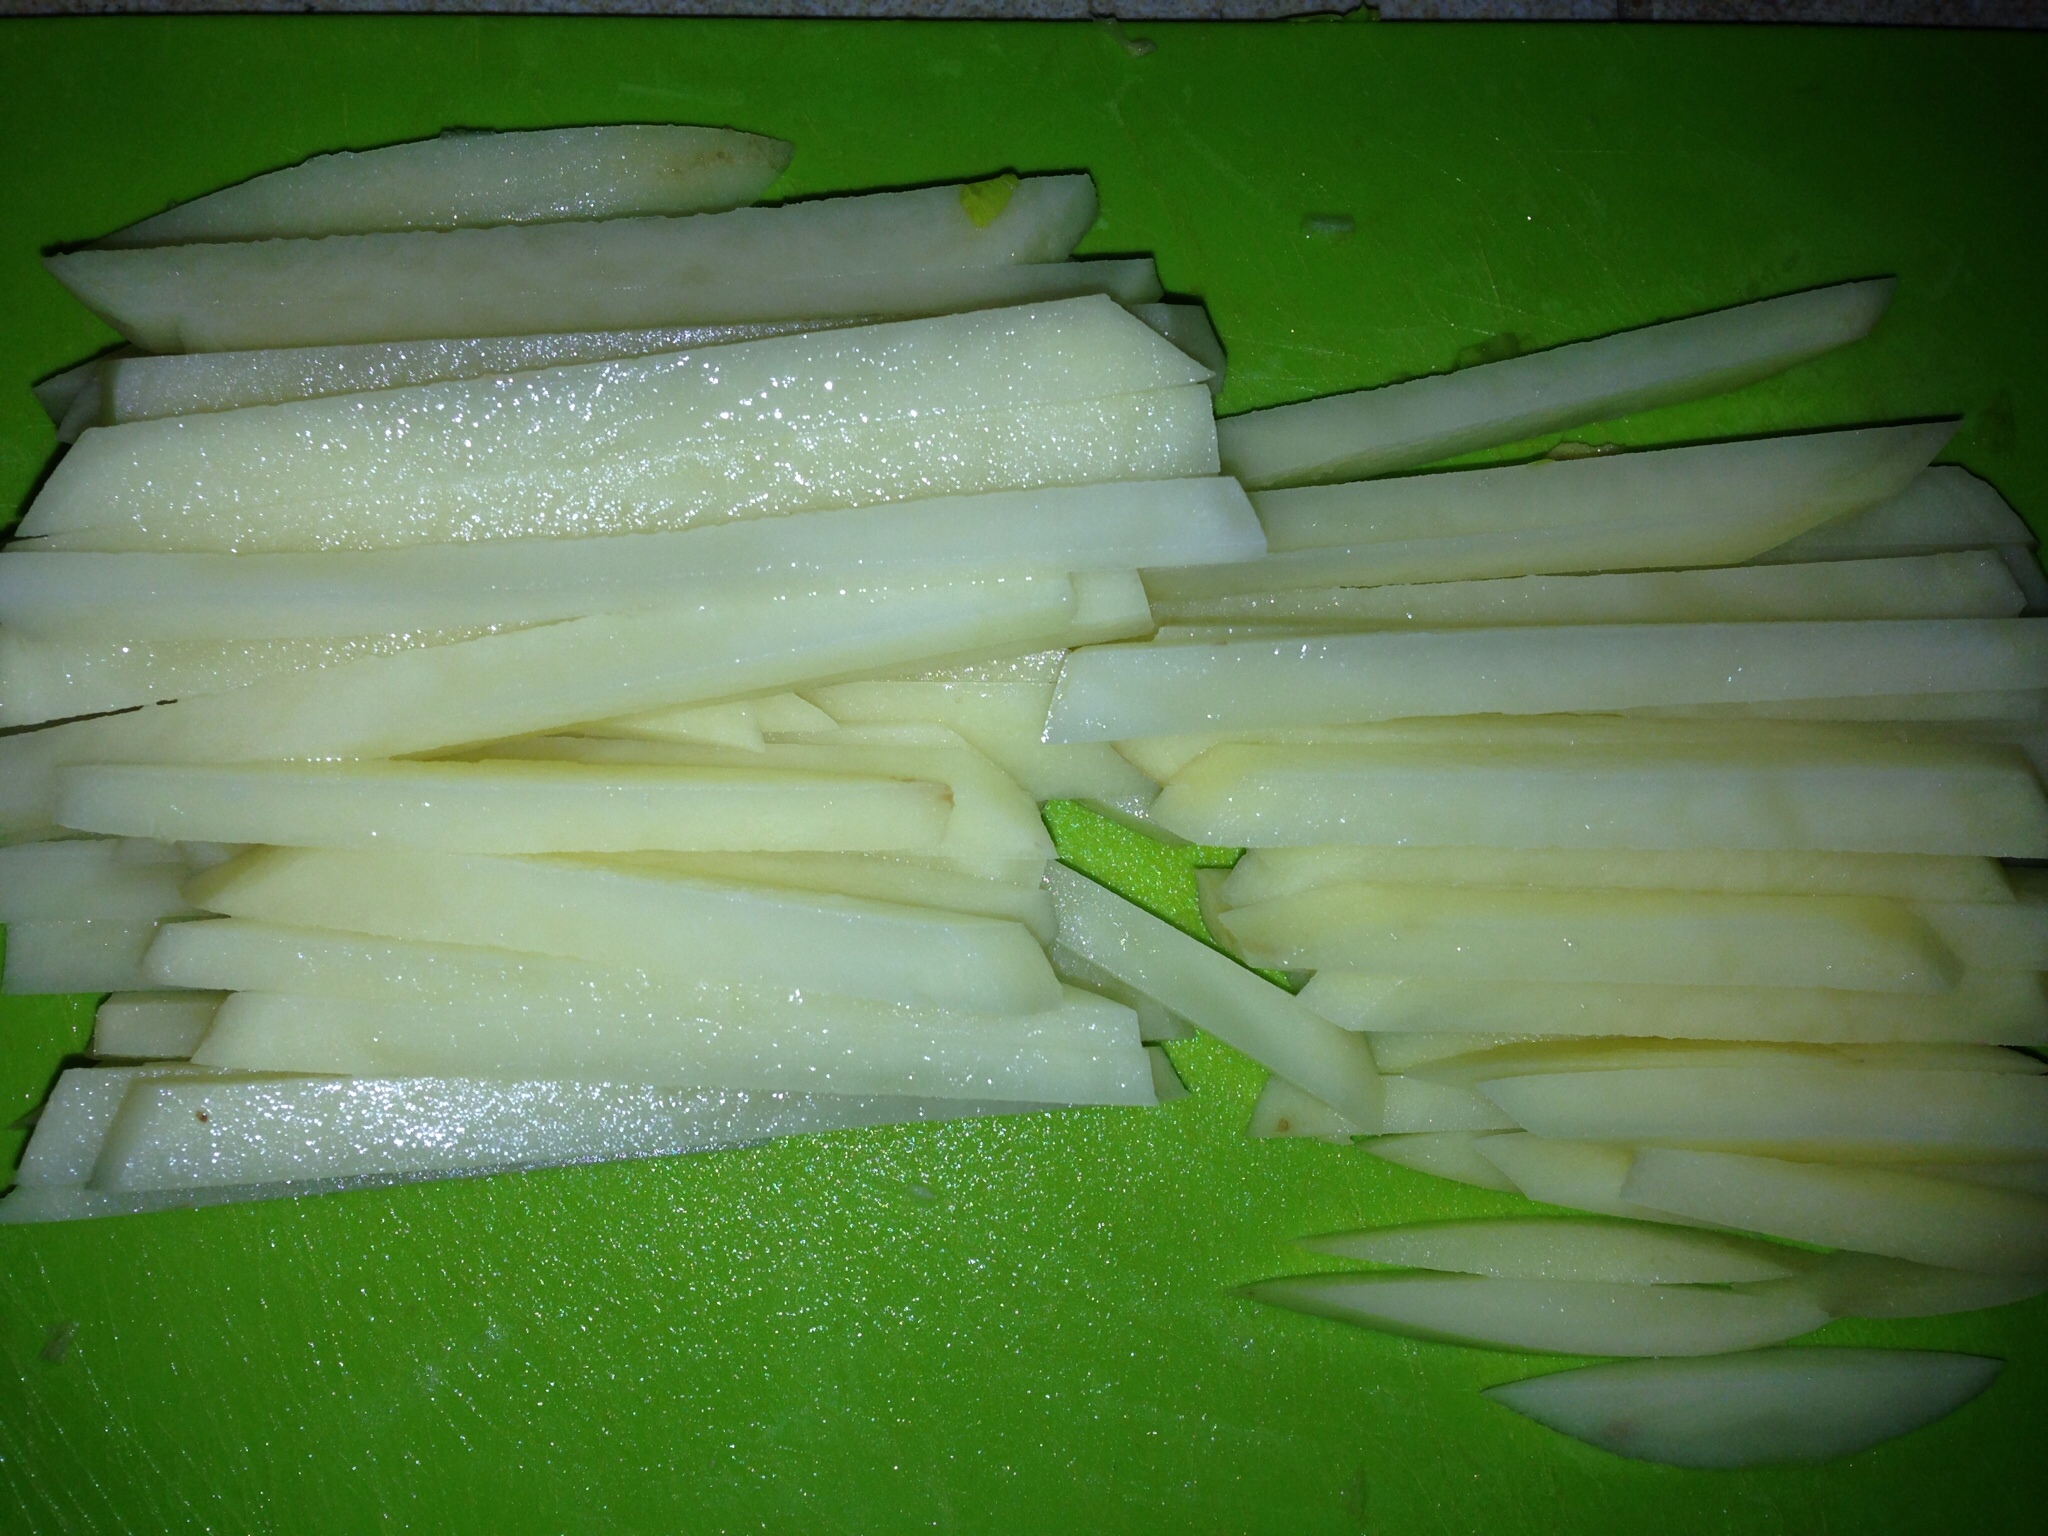
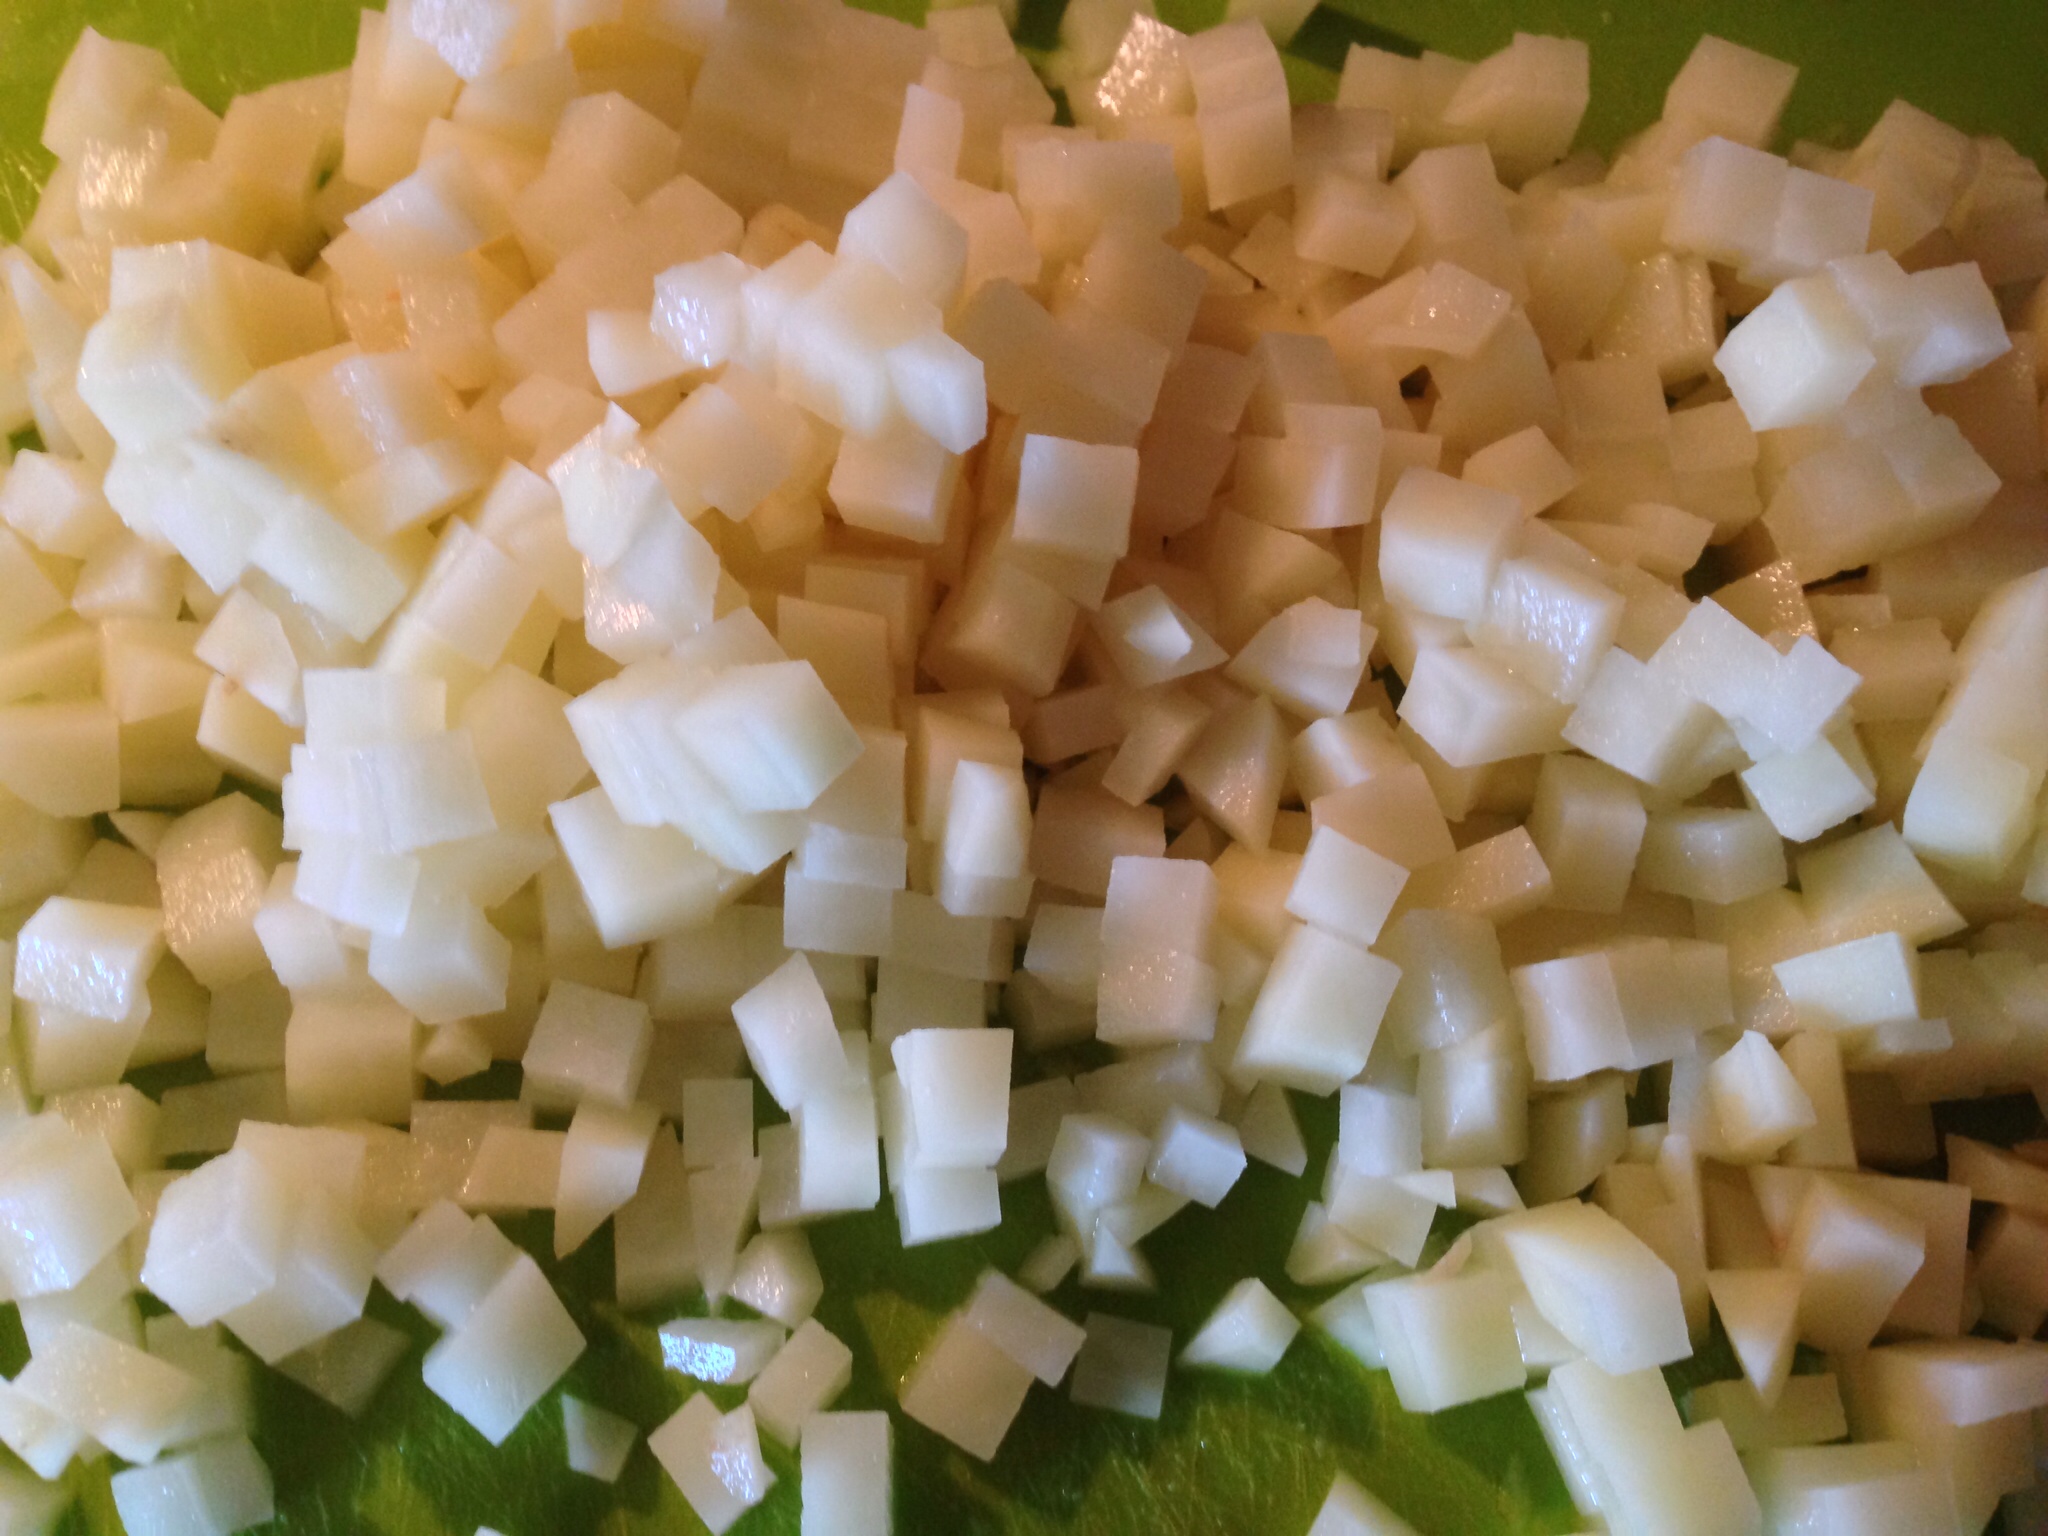
Prep the potato. Peel the potato. Cut into sticks (like french fries) then dice.

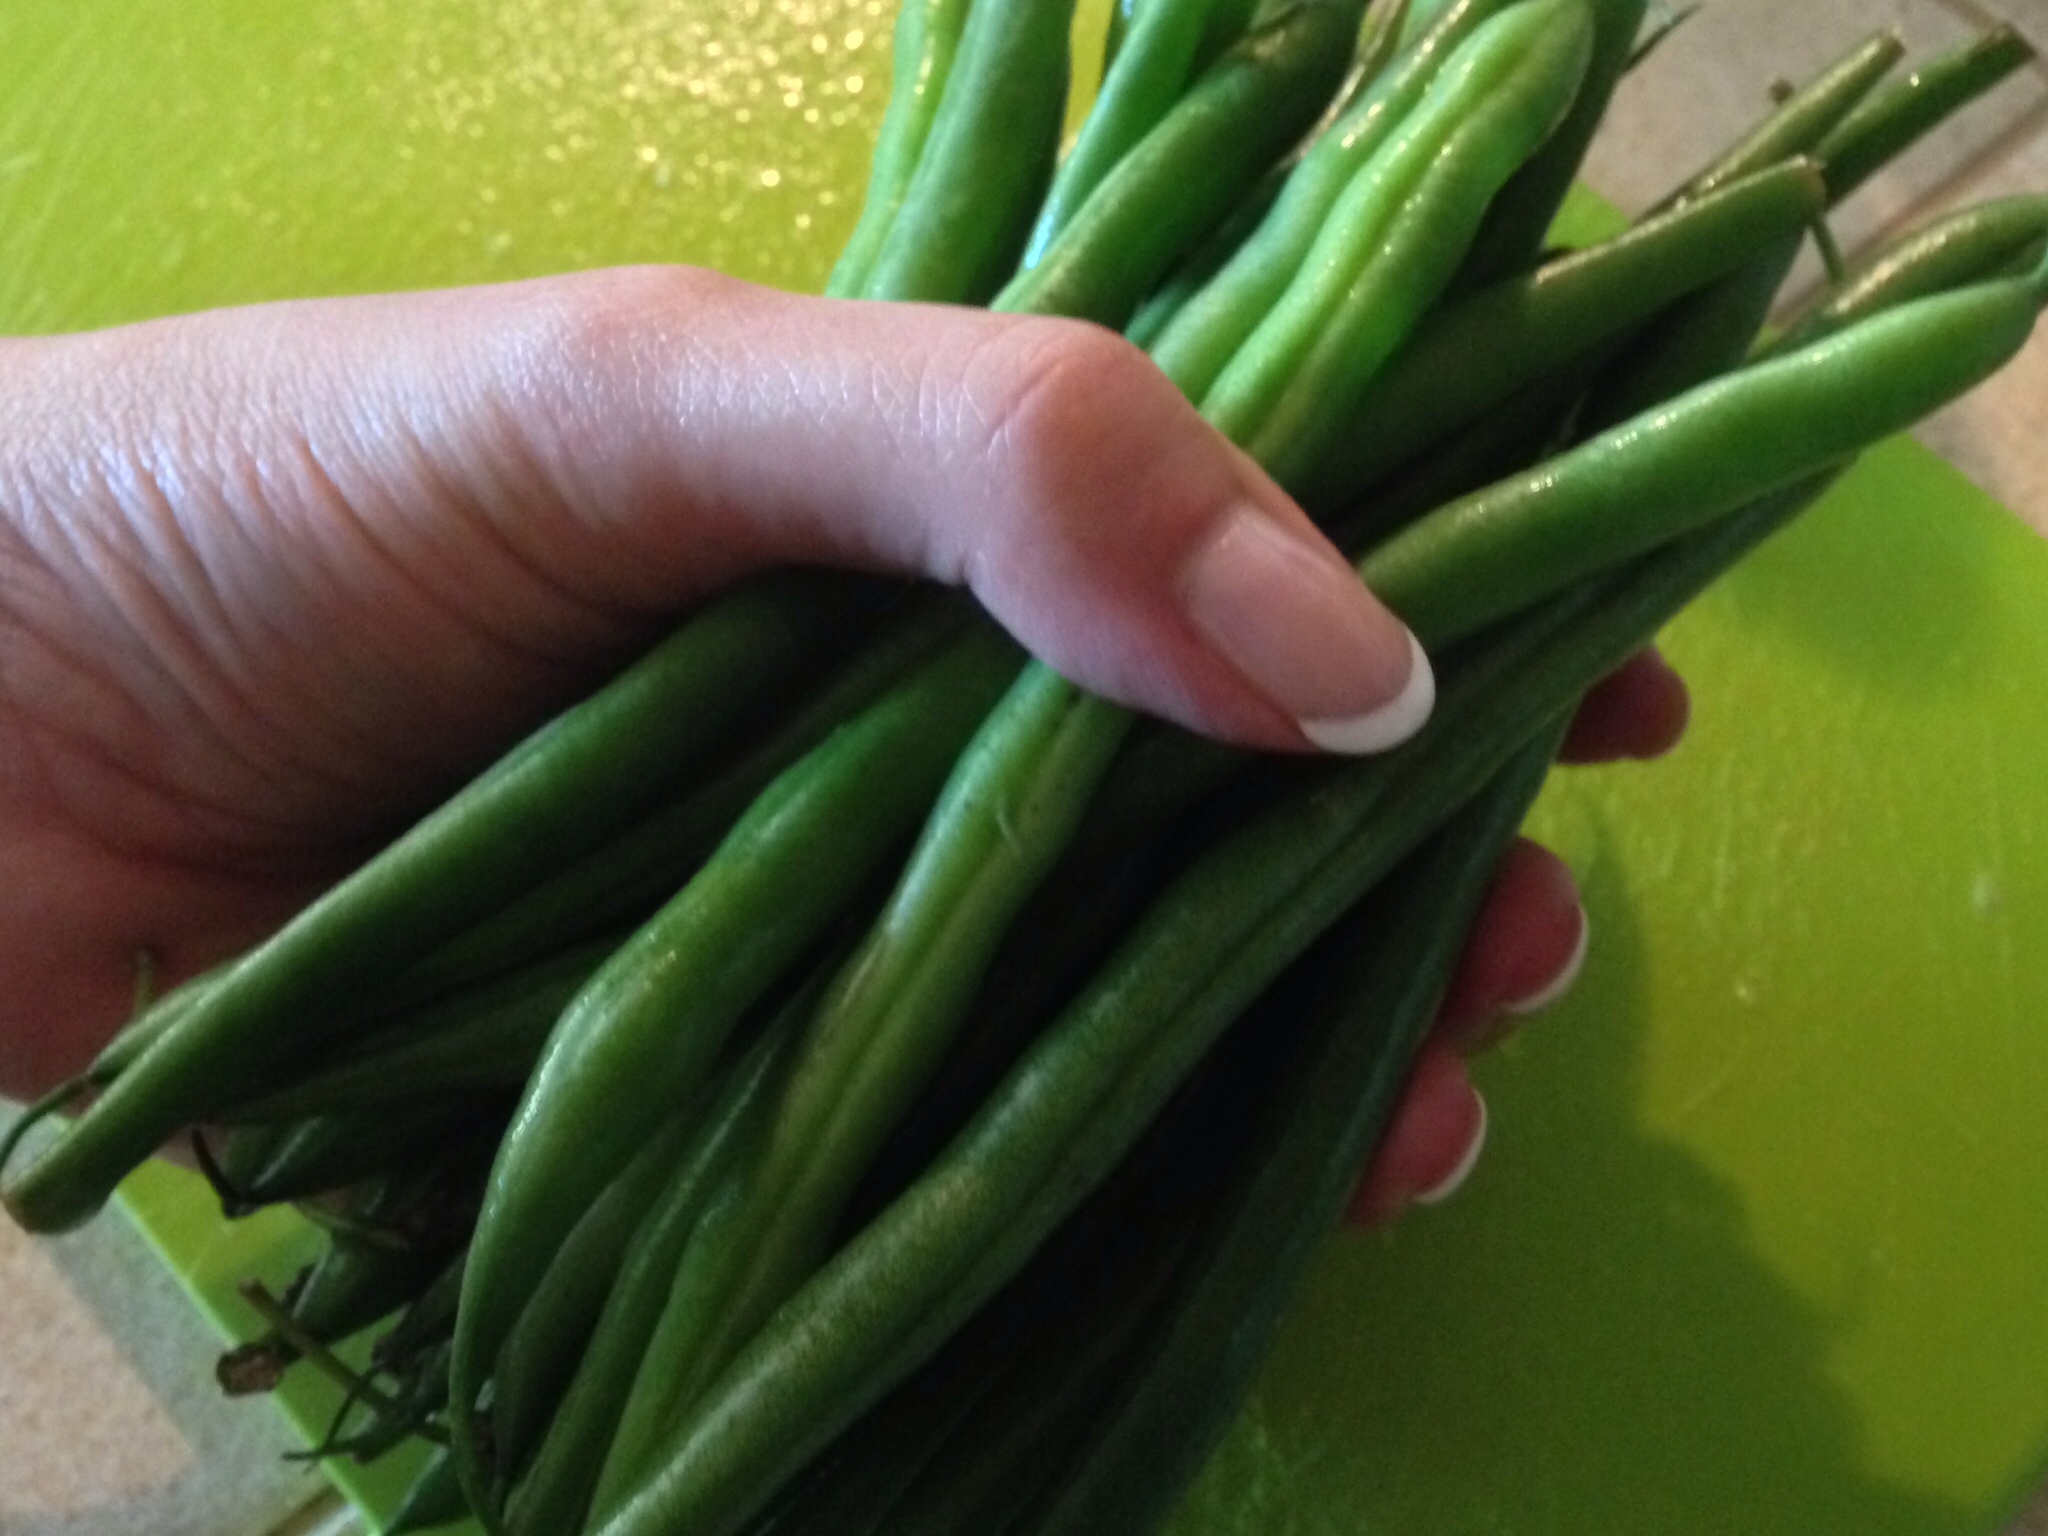
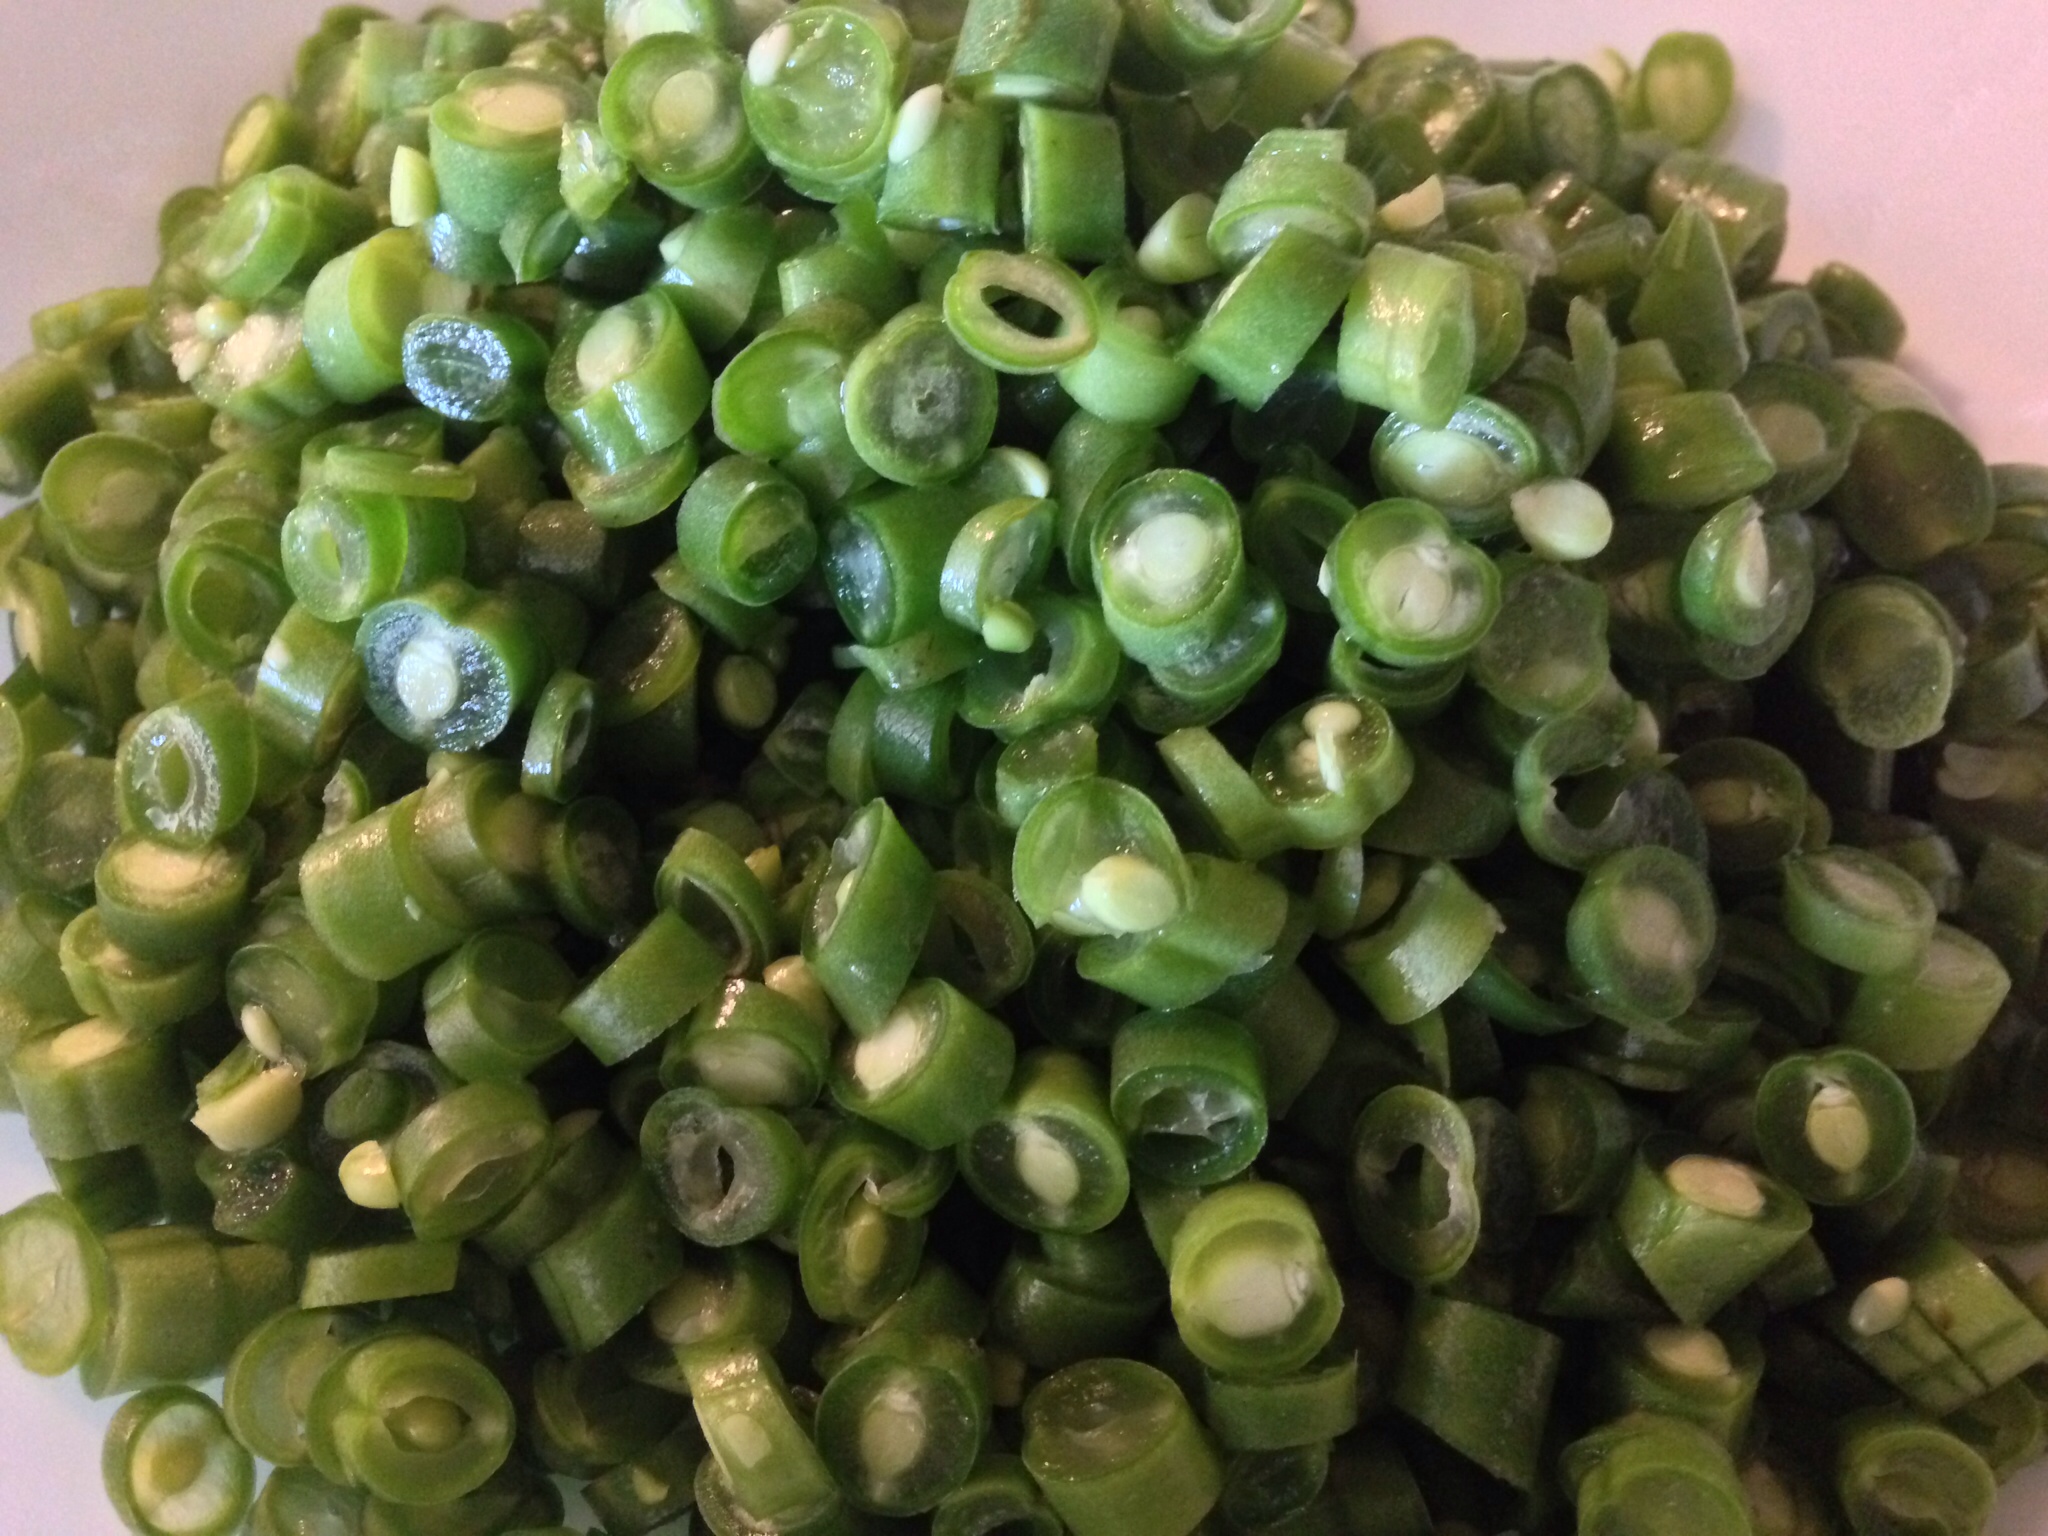
Prep the beans. In my list of ingredients, I stated “a handful” of beans was enough. This is what I mean by “a handful.”

Cut the tips off the ends of the beans, then thinly slice them.

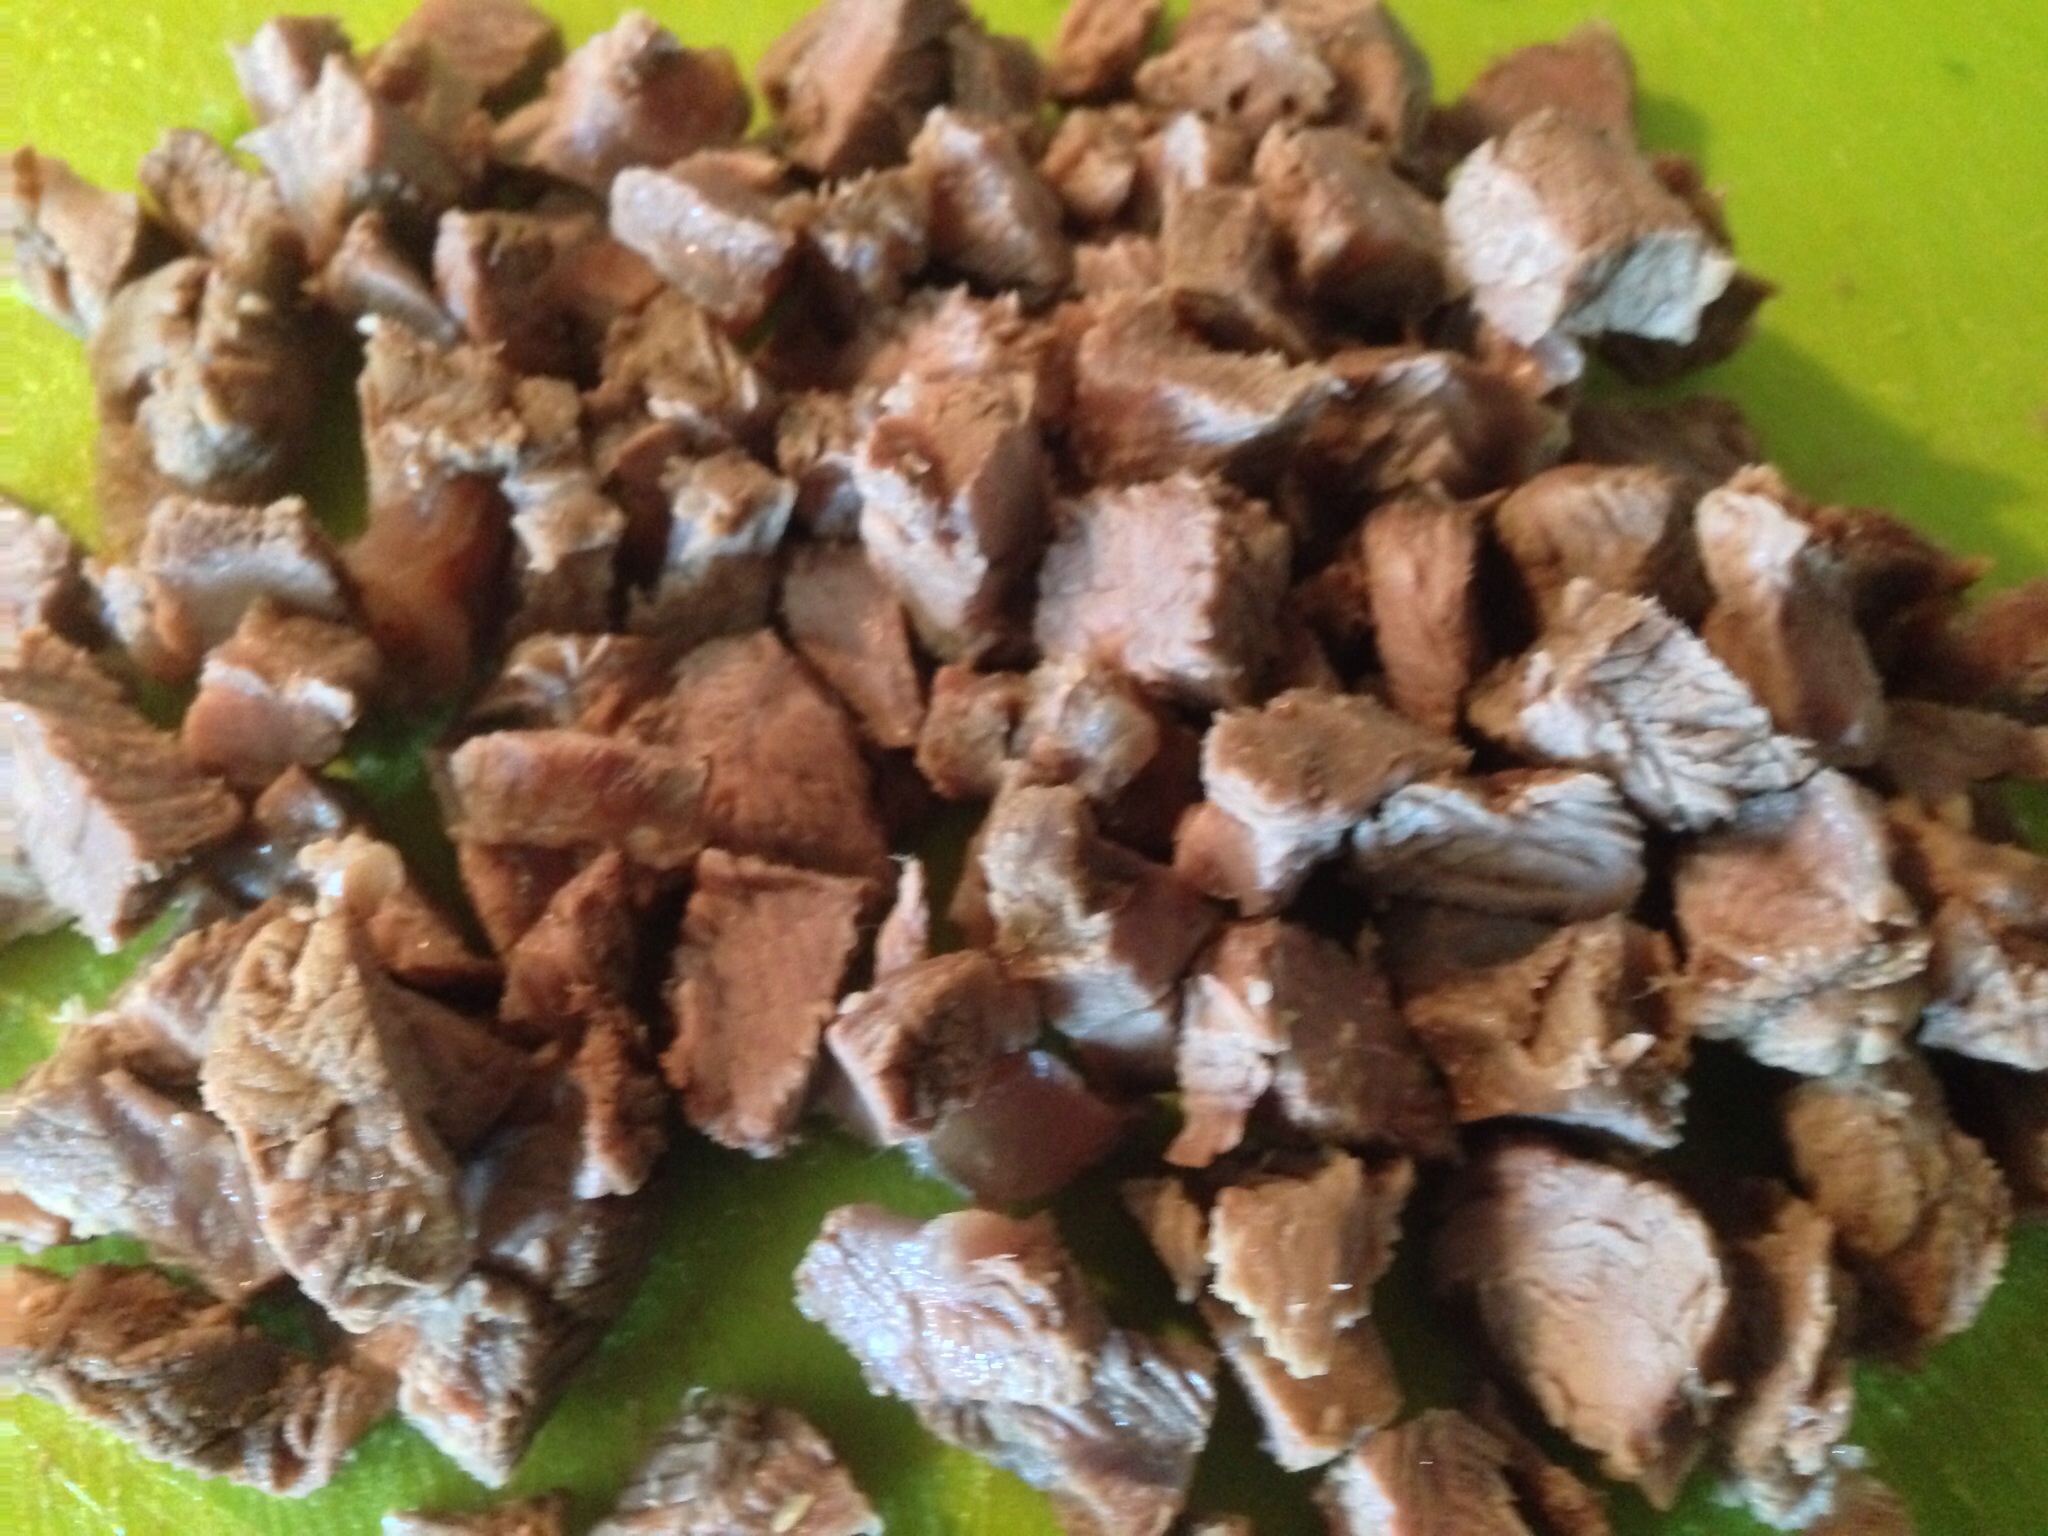
4. After a couple of hours of simmering, the sinew in the large chunks of shank meat should have broken down and softened. Remove the large chunks of meat from the pot. Let it cool then cut the meat into small pieces then return the meat to the pot.

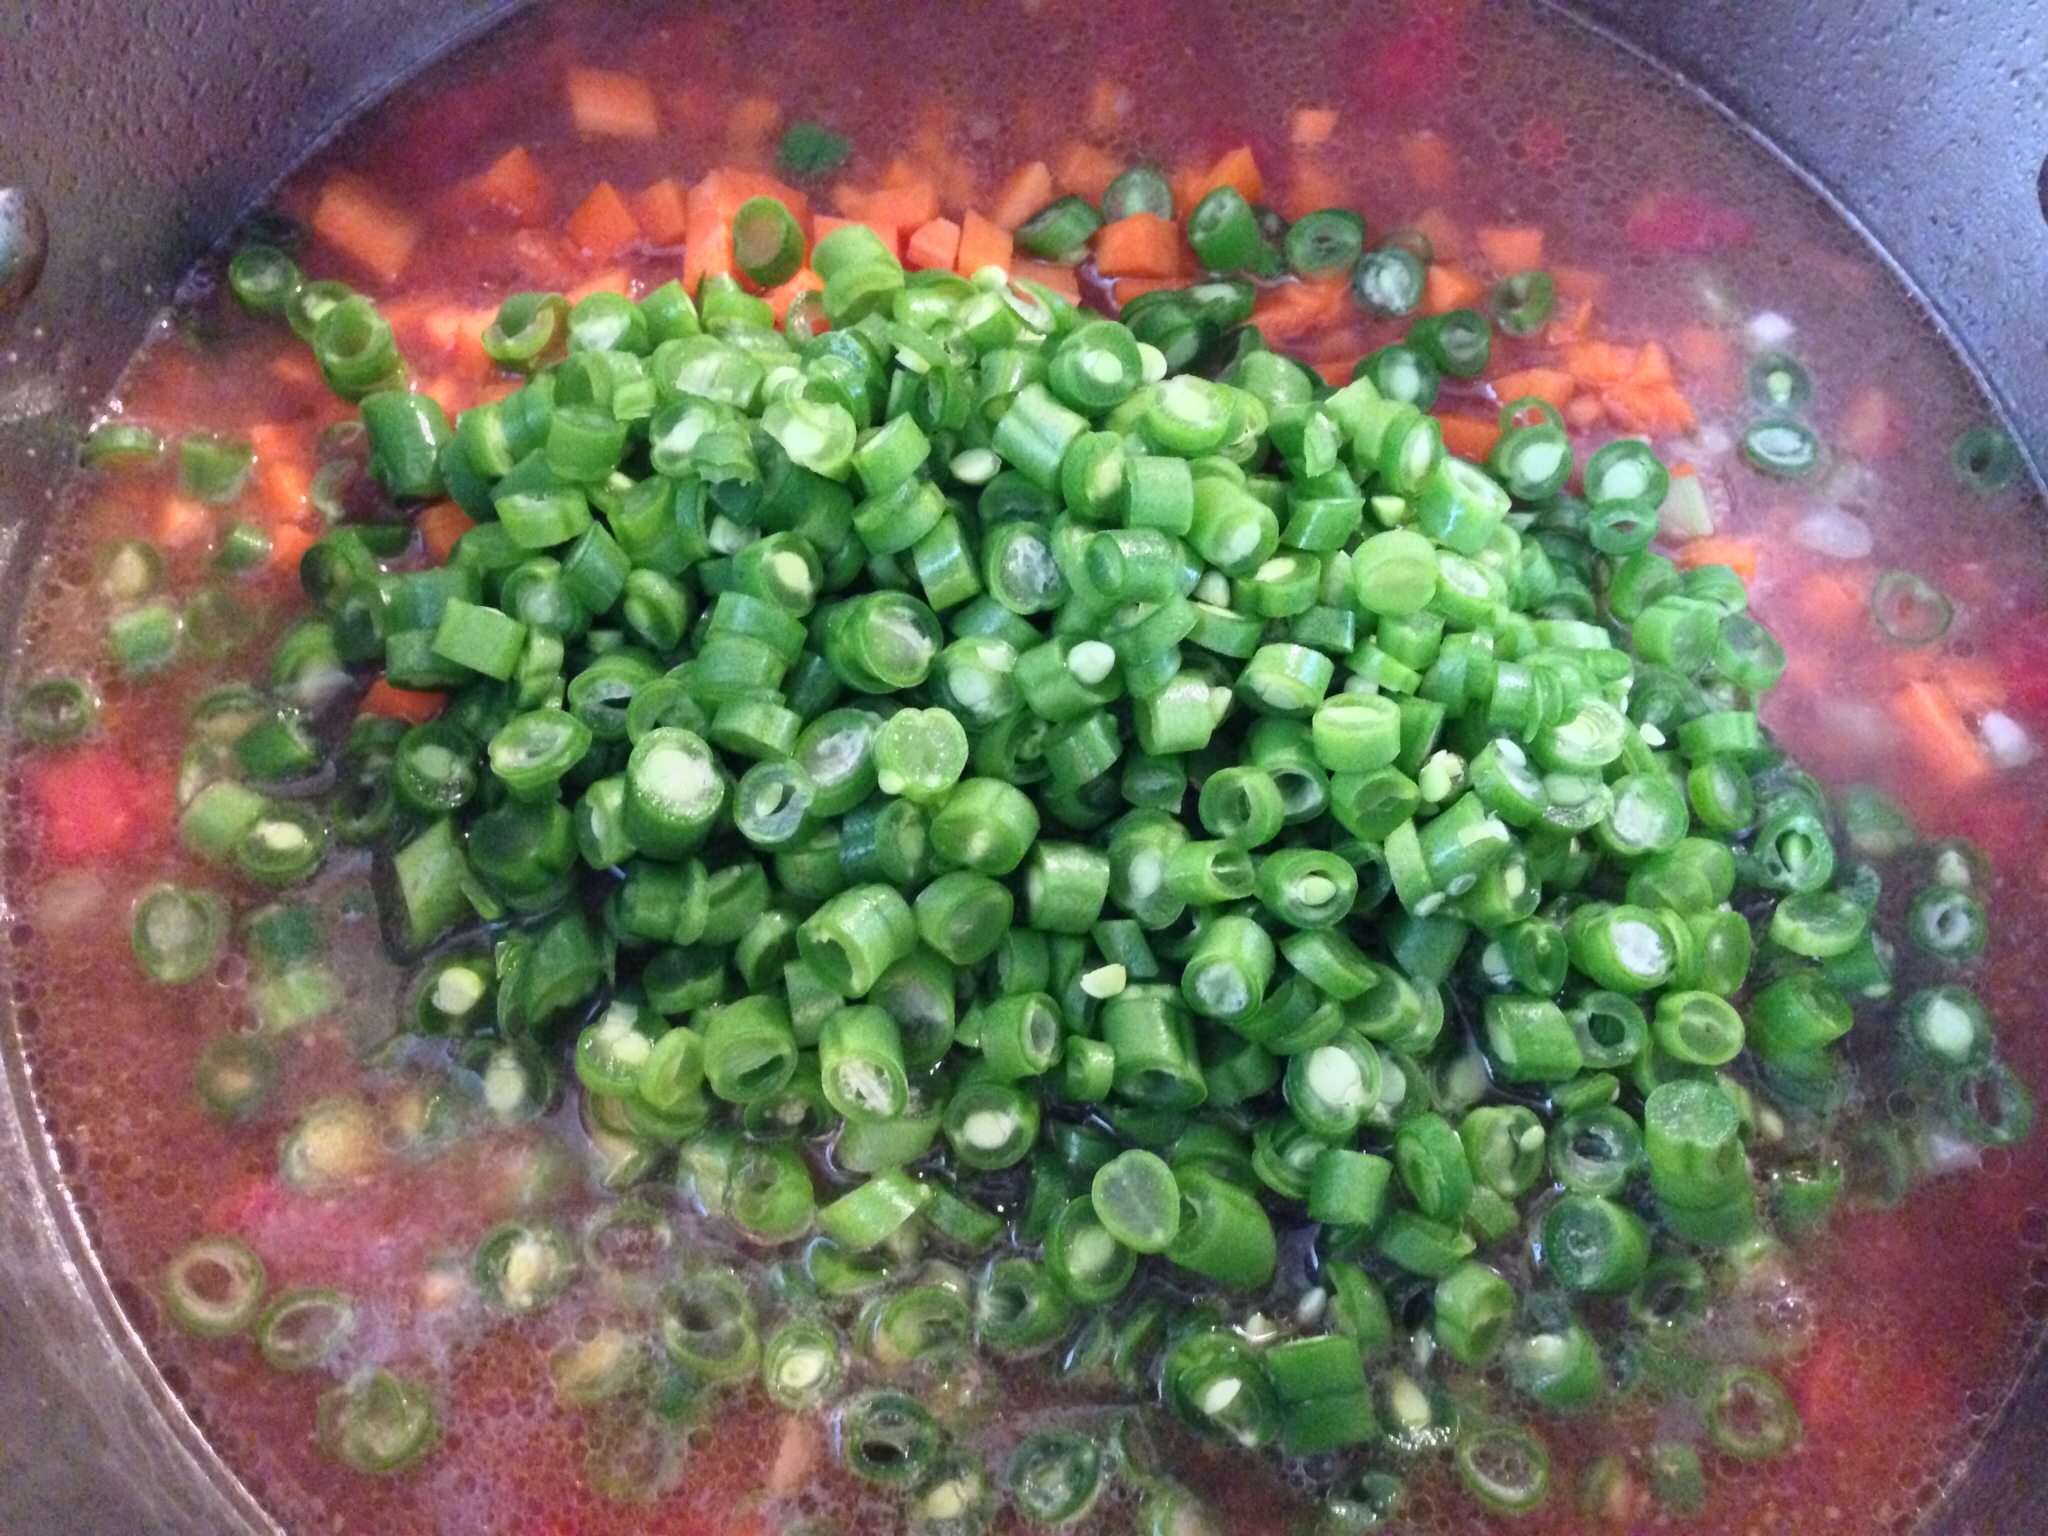
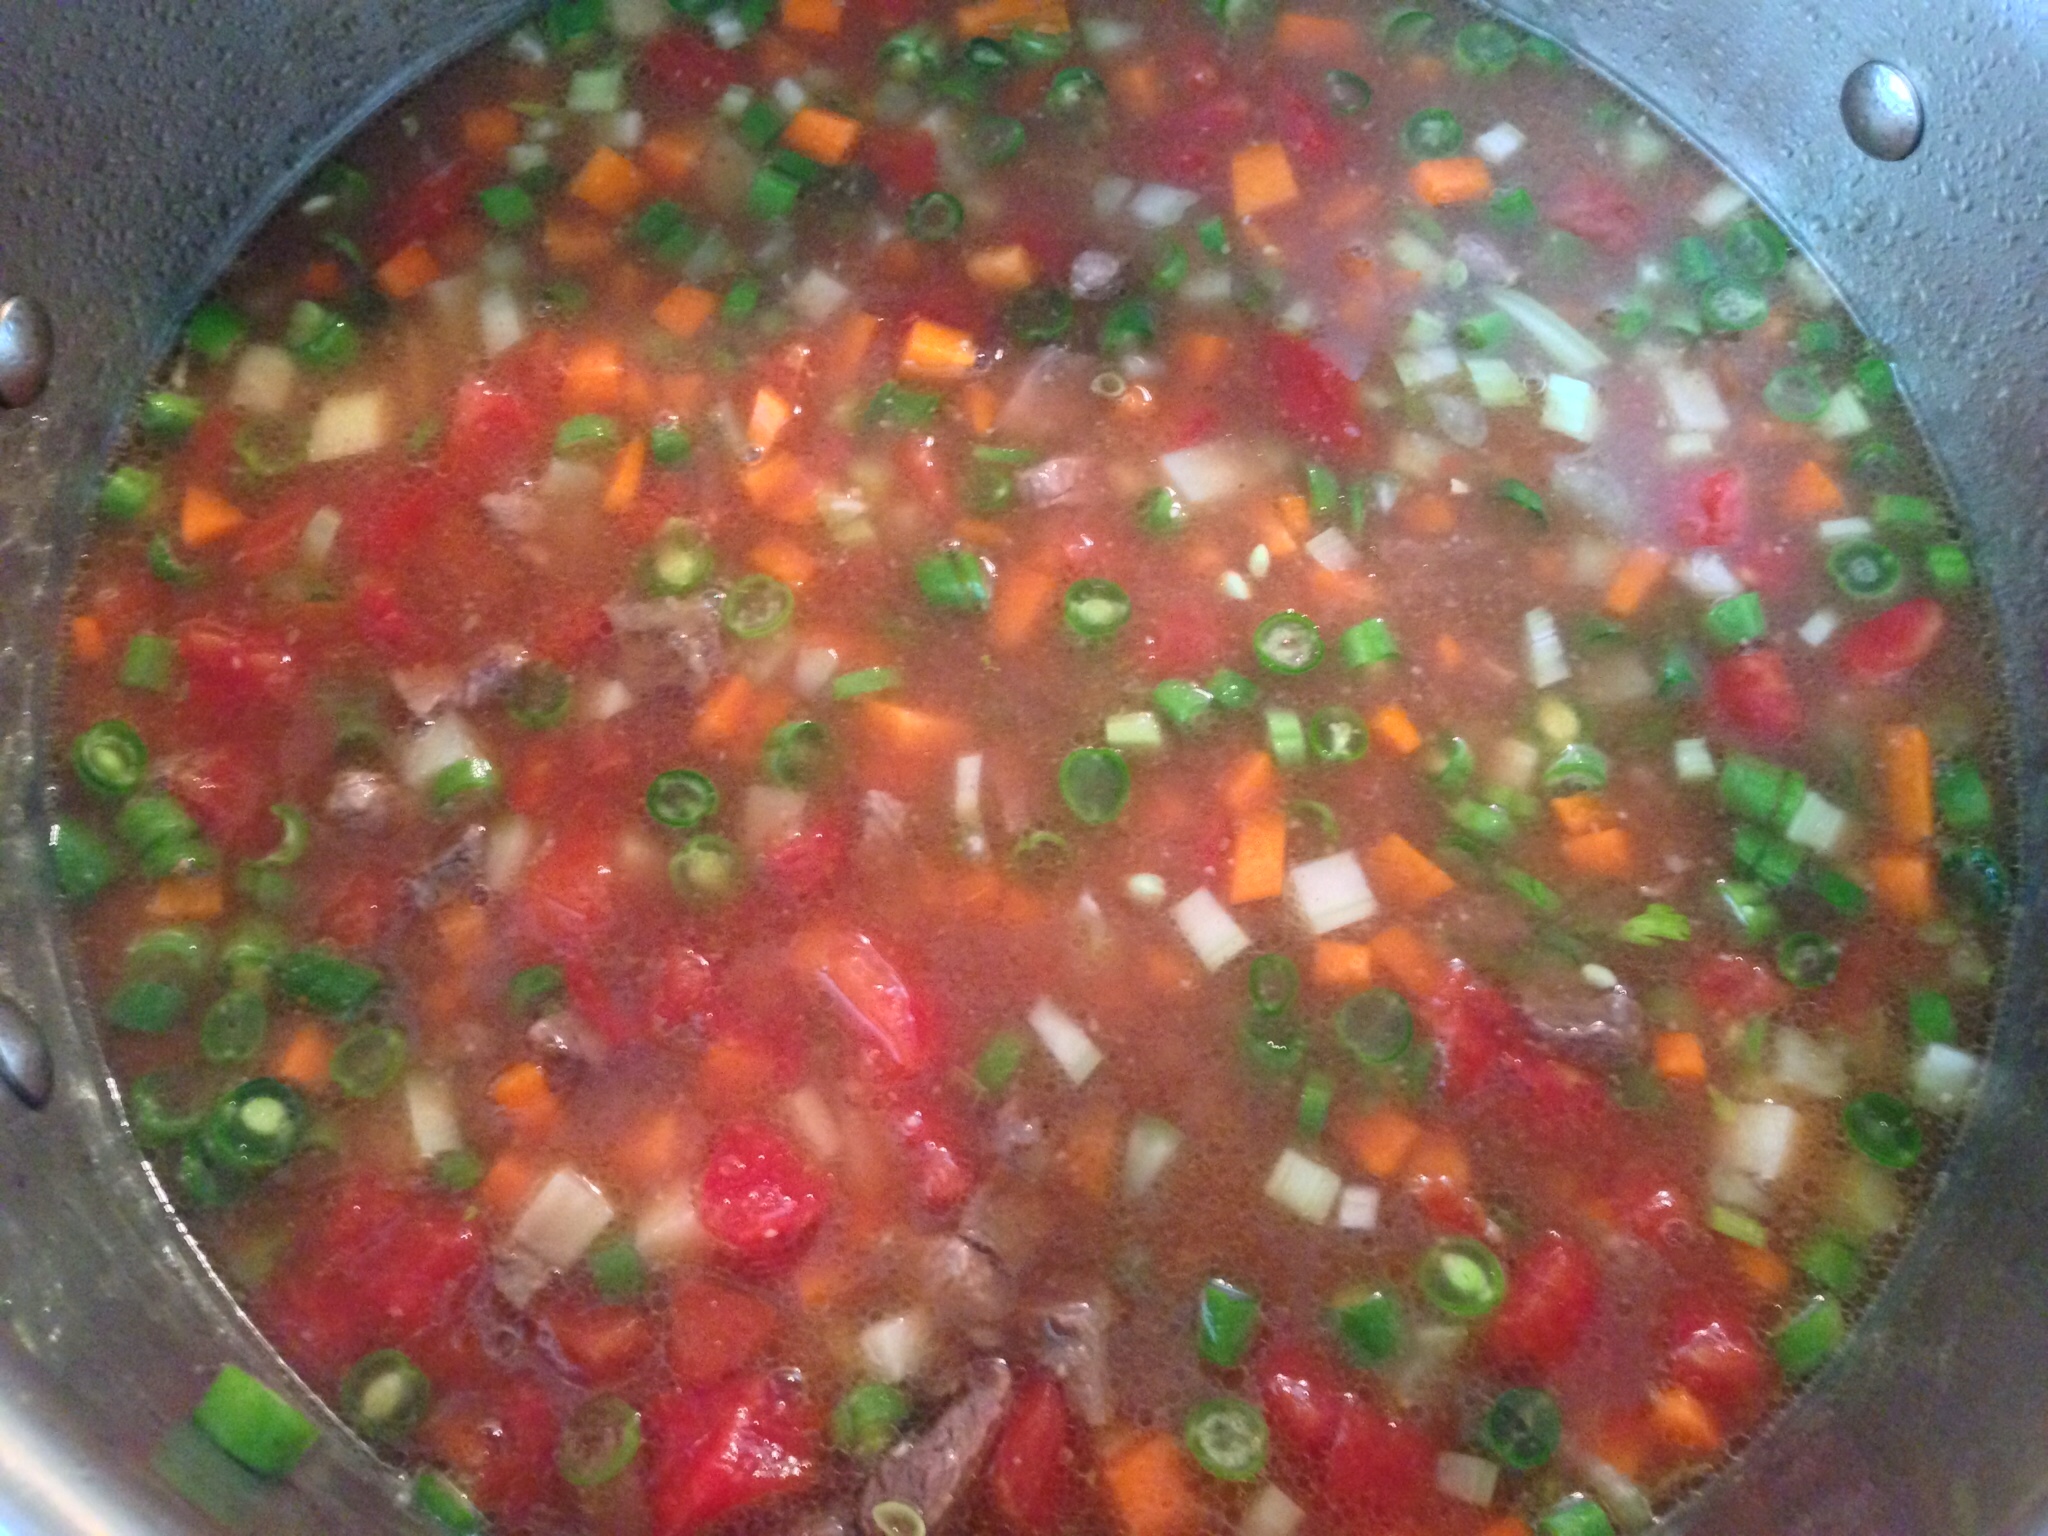
5. Add the tomatoes (don’t forget to drain the liquid!) and cut vegetables to the pot. Stir to combine.

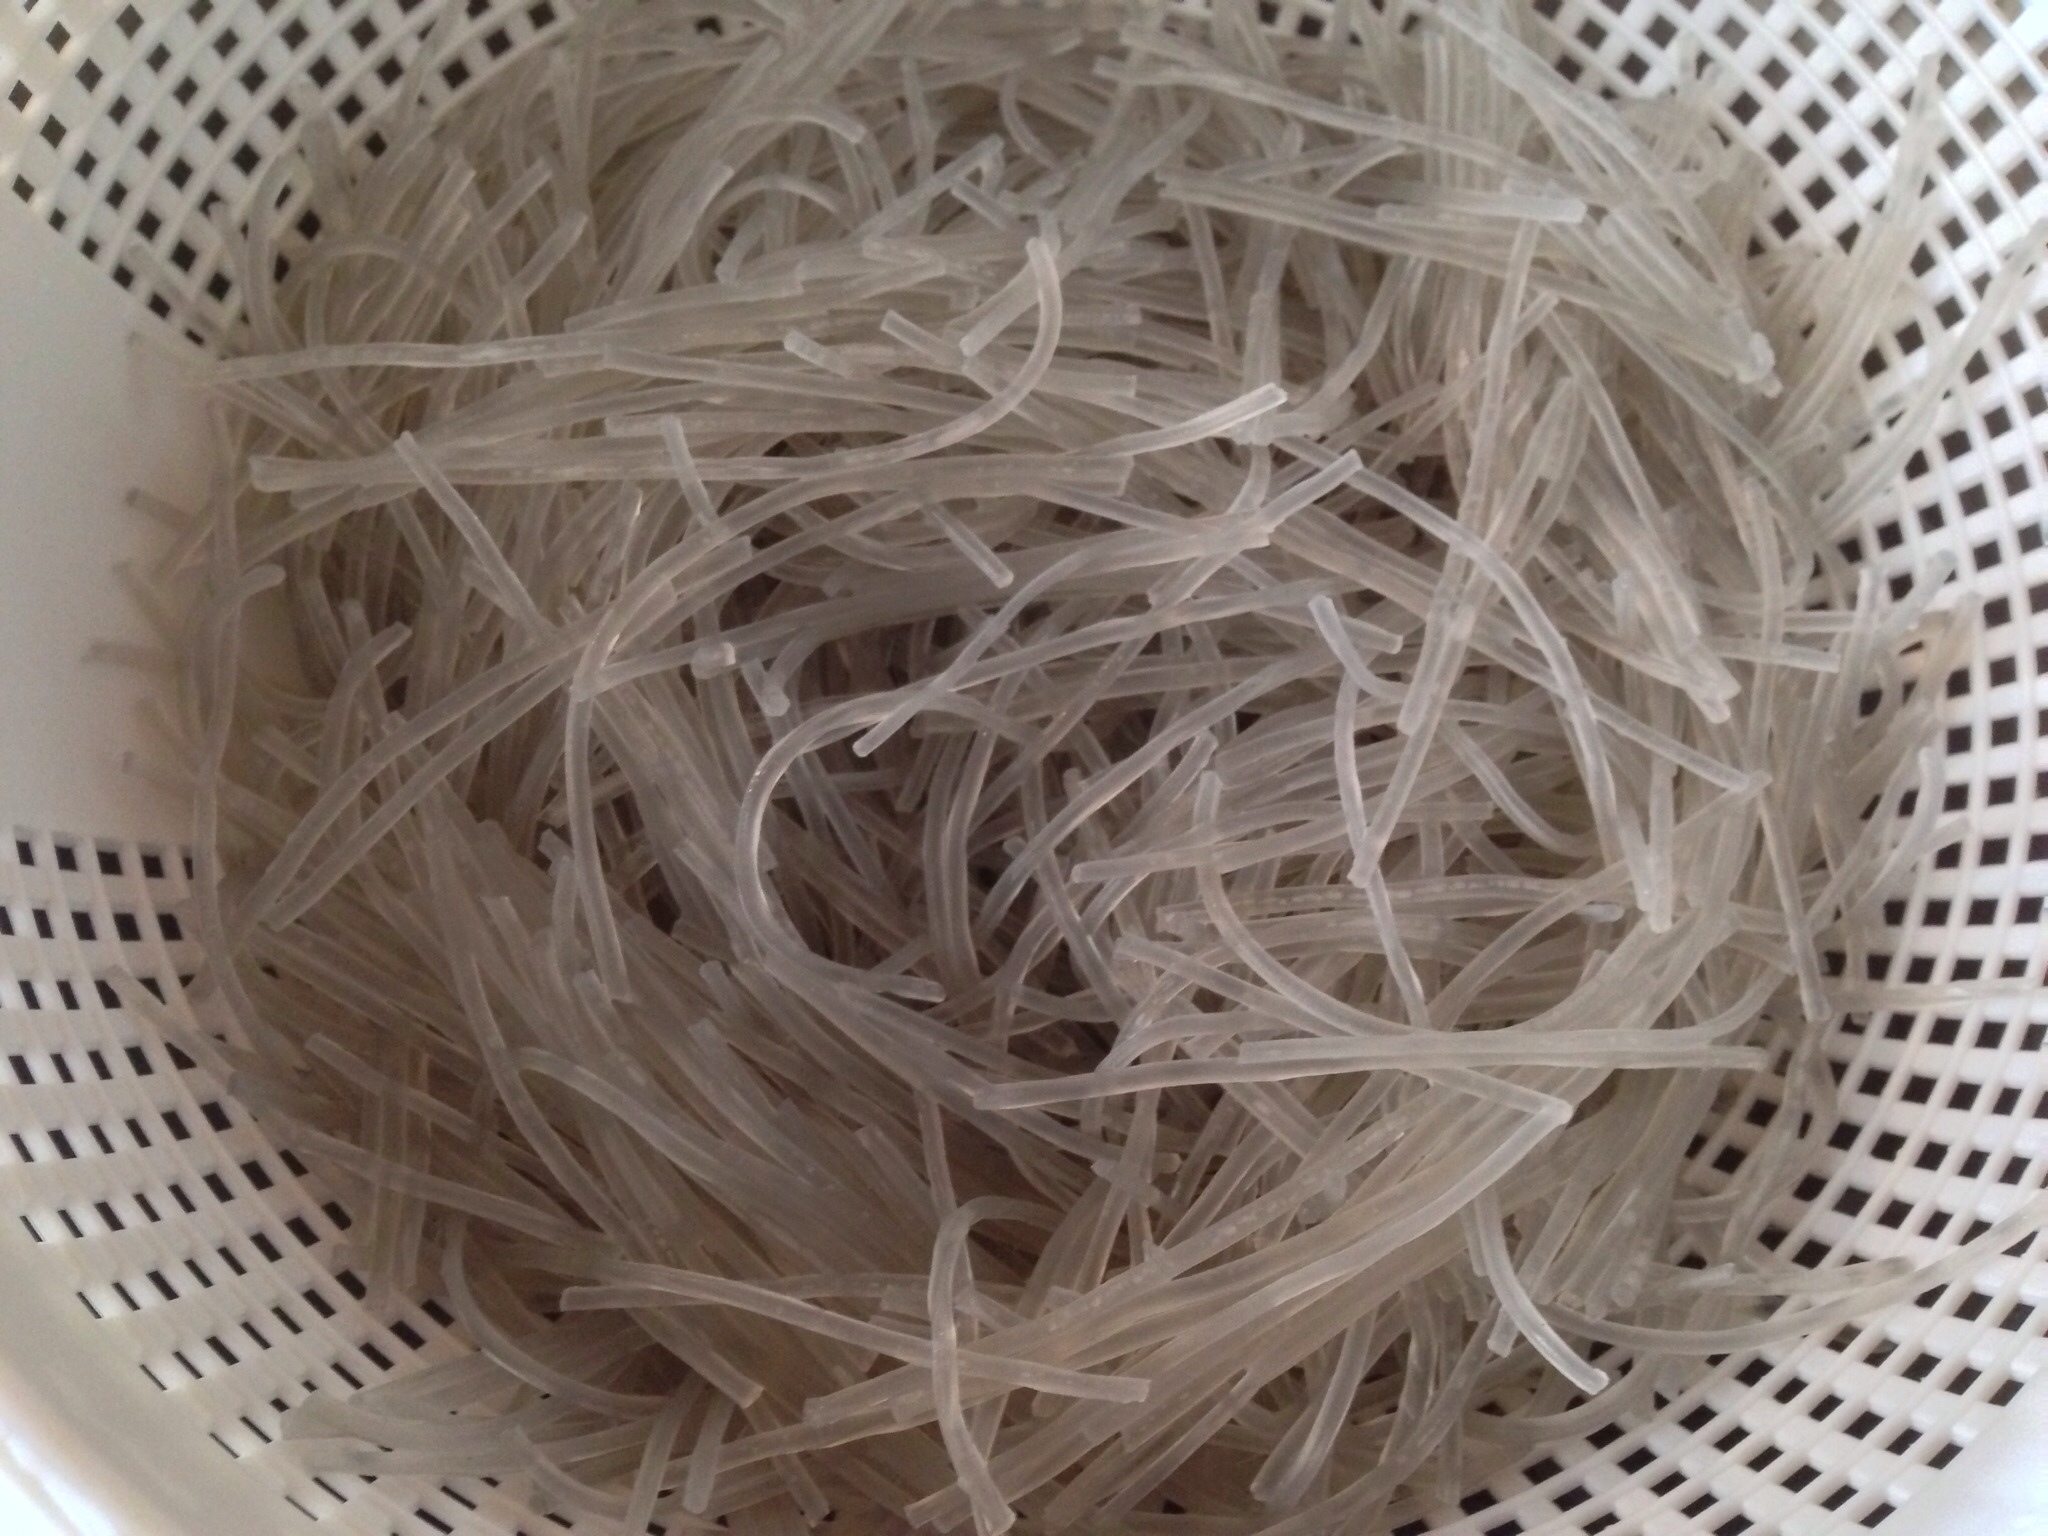
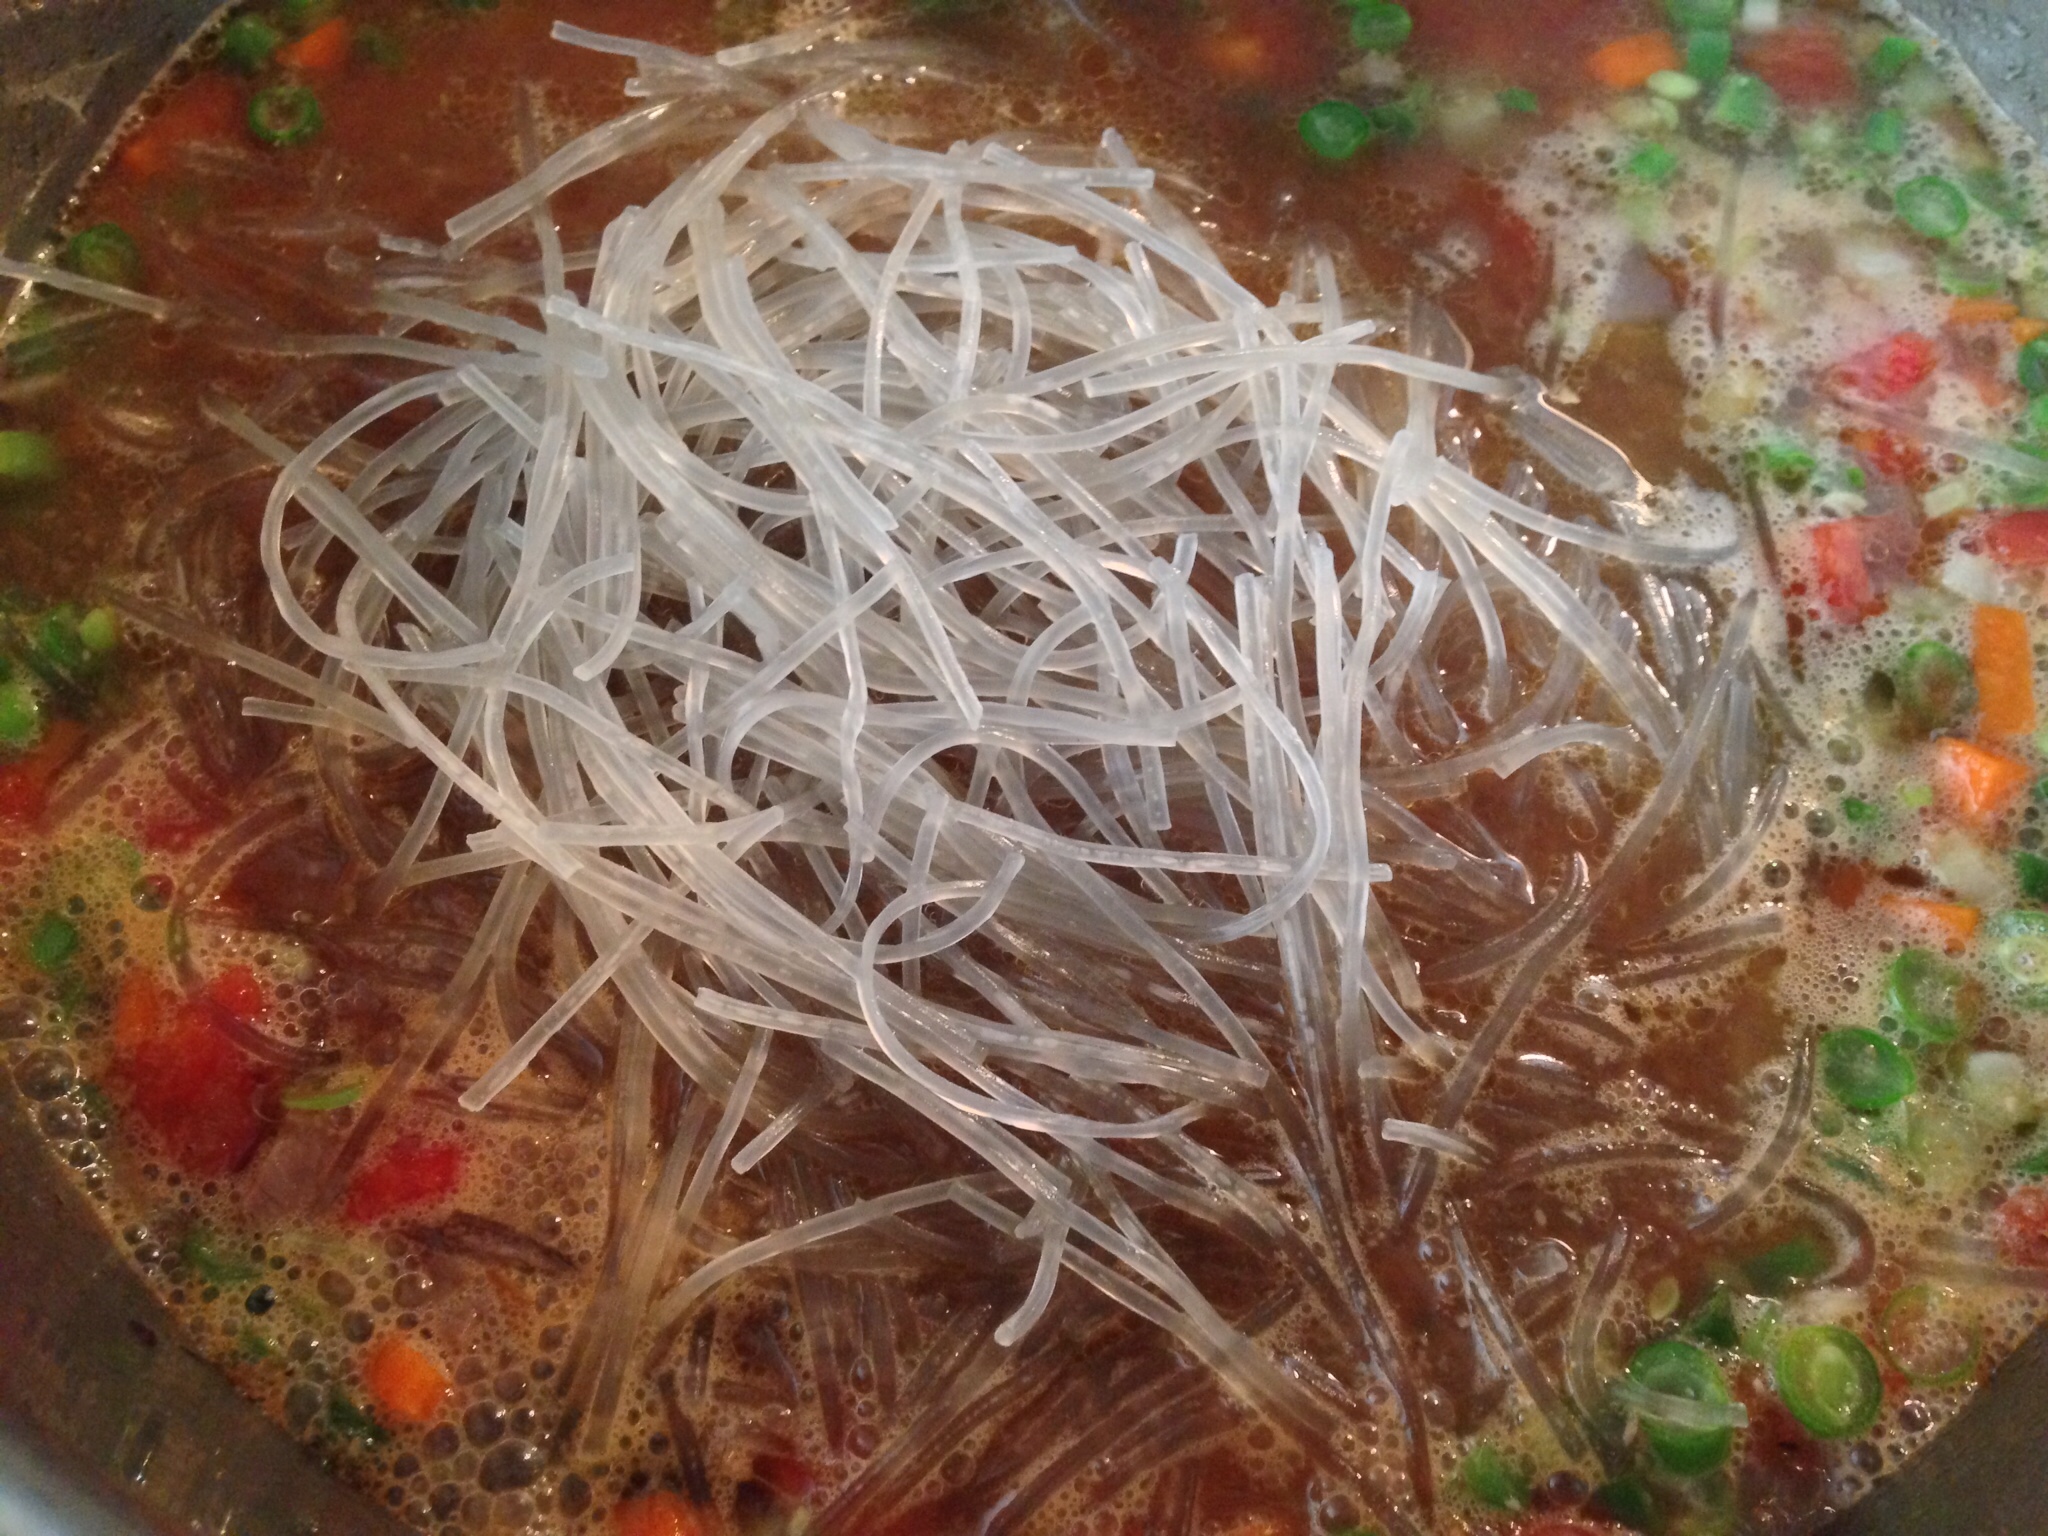
6. Simmer the vegetables over medium high heat for 10 minutes. Meanwhile, prepare the noodles. Place the noodles into a large bowl. Pour hot water (I used hot water from the tap) over the noodles; use enough water to completely submerge the noodles. Let the noodles sit in the hot water for 5 minutes to soften slightly. After the noodles have softened, use a pair of kitchen scissors to cut the noodles into small pieces, about 3 inches in length. Drain the noodles in a colander then add them to the pot, stirring to combine.

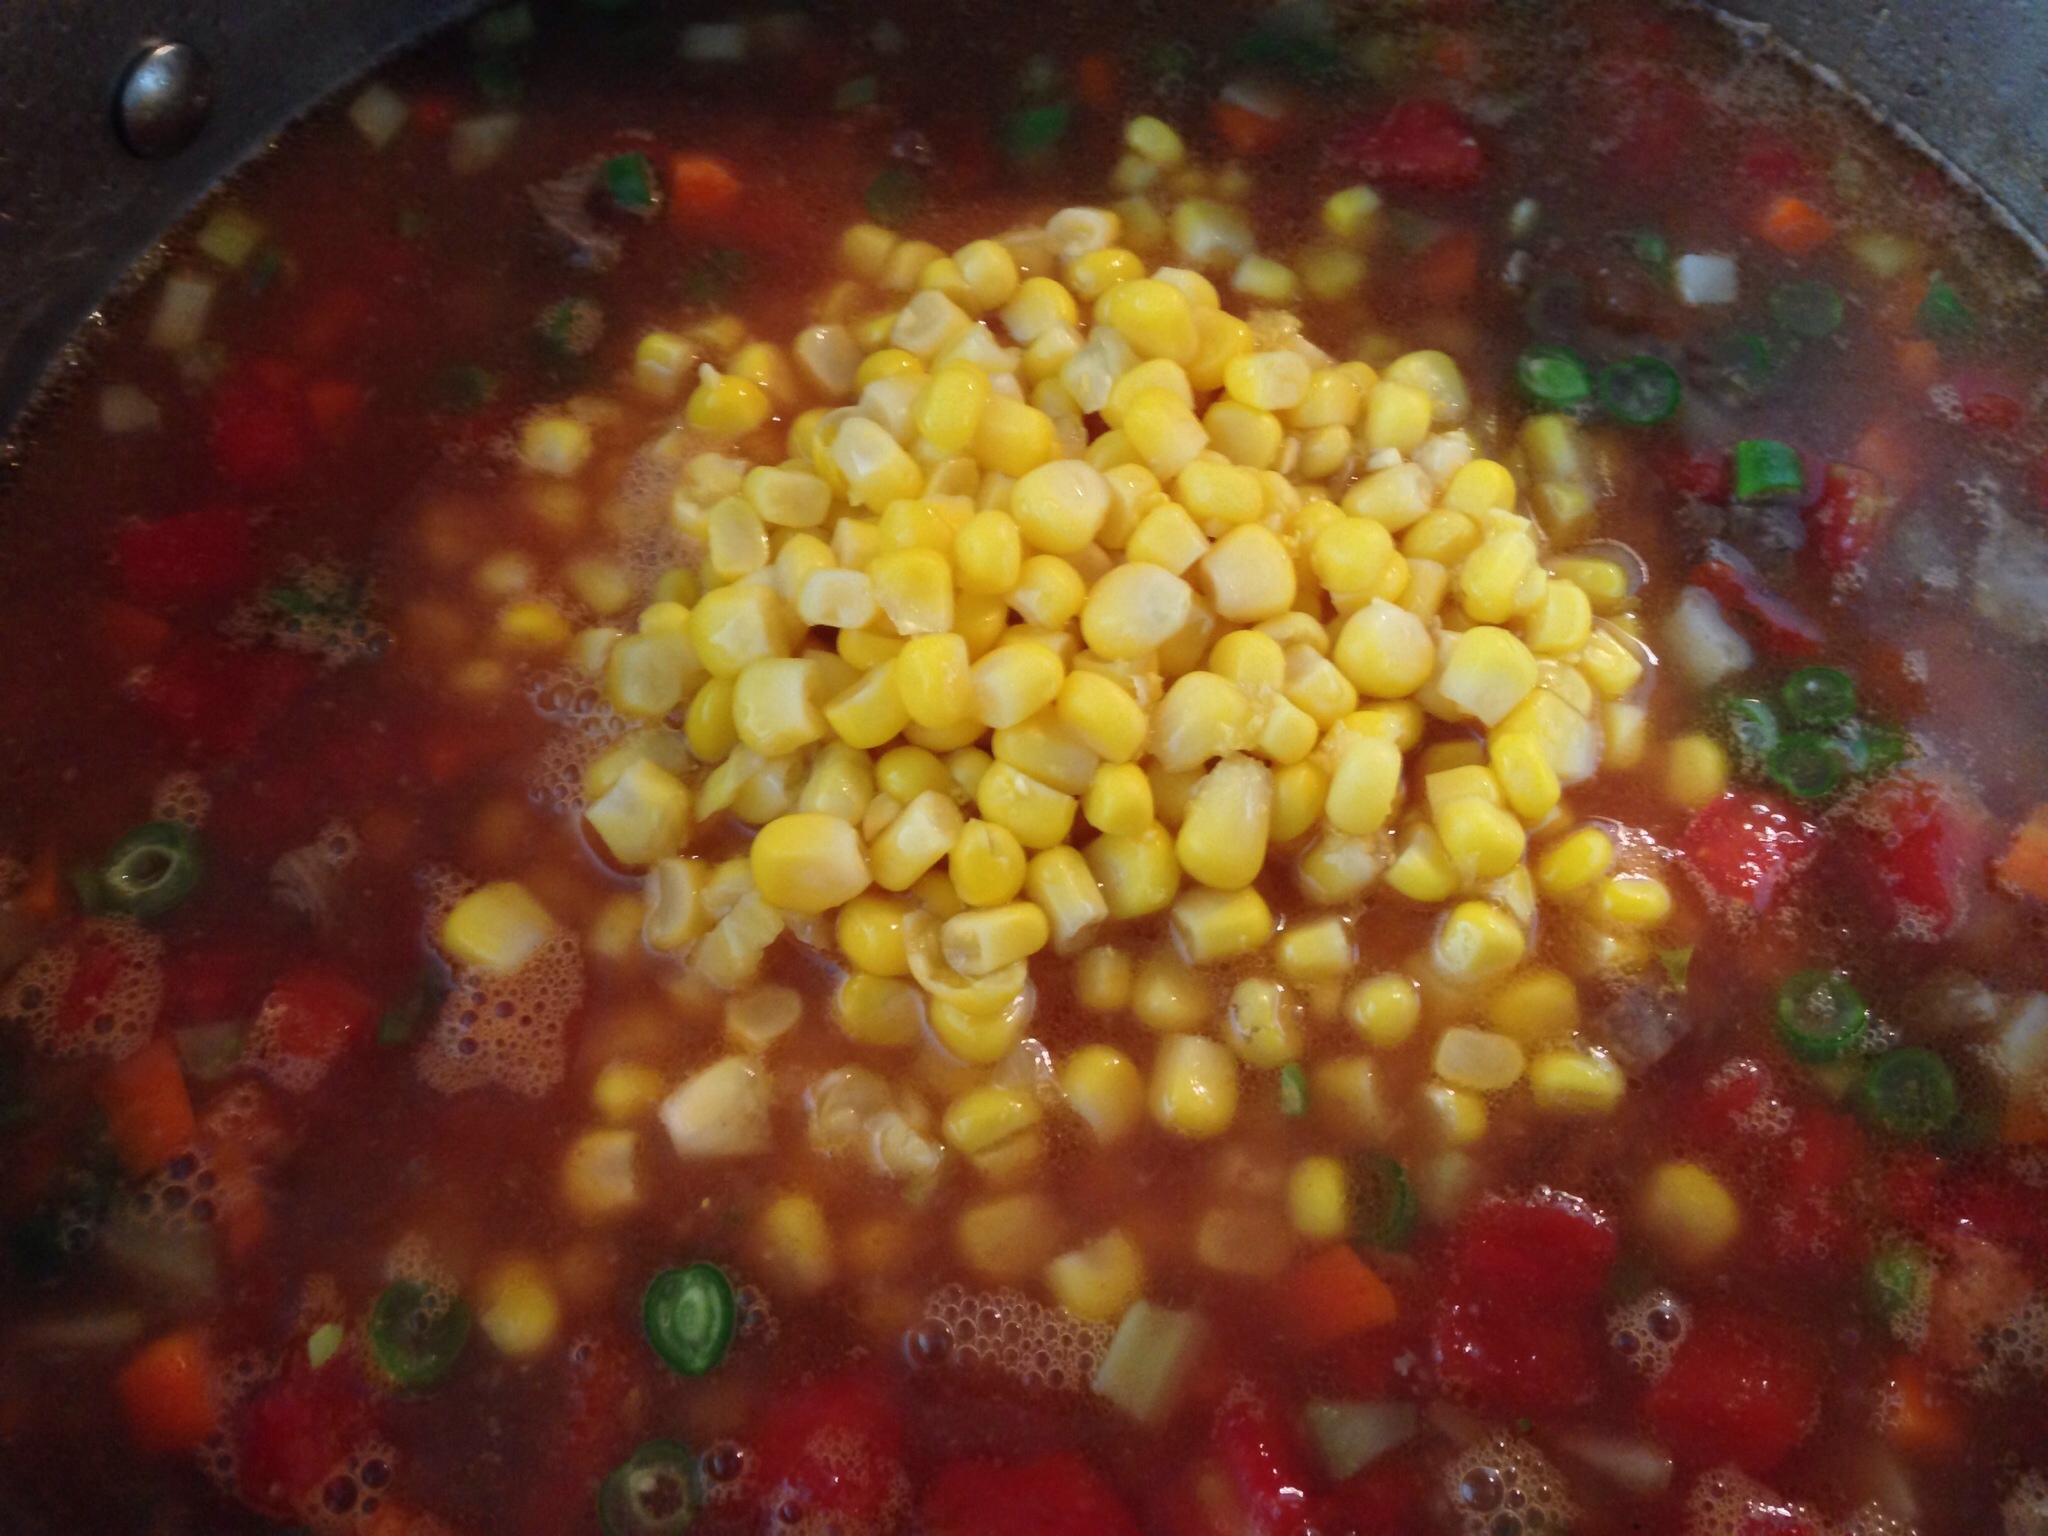
7. Add the drained corn to the pot. Stir to combine. Cook for another 10 minutes or so, or just until the potatoes and carrots are cooked through (don’t over cook them).

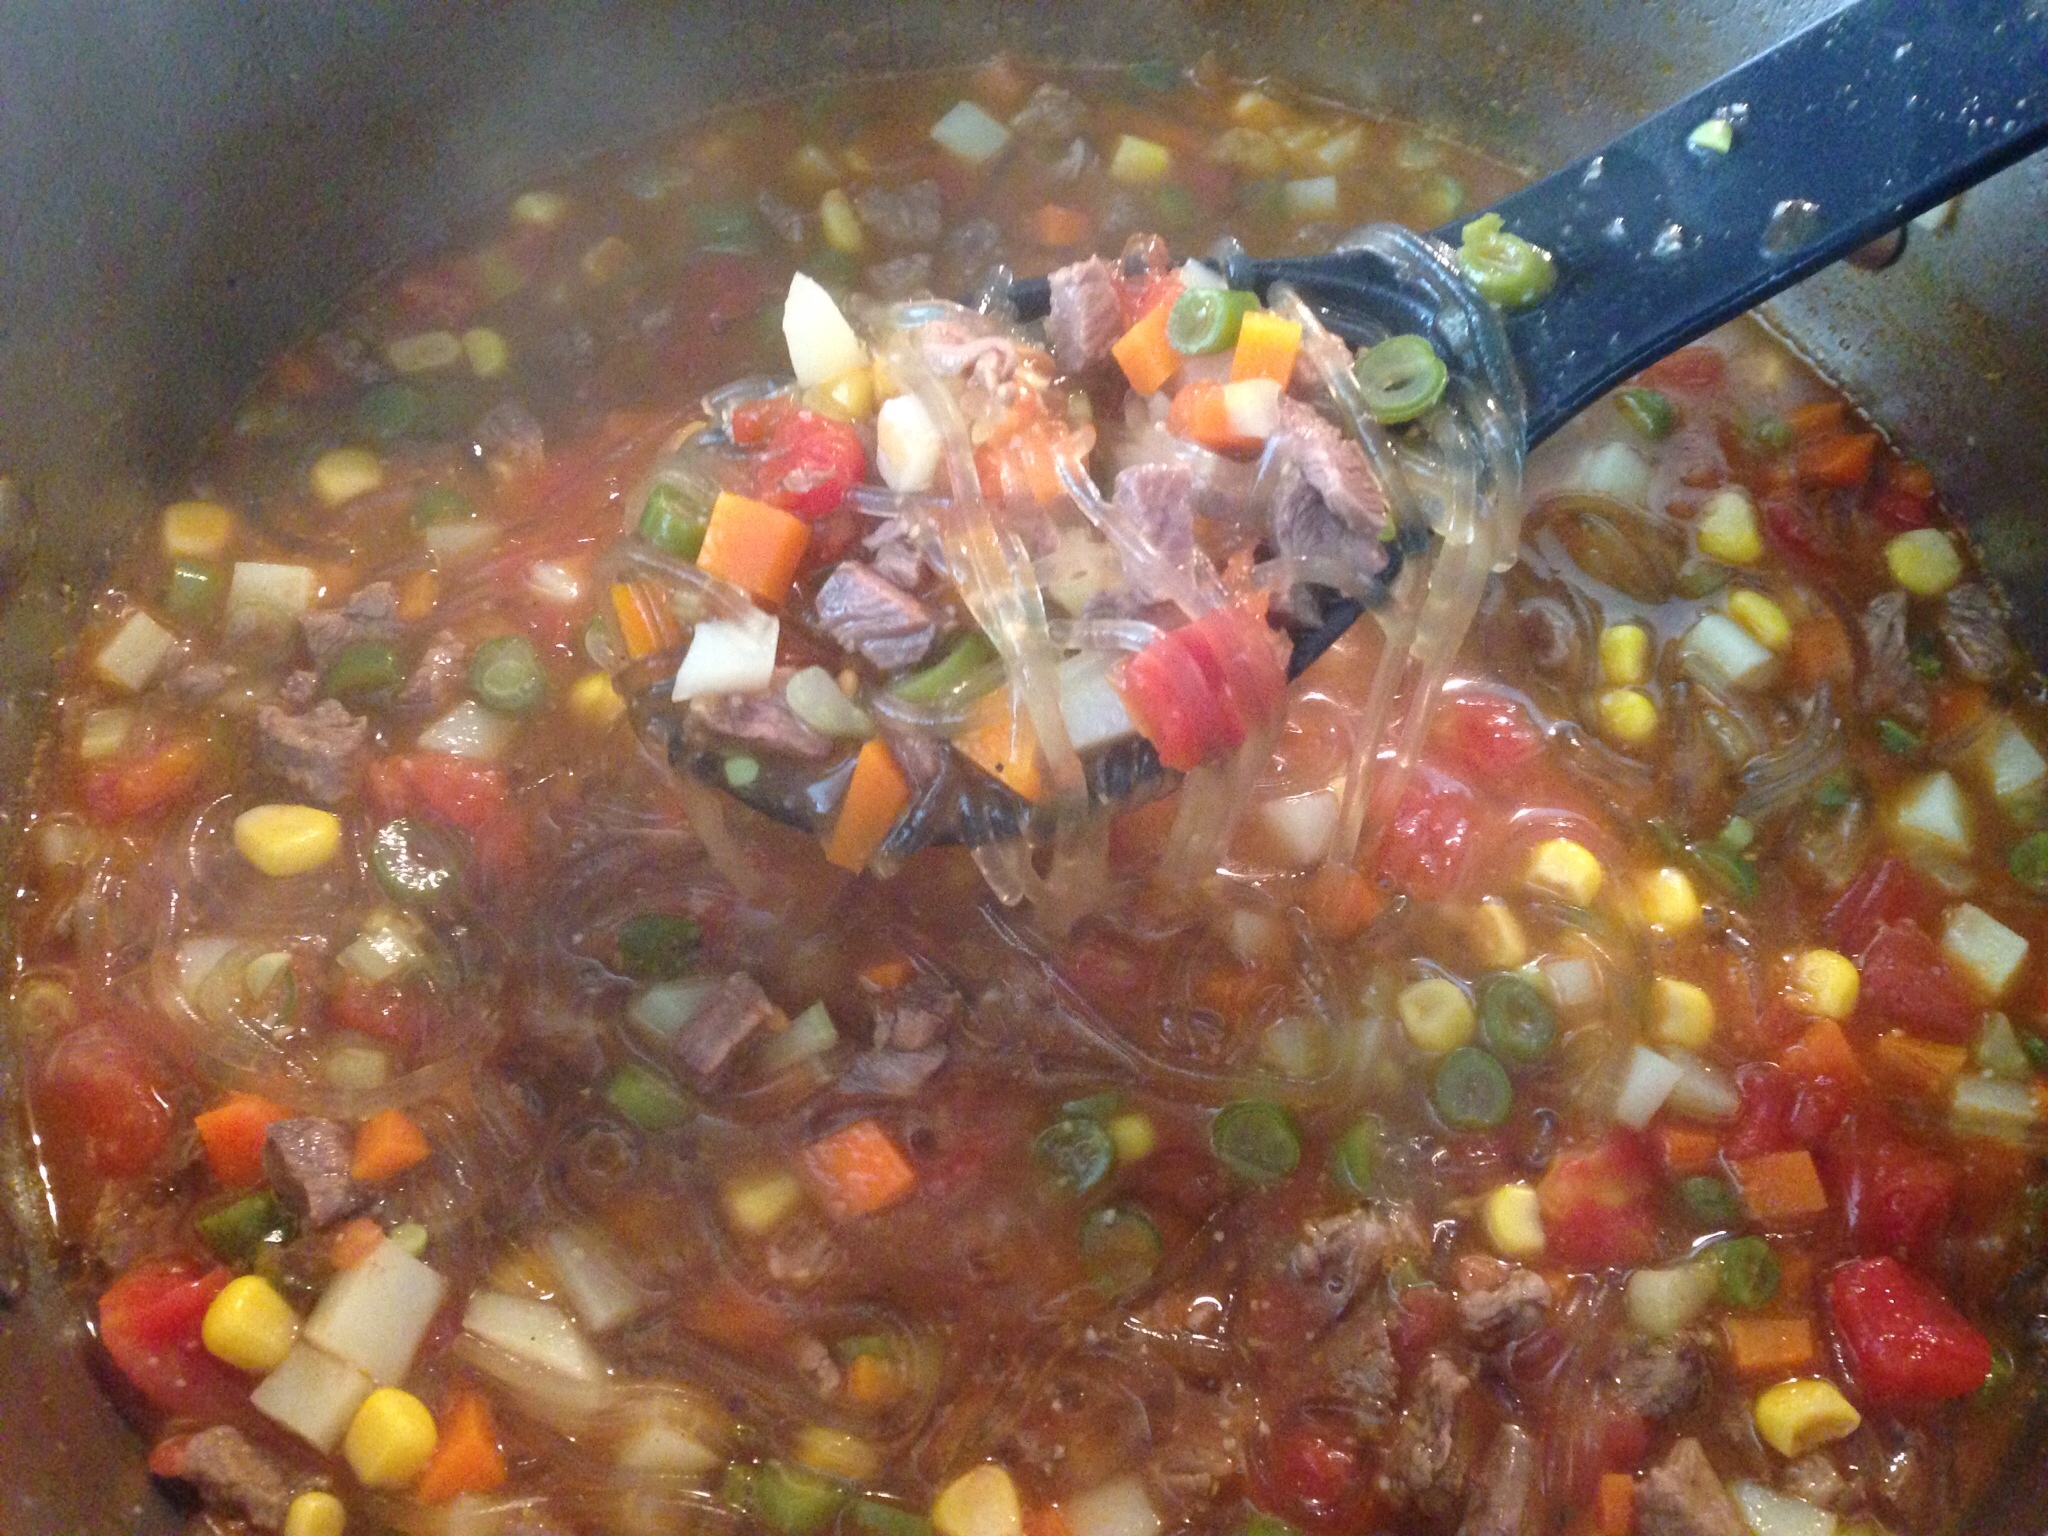
8. Remove from the heat and serve while hot. ENJOY!

Save the bone marrow for me, please! 🙂


« Older Entries