Cheesy Sausage Breakfast Burritos

Cheese, Sausage, Eggs and Hash Browned Potatoes all wrapped in a tortilla…need I say more? 🙂

These burritos are super simple to make.  There really isn’t much prep work since most of the ingredients are already pre-cooked.

Filled with cheese, sausage, cheese, shredded hash brown potatoes, sun-dried tomatoes, cheese, my secret blend of seasonings (shhh…don’t tell anyone), green onions, eggs, and CHEESE (can you tell I love cheese?), this is the perfect way to start your day.  Your belly will be happy, happy, happy after eating this, I guarantee.

Be creative here…the sky’s the limit with all the various types of sausage on the market these days–Chorizos Españot is great in this recipe too!

Just place the ingredients in a large skillet, cook it for a bit, then fill your tortilla, roll, and ENJOY!

This recipe makes about two dozen small burritos (using 8″ tortillas).  Don’t let that number fool you…depending on the person (and how hungry you are), a serving can be about two or three small burritos.

Give my recipe a try…I think you’ll like it. 🙂

Cheesy Sausage Burritos

IMG_1724

Ingredients:

  • 4 tablespoons butter
  • 8 cups frozen, shredded hash brown potatoes
  • Secret seasoning mix (see below)
  • 2 bags pre-cooked breakfast sausage (or substitute with your favorite cooked sausage)
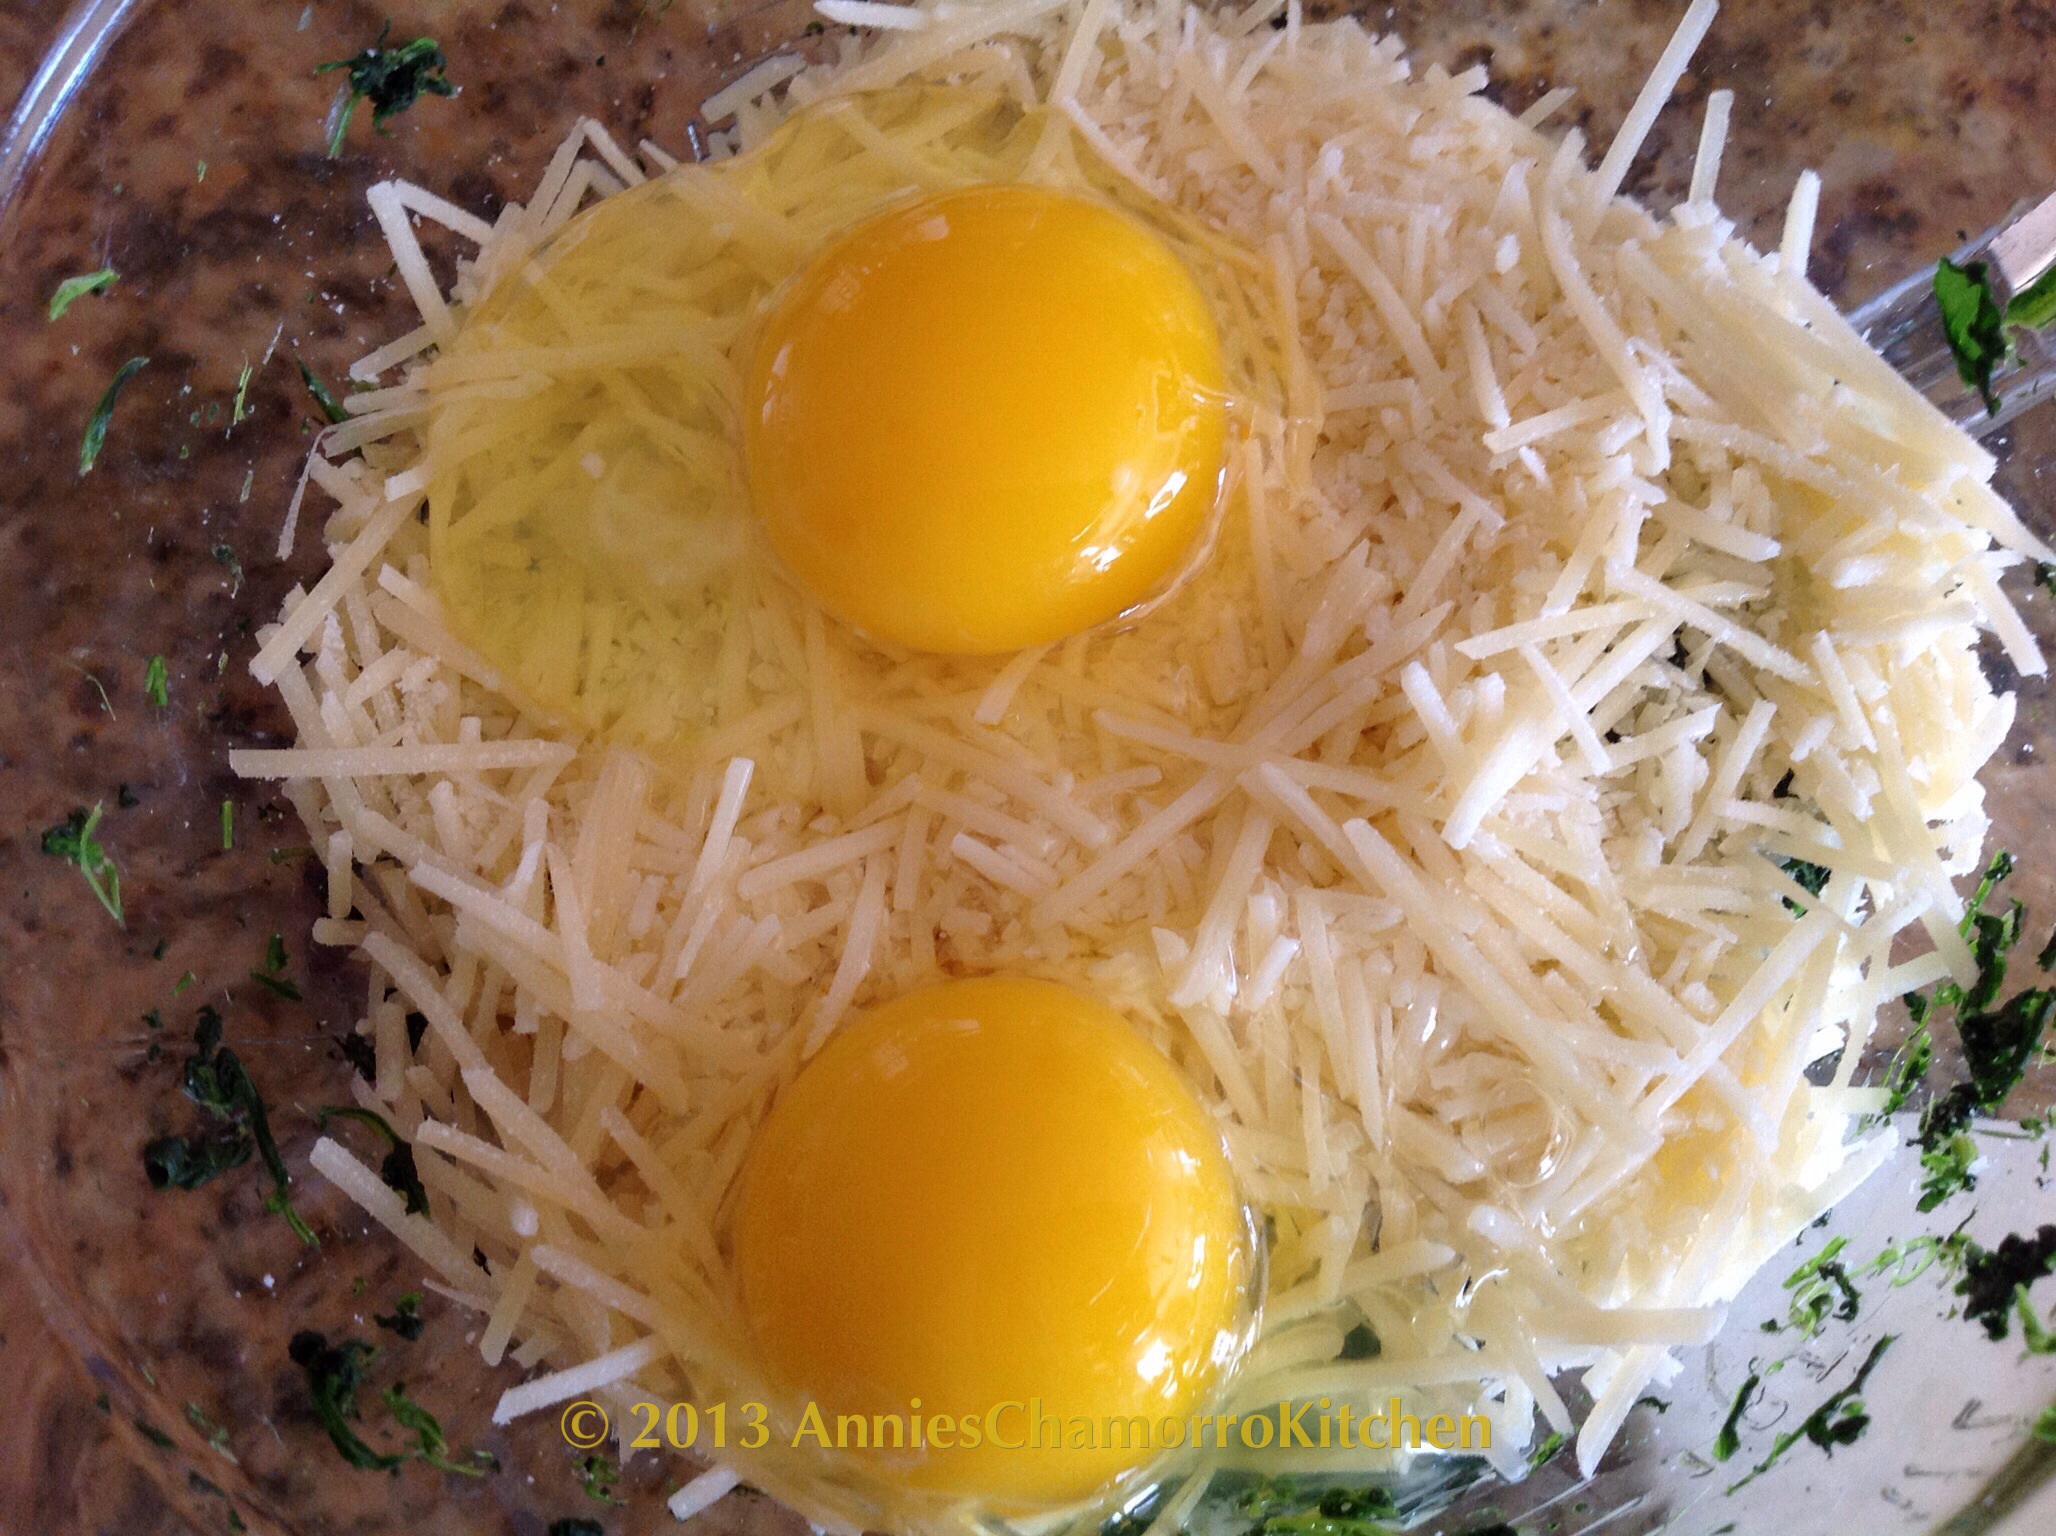
  • 6 eggs
  • 4 tablespoons chopped sun-dried tomatoes
  • 6 stalks green onions, sliced
  • 1 cup shredded Mozzarella cheese
  • 1 cup shredded Cheddar or Mexican cheese blend
  • 24 super-soft flour tortillas (8-inch)

Secret Seasoning:

Note: This recipe is a fantastic taco seasoning…you won’t need to buy that packaged stuff anymore!  Just add it to browned ground beef along with about a 1/2 cup of water; simmer for a couple of minutes then serve! 🙂

  • 1 1/2 tablespoons chili powder
  • 1 teaspoon garlic powder
  • 1 teaspoon onion powder
  • 1/2 teaspoon dried oregano
  • 1/2 teaspoon paprika (I like using smoked paprika)
  • 1 teaspoon salt
  • 1 teaspoon black pepper
  • 1 teaspoon Accent (optional)
  • 1 teaspoon red pepper flakes (optional)

Directions:

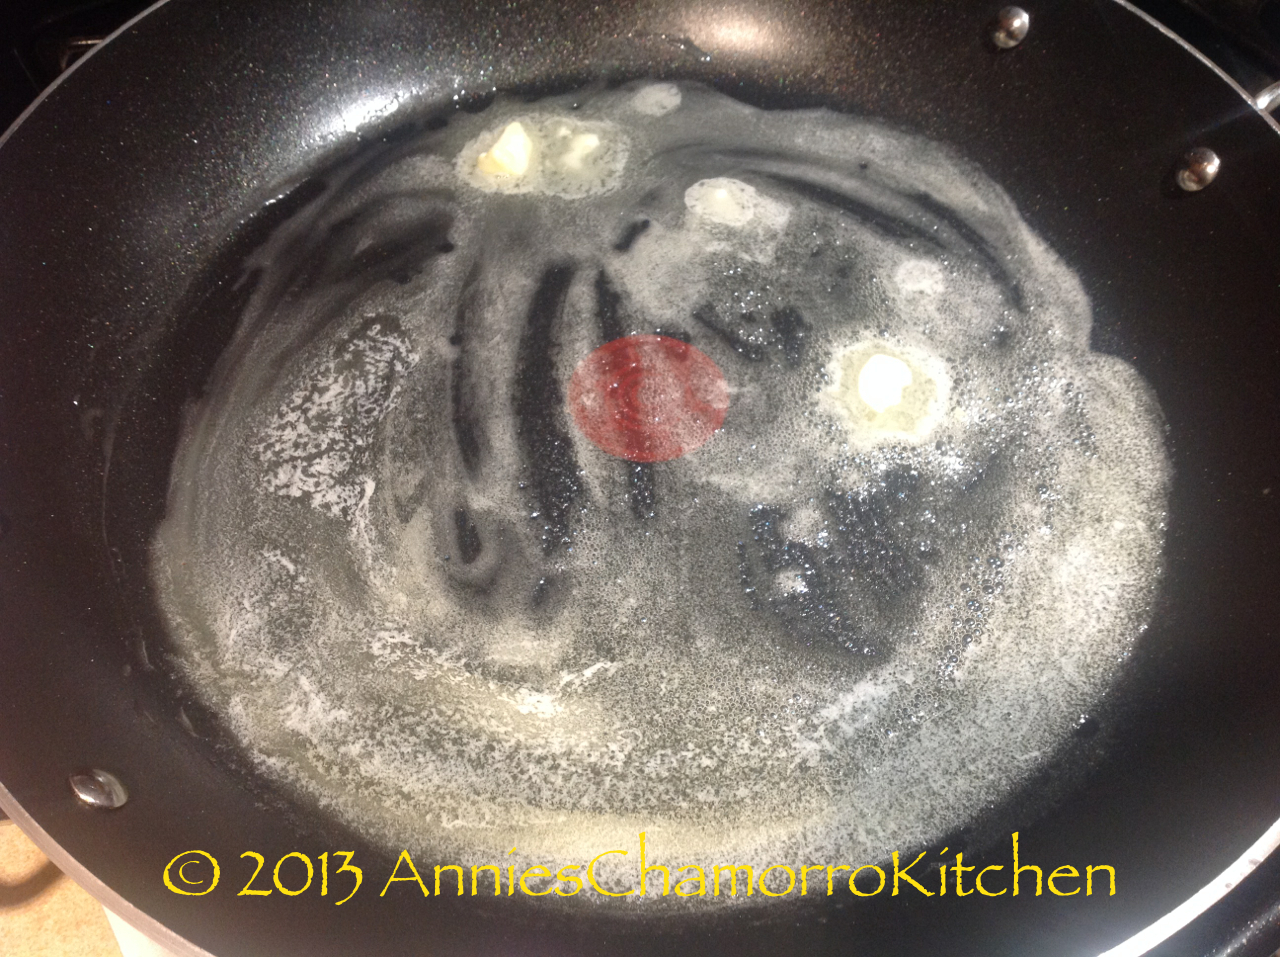
Melt the butter in a large skillet.

IMG_1703

Add the frozen shredded hash brown potatoes.

IMG_1705

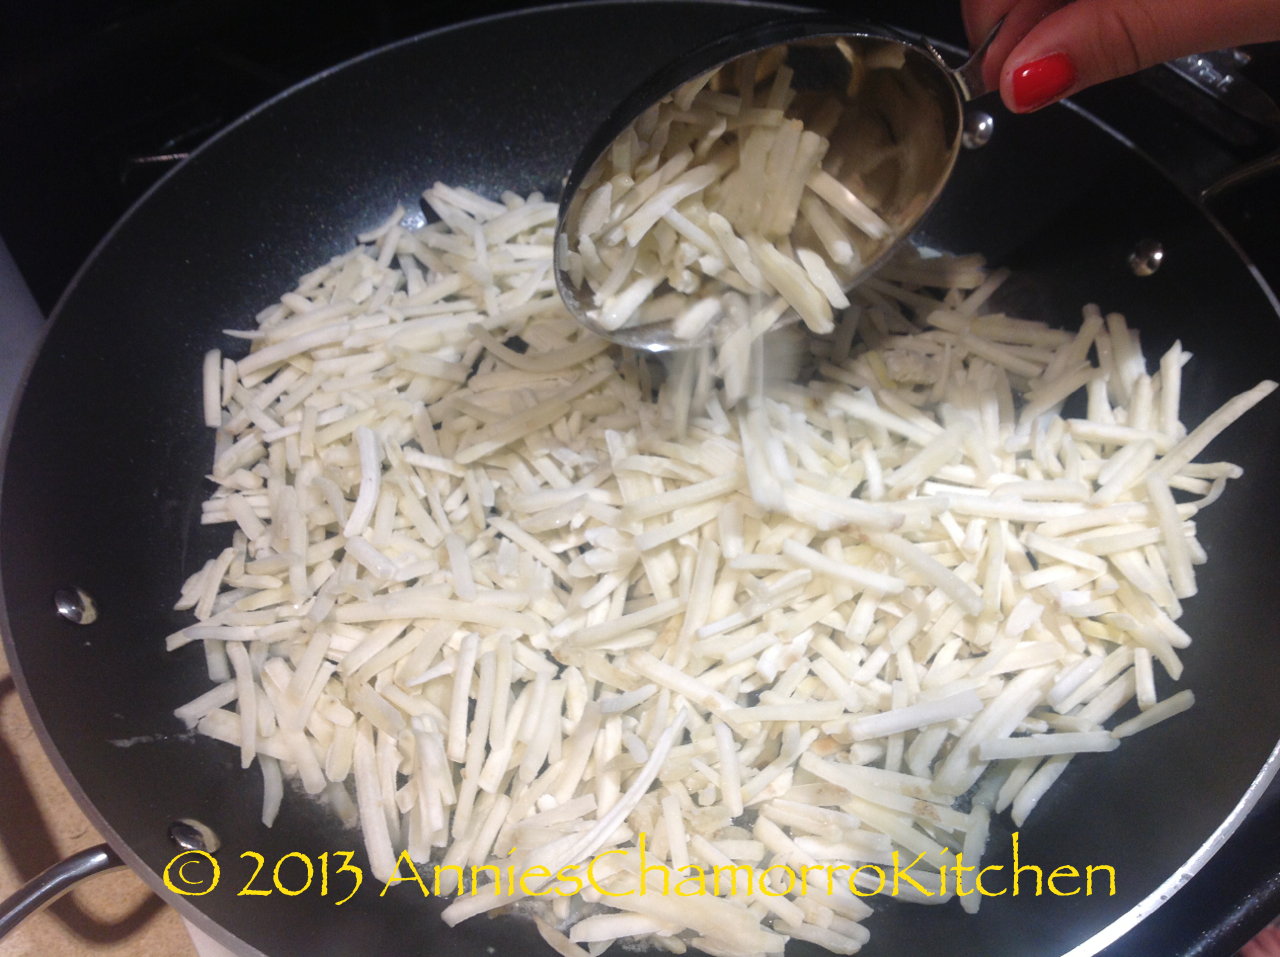
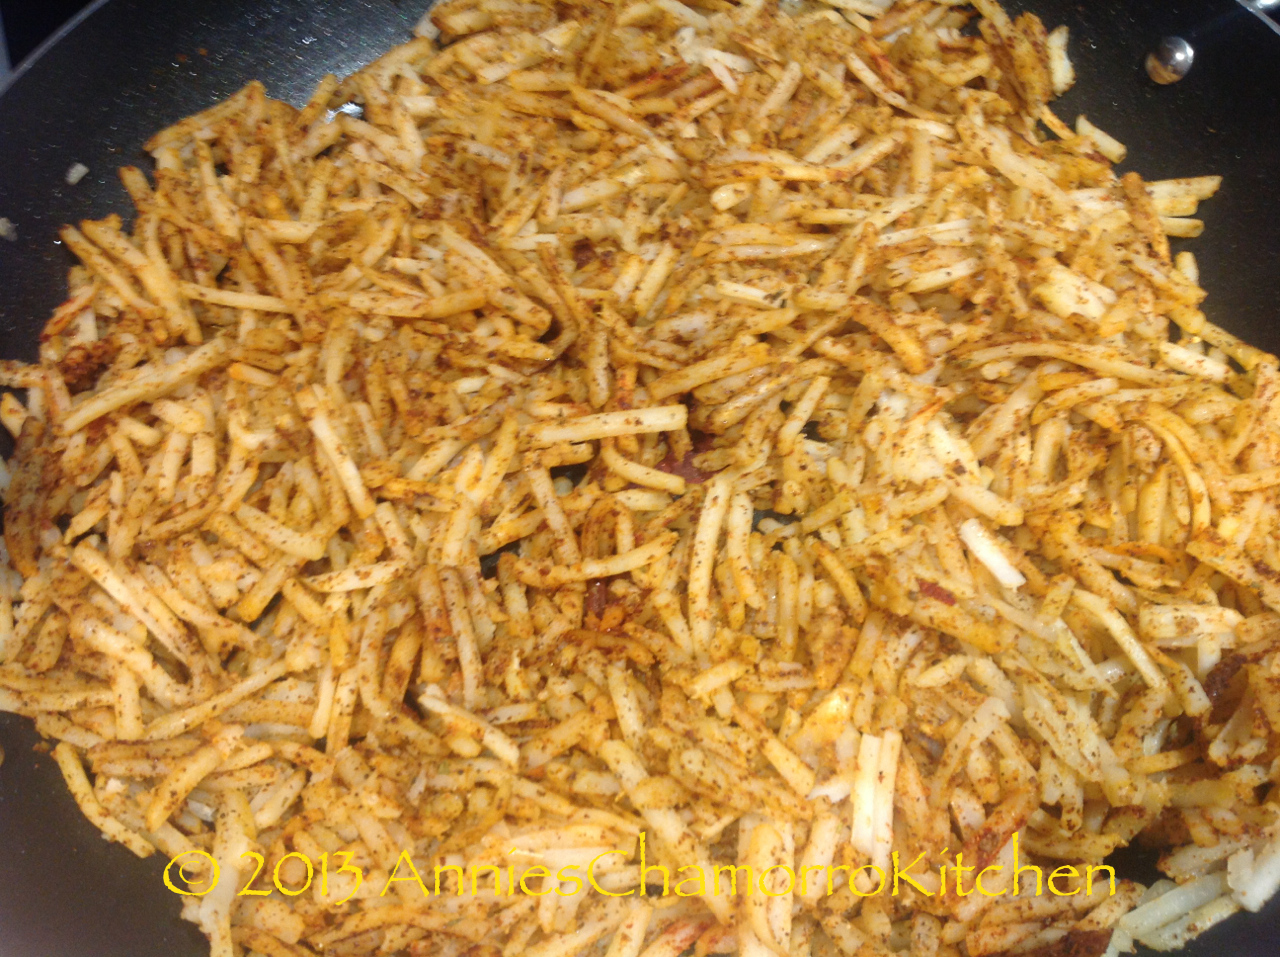
Add my secret seasonings (shhh…don’t let my secret out!)  LOL 😀

IMG_1708

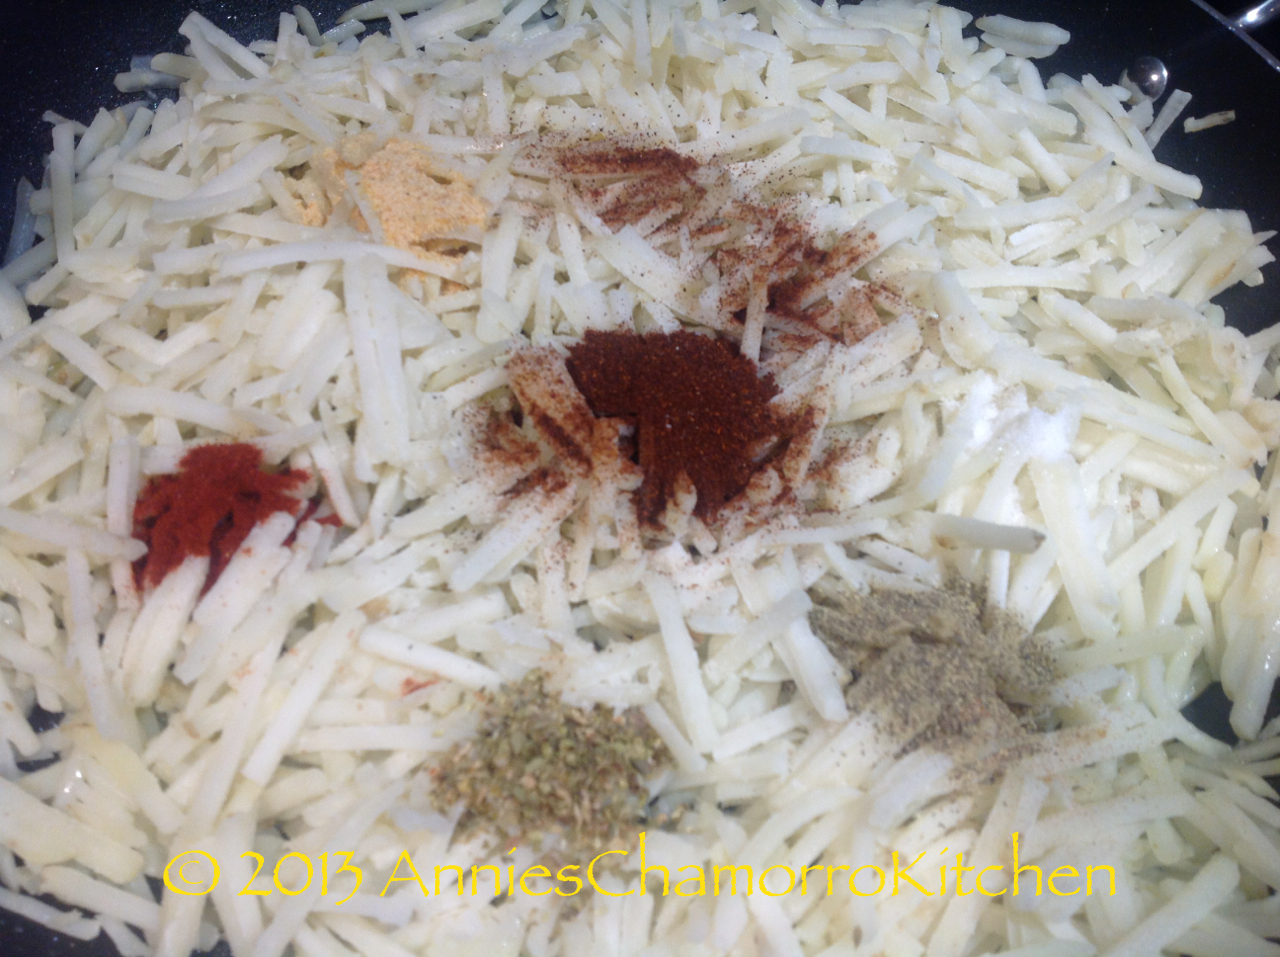
Stir to combine.  Keep the heat on medium low.

IMG_1709

Add the cooked sausage.  Stir to combine.

IMG_1710

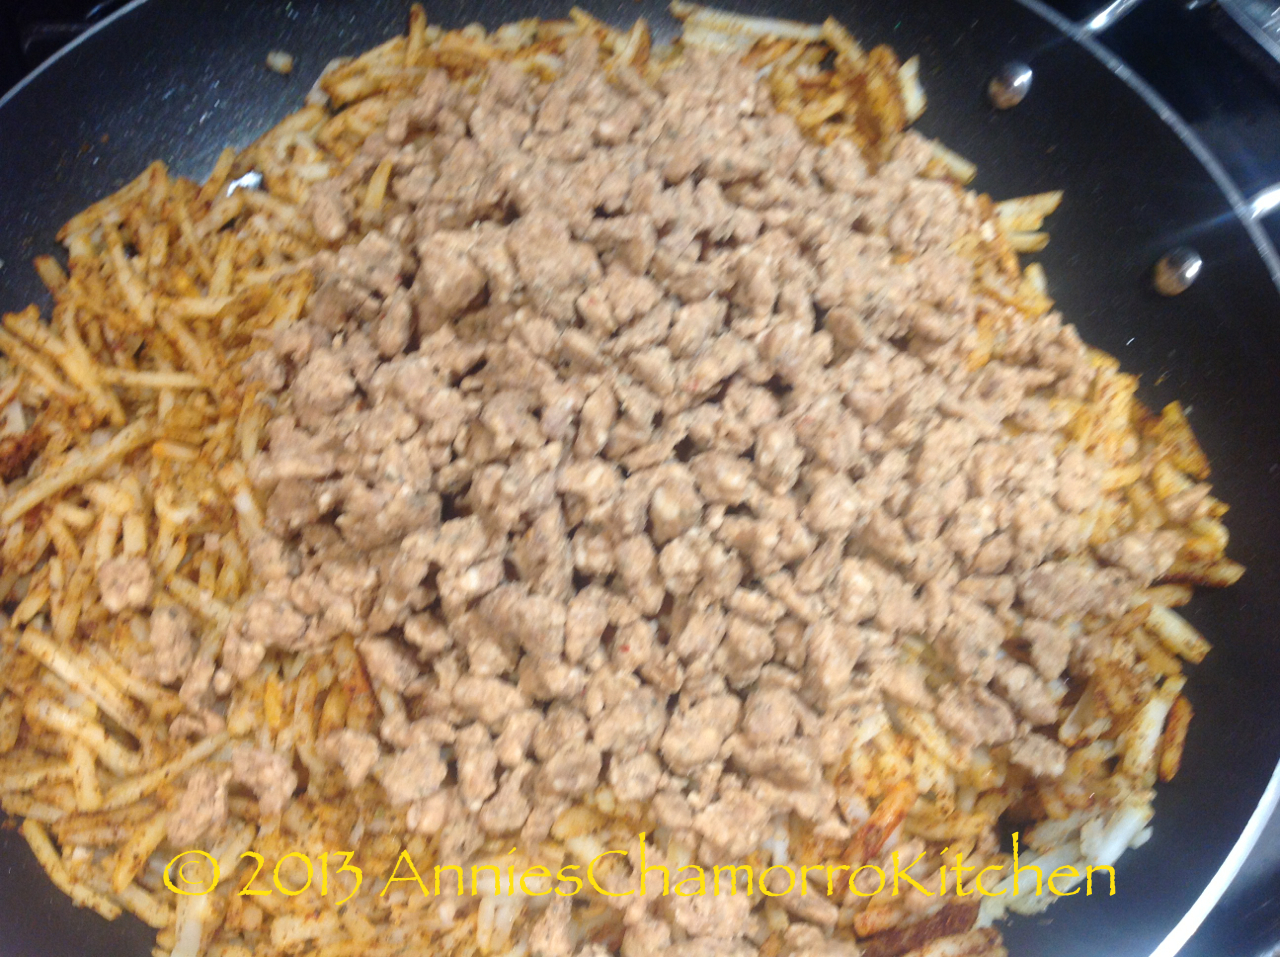
This is the brand of cooked sausage I use.  Use two bags for this recipe.

IMG_1700

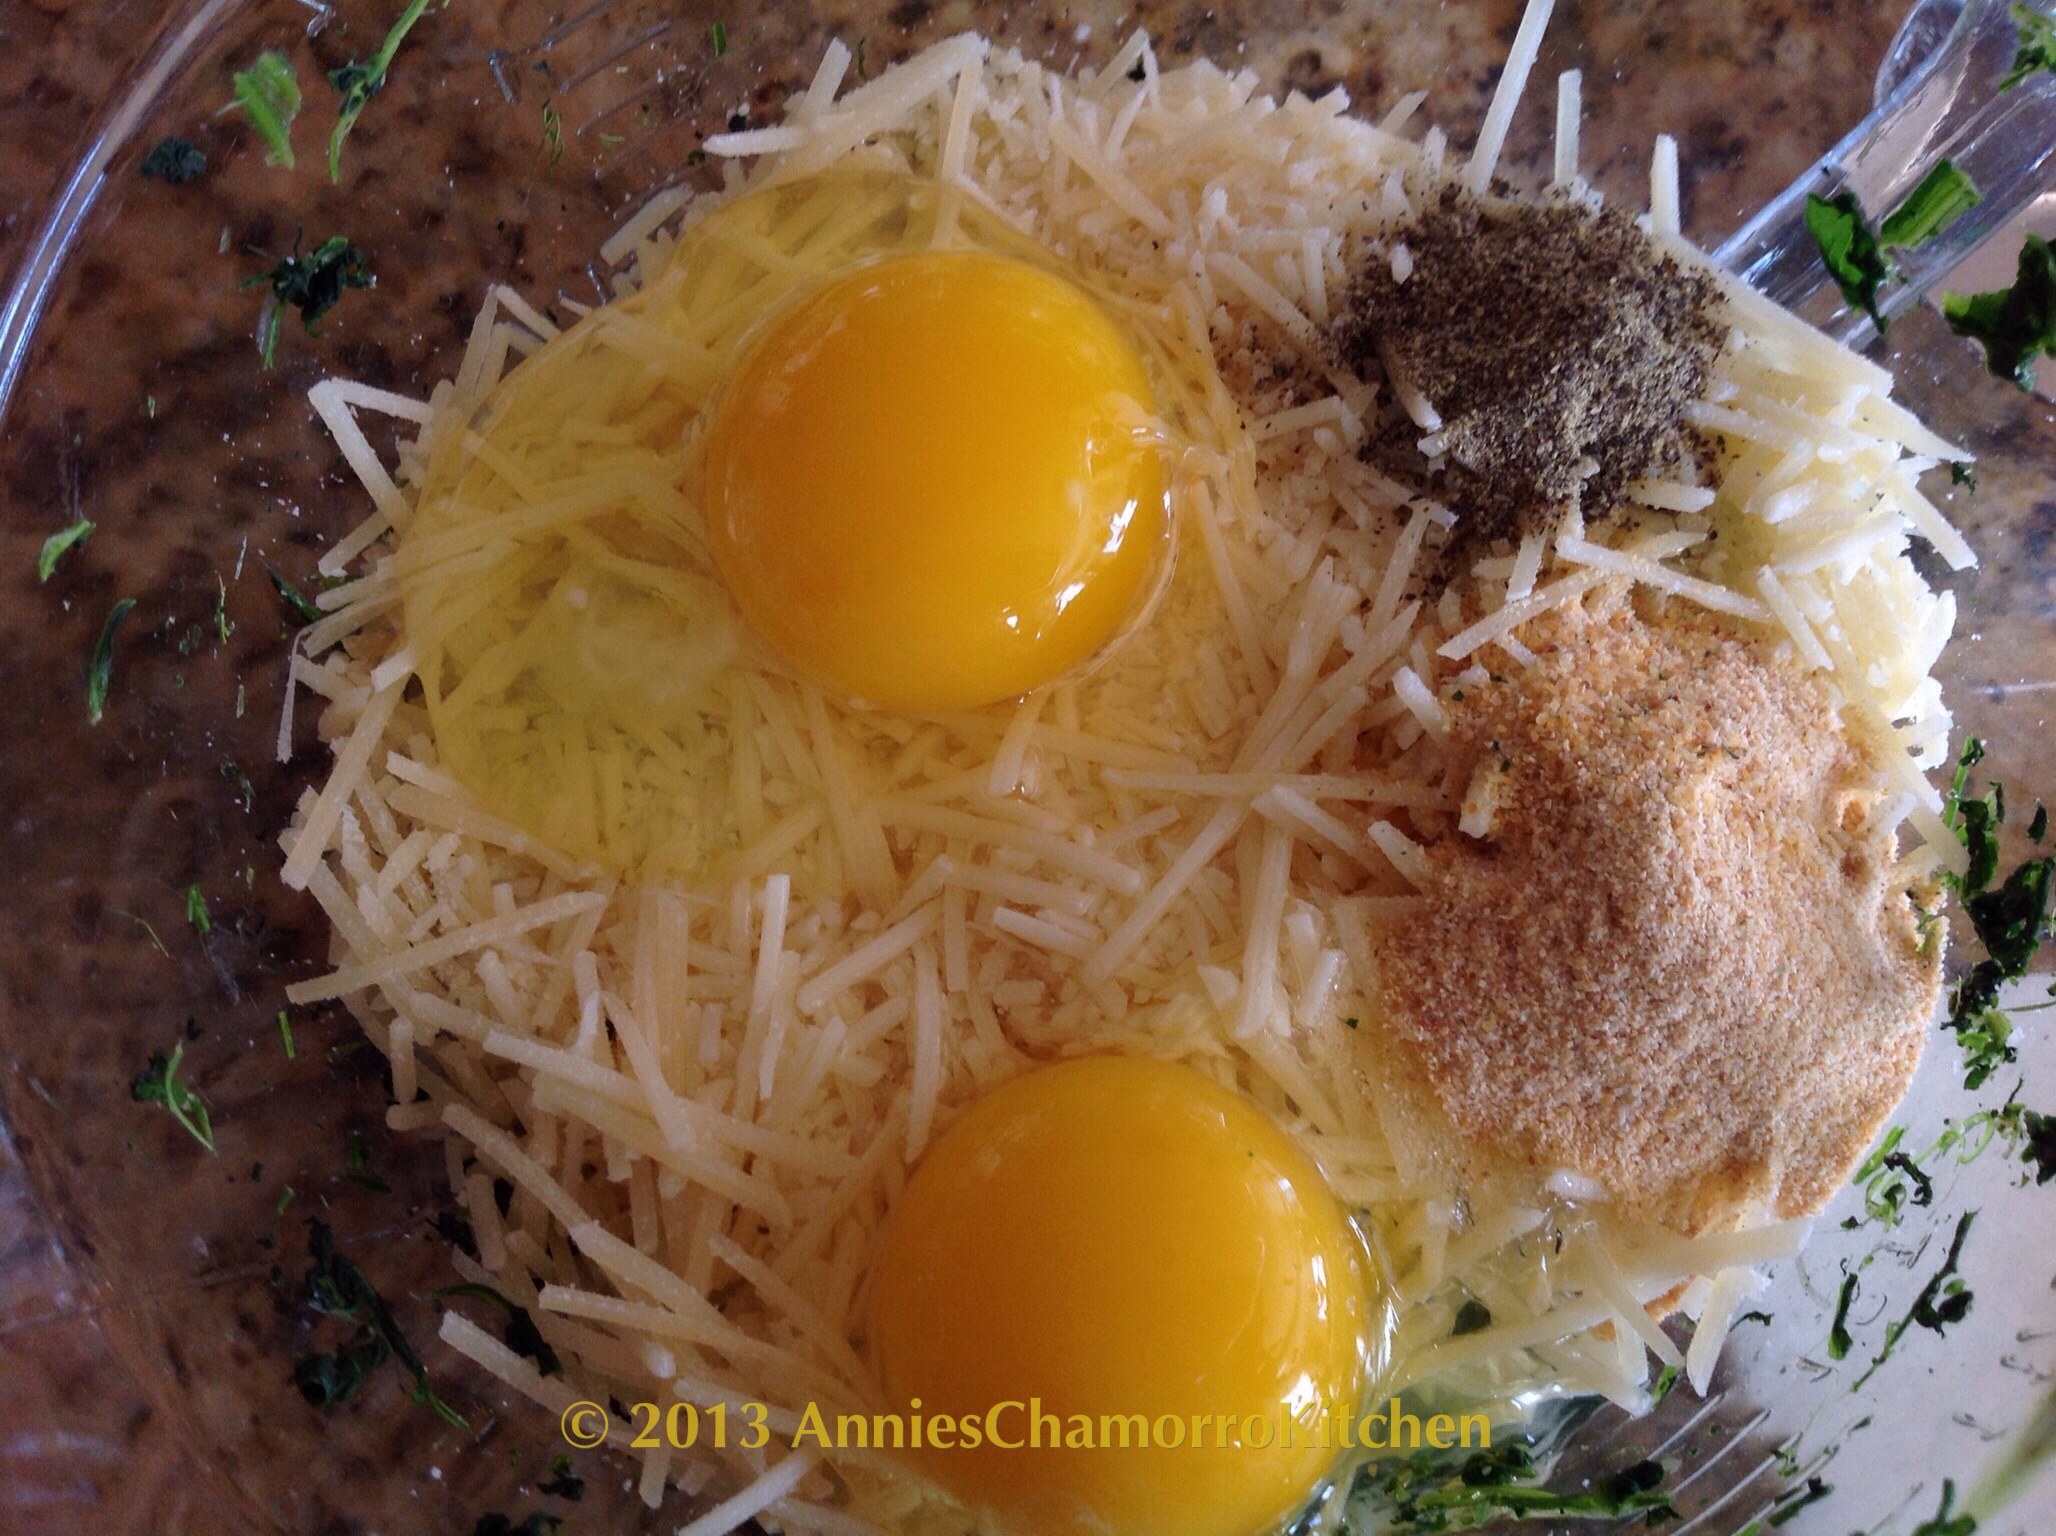
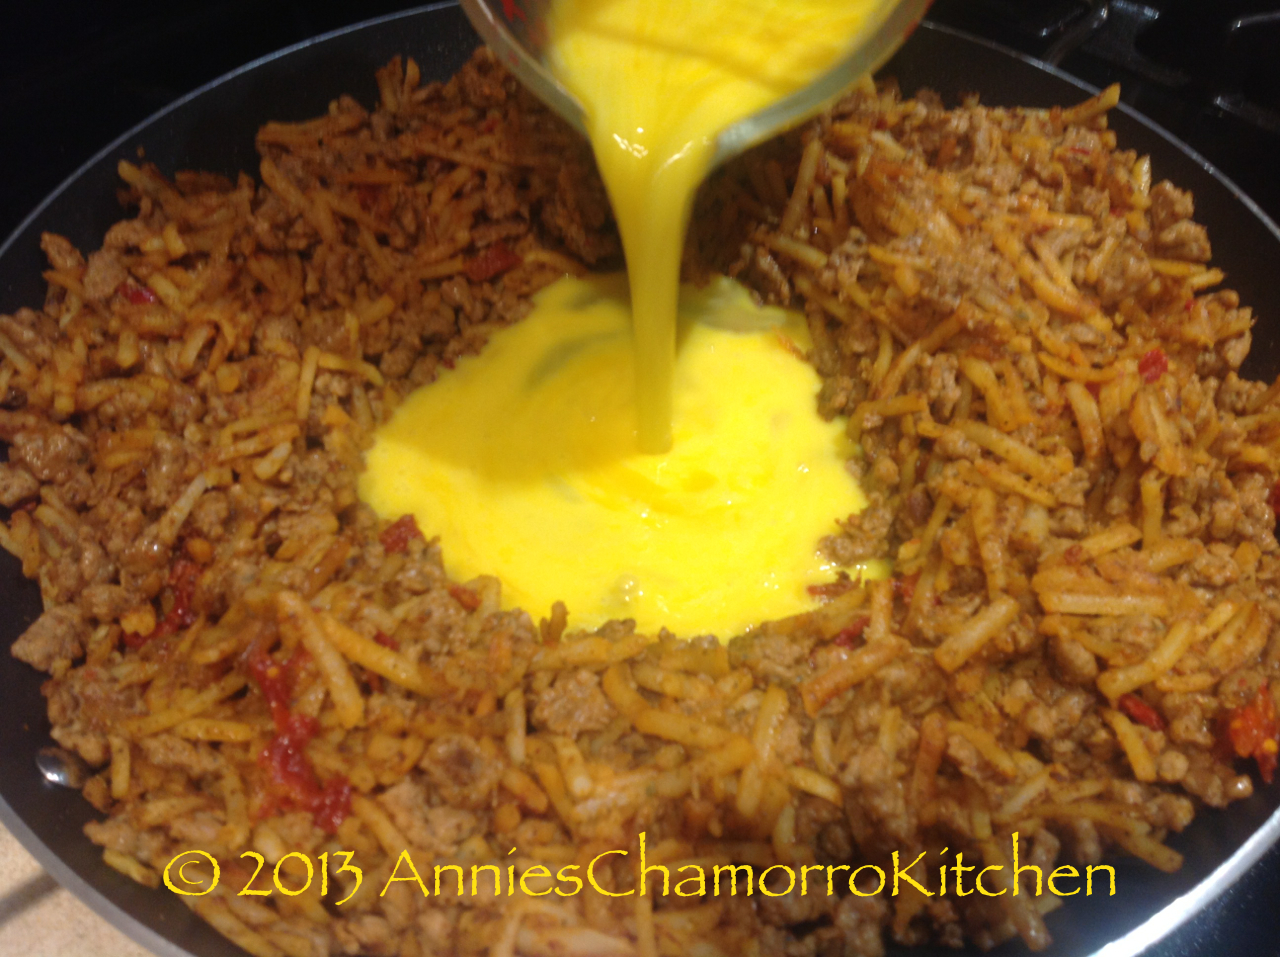
Crack the eggs into a small mixing cup.

IMG_1711

Beat the eggs slightly.

IMG_1712

Make a well in the middle of the pan.

IMG_1715

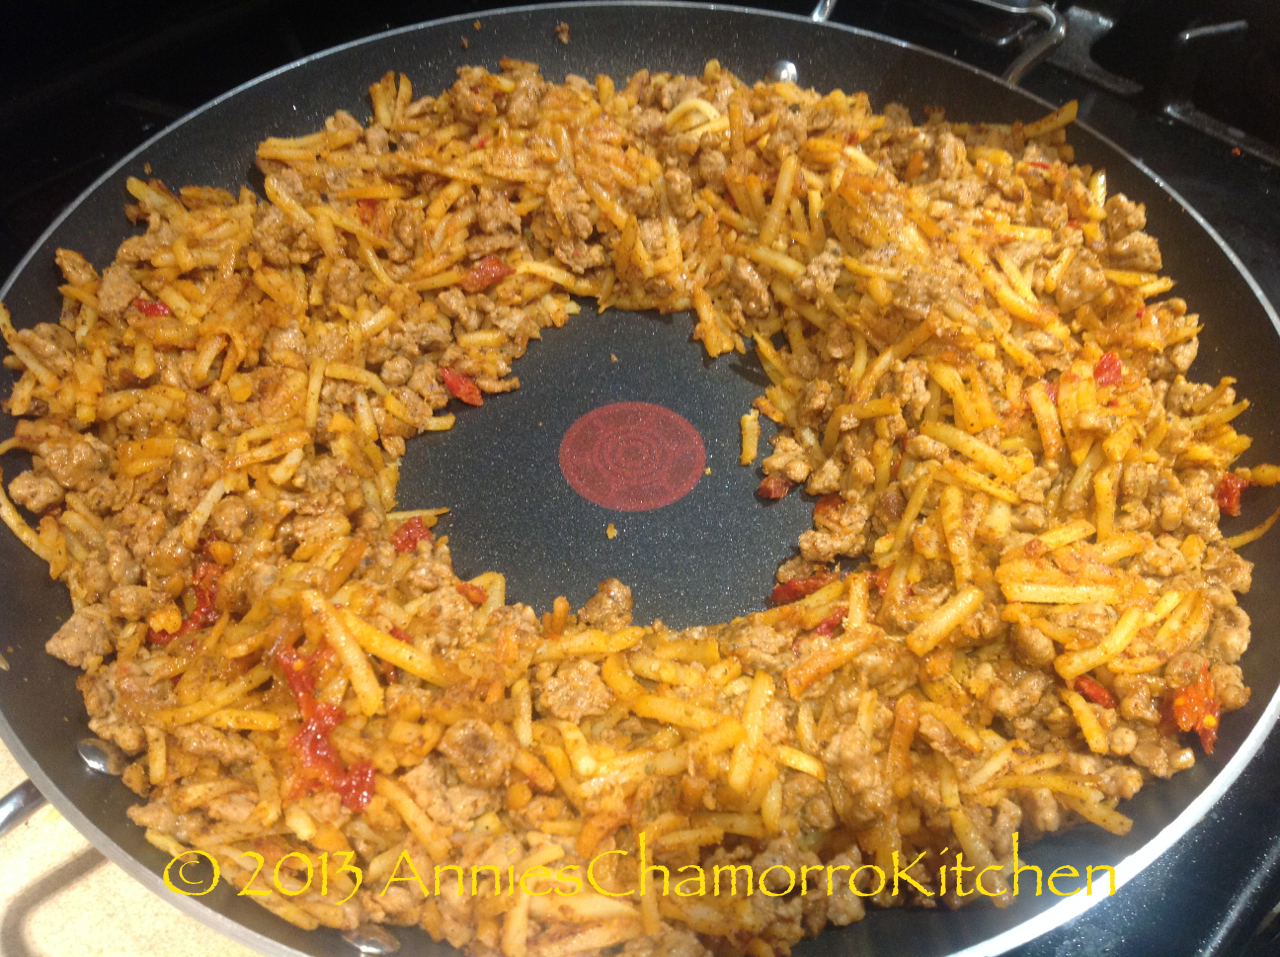
Pour the eggs into the well.  Turn the heat up slightly.  Let the eggs cook for a couple of minutes then stir it into the potato mixture.  It’s okay to stir the eggs even if they are still wet–it will continue to cook as you finish adding the rest of the ingredients.

IMG_1718

Add the sun-dried tomatoes.  I buy the kind that comes already chopped and packed in oil.  If that’s the kind you use, try not to add too much of the oil it comes in.
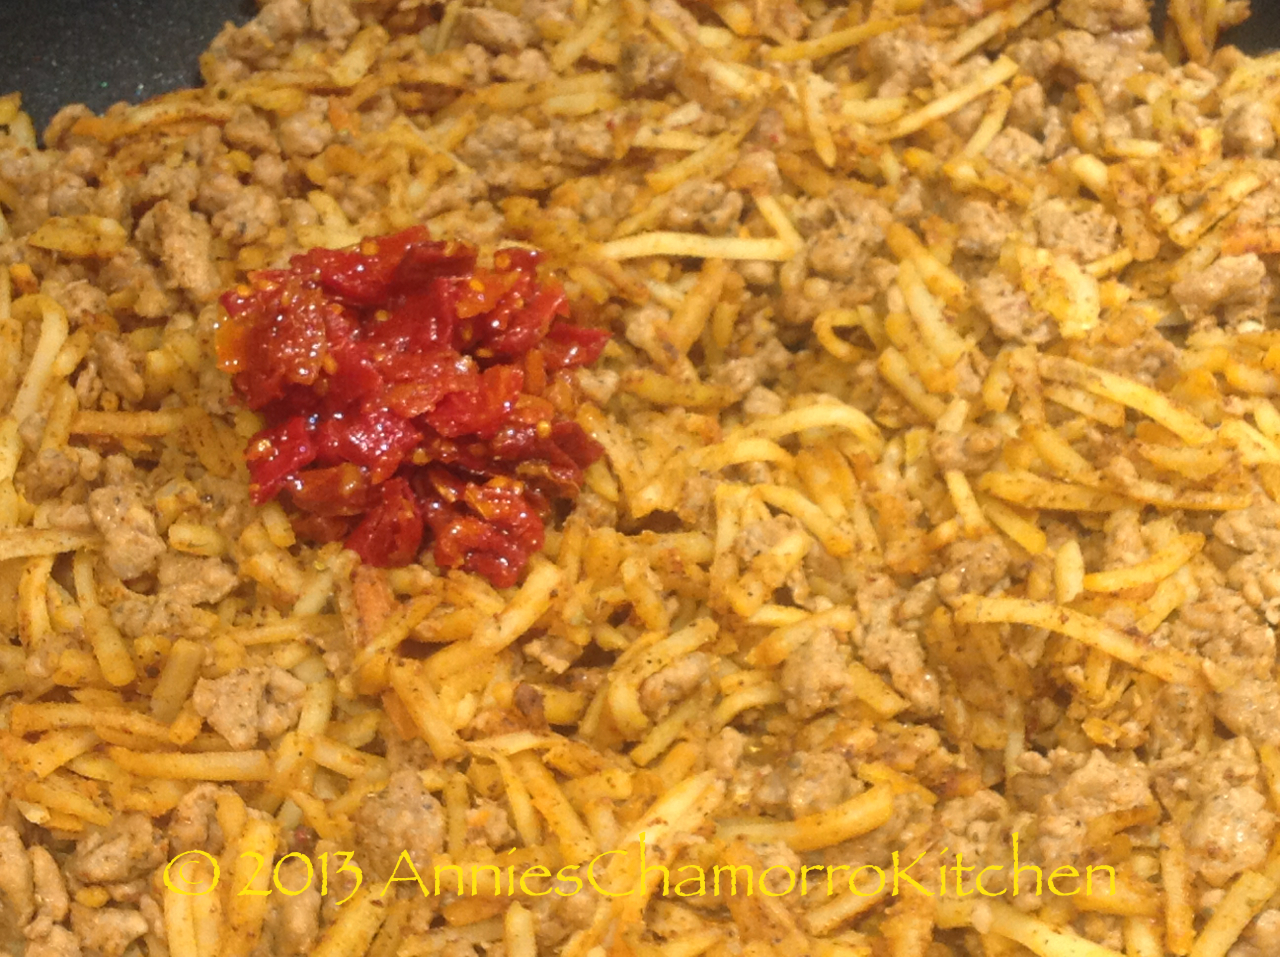
IMG_1714 

Stir to combine.

IMG_1719


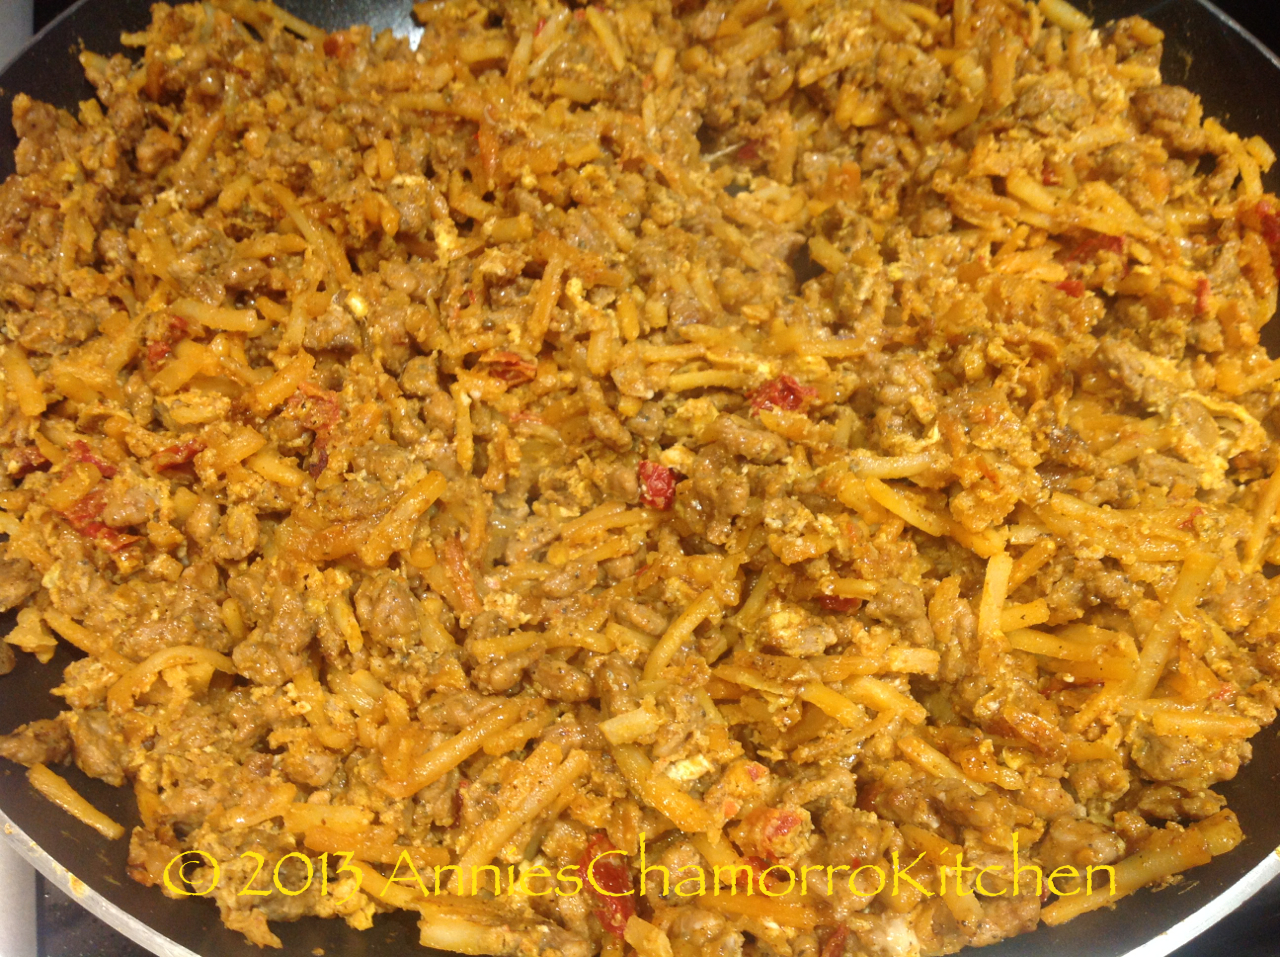
Add the sliced green onions.  Stir to combine.  Cook for a couple of minutes then turn off the heat.

IMG_1720

Place a tortilla on a plate or flat surface.

IMG_1721

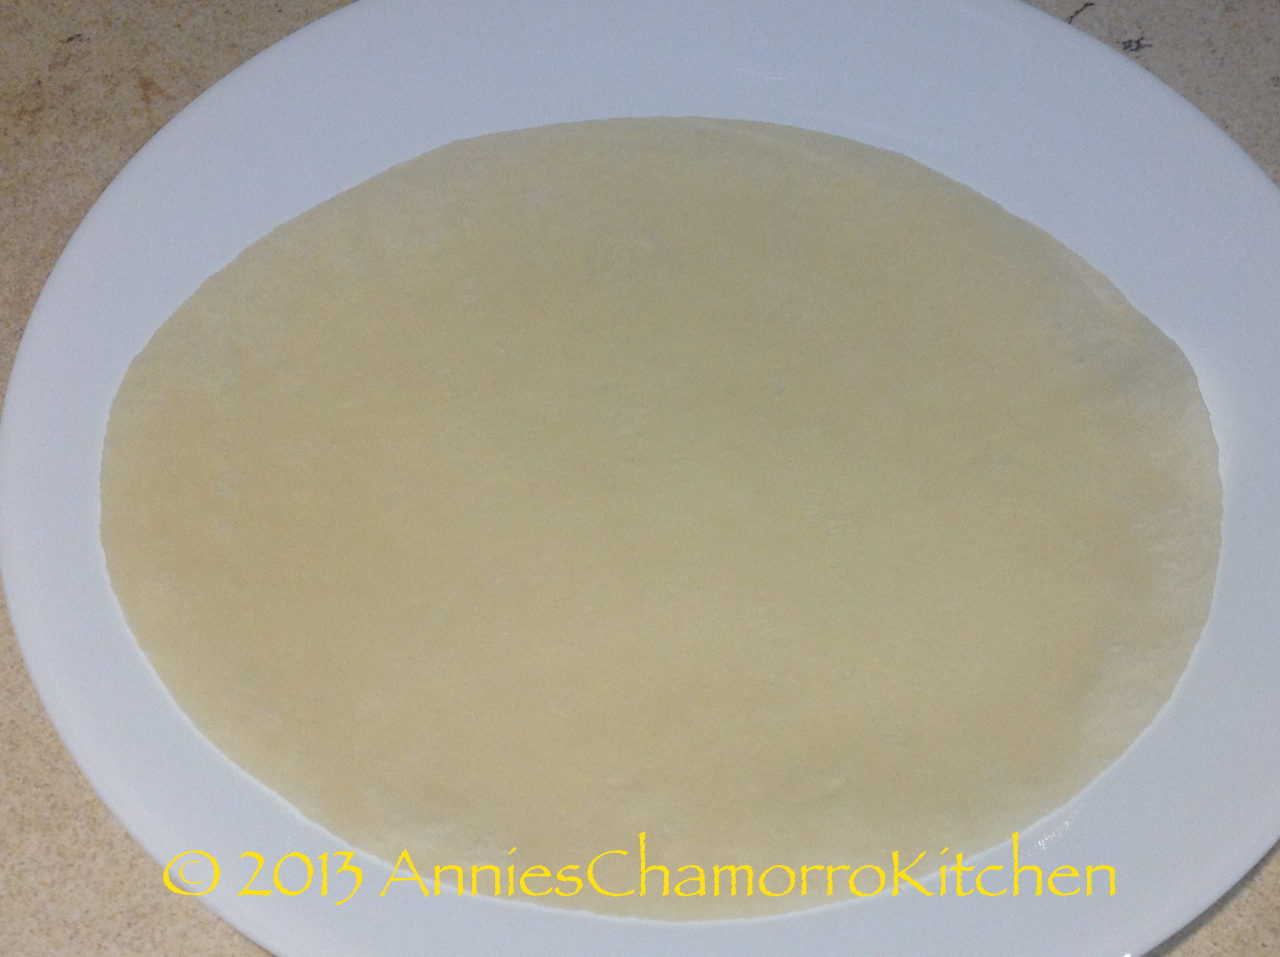
Sprinkle both types of cheese in the middle of the tortilla.

IMG_1723

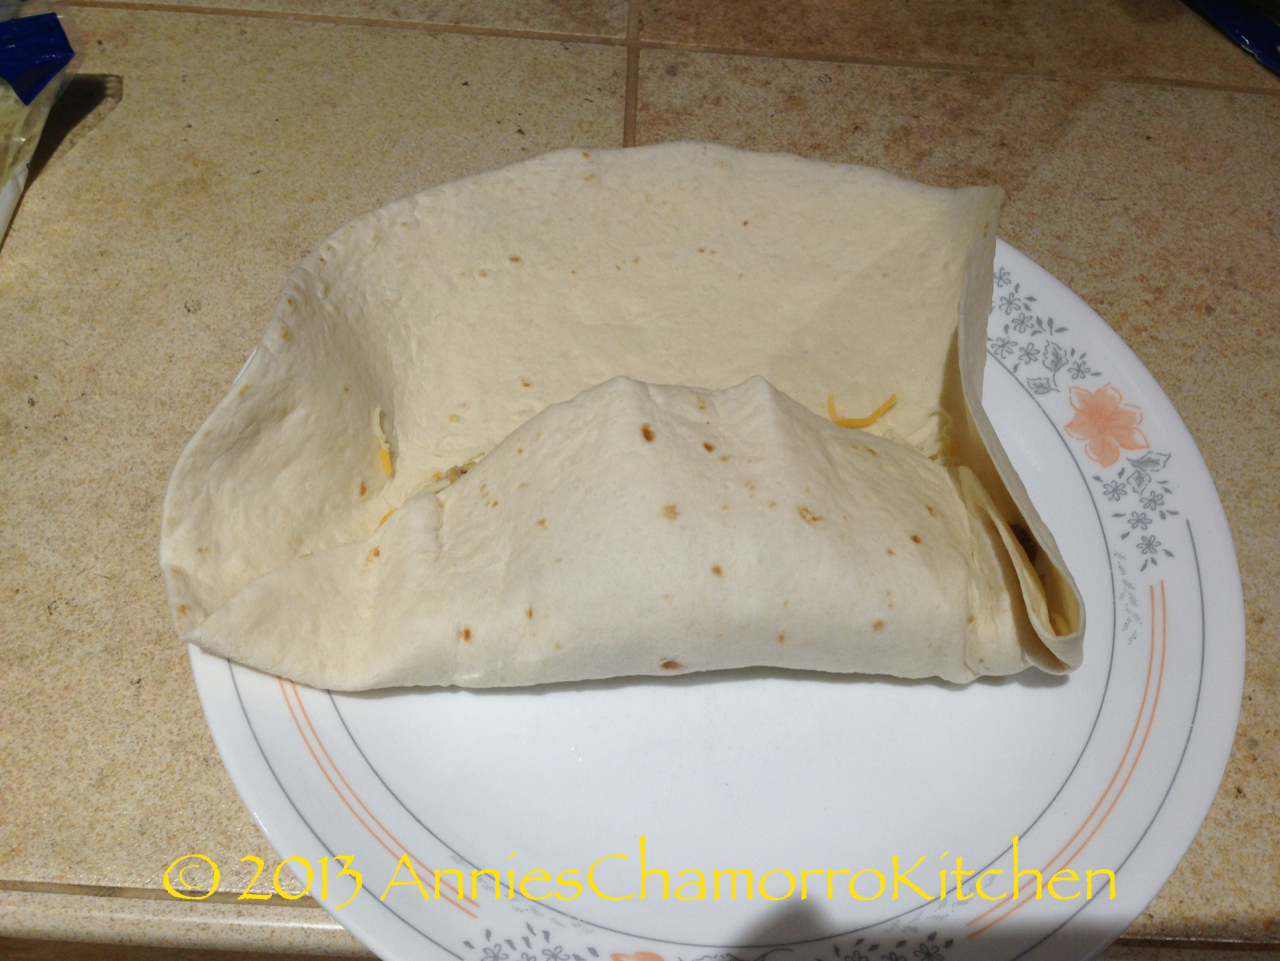
Add about 1/2 cup of the filling over the cheese.

IMG_1724

Fold the bottom half of the tortilla over the filling.

IMG_0330

Fold the sides of the tortilla over, toward the middle.

IMG_0332

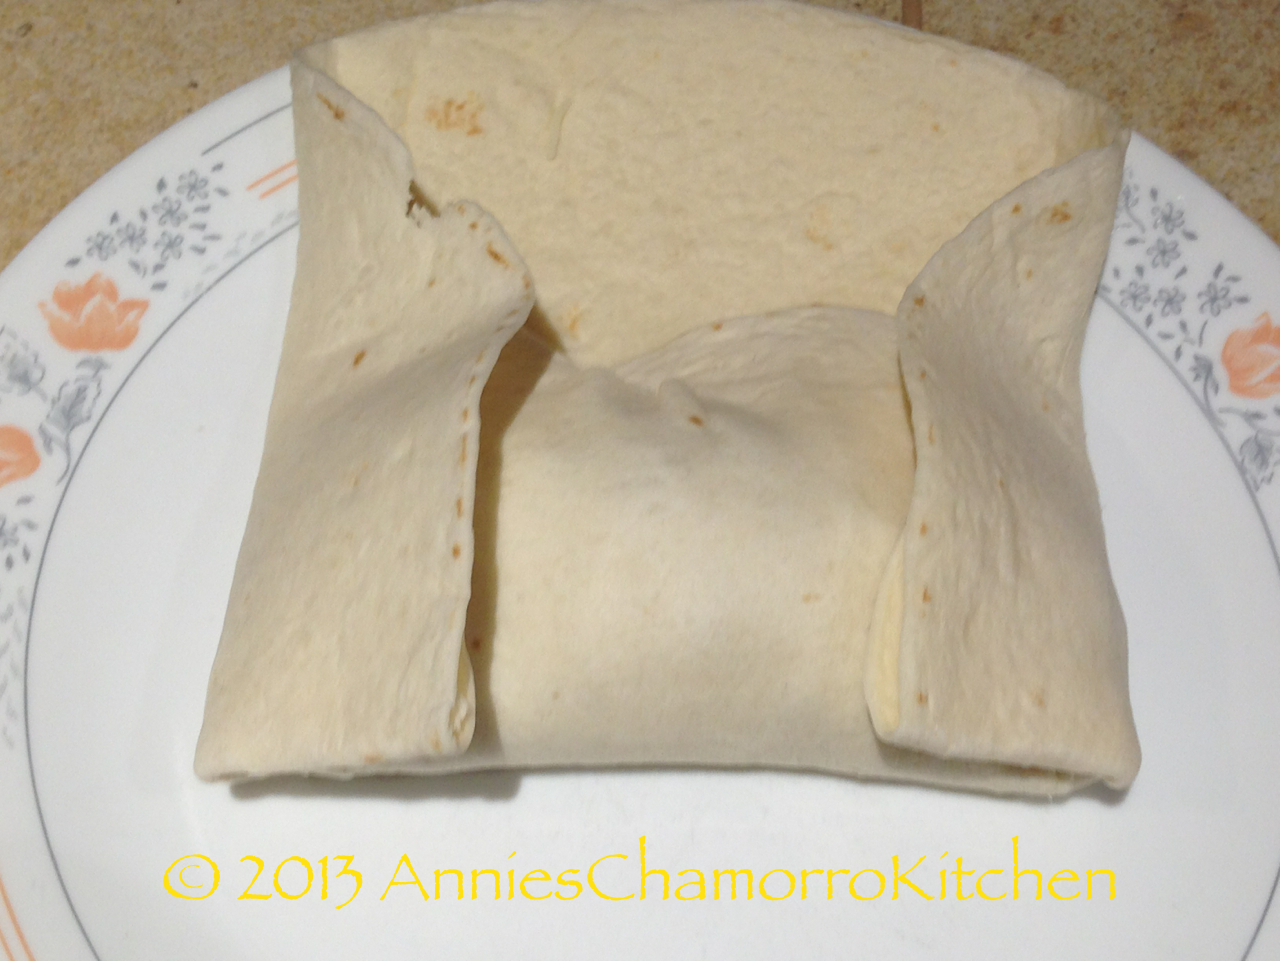
Continue rolling over the other half of the tortilla.

IMG_0331

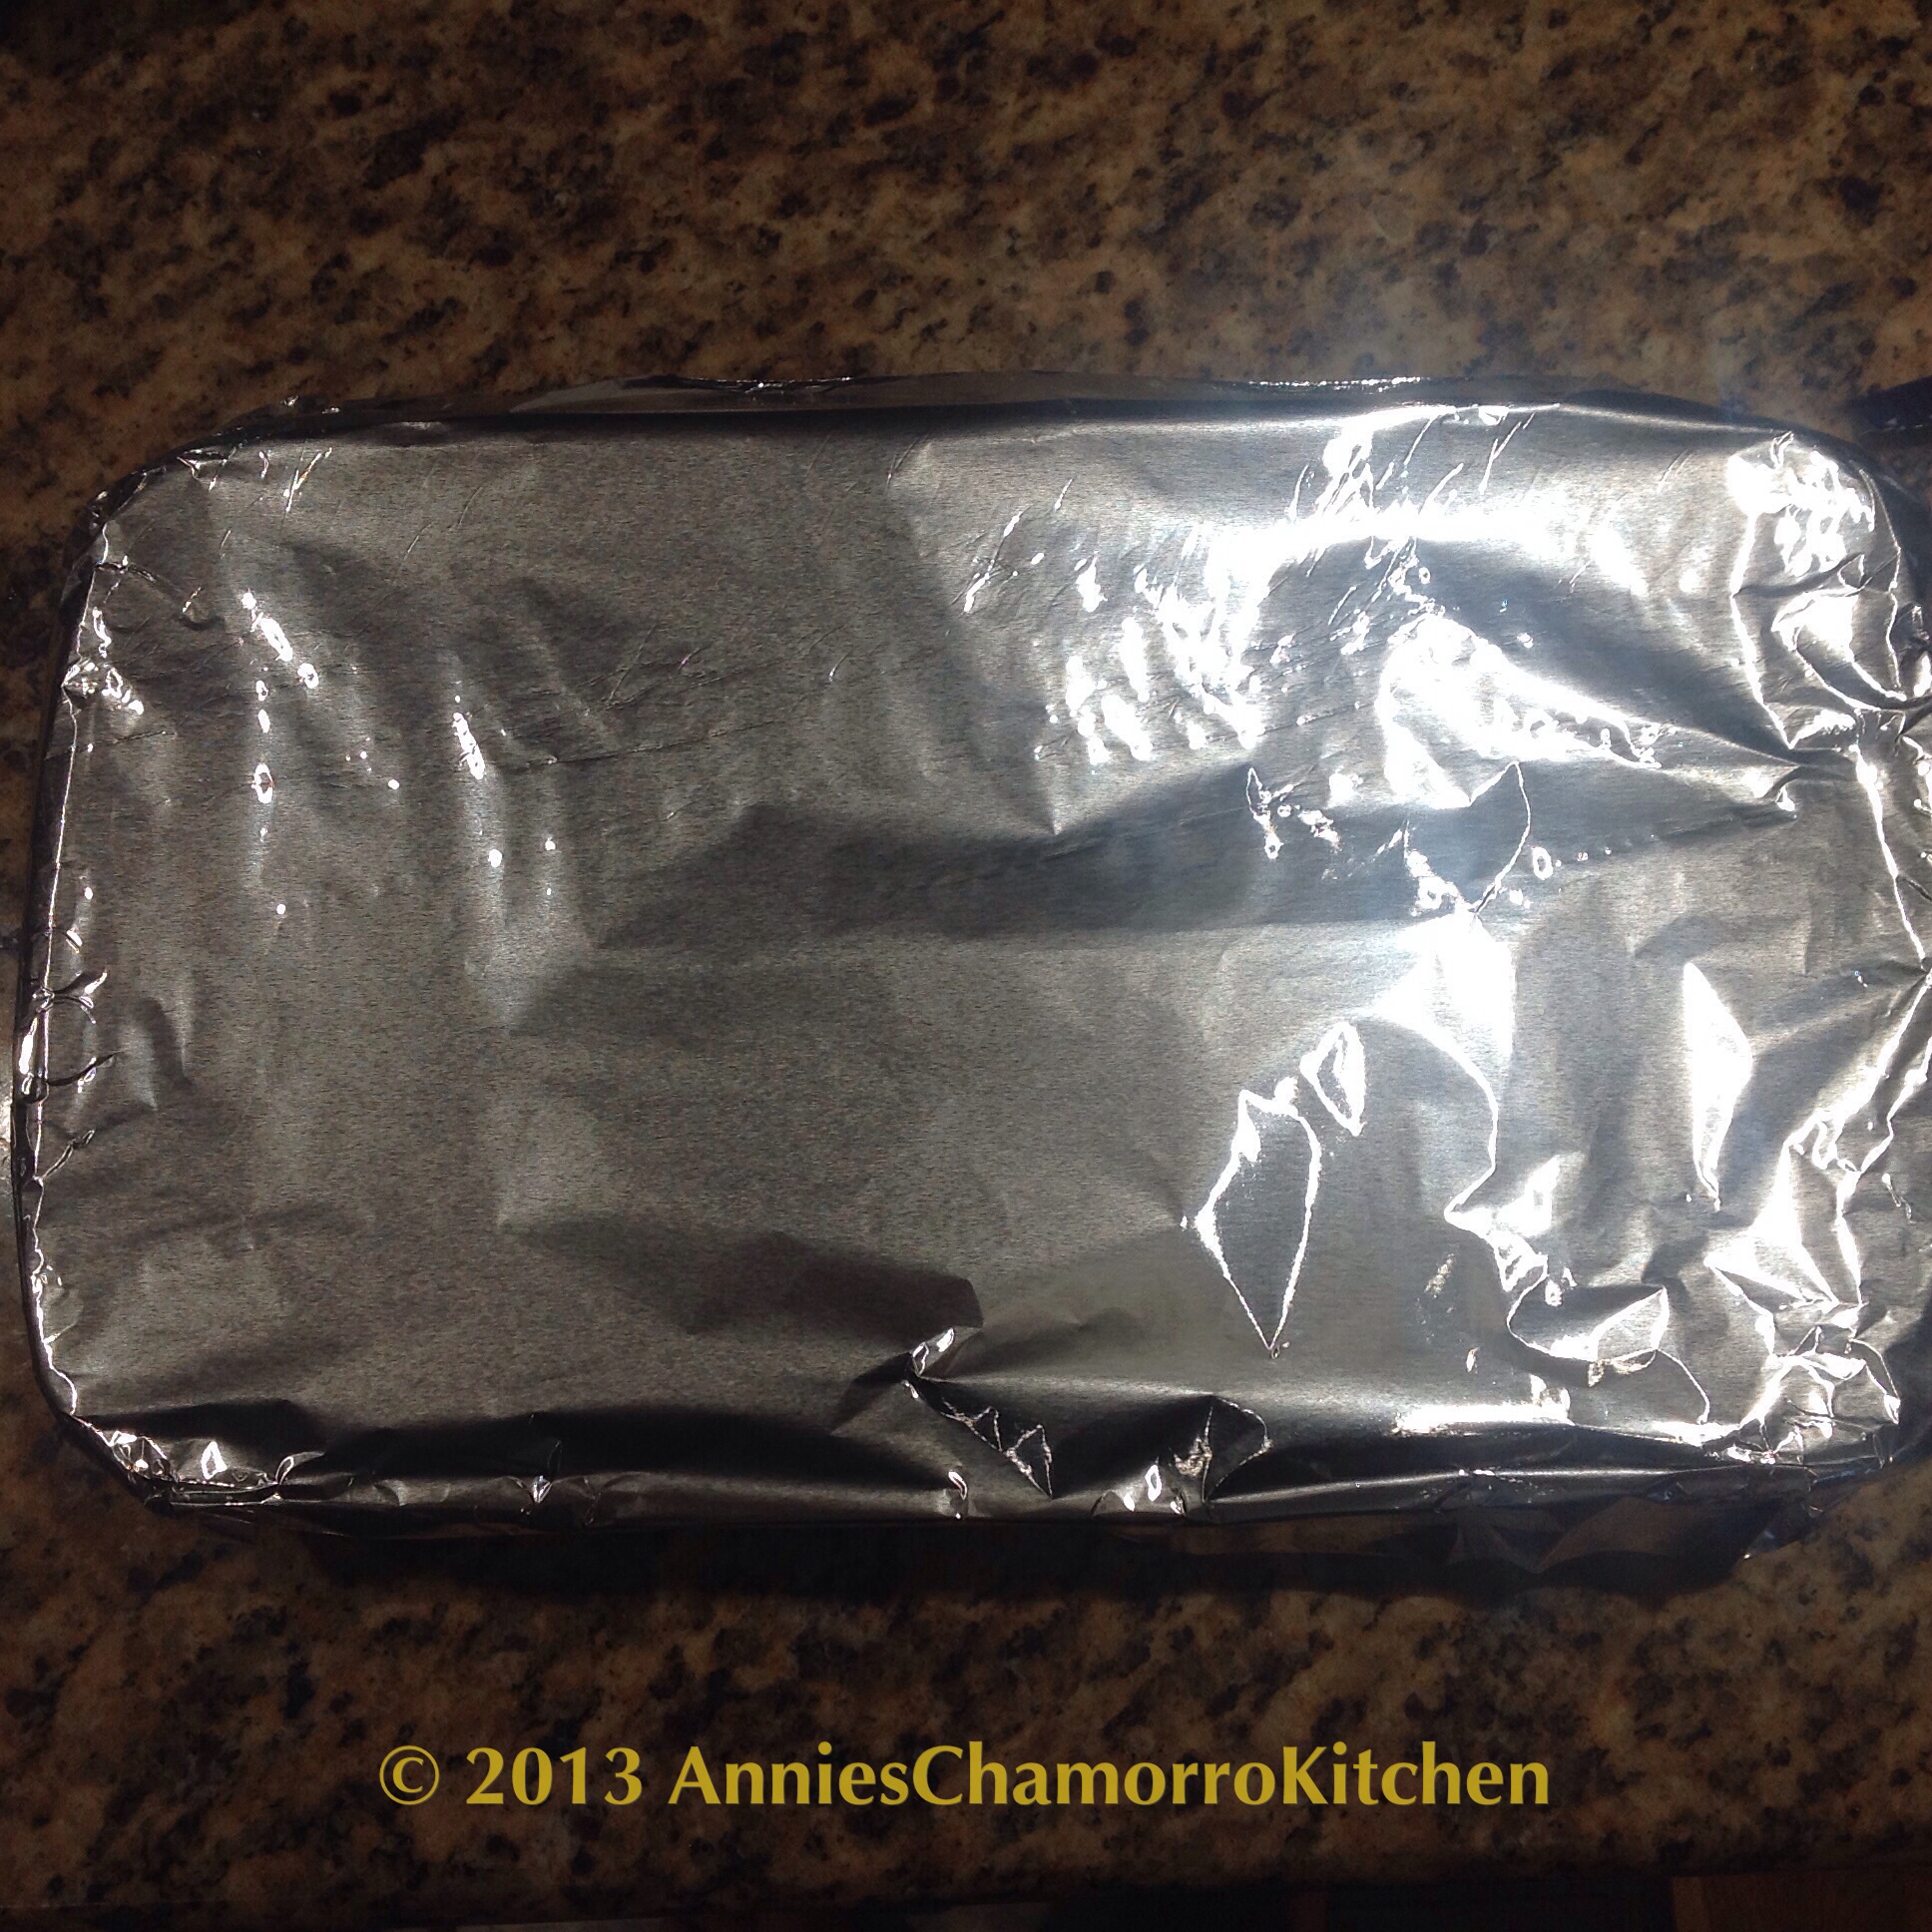
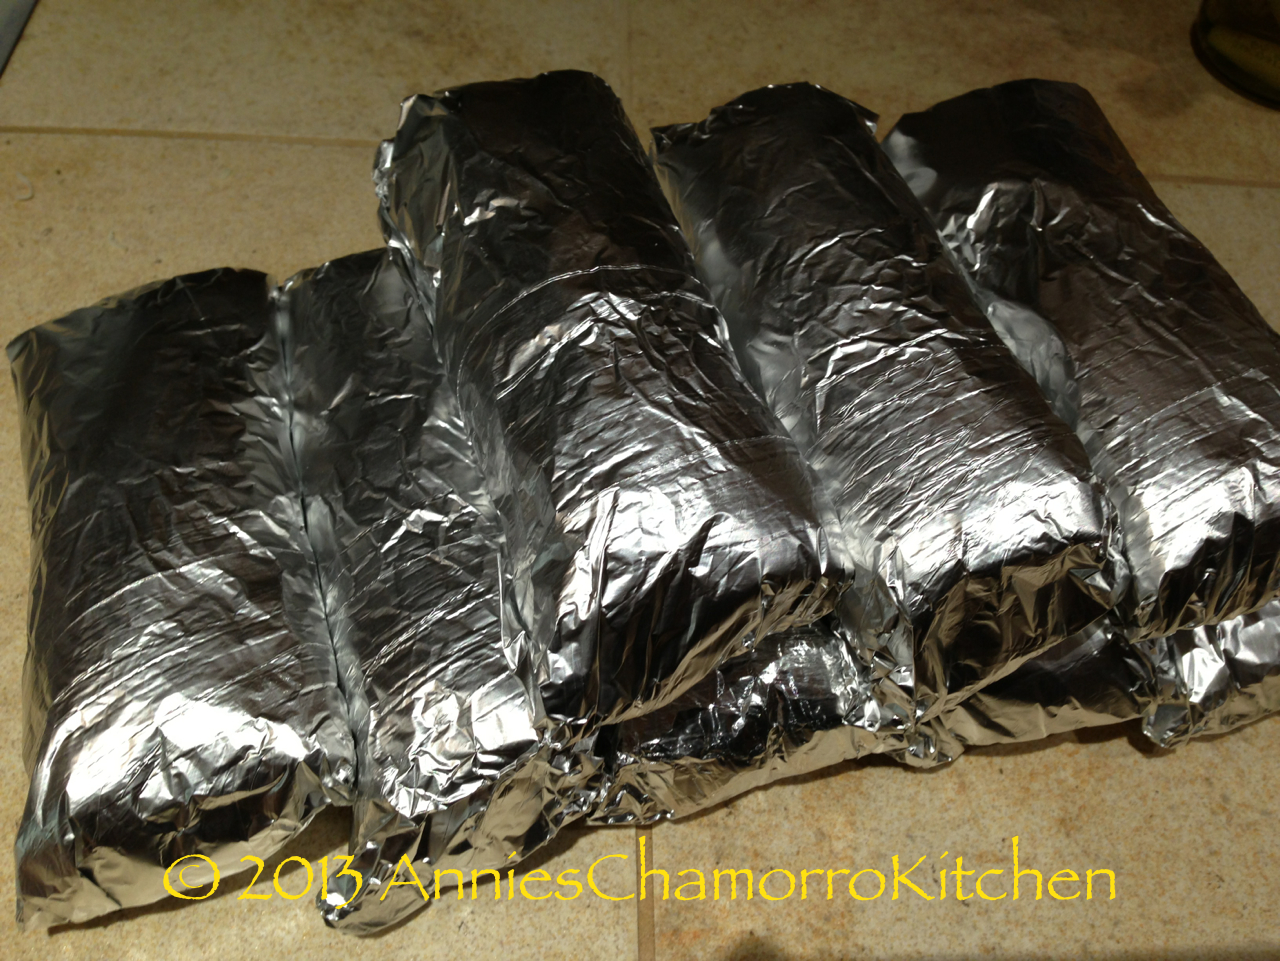
Wrap in aluminum foil.  Refrigerate or freeze any uneaten burritos.  I like wrapping each one in foil because it’s easy to place them on a baking sheet and reheating them in the oven (a toaster oven works well too).  You can’t reheat the burritos this way (in an oven) if they are wrapped in plastic wrap.

IMG_0326

IMG_0333

ENJOY! 🙂


Fina’dene’ ~ Chamorro ‘Special Sauce’

Chamorro Special Sauce — that’s what my non-Chamorro friends call fina’denne’, the literal translation of which means made with pepper or donne’, the Chamorro word for hot chili pepper.

Fina’denne’ is a staple in most Chamorro homes.  It’s served with most meals.  Pour it over your freshly steamed rice or over your meat of choice.  It’s sure to enhance your dining pleasure. 🙂

There are many, many ways to prepare fina’denne’.  Soy sauce is usually the main ingredient; however, depending on the type of dish being served, you may choose to use salt instead.  For instance, I prefer a salt-based fina’denne’ over grilled fish, but I love a soy sauce-based fina’denne’ over fried fish.

The acidic ingredient is all up to you as well.  You can use white vinegar, cider vinegar, coconut vinegar, lemon juice or lime juice…it’s all up to you.  My brother, for example, likes only lemon or lime juice in his fina’denne’.  I, on the other hand, like to vary the acid I use depending on what I’m eating.  I mentioned fish above…I like a soy-lemon fina’denne’ with fried fish, and either a salt-lemon or salt-white vinegar fina’denne’ with grilled fish.

I also like using white vinegar when I add tomatoes to my fina’denne.  Tomatoes and vinegar pair really well, you know, like how a vinaigrette dressing goes great with a tomato salad.

Be sure to taste as you go…you might like your fina’denne’ more on the salty side, or you might prefer it a bit more sour (which is how I like it).

I like a 1:1 ratio of soy sauce to vinegar.  My husband prefers his fina’denne’ on the salty side, so when he makes it, he uses a 2:1 ratio of soy sauce to vinegar.  In other words, if I were to make a cup of fina’denne, I’ll use 1/2 cup soy sauce and 1/2 cup vinegar.  My husband, on the other hand, will make his using 1/2 cup soy sauce and 1/4 cup vinegar.

Try making different varieties of fina’denne’ and decide for yourself your personal preference. But by all means, give it a try.  I’m sure you too will love it. 🙂

Fina’denne’

image

Ingredients:

  • Soy sauce, to taste (you can substitute the soy sauce with salt)
  • Vinegar, to taste (you can use any type of vinegar, or you can use lemon or lime juice)

Optional ingredients:

  • Green onions, as much as you like
  • White onions, diced, as much as you like
  • Hot chili peppers, as much as you can stand
  • Cherry tomatoes, diced or sliced
For this batch of fina’denne’, I used:
  • 1/2 cup soy sauce
  • 1/2 cup vinegar
  • 1 jalapeño pepper
  • 2 Serrano chili peppers
  • 4 stalks green onions
  • 1/2 cup cherry tomatoes

Directions: 

In a small bowl, mix together the soy sauce and vinegar (or lemon juice if you prefer).  

image

I like adding hot green chili peppers to my fina’denne’, charring them slightly.  You don’t have to char the peppers, but doing so brings out so much more of the pepper’s flavor.  I grilled these peppers over the flame of my gas stove.  Use a metal skewer to keep the peppers together; it also makes it easier to turn the peppers over to ensure even grilling.

image

My mom and one of my sisters loves using the red, super-hot Thai peppers in their fina’denne’.  Those are great too, but beware!  Those suckers are MOUTH-ON-FIRE H-O-T!!!

red chili peppers

Slice the peppers then add them to the bowl.

image

Add the onions.  I used green onions here, but you can use white or yellow onions too.

image

Add the tomatoes.

image

Stir to combine.

image

Pour over your rice and meat and dig in! ENJOY! 🙂

image

Here’s a great tip:  for fina’denne’ at your fingertips and ready when you want it, buy a plastic squeeze bottle and fill it with fina’denne’, the liquid mixture only.   Squeeze bottles are sold at most grocery stores, but I bought this one at our local Korean store.  Add onions, tomatoes and peppers on the side when you’re ready to serve up your meal.

image

Chicken & Spinach Alfredo Lasagne Roll-ups

I love good pasta.  Two of my favorites are chicken alfredo and lasagne, so how about we combine the two?

This is a rolled version.  I love how easy it is to serve up individual portions — all you have to do is scoop up a roll (or two).  There’s no messy cutting involved here!

To make this dish a bit more nutritious, I added frozen spinach — two entire boxes of it too! Even my daughter (who is an extremely picky eater) scarfed up her dinner, green stuff and all!

Give my recipe a try.  It’s so tasty, I know you’ll love it! 🙂

Chicken & Spinach Alfredo Lasagne Roll-ups

image

Ingredients:

The meat of 1 small roasted chicken
20 lasagne noodles, cooked al dente
2 10-oz packages frozen spinach, thawed and excess water squeezed out
1 15-oz. package shredded Parmesan cheese
2 large eggs
1 tablespoon garlic powder
1 teaspoon black pepper
1 teaspoon salt
4 stalks green onions
2 15-oz containers ricotta cheese
3 jars alfredo sauce
2 cups shredded mozzarella cheese

Directions:

Shred the chicken. I’m all for a bit of convenience here and there so I used a small rotisserie chicken to save time.  Here are the Before and After photos. 🙂

image

image

Place the spinach into a medium sized mixing bowl.

image

Add the Parmesan cheese.

image

Add the eggs.

image

Add the seasonings.

image

Add the green onions.

image

Add the ricotta.

image

Mix all of the ingredients together. (It looks ‘kinda like spinach dip, doesn’t it?) 🙂

image

Lay the noodles on a flat surface.

image

Spread about 4 teaspoons of the spinach mixture onto the noodle.

image

image

Add shredded chicken to the top of the spinach mixture.

image

Roll up the noodle, jelly roll style.

image

Pour alfredo sauce in the pan, just enough to cover the bottom.

image

Place the pasta rolls over the sauce.

image

Pour alfredo sauce over the top of the pasta.

image

This recipe made enough for one 9×13 pan plus a smaller square pan! Yay! There will be enough leftover to pack 4 lunches the the next day!

image

Sprinkle the mozzarella cheese all over the top.

image

Cover with foil and bake at 350 degrees for 30 minutes or until the cheese is melted and bubbly.

image

It’s done!

image

Serve with a slice of garlic toast.  Enjoy!

image

Buñelos Dågu

If you had to list your favorite Christmas food, what would they be?  I’d have too many to list since I have quite a few favorites, but up near the top would be Buñelos Dågu.

A delicious treat, these fried yam donuts, or Buñelos Dågu in Chamorro, are synonymous with Christmas.  This is perhaps because the yams are harvested during the Christmas season.

There are several varieties of yams that you can use to make these donuts.  If you live on Guam or the other Mariana Islands, you can use Dågu, Nika, or Gadu’.  There are also both White and Red varieties of Dågu (called Dågun Å’paka’ or Dågun Agaga’, respectively).

Donuts made with dågu tend to be brownish in color after frying.  Nika donuts are much lighter, a golden brown on the outside and creamy white in color on the inside.  While I like both types, I prefer Nika donuts.

Living in the states, I found a great substitute for the white yams we know on Guam as Nika. It’s called Nahme (pronounced nah-may) Root in some Asian Stores.  I’ve even seen it called Namee or Nami.  If your local Asian market doesn’t have it, check the Hispanic stores, or ask the store manager to order some for you.

This is what Nahme looks like.

Nahme Root

If you’re lucky, you can find some dågu as well.  They are quite large, and look like monstrous hands with lots of “fingers”.  Here’s a photo of dågu.

dagu

Aside from making donuts with the yams, you can cook them as you would potatoes.  Yams are delicious cooked in a chicken stew or kådu with coconut milk.

You don’t have to wait for Christmas to have these delicious donuts.  Visit your local Asian or Hispanic store and buy some yams then give my recipe a try.  I think you’ll like it. 🙂

Buñelos Dågu

Bunelos dagu 2

Ingredients:

  • 2 ­pounds yam (Namee, dagu, etc.)
  • 1/2 cup all-­purpose flour
  • 1/4 cup sugar
  • 1 tablespoon baking powder
  • Oil for frying

Directions:

1.  Heat oil in a frying pan; the oil should come to about 1 inch in depth.

2.  Peel skin off the yam. Using the fine part of a box or hand­held grater, grate the yam into a mixing bowl.

When grating the yam, your skin might be mildly irritated.  The scientific explanation for this is that most yams contain oxalate crystals which can irritate the skin, mouth and sometimes tongue.  I get around this by wearing plastic gloves when I grate the yams.

3.  Mix in the flour, sugar, and baking powder.

4.  Drop batter by heaping tablespoonful into the hot oil. Fry until golden brown, turning frequently to ensure even browning on all sides.

Modern conveniences make it so easy to drop the batter into the oil.  Back home on Guam, we’d scoop up a handful of batter then squeeze out dollops between our thumb and pointer.   It sounds difficult, but it’s actually quite easy to squeeze it out from between your fingers. It just takes practice. If you can’t get the hang of forming them this way, use a small ice cream scoop (the 1-tablespoon sized scoop). Dip the scoop in water then scoop out some batter; the batter will slide right out and not stick to the scoop.

Bunelos dagu 1

5.  Serve with maple syrup or a simple syrup.

To make a simple syrup: in a microwave safe cup or bowl, mix together 1 cup of sugar with 1/4 cup water.  Microwave on high until the sugar is melted.  Stir thoroughly.  Let the syrup cool slightly before using. 

bunelos dagu 3


ENJOY!

Bunelos Dagu 2

Baked Brie

It’s a TV marathon night tonight! The lineup includes Survivor, Criminal Minds and CSI, three of my favorite shows.

To add to my TV-watching enjoyment, I baked a wheel of Brie (minus the puff pastry wrapping) topped with store-bought Pineapple Habanero sauce.

Baked Brie

1004633_596444883745669_981890798_n

To make this at home, you’ll need:

  • 1 wheel of good quality brie cheese
  • 1 cup of your favorite jelly or fruit compote
  • Optional:  1 sheet frozen puff pastry, thawed plus 1 egg, beaten

Directions:

1.  Bake the entire wheel of Brie at 400 degrees for 20 minutes.

Optional: wrap the Brie in a sheet of puff pastry. Place the wrapped Brie on a pie plate, seam side down, then brush the entire surface with a beaten egg. Bake as stated above.

2.  After baking, top with your favorite jelly or compote–pepper jelly is delicious too.  I bought the pineapple habanero sauce at COSTCO.

3.  Serve with crackers or toasted bagel chips.

Enjoy!

1392090_596447627078728_329808428_n

Note:

Depending on the brand of brie you buy, you can actually eat the rind (the white outer “crust” surrounding the brie).  The brand I buy actually has a very thin rind that is perfectly fine to eat.  Depending on the brand, the rind can taste quite bitter, however.  If you prefer not to eat the rind, use a sharp knife to cut the rind off before wrapping in puff pastry and baking.

« Older Entries Recent Entries »