Red Rice made with Brown Rice

My family is making a concerted effort to develop healthier eating habits. We’re making small changes in the foods we eat as well as how we prepare them.

One change we definitely like is that we’ve made the switch from white to brown rice. I admit, it took some getting used to, but we actually like it. Of course, I have to season the brown rice whenever I cook it.

I wanted to see if the classic Chamorro Red Rice would taste good using brown rice instead of the usual white medium or long grain rice we know and love.

The result? Delicious! Granted, you can definitely tell you’re eating brown rice (it’s firmer and a bit nuttier than white), but delicious nonetheless.

Give my recipe a try. I think you’ll like it. 🙂

Red Rice made with Brown Rice

aka Red Brown Rice 🙂

Ingredients:

  • 3 cups brown rice (use your rice cooker cup)
  • 6 1/3 cups water (use your rice cooker cup) (*See note below)
  • 1 packet achote powder (*See note below)
  • 1 tablespoon olive oil
  • 1 bunch green onions, sliced
  • 1 tablespoon Dashida seasoning (or salt, to taste)

Note: You can use achote water made with achote seeds instead of achote powder. Scrub the seeds in the water; strain out the seeds before using.

Directions:

1. Rinse the rice then place into your rice cooker pot.

2. Add the water.

3. Add the achote powder.

4. Add the olive oil.

5. Add the green onions.

6. Add the Dashida seasoning.

7. Cover the pot then turn it on or place it on “cook.” After about 5 minutes, open up the lid and stir the rice, ensuring the achote powder and Dashida seasoning are dissolved and evenly distributed. Place the cover back on the pot and let it finish cooking. After your rice cooker turns from “cook” to “warm” (or the equivalent for your rice cooker model), be sure to keep the lid closed, letting the rice continue steaming for 10-15 minutes before serving.

8. We love red rice with fried chicken and cucumber salad. Serve with your favorite main dish(es) and enjoy!


Cucumber Salad with Homemade Italian Dressing

This is a very quick and simple dish. I like to make this salad ahead of time to allow the cucumbers to absorb the delicious tangy dressing.

Give my recipe a try. I think you’ll like it. 🙂

Cucumber Salad with Homemade Italian Dressing

Ingredients:

  • 4 medium cucumbers, peeled, seeded and sliced
  • 1/2 cup balsamic vinegar
  • 1/2 teaspoon salt
  • 1/2 teaspoon onion powder
  • 1 teaspoon Italian seasoning
  • 1 tablespoon chopped garlic
  • 1 tablespoon sugar
  • 1 cup olive oil
  • Optional: 1 tablespoon soy sauce (for a Chamorro Twist)

Directions:

  1.  Place the cucumbers into a small bowl.
  2.  Place the remaining ingredients together in a small mixing bowl. Use a whisk to mix the ingredients together.  Pour the dressing over the cucumbers.
  3.  Let the cucumbers marinate in the dressing for about 30 minutes before serving.
  4.  Serve and ENJOY!


Sesame Garlic Green Beans

Are you looking for a quick, easy and TASTY vegetable side dish?  Try my daughter’s recipe for Sesame Garlic Soy Green Beans.

They are perfect with just about any main dish.  Give it a try with my daughter’s other delicious recipe: Hoisin Honey Glazed Salmon.

Give Hannah’s recipe a try.  I think you’ll like it. 🙂

Sesame Garlic Green Beans

Ingredients:

  • 1 pound fresh green beans
  • A pot of water (about 5 cups)
  • A large bowl of ice
  • Salt
  • 1 tablespoon butter
  • 1 tablespoon sesame oil
  • 1 tablespoon chopped garlic
  • 2 tablespoons low sodium soy sauce
  • Sesame seeds

Directions:

1.  You will need to blanch the green beans first.  Blanching means to put vegetables into a pot of boiling water, let it cook for a few minutes, then remove the vegetables and immediately place them into a bowl of ice water to stop the cooking.

Here’s how it’s done.

In a large pot, bring about 5 cups of water to a rapid boil over high heat. Add enough salt so the water tastes faintly salty. While the water heats, fill a medium sized bowl about three quarters full with ice, then add enough cold water to cover the top of the ice.

IMG_3247

When the water is boiling and the ice bath is ready, trim the green beans to the size you need. It’s best to trim them just prior to cooking so they won’t oxidize or dehydrate. Add the beans to the boiling water in batches small enough to ensure that the water doesn’t lose its boil. Boil the beans only until they’re barely cooked through but still tender. To test, remove one piece with a slotted spoon, dip it into the ice bath to cool, and eat it.

IMG_3246

As soon as the beans are done, remove them as fast as you can and submerge them in the ice bath. Remove them from the ice bath as soon as they are no longer warm.  Set aside.

IMG_3248

2.  Melt the butter in a small skillet over medium heat.

3.  Add the sesame oil and garlic to the pan.  Cook until the garlic begins to brown slightly.

4.  Add the beans and soy sauce to the pan.  Stir to coat the beans in the sauce; cook for a couple of minutes then remove from the heat.

5.  Sprinkle with sesame seeds, serve, and ENJOY!

Hoisin Honey Glazed Salmon

One of my favorite ways to prepare salmon is to bake it with some sort of savory sauce.  The sauce keeps the salmon moist (adds tons of flavor too), and it bakes up in just minutes so you can have dinner on the table in no time.

This sauce is super delicious; if you like sauce (like I do), you might want to double the recipe so you have enough to drizzle over your rice. 🙂

Give my daughter’s recipe a try.  I think you’ll like it.

Hoisin Honey Glazed Salmon


Ingredients:

  • 4 medium salmon filets
  • 5 tablespoons hoisin sauce
  • 4 tablespoons low sodium soy sauce
  • 2 teaspoons sesame oil
  • 1 tablespoon honey

Directions:

1.  Clean and debone the salmon filets.  Place in a 9X13 pan.  Set aside.

2.  In a small mixing bowl, place the hoisin sauce, soy sauce, sesame oil and honey.  Stir to combine.

3.  Pour the sauce over the salmon filets.  Bake at 400 degrees for 15 minutes.

4.  Serve with my Kicked Up Brown Rice and my daughter’s Sesame Garlic Green Beans and ENJOY! 🙂

Easy Guava Cake

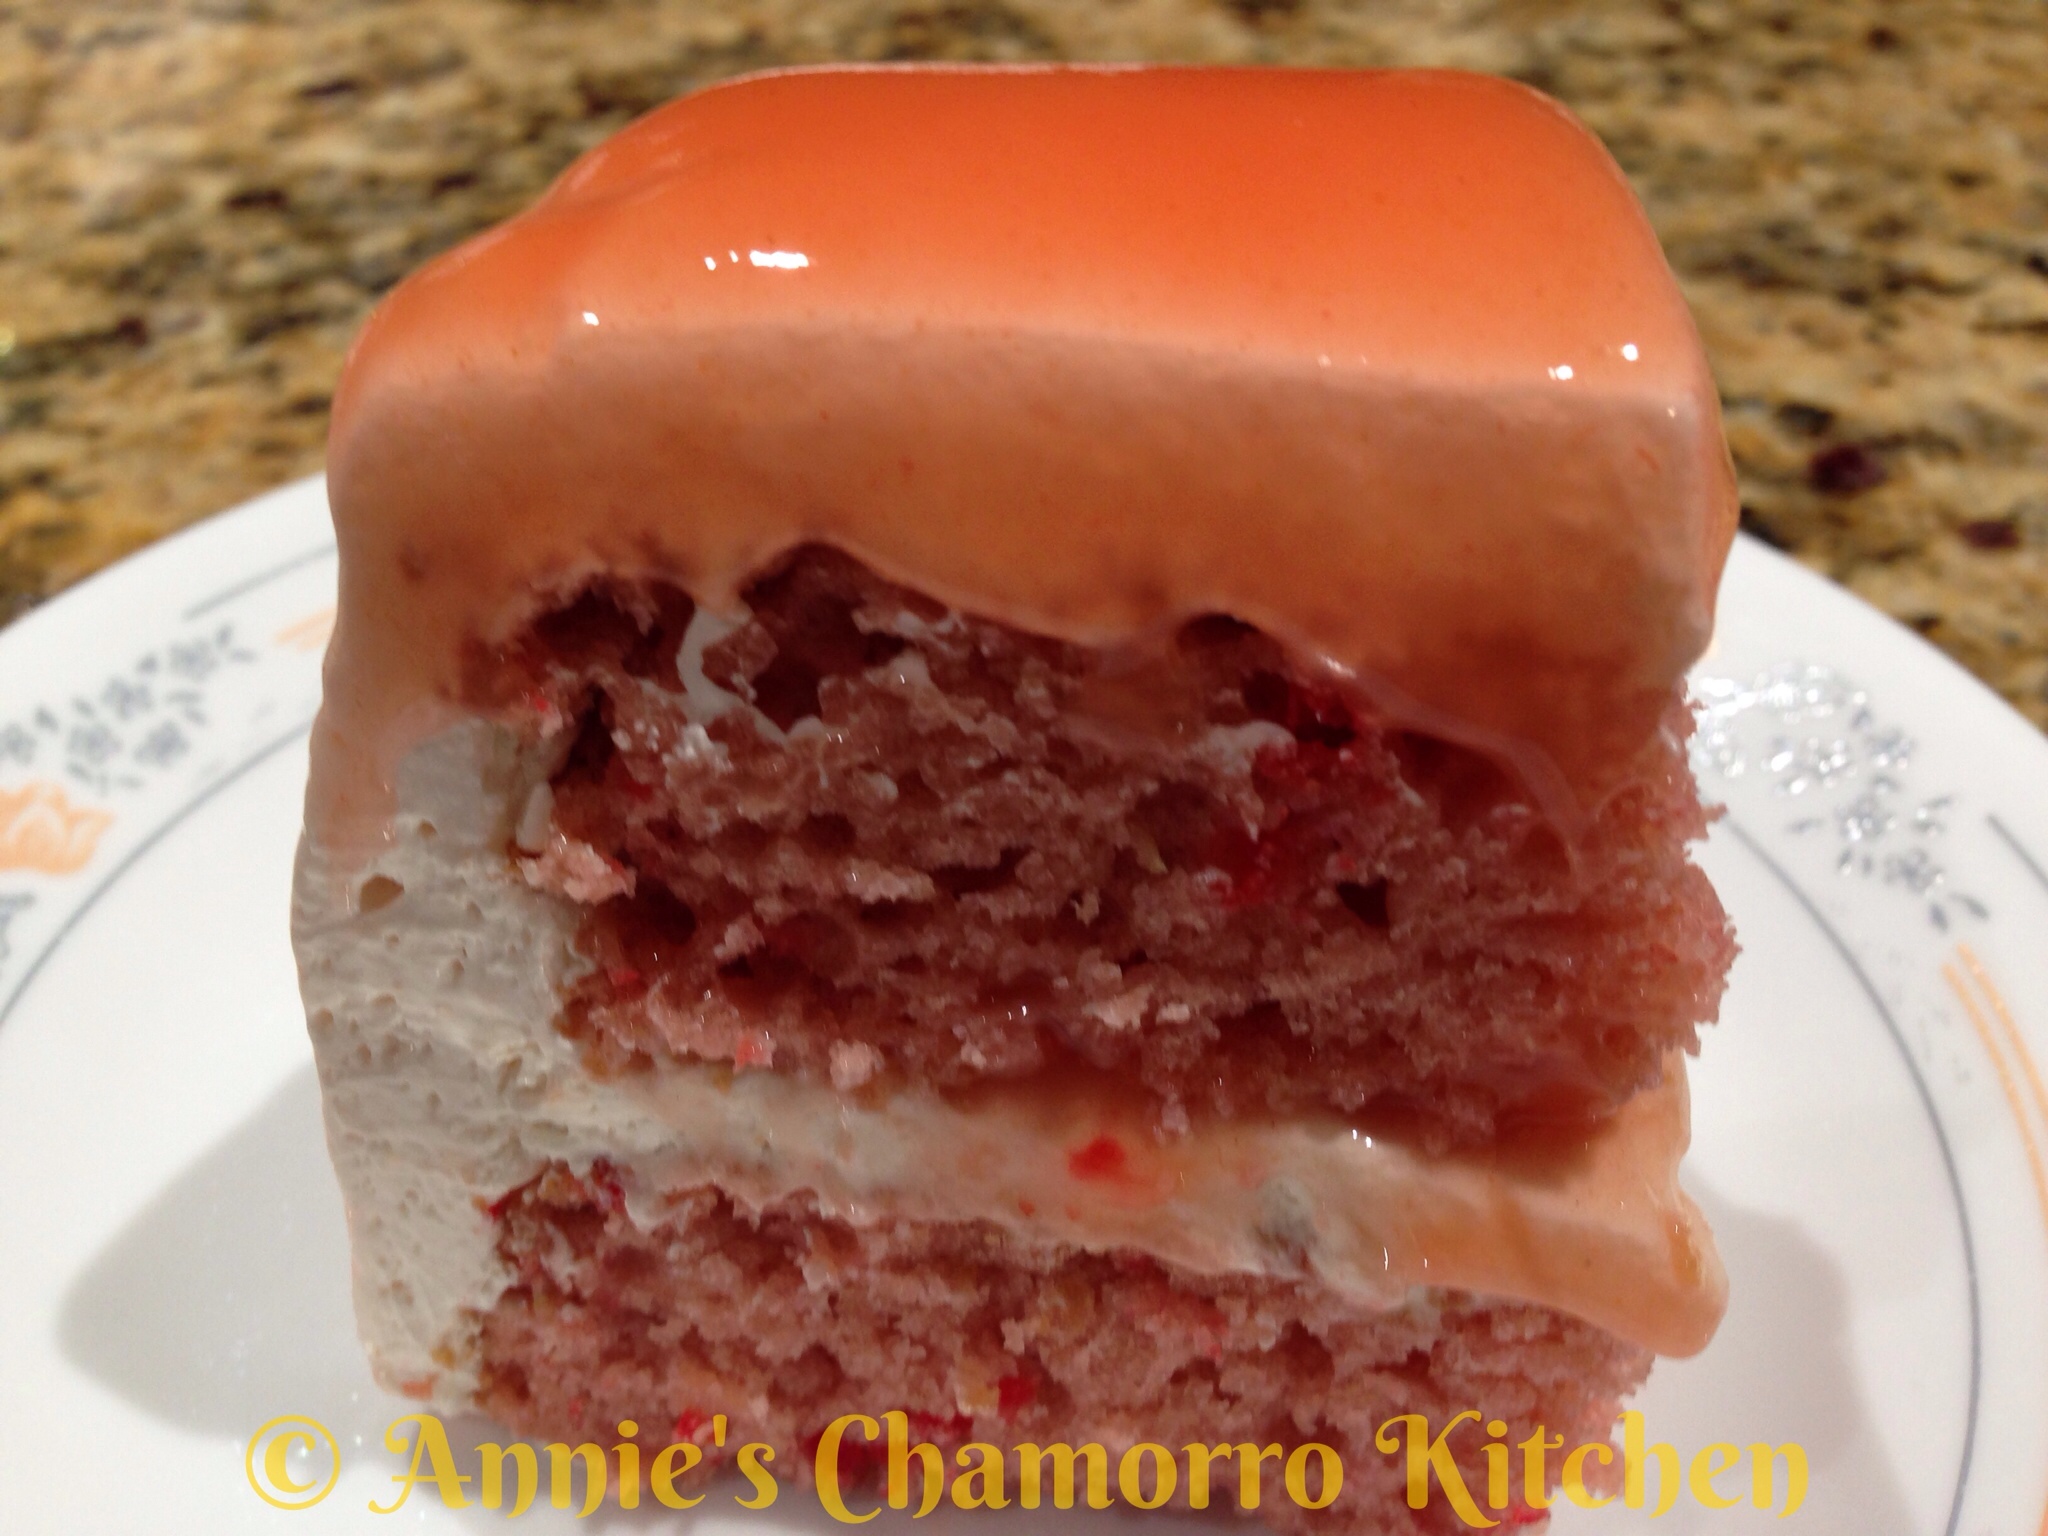
Guava Cake is a delicious Hawaiian dessert that is quickly becoming popular nationwide.  It’s traditionally made with chiffon cake, but my quick and easy recipe uses boxed cake mix.

I like using strawberry cake mix for my recipe–it amps up the guava flavor in my opinion.

Give my recipe a try.  I think you like it. 🙂

Easy Guava Cake

Ingredients:

  • 1 12-oz can frozen concentrated guava nectar
  • 1 1/2 cups water
  • 8 ounces cream cheese
  • 12 ounces Cool Whip
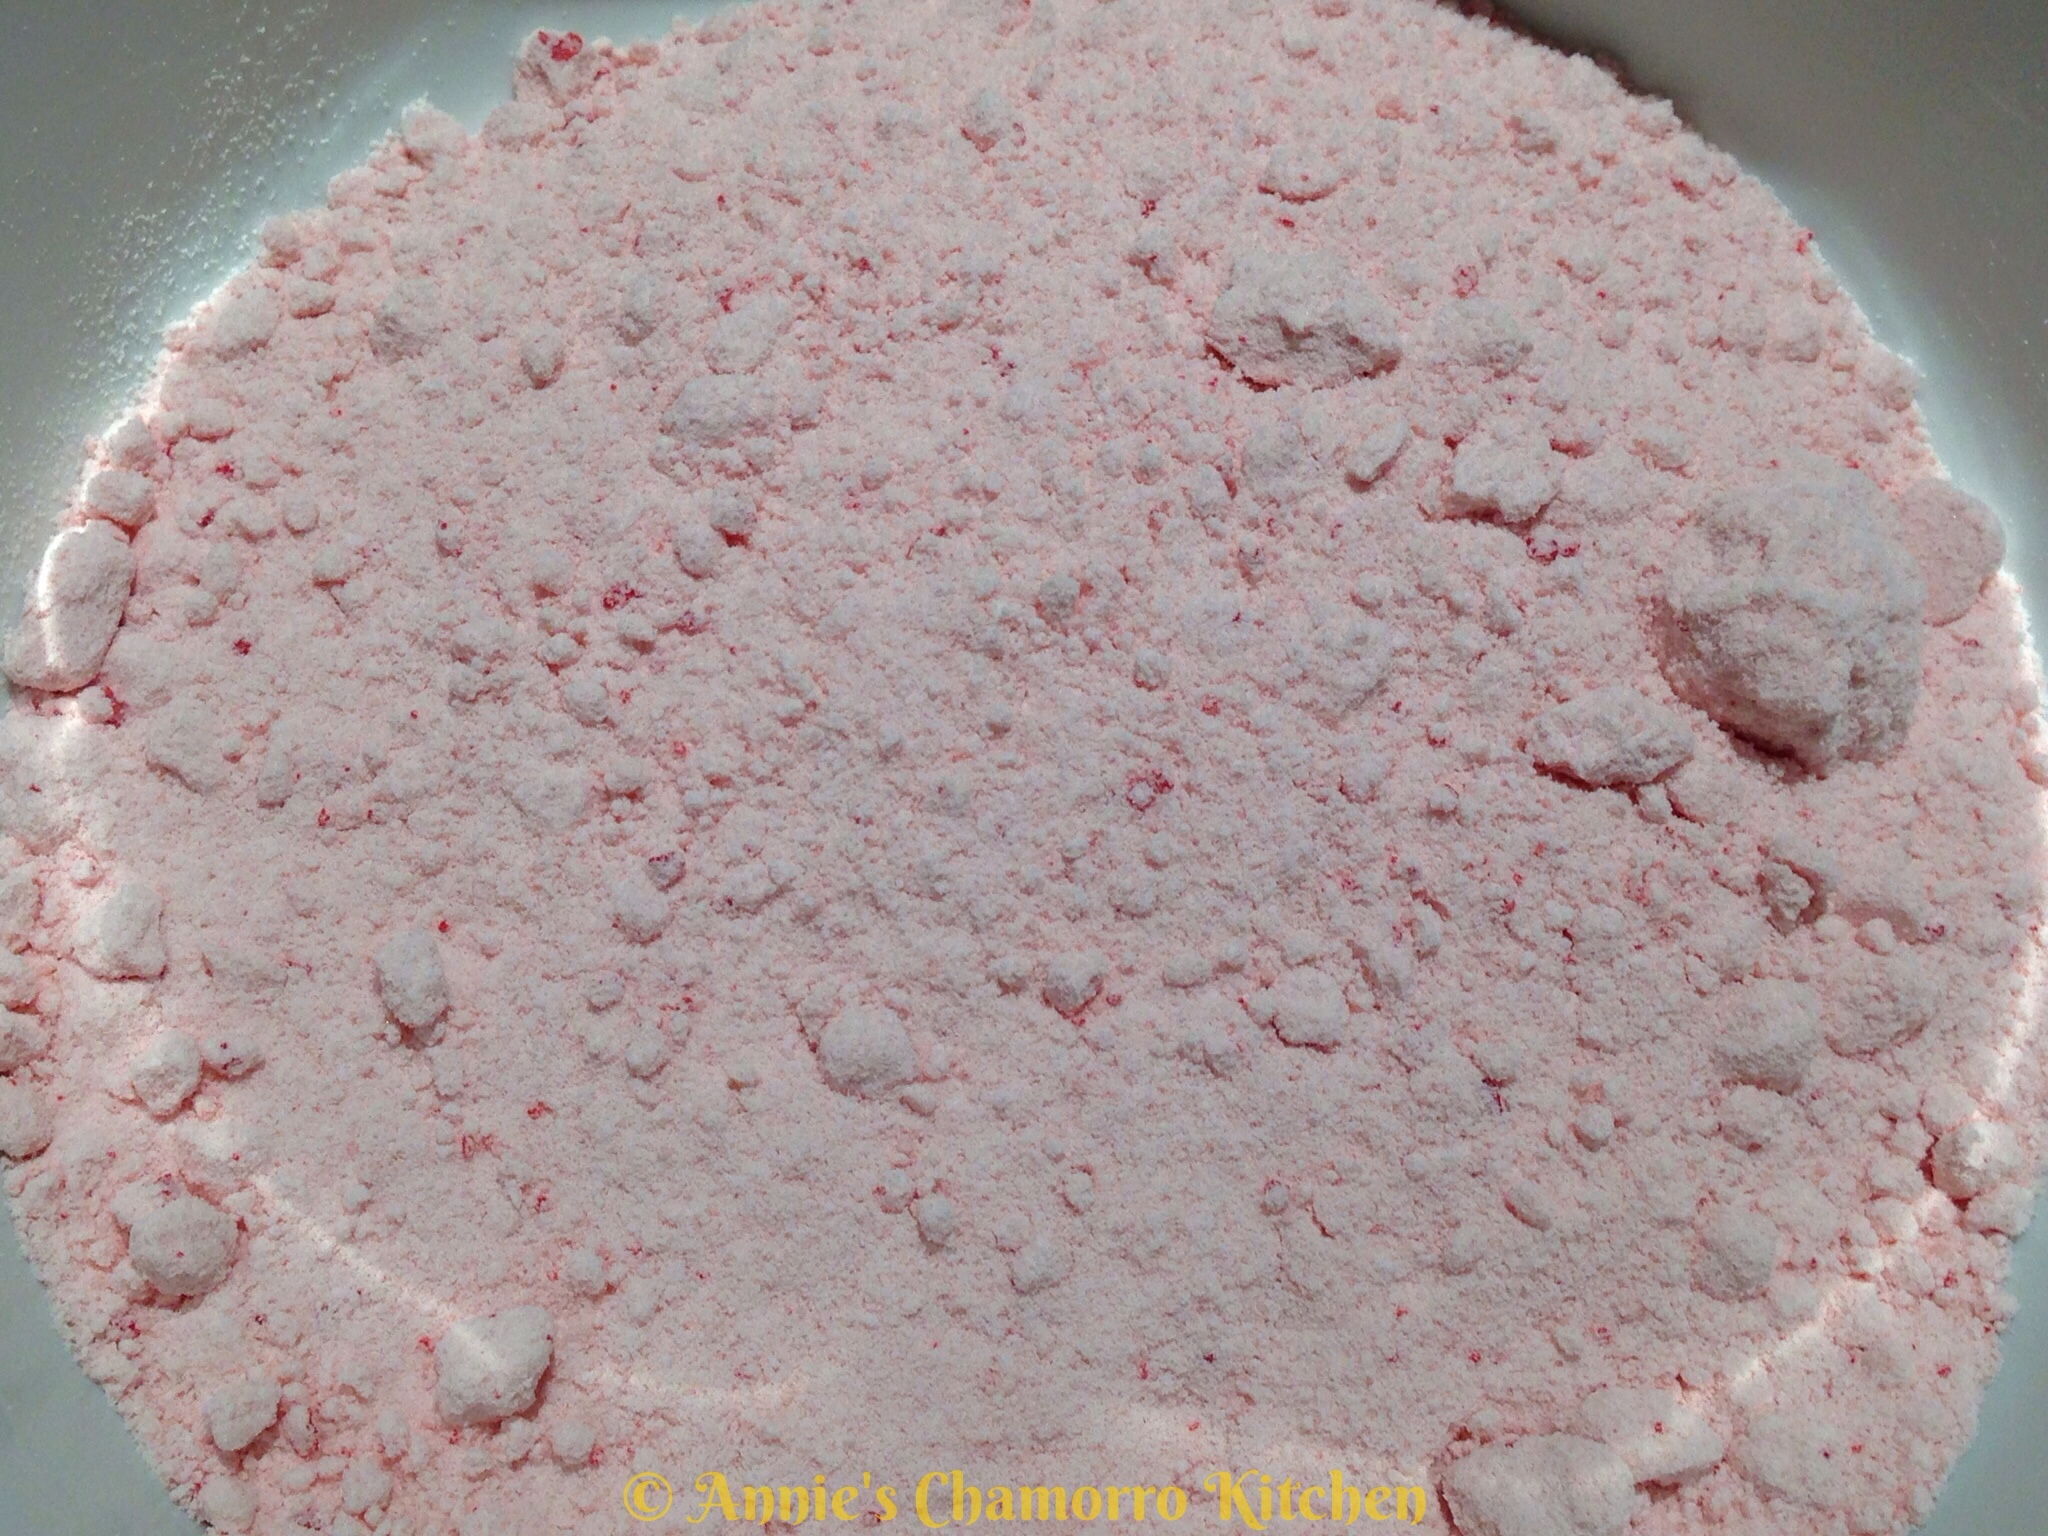
  • 1 box strawberry cake mix
  • 3 eggs
  • 1/3 cup vegetable oil
  • 2 tablespoons corn starch
  • 4 tablespoons water
  • Optional:  1 cup guava jelly

Directions:

1.  Prepare the Guava Juice.

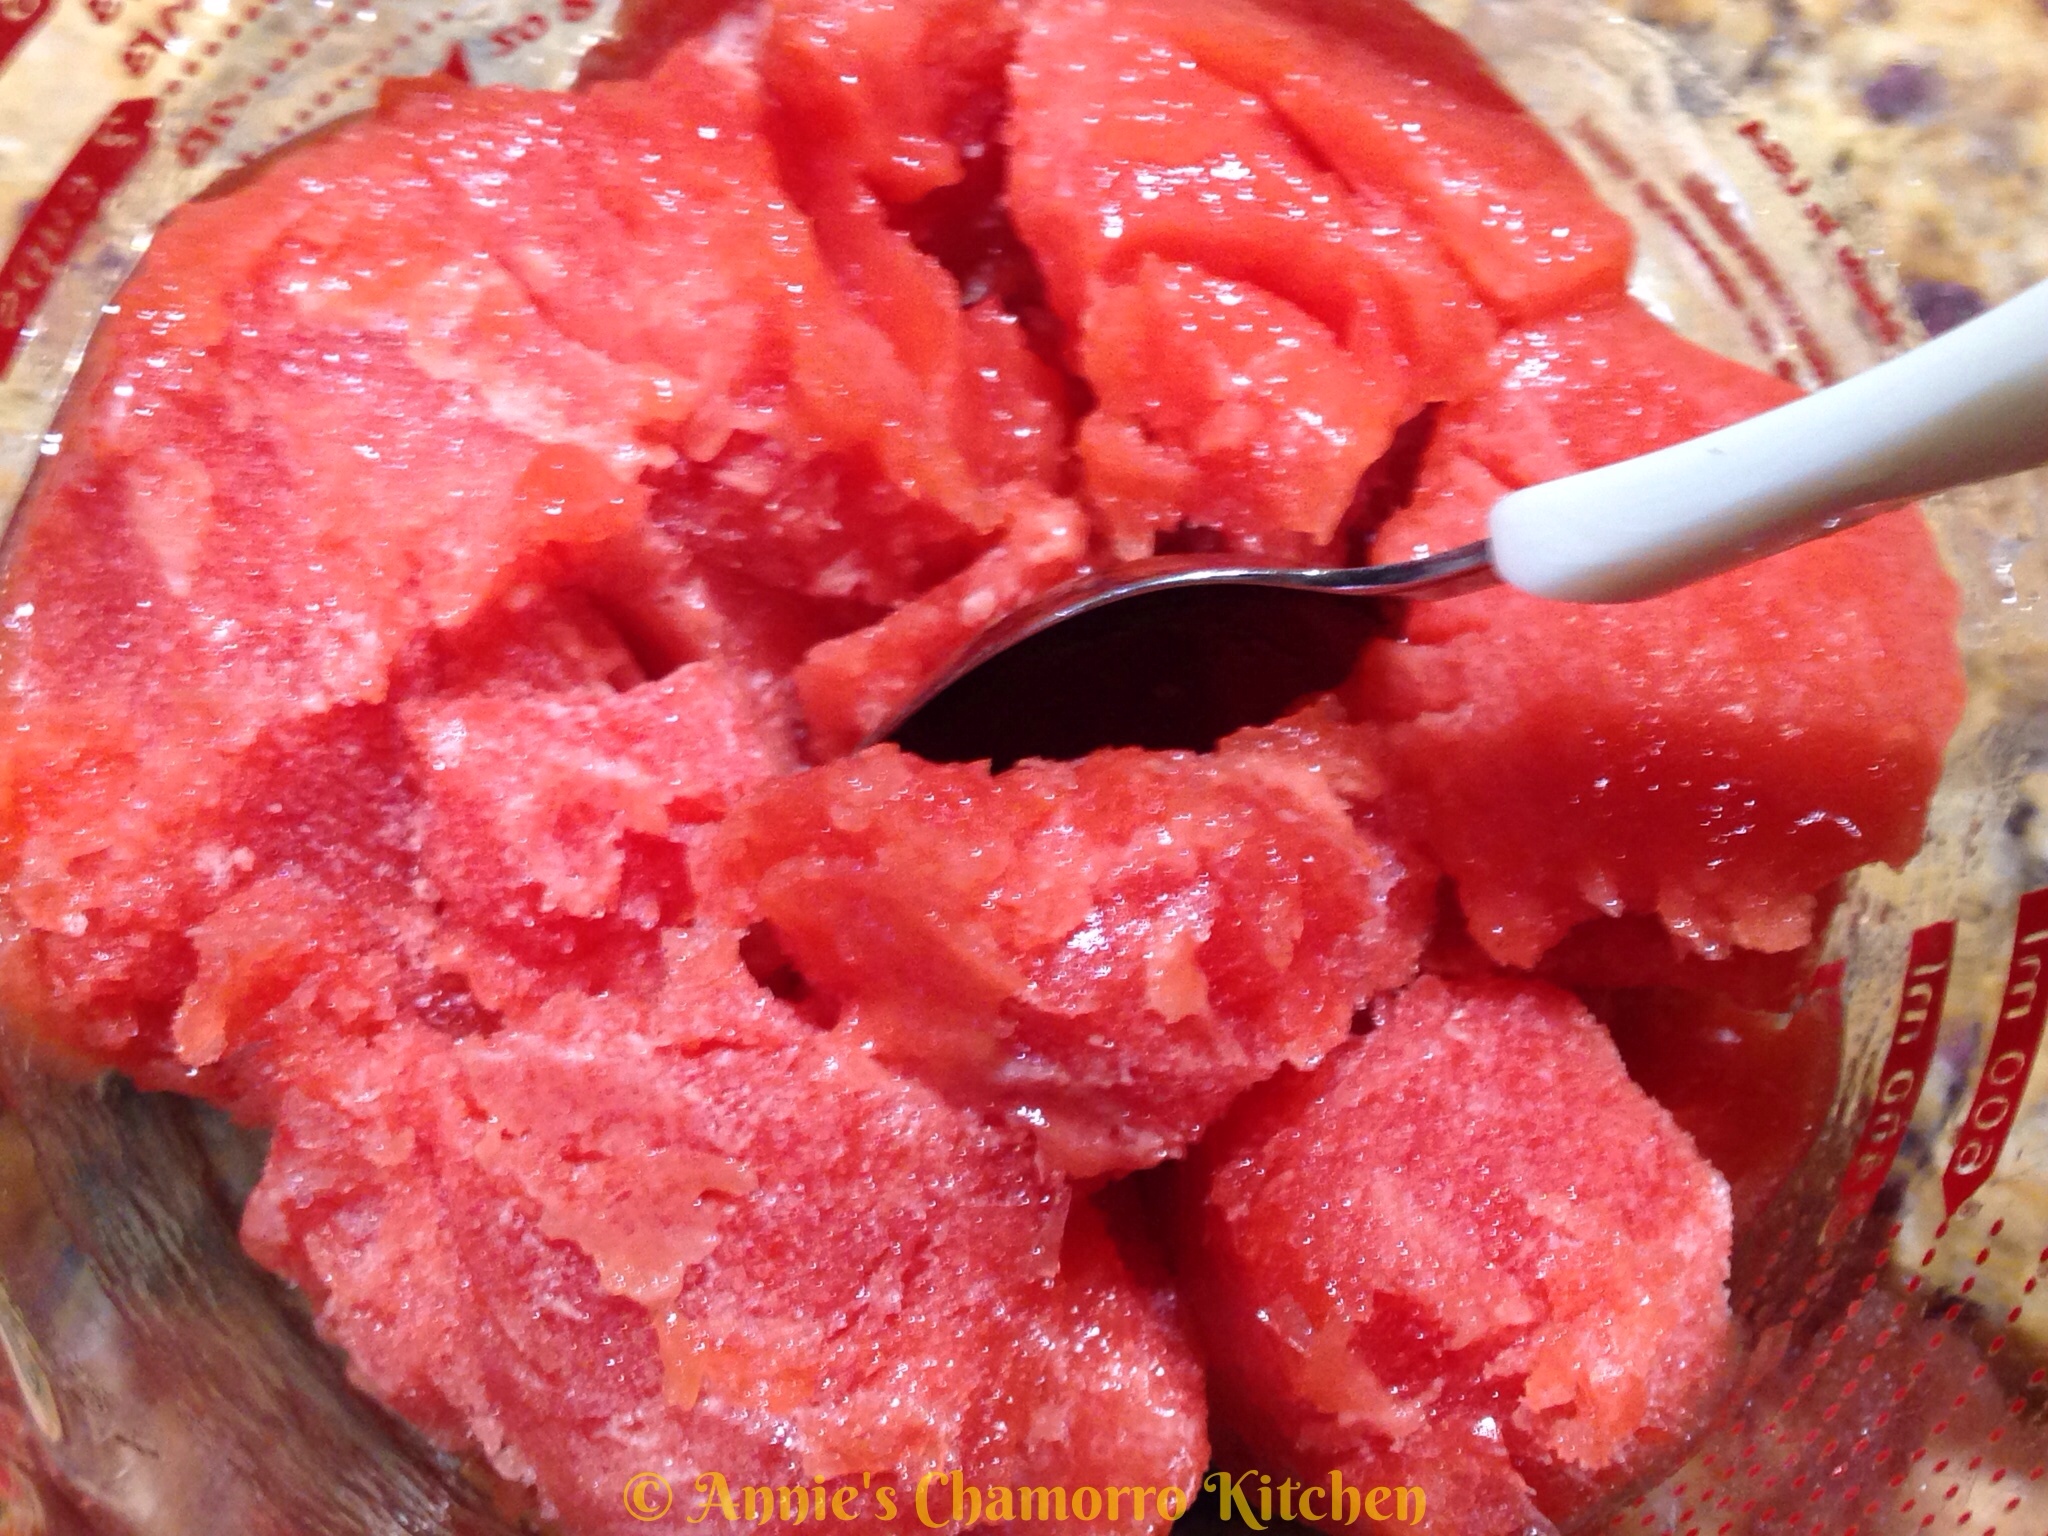
Empty the contents of the frozen concentrated guava nectar into a small bowl or measuring cup.

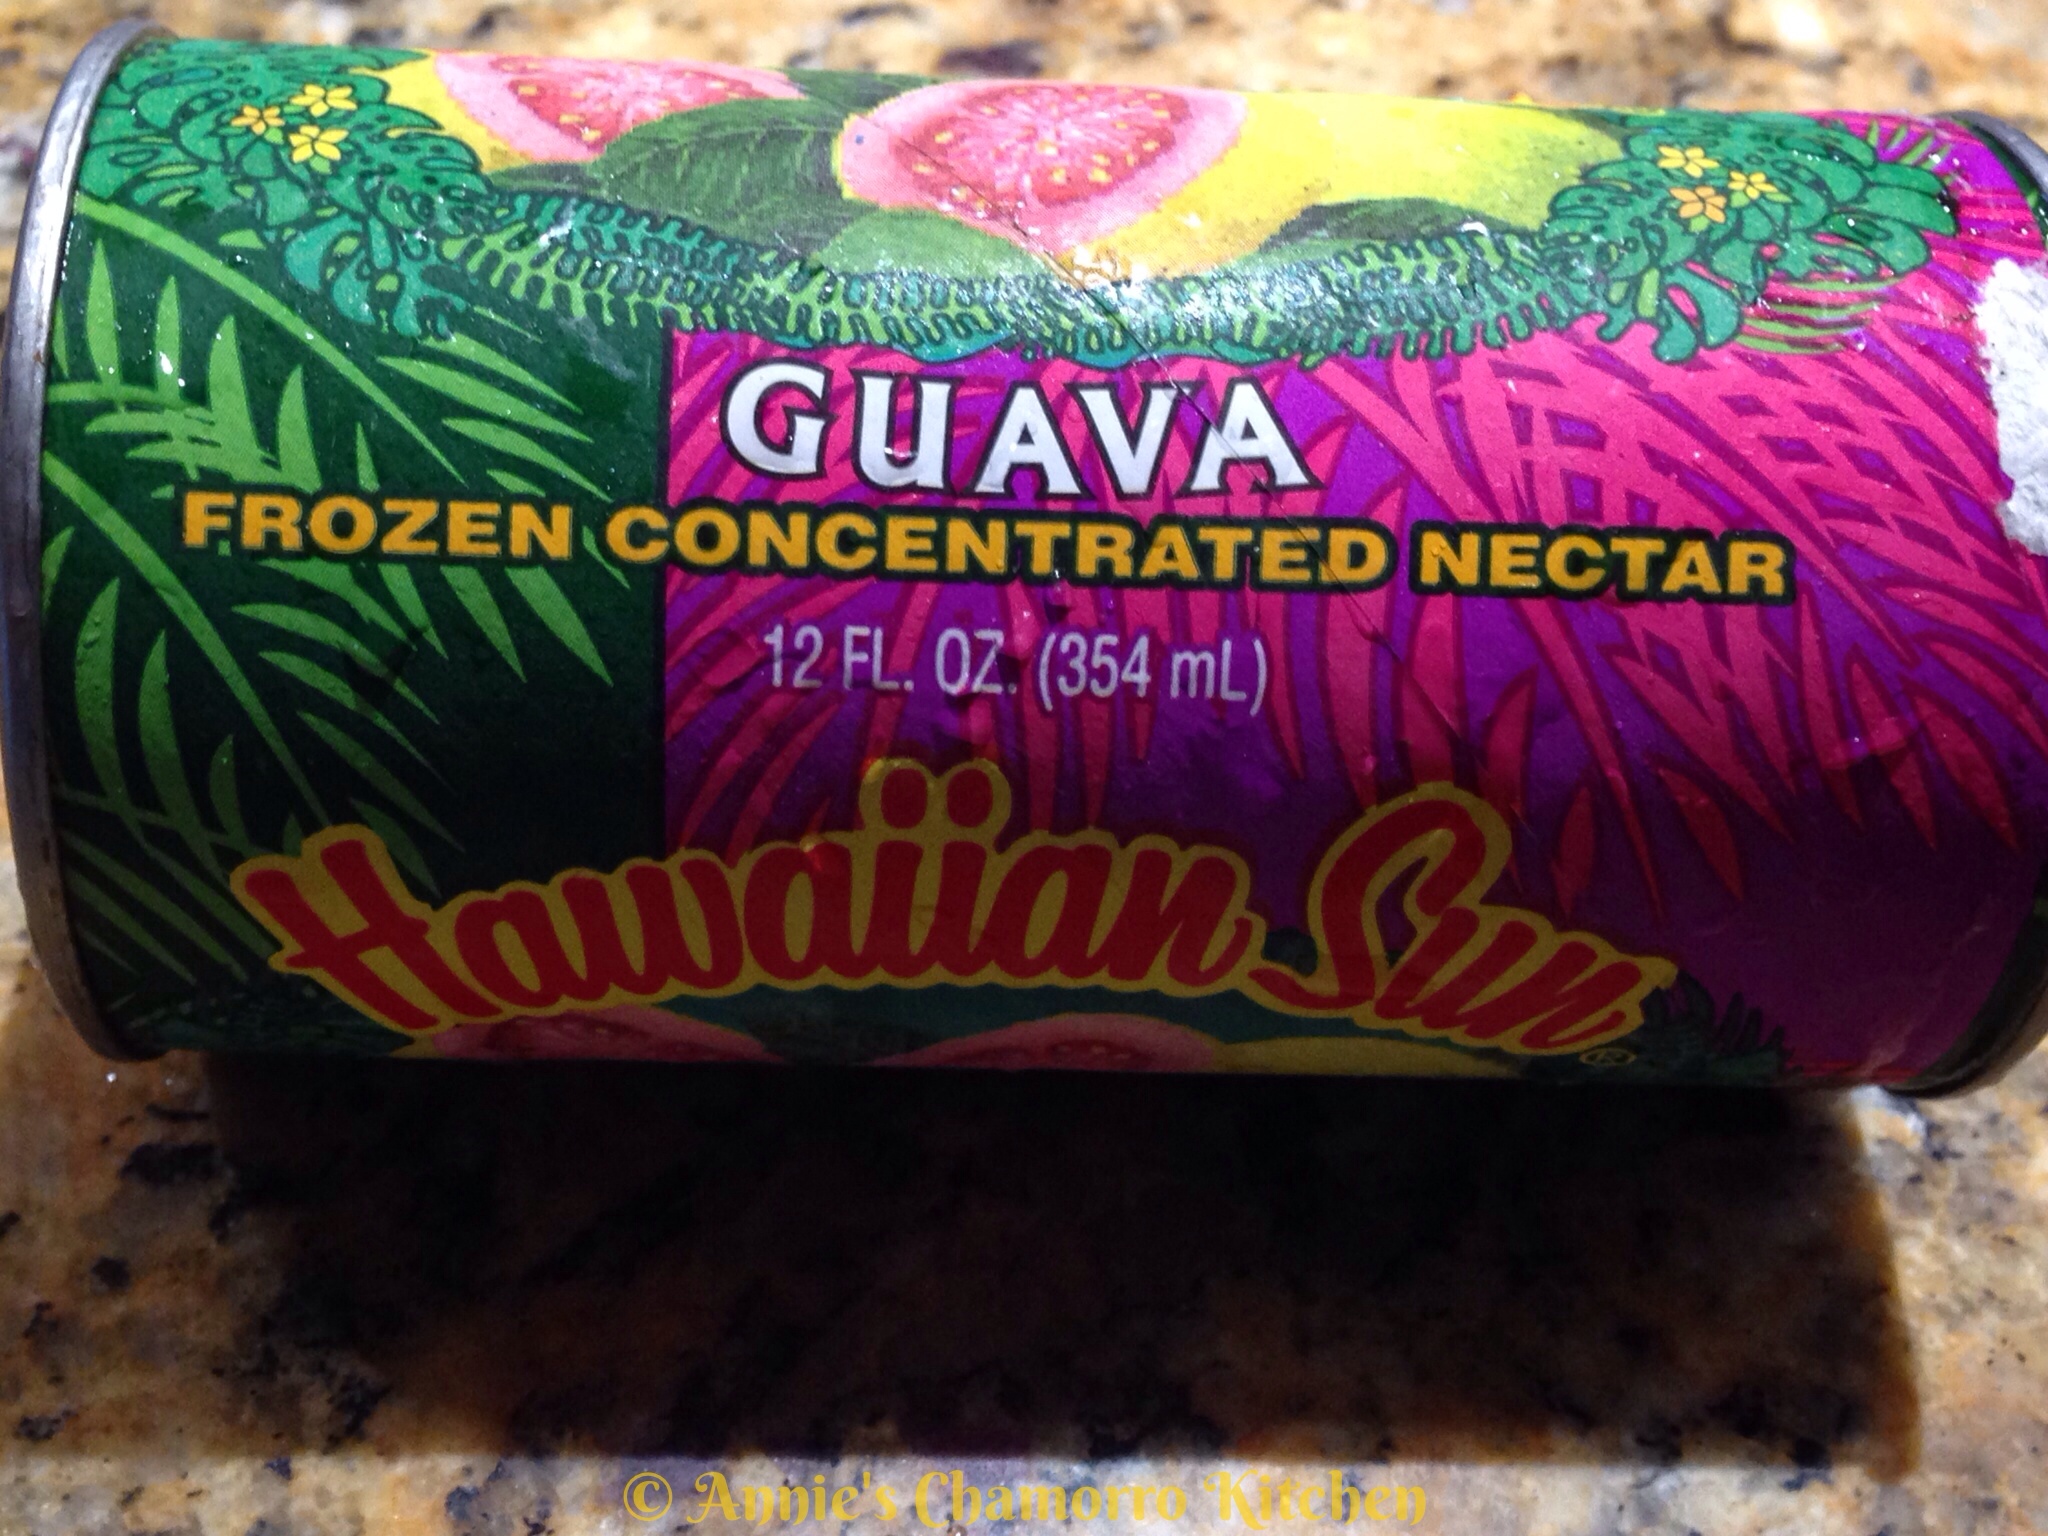
Remove 2 teaspoons of the concentrated nectar and place into a small mixing bowl.  Set this aside for now (you will use this when you make the frosting).

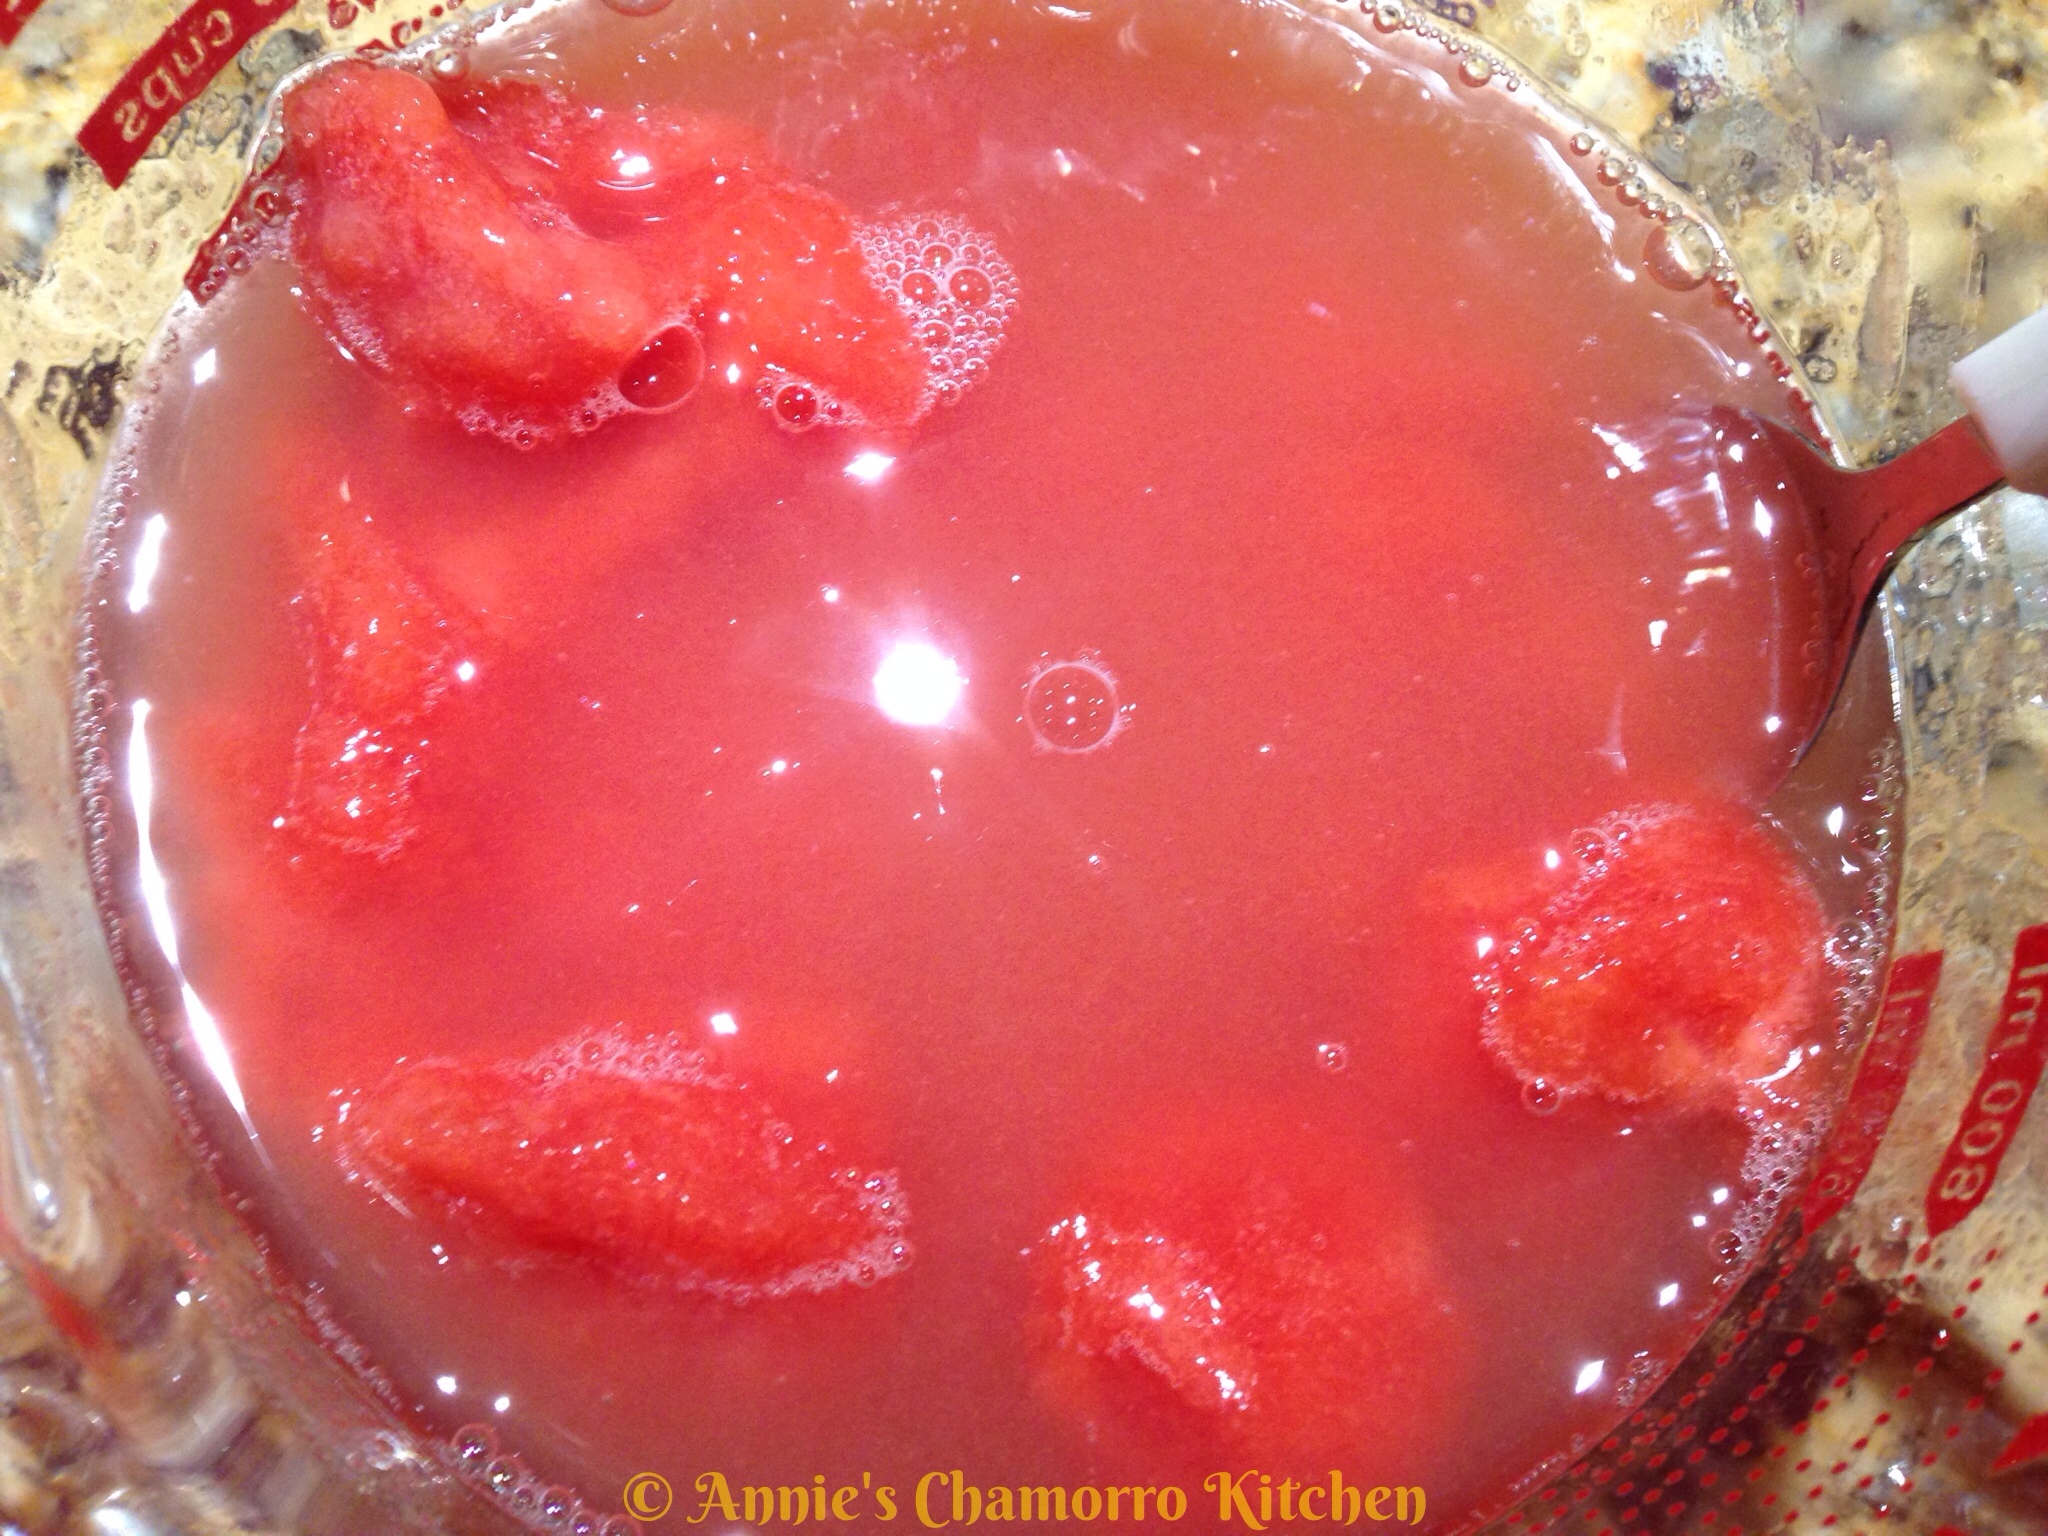
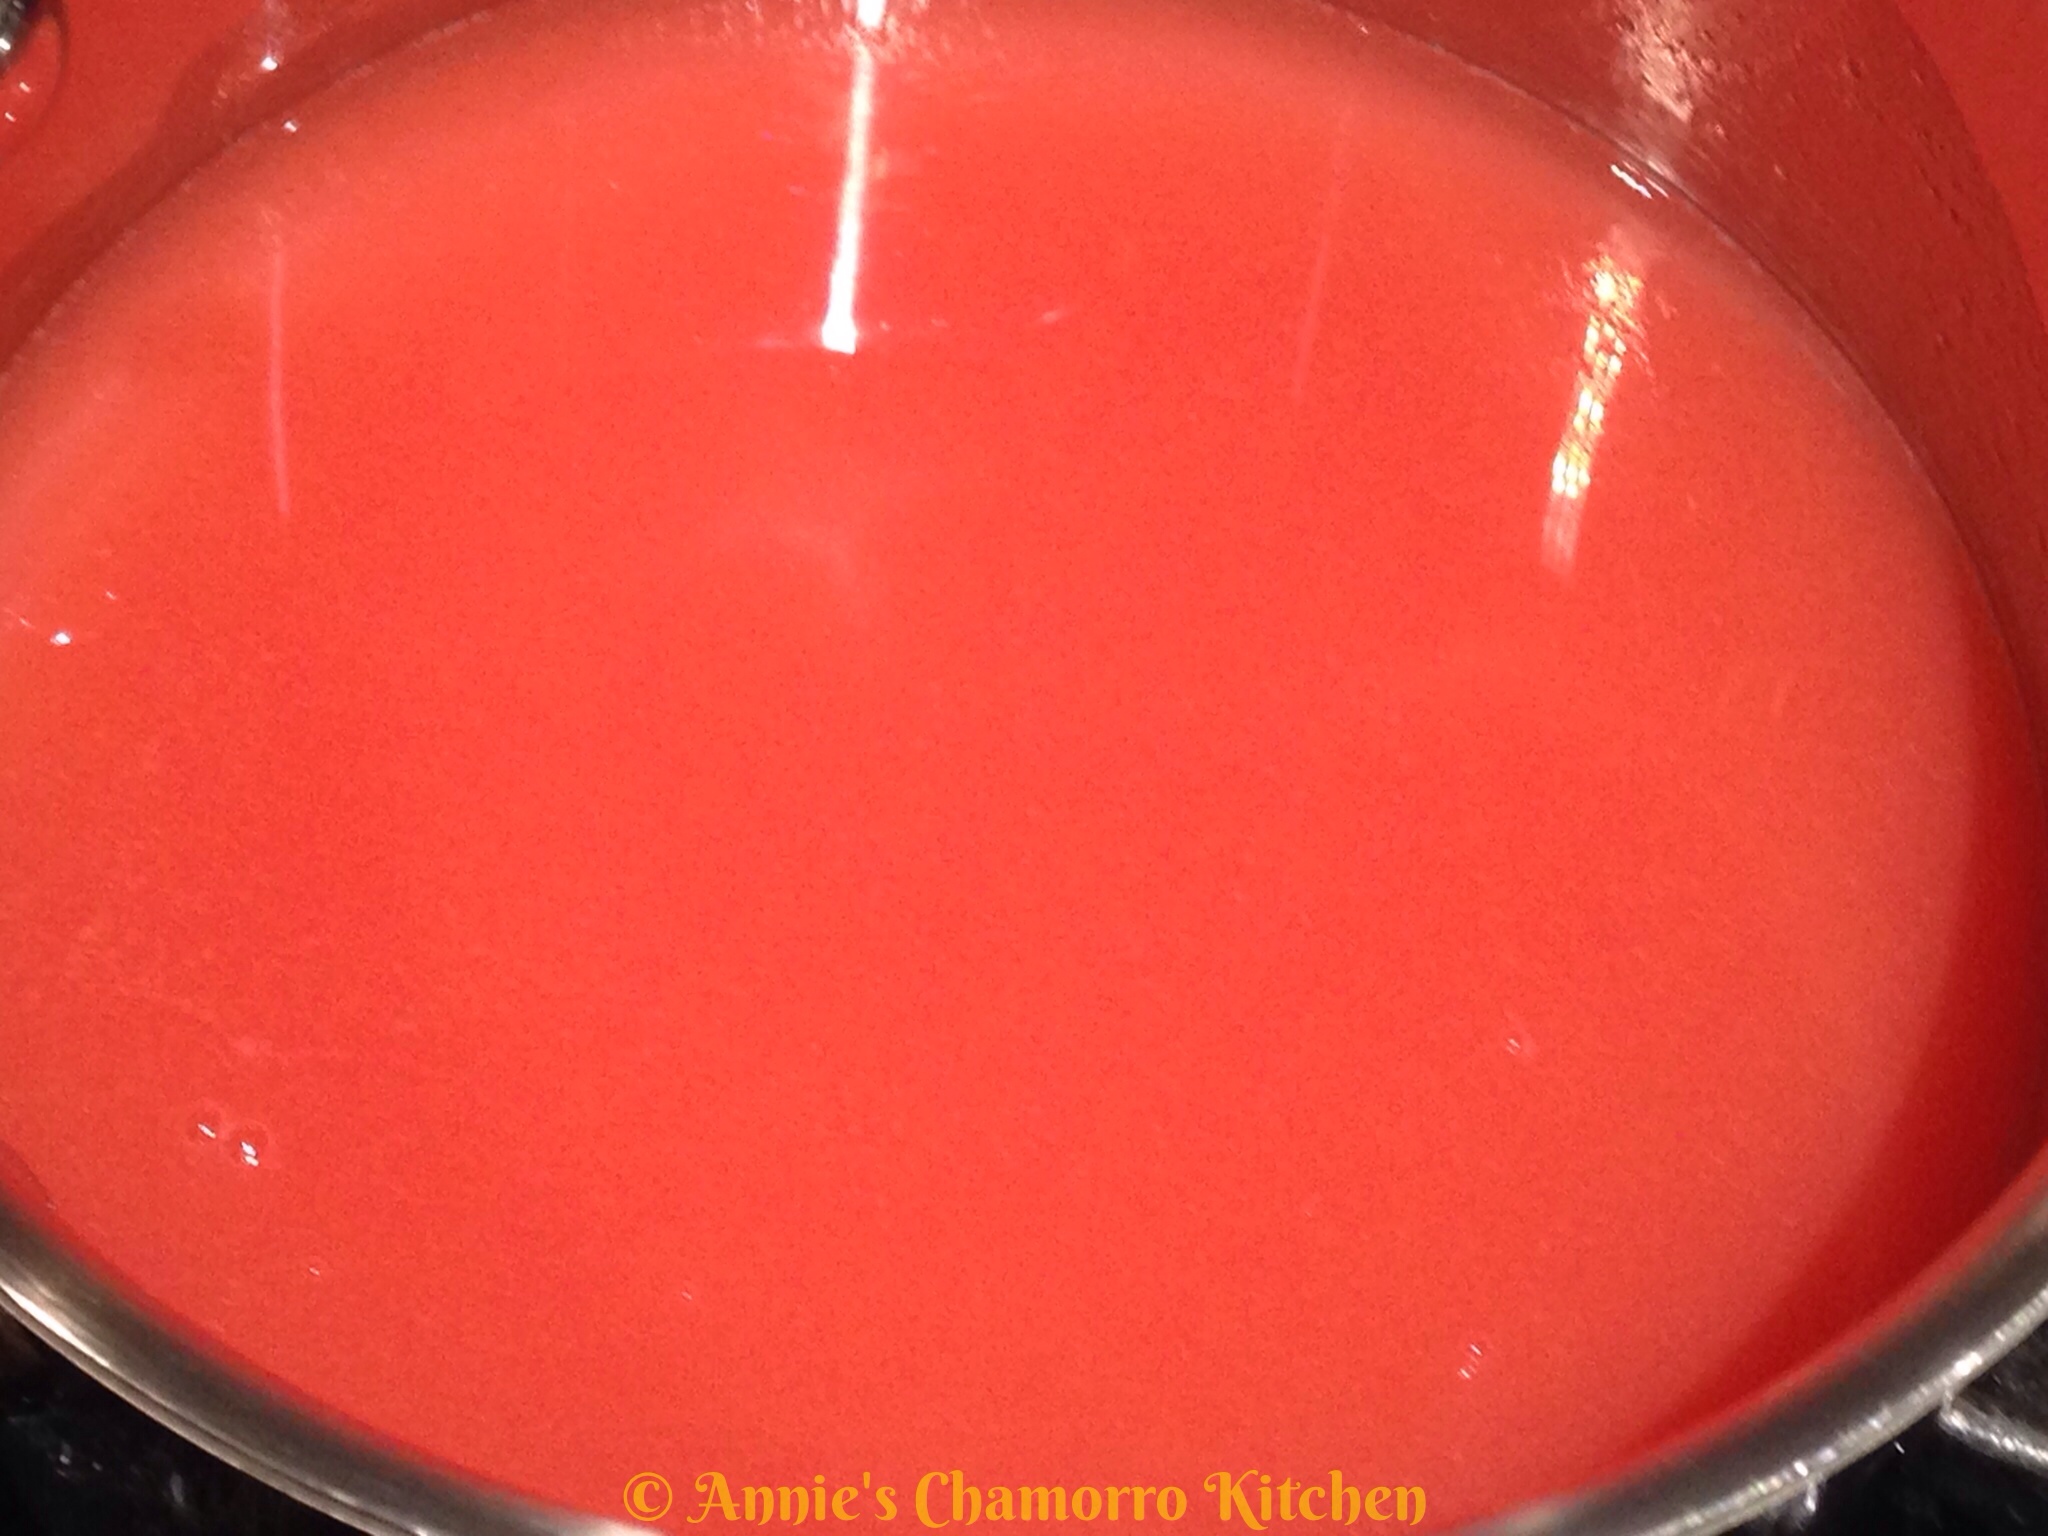
Add 1 1/2 cups of water to the remaining frozen concentrated nectar.  Stir until the frozen nectar completely dissolves/melts and combines with the water.  You should have about 3 cups of juice.  Set aside.

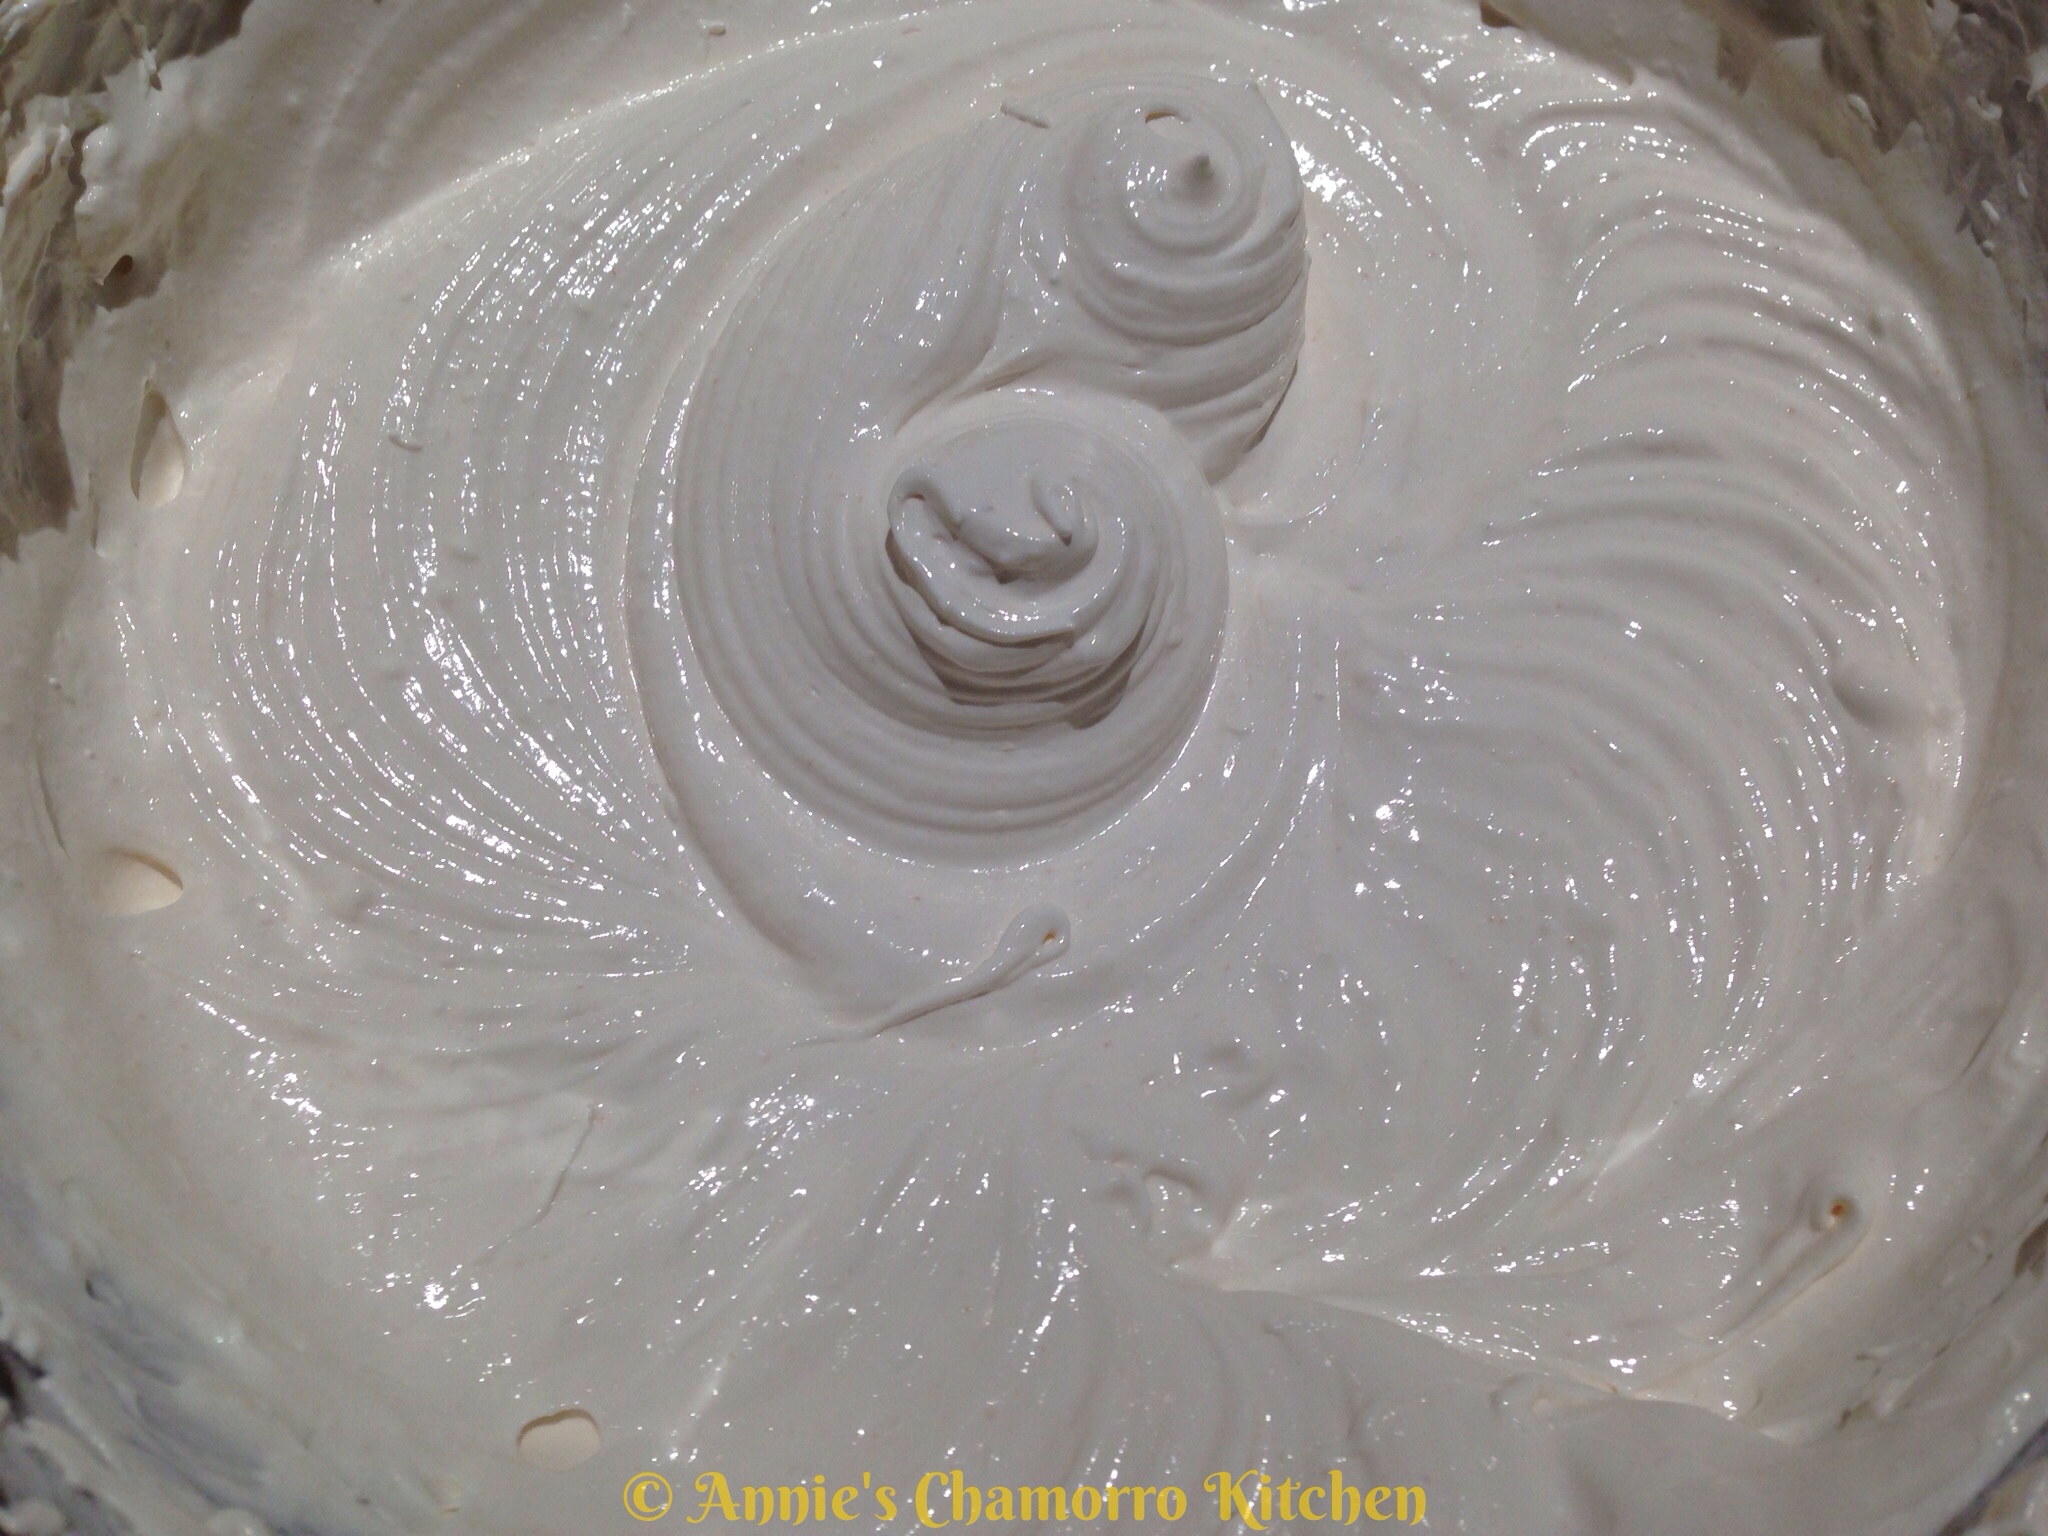
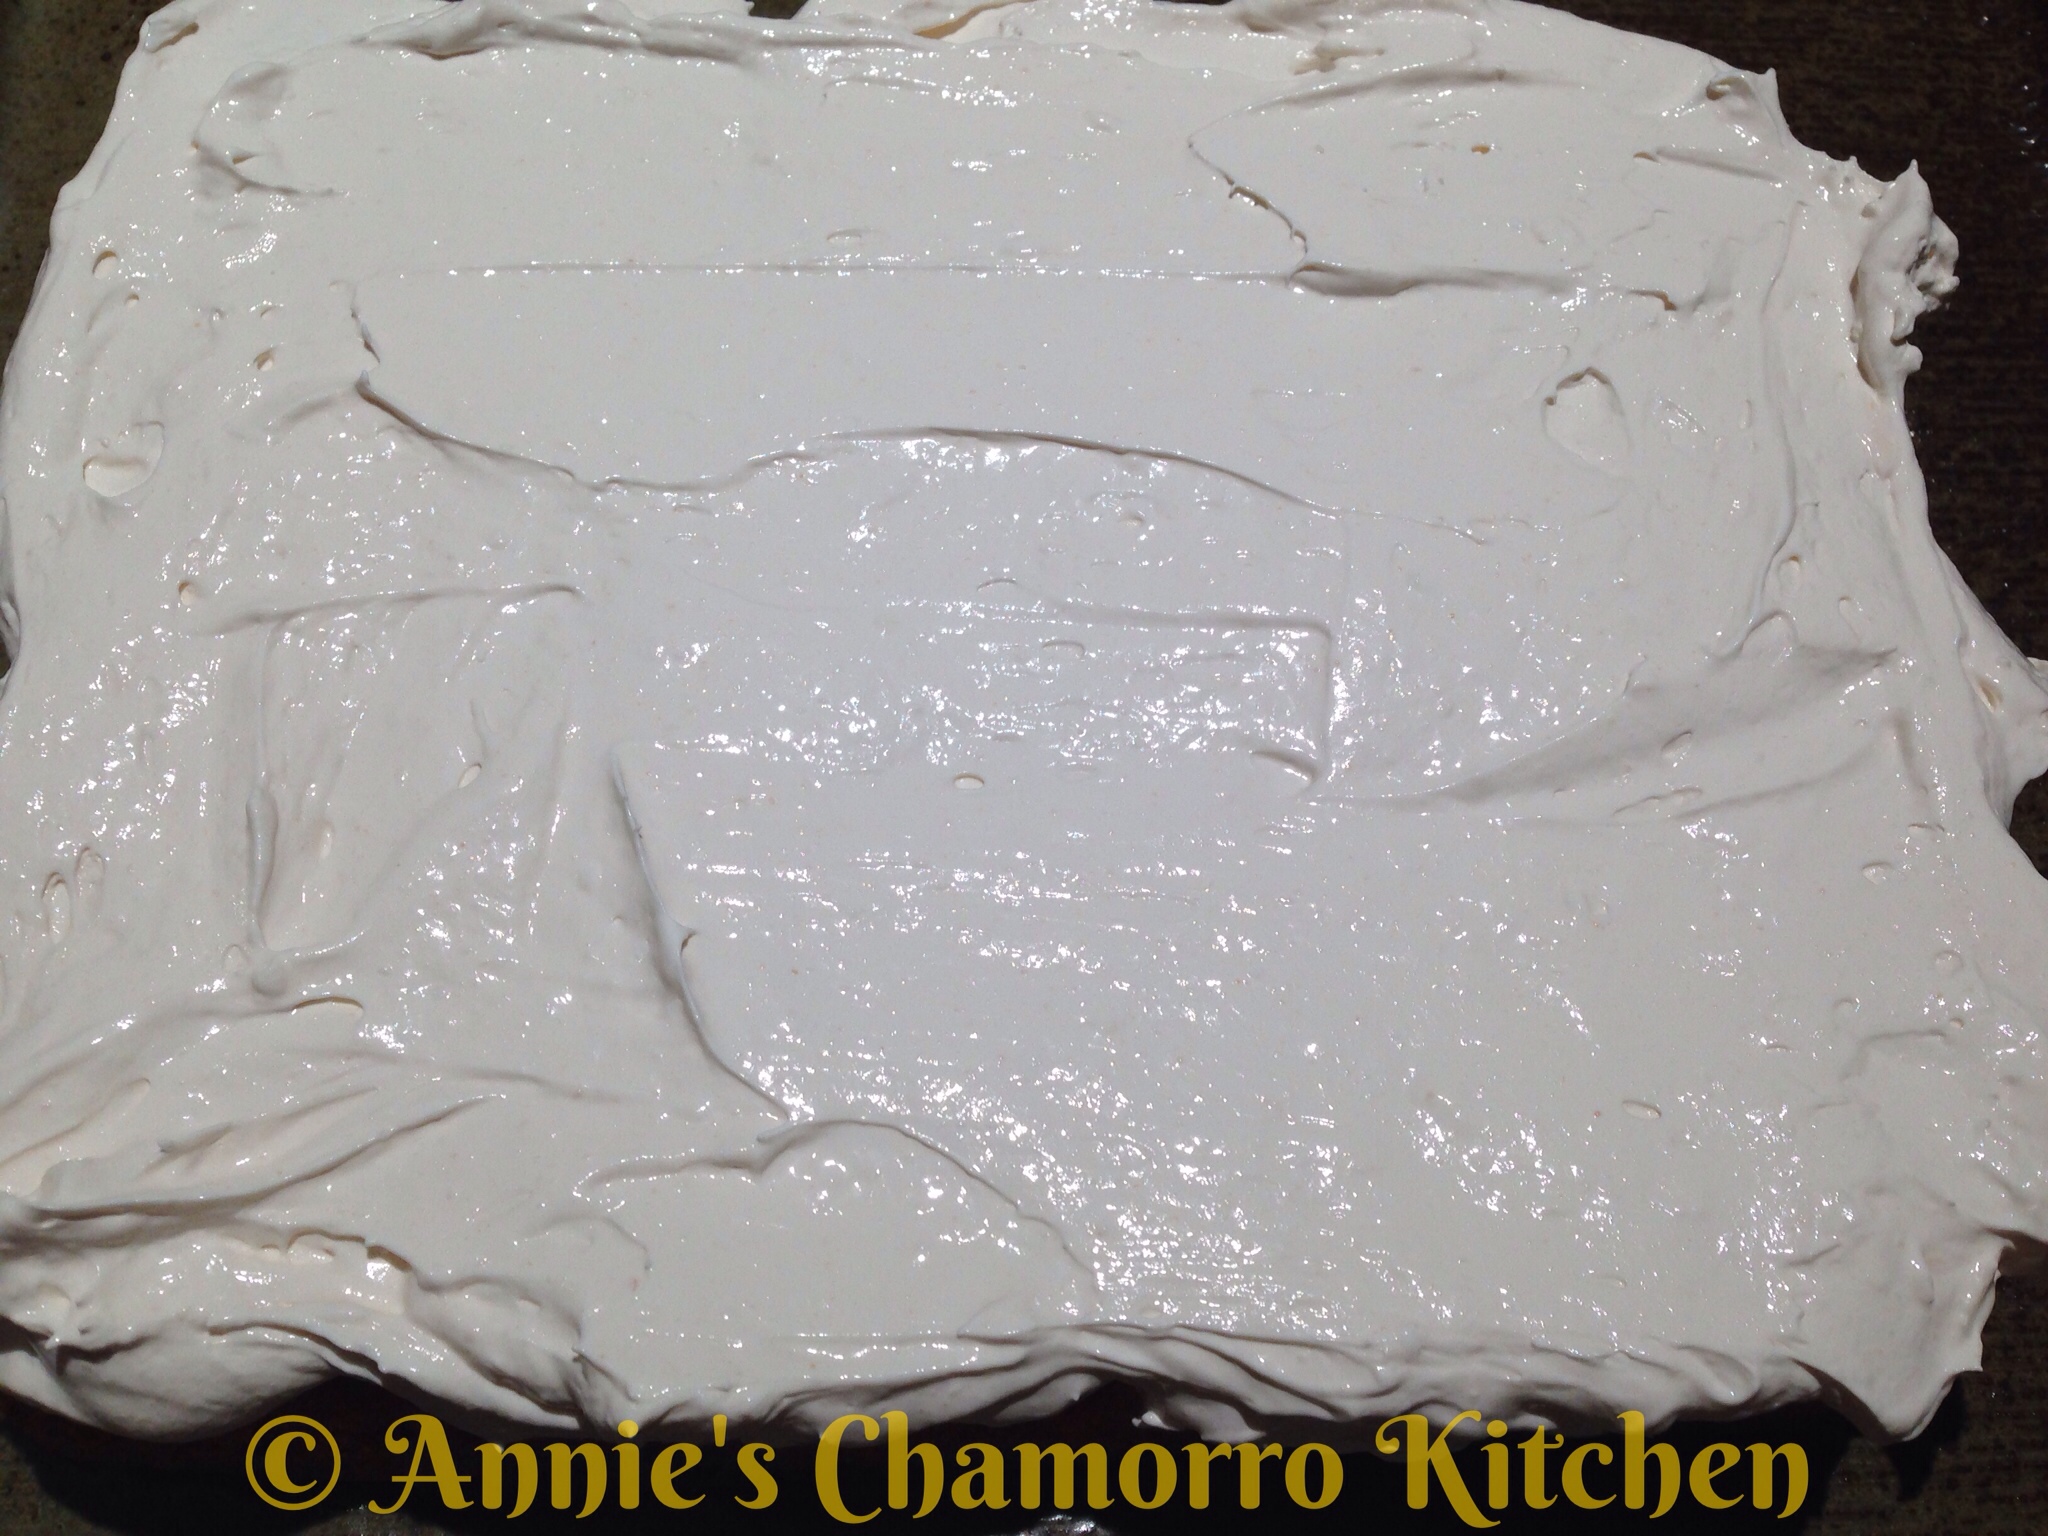
2.  Make the frosting.

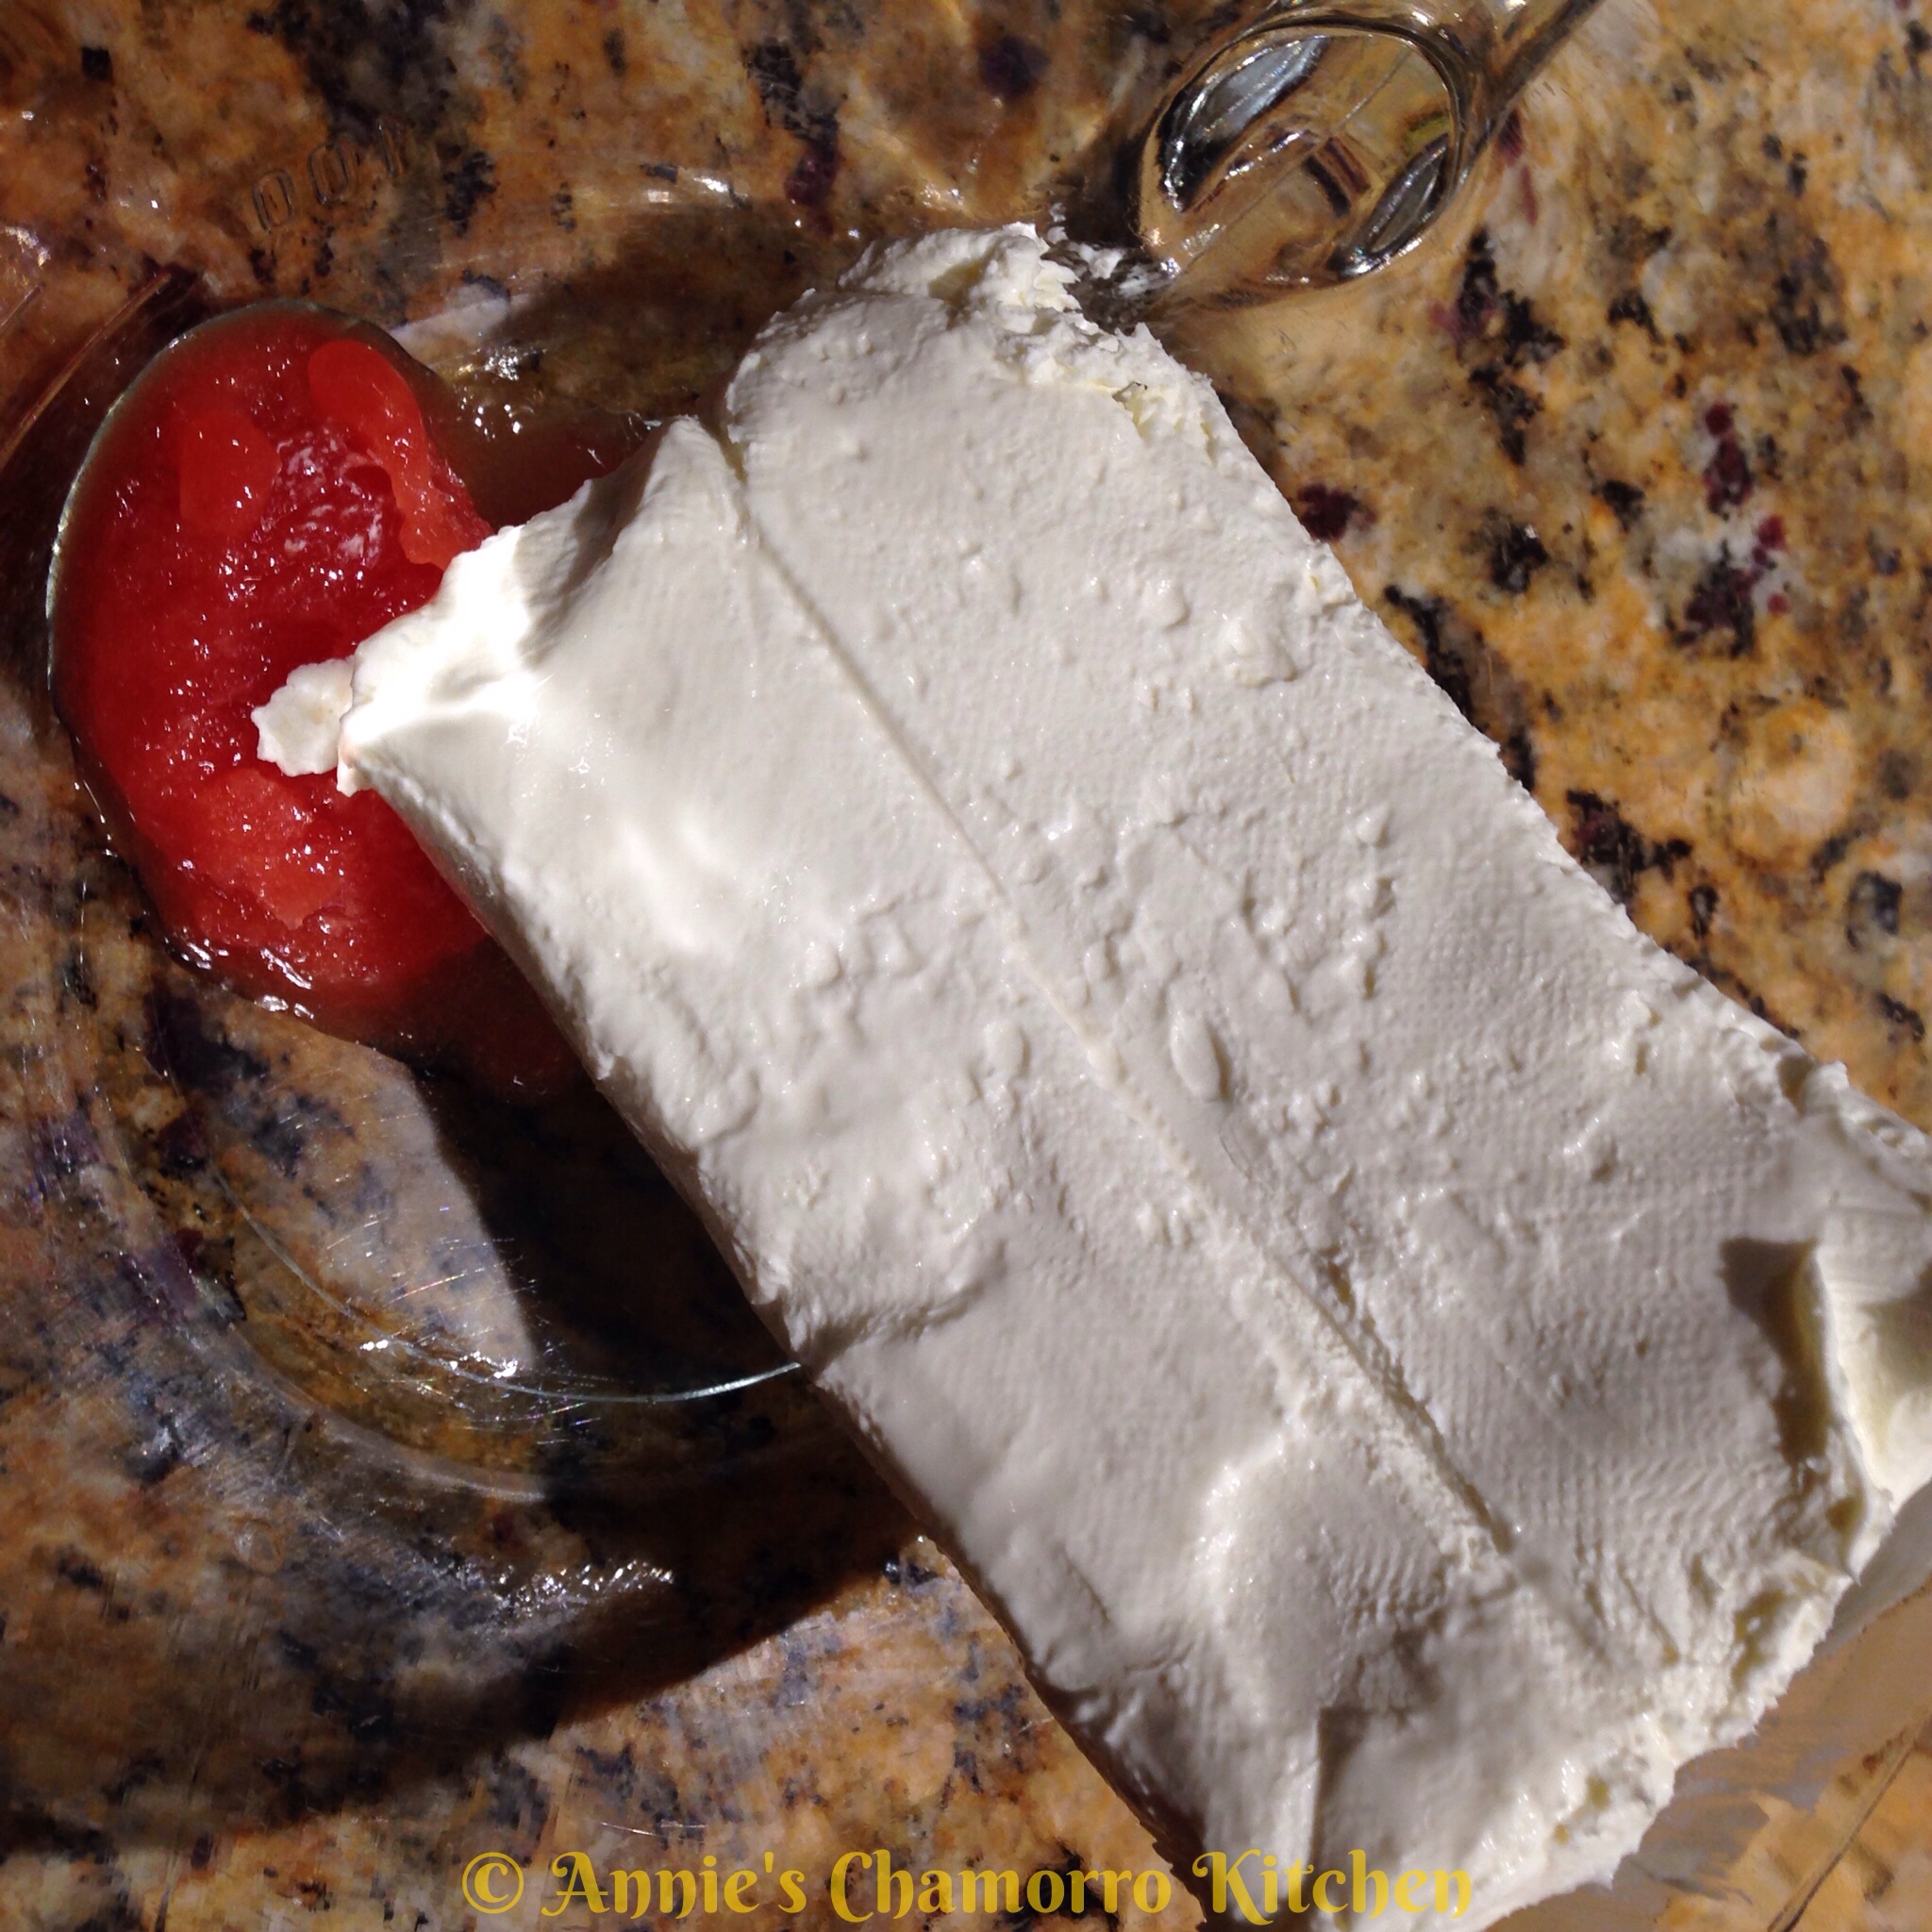
Add the cream cheese to the mixing bowl with the reserved 2 teaspoons frozen concentrated guava nectar.

Note:  I had a jar of guava jam in the fridge; I also added a teaspoon of jam to the bowl, but this is totally optional.  If you don’t have any guava jam, don’t worry about it.  I just like to add it to the frosting to give it a guava flavor.

Using a hand mixer, mix the cream cheese and guava nectar until creamy.

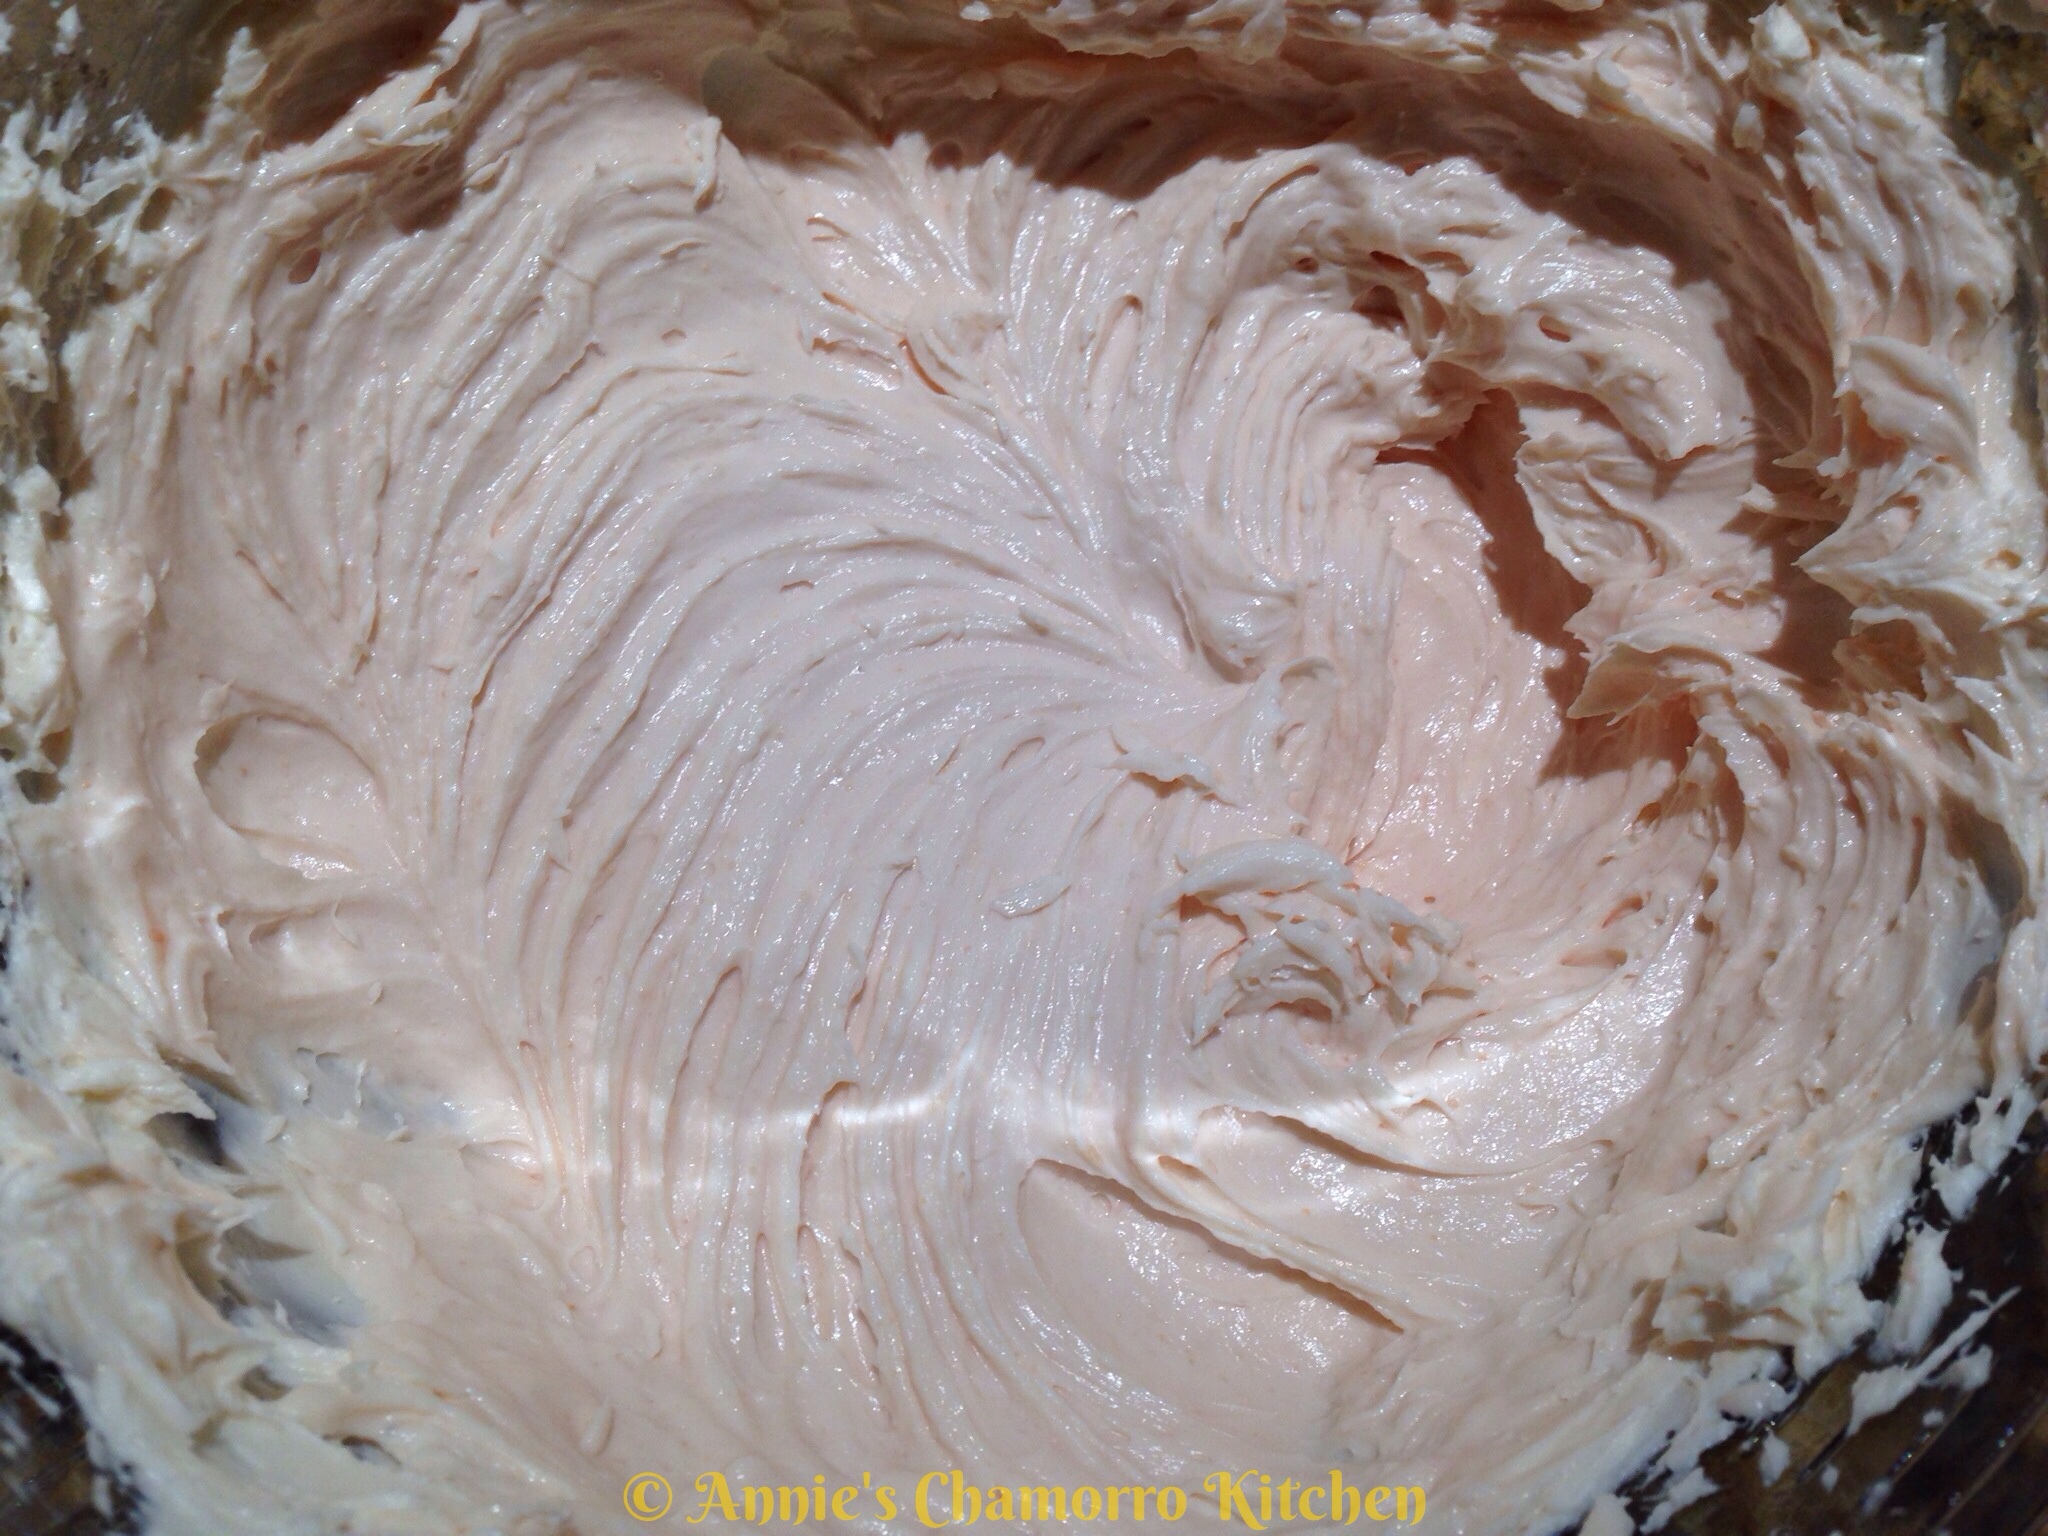
Add the Cool Whip to the mixing bowl.

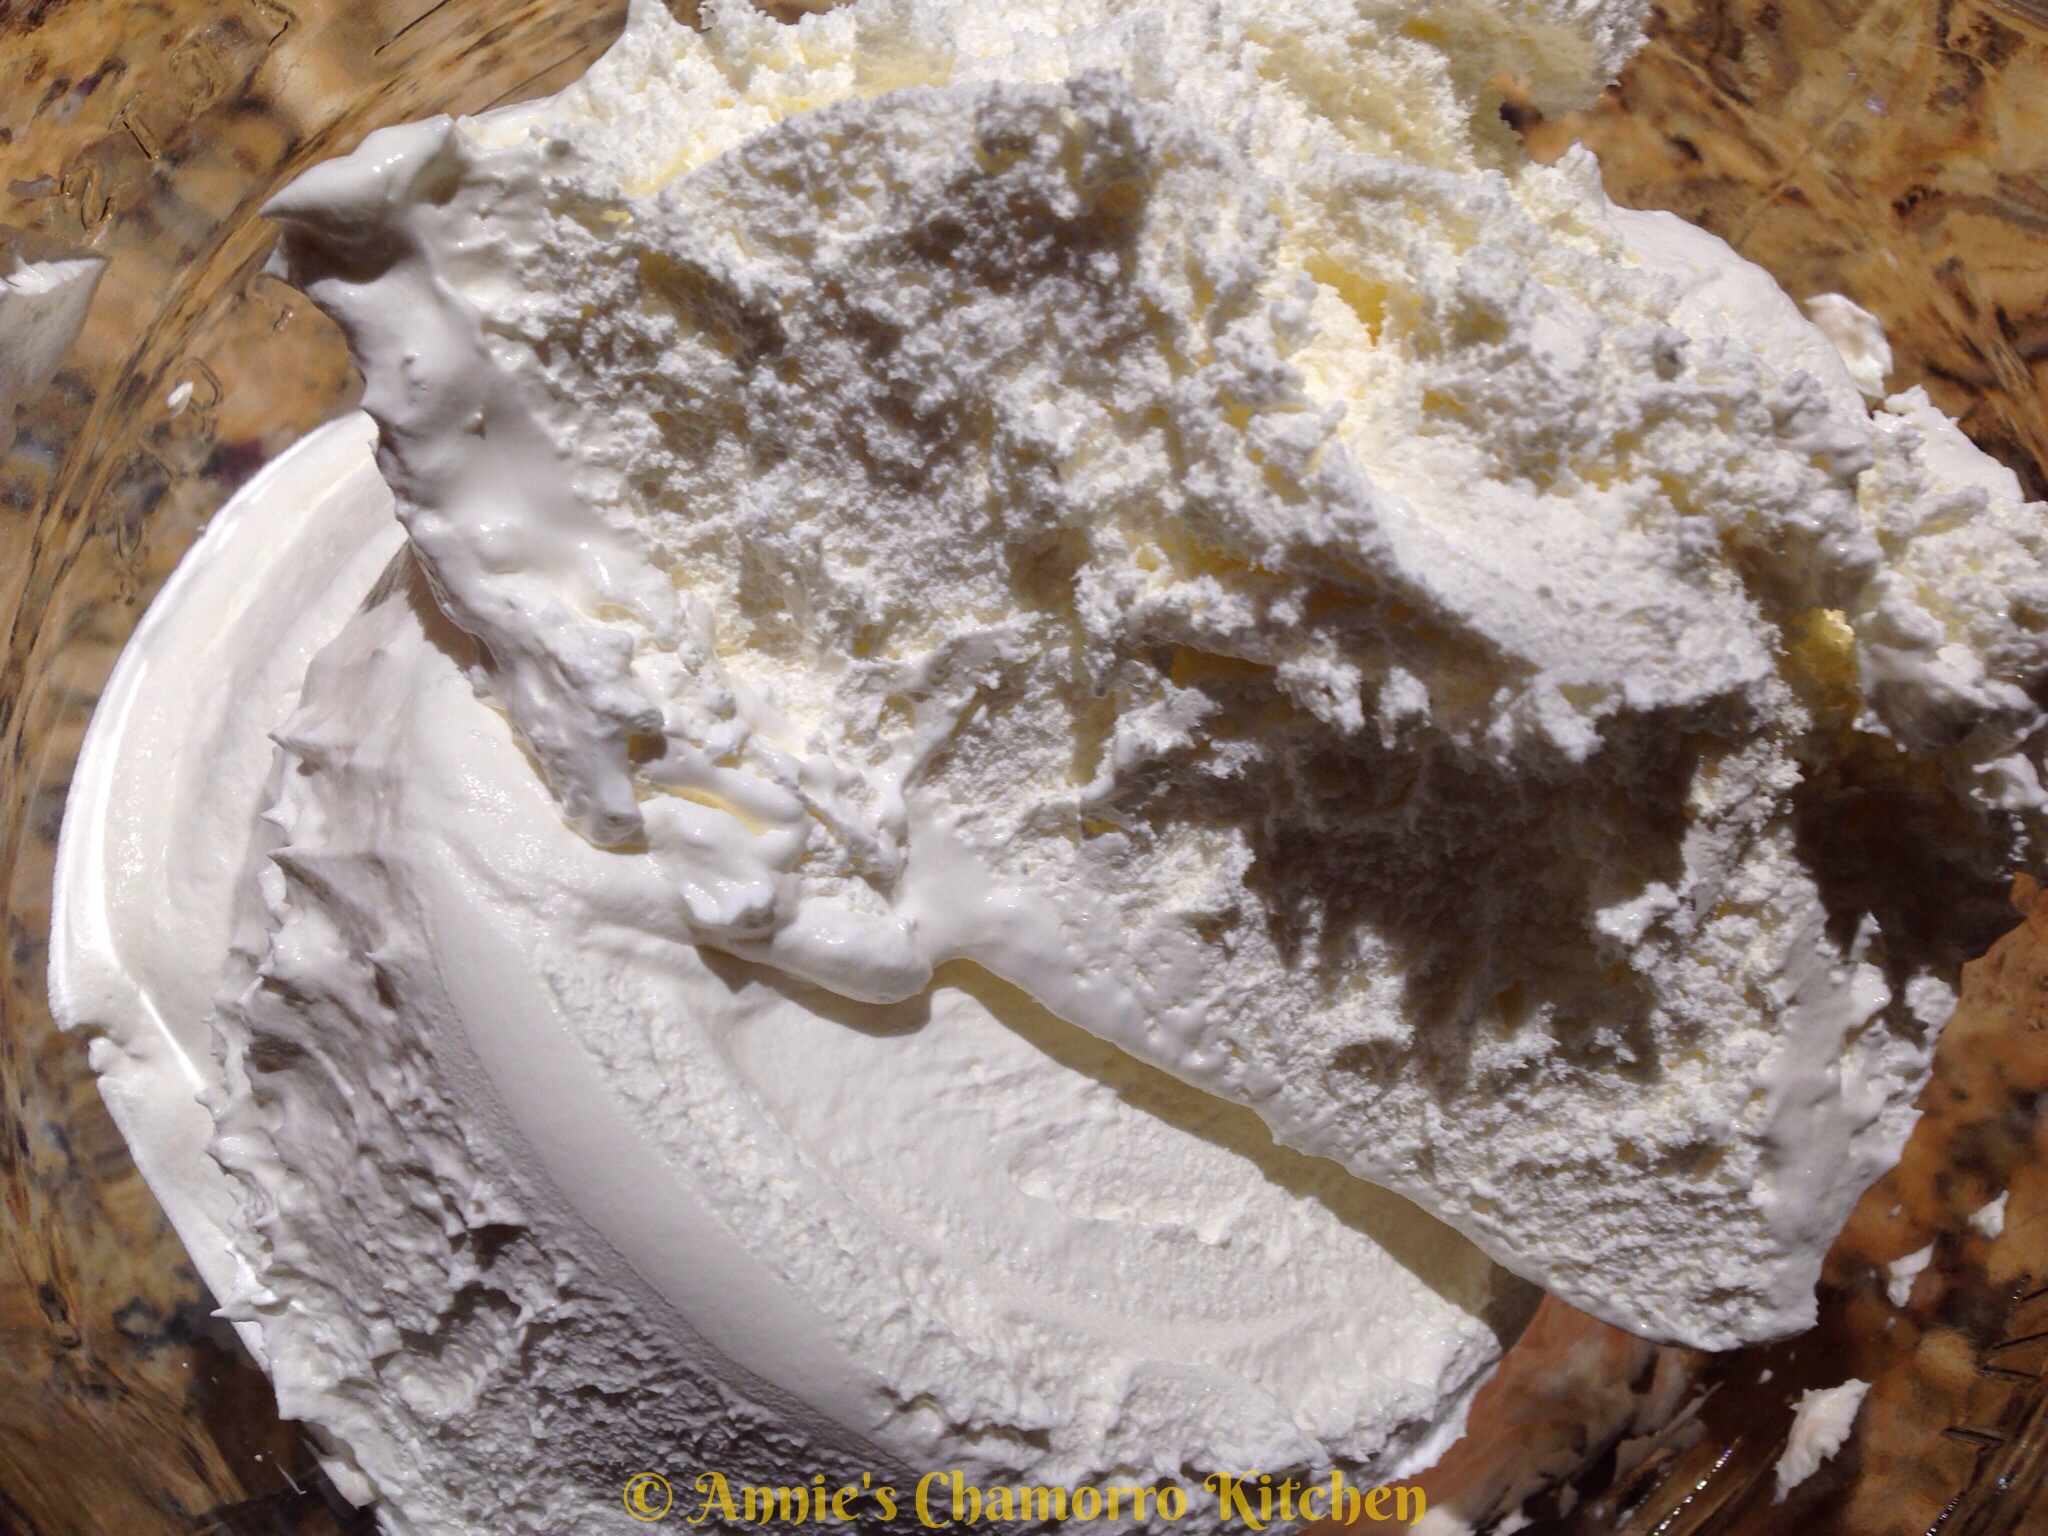
Mix until creamy.  Place the frosting in the refrigerator until ready to use.

3.  Bake the cake.

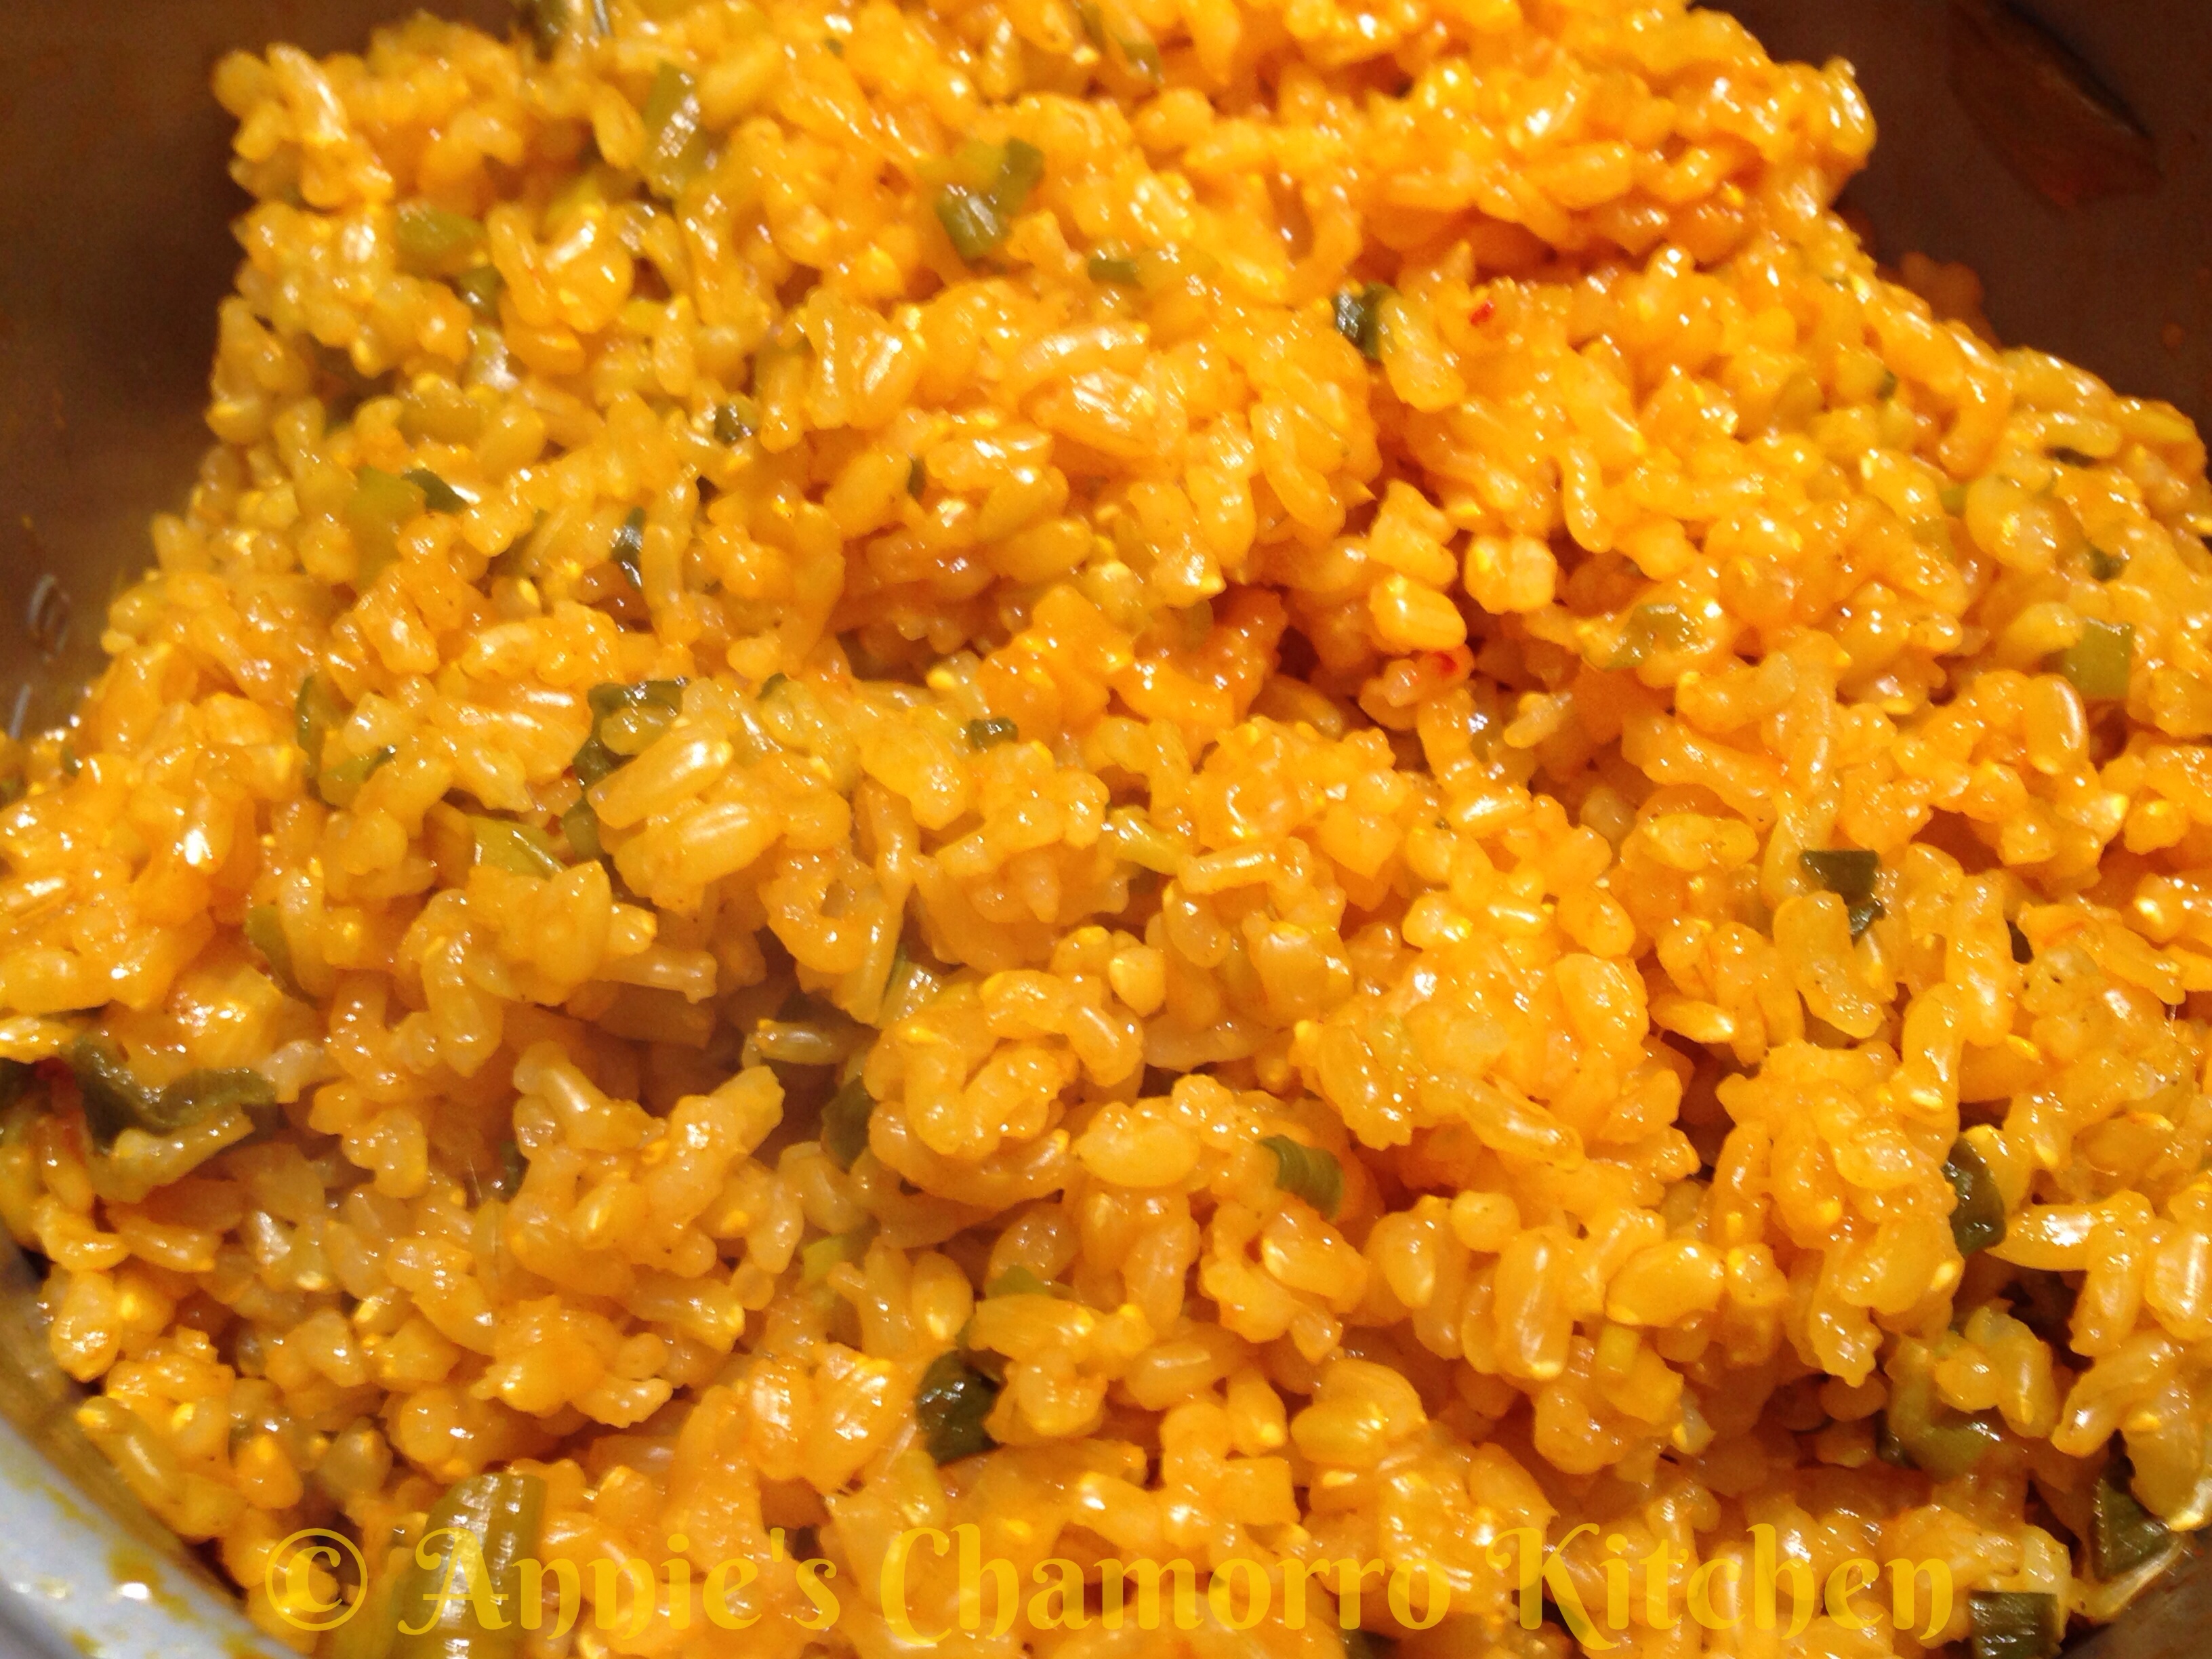
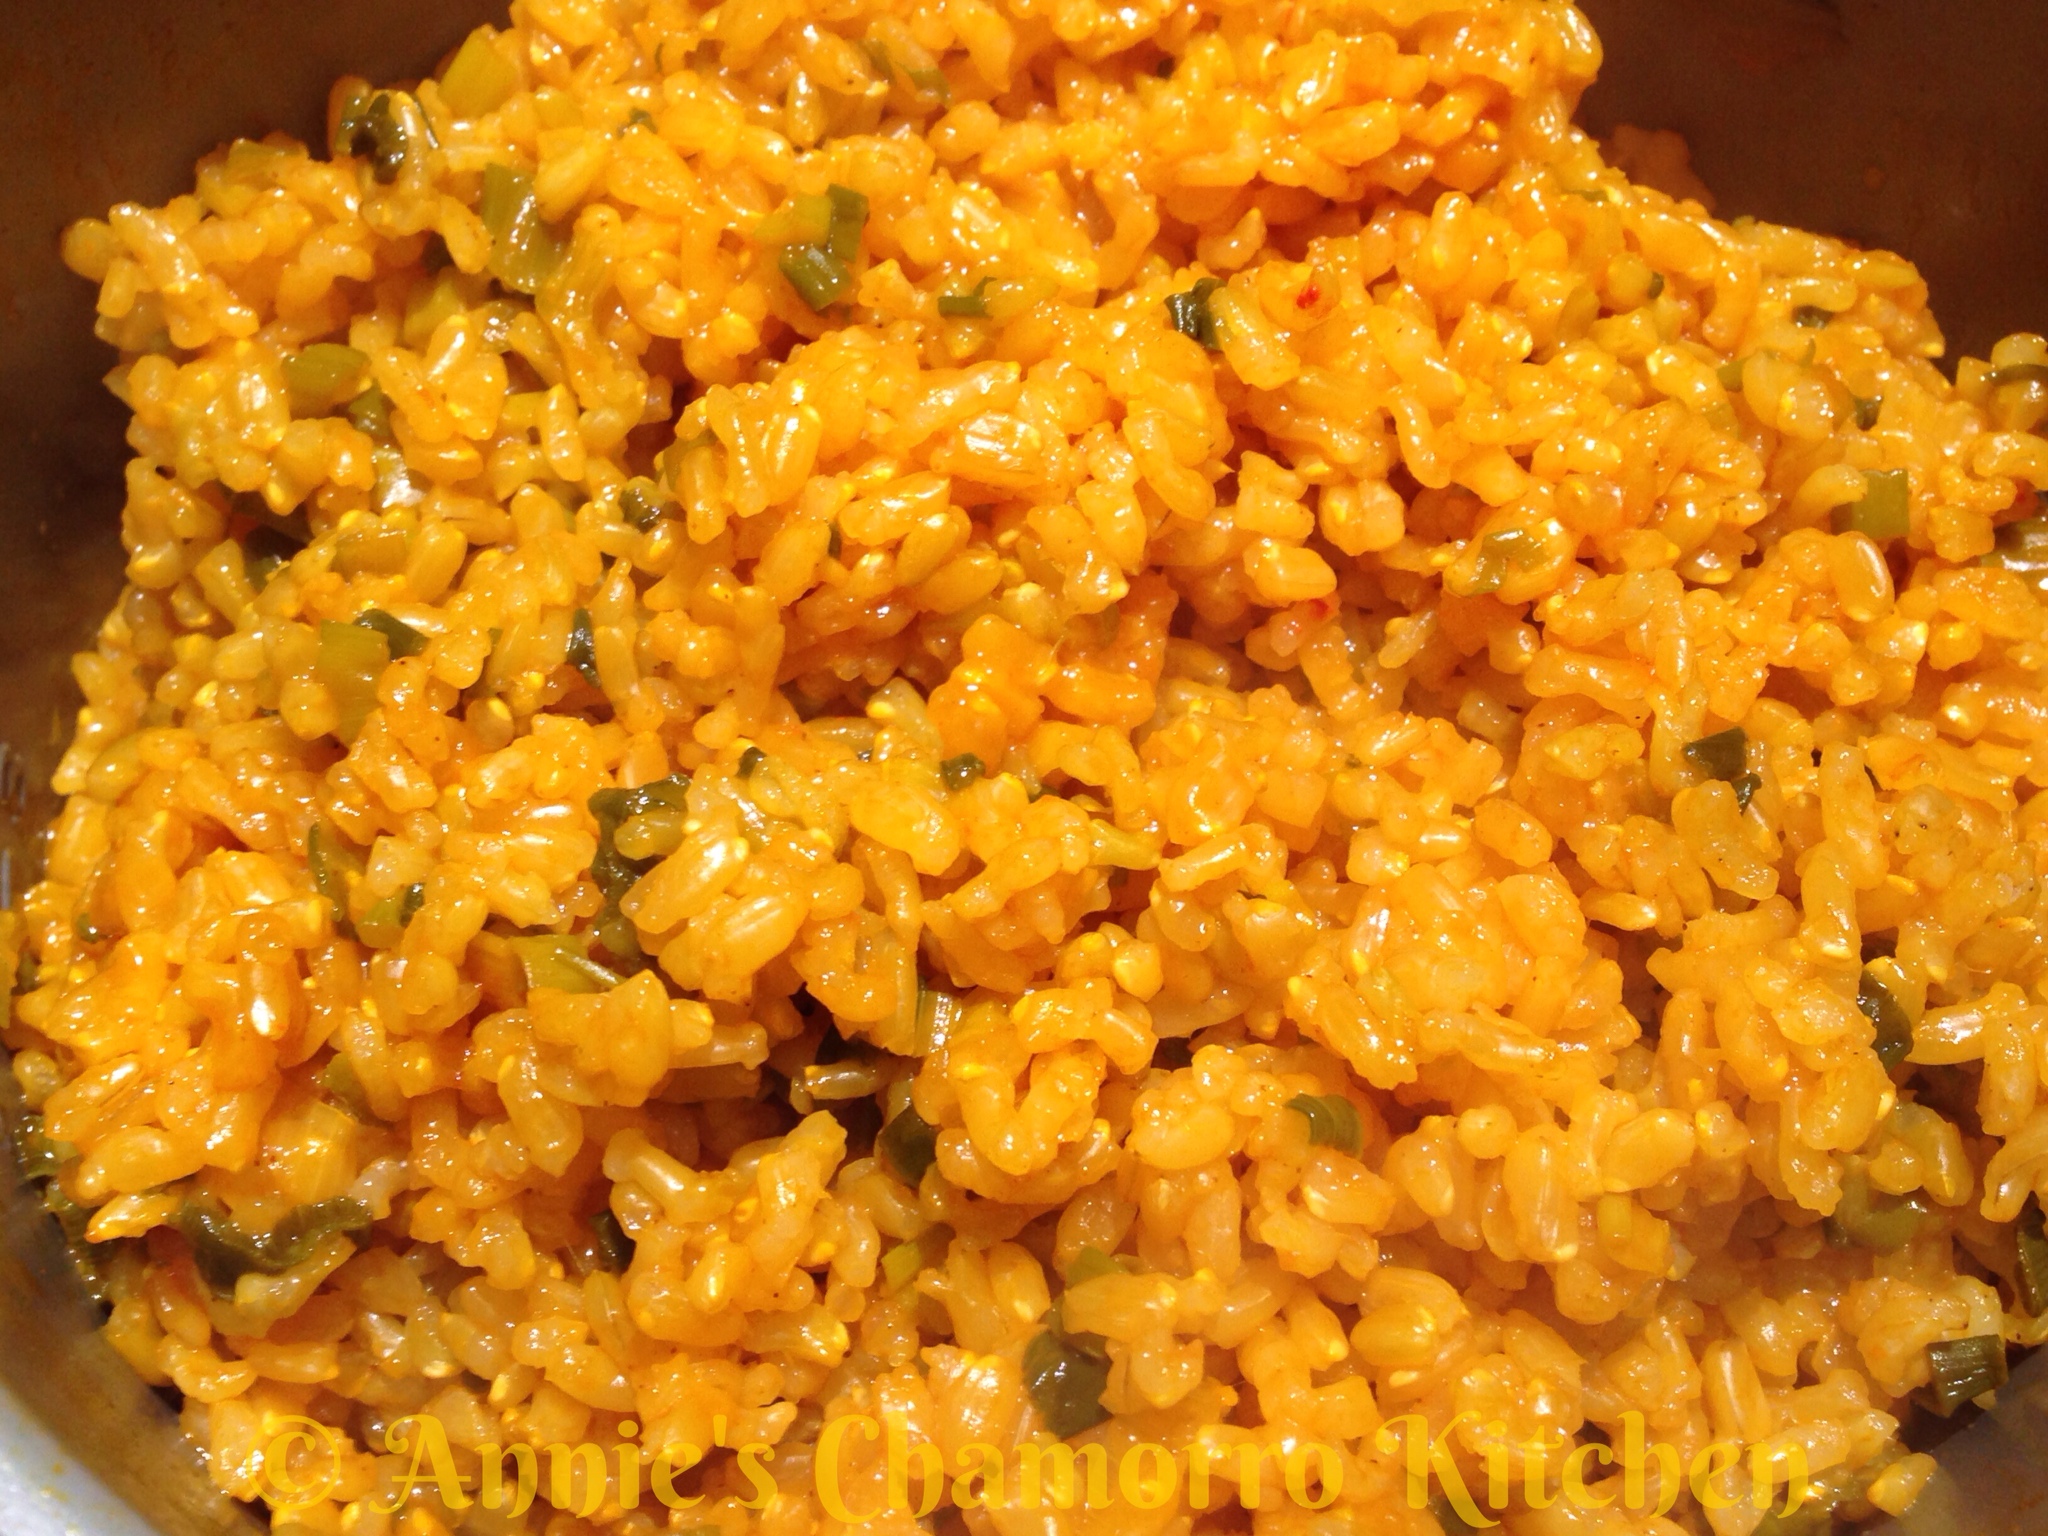
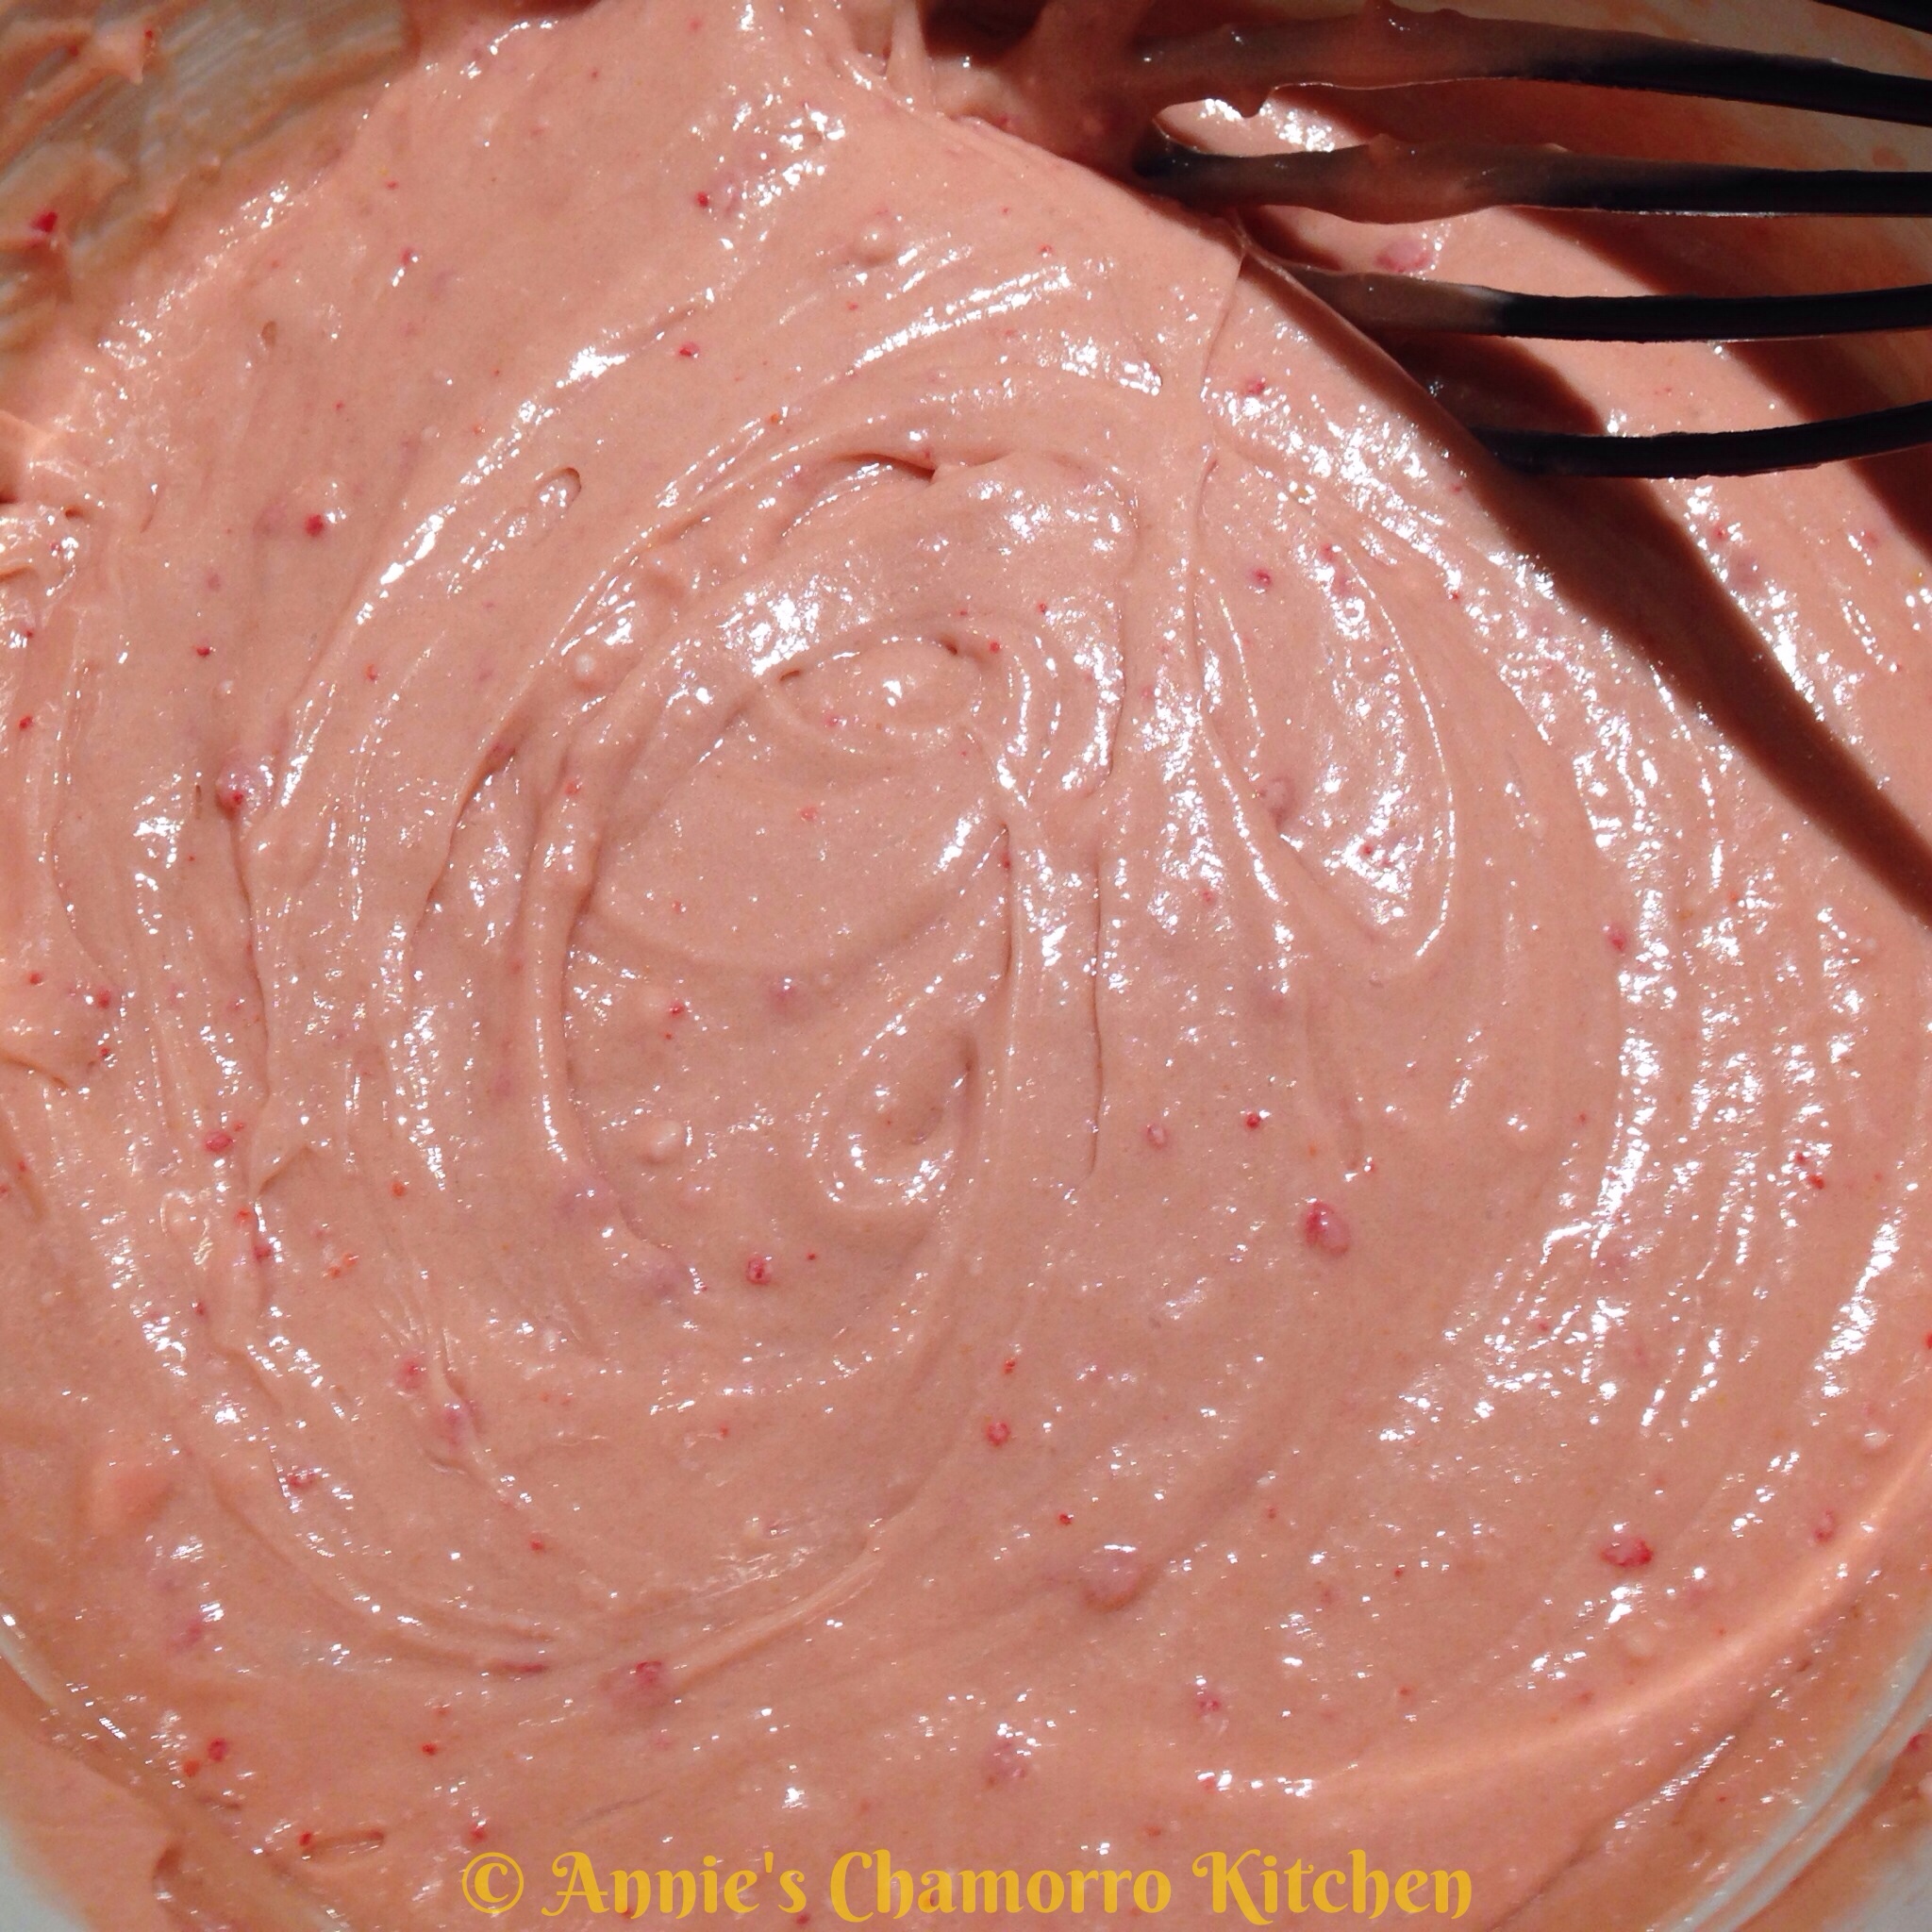
Empty the contents of the cake mix into a mixing bowl.

Into the bowl add the eggs, vegetable oil, and 1 cup of the guava juice (set the remaining juice aside–it will be used later to make the guava sauce).

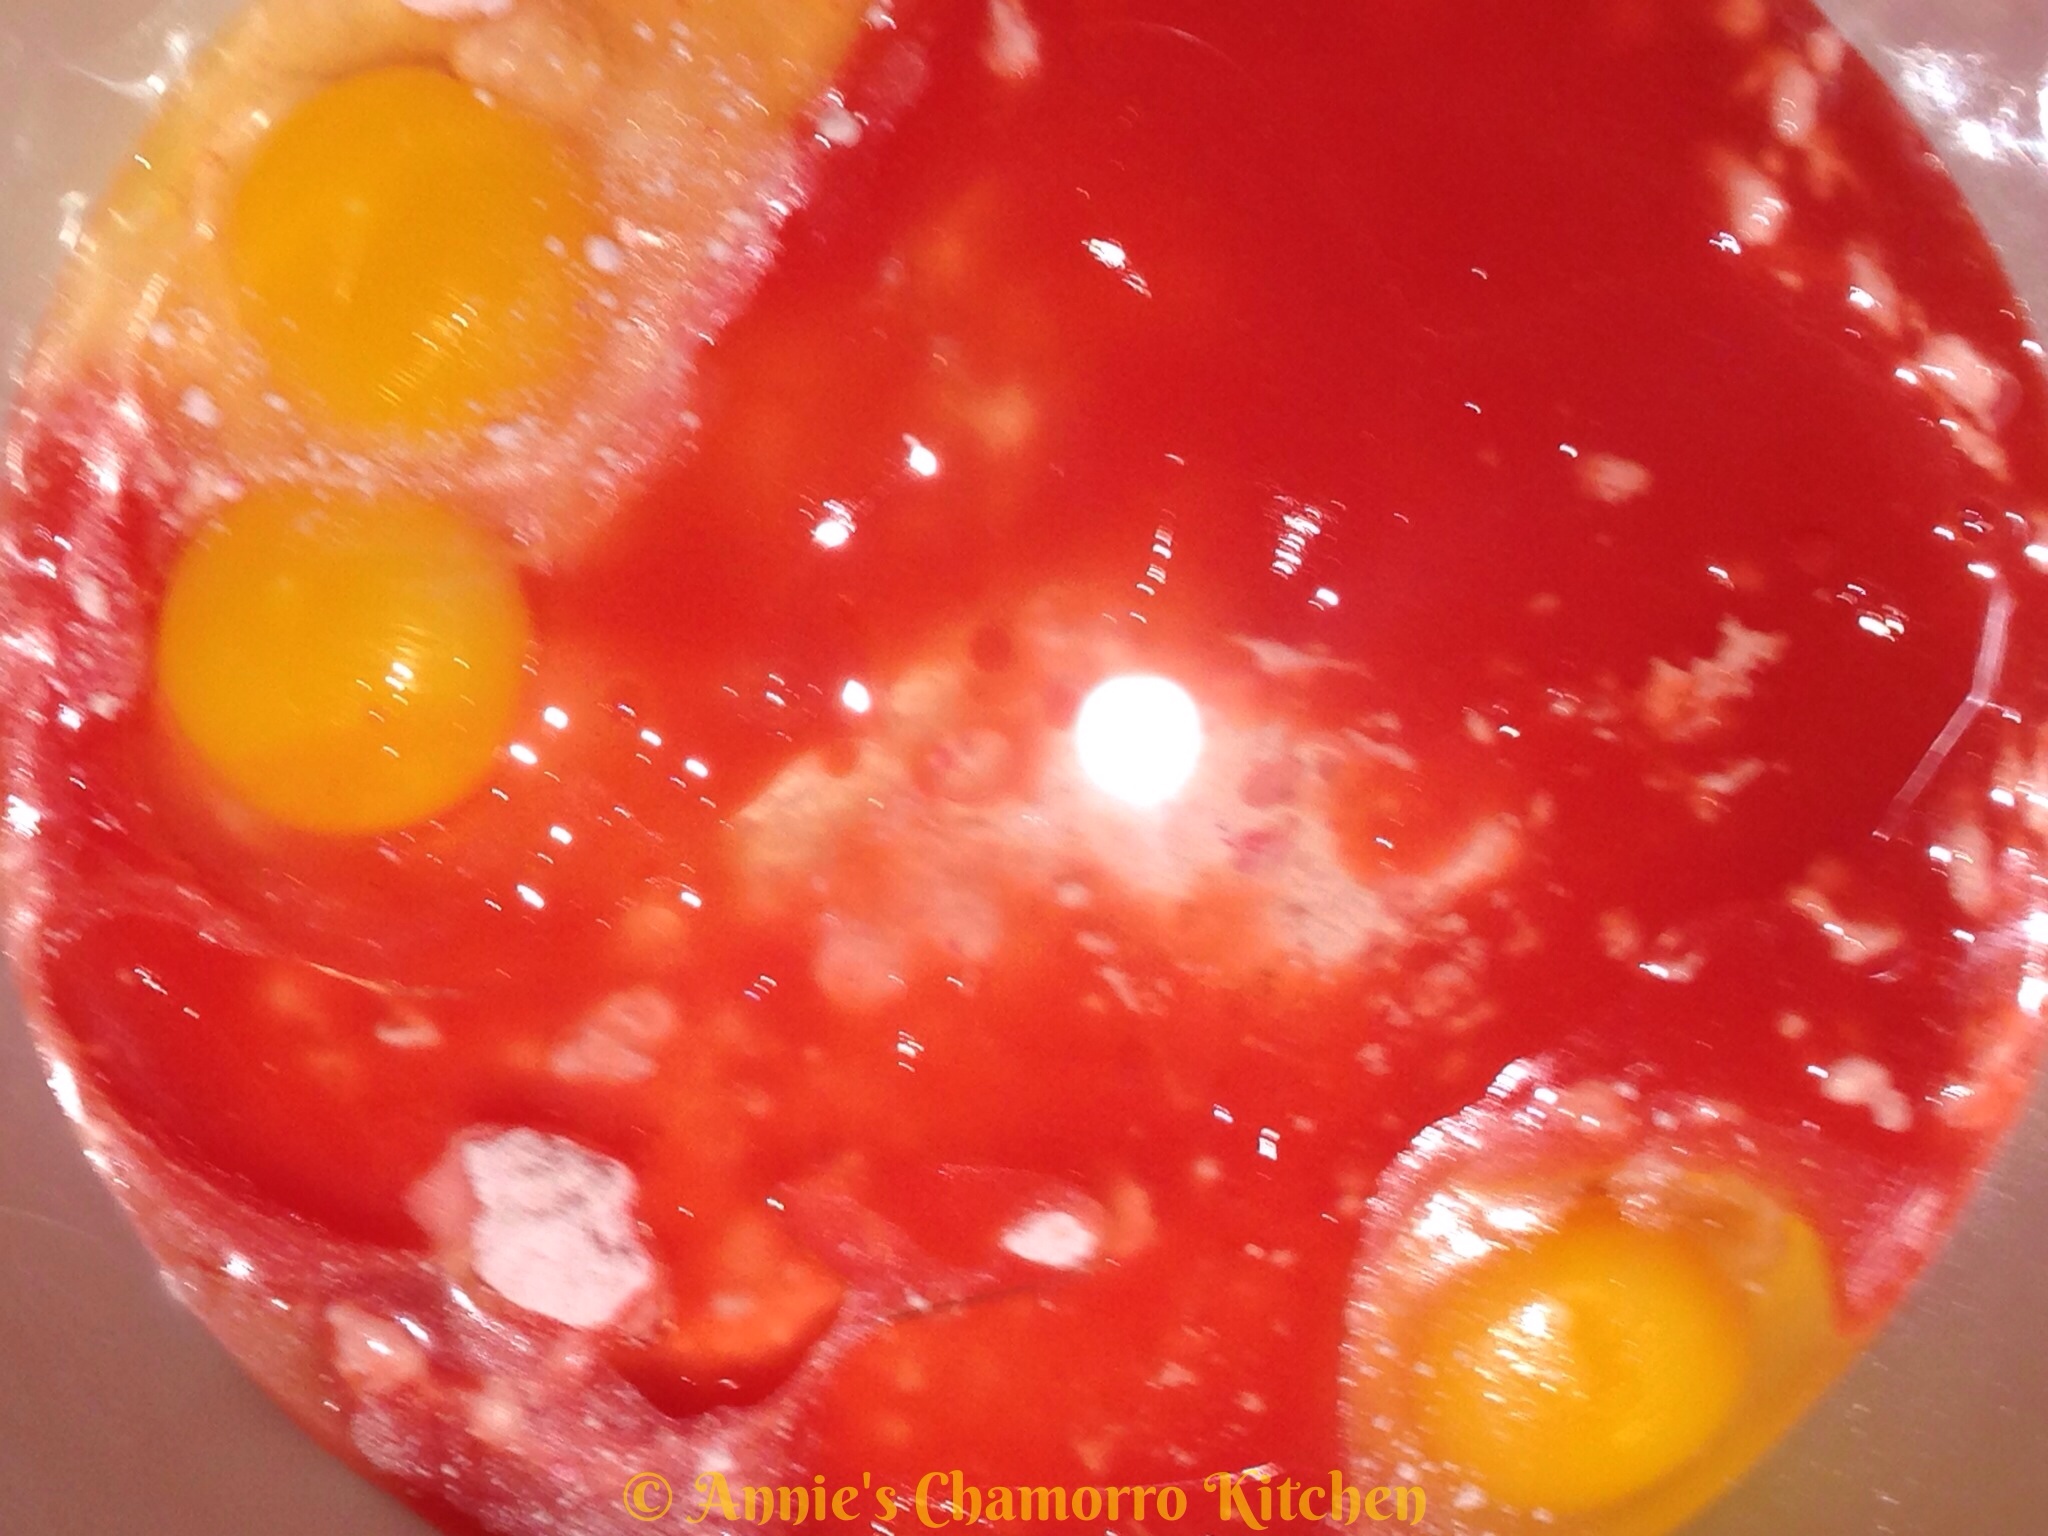
Using a whisk or mixing spoon, mix the ingredients together.  Don’t over-mix the batter; mix only until the large lumps disappear.

 Split the batter between two small pans.

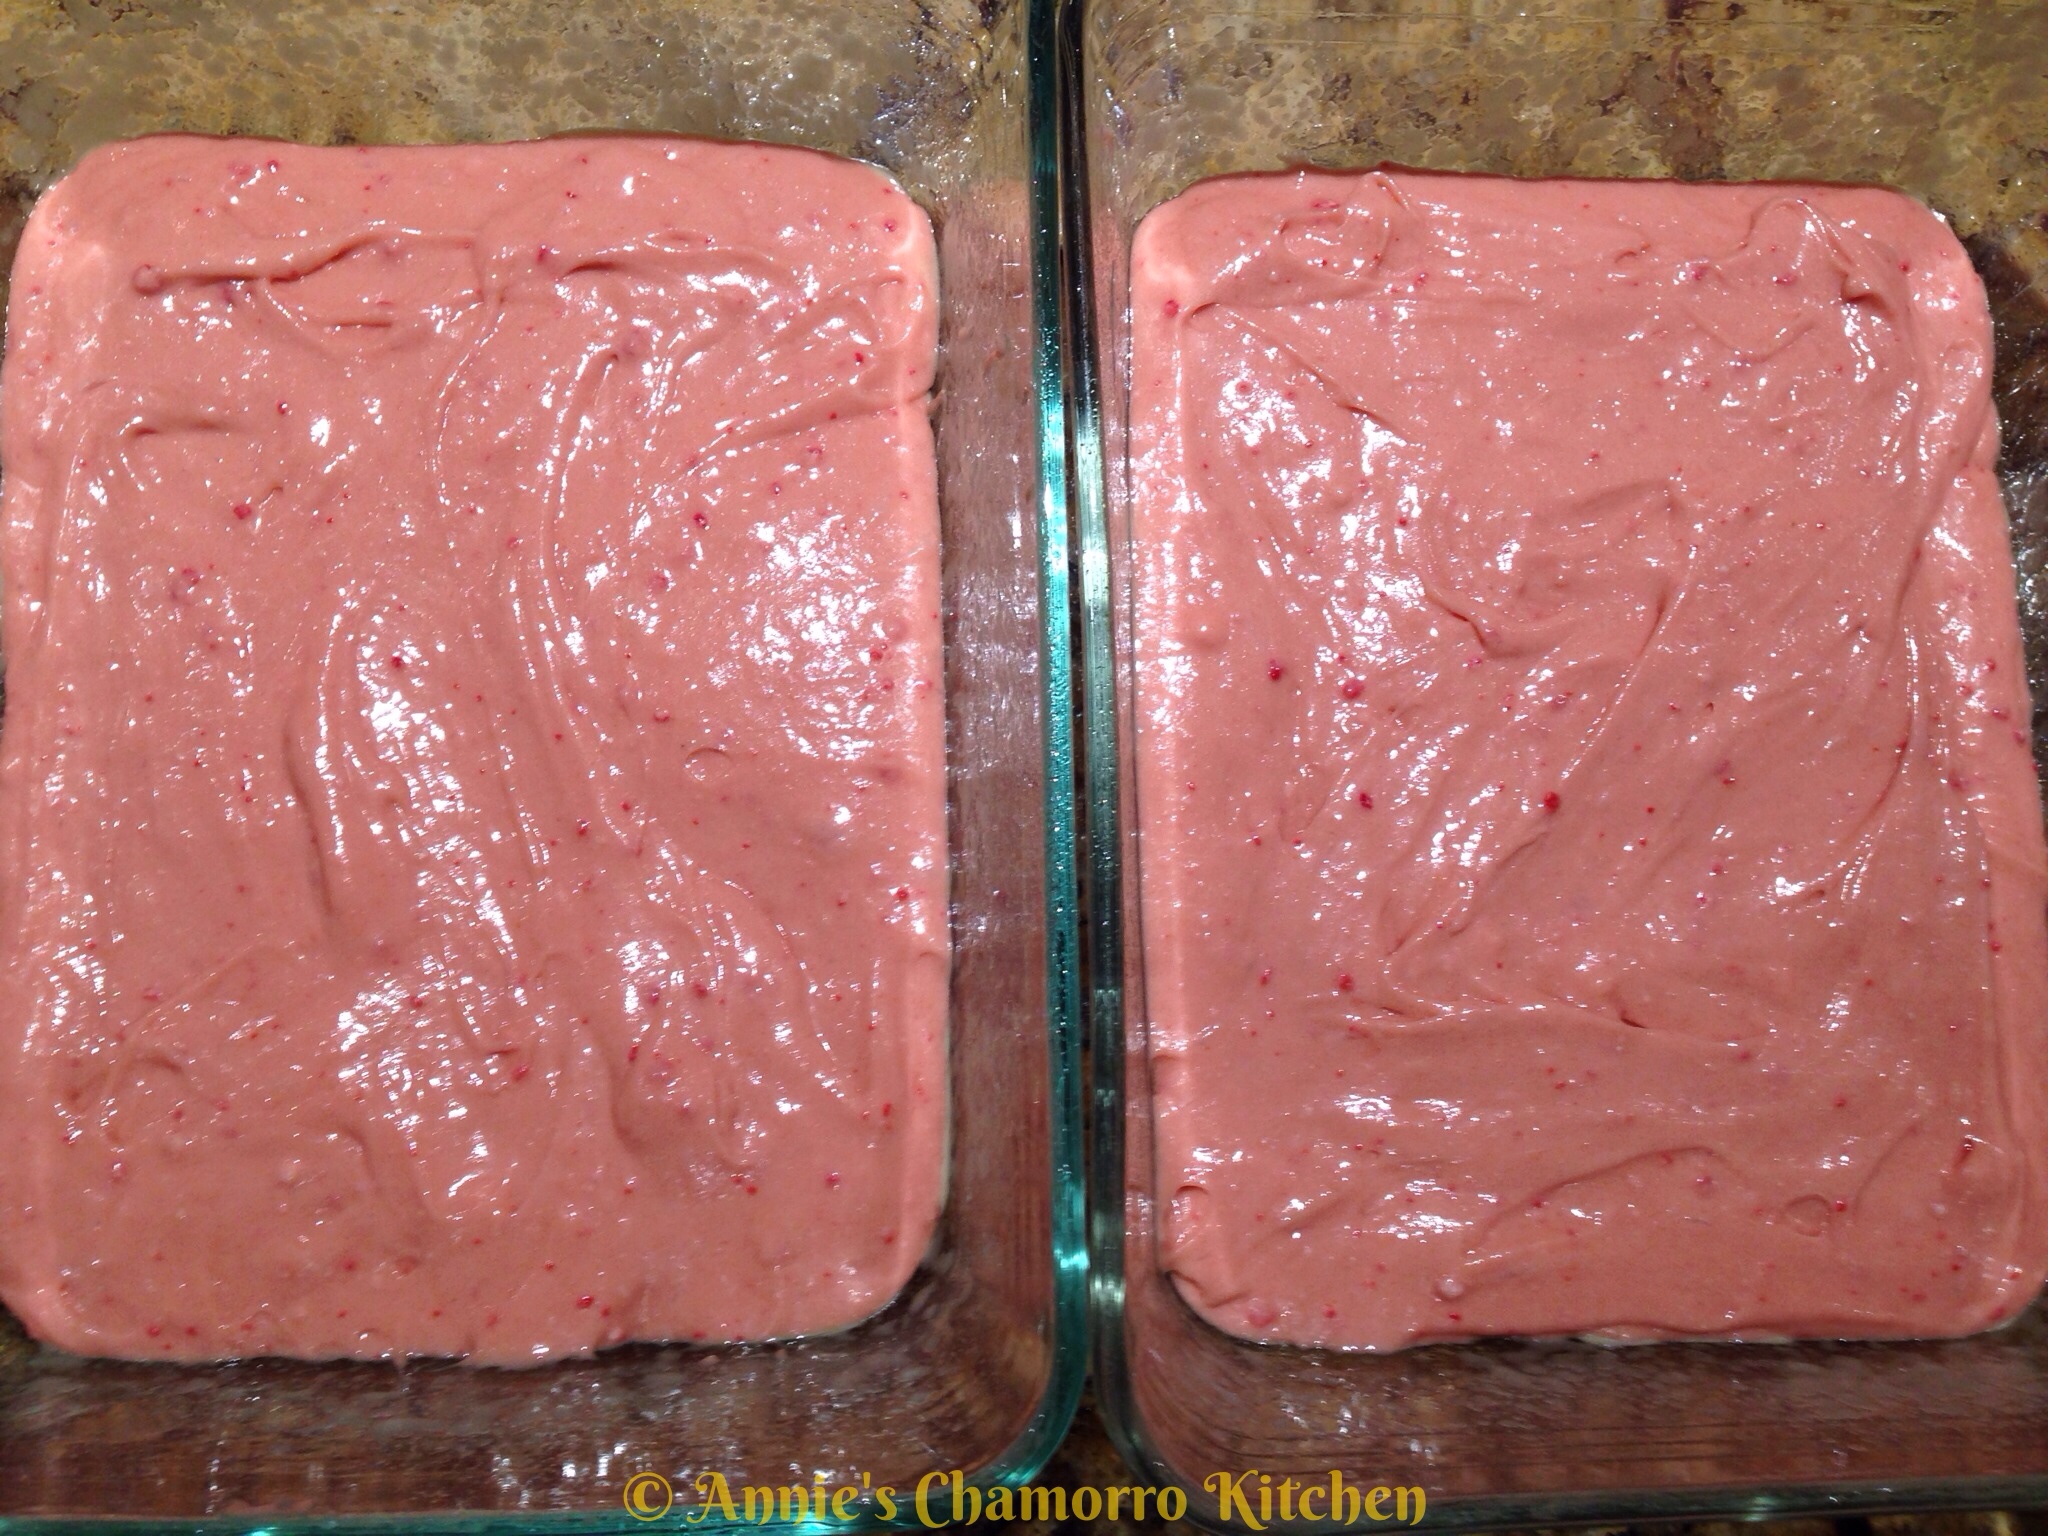
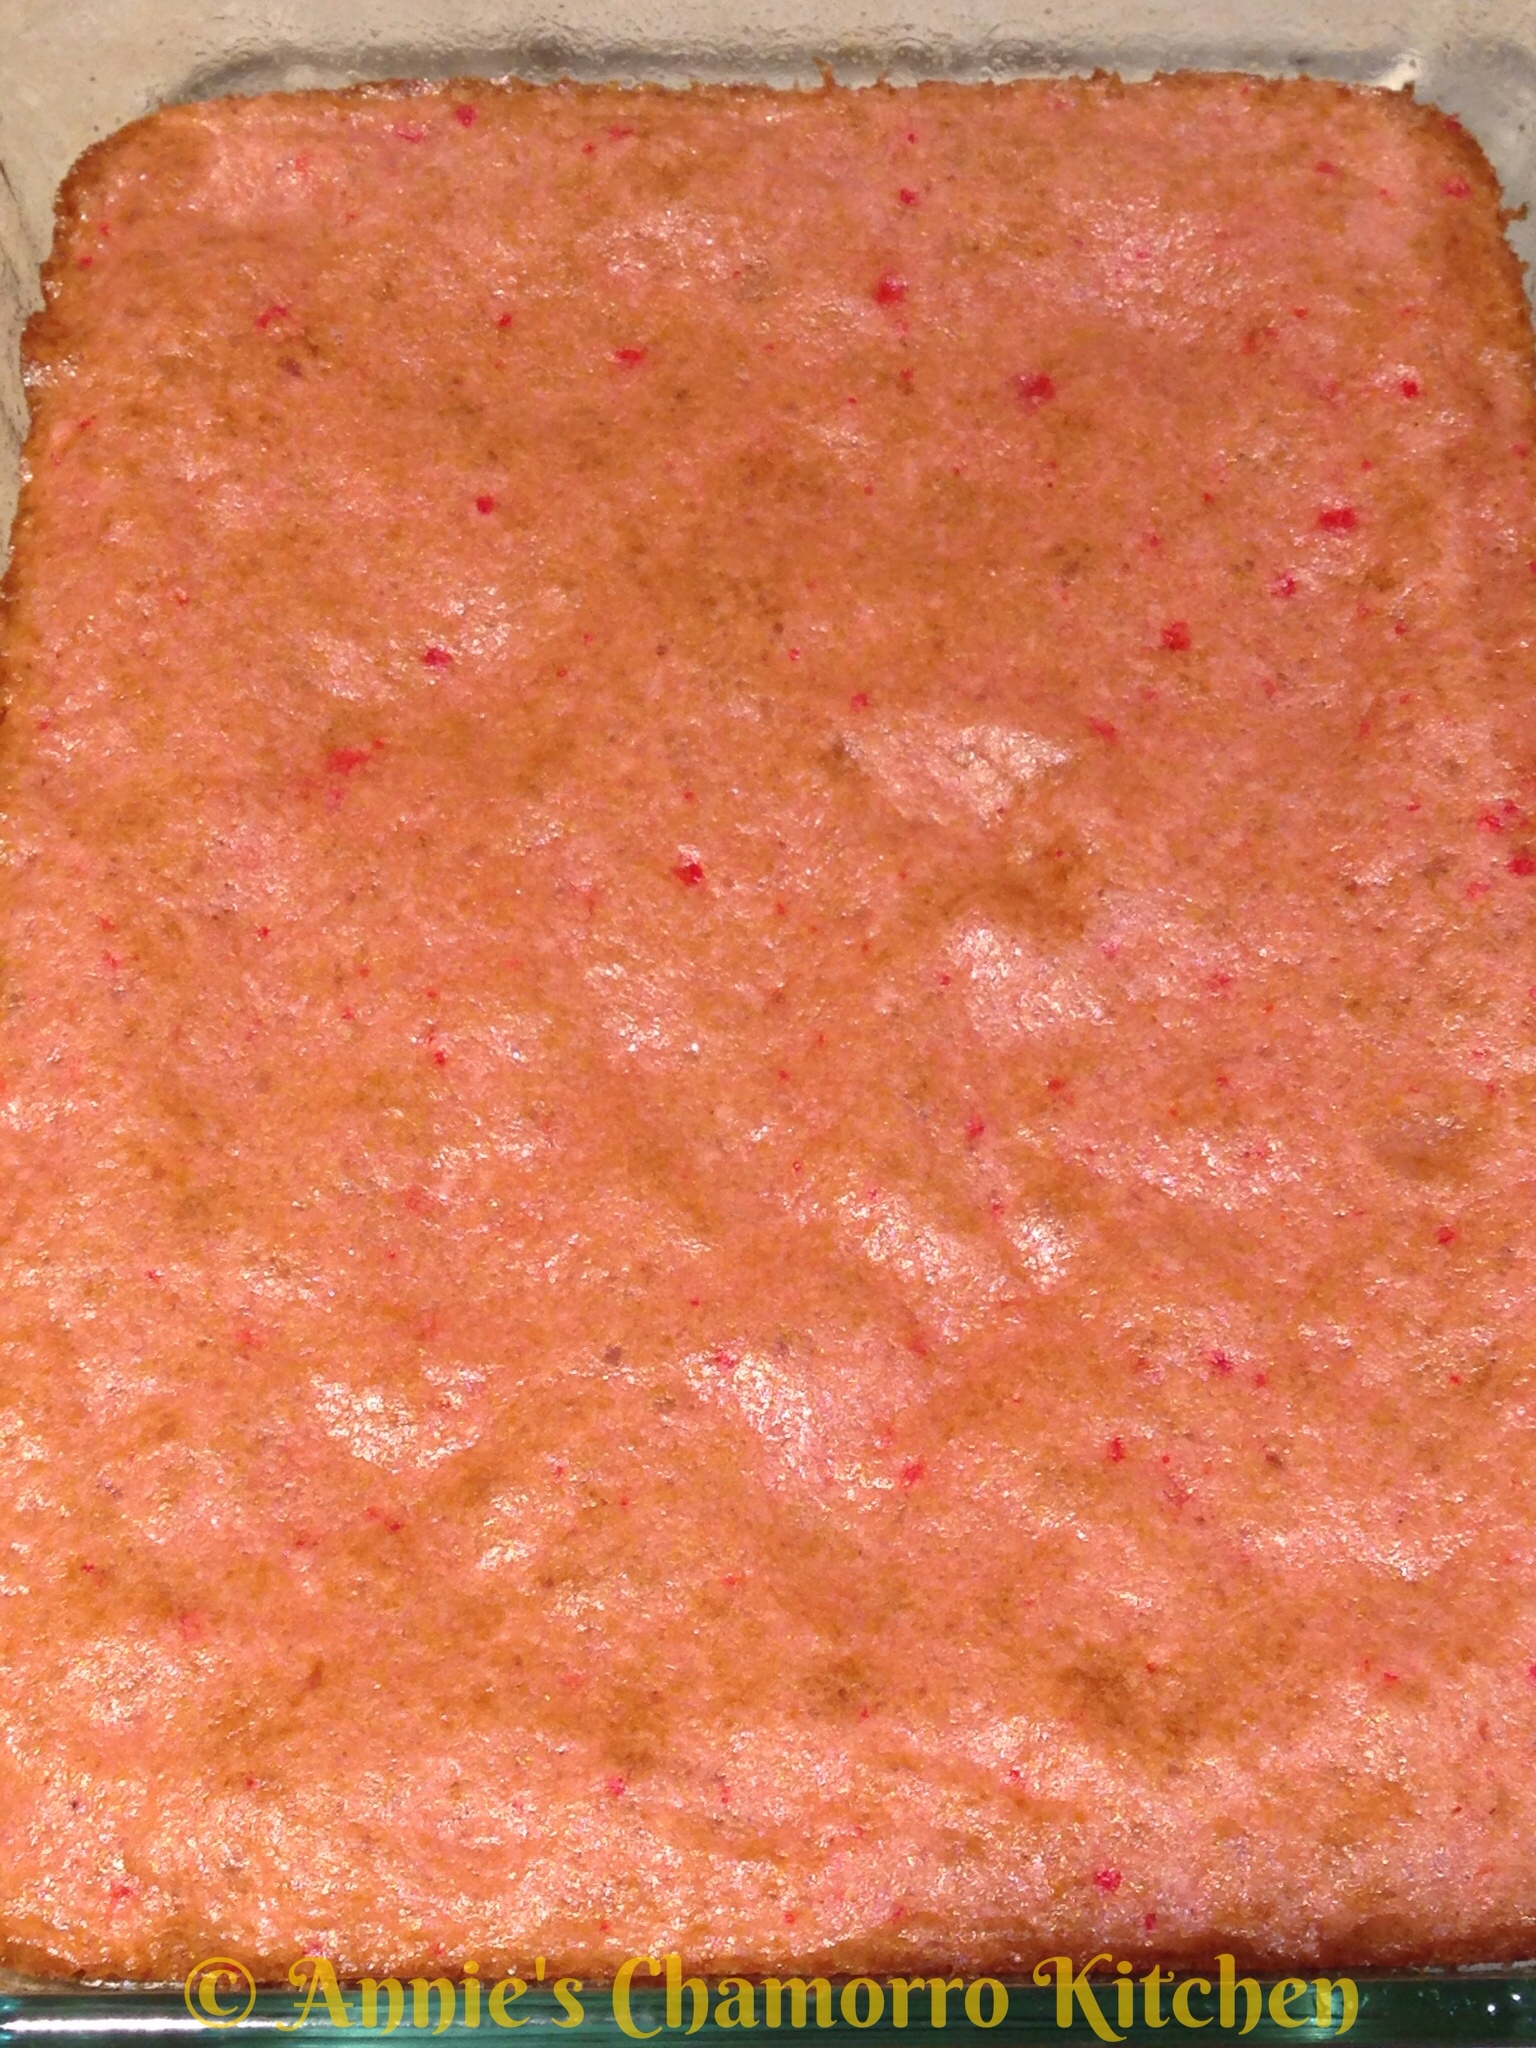
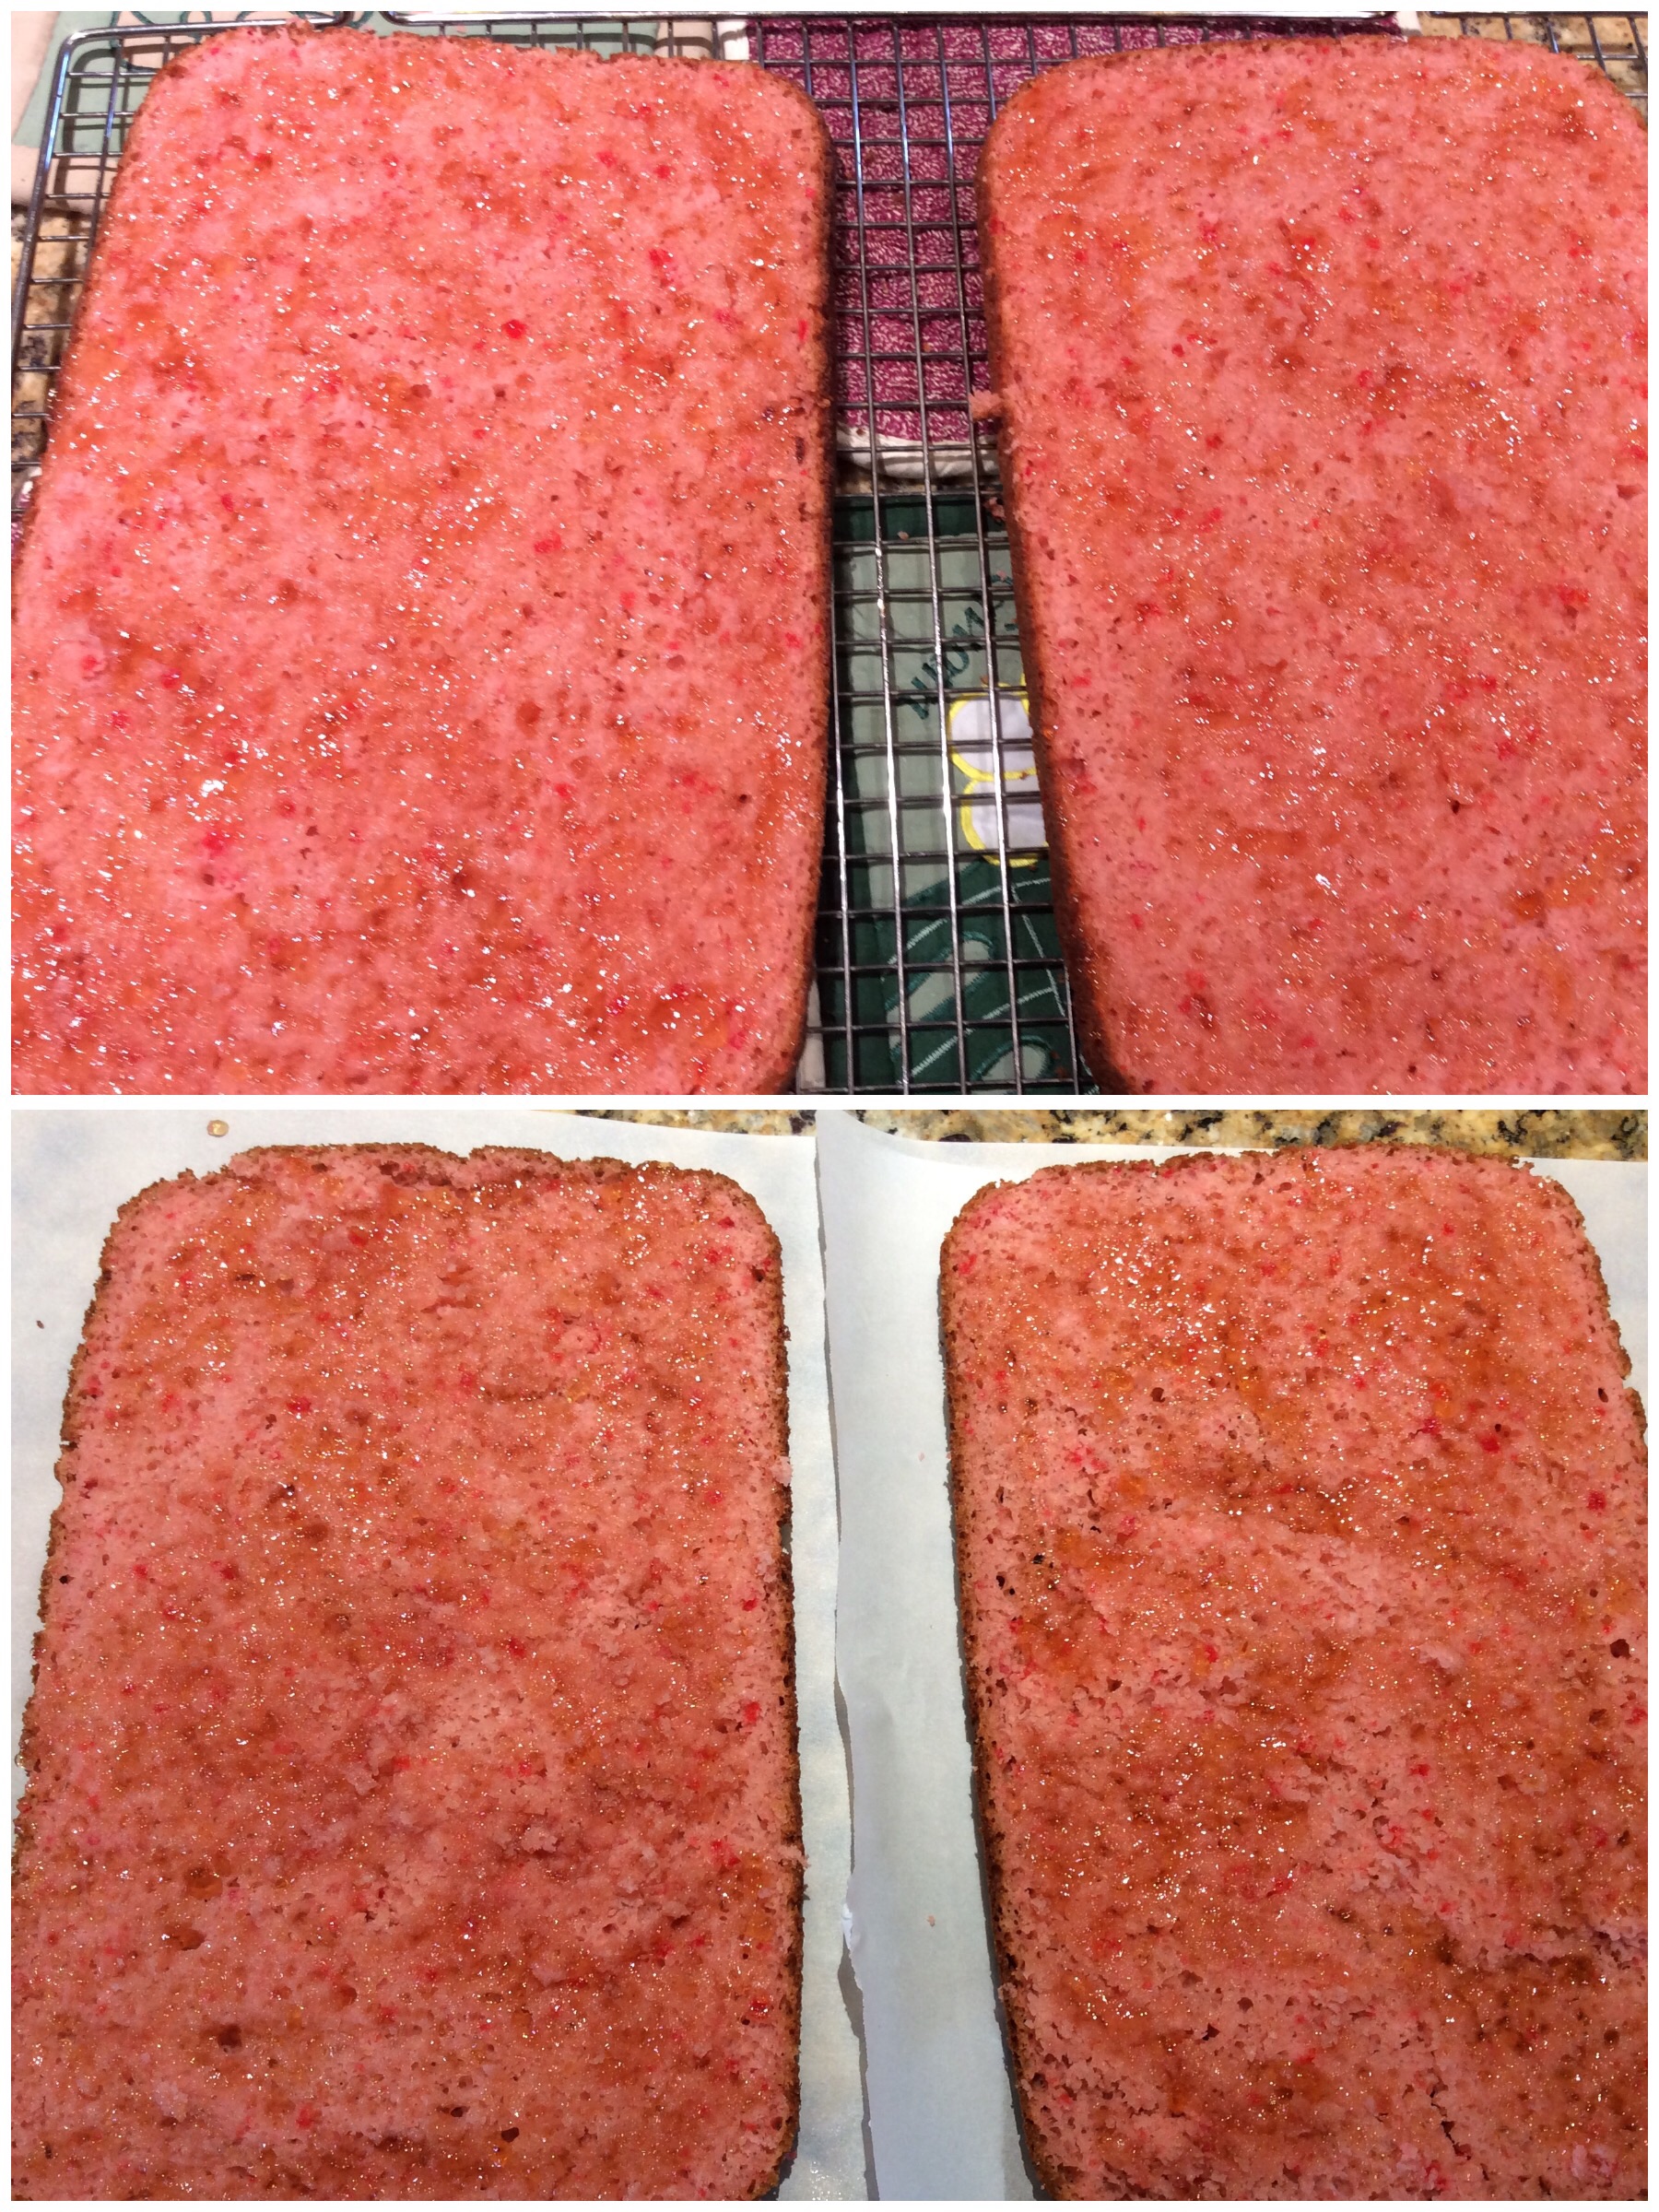
Bake at 350 degrees for 25 minutes or until a toothpick inserted into the middle comes out clean.  Let the cake cool completely (I inverted it onto a plate to finish cooling).

OPTIONAL:

To give your guava cake a boost of guava flavor, split the cakes in half while still warm.  Heat the jelly in a microwave-safe cup for one minute.  Spread the guava jelly over the top surface of each of the cake halves.  Allow to cool then place the halves back together.  Proceed with the remaining instructions.

image

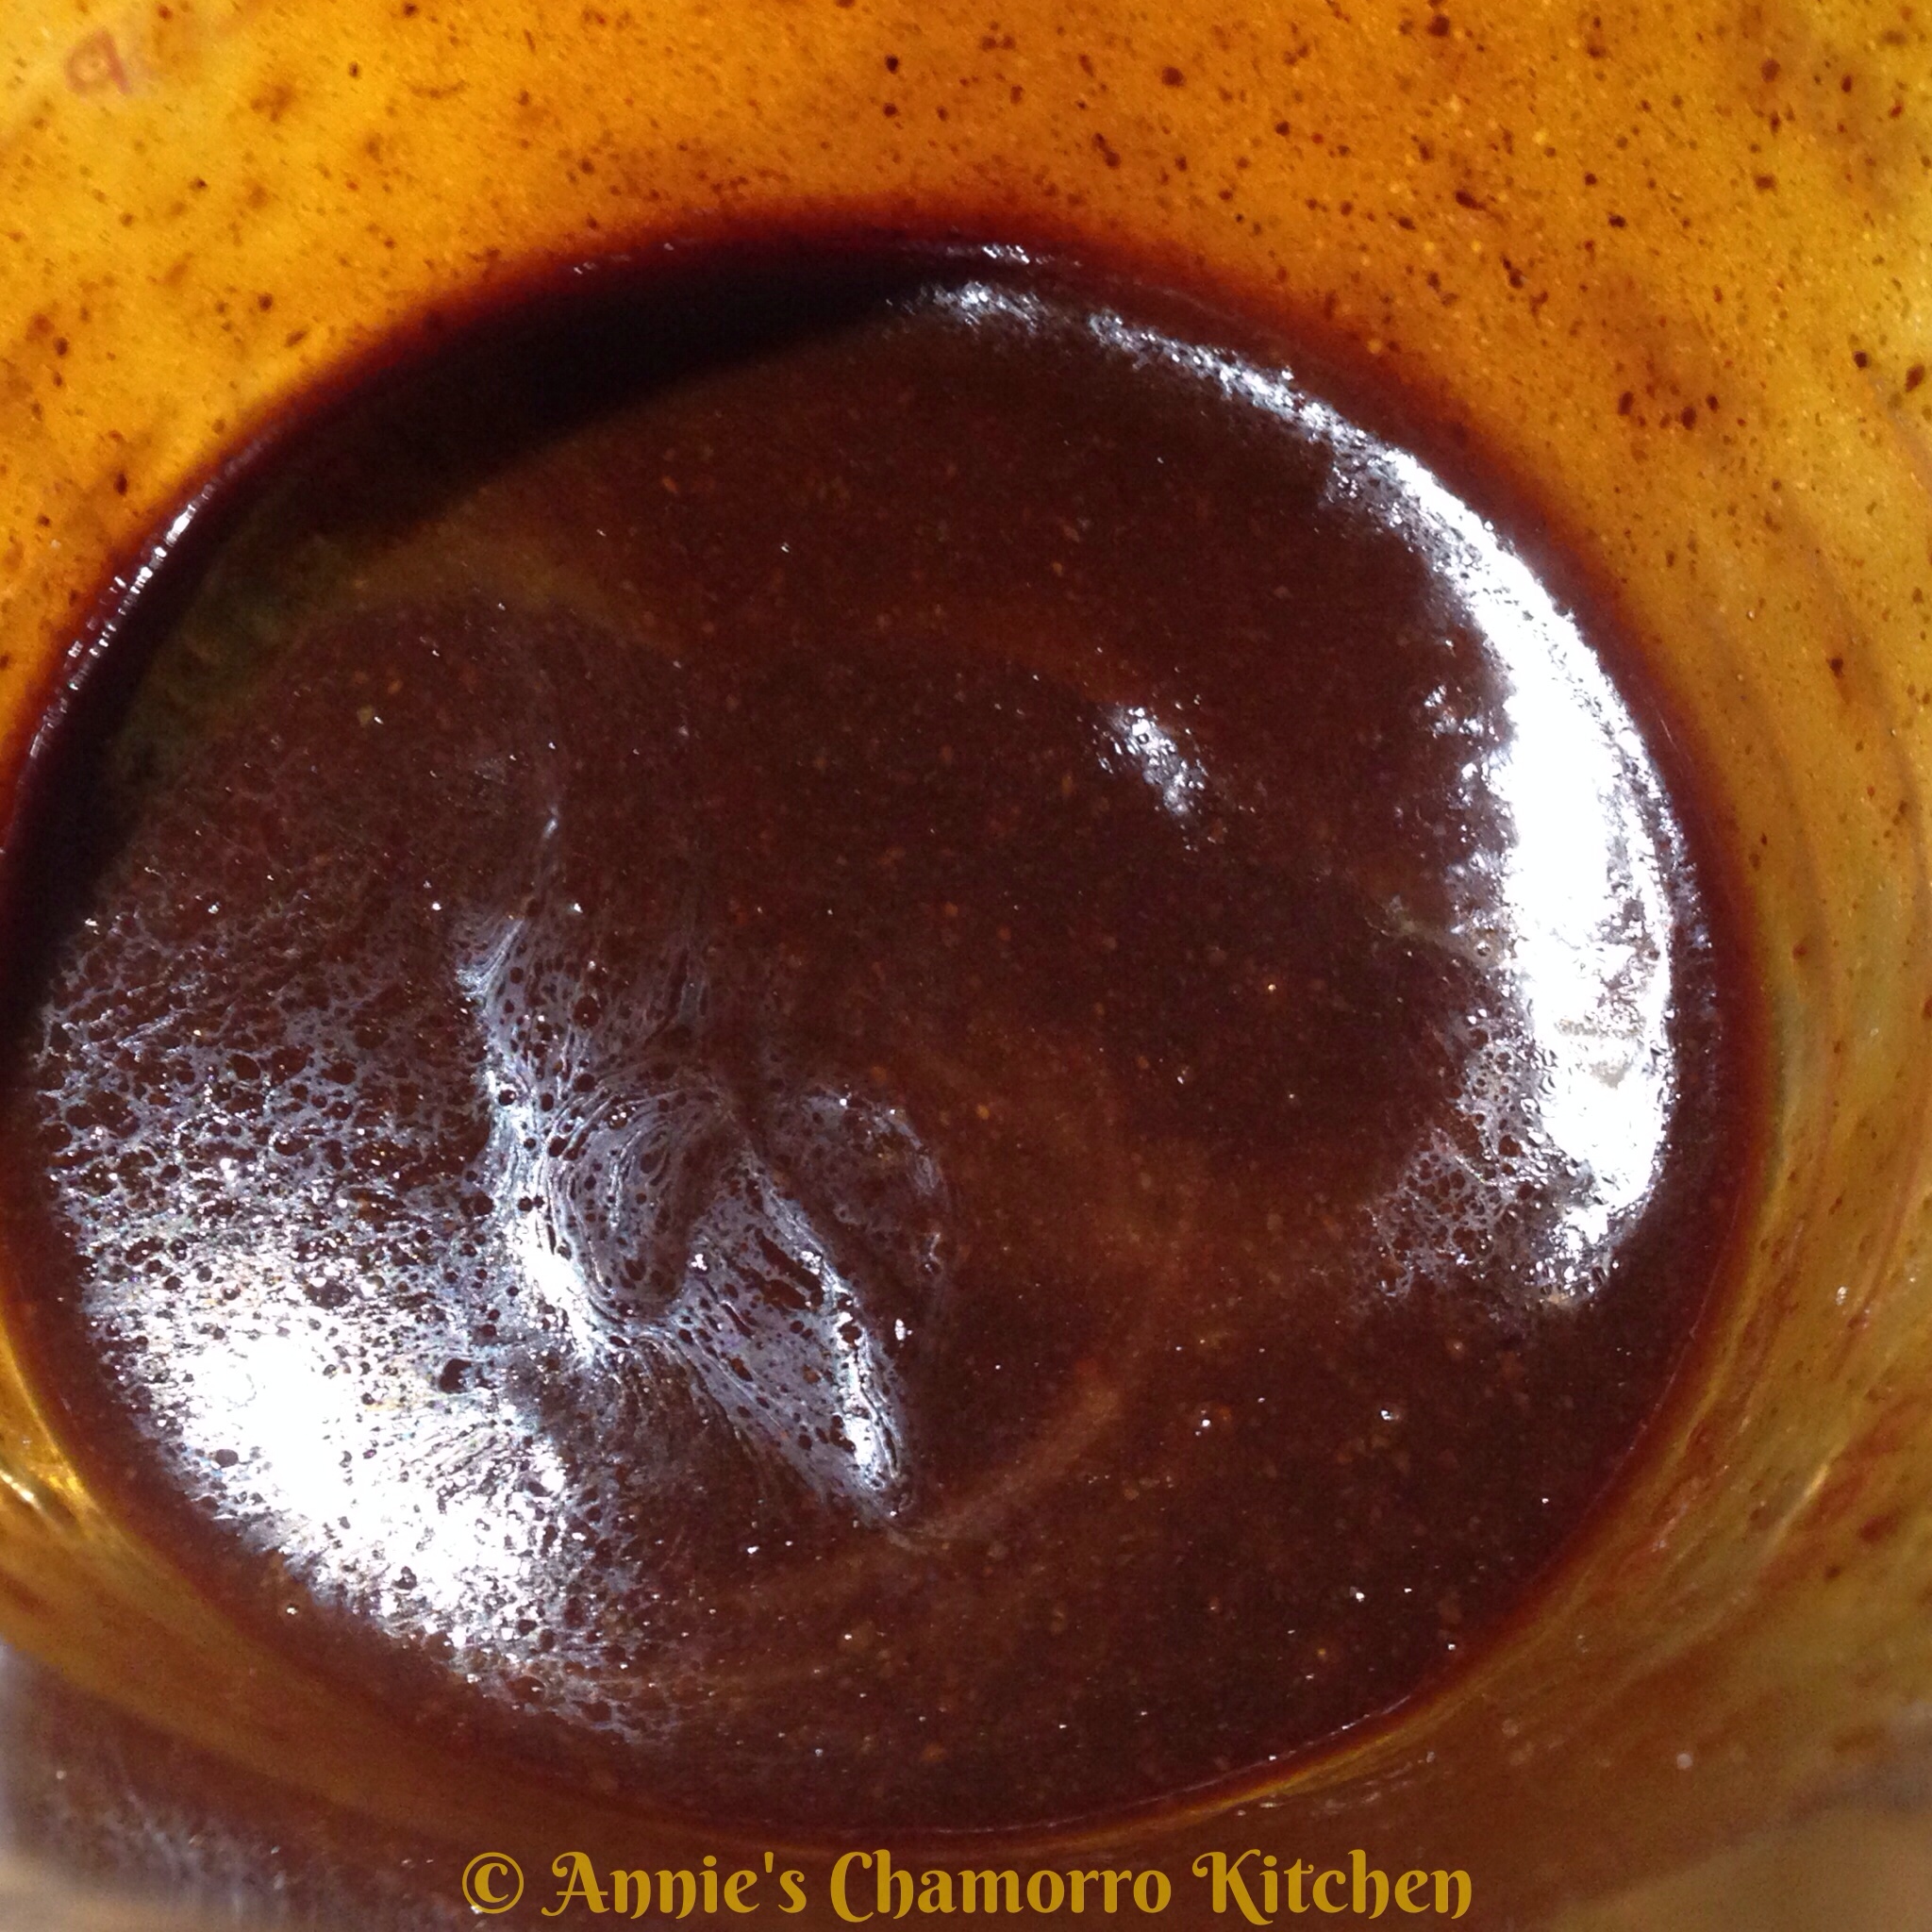
4.  Make the guava sauce.

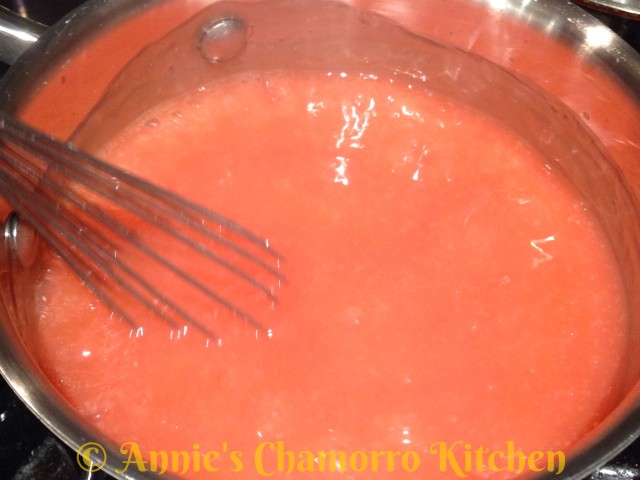
Place the remaining 2 cups of guava juice into a small saucepan.  Turn the heat to medium high.

Mix the cornstarch with 4 tablespoons of water.  Pour the cornstarch mixture into the pan, mixing with a whisk.

wpid-Photo-Feb-13-2014-632-PM.jpg

Continue whisking the mixture over medium high heat, cooking until the sauce begins to thicken.

The sauce will thicken only after it comes to a boil.  Once the mixture starts to boil, reduce the heat to medium low; continue cooking for a couple of minutes then remove from the heat.

wpid-Photo-Feb-13-2014-638-PM.jpg

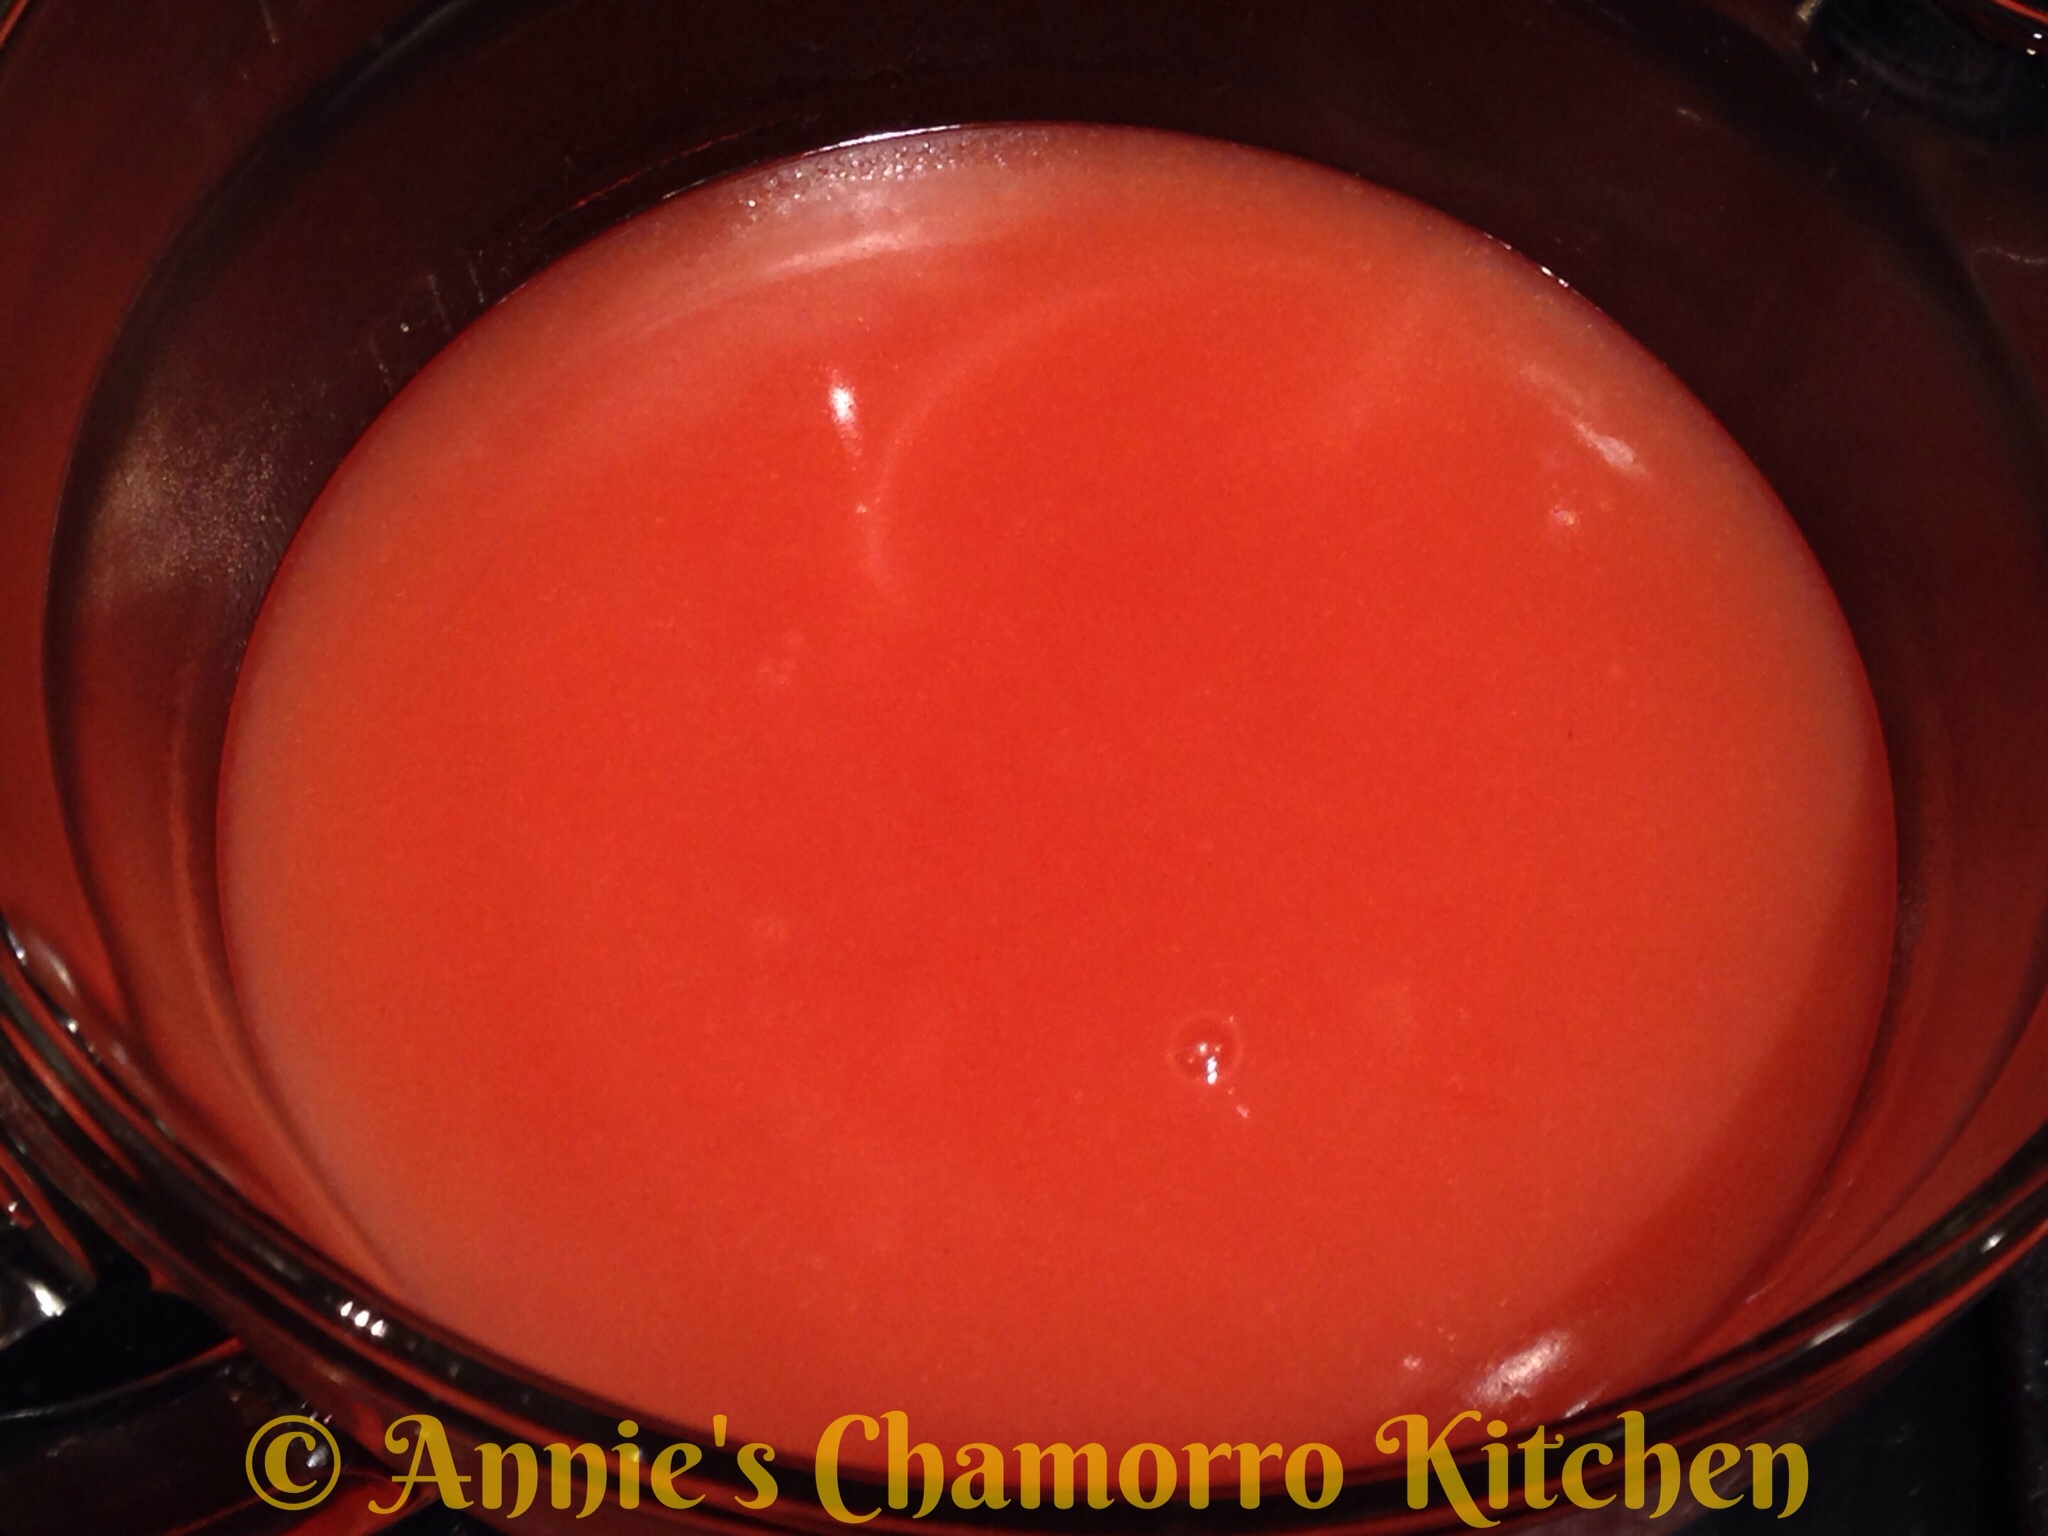
Pour the sauce into a small bowl or measuring cup.  Refrigerate until ready to use.

Note: Let the sauce cool completely before pouring onto the cake.

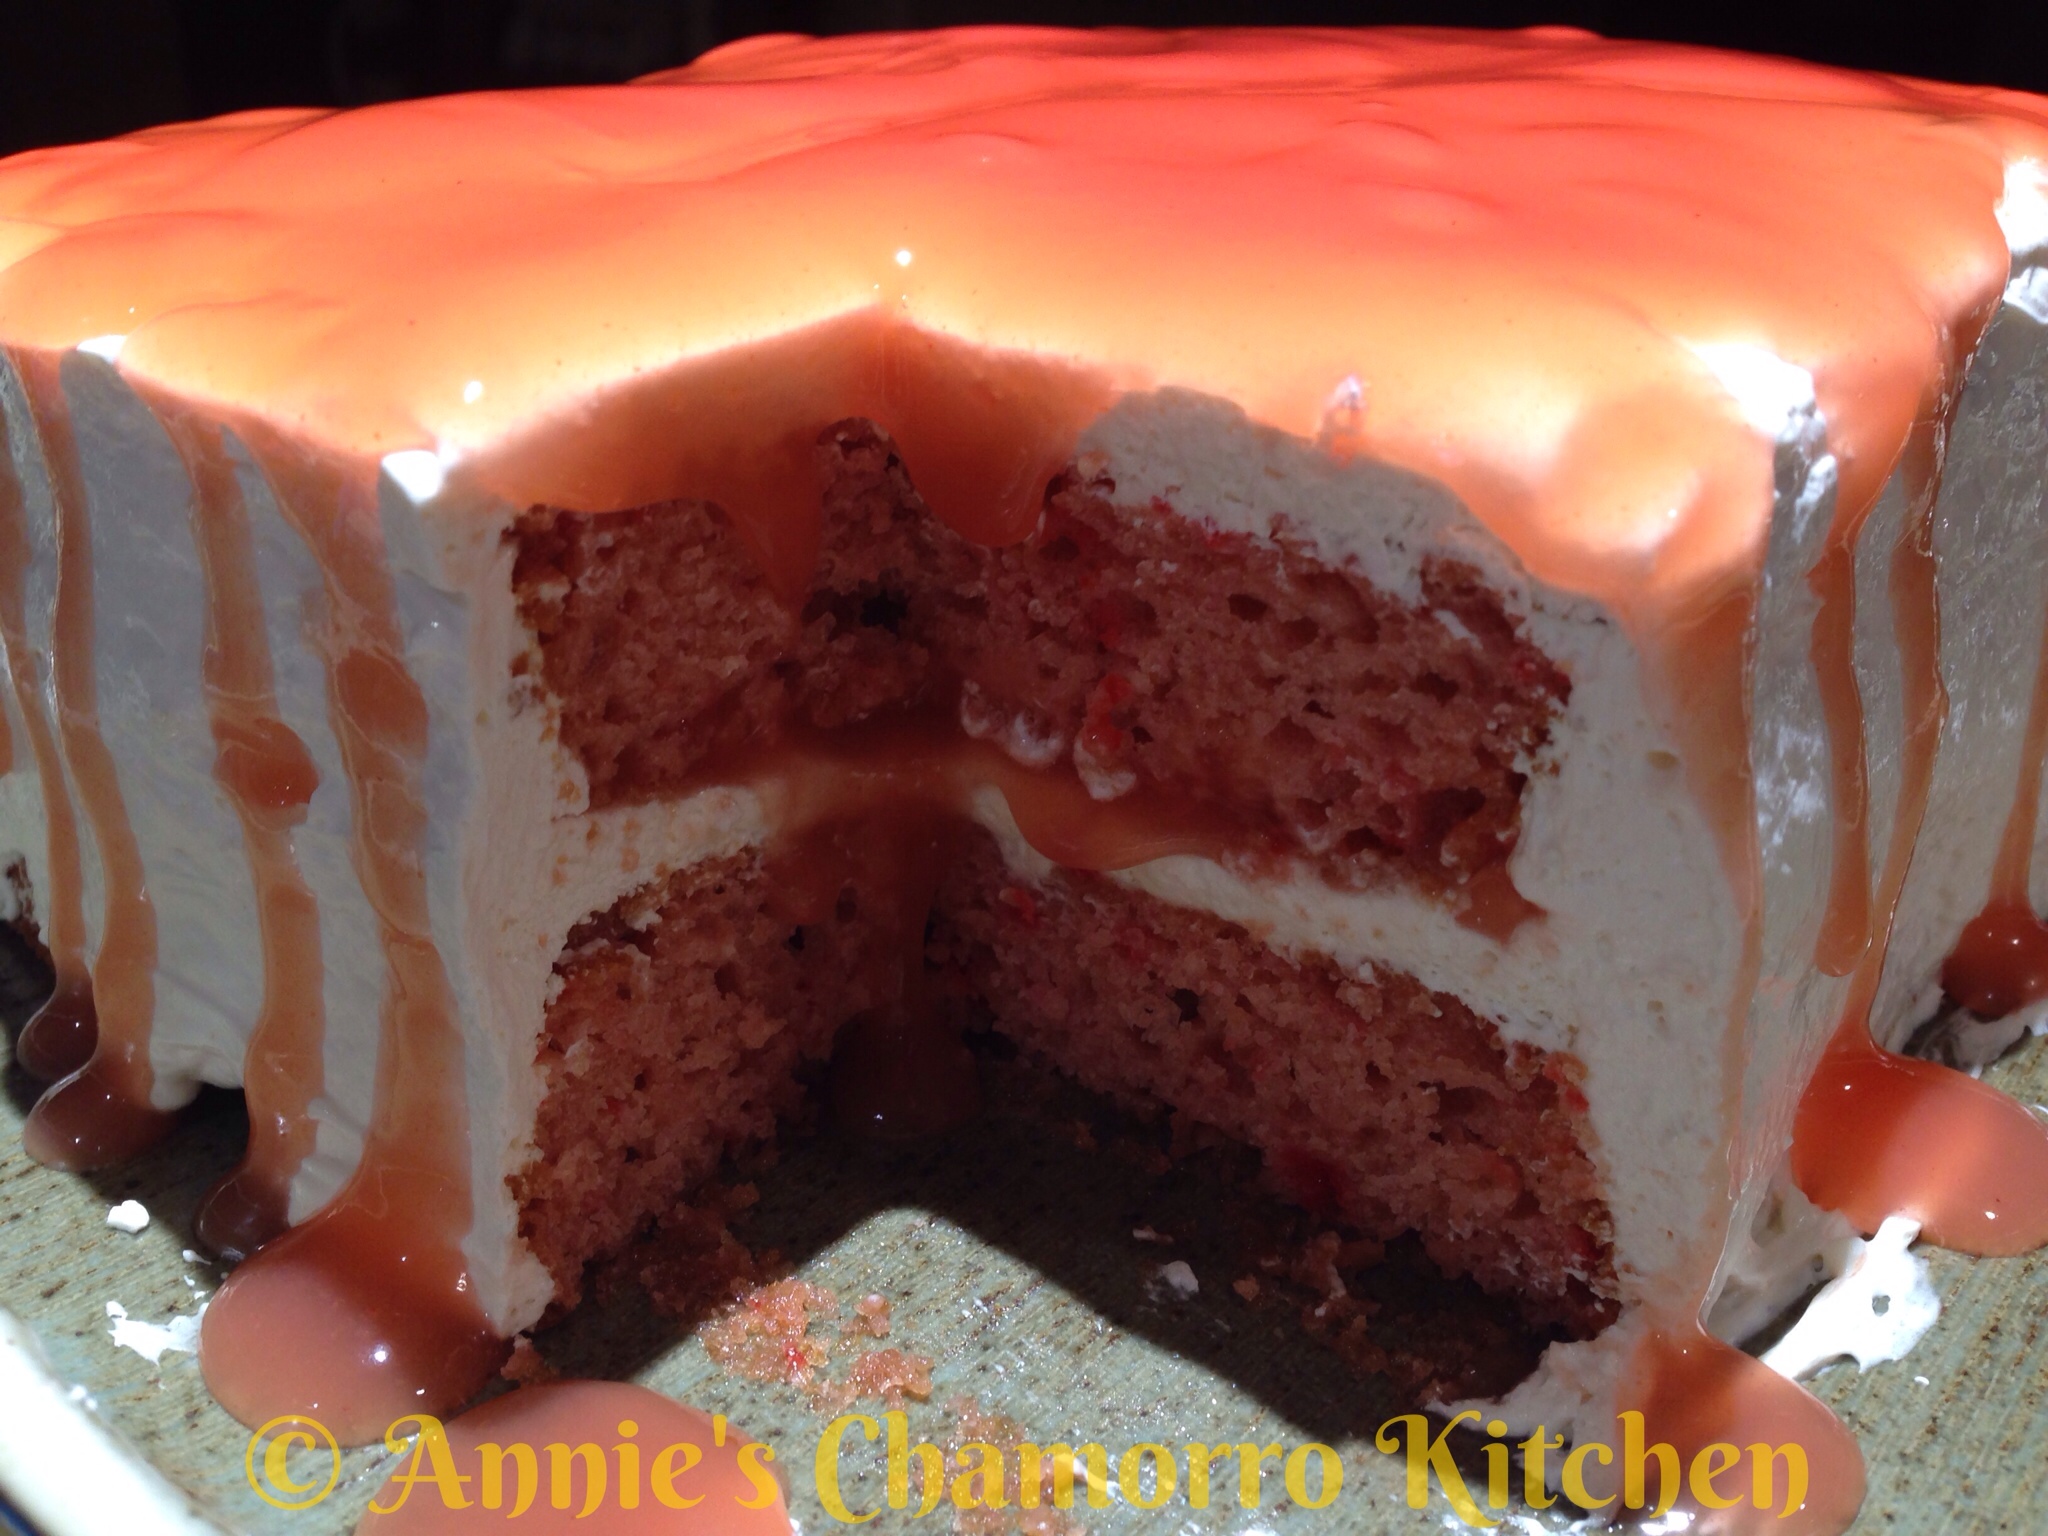
5.  Assemble the cake.

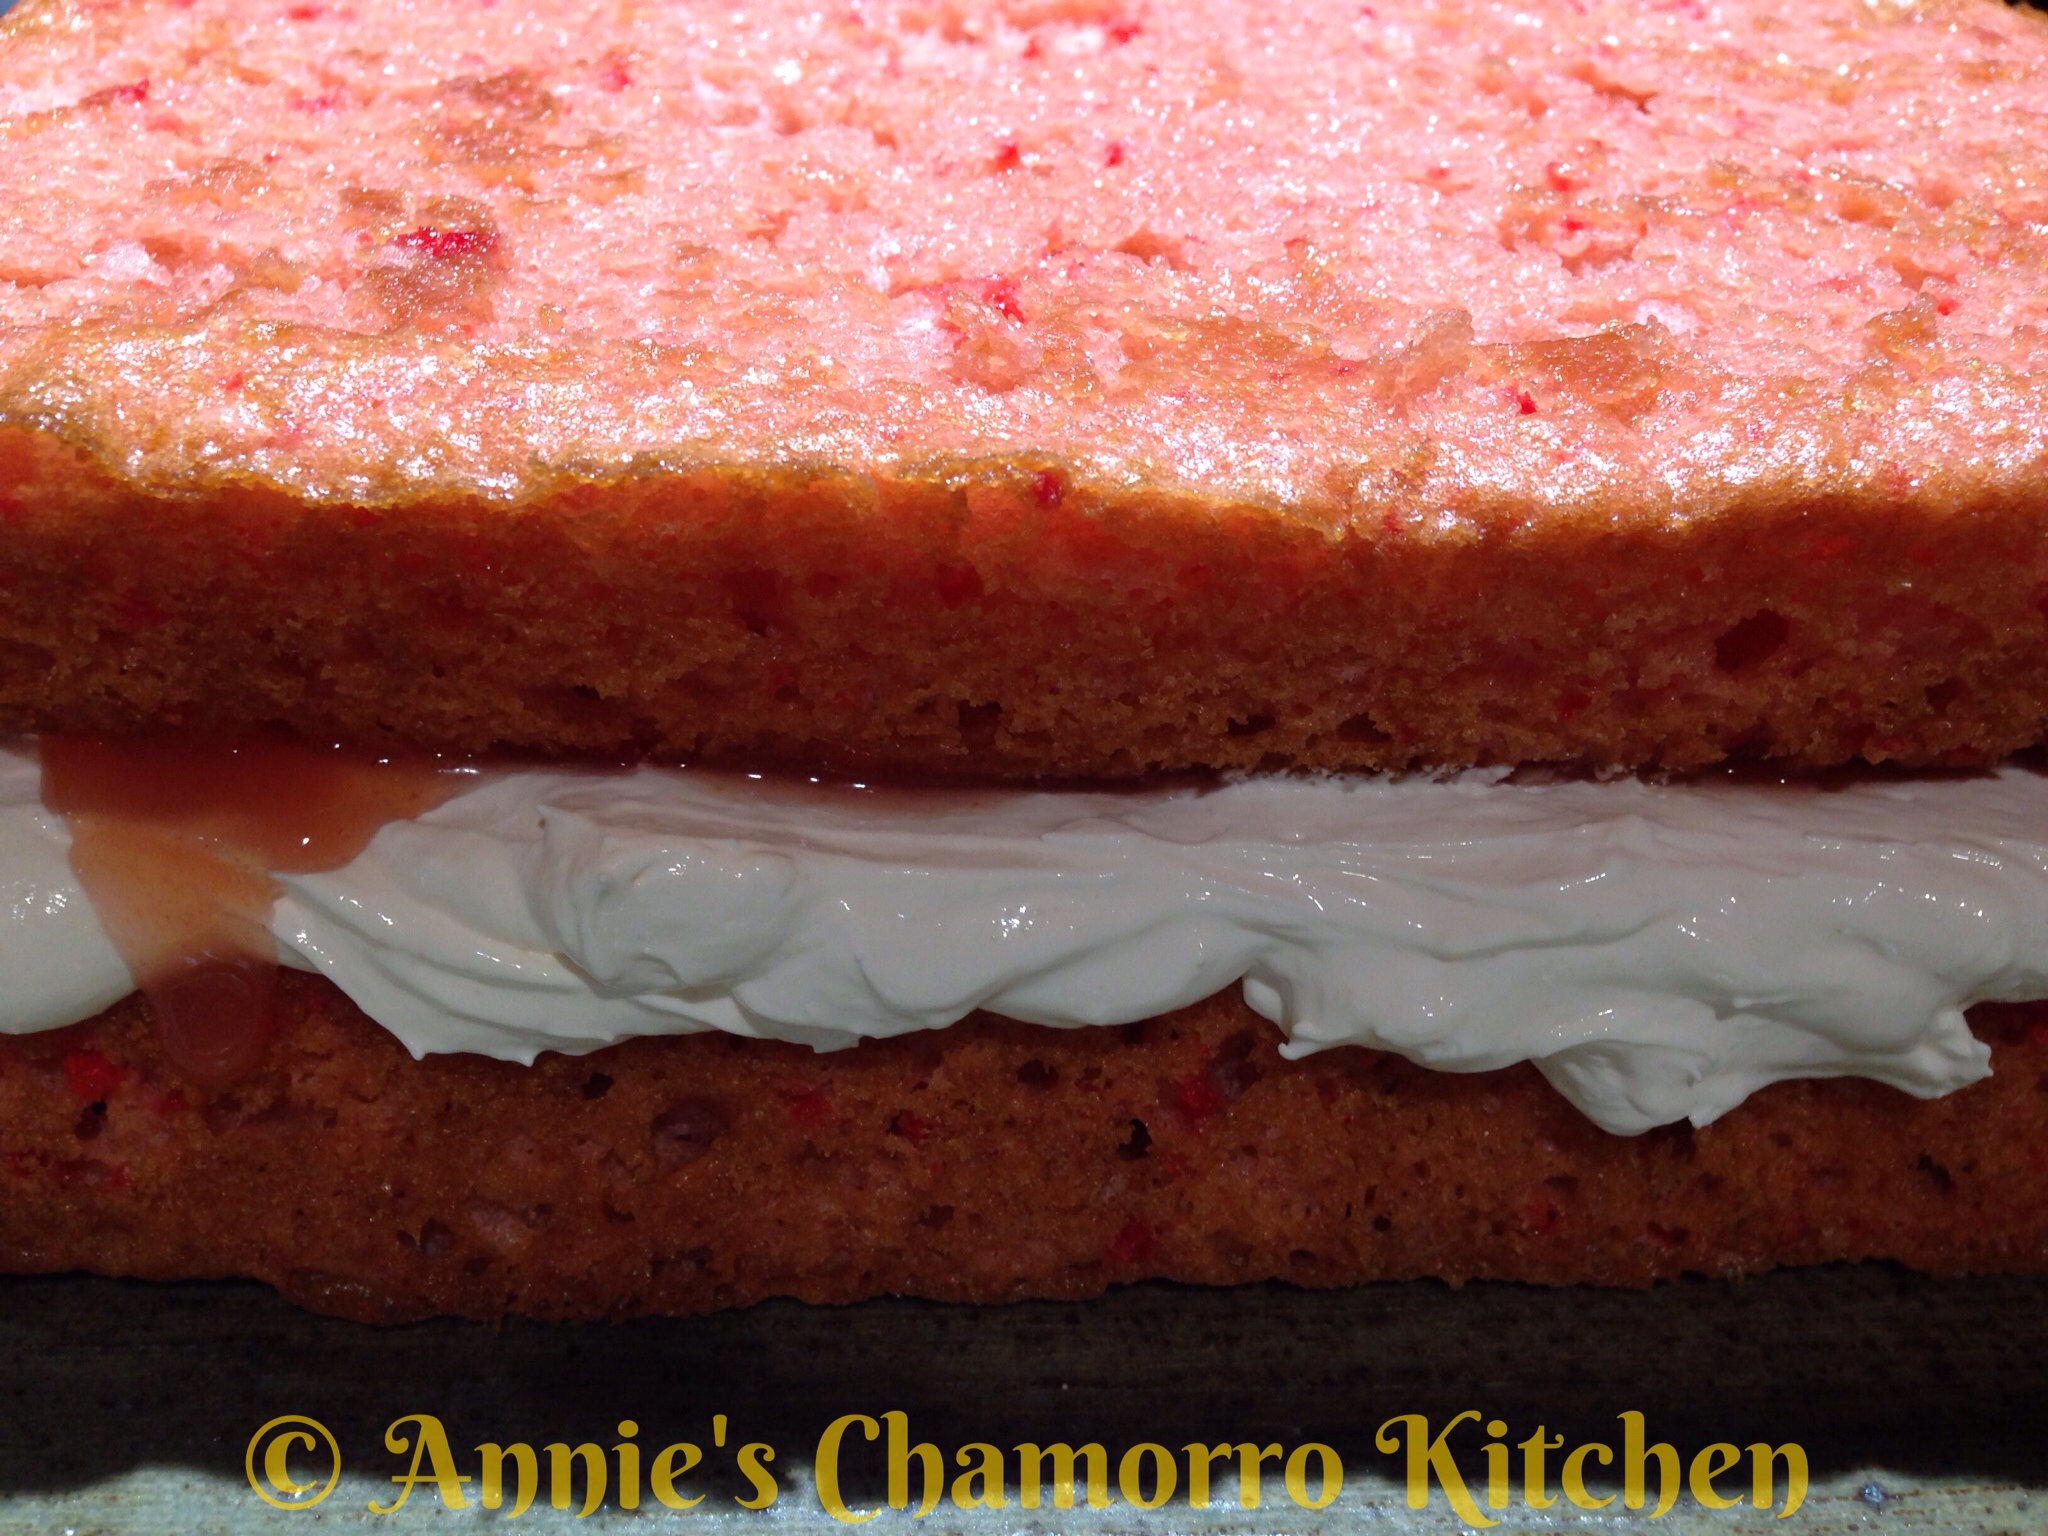
Place one of the cake layers onto a serving plate.

Spread a thin layer of frosting onto the cake.

Spread some of the guava sauce on top of the frosting, staying about one inch from the edge.

Place the second layer of cake on top of the first layer.

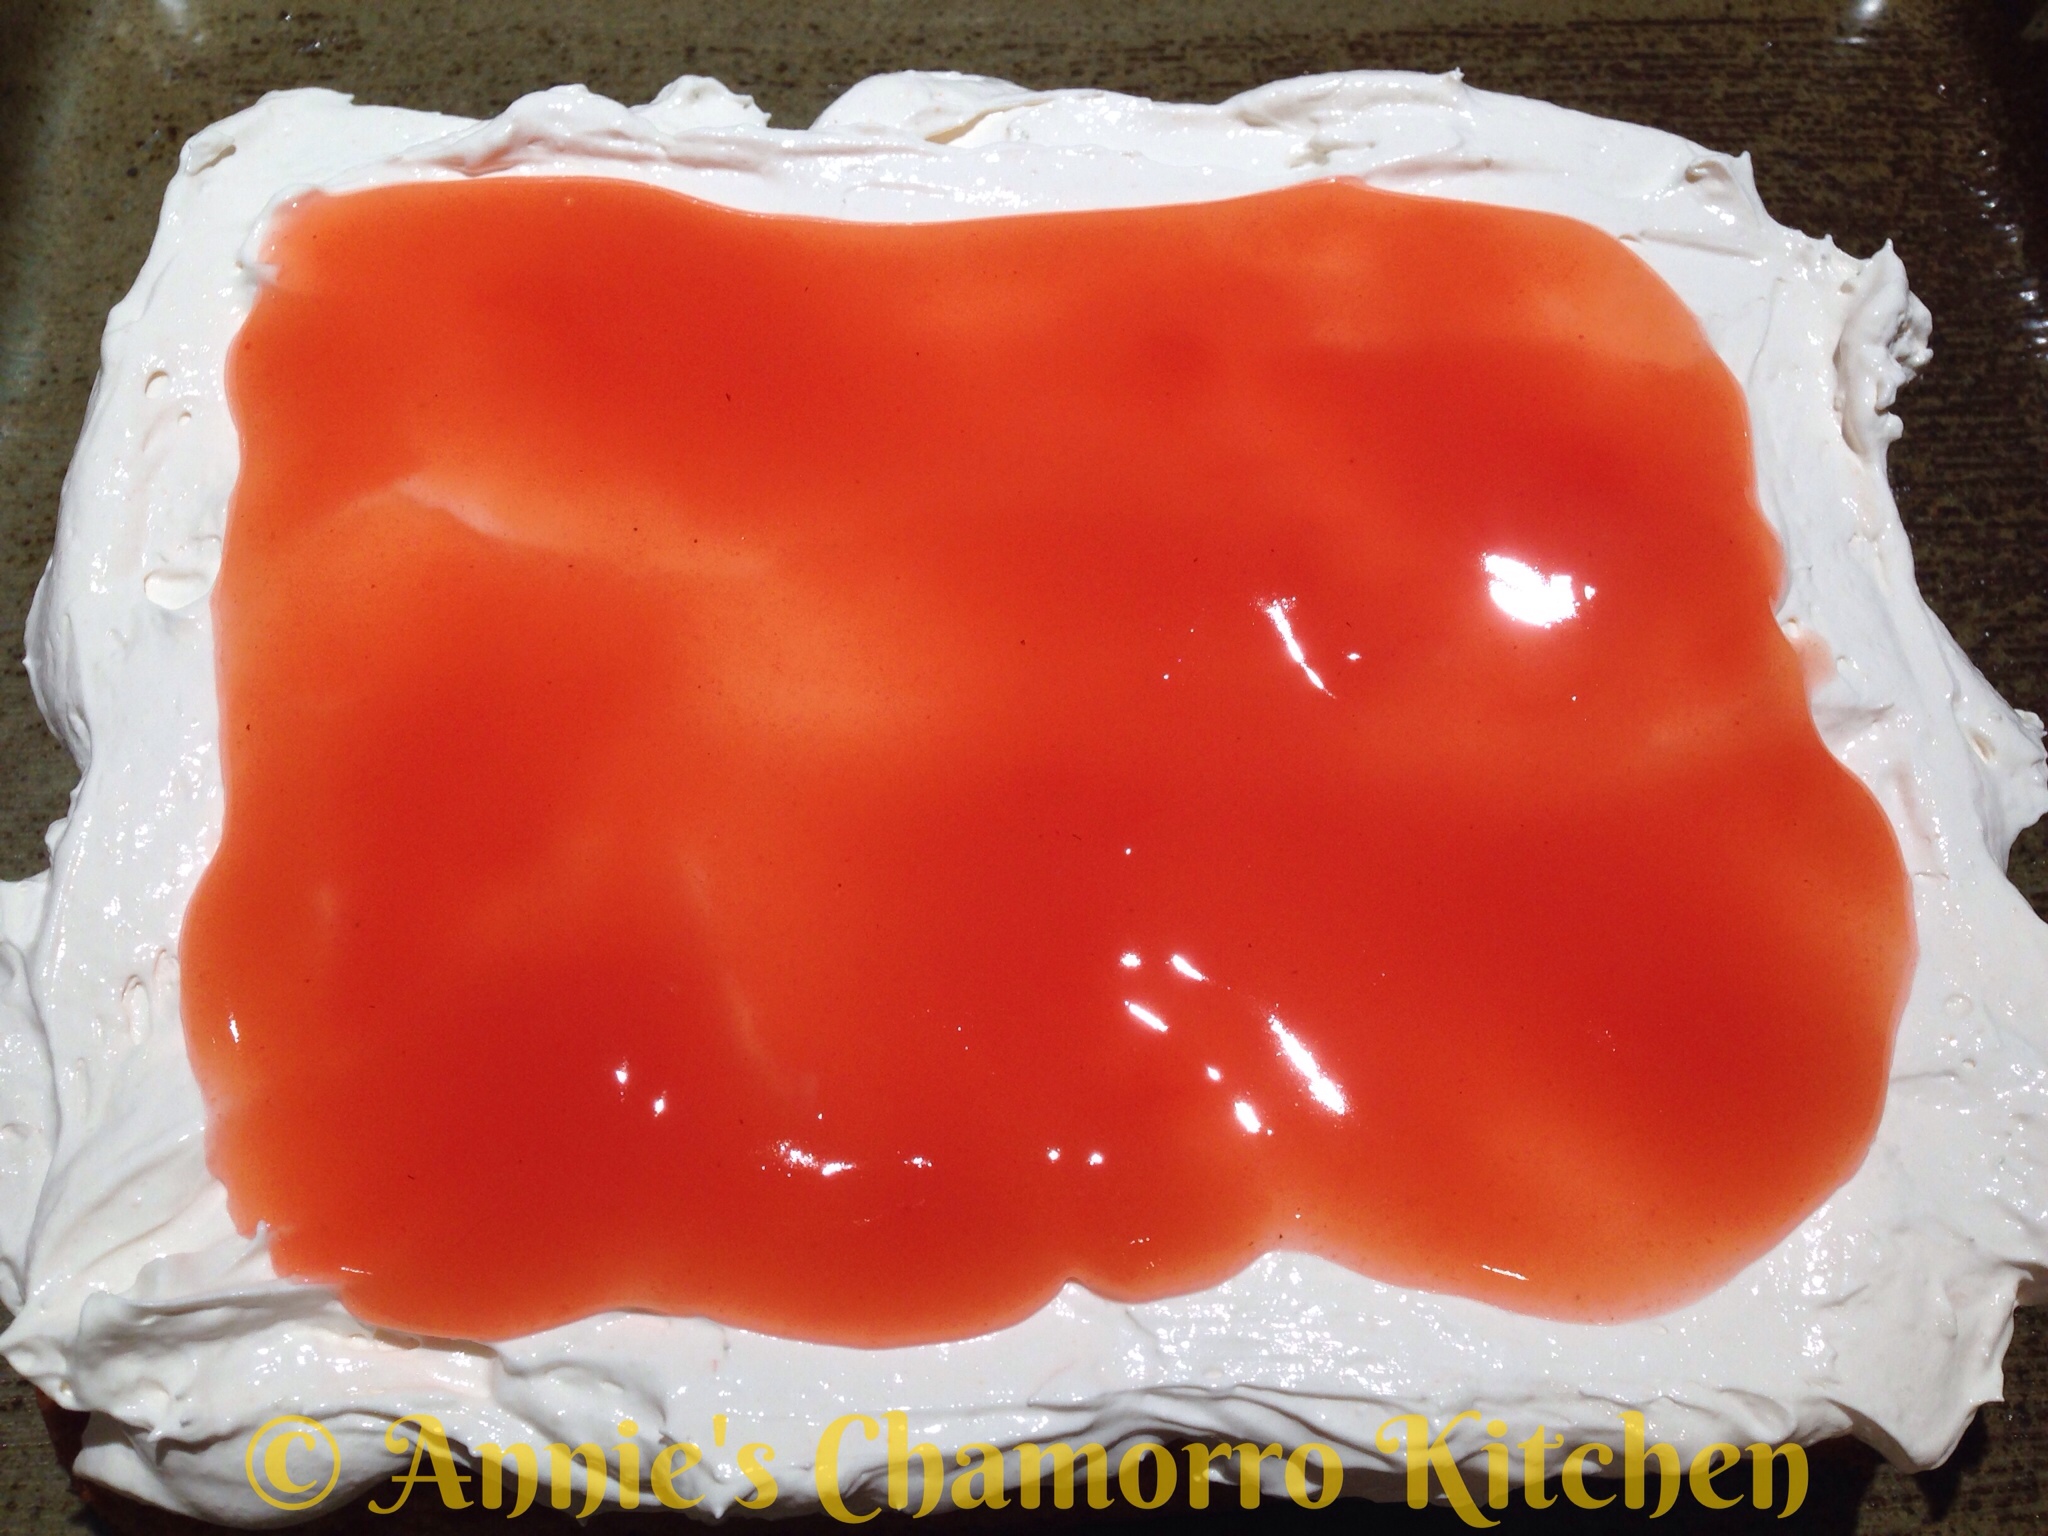
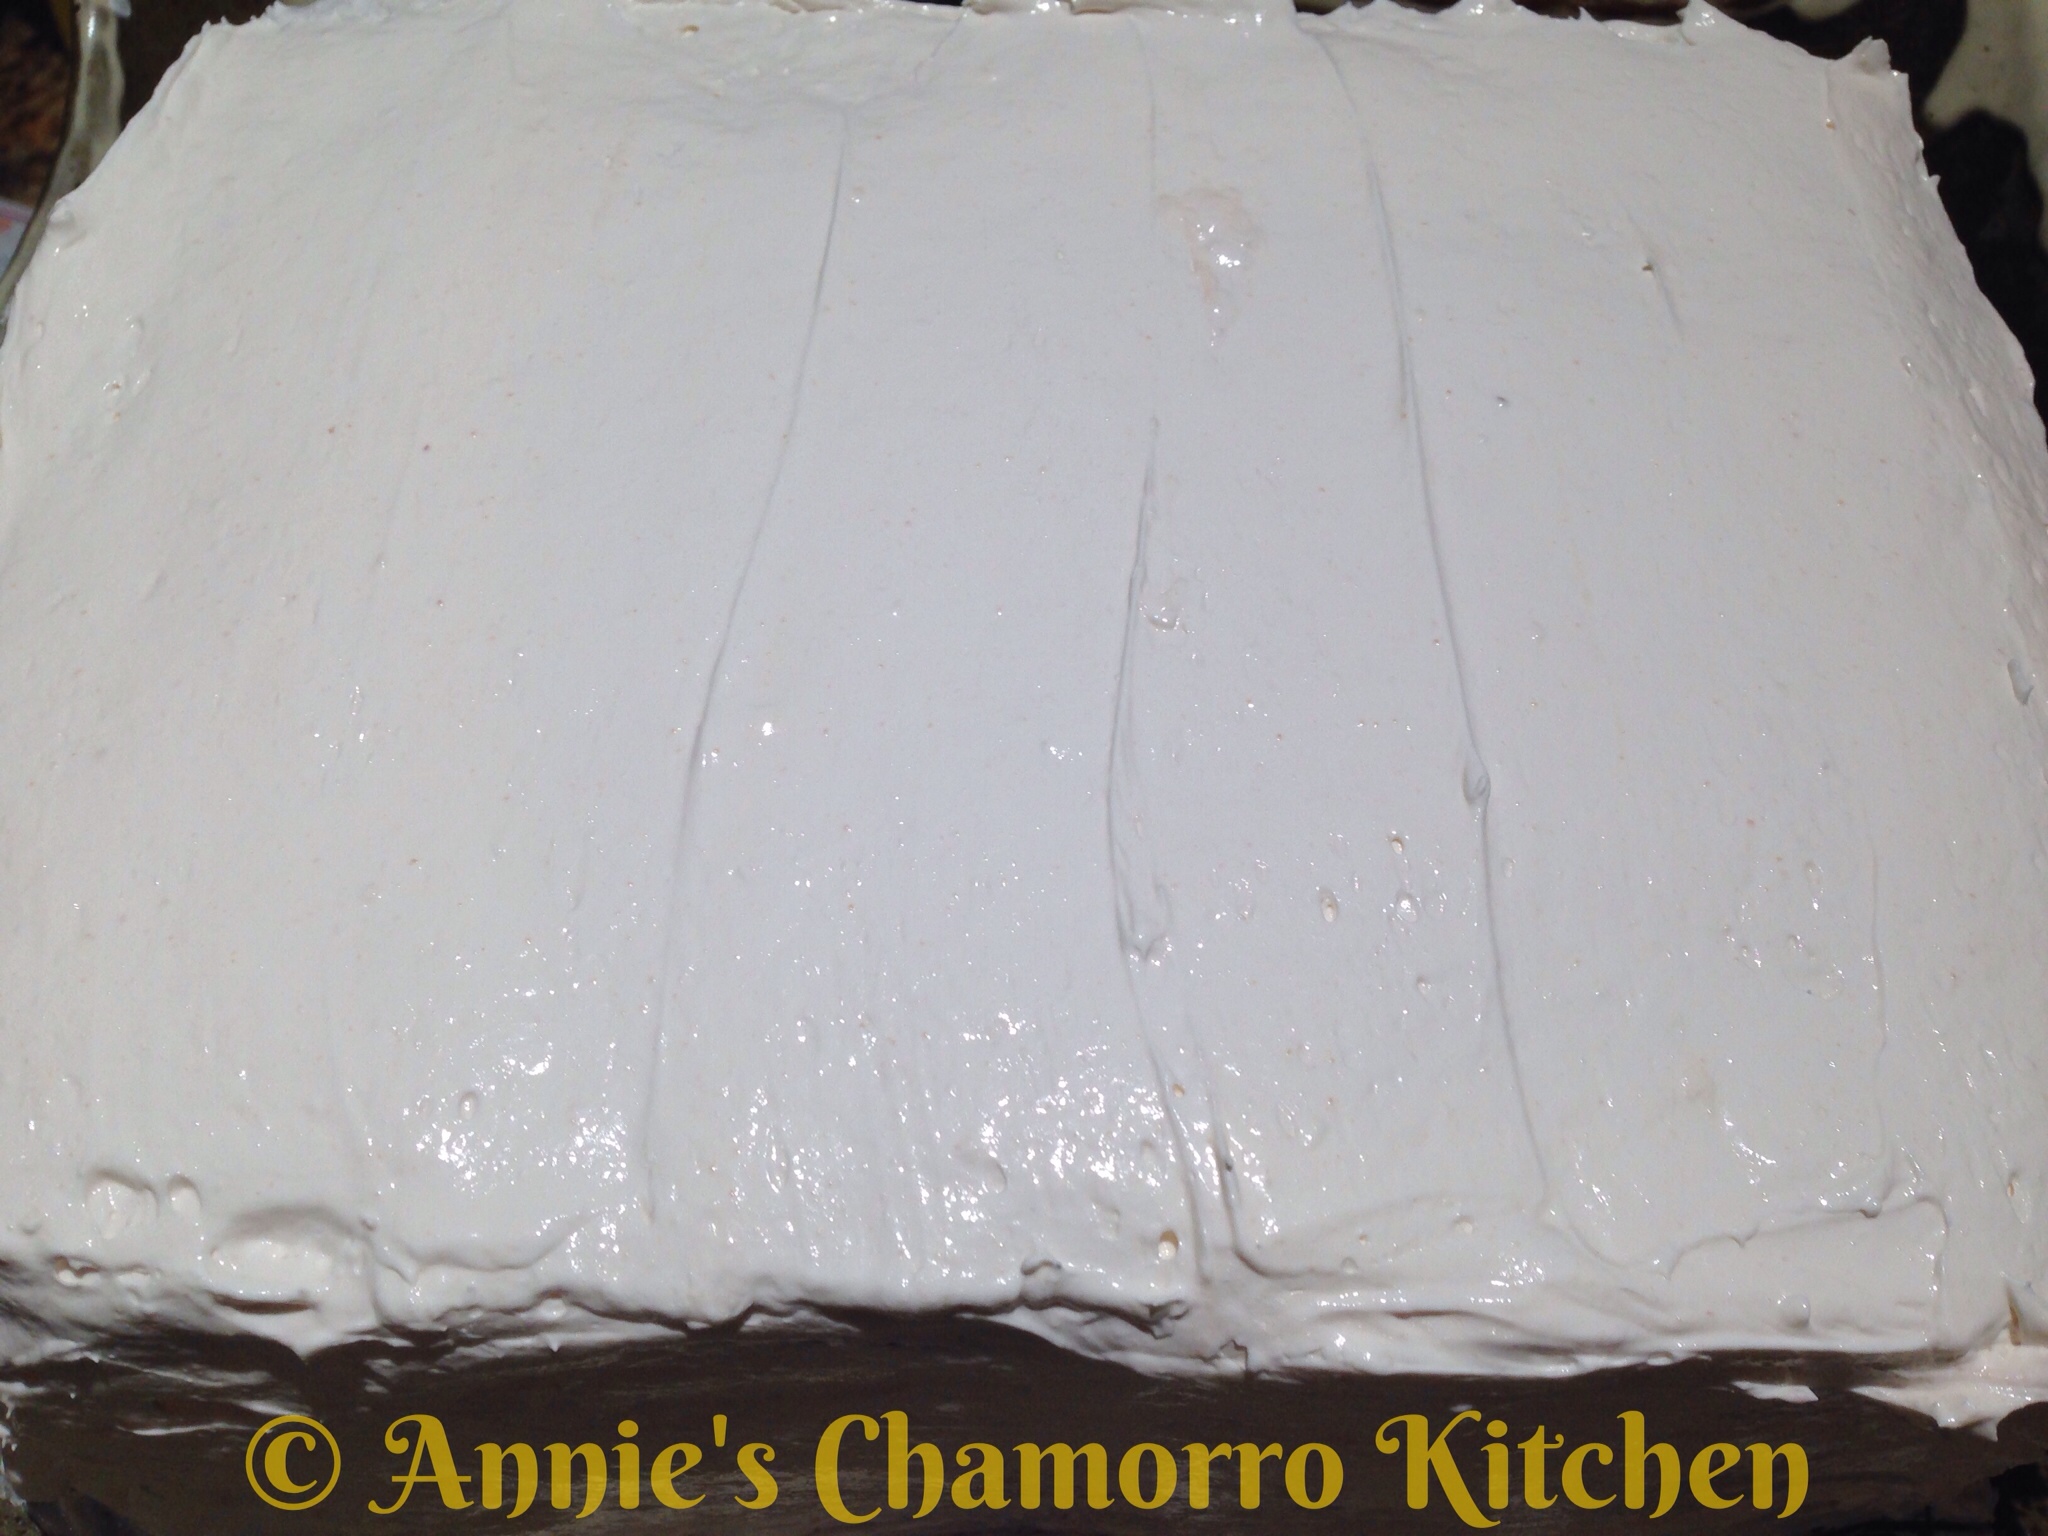
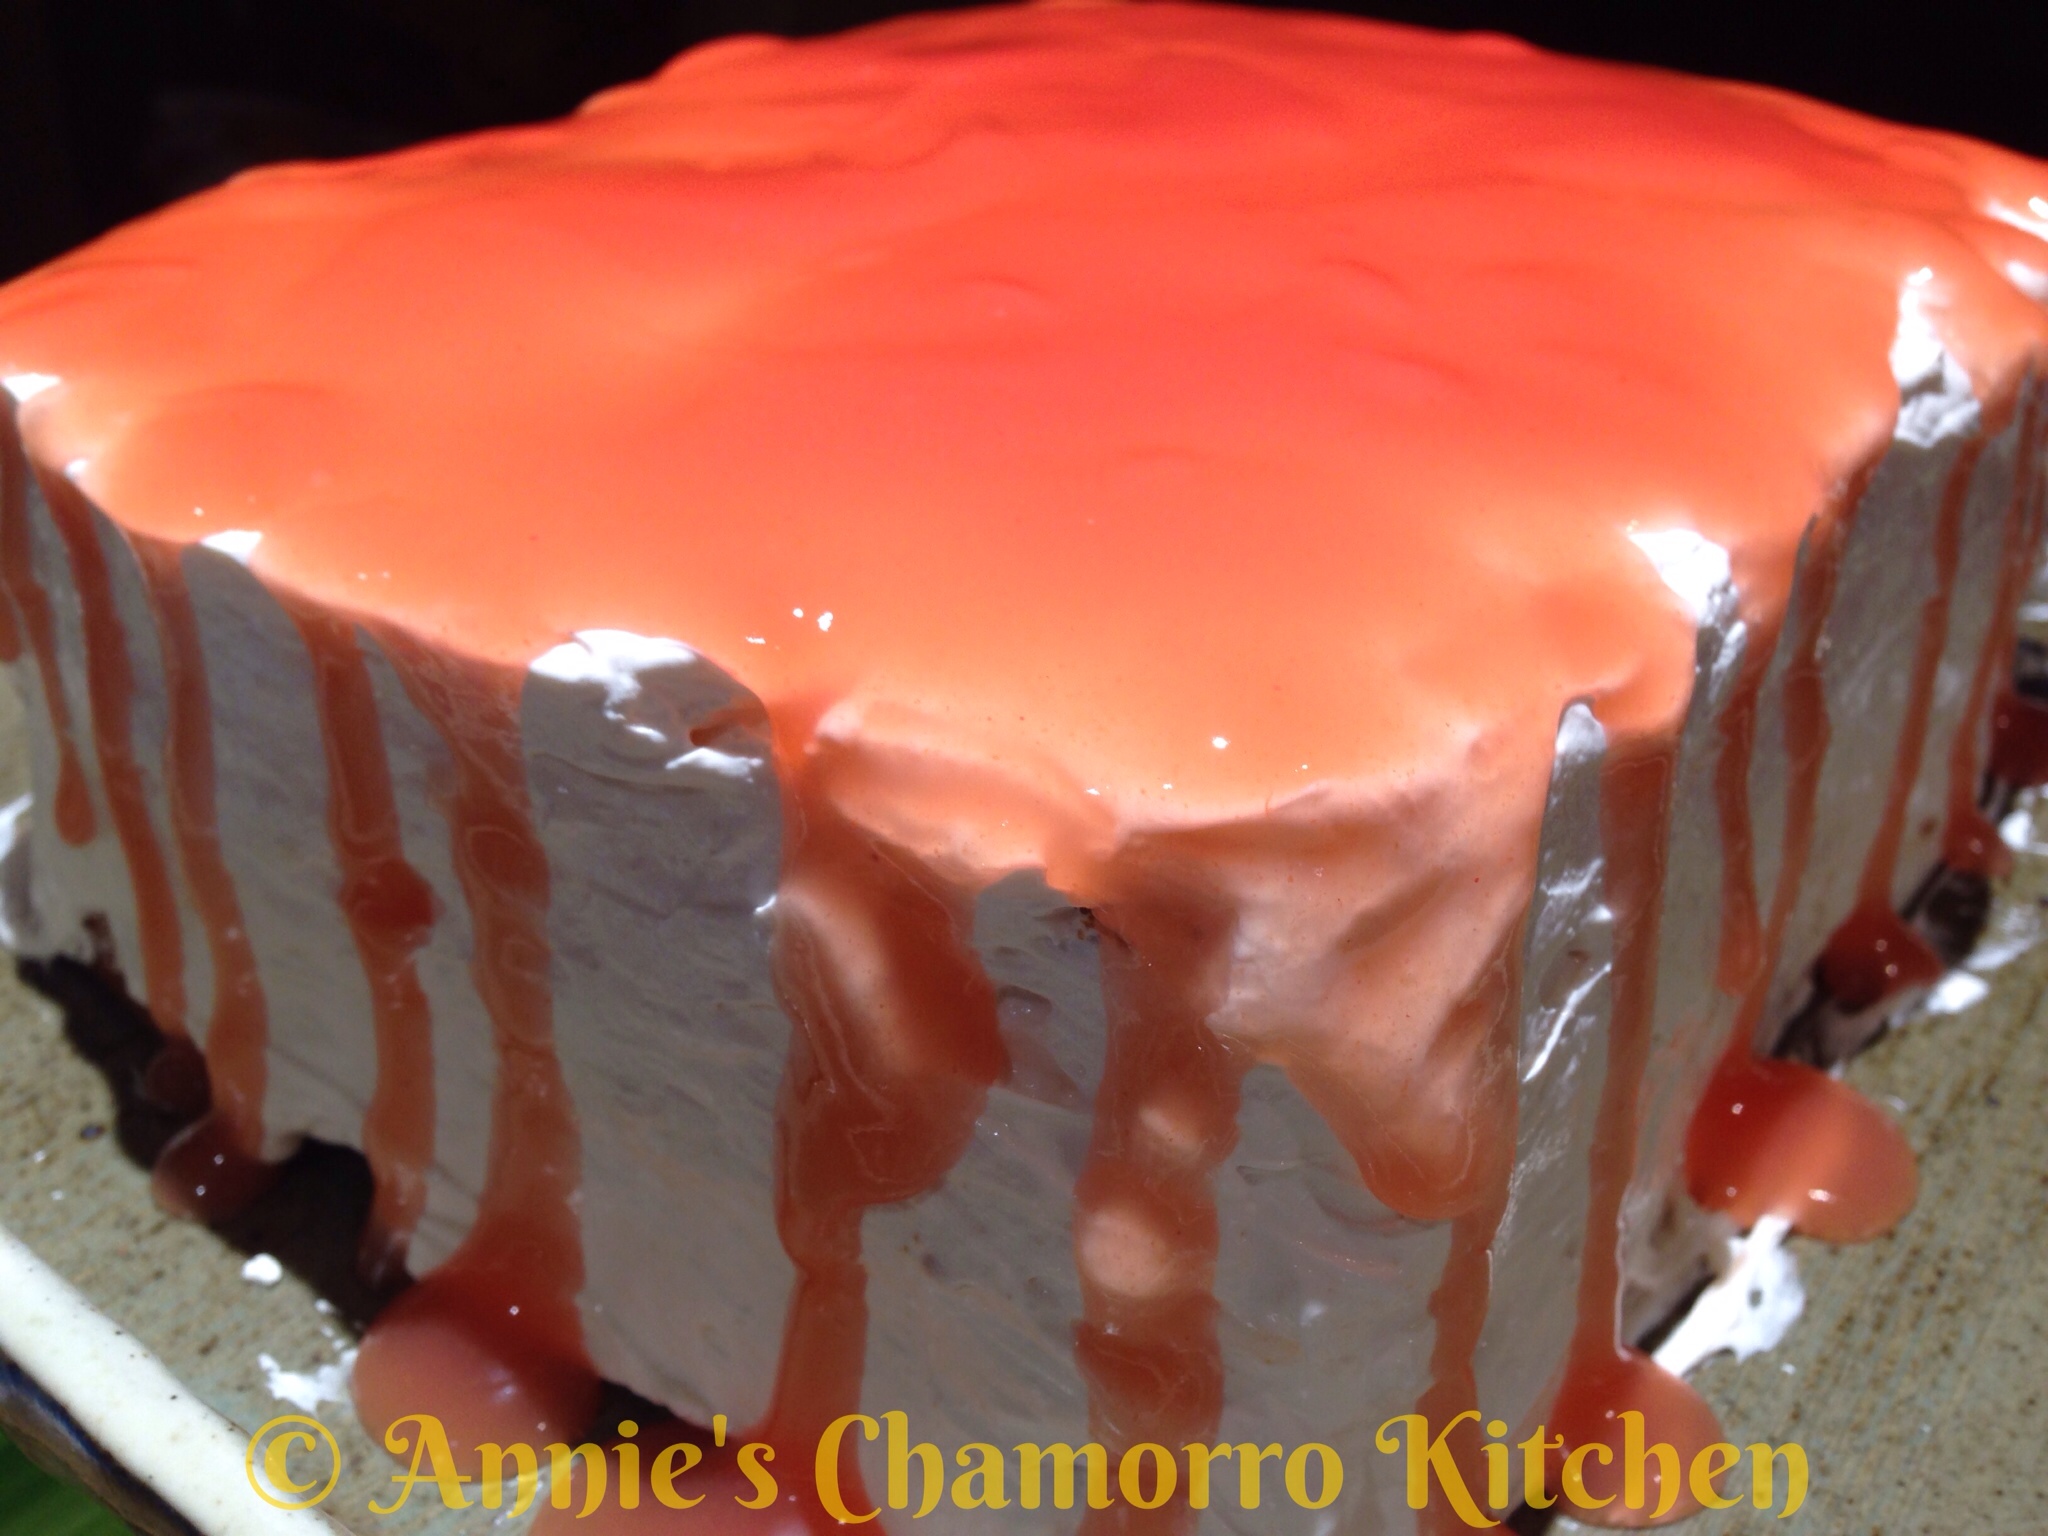
Frost the cake (top and sides) with the remaining frosting.

Pour the remaining sauce on top of the cake.  If you have room in your fridge, refrigerate the cake until the sauce and frosting sets completely.  If you have a cake decorating bag and tips, you can be fancy and pipe a border around the edge to keep the sauce nice and pretty in the middle of the cake.

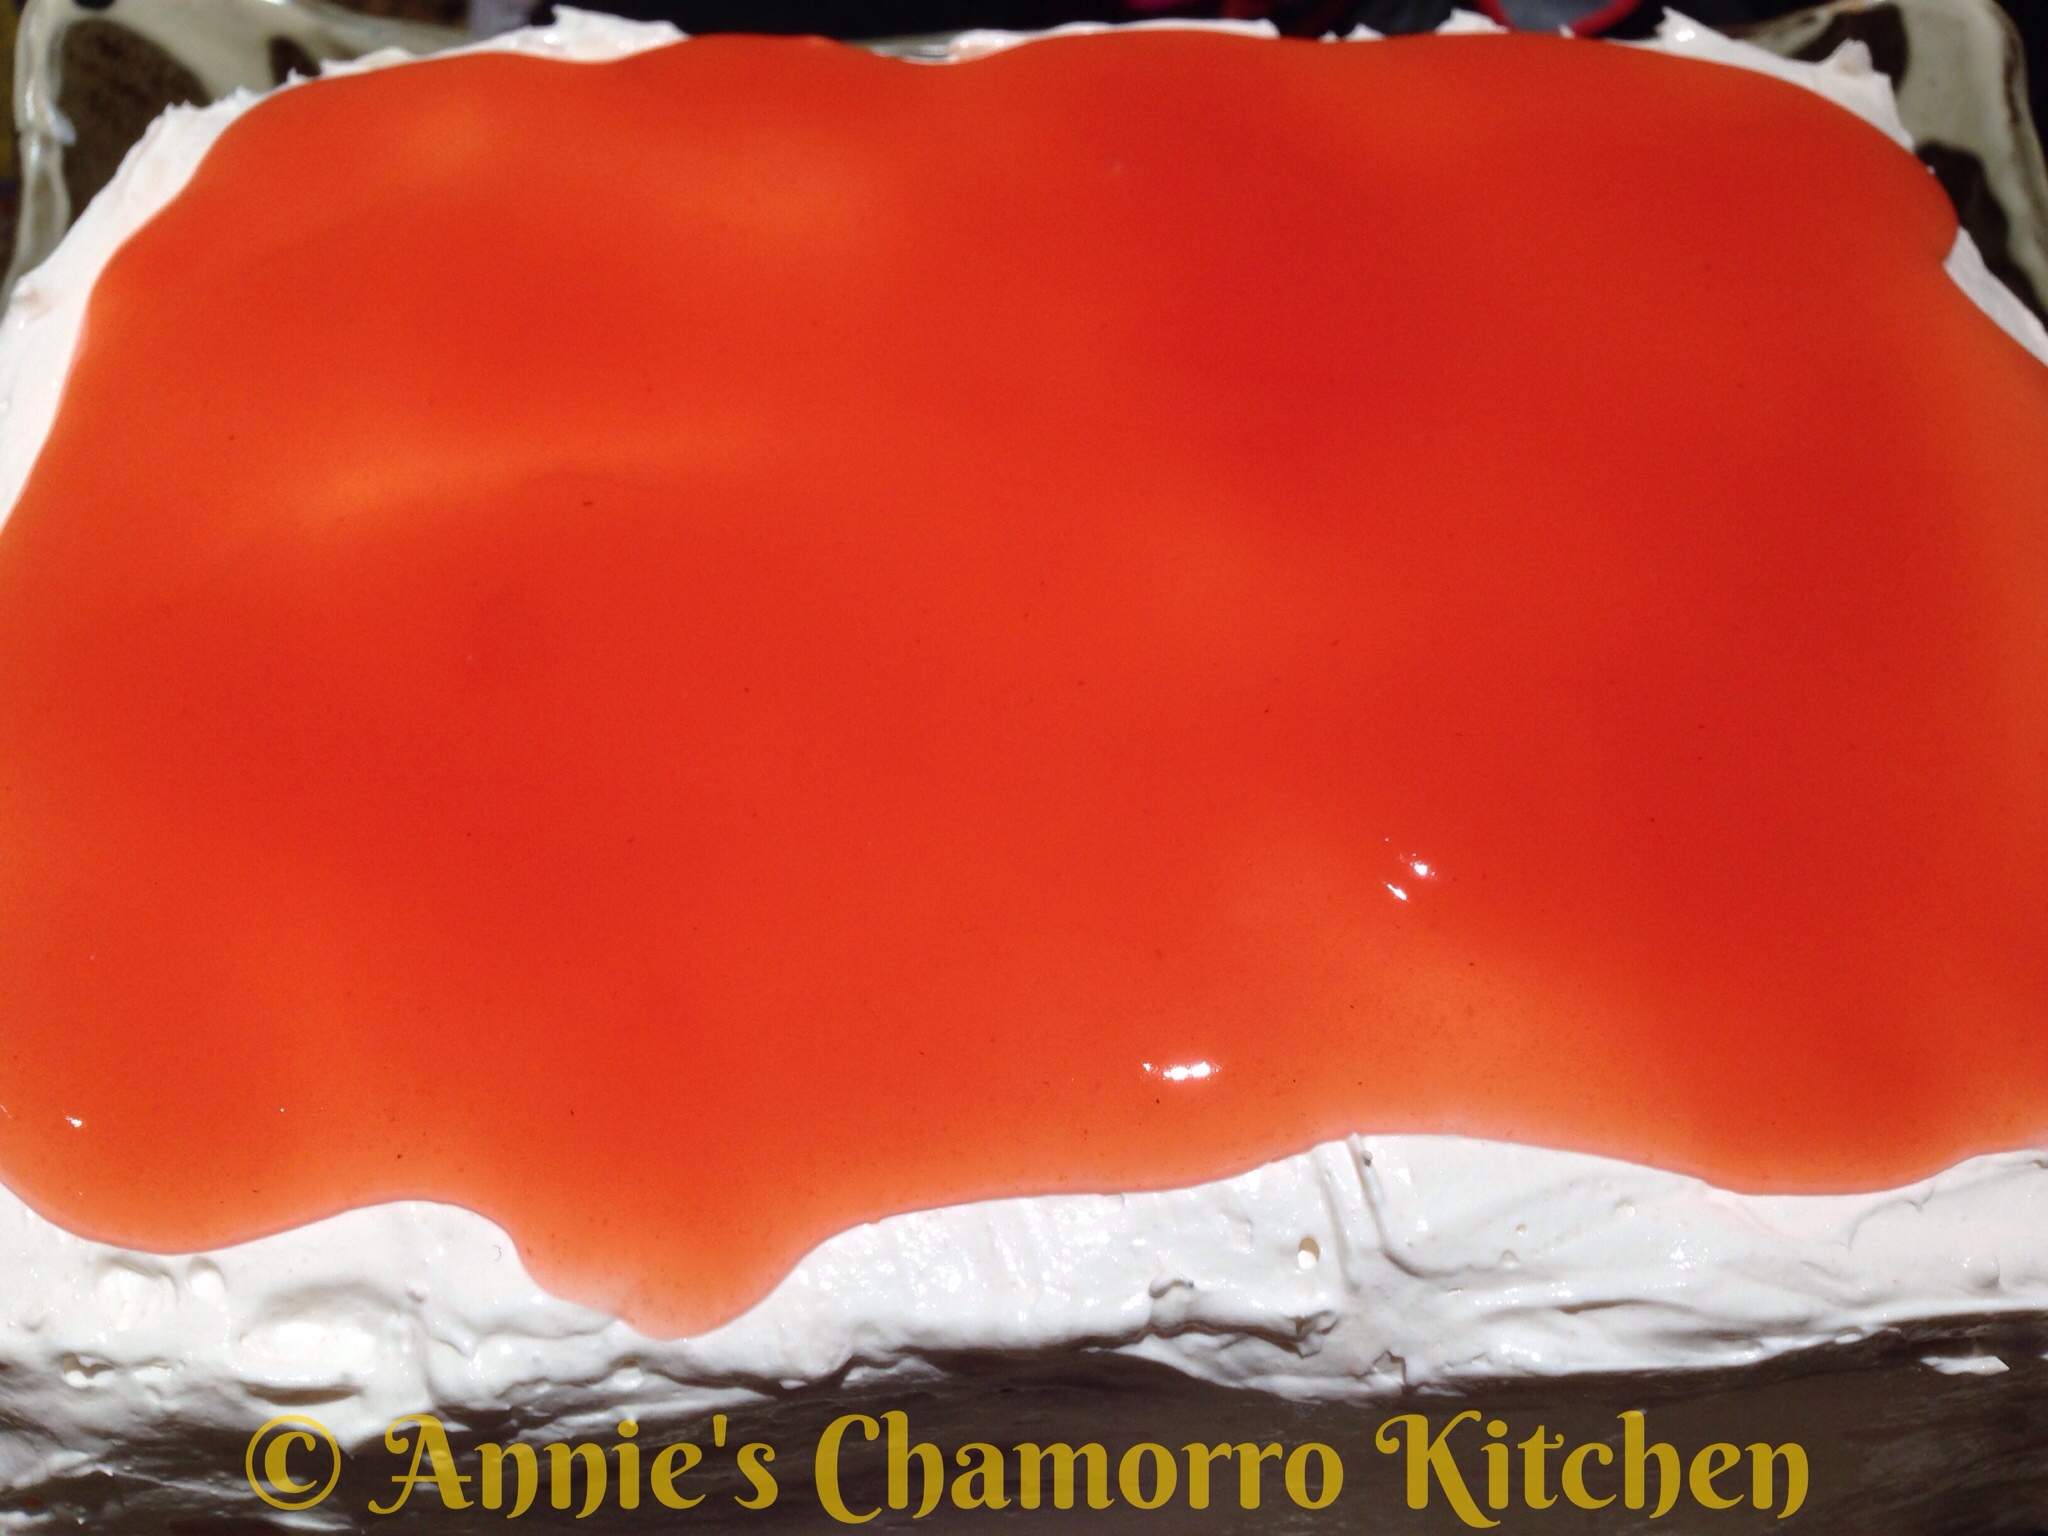
I,  on the other hand, couldn’t stop there.  I’m a sauce kind of girl, so I just HAD to pour MORE sauce over the cake, letting it drip down the sides (yum!). 😉

Slice, serve, and ENJOY!

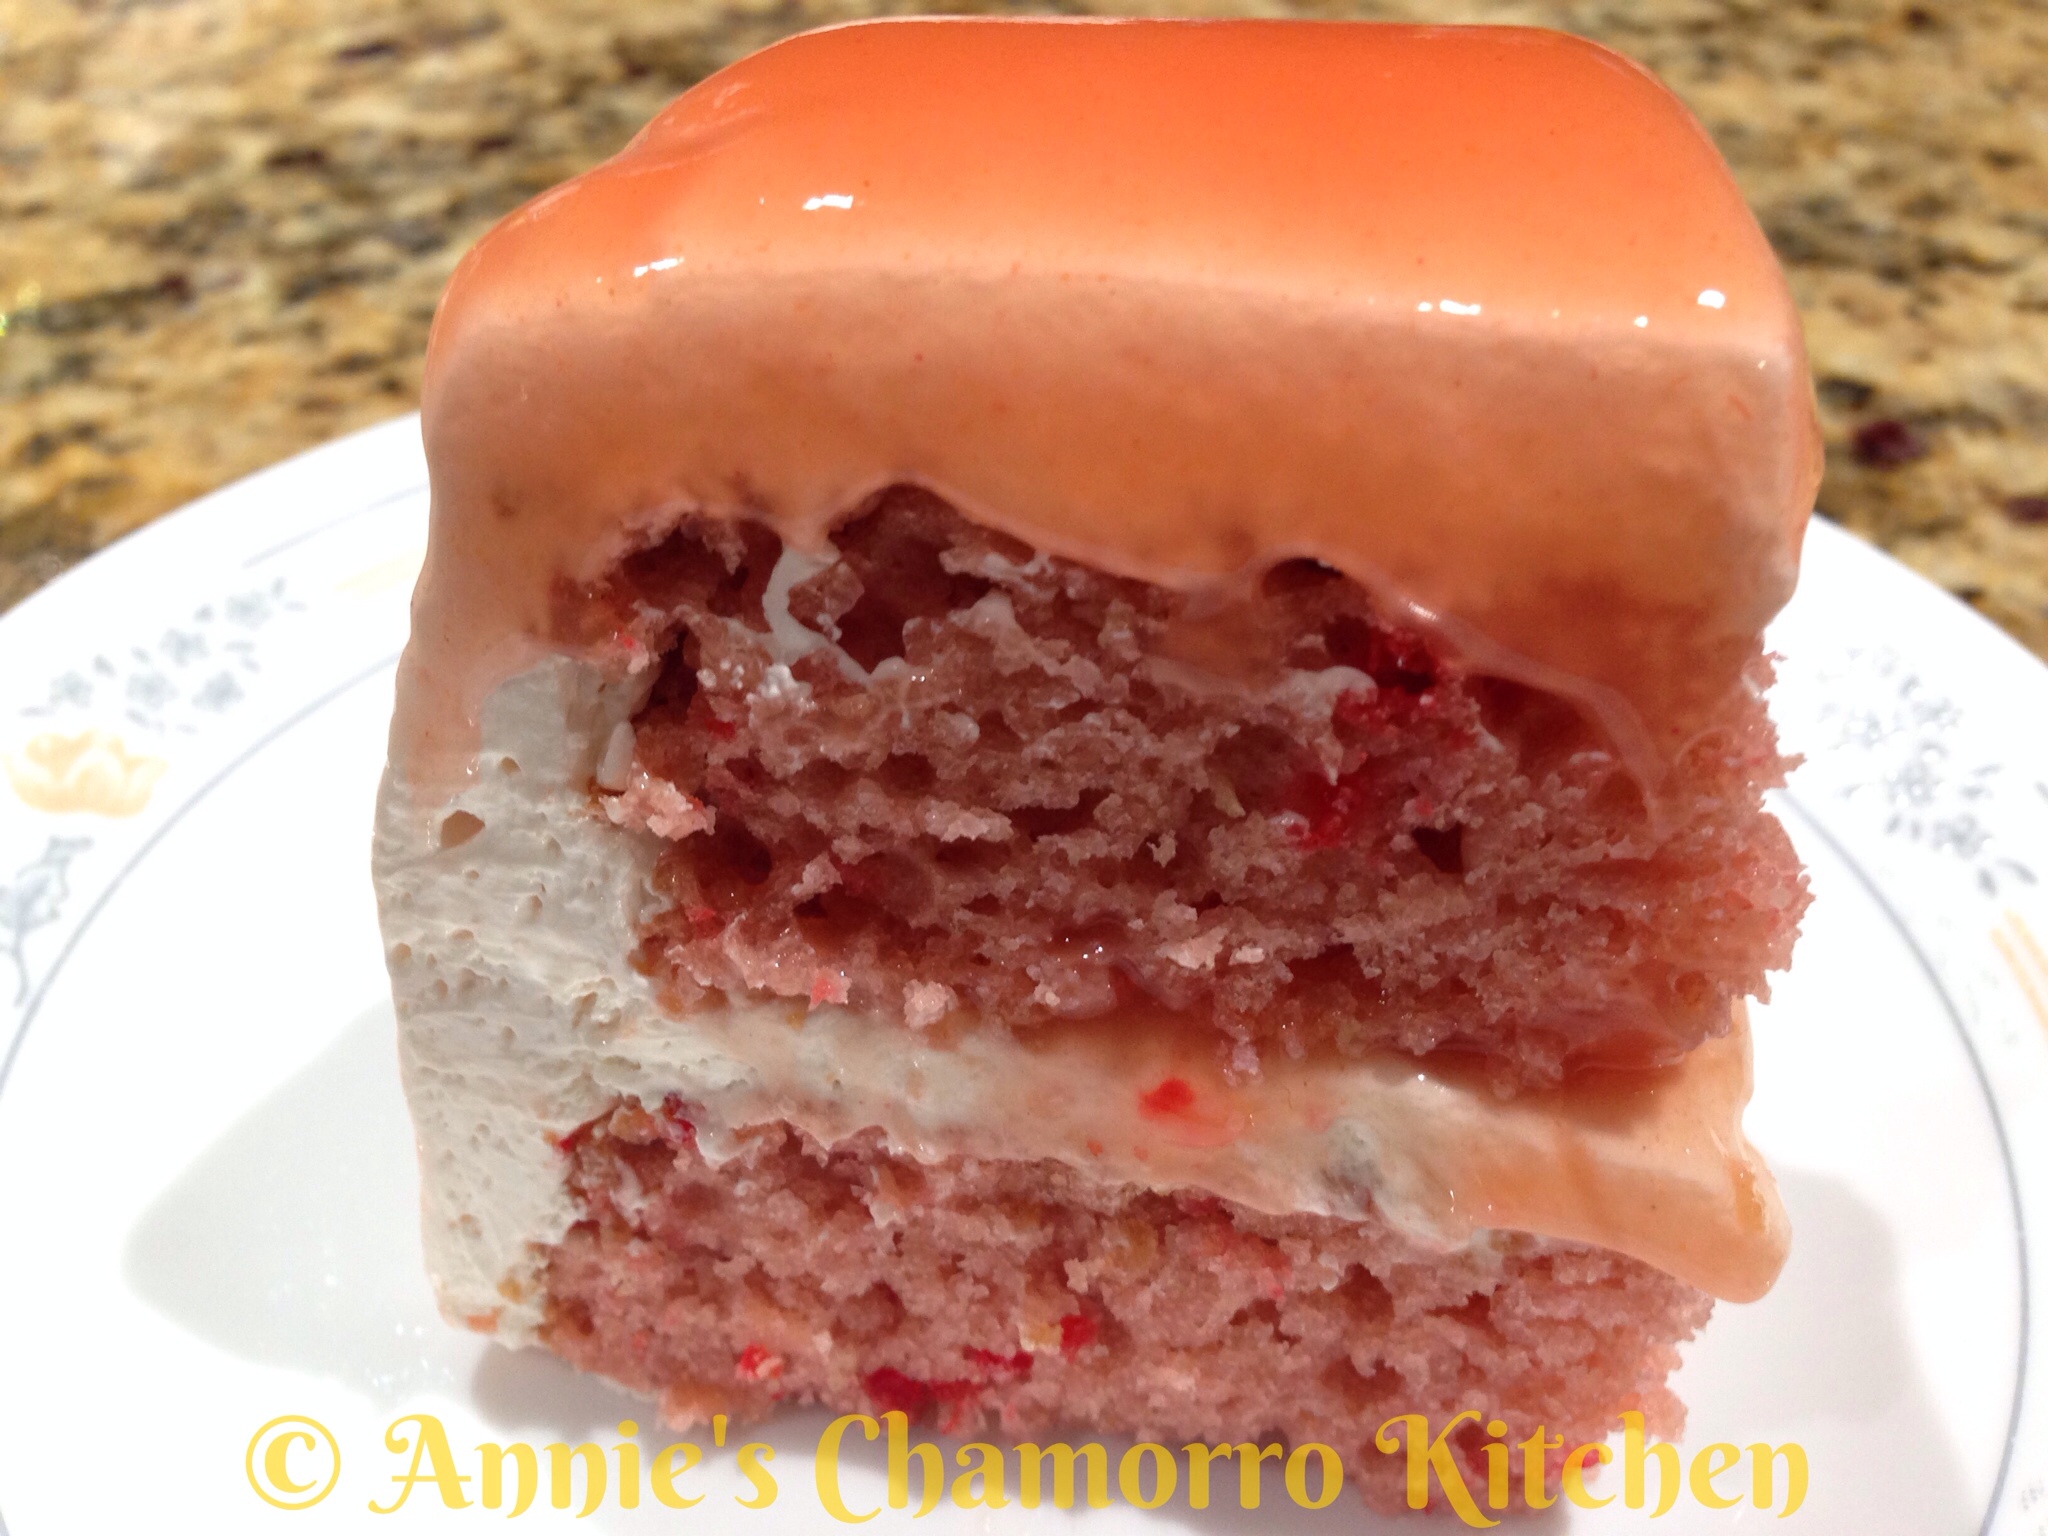
I couldn’t wait for the sauce to set, so I cut into this cake IMMEDIATELY.  Ahh…it’s all good.  DELICIOUS in fact. 😀

If you have any sauce left, pour some over the cake–man oh man–I want some more cake (I ate 3–yes 3–pieces).

ENJOY!

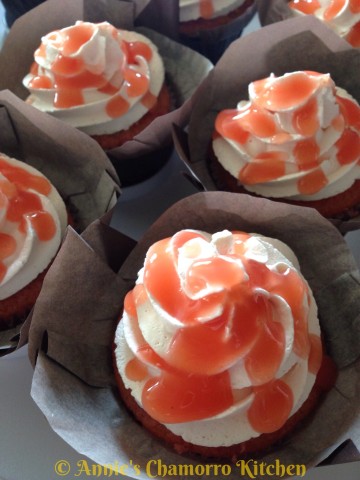
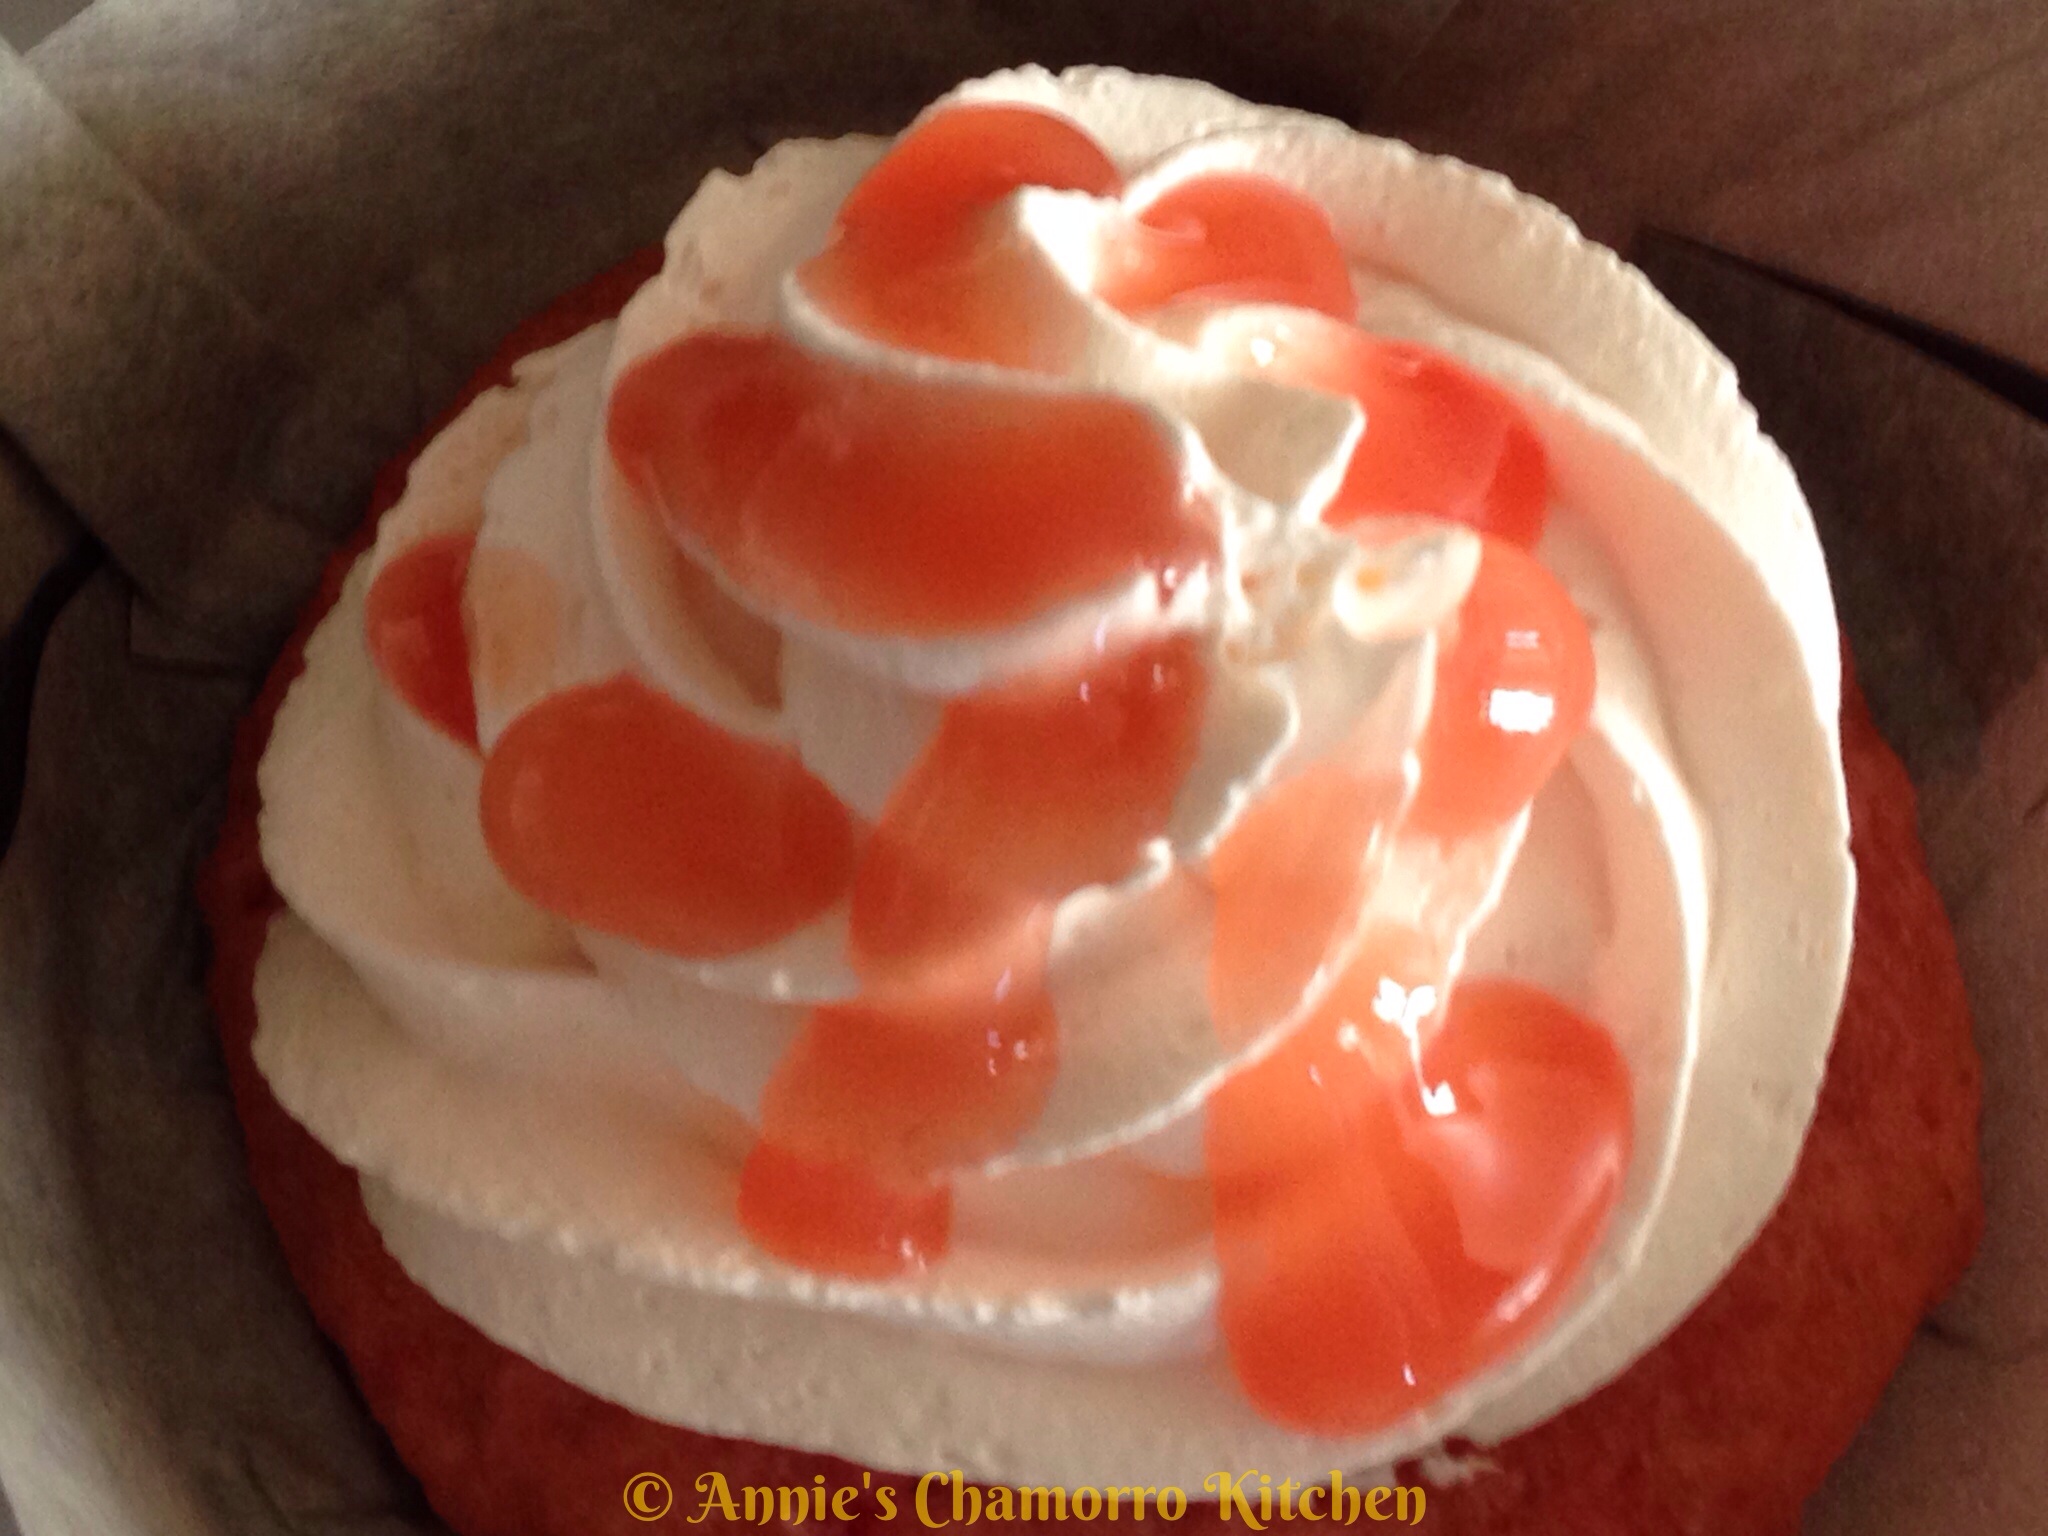
I also made some guava cupcakes. You can place some guava sauce in the middle (cut a piece of cake out of the top), top it with frosting, then drizzle more sauce on top.

image

image

« Older Entries Recent Entries »