The Best Sashimi Ever

I love sashimi!

If you don’t care to eat raw fish, then I’m sorry, but this recipe is not for you.  BUT, you can share it with someone who does! 🙂

In the words of my daughter, “I love, love, love this! It’s almost as good as your tuna poki!”  That’s my picky-eater daughter, mind you.  She even eats the shredded RAW RADISH in this dish! YES!

Radish, you ask?  In sashimi?  Don’t knock it ’till you try it.

My inspiration is from this fantastic sushi restaurant in Vegas (sorry, folks, I can’t name the restaurant here), but if you’ve lived in Vegas before, you’ve probably been to or heard of this place — look at the photo below, recognize it yet? 😉

This recipe is all about the sauce, I think.  It’s my version of ponzu sauce.

Give my recipe a try.  I think you’ll like it.


The Best Sashimi Ever!

Ingredients:

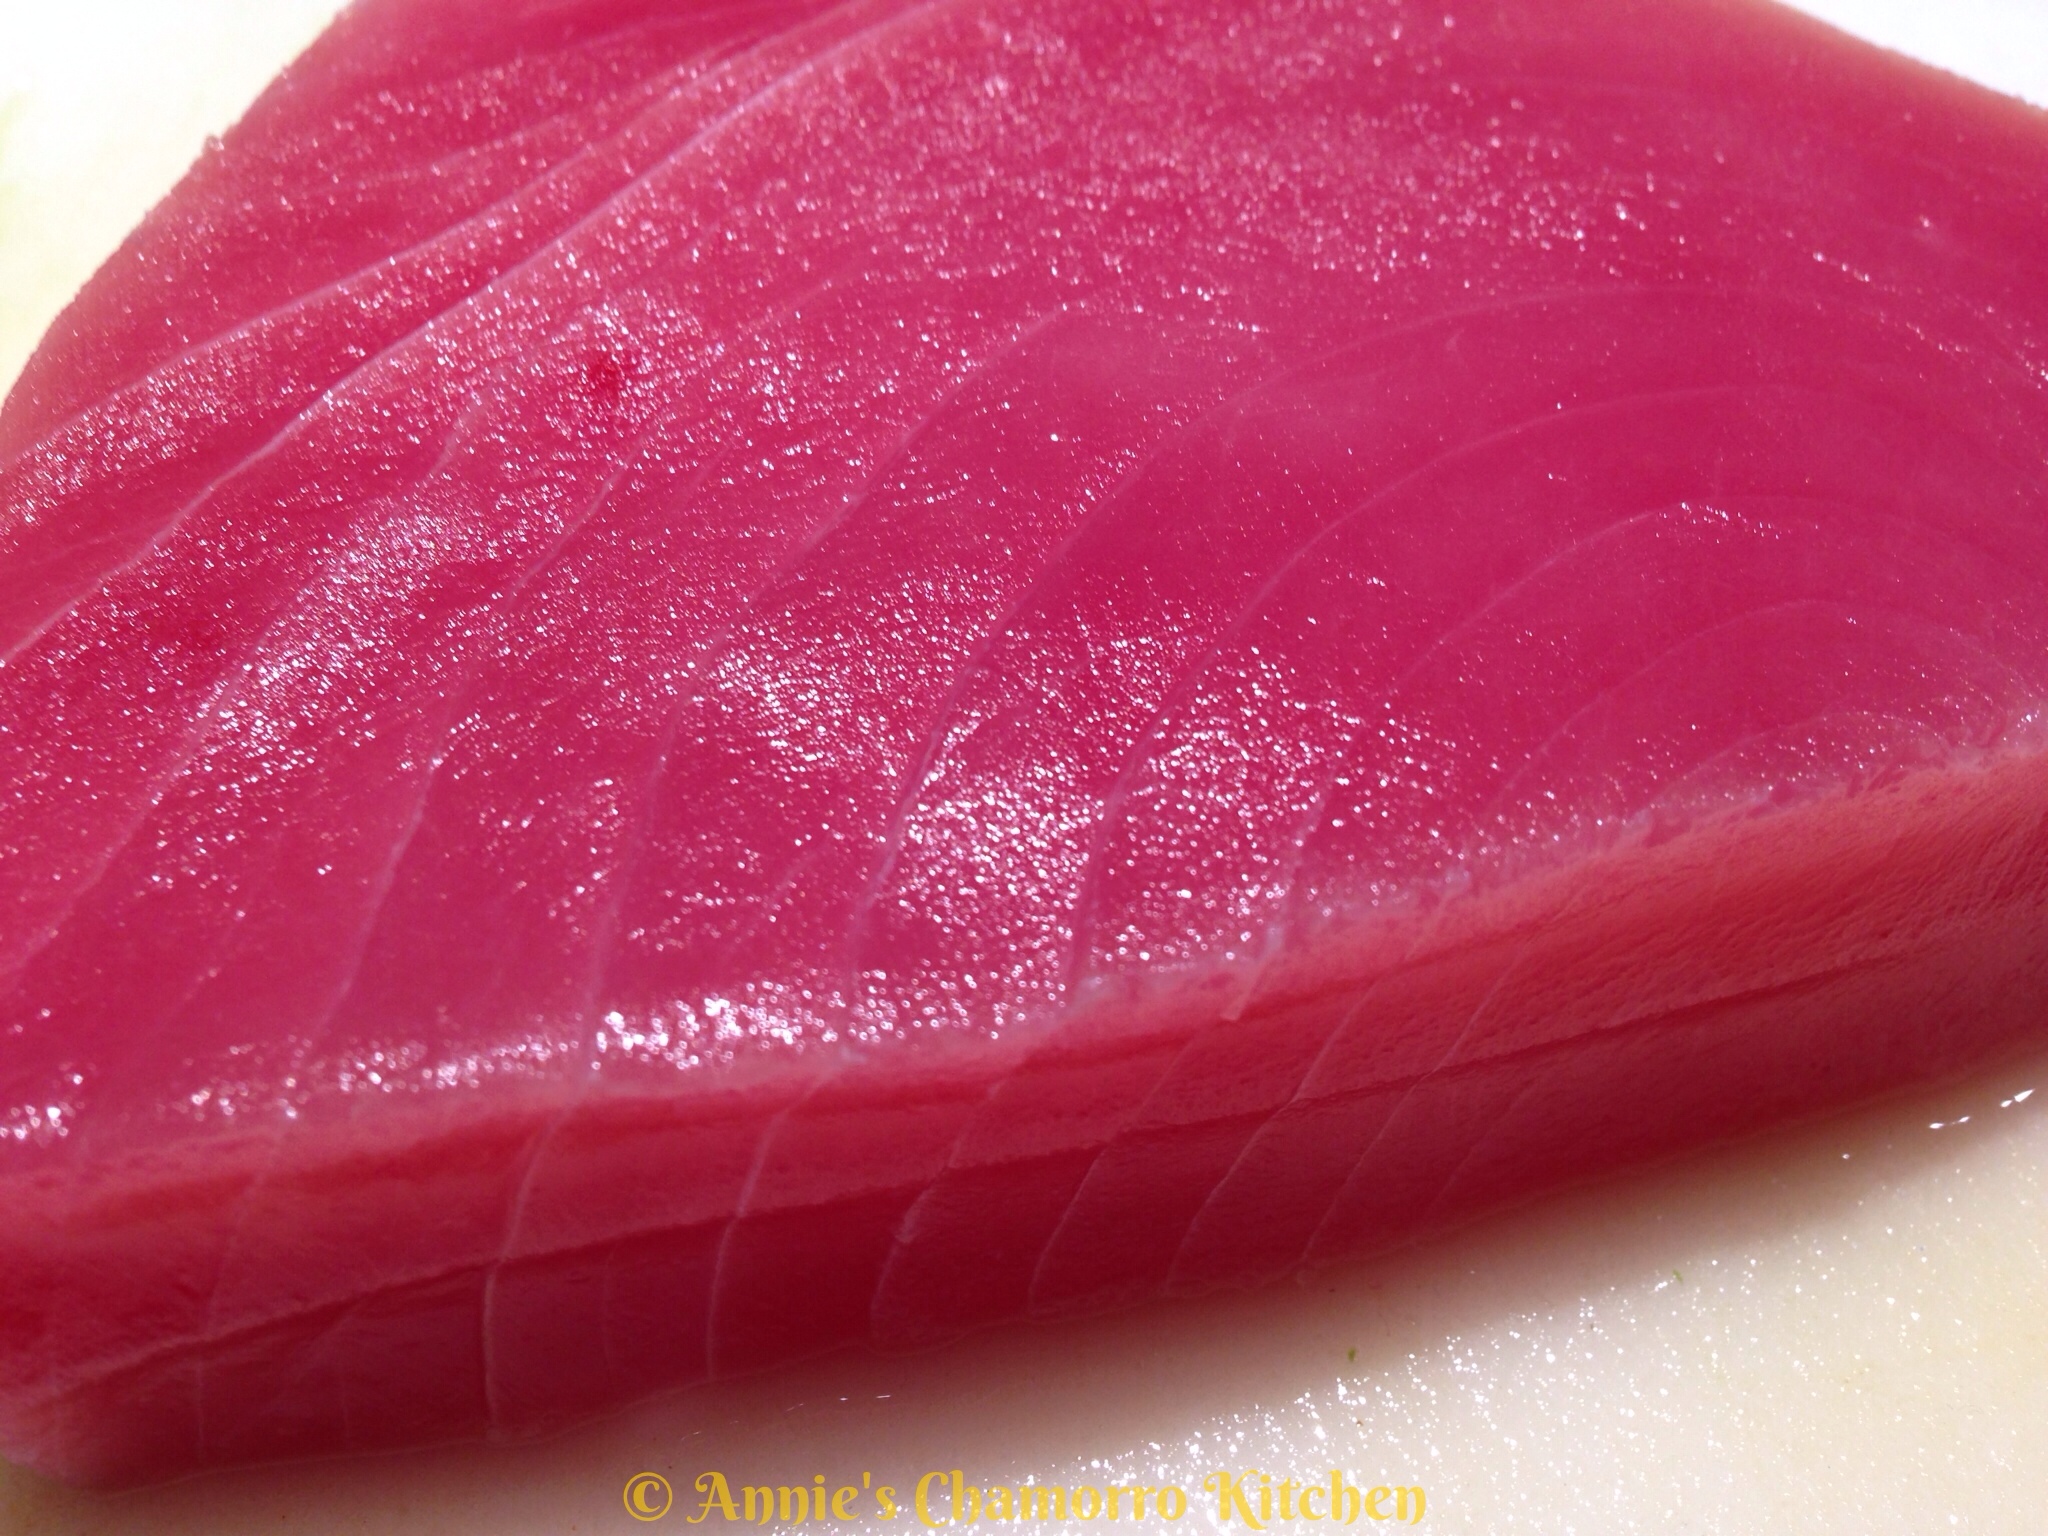
Good quality ahi tuna, thinly sliced

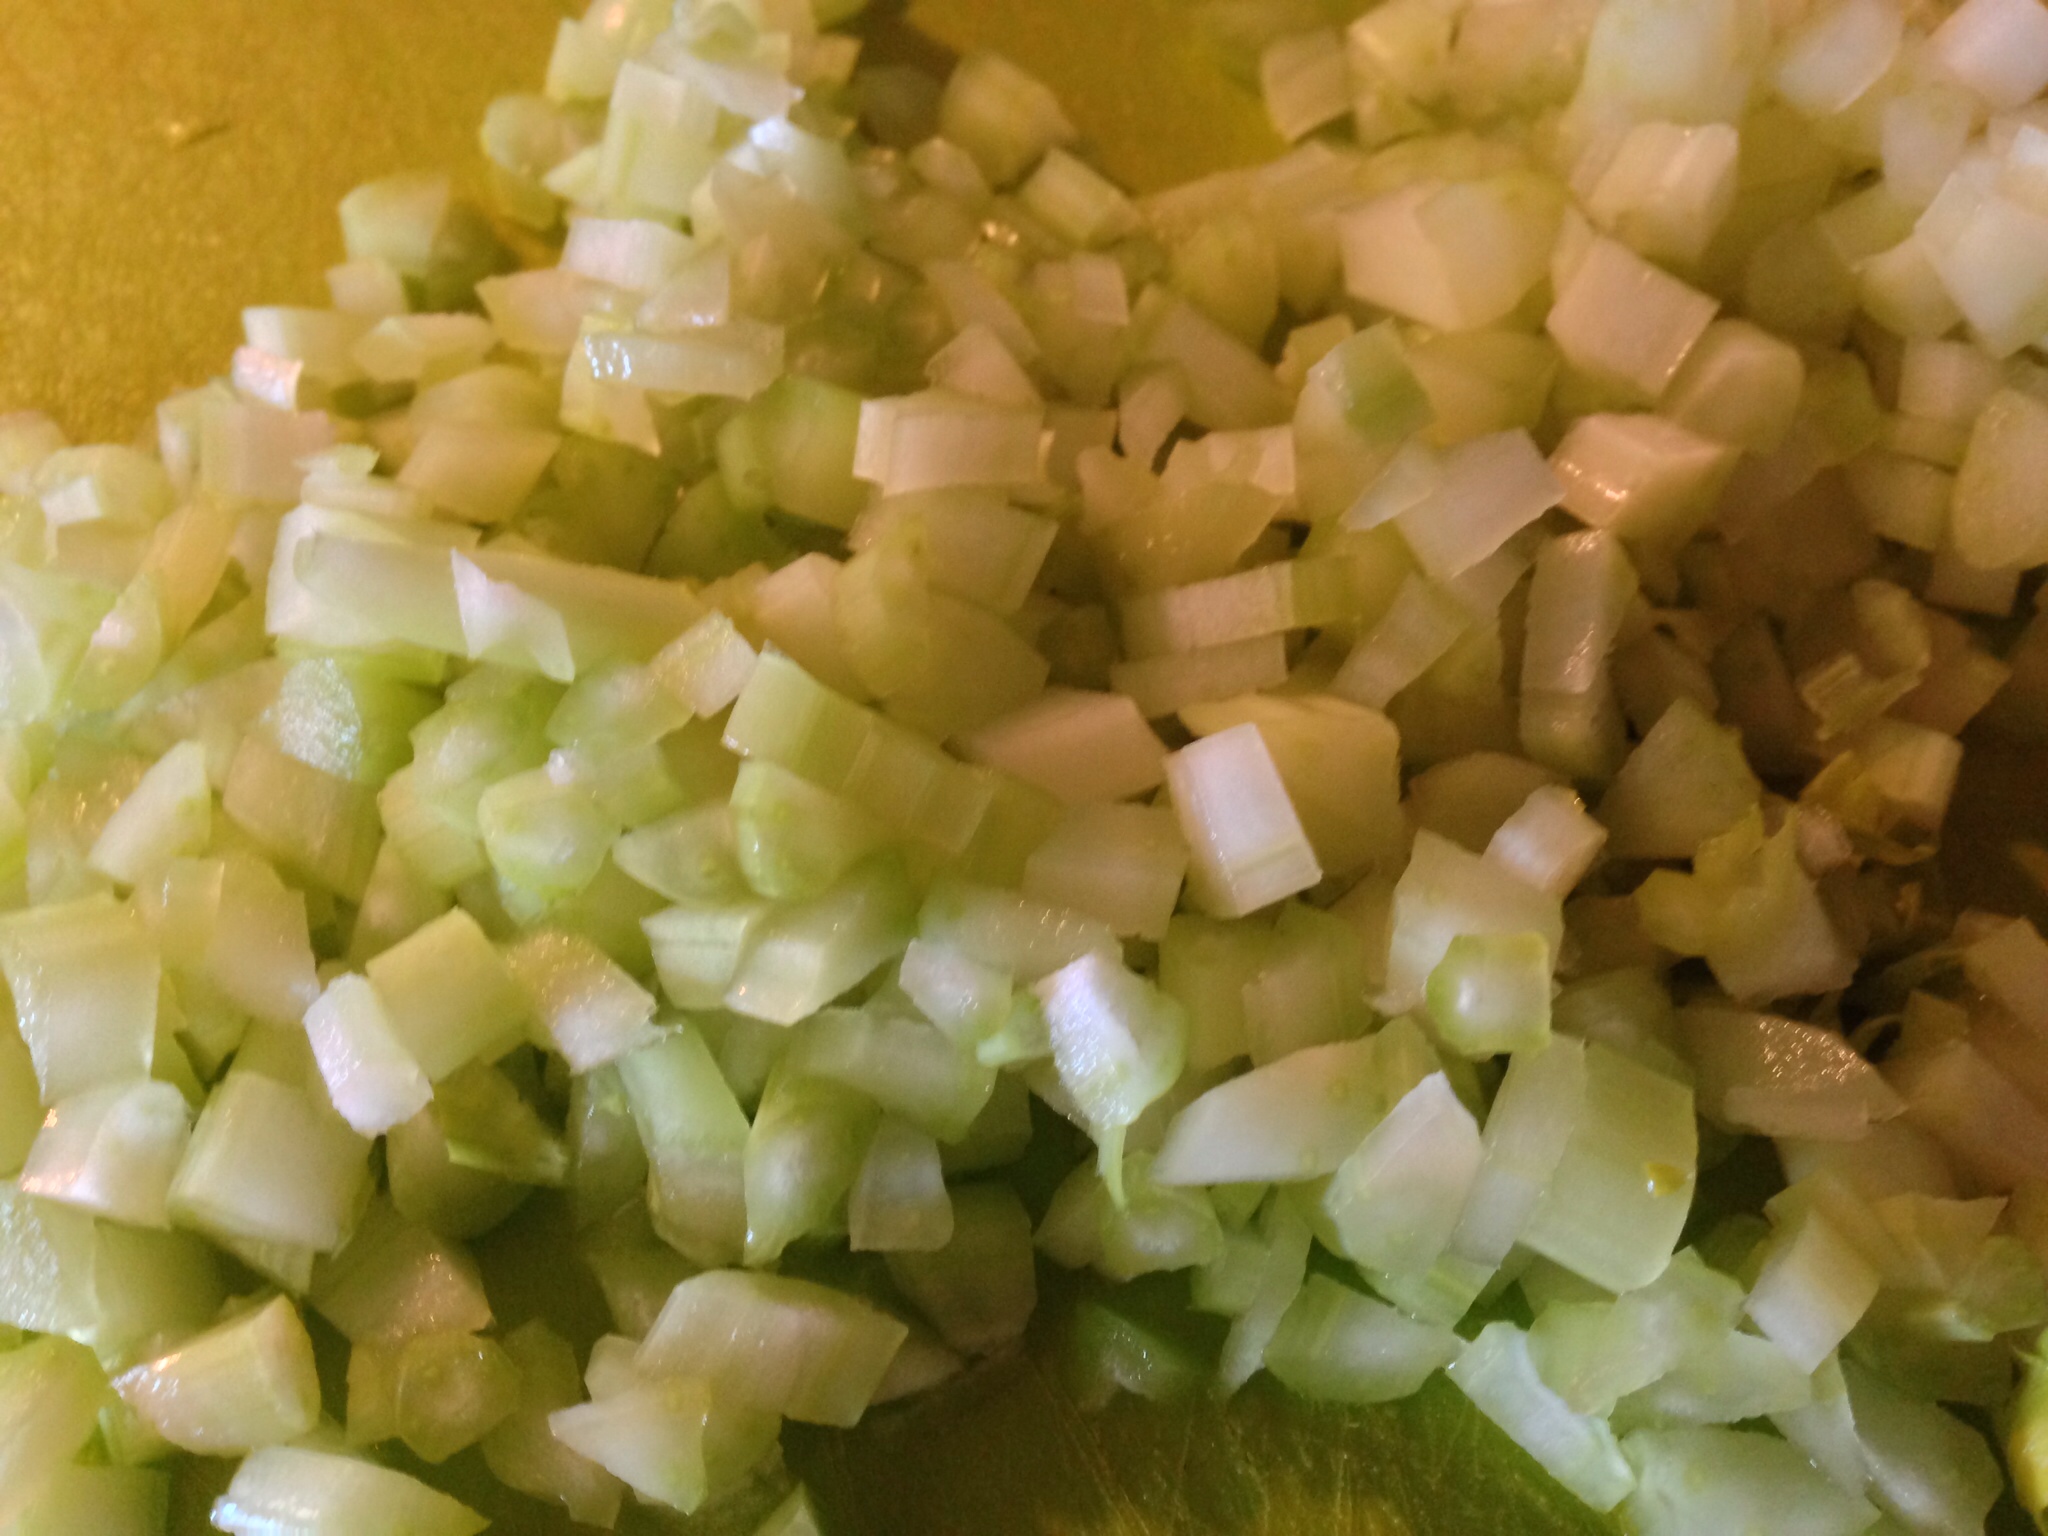
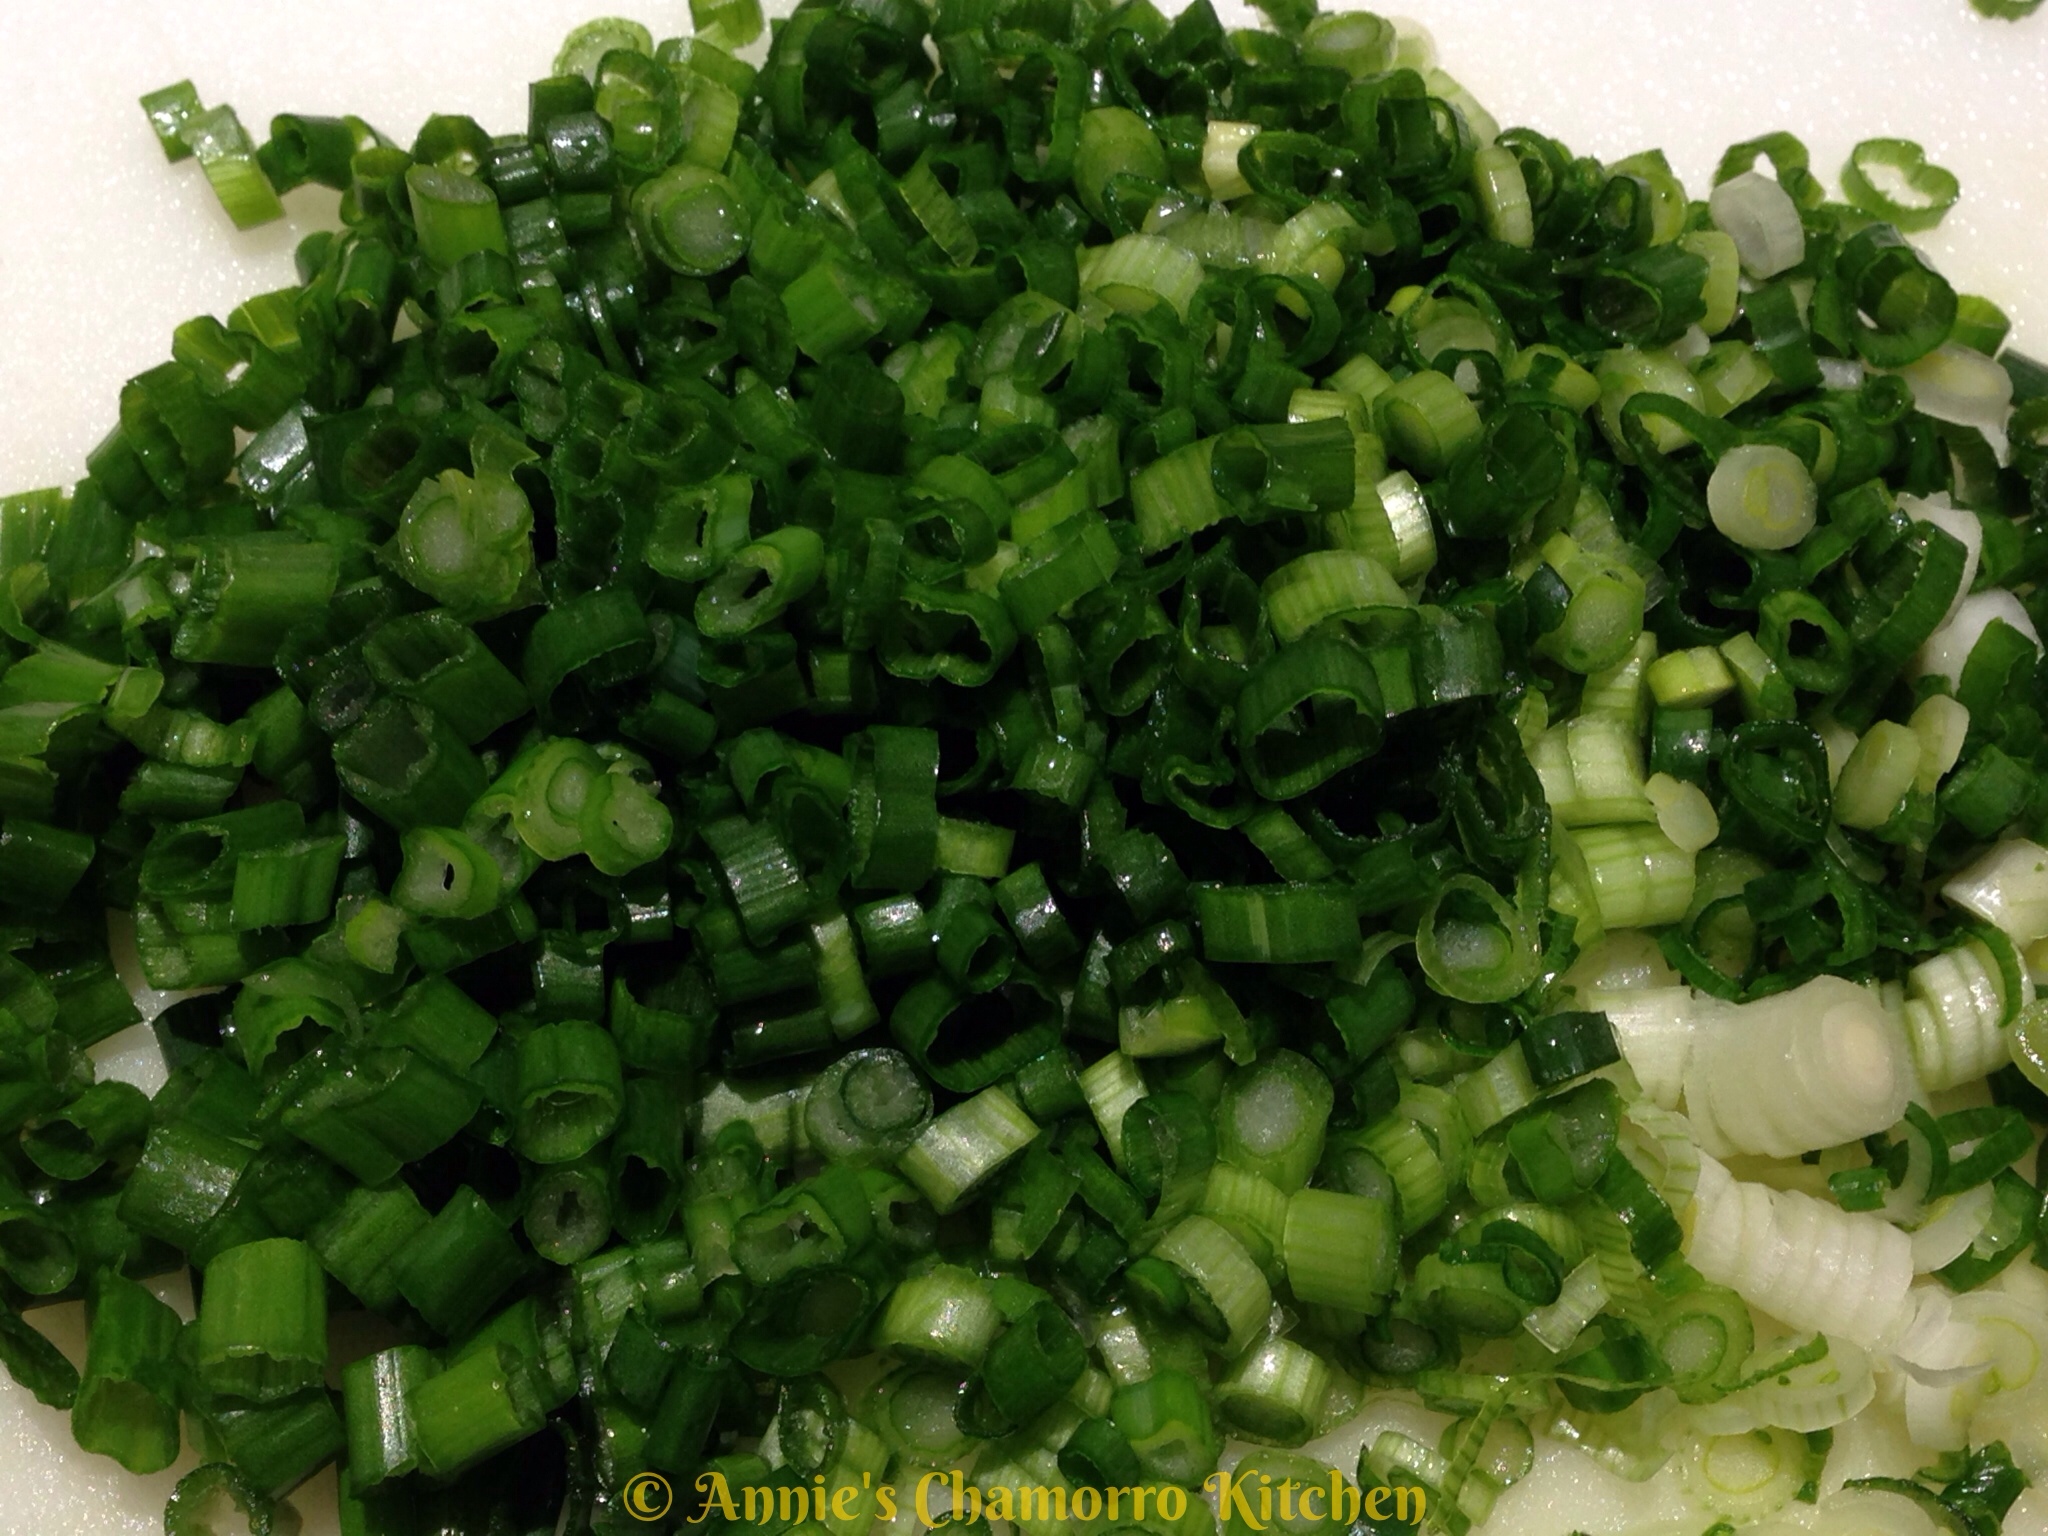
1 bunch green onions

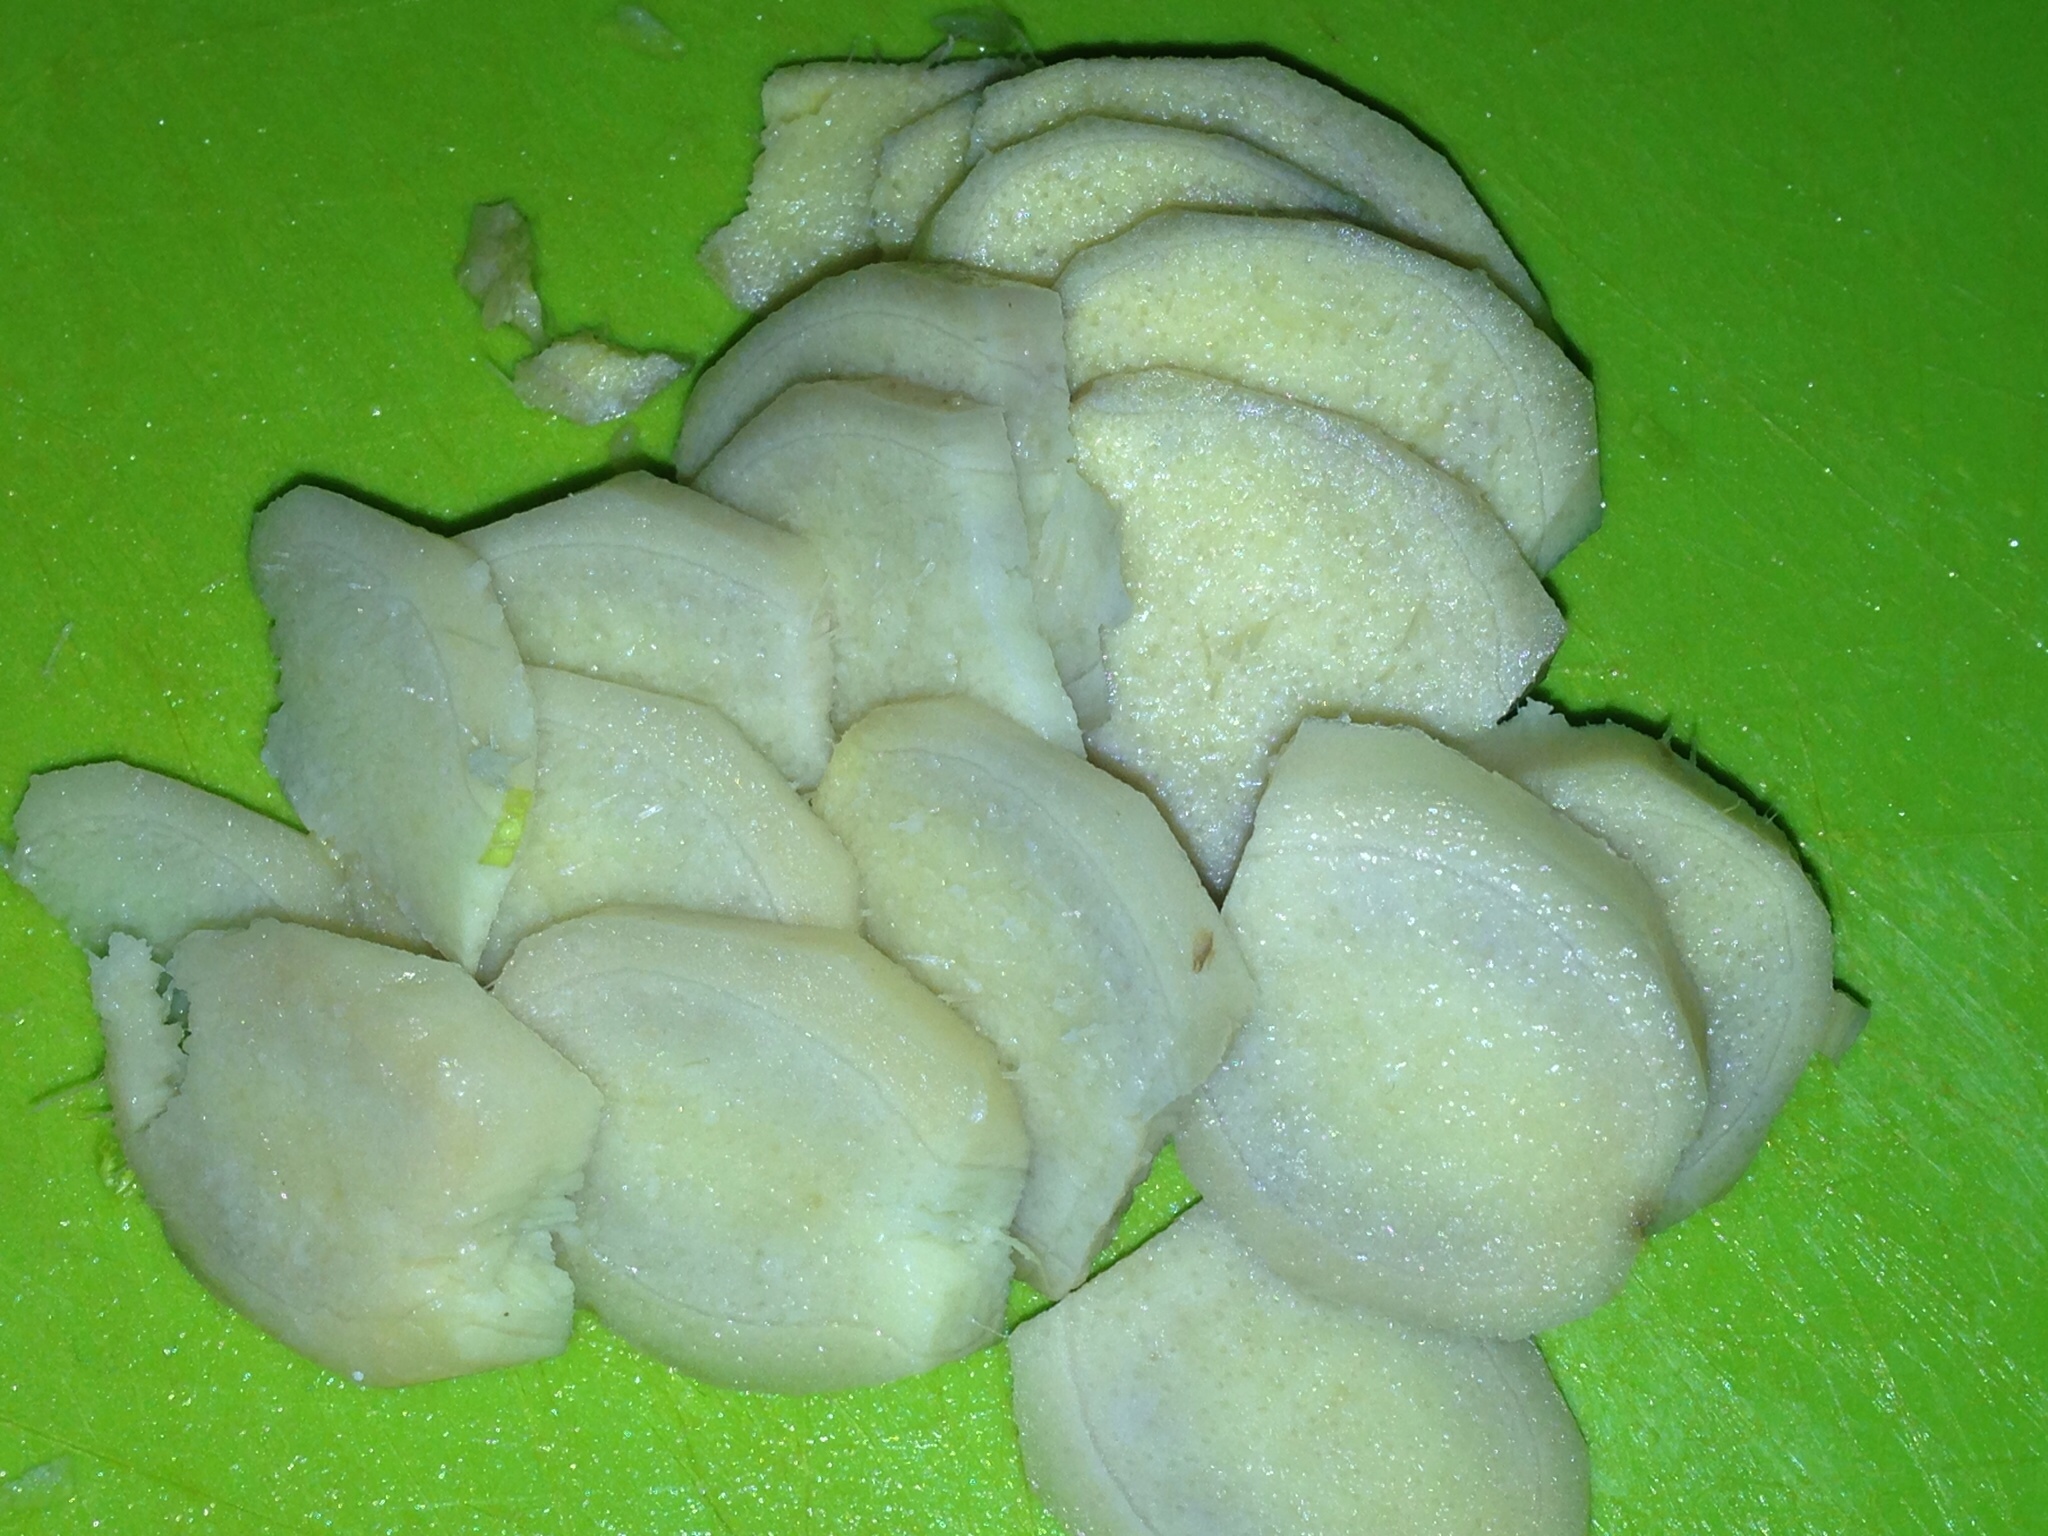
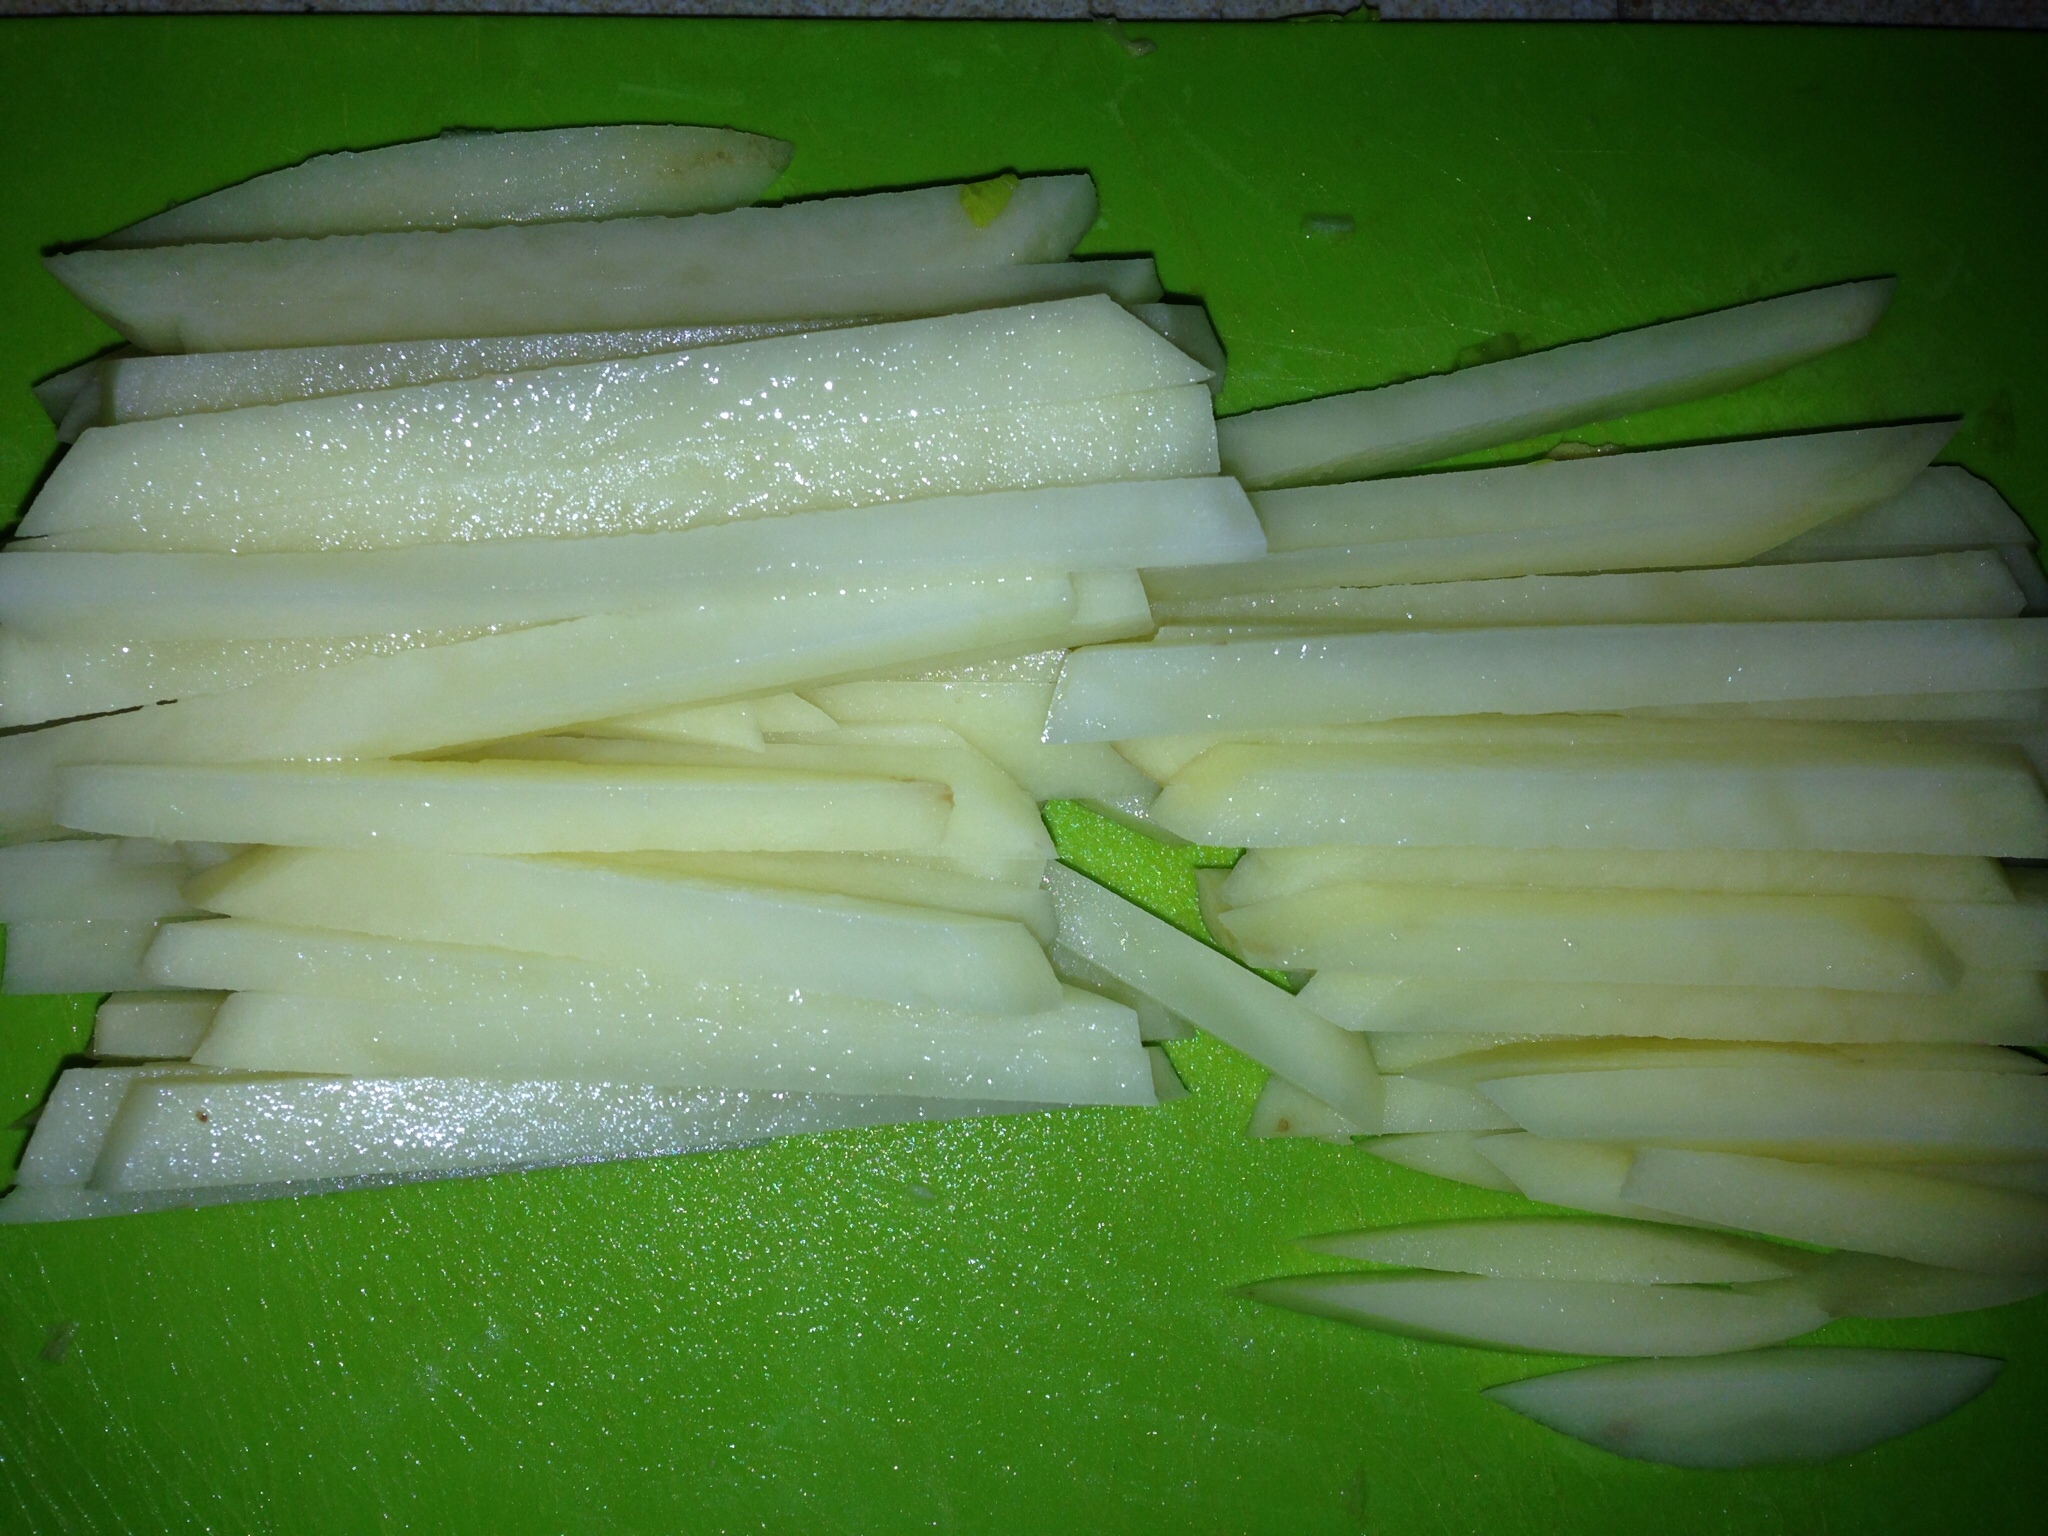
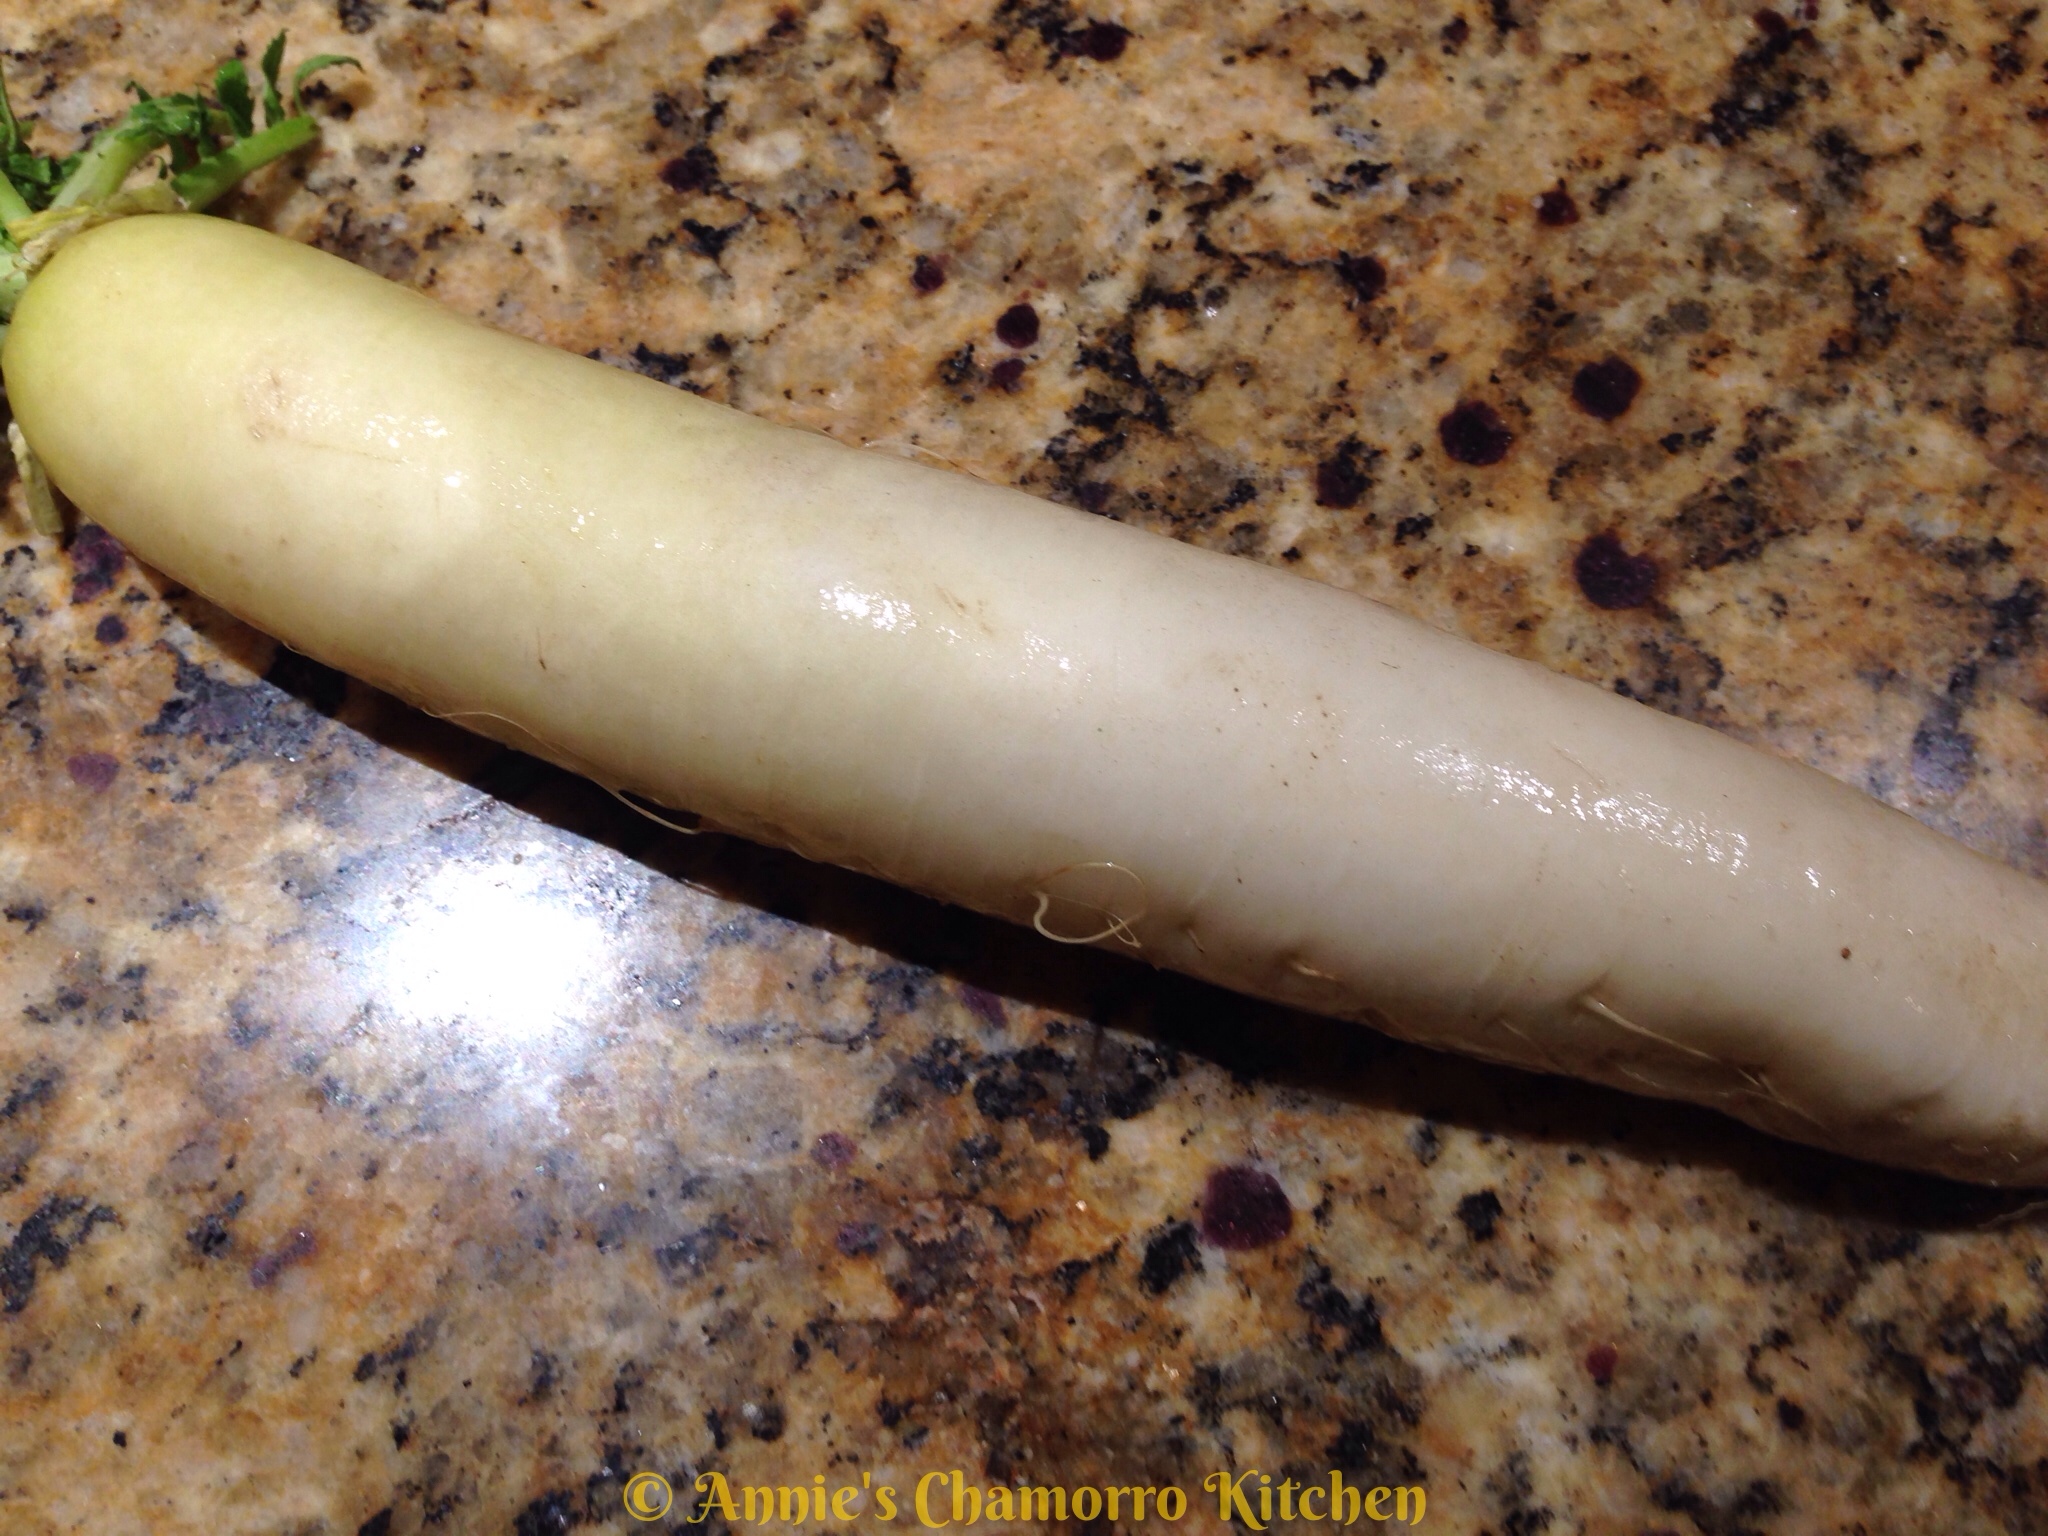
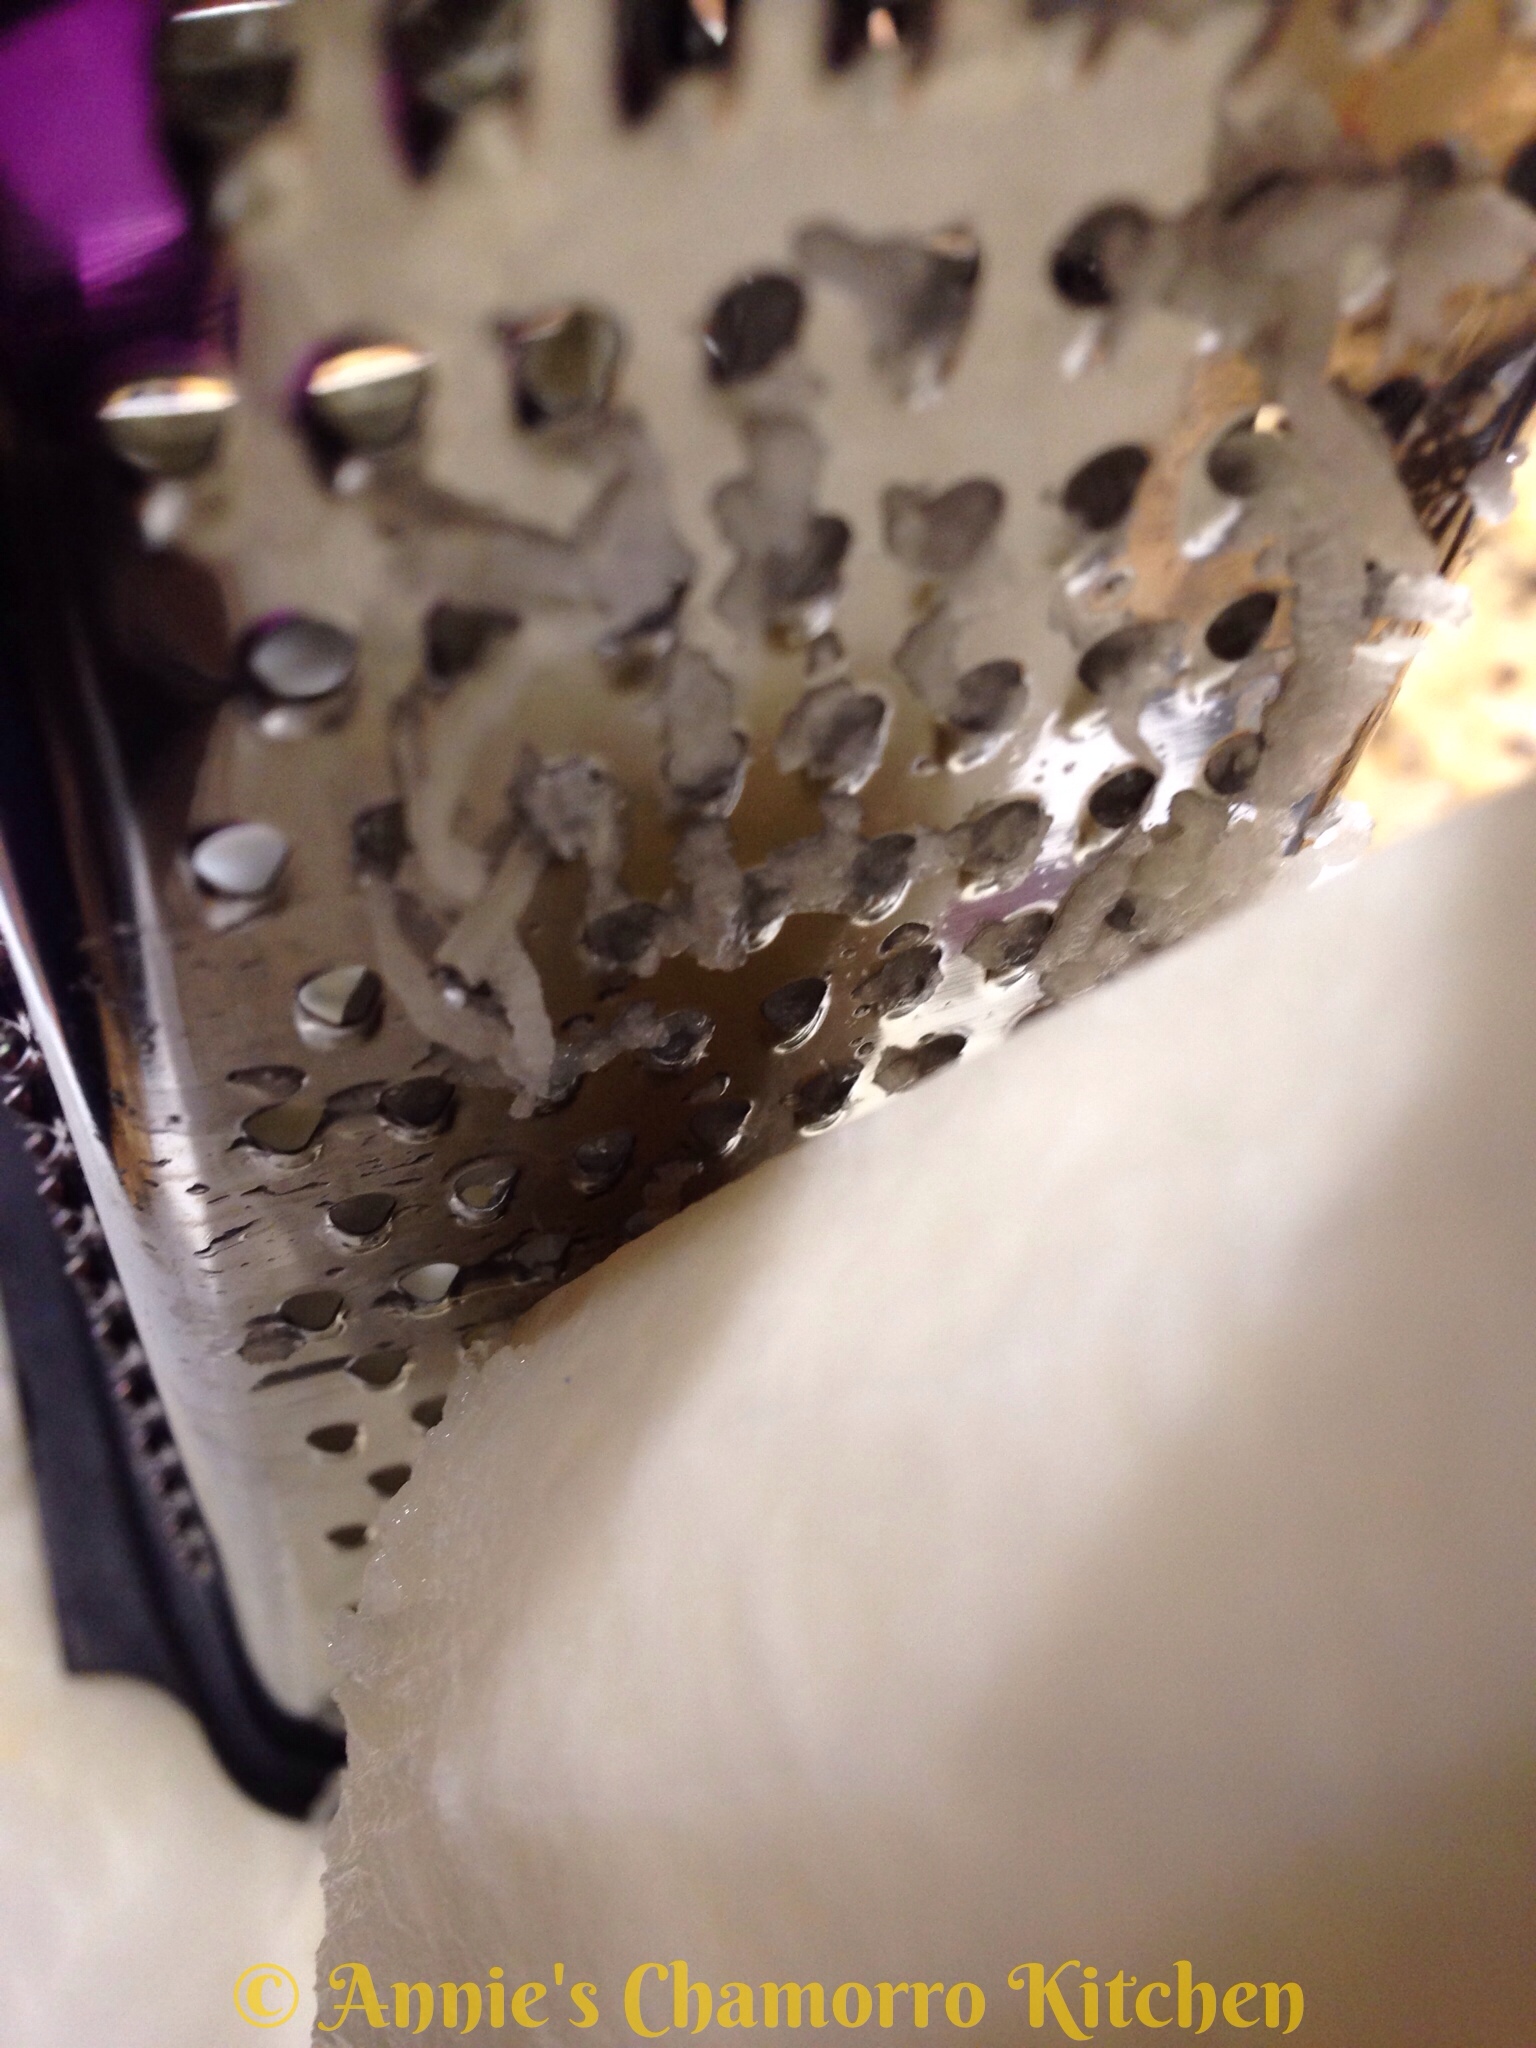
1 long white radish (the one below is called an Icicle Radish)

Sashimi Sauce:

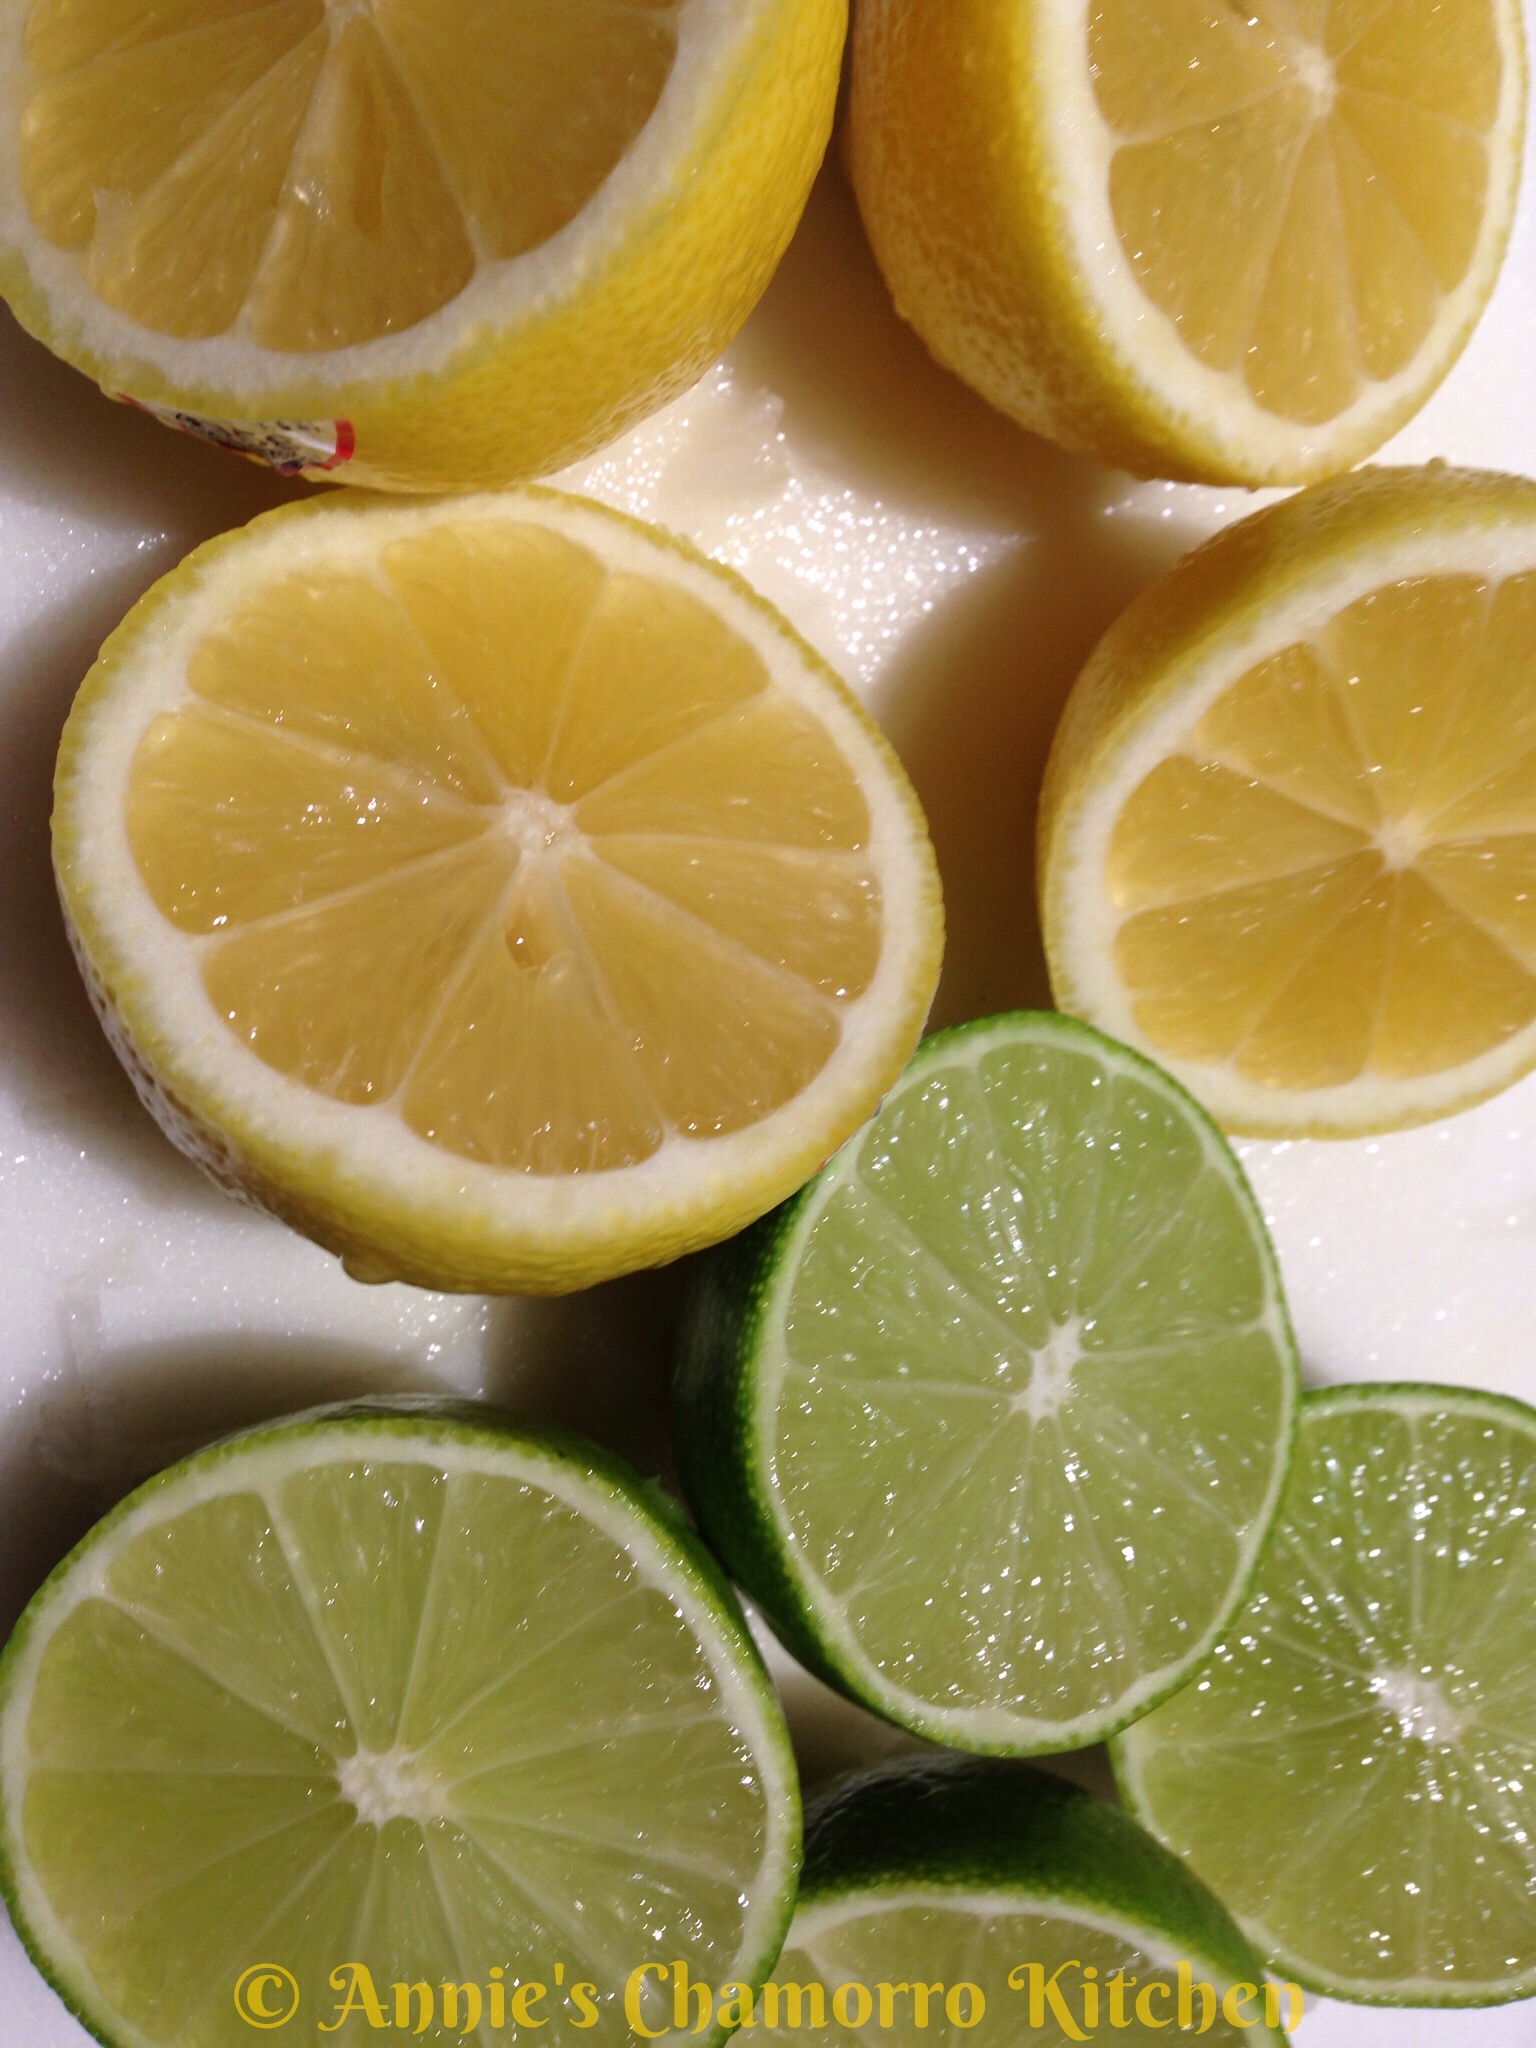
The juice of 3 lemons and 2 limes

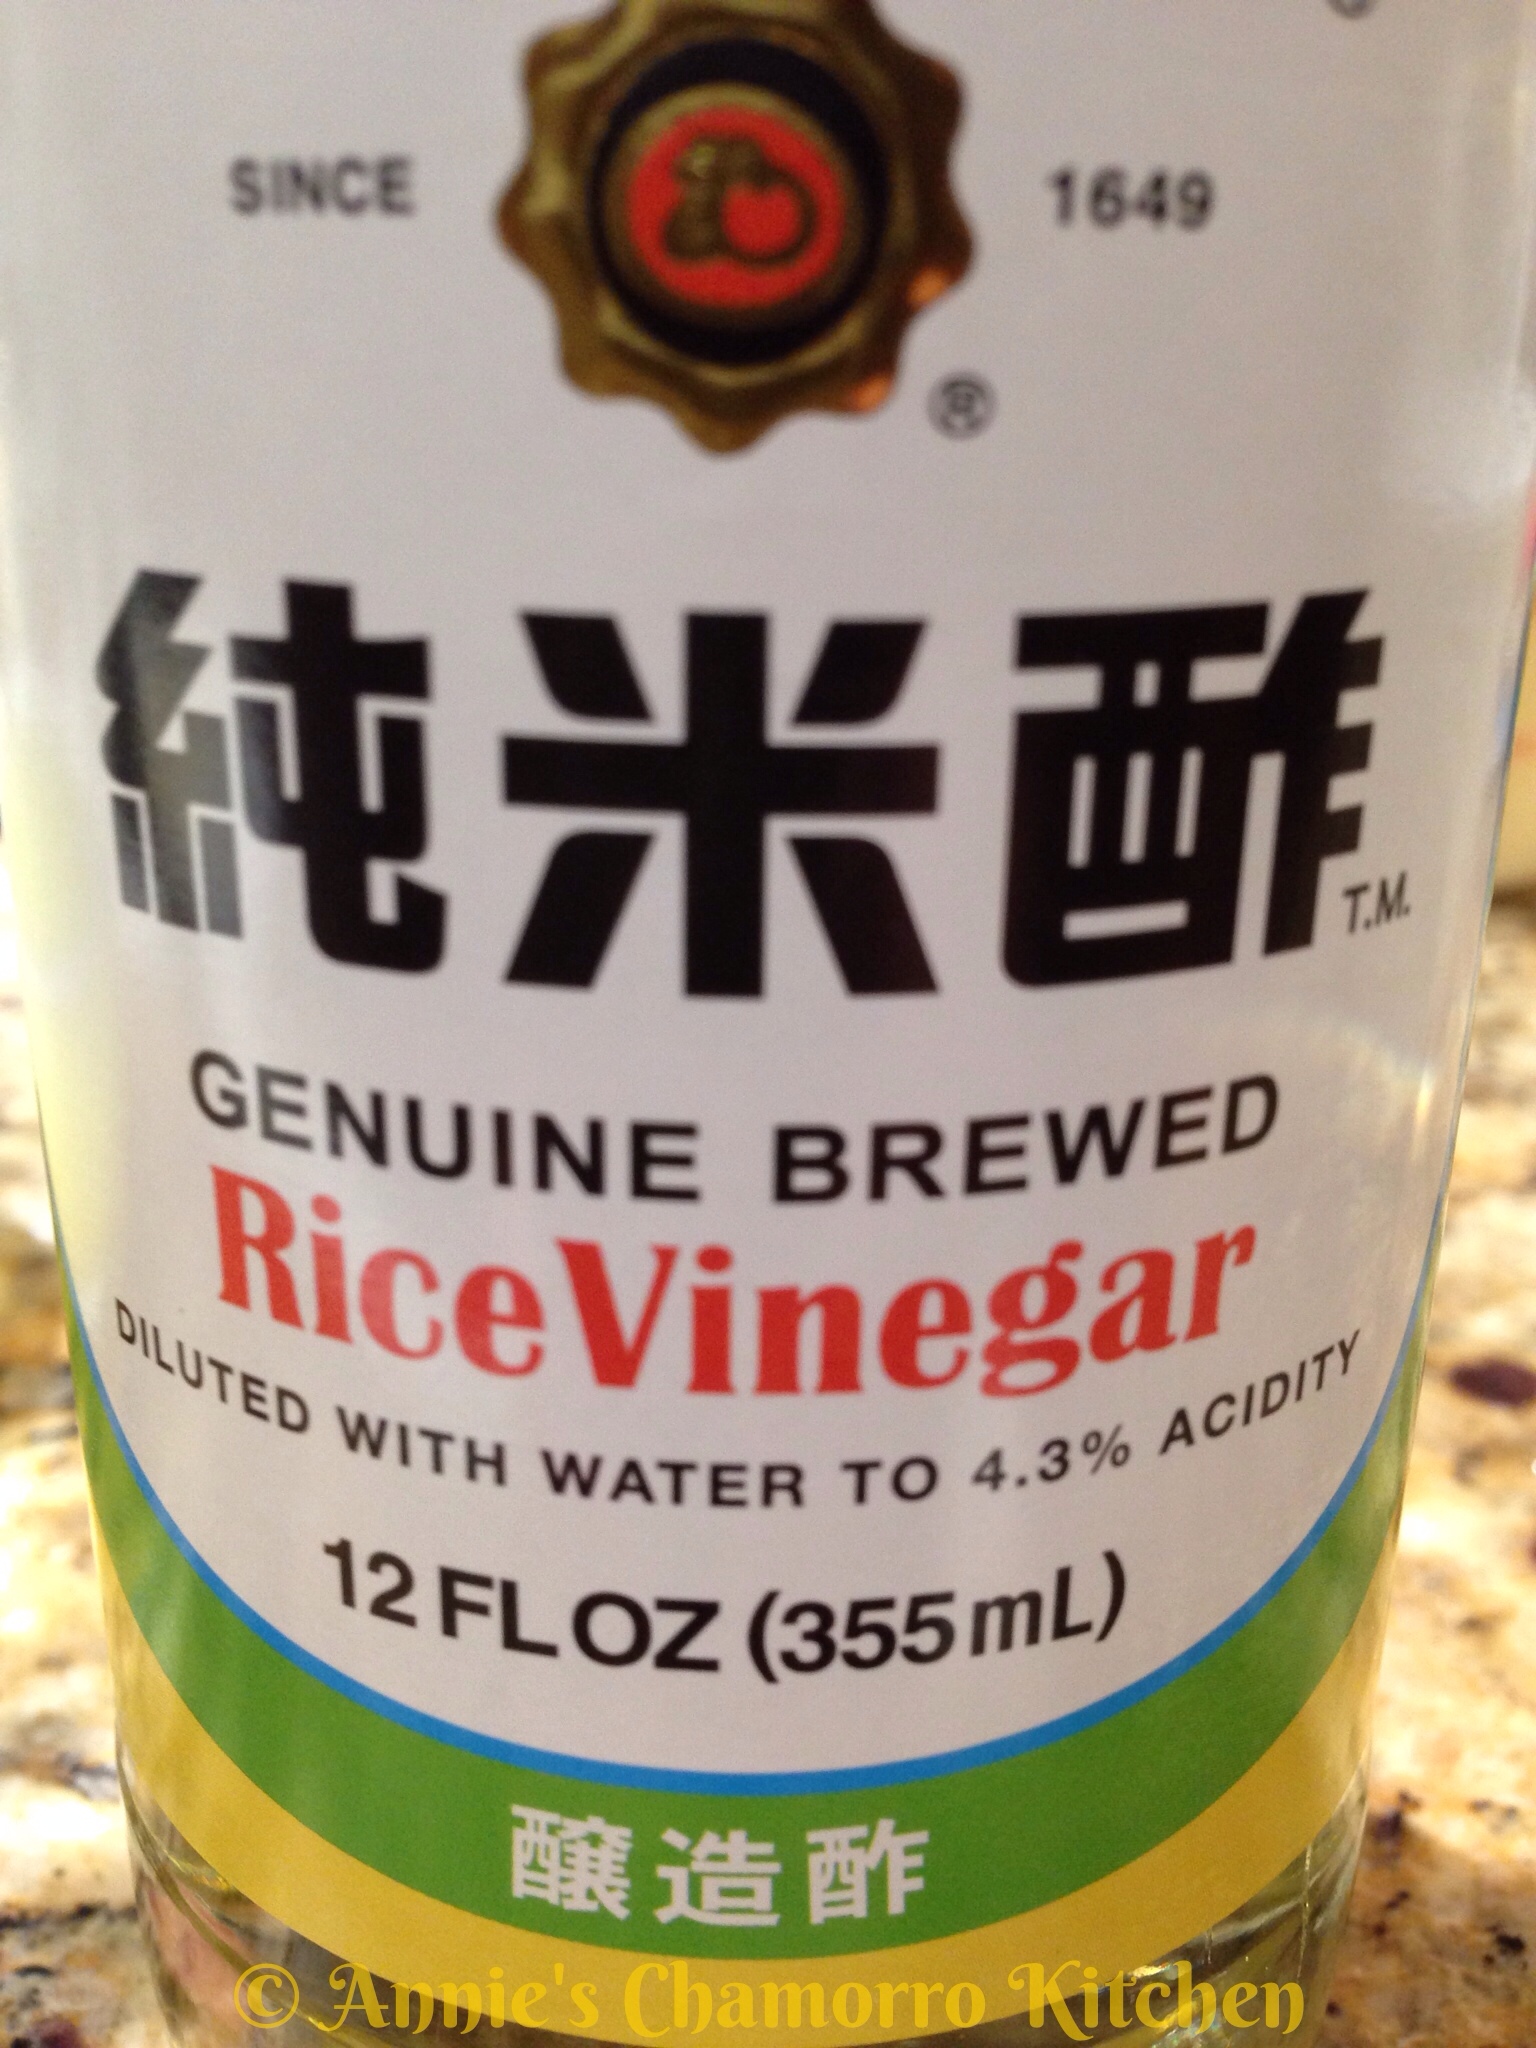
1/4 cup rice vinegar

1 cup soy sauce

1/4 cup mirin

1 small piece of dried kelp, about a 4-inch piece will do.  You can find this and the other ingredients for this recipe at most Asian markets.

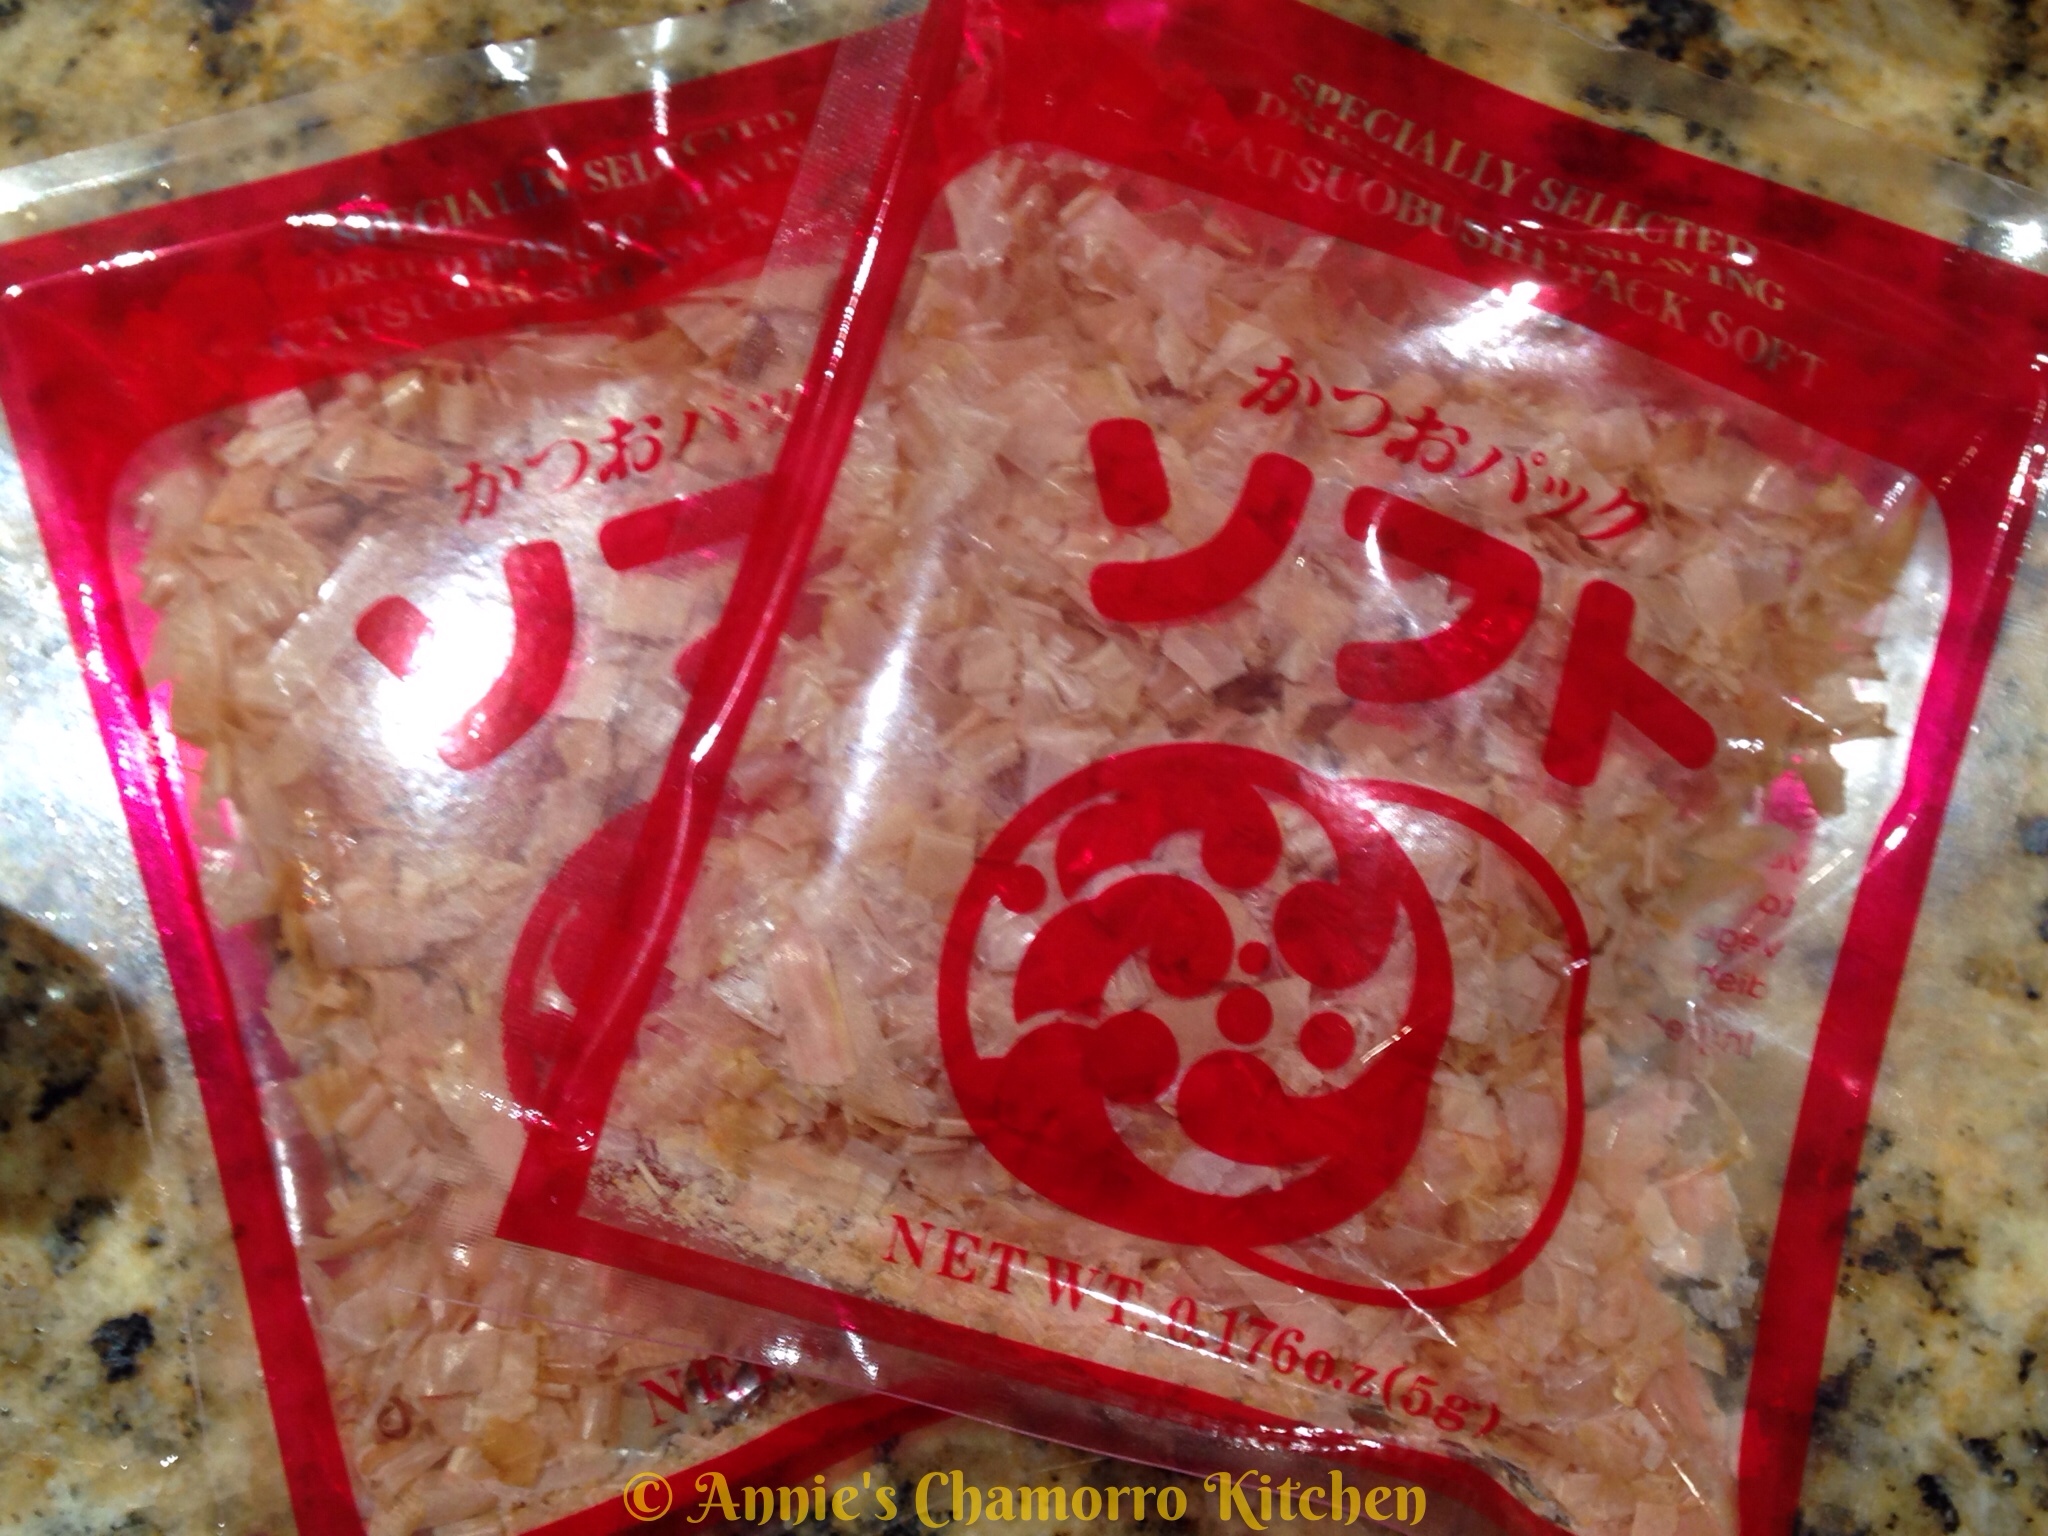
2 packets dried bonito flakes (0.17 oz. per packet).  The kind I buy comes in a package that contains 5 of these packets.

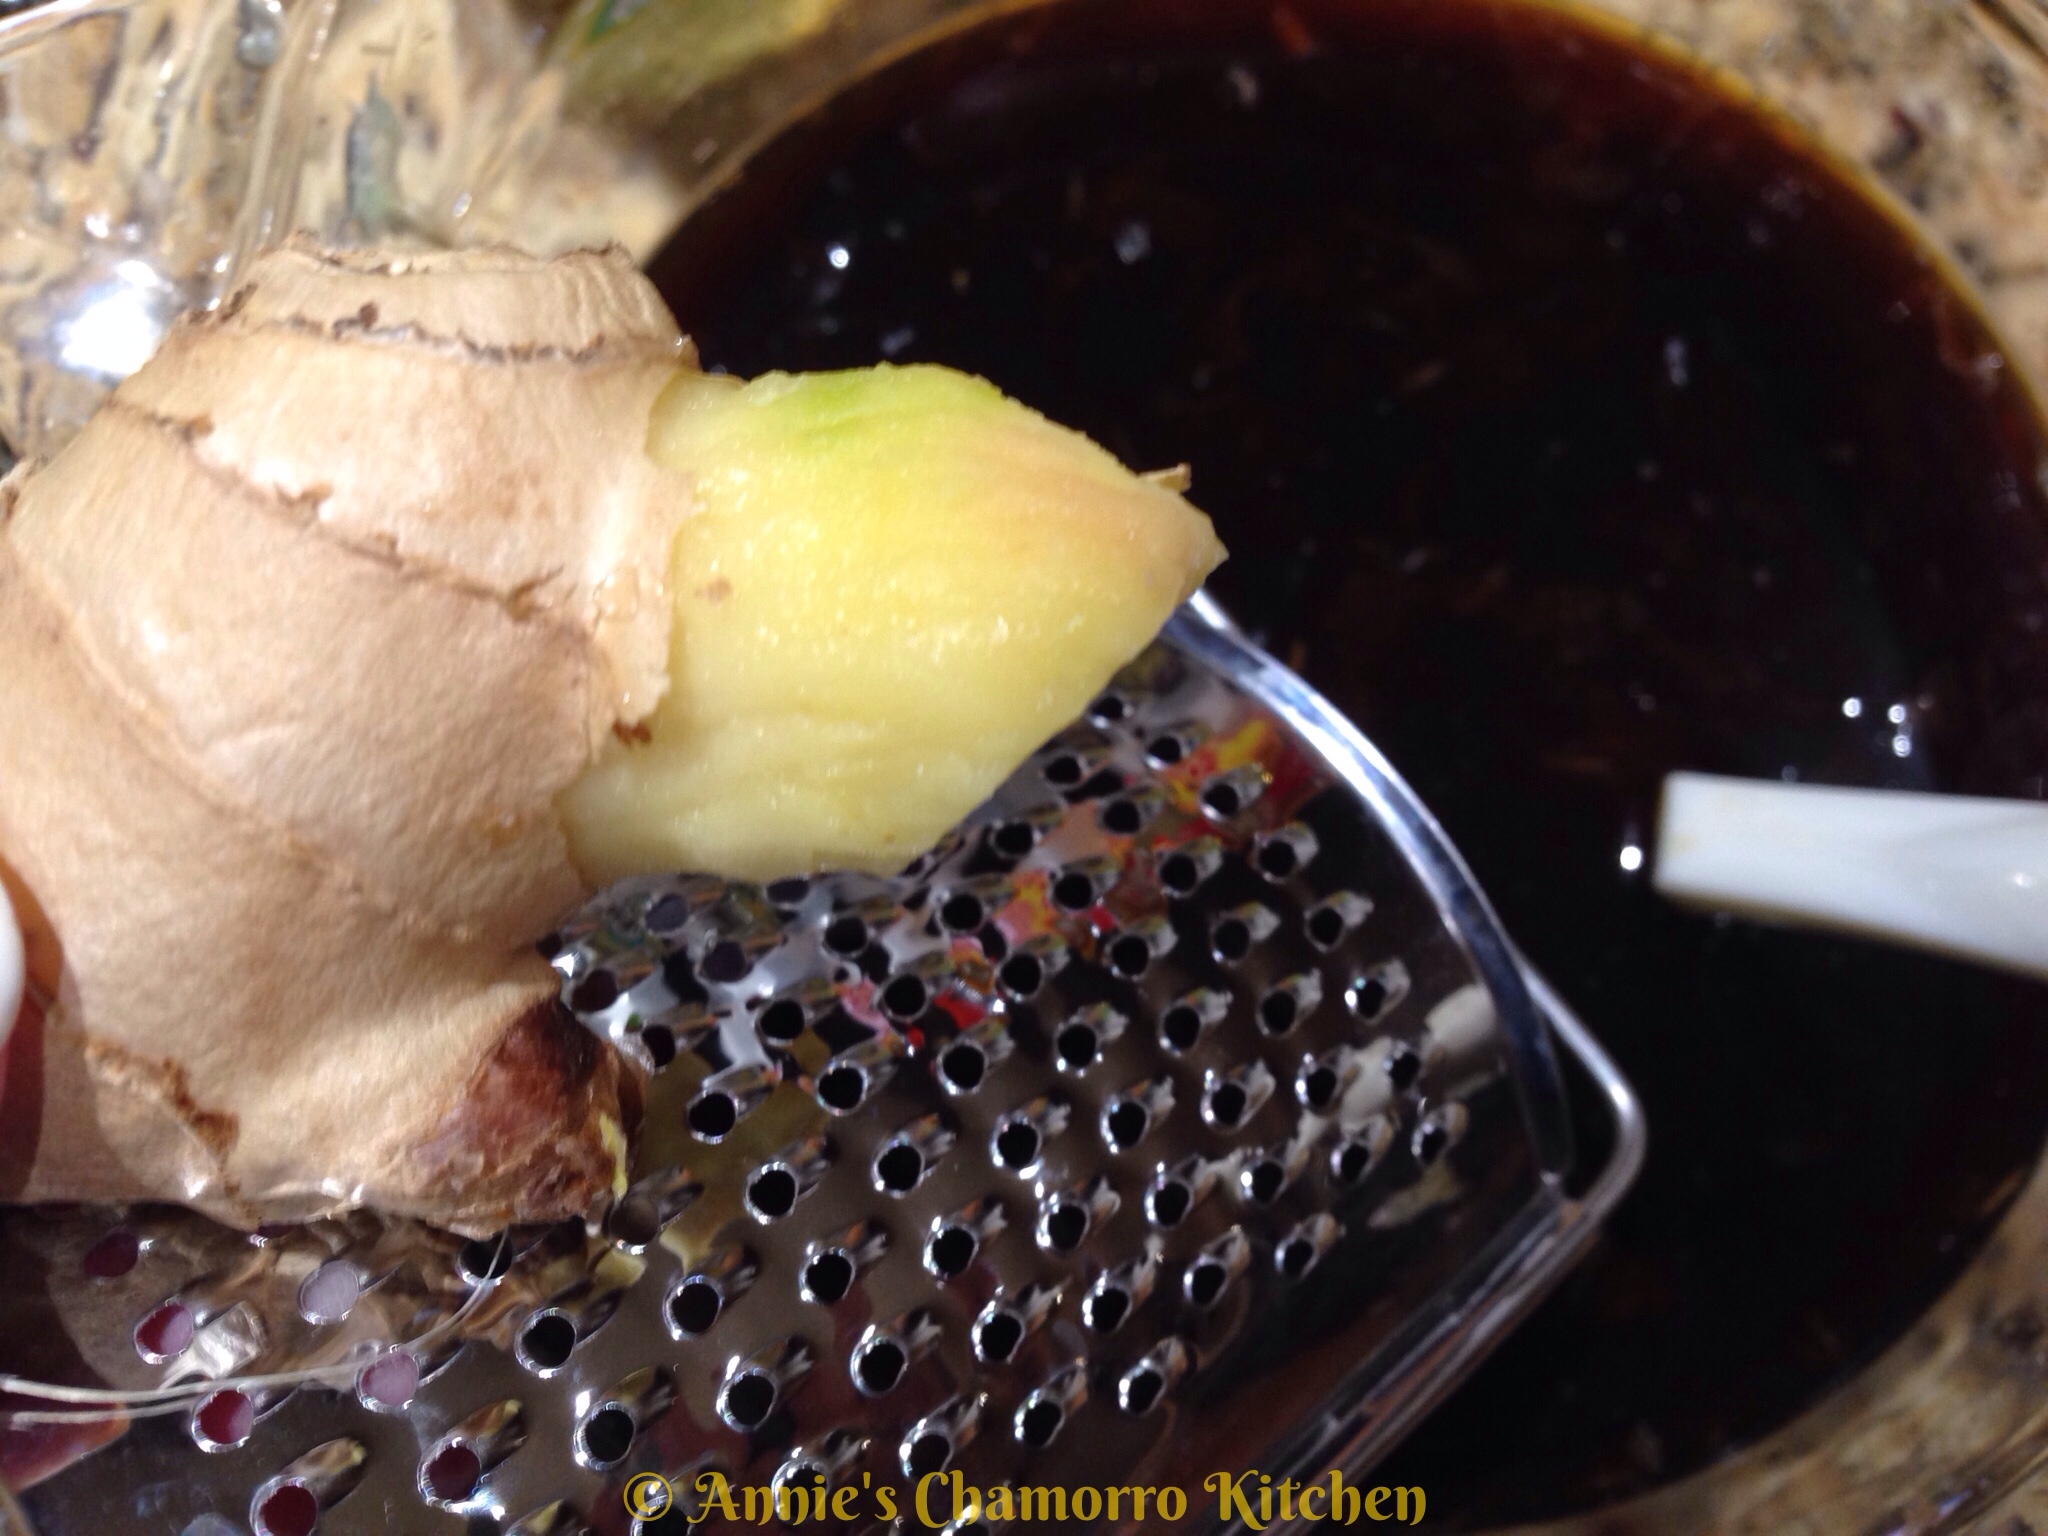
1-inch piece ginger, grated

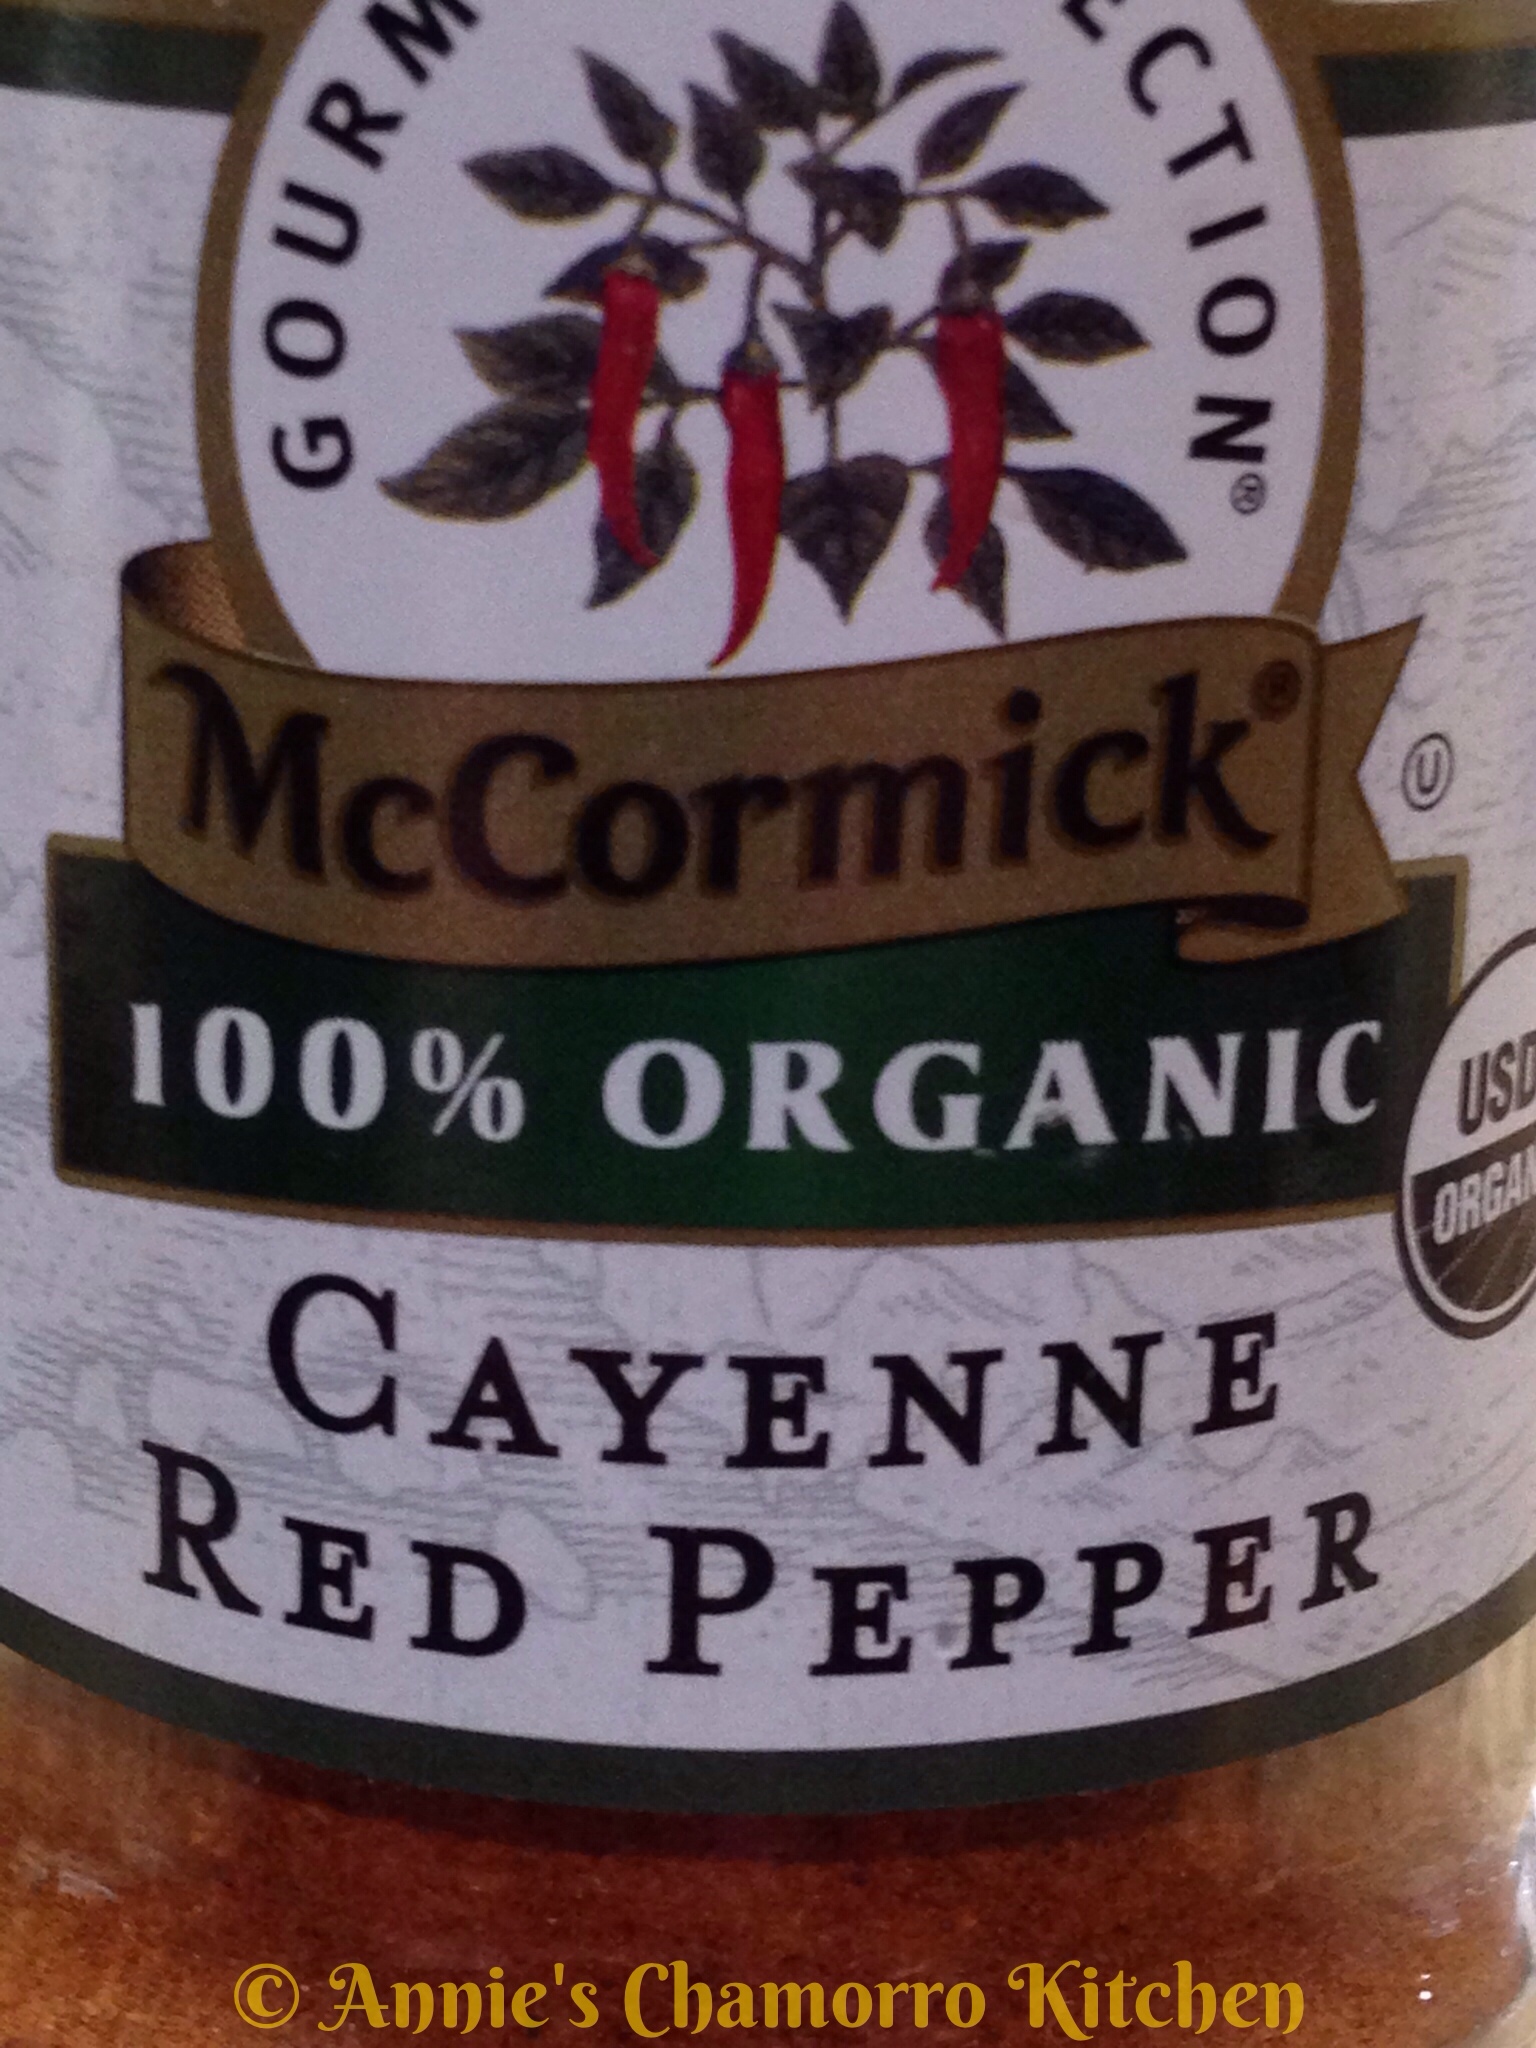
Cayenne pepper, about 1/4 teaspoon, more or less to taste.  I like using Cayenne — it dissolves easily, and it’s not too spicy.  Even my “little” one eats it.  Well, she’s not so little anymore, but she’s sooooo picky!

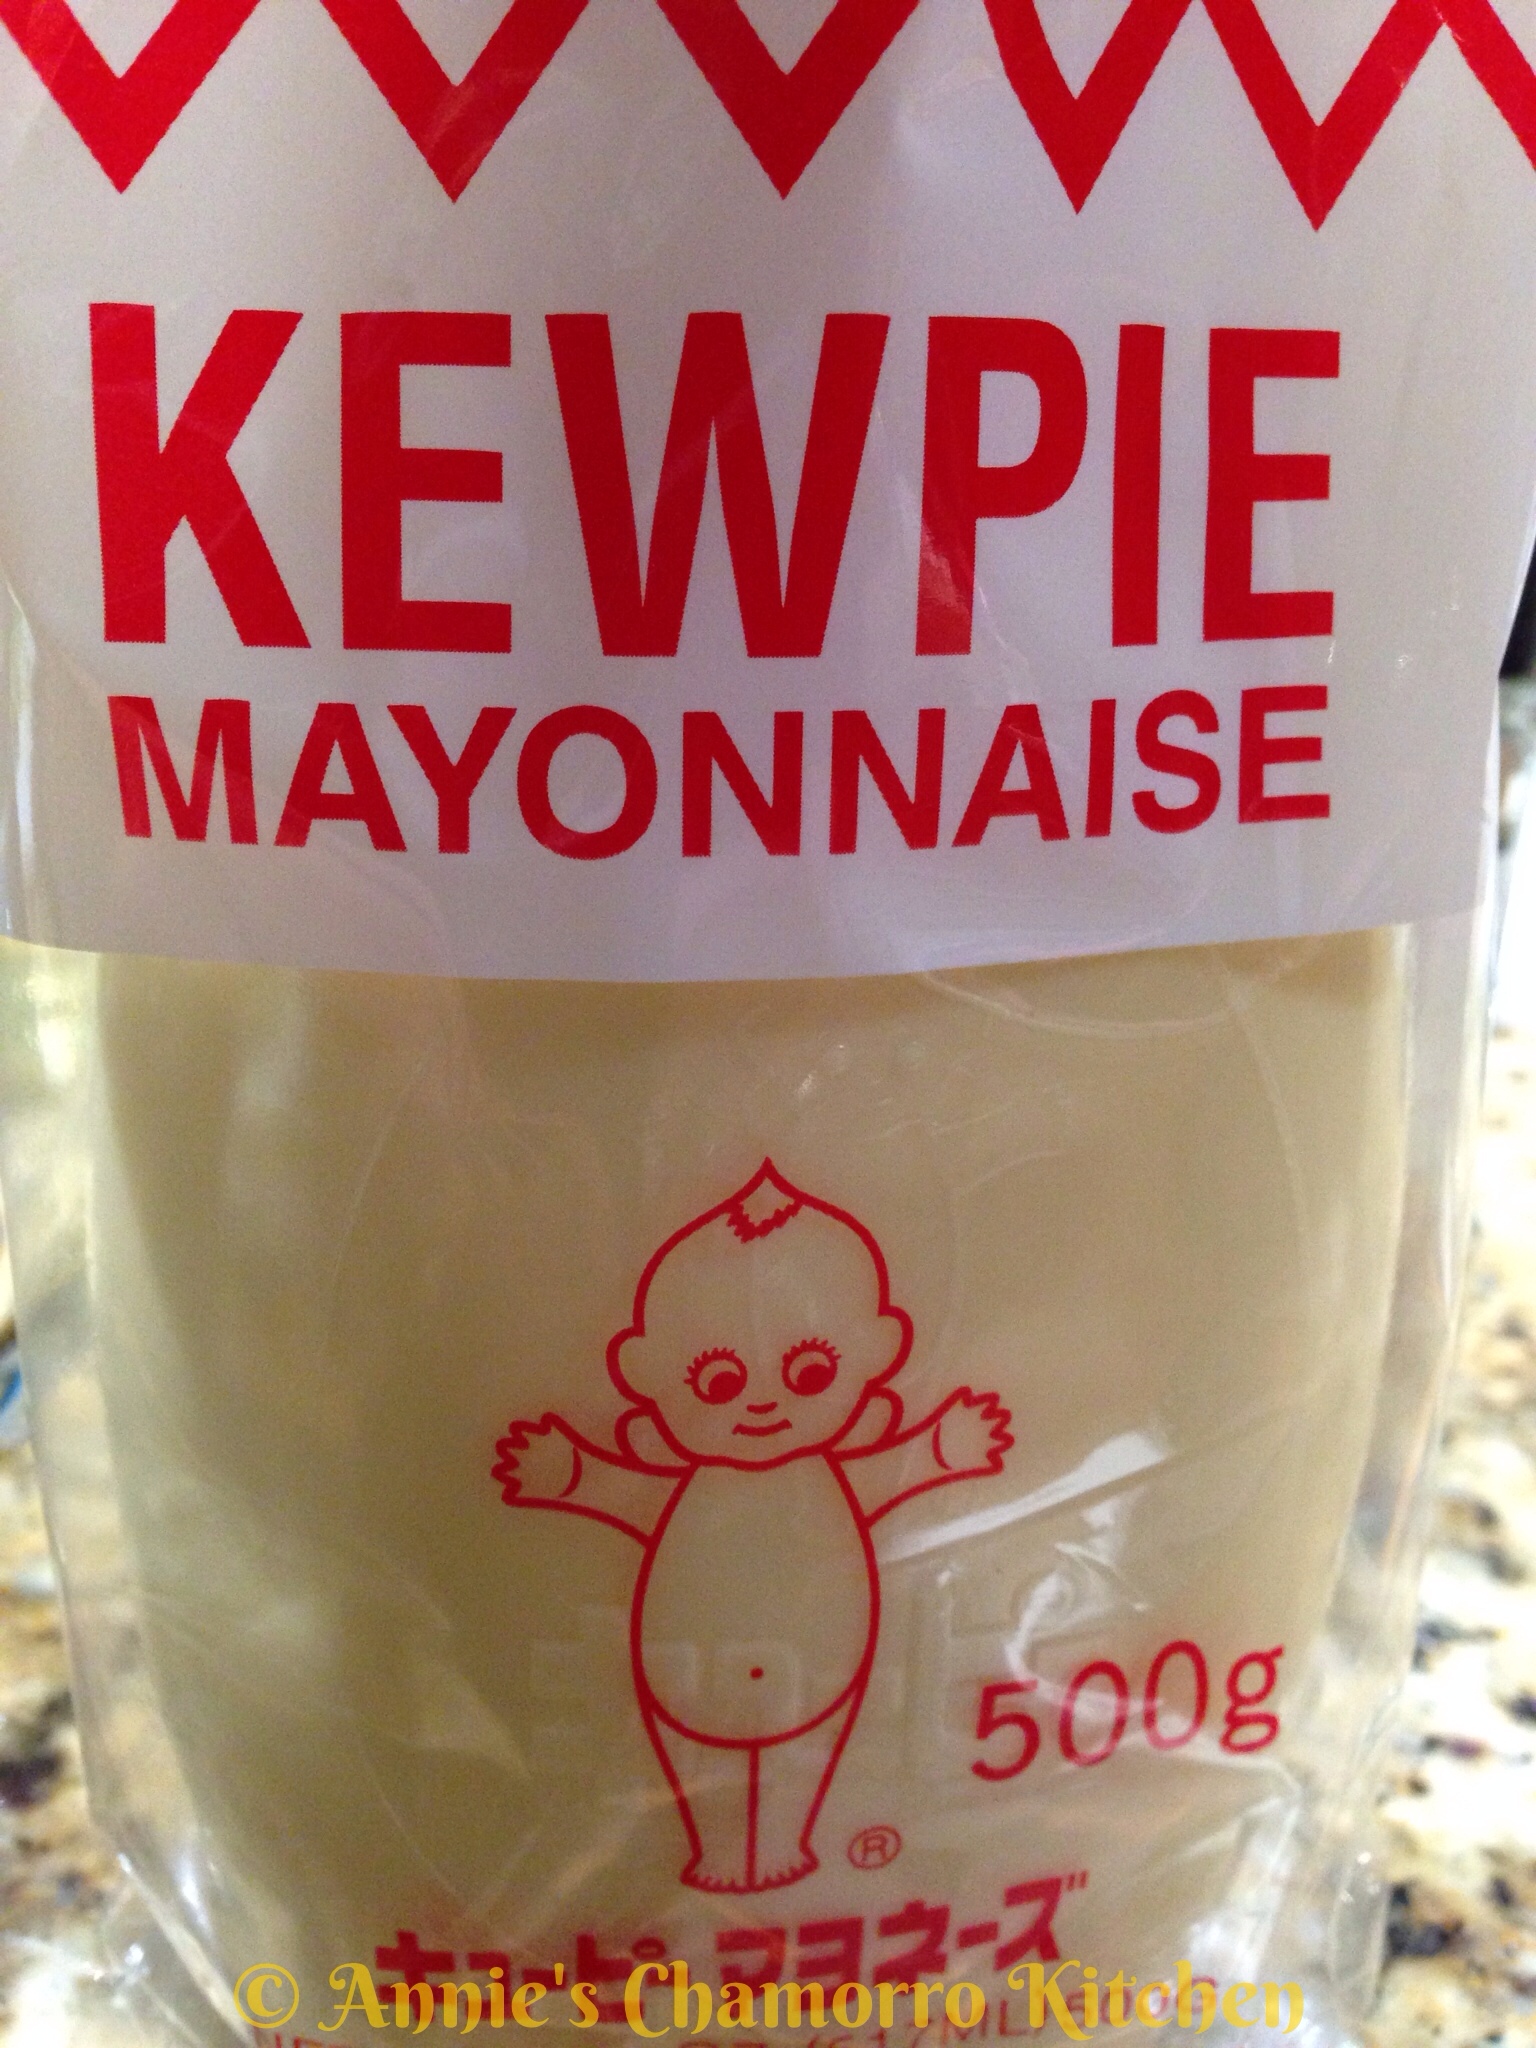
Kewpie mayonnaise.  Don’t substitute with regular mayo.  The main difference between Kewpie and regular mayo is that kewpie is made with the egg yolks only, whereas some regular mayos are made with either only egg whites or whole eggs.  Kewpie is also creamier and just a tad bit sweeter that regular mayo.  Anyhow…look for and use kewpie mayo for this dish (no subs).

Directions:

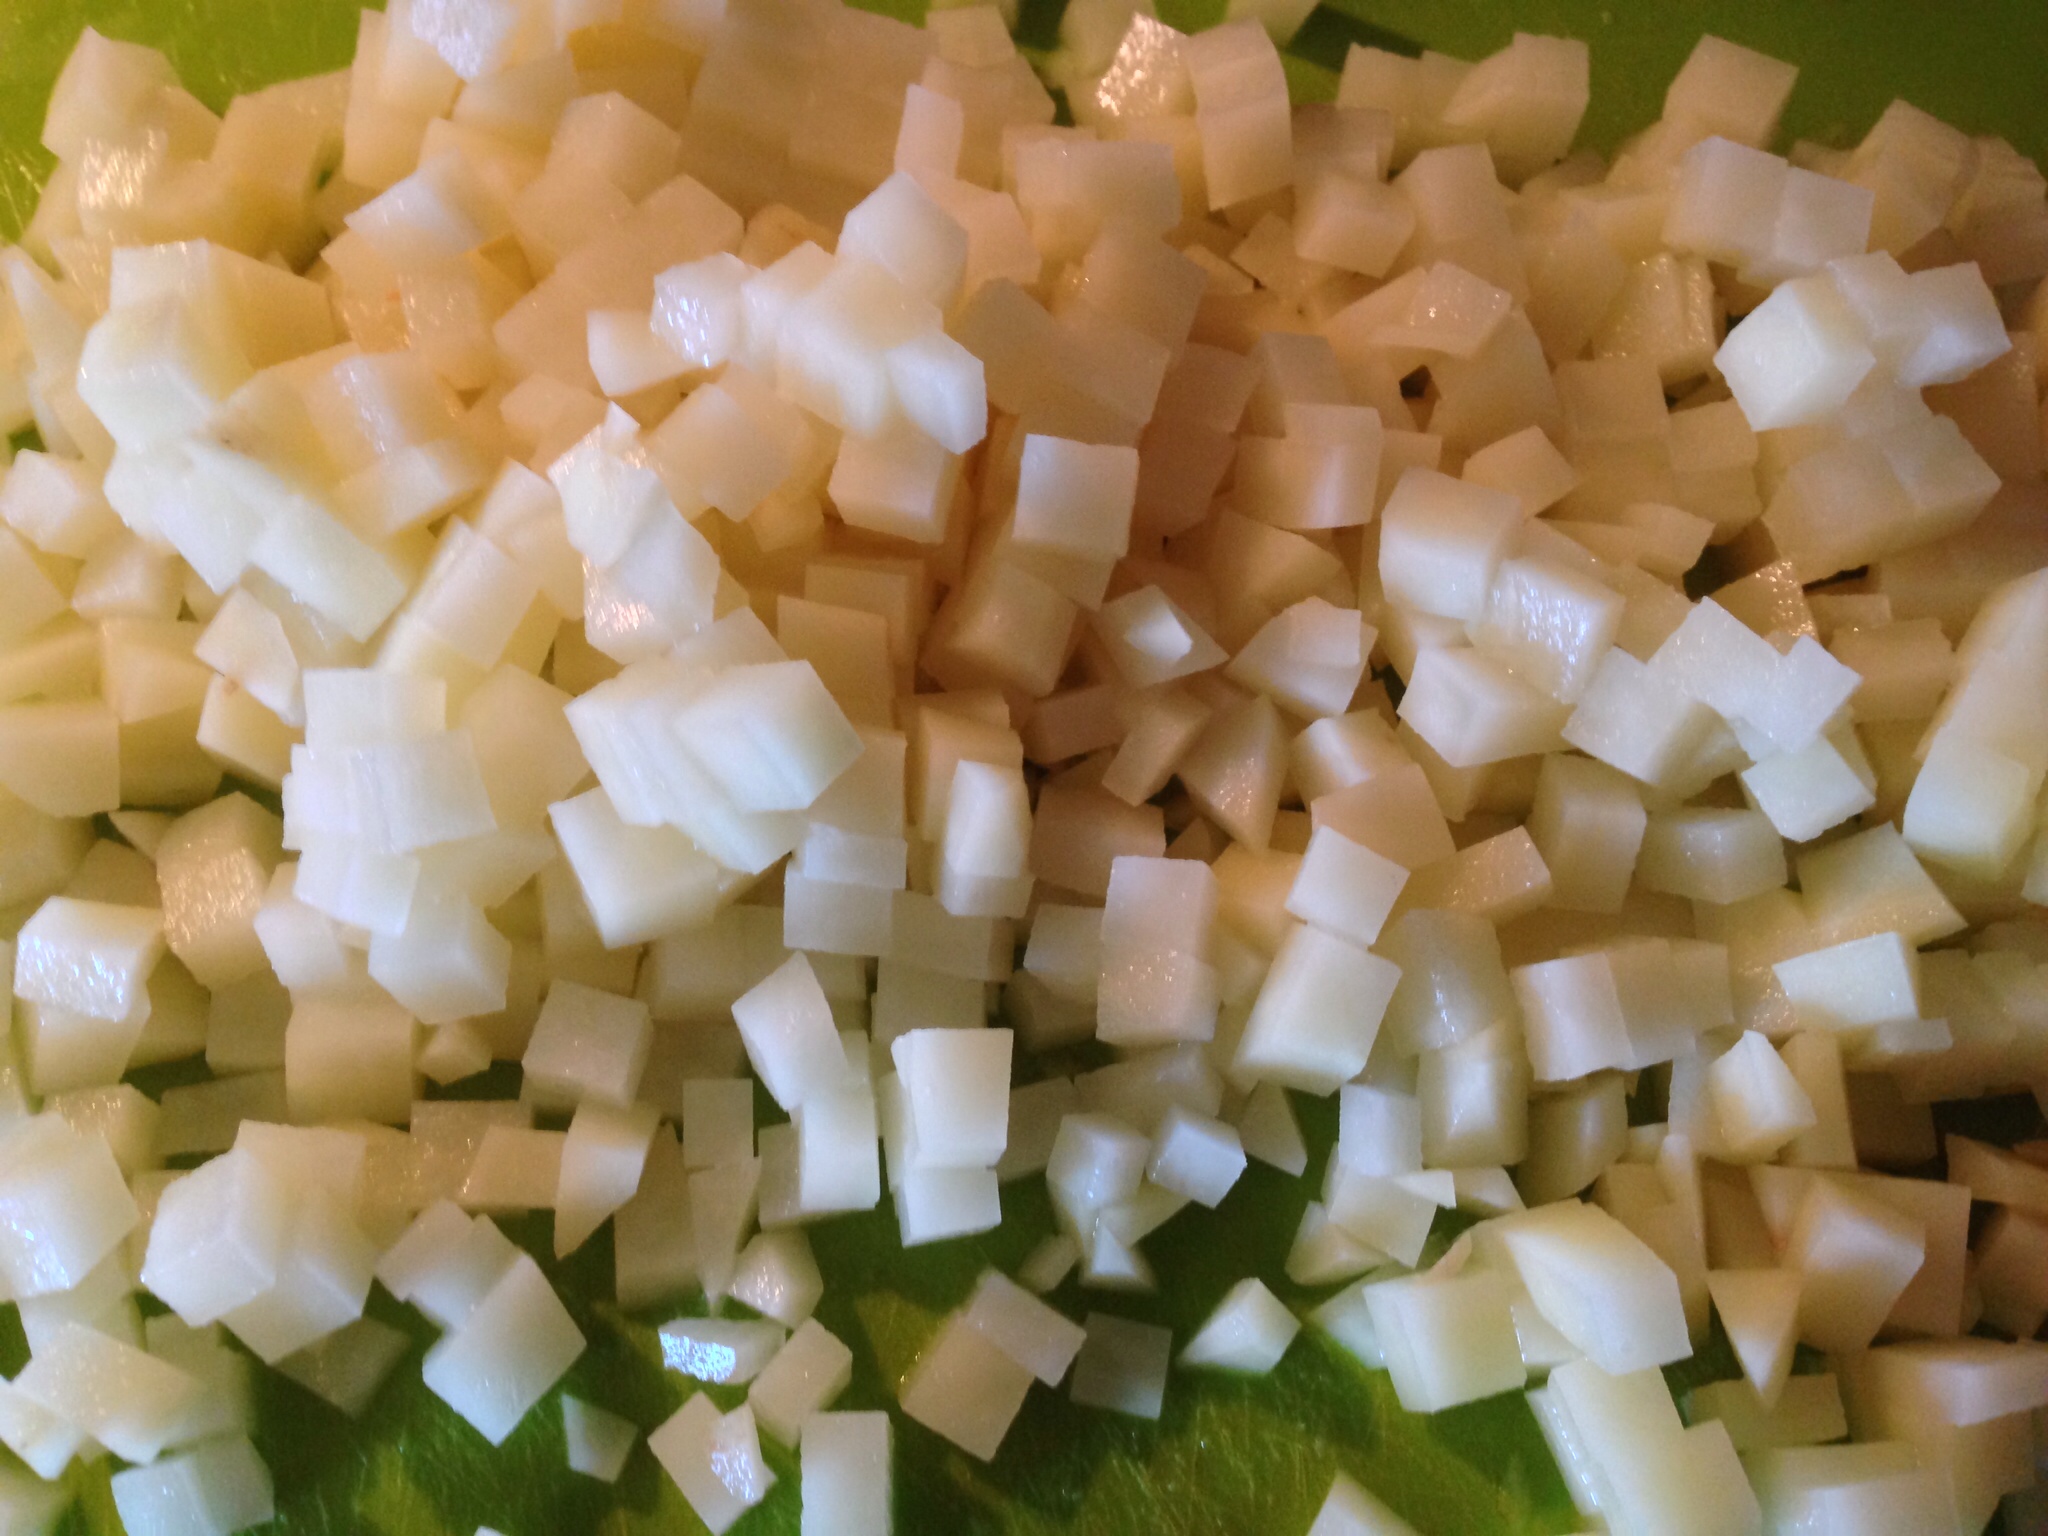
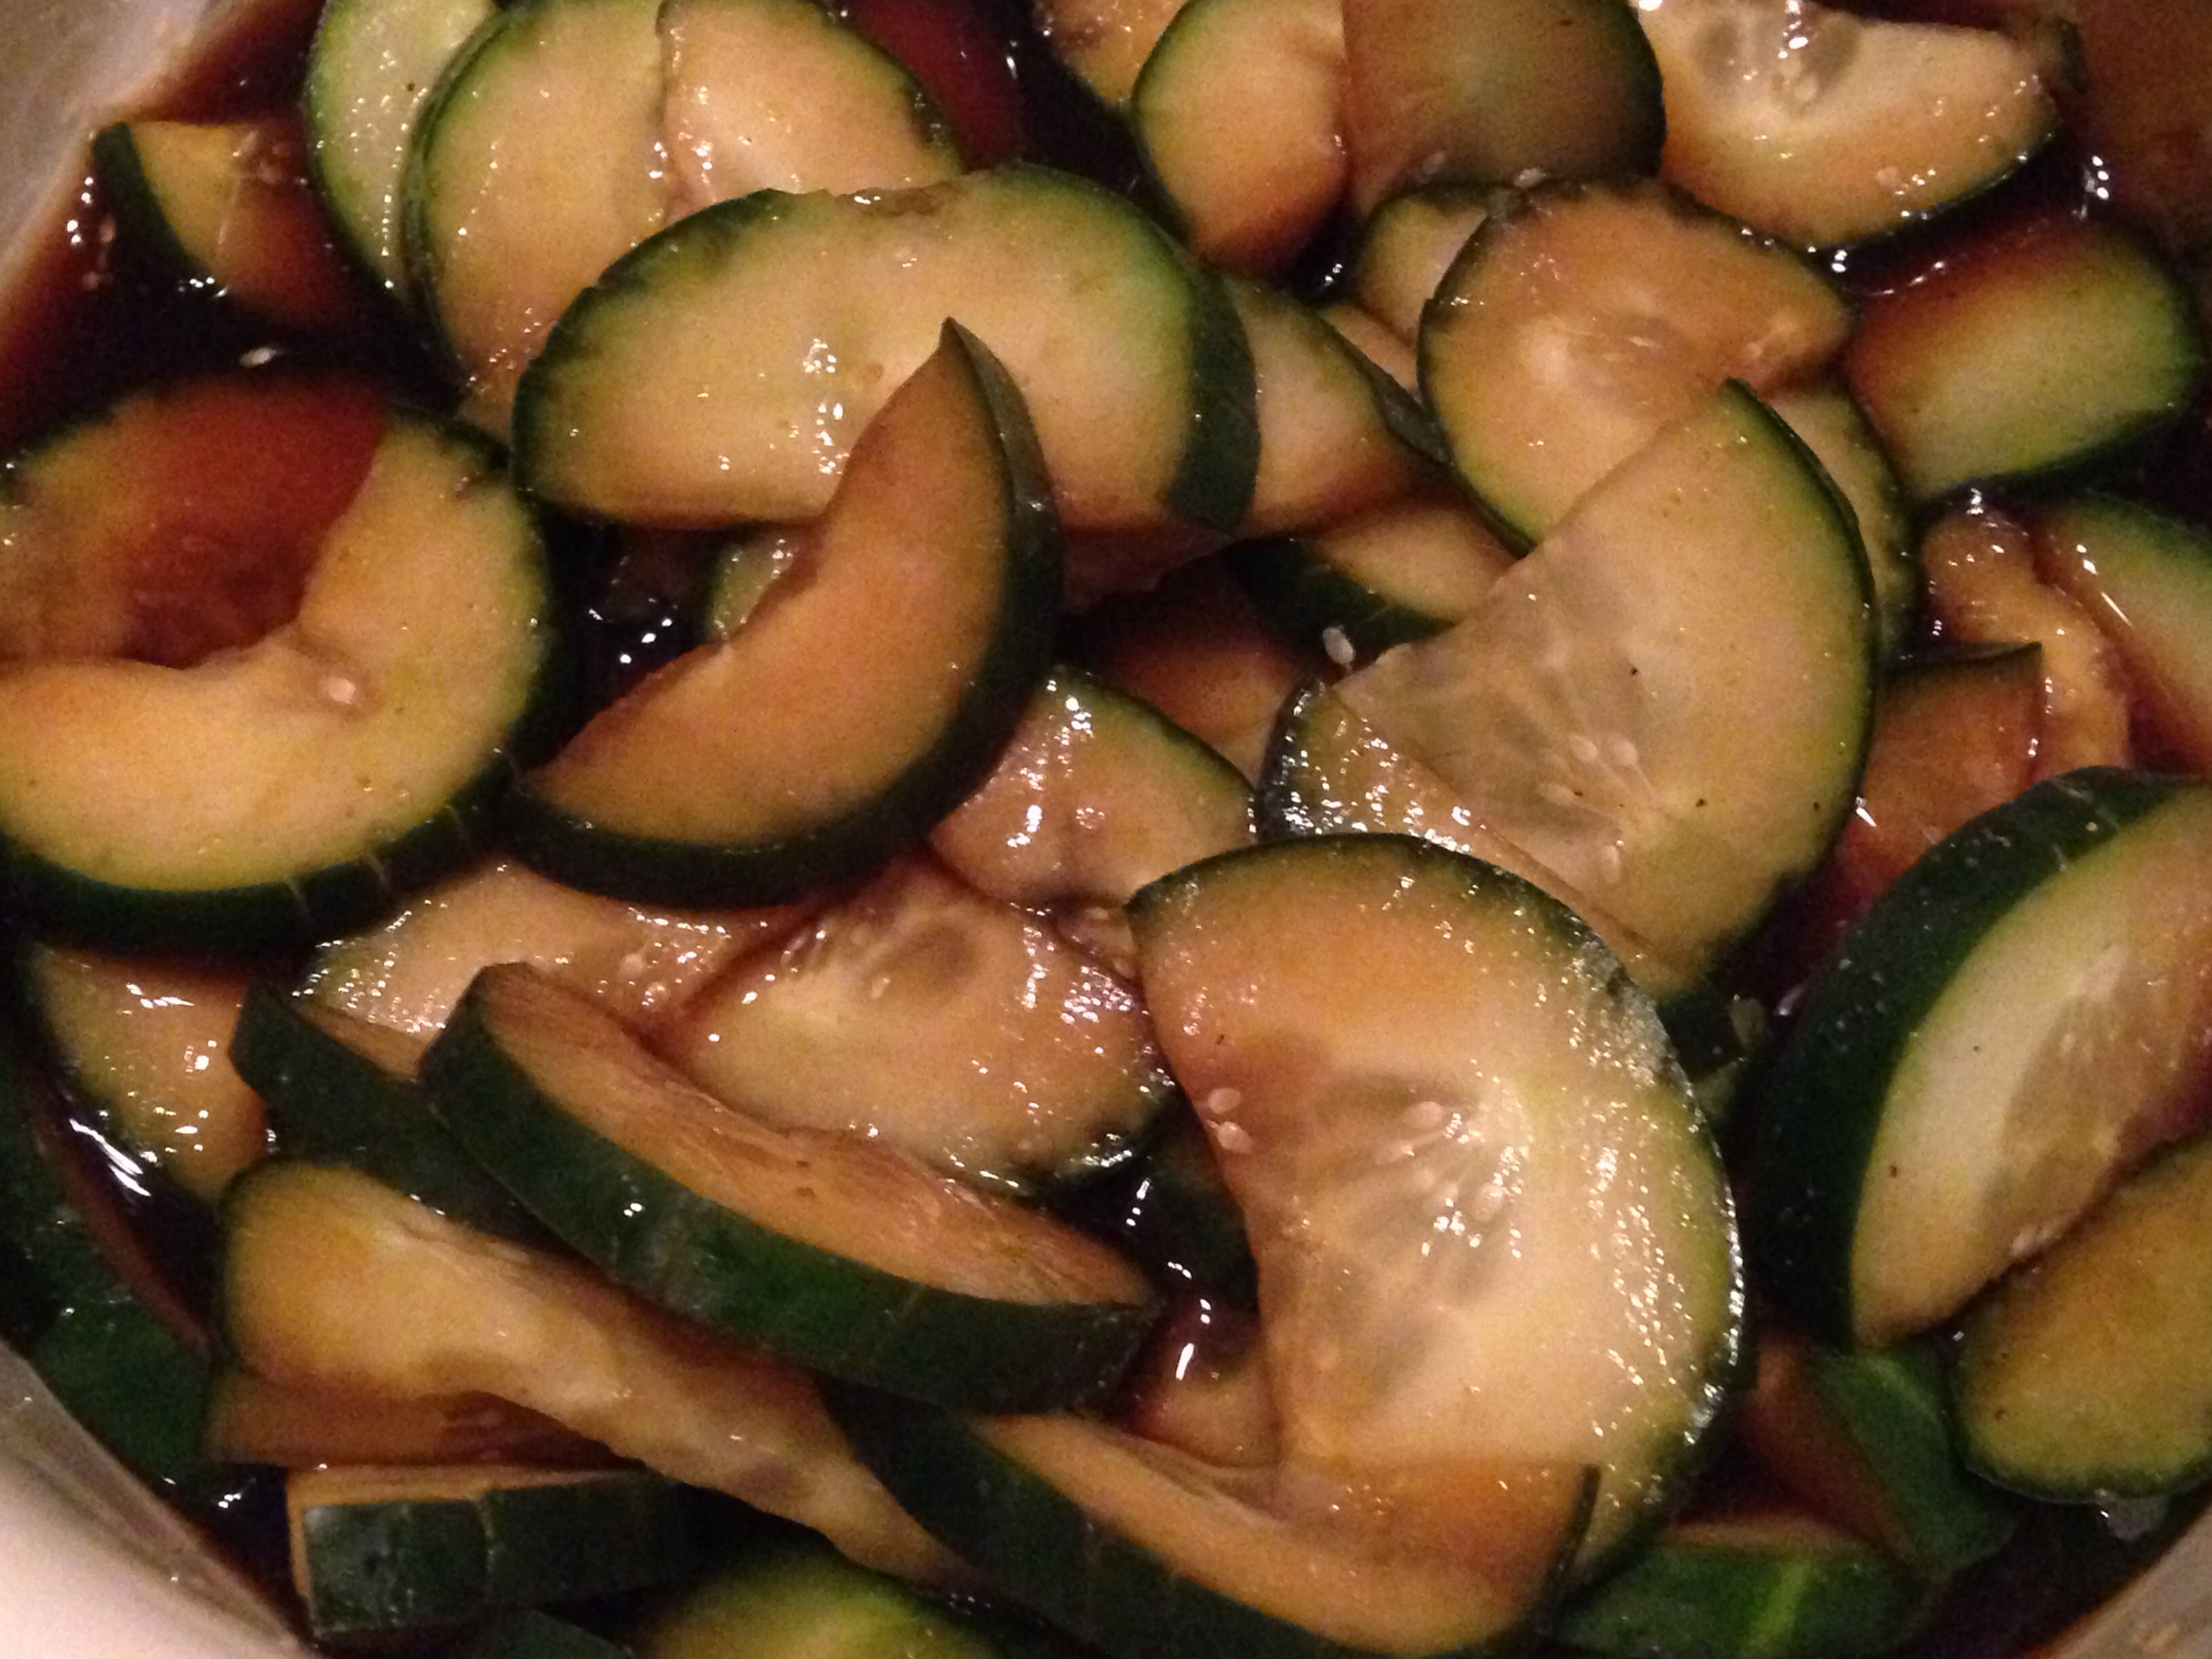
Rinse, peel, and grate the radish. I used a box grater, grating the radish on the side with the second smallest holes. Set aside.

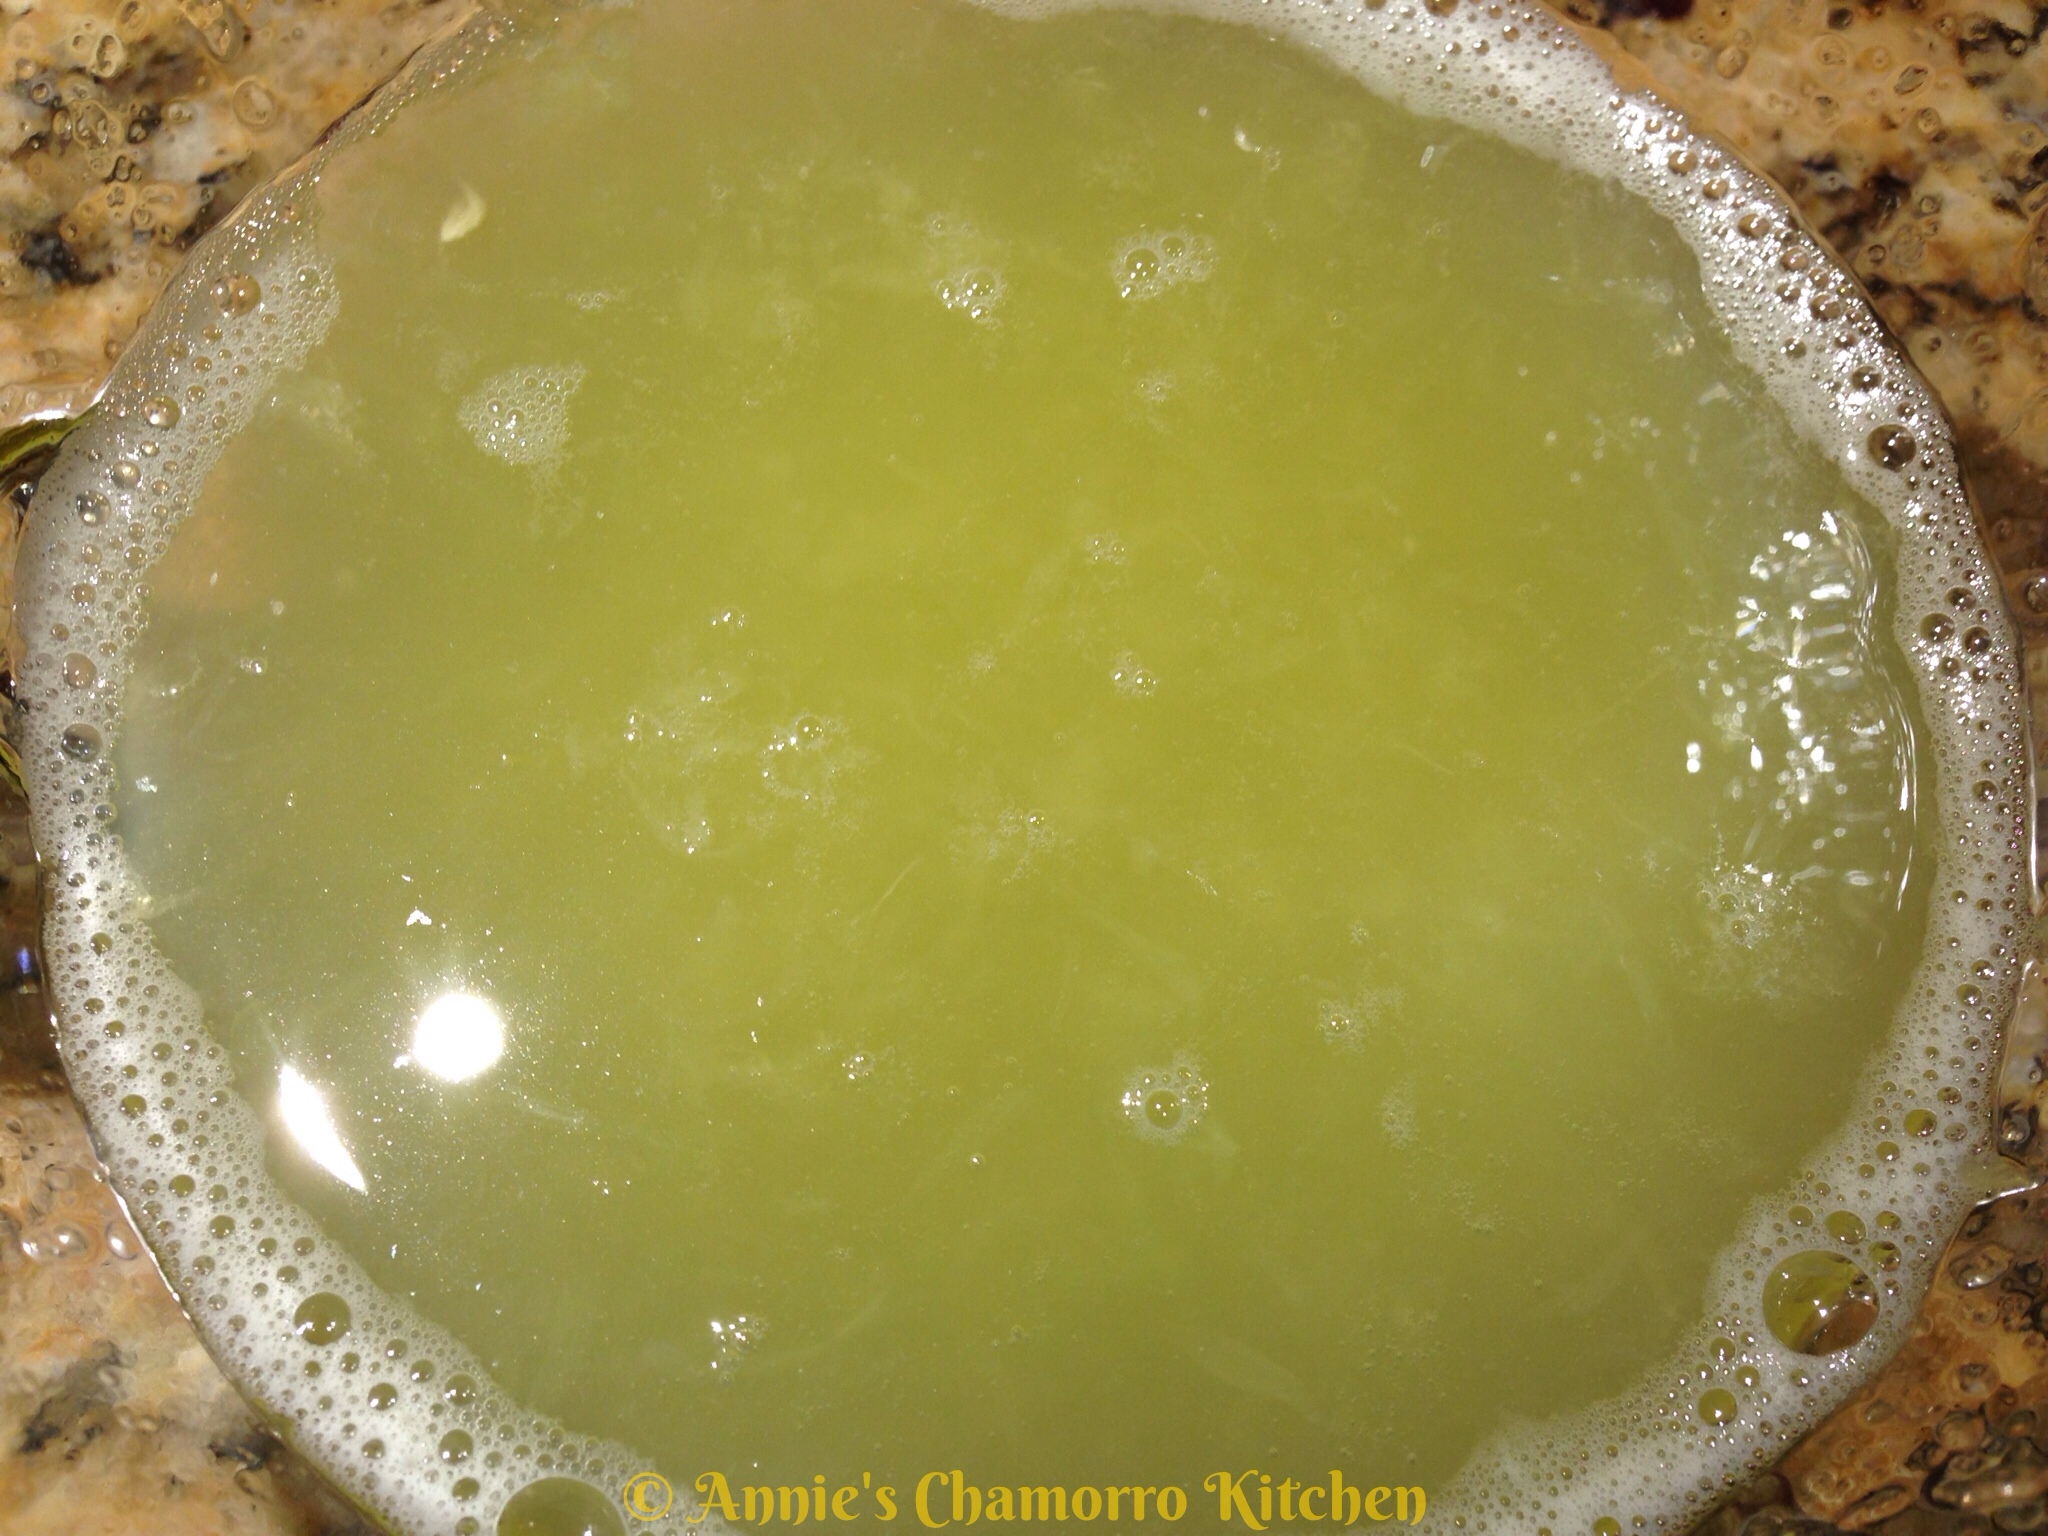
Place the lemon and lime juices into a mixing bowl. I picked out the seeds before squeezing the juice out of them (I like leaving the pulp in the sauce). You can use squeeze the juice into a small strainer if you want to strain out the pulp.  You need about 1 cup of juice.  If you have smaller fruits and get less than a cup of juice, squeeze more juice out of either a lemon or lime (your preference) to get about a cup of juice.

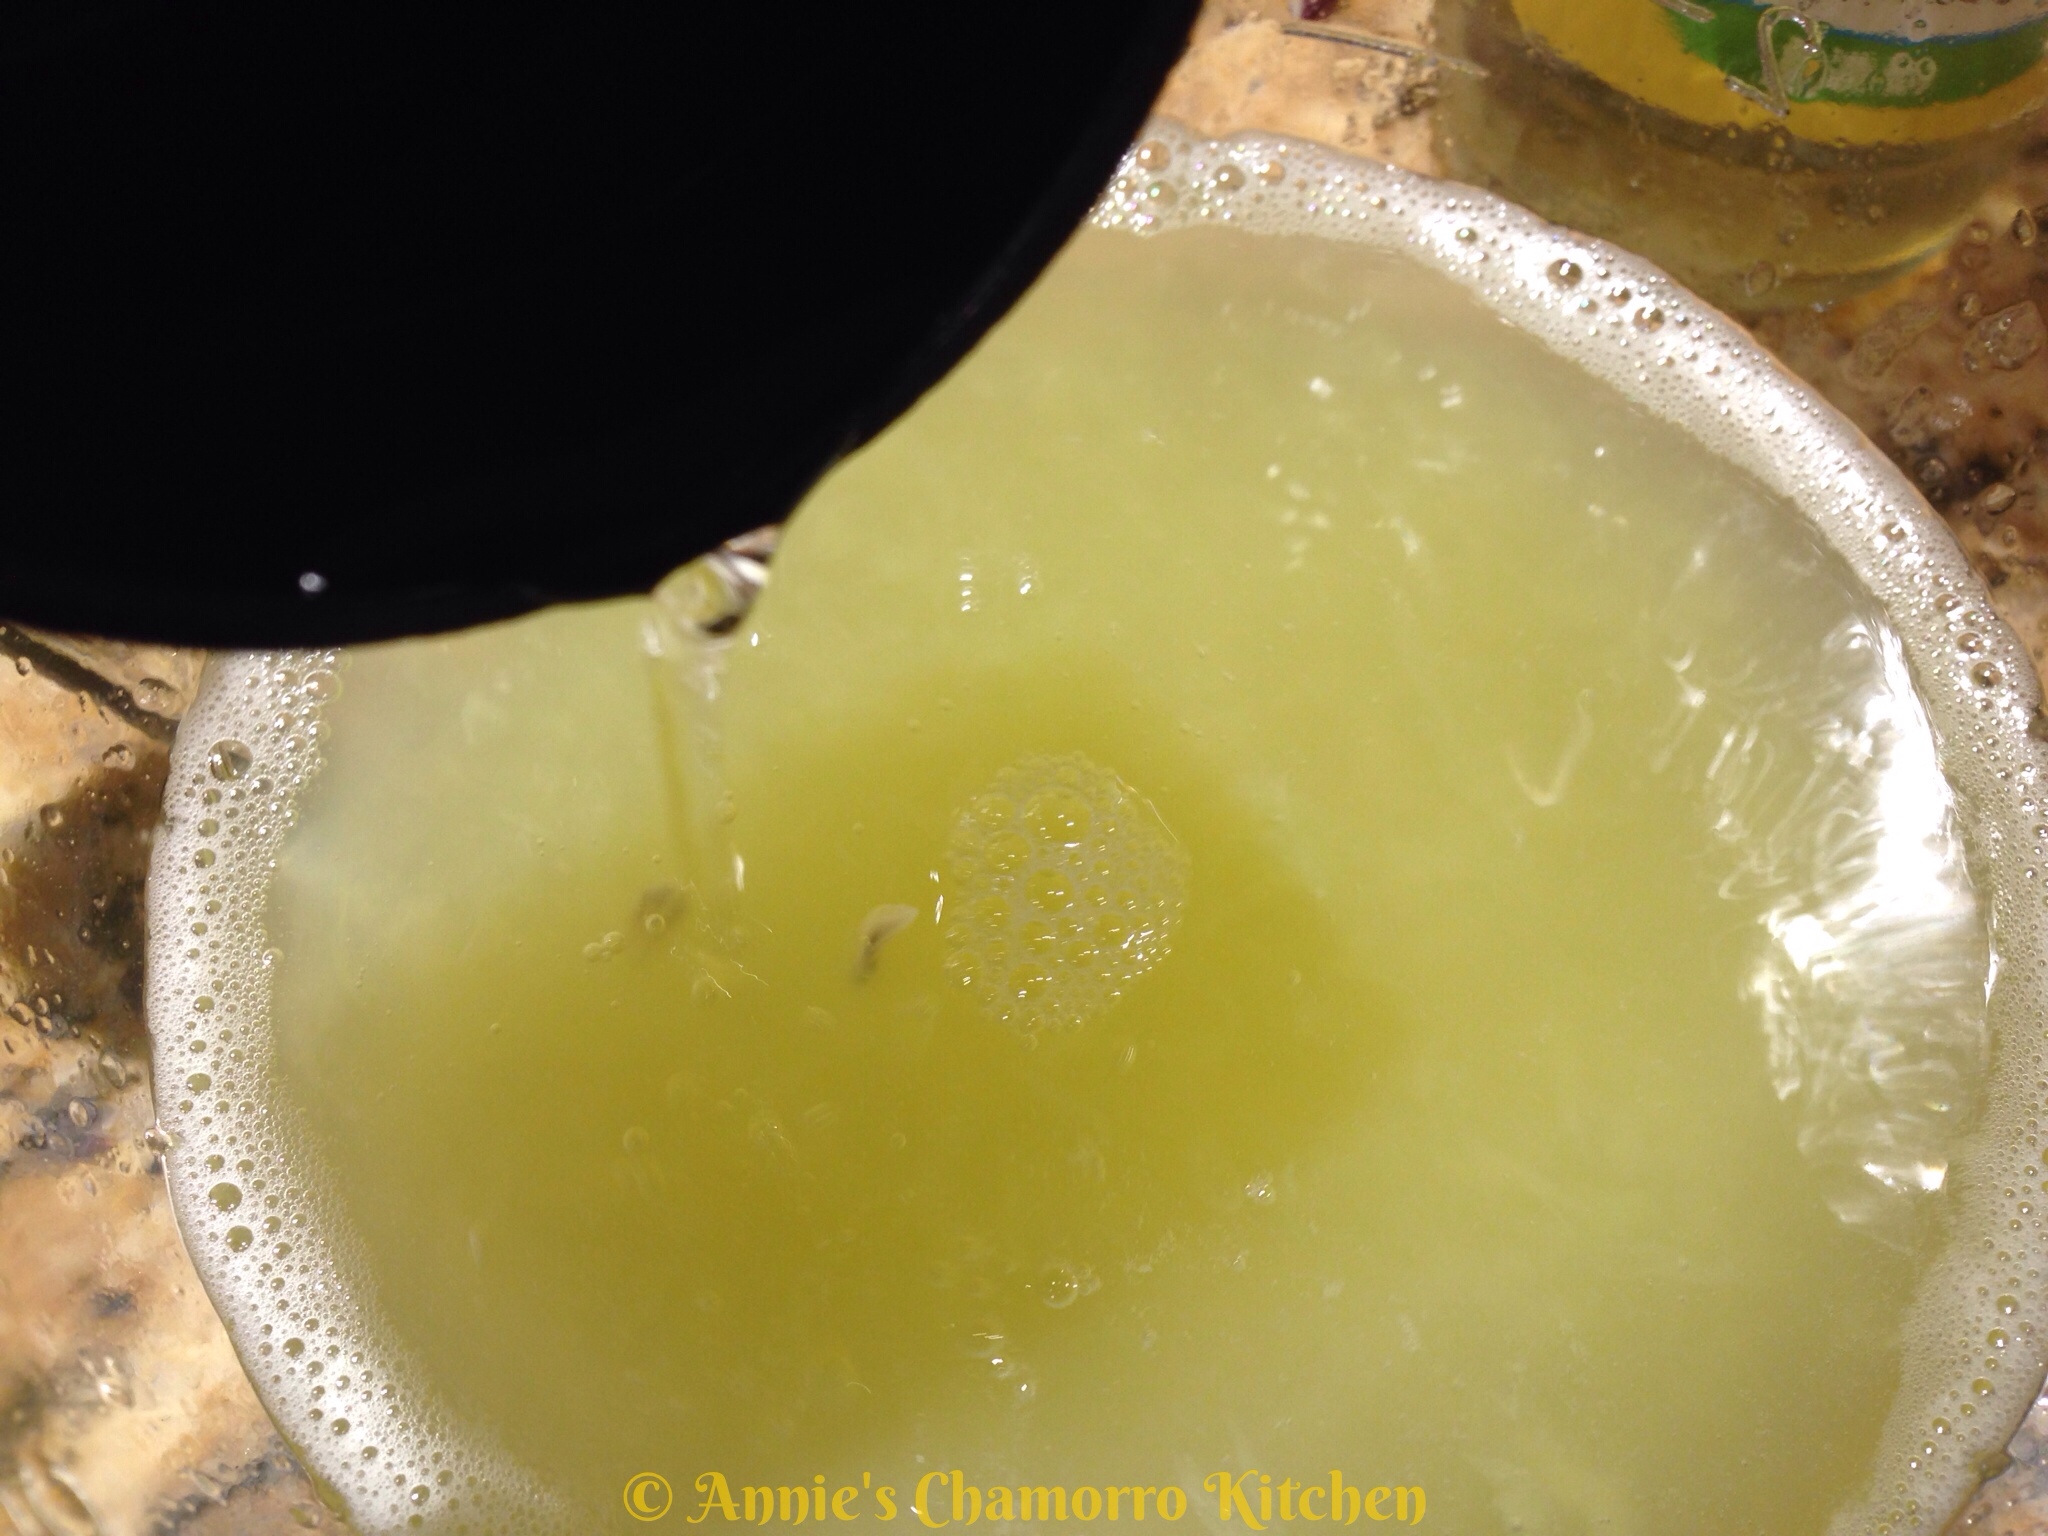
Pour in the rice vinegar.
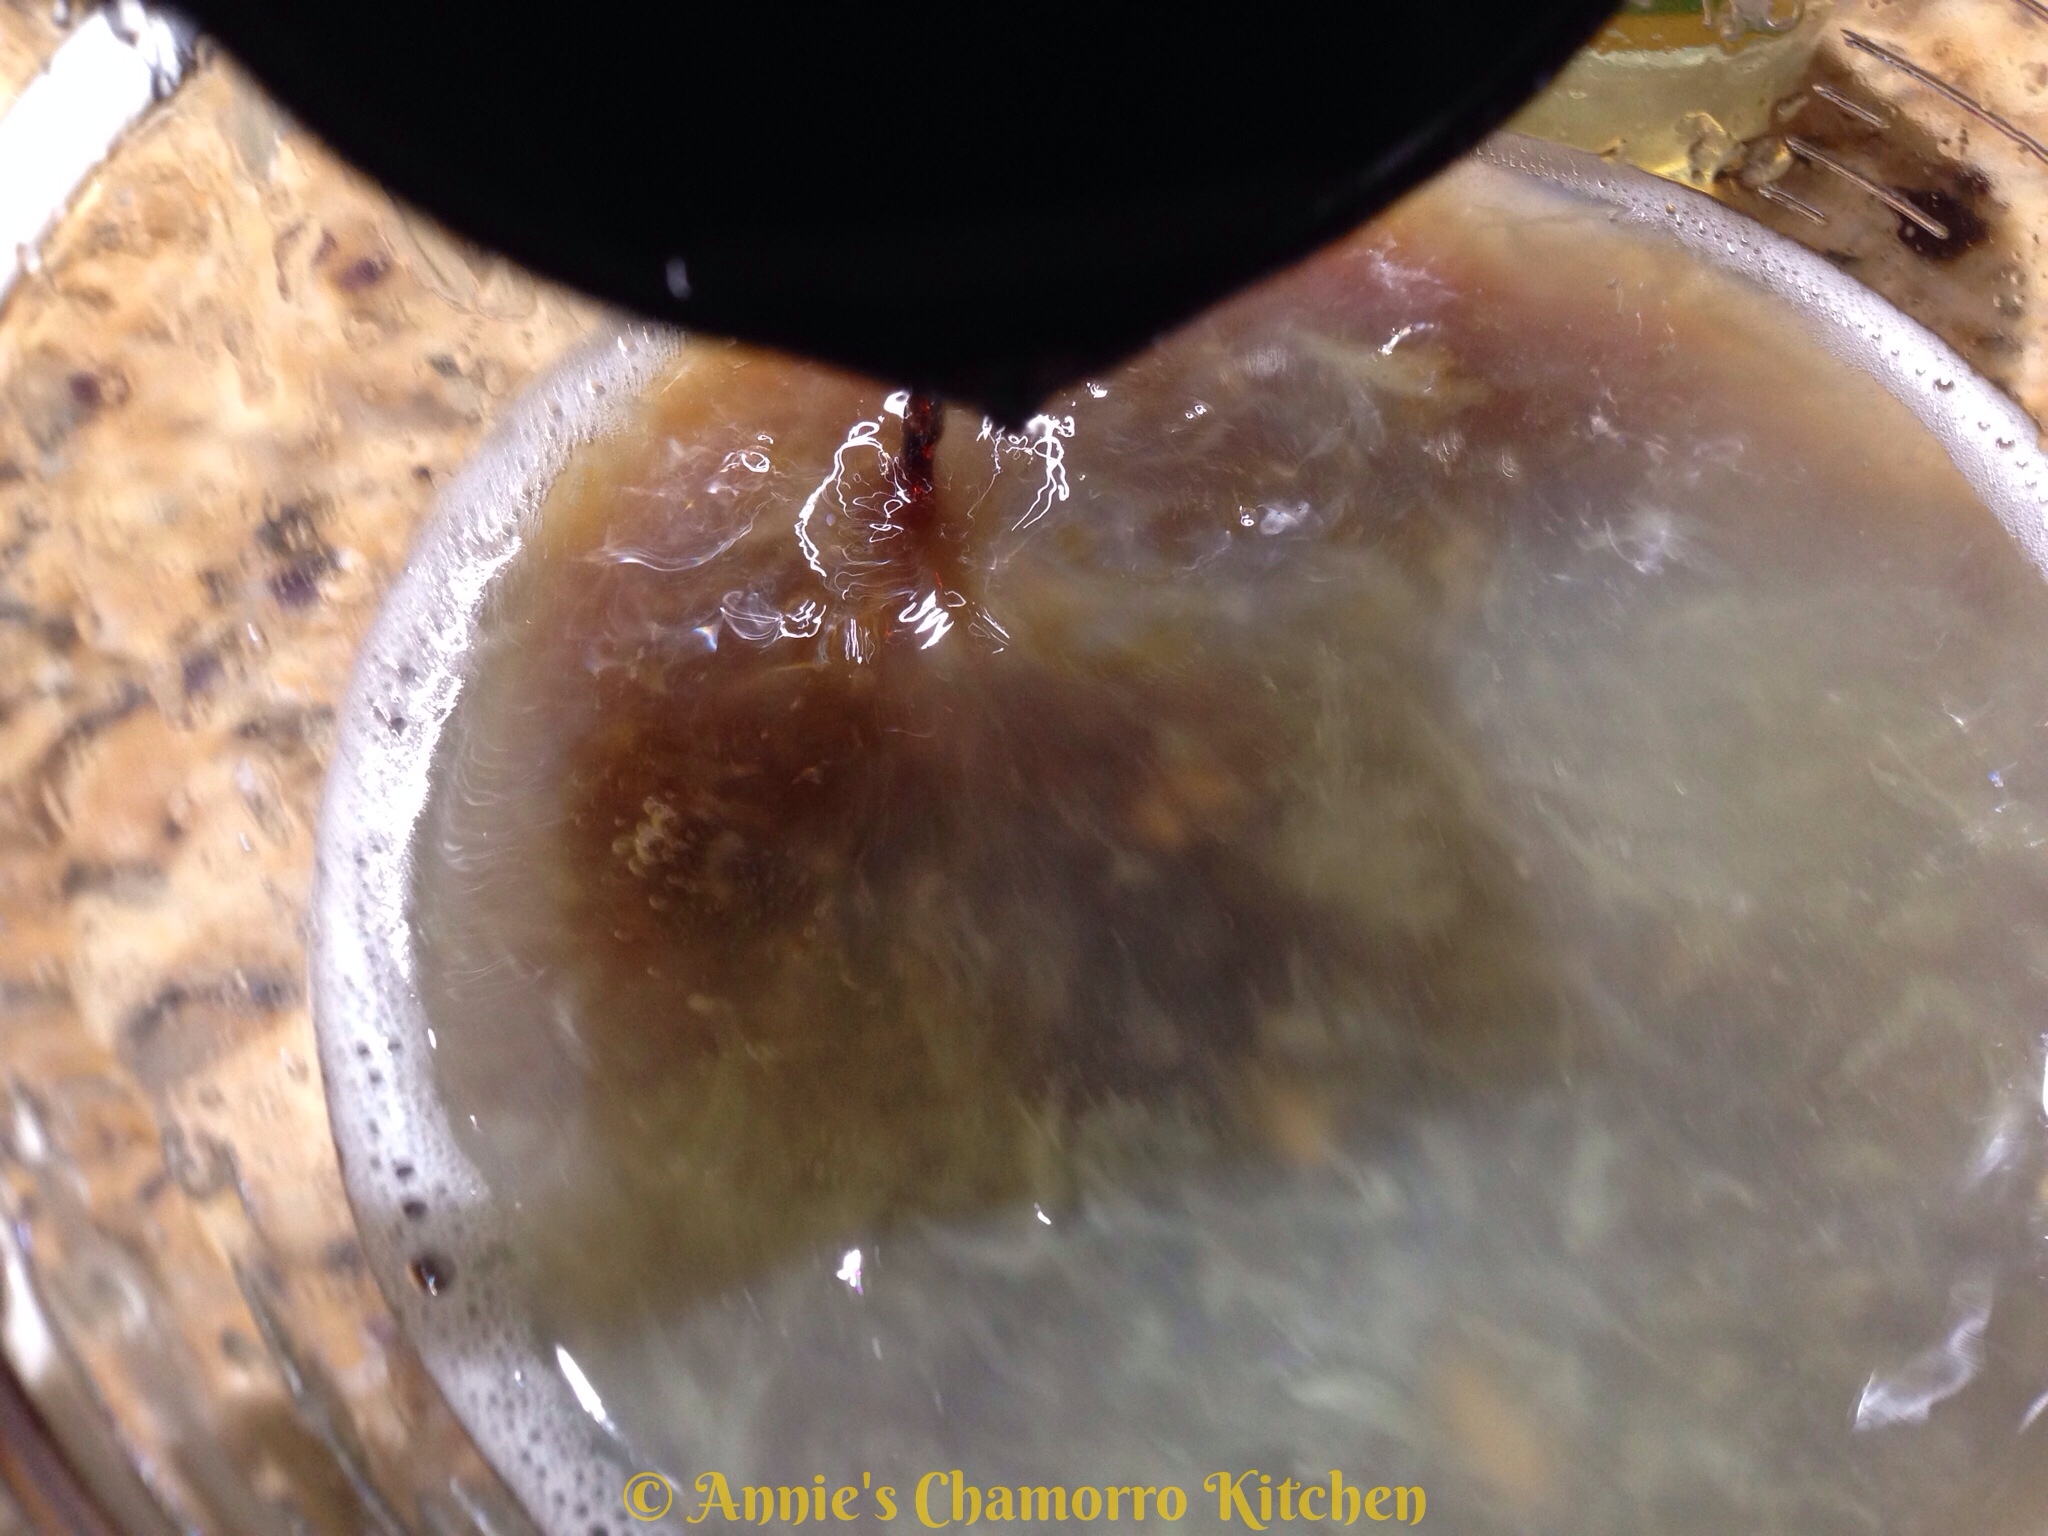
Add the soy sauce.

Add the mirin.

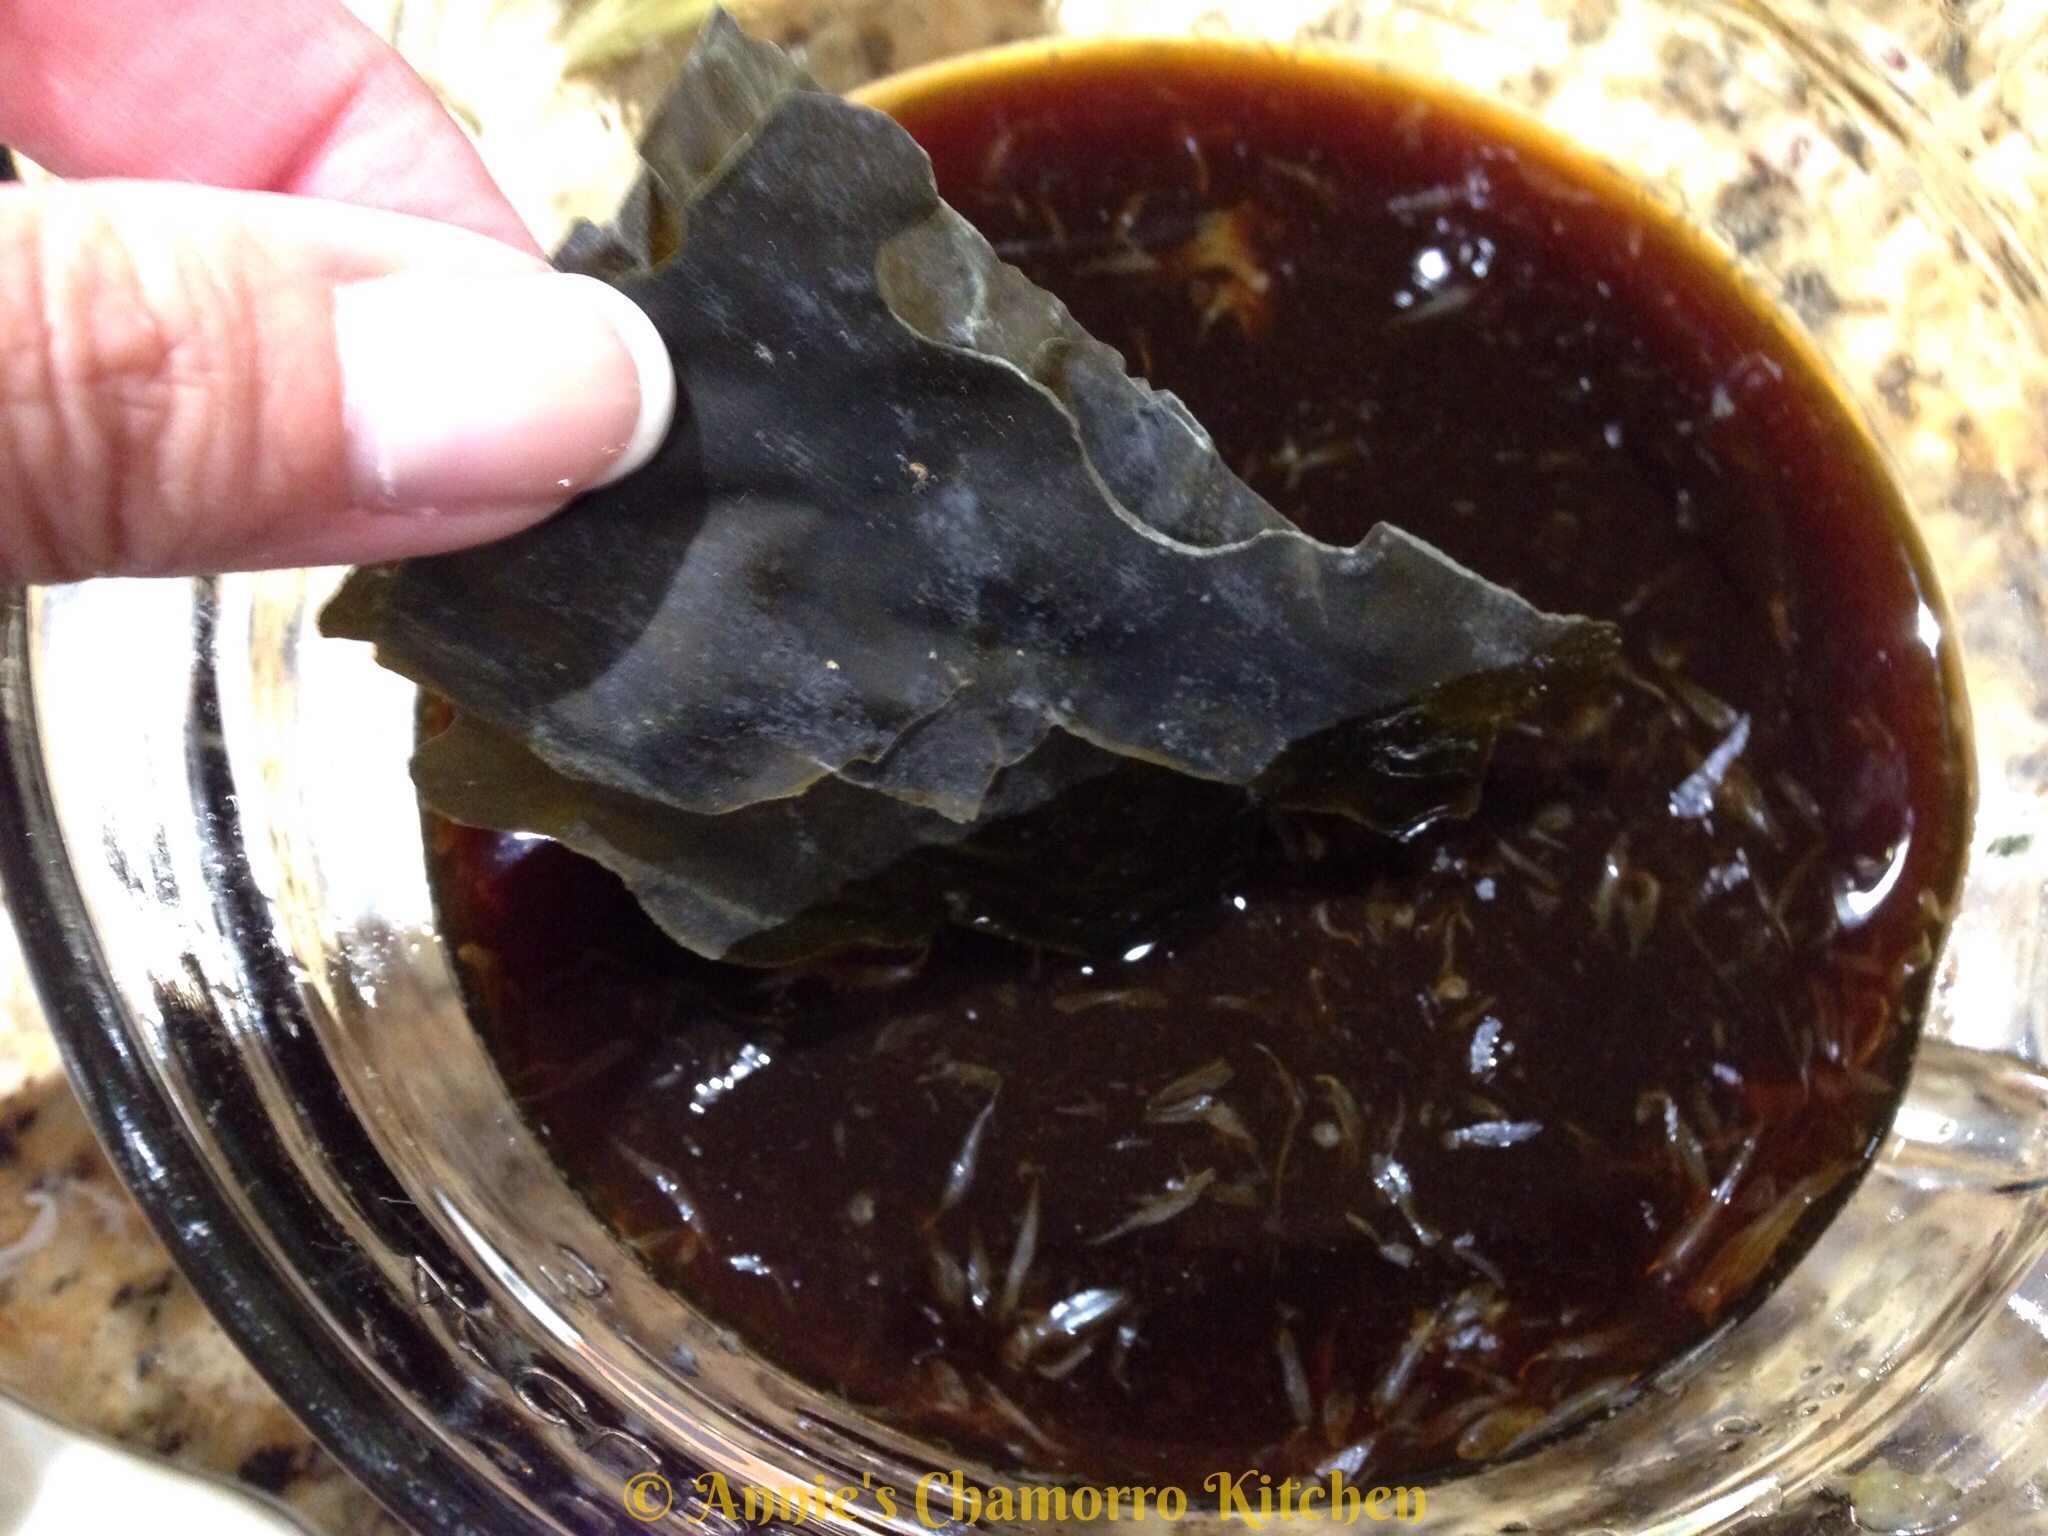
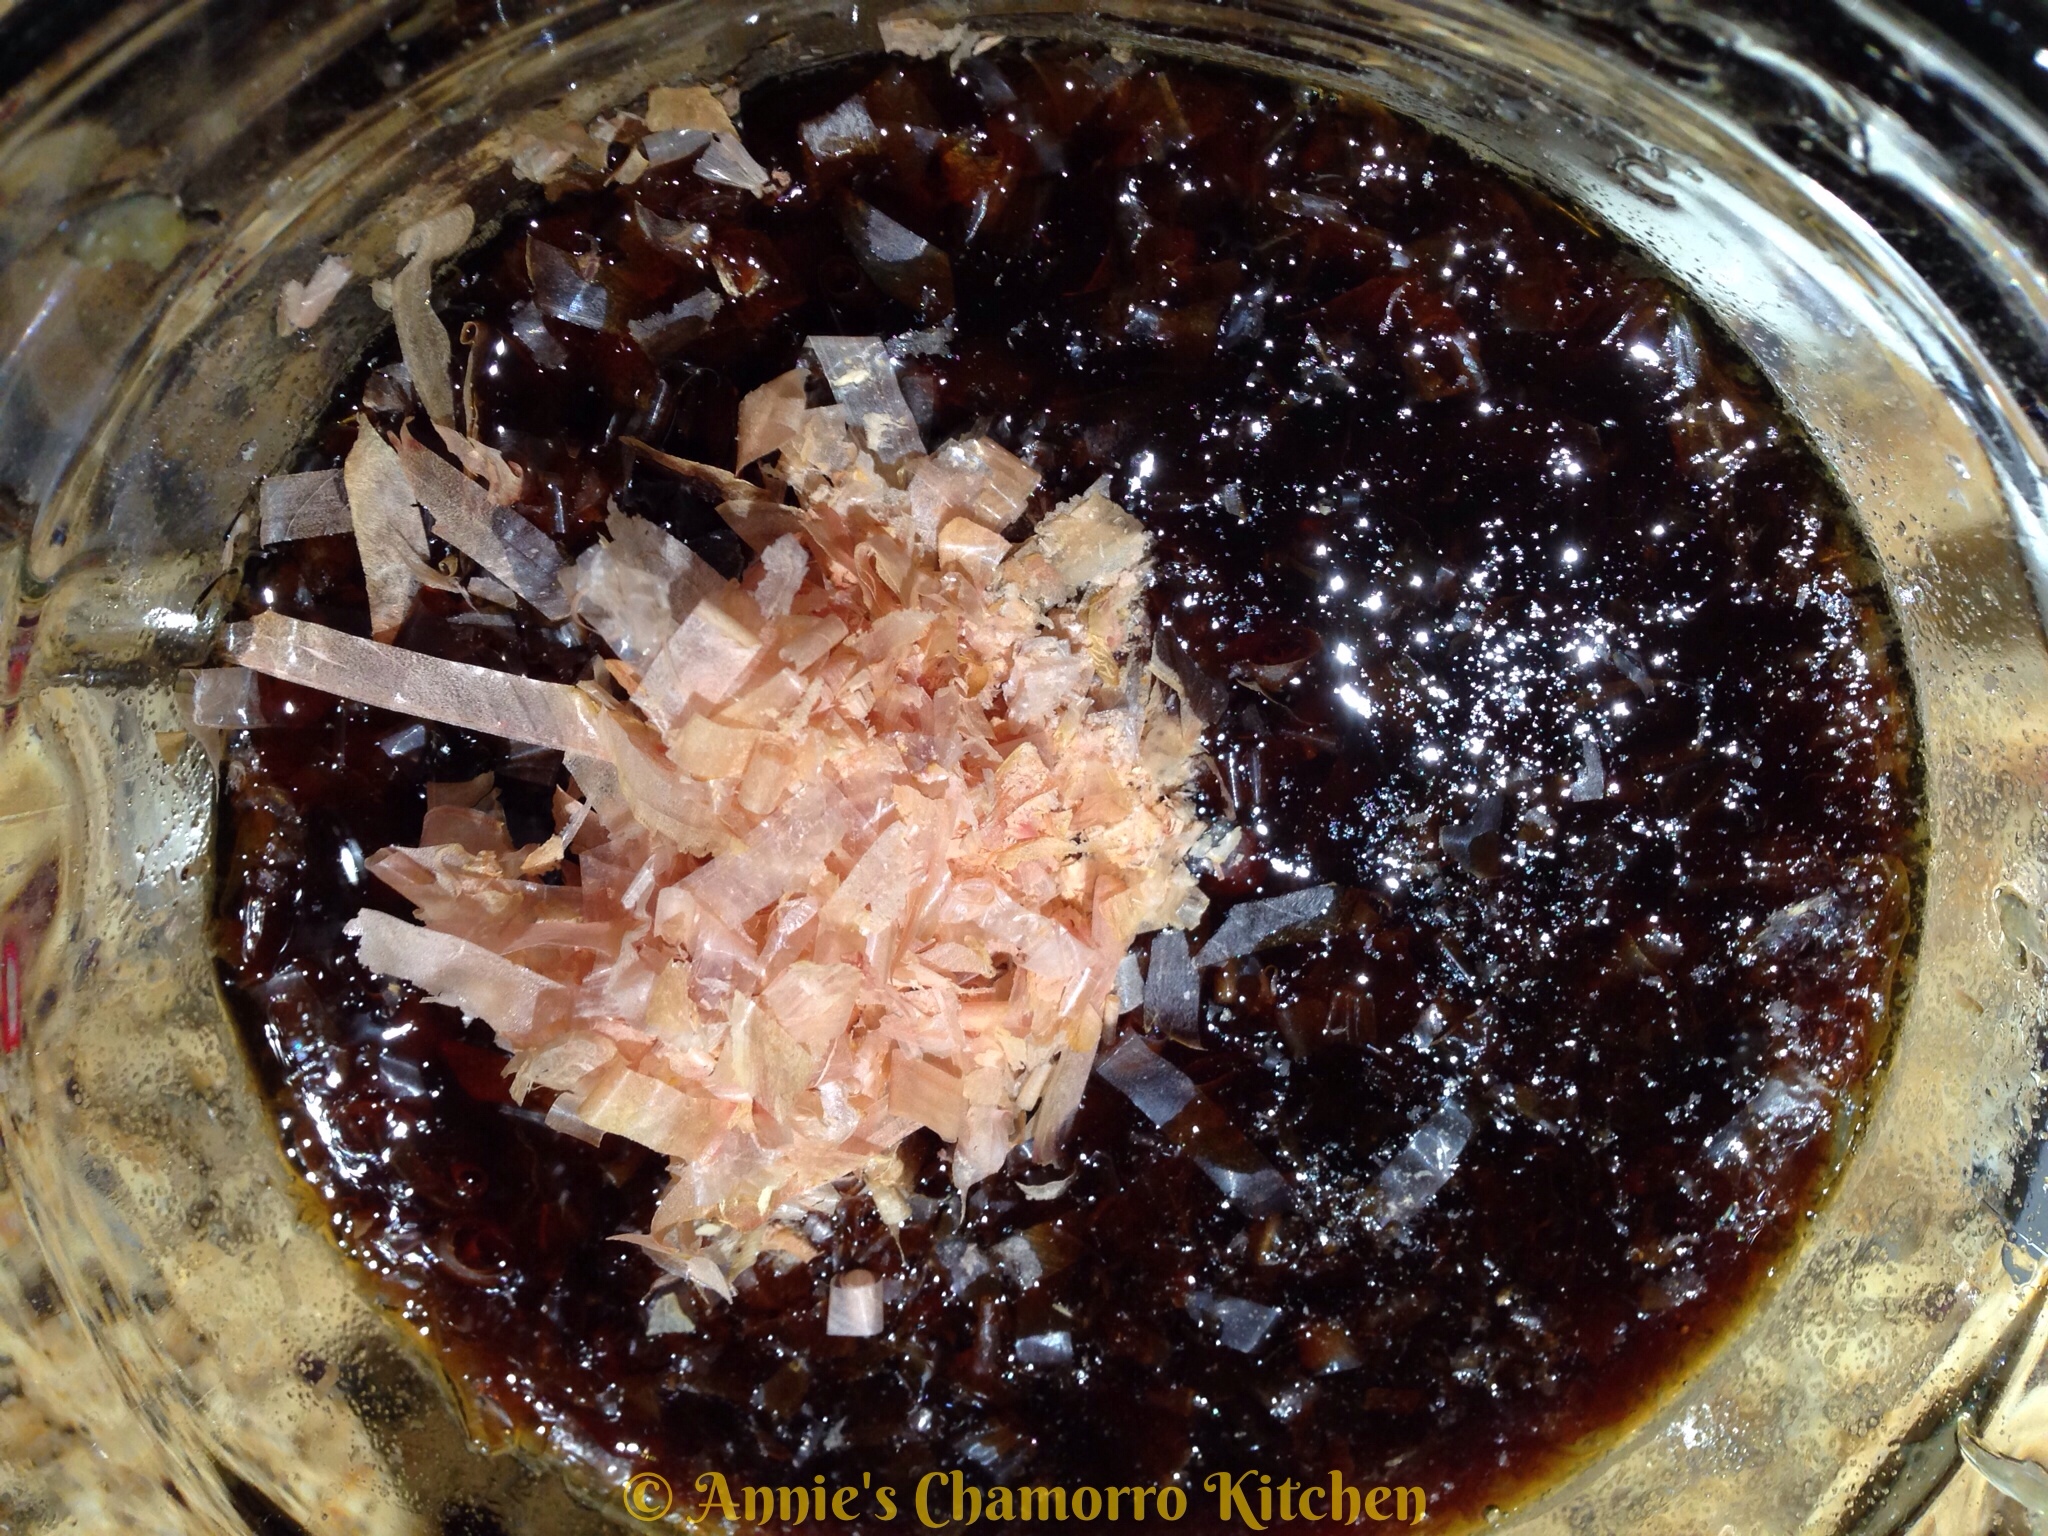
Add the dried kelp. Leave the pieces big — you’re going to remove this later.

Add the bonito flakes.

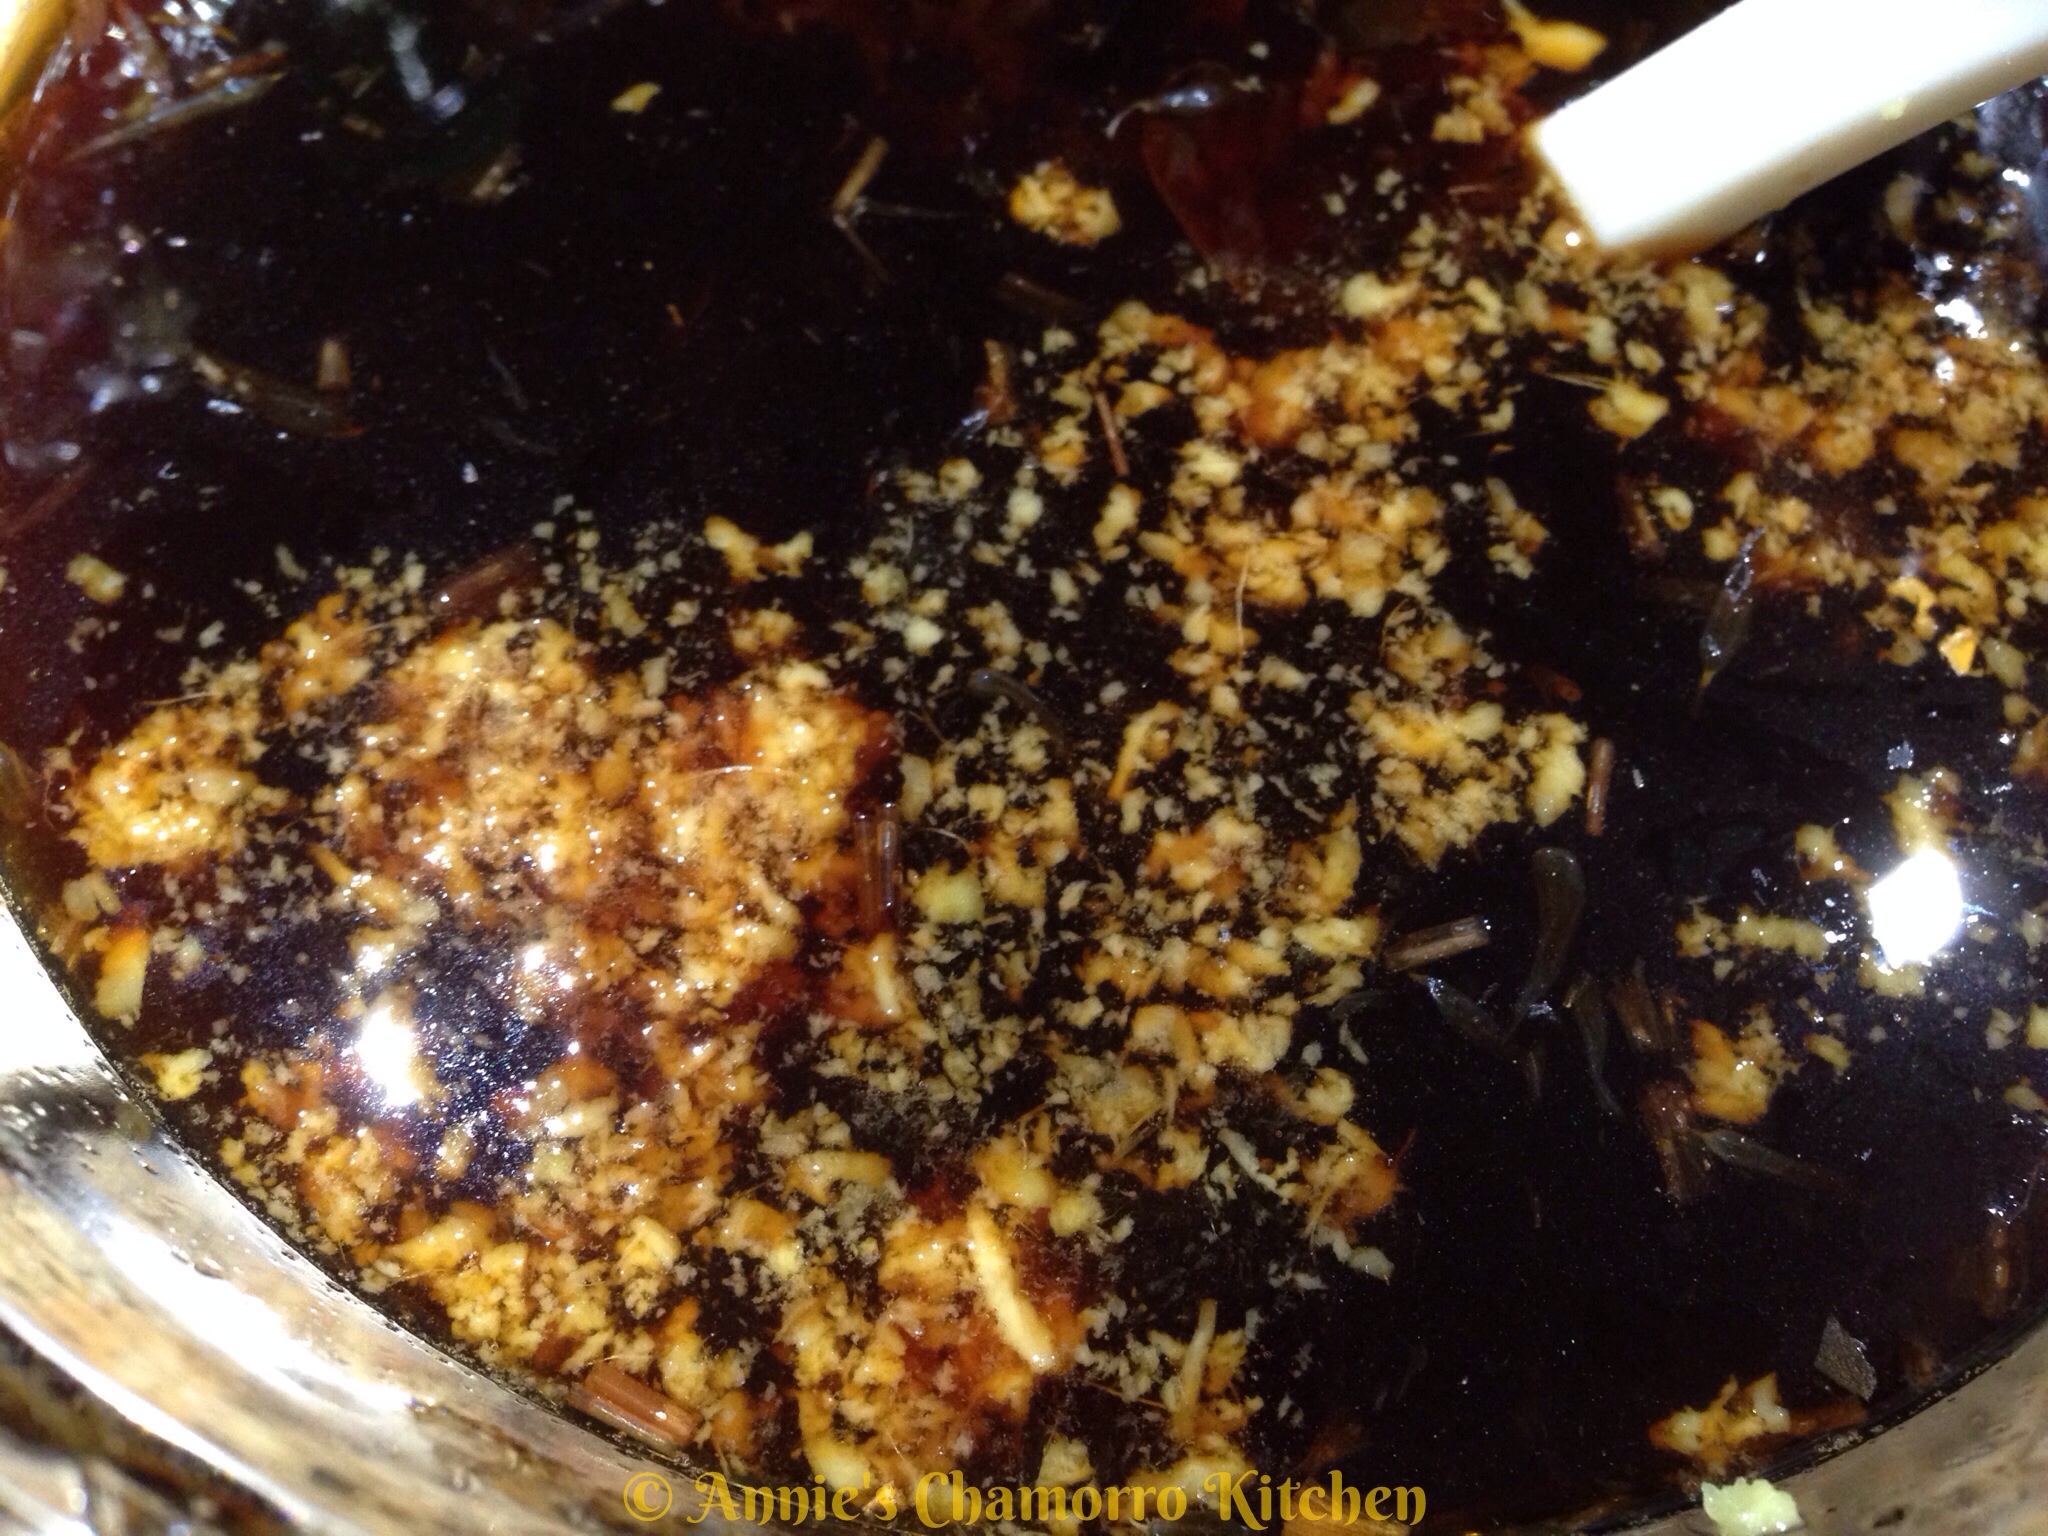
Add the grated ginger. Use fresh ginger — the powdered stuff just won’t taste the same.

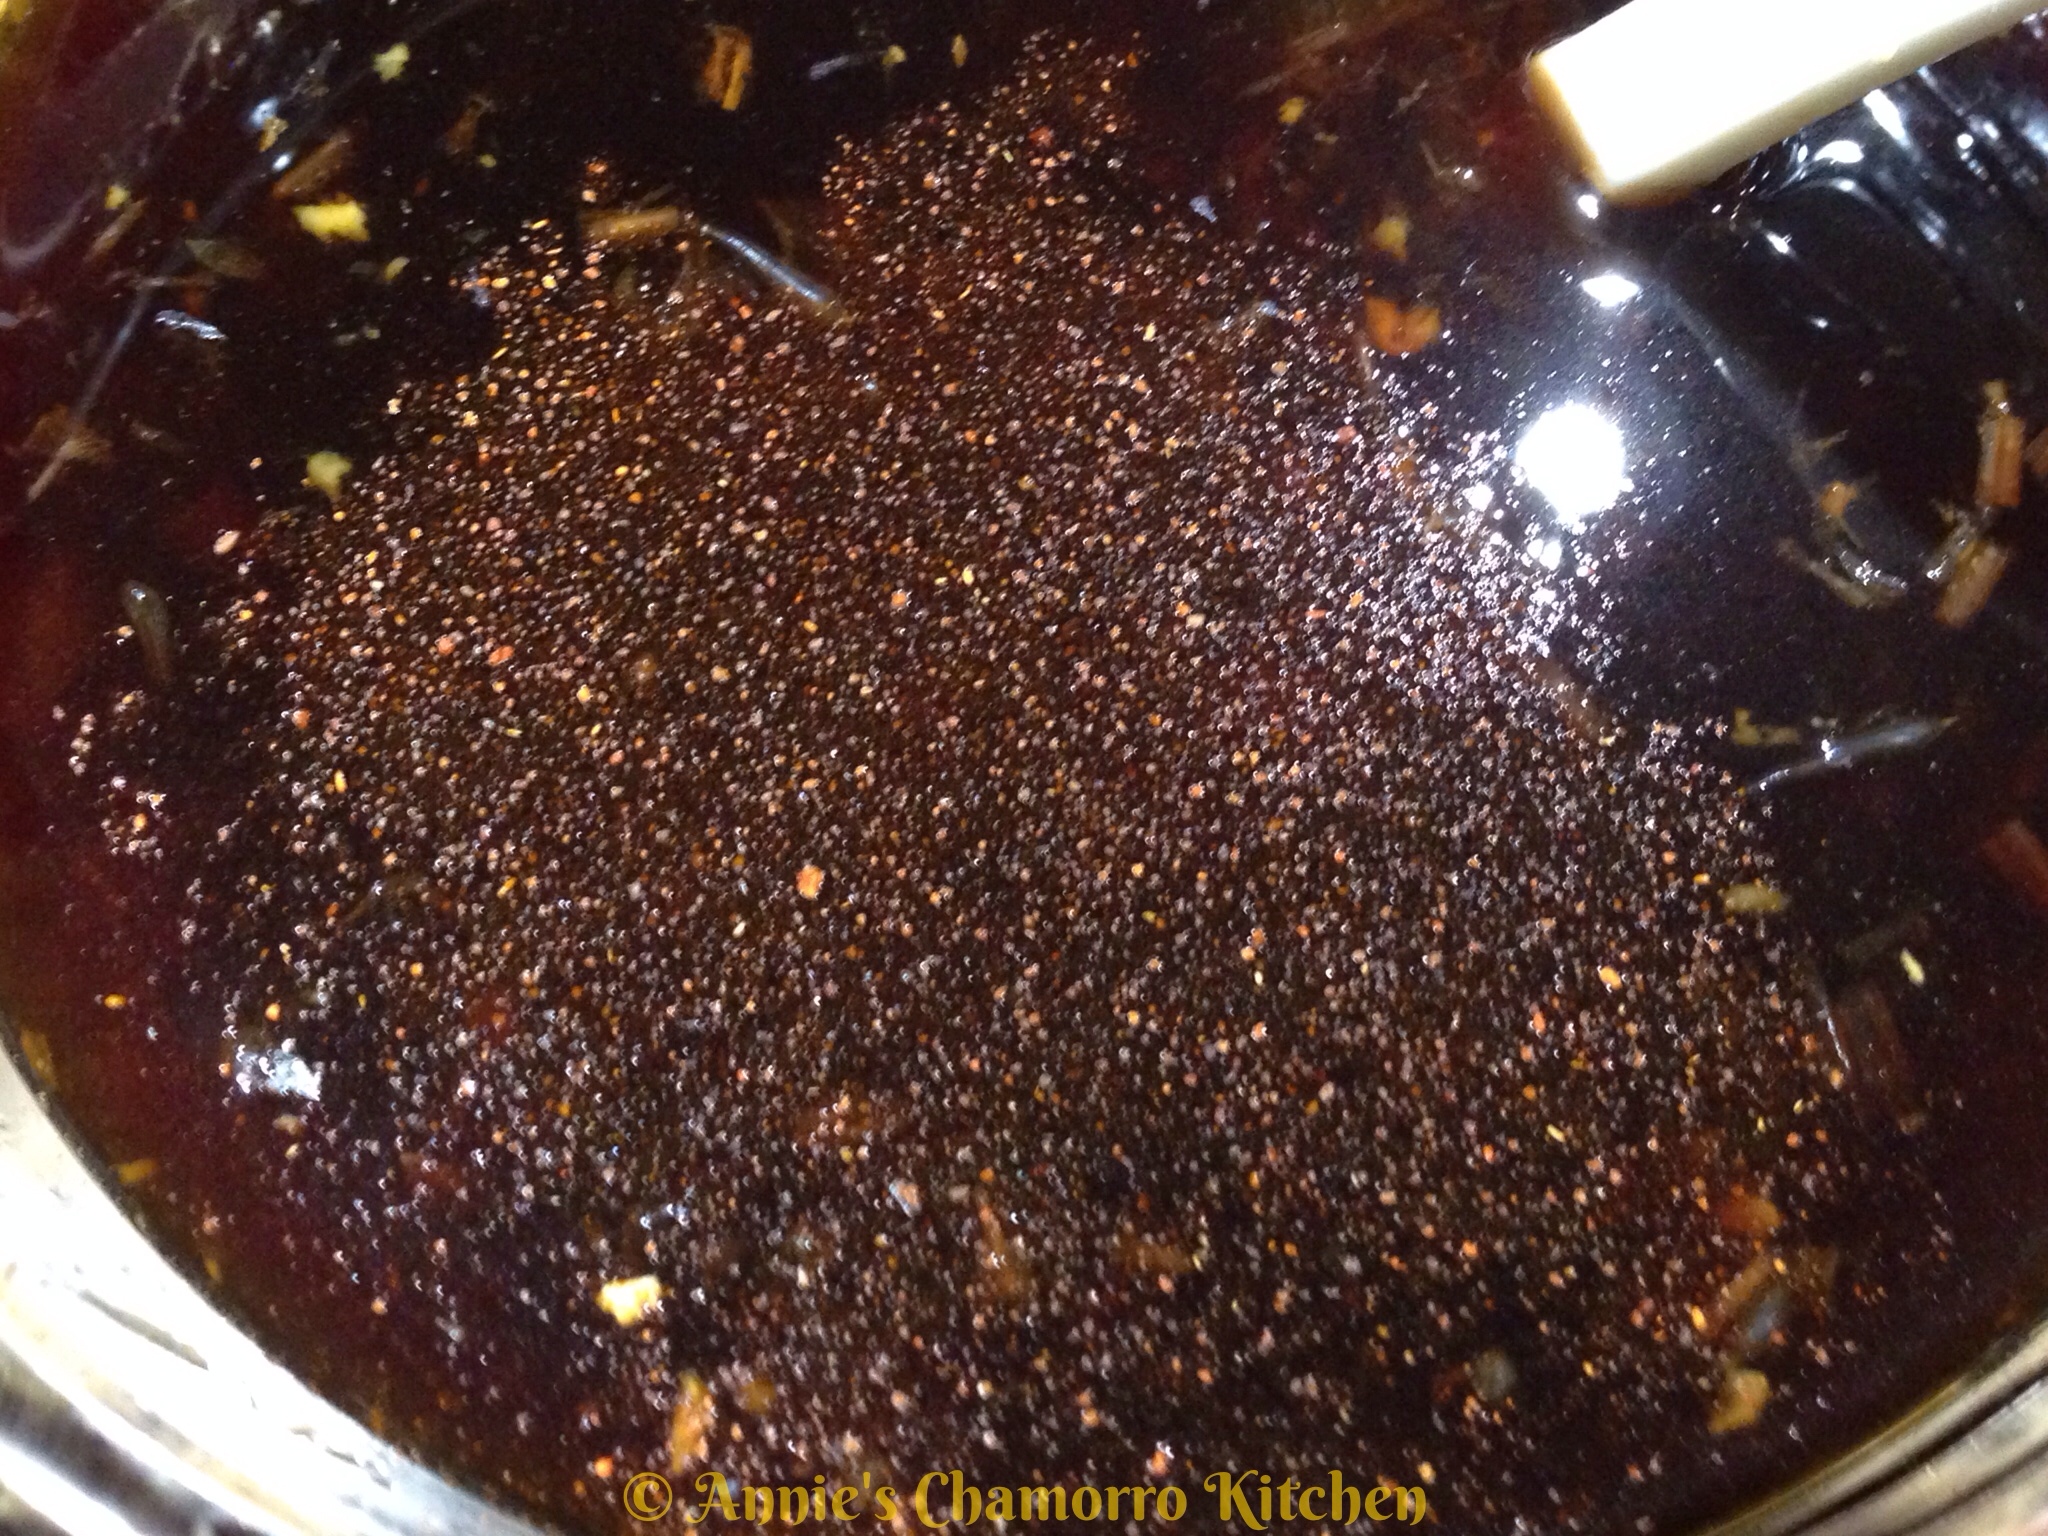
Sprinkle in as much cayenne pepper as you like. You can also add in chopped hot chili peppers.

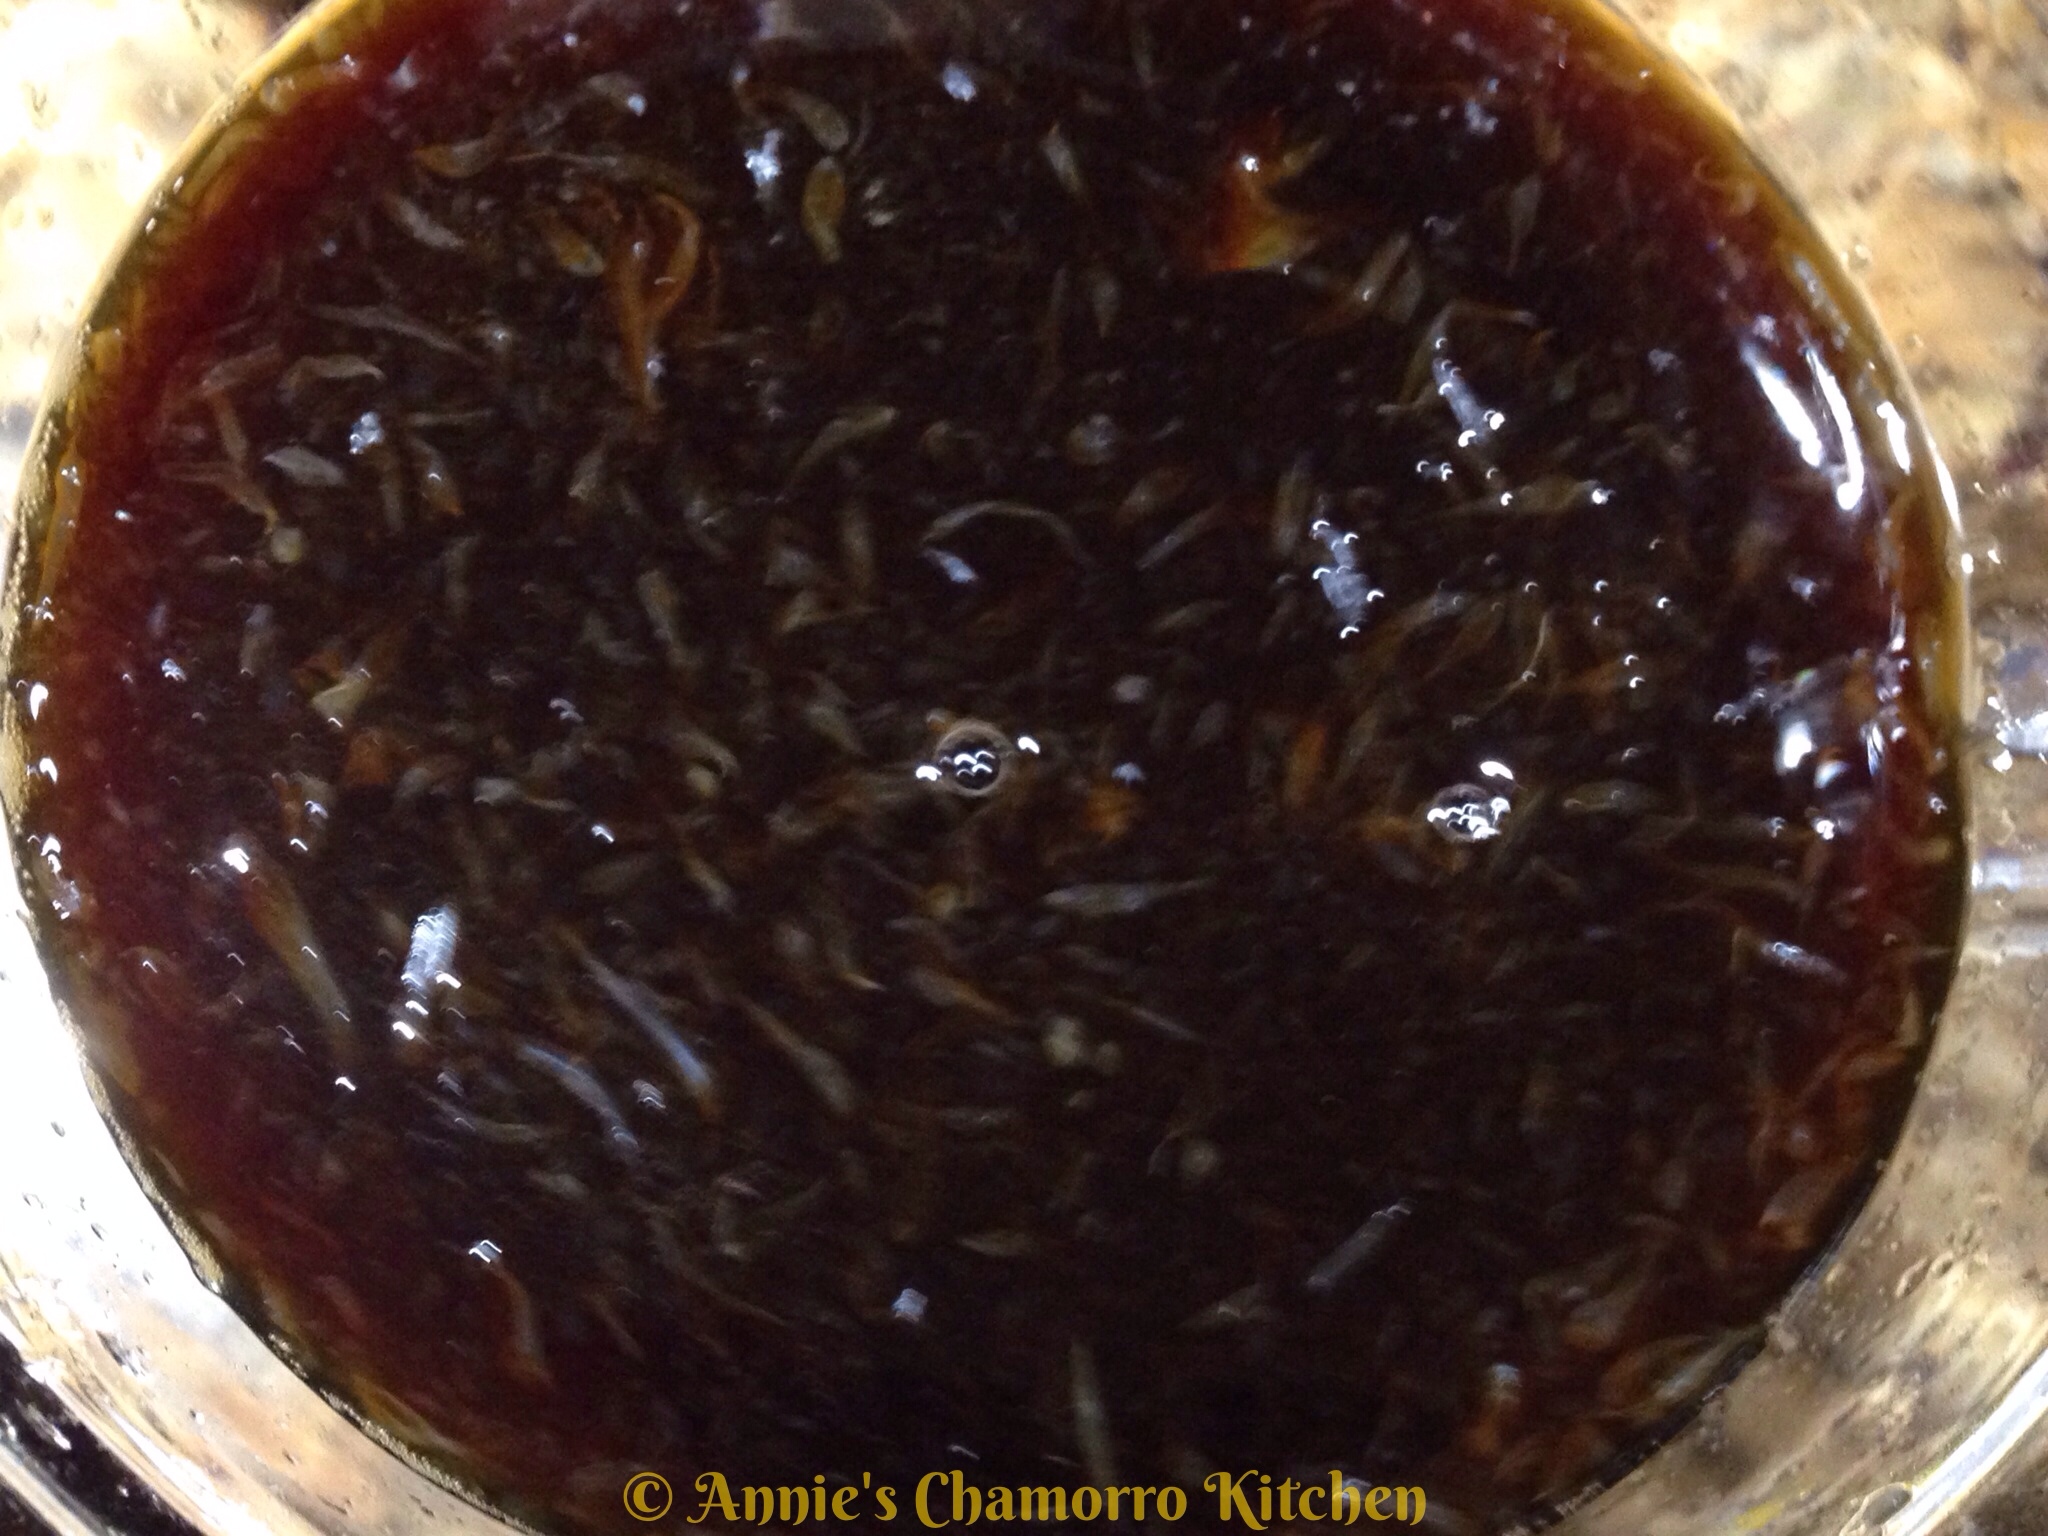
Mix to combine. Set the mixture aside. Let it sit for at least an hour to allow the flavors to meld. Use a fork to pick out the pieces of kelp; discard the kelp. If you want a smooth sauce, pour it into another bowl with a strainer over the top.

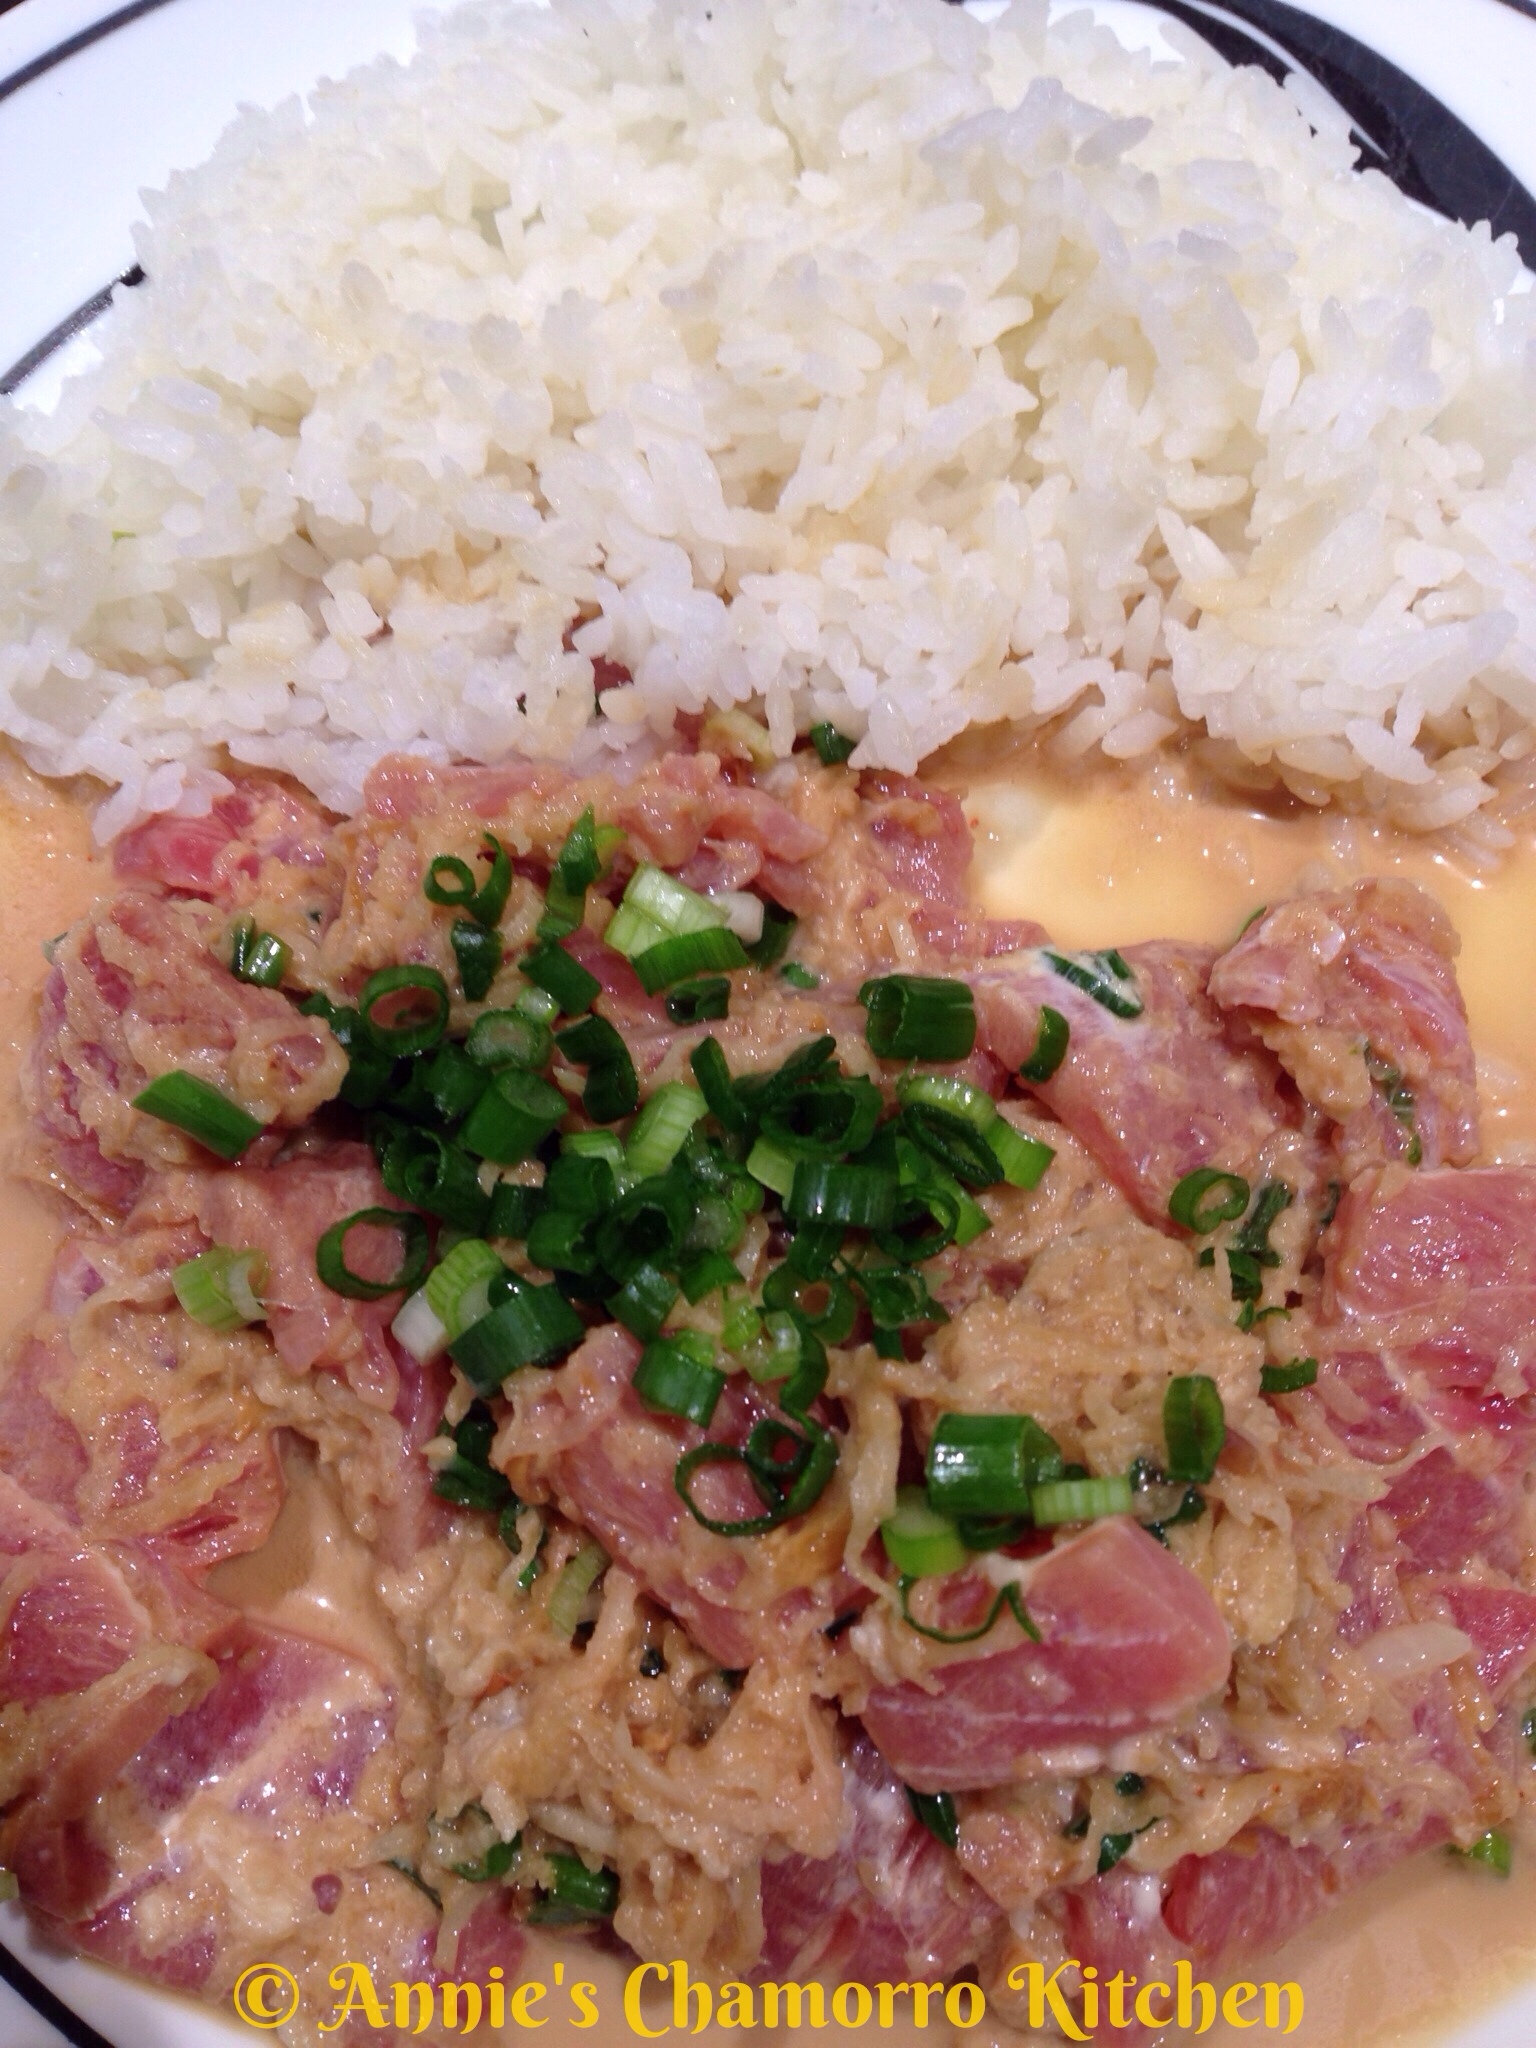
After an hour, place about 2 tablespoons of kewpie mayo into a shallow dish. Pour in 1 cup of the sauce mixture. (Refrigerate any unused sauce.)

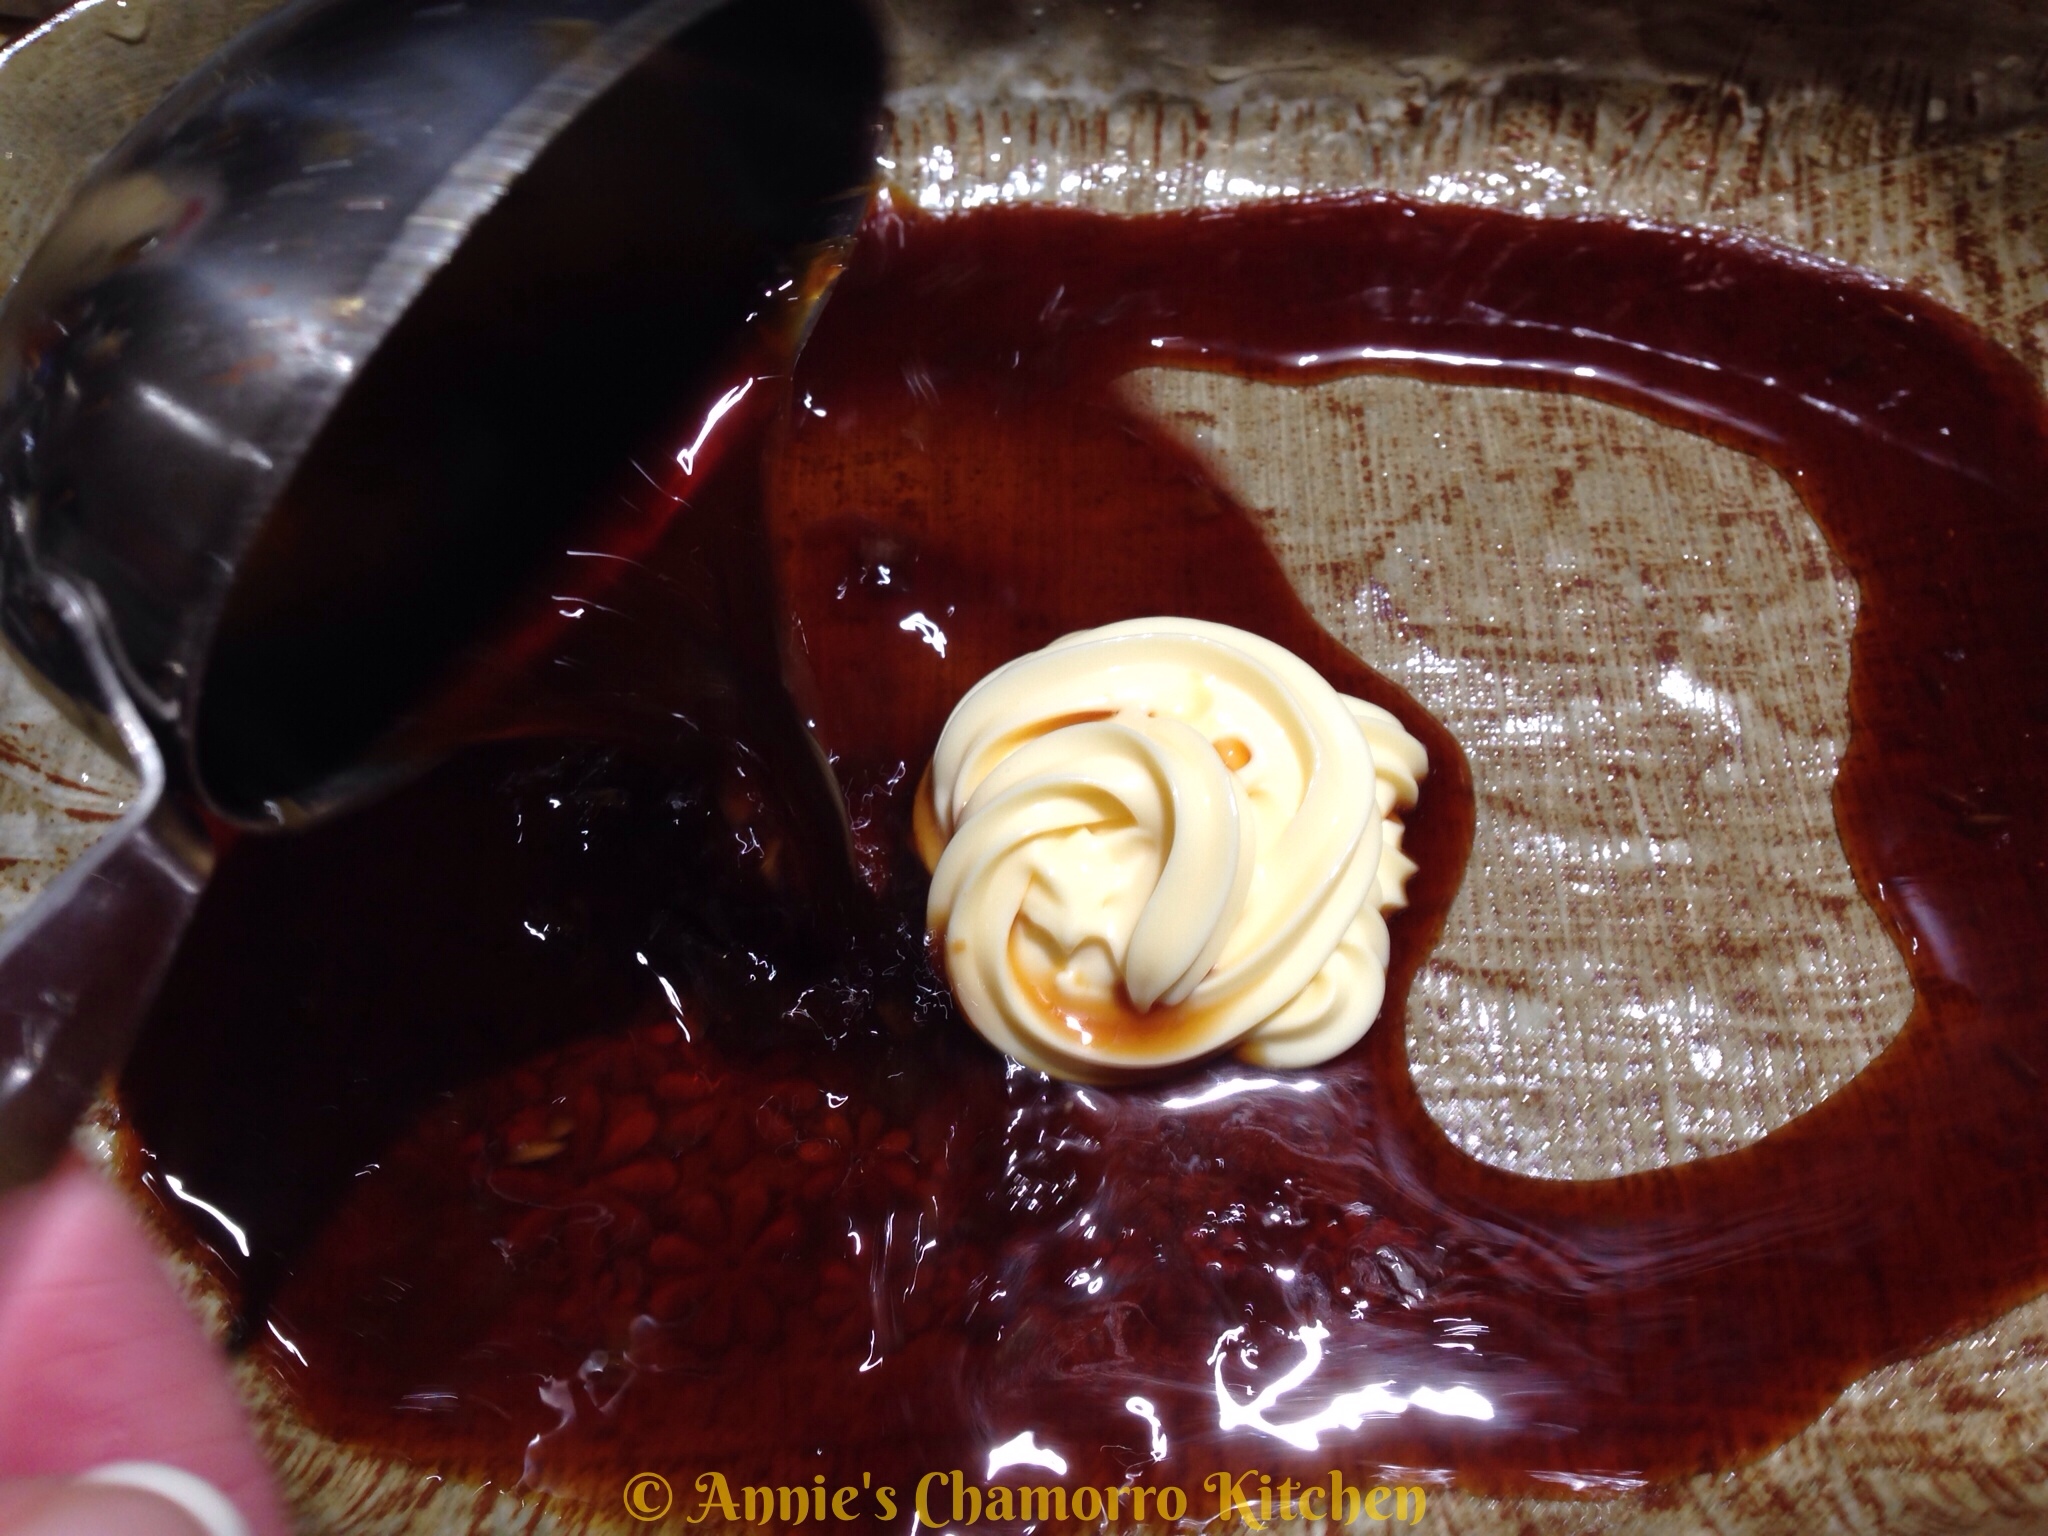
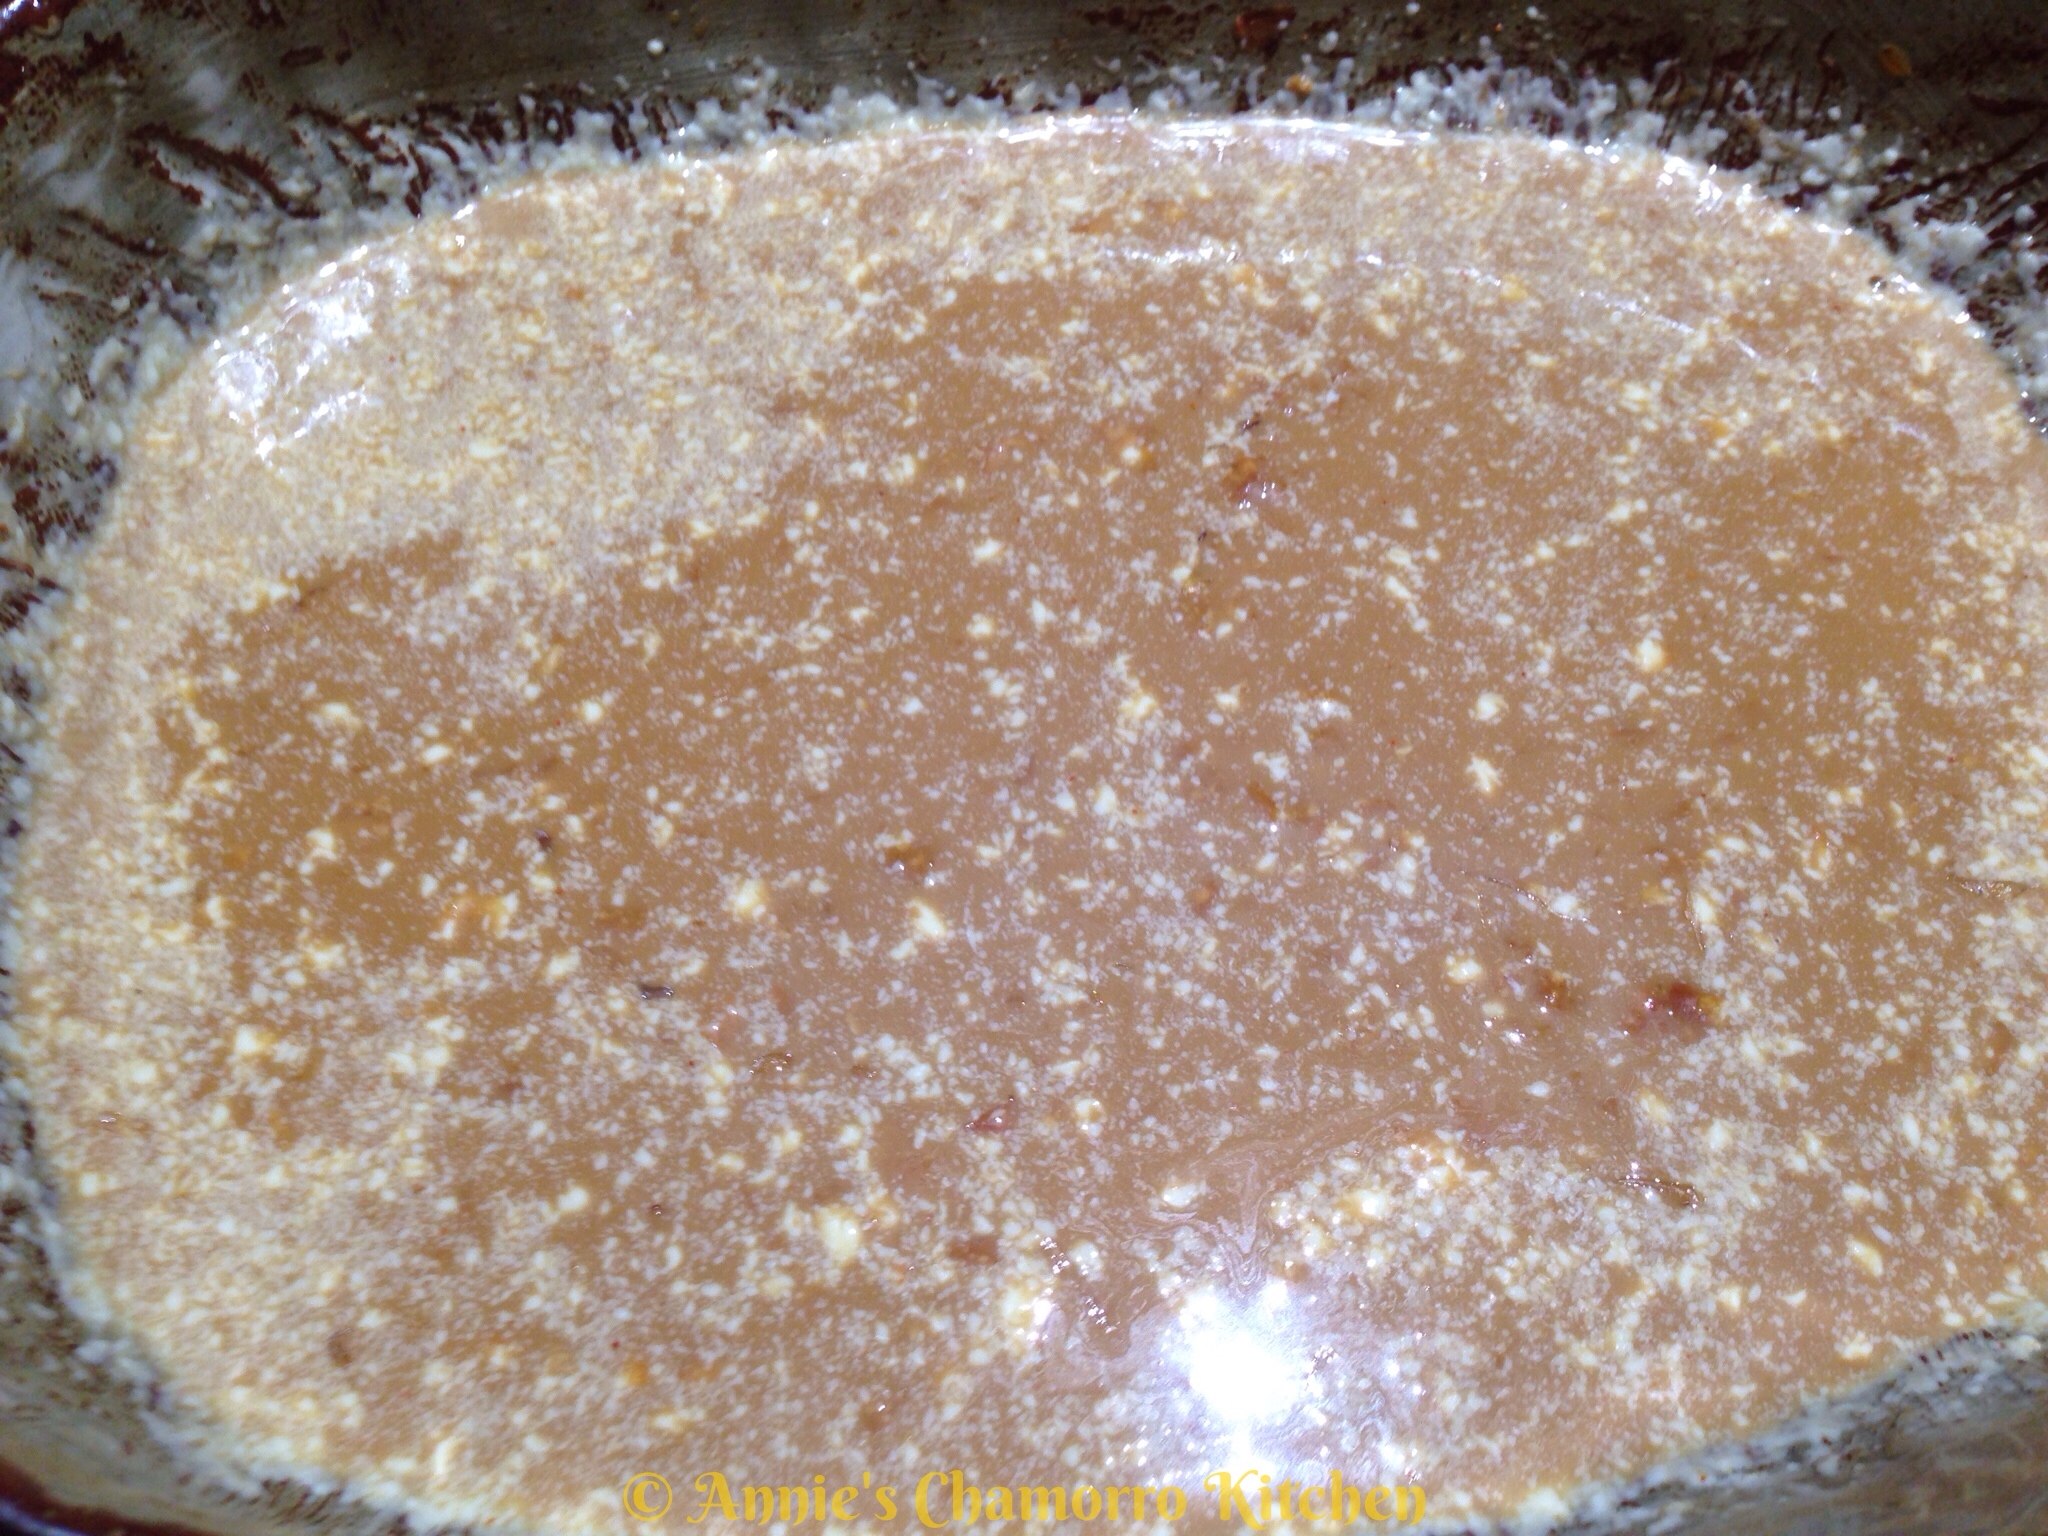
Use a whisk or a fork to mix the kewpie mayo into the sauce mixture. I know, it doesn’t look very appetizing right now, but trust me…it’s delicious…so delicious you might just want to drink the sauce! 🙂

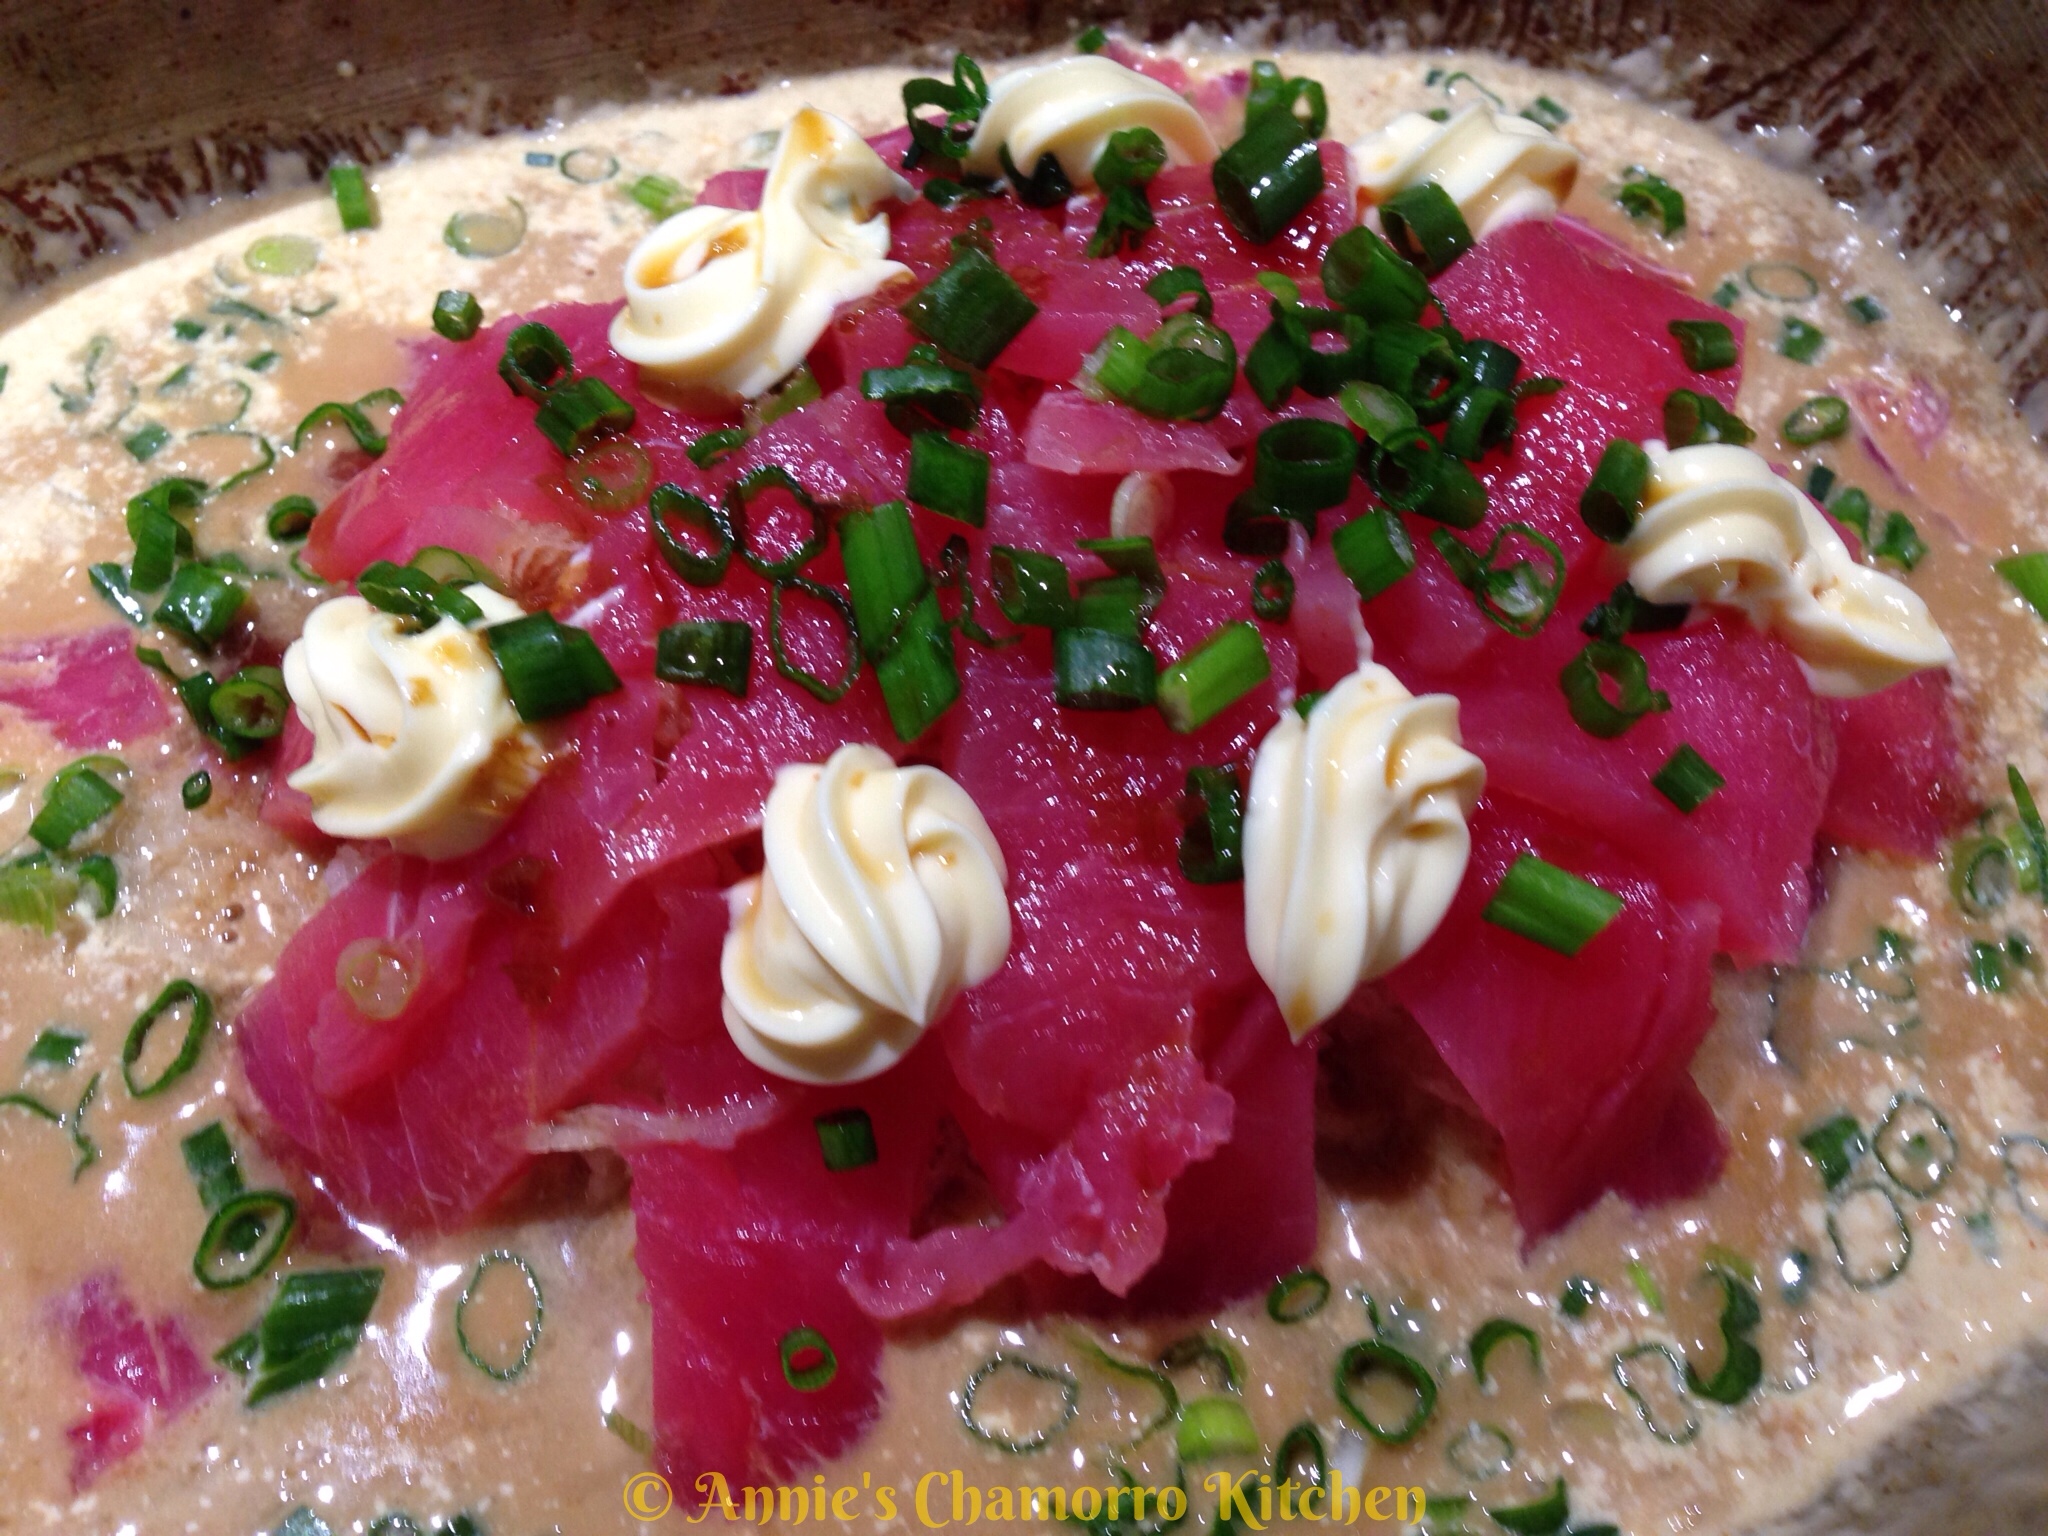
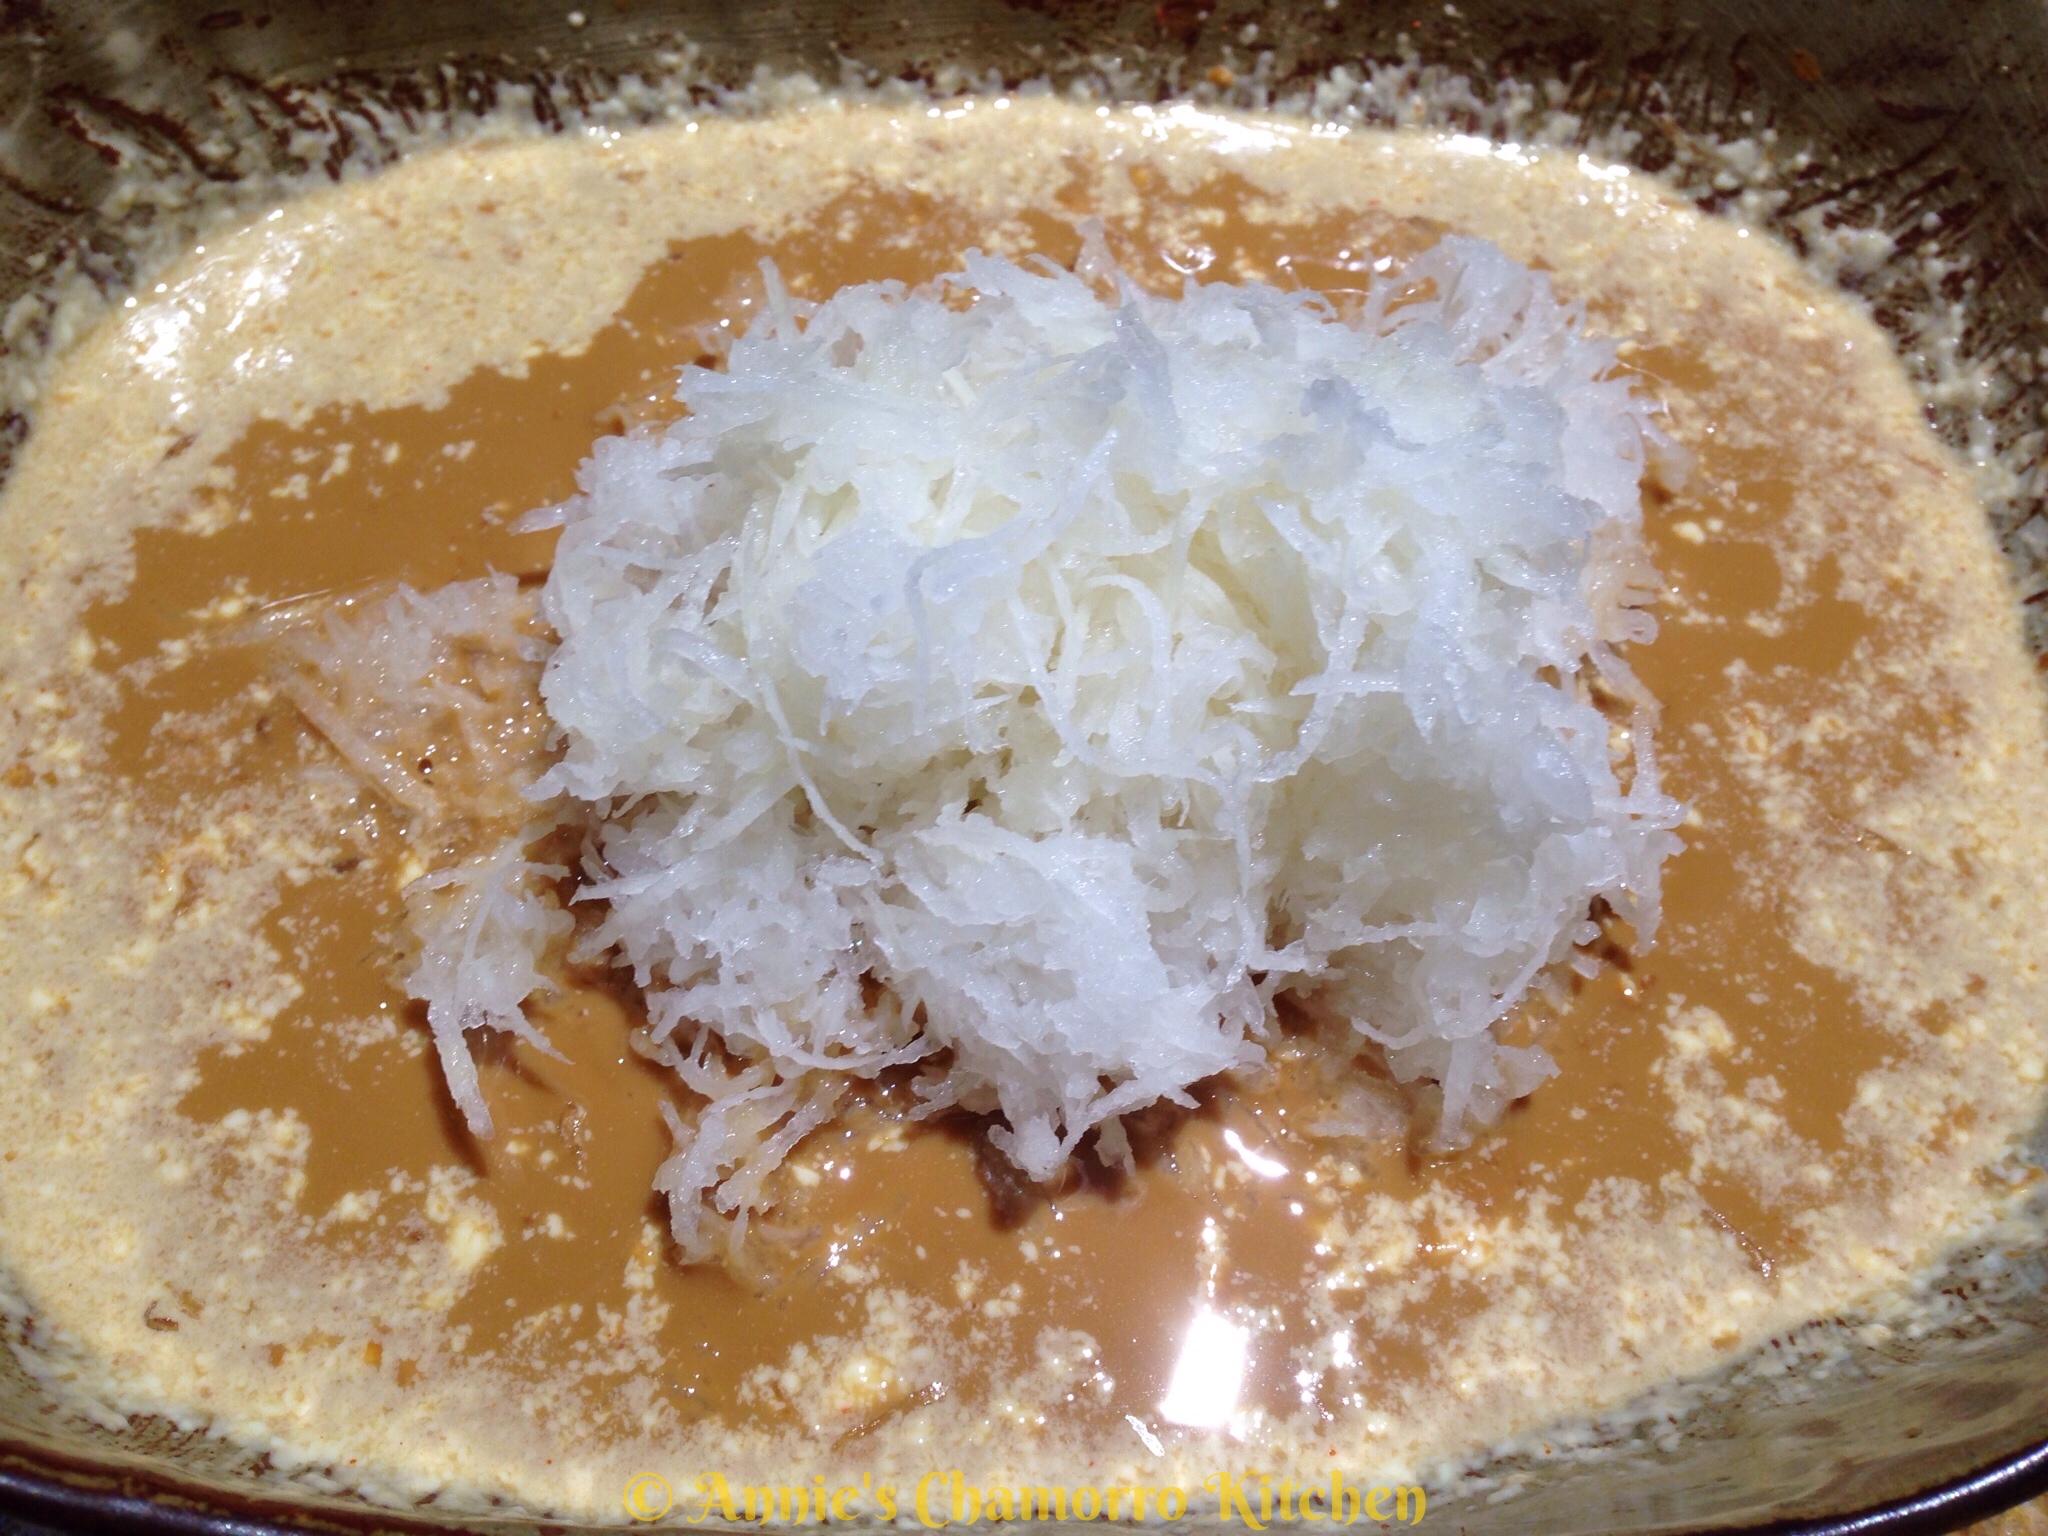
Place the shredded radish into the center of the dish.

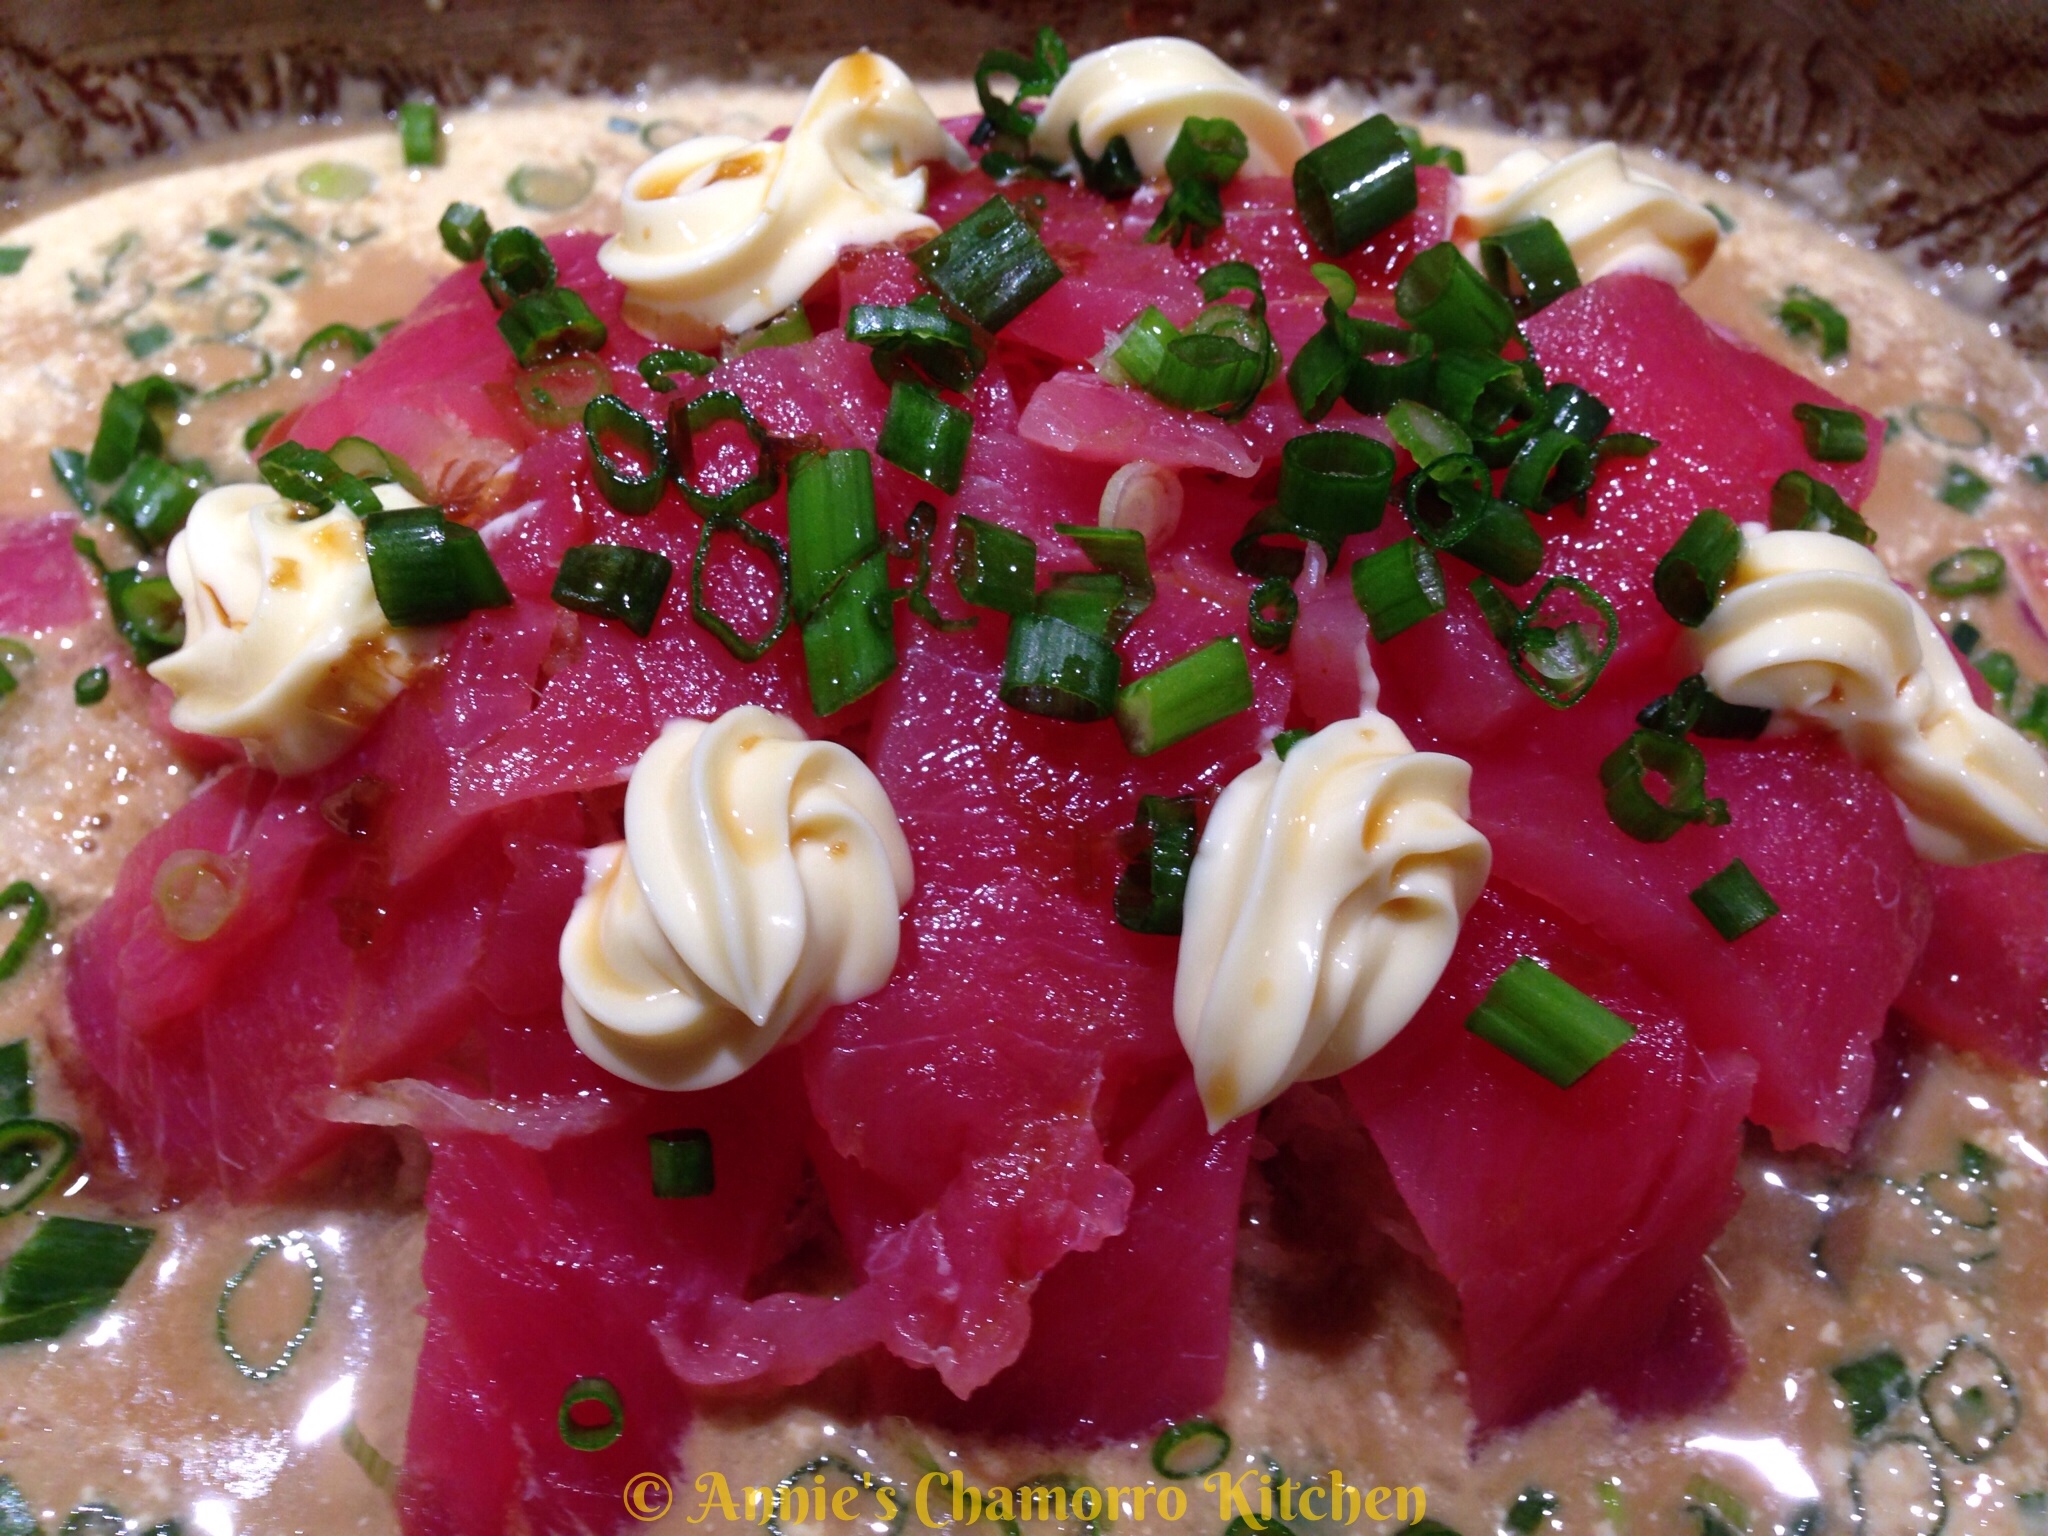
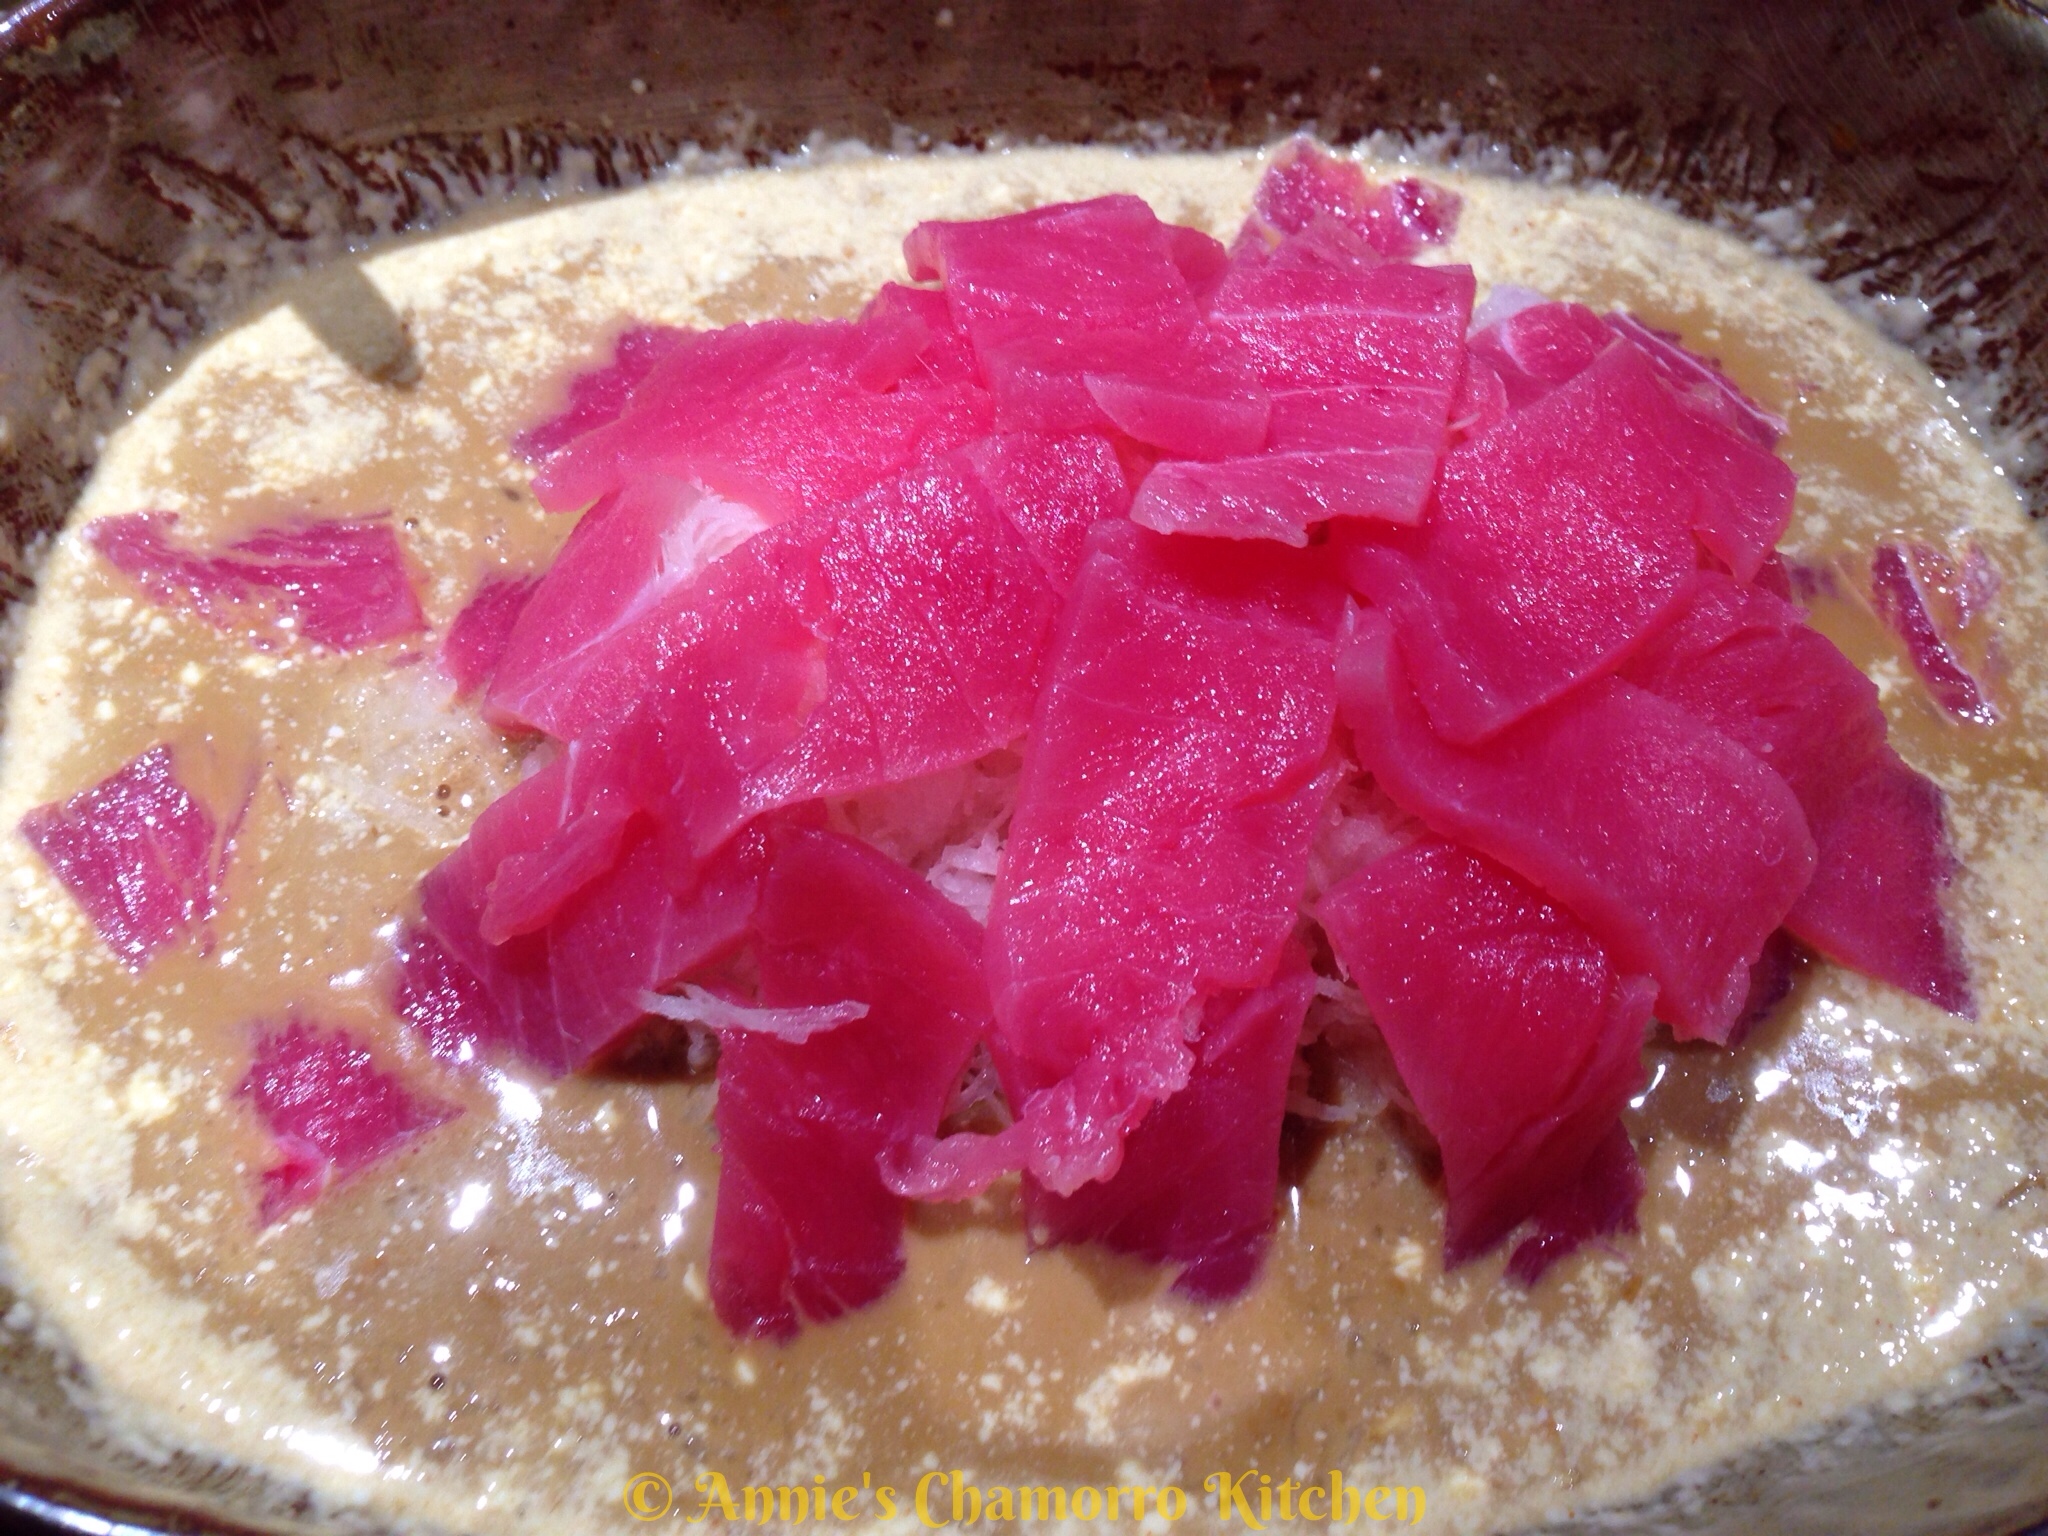
Place thin slices of ahi tuna on top of the shredded radish.

Squeeze more kewpie mayo on top of the fish. Sprinkle sliced green onions on top. Drizzle more sauce over the fish. Optional: sprinkle smelt roe on top of it all.

Serve immediately (it’s delicious with steamed white rice) and ENJOY!


Kicked-Up Brown Rice

I was never a huge fan of brown rice, but in my quest to create healthier meals for my family, we’ve switched from our favorite white rice to the healthier brown.

I wanted to create a tasty version, and not the tough, seemingly undercooked variety you get at most restaurants that kind of tastes like cardboard.

Equipped with only a rice cooker and four ingredients, you’ll have a delicious and healthy side dish for your next meal.

Give my recipe a try. I think you’ll like it. 🙂

Kicked-Up Brown Rice

Ingredients:

  • 3 cups brown rice
  • 6 1/2 cups water
  • 2 tablespoons Dashida beef seasoning
  • 2 tablespoons garlic-flavored olive oil
(Thanks to my friend, Yvonne M., for the delicious olive oil!)

Directions:

1. Rinse the rice then place in your rice cooker pot. Add the water to the pot — it may seem like way too much water, but brown rice needs a LOT of water to cook properly.

2. Add the Dashida and olive oil; stir until the Dashida is dissolved.

3. Set your rice cooker to the “cook” mode then let it do its magic.

4. When the rice cooker switch turns from “cook” to “warm” (or the equivalent for your rice cooker model), gently fluff the rice with a fork, then let it sit (covered) for another 10 minutes or so.

Serve with your favorite meat dish and ENJOY!


Raw Honey — the Miracle Nectar

I’ve read many different articles about the health benefits of honey over white, granulated sugar. Honey is high in calories, as is sugar (a teaspoon of honey contains 22 calories; there are 16 calories in a teaspoon of sugar).

So, the question is, IS honey better for you than sugar?

In reading up on the differences between honey and sugar, I learned that both contain fructose and glucose.  The difference is that the fructose and glucose in sugar are “hooked” together, whereas the fructose and glucose in honey are “unhooked” or independent units. Why is that important, you ask?  Well, I found through my readings is that this is important if you have digestion issues.  During digestion, the “unhooked” independent fructose and glucose units in honey get absorbed in our intestinal tracts, while the “hooked” fructose-glucose units in sugar have to first be broken down (into separate units like in honey) before it gets absorbed.  The enzymes in our bodies do a good job of breaking down sugar (sucrose) molecules, but not all of them are absorbed.  This is where it could cause an issue for some people.  (If you have a sensitive stomach, stop reading.  I’m going to talk about bacteria in our intestines now.)  The sugar molecules that don’t get digested or absorbed in our intestinal tracts feeds the bad bacteria in our intestines.  Where this is not so good is when there is an over-population of bad bacteria that feeds off the undigested sugar, which in turn causes some by-products, one of which is the production of different gasses, methane gas among them.  Again, putting it simply, you end up farting a lot. 😉

It stands to reason that if you substitute honey for sugar in most of your foods, you will be less gassy (your significant other will thank you for this). 😀

Another interesting bit of information I found through my readings is fructose is sweeter than glucose, which is one of the reasons fructose is used in so many food products today. However, fructose does not convert to energy as efficiently as glucose. As a result, processed foods containing granulated sugar high in fructose convert to fat more easily than honey.  Hmmm…less fat production by using honey in foods?  I’m sold!

Actually, I like using honey because it is plain and simply DELICIOUS.  Not to mention that I buy my honey from local Colorado bee farmers, and anything I can do to help our local economy, I’m all over it.

Oh, as an added bonus, honey doesn’t spoil!  I don’t worry about honey going to waste in my house…we use it up pretty quickly.  Luckily for us the Busy Bee Farm in Larkspur, CO is not too far from where we live that we can get a resupply when we need it.

honey


So, whether you add honey to your diet instead of sugar for it’s pure deliciousness or supposed health benefits is up to you.  I recommend buying raw honey (honey that is unheated, unpasteurized and unprocessed) if you can find it.

What can you make with honey?

I use honey in my marinades, to sweeten our Cream of Wheat (or oatmeal), and in baking (I make some mean Honey Wheat Rolls).  Check out some of my recipes at the links below.


Honey Wheat Bread

honey wheat bread

Hannah’s BBQ Marinade

DSC_0430


Disclaimer:  Neither Annie’s Chamorro Kitchen nor anyone else involved in creating, compiling, producing or delivering the information contained in this website (in printed or web format) or the materials contained therein, assumes any liability or responsibility for the accuracy, completeness, or usefulness of any information provided in this website, nor shall they be liable for any direct, indirect, incidental, special, consequential or punitive damages arising out of the use of information contained herein. Neither Annie’s Chamorro Kitchen nor anyone else involved in creating, compiling, producing, or delivering the information contained in this website represent or warrants that the information contained herein is in every respect accurate or complete, and they are not responsible for any errors or omissions or for the results obtained from the use of such material.  Consumers and patients reading articles posted on this website should review the information carefully with their professional healthcare provider. The information is not intended to replace medical advice offered by the physicians. Annie’s Chamorro Kitchen and its publishers make no representations or warranties with respect to any treatment, action, or application of any products described in this website or preparation by any person following the information offered or provided within or through Annie’s Chamorro Kitchen. Annie’s Chamorro Kitchen and its publishers will not be liable for any direct, indirect, consequential, special, exemplary, or other damages arising therefrom.

Beef Shank Kådu with Fresh Vegetables and Vermicelli Noodles

It’s currently 9 degrees outside, with a windchill of -11 degrees — it’s the perfect time for a pot of my delicious Beef Shank Kådu (which means soup, in Chamorro) with fresh vegetables and vermicelli noodles. Come to think of it, this soup is good at ANY time, not just when it’s cold and blustery outside. After all, we make kådu on Guam, where the temperature is in the 80’s year-round! 😉

I used beef shanks (with bones) for this recipe, but you can use any lean cuts of beef you like. I like shanks because the bone marrow in the bones give the broth an extra rich and concentrated beef flavor. Most shanks are marbled with sinew. If I’m pressed for time, I’ll cook the meat in a pressure cooker, along with some onions, garlic and water, just long enough to break down the sinew and tenderize the meat. I started this soup around 8 am, cooked the meat low and slow for a couple of hours, then added the vegetables the last half hour before eating. If you don’t braise the meat long enough, the sinew in the meat won’t break down enough and you’ll end up with tough, dry meat in your soup.

I prefer using fresh vegetables when I make soup (with the exception of canned tomatoes and corn). I know, you can cut your prep and cooking time by more than half if you use frozen vegetables, but I don’t particularly like that the frozen vegetables are cut so large (I end up cutting each one smaller–that’s very time consuming), nor do I like that it’s overcooked by the time my soup is done. Nope — it’s fresh vegetables for this soup or I don’t make it.

I know what you’re thinking by now…you’re probably thinking, “gosh, she sure is picky.” Well, for this soup, I am. I think it’s because this is how my mom made it, using vegetables picked fresh from my dad’s ranch. Sometimes we’d have wing beans and green beans in our soup, along with squash and onions. Other times we’d have fresh corn and tomatoes picked fresh off the vines.

If you thought I was picky with my choice of fresh over frozen vegetables, let me tell you about my choice of noodles. I’ve tried making this soup with rice noodles, but it’s just not the same as using vermicelli or glass noodles. There are many brands of vermicelli noodles (not the kind used for Italian pasta dishes, mind you). I like using Korean vermicelli noodles, namely the kind used for Jap Chae (or Chap Chae). If you don’t know what type to buy, go to your local Korean or Asian market and ask a clerk for Korean Jap Chae noodles.

Give my recipe a try. I think you’ll like it. 🙂

Beef Shank Kadu with Fresh Vegetables and Vermicelli Noodles

Ingredients:

  • 5 medium sized beef shanks, with bone
  • 1/2 teaspoon black pepper
  • 2 tablespoons garlic powder (or 6 cloves fresh garlic, minced)
  • 1 tablespoon onion powder (or 1 small onion, diced)
  • 6-8 tablespoons Dashida (Korean beef flavored powdered seasoning)
  • 10 cups water
  • 2 large carrots
  • 2 stalks celery
  • 1 (2-inch) piece of ginger root
  • 1 medium potato
  • 1 handful of green beans
  • 1 can (28 oz.) petite diced tomatoes, drained
  • 1 can (15.25 oz.) corn kernels
  • 1 bag Korean vermicelli noodles (plus enough hot water to submerge the noodles in)

Directions:

1. Rinse each piece of meat. Trim off and discard any excess fat around the meat. Cut around the bones to separate them from the meat. Place the bones in a large stock pot over medium low heat.

2. Cut the meat into small pieces; I cut the shank meat that had a lot of sinew marbled through it into large chunks.  Place the meat into the pot. Cook over medium low heat until the meat starts to brown. After most of the meat has browned, add the black pepper, garlic and onion powders (or fresh garlic and onions), and Dashida. Stir to combine, then add the 10 cups of water. Keep the heat at medium low. With the pot covered, simmer for about 2 hours. Every now and then, skim off any fat and sediment from the surface of the broth and discard.

Tip: After cooking, let the meat and broth cool to room temperature then place in the refrigerator. After several hours, remove the solidified fat off the surface of the broth and discard. Continue with the remaining steps below.

3. While the meat is simmering away, prepare the vegetables.

Prep the carrots: Peel the carrots. Slice into sticks, then dice.

Prep the celery. Cut into sticks then dice.

Prep the ginger. Peel (scrape the skin with a spoon) then thinly slice the ginger.

Prep the potato. Peel the potato. Cut into sticks (like french fries) then dice.

Prep the beans. In my list of ingredients, I stated “a handful” of beans was enough. This is what I mean by “a handful.”

Cut the tips off the ends of the beans, then thinly slice them.

4. After a couple of hours of simmering, the sinew in the large chunks of shank meat should have broken down and softened. Remove the large chunks of meat from the pot. Let it cool then cut the meat into small pieces then return the meat to the pot.

5. Add the tomatoes (don’t forget to drain the liquid!) and cut vegetables to the pot. Stir to combine.

6. Simmer the vegetables over medium high heat for 10 minutes. Meanwhile, prepare the noodles. Place the noodles into a large bowl. Pour hot water (I used hot water from the tap) over the noodles; use enough water to completely submerge the noodles. Let the noodles sit in the hot water for 5 minutes to soften slightly. After the noodles have softened, use a pair of kitchen scissors to cut the noodles into small pieces, about 3 inches in length. Drain the noodles in a colander then add them to the pot, stirring to combine.

7. Add the drained corn to the pot. Stir to combine. Cook for another 10 minutes or so, or just until the potatoes and carrots are cooked through (don’t over cook them).

8. Remove from the heat and serve while hot. ENJOY!

Save the bone marrow for me, please! 🙂


Chamorro Cucumber Salad

Chamorro Cucumber Salad is a staple on most fiesta tables. With just a few ingredients, you can whip it up and have it on your dinner table in minutes.

I love serving this cucumber salad with fried chicken and red rice, but it’s delicious served alongside most meat dishes.

Give my recipe a try. I think you’ll like it.

Chamorro Cucumber Salad

Ingredients:

  • 2 large cucumbers
  • 2 tablespoons salt
  • 1 small onion, thinly sliced
  • 4 cloves garlic, minced
  • 1 cup soy sauce
  • 1/2 cup white vinegar

Directions:

1. Slice the cucumbers about 1/4 inch thick. Place the cucumber slices into a plastic colander then place the colander into a large bowl. Sprinkle the salt over the cucumbers; stir to combine. Let the salted cucumber slices sit for about 15 minutes to allow excess water to drain out. After 15 minutes, pour out any water that drained into the bowl. Rinse the salt off the cucumbers; drain.

2. Place the rinsed and drained cucumbers into the large bowl. Add the onion, garlic, soy sauce and vinegar. Stir to combine.

3. Let the cucumbers sit for several minutes to allow the cucumbers to soak up all of the flavors. Serve with your favorite meat dish and enjoy!

« Older Entries Recent Entries »