Blueberry Cheesecake

Blueberry Cheesecake is among the many go-to desserts I make because it’s quick and easy to prepare, not to mention DELICIOUS. 🙂

With only 4 ingredients, you can whip this up in minutes.  The only hard part is waiting for the filling to set as it chills in the refrigerator.

This is a great dessert to bring to potlucks too.  Make it the night before and you don’t have to worry about cooking anything the next day (bonus!).

Give my recipe a try.  I think you’ll like it. 🙂


Blueberry Cheesecake

IMG_3186

Ingredients:

1 ready-made graham cracker pie crust

8 oz. cream cheese, softened at room temperature

12 oz. Cool Whip Whipped Topping

1 can blueberry (extra fruit) pie filling

Directions:

Place the pie crust into a COLD oven.  Pre-heat your oven to 250 degrees.  As the oven heats up, the pie crust is toasting and getting nicely browned.  As soon as the oven reaches 250 degrees, turn it off and take the pie crust out of the oven.  Let the crust cool completely.

This photo shows two crusts — I baked one for Blueberry Cheesecake and the other for my Mandarin Pie (see Desserts for that delicious recipe).

IMG_3146

While the crust is cooling, make the filling.

Place the softened cream cheese into a mixing bowl.

IMG_3177

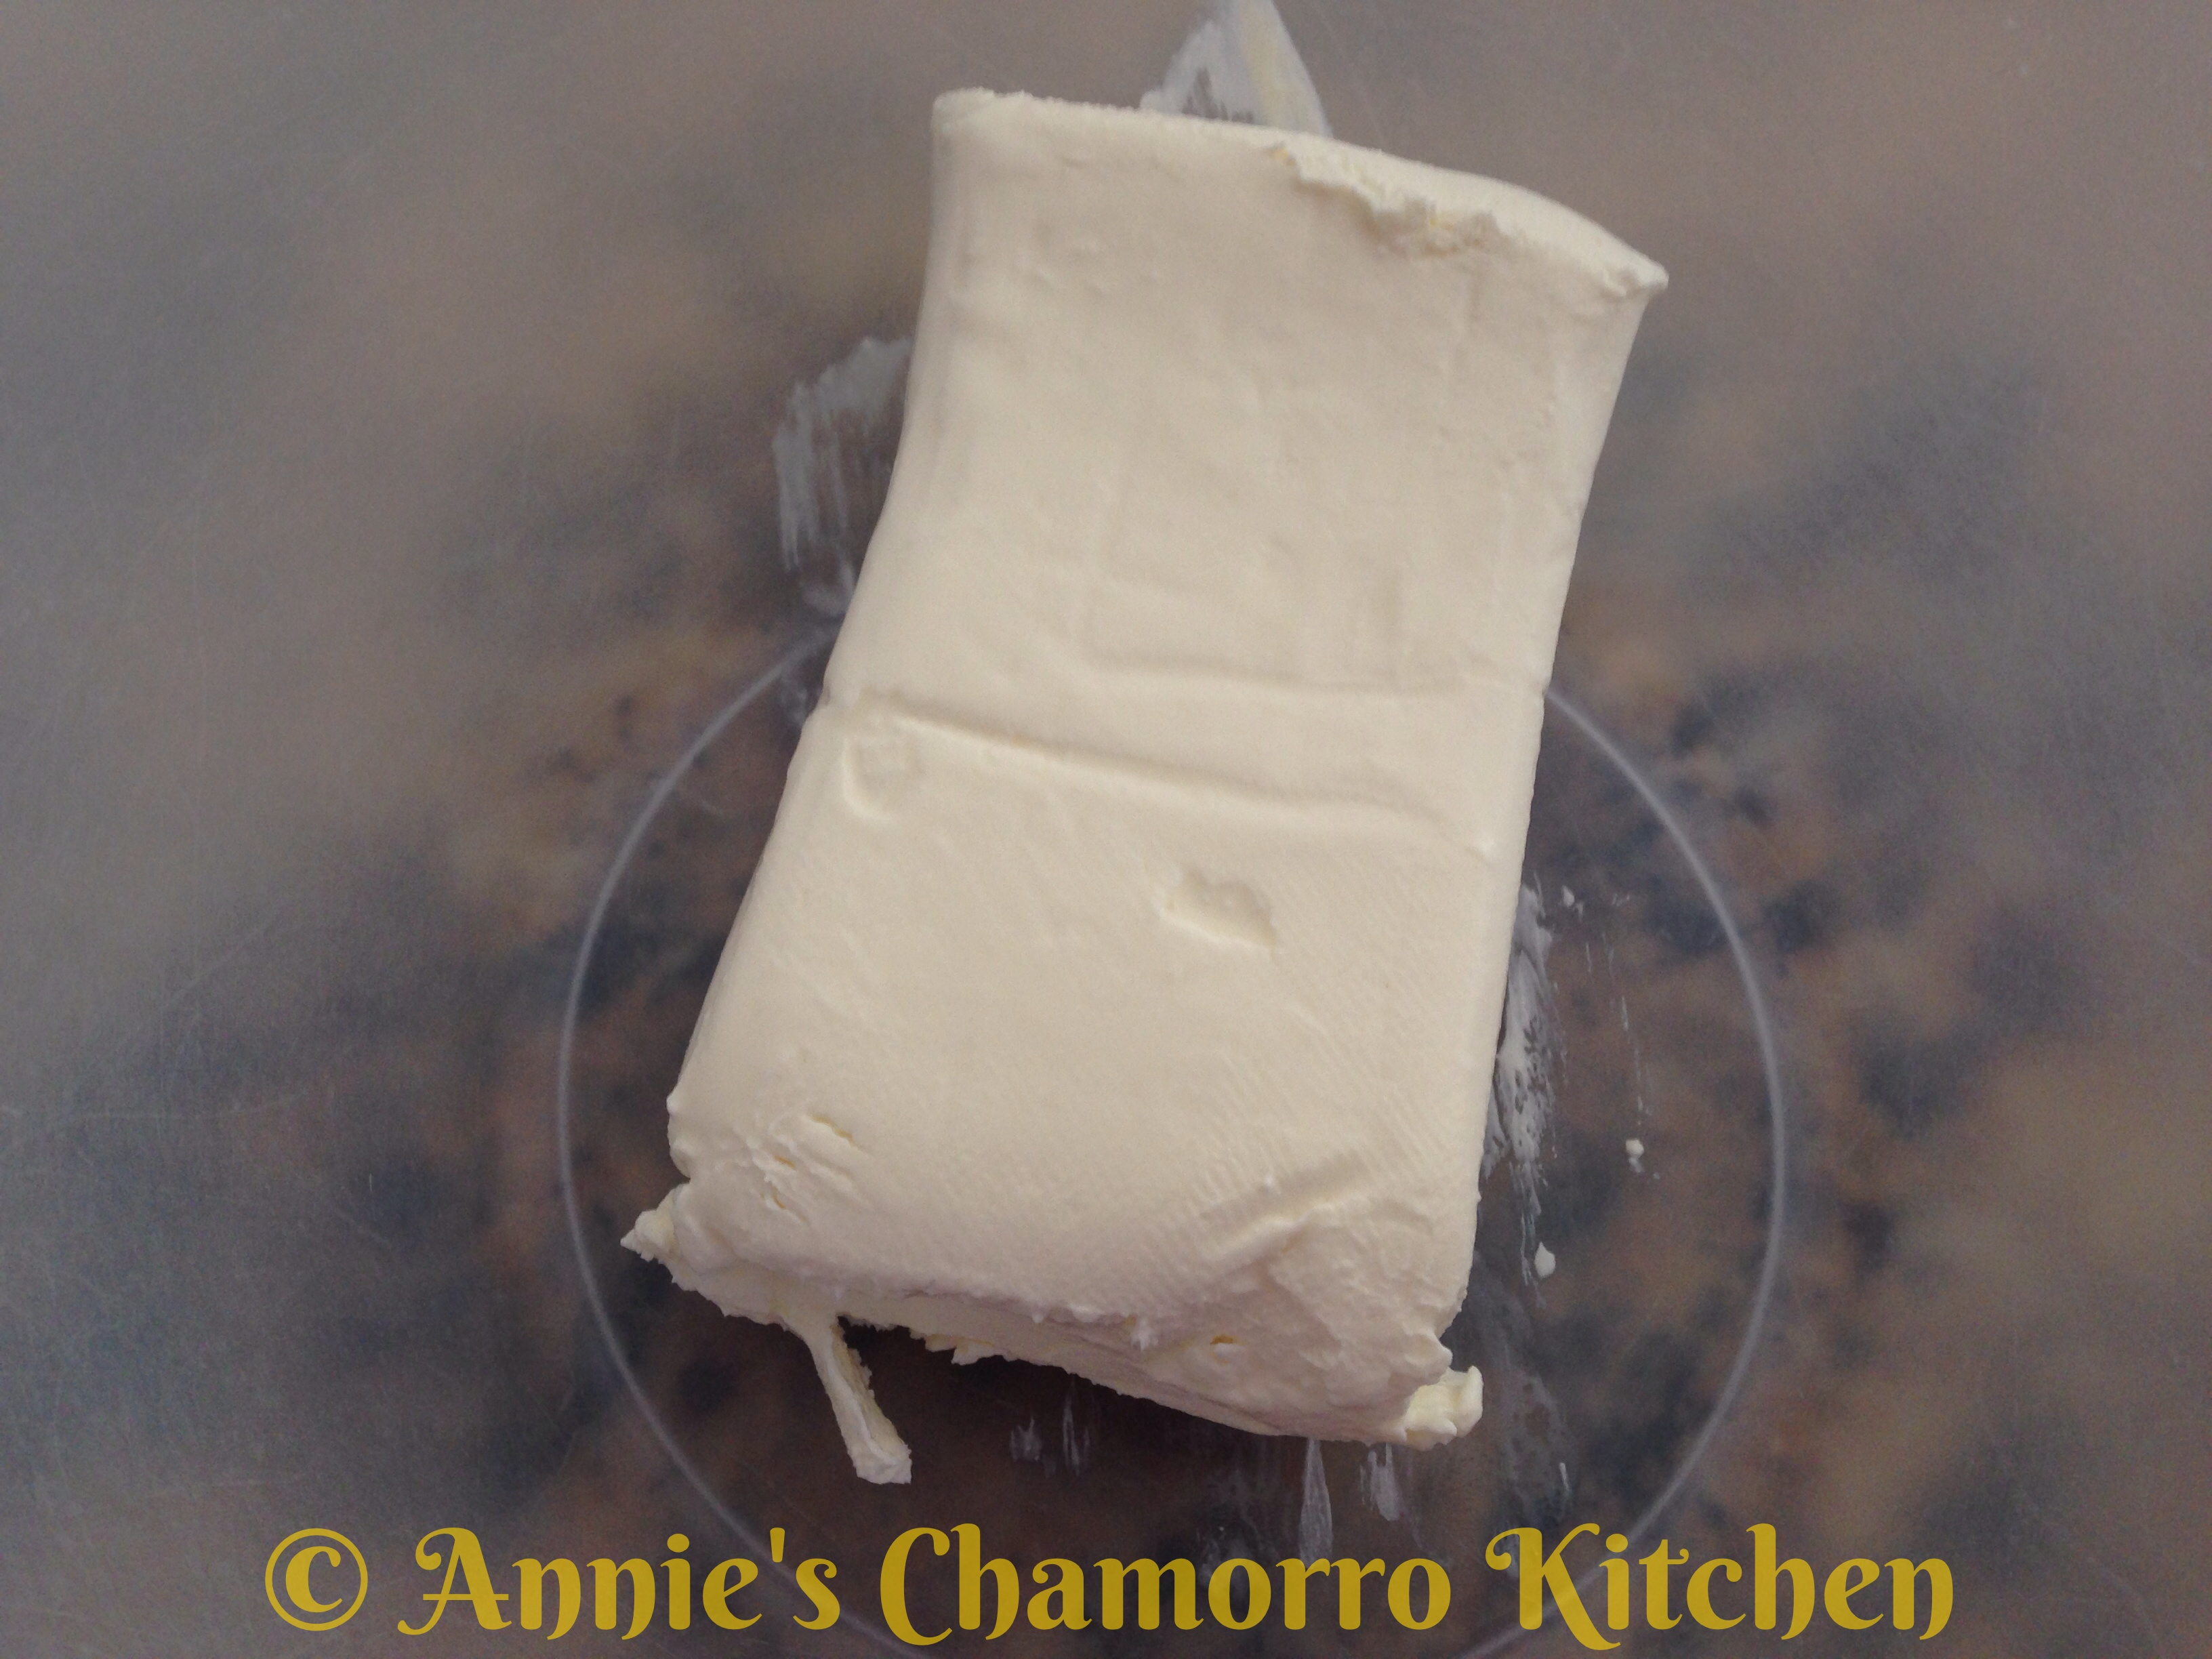
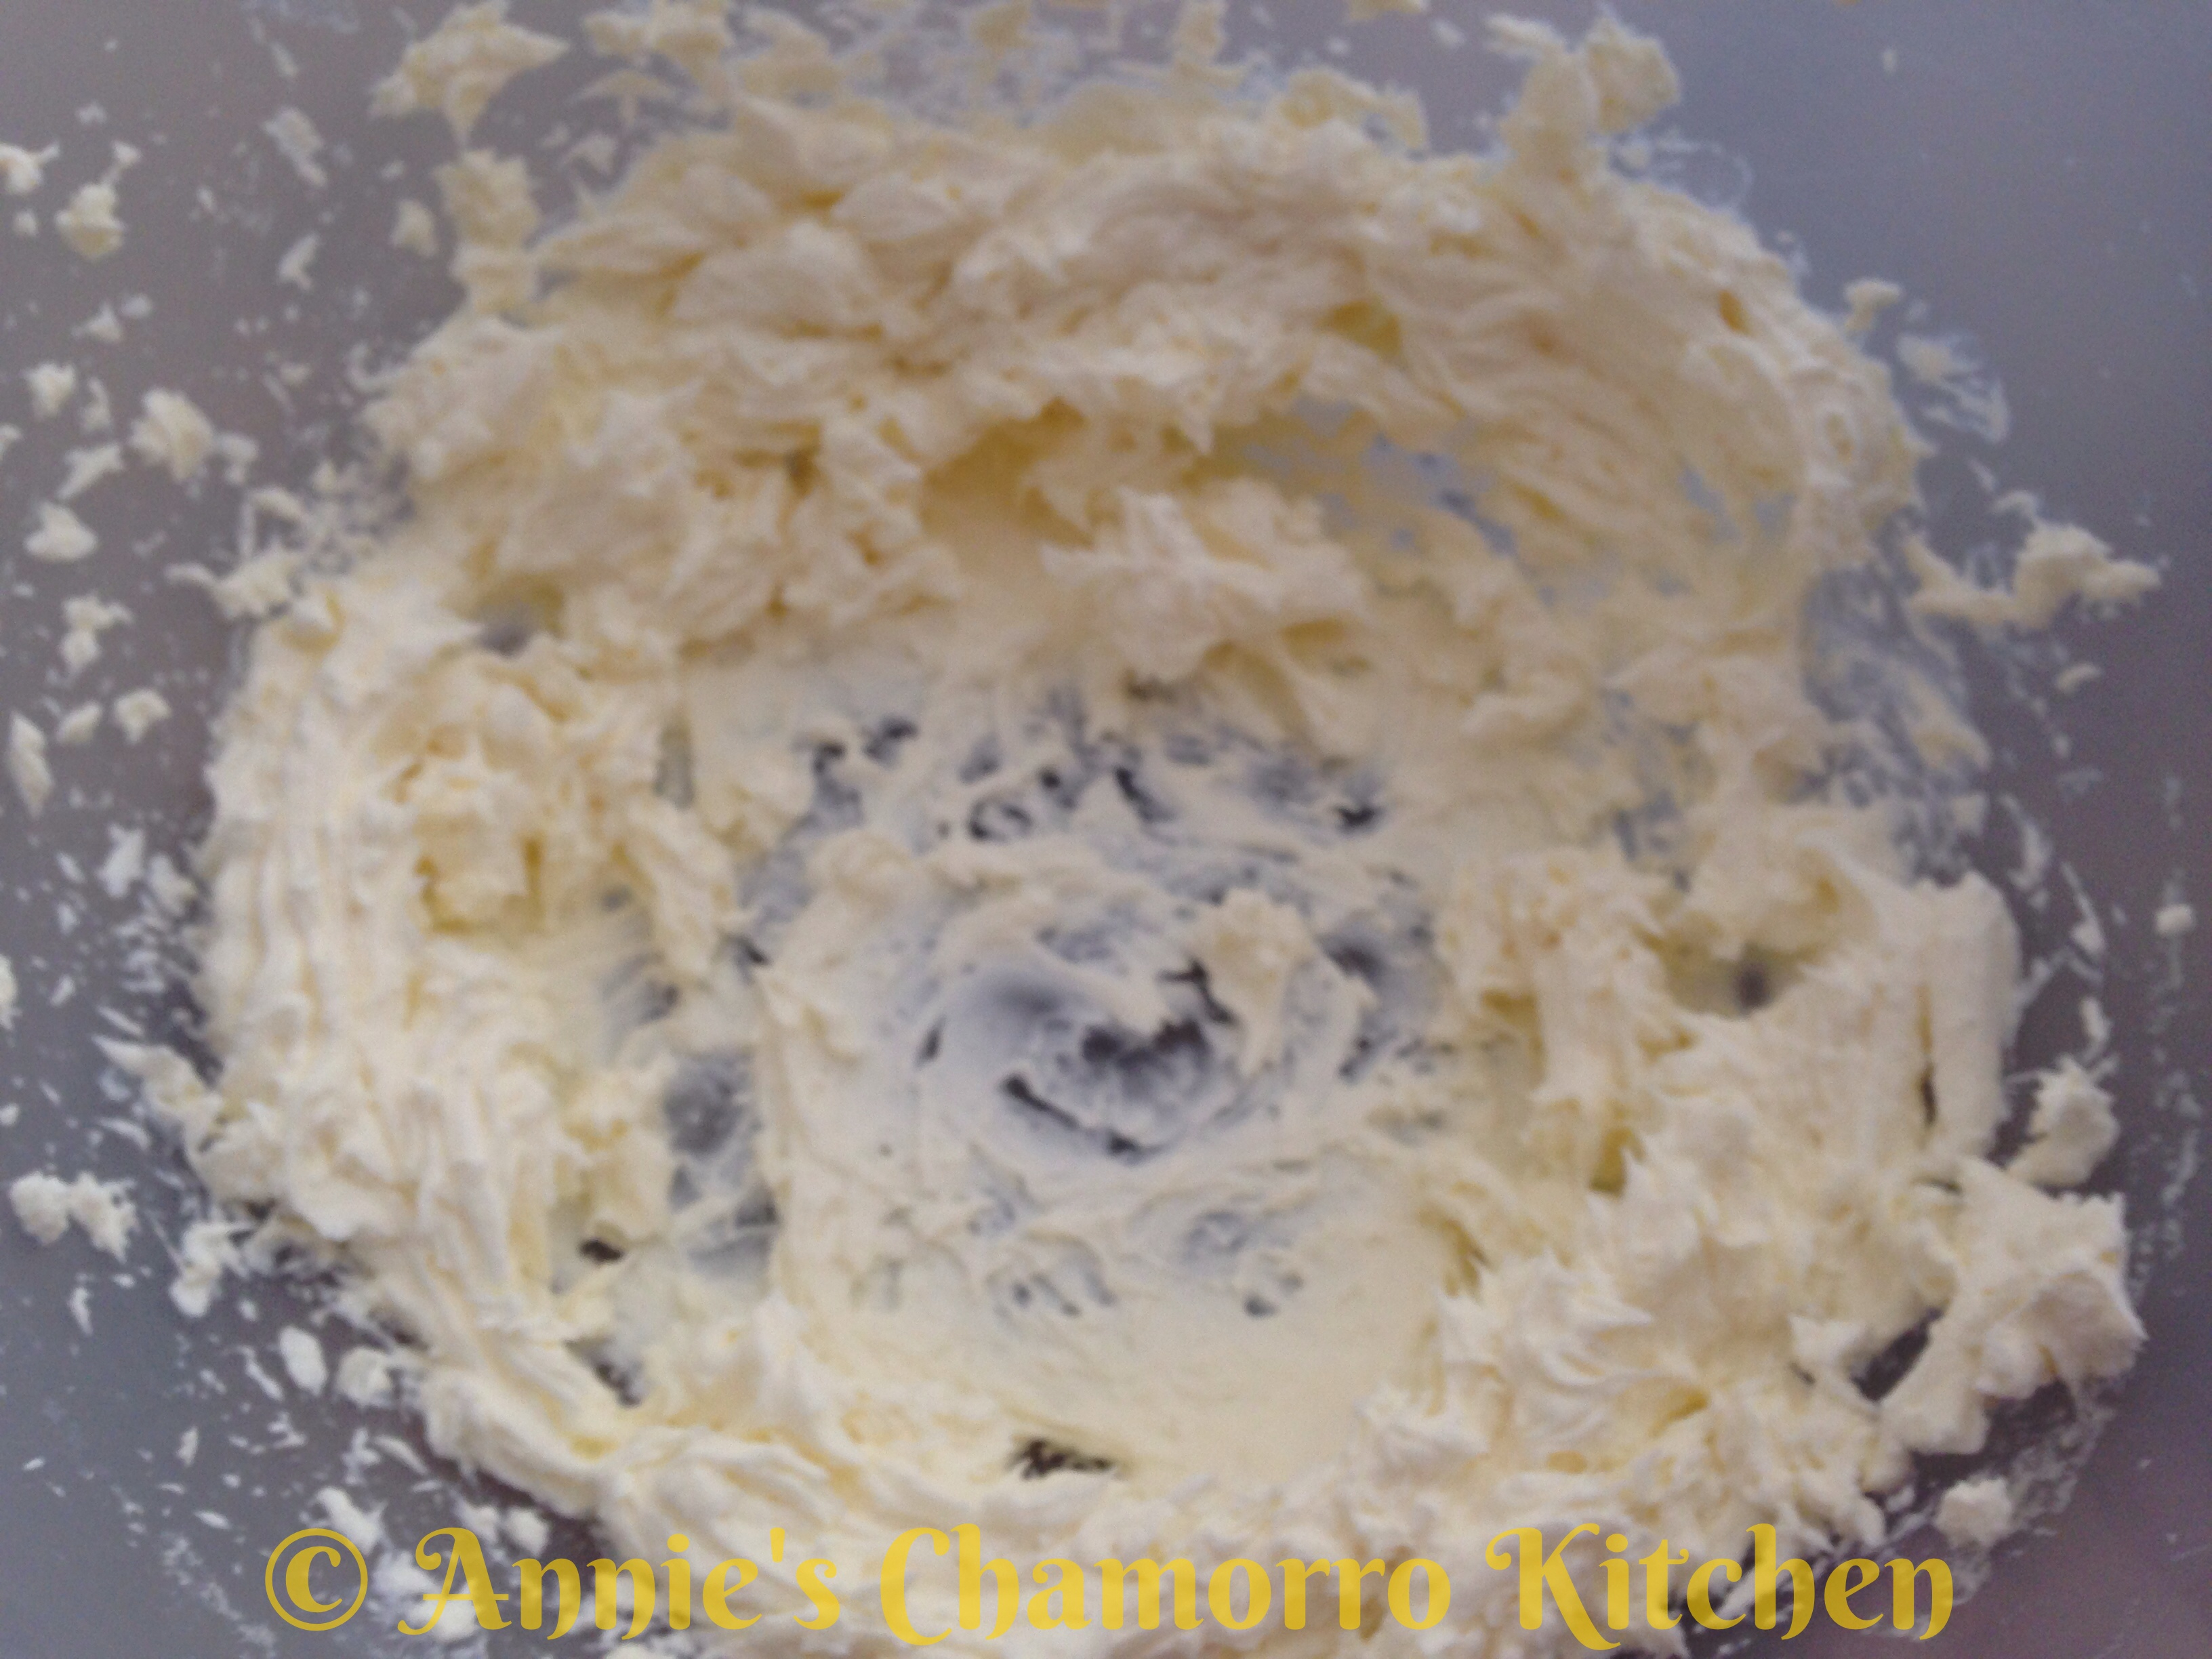
Using a hand mixer, mix the cream cheese until creamy.

IMG_3178

Add the Cool Whip to the mixing bowl.

IMG_3179

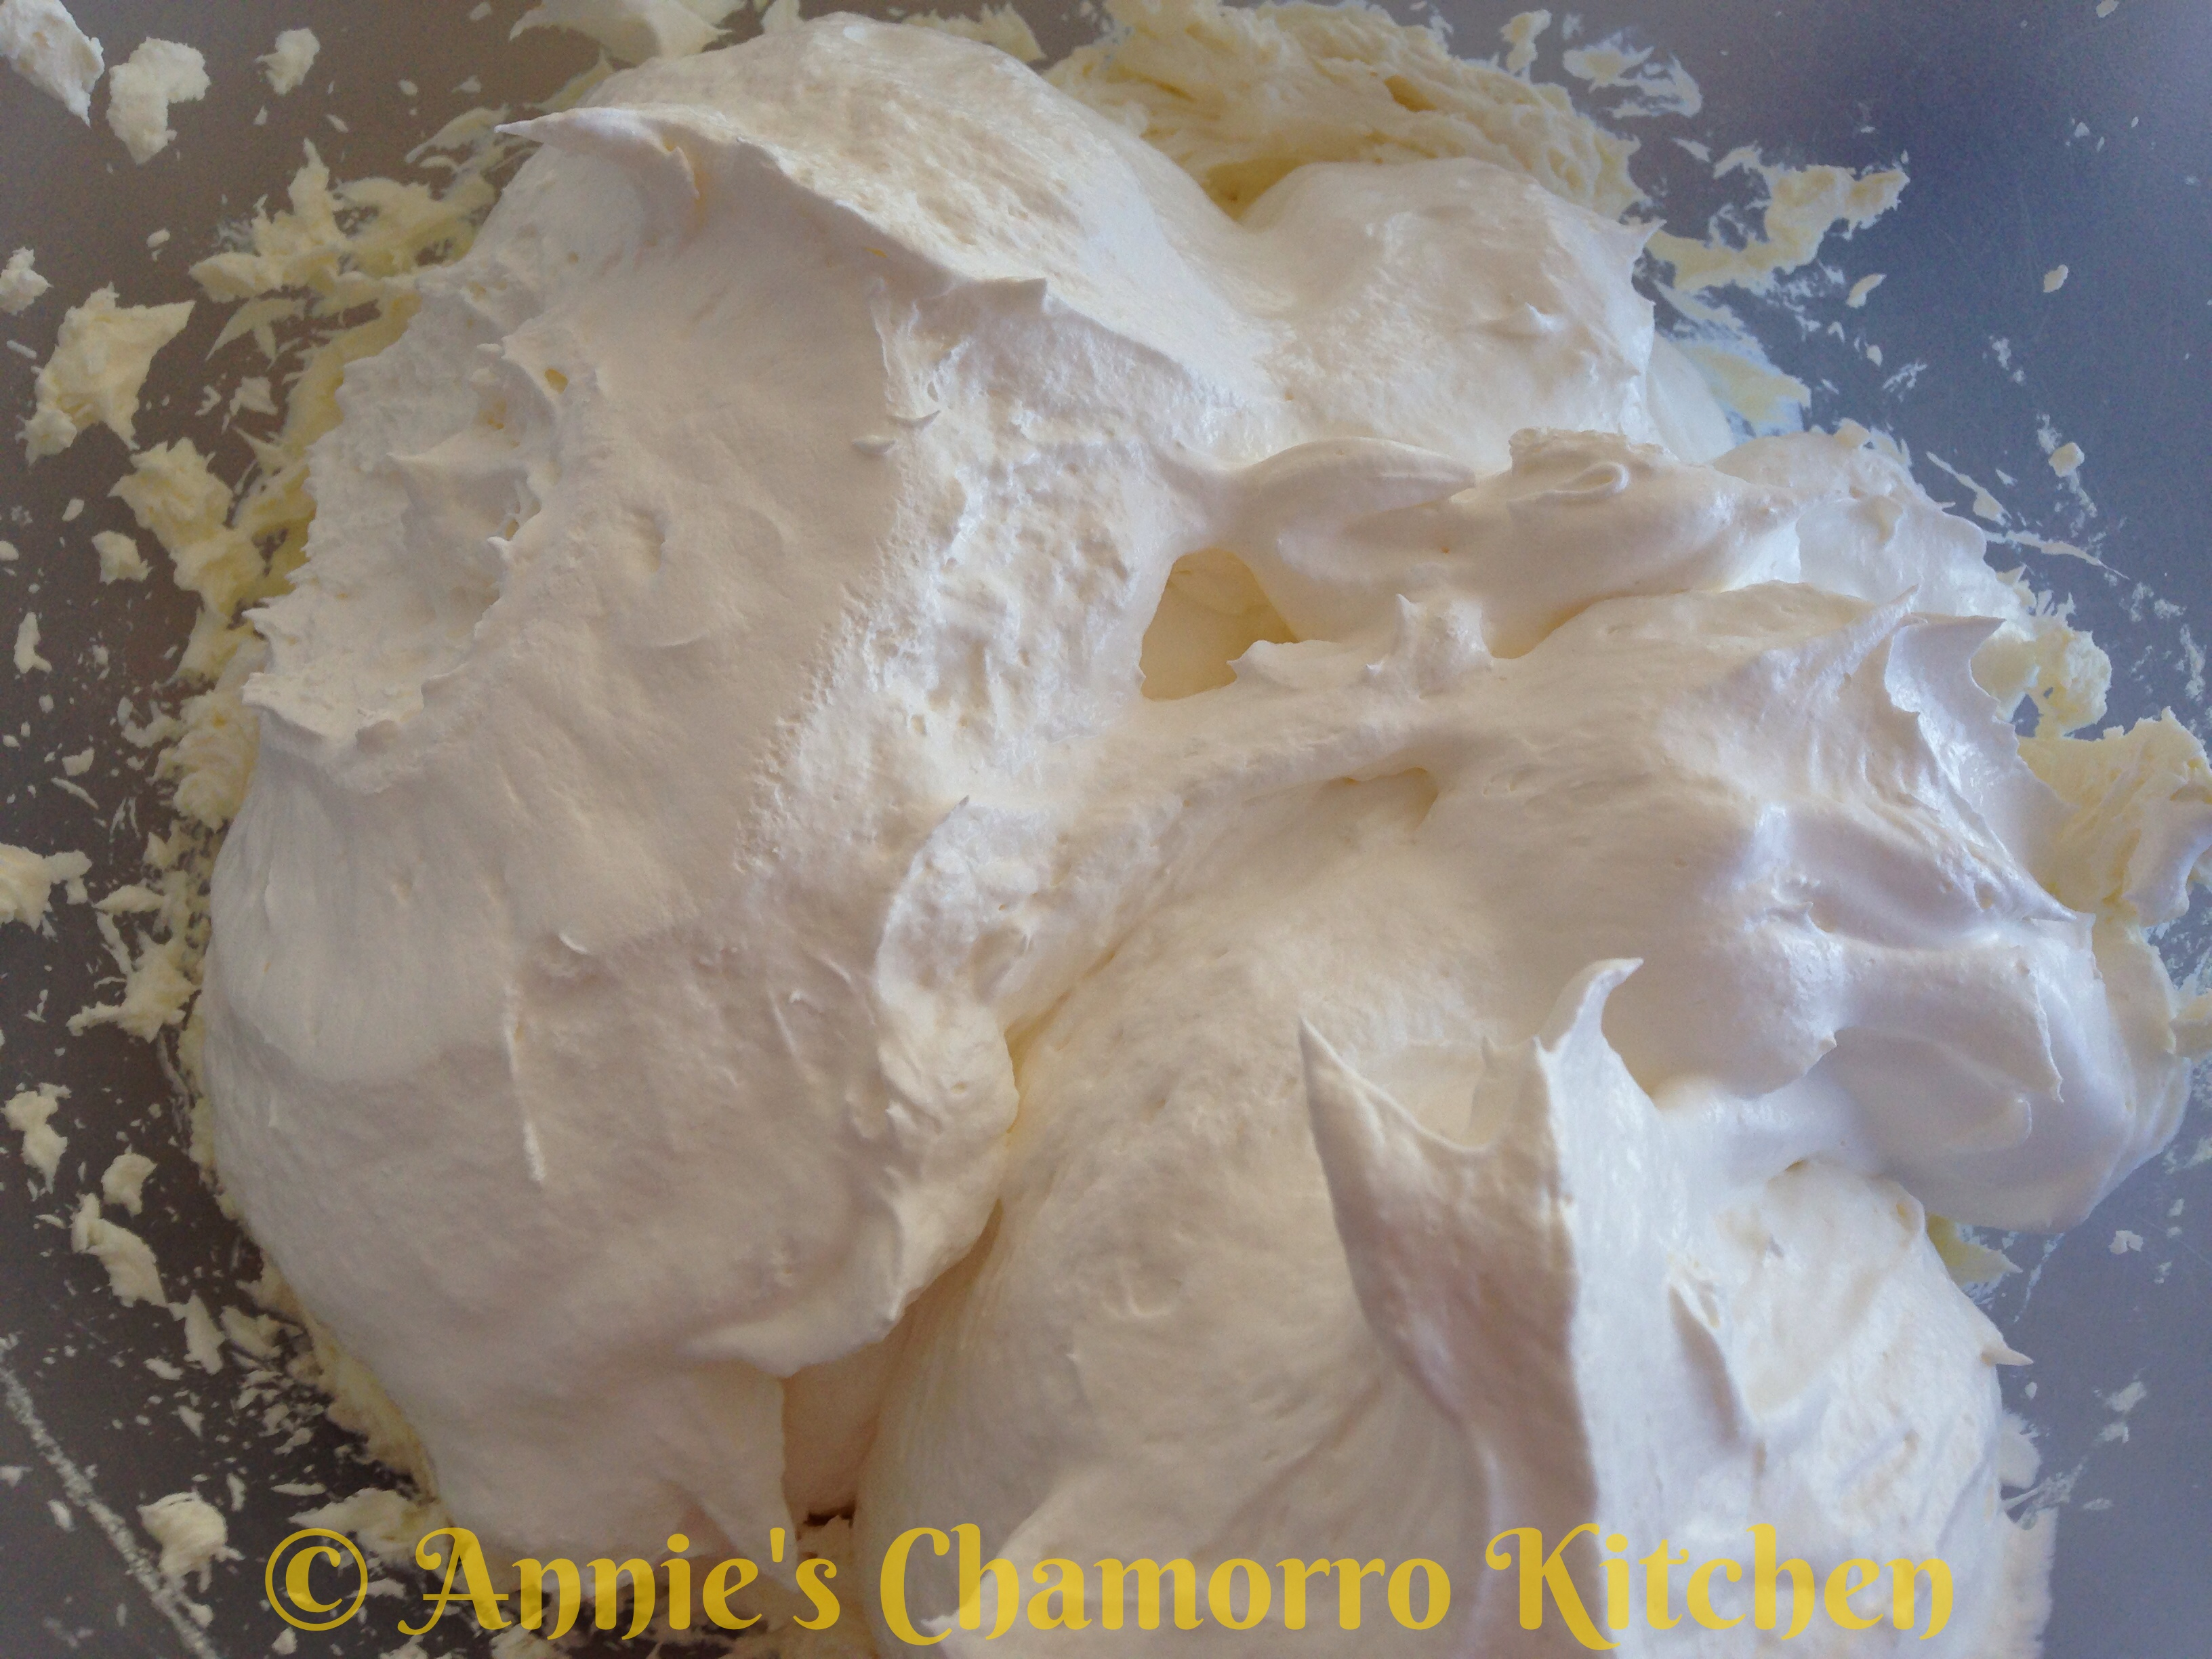
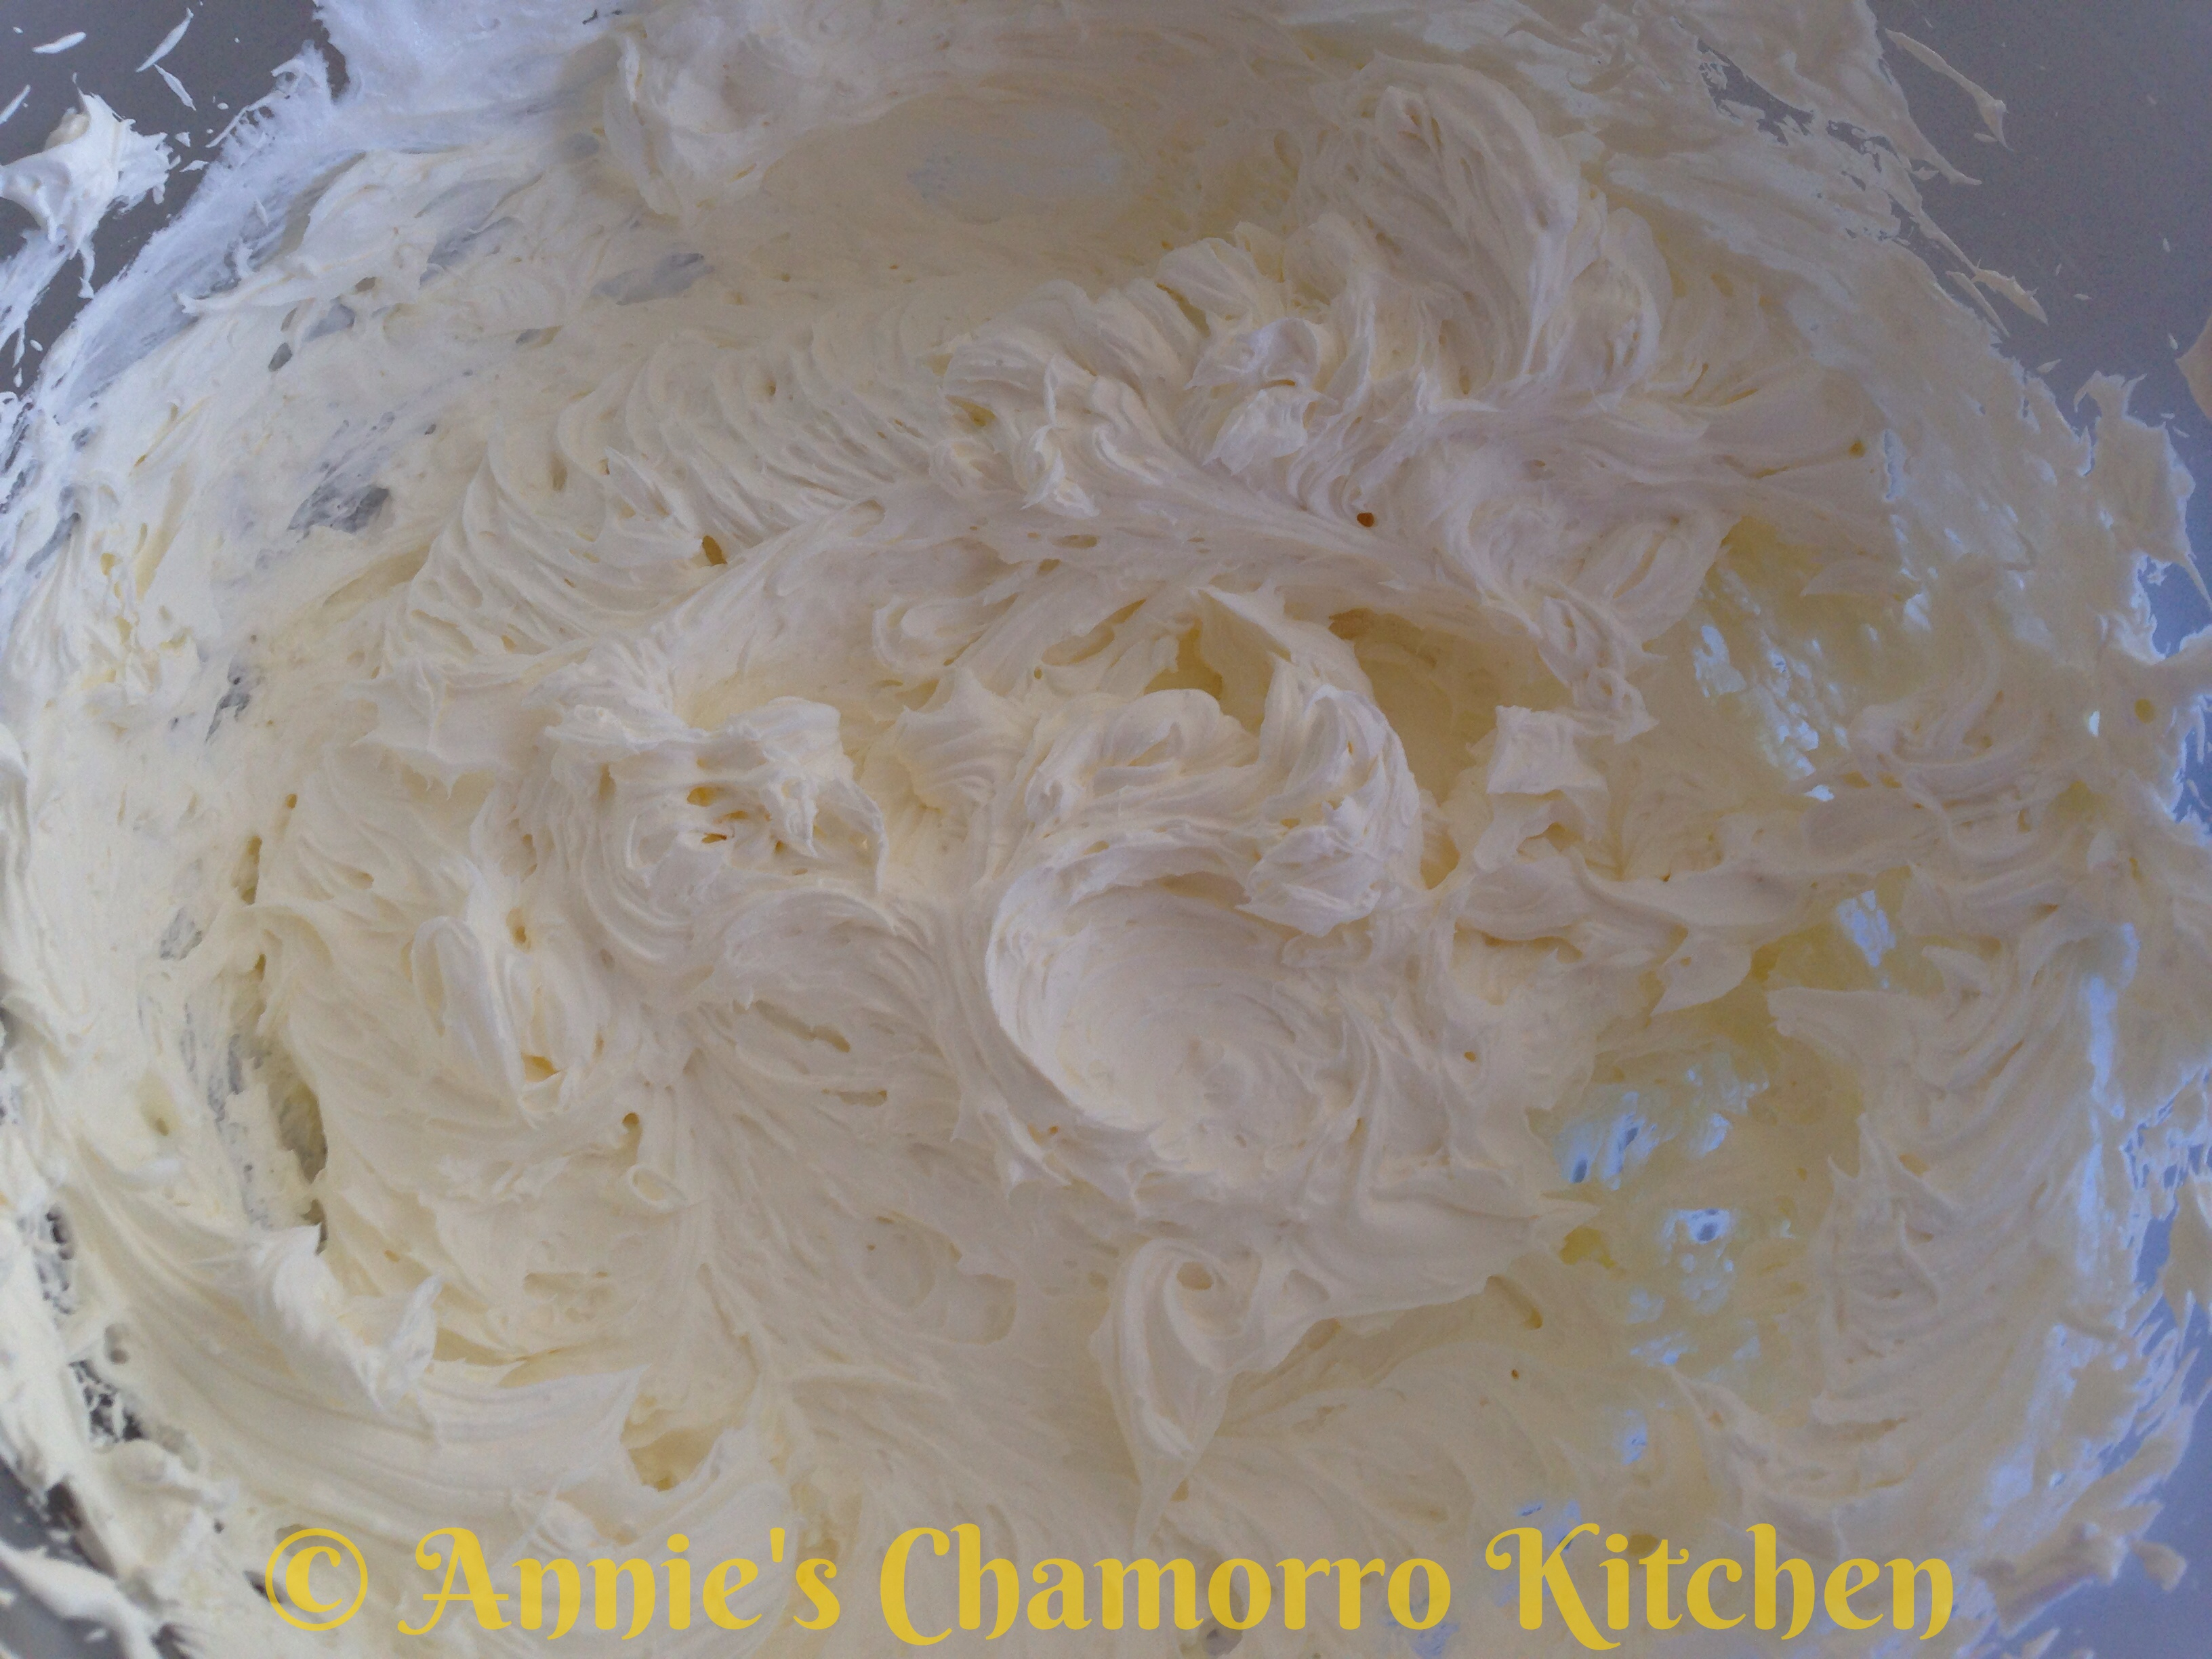
Mix the Cool Whip and cream cheese until creamy.

IMG_3180

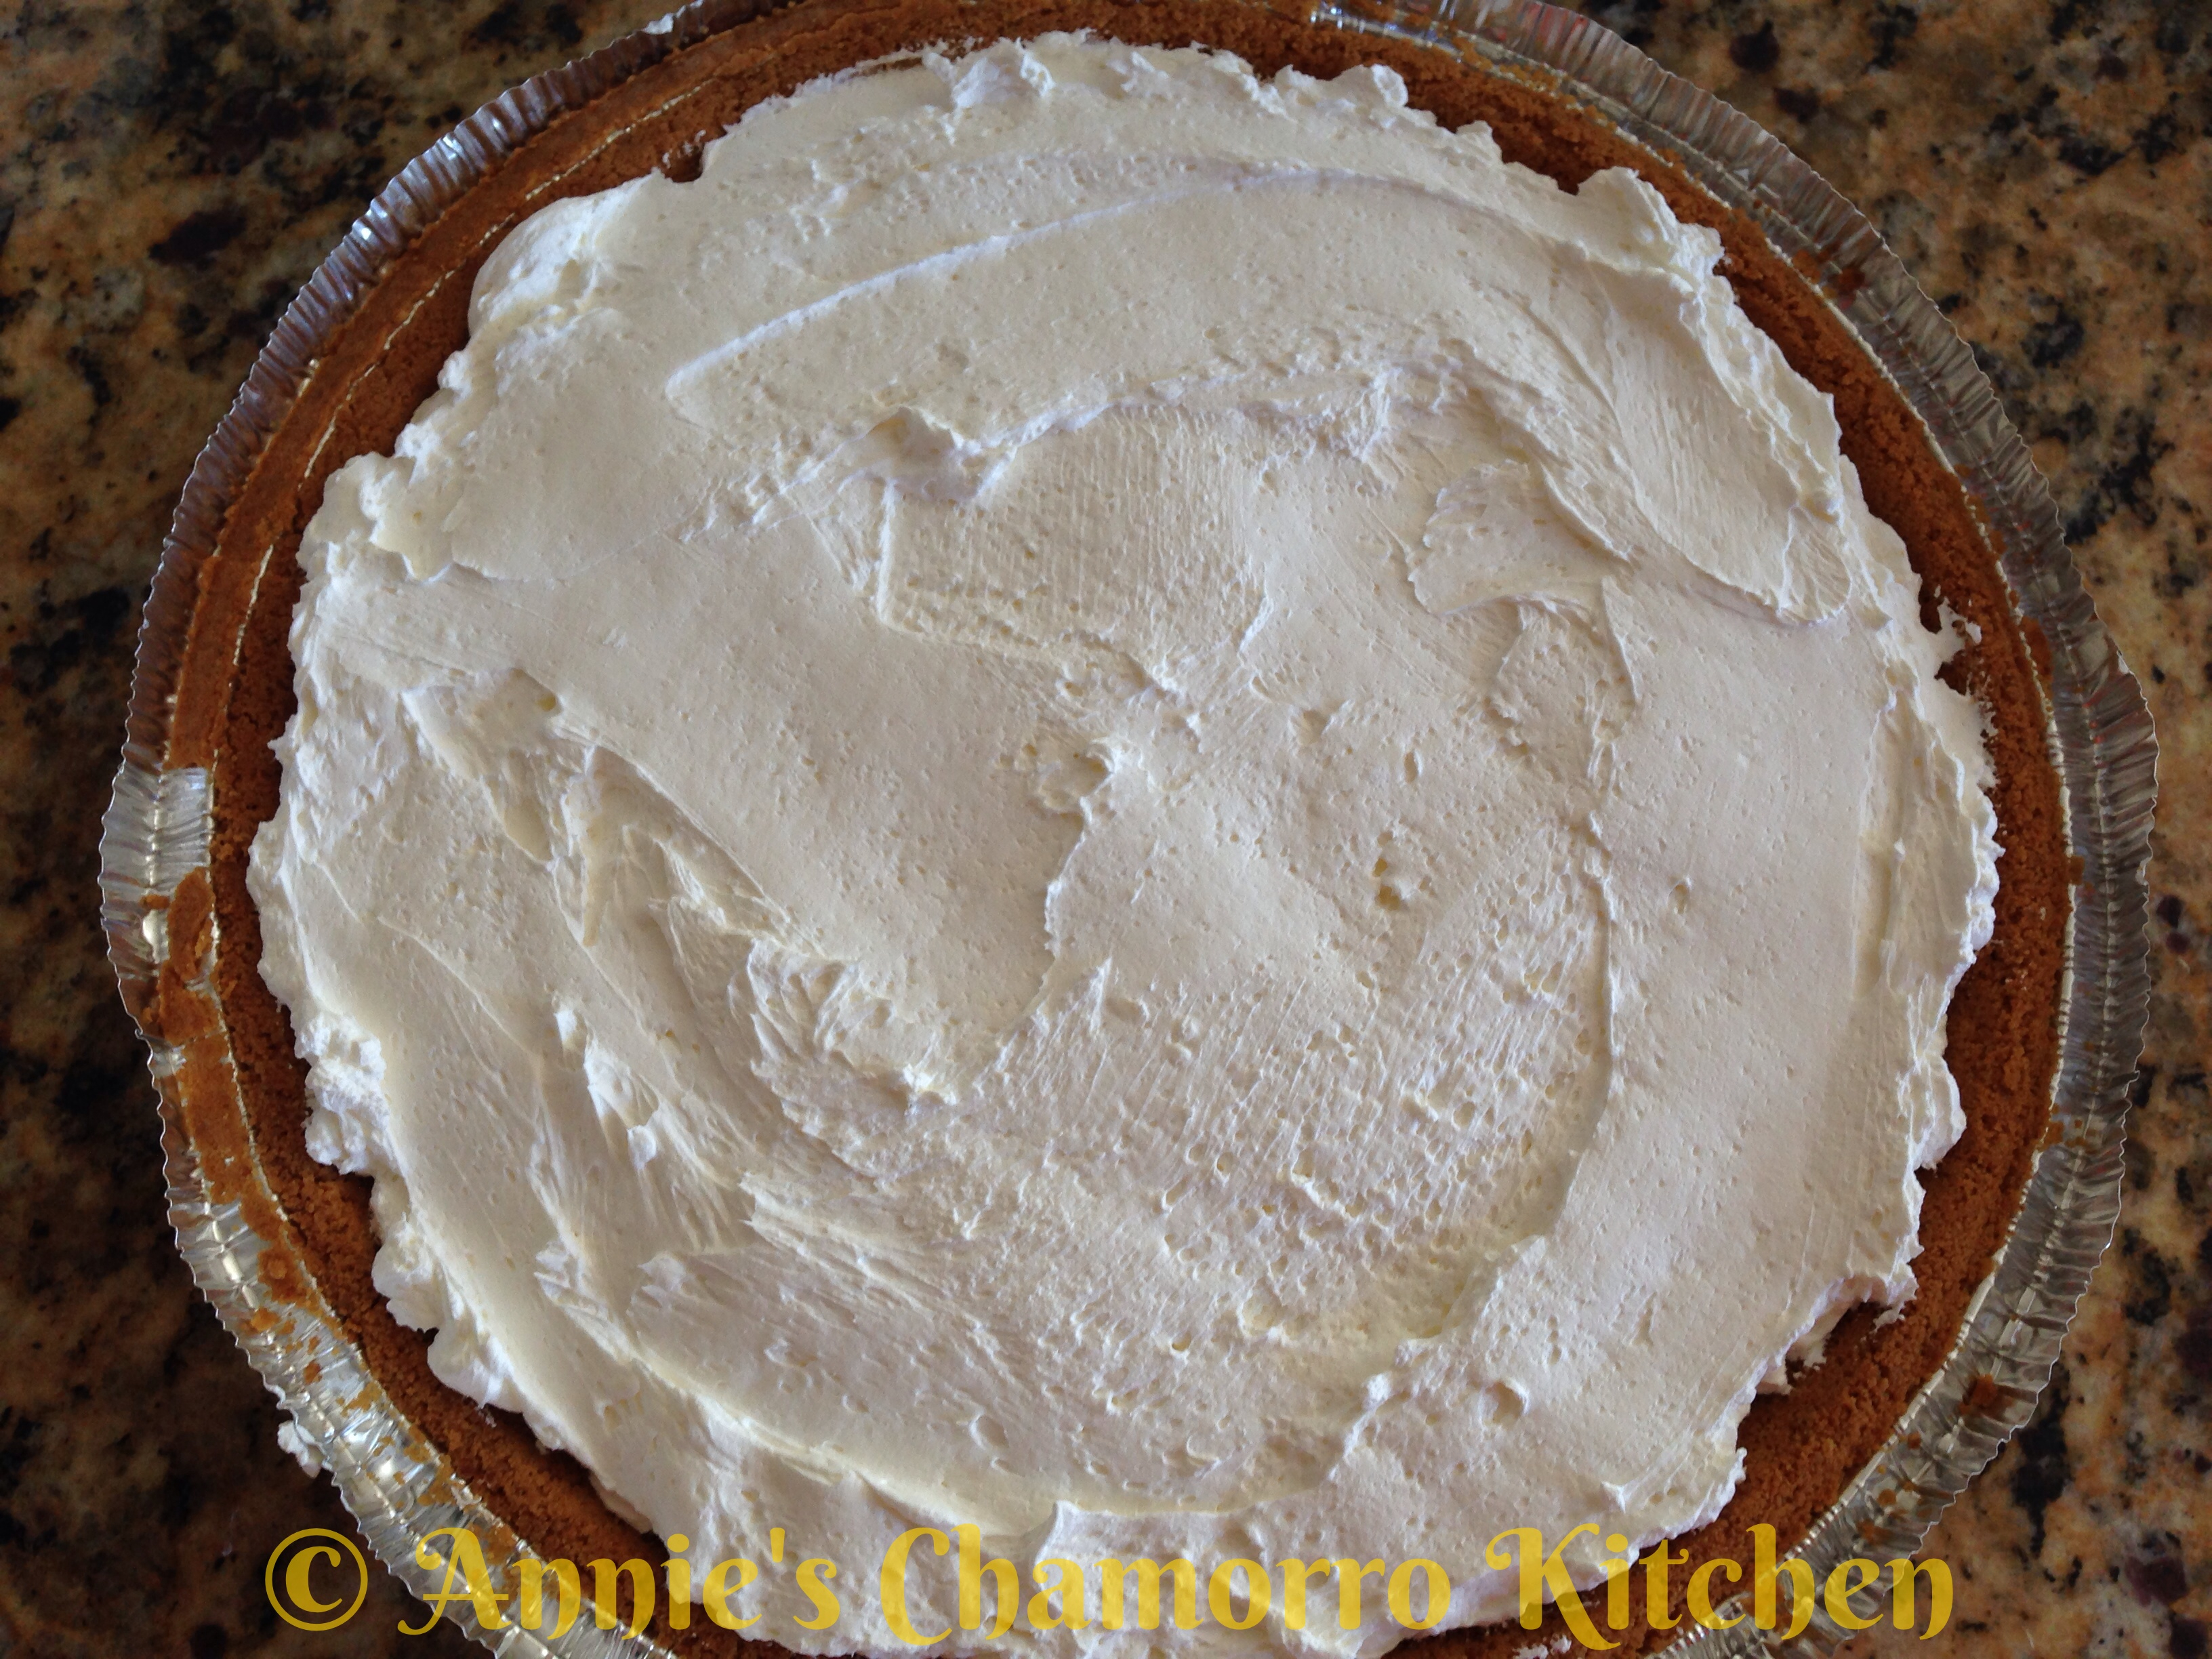
Scoop the cream cheese mixture into the cooled pie crust, coming to about 1/2 inch from the top of the crust (you want to leave some room for the blueberry filling).

IMG_3225

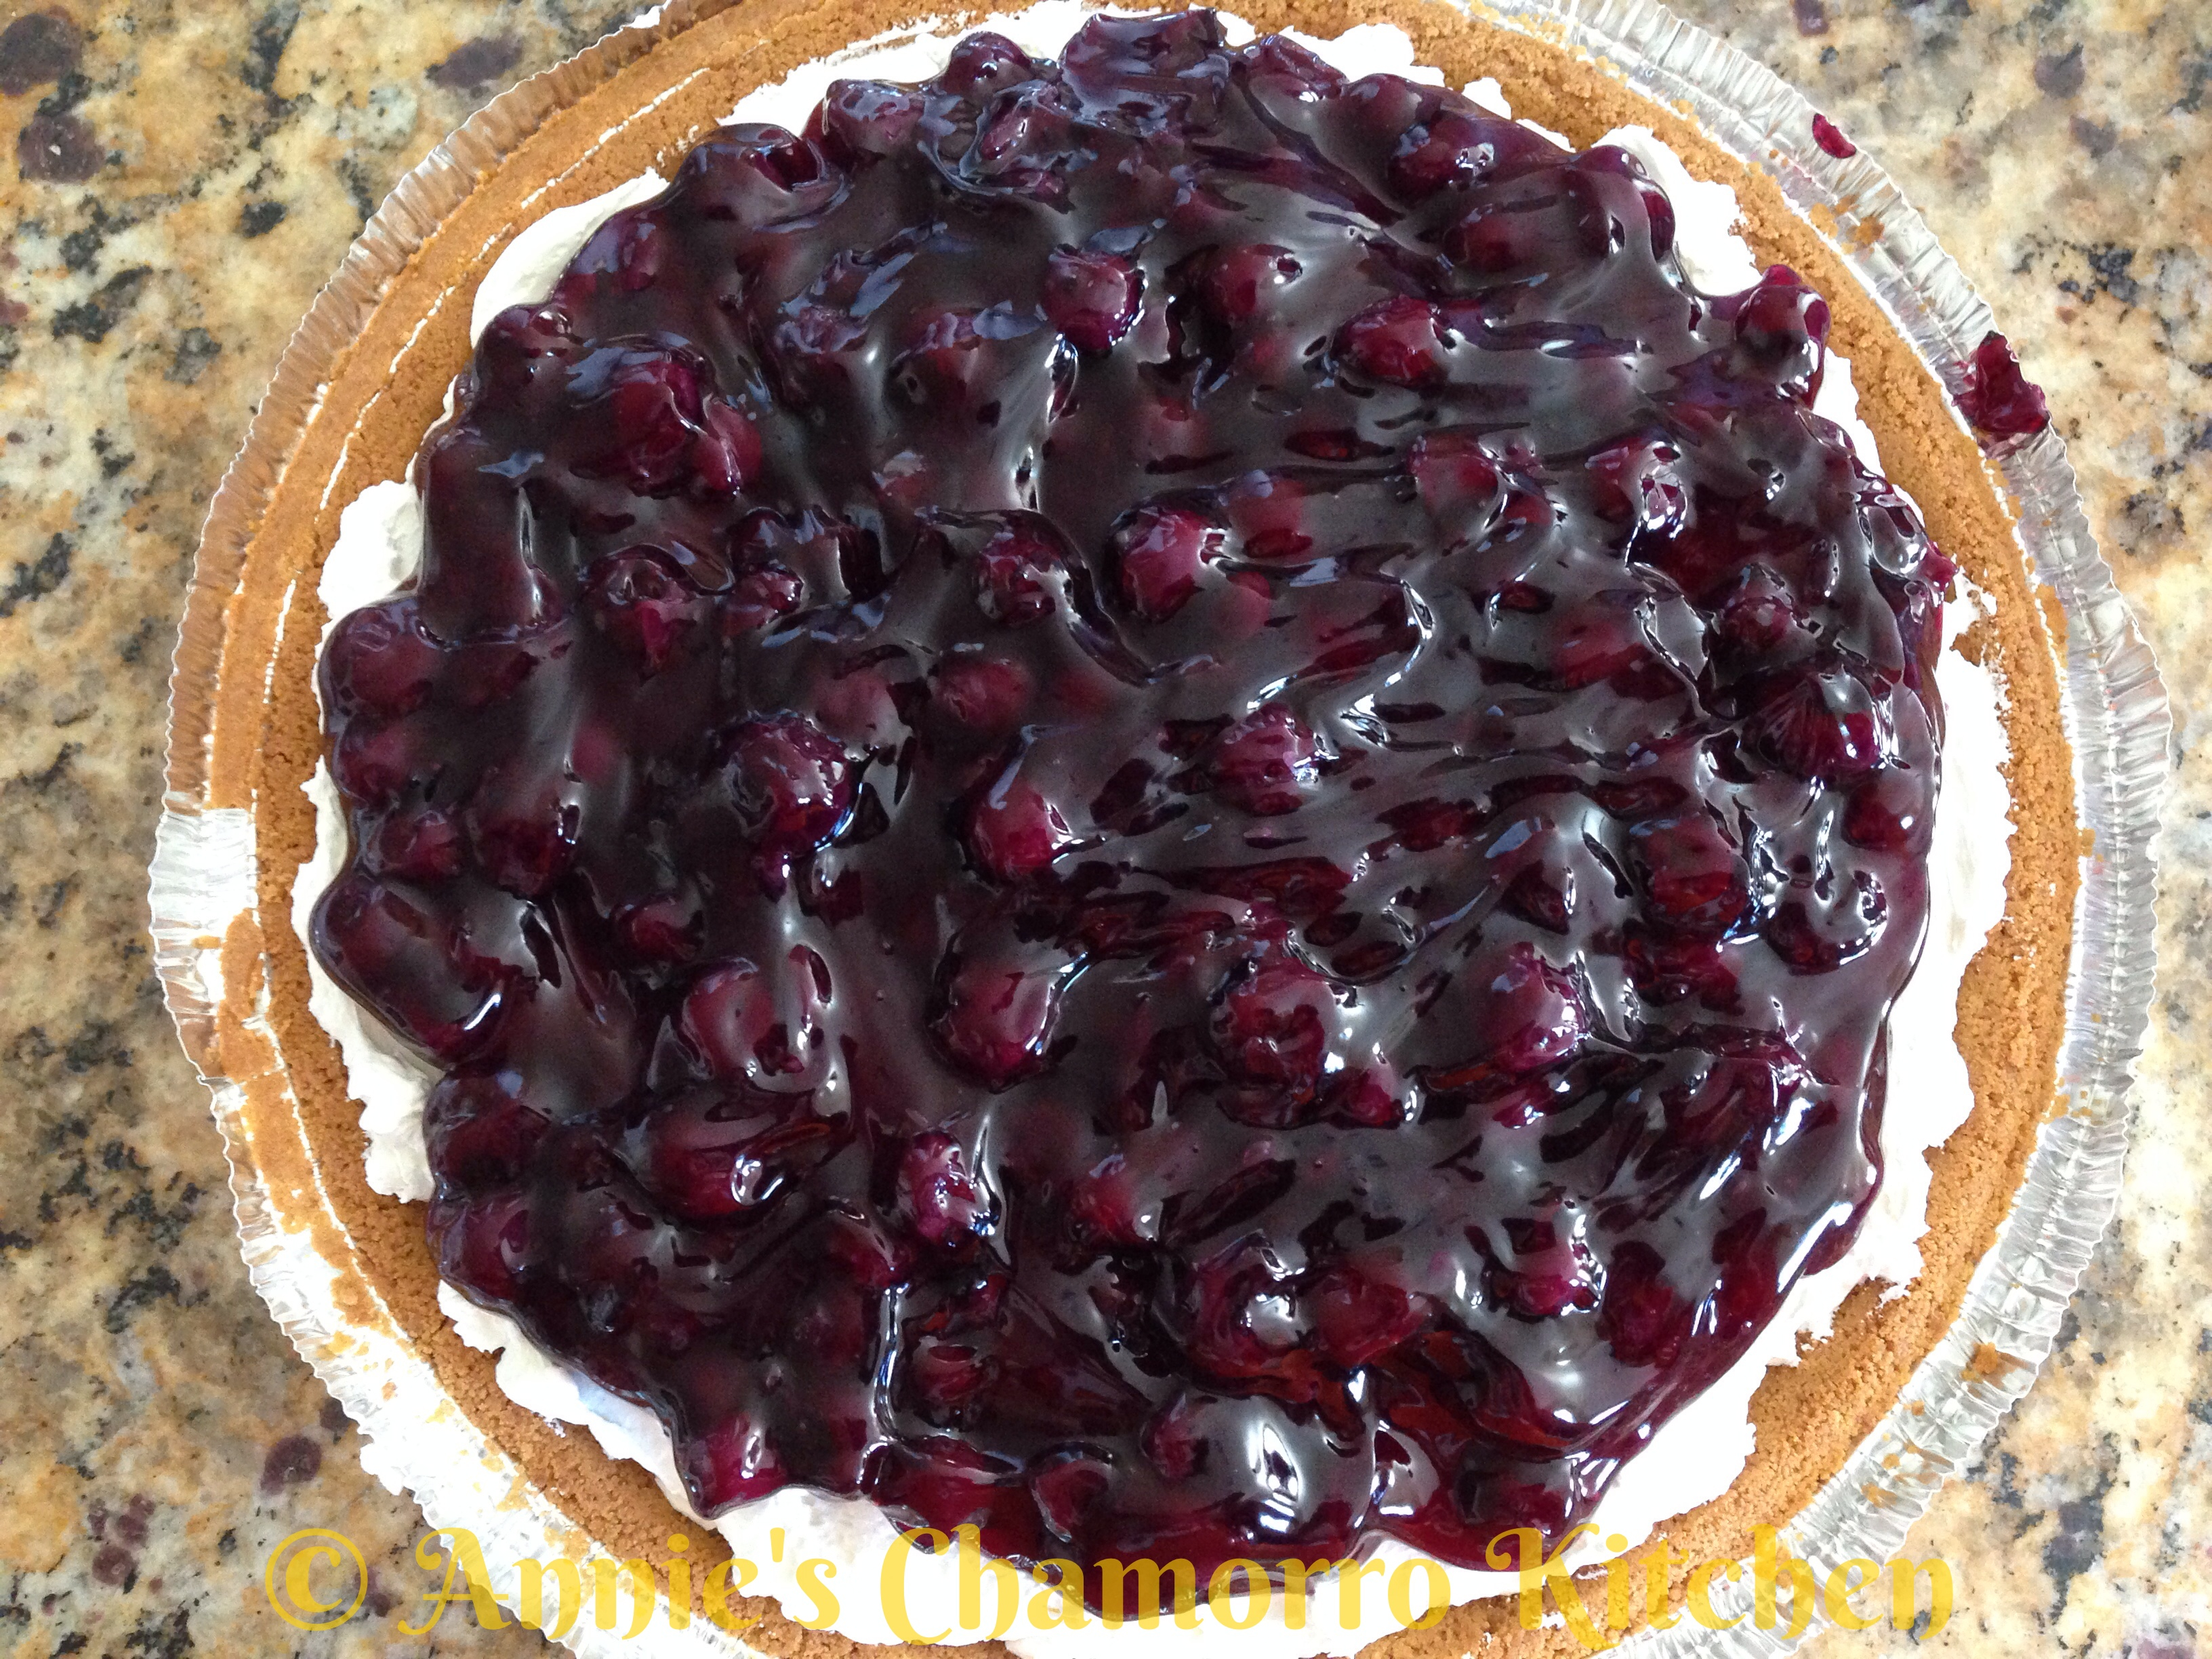
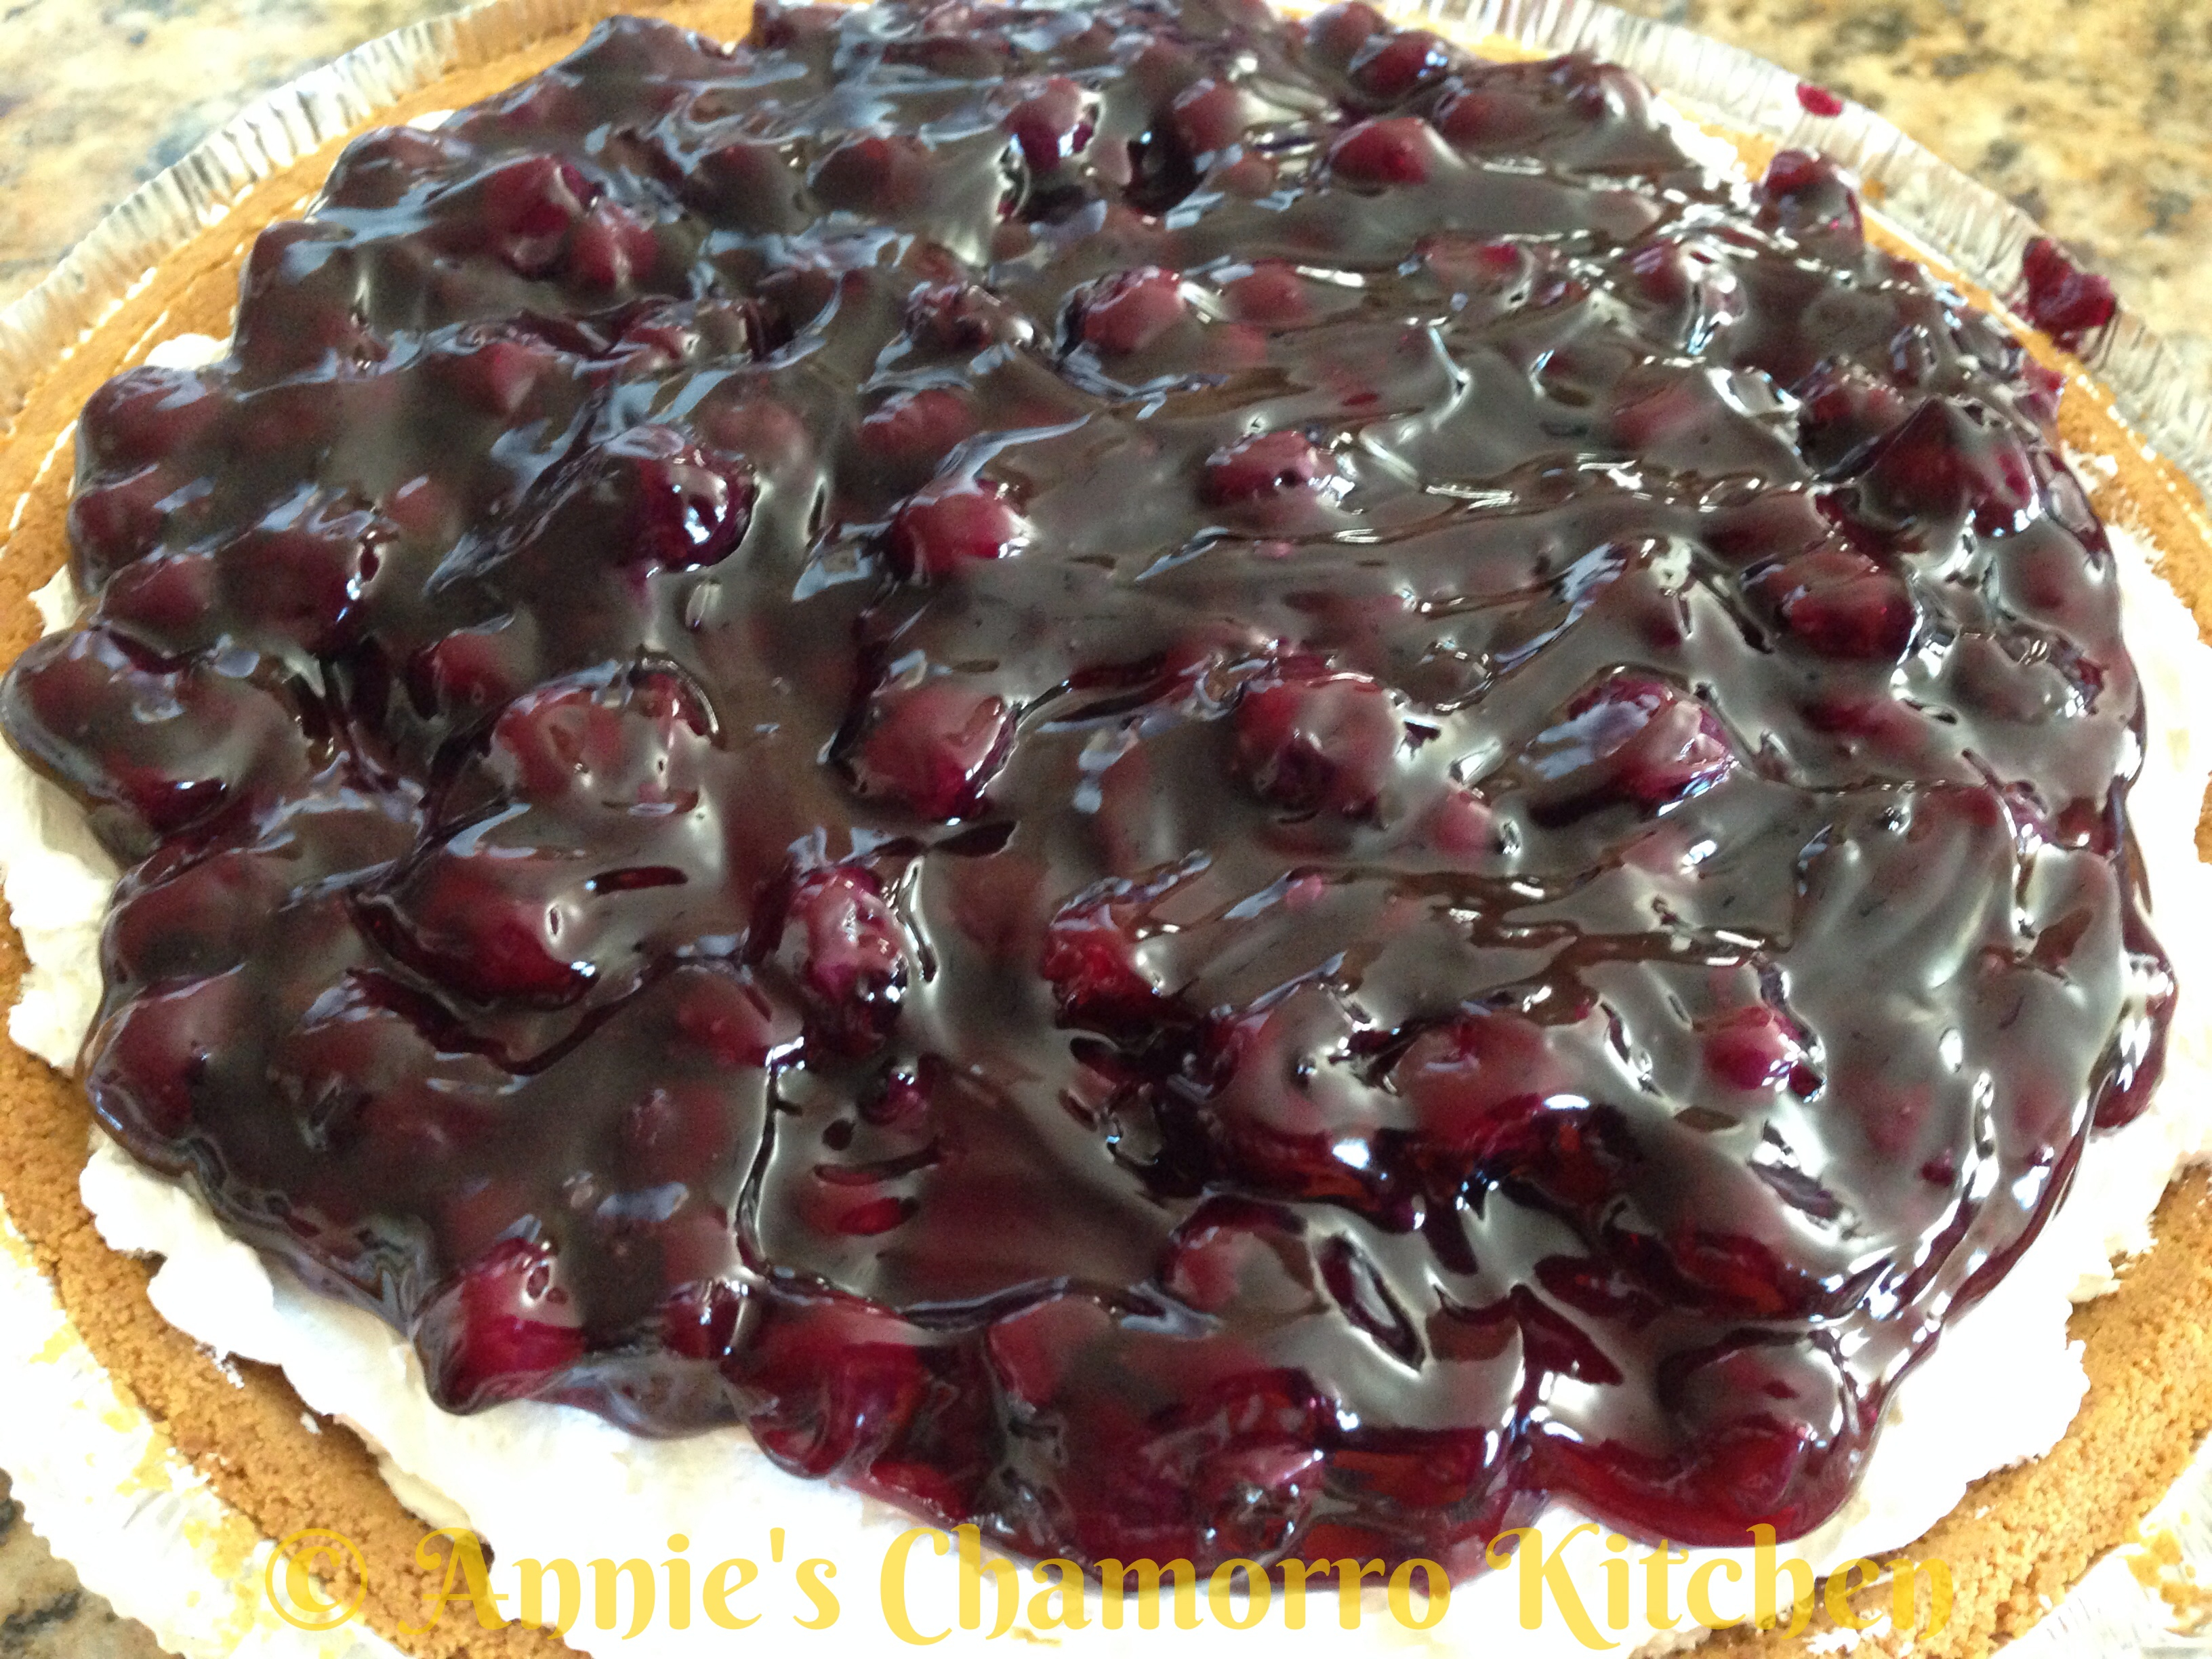
Top the cream cheese mixture with the blueberry filling.

IMG_3182

Yum!  Don’t you want to dig right in?  

You can eat this right away, but it’s better if you let the filling set up a bit.  Cover the cheesecake with the plastic lid that comes with the crust.  Refrigerate for at least 30 minutes (an hour or two is even better) then slice, serve, and ENJOY!

IMG_3186

Want a fork? 😀

Be sure to check out my recipe for Mandarin Pie!

Mandarin Pie - 15

Beef Tinaktak

Beef Tinaktak is a delicious Chamorro dish.  It’s one of my favorite comfort foods–I love drowning my rice with the coconut milk kådu (broth).

Tinaktak–I love saying that.  I think the name came from the sound made when pounding pieces of steak with a knife to tenderize it (tak tak tak tak tak).  Well, maybe that’s not really where the name of this dish originated from, but it sounds good, doesn’t it? 🙂

Rather than pounding a piece of steak, you can use minute steak or ground beef in this recipe.

Give my recipe a try. I think you’ll like it.

Beef Tinaktak

IMG_3279

Ingredients:

  • 3 pounds minute steak, cut into bite sized pieces (or substitute with 3 pounds lean ground beef)
  • 2 cans coconut milk
  • 1 medium onion, diced
  • 2-3 cloves garlic, minced
  • 2 cans stewed tomatoes, undrained (chop tomatoes into small pieces)
  • 2 cups fresh green beans, cut into 2-inch pieces
  • 4 tablespoons Dashida seasoning (or salt, to taste)
  • 1/2 teaspoon black pepper
  • donne’ (hot pepper), optional

Directions:

1.  If you’re using fresh green beans, you’re going to want to blanch them first.  Blanching means to put vegetables into a pot of boiling water, let it cook for a few minutes, then remove the vegetables and immediately place them into a bowl of ice water to stop the cooking.

Here’s how it’s done.

In a large pot, bring about 5 cups of water to a rapid boil over high heat. Add enough salt so the water tastes faintly salty. While the water heats, fill a medium sized bowl about three quarters full with ice, then add enough cold water to cover the top of the ice.

IMG_3247

When the water is boiling and the ice bath is ready, trim the green beans to the size you need. It’s best to trim them just prior to cooking so they won’t oxidize or dehydrate. Add the beans to the boiling water in batches small enough to ensure that the water doesn’t lose its boil. Boil the beans only until they’re barely cooked through but still tender. To test, remove one piece with a slotted spoon, dip it into the ice bath to cool, and eat it.

IMG_3246

As soon as the beans are done, remove them as fast as you can and submerge them in the ice bath. Remove them from the ice bath as soon as they are no longer warm.  Set aside.

IMG_3248

2.  In a medium-sized pan, sauté the meat, onions and garlic over medium high heat; cook until meat is browned and onions are translucent.

IMG_3253

3.  Add tomatoes to the meat mixture, juice and all.

IMG_3258

4.  Add the blanched vegetables to the meat and tomatoes mixture.

IMG_3271

5.  Add the Dashida and black pepper.  Stir, taste, and adjust the seasonings if needed.

IMG_3272

6.  Slowly stir in the coconut milk; lower the heat and simmer for 5 minutes or until the coconut milk is heated (do not boil).

IMG_3275 IMG_3276

IMG_3277

7. Add donne’ if desired.  Serve over hot rice (steamed white or brown) and ENJOY!

IMG_3278 IMG_3279

Cucumber Cabbage Salad

Are you tired of the same old salad and salad dressing?  Try my Cucumber Cabbage Salad with my delicious, tangy salad dressing.  It’s quick and easy to make, and since it’s homemade, you know you’ll be getting the “real” stuff, not something made with preservatives.

Give my recipe a try.  I think you’ll like it. 🙂

Cucumber Cabbage Salad

IMG_3201


Ingredients:

4 cucumbers (medium, peeled, seeded, cut into sticks)

1 teaspoon salt

1 carrot, very thinly sliced

1 small cabbage, thinly sliced

1 bunch green onions, sliced


Dressing Ingredients:

1 cup rice vinegar

2 tablespoons tahini (ground sesame seeds)

1 teaspoon chopped garlic

4 tablespoons soy sauce

1 tablespoon golden brown sugar

1-inch piece of fresh ginger (peeled, grated)


Directions:

Wash and peel the cucumbers.

wpid-Photo-Feb-1-2014-737-PM.jpg

Cut the cucumbers into quarters.

wpid-Photo-Feb-1-2014-743-PM.jpg

Remove the seeds.

wpid-Photo-Feb-1-2014-758-PM.jpg

Cut into sticks.

wpid-Photo-Feb-1-2014-746-PM.jpg

Place the cucumber sticks into a colander.

wpid-Photo-Feb-1-2014-805-PM.jpg

Sprinkle the salt over the cucumbers.  Stir, ensuring the cucumbers are coated with salt.  Let the salted cucumbers sit for about 20 minutes to allow excess water to drain.

wpid-Photo-Feb-1-2014-808-PM.jpg

This is how much water drained out of the cucumbers after about 10 minutes.

wpid-Photo-Feb-1-2014-830-PM.jpg

After 30 minutes, pour out the drained water then rinse the salt off the cucumbers.  Drain well.  Place into a large mixing bowl then set aside.

wpid-Photo-Feb-1-2014-830-PM.jpg

Thinly slice the cabbage.  To save time, you can use packaged cole slaw mix.  Place the sliced cabbage into the mixing bowl with the cucumbers.

IMG_3136

Peel and slice the carrot into thin matchstick pieces.  Add to the mixing bowl.

IMG_3137

Add the sliced green onions to the bowl.

IMG_3139

Mix all the vegetables together.  Set aside while you make the dressing.

IMG_3140

Make the Dressing:

Place the vinegar into a small mixing bowl.  I poured the vinegar into a handy kitchen gadget that’s used to mix salad dressings (it comes with whisk built into the lid).

wpid-Photo-Feb-1-2014-813-PM.jpg

Add the tahini.

wpid-Photo-Feb-1-2014-815-PM.jpg

You can find tahini at most grocery stores.  This is what one brand looks like.  Some stores sell them in the International aisles; sometimes you’ll find it with the salad dressings.  Just ask a store clerk if you can’t find it.

wpid-Photo-Feb-1-2014-816-PM.jpg

Add the garlic.

wpid-Photo-Feb-1-2014-817-PM.jpg

Add the soy sauce.

wpid-Photo-Feb-1-2014-819-PM.jpg

Add the brown sugar.

wpid-Photo-Feb-1-2014-820-PM.jpg

Peel and grate the ginger.

wpid-Photo-Feb-1-2014-824-PM.jpg

Mix all the ingredients together.

wpid-Photo-Feb-1-2014-827-PM.jpg

Pour the dressing over the vegetables.

IMG_3201

Serve alongside your favorite meal and ENJOY!

IMG_3209

Smoked & Slow-Grilled Brisket

There’s nothing like a good BBQ, be it pork ribs, a good steak, or a brisket.  But to get a great tasting, tender brisket, you need to cook it long and slow.  While you can certainly roast a brisket in an oven, the taste of smoked brisket just can’t be beat.

It takes time and attention to get it right, but when it’s done, you’ll be so happy you spent all those loving hours smoking then grilling the brisket.  In fact, you’d be surprised at how many neighbors you never knew you had–they’ll be coming out of the woodwork when their noses pick up the scents wafting from your grill.

Give my recipe a try.  I think you’ll like it. 🙂

Smoked Brisket

IMG_3205

Ingredients:

  • 1 6-pound brisket flat, trimmed
  • BBQ Rub (find my recipe here)
  • 2 cups beef broth
  • 1 bottle beer
  • 1 can cola
  • 1/4 cup apple vinegar
  • 2 tablespoons Worcestershire sauce

Directions:

1. Prepare the brisket by trimming off some of the excess fat (leave some fat on–it’ll keep the meat moist during smoking-grilling).  Season the brisket on both sides with the BBQ Rub.  Let it sit (refrigerated) for several hours or overnight.


2.  Make the basting sauce: In a clean spray bottle, combine the beef broth, beer, and cola with the vinegar and Worcestershire sauce.


3.  Arrange the brisket fat-sideup on the grill.  If you have a smoker-grill, smoke the brisket for 4 hours.  Spray the top of the brisket every hour with the basting sauce.  After smoking for 4 hours, set your grill’s temperature to 225 degrees.  Continue to cook the brisket for about 6 more hours, spraying occasionally with the basting sauce.

IMG_3187

4.  When the brisket is (finally) done, place in a pan and cover tightly with aluminum foil.  Let the brisket rest for 30 minutes prior to slicing.  Slice with a sharp knife across the grain.  Serve with fina’denne’ and hot steamed (or red) rice.

ENJOY!

IMG_3203

IMG_3204

Chocolate Chip Scones

I love scones.  My favorites are chocolate chip or blueberry scones.  They’re perfect for breakfast, along with a steaming hot cup of coffee.

You can buy really delicious scones at your neighborhood coffee shop, buy why waste your hard-earned money?  These scones take almost no time to make.  You can mix up a batch in just a few minutes and have them out of the oven in no time.

My recipe below turns out very moist and not-too-crumbly scones.

Give my recipe a try.  I think you’ll like it. 🙂


Chocolate Chip Scones


Ingredients:

2 cups all-purpose flour
2 teaspoon baking powder
1/4 teaspoon baking soda
1/2 teaspoon salt
1/3 cup light brown sugar, tightly packed
2 tablespoons Saco brand (powdered) cultured buttermilk blend (see note below)
1/2 cup (or 1 stick) unsalted butter, cut into pieces
1 cup chocolate chips (I use bittersweet chocolate chips, semi-sweet works well too)
1 large egg
1/2 cup water (see note below)
1/2 teaspoon vanilla extract
1/4 teaspoon almond extract
3 tablespoons milk, for brushing the scones before baking

NOTE:

If you can’t find powdered buttermilk, you can use fresh (liquid) buttermilk in place of the buttermilk powder and water in my recipe.  Just add the buttermilk along with the eggs and extracts, as described in the directions below.


Directions:

Preheat oven to 425 degrees.

Place the flour into a large mixing bowl.


 Add the baking powder, baking soda and salt to the mixing bowl.

Add the brown sugar to the bowl.


Add the powdered buttermilk.


 Stir the mixture to combine all of the ingredients.

 Add the pieces of butter to the flour mixture.  Using a pastry blender (the tool pictured at the top of the photo below), “cut” the butter into the flour.

 This is what the mixture looks like after cutting the butter into the flour.  You want to see small chunks of butter in the mixture.

 Add the chocolate chips to the flour mixture.

 Stir to combine.  Set this aside for now.

 Crack the egg into a small mixing bowl.

 Lightly beat the egg with a fork.

 Mix the water, vanilla and almond extract with the beaten egg.

 Pour the egg mixture into the flour mixture.

 Use a spatula to mix the ingredients together.  Gently fold the mixture until it comes together.

Using your impeccably clean hands, form the mixture into a large ball.  Do not knead or over mix.  You still want to see those little chunks of butter (see the photo below).

 Place the dough onto a large cookie sheet (I used a round baking stone).  Gently flatten the dough into a circle, about 10 inches in diameter, and about 1 1/2 inches thick.

 Use a knife or dough cutter to slice the dough into eight wedges.

 Brush the top of the dough with milk.

Bake at 425 degrees for 15 minutes, or until golden brown on top.

 Let the scones cool on the pan for a couple of minutes then remove them to a wire rack to continue cooling.

 See how moist and flaky they look? Yum! 🙂

 Serve for breakfast, as a snack, or alongside your favorite warm beverage and ENJOY!

😀

« Older Entries Recent Entries »