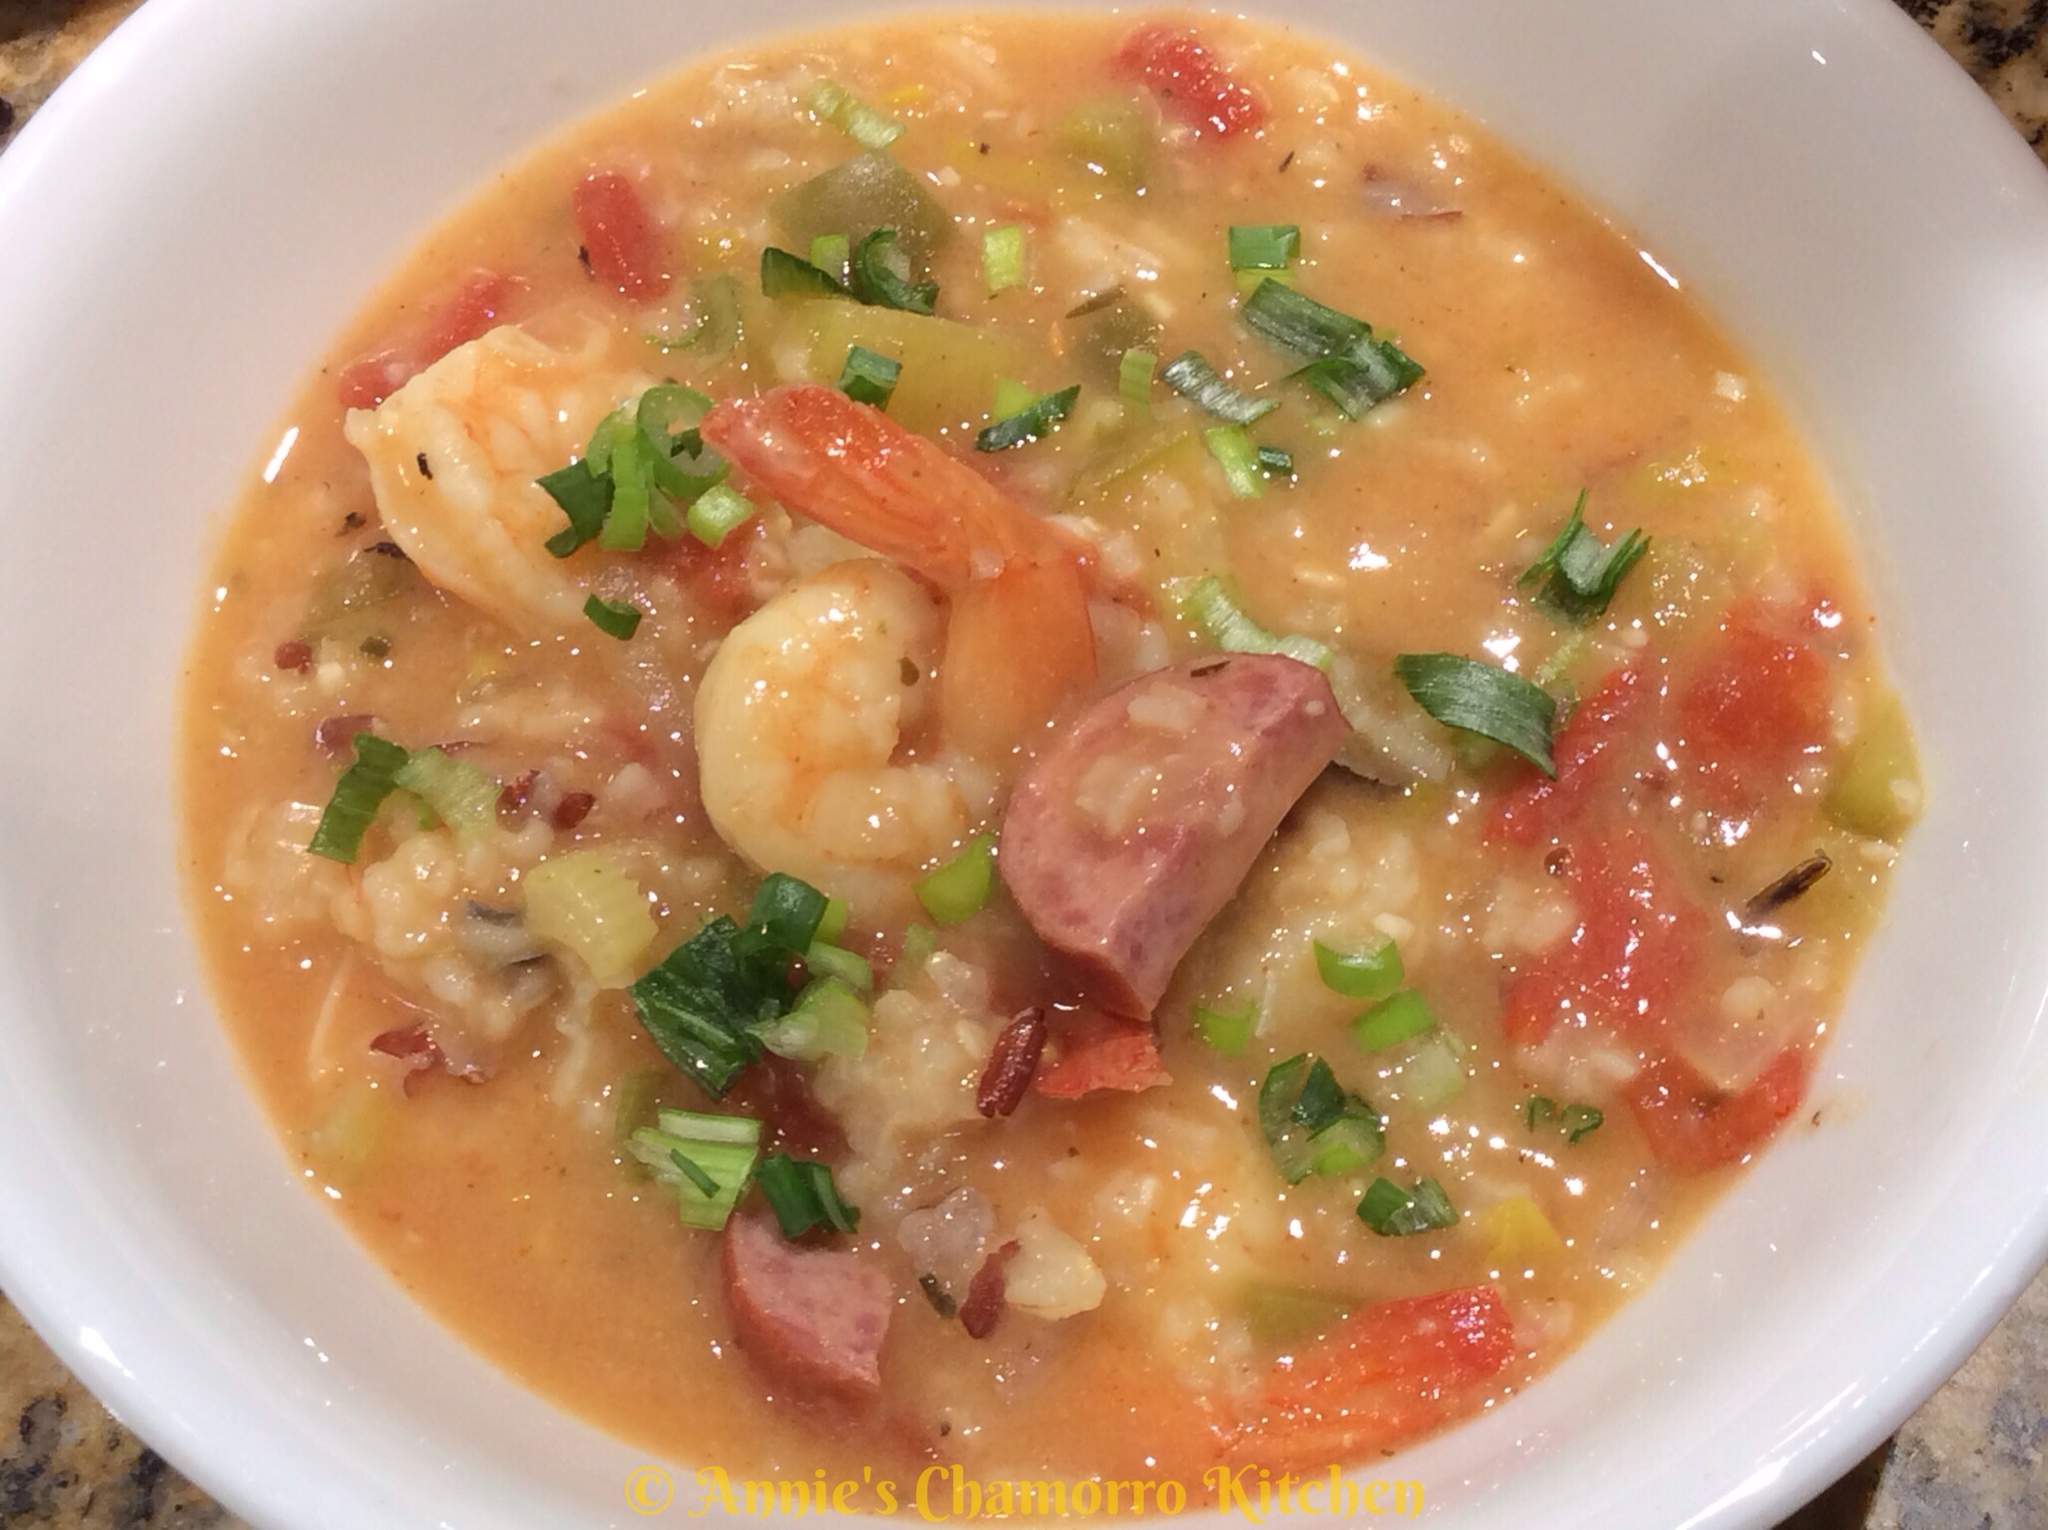
My family loves both Gumbo and Jambalaya. Today, we couldn’t decide which dish to make so I combined the two and made a combo that I call Gumbo-laya. 😉
What’s the difference, you ask?
Gumbo is a soup, made with a base of a very dark roux (made from cooking oil and flour until it turns dark brown). Gumbo also has okra, which helps to thicken the soup. The meat in gumbo depends on what you prefer, but it usually has some type of sausage (usually pork Andouille sausage) and seafood (shrimp and lump crab meat).
Jambalaya is a rice dish (not soupy at all) where the rice is cooked with the meat, along with onions, celery, peppers, stock and seasonings. It does not contain a roux since it isn’t soupy. Jambalaya also usually adds tomatoes.
My Gumbo-laya has a combo of the two. It’s soupy, uses a roux (but not a dark one) to thicken it, has okra and tomatoes along with the trinity of onions, celery and peppers, and of course, rice too. I use a wild rice medley in this recipe to up the health factor, but you can use the rice you have on hand.
Speaking of healthy, this recipe is actually pretty nutritious, believe it or not. Aside from the 1/2 cup of flour I used to make the roux, everything else is good for you. Here are the highlights:
- Organic chicken stock made from free-range chickens
- Turkey kielbasa instead of traditional high-fat Andouille sausage
- Heart healthy olive oil (a good fat), and only a couple of tablespoons, not a half CUP like traditional gumbo
- Organic wild rice
To keep the health benefits high, you can omit the shrimp and use shredded boneless, skinless chicken breast instead.
Give my recipe a try. It’s delicious…and I think you’ll like it. 🙂
Gumbo-laya
Ingredients:
- 1 package turkey kielbasa
- 1 medium onion, diced
- 4 celery stalks, diced
- 1 green bell pepper, diced
- 1 tablespoon garlic, chopped
- 2 tablespoons olive oil
- 1/2 cup all-purpose flour
- 2 quarts chicken stock
- 1 1/2 pounds peeled and deveined shrimp
- 1/2 teaspoon paprika
- 1 1/2 teaspoons sea salt
- 1/2 teaspoon garlic powder
- 1/2 teaspoon black pepper
- 1/2 teaspoon onion powder
- 1/2 teaspoon cayenne pepper
- 1/2 teaspoon dried oregano
- 1/2 teaspoon dried thyme
- 1 can (28 oz.) diced tomatoes, drained
- 1 cup wild rice medley
- 3 cups sliced okra (you can use frozen okra)
- 3 stalks green onions
- Optional: Tabasco sauce
Directions:
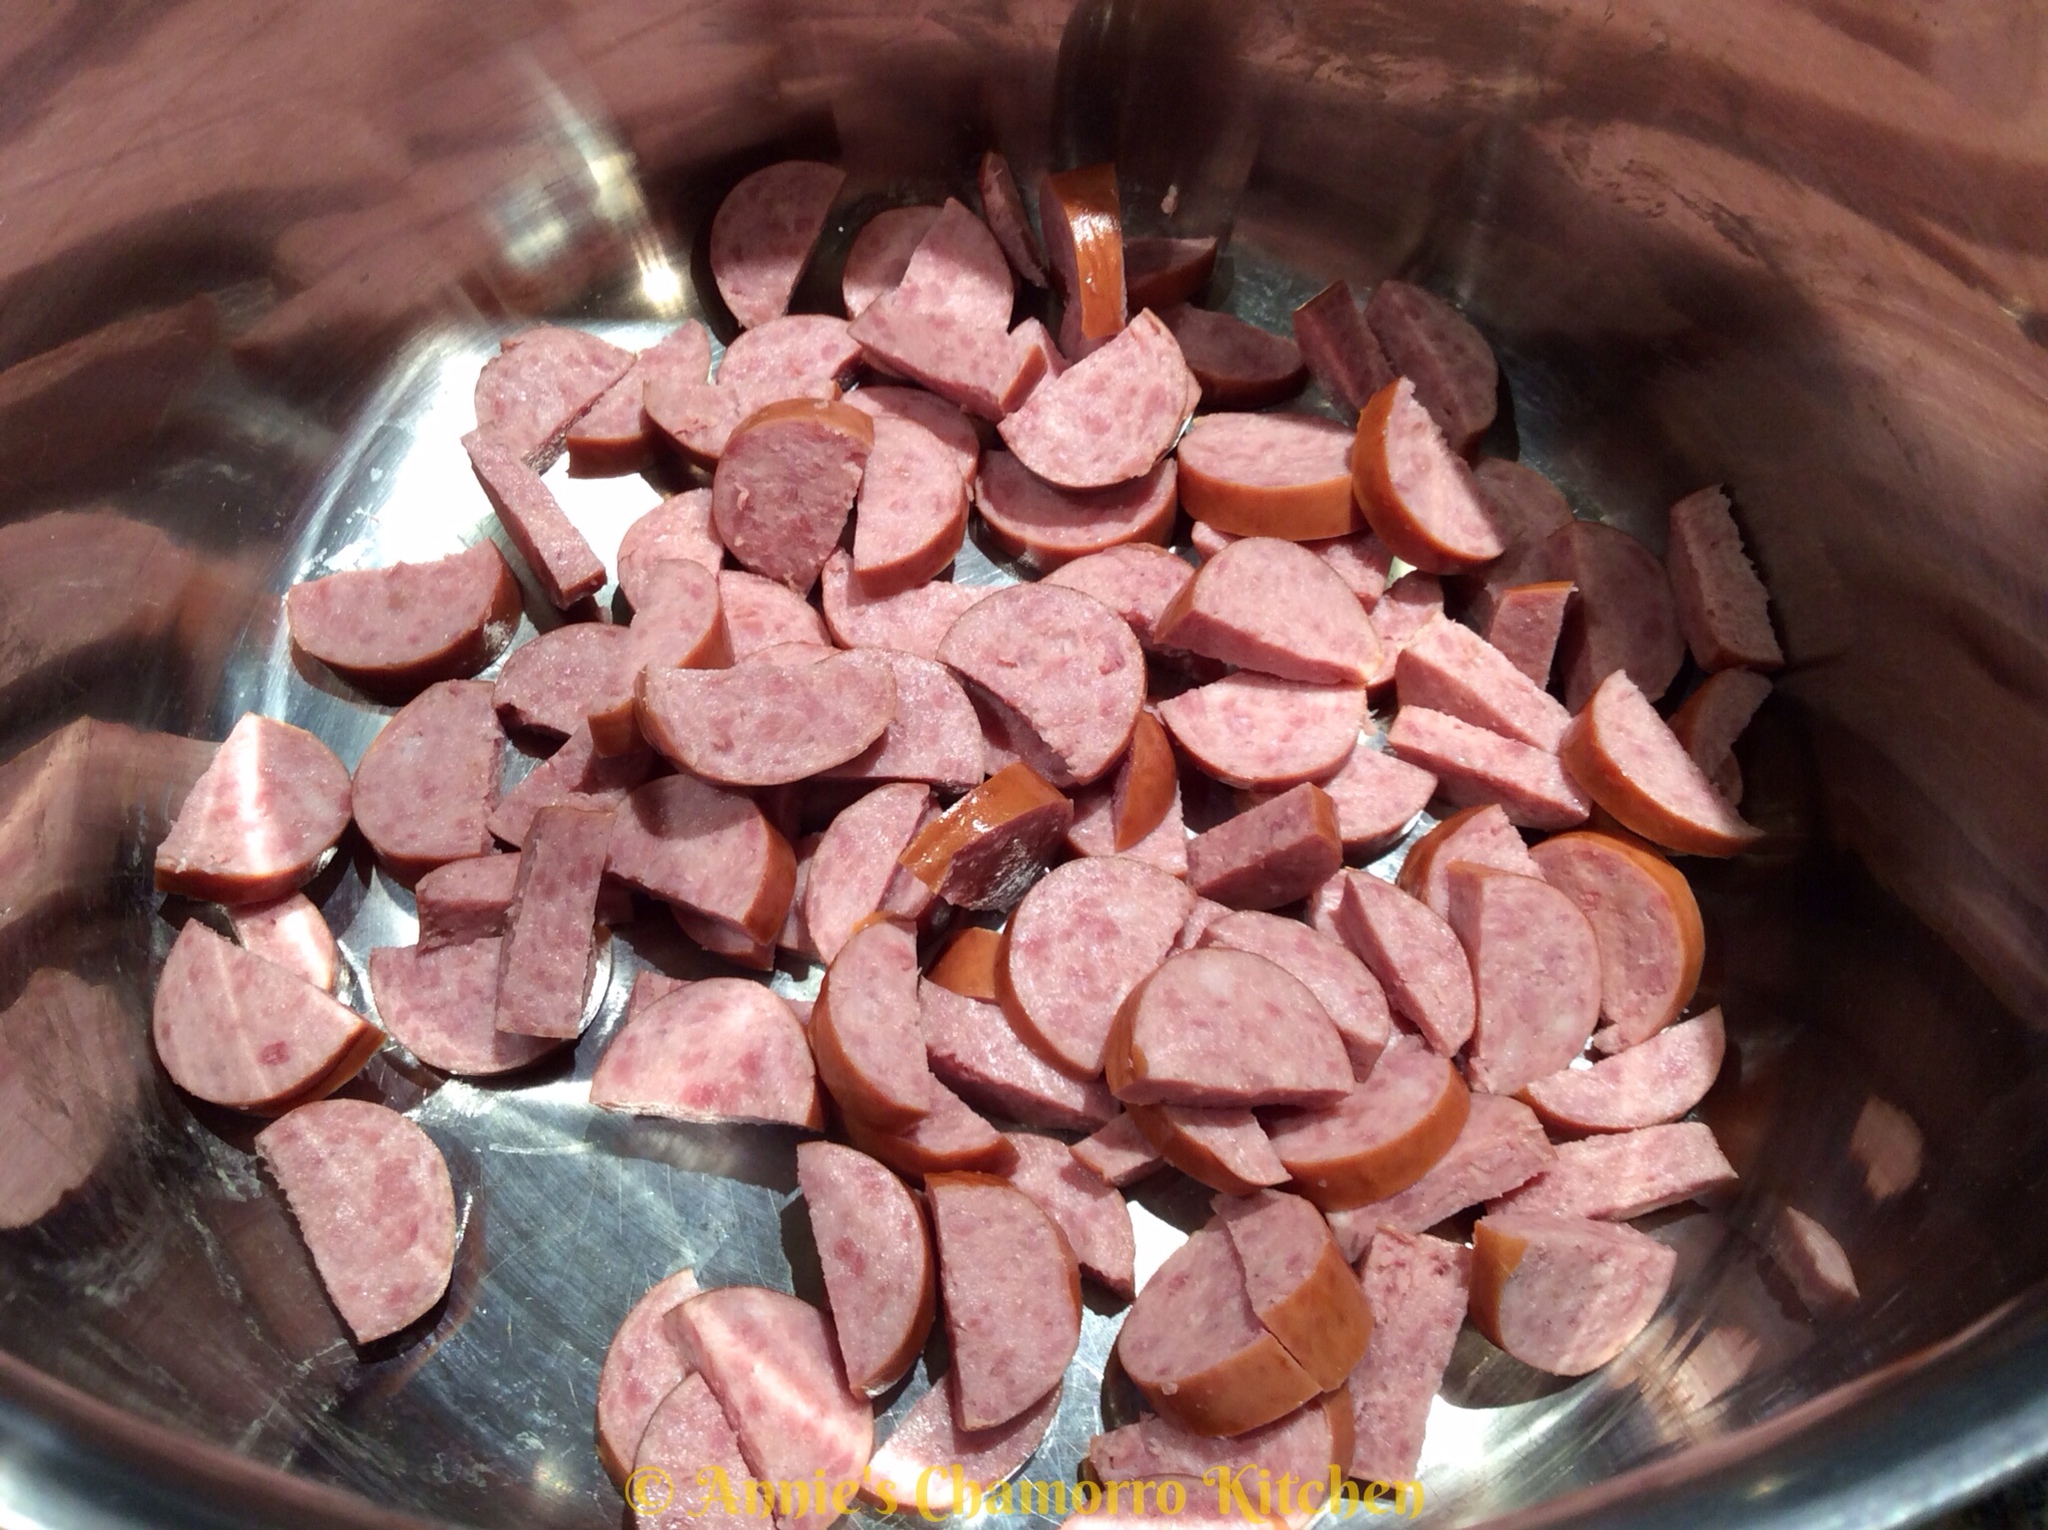
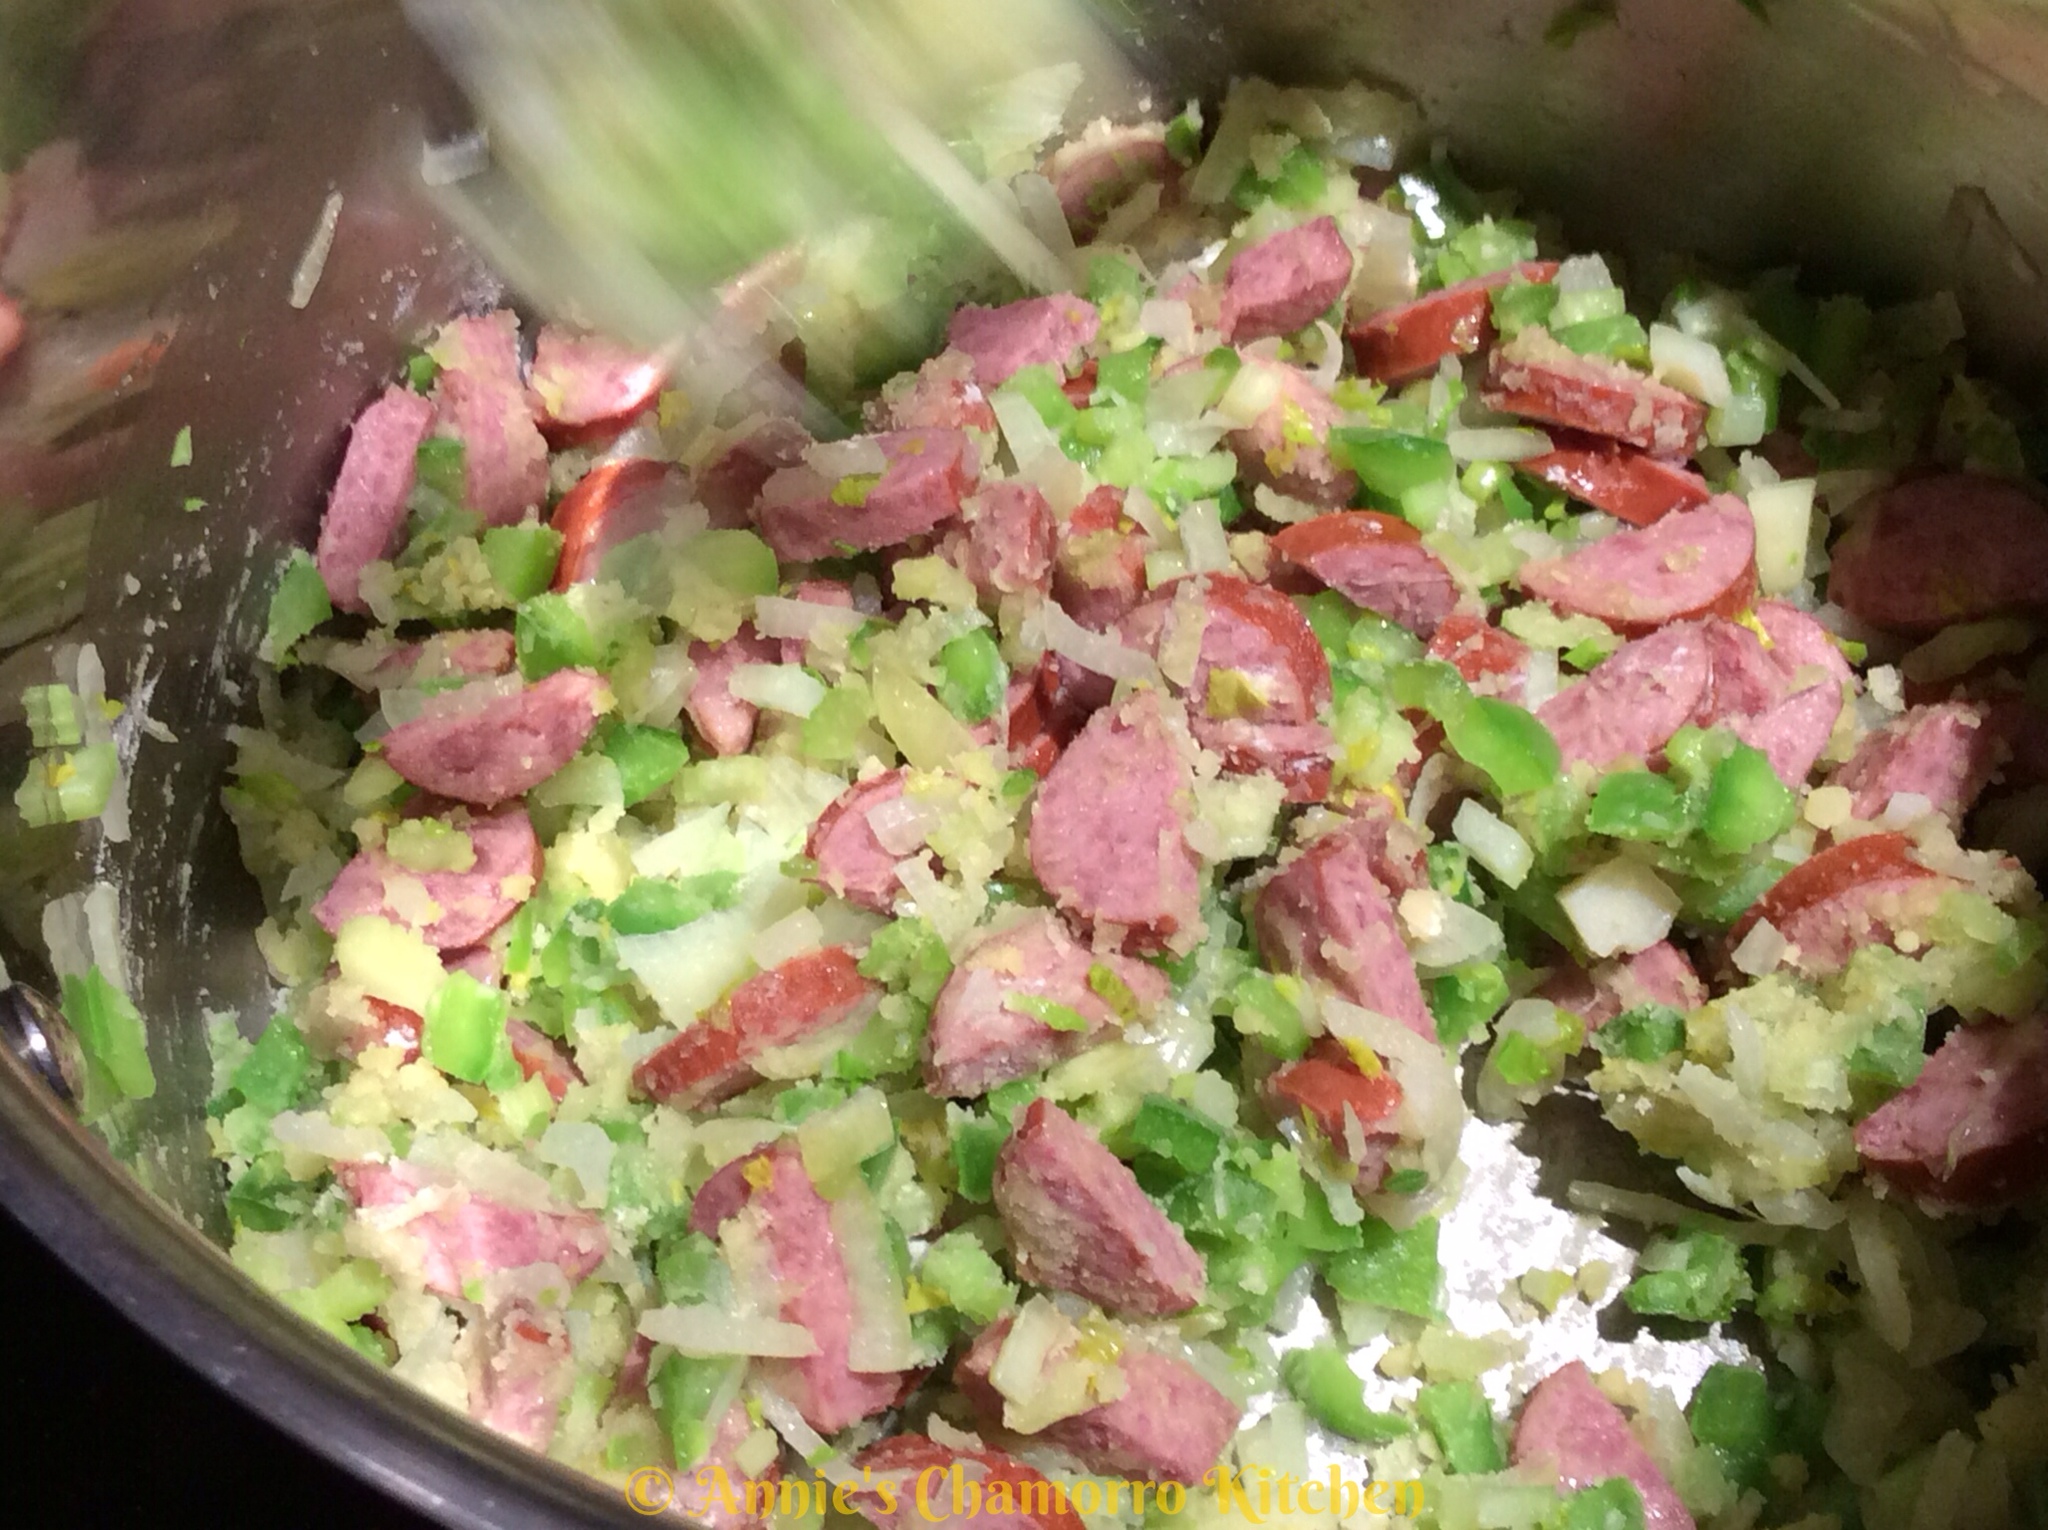
1. Slice the kielbasa into 1/4-inch pieces, then cut each piece half. Place the sausage into a large soup pot.
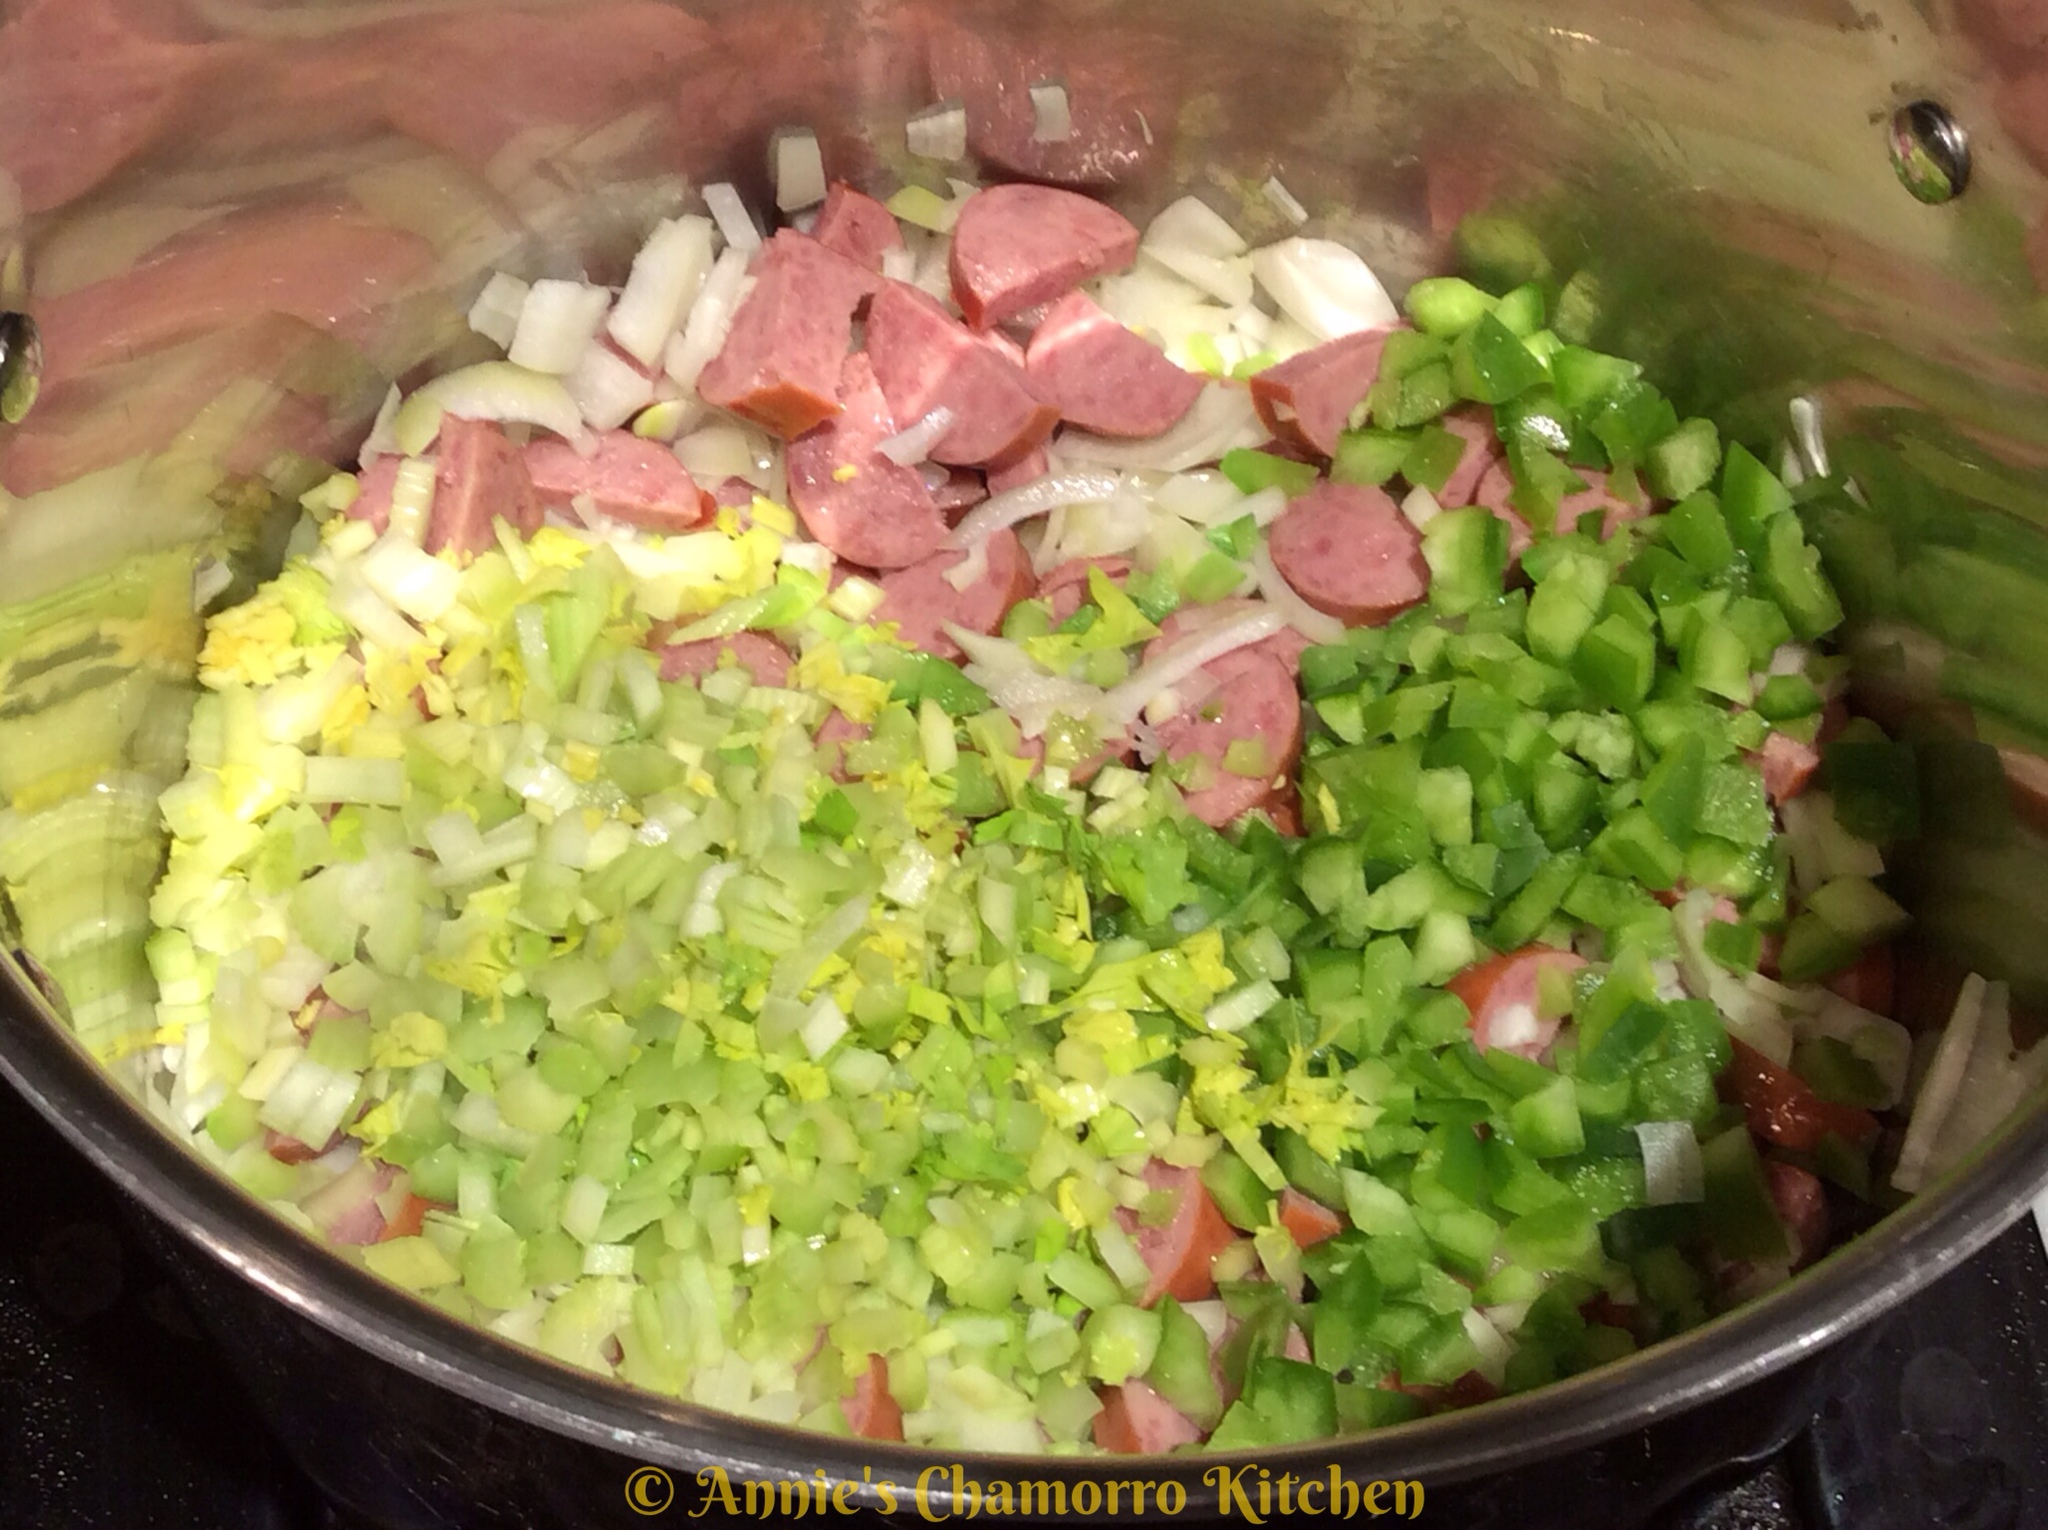
2. Add the onions, bell peppers and celery to the pot. Cook over medium high heat until the onions are translucent.
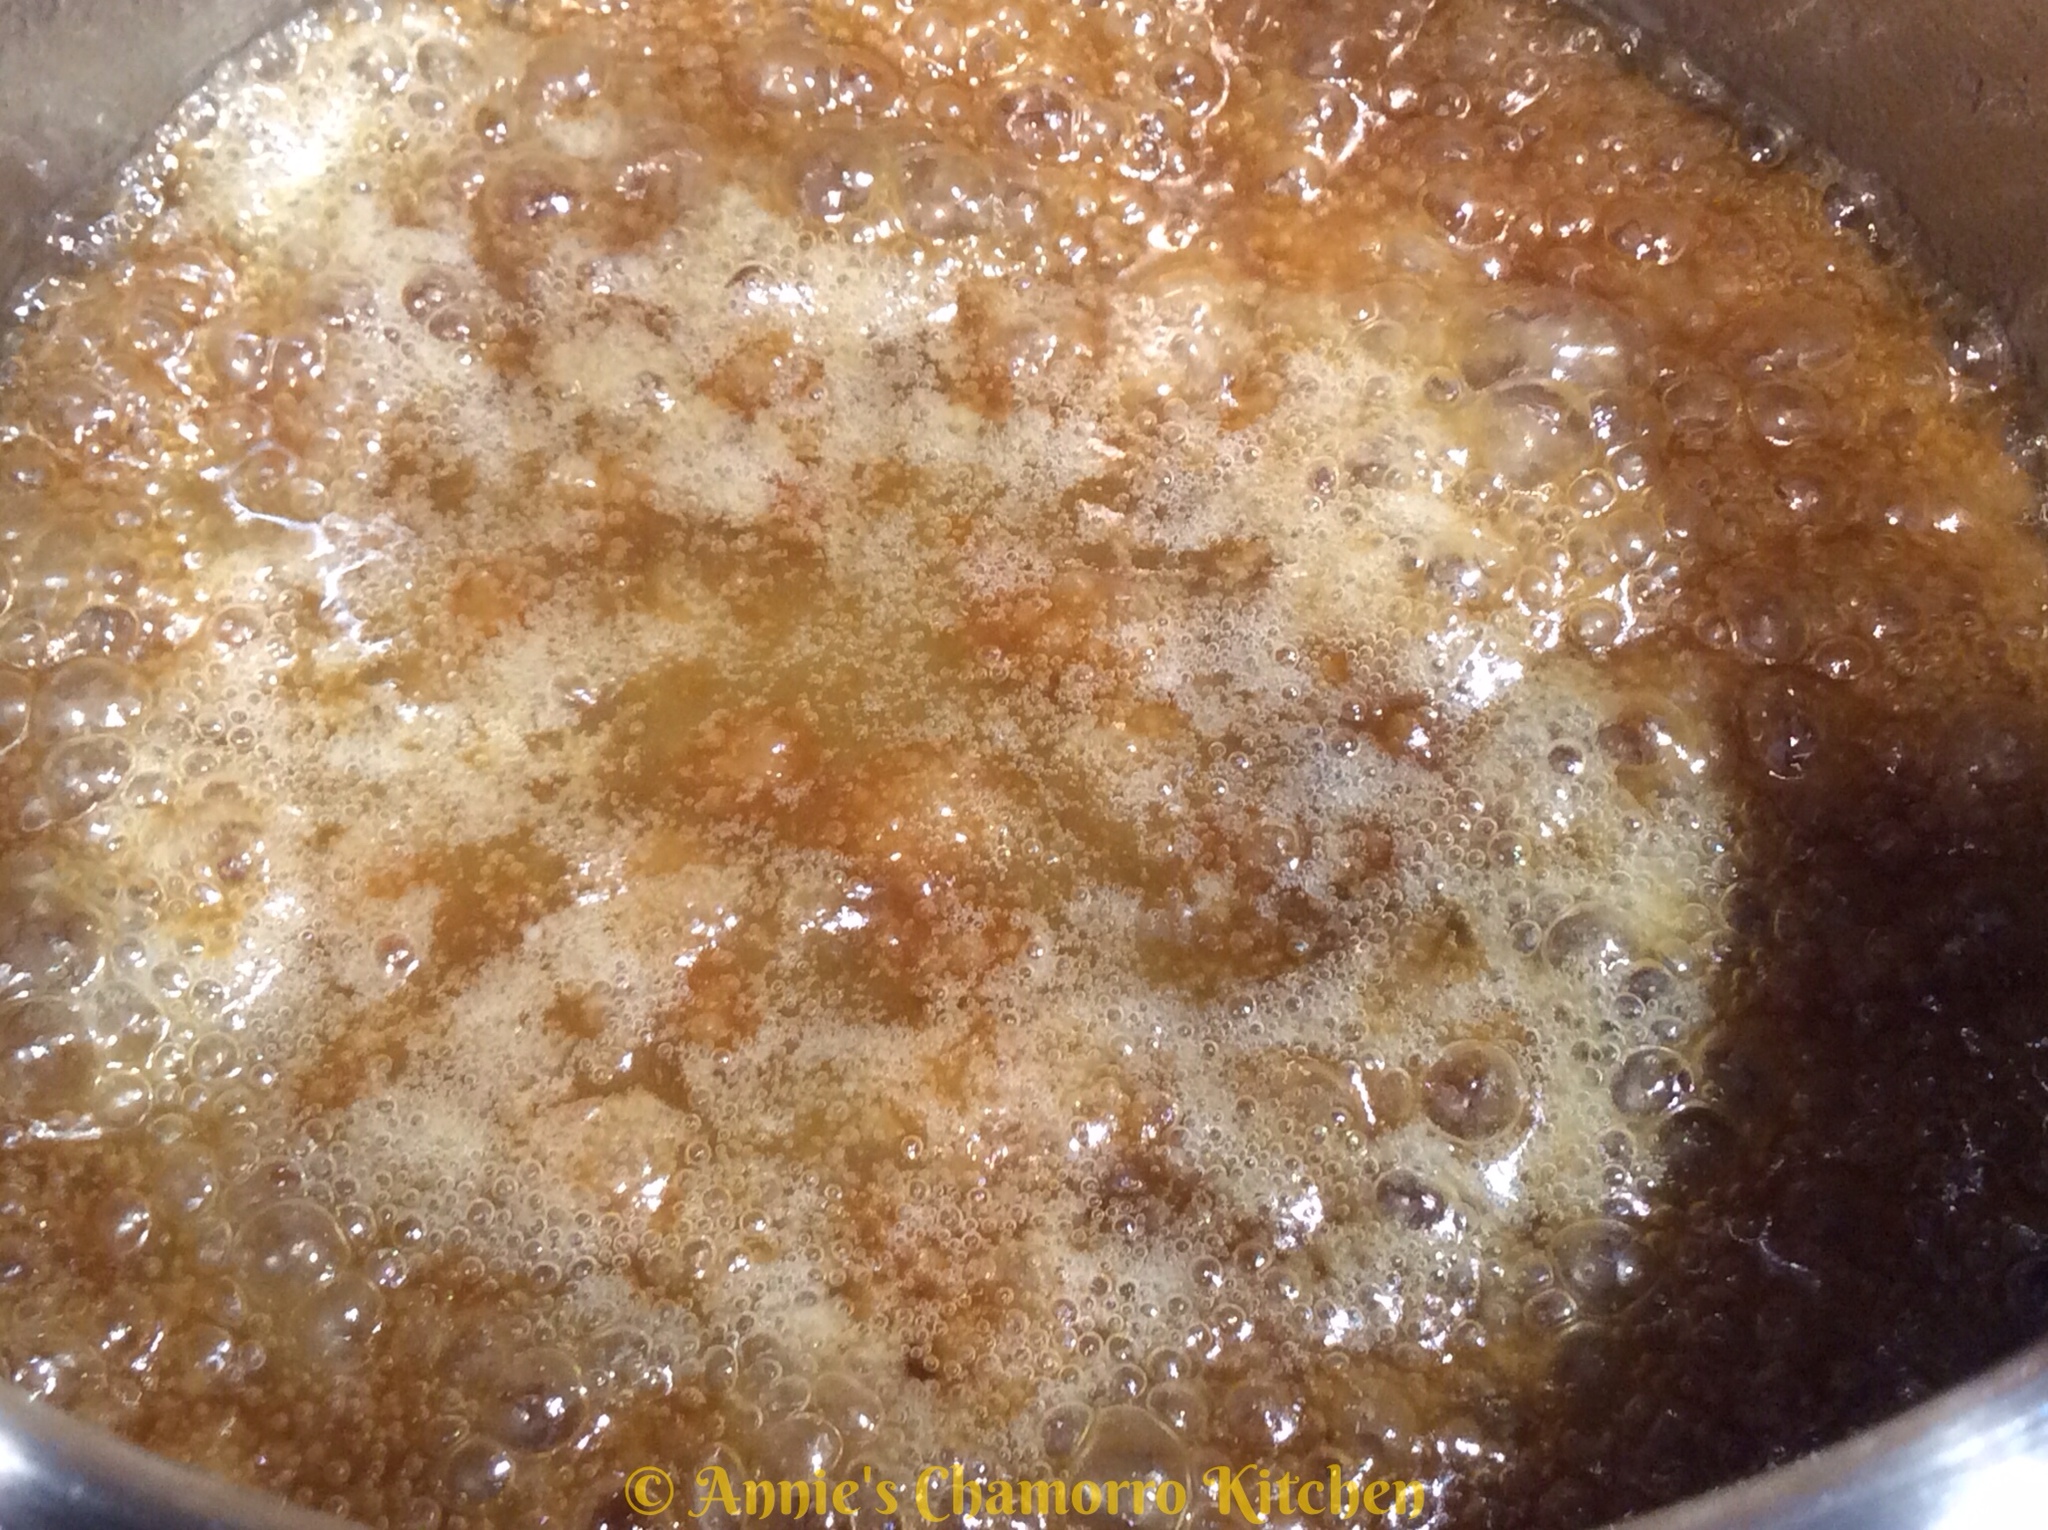
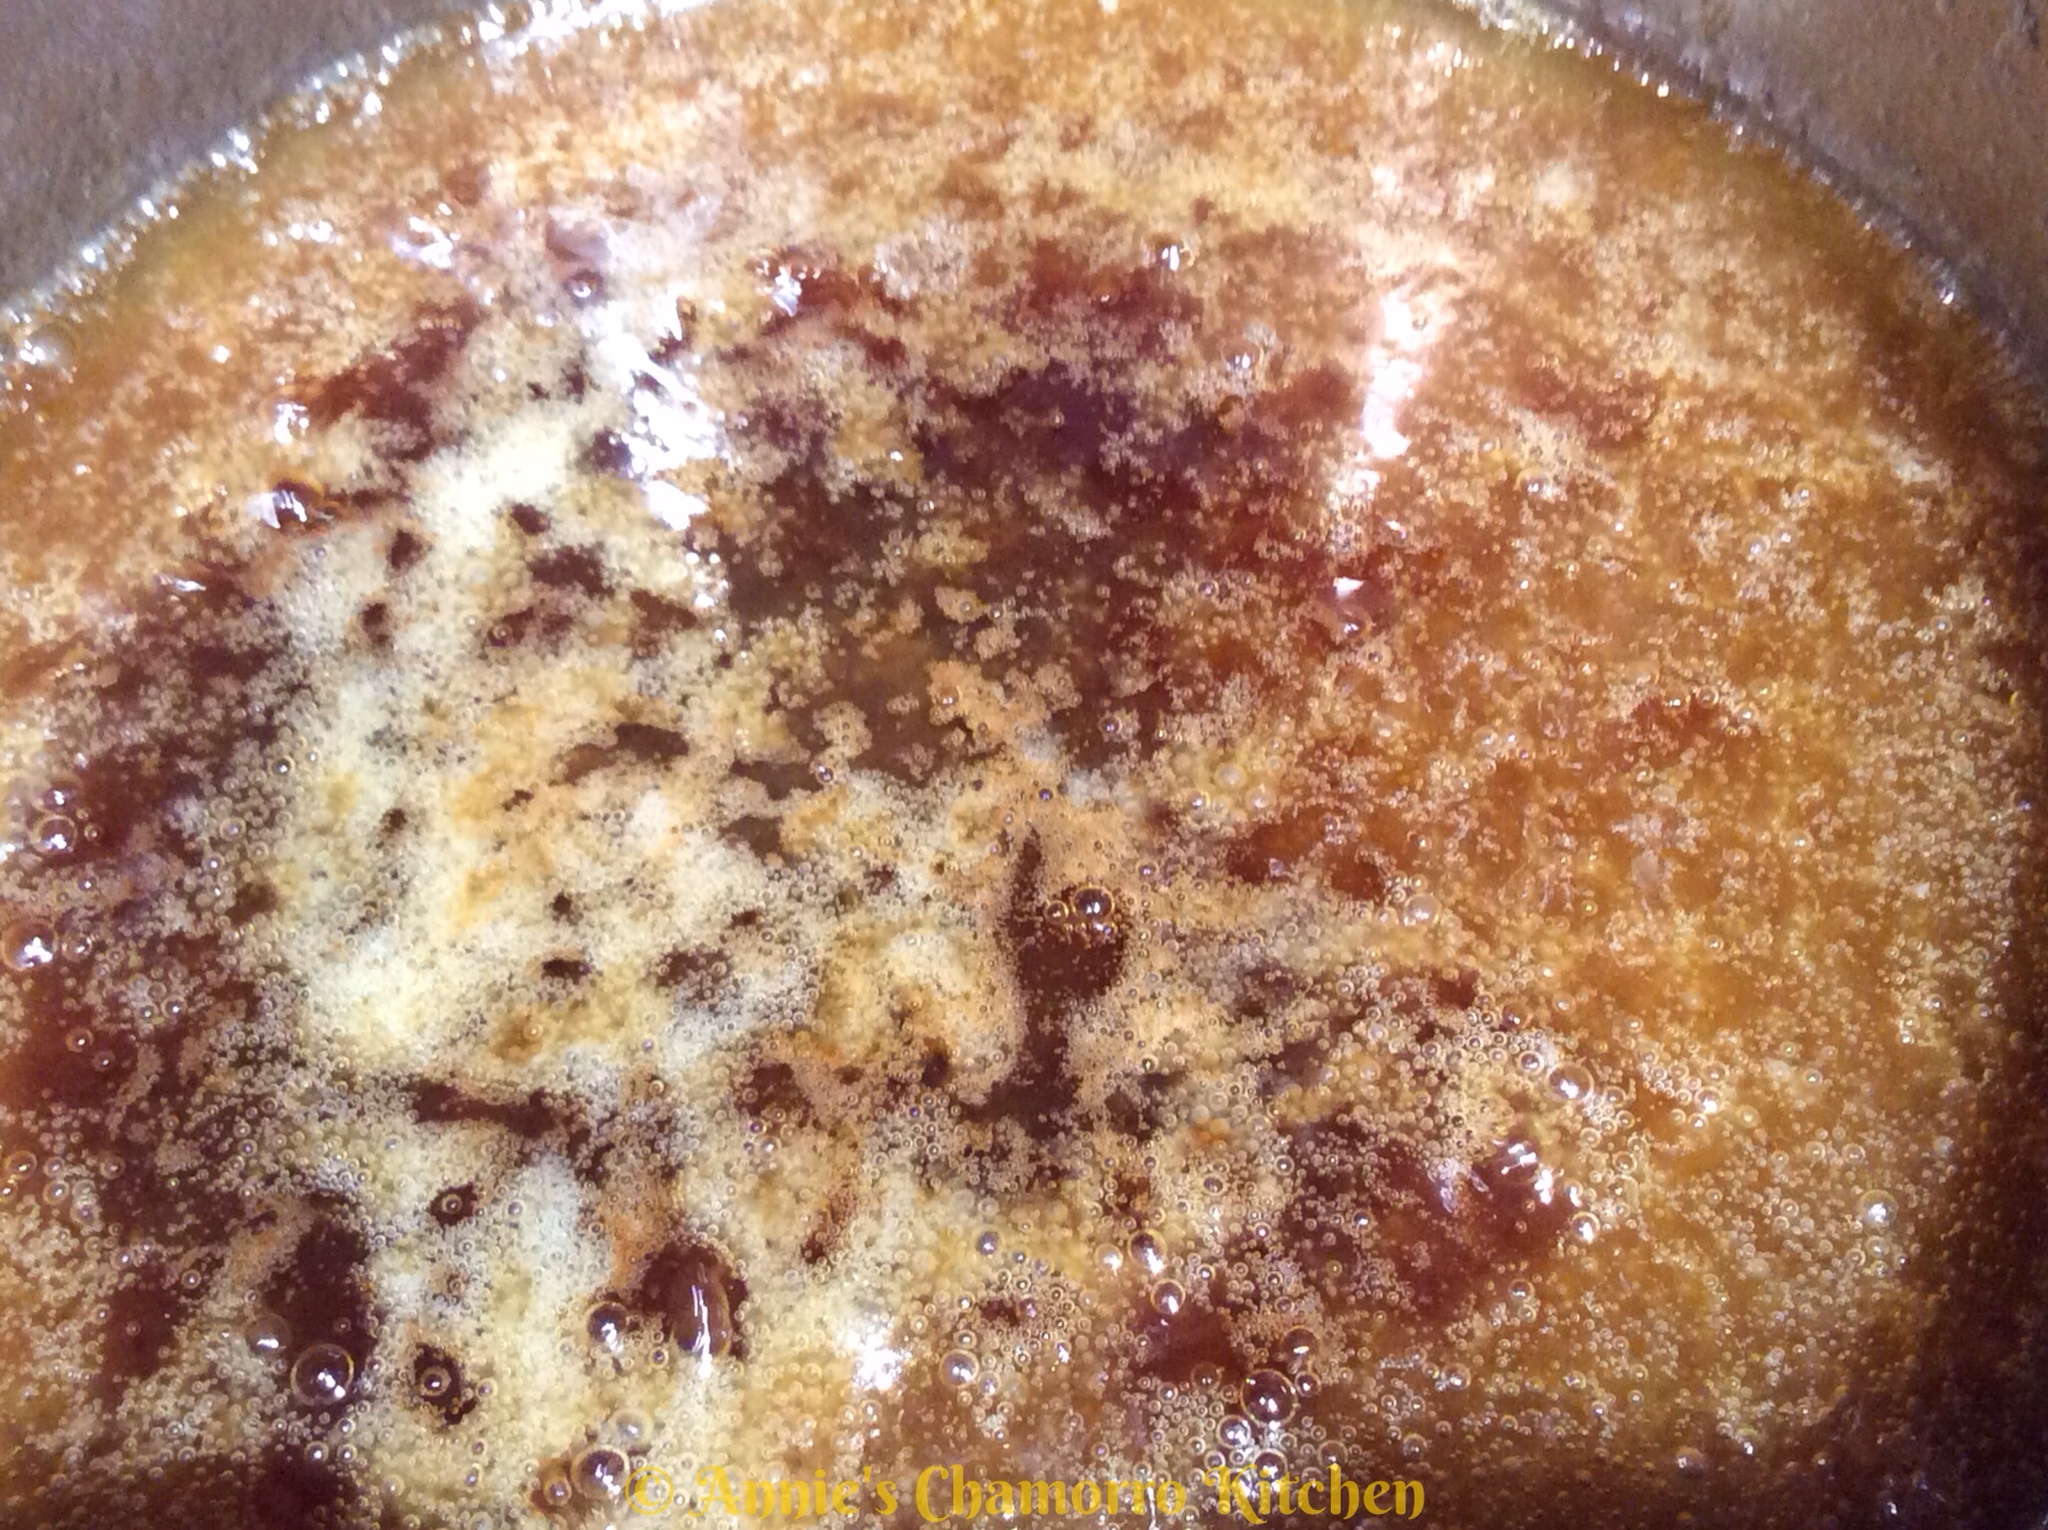
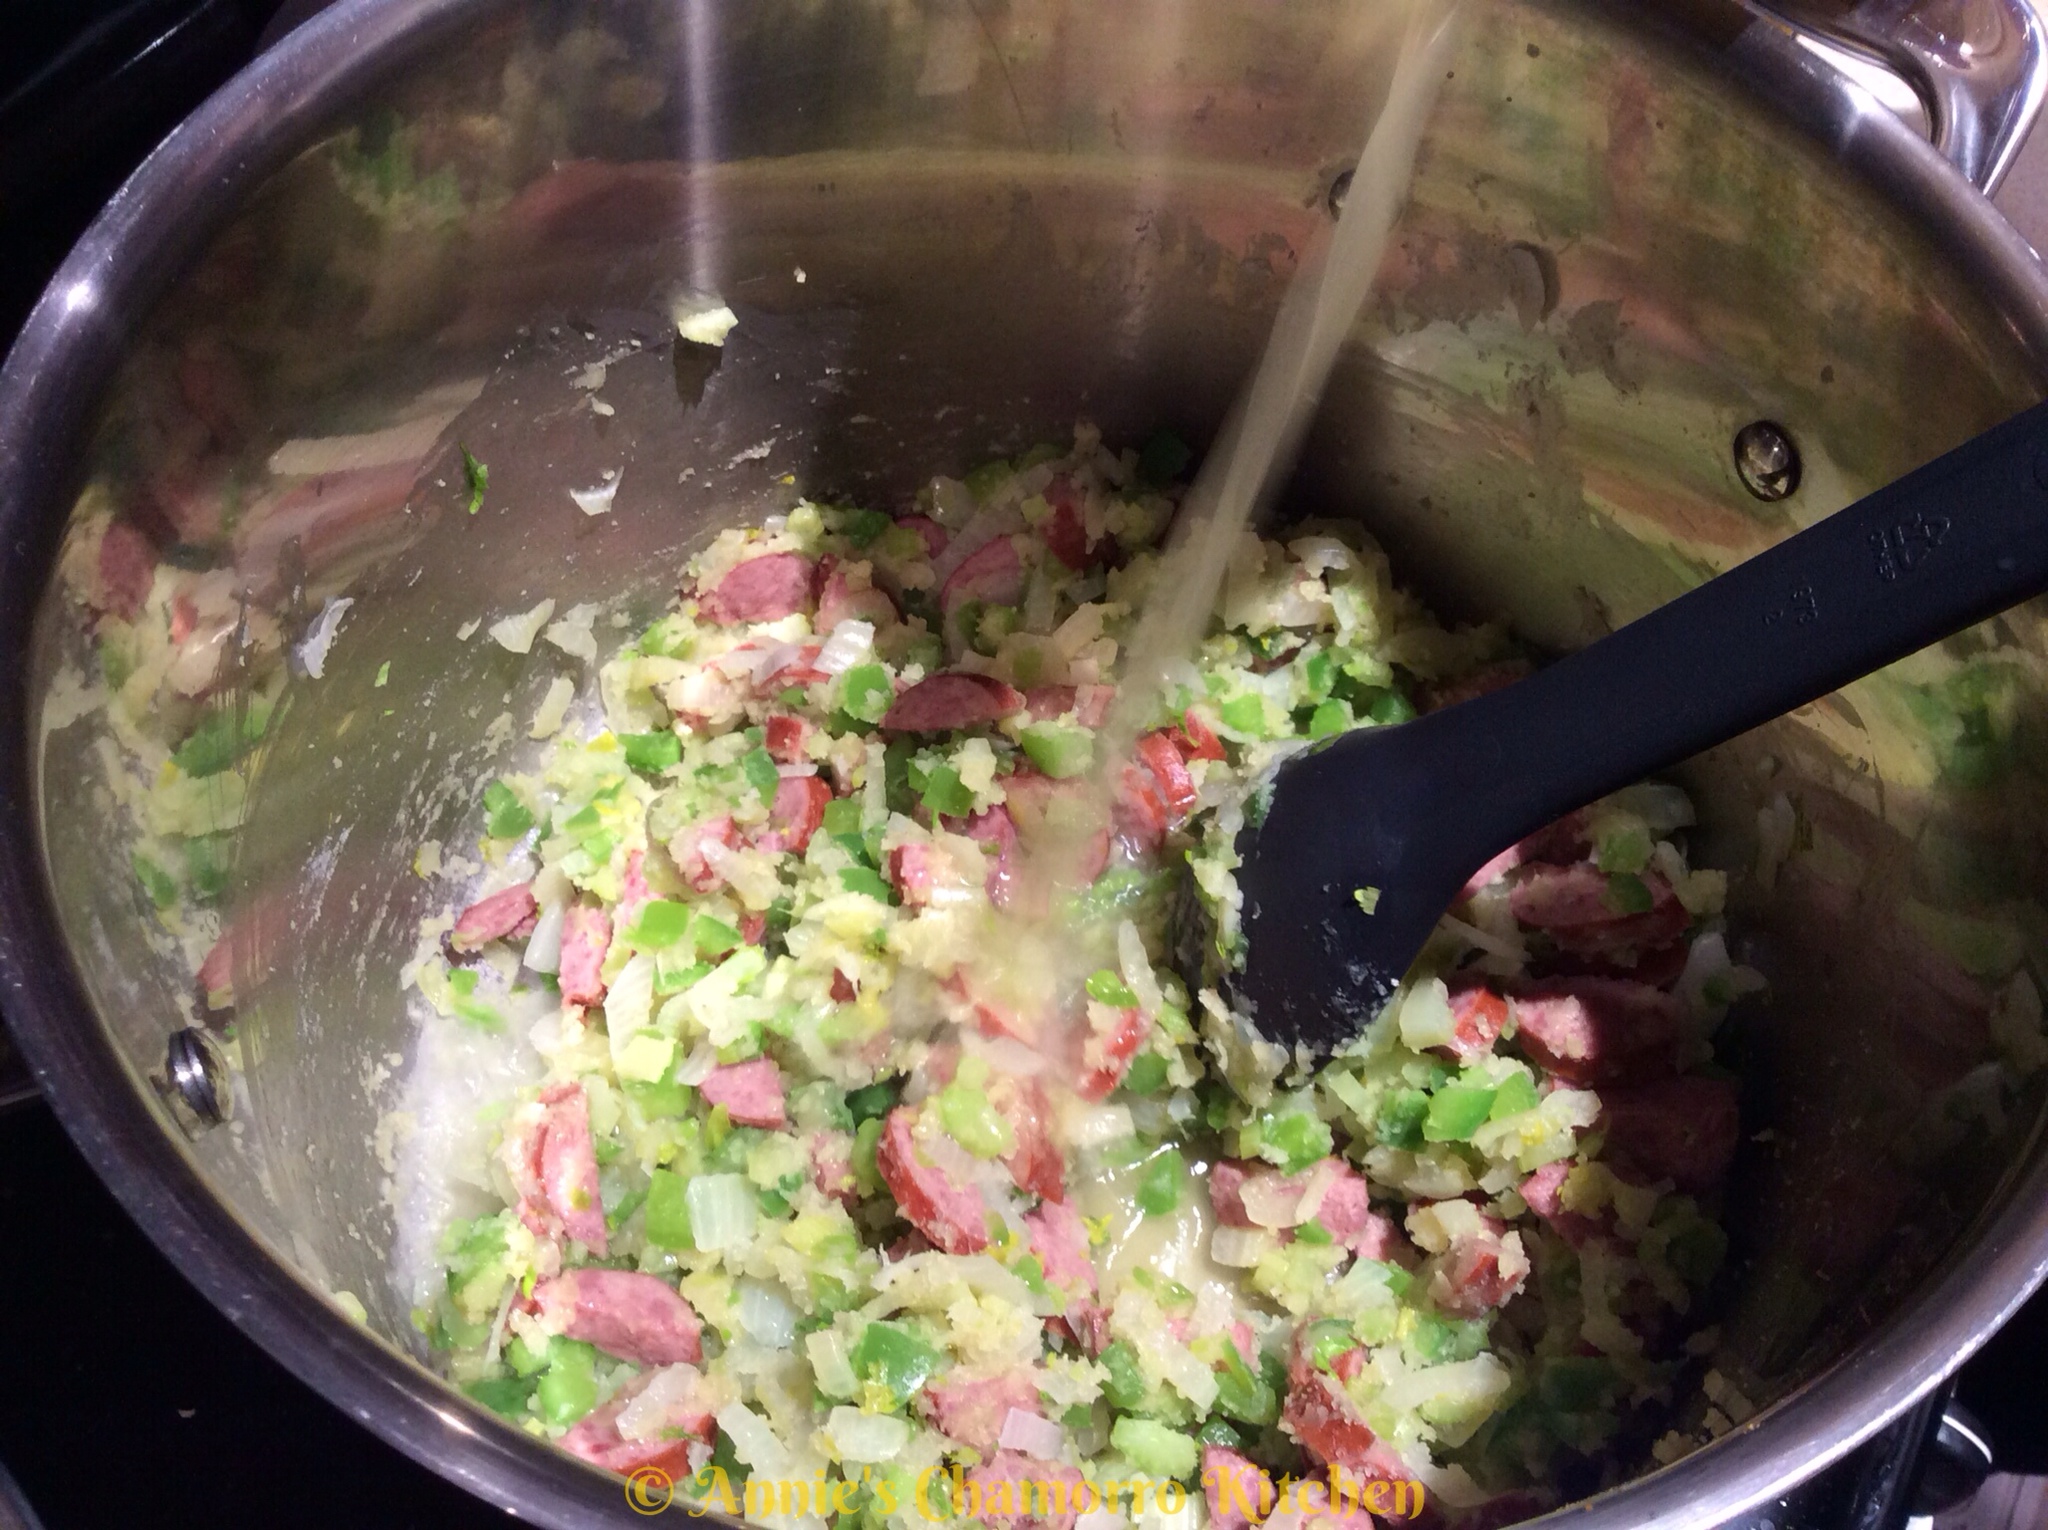
3. Make a small well in the middle of the pot by pushing the sausage mixture to the side. Pour the olive oil into the well.

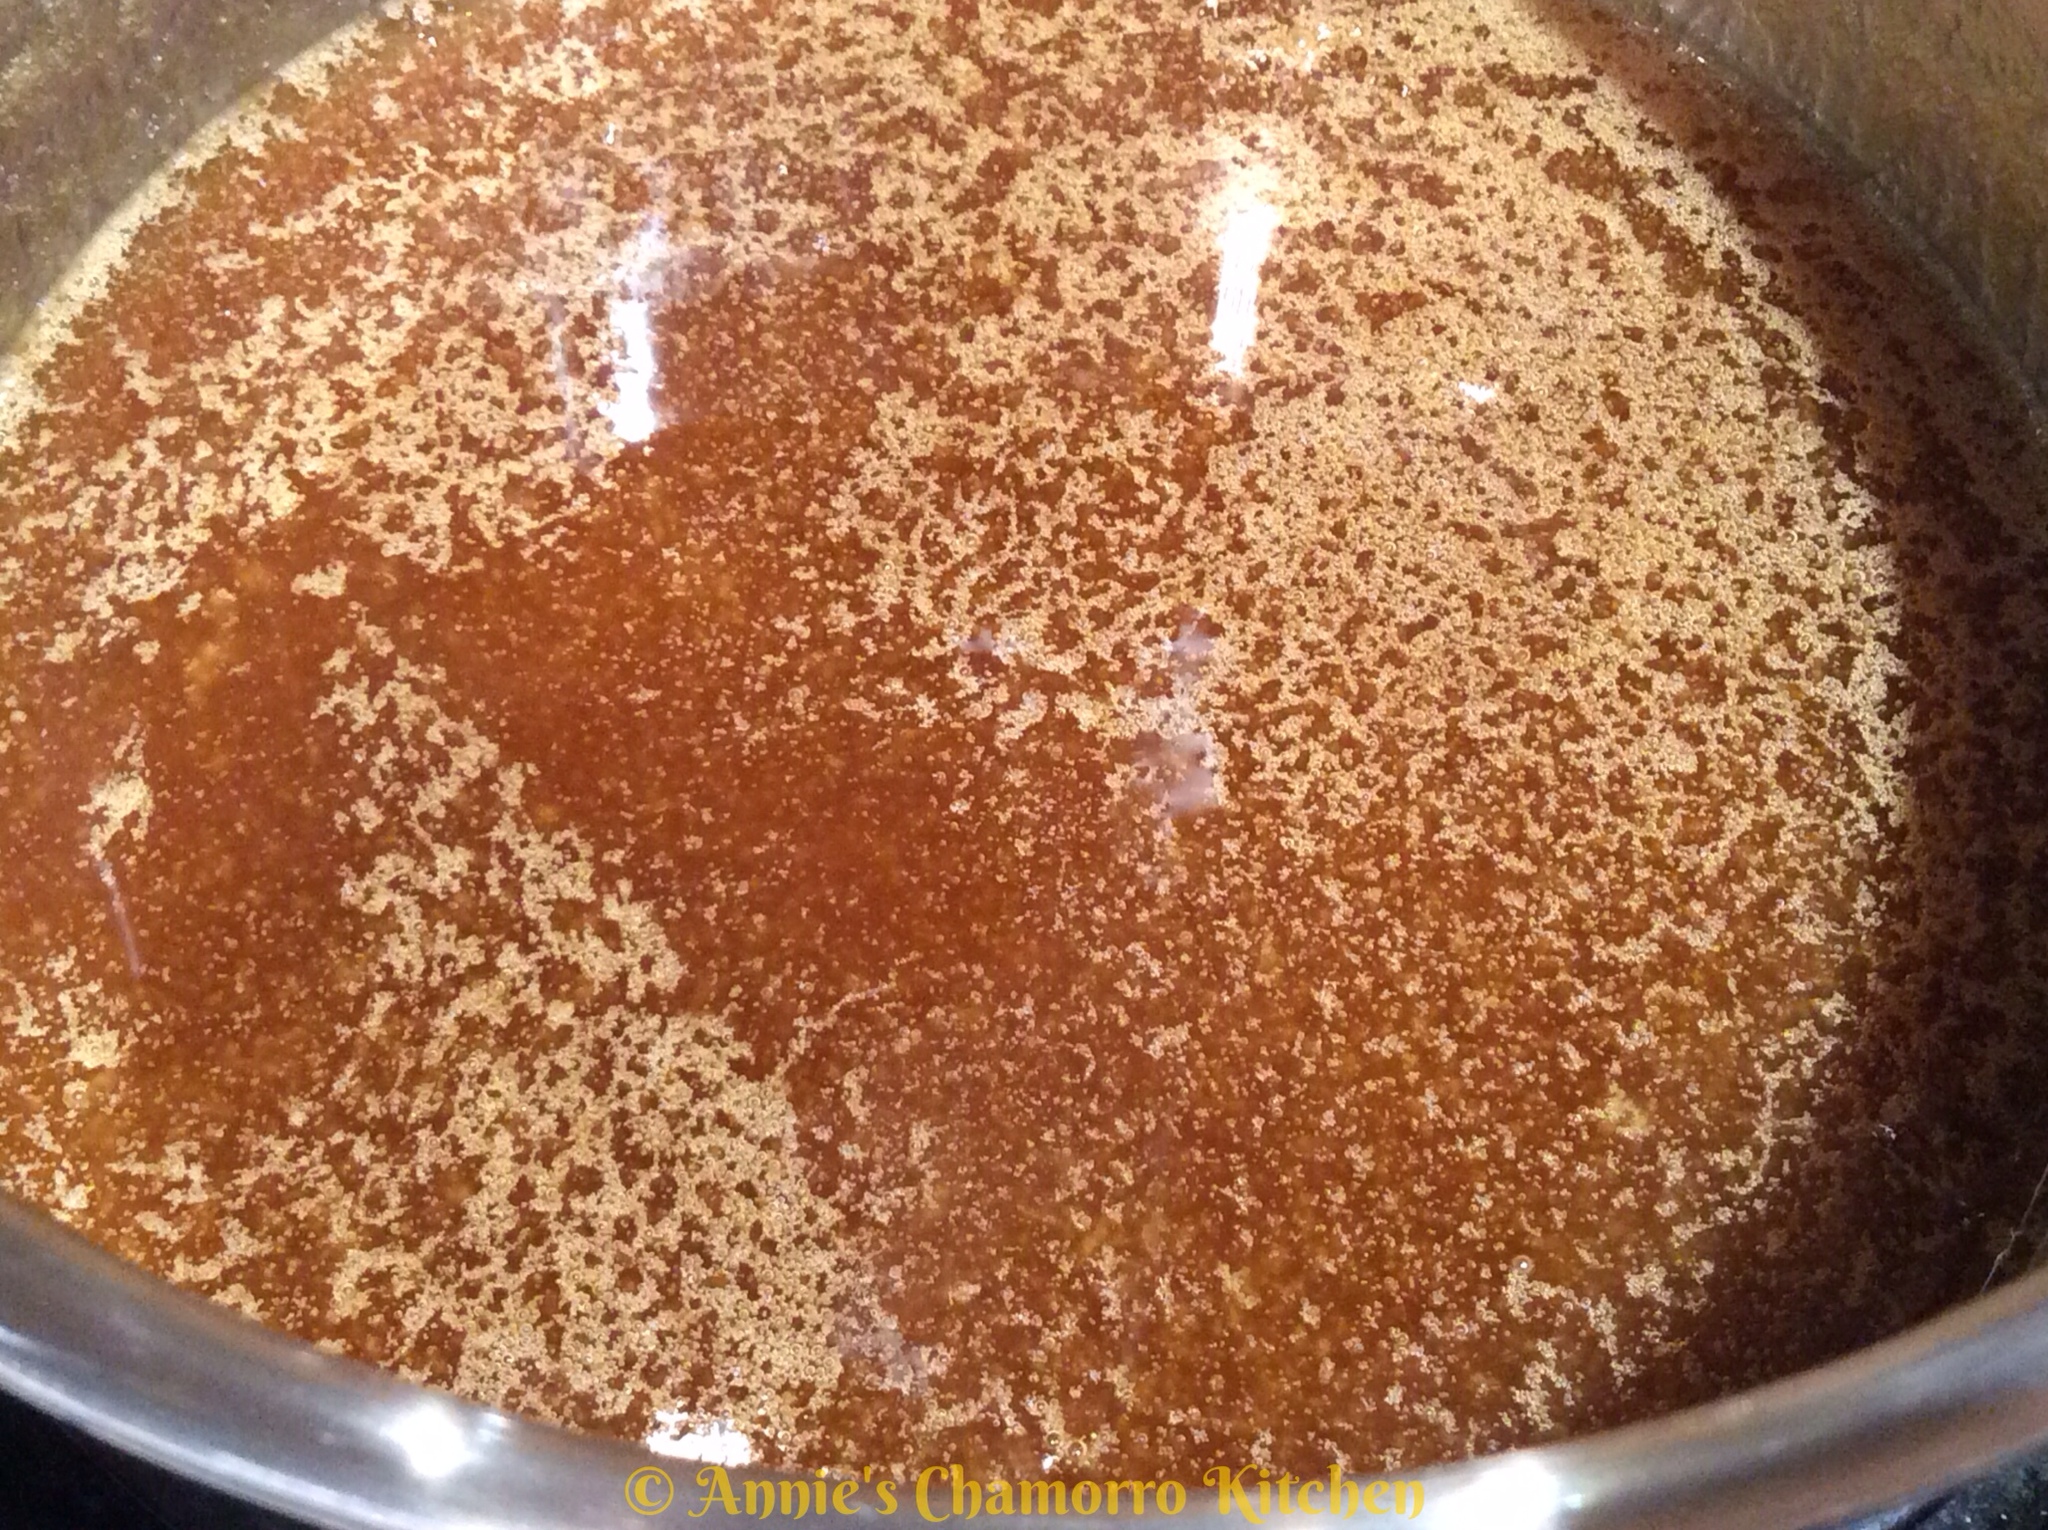
4. Pour the flour (all at once) into the well, on top of the olive oil. Stir the flour and oil together, then stir it into the sausage mixture.

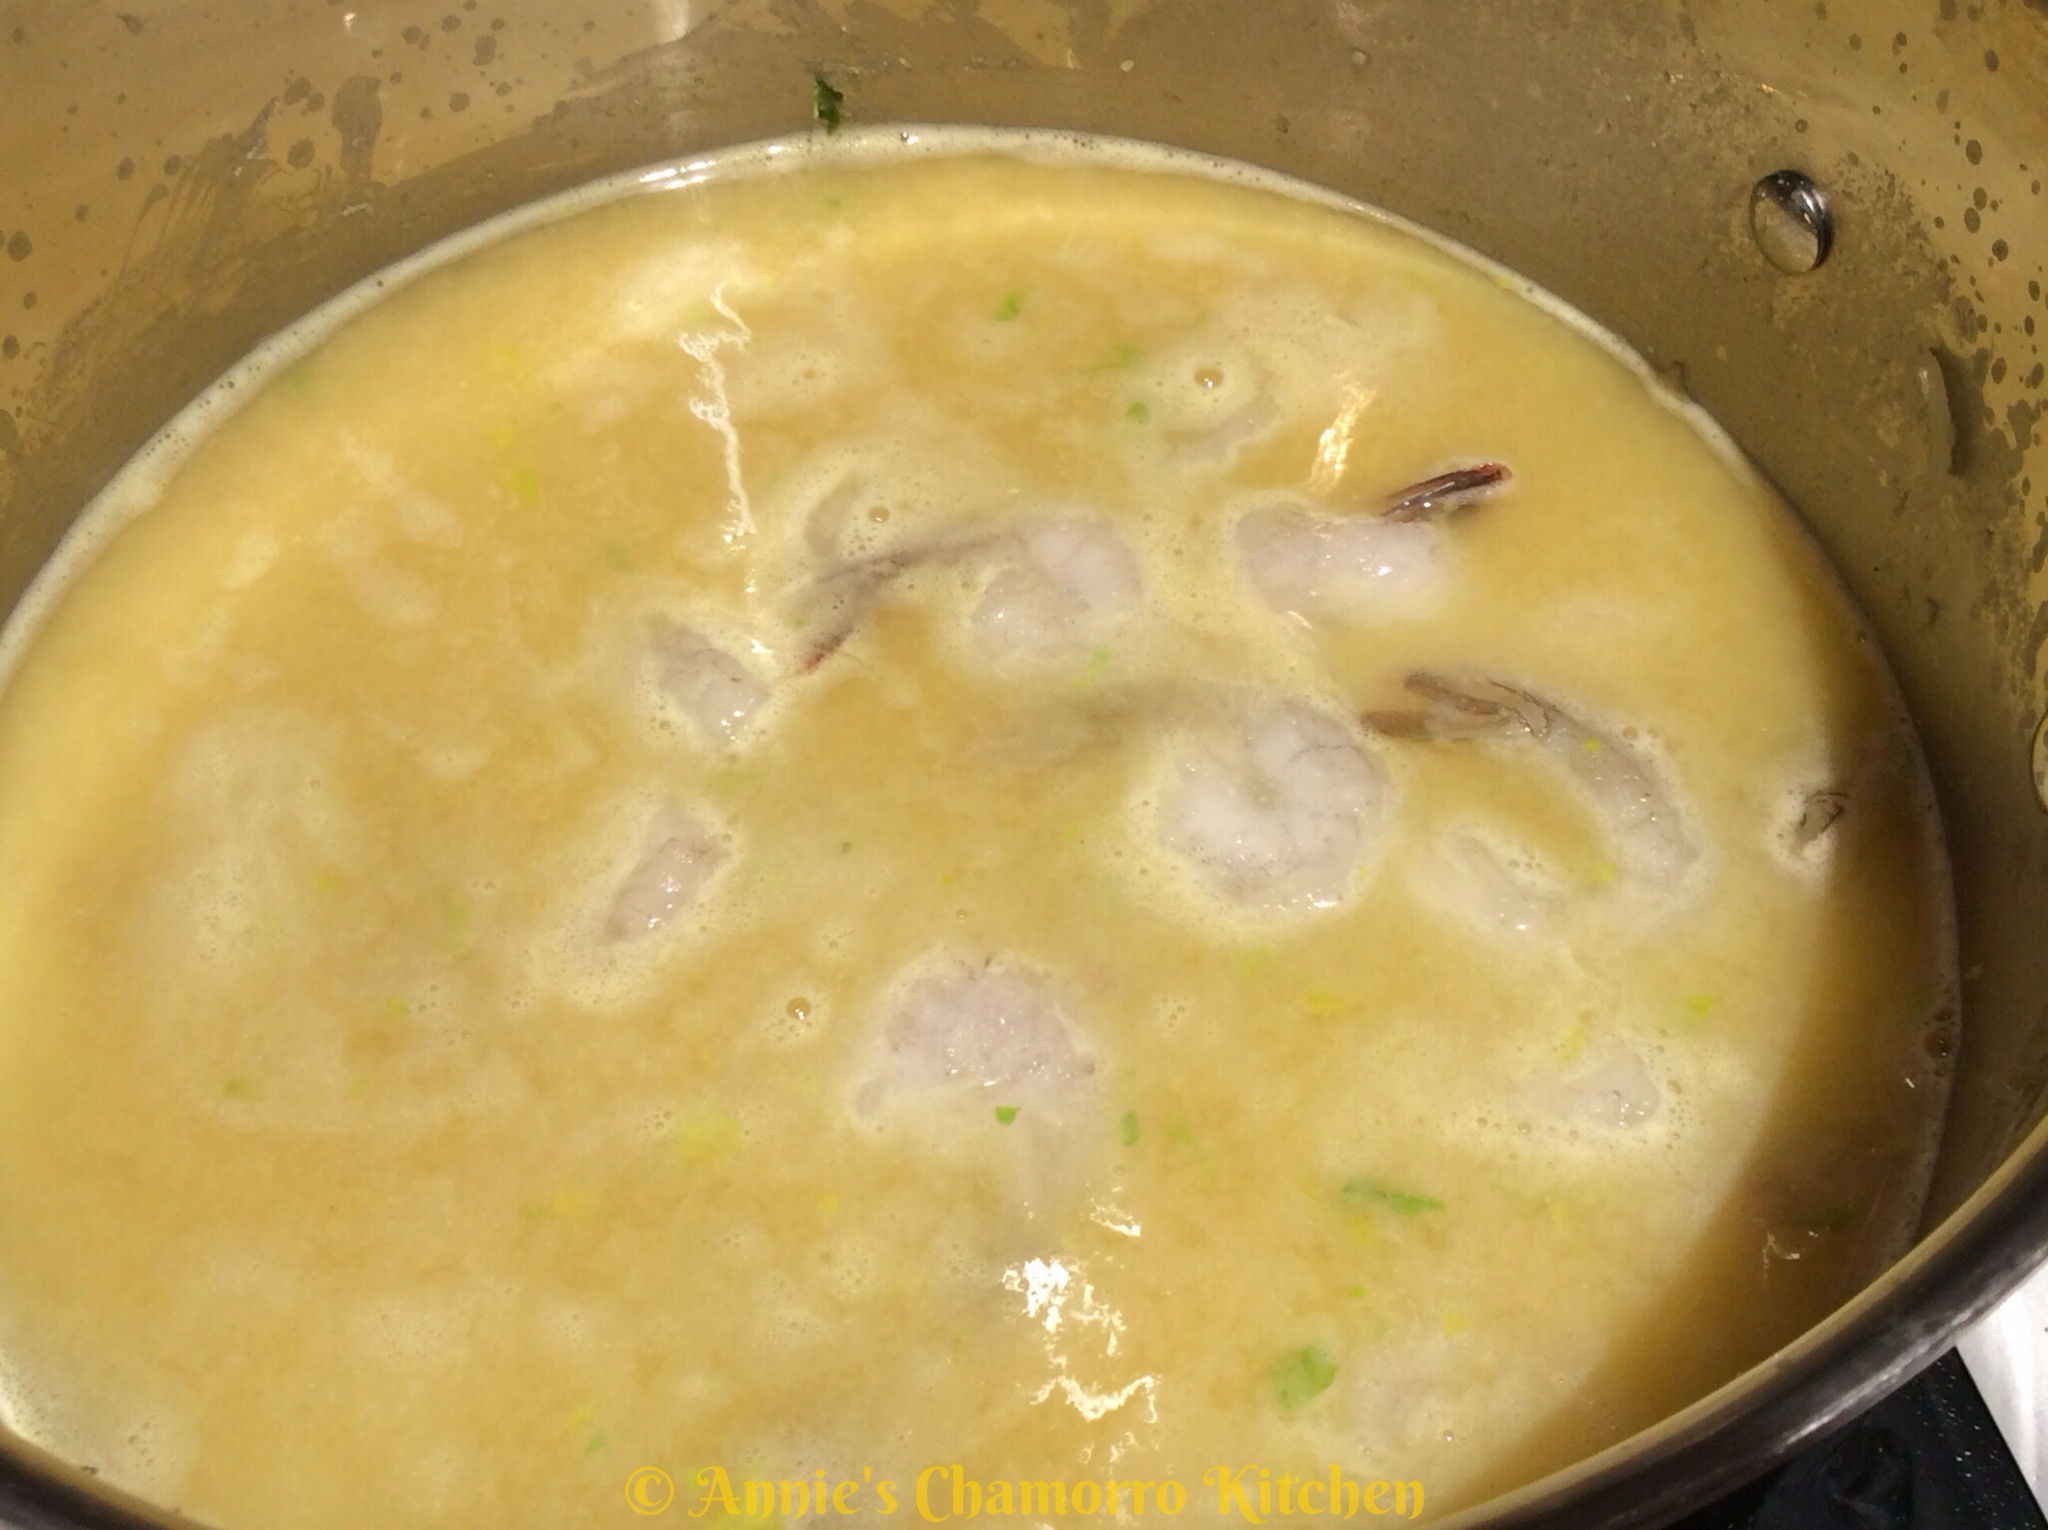
6. Add the shrimp and chopped garlic to the pot. Place a lid on the pot; continue to cook over medium high heat.
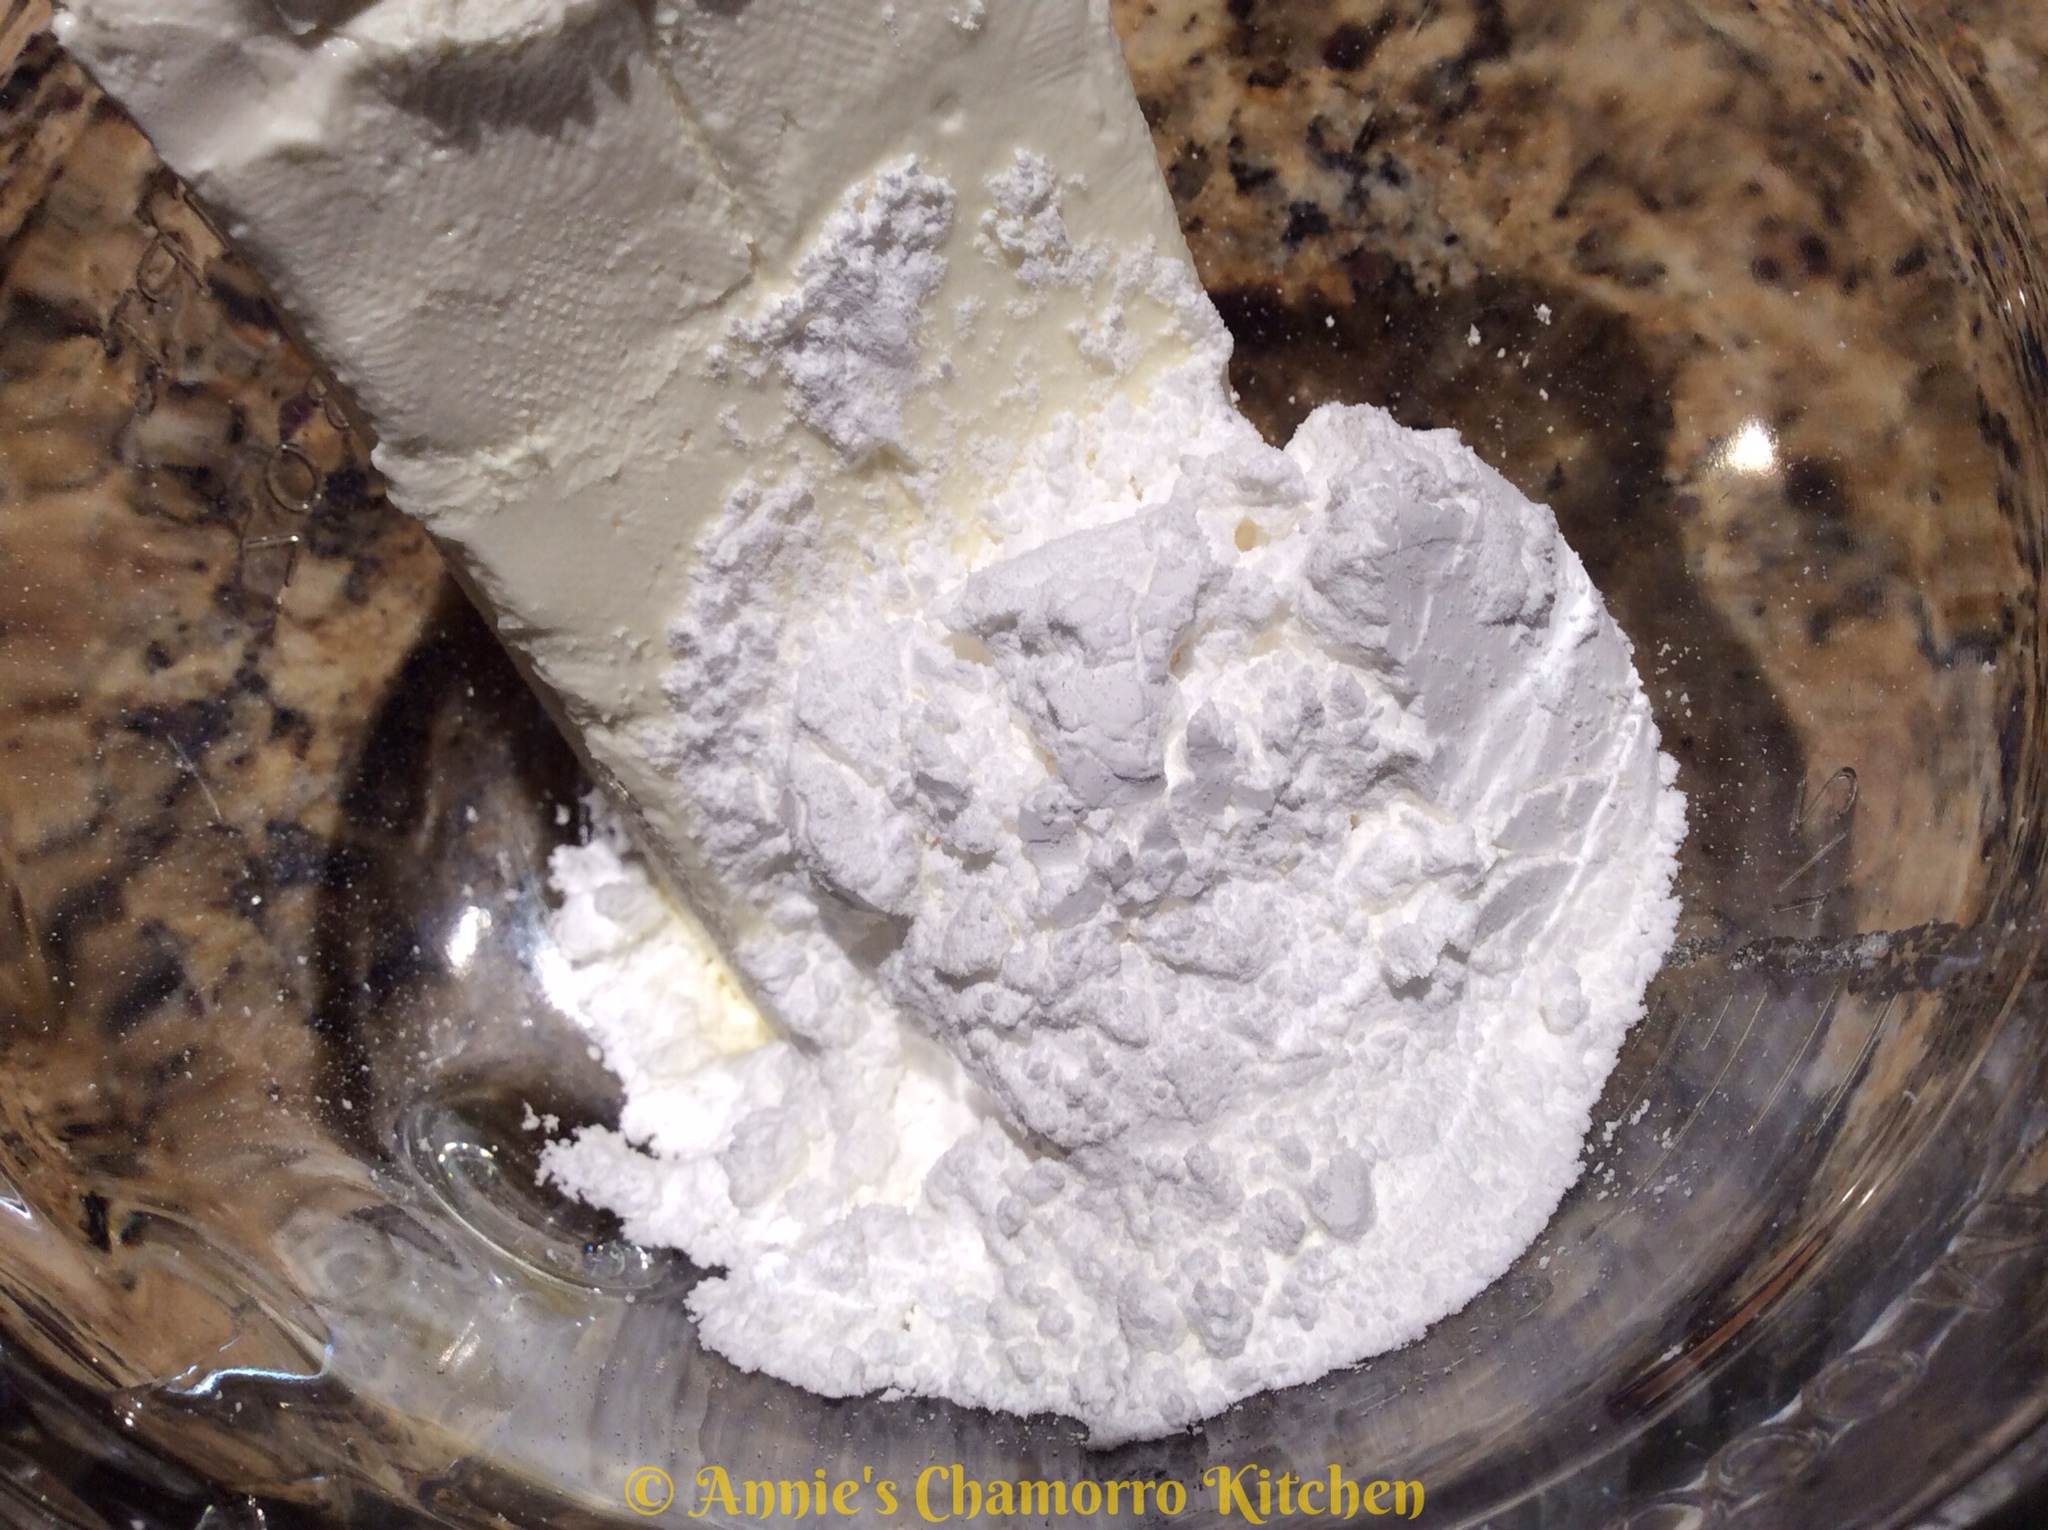
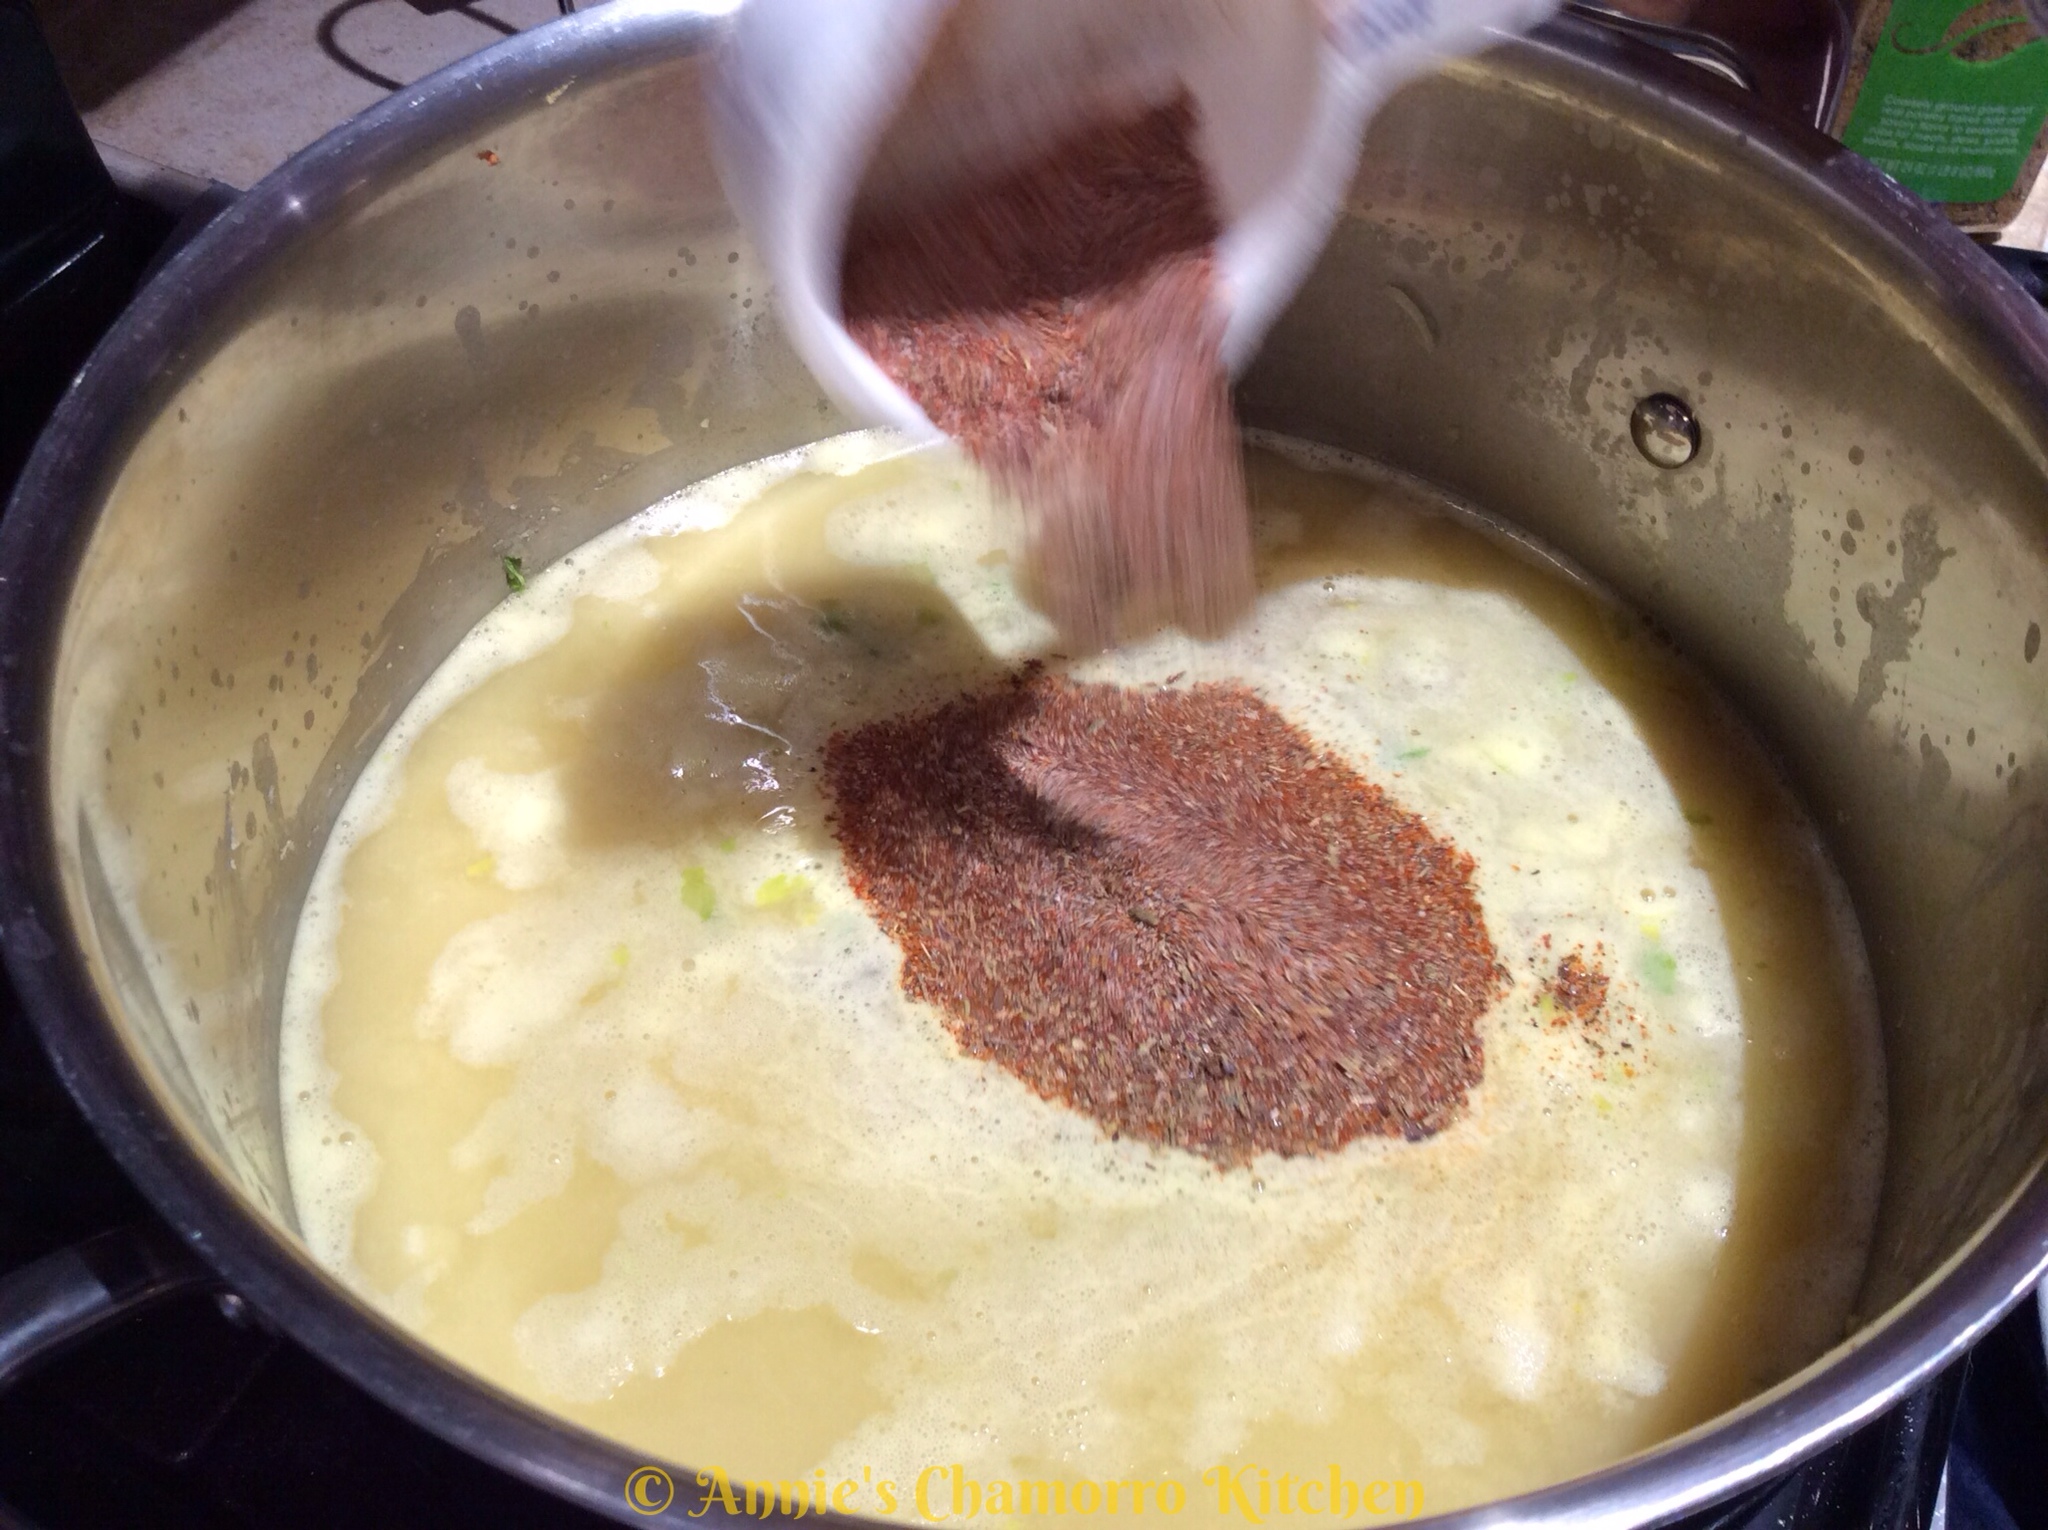
7. In a small bowl (I used the measuring cup I used for the flour–why dirty more dishes?), mix the spices/seasonings together (paprika, sea salt, garlic powder, black pepper, onion powder, cayenne pepper, dried oregano, dried thyme).
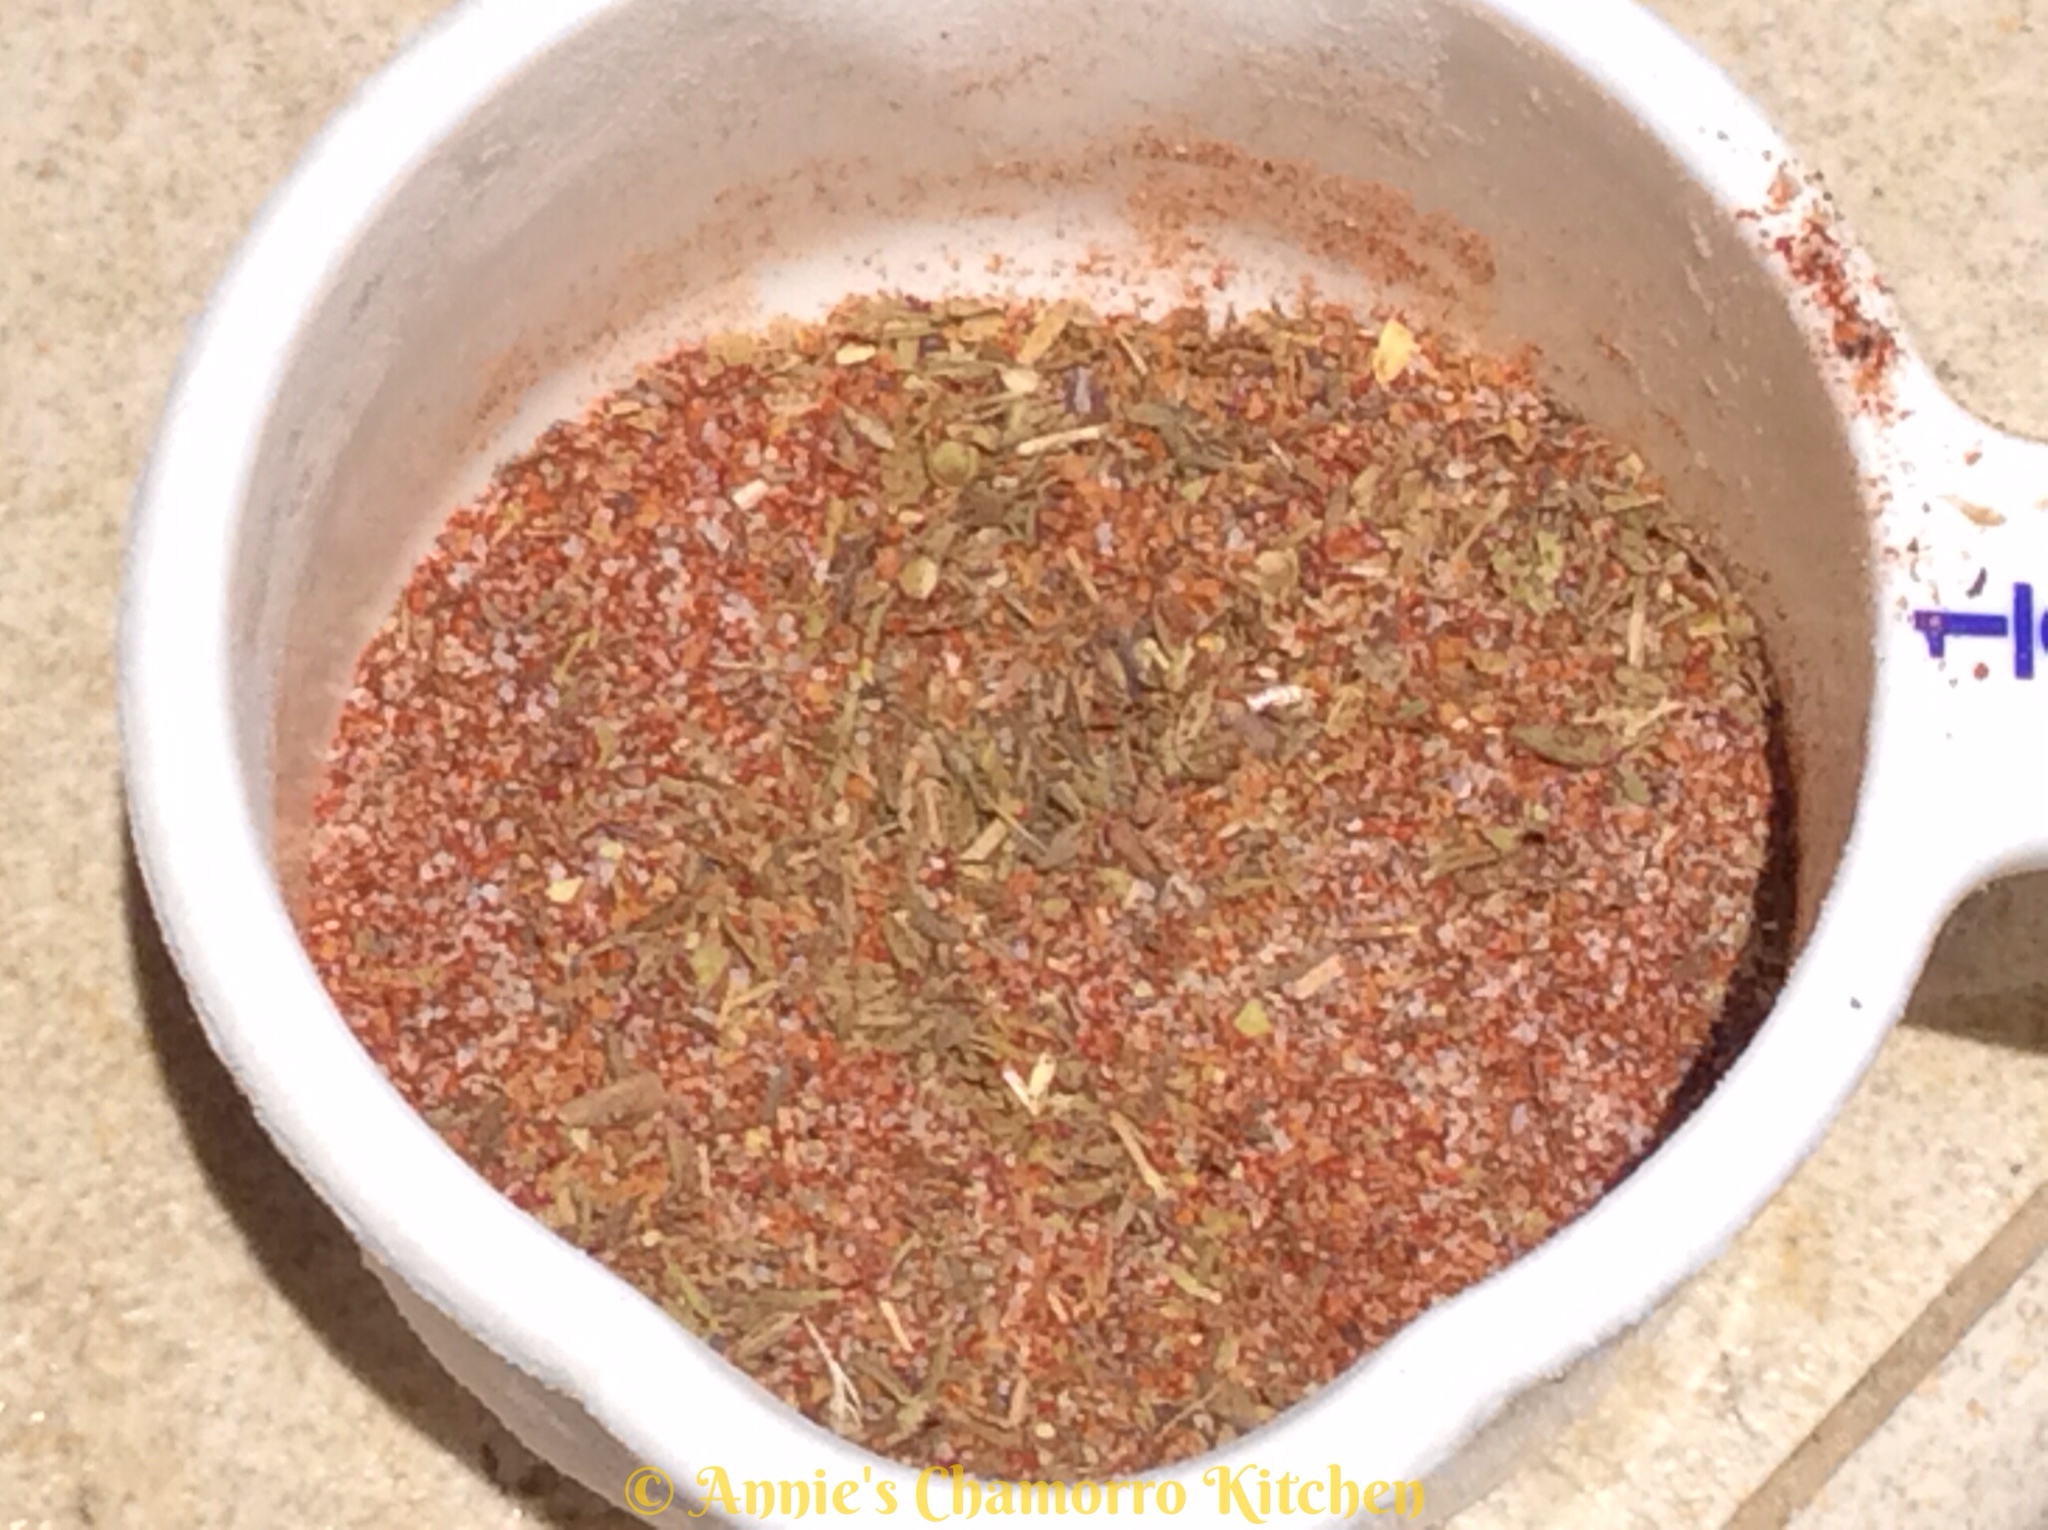
8. Stir the seasonings into the pot.
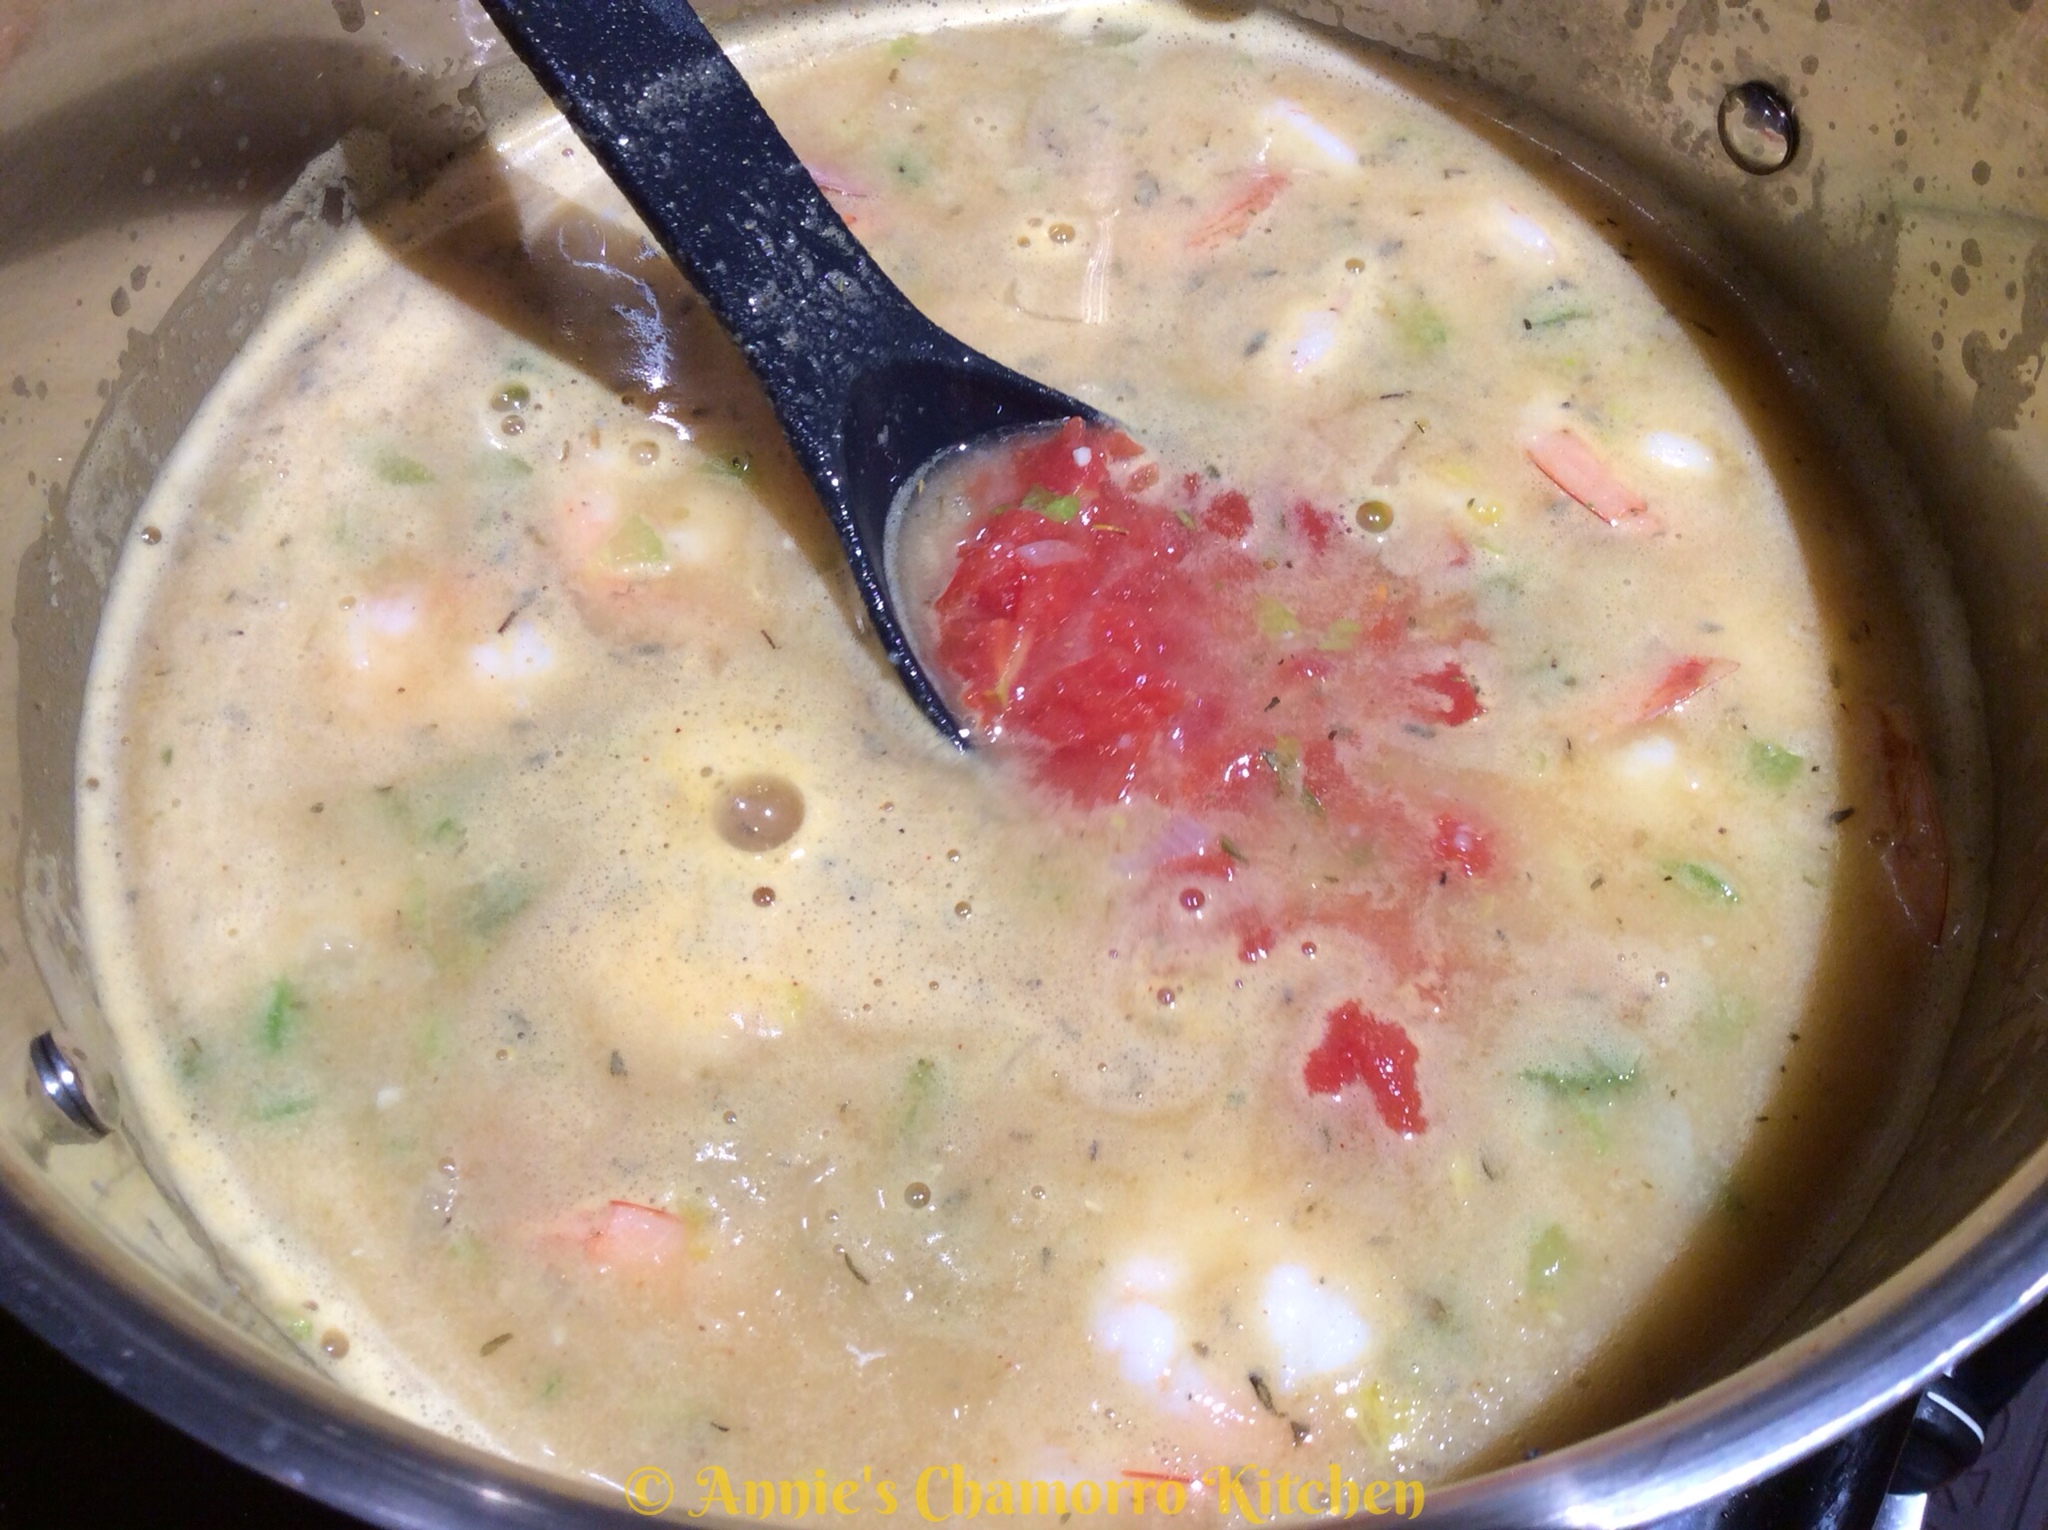
9. Add the drained tomatoes.
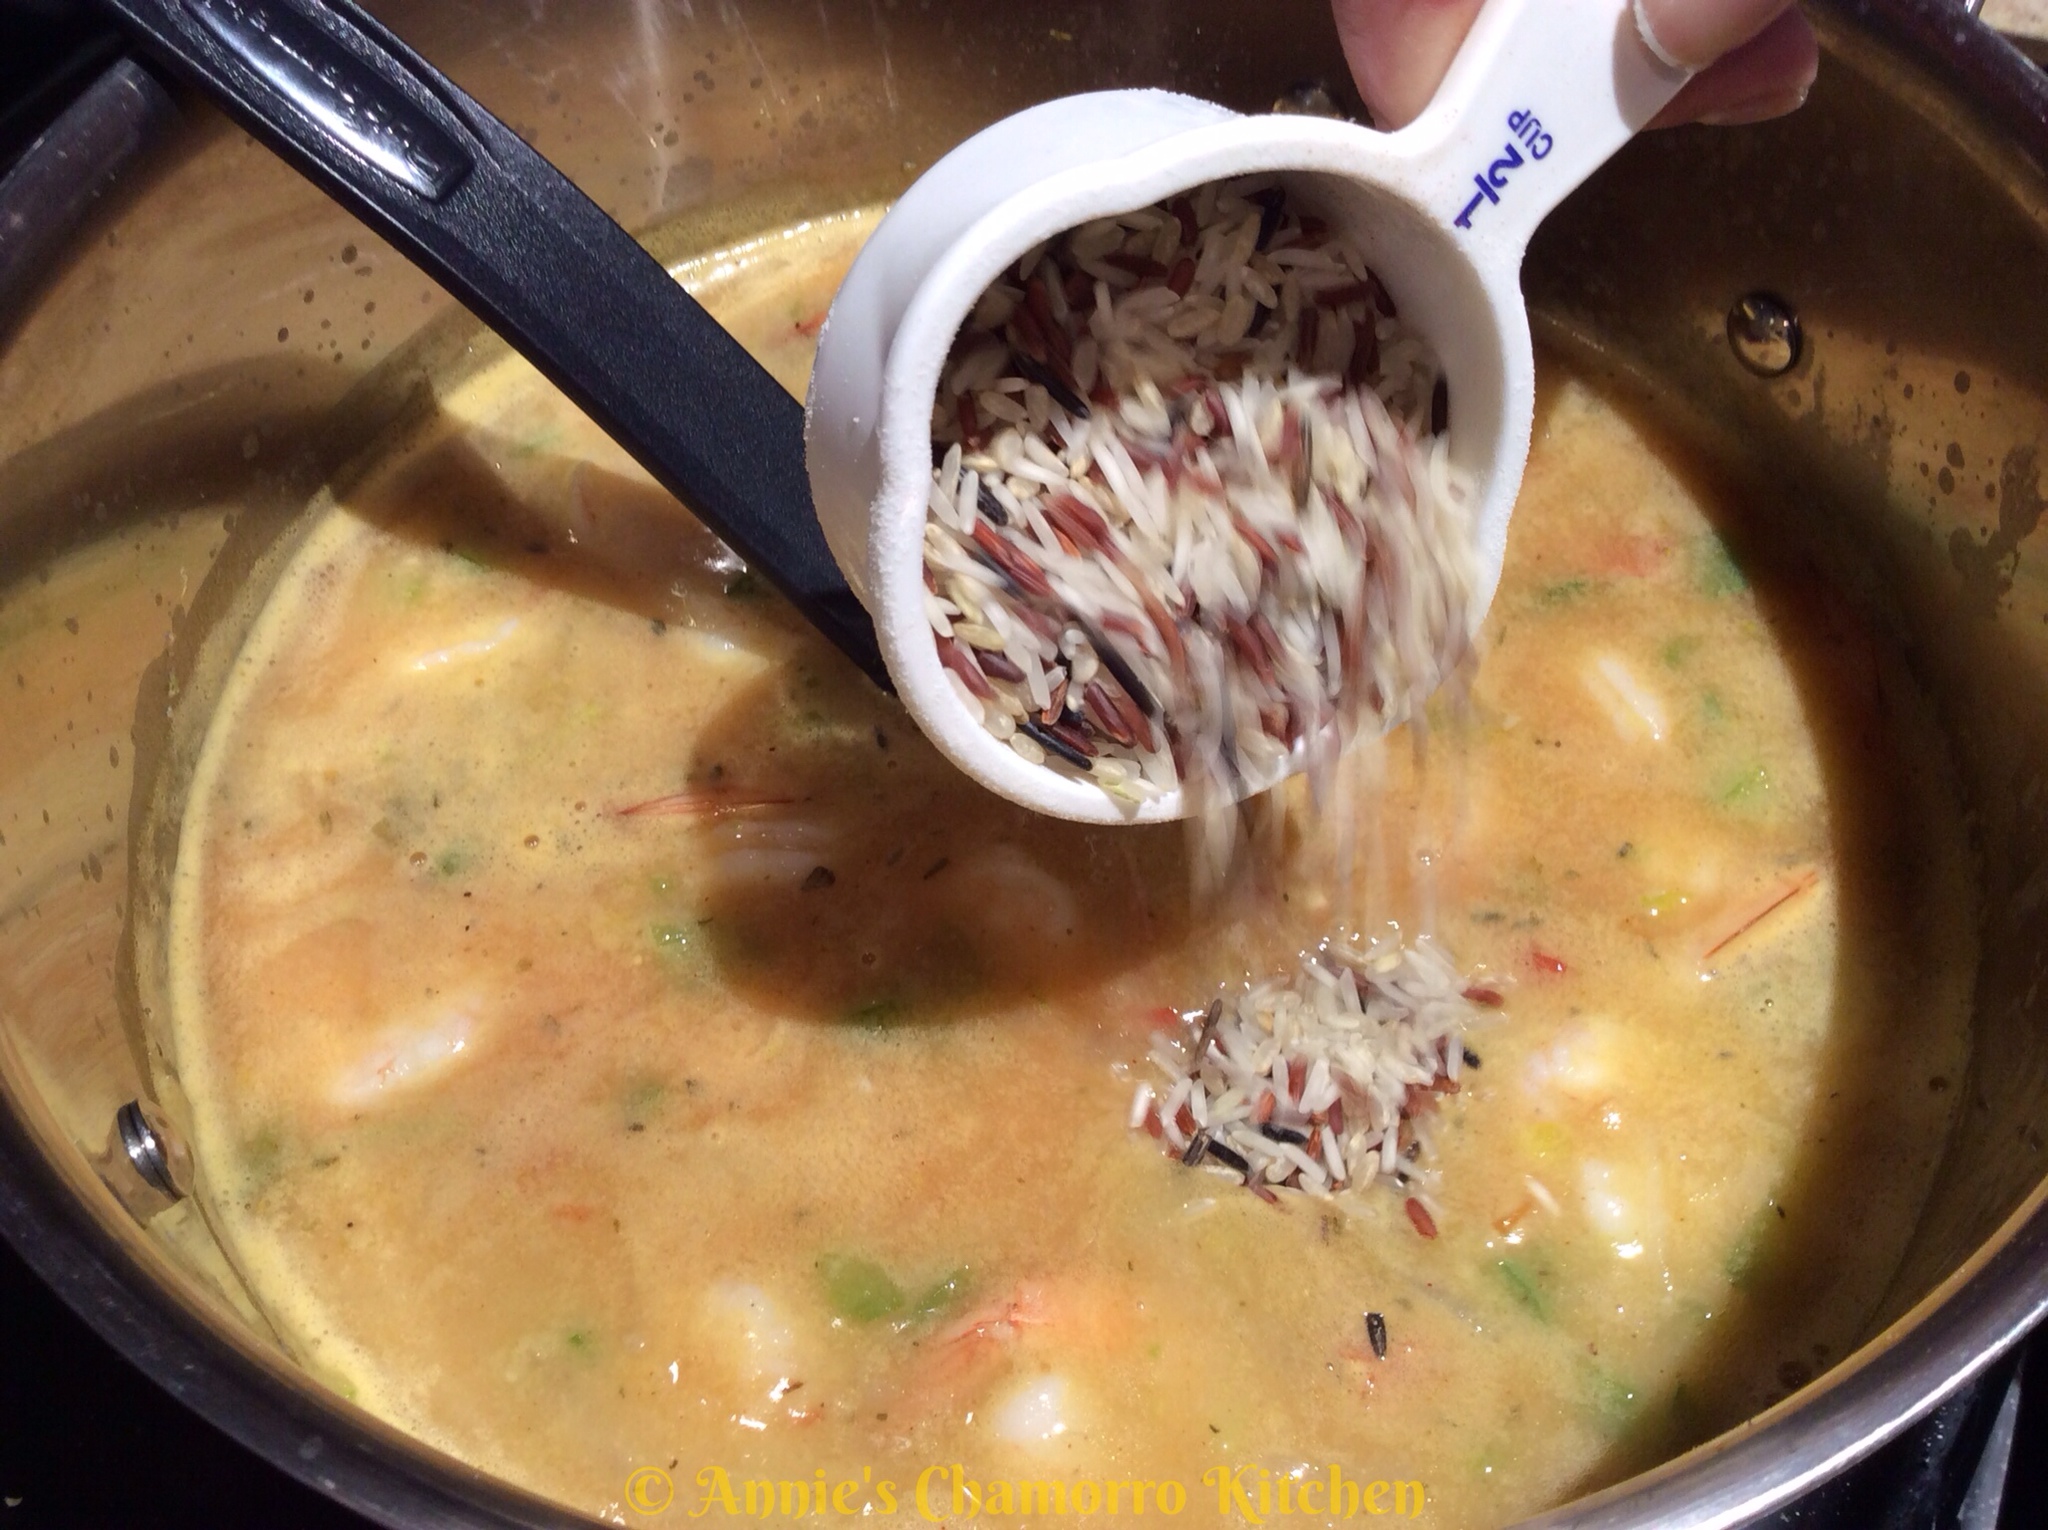
10. Add the rice.
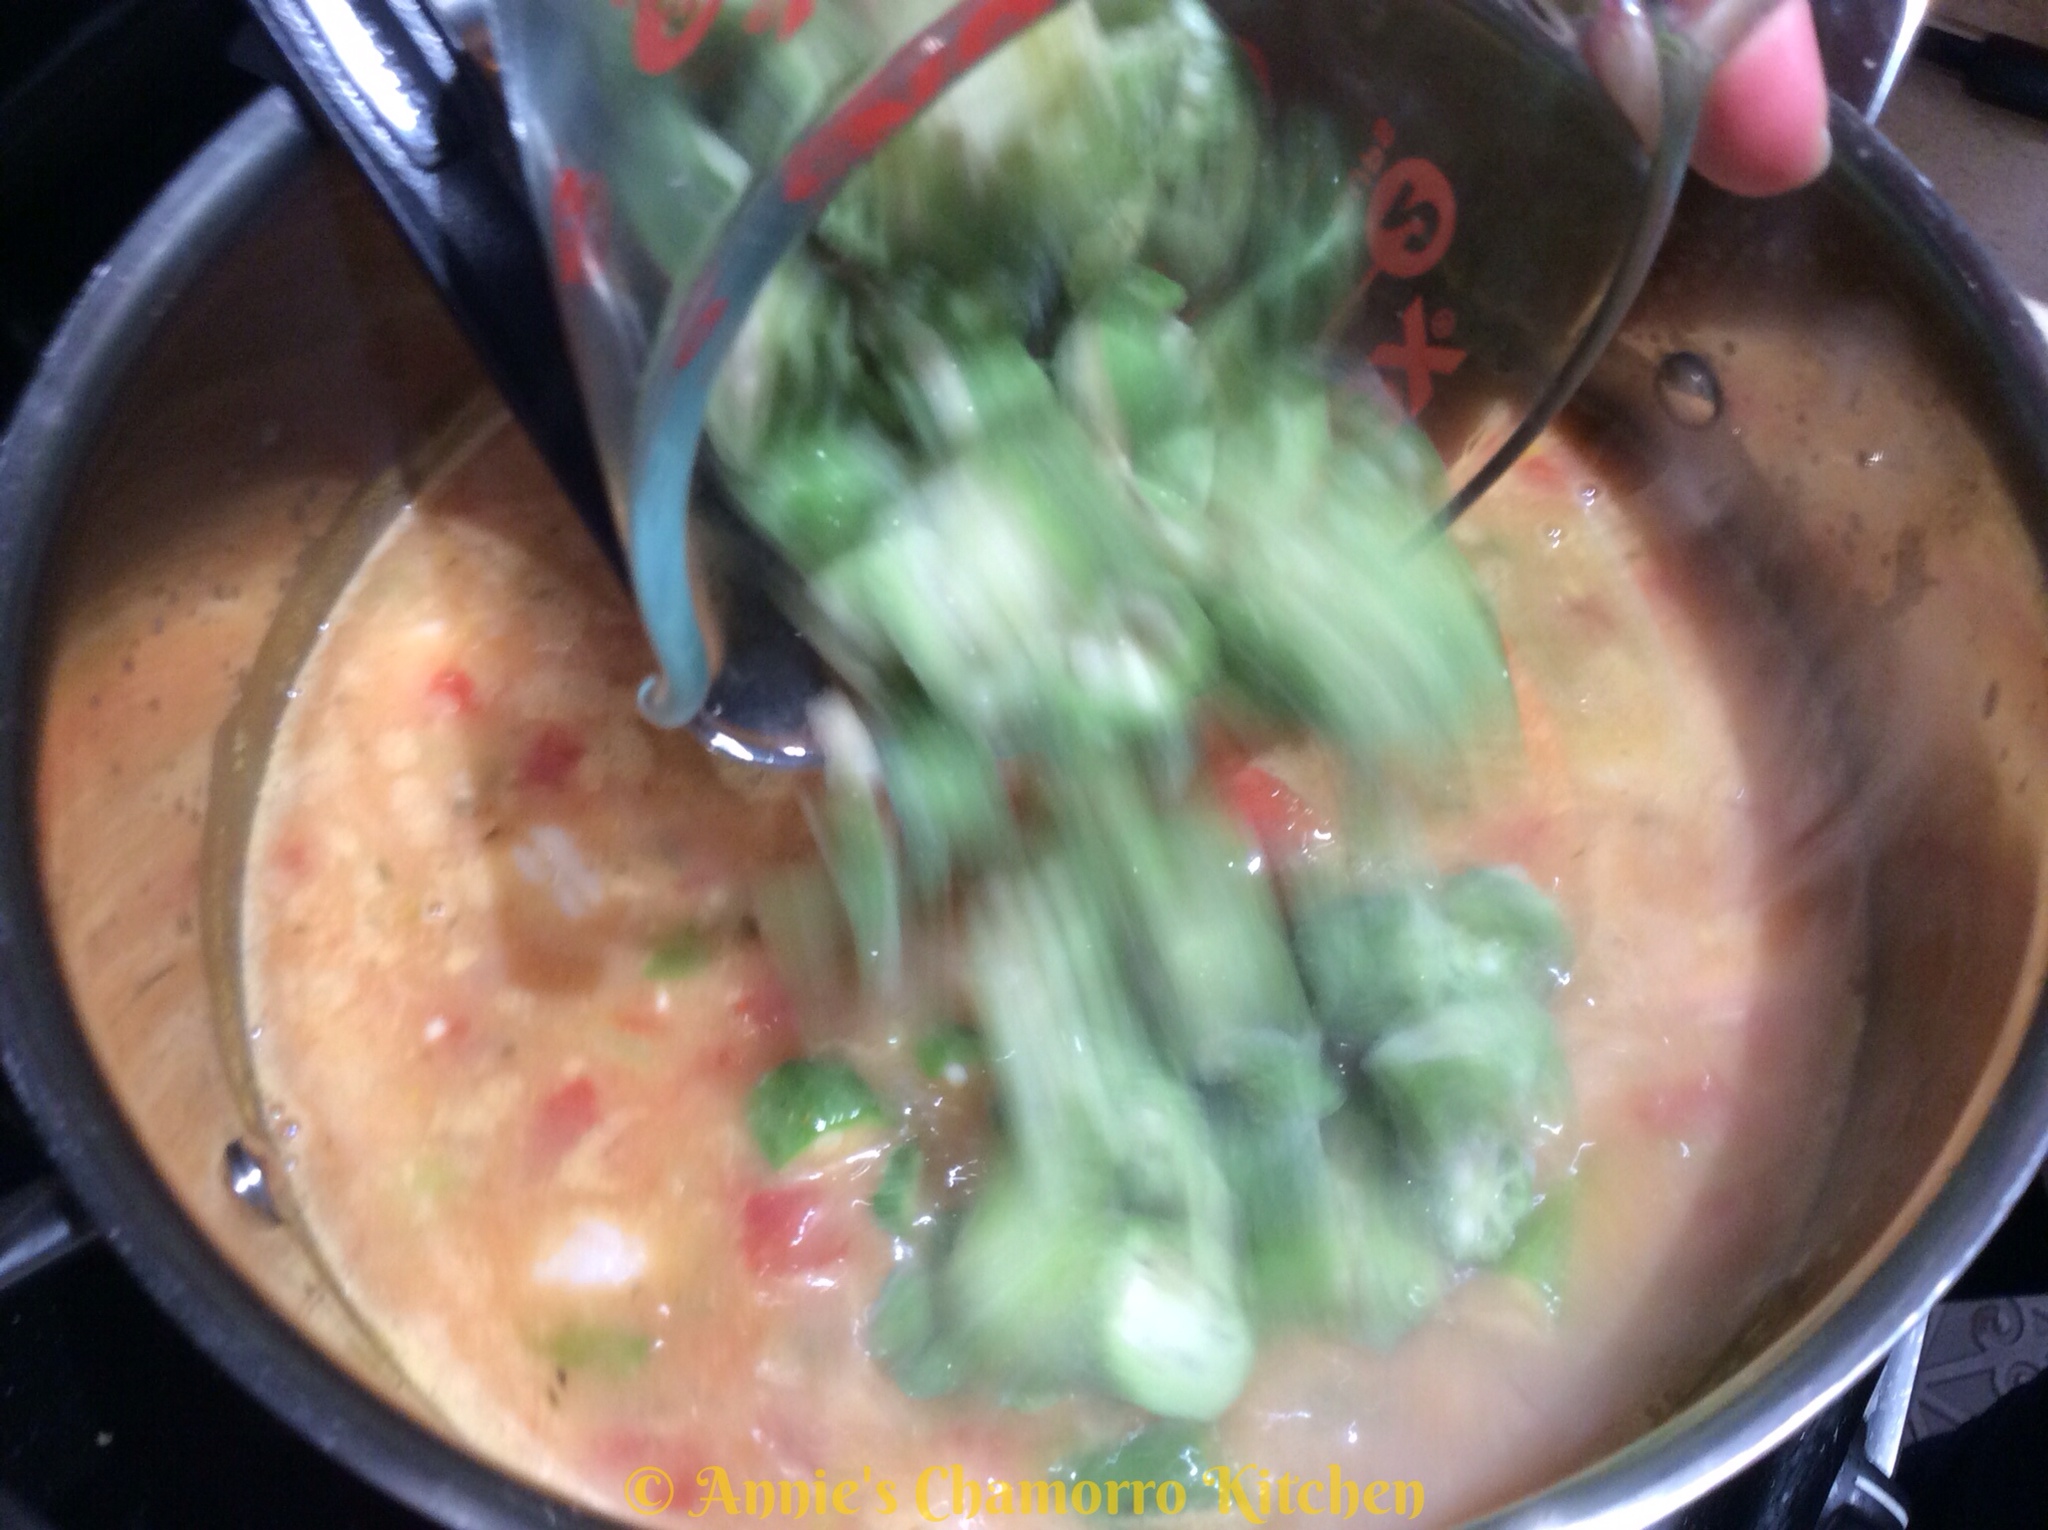
11. Add the okra.
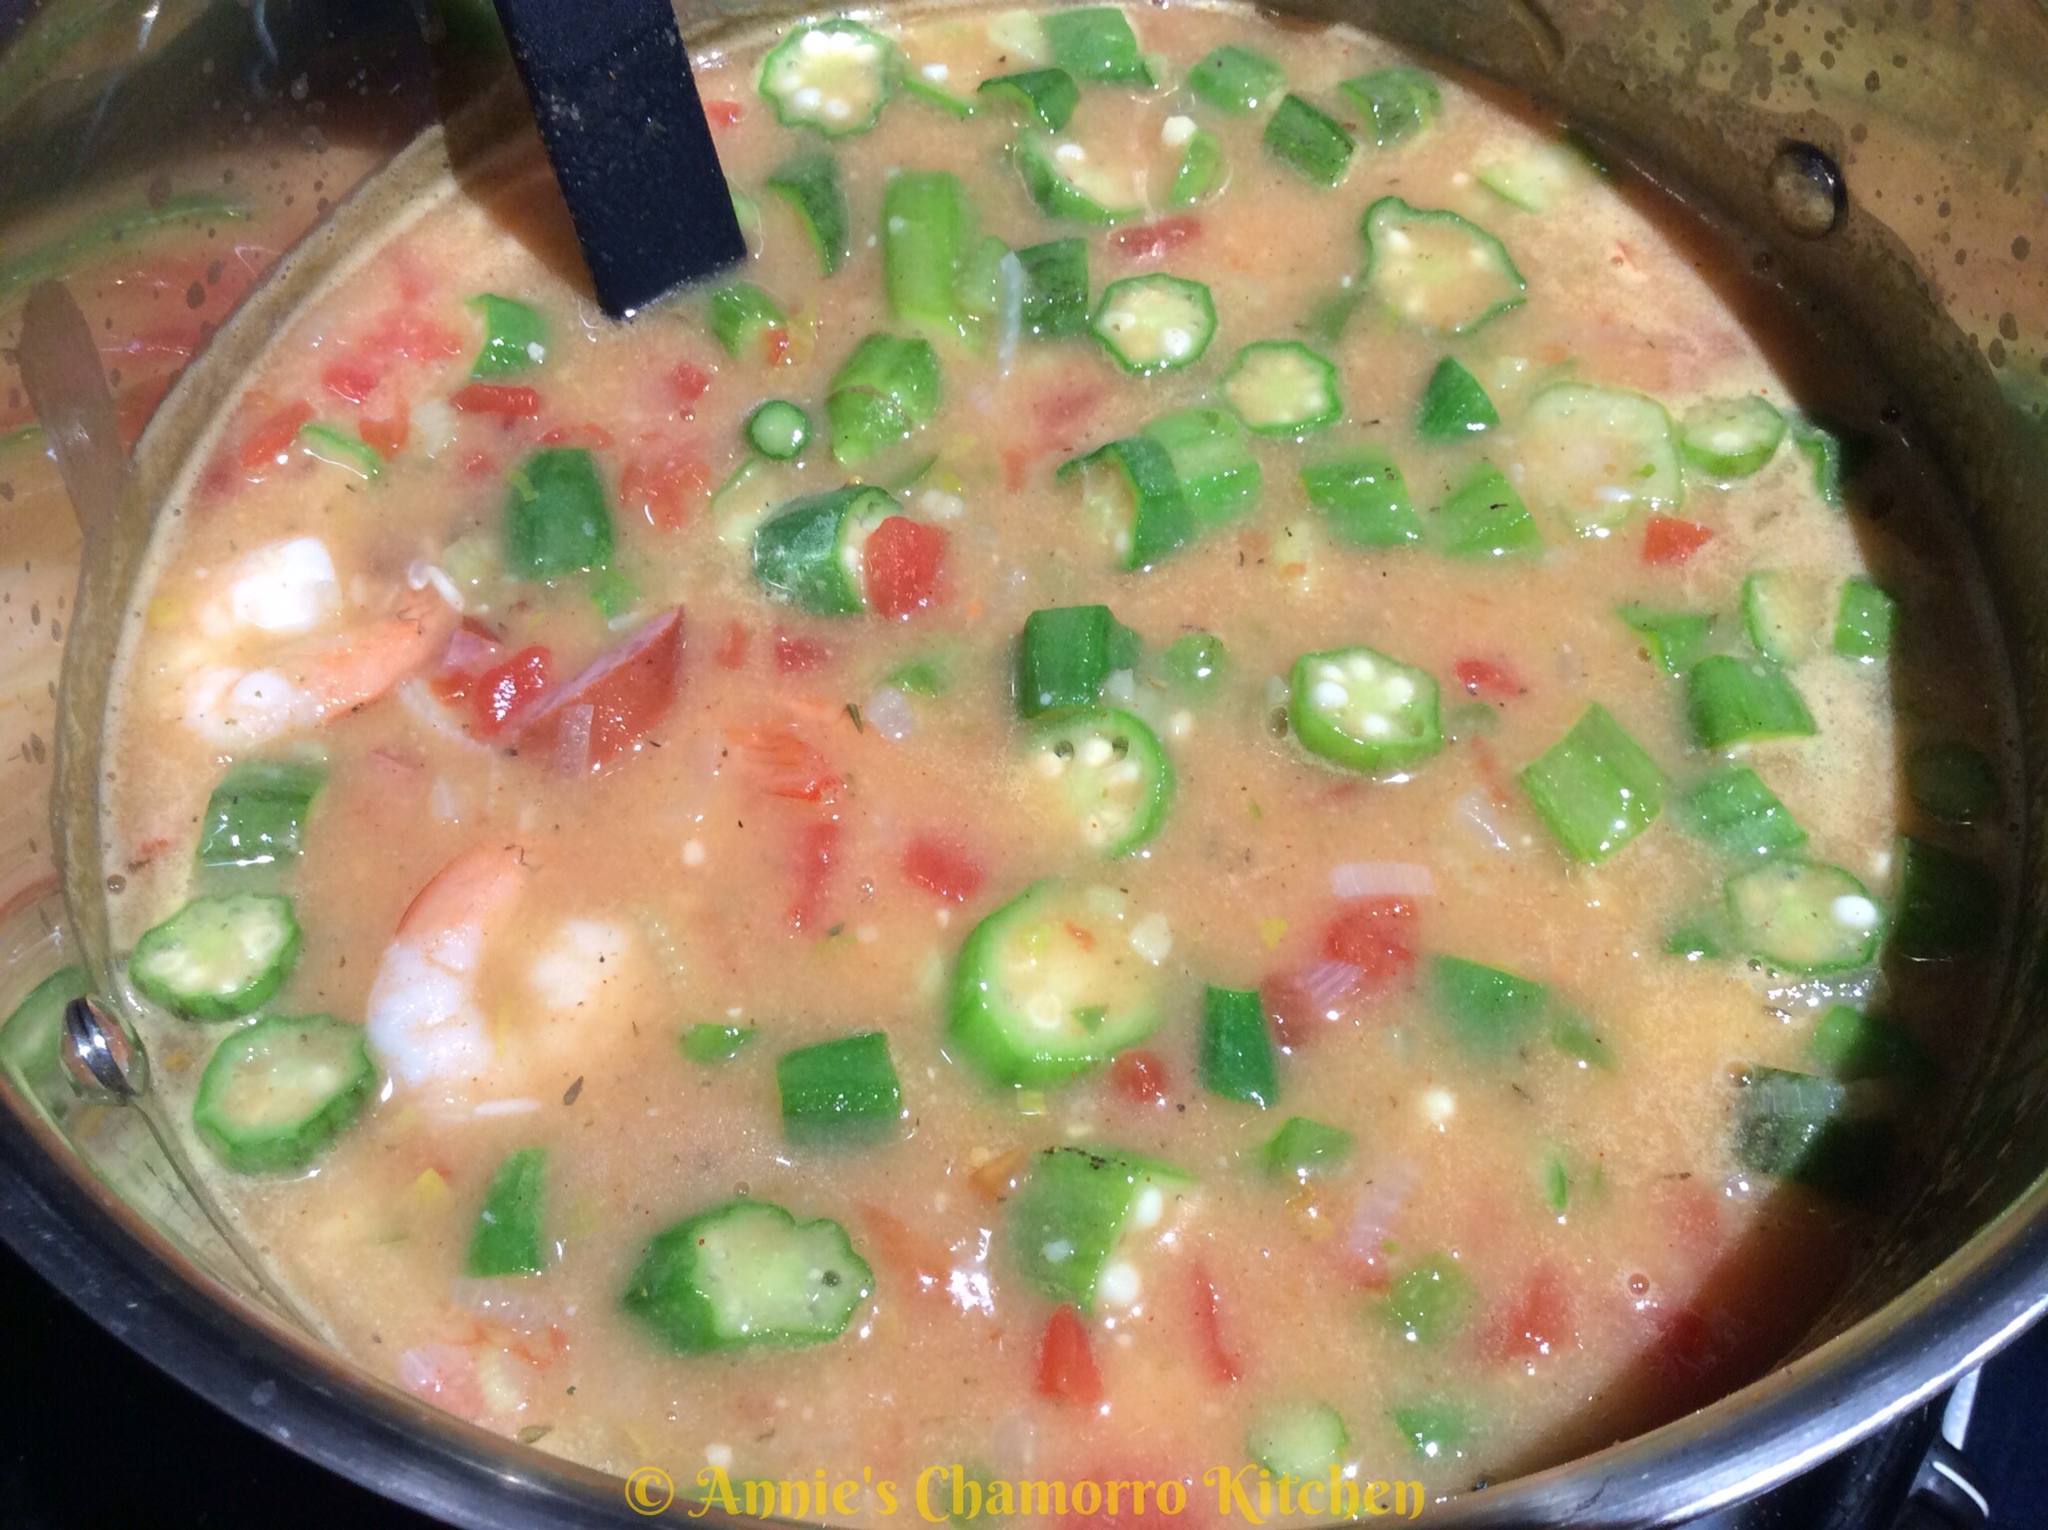
12. Turn the heat down to medium low and simmer for 20-25 minutes, or until the rice is done. Stir occassionally. Taste to adjust for seasonings. Optional: Add a few shakes of Tabasco sauce.
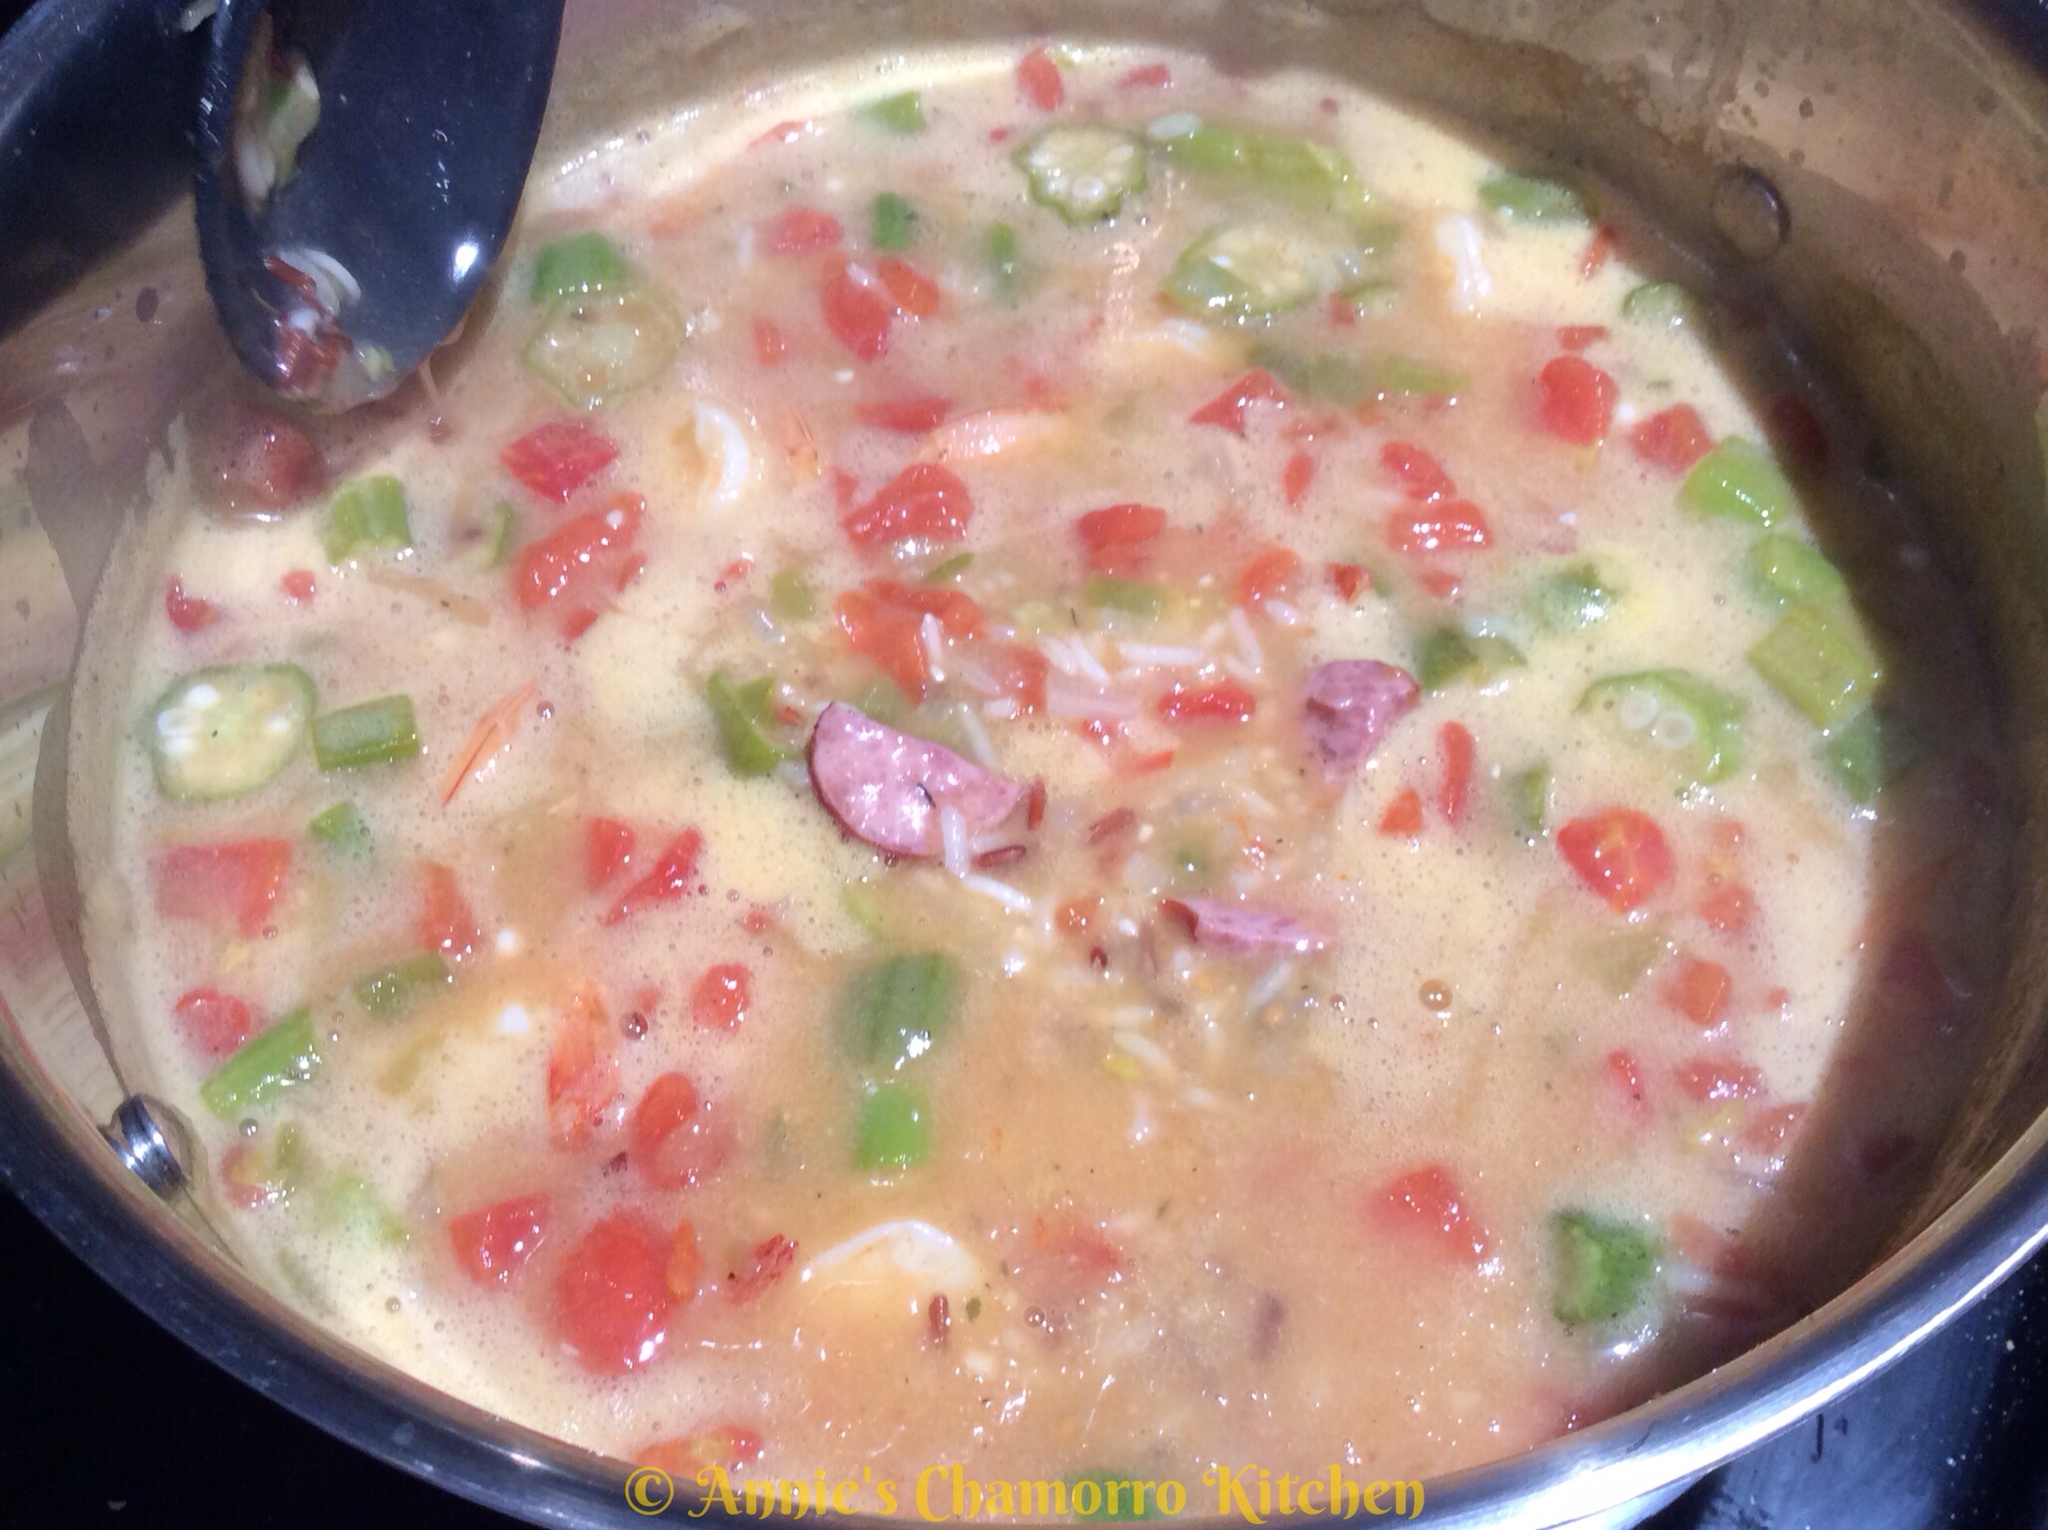
Sprinkle sliced green onions on top, serve and ENJOY!