I’m a recent fan of fried pickles, and by recent, I mean I first tried this delicacy maybe two or three years ago. Whaaaaaat????
It’s not that I disliked pickles that kept me away from them. I mean, you can fry cheesecake, ice cream, Oreos, cookie dough. Can you see the theme here? Sweets are fried. I think pickles just never entered my mind as something TO fry.
But then there it was, the featured appetizer for happy hour. I took the leap. It WAS happy hour, after all. Everything during happy hour HAD to be good! They were!
Fried pickles nowadays have been pretty skimpy, or at least they have been in my experience. Lately, the fried pickles I’ve ordered have been paper thin, so thin that when fried they turn out chewy and just not good. I don’t know if this is an easy way for establishments to cut costs, but with pickles? C’mon.
I invested in an air fryer about a year ago, and I’ve made many things in it. Fried pickles though are by far one of my favorites. Now, whenever I have the craving for this treat, I can whip it up at home in no time.
Give my recipe a try. I think you’ll like it.
AIR FRIED PICKLES
Start by making a thin batter to coat the pickles. You want to do this first, because as I’ll explain later, you don’t want to have your flour-coated pickles sit for a while as you prepare this batter.
Place your flour, salt, paprika, garlic powder, and cayenne pepper in a small bowl.
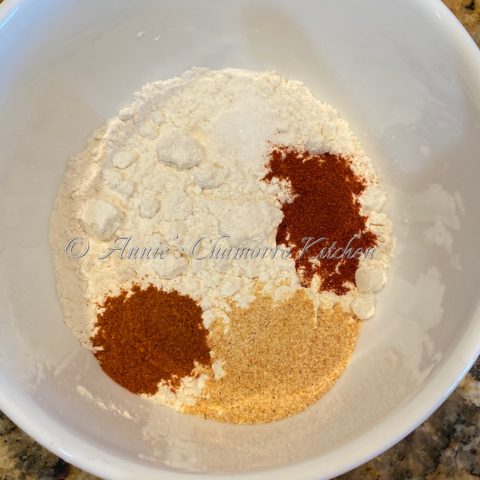
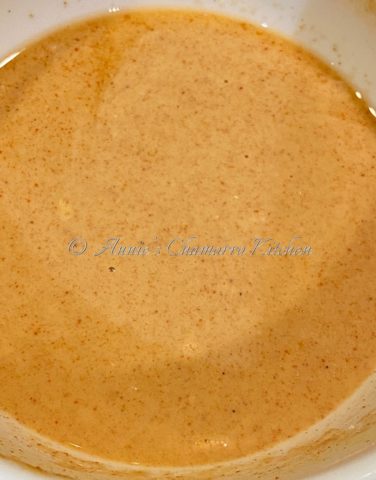
Add water and whisk, making sure there are no lumps. If you want to make your pickles a little spicy, add some hot sauce to the batter.
The batter should be the consistency of a thin pancake batter. Set this aside for now.
At this point, you also want to place your breadcrumbs into a shallow bowl or small baking pan. You want some room to work with, so just be sure your bowl or pan is wide enough that you have room to move the breadcrumbs around as you coat each pickle slice.
Now things will move pretty quickly.
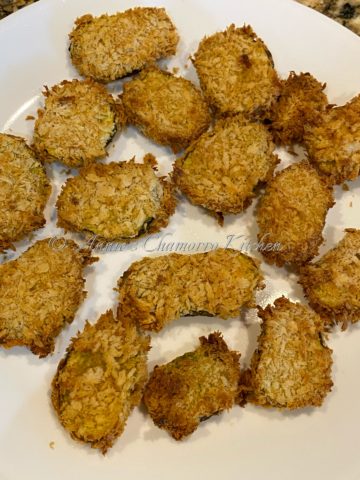
Slice whole dill pickles into 1/4-inch “coins.” You can also cut baby dill pickles in half lengthwise, but I prefer the smaller pieces. Place the cut pieces on a paper towel-lined plate.
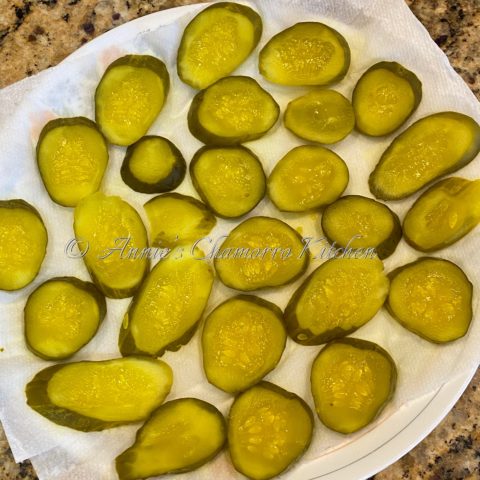
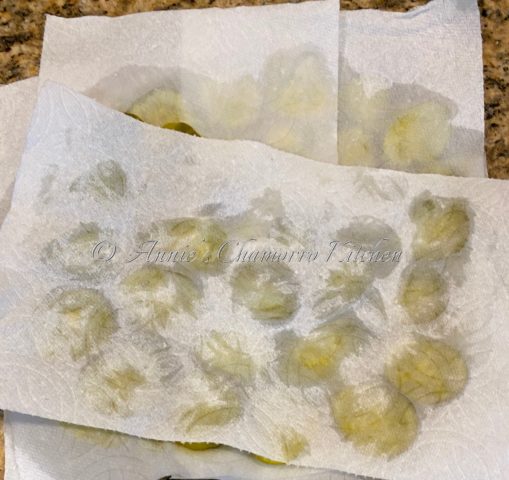
I even use additional paper towels to absorb excess pickle juice. You want these to be as dry as you can make them.
Place a cup of flour in a resealable bag, then add the pickle slices. This is why you want the pickles dry. If you didn’t soak up the excess pickle juice from them, you’d have a goopy mess when you add the pickles to the flour.
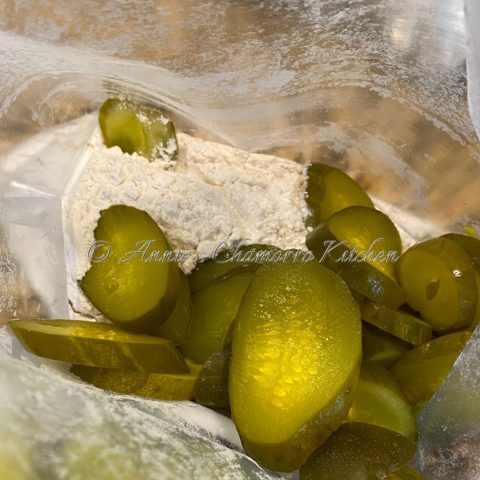
Seal the bag then give the pickles a good shake to evenly coat each slice with flour.
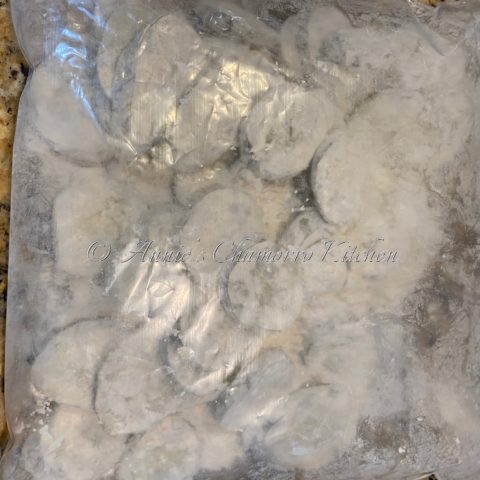
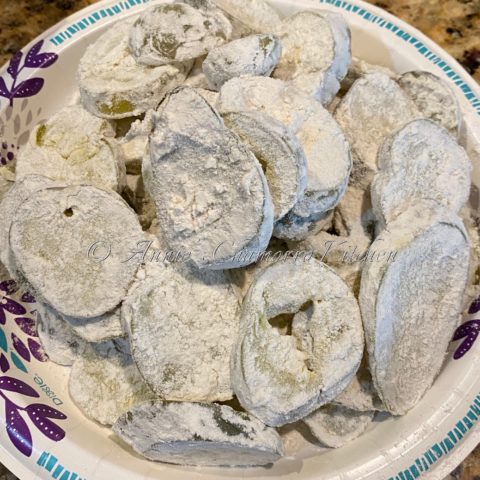
Take the slices out of the bag and place them on a plate. Don’t do what did here (don’t pile them on top of each other). Place the coated slices in one layer, especially if you have a lot of them (slices). Like with most moist things coated in flour, the flour will eventually soak up any remaining moisture. If you have the coated pickle slices piled on top of each other, they will end up sticking together if you don’t work fast to coat them (shown in the following steps).
This is why I have you making the dipping batter first, so that you don’t let the coated pickles sit for too long.
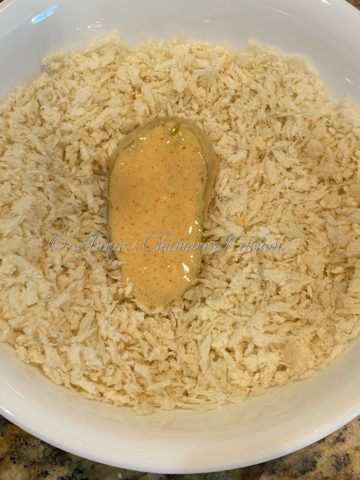
Dip each coated pickle slice into the batter, coating all sides.
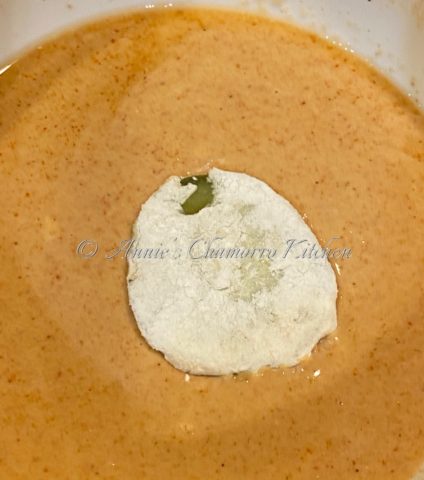
Place the batter-dipped pickle slice into the breadcrumbs. Place more crumbs over the top, gently pressing down to ensure the crumbs adhere to the batter. Carefully flip the pickle slice over, cover with crumbs and press again.
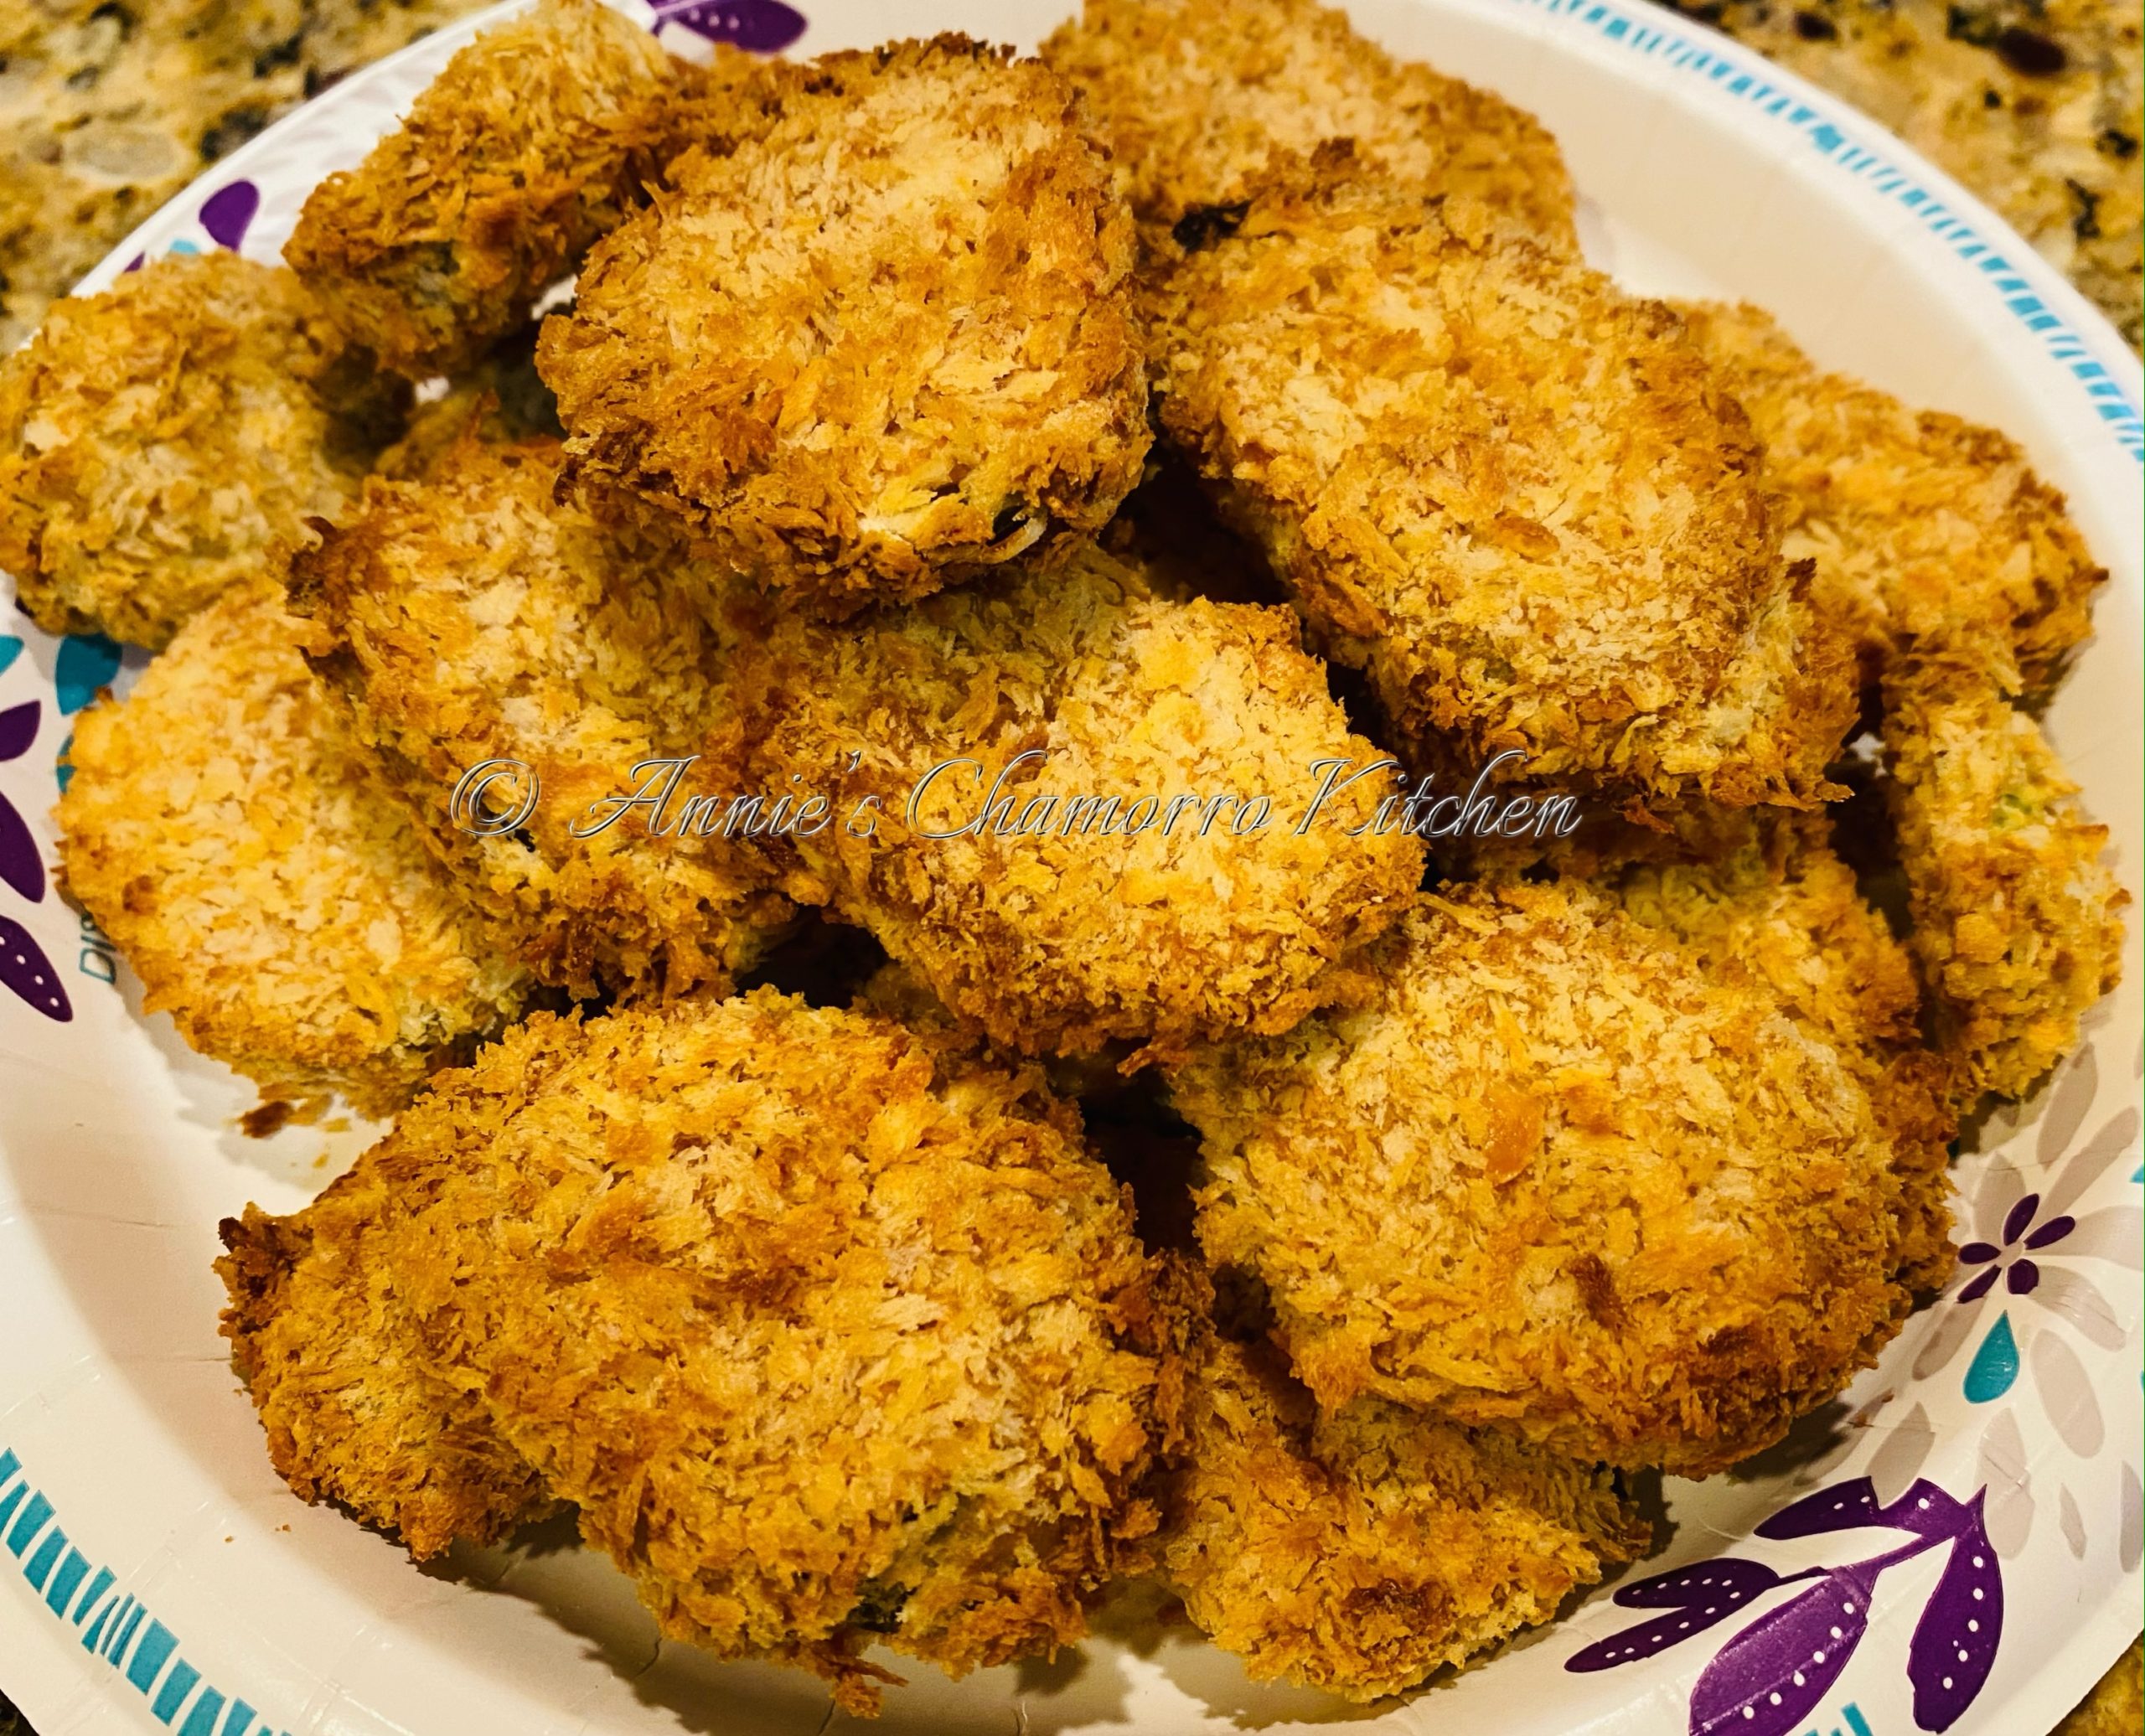
Place the crumb-coated pickle slices in a single layer onto a plate or tray. Continue until all of the pickle slices are dipped in batter then coated in breadcrumbs.
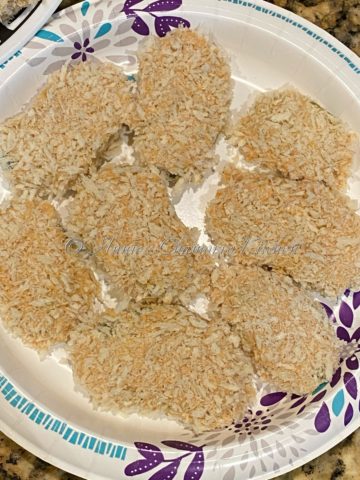
When all the pickle slices have been coated in breadcrumbs, you’re ready to air fry them.
Most air fryer recipes call for pre-heating before cooking. If yours requires that, by all means, preheat your air fryer to 400 degrees F. I usually preheat mine for about 5 minutes.
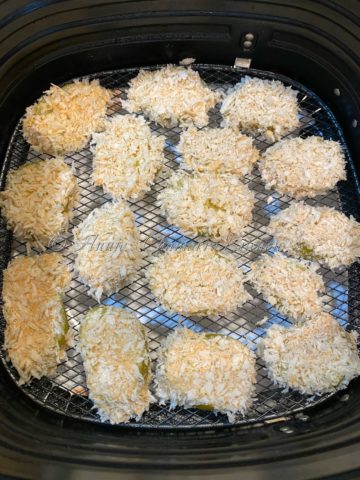
Place the pickles in your air fryer basket in a single layer. Lightly spray the tops with oil cooking spray.
Cook at 400 degrees F for ten minutes.
After ten minutes of cooking, flip each pickle slice over.
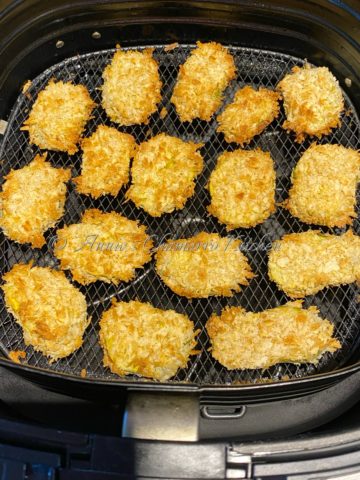
Lightly spray them once more with oil cooking spray. Cook for an additional 7 minutes, or until the pickles are golden brown.
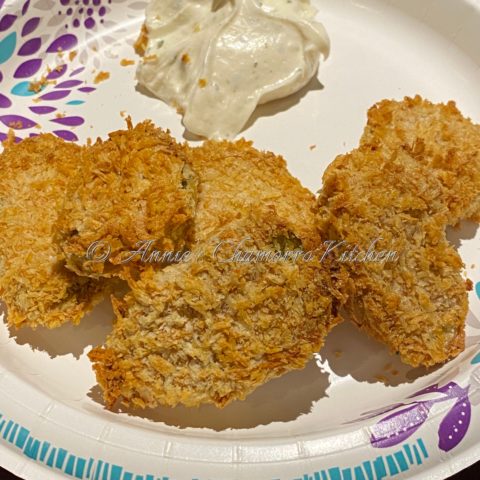
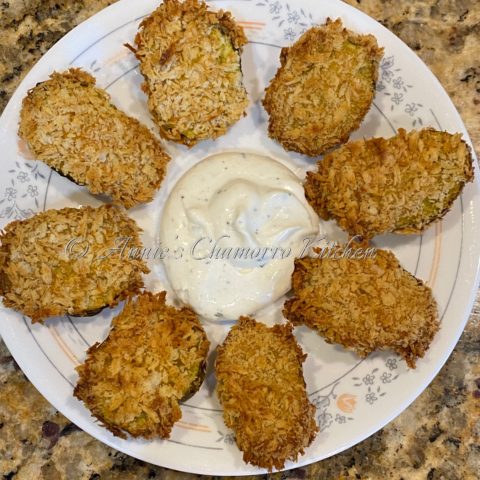
Serve with your favorite dipping sauce (ranch dip is a favorite in my house) and enjoy!
- 2 cups sliced dill pickles
- 1 cup flour, for dusting pickles
- 3 cups panko breadcrumbs
- Hot sauce, to taste, optional
- Oil cooking spray
- 1 cup flour
- ¼ teaspoon salt
- 1 teaspoon paprika
- 1 tablespoon garlic powder
- 1 teaspoon cayenne pepper
- 1¾ cups water
- Place all of the batter ingredients in a small bowl. Whisk until smooth.
- Place the breadcrumbs into a small, shallow pan.
- Dry the sliced pickles with paper towels.
- Place the one cup of flour in a resealable bag. Place the pickle slices into the bag of flour. Seal the bag and shake to coat each of the pickle slices. Place the flour-coated pickles in a single layer on a plate or tray.
- Dip each flour-coated pickle slice into the batter, coating all sides.
- Cover the batter-coated pickle slice with breadcrumbs. Continue until all pickle slices have been coated with breadcrumbs.
- Preheat your air fryer to 400 degrees F.
- Place a single layer of pickles into the fryer. Light spray the pickles with oil cooking spray. Cook at 400 degrees F for 10 minutes.
- After ten minutes, flip each pickle slice over, spray lightly with oil cooking spray, then cook for seven more minutes.
- Serve with your favorite dipping sauce and enjoy!
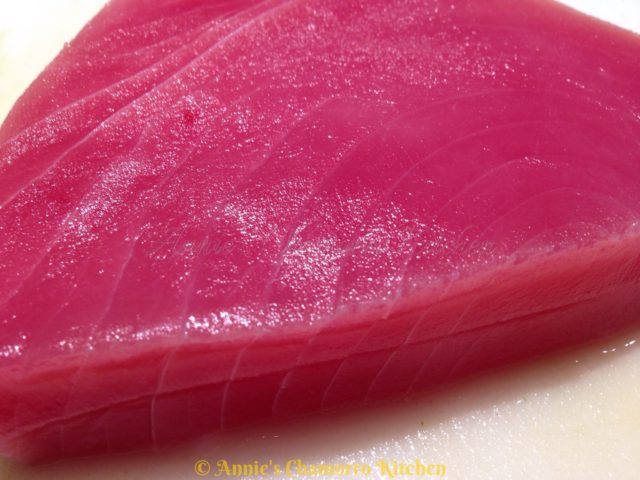
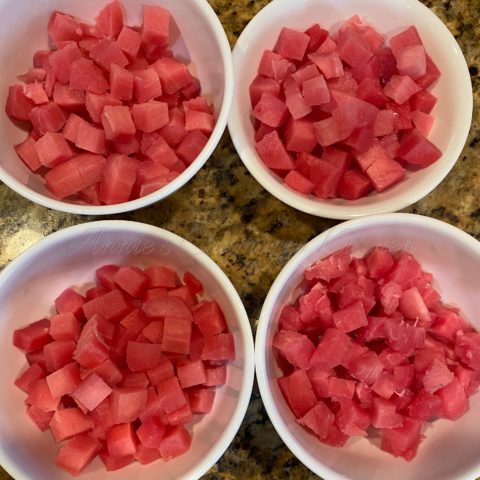
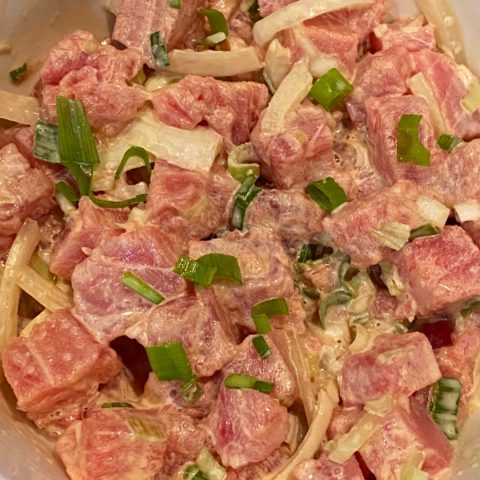
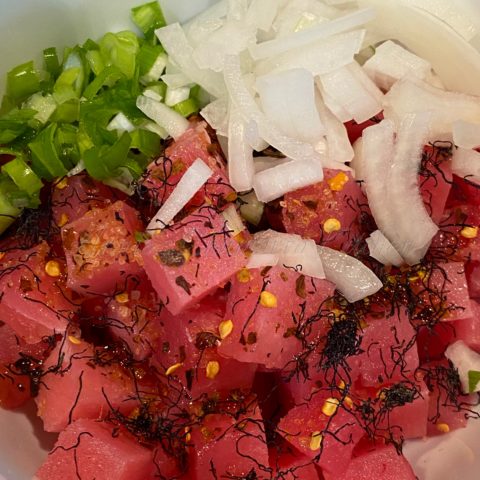
 Pour the Shoyu mixture over the ahi.
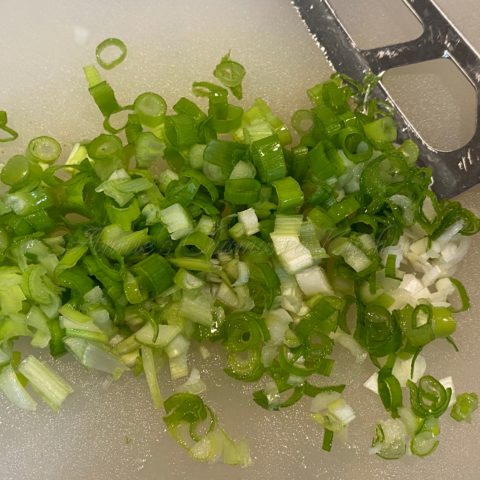
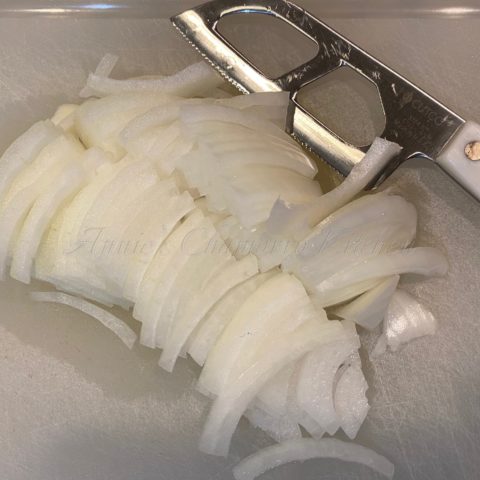
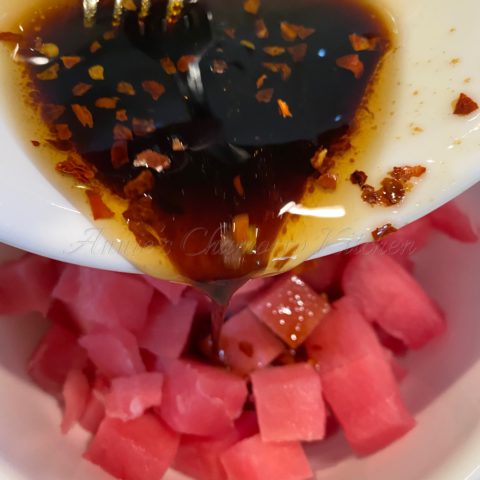 Add green and yellow onions. Stir to combine.
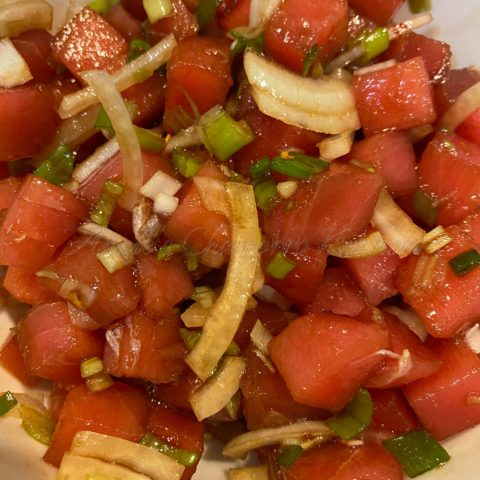
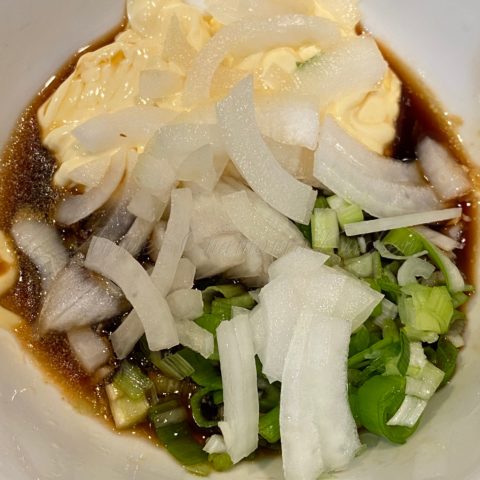 Stir to combine.
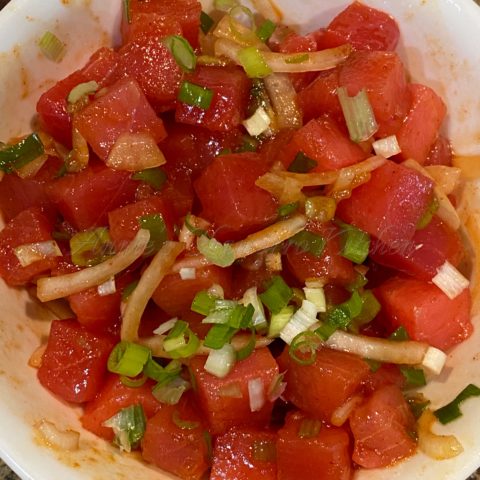
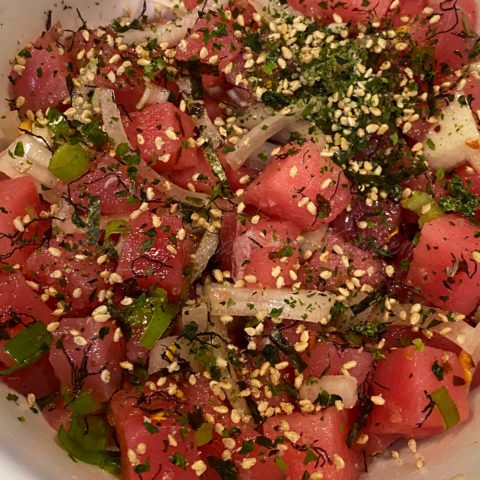
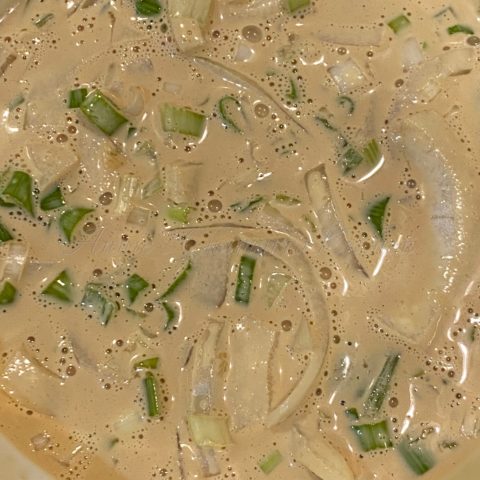 Pour the mixture over the ahi.
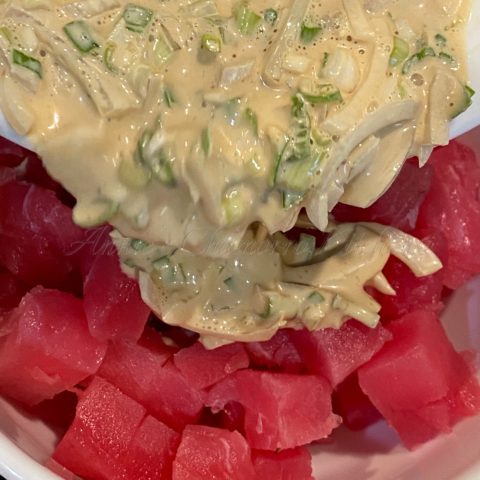 Stir to combine.