Archive for Author AnniesChamorroKitchen

About the Author: AnniesChamorroKitchen
Hafa adam means "hello" in Chamorro, the native language of my island home, Guam U.S.A. Guam is the proverbial melting pot, abounding with cultural diversity that is aptly displayed in the variety of food we eat and share. The focal point of most Chamorro families centers around family gatherings and cooking. In my home, most of my guests congregate in my kitchen. It is where we do our best catching up, and whee lasting emories aremade. Browse through my selection of Chamorro and other recipes m and please leave me a comment if you try my recipes to let me know what you think of them. I hope you enjoyed your time in my kitchen. Come back soon! This site is work-in-progress, so please bear with me as I grow this site to a place where you'll love to visit. Happy Cooking! ~ Annie

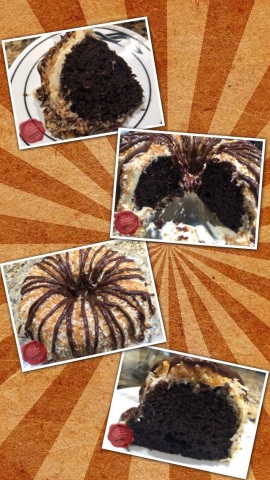
Chocolate Caramel Coconut Cake

image

Okay friends, if there was ever a recipe of mine you ought to try, this one is it!

This is my homage to my favorite Girl Scout Cookies, the Caramel Delites or Samoas.

My version of this cake combines all the things I love about the classic cookie — sweet coconut, rich chocolate and luscious caramel.

The super moist and fudgy cake gets a generous topping of my caramel cream cheese frosting.  Toasted sweet coconut gets pressed into the frosted cake, followed by drizzles of melted chocolate and MORE caramel!

Do I have you drooling yet and ready to bake this cake RIGHT THIS MINUTE??? 😉

My super easy recipe is made even more simple by using boxed cake mix. While you can certainly make a cake from scratch, there are several brands that bake up a very moist and delicious cake.

image

My complete recipe is at the bottom of this post. Give it a try and let me know how you like it. 🙂

Here’s how to make it.

I used a box of chocolate fudge cake mix.  You can use any brand you prefer, but I like Betty Crocker brand mixes.

Follow the instructions on the back of the box to make the cake.  This particular mix calls for adding 1 1/4 cups water, 1/2 cup vegetable oil, and 3 large eggs.  I also added 1 teaspoon of coconut extract to the batter to really amp up the coconut flavor.

image

Generously spray a bundt pan with baking spray (the one that also has flour in it).  Pour the batter into the prepared pan.

imageBake the cake for 50-55 minutes at 350 degrees.  Insert a thin skewer (or knife) into the middle of the cake to test if it’s done (no crumbs should stick to the skewer or knife).

Invert the cake onto a serving dish then let it cool completely.

imageWhile the cake cools, and while the oven is still hot, toast the coconut.

Spread out sweetened coconut flakes on a large baking pan.

image

Bake the coconut for 3 minutes at 350 degrees; use a spatula to stir the coconut around.  Bake for another 3 minutes; stir again to ensure even browning.

If the coconut is still too light, bake for 3 more minutes, but watch it carefully at this point.  Once browned, remove the coconut from the pan and allow to cool.

image

While the cake and coconut cool, prepare the frosting.

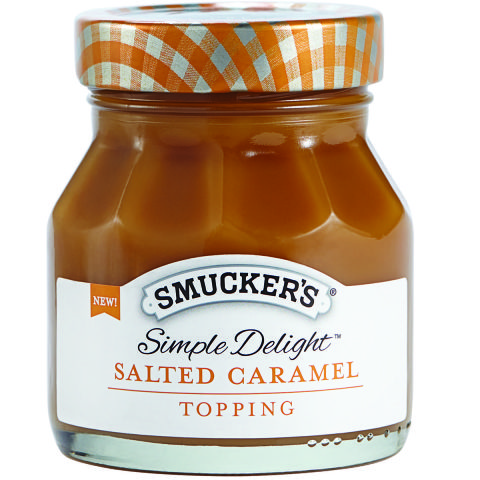
Using an electric handheld mixer, mix the softened cream cheese with the caramel sauce.  You can use the same caramel sauce that you pour over ice cream.  I used salted caramel sauce for this recipe, but any thick caramel sauce will do.  Beat until creamy.

This is the caramel sauce I used:

image

This tastes great already!  For future reference, this is the base for a delicious fruit dip — just mix in some marshmallow creme to the cream cheese-caramel mixture.

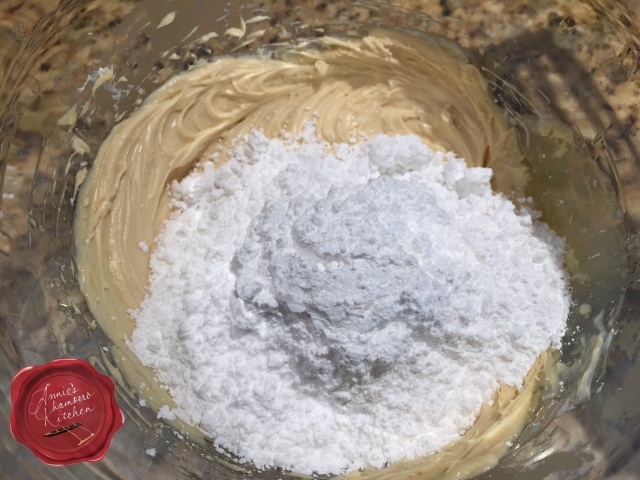
imageSo, back to the frosting.  Mix in up to 4 cups of powdered sugar, 1 cup at a time.  I used only 3 cups of powdered sugar, but if you want a very thick layer of frosting on top of your cake, use all 4 cups of powdered sugar.

image   image

Once the cake has cooled sufficiently, it’s time to frost it.

Spread the frosting all over the cake, covering it entirely.

imageImmediately sprinkle the coconut over the frosted cake.  To add the coconut to the sides, grab a handful of coconut and press it into the sides of the cake.  Shake off any excess coconut.

image

Now for the chocolate sauce.

Melt a cup of chocolate chips for 30 seconds in a microwave-safe glass bowl or cup.  Stir the chocolate — it might not be melted at this point, however, but stir it nonetheless.

image

Melt the chocolate for 30 more seconds then stir again.  Once again, it may not appear as if the chocolate is melted, but trust me — the chips are already mostly melted, and will continue to melt with the heat of the glass.  Do not microwave the chocolate any more or it will seize and become stiff, lumpy and unworkable.

imageScoop out the melted chocolate and place it into a sandwich bag.

image

Twist the top of the bag to keep the melted chocolate in one corner of the bag.  Use a pair of scissors to snip off a tiny piece of one corner of the bag.

Squeeze the melted chocolate over the top of the cake.  I’m sure you can decorate your cake a lot nicer than I did mine. 😉

Drizzle some caramel over the cake, in the spaces between the chocolate.

image

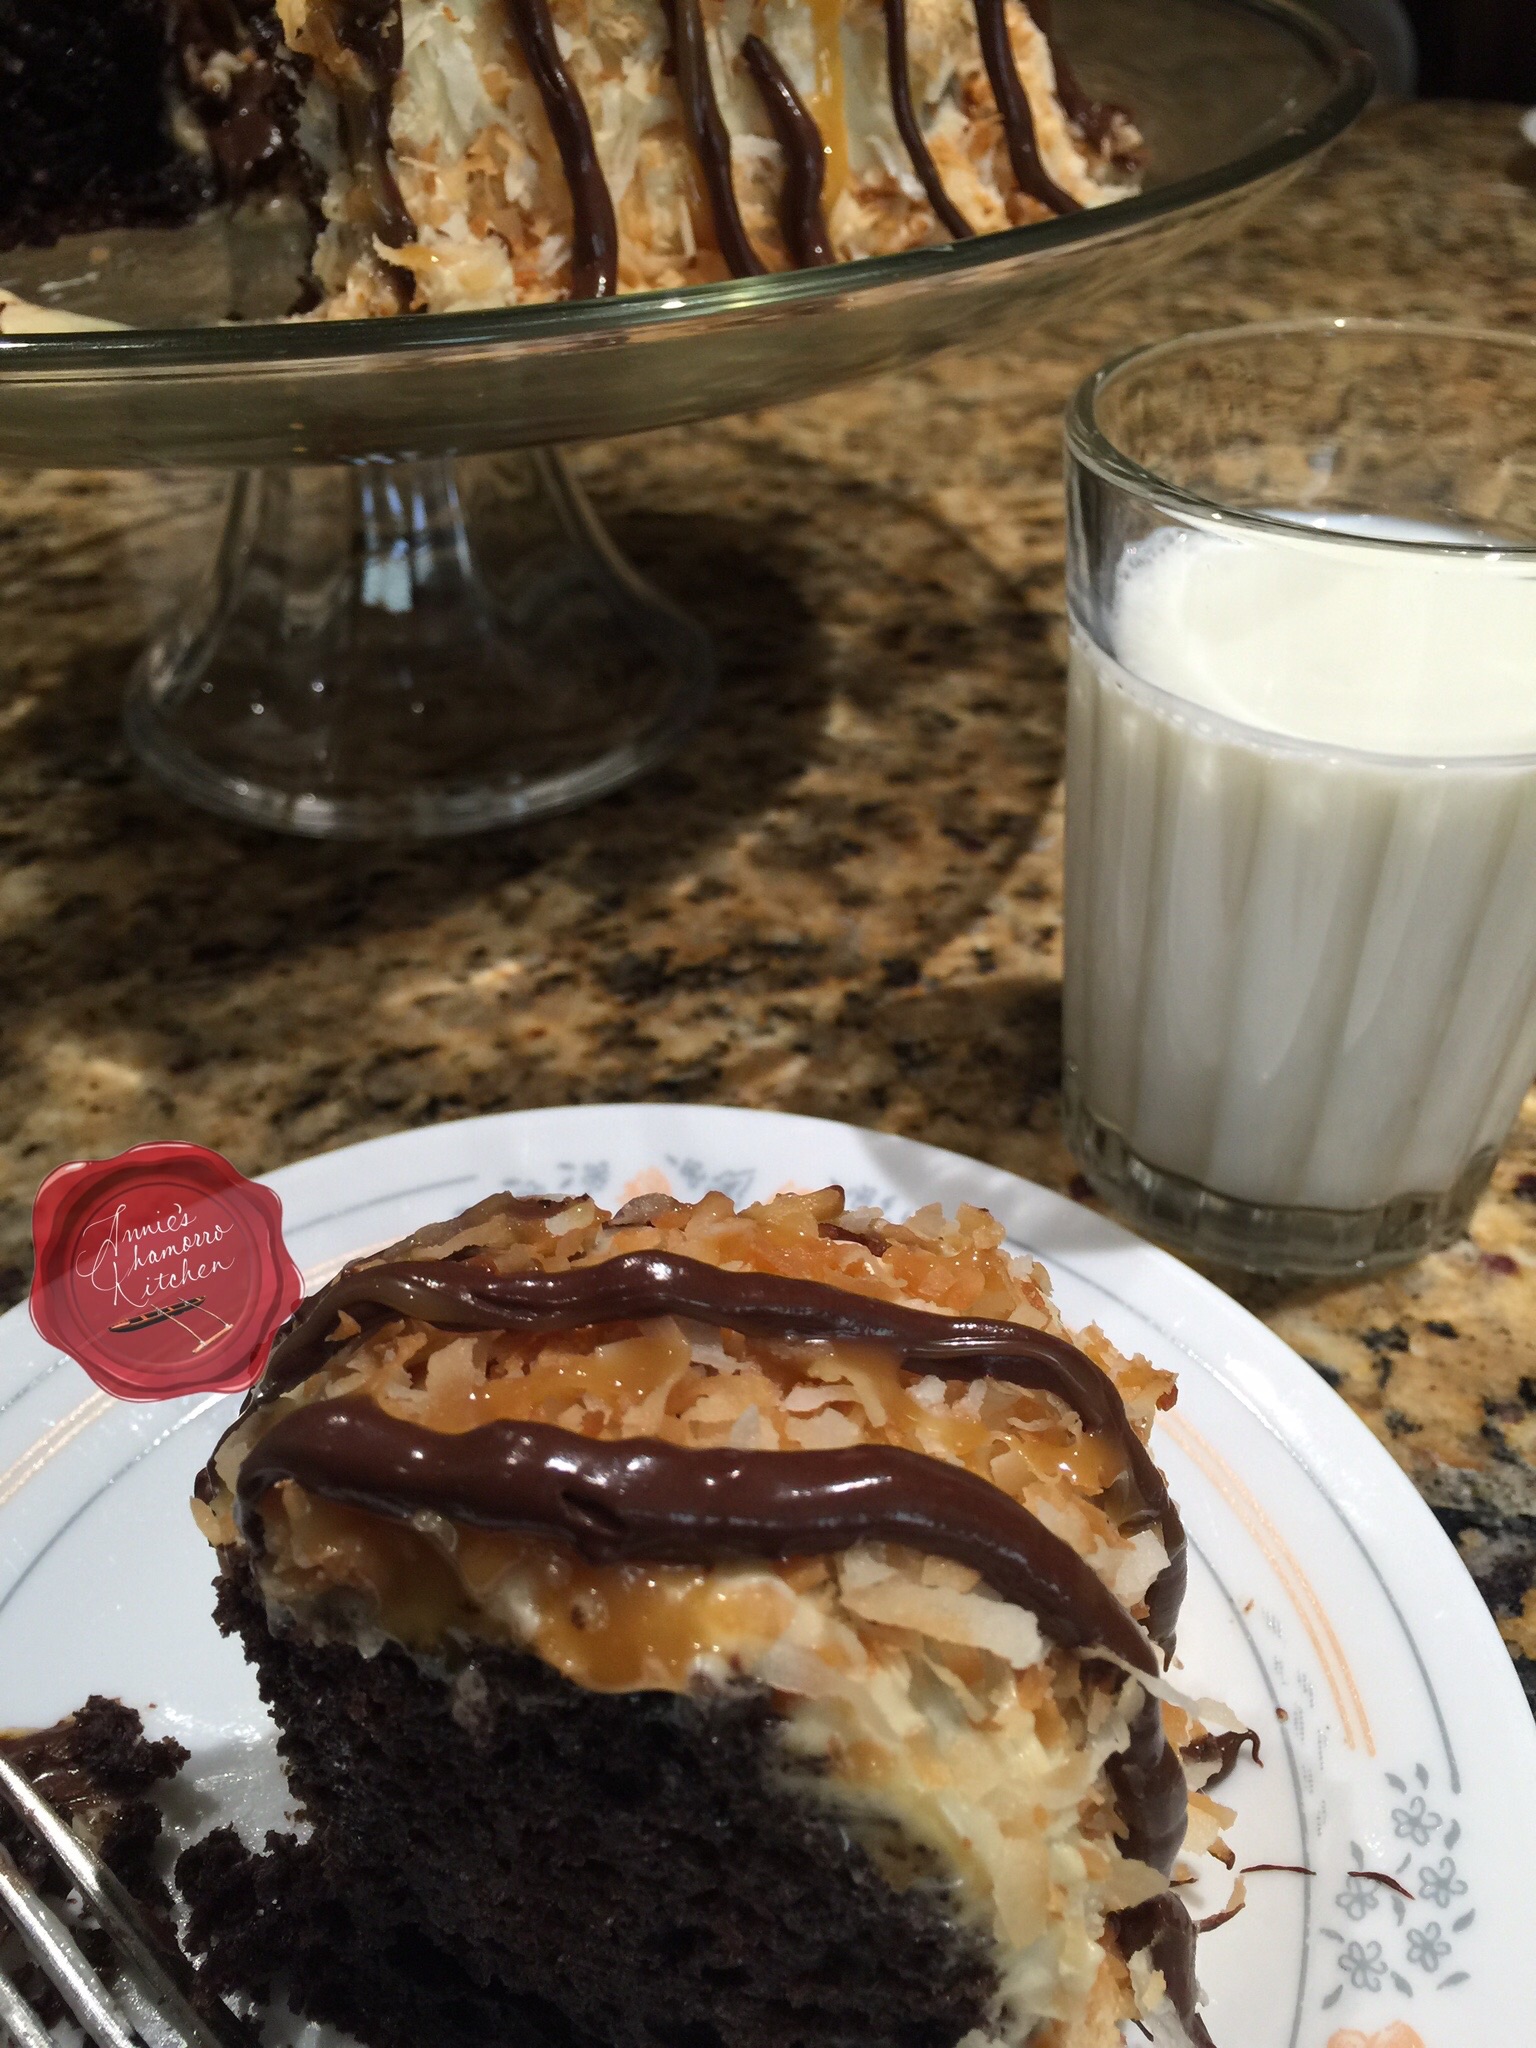
Oh my goodness…this cake is D E L I C I O U S!!!

Serve a large slice of this incredible edible with a cup of coffee or a tall glass of milk. 🙂

image

Mmmmmm mmmmmm good!  Look how moist the cake is!

imageCare for a slice?  I’ll eat this one for you. 😉

image

Not convinced yet?  How about now? 😉

imageGive my recipe a try.  I KNOW you’ll like it. 🙂


Chocolate Caramel Coconut Cake
 
Moist chocolate fudge cake topped with a decadent caramel cream cheese frosting, toasted coconut, and drizzled with melted chocolate and caramel sauce.
Author:
Recipe type: Dessert
Cuisine: American
Ingredients
Cake:
  • 1 box Betty Crocker Chocolate Fudge cake mix
  • 1¼ cups water
  • ½ cup vegetable oil
  • 3 large eggs
  • 1 teaspoon coconut extract
Toasted Coconut:
  • 2 cups (packed) sweetened coconut flakes
Frosting:
  • 1 (8-oz) package cream cheese
  • ½ cup caramel sauce
  • 3 to 4 cups powdered sugar
Drizzled Sauces:
  • 1 cup semisweet chocolate chips
  • 4 tablespoons caramel sauce
Instructions
Bake the cake:
  1. Mix all of the ingredients for the cake together using a whisk. Mix just until combined and most of the lumps disappear. Do not over mix.
  2. Pour the batter into a bundt pan sprayed with baking spray. Bake for 50-55 minutes at 350 degrees. Invert the cake onto a serving plate. Let it cool completely.
Toast the coconut:
  1. Spread the coconut onto a large baking pan. Bake at 350 degrees for 8-10 minutes, stirring every 3 minutes to ensure even browning. Bake until golden brown.
  2. Remove the toasted coconut from the hot pan; allow to cool completely.
Make the Frosting:
  1. Beat the cream cheese and caramel sauce until creamy. Add the powdered sugar, one cup a time, mixing until thick and creamy. Use all four cups of powdered sugar if you like your cakes frosted with a thick layer of frosting, otherwise, three cups of sugar will suffice.
Drizzle on the Goodness:
  1. Place the chocolate chips into a microwave-safe glass cup or bowl. Microwave for 30 seconds then stir. Microwave for 30 more seconds then stir again. Place the melted chocolate into a small sandwich bag. Snip a tiny piece off one corner of the bag. Squeeze the melted chocolate over the top of the cake.
  2. Drizzle the caramel sauce over the top of the cake.
SERVE AND ENJOY! 🙂


Penne with Sausage and Pumpkin Cream Sauce

Pumpkin in pasta sauce?!  Why, YES! 🙂

My daughter, Hannah, loves pasta.  Actually, my entire family loves pasta.  She wanted to make something off the beaten path of the usual alfredo or meat sauce so she browsed several websites and recipes and found one (by Rachael Ray I think) and wanted to give it a try.  I must say that it’s absolutely delicious (thank you, Rachael).

This is Hannah’s take on Rachael’s recipe (original recipe found here).

Give it a try.  I think you’ll like it. 🙂

image

Cook the pasta according to the package directions.  Hannah made enough pasta for dinner for our family of four, plus enough for everyone to pack lunch the next day, so she cooked two boxes of penne pasta.

Drain the water from the pot; keep the cooked pasta in the pot (no need to dirty another serving bowl).  Set aside for now.

Meanwhile, brown the sausage in a large frying pan.  Hannah used sweet/mild Italian sausage, but if you like a spicier pasta, use spicy sausage.  Remove the browned sausage from the pan and place on top of paper towels to soak up any excess fat.

image

Using the same pan you used to brown the sausage, cook the onions and garlic until the onions are translucent and beginning to caramelize.  To save on cooking time, we usually buy a jar of chopped garlic.  We like LOTS of garlic, so Hannah added a couple of HEAPING tablespoons of chopped garlic to the pan.

There was enough grease in the pan from cooking the sausage so there is no need to add more oil to cook the onions and garlic.

image

Roughly cut the sage leaves and toss them into the pan.

Bay leaves are savory herbs used often in Italian cooking.  The photo below doesn’t look as if she did it, but Hannah slightly crushed the bay leaves before adding them to the pan.  Crushing bay leaves brings out more of its natural oils and intense flavors.  Be careful that you don’t crush the leaves and maket them too small; you want to remove them from the pan after cooking (don’t eat the leaves).

image

Add the wine to the pan.  Hannah used a Pino Grigio for this recipe.  Because my kids are eating this (even though a lot of the alcohol cooks off), I wanted her to use a light-bodied wine with a clean and fresh taste — Pino Grigio was it.

Turn the heat up to high and bring the mixture to a boil, cooking until the wine reduces by half.

image

Add the chicken broth to the pan once the wine reduced.

image

Stir in the pureed pumpkin.  Pumpkin in pasta, you ask???  Don’t fret; you won’t even notice the pumpkin is in there.  The taste is not overpowering at all, but it’s just enough for you to ask, “hmmm…what IS that that tastes so good?” 😉

Since Hannah made a large pot of pasta, she used a good amount of pumpkin, about 2 cups.

image

Add the cinnamon and nutmeg to the sauce.  The nutmeg and cinnamon compliment the pumpkin flavor quite nicely.

image

Stir in the heavy whipping cream.

image

Reduce the heat to medium.  Bring the sauce back to a simmer; cook for a few minutes (about 5 or so).  Taste the sauce; add salt to taste.  Hannah added about 2 tablespoons of Dashida powdered beef seasoning instead of salt.  Don’t add too much, however; you’ll be adding cheese to the pasta, which also has salt.

image

Sprinkle the shredded cheese over the cooked pasta.  Hannah used LOTS of cheese here.  The cheese will melt when your pour the hot pasta sauce over the noodles, helping to thicken the sauce.

image

CAREFULLY pour the hot sauce over the pasta and cheese.  Stir to combine.  It may seem very saucy at this point but the noodles will soak up some of the sauce (we love saucy pastas in our house).

image

Serve with a side of cheesy garlic bread and more shredded Parmesan cheese and ENJOY! 🙂

image


Penne with Sausage and Pumpkin Cream Sauce
 
Author:
Ingredients
  • 2 pounds bulk sweet Italian sausage
  • 1 medium onion, diced
  • 2 tablespoons chopped garlic
  • 8 fresh sage leaves, roughly chopped
  • 2 bay leaves
  • 2 cups white wine
  • 2½ cups chicken broth
  • 2 cups 100% pure pumpkin
  • ½ teaspoon cinnamon
  • 1 teaspoon nutmeg
  • 1 pint heavy whipping cream
  • 2 tablespoons Dashida seasoning
  • 1 teaspoon black pepper
  • 1 box Penne Pasta, cooked per package directions
  • 1½ cups grated Parmesan cheese
Instructions
  1. Cook the pasta according to the directions on the package. Pour out the cooked pasta into a colander to drain out all the water. Return the cooked pasta to the now-empty pot. Set aside.
  2. Brown the sausage in a large frying pan. Remove the cooked sausage from pan; place in a paper towel-lined bowl to allow the excess fat to drain off.
  3. Cook the onions and garlic in the same pan used to cook the sausage. Cook until the onions begin to caramelize.
  4. Add the sage and bay leaves. Slightly crush the bay leaves before adding them to the pan.
  5. Add the wine to the pan. Turn the heat up to high and bring the mixture to a boil, cooking until it reduces by half.
  6. Stir in the chicken broth, pumpkin, cinnamon and nutmeg. Stir to combine.
  7. Stir in the whipping cream. Reduce the heat to medium. Bring the sauce back to a simmer; cook for a few minutes (about 5 or so).
  8. Sprinkle the shredded cheese over the cooked pasta. Pour the sauce over the pasta and cheese. Stir to coat the pasta with the sauce.
Serve with more shredded cheese and ENJOY!


Soft and Chewy Gingerbread Cookies

Gingerbread cookies are so much fun to make — and eat!  My daughter even says they “taste like Thanksgiving and Christmas.” 😉

image

These aren’t the kind of cookies that you bake and form into shapes suitable for ornaments or making gingerbread houses.

In fact, this dough cannot be rolled out like traditional gingerbread.  Rather, the dough is soft and moist (and actually requires chilling in order to handle it better), and the cookies bake up super fluffy, soft, and chewy.

image

Funny story here…

I brought a couple dozen cookies to work and offered them to my coworkers. They all smiled politely when I said they were gingerbread cookies, but then politely declined to eat any. The SECOND I told them they were SOFT and CHEWY, not the hockey-puck-rock-hard-gingersnap cookies, they ate them like they hadn’t eaten in days! 😀

image

So, let’s get to it, shall we?

Start by placing the flour into a medium sized mixing bowl.

image

Now for the heart and soul of these incredible gingerbread cookies.  You’ll need baking soda, cinnamon, ground cloves, nutmeg, salt and ginger.  Even before the cookies bake, the aroma of these spices make you think of fall and Thanksgiving, and all that comes with holiday baking.

image

Mix the spices with the flour.  I use a whisk to really mix it all together.  You don’t want any of the seasonings to clump together when you mix it with the wet ingredients.  Set this flour mixture aside for now.

image

Place the softened butter in a large mixing bowl.  I use a stand mixer because this makes a lot of cookie dough, but you can use a hand mixer as well.

As mentioned above, this makes a large batch of cookie dough, but don’t worry.  These cookies are so good, you’ll be glad you made a lot of them. 🙂

image

Beat the butter until creamy.

image

Add the brown sugar to the mixing bowl.

image

Mix until light and fluffy.

This is a great mixture to spread over hot dinner rolls, by the way.  Just add a teaspoon of ground cinnamon and voila! Sweet Cinnamon Butter!

image

Now I want to make some dinner rolls, but I digress.

Anyhoo…back to the cookies.

Add the molasses, eggs and vanilla extract to the mixing bowl.

image

Mix on low speed for a minute or so, or until you get a nice creamy consistency like what’s pictured below.  Scrape down the sides of the bowl if you need to then mix again.

image

Add the flour mixture, one cup at a time, mixing on low speed just until the flour mixture is incorporated into the wet batter.

image

Continue mixing in the dry ingredients, a cup at a time, until a dough forms.  Stop mixing when you no longer see clumps of dry ingredients.  Do not over mix the dough.

Because this is a really wet dough, you need to chill it for several hours before making dough balls.  I usually prepare the dough while dinner is cooking, then I pop the mixing bowl into the freezer while we eat dinner.  After dinner, I take the dough out of the freezer and bake the cookies.

image

Now that your dough chilled sufficiently enough to handle, scoop out small amounts (about 1 1/2 to 2 tablespoons) and form into balls.  I use a small cookie scoop to do this — I have a bit of OCD; I like all of my cookies to be the same size. 😉

Roll the balls of dough in a bowl of granulated sugar.  Ensure the entire ball is well-coated with sugar.

image

Place each ball of dough onto a baking pan.  If you have regular baking pans, make sure to line the pan with parchment paper first.  I use stoneware pans; there is no need to line them with parchment paper.

Place the balls about 1 1/2 to 2 inches apart.  These cookies will spread, but they won’t spread too much.

image

Bake the cookies for 10 minutes.  Let the cookies cool on the pan for a couple of minutes then remove them to a wire rack to finish cooling completely.

See how nicely they puff up?  As the cookies cool, they will settle just a little bit, but they will still be a bit puffy, and they will most definitely be soft and chewy.

image

Place any uneaten cookies in an airtight container.  They will stay soft and chewy for several days (if they last that long). 🙂

image

Here’s my complete recipe.  I think you’ll really like this one.  ENJOY!


Soft and Chewy Gingerbread Cookies
 
Prep time
Cook time
Total time
 
SOFT & CHEWY gingerbread cookies that make you think of Thanksgiving and the holidays, all year round. These are NOT at all like the typical rock-hard gingersnap cookies.
Author:
Recipe type: Cookies
Cuisine: American
Ingredients
  • 6 cups all-purpose flour
  • 2 teaspoons baking soda
  • 1 tablespoon cinnamon
  • ½ teaspoon ground cloves
  • ½ teaspoon nutmeg
  • ½ teaspoon salt
  • 1½ tablespoons ground ginger
  • 1½ cups (or 3 sticks) unsalted butter, softened
  • 1½ cups dark brown sugar
  • ⅔ cup dark molasses
  • 2 large eggs
  • 2 tablespoons vanilla extract
  • ¾ cup white, granulated sugar (for coating the cookie dough balls)
Instructions
  1. In a medium sized bowl, place the flour, baking soda, cinnamon, cloves, nutmeg, salt, and ginger. Whisk to combine all the dry ingredients then set aside.
  2. Place the butter in a large mixing bowl. Using a stand or handheld mixer, beat the butter until creamy.
  3. Add the brown sugar to the creamed butter. Mix until fluffy.
  4. Add the molasses, eggs and vanilla extract to the butter-sugar mixture. Mix until well incorporated. Scrape down the sides if required and mix again.
  5. Mix the dry ingredients, one cup at a time, with the butter mixture. Stop mixing once the last bit of the dry ingredients are mixed into the dough (do not over mix).
  6. Cover the mixing bowl with plastic wrap and refrigerate the dough for 2-3 hours. (I placed my bowl in the freezer for 30 minutes to speed things up.)
  7. Scoop out some chilled dough and roll into a ball. I use a small cookie scoop that holds 1½ tablespoons.
  8. Roll each ball of dough in the granulated sugar, coating the entire ball. Place the coated balls onto a parchment paper lined baking sheet (if you use a stoneware pan you don't need to line it), about 1½ inches apart. These cookies will spread only a little, so you don't need to space them too far apart.
  9. Bake in a preheated 350 degree oven for 10 minutes. Let the cookies cool on the pan for a couple of minutes then remove to a wire rack to finish cooling.
These cookies are soft and chewy, and will stay soft for several days (if they last that long!) when stored in an airtight container. This recipe makes about 6 dozen small cookies.


Thai BBQ Pork

My Thai BBQ Pork is one recipe you’ll definitely want to try.  The secret is really in the marinade and basting sauce.  Cilantro, soy sauce, lots of garlic and fish sauce form the base for this yummy marinade.  Lime juice not only adds wonderful flavor to the meat, but the acid also serves to break down the meat, allowing the marinade to work its magic.

image

The basting sauce, a mixture of rich coconut milk and some of the reserved marinade mixture gives you an added layer of flavor.  The heat from the grill caramelizes the basting sauce as the meat cooks, creating beautifully browned and juicy pork with a slightly sweet and savory coating.

image

Now that I’ve got you drooling, here’s how to do it.

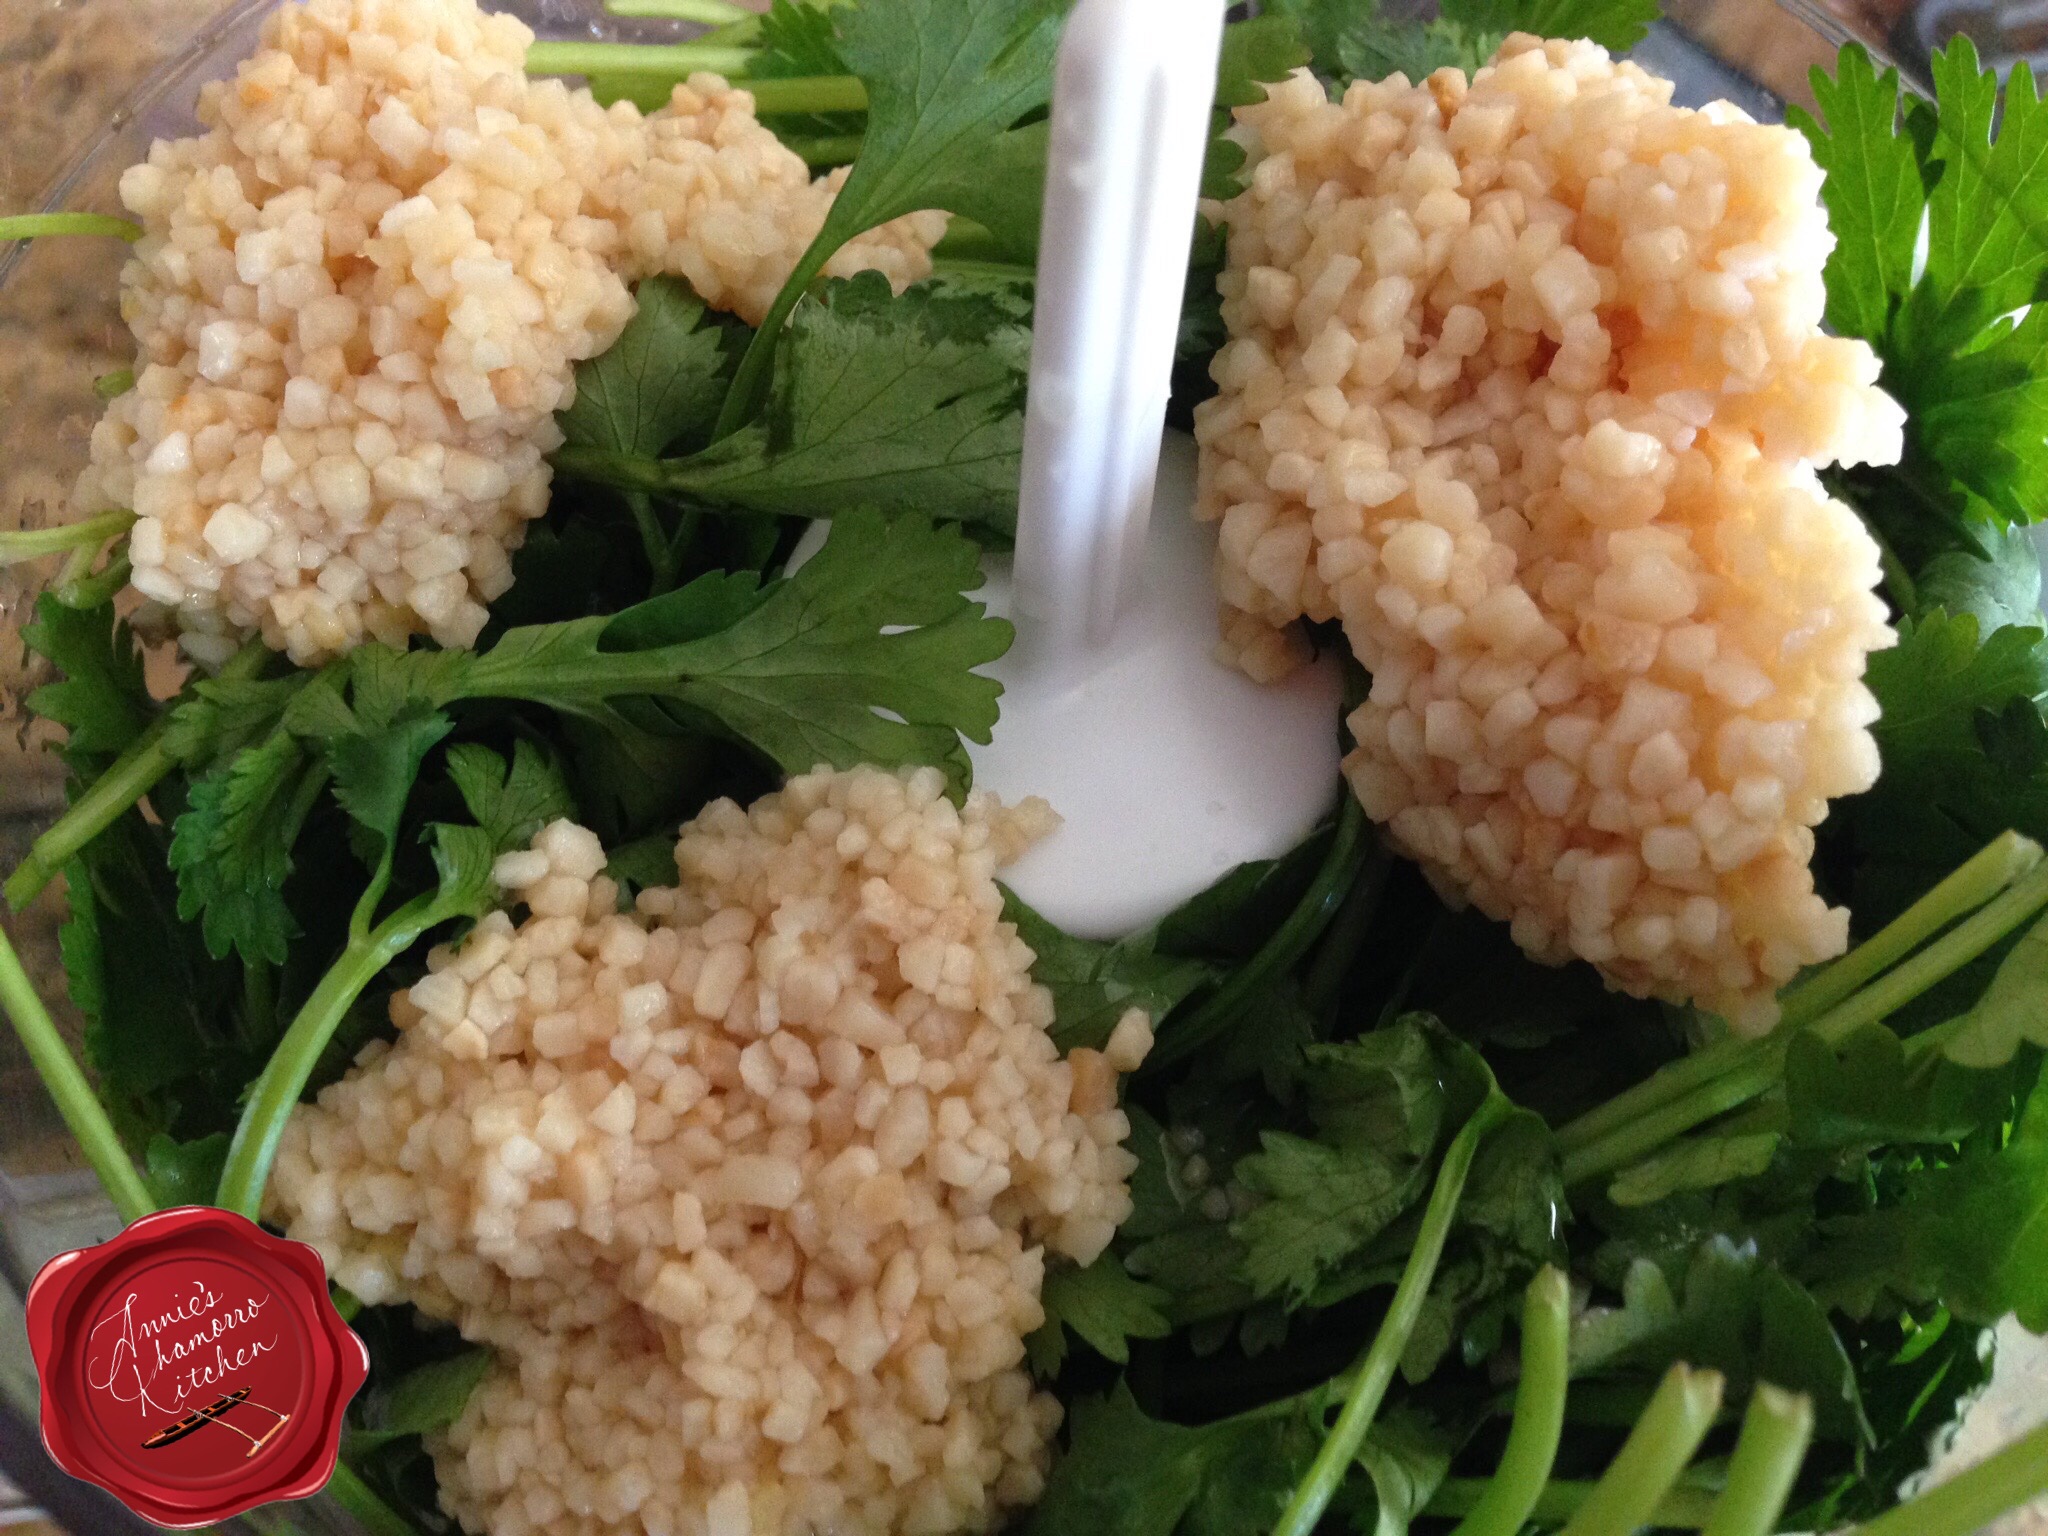
Place the cilantro (leaves AND stems) and garlic in a food processor along with the soy sauce.  You’ll need the liquid in there to help break down the cilantro.

image

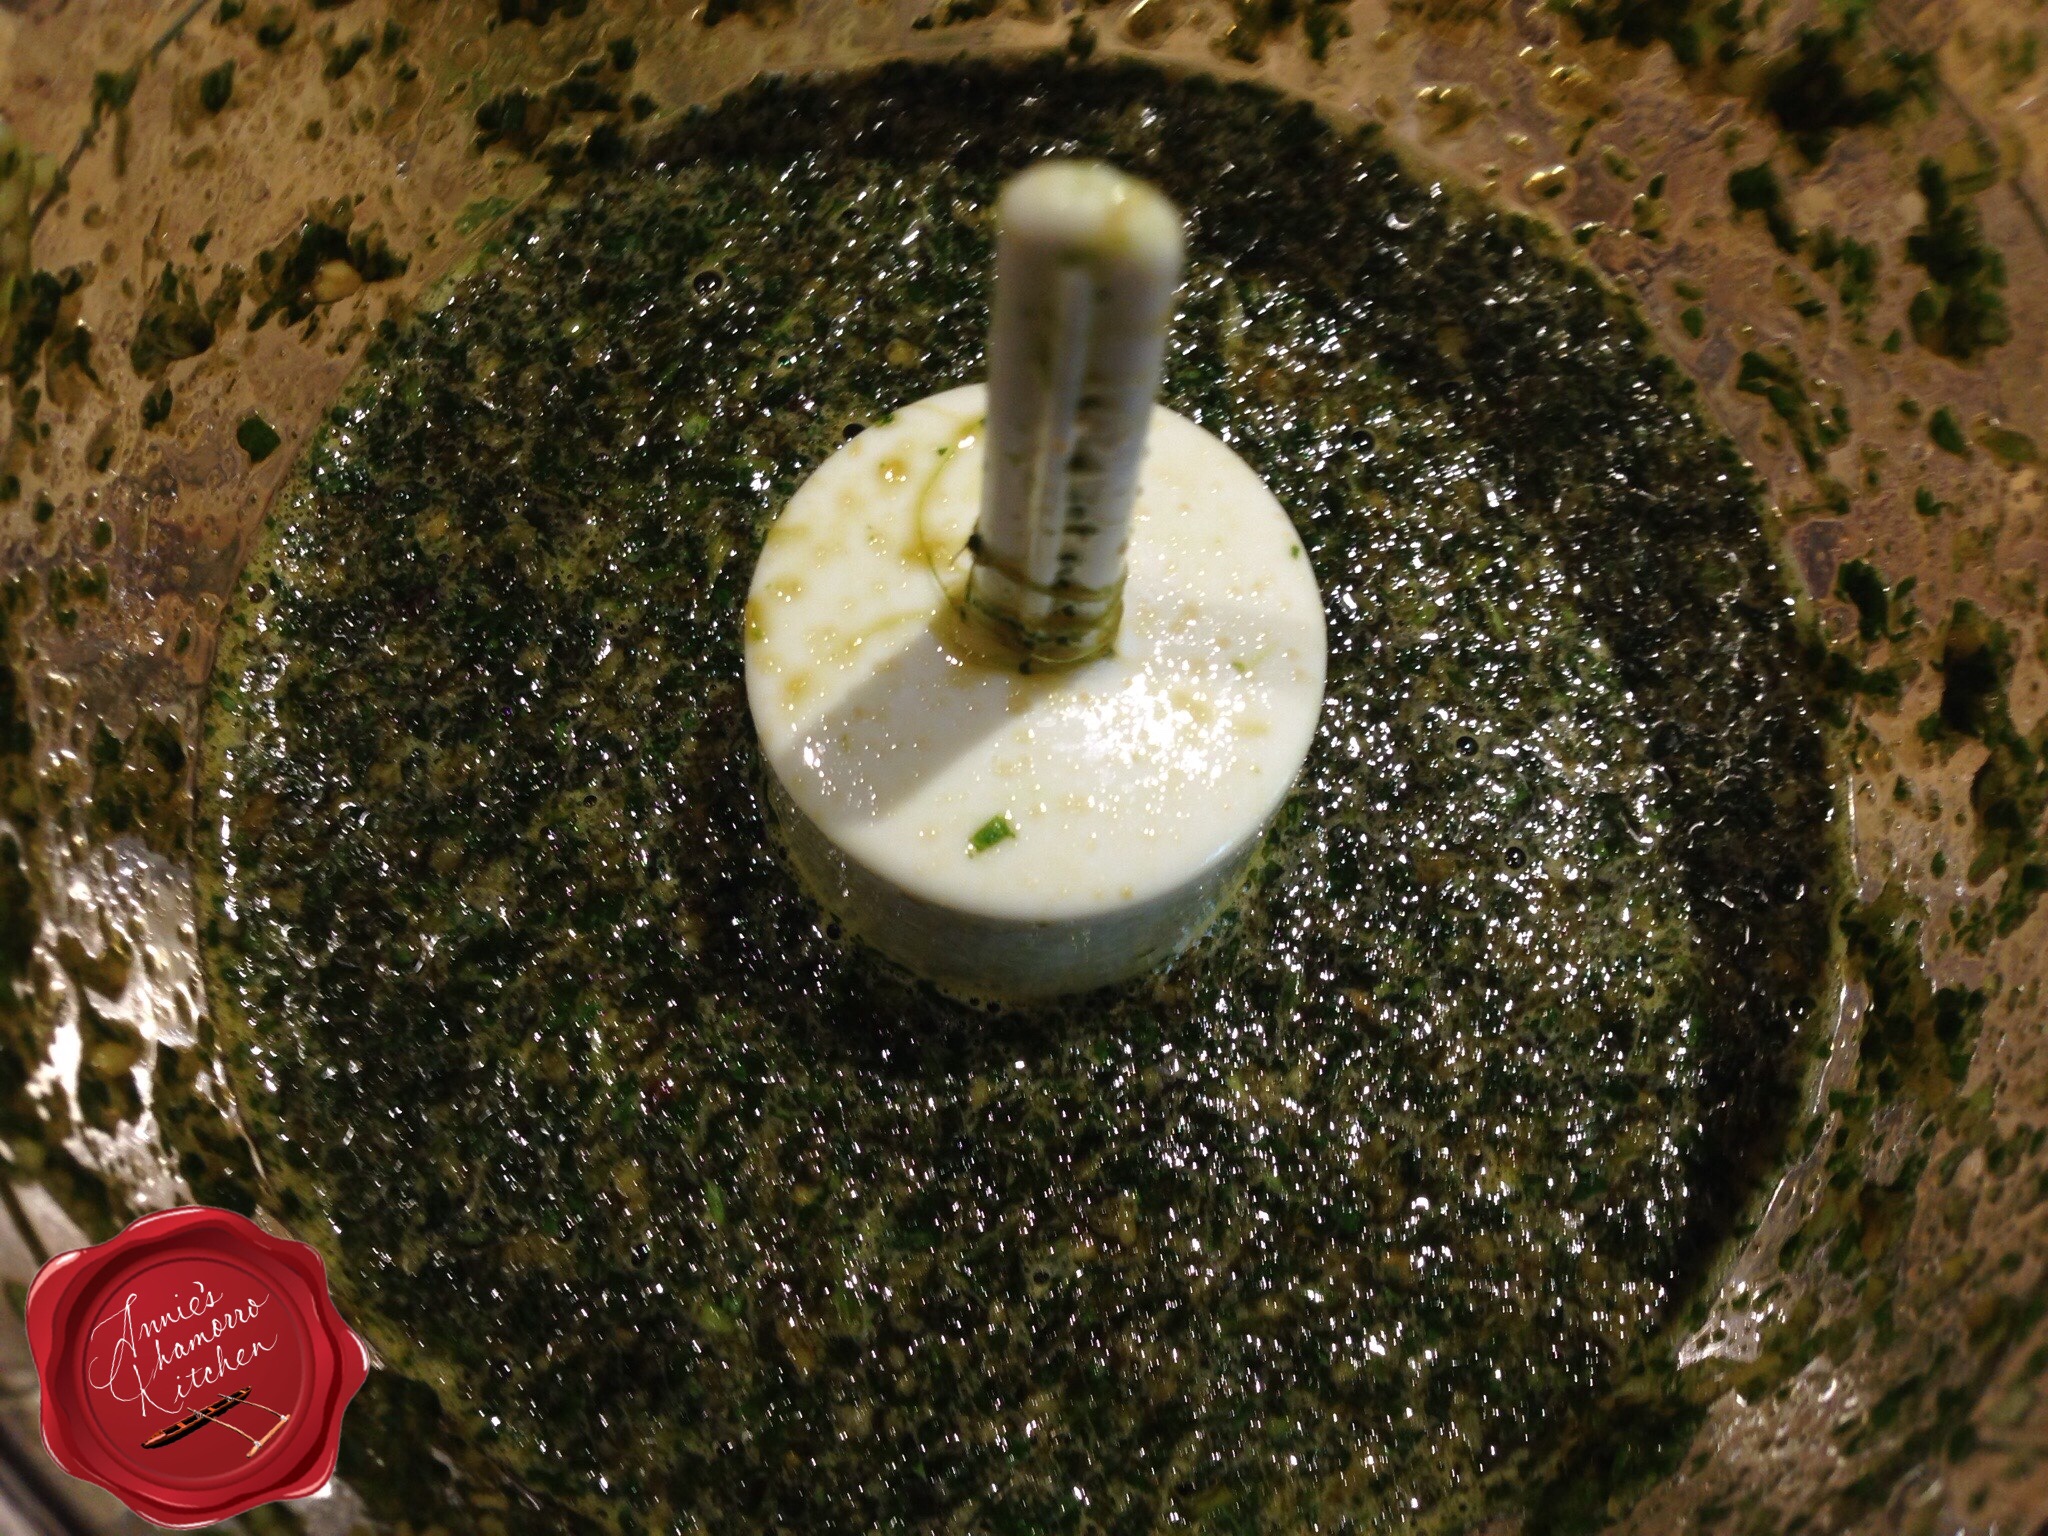
Pulse or grind the mixture until your mixture looks like the photo below.  You want the cilantro chopped as finely as possible.

image

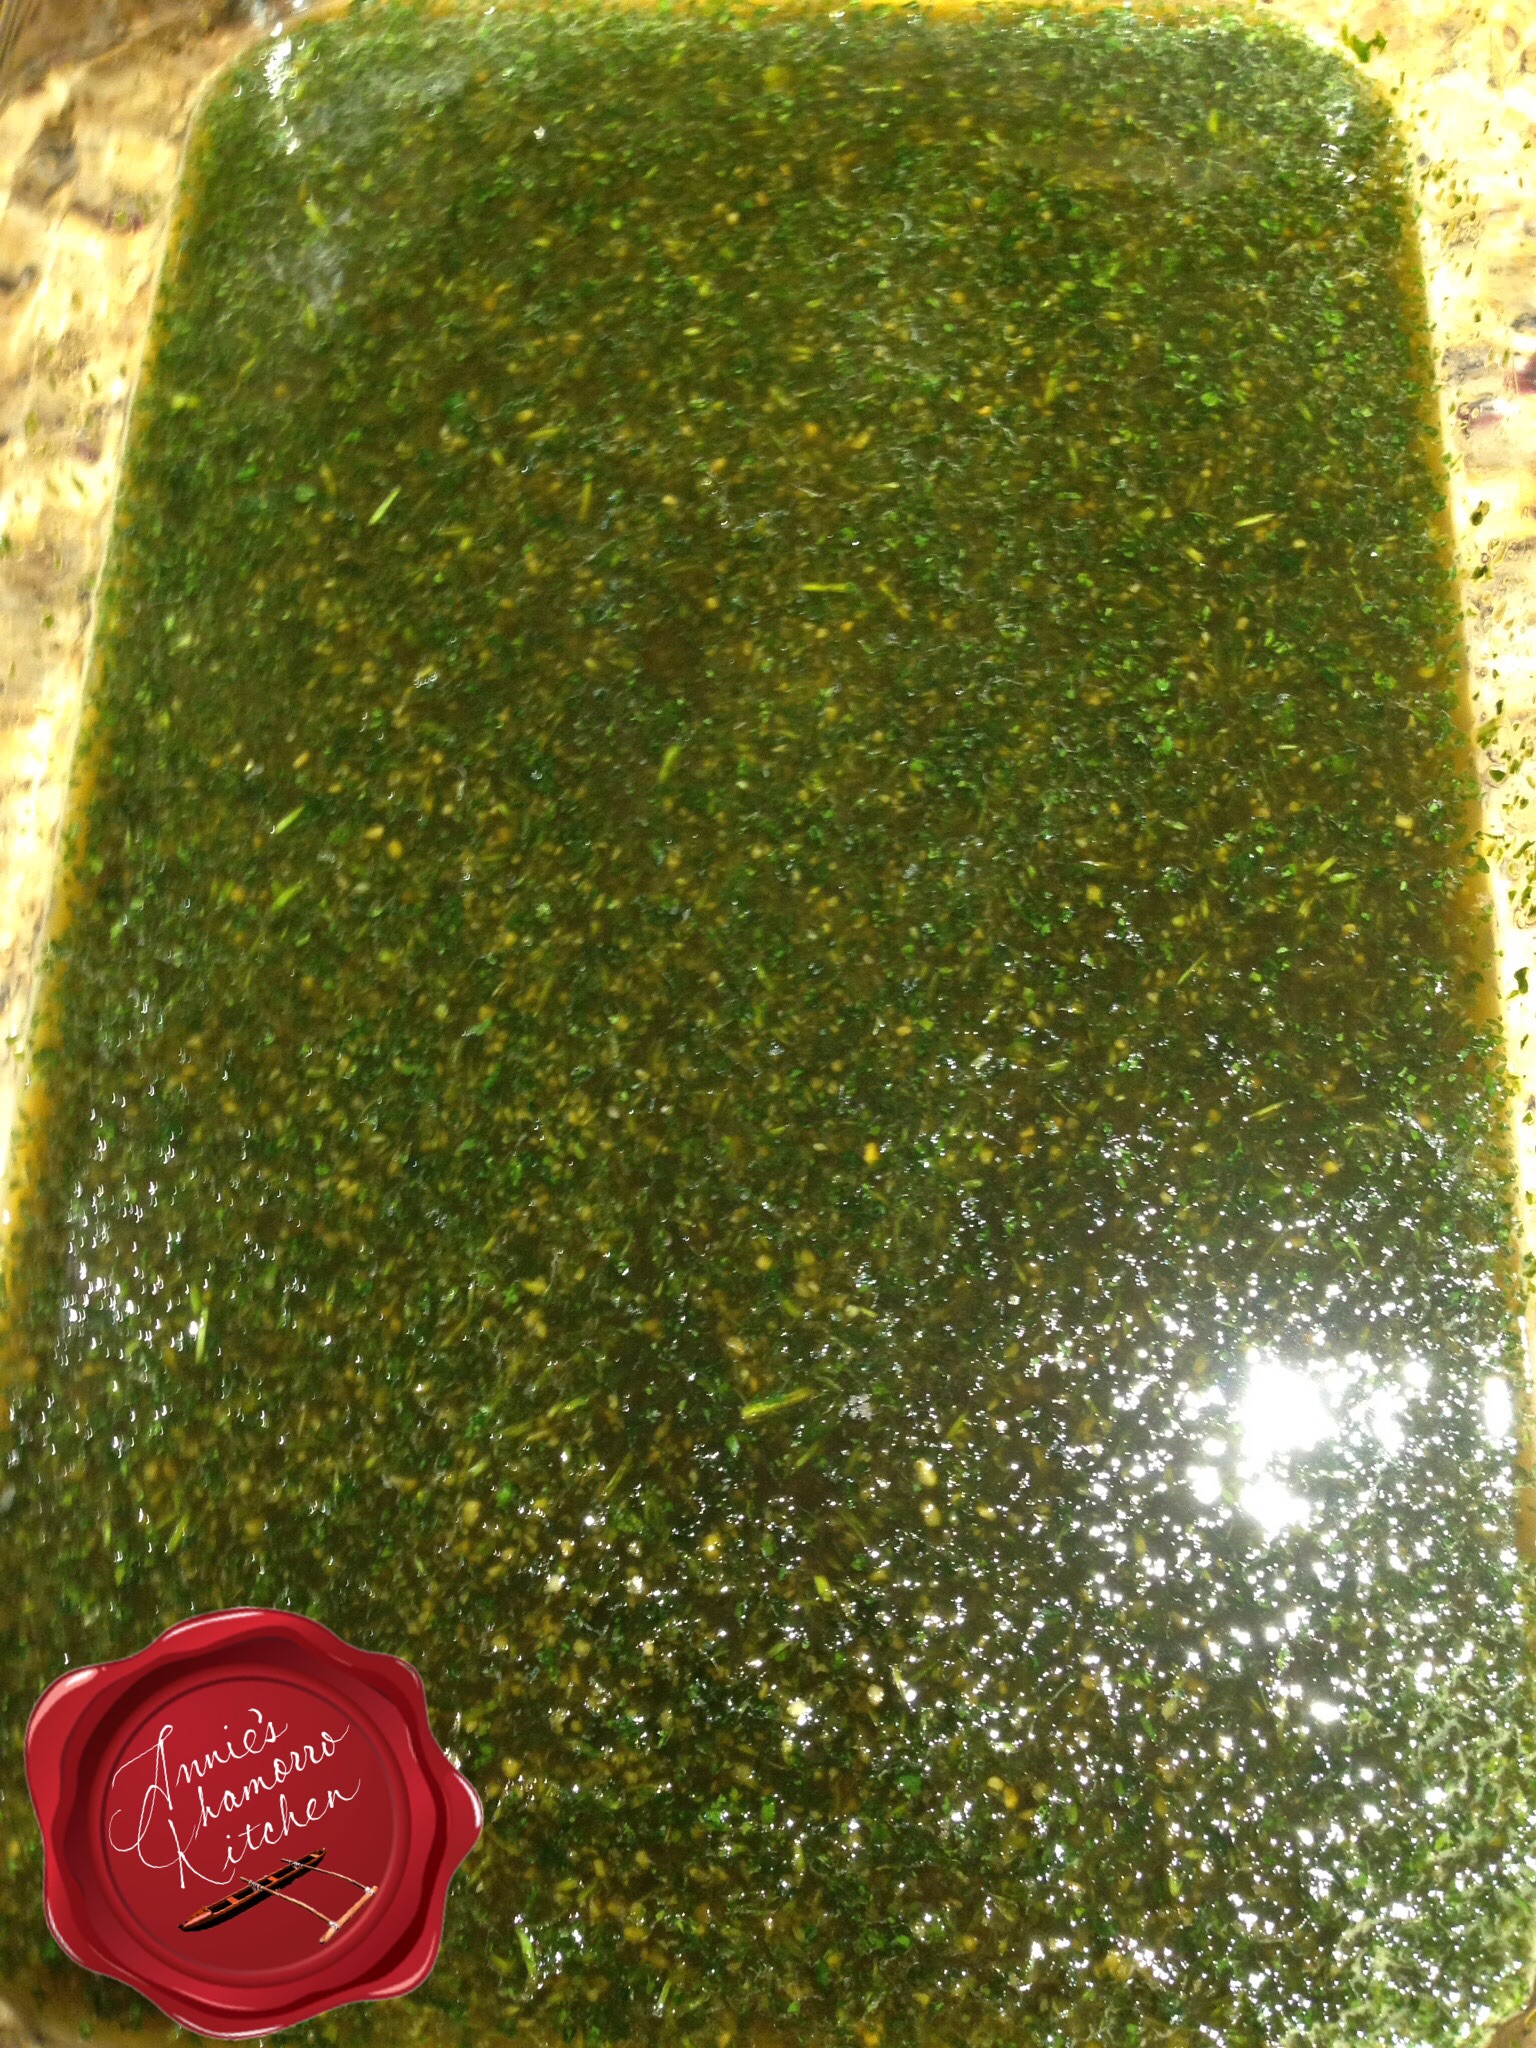
Place the cilantro mixture into a large bowl or pan.  Add the rest of the marinade ingredients to the bowl, stirring to combine it all.

Remove about 1/4 cup of the marinade mixture; place it into a small bowl along with coconut milk. This will be your basting sauce.

image

Place the pork into the marinade.  Use your favorite cut of pork, but make sure you use something that has some fat; lean pork will dry out too quickly for this dish.  I like using pork shoulder or pork butt, cut into strips or cubes (for shish kabobs).  Let the pork marinate for 2 or 3 hours, longer if desired.  Keep the mixture refrigerated if you don’t plan on grilling this right away.

image

To make shish kabobs, place several pieces of cubed pork onto a skewer.  I have metal skewers so there’s no soaking required.  If you use bamboo or wooden skewers, be sure to soak the skewers for several hours (overnight is good too) before grilling.

image

Skewer the meat AFTER it’s been marinated.

image

Place on a hot grill and baste immediately.

Grill the meat over relatively high heat.  I have a Traeger grill that has a temperature gauge built into it.  I grilled this at 325 degrees for about 1 1/2 hours, basting and turning every 15 minutes.

image

Turn the meat over occasionally, basting each time.

image

image

The coconut milk mixed with the reserved marinade caramelizes into a lip-smacking coating that will have you oooh-ing and ahhh-ing (trust me, it’s that yummy). 🙂

image

I know some people who absolutely won’t eat charred BBQ, but that little piece of charred goodness in the photo below was TO-DIE-FOR-delicious!!!

image

Mmmmmm…soooo good served with hot steamed white rice and fina’denne’.

The next time I make this, I’m going to make just a little bit more marinade, reserving some to use as a dipping sauce when the pork is done.

image

Give my recipe a try.  I think you’ll like it. 🙂


Thai BBQ Pork
 
Author:
Ingredients
  • 1 bunch cilantro
  • ½ cup soy sauce
  • 3 tablespoons chopped garlic
  • ½ cup brown sugar
  • ¼ cup fish sauce (I like Three Crabs brand)
  • ½ cup lime juice
  • 1 cup coconut milk
  • 4 pounds pork (preferably boneless pork shoulder), cut into strips or cubes
Instructions
Make the Marinade:
  1. Place the cilantro, soy sauce and garlic in a food processor. Pulse until well blended. Pour the mixture into a large bowl or pan.
  2. Add the brown sugar, fish sauce, and lemon juice to the cilantro mixture. Stir to mix the ingredients together.
Make the Basting Sauce:
  1. Remove ¼ cup of the marinade mixture and place into a small bowl. Add the coconut milk; mix to combine and set aside.
Grill the Meat:
  1. Place the meat in the marinade mixture. Let the meat marinate for 2 to 3 hours (longer if you like, but refrigerate the mixture).
  2. Place the meat on the grill. Immediately baste with the reserved coconut basting sauce. Turn the meat occasionally, basting each time. Stop basting when the meat has started to caramelize and is a rich brown in color.
  3. Grill until the meat is done and nicely caramelized.
Serve and ENJOY!


Lumpia Dipping Sauce

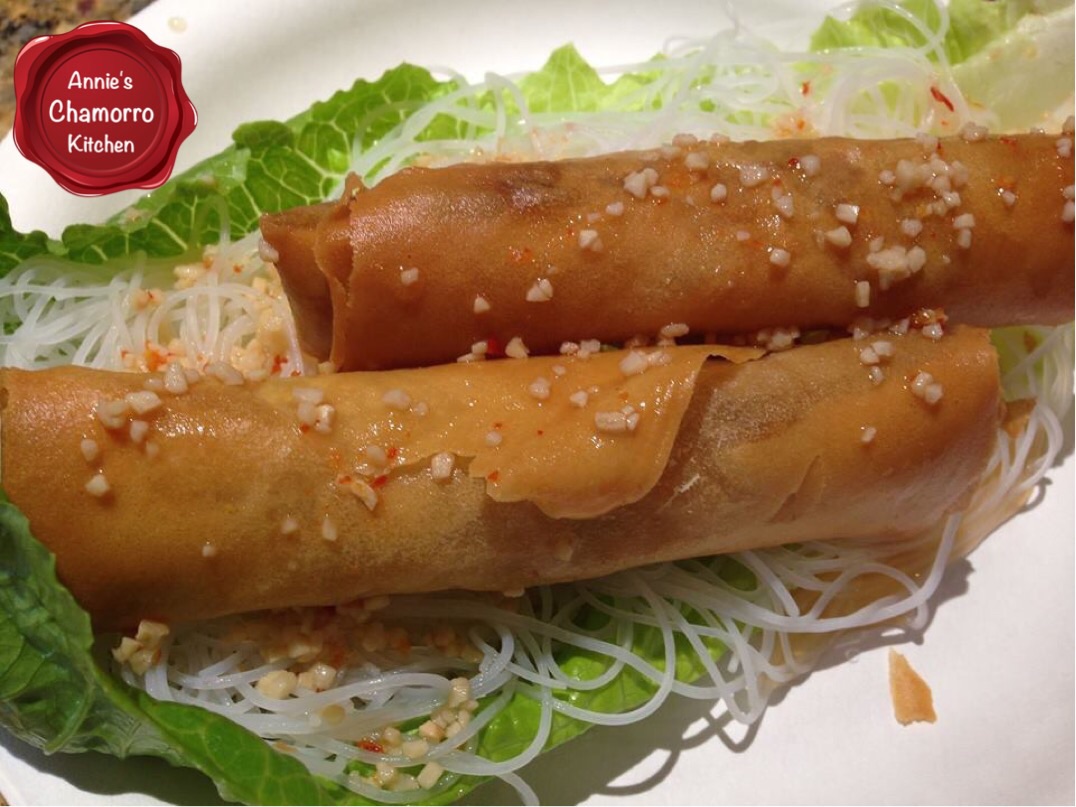
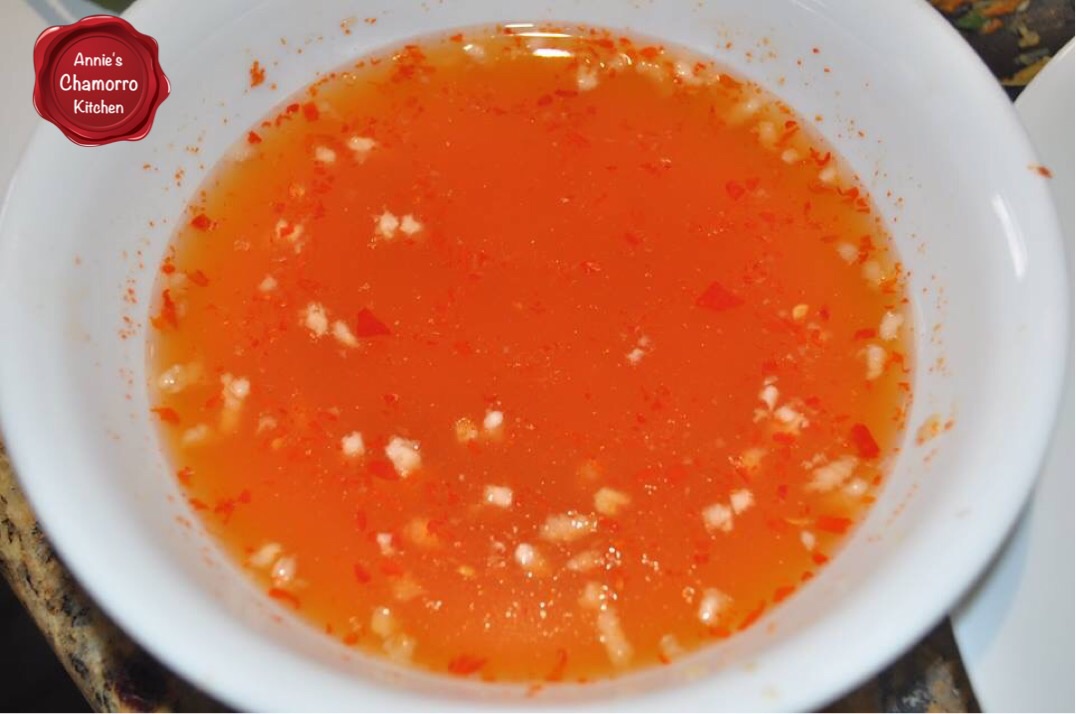
Lumpia is delicious all on its own, but occasionally I like serving them Vietnamese style — on a bed of rice noodles atop a lettuce leaf with a side of tangy dipping sauce.

image

image

Here’s my recipe for the dipping sauce.  Don’t let the fish sauce deter you — this is a must-try the next time you make lumpia.

Give it a try and let me know how you like it.

Here’s the link to my Lumpia recipe if you’d like to try it as well. 🙂


Lumpia Dipping Sauce
 
Author:
Ingredients
  • ¼ cup water
  • 2 tablespoons fish sauce
  • 2 tablespoons white, granulated sugar
  • 2 tablespoons lime juice
  • 2 cloves garlic, minced
  • ¼ teaspoon red pepper flakes
Instructions
Mix all the ingredients together. Serve with lumpia and ENJOY!


« Older Entries Recent Entries »