Archive for SEAFOOD

Fresh Salmon Kelaguen

Kelaguen in Chamorro describes a dish that’s prepared by mixing the main ingredient (usually chicken, beef, deer, or seafood) with lemon or lime juice, onions, salt, and hot pepper.  Chicken kelaguen is usually prepared with cooked (grilled, broiled or boiled) chicken.  The other types of kelaguen–beef, deer, shrimp, and various types of fish–are most often prepared raw, with the meat or seafood getting cooked with the addition of an acid, usually lemon or lime juice.

Kelaguen is a staple dish at Chamorro parties.  Sometimes, especially on Guam, an entire table is devoted to several types of kelaguen.

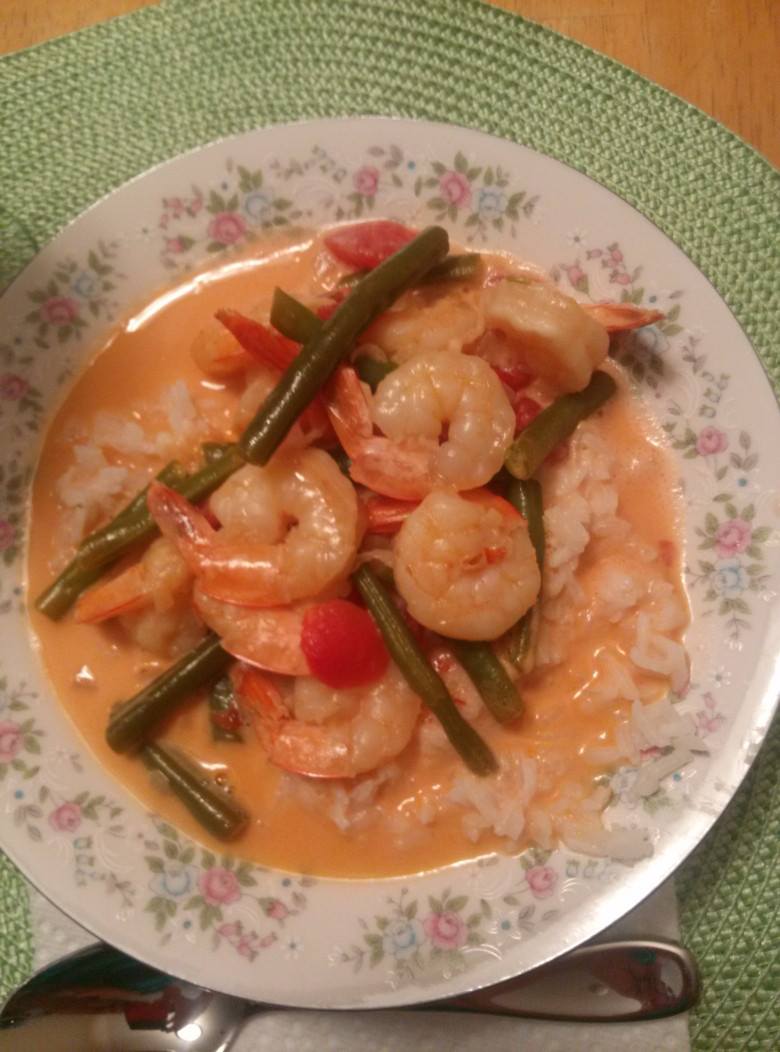
Salmon kelaguen is a favorite in our house.  I know, I know…I’ve said a lot of the dishes I make are favorites.  But really…this one is a REAL favorite (after shrimp kelaguen, that is). 😉

I prefer fresh salmon with this recipe.  If you’re in a pinch, canned salmon kelaguen is also tasty, but I still prefer fresh salmon any day.

Give my recipe a try.  If you like sushi, ceviche, or any type of kelaguen, then I know you’ll like this. 😀

Fresh Salmon Kelaguen 

Salmon Kelaguen - Annie's

Ingredients:

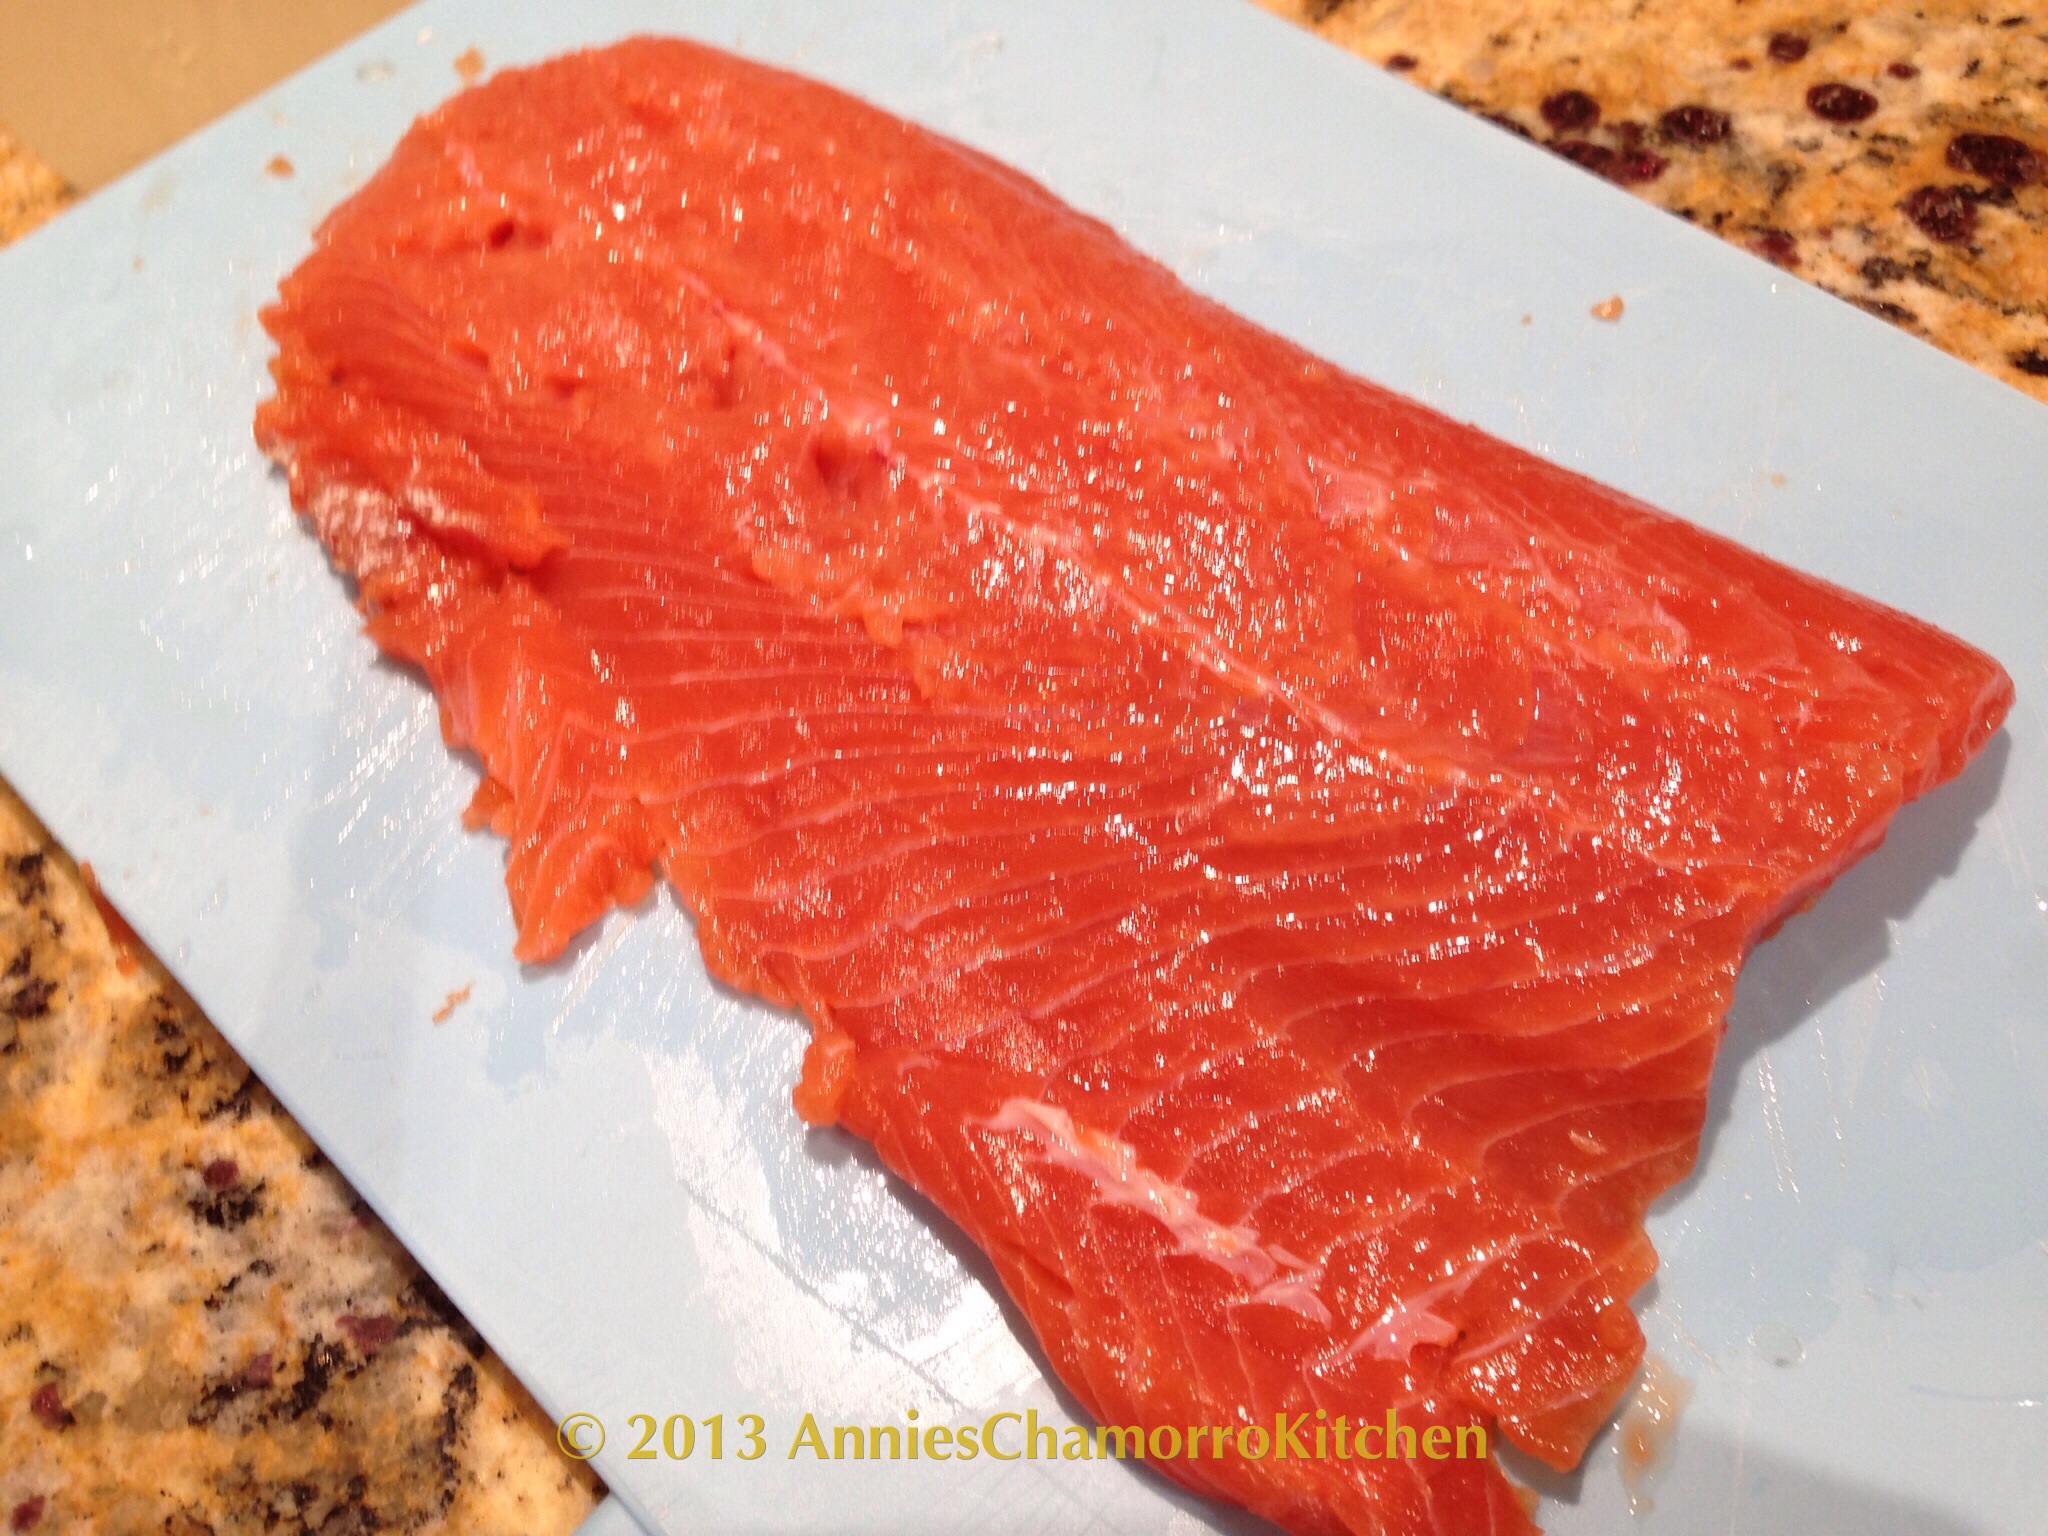
  • 2 pounds fresh salmon (red salmon, preferably)
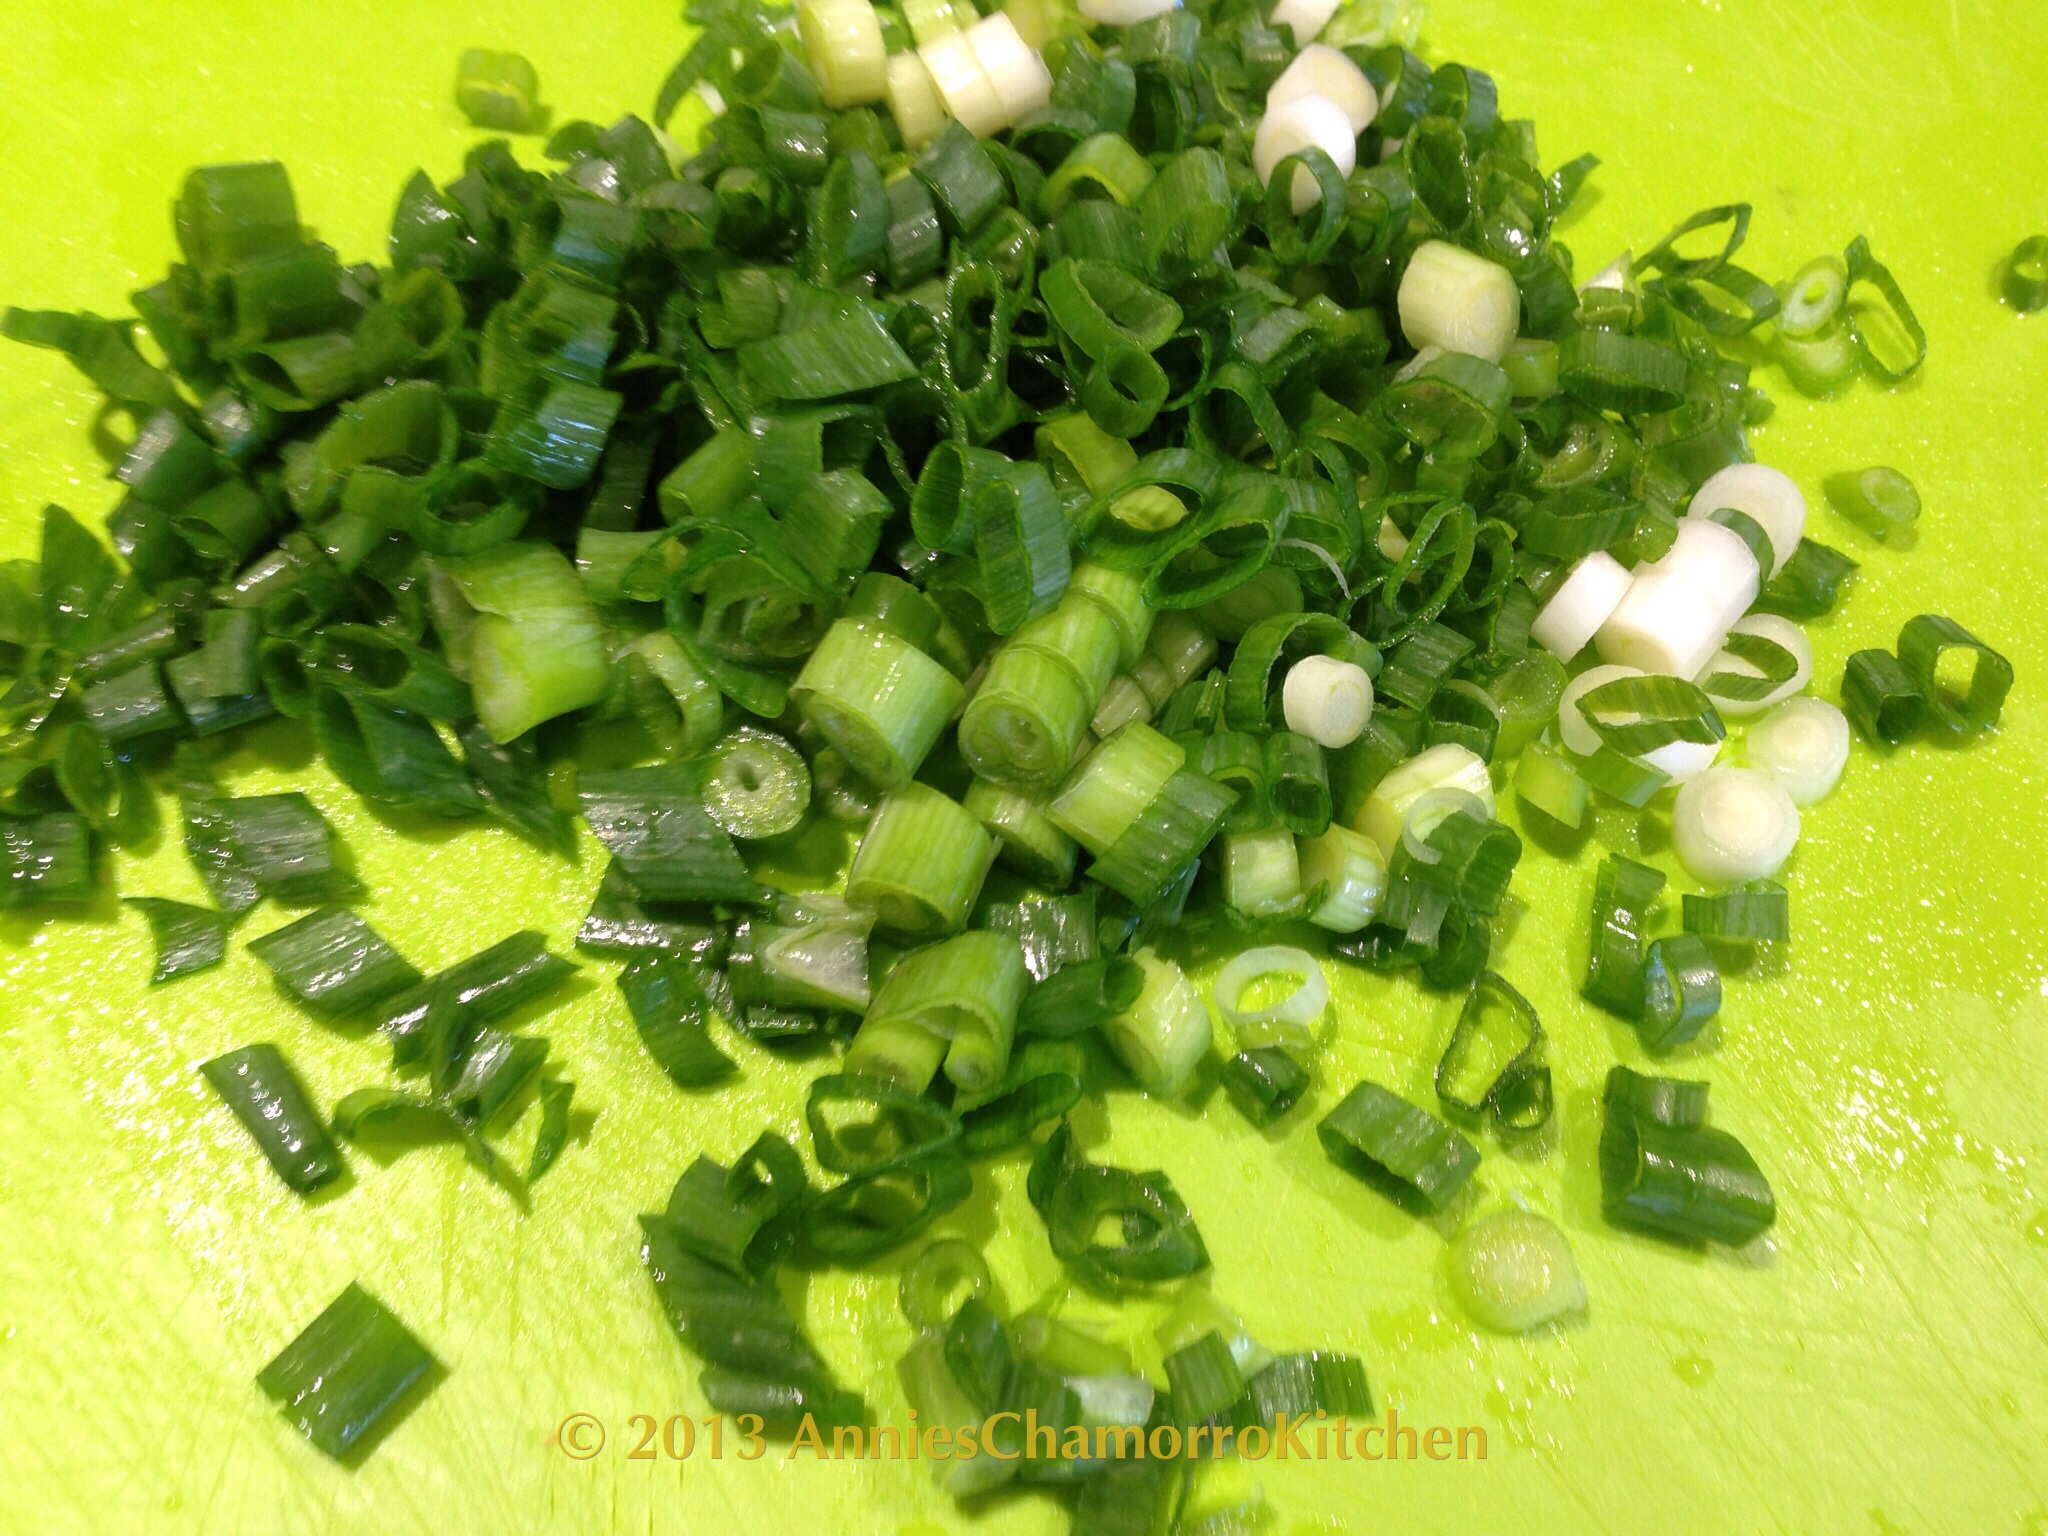
  • 4 stalks green onions, sliced
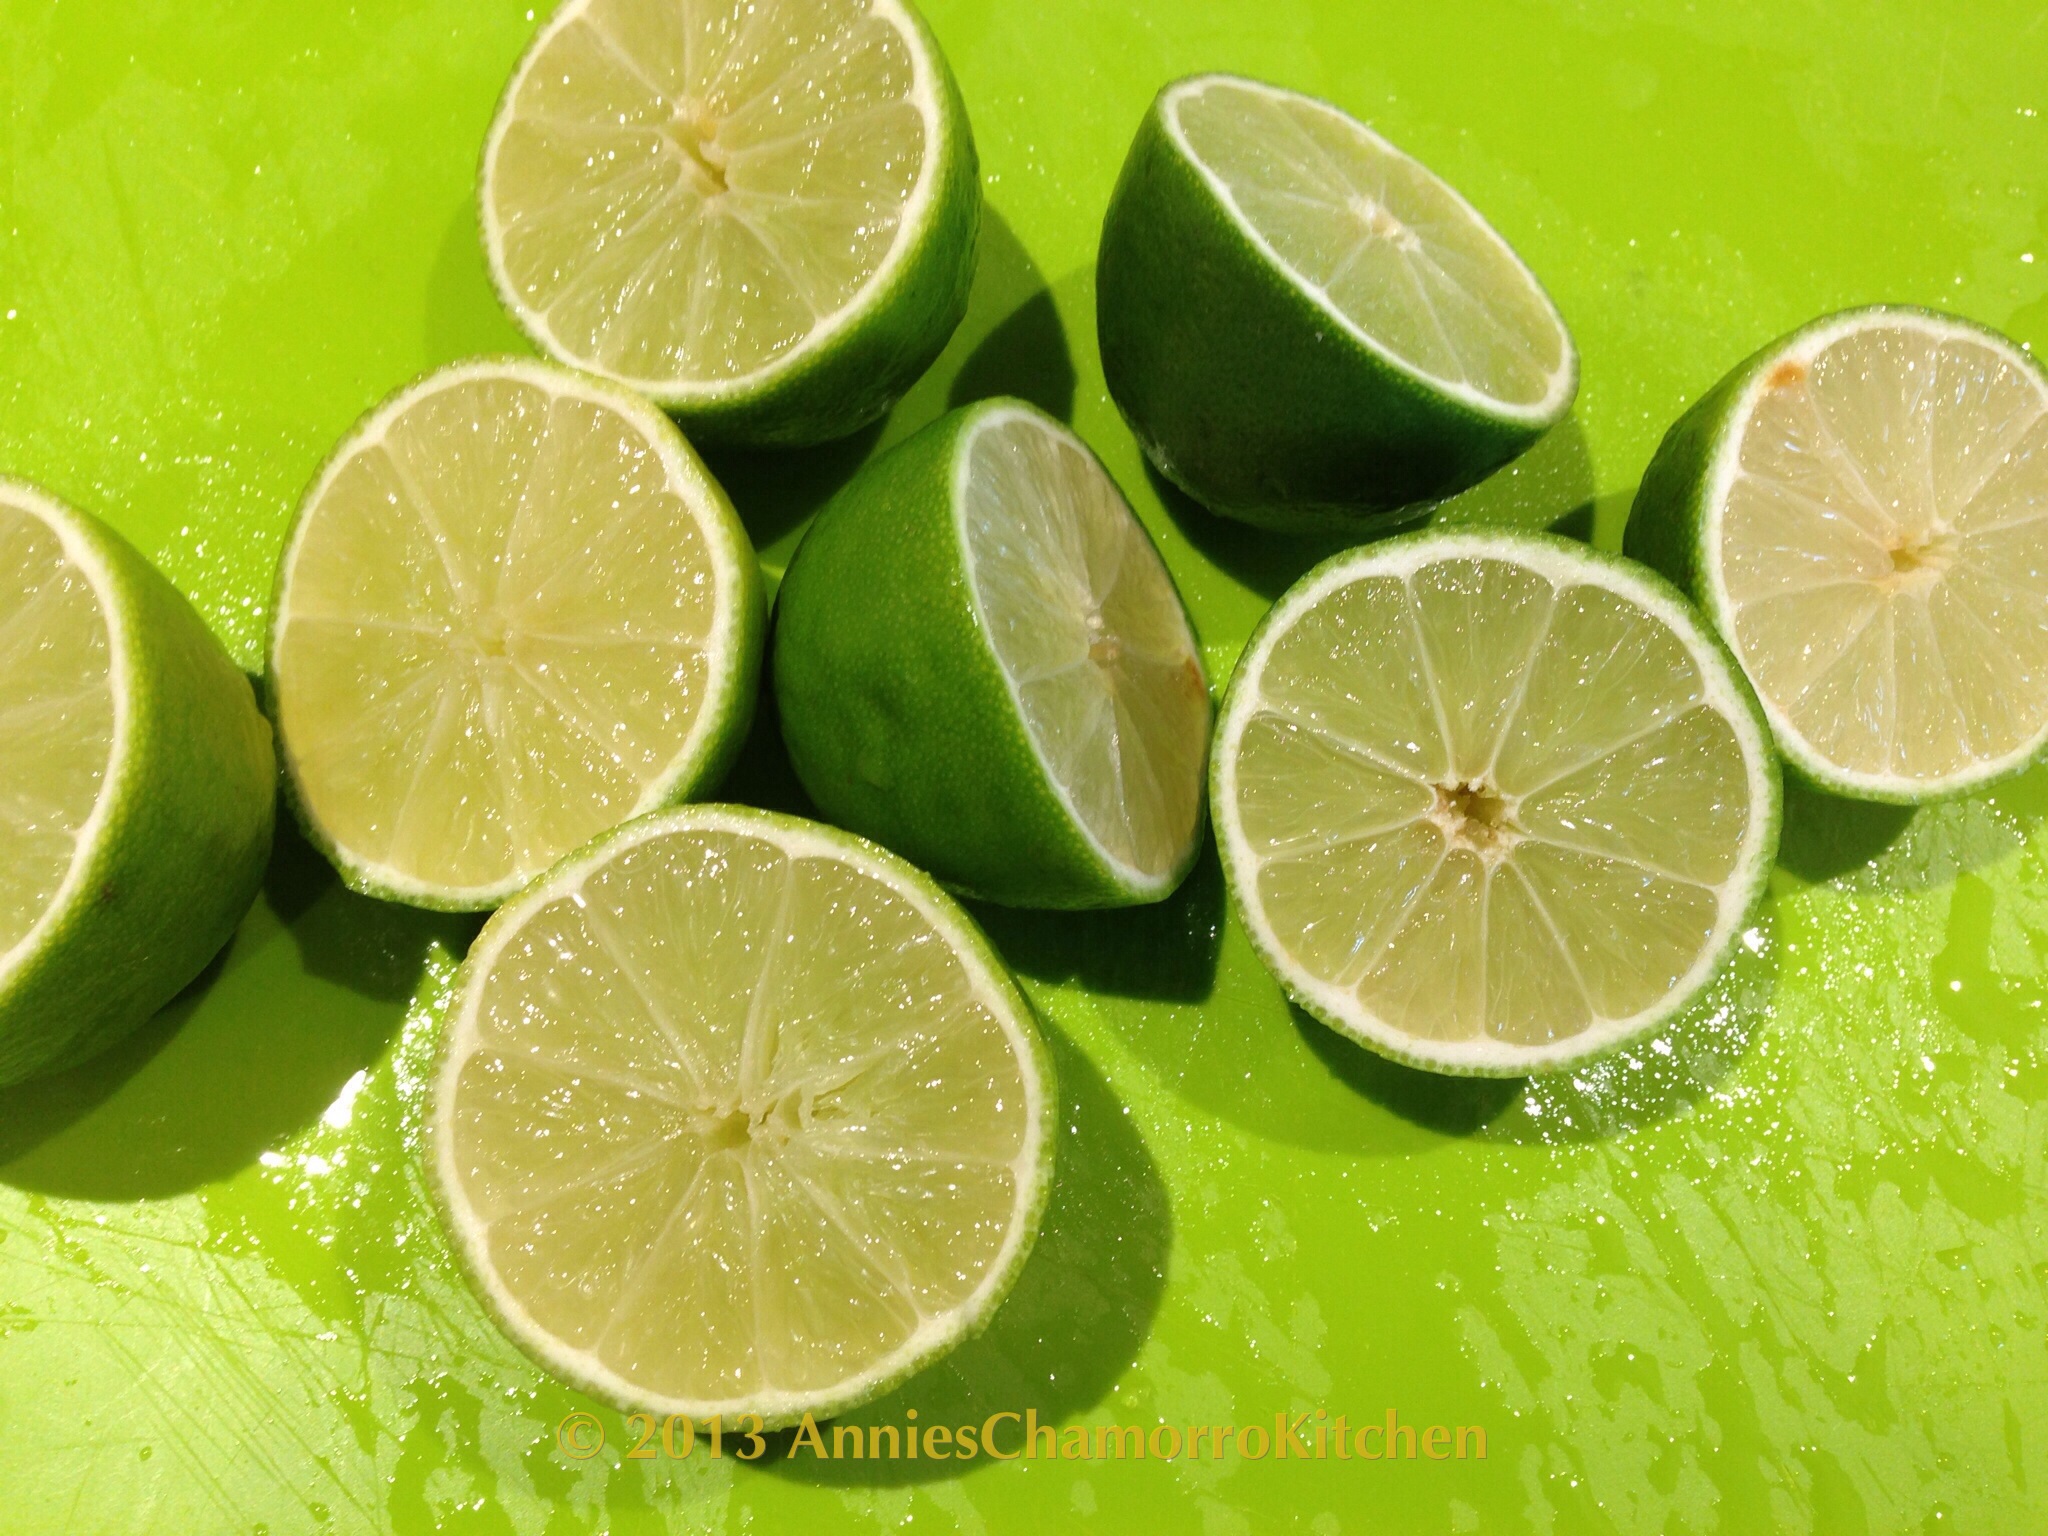
  • The juice of 5-6 limes, more or less, to taste (or you can use lemon powder, mixed with a little bit of water)
  • Salt, to taste
  • 1 cup cherry or grape tomatoes, diced
  • Hot pepper, optional

Directions:

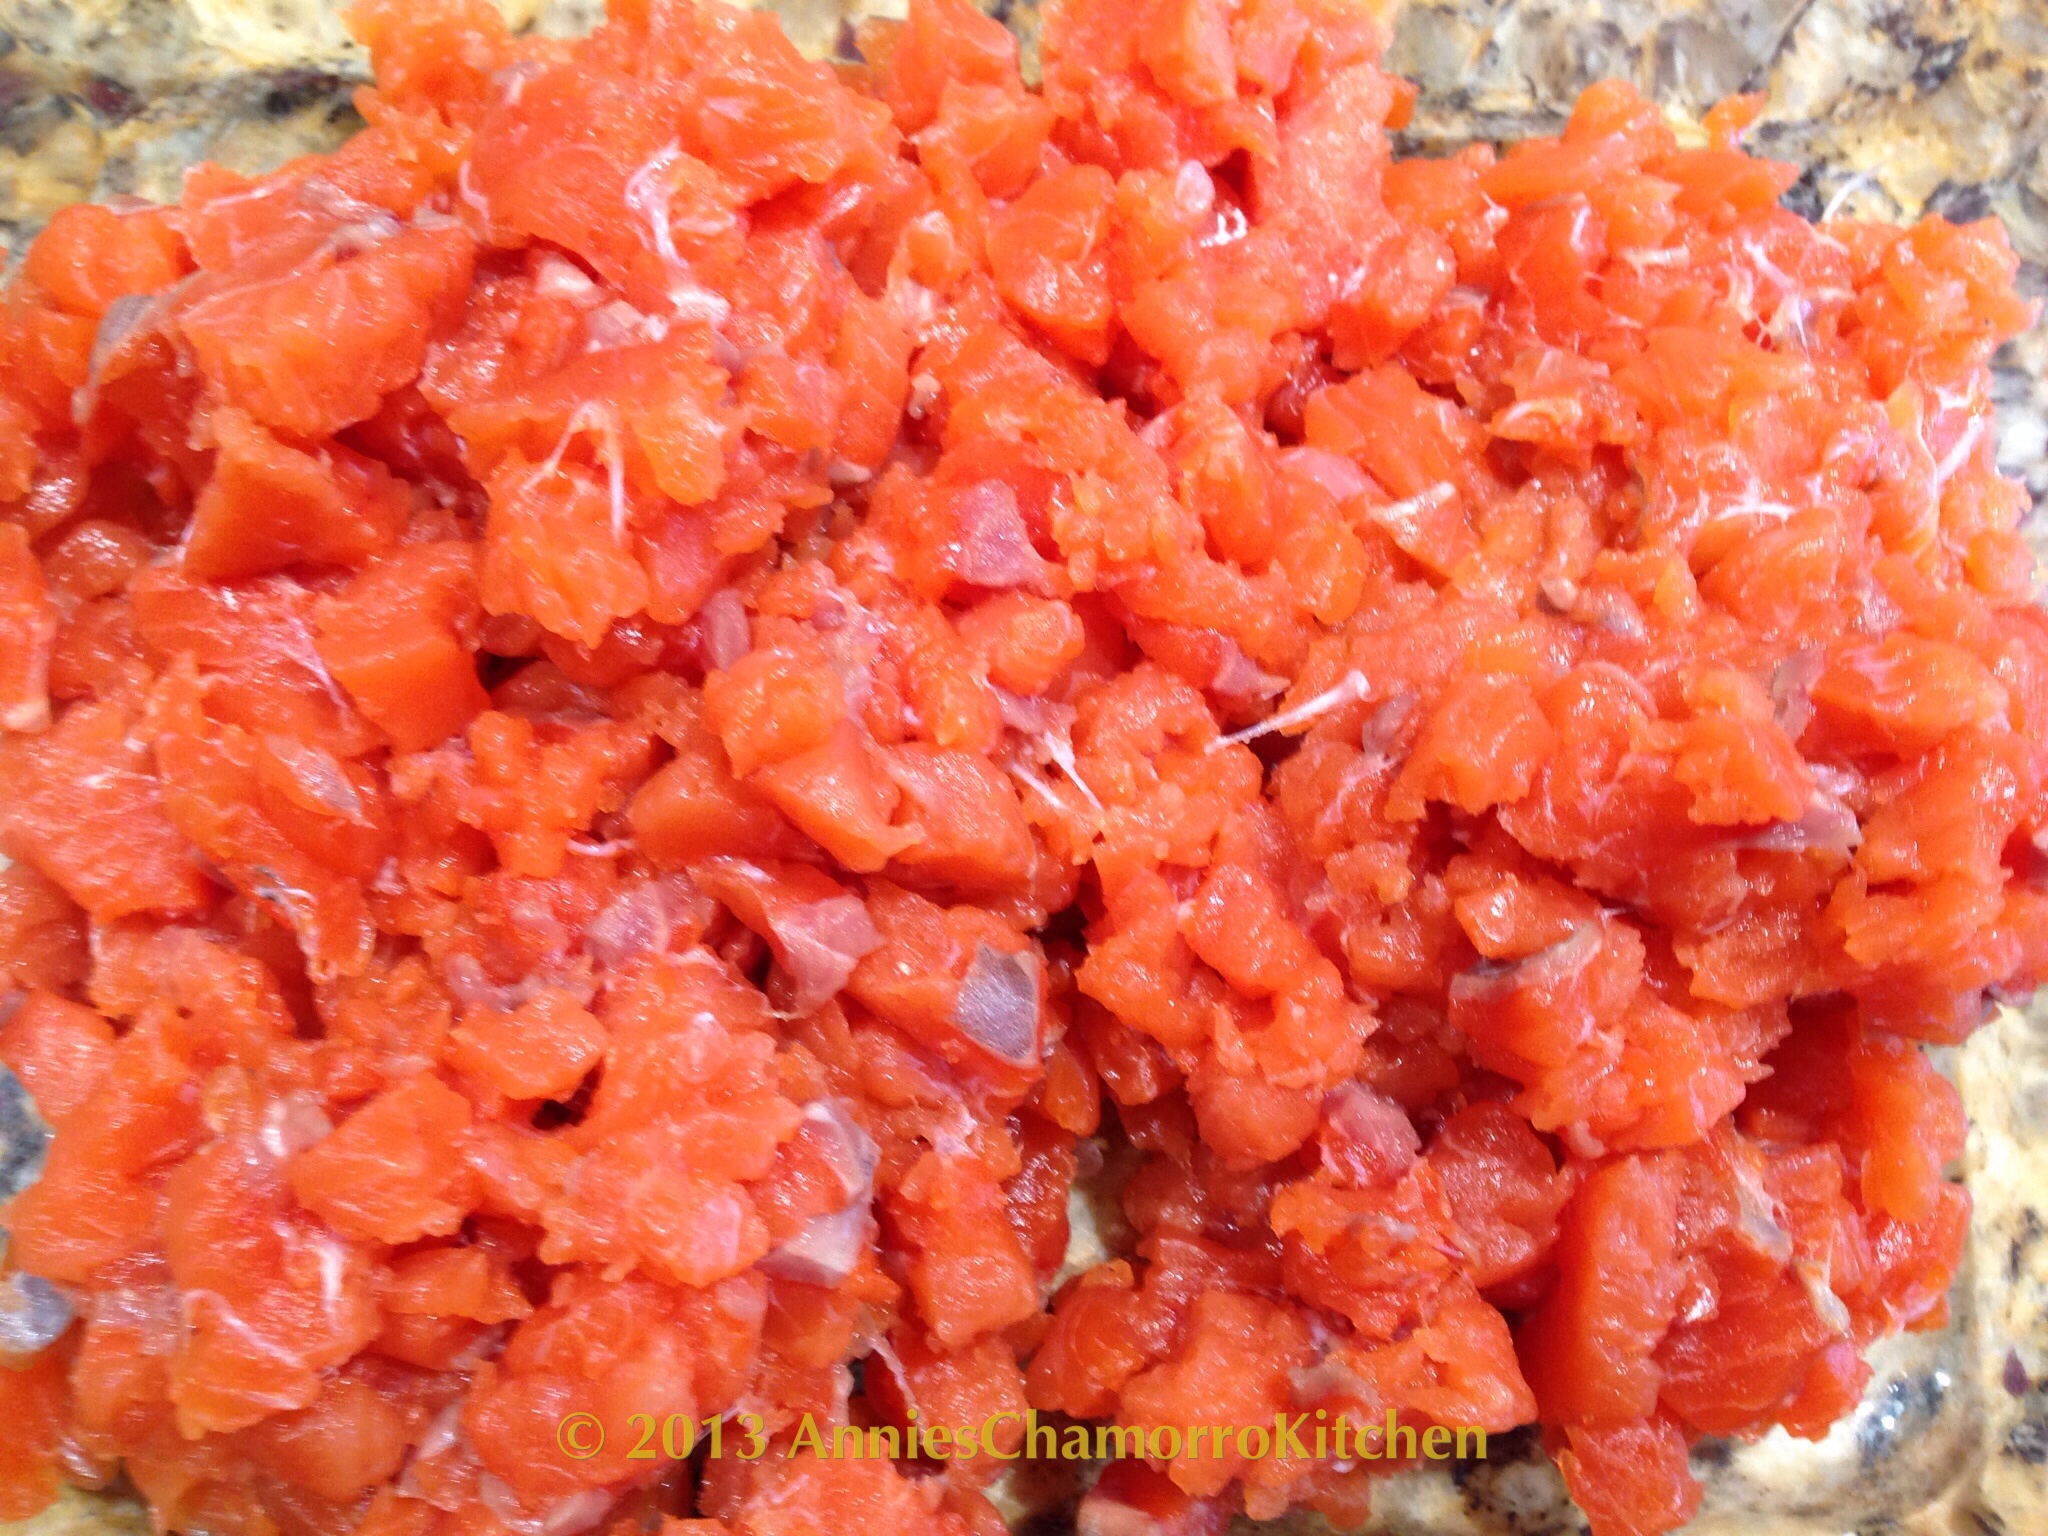
1.  Rinse the salmon filet.  Pull out any salmon bones.  Remove the skin, or leave it on if you prefer.  I like the skin removed for kelaguen.

image

2.  Cut the salmon into small pieces.

image

3.  Thinly slice the green onions.

image

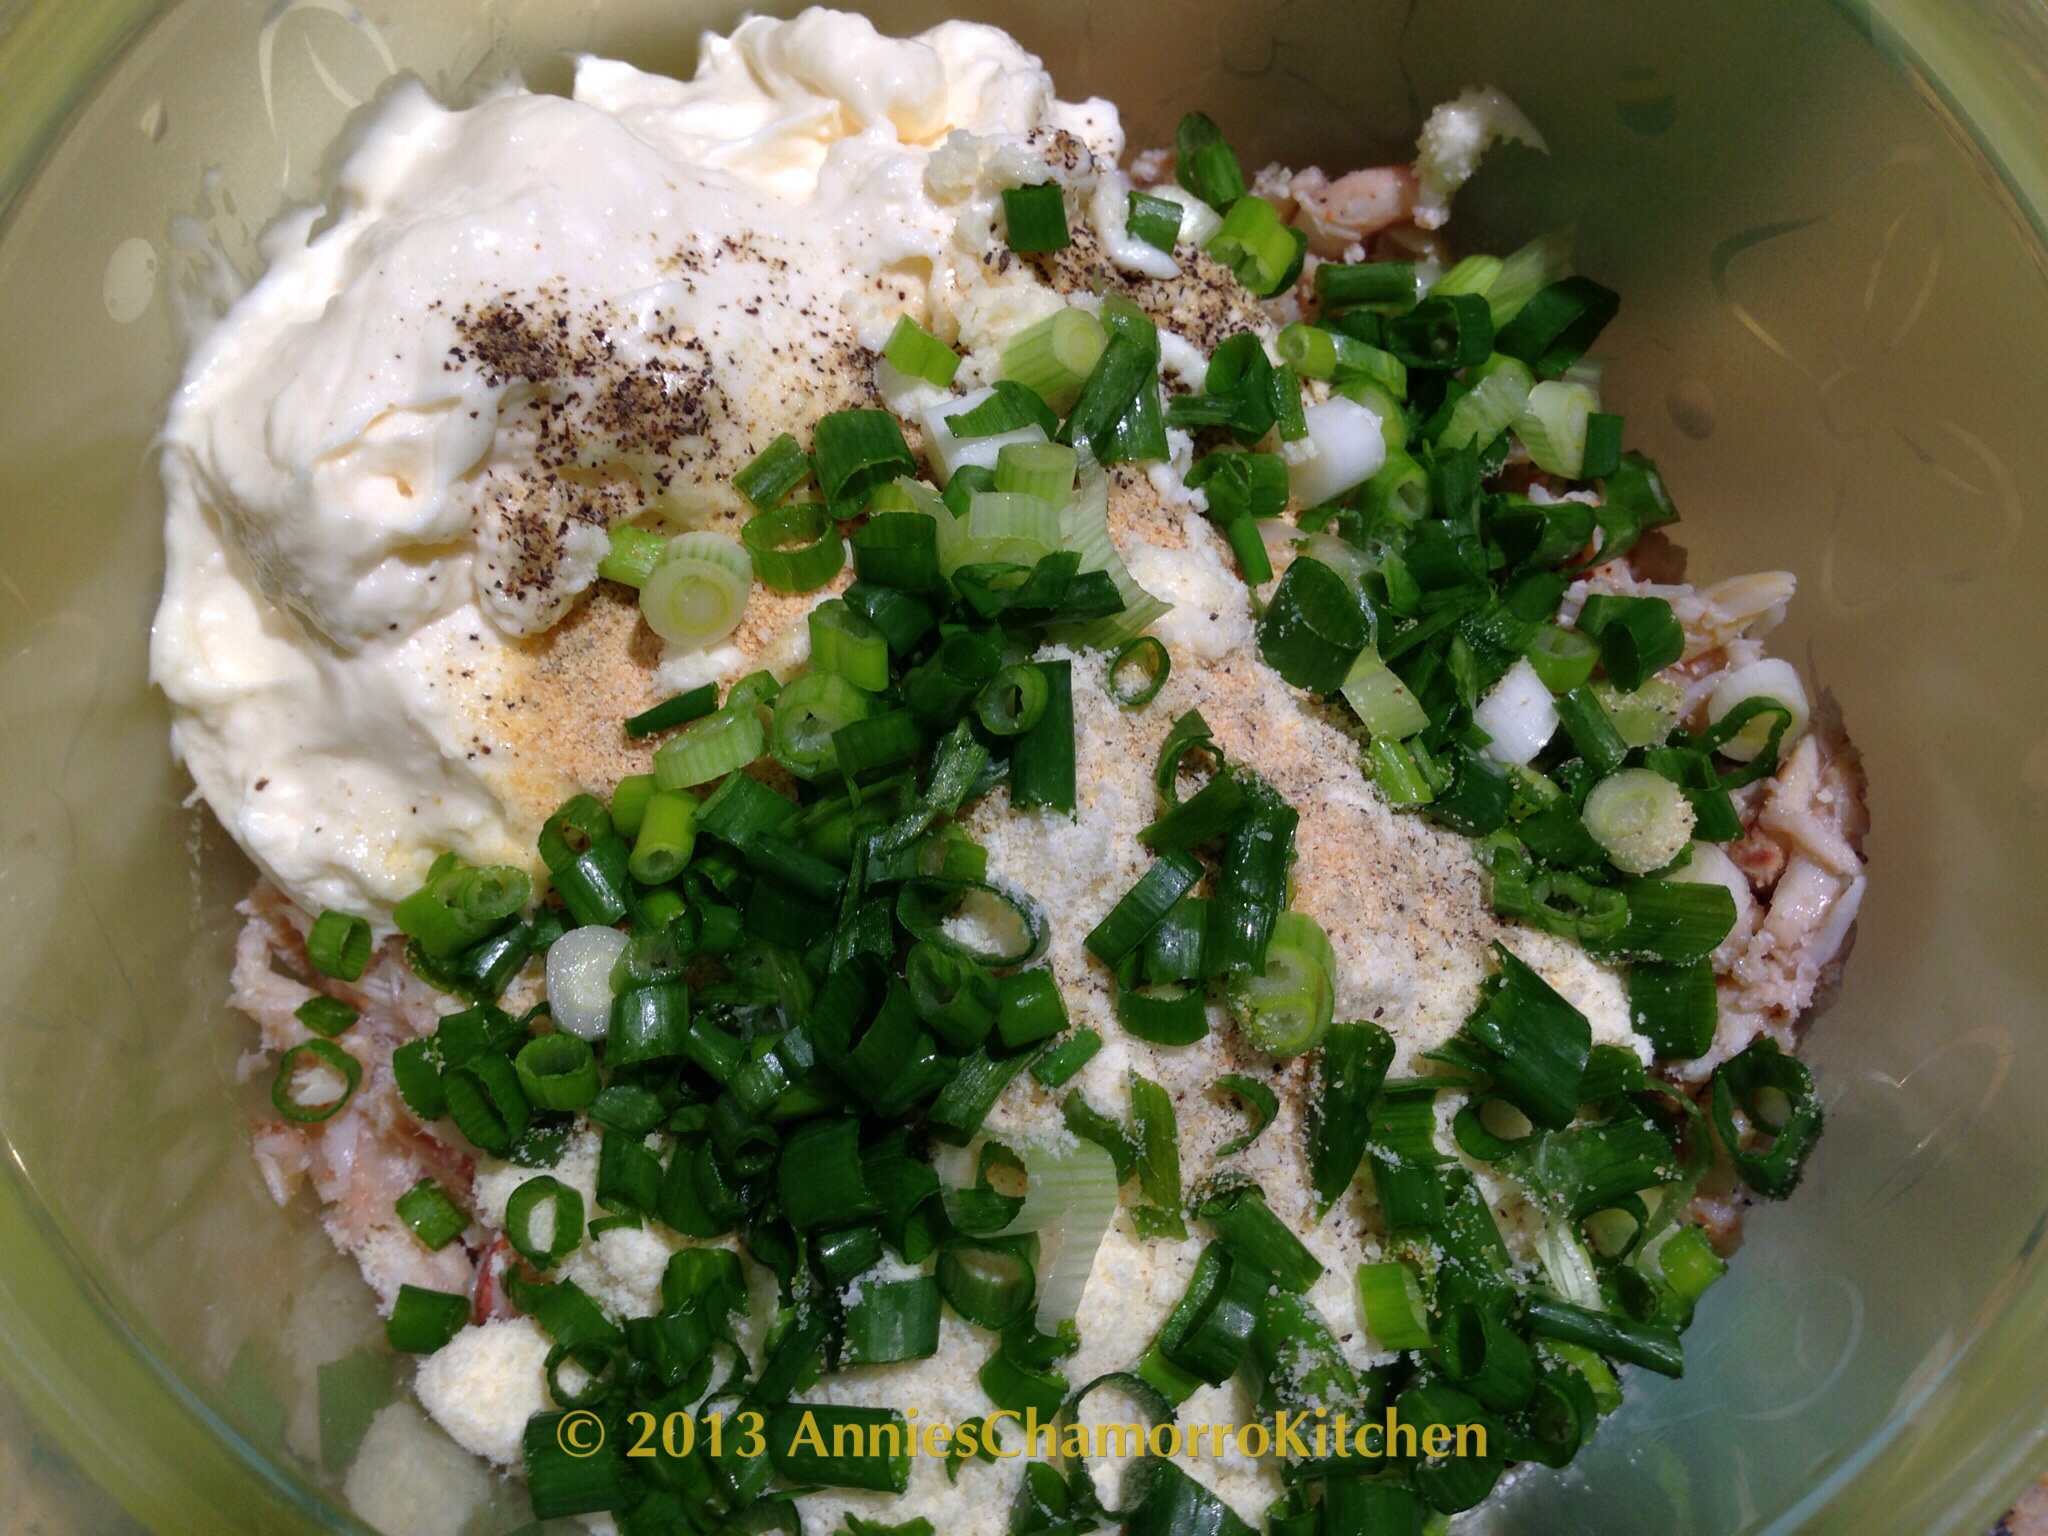
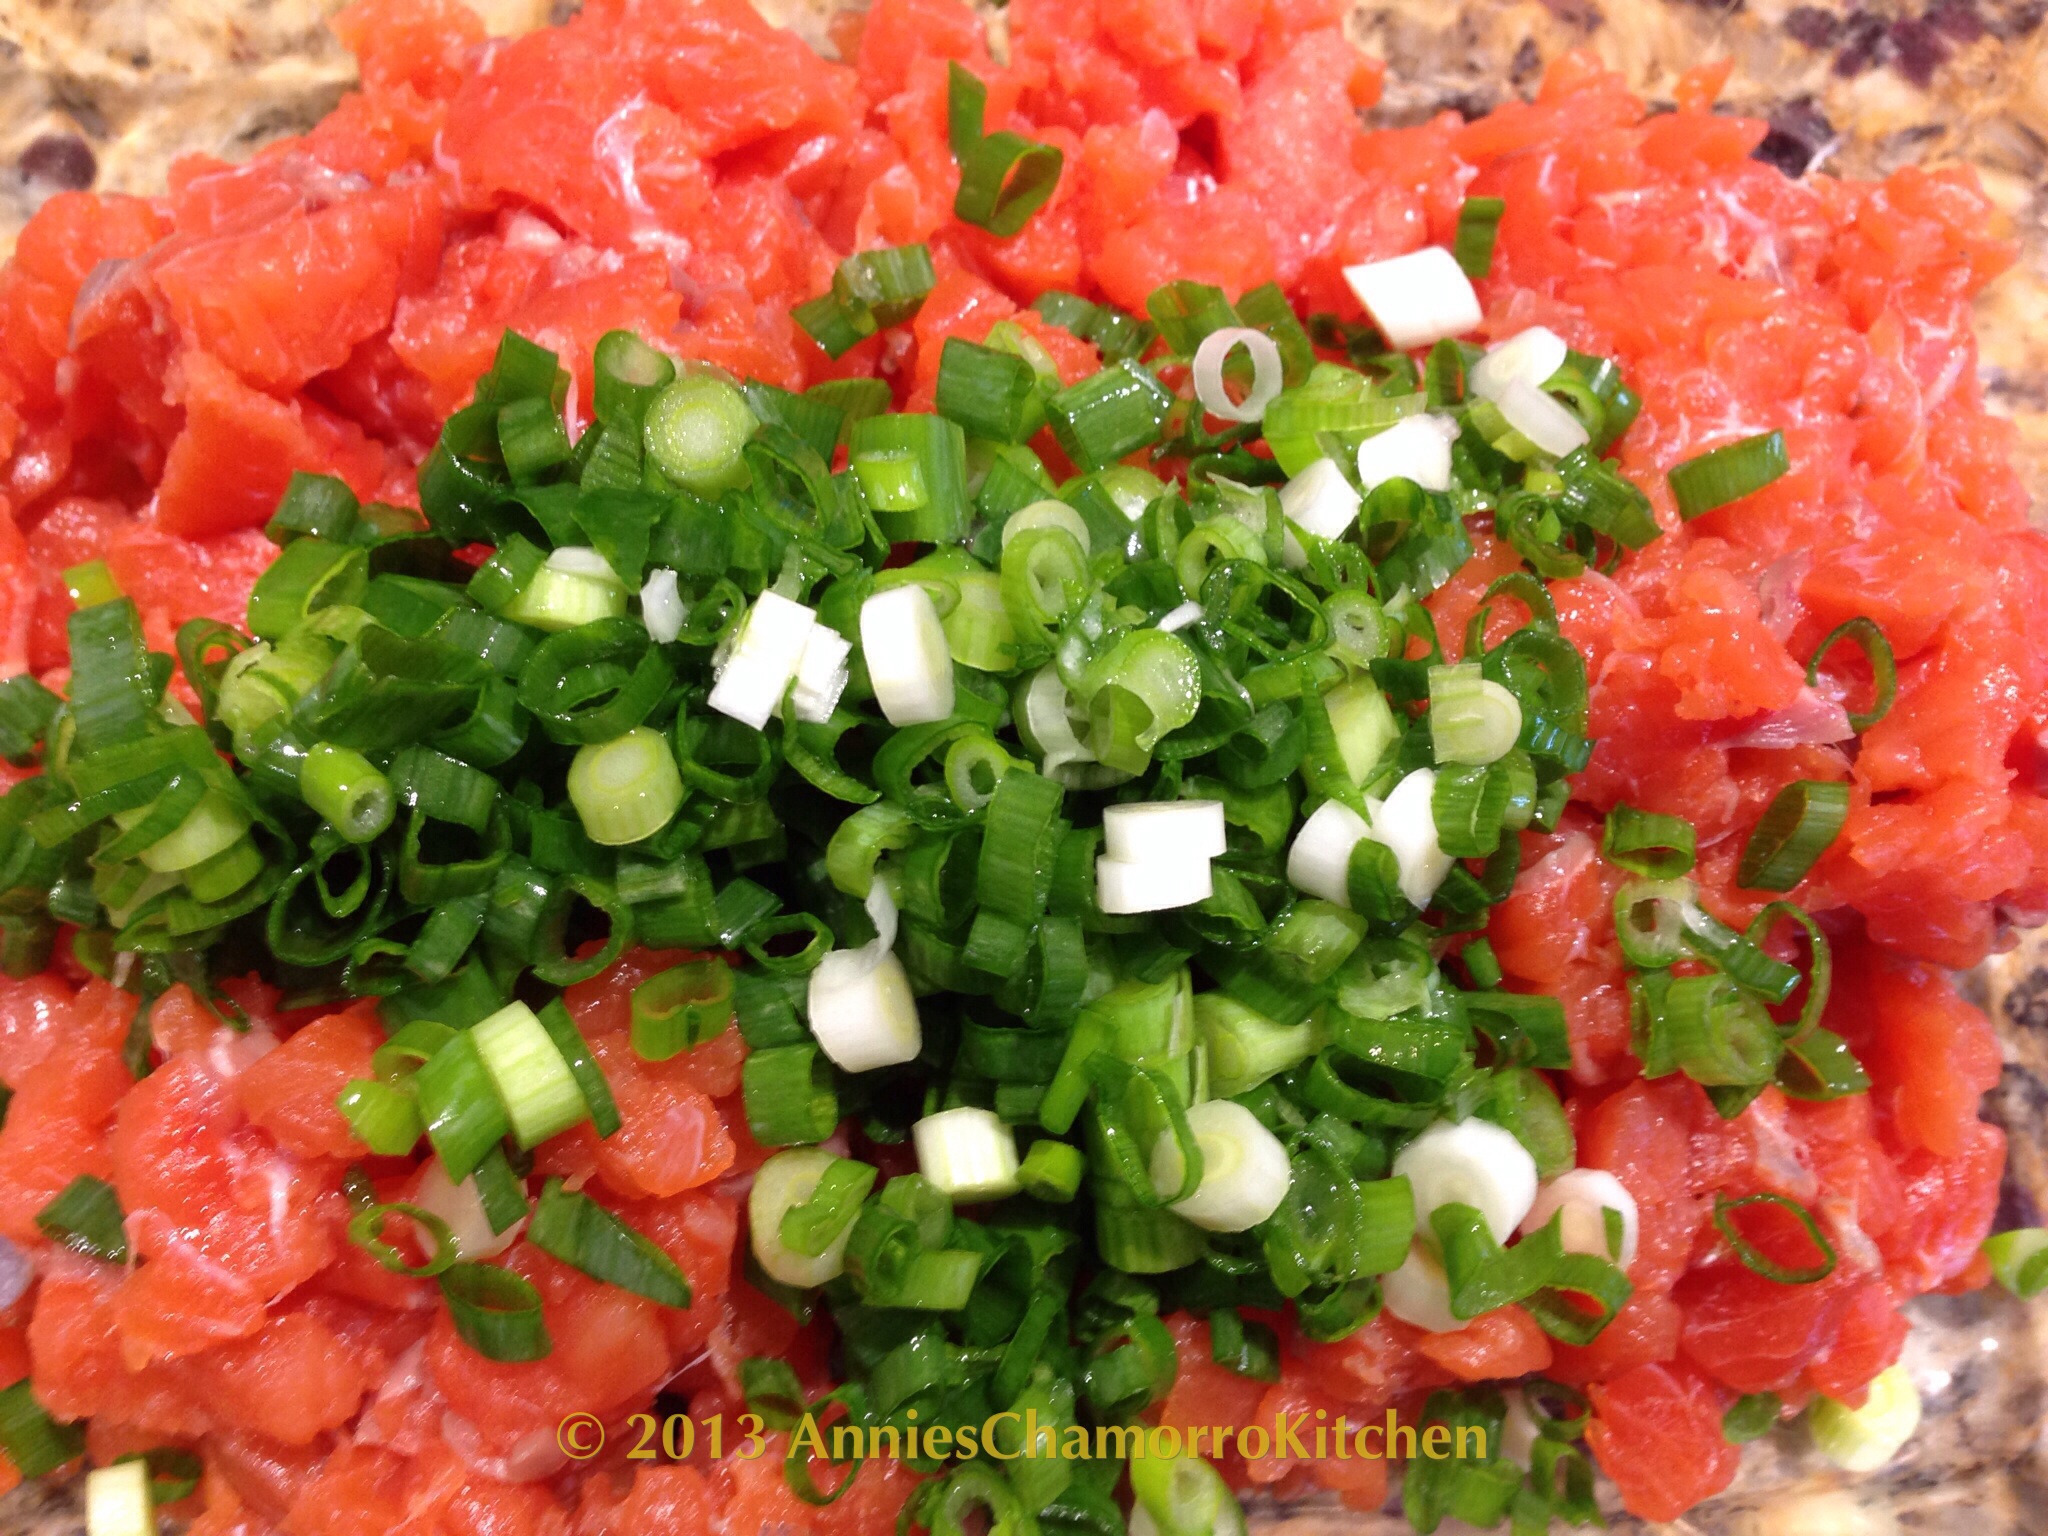
4.  Mix the salmon and green onions together in a small bowl.

image

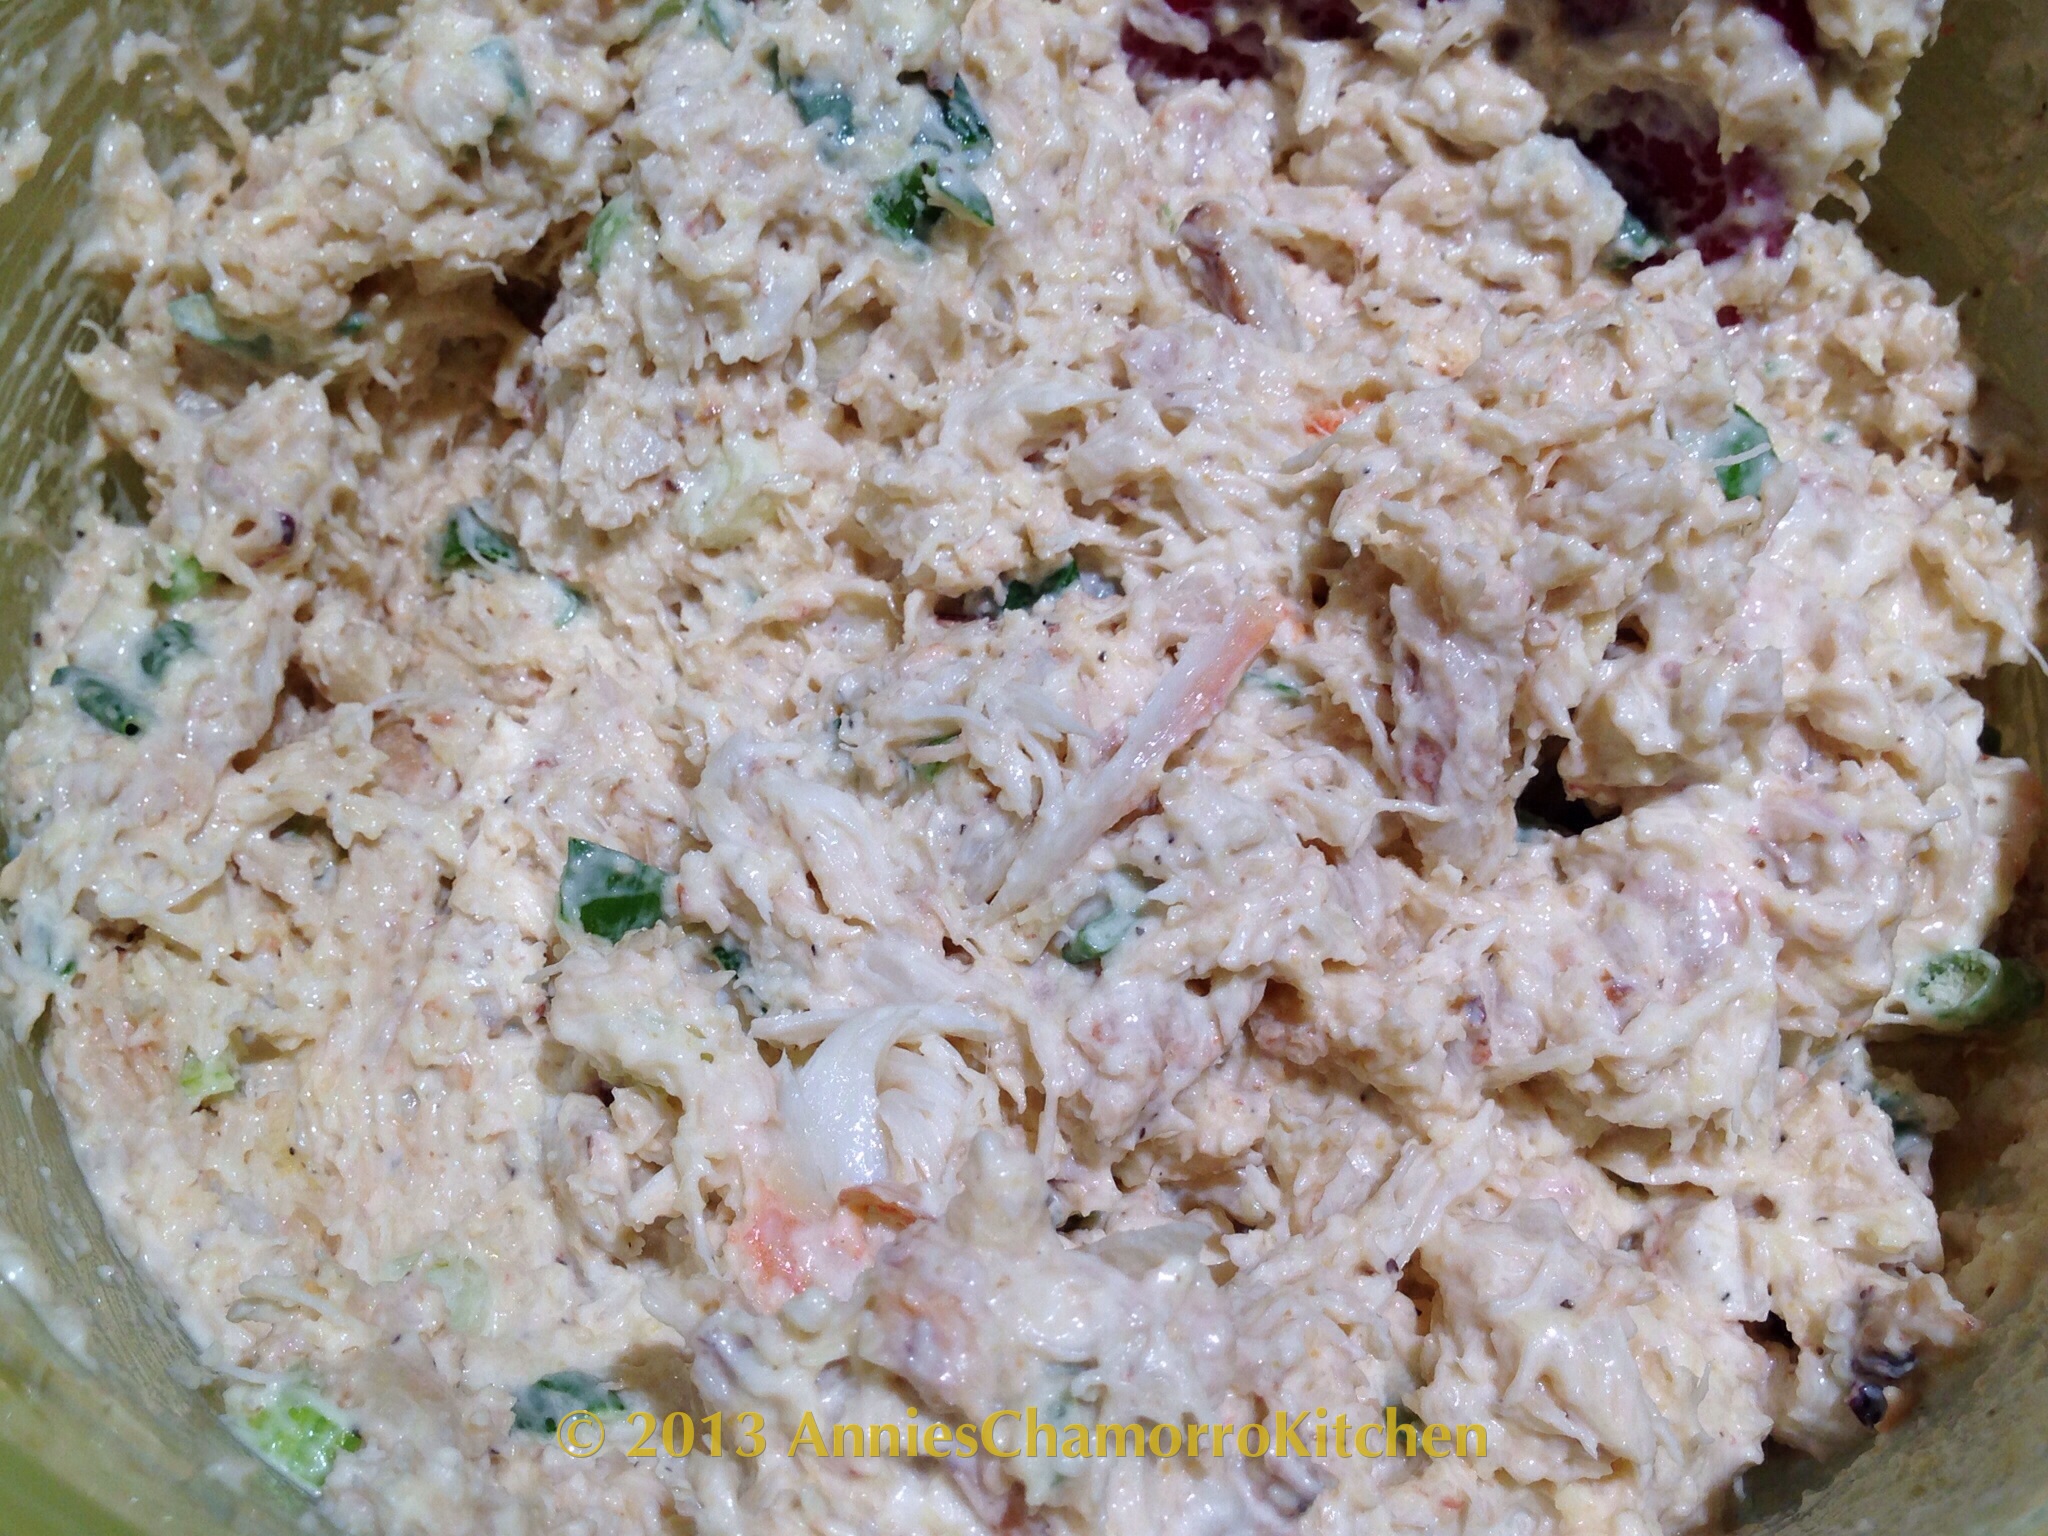
5.  Squeeze about 1 cup of lime juice over the salmon and onions.  Sprinkle salt over the mixture; start with about 1 teaspoon.  Stir gently to combine all the ingredients and to dissolve the salt into the lime juice.  Add more or less lime juice and/or salt, to taste.

image

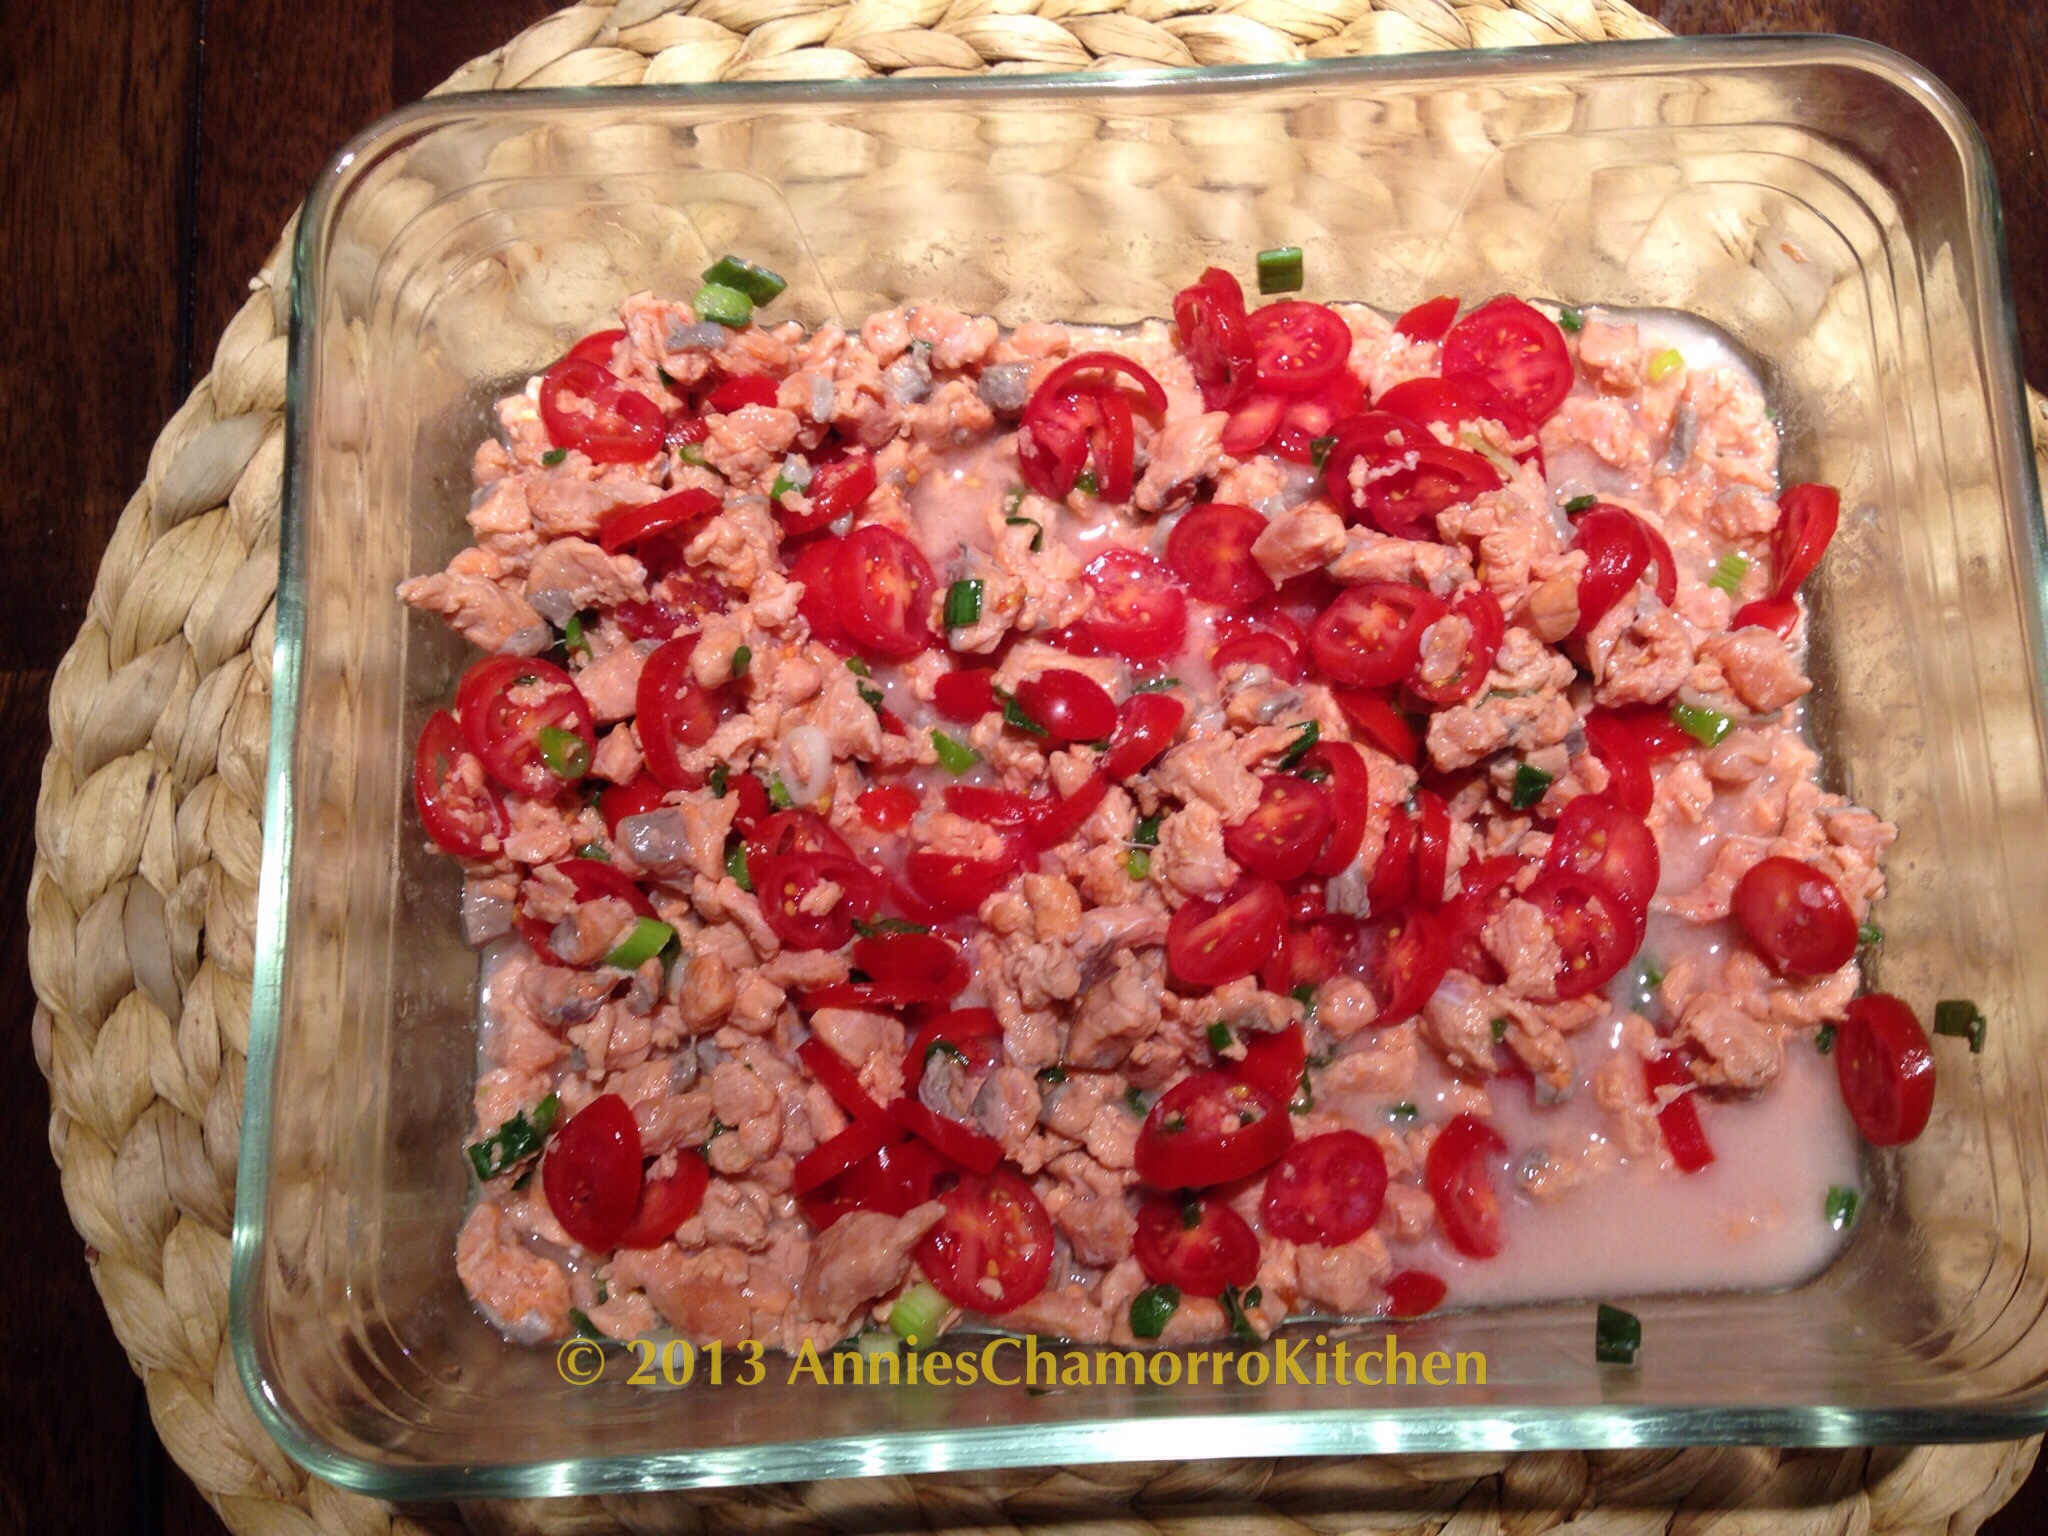
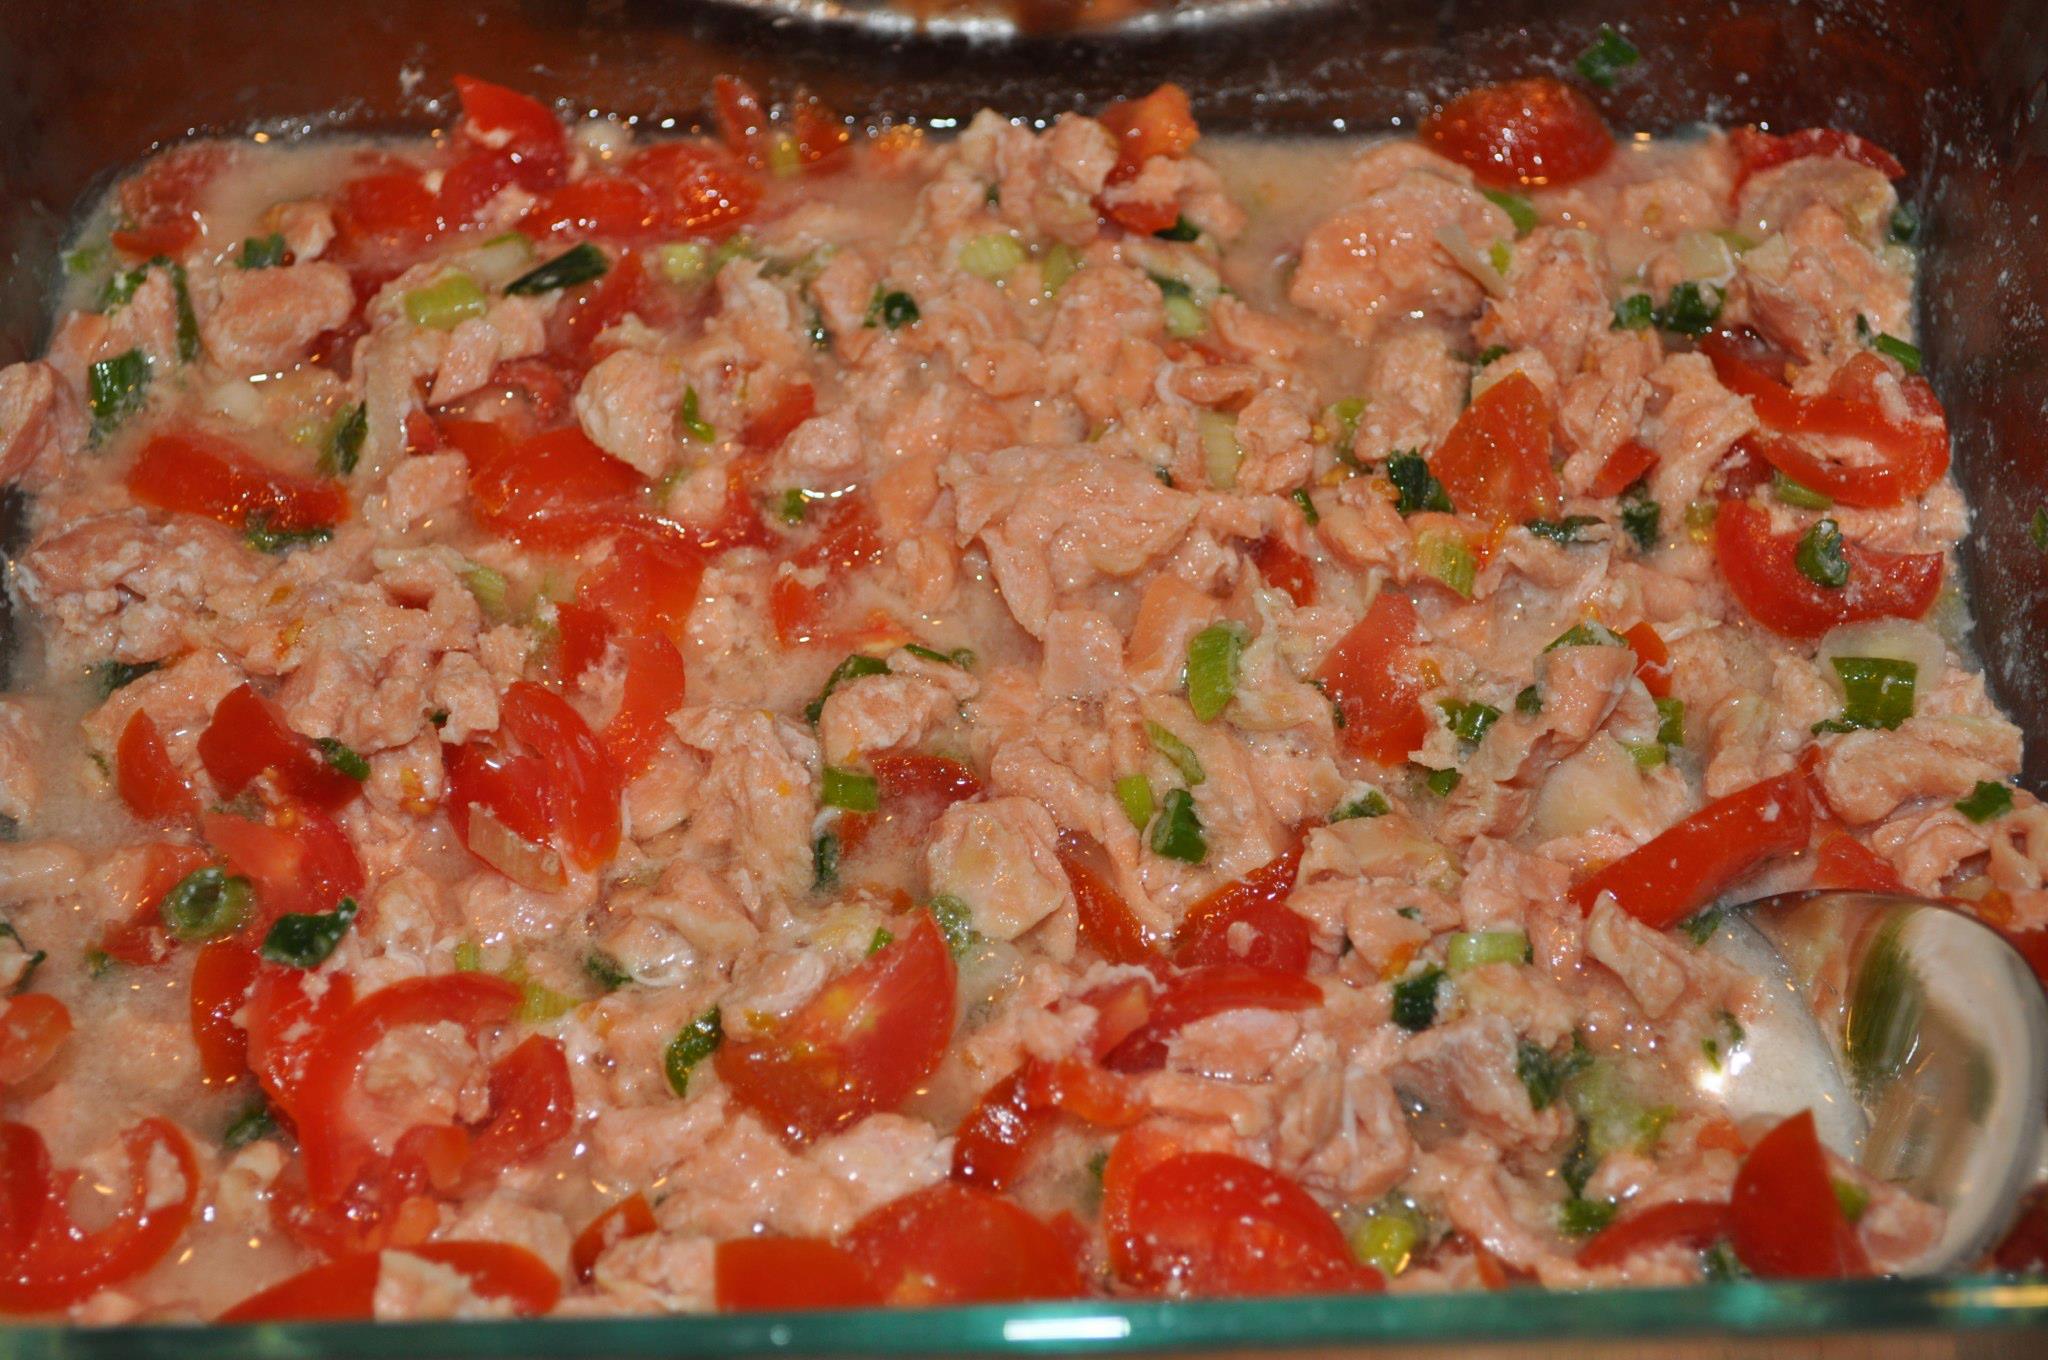
6.  Stir in the diced tomatoes.  Optional:  Add hot pepper, as much as you like.  Serve with hot rice or titiyas.  ENJOY!

image

Print Friendly, PDF & Email

Crab Stuffed Mushrooms

One our favorite appetizers when we eat out are crab-stuffed mushrooms.  Tender mushrooms, sweet crab meat, and melted cheese are sure to make these tasty morsels a hit at your dinner table.  With my easy recipe, you don’t have to wait until you eat out to enjoy them — now you can make these in your very own kitchen!

Don’t skimp on the crab meat and use that stringy imitation stuff.  Yes, I know real crab meat is pricey, but it’s worth it.  Trust me!  While imitation crab meat will do when you make sushi, you’ll do these stuffed mushrooms a great injustice if you don’t use the real thing.

Funny story…we made these for our appetizer for dinner tonight.  As my husband was popping a stuffed mushroom into his mouth, my daughter scolded him, stating that the mushrooms were a SIDE DISH, to be eaten with our meal.  “I thought they were appetizers!” exclaimed my husband.  “No…mushrooms are vegetables, and we’re having vegetables with our dinner” my daughter said, matter-of-factly.  Hahaha!  I love my kids! 😀

Give my recipe a try.  I KNOW you’ll LOVE it. 🙂

Crab-Stuffed Mushrooms

image

Ingredients:

  • 1 pound lump crab meat
  • 1 cup mayonnaise (I like using Best Foods or Hellman’s)
  • 1 cup grated Parmesan cheese
  • 1/2 teaspoon black pepper
  • 1 teaspoon garlic powder
  • 2 stalks green onions, sliced
  • 15-20 fresh white mushrooms, more or less, depending on the size

image

Directions:

1.  Place the crab meat in a small mixing bowl.  Pick out any stray crab shells.

image

2.  Add the mayonnaise to the bowl…

image

…and the Parmesan cheese…

image

…and the black pepper…

image

…and the garlic powder…

image

…and the green onions.

image

3.  Stir to combine all the ingredients.  At this stage, this is FANTASTIC as-is, as a dip or spread for crackers.  If you want to use it as a dip, place it into a microwave-safe bowl and heat it for about 90 seconds to 2 minutes, or just long enough to warm it and to get some of the cheese to melt.  Don’t microwave it too long or the mayo will break down and your mixture will be very oily.

image

4.  Pull off the stems of each mushroom.  If the mushrooms are dirty, wipe them GENTLY with a paper towel.  DO NOT rinse the mushrooms in water–the mushrooms will soak up the water and become almost slimy (yuck!).  Trust me–a paper towel is all you need to clean these babies.

image

5.  Stuff each mushroom cap with the crab mixture.  It’s okay to be generous.  You’ll have more than enough filling even if you overstuff the mushrooms.

This photo is just for comparison sake.  We bought rather large mushrooms at COSTCO. This shows one of the smaller mushrooms…it’s larger than a lime!

image

6.  Place each stuffed mushroom onto a baking pan.  Top each mushroom with more grated Parmesan cheese.

image

image

7.  Bake at 350 degrees for 20 minutes (for smaller mushrooms) and up to 30 minutes for the larger mushrooms.  These were rather large mushrooms, so 30 minutes was about right.  Bake until the cheese and mushrooms are nicely browned.

Note:  There is NO NEED to add a drizzle of butter over the mushrooms prior to baking.  The mushrooms brown up quite nicely on their own without the added fat.  AND I’m sure you DO NOT want these beauties to swim in a pool of melted fat, do you?  No, no you don’t.

The liquid you see in the pan is the natural water from the mushrooms.  After you take the tray out of the oven, remove the mushrooms to a serving dish so they don’t sit in this liquid.

image

Ahhhh….don’t you wish you had some of these delicious Crab Stuffed Mushrooms right now?  What are you waiting for?  Bake up a batch TODAY! 😀

ENJOY!

image

Print Friendly, PDF & Email

Shrimp Patties

Hi everyone!  This is Hannah, Annie’s daughter.

I made some delicious shrimp patties for lunch one day. My version is somewhat different from the “regular” recipe most people have.

What’s different about my version? I don’t use any eggs. It started out as a mistake one time when I was making shrimp patties and forgot to put eggs in the batter. However, I liked how it turned out. The inside was nice and fluffy, and my shrimp patties were nice and round (my neighbor called them “shrimp balls”) and not flat.

Give my recipe a try. Let me know how you like them. My family loves them; I hope you do too!

SHRIMP PATTIES

Shrimp Patties - 58

INGREDIENTS:

  • 1 cup thinly sliced fresh green beans
  • 2 cups peas
  • 1 cup chopped onions (about 1/2 a medium onion)
  • 3 cups corn kernels (I love lots of corn in my shrimp patties)
  • 4 cups shrimp, chopped
  • 2 tablespoons minced garlic
  • 2 cans evaporated milk
  • 3 cups all purpose flour
  • 2 tablespoons baking powder
  • 5 tablespoons Dashida seasoning (the seafood flavored kind)
  • 1 teaspoon Accent
  • 1 teaspoon black pepper
  • Oil, for frying

 DIRECTIONS:

1.  Heat the oil in a large frying pan. Do you know how to tell if the oil is hot enough and ready? My mom taught me a great trick.  Use the tip of a wooden spoon (I used a wooden chopstick) and dip it into the oil.  If little bubbles start to form around the wood, then the oil is hot and ready. Make sure the wood is clean and dry first; you don’t want hot oil to splatter and burn you.

Here is a short video clip. You can see all of the little bubbles form around the tip of the wooden chopstick. This tells you that the oil is hot and ready for frying.

2.  While you’re waiting for the oil to heat up, mix all of the ingredients (except for the oil, of course) in a large bowl.

3.  Drop spoonfuls of batter into the hot oil and fry until golden brown. Note: I used a small ice cream scoop that holds 1 1/2 tablespoons. This is also what makes the shrimp patties nice and round like doughnuts. (Maybe that’s why my neighbor calls them shrimp balls, LOL.)


I added a lot of photos below to show you the process.

Enjoy, and I hope you like them!

~ Hannah


Shrimp Patties - 03

Place the shrimp and vegetables in a large mixing bowl.

Shrimp Patties - 05

Place the flour and other dry ingredients in a smaller bowl.

Shrimp Patties - 06

Add all of the dry ingredients to the bowl of shrimp and veggies.

Shrimp Patties - 15

Pour the evaporated milk into the mixing bowl.

Shrimp Patties - 22

Mix, mix, mix! 🙂

Shrimp Patties - 34

Check to see if the oil is hot. Scroll up and watch my video that shows what to look for.

Shrimp Patties - 38

When the oil is ready, use a small cookie scoop to drop the batter into the oil. This makes the shrimp patties nice and round.

Shrimp Patties - 43

Don’t put too much into the oil. You want to leave enough room to allow the shrimp patties to cook evenly, plus overcrowding might make them stick together when you drop the batter into the oil.

Shrimp Patties - 44

The shrimp patties usually turn on their own, but if they don’t, turn them occasionally to ensure even browning.

Shrimp Patties - 48

Fry until nicely browned.

Shrimp Patties - 49

Place in a colander or strainer to drain the excess oil.

Shrimp Patties - 66

The small cookie scoop I use makes shrimp patties that are a little bit bigger than the size of a ping pong ball. I think it’s the perfect size — not too big, not too small.

Shrimp Patties - 68

The inside is nice and fluffy.

Shrimp Patties - 65

Pile on the goodness! 🙂


Print Friendly, PDF & Email

Pork & Shrimp Chop Suey with Noodles

Chop suey most often refers to a stir fried noodle dish, but I like my version of chop suey with a bit of gravy.  I guess my brain refuses to separate spaghetti noodles from sauce, so my chop suey is saucy.  That’s got a nice ring to it, doesn’t it?  Saucy Chop Suey?  🙂

Anyhow, my recipe is made with slices of pork, shrimp, and a variety of veggies — I like adding carrots, cabbage, mushrooms, peppers, and onions.  My mom adds celery in hers, but that’s one vegetable I am not too keen on, so it stays out in my version.

Add your favorite ingredients to make it your own.  Give it a try and let me know how you like it.  🙂


CHOP SUEY

IMG_0382

This recipe makes enough to feed a family of four, plus enough leftover for a couple of packed lunches the next day.

Ingredients:

  • 2 pounds lean pork, sliced into 1-inch long strips
  • 2 tablespoons vegetable oil
  • 2 cups carrots, thinly sliced
  • 3 cups cabbage, sliced into 4×1-inch pieces
  • 1 large onion, thinly sliced
  • 2 cloves garlic, minced
  • 1 red bell pepper, sliced
  • 1 green bell pepper, sliced
  • 1 cup sliced mushrooms
  • 2 pounds raw shrimp, shelled and deveined
  • 1/4 cup soy paste (or regular soy sauce will do)
  • 2 beef bouillon cubes
  • Salt and pepper to taste
  • 2 cups water
  • 3 tablespoons corn starch
  • 1 box spaghetti noodles, cooked per package directions

IMG_0350

Directions:

1.  Using a wok or large pan, cook the pork with the 2 tablespoons vegetable oil, about 5 minutes.  Stir occasionally to keep the pork from burning and sticking to the pan.

IMG_0356

2.  Add the carrots; stir to mix then cook for another 2 minutes.

IMG_0360 IMG_0362

3.  Mix in the cabbage and onions; cook for another 2 minutes.

IMG_0363

4.  Add the garlic, peppers and mushrooms.  Stir to combine then cook for a minute or two.

IMG_0368      IMG_0369

5.  Add the shrimp, soy paste, bouillon cubes, and 1/4 cup of water (set the remaining water aside).  Stir then cook for about 3 minutes; the shrimp should begin to turn pink.

IMG_0367 IMG_0377 IMG_0373

6.  Turn the heat to high.  Mix the remaining water with the cornstarch; stir until the cornstarch is completely dissolved.  Pour the cornstarch mixture into the pan, stirring constantly to prevent lumps from forming.  Cook for a minute over high heat; the mixture should start to thicken.

IMG_0365 IMG_0379

7.  Turn the heat to low.  Add the cooked spaghetti noodles to the pan.  It’s easier if you use a pair of tongs to mix the pork mixture with the noodles.  Once the noodles have heated through, remove from the heat and serve.

IMG_0385

Enjoy!

Pork & Shrimp Chop Suey with Noodles


Print Friendly, PDF & Email

Shrimp Kådu

Kådu means soup or broth in Chamorro.  It refers to any type of broth or liquid in your cooked dish, be it soup, gravy, or a stew.

Shrimp Kådu is traditionally made with shrimp that still has the head and shell on, which adds so much more flavor to the dish.  I actually prefer to cook this dish with headless, shell-on shrimp, but you can use shrimp that has been shelled.  One thing is certain, however.  You MUST use raw shrimp in this dish; it just won’t taste the same if you use pre-cooked shrimp.

Fresh green beans, if you can find any, is another “must have” in this recipe.  Don’t used canned green beans.  If you can’t find fresh, frozen will suffice–just do not use canned beans.    Again, it just won’t taste the same.

Tomatoes, on the other hand, can be fresh or stewed.  I tend to use stewed tomatoes, mainly because I don’t really like cooked tomato skins that you’ll get from fresh tomatoes.  The type of tomato you use is entirely up to you.

Give my recipe a try. I think you’ll like it.  🙂


SHRIMP KÅDU

Shrimp Kadu

Ingredients:

  • 1 small onion, diced
  • 2 cloves garlic, minced
  • 2 cups fresh green beans, cut into about 2″ pieces
  • 1 can stewed tomatoes, drained (cut them smaller if you like)
  • 2 pounds shrimp, uncooked, shell on (no heads)
  • 2 cans coconut milk
  • salt to taste
  • pepper to taste
  • a squeeze of lime juice (about half a lime)

Directions:

1.  In a medium soup pot, sauté the onions and garlic over medium heat, just until the onions become translucent.

2.  Add the green beans; cook for about 3 minutes, or until the beans are JUST starting to wilt (do not overcook).

3.  Add the tomatoes and shrimp.  Cook for 5 minutes or until the shrimp is no longer translucent (the shells will start to turn pink).

4.  Add the coconut milk.  There should be enough milk to cover the top of the shrimp; add more coconut milk if you like lots of kådu over your rice (I like my rice swimming in coconut milk kådu, so I use lots of coconut milk when making this dish).  Simmer over low heat until the coconut milk is warmed through — DO NOT bring the kådu to a boil or else the coconut milk will separate and the milk will look like it’s curdled.

5.  Add salt and pepper to taste, then add the squeeze of lime juice.  Stir to combine.  Serve over hot white rice and ENJOY.

My friend, Yvonne, and her daughter made some shrimp kådu — this is their version of the dish, made with shrimp with only the tails on.  Doesn’t it look scrumptious?

Shrimp kadu - Yvonne's

Shrimp Kådu, by Yvonne and Christie

Print Friendly, PDF & Email
Recent Entries »