Shrimp Patties
Hi everyone! This is Hannah, Annie’s daughter.
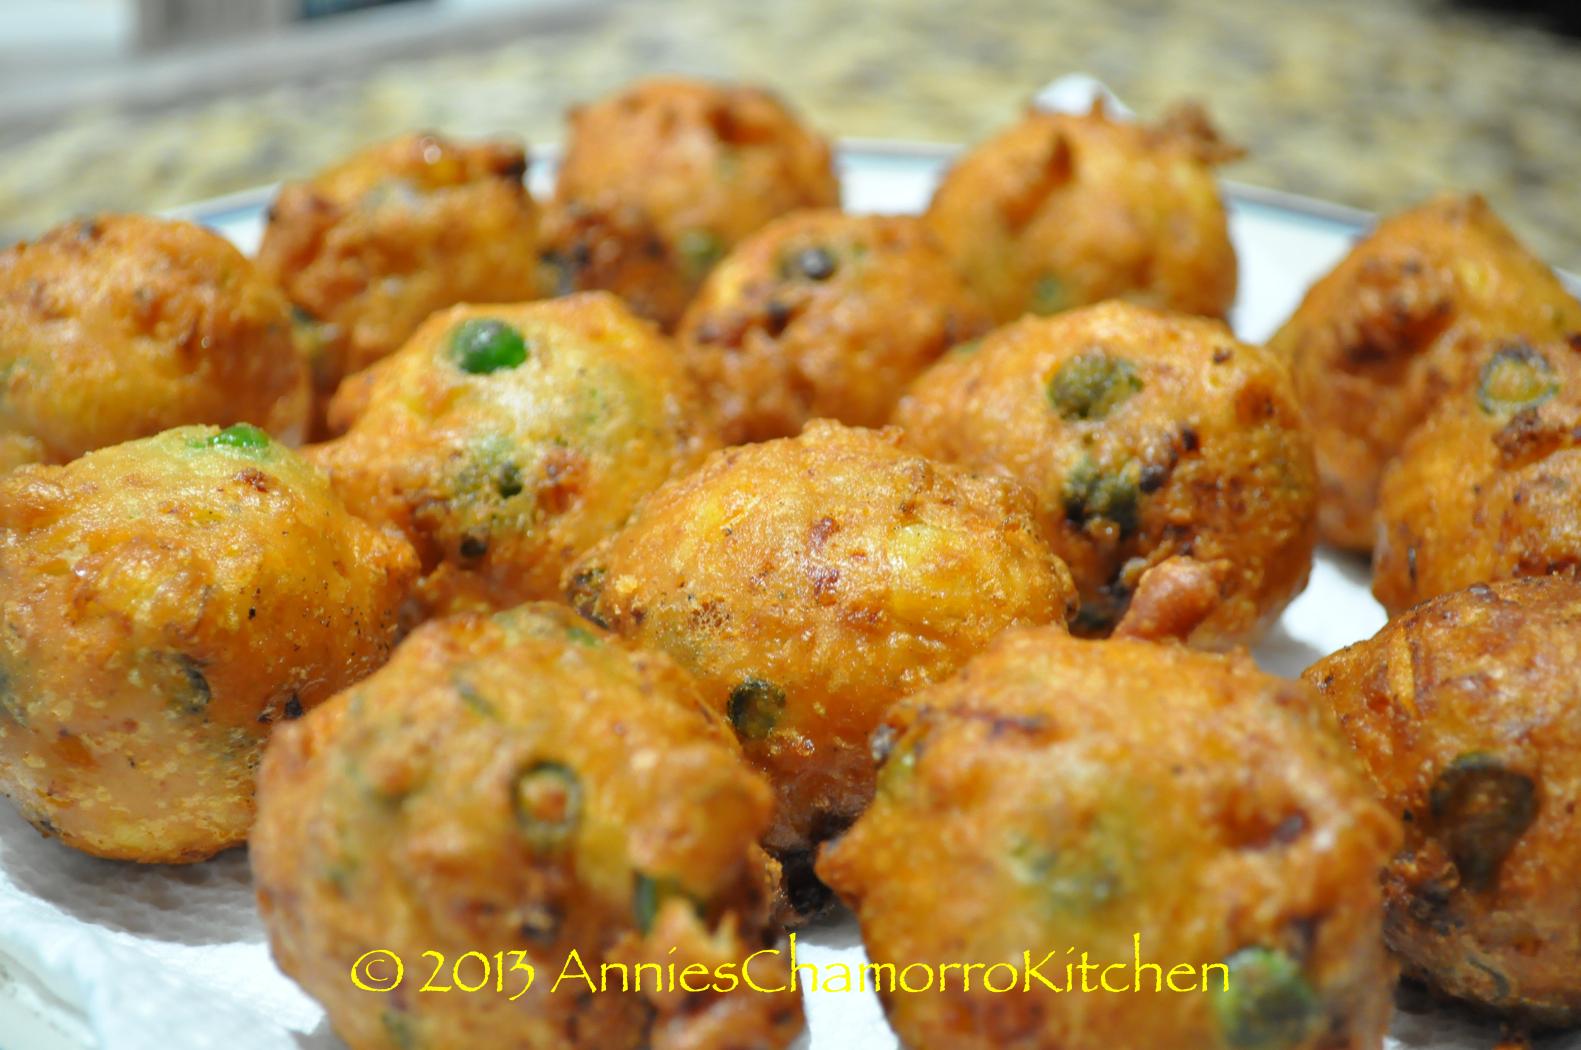
I made some delicious shrimp patties for lunch one day. My version is somewhat different from the “regular” recipe most people have.
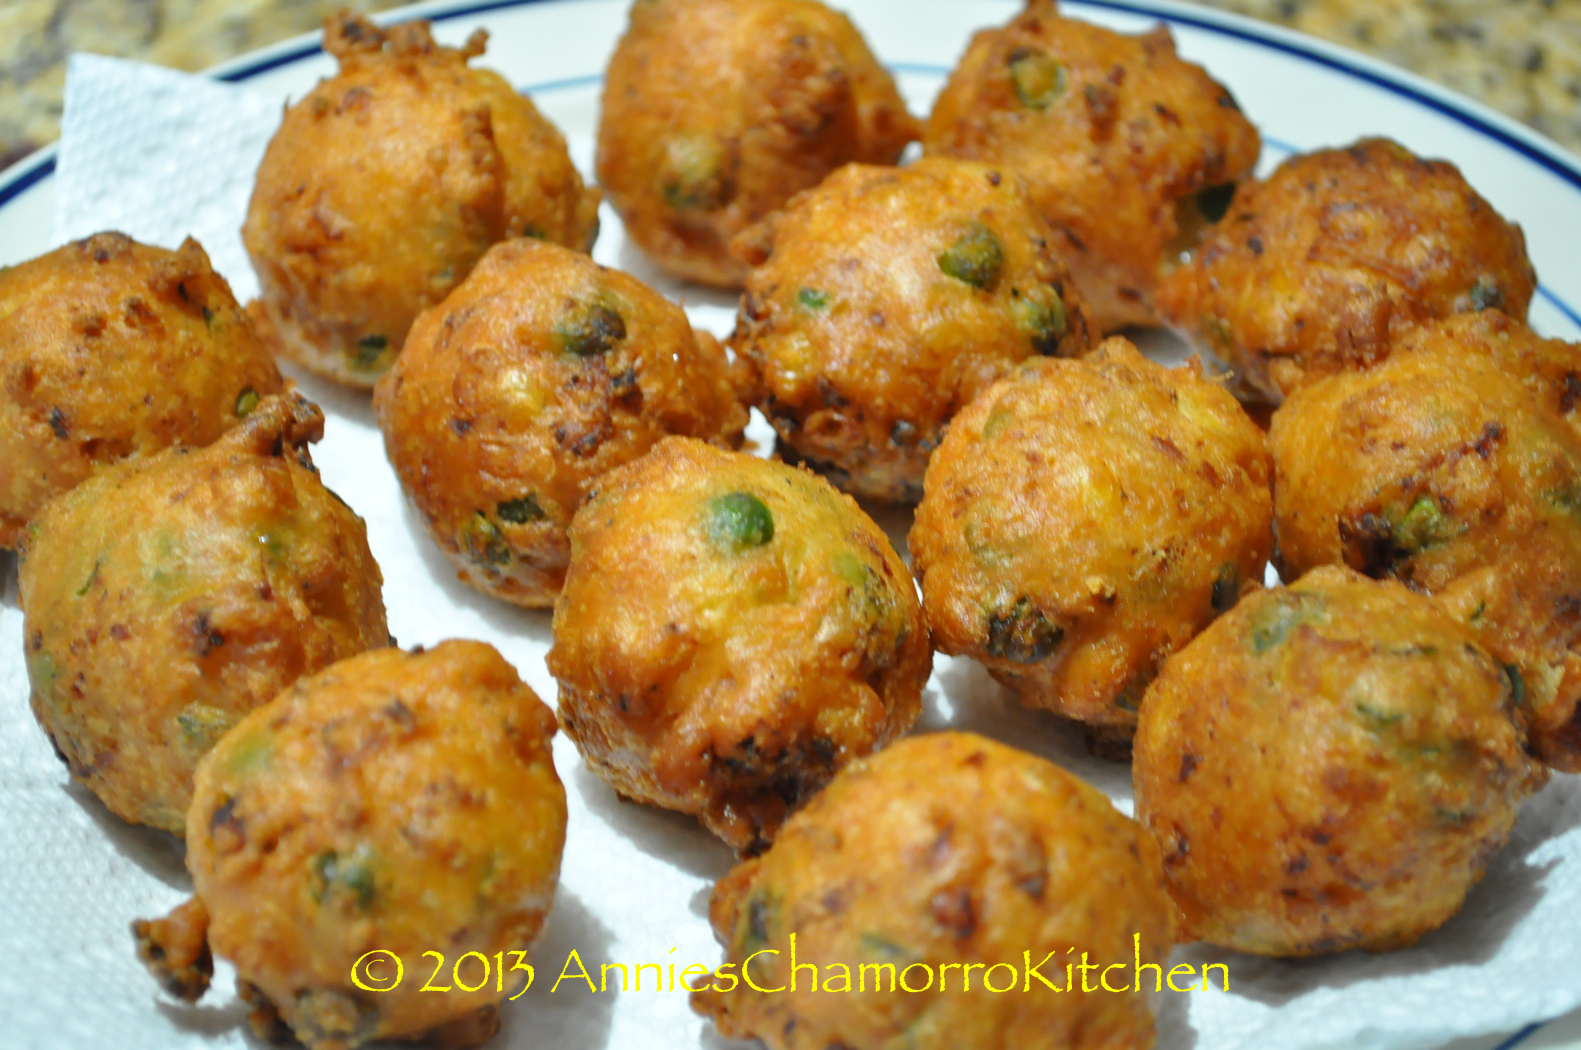
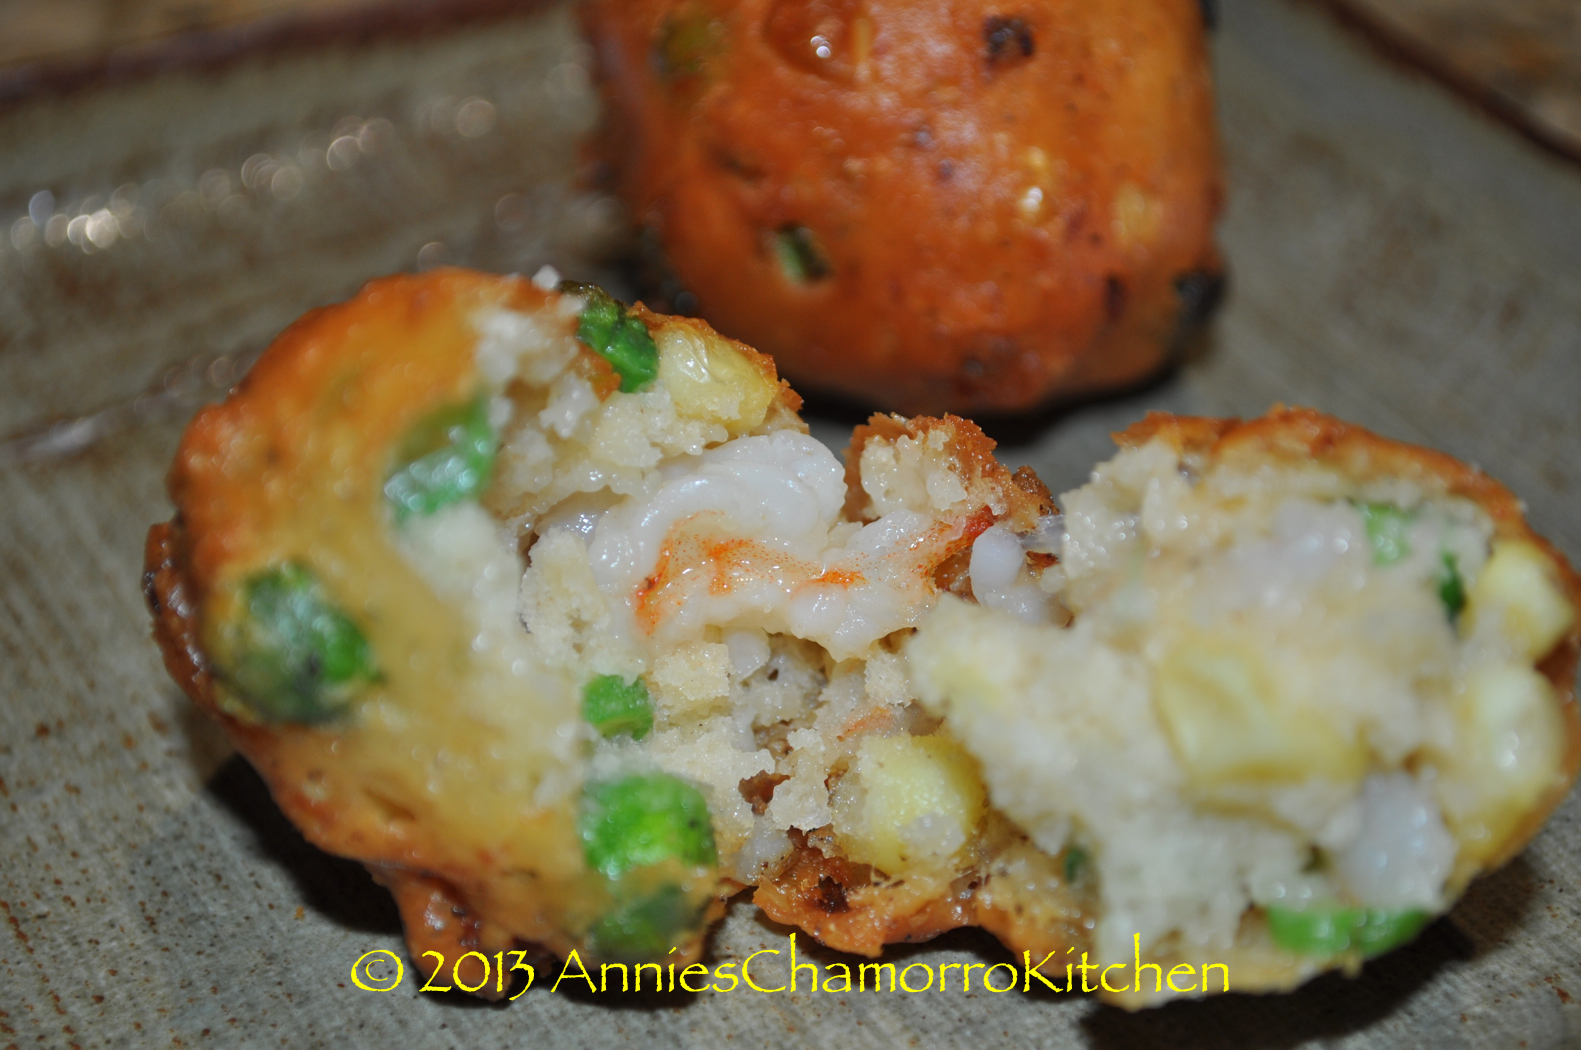
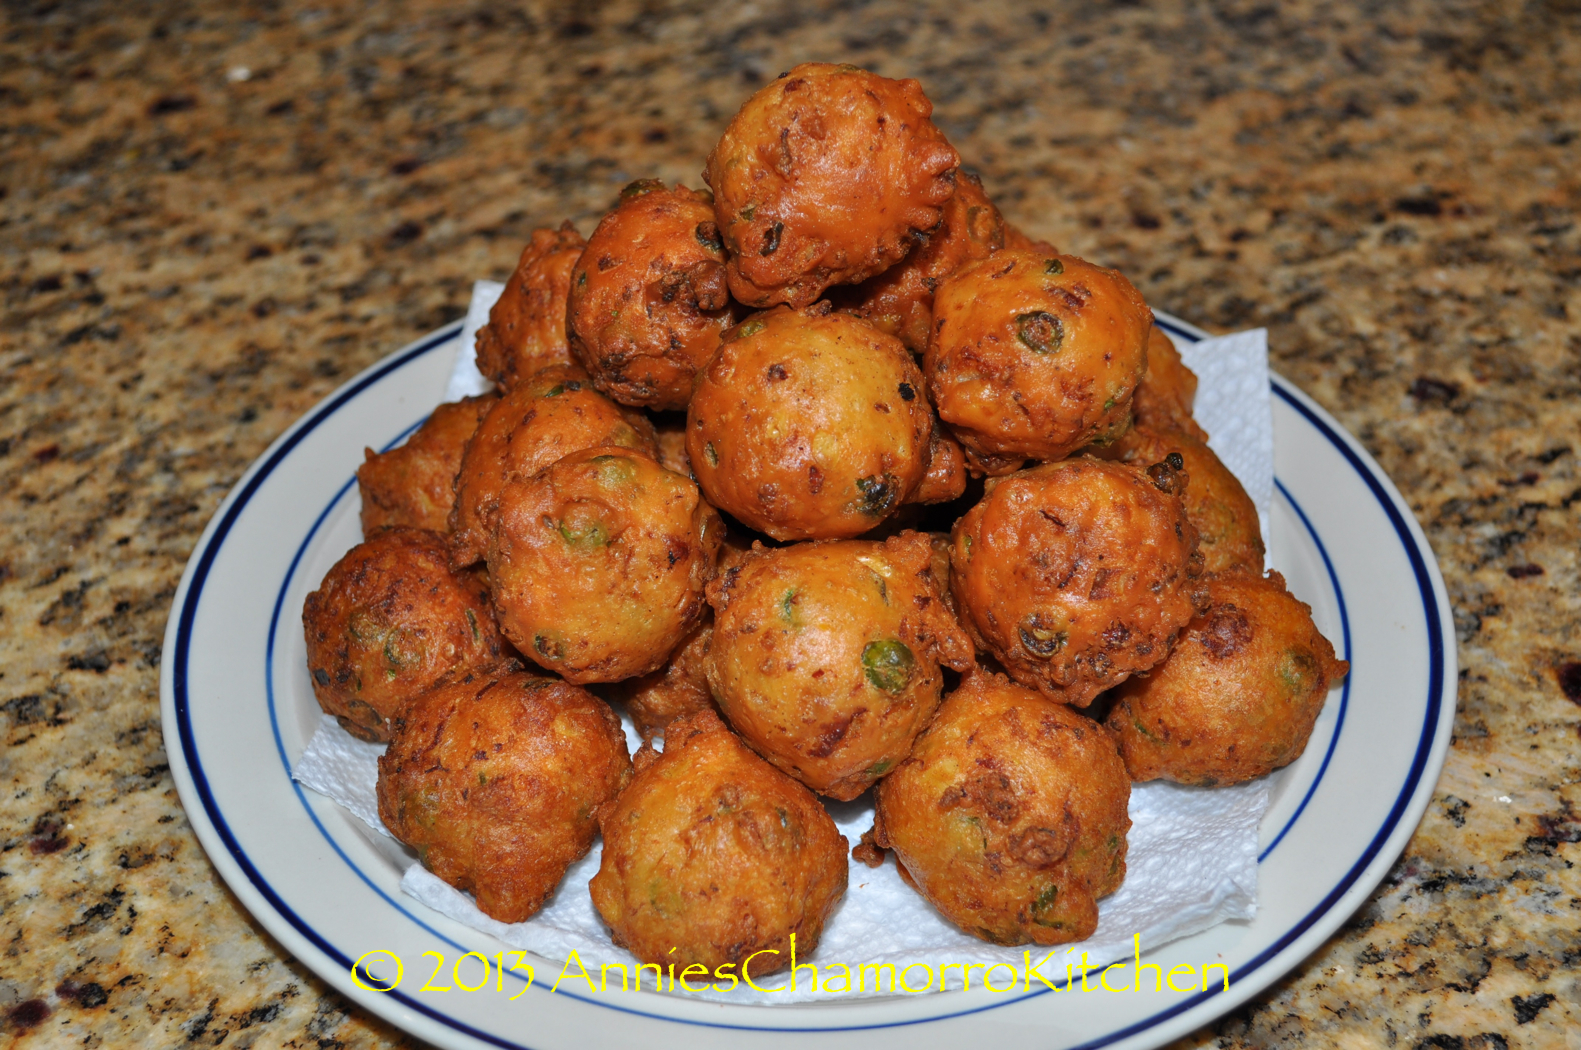
What’s different about my version? I don’t use any eggs. It started out as a mistake one time when I was making shrimp patties and forgot to put eggs in the batter. However, I liked how it turned out. The inside was nice and fluffy, and my shrimp patties were nice and round (my neighbor called them “shrimp balls”) and not flat.
Give my recipe a try. Let me know how you like them. My family loves them; I hope you do too!
SHRIMP PATTIES
INGREDIENTS:
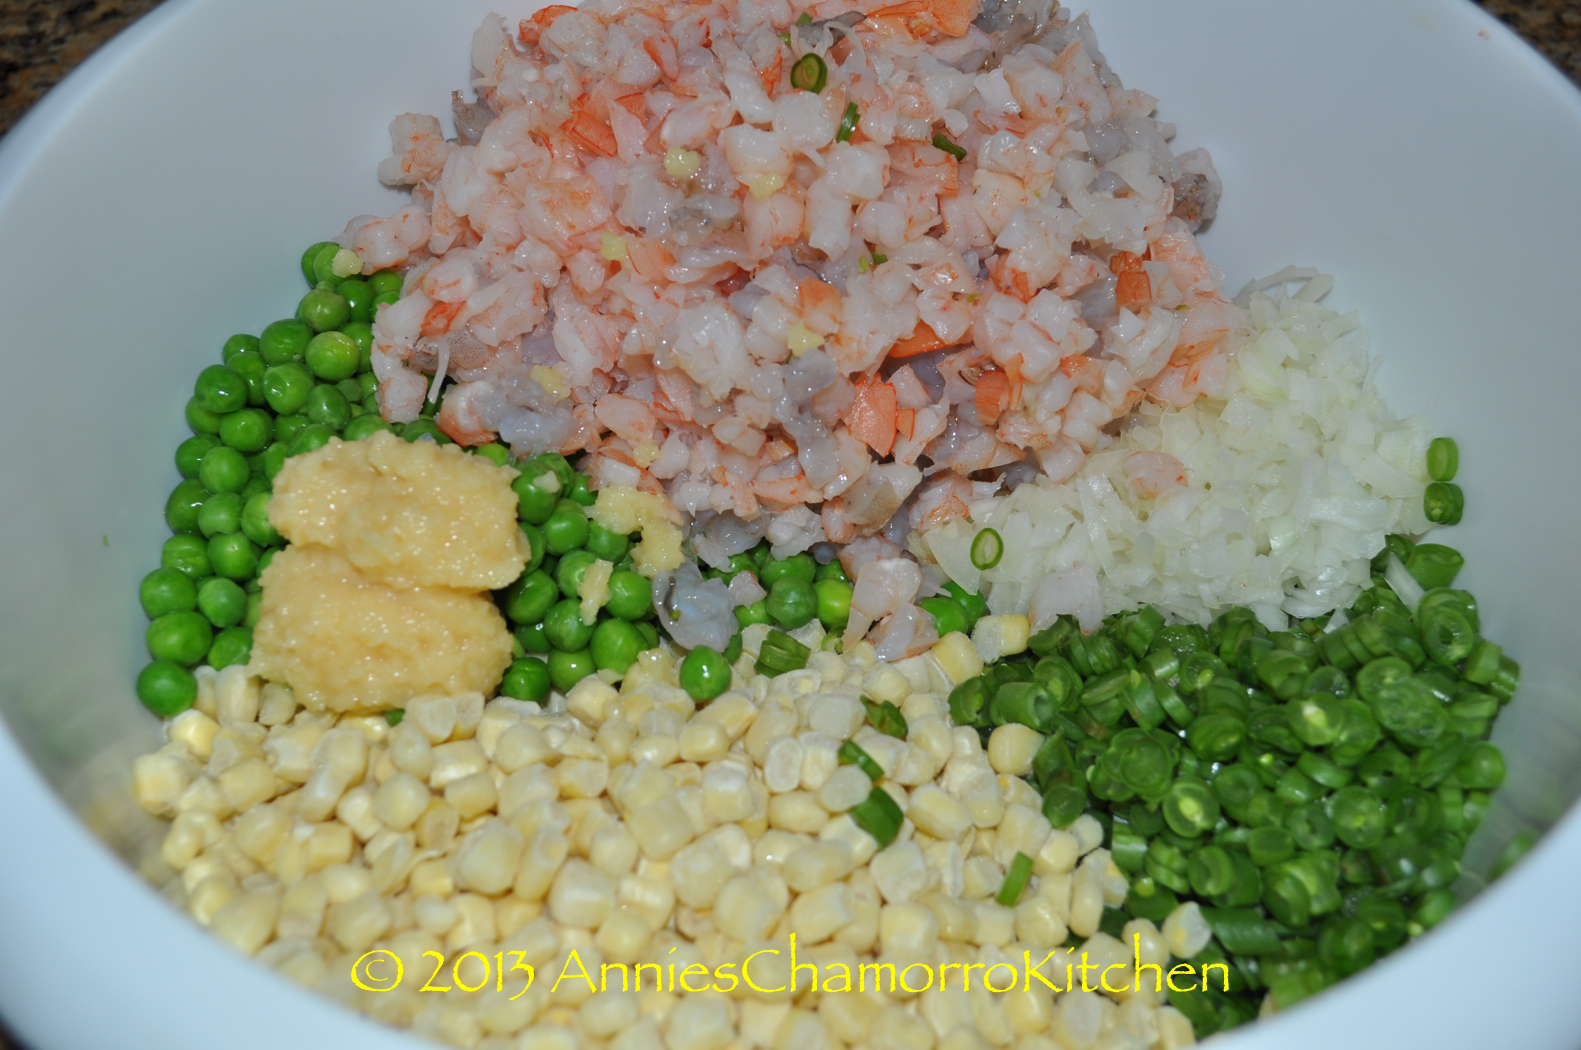
- 1 cup thinly sliced fresh green beans
- 2 cups peas
- 1 cup chopped onions (about 1/2 a medium onion)
- 3 cups corn kernels (I love lots of corn in my shrimp patties)
- 4 cups shrimp, chopped
- 2 tablespoons minced garlic
- 2 cans evaporated milk
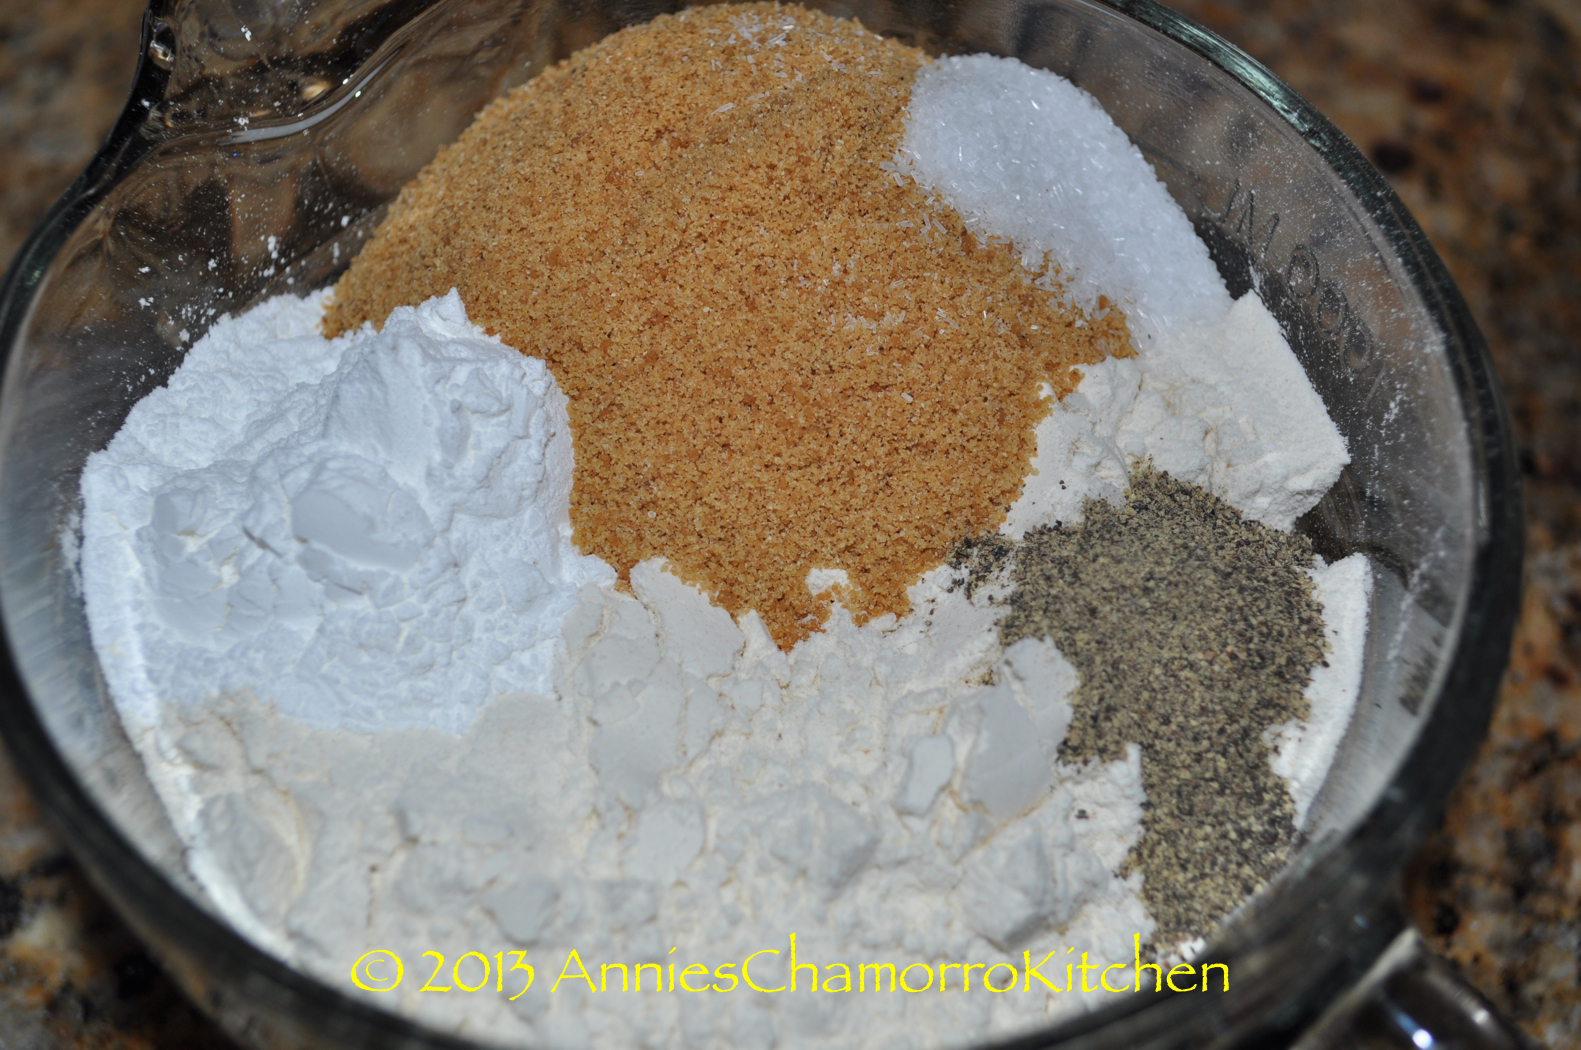
- 3 cups all purpose flour
- 2 tablespoons baking powder
- 5 tablespoons Dashida seasoning (the seafood flavored kind)
- 1 teaspoon Accent
- 1 teaspoon black pepper
- Oil, for frying
DIRECTIONS:
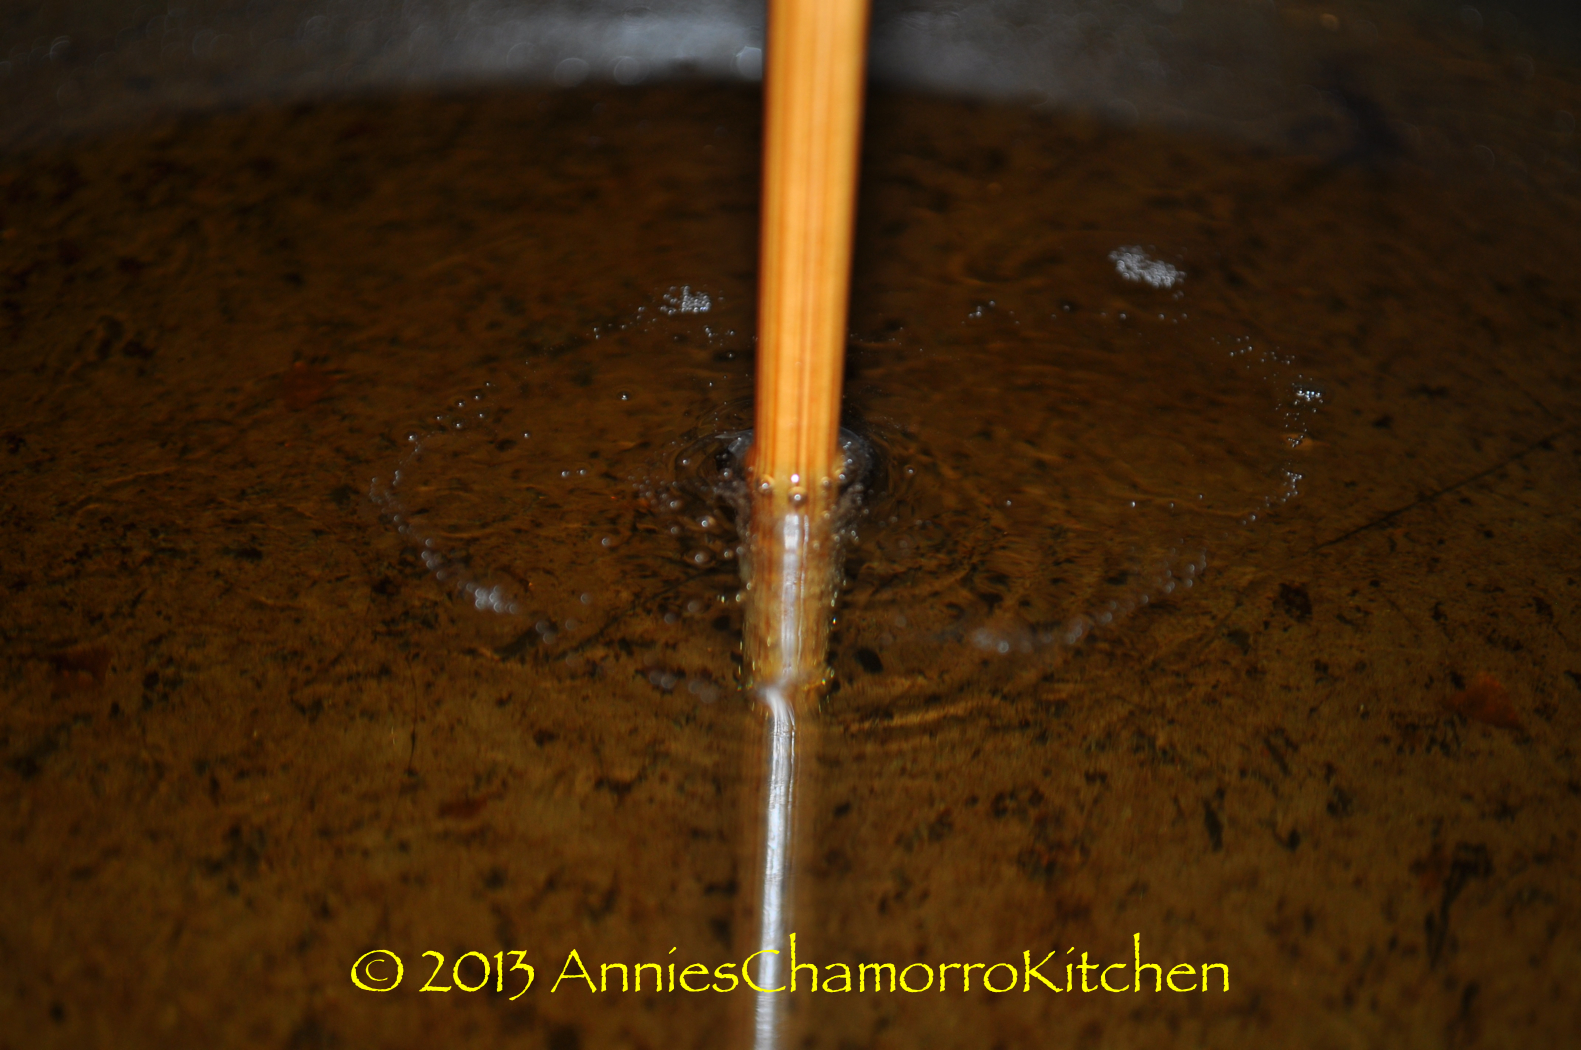
1. Heat the oil in a large frying pan. Do you know how to tell if the oil is hot enough and ready? My mom taught me a great trick. Use the tip of a wooden spoon (I used a wooden chopstick) and dip it into the oil. If little bubbles start to form around the wood, then the oil is hot and ready. Make sure the wood is clean and dry first; you don’t want hot oil to splatter and burn you.
Here is a short video clip. You can see all of the little bubbles form around the tip of the wooden chopstick. This tells you that the oil is hot and ready for frying.
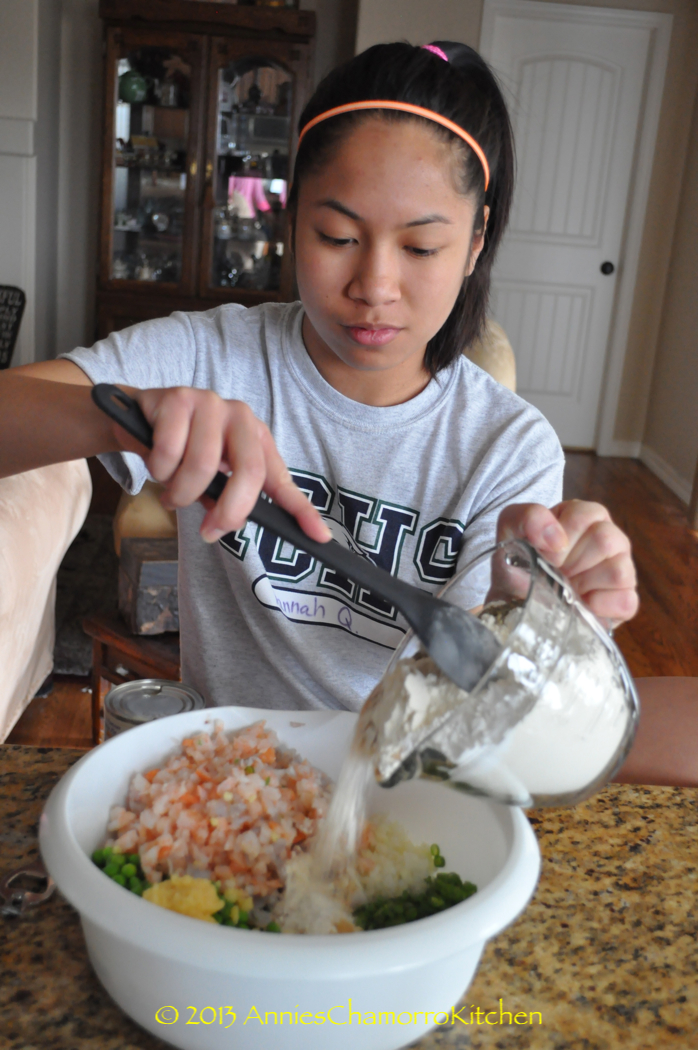
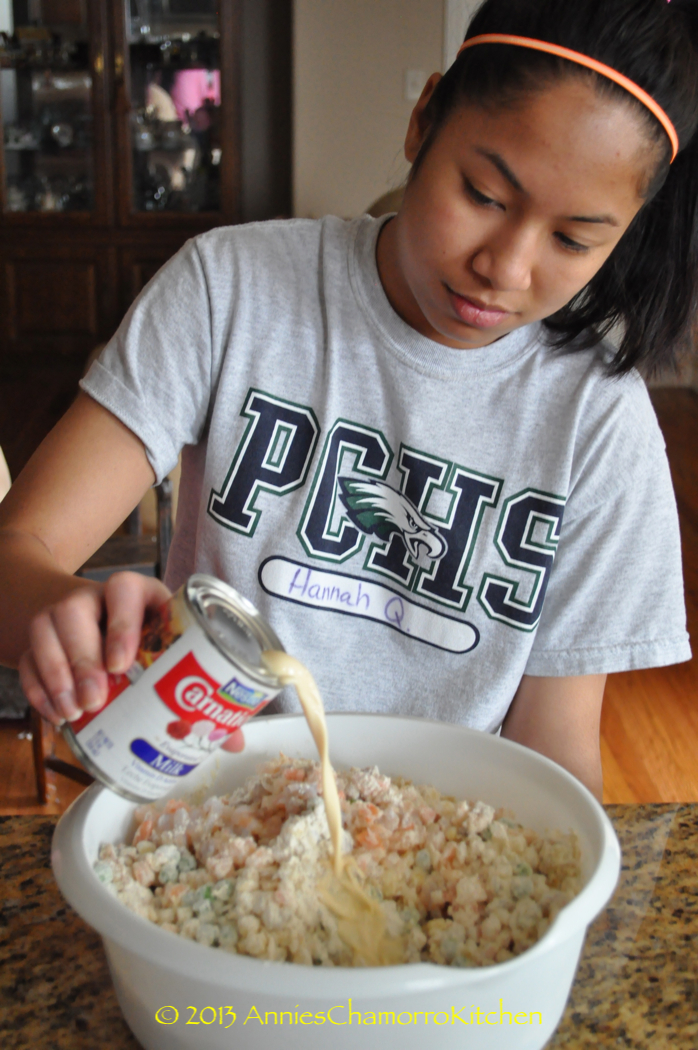
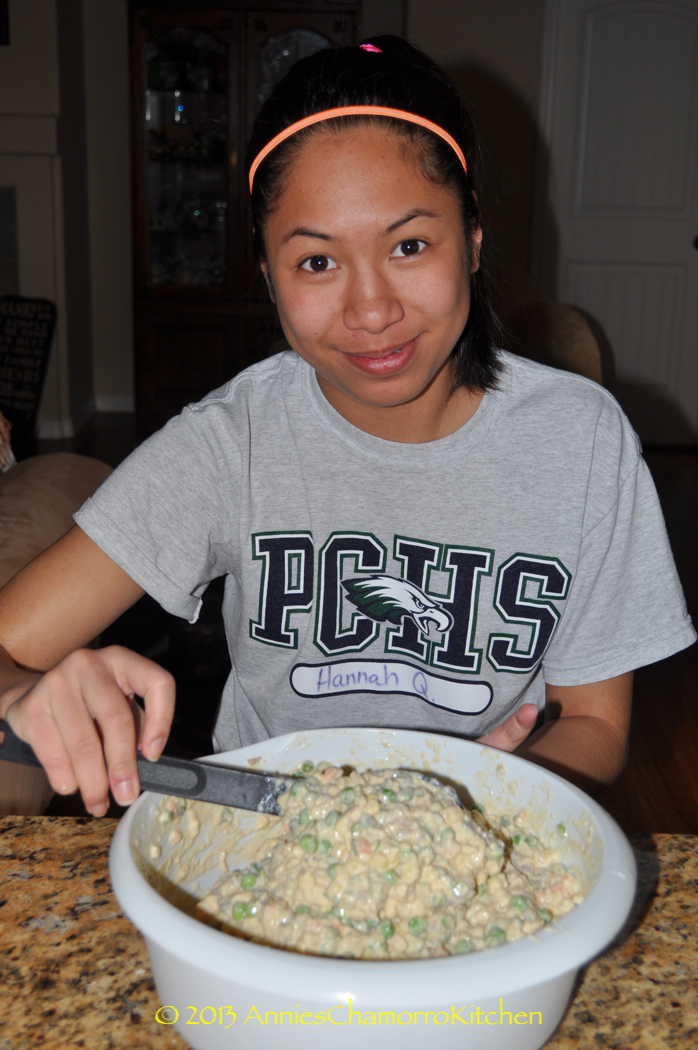
2. While you’re waiting for the oil to heat up, mix all of the ingredients (except for the oil, of course) in a large bowl.
3. Drop spoonfuls of batter into the hot oil and fry until golden brown. Note: I used a small ice cream scoop that holds 1 1/2 tablespoons. This is also what makes the shrimp patties nice and round like doughnuts. (Maybe that’s why my neighbor calls them shrimp balls, LOL.)
I added a lot of photos below to show you the process.
Enjoy, and I hope you like them!
~ Hannah
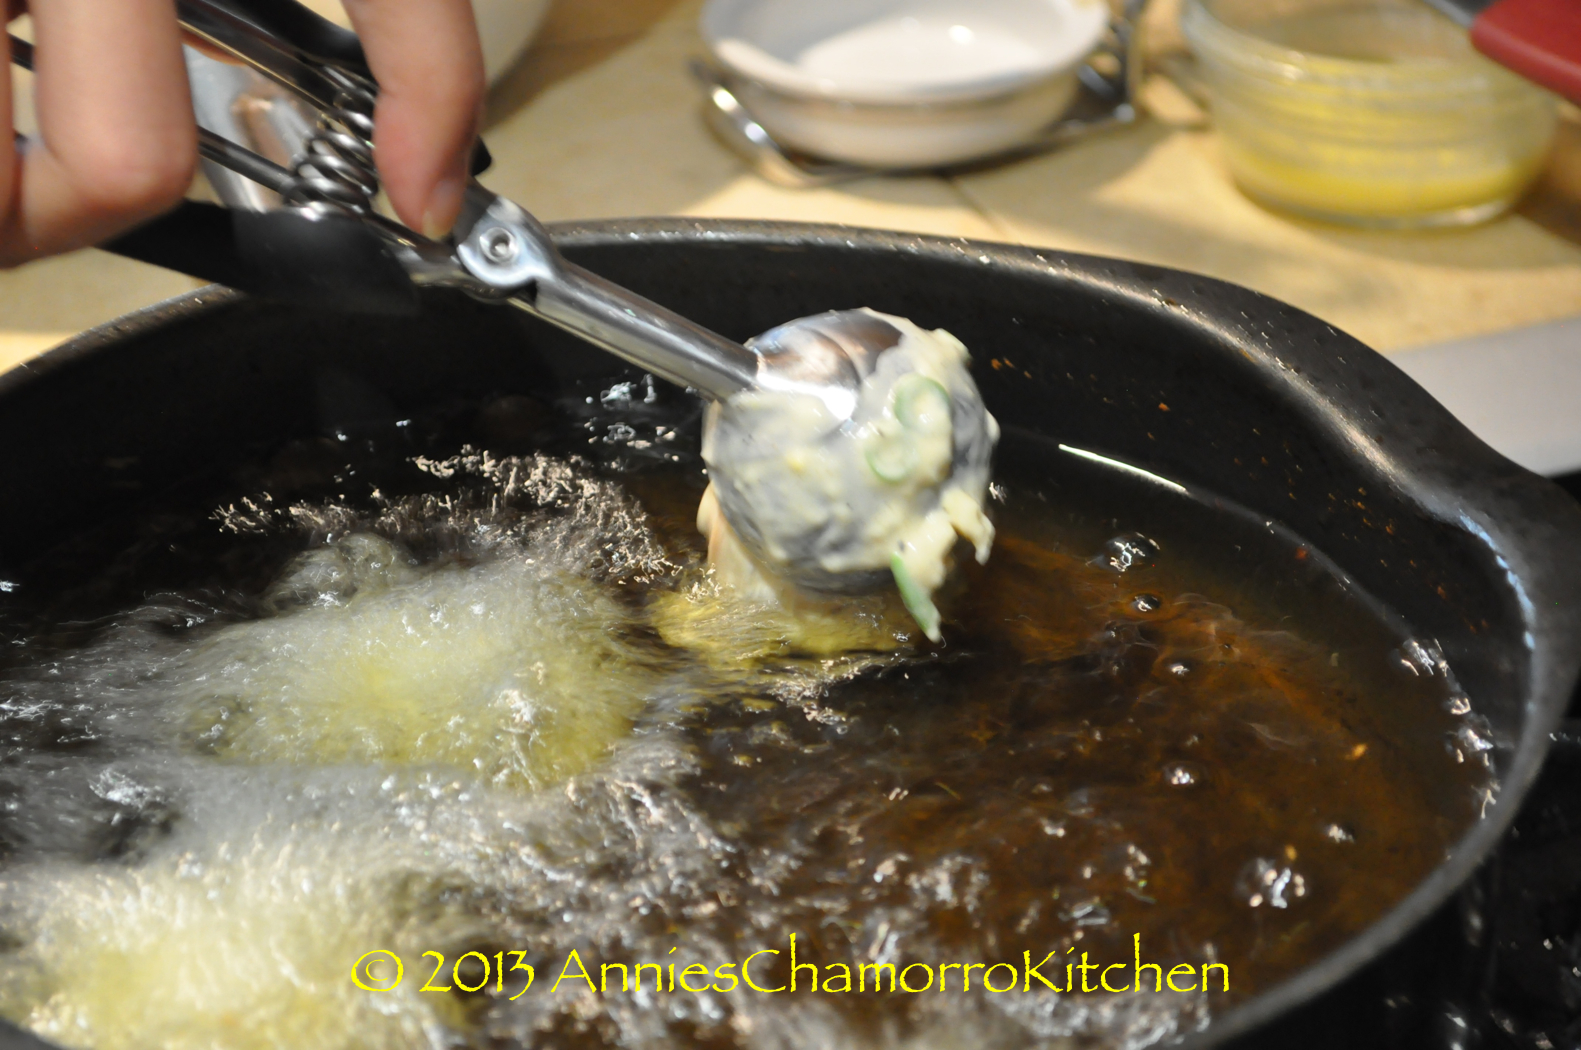
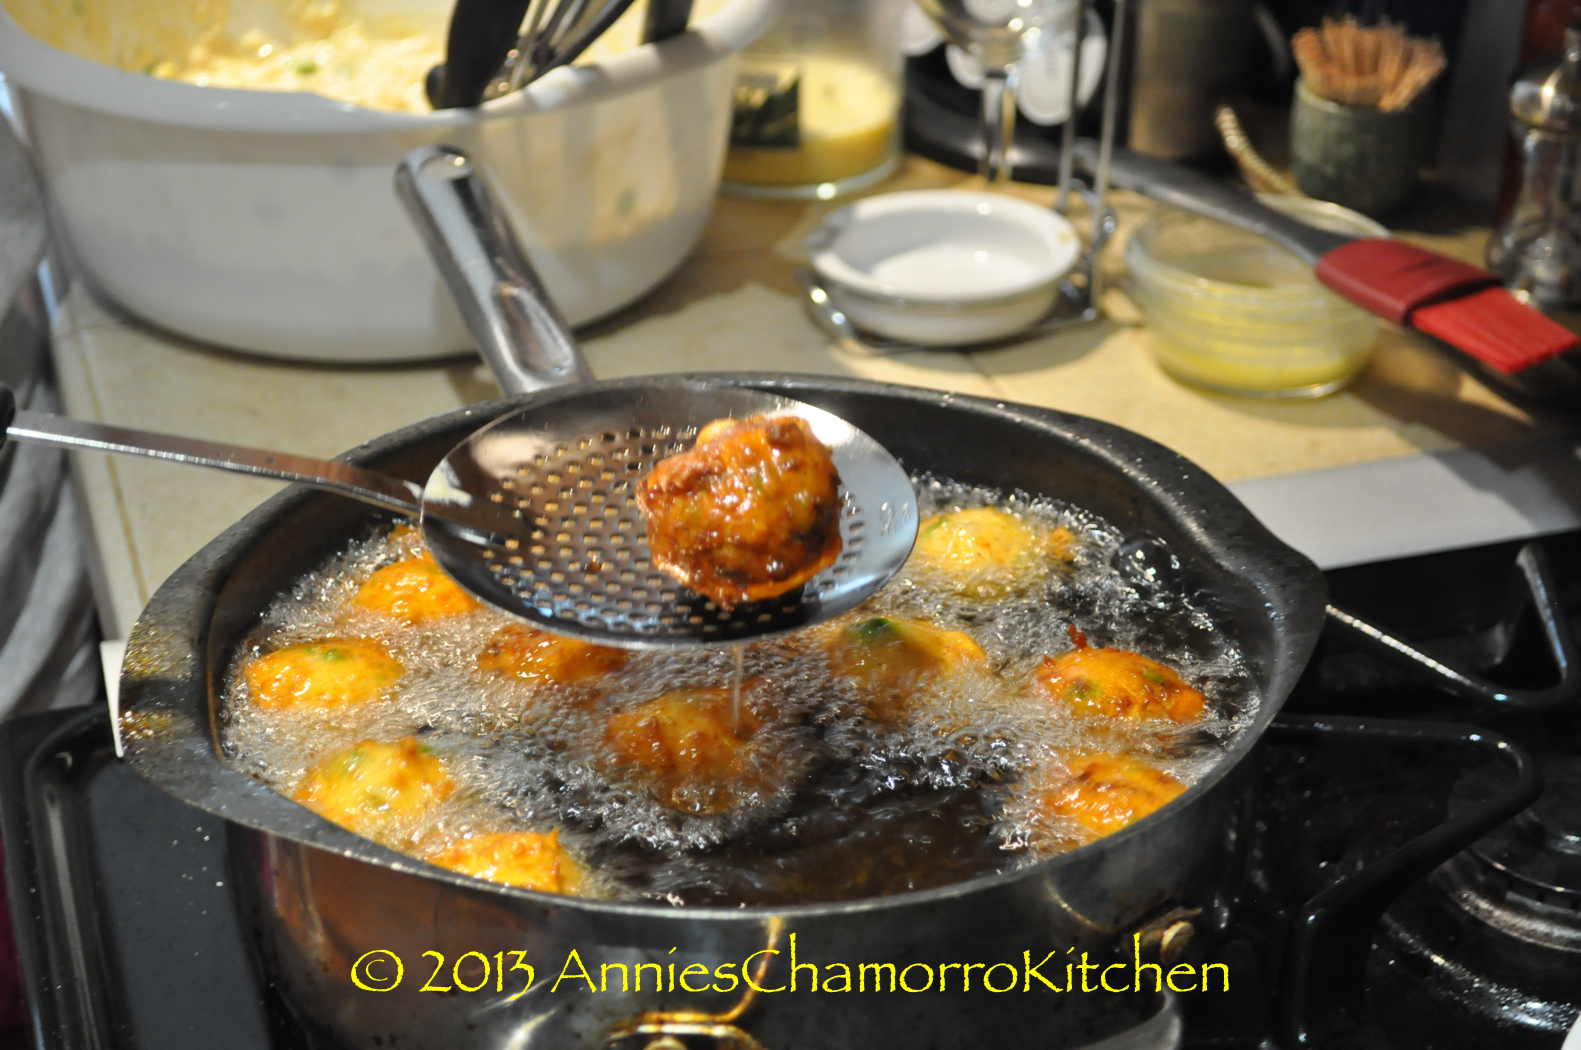
When the oil is ready, use a small cookie scoop to drop the batter into the oil. This makes the shrimp patties nice and round.
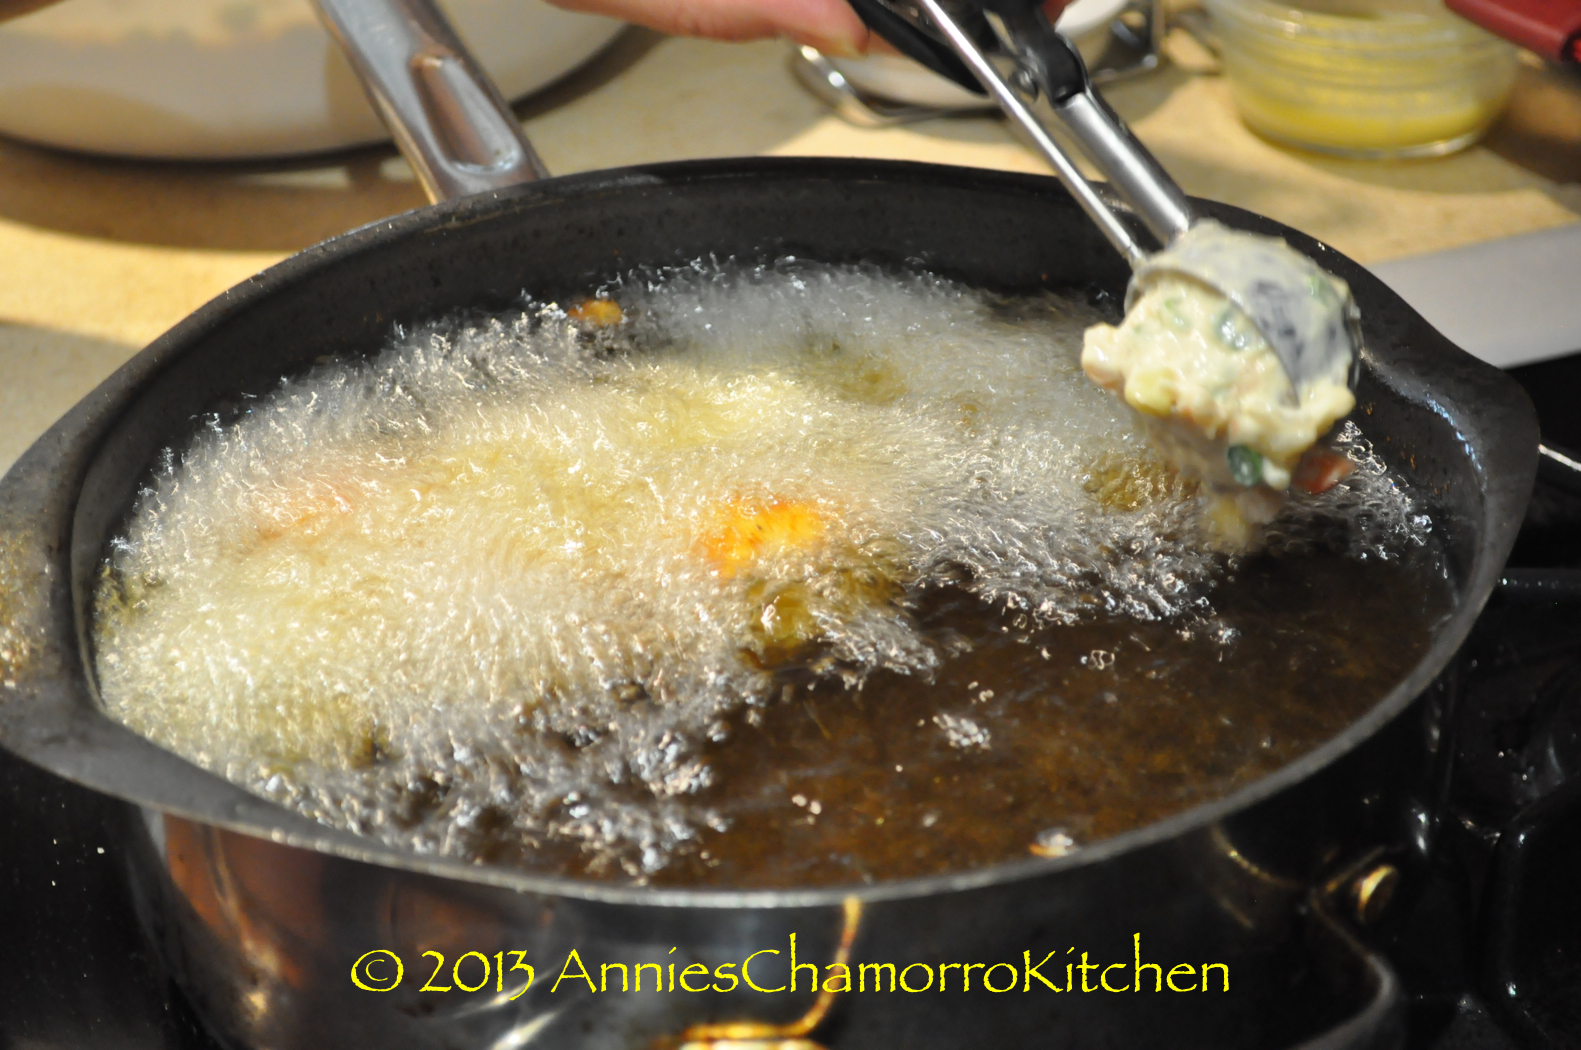
Don’t put too much into the oil. You want to leave enough room to allow the shrimp patties to cook evenly, plus overcrowding might make them stick together when you drop the batter into the oil.
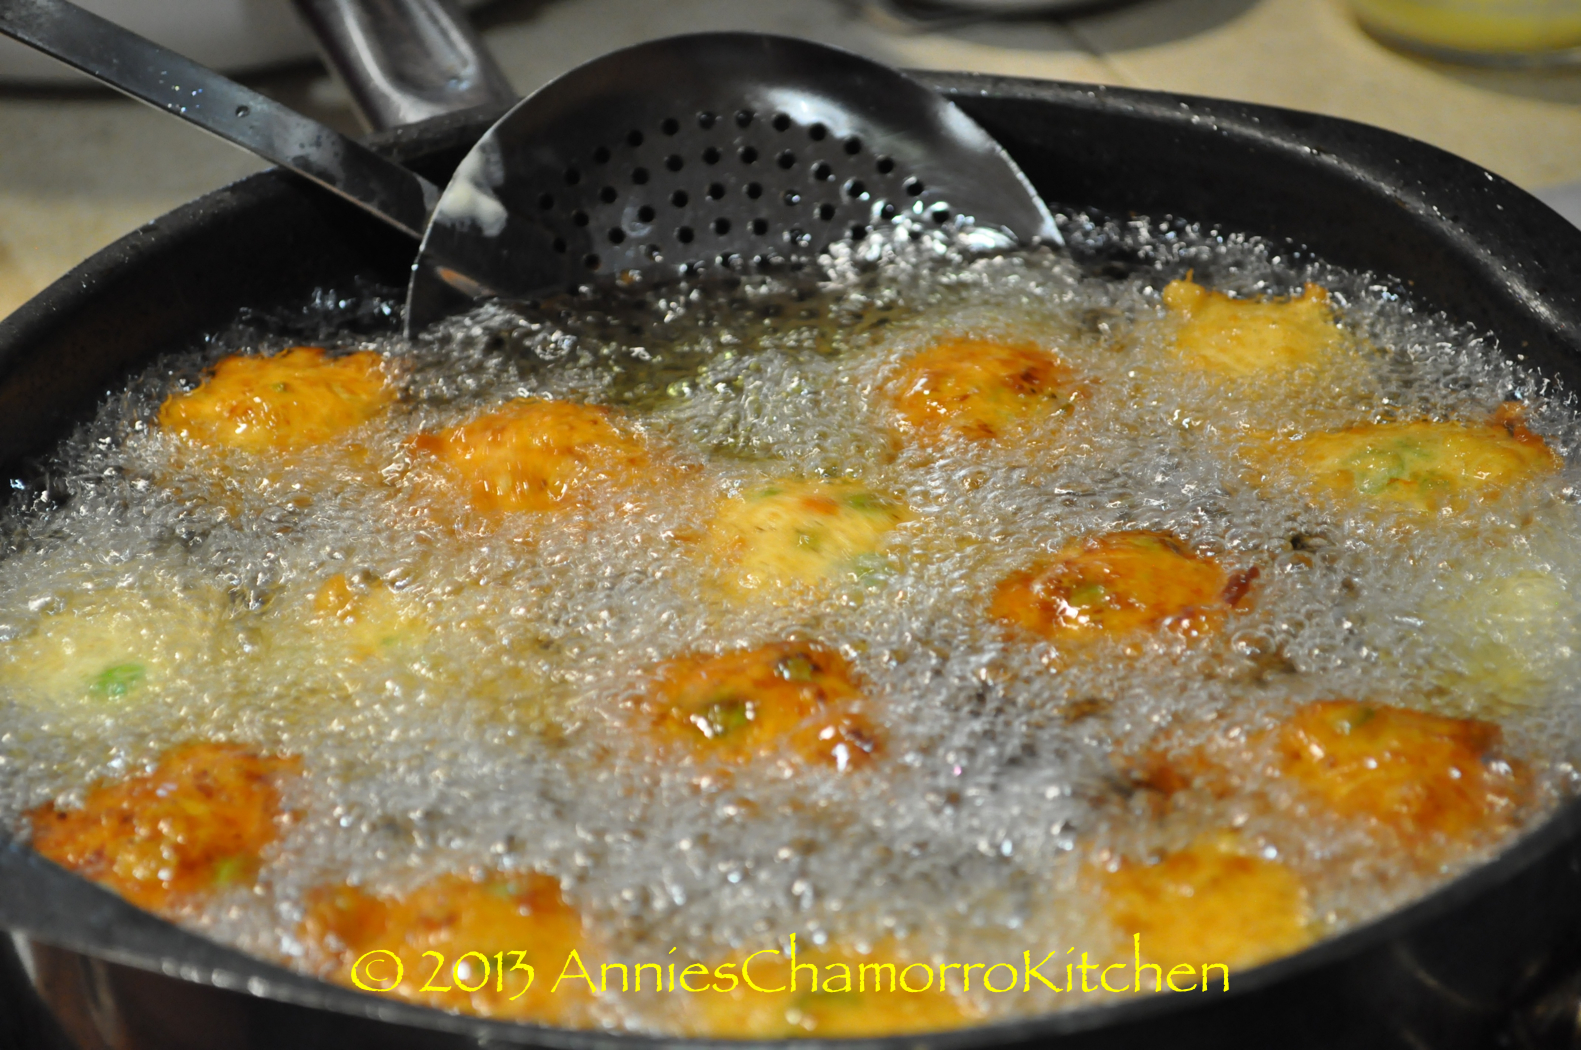
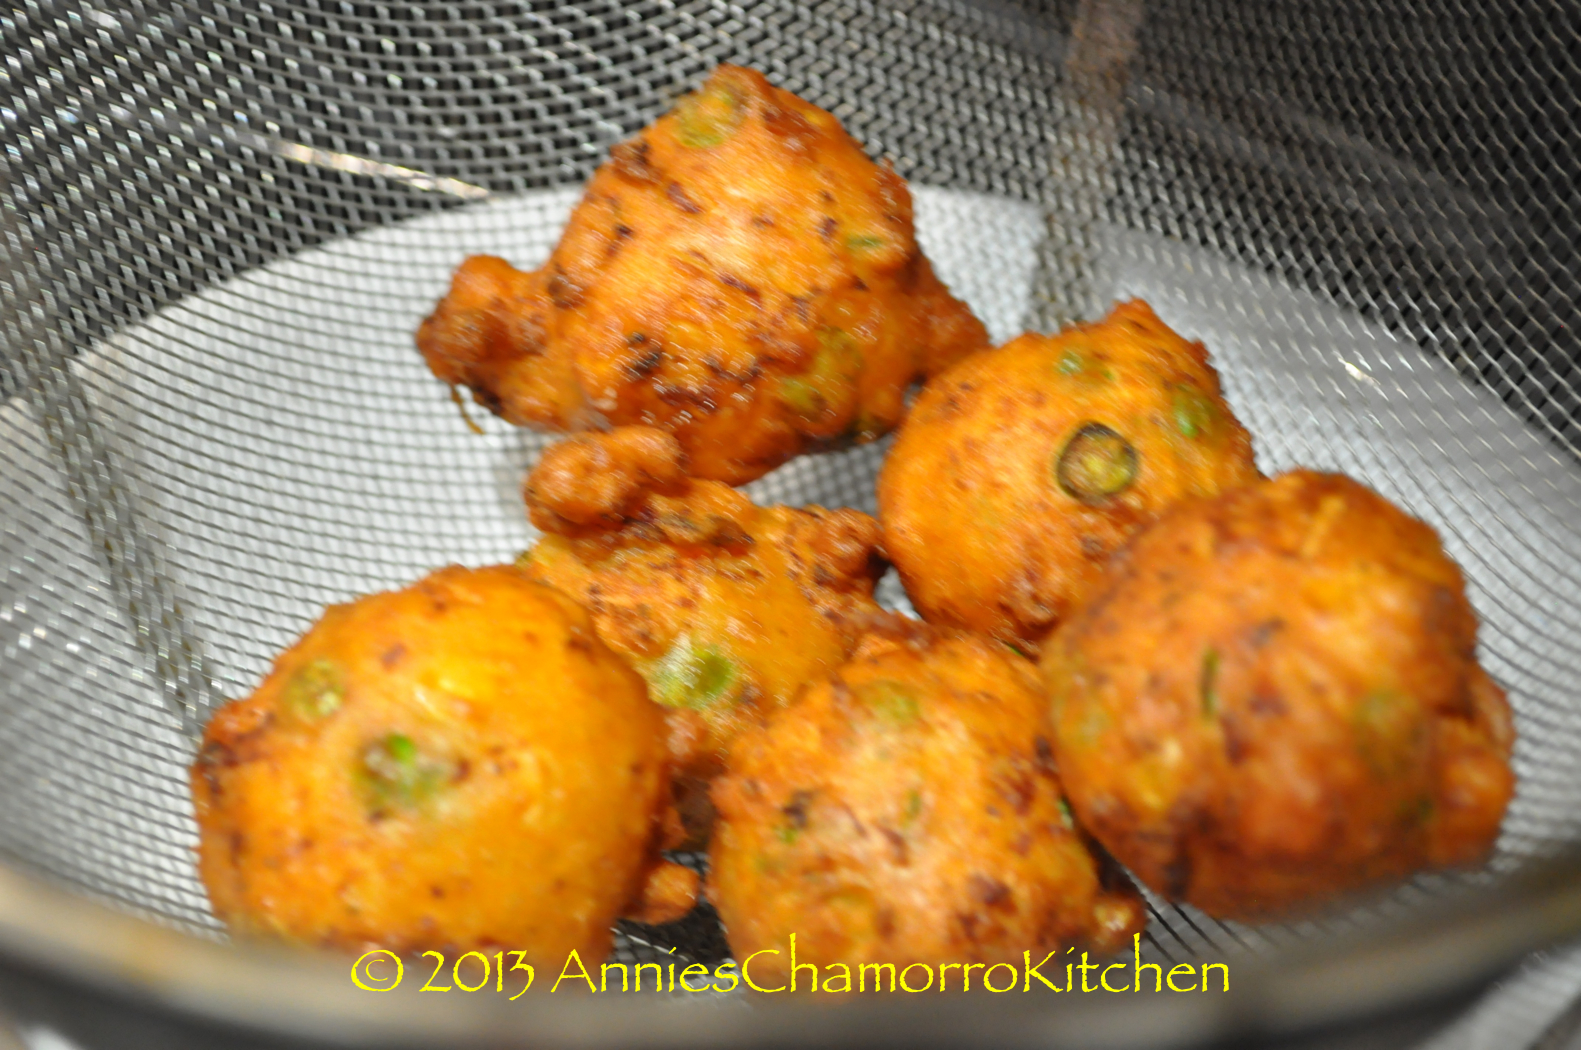
The shrimp patties usually turn on their own, but if they don’t, turn them occasionally to ensure even browning.
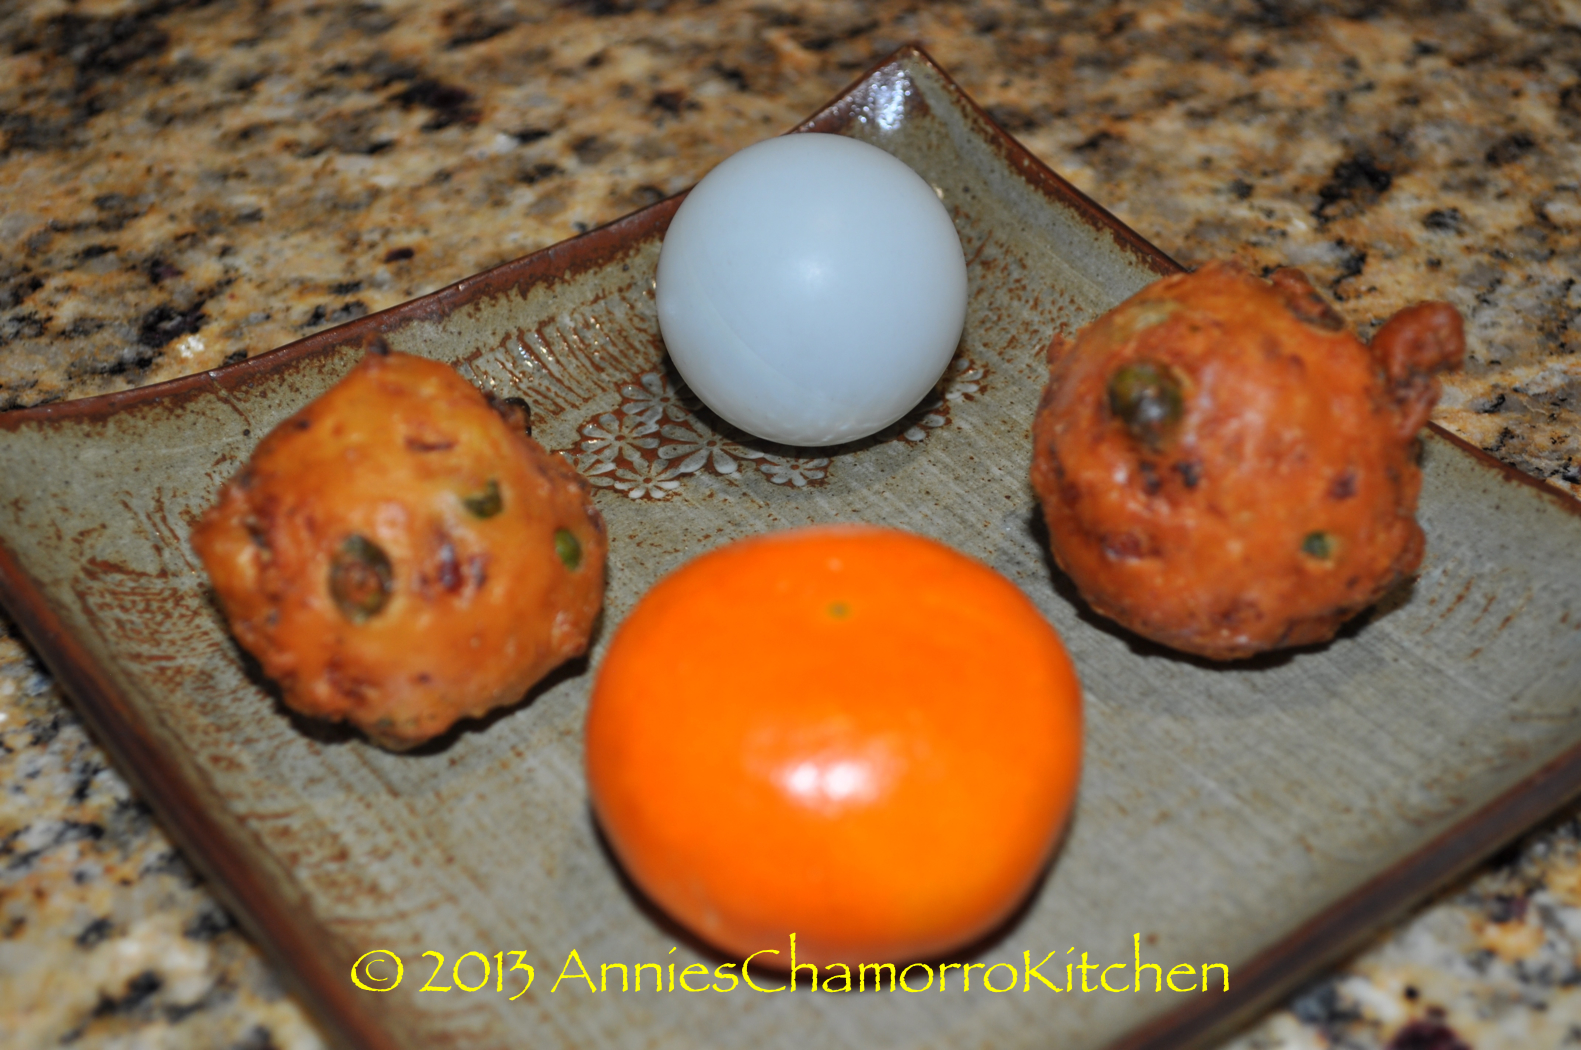
The small cookie scoop I use makes shrimp patties that are a little bit bigger than the size of a ping pong ball. I think it’s the perfect size — not too big, not too small.


65 comments