Hafa adam means "hello" in Chamorro, the native language of my island home, Guam U.S.A.
Guam is the proverbial melting pot, abounding with cultural diversity that is aptly displayed in the variety of food we eat and share.
The focal point of most Chamorro families centers around family gatherings and cooking. In my home, most of my guests congregate in my kitchen. It is where we do our best catching up, and whee lasting emories aremade.
Browse through my selection of Chamorro and other recipes m and please leave me a comment if you try my recipes to let me know what you think of them.
I hope you enjoyed your time in my kitchen. Come back soon!
This site is work-in-progress, so please bear with me as I grow this site to a place where you'll love to visit.
Happy Cooking!
~ Annie
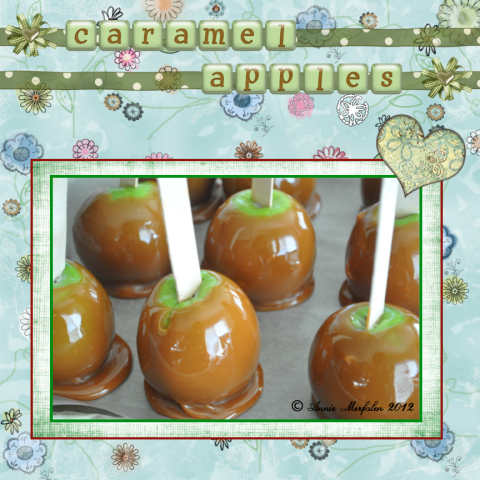
1 bag (14 ounces) individually wrapped caramel candies, unwrapped
2 tablespoons milk (or heavy cream or coconut milk)
6 popsicle sticks
Parchment paper
Instructions
Rinse the apples; dry them completely (or else the caramel sauce won't stick to them). Insert a popsicle stick into each apple.
Line a baking pan with parchment paper.
Place the unwrapped caramels and milk into a small sauce pan over medium heat. Stir the mixture constantly until the caramels melt. Let the caramel sauce cool for about 2 minutes before dipping the apples.
Holding the popsicle stick, dip the apple into the caramel sauce, covering it almost completely. Let the excess caramel sauce drip into the pan then place onto the parchment paper to set. If adding additional toppings, do so immediately after dipping the apples into the caramel sauce then place onto the parchment paper.
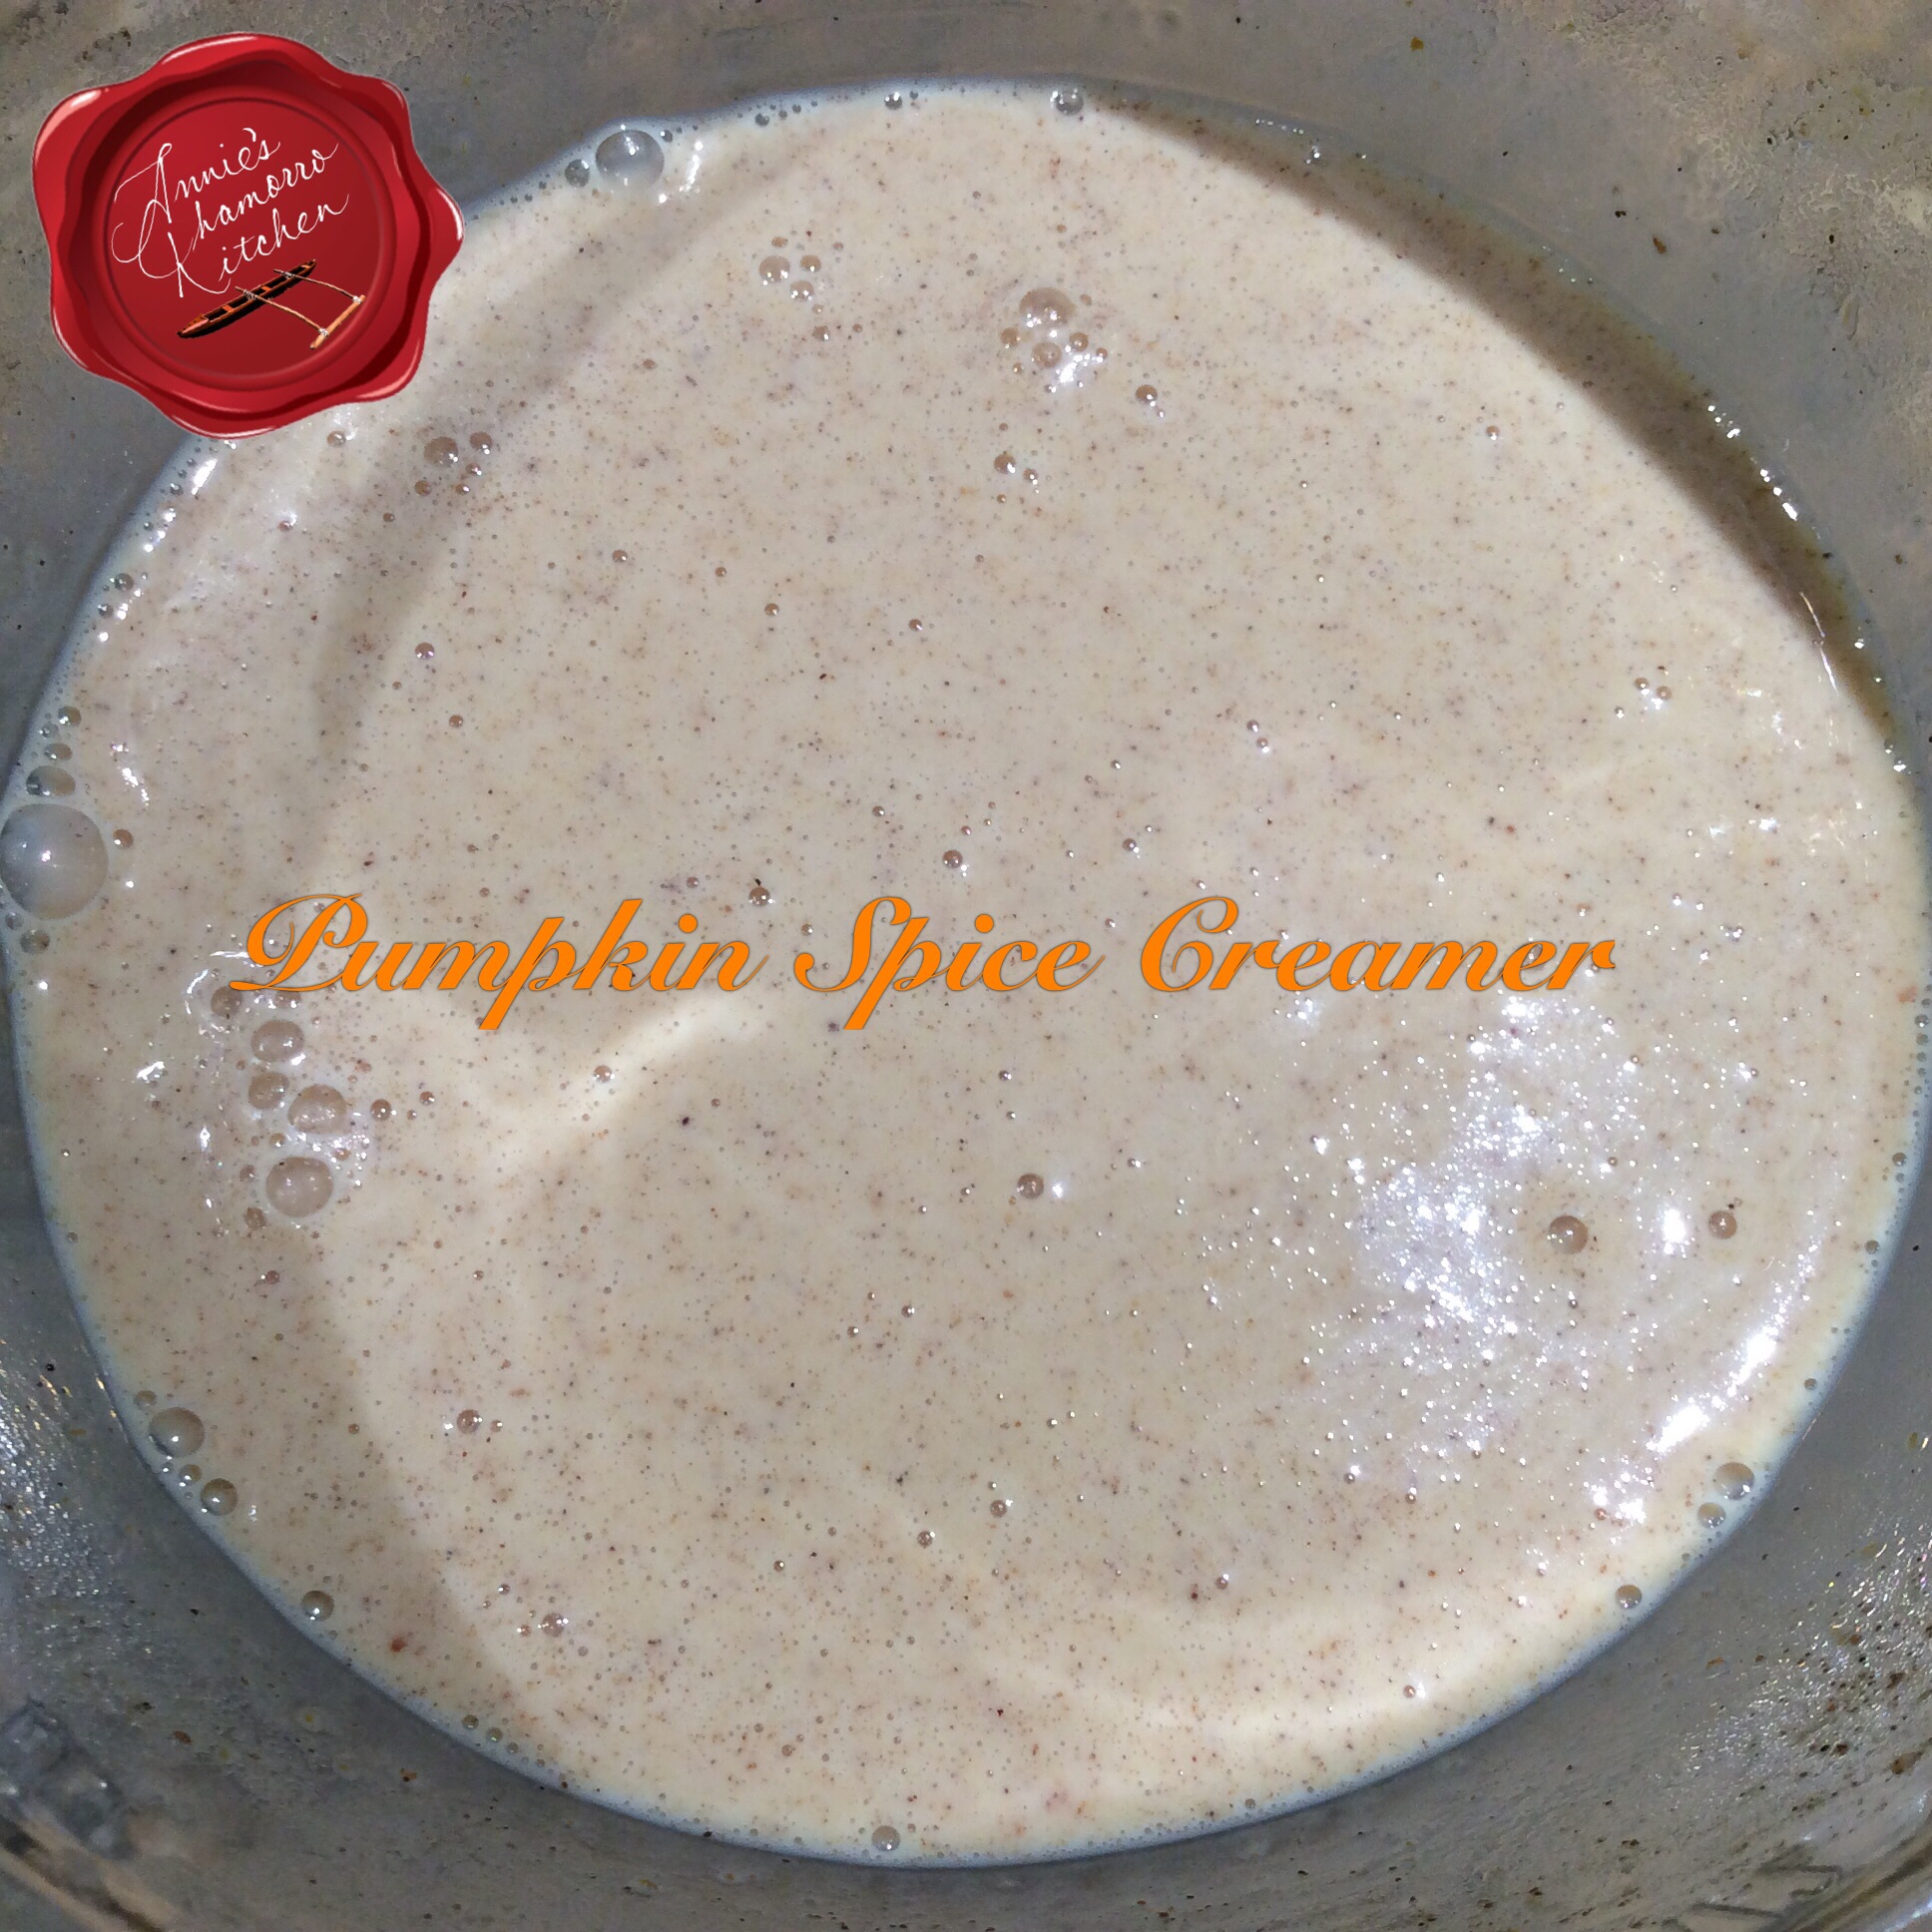
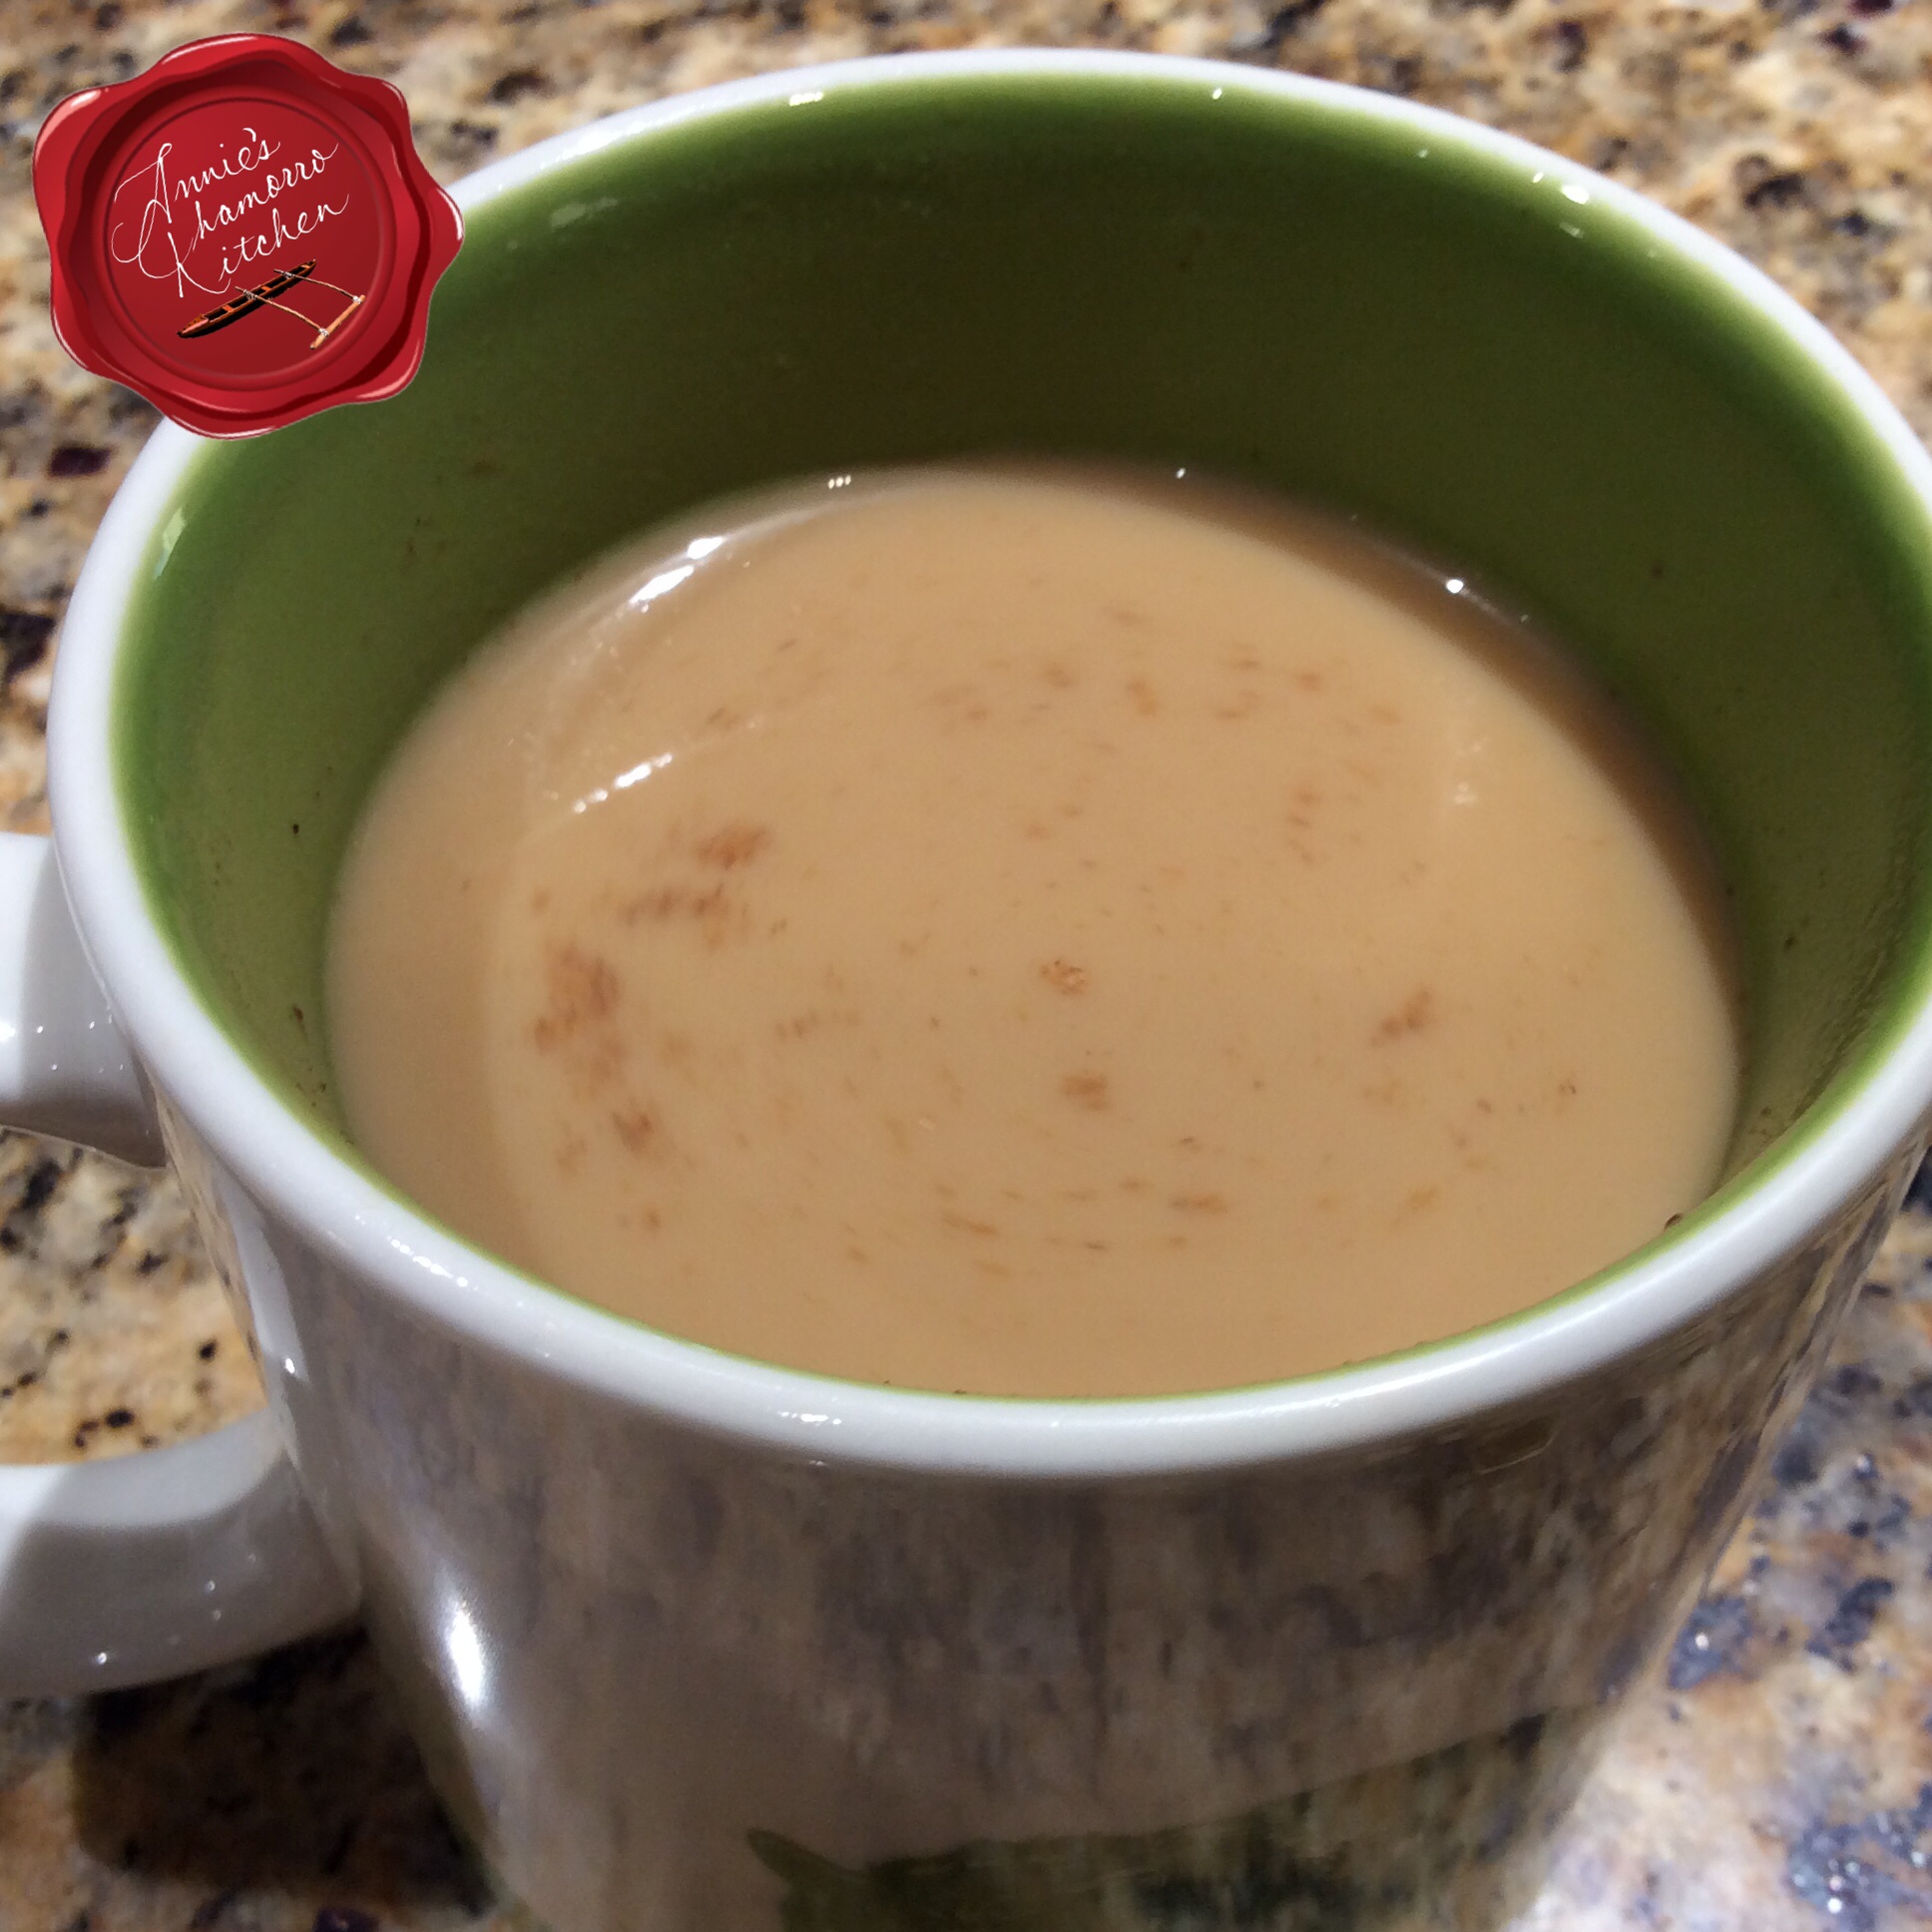
Why buy gourmet flavored coffee creamer when you can make it right in your own kitchen for half the cost?
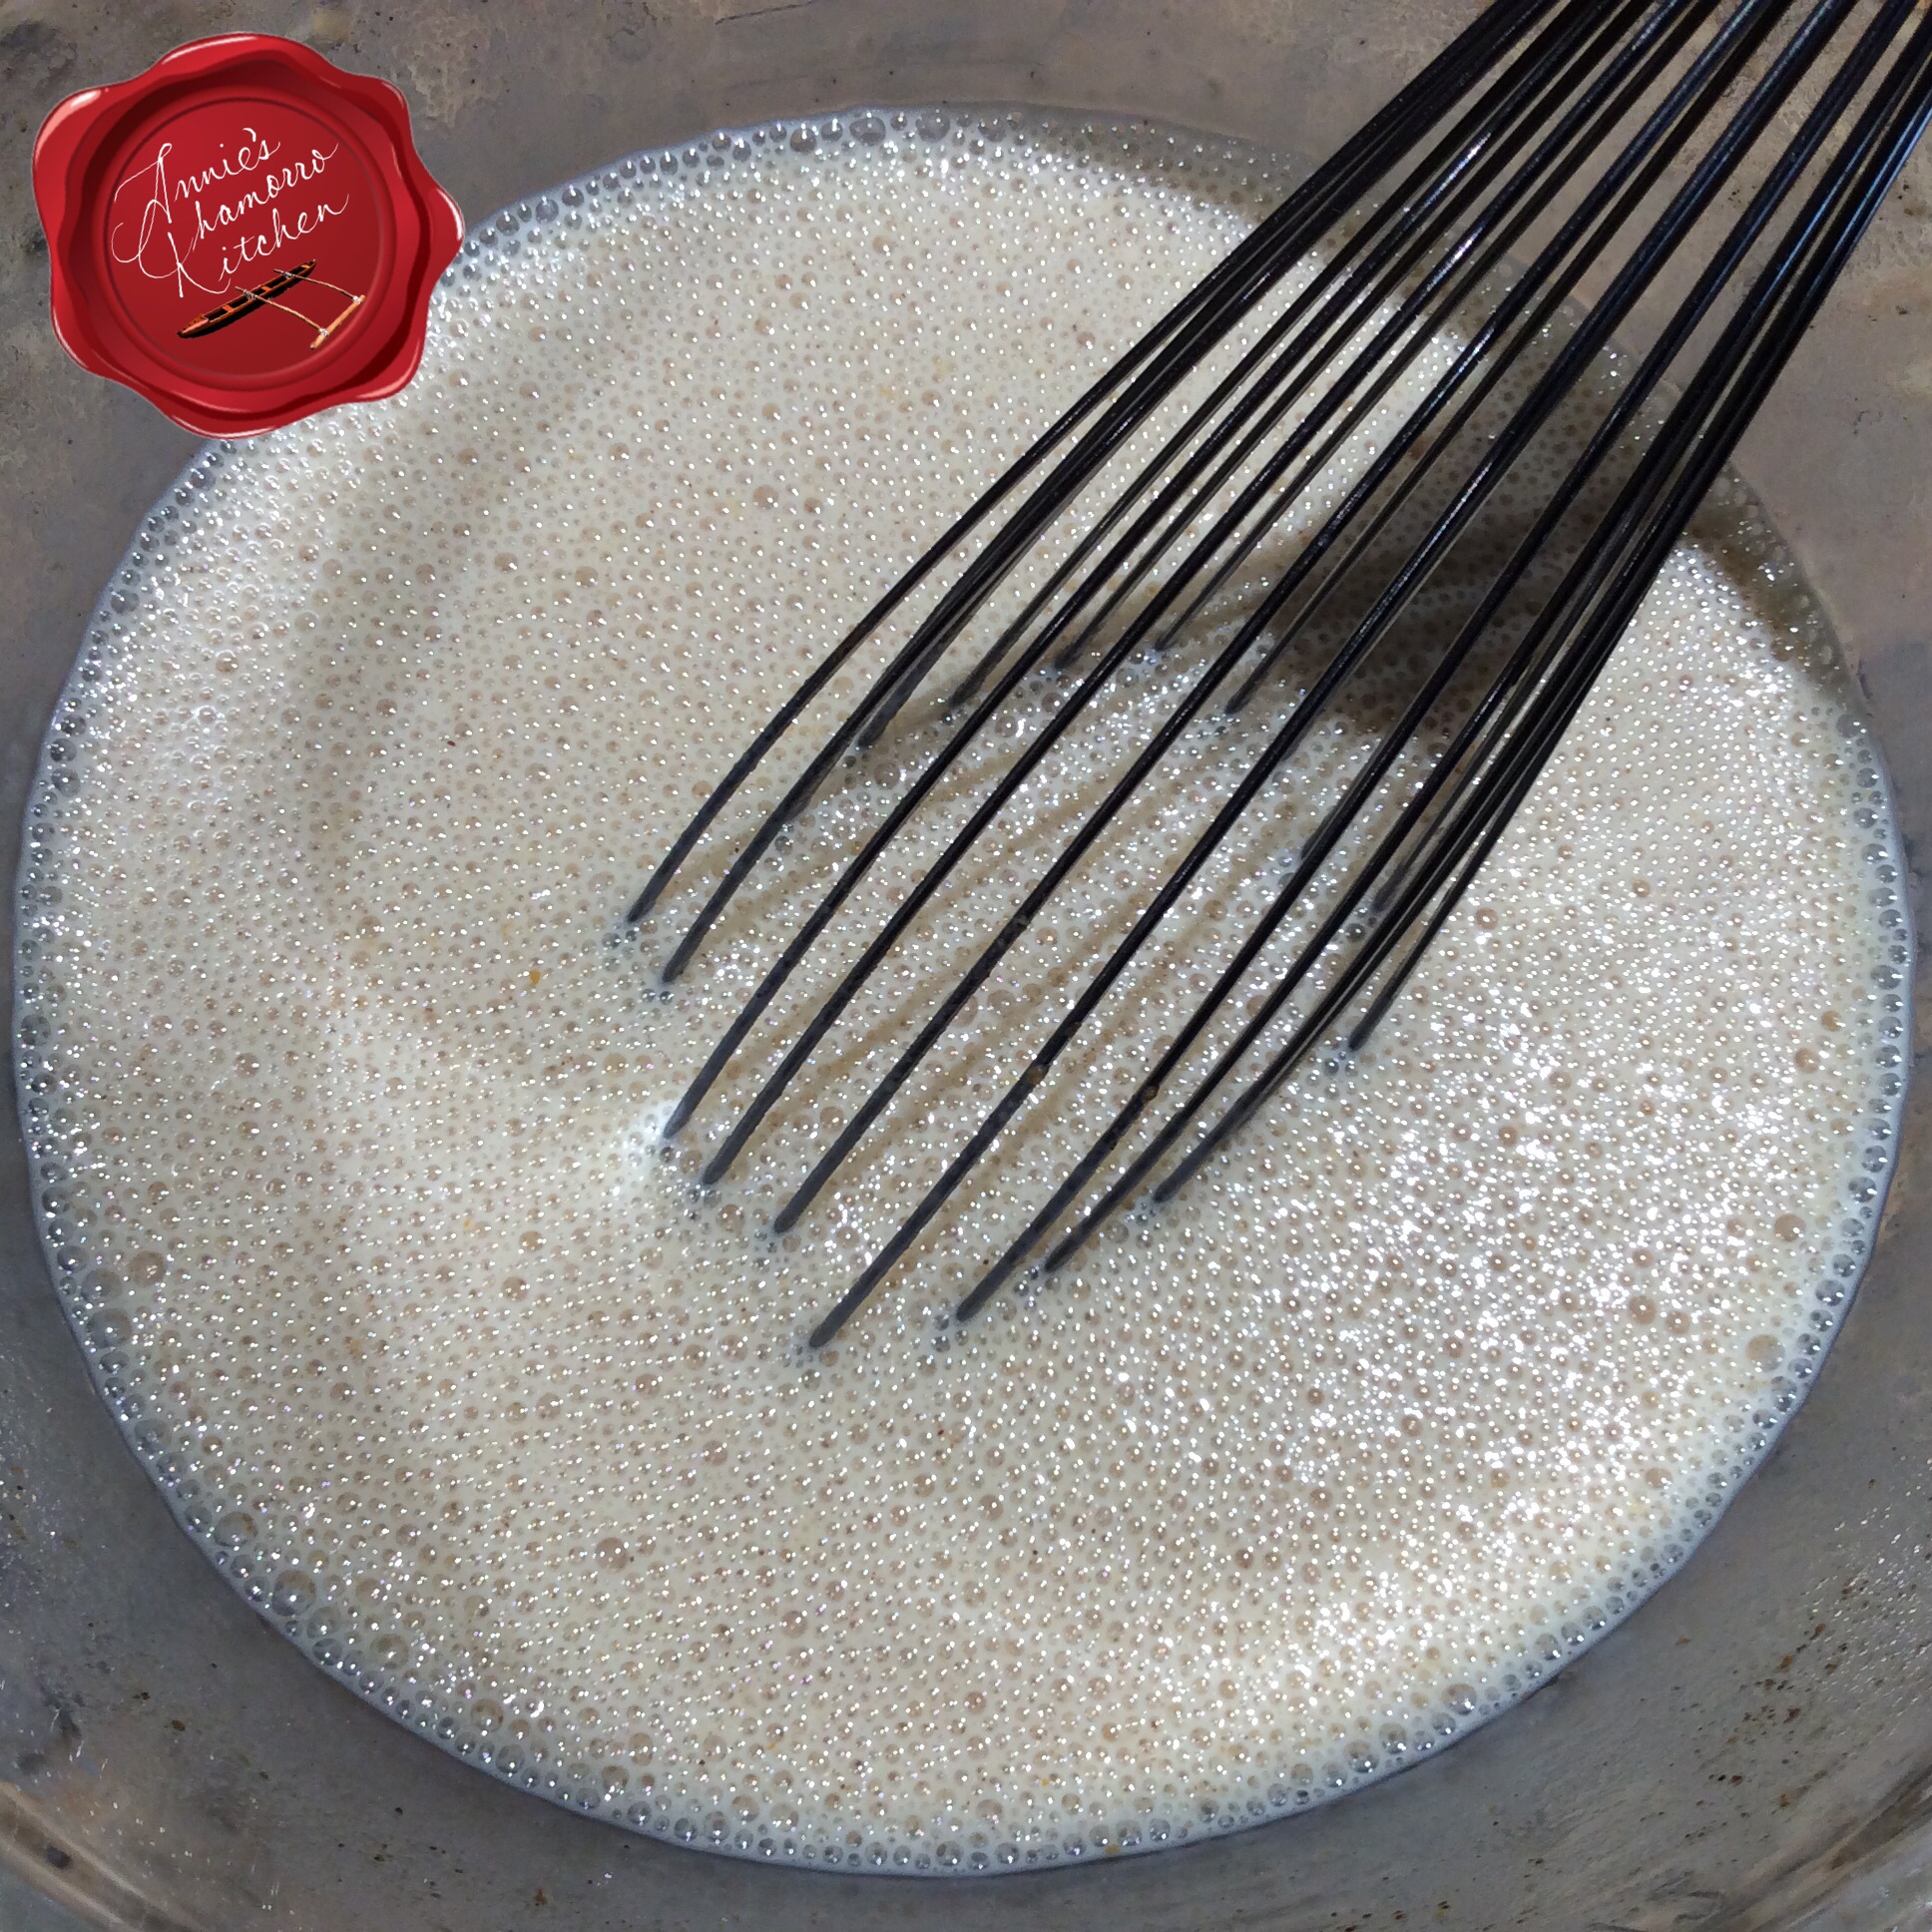
It takes minutes to whisk up a batch of my rich and creamy pumpkin spice creamer. Chances are you already have most of these ingredients on hand.
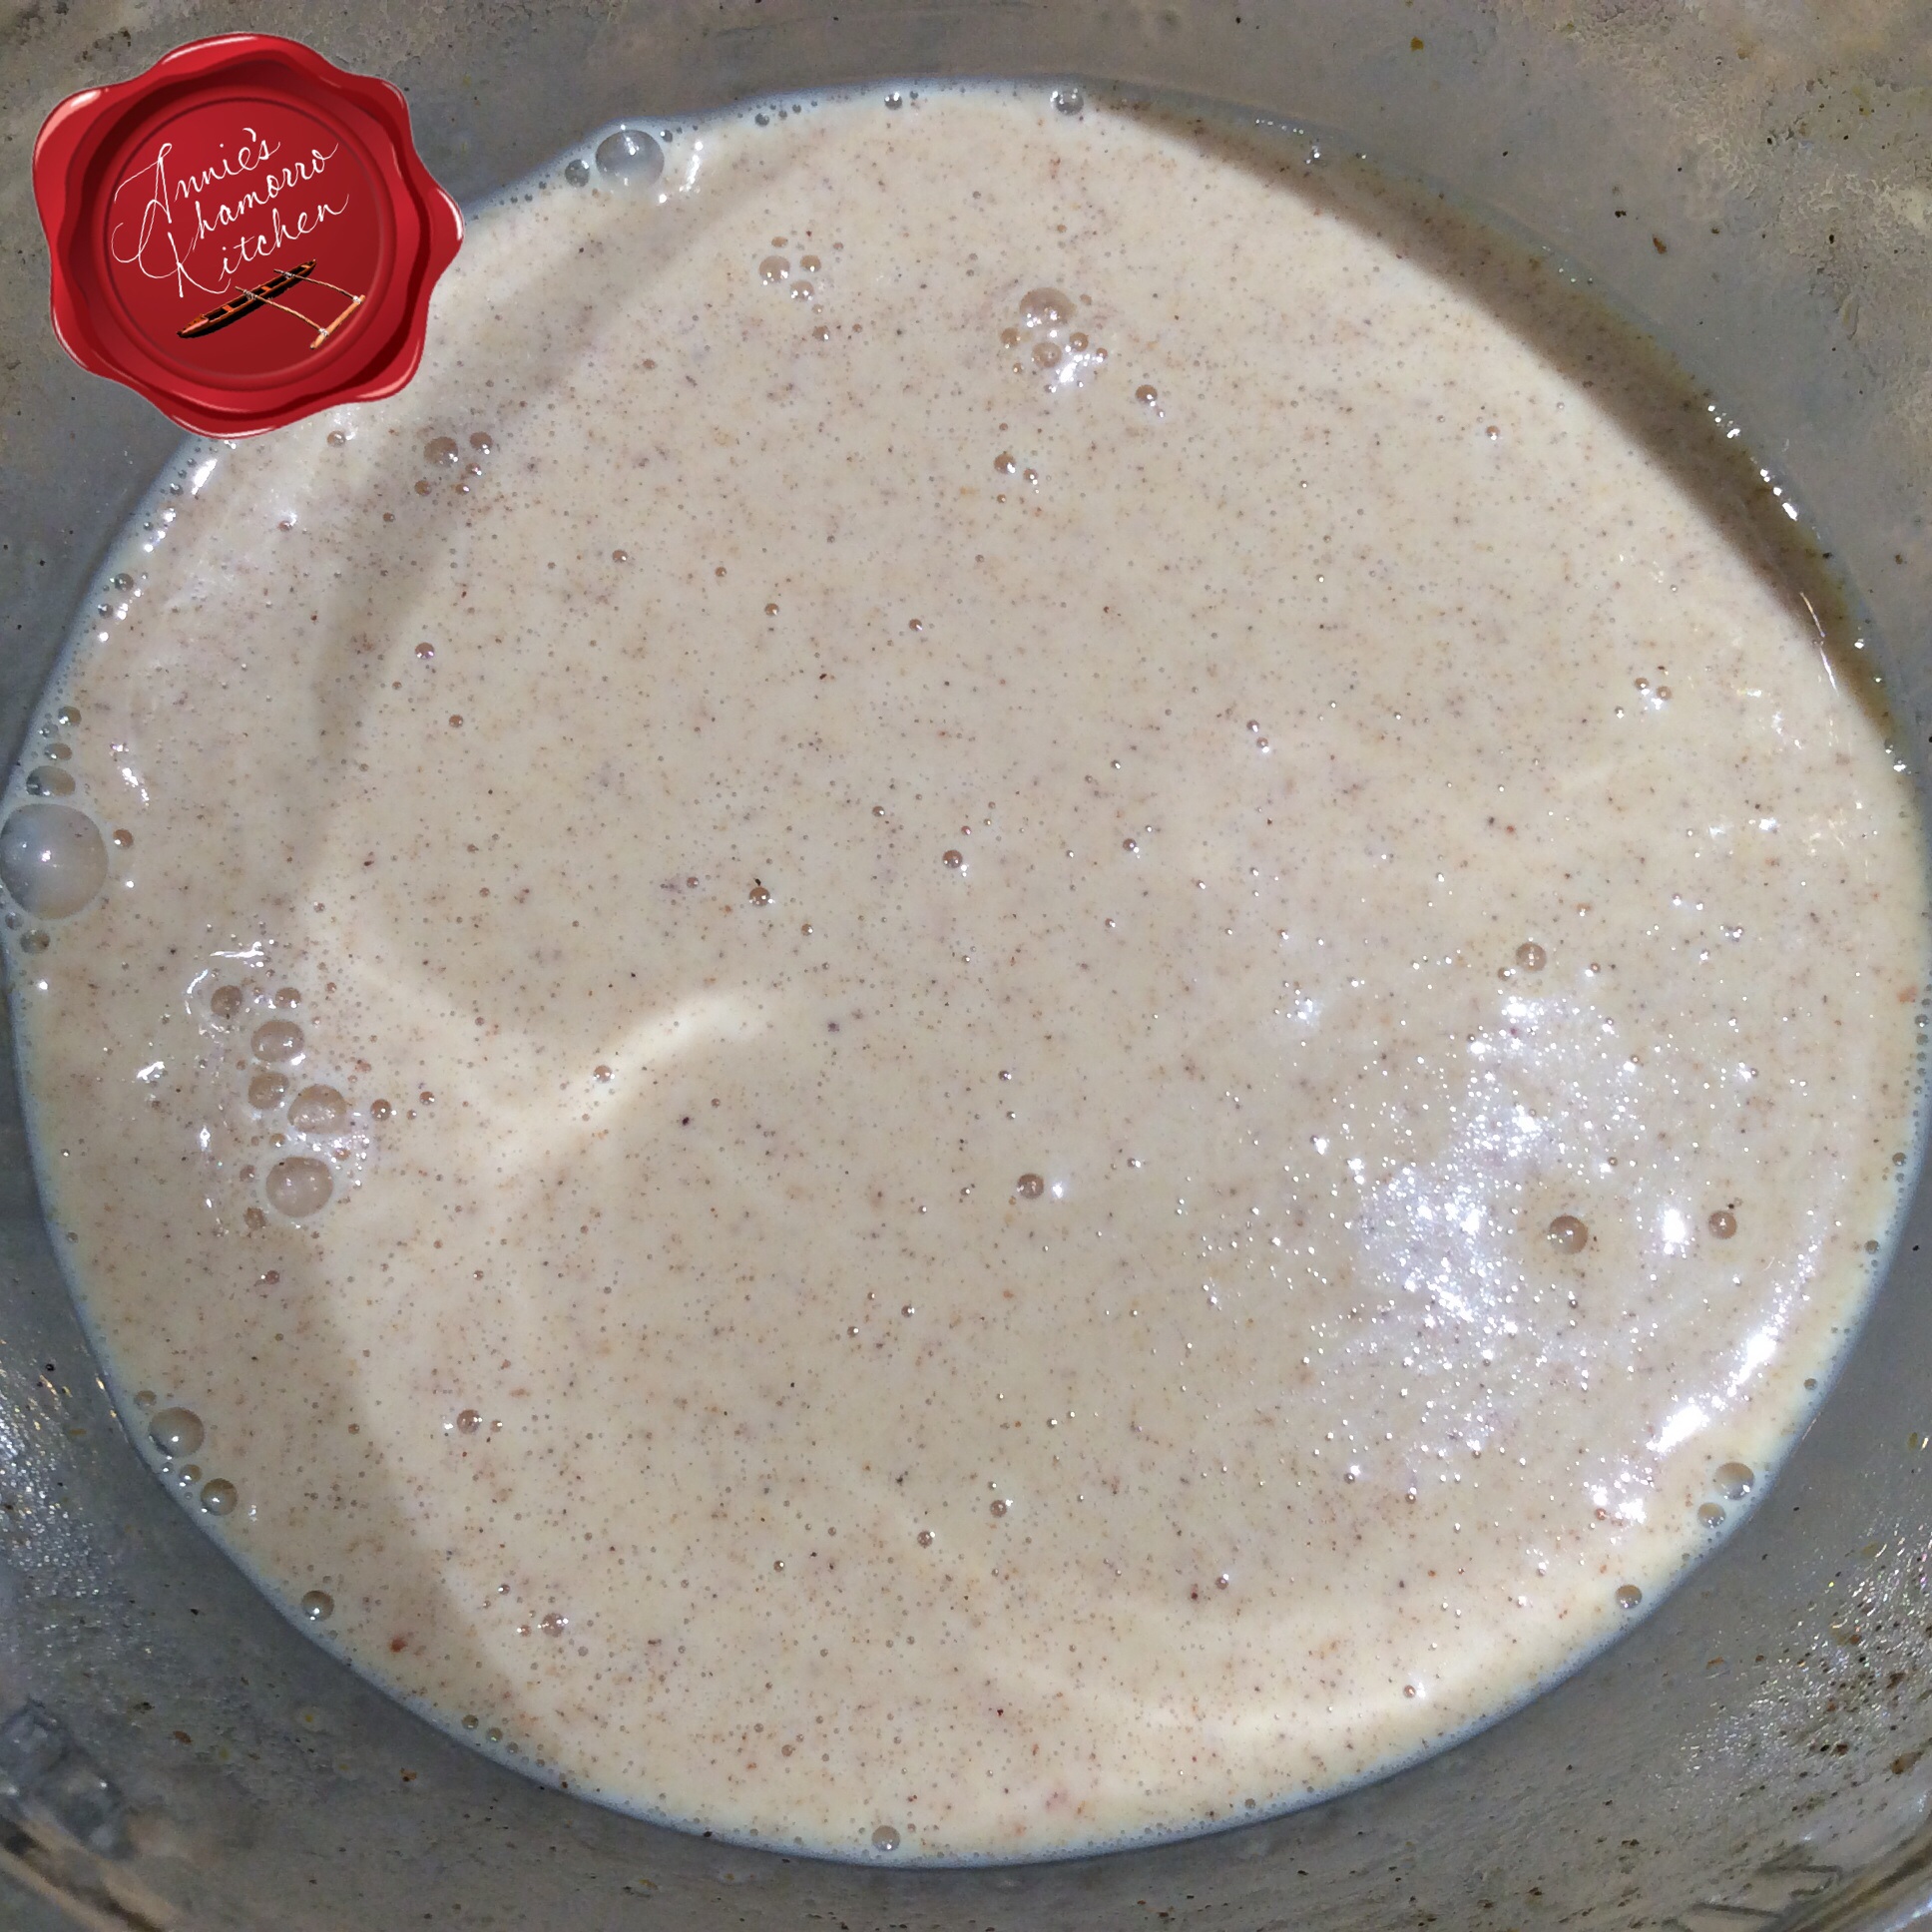
My recipe makes about 2 1/2 cups of creamer. Keep the mixture refrigerated and it will last for about a week, depending on how much creamer you add to your coffee. Because this mixture is already sweetened, you shouldn’t have to add any other sweetener (hey, I just saved you more money!). 🙂
Give my recipe a try. If you like the flavor of pumpkin pie, I guarantee you’ll like this. 🙂
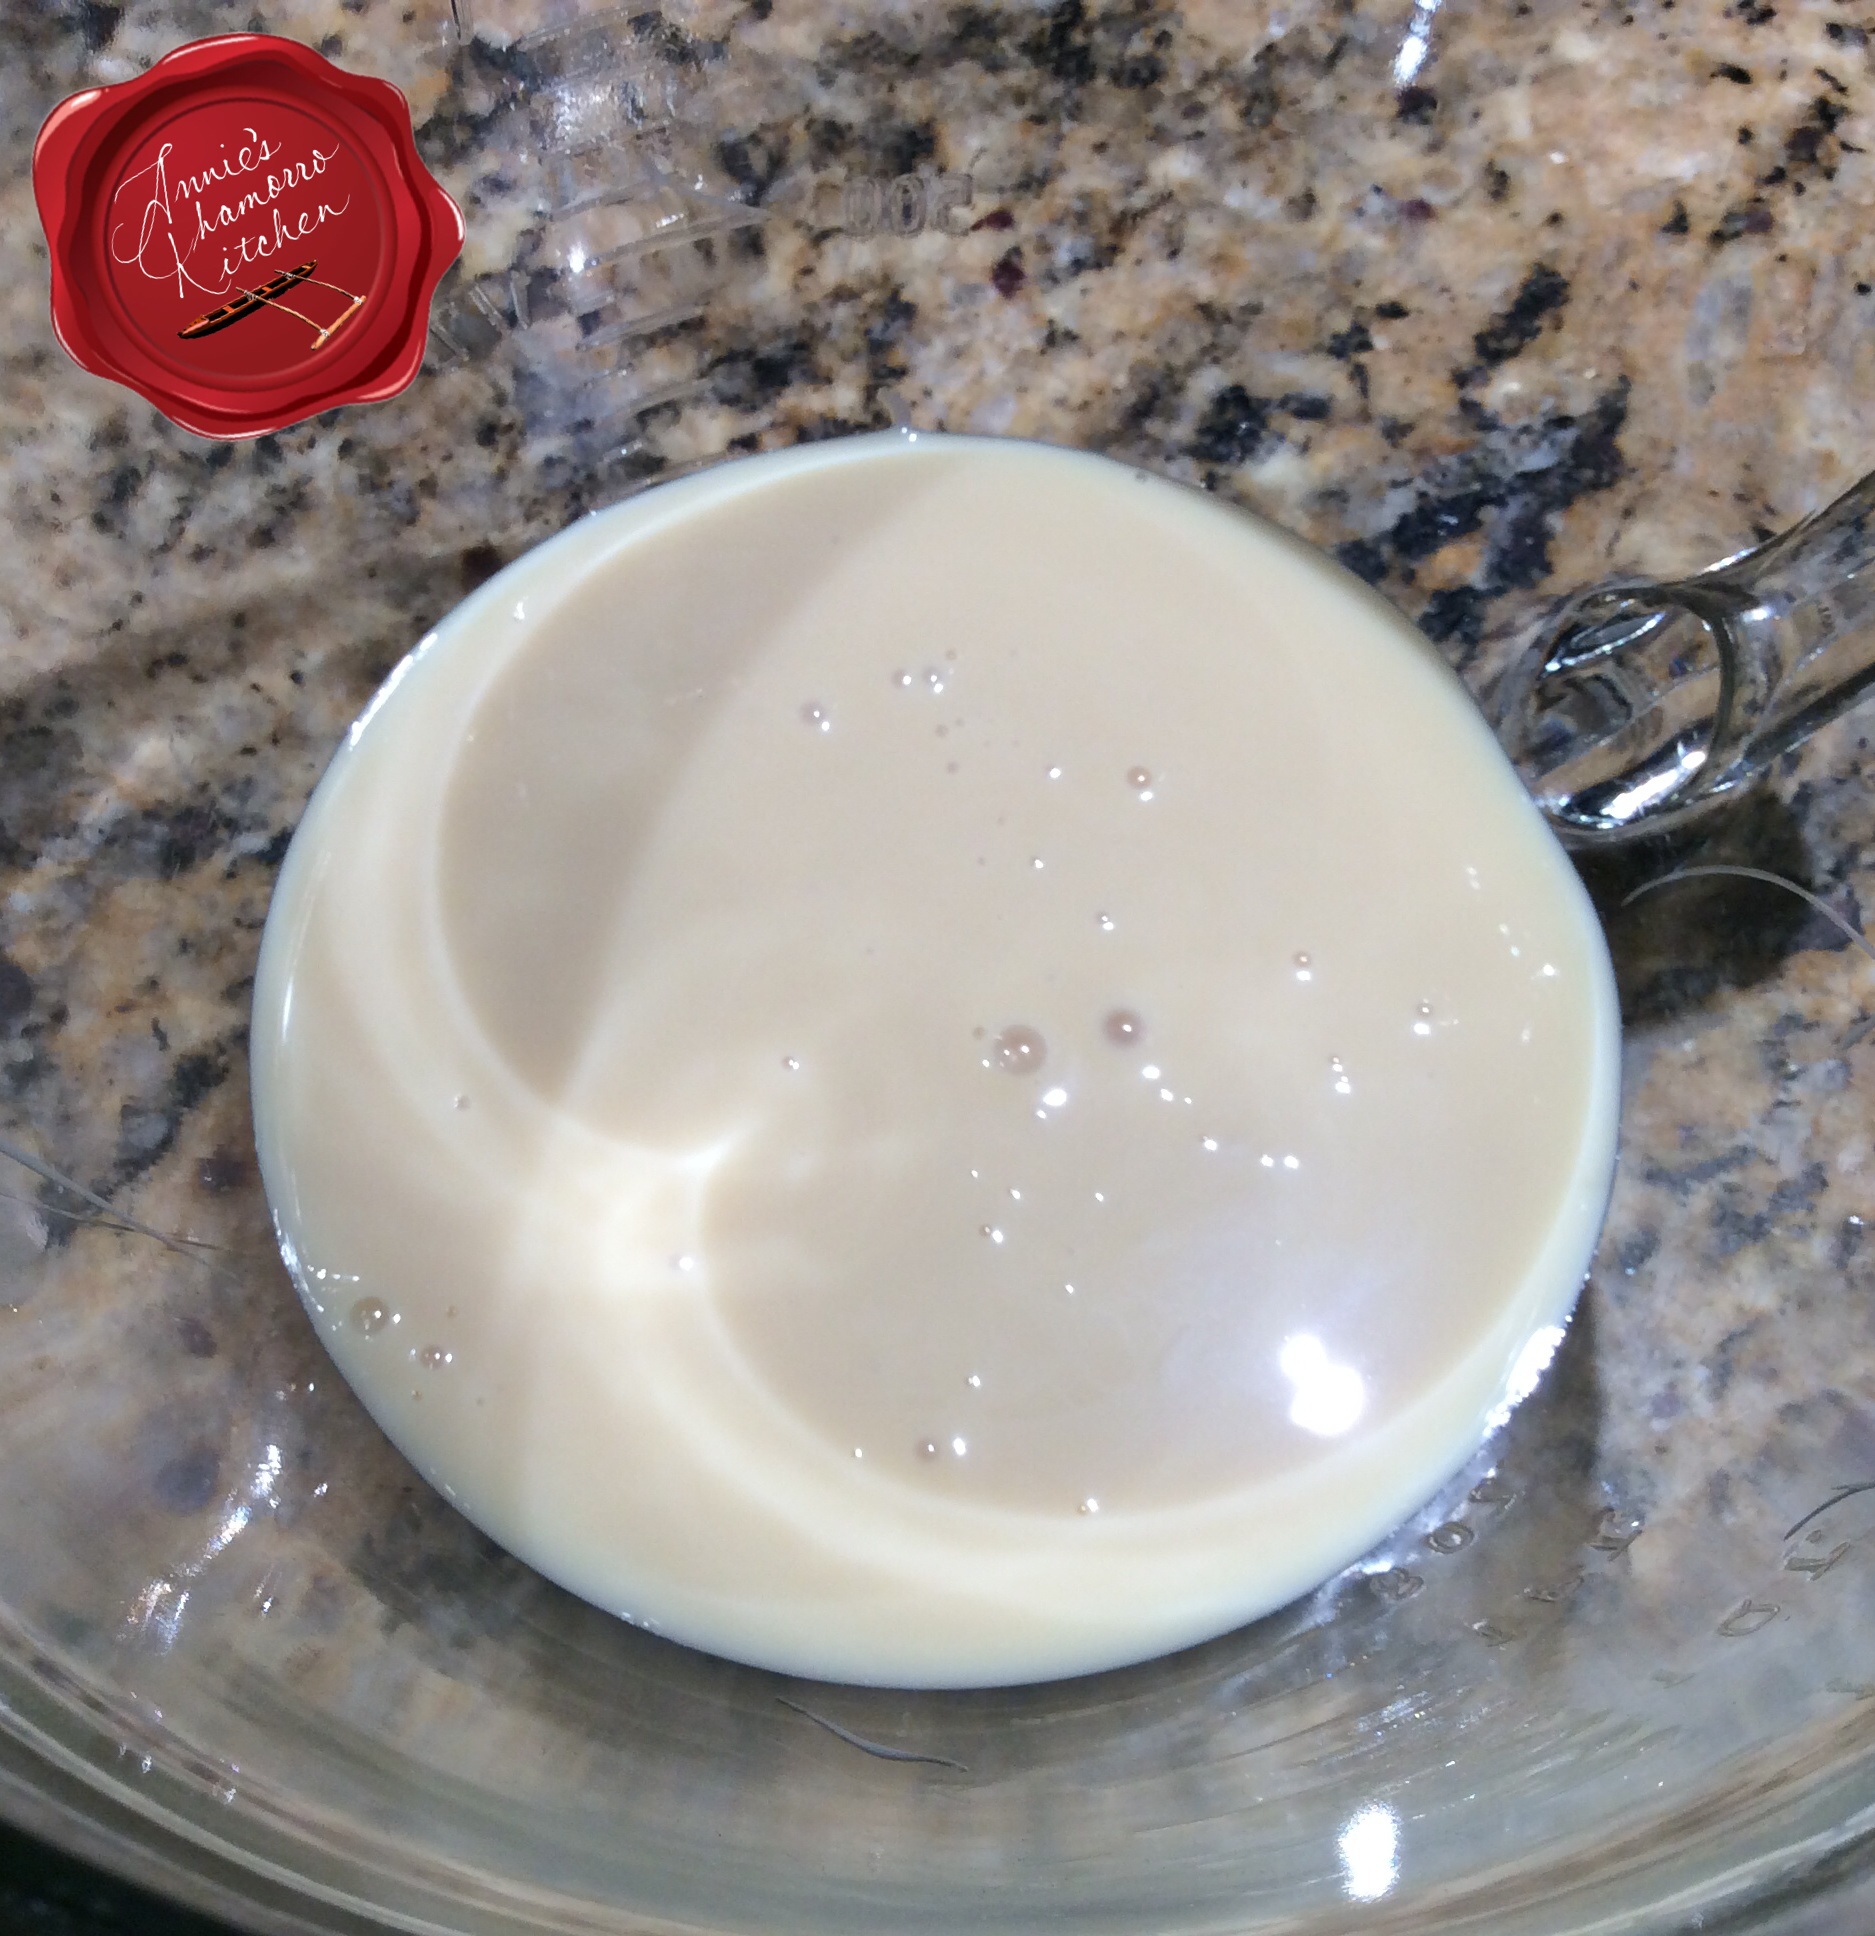
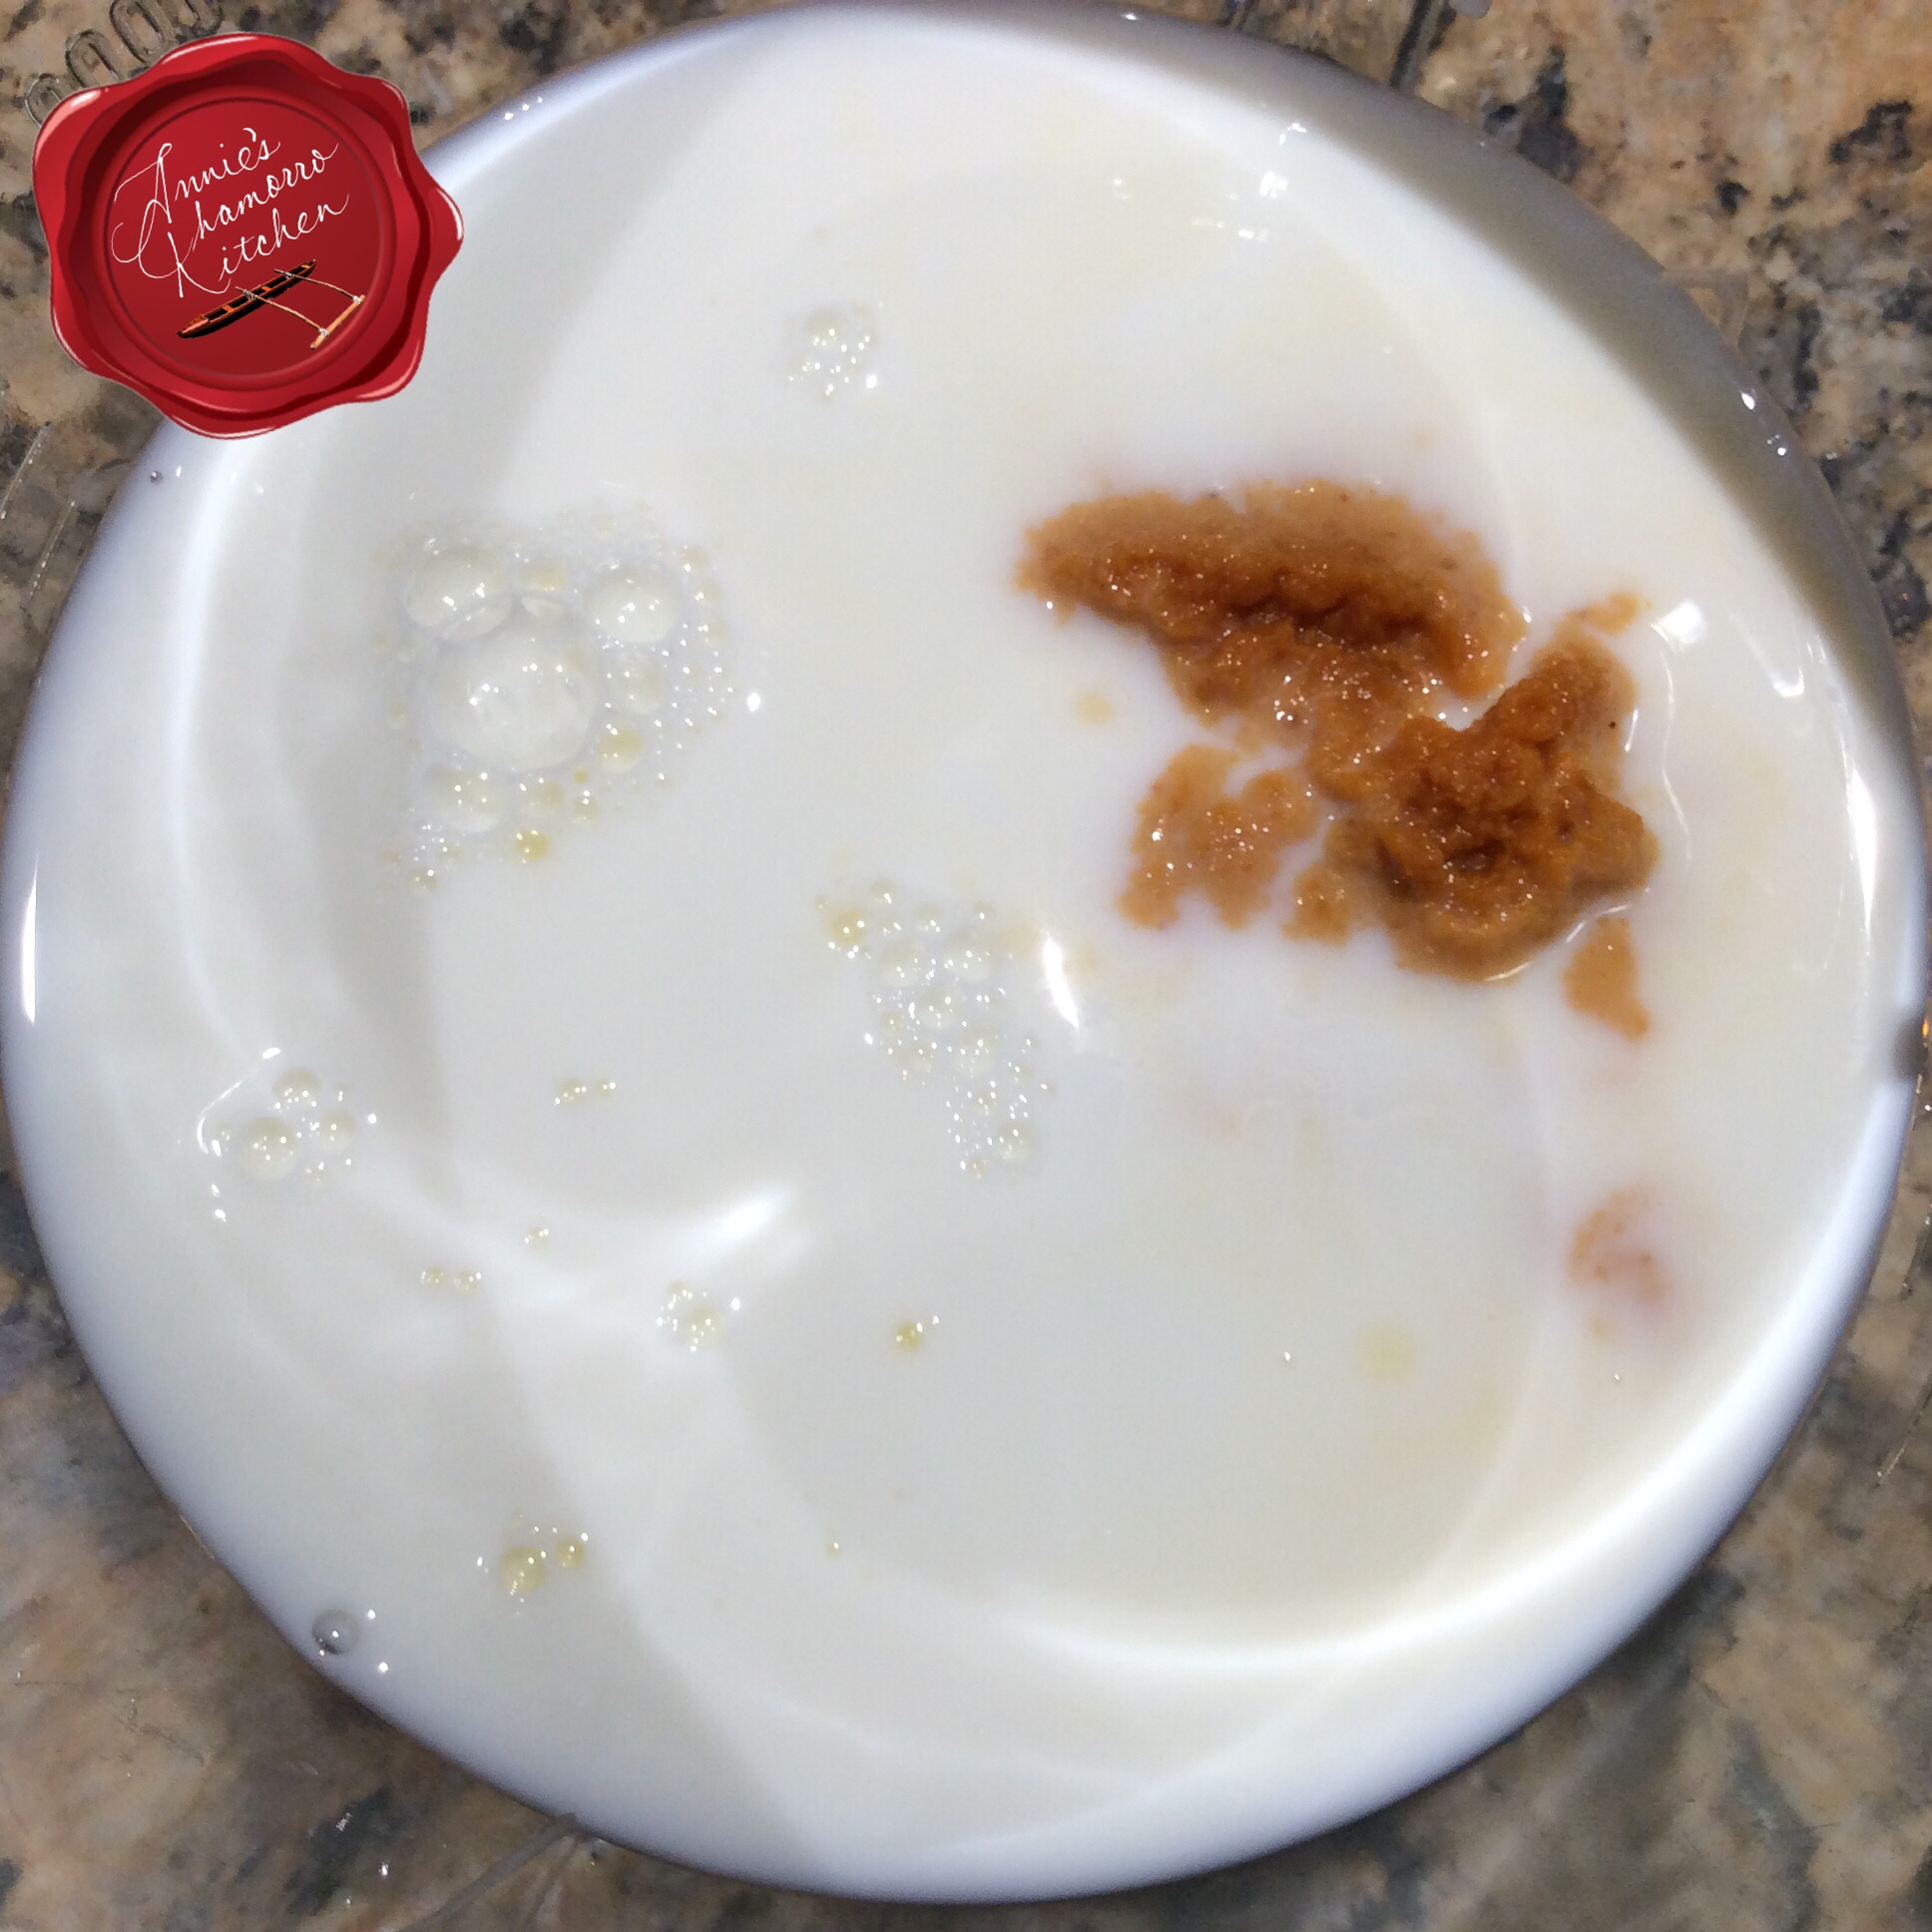
Place the sweetened condensed milk in a small mixing bowl.
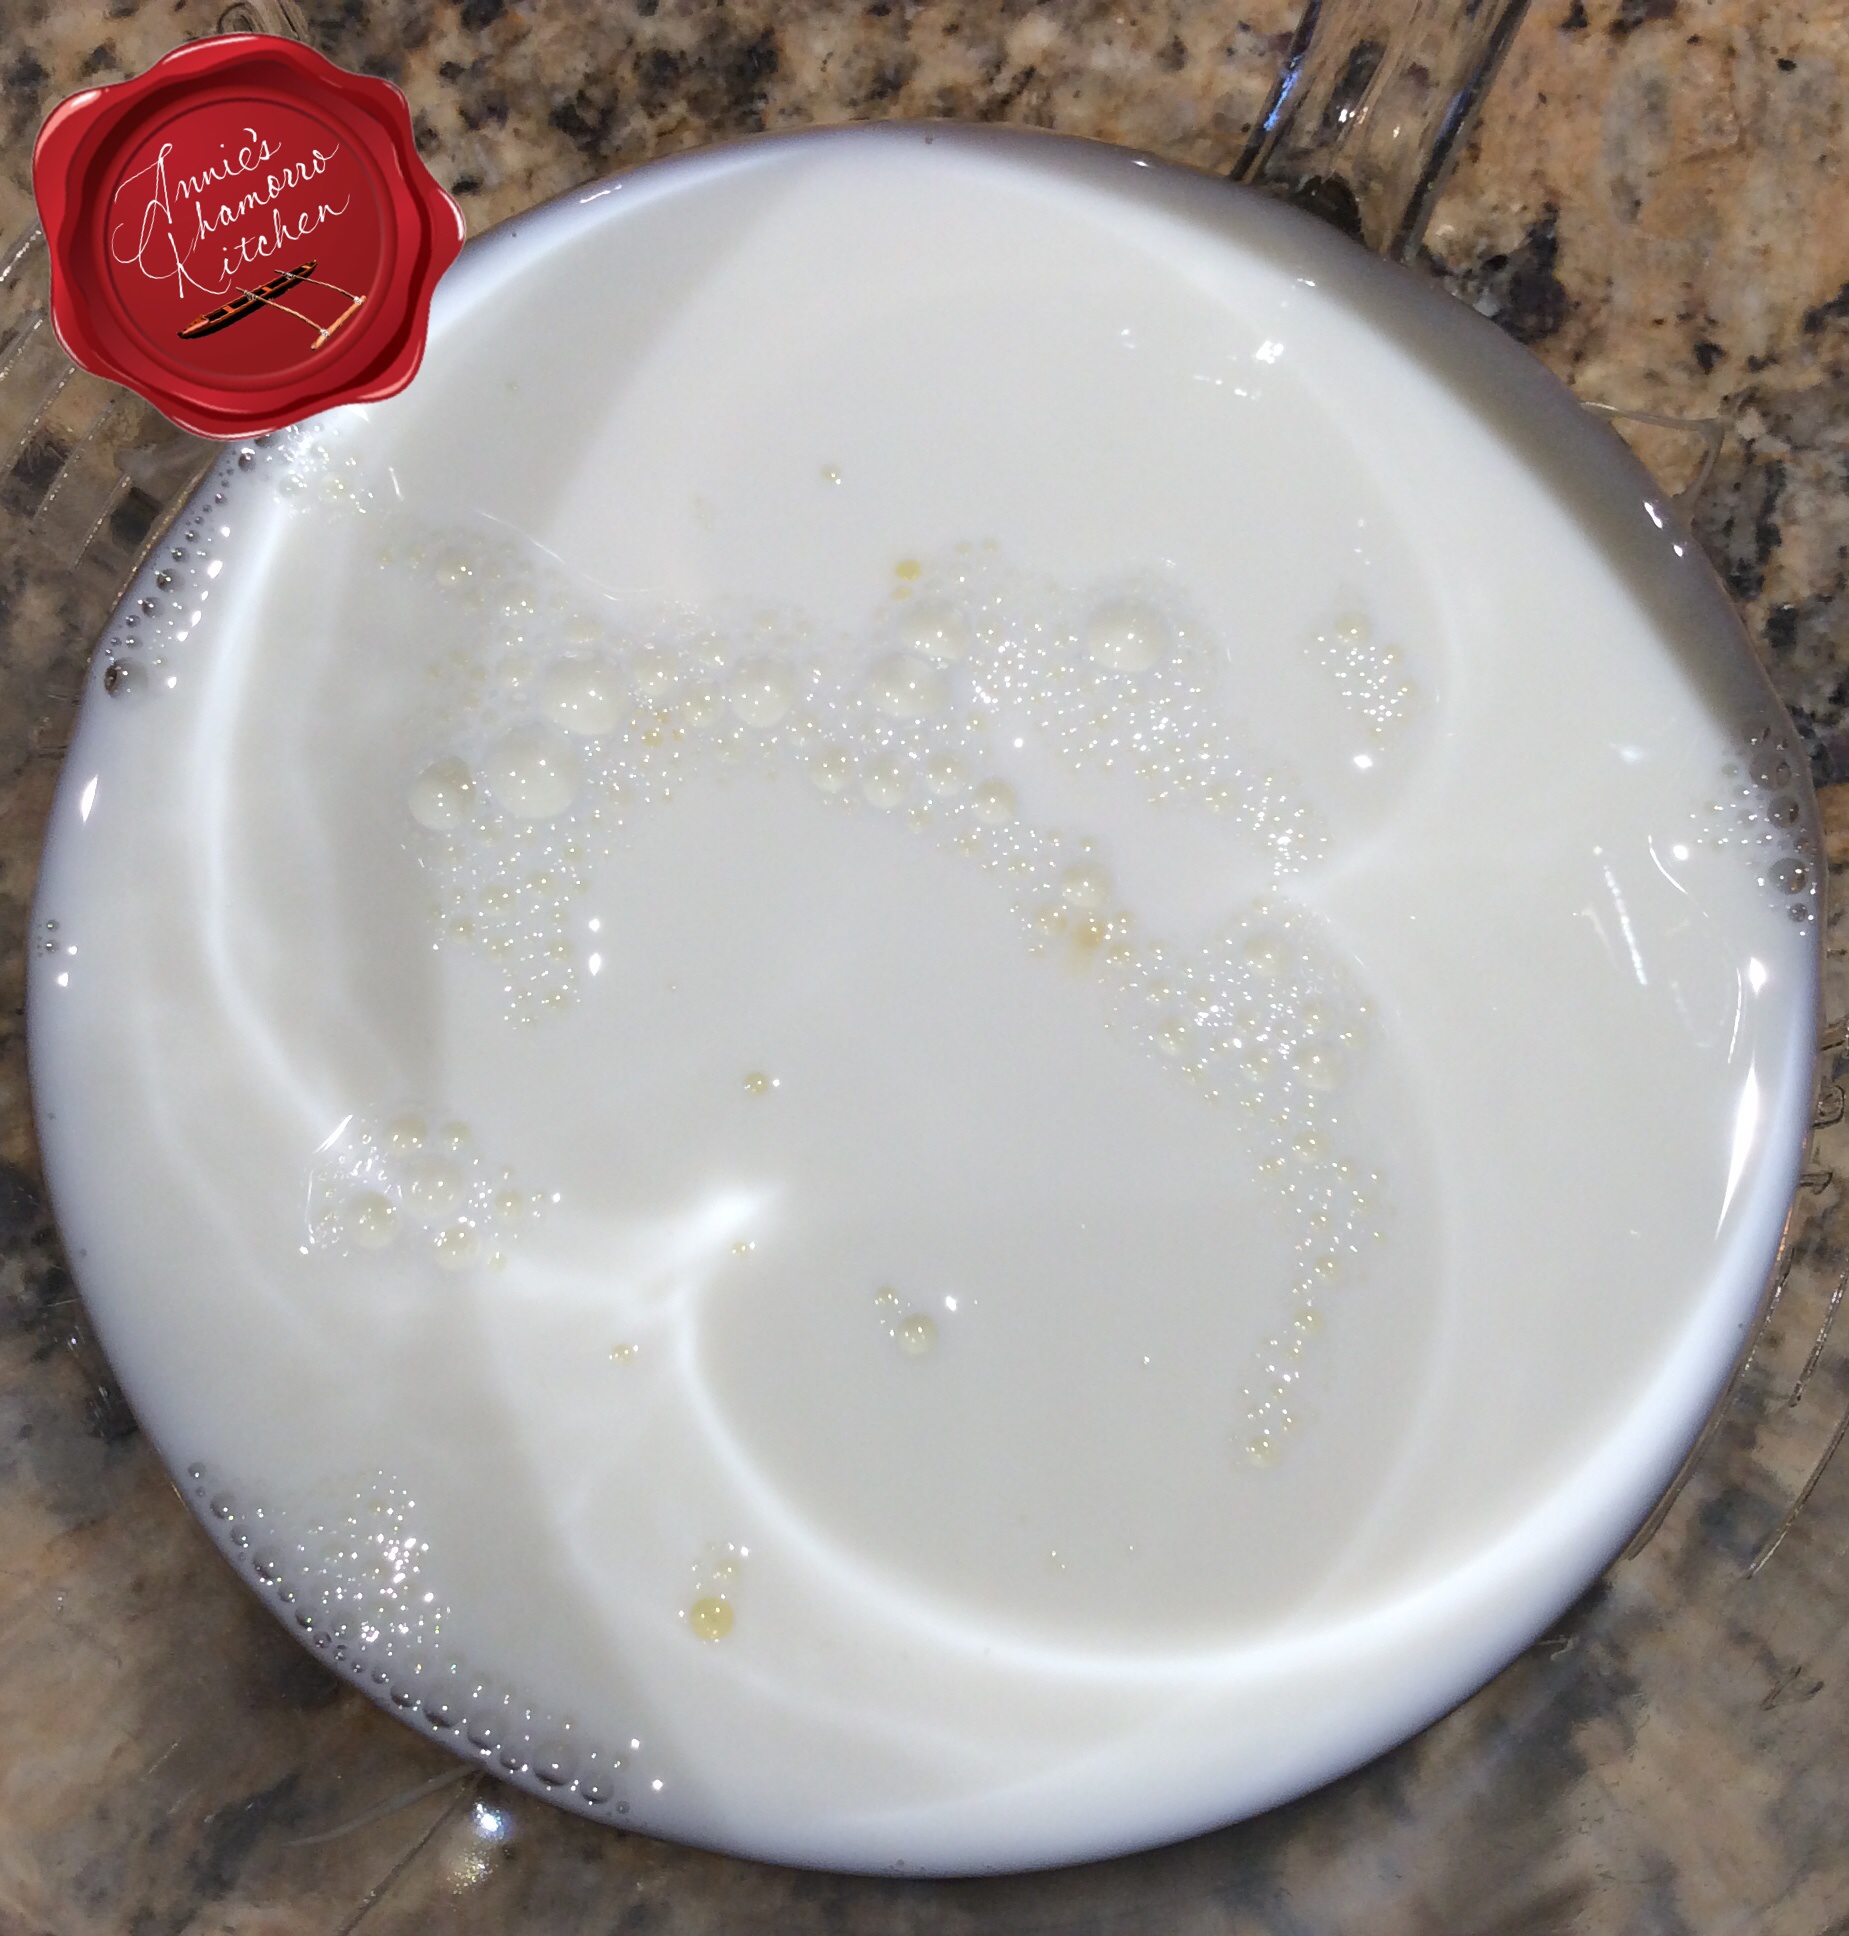
Add milk to the bowl.
Add the puréed pumpkin.
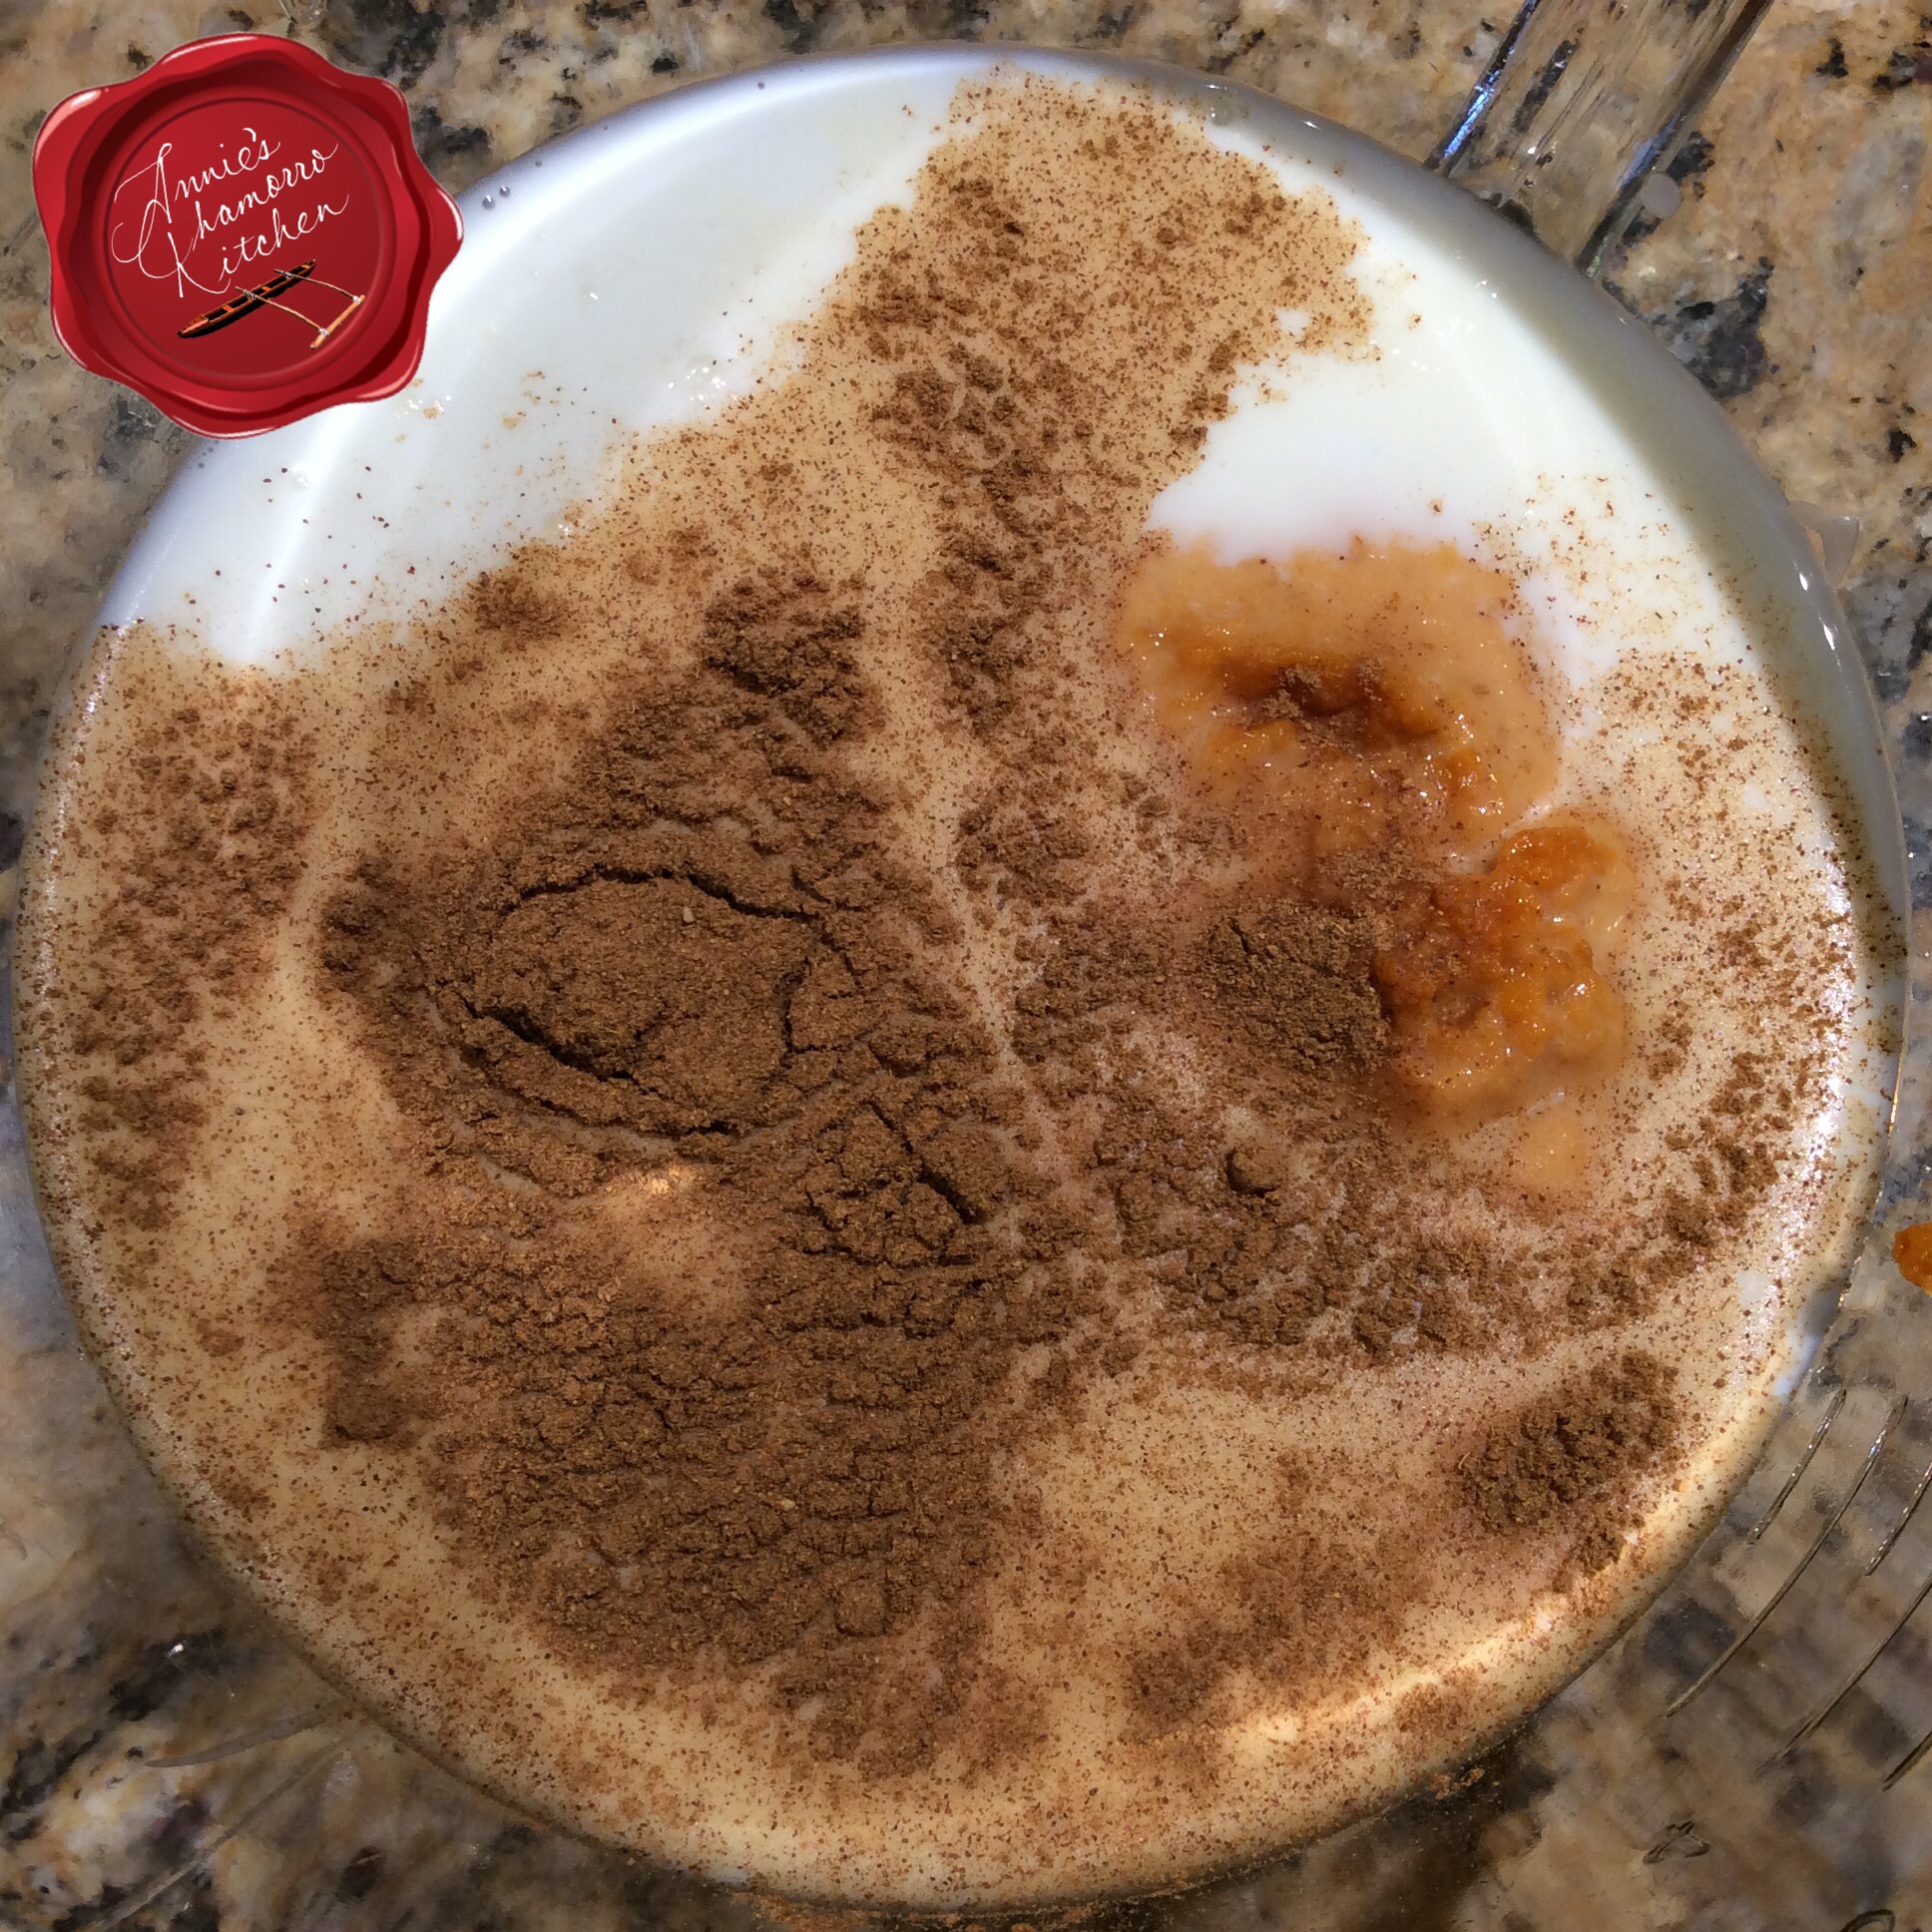
Add the pumpkin pie spice, maple syrup and vanilla extract to the bowl.
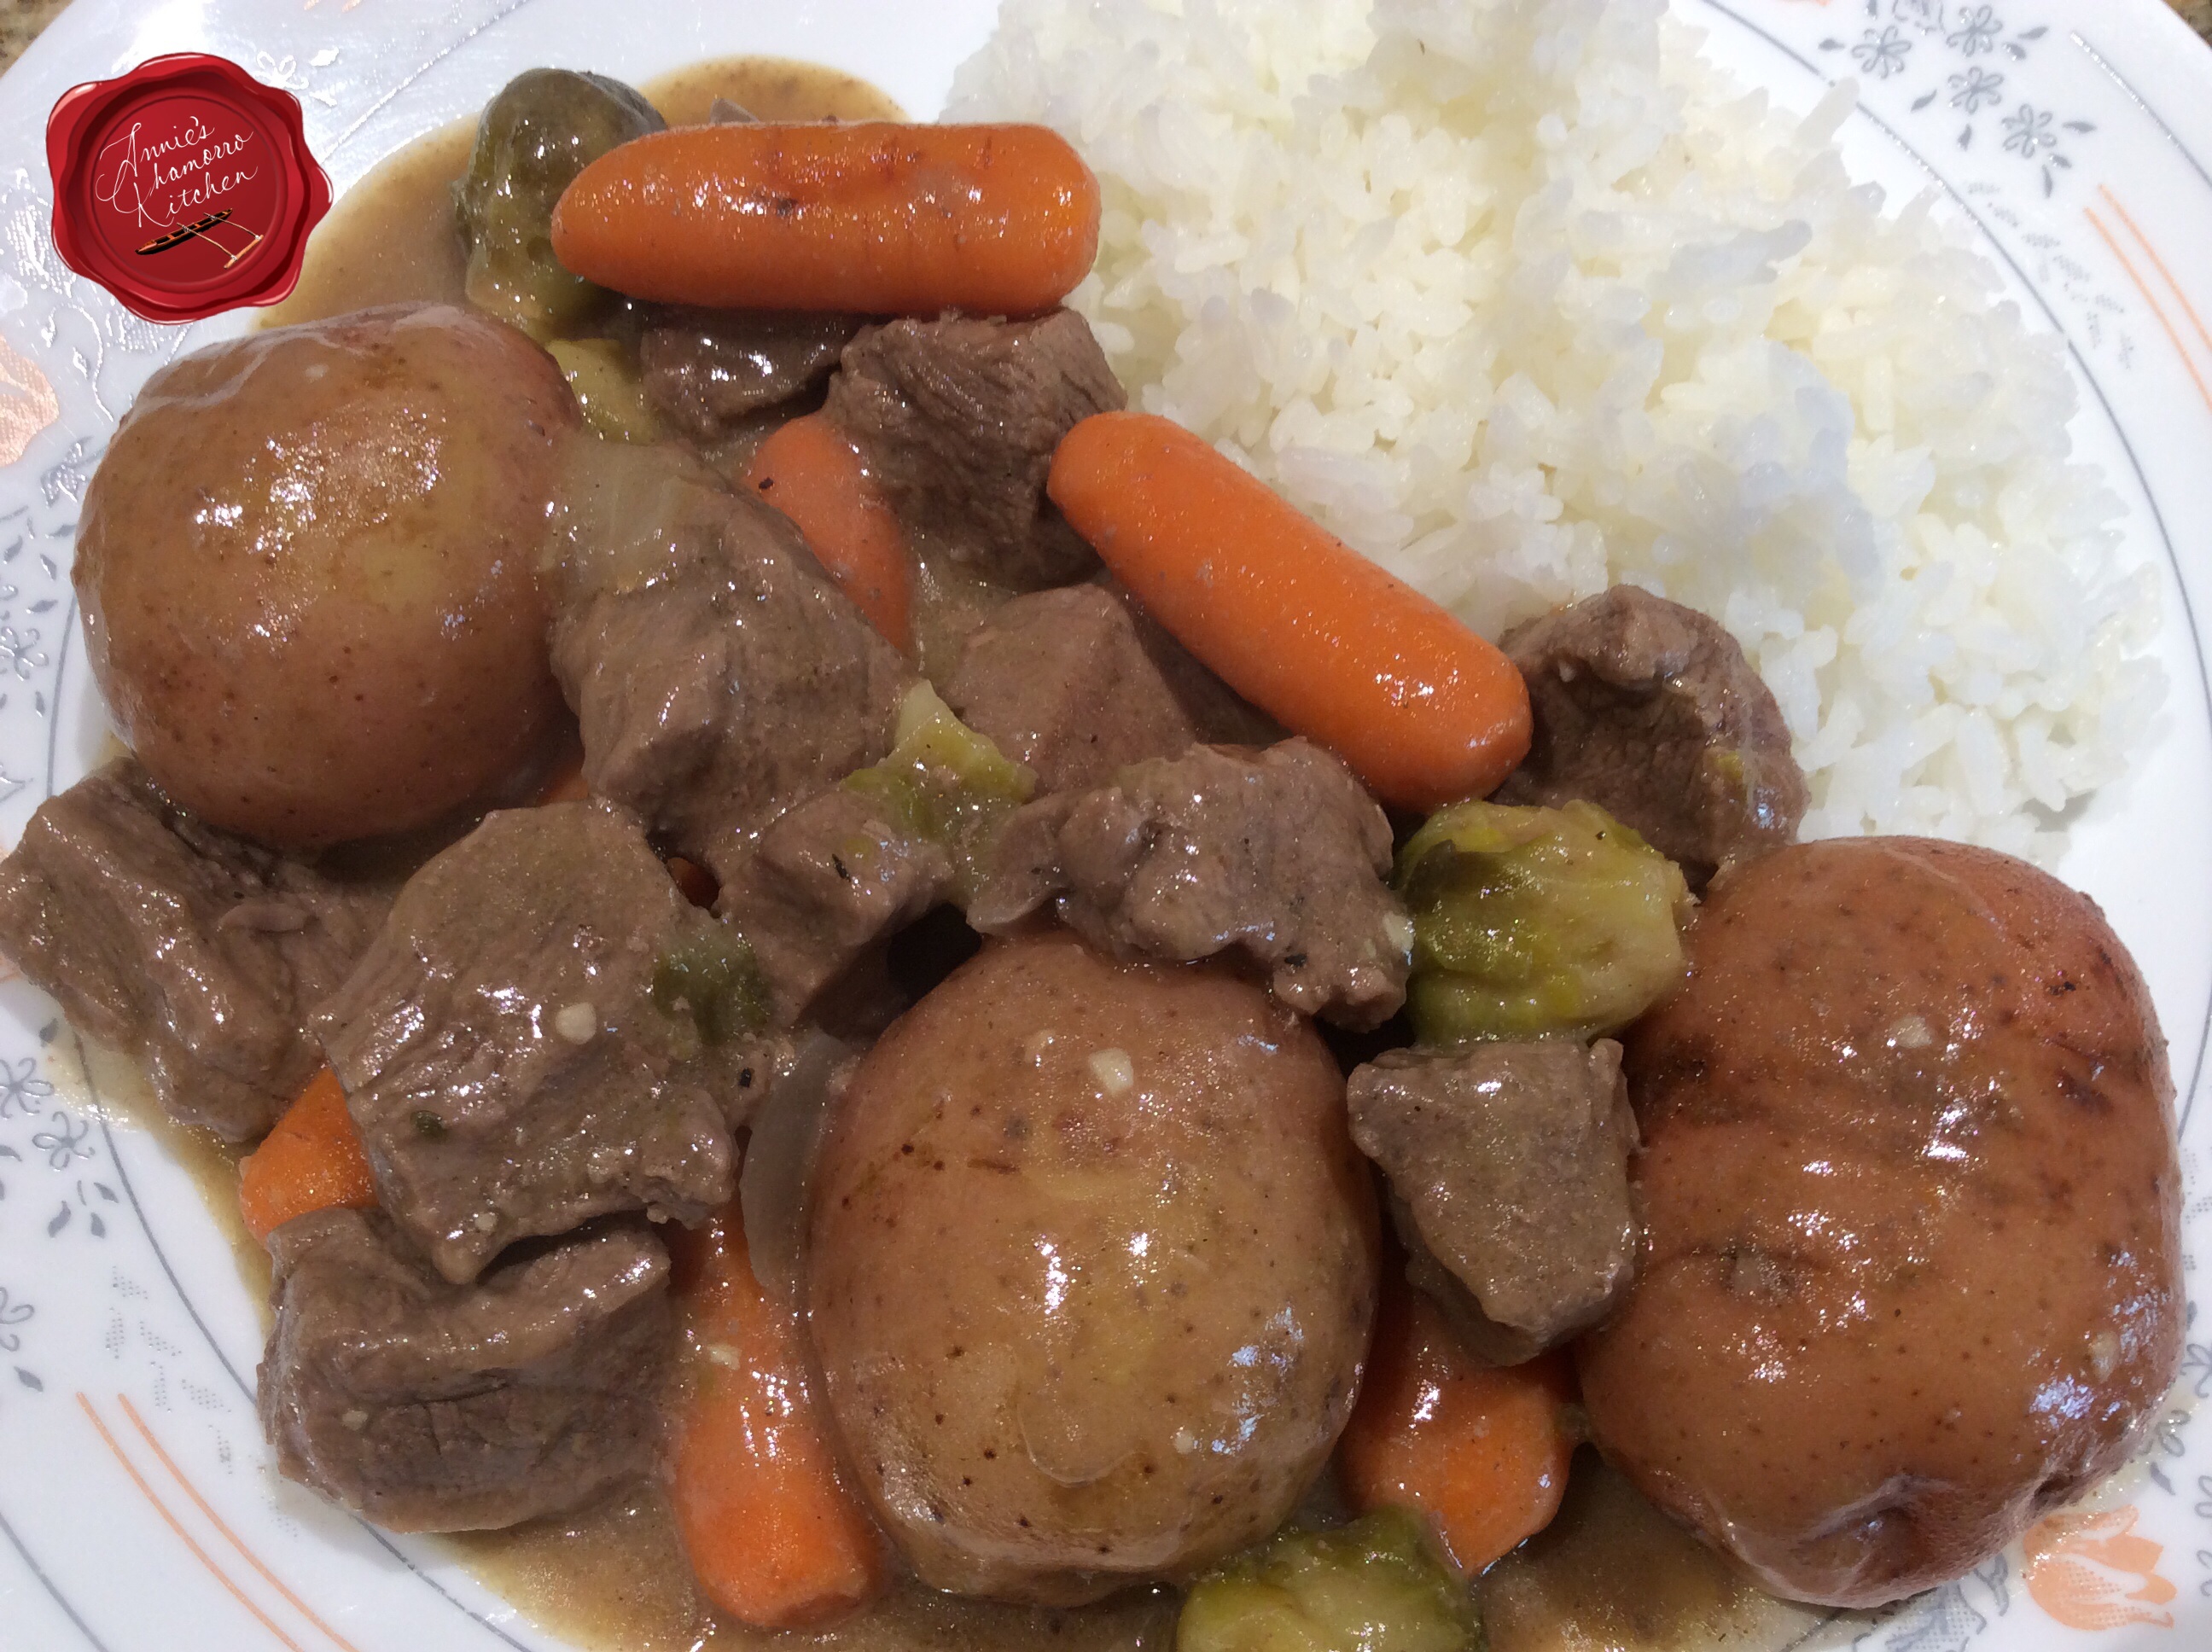
Beef stew is a comfort dish that everyone should know how to make. That and chicken soup — both are recipes you should have in your cooking repertoire. It’s not that difficult to put a beef stew together — you just brown some meat and throw in some vegetables, right? Wrong.
While not difficult to make, the order in which you cook your stew, and the seasonings and flavorings you add make the difference between a “WOW” and an “EHH” stew.
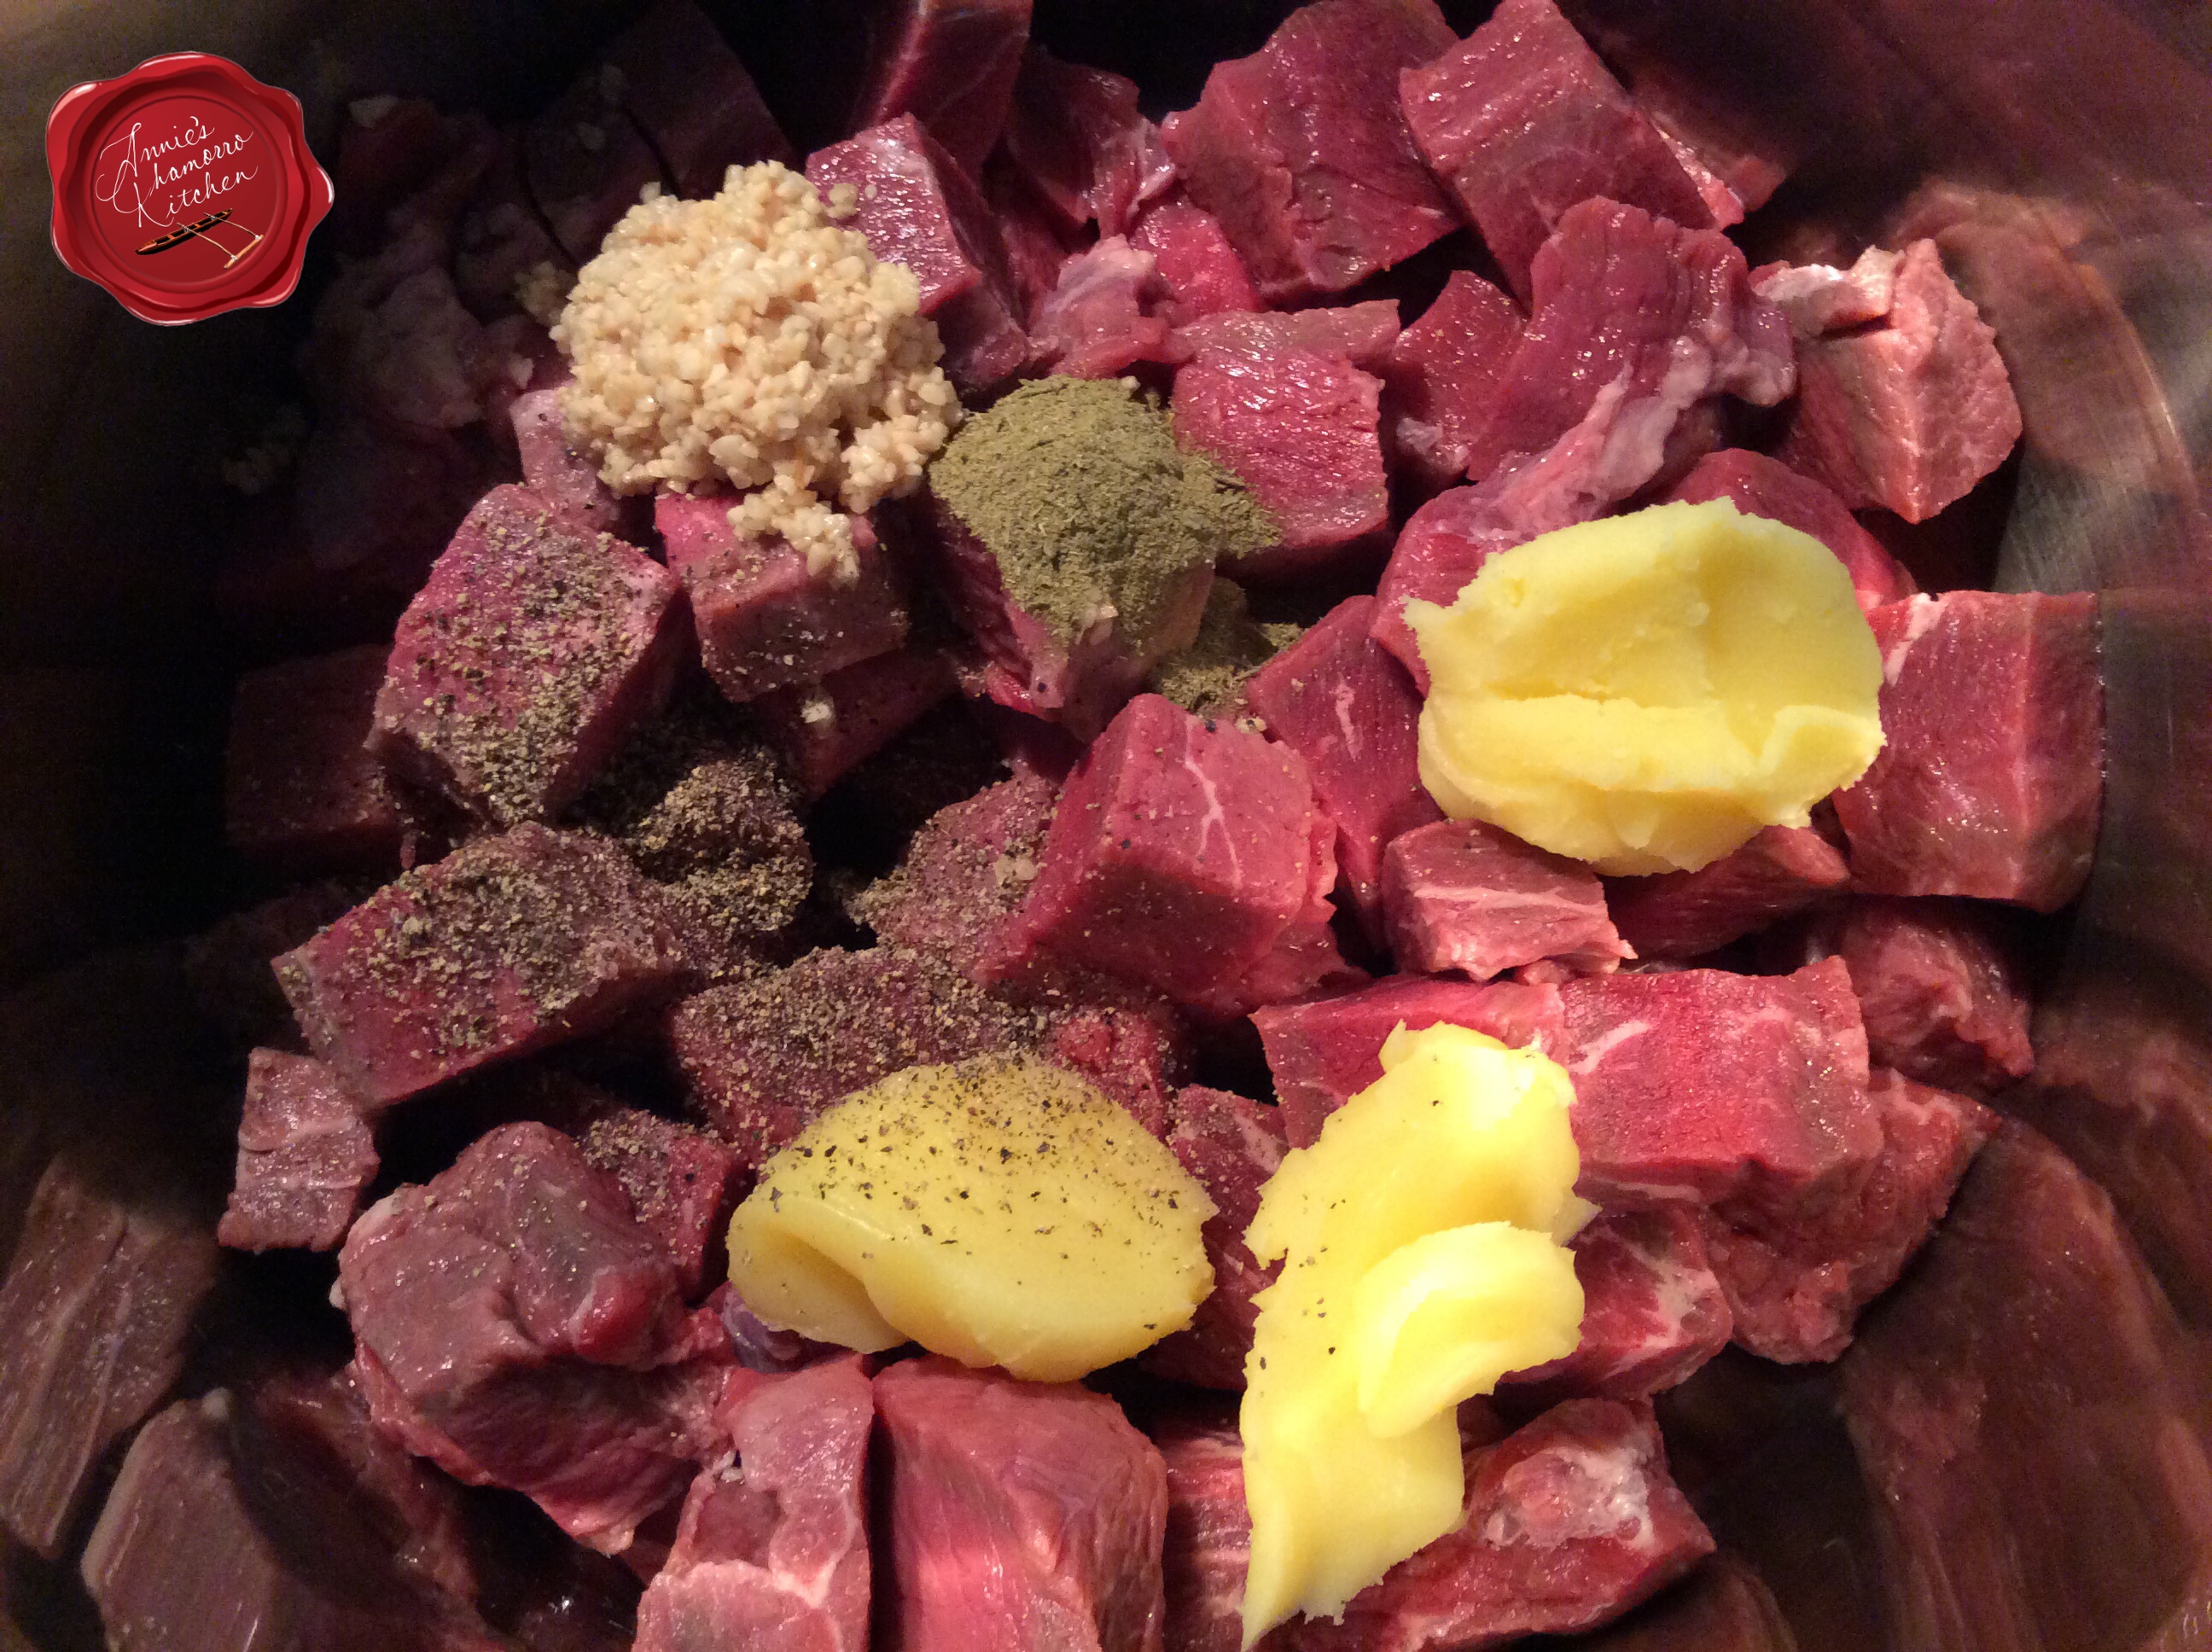
The first layer of flavor comes from browning good quality beef. I like using a top sirloin, but any good lean beef (a bit of marbling is okay) will do. Don’t just throw the meat into the pot and crank up the heat. Think of this as building a masterpiece. Right from the get-go, you’re building up the flavorful dimensions in this classic comfort dish.
Add the meat to the pot, along with some aromatics…in this case, garlic, freshly ground black pepper, salt, ground thyme and butter. Give the mixture a stir then let the meat and aromatics cook for 5 minutes over high heat. The browning of the meat also adds great depth of flavor, which is what you want. Do not add the liquid right away or you’ll have boiled meat soup instead of a rich and hearty stew.
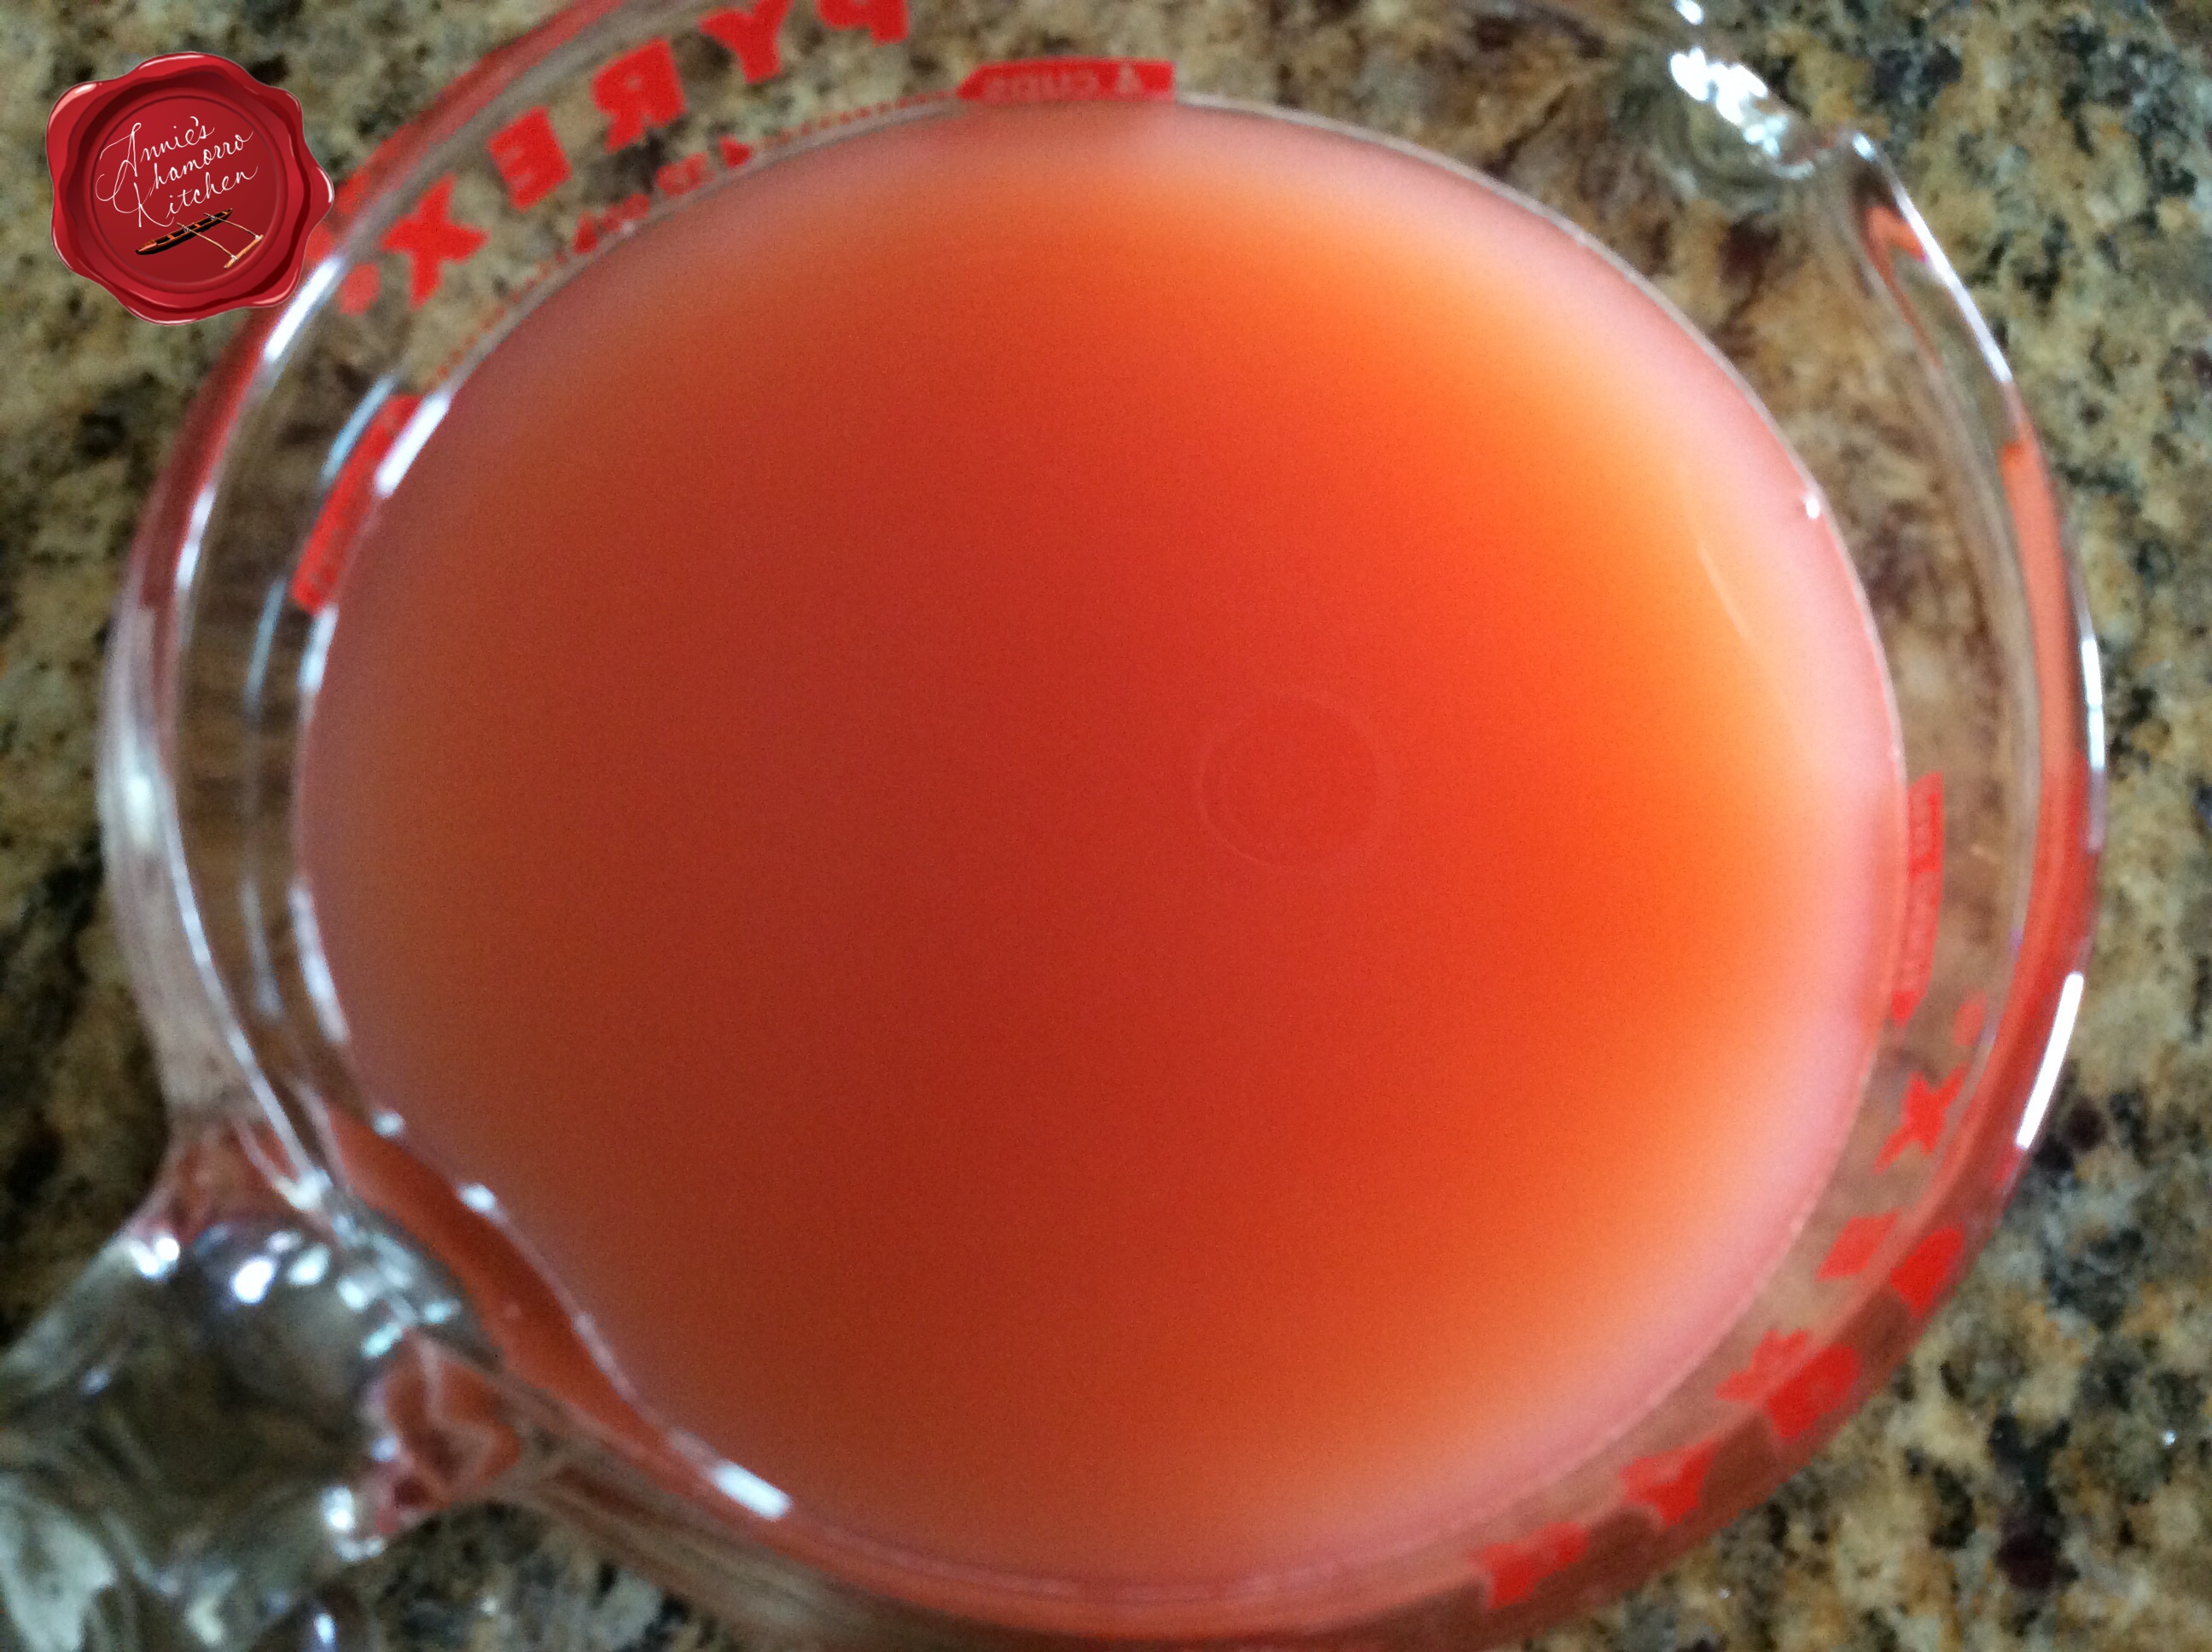
After the meat is nice and brown, and you’ve begun to build you base flavor, it’s time to add the liquids. A good beef stew uses some sort of wine. I recommend using a good quality red wine, burgundy if you have any. Don’t use the “cooking wine” you find in the salad dressing section of your grocery store. A good rule of thumb for cooking with wine is to use wine you like to drink out of a glass. Mix together some water, wine, and my secret ingredient (shhhh…don’t tell anyone), orange juice. See the flavor combinations going on here? I like adding orange juice to cut back on the strong flavor of the wine (my kids don’t like too much wine in my cooking). Add the wine mixture to the pot.
Now it’s time to create even more layers of flavor that will deepen with prolonged simmering. Turn your heat down to low, place a lid on the pot, and go away for two hours. Read a book. Catch up on your favorite television shows. Walk the dog. Do something but do not uncover that pot. Let the meat, liquid, and aromatics simmer happily, undisturbed. In two hours, the meat will get nice and tender.
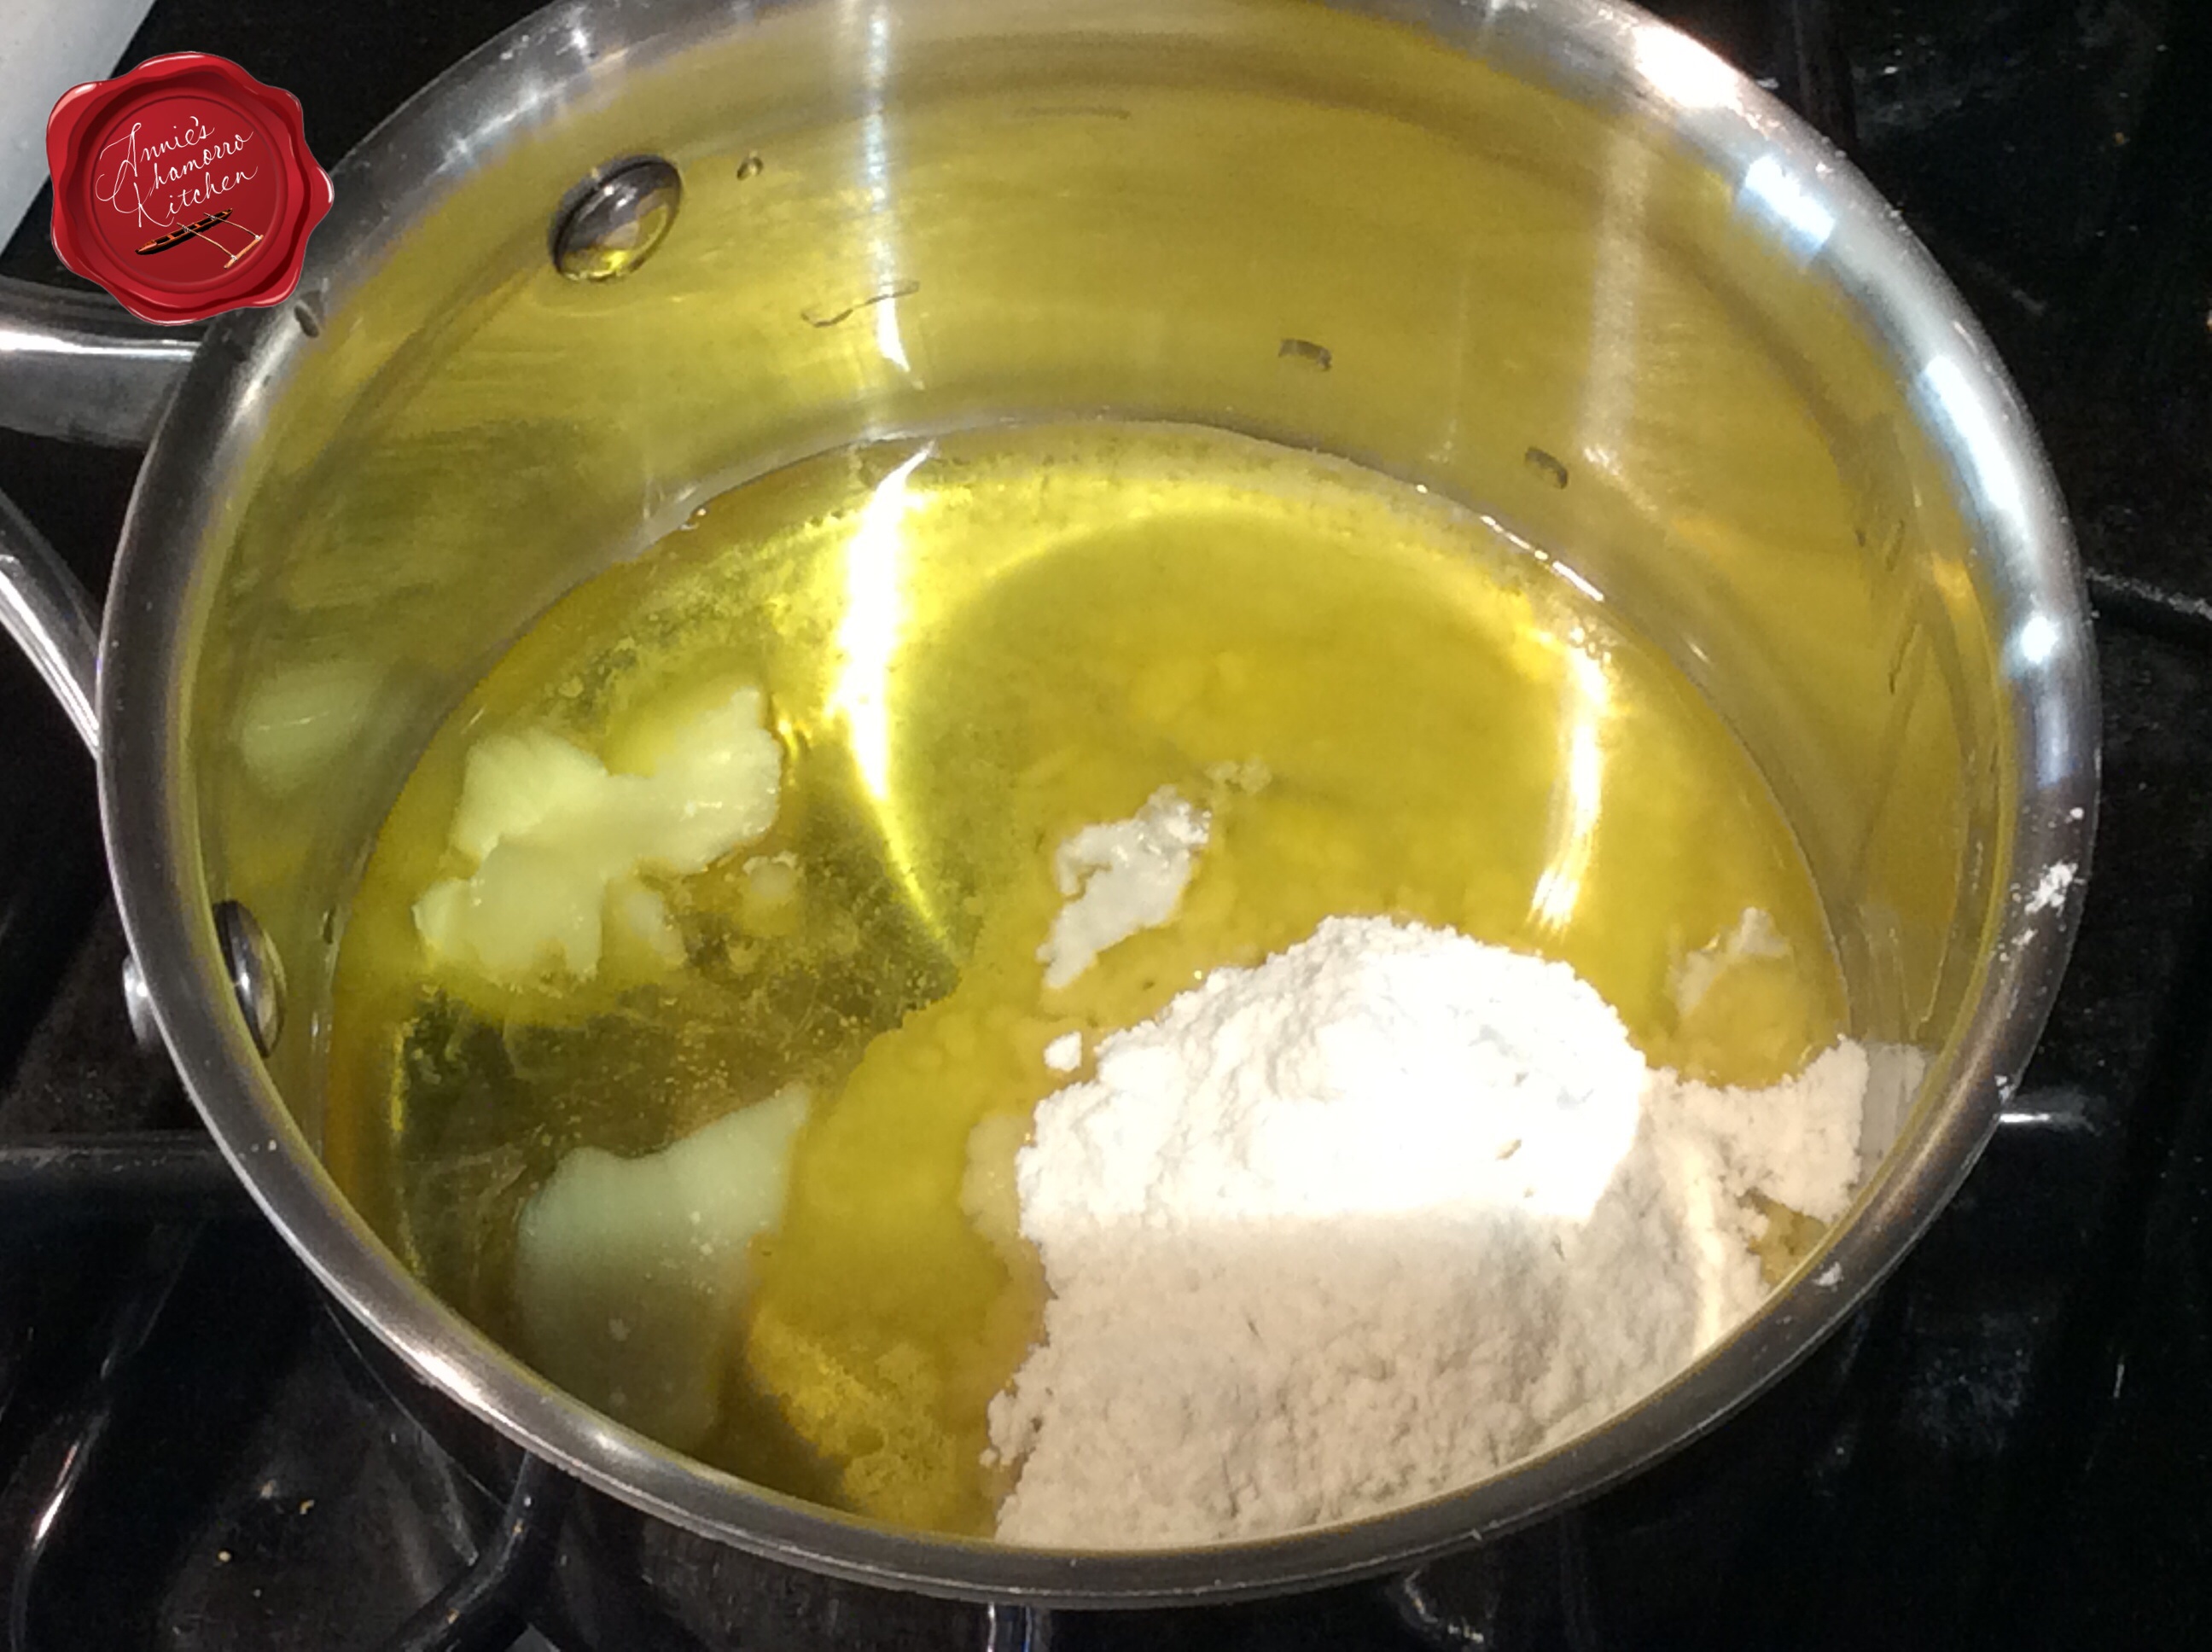
Right about the two hour mark, make the roux. This butter-flour mixture works to thicken the broth and add a richness because of the butter. Butta is betta. ‘Nuff said.
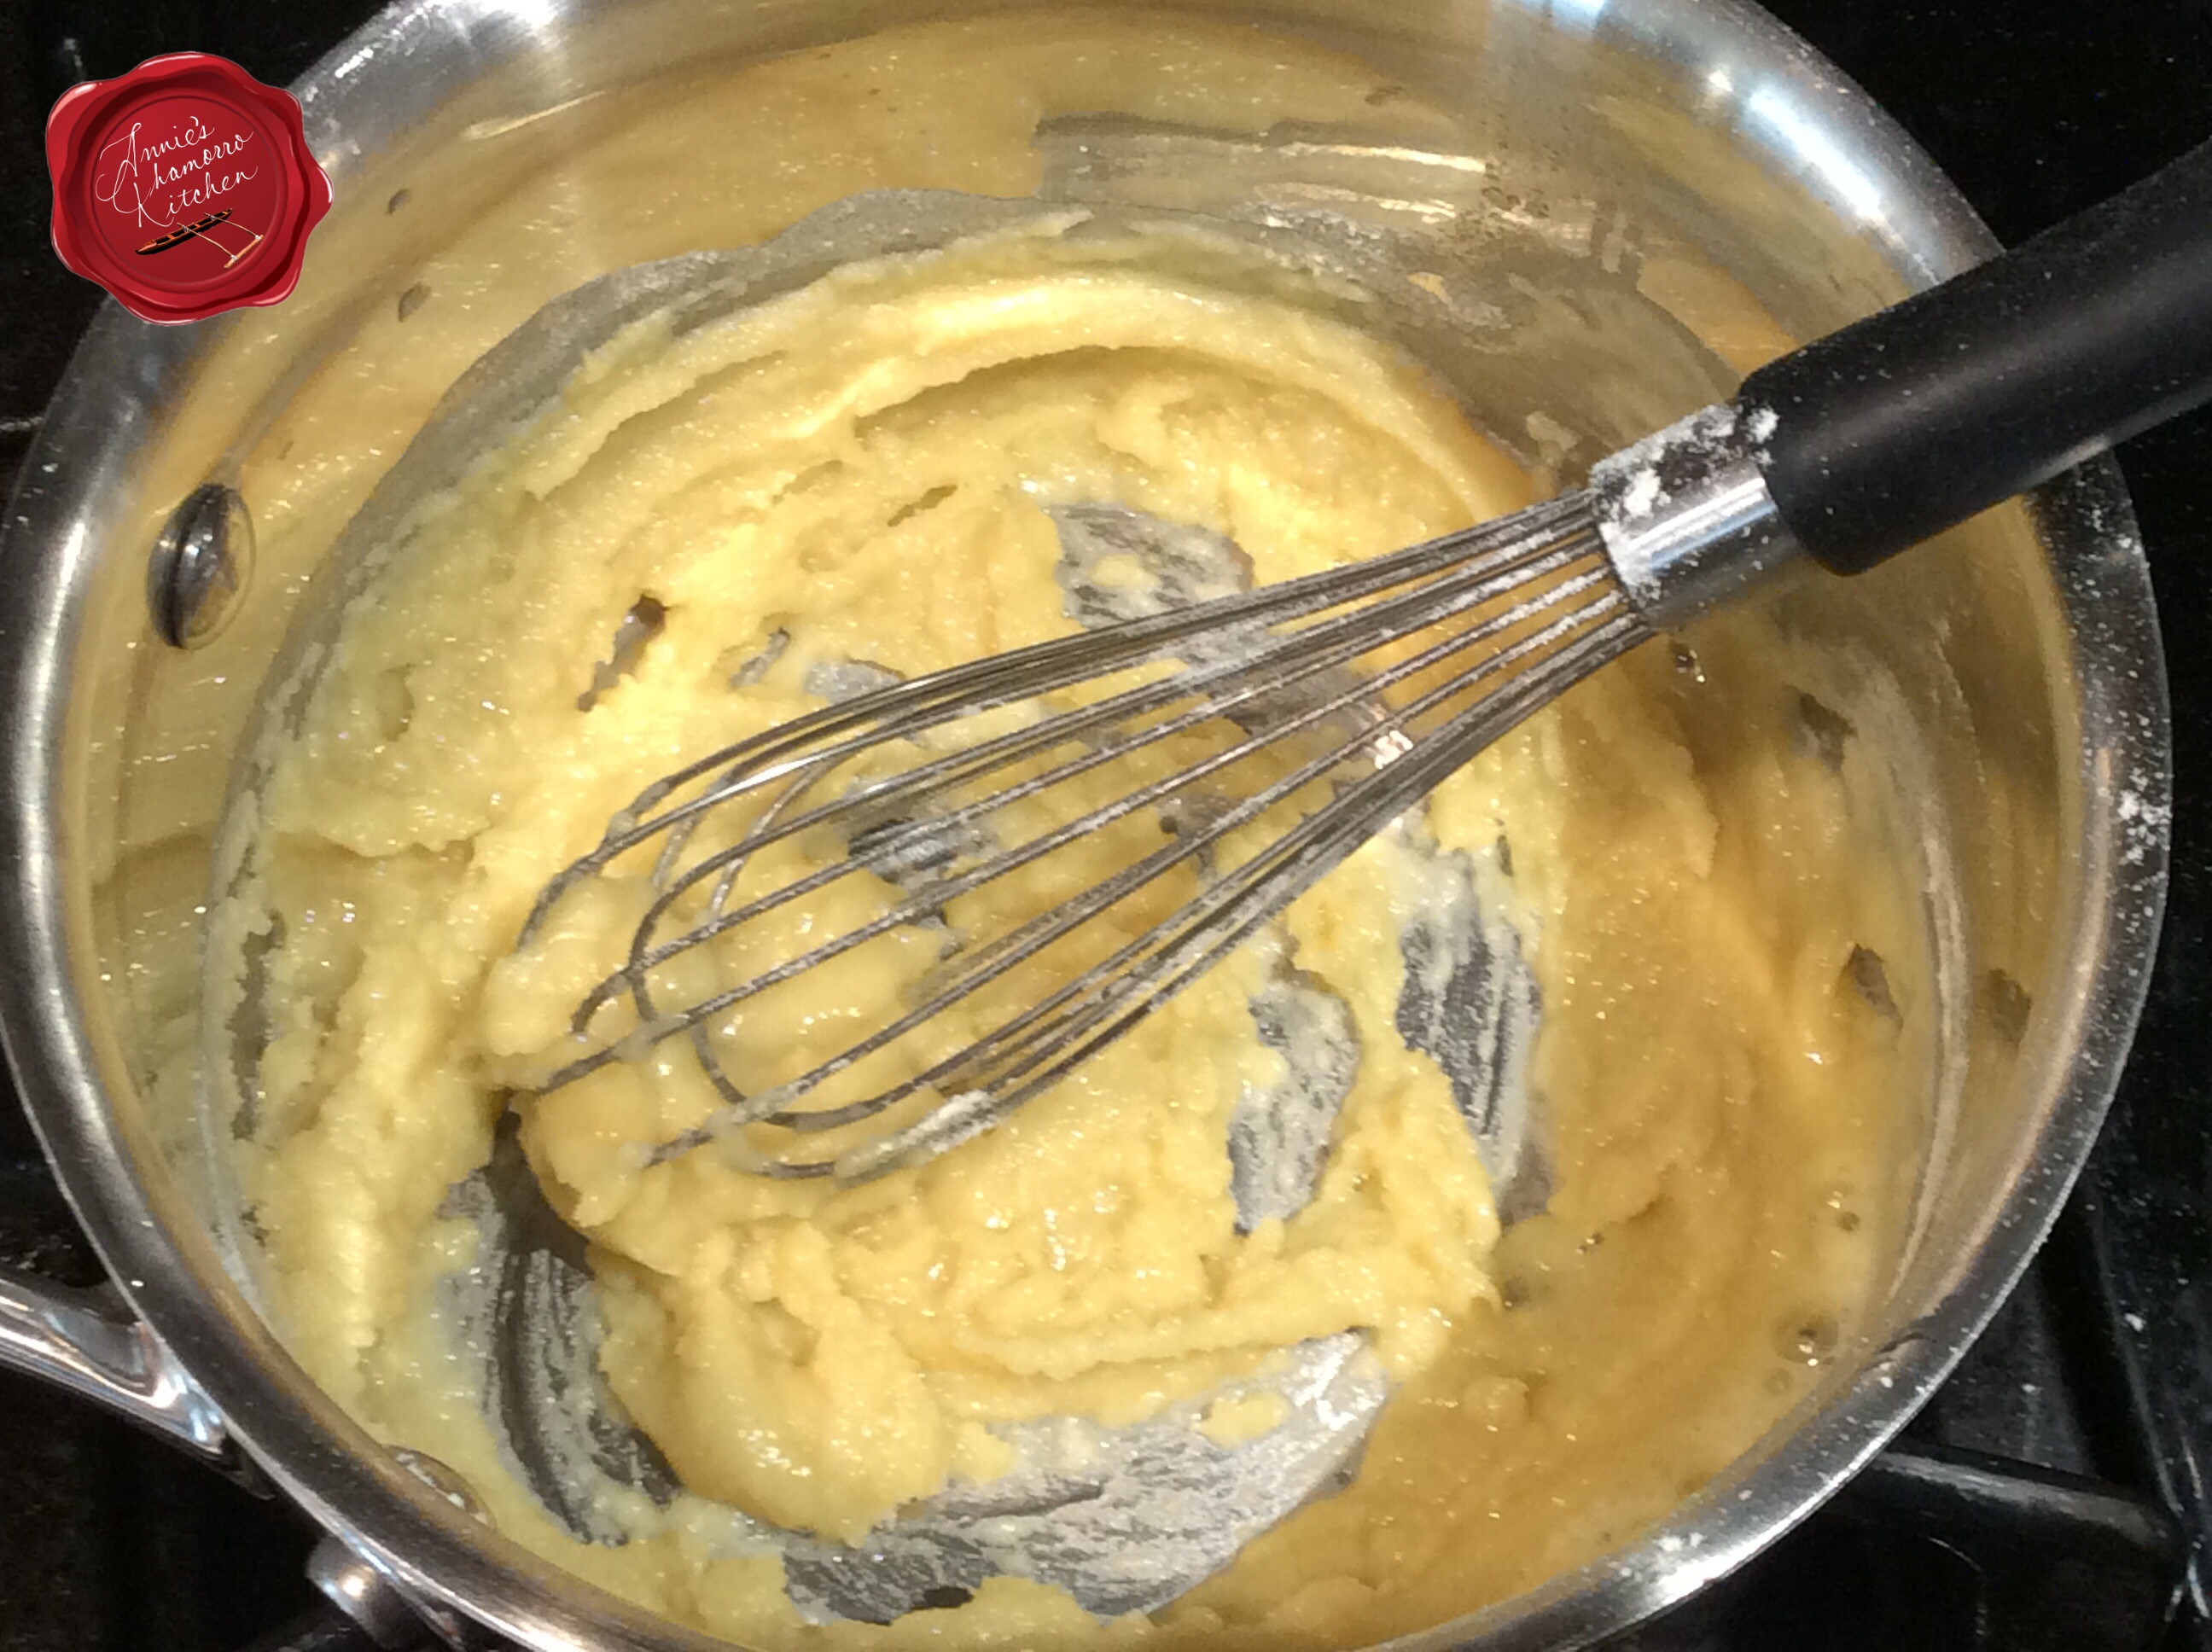
Melt some butter in a small sauce pan then add a few spoonfuls of flour. Cook over medium-low heat, stirring constantly until the mixture begins to turn a golden brown. Pour in some of the broth from the pot — about 1 to 2 cups will suffice — whisking constantly to prevent lumps from forming. If the mixture seems too thick, add more broth until you get a relatively creamy mixture (the photo below, on the right, needs more broth). Add the roux to the pot, stirring to dissolve the roux into the broth. Add the additional beef broth.
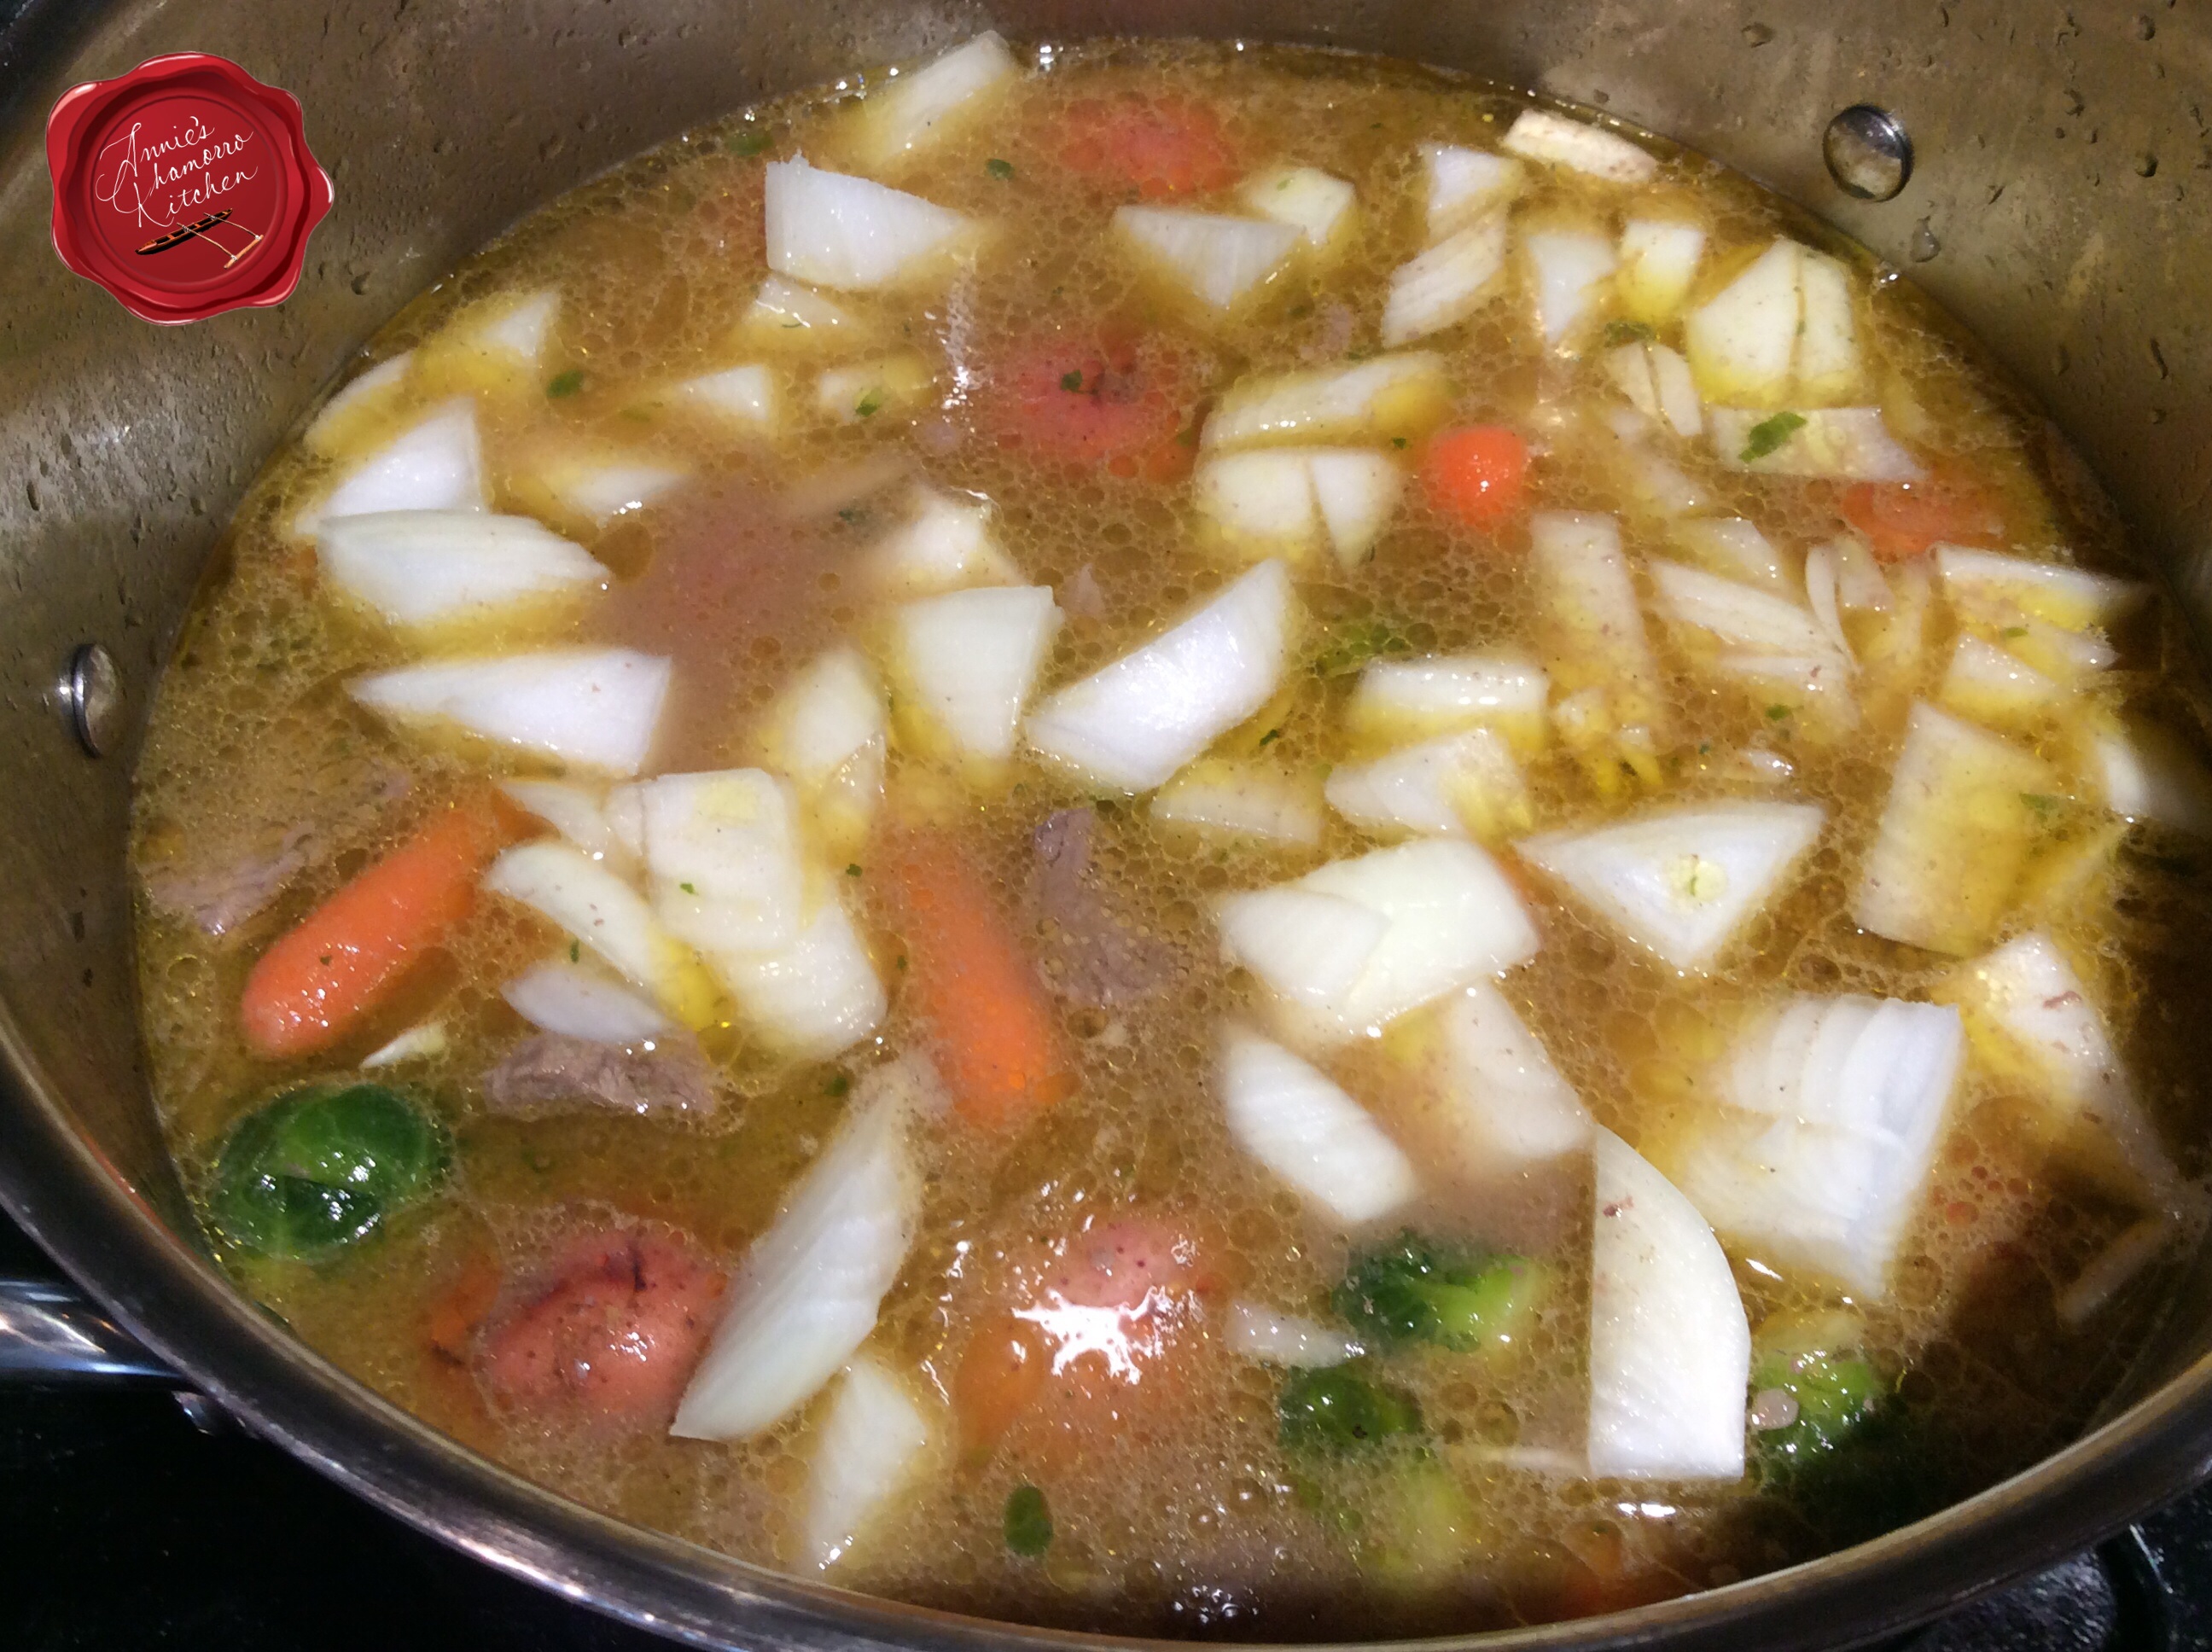
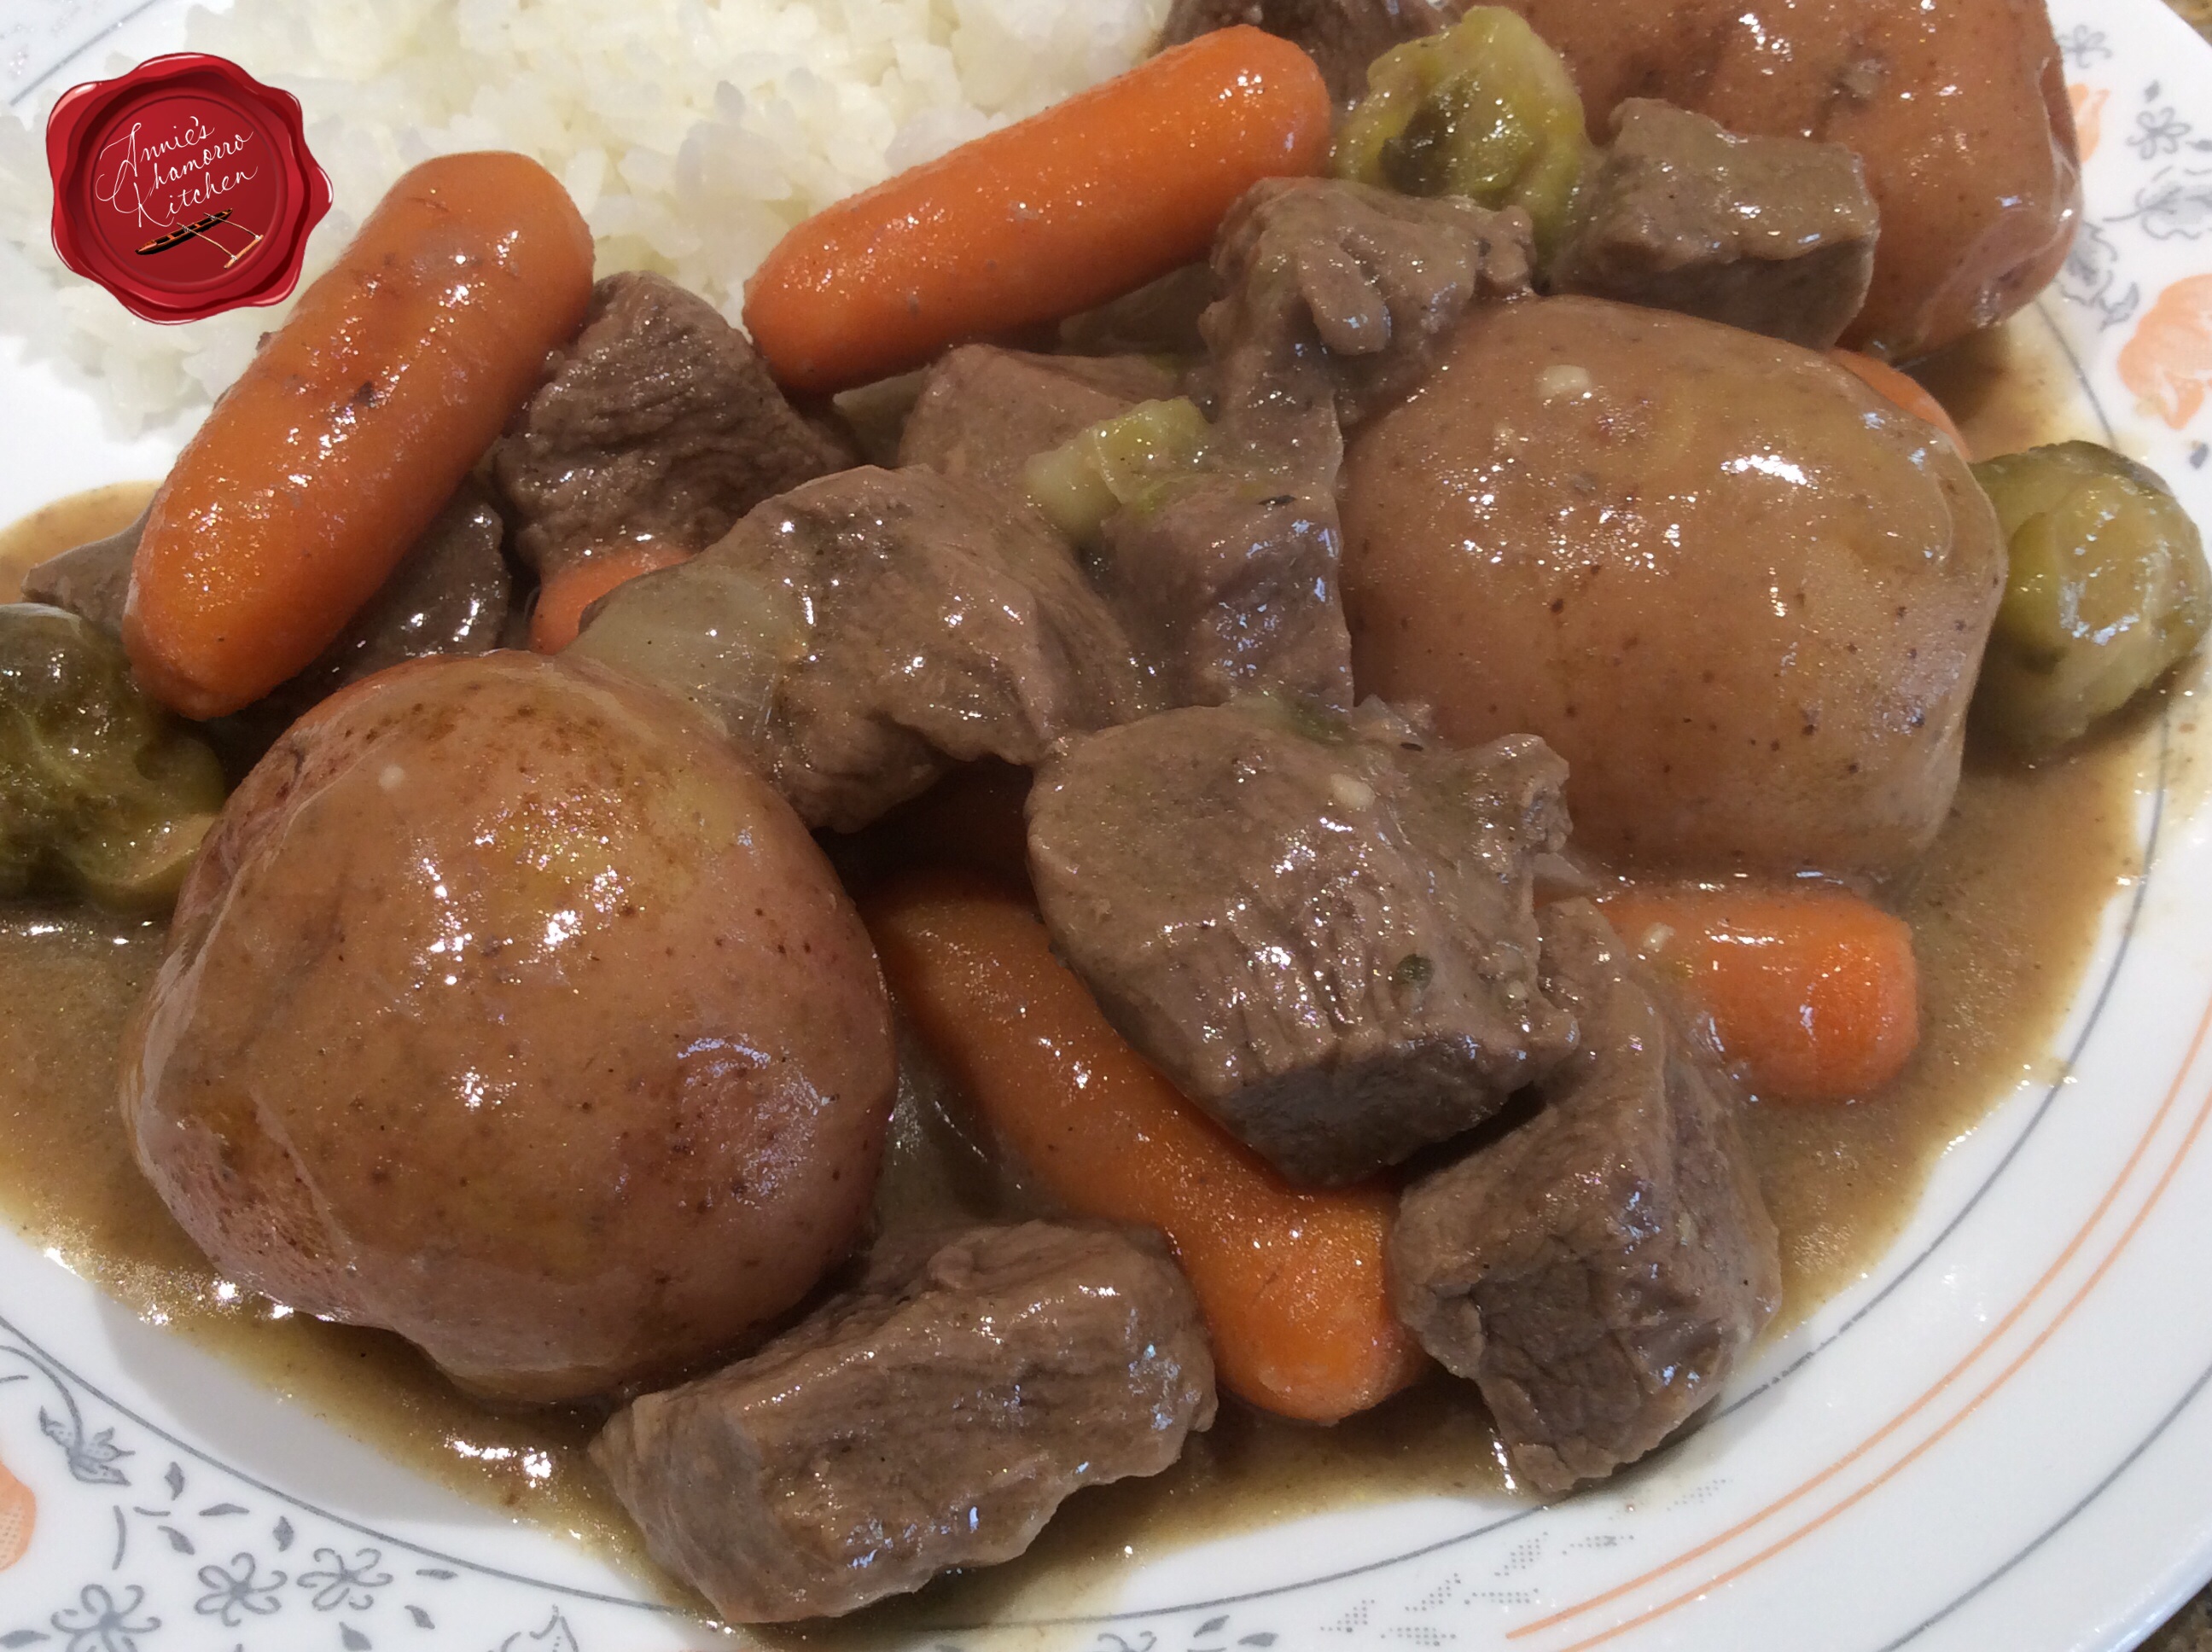
Add your vegetables to the pot. All at once. Go ahead. Don’t be skurred. Well, I take that back. Add the root vegetables first (potatoes, carrots) and let them cook for a few minutes before adding any other vegetables that cook quickly, like onions and in my recipe below, brussels sprouts.
Turn the heat back up to high and cook for about 10 more minutes, or until the potatoes and carrots can be pierced easily with a fork. I like using petite red potatoes because they are small enough that I just have to wash them then throw them into the pot. You can cut them in half if you want to cut down on the cooking time, but after two hours of simmering, what’s another five minutes of cooking?
Stir occasionally; the broth should be a nicely thickened gravy by now with the addition of the roux. Taste the gravy; add salt and pepper to taste. I like adding Dashida beef flavored seasoning instead of salt.
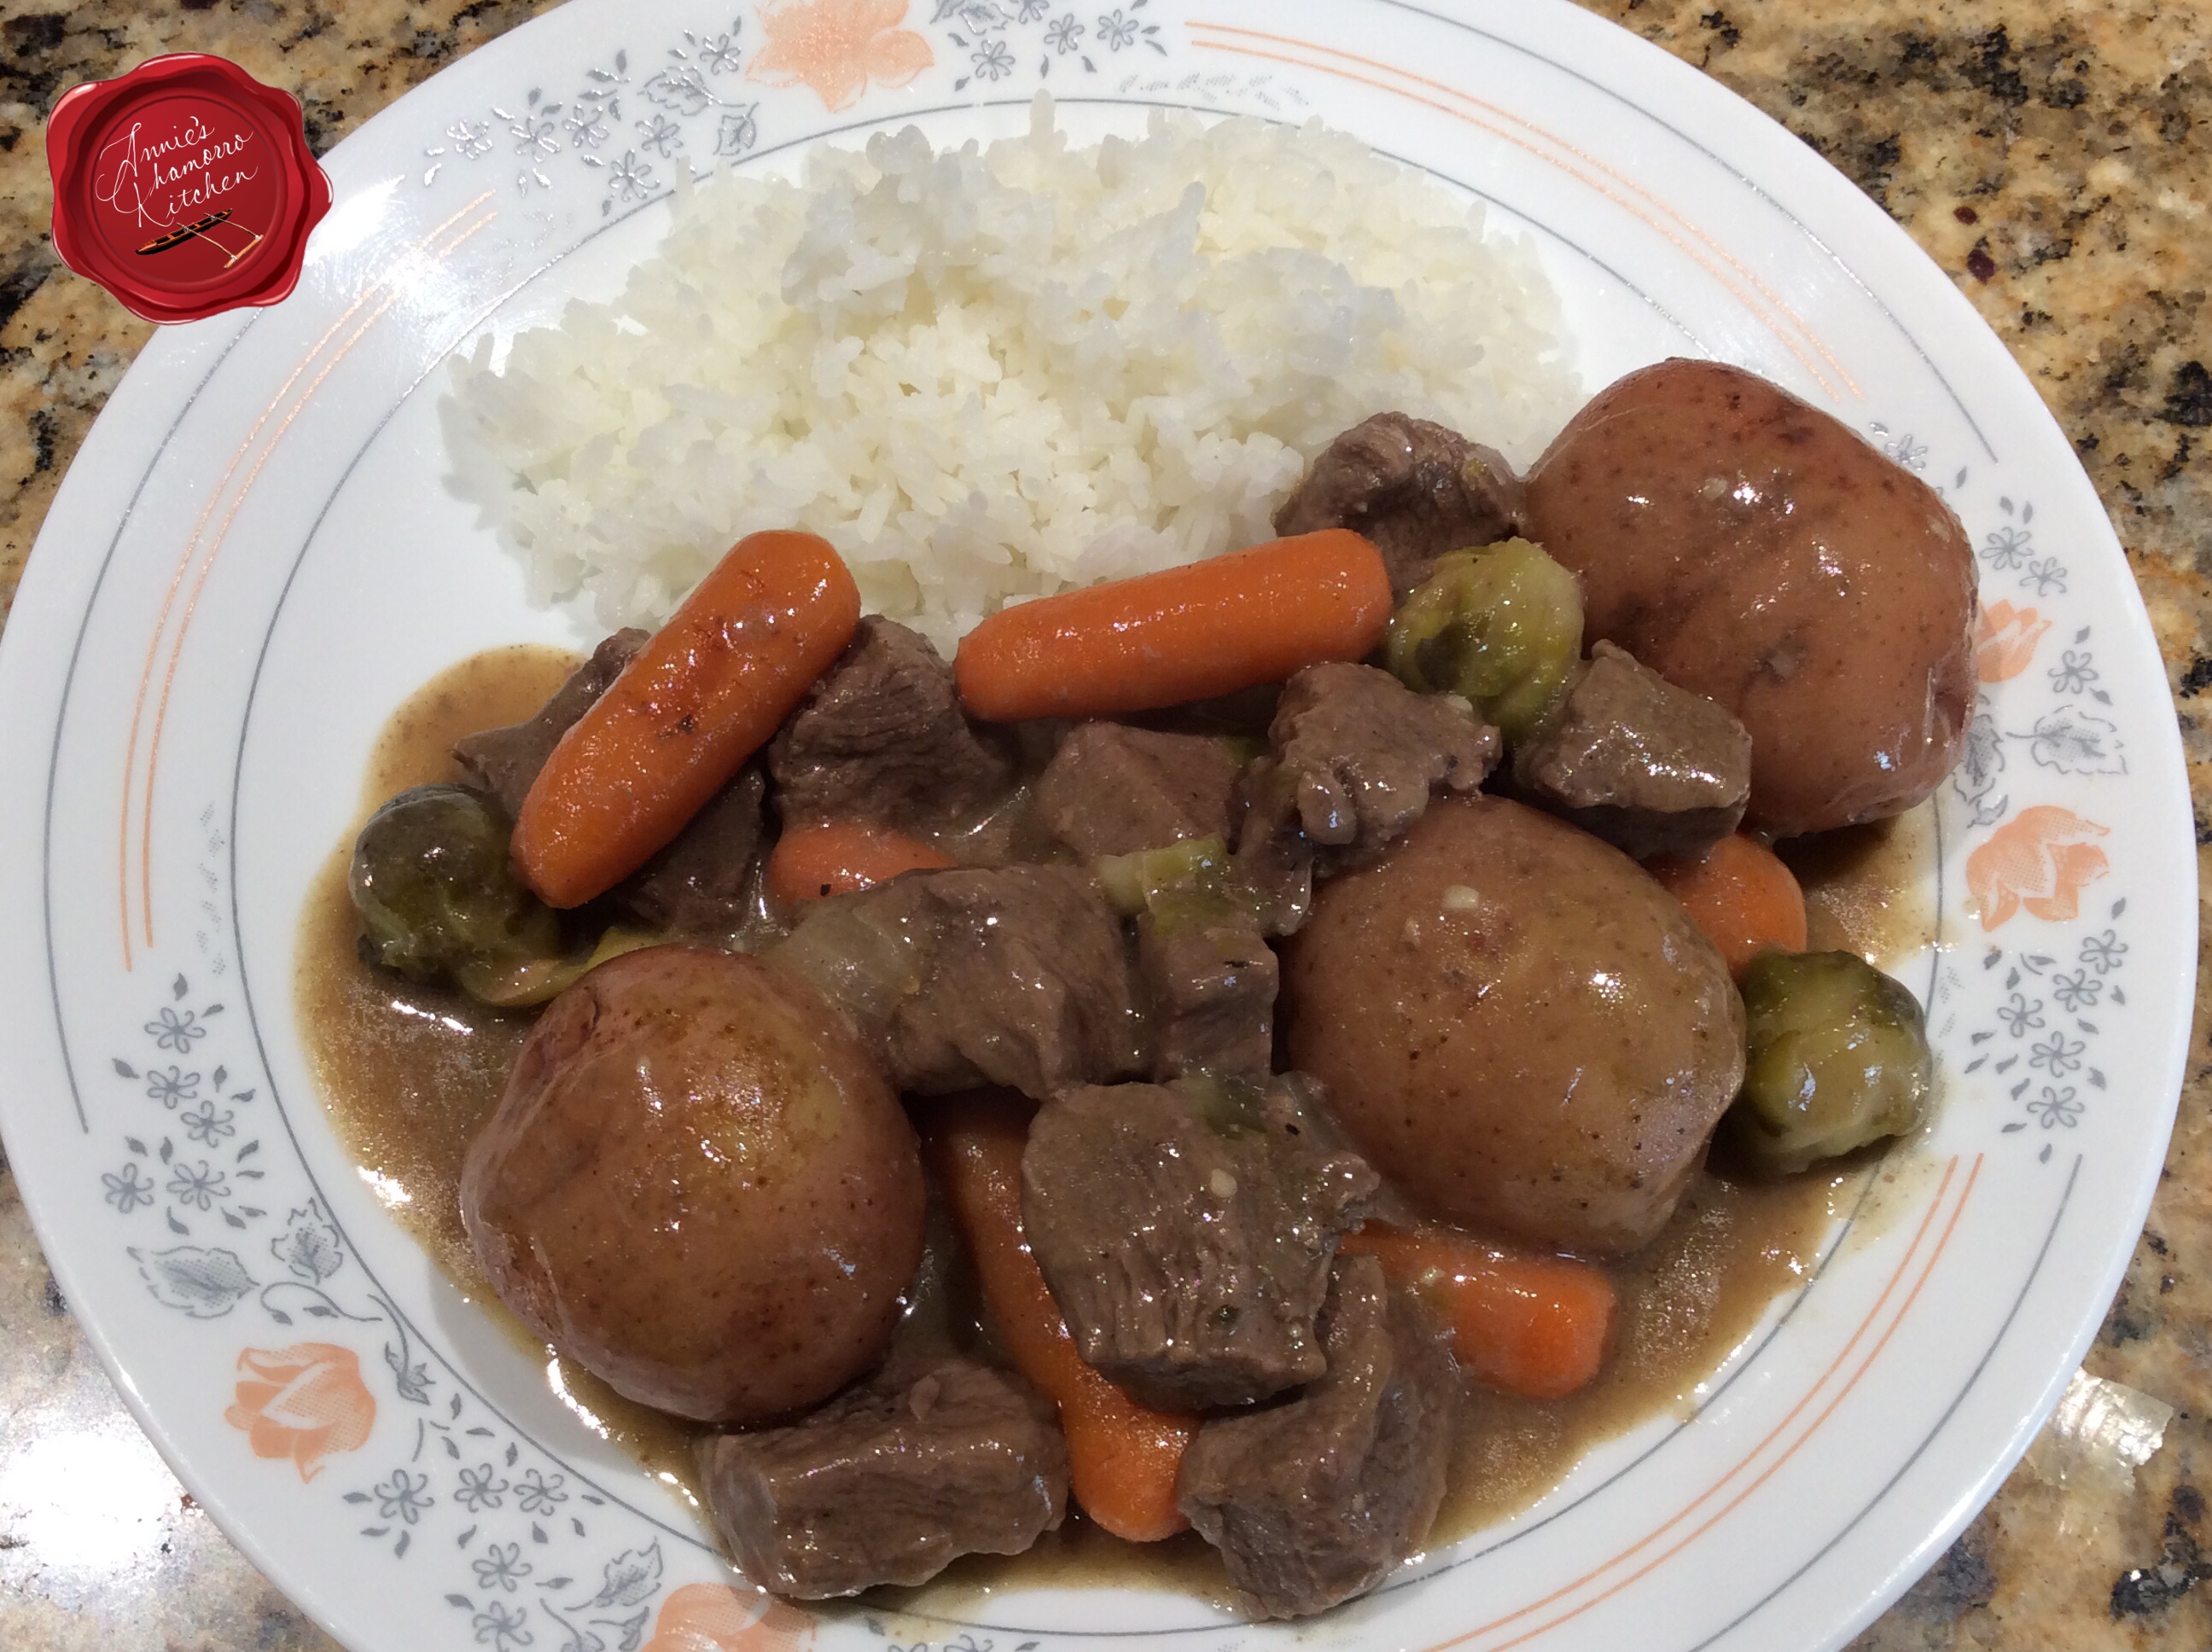
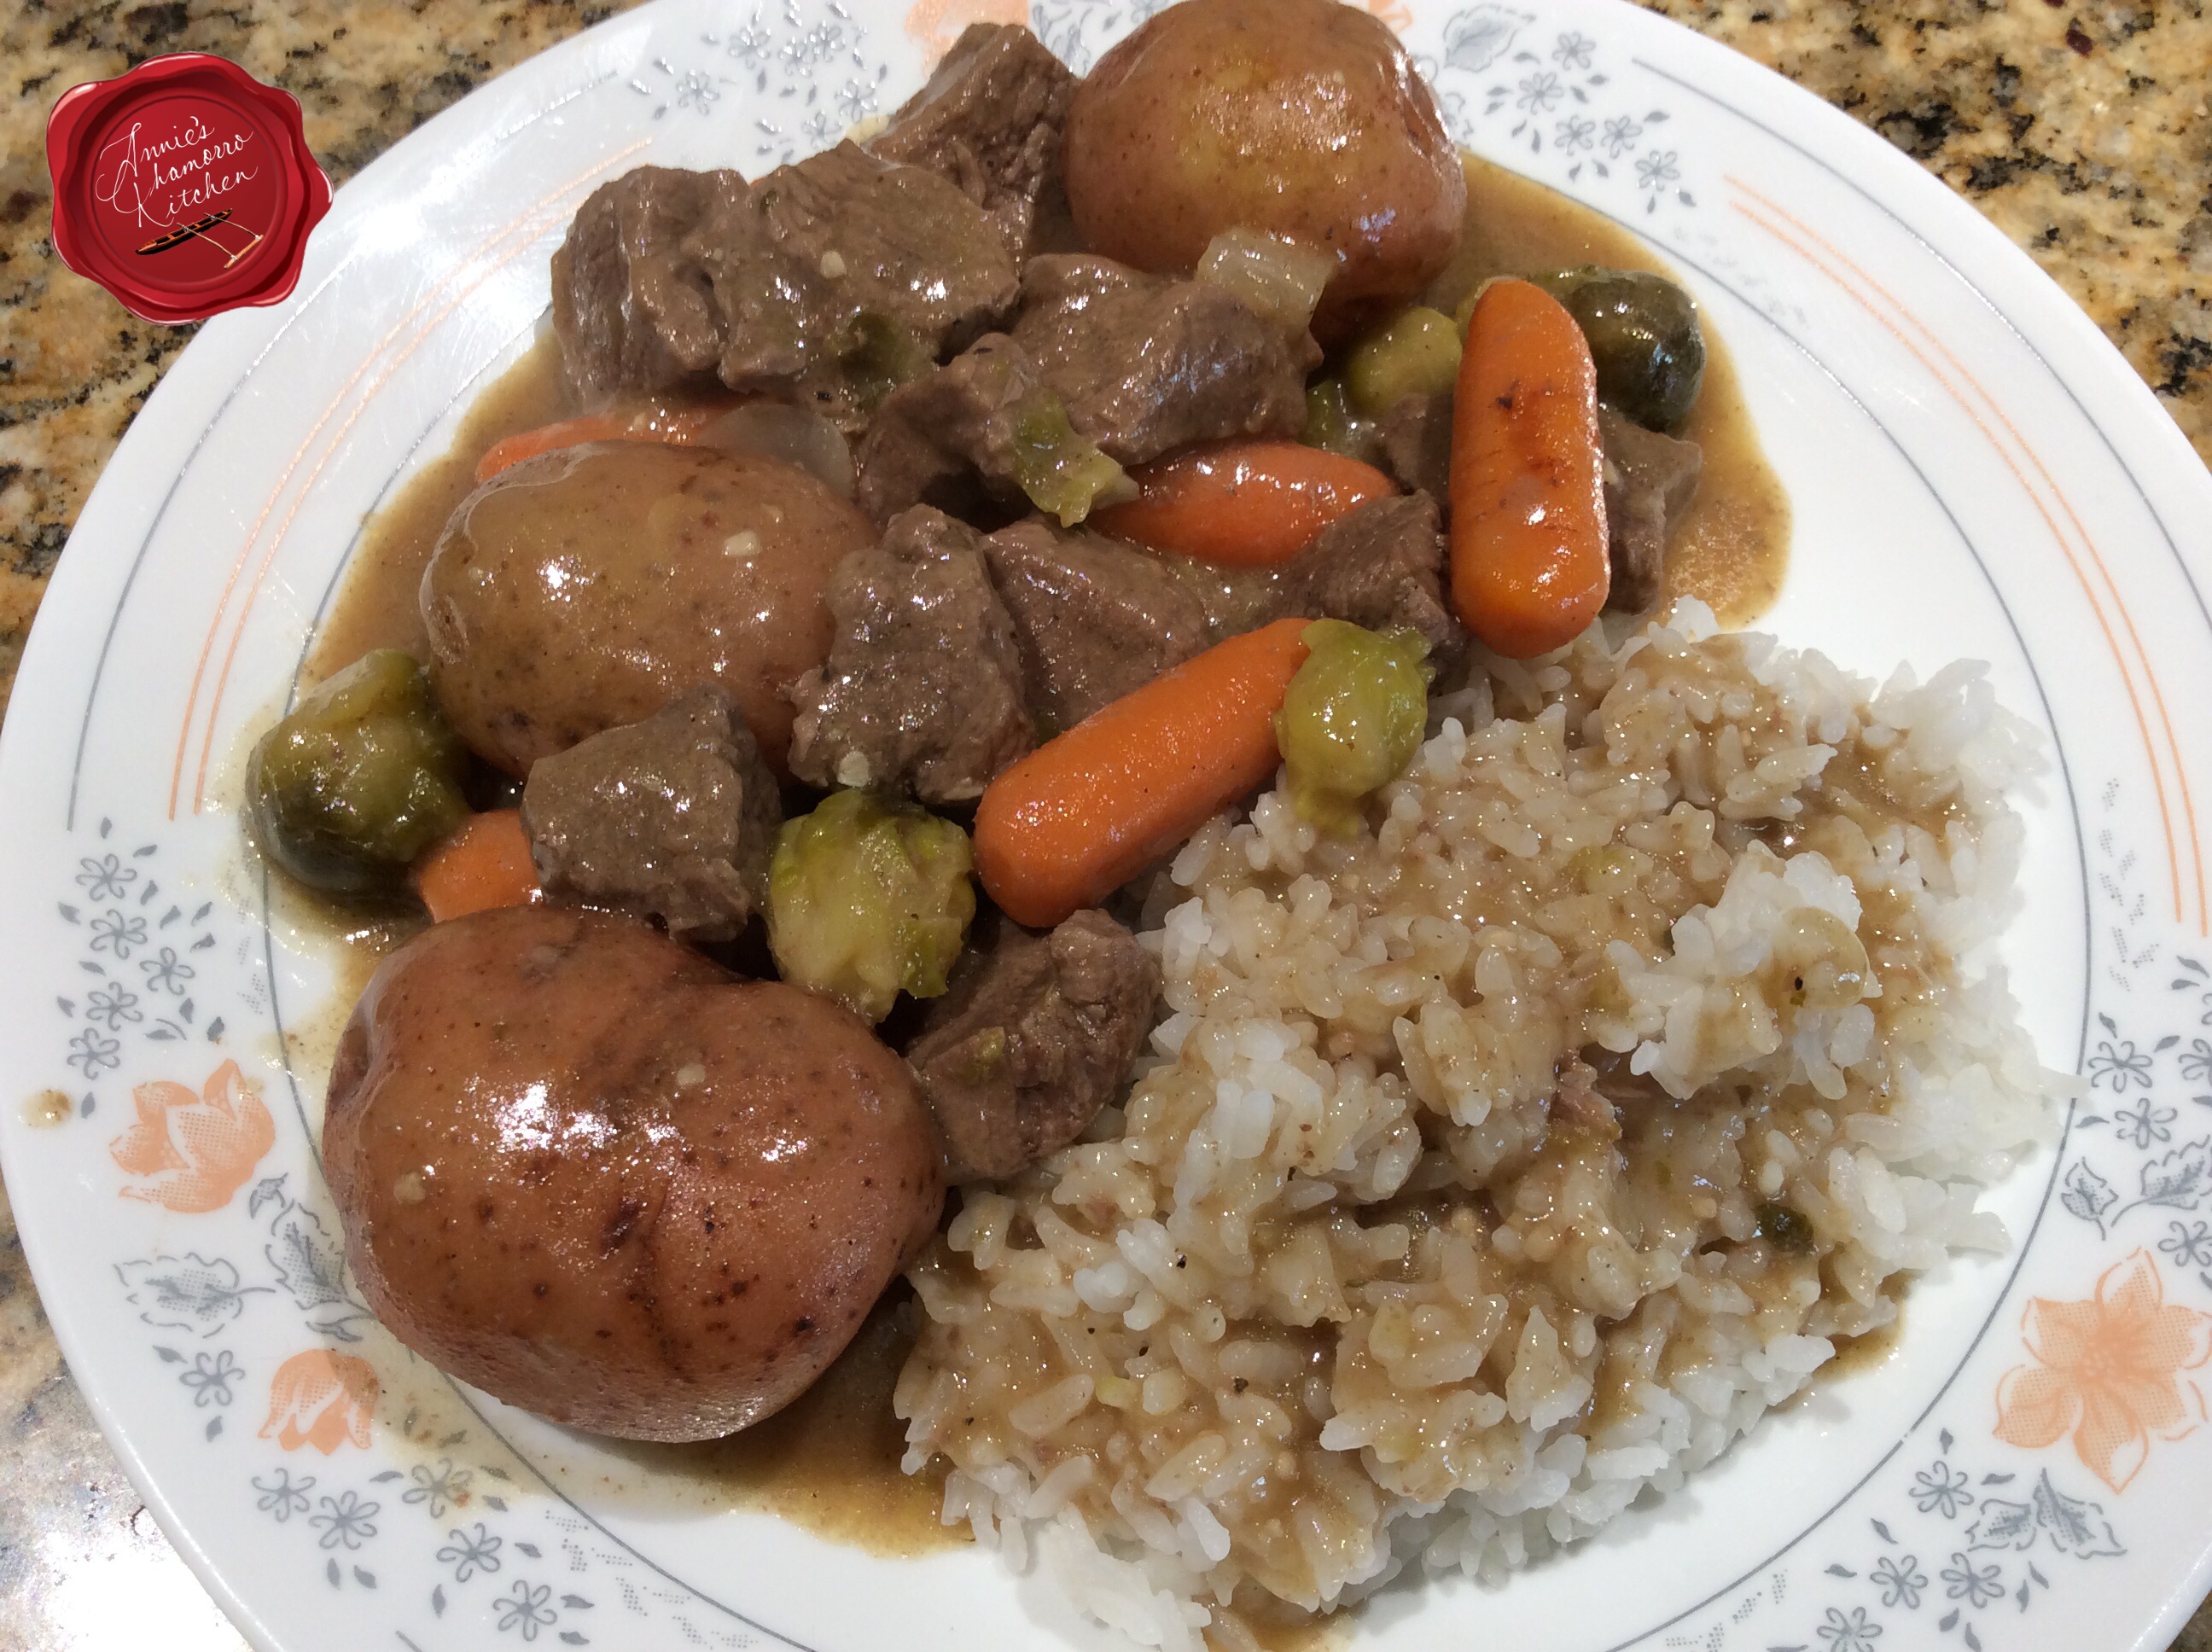
Serve with hot steamed white rice. If you’re like me, you’ll need to drown your rice in some of the delicious gravy.
Place the meat, butter, chopped garlic, ground thyme, black pepper and salt into a large pot. Cook over high heat until the meat browns, about 5 minutes.
Add the water, orange juice, and wine; reduce the heat to low and simmer for 2 hours.
After 2 hours, prepare the roux. In a small saucepan, melt the butter and add the flour. Stir constantly while cooking over medium heat until the mixture begins to brown. Whisk in the broth from the pot of stew. Turn the heat off; whisk the roux into the remaining broth in the pot.
Add the beef broth; stir.
Add the carrots, potatoes and onion. Let this cook for a few minutes then add the brussels sprouts.
Return the heat to high and cook for 10 minutes or until the potatoes are easily pierced with a fork.
Taste the gravy and add salt and pepper to taste, or add Dashida.
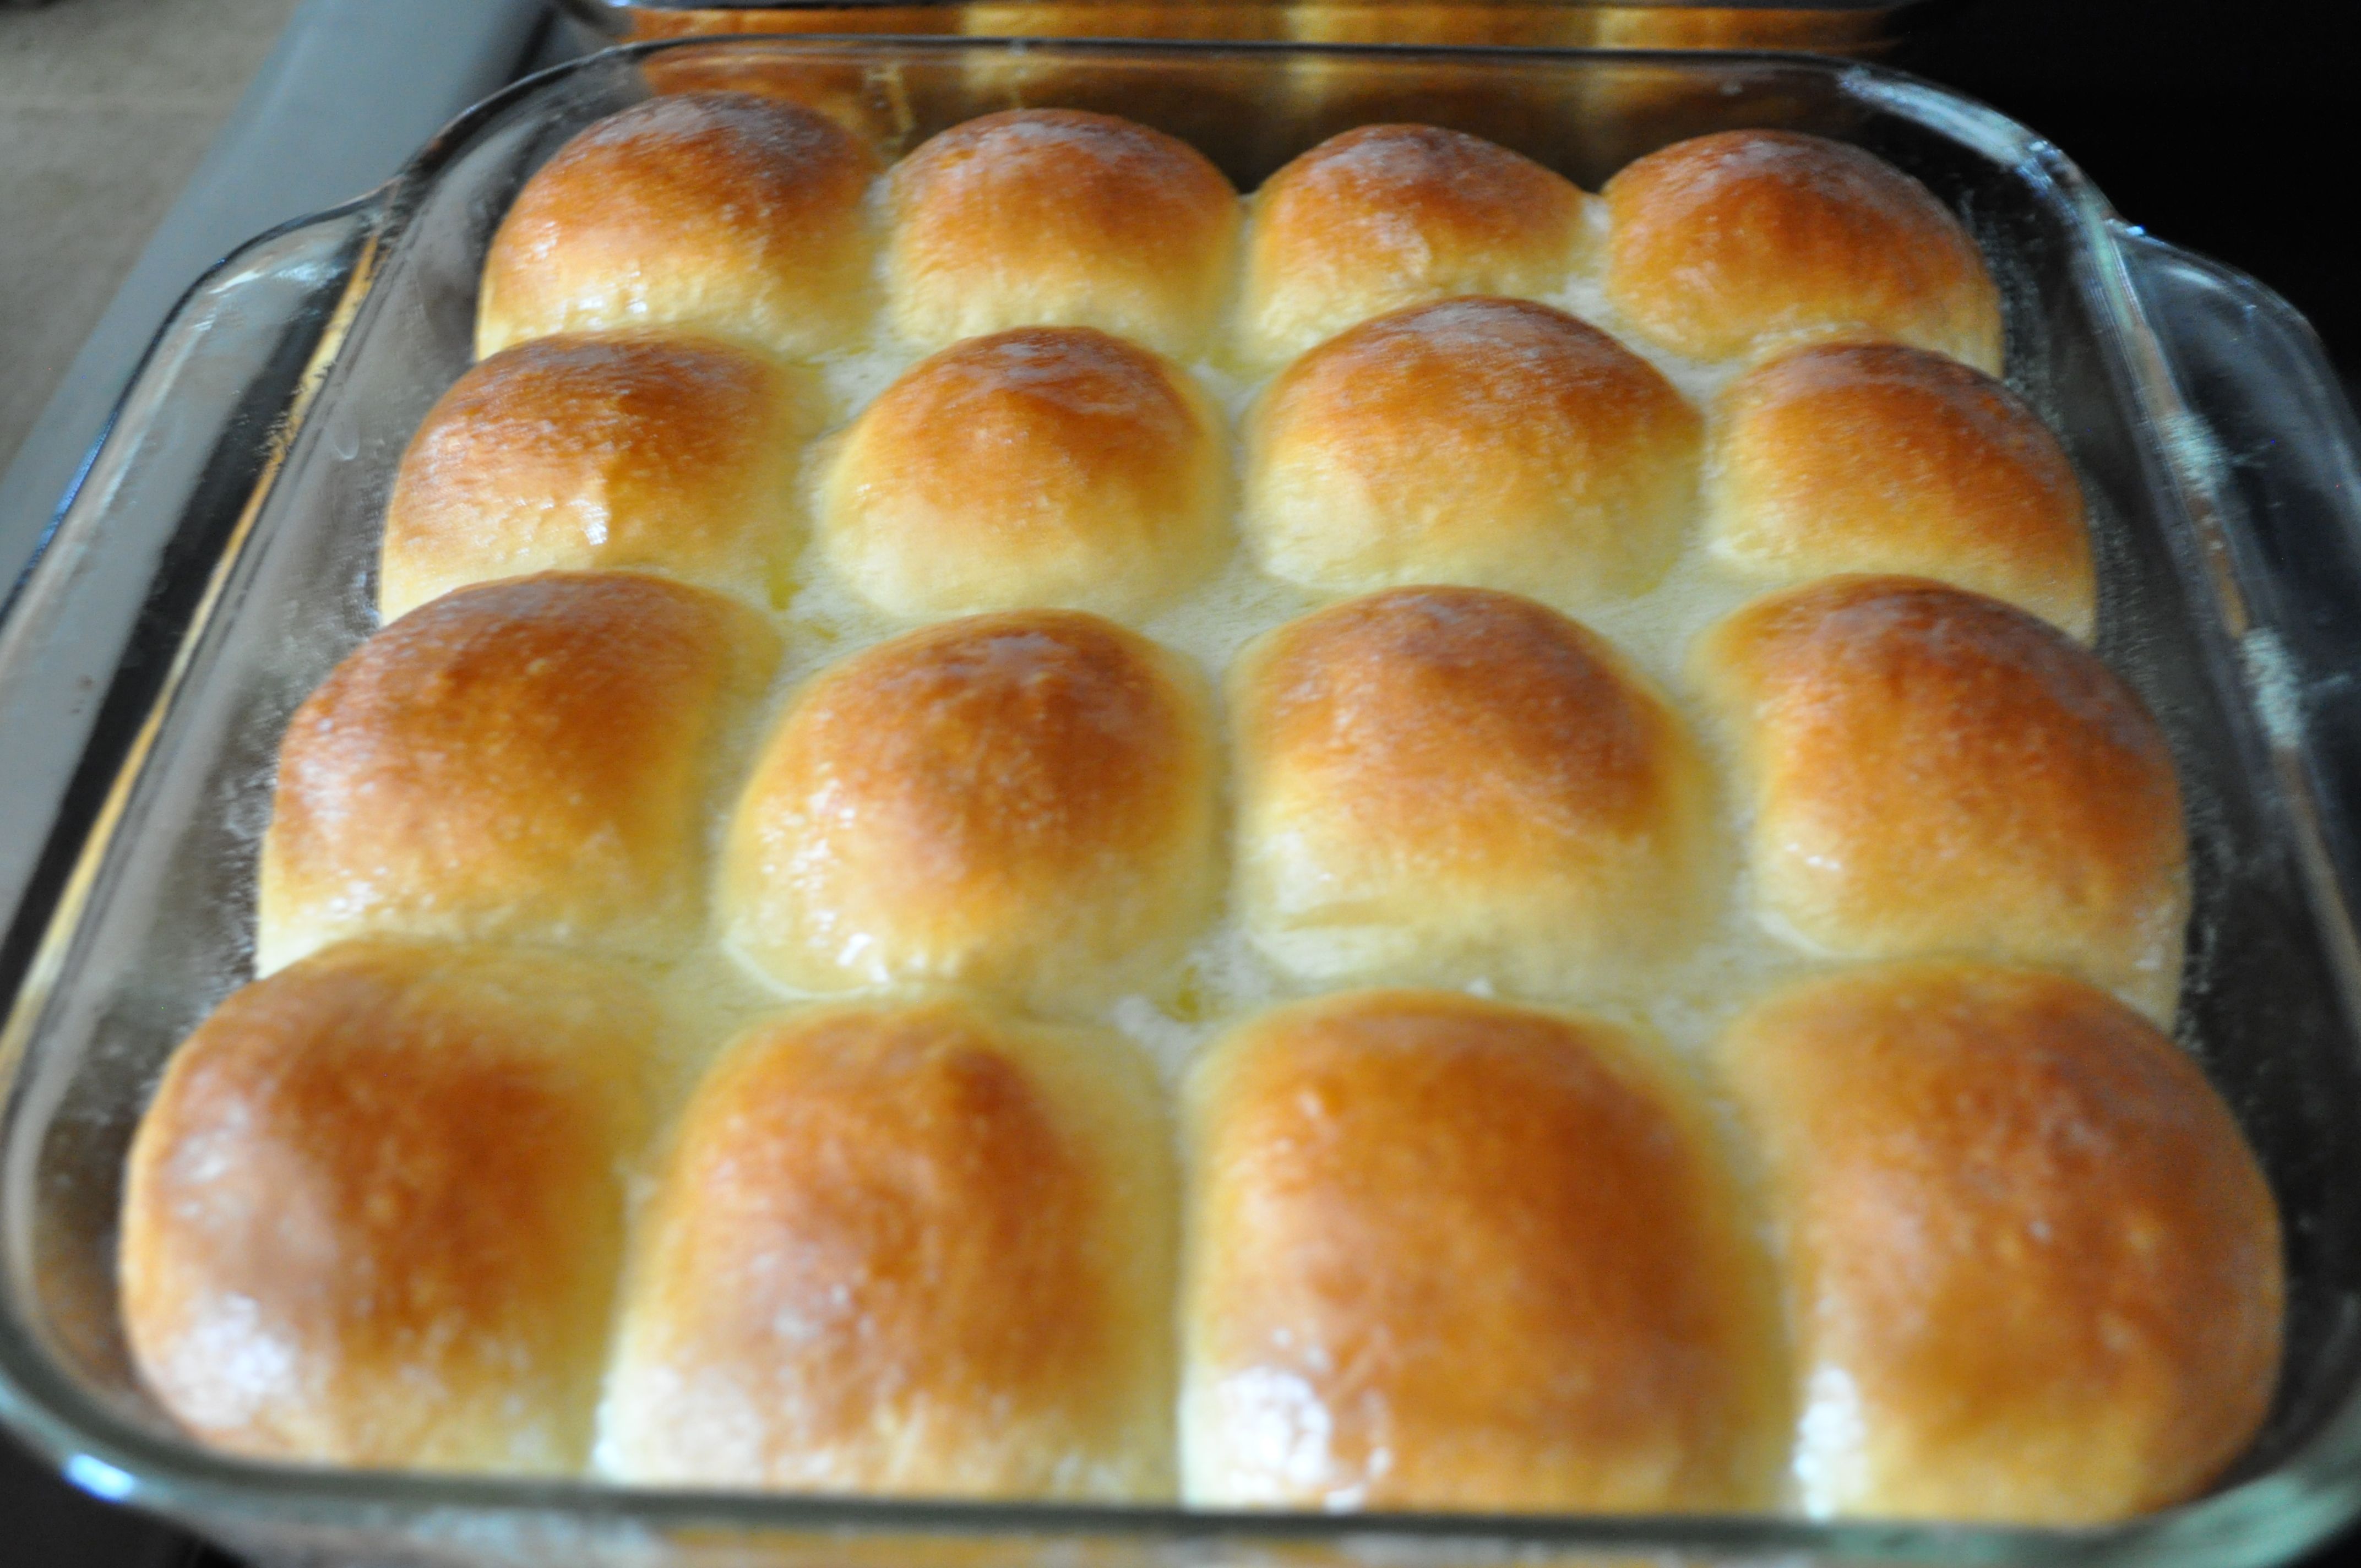
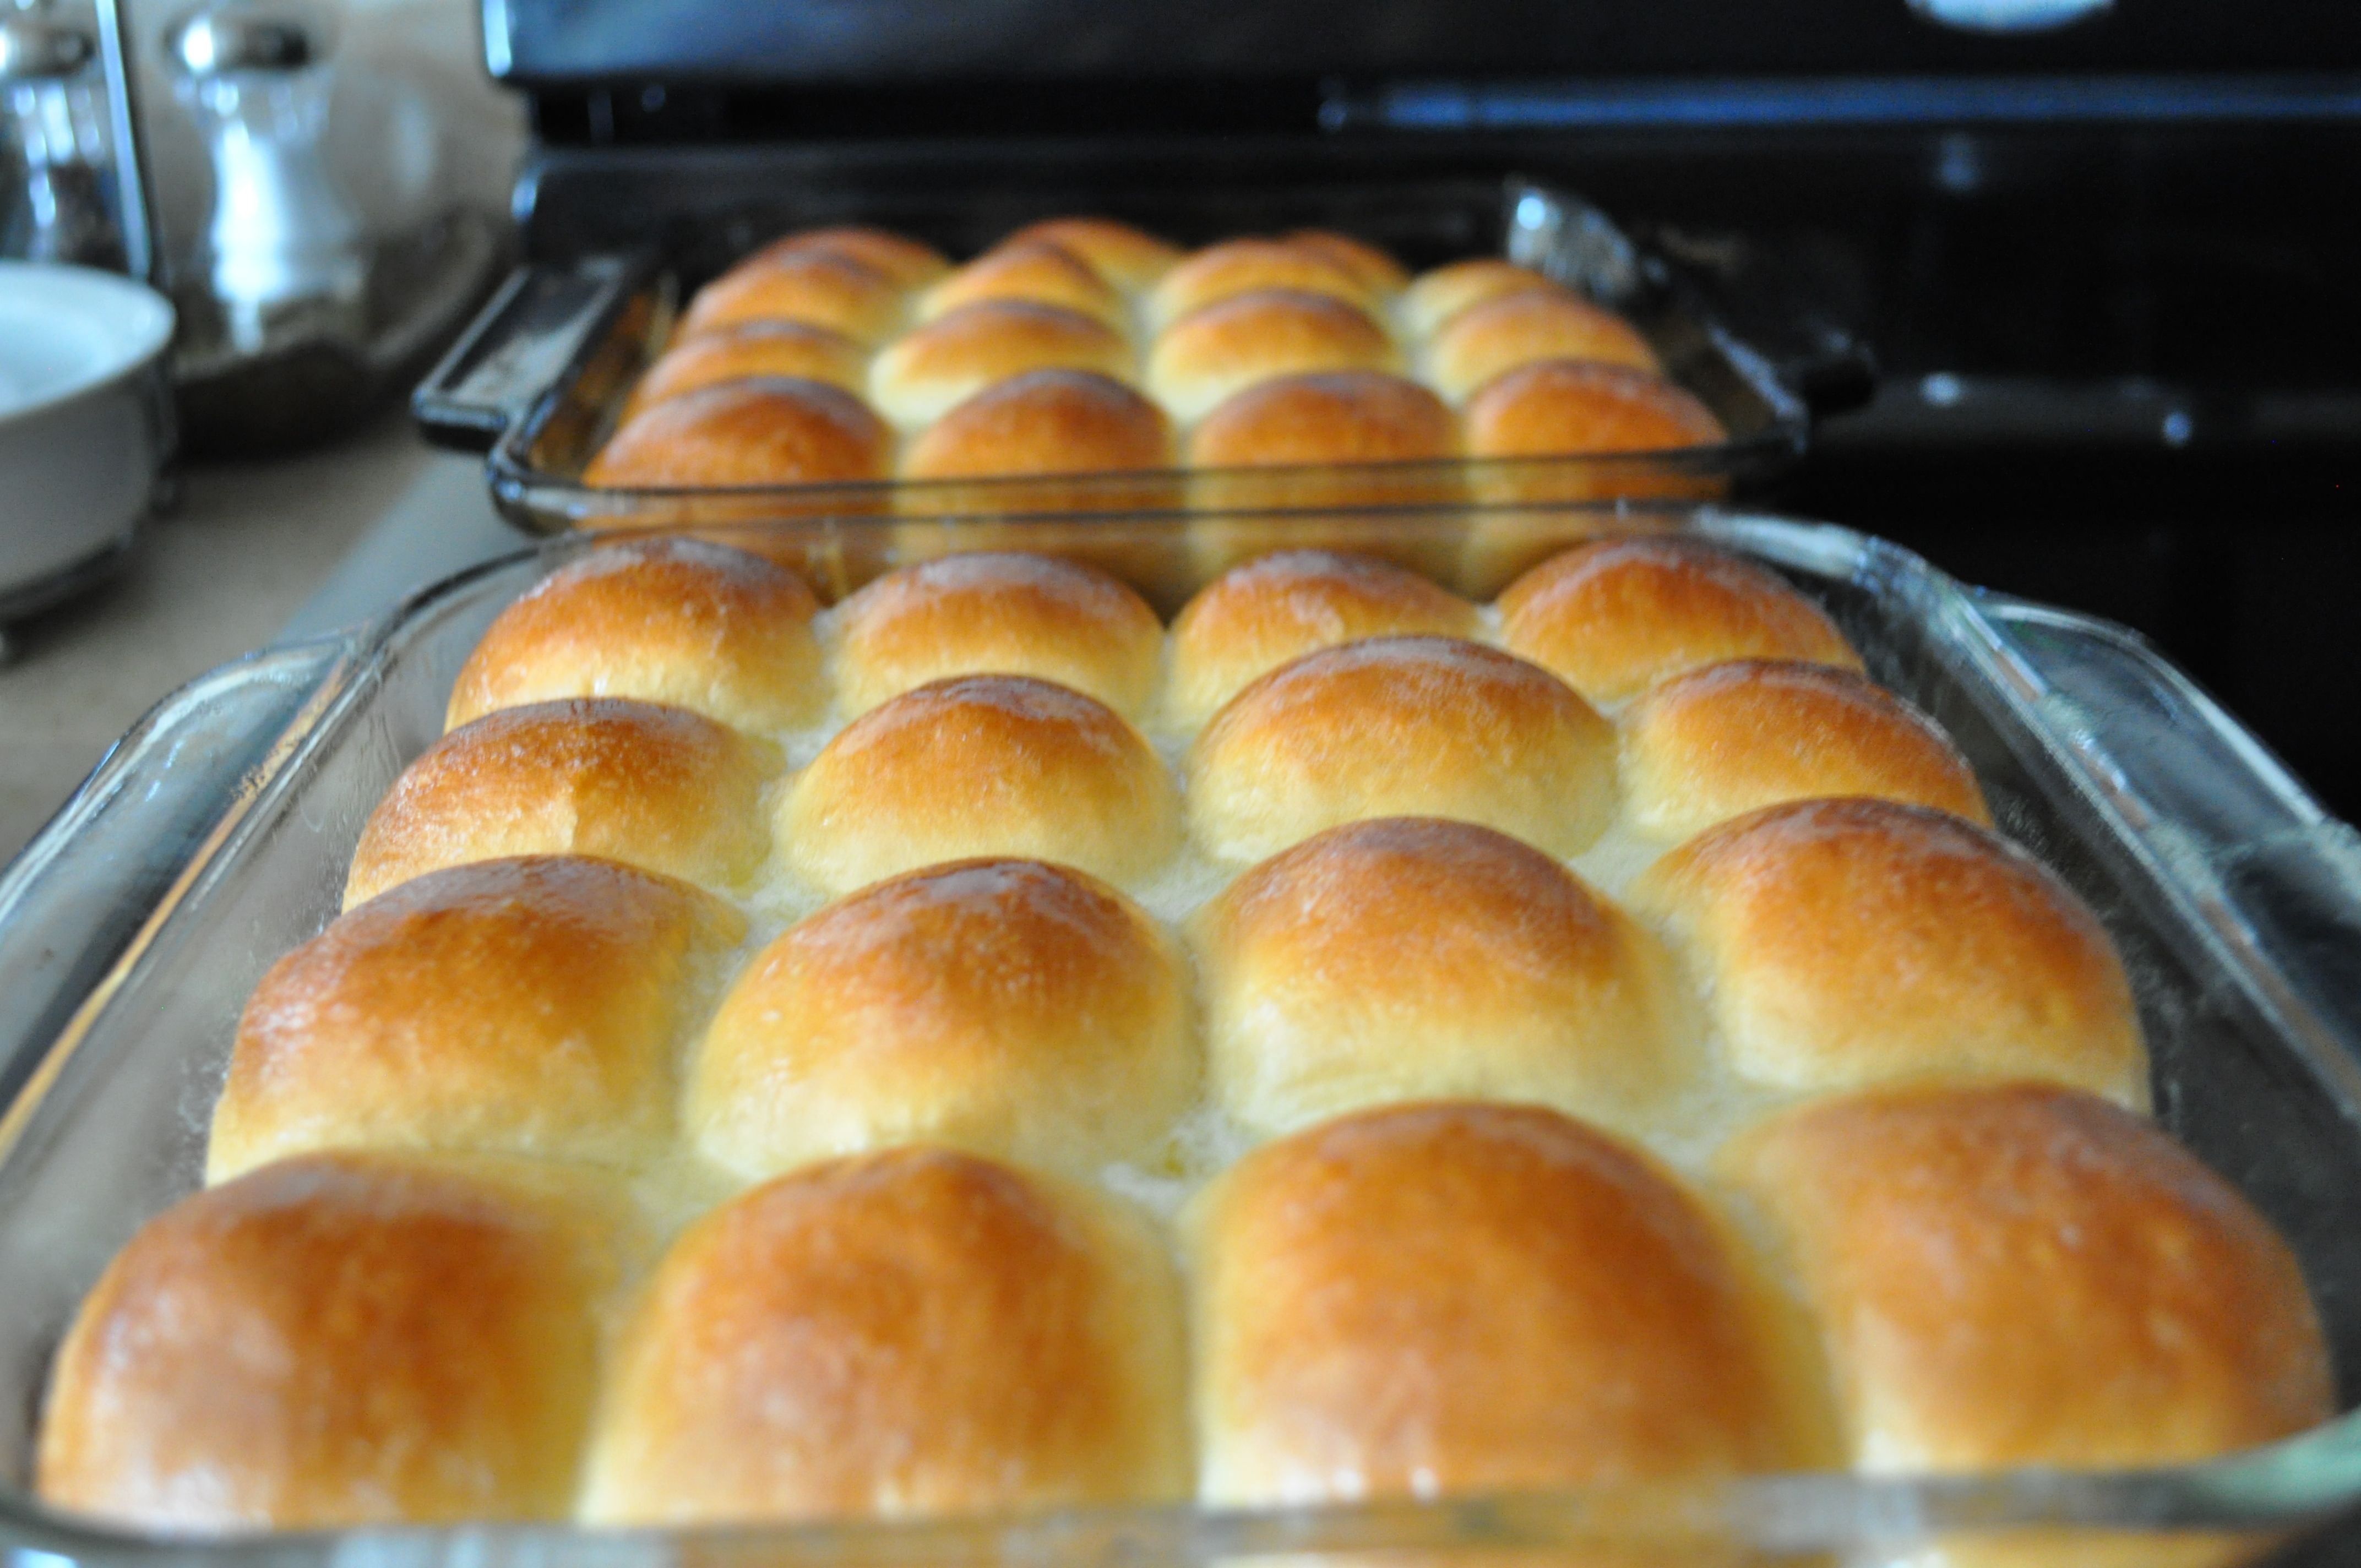
As the title for my recipe states, this is my go-to recipe when I want to whip up a tray of sweet dinner rolls.
It’s also the same recipe I use in my tutorial videos for making dinner rolls (see below).
I’ve heard from many people who have made dinner rolls following this recipe and my instructions in my tutorial videos. Most of them were successful at their first try, but I will tell you that baking with yeast requires PATIENCE and practice.
If you don’t succeed in your first try, keep at it. My very first attempt at baking with yeast was an epic failure — my rolls were as hard as rocks! But not anymore! I can’t tell you how much money went down the drain, not to mention the valuable ingredients I wasted each time I tried, but tried I did until I got it right!
Here are some tips when baking yeast breads:
Sometimes the dough is MEANT to be sticky. Do not be tempted to add a ton of flour just to prevent it from sticking to your hands or you’ll end up with super dense and rock-hard rolls. Instead of adding flour to the dough, flour your hands, or rub a bit of vegetable oil to your hands to prevent the dough from sticking to them.
Even if a recipe states to wait about an hour for dough to double in size, sometimes it takes longer depending on the temperature of your rising place. BE PATIENT…the dough will rise and double eventually (provided your yeast is active).
Test the temperature of the water (or other liquid) you use to proof your yeast. Use a thermometer if you have one. Otherwise, use your finger to determine whether the liquid is too hot. The perfect yeast-proofing temperature should feel like the temperature of your skin, or a low-grade fever (around 100-101 degrees). Or, for you moms out there, if the temperature feels like it would be too hot to put in a baby’s bottle, then let it cool longer before adding the yeast. Too hot of a temperature will KILL the yeast.
Yeast needs sugar to grow. Make sure you add a tablespoon or two of sugar to the proofing liquid. If your yeast doesn’t start to bubble after 5 minutes of proofing, chances are the liquid was too hot (and you killed the yeast), or the yeast was old, or you didn’t add any sugar to feed it.
Do not over knead the dough. Hand kneading should take about 10-12 minutes, or 6-8 minutes if using a stand mixer.
Give my recipe a try (posted beneath my tutorial videos).
Post any questions in the comment section below, or message me on Facebook at http://www.facebook.com/AnniesChamorroKitchen1/ for a quick response.
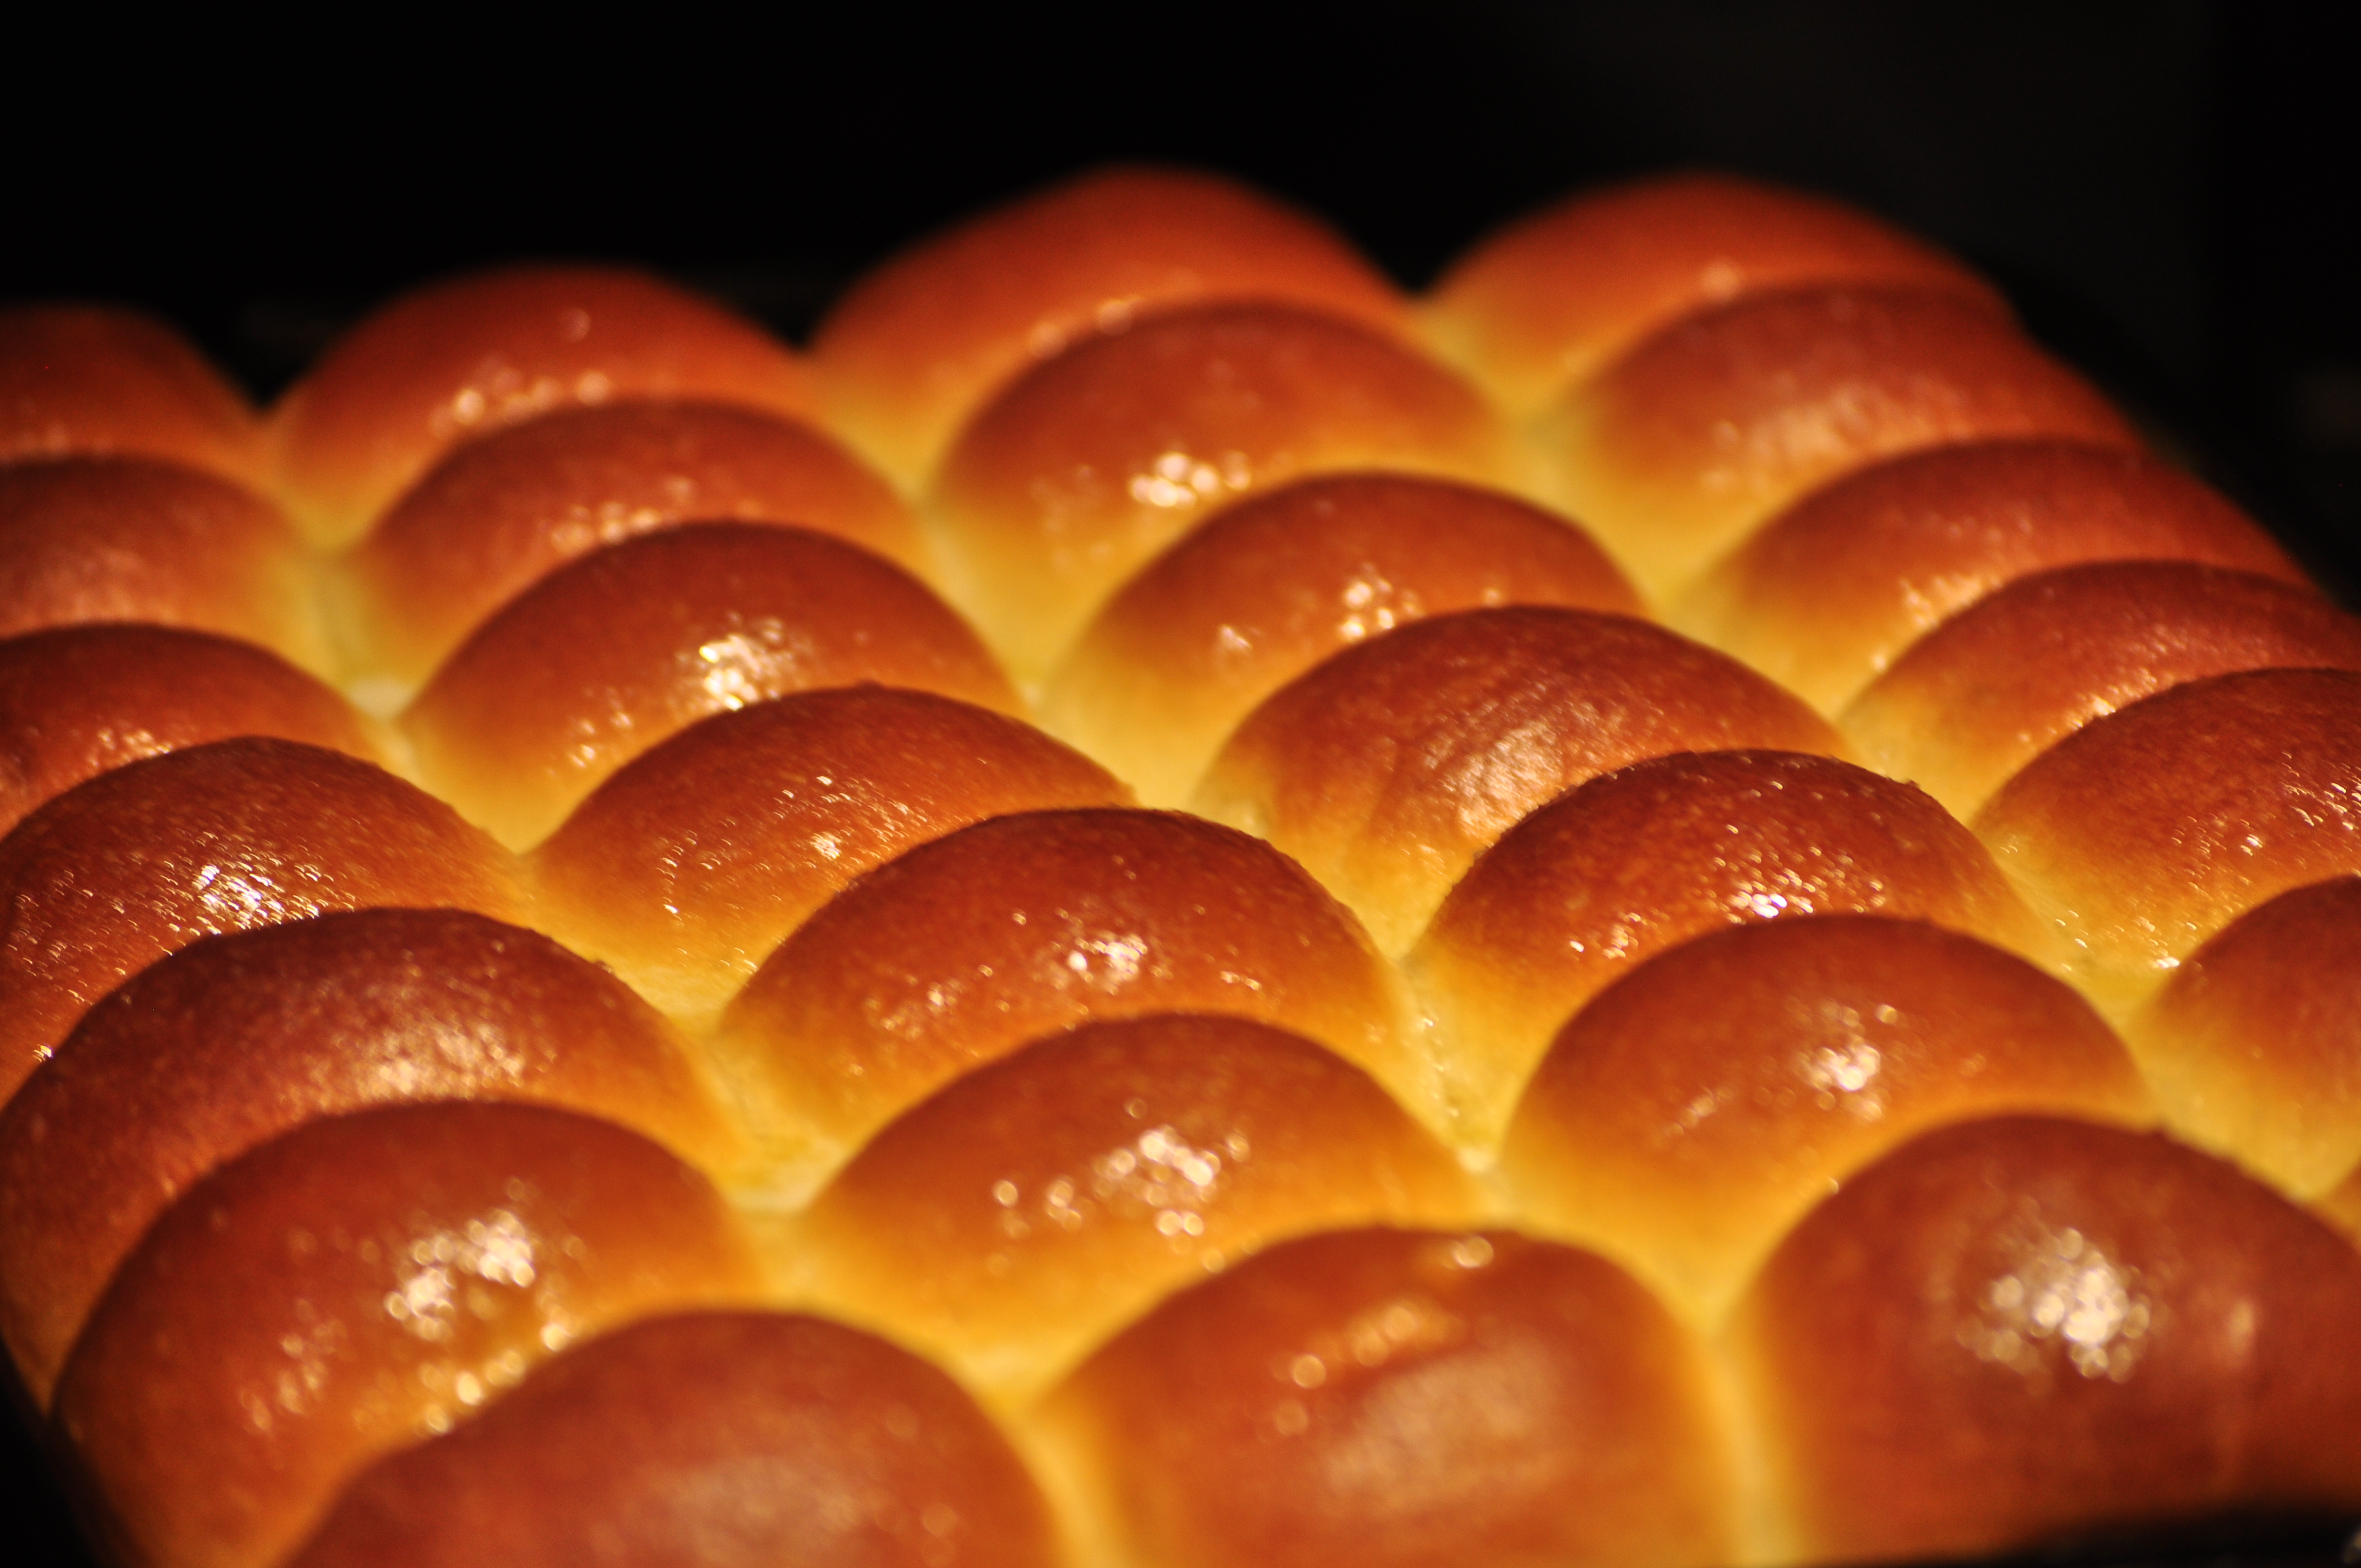
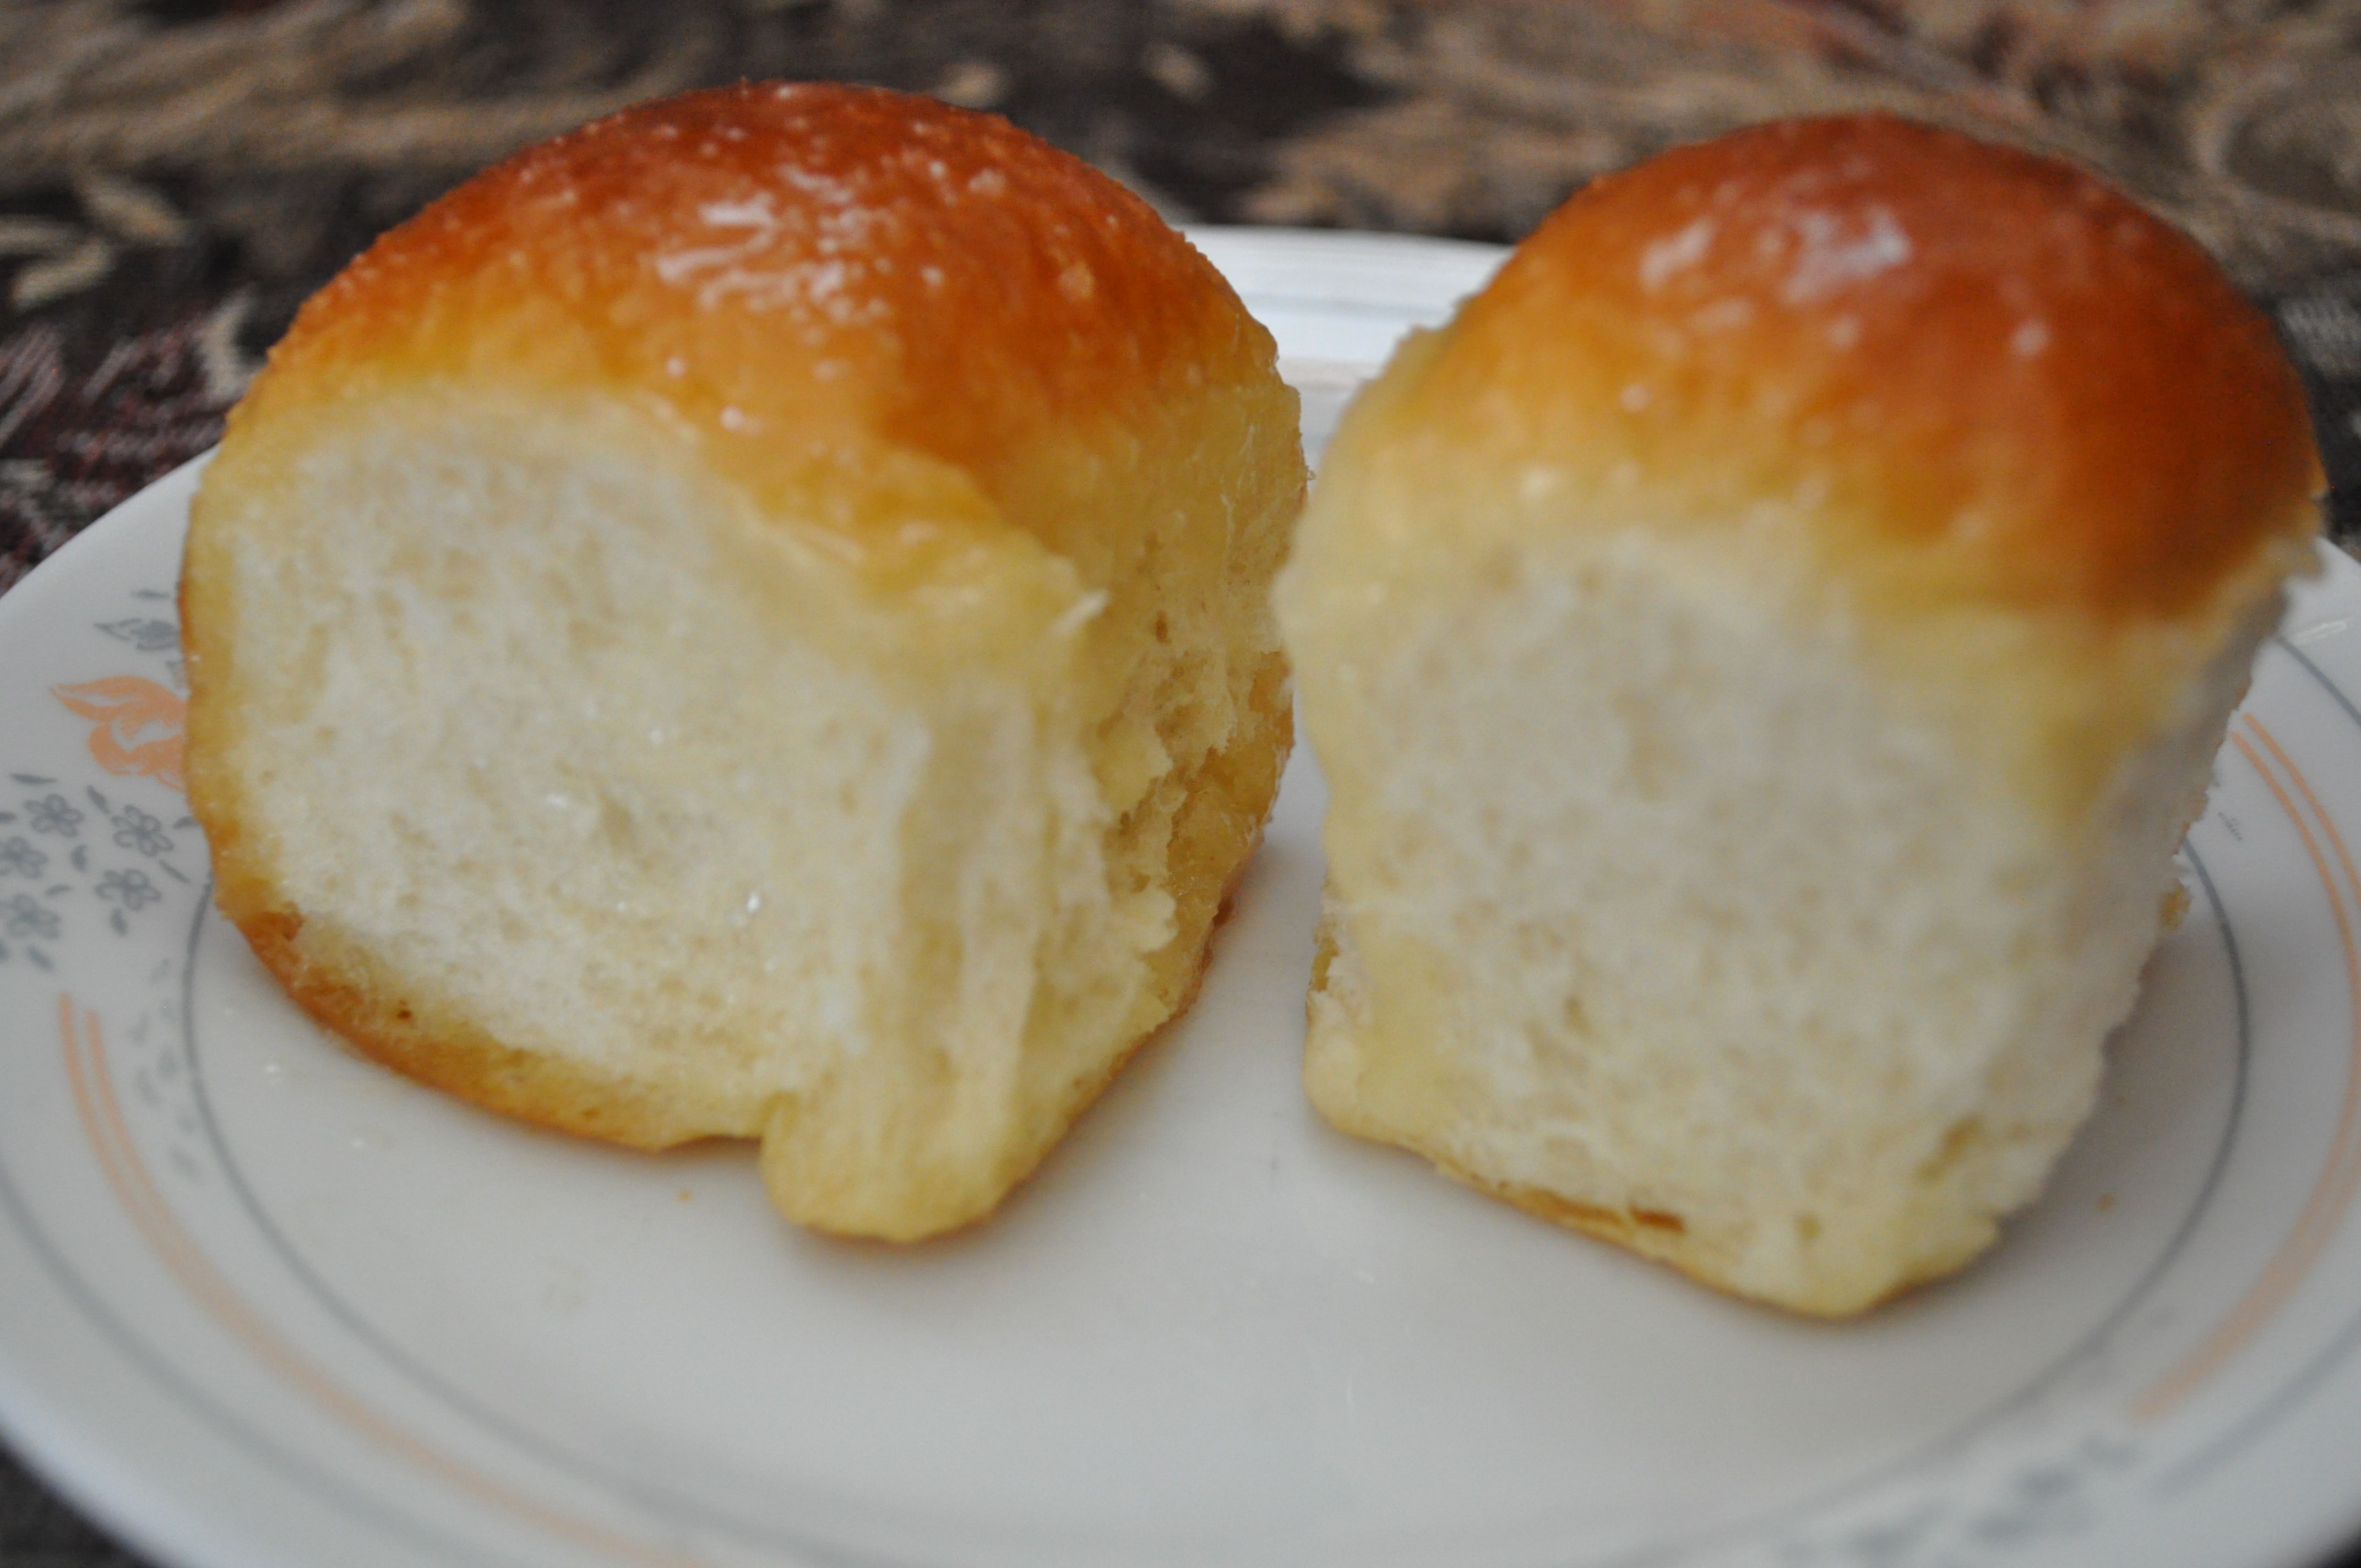
Soft, fluffy and slightly sweet dinner rolls ~ perfect on its own, or slather with sweetened butter for a delicious dessert.
Author: Annie @ Annie's Chamorro Kitchen
Recipe type: Yeast Bread
Serves: 28 rolls
Ingredients
3 cups all-purpose flour
¼ cup sugar (up to ¾ cup if you want it sweeter, but use 2 packets yeast if you add more sugar)
1 teaspoon salt
¼ cup butter
1 large egg
½ cup milk (low fat or whole milk)
1 packet dry yeast
1 teaspoon sugar (for proofing the yeast)
¼ cup warm water (for proofing the yeast)
Instructions
In a small bowl, mix together the yeast, 1 teaspoon sugar, and warm water. Stir together to dissolve the sugar and yeast. Let it stand for 5-10 to allow the yeast to proof.
Meanwhile, melt together the ¼ cup butter and milk in a microwave. Let it cool slightly. Add some of the cooled milk mixture to the beaten egg (this is to temper the egg so it won't scramble when you add it to the milk mixture). Add the egg to the rest of the milk mixture. After the yeast has proofed for 10 minutes, add the milk- butter-egg mixture to the yeast. Stir to combine.
In a stand mixer fitted with a dough hook, mix together 2½ cups of flour, sugar, and salt. Reserve the remaining flour (you might not need it). Pour in the yeast-milk mixture. Turn the mixer to medium, mixing until the dough pulls away from the sides. If the dough still looks very sticky and is not pulling away from the side of the mixing bowl, add in more flour, a few spoonfuls at a time until the dough pulls away from the sides of the bowl. (See NOTE below.) Once the dough pulls away from the sides, turn the mixer to medium high and knead for 5 minutes.
After 5 minutes of kneading, remove the dough to a clean and greased bowl (you can use cooking spray). Cover with plastic wrap and place in a warm place to let the dough rise and double in size, about 1 hour. After the dough has doubled, take it out of the bowl and gently punch it down. Cut the dough into 28 small pieces then roll them out into balls. Place the balls of dough in a greased 9x13 pan (7 rolls across and 4 rolls down). Cover with plastic wrap and let it rise again until doubled.
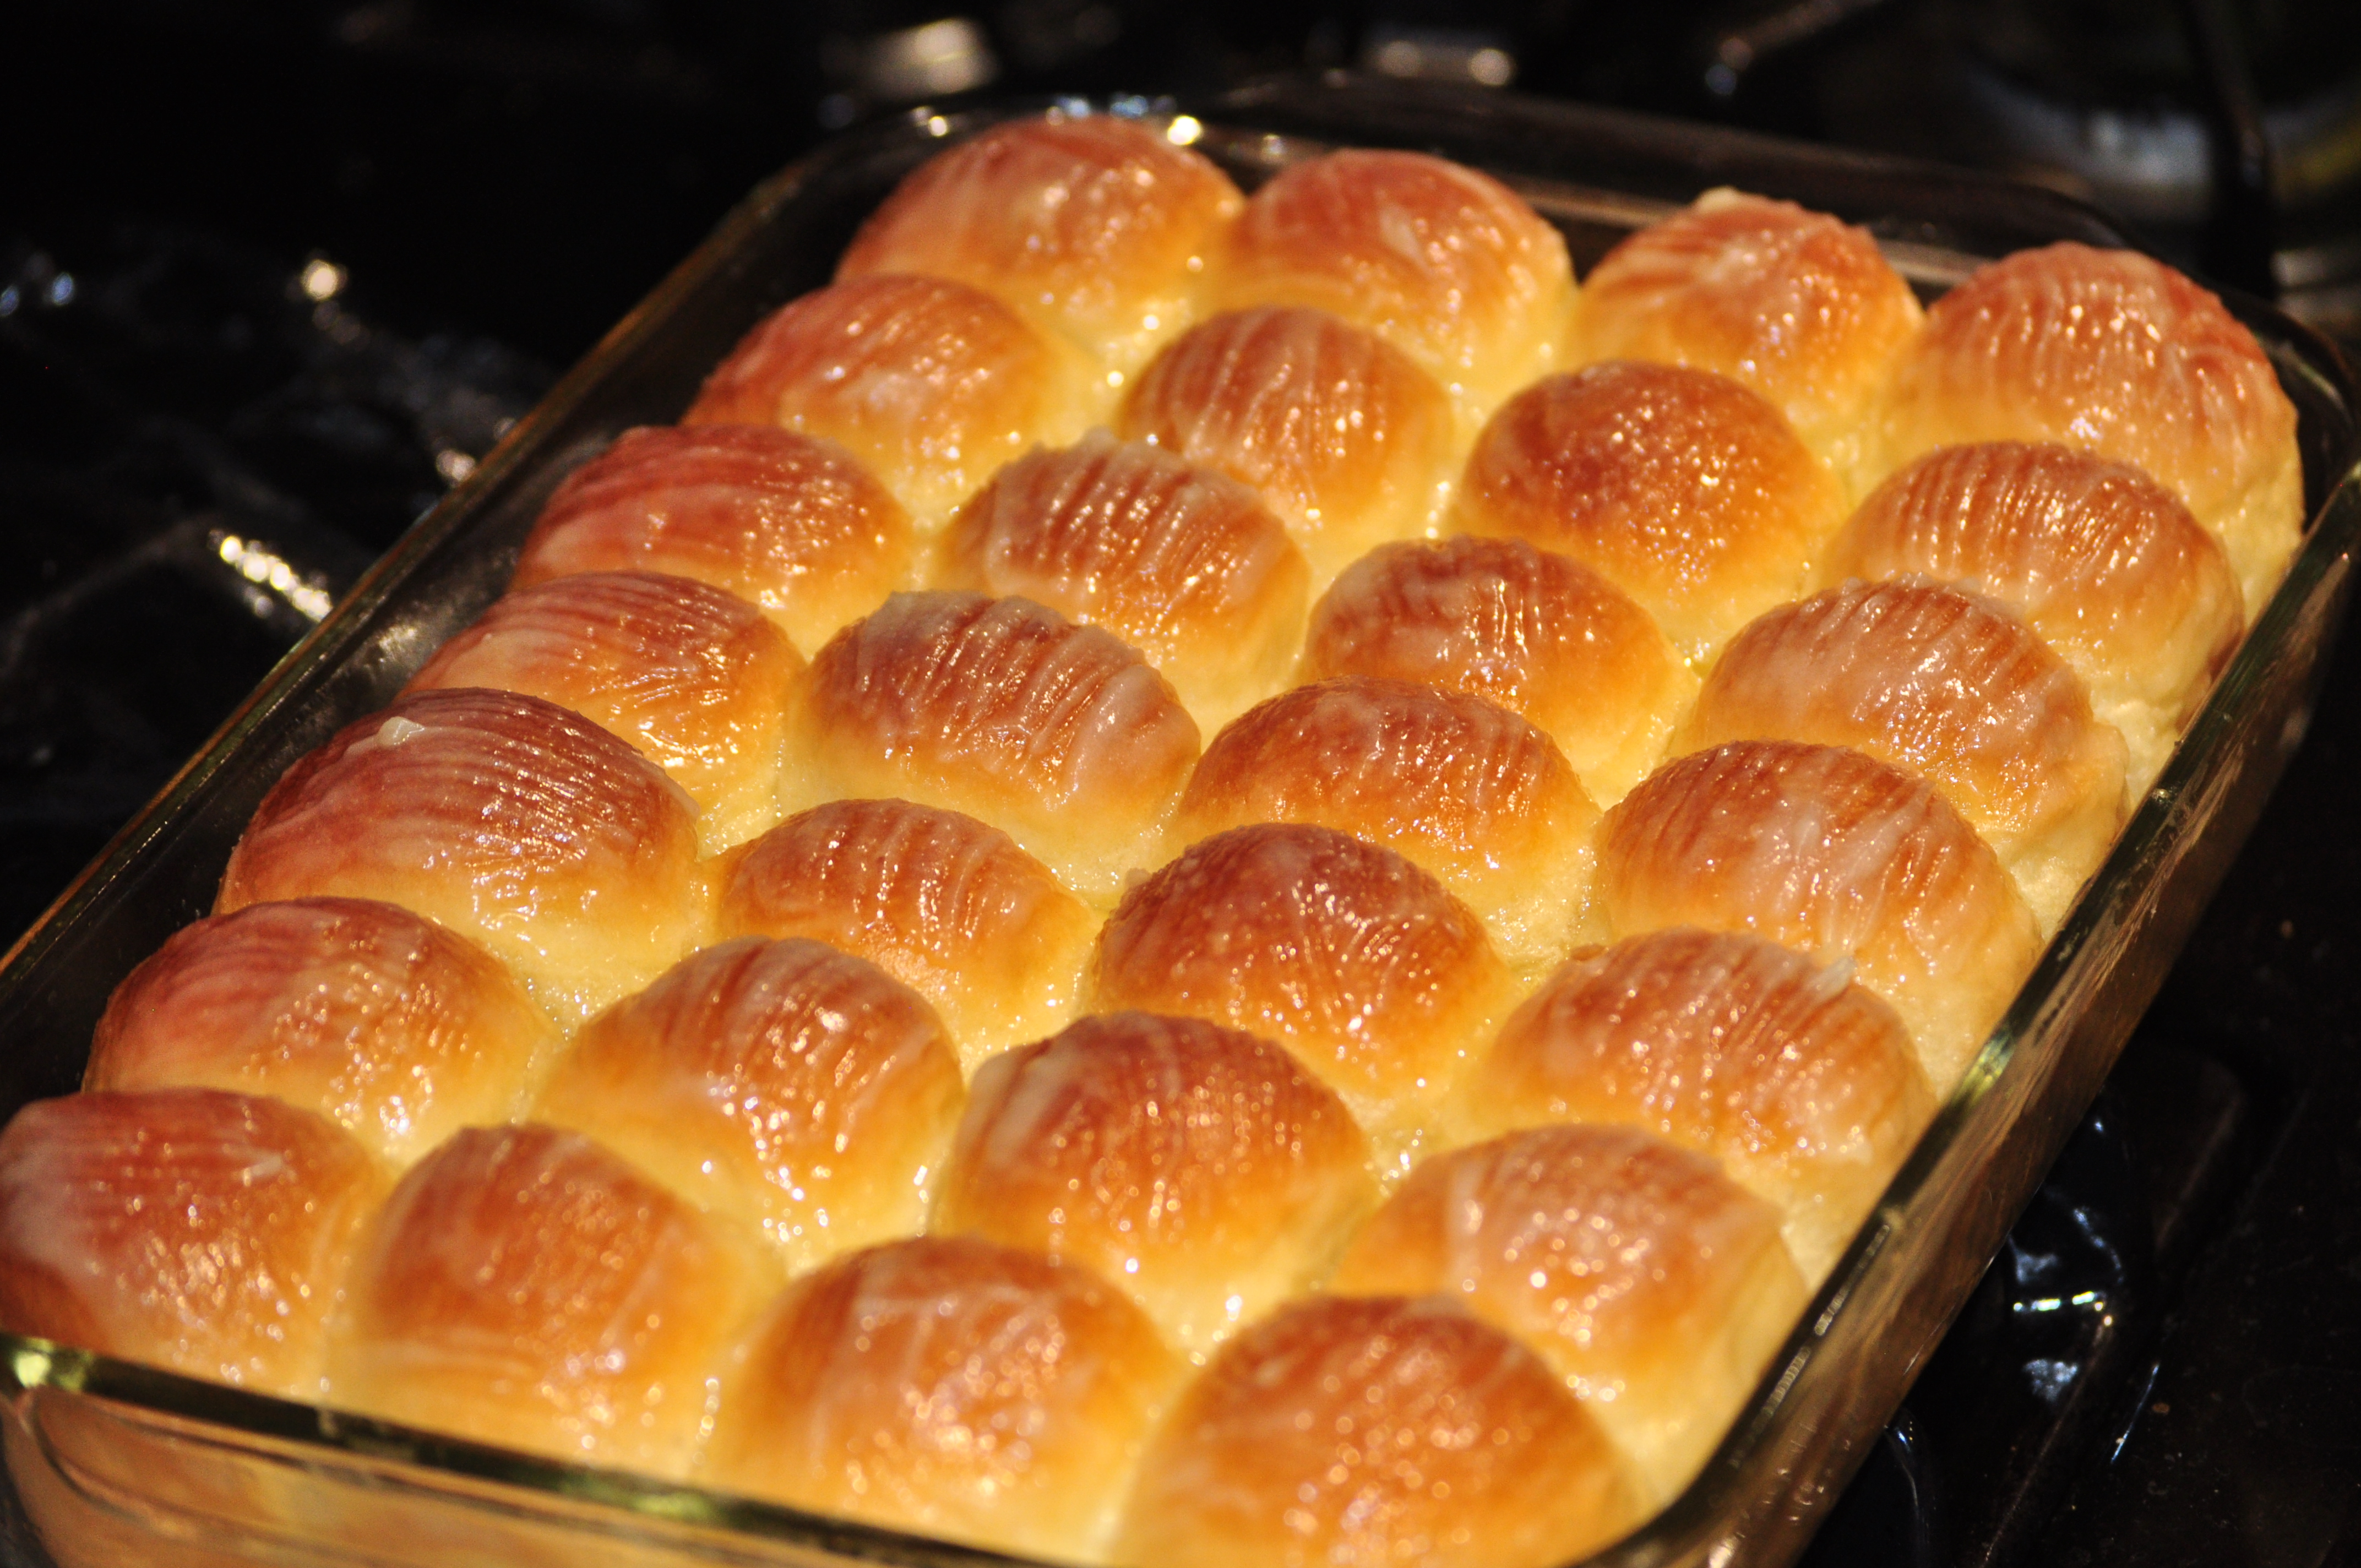
After the rolls have doubled in size, remove the plastic wrap and brush the tops with melted butter. Bake at 375 degrees for 20-25 minutes or until golden brown on top. Remove from the oven and brush with more butter.
NOTE: In most types of yeast bread recipes, the ratio of flour to total liquid should be 3:1. For instance, this recipe calls for just over 1 cup of liquid (including the egg); therefore, use only about 3 c. flour. Start out by mixing in a little less flour than the recipe calls for; If your dough seems too sticky, use only a little more flour just to allow you to knead it, but resist the urge to keep adding flour just so the dough won't stick. Too much flour (and kneading too long and too roughly) will make your finished bread come out tough/hard.
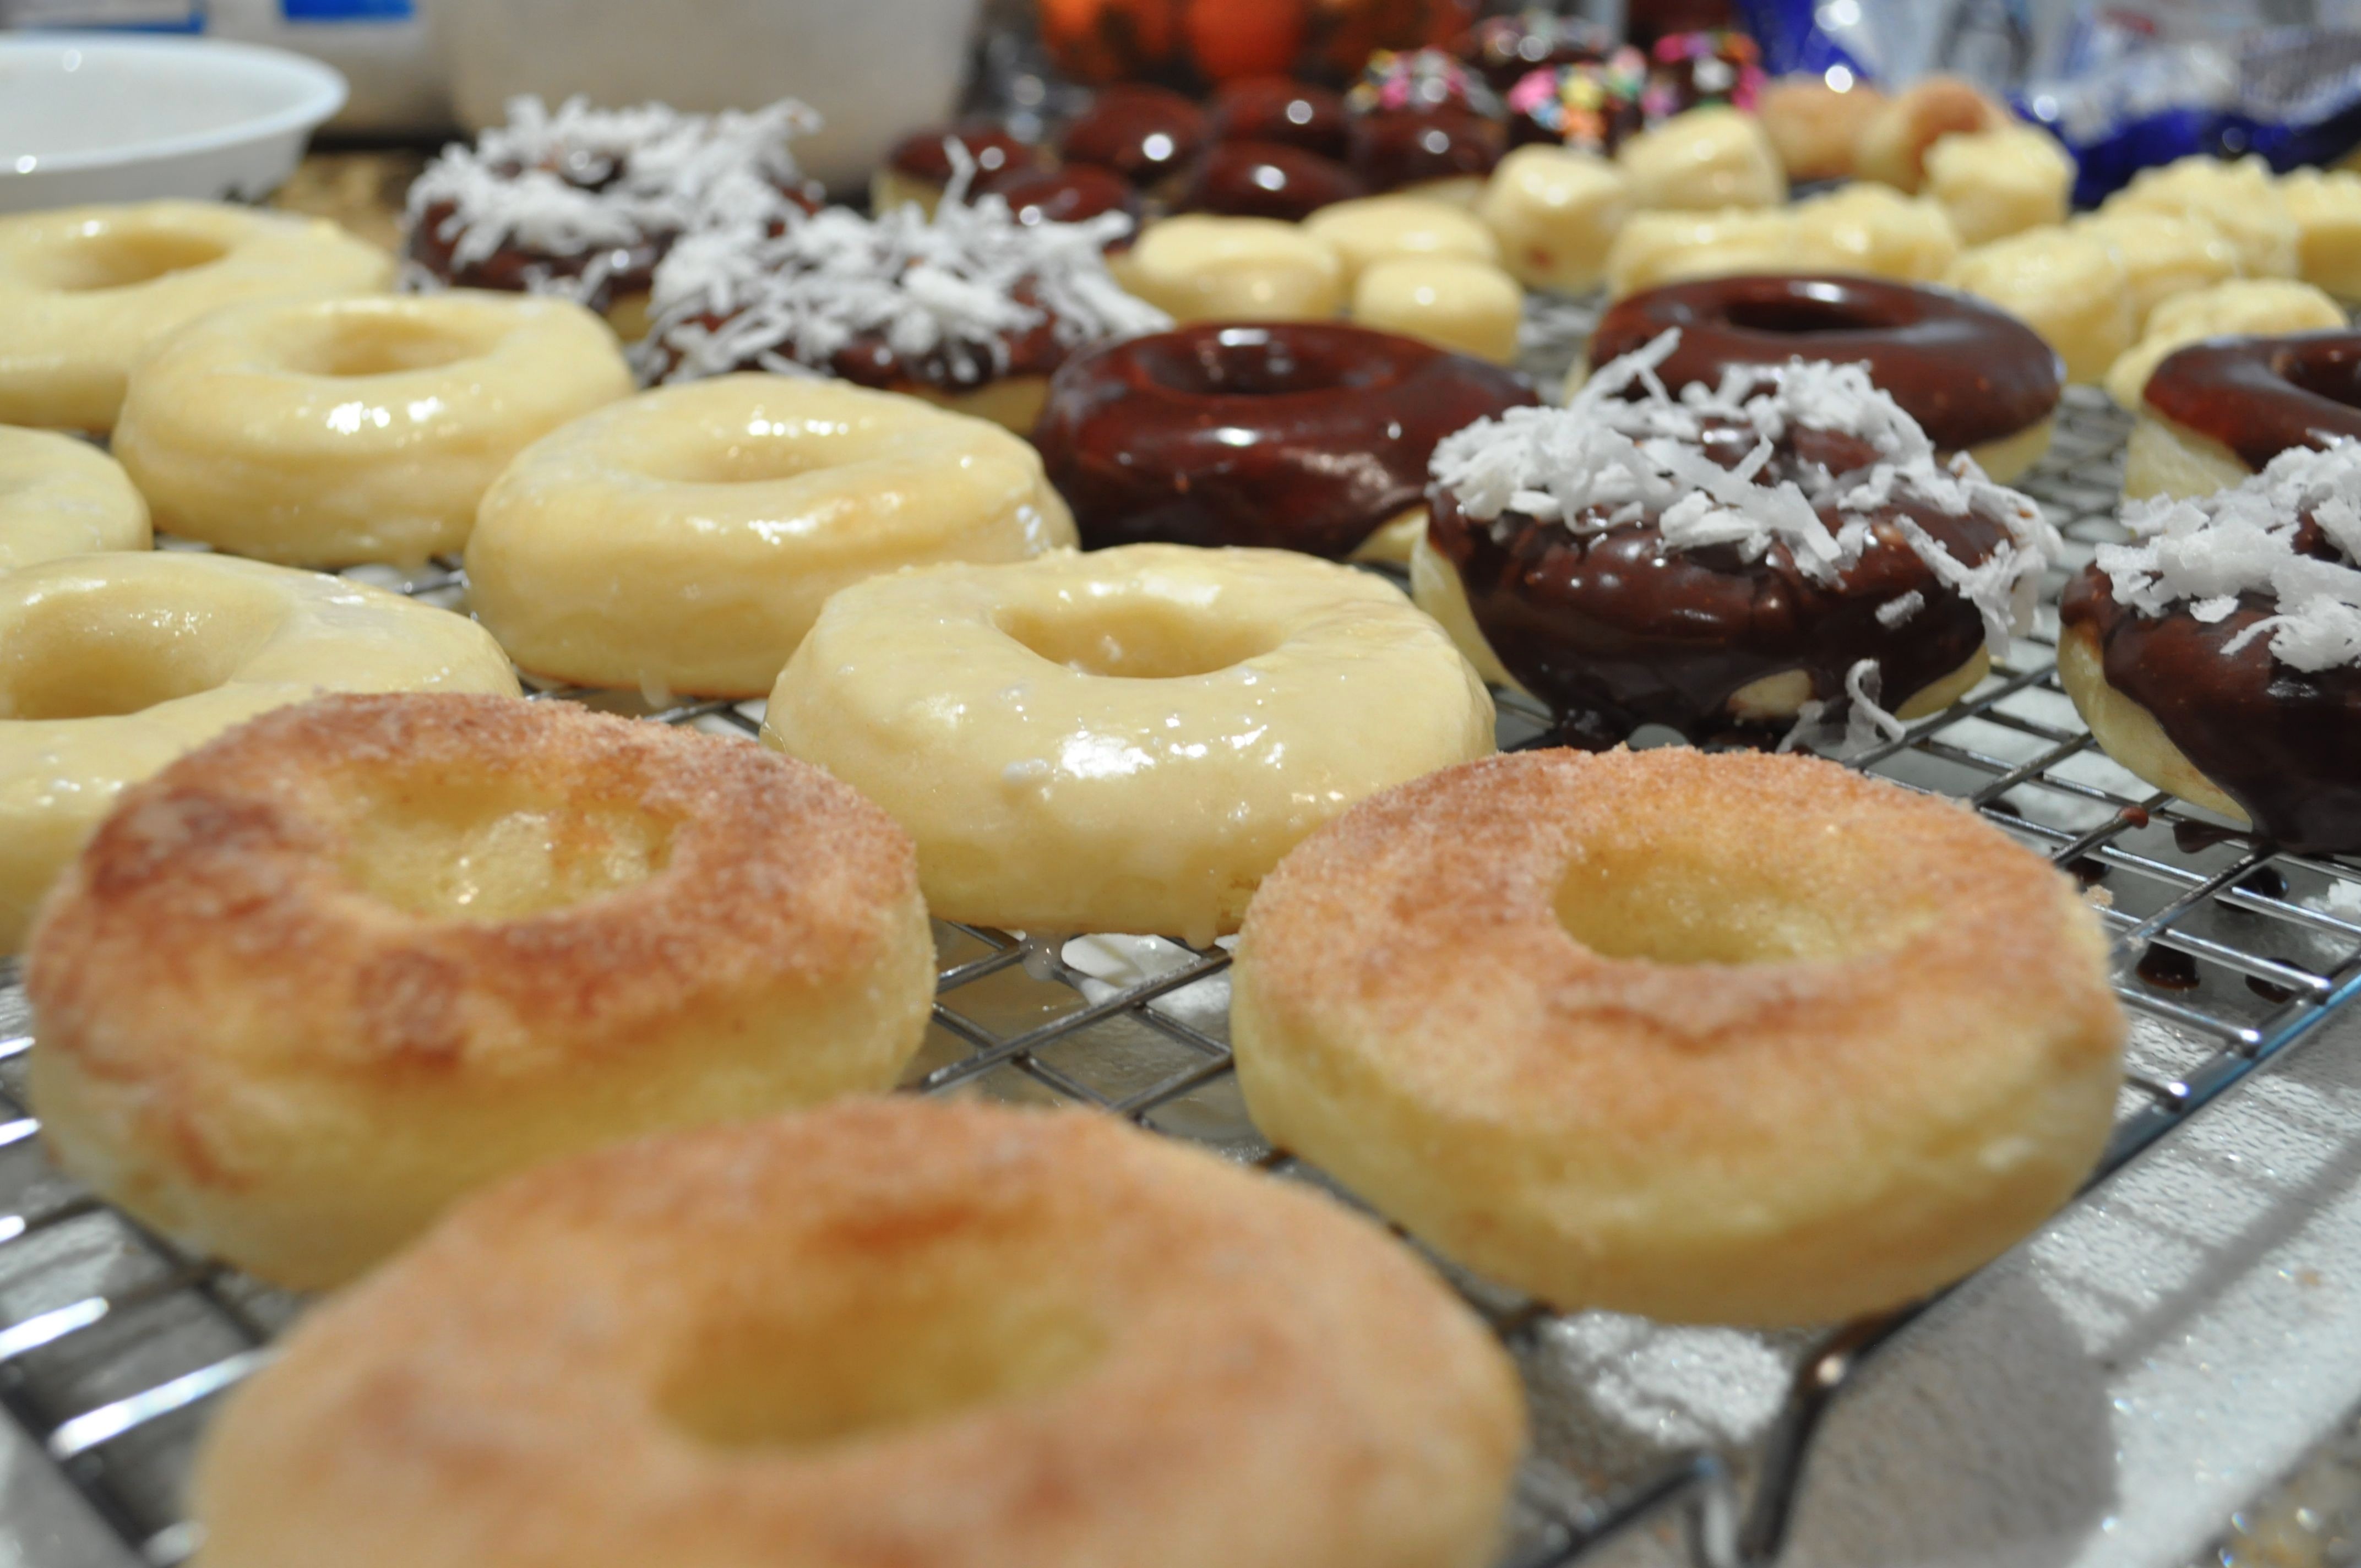
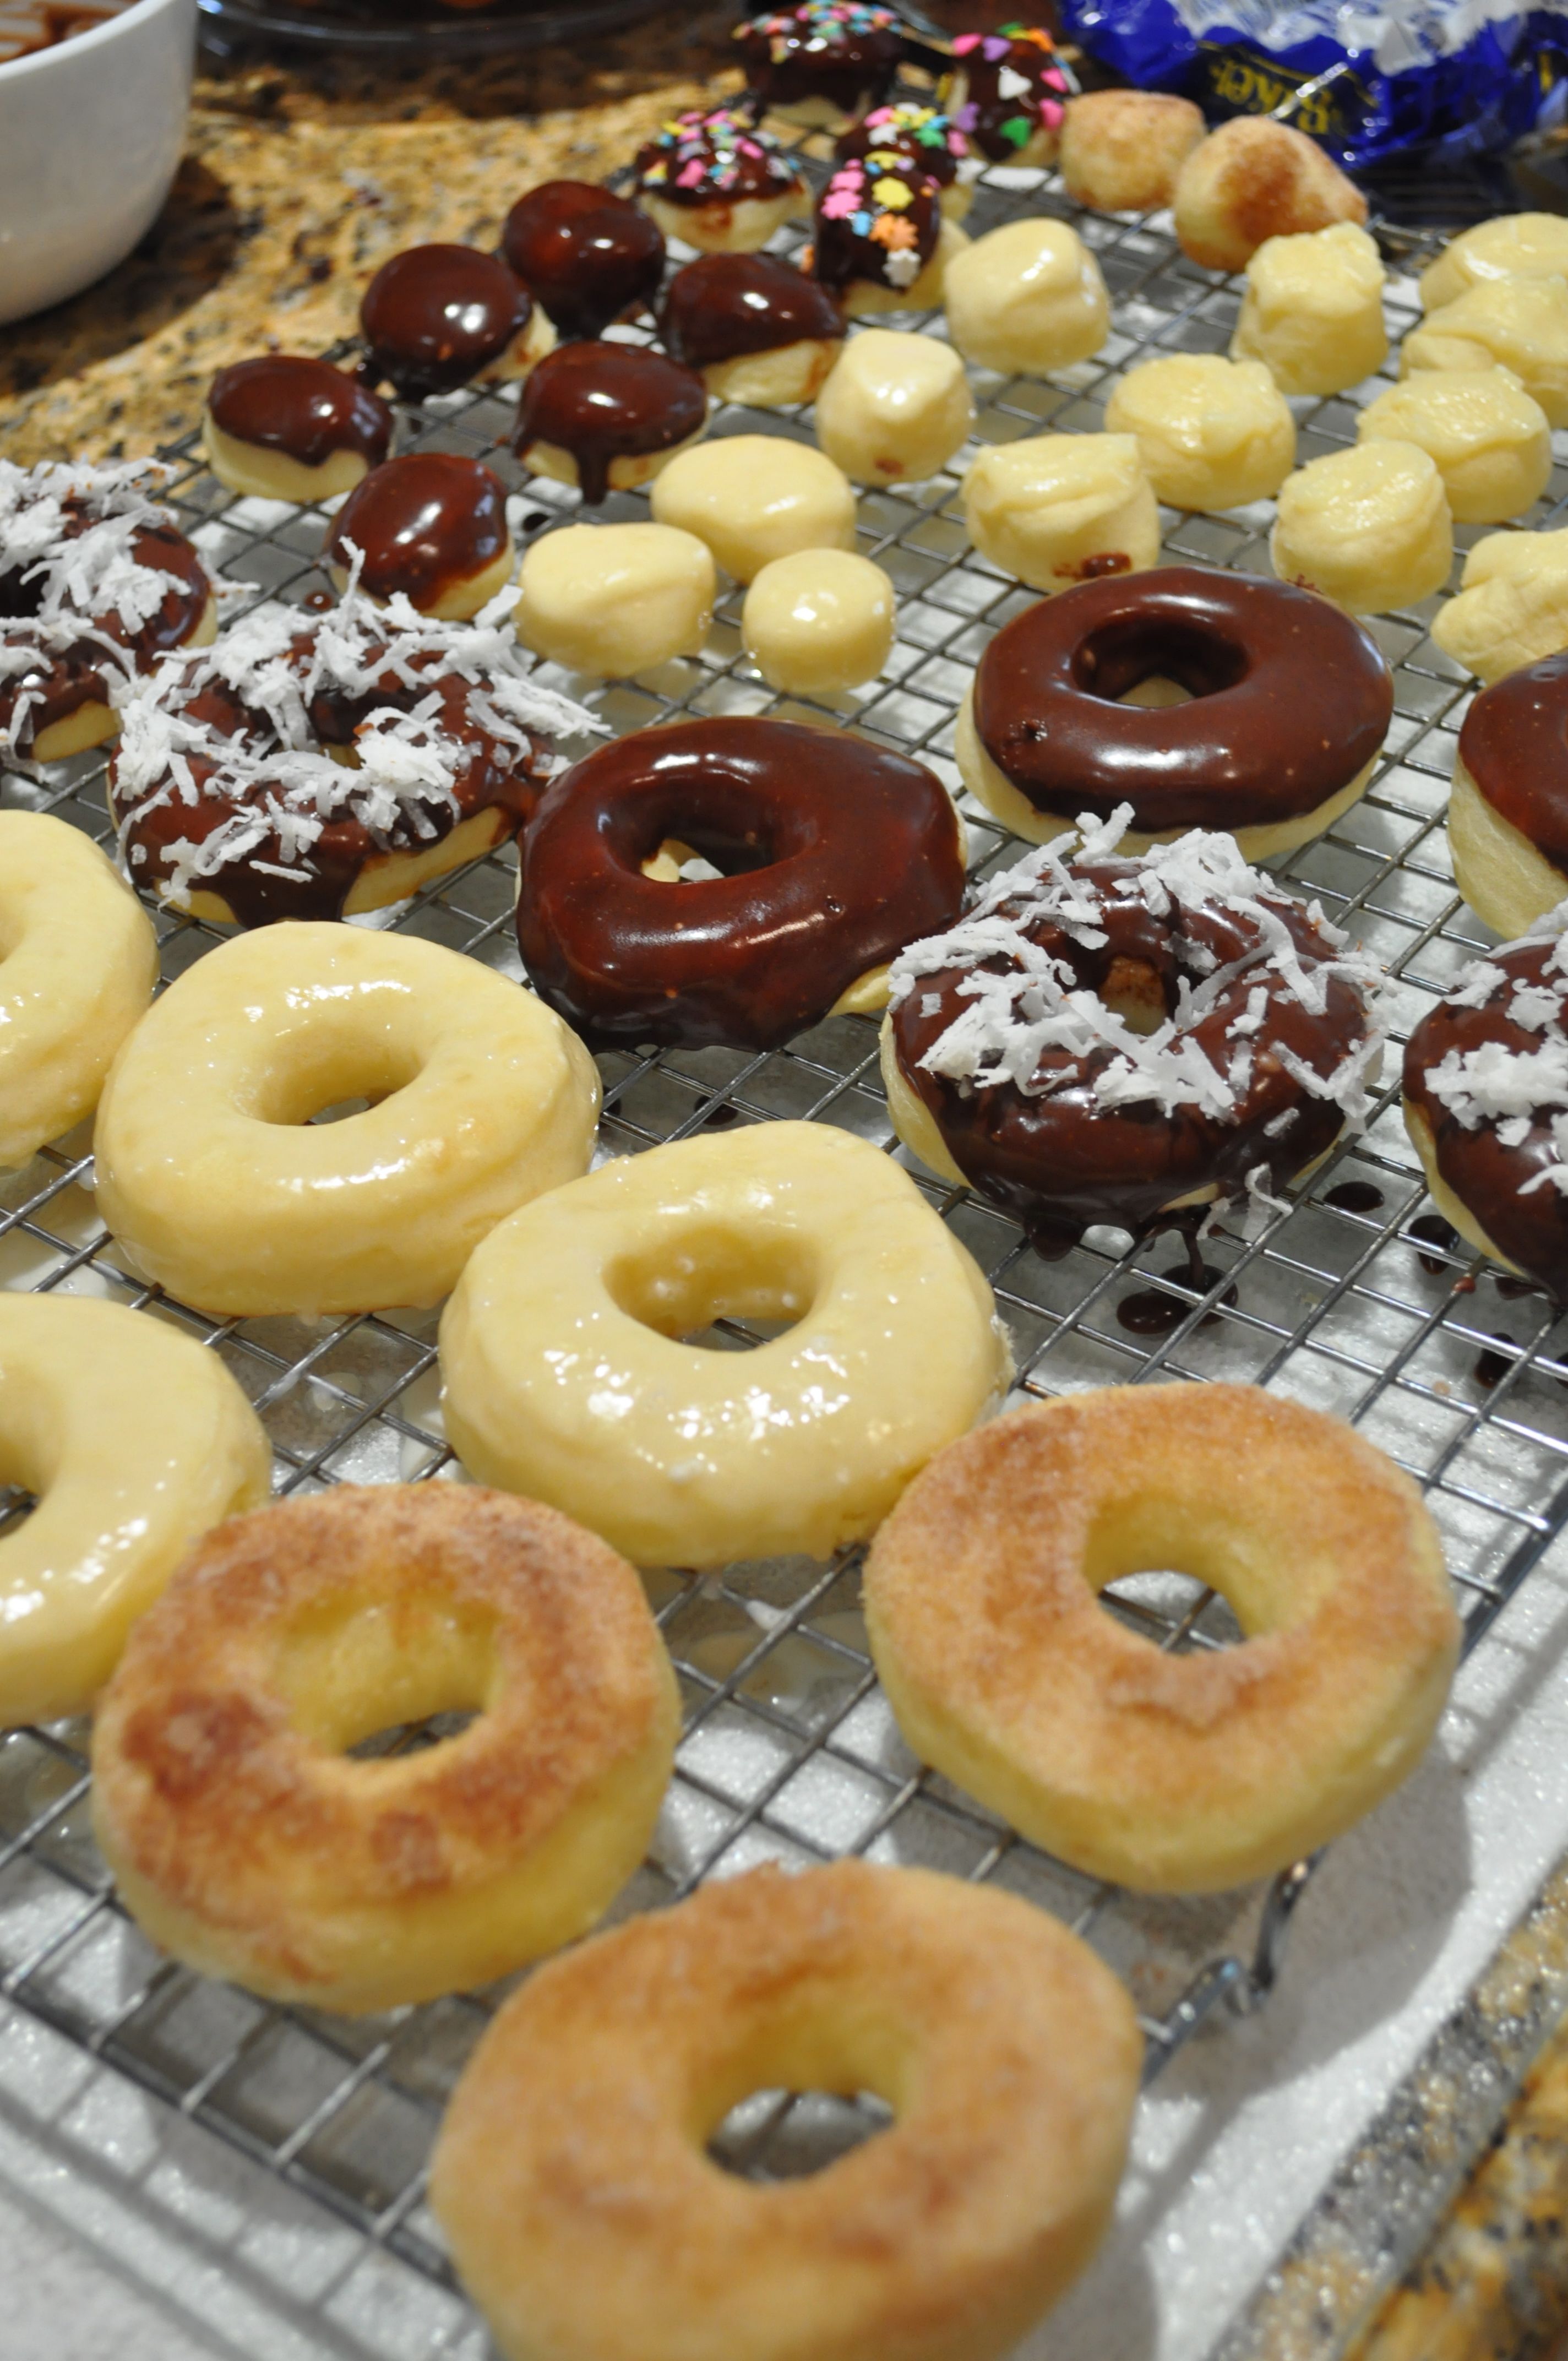
Baked, not fried yeast donuts...all the indulgence with a little less guilt. 🙂
Author: Annie @ Annie's Chamorro Kitchen
Recipe type: Dessert
Serves: 20 donuts
Ingredients
Yeast Mixture:
1 package active dry yeast
1 tablespoon sugar
¼ cup warm milk (between 98-105 degrees)
Dough Mixture:
2 tablespoons butter, melted
½ cup warm milk
1 egg
⅓ cup sugar
½ teaspoon salt
2½ to 3 cups all-purpose flour (you might not need it all)
Chocolate Glaze: (this makes enough to glaze about 10 donuts)
2 tablespoons butter
2 tablespoons milk
¼ teaspoon vanilla extract
1 tablespoon light corn syrup
¼ cup semi sweet chocolate chips
¼ cup powdered sugar
Vanilla Glaze: (this makes enough to glaze about 10-12 donuts)
1 cup powdered sugar
½ teaspoon vanilla extract
2 tablespoons milk
Cinnamon Sugar topping:
2 tablespoons butter, melted
¼ cup sugar
1 teaspoon cinnamon
Honey Butter:
¼ cup butter
¼ cup honey
Other ingredients/items:
Sweetened coconut flakes
Sprinkles
Butter cooking spray
Plastic Wrap
Instructions
MAKE THE DOUGH (DONUTS):
In a mixing bowl, mix together the yeast, 1 tablespoon sugar, and ¼ cup warm milk. Stir together to dissolve the sugar and yeast. Let it stand for 5 minutes to allow the yeast to proof (it will get very bubbly).
Meanwhile, mix together the 2 tablespoons melted butter and warm milk. Mix in the egg, ⅓ cup sugar and salt. After the yeast has proofed for 5 minutes, add the milk-butter-egg-sugar-salt mixture to the yeast. Using your mixer's dough hook, turn the mixer on to medium low speed to combine. *Note, if you don't have a large stand mixer, you can use a sturdy mixing spoon or spatula to combine the ingredients.
Add 2½ cups of the flour to the mixing bowl. Reserve the remaining ½ cup flour. Turn the mixer to medium speed, mixing until the dough pulls away from the sides of the mixing bowl. After mixing for about 2 minutes, if the dough still looks very sticky and is not pulling away from the side of the mixing bowl, add in more flour, a few spoonfuls at a time until the dough pulls away from the sides of the bowl.
**DO NOT add more than the remaining ½ cup of flour, even if the dough is still sticky.**
Once the dough pulls away from the sides, turn the mixer to medium high and mix for 5 minutes to knead the dough. *Note: if you are doing this by hand, mix the flour with the wet ingredients. Once all of the flour is incorporated, turn the dough out onto a very lightly floured surface (use some of the remaining ½ cup flour to flour the surface) and knead the dough for 8-10 minutes. If the dough sticks to your hand while kneading, use whatever remaining flour is left from the ½ cup of flour. If the dough is still sticking to your hands, spray your hands with butter cooking spray (DO NOT add more flour or your resulting donuts will come out hard as a rock).
After kneading, place the dough into a clean bowl that has been sprayed with butter cooking spray (you can use softened butter as well). Cover the bowl with plastic wrap and place in a warm place to let the dough rise and double in size.
After the dough has doubled, take it out of the bowl and gently punch it down. Using a rolling pin, roll the dough out onto a lightly floured surface, rolling the dough until it's about ½ inch thick. Use a donut cutter to cut out donuts (and donut holes).
Place the cut donut shapes (1 inch apart) onto a baking pan that has been sprayed with butter cooking spray. Spray the tops of the donuts then cover with plastic wrap and let it rise again until doubled.
After the donuts have doubled in size, remove the plastic wrap. Bake at 375 degrees for 7 minutes. DO NOT overcook the donuts, even if the dough still looks "white". Remove from the oven and let the donuts sit on the pan for 5 minutes then remove them to a baking rack to finish cooling.
While the donuts are cooling, make your glazes.
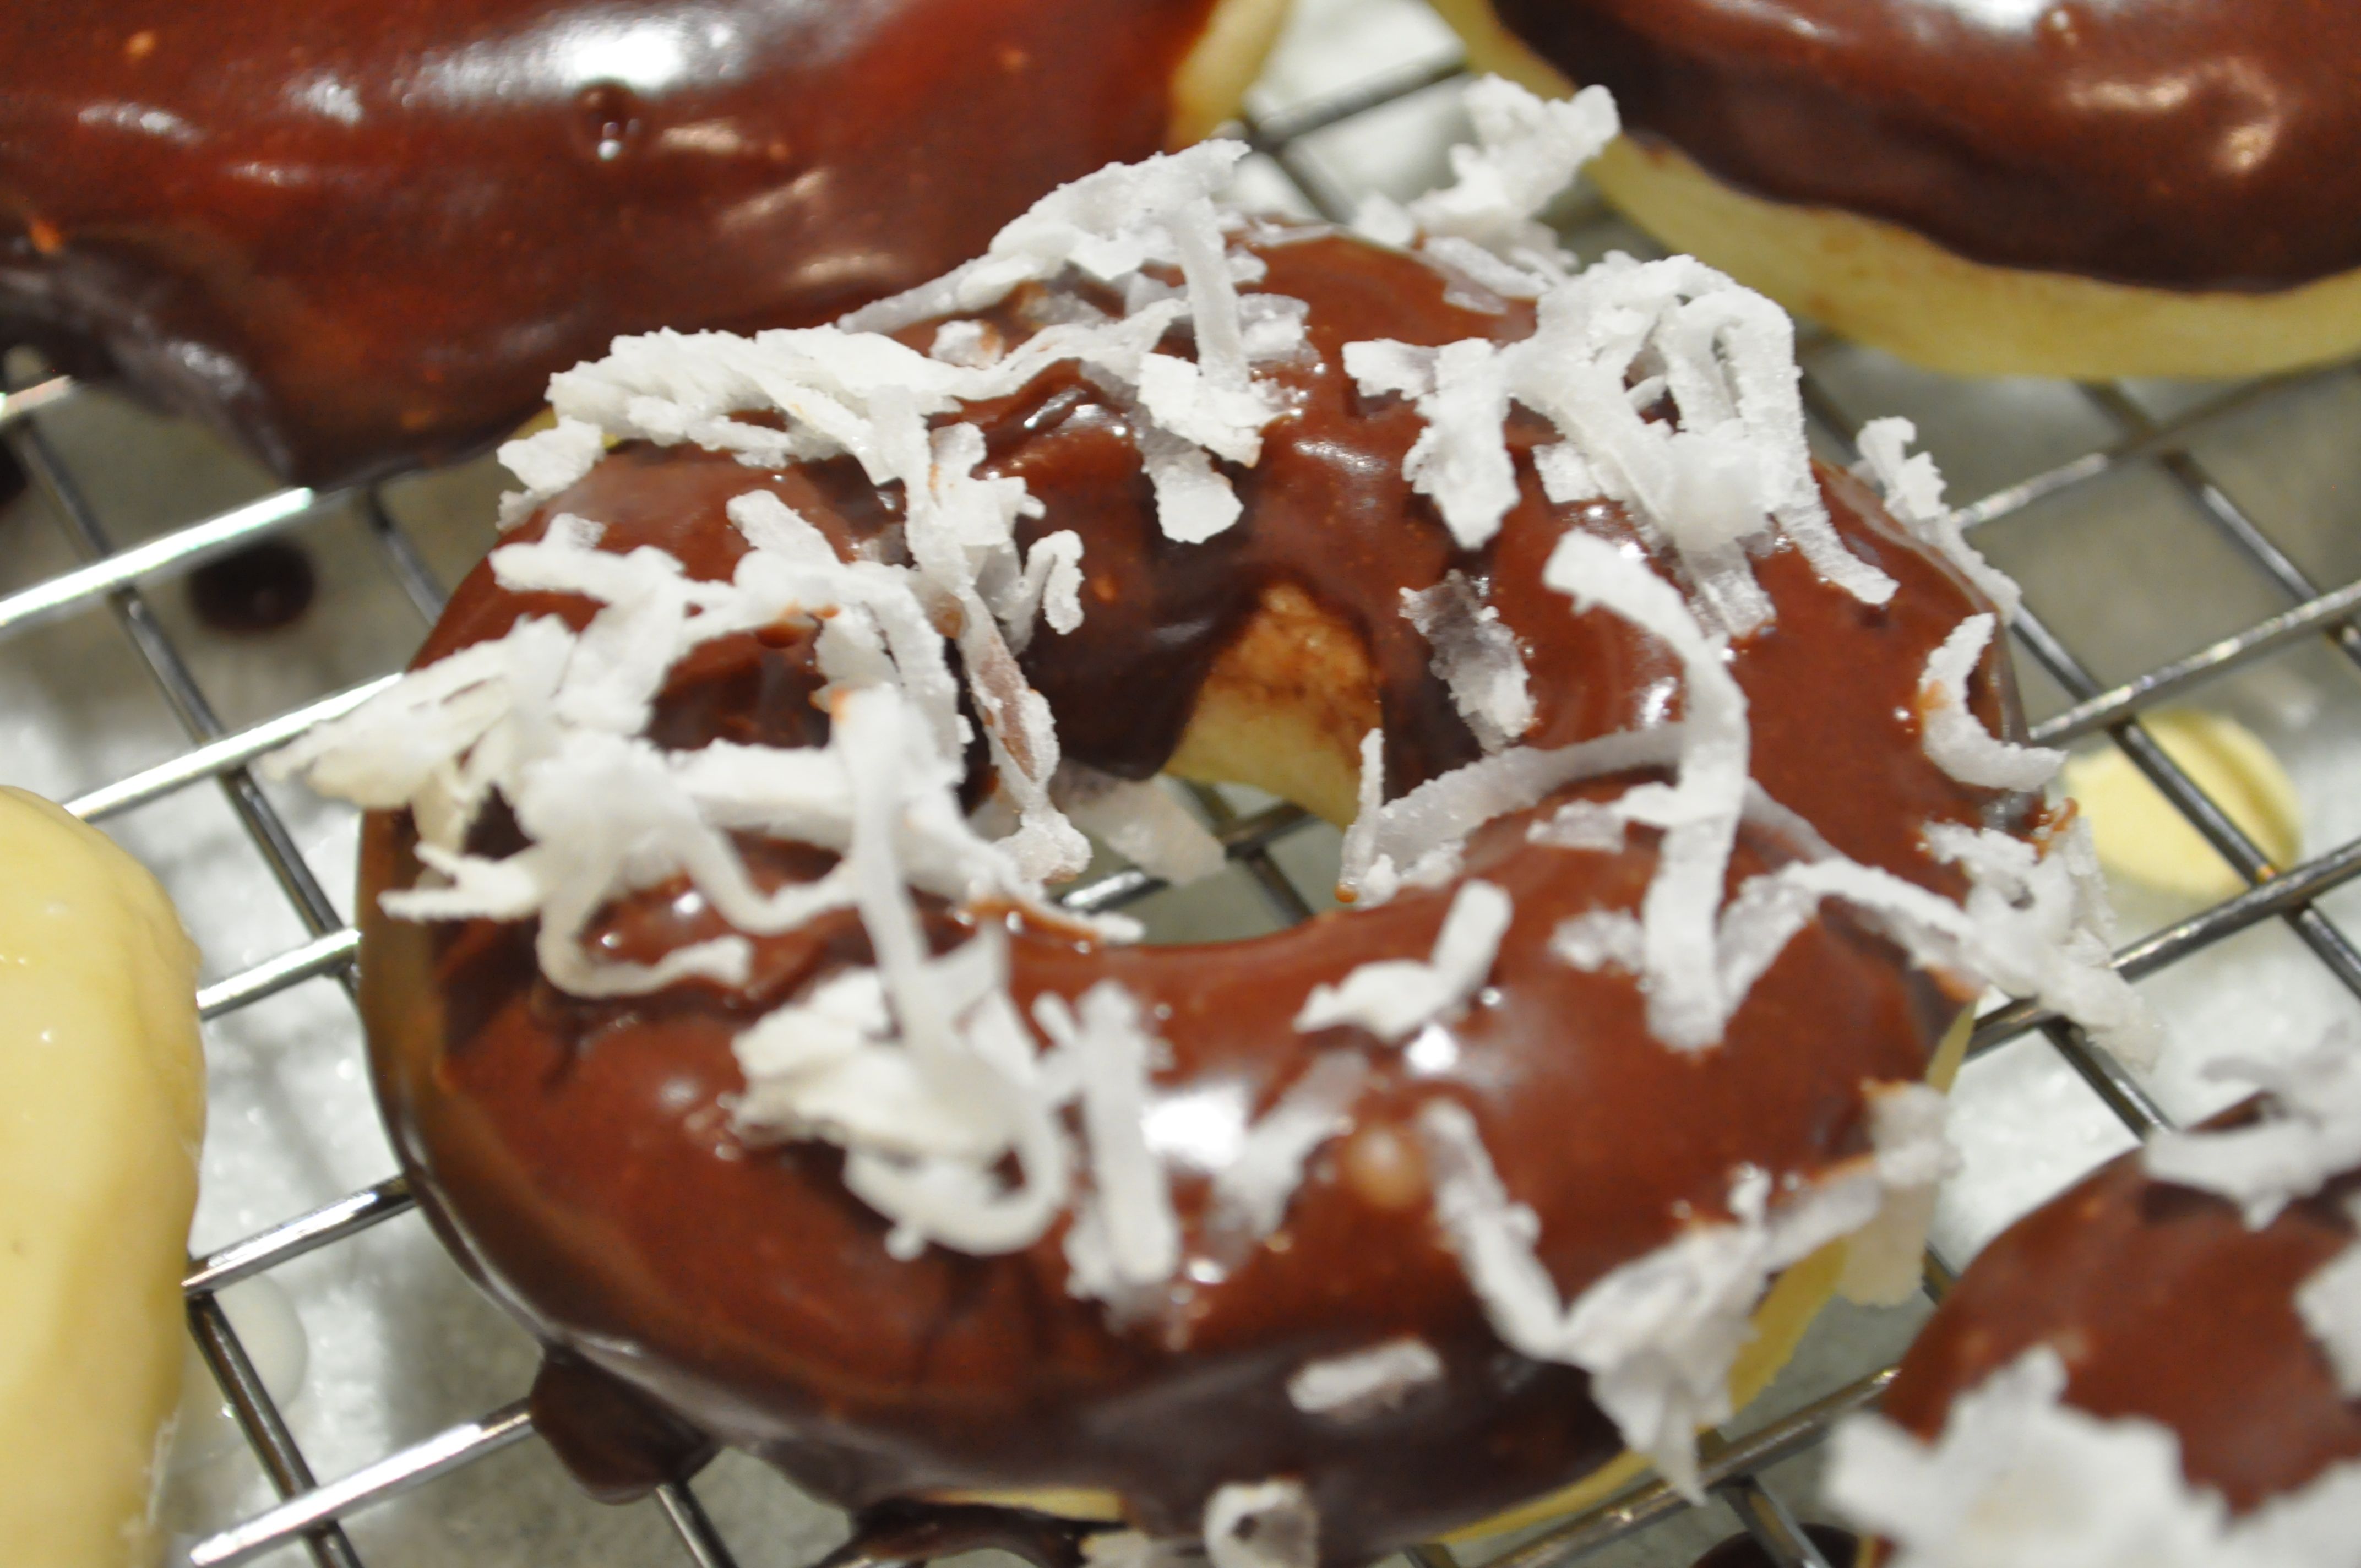
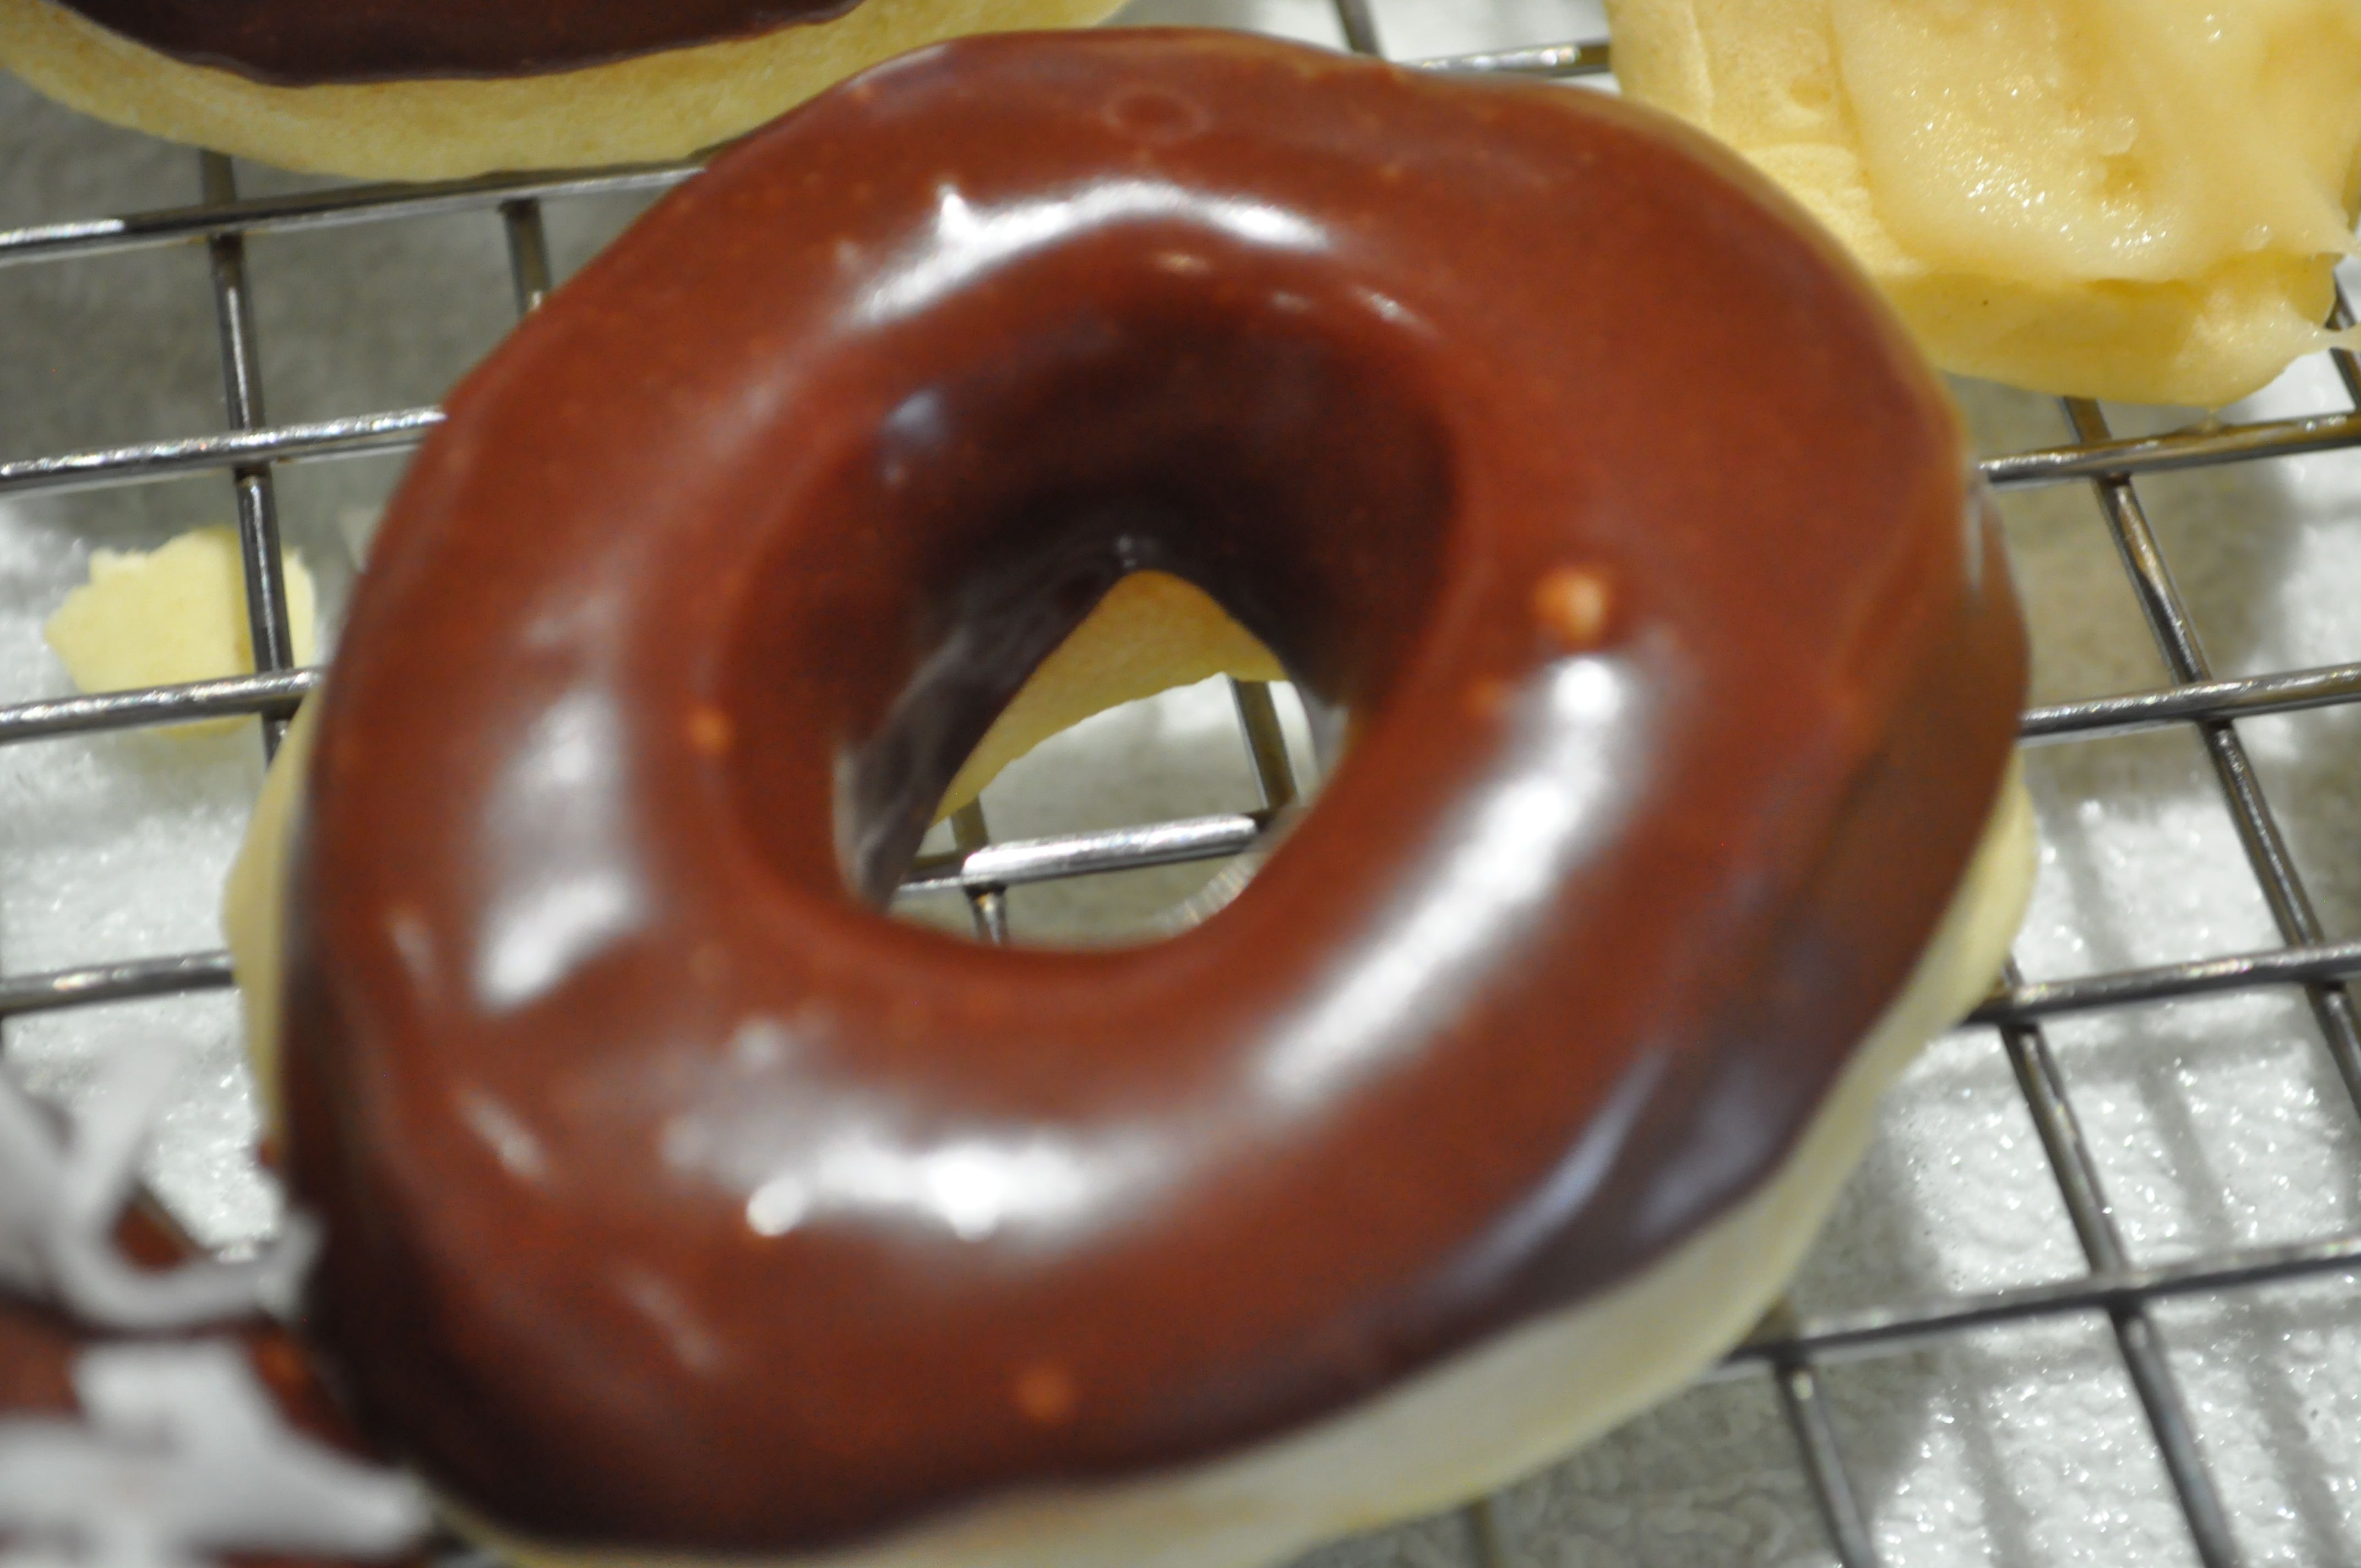
MAKE THE CHOCOLATE GLAZE:
In a microwave-safe bowl, heat the butter, milk, vanilla extract and corn syrup for one minute. Remove from the microwave. Stir in the chocolate chips to the heated mixture; continue stirring until the chocolate chips have melted. Using a whisk, mix in the powdered sugar. Continue whisking/mixing until there are no more lumps from the powdered sugar and the glaze is smooth and shiny. Dip the donuts into the glaze while the glaze is still warm. If the glaze thickens up, reheat it for 10-15 seconds in the microwave.
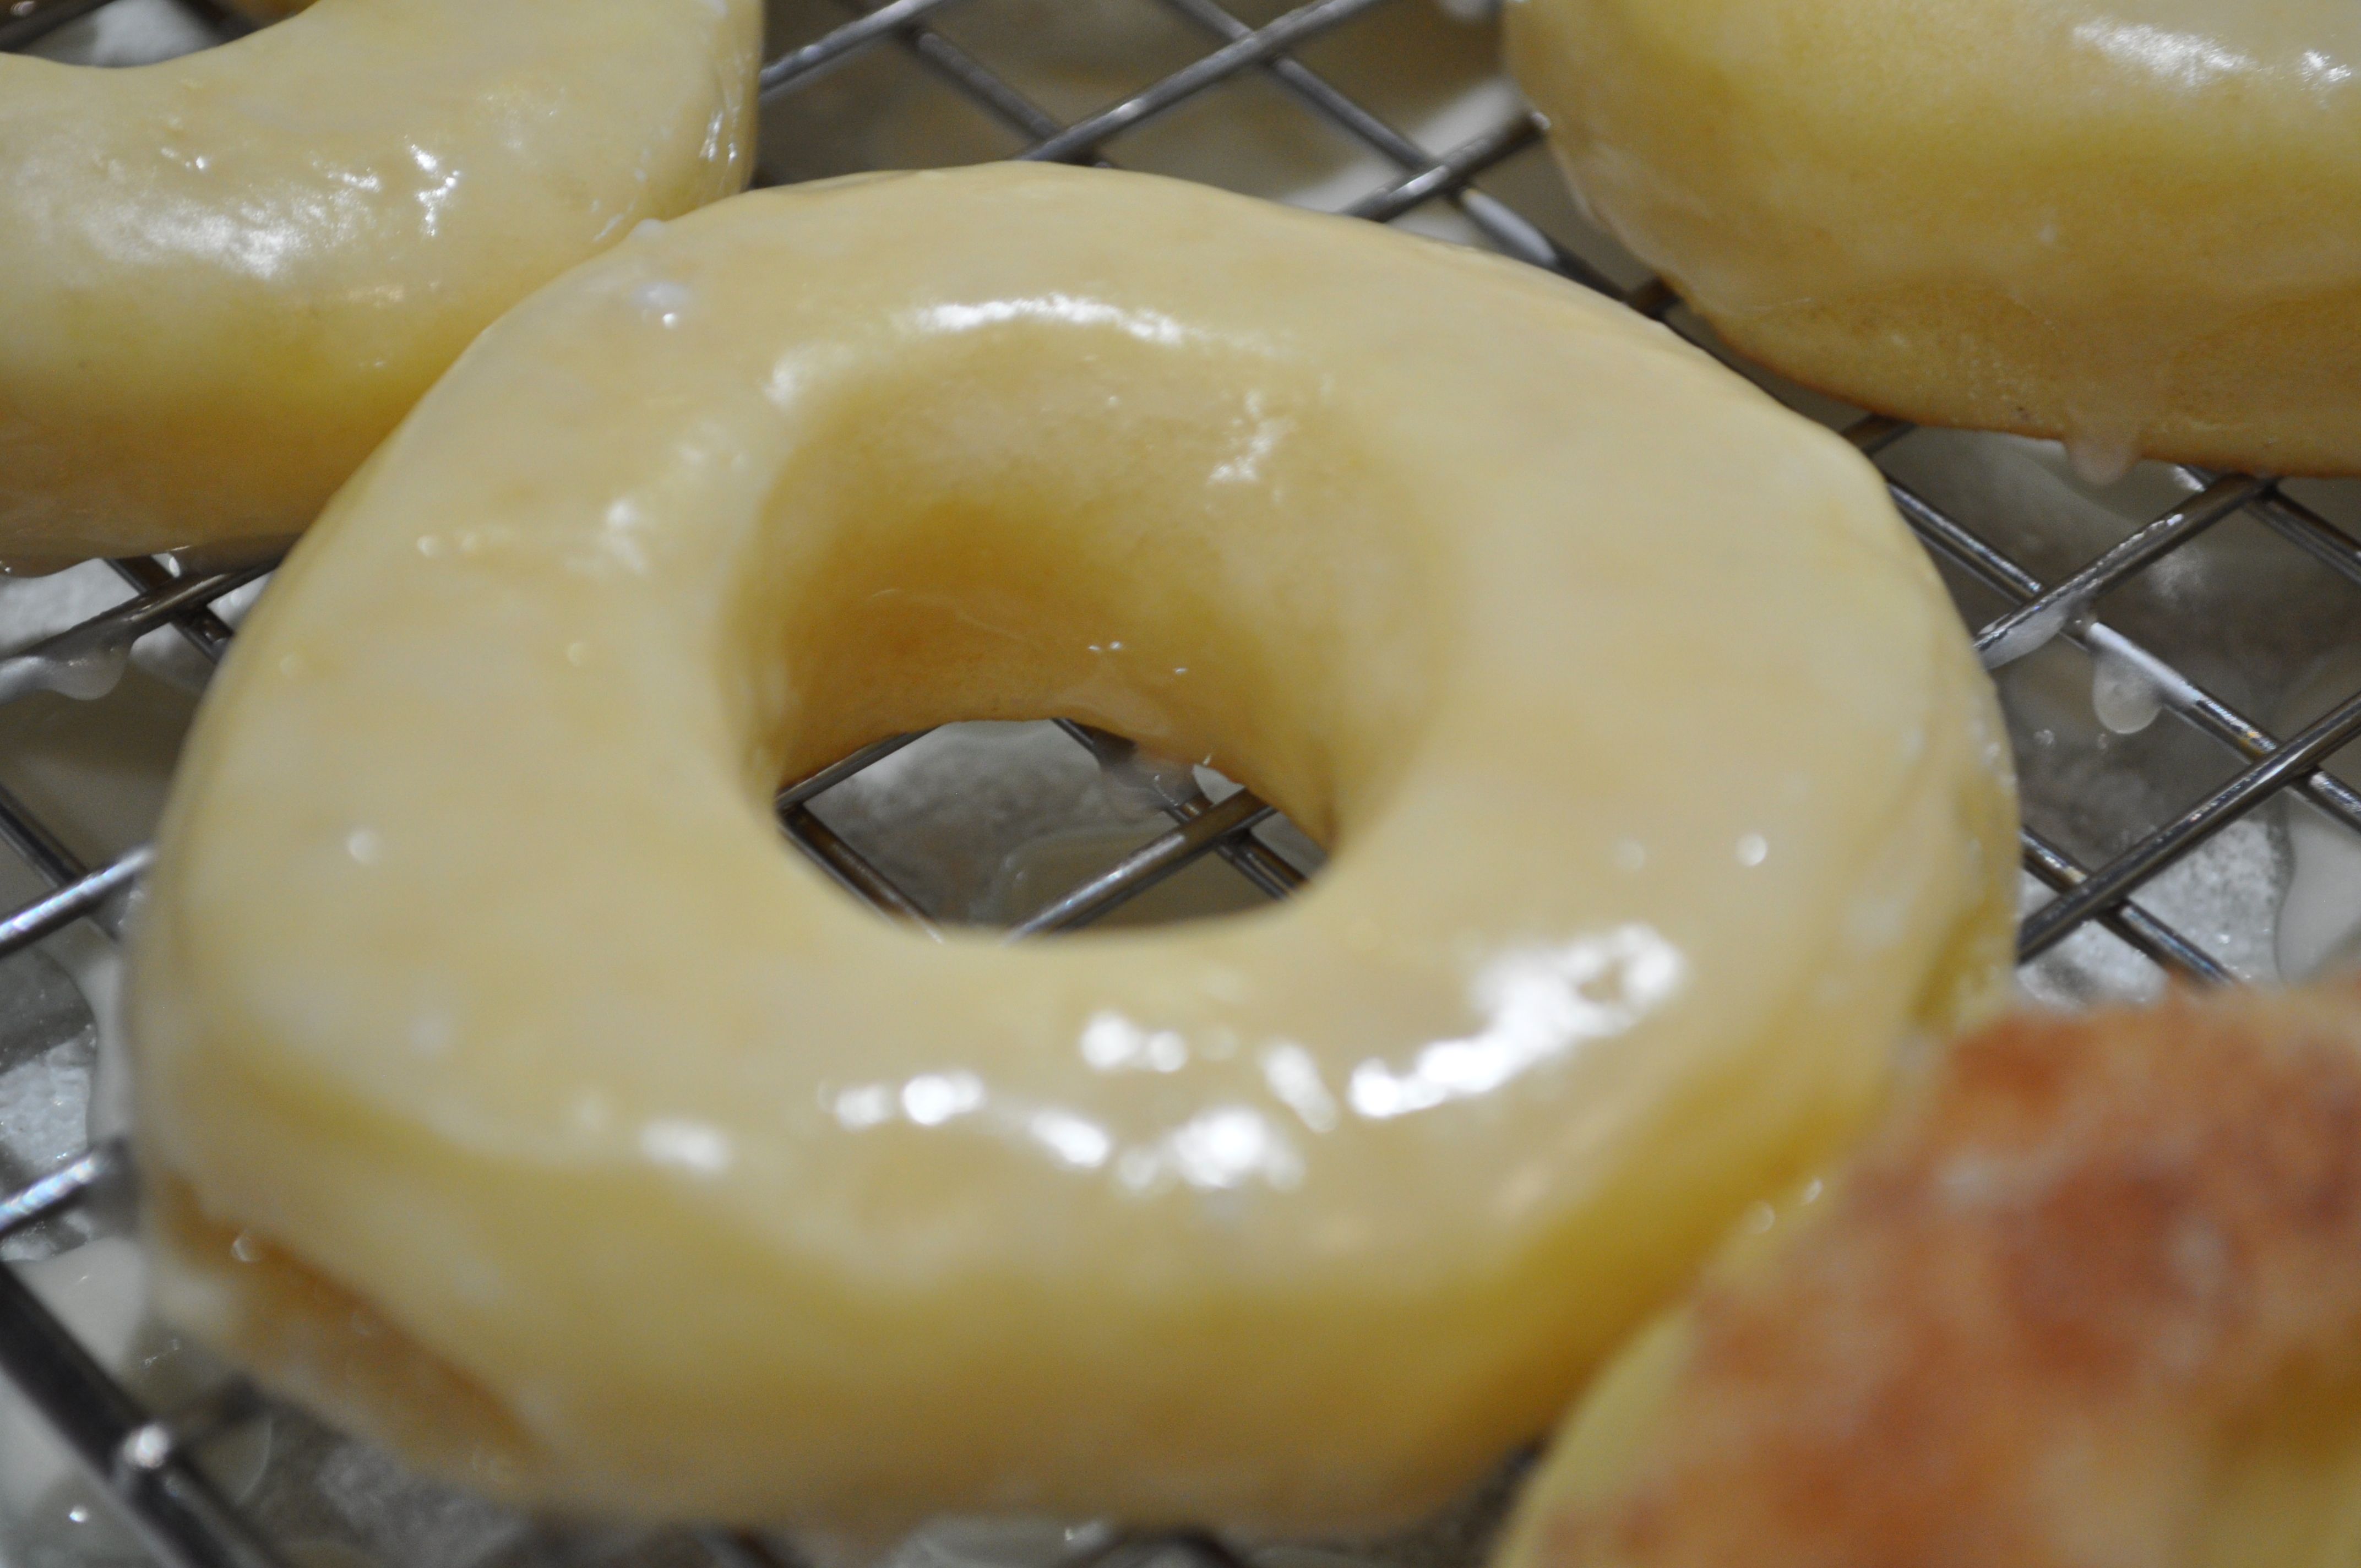
MAKE THE PLAIN GLAZE:
In a small bowl, mix together the powdered sugar, vanilla extract, and milk. Mix until there are no lumps and the glaze is smooth and creamy. Dip your donuts into the glaze.
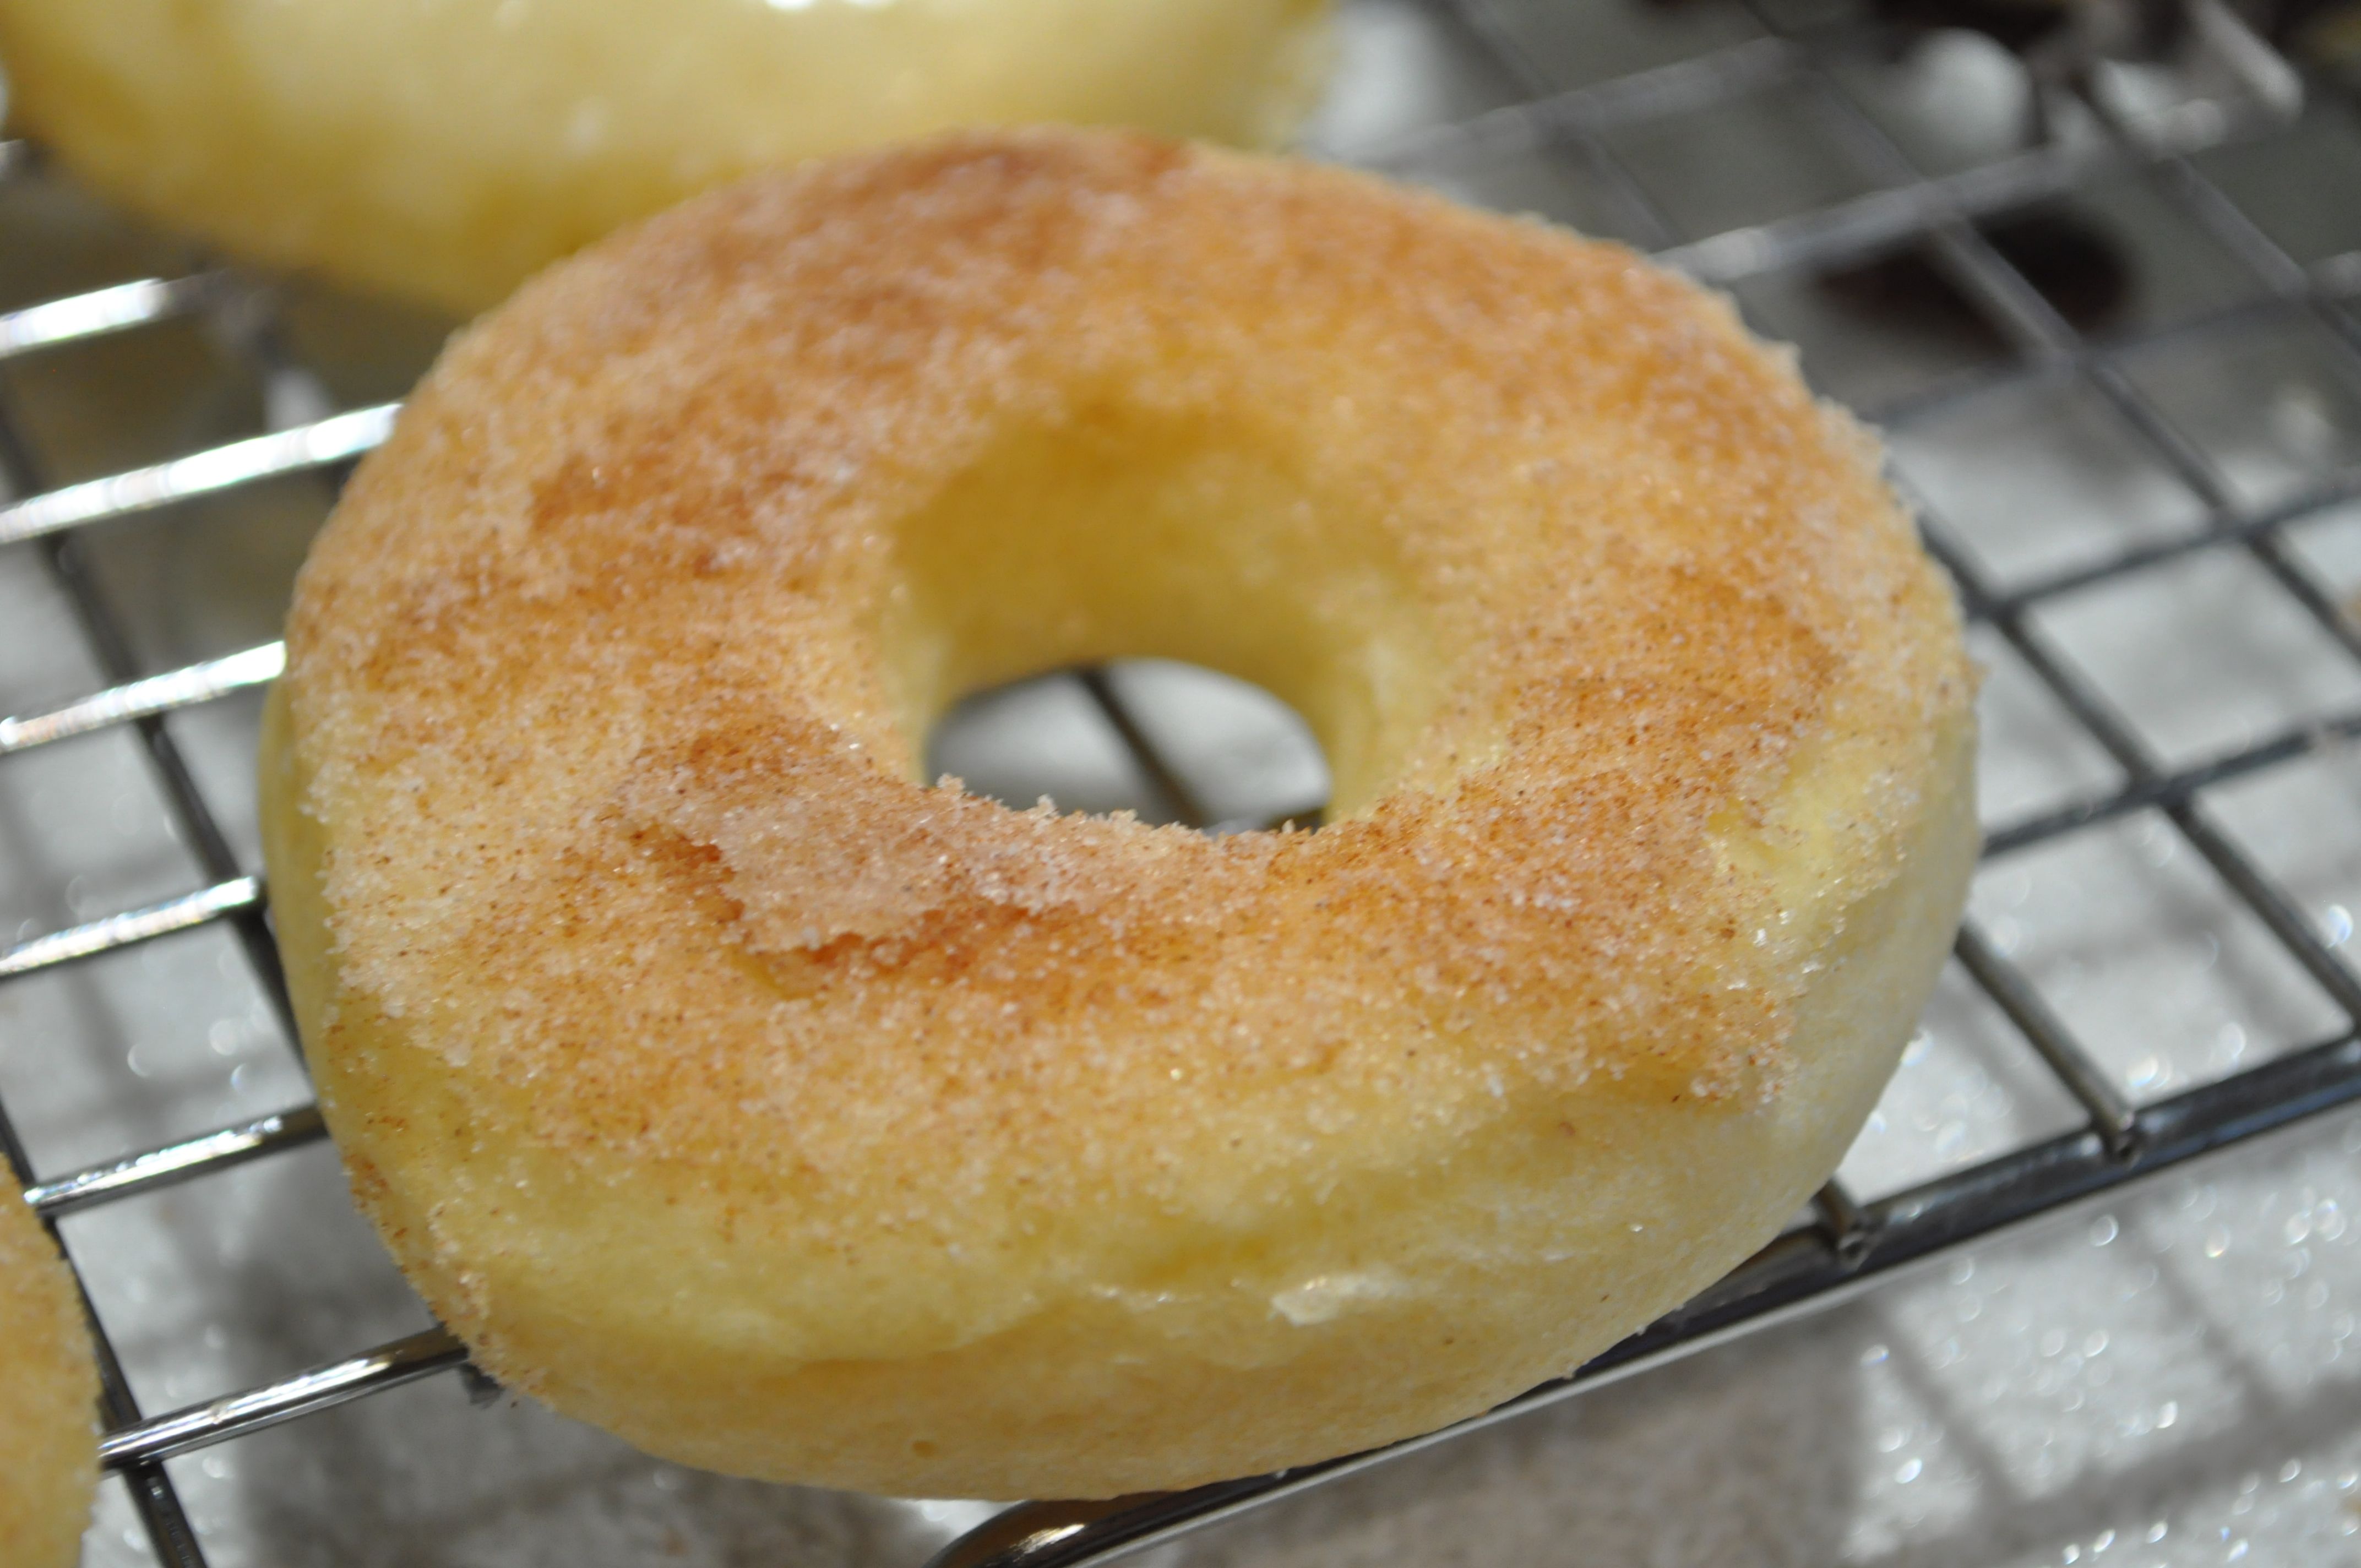
MAKE THE CINNAMON SUGAR TOPPING:
In a small bowl, place the melted butter.
In a separate bowl, mix together the sugar and cinnamon.
Dip the donuts first into the melted butter, then dip them into the cinnamon-sugar mixture.
MAKE THE HONEY BUTTER:
In a small microwave-safe bowl, place the butter and honey; heat for 30-45 seconds, or long enough for the butter to soften and just begin to melt. Stir to combine the mixture; mix until you get a creamy, spreadable consistency. Spread honey butter on top of the donuts.
Optional:
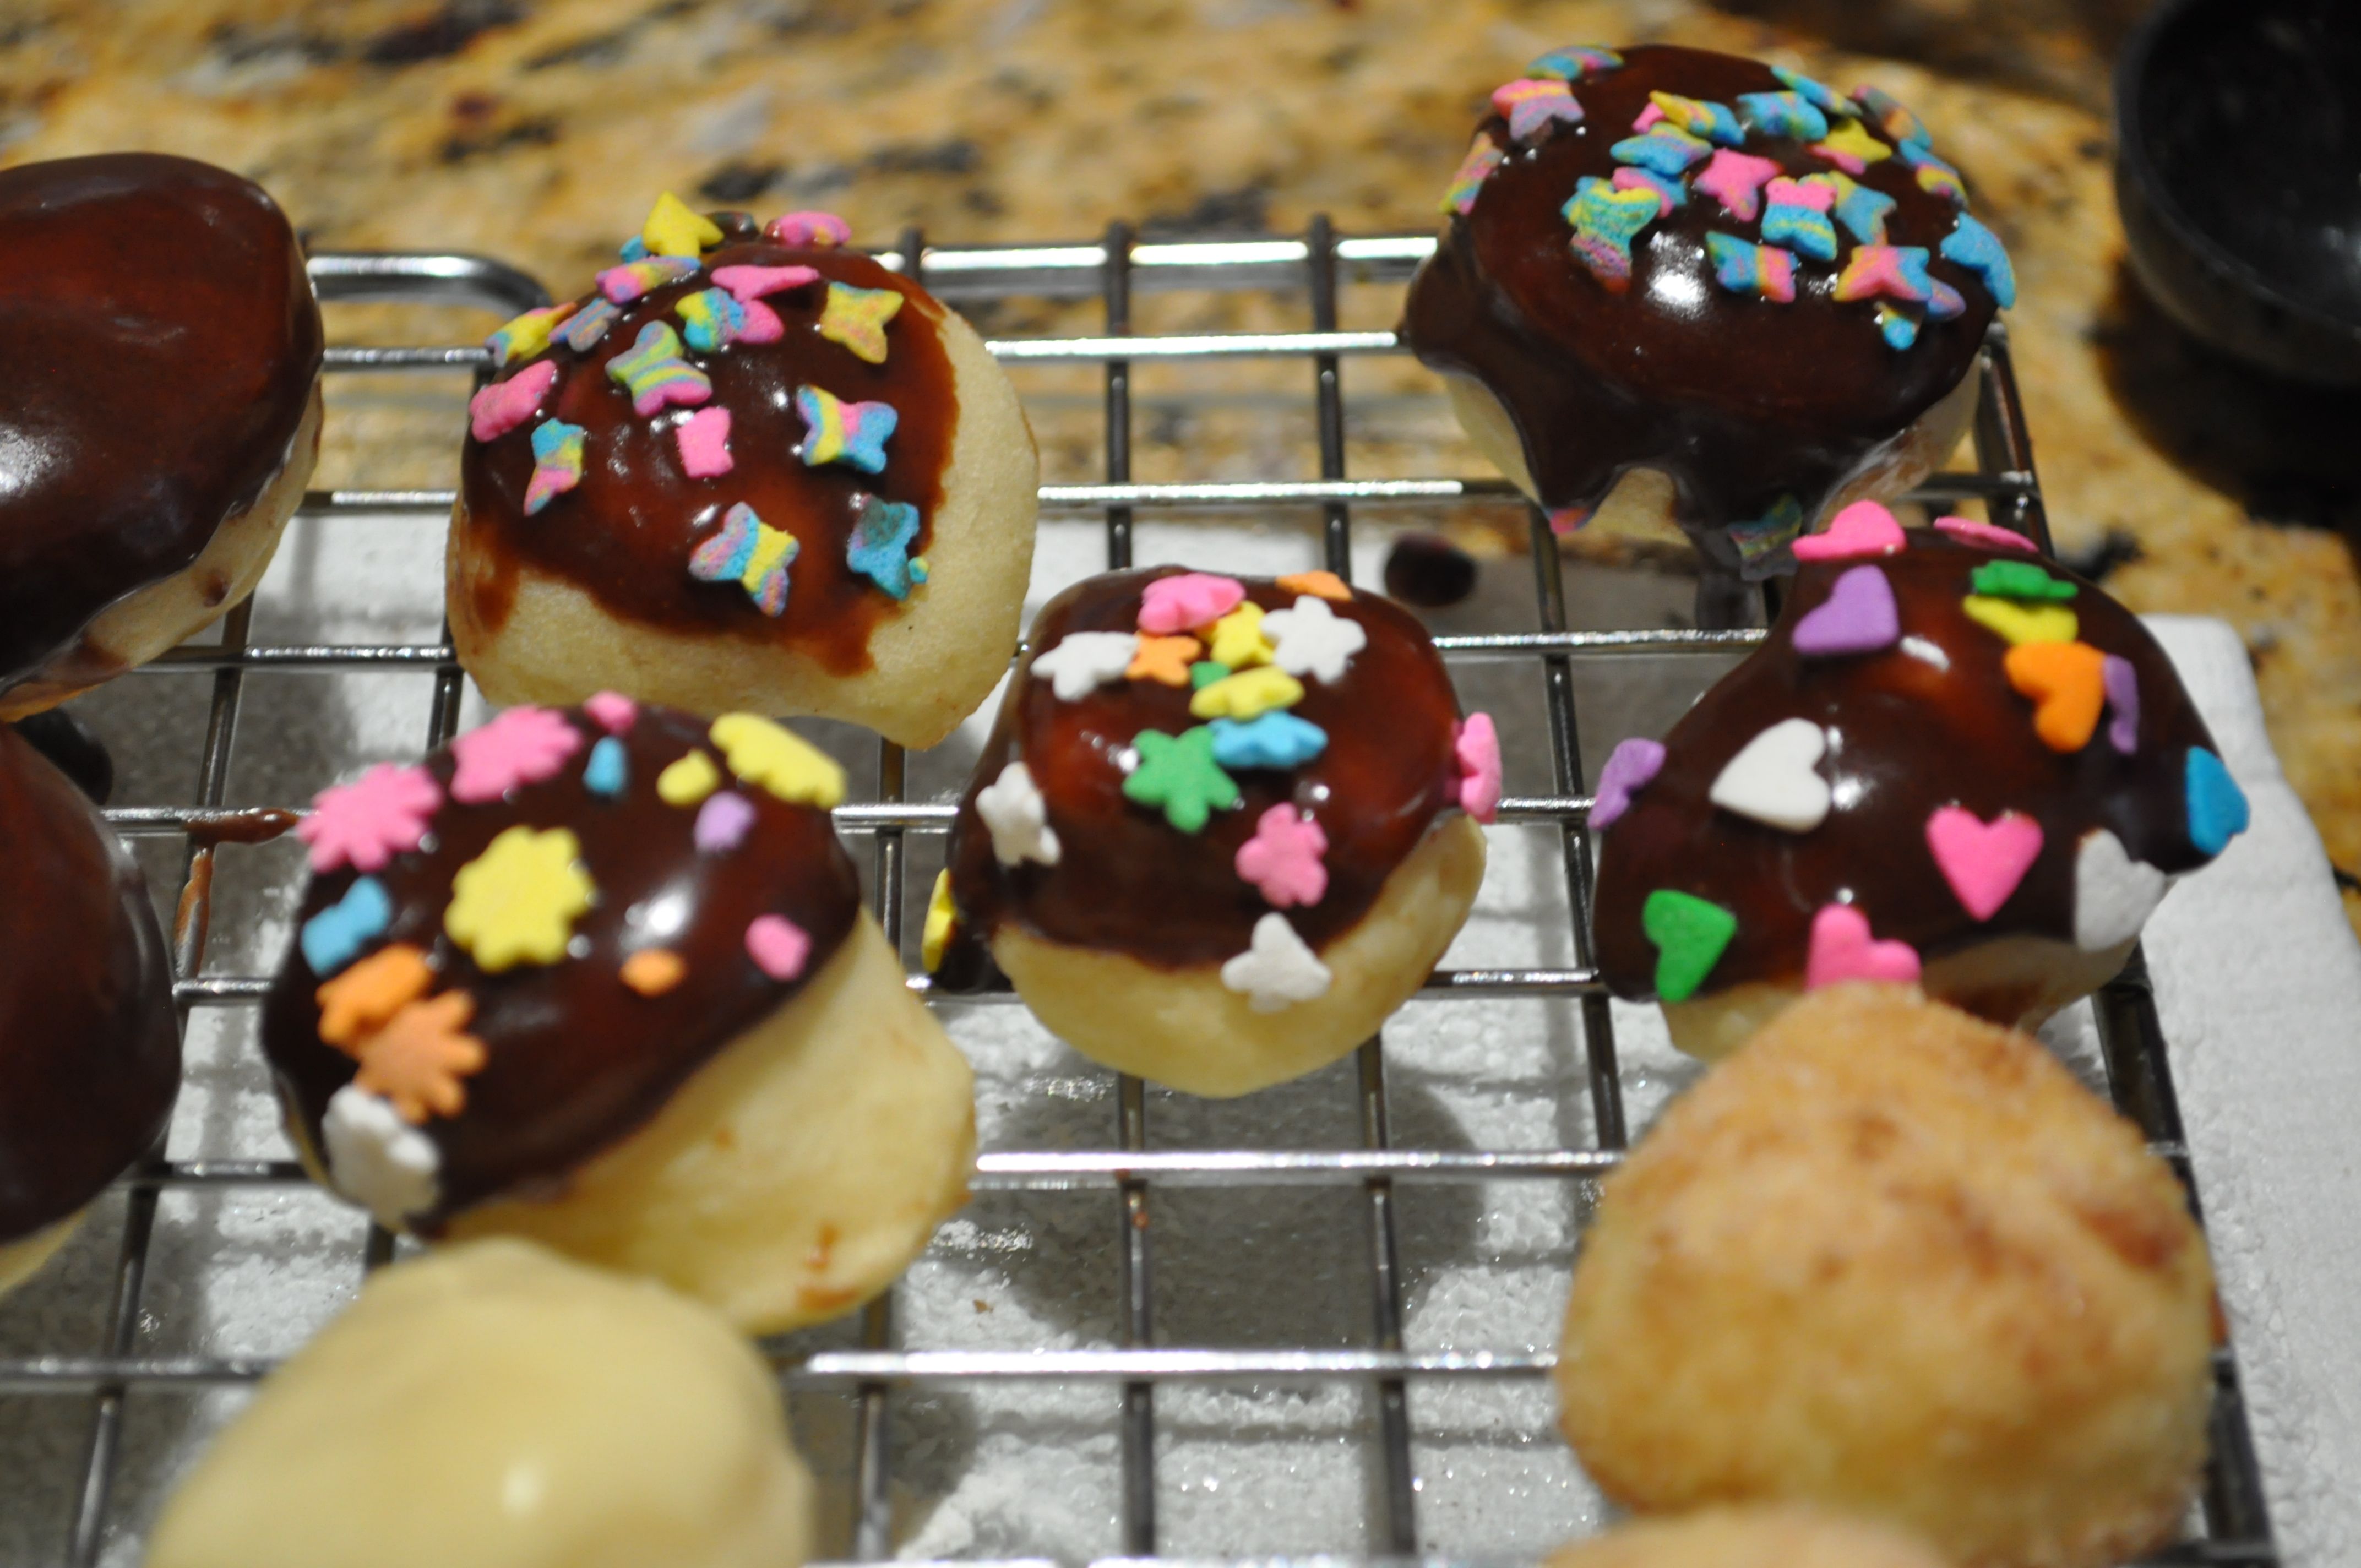
Top the glazed donuts with sweetened coconut flakes, sprinkles, or any other topping you like (nuts are good too).