Archive for FAMILY RECIPES

Fluffy Vanilla Pancakes

Hi!  I’m Alyssa, Annie’s youngest daughter. My mom let me be a guest blogger today.

It’s my turn to make breakfast for my family. I chose to make fluffy vanilla pancakes.

It’s really very easy to make. In fact, it’s so easy that when my older sister, Hannah, was about 3 years old, she had this recipe memorized and she’d always ask our mom to help her make it for breakfast.  The only thing I changed to my mom’s original recipe was to add vanilla extract and I used butter instead of vegetable oil.  (I love butter!)

If my sister (when she was 3) could help do it, and if I can make this all by myself, then maybe your kids can make this too. It’s a fun way to get kids in the kitchen.

Try making my fluffy vanilla pancakes, and please let me know how you like it. 🙂

Here’s how I did it. After you view all of my photos, you can find my recipe all the way at the bottom of this post.

Oh, one more thing.  This made 2 regular sized (big) pancakes and about 7 smaller pancakes (they were small, and a little bigger than dollar pancakes).

My Fluffy Vanilla Pancakes 🙂

image

First, crack the egg into a small mixing bowl. You might not be able to tell, but the bowl I’m using is a Tupperware bowl with Minnie Mouse on it. My mom got it for me when I was around 3 or 4 years old, the same age my older sister was when she started helping my mom make pancakes.

image

Next, measure out your milk. Pour the milk into the bowl with the egg. Use a whisk to mix it together.

image

image

image

Add the vanilla to the bowl. Whisk the mixture together again.

image

image

Next, melt the butter. Pour the melted butter into the mixing bowl. The milk was really cold, so if you look carefully, you can see that the melted butter started to solidify again after I poured it into the bowl. If that happens to you, that’s okay. It will all get mixed together in the end.

image

image

Now the dry ingredients gets mix in. First, add the salt. I usually measure out the salt over the counter in case I pour out too much. Salty pancakes would taste horrible.

image

image

Add the sugar next.

image

Add the flour to the bowl. Whisk again to mix the flour into the batter.

image

Add the baking powder last. The baking powder reacts as soon as it’s mixed with liquid. As soon as you mix in the baking powder, get ready to cook up the pancakes.

image

Oh, I forgot to mention that before you add the baking powder, you should start to heat up your pan. We like using this cast iron skillet.

image

This is what the batter looks like. It should be very thick, not thin and runny.  It’s almost as thick as cake batter.

image

image

When the skillet is hot, spray lightly with butter cooking spray. You don’t have to use cooking spray. You can use regular butter or you don’t have to use anything at all if you have a non-stick pan. I just like the way the pancakes taste when you use butter to cook them.

image

One of my favorite kitchen tools is a small cookie scoop. I use a 2-tablespoon scoop to scoop out pancake batter. It’s easier than trying to pour out even amounts of batter each time. Plus, it doesn’t make a mess. For big pancakes, scoop out two scoops of batter. You might have to use the back of the cookie scoop to sort of spread out the batter since it’s rather thick. But don’t spread it out too much! This thick batter is what makes the pancakes really tall and fluffy!

image

image

I like to add chocolate chips to my pancakes. If you want to, sprinkle some semisweet chocolate chips over the pancake.  I would have added more chocolate chips but my mom made me stop.  That and I kept eating them. 😉

image

You have to use your finger to press the chips into the batter.

image

After a couple of minutes, use a spatula to check if the bottom of the pancake is turning golden brown. When it’s a nice golden brown, it’s time to flip the pancake. It took a bit of practice to learn to flip pancakes, but it’s really easy. If you’re going to teach your kids to flip pancakes without actually doing it on real pancakes, I recommend using a slice of bread to practice. Practice makes perfect. This reminds me–after practicing and practicing, I now know how to crack an egg with ONE hand and NOT get any shells into the bowl!

image

Okay, back to my pancakes. After the pancake is golden brown on both sides, it’s done. I also press down on the middle of the pancake to test if it’s done–if it feels sort of firm and not squishy, it’s done.  Look on the sides of the pancake too.  If the side still looks wet, cook it a bit longer.

image

I don’t put any syrup on my pancake when I add chocolate chips, but you can if you want to.

image

My sister likes plain pancakes (without chocolate chips). Today she wanted dollar pancakes. To make small pancakes, just use one scoop of batter. Our skillet can fit three small pancakes. Flip them over when the bottoms are golden brown.

image

Serve with butter and syrup and ENJOY!!

image

Here is my recipe, with the ingredients written out.  I hope you give my recipe a try. 🙂

Alyssa’s Fluffy Vanilla Pancakes

Ingredients:

  • 1 large egg
  • 3/4 cup milk
  • 2 tablespoons melted unsalted butter
  • 1 tablespoon vanilla extract
  • 1/4 teaspoon salt
  • 1 tablespoon sugar
  • 1 cup all purpose flour
  • 1 tablespoon baking powder
  • Optional: semisweet chocolate chips

Directions:

1. Mix the egg, milk, butter and vanilla in a small mixing bowl.

2. Whisk in the salt, flour and baking powder.

3. Cook on a heated skillet until golden brown on both sides. Optional: sprinkle chocolate chips on one side of the pancake before flipping it over.

4. Serve with butter and syrup. Enjoy! 🙂

image

Print Friendly, PDF & Email

Fresh Salmon Kelaguen

Kelaguen in Chamorro describes a dish that’s prepared by mixing the main ingredient (usually chicken, beef, deer, or seafood) with lemon or lime juice, onions, salt, and hot pepper.  Chicken kelaguen is usually prepared with cooked (grilled, broiled or boiled) chicken.  The other types of kelaguen–beef, deer, shrimp, and various types of fish–are most often prepared raw, with the meat or seafood getting cooked with the addition of an acid, usually lemon or lime juice.

Kelaguen is a staple dish at Chamorro parties.  Sometimes, especially on Guam, an entire table is devoted to several types of kelaguen.

Salmon kelaguen is a favorite in our house.  I know, I know…I’ve said a lot of the dishes I make are favorites.  But really…this one is a REAL favorite (after shrimp kelaguen, that is). 😉

I prefer fresh salmon with this recipe.  If you’re in a pinch, canned salmon kelaguen is also tasty, but I still prefer fresh salmon any day.

Give my recipe a try.  If you like sushi, ceviche, or any type of kelaguen, then I know you’ll like this. 😀

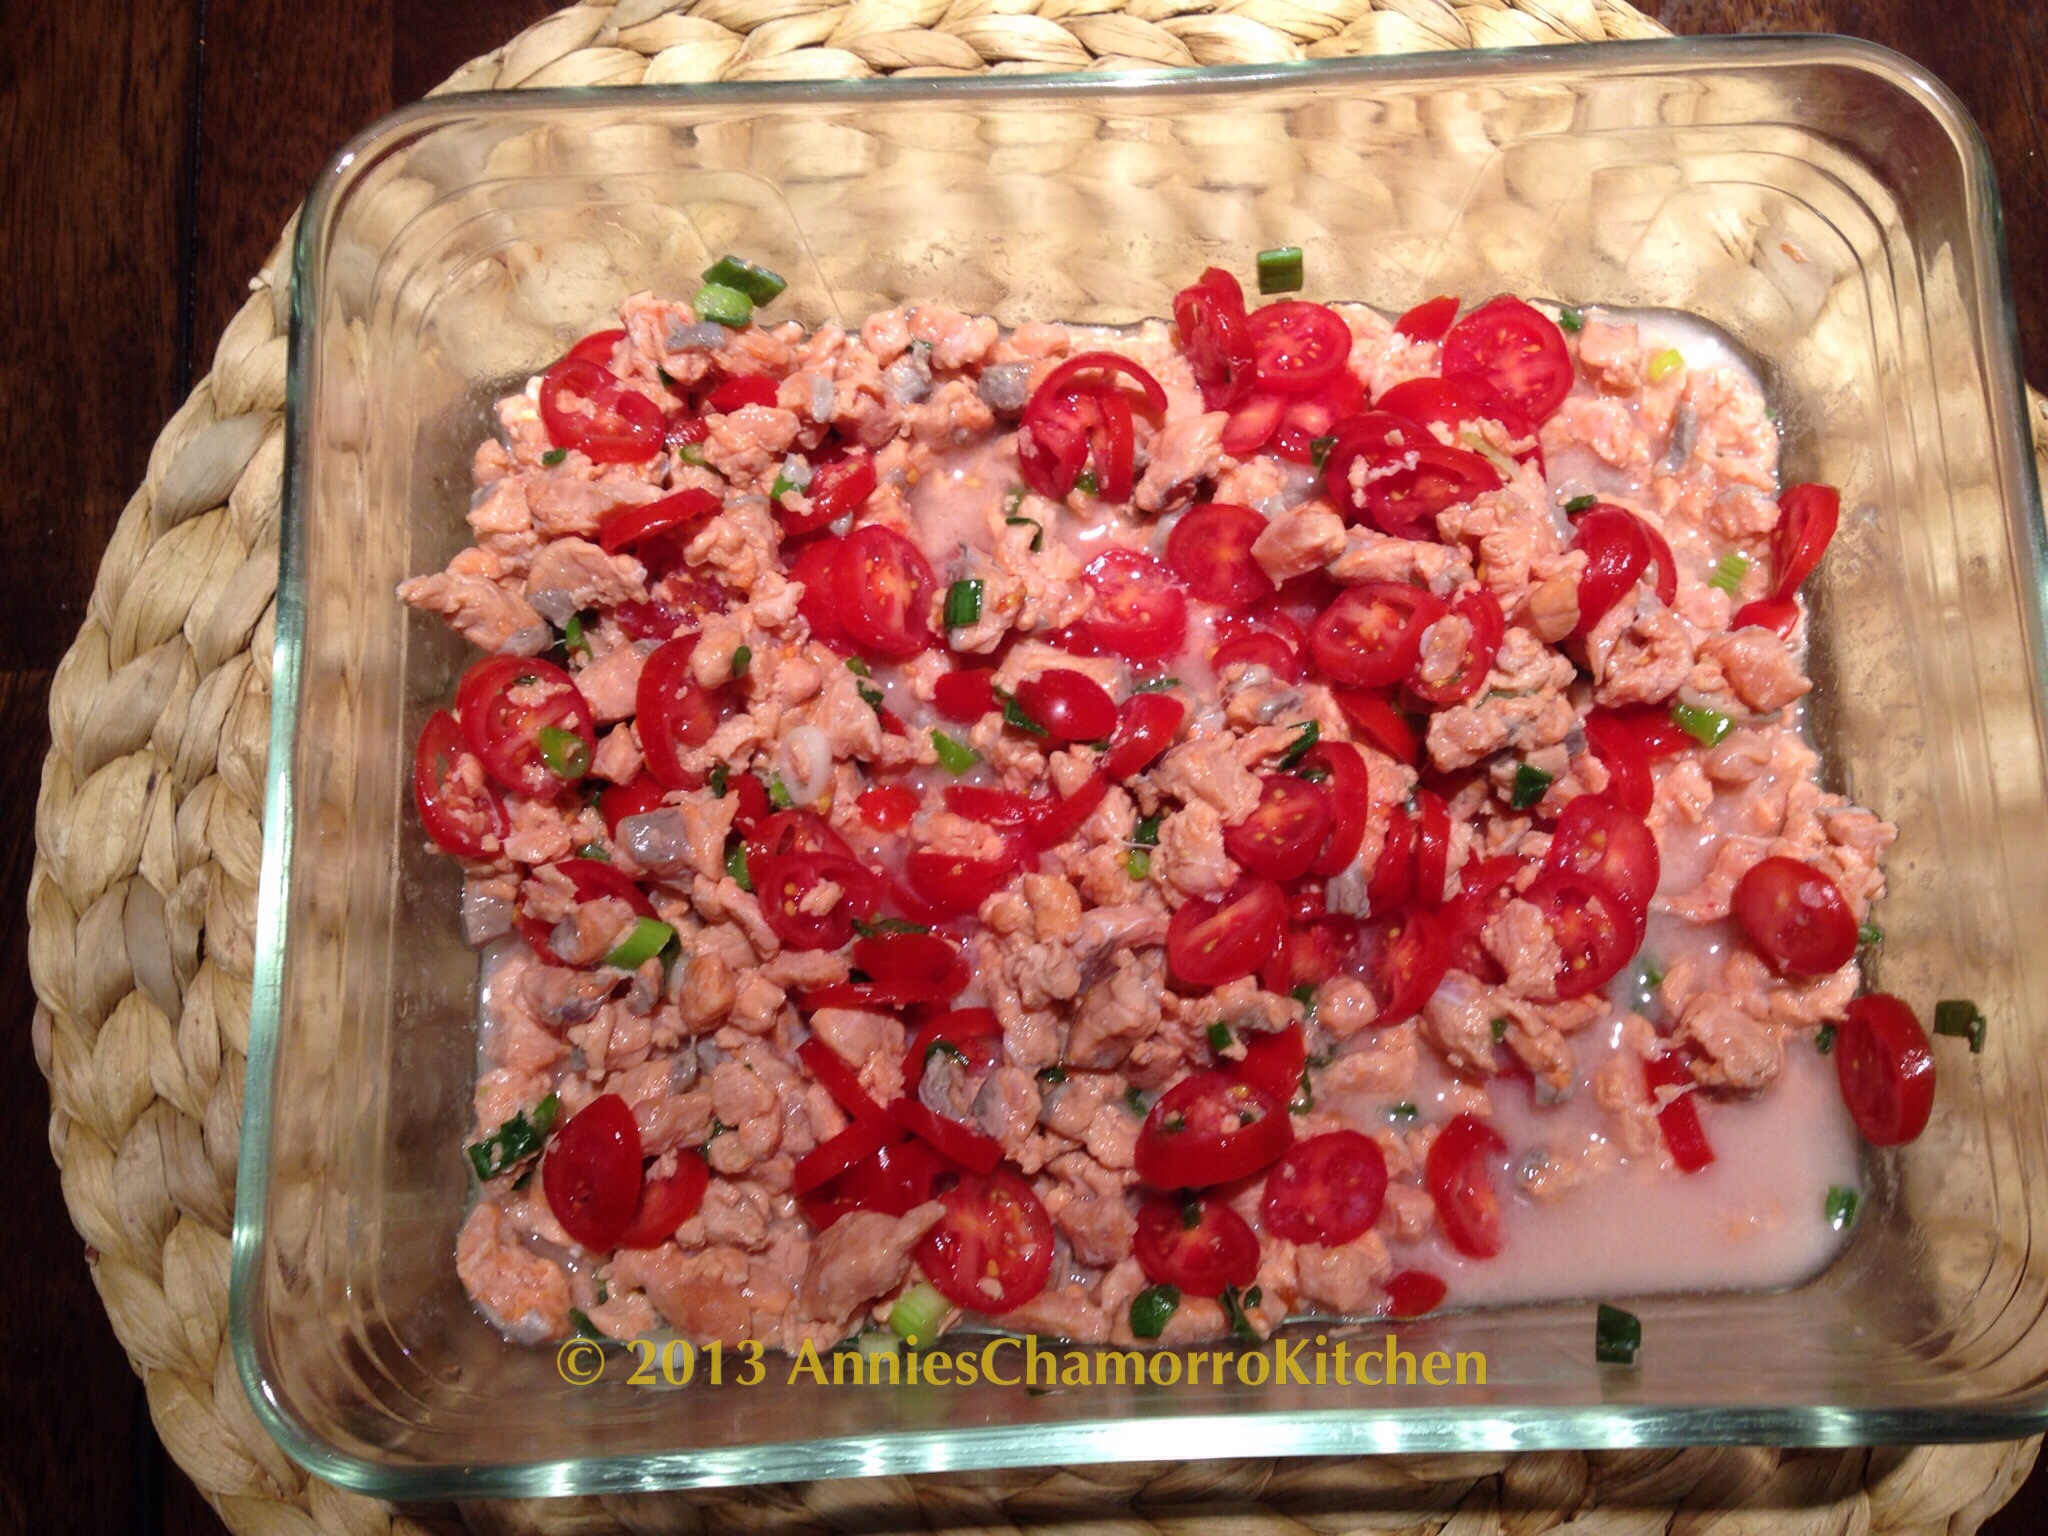
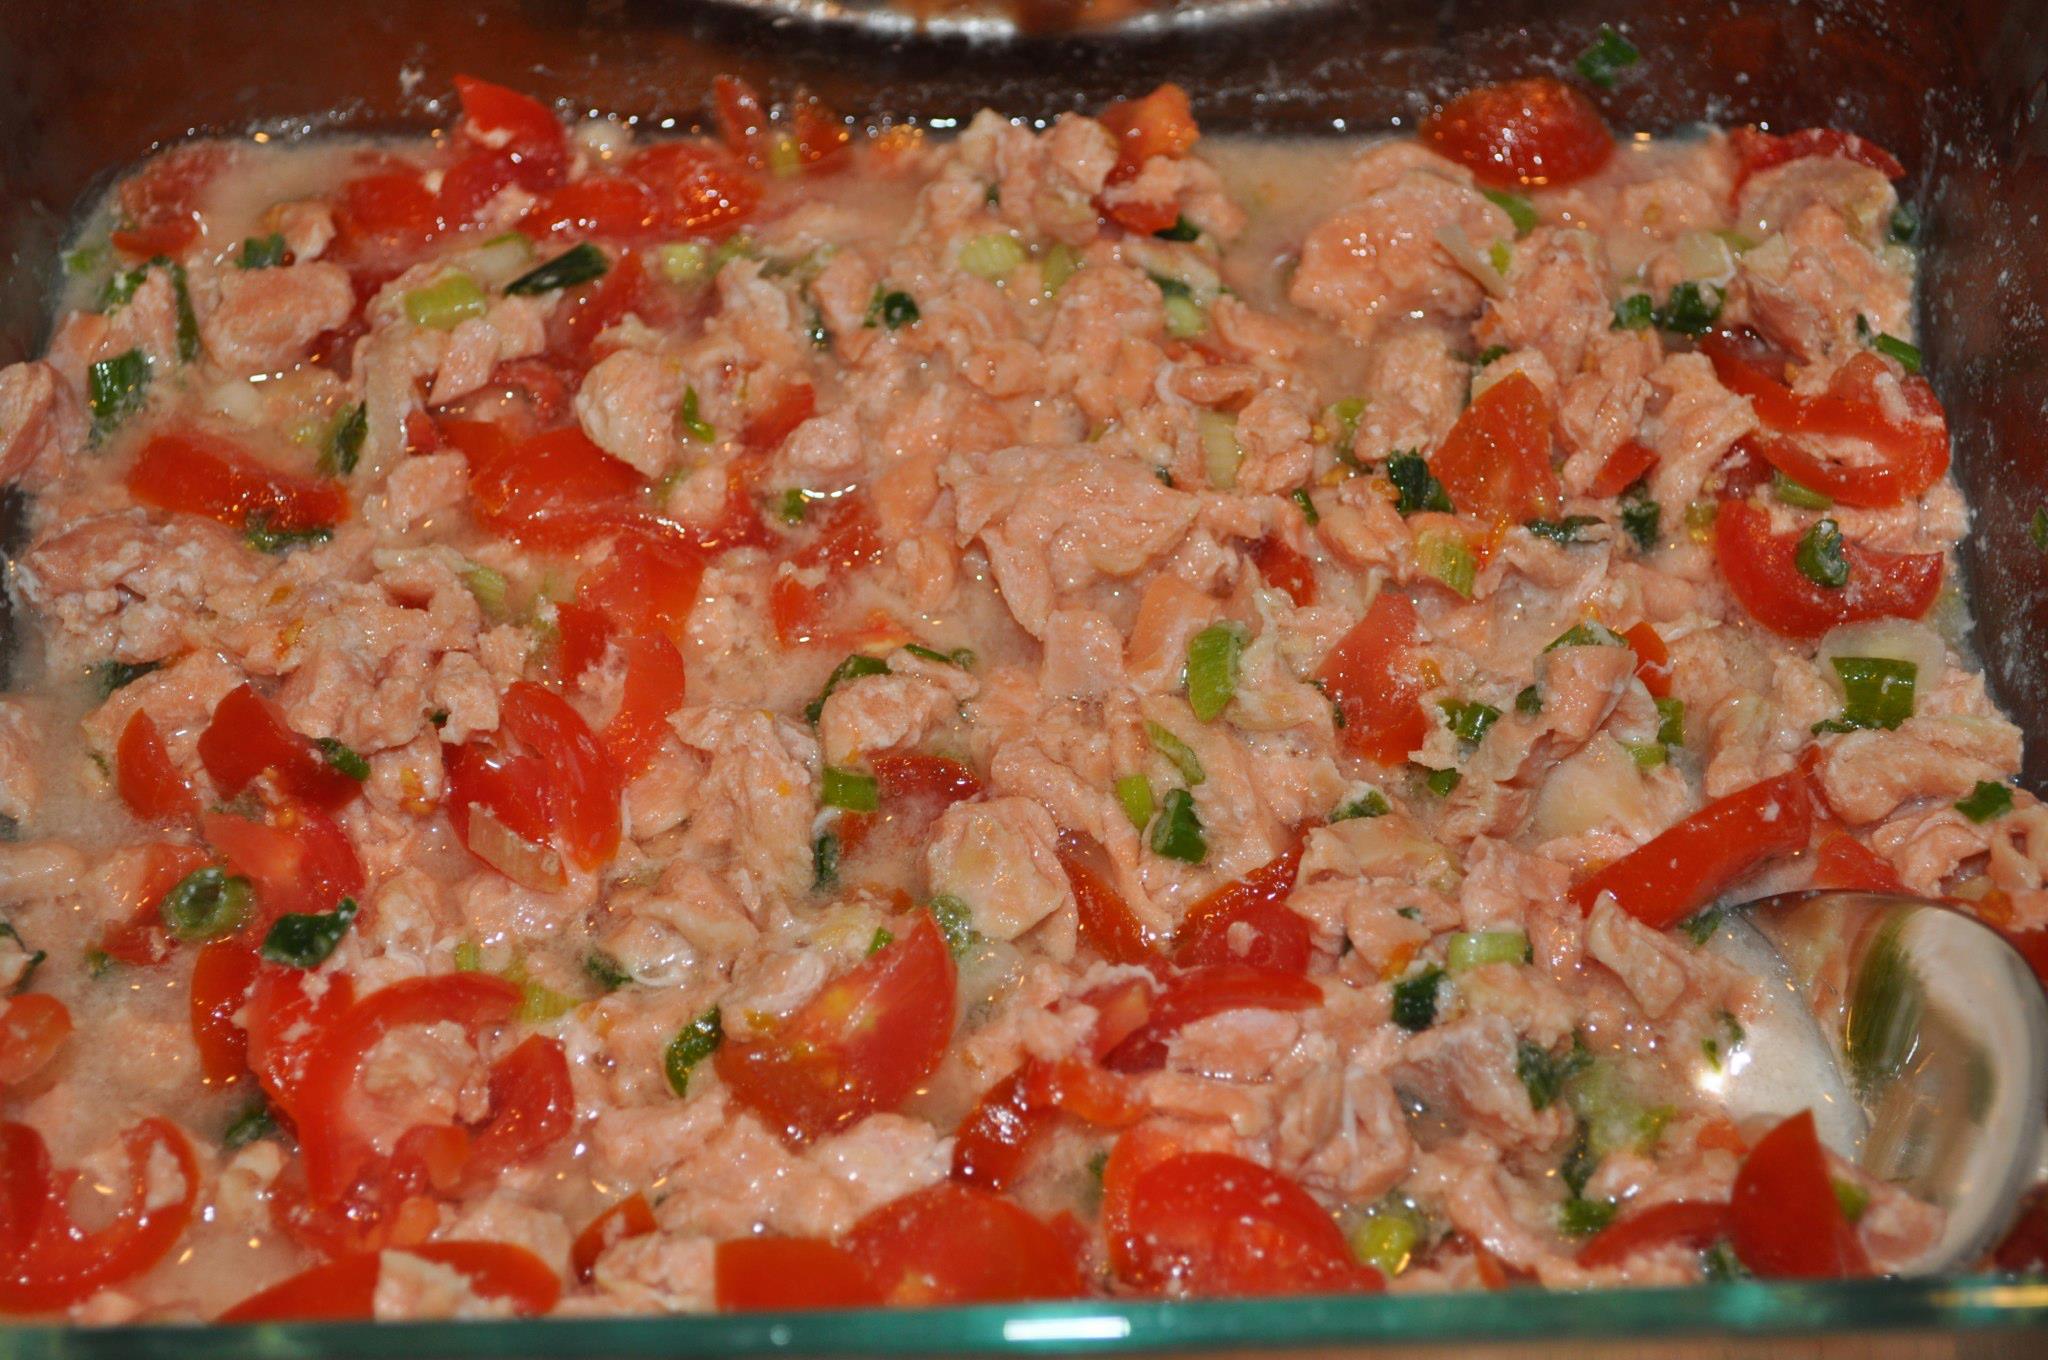
Fresh Salmon Kelaguen 

Salmon Kelaguen - Annie's

Ingredients:

  • 2 pounds fresh salmon (red salmon, preferably)
  • 4 stalks green onions, sliced
  • The juice of 5-6 limes, more or less, to taste (or you can use lemon powder, mixed with a little bit of water)
  • Salt, to taste
  • 1 cup cherry or grape tomatoes, diced
  • Hot pepper, optional

Directions:

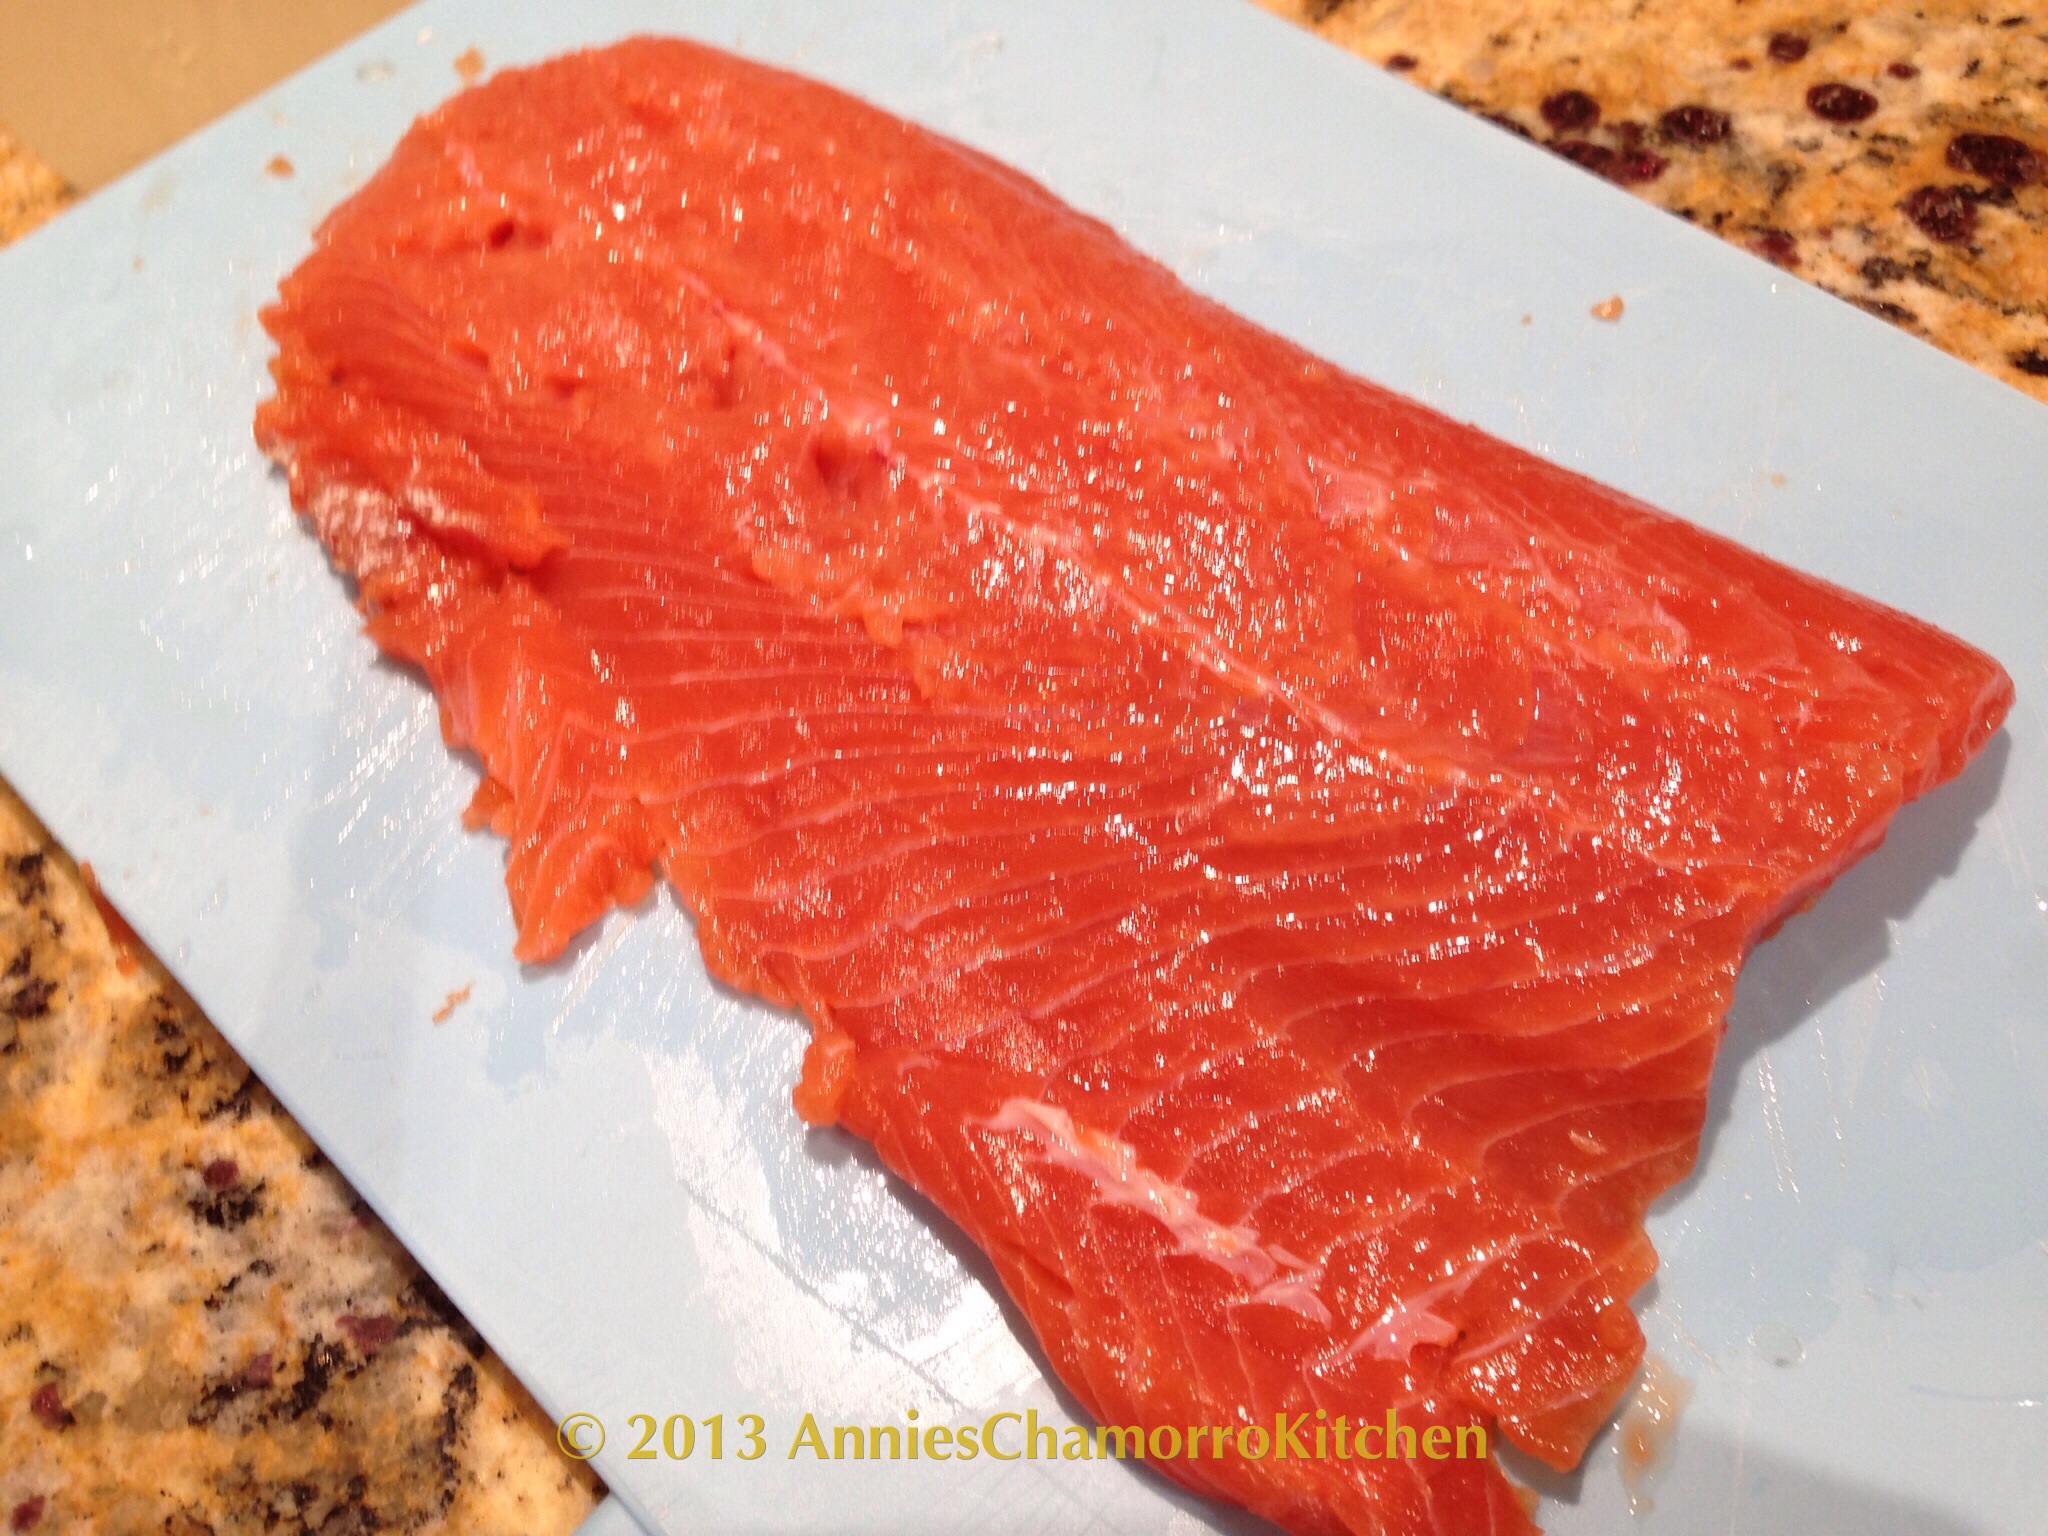
1.  Rinse the salmon filet.  Pull out any salmon bones.  Remove the skin, or leave it on if you prefer.  I like the skin removed for kelaguen.

image

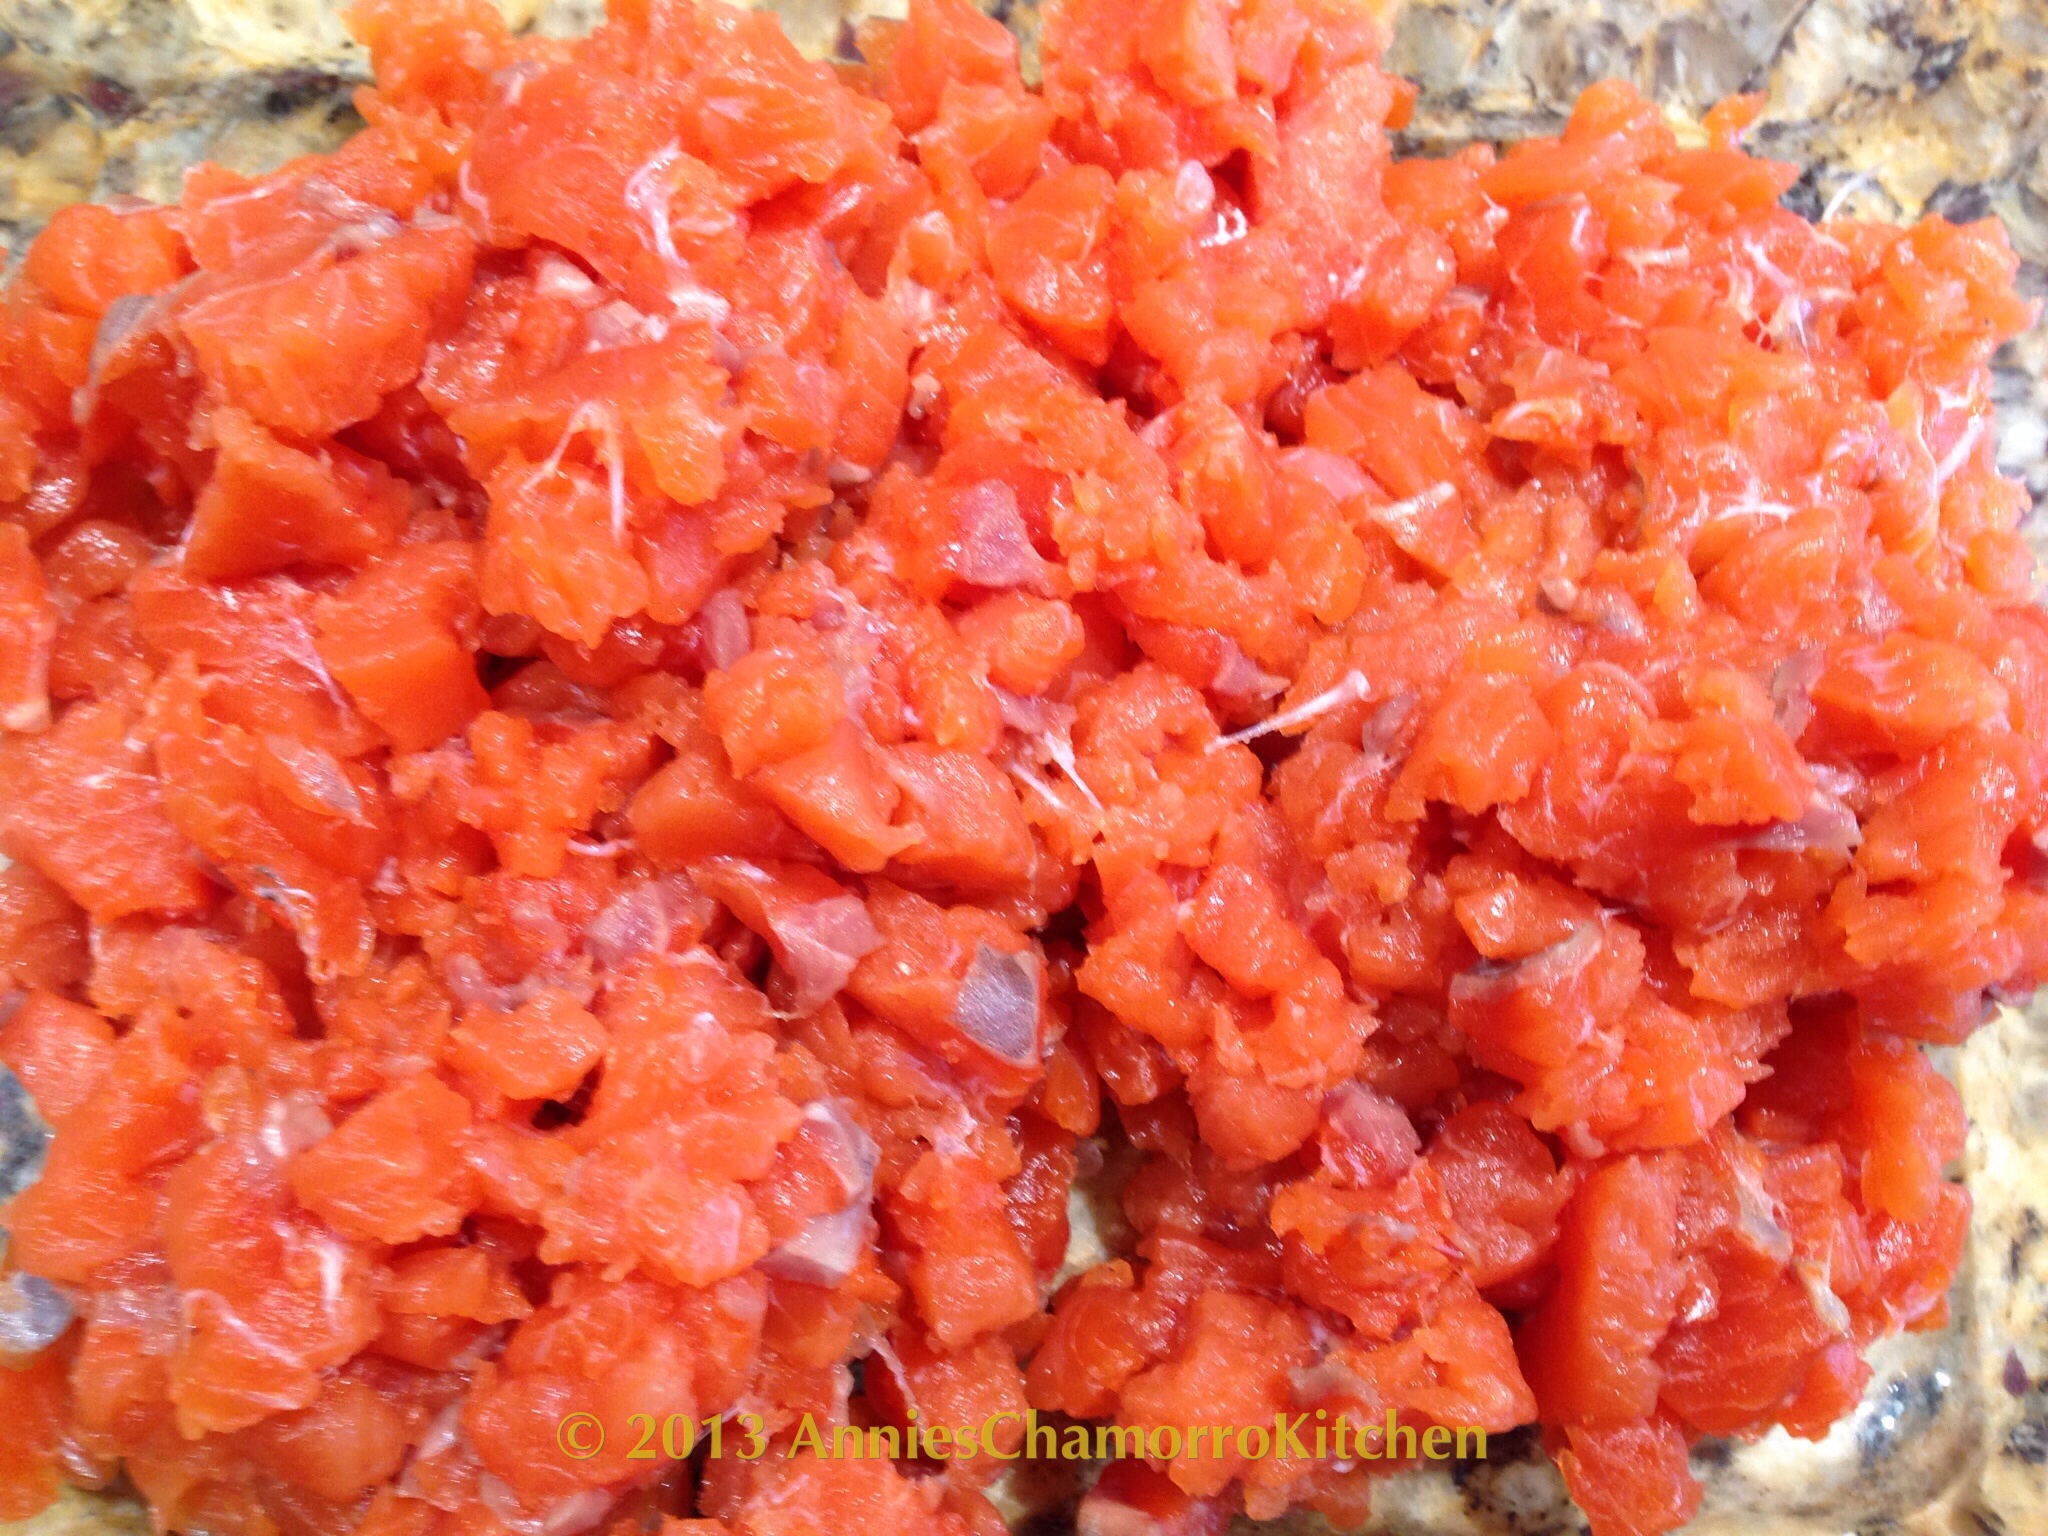
2.  Cut the salmon into small pieces.

image

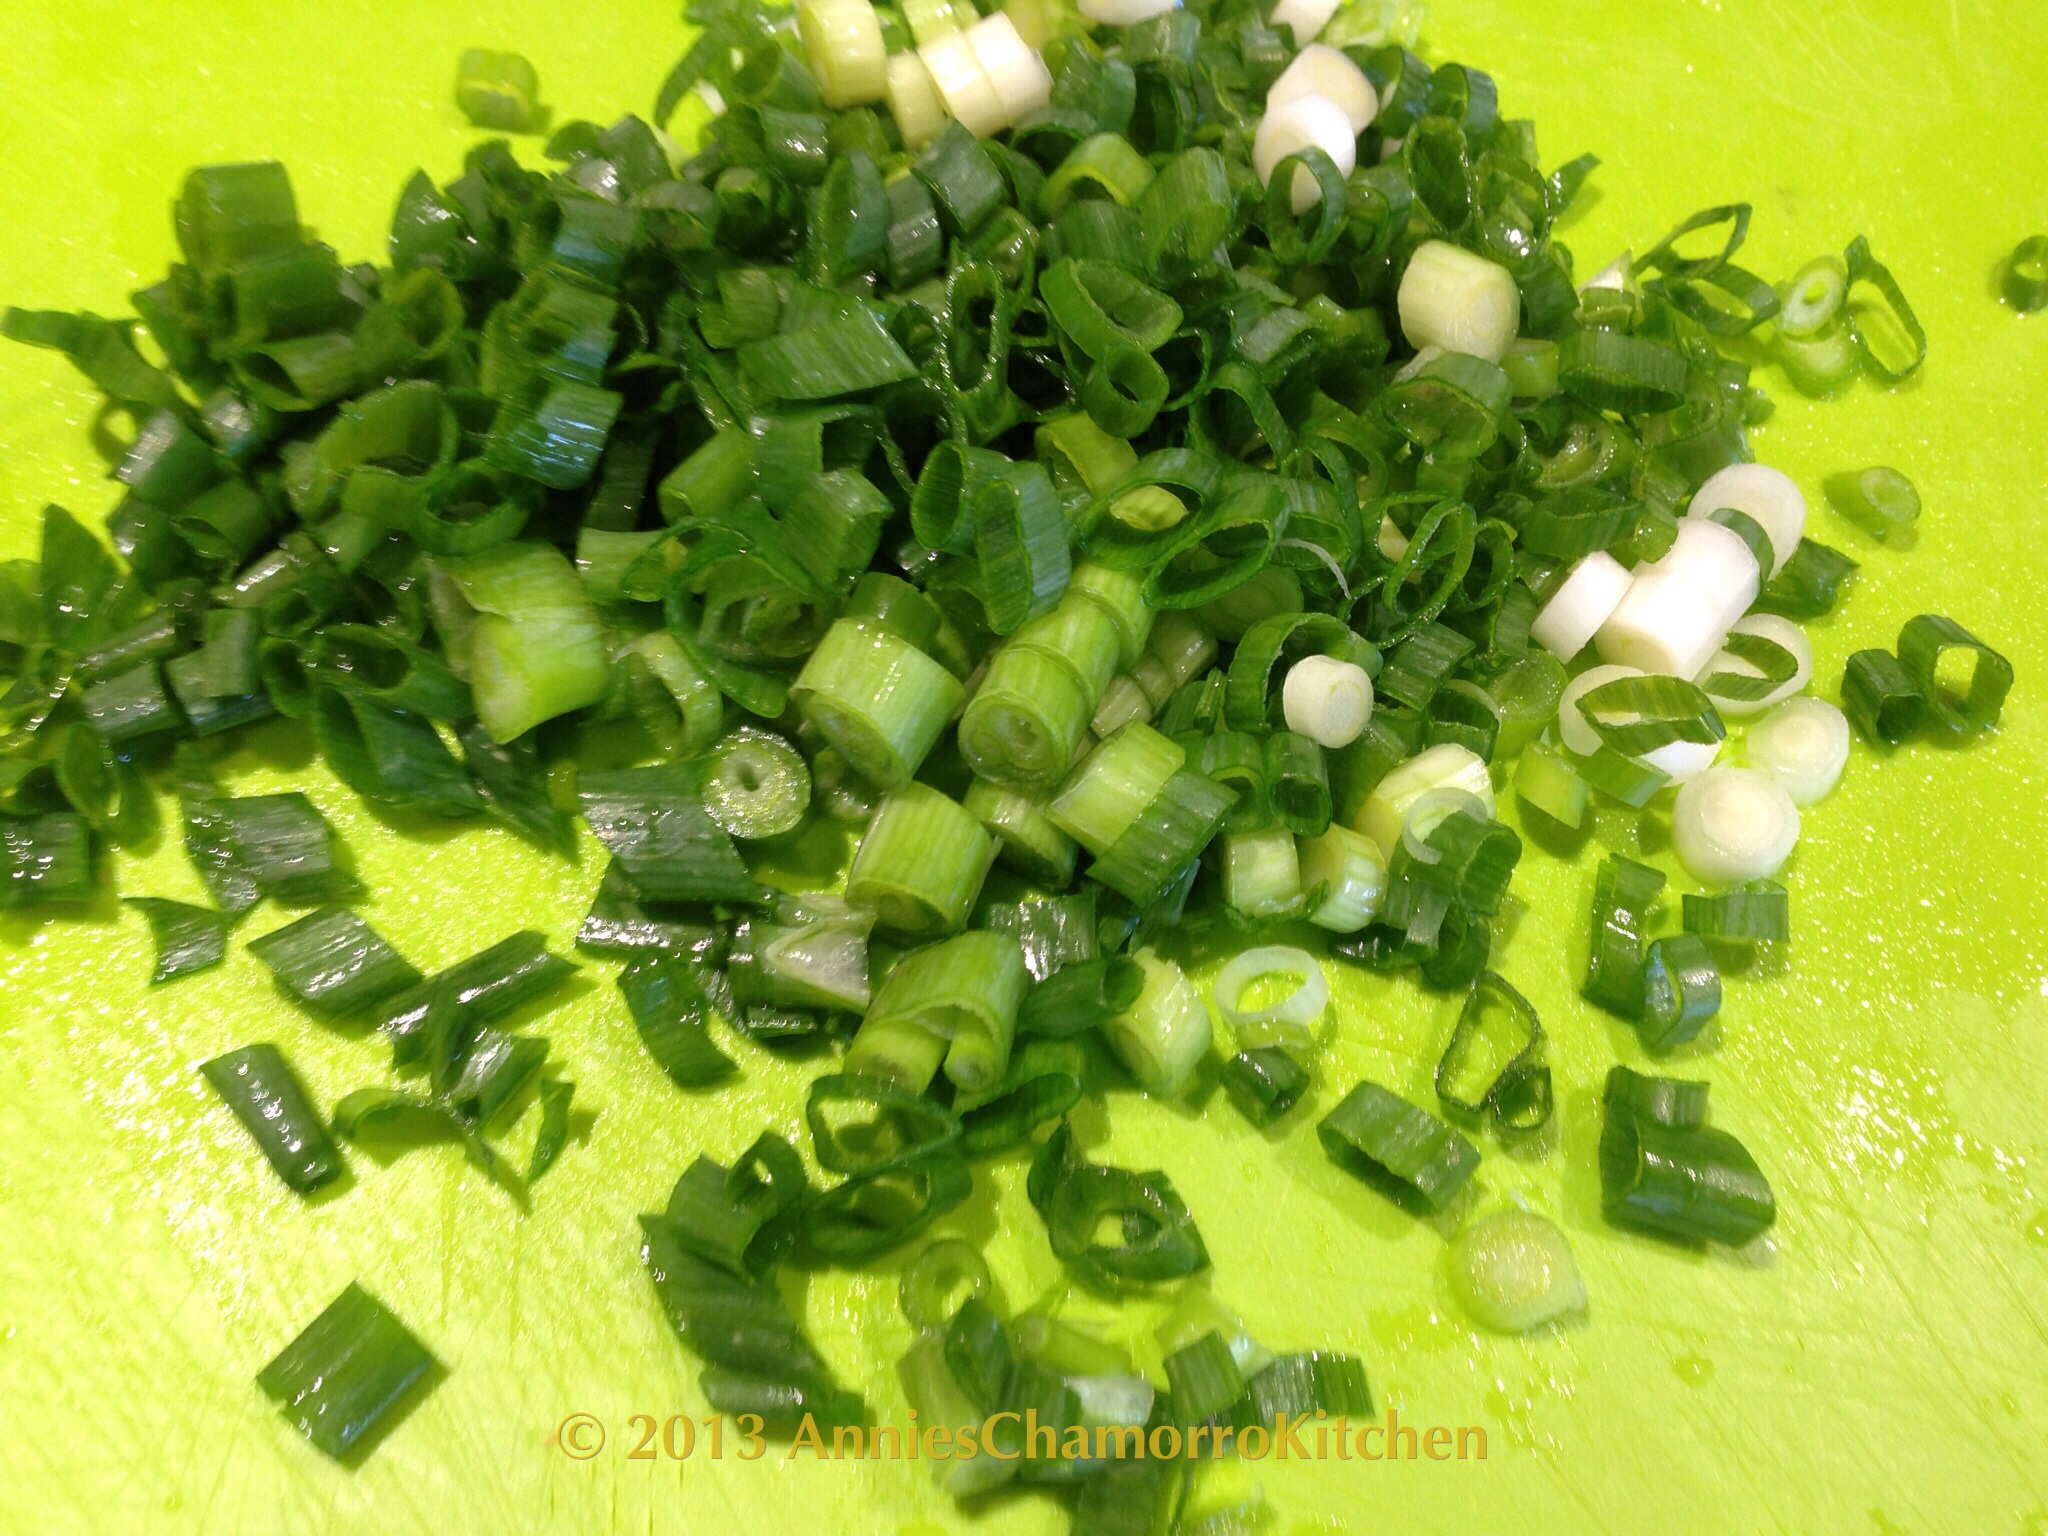
3.  Thinly slice the green onions.

image

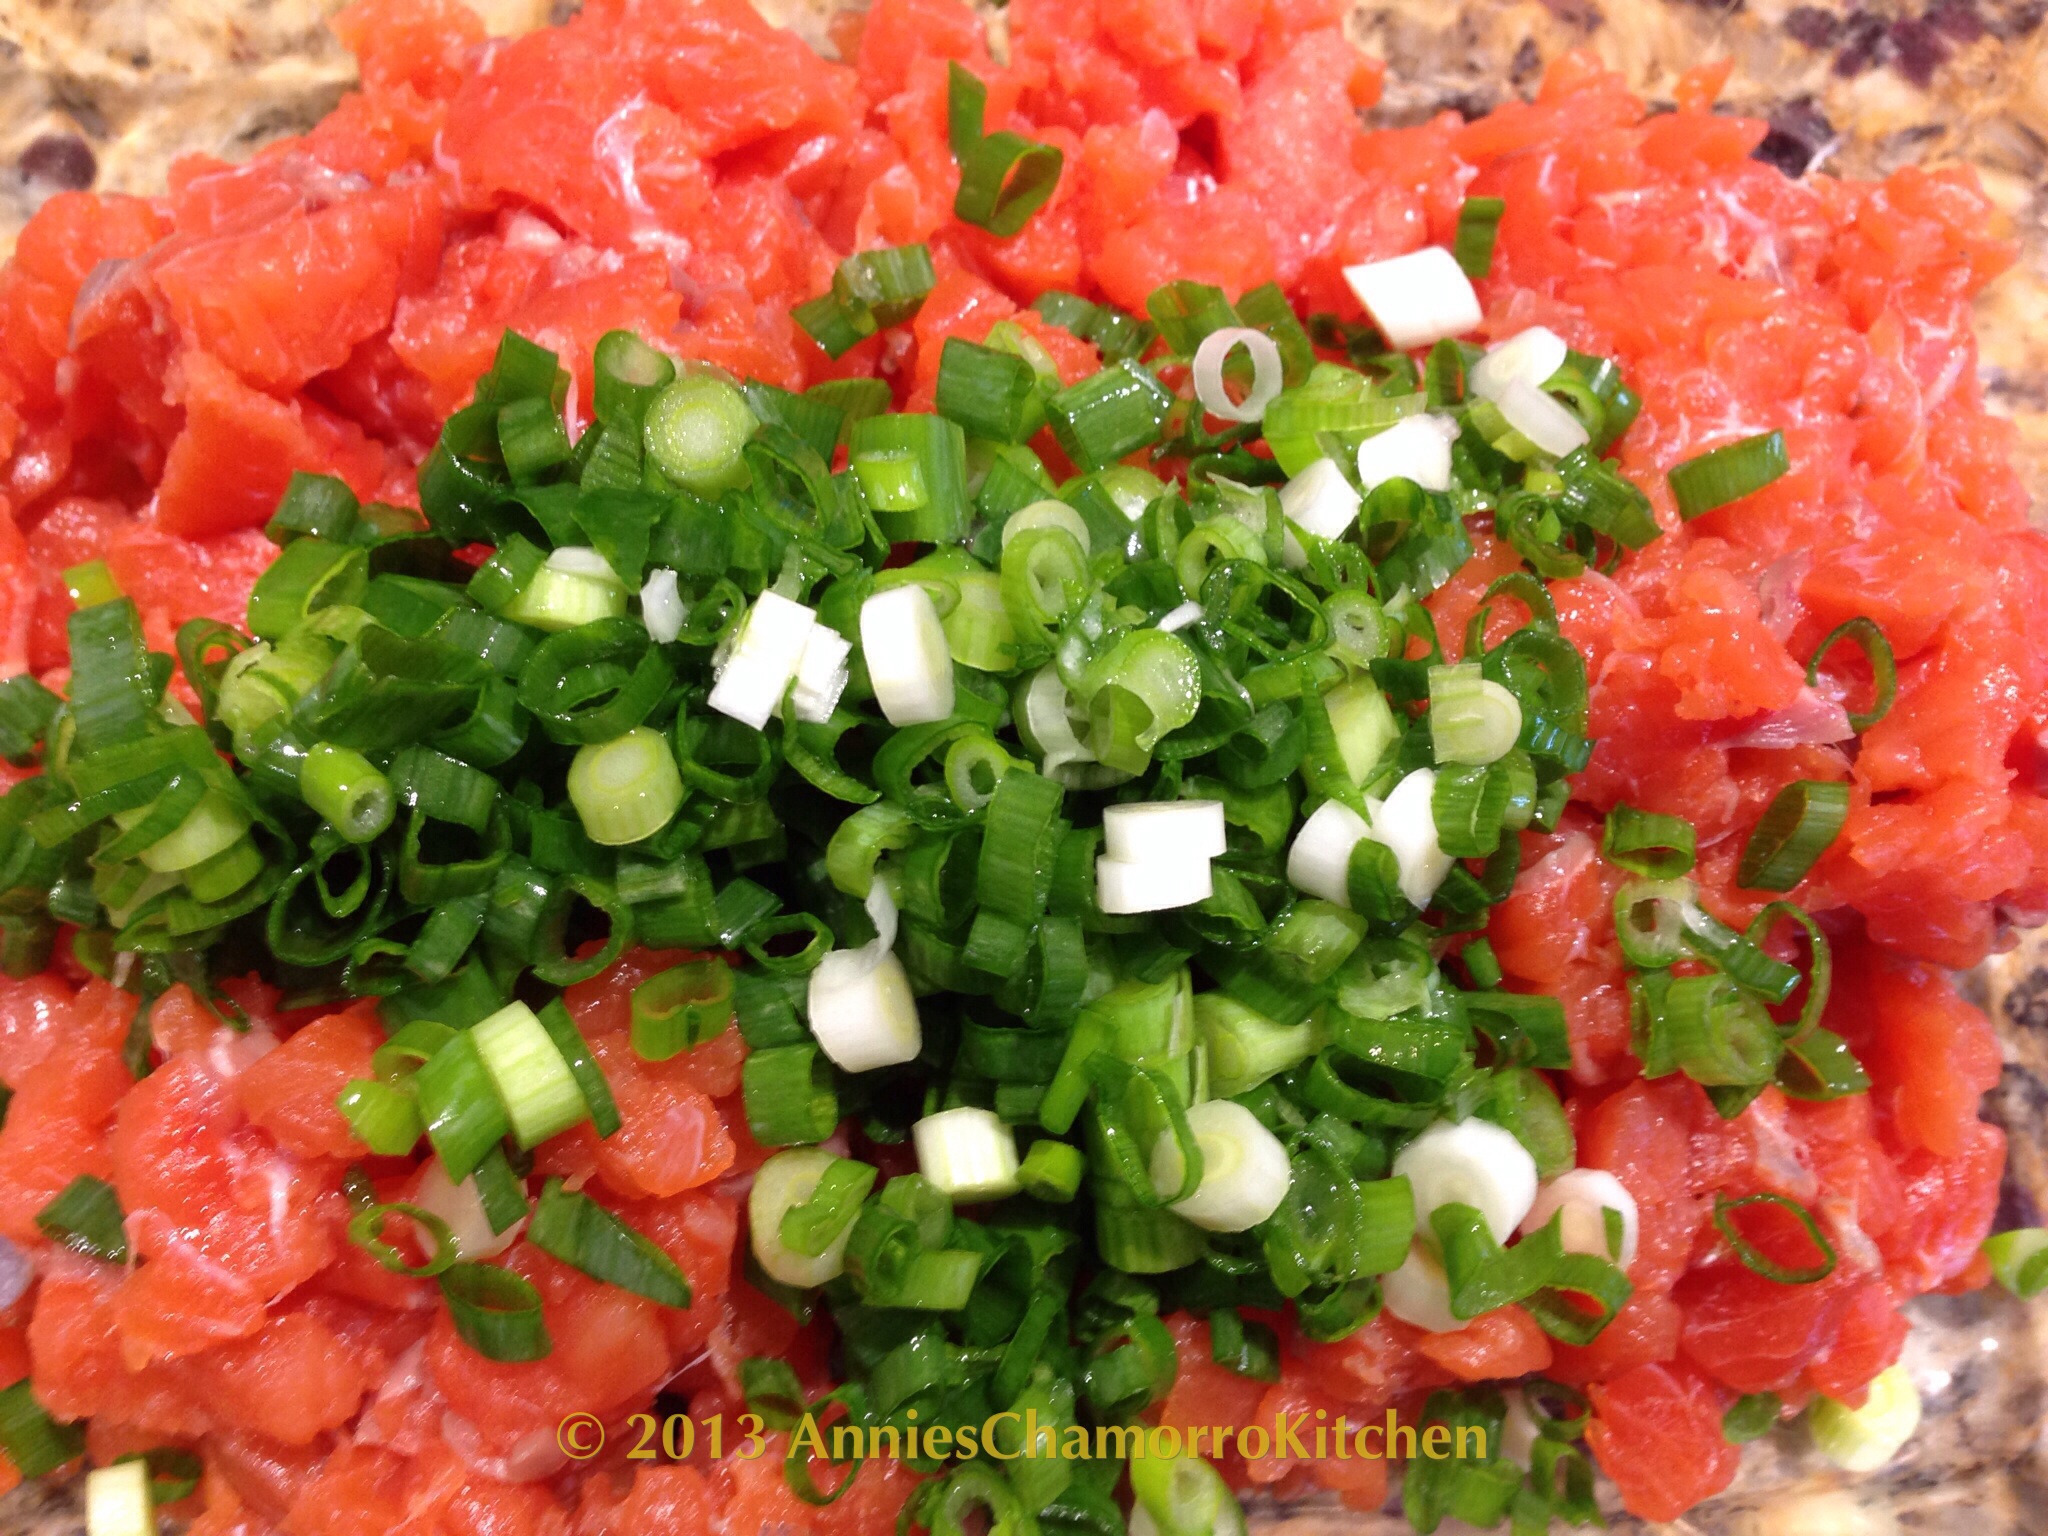
4.  Mix the salmon and green onions together in a small bowl.

image

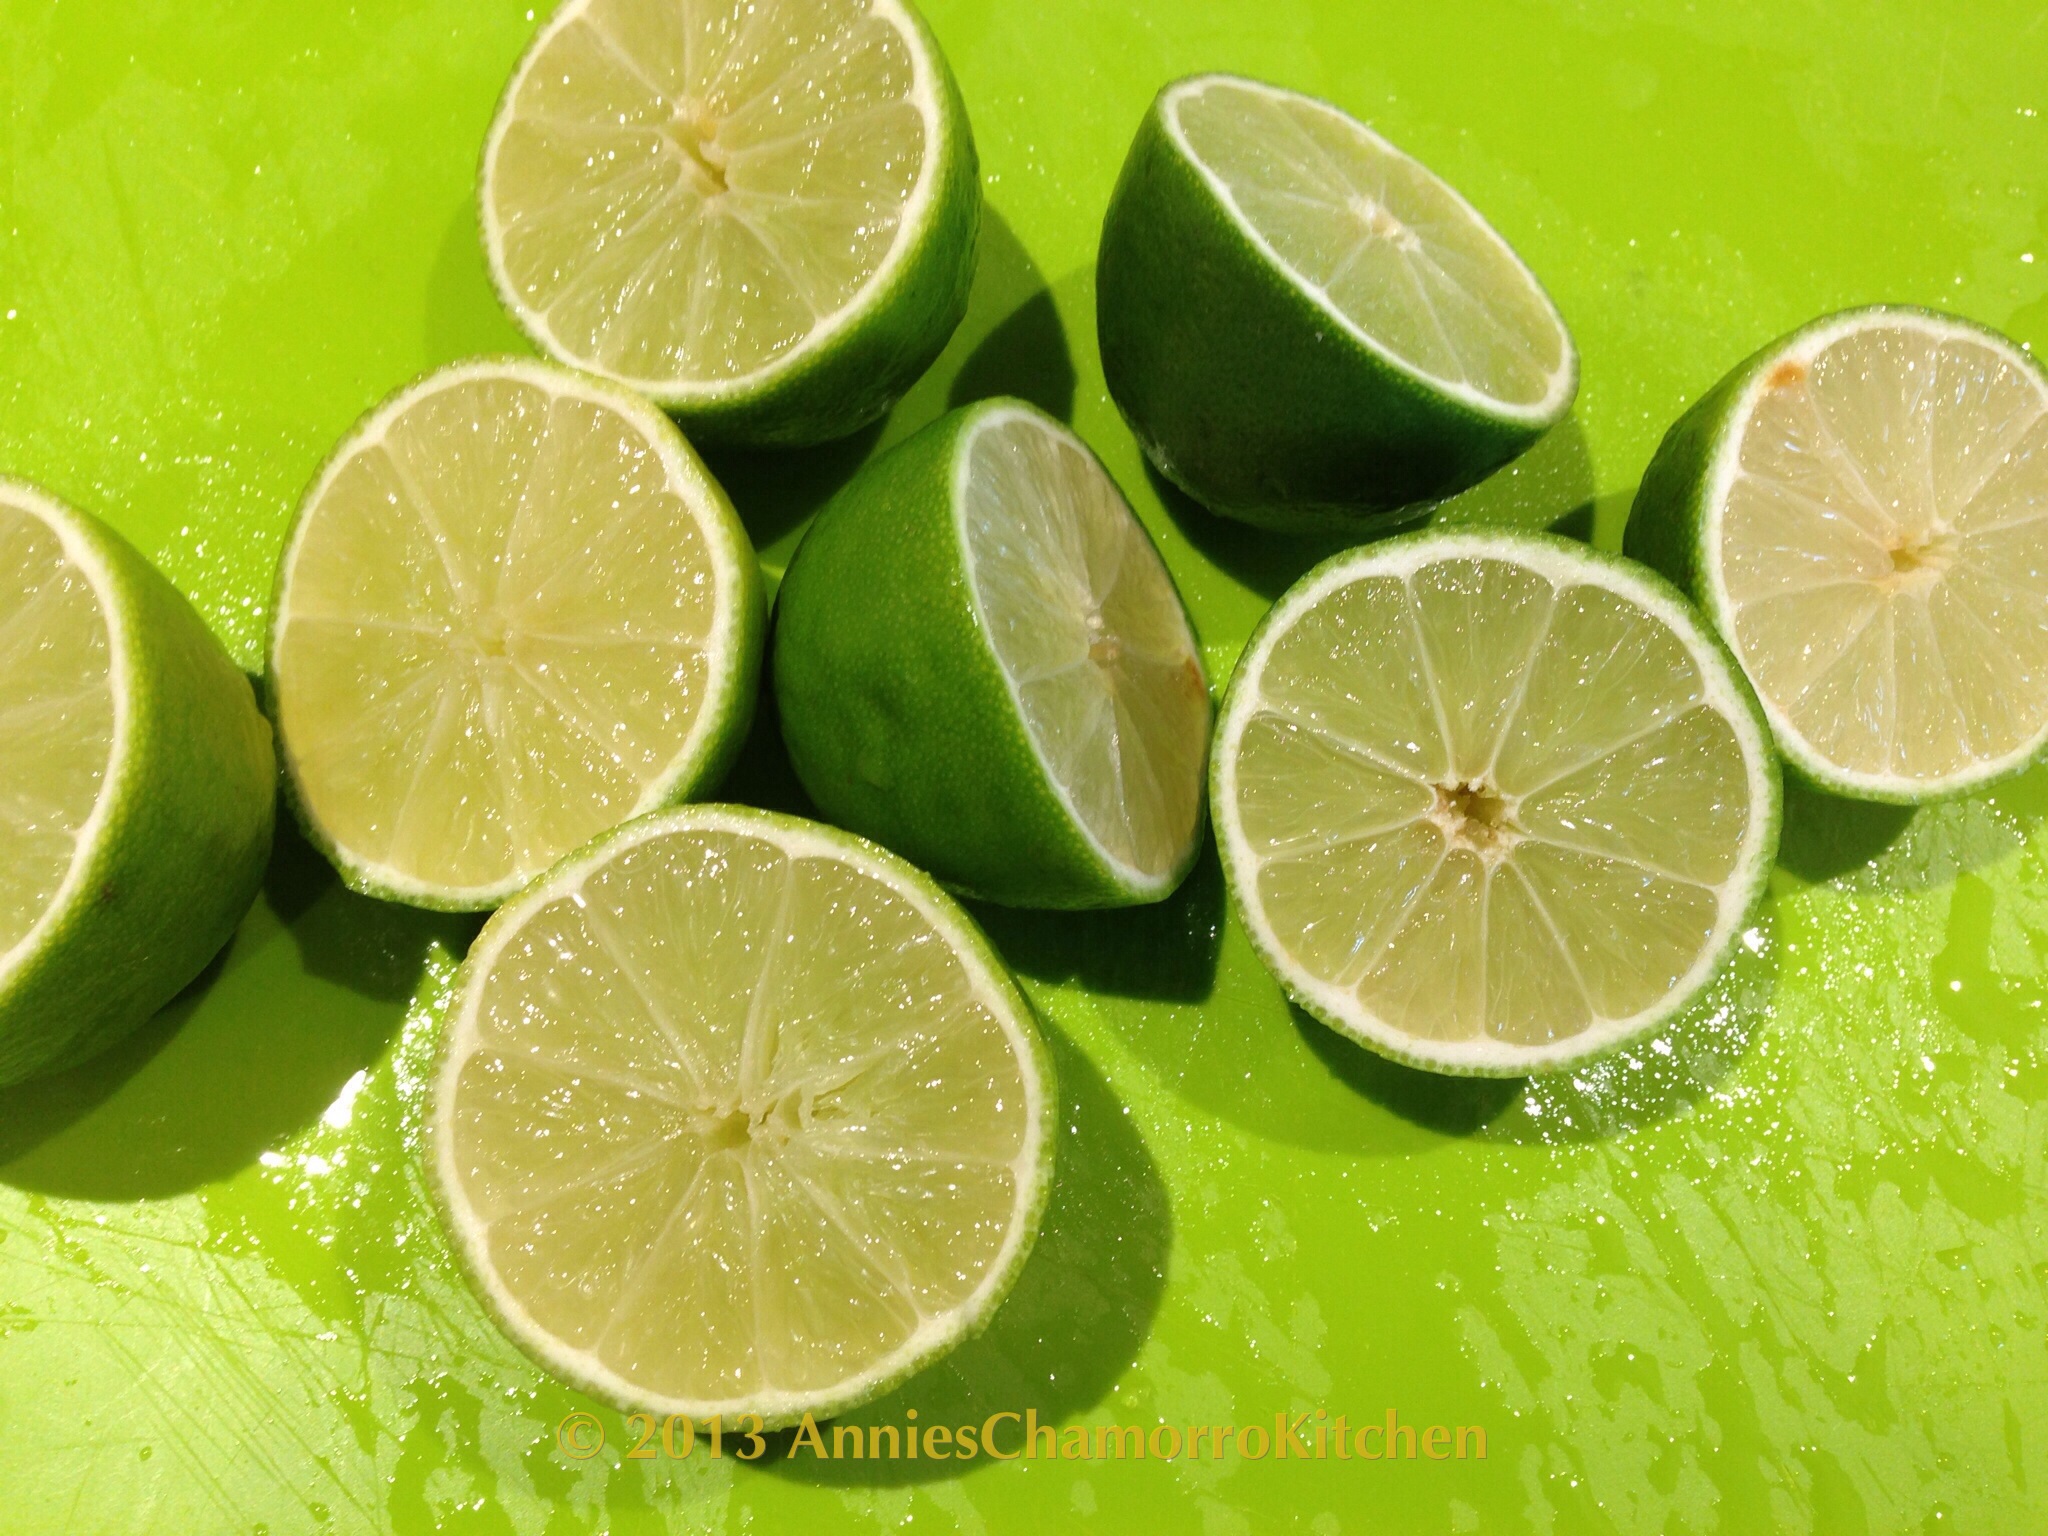
5.  Squeeze about 1 cup of lime juice over the salmon and onions.  Sprinkle salt over the mixture; start with about 1 teaspoon.  Stir gently to combine all the ingredients and to dissolve the salt into the lime juice.  Add more or less lime juice and/or salt, to taste.

image

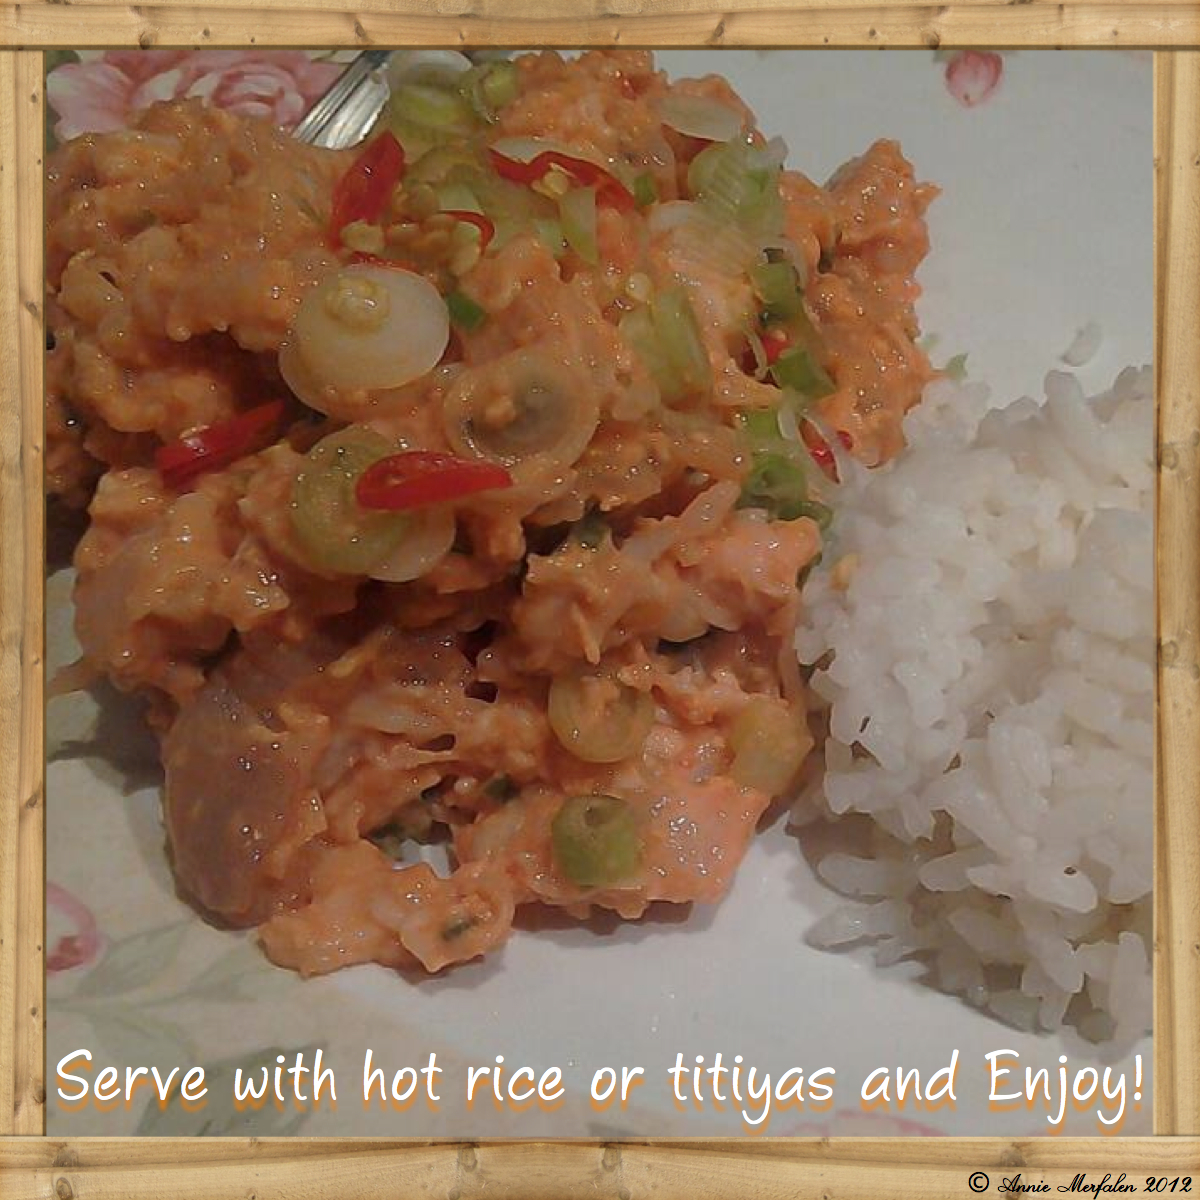
6.  Stir in the diced tomatoes.  Optional:  Add hot pepper, as much as you like.  Serve with hot rice or titiyas.  ENJOY!

image

Print Friendly, PDF & Email

Fresh Shrimp Kelaguen

I love shrimp kelaguen.  I love kelaguen, period, but shrimp kelaguen is at the top of the list, especially if it’s FRESH SHRIMP kelaguen.  Oh, and serve this up with fresh corn titiyas…man, oh, man, my mouth is watering just thinking about it!

For those of you who don’t know what kelaguen is, it’s kind of like ceviche.

Funny story…I had a recipe for fresh shrimp kelaguen, then my sister, Carolyn, shared hers as well.  I went back and compared our recipes and they were almost identical. Of course they would be nearly identical — we learned to cook from the best teacher in the world, OUR MOM. Here’s to all of our moms and dads, aunts, uncles, grandparents … thanks for teaching us so many things, especially how to make all this yummy Chamorro food!

So, back to fresh shrimp kelaguen.  This is a time consuming process, but it is WELL WORTH the effort.  If this is served at a fiesta, I ignore all other food and gorge myself on this delicacy, it’s that good.

Here is my sister, Carolyn’s recipe.

Give it a try and let us know how you like it.  Enjoy!

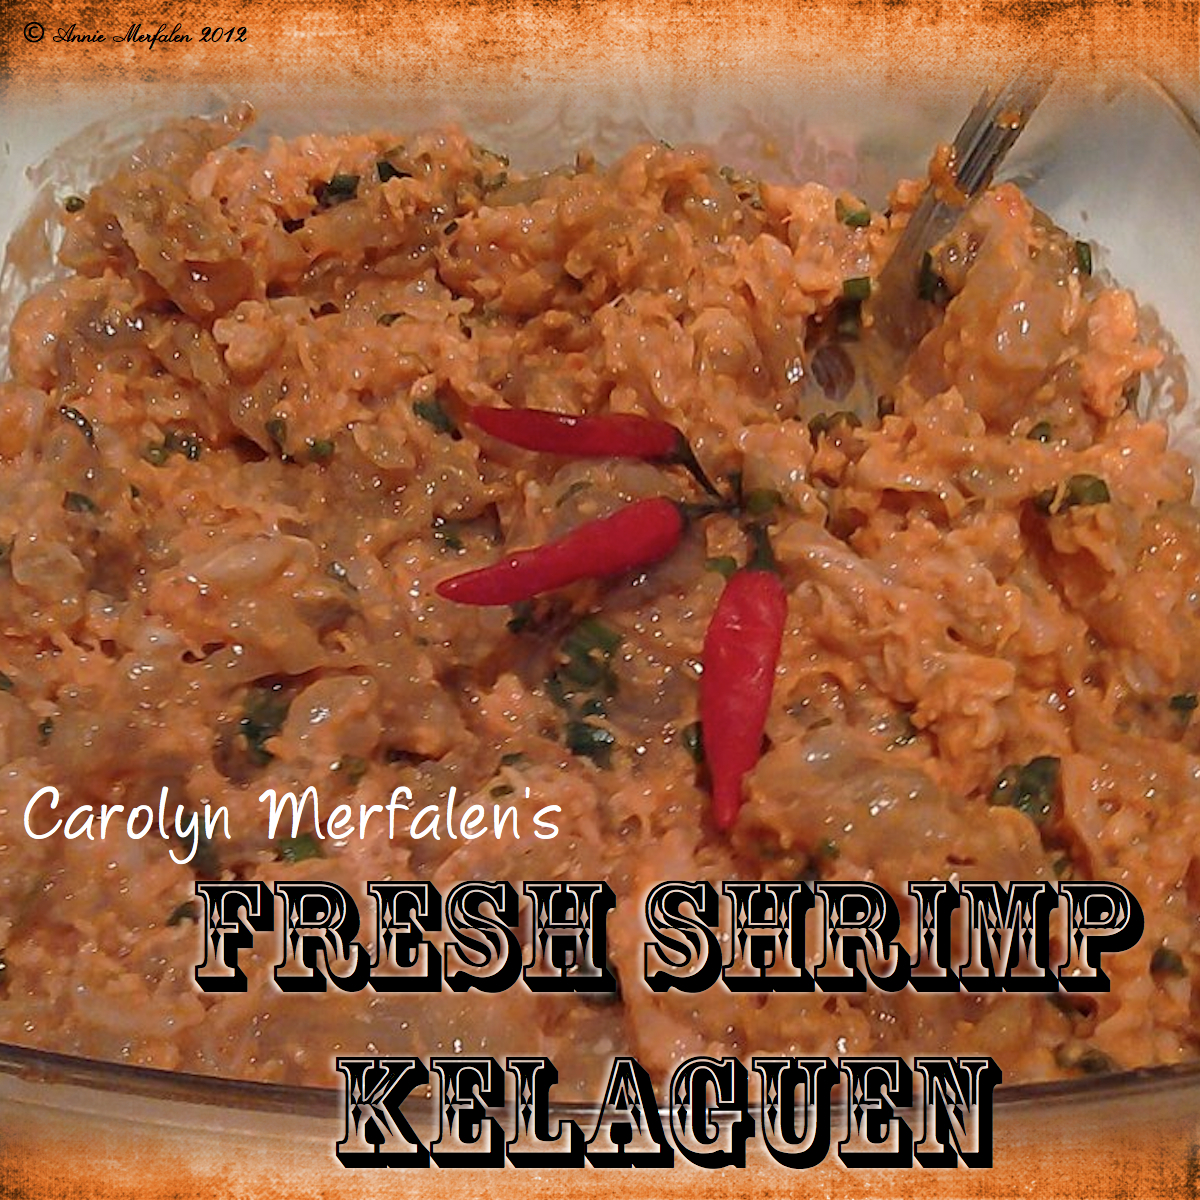
FRESH SHRIMP KELAGUEN

Recipe by Carolyn Merfalen

Carol's Shrimp Kelaguen 1

INGREDIENTS:

  • 5 pounds fresh shrimp, with the head and shell on
  • Salt, to taste
  • Lemon juice (or powder), to taste
  • 6-8 stalks green onions, sliced
  • Freshly grated coconut
  • Hot Pepper, to taste

DIRECTIONS:

1.  Fresh shrimp (with the heads on) is best for kelaguen. You can, however, still make it using frozen shrimp (again, with the heads on).  I recommend pouring boiling water over the raw shrimp, to lessen its sliminess. Let the water run right off the shrimp, preventing it from puddling. You want to avoid it being cooked in the boiling water.

2.  Depending on your liking, you may keep the shells on. Fresh shrimp is best for this since the shells are very soft and easy to chew and swallow. Otherwise, carefully remove the shells from the body and tail of the shrimp, especially if you are using store-bought boxed frozen shrimp since those shells are hard.

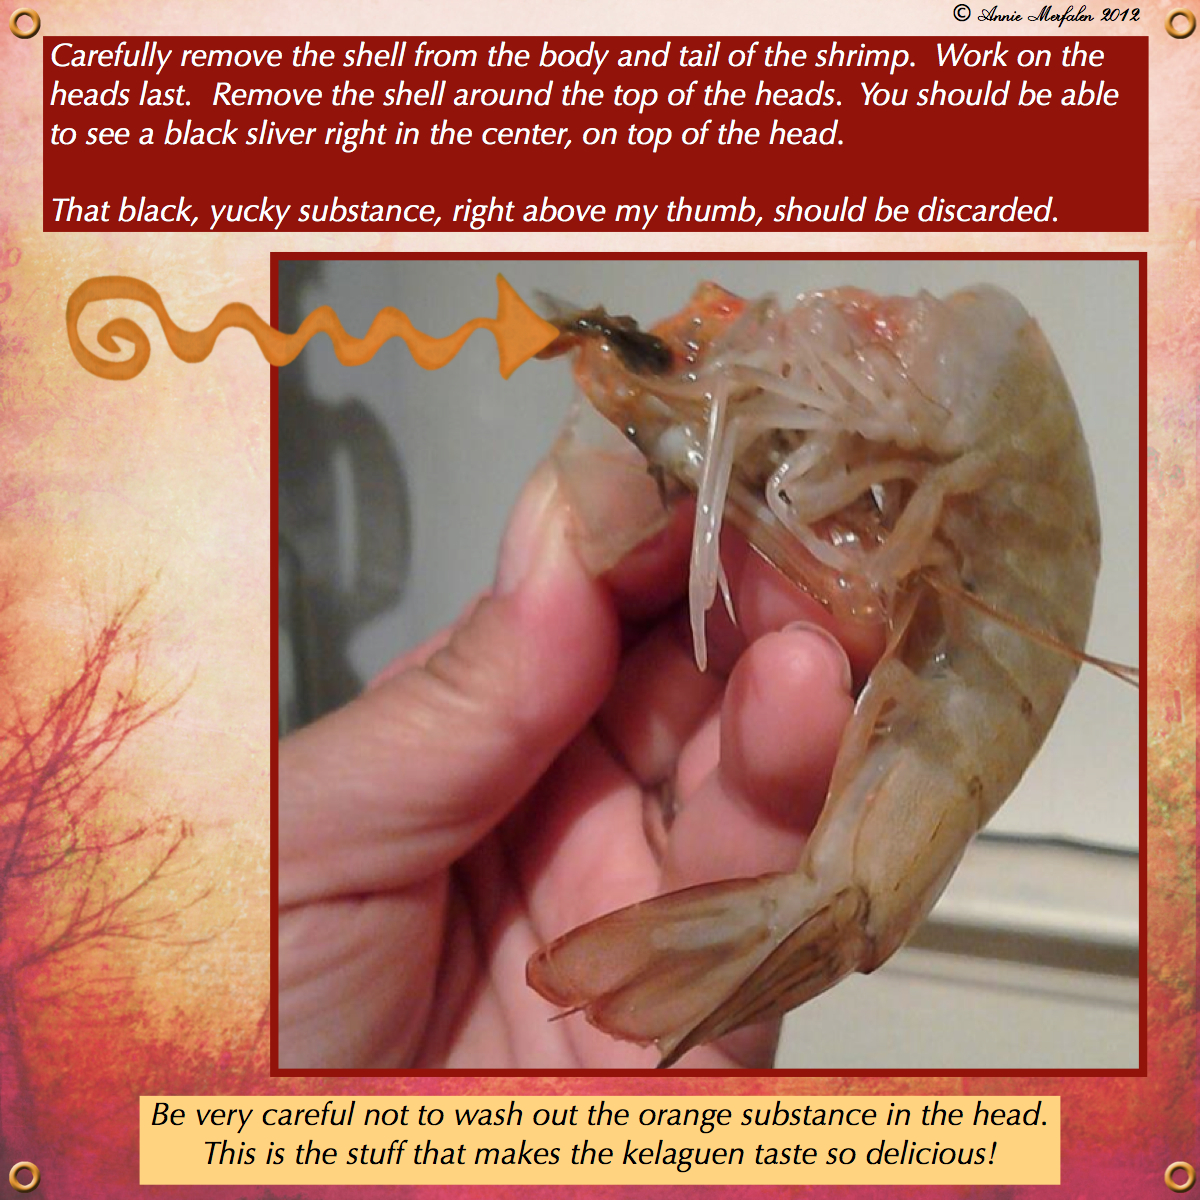
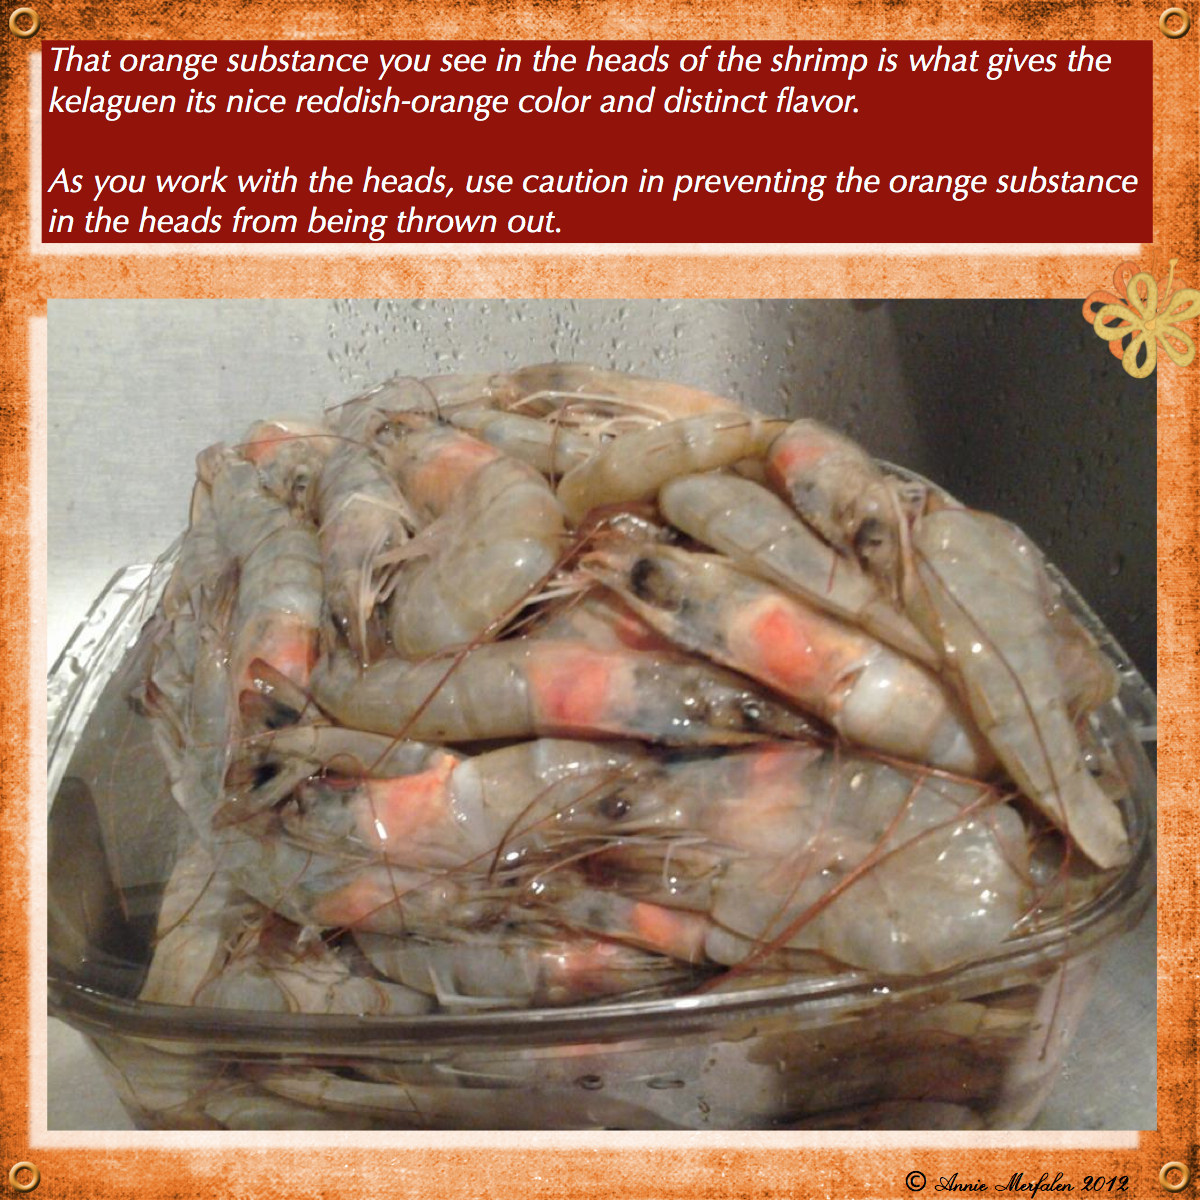
3.  Work on the heads last…carefully remove the shell around the top of the heads. You should be able to see a tiny black sliver right in the center, top of the head, after removing the shell. (I don’t know what it is, but it looks dirty. My mom also mentioned it’s bitter.)  As you work with the heads, use caution in preventing the orange substance in the heads from being thrown out. That orange substance is what gives the kelaguen its reddish color and very distinct flavor.

4.  Devein the shrimp, if the shells were removed. (I usually remove them and devein them.) Mash the shrimp a bit using a fork.

5.  According to taste, add lemon juice or powder, salt, finely diced green onions, freshly grated coconut, and red hot peppers.  Mix to combine.  Serve with titiyas or hot white rice and enjoy!  Absolutely delicious!

Carol's Shrimp Kelaguen 3

Carol's Shrimp Kelaguen 4

Carol's Shrimp Kelaguen 5

Print Friendly, PDF & Email

Shrimp Patties

Hi everyone!  This is Hannah, Annie’s daughter.

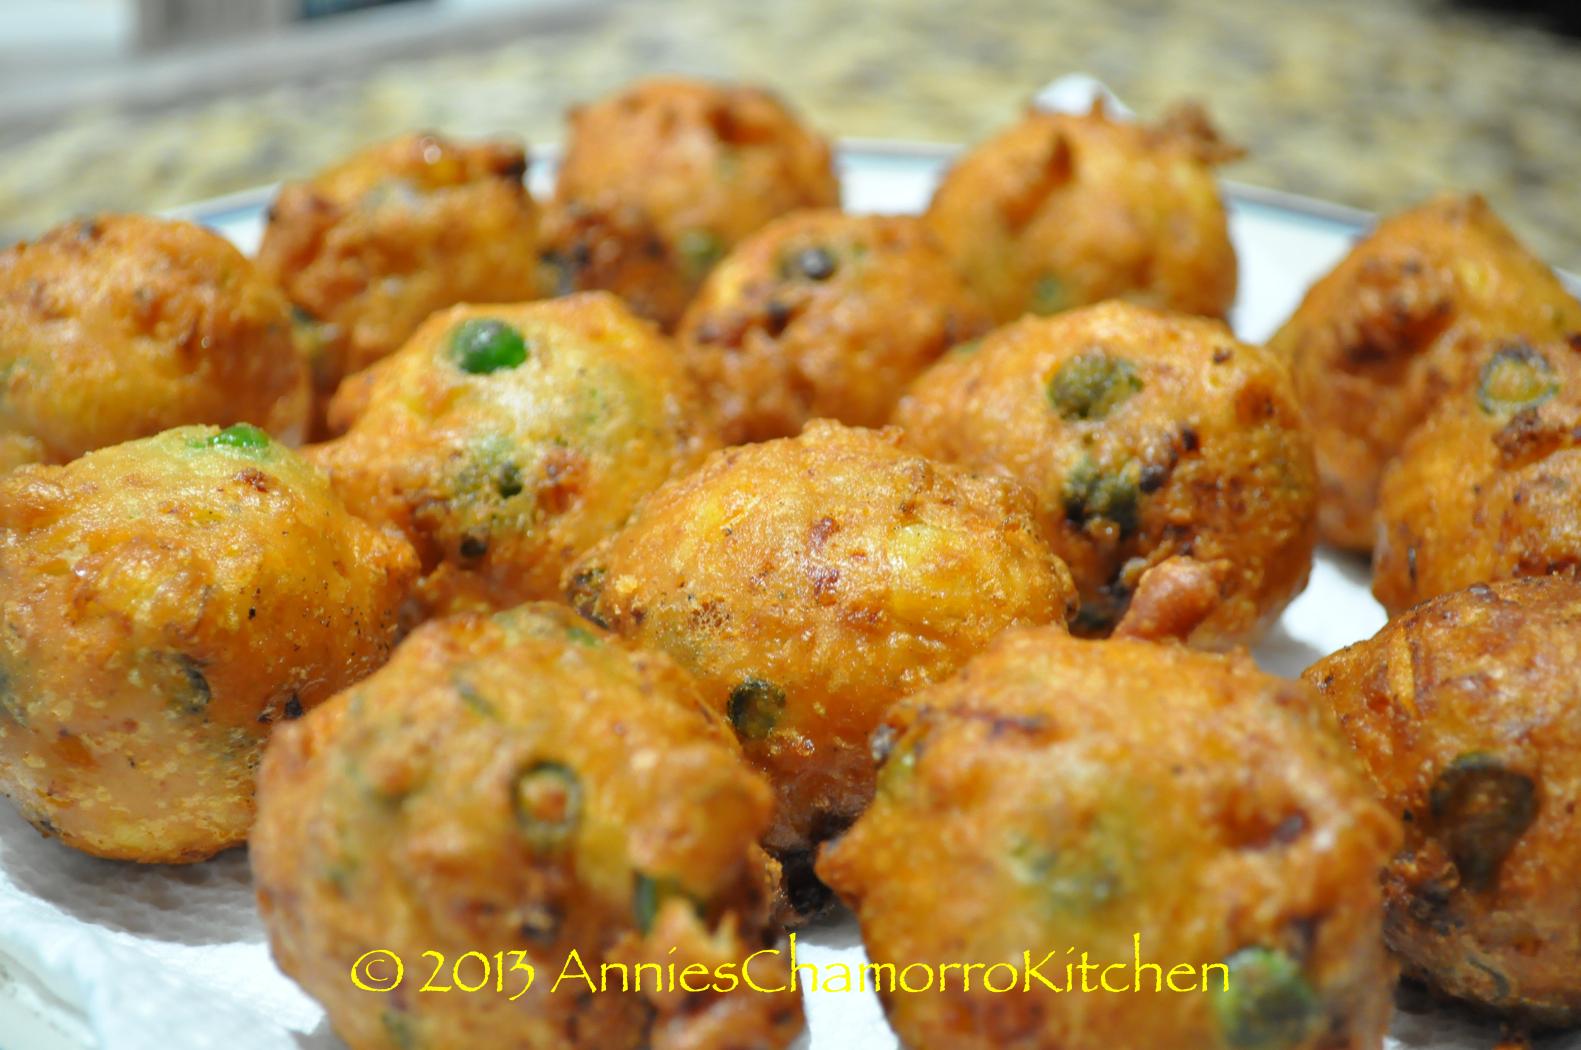
I made some delicious shrimp patties for lunch one day. My version is somewhat different from the “regular” recipe most people have.

What’s different about my version? I don’t use any eggs. It started out as a mistake one time when I was making shrimp patties and forgot to put eggs in the batter. However, I liked how it turned out. The inside was nice and fluffy, and my shrimp patties were nice and round (my neighbor called them “shrimp balls”) and not flat.

Give my recipe a try. Let me know how you like them. My family loves them; I hope you do too!

SHRIMP PATTIES

Shrimp Patties - 58

INGREDIENTS:

  • 1 cup thinly sliced fresh green beans
  • 2 cups peas
  • 1 cup chopped onions (about 1/2 a medium onion)
  • 3 cups corn kernels (I love lots of corn in my shrimp patties)
  • 4 cups shrimp, chopped
  • 2 tablespoons minced garlic
  • 2 cans evaporated milk
  • 3 cups all purpose flour
  • 2 tablespoons baking powder
  • 5 tablespoons Dashida seasoning (the seafood flavored kind)
  • 1 teaspoon Accent
  • 1 teaspoon black pepper
  • Oil, for frying

 DIRECTIONS:

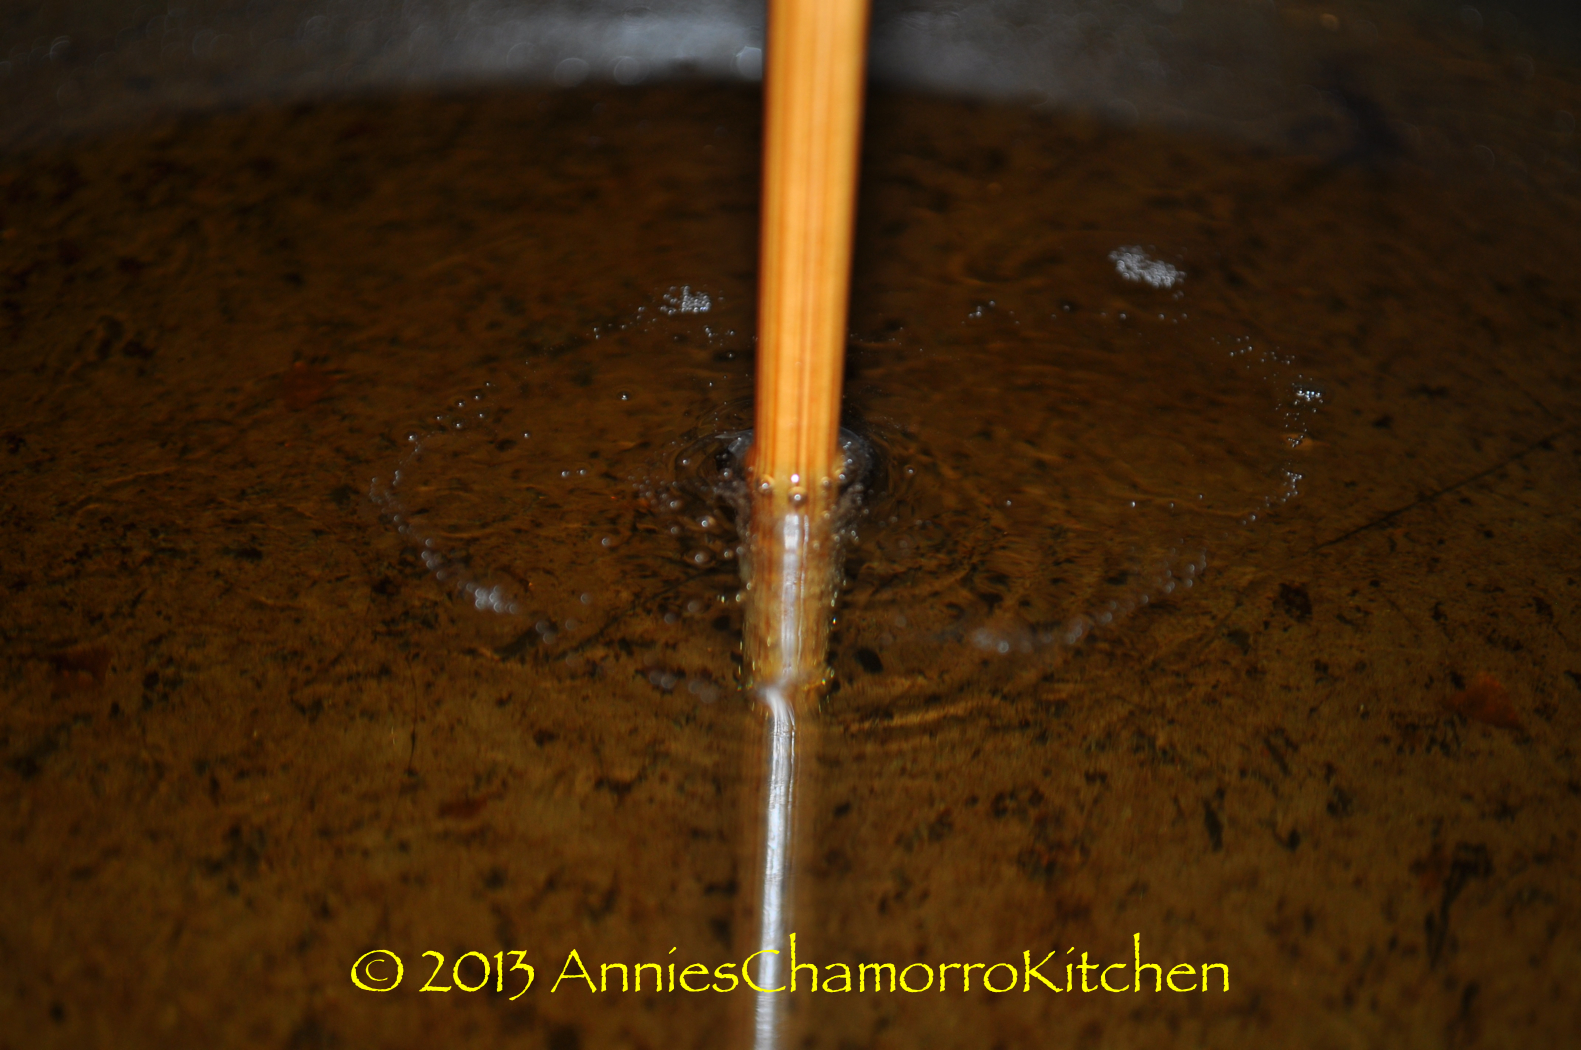
1.  Heat the oil in a large frying pan. Do you know how to tell if the oil is hot enough and ready? My mom taught me a great trick.  Use the tip of a wooden spoon (I used a wooden chopstick) and dip it into the oil.  If little bubbles start to form around the wood, then the oil is hot and ready. Make sure the wood is clean and dry first; you don’t want hot oil to splatter and burn you.

Here is a short video clip. You can see all of the little bubbles form around the tip of the wooden chopstick. This tells you that the oil is hot and ready for frying.

2.  While you’re waiting for the oil to heat up, mix all of the ingredients (except for the oil, of course) in a large bowl.

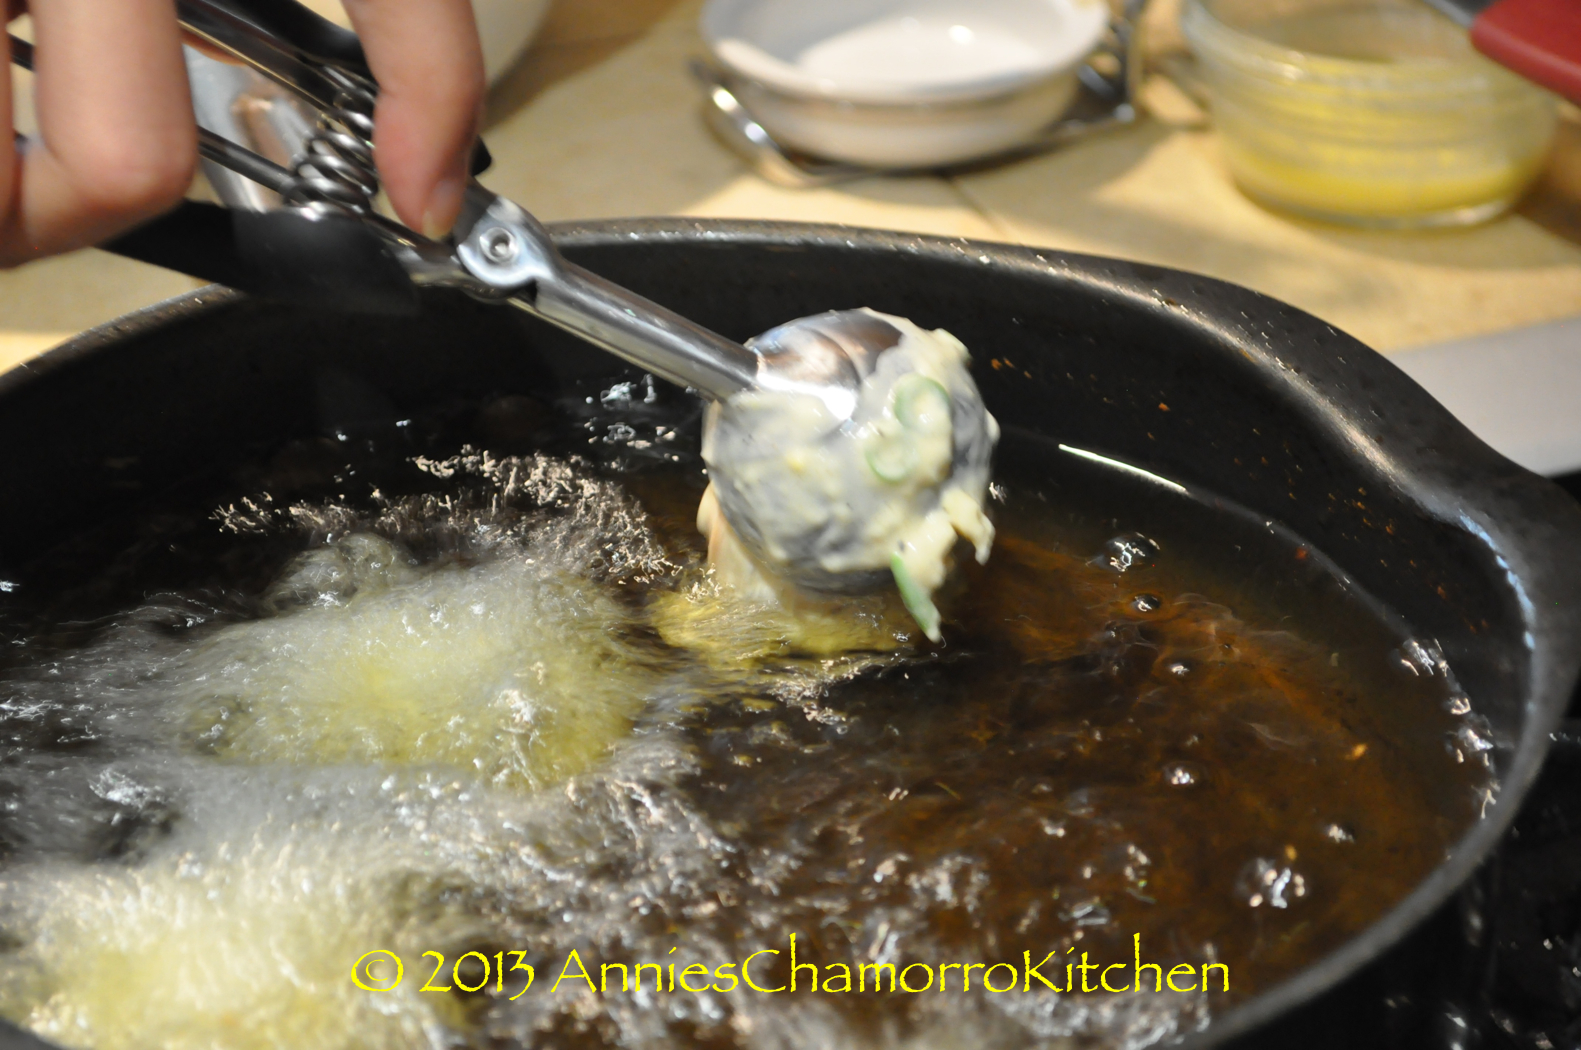
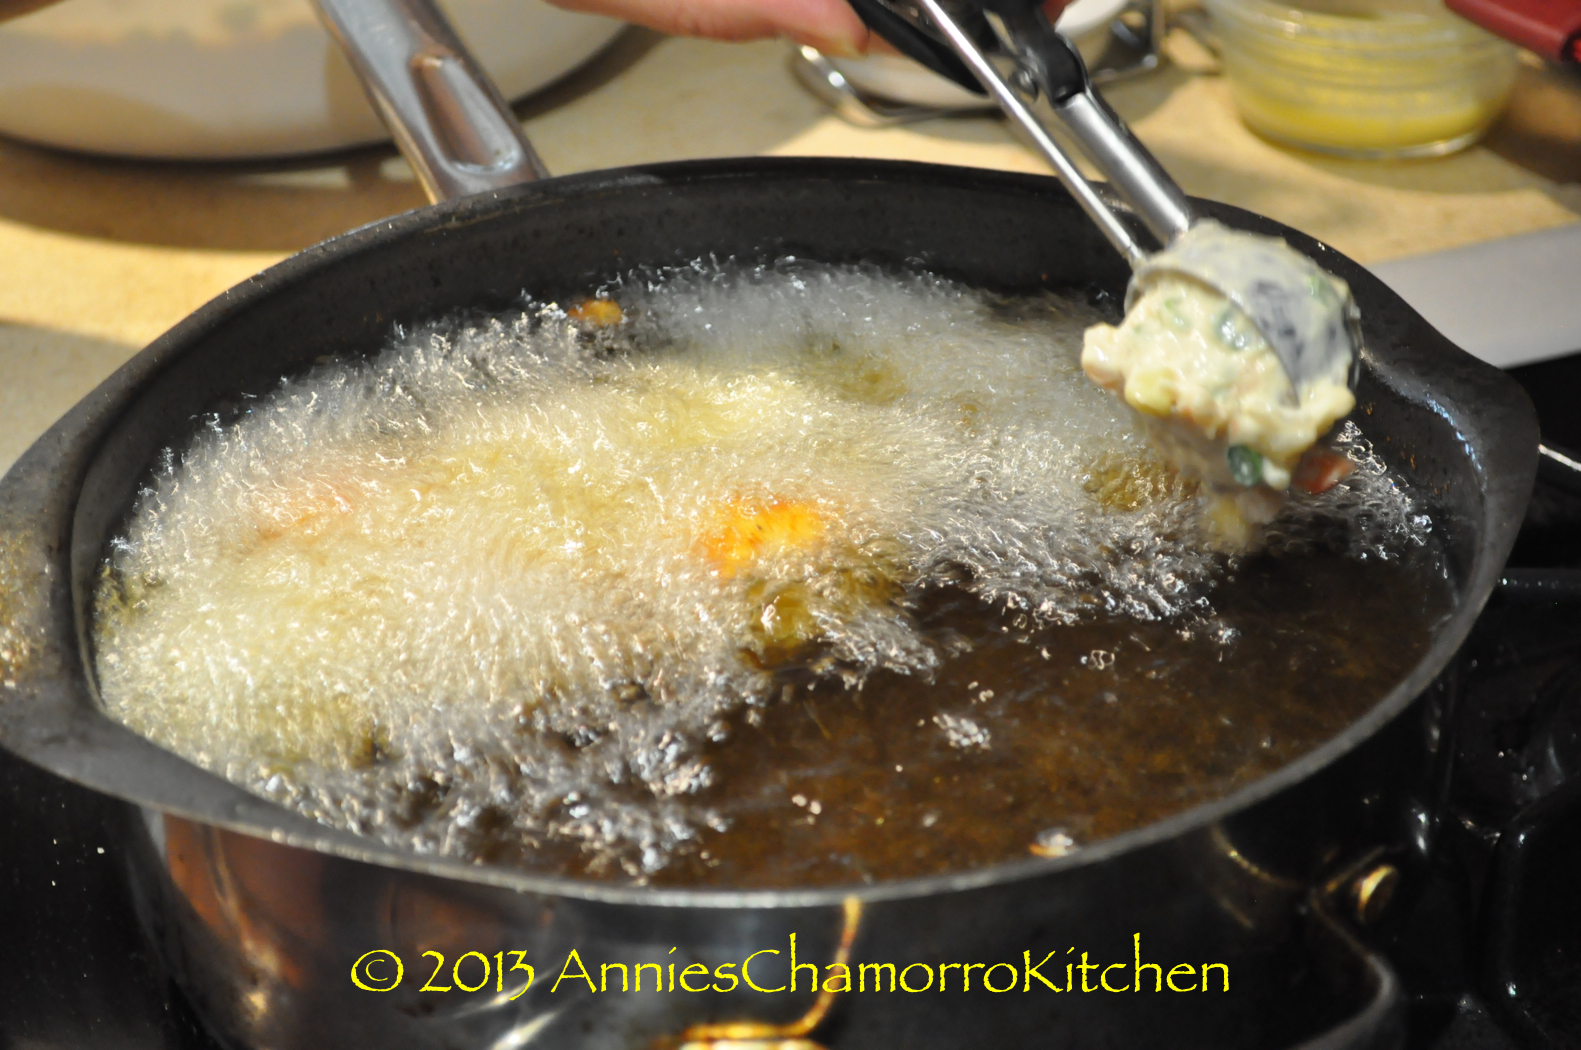
3.  Drop spoonfuls of batter into the hot oil and fry until golden brown. Note: I used a small ice cream scoop that holds 1 1/2 tablespoons. This is also what makes the shrimp patties nice and round like doughnuts. (Maybe that’s why my neighbor calls them shrimp balls, LOL.)


I added a lot of photos below to show you the process.

Enjoy, and I hope you like them!

~ Hannah


Shrimp Patties - 03

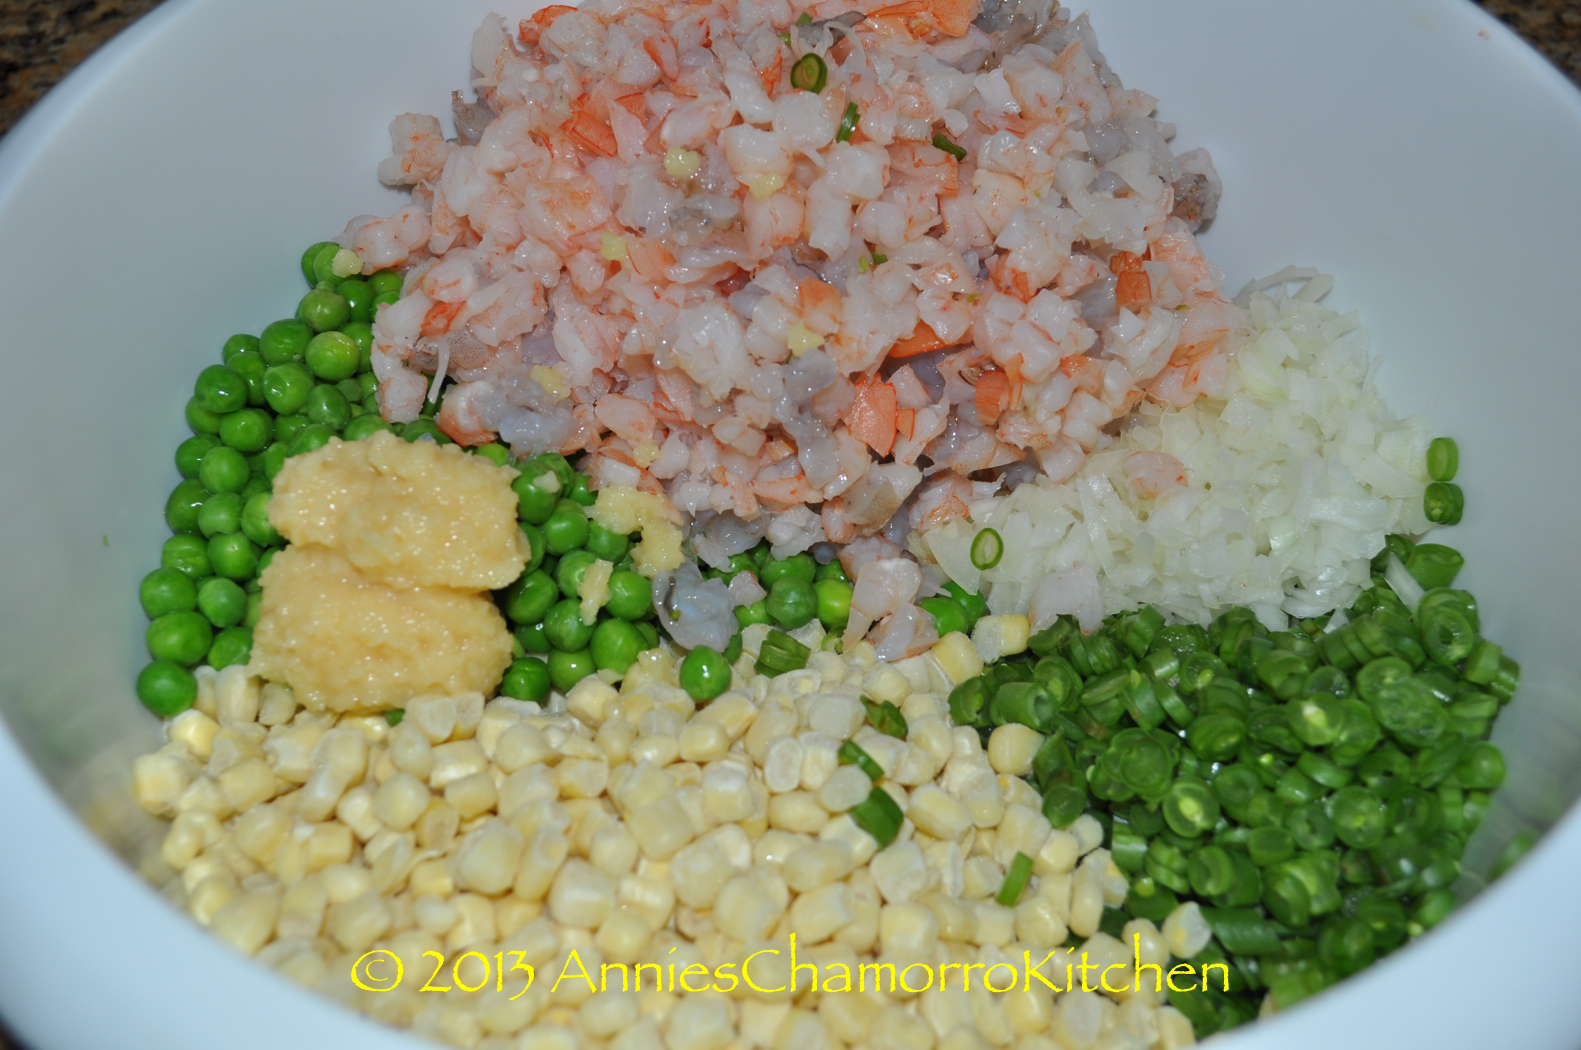
Place the shrimp and vegetables in a large mixing bowl.

Shrimp Patties - 05

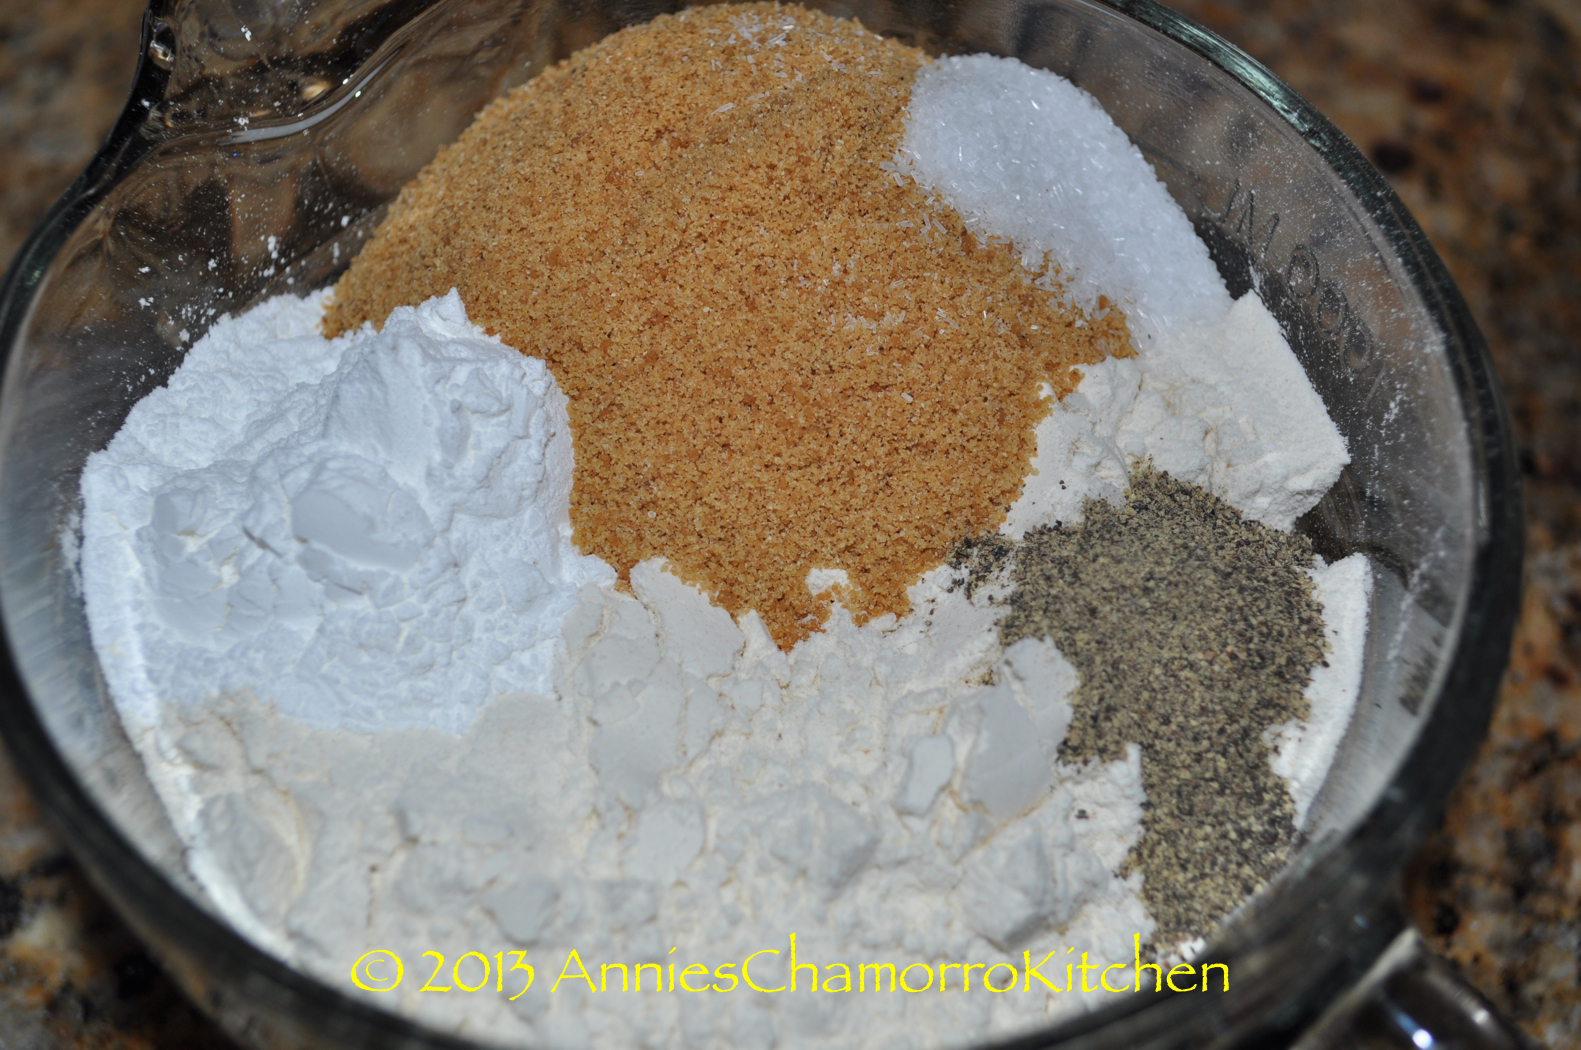
Place the flour and other dry ingredients in a smaller bowl.

Shrimp Patties - 06

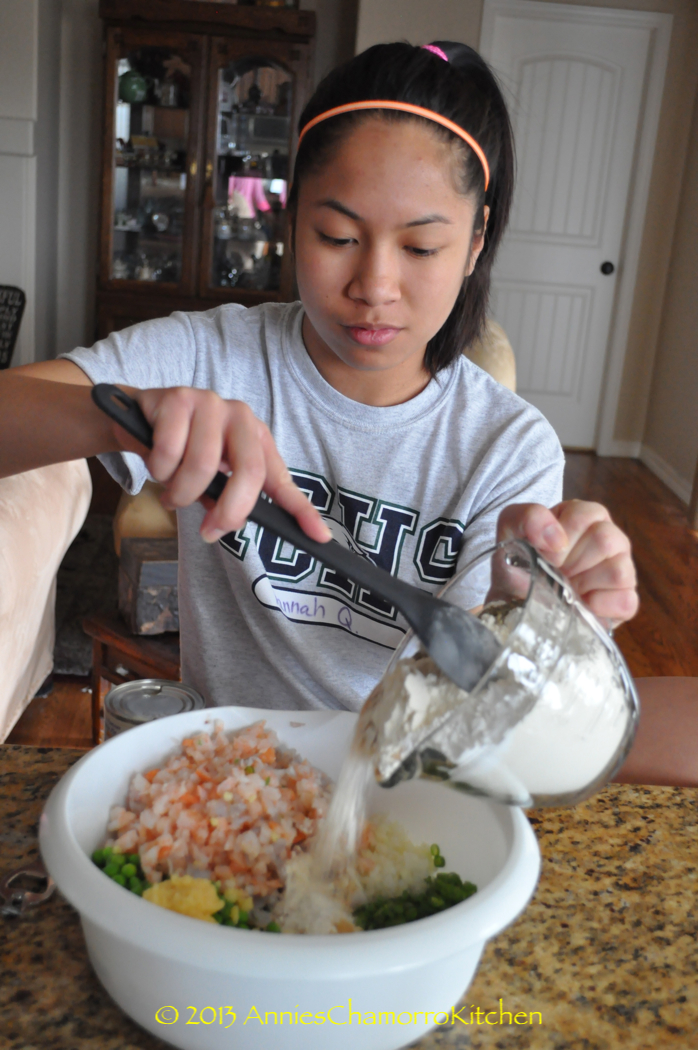
Add all of the dry ingredients to the bowl of shrimp and veggies.

Shrimp Patties - 15

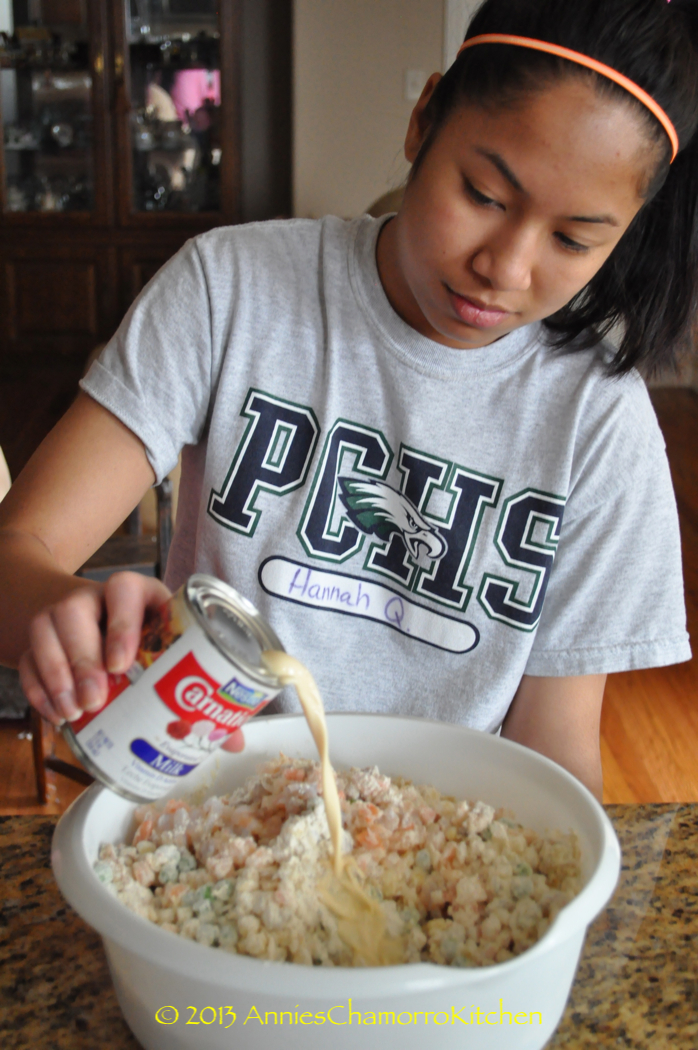
Pour the evaporated milk into the mixing bowl.

Shrimp Patties - 22

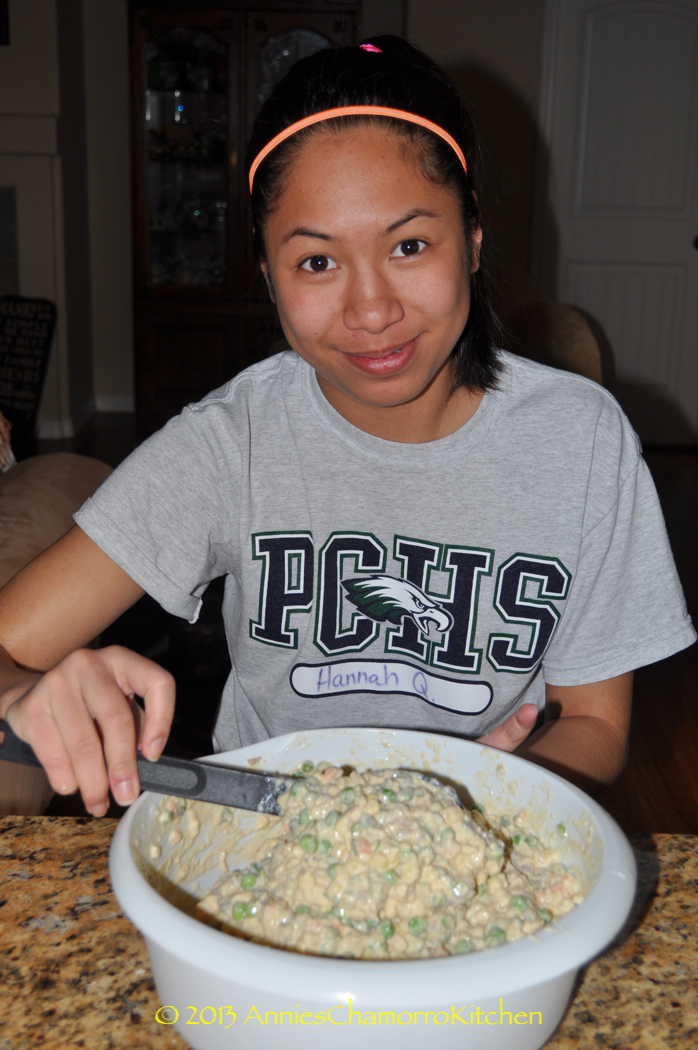
Mix, mix, mix! 🙂
Shrimp Patties - 34

Check to see if the oil is hot. Scroll up and watch my video that shows what to look for.

Shrimp Patties - 38

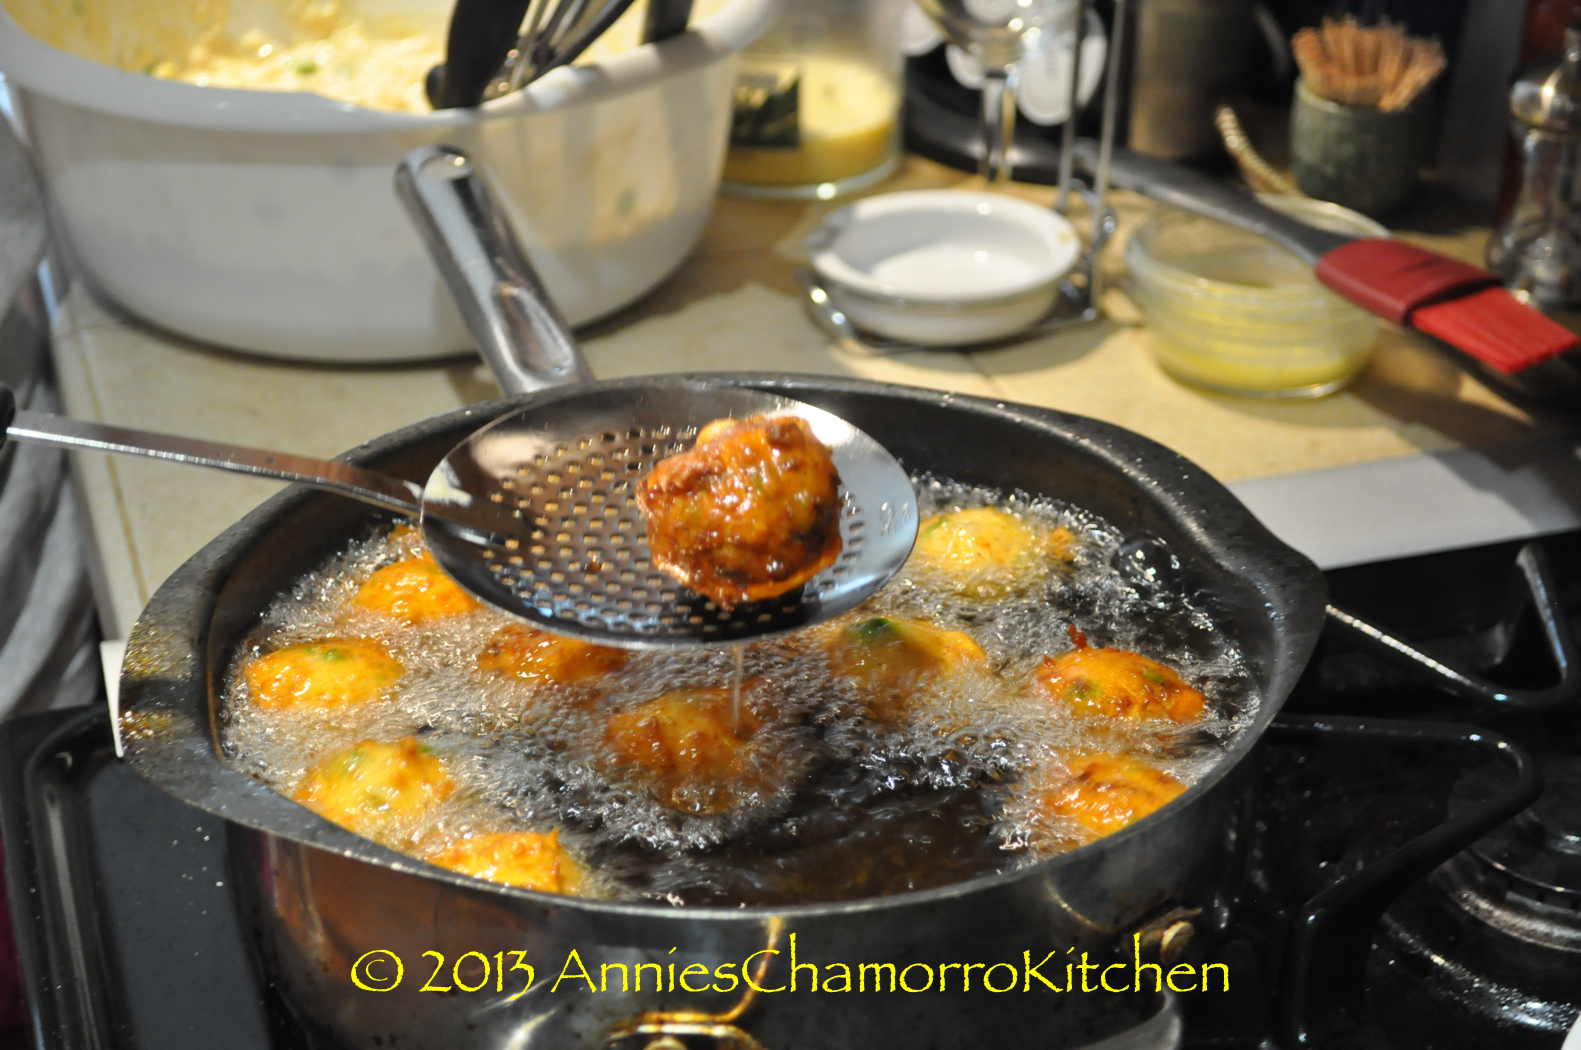
When the oil is ready, use a small cookie scoop to drop the batter into the oil. This makes the shrimp patties nice and round.

Shrimp Patties - 43

Don’t put too much into the oil. You want to leave enough room to allow the shrimp patties to cook evenly, plus overcrowding might make them stick together when you drop the batter into the oil.

Shrimp Patties - 44

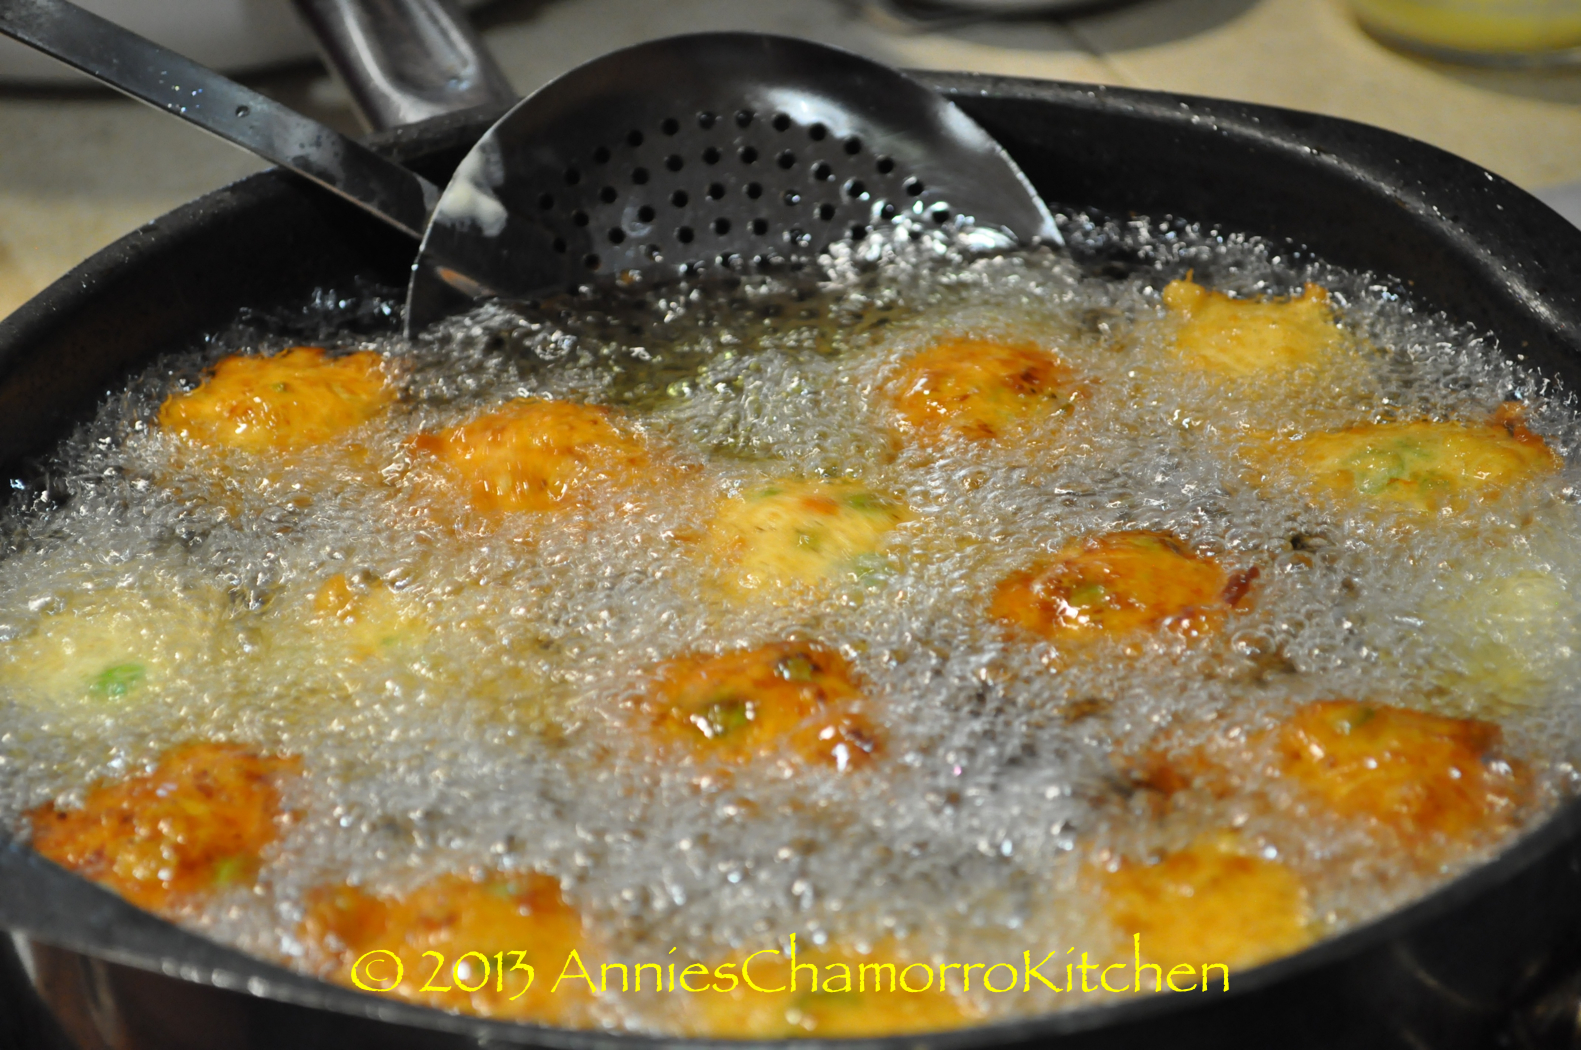
The shrimp patties usually turn on their own, but if they don’t, turn them occasionally to ensure even browning.

Shrimp Patties - 48

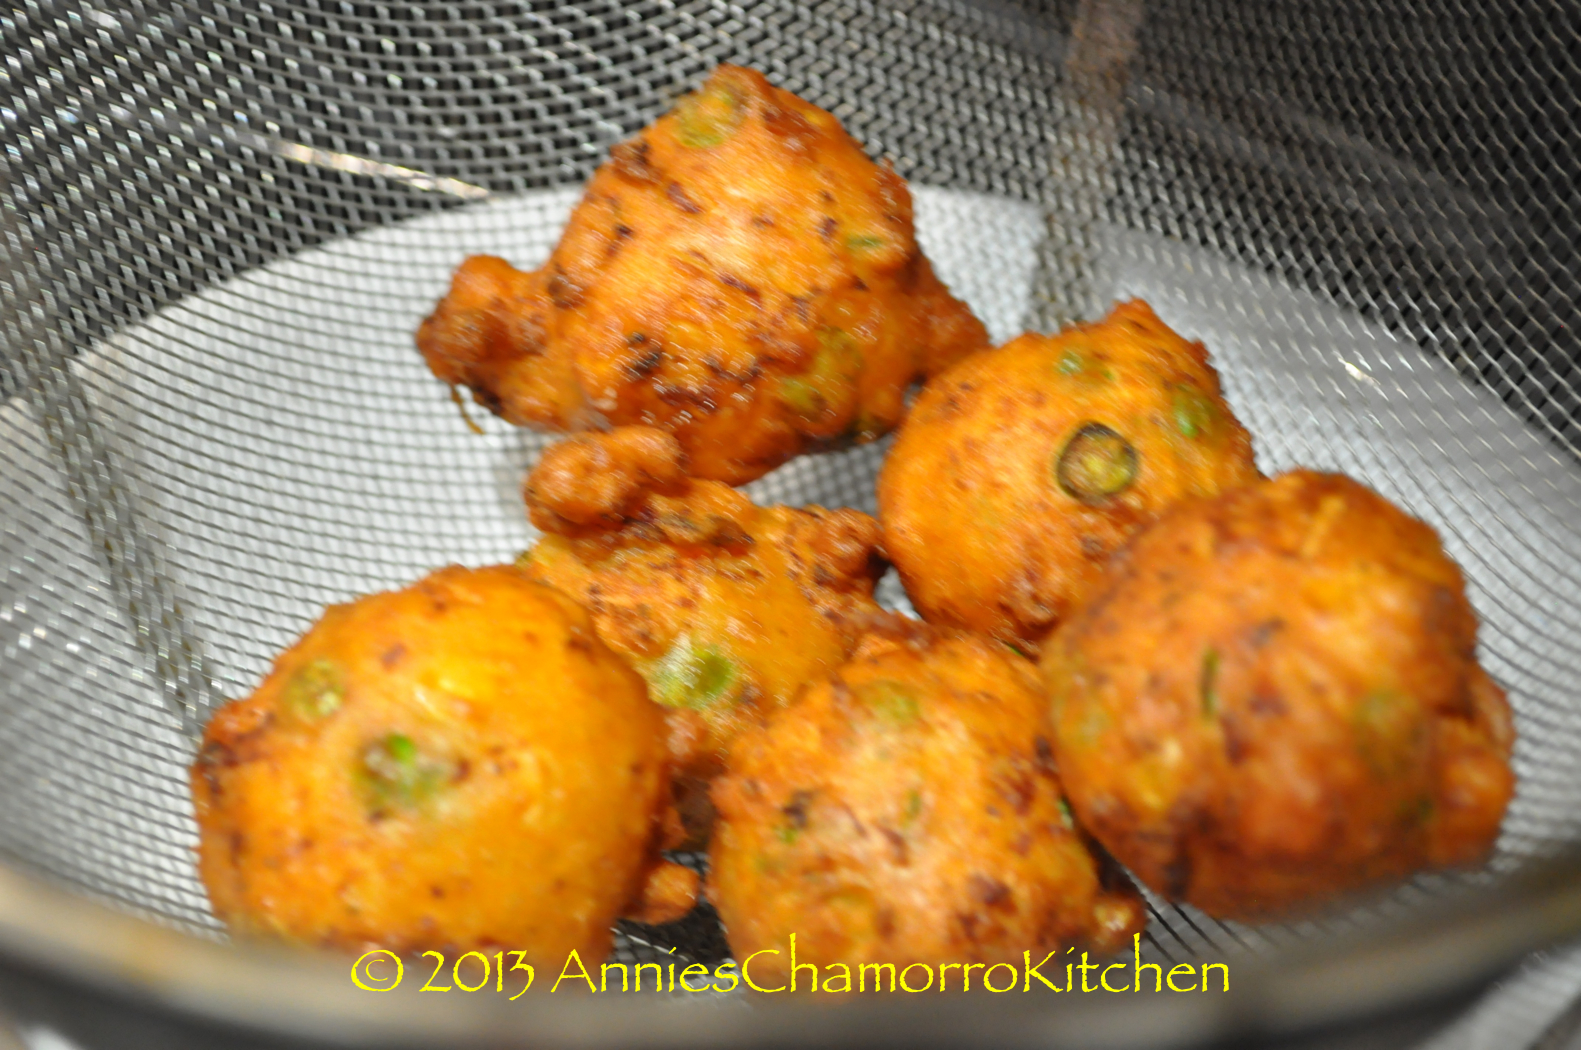
Fry until nicely browned.

Shrimp Patties - 49

Place in a colander or strainer to drain the excess oil.

Shrimp Patties - 66

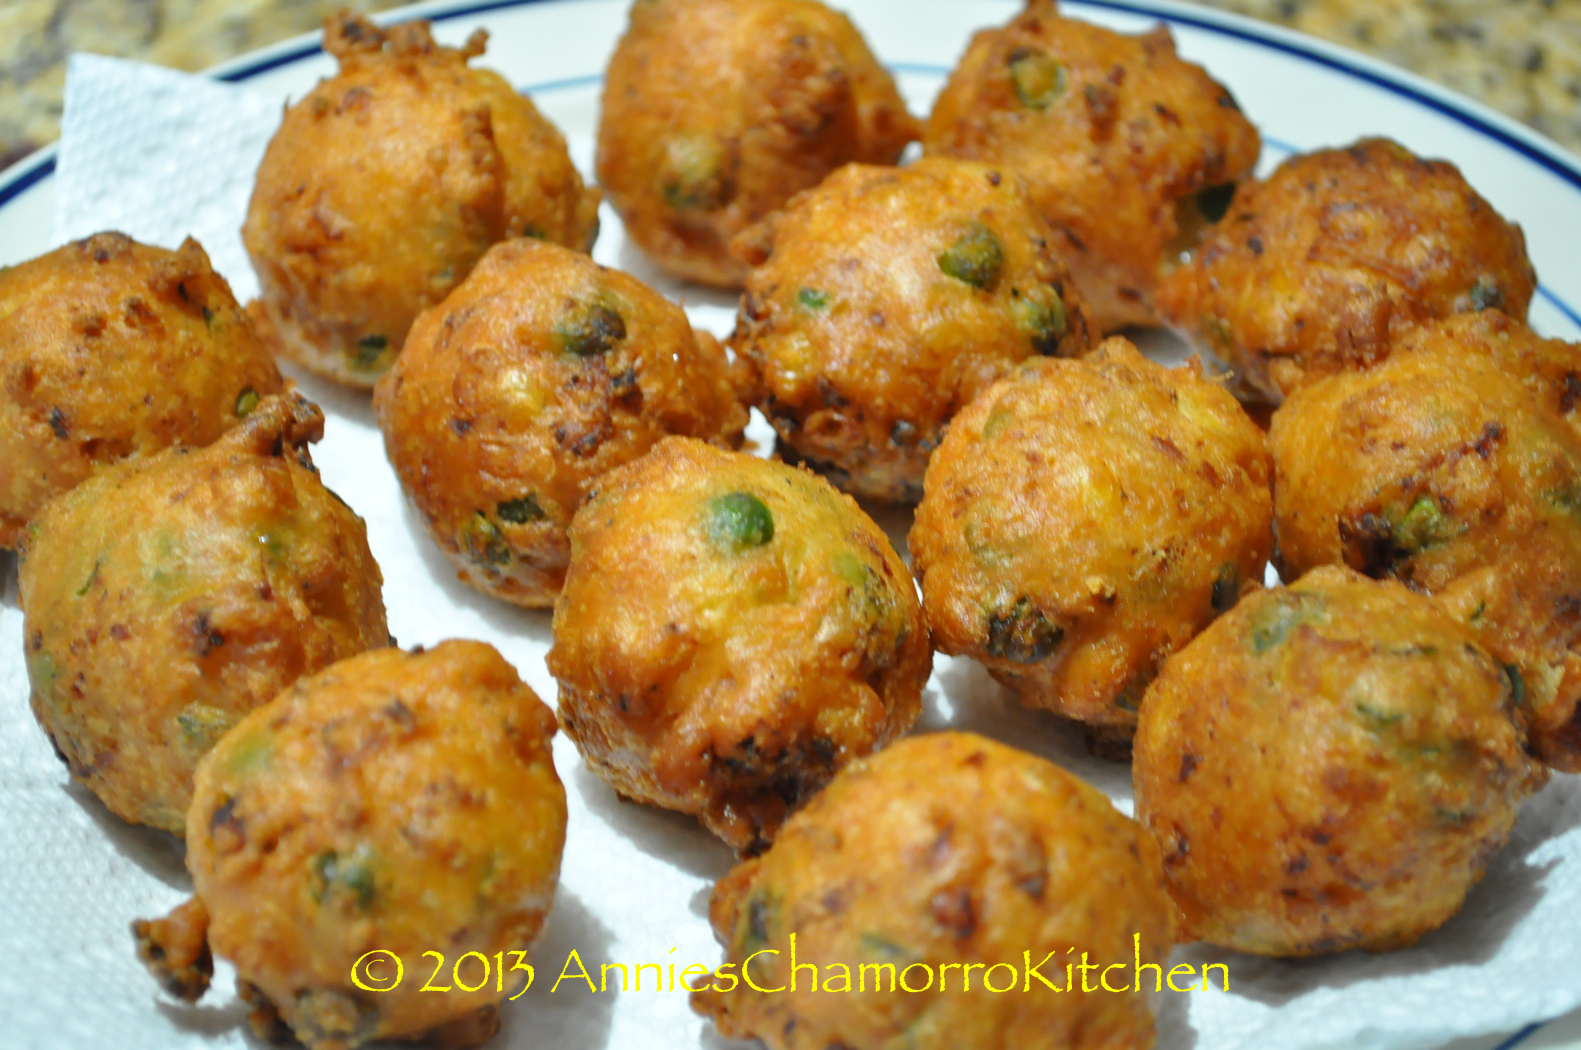
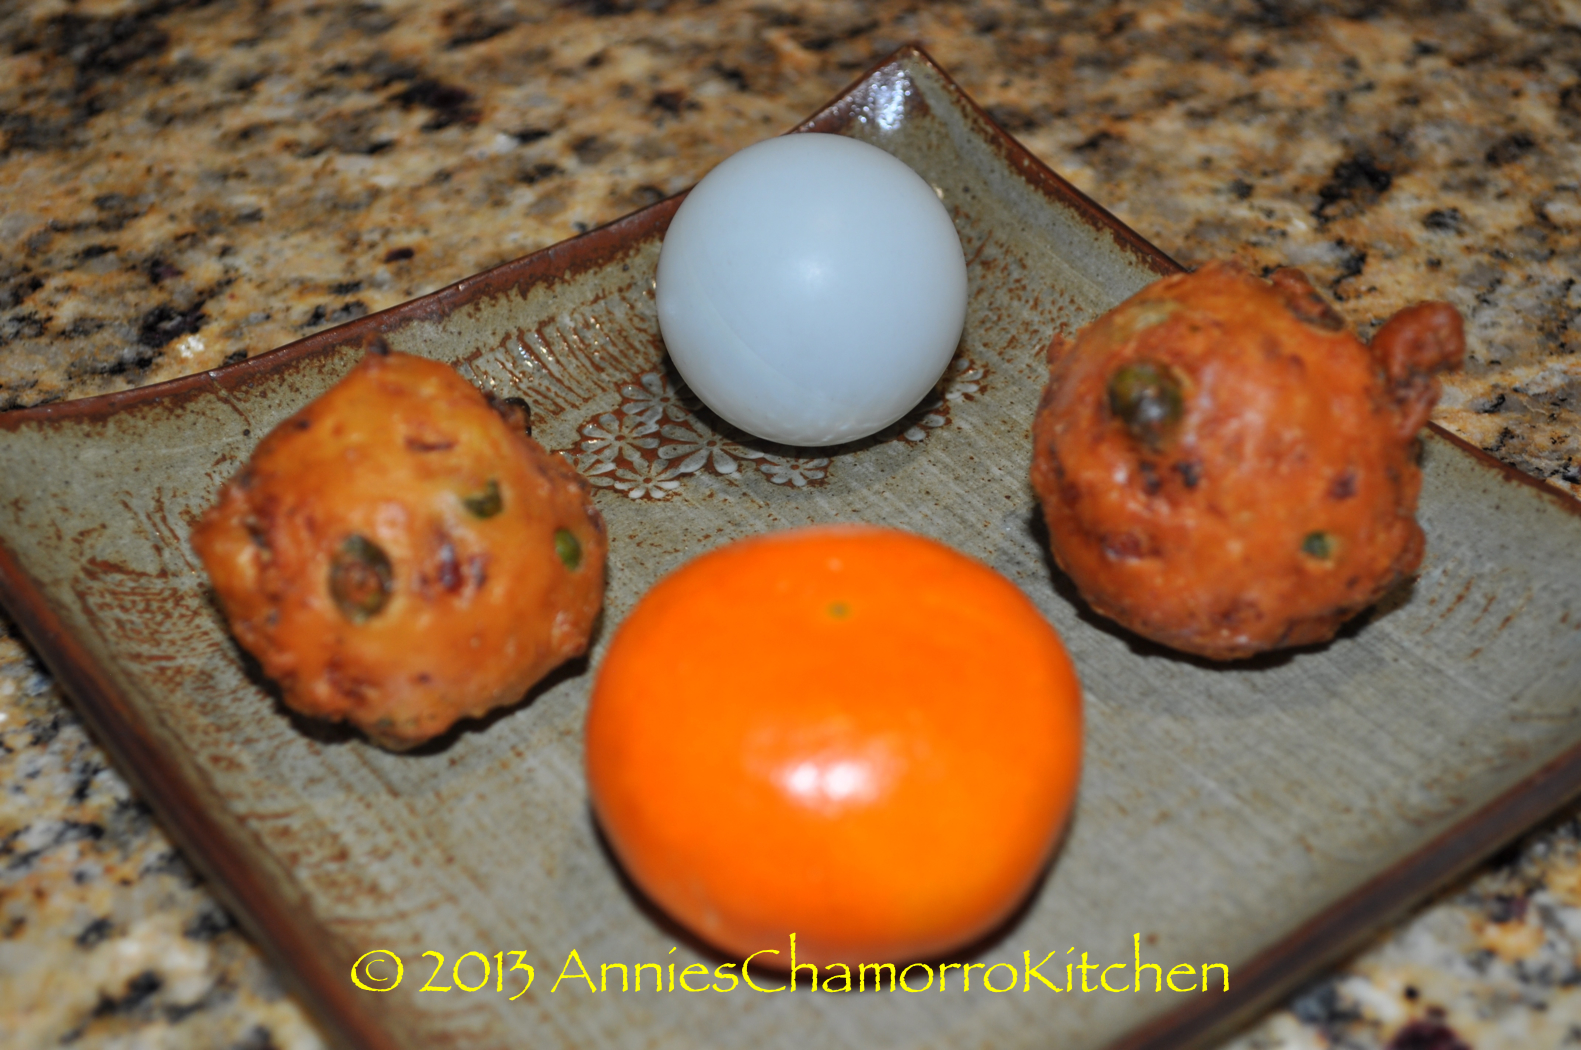
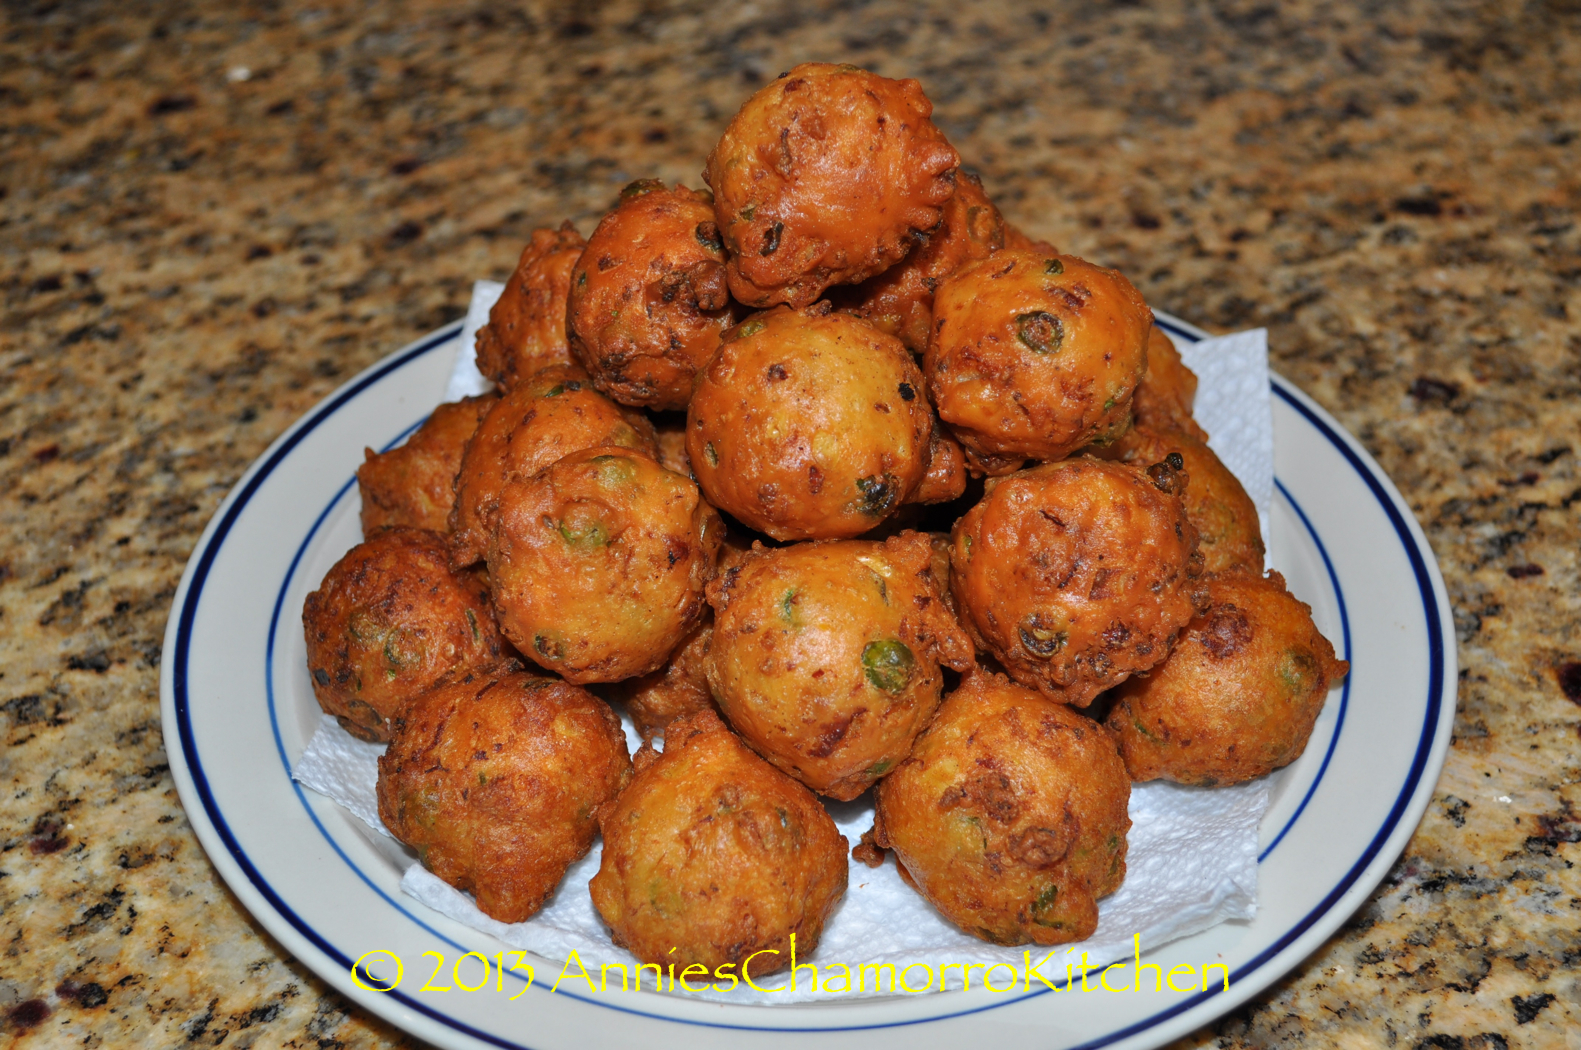
The small cookie scoop I use makes shrimp patties that are a little bit bigger than the size of a ping pong ball. I think it’s the perfect size — not too big, not too small.

Shrimp Patties - 68

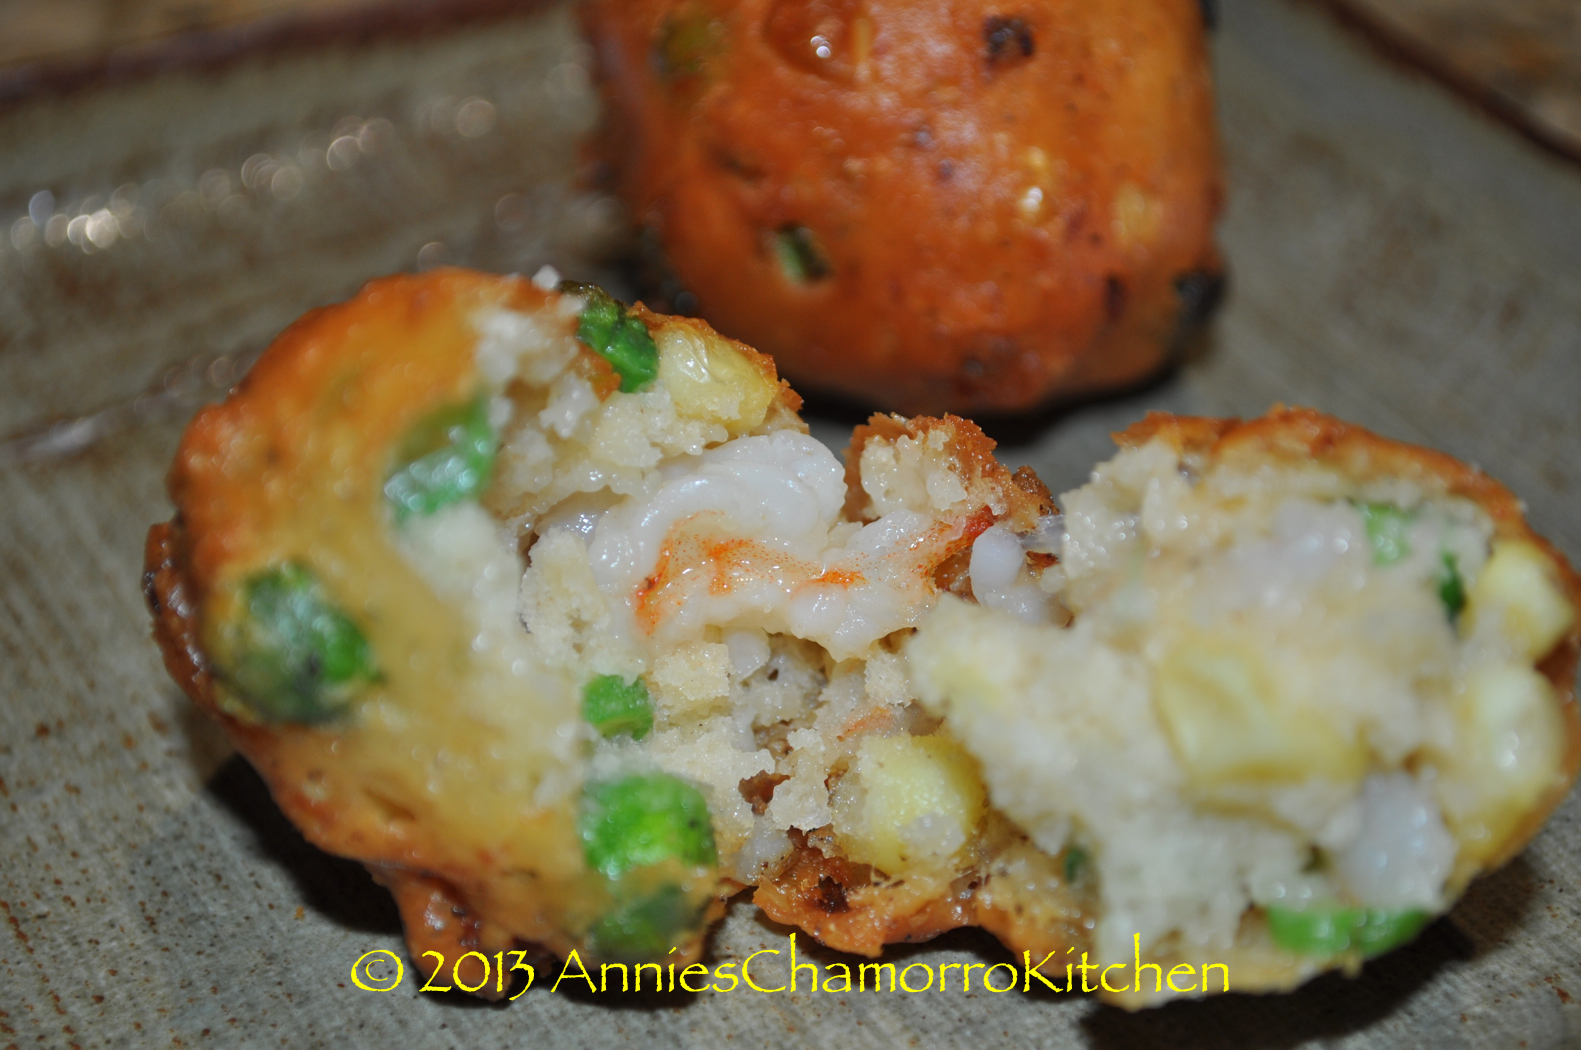
The inside is nice and fluffy.

Shrimp Patties - 65

Pile on the goodness! 🙂


Print Friendly, PDF & Email

French Toast

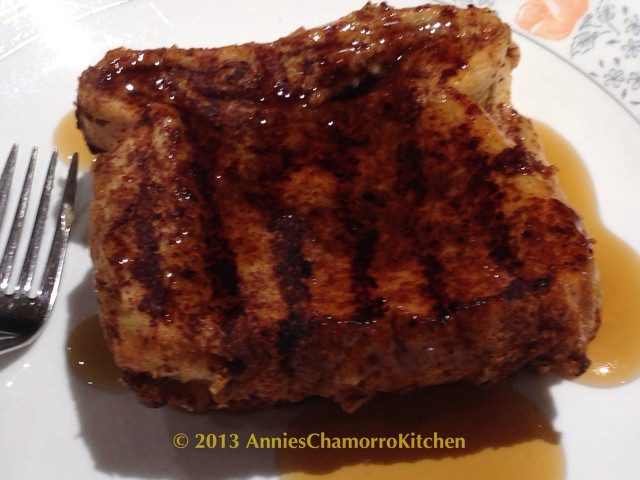
There is something about the sweet smell of cinnamon and vanilla toasting up that makes you want to devour whatever is cooking. French Toast…it’s a favorite breakfast in our home. Actually, it’s a favorite any time of day, really! It’s a simple recipe, but my teenaged daughter puts her own spin on it, originally inspired by a neighbor friend of ours from when we lived in Seoul, Korea years ago. Give Hannah’s recipe a try. I know you’ll love it!

Hannah’s French Toast

IMG_0831

Ingredients:

  • 8 slices Texast Toast
  • 1 1/2 cups French Vanilla coffee creamer (or your favorite flavor)
  • 2 eggs
  • 2 teaspoons ground cinnamon
  • 1 teaspoon vanilla extract
  • Butter
  • Maple Syrup
  • Whipped cream

Directions:

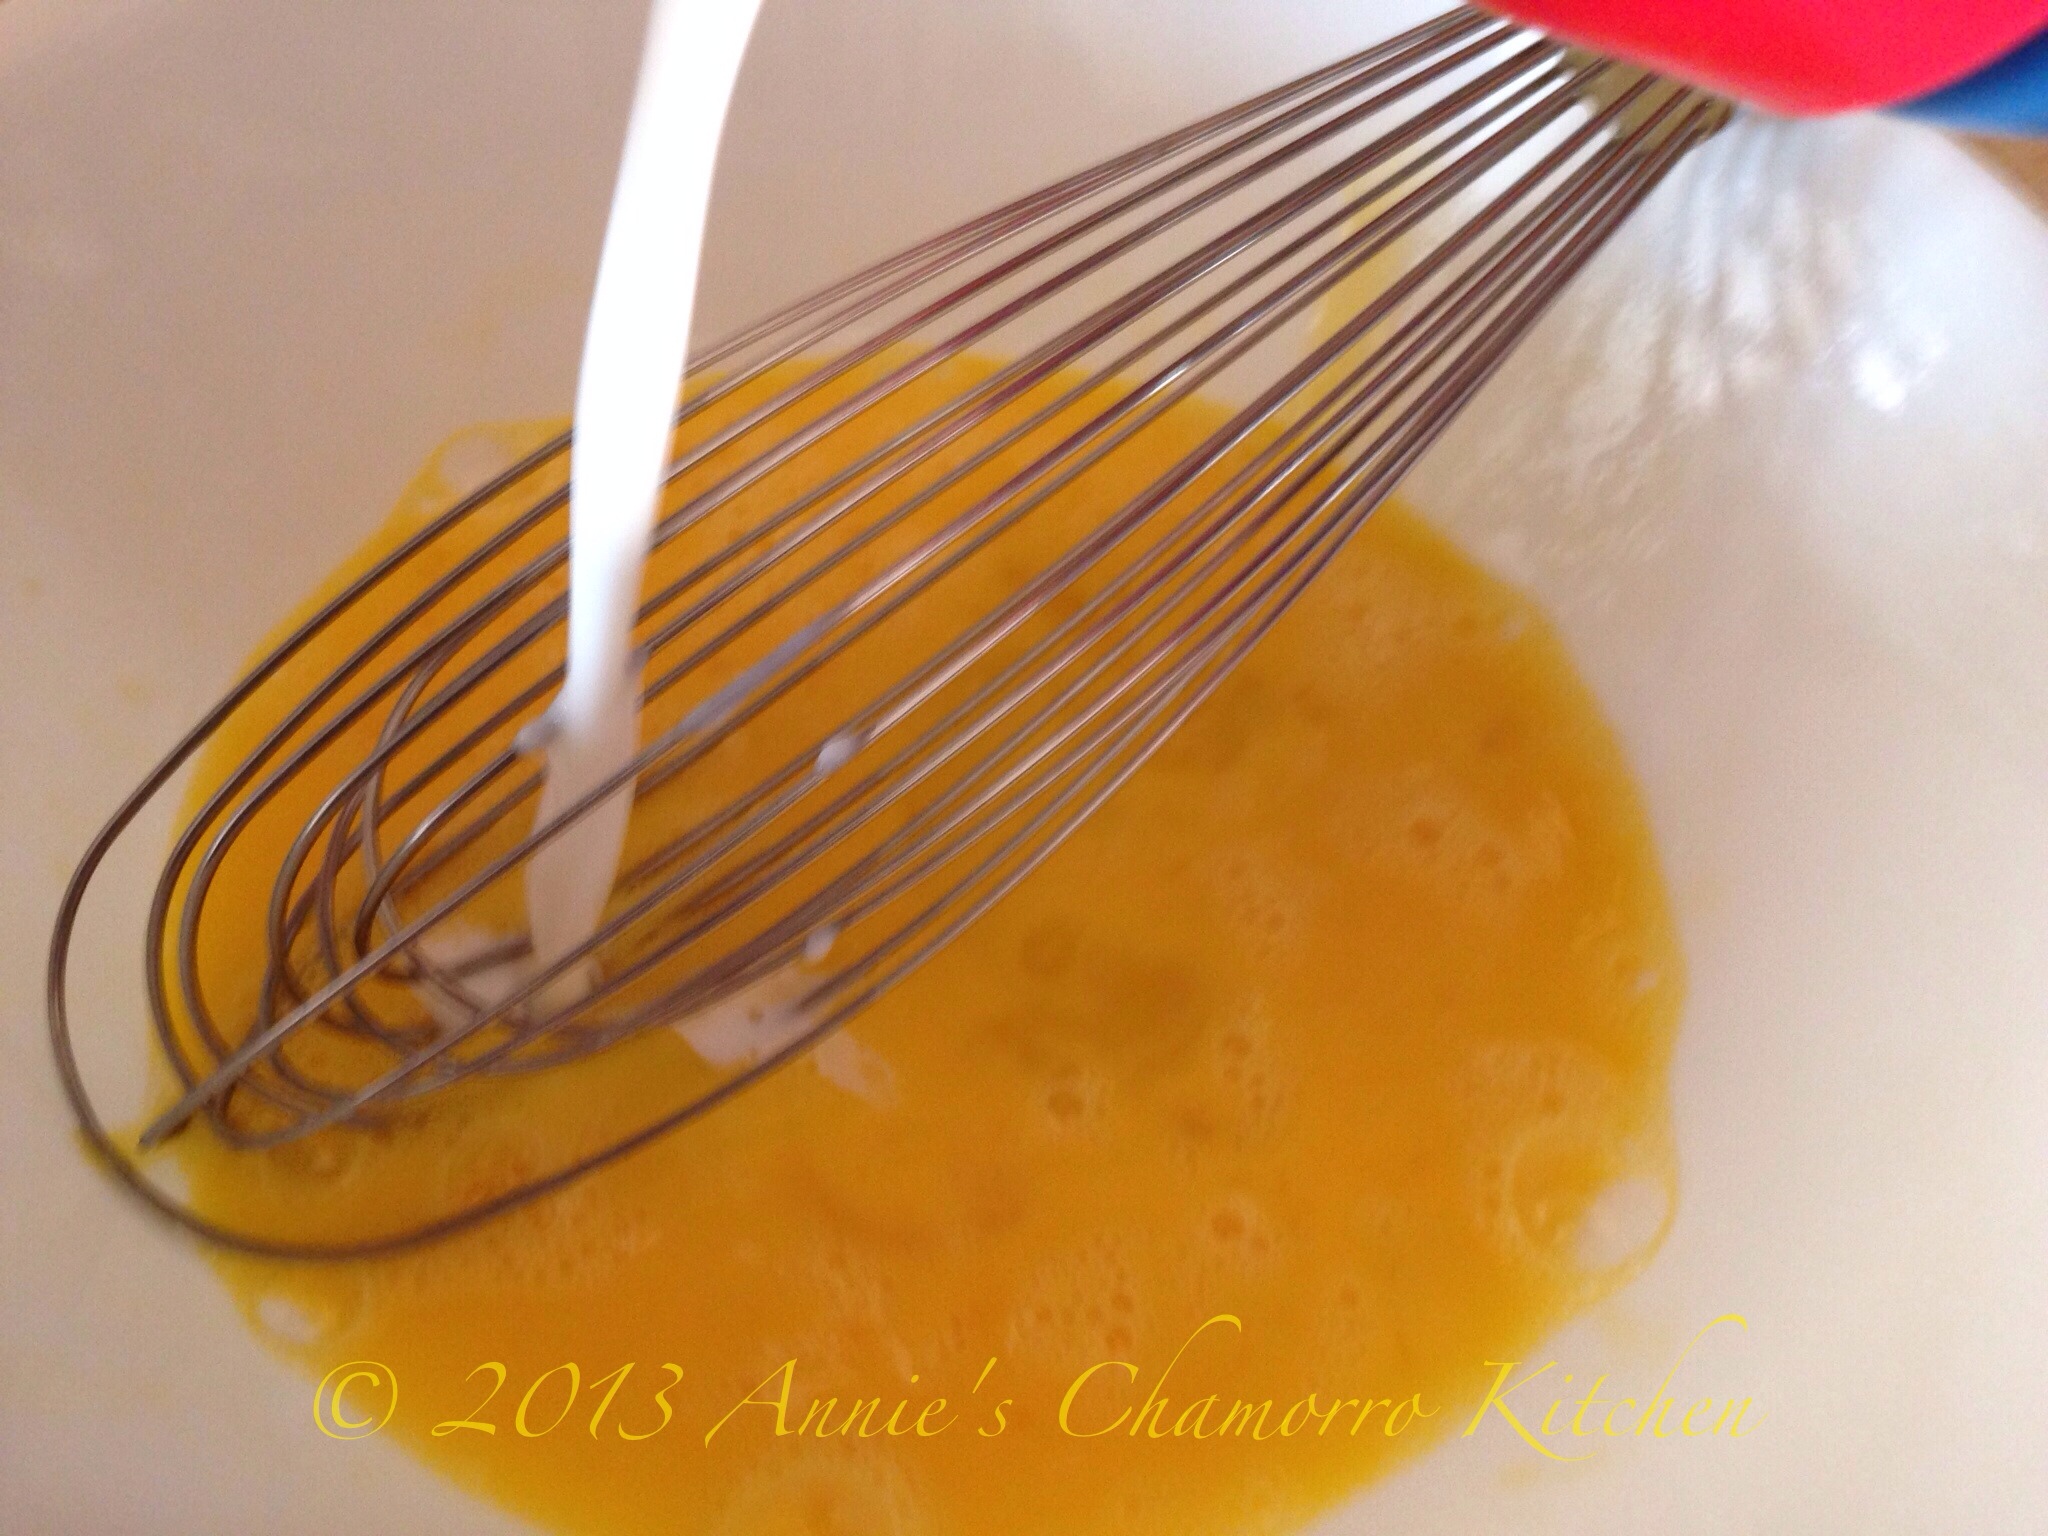
1. In a shallow bowl, mix together the creamer, eggs, cinnamon, and vanilla extract.

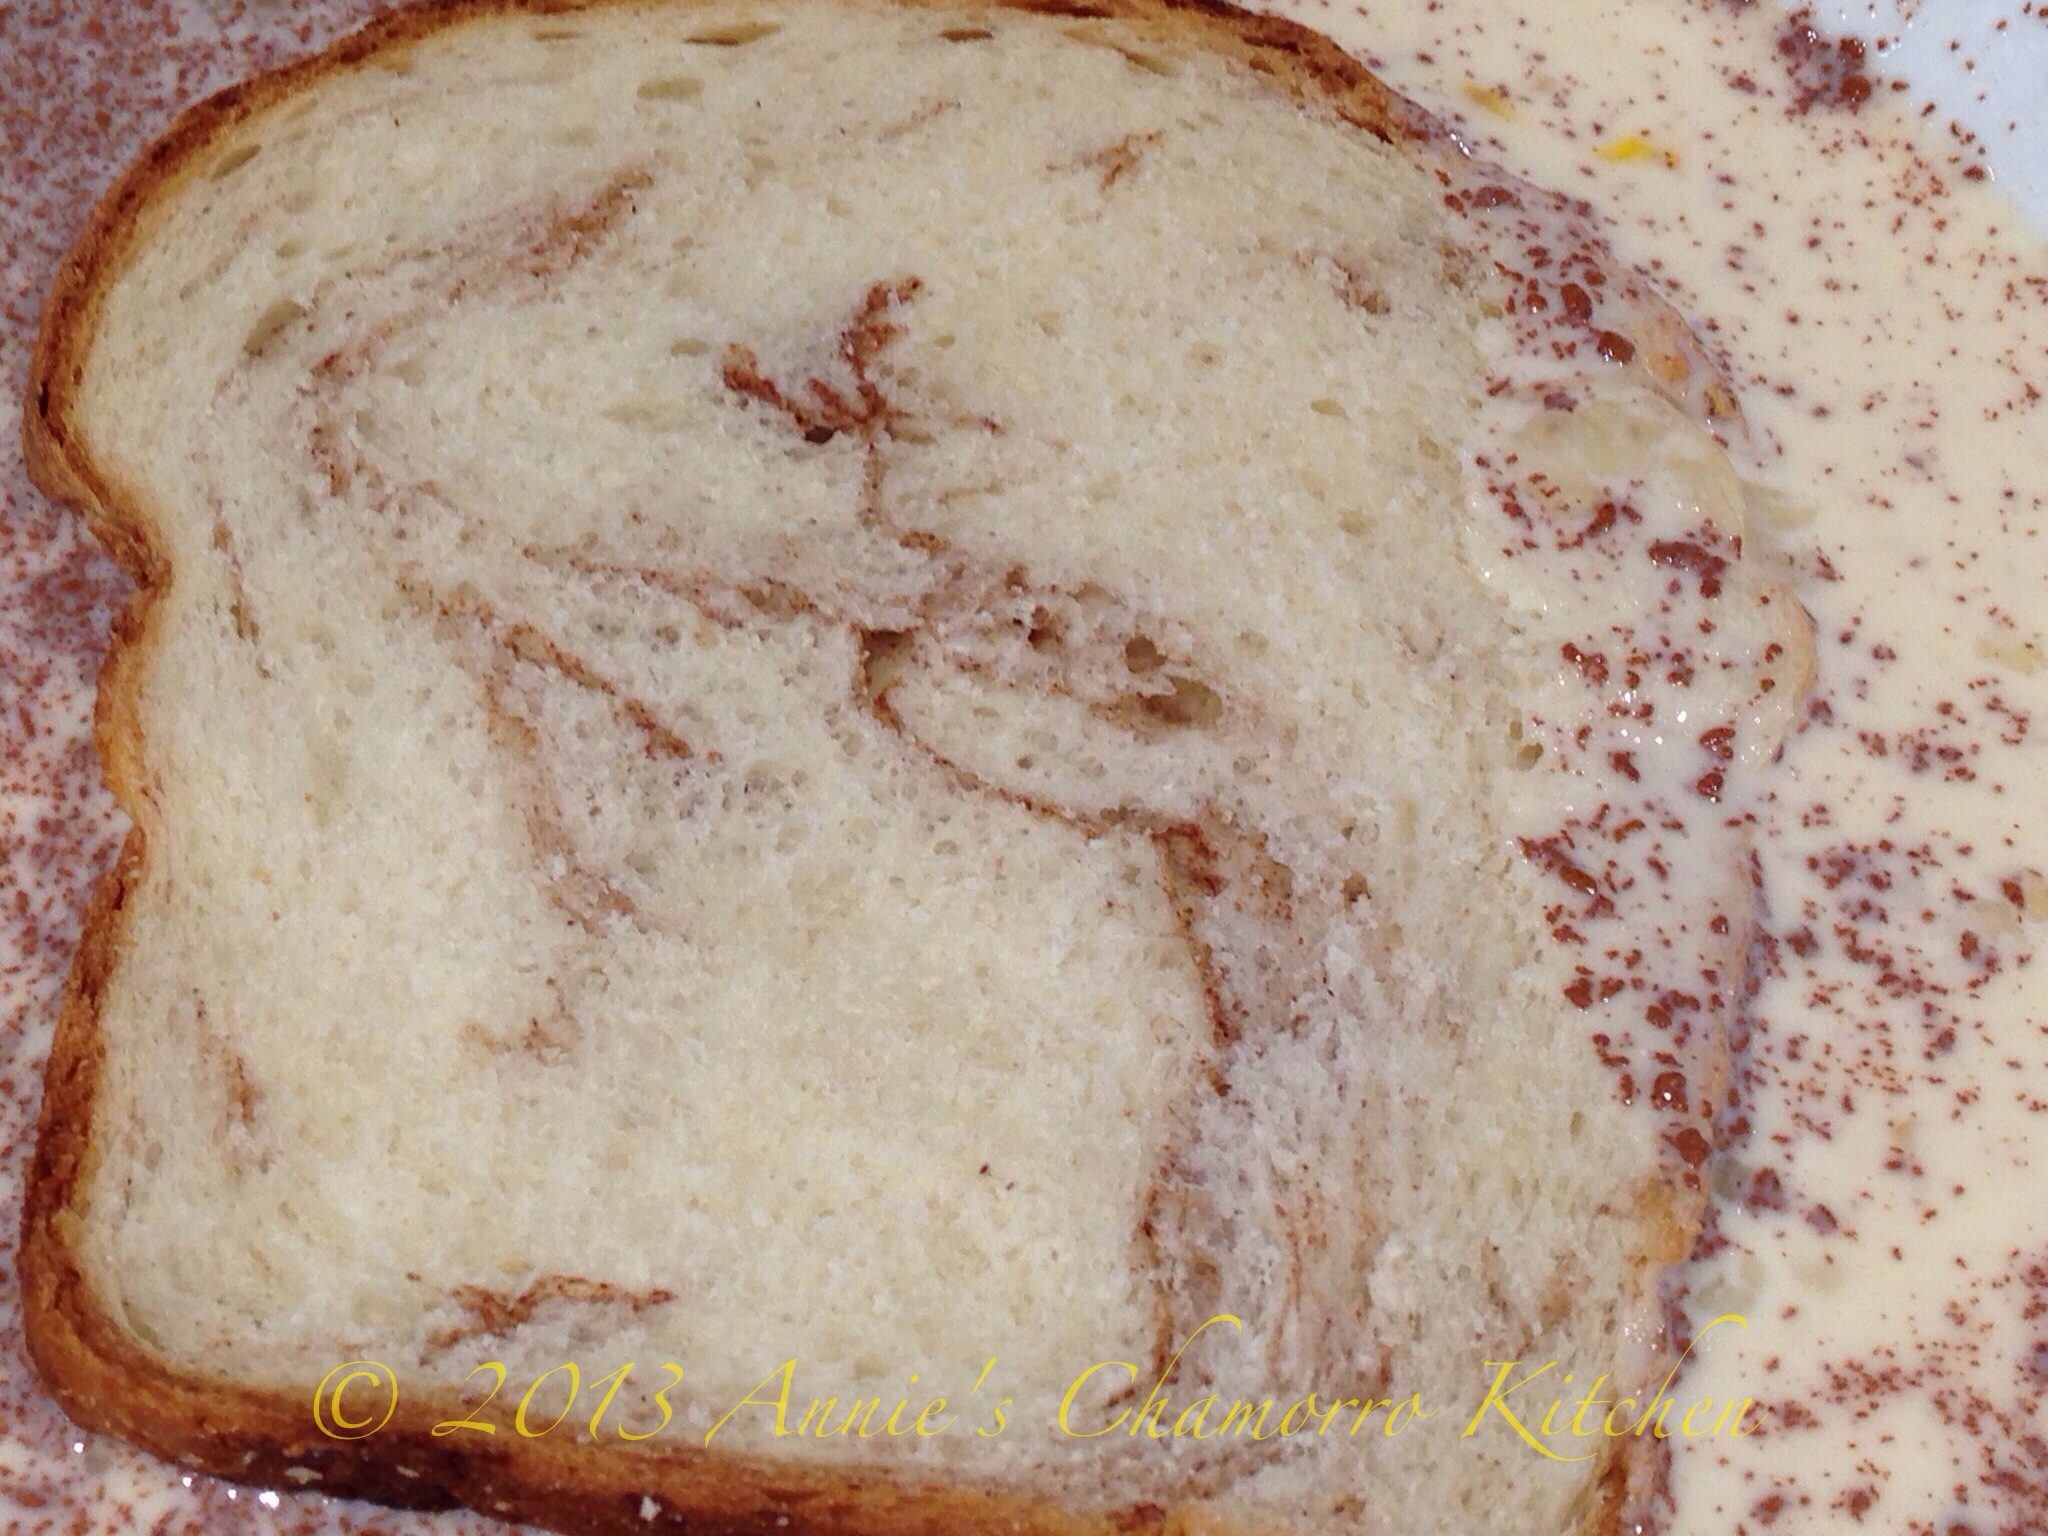
2. Dip each slice of bread in the batter, just a few seconds on each side will do.

IMG_0828

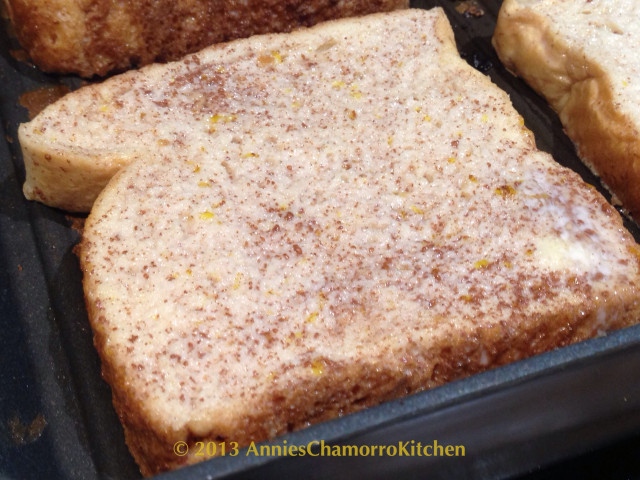
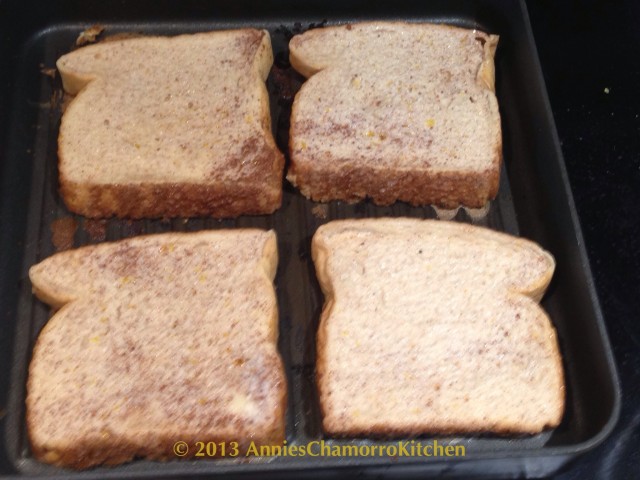
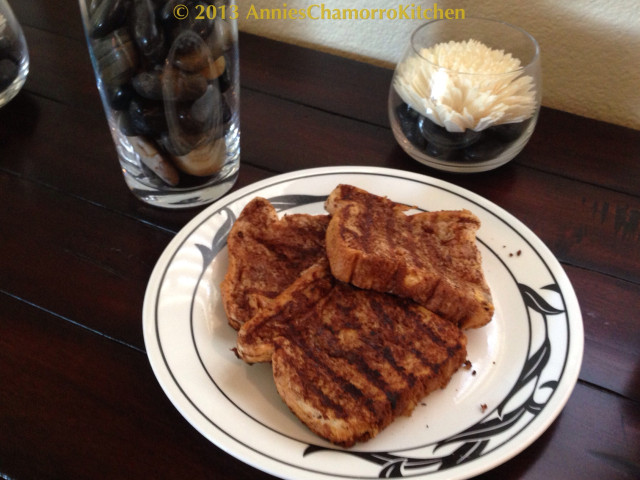
3. Fry in a buttered pan until browned on each side.

image IMG_0830

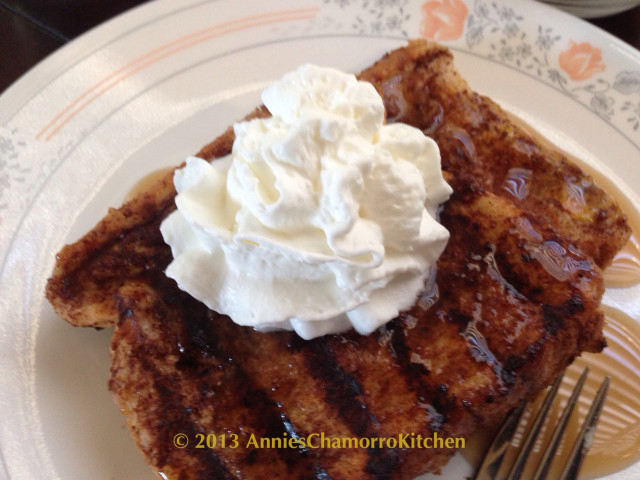
4. Serve while still hot, topped with more butter, a drizzle of maple syrup, and topped with whipped cream.

IMG_0832

Enjoy!


Print Friendly, PDF & Email
Recent Entries »