Åhu is a sweet and warm soup of sorts, and is a very popular dessert drink on Guam. It’s one of the first things I make when I go home for visits.
While you can make this dish using frozen månha (the meat from young coconuts) and the juice from the månha, there is nothing like using the real thing.
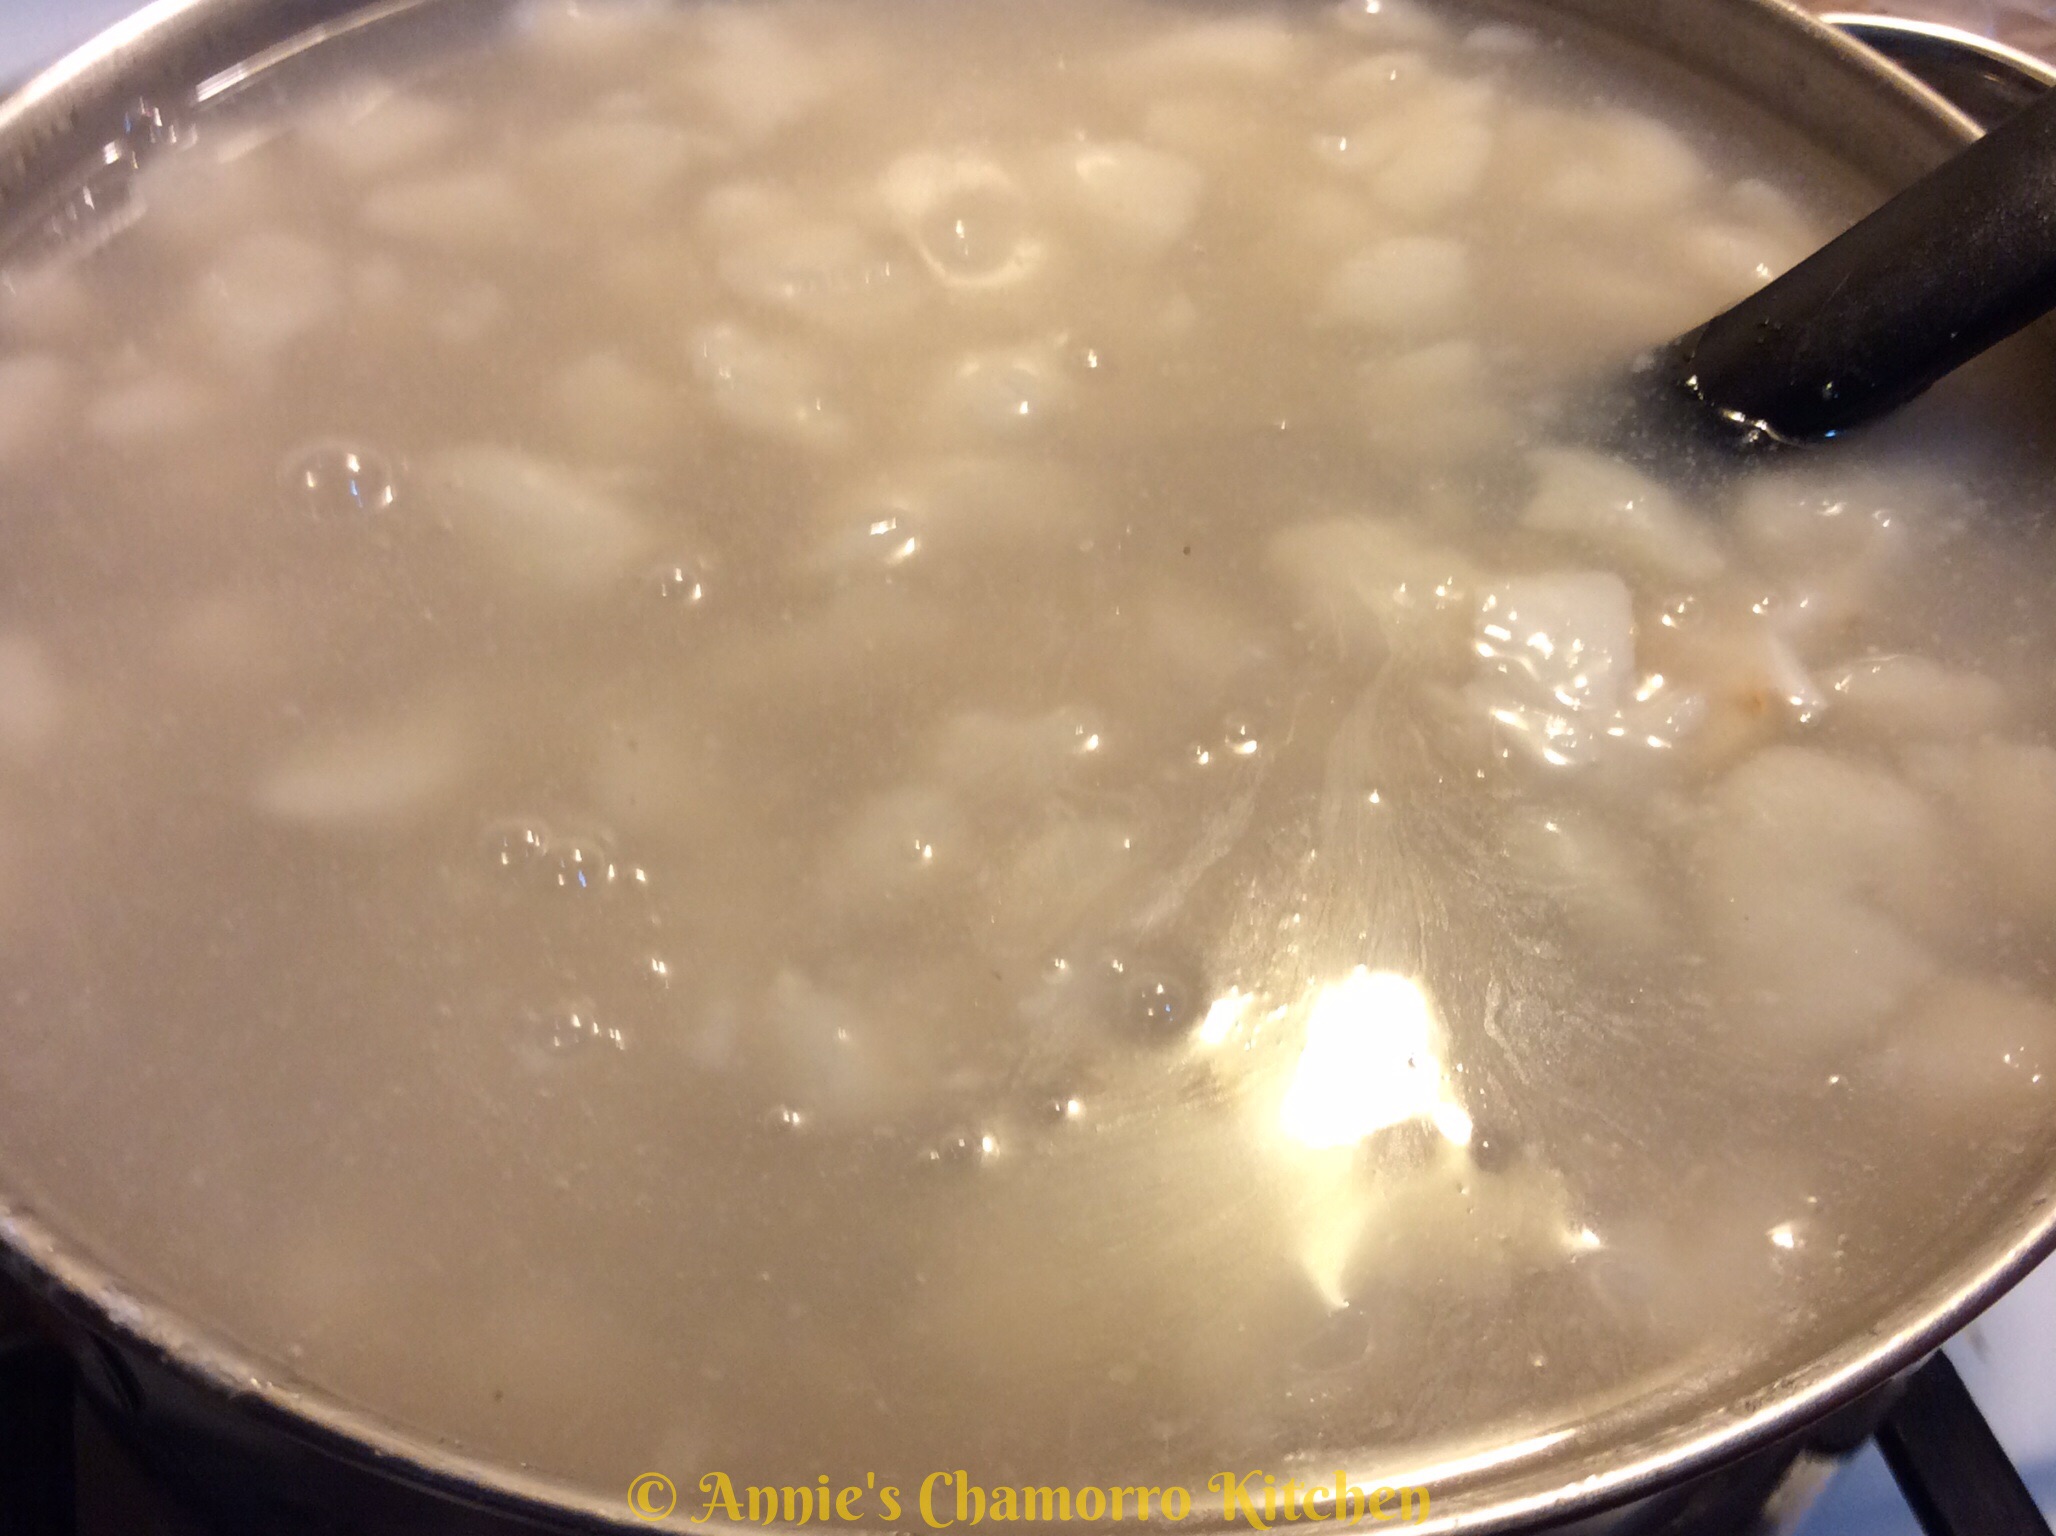
This delicious and sweet drink is thickened by the månha dumplings, made by mixing pureed månha, sugar and tapioca starch. The dumplings — I call them lumps — cook in boiling hot månha juice until they float to the surface indicating they are done.
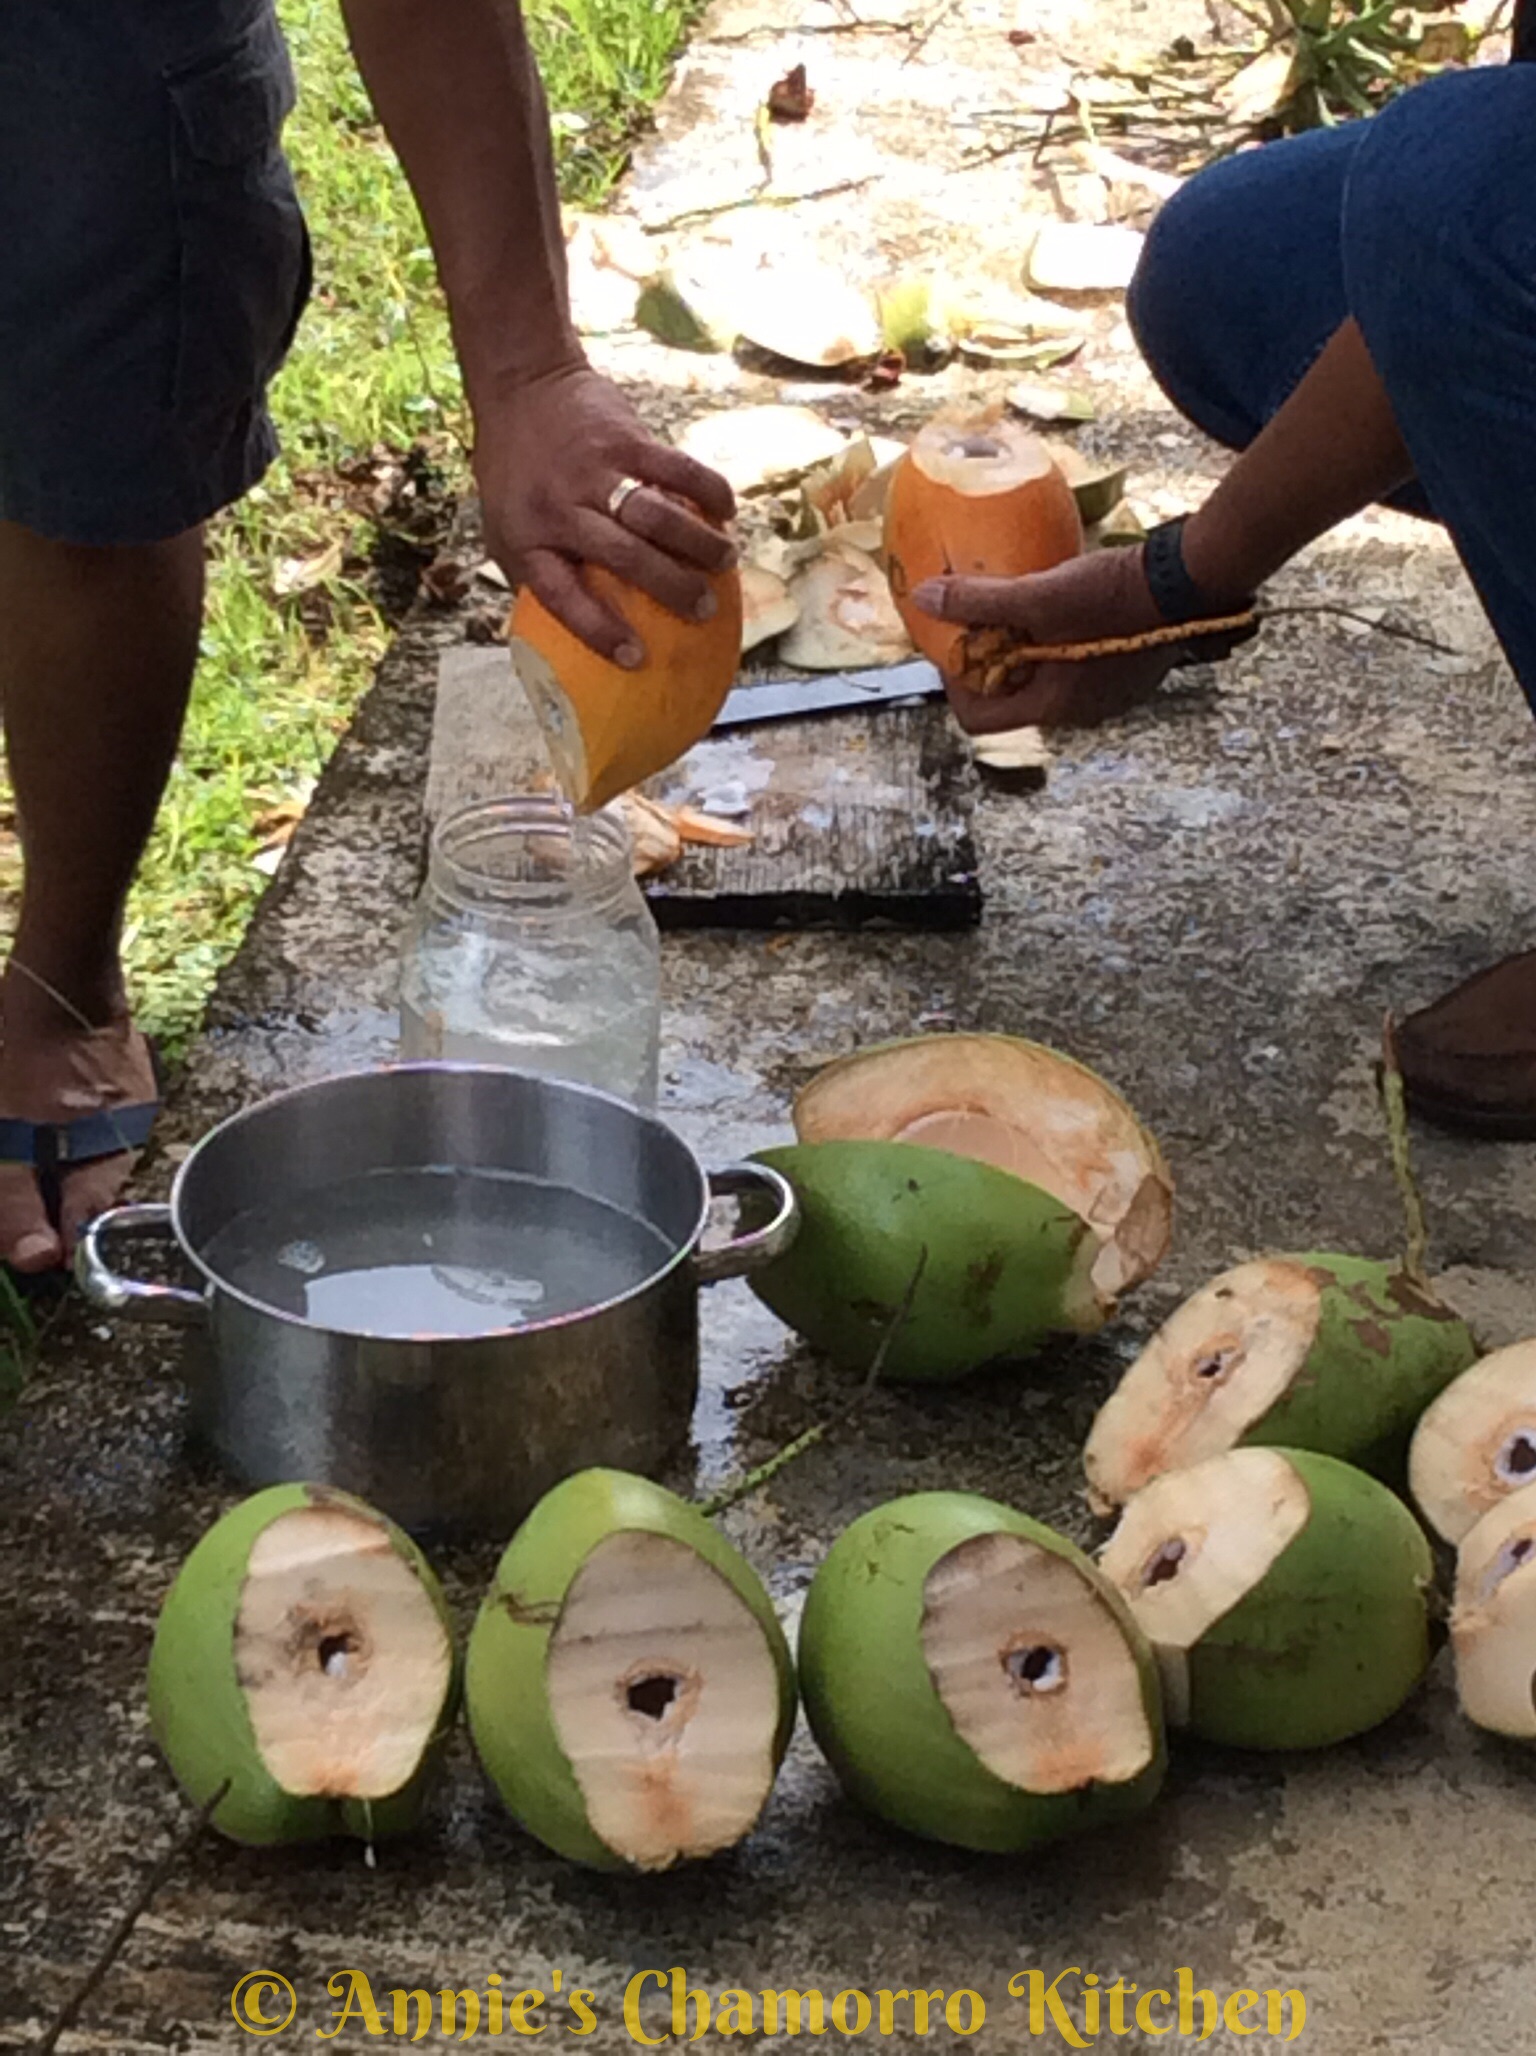
It doesn’t take long to cook up a huge pot of åhu. What DOES take long, however, is cutting down a bunch of månha, cutting them open and collecting the juice, then scraping the meat.
Here’s an entertaining (at least I think so) video of the guys working hard at harvesting the månha for us. 🙂
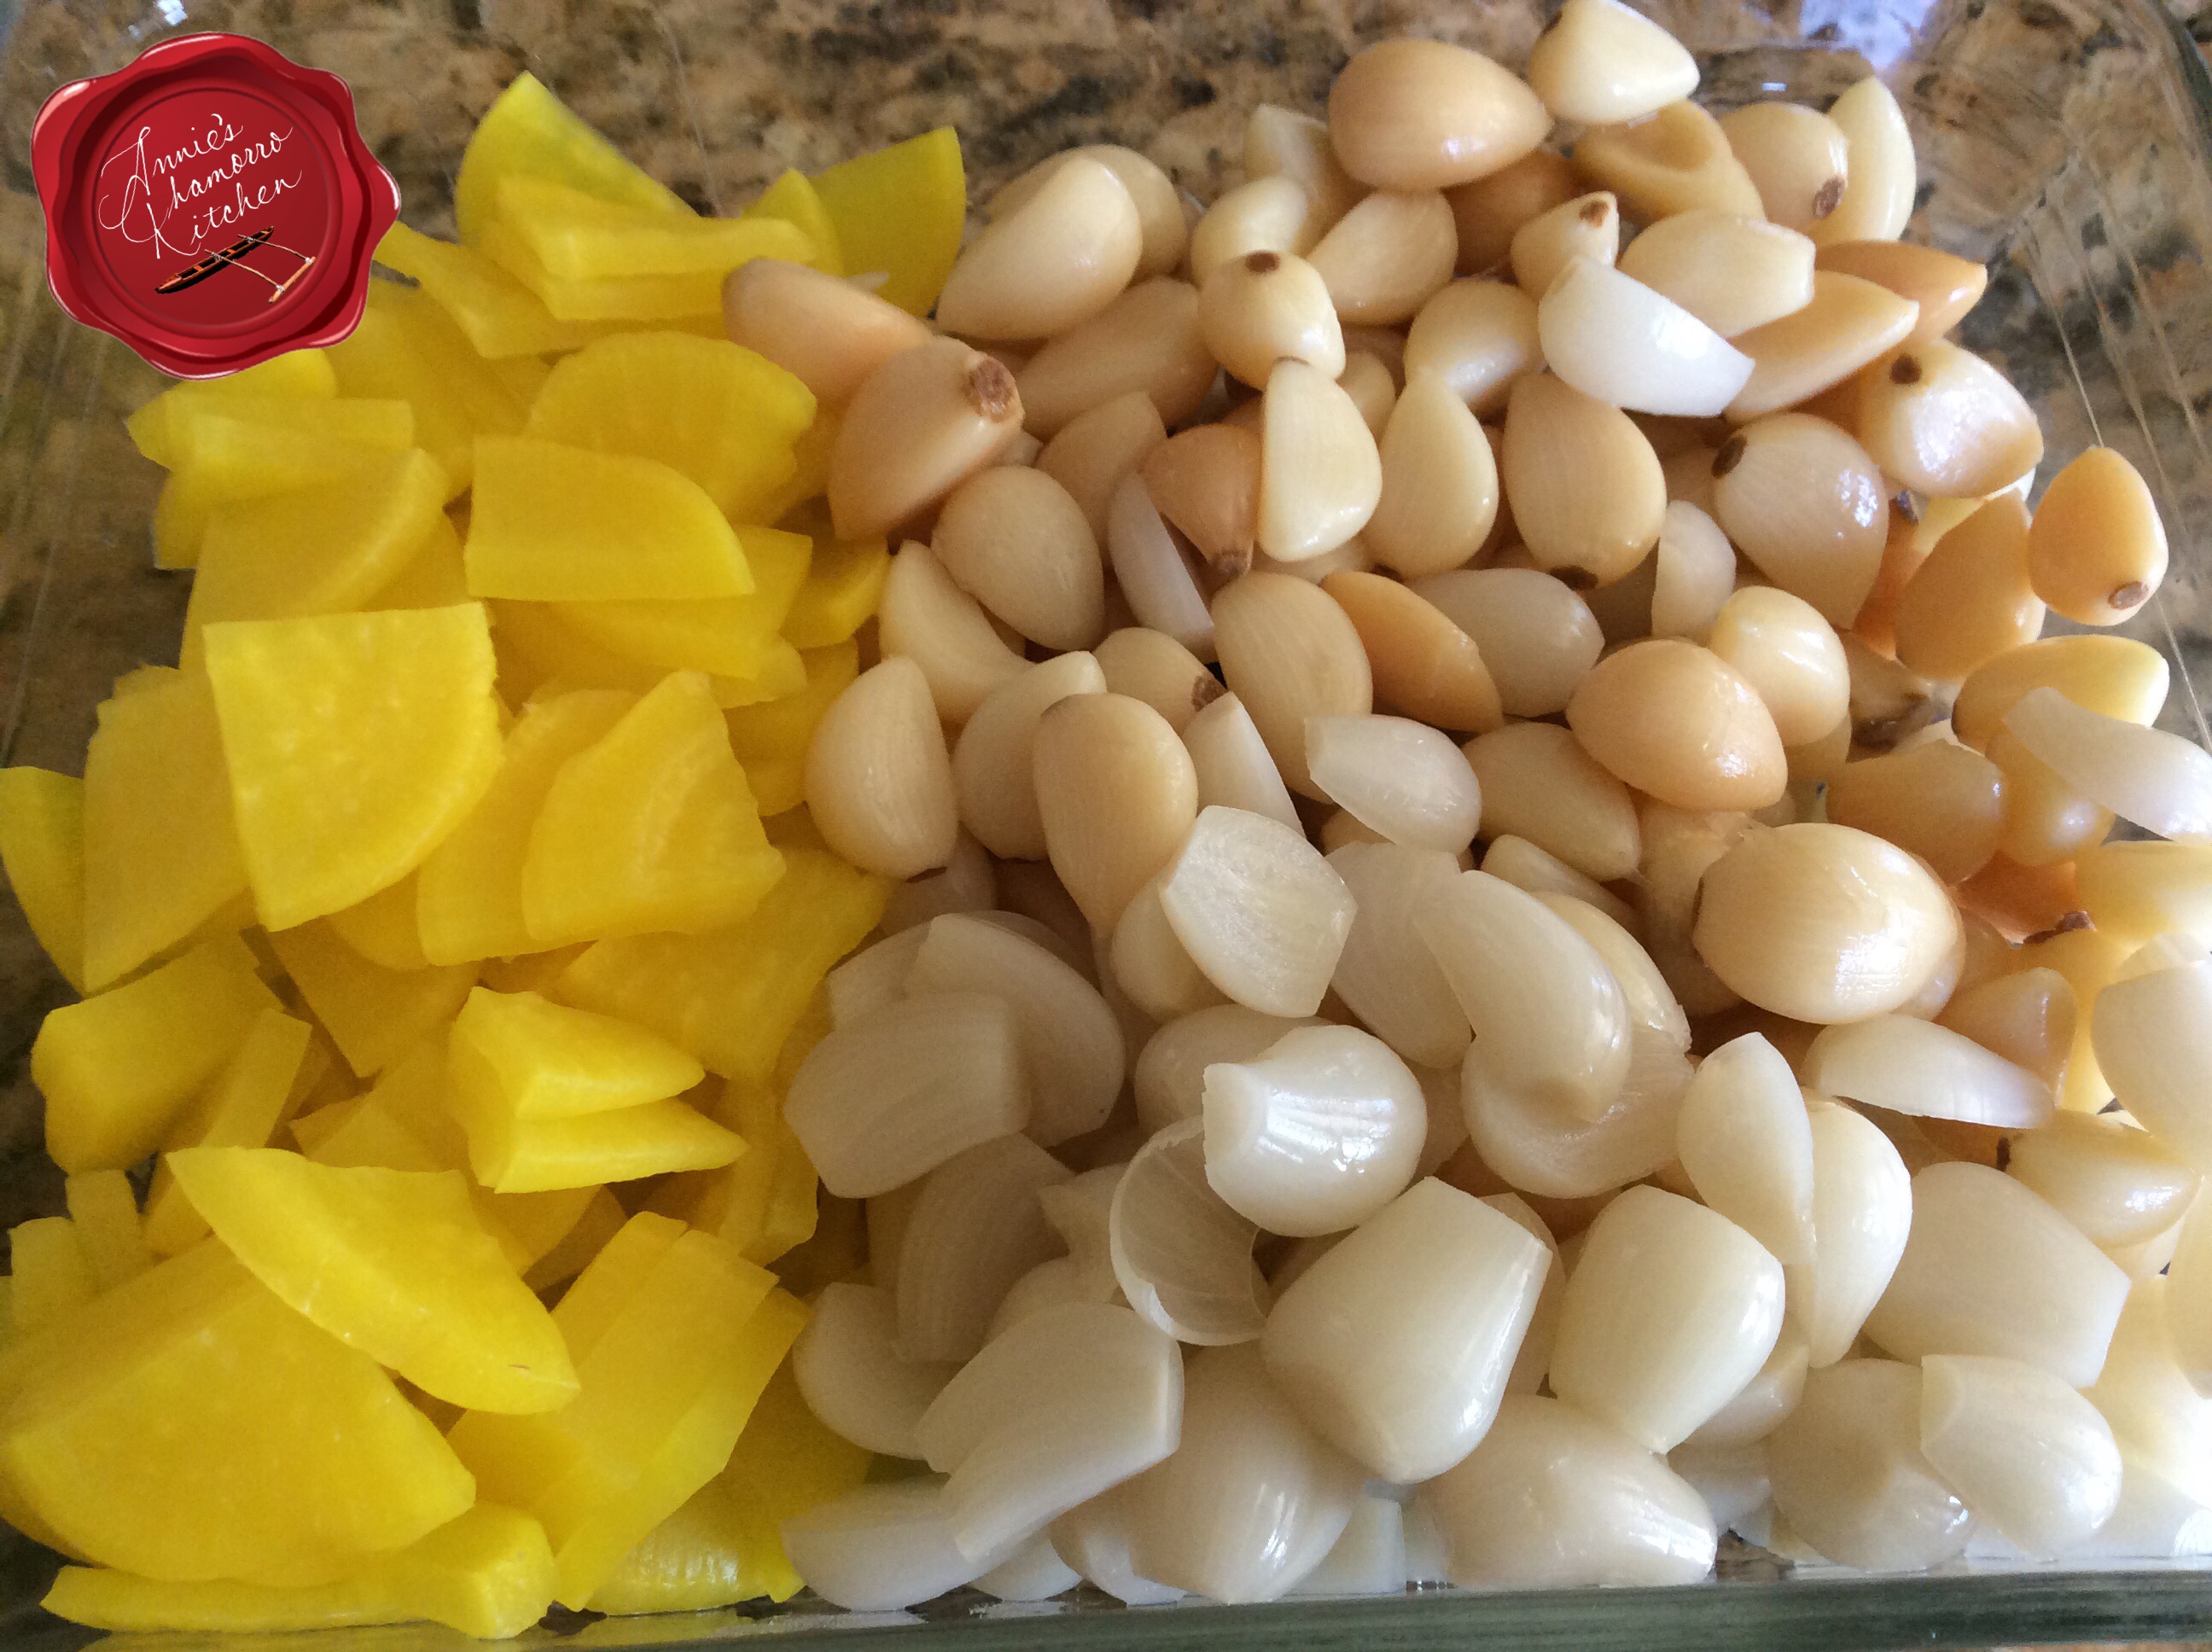
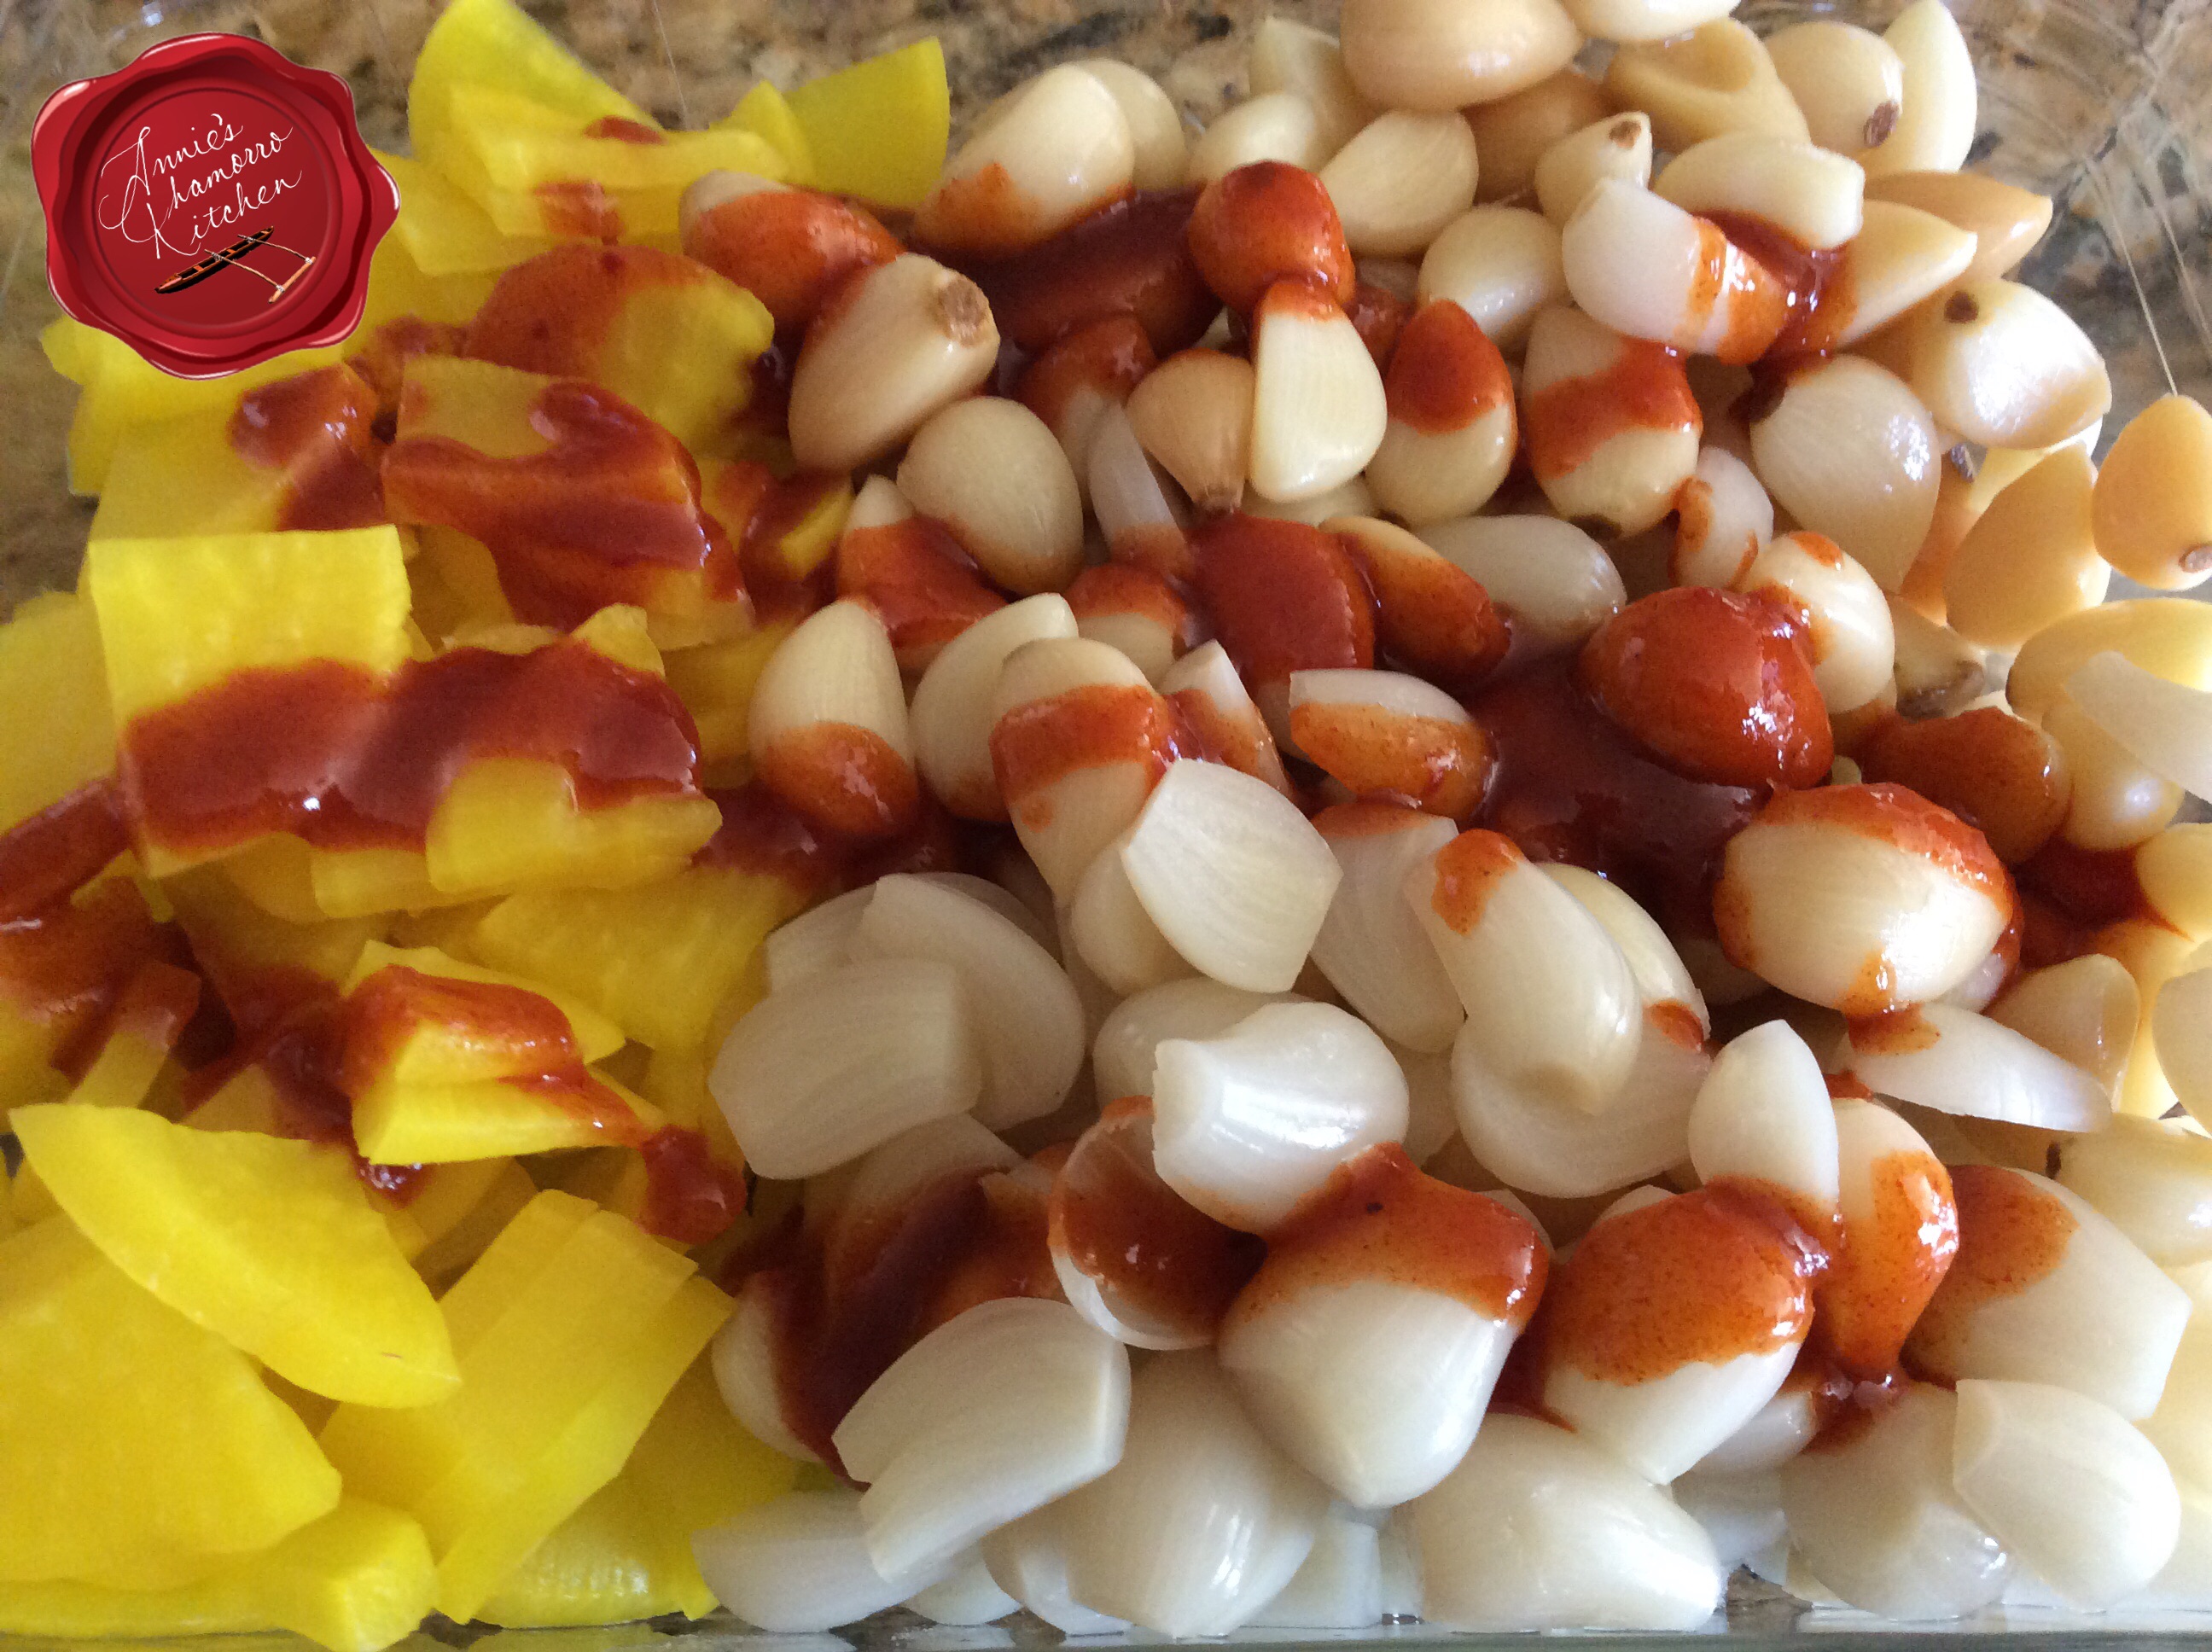
I’ll bet many of you didn’t know there are some species of coconut that are orange when young, not just the common green ones.
My sister and I recruited the men to do the gathering with the promise we’ll do the cooking. They eventually enjoyed the fruits of our labor and relaxed with a huge cupful of delicious åhu. 🙂
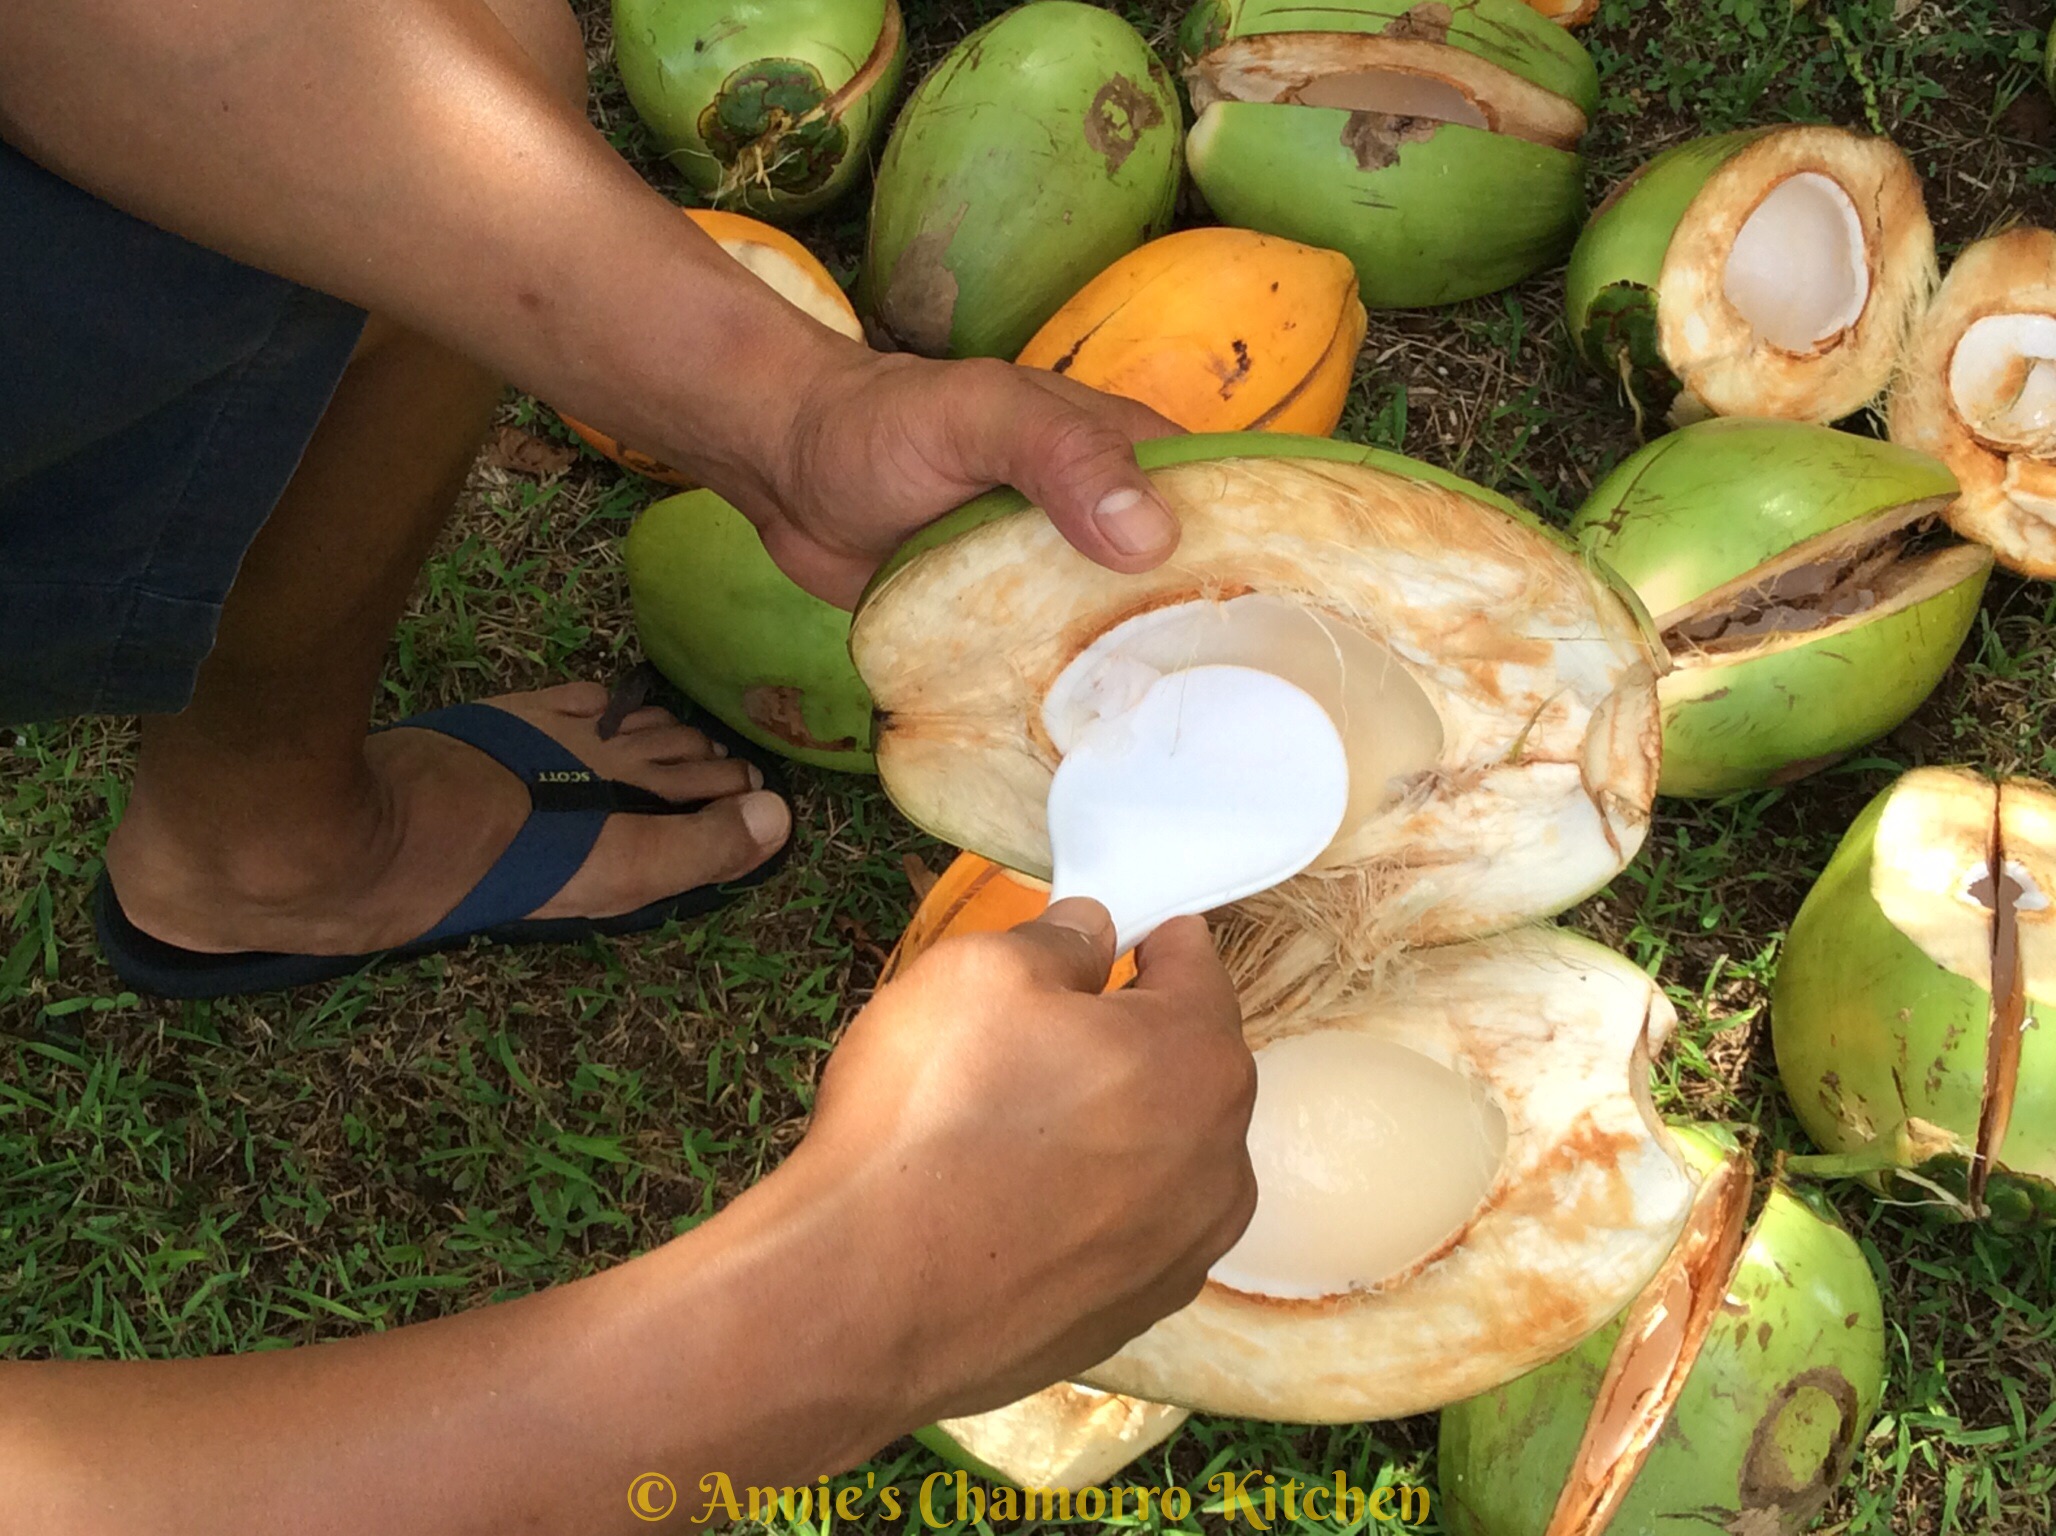
After draining out the juice, cut open the månha and scrape out the meat. Be careful not to scrape out any of the husk if you can help it. The månha meat is very tender; it doesn’t take much effort to scrape it out of the shell.
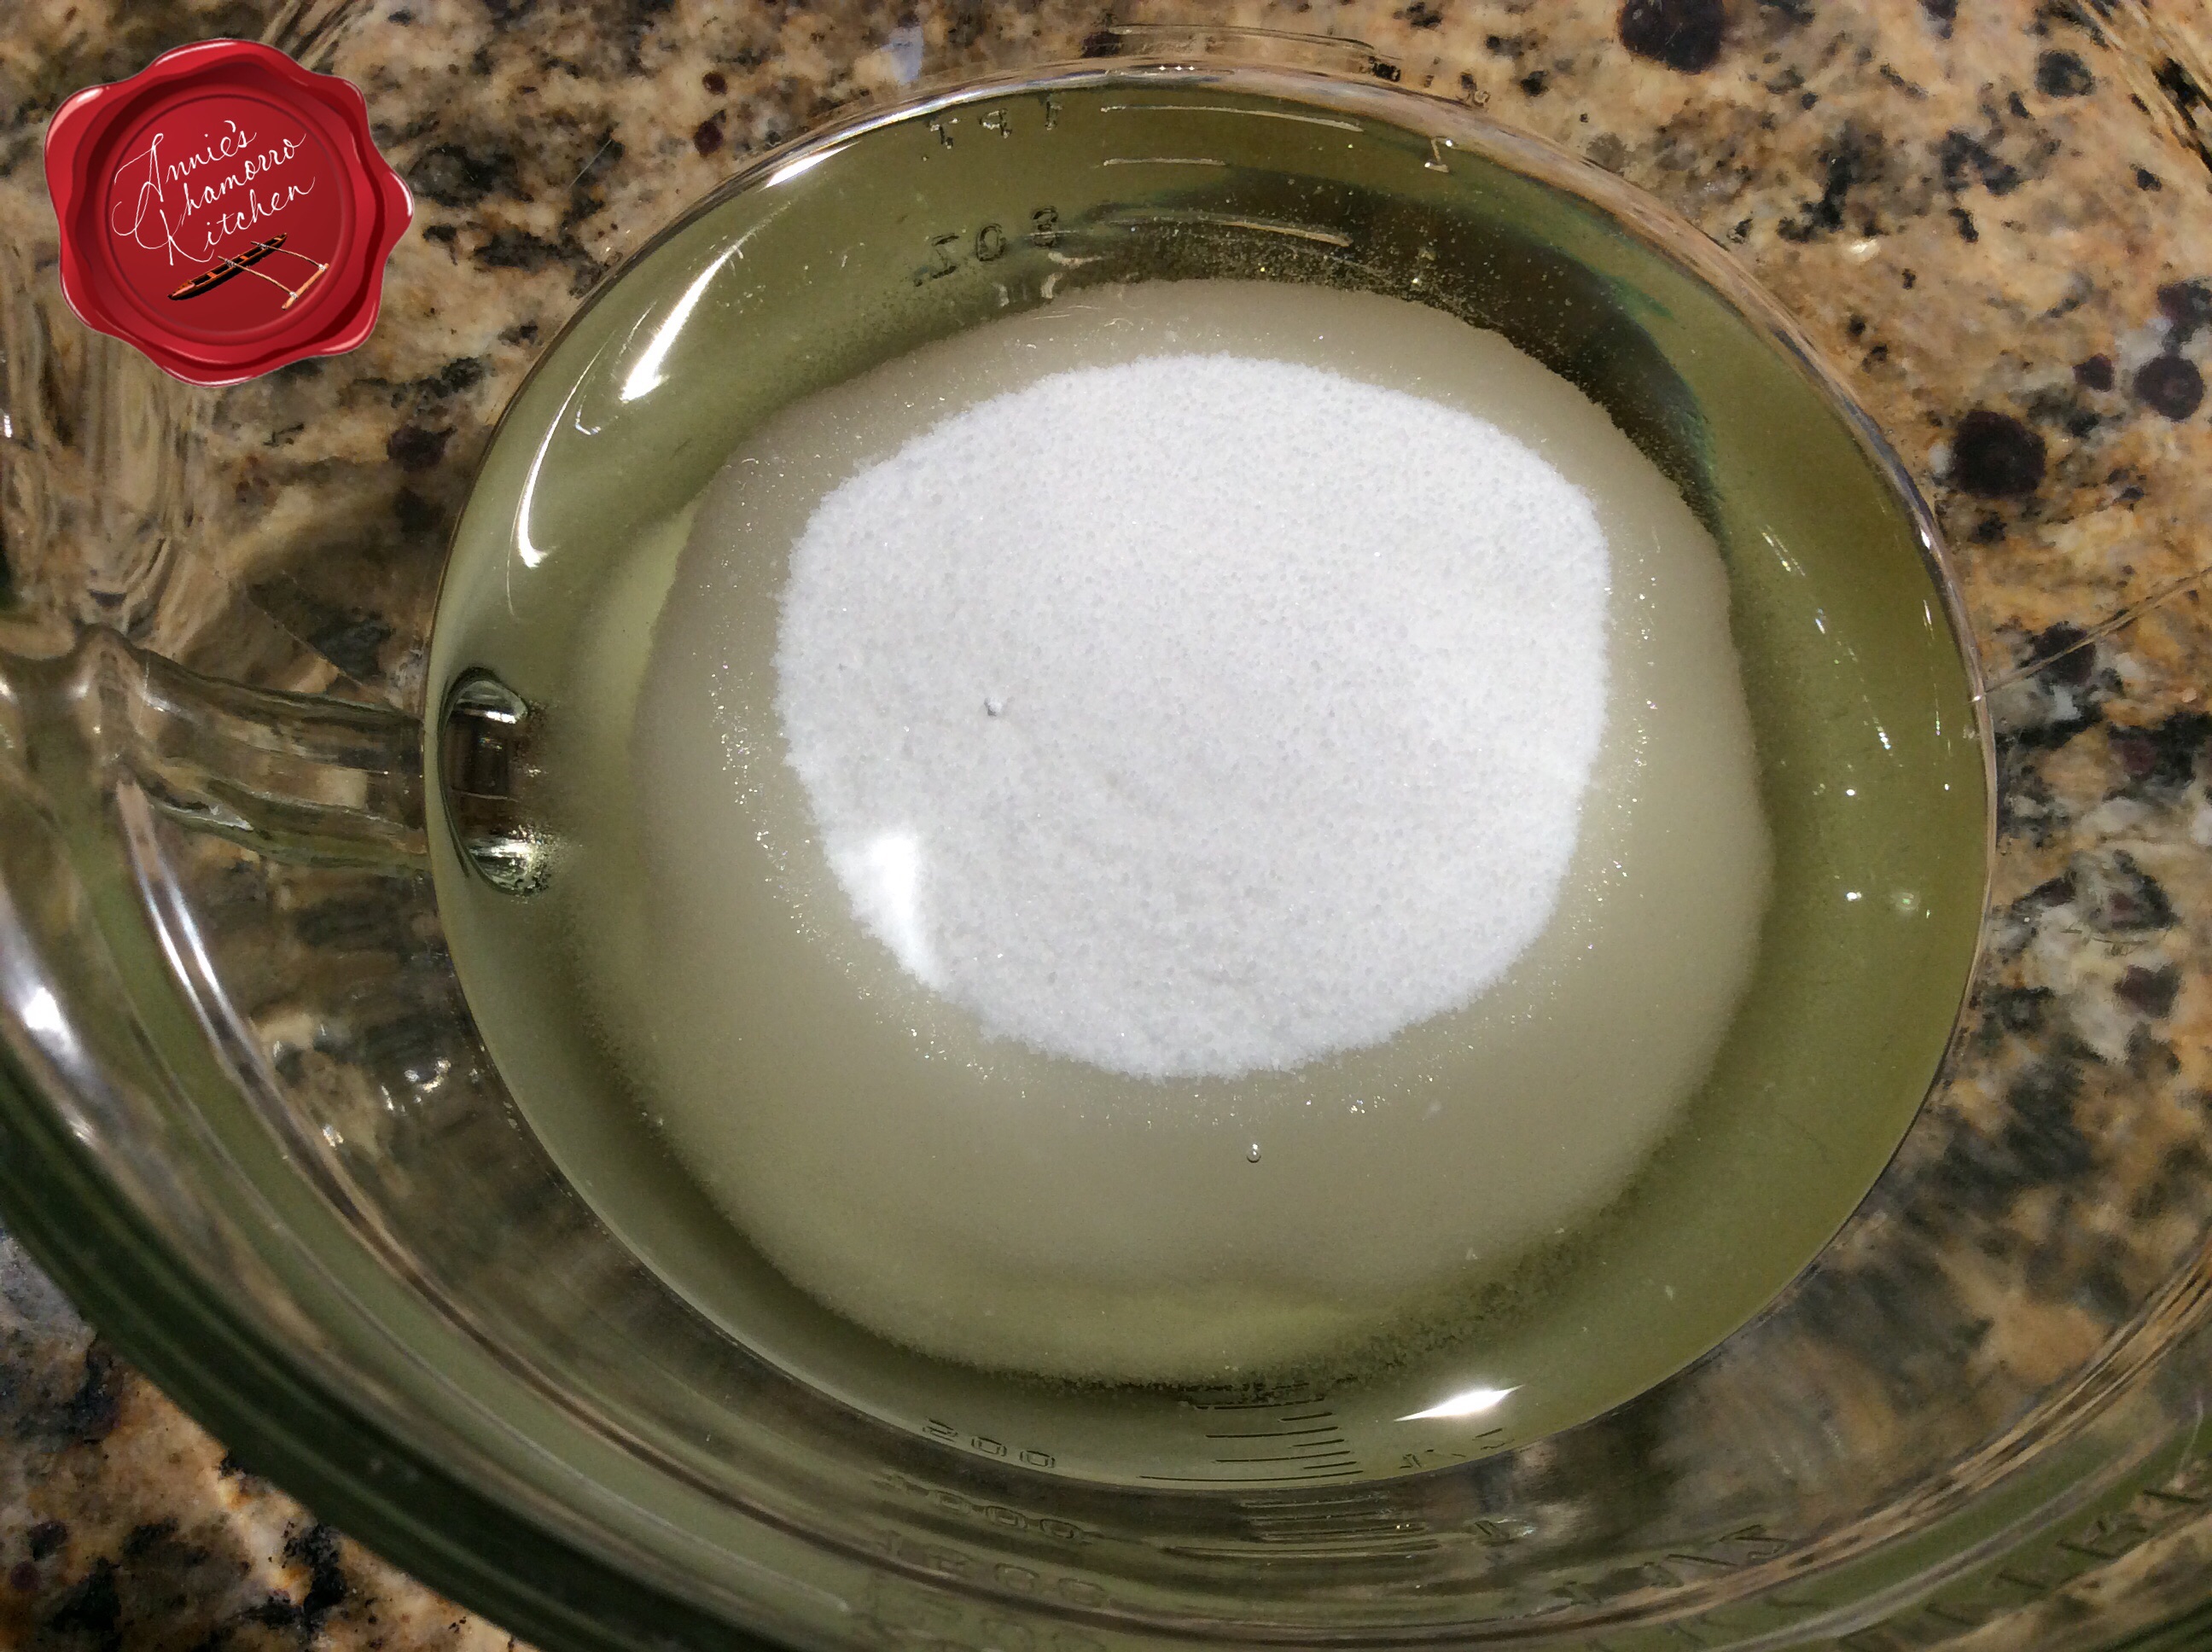
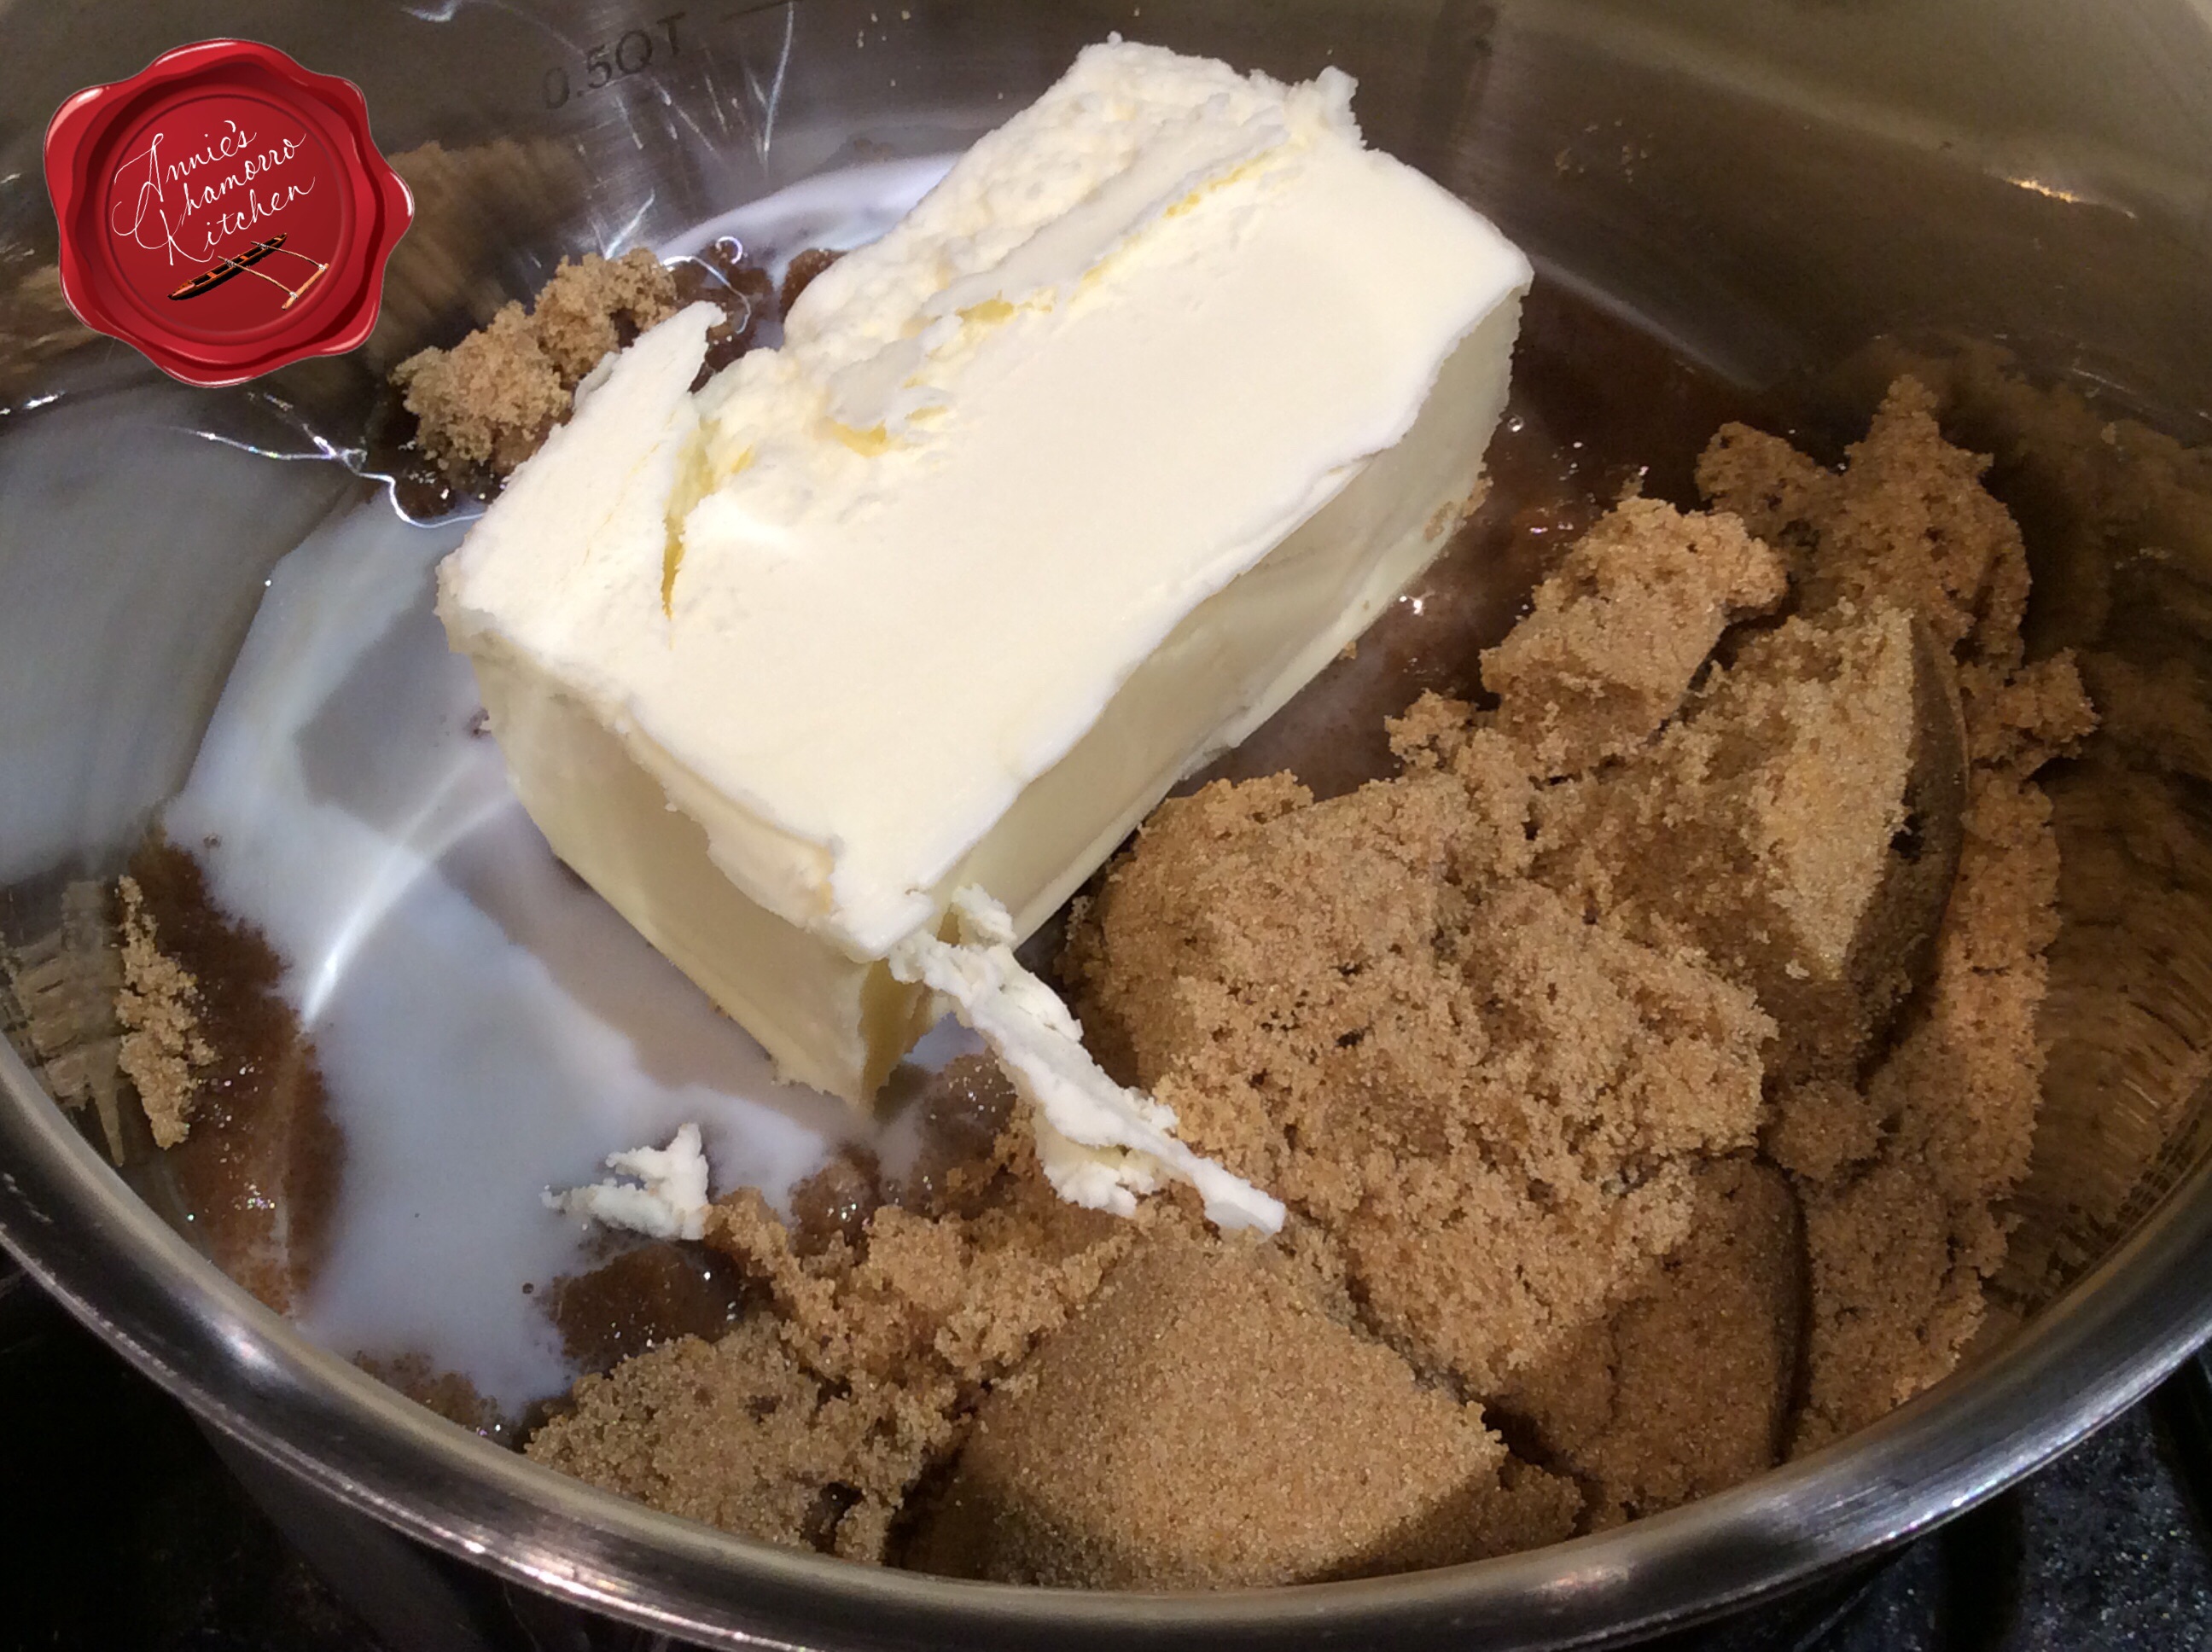
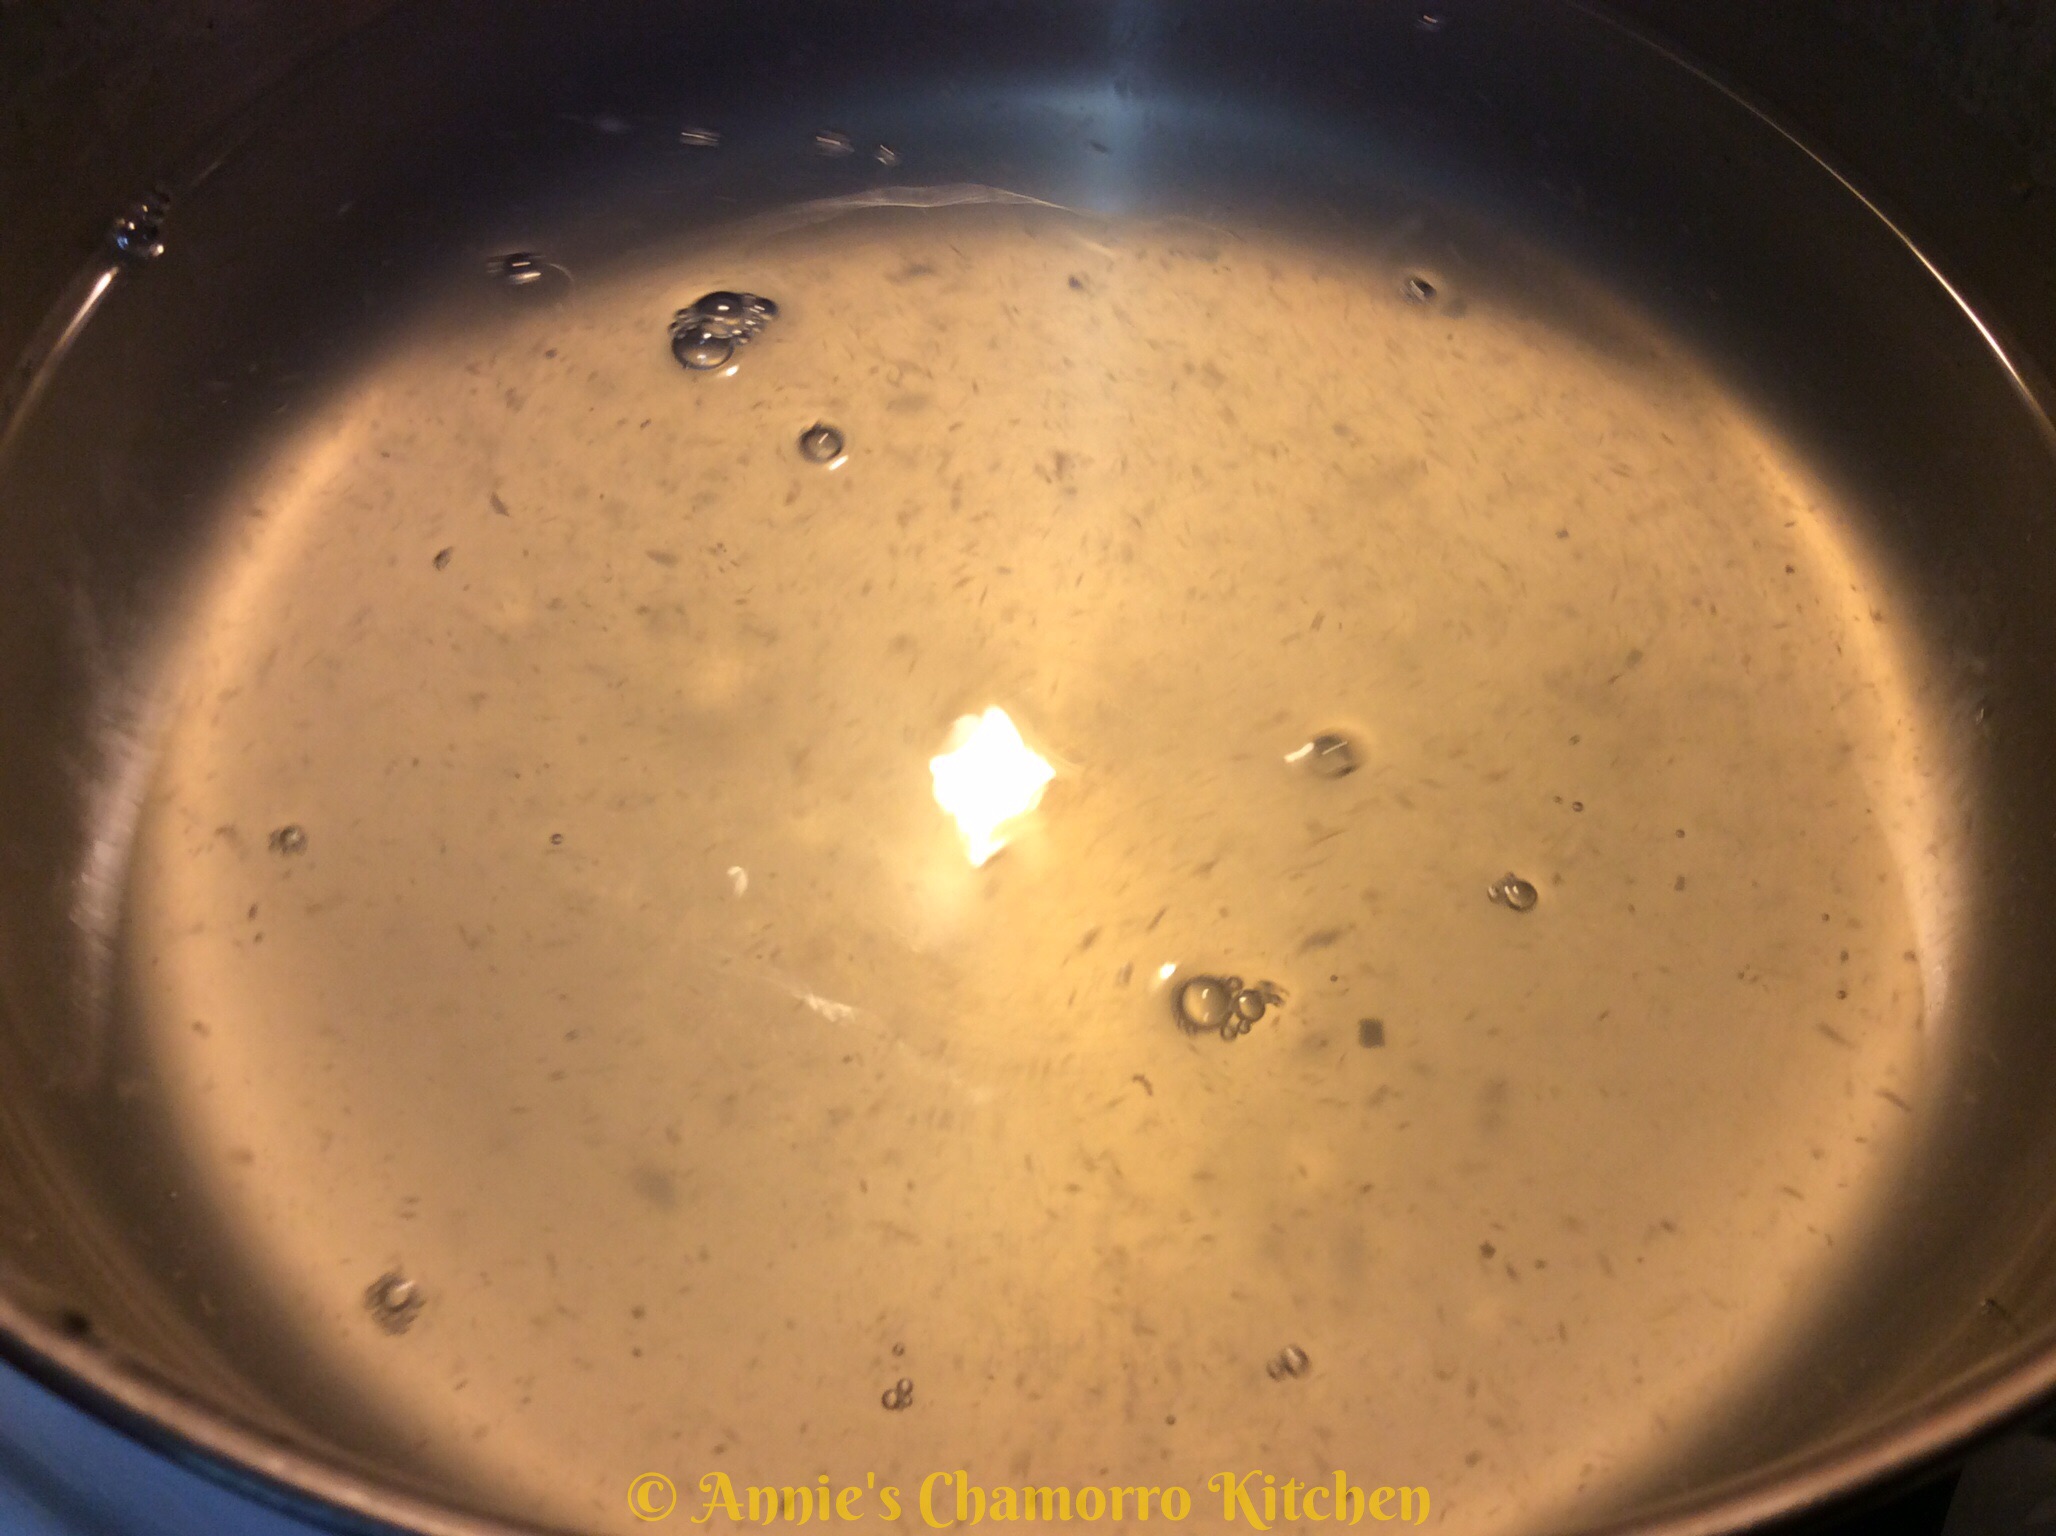
After you’ve collected the juice and meat, it’s time to get cooking. Place the månha juice into a large pot. You don’t need much juice to get great tasting åhu. You can use all juice or a mixture of juice and water. My dad likes to drink the månha juice so when my sister and I made this, we diluted it by mixing 8 cups of månha juice with 8 cups of water, saving the rest of the juice for dad.
If the juice is sweet, you don’t need much sugar. We added about 3 cups of sugar to all that liquid. Add a cup at a time and taste as you go, adding as much sugar as you like.
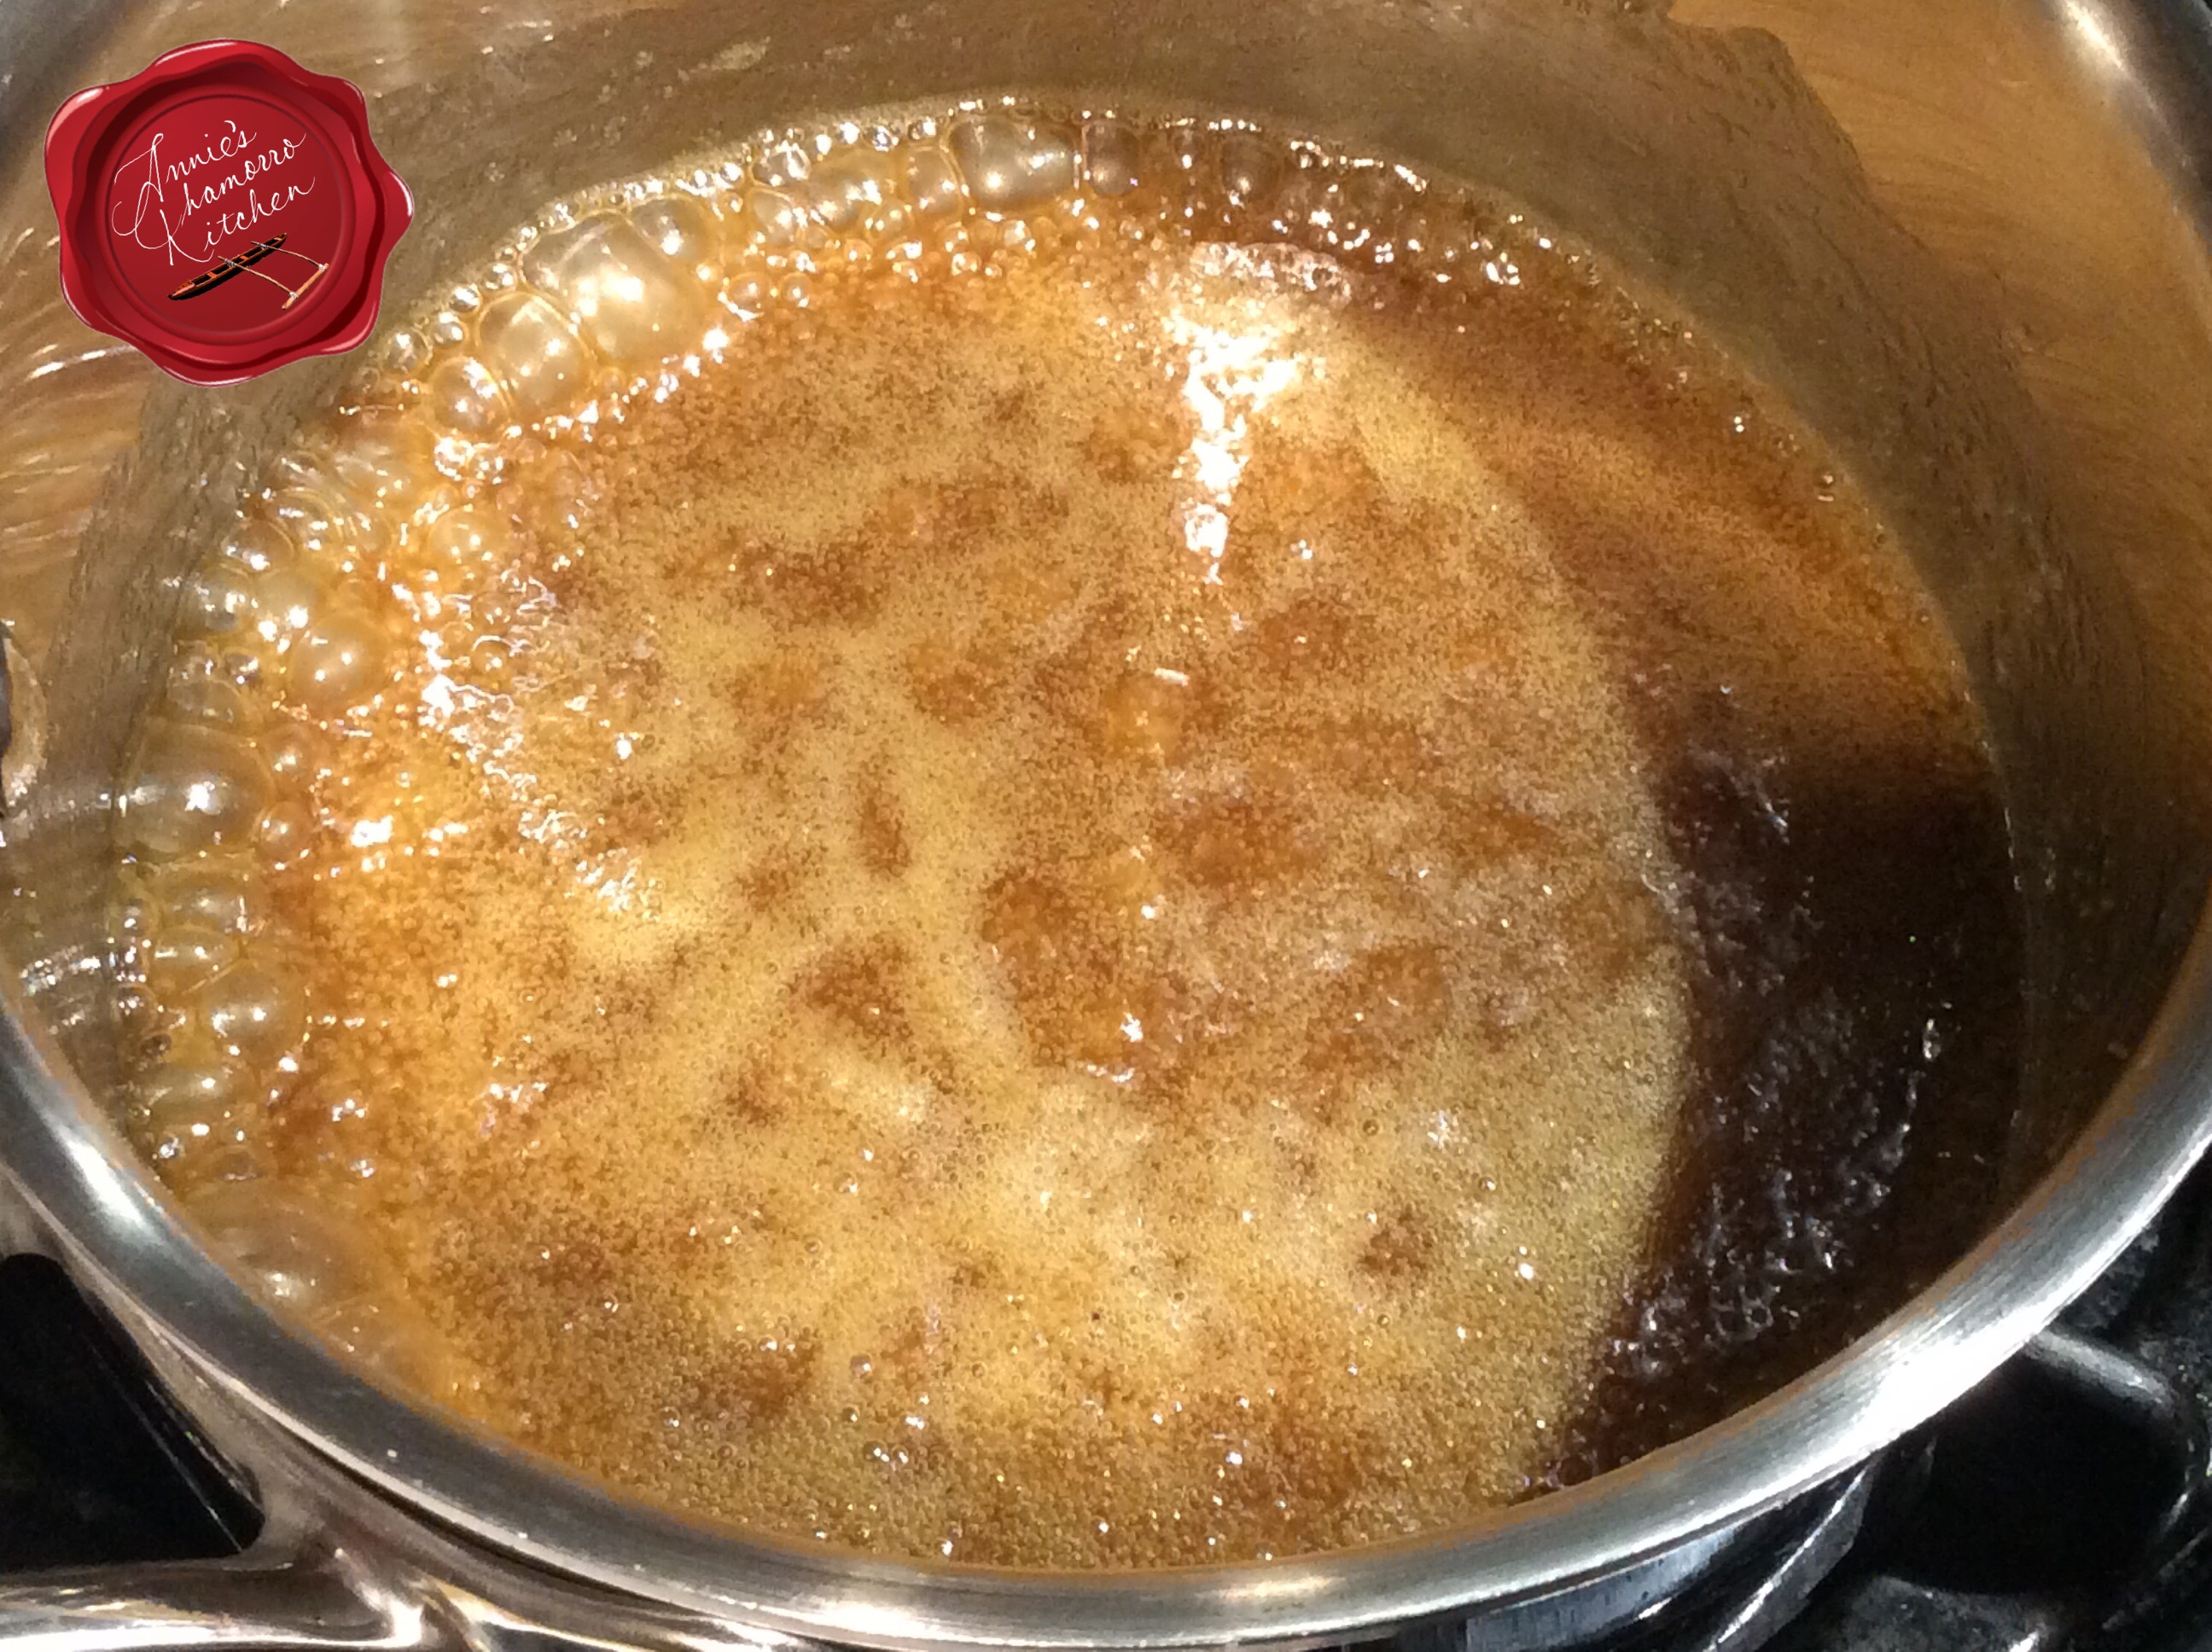
Bring the liquid to a slow boil while you make the månha dumpling mixture.
Place the månha in a food processor. Use more månha if you like lots of “lumps” — we used 4 cups of månha (my family likes lots of lumps) for a large pot of åhu.
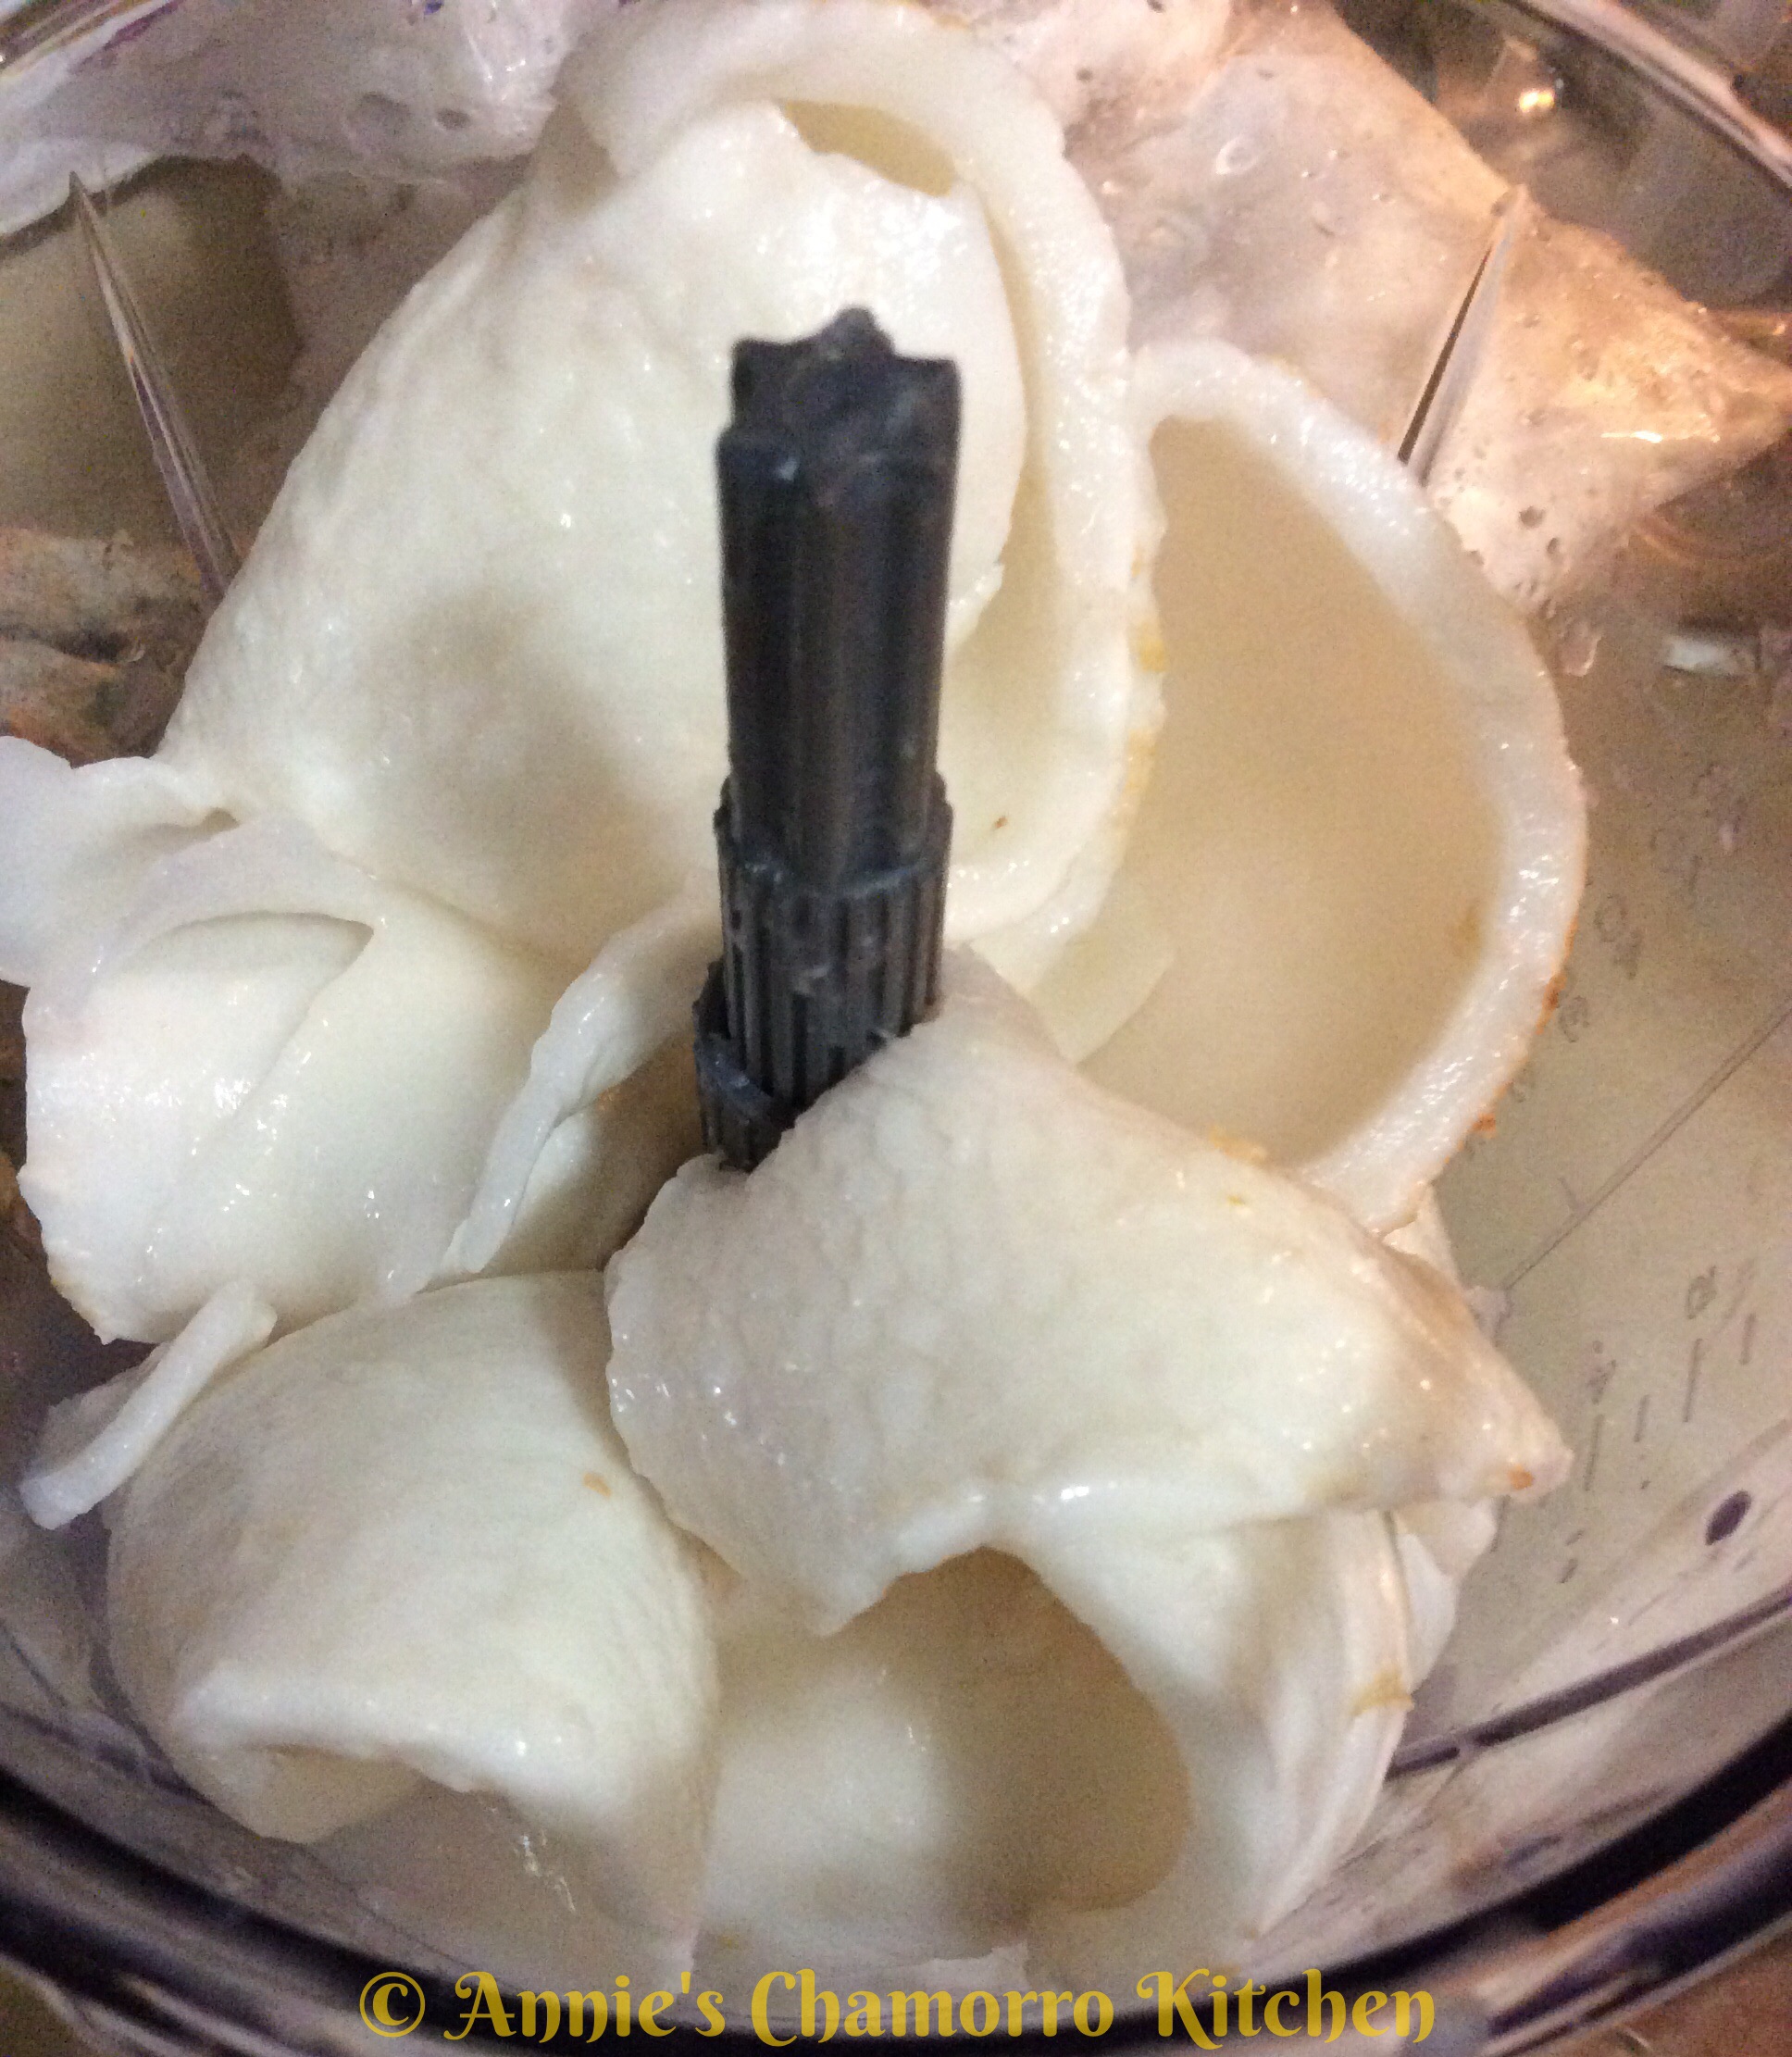
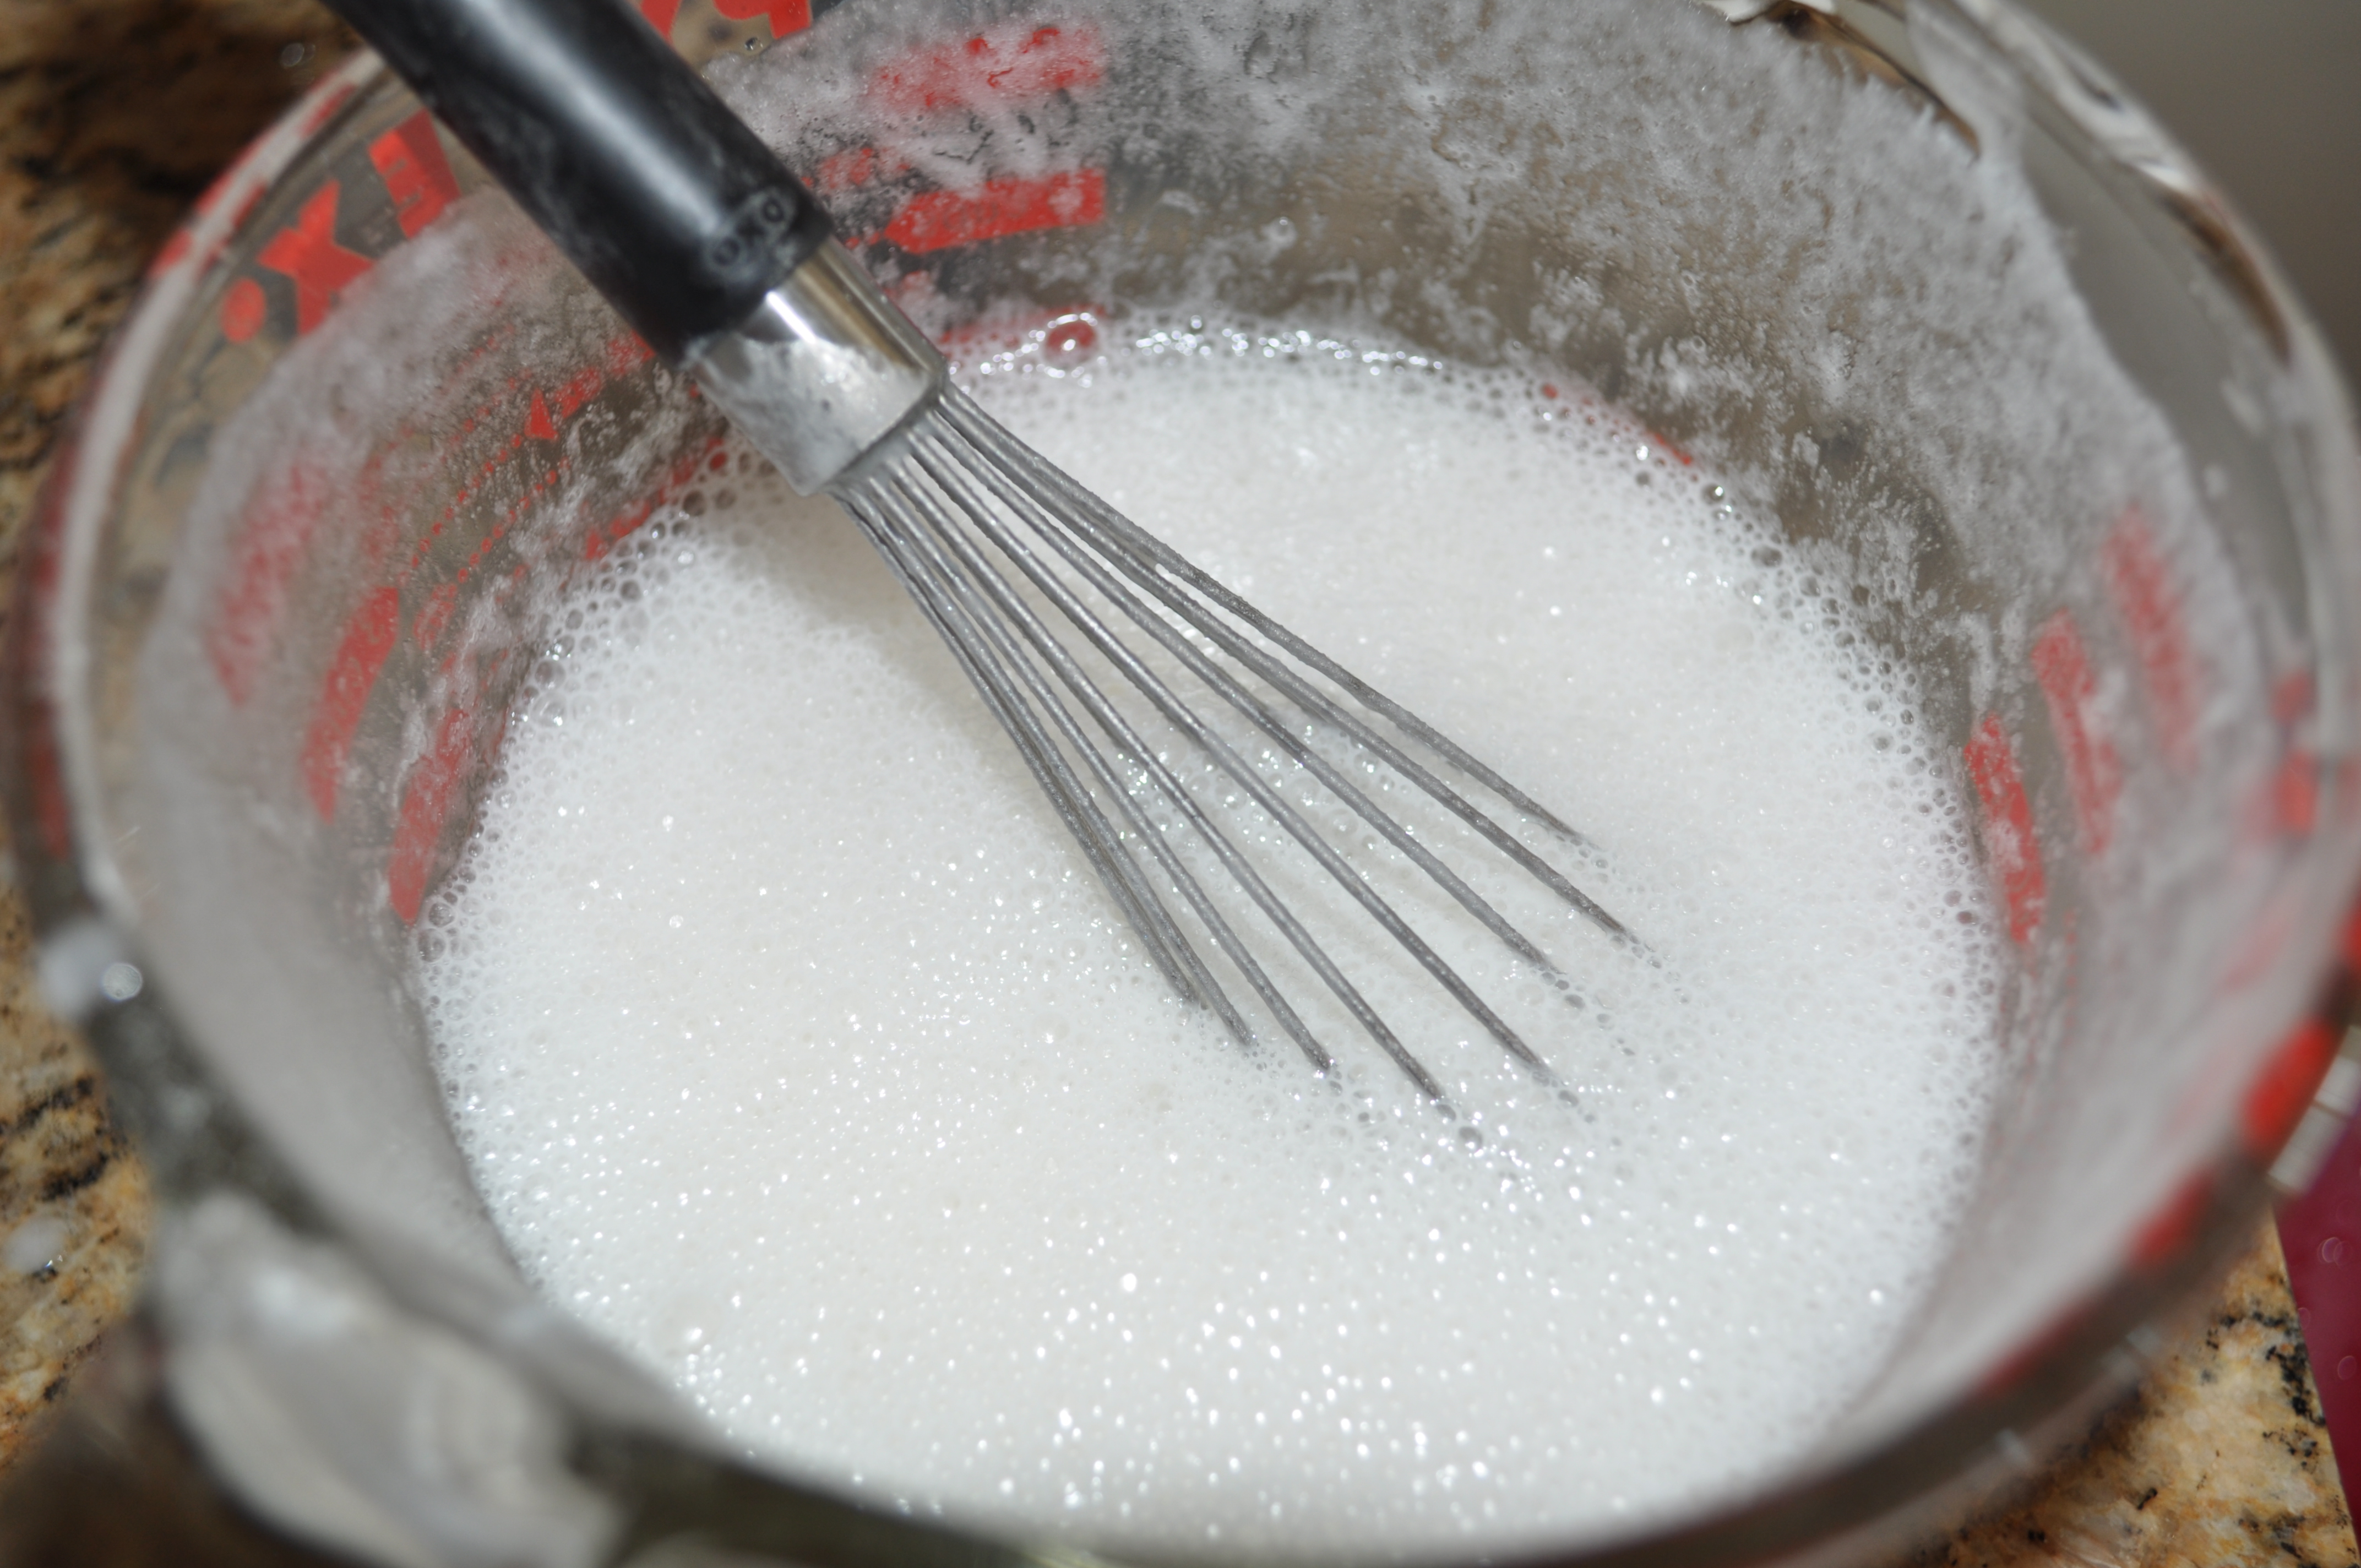
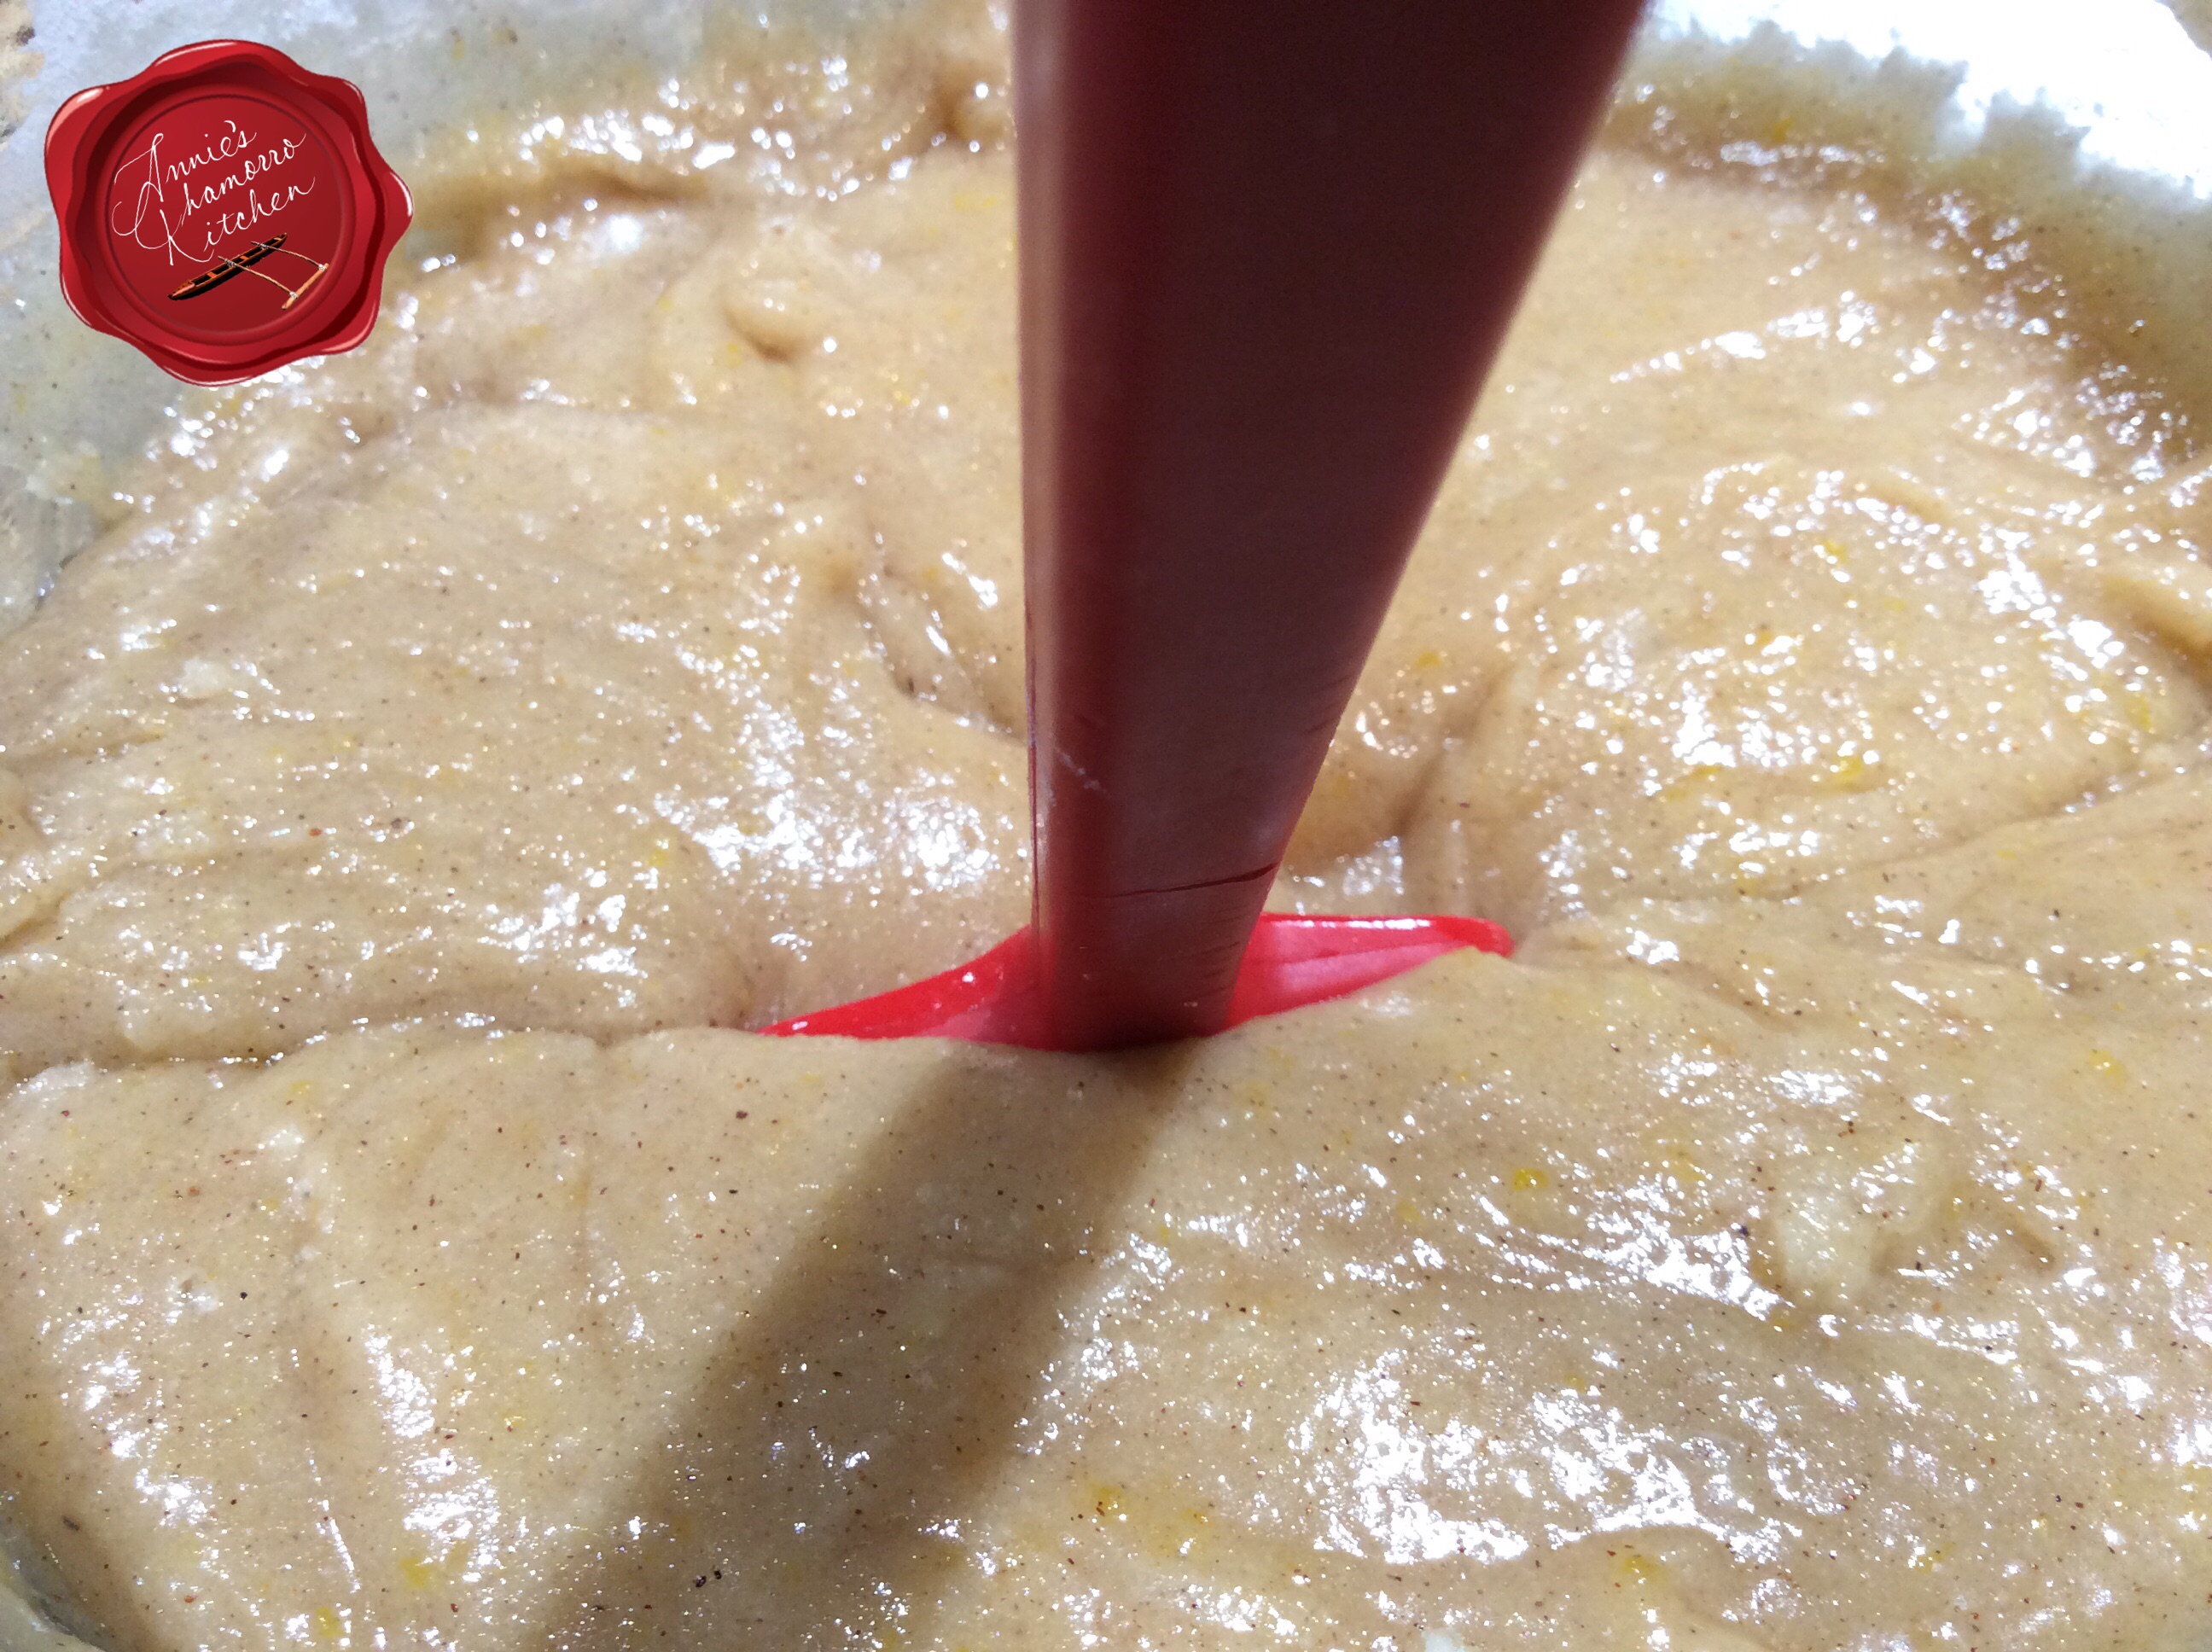
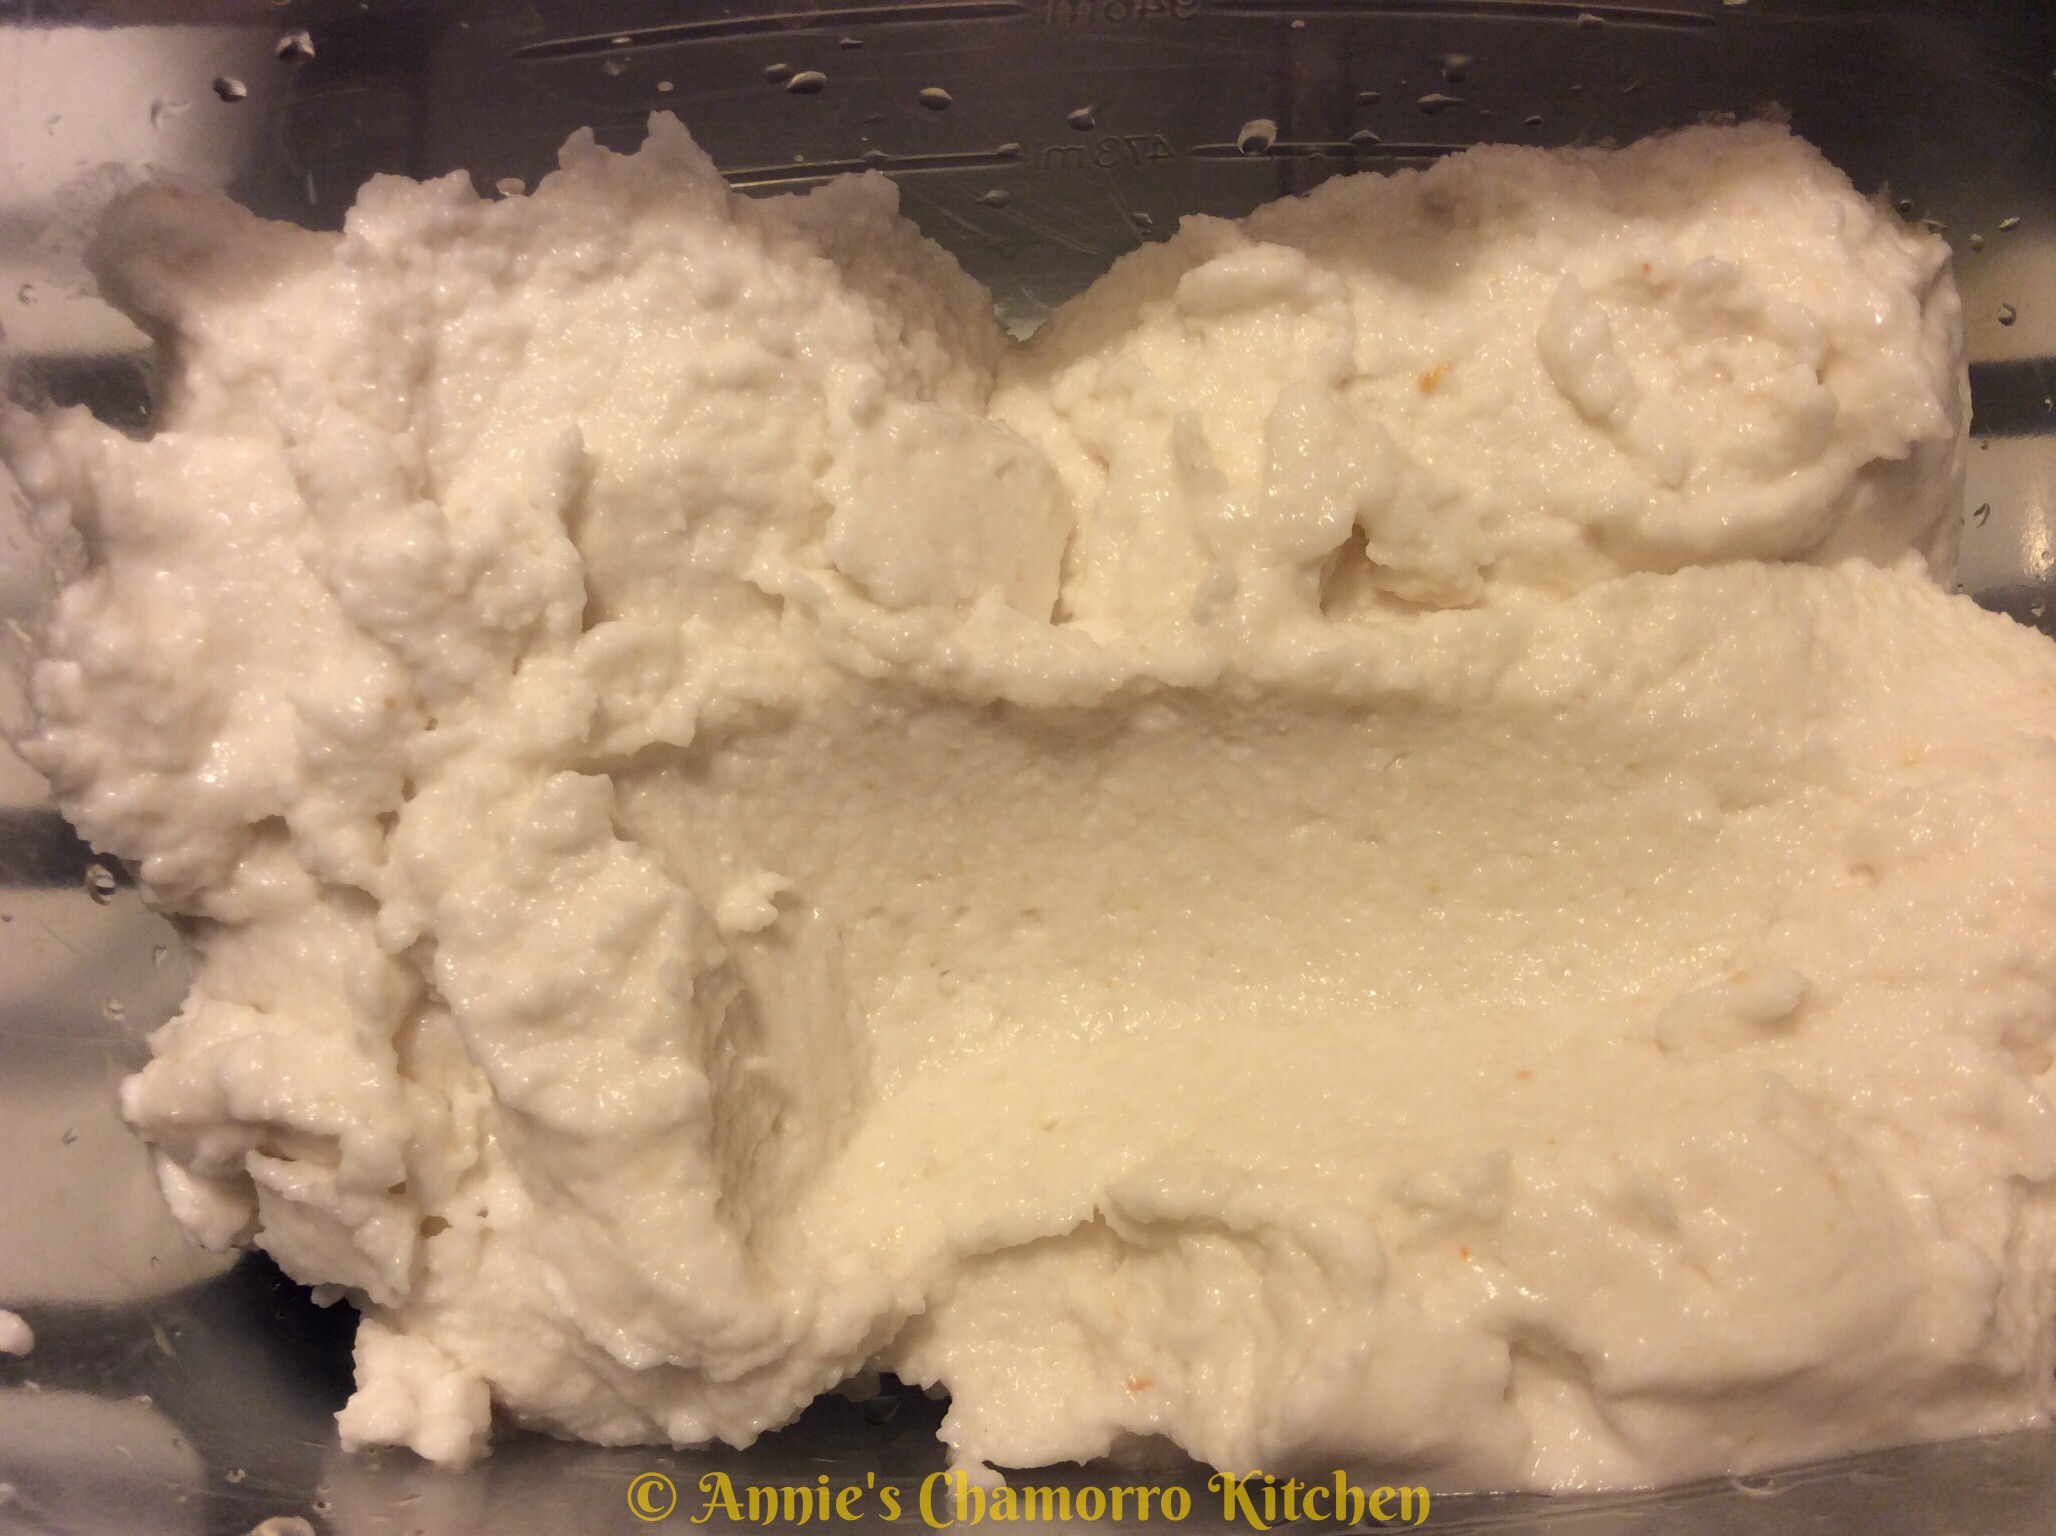
Process the månha until it’s smooth and creamy.
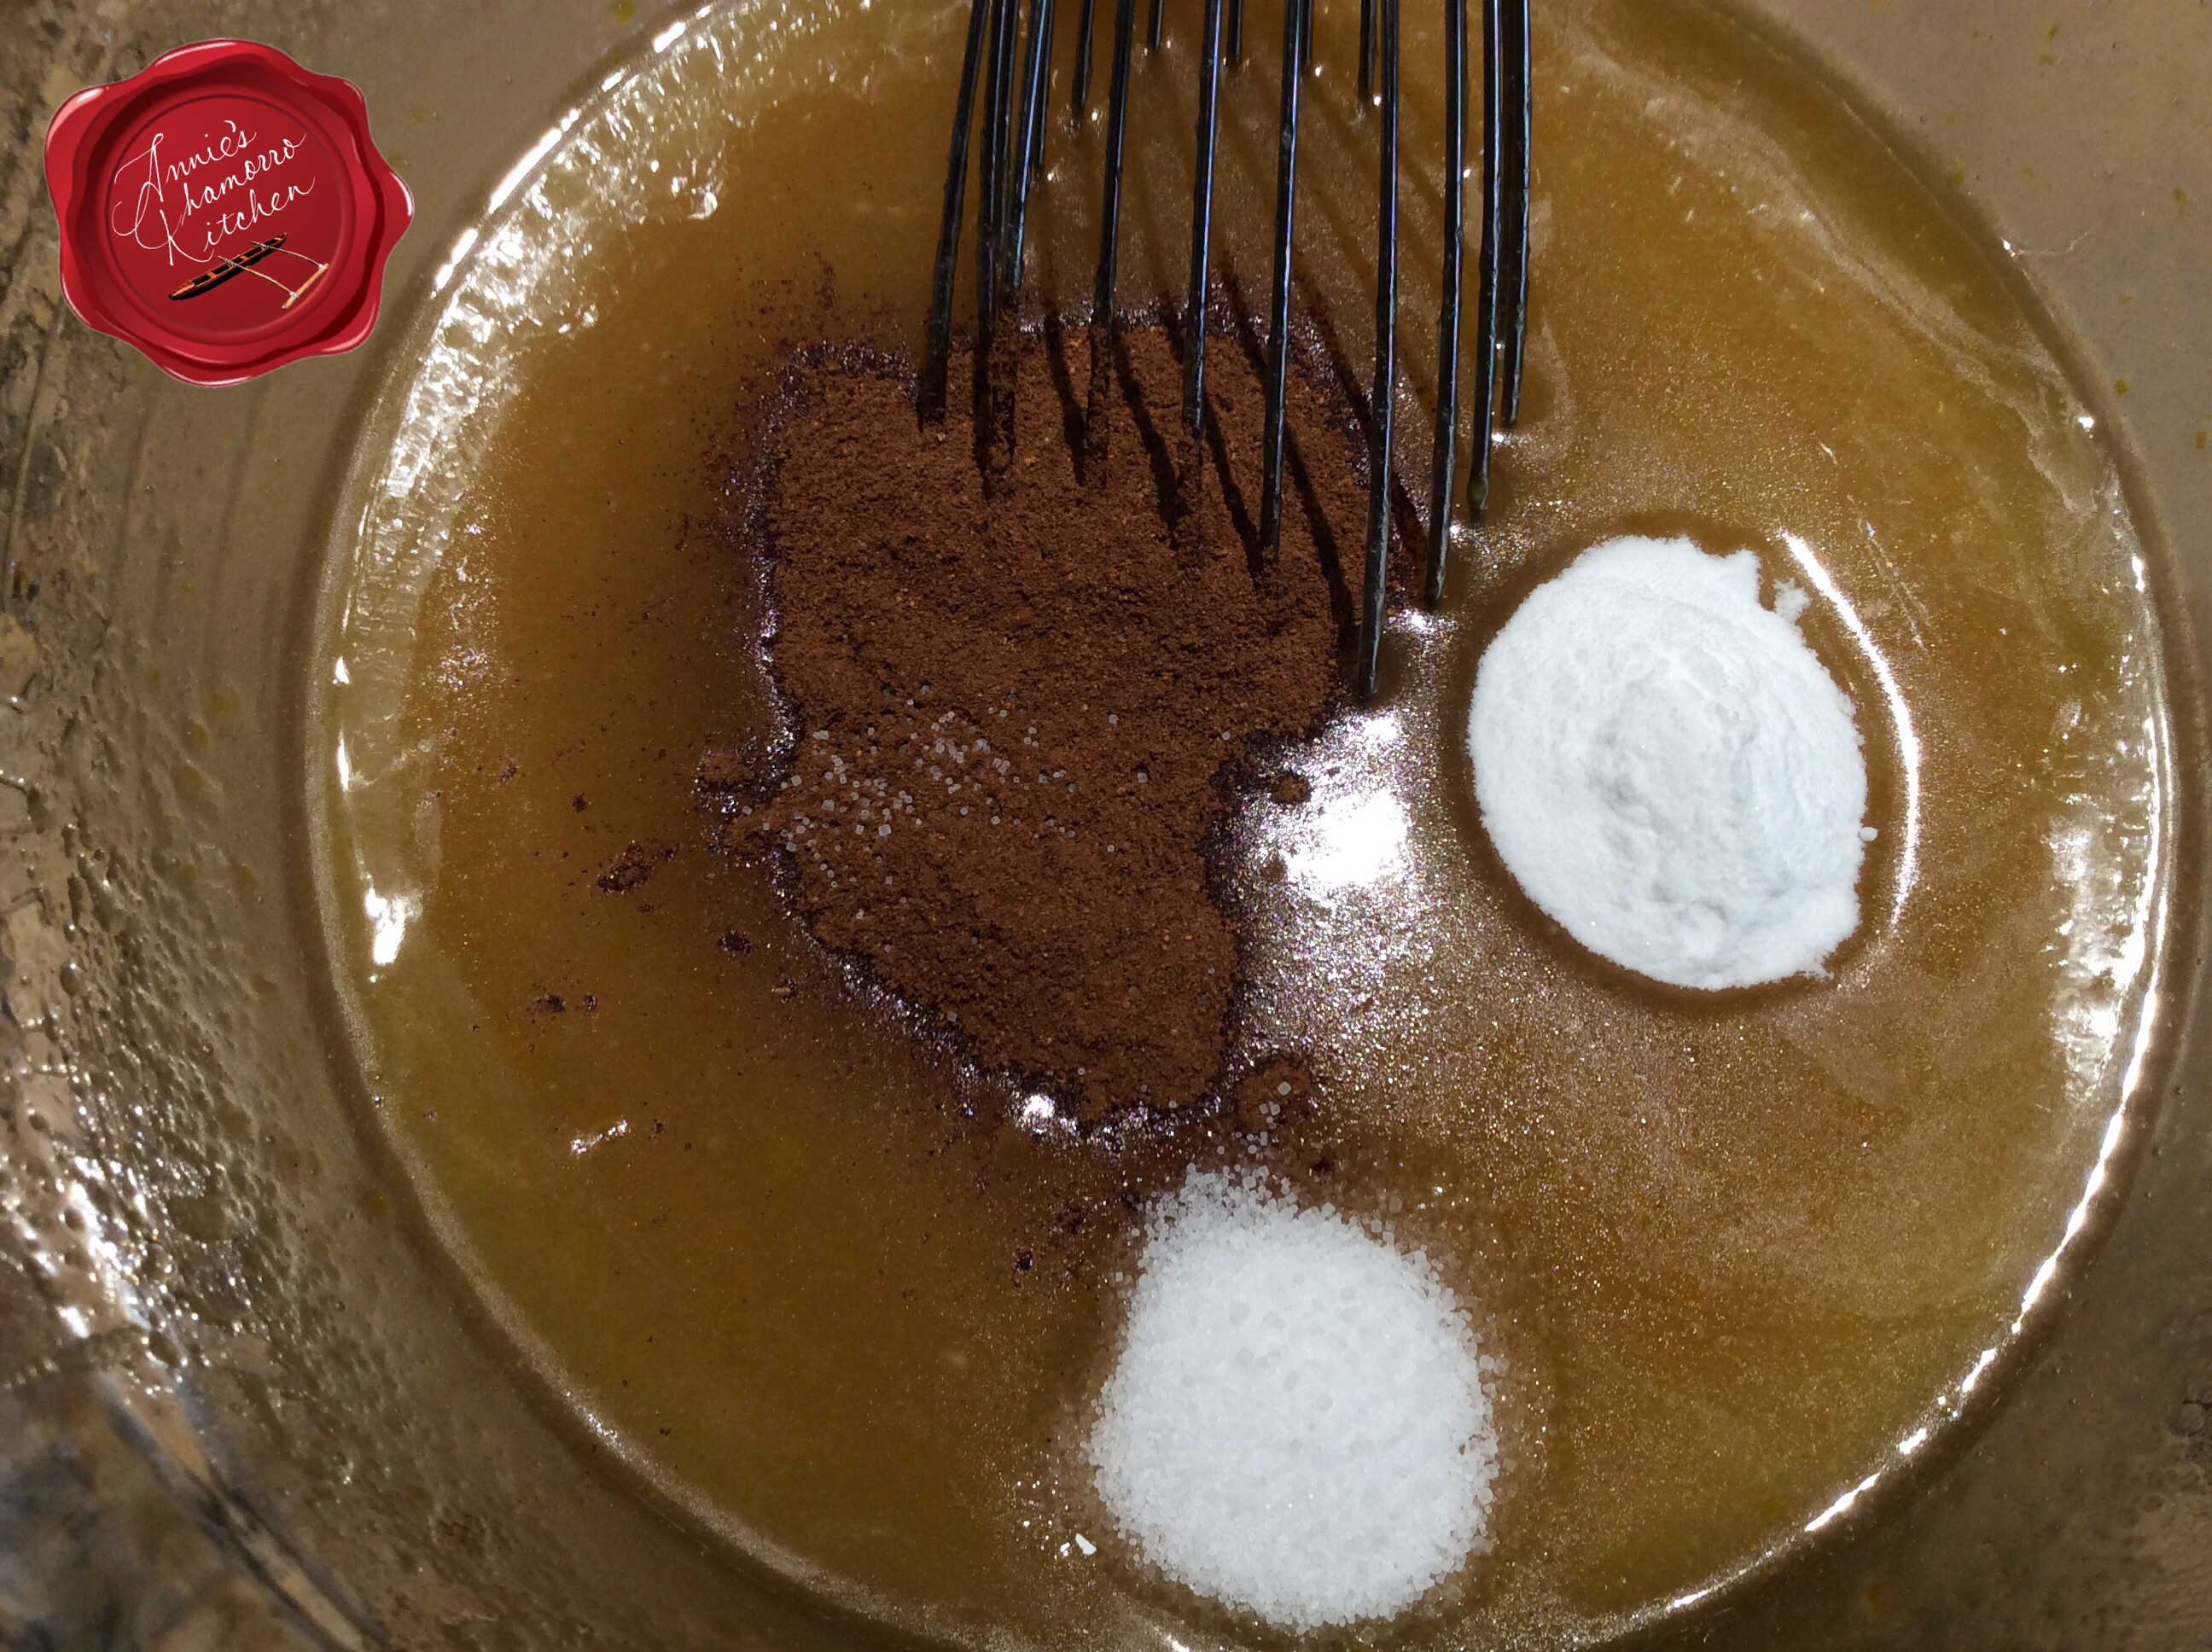
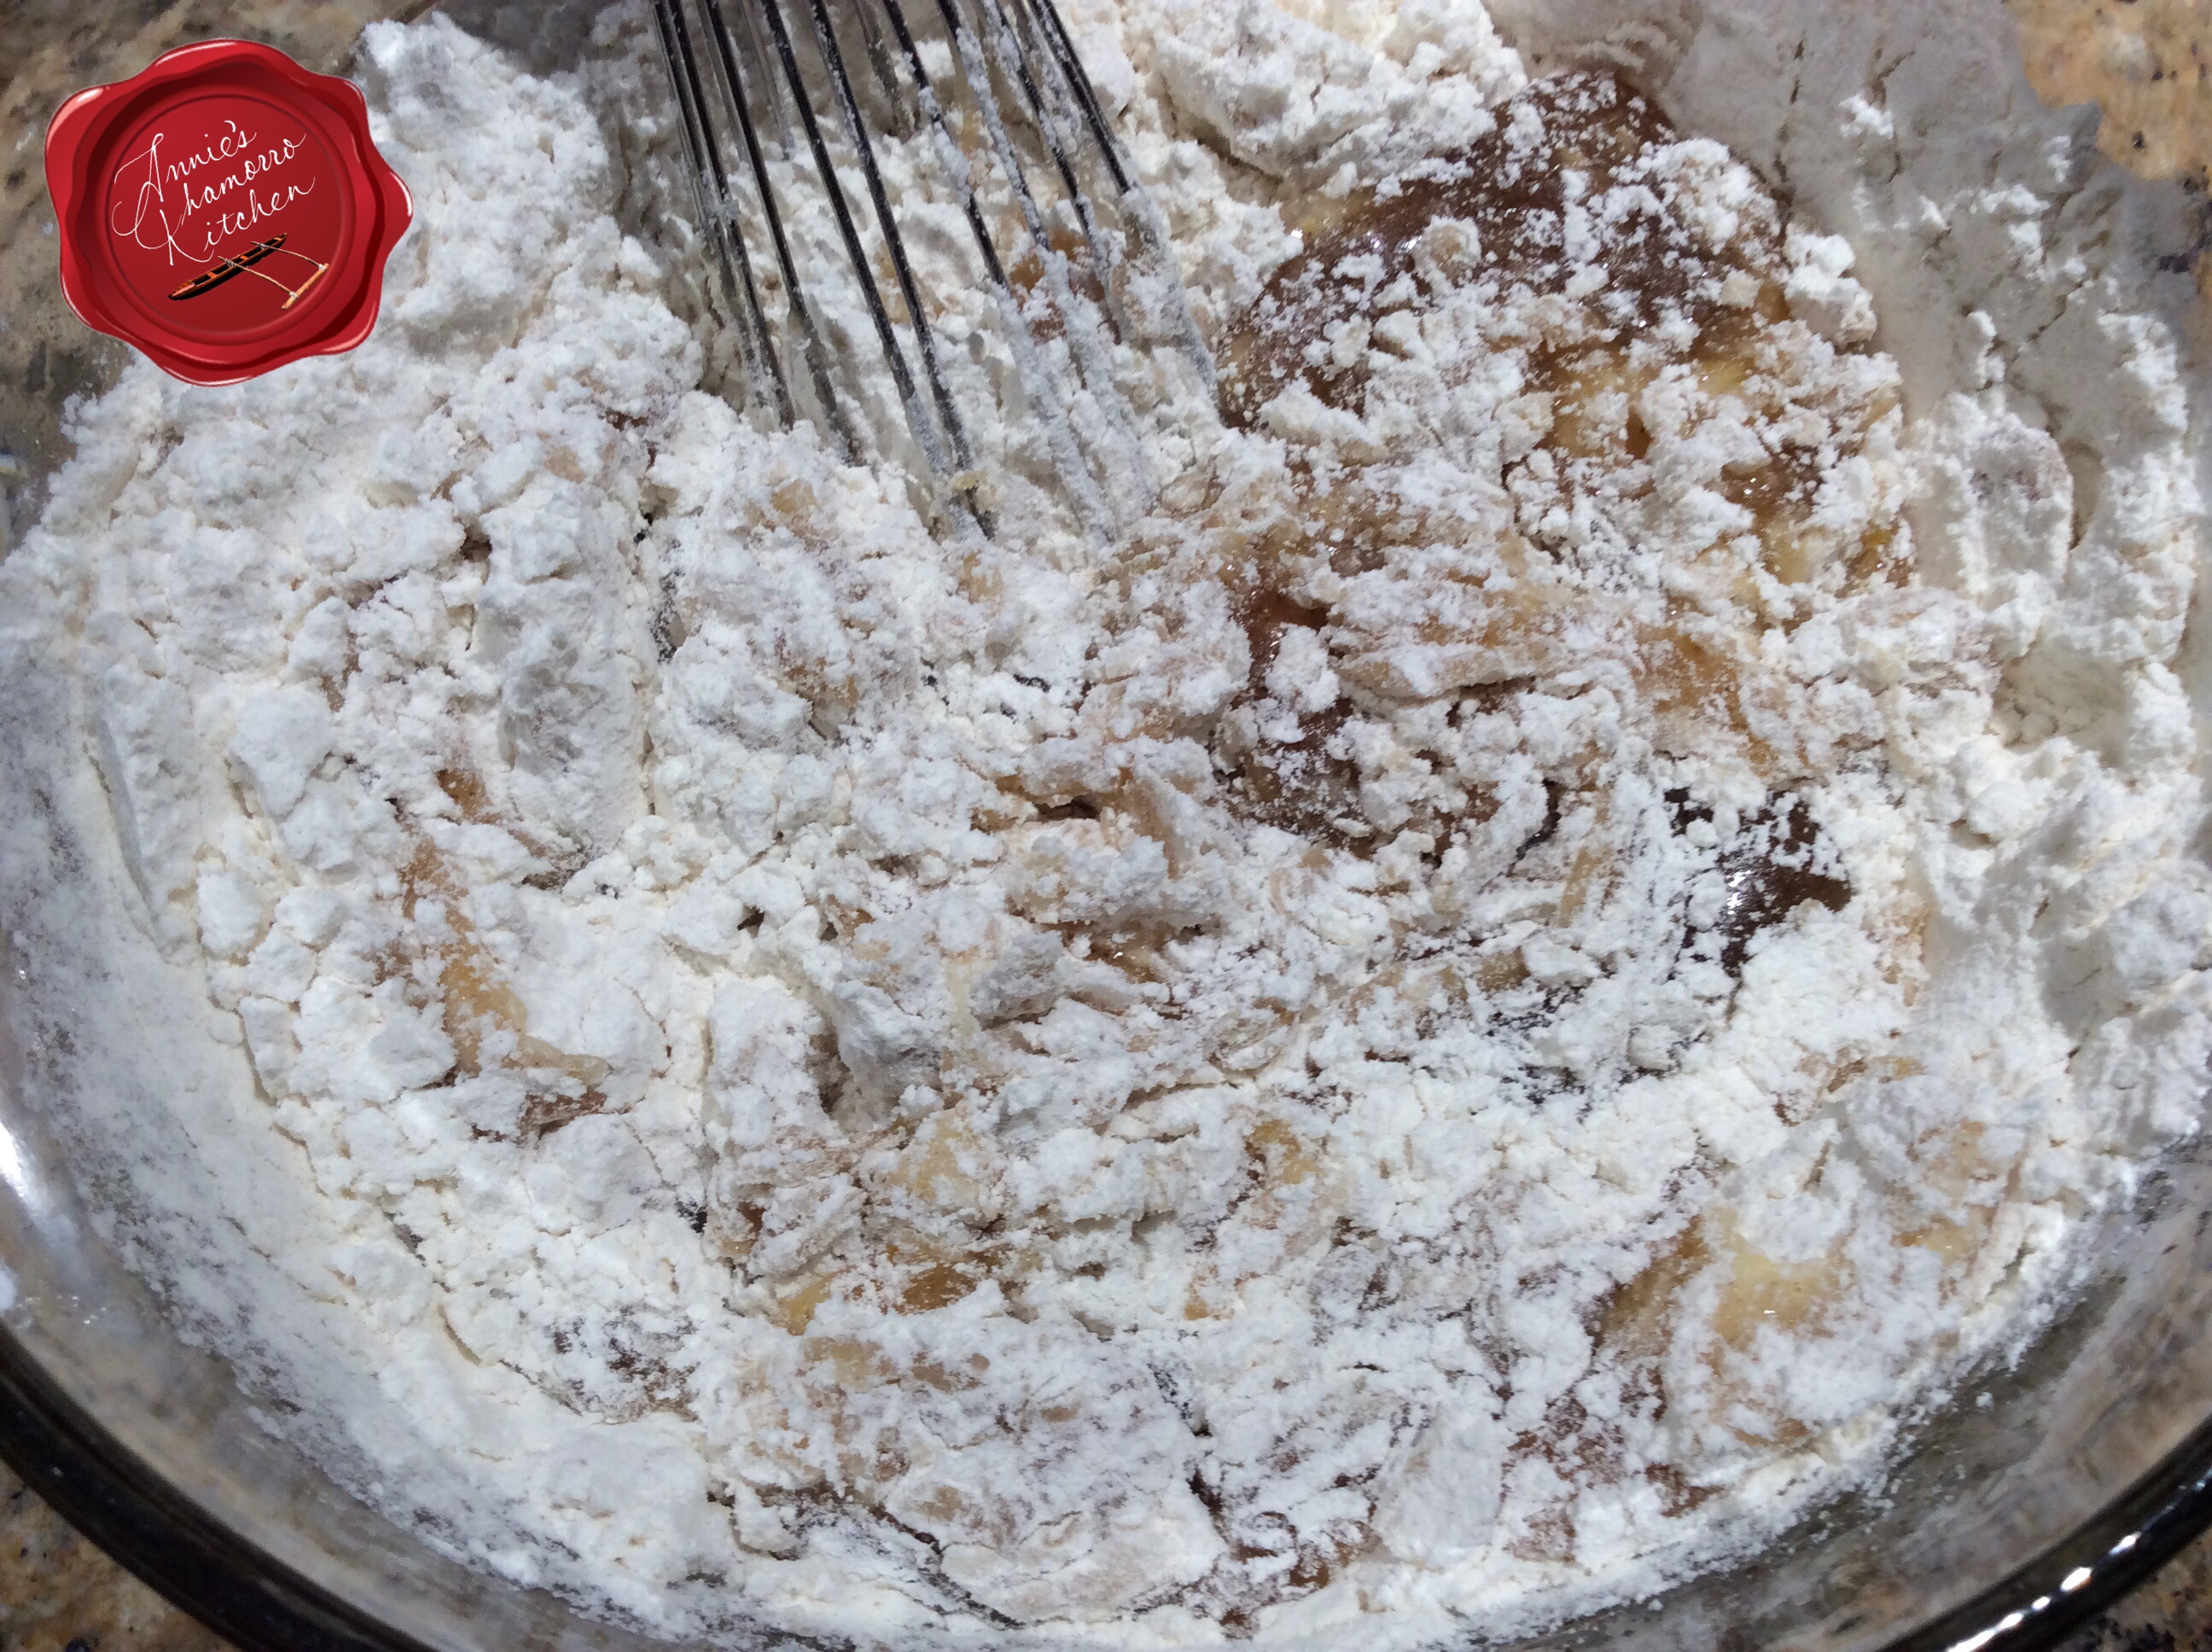
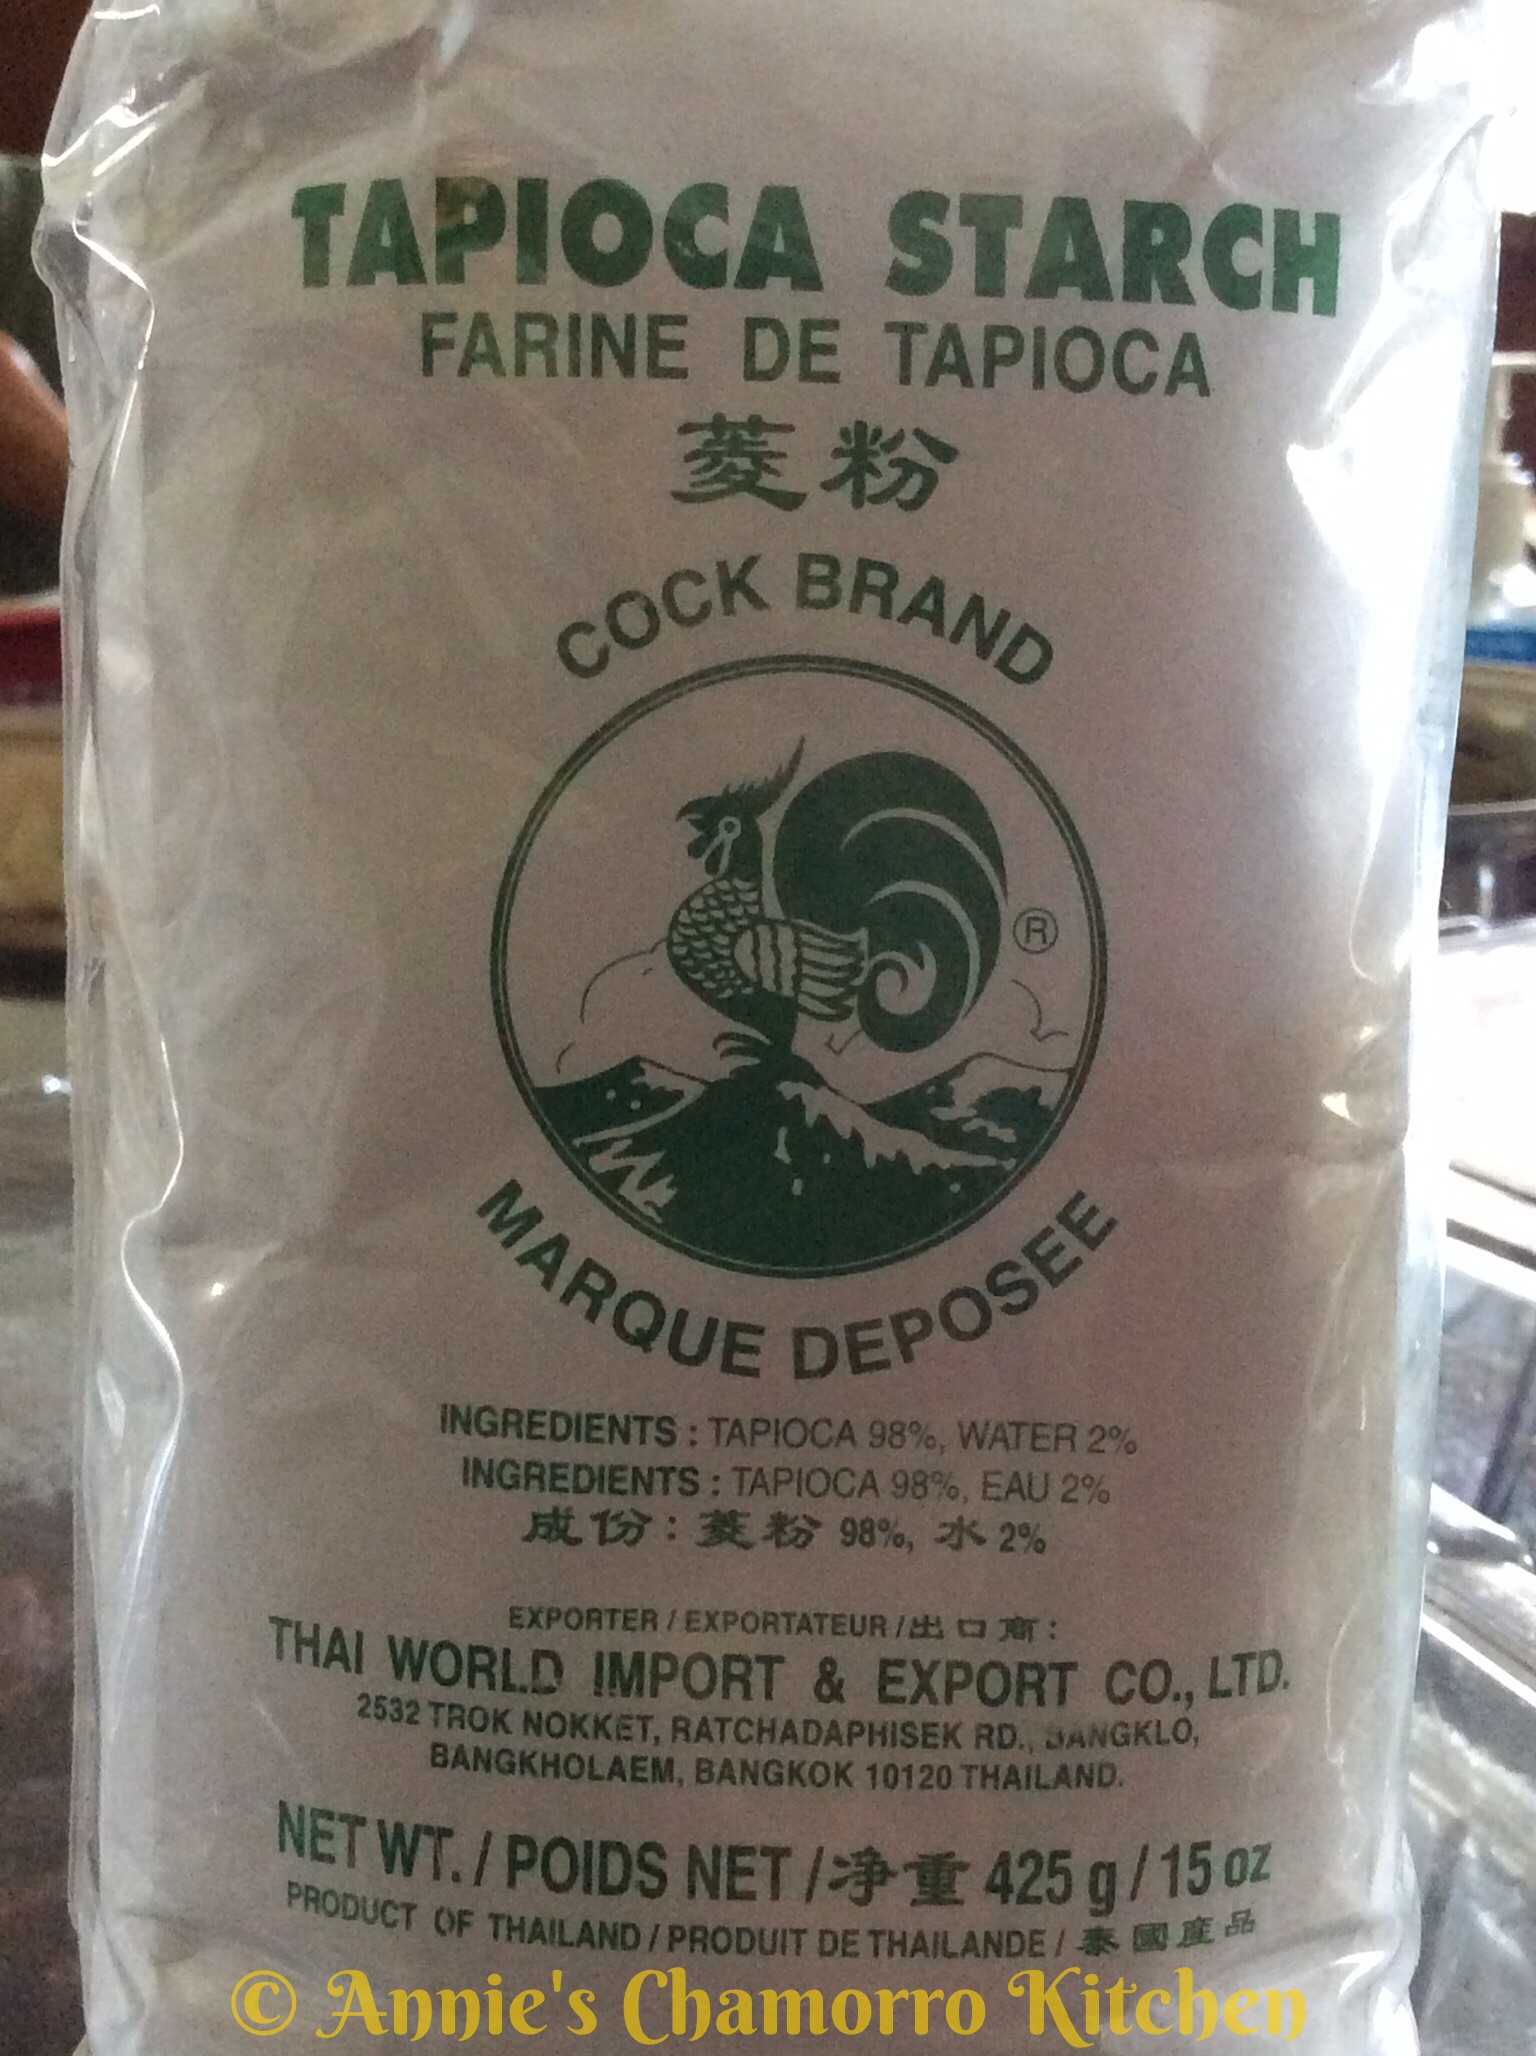
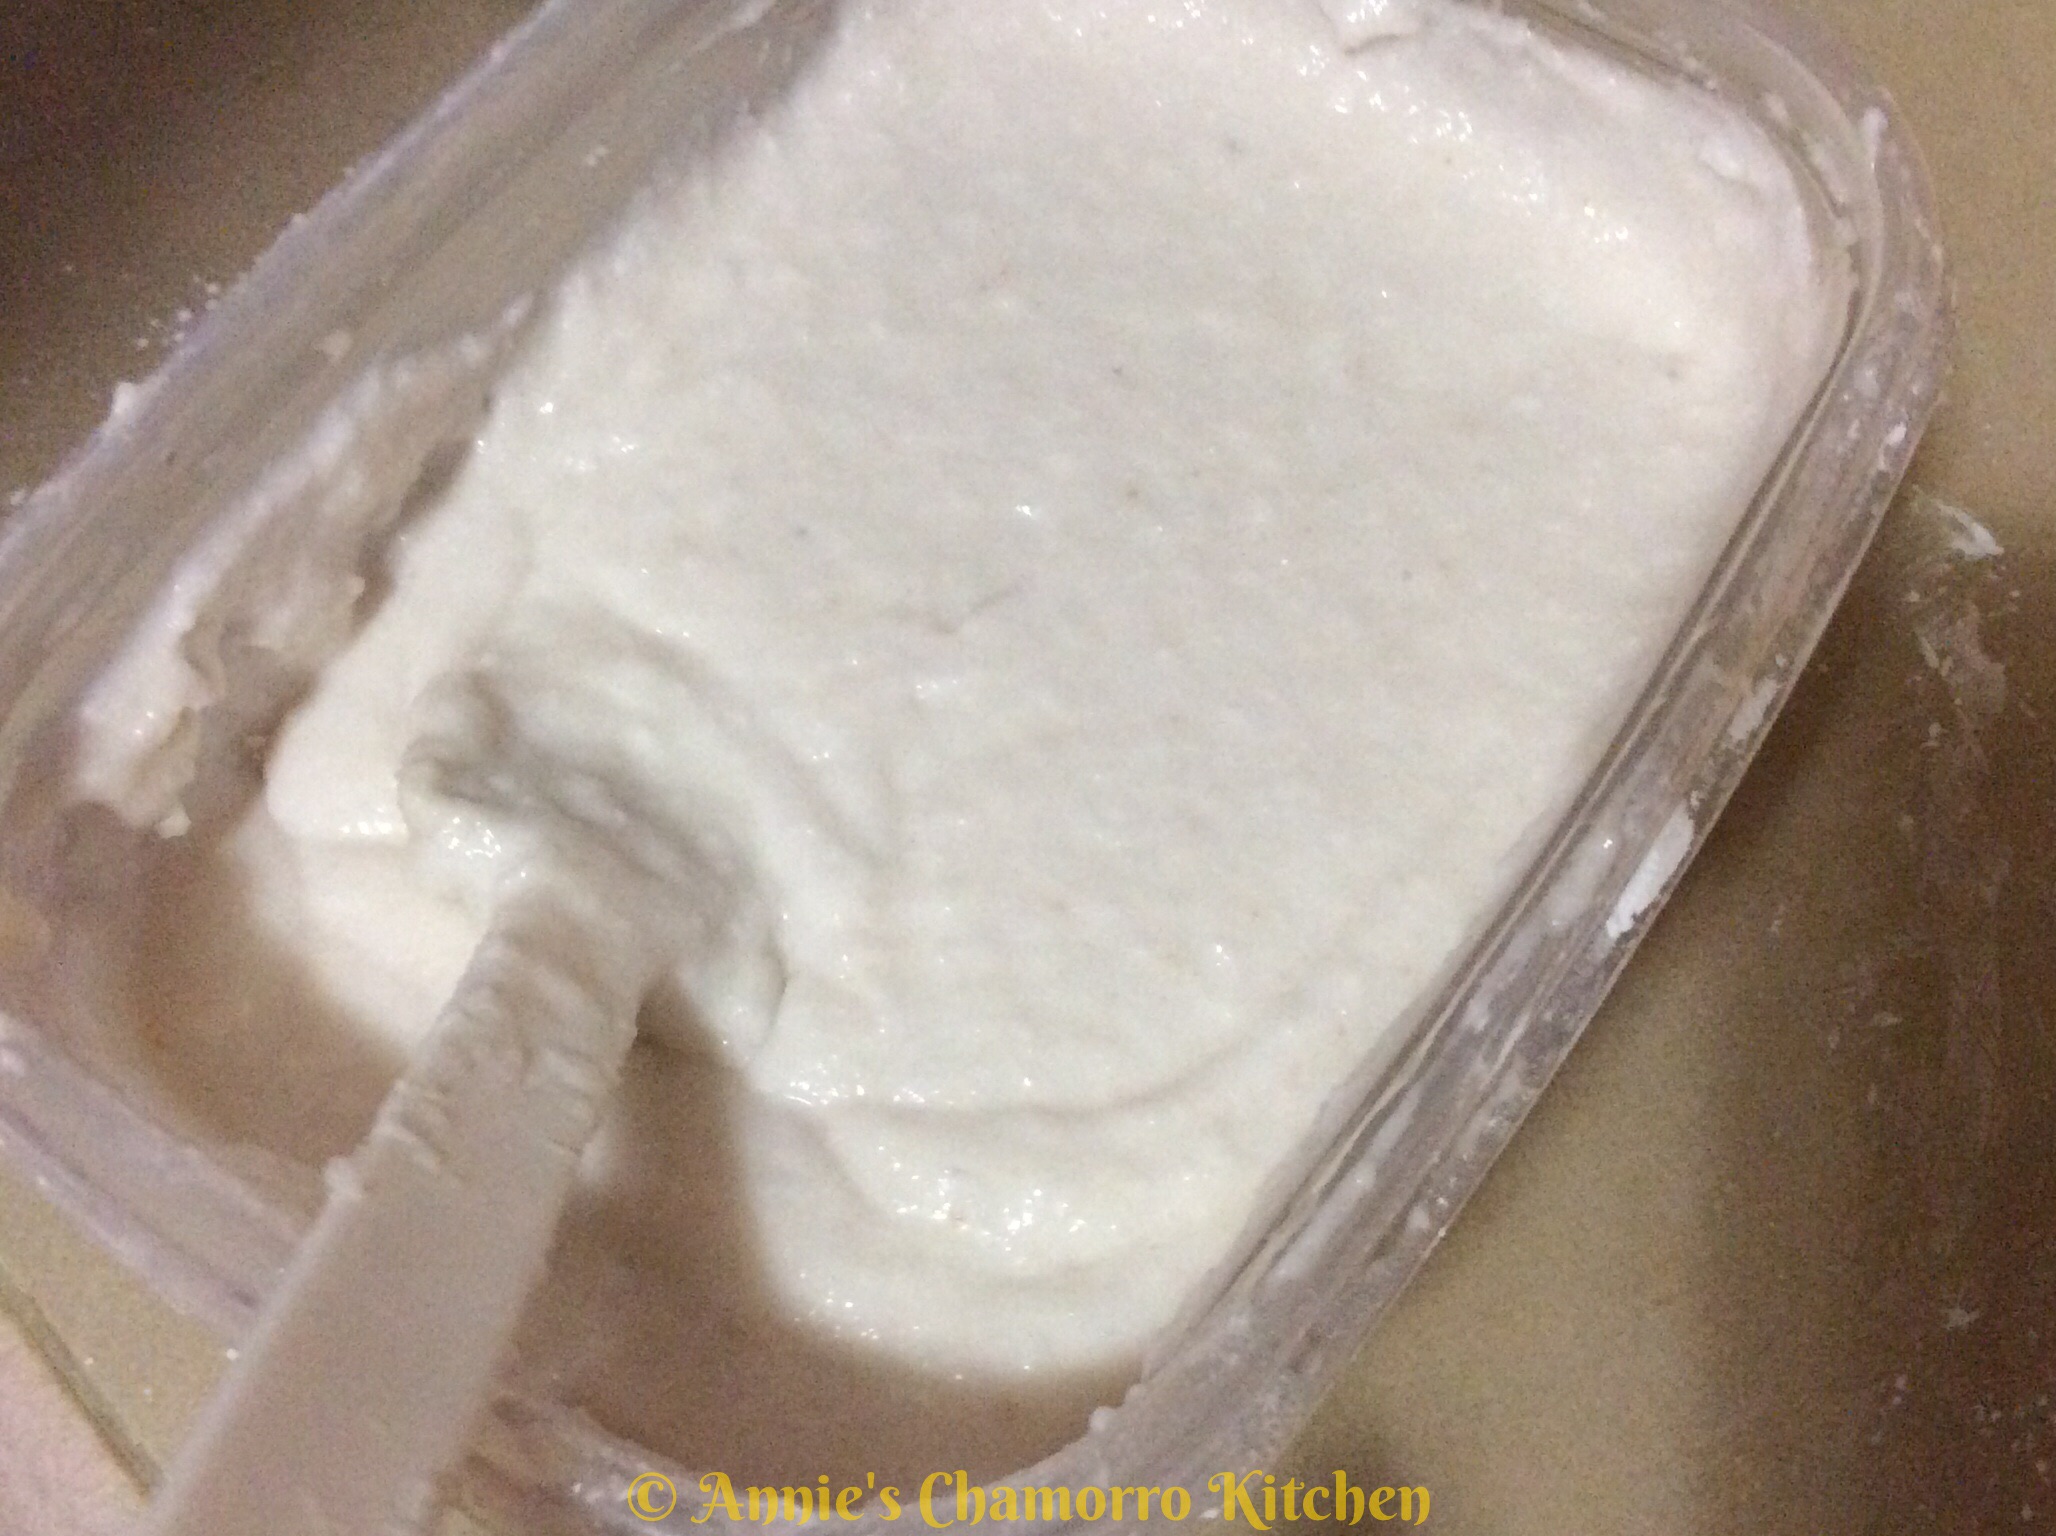
Add the entire bag of tapioca starch to the pureed månha. Save the rest of the tapioca starch in case you need to thicken the åhu liquid later or to add more to the månha-starch mixture (more on this later).
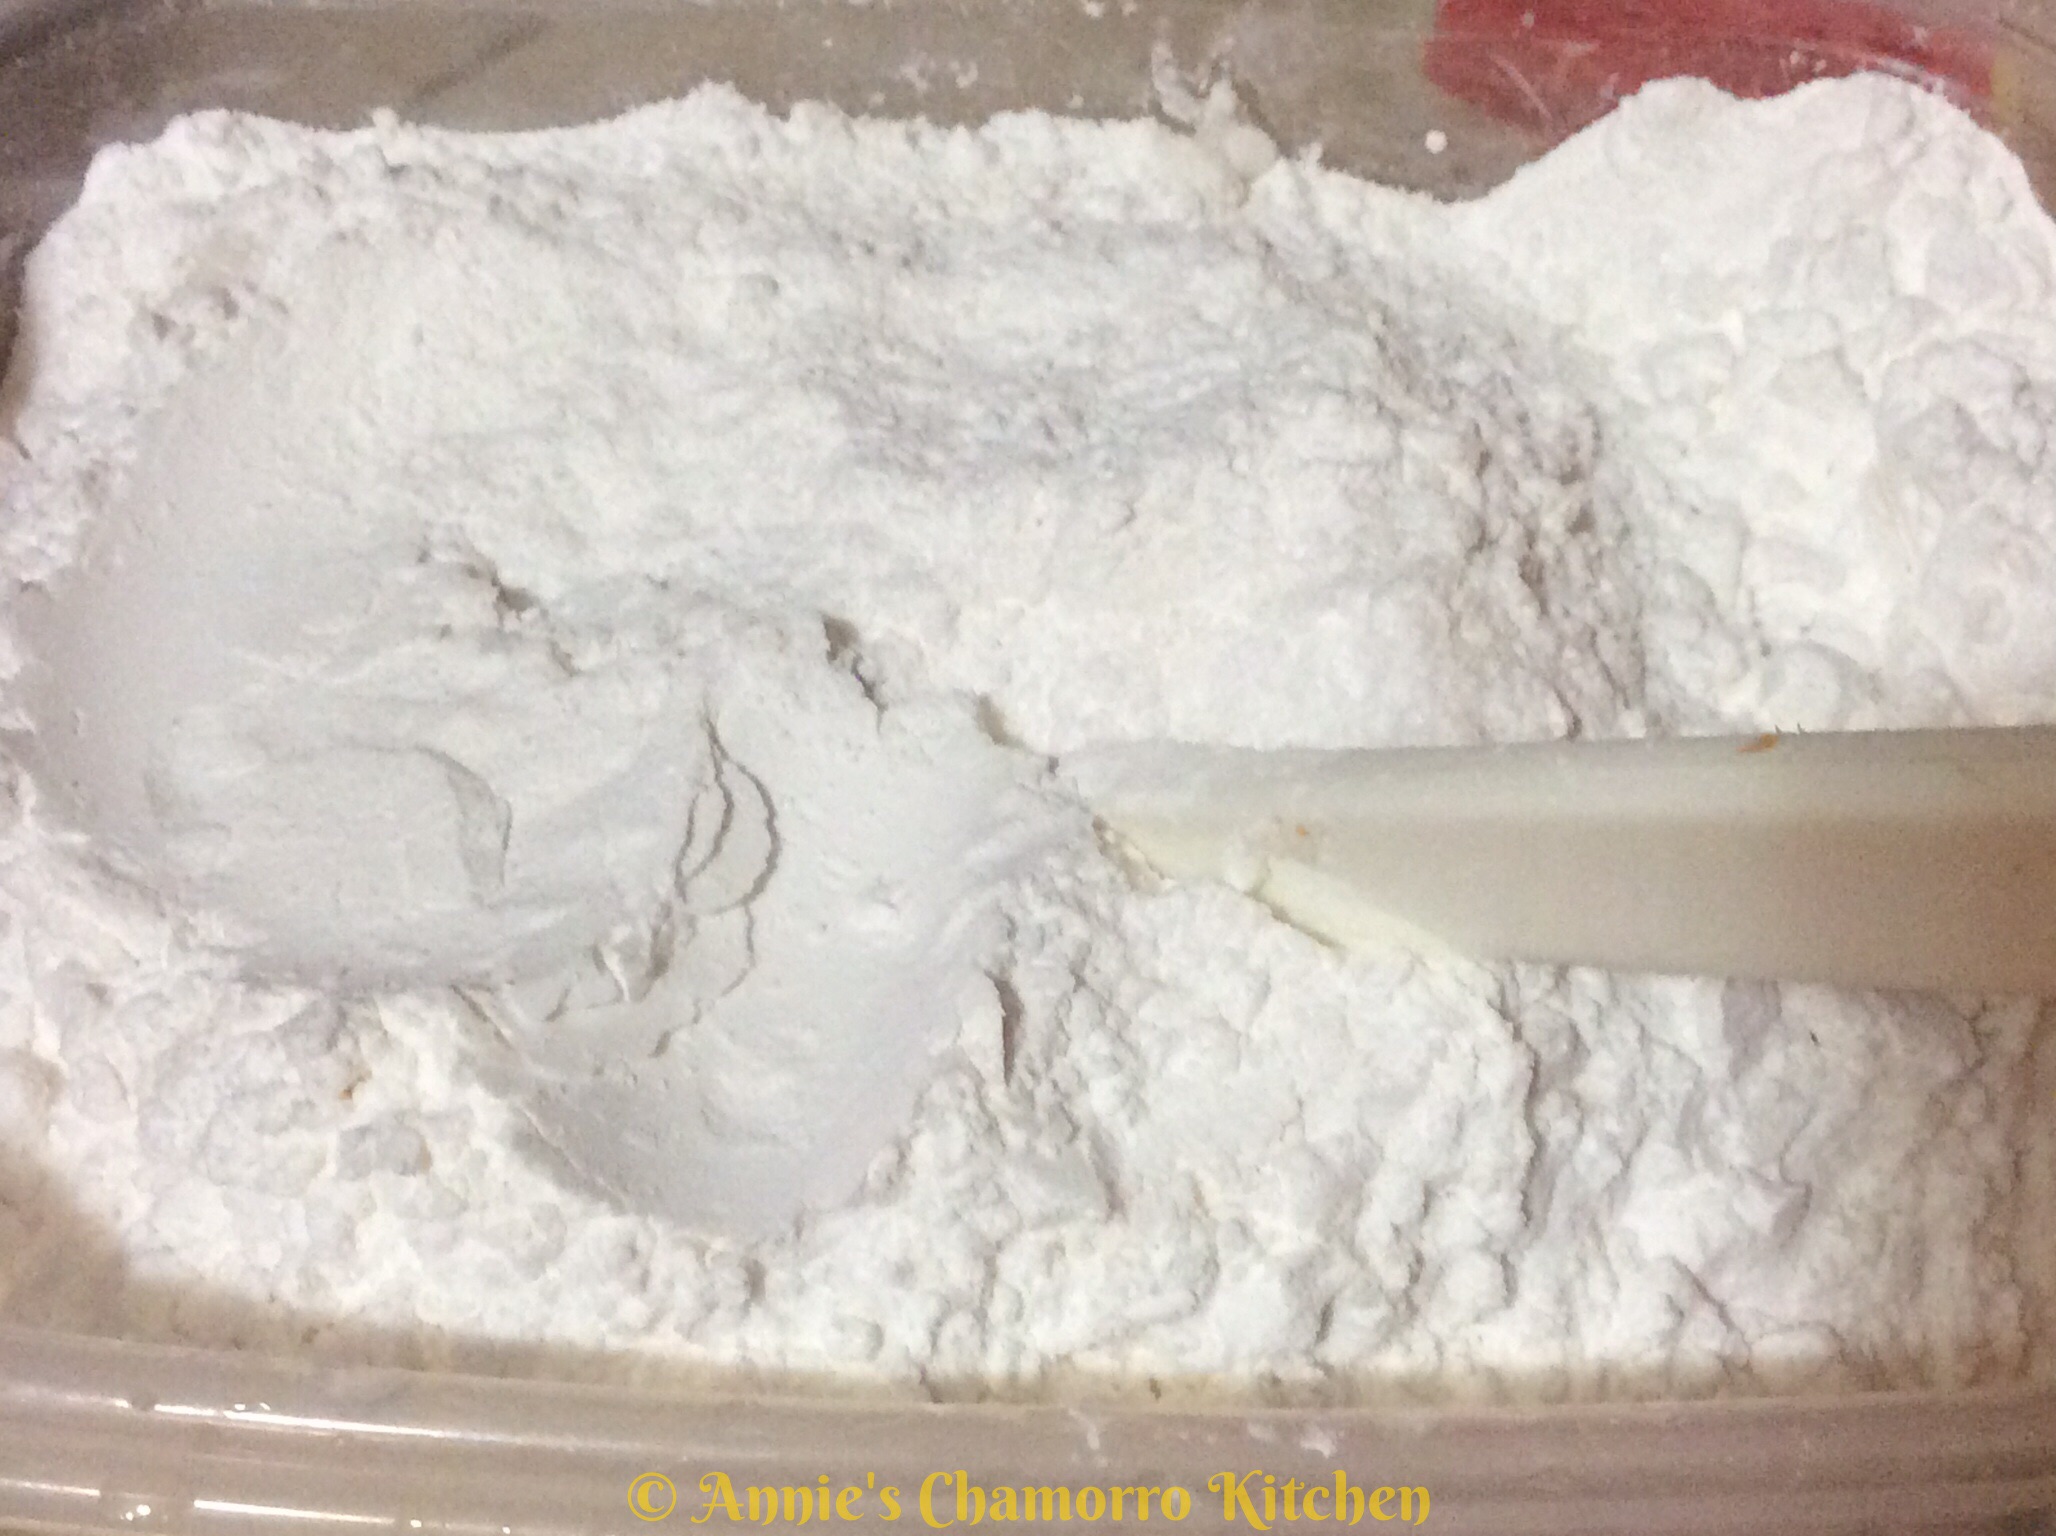
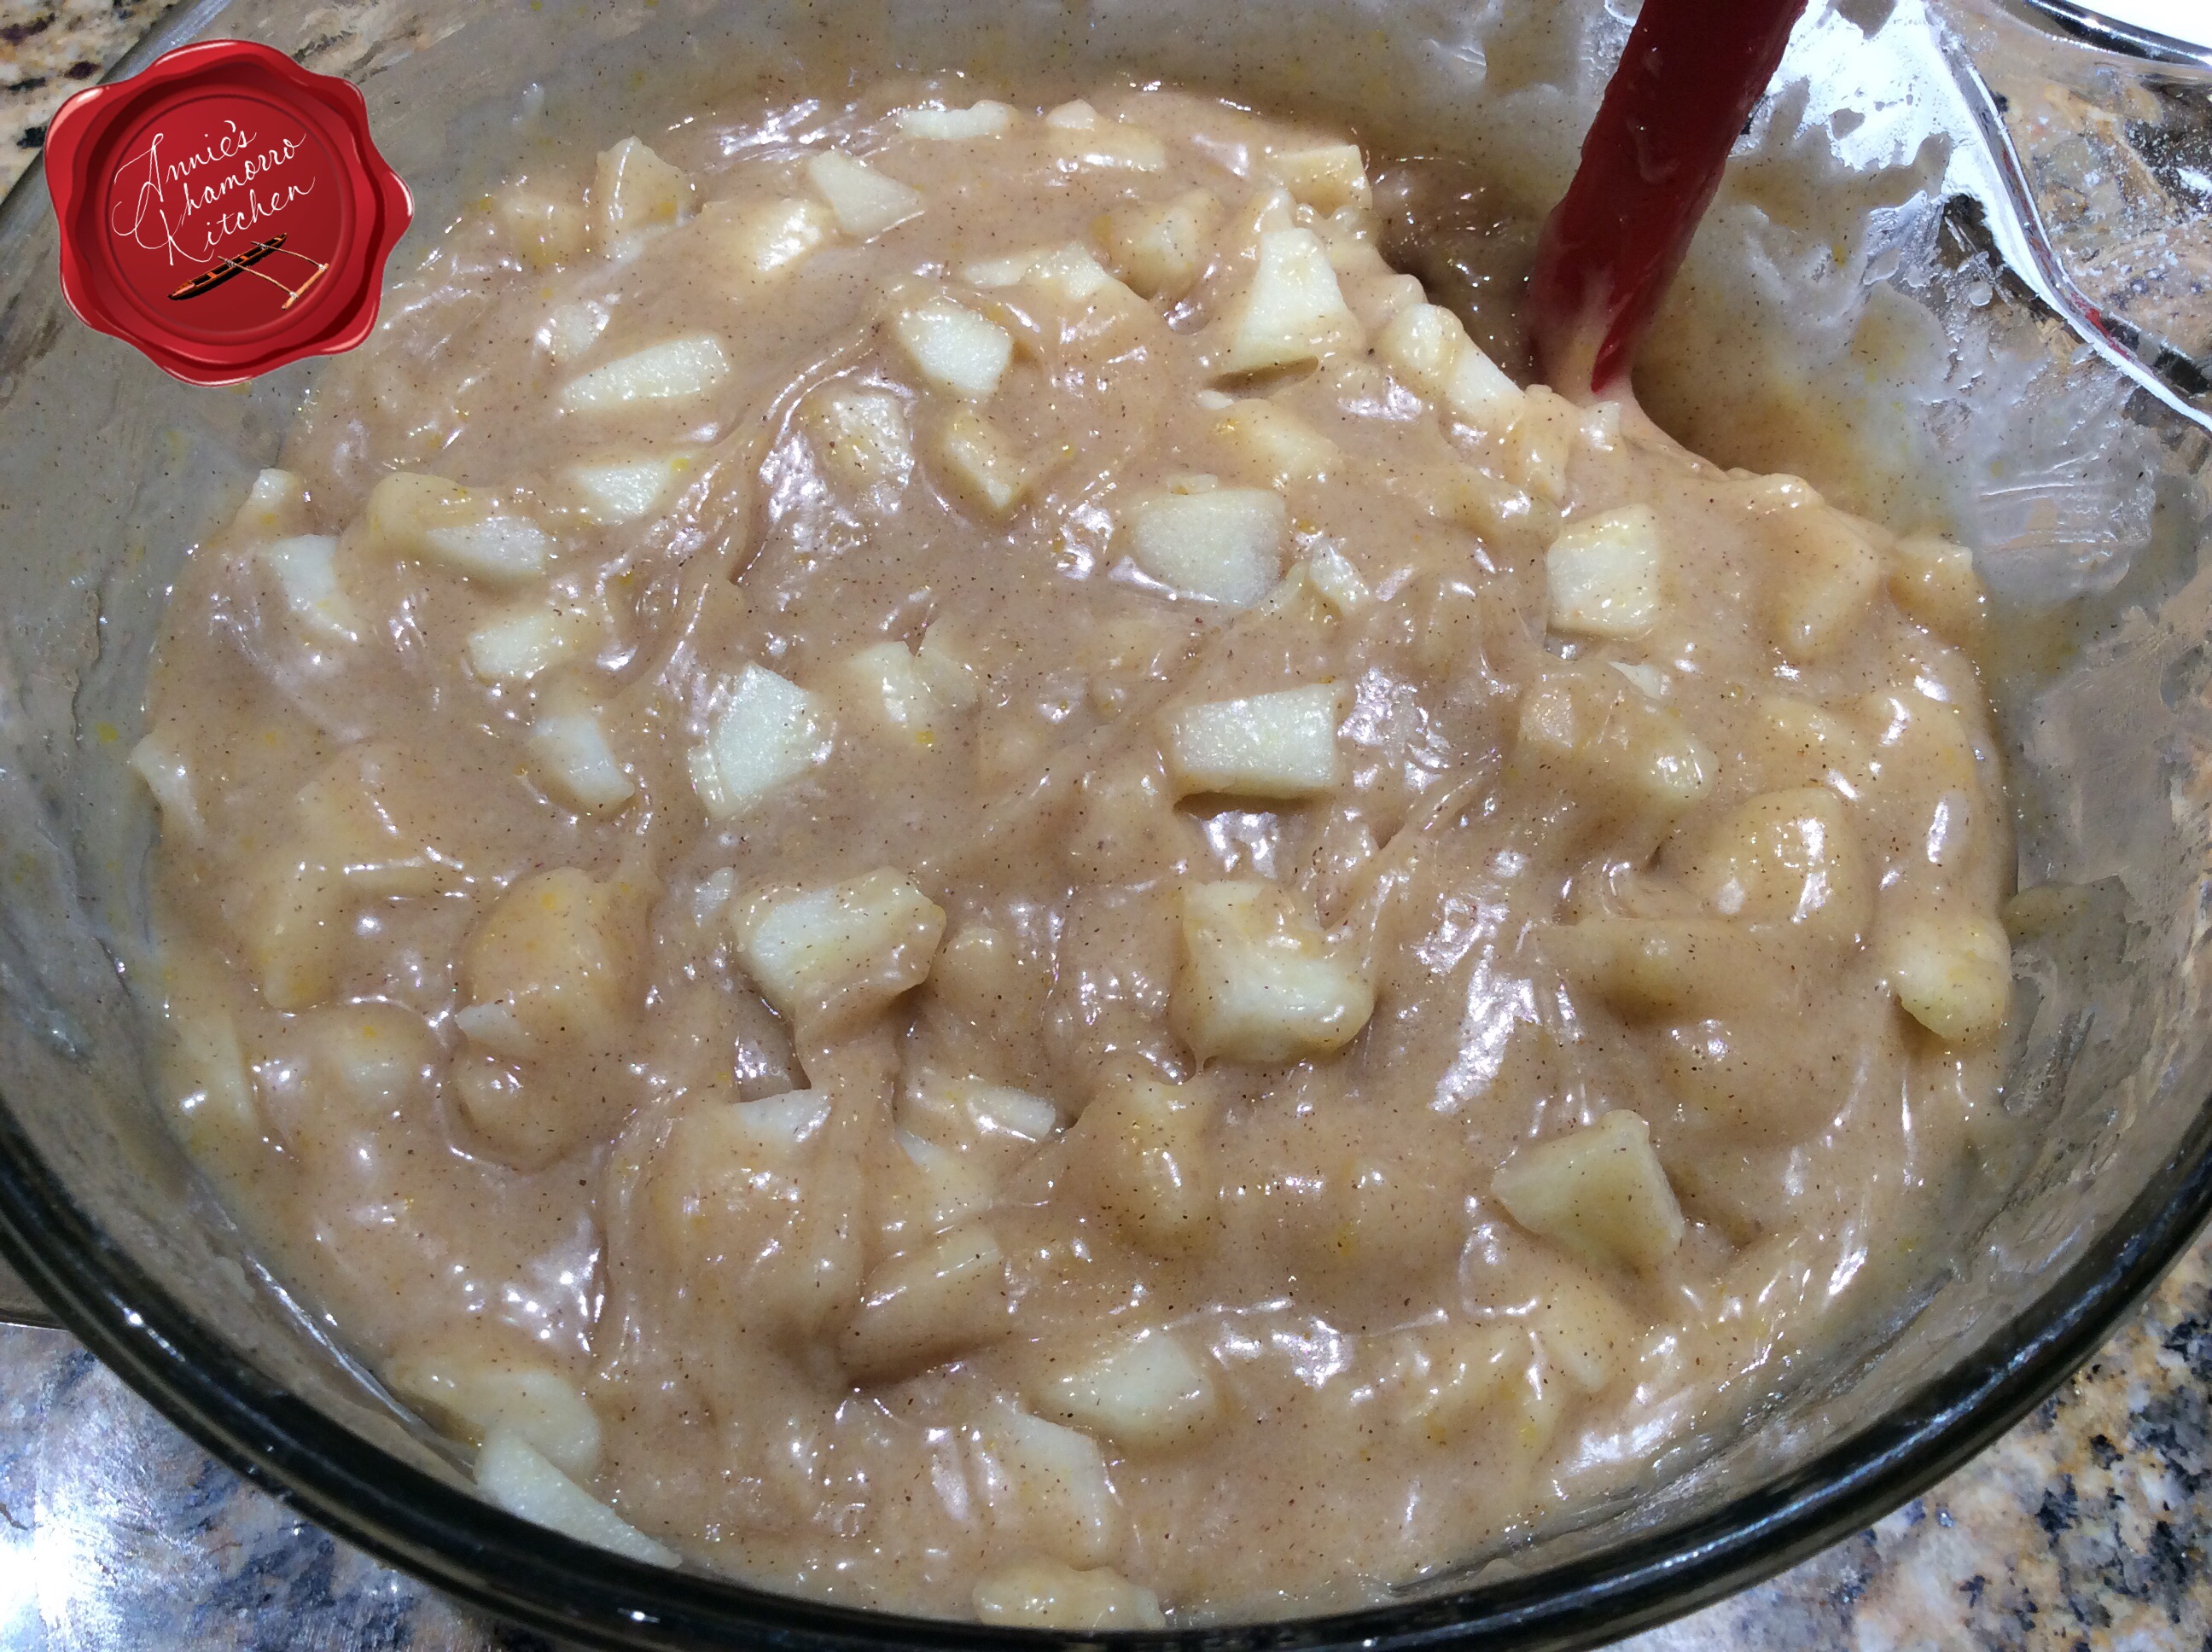
Add sugar to the månha-starch mixture. You don’t need much since you’ve already sweetened the liquid. The amount of sugar also depends on how sweet the månha meat is. This batch of månha was very sweet so we added just one cup of sugar. The mixture will be very thick, thicker than cake batter.
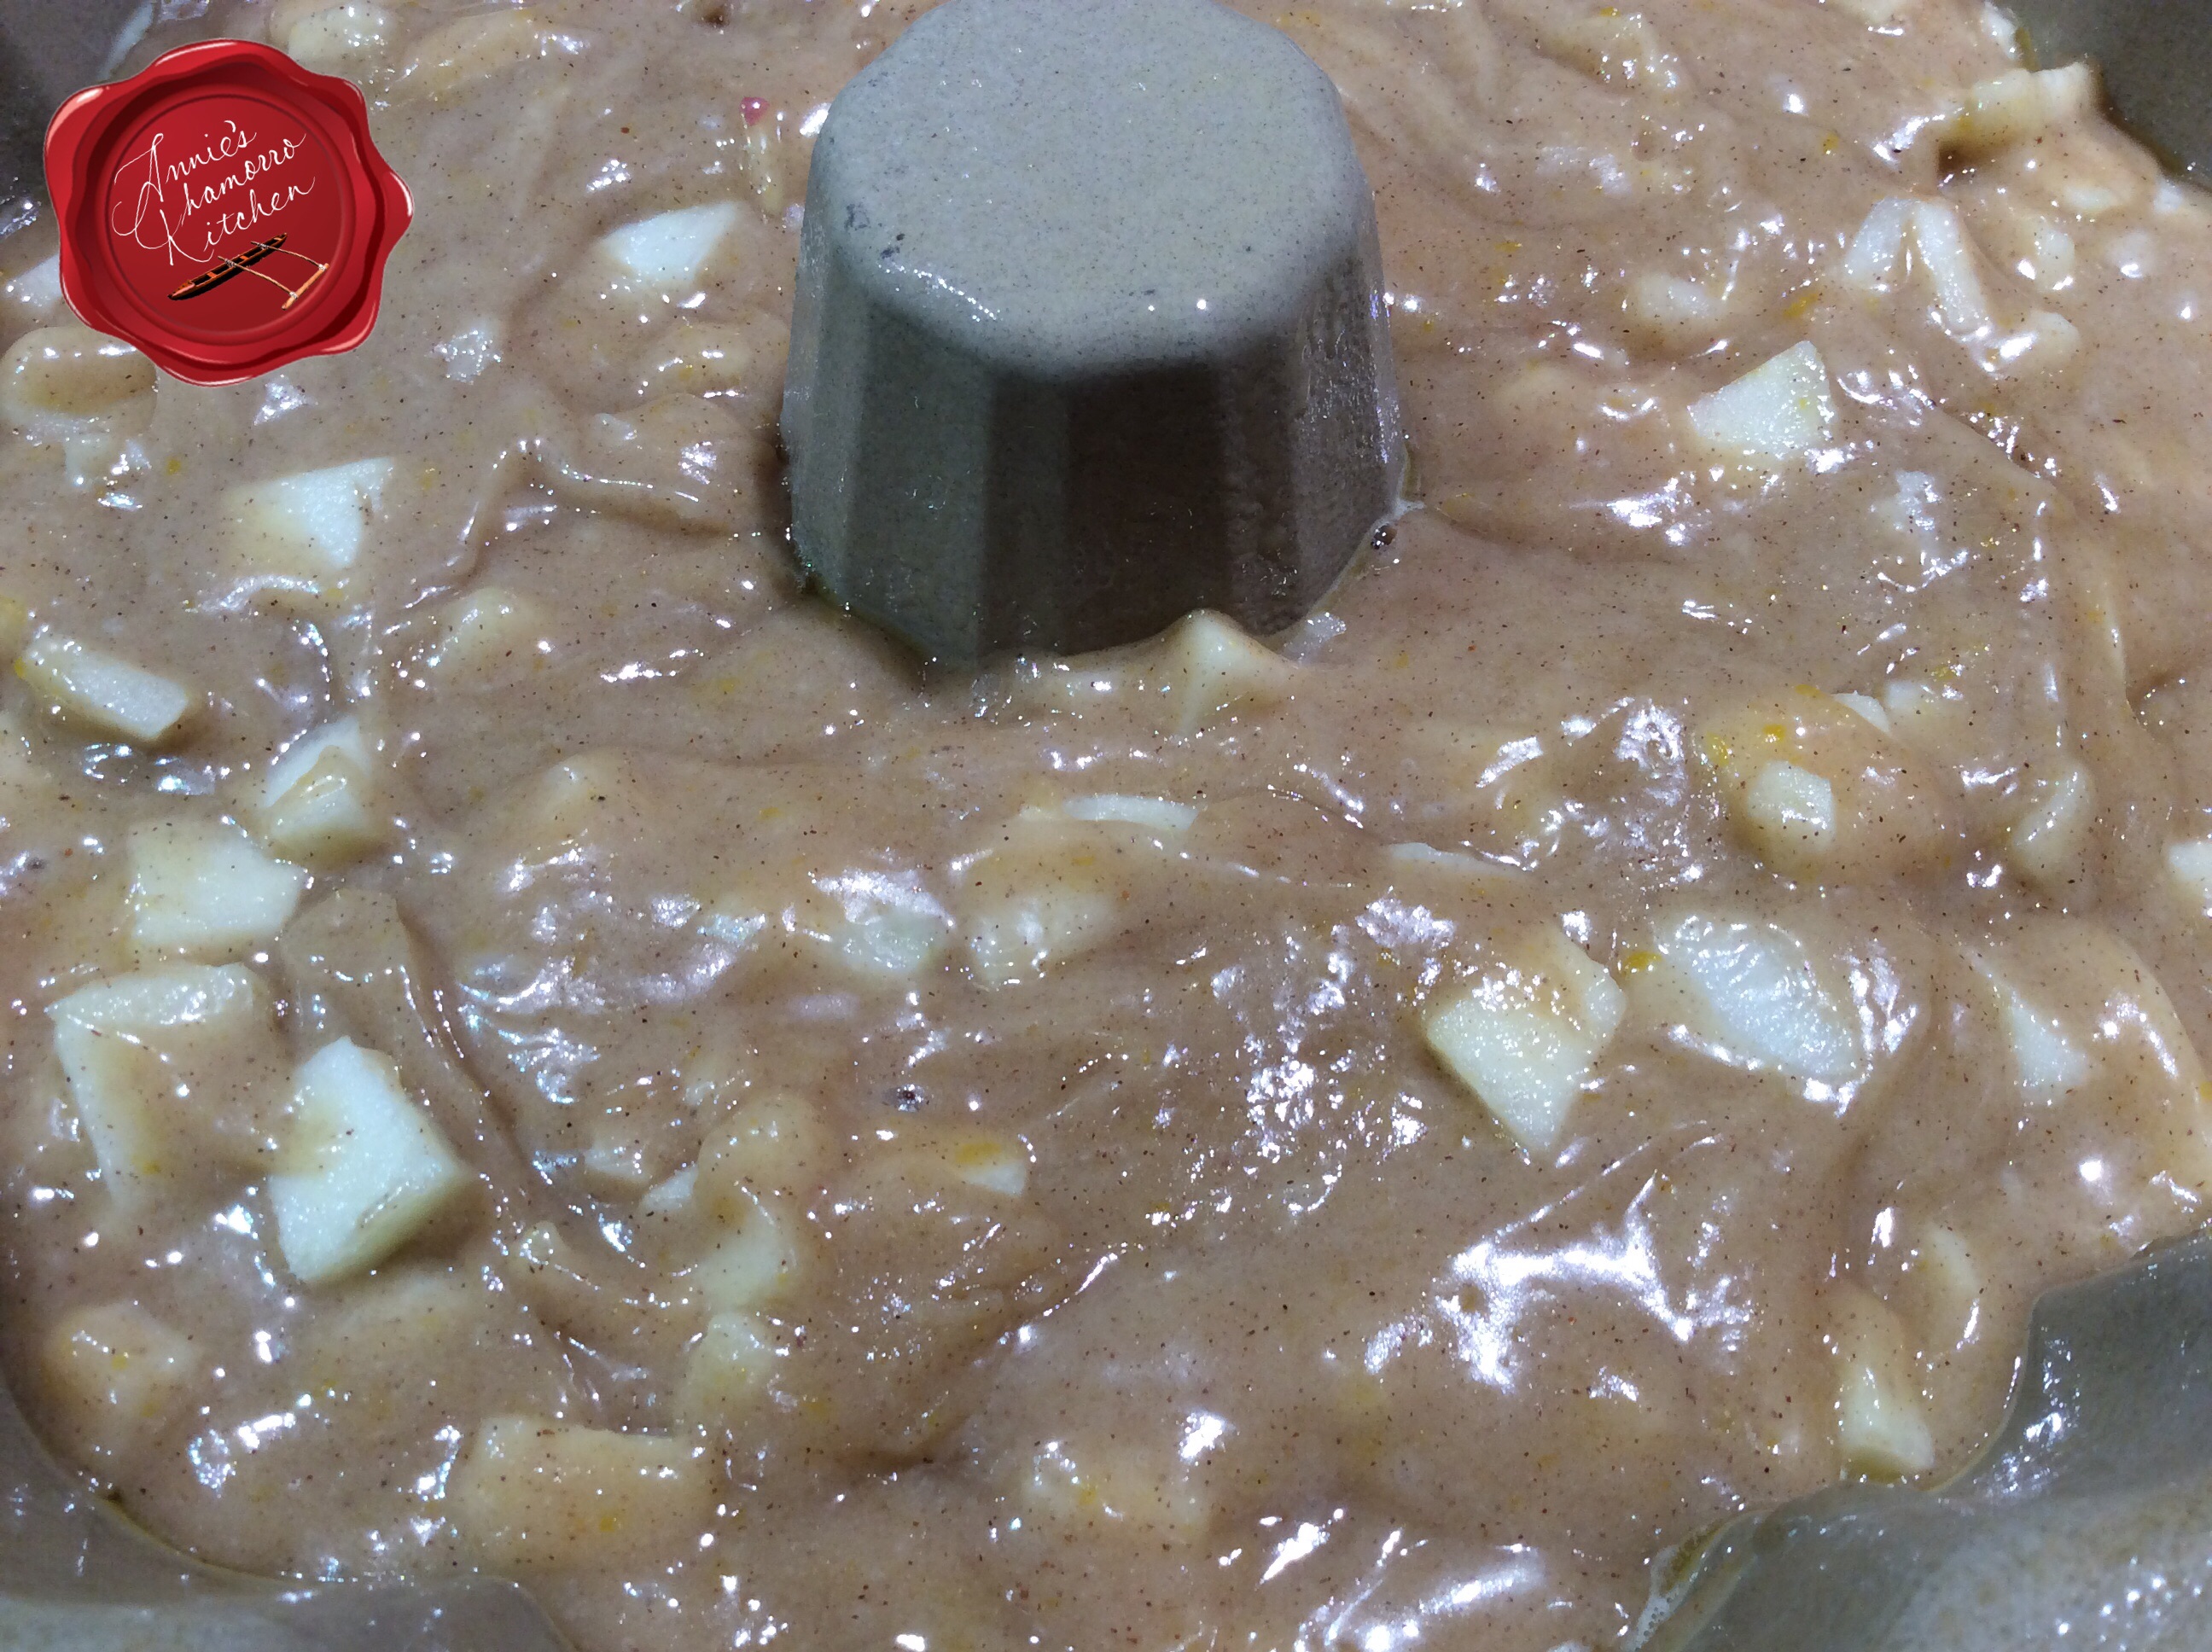
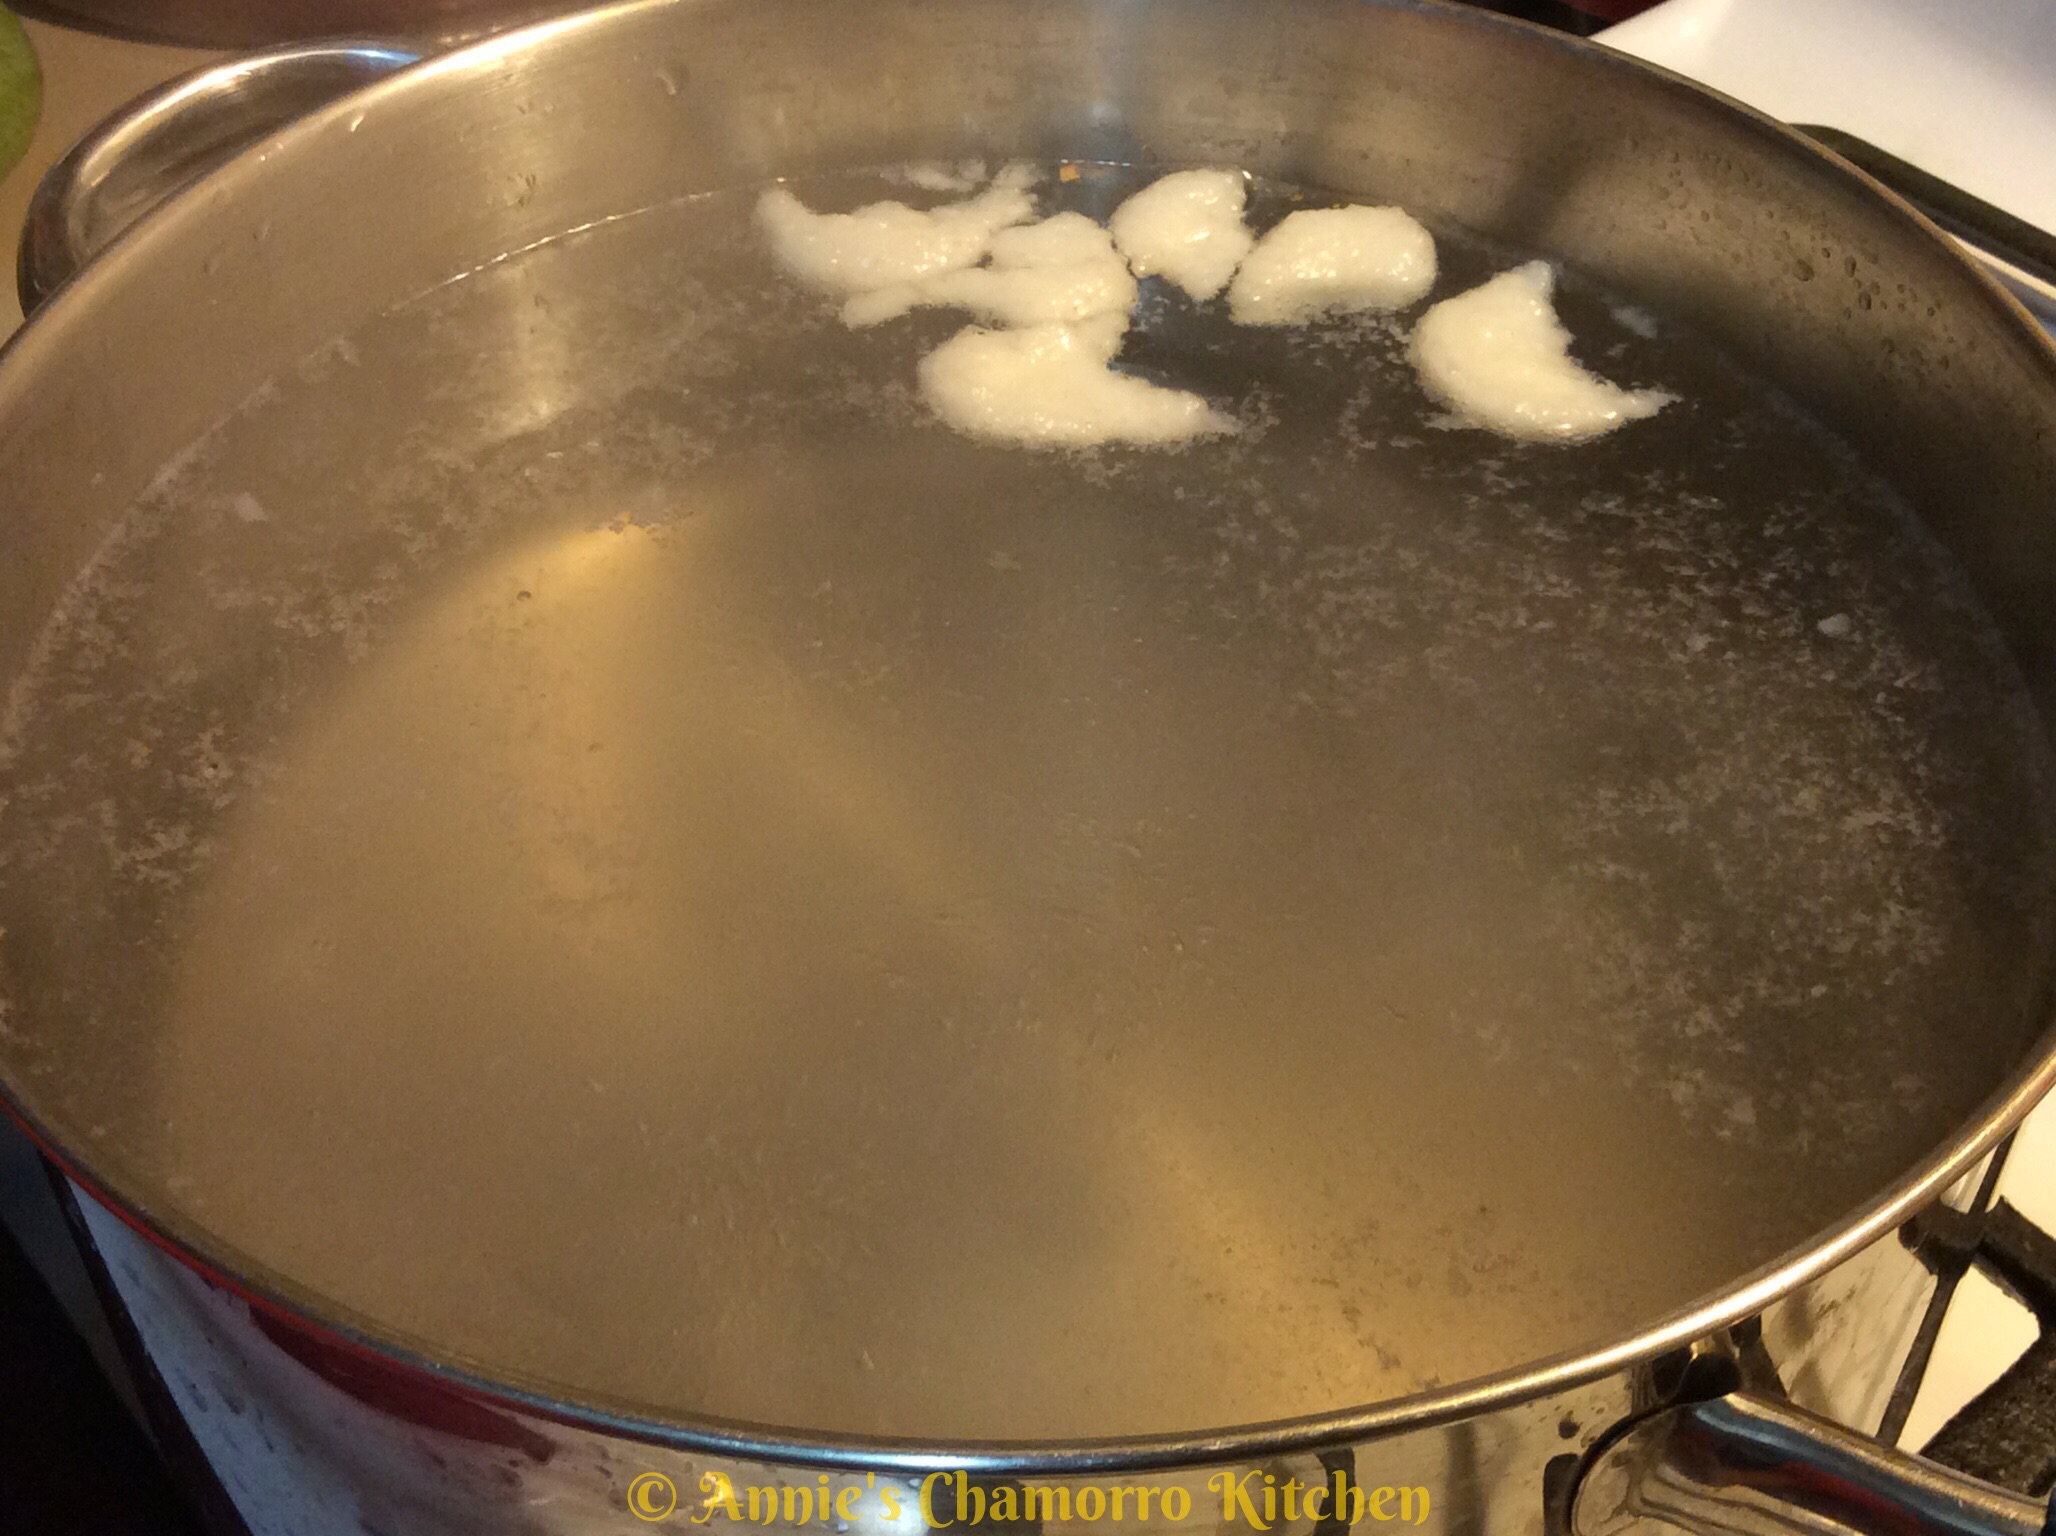
Drop small dollops of the batter into the boiling liquid. Do a test batch first to taste if it’s sweet enough. Add more sugar if you want it sweeter.
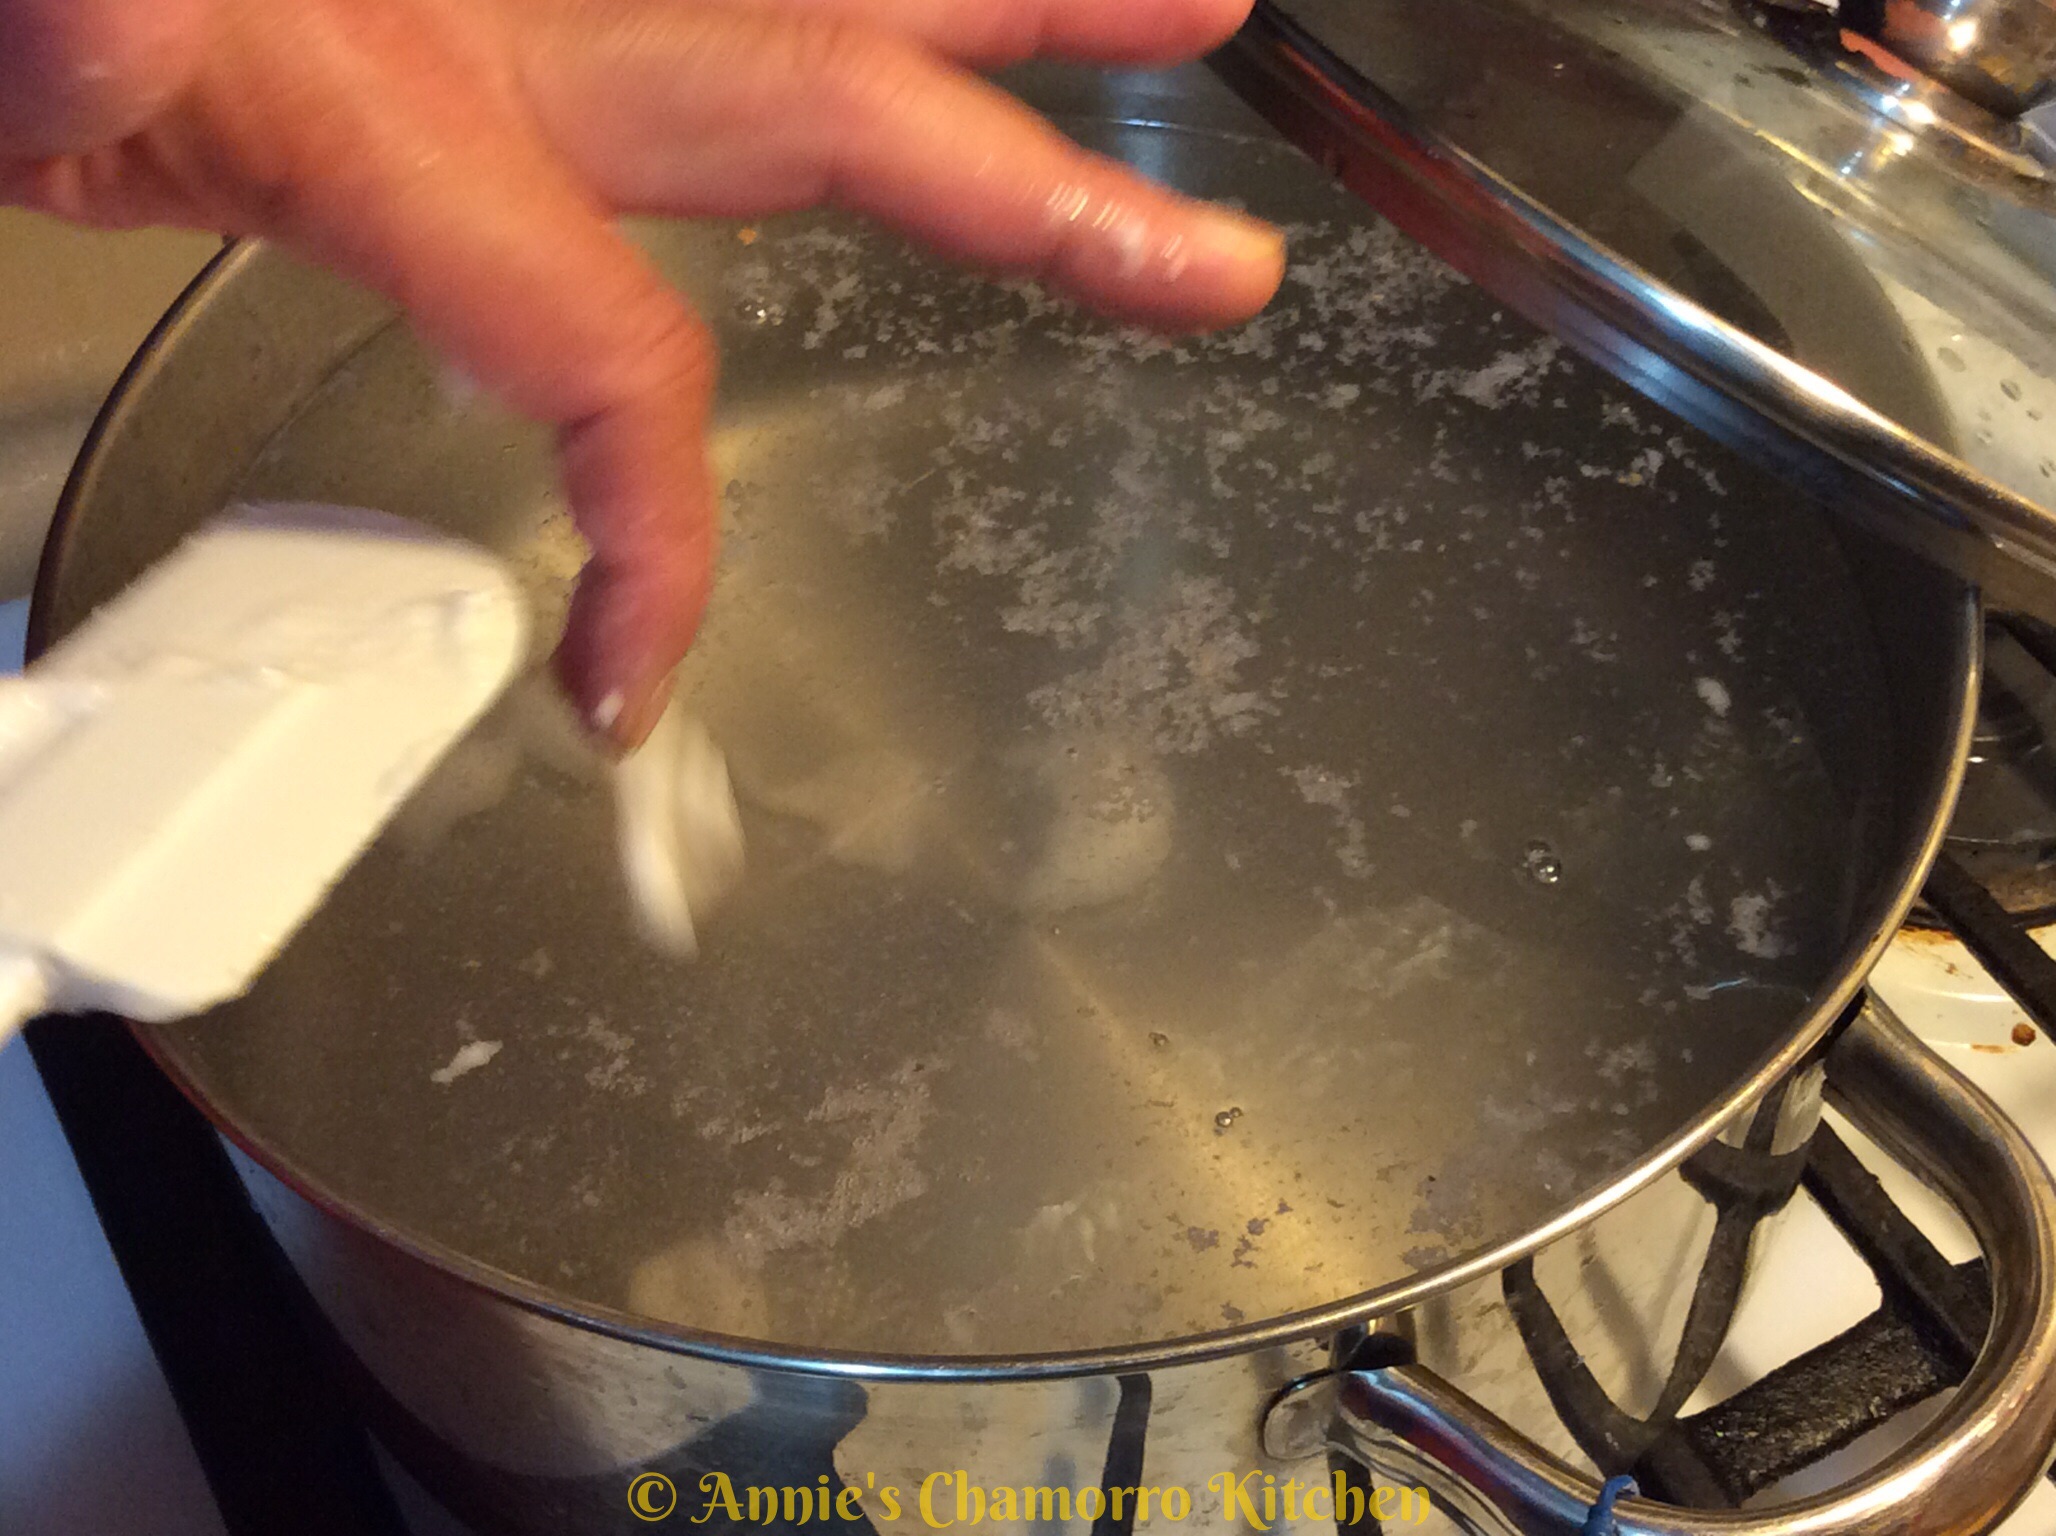
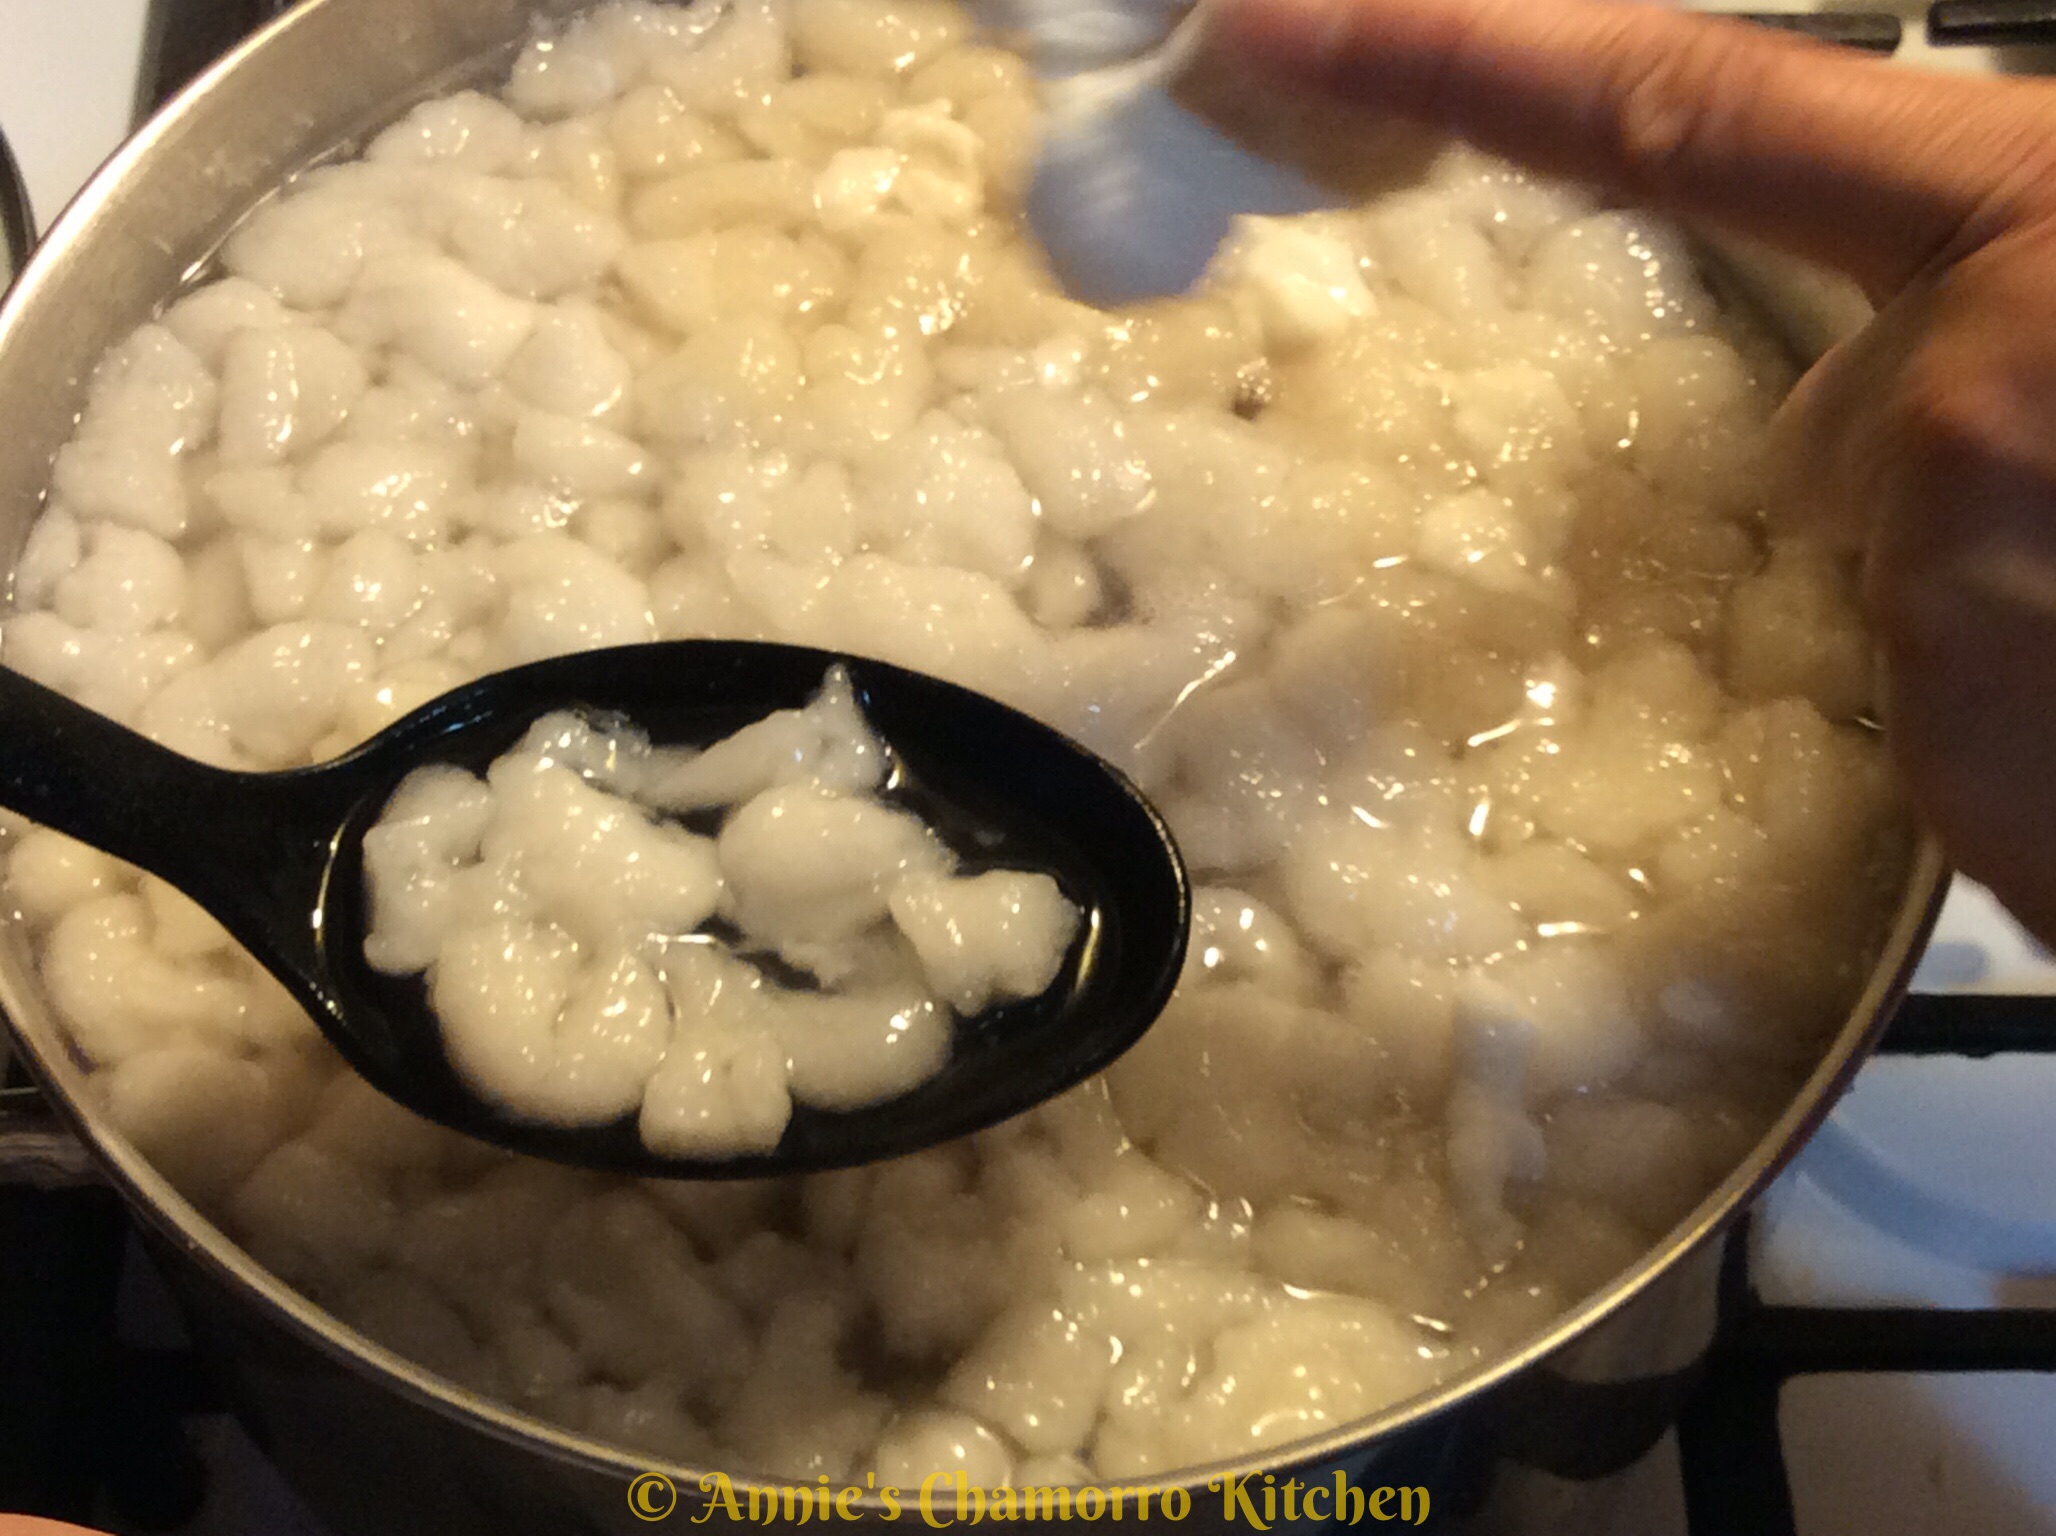
The lumps will float to the top of the pot when done. If the lumps break apart during the cooking, that means you need to add more starch. Add a few spoonfuls at a time, then cook a test batch to make sure they stay intact.
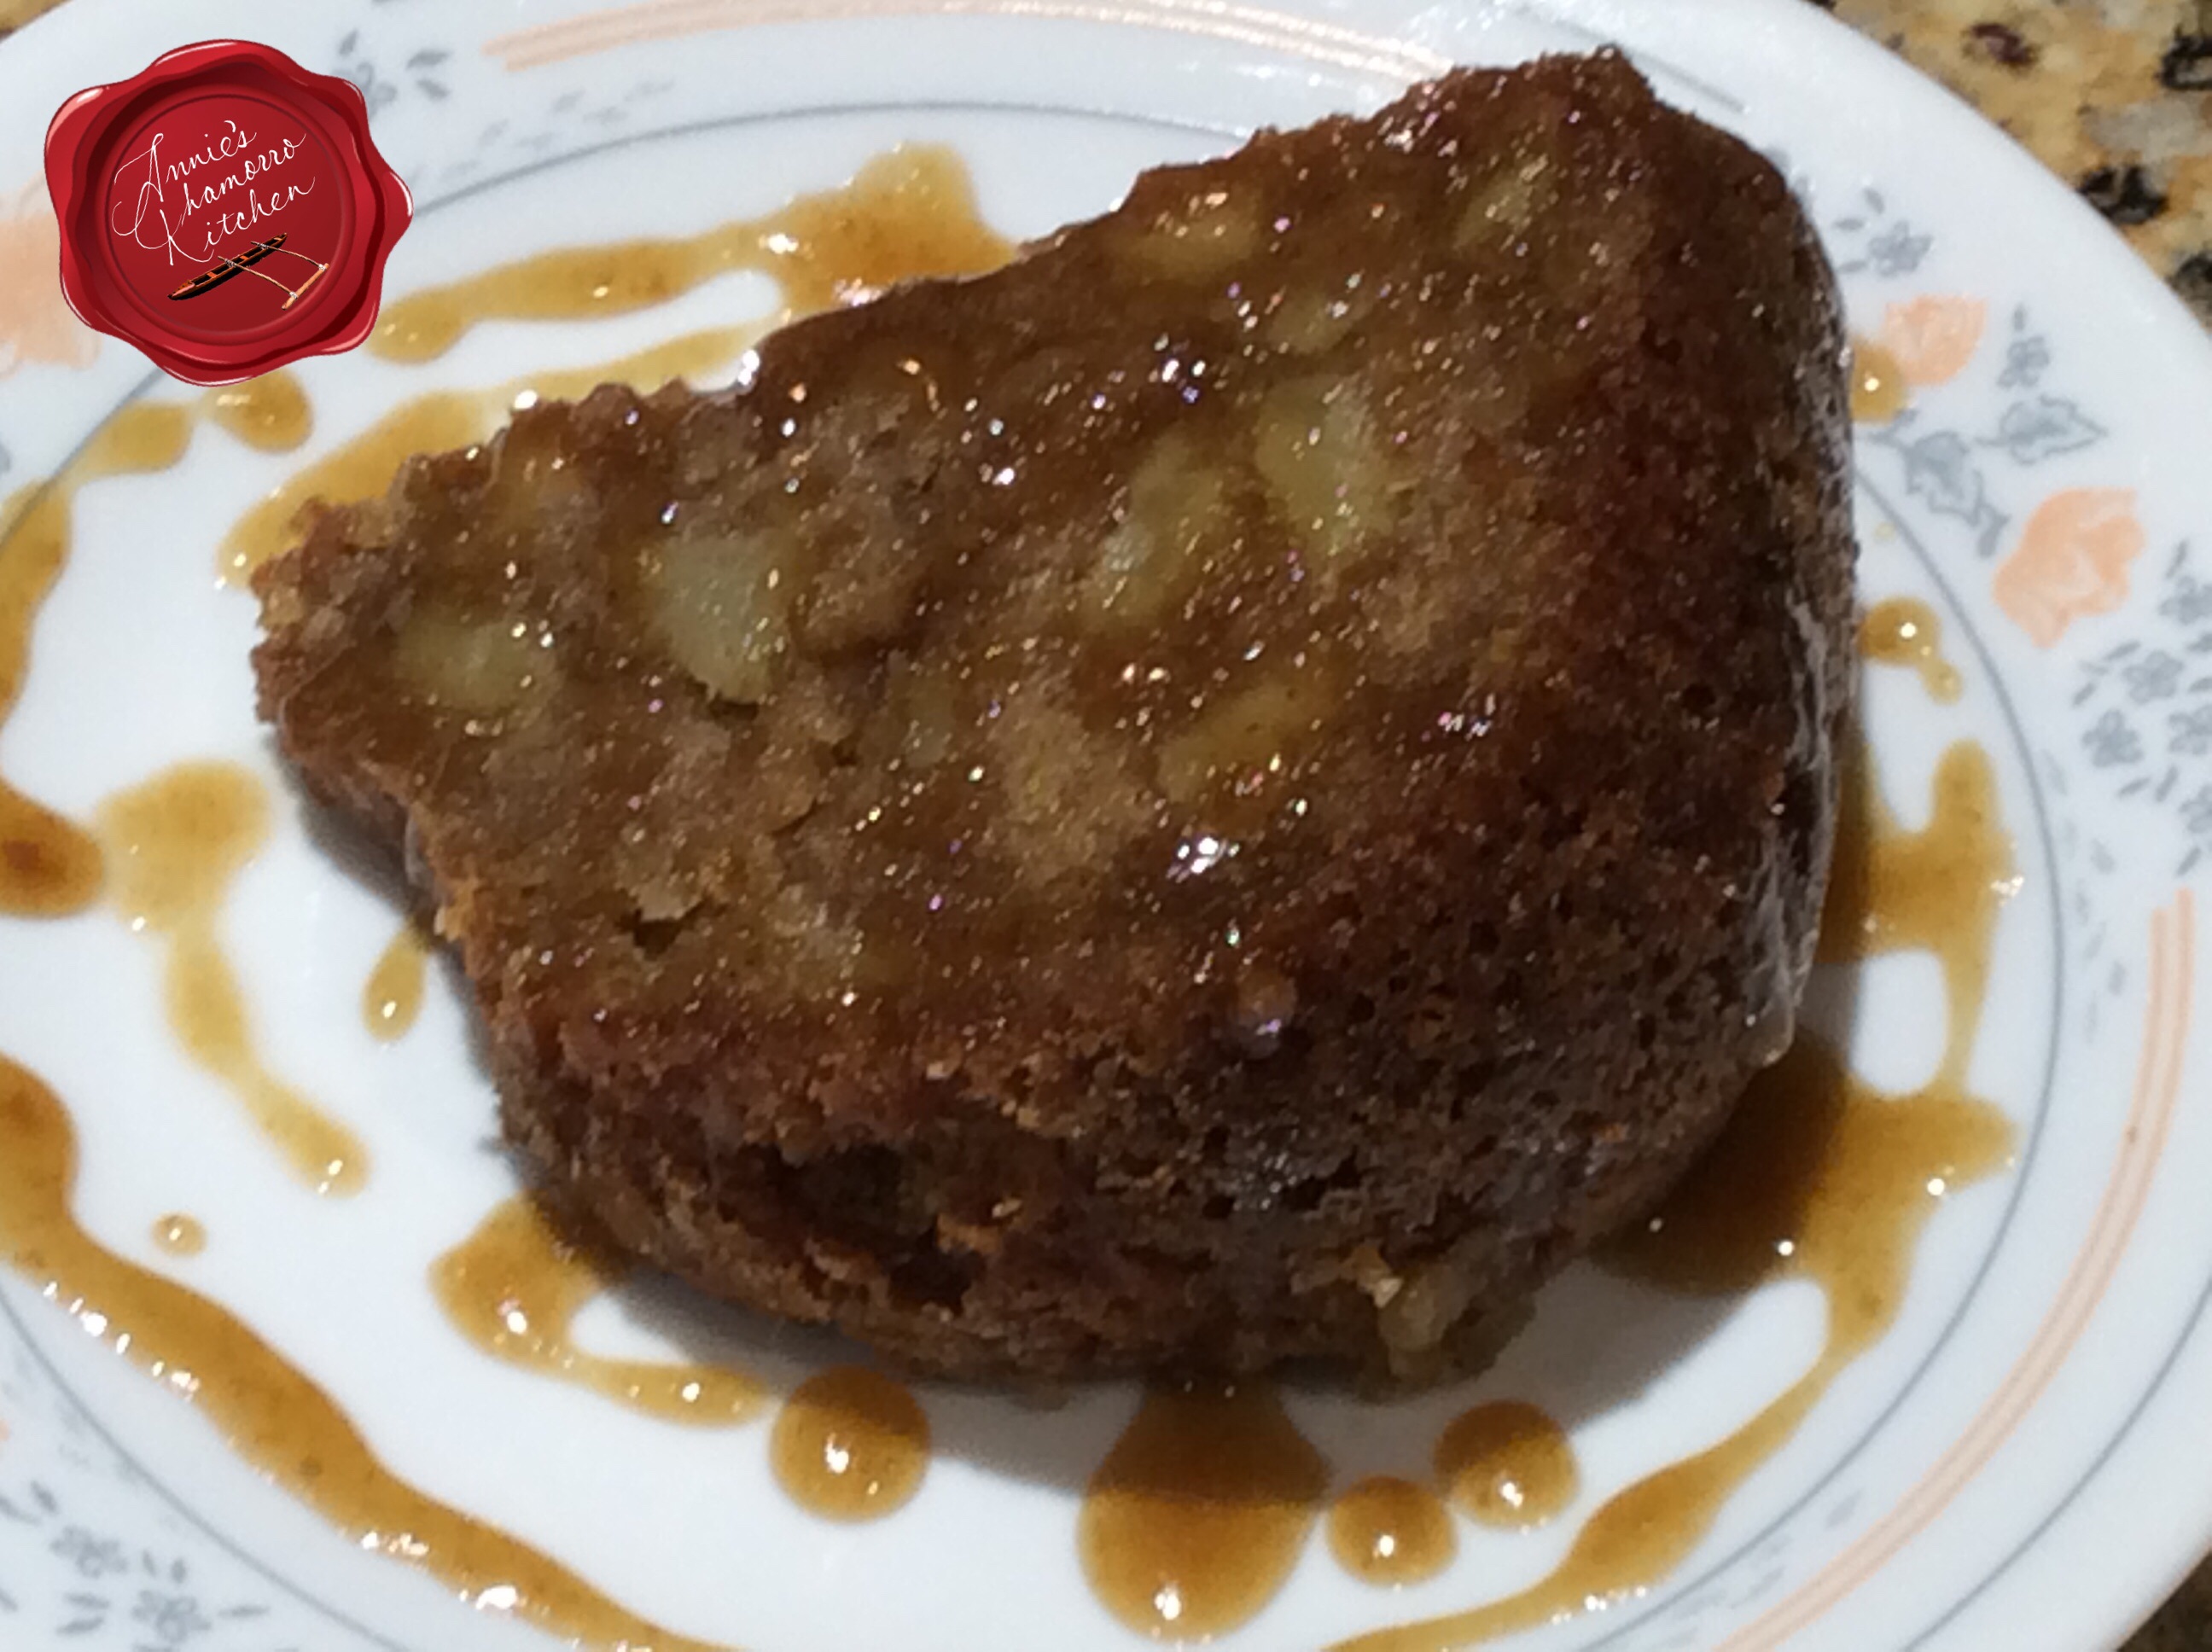
This recipe makes a LOT of lumps — just the way my brother likes it. The starch in the lumps also serves to thicken the åhu. Let the mixture cook over low heat for a few minutes after all of the lumps are done. If, after a few minutes, the liquid is not thickening, mix any reserved tapioca starch with a cup of water; stir the mixture into the åhu and cook for a few more minutes until thickened.
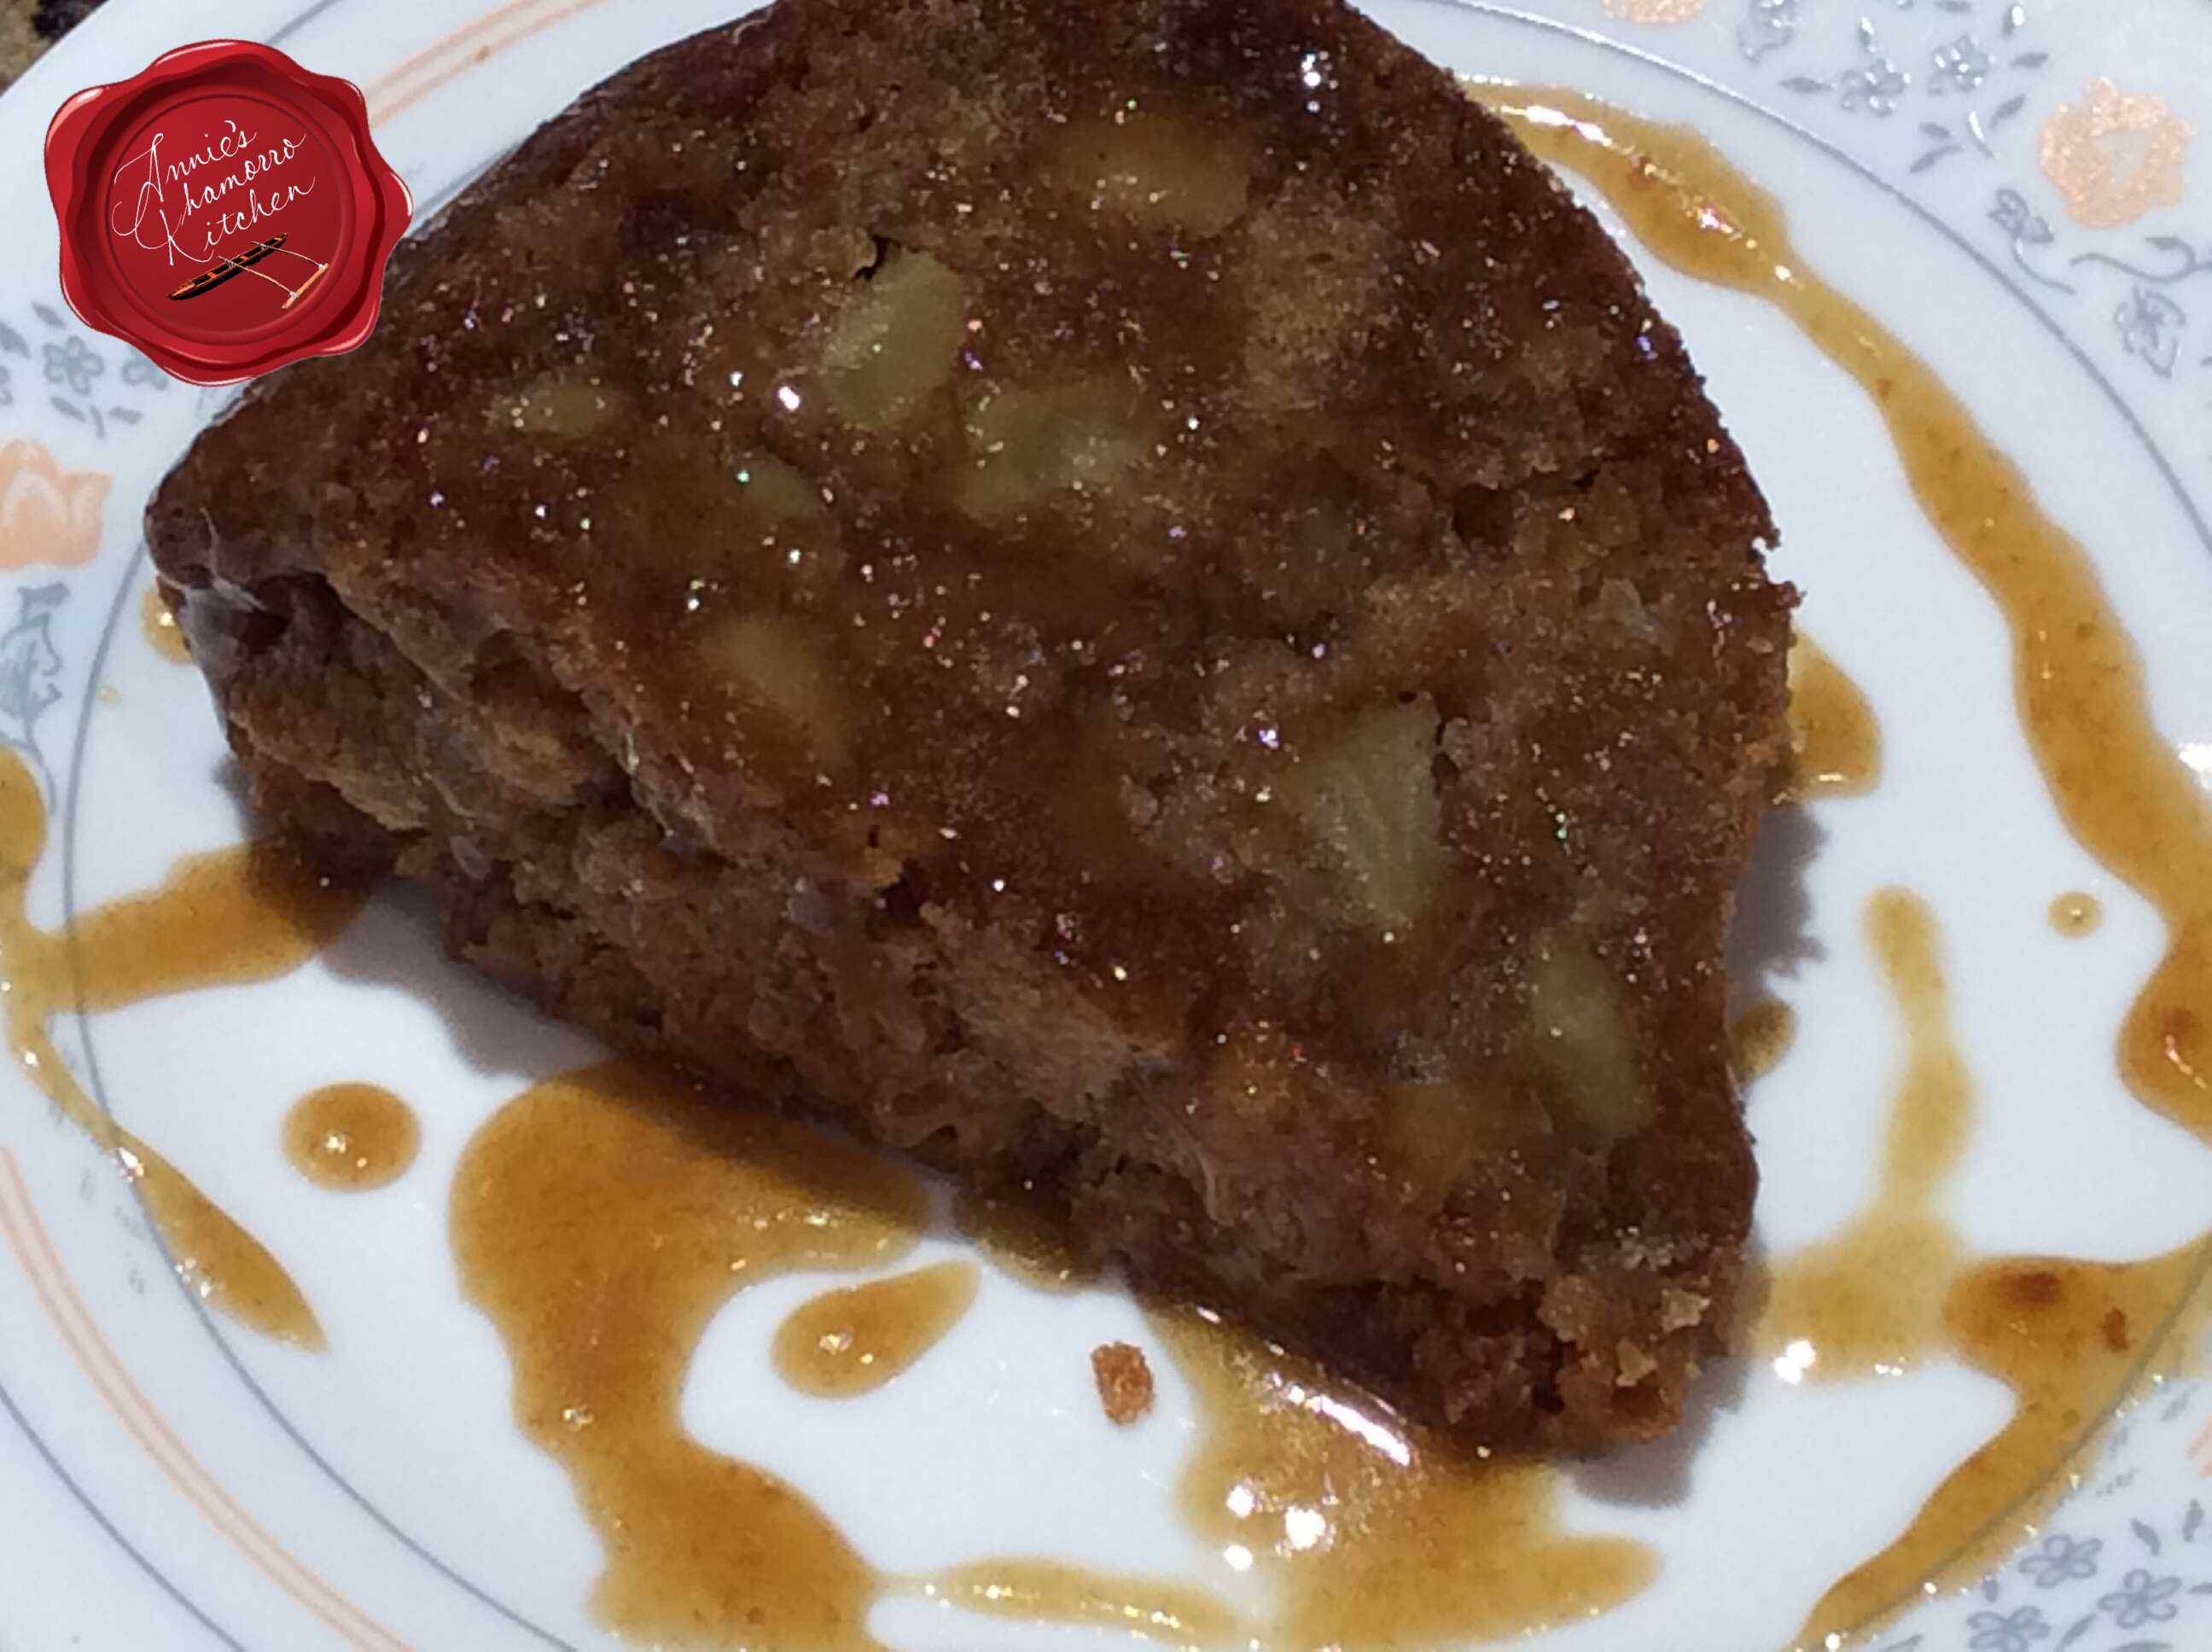
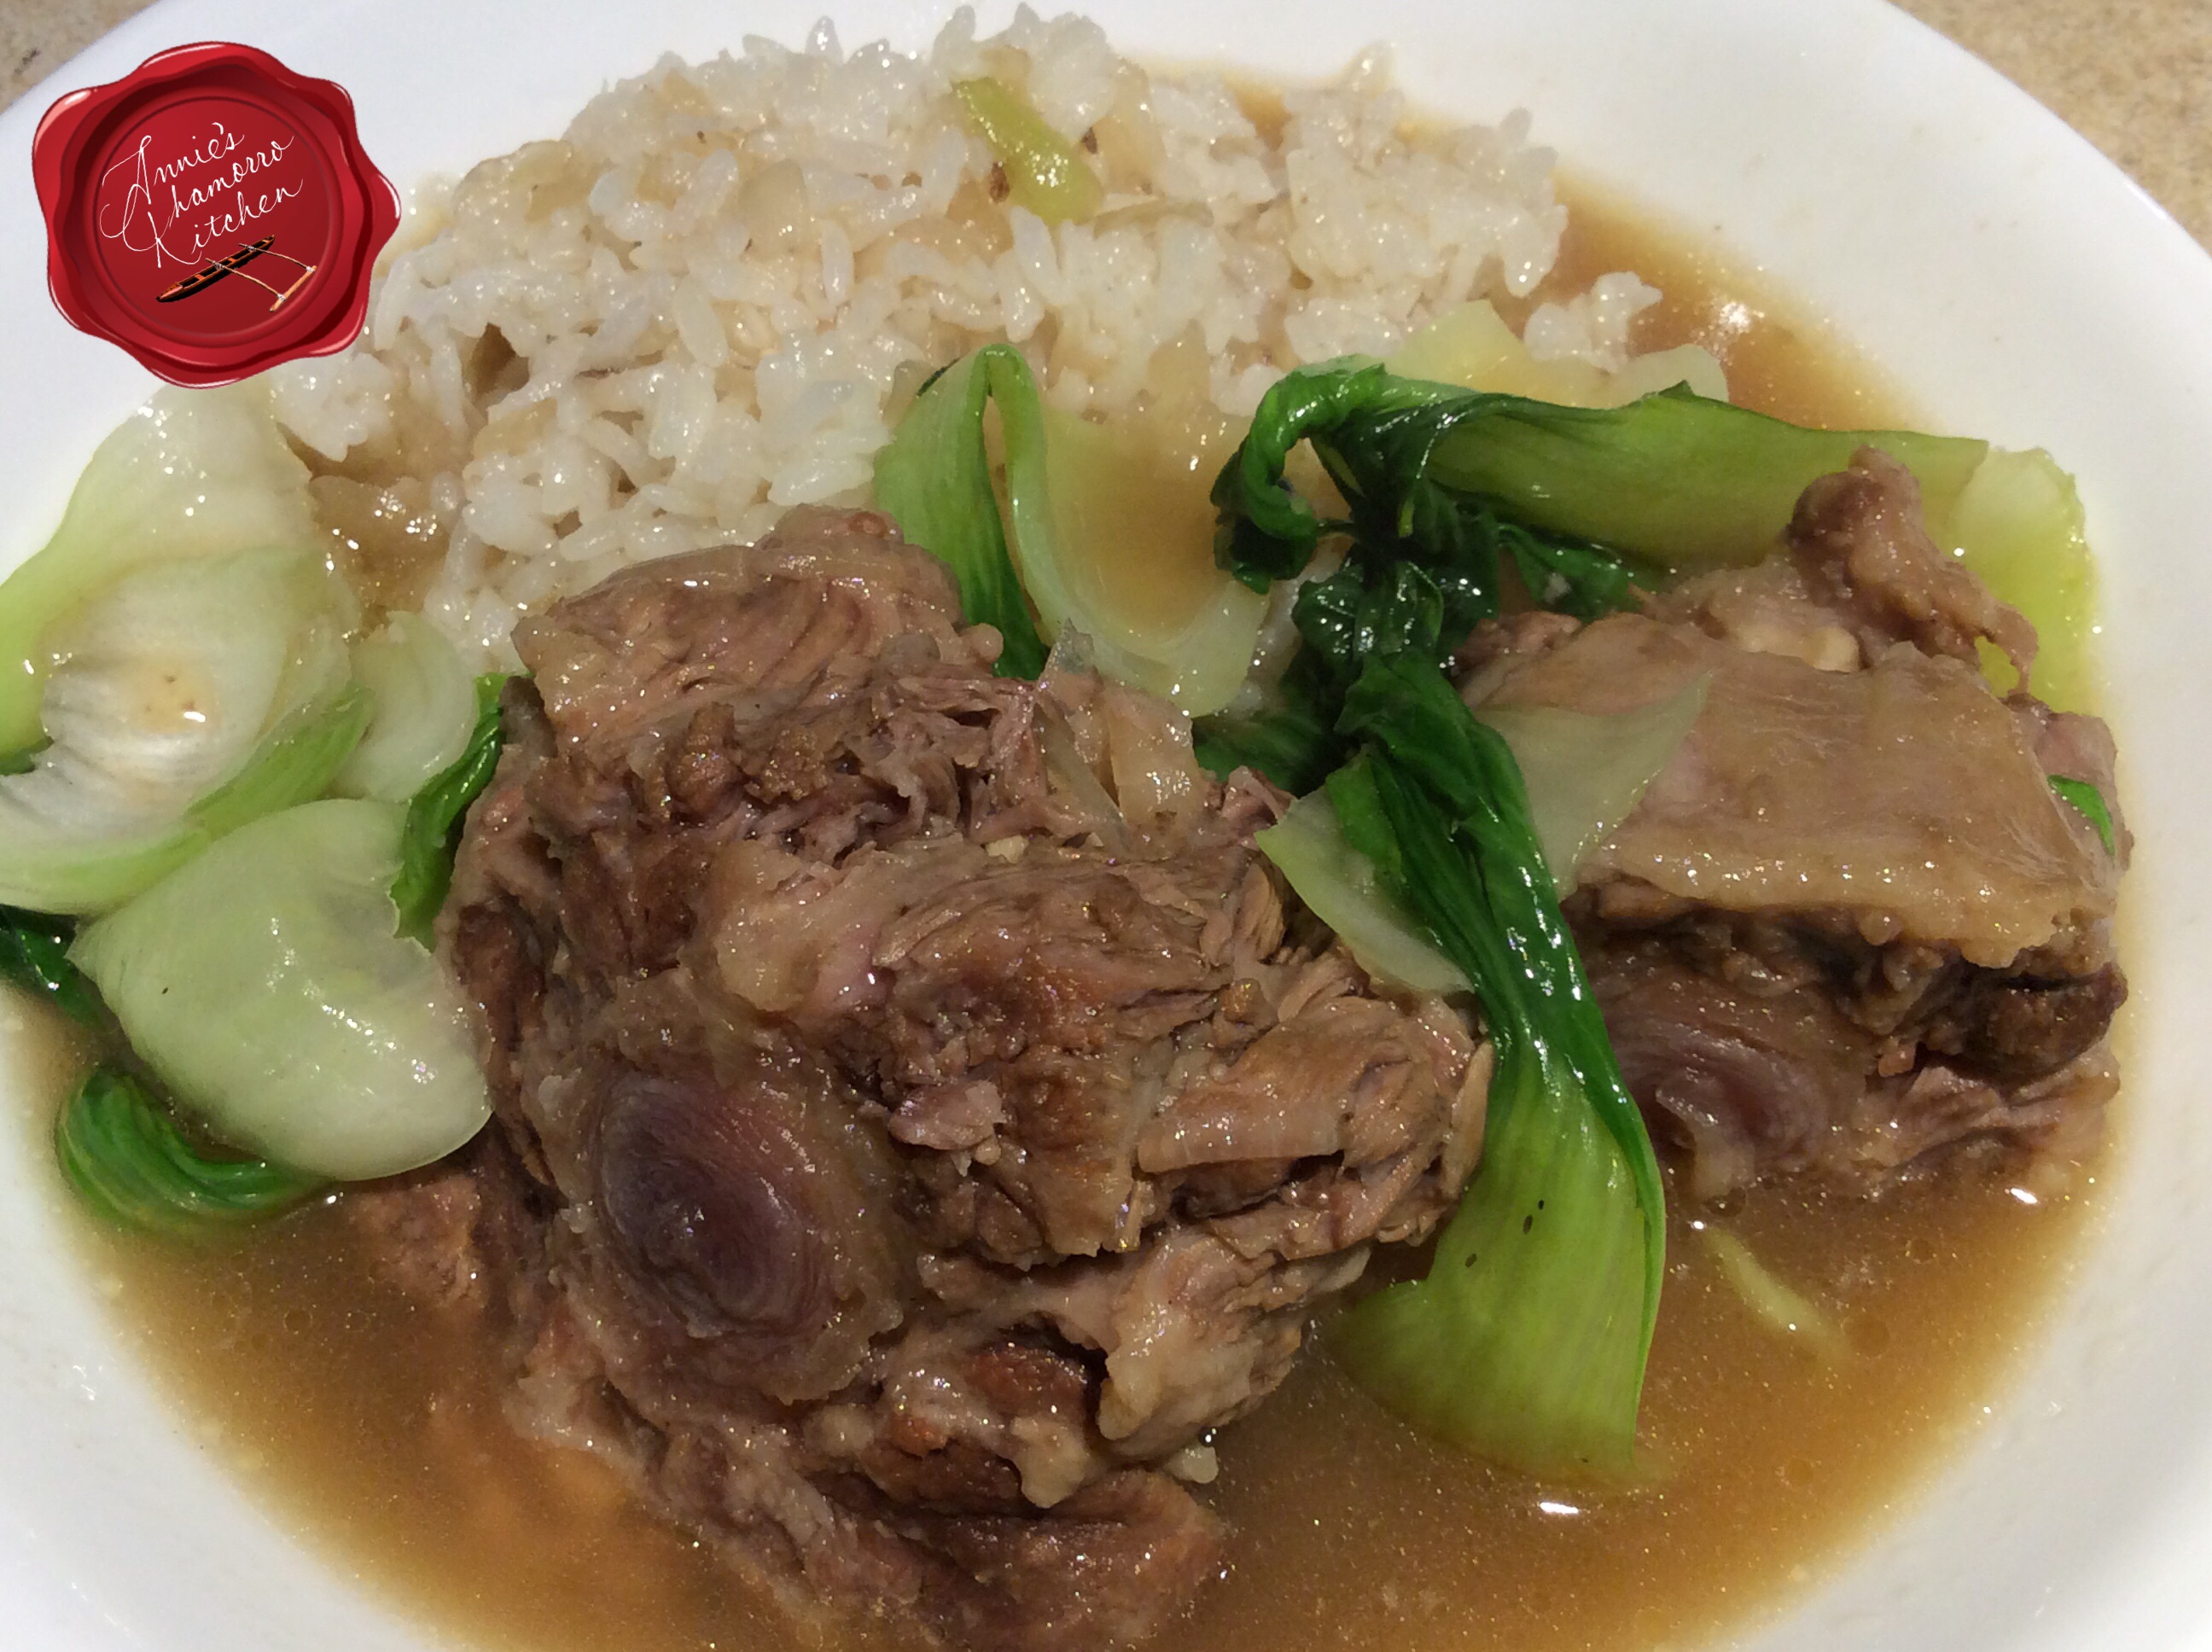
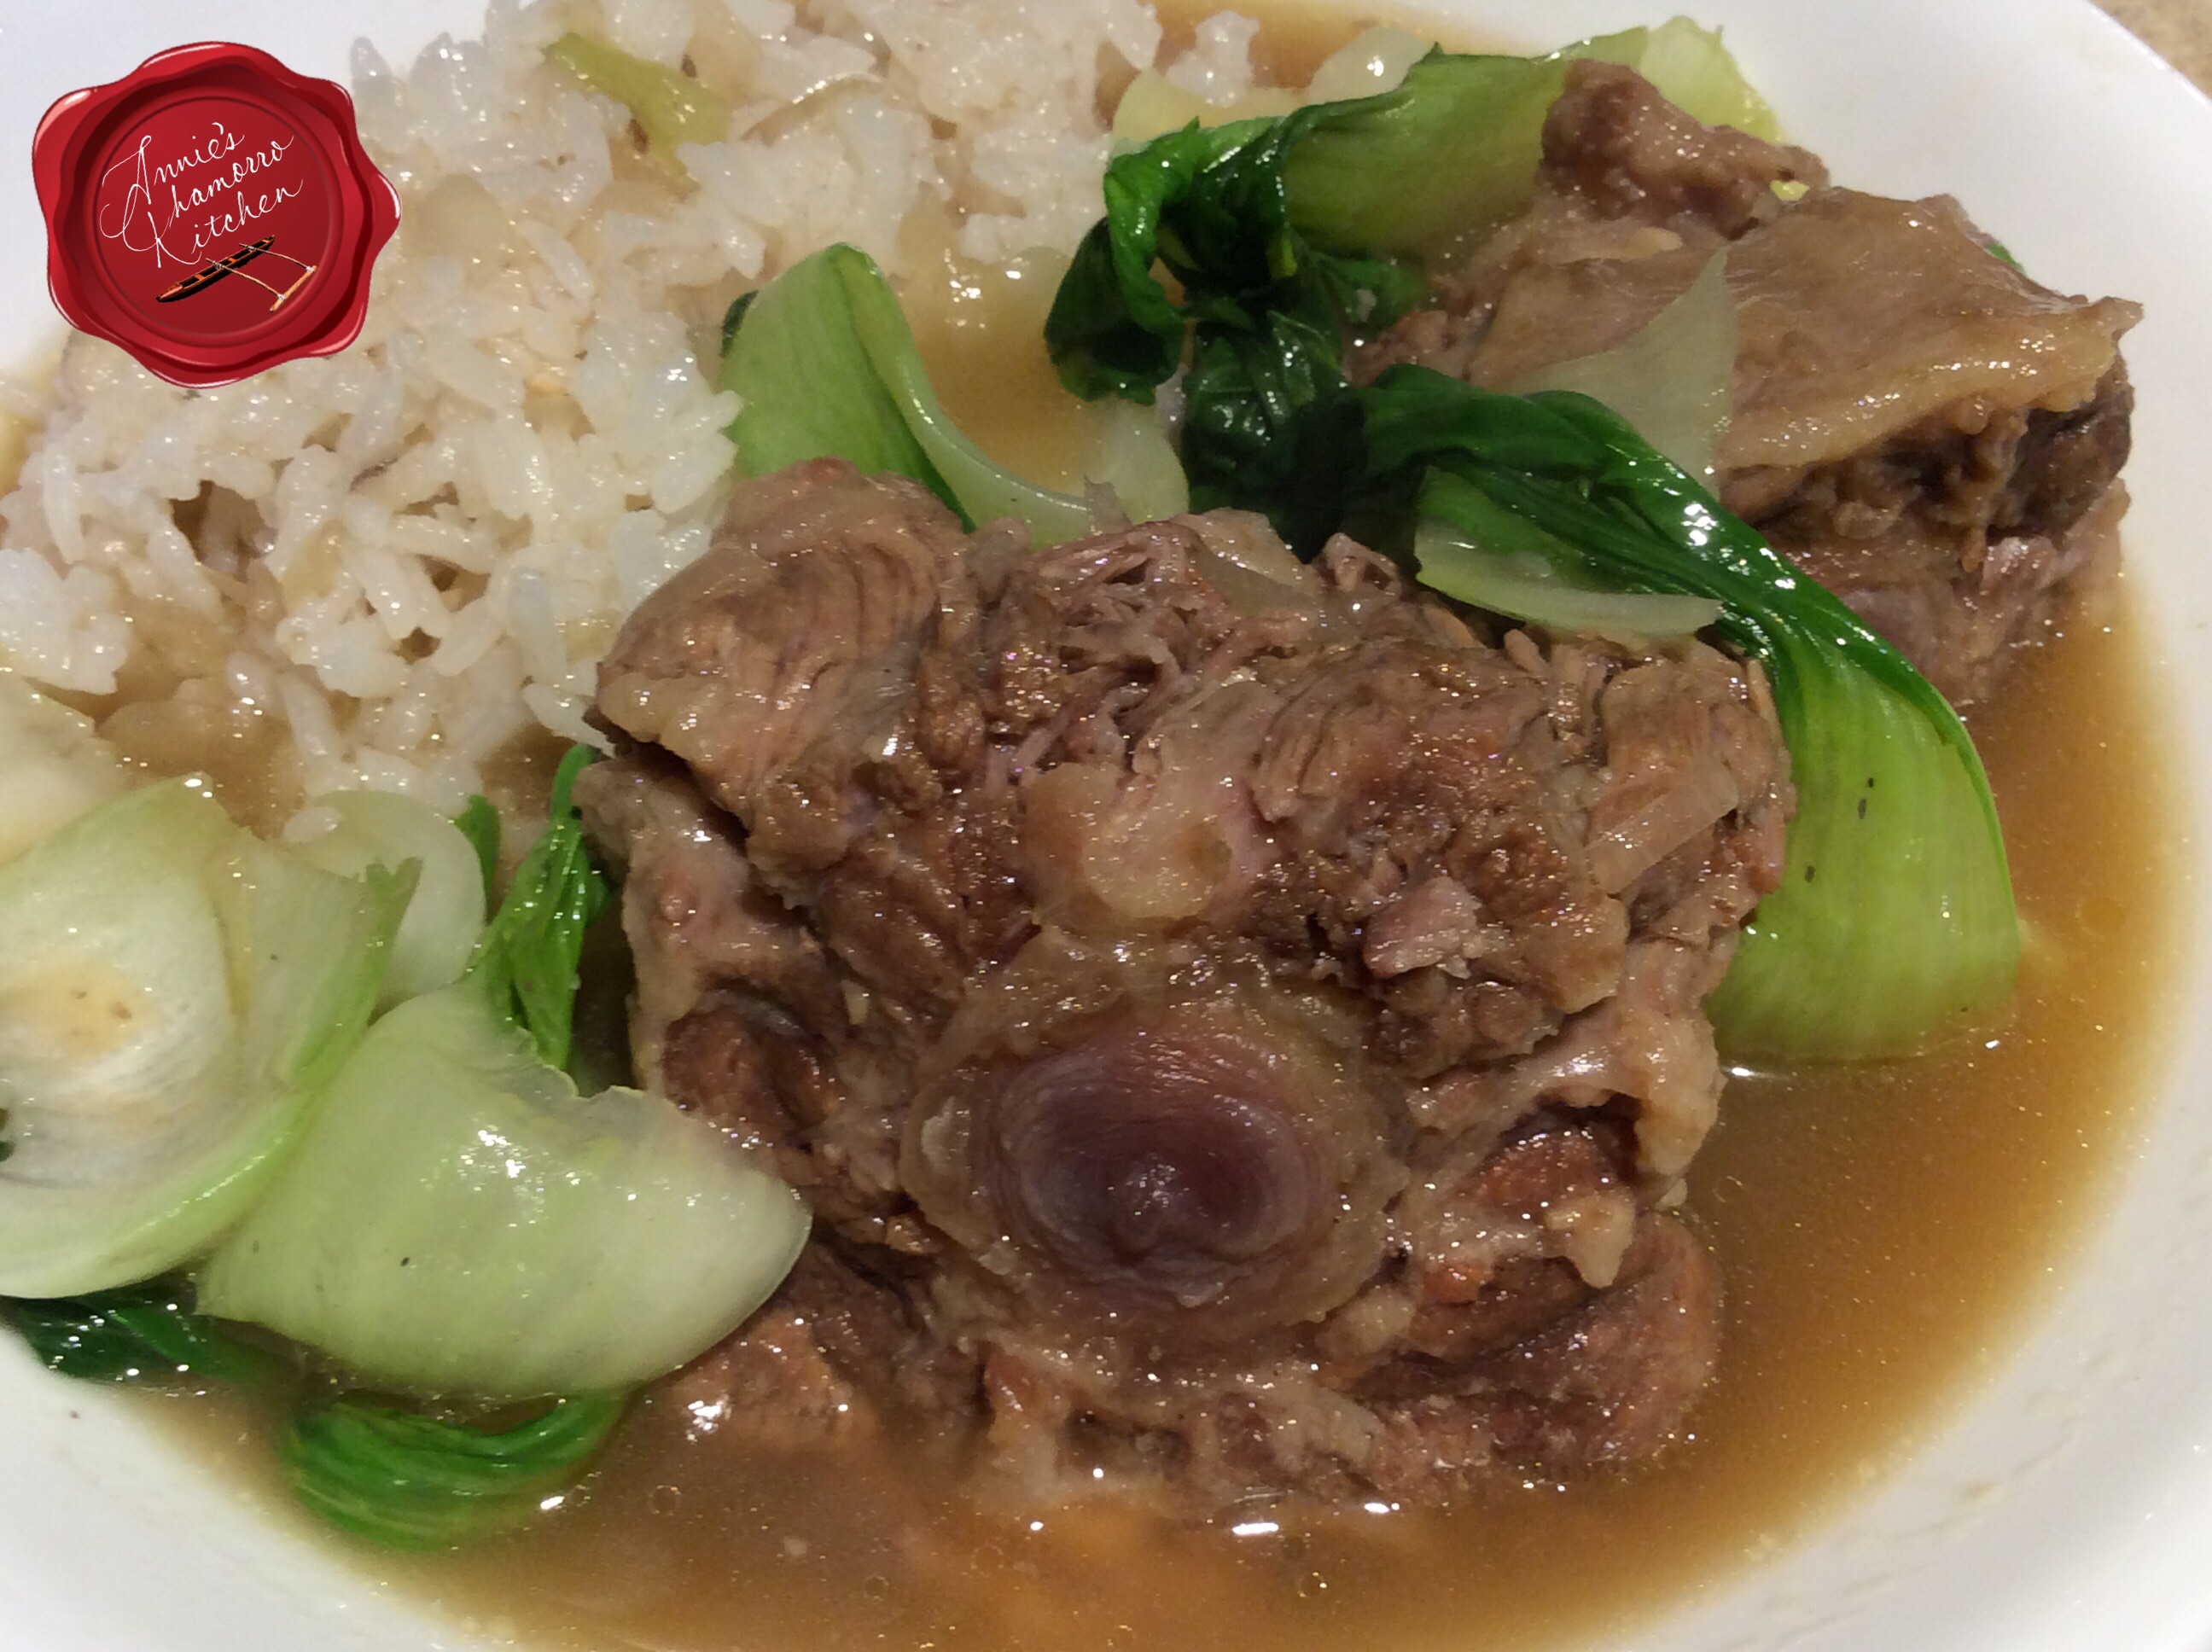
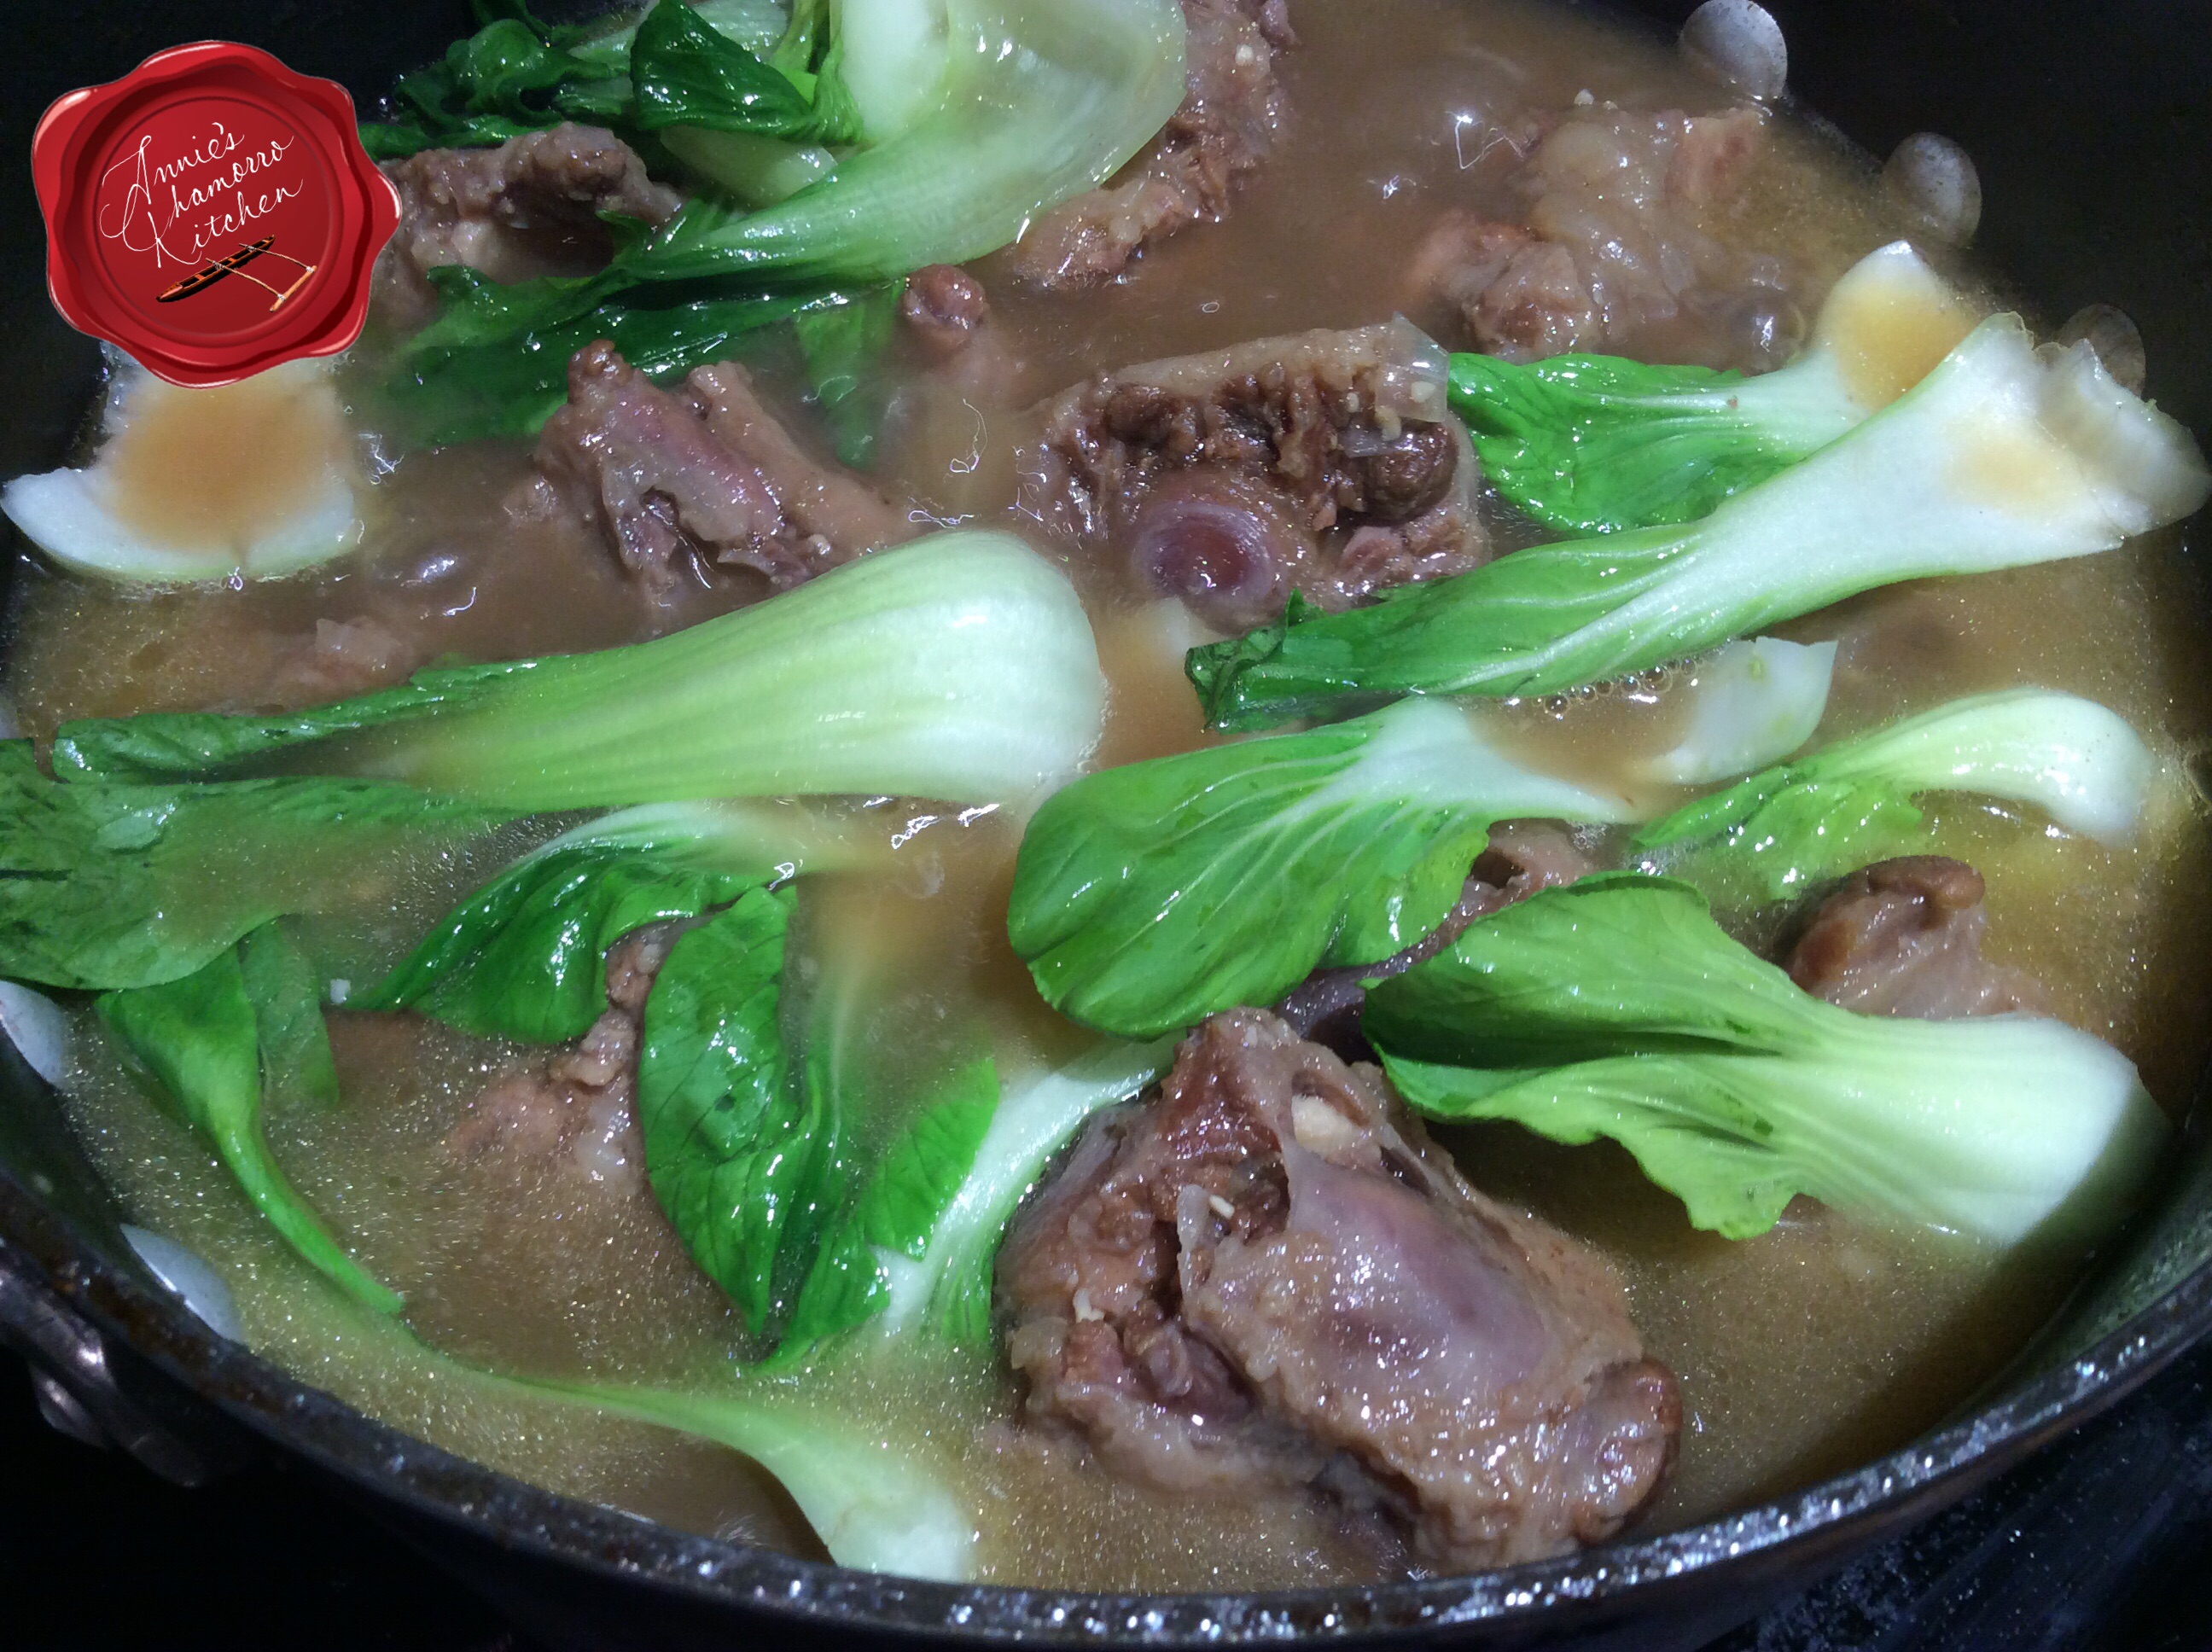
Serve while still hot and ENJOY! 🙂

- 8 cups Månha juice
- 8 cups water
- 3 cups sugar, more or less, to taste
- 4 cups månha meat, pureed
- 1½ (15 oz) bags tapioca starch
- 1 cup sugar
- Place the månha, juice, and sugar in a large pot. Bring to a boil over low heat.
- Mix together the pureed månha, one bag of starch (reserve the remaining half bag), and sugar to form the batter for the dumplings.
- Drop the batter into the boiling liquid by the teaspoonful. The dumplings will float to the top when done. If the dumplings break apart during cooking, add a couple of tablespoons more starch to the dumpling mixture. "Test cook" a few dumplings to ensure they don't break apart and is sweet enough. If the dumplings still break apart during cooking, add a couple more tablespoons of starch.
- After all of the dumplings are done, check to see if the åhu is thick enough for your liking. It should be the consistency of not-too-thick gravy. If you'd like it thicker, mix any remaining starch with 1 cup water; stir the mixture into the hot åhu. Cook for a few more minutes until the åhu thickens.
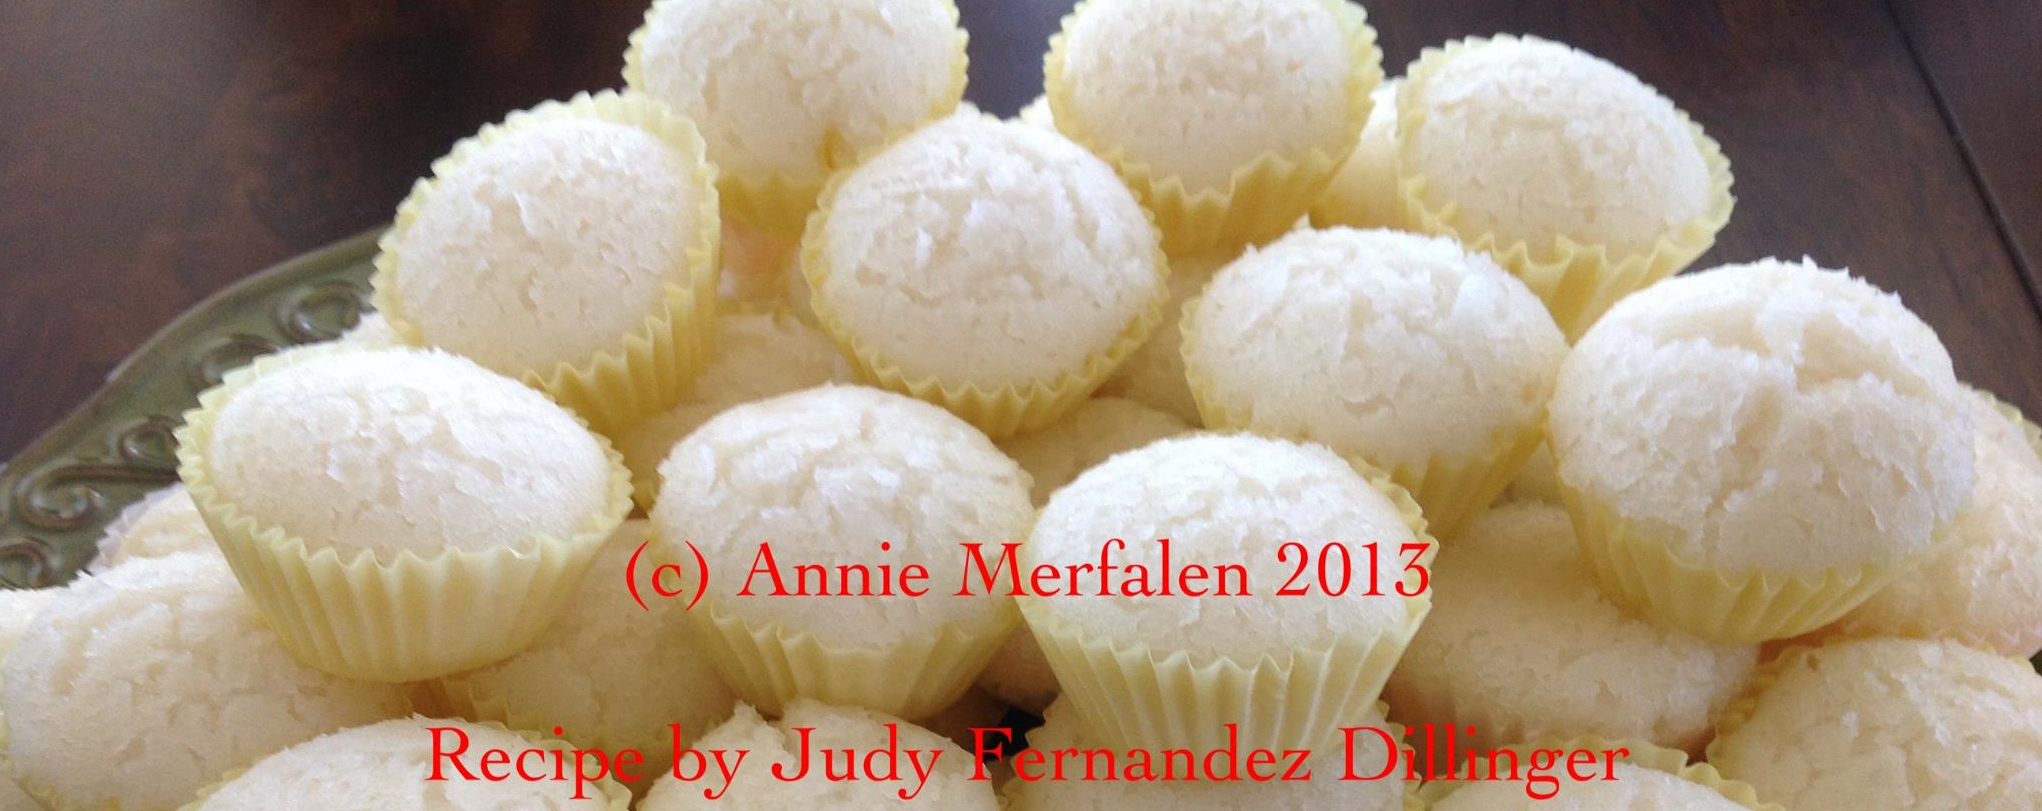
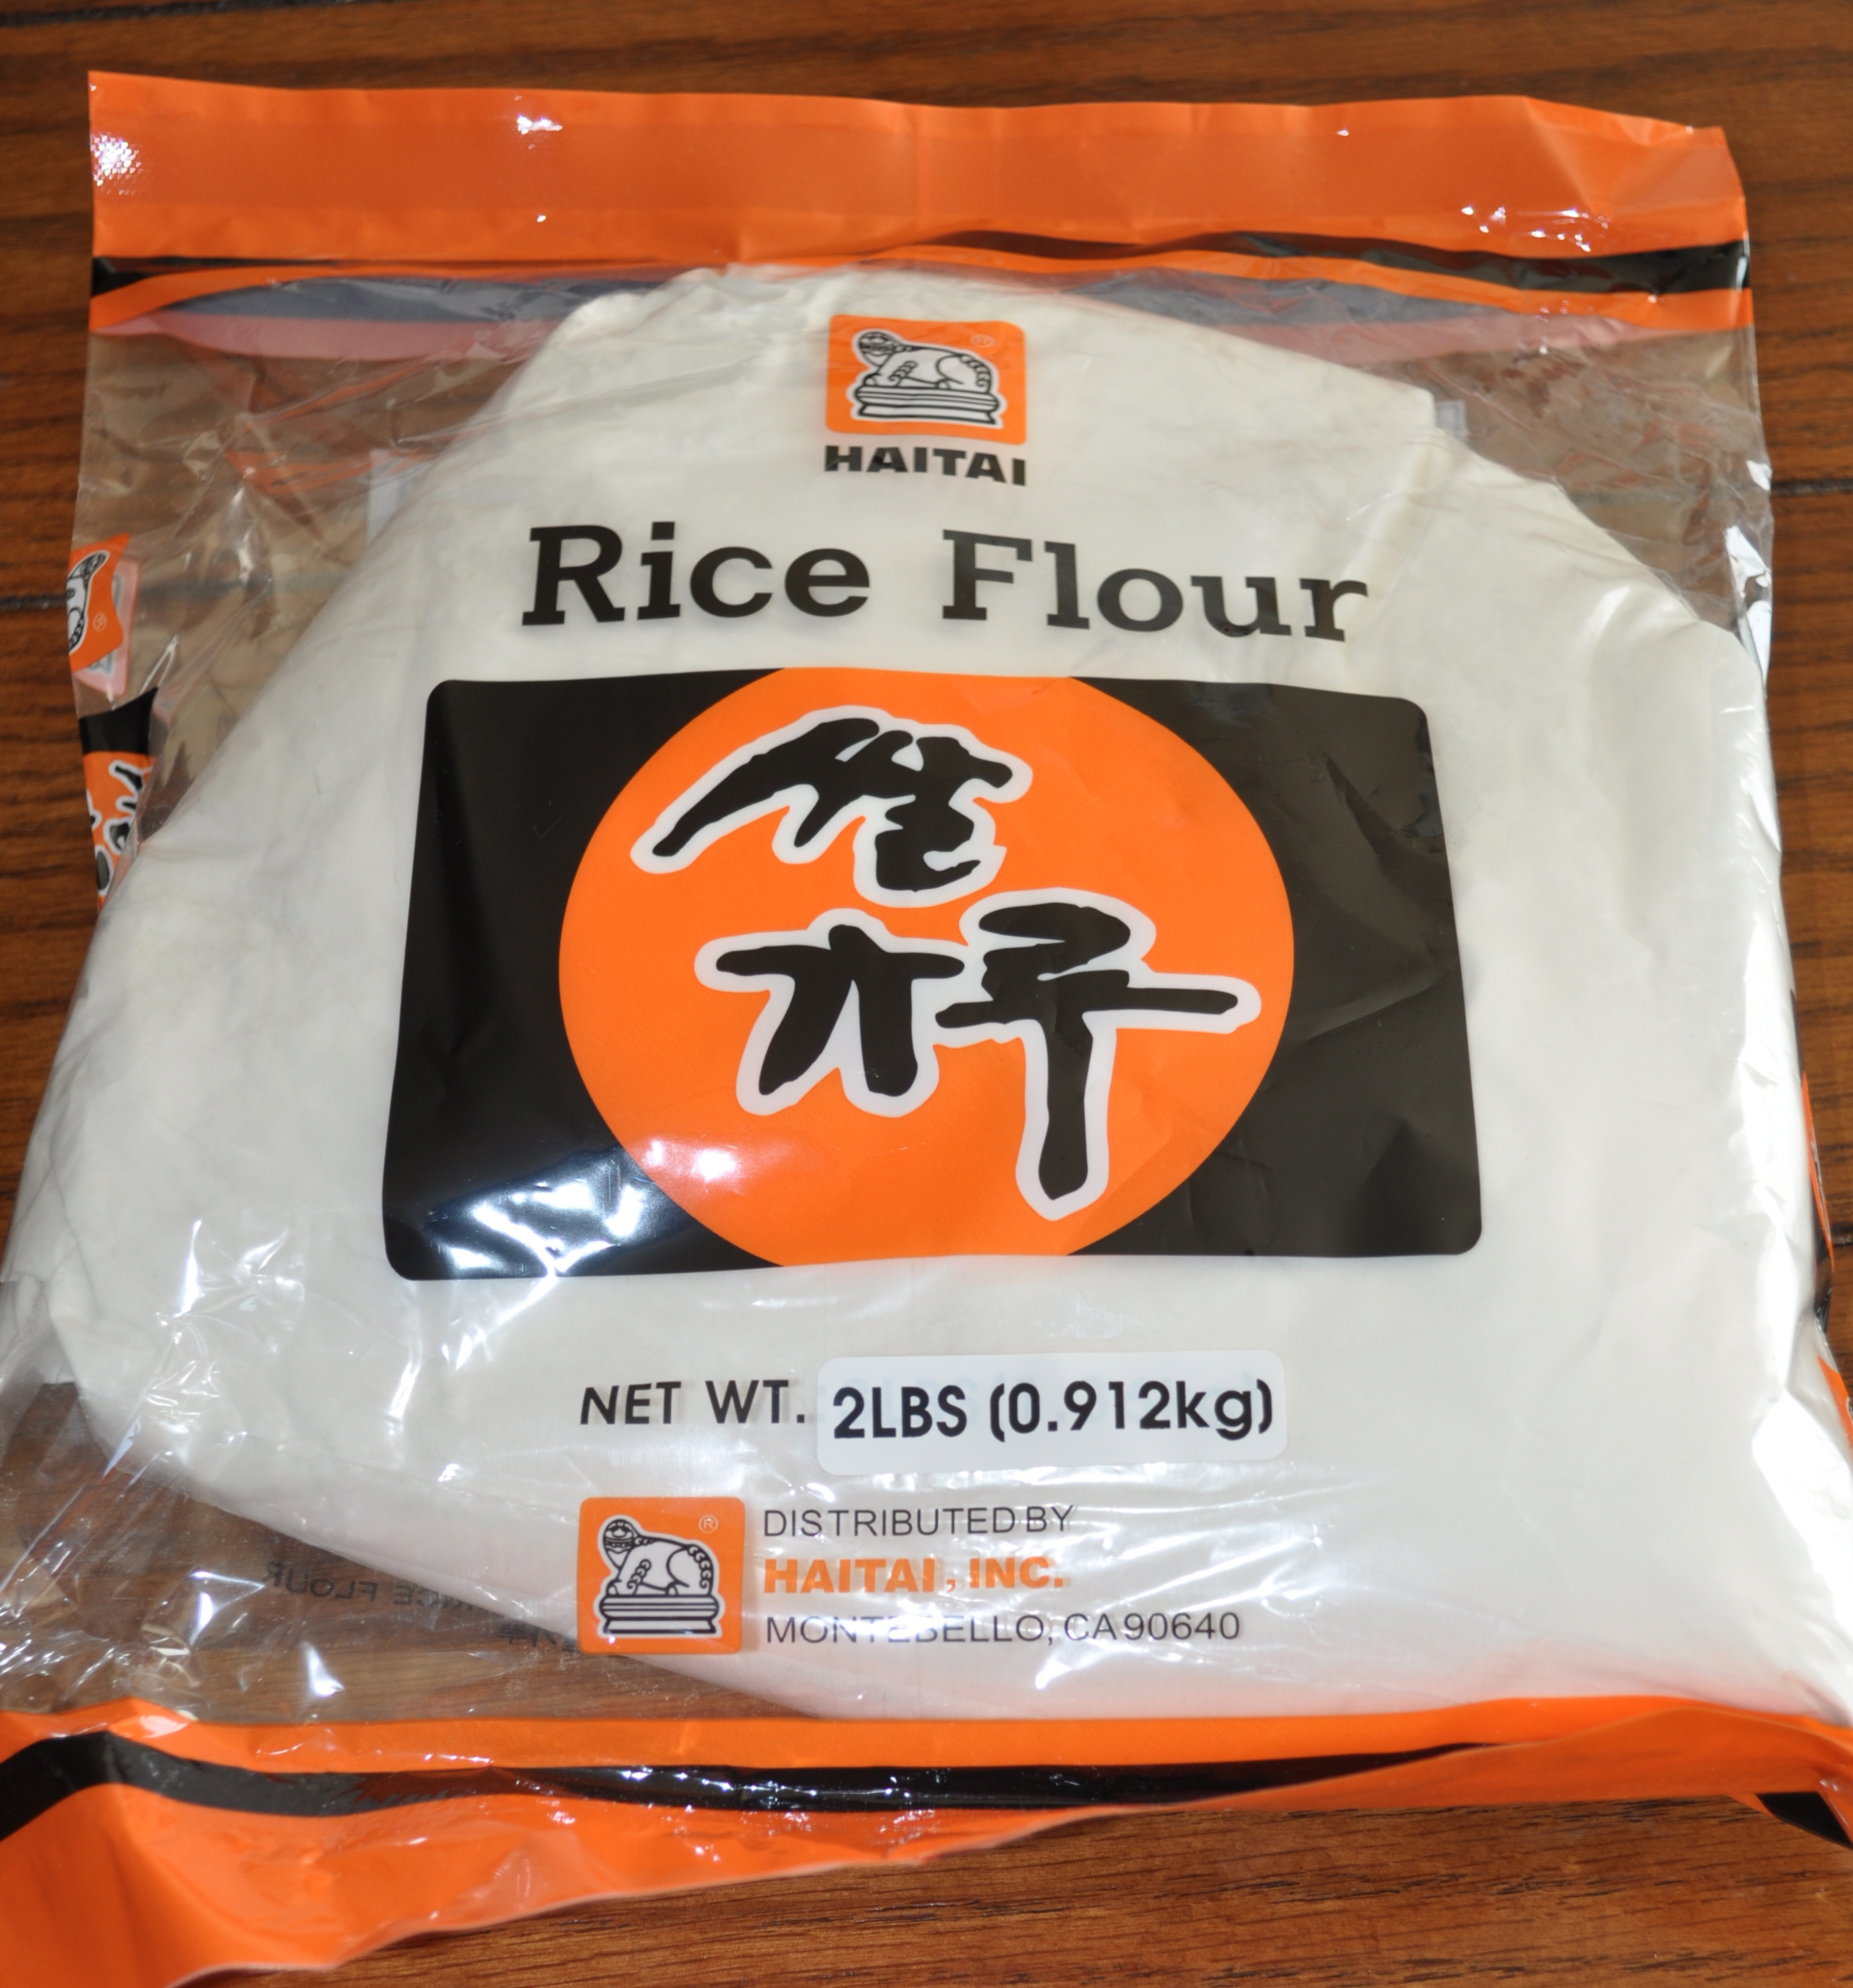 You’ll need to find rice flour that is NOT glutinous. The label will tell you whether it’s glutinous or not. The glutinous kind will NOT work for potu. Glutinous rice flour is made by grinding sweet rice, which is very sticky when cooked. The NON-glutinous rice flour (the kind you need for potu) is made by grinding short or medium-grain rice.
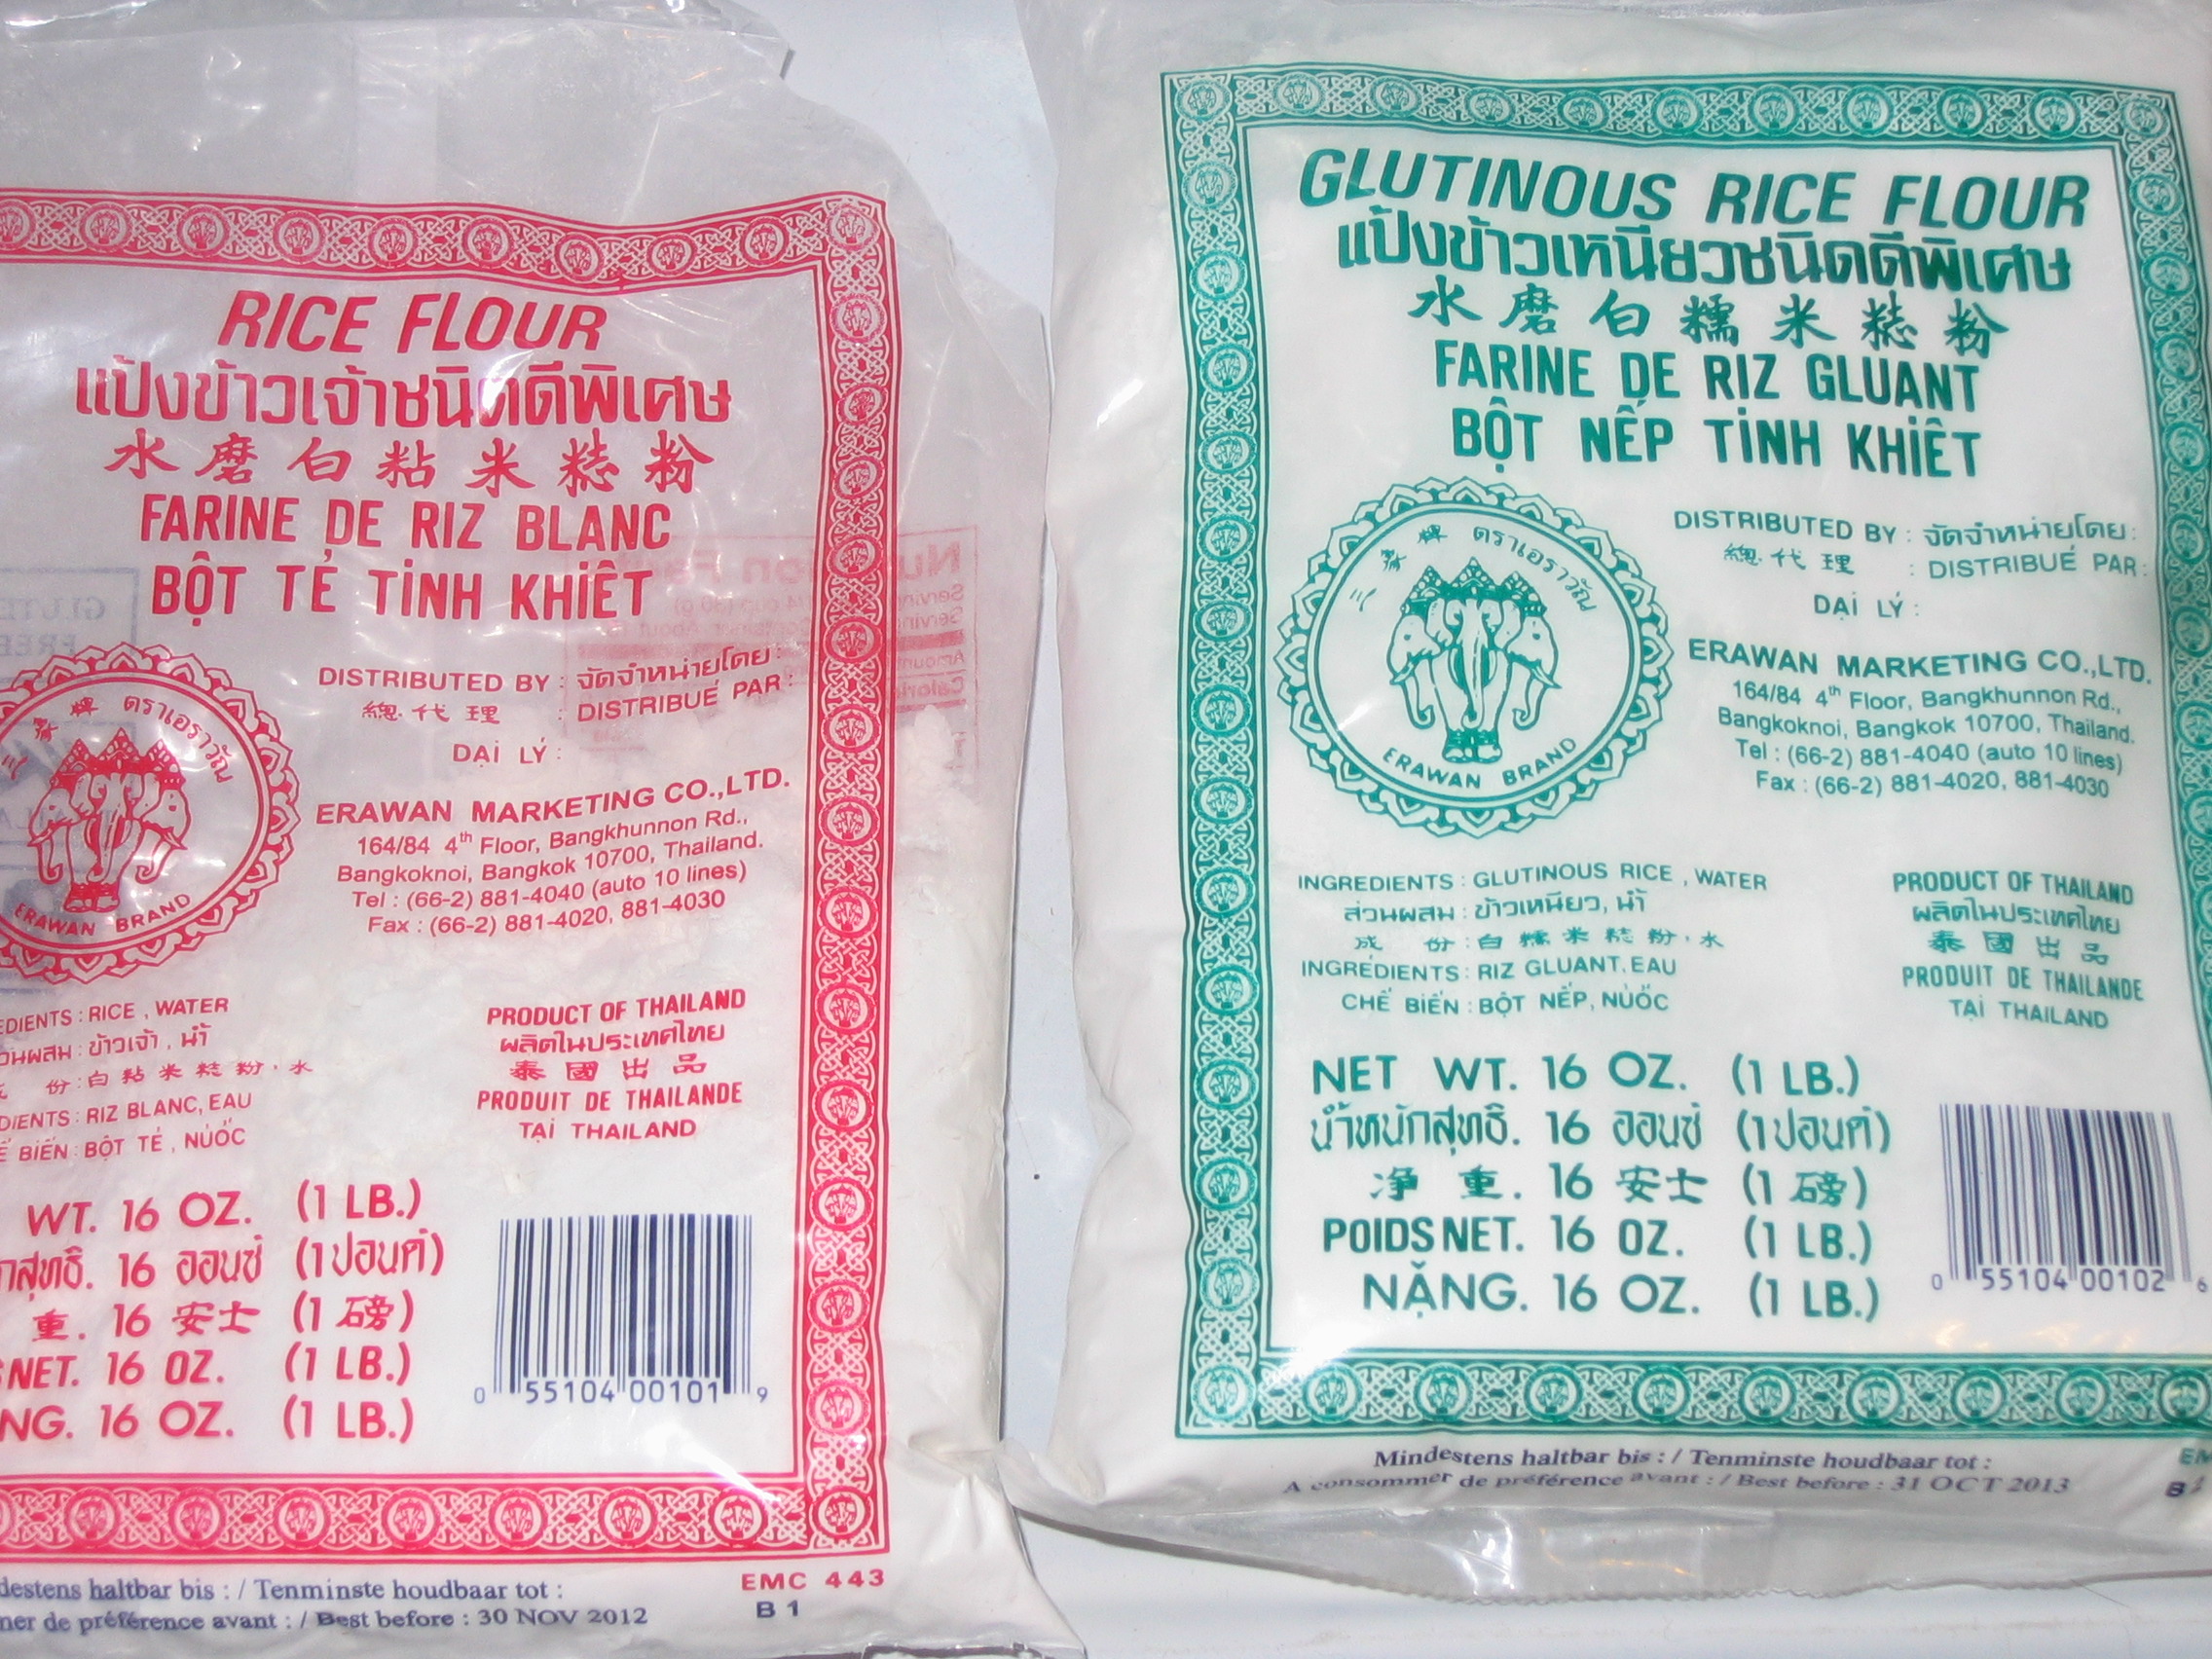
 As I mentioned above, tuba is not available here in the states, unless you have a friend or family member visiting from home bring you some. An easy substitute for tuba in this recipe is coconut vinegar. You only need a little bit of vinegar. Judy’s recipe calls for four tablespoons mixed with enough water to make one cup of liquid. I actually cut the amount of vinegar in half because it’s quite pungent. This is the brand of coconut vinegar I use.