Archive for October 26, 2014

Thai BBQ Pork

My Thai BBQ Pork is one recipe you’ll definitely want to try.  The secret is really in the marinade and basting sauce.  Cilantro, soy sauce, lots of garlic and fish sauce form the base for this yummy marinade.  Lime juice not only adds wonderful flavor to the meat, but the acid also serves to break down the meat, allowing the marinade to work its magic.

image

The basting sauce, a mixture of rich coconut milk and some of the reserved marinade mixture gives you an added layer of flavor.  The heat from the grill caramelizes the basting sauce as the meat cooks, creating beautifully browned and juicy pork with a slightly sweet and savory coating.

image

Now that I’ve got you drooling, here’s how to do it.

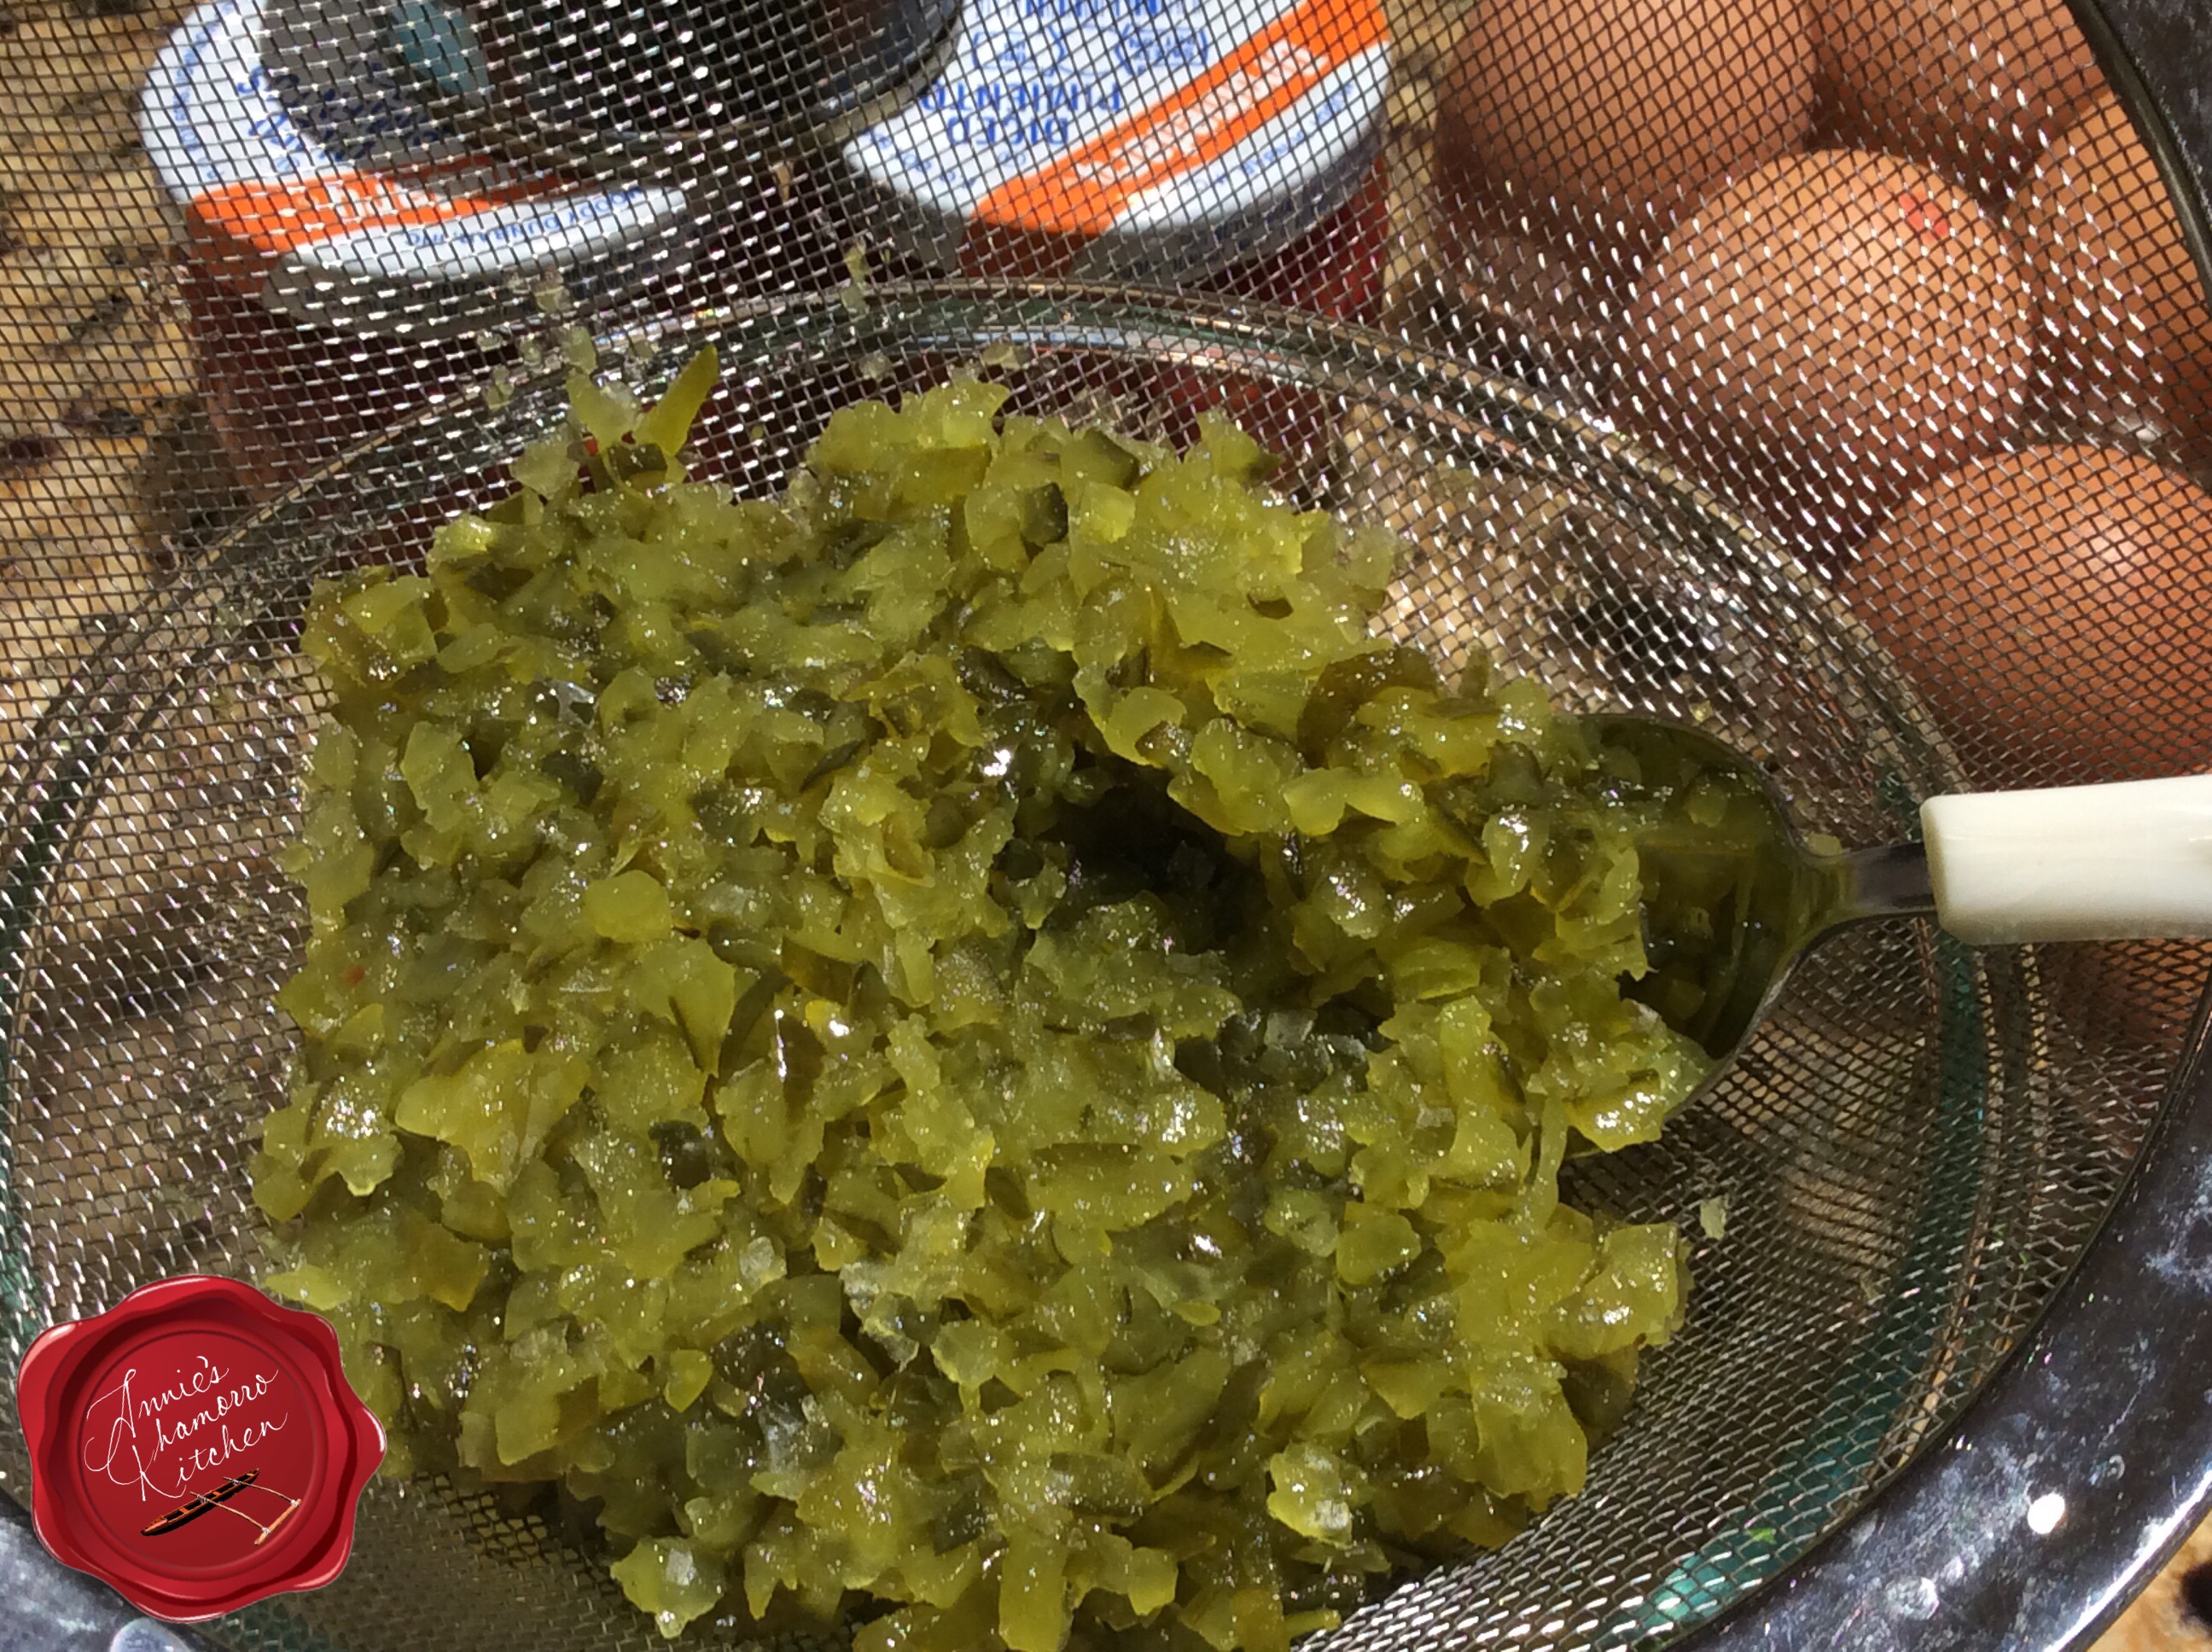
Place the cilantro (leaves AND stems) and garlic in a food processor along with the soy sauce.  You’ll need the liquid in there to help break down the cilantro.

image

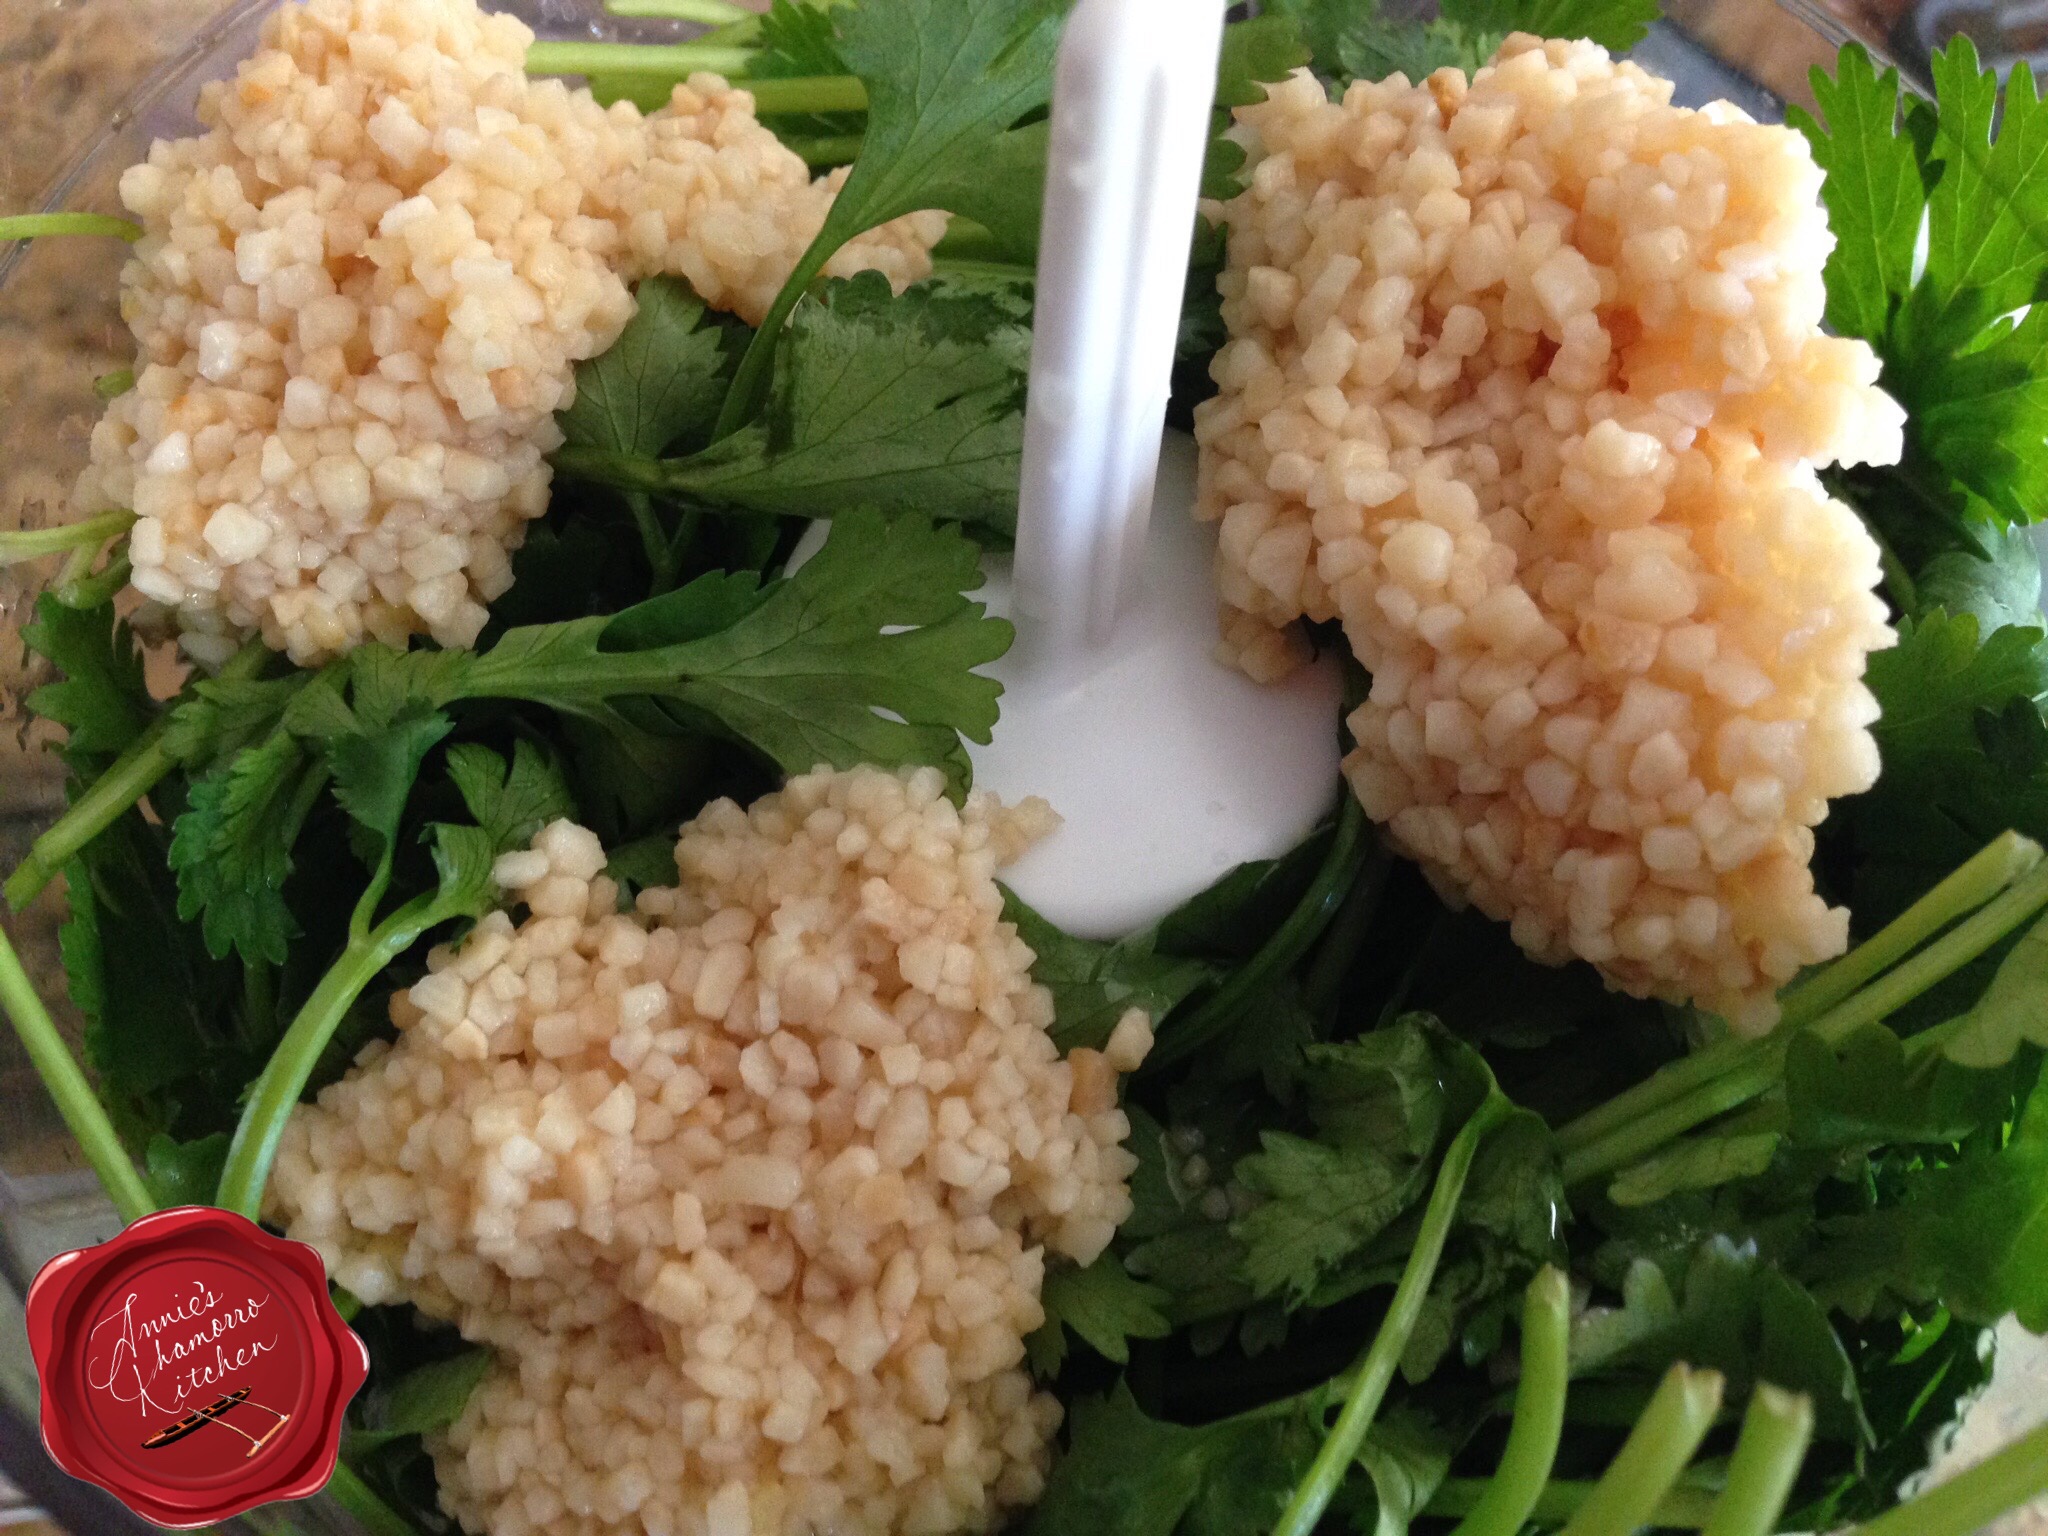
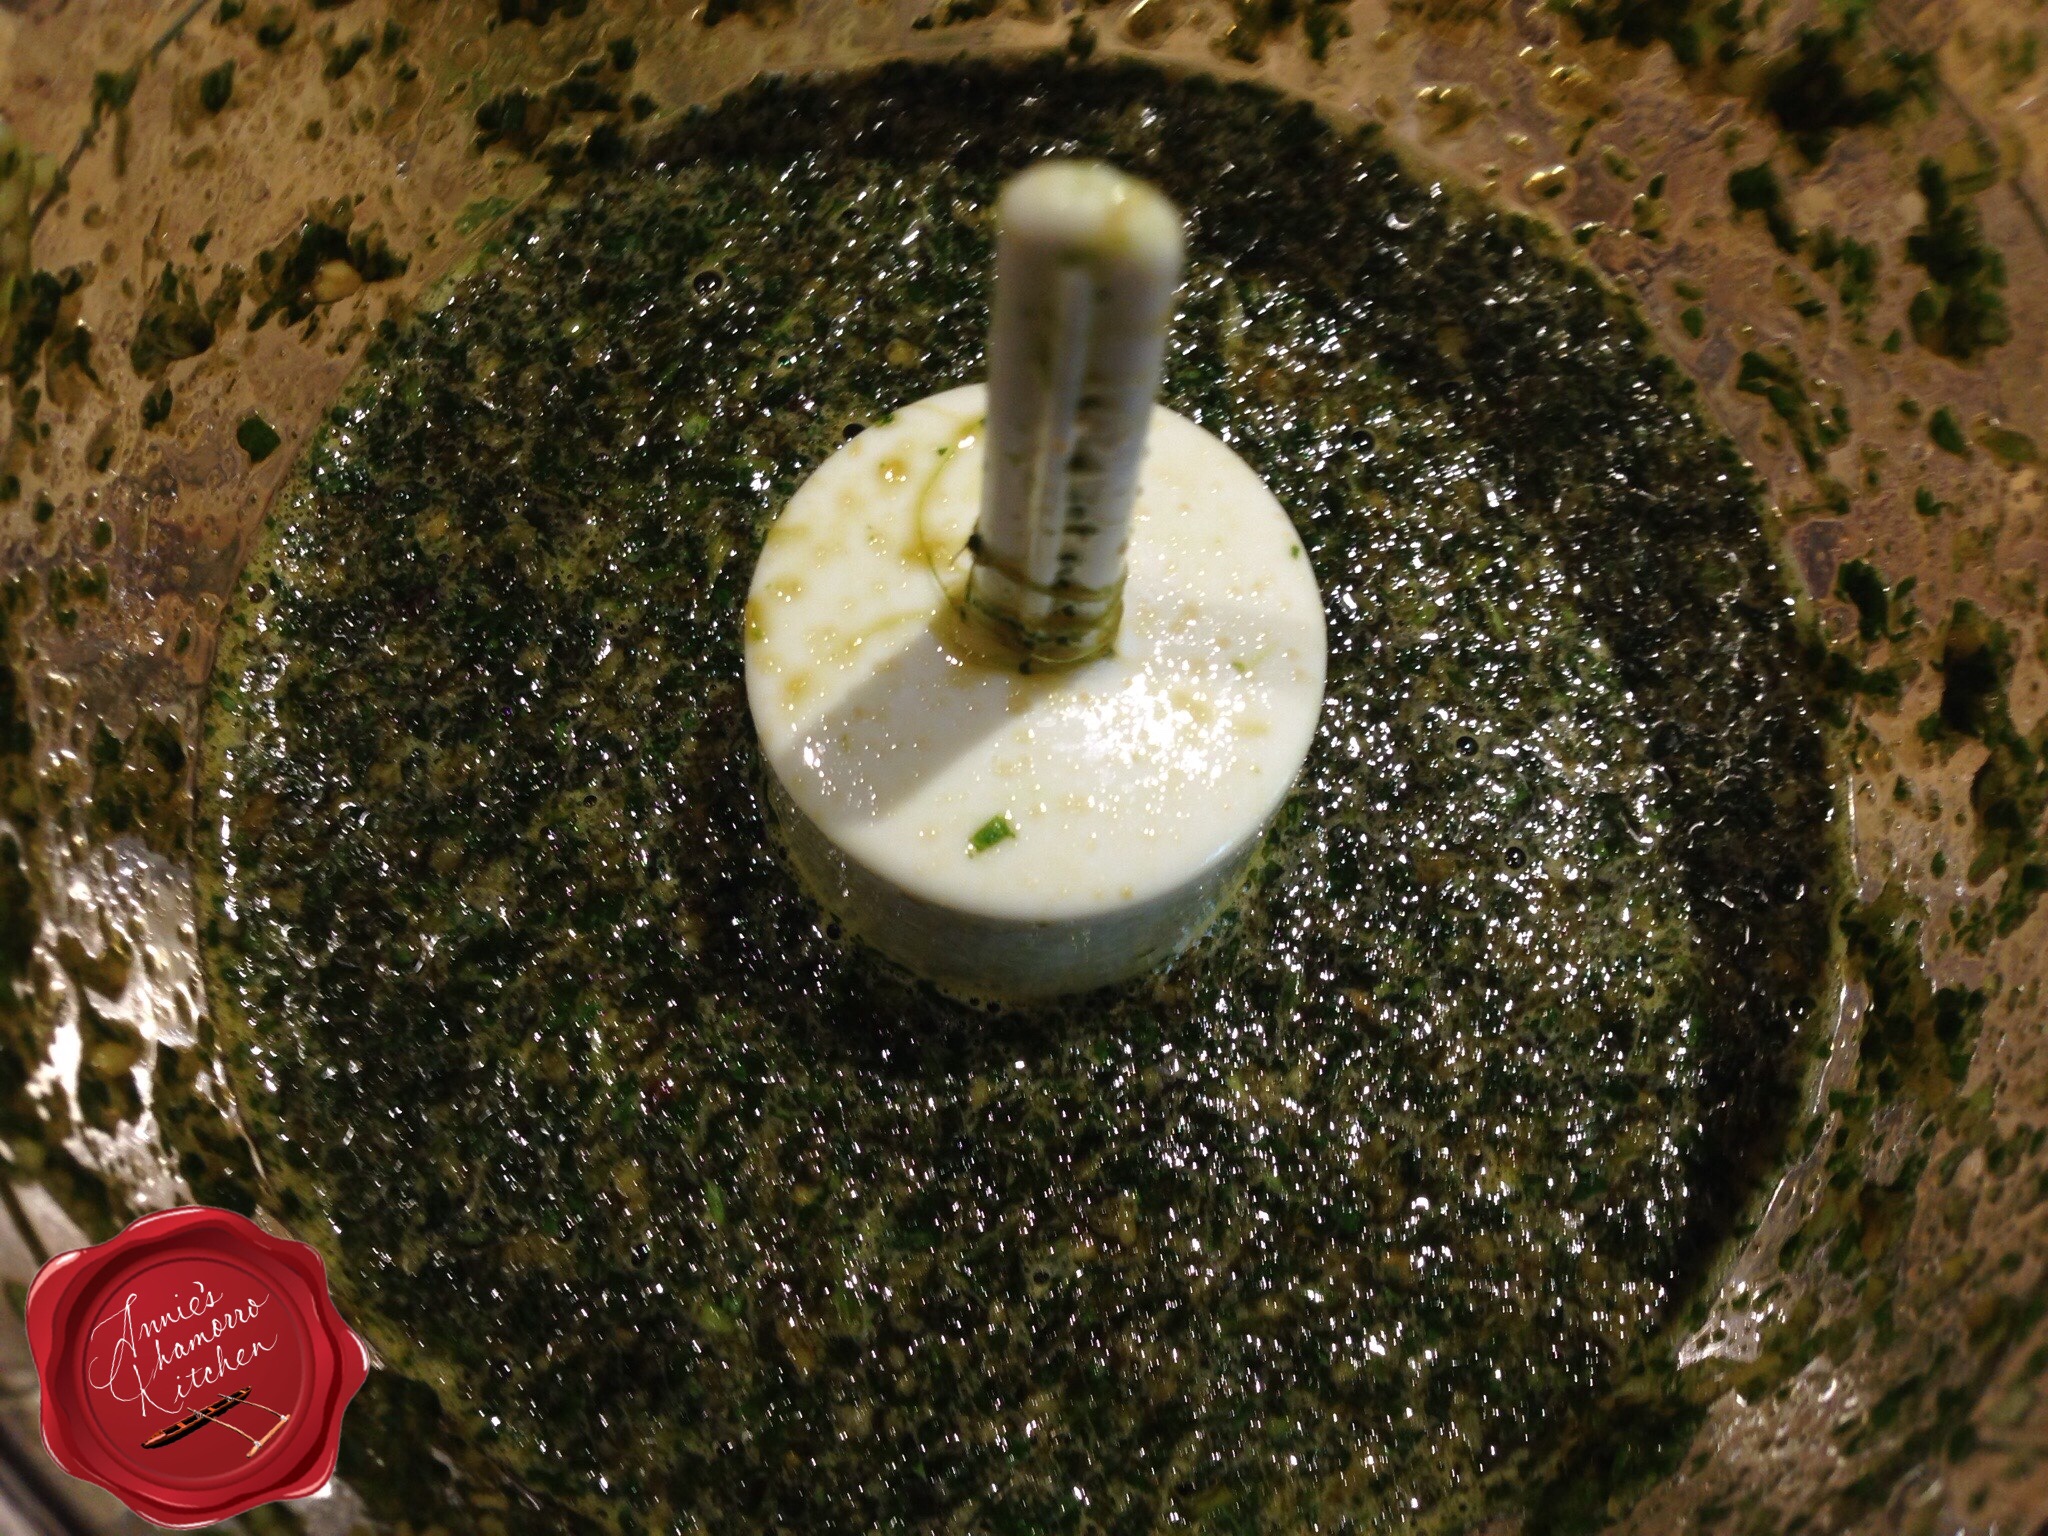
Pulse or grind the mixture until your mixture looks like the photo below.  You want the cilantro chopped as finely as possible.

image

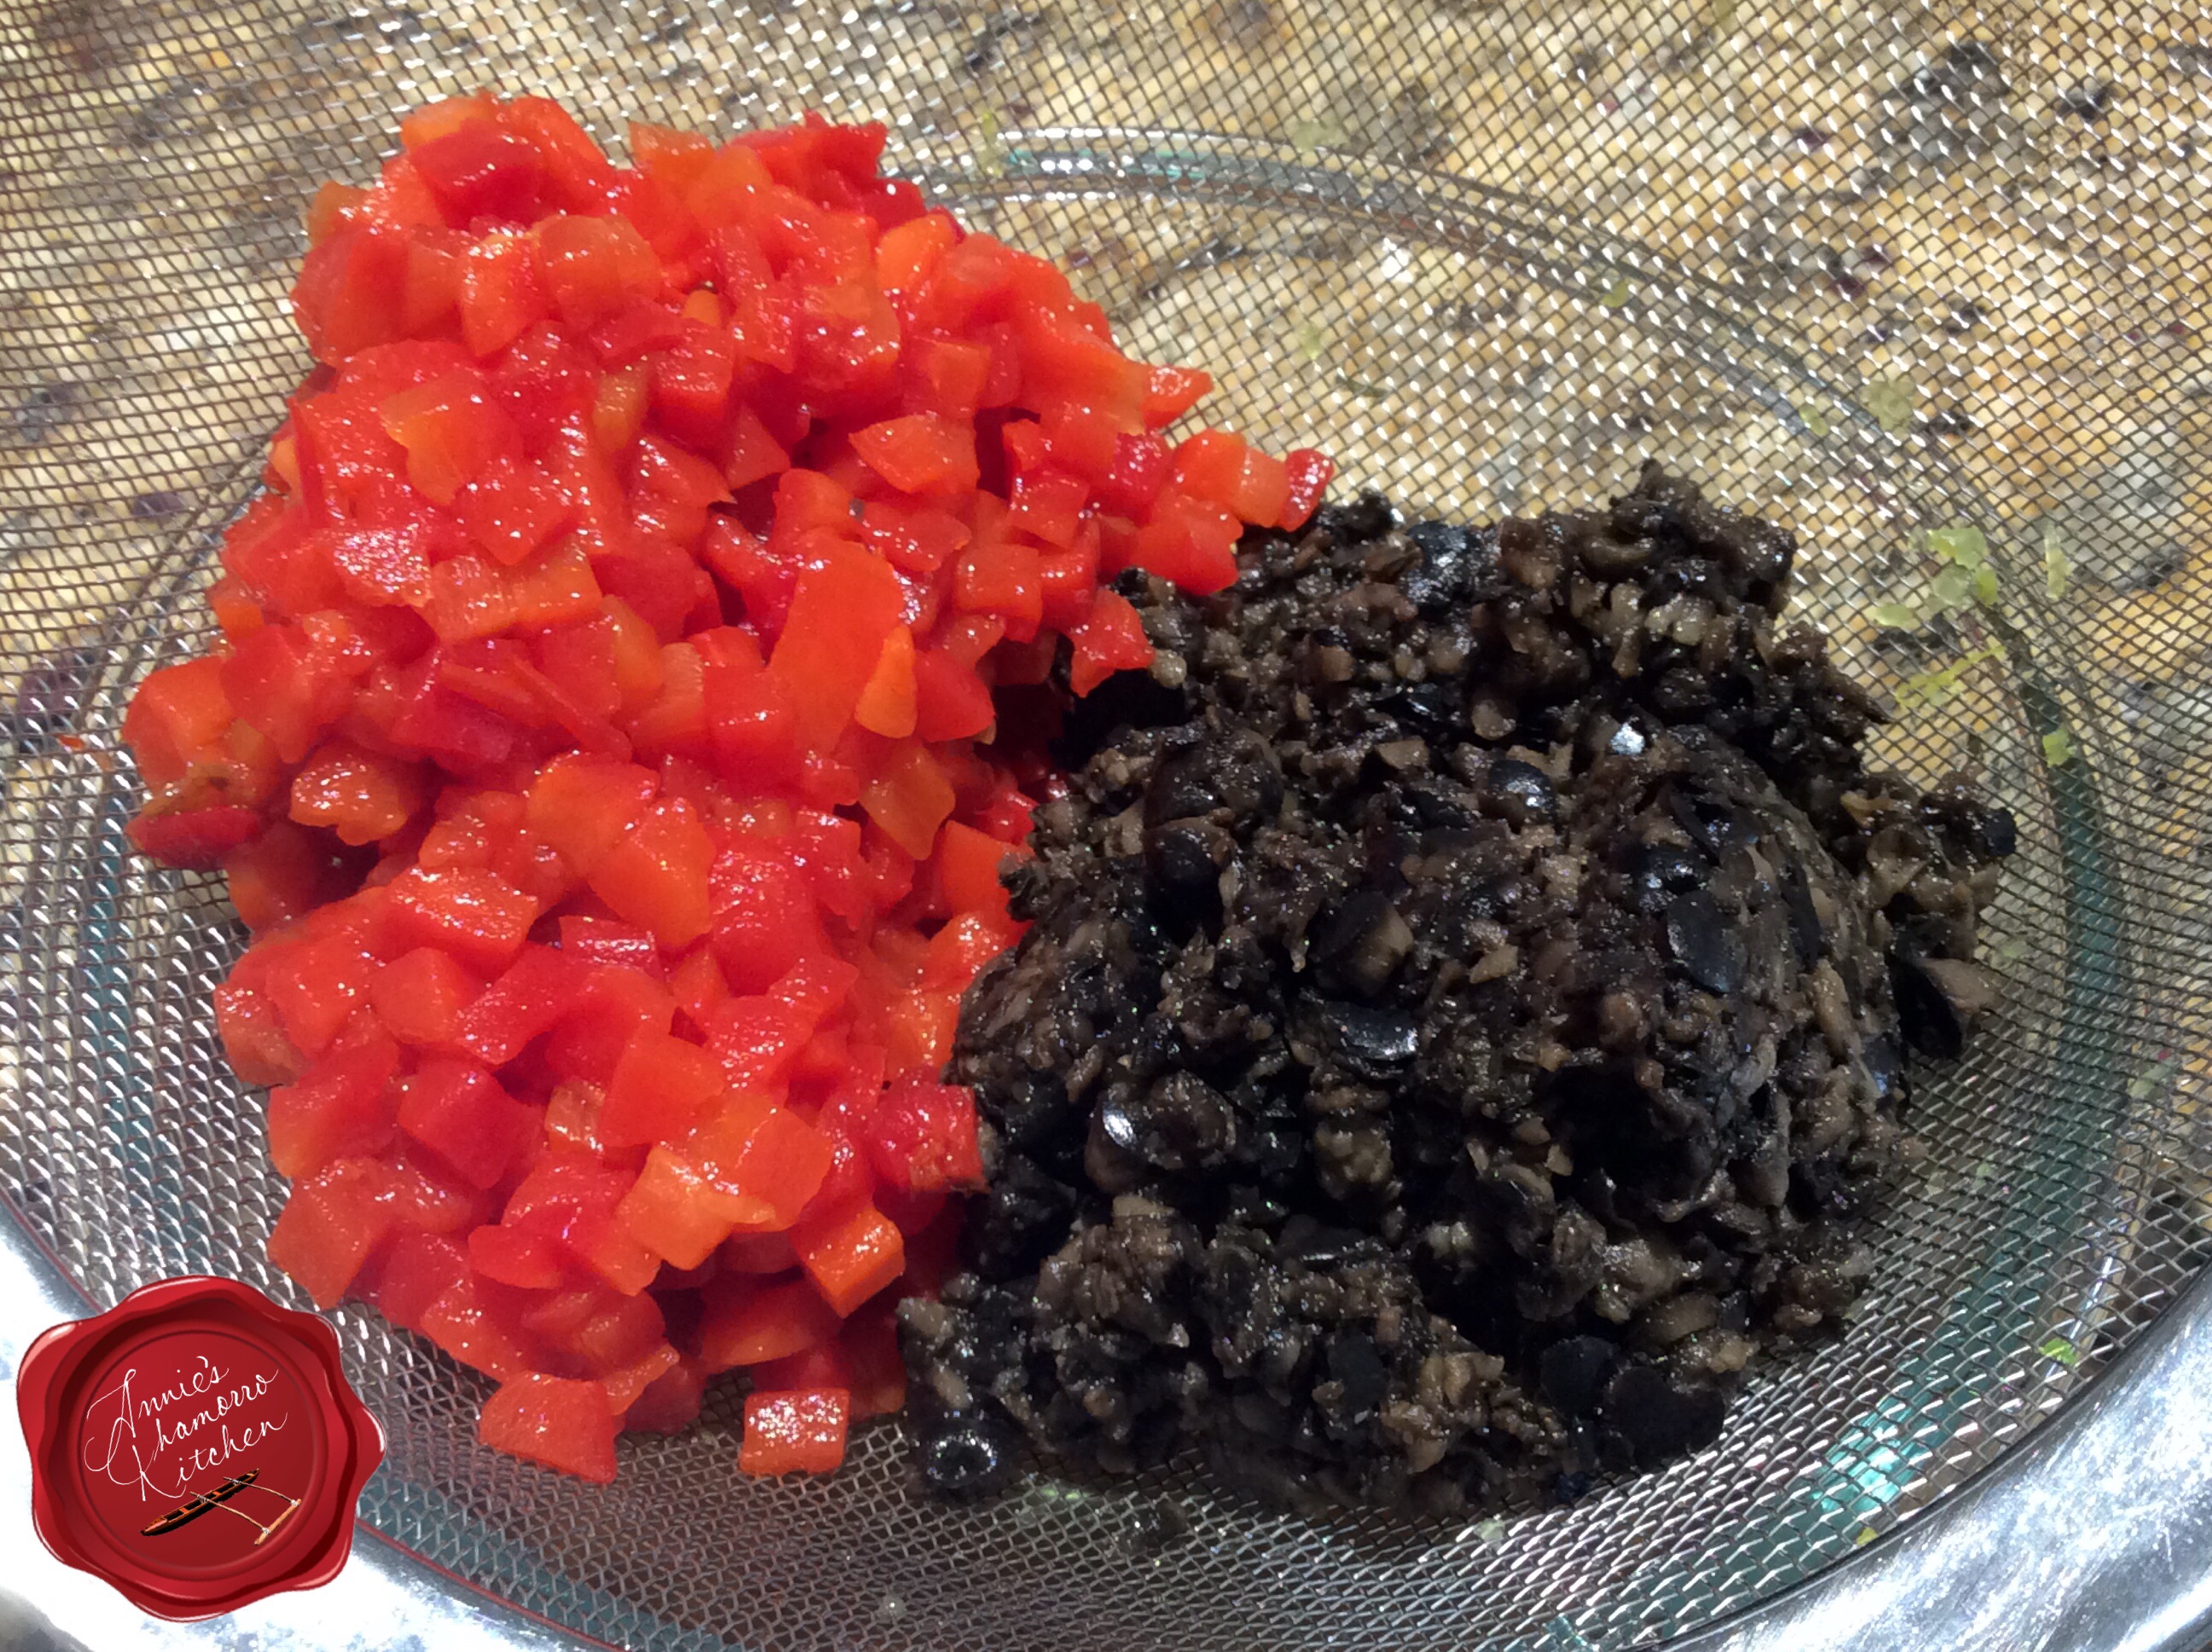
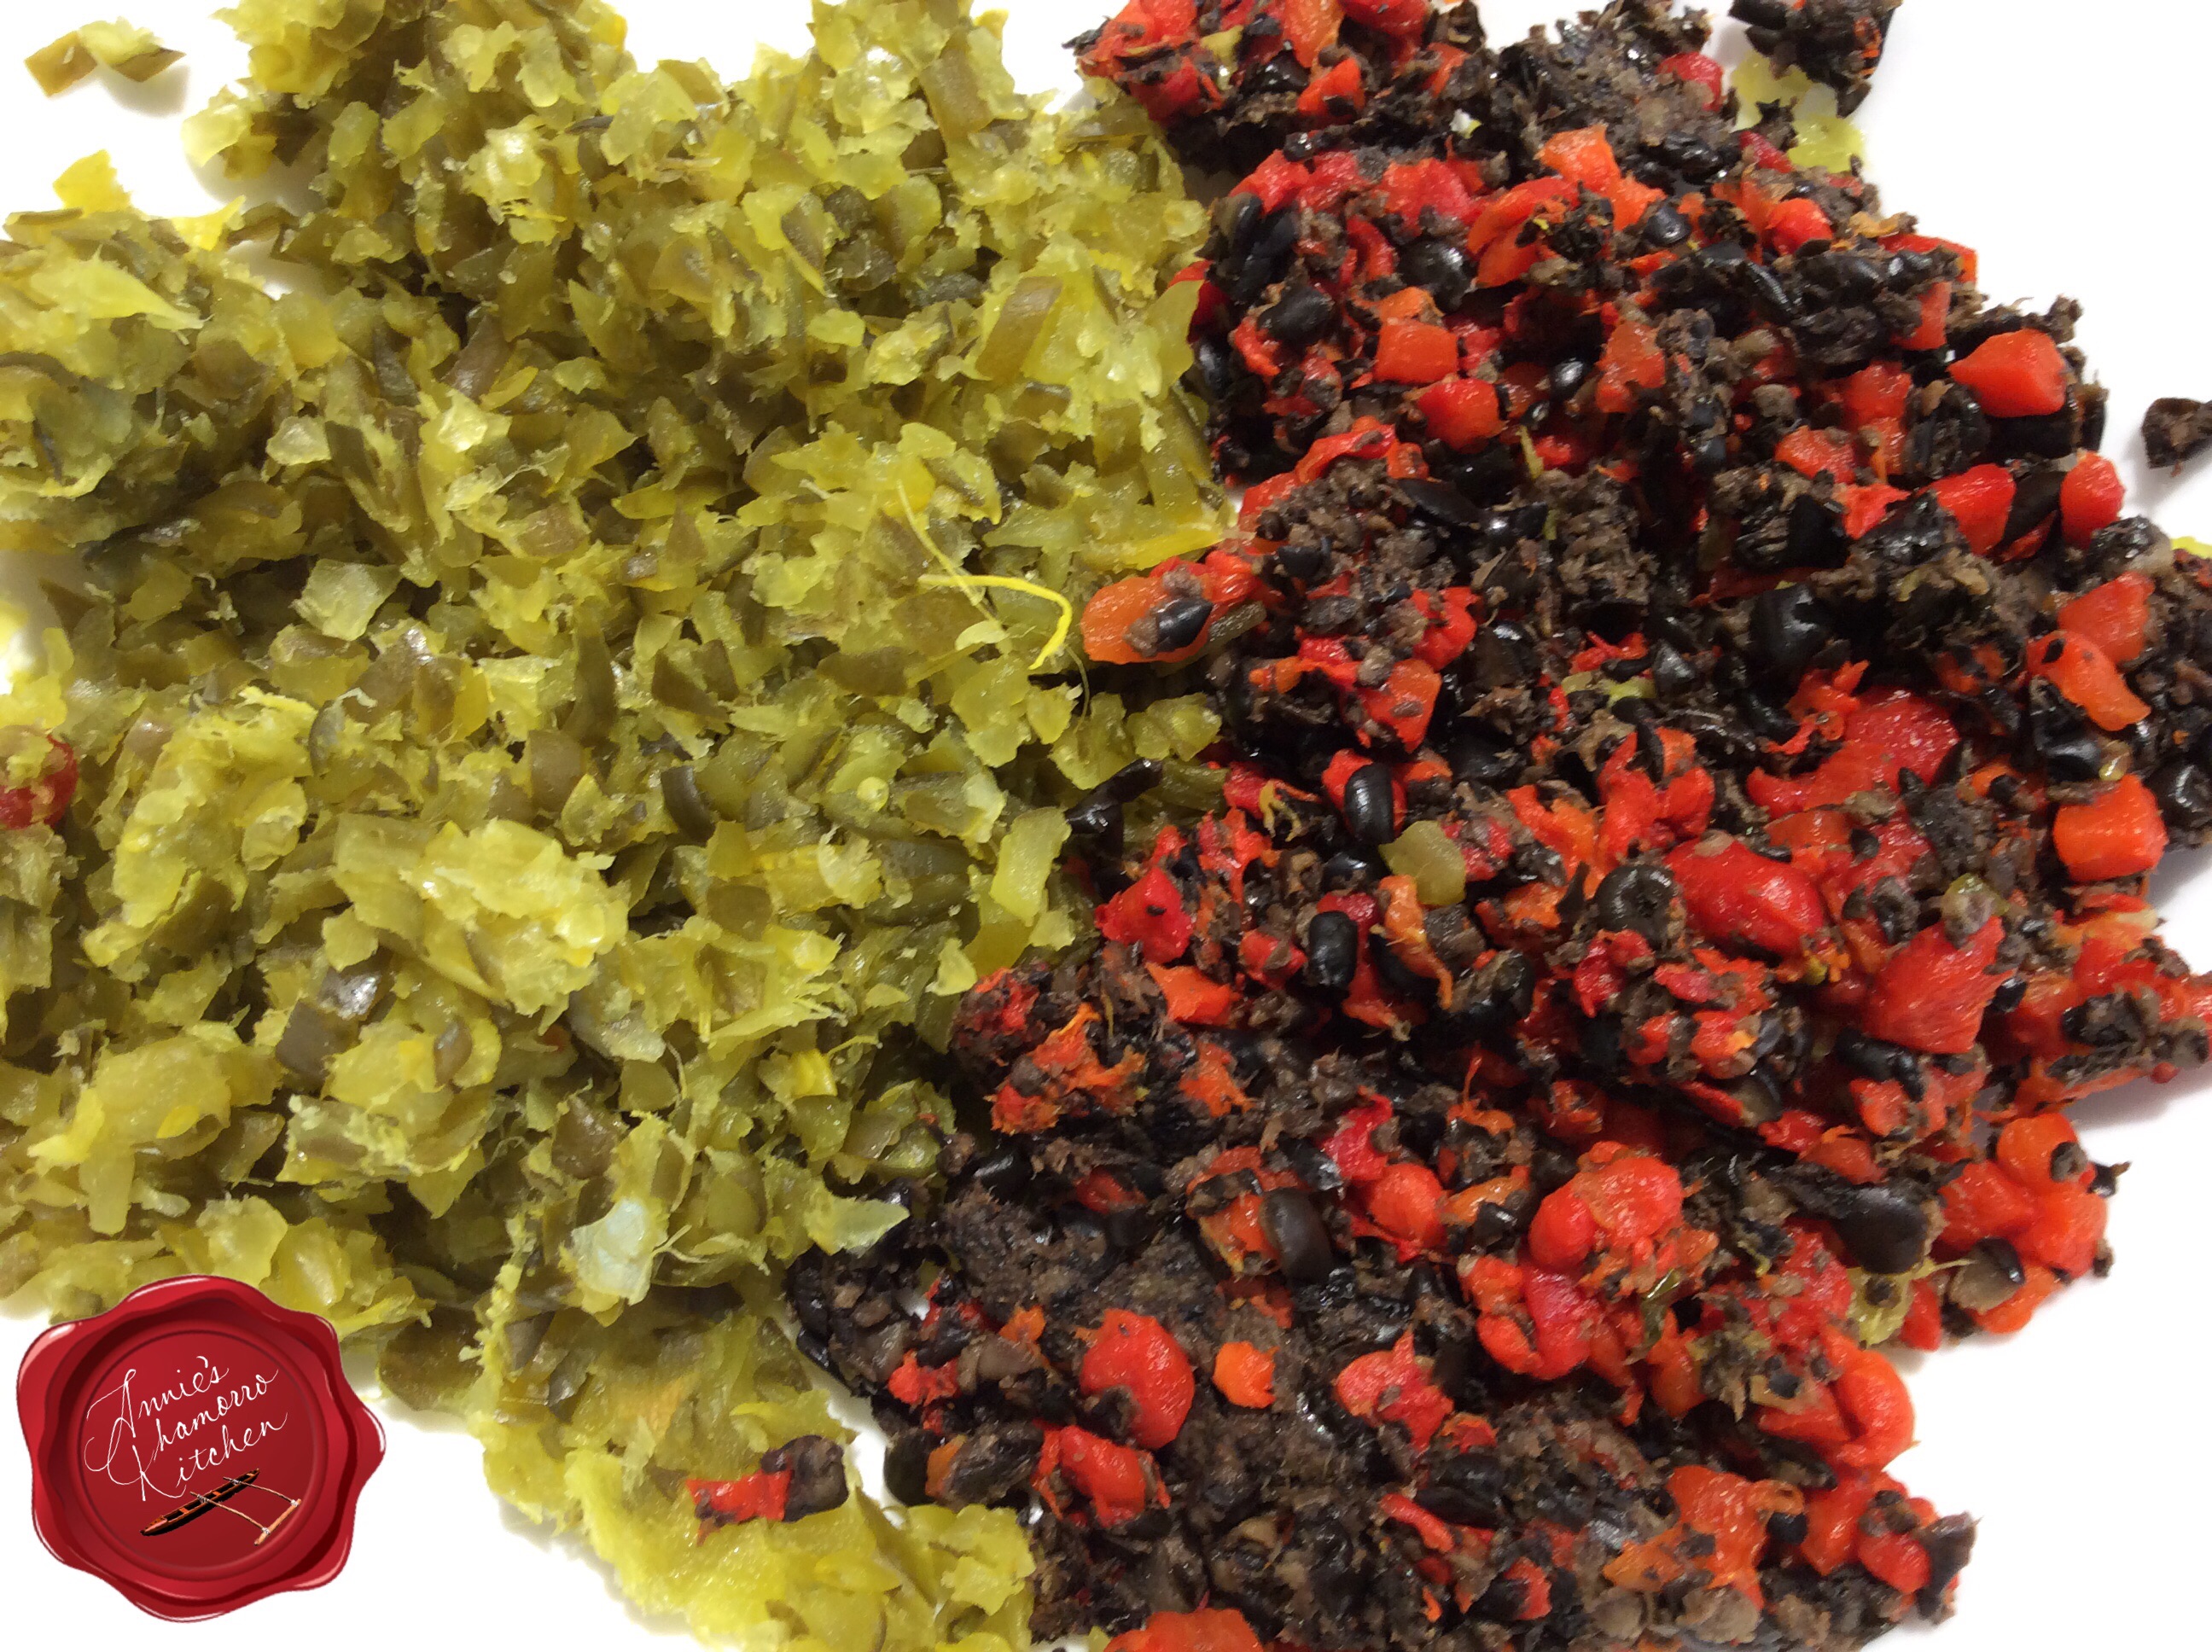
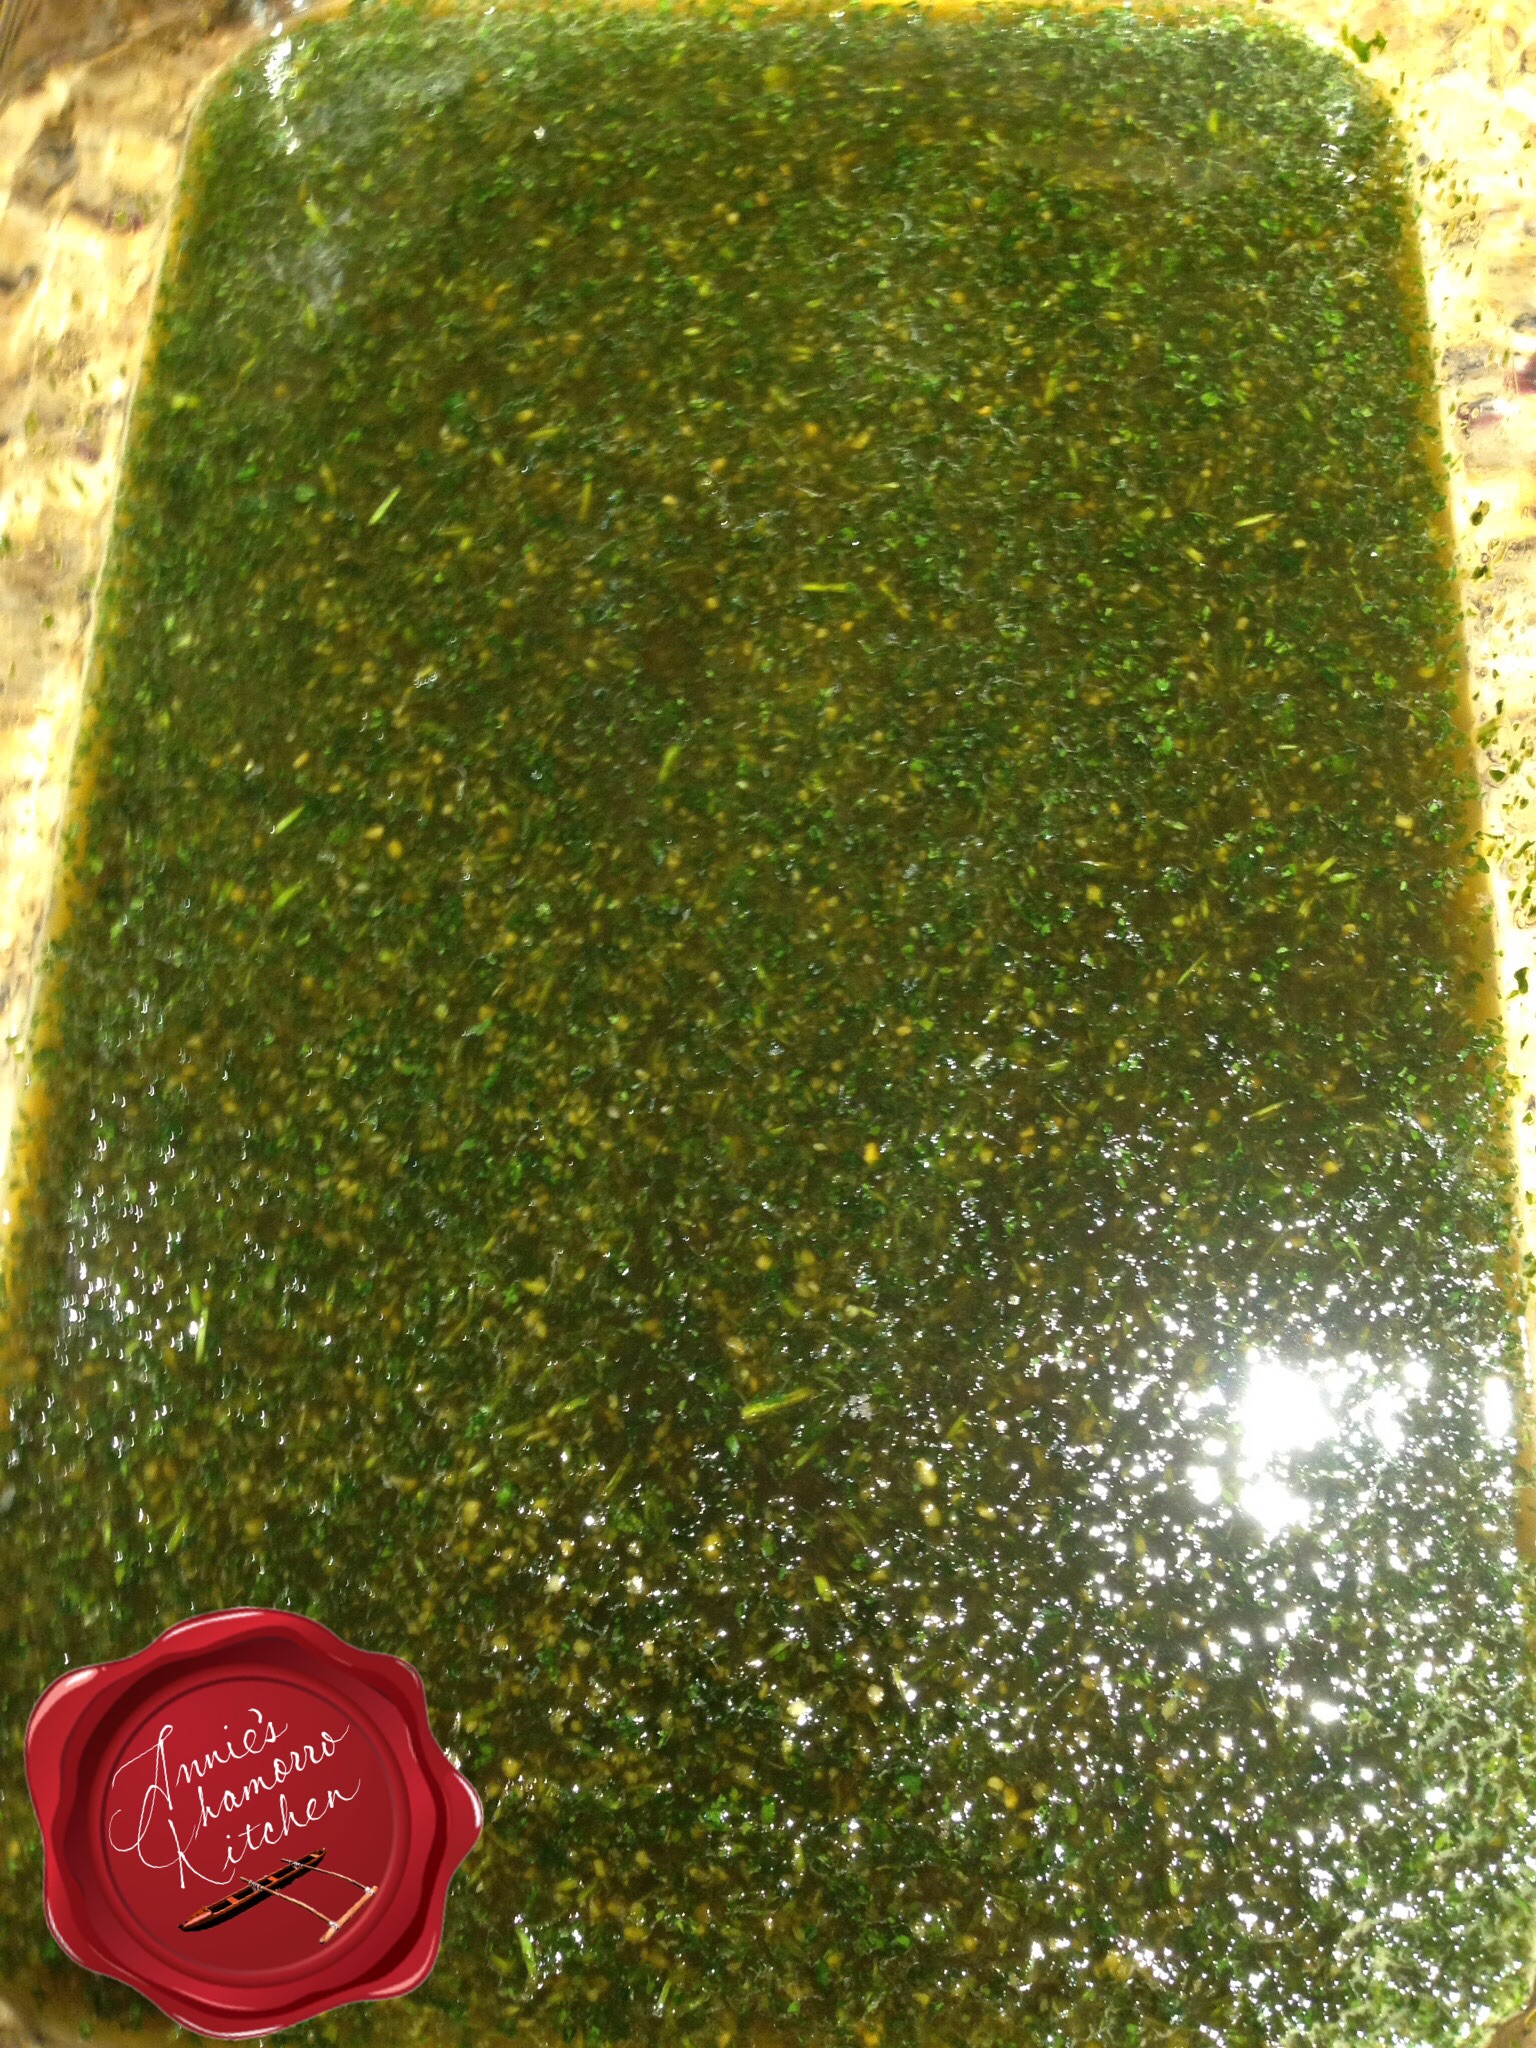
Place the cilantro mixture into a large bowl or pan.  Add the rest of the marinade ingredients to the bowl, stirring to combine it all.

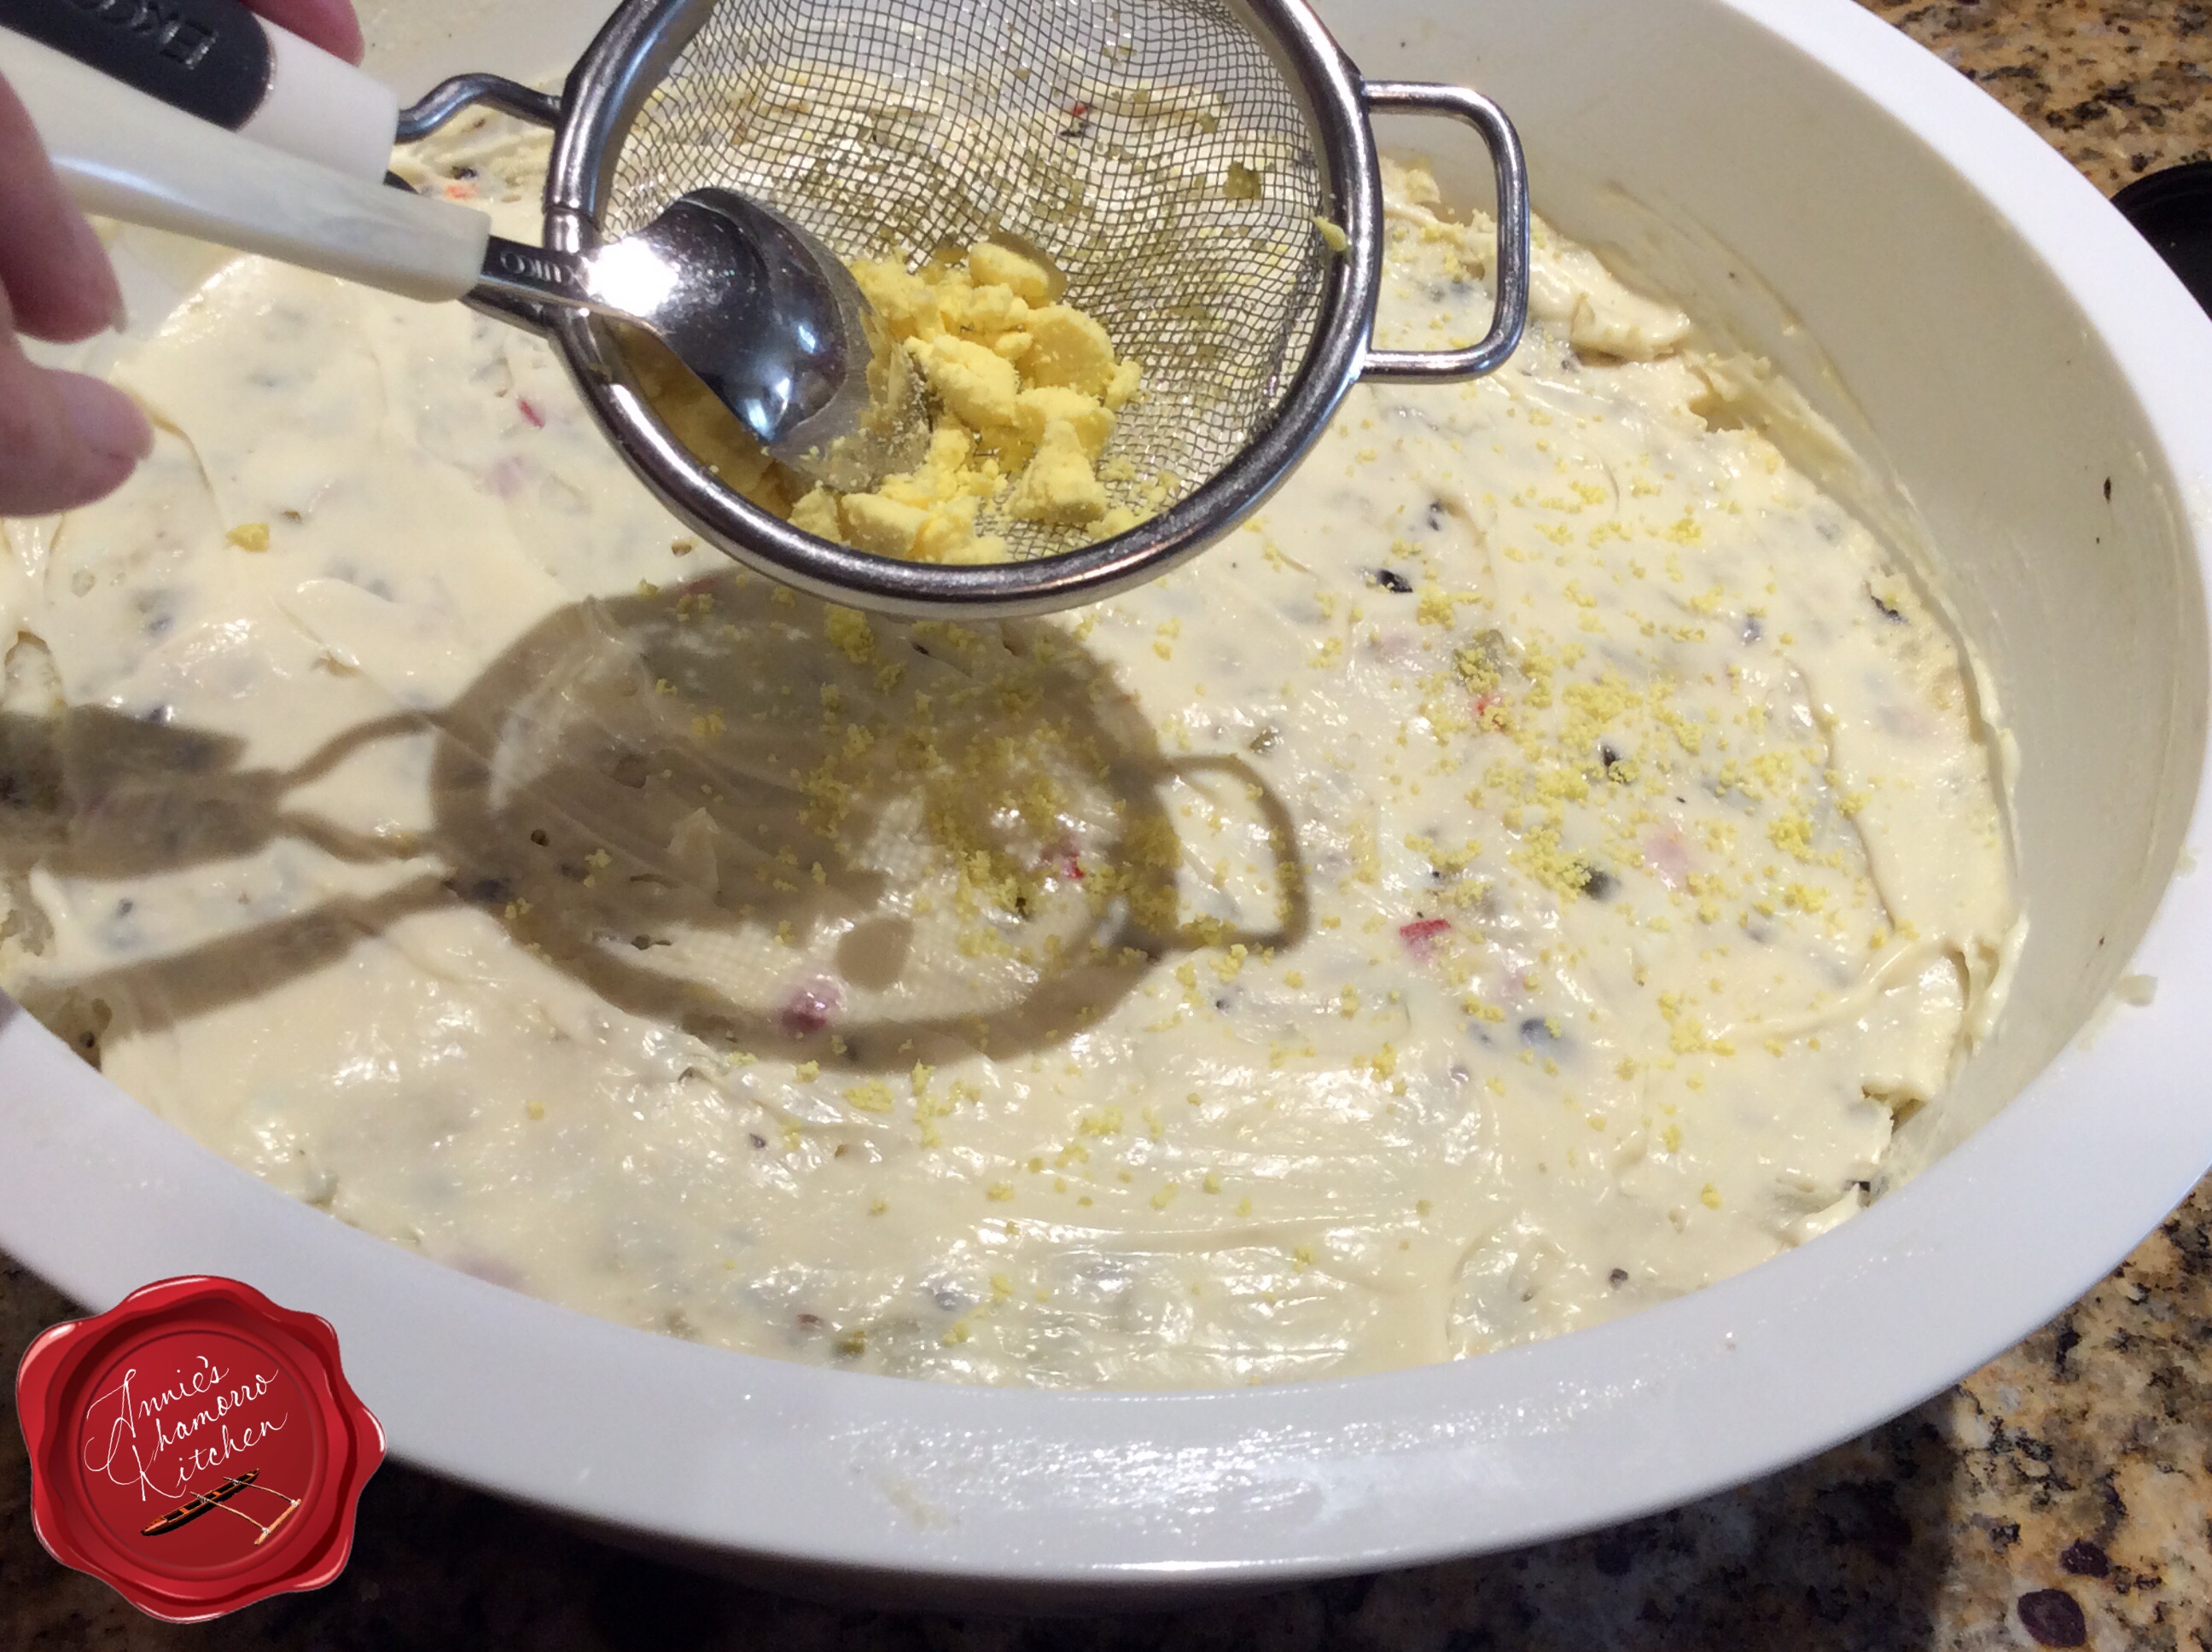
Remove about 1/4 cup of the marinade mixture; place it into a small bowl along with coconut milk. This will be your basting sauce.

image

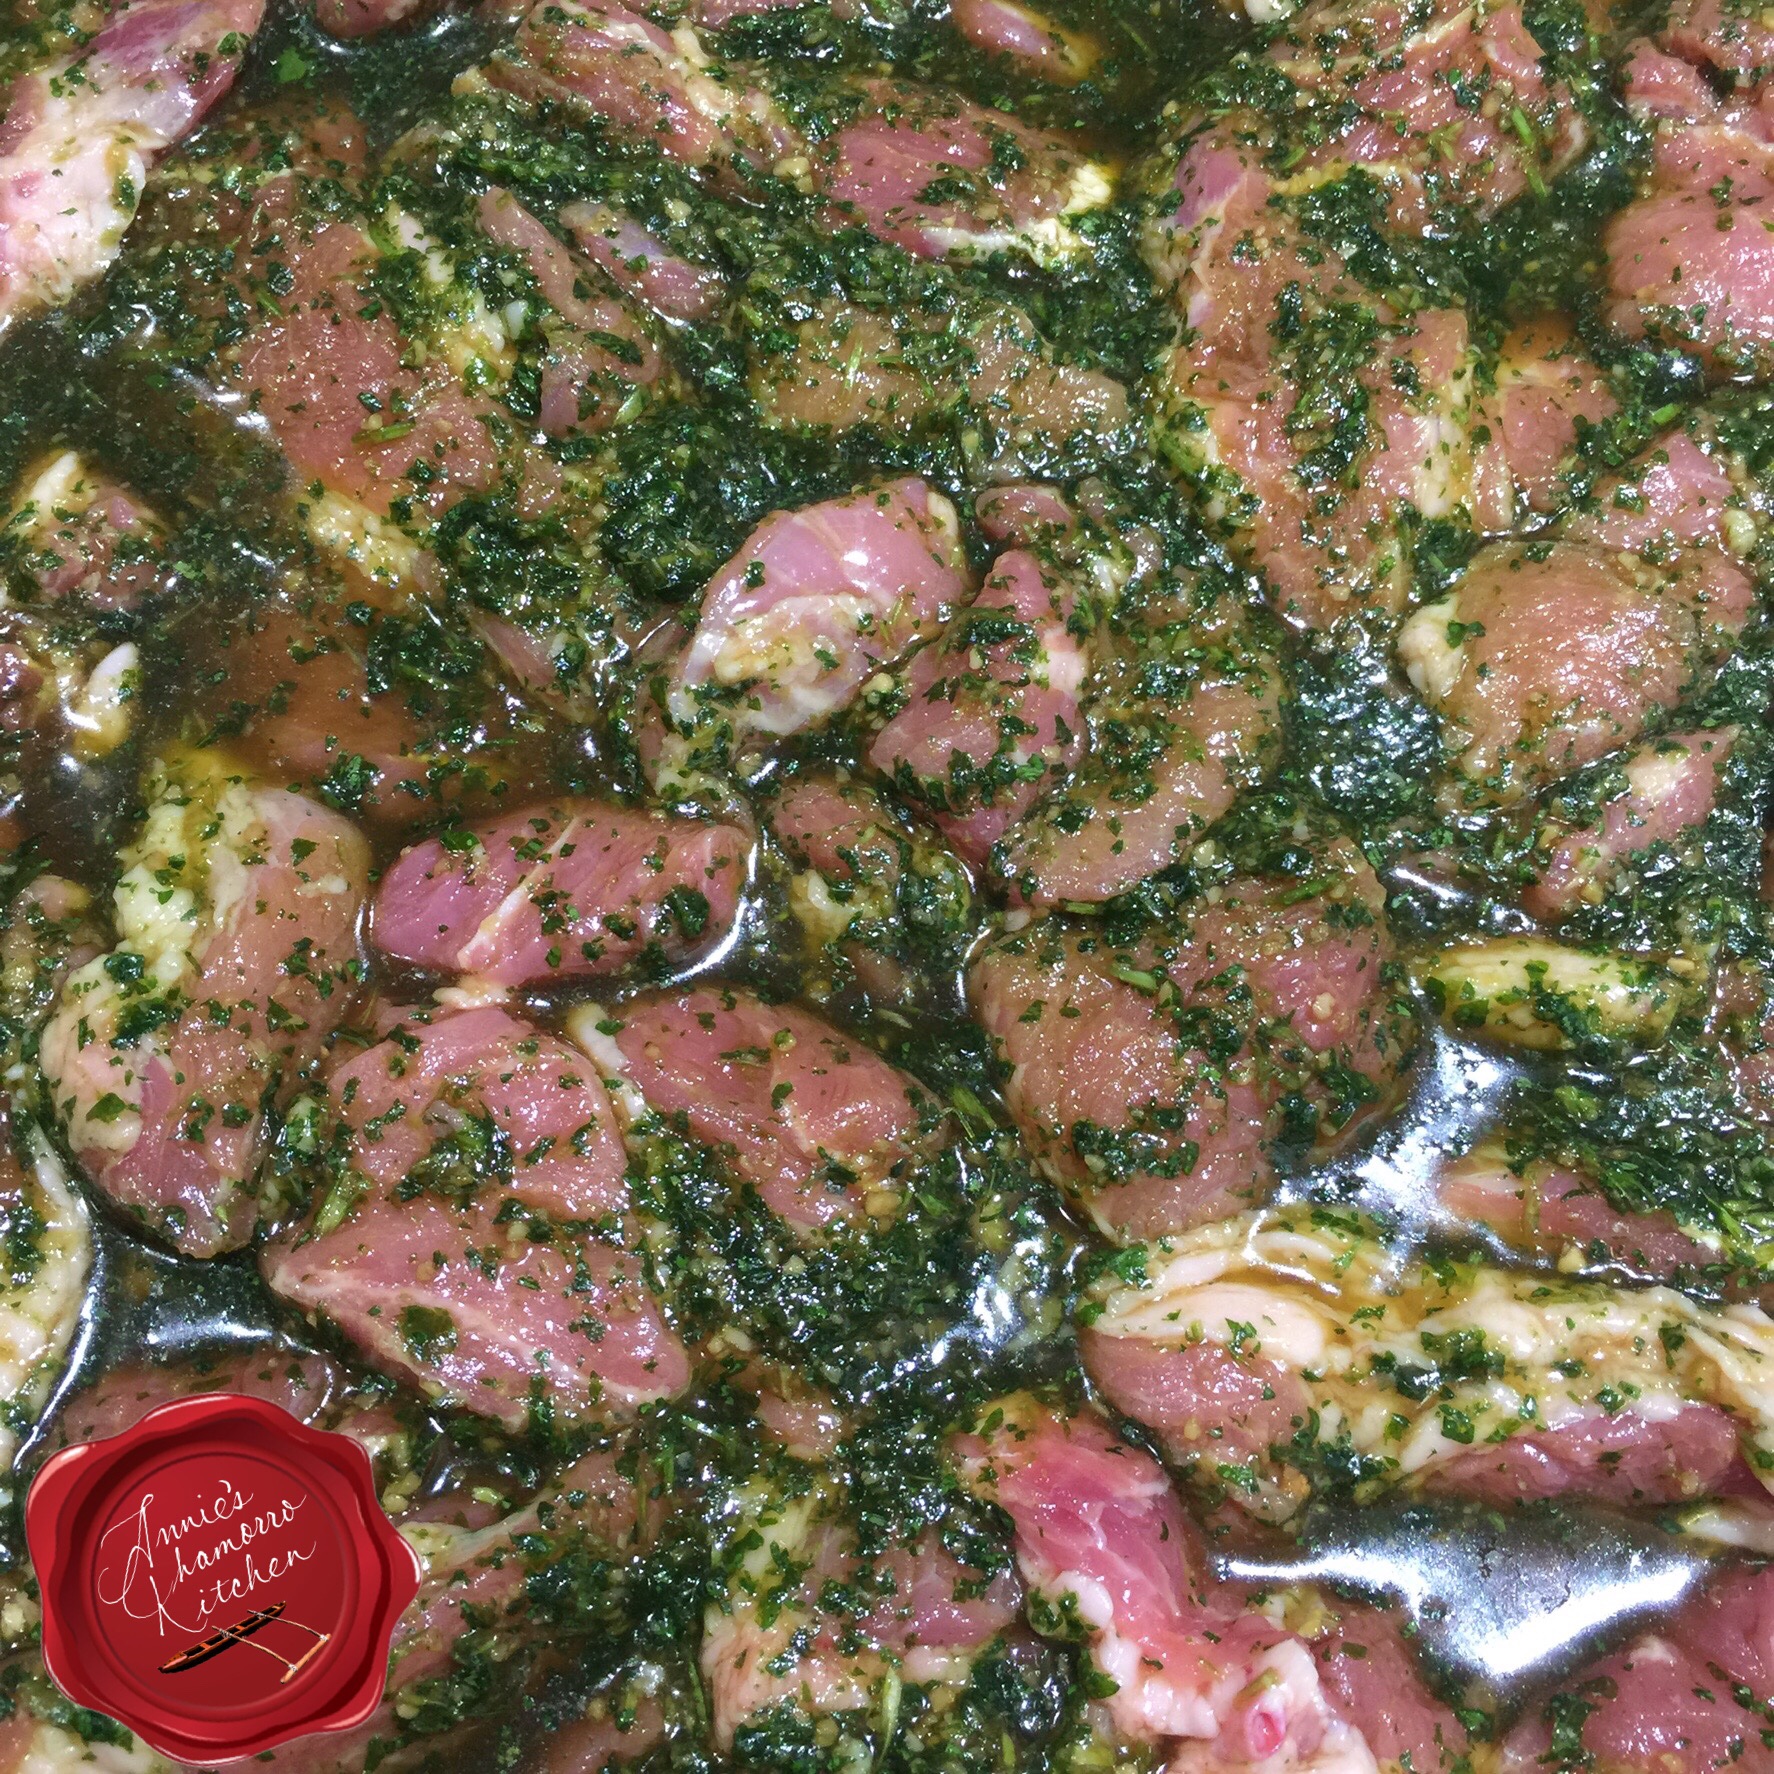
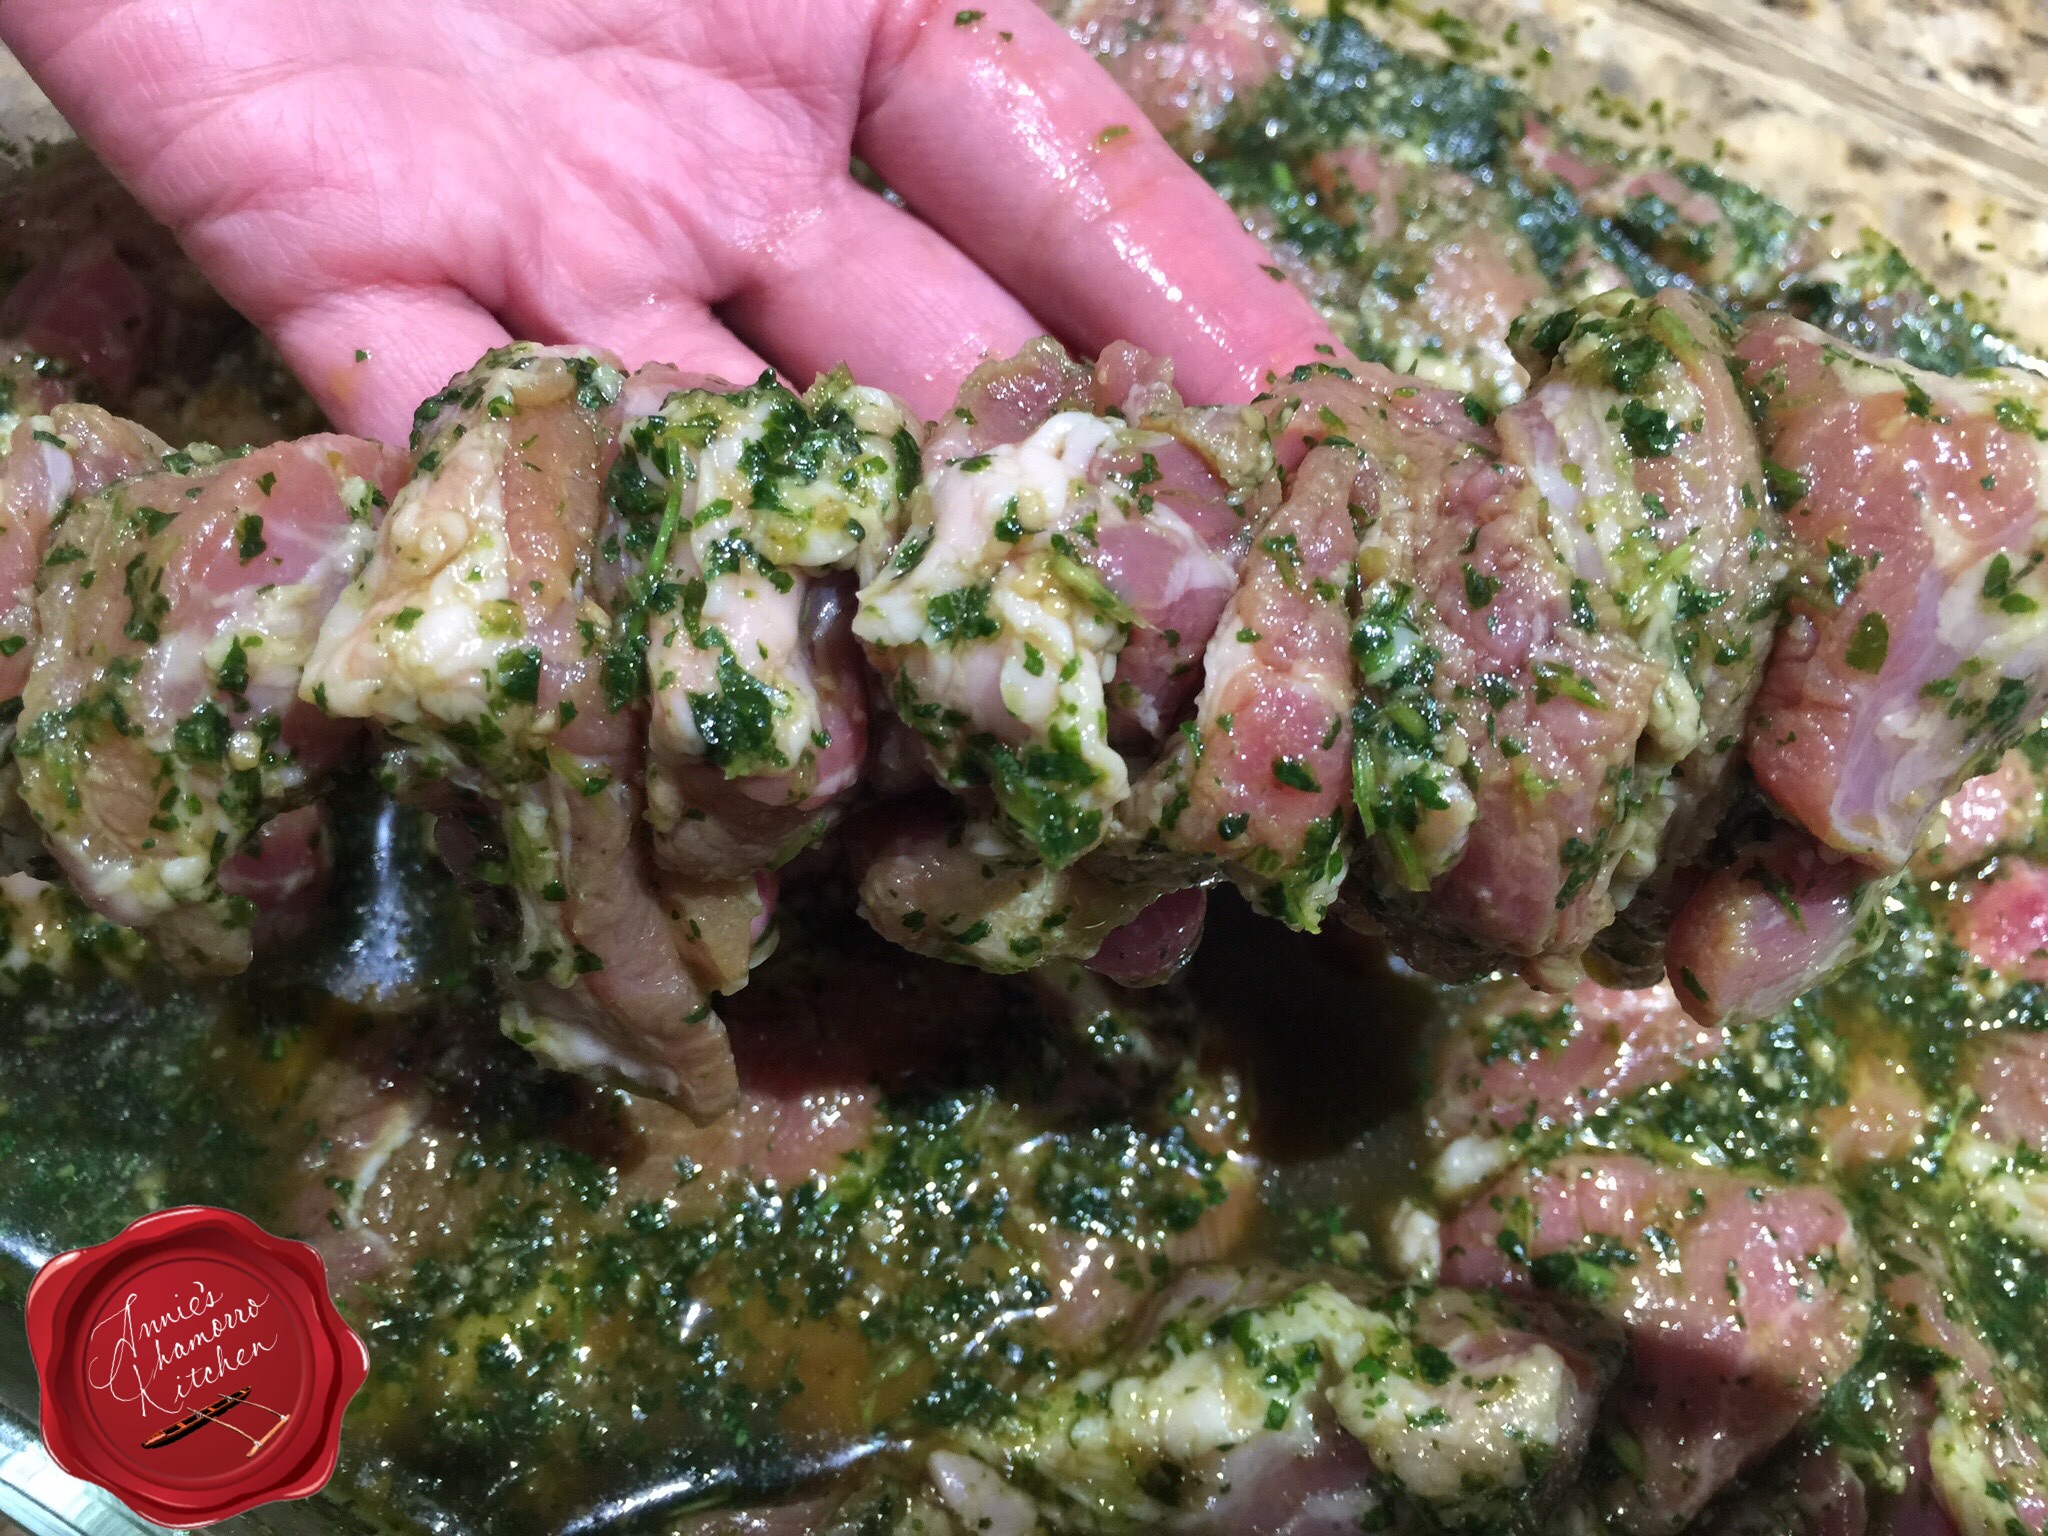
Place the pork into the marinade.  Use your favorite cut of pork, but make sure you use something that has some fat; lean pork will dry out too quickly for this dish.  I like using pork shoulder or pork butt, cut into strips or cubes (for shish kabobs).  Let the pork marinate for 2 or 3 hours, longer if desired.  Keep the mixture refrigerated if you don’t plan on grilling this right away.

image

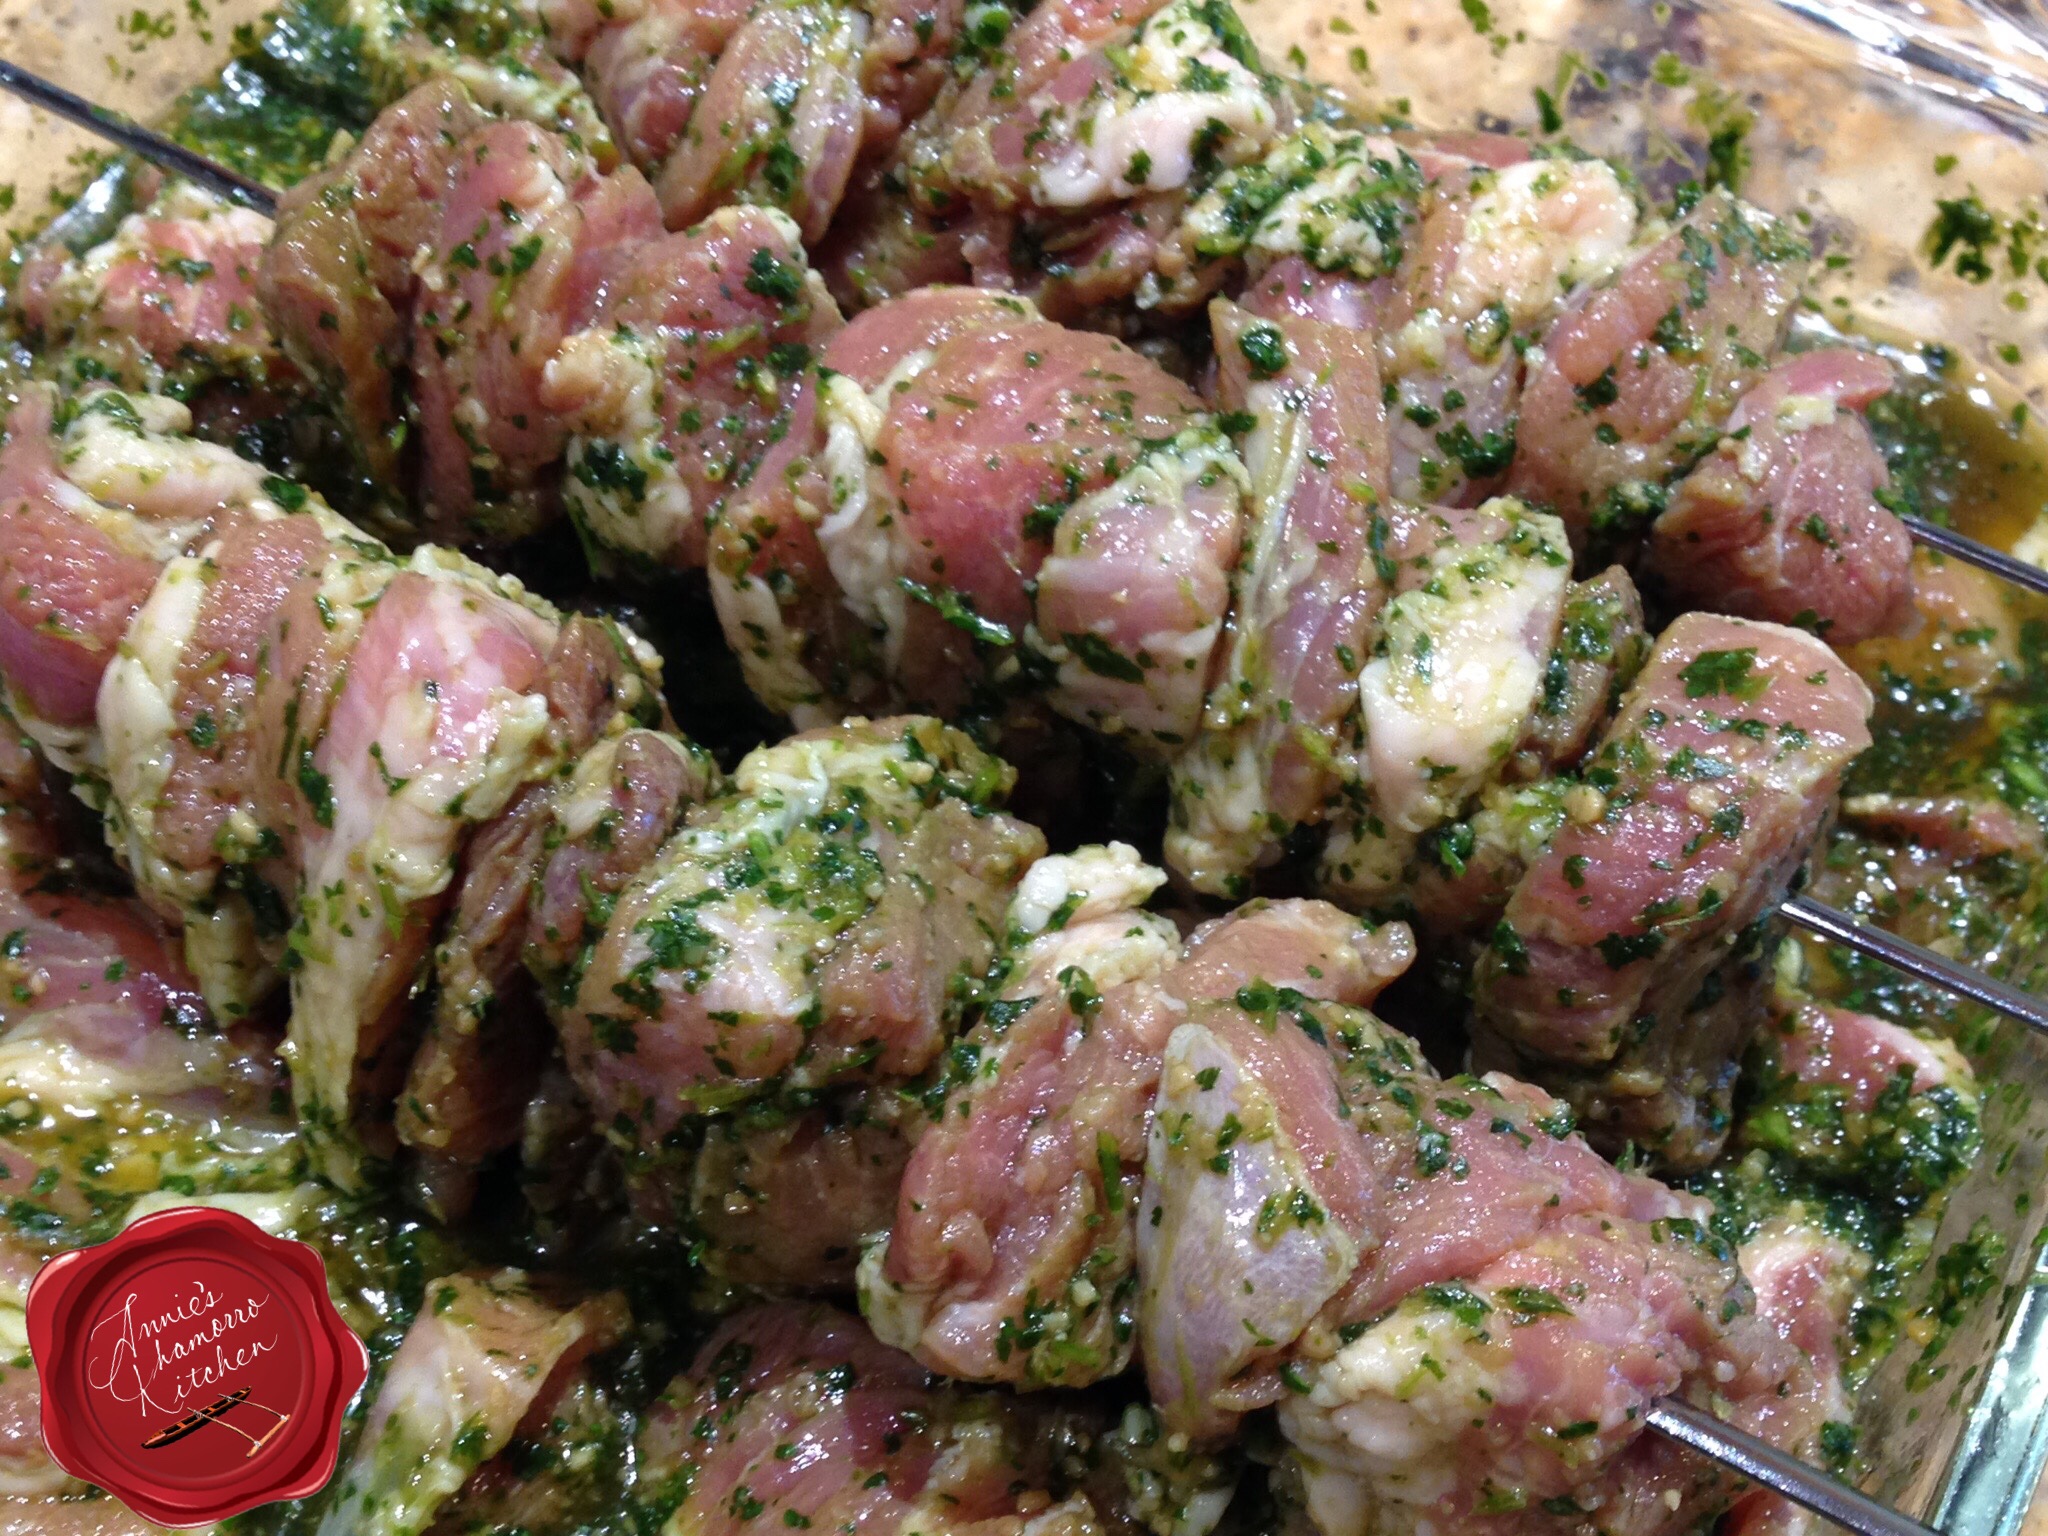
To make shish kabobs, place several pieces of cubed pork onto a skewer.  I have metal skewers so there’s no soaking required.  If you use bamboo or wooden skewers, be sure to soak the skewers for several hours (overnight is good too) before grilling.

image

Skewer the meat AFTER it’s been marinated.

image

Place on a hot grill and baste immediately.

Grill the meat over relatively high heat.  I have a Traeger grill that has a temperature gauge built into it.  I grilled this at 325 degrees for about 1 1/2 hours, basting and turning every 15 minutes.

image

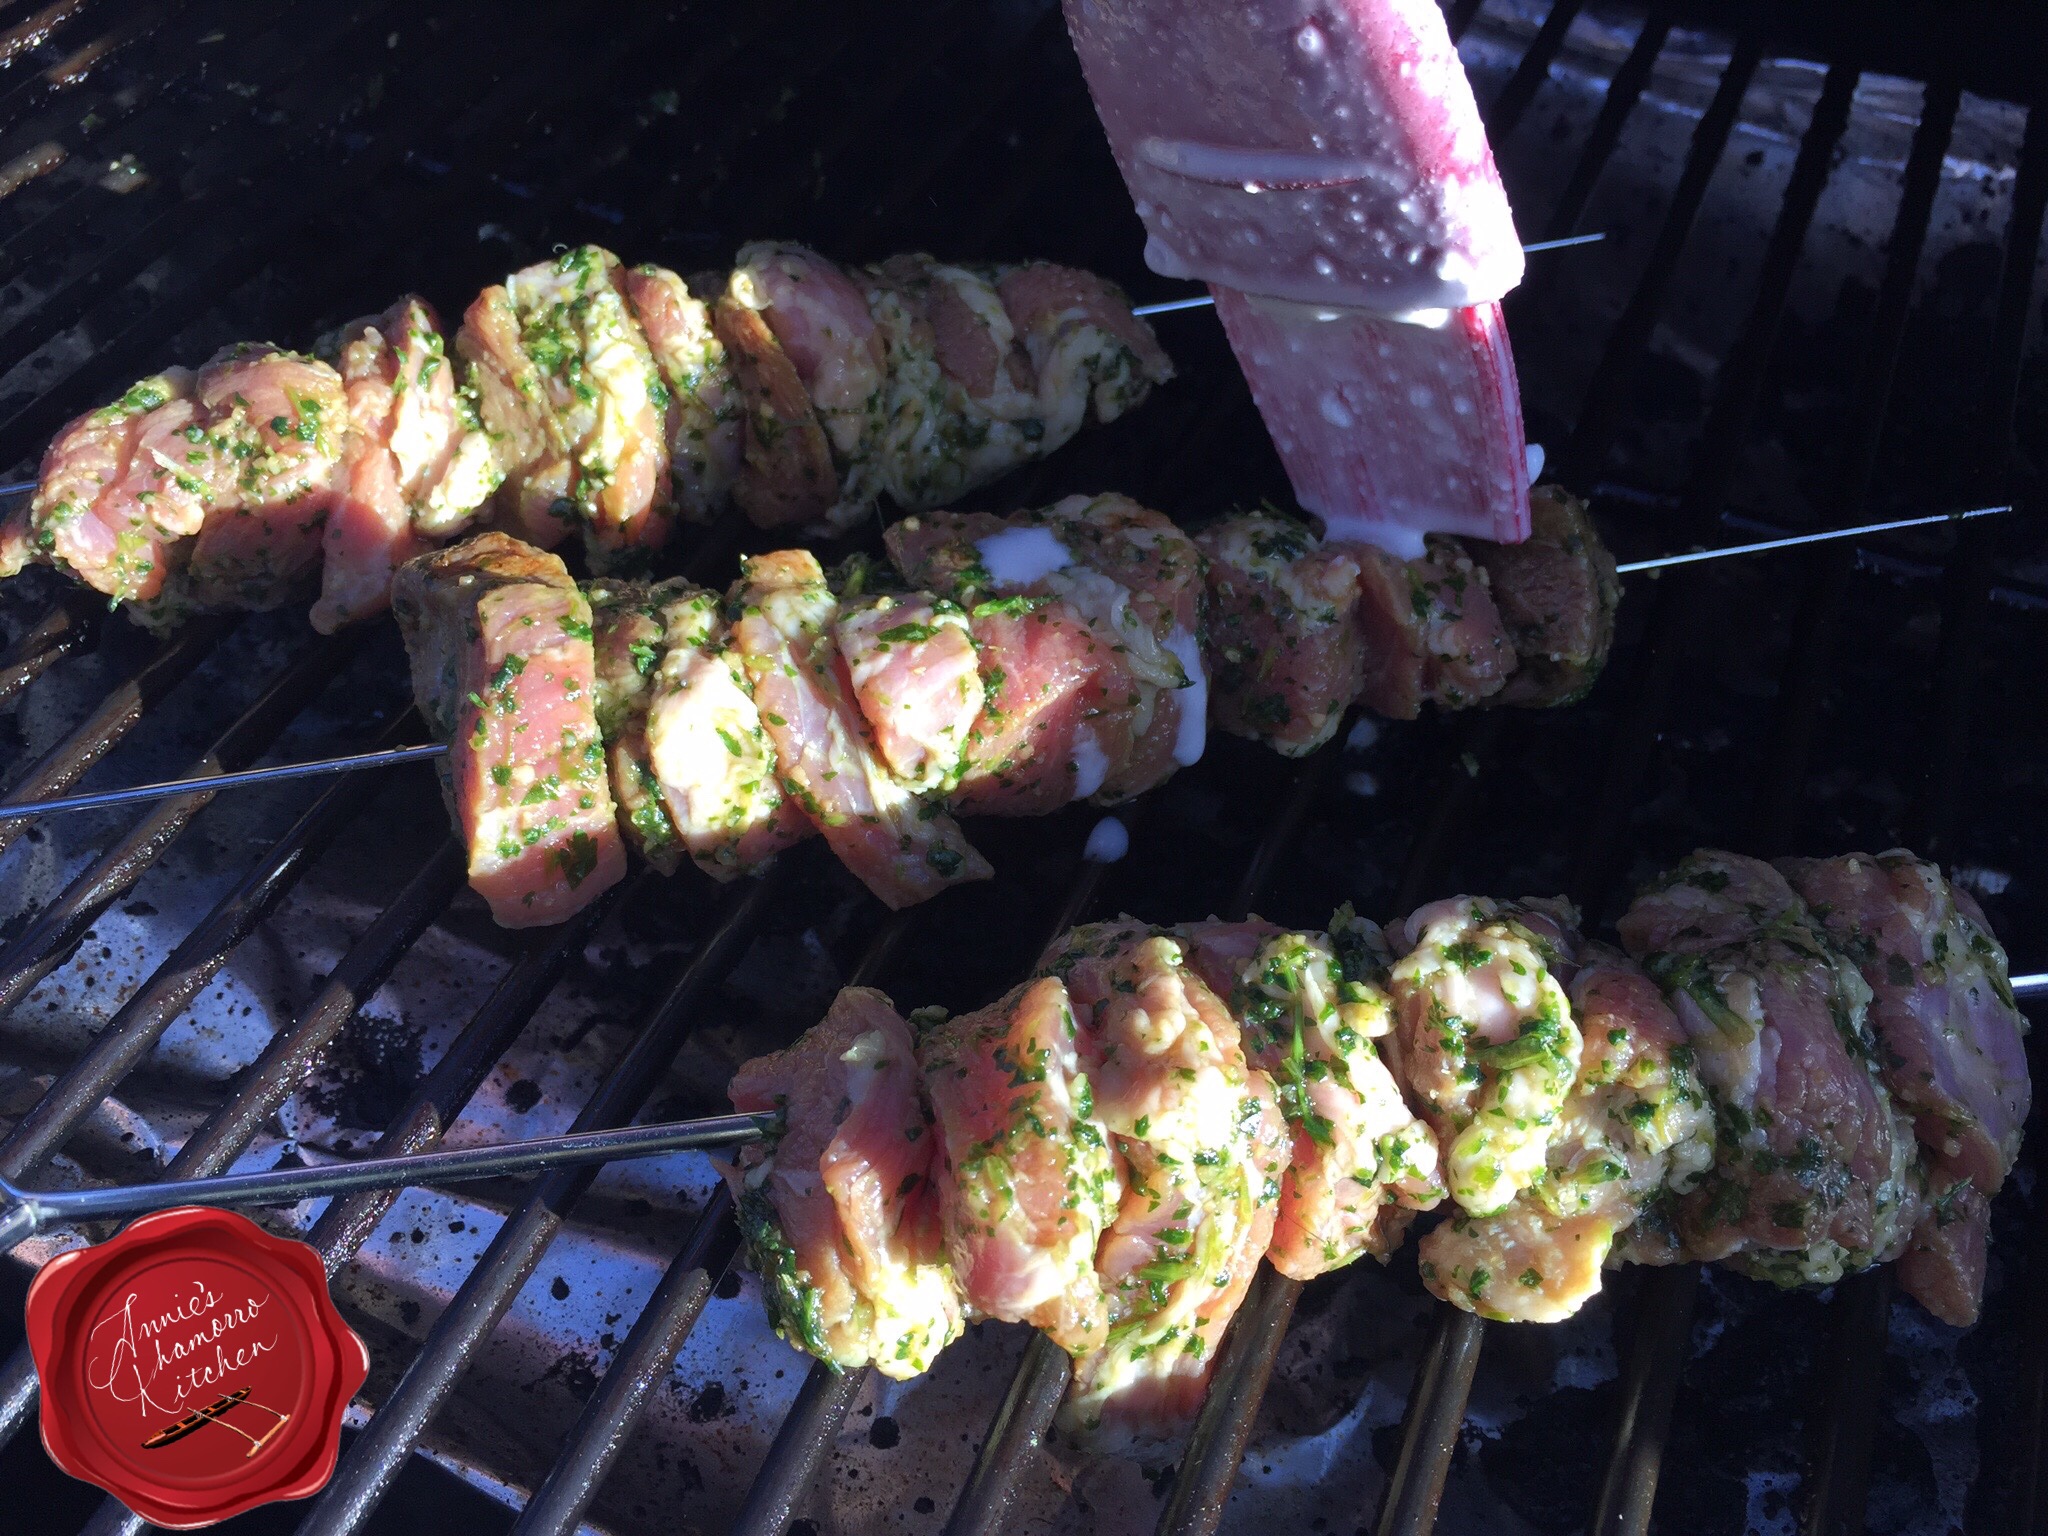
Turn the meat over occasionally, basting each time.

image

image

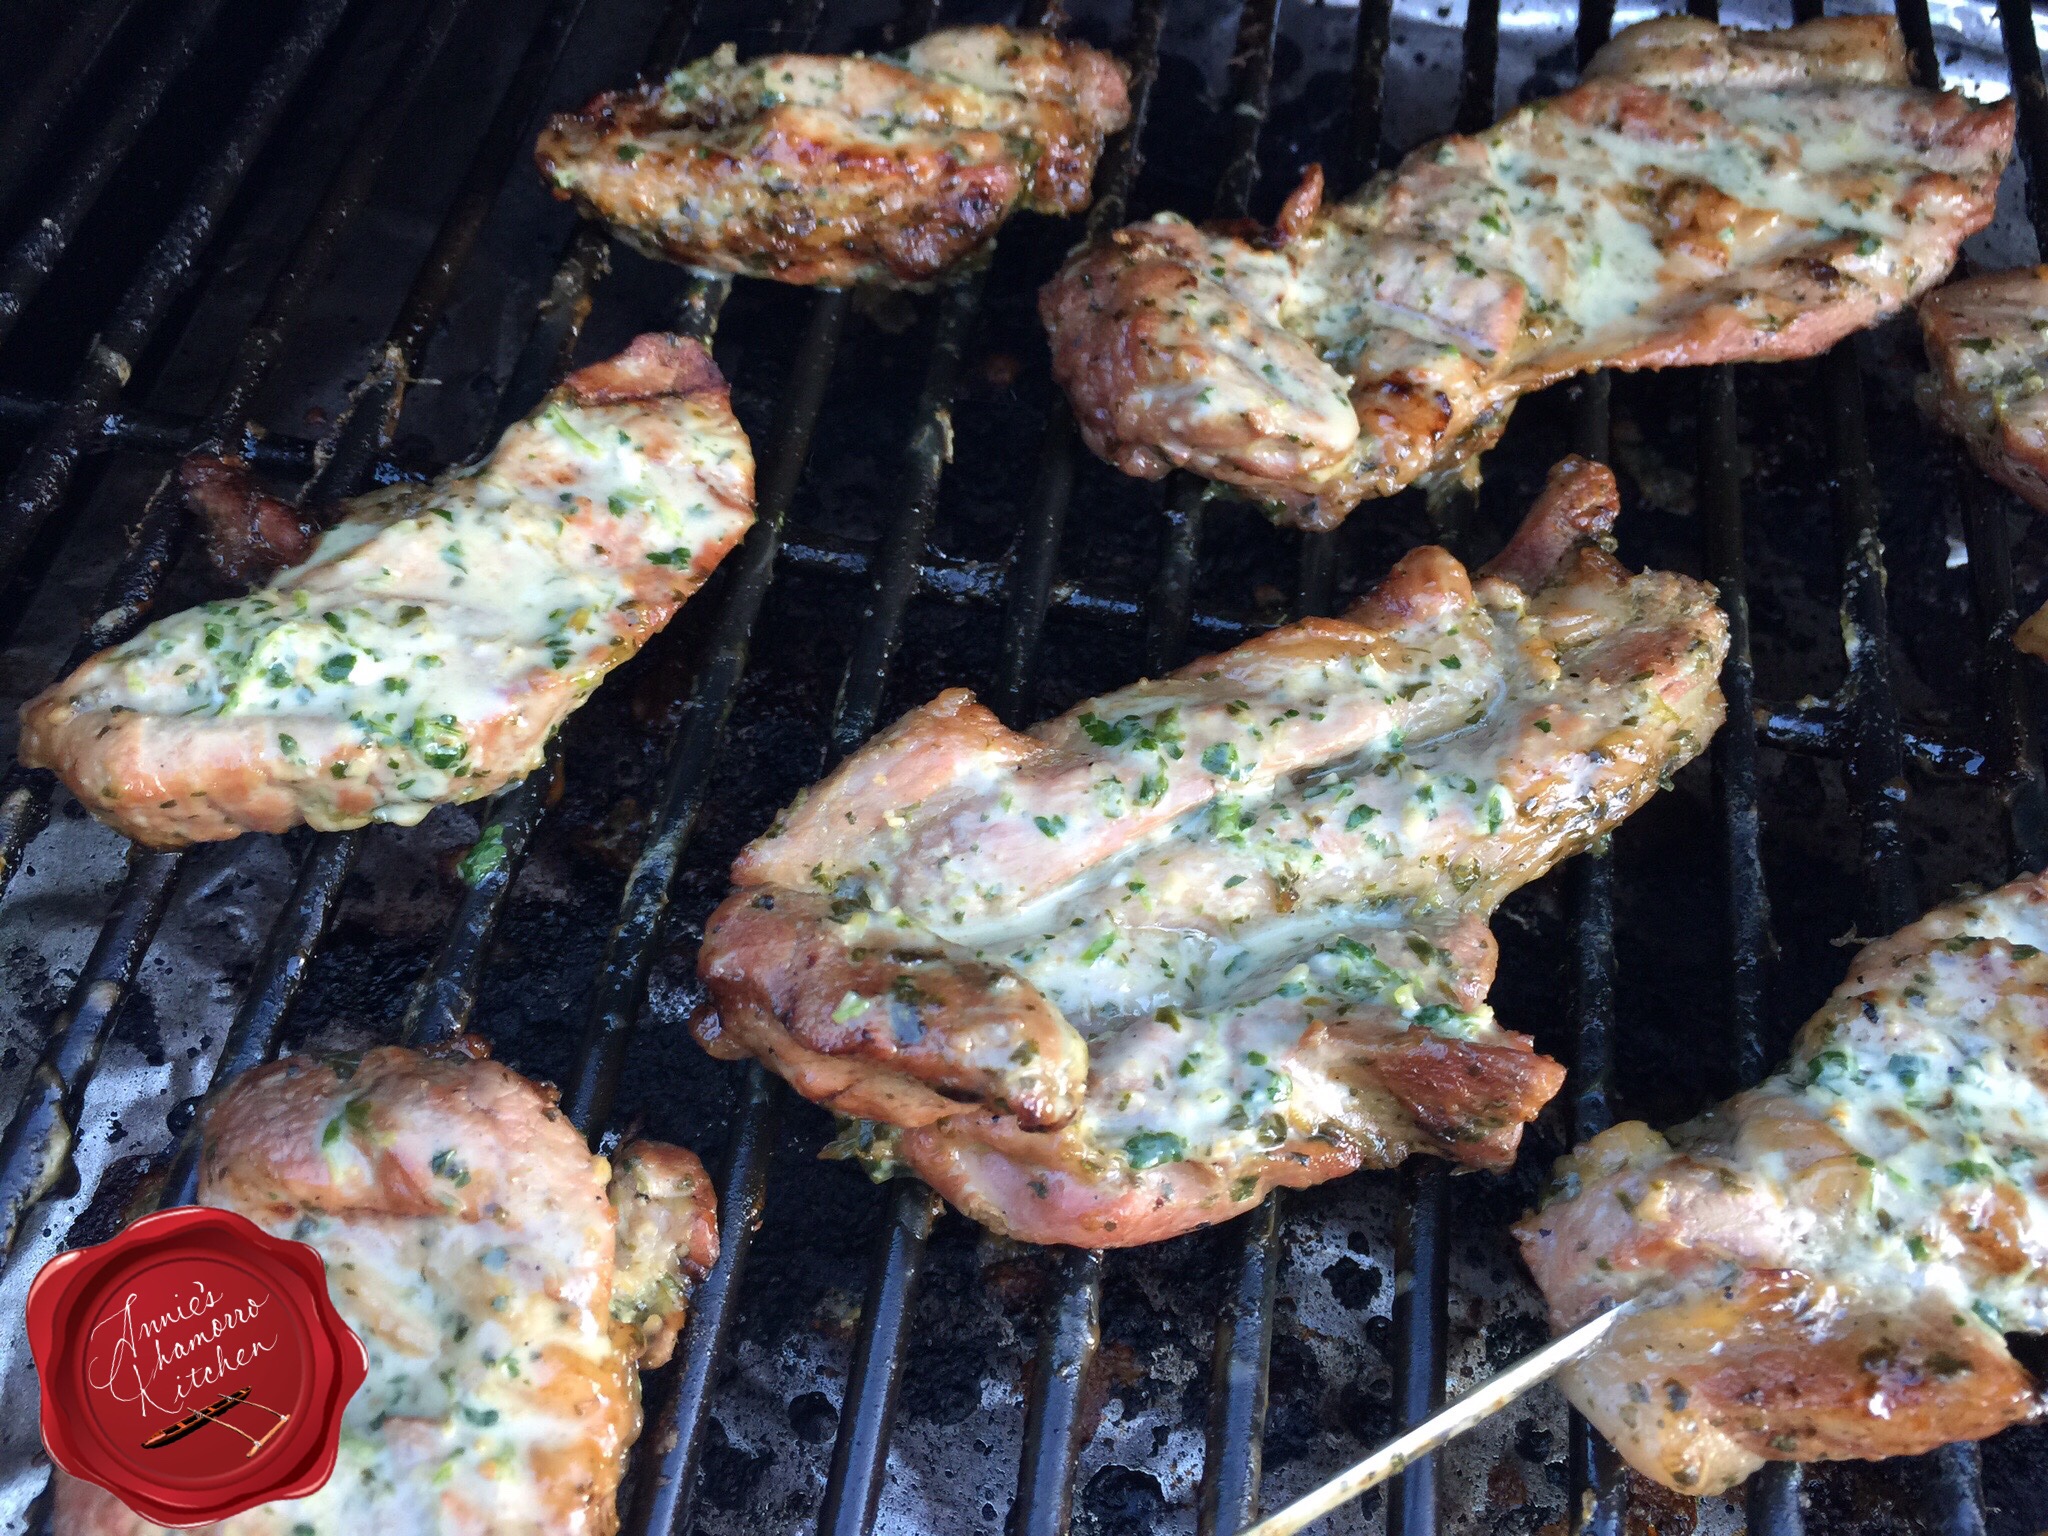
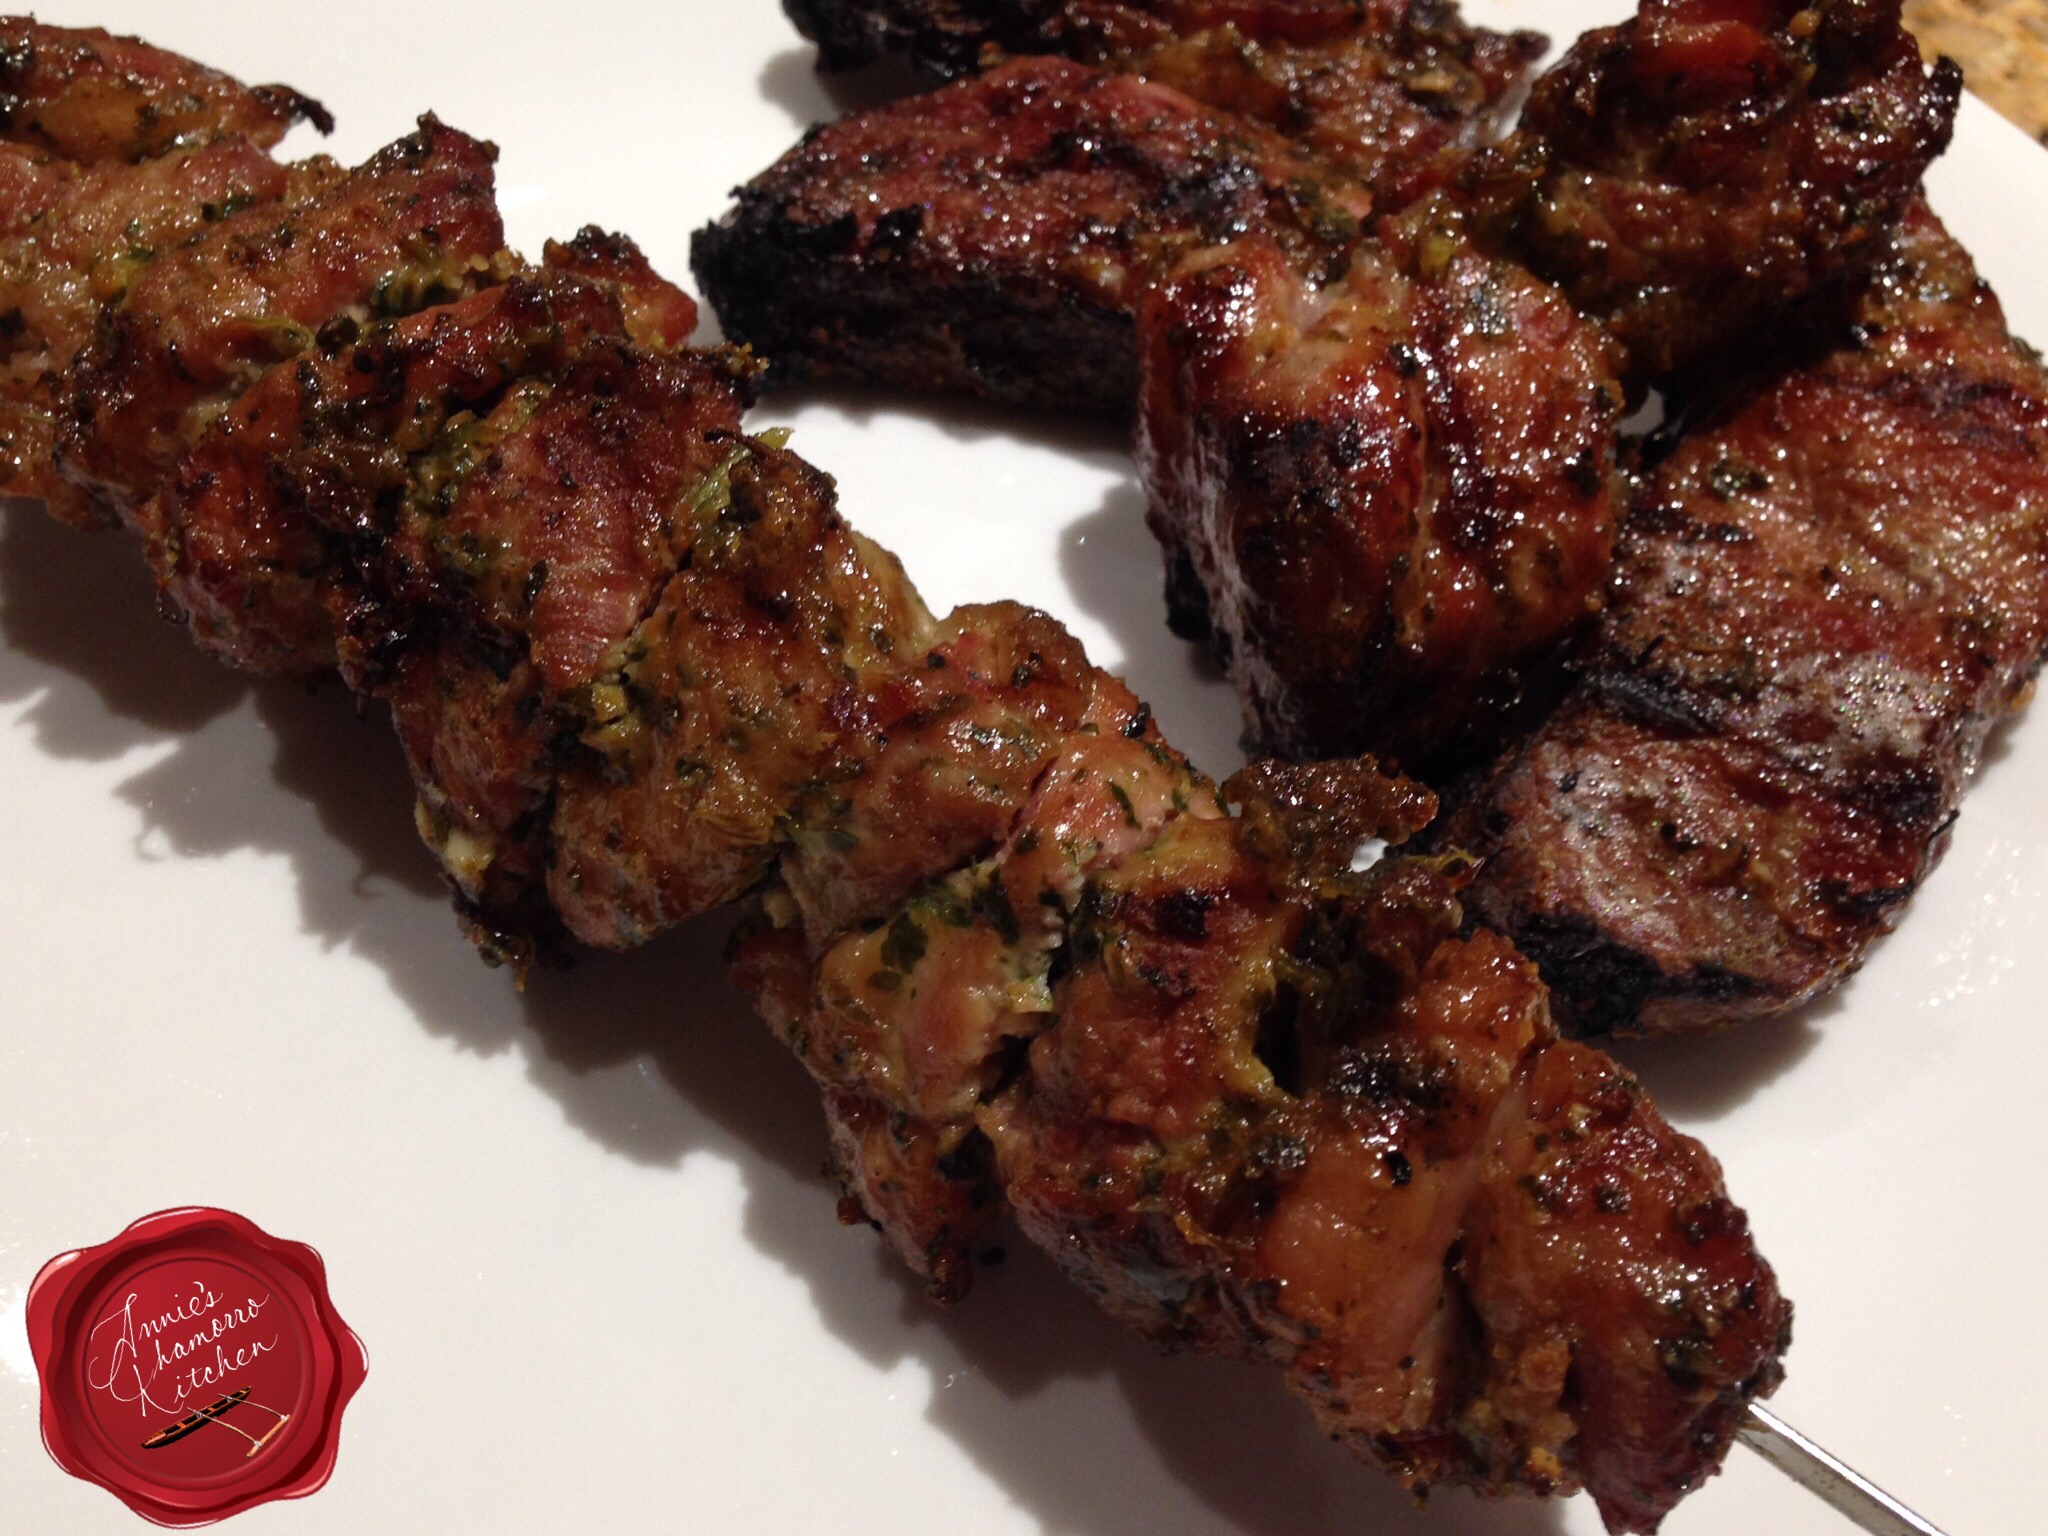
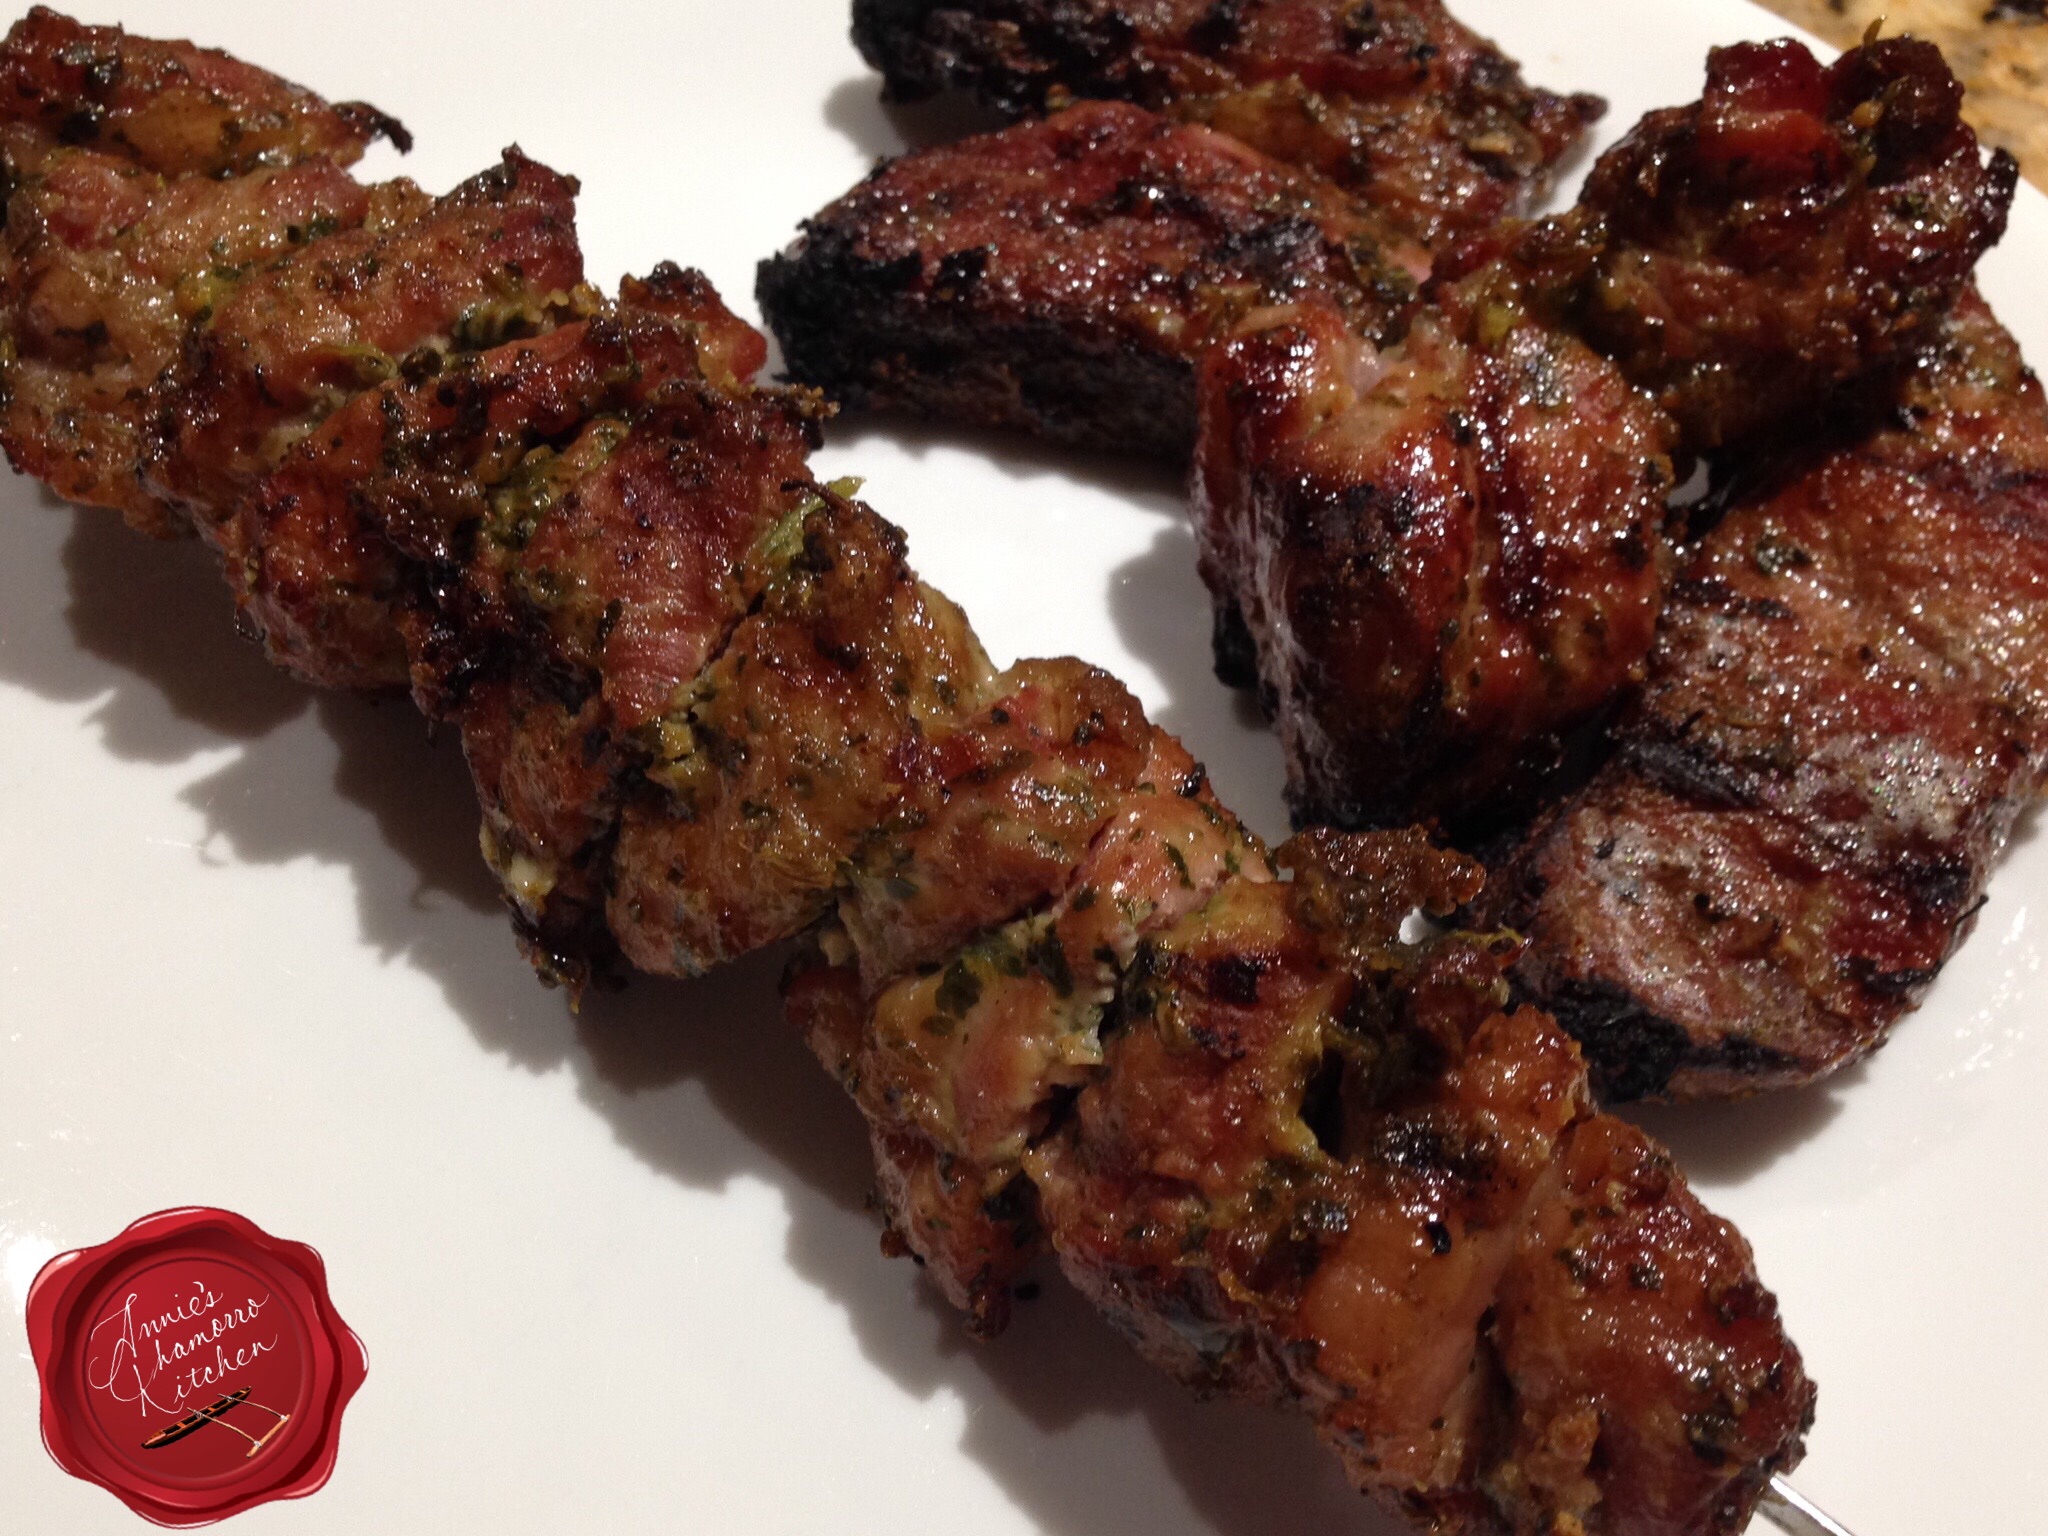
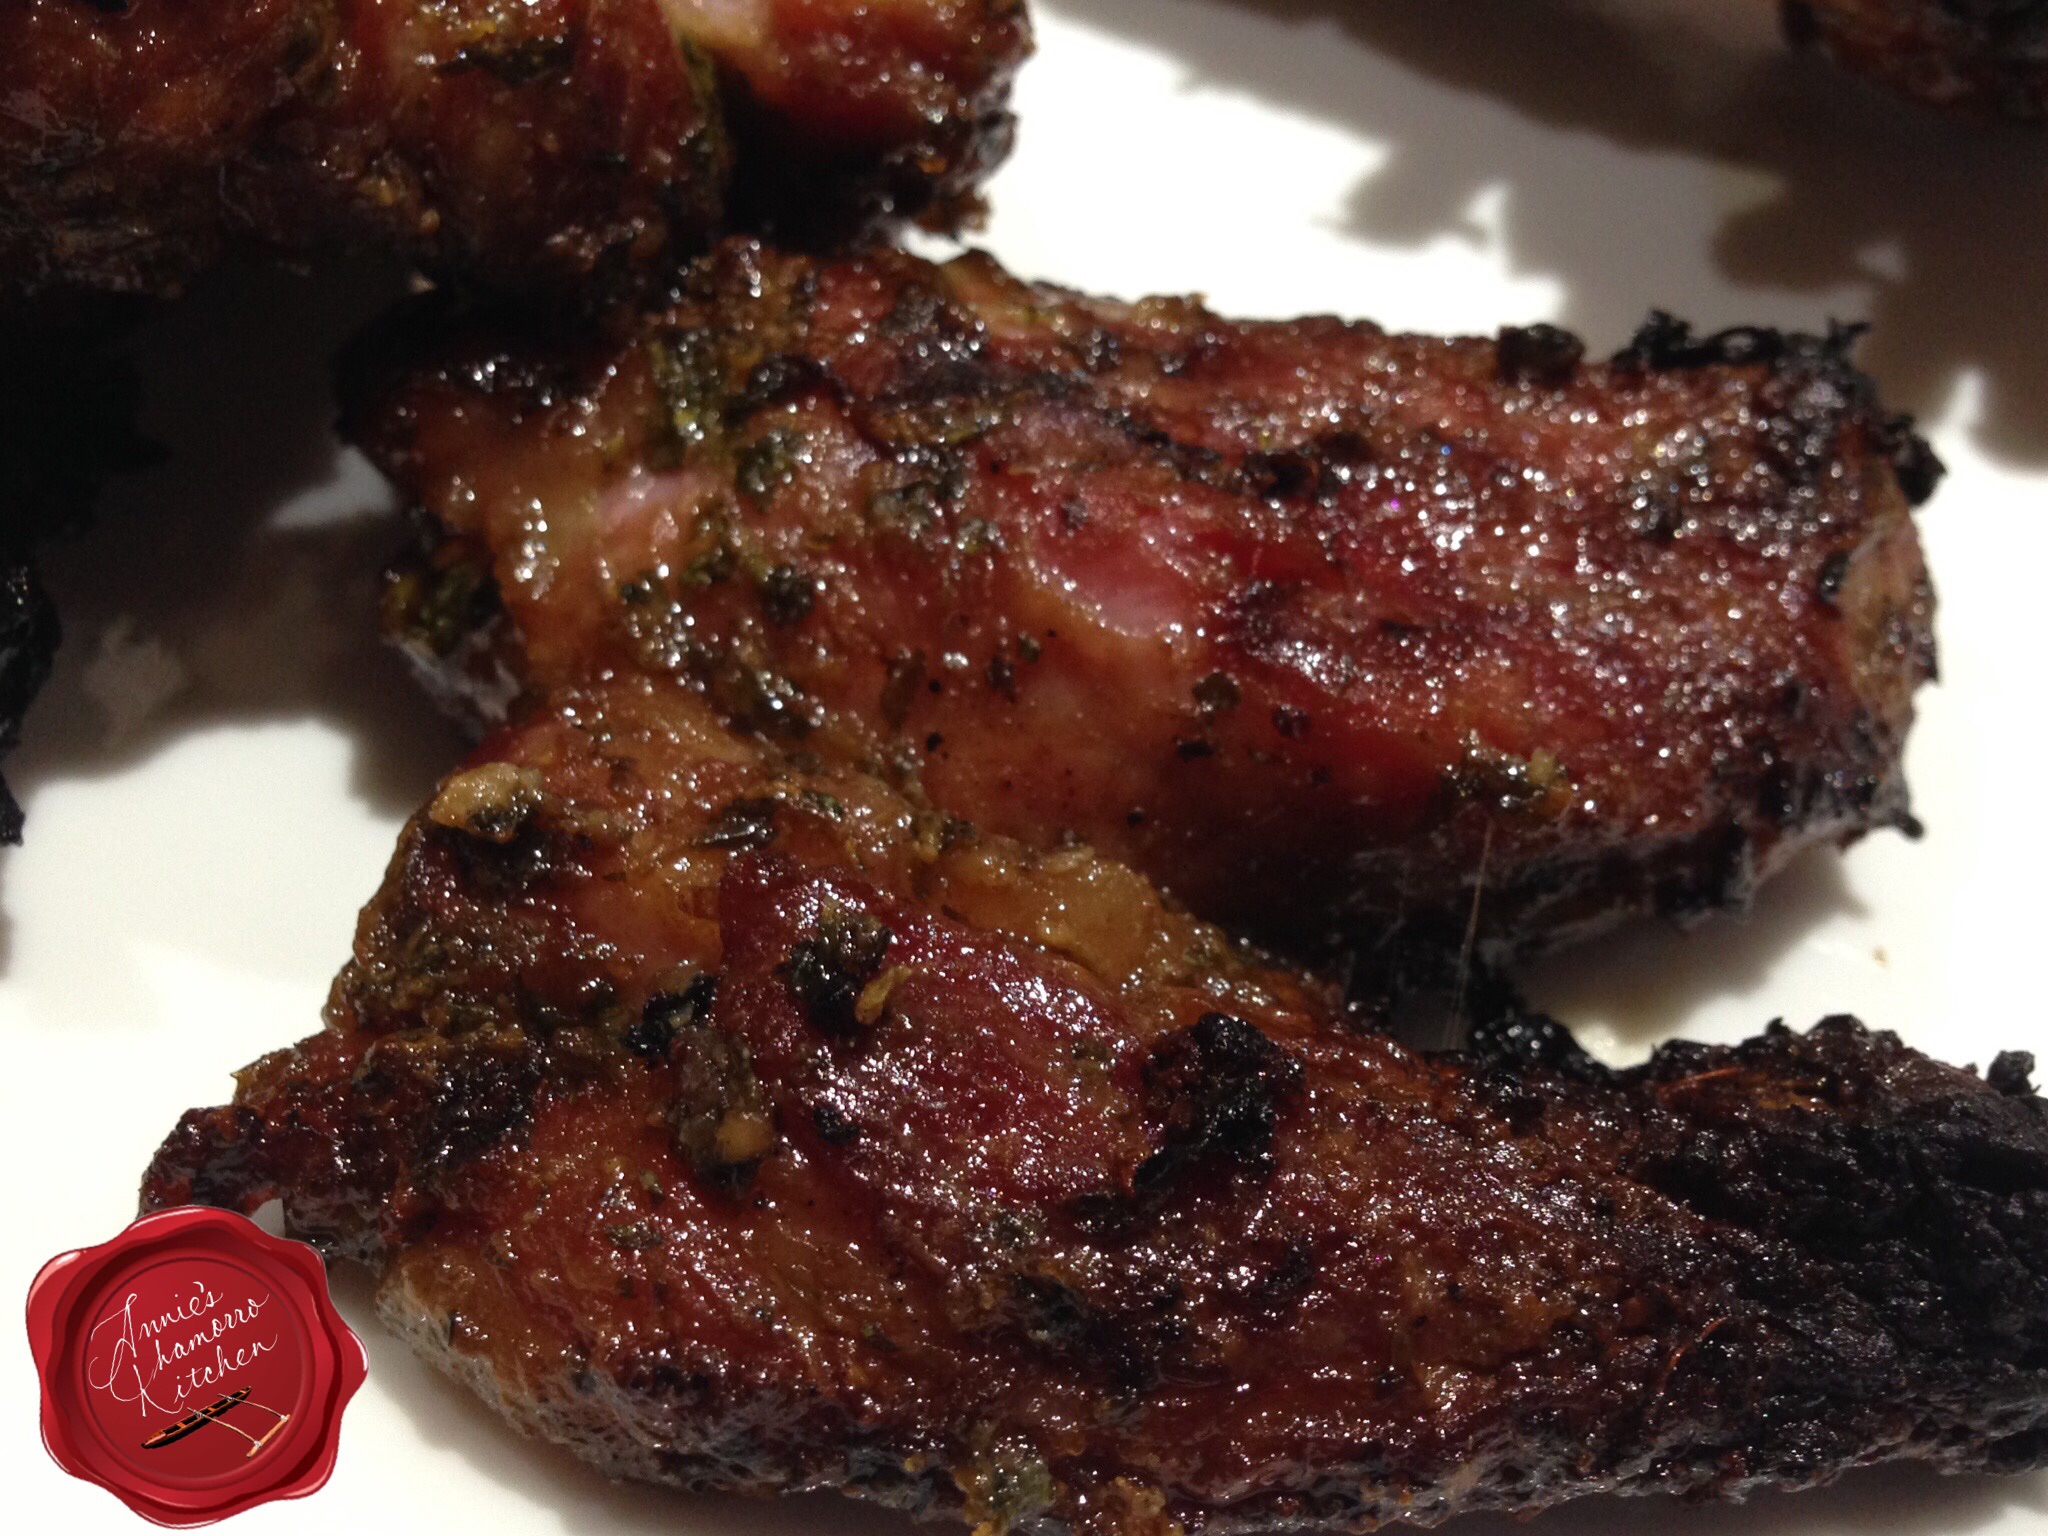
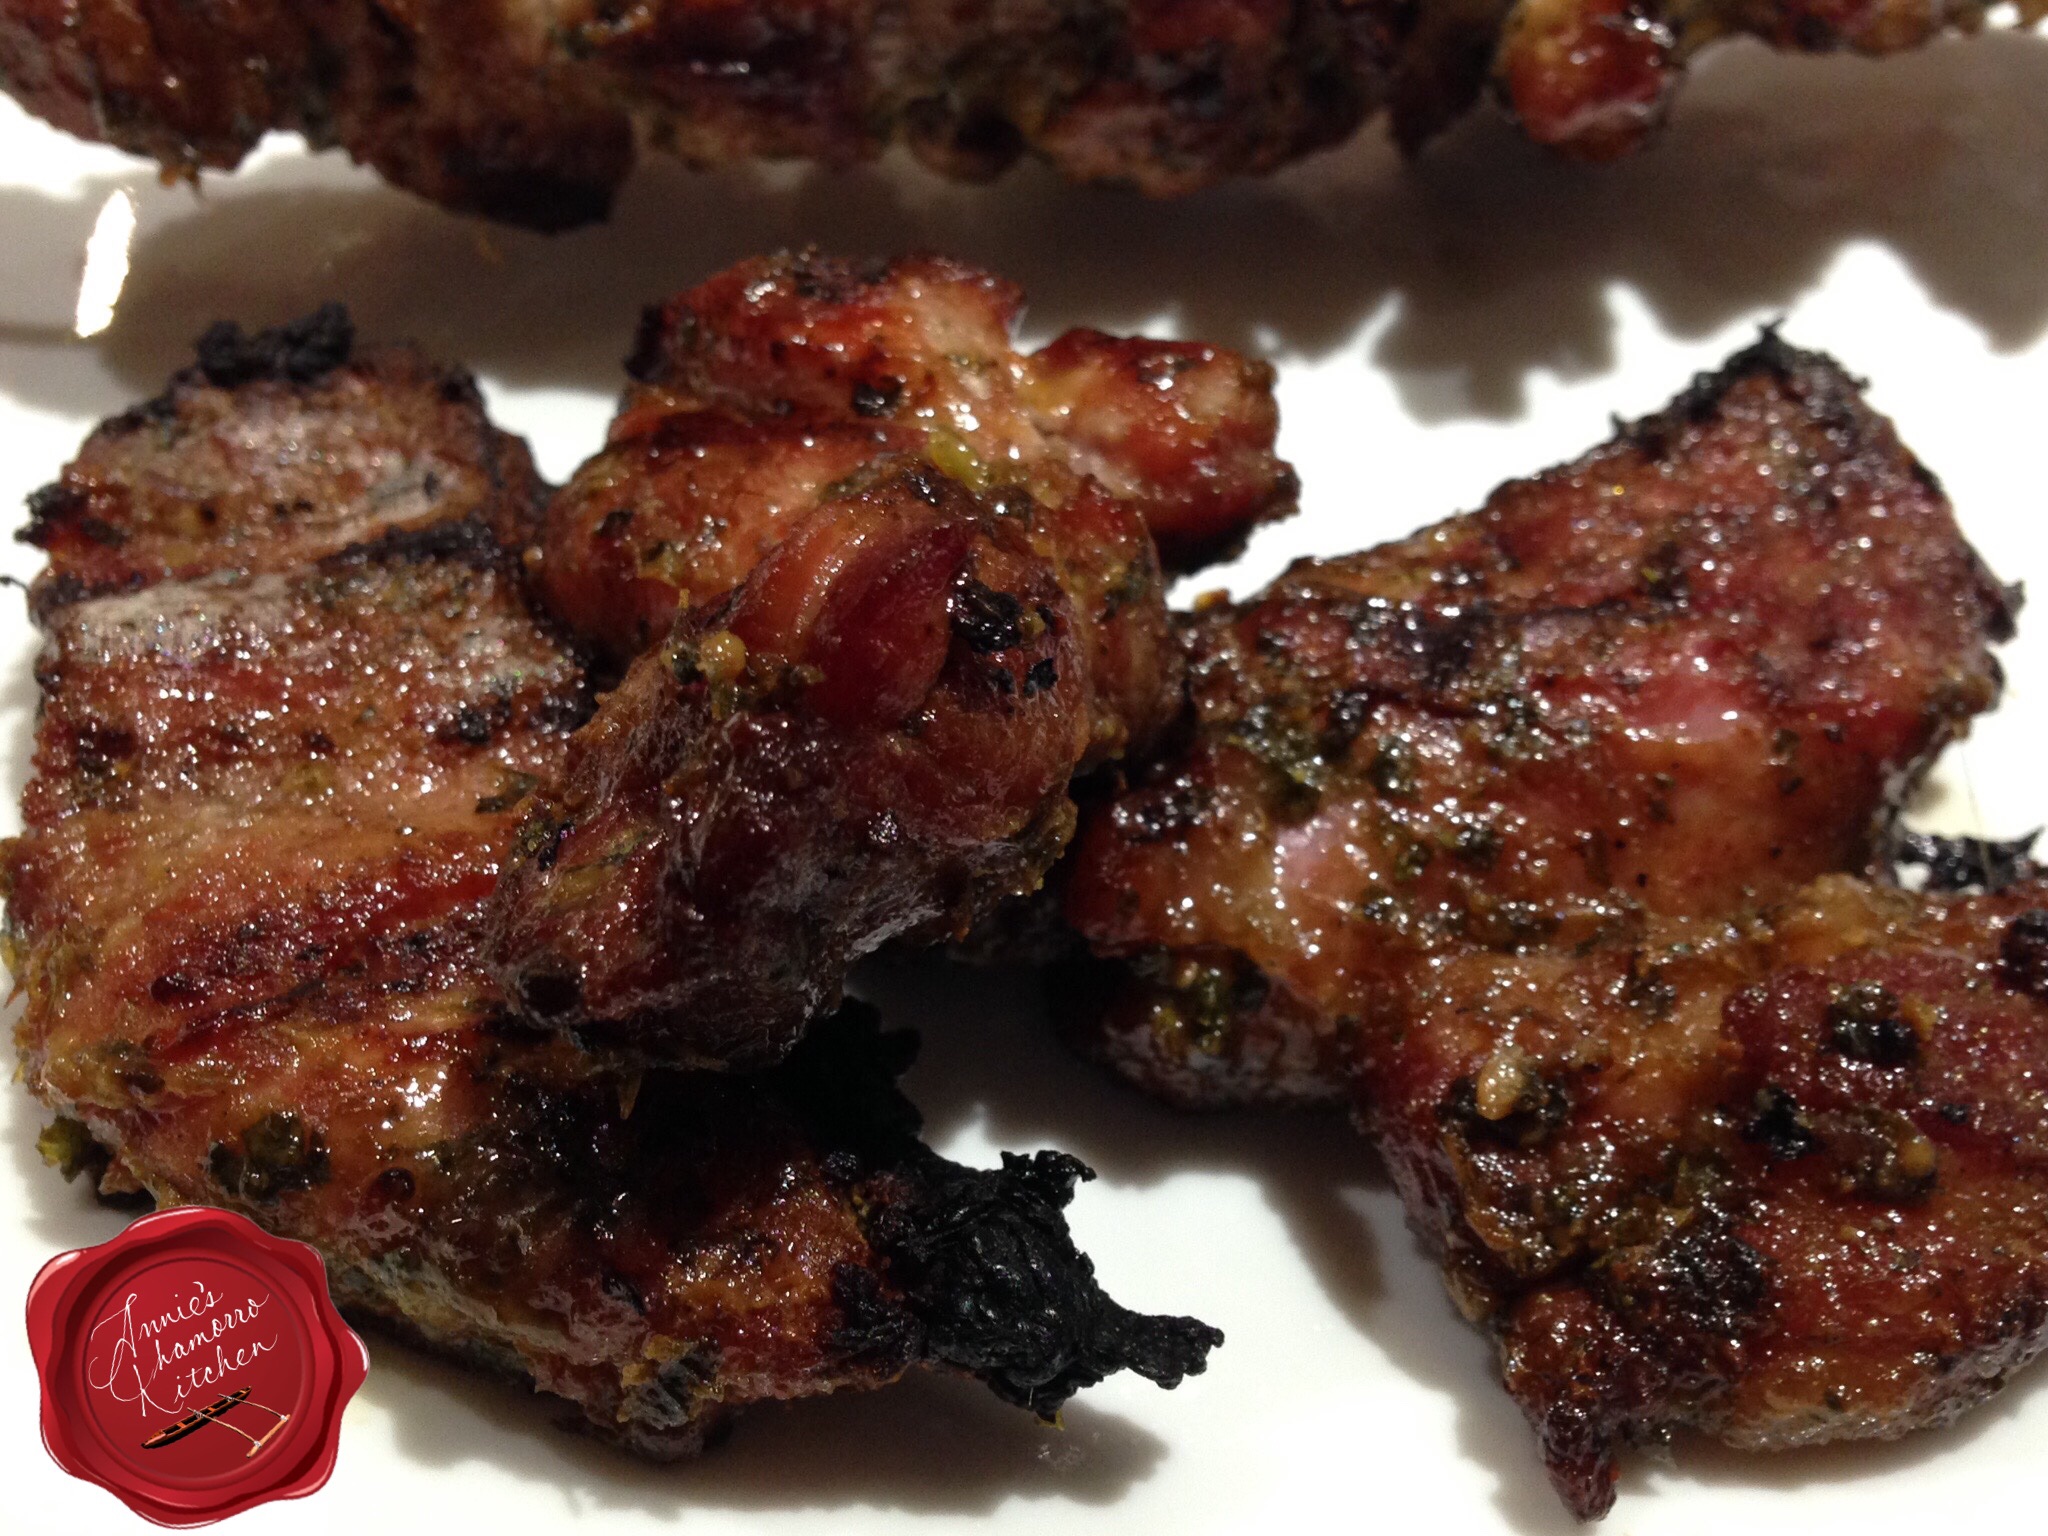
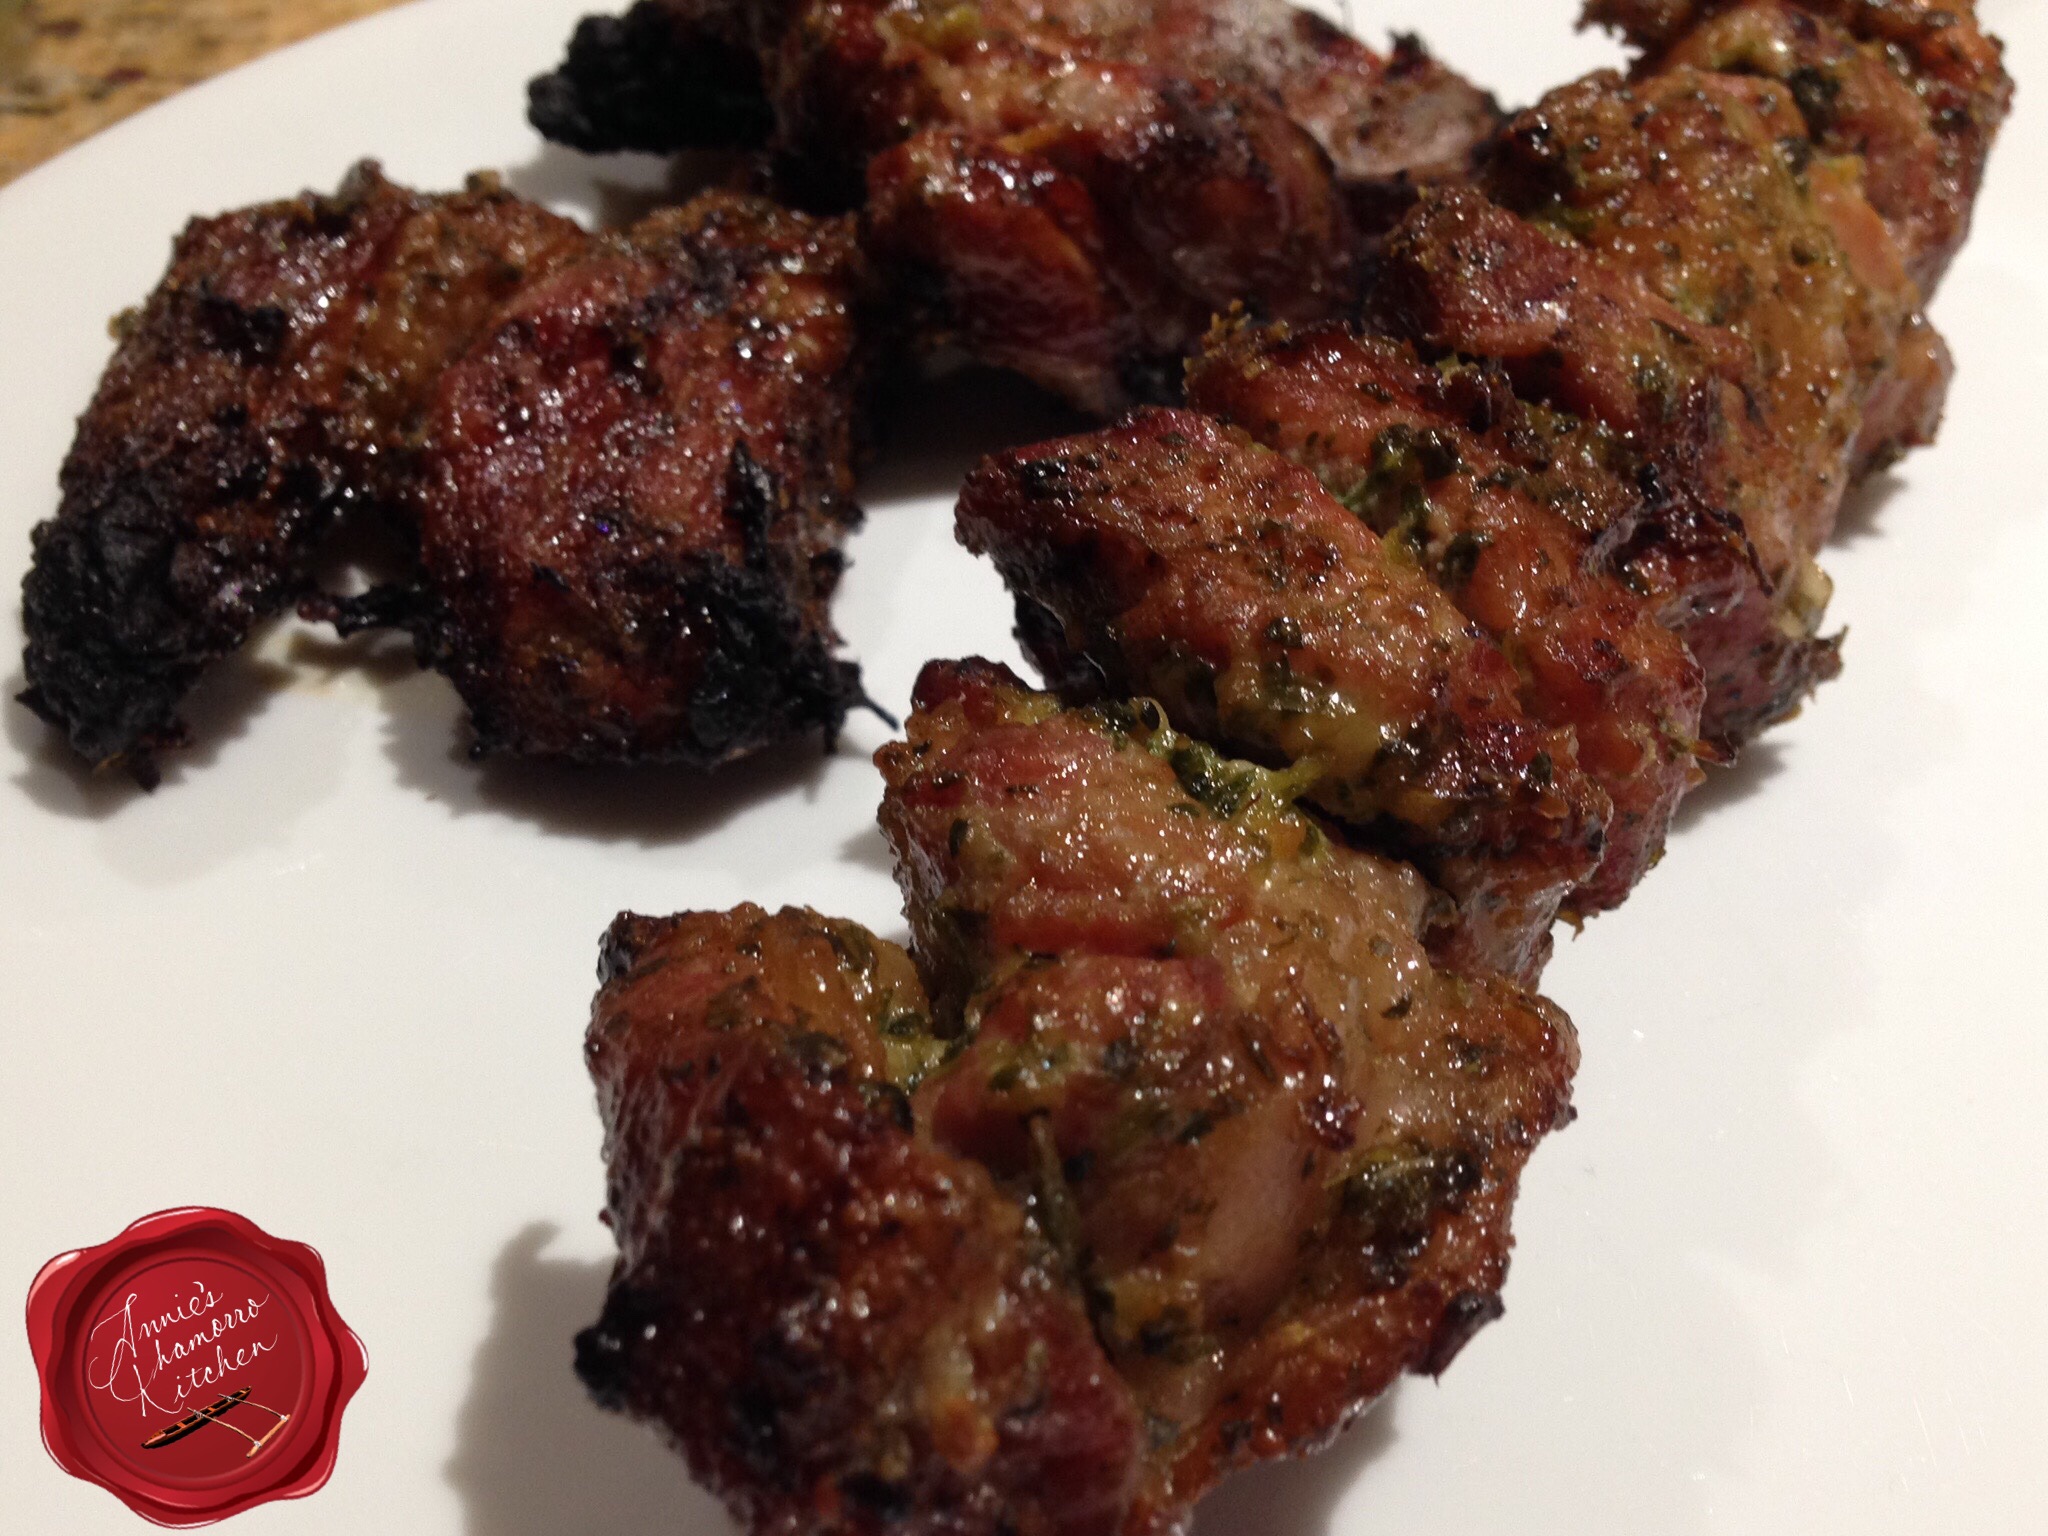
The coconut milk mixed with the reserved marinade caramelizes into a lip-smacking coating that will have you oooh-ing and ahhh-ing (trust me, it’s that yummy). 🙂

image

I know some people who absolutely won’t eat charred BBQ, but that little piece of charred goodness in the photo below was TO-DIE-FOR-delicious!!!

image

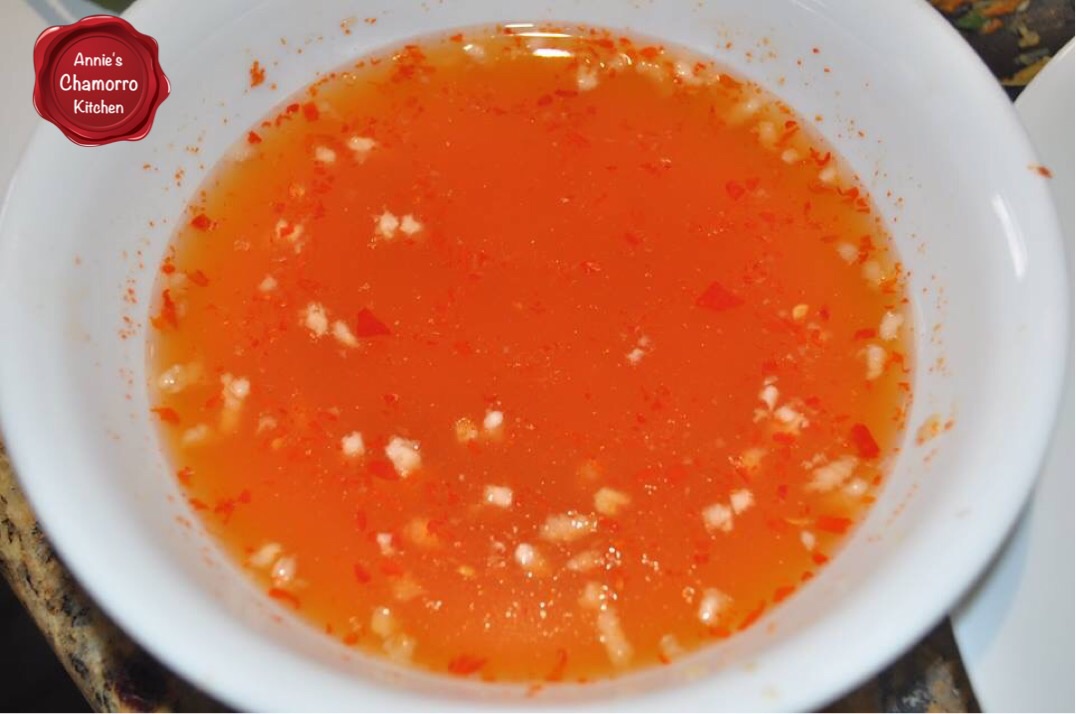
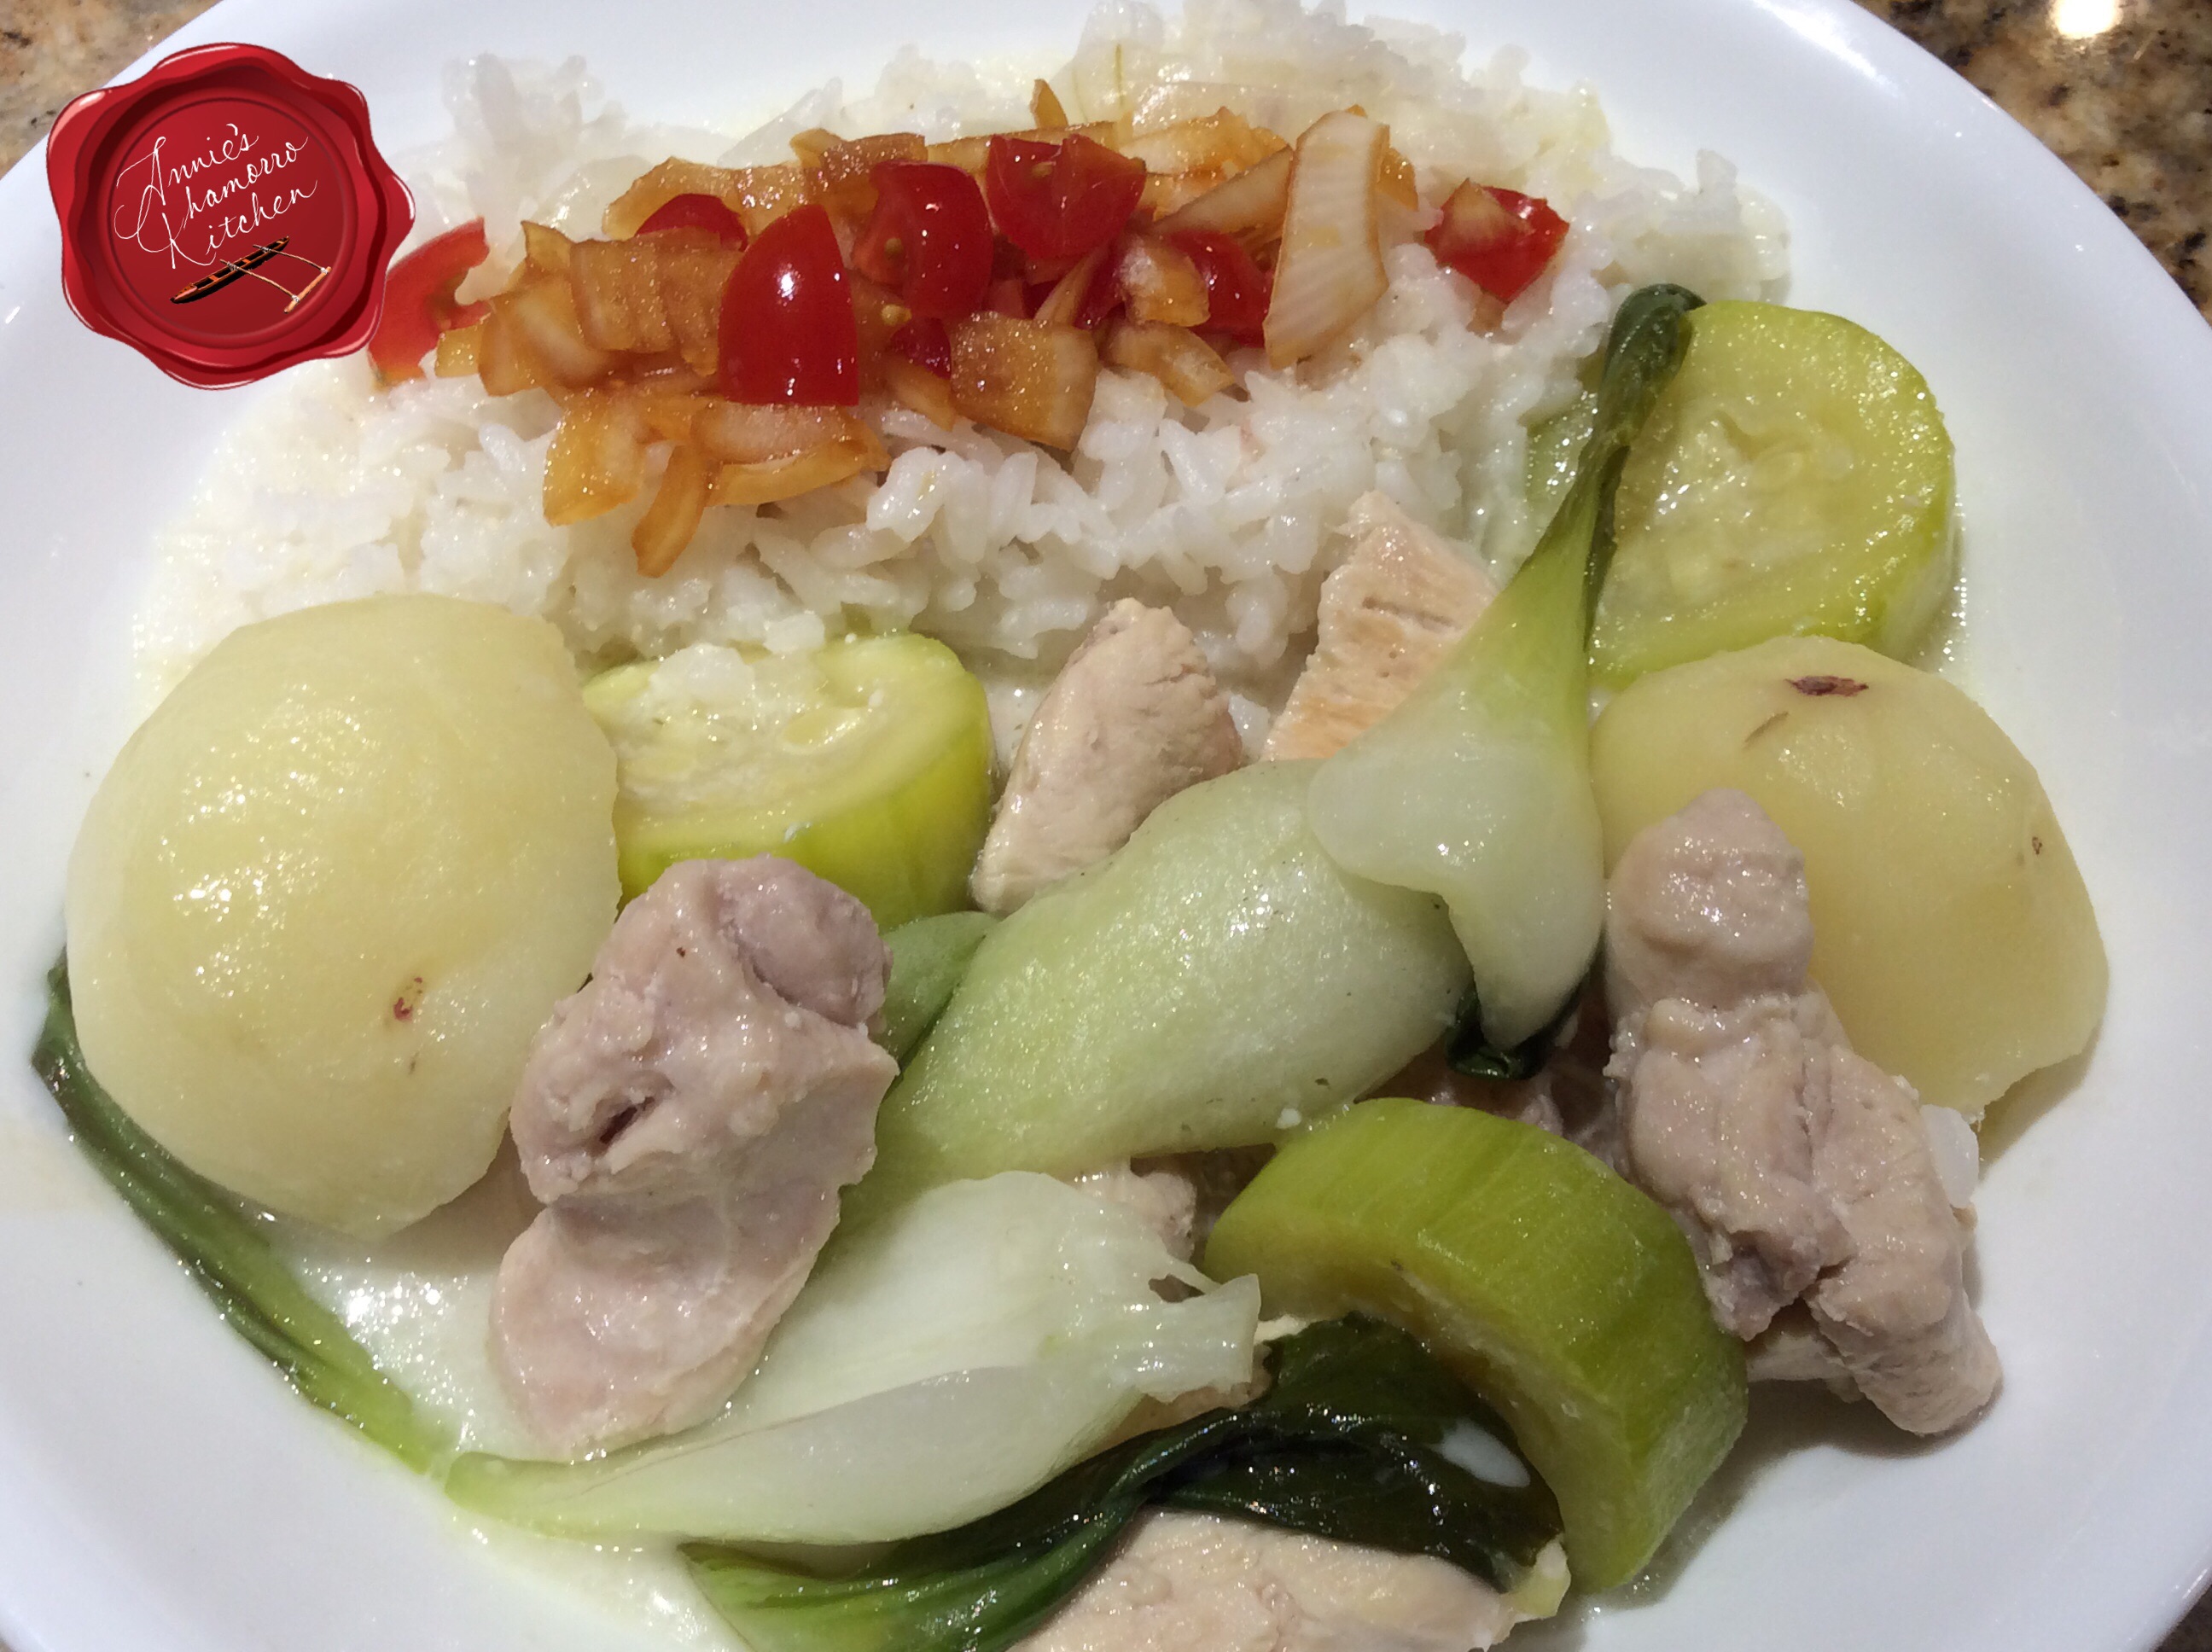
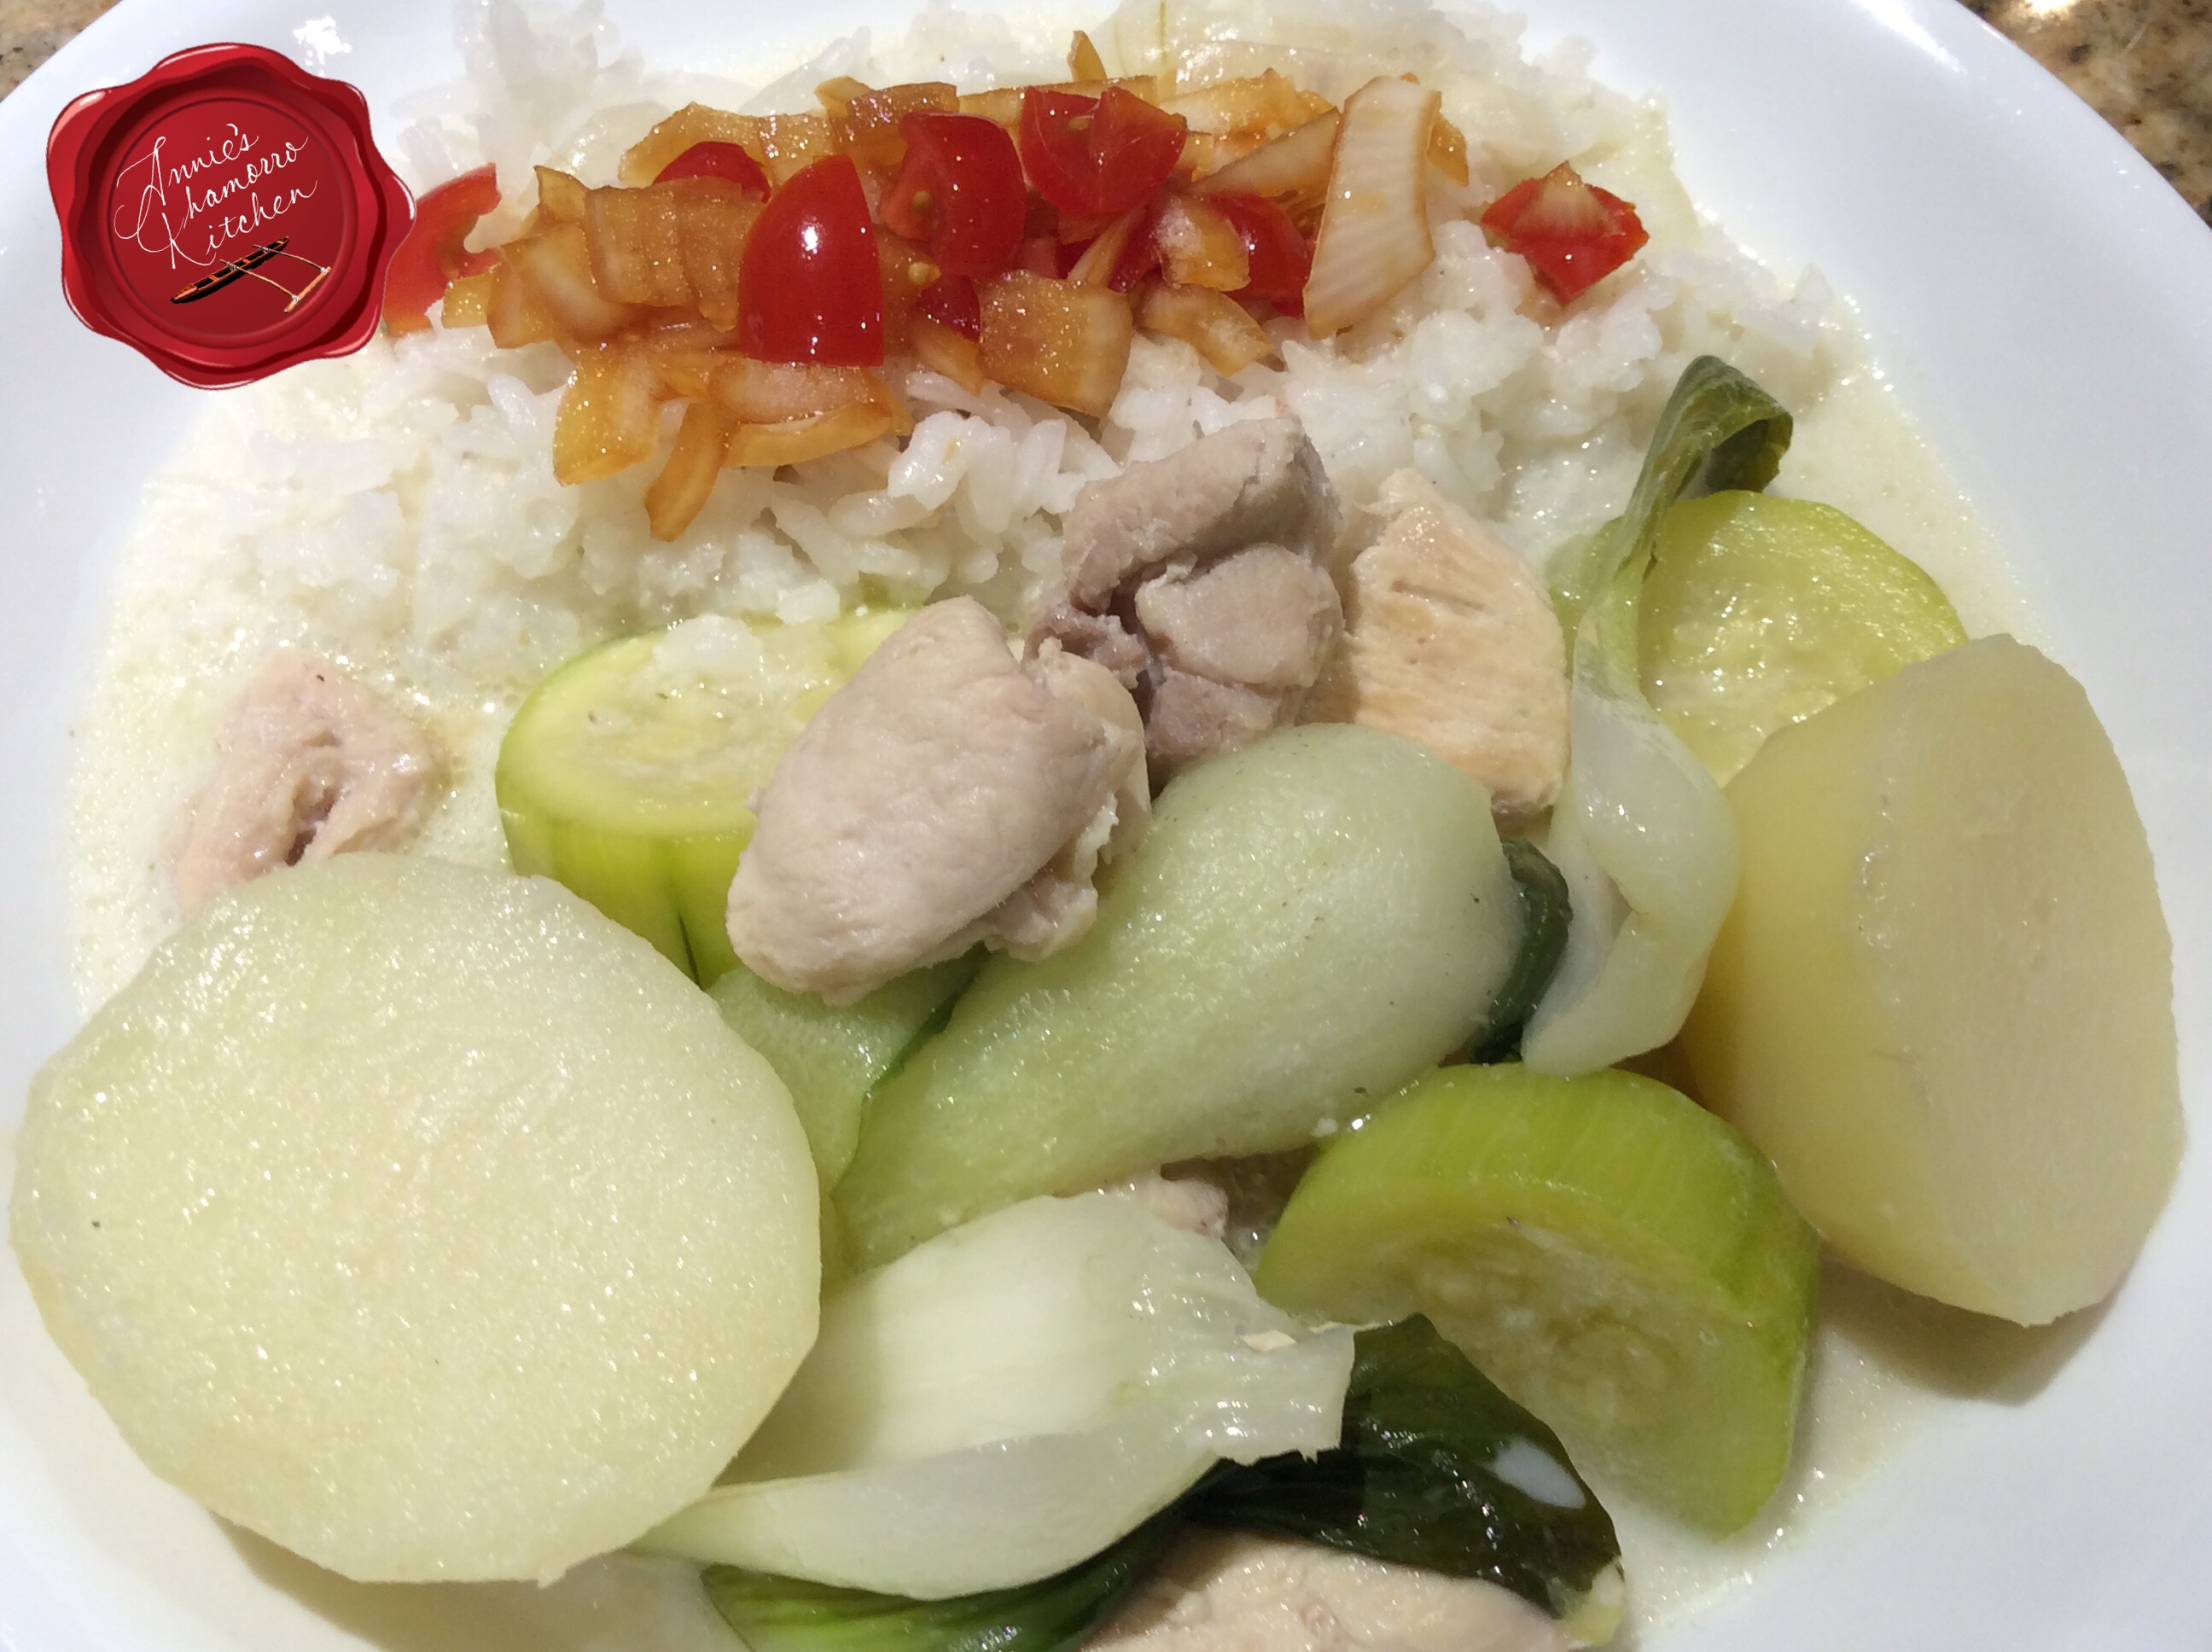
Mmmmmm…soooo good served with hot steamed white rice and fina’denne’.

The next time I make this, I’m going to make just a little bit more marinade, reserving some to use as a dipping sauce when the pork is done.

image

Give my recipe a try.  I think you’ll like it. 🙂


Thai BBQ Pork
 
Author:
Ingredients
  • 1 bunch cilantro
  • ½ cup soy sauce
  • 3 tablespoons chopped garlic
  • ½ cup brown sugar
  • ¼ cup fish sauce (I like Three Crabs brand)
  • ½ cup lime juice
  • 1 cup coconut milk
  • 4 pounds pork (preferably boneless pork shoulder), cut into strips or cubes
Instructions
Make the Marinade:
  1. Place the cilantro, soy sauce and garlic in a food processor. Pulse until well blended. Pour the mixture into a large bowl or pan.
  2. Add the brown sugar, fish sauce, and lemon juice to the cilantro mixture. Stir to mix the ingredients together.
Make the Basting Sauce:
  1. Remove ¼ cup of the marinade mixture and place into a small bowl. Add the coconut milk; mix to combine and set aside.
Grill the Meat:
  1. Place the meat in the marinade mixture. Let the meat marinate for 2 to 3 hours (longer if you like, but refrigerate the mixture).
  2. Place the meat on the grill. Immediately baste with the reserved coconut basting sauce. Turn the meat occasionally, basting each time. Stop basting when the meat has started to caramelize and is a rich brown in color.
  3. Grill until the meat is done and nicely caramelized.
Serve and ENJOY!


Lumpia Dipping Sauce

Lumpia is delicious all on its own, but occasionally I like serving them Vietnamese style — on a bed of rice noodles atop a lettuce leaf with a side of tangy dipping sauce.

image

image

Here’s my recipe for the dipping sauce.  Don’t let the fish sauce deter you — this is a must-try the next time you make lumpia.

Give it a try and let me know how you like it.

Here’s the link to my Lumpia recipe if you’d like to try it as well. 🙂


Lumpia Dipping Sauce
 
Author:
Ingredients
  • ¼ cup water
  • 2 tablespoons fish sauce
  • 2 tablespoons white, granulated sugar
  • 2 tablespoons lime juice
  • 2 cloves garlic, minced
  • ¼ teaspoon red pepper flakes
Instructions
Mix all the ingredients together. Serve with lumpia and ENJOY!


Chicken Soup (Kådun Månuk)

Kådu is the Chamorro term for soup or broth.  Think of it as Chamorro Comfort Food.  It could be 90 degrees outside on Guam, but serve some kådu for lunch or dinner and chances are, you’ll forget your worries–and the hot weather–as you enjoy a steaming bowl of delicious soup.

image

There isn’t a particular occasion that kådu is served.  If made at home, kådu is usually served as the main course — chicken, beef or other kådu is the starring attraction, served over steamed rice with fina’denne’ on the side.  Whereas if you see kadu at parties, it’s usually something more along the lines of a drinkable soup, like Chamorro Corn Soup or Beef Soup with Noodles and Vegetables.

Growing up, kådu was made using whatever we had on hand.  Most often my mom would make chicken kådu, using the chickens raised in our yard, of course.  She’d also add whatever vegetables my dad happened to be growing at our ranch, or vegetables growing in the back yard.  My favorite vegetables to add to kådu were squash and pumpkin tips, and if we had some potatoes and onions, into the pot they went as well.  Freshly squeezed coconut milk was a must; that was usually my job when I was younger — grating the coconut then pressing out the thick and creamy milk.

Give my recipe a try.  It’s great for those bleary days when warm chicken soup seems to be the only thing to chase the cold away.  Find my complete recipe at the bottom of this post.  My recipe makes enough to serve 6-8 people, plus enough left over to pack lunch the next day.

You can also try my recipe for Beef Shank Kådu with Vermicelli Noodles and Vegetables.  I think you’ll like that one too. 🙂

Here’s how to make my Chicken Kådu.

Prepare your vegetables.  Peel and cut your vegetables in to large chunks.  I used zucchini, potatoes and baby bok choy in this version; you can use your favorite vegetables.

Peel the zucchini and thickly slice them.  I sliced these about 3/4 to 1 inch thick.

image

Separate the baby bok choy leaves.  Rinse each leaf thoroughly to remove all dirt trapped in between the leaves.

image

Peel and cut the potatoes into large chunks.  I used small red potatoes and cut them half.  Place the cut potatoes in cold water to keep them from oxidizing and turning brown.

Set all the vegetables aside for now while you cook the chicken.image

Place the chicken into a large pot along with sliced onions, chopped garlic, chicken seasoning and black pepper.

image

Cook the chicken over medium-high heat until done.

image

Add the potatoes to the pot along with enough water to cover the potatoes.  Cover the pot and bring the soup to a boil.  Cook the potatoes for about 8-10 minutes or until they are almost done (the potatoes should still be a bit difficult to pierce easily with a fork).  The potatoes will continue cooking when you add the rest of the vegetables.

image

Add the zucchini to the pot once the potatoes are just about done.  It doesn’t take long for squash to cook, so be sure to add them to the pot at the end.  Replace the lid on the pot; cook the squash for just a few minutes.

image

Baby bok choy also cooks very quickly.  In fact, the steam from the pot will cook the tender leaves sufficiently.  Add the bok choy leaves to the pot once the squash is done then turn the heat to low; replace the lid on the pot.

image

It takes just a couple of minutes for the bok choy to wilt.  Turn off the heat once it does.

image

All that’s left to do is stir in the coconut milk.  You don’t want to boil coconut milk or it will separate after prolonged cooking.  The soup is quite hot at this point, hot enough to warm the coconut milk, which is all you need to do.  Give it a stir, then taste and adjust the seasoning if necessary.  Add more salt (or chicken seasoning) and pepper, to taste.

image

Serve with steamed white rice and fina’denne’ and ENJOY! 🙂

image

Chicken Soup (Kådun Månuk)
 
Prep time
Cook time
Total time
 
This is not your ordinary chicken soup -- it's chicken soup with a Chamorro flare, made with potatoes, squash, baby bok choy, and thick coconut milk.
Author:
Recipe type: Soup
Cuisine: Chamorro
Serves: Serves 6-8
Ingredients
  • 8 boneless, skinless chicken thighs, cut into small pieces
  • 4 boneless, skinless chicken breasts, cut into small pieces
  • 6 drumsticks
  • 1 large onion, sliced
  • 2 tablespoons chopped garlic
  • 1 teaspoon black pepper
  • 4 tablespoons chicken seasoning (or powdered chicken bouillon)
  • 10 small red potatoes, peeled and cut in half
  • 4 cups water
  • 8 bunches baby bok choy, leaves separated
  • 6 medium zucchini squash, peeled and sliced into 1-inch pieces
  • 2 cans coconut milk
Instructions
  1. Place the chicken, onions, garlic, black pepper and chicken seasoning in a large pot. Cook over medium-high heat until the chicken is done.
  2. Add the potatoes and water to the pot. Bring the soup to a boil; cook for 8-10 minutes or until the potatoes are almost done.
  3. Add the squash to the pot; cook for a couple of minutes.
  4. Add the baby bok choy leaves to the pot and reduce the heat to low. Cook just until the leaves wilt.
  5. Turn the heat off then stir in the coconut milk.
Serve with steamed white rice, fina'denne' and ENJOY!


Pancit Bihon

Pancit Bihon is a Filipino dish that Chamorros adopted as their own, fusing ingredients from several cultures as well as using home-grown vegetables.

There are many pancit variations. As the name implies, this pancit uses Bihon noodles, also called rice noodles or rice sticks. Bihon noodles are usually sold dried (that’s where the name “rice sticks” comes from) but some Asian markets sell them fresh. I used the dried noodles to make my pancit. It’s quick and easy — it only takes minutes to soften the dried noodles in a bowl of hot water, and even less time to cook them.

image

I add a variety of vegetables to my pancit. It all depends on whatever is fresh and in season at the time I make it. I like cabbage, carrots, onions, celery, snow peas, bell peppers, and fresh green beans.

In addition to vegetables, Pancit Bihon includes some sort of meat. I prefer using chicken in this recipe, but you most certainly can use pork and beef as well. Pancit Bihon also usually has Chinese sausage, which you can find in almost any Asian market. Look for sausage called “lap xuong mai que lo”. This is a cured pork sausage that resembles skinny pepperoni sticks.

This is a great recipe that is simplified by doing a lot of the prep work ahead of time. If you’ve got a busy life that involves work, kids and school, then your time, like mine, is quite precious. Cut your vegetables the night before you plan to make the pancit. You can also cut the meat ahead of time. Refrigerate the vegetables and meat until you’re ready to cook the pancit. When you’re ready to cook, all you need to do is soak the noodles, cook the meat and vegetables, then mix in the noodles. Easy peasy.

My complete recipe is located at the bottom of this post. Give it a try. I think you’ll like it.  It’s delicious served as part of your Chamorro fiesta plate. 🙂

10177415_10205032220313494_3992143486966150129_n

Here’s how to make it.

Place the dried rice noodles in a large bowl filled with hot water. Let the noodles soak while you cook the meat and vegetables. After the noodles become pliable, drain out the water. Use a pair of clean kitchen shears to cut the noodles in half. Set the noodles aside.

image

Saute the chicken in a large wok or pan along with garlic and black pepper.

image

Once the chicken is no longer pink, add the soy sauce and Chinese sausage to the wok. Cook for another couple of minutes.

image

Remove the chicken and sausage from the wok, leaving all of the liquid in the pot (you’ll use the liquid to steam the vegetables and finish cooking the noodles). Set the meat aside. Add sliced onions, carrots, bell pepper and celery to the wok. Turn the heat up to medium-high. Stir fry the vegetables for a couple of minutes; do not cook too long — you want the vegetables to still be somewhat firm, not limp.

image

Add the cabbage to the wok. Cook for another couple of minutes, just until the cabbage begins to wilt.

image

The liquid left behind in the wok steams the vegetables nicely.

image

Remove half of the vegetable mixture (again, leave any liquid in the wok). Add half of the meat mixture back into the wok.

image

Add half of the drained noodles to the meat and vegetable mixture. Stir to combine.

image

Add the remaining vegetables, meat and noodles back into the wok. Stir once more.

image

Taste and adjust the seasonings to your liking, adding more soy sauce or salt, to taste.

image

Garnish with lime or lemon wedges. Serve with your favorite meal or as a main dish. ENJOY!

image

Pancit Bihon
 
Prep time
Cook time
Total time
 
Rice noodles cooked with fresh vegetables, savory chicken and Chinese sausage.
Author:
Recipe type: Side
Cuisine: Chamorro
Ingredients
  • 1 bag (16-oz) dried Bihon rice noodles (or rice sticks)
  • 2 chicken breasts, thinly sliced into 2 inch pieces
  • 1 tablespoon chopped garlic
  • 1 teaspoon black pepper
  • 4 Chinese sausages (the kind that's cured), thinly sliced
  • ¾ cup soy sauce
  • ½ large onion, sliced
  • 1½ cups carrots, cut into matchsticks
  • 1 green bell pepper, sliced
  • 1 cup thinly sliced celery
  • ½ small head cabbage, cut into 2 inch pieces
  • Lime wedges
Instructions
  1. Soak the rice noodles in a bowl of hot water for 15 minutes. Drain the water once the noodles become pliable. Cut the noodles in half with a pair of kitchen shears.
  2. Saute the chicken, garlic and black pepper in large pot or wok; cook until the chicken is no longer pink.
  3. Add the soy sauce and Chinese sausage to the wok. Cook for a couple of minutes then remove the meat from the wok, leaving the liquid in the wok.
  4. Add the onions, carrots, bell pepper and celery to the wok. Cook the vegetables for a couple of minutes.
  5. Add the cabbage; cook until the cabbage wilts slightly.
  6. Remove half of the vegetable mixture from the pot. Add half of the meat mixture back to the wok, along with half of the noodles. Stir to combine.
  7. Add the remaining vegetables, meat and noodles to the work. Stir once more to combine. Cook for a couple of minutes then remove from the heat.
  8. Taste and adjust the seasonings to your liking, adding more soy sauce or salt if required.
Garnish with lime wedges, serve and ENJOY!


Chamorro Potato Salad

Chamorro Potato Salad is a must-have at any Chamorro gathering.  Your fiesta menu would not be complete without it.

There are several variations to this classic side dish, but Chamorros pretty much make it the same basic way.  We use potatoes (of course) — any kind good for baking, but russets are most common — eggs, black olives, pimentos, sweet pickle relish and mayo (more on this later).

Some people add other vegetables such as celery, carrots, or freshly diced pickles, but I like mine with just the ingredients I listed above.

I like a lot of eggs in my salad.  I usually add anywhere between 8 and 12 eggs for 5 pounds of potatoes.  When I was little, before I knew what I was missing, I would get my mom and sisters to pick out all of the eggs from their potato salad and give it to me — that was all I’d eat out of it, just the eggs.  Now I know better and eat it ALL.  It’s so good.

My complete recipe is at the bottom of this post.  Give it a try.  I think you’ll like it. 🙂
image

 Start by squeezing out as much liquid from the relish, pimentos and olives.

If you don’t squeeze out as much liquid as possible, your salad will be wet and runny, not to mention died the color of the olives, pimentos and relish.

Who wants to eat a mushy blackish-reddish-greenish concoction?  If that description had you grimacing in disgust, then it served its purpose.  Squeeze out the liquid.  Trust me, you’ll be glad you did. 😉

You can dump out all of the contents into a fine-mesh strainer, and using the back of a large spoon, press out as much liquid as possible.  I managed to press out about 3/4 cup of liquid from the relish, and that was BEFORE I used a cloth to really get the liquid out (see more about this technique below).image

image

Another option — which is my preferred method — is to place all of the wet ingredients into the center of a clean cheesecloth or kitchen rag (don’t use towel-like cloths or you’re likely to get strings of fabric into your salad).  Gather the edges of the cloth together, twisting at the top to compress the ingredients.  Squeeze the balled up portion to get out as much liquid as you can.  Keep squeezing until no more (or very little) liquid extrudes through the cloth.

Set the relish, pimentos and olives aside.image

Meanwhile, rinse the potatoes and place them into a large pot of hot water.  Add the eggs to the pot.  Bring the water to a boil.  Cook the eggs (in the boiling water) for 10-12 minutes then remove them from the pot.  Keep cooking the potatoes until they are done (insert a butter knife or metal skewer into the center of a potato — if it slides in smoothly and easily, the potatoes are done).
image

Remove the potatoes from the boiling water.  If you let cooked potatoes sit in water for too long, they soak up too much water, becoming mushy.

image

Allow the potatoes and eggs to cool before peeling the skin and shell off.  If you want to decorate the top of your salad, set aside one egg yolk.
image

Cut the potatoes and eggs into small cubes.  You can make them as big or as small as you like.  Don’t cut them too small, however, or you’ll end up with a mashed potato salad.
image

Add the seasonings to the dry mixture — I like adding onion powder, black pepper and salt.  The seasonings get distributed easier with the dry potatoes.  If you add the seasonings after adding the mayo and wet condiments (relish, olives and pimentos), you might get clumps of seasonings that don’t get mixed well.

Stir gently to mix the seasonings with the potato-egg mixture.  Taste it at this point and add more seasonings to your liking.  Don’t add more salt, however.  Mayonnaise has salt; wait until you mix the mayo into the salad before adding more salt.
image

Add the relish, olives and pimentos to the bowl.  Stir gently to combine.
image

Doesn’t it look so festive already?  If you like more olives, relish, and/or pimentos in your salad, by all means, add more.  Just be sure to squeeze out as much liquid as you can.

image

Fold in the mayo.  Chamorros will tell you that you MUST use Best Foods or Hellmann’s brand mayonnaise in Chamorro Potato Salad.  I must admit that I hold true to that sentiment as well.  Our classic Chamorro potato salad just doesn’t taste the same if you use “Dressing” (aka Miracle Whip).

I like my potato salad a little heavy on the mayo.  Use less if you like your salad a bit more on the dry side.
image

♩ ♪ ♫ ♬   Ta daaa!  ♬ ♫ ♪ ♩

It’s almost done.

My mom ALWAYS decorated the top of her potato salad, even if we were just eating it at home and not serving it at a party or family gathering.
image

Remember that egg yolk I told you to set aside?  Well, it’s time to for it to make its debut.  Place the yolk in a small fine-mesh strainer.

Oh…wait…before you do anything with the yolk, spread a very thin layer of mayo (a couple of tablespoons should do it) over the top of the salad.  This serves as the “canvas” for your egg yolk decoration.

image

Use a spoon or fork to gently push the yolk through the strainer, creating a “snowfall” of egg yolk over the top of the potato salad.  Mom always saved some pimento and olives to make pretty flowers as well, and she’d make flower stems using celery leaves.  Be as creative as you like.

image

See, isn’t this pretty (even without pimento and olive “flowers”)? 🙂

imageServe and ENJOY!

My potato salad goes perfectly with Red Rice, BBQ Chicken, Pancit and Diago’ Kimchi. 🙂

10177415_10205032220313494_3992143486966150129_n


Potato Salad
 
A classic Chamorro side dish that is a must-have on your Fiesta table.
Author:
Recipe type: Side
Cuisine: Chamorro
Ingredients
  • 5 pounds potatoes
  • 8 hard boiled eggs (set aside one yolk), diced
  • 1 tablespoon onion powder
  • 2 teaspoons salt
  • 1 teaspoon black pepper
  • 1 can (4.25 oz) chopped black olives, squeezed to remove as much liquid as possible
  • 2 jars (4 oz) diced pimentos, squeezed to remove as much liquid as possible
  • 1 jar (10 oz) sweet pickle relish, squeezed to remove as much liquid as possible
  • 3 cups mayonnaise
Instructions
  1. Rinse the potatoes then place in a large pot filled with hot water. Bring the water to a boil. Cook until the potatoes are done (it's done when a knife or fork easily pushes through the potato when pierced). Remove the cooked potatoes from the water; allow to cool completely then peel and discard the potato skin. Cut into small cubes.
  2. Place the cubed potatoes and diced eggs into a large mixing bowl.
  3. Add the onion powder, salt and black pepper. Stir gently to combine.
  4. Add the drained and squeezed olives, pimentos and relish to the bowl. Stir to combine.
  5. Fold in the mayonnaise. Taste and adjust the seasonings.
Serve and ENJOY!

« Older Entries