Chamorro Potato Salad

Chamorro Potato Salad is a must-have at any Chamorro gathering.  Your fiesta menu would not be complete without it.

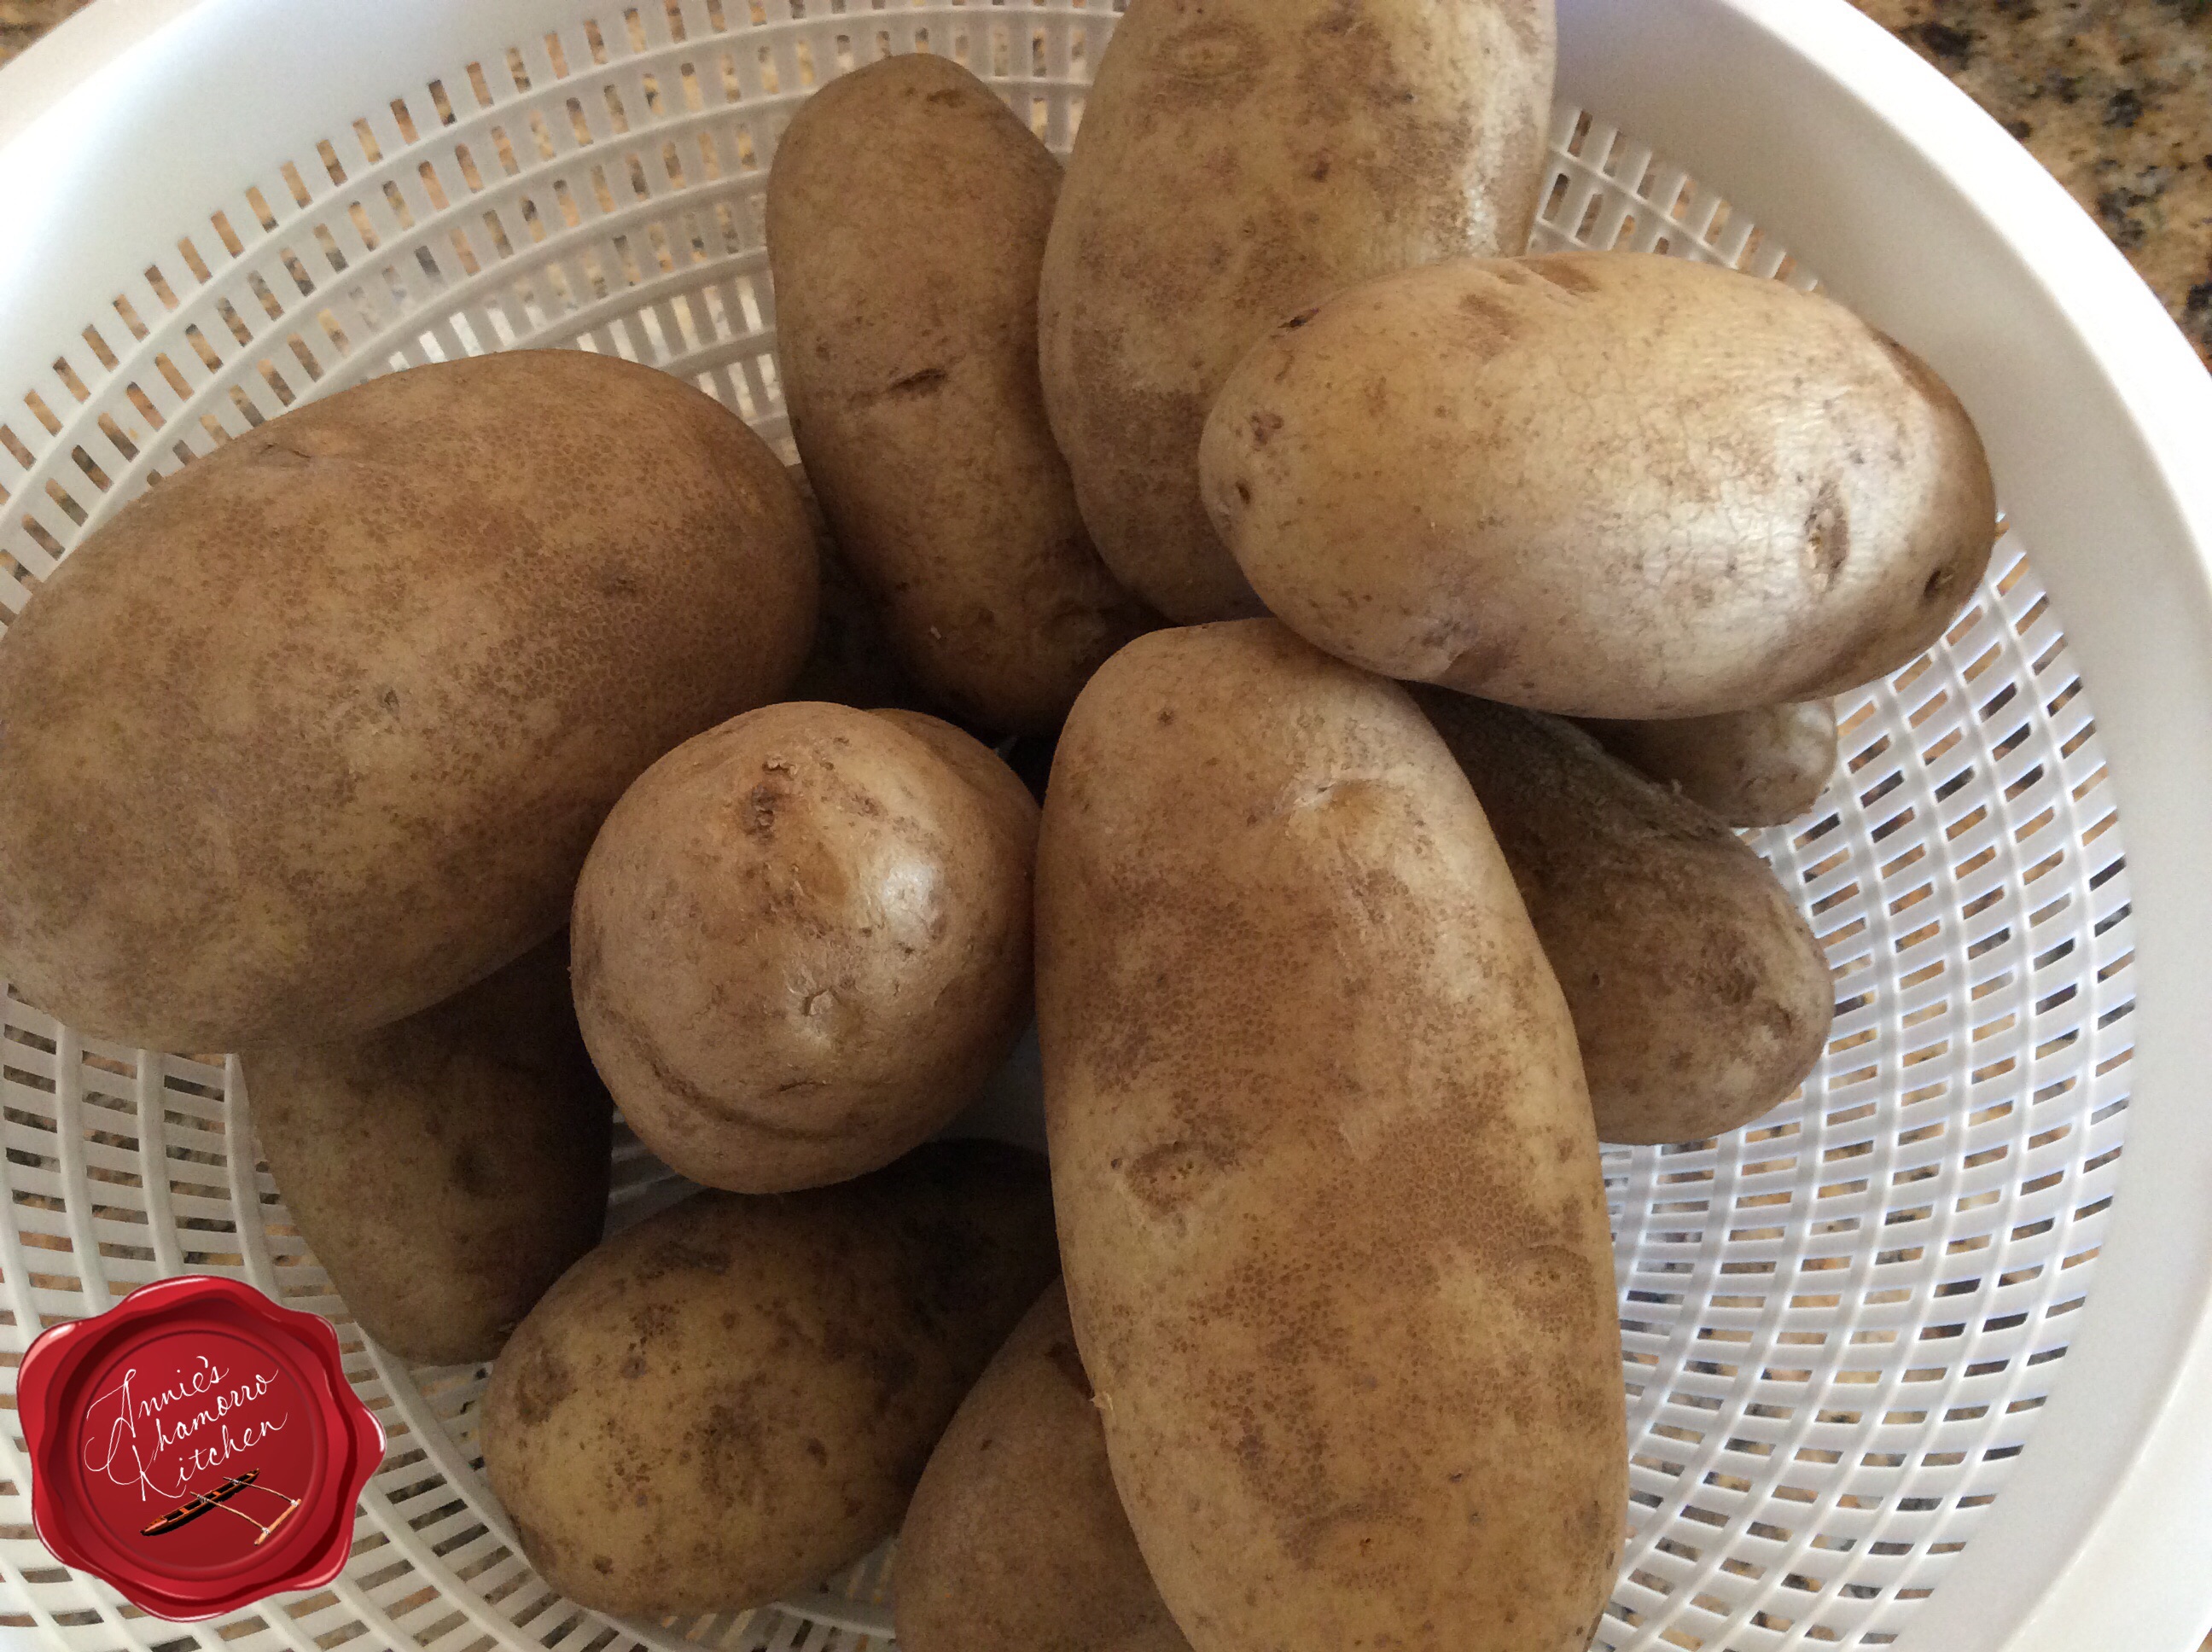
There are several variations to this classic side dish, but Chamorros pretty much make it the same basic way.  We use potatoes (of course) — any kind good for baking, but russets are most common — eggs, black olives, pimentos, sweet pickle relish and mayo (more on this later).

Some people add other vegetables such as celery, carrots, or freshly diced pickles, but I like mine with just the ingredients I listed above.

I like a lot of eggs in my salad.  I usually add anywhere between 8 and 12 eggs for 5 pounds of potatoes.  When I was little, before I knew what I was missing, I would get my mom and sisters to pick out all of the eggs from their potato salad and give it to me — that was all I’d eat out of it, just the eggs.  Now I know better and eat it ALL.  It’s so good.

My complete recipe is at the bottom of this post.  Give it a try.  I think you’ll like it. 🙂
image

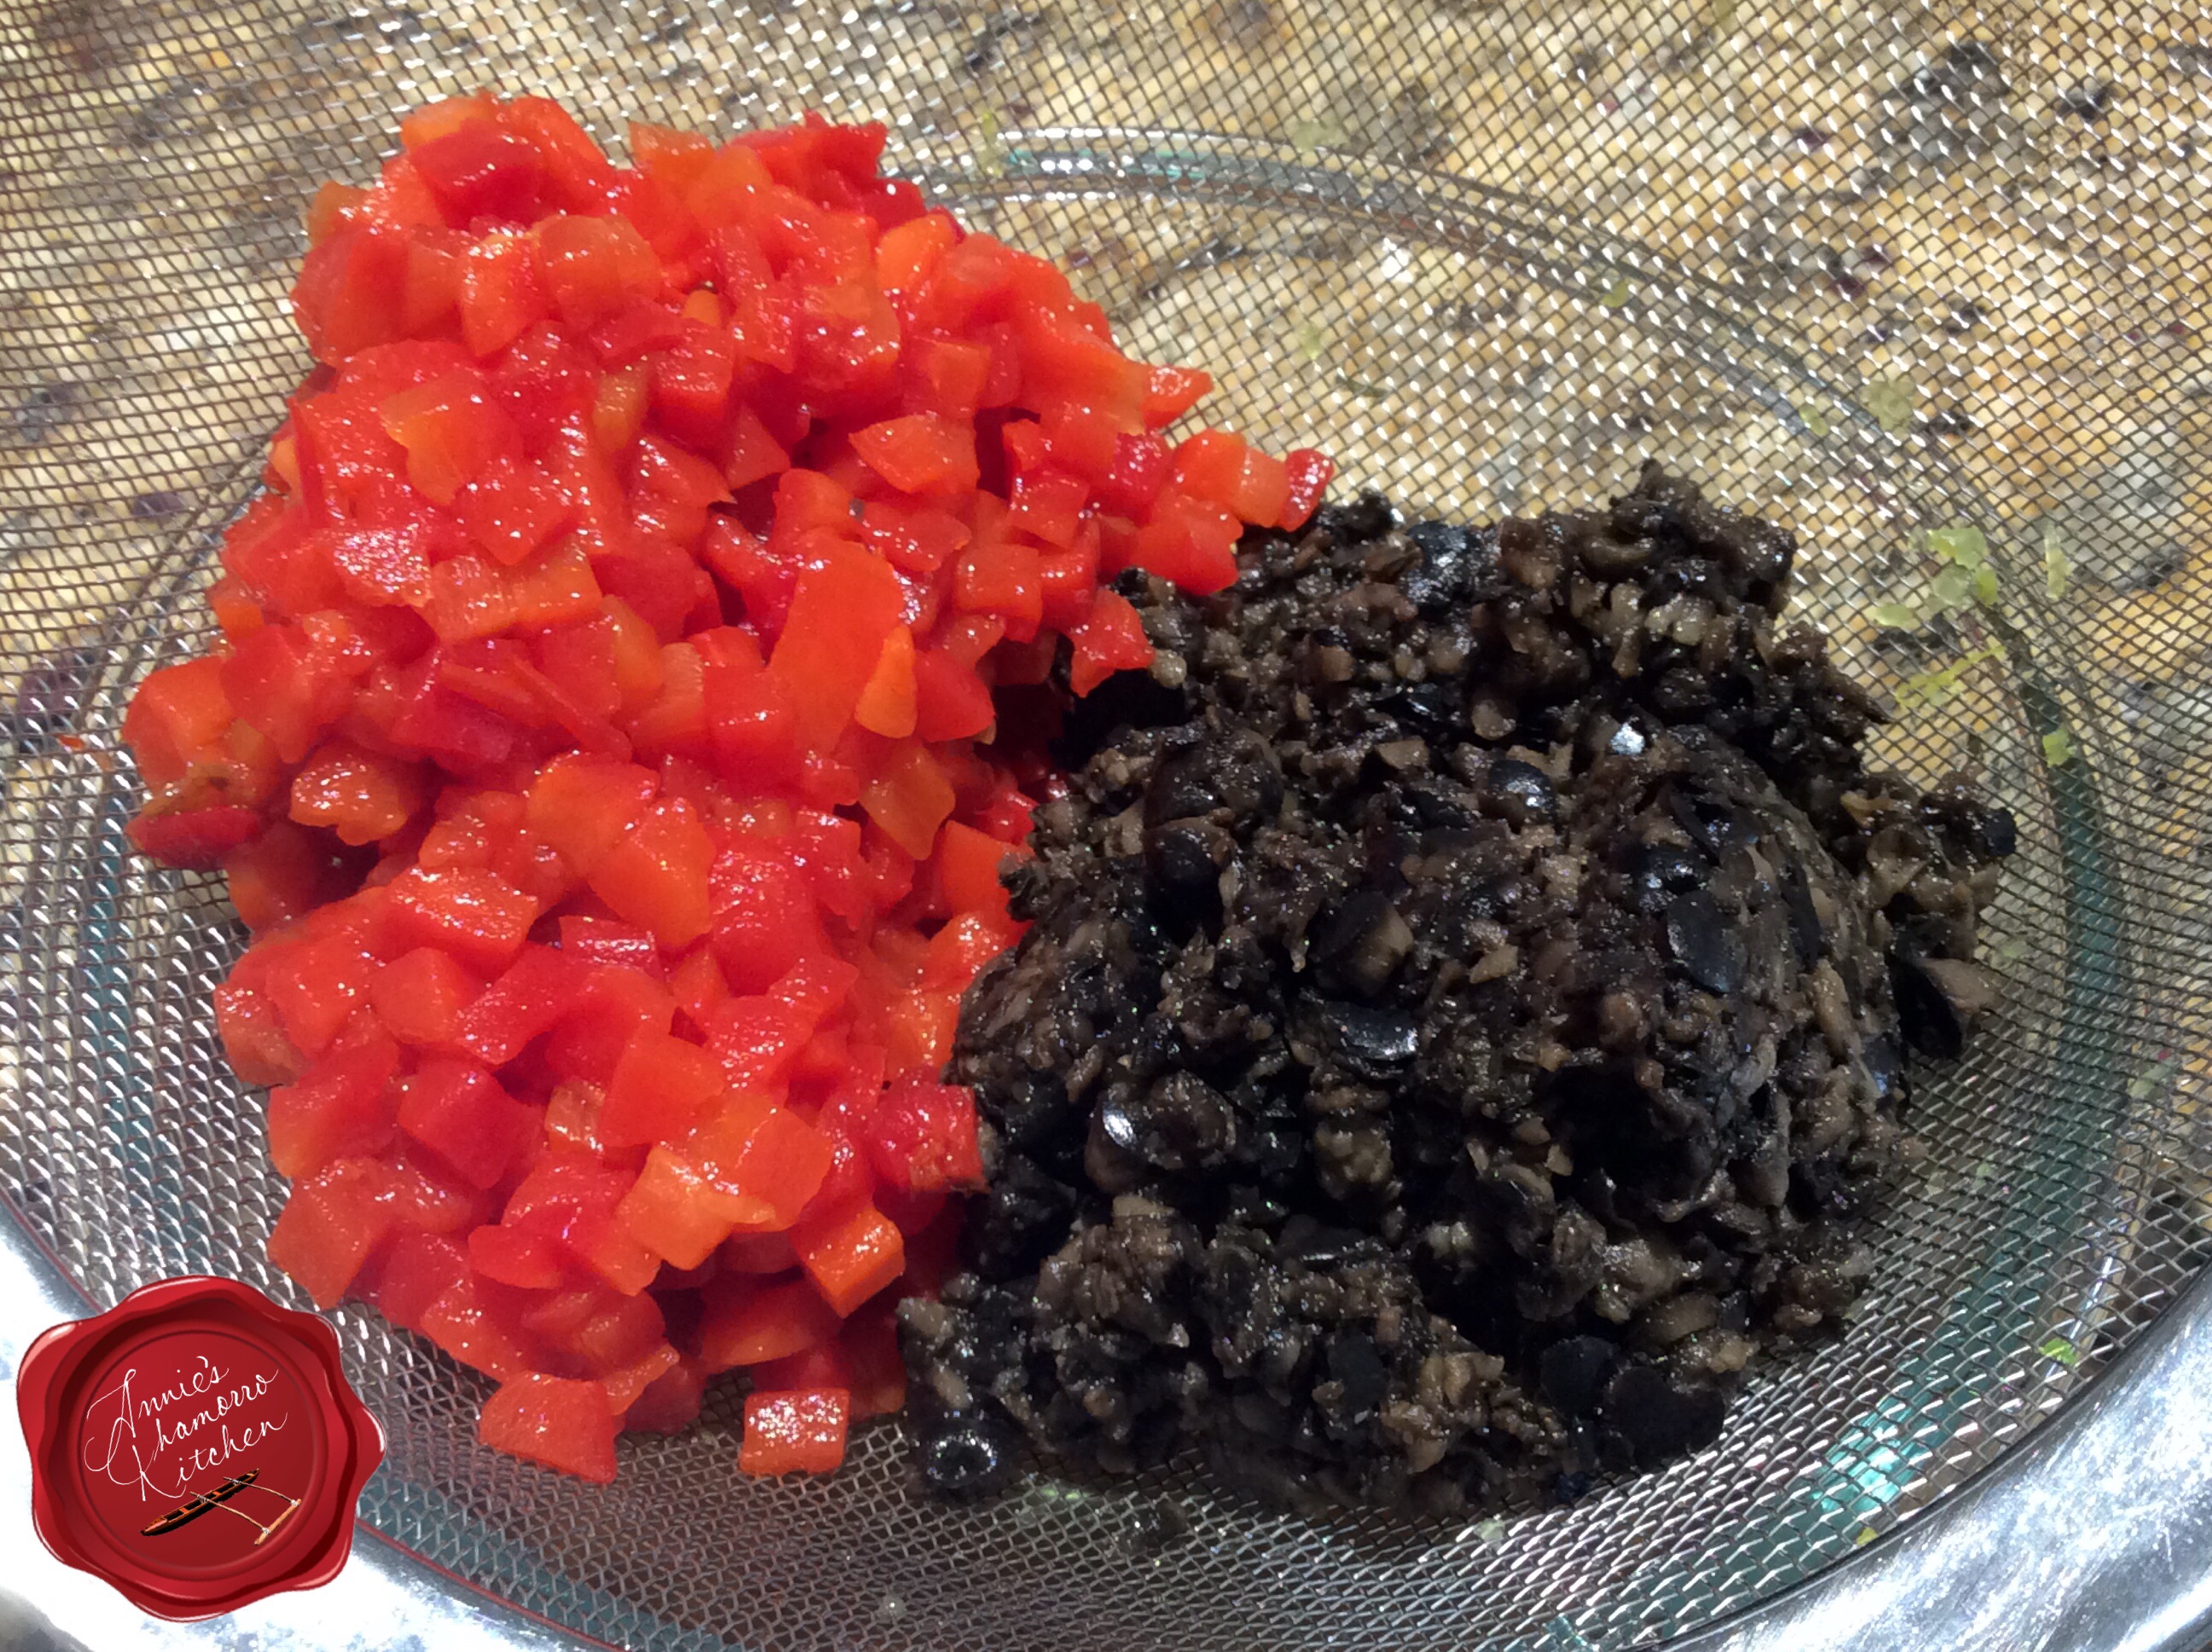
 Start by squeezing out as much liquid from the relish, pimentos and olives.

If you don’t squeeze out as much liquid as possible, your salad will be wet and runny, not to mention died the color of the olives, pimentos and relish.

Who wants to eat a mushy blackish-reddish-greenish concoction?  If that description had you grimacing in disgust, then it served its purpose.  Squeeze out the liquid.  Trust me, you’ll be glad you did. 😉

You can dump out all of the contents into a fine-mesh strainer, and using the back of a large spoon, press out as much liquid as possible.  I managed to press out about 3/4 cup of liquid from the relish, and that was BEFORE I used a cloth to really get the liquid out (see more about this technique below).image

image

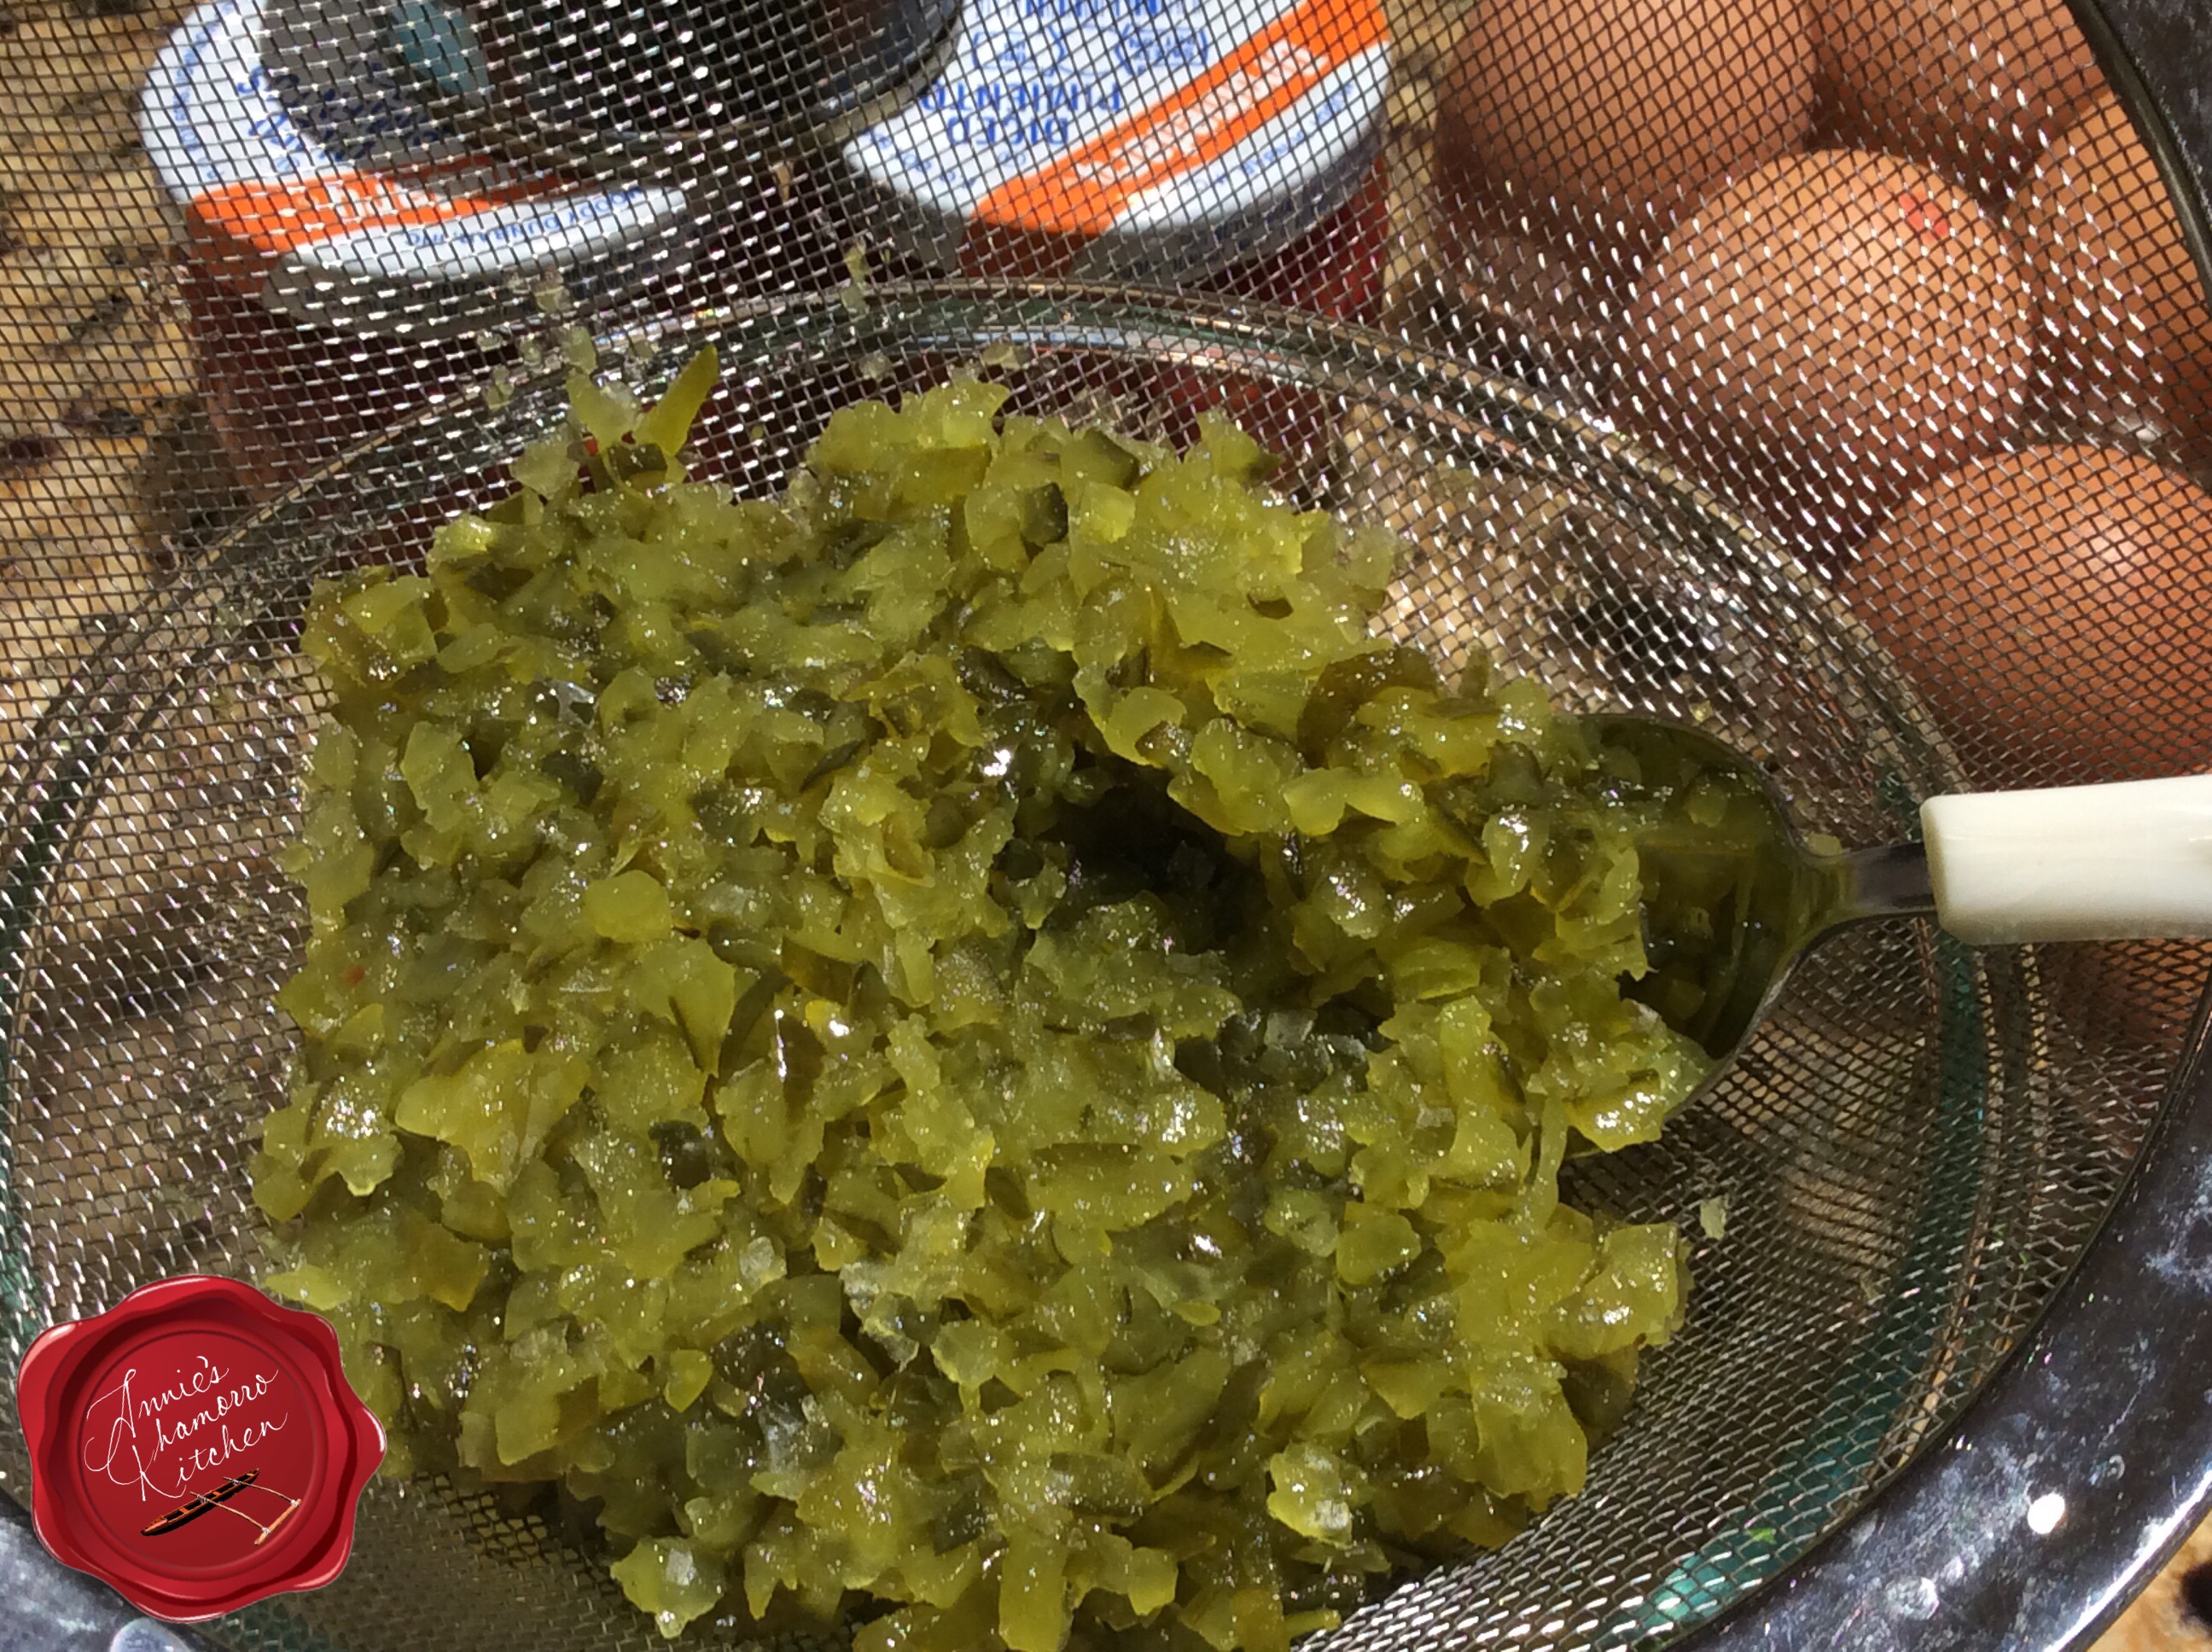
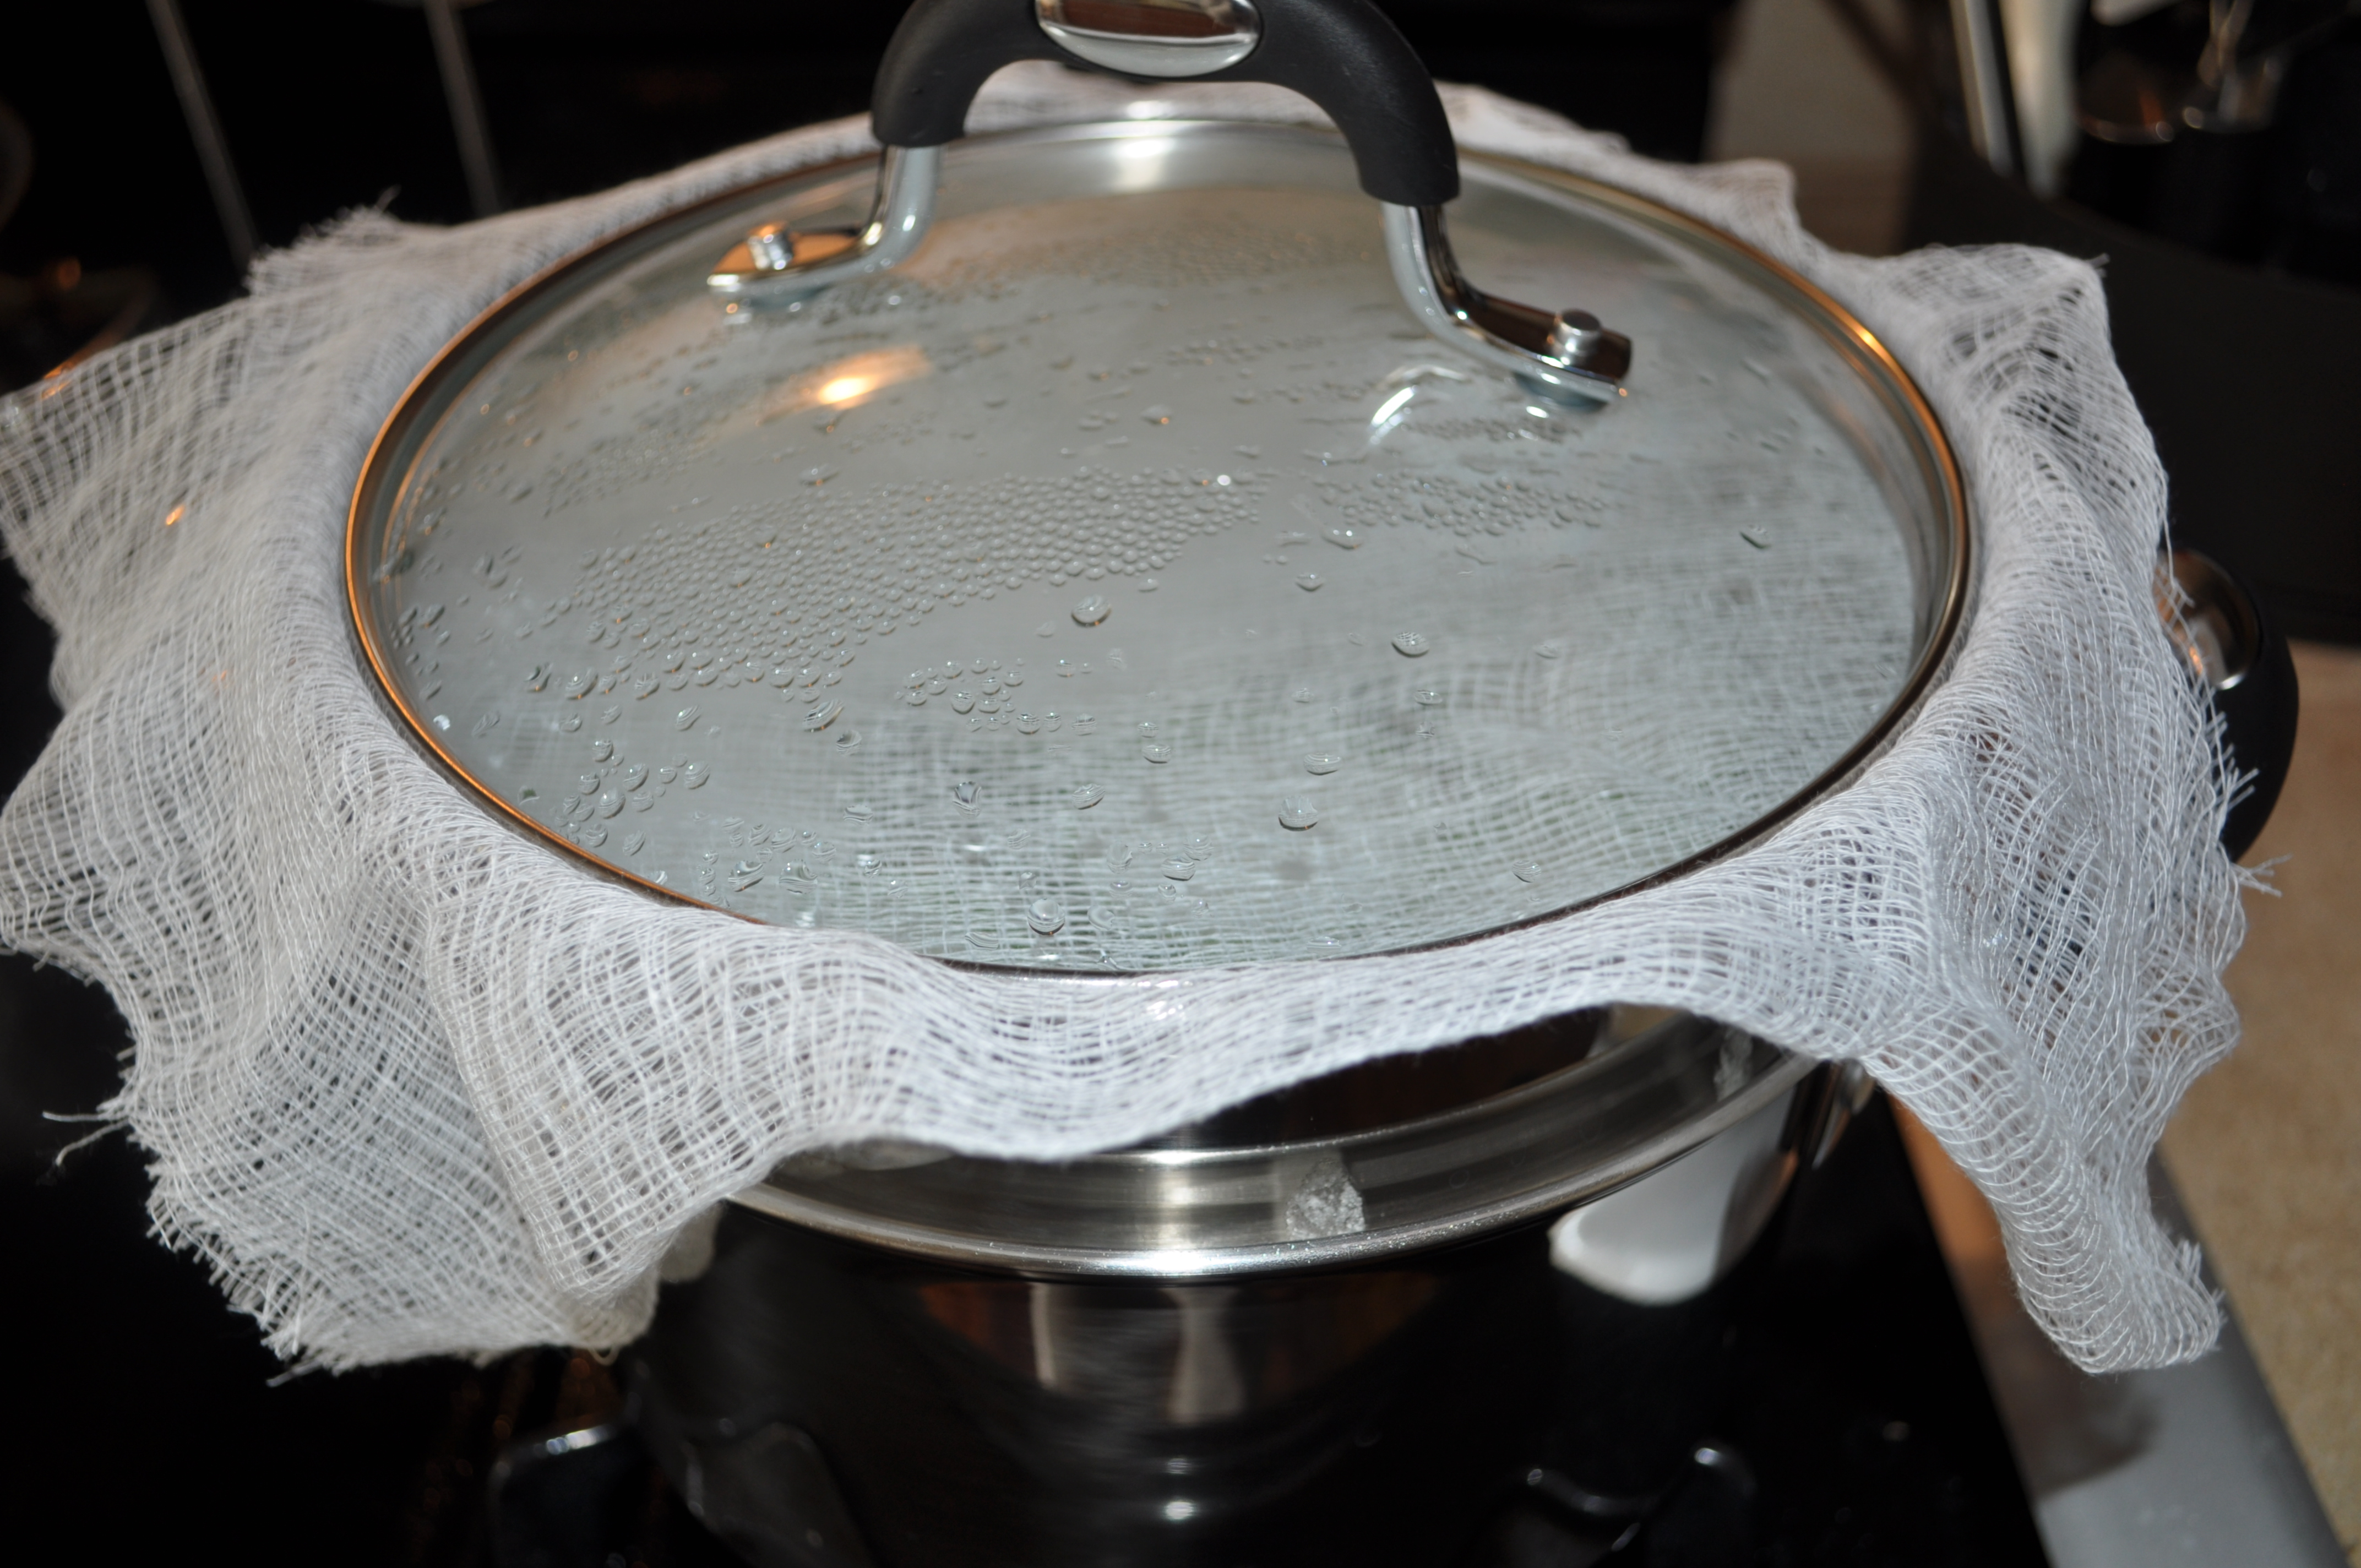
Another option — which is my preferred method — is to place all of the wet ingredients into the center of a clean cheesecloth or kitchen rag (don’t use towel-like cloths or you’re likely to get strings of fabric into your salad).  Gather the edges of the cloth together, twisting at the top to compress the ingredients.  Squeeze the balled up portion to get out as much liquid as you can.  Keep squeezing until no more (or very little) liquid extrudes through the cloth.

Set the relish, pimentos and olives aside.image

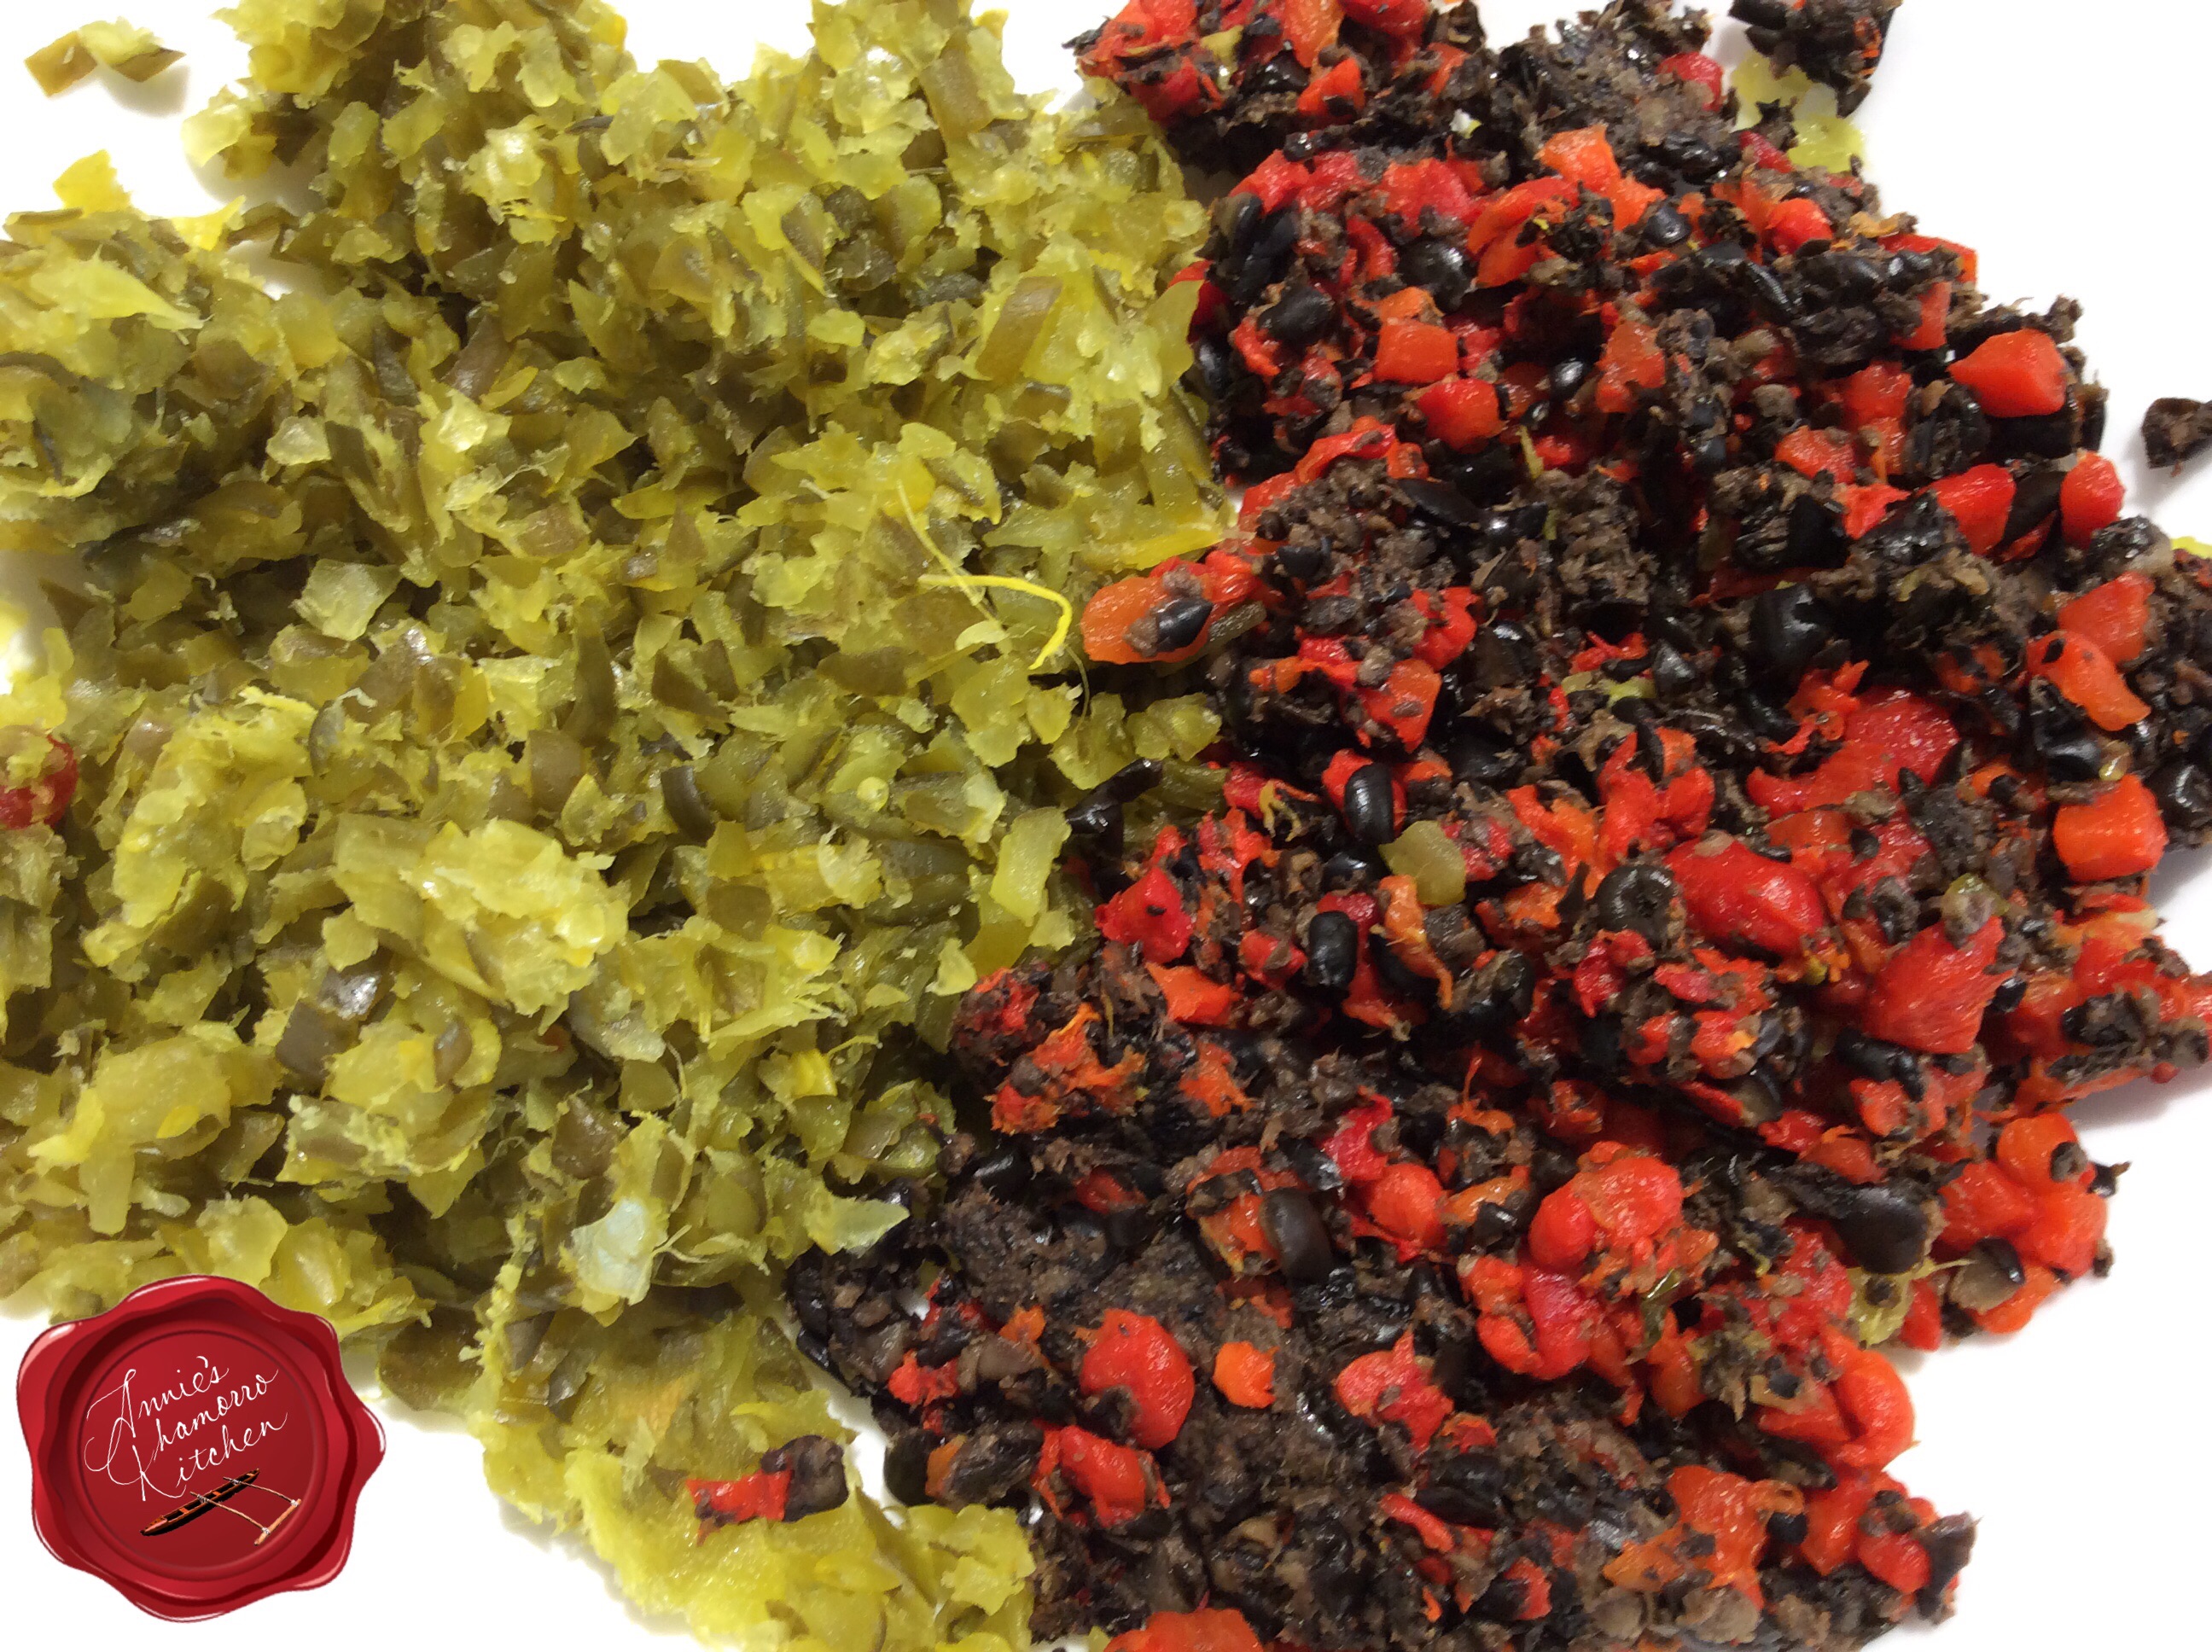
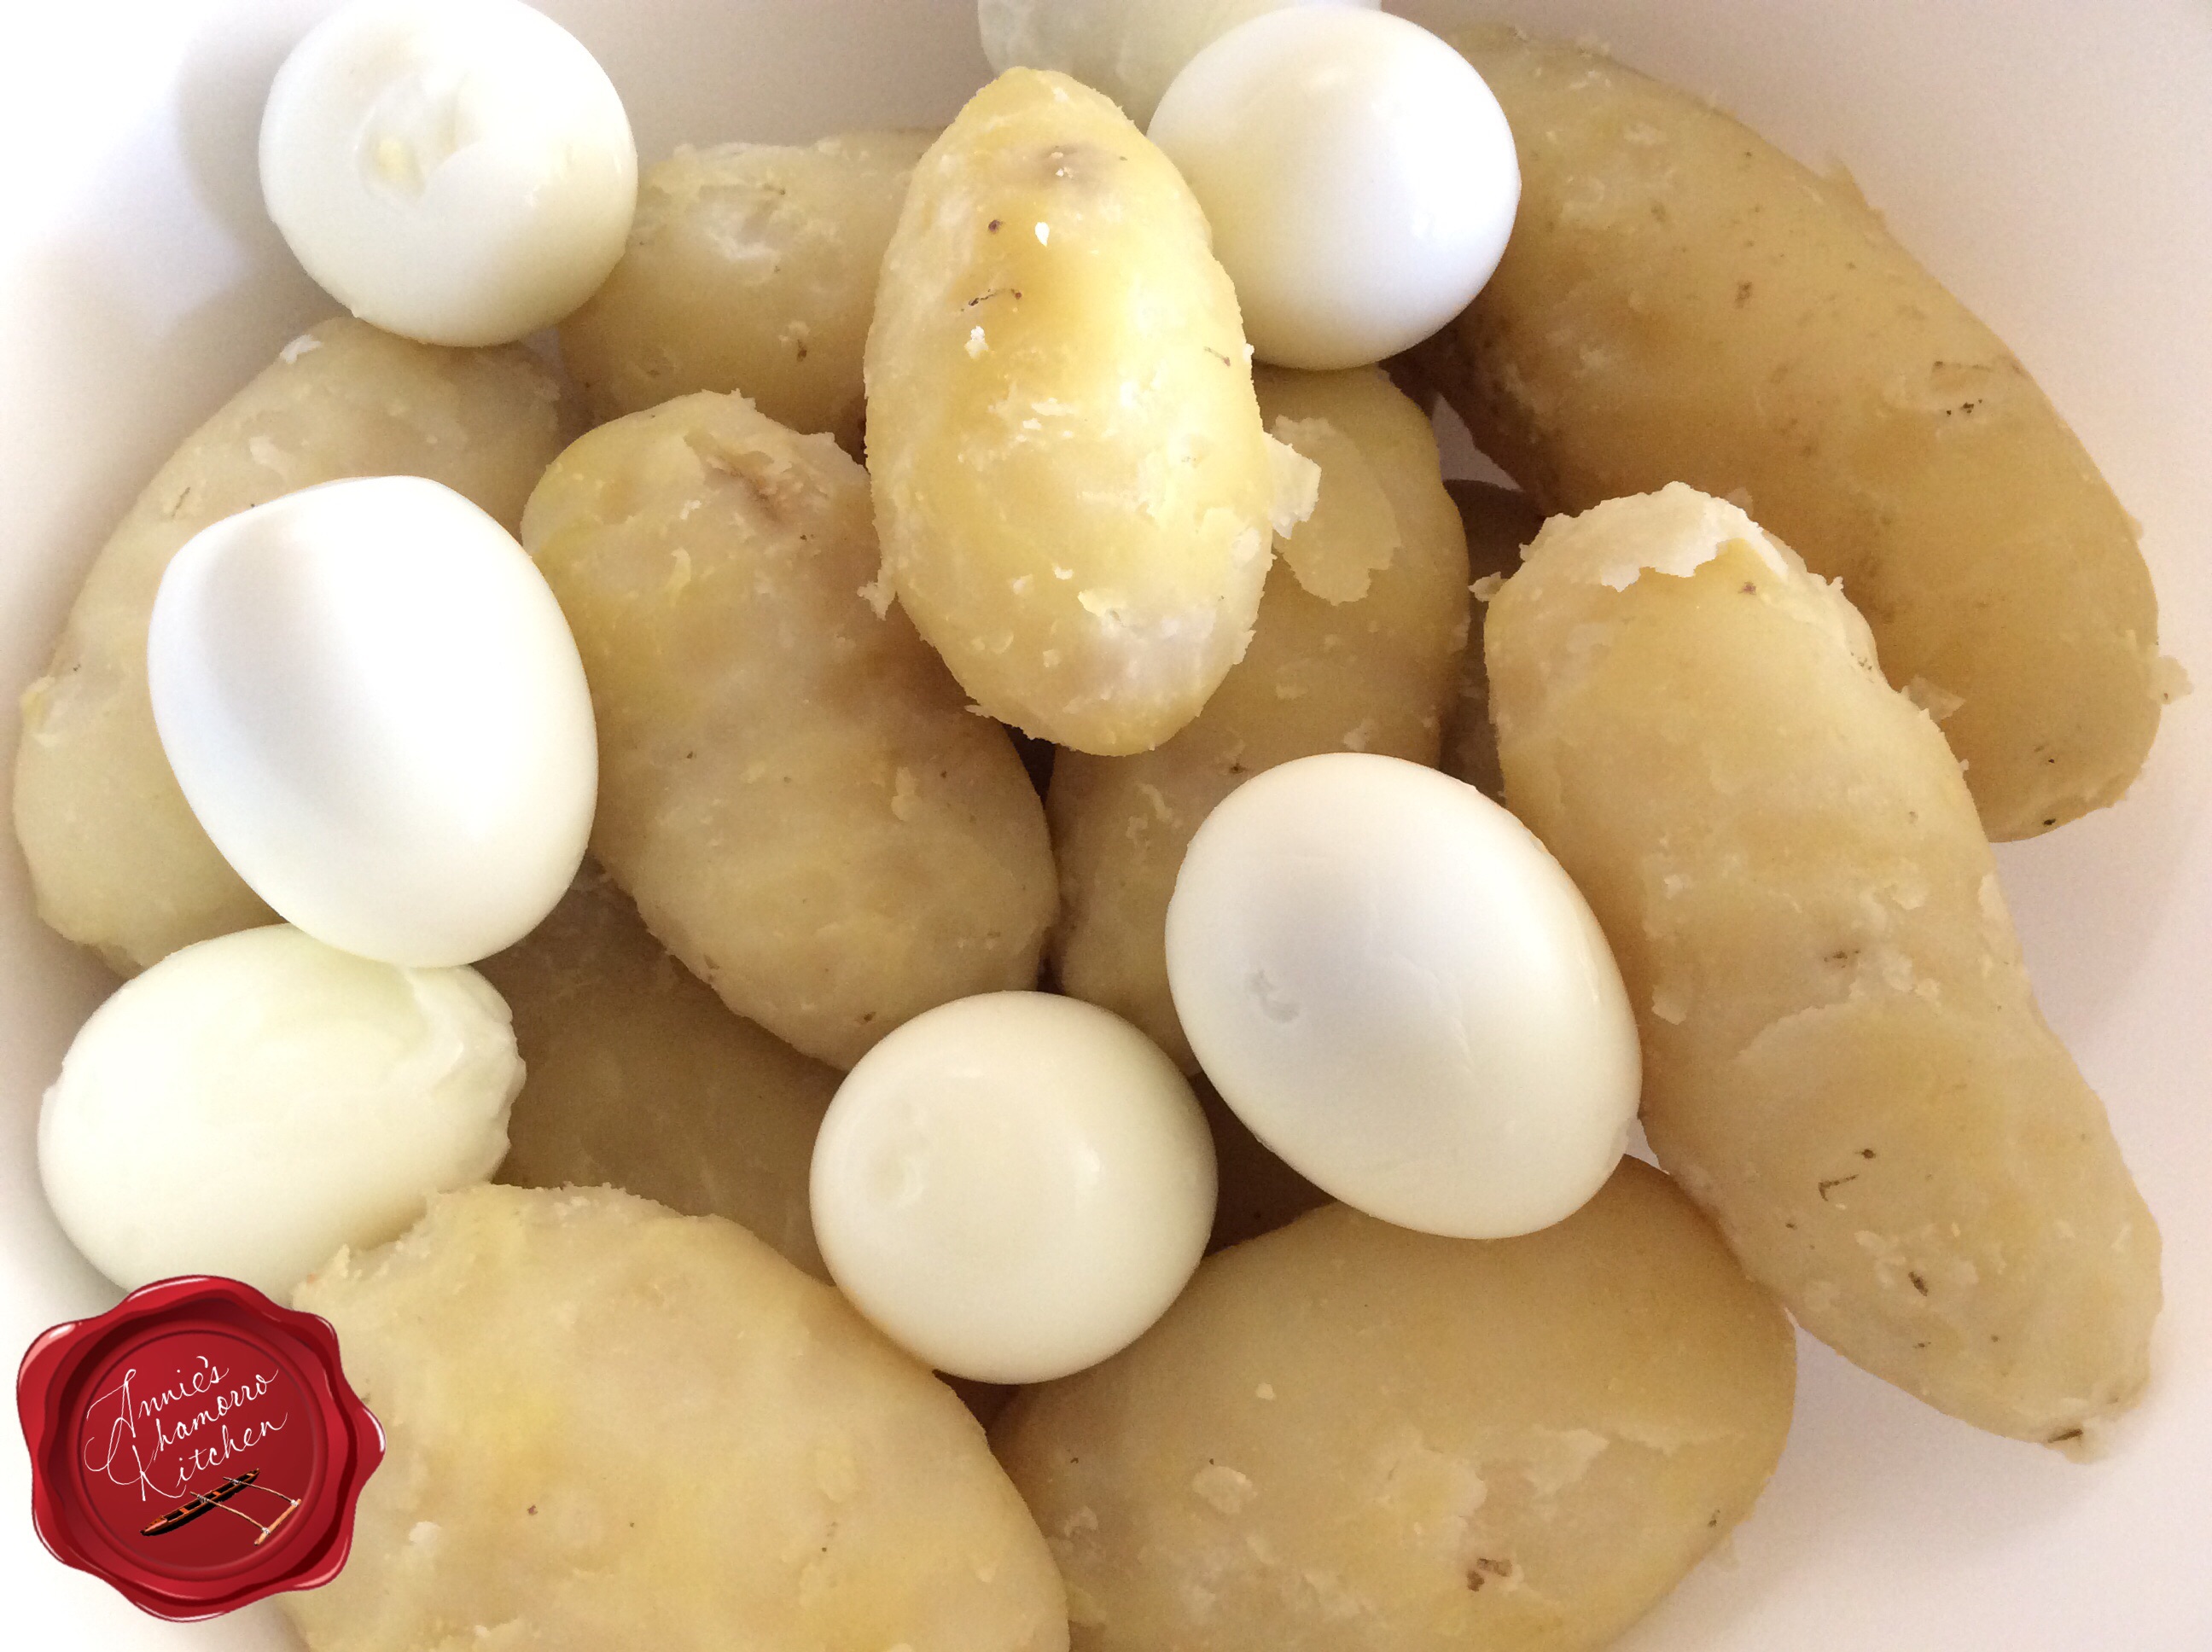
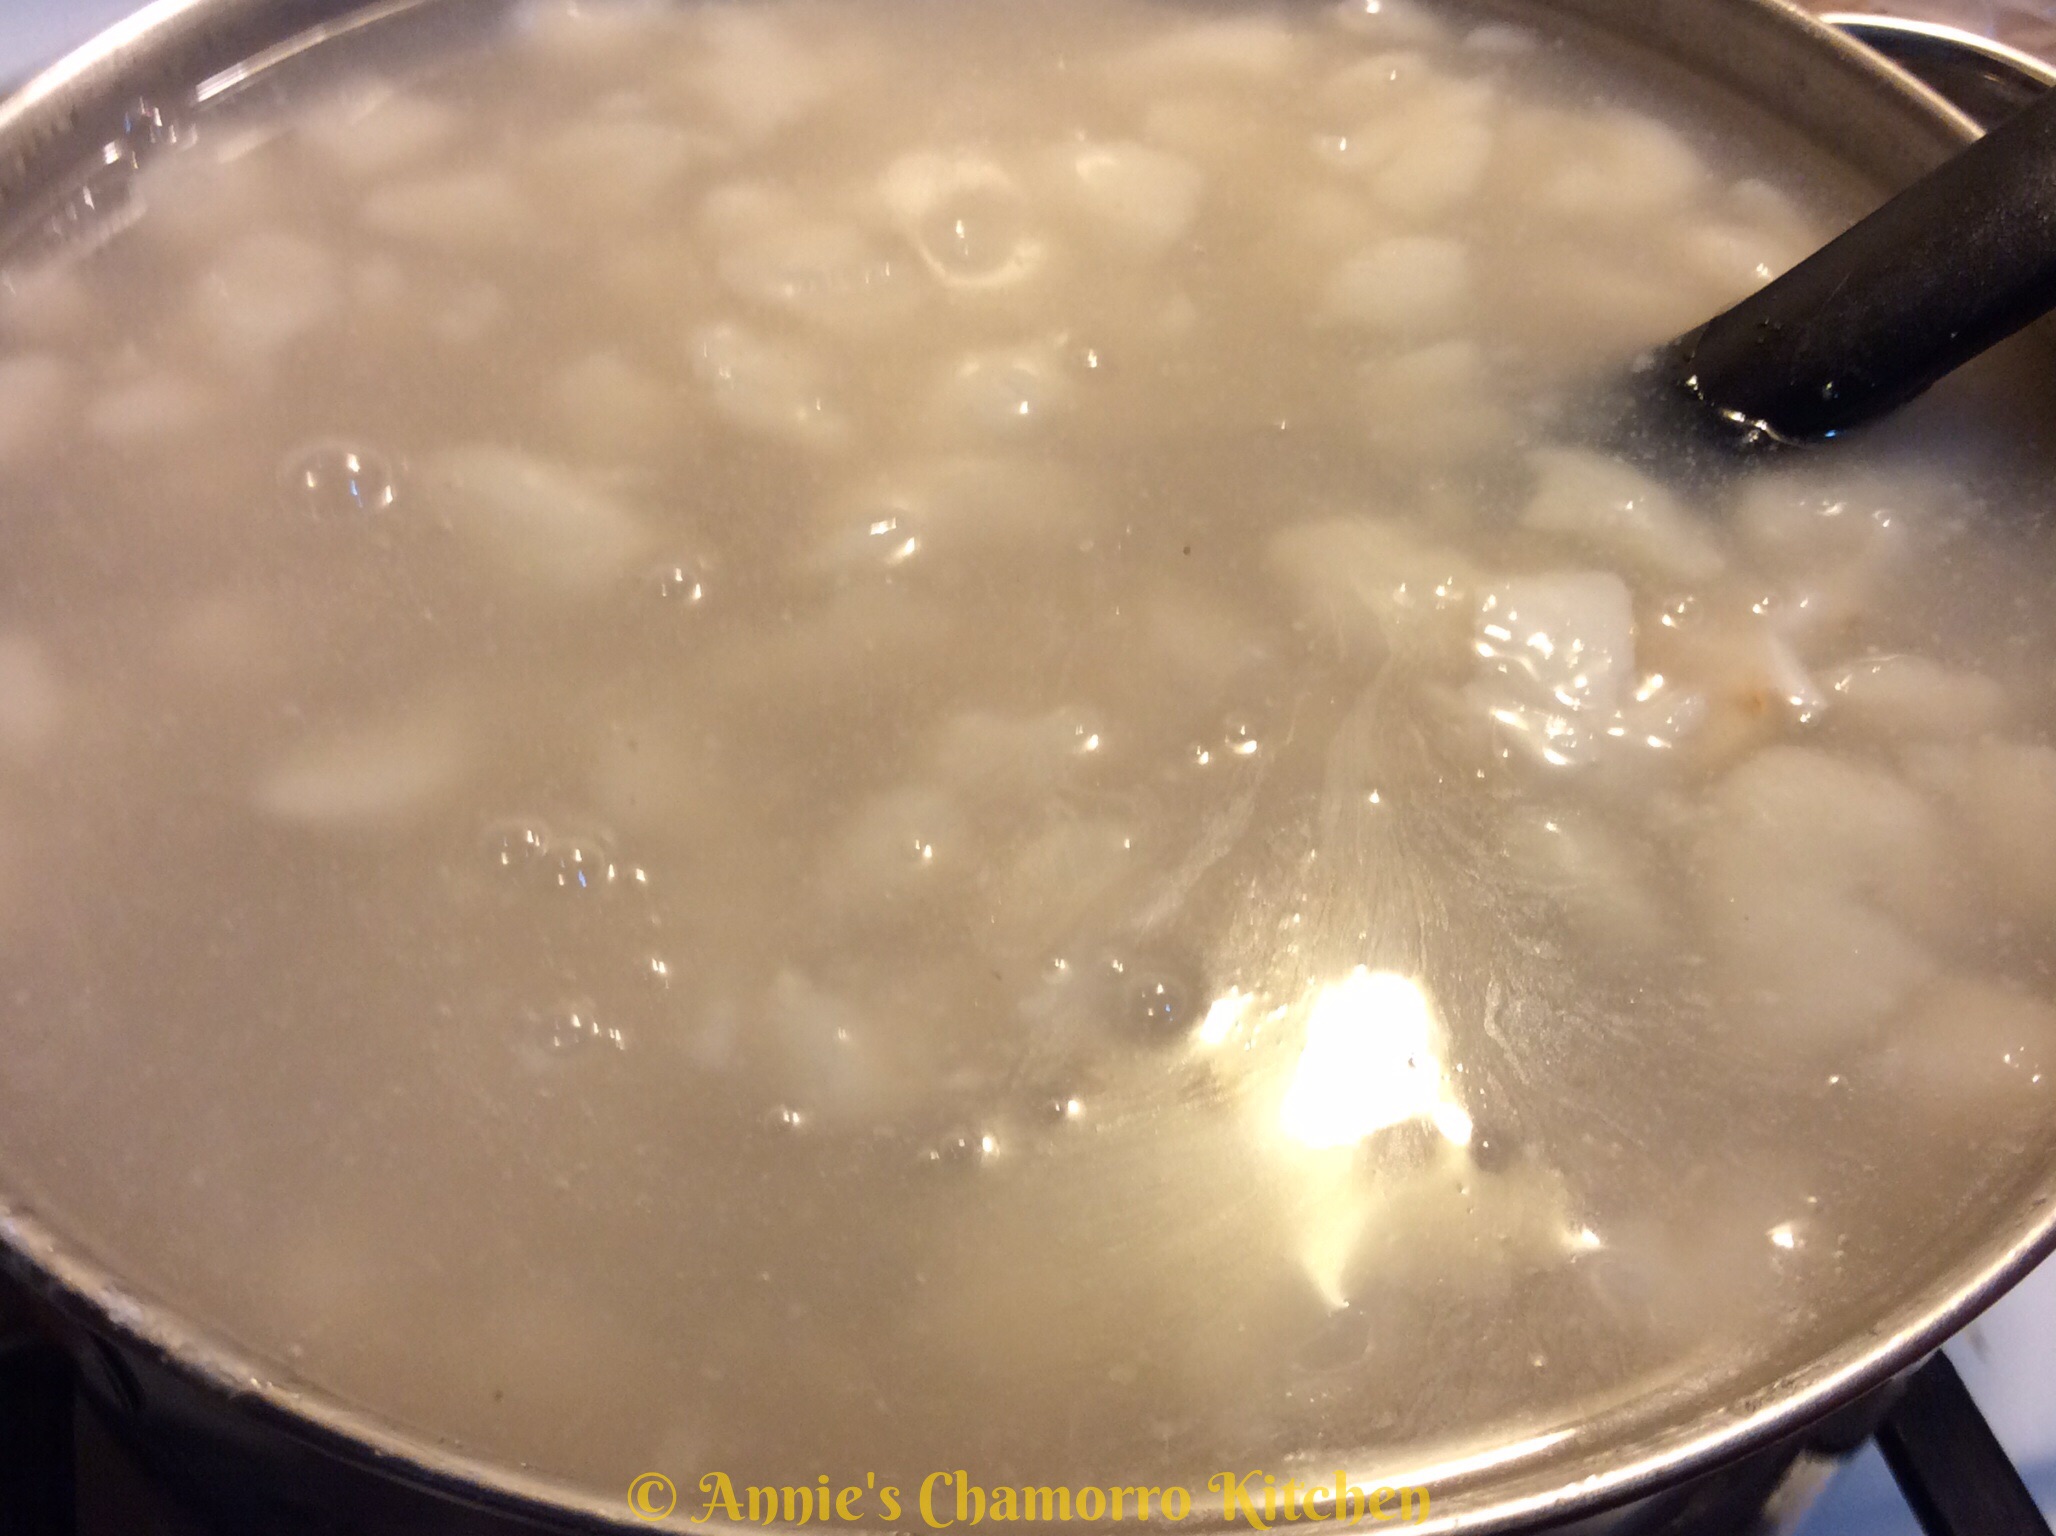
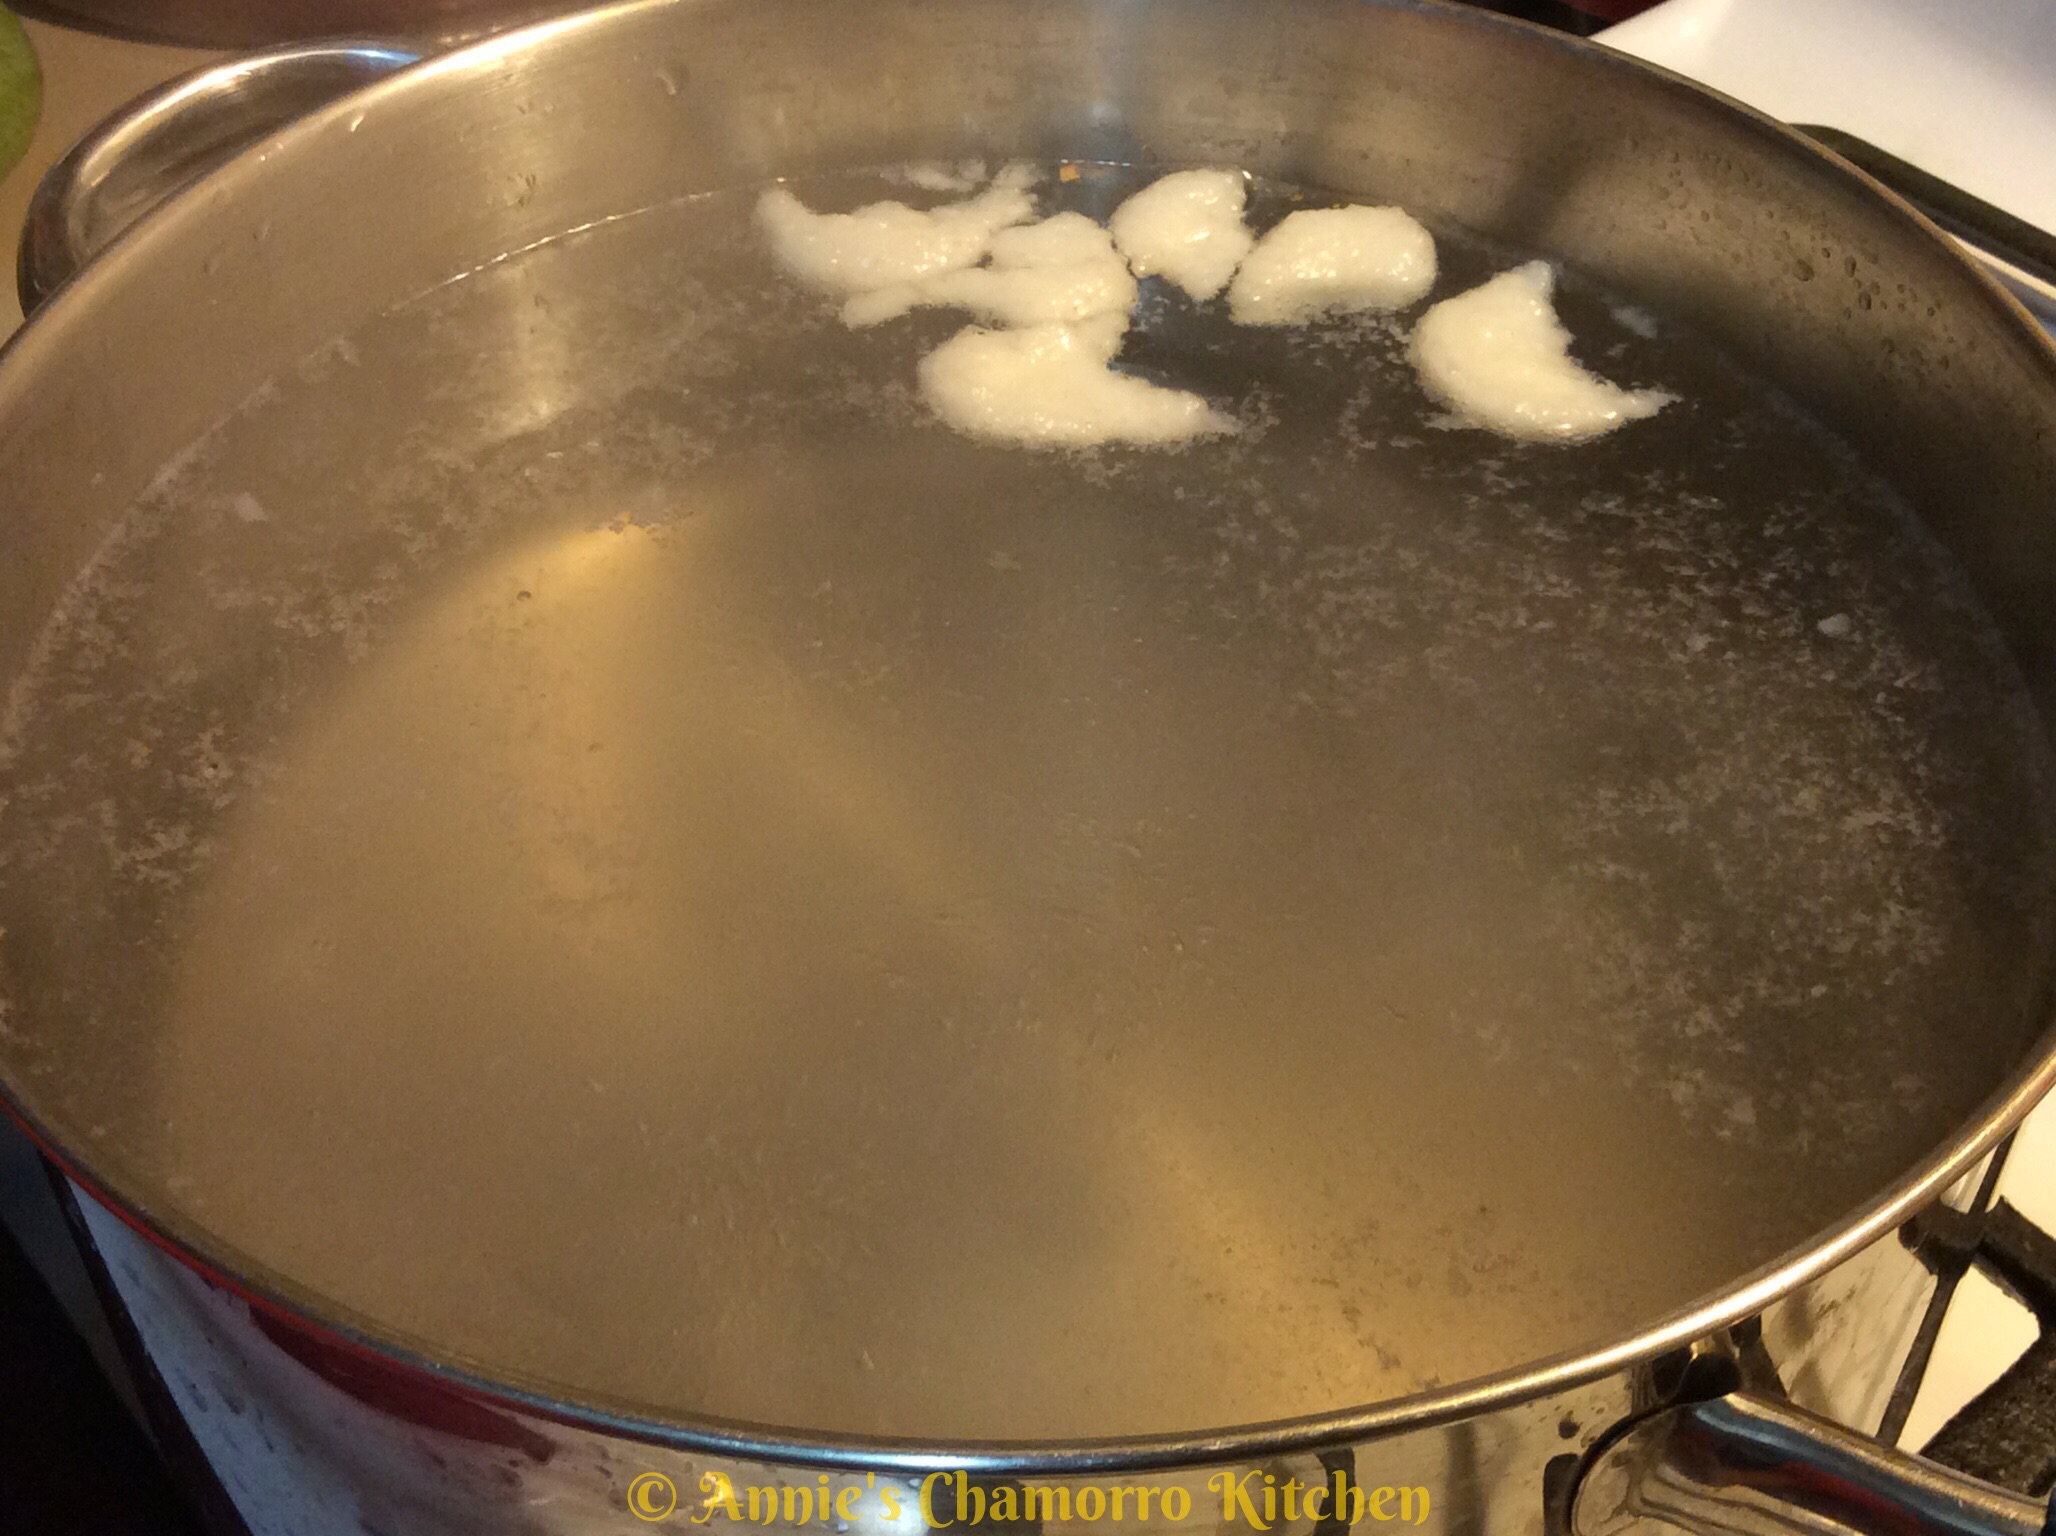
Meanwhile, rinse the potatoes and place them into a large pot of hot water.  Add the eggs to the pot.  Bring the water to a boil.  Cook the eggs (in the boiling water) for 10-12 minutes then remove them from the pot.  Keep cooking the potatoes until they are done (insert a butter knife or metal skewer into the center of a potato — if it slides in smoothly and easily, the potatoes are done).
image

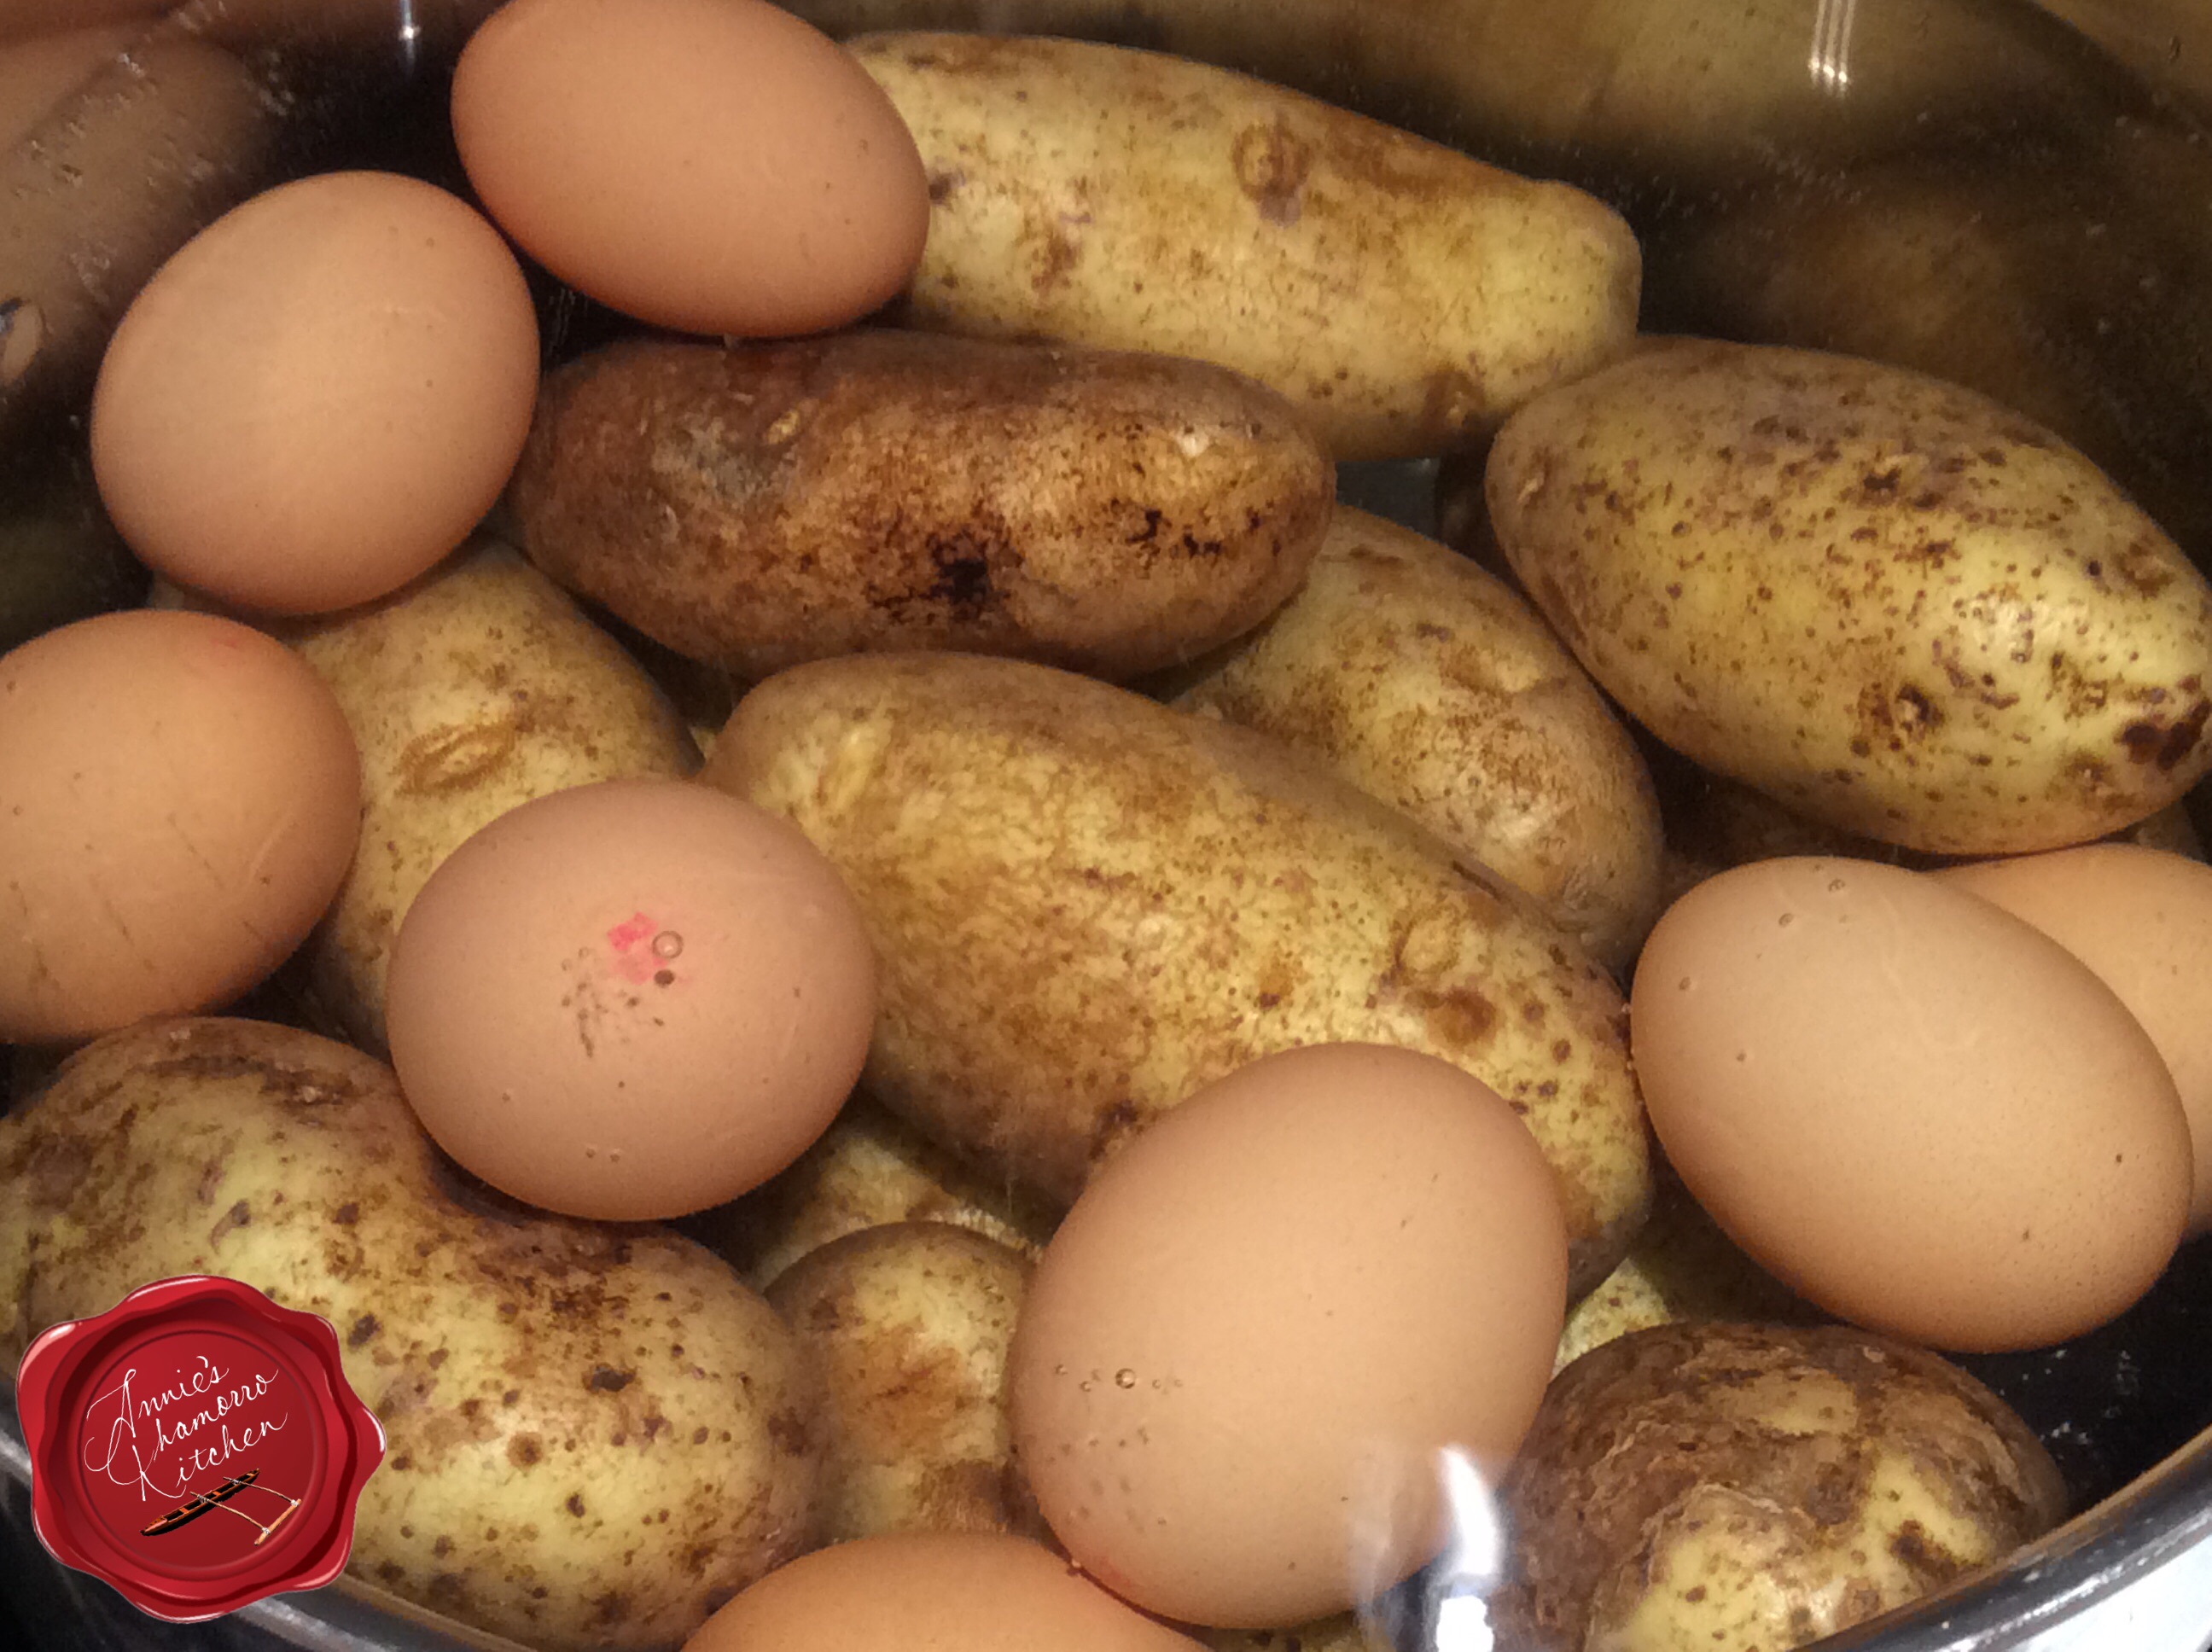
Remove the potatoes from the boiling water.  If you let cooked potatoes sit in water for too long, they soak up too much water, becoming mushy.

image

Allow the potatoes and eggs to cool before peeling the skin and shell off.  If you want to decorate the top of your salad, set aside one egg yolk.
image

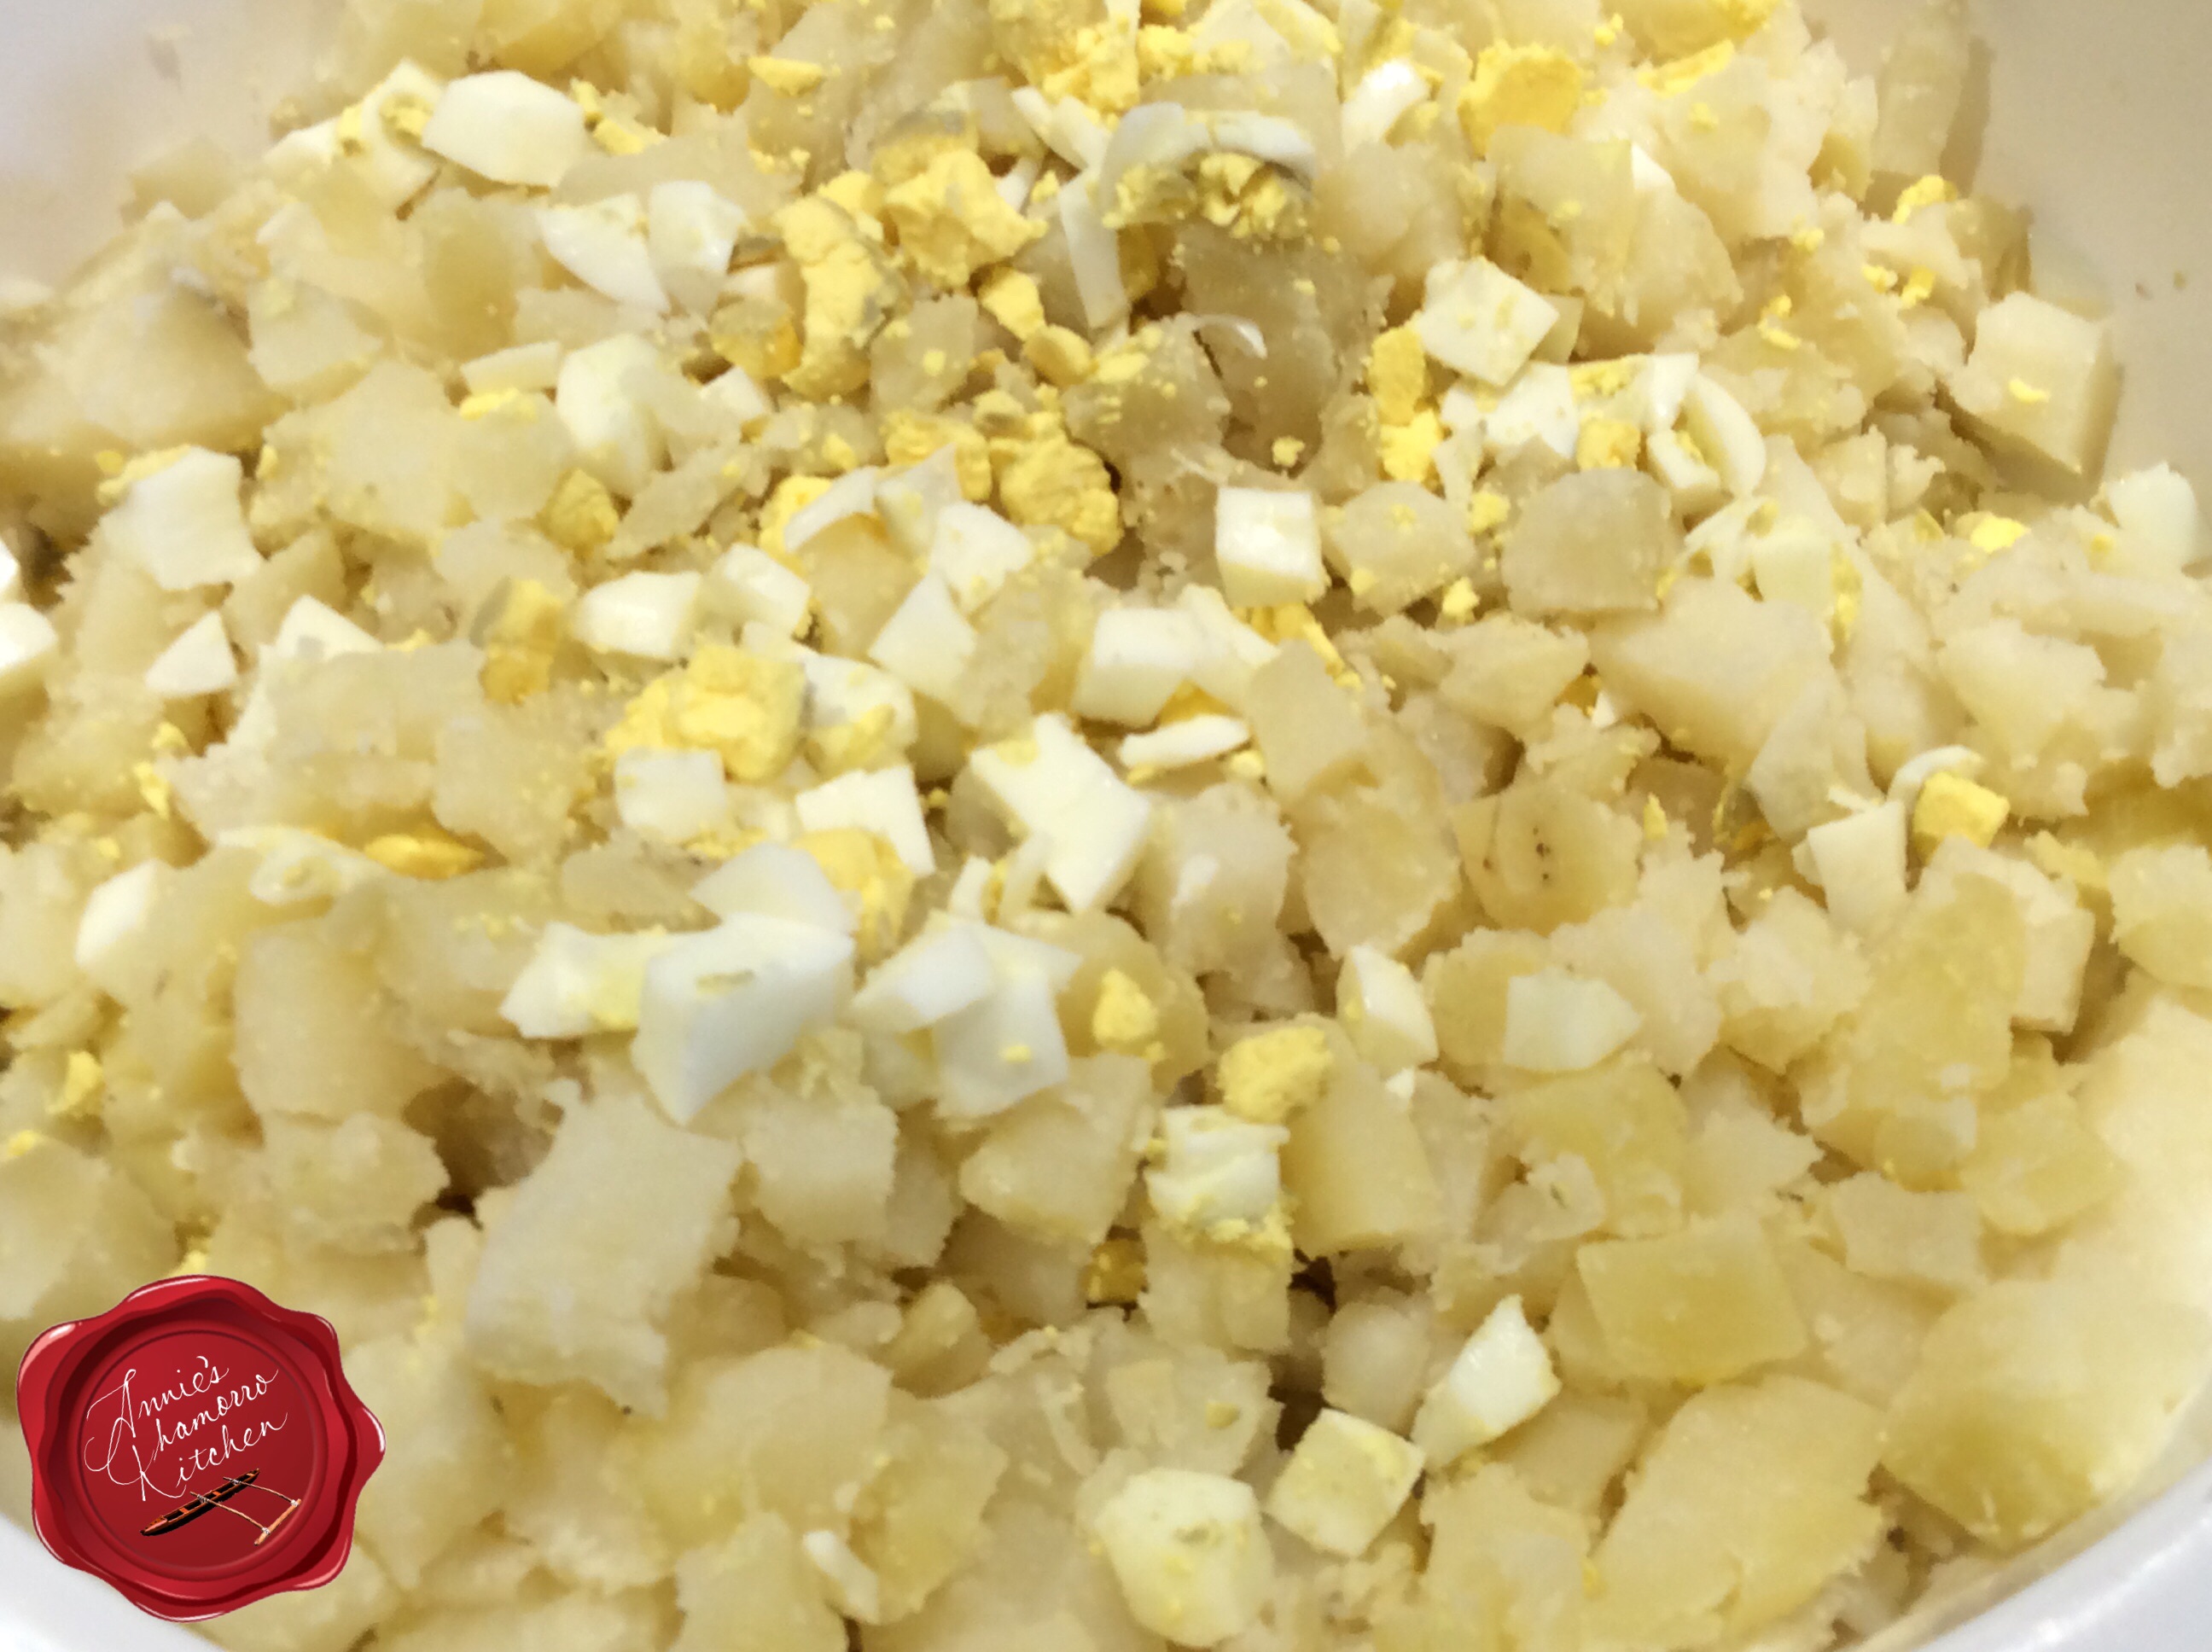
Cut the potatoes and eggs into small cubes.  You can make them as big or as small as you like.  Don’t cut them too small, however, or you’ll end up with a mashed potato salad.
image

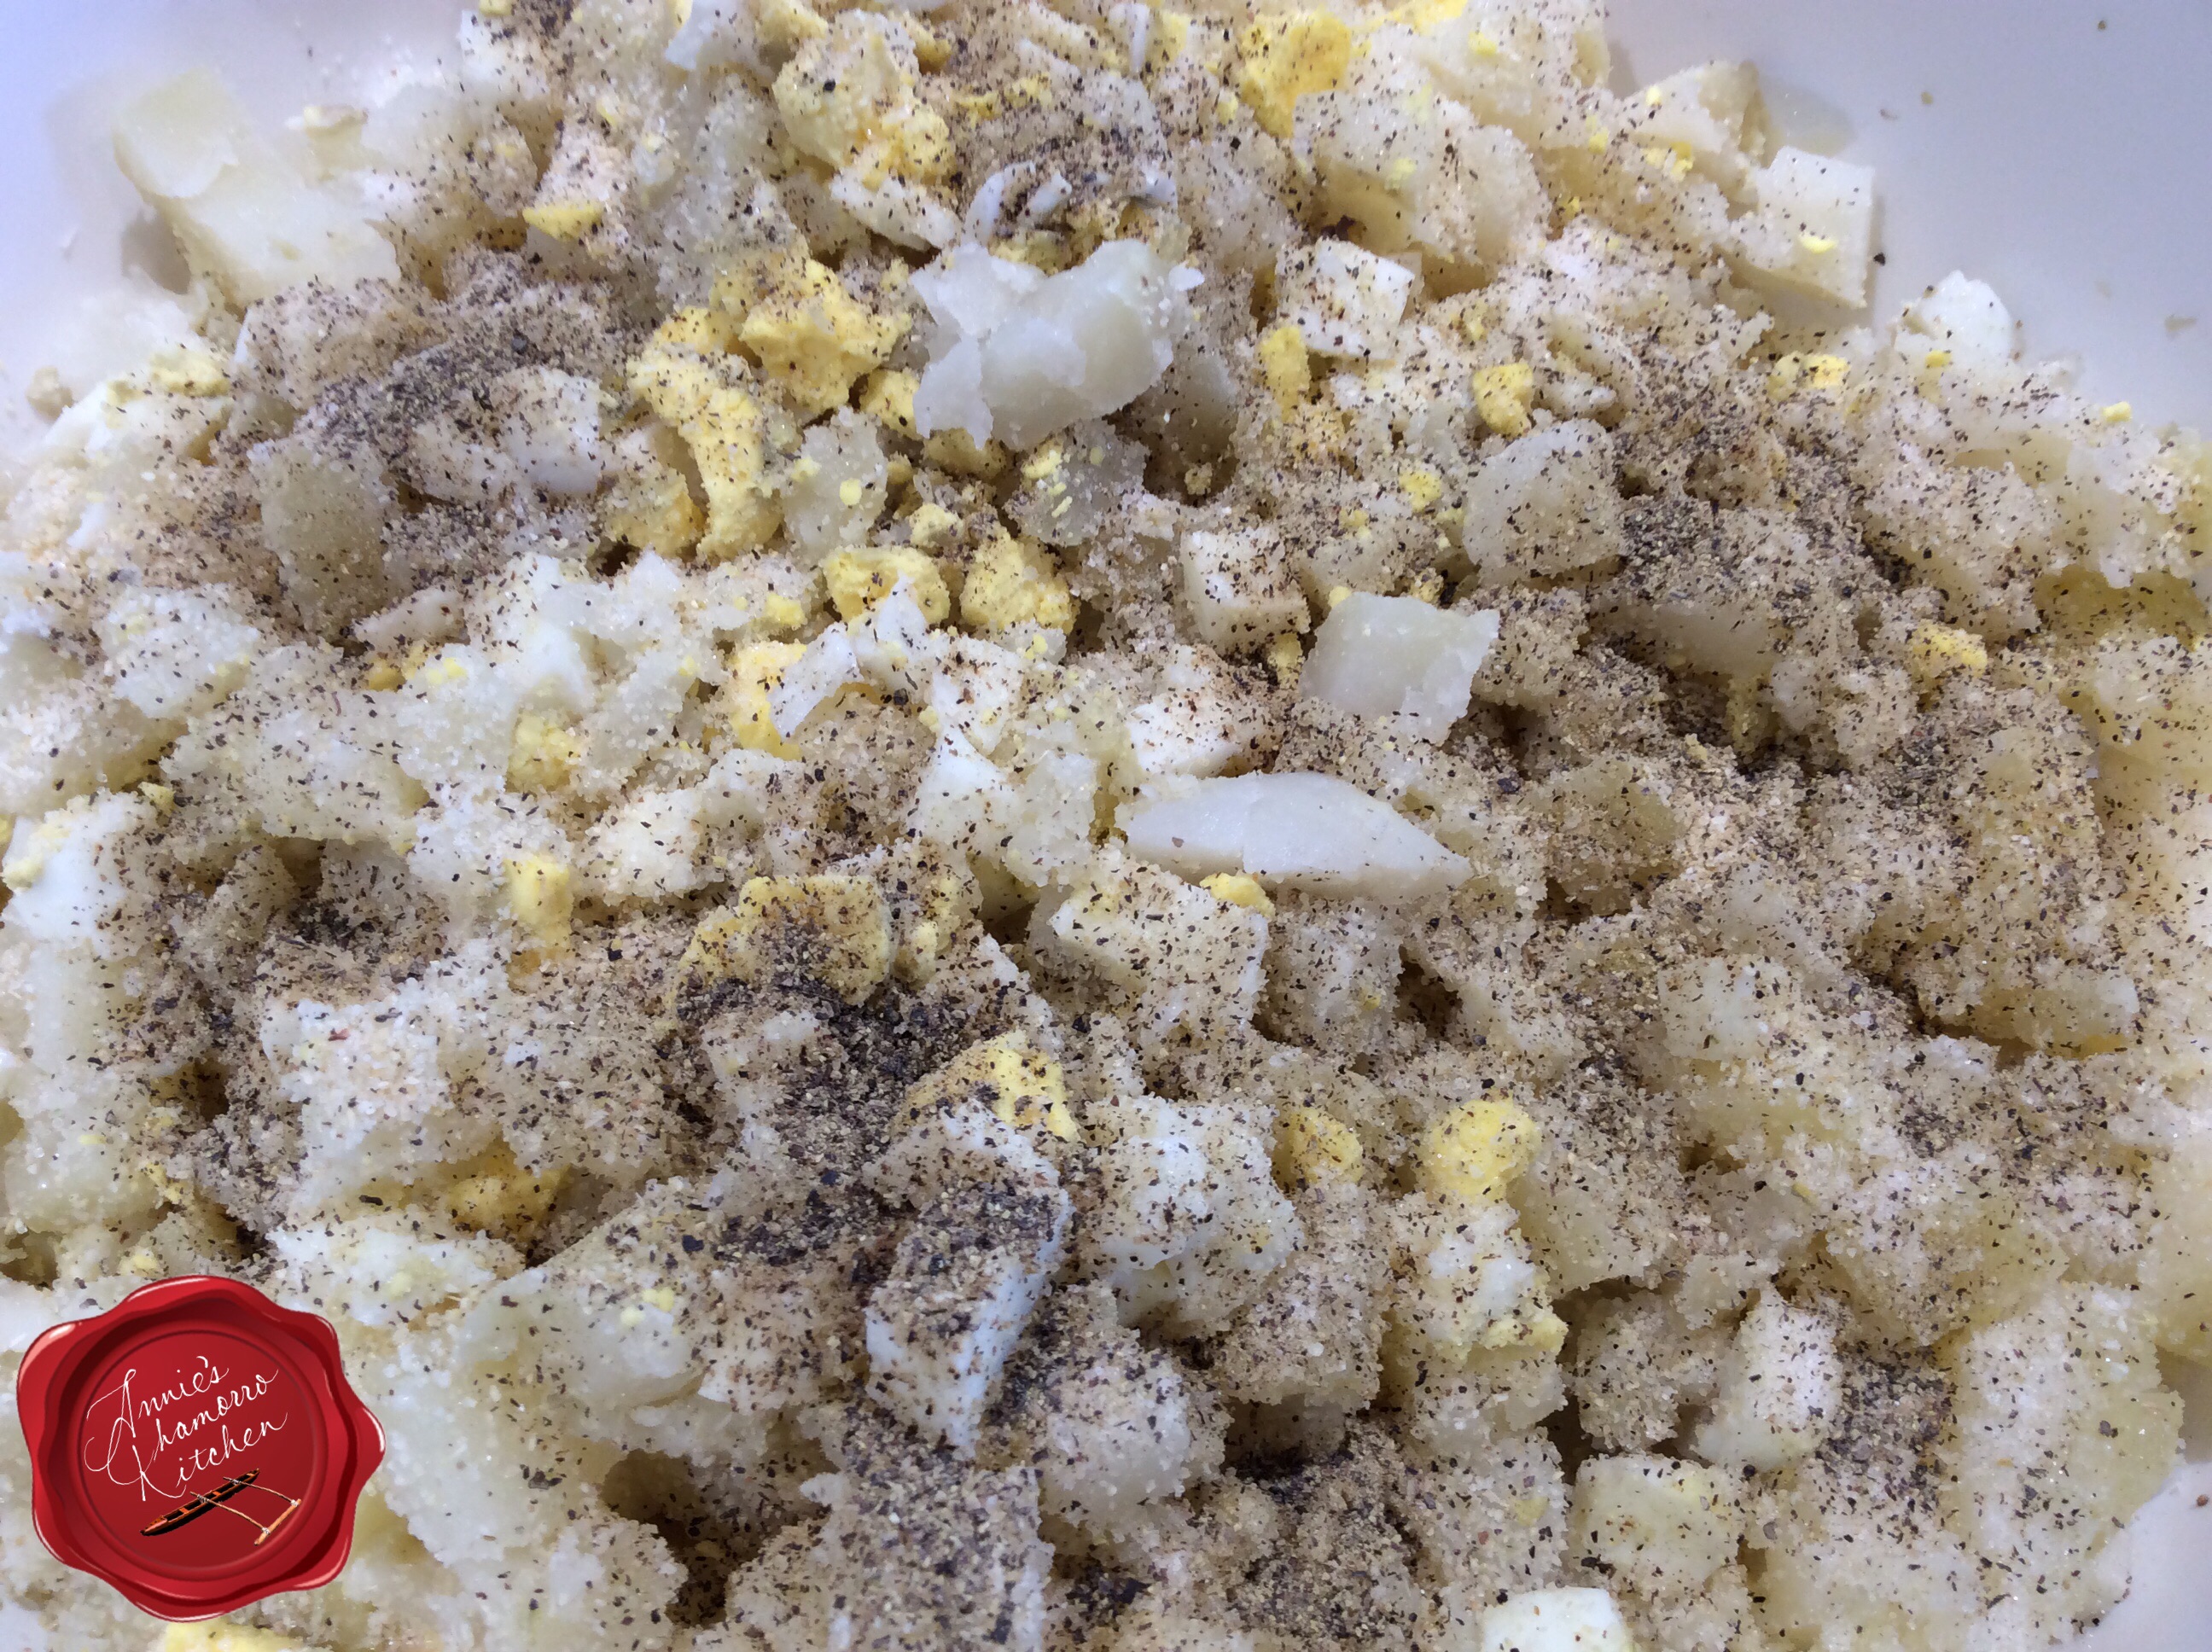
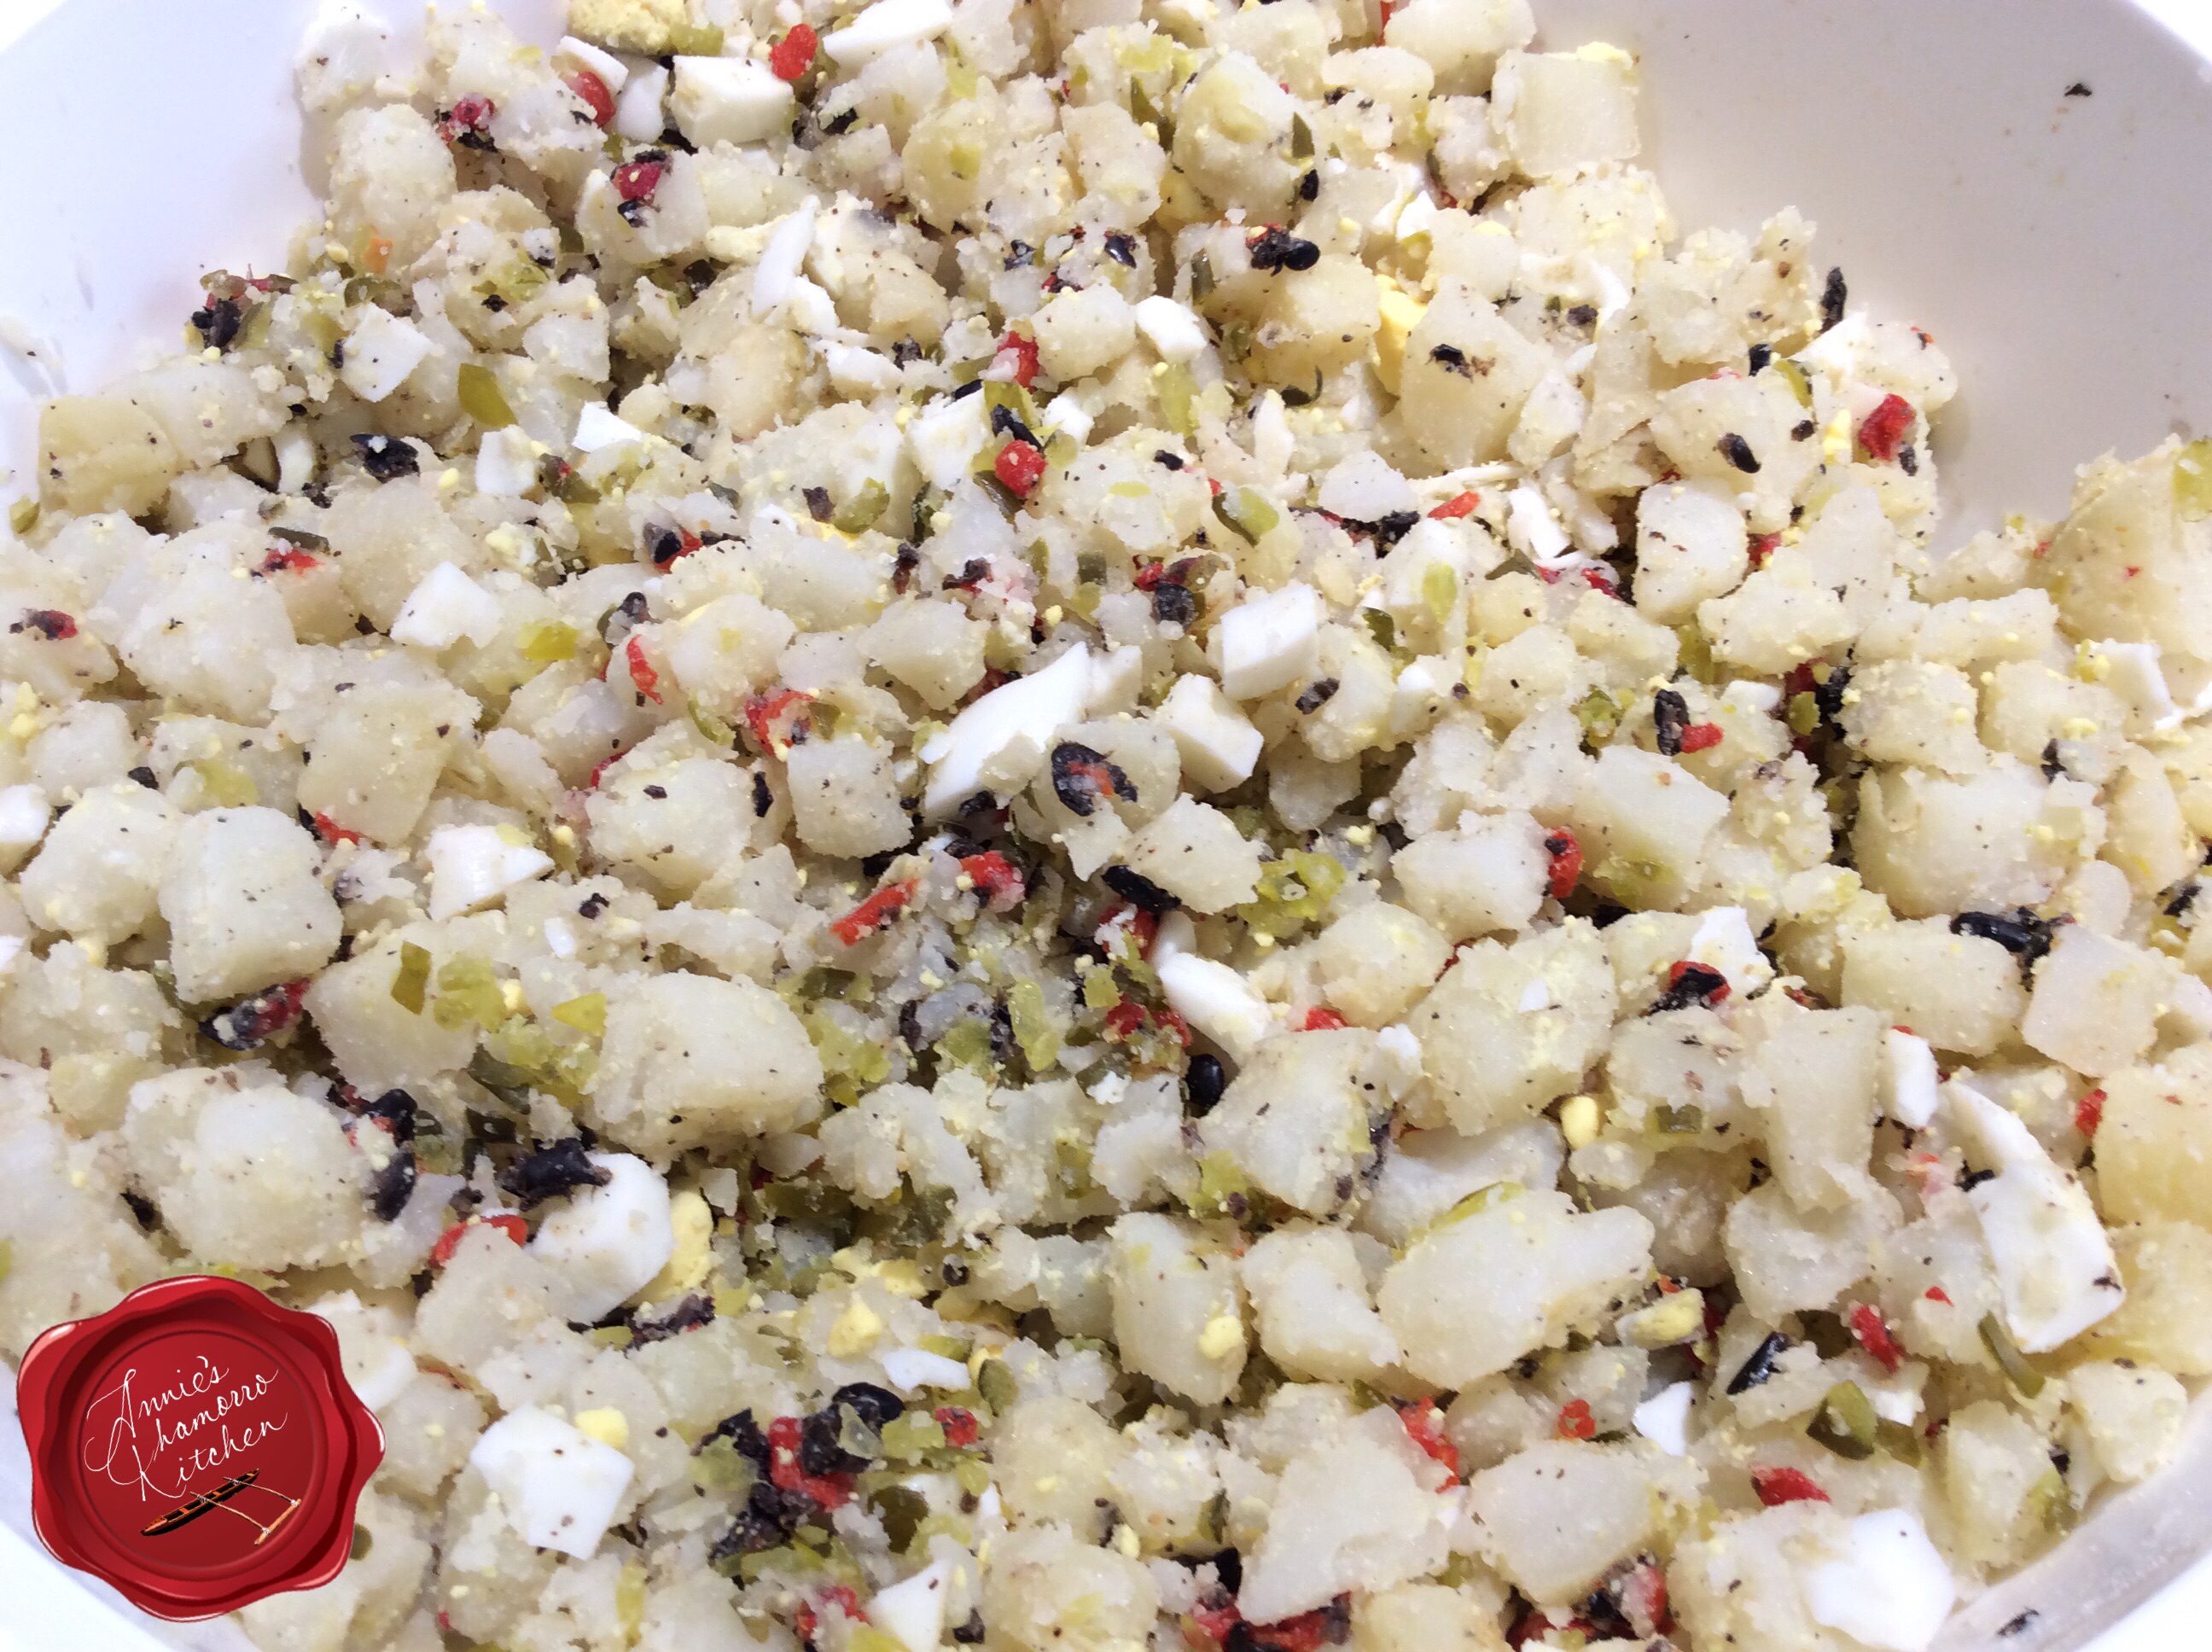
Add the seasonings to the dry mixture — I like adding onion powder, black pepper and salt.  The seasonings get distributed easier with the dry potatoes.  If you add the seasonings after adding the mayo and wet condiments (relish, olives and pimentos), you might get clumps of seasonings that don’t get mixed well.

Stir gently to mix the seasonings with the potato-egg mixture.  Taste it at this point and add more seasonings to your liking.  Don’t add more salt, however.  Mayonnaise has salt; wait until you mix the mayo into the salad before adding more salt.
image

Add the relish, olives and pimentos to the bowl.  Stir gently to combine.
image

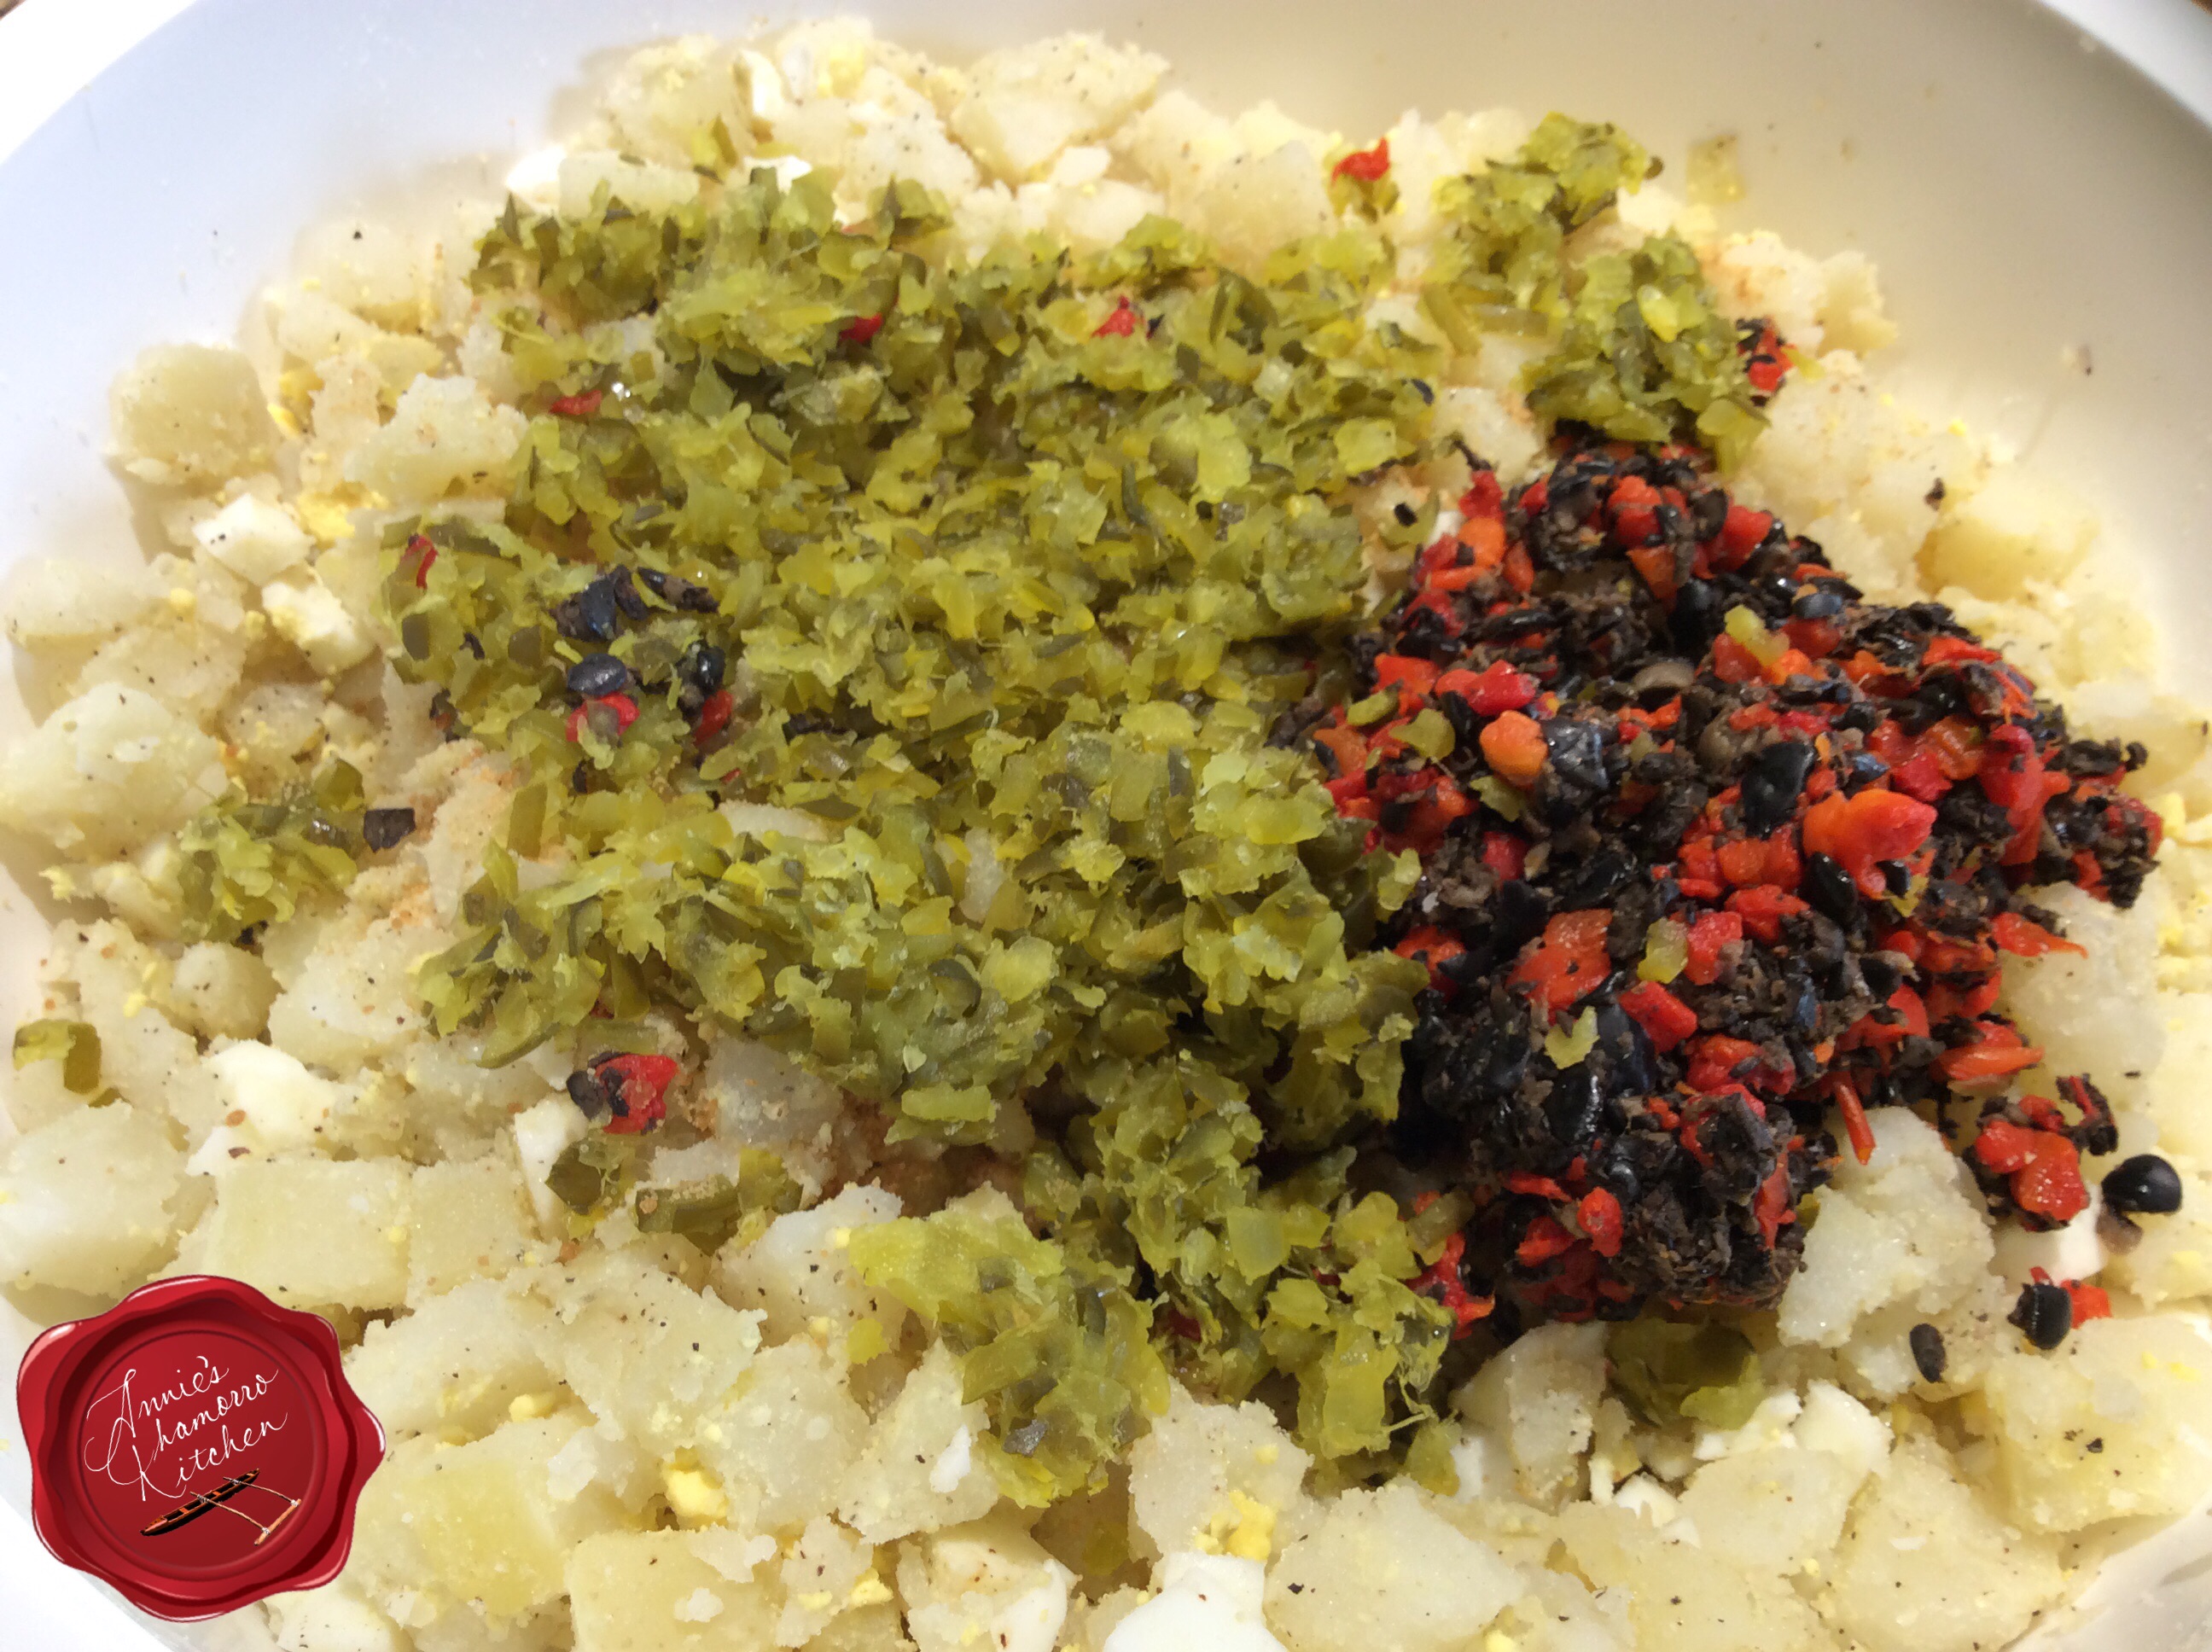
Doesn’t it look so festive already?  If you like more olives, relish, and/or pimentos in your salad, by all means, add more.  Just be sure to squeeze out as much liquid as you can.

image

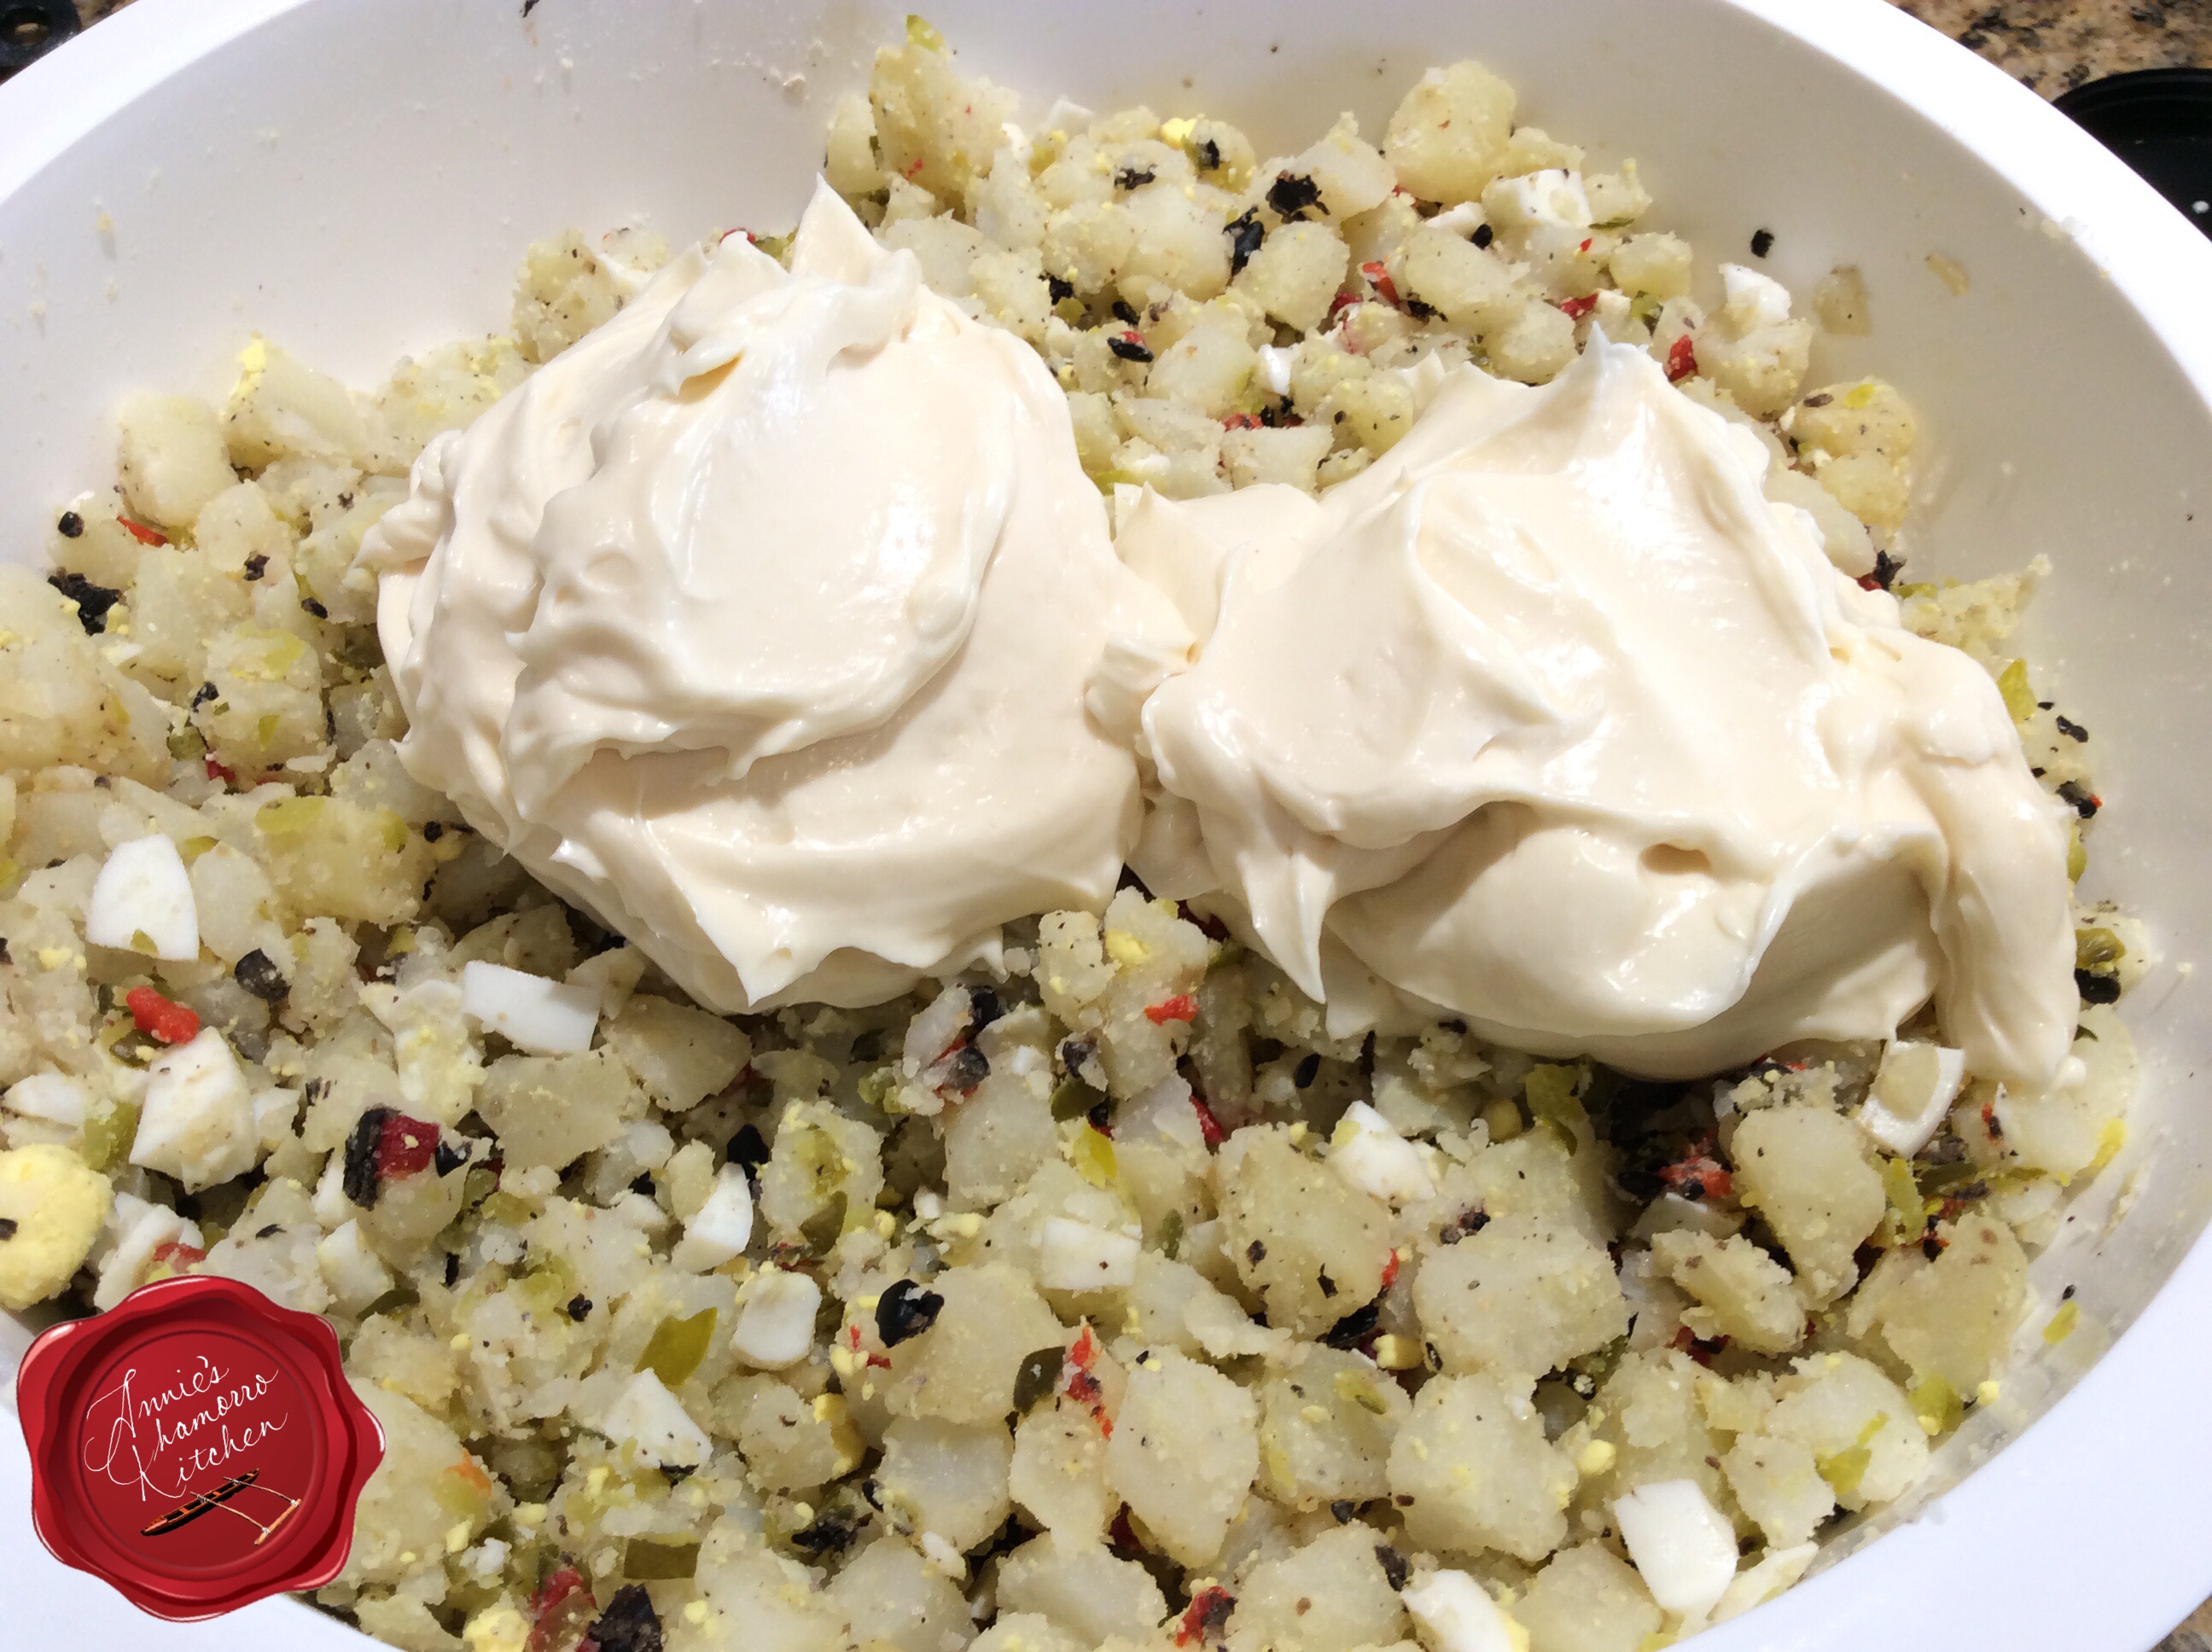
Fold in the mayo.  Chamorros will tell you that you MUST use Best Foods or Hellmann’s brand mayonnaise in Chamorro Potato Salad.  I must admit that I hold true to that sentiment as well.  Our classic Chamorro potato salad just doesn’t taste the same if you use “Dressing” (aka Miracle Whip).

I like my potato salad a little heavy on the mayo.  Use less if you like your salad a bit more on the dry side.
image

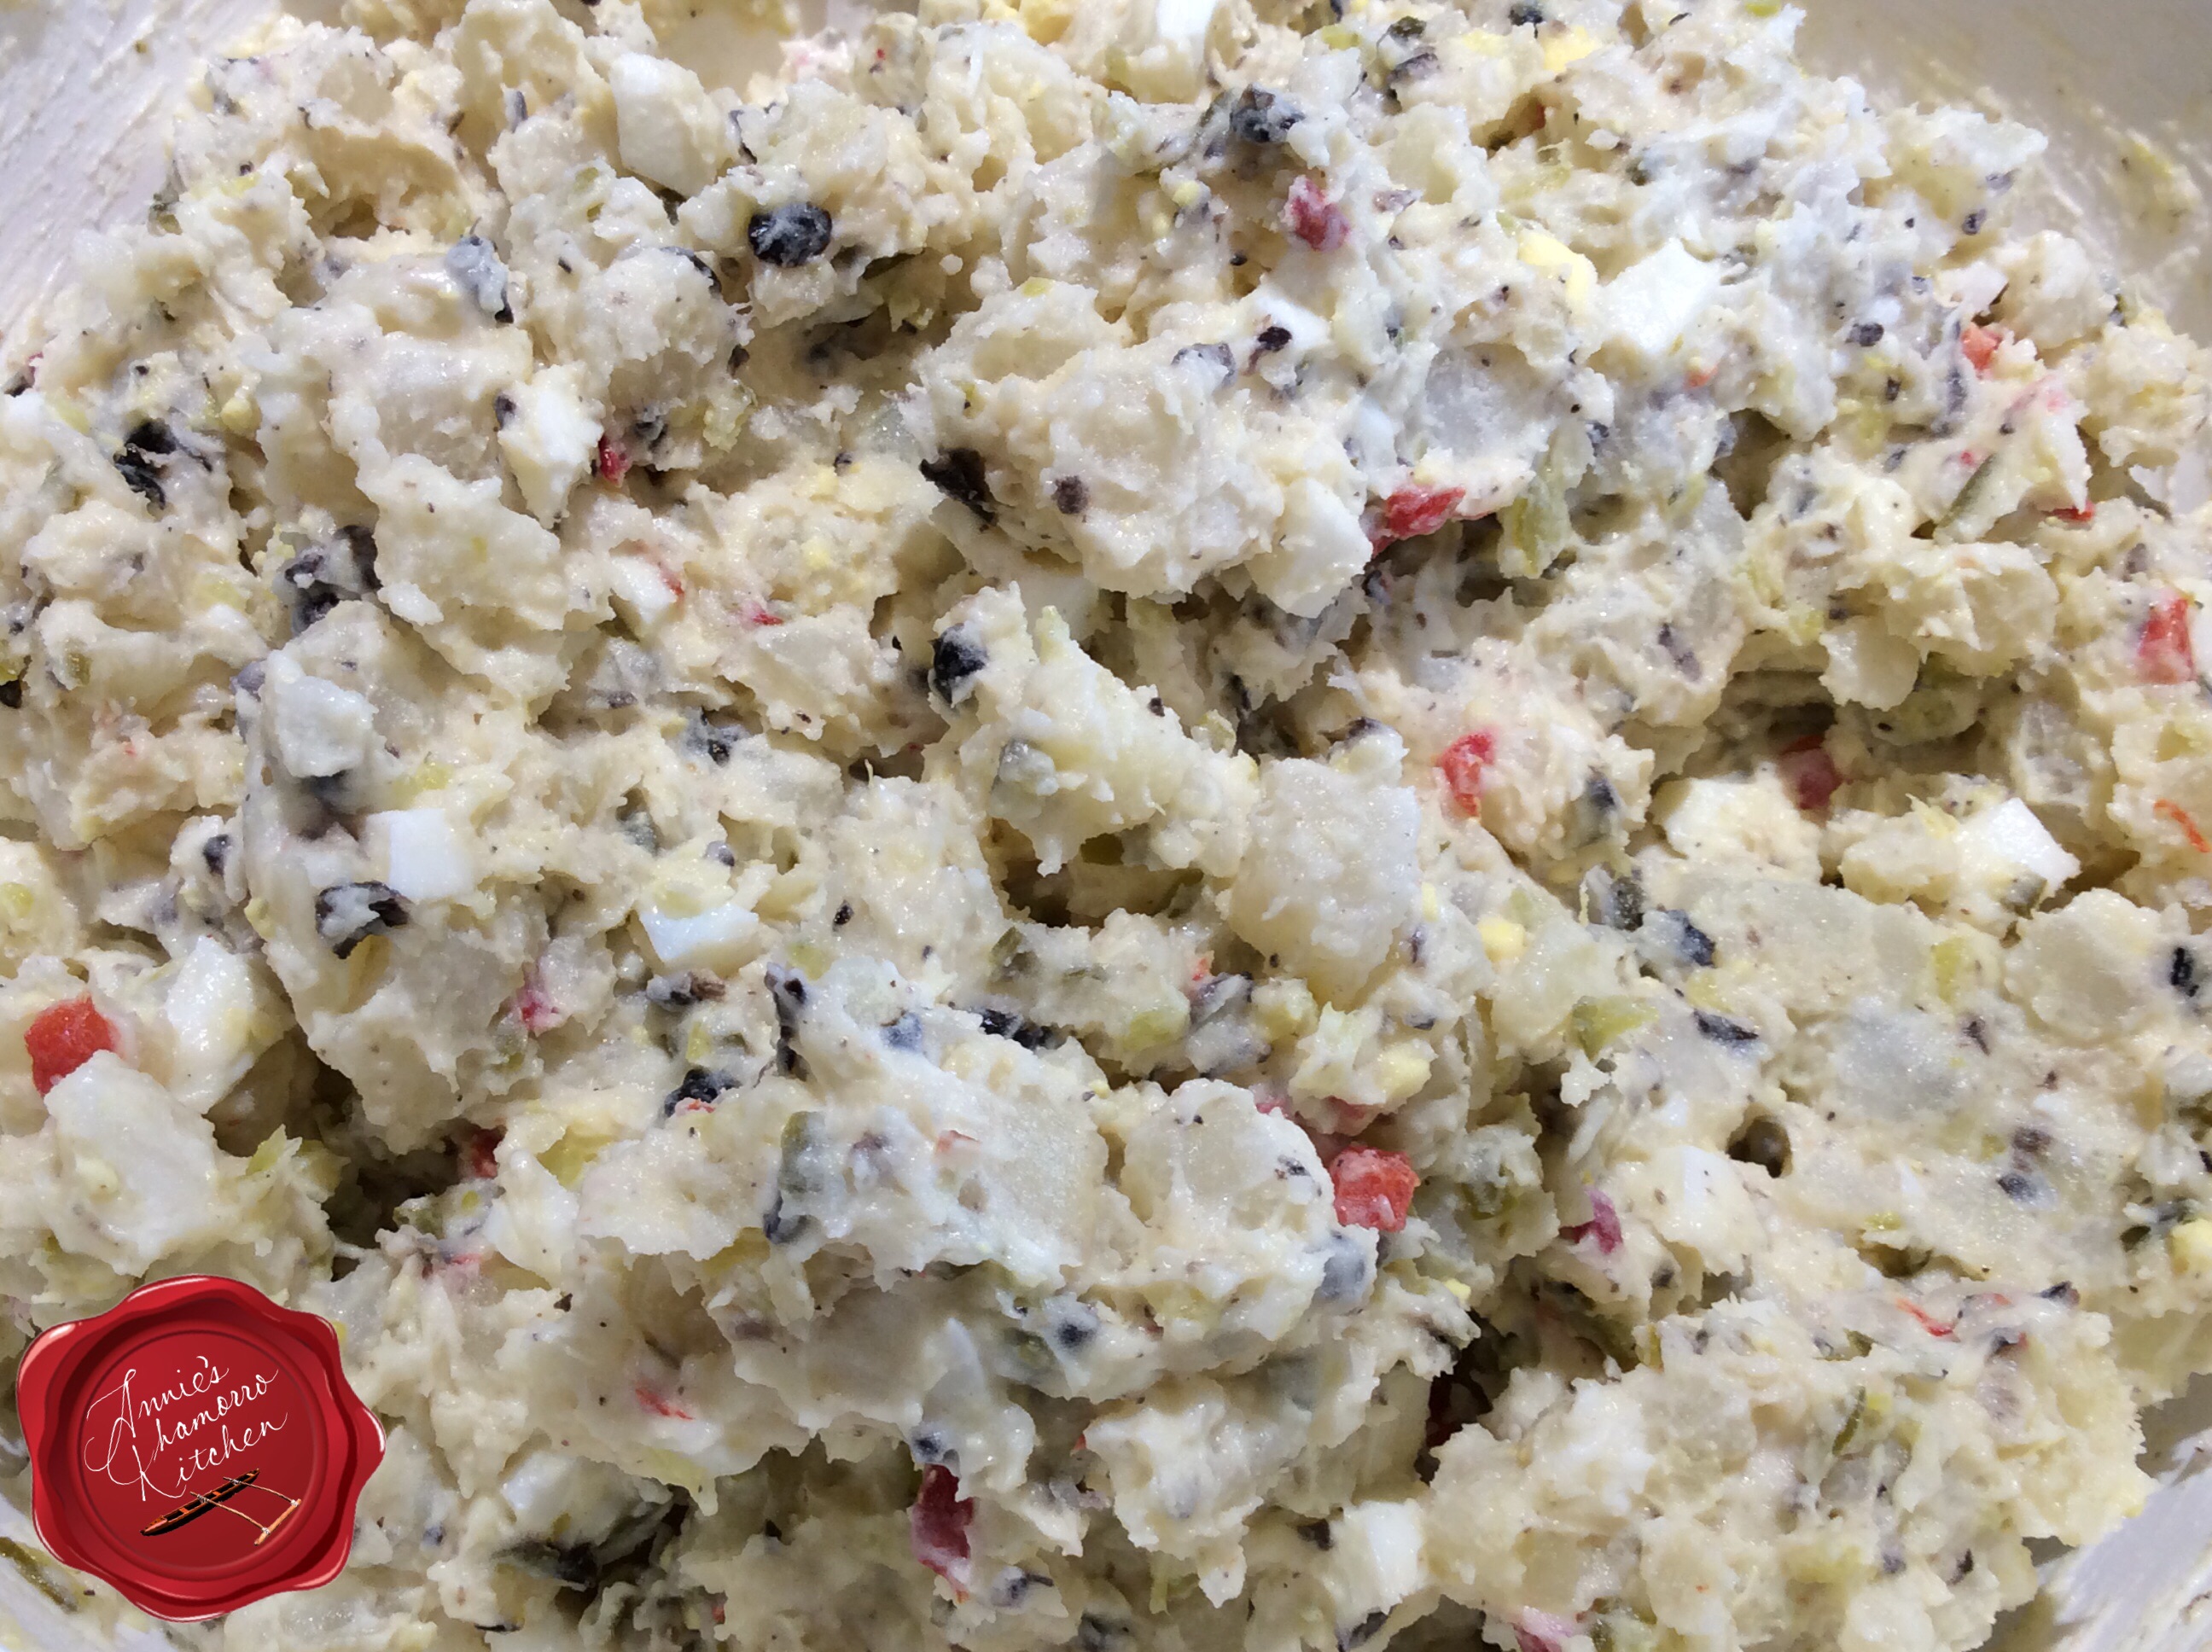
♩ ♪ ♫ ♬   Ta daaa!  ♬ ♫ ♪ ♩

It’s almost done.

My mom ALWAYS decorated the top of her potato salad, even if we were just eating it at home and not serving it at a party or family gathering.
image

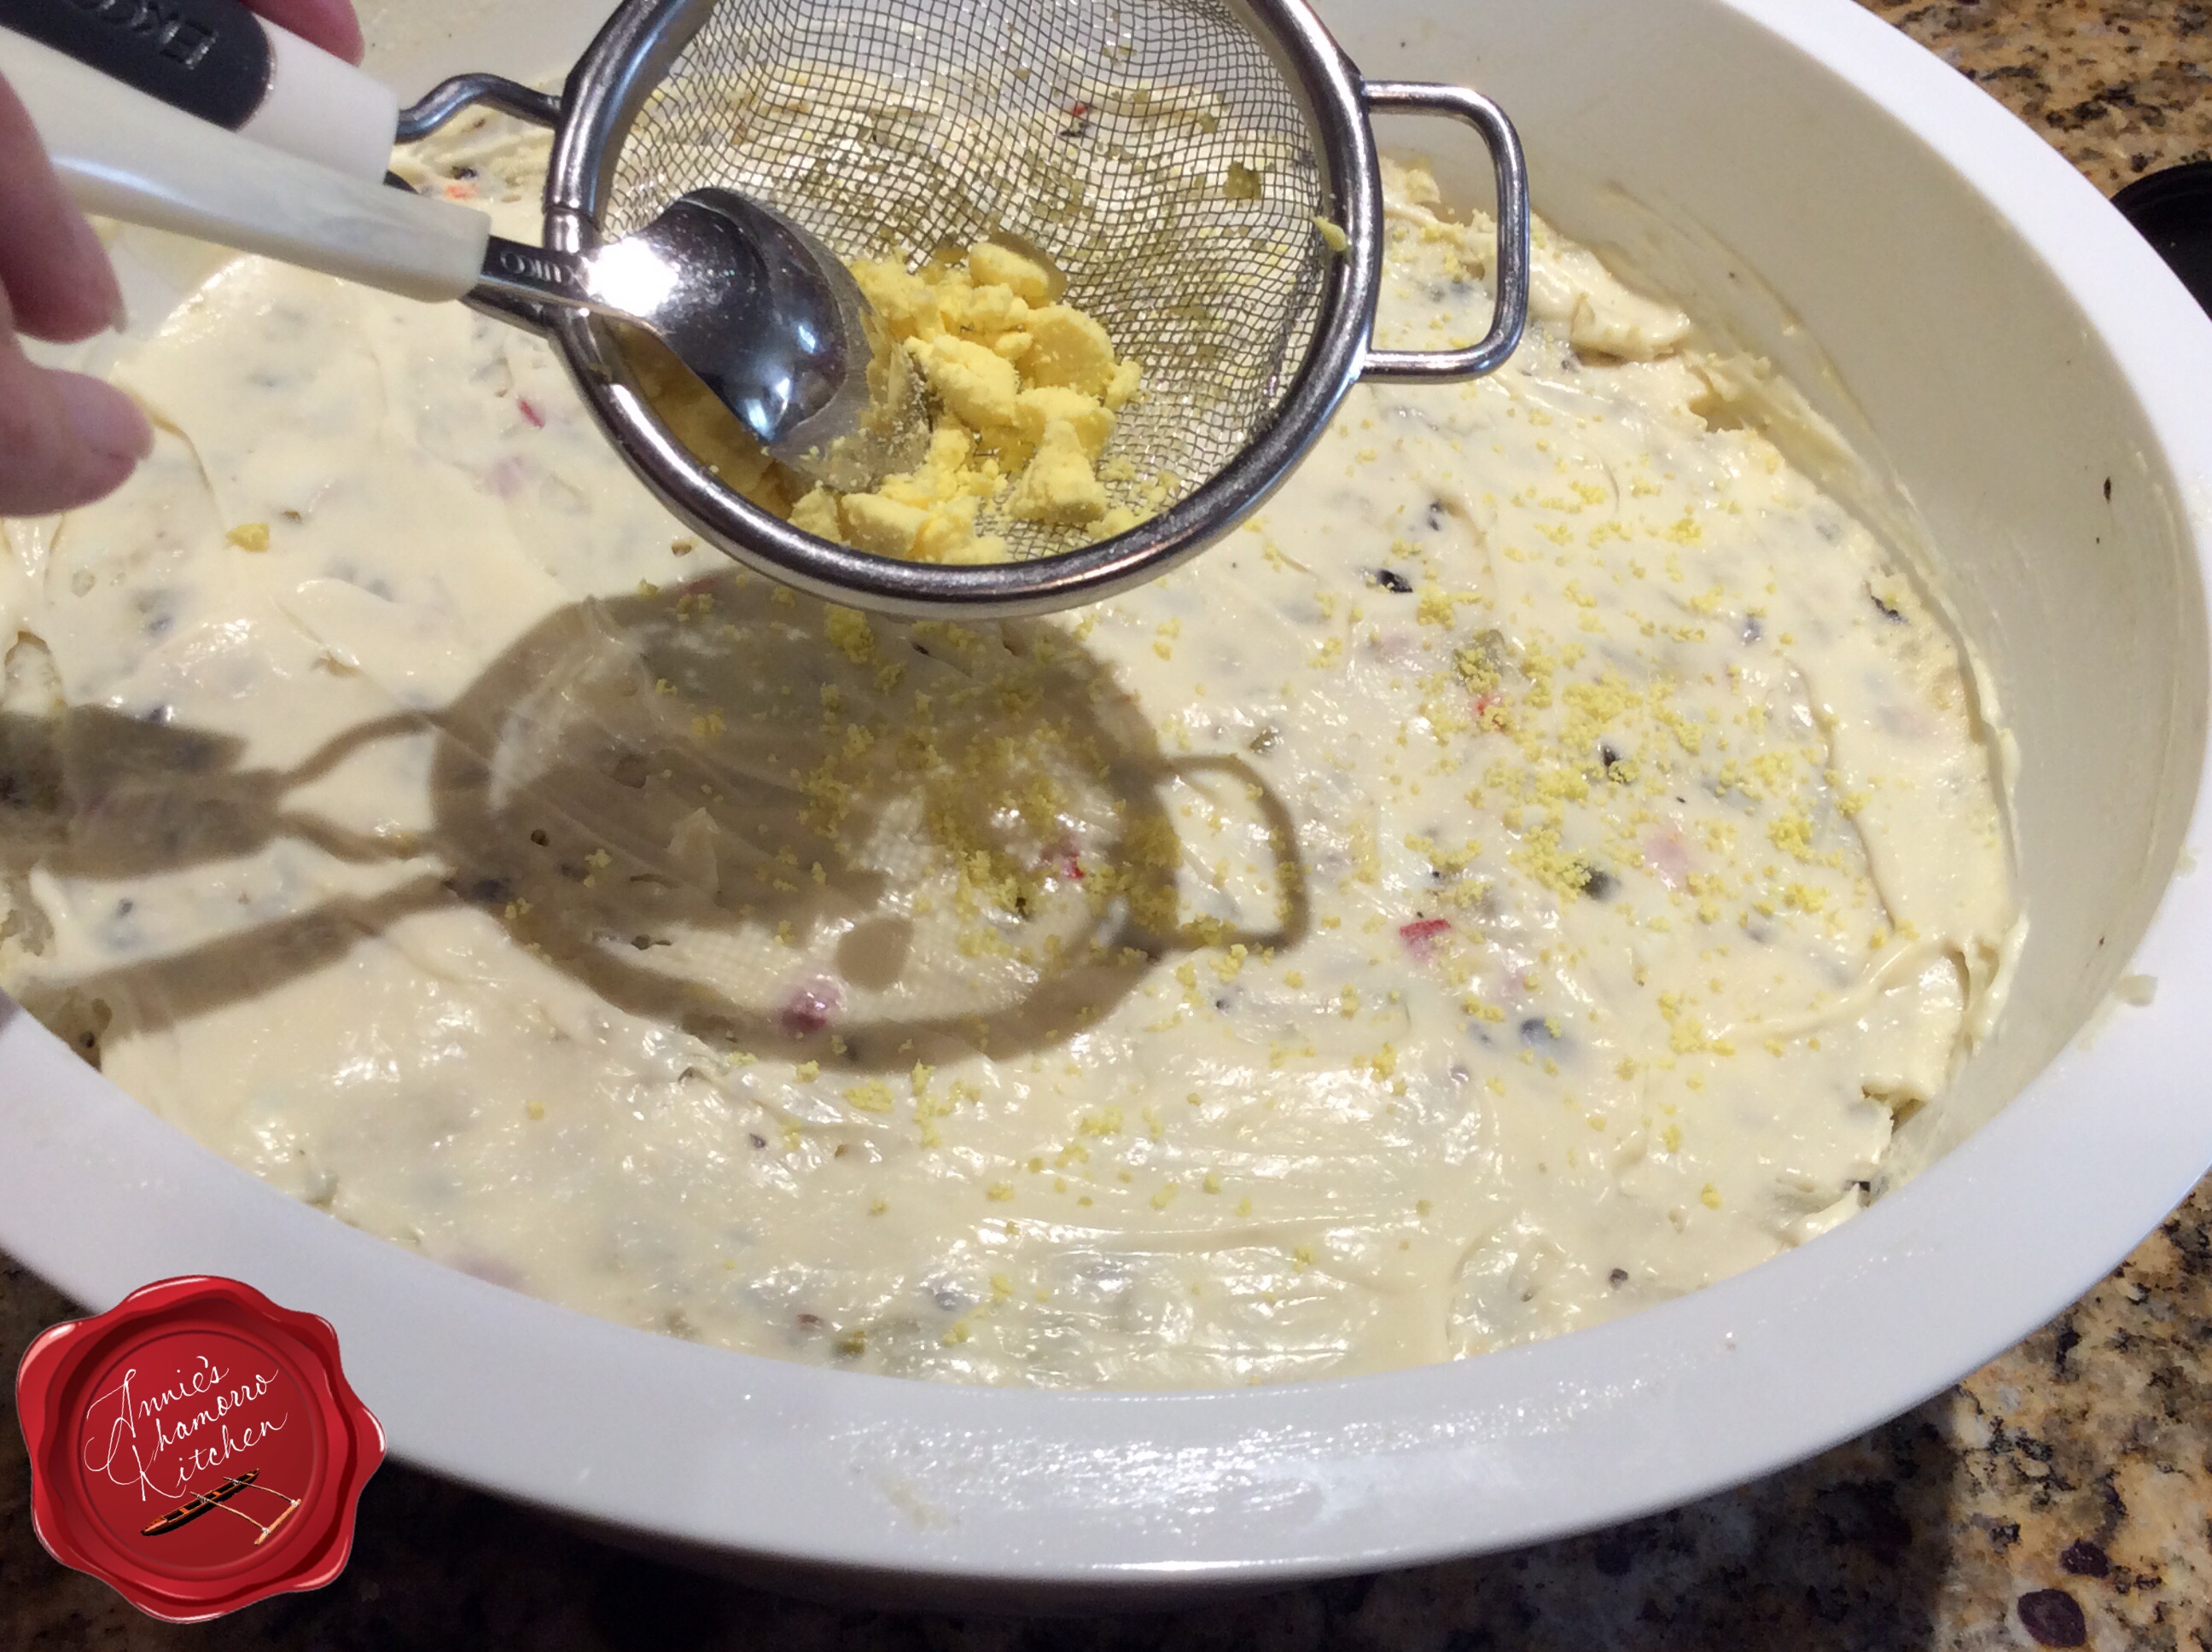
Remember that egg yolk I told you to set aside?  Well, it’s time to for it to make its debut.  Place the yolk in a small fine-mesh strainer.

Oh…wait…before you do anything with the yolk, spread a very thin layer of mayo (a couple of tablespoons should do it) over the top of the salad.  This serves as the “canvas” for your egg yolk decoration.

image

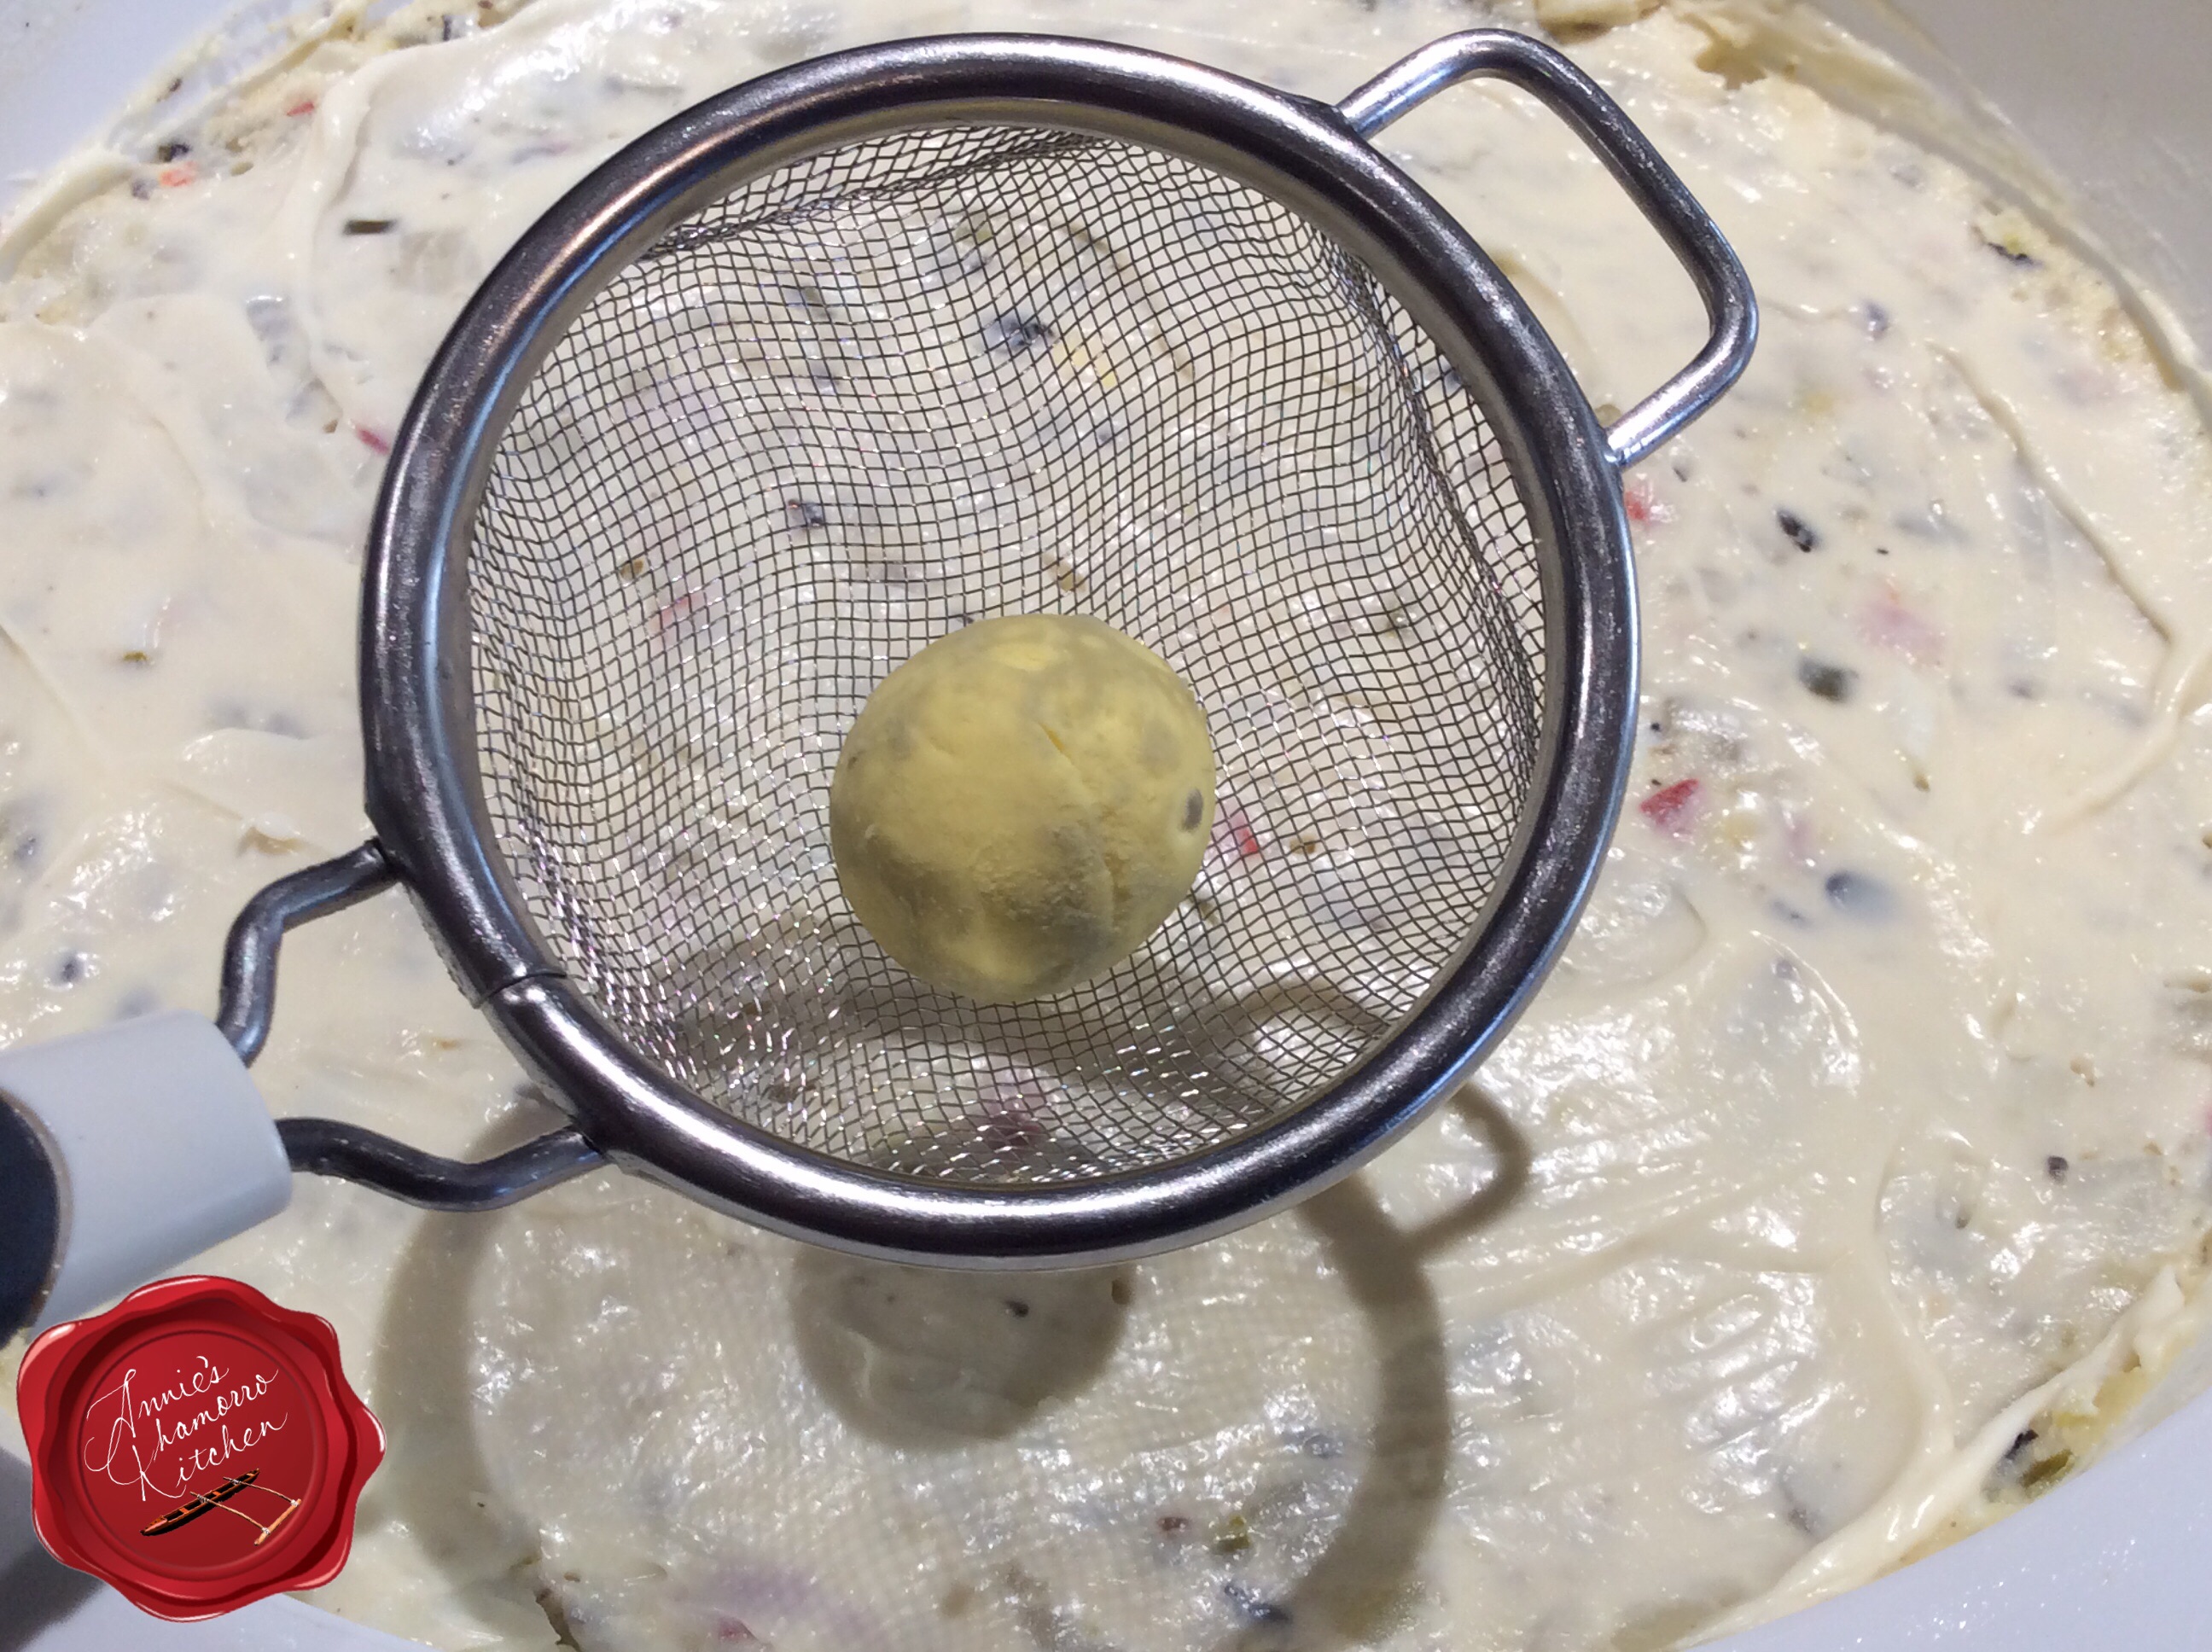
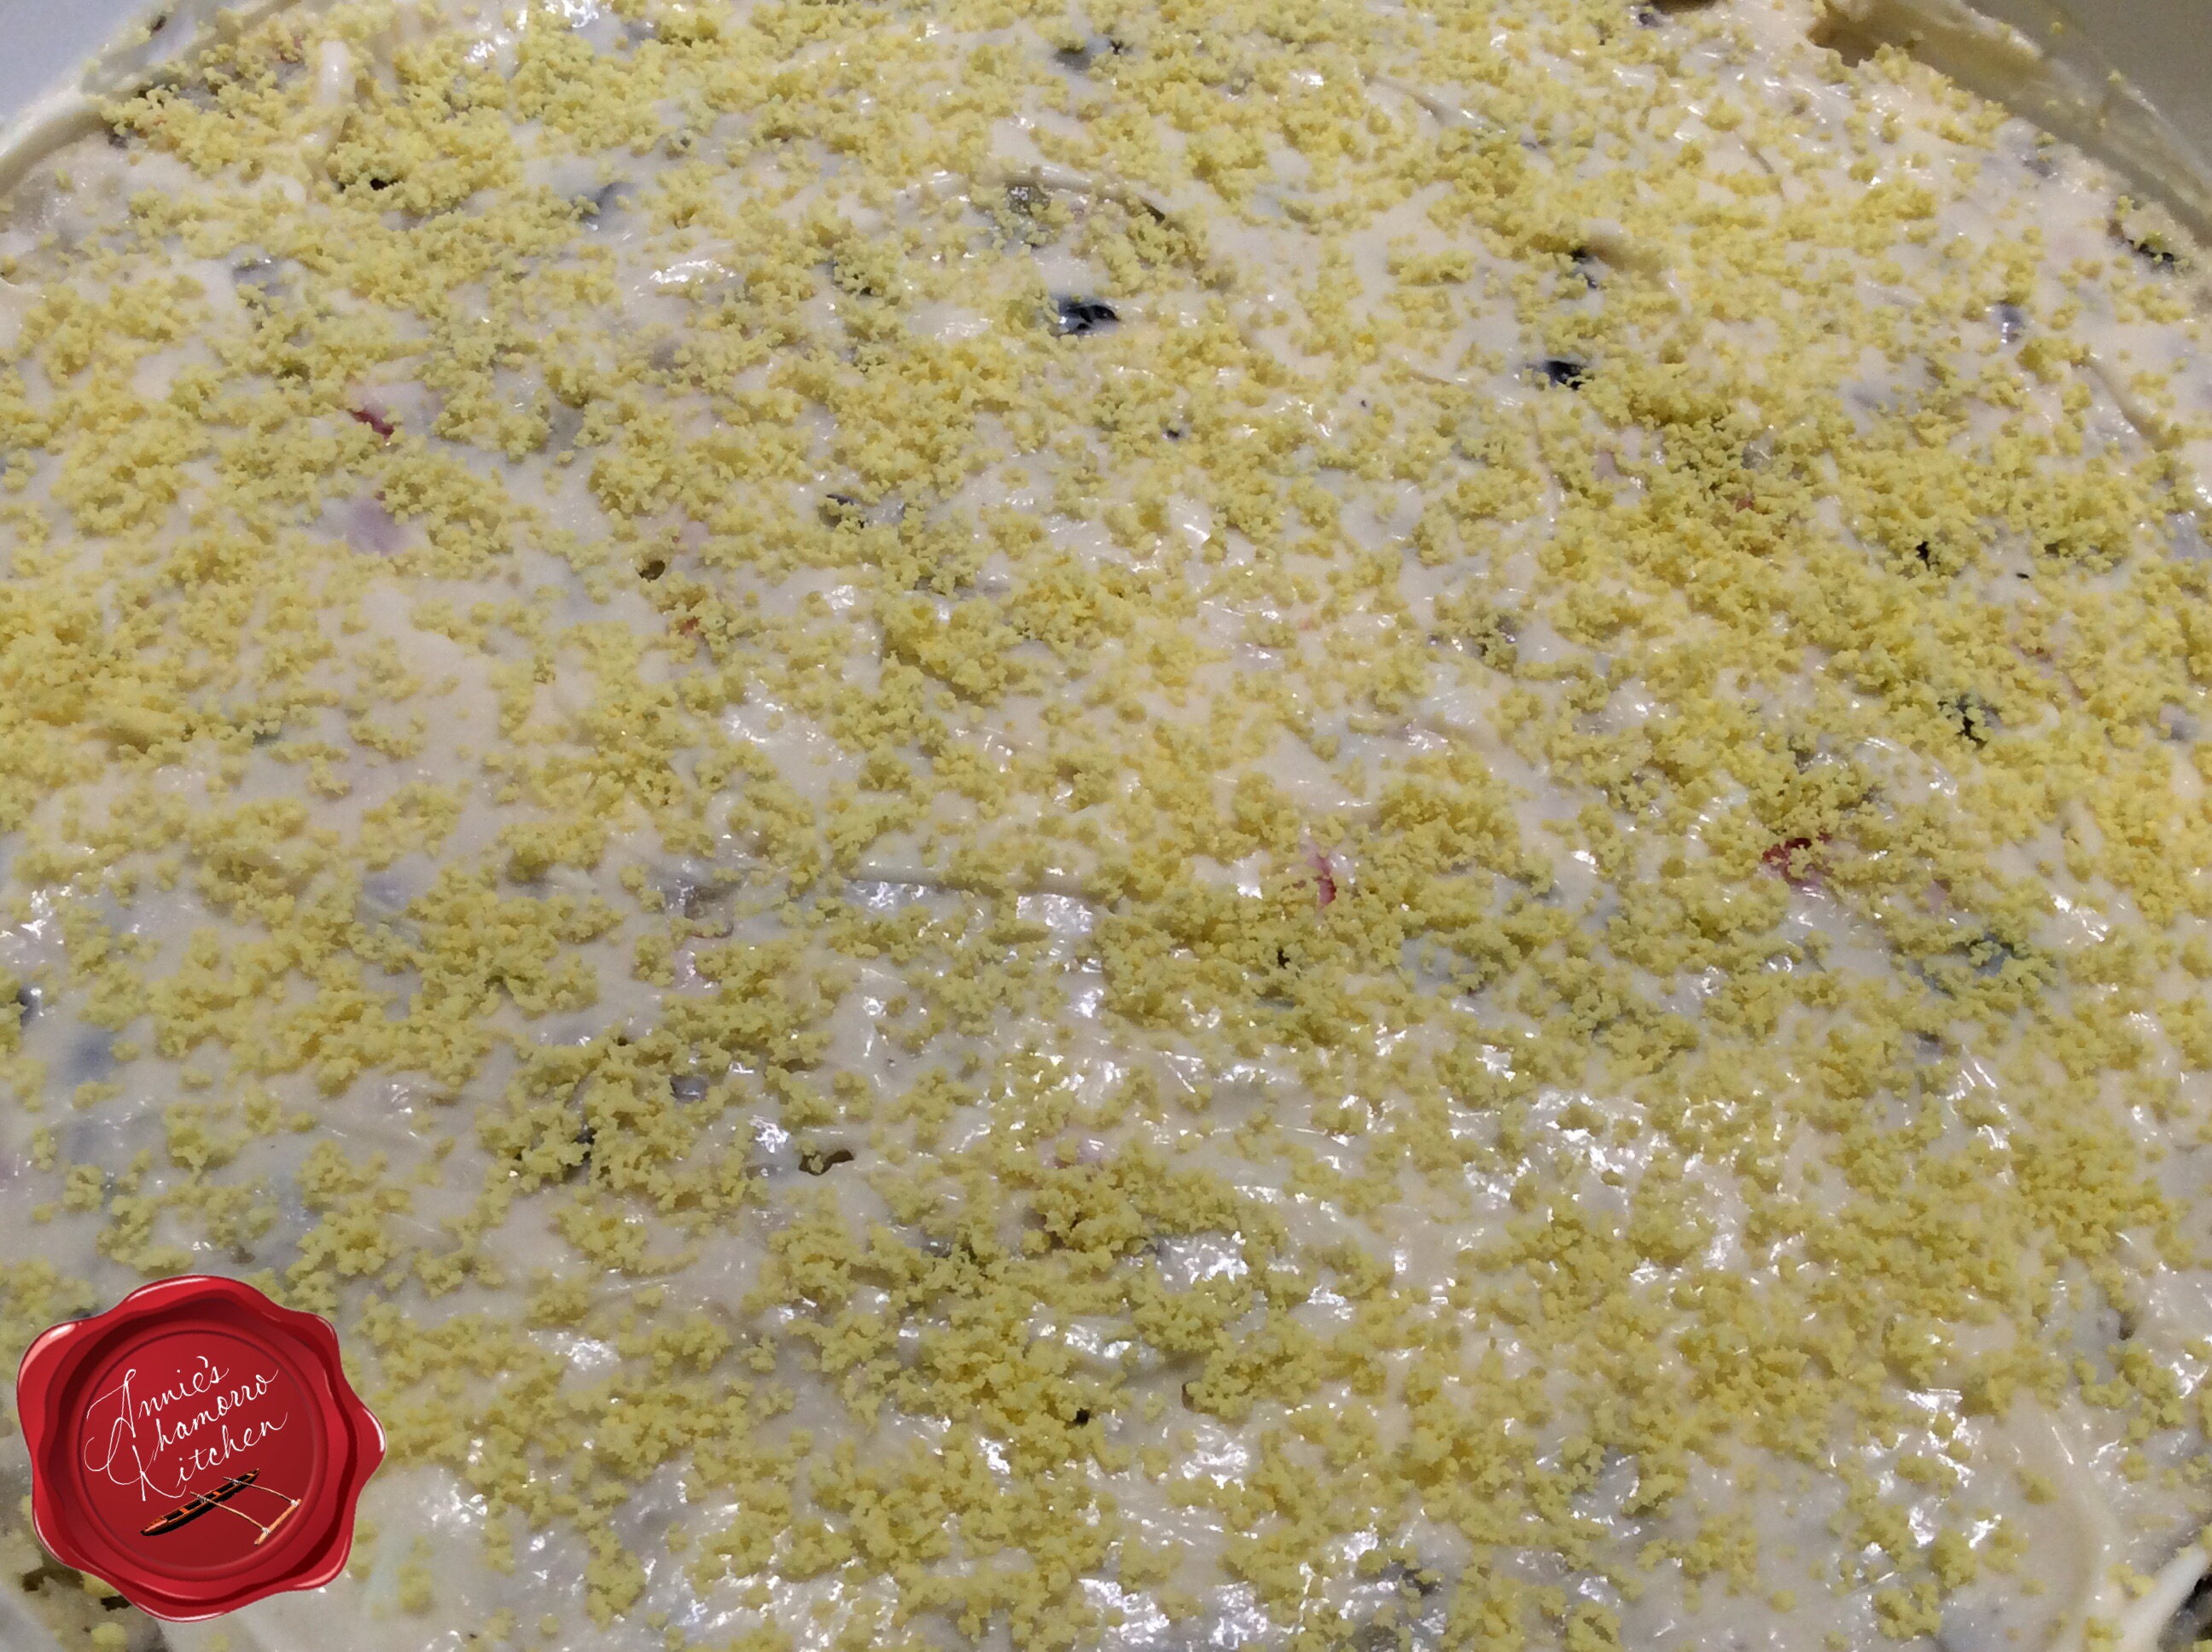
Use a spoon or fork to gently push the yolk through the strainer, creating a “snowfall” of egg yolk over the top of the potato salad.  Mom always saved some pimento and olives to make pretty flowers as well, and she’d make flower stems using celery leaves.  Be as creative as you like.

image

See, isn’t this pretty (even without pimento and olive “flowers”)? 🙂
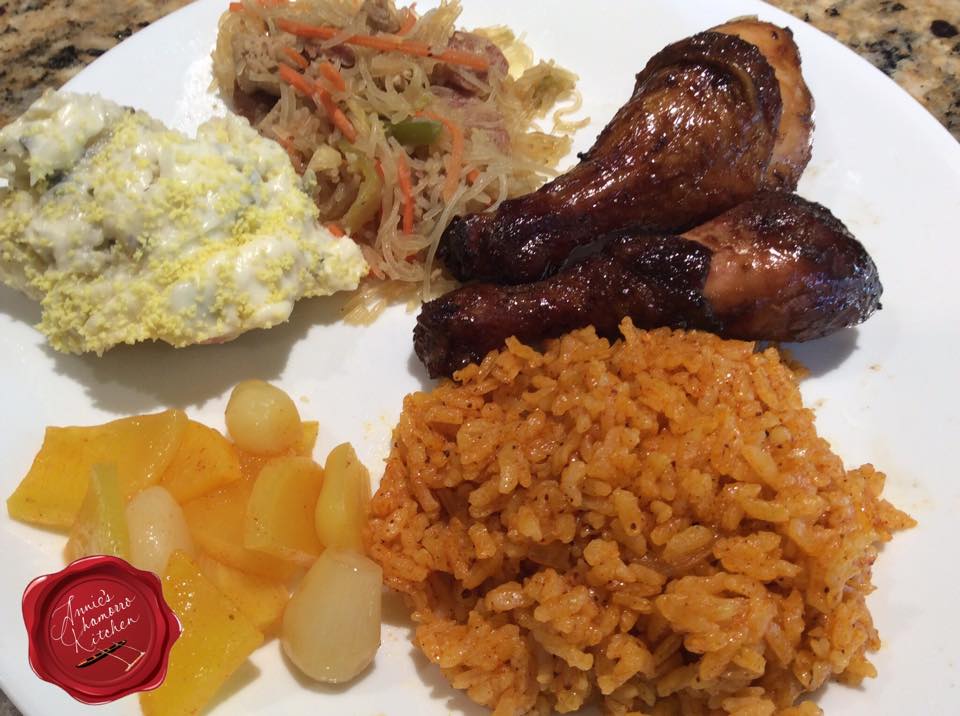
imageServe and ENJOY!

My potato salad goes perfectly with Red Rice, BBQ Chicken, Pancit and Diago’ Kimchi. 🙂

10177415_10205032220313494_3992143486966150129_n


Potato Salad
 
A classic Chamorro side dish that is a must-have on your Fiesta table.
Author:
Recipe type: Side
Cuisine: Chamorro
Ingredients
  • 5 pounds potatoes
  • 8 hard boiled eggs (set aside one yolk), diced
  • 1 tablespoon onion powder
  • 2 teaspoons salt
  • 1 teaspoon black pepper
  • 1 can (4.25 oz) chopped black olives, squeezed to remove as much liquid as possible
  • 2 jars (4 oz) diced pimentos, squeezed to remove as much liquid as possible
  • 1 jar (10 oz) sweet pickle relish, squeezed to remove as much liquid as possible
  • 3 cups mayonnaise
Instructions
  1. Rinse the potatoes then place in a large pot filled with hot water. Bring the water to a boil. Cook until the potatoes are done (it's done when a knife or fork easily pushes through the potato when pierced). Remove the cooked potatoes from the water; allow to cool completely then peel and discard the potato skin. Cut into small cubes.
  2. Place the cubed potatoes and diced eggs into a large mixing bowl.
  3. Add the onion powder, salt and black pepper. Stir gently to combine.
  4. Add the drained and squeezed olives, pimentos and relish to the bowl. Stir to combine.
  5. Fold in the mayonnaise. Taste and adjust the seasonings.
Serve and ENJOY!

Åhu

Åhu is a sweet and warm soup of sorts, and is a very popular dessert drink on Guam.  It’s one of the first things I make when I go home for visits.

While you can make this dish using frozen månha (the meat from young coconuts) and the juice from the månha, there is nothing like using the real thing.

This delicious and sweet drink is thickened by the månha dumplings, made by mixing pureed månha, sugar and tapioca starch.  The dumplings — I call them lumps — cook in boiling hot månha juice until they float to the surface indicating they are done.

image

It doesn’t take long to cook up a huge pot of åhu.  What DOES take long, however, is cutting down a bunch of månha, cutting them open and collecting the juice, then scraping the meat.

Here’s an entertaining (at least I think so) video of the guys working hard at harvesting the månha for us. 🙂

I’ll bet many of you didn’t know there are some species of coconut that are orange when young, not just the common green ones.

My sister and I recruited the men to do the gathering with the promise we’ll do the cooking.  They eventually enjoyed the fruits of our labor and relaxed with a huge cupful of delicious åhu. 🙂

image

After draining out the juice, cut open the månha and scrape out the meat.  Be careful not to scrape out any of the husk if you can help it.  The månha meat is very tender; it doesn’t take much effort to scrape it out of the shell.

image

After you’ve collected the juice and meat, it’s time to get cooking.  Place the månha juice into a large pot.  You don’t need much juice to get great tasting åhu.  You can use all juice or a mixture of juice and water.  My dad likes to drink the månha juice so when my sister and I made this, we diluted it by mixing 8 cups of månha juice with 8 cups of water, saving the rest of the juice for dad.

If the juice is sweet, you don’t need much sugar.  We added about 3 cups of sugar to all that liquid.  Add a cup at a time and taste as you go, adding as much sugar as you like.

Bring the liquid to a slow boil while you make the månha dumpling mixture.

image

Place the månha in a food processor.  Use more månha if you like lots of “lumps” — we used 4 cups of månha (my family likes lots of lumps) for a large pot of åhu.

image

Process the månha until it’s smooth and creamy.

image

Add the entire bag of tapioca starch to the pureed månha.  Save the rest of the tapioca starch in case you need to thicken the åhu liquid later or to add more to the månha-starch mixture (more on this later).

image

image

Add sugar to the månha-starch mixture.  You don’t need much since you’ve already sweetened the liquid.  The amount of sugar also depends on how sweet the månha meat is.  This batch of månha was very sweet so we added just one cup of sugar.  The mixture will be very thick, thicker than cake batter.

image

Drop small dollops of the batter into the boiling liquid.  Do a test batch first to taste if it’s sweet enough.  Add more sugar if you want it sweeter.

image

The lumps will float to the top of the pot when done.  If the lumps break apart during the cooking, that means you need to add more starch.  Add a few spoonfuls at a time, then cook a test batch to make sure they stay intact.

image

This recipe makes a LOT of lumps — just the way my brother likes it.  The starch in the lumps also serves to thicken the åhu.  Let the mixture cook over low heat for a few minutes after all of the lumps are done.  If, after a few minutes, the liquid is not thickening, mix any reserved tapioca starch with a cup of water; stir the mixture into the åhu and cook for a few more minutes until thickened.

image

Serve while still hot and ENJOY! 🙂

image


Åhu
 
A warm, sweet dessert drink made from the juice and meat of young green coconuts.
Author:
Cuisine: Chamorro
Ingredients
Liquid
  • 8 cups Månha juice
  • 8 cups water
  • 3 cups sugar, more or less, to taste
Dumplings
  • 4 cups månha meat, pureed
  • 1½ (15 oz) bags tapioca starch
  • 1 cup sugar
Instructions
  1. Place the månha, juice, and sugar in a large pot. Bring to a boil over low heat.
  2. Mix together the pureed månha, one bag of starch (reserve the remaining half bag), and sugar to form the batter for the dumplings.
  3. Drop the batter into the boiling liquid by the teaspoonful. The dumplings will float to the top when done. If the dumplings break apart during cooking, add a couple of tablespoons more starch to the dumpling mixture. "Test cook" a few dumplings to ensure they don't break apart and is sweet enough. If the dumplings still break apart during cooking, add a couple more tablespoons of starch.
  4. After all of the dumplings are done, check to see if the åhu is thick enough for your liking. It should be the consistency of not-too-thick gravy. If you'd like it thicker, mix any remaining starch with 1 cup water; stir the mixture into the hot åhu. Cook for a few more minutes until the åhu thickens.
Serve while still hot and ENJOY! 🙂

Potu

Potu is a sweet steamed rice cake that’s a Chamorro favorite.  It’s traditionally made using sweet tuba, a Chamorro beverage made from fermenting (like wine) coconut juice.  Rice is soaked overnight in the tuba then ground into a super-fine consistency the next day.  The mixture is sweetened and steamed into these amazingly delicious rice cakes.

Events - 1423

When I was younger, I usually only had potu when we went to parties or (I don’t mean to be morbid) at rosaries.  My late aunt used to make potu as well.  I remember those sleepovers at her house —  Auntie Frances had the entire kitchen and dining room filled with tubs of soaking rice and pans of potu ready for delivery.  Ahh…those were the good ‘ole days.

Events - 0324

This is my friend, Judy Dillinger’s recipe.  Being away from home, I definitely don’t have access to a lot of home-grown ingredients, tuba being one of them.  Judy’s recipe makes use of readily available ingredients that you can find in almost any grocery store.  It’s also quick and easy, using rice flour instead of soaking rice overnight.

Events - 024

If you’d like to try another of my friend’s Potu recipes, take a look at this one by my friend, Rose Camacho.

I’ve made both recipes and I will tell you they are both equally delicious and definitely tried-and-true.

Give Judy’s or Rose’s recipes a try.  I think you’ll like them.

Here’s how to make Judy’s Potu.

Events - 017
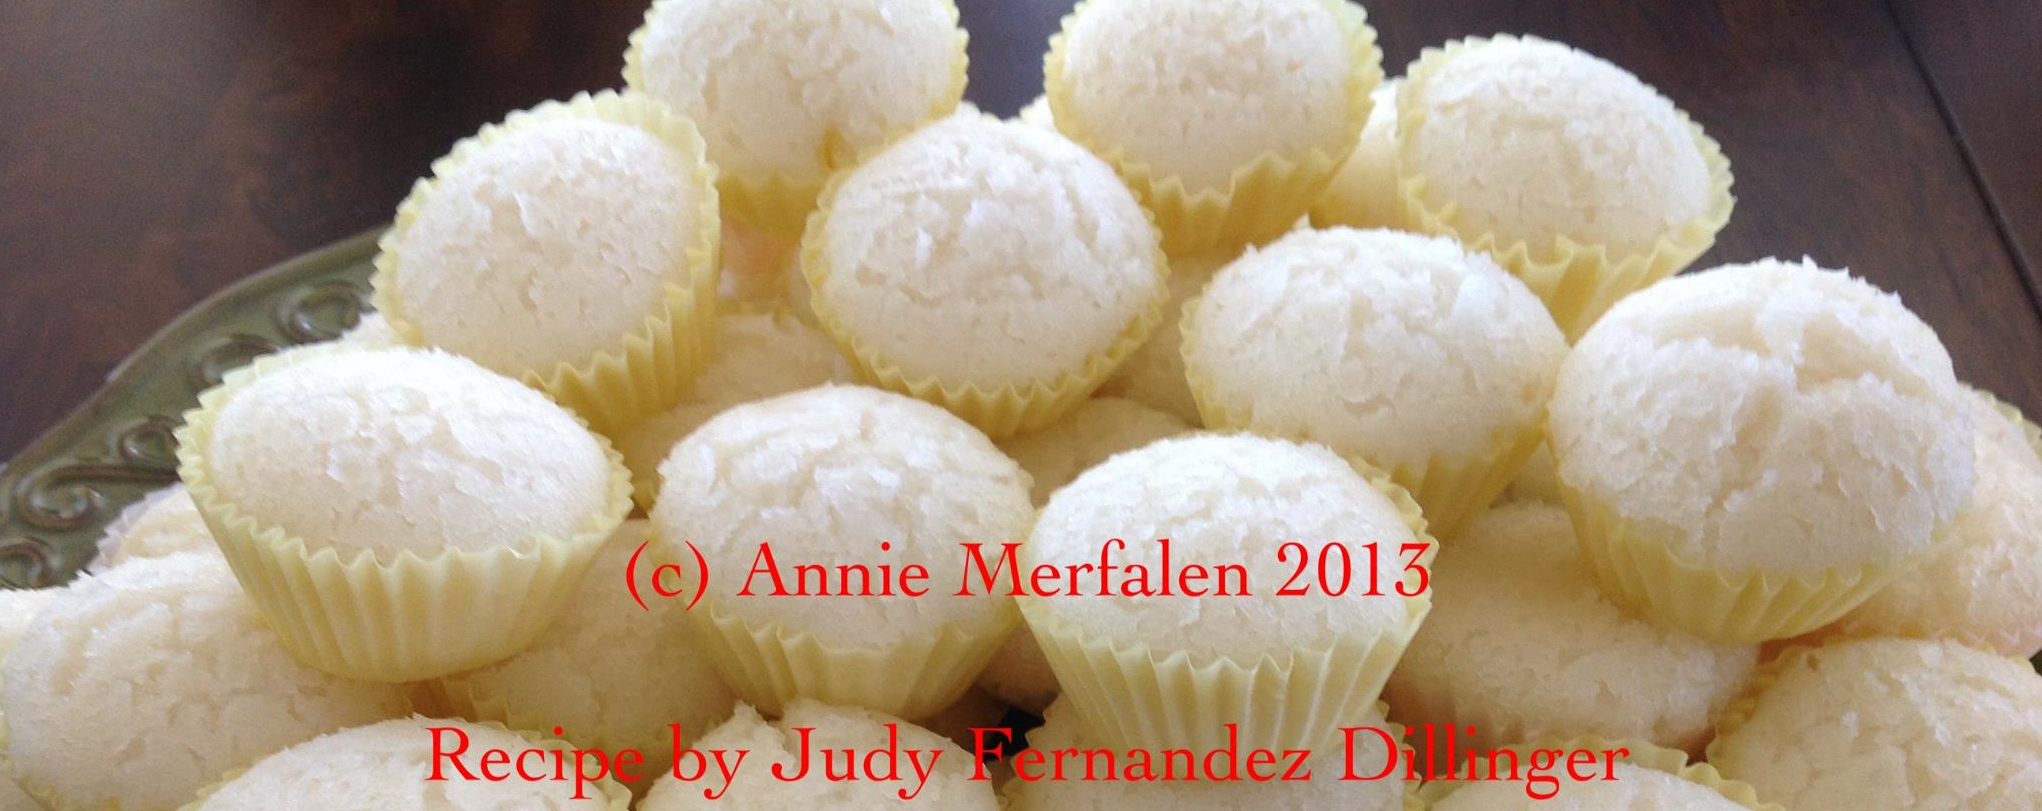
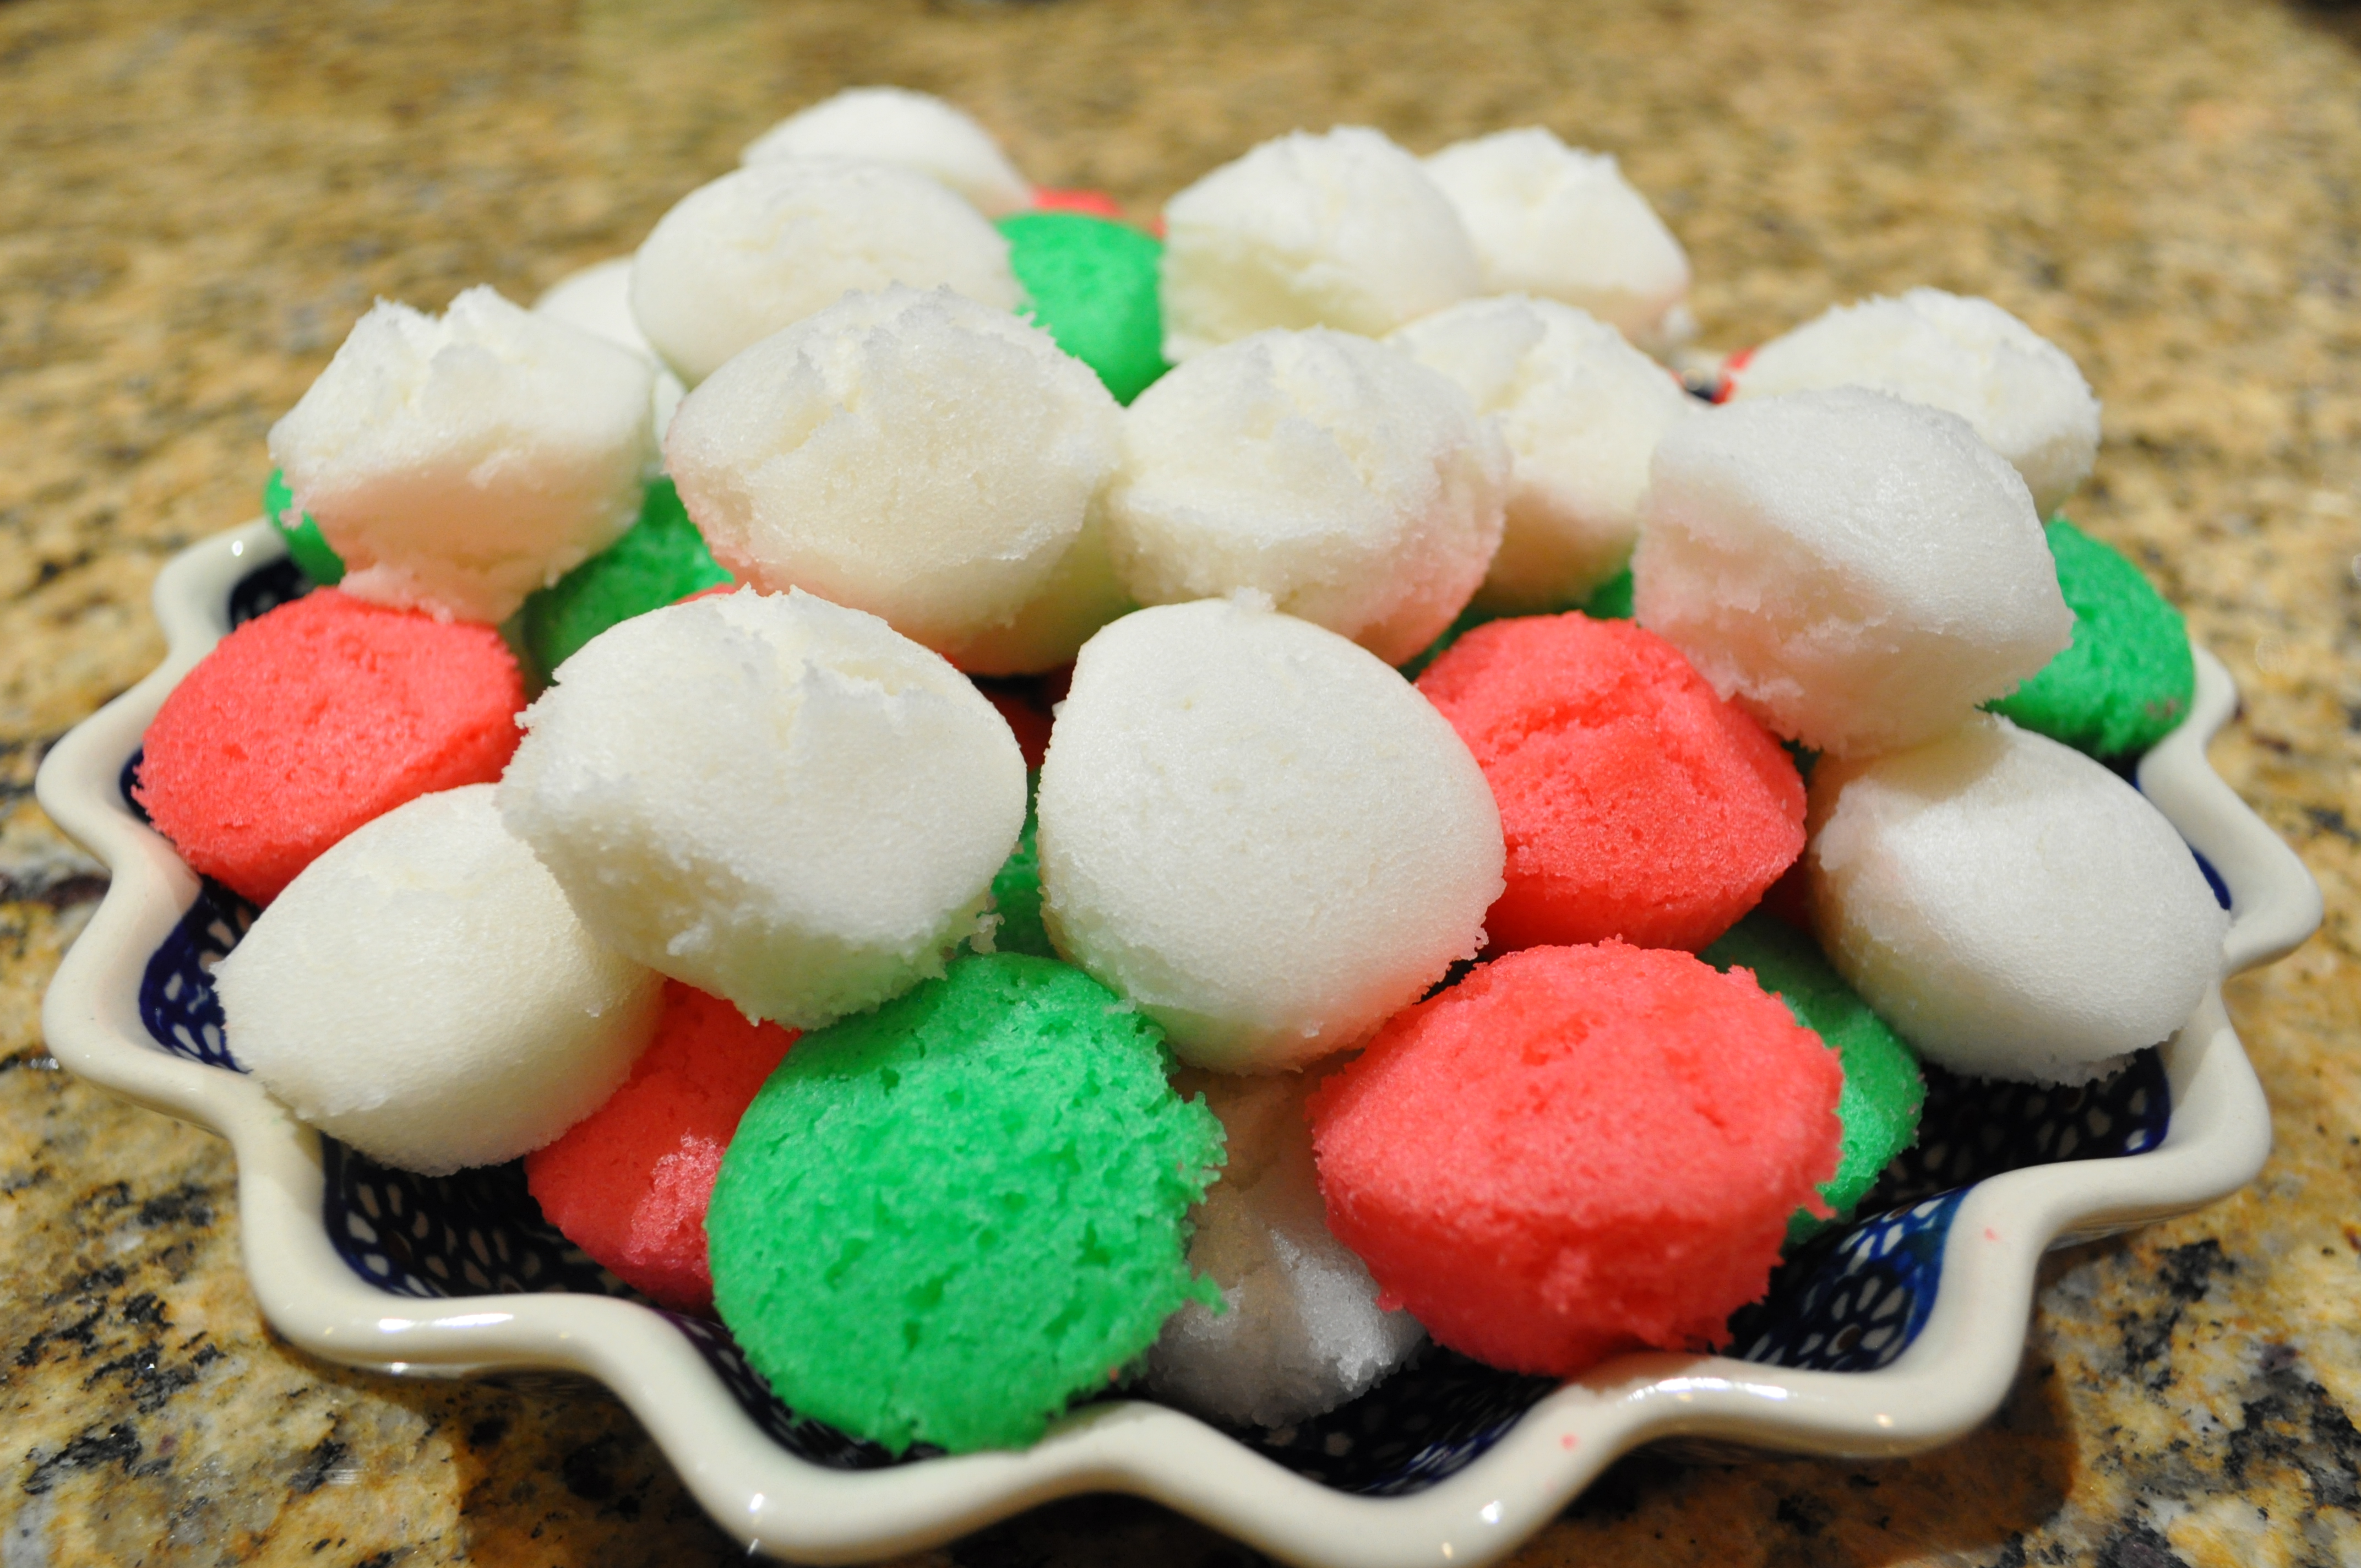
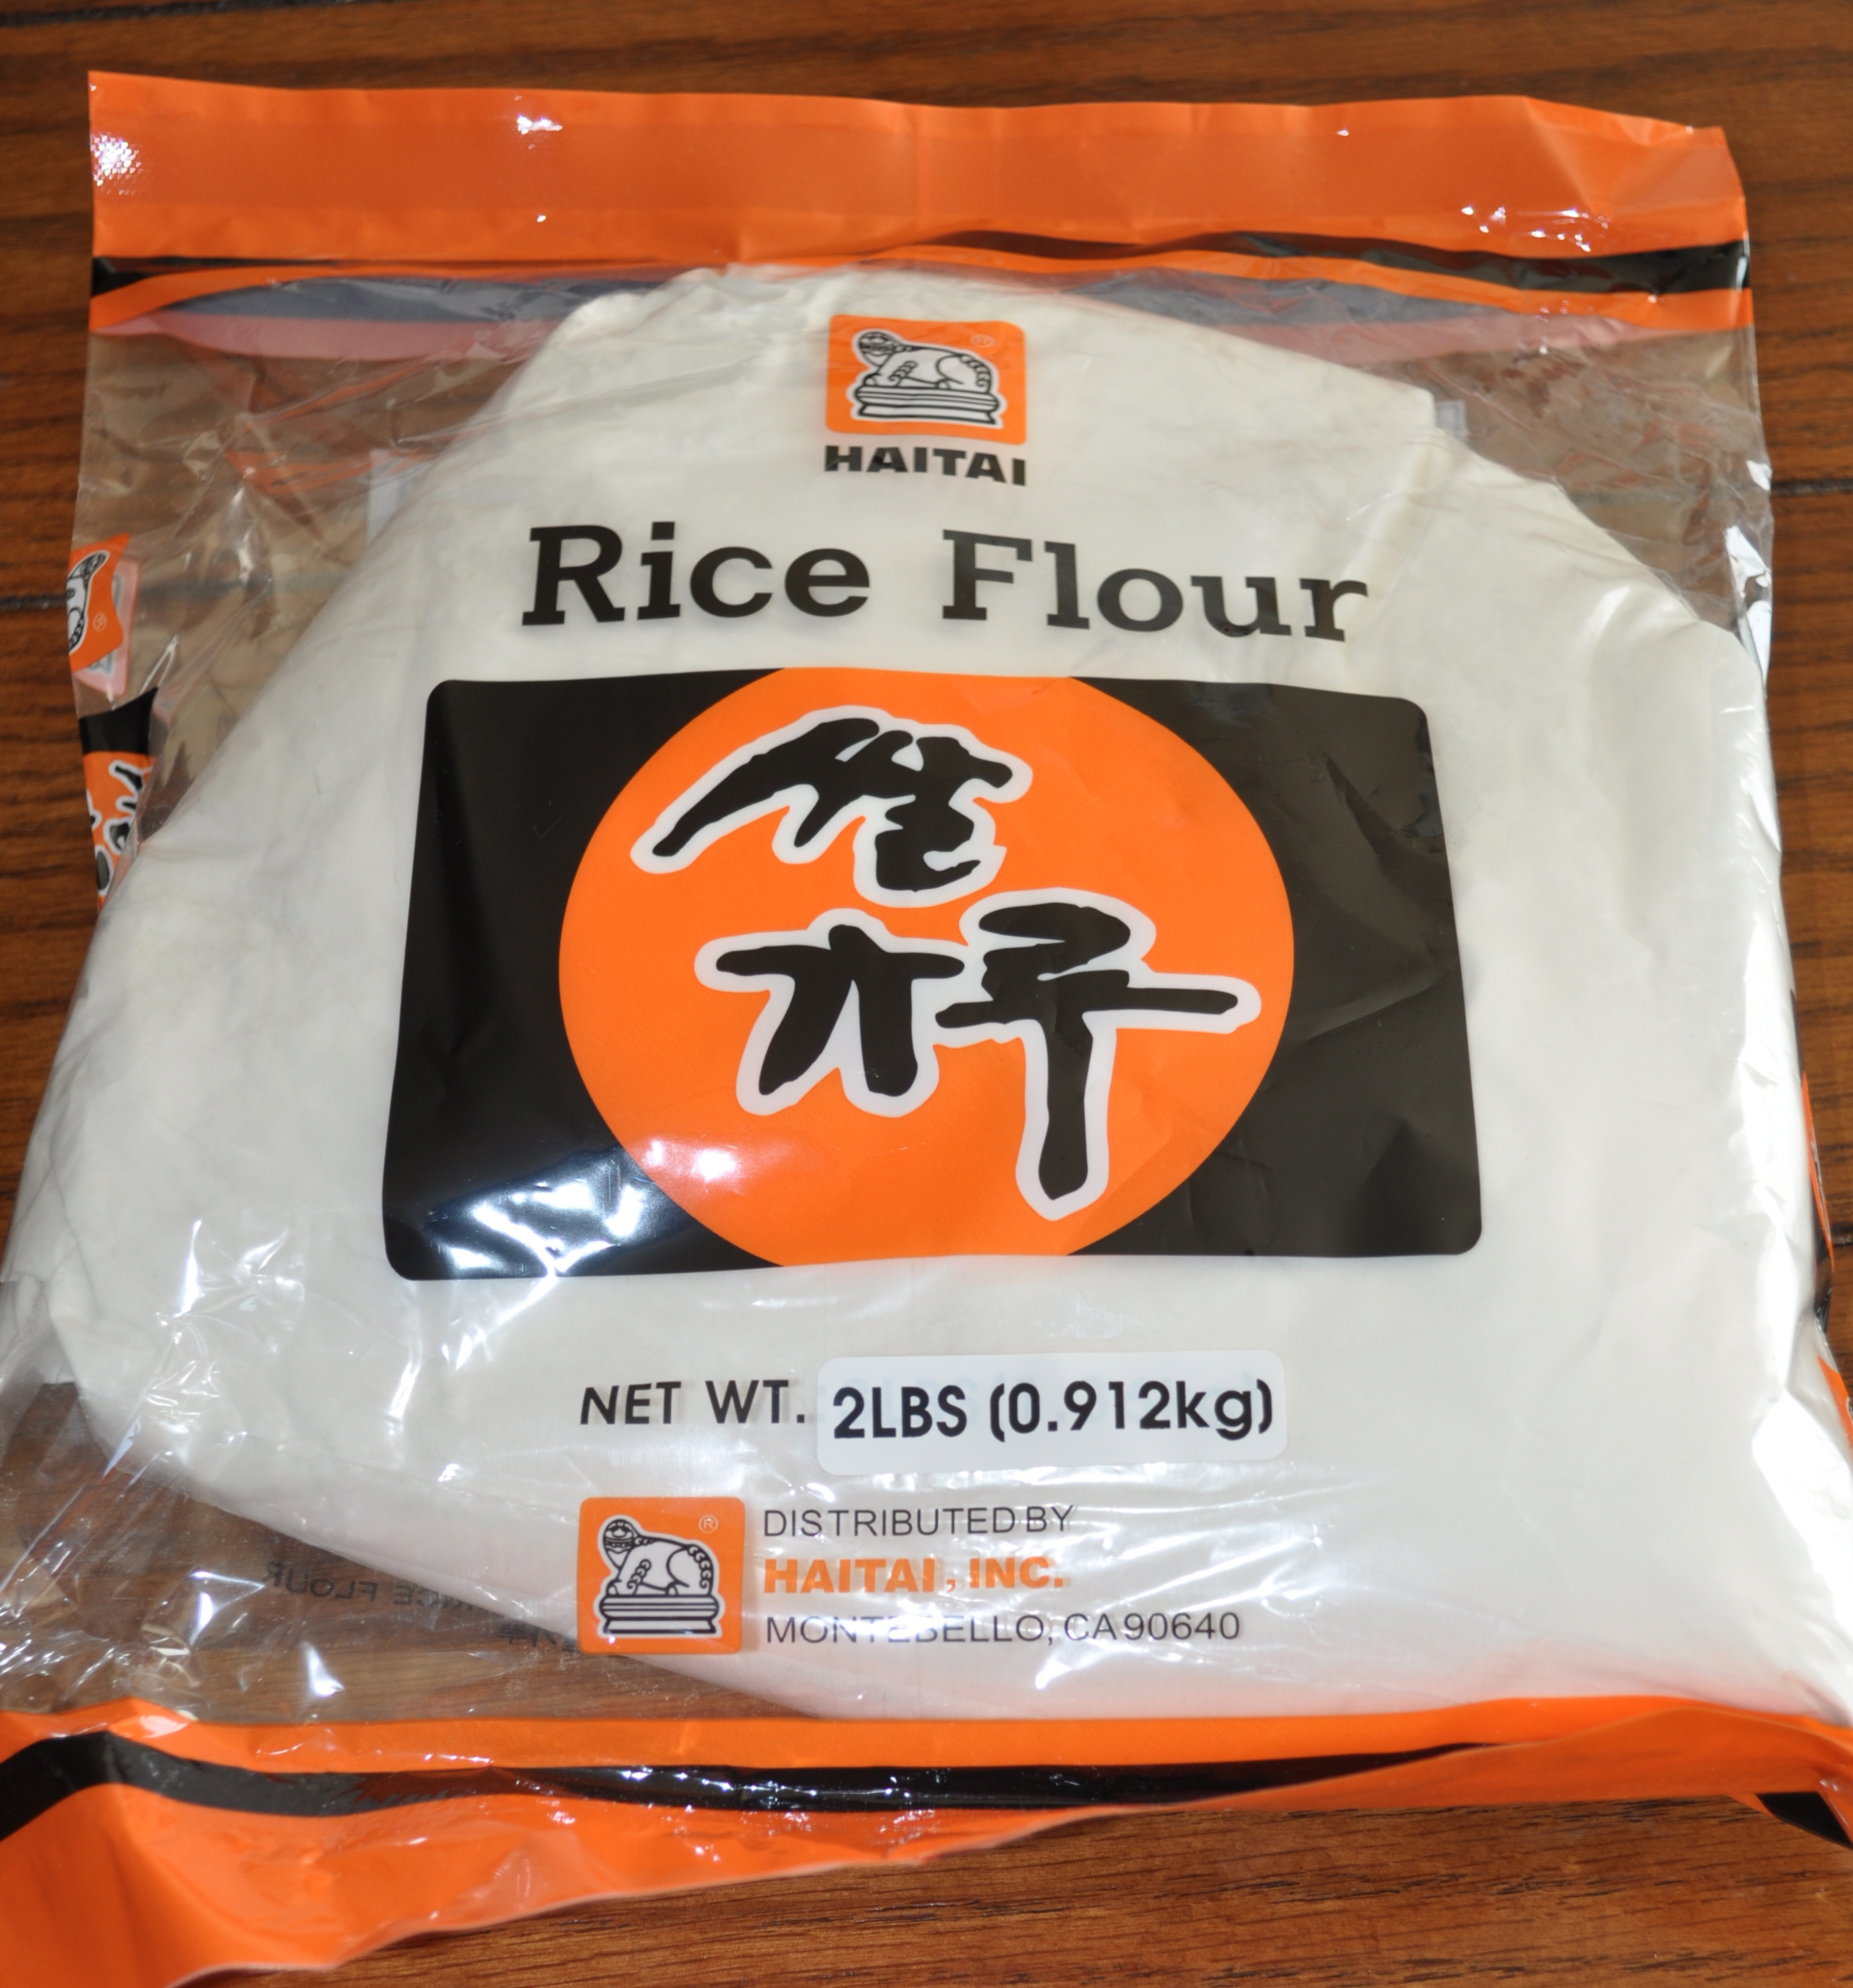
You’ll need to find rice flour that is NOT glutinous.  The label will tell you whether it’s glutinous or not.  The glutinous kind will NOT work for potu.  Glutinous rice flour is made by grinding sweet rice, which is very sticky when cooked.  The NON-glutinous rice flour (the kind you need for potu) is made by grinding short or medium-grain rice.

This is a photo of the brand of rice flour I used.  There are many different brands; make sure the label states non-glutinous.rice flour

I’ve also used this brand of rice flour (the red bag, pictured on the right).  Notice that the green bag clearly states “Glutinous.”  If you’re familiar with mochi, glutinous rice flour is used to make mochi.  Again, for potu, you want to use NON-glutinous rice flour.

Events - 0545
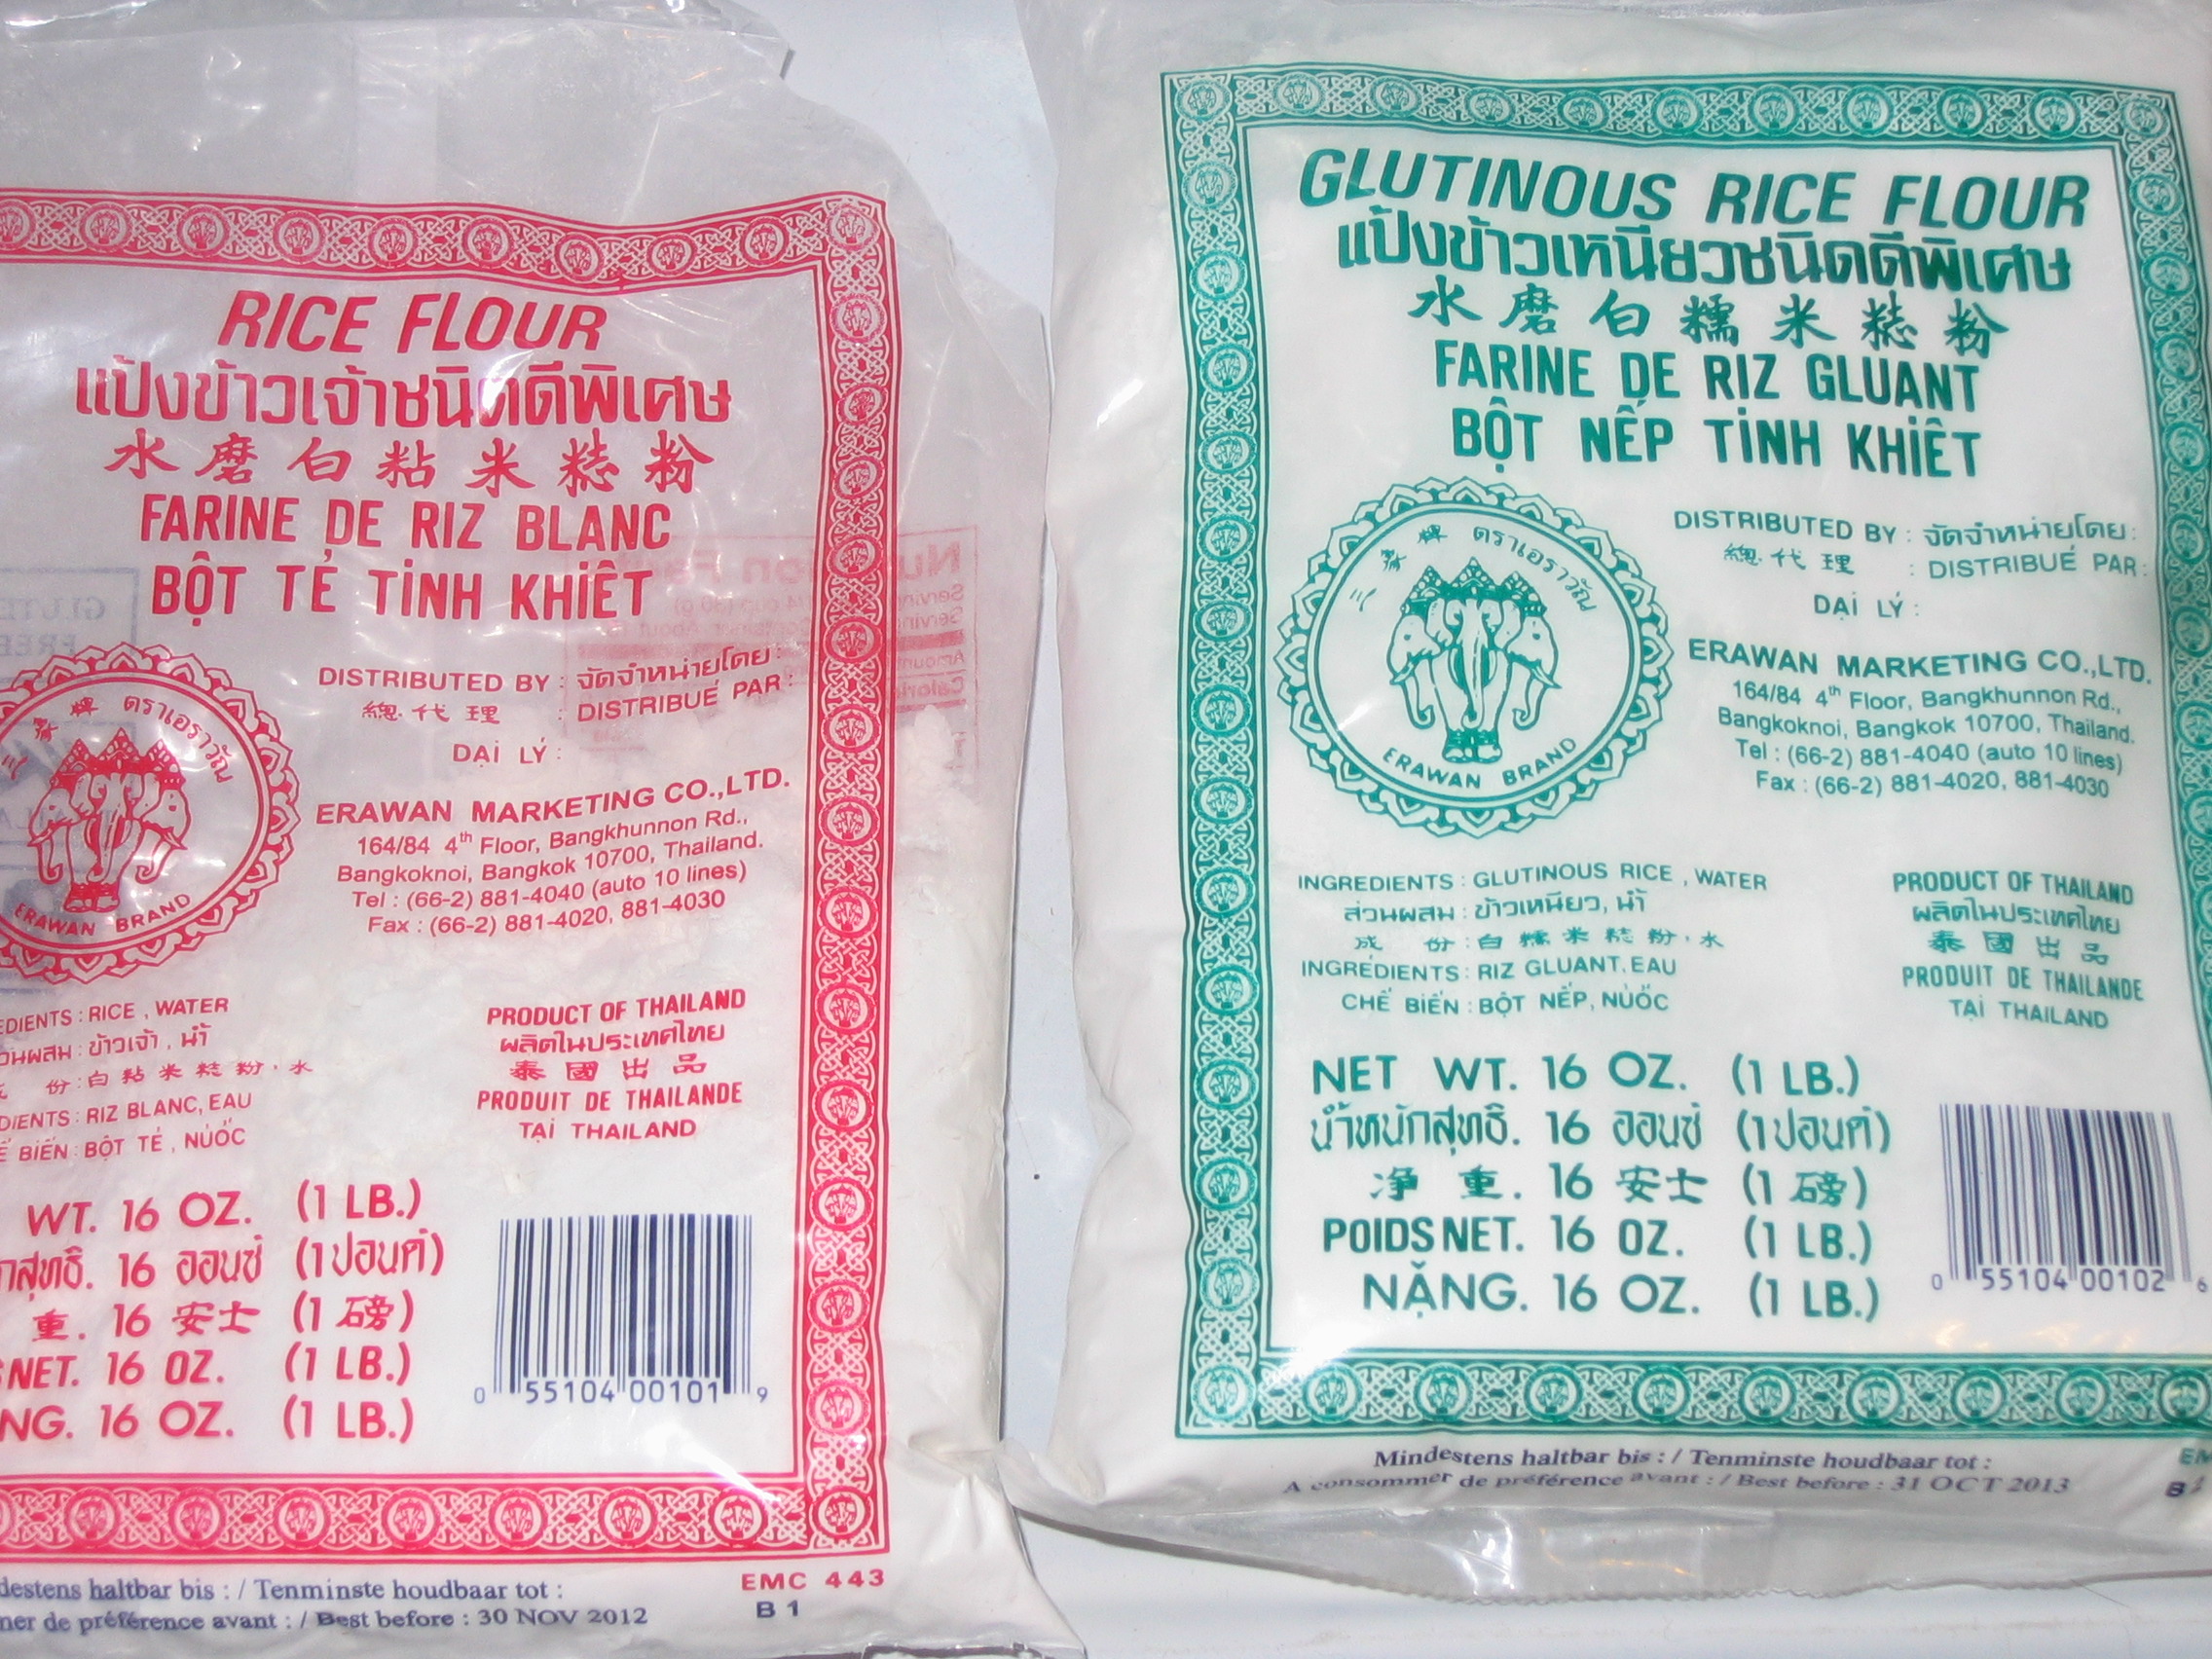
As I mentioned above, tuba is not available here in the states, unless you have a friend or family member visiting from home bring you some.  An easy substitute for tuba in this recipe is coconut vinegar.  You only need a little bit of vinegar.  Judy’s recipe calls for four tablespoons mixed with enough water to make one cup of liquid.  I actually cut the amount of vinegar in half because it’s quite pungent.  This is the brand of coconut vinegar I use.

Mix the vinegar with enough water to make one cup of liquid.  I only used two tablespoons of vinegar, but Judy’s recipe calls for four.  It’s all up to you, really, on how much vinegar to use.  Remember, a little goes a long way.

Mix the rice flour, sugar and baking powder with the vinegar-water mixture.  Let the mixture sit for a few minutes — it will get very bubbly.

Events - 022

Pour the batter into molds, filling them almost to the top.  I’ve used silicone molds, little glass cups and the silicone molds lined with mini cupcake paper liners, all with success.

Place the molds into your steamer basket before filling — it’s easier than trying to place full cups into the basket without spilling any batter.

Events - 020Place the steamer basket into the steamer.  Place a clean kitchen towel or cheesecloth beneath the lid to keep the condensation from dripping back onto the potu.

Events - 023Steam for about 20 minutes.  The tell-tale crack on top indicates the potu is done.  Let the potu cool for a few minutes before removing from the molds.  Serve and ENJOY! 🙂


Potu
 
A sweet steamed rice cake that's light and fluffy and easy to prepare.
Author:
Recipe type: Dessert
Cuisine: Chamorro
Serves: 2½ dozen
Ingredients
  • 1 cup rice flour (make sure it's NOT glutinous rice flour)
  • ¾ cup sugar
  • 1½ tablespoons baking powder
  • 4 tablespoons vinegar mixed with water to equal 1 cup of liquid (OR use 1 cup sweet tuba)
Instructions
  1. Mix all ingredients in a bowl and let it sit for about 15 minutes.
  2. Pour the mixture into miniature molds and steam for about 15-20 minutes.


Judy’s Empanadas

Chamorro empanadas are high up on the list of my favorite snacks, but they can easily be a meal in and of themselves.  In fact, when I was on Guam recently, I would visit the village store and buy empanadas, fresh out of the fryer, for breakfast.

My mom taught my sisters and me how to make empanadas years and years ago.  It’s quite the labor of love, although you can make the filling ahead of time, thereby cutting back on the actual preparation of the empanada.

A tortilla press, while not essential, is a great tool to have when making empanada.  While you’re at it, a bunch of kitchen helpers is good too. 😉  I remember when I was younger, we only had one tortilla press to share among my three sisters and mom; someone usually got stuck with using the much slower rolling pin.  We did it assembly-line style, with a couple of us flattening the dough, another couple of us filling it, and then someone sealing it tightly.

I’ve had a lot of requests for my empanada recipe, but my good friend, Judy Fernandez Dillinger, has an amazing recipe and she was gracious enough to allow me to feature it here.

As a side note, this is the packet of achote powder used in Judy’s recipe below.  Each packet contains 1/3 ounce of powdered achote, which is roughly 2 teaspoons.  Use this as a guide.  Some people like more or less achote to make the crust lighter or darker.  I also know someone who doesn’t use achote at all.

So, without further ado, here is Judy’s empanada recipe.  Give it a try.  I KNOW you’ll love it. 🙂

Judy's Empanadas
 
Author:
Recipe type: Snack
Cuisine: Chamorro
Serves: 2 dozen
Ingredients
Filling:
  • ½ cup cream of rice mixed with ½ packet of achote powder*
  • 2 cups of chicken broth (you can use water but will have to season with salt)
  • ½ onion, minced
  • 3 cloves garlic, minced
  • ½ cup chopped chicken or imitation crab meat
  • black pepper to taste
  • hot pepper (optional)
Crust:
  • 2 cups masa harina
  • 1 packet achote powder*
  • ½ cup corn starch
  • ½ teaspoon salt
  • 3 teaspoons oil
  • 1½ - 1¾ cups chicken broth or water (if using water, increase salt to 2 teaspoons) - warm
*If you don't use achote powder, just make sure you soak achote seeds in the broth or water for color.
Instructions
For the filling:
  1. Saute onions and garlic in a large pot. Cook till onion becomes transparent. Add chicken and saute for about 2 minutes.
  2. Add chicken broth or water. Remember, if you use water you'll have to season it with salt (to taste). Bring to a boil.
  3. Using a whisk, gradually add the cream of rice. Keep stirring so that there are no lumps. Bring heat to medium and cook for about 3-4 minutes.
  4. Add hot pepper (as hot as you want it) and then remove from heat.
  5. Completely cool before filling the shells.
For the crust:
  1. Mix masa harina, corn starch, salt and achote powder in a bowl. Add oil and broth or water to the flour mixture. Kneed with hands until dough is pliable.
  2. Roll dough into 1 inch balls. Use a tortilla press to flatten to form a circle. Be sure that you press the dough between 2 sheets of wax paper.
  3. Fill the bottom half of the circle with the cooled filling. Fold over the top of the dough to meet the bottom and press to seal the edges.
  4. Deep fry until nice and crispy. The trick is to fry at a very low heat. I like to set my dial at the 4th interval, right below the middle. If you fry it at high heat it will burn and the crust will not be crunchy but stale.
Enjoy!


Recent Entries »