Archive for MEALS

Panko Crusted Fried Fish & Shrimp

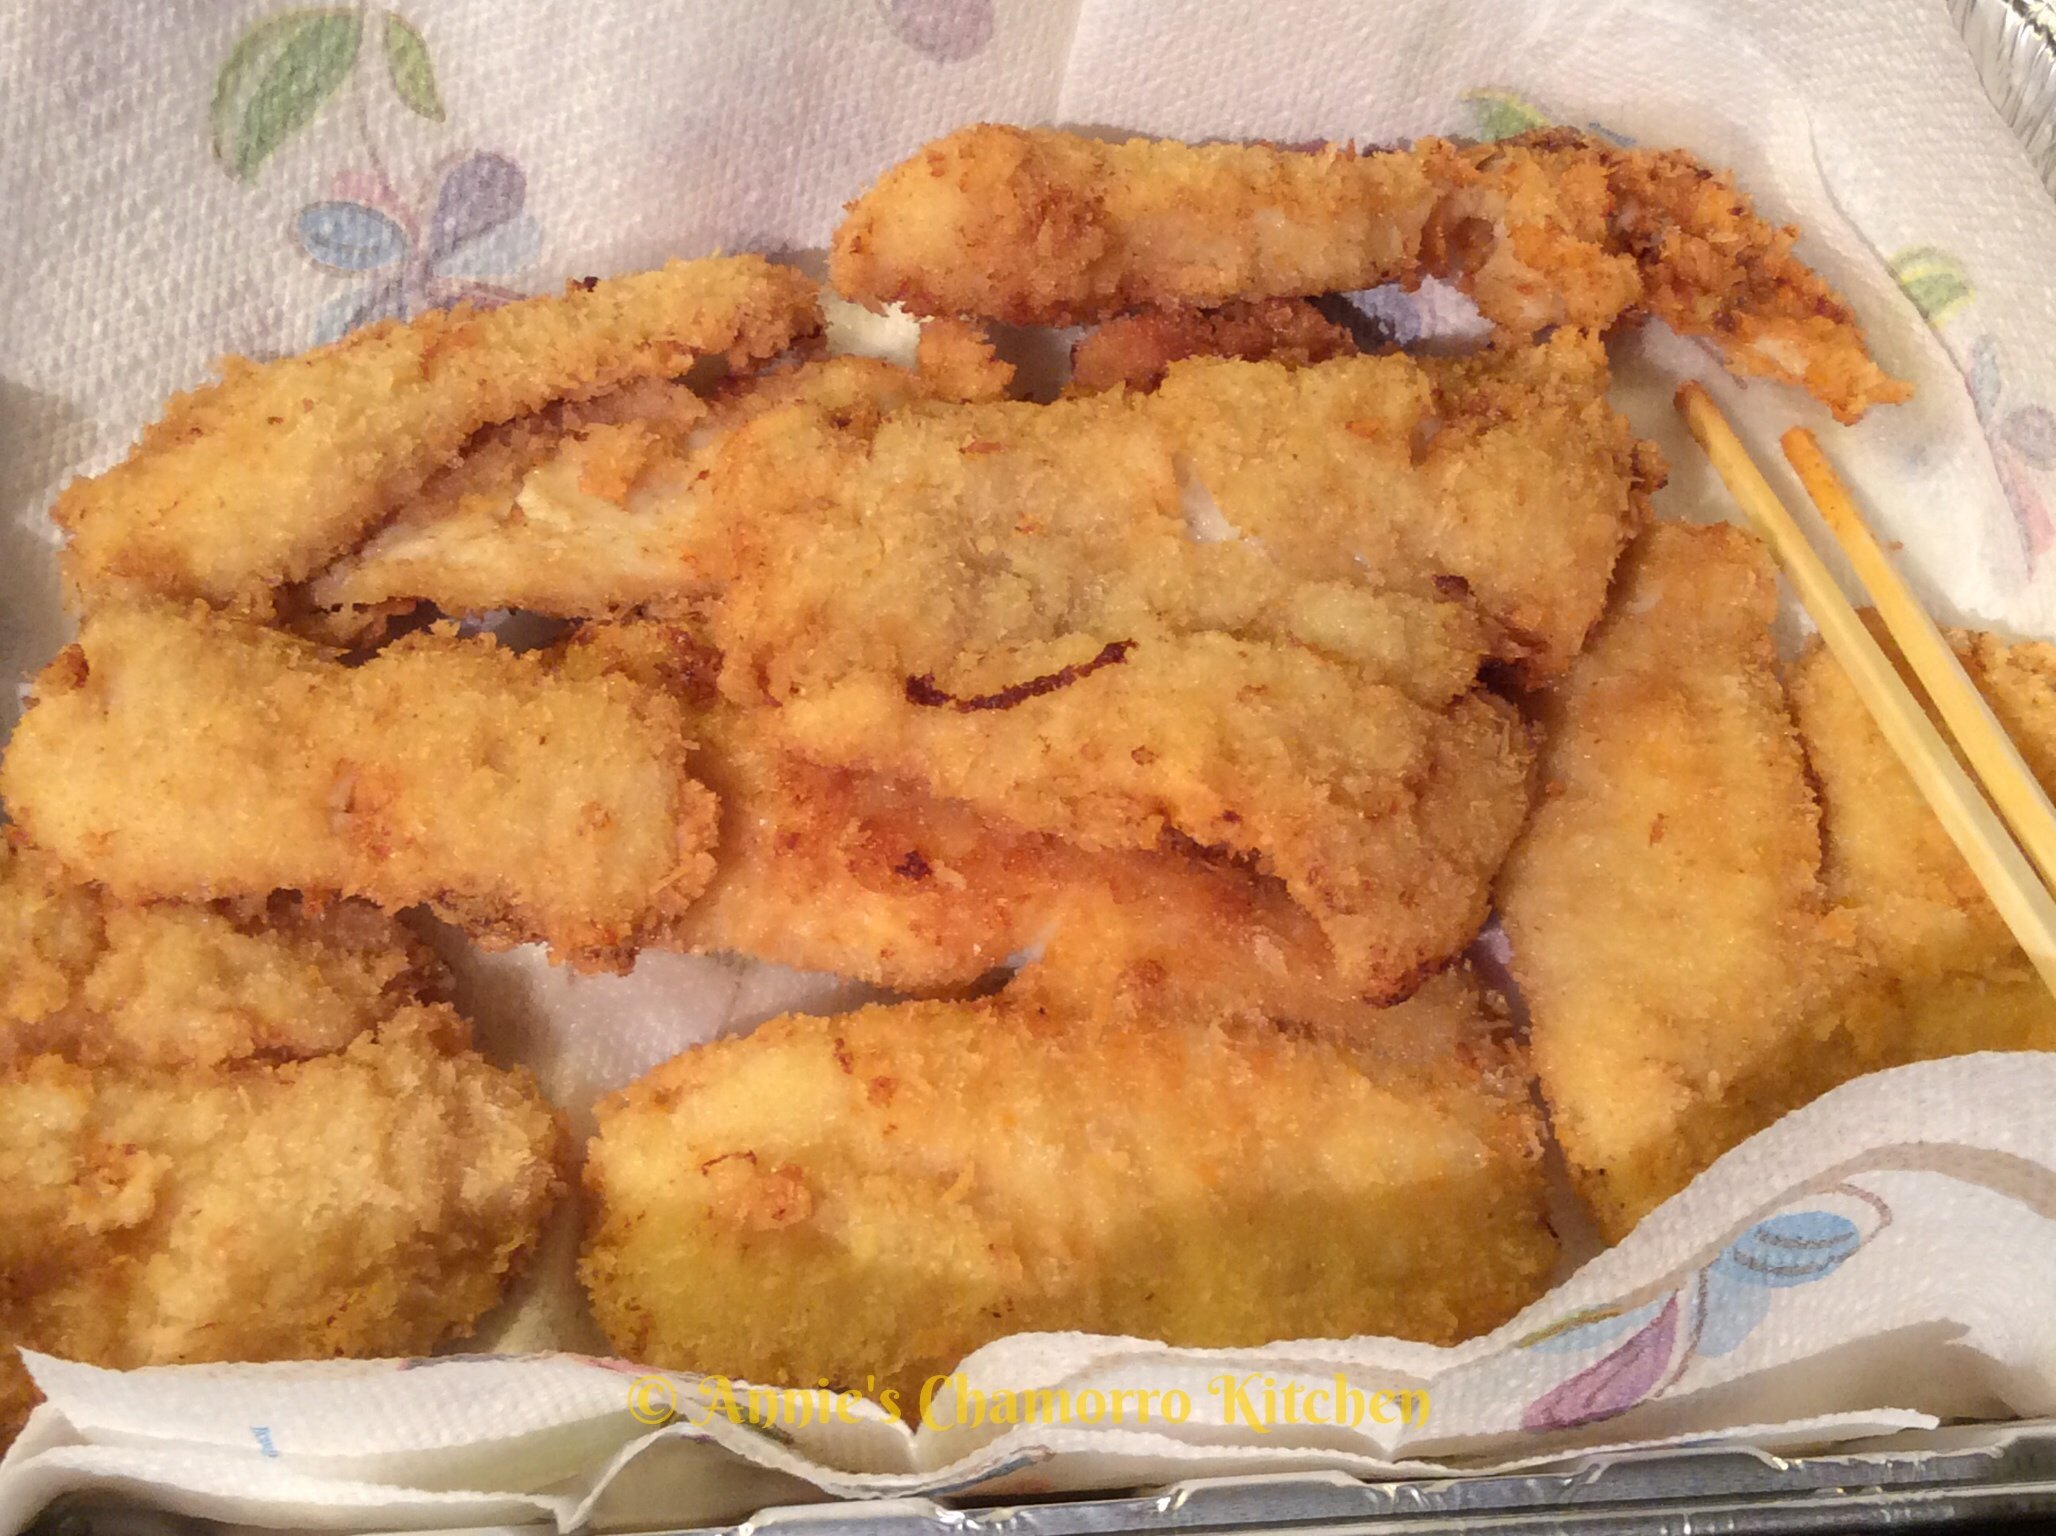
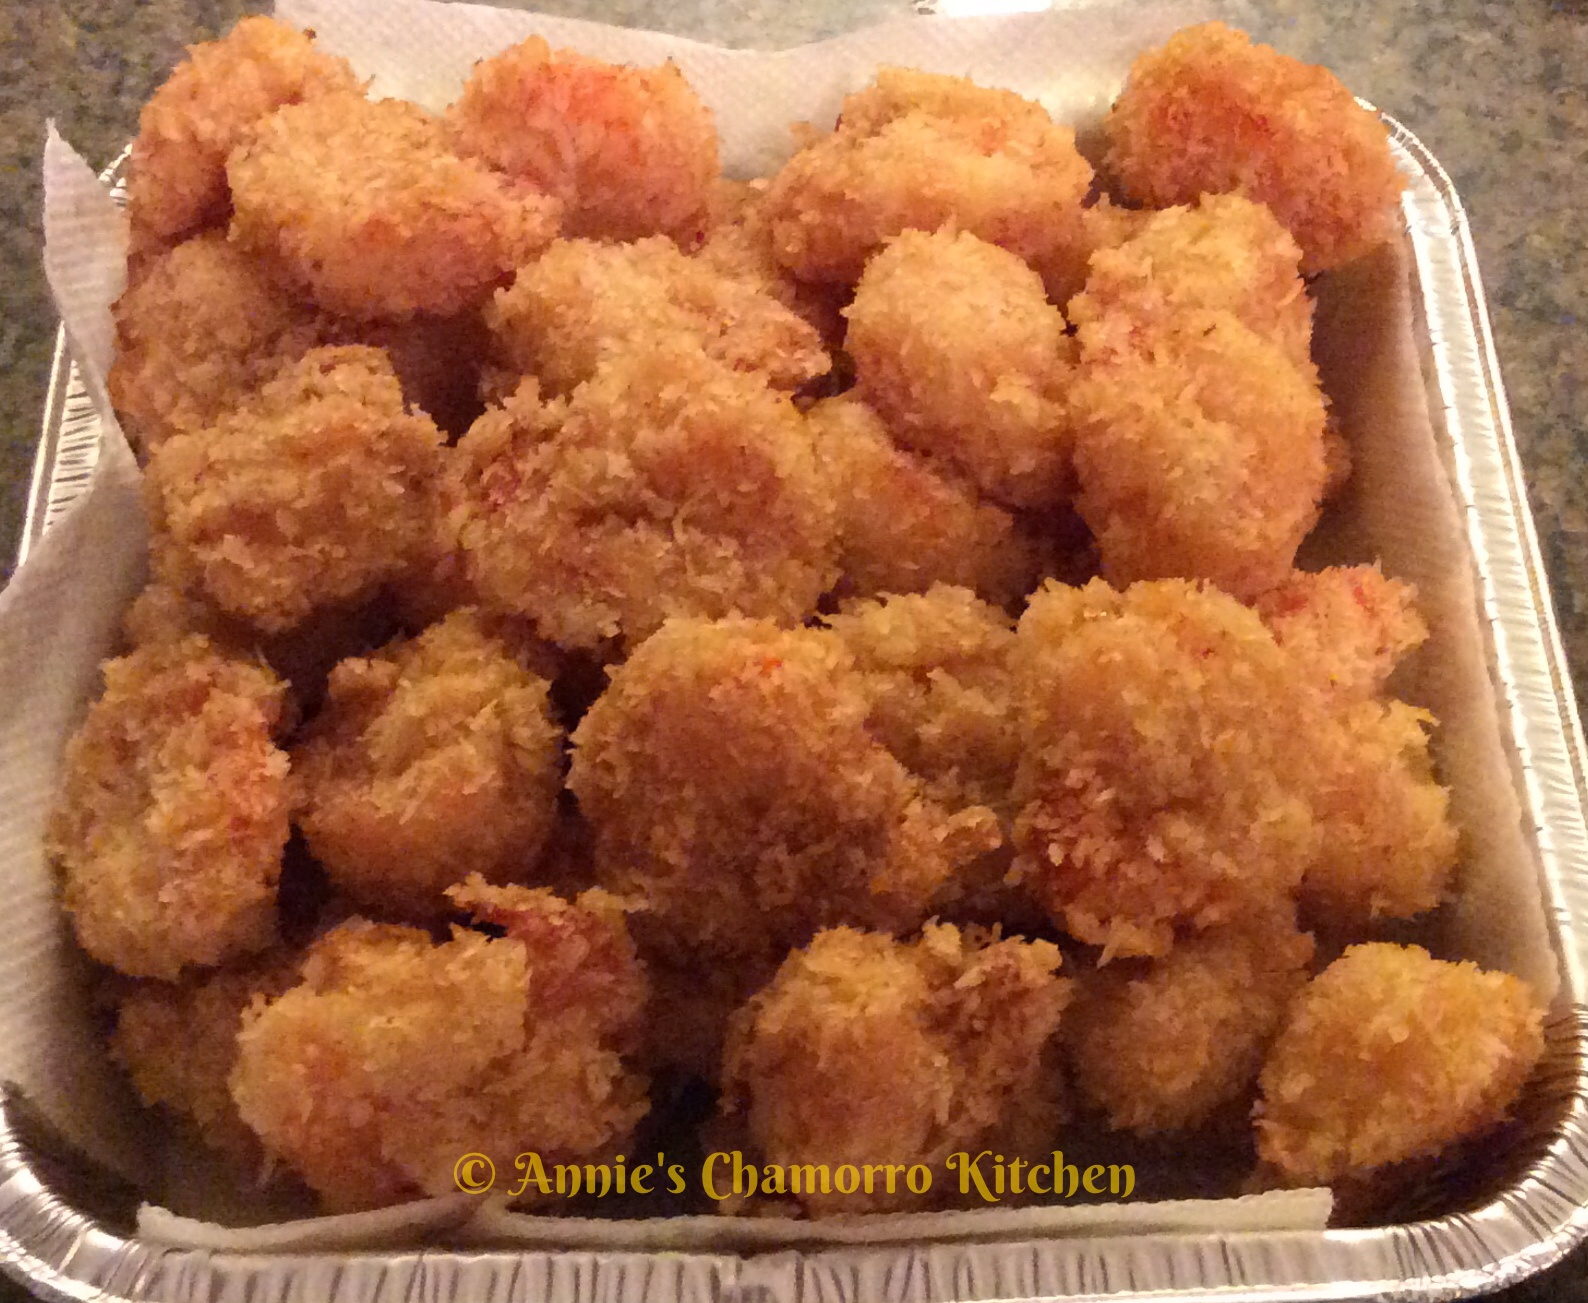
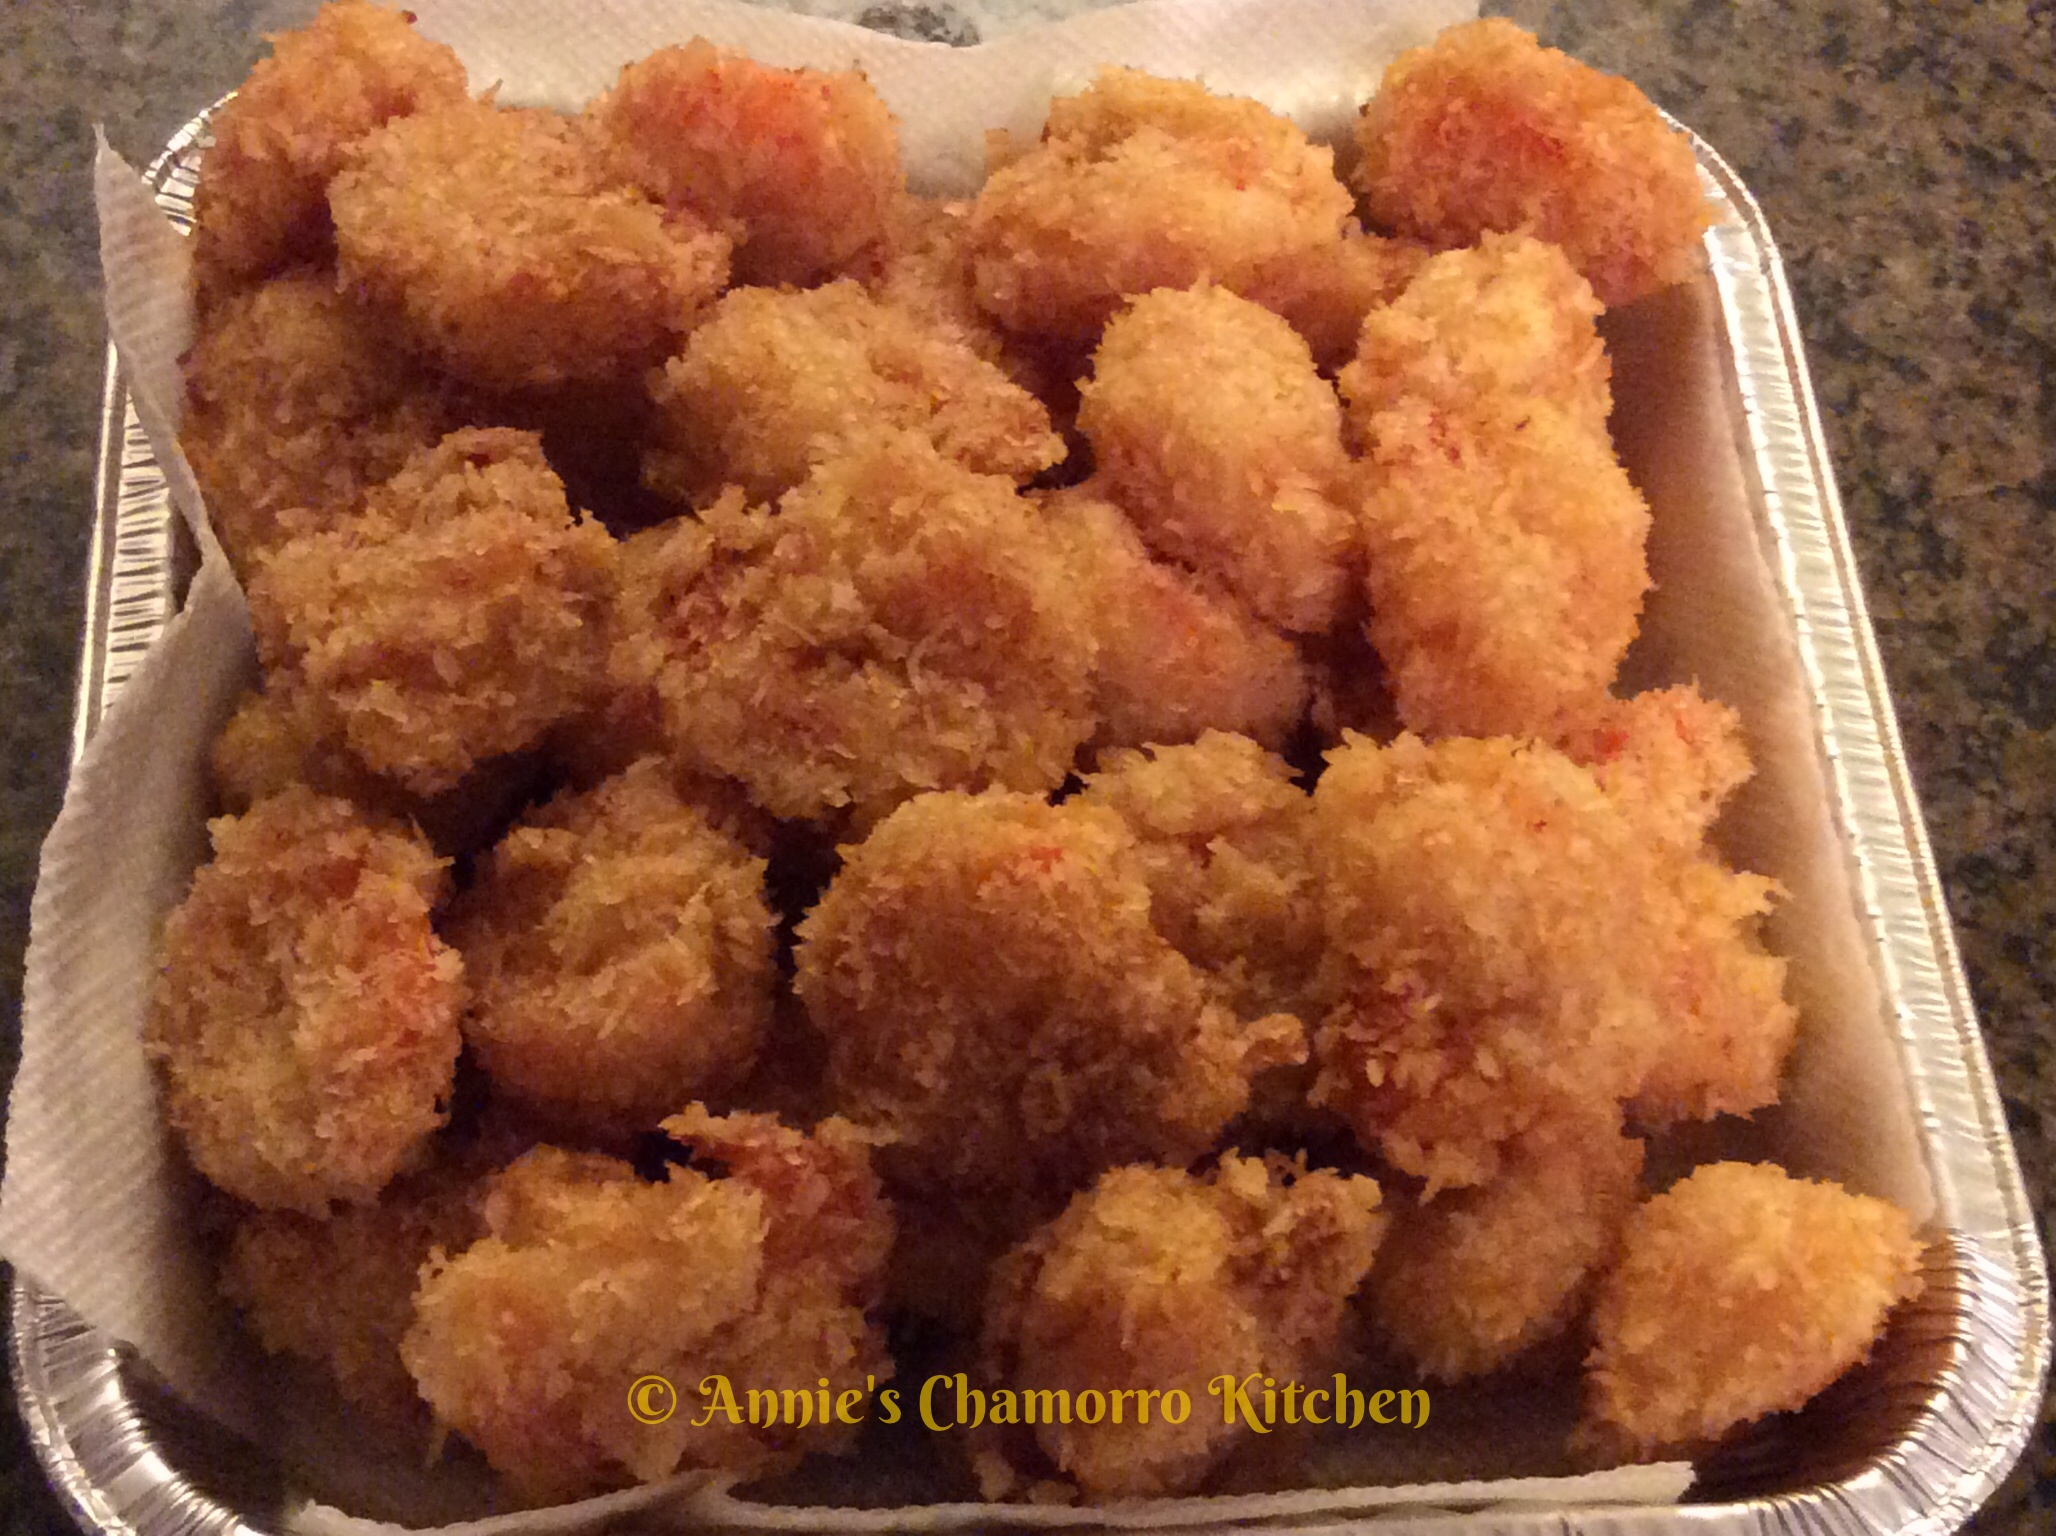
Our family loves seafood.  One of our favorite ways to serve fish and shrimp is to coat them in panko breadcrumbs and fry them until golden brown and crispy.

Serve this with hot steamed rice, some sweet dipping sauce (similar to honey walnut shrimp sauce), and fina’denne’ and you’ve got yourself an amazing seafood meal.

Give my sister-in-law Min’s recipe a try.  I think you’ll like it. 🙂

This recipe makes enough for a family of 4 plus leftover for lunch the next day.

Panko Crusted Fried Fish & Shrimp

Last Import - 112  Last Import - 120

Ingredients for the Fried Shrimp:

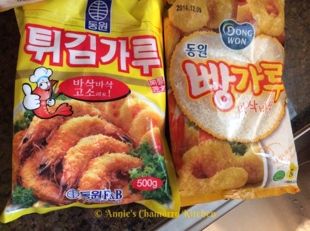
  • 1 cup Korean batter mix (Tuigim or Twigim Garu); see photo below
  • 1 tablespoon Dashida Korean seasoning
  • 1 tablespoon onion powder
  • 1 tablespoon garlic powder
  • 1 teaspoon black pepper
  • 1/2 cup milk
  • 30 ounces raw shrimp, peeled and deveined
  • 1 bag panko crumbs


Ingredients for the Fried Fish:

  • 1 cup Korean batter mix (Tuigim or Twigim Garu); see photo below
  • 1 tablespoon Dashida Korean seasoning
  • 1 tablespoon onion powder
  • 1 tablespoon garlic powder
  • 1 teaspoon black pepper
  • 1 cup milk
  • 24 ounces fish filets (tilapia, basa, and orange roughy work well)
  • 1 bag panko crumbs


Ingredients for the Dipping Sauce:

  • 2 tablespoons sweetened condensed milk
  • 3 tablespoons pineapple juice
  • 2 tablespoons kewpie mayo


Other Ingredients:

  • Oil, for frying


Tuigim Garu, Korean batter mix, is used to make a batter to coat the shrimp and fish for frying.  This is what the package looks like (the bag on the left).

The bag on the right is called Pang Garu, and is a type of panko breadcrumbs.  The shrimp and fish are coated in breadcrumbs after coating it in the batter.  You can use this or any other brand of panko breadcrumbs.
Directions:

Rinse and clean the shrimp and fish filets, then set them aside in separate, shallow dishes.  I like using meaty white fish such as  basa or tilapia; orange roughy is good too.
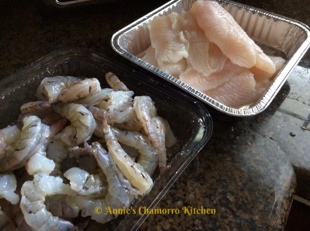
Add the dry batter mix and seasonings directly over the shrimp.  Toss the shrimp and dry ingredients together then add the milk.  Keep tossing it all together until the dry ingredients are no longer lumpy and a thick batter coats the shrimp.  Set aside.

  Last Import - 034

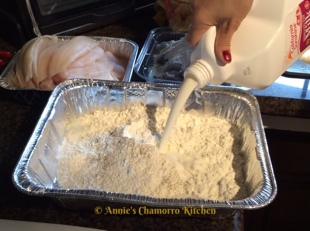
In another pan, place the remaining batter mix and dry ingredients; this will be mixed into a batter to coat the fish filets.  You don’t want to create the batter WITH the fish as you do with the shrimp because you don’t want to break up the fish filets.  Instead, mix the batter in a separate pan and dip the fish into the batter before coating with panko.
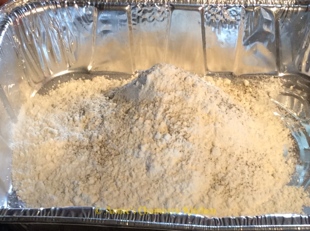
Add the milk to the dry batter mixture, mixing until you get a smooth batter.

  Last Import - 042

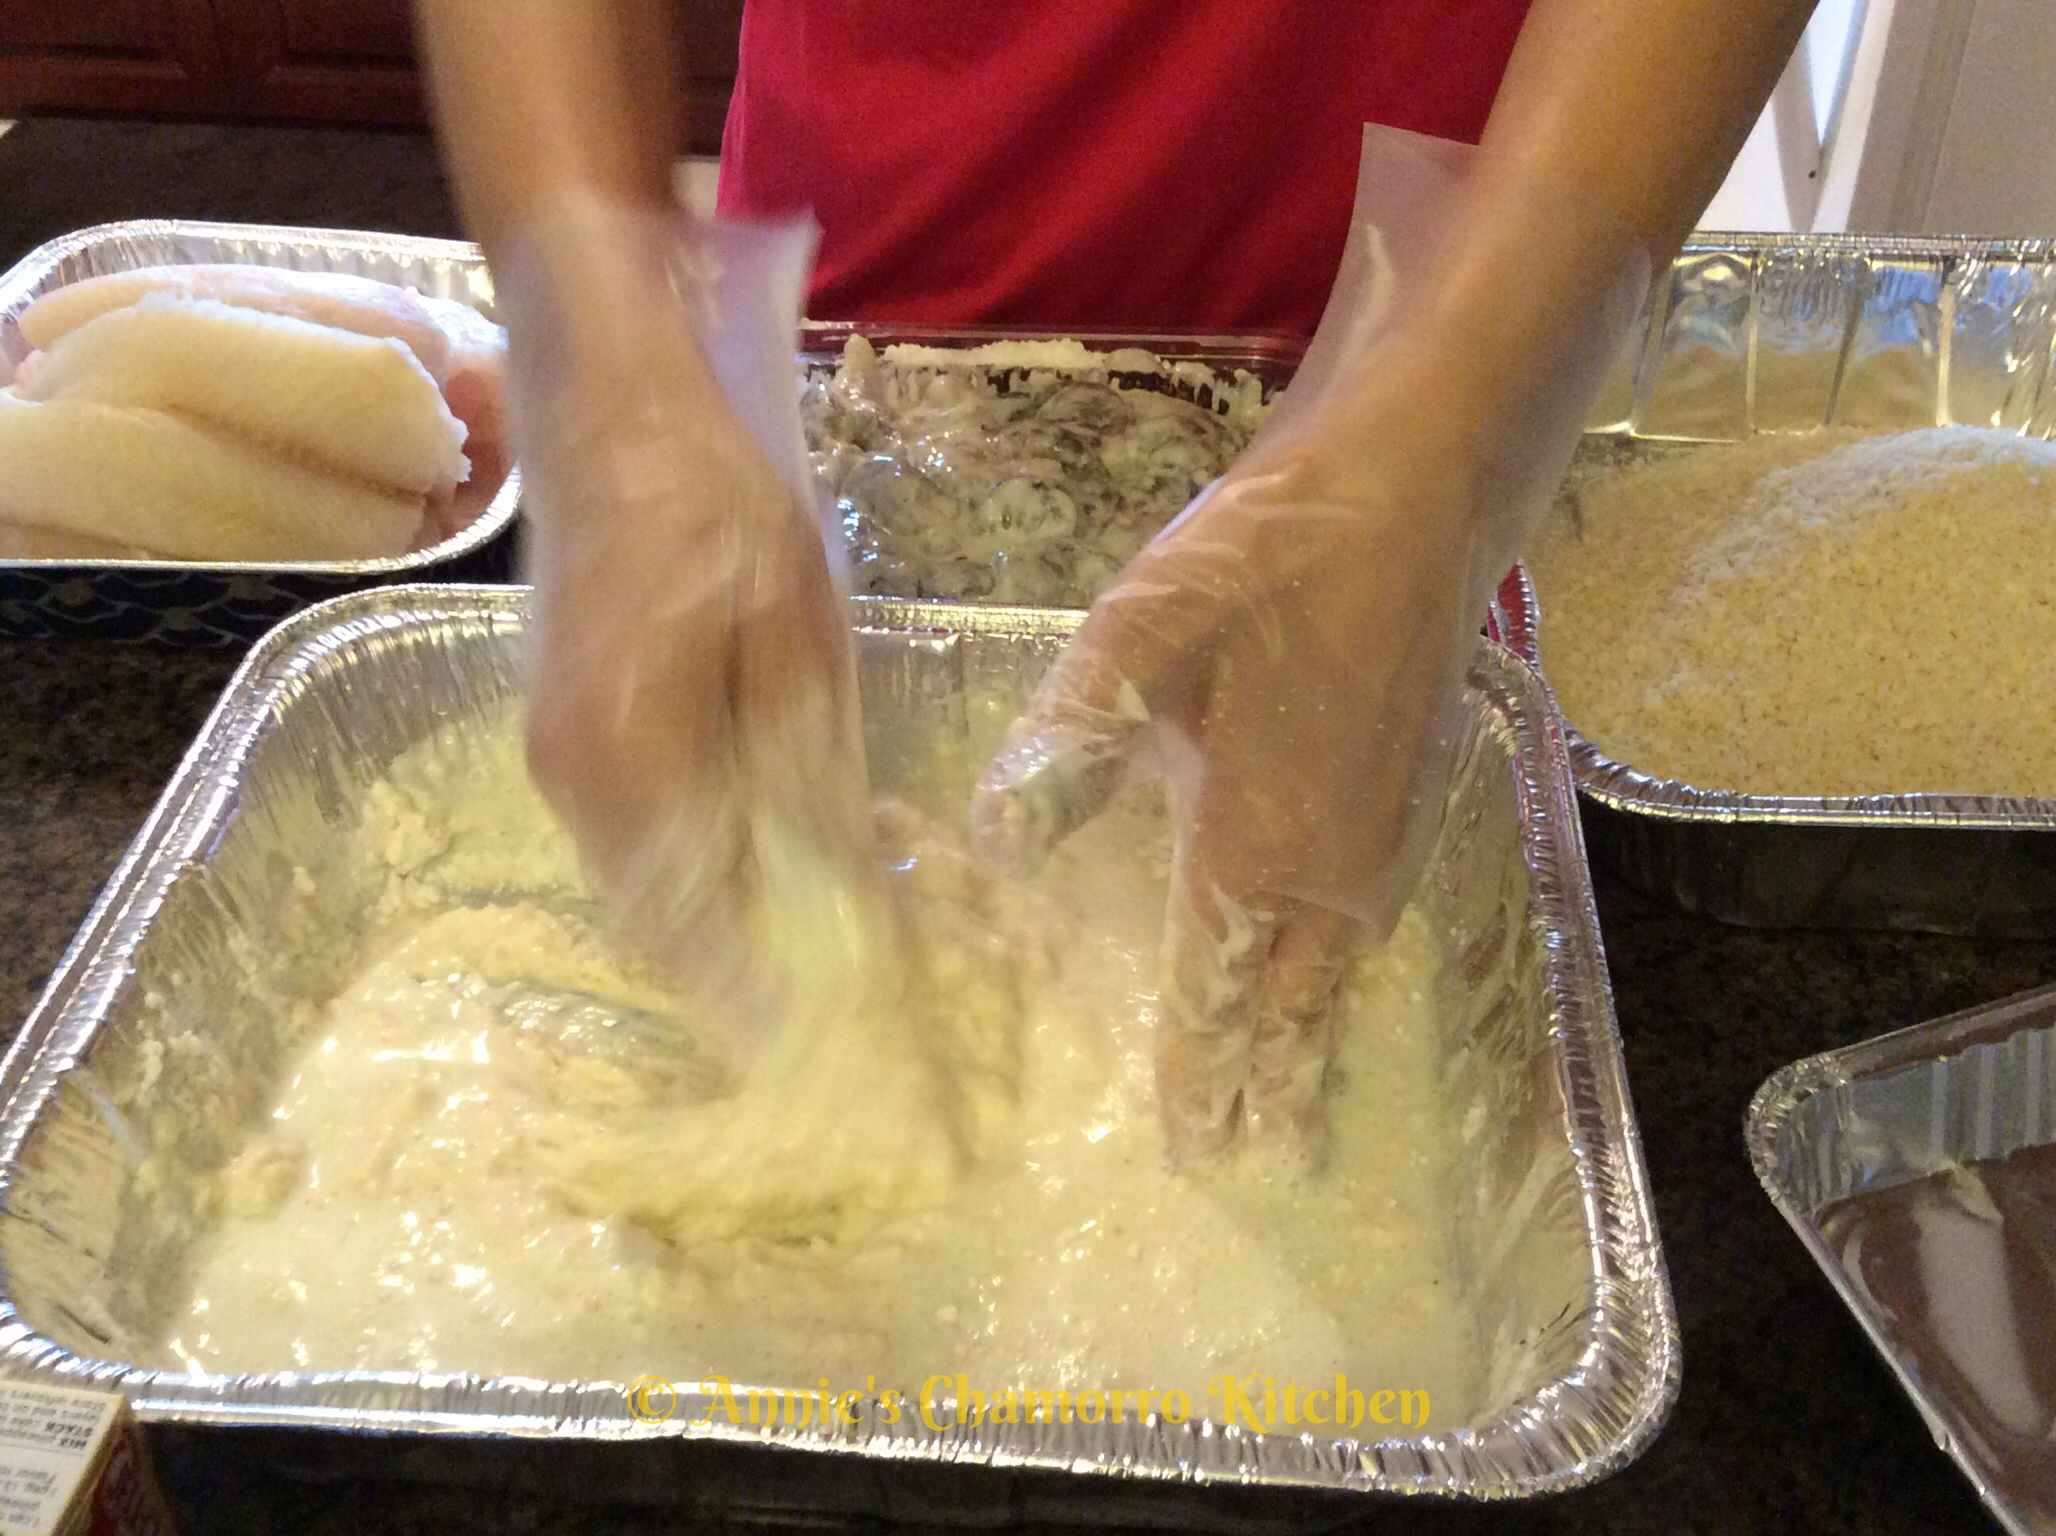
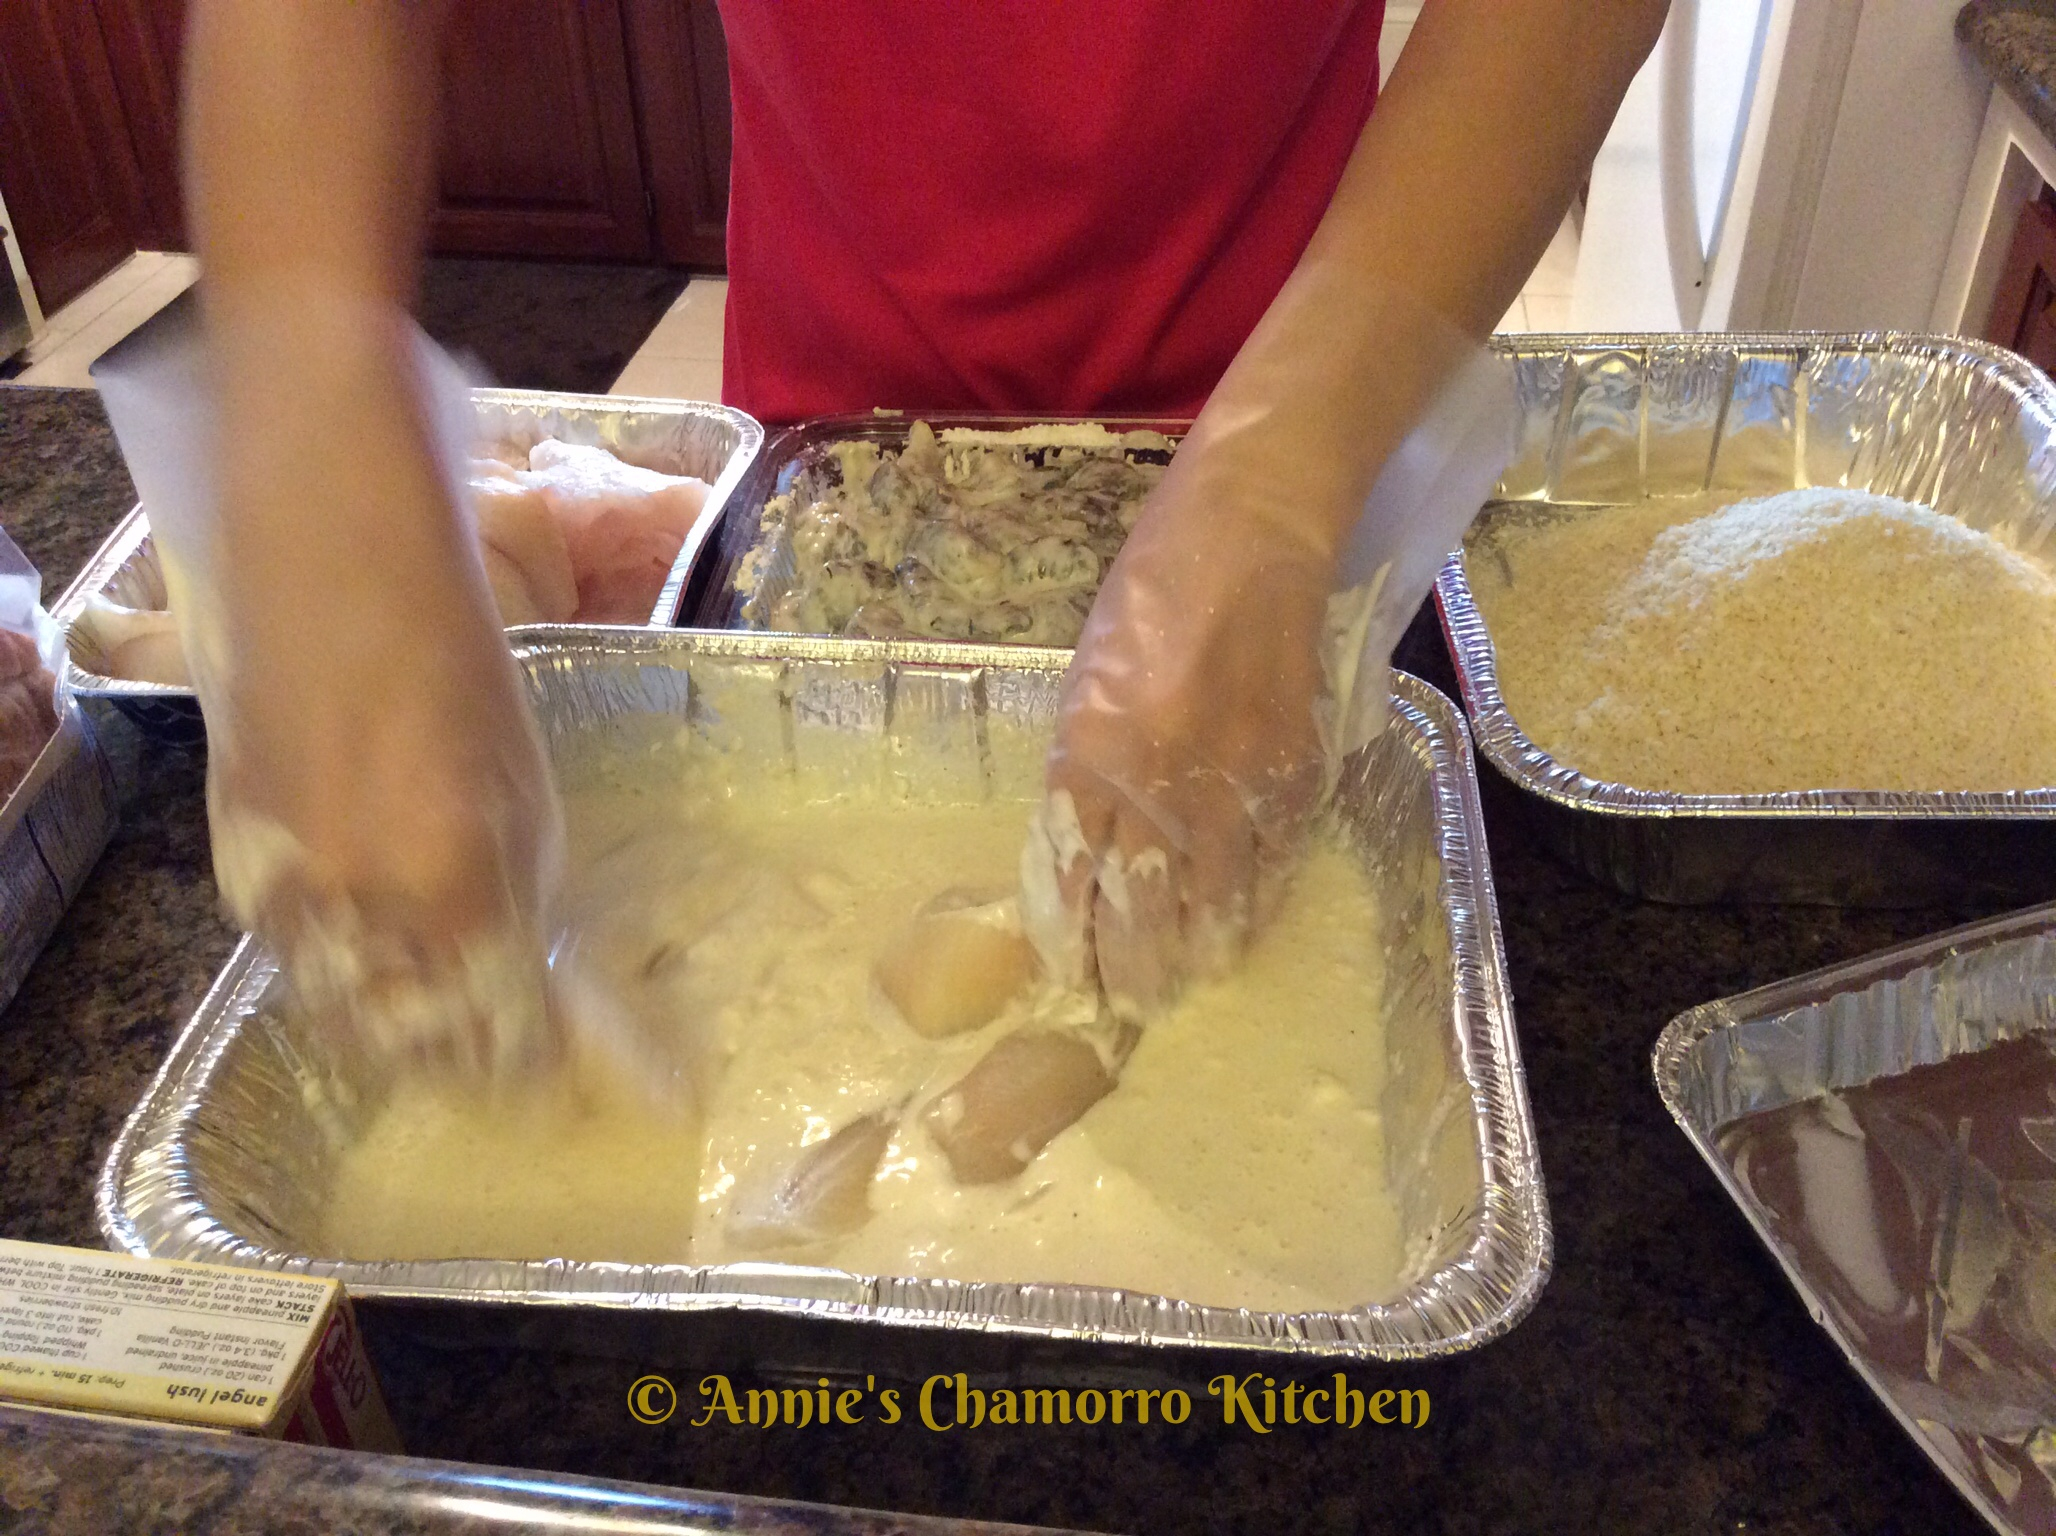
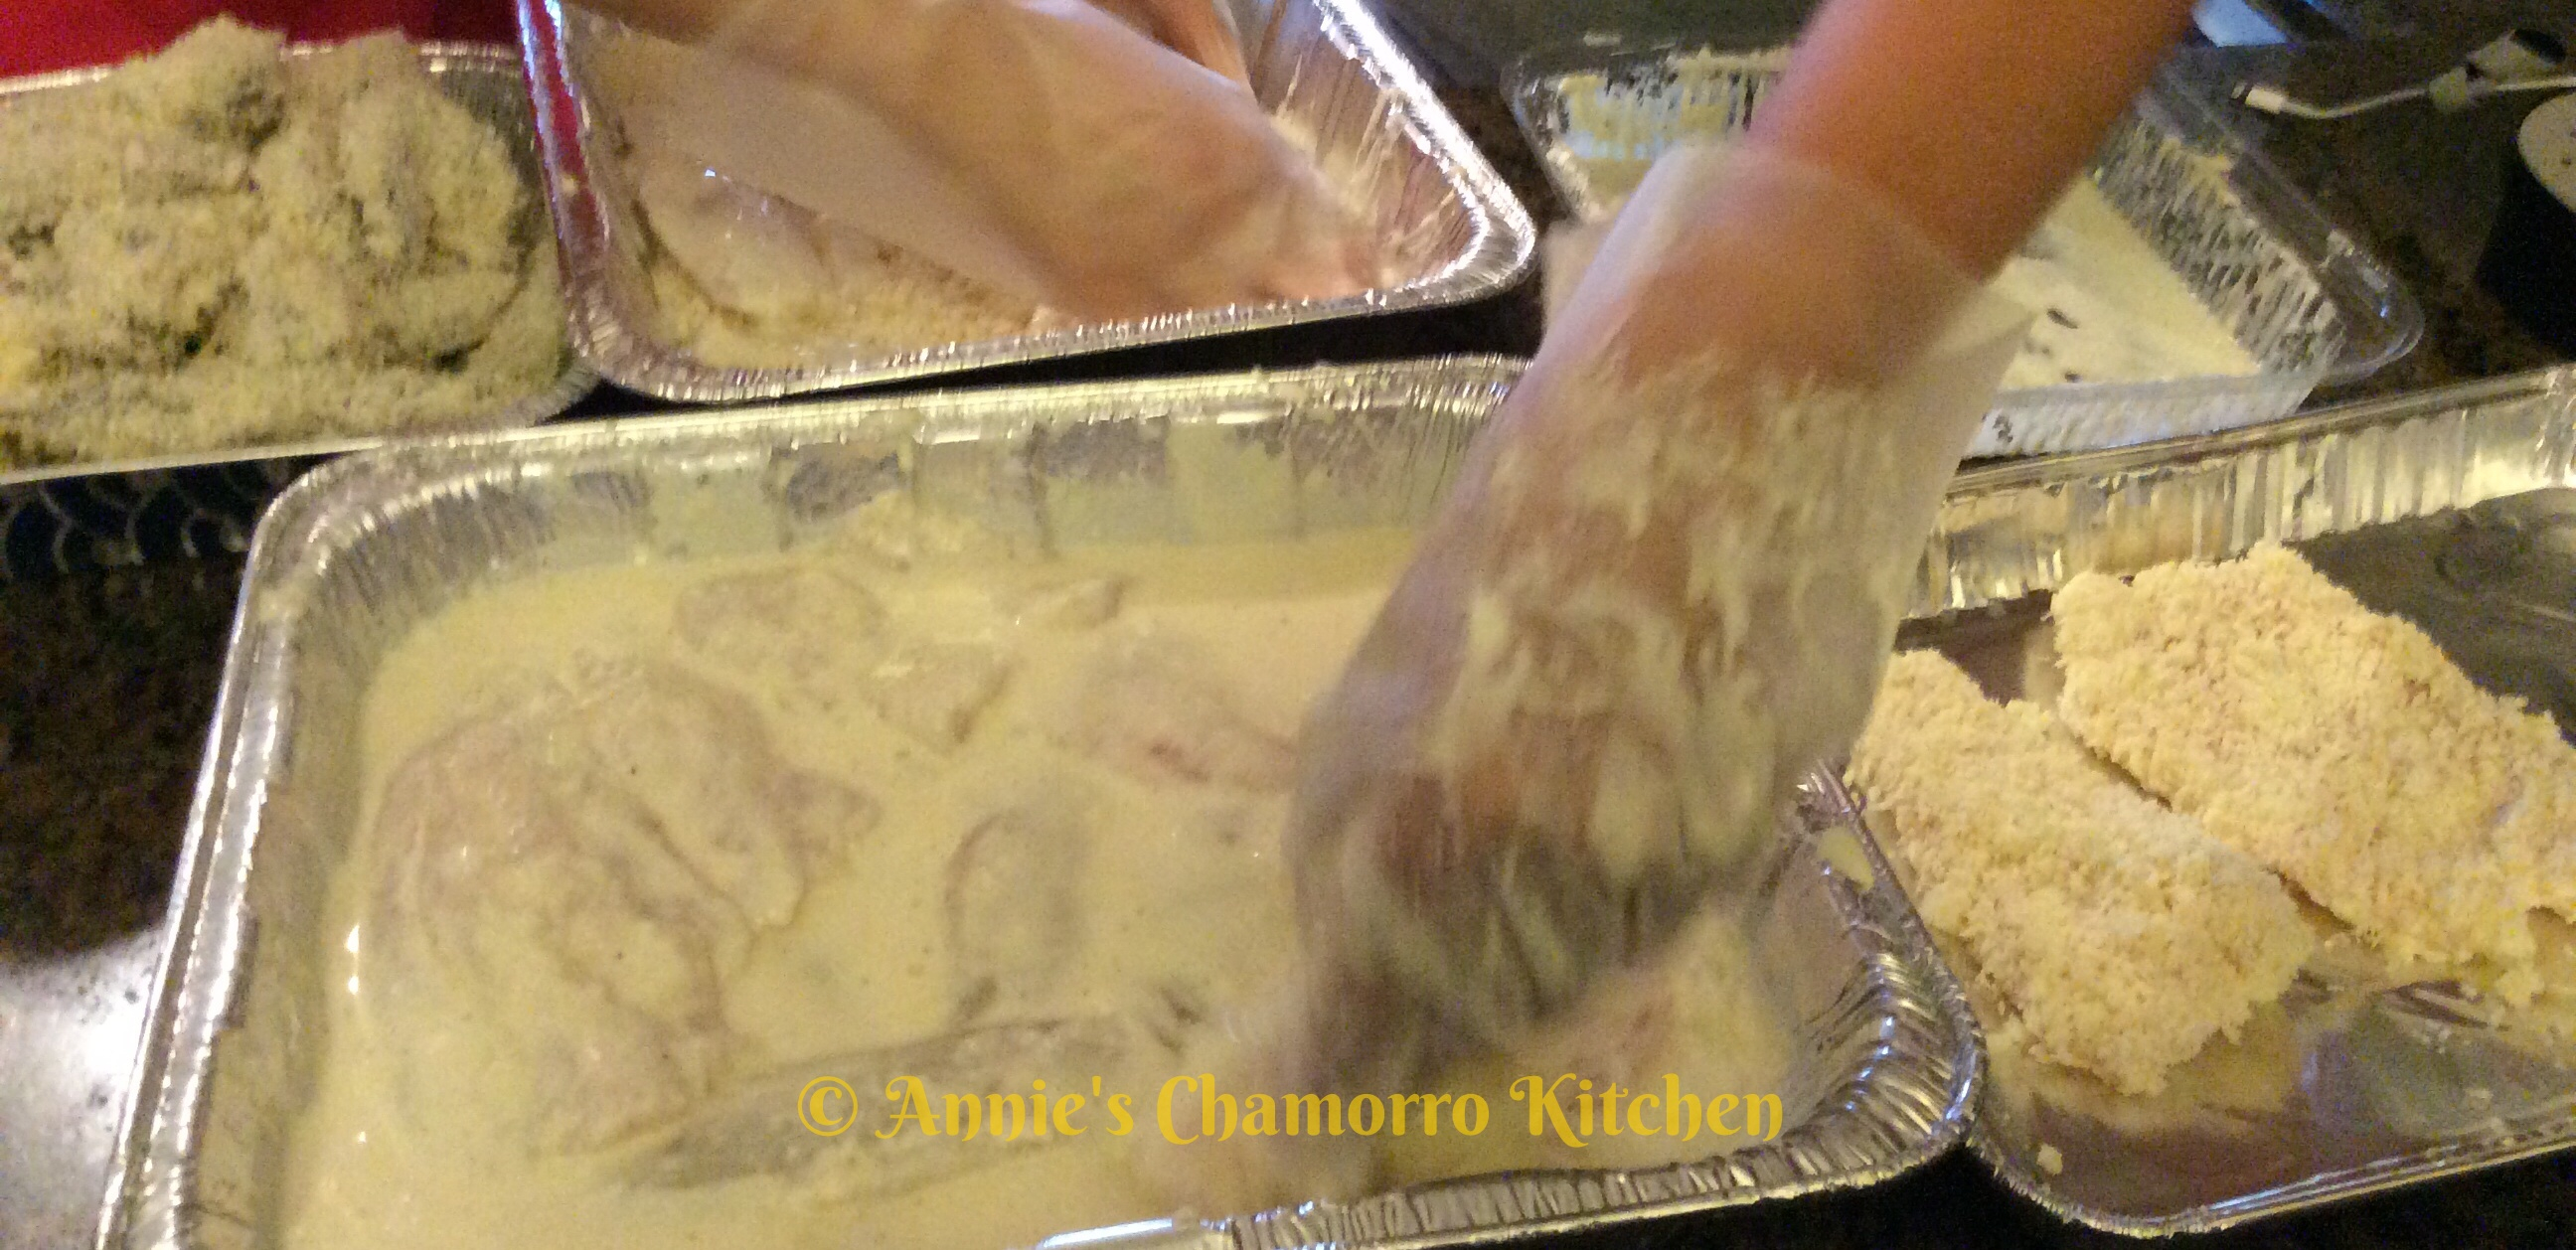
Place the fish filets into the batter.  Ensure each filet is coated with batter.

Last Import - 048

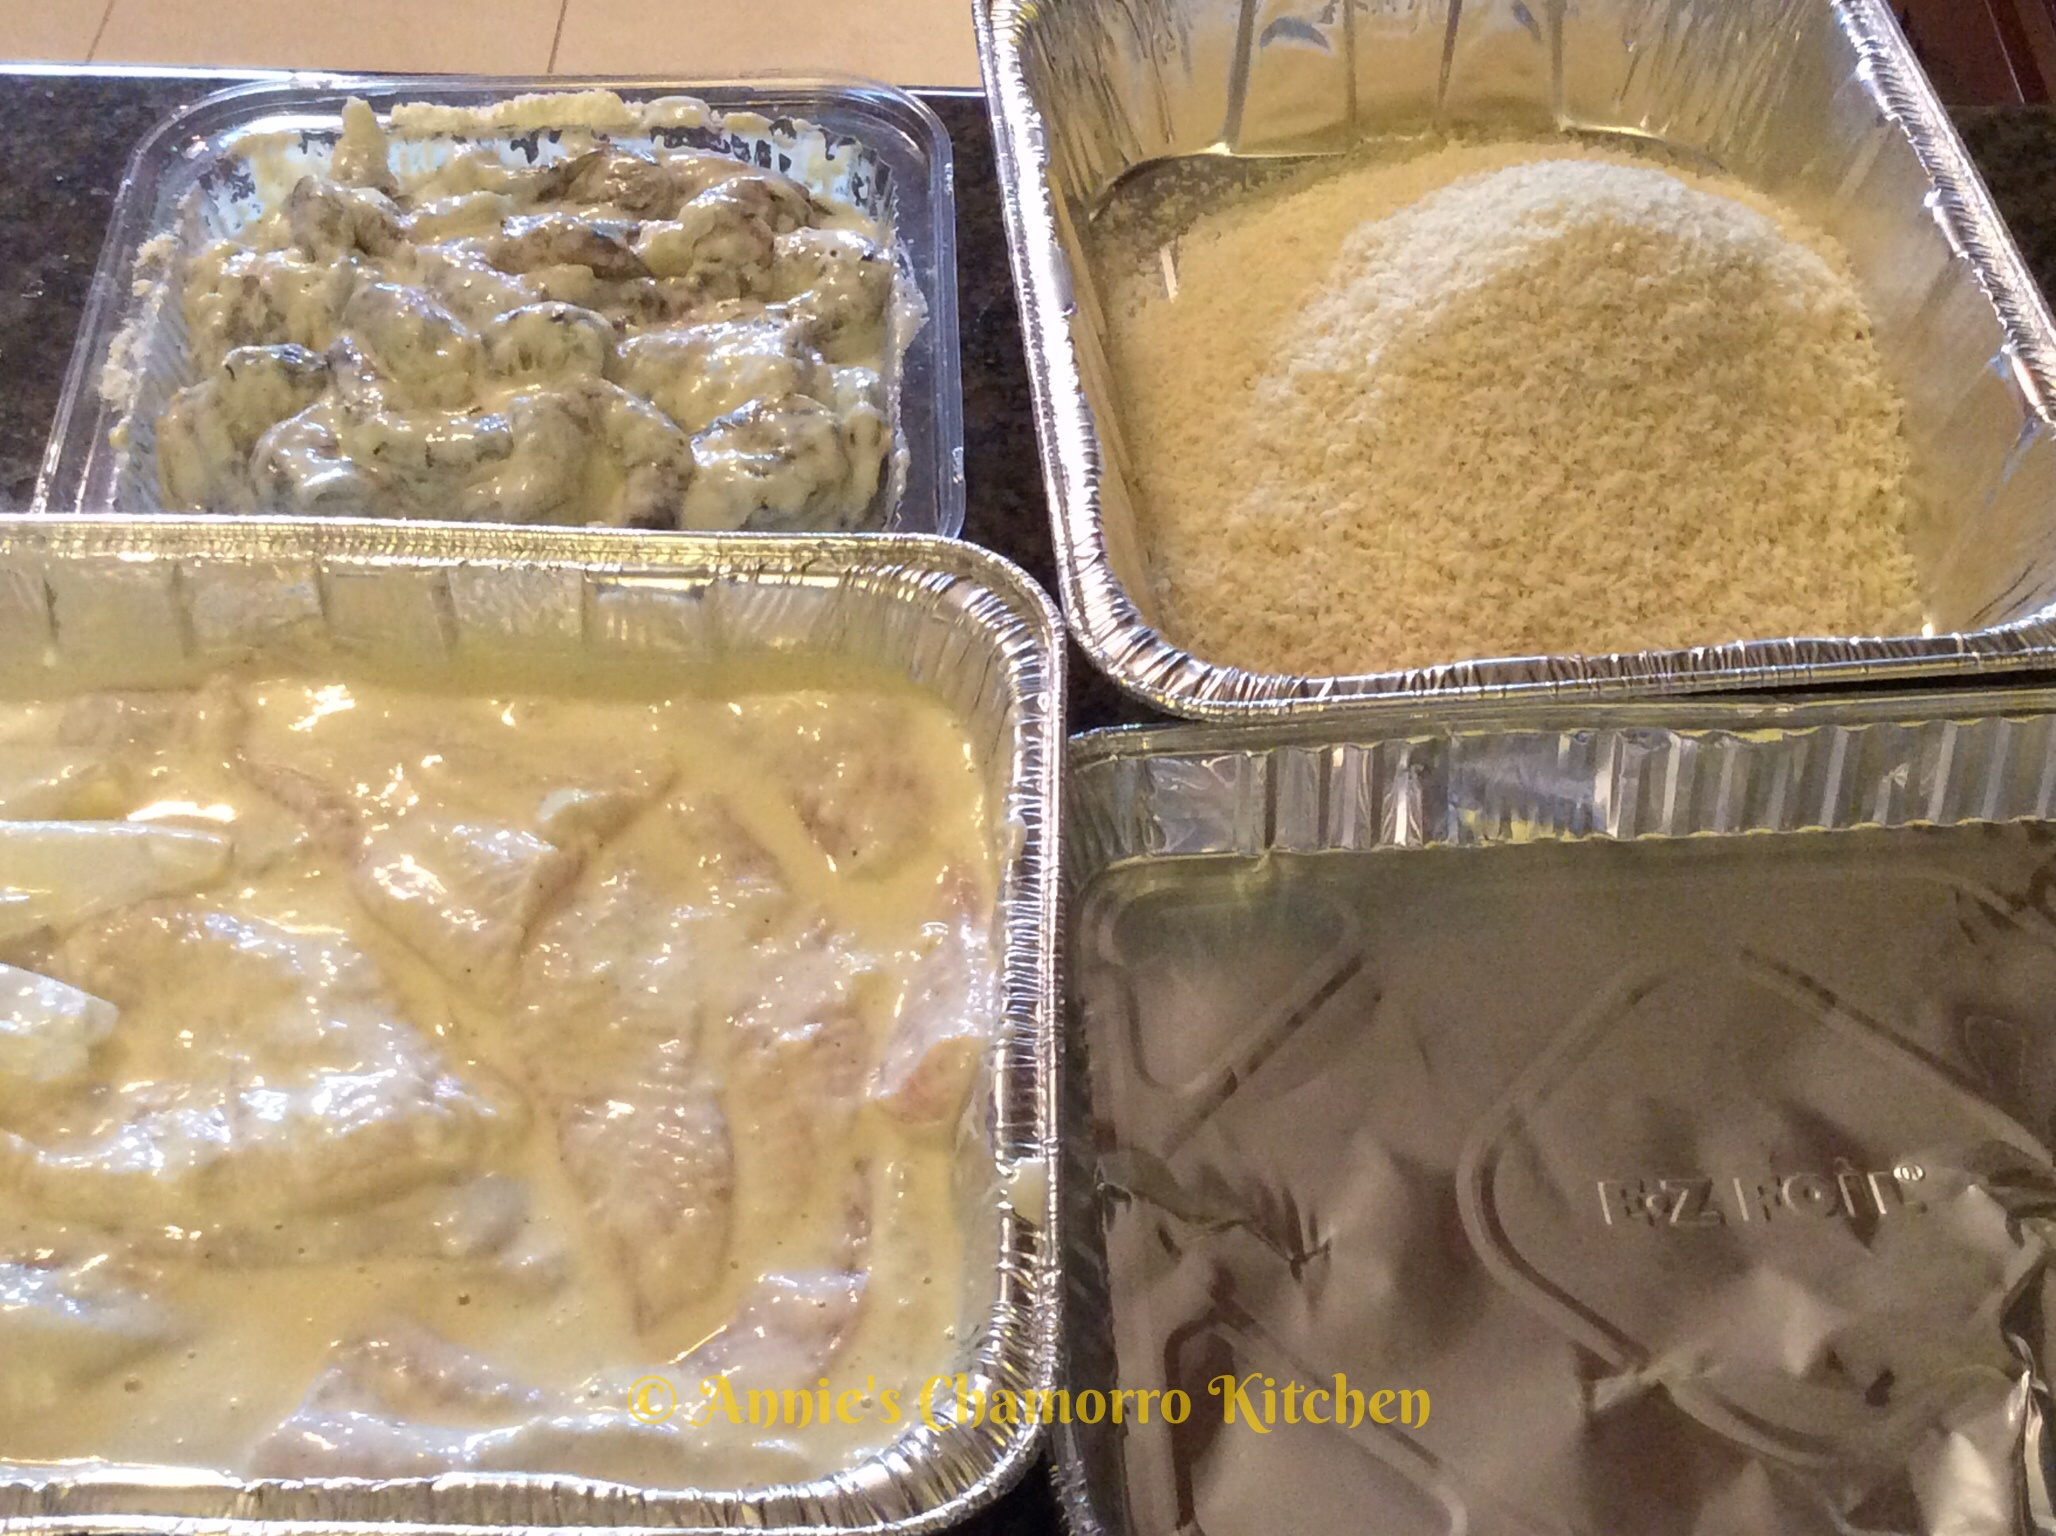
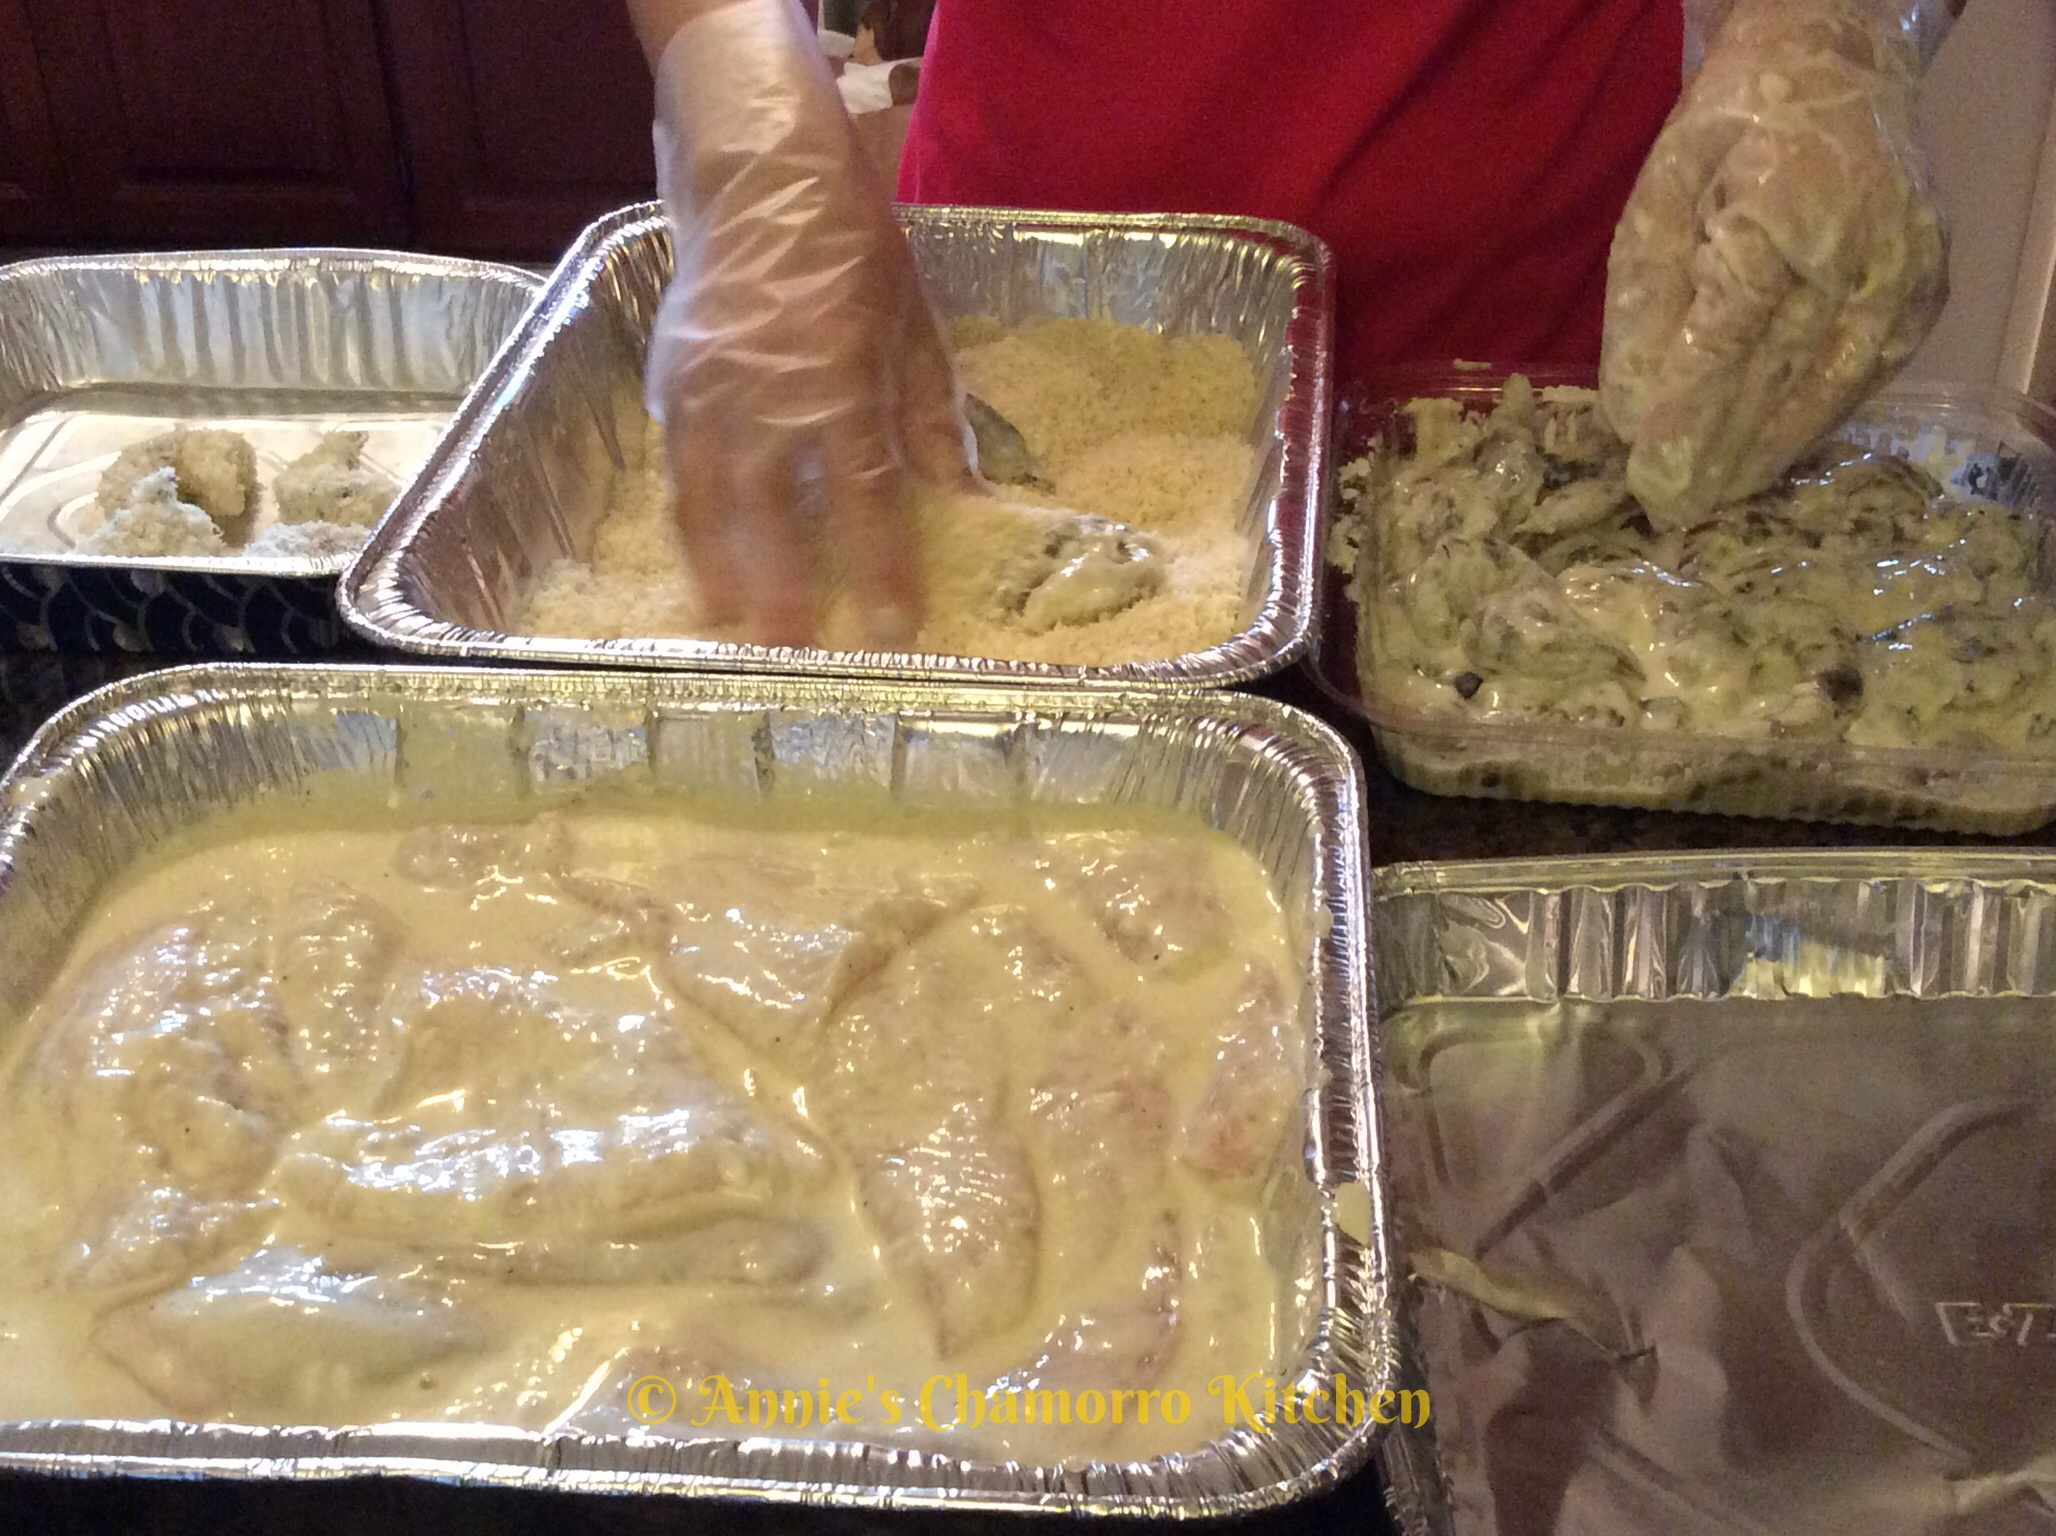
Create an assembly line with the shrimp, fish, and the breadcrumbs.

Last Import - 076

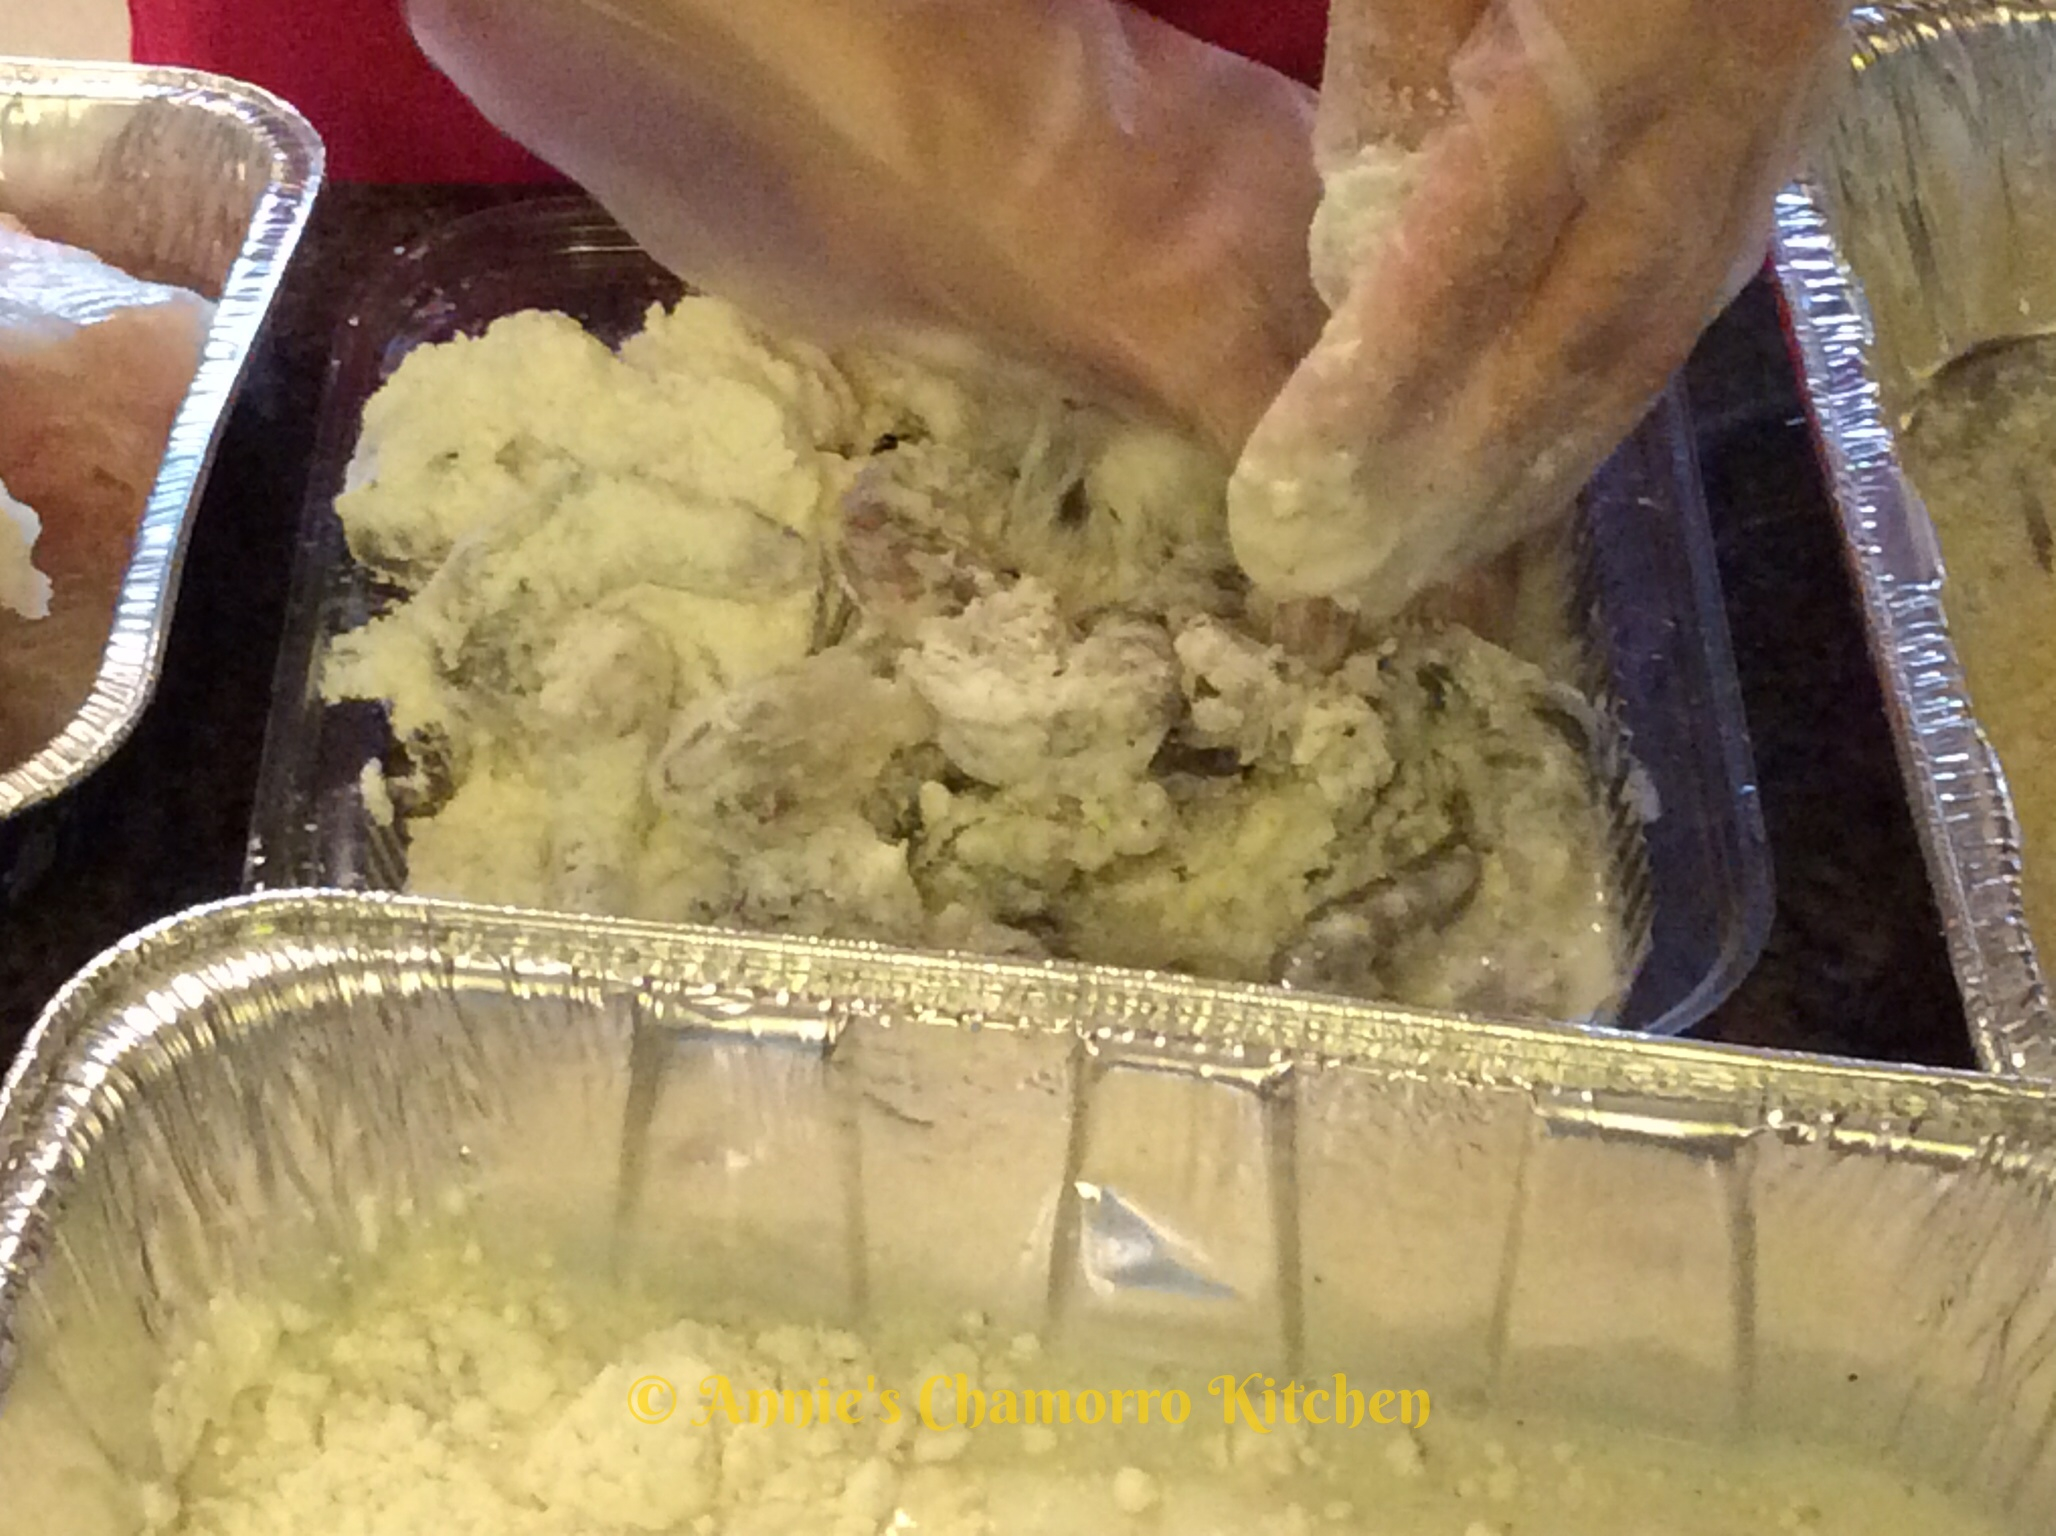
Designate one hand as the “wet hand” and the other as the “dry hand.”  Use the wet hand to place the shrimp and fish into the pan of breadcrumbs.  Use the dry hand to cover the shrimp and fish with breadcrumbs.

Last Import - 084  Last Import - 088

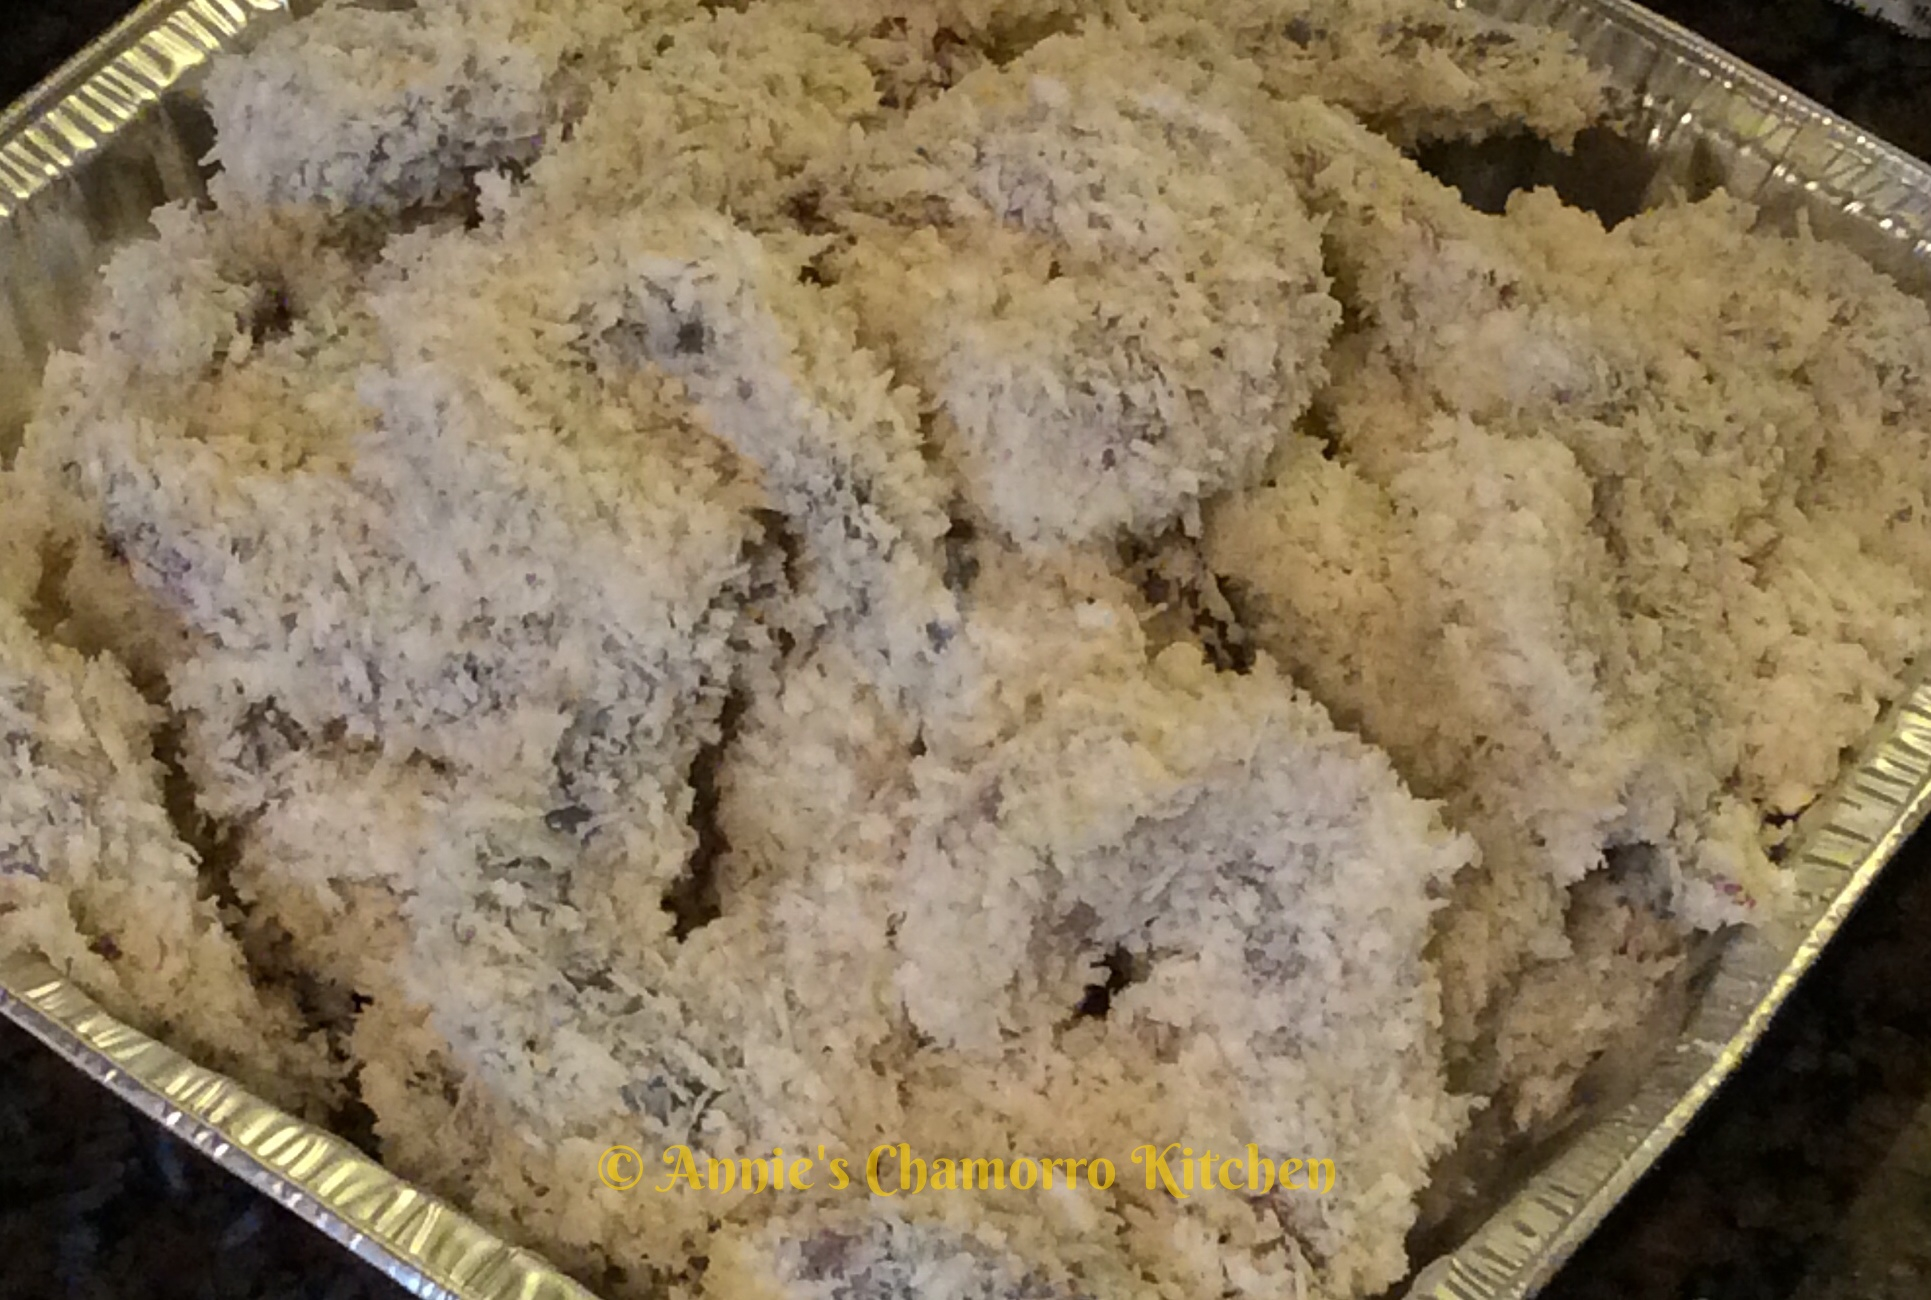
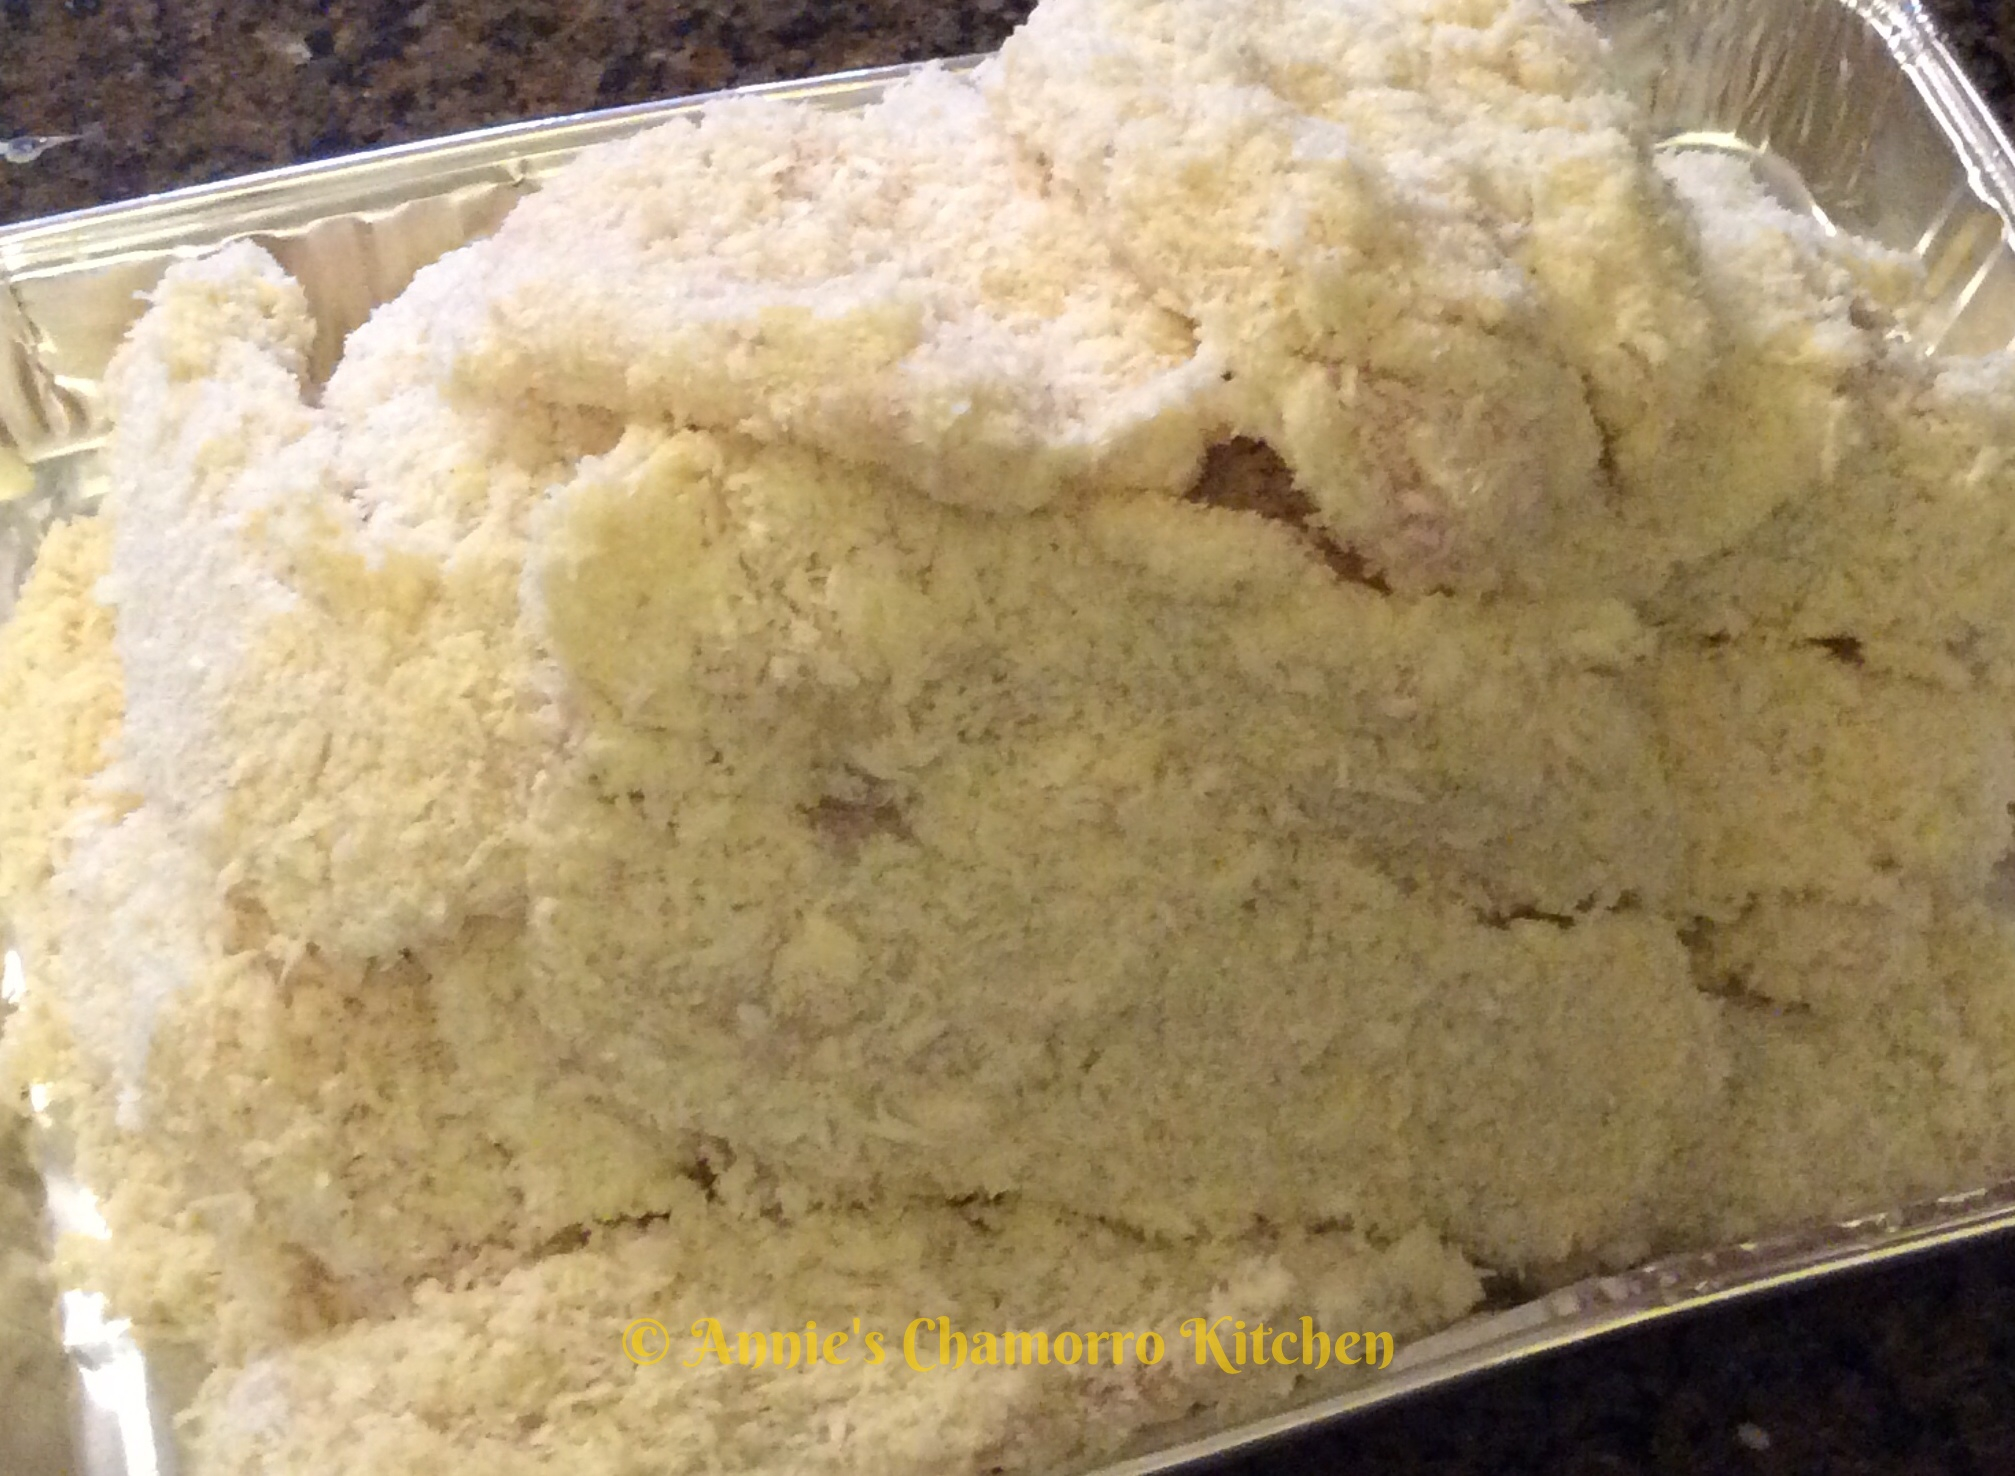
Be sure to generously pat the breadcrumbs into the batter-covered fish and shrimp.

Last Import - 094  Last Import - 098

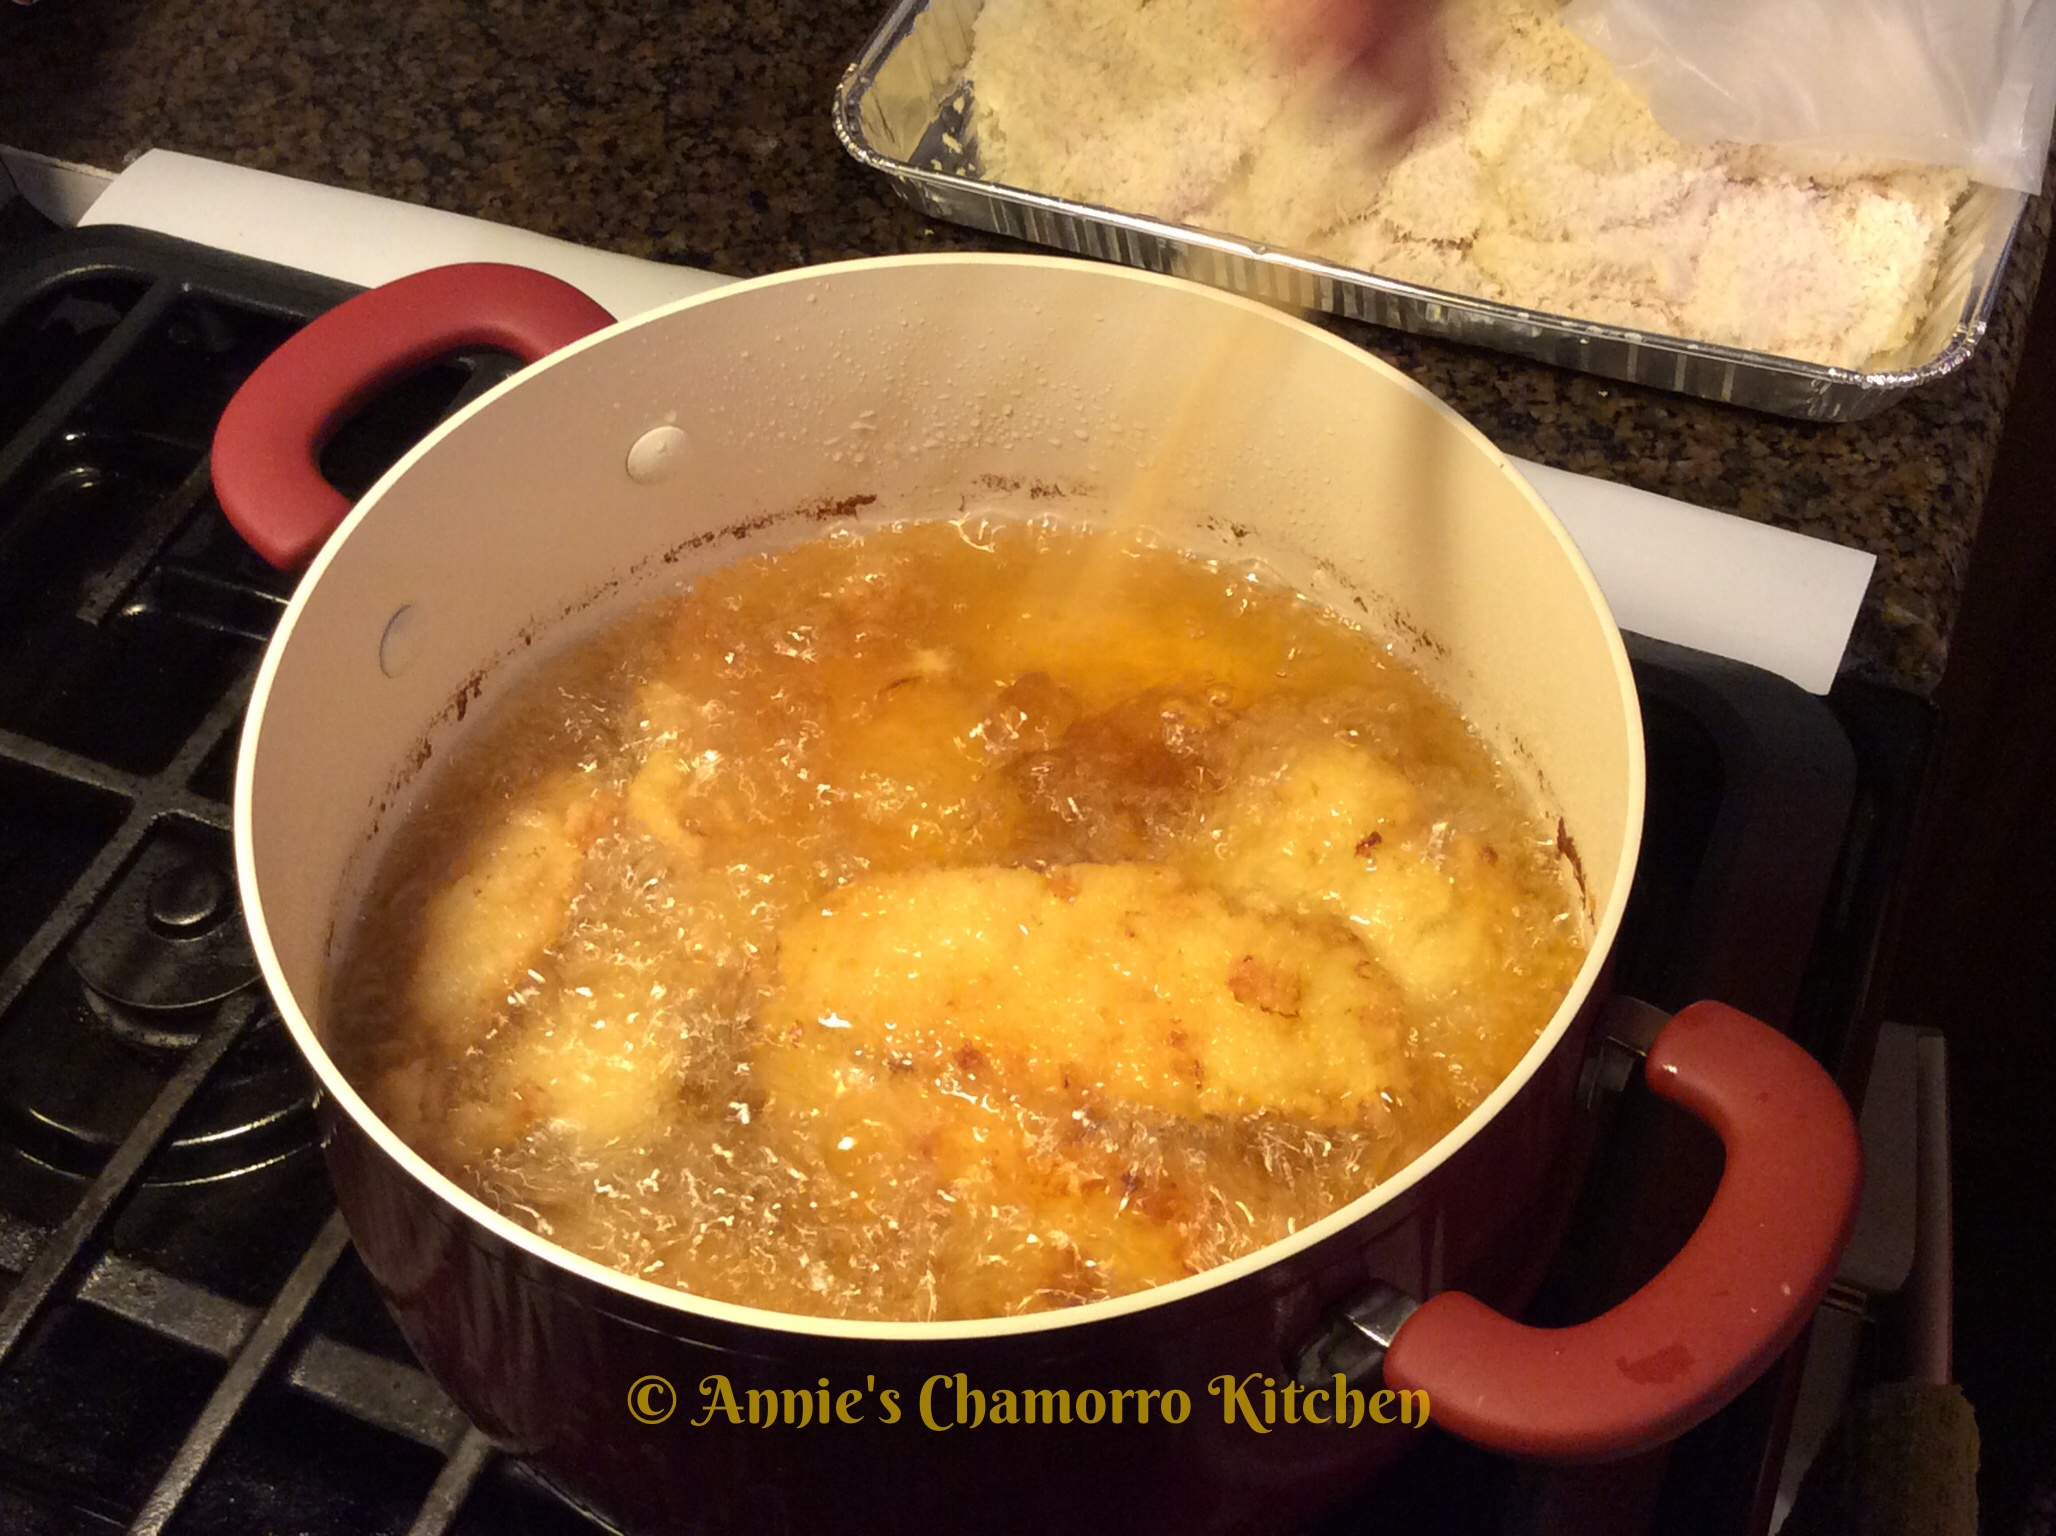
Carefully drop the coated fish and shrimp into hot oil.  Do not overcrowd the pan.

Last Import - 104

Fry the fish about 3 minutes on each side or until golden brown.  Fry the shrimp until golden brown all over.

Last Import - 112  Last Import - 116

Make the dipping sauce.

In small microwave-safe bowl, mix together the sweetened condensed milk, pineapple juice and kewpie mayonnaise.  You can use regular mayonnaise if you don’t find any kewpie.

image

Heat the mixture in the microwave for 20 seconds or until it starts to bubble.  Remove from the microwave and stir until creamy.  Serve with fried shrimp and fish.

ENJOY!

image


Hawaiian Pulled Pork

This is a cross between two of my family’s favorites — Kahlua Pork and traditional pulled pork with BBQ sauce.

The pork has that hint of smokiness like with Kahlua Pork, thanks to a bit of liquid smoke.  The addition of pineapple juice and brown sugar gives the pork a touch of sweetness, but not too much sweetness that you can’t eat the roast pork with our Chamorro standard fare of steamed rice and fina’denne if that’s what you prefer. 😉

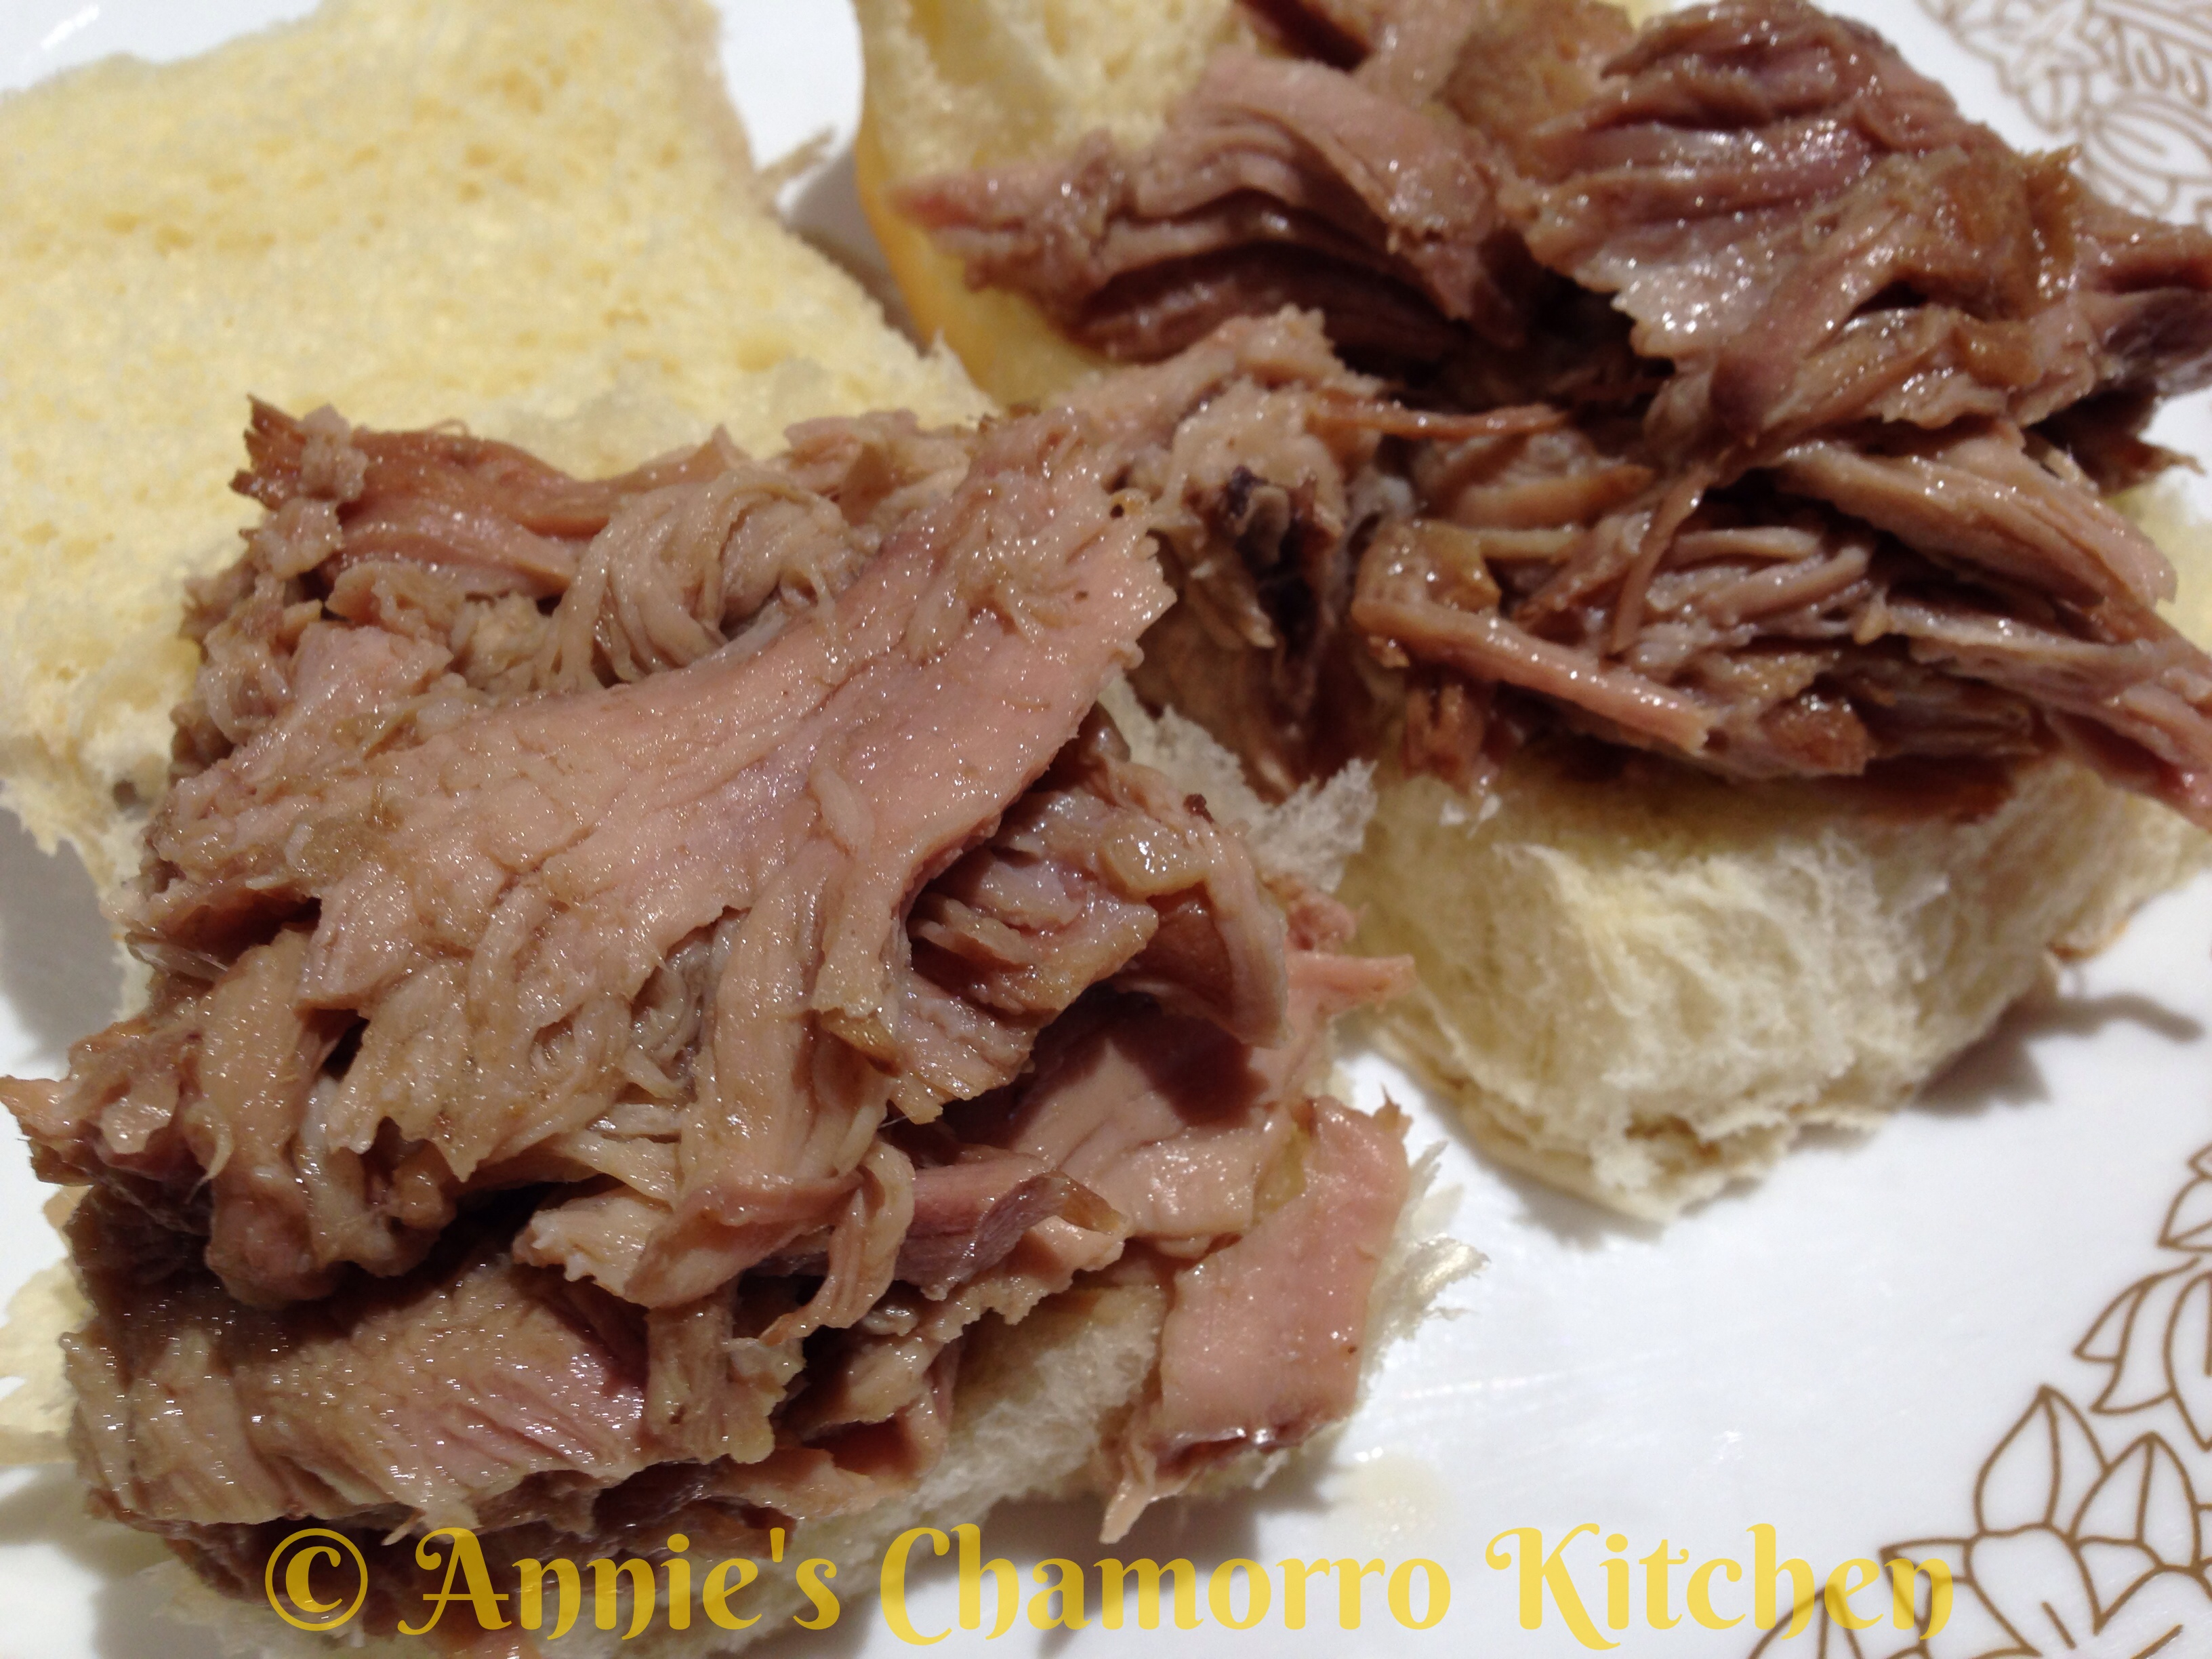
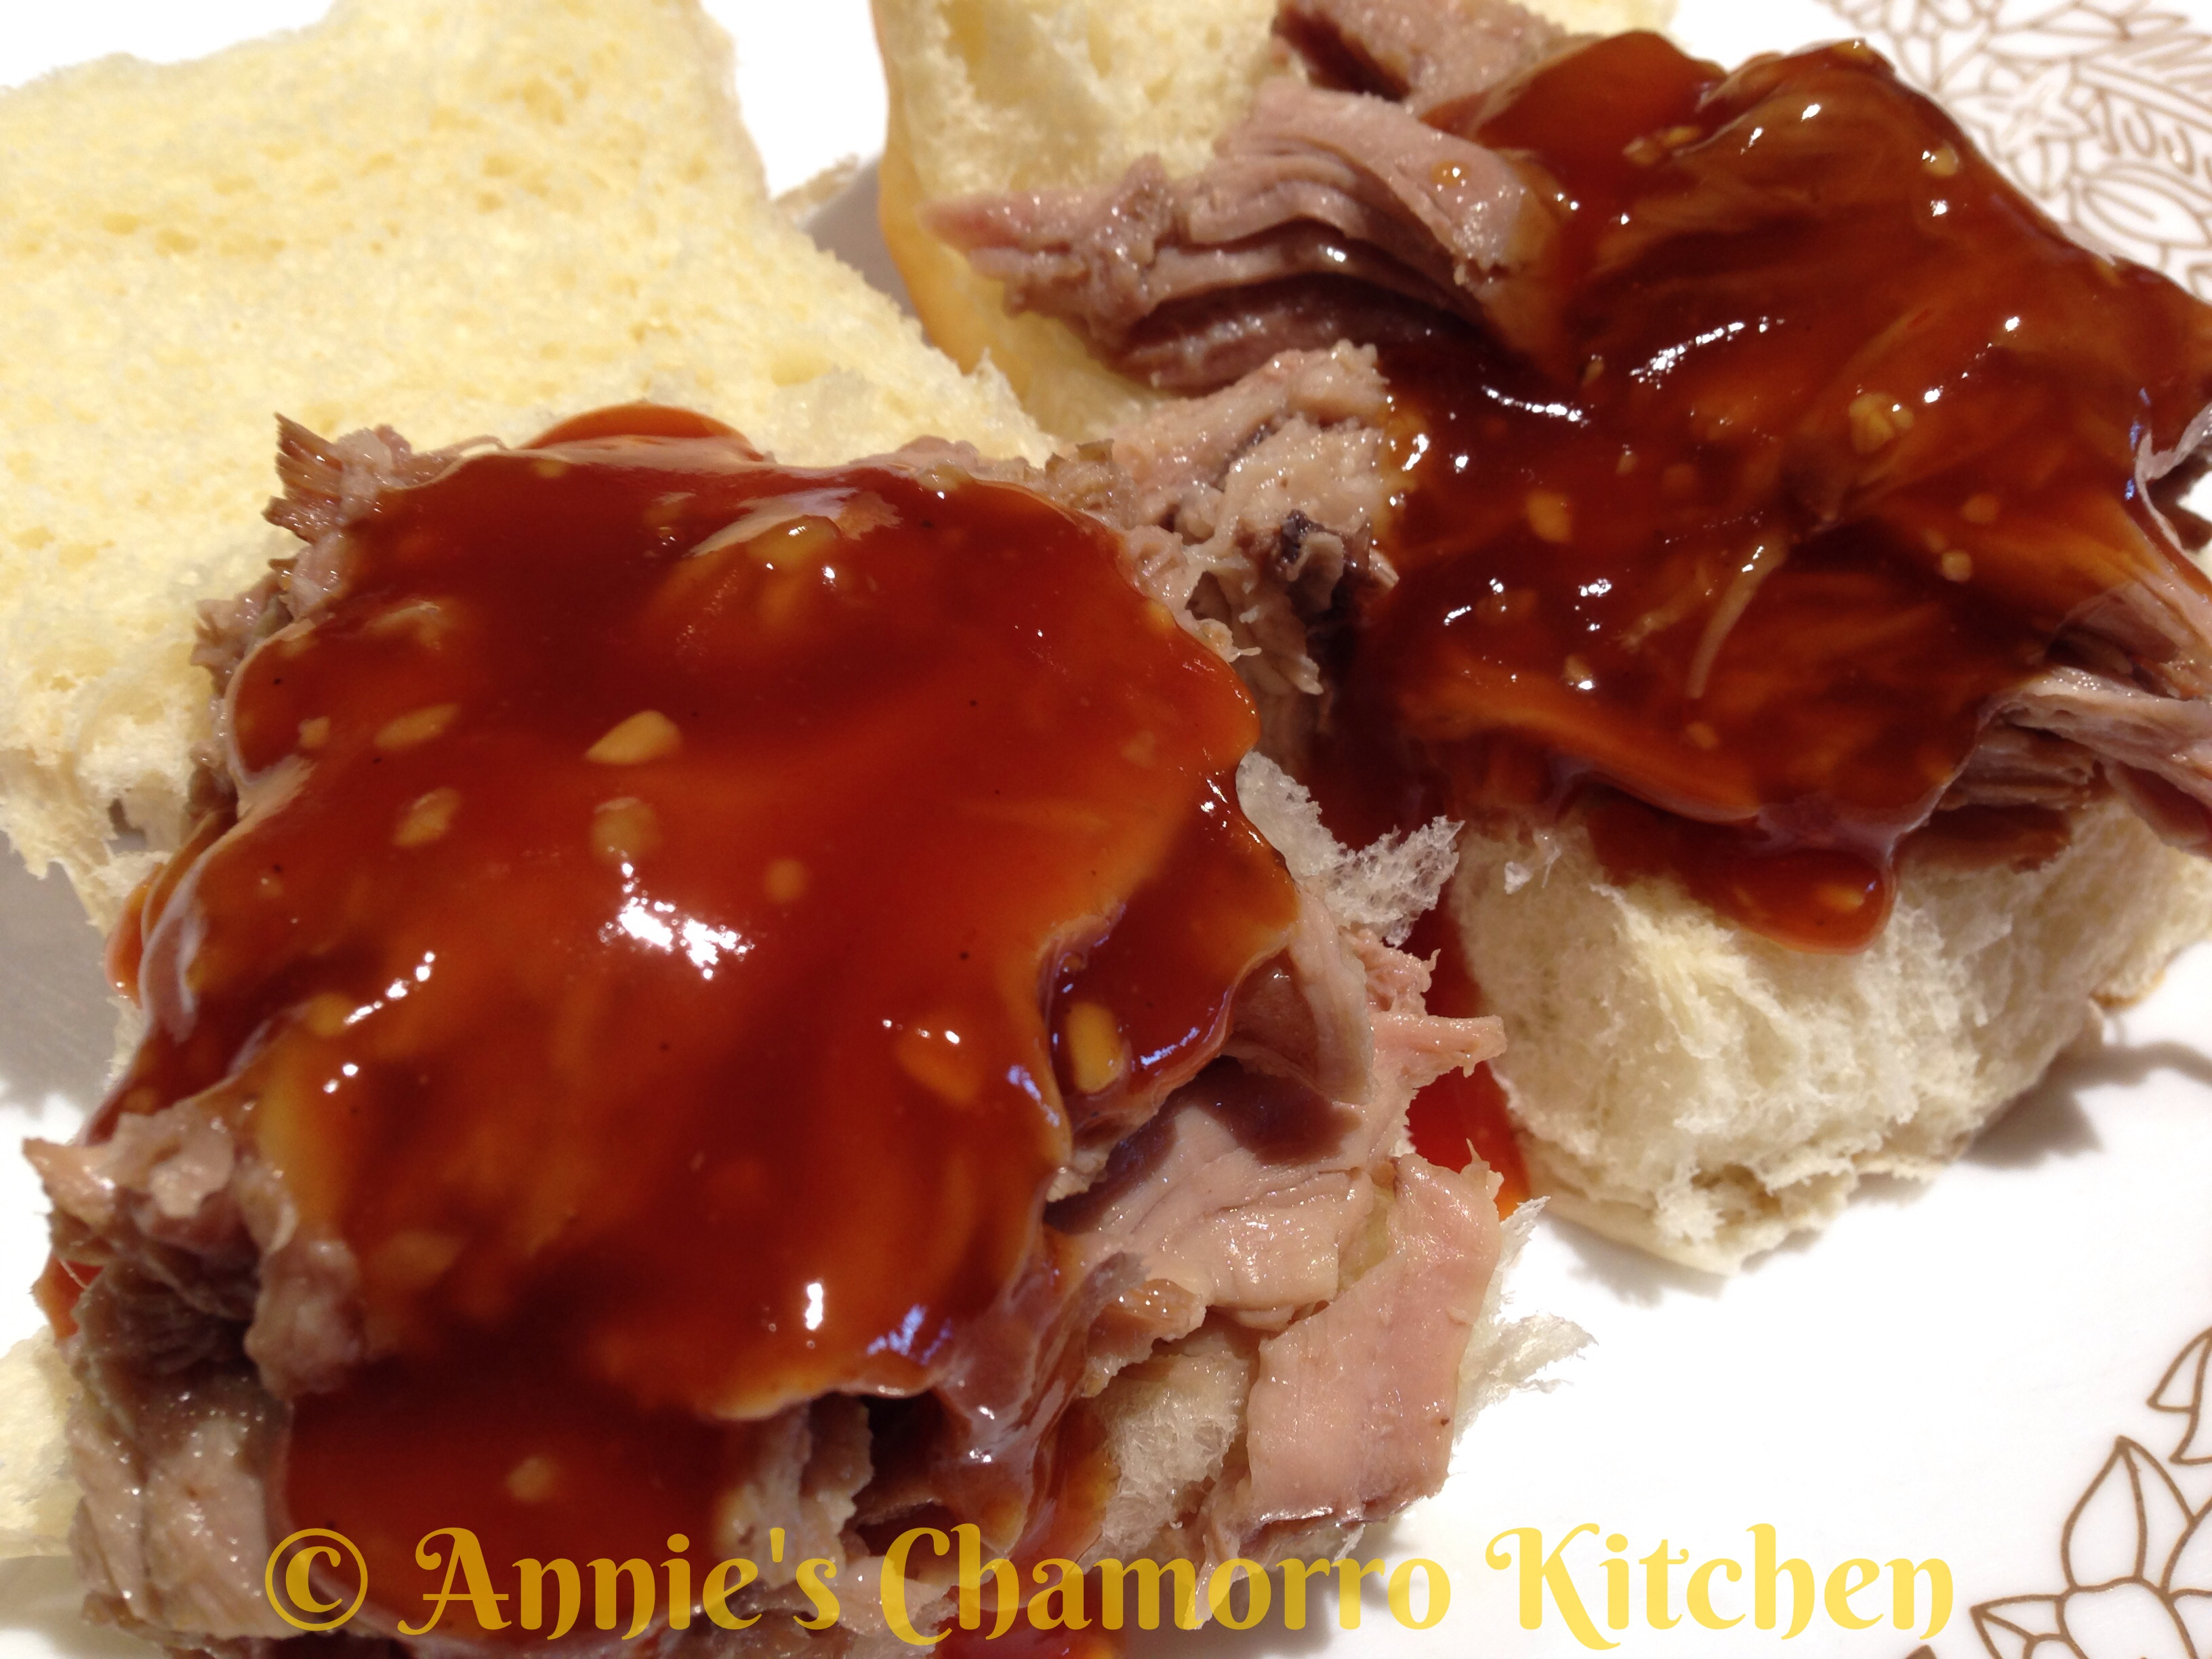
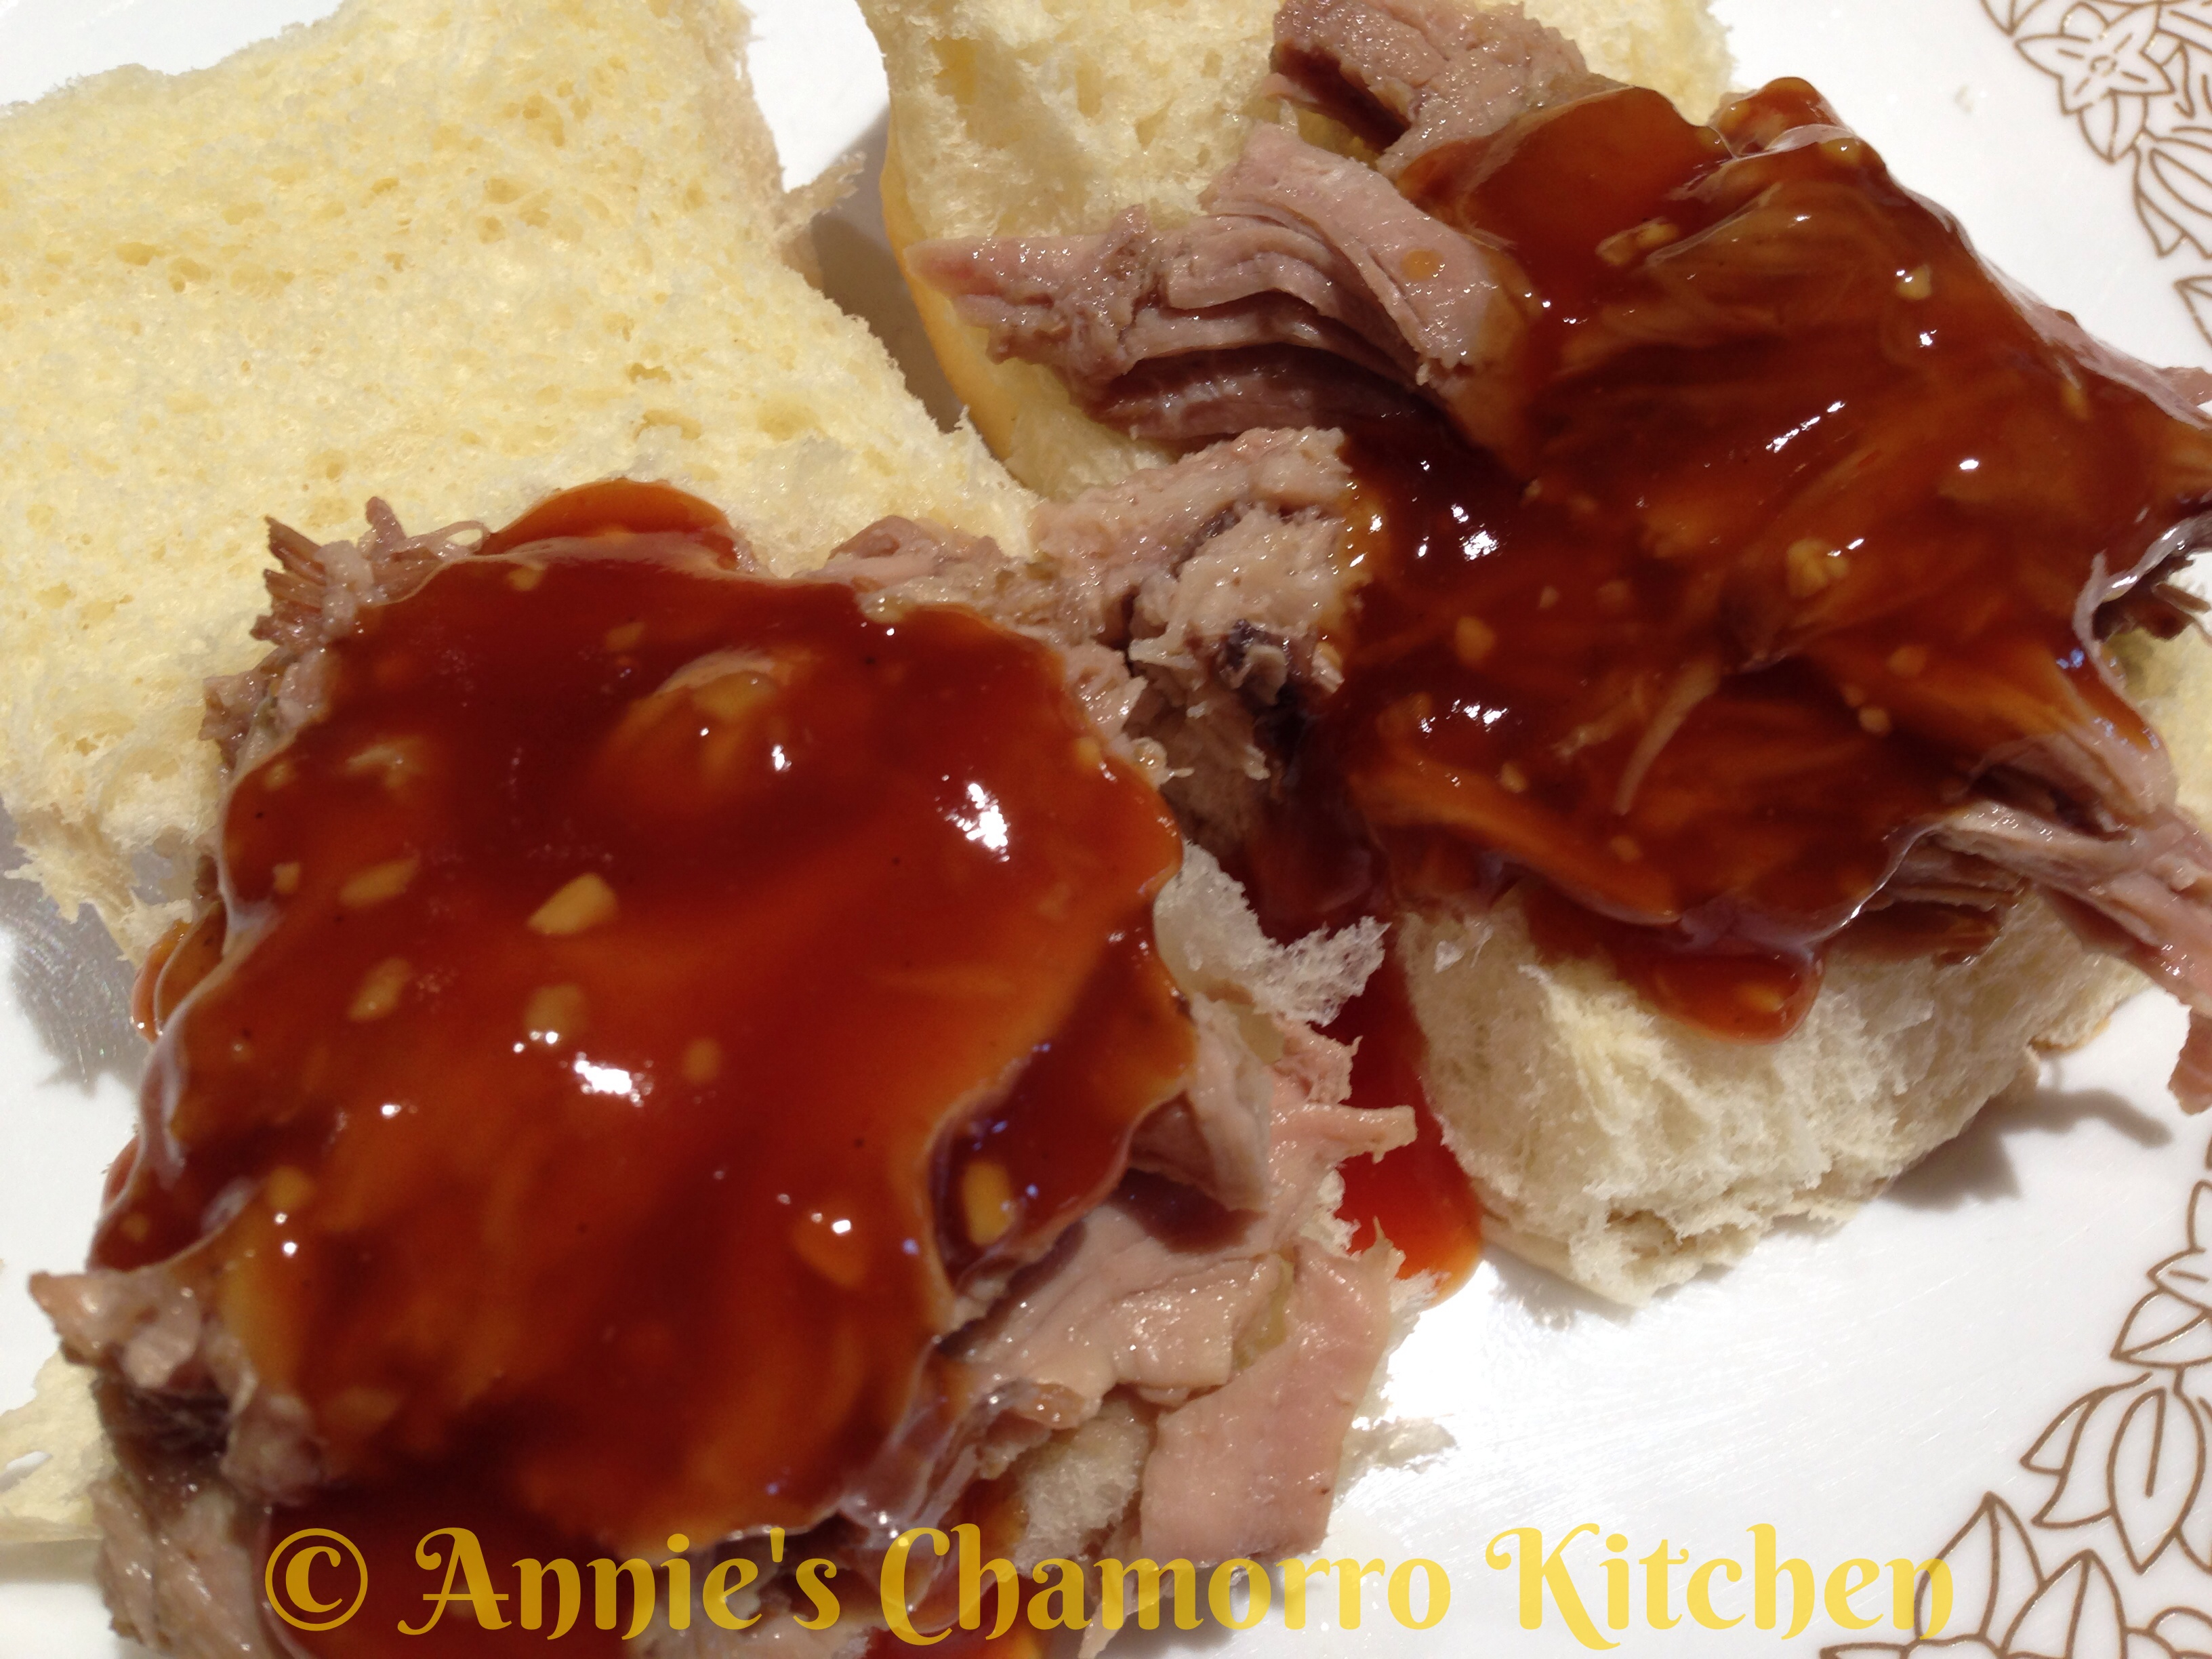
In fact, my household is split in how we eat this succulent, fall-apart, fork-tender pork roast.  My oldest daughter and I like to create pulled pork sandwiches topped with my sweet and tangy Pineapple BBQ Sauce.  My husband and youngest daughter prefer it without the sauce — hubby likes it with rice, fina’denne’ and Tabasco, and daughter dearest likes it as a sandwich with a side of the broth (au jus) to dip her sandwich into.

If you’re as busy as I am, you’re usually looking for quick meals to prepare.  One of the last things I want to do when I come home from work is figure out what to cook for dinner.  Thankfully, this is a very easy recipe to prepare.  The pork itself cooks for several hours in a slow cooker or crock pot, and the sauce takes only minutes to cook.  Start cooking the roast in your crock pot when you wake up in the morning, and you’ll have dinner ready by the time you get home from work later in the day.

If you have any leftover pork and sauce, mix them together for the perfect filling for siopao.

Give my recipe a try.  I think you’ll like it. 🙂

Hawaiian Pulled Pork

IMG_4659

Ingredients:

  • 9-10 pounds boneless pork butt or shoulder
  • 1 medium onion, chopped
  • 2 tablespoons SEA salt (do not use regular table salt or it will be too salty)
  • 1/2 cup dark brown sugar
  • 1 cup pineapple juice
  • 1/4 cup soy sauce
  • 1 tablespoon liquid smoke
  • 2 tablespoons chopped garlic
  • 1 teaspoon whole black peppercorns

Directions:

1.  Rinse the pork and trim off any excess fat.  Poke holes over the entire piece of pork (or pierce it with a sharp knife).  Place the pork into a crock pot with the remaining ingredients for the roast.  Give it a stir to roughly mix the ingredients together.  Set the crock pot to it’s medium-high setting (I use “auto-shift” on mine).  Cook the pork for at least 8 or 9 hours, 10 if you have the time.

image

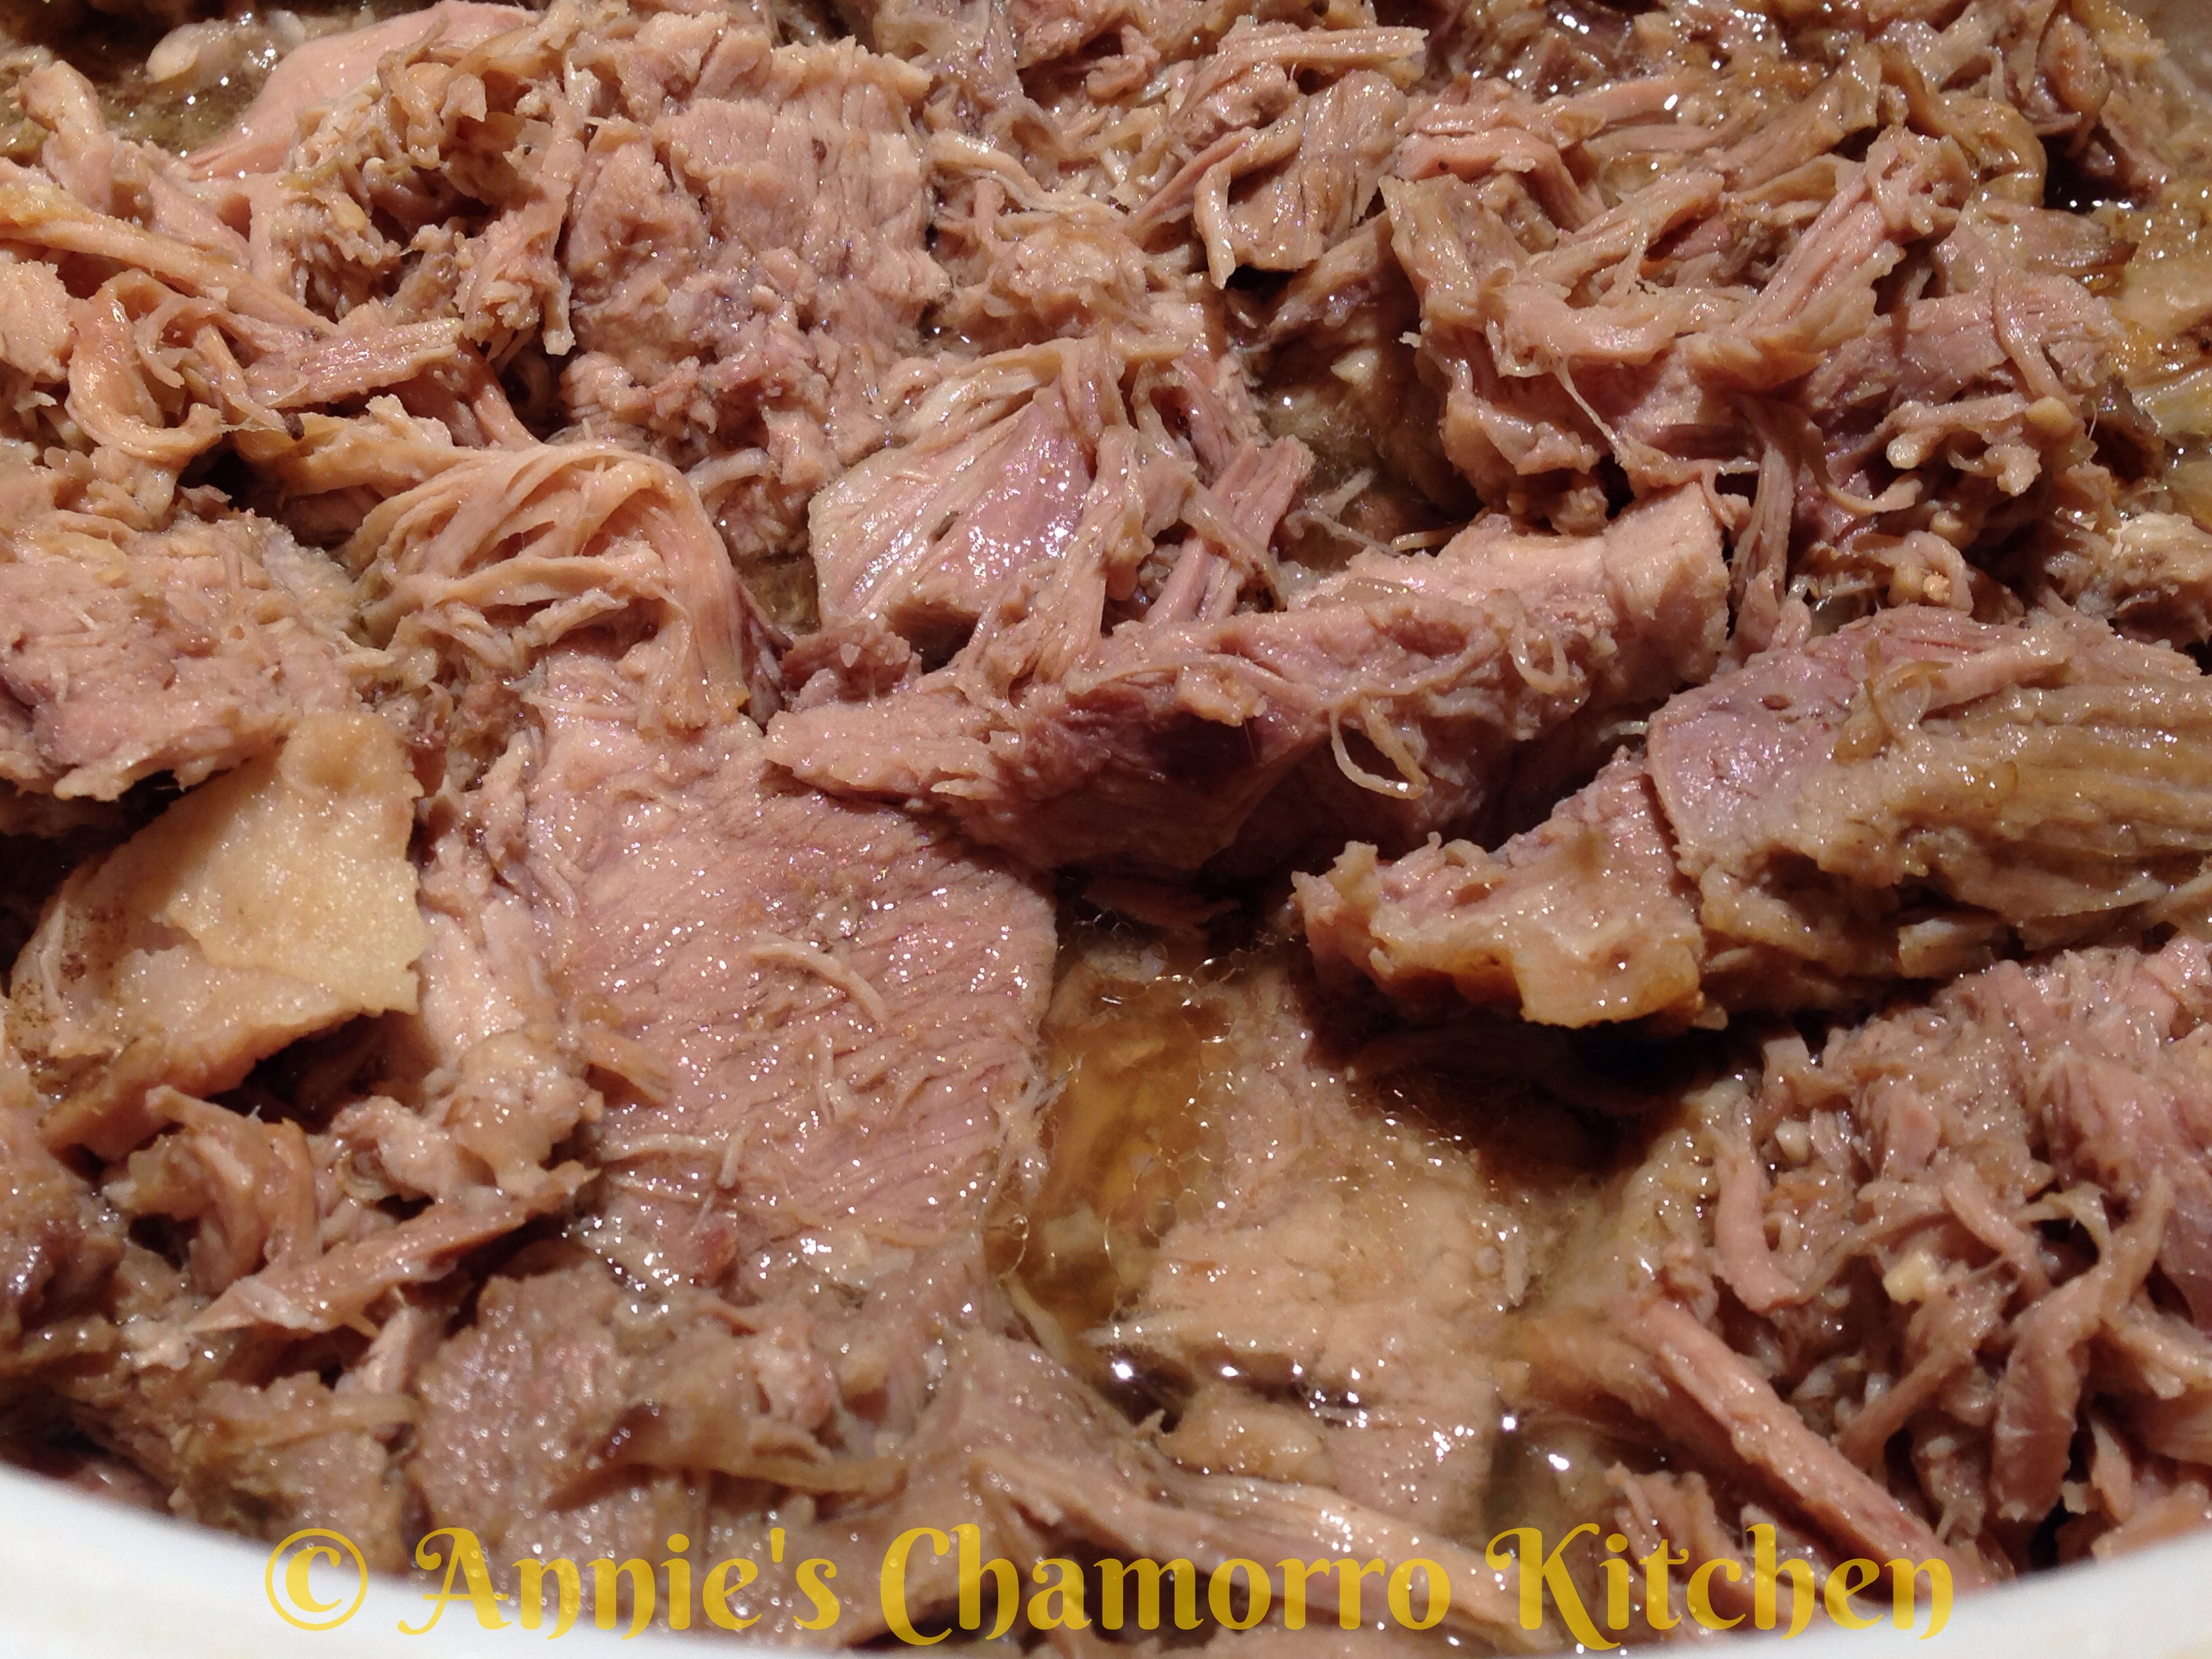
2.  After 8-9 hours of cooking, the pork will be tender enough to shred.  Skim off the fat from the broth and discard.

IMG_4657

3.  Serve with rolls and top with Pineapple BBQ Sauce or with some broth in a small dish on the side to dip your sandwich in.

 IMG_4660    IMG_4658

ENJOY!


Pineapple BBQ Sauce

image

Ingredients:

  • 3/4 cup pineapple juice
  • 1/4 cup soy sauce
  • 1/2 cup ketchup (you can also use chili sauce)
  • 1/4 cup plus 1 tablespoon dark brown sugar
  • 1/2 teaspoon ground ginger
  • 1 tablespoon chopped garlic
  • Pinch of ground black pepper
  • 1/4 cup pineapple juice mixed with 1 tablespoon corn starch

Directions:

1.  Place all of the ingredients into a small sauce pan, EXCEPT FOR the pineapple juice-corn starch mixture.  Bring the mixture to a boil.

image

2.  Whisk in the pineapple juice-corn starch mixture.  Cook for a minute or two, just until the sauce thickens.

image   image

Serve with my Hawaiian Pulled Pork and ENJOY!

IMG_4659


If you have any leftover pulled pork (about 4 cups of meat), use it to make my Pork Siopao.  Find my recipe here.

@untie R’s Gluten-Free Blueberry Cheese Pancakes

I’m happy to feature my friend, Arlene Sablan Aguon’s healthy recipes.

This particular recipe is a healthy alternative to regular pancakes. It’s gluten-free, delicious, and packed with nutrients that not only taste good but are good for you too!

Give Arlene’s recipe a try.  I think you’ll like it! 🙂

Yield: 4 pancakes

@untie R’s Gluten-Free Blueberry Cheese Pancakes

Gluten Free Blueberry Cheese Pancakes


Ingredients:

  • 2 cups gluten-free flour
  • 2 teaspoons baking powder (or 1 teaspoon of Xanthan Gum powder)
  • 1/4 teaspoon baking soda
  • 1/4 teaspoon salt
  • 2 tablespoons sugar
  • 2 tablespoons wheat germ or steel cut oats
  • 1 1/2 cups flax or soy milk
  • 1 cup small curd cottage cheese.
  • 1 large egg, lightly beaten (see notes below)
  • 1/4 cup coconut oil
  • 1 cup fresh or frozen blueberries

Directions:

Gluten Free Blueberry Cheese Pancakes

Sift together the flour, baking powder, baking soda and salt. Stir in sugar and wheat germ/oats; set aside.

Combine the milk, cottage cheese, and coconut oil.

Pour the flax or soy milk mixture all at once into the flour mixture; stir until moist. Add additional milk, a little at a time, if the batter is too thick (the batter should pour easily). Gently stir in the berries.

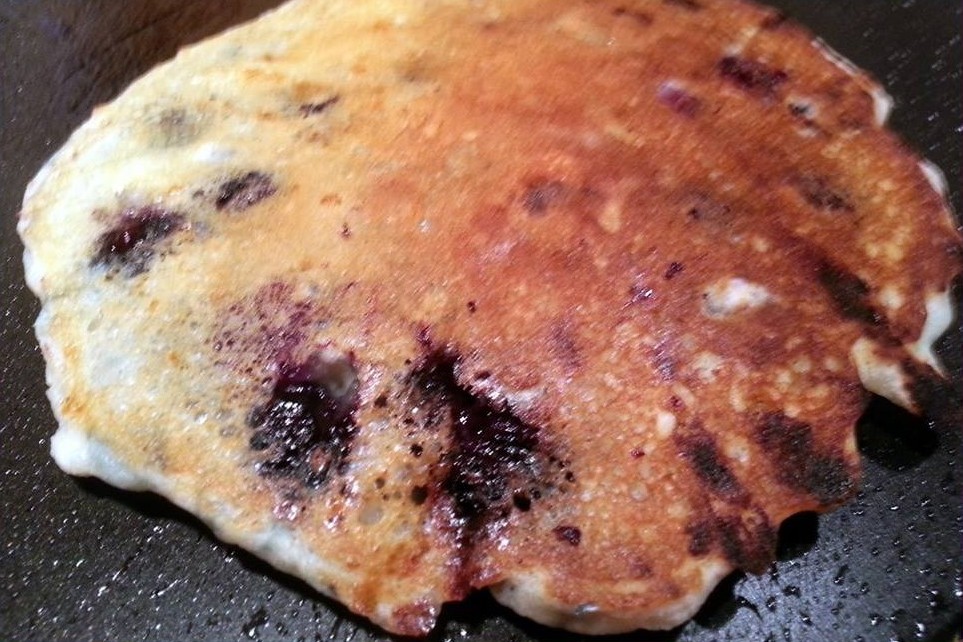
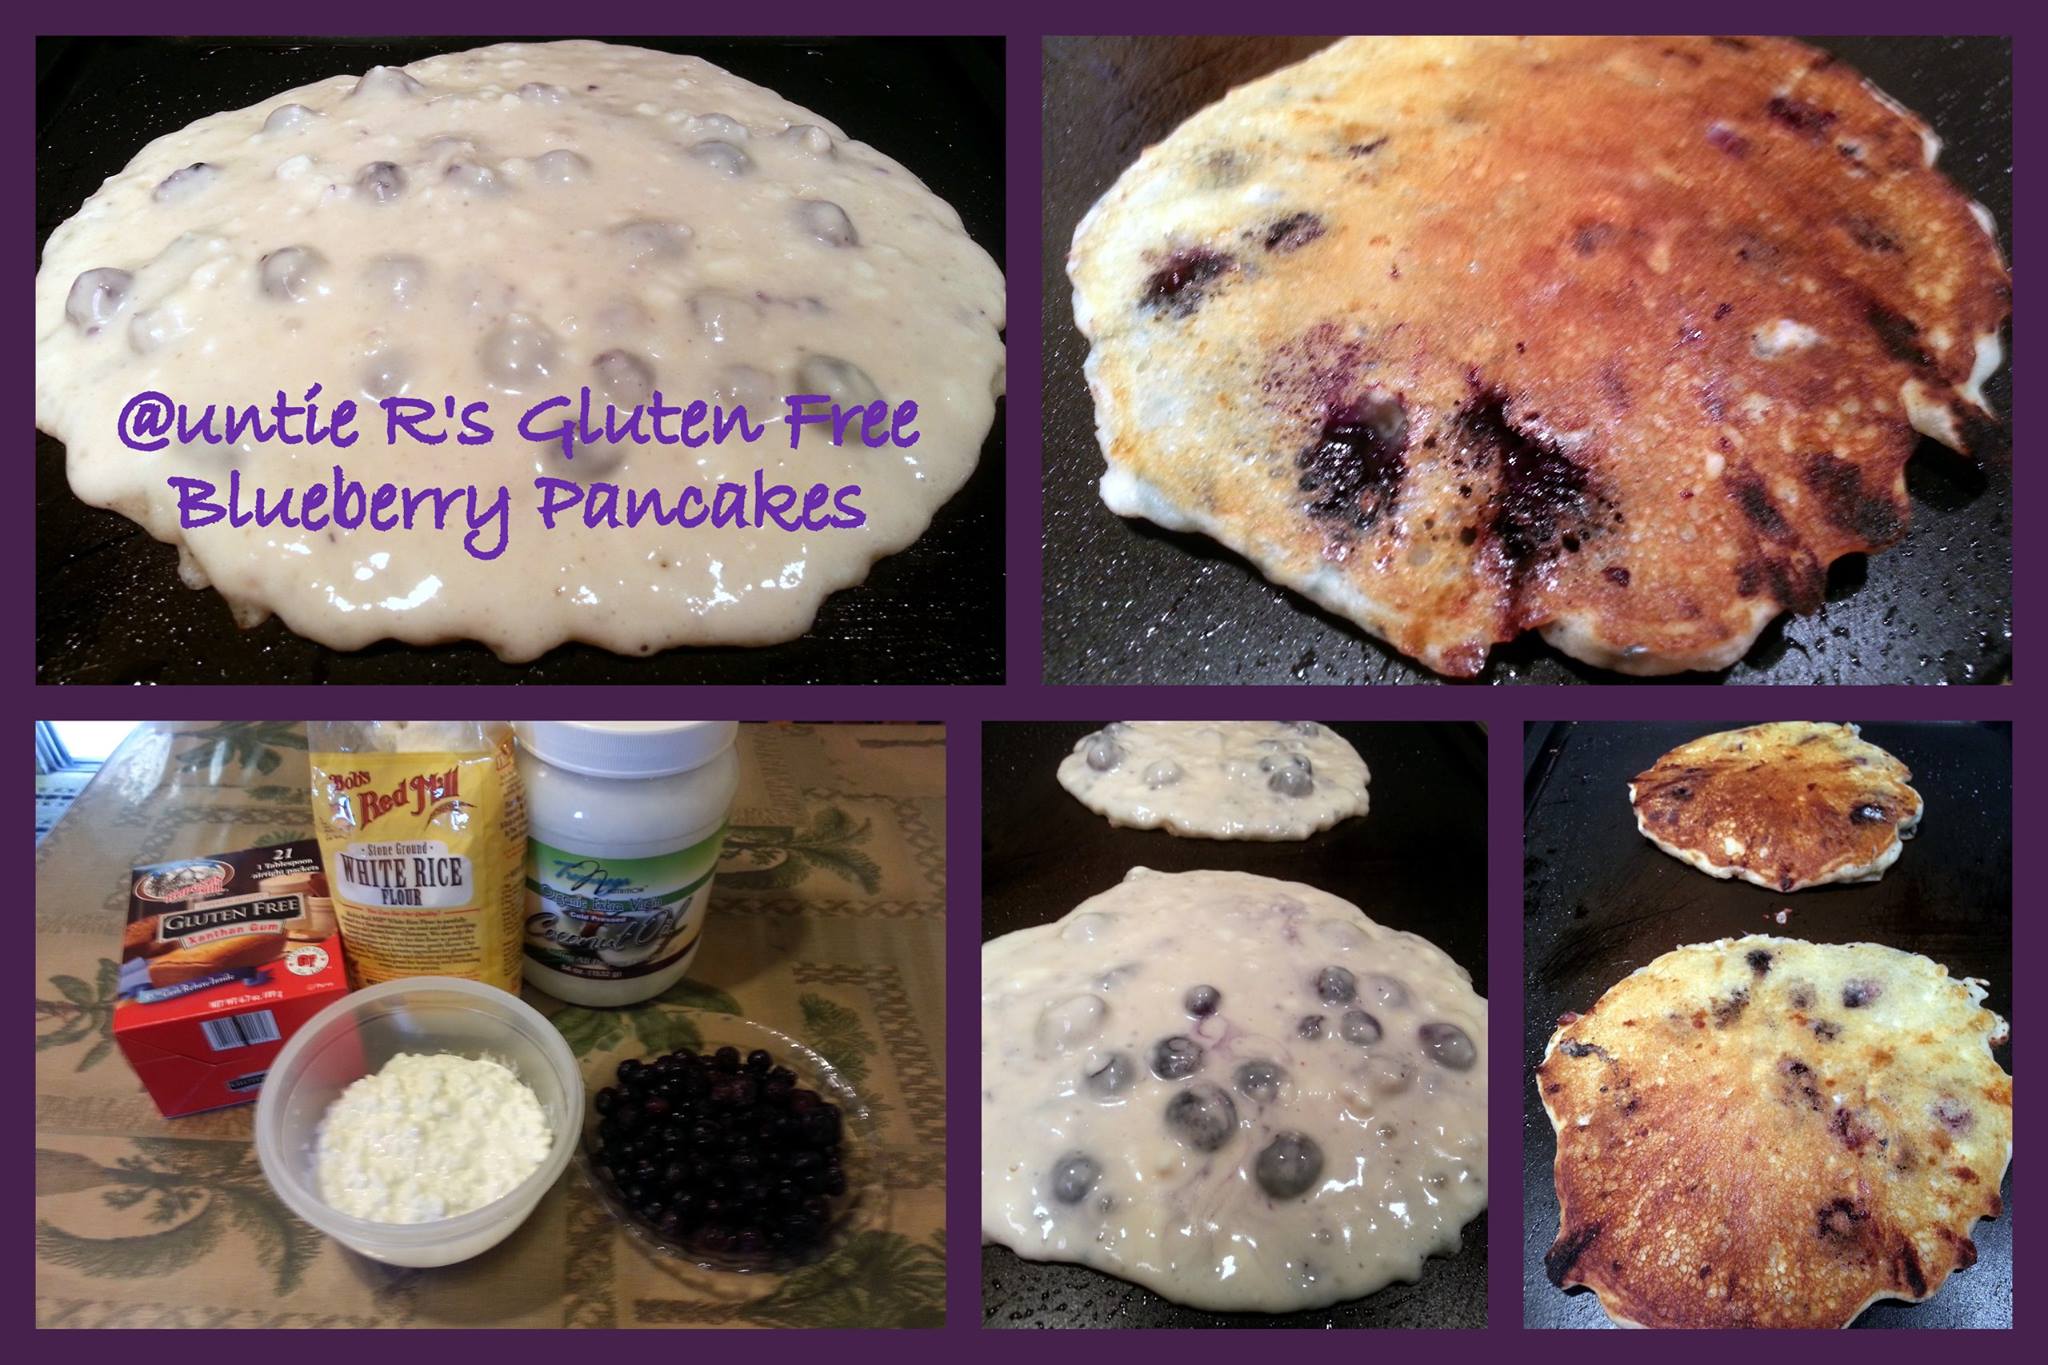
Pre-heat a skillet/grill over medium heat; lightly grease the skillet. Pour the mixture onto the skillet to the size you prefer. Cook until the tops are bubbly and appear dry; flip over to finish cooking.

Serve and enjoy!

NOTE from Arlene: I didn’t use the egg. The small curd cottage cheese acts as your binder with the coconut oil. Yummy too.

NOTE from Annie: You can use a “chia egg” in place of the regular egg. Mix 1 tablespoon ground chia seeds with 3 tablespoons water. Let the mixture sit until it forms a gel. Use the chia gel/egg in the recipe instead of the egg.


Corned Beef with Cabbage and Onions

This is another classic Chamorro comfort dish.  Most Chamorros grew up eating corned beef, maybe because it used to be inexpensive.  Now, it’s become something our family eats only once in a while since a can of corned beef has become quite pricey!

Made with canned corned beef, sliced cabbage and onions (and a few seasonings), this is another one of those quick and easy dishes that you can prepare and serve within minutes.

Feel free to substitute the cabbage with (or add) your favorite vegetables.  I like sliced eggplant and fresh green beans in this dish in addition to the cabbage.

Comment below to let me know how you like my recipe, or let me know your favorite way to prepare canned corned beef. 😉

Corned Beef with Cabbage and Onions

image

Ingredients:

  • 2 cans corned beef
  • 1 medium onion, sliced
  • 1 tablespoon chopped garlic
  • 1 teaspoon Dashida seasoning (or you can use salt)
  • 1/2 teaspoon black pepper
  • 1 small head cabbage, sliced

Directions:

1.  Sauté the corned beef in a large pan over medium high heat.

image

2.  Add the onions, garlic, Dashida, and black pepper.  Cook for a few minutes until the onions become translucent.

image

3.  Add the sliced cabbage to the pan.  Cook over medium heat until the cabbage wilts and softens enough to your liking, about 10 minutes.

image

image

4.  Serve with hot white rice and enjoy!

image

Smoked Beef Brisket – A slightly sweet, smoky version

I love a good BBQ.  It’s rare that I use a dry rub when we BBQ at our house, especially since my daughter makes excellent marinades.  However, when it comes to brisket, I prefer using a dry rub.

I like to experiment with different spice combinations when coming up with recipes for dry rubs.  This one contains an unusual combination of espresso powder, brown sugar and cumin, among other things.  The sweetness of the sugar goes really well with the smokiness of the espresso and cumin.

I also save some of the dry rub mixture to make a mop sauce to baste the brisket as it smokes.  All that’s needed to make the mop sauce is to mix a bottle of your favorite beer (ale works well with this recipe) with about 1/2 cup of the dry rub mixture.  Don’t worry–the alcohol cooks out by the time the brisket is done.

I own a smoker/grill, which is what I used to smoke my brisket.  You don’t need a smoker to make this, however.  You can bake this long and slow in your oven.  The result will still be finger-licking-good.

Give my recipe a try.  I think you’ll like it. 🙂

Smoked Brisket

image

Ingredients:

  • 1 cup brown sugar
  • 2 tablespoons cumin
  • 1 tablespoon espresso powder
  • 1 tablespoon salt
  • 1 teaspoon black pepper
  • 2 tablespoons garlic powder
  • 1 tablespoon onion powder
  • A nicely marbled brisket, about 7-8 pounds, with a nice layer of fat on one side
  • 1 bottle beer (I used a 12-ounce bottle of Alaskan ale)

Directions:

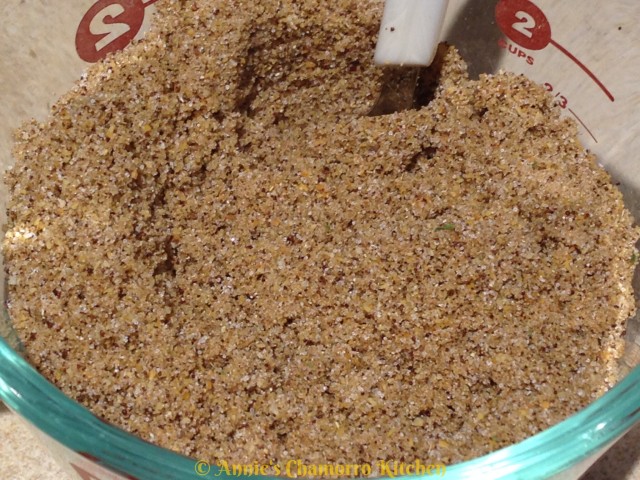
1.  In a small measuring cup, mix together the brown sugar, cumin, espresso powder, salt, black pepper, garlic powder and onion powder.

image

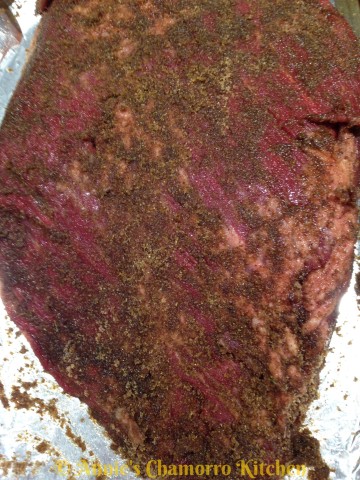
2.  Save 1/2 cup of the dry rub to make the mop sauce.  Spread the rest of the rub evenly over both sides of the brisket.

image

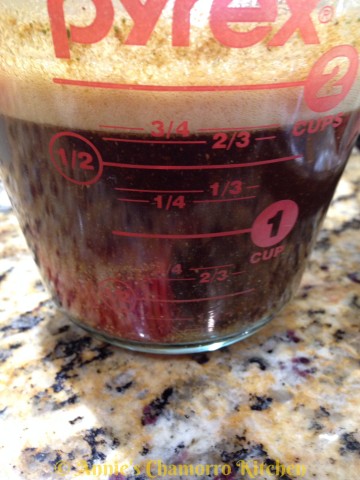
3.  Mix the beer with the remaining 1/2 cup of the dry rub mixture.  Set this aside.

image     image

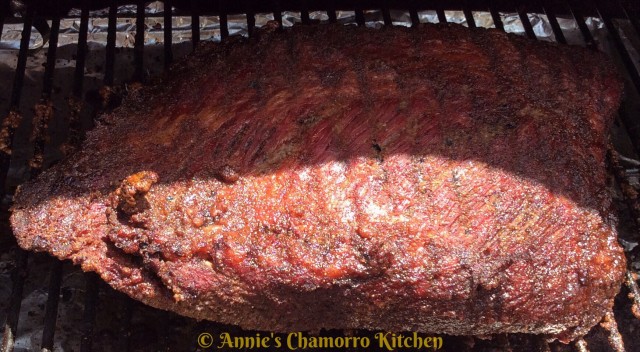
4.  If you own a smoker, place the brisket on the grill, fat-side facing up.  Smoke the brisket for one hour, then turn the temperature to 225 degrees to cook for the remaining time.  You’ll smoke/cook the brisket for a total of 6 hours.  Generously baste the brisket once every hour.

image

5.  Mid-way through the cooking time, after about 3 hours or so, flip the brisket over so that the fat is on the bottom.  Continue basting every hour; stop basting one hour prior to the brisket being done.

image

6.  When the brisket is done (after it’s been smoking/cooking for about 6 hours), remove it from the grill or oven.  Wrap the brisket in aluminum foil and let the brisket rest for 30 minutes.

image

7.  After 30 minutes of resting, unwrap the brisket.

image

8.  Thinly slice the brisket, ensuring you cut across the grain of the meat.

image

Serve and ENJOY!

image

Our mini-poodle is waiting patiently for his share! 🙂
image

« Older Entries Recent Entries »