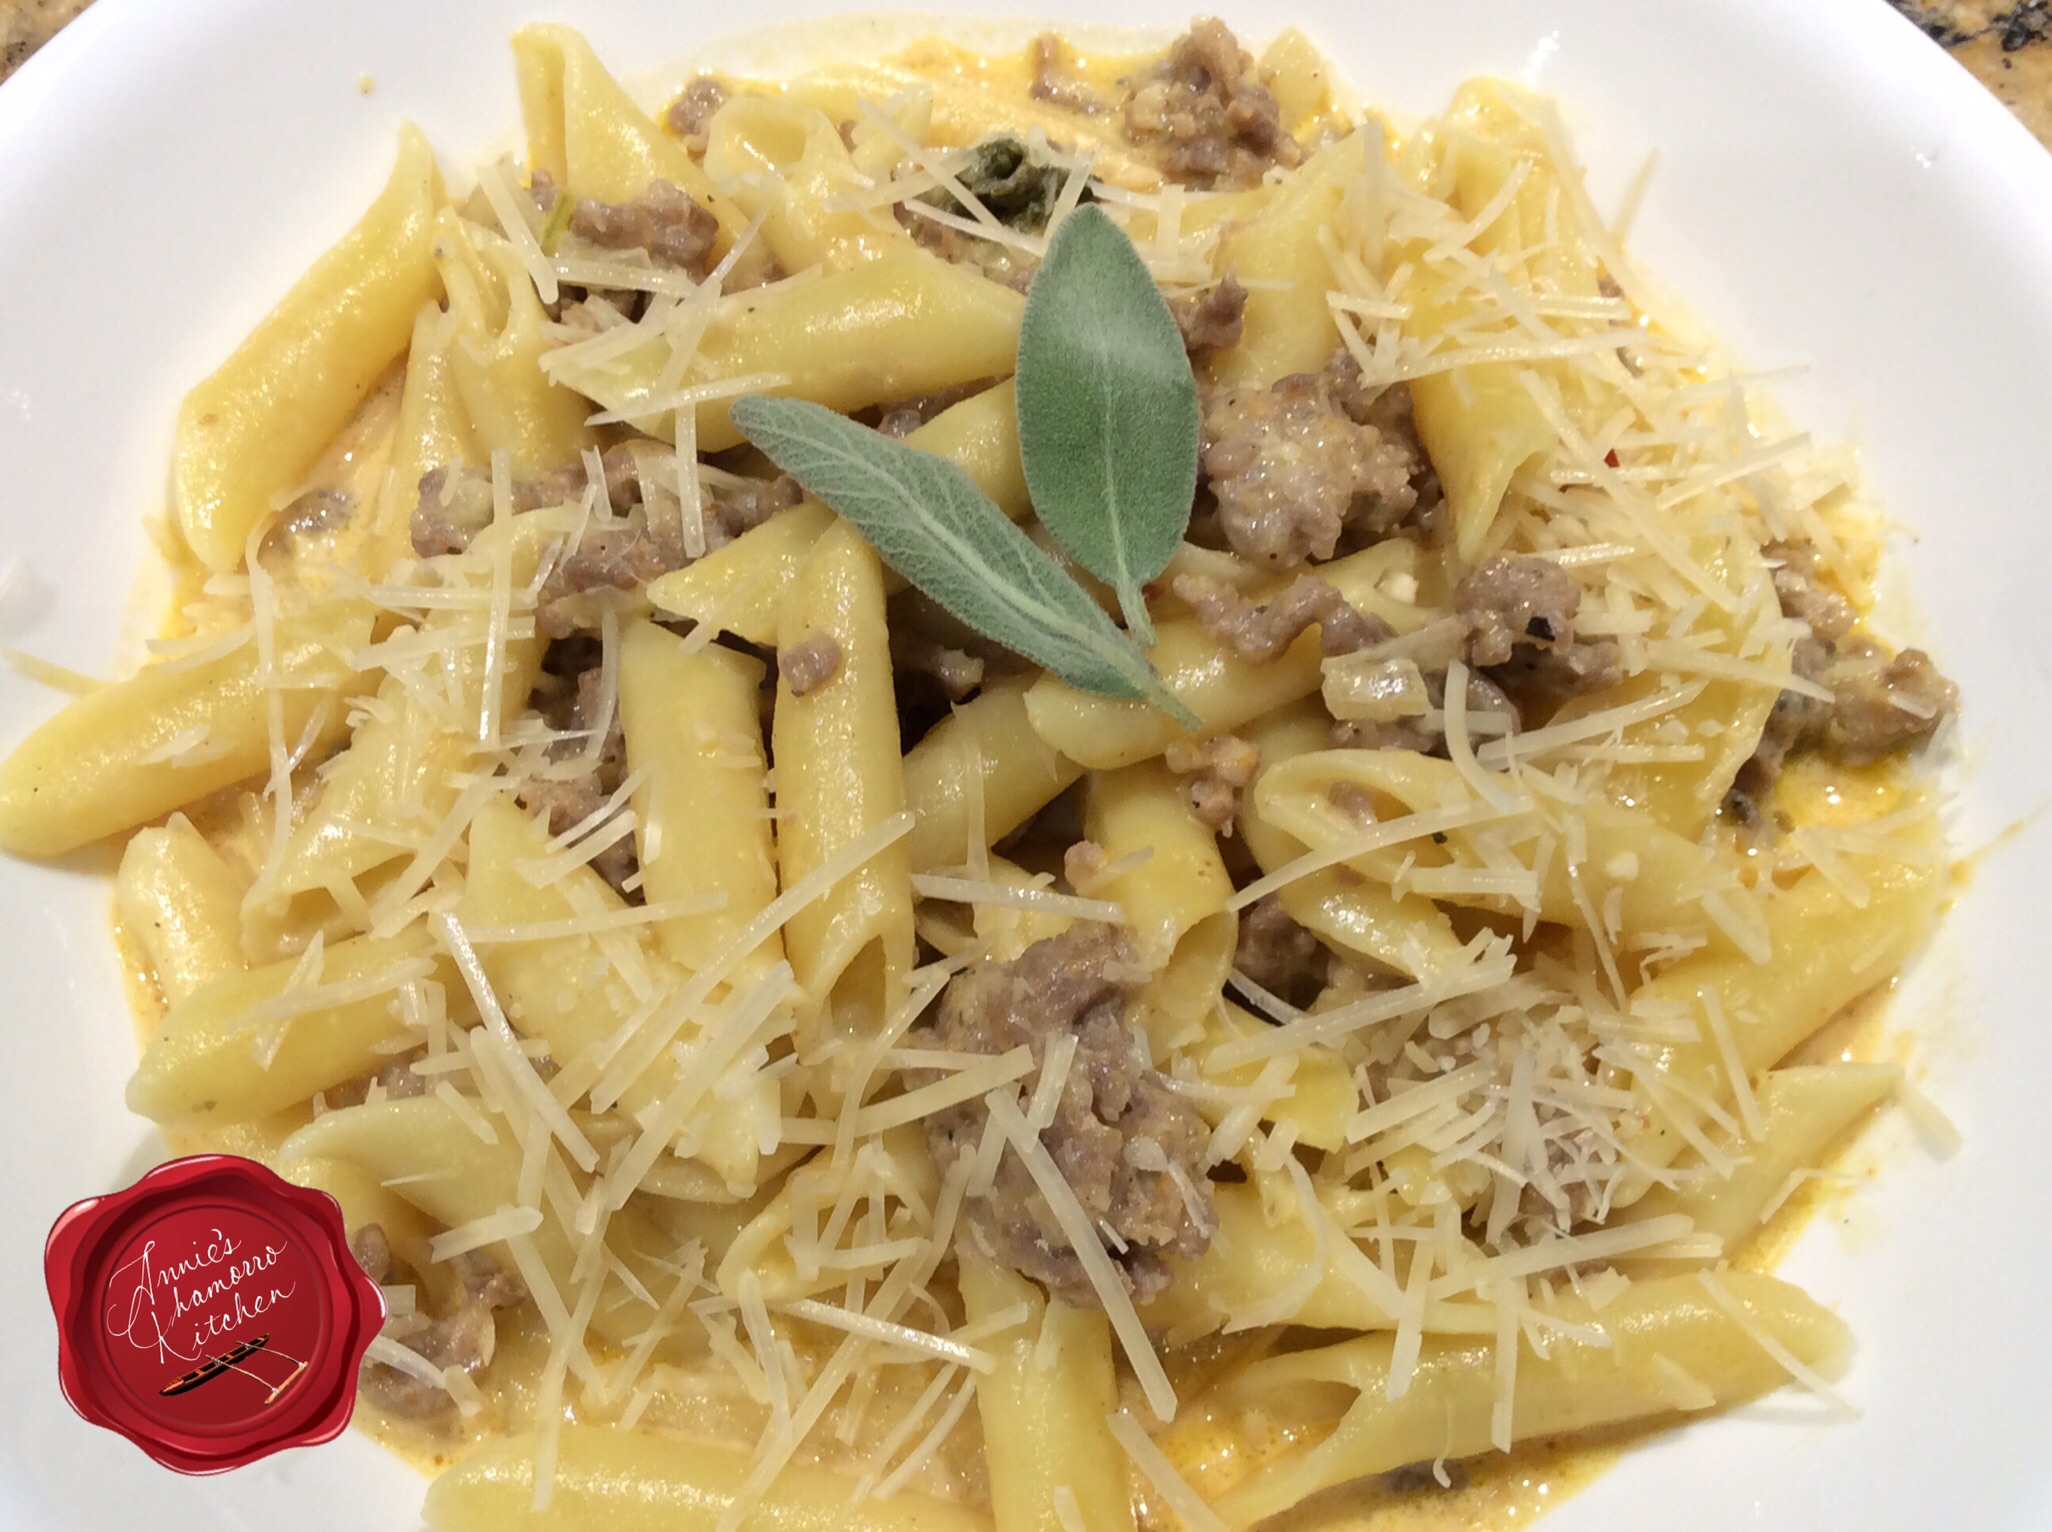
Pumpkin in pasta sauce?! Why, YES! 🙂
My daughter, Hannah, loves pasta. Actually, my entire family loves pasta. She wanted to make something off the beaten path of the usual alfredo or meat sauce so she browsed several websites and recipes and found one (by Rachael Ray I think) and wanted to give it a try. I must say that it’s absolutely delicious (thank you, Rachael).
This is Hannah’s take on Rachael’s recipe (original recipe found here).
Give it a try. I think you’ll like it. 🙂
Cook the pasta according to the package directions. Hannah made enough pasta for dinner for our family of four, plus enough for everyone to pack lunch the next day, so she cooked two boxes of penne pasta.
Drain the water from the pot; keep the cooked pasta in the pot (no need to dirty another serving bowl). Set aside for now.
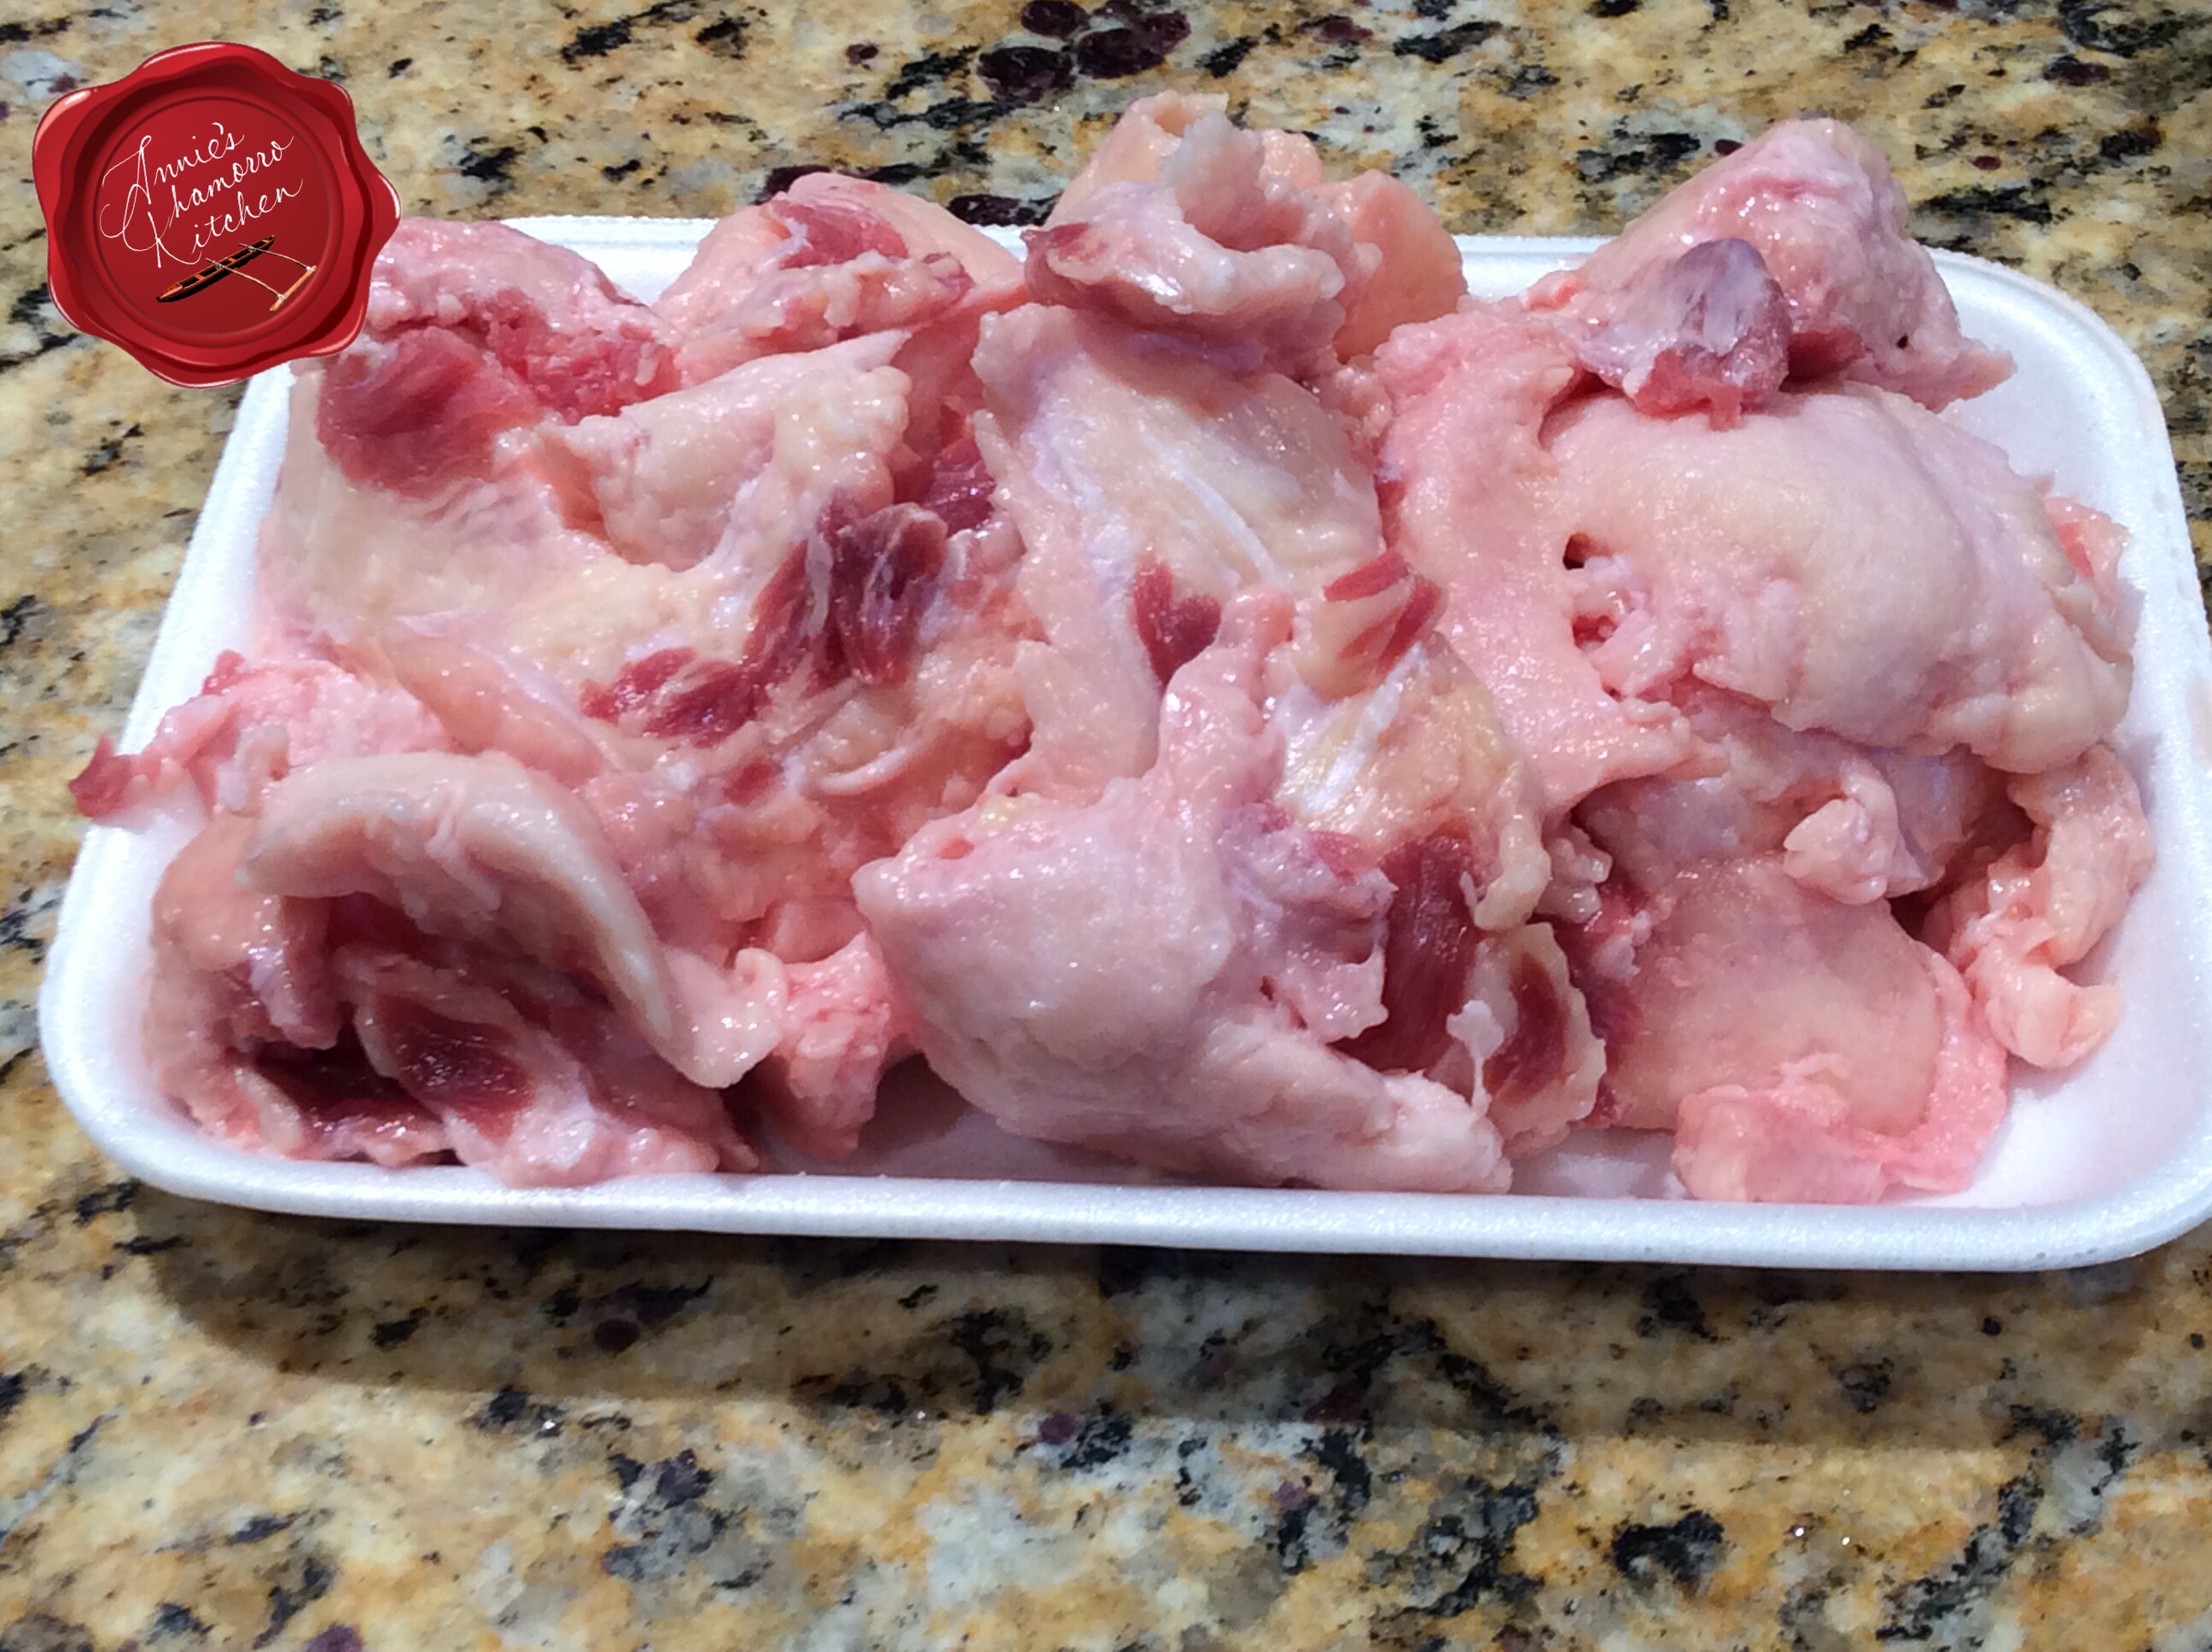
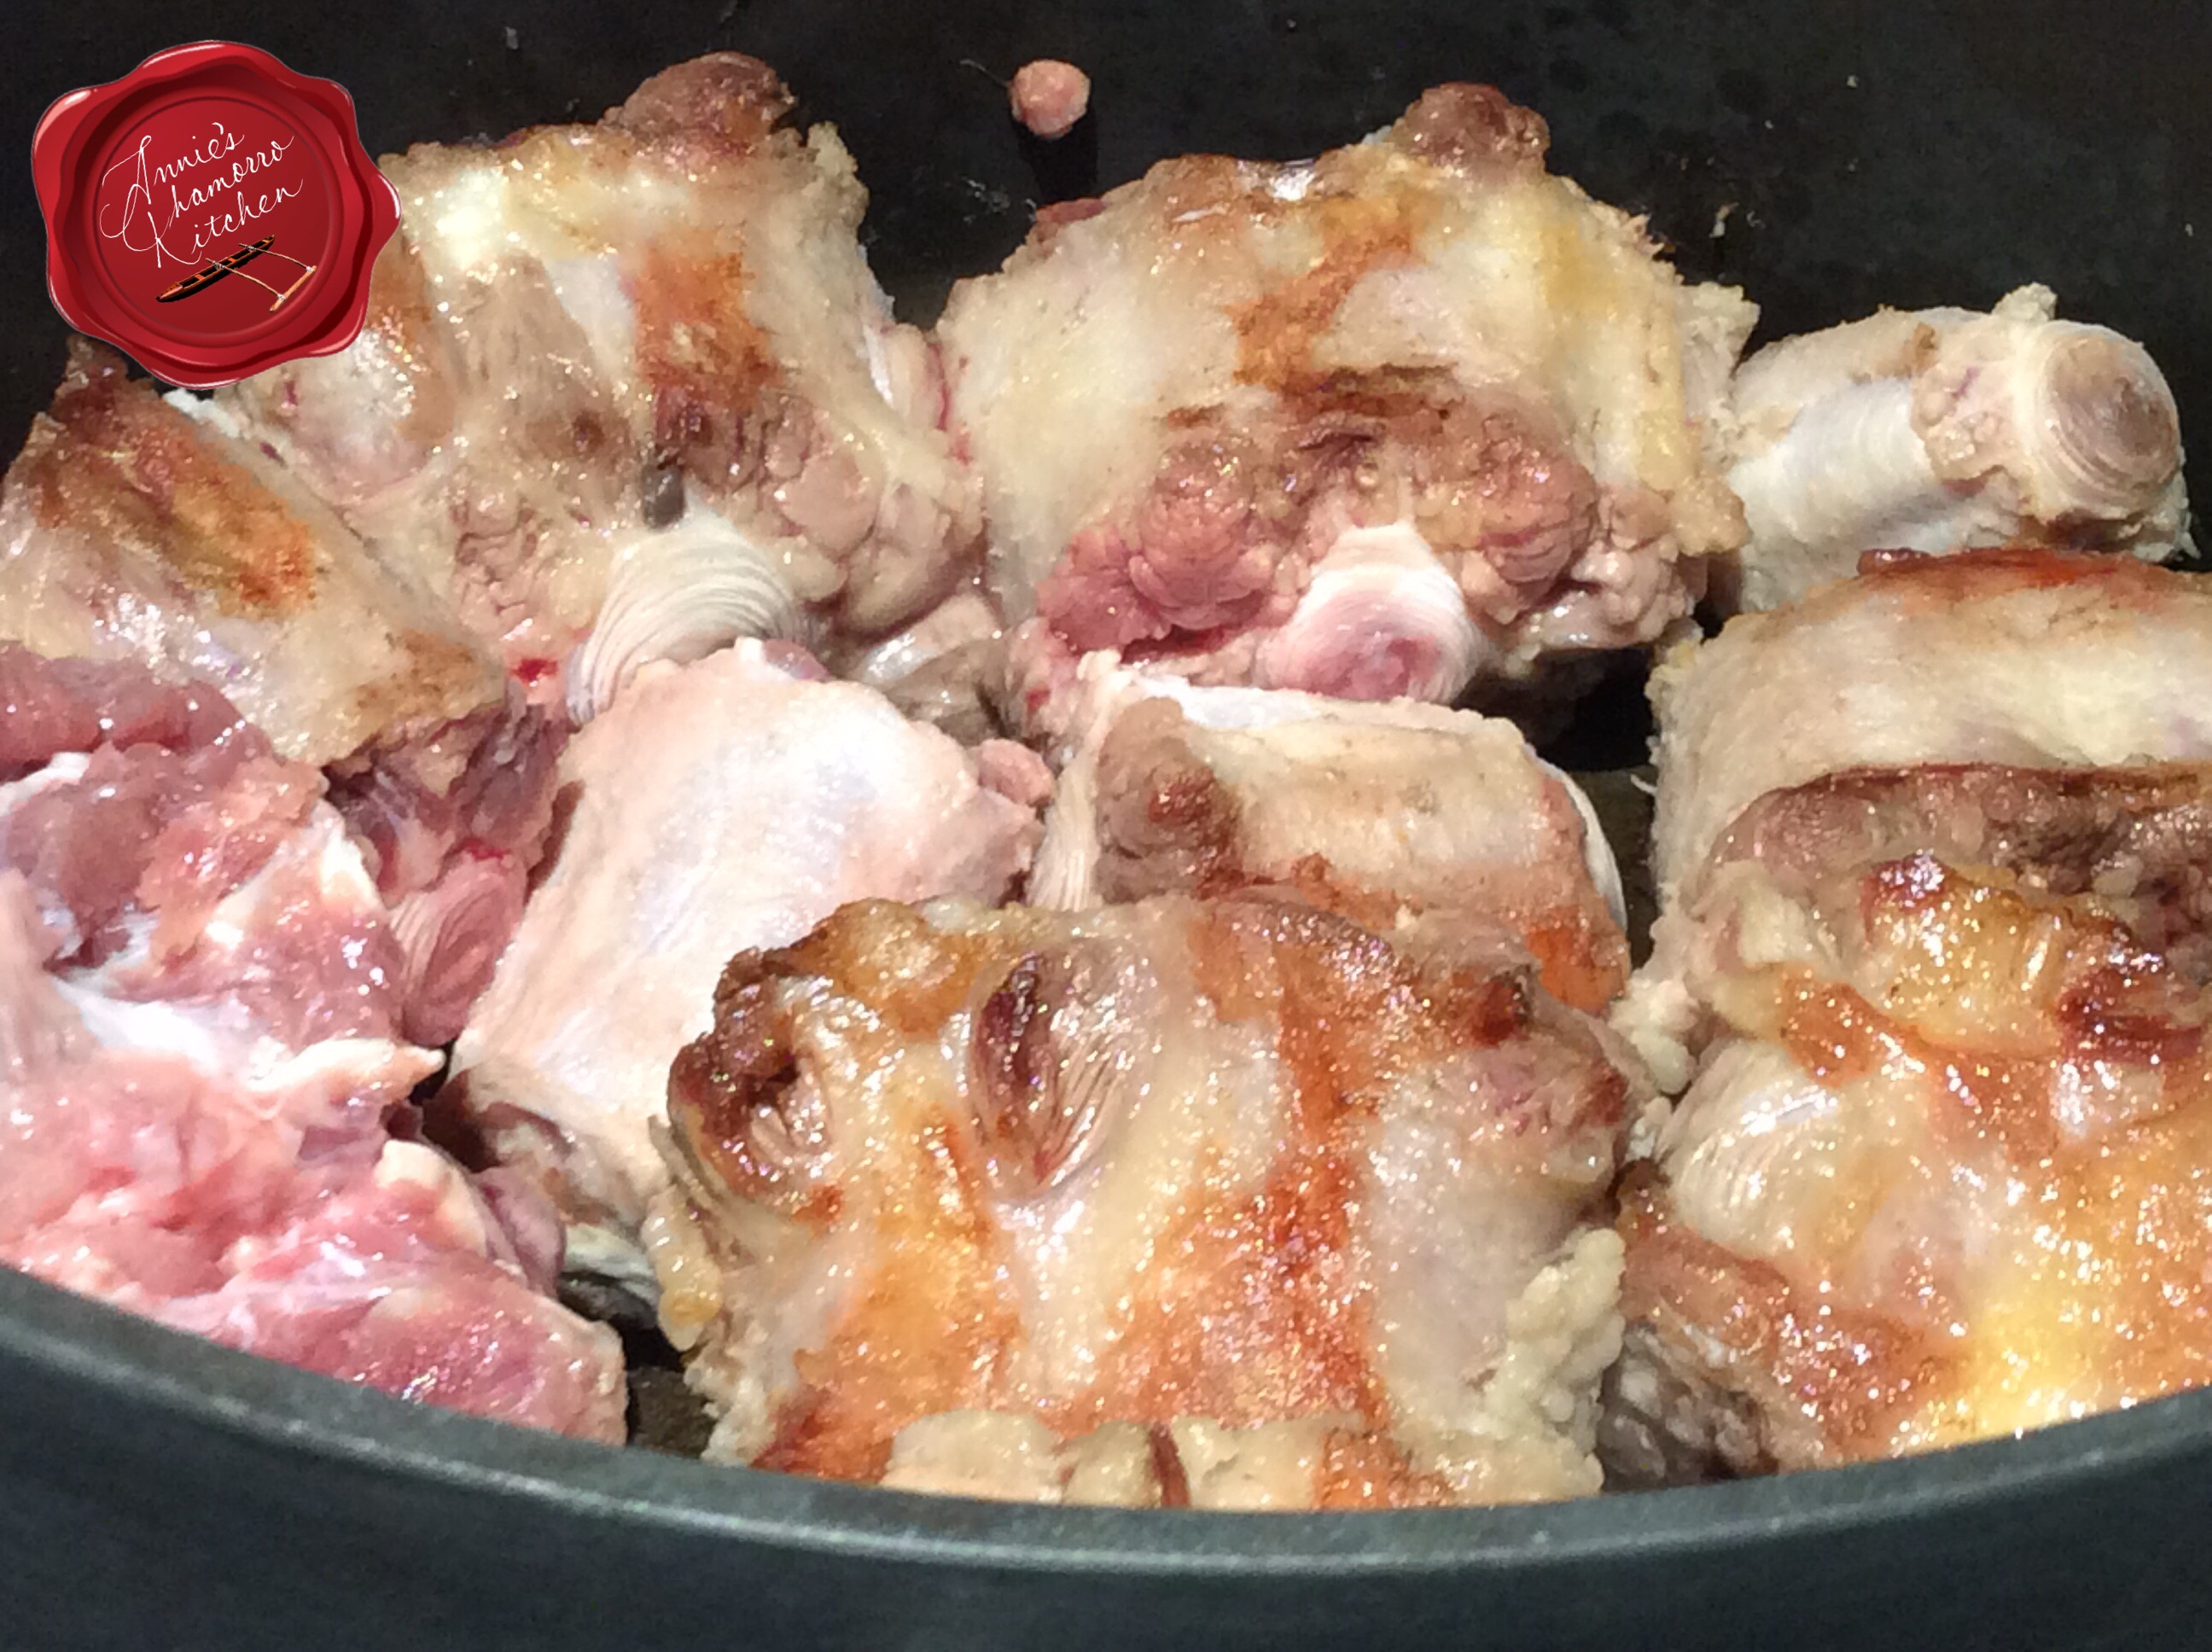
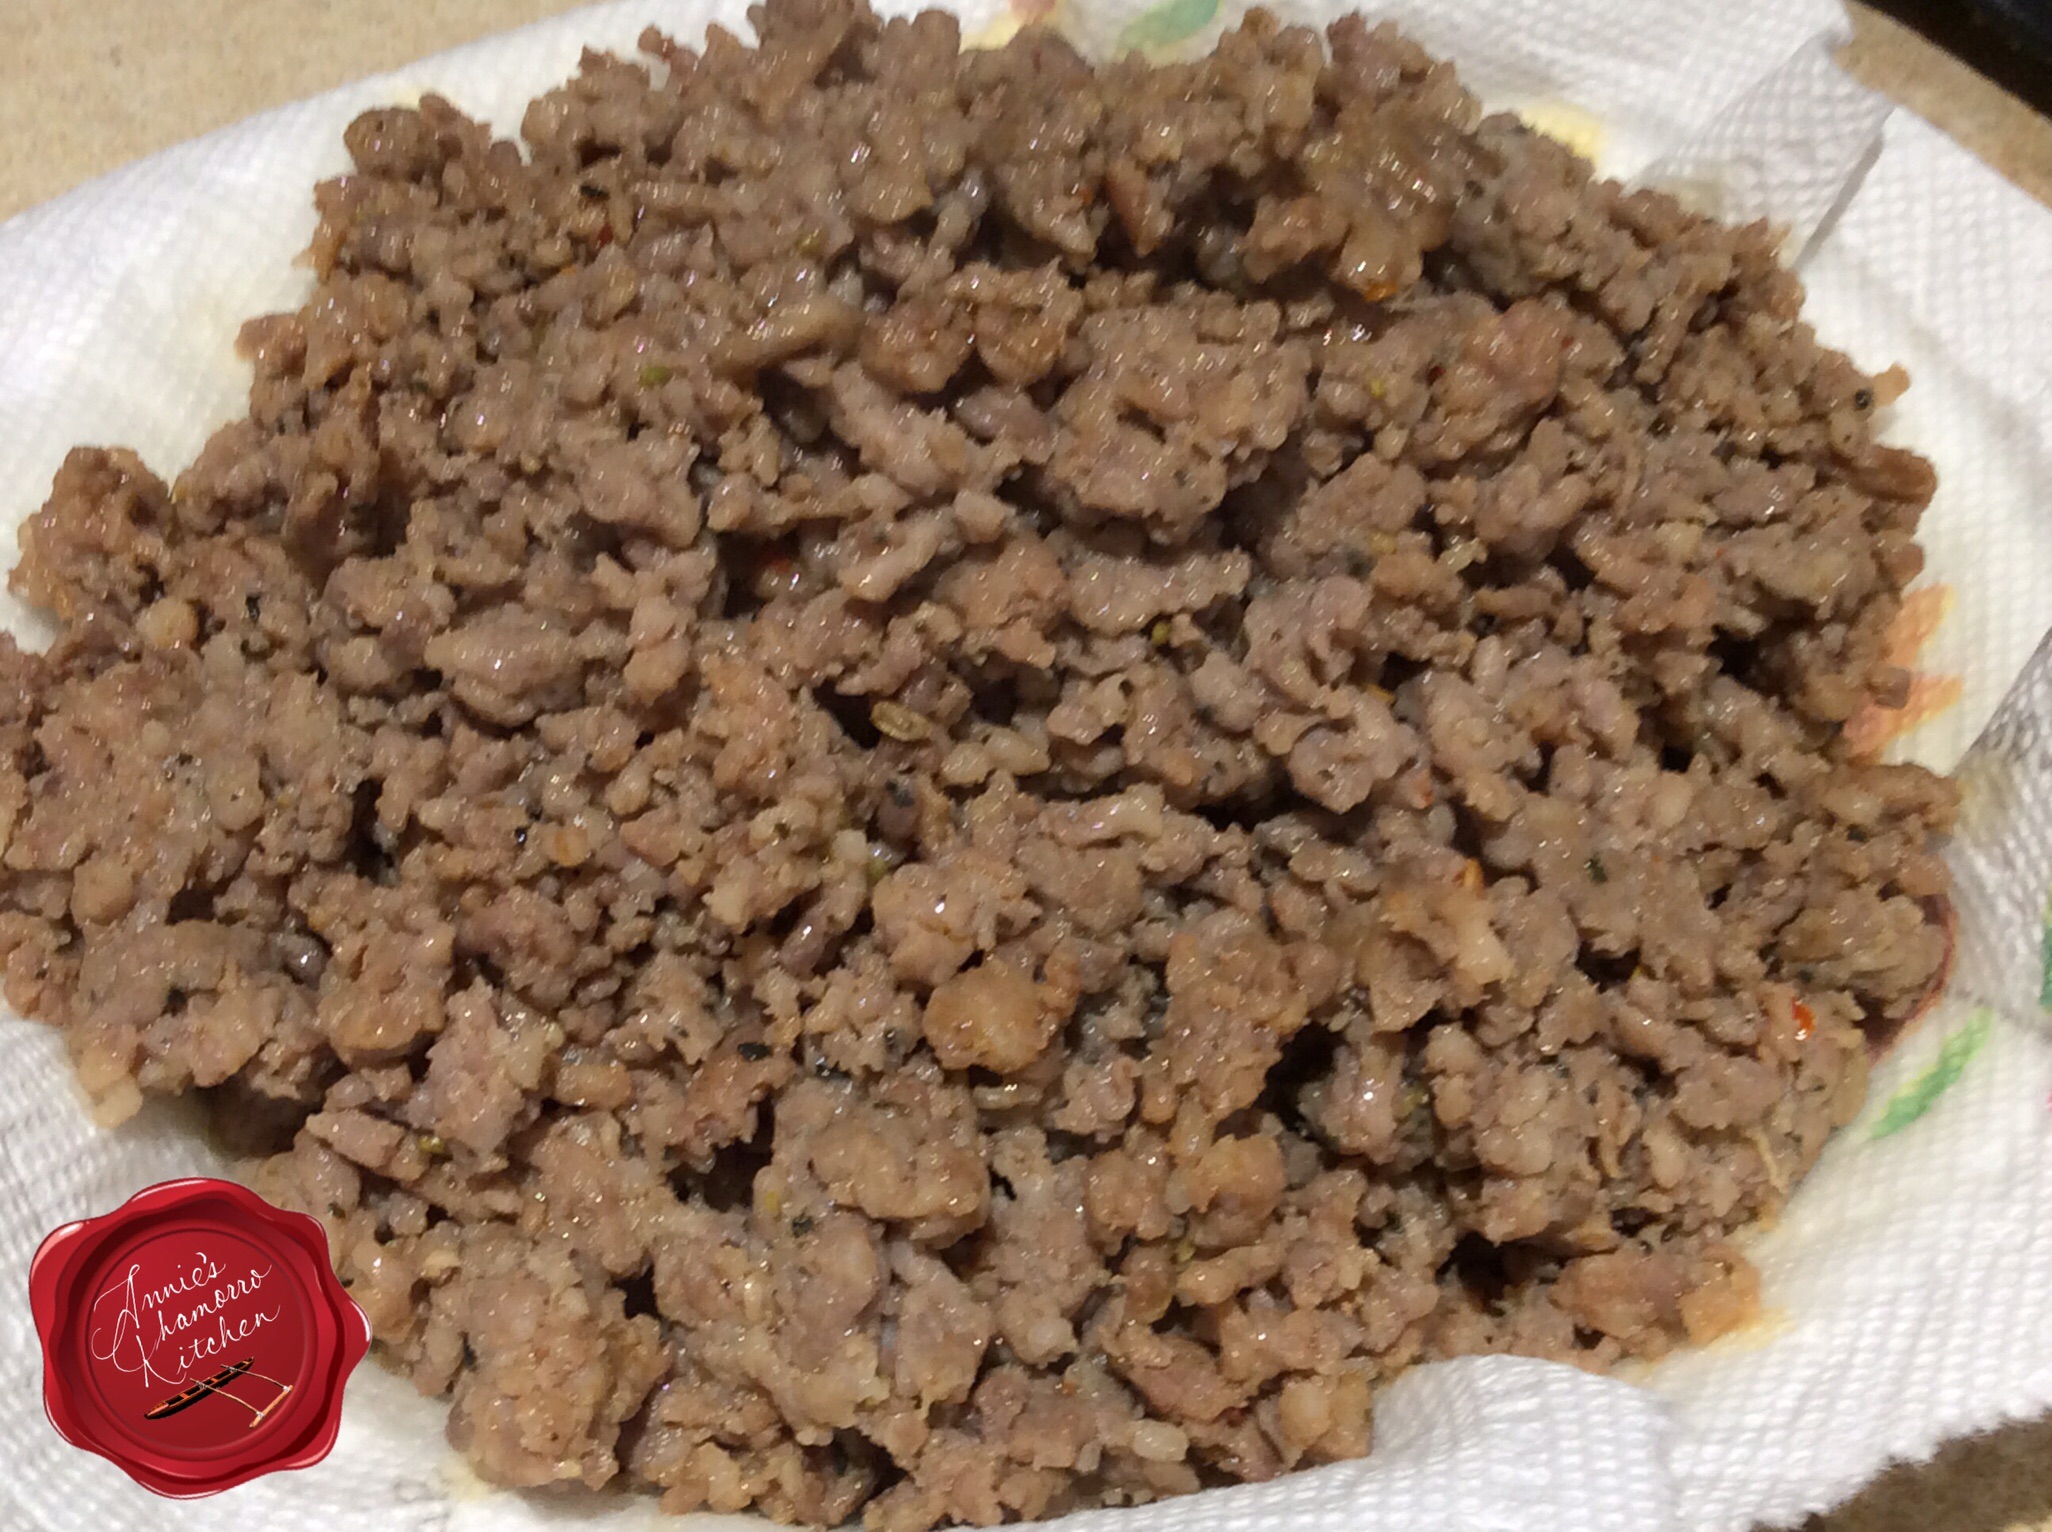
Meanwhile, brown the sausage in a large frying pan. Hannah used sweet/mild Italian sausage, but if you like a spicier pasta, use spicy sausage. Remove the browned sausage from the pan and place on top of paper towels to soak up any excess fat.
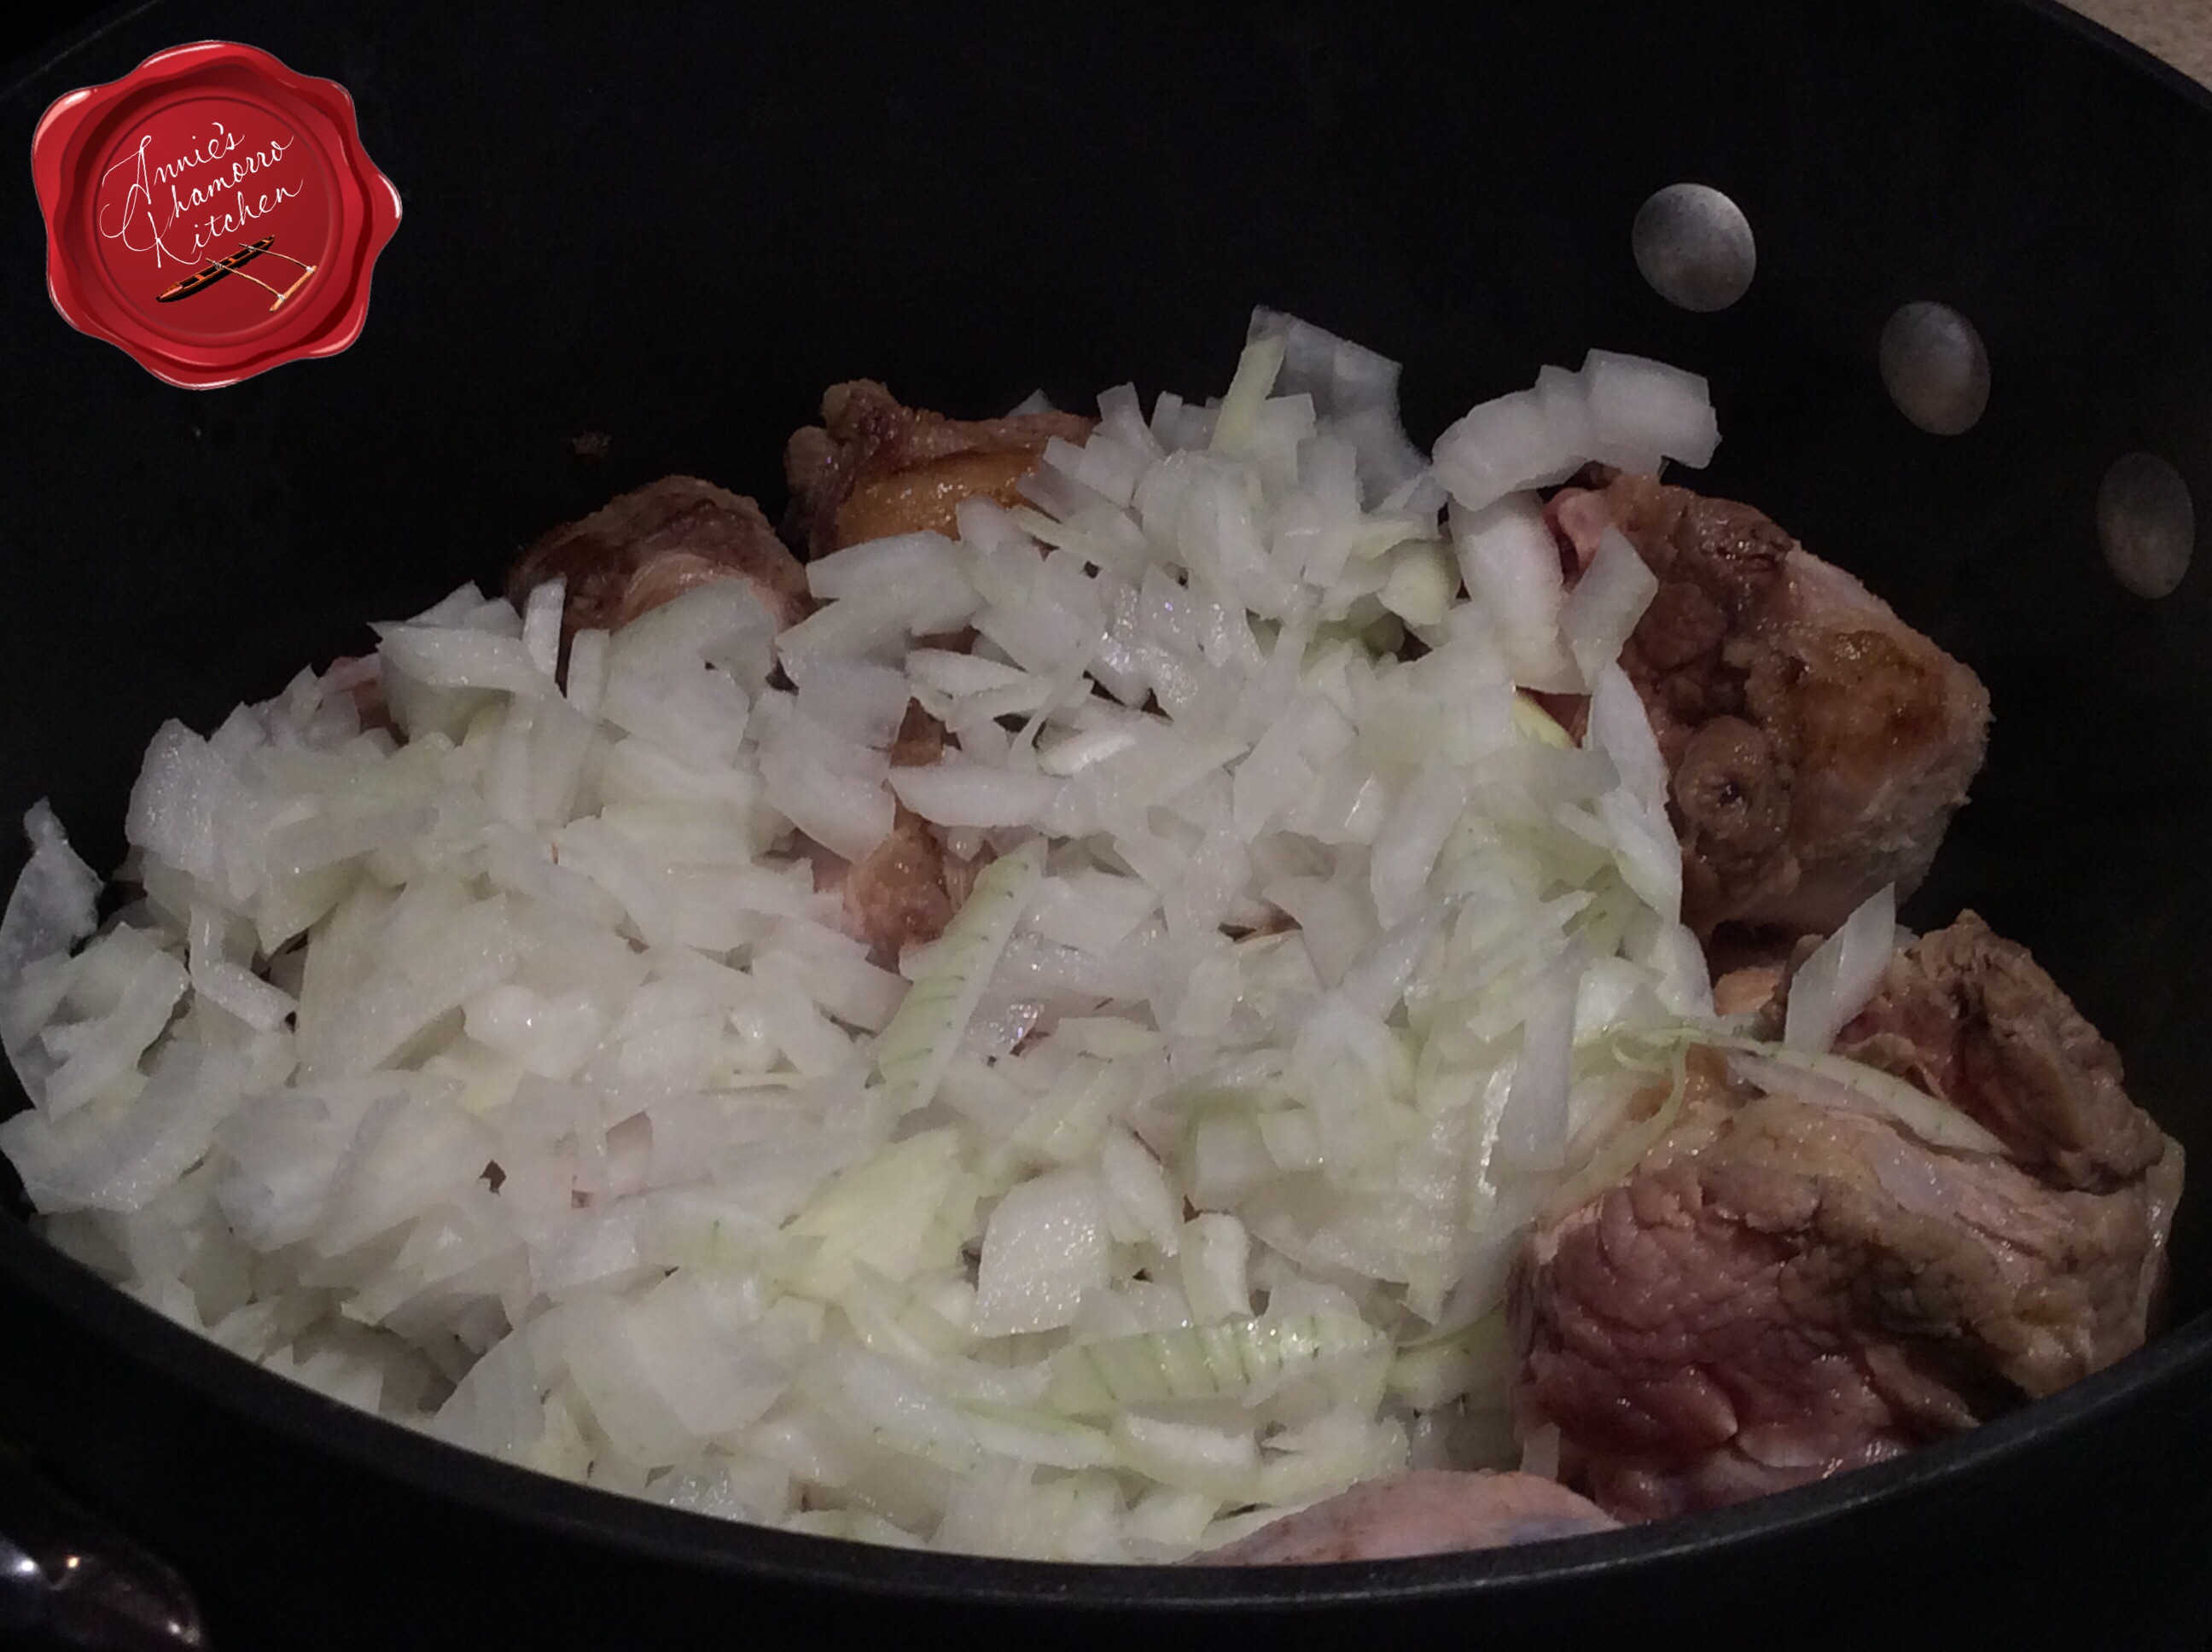
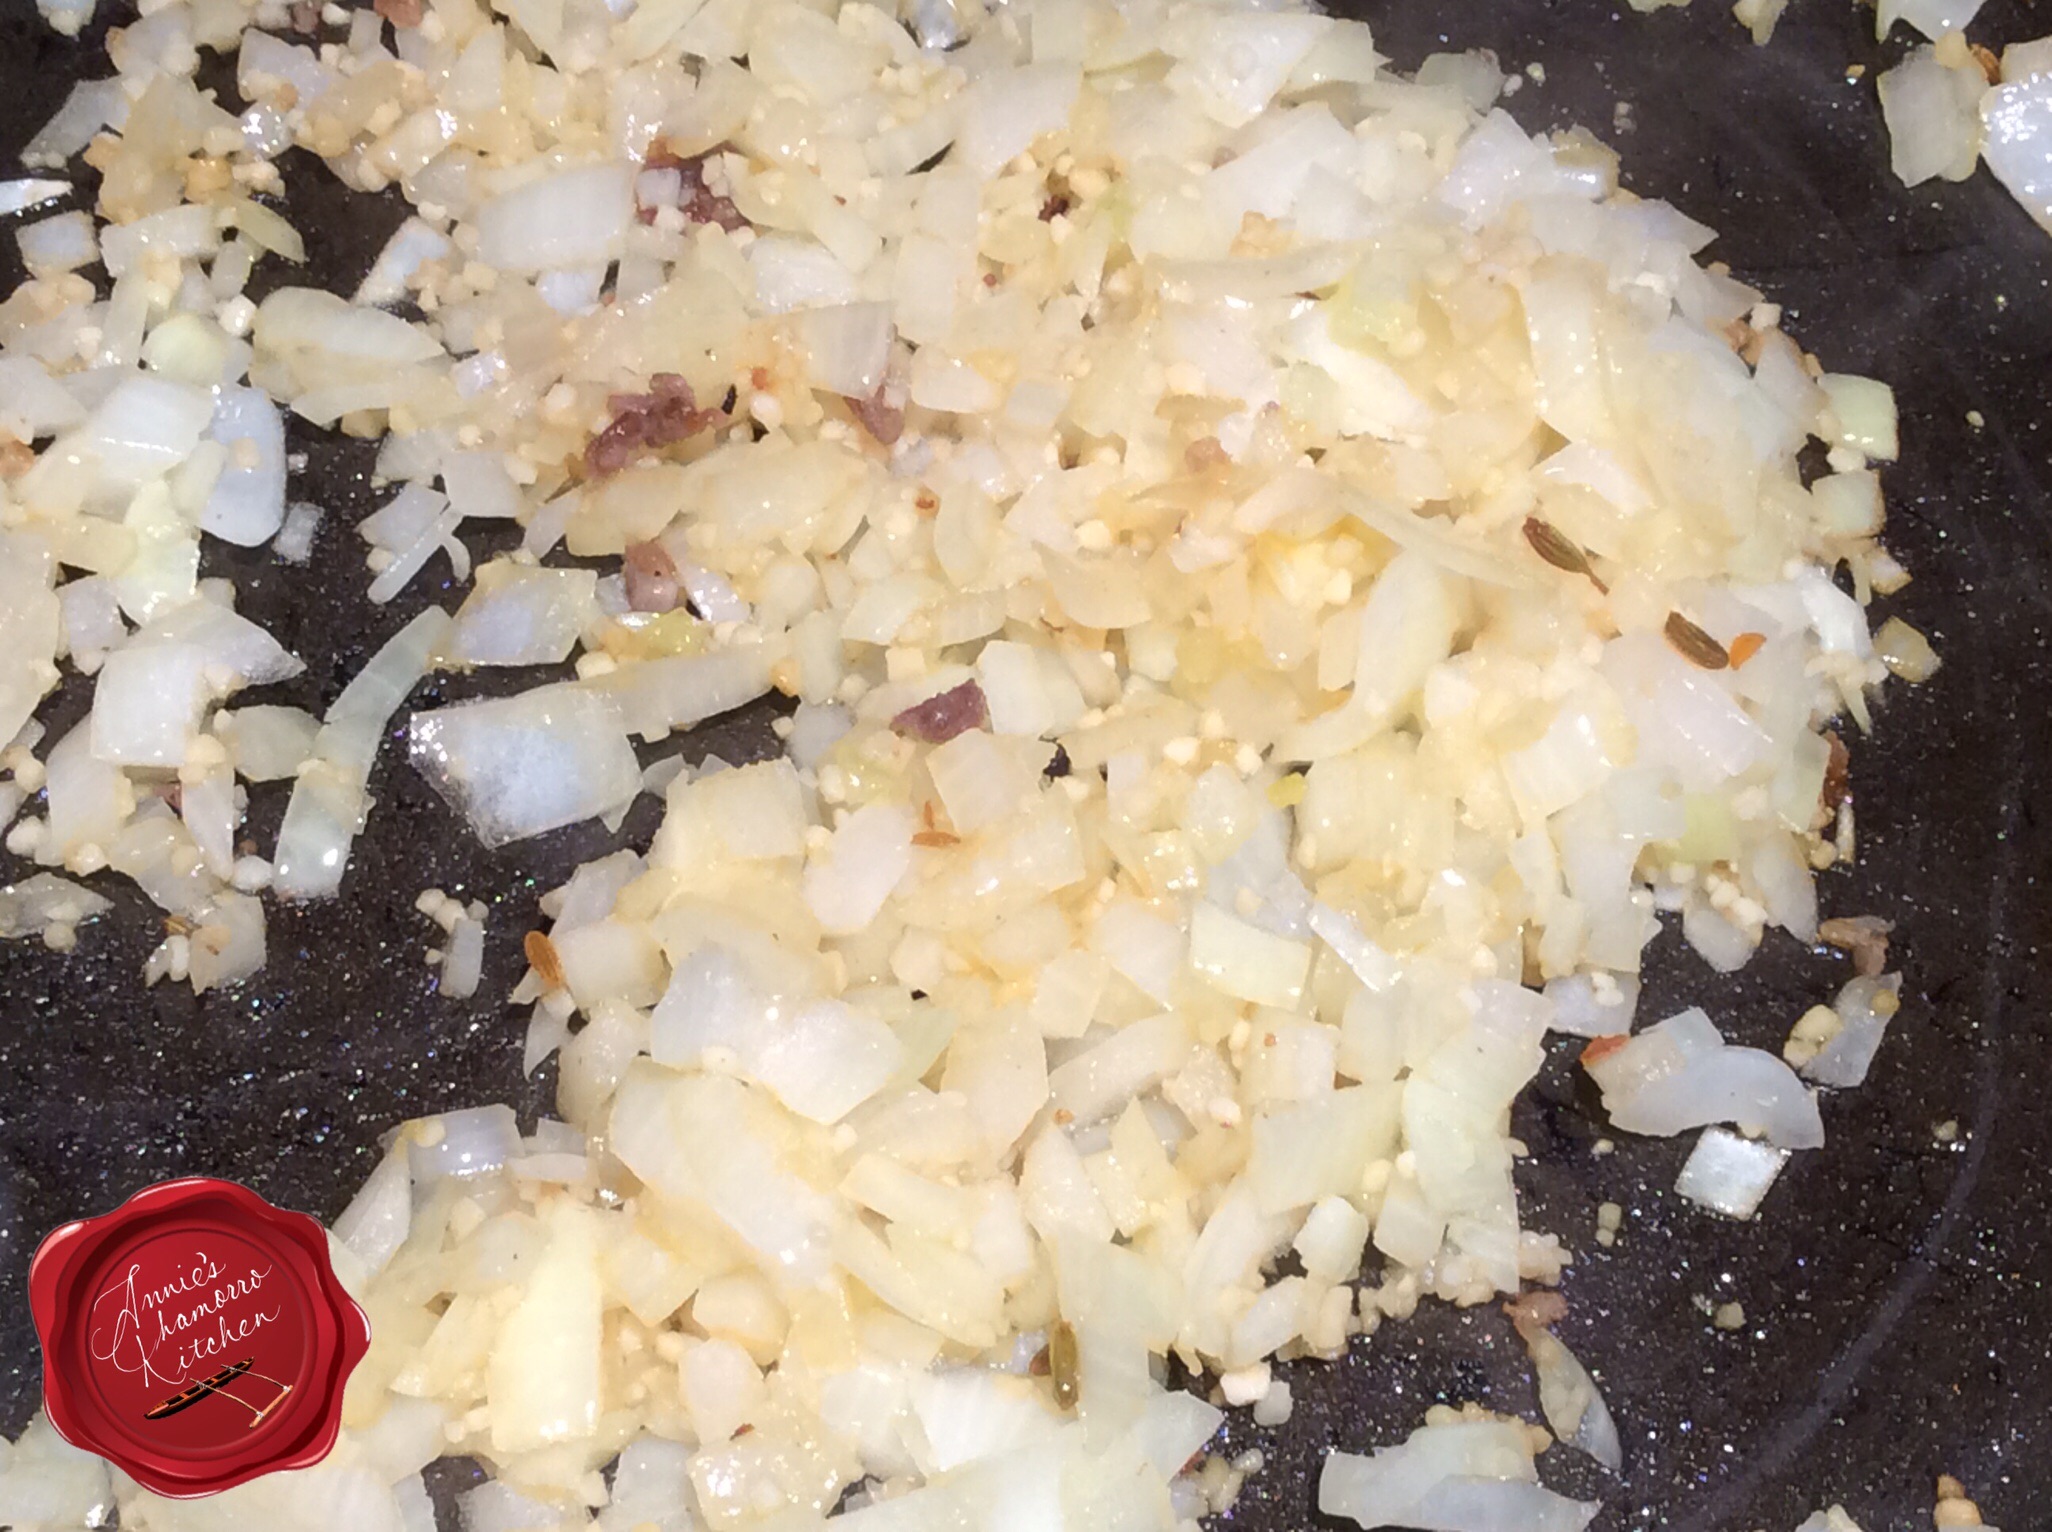
Using the same pan you used to brown the sausage, cook the onions and garlic until the onions are translucent and beginning to caramelize. To save on cooking time, we usually buy a jar of chopped garlic. We like LOTS of garlic, so Hannah added a couple of HEAPING tablespoons of chopped garlic to the pan.
There was enough grease in the pan from cooking the sausage so there is no need to add more oil to cook the onions and garlic.
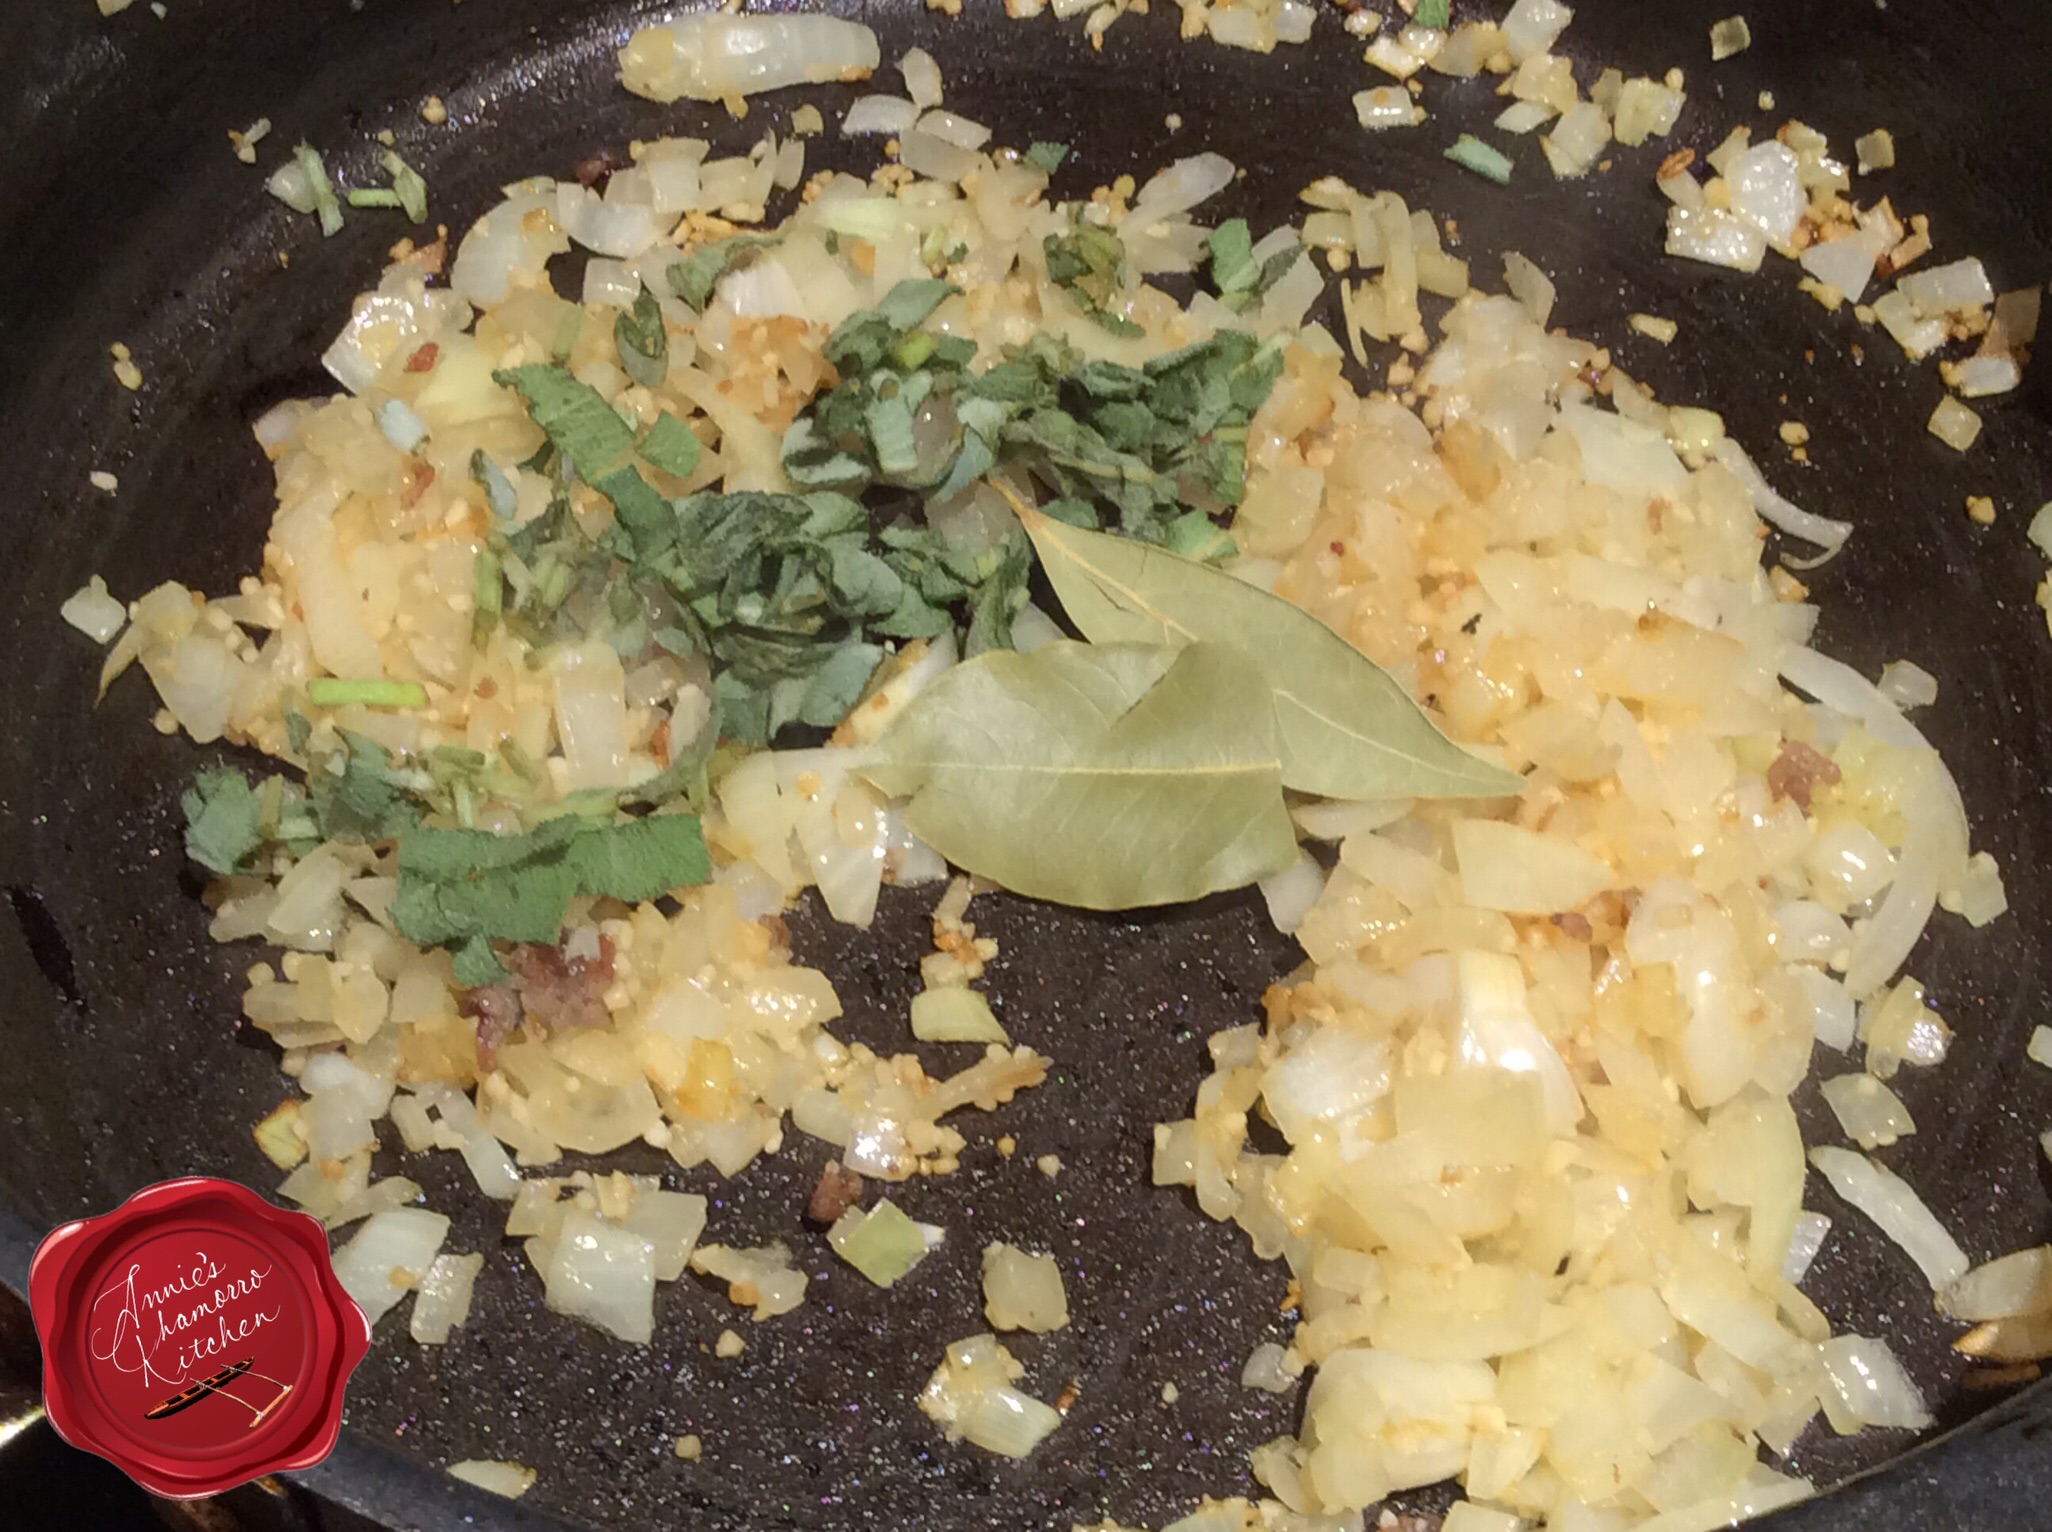
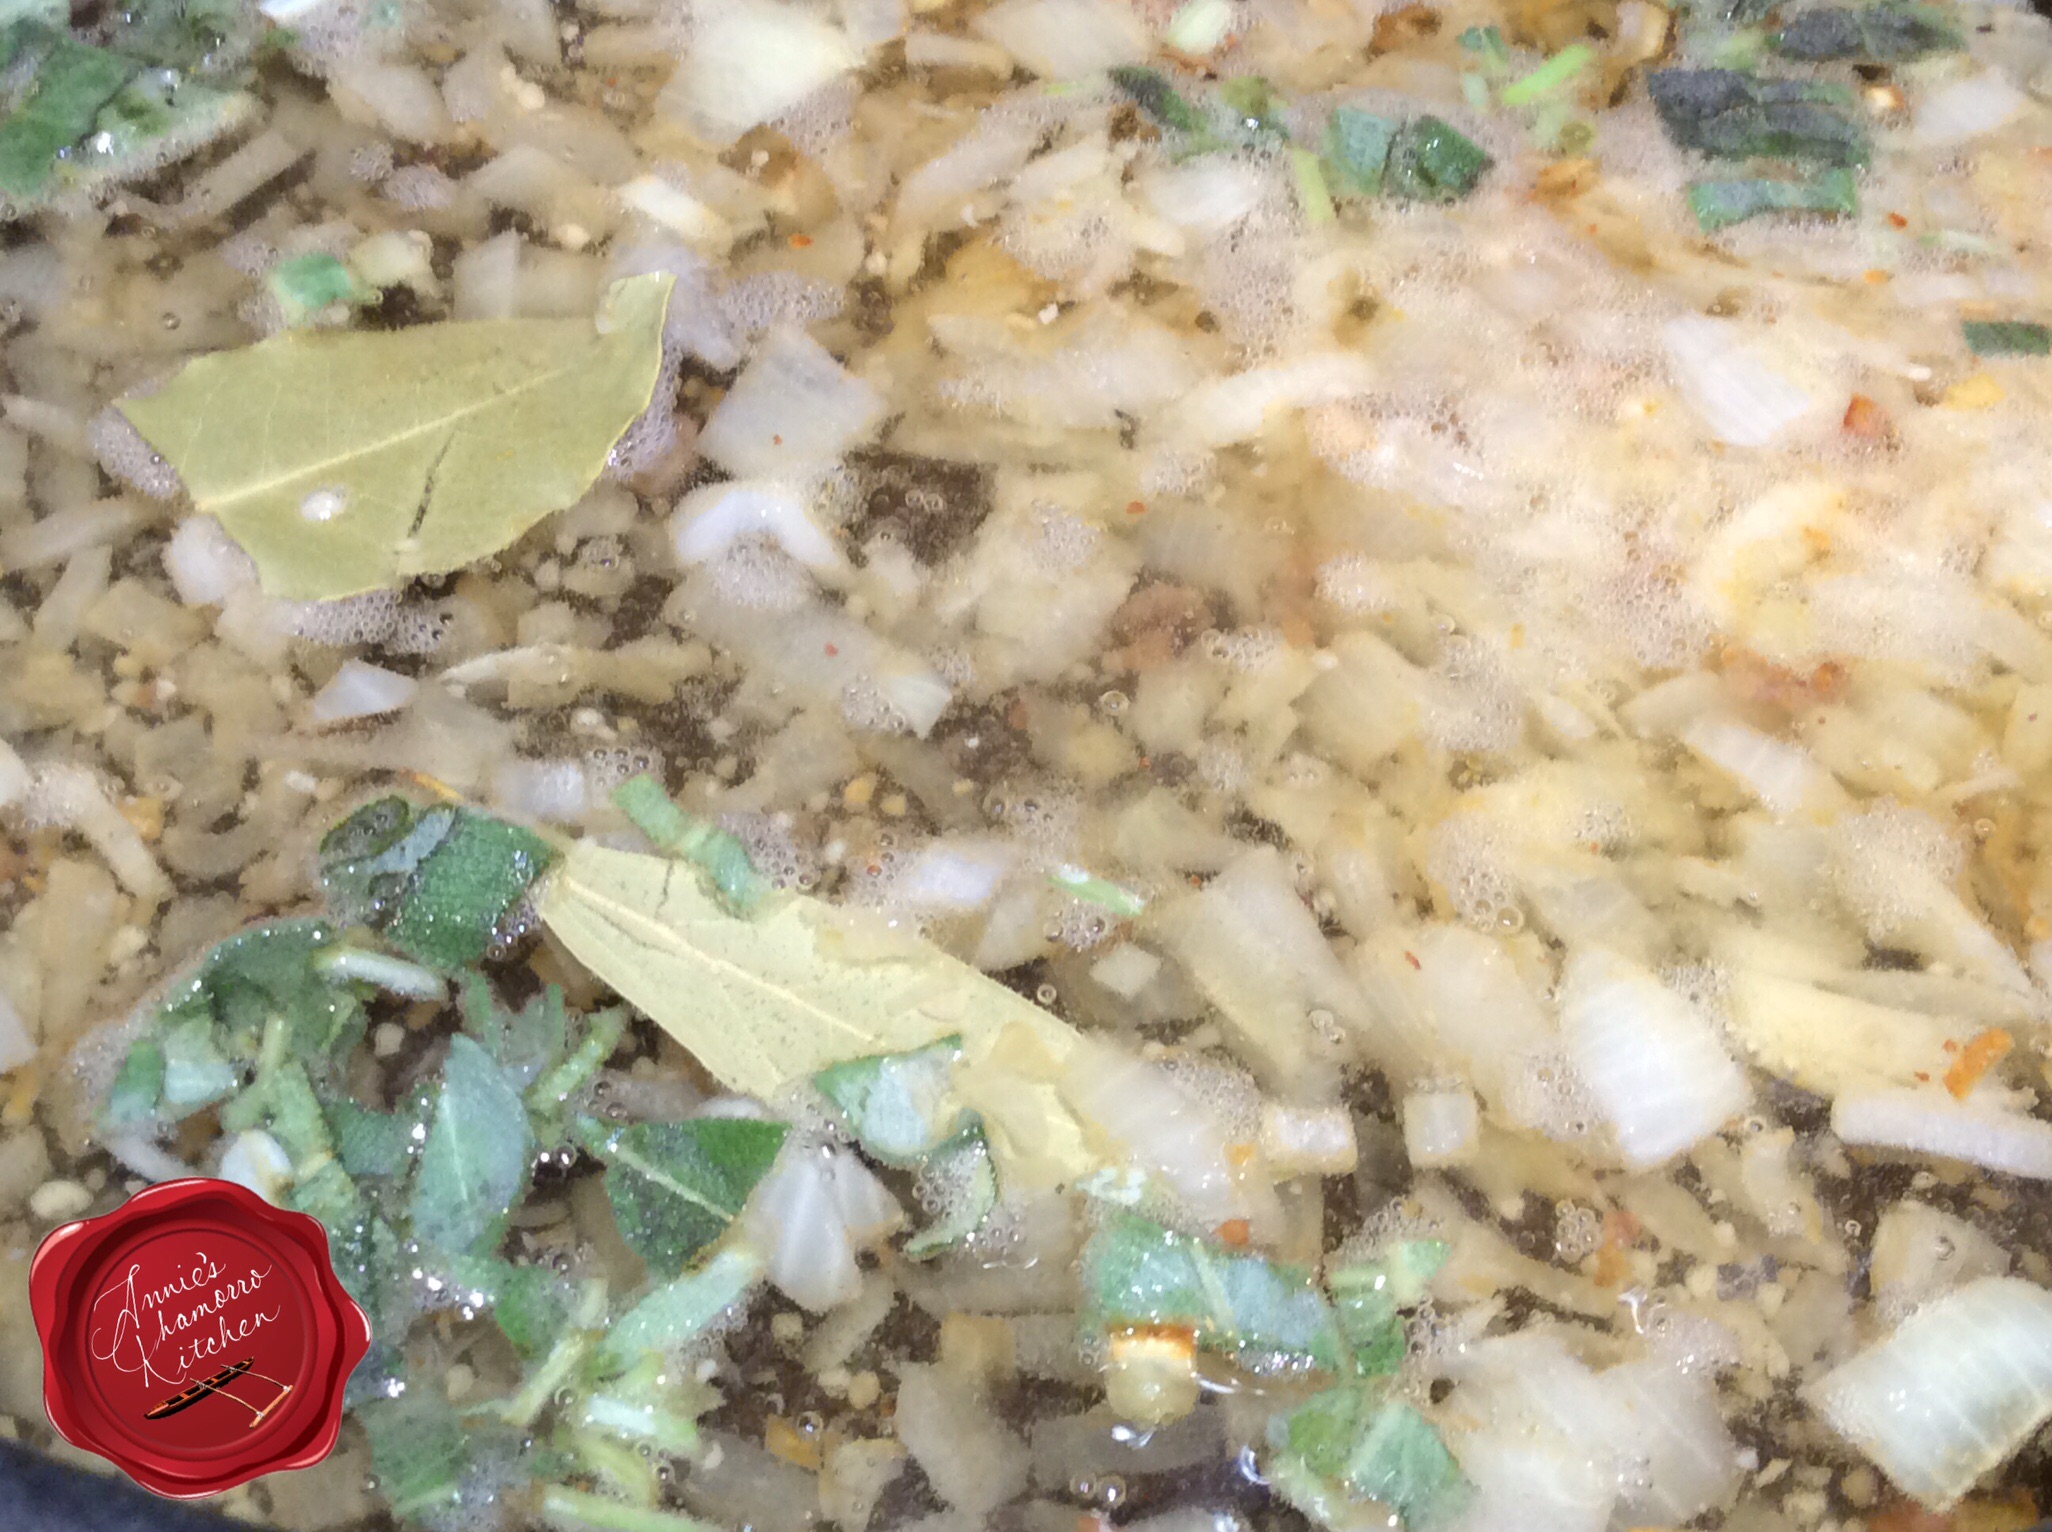
Roughly cut the sage leaves and toss them into the pan.
Bay leaves are savory herbs used often in Italian cooking. The photo below doesn’t look as if she did it, but Hannah slightly crushed the bay leaves before adding them to the pan. Crushing bay leaves brings out more of its natural oils and intense flavors. Be careful that you don’t crush the leaves and maket them too small; you want to remove them from the pan after cooking (don’t eat the leaves).
Add the wine to the pan. Hannah used a Pino Grigio for this recipe. Because my kids are eating this (even though a lot of the alcohol cooks off), I wanted her to use a light-bodied wine with a clean and fresh taste — Pino Grigio was it.
Turn the heat up to high and bring the mixture to a boil, cooking until the wine reduces by half.
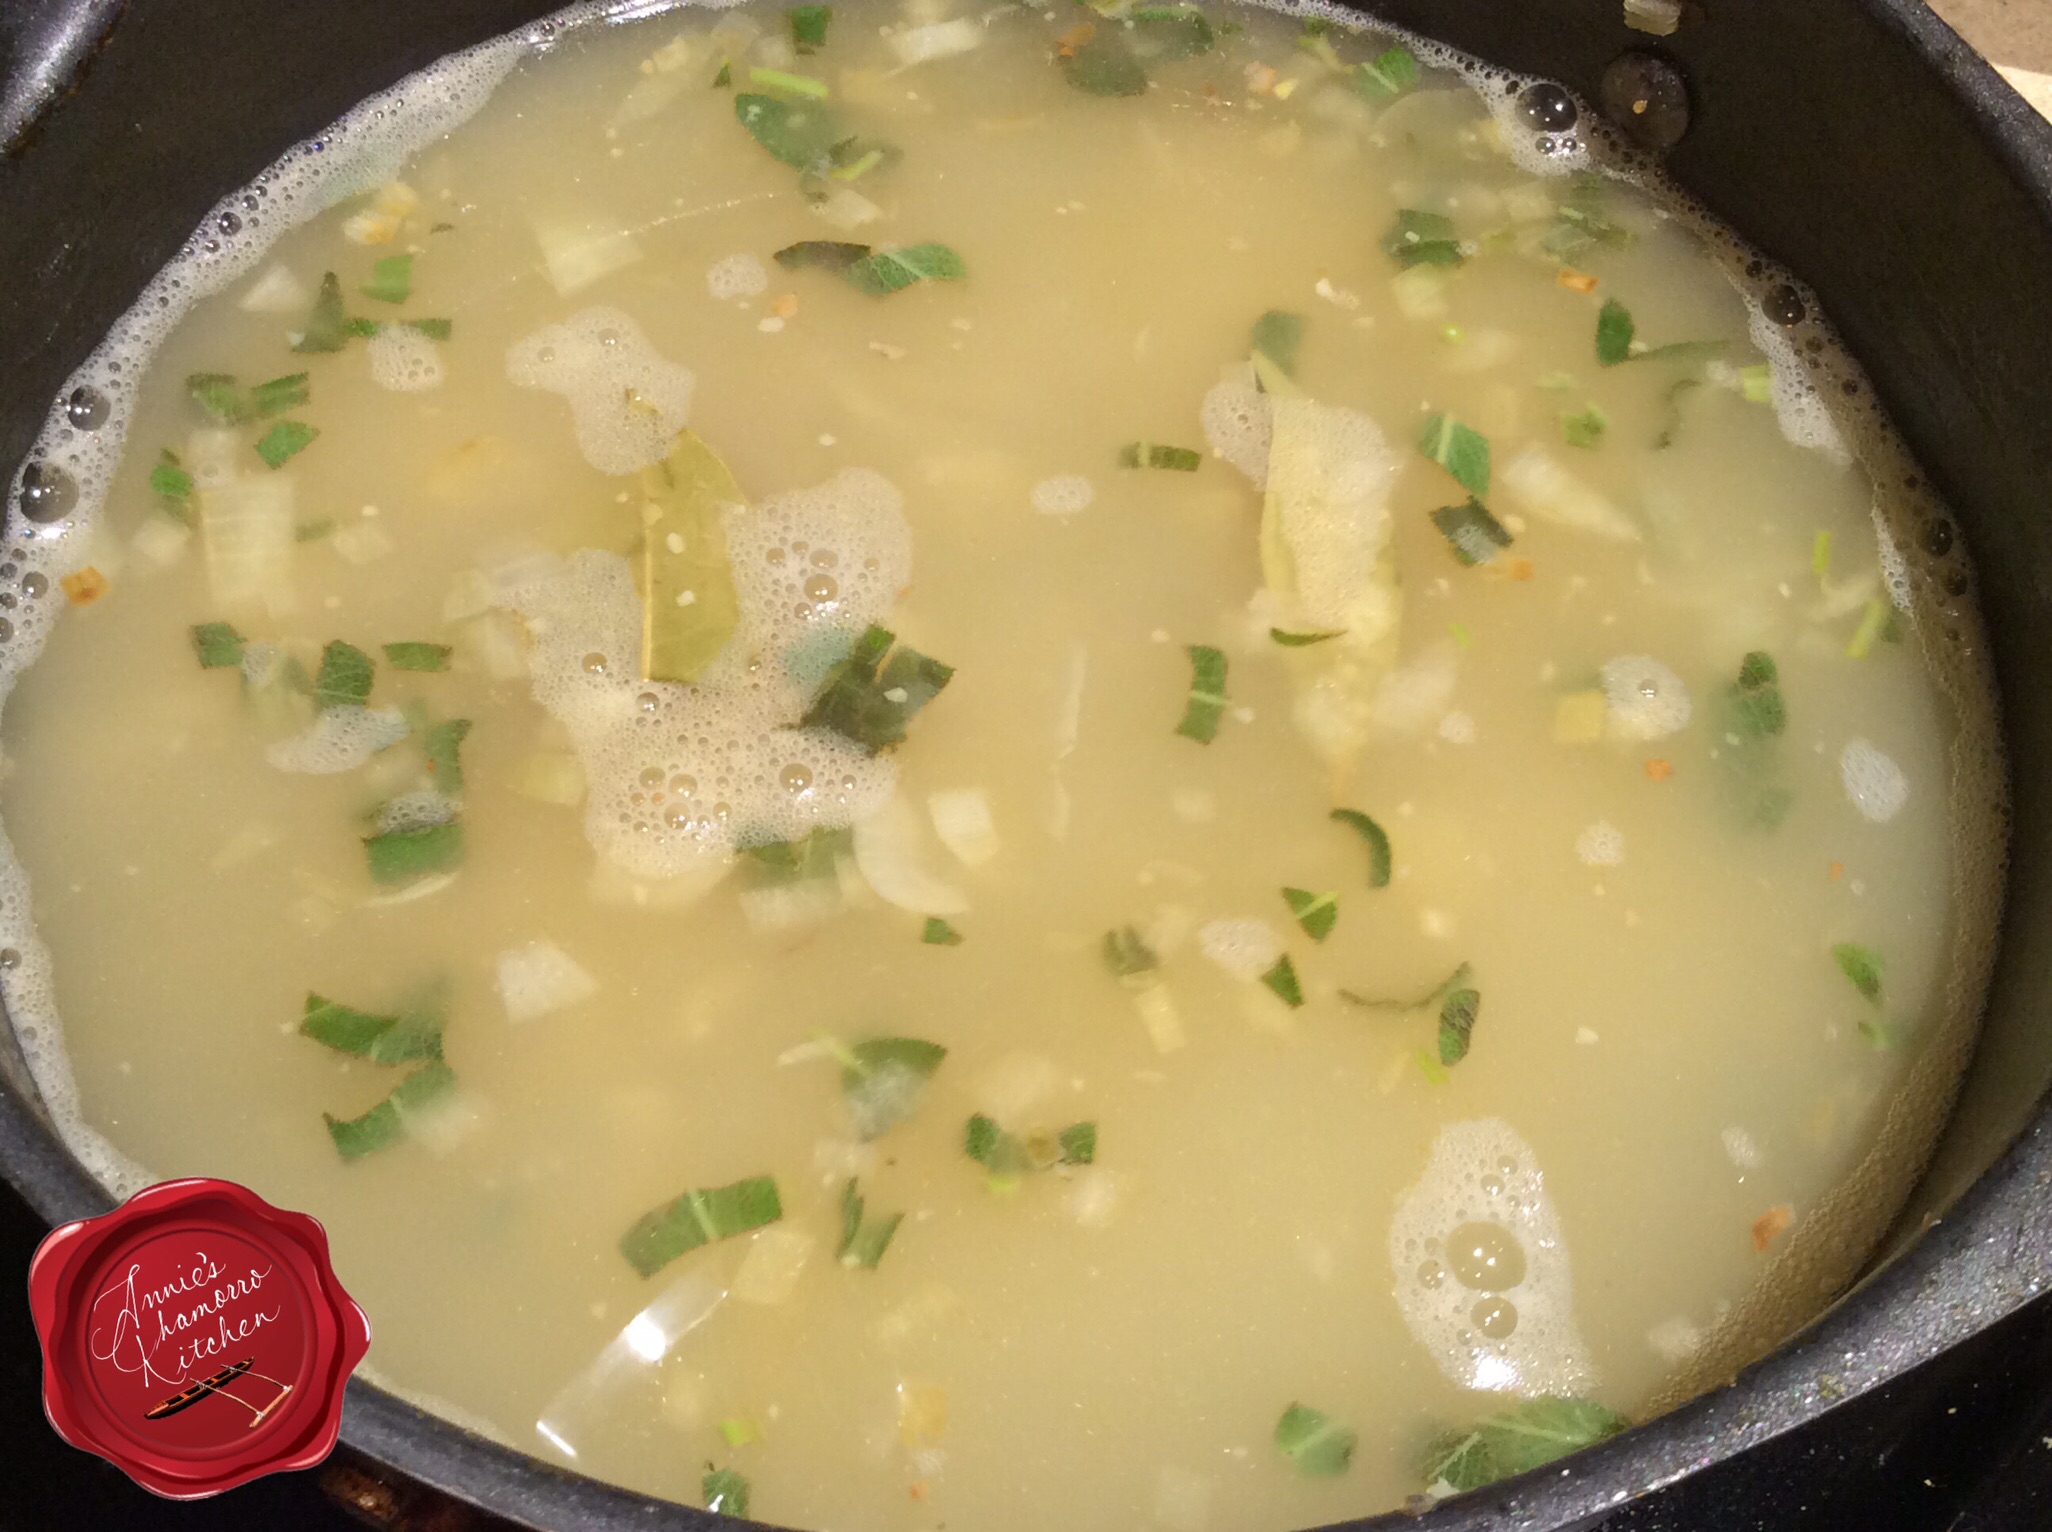
Add the chicken broth to the pan once the wine reduced.
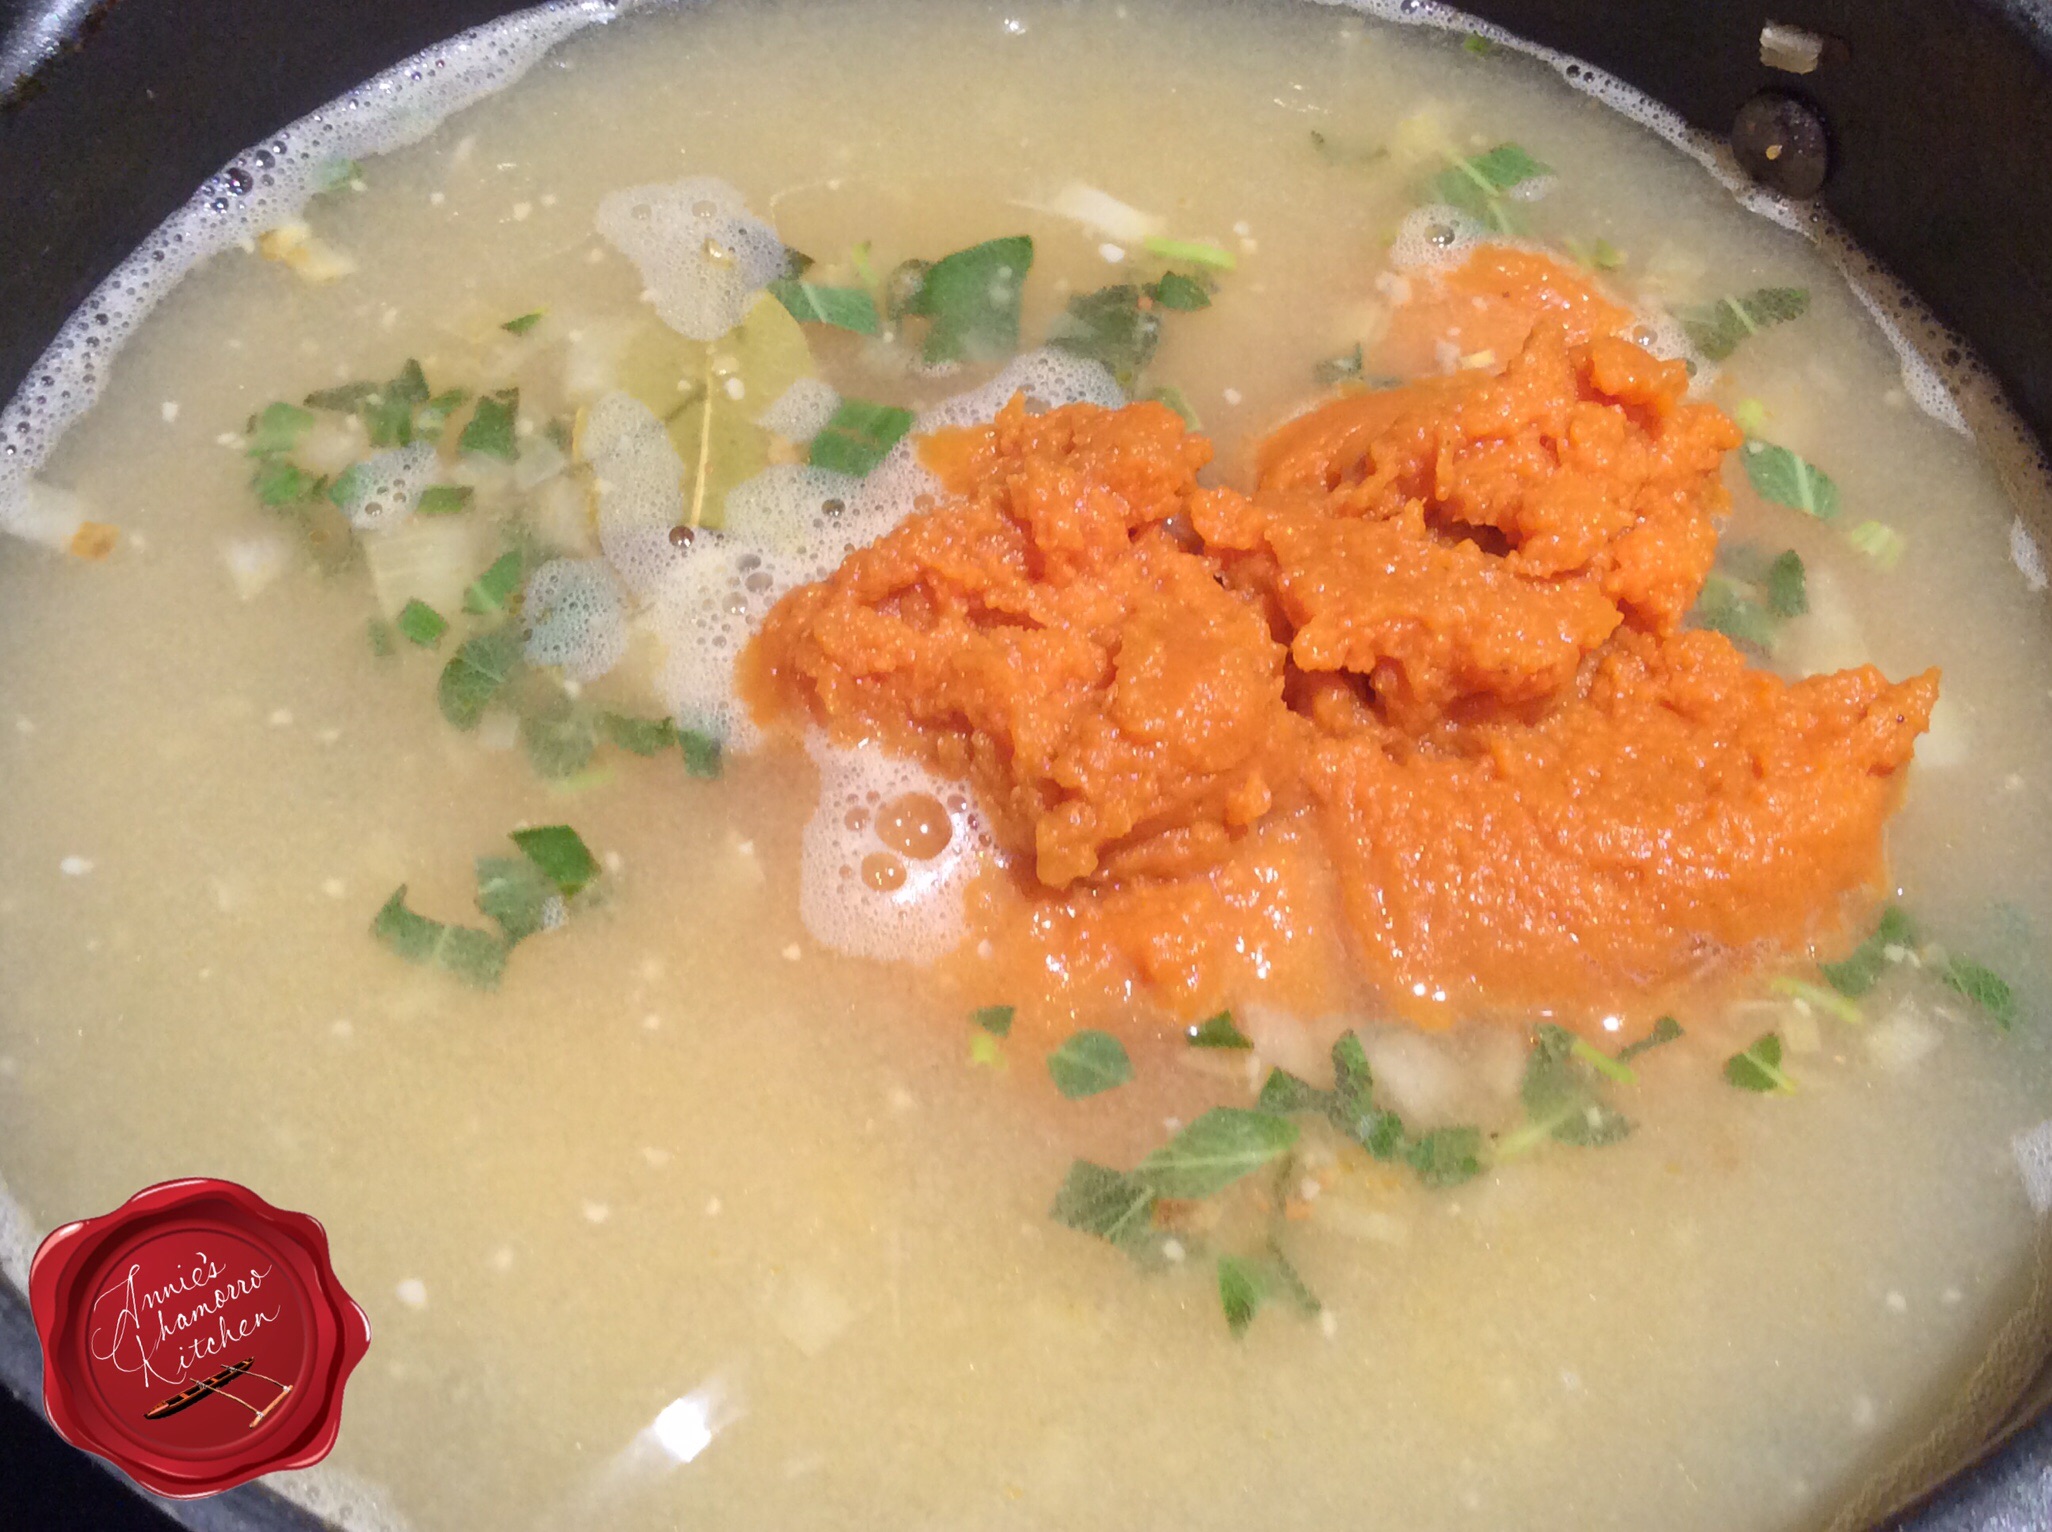
Stir in the pureed pumpkin. Pumpkin in pasta, you ask??? Don’t fret; you won’t even notice the pumpkin is in there. The taste is not overpowering at all, but it’s just enough for you to ask, “hmmm…what IS that that tastes so good?” 😉
Since Hannah made a large pot of pasta, she used a good amount of pumpkin, about 2 cups.
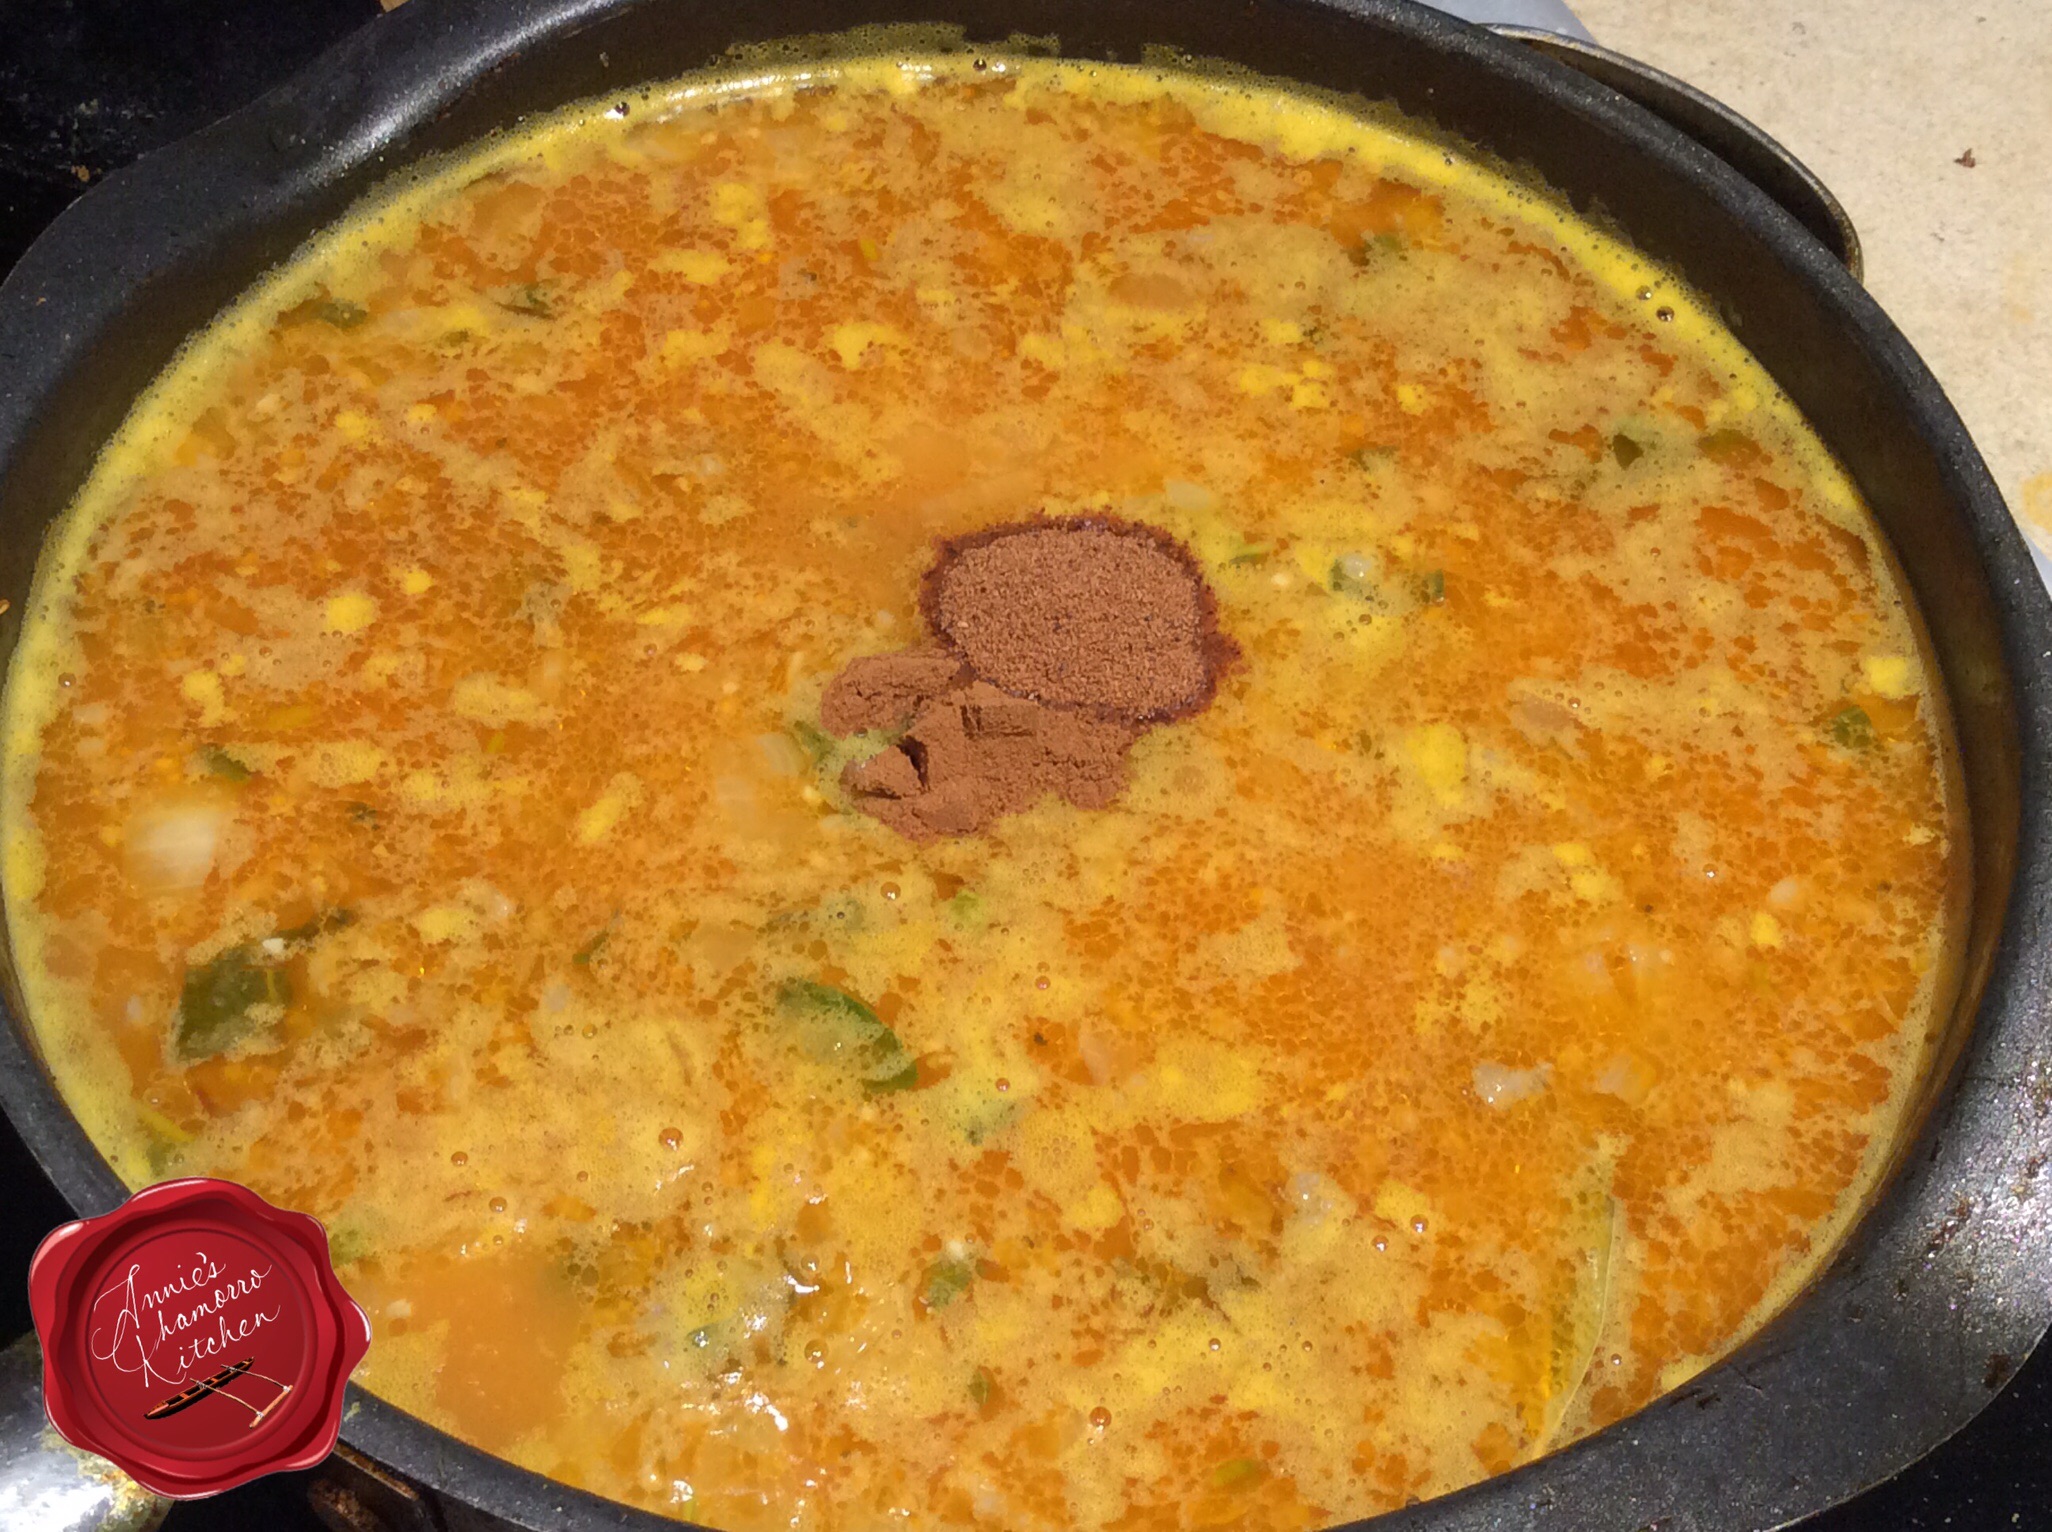
Add the cinnamon and nutmeg to the sauce. The nutmeg and cinnamon compliment the pumpkin flavor quite nicely.
Stir in the heavy whipping cream.
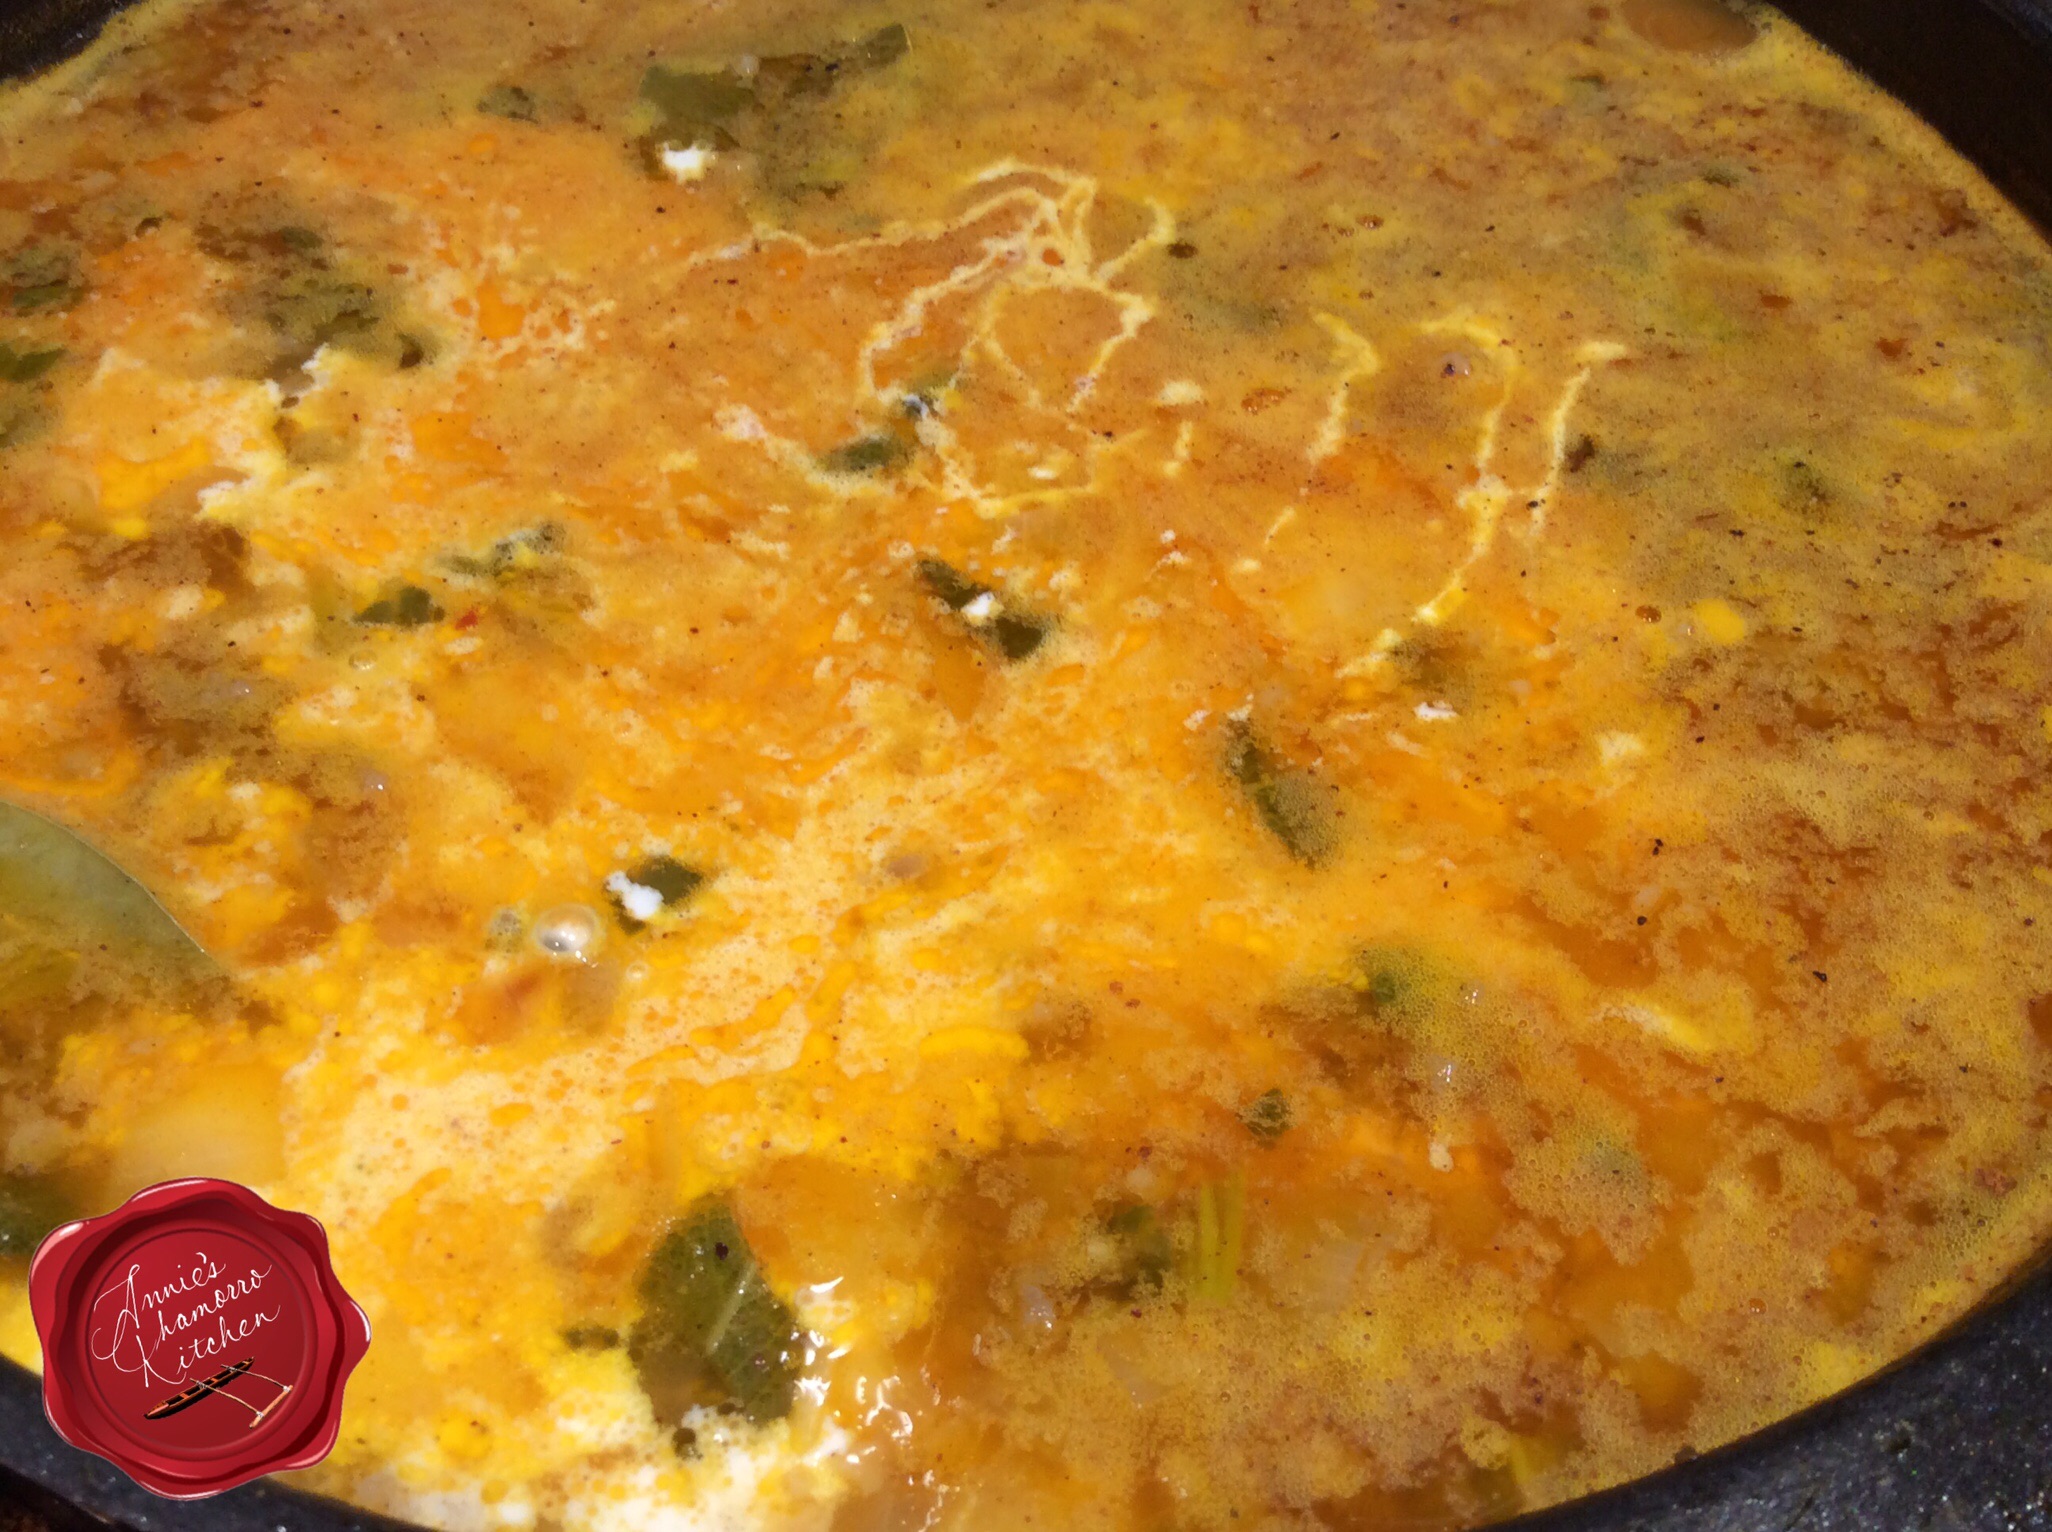
Reduce the heat to medium. Bring the sauce back to a simmer; cook for a few minutes (about 5 or so). Taste the sauce; add salt to taste. Hannah added about 2 tablespoons of Dashida powdered beef seasoning instead of salt. Don’t add too much, however; you’ll be adding cheese to the pasta, which also has salt.

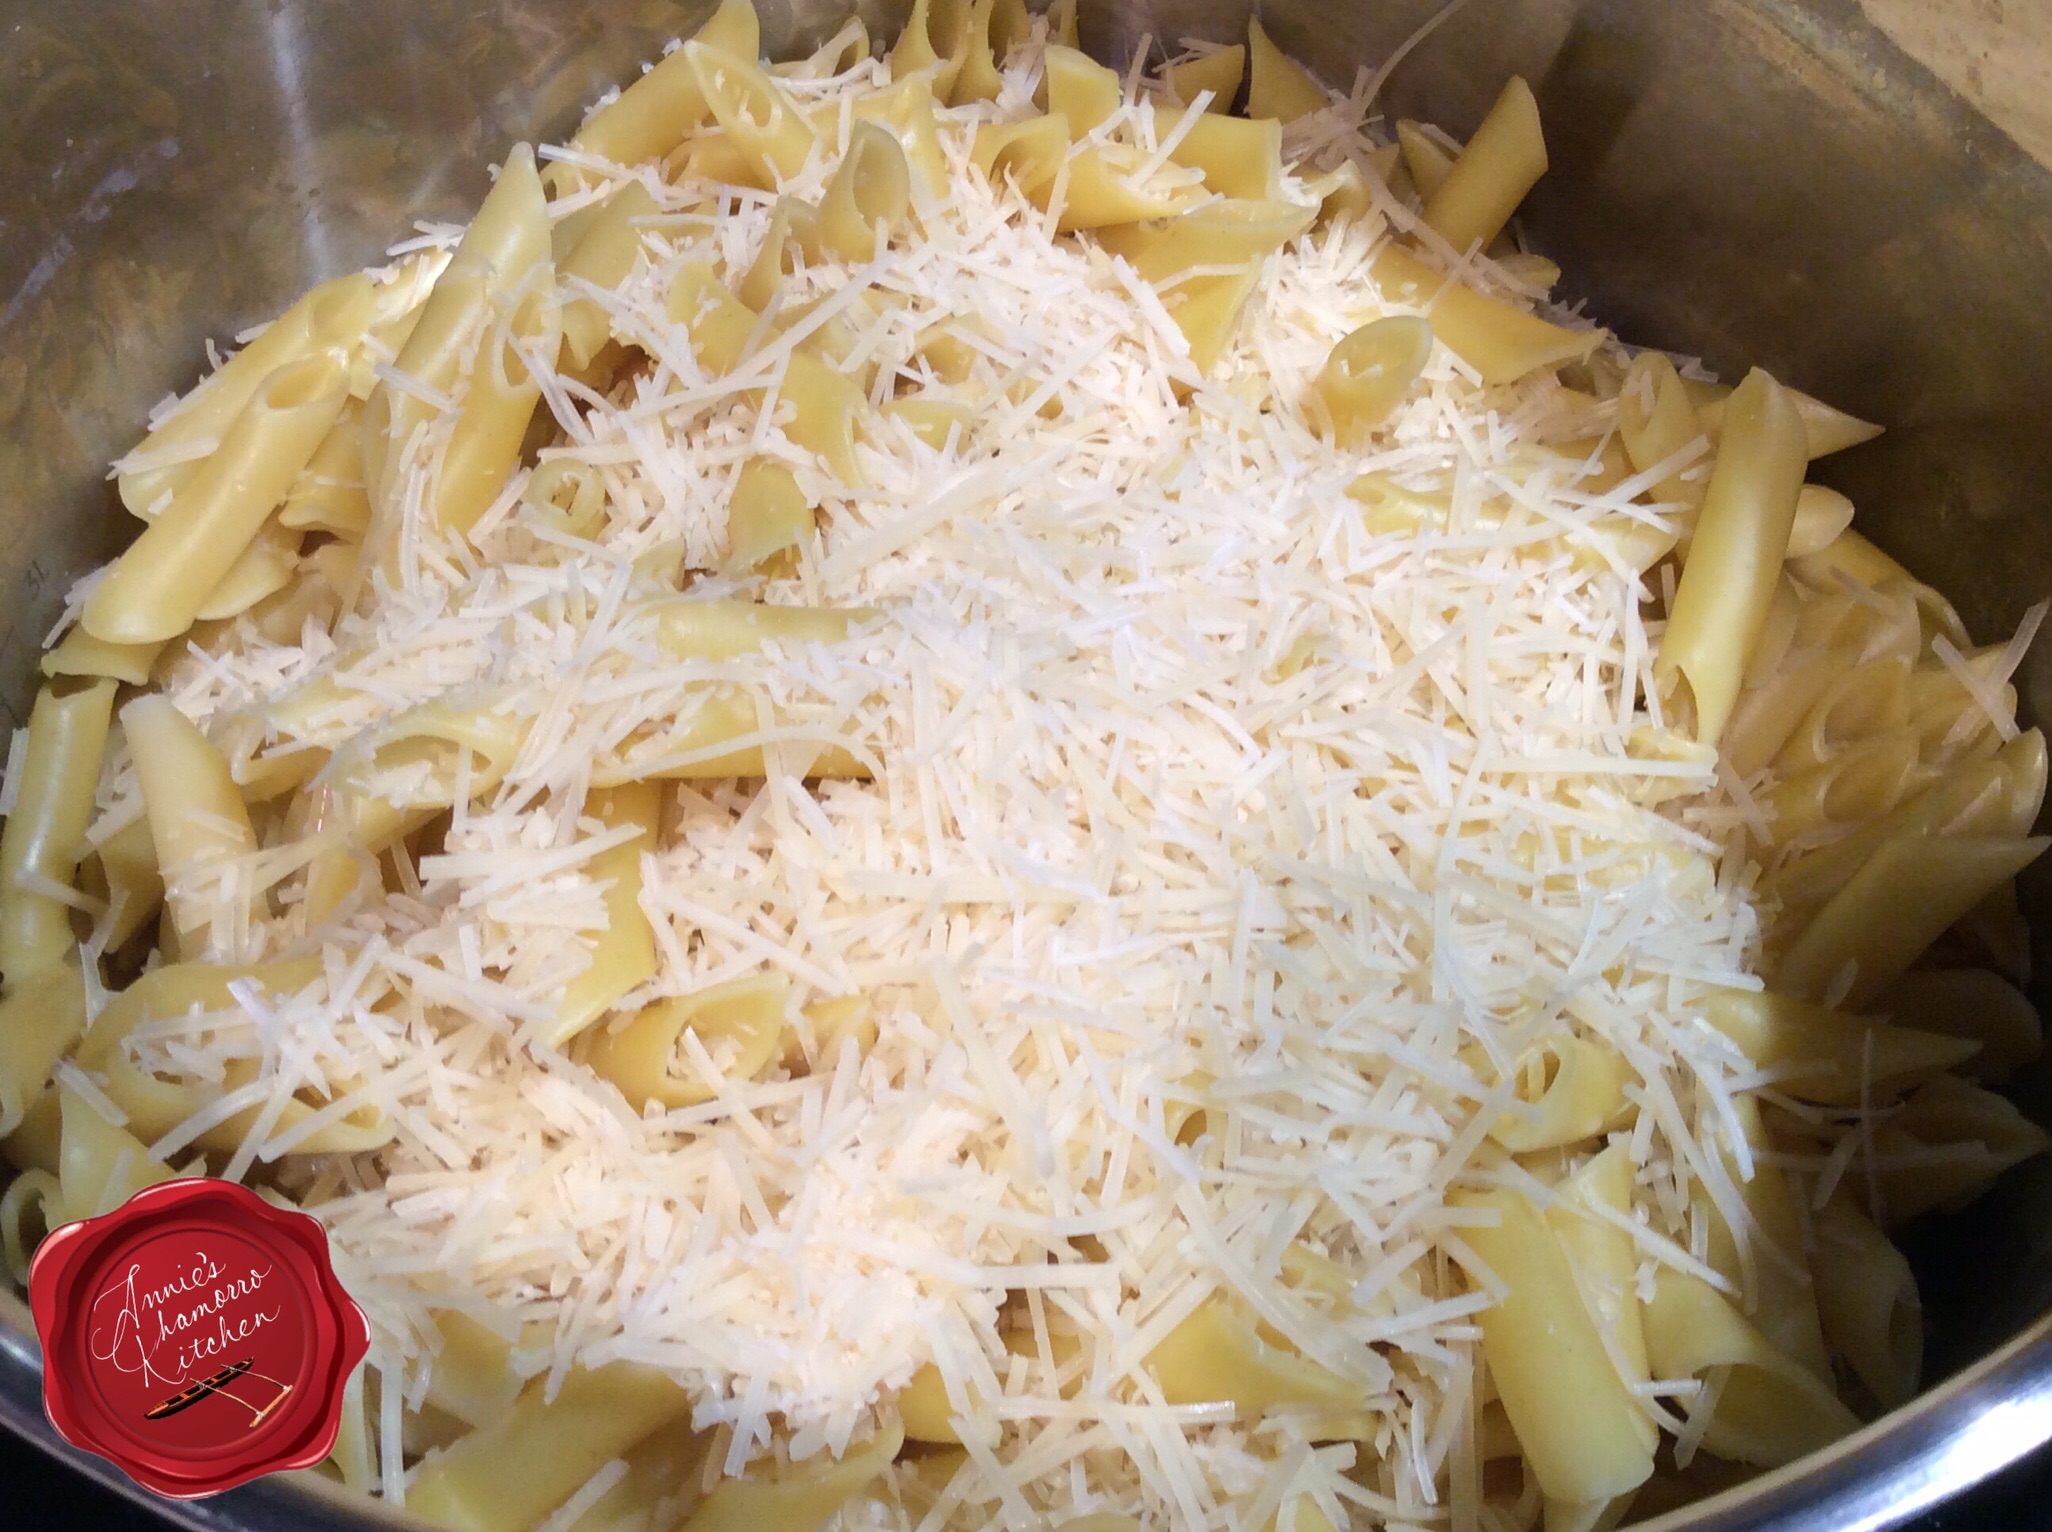
Sprinkle the shredded cheese over the cooked pasta. Hannah used LOTS of cheese here. The cheese will melt when your pour the hot pasta sauce over the noodles, helping to thicken the sauce.
CAREFULLY pour the hot sauce over the pasta and cheese. Stir to combine. It may seem very saucy at this point but the noodles will soak up some of the sauce (we love saucy pastas in our house).
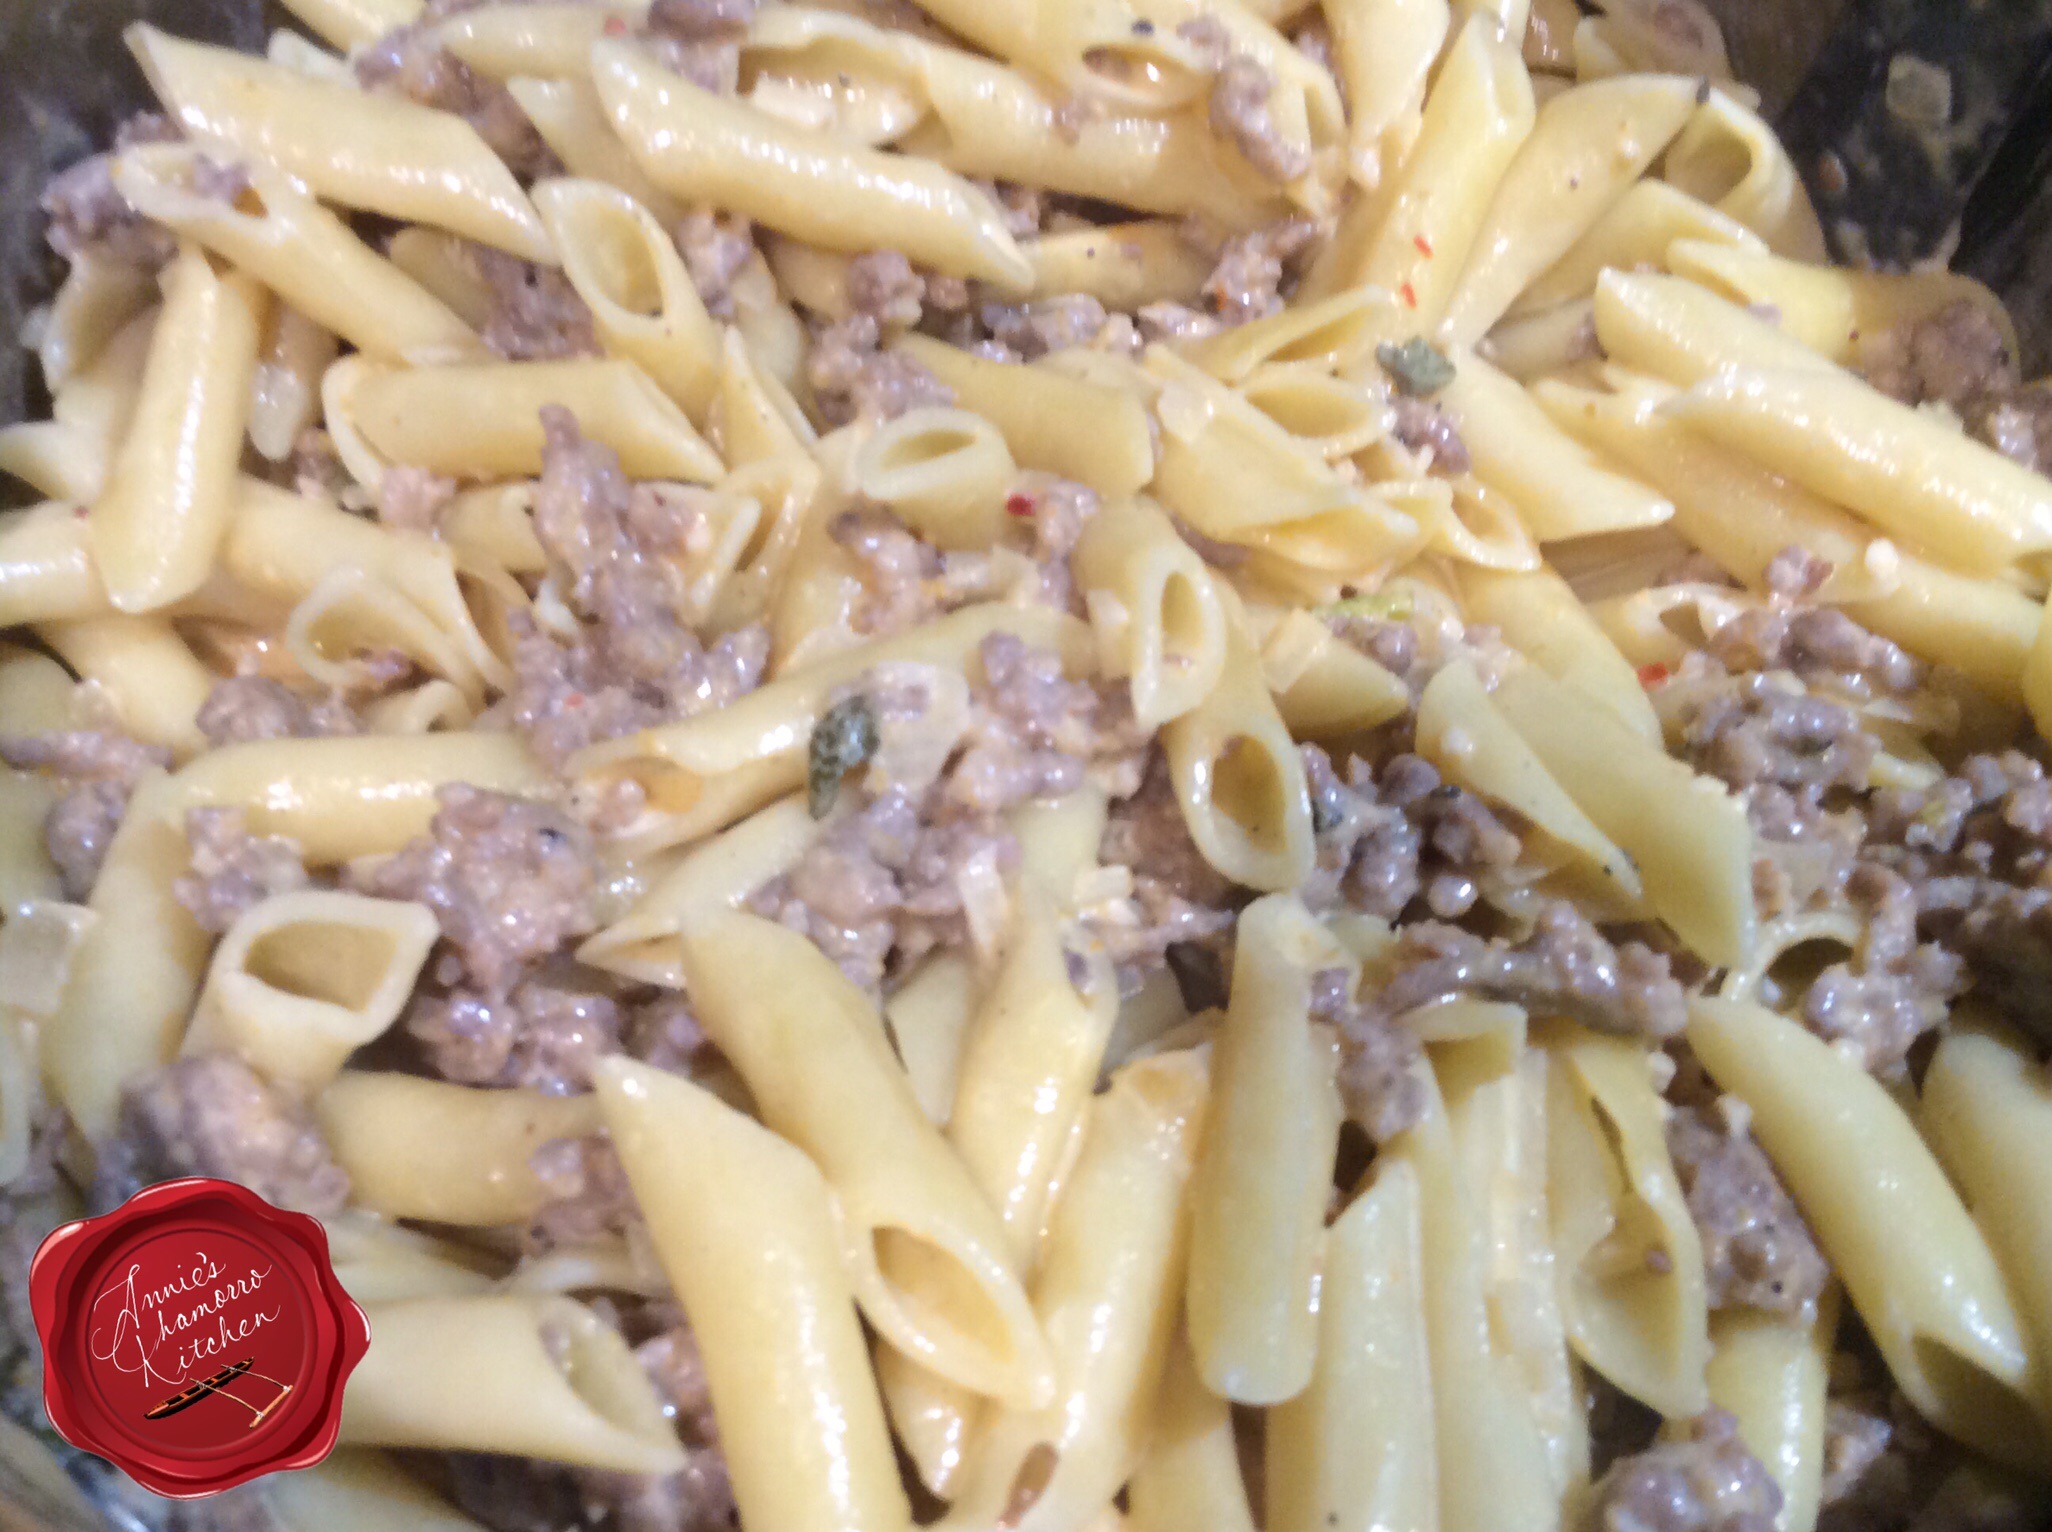
Serve with a side of cheesy garlic bread and more shredded Parmesan cheese and ENJOY! 🙂
- 2 pounds bulk sweet Italian sausage
- 1 medium onion, diced
- 2 tablespoons chopped garlic
- 8 fresh sage leaves, roughly chopped
- 2 bay leaves
- 2 cups white wine
- 2½ cups chicken broth
- 2 cups 100% pure pumpkin
- ½ teaspoon cinnamon
- 1 teaspoon nutmeg
- 1 pint heavy whipping cream
- 2 tablespoons Dashida seasoning
- 1 teaspoon black pepper
- 1 box Penne Pasta, cooked per package directions
- 1½ cups grated Parmesan cheese
- Cook the pasta according to the directions on the package. Pour out the cooked pasta into a colander to drain out all the water. Return the cooked pasta to the now-empty pot. Set aside.
- Brown the sausage in a large frying pan. Remove the cooked sausage from pan; place in a paper towel-lined bowl to allow the excess fat to drain off.
- Cook the onions and garlic in the same pan used to cook the sausage. Cook until the onions begin to caramelize.
- Add the sage and bay leaves. Slightly crush the bay leaves before adding them to the pan.
- Add the wine to the pan. Turn the heat up to high and bring the mixture to a boil, cooking until it reduces by half.
- Stir in the chicken broth, pumpkin, cinnamon and nutmeg. Stir to combine.
- Stir in the whipping cream. Reduce the heat to medium. Bring the sauce back to a simmer; cook for a few minutes (about 5 or so).
- Sprinkle the shredded cheese over the cooked pasta. Pour the sauce over the pasta and cheese. Stir to coat the pasta with the sauce.