Archive for MEALS

Chicken Thighs with Honey Mustard Garlic Wine Sauce

Hafa Adai!  I know, I know…it’s been a while since I added a new recipe.  But this one is worth the wait, trust me.  I made this with skin on, bone in thighs, but you can use boneless, skinless thighs as well, just reduce the cooking time by half. 


I’ll get right to it then.

Mix all the sauce ingredients together then set aside.  You can use any white wine you like to drink. I had just enough moscato leftover from Thanksgiving (leftover moscato…what? 😂) so I used that.

Heat 4 Tbsp oil in a large skillet over medium high heat. (Note: don’t overcrowd the chicken; use two pans if needed.)  Cook the chicken skin side down for 12 minutes (do not turn it while cooking; you want the skin to brown and crisp).  Season the other side of the chicken thighs with salt and black pepper. 

If you’re using boneless, skinless thighs, cook it smooth side down, or what would have been skin side.  Cook for 5-8 minutes or until a nice brown crust has formed on the surface.

After 12 minutes, flip the chicken over. If you have a large enough pan, fit all the chicken into one pan. Otherwise, split the sauce between the two pans.  Cook for 2 minutes over medium high heat then pour in the sauce. 

Turn heat down to medium.  Simmer for 10 minutes or until the sauce has reduced, the alcohol has cooked out, and the thighs are done. 

Spoon the sauce all over the chicken. Serve with rice or potatoes, and/or steamed vegetables. 

Give my recipe a try. I think you’ll like it.

Enjoy!


Chicken Thighs with Honey Mustard Garlic Wine Sauce
 
Prep time
Cook time
Total time
 
Author:
Recipe type: Entree
Cuisine: American
Serves: 5-8
Ingredients
  • 1 pkg (10 pieces thighs with skin and bone)
  • Salt
  • Black pepper
  • 4 tablespoons vegetable oil
    Sauce:
  • ½ cup honey
  • ½ cup stone ground mustard
  • 1 cup white wine
  • 6 cloves garlic, chopped
  • 1 tsp dried thyme
  • 1 tsp dried rosemary
  • ¼ tsp paprika
  • ¼ tsp cayenne pepper
Instructions
  1. Mix all the sauce ingredients together then set aside.
  2. Heat 4 Tbsp oil in a large skillet over medium high heat. (Note: don’t overcrowd the chicken; use two pans if needed.) Cook the chicken skin side down for 12 minutes (do not turn it while cooking; you want the skin to brown and crisp). Season the other side of the chicken thighs with salt and black pepper.
  3. After 12 mins, flip the chicken over (they may all fit in one pan now). Cook for 2 mins over medium high heat then pour in the sauce.
  4. Turn heat down to medium. Simmer for 10 minutes or until the sauce has reduced, the alcohol has cooked out, and the thighs are done.
  5. Spoon sauce all over the chicken. Serve with rice or potatoes, and/or steamed vegetables.


Easy Homemade Chorizos

I made pancakes for my kids’ breakfast this morning, but the hubby and I wanted something heartier. Here’s my version of homemade chorizo. It’s delicious with eggs and rice!

Here’s how it’s done:


Brown the ground beef and drain off excess fat.

Add all the remaining ingredients. Stir to mix well.  Cook an additional 5 minutes.


Add more hot pepper to taste.


Stir to combine.


Serve and enjoy!  I especially love this with hot steamed white rice and a fried egg.


Easy Homemade Chorizos
 
Author:
Ingredients
  • 1 lb ground beef
  • 1 tablespoon onion powder
  • 2 tablespoons garlic powder
  • 1 packet achote powder
  • ¼ teaspoon paprika
  • 1 teaspoon cayenne pepper
  • 1 teaspoon salt
  • 2 tablespoons vinegar (Apple Cider vinegar or white distilled vinegar)
  • ⅓ cup water
  • 1 teaspoon Donne dinanche (crushed pepper), more or less to taste
  • *I also added 1 teaspoon fennel seed, and 1 teaspoon ajinomoto, but this can be omitted.
Instructions
  1. Brown the ground beef and drain off excess fat.
  2. Add all the remaining ingredients. Stir to mix well.
  3. Serve and enjoy!


Shrimp Pasta in Sundried Tomato Cream Sauce

Hafa adai, everyone!  It’s been quite a while since I added a new recipe.  What can I say?  Life happens. 🙂  Let’s see…since my last post, I retired from the Army (after 23 years and some change), my oldest graduated from high school and went off to college, my youngest started high school and is a budding artist, I got a new full-time job as a defense contractor, and I’ve re-discovered an old passion for knitting and crocheting.  See–my creativity doesn’t just reside in the kitchen. 😀

Despite all that, I’ve been accumulating a lot of recipes to share, so be on the lookout for new posts.  This is the first of many new favorites that I’m sure you’ll enjoy as much as my family does.

Let’s get to it then, shall we?

As you probably know from some of my other recipes, my family loves pasta.  This is a super easy dish to make.  While we love traditional spaghetti sauce, I love making a sauce using cream, sun-dried tomatoes, and Parmesan cheese.  You can add a variety of other ingredients such as mushrooms, basil, and spinach leaves to take it to a whole new level.  The possibilities are only limited by your imagination.

I added baby portobello mushrooms, basil paste and fresh spinach leaves to this recipe.  See below for the type of sun-dried tomatoes I used.  I use the ones packed in oil.  I use the flavored oil to saute the mushrooms, which enhances the flavor of the whole dish.

If you’re a follower of my recipes, you know one of my signature ingredients is a powdered beef seasoning called Dashida.  You can find this any Korean market (or most Asian markets).  If you can’t find Dashida, use beef bouillon, or add salt to taste.

Start by slicing the mushrooms. Set them aside for now.

In a LARGE skillet over medium high heat, saute the shrimp with the seasonings (see my full recipe below).  I use a 17-inch skillet; if you don’t have one this large, you may want to use a large pot as we make the sauce and add the pasta and shrimp all together midway through.

Set a pot of water to boil while you prepare the shrimp. When the water is boiling, add the pasta to the pot (you can a couple of teaspoons of salt to the water as well). Only cook the pasta partway, about half the recommended cooking time suggested on the package.  The pasta will finish cooking in the sauce later, so you want to make sure you don’t overcook it now.

Cook the shrimp for about 5 minutes, stirring to ensure even cooking on both sides.  Remove the shrimp from the pan and set them aside for now.

To the same pan, add the mushrooms and some of the oil from the sun-dried tomatoes.

Cook the mushrooms until they reduce in volume, then add the sun-dried tomatoes to the pan.  Cook for another 2 minutes or so.

Add the remaining seasonings to the pan as well as the heavy cream.

Add the grated cheese to the pan.  Stir to combine all the ingredients.

The pasta should be ready by now.  Drain the pasta then add it to the sauce.

Add the basil paste and spinach leaves to the sauce.

Stir to combine all the ingredients.  The heat up to medium high; cook for a few more minutes, just until the pasta is done.  Look how good it looks already, and we haven’t even added the shrimp back in yet. 😀

Add the shrimp and any liquid that may have accumulated in the dish back to the pan.

Stir to get all that delicious shrimp mixed in.  Cook for a minute or two to reheat the shrimp.  Oh my….are you drooling yet?

Serve and enjoy!!


<span class="mceItemHidden" data-mce-bogus="1"><span></span>Shrimp Pasta in Sundried Tomato Cream Sauce</span>
 
Author:
Ingredients
For the Shrimp:
  • 2 pounds shrimp, shelled and deveined
  • 1 teaspoon Dashida
  • 1 teaspoon garlic powder
  • 1 teaspoon onion powder
  • 1 teaspoon paprika
  • 1 teaspoon Italian seasoning
  • 1 teaspoon black pepper
For the Sauce:
  • 8 oz. baby portobello mushrooms, sliced
  • 8.5 oz. sun-dried tomatoes in oil, chopped
  • ¼ cup oil from the sundried tomatoes
  • 1 Tablespoon garlic powder
  • 1 teaspoon Italian seasoning
  • 1 Tablespoon Dashida beef seasoning (you can sub with salt, to taste)
  • 2 pints heavy whipping cream
  • 8 oz. grated Parmesan cheese
  • 2 Tablespoons basil paste
  • 5 cups baby spinach leaves
Pasta:
  • 1 pound box uncooked penne pasta
Instructions
Cook the Shrimp:
  1. In a large skillet, saute the shrimp with seasonings.
  2. Cook over medium high heat for 5 minutes. Remove from the pan and set aside.
Cook the Pasta:
  1. Place a pot of water to boil according to the instructions on the box of pasta.
  2. Cook the pasta for half of the recommended cooking time. The pasta will finish cooking in the sauce.
Make the Sauce:
  1. Turn the heat to medium high.
  2. Add the mushrooms and sun-dried tomato oil to the same pan used to cook the shrimp. Cook until the mushrooms soften and reduce in volume.
  3. Add the chopped sundried tomatoes. Cook an additional 2 minutes.
  4. Add the remaining seasonings to the pan; stir to combine.
  5. Pour in the heavy whipping cream.
  6. Stir in the grated Parmesan cheese.
  7. Reduce the heat to medium low.
Finishing:
  1. Add the partially-cooked pasta to the sauce.
  2. Turn the heat back up to medium-high. Cook for a few more minutes, just until the pasta is done.
  3. Add the basil paste and spinach leaves to the pan. Stir to combine.
  4. Add the cooked shrimp to the pan. Stir to combine. Cook for 1-2 minutes to reheat the shrimp.
Serve and enjoy!


Crepes

Life is short…have dessert for breakfast.  😀

Okay, this is not really a dessert, but it could be.  In fact, crepes are one of those versatile foods that can be sweet OR savory (cheese, mushroom, spinach, and chicken crepes are a favorite!).

My family loves fruit-filled crepes with a sweet cream filling.  We have it for breakfast, as snacks, and they’re a special treat for dessert.

image

My youngest loves filling hers with Nutella and strawberries, but add some sliced bananas (oooh, and maybe some peanut butter too) for an Oh-My-Goodness flavor experience!

image

These crepes and tender and sweet all on their own, and do not taste eggy like the ones served in some restaurants.

Speaking of restaurants, I used to think that crepes were an indulgence we could only have at those popular breakfast restaurants.  Not anymore.  Crepes are really quite simple to make.

image

Have I tempted you enough to make some for yourself?  No?  How about now? 😀

image

So what are you waiting for?  Head into that kitchen and get started.  Here’s how to make it.  (If you’re new to my blog, you will always find my complete recipe at the bottom of my post.)

For the batter, you’ll need the same basic ingredients you use to make pancakes — eggs, sugar, butter, milk, and flour.  I also add a pinch of salt and vanilla extract my batter.

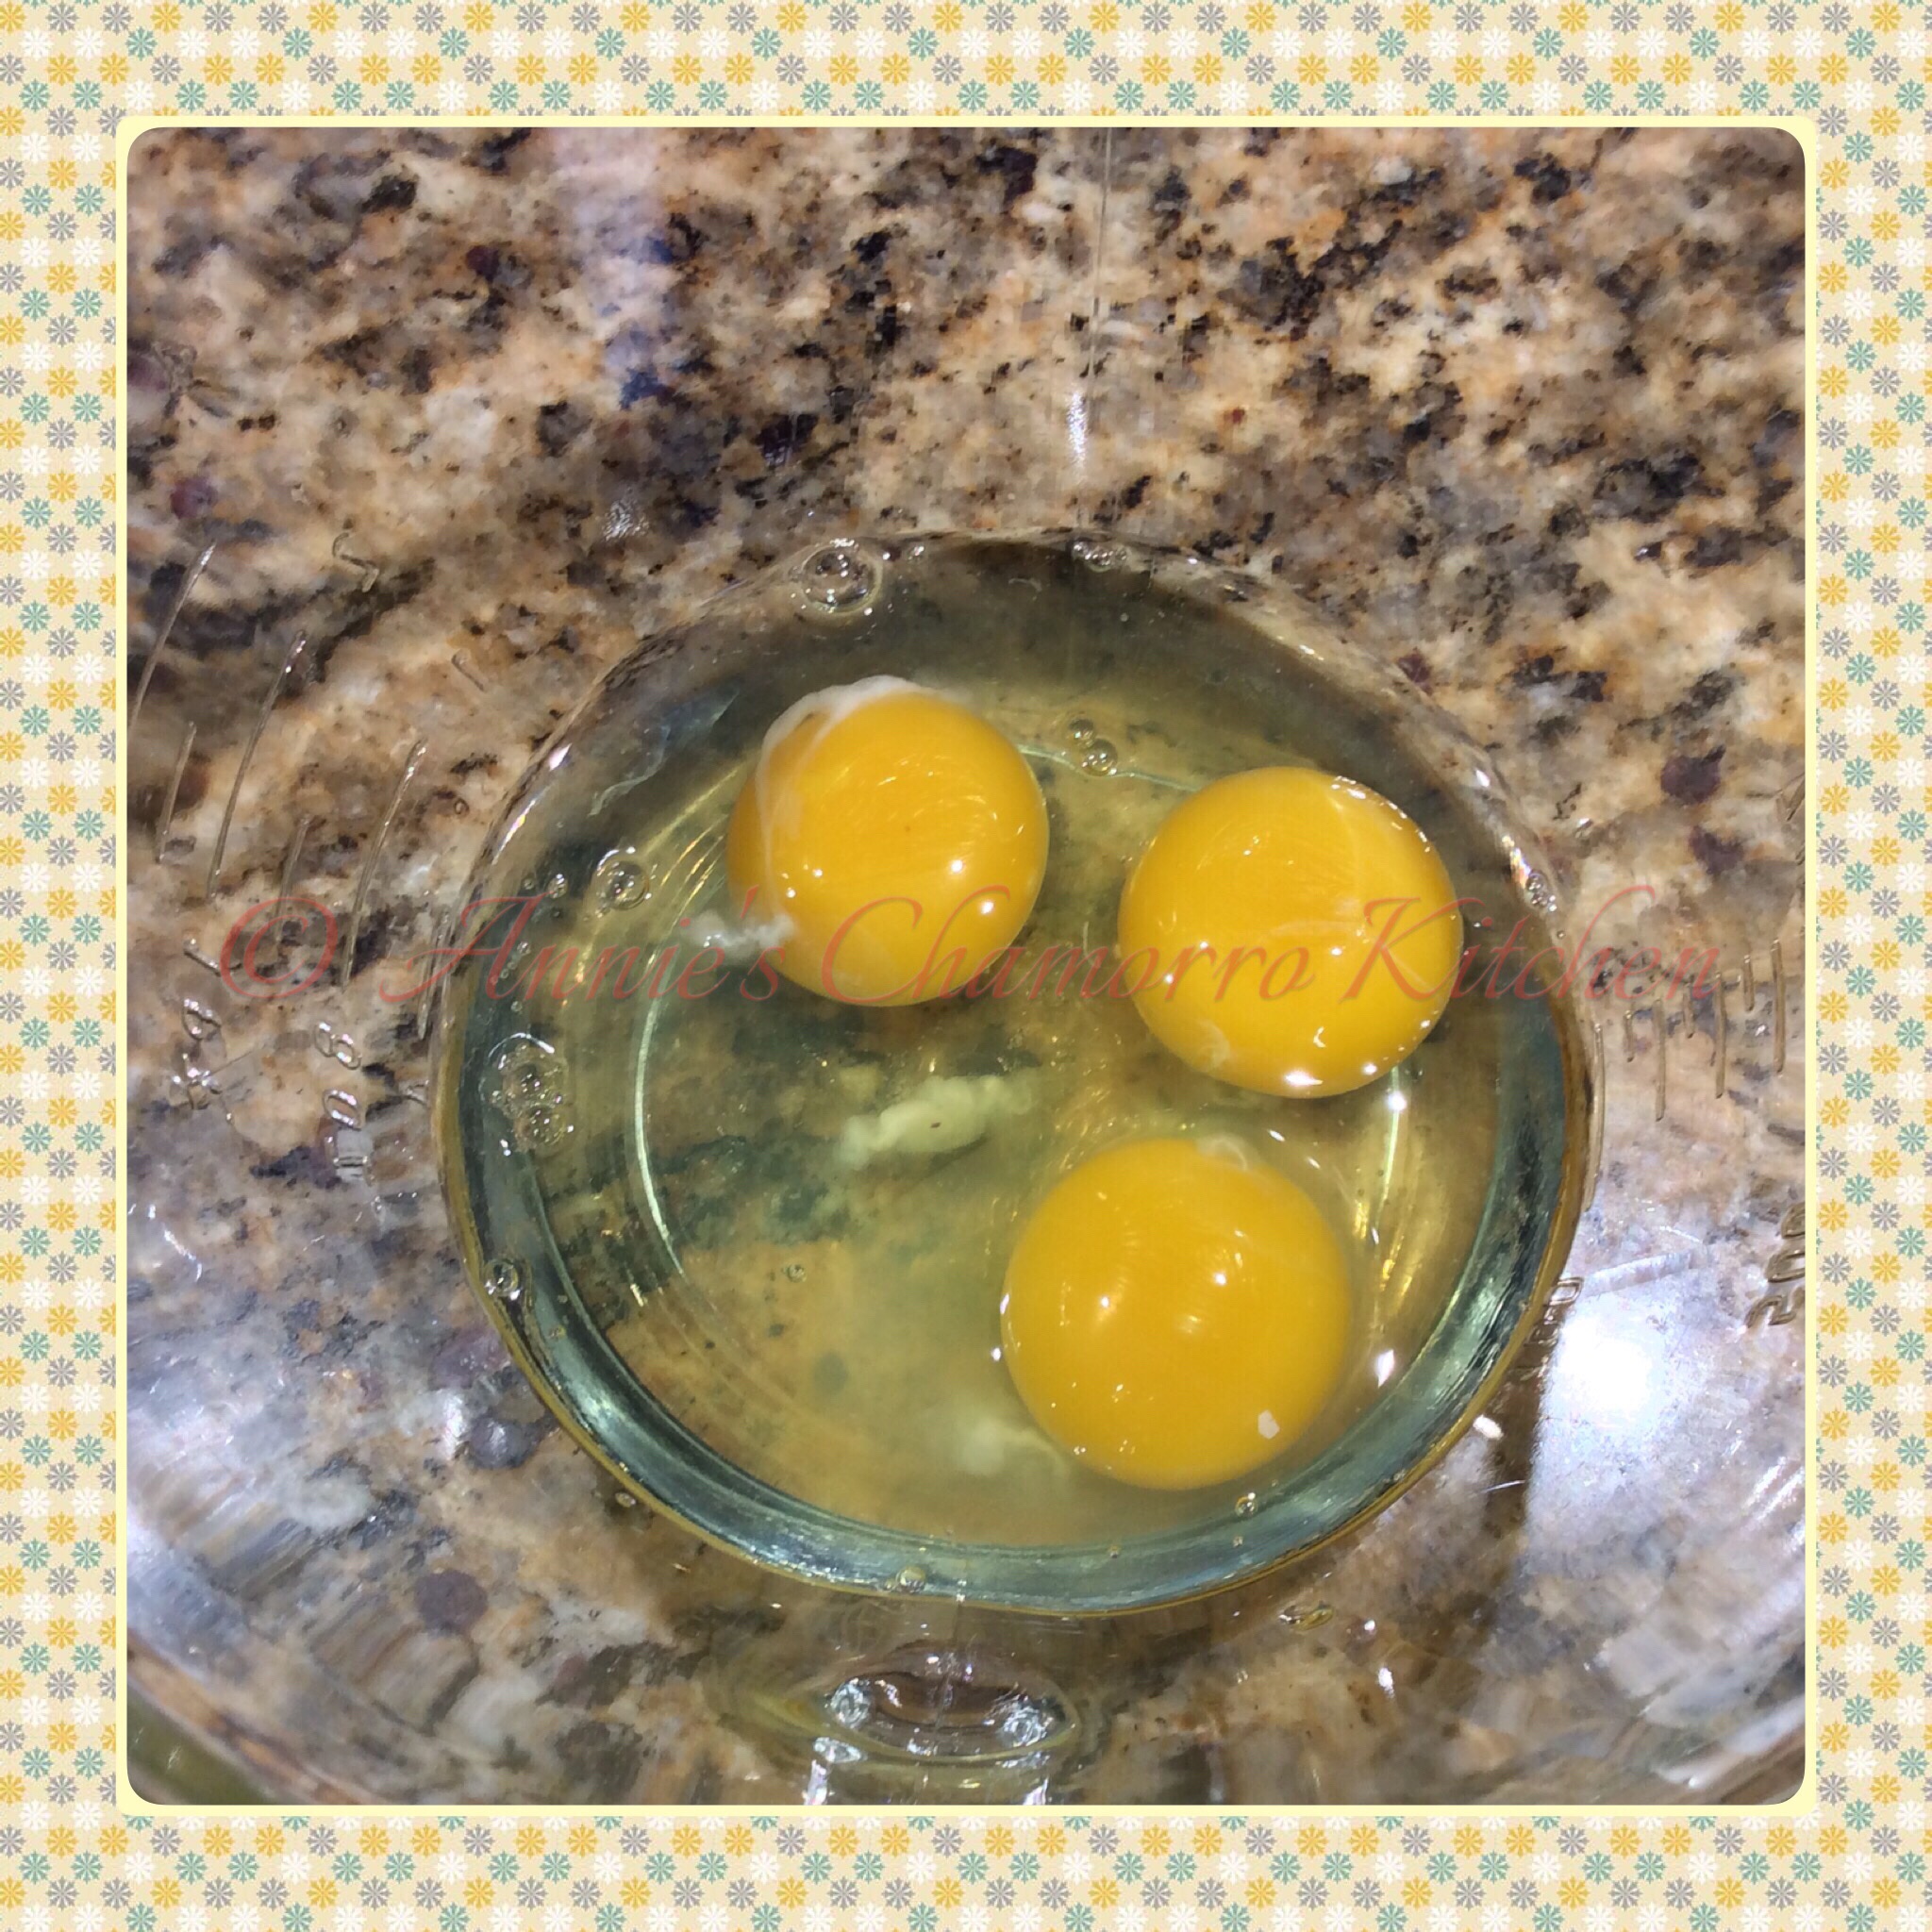
Place the eggs into a large mixing bowl.  Beat it slightly with a whisk.

image

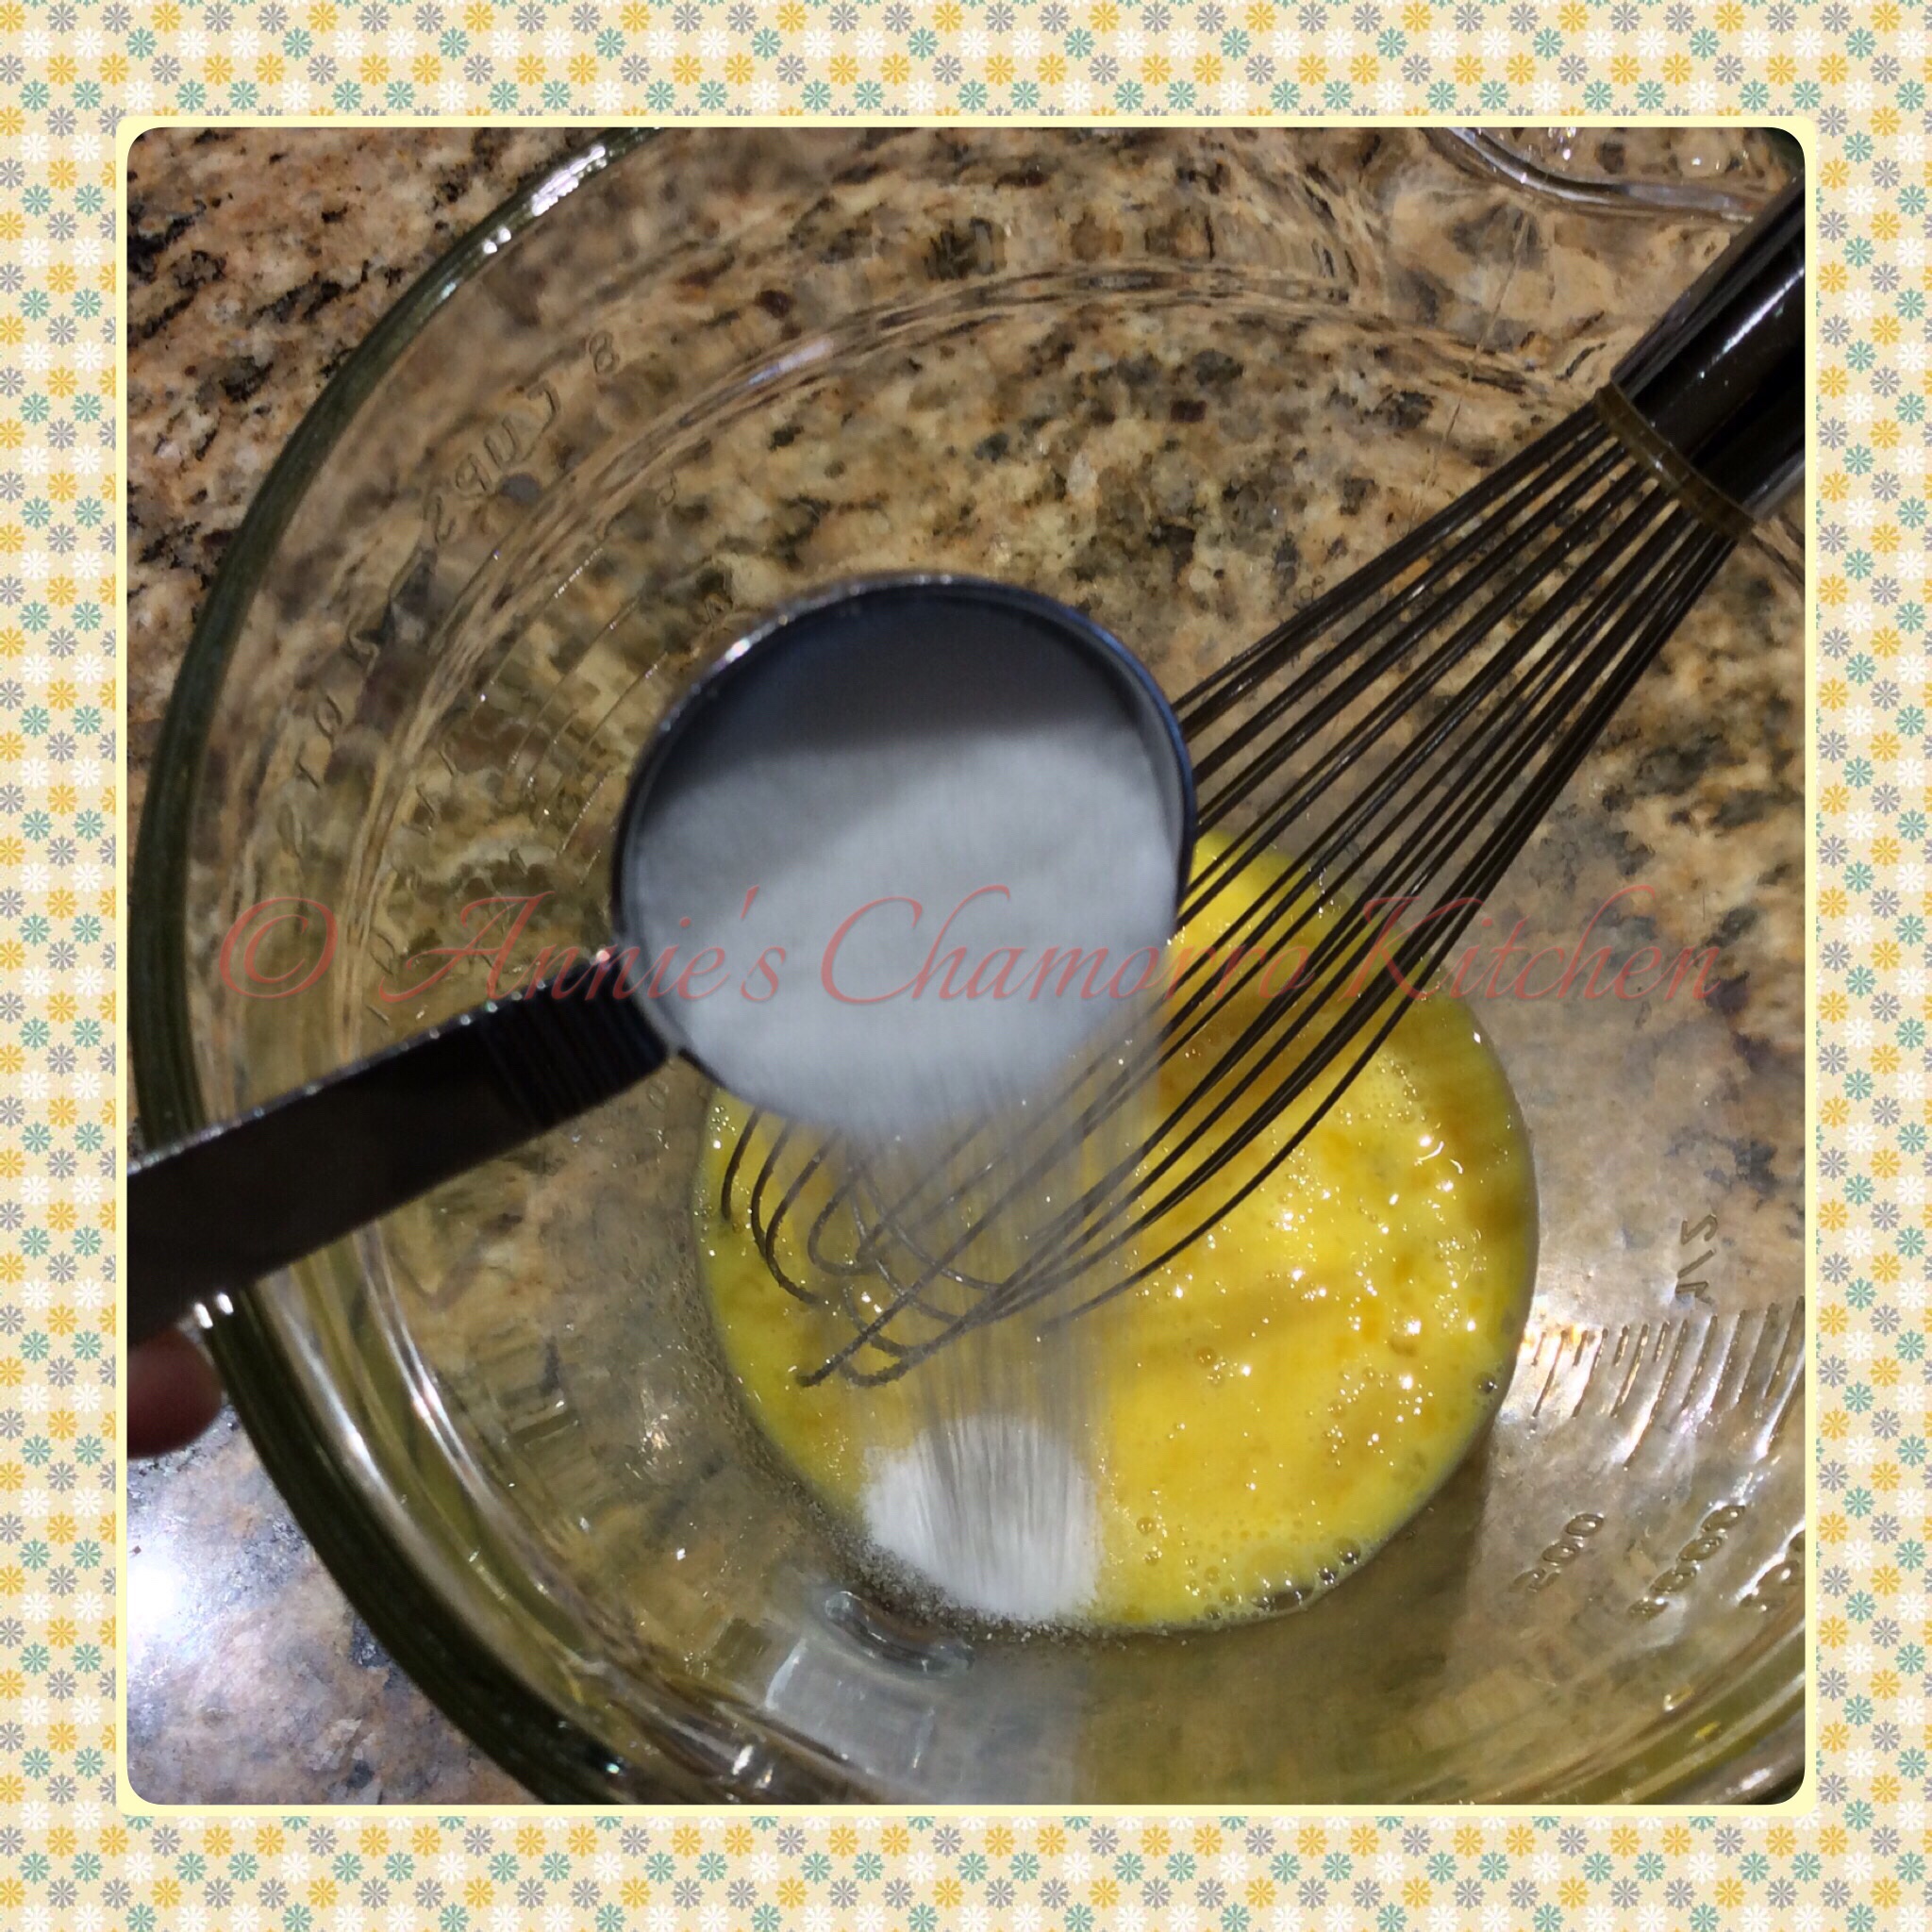
Add sugar to sweeten it a bit.  If you plan on making savory crepes, I recommend decreasing the amount of sugar or omitting it completely.

image

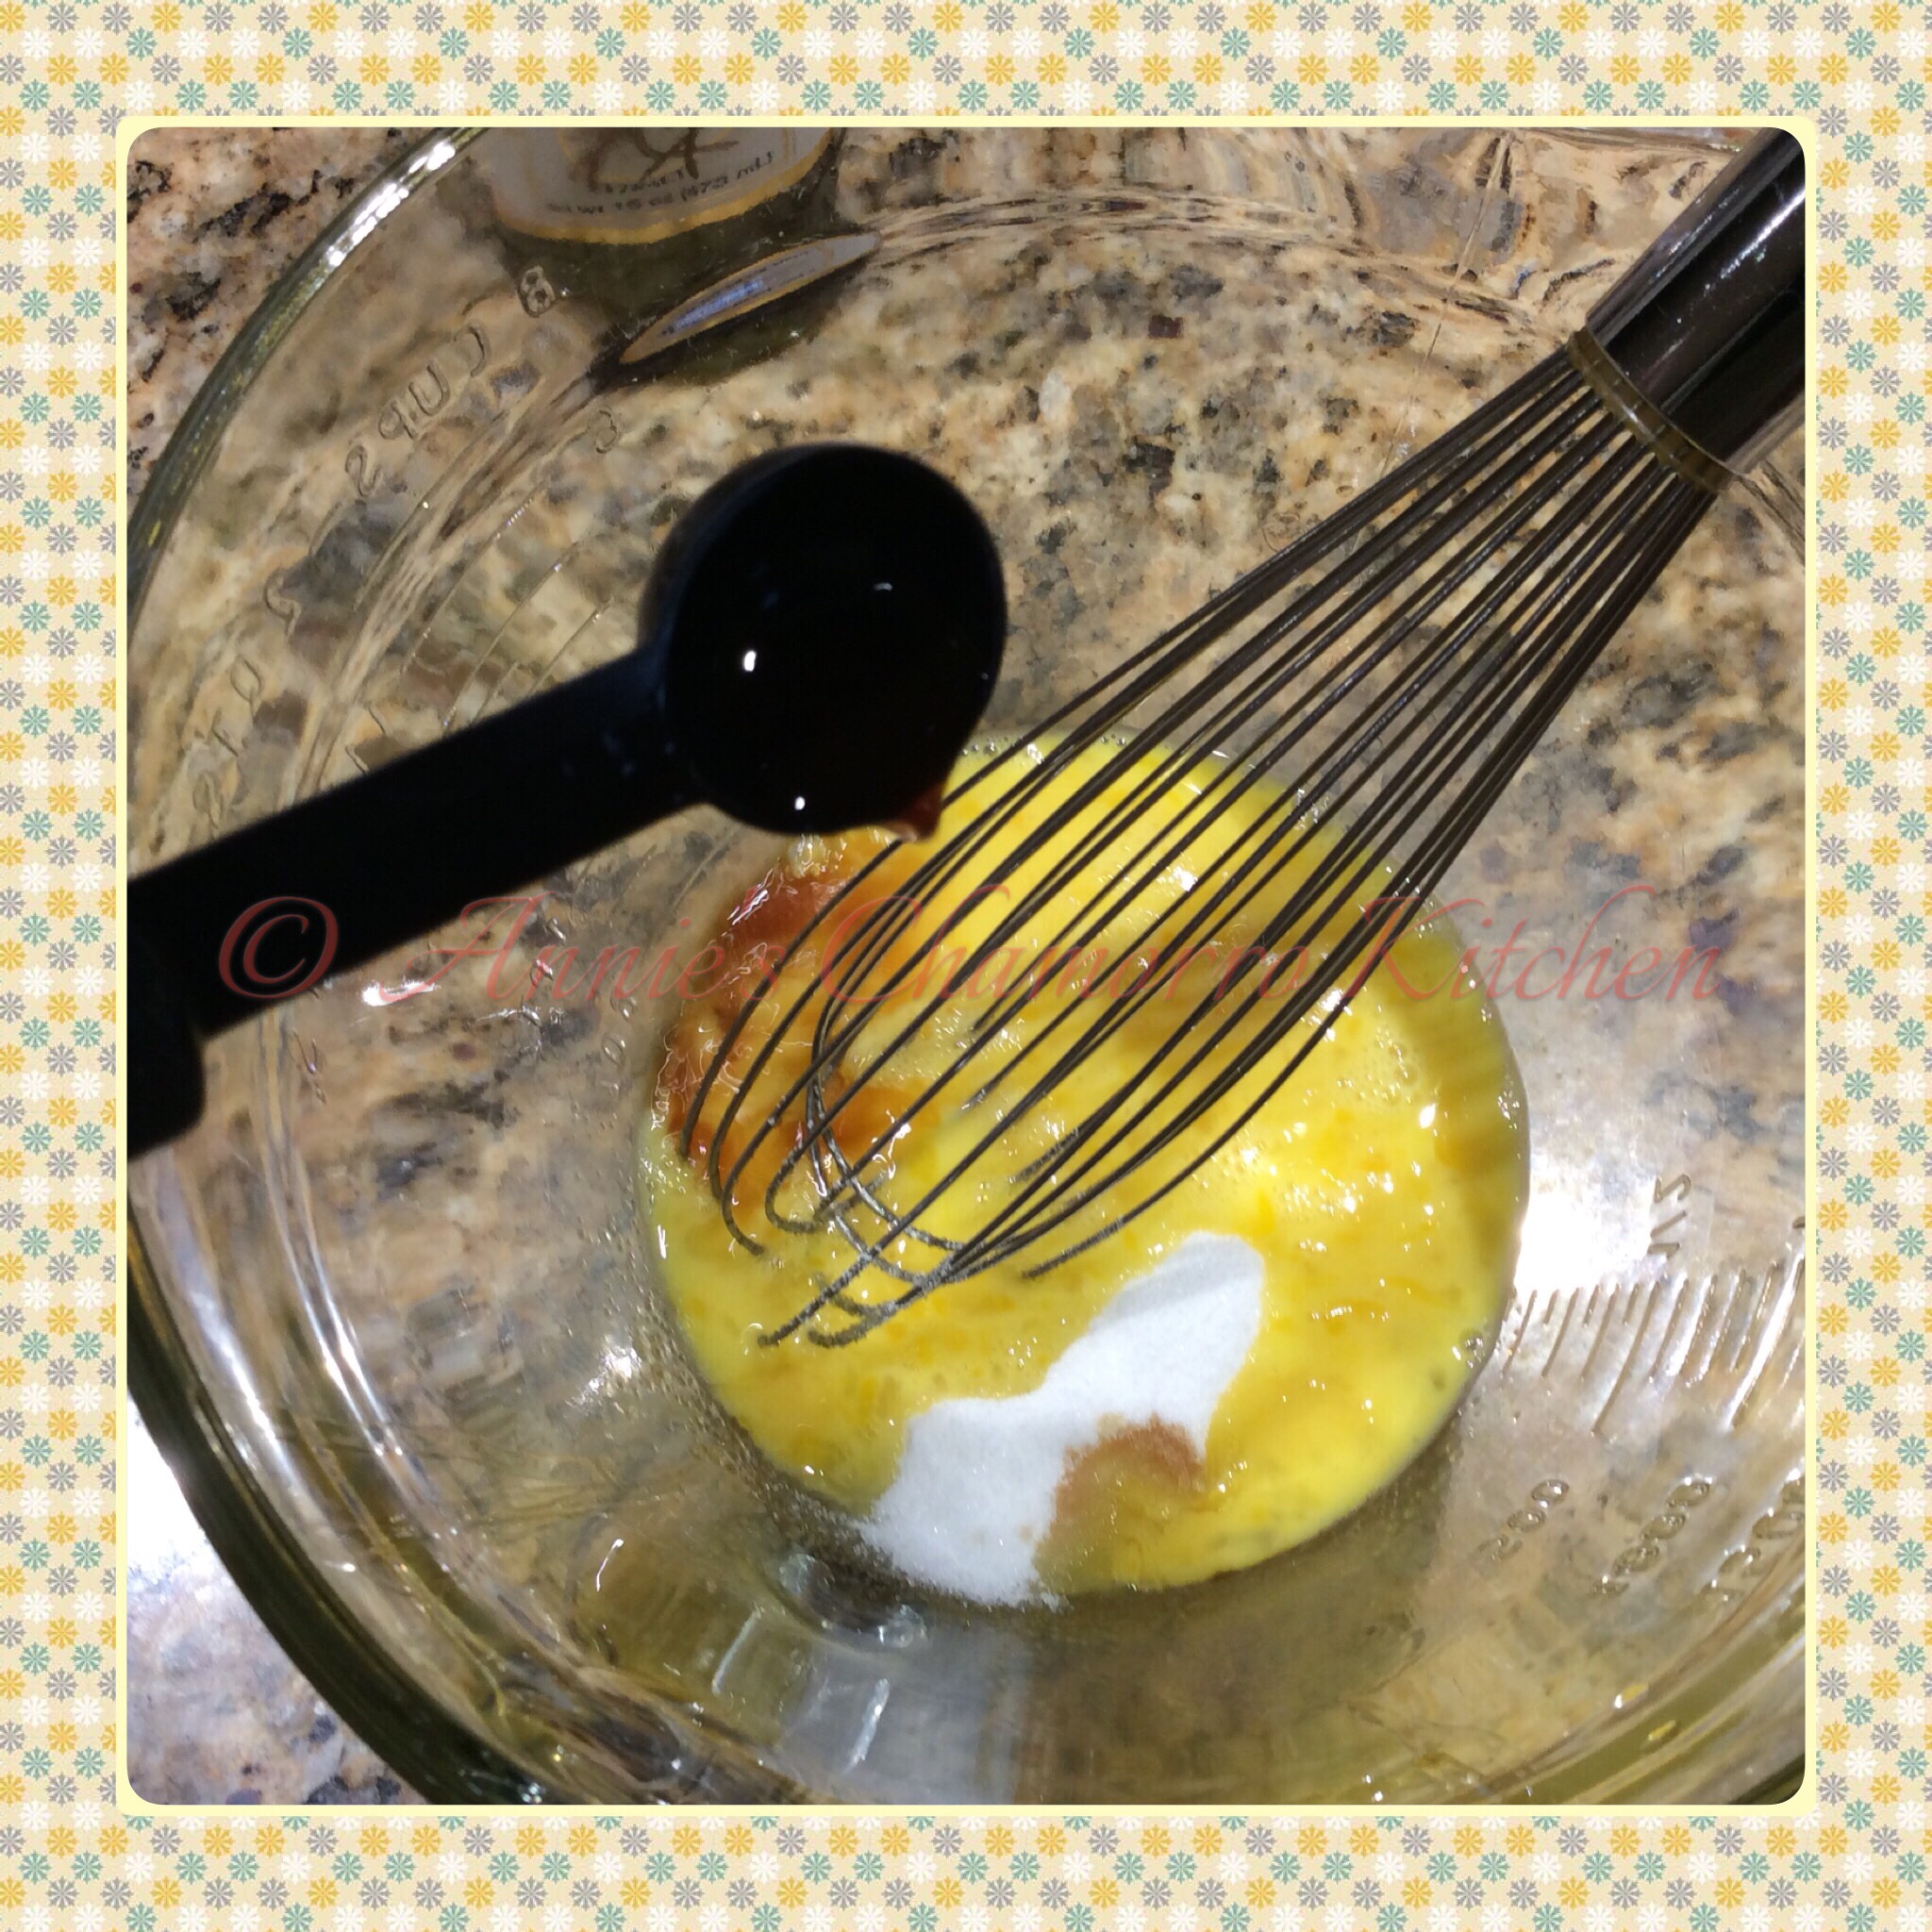
Vanilla extract gets mixed in next.  You could also use lemon extract, or some lemon zest instead of vanilla extract, but remember that a little goes a long way.

image

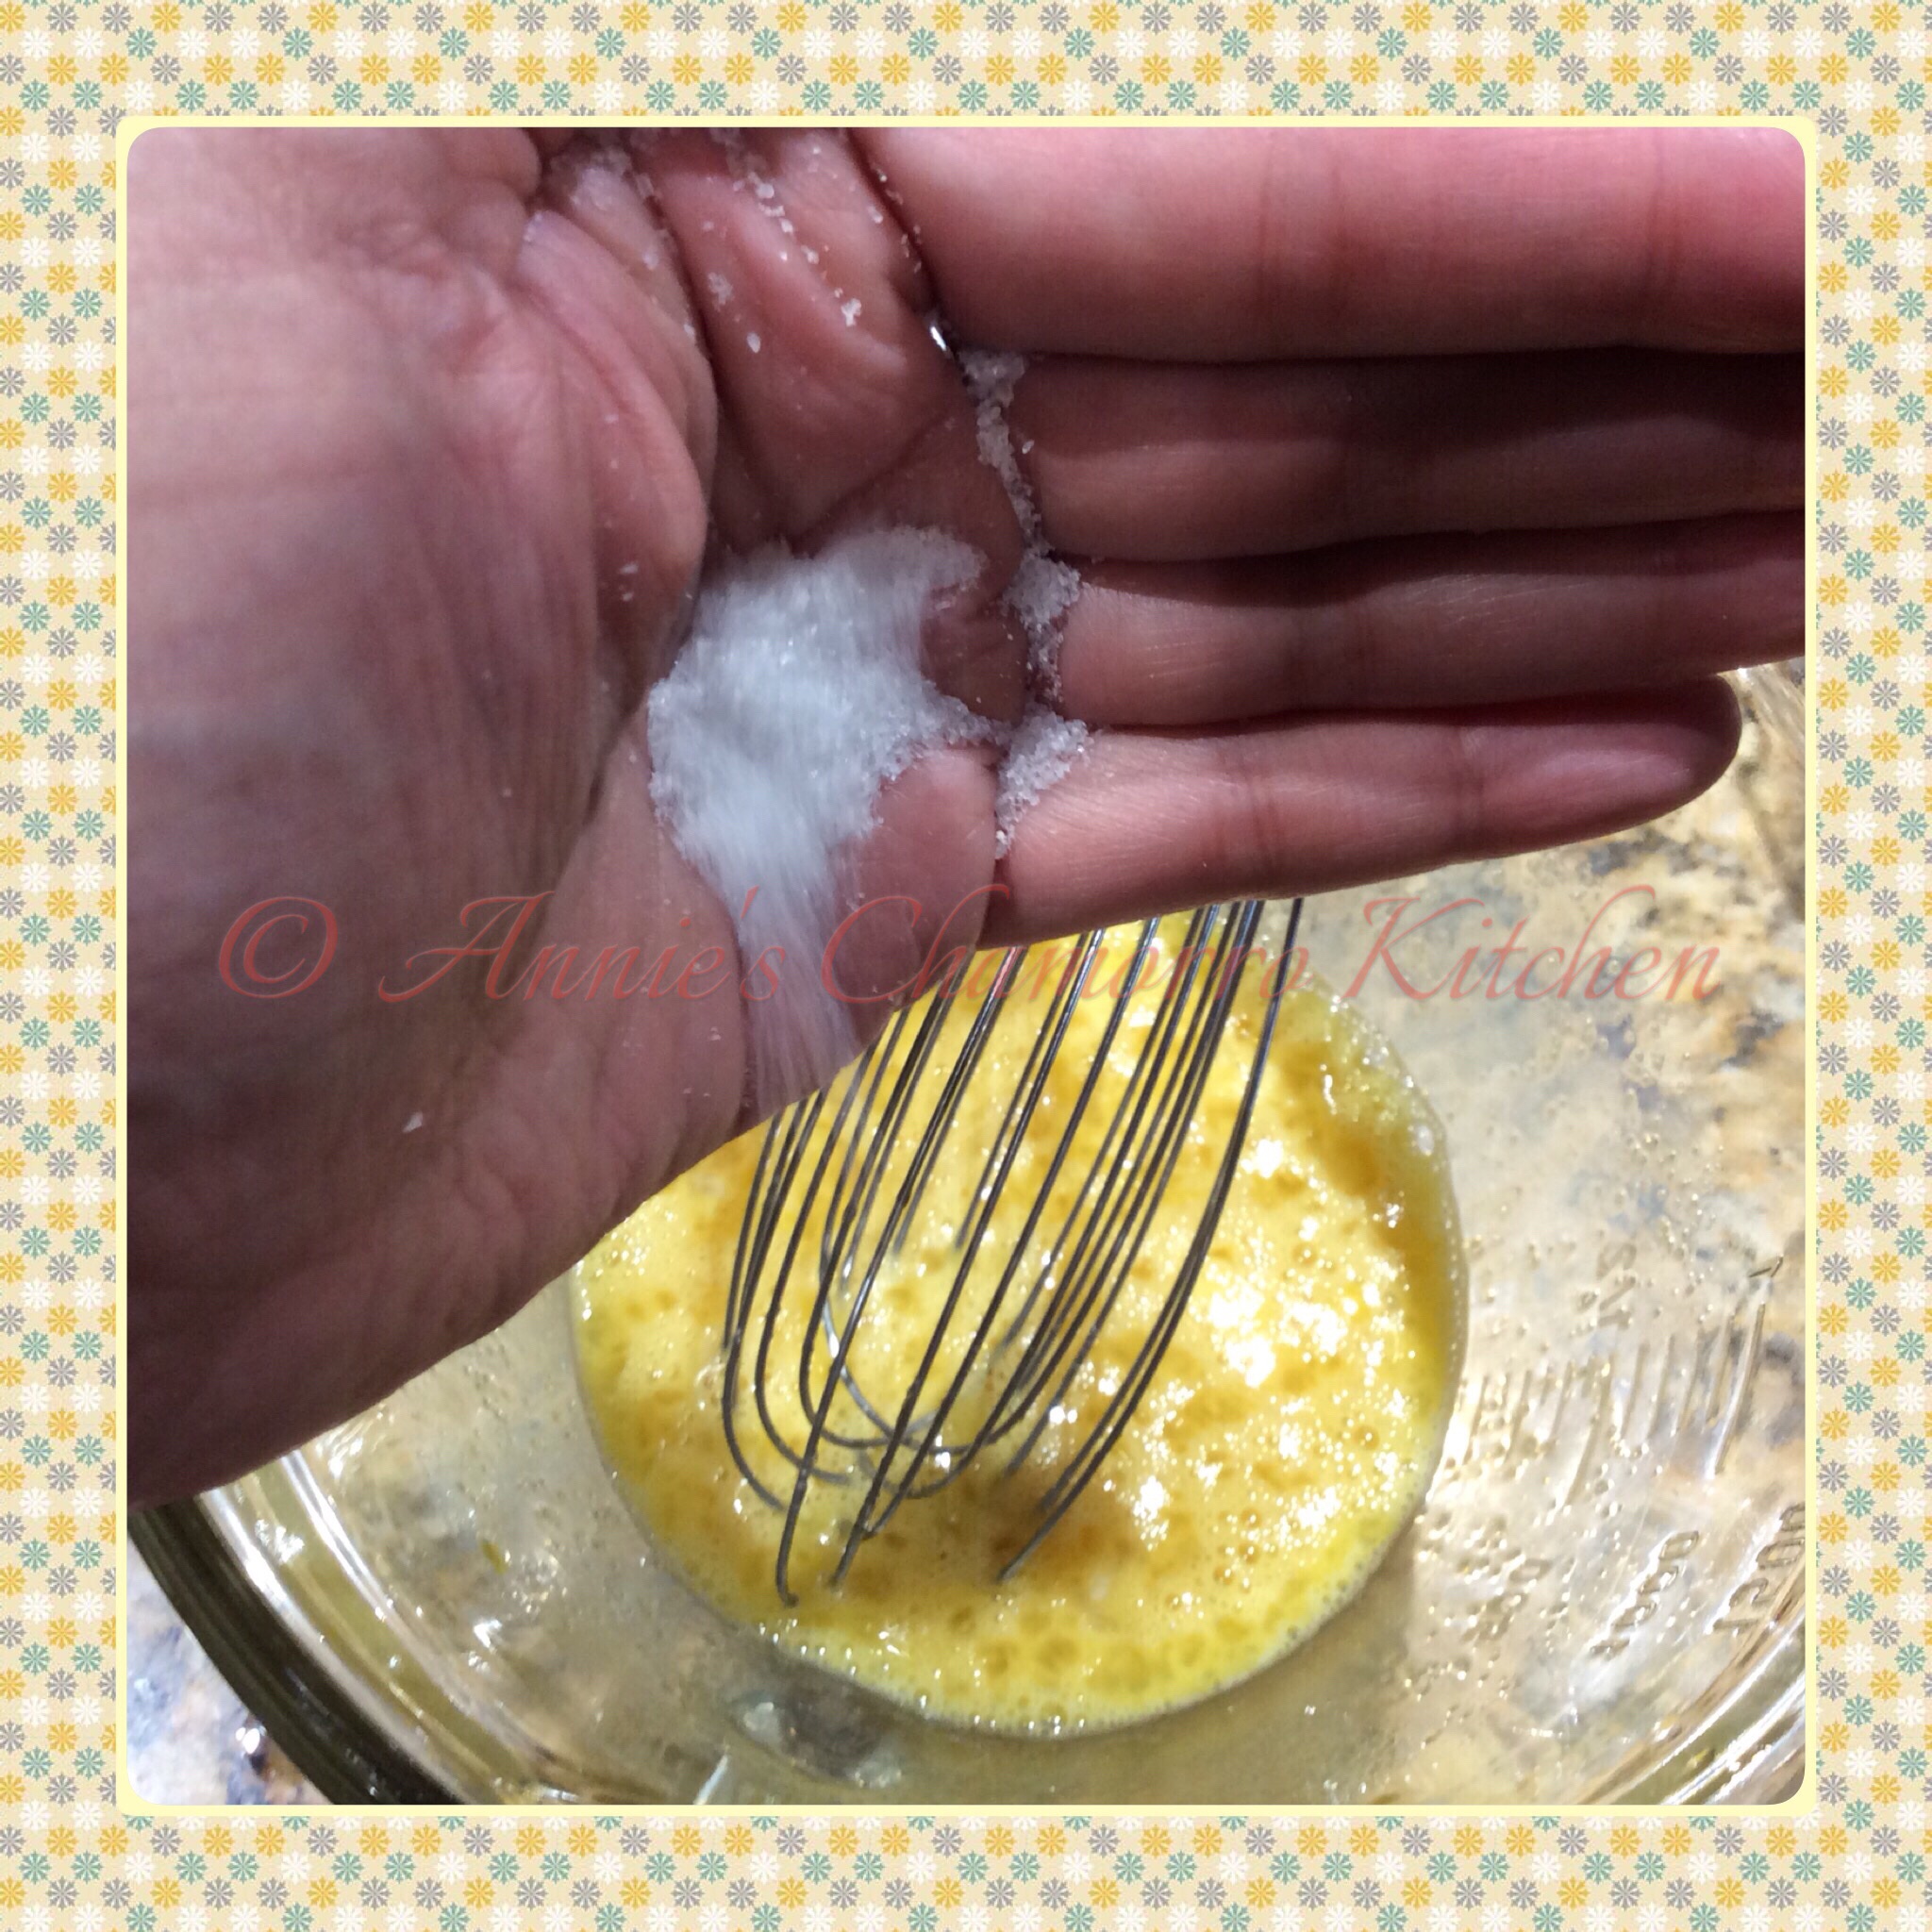
Add a pinch of salt to the mixture.  Did you know that salt is a natural antioxidant?  Salt also adds taste and helps bring out the flavors present in the flour and other ingredients.

image

Melted butter gets mixed in next.  The butter serves two purposes in this recipe.  It adds flavor, but it also helps the crepes not stick to the pan during cooking.

image

Whisk in the milk.

image

Next comes the flour.  It may seem like you’re adding way too little flour for the amout of liquid.  However, unlike pancake batter, the ratio of milk to flour is 2:1 for crepe batter, which makes a very thin batter.

image

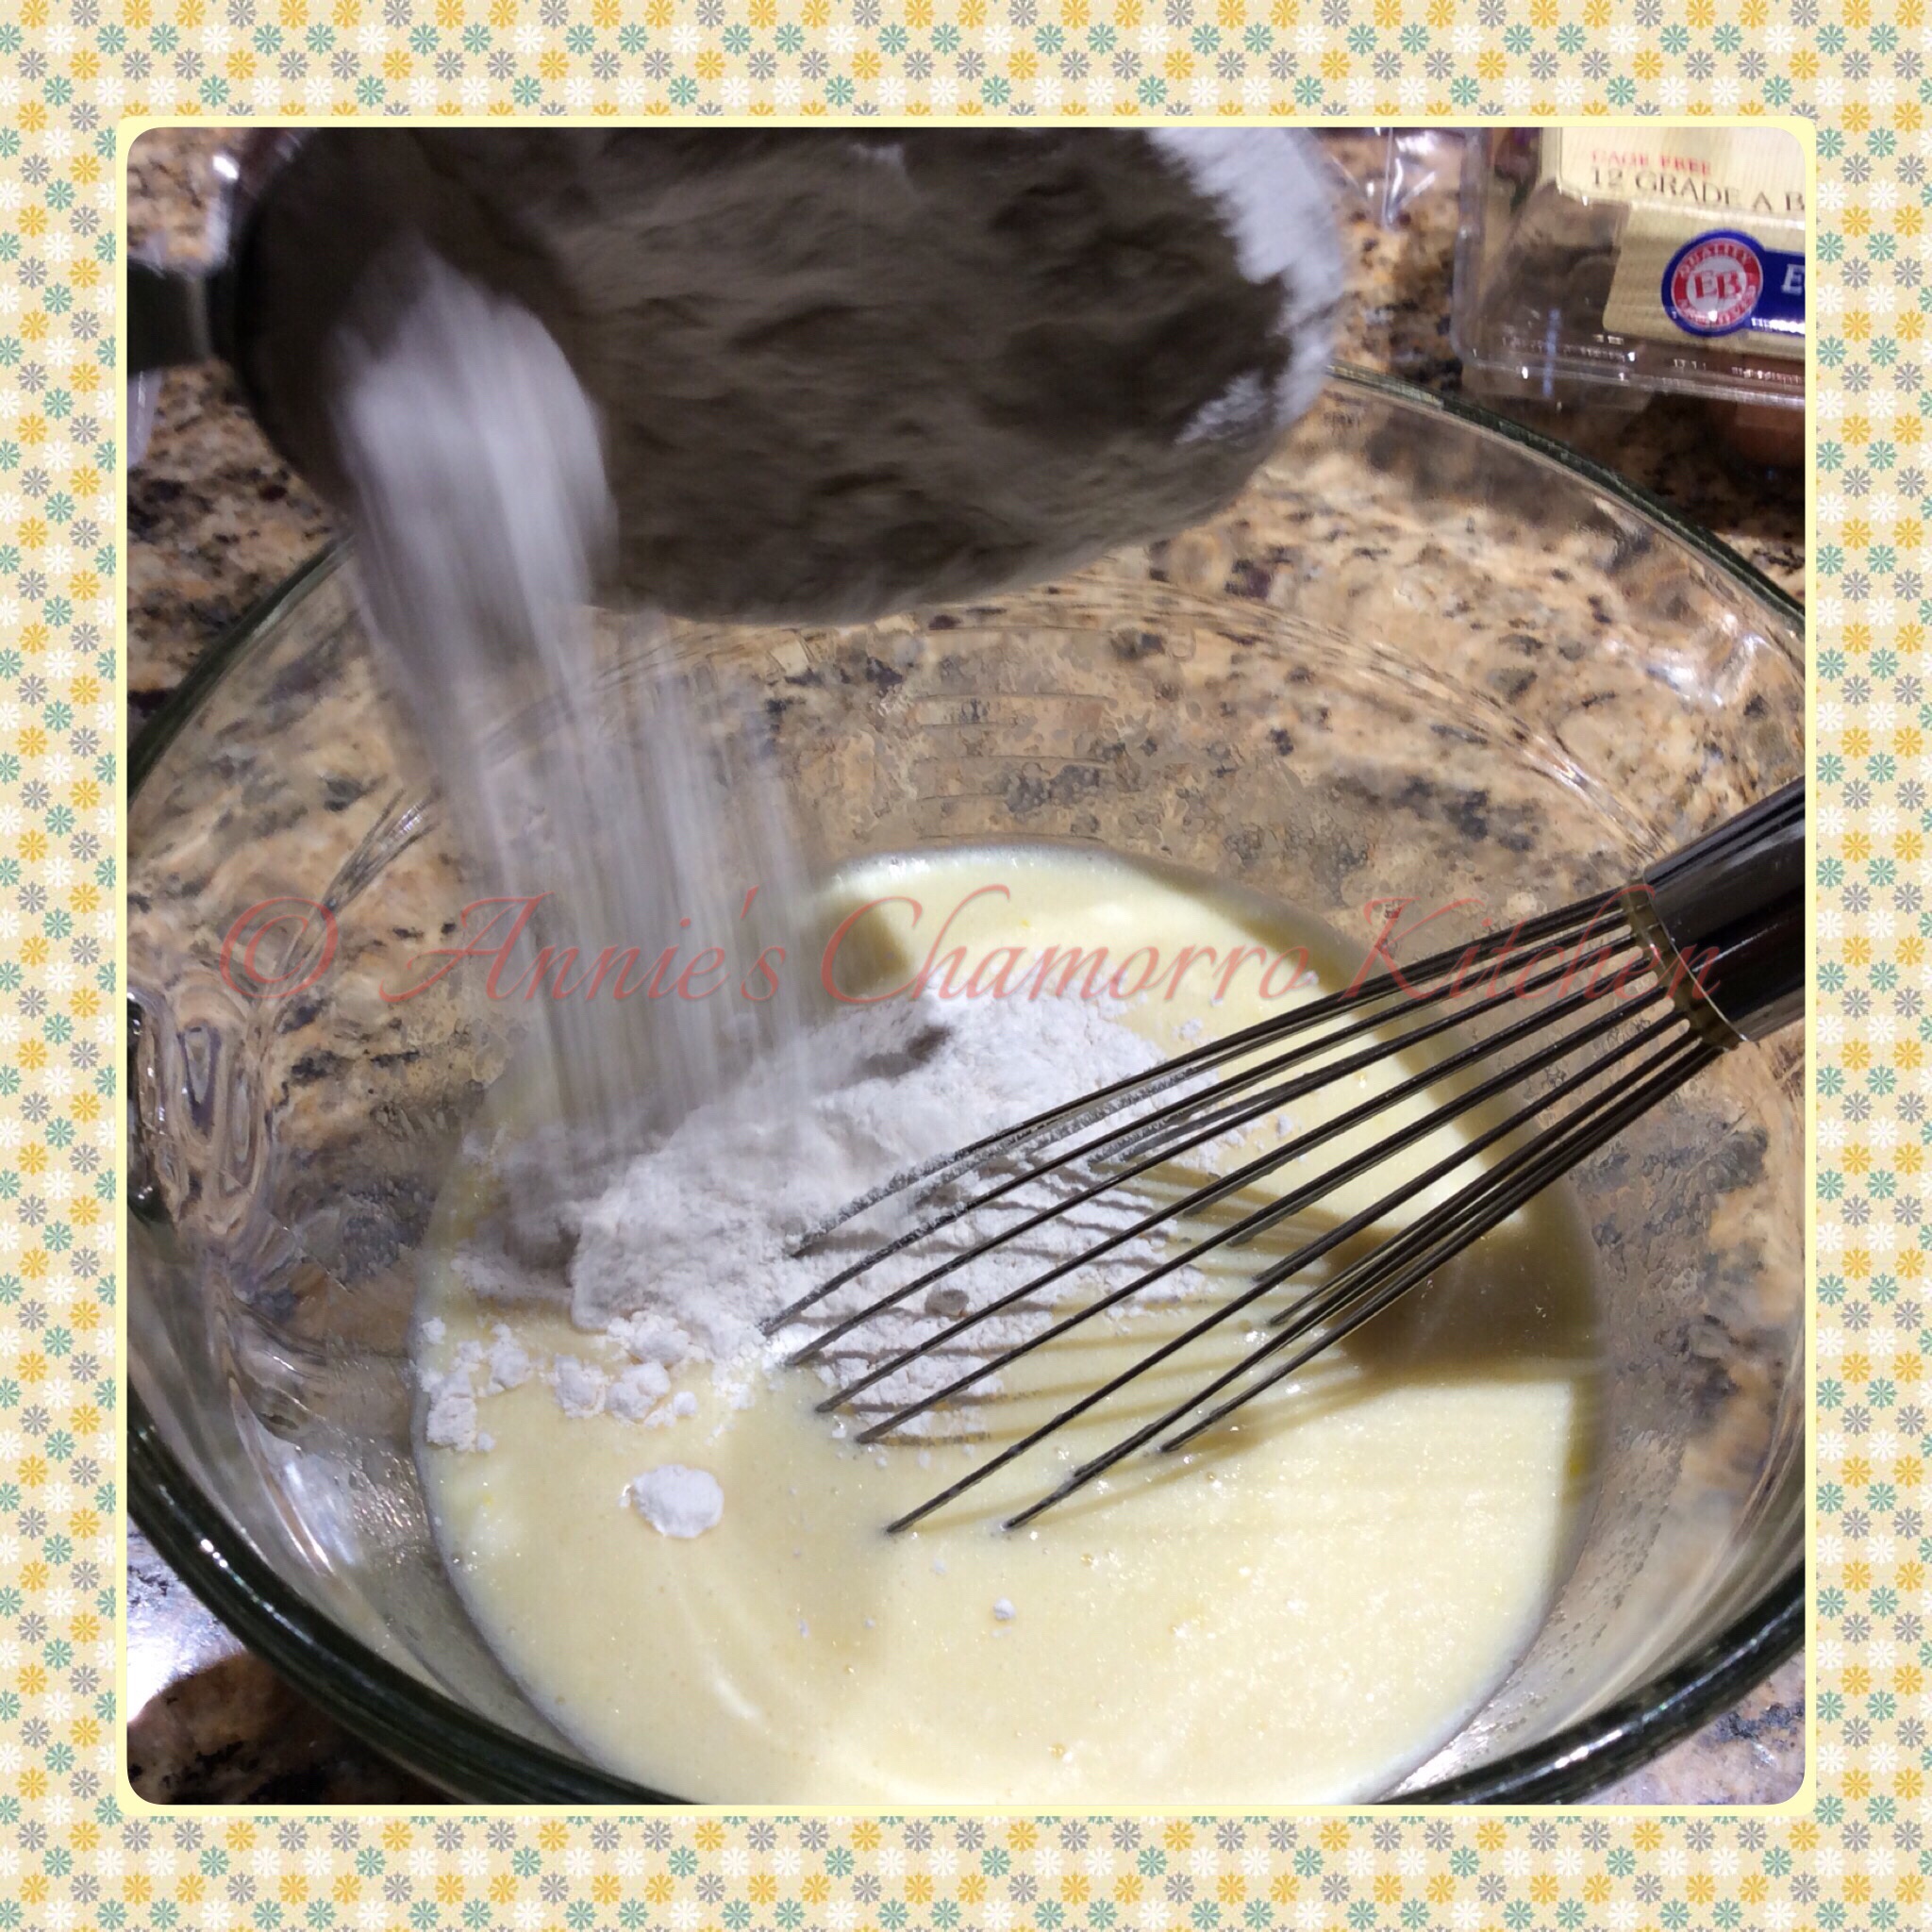
Whisk until you get a smooth batter.  A few tiny lumps of flour left in the batter are okay.

image

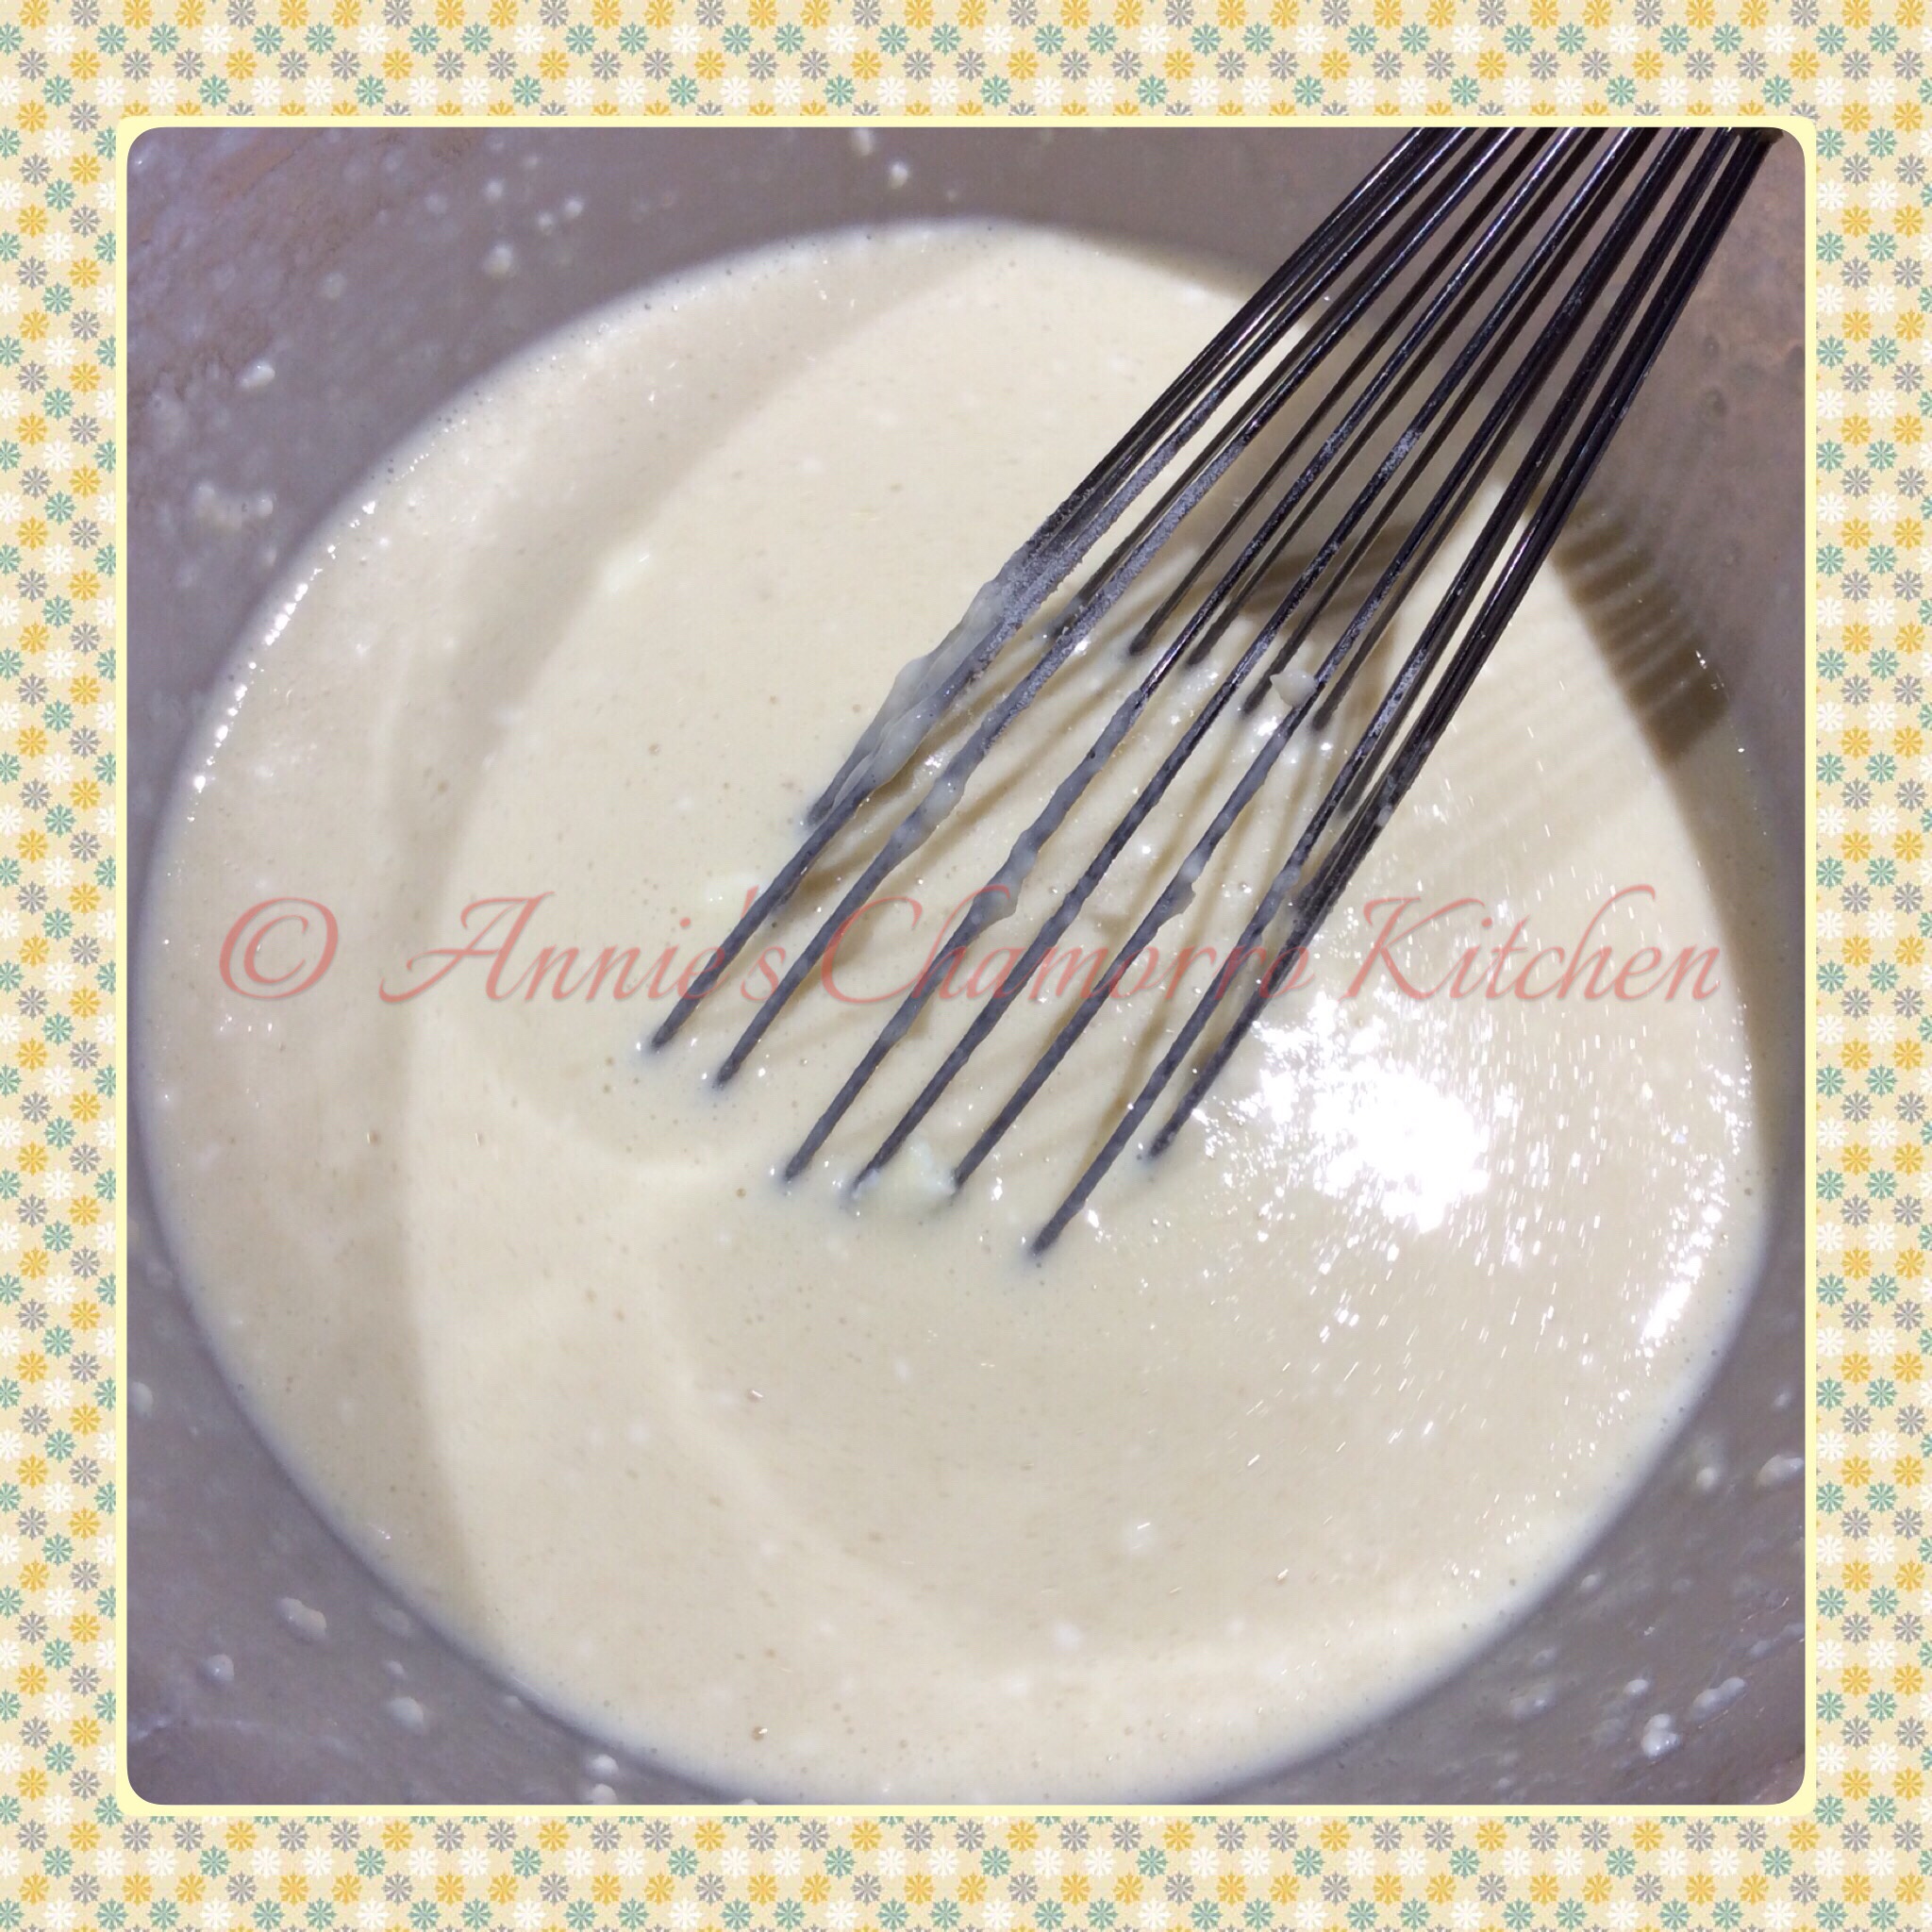
Set the batter aside while you heat up your pan.  I recommend using a non-stick skillet.  I use a well-seasoned cast iron skillet.

Lightly spray the pan with butter-flavored cooking spray (just to be on the safe side to ensure your crepes don’t stick to the pan).  Pour 1/2 cup of batter onto the heated skillet.

image

Cook the crepe over medium-low heat; you may need to adjust the heat as you go along, turning it down or up, depending on how quickly the crepes cook.

Use a spatula to gently lift the edges. If the crepe feels like it is still stickng to the pan, let it cook for a little while longer.  A telltale sign the crepe is ready to be flipped over is when you see it start to “wrinkle.”

image

Flip the crepe over to lightly brown the other side; this should only take a minute or less.

image

Continue making crepes until all of the batter is used up.  This recipe makes 8 crepes (more if you use less than 1/2 cup of batter per crepe).

image

So now that the crepes are done, it’s time to make the filling.  This recipe is for a sweet filling.

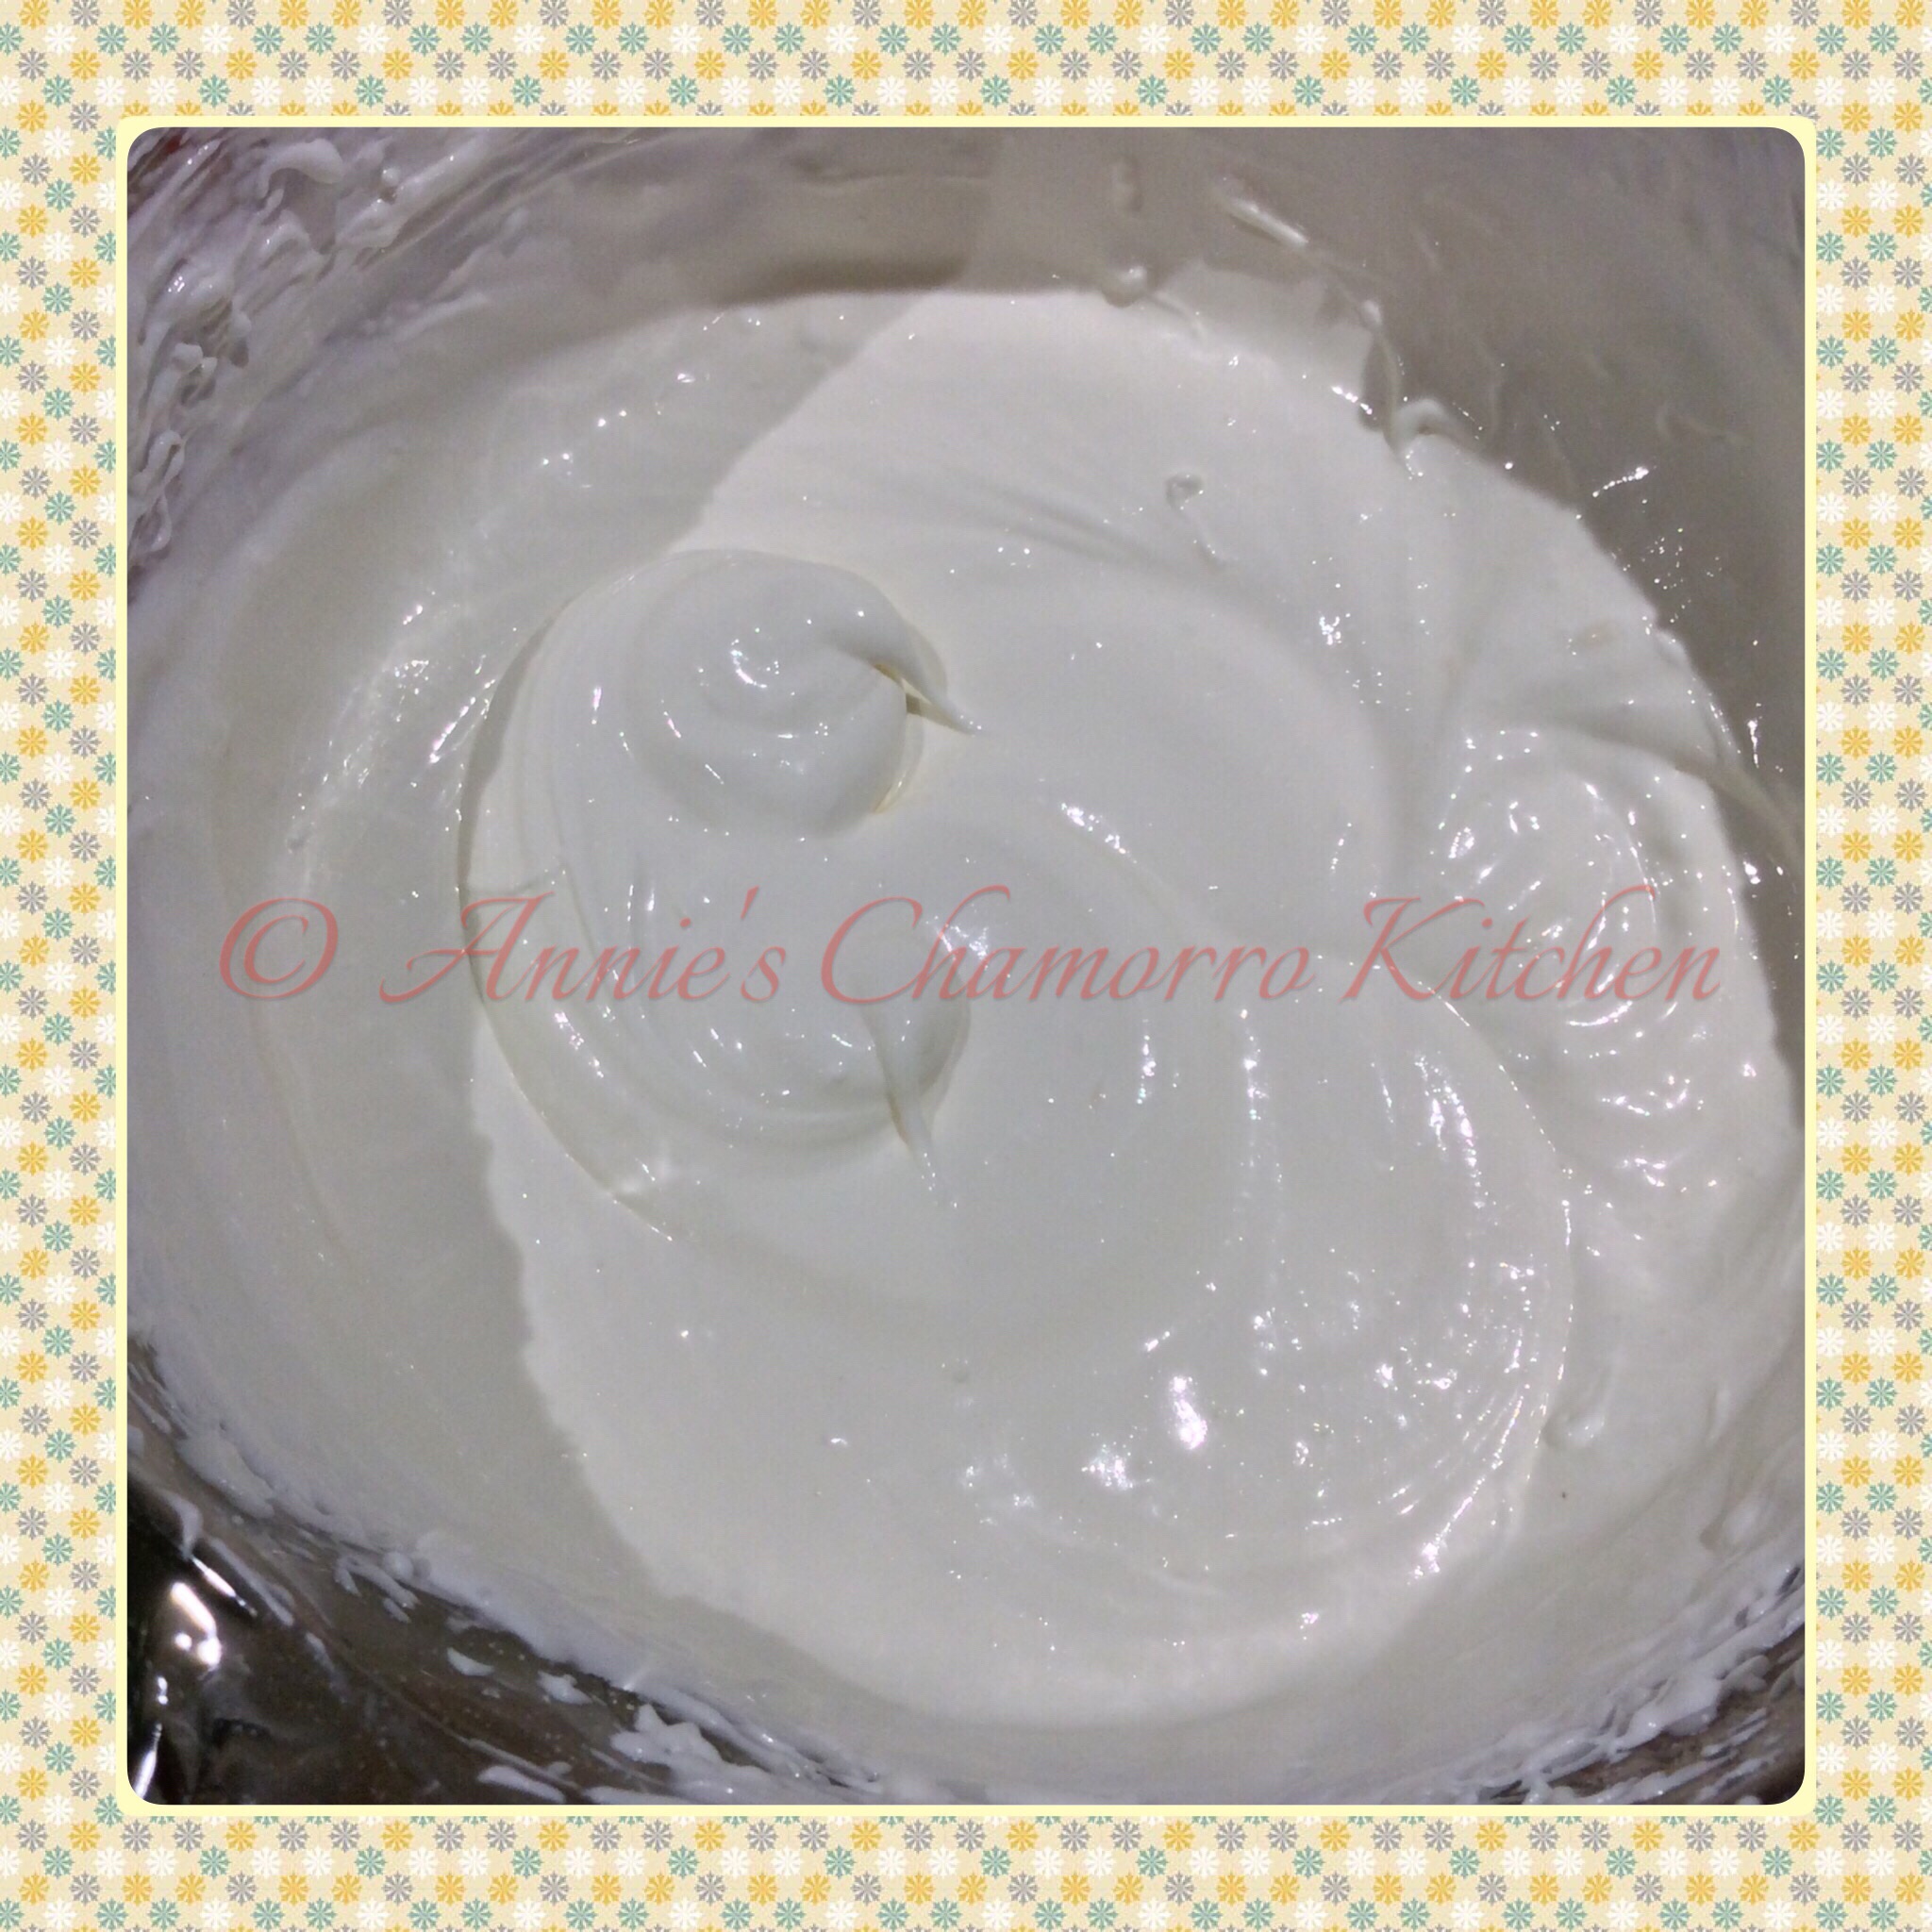
Cream together softened cream cheese and a bit of powdered sugar.

image

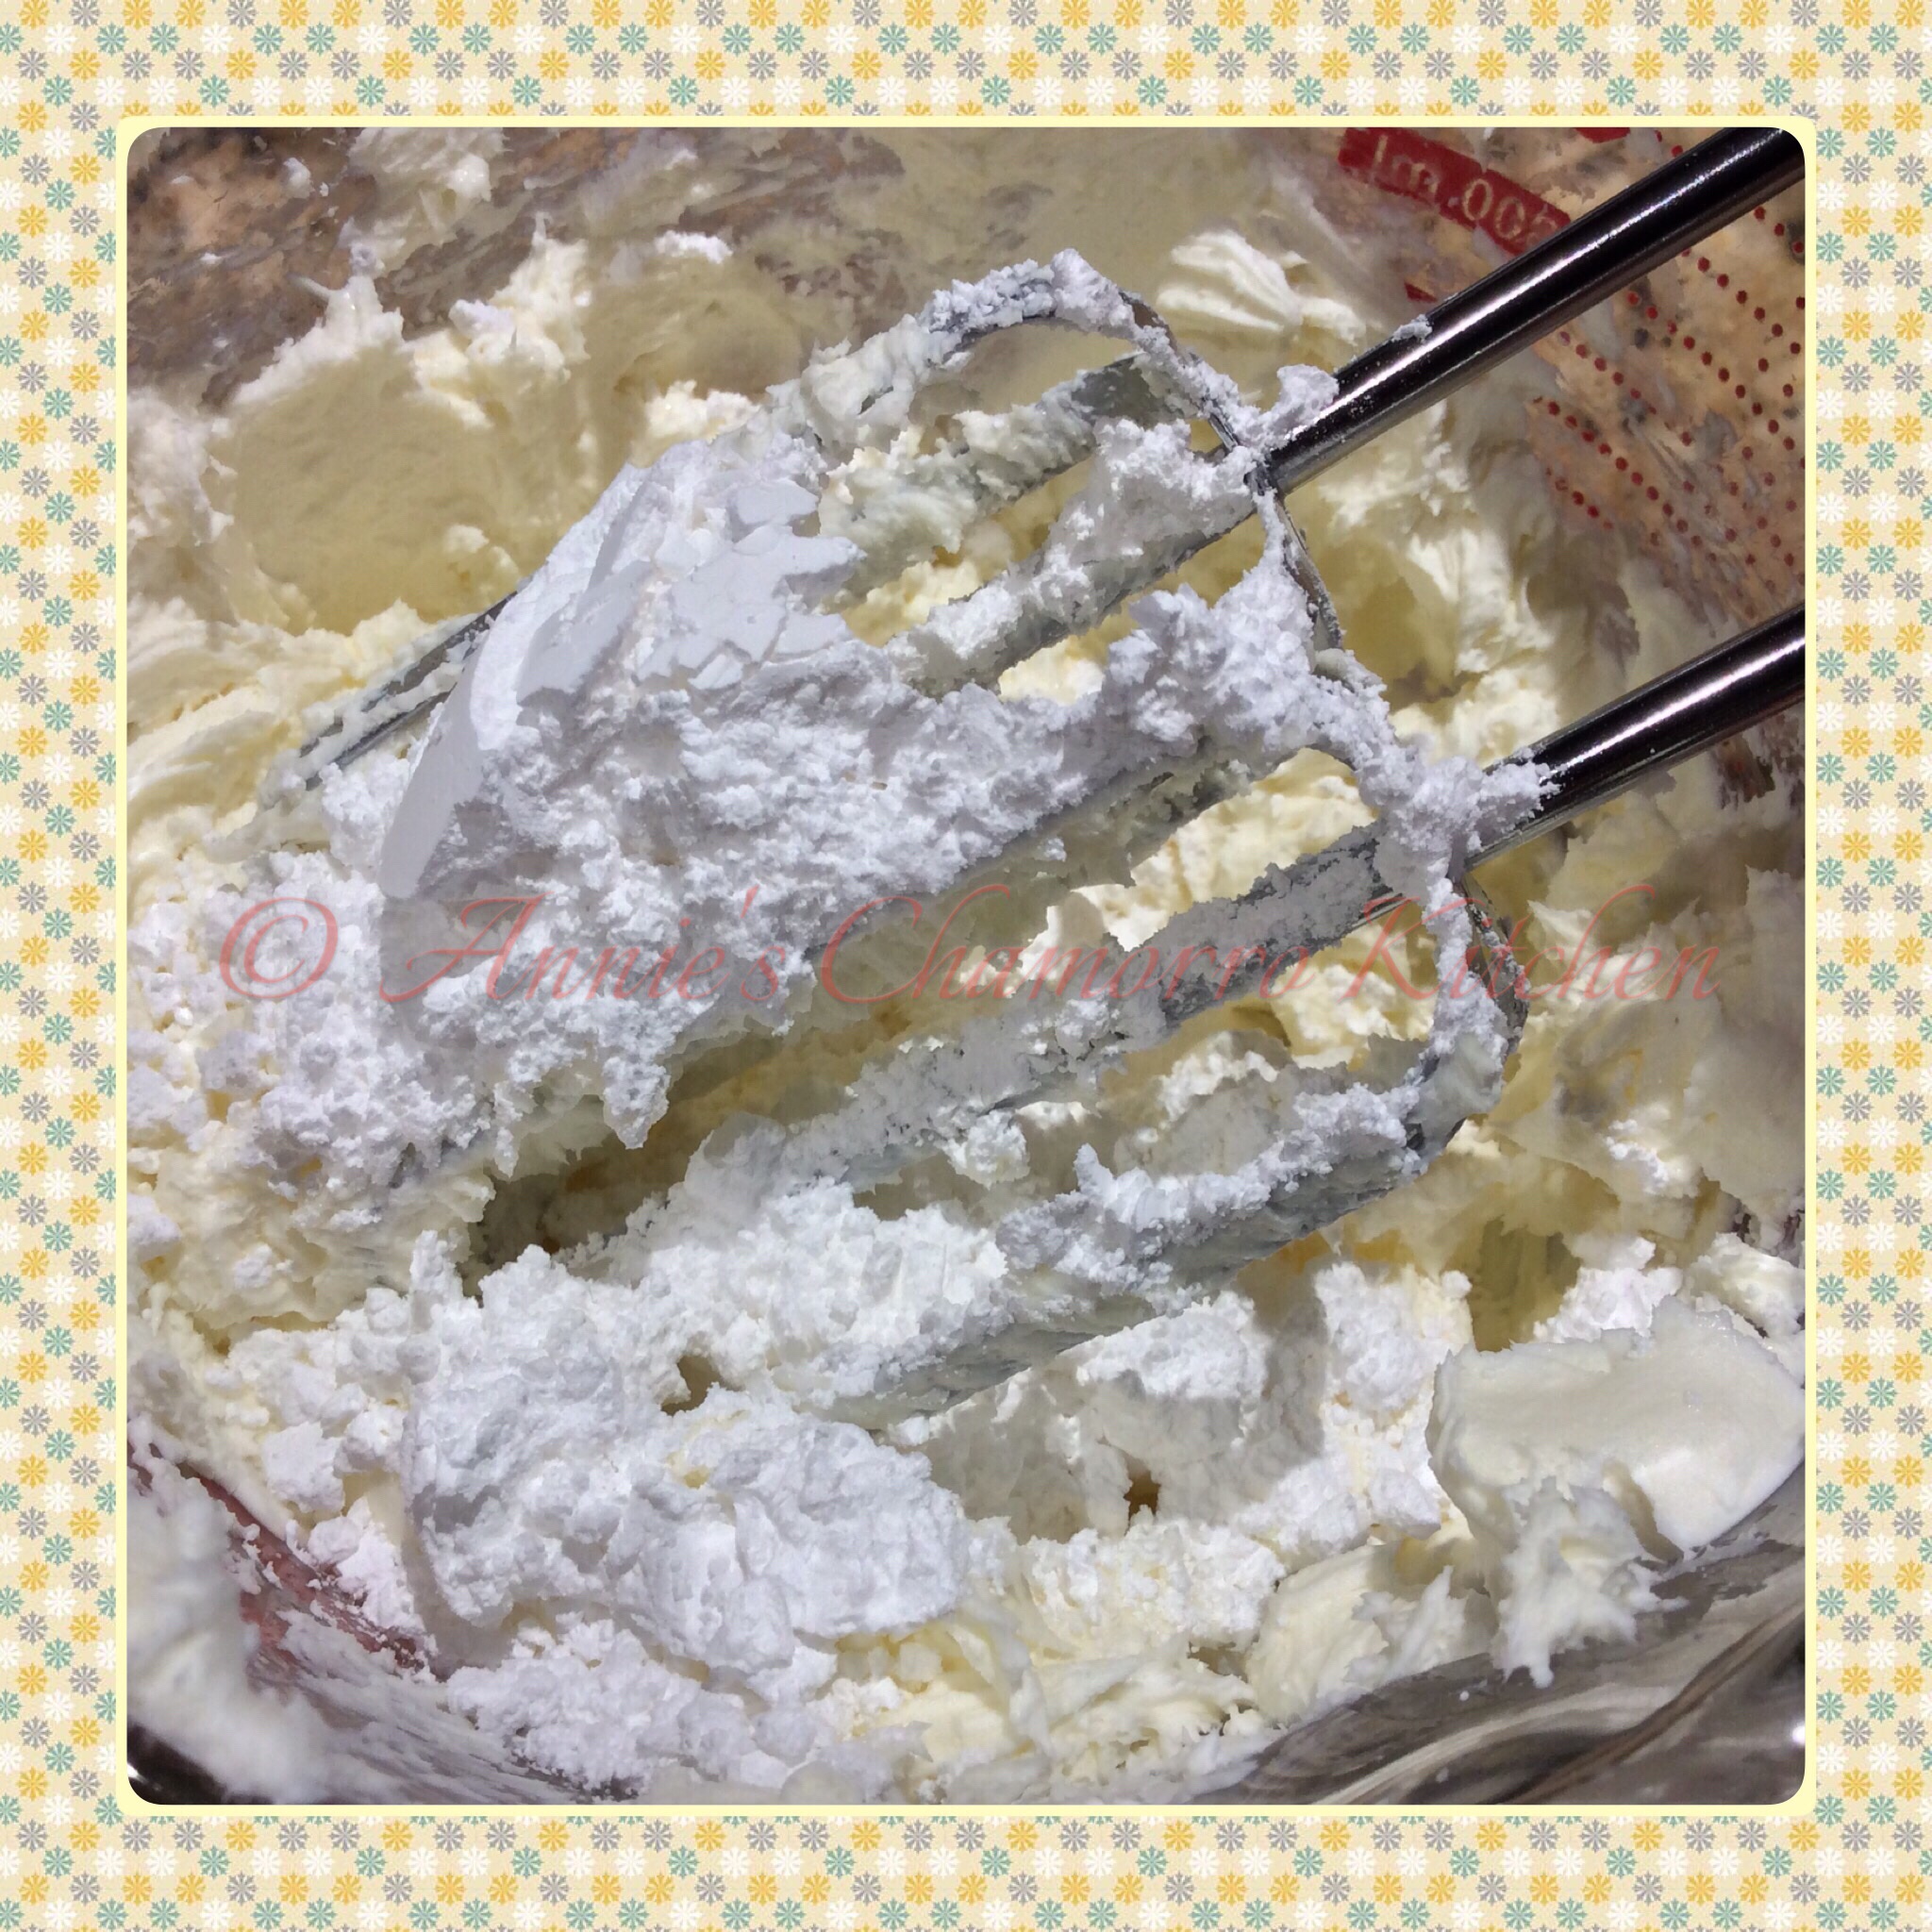
It should resemble cream cheese frosting at this point.

image

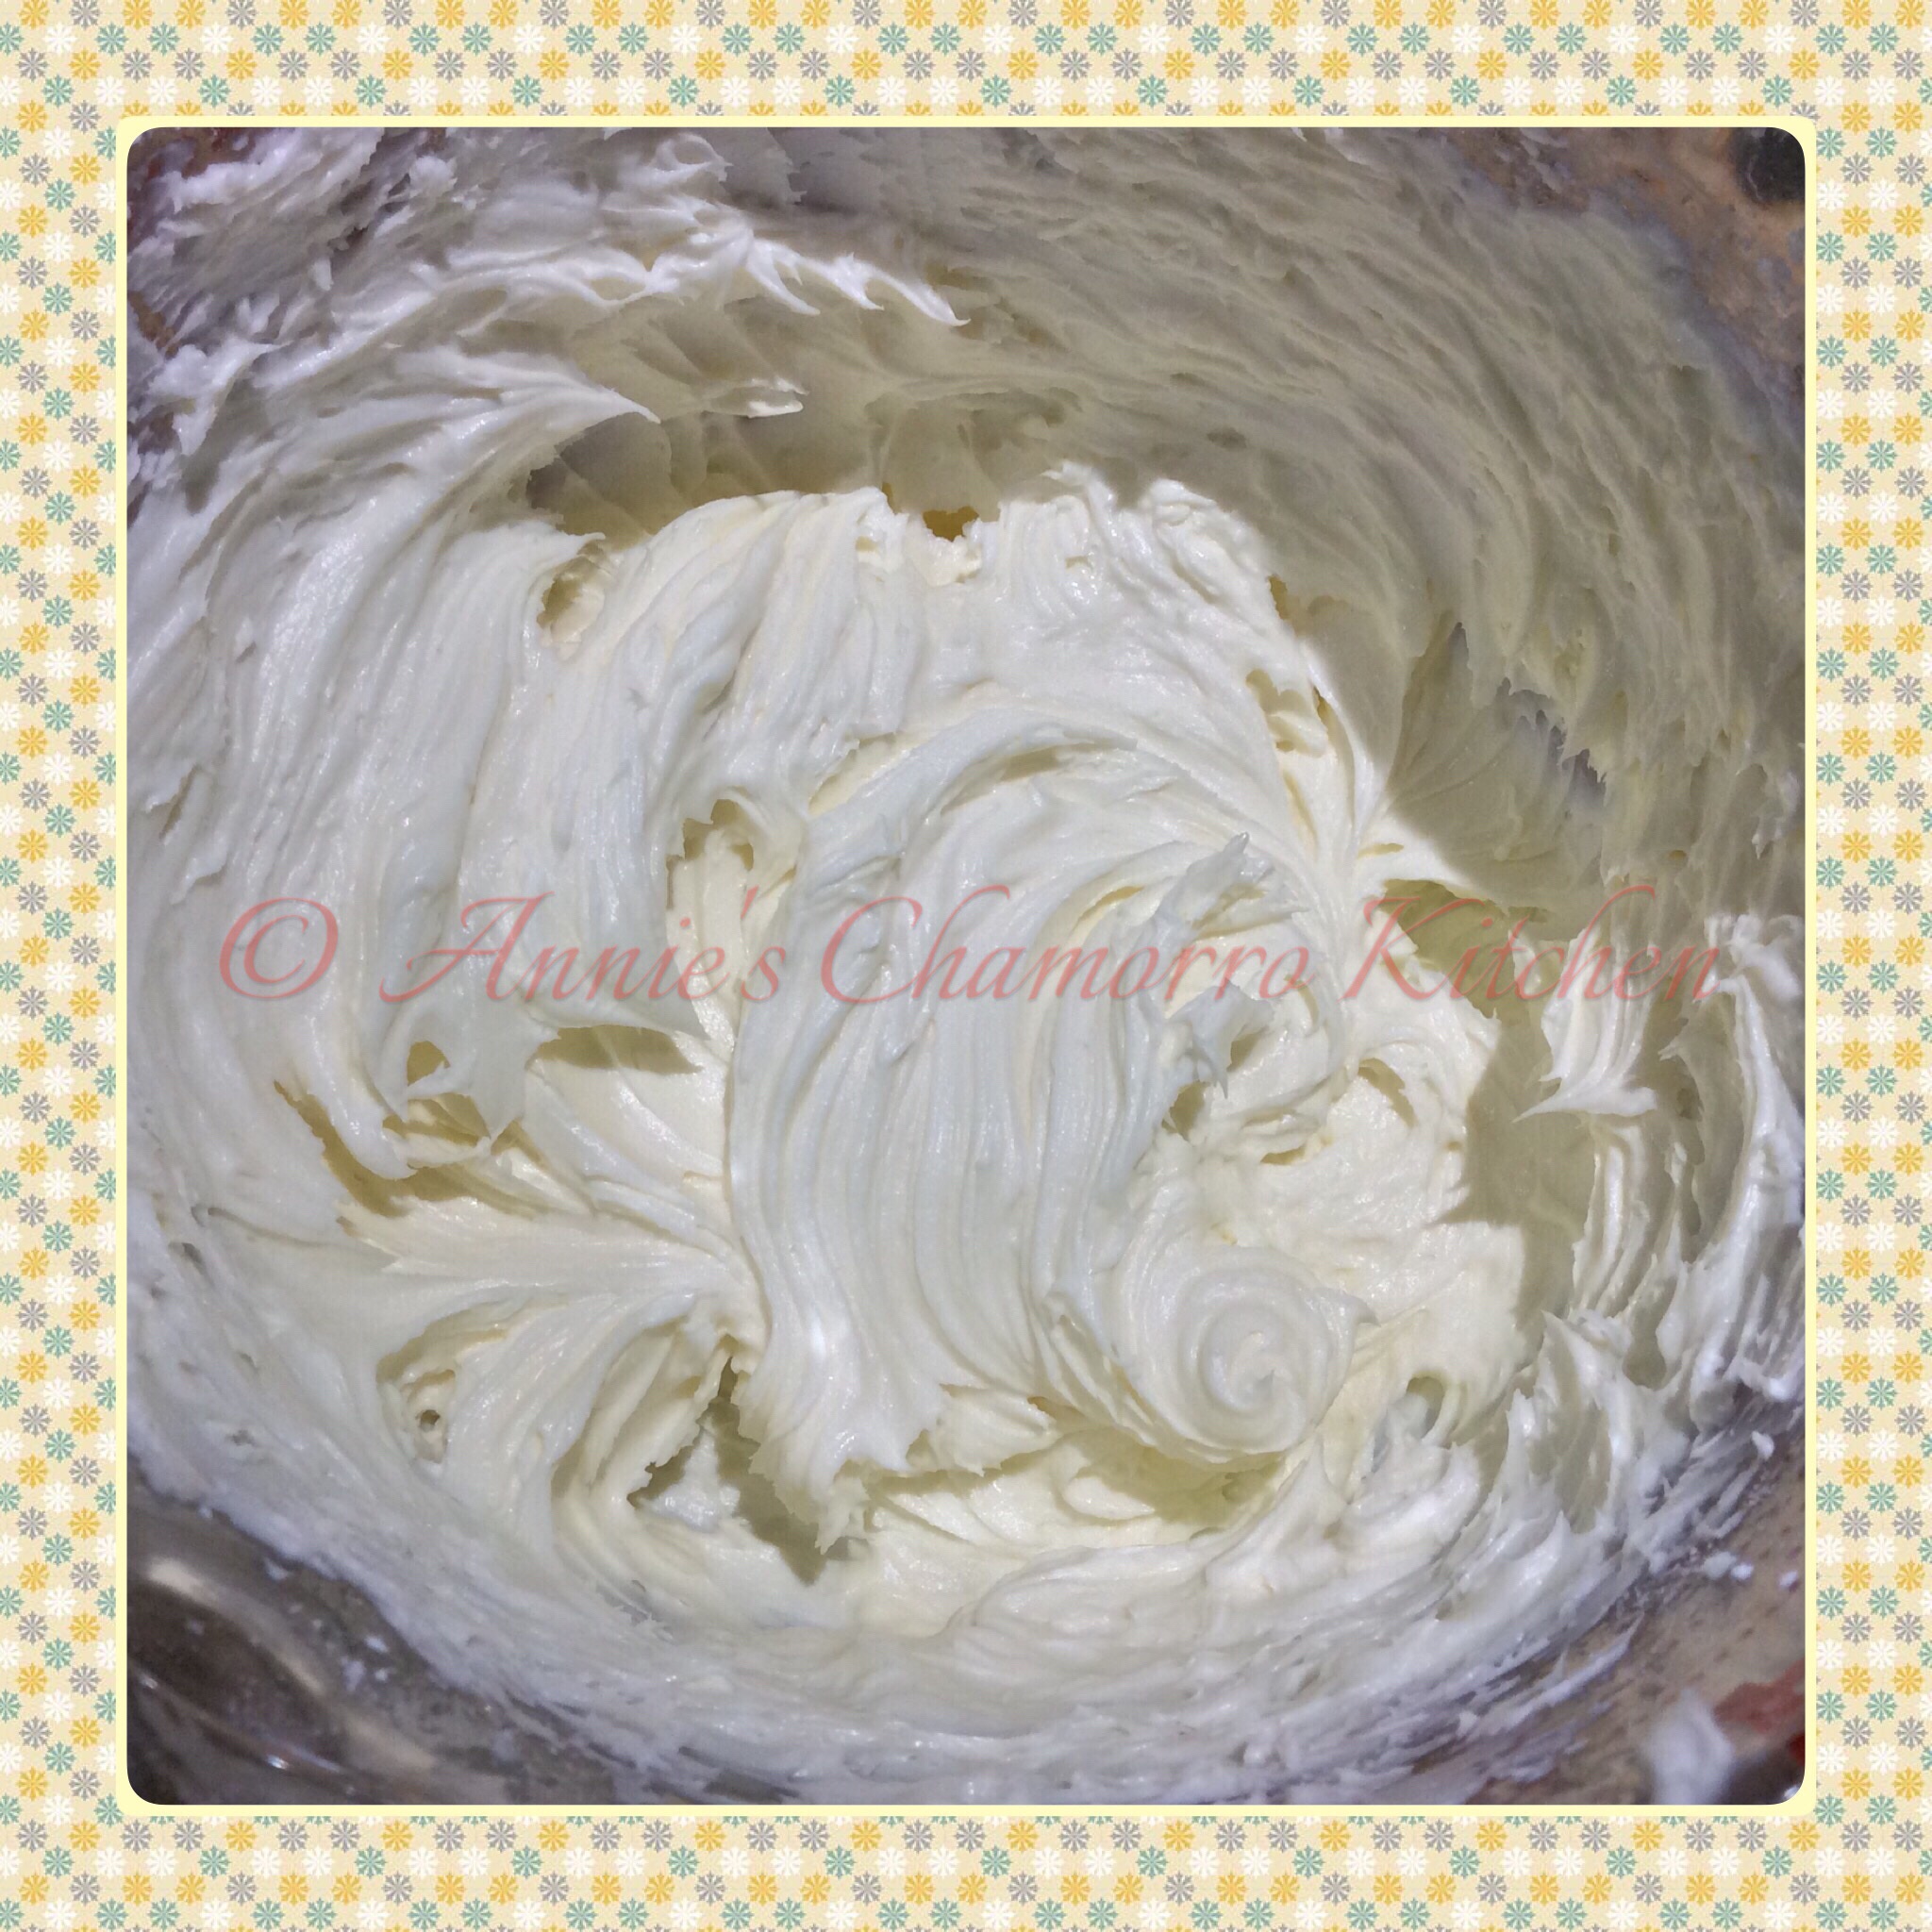
To lighten it up, mix in whipped cream.  I use Cool Whip to make things easier.  Hey, I’m all about making things from scratch, but sometimes semi-homemade is just fine. 🙂

image

Okay, so let’s see where we are in this endeavor.

Crepes — CHECK.

Sweet cream filling — CHECK.

All that’s left to do is fill the crepes with filling and your favorite fruit.  We like — okay, we LOVE — fresh berries in ours.

image

Spread some filling down the middle of a crepe.

image

Add fruit, as much as you like.

image

Fold each side over the middle, sprinkle with powdered sugar, and ENJOY! 😀

image

Scroll down for my complete recipes.


Crepes
 
Tender crepes filled a sweet cream; it's perfect for breakfast or served as a dessert.
Author:
Ingredients
Crepe batter:
  • 3 eggs
  • 3 tablespoons sugar
  • 2 tablespoons butter, melted
  • 1 teaspoon vanilla extract
  • ½ teaspoon salt
  • 2 cups milk
  • 1 cup flour
Filling:
  • 8-oz cream cheese
  • 3 tablespoons powdered sugar
  • 8-oz cool whip
  • Fresh berries
Other:
  • Powdered sugar
  • Butter-flavored cooking spray
Instructions
Make the crepes:
  1. Place the eggs in a large mixing bowl; beat slightly with a whisk.
  2. Mix in the remaining ingredients for the batter. Whisk until smooth.
  3. Pour ½ cup of batter onto a heated skillet. Cook over medium-low heat until lightly browned on one side. Flip the crepe and cook the other side until lightly browned.
Make the filling:
  1. Place the cream cheese and powdered sugar into a small mixing bowl. Use a hand mixer to mix until creamy.
  2. Mix in the Cool Whip.
Assemble the crepes:
  1. Spread some cream filling down the middle of a crepe.
  2. Top with fresh fruit.
  3. Fold the sides over the middle. Sprinkle with powdered sugar.
ENJOY!

Salmon Cakes

Salmon cakes are my take on one of my favorite seafood dishes — crab cakes.  These savory patties are crisp on the outside, thanks to a quick pan-frying, and moist and flavorful on the inside. To finish it off, top with a dollop of lemon-garlic aoili and a sprinkling of green onions. Mmmm mmmm mmmm…these are soooooo good!

Salmon cake

I usually make this for a meal, but you can easily make these into appetizer-sized portions.  This recipe makes between 10-12 salmon cakes, depending on how big you make them.

image

This is a quick and easy version, using canned salmon. I’ve also made this using fresh salmon.  To prepare fresh salmon, bring about 2 cups of broth (seafood or chicken) to a boil in a small saucepan.  Add boneless, skinless salmon pieces to the boiling broth.  Cook until done, about 6-8 minutes, depending on the size of the salmon pieces.  Let the salmon cool then use a fork to break the salmon apart into small chunks.  You’ll need about 1 1/2 pounds of fresh salmon for this recipe.

This is an easy recipe that your kids can help with.  There is something about forming the patties that appeal to kids, or at least it appeals to my kids.  Maybe it’s because they get to “play” with food. 😉

You can find my complete recipe at the bottom of this post.  Give it a try.  I’m sure you’ll like it. 🙂

Start out by making my super-simple lemon-garlic aioli.  Mix all of the aioli ingredients in a small bowl and set aside.

image

Once the aioli is prepared, start making the salmon cakes.  Place all of the ingredients for the salmon cakes into a medium-sized mixing bowl.

Salmon cake

Use a spatula to fold the ingredients together.  Be gentle…the salmon breaks apart easily.  You want to still see small chunks of salmon after mixing.

Salmon cakes

The mixture will be a little “wet.”  This is perfectly okay and is key to creating tender and juicy salmon cakes after frying.

Place the remaining panko bread crumbs into a small bowl.  Form patties out of the mixture then generously coat in bread crumbs. Place the coated salmon cake on a plate or tray; finish forming/coating the rest of the mixture.

Because the mixture is quite moist, I find that refrigerating the coated salmon cakes for about 30 minutes BEFORE frying makes them easier to lift from the plate to the frying pan.

Salmon cakes

When you’re ready to fry the cakes, place a couple of tablespoons of vegetable oil on a heated non-stick skillet.  I actually prefer to use a cast-iron skillet when I make this.

Pan fry over medium-high heat for about 4 minutes on each side, or until golden brown and crisp.

Serve with garlic aioli and ENJOY! 😀

image


Salmon Cakes
 
Prep time
Cook time
Total time
 
Savory salmon patties seasoned with cajun seasoning, topped with a delicious lemon-garlic aoili
Author:
Serves: 10-12 patties
Ingredients
Cajun Garlic Aoli
  • 1 cup mayo
  • 2 tablespoons chopped garlic
  • 1 tablespoon Cajun seasoning
  • 2 tablespoons lemon juice
  • 1 teaspoon salt
Salmon Cakes:
  • 3 cans boneless salmon (6-oz each)
  • ½ cup panko bread crumbs
  • ½ cup mayo
  • 2 teaspoons Dijon mustard
  • 4 stalks green onions, sliced
  • 2 teaspoons Cajun seasoning
  • 1 teaspoon garlic powder
Other:
  • 2 cups panko bread crumbs, for coating
  • Vegetable oil, for frying
Instructions
Make the Aoili:
  1. Mix all of the ingredients together in a small bowl. Set aside.
Make the Salmon Cakes:
  1. Drain the water out of the cans of salmon then place into a mixing bowl.
  2. Add the ingredients for the salmon cakes to the bowl. Fold the ingredients together until combined.
  3. Form the mixture into patties, coating each one with the remaining 2 cups of bread crumbs.
  4. Heat a non- stick or cast-iron pan over medium high heat. Lightly coat the pan with vegetable oil (a couple of tablespoons will do). Pan fry the salmon cakes for 3 to 4 minutes on each side. Add more oil to the pan if needed.
Serve with aioli and enjoy!


« Older Entries Recent Entries »