Archive for HEALTHY ALTERNATIVES

Mandarin Delight Pie

I first tried this pie years and years ago, when one of my sisters made it for our family.  It’s since been one of our favorite desserts.  It’s quick and easy to make; in fact, if you’re looking for something delicious to make for dessert, add this to your menu.   It’s a delicious dessert to take to potlucks too!

For a low-calorie / lightened version of this recipe, use a low-fat crust, fat-free cream cheese, low-fat or fat-free sour cream, lite Cool Whip, sugar-free pudding mix, and mandarin oranges packed in juice instead of syrup.

Give my recipe a try.  I think you’ll like it. 🙂

Mandarin Delight Pie

Mandarin Pie - 13

Ingredients:

  • 1 graham cracker pie crust
  • 1 package (8‑oz) cream cheese
  • 1 cup sour cream
  • 1 small tub (8‑oz) of Cool Whip
  • 1 small (3.4 oz) packages of French Vanilla instant pudding mix
  • 2 cans (15‑oz) mandarin oranges (reserve 1/2 cup of the liquid; drain the rest)

Directions:

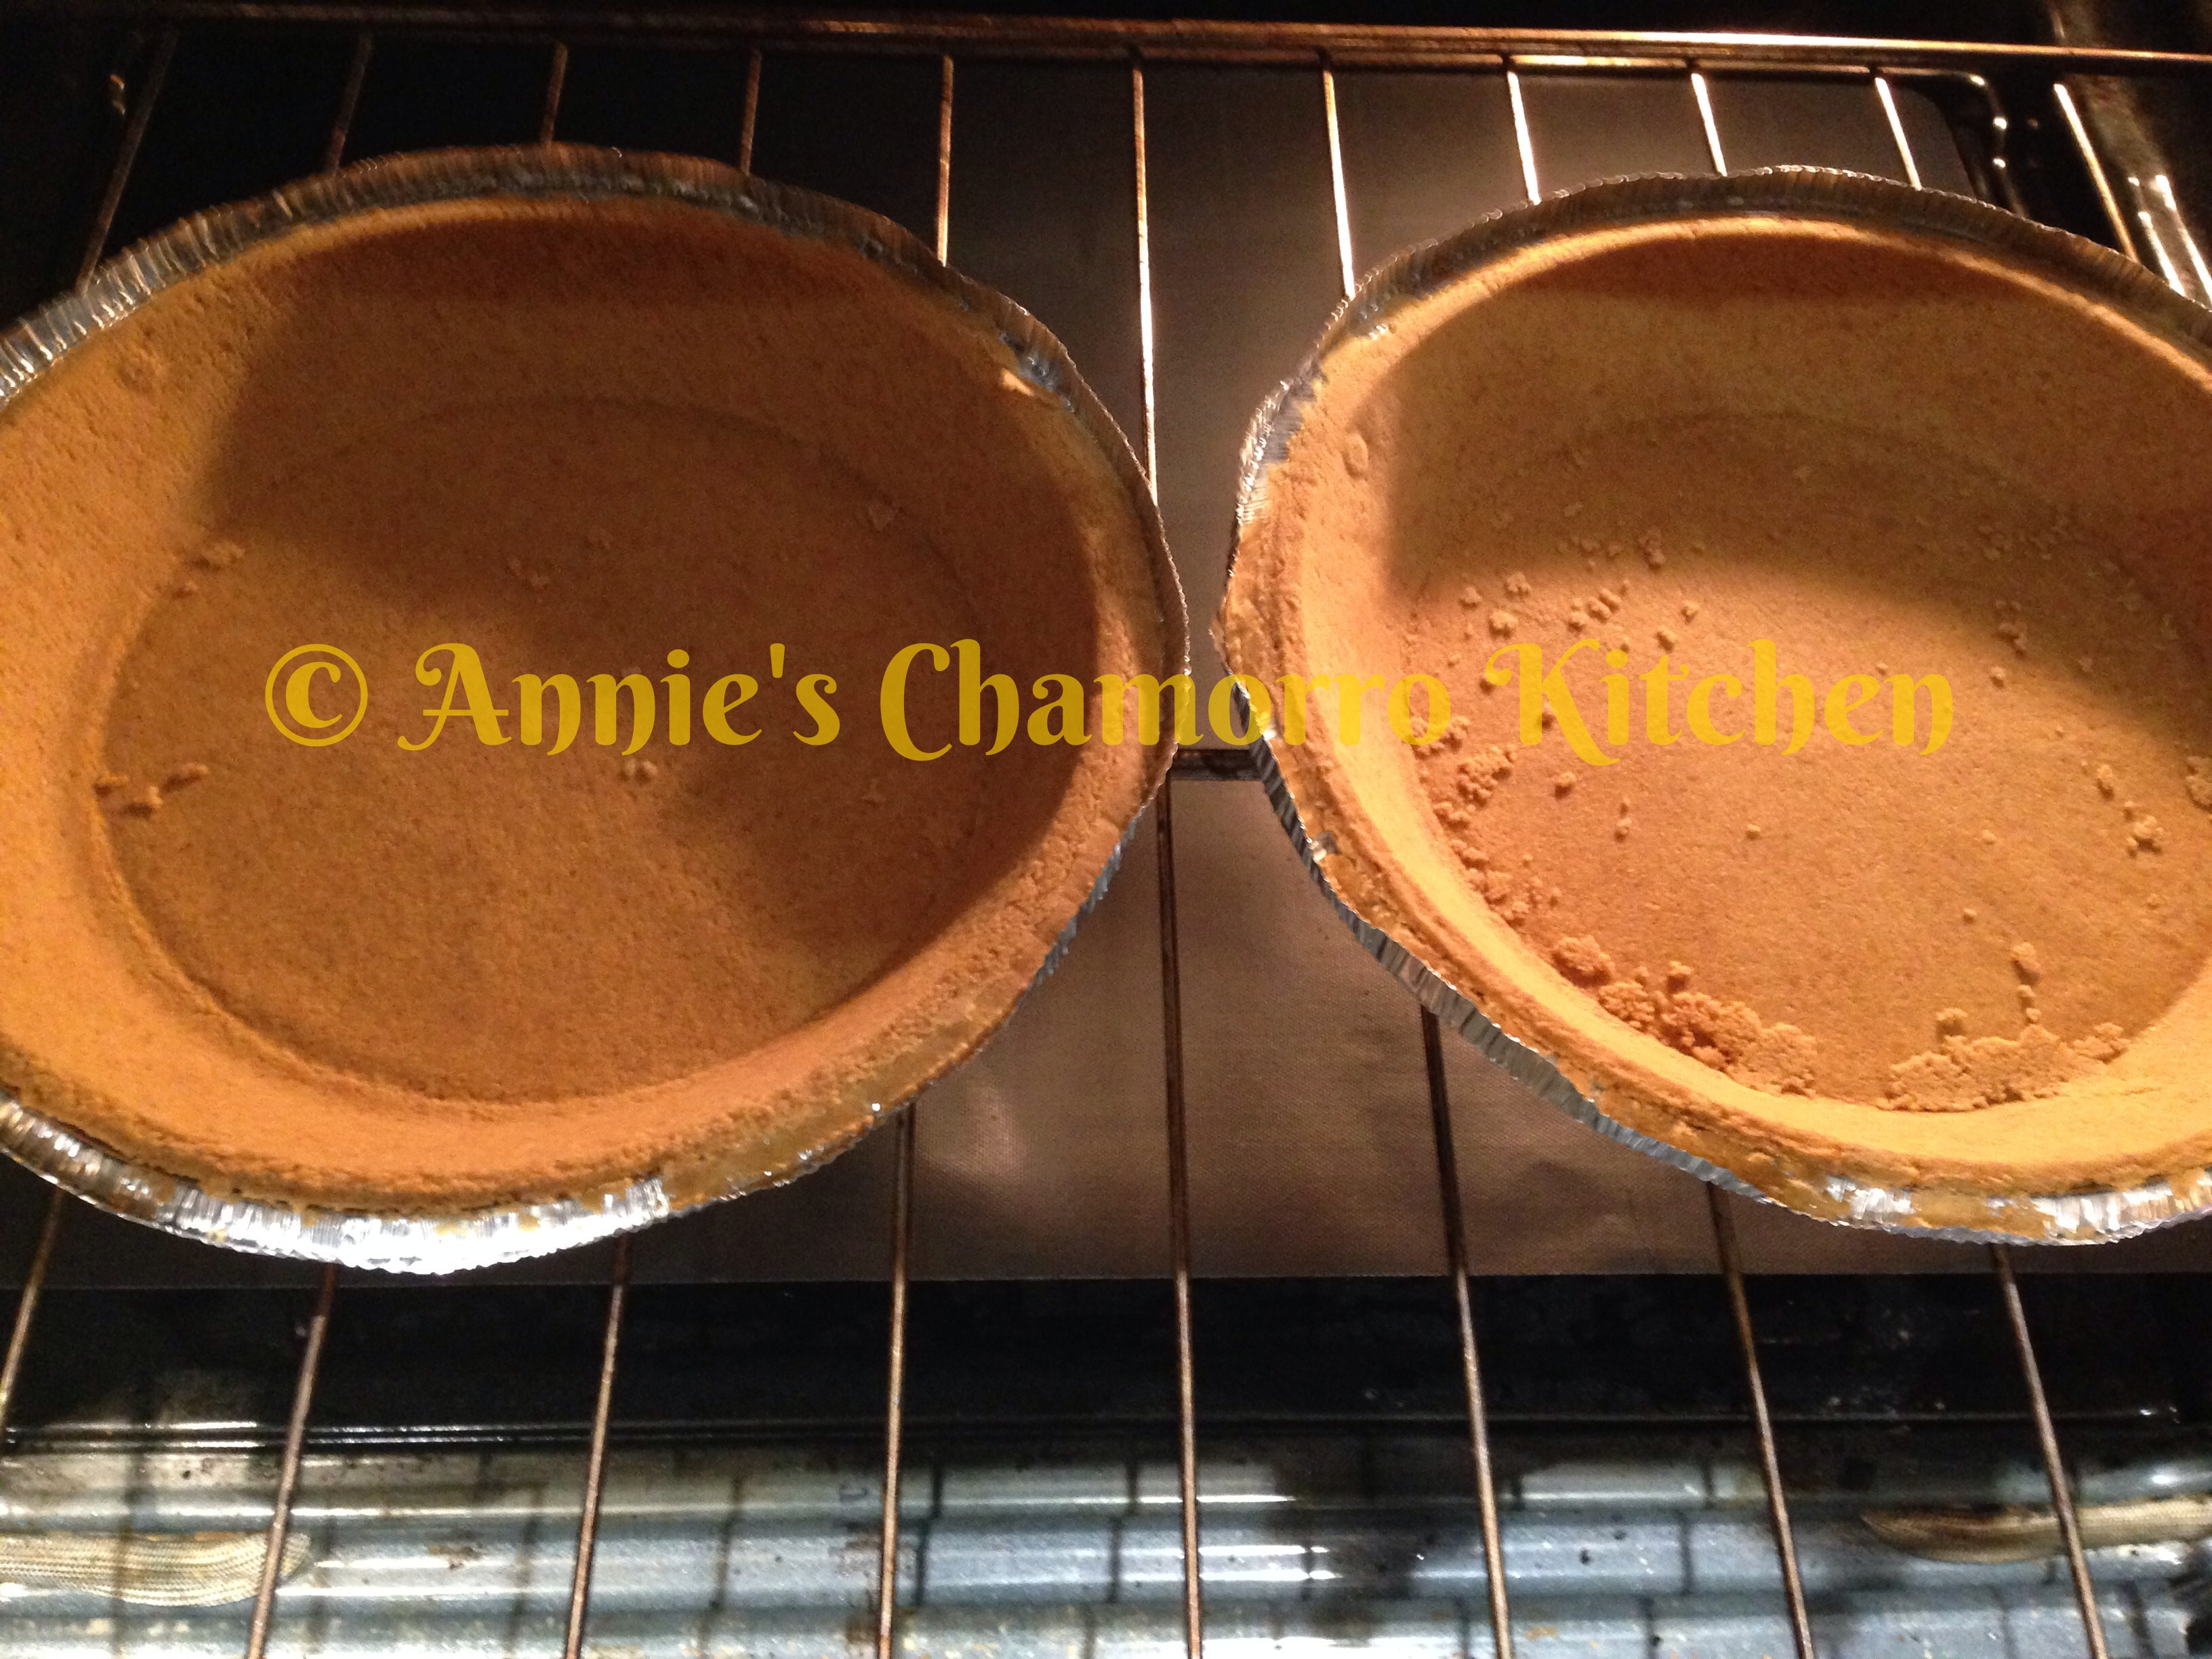
1.  Heat your oven to 250 degrees. Place the graham cracker crust into the COLD oven, at the same time you turn it on to pre-heat.  (In the time it takes to pre-heat your oven, the crust is toasting.)  Once the oven reaches 250 degrees, take the crust out of the oven.  You should smell the toasting crust by this time– when you start to smell the crust as it bakes, it’s probably ready to take out of the oven. Remove the crust from the oven.  Let the pie crust cool completely before adding the filling.

IMG_3146IMG_3148

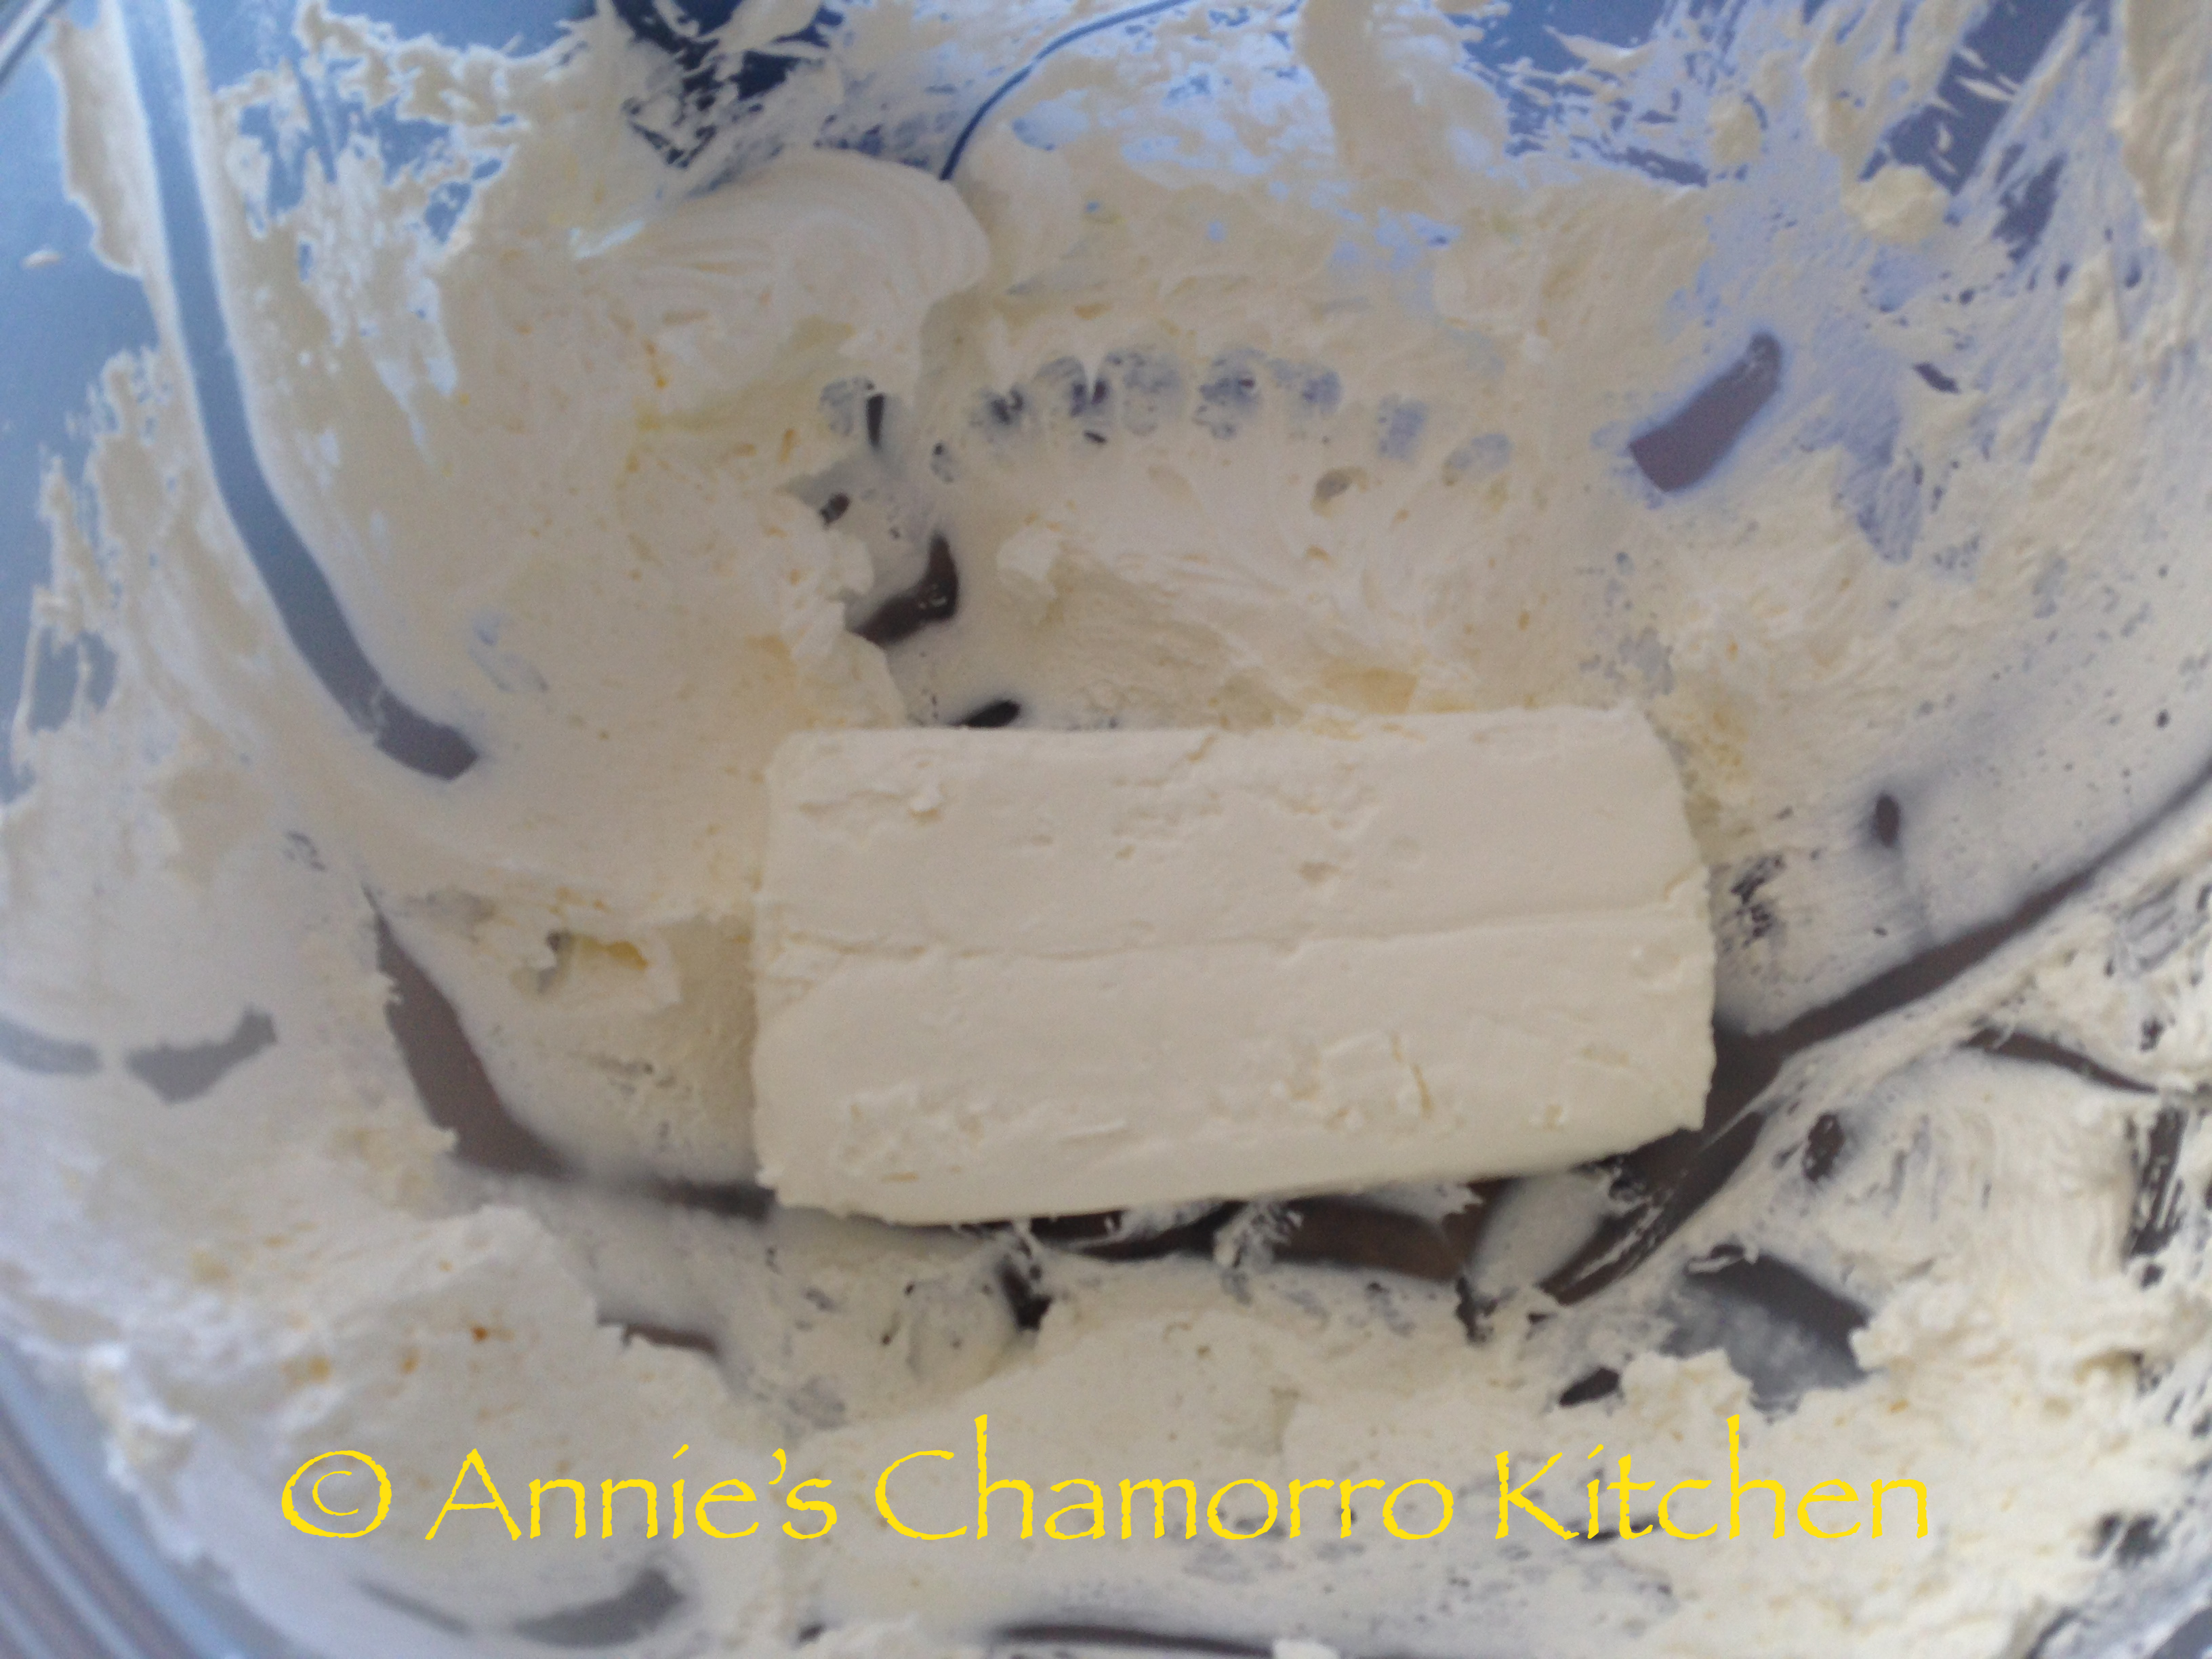
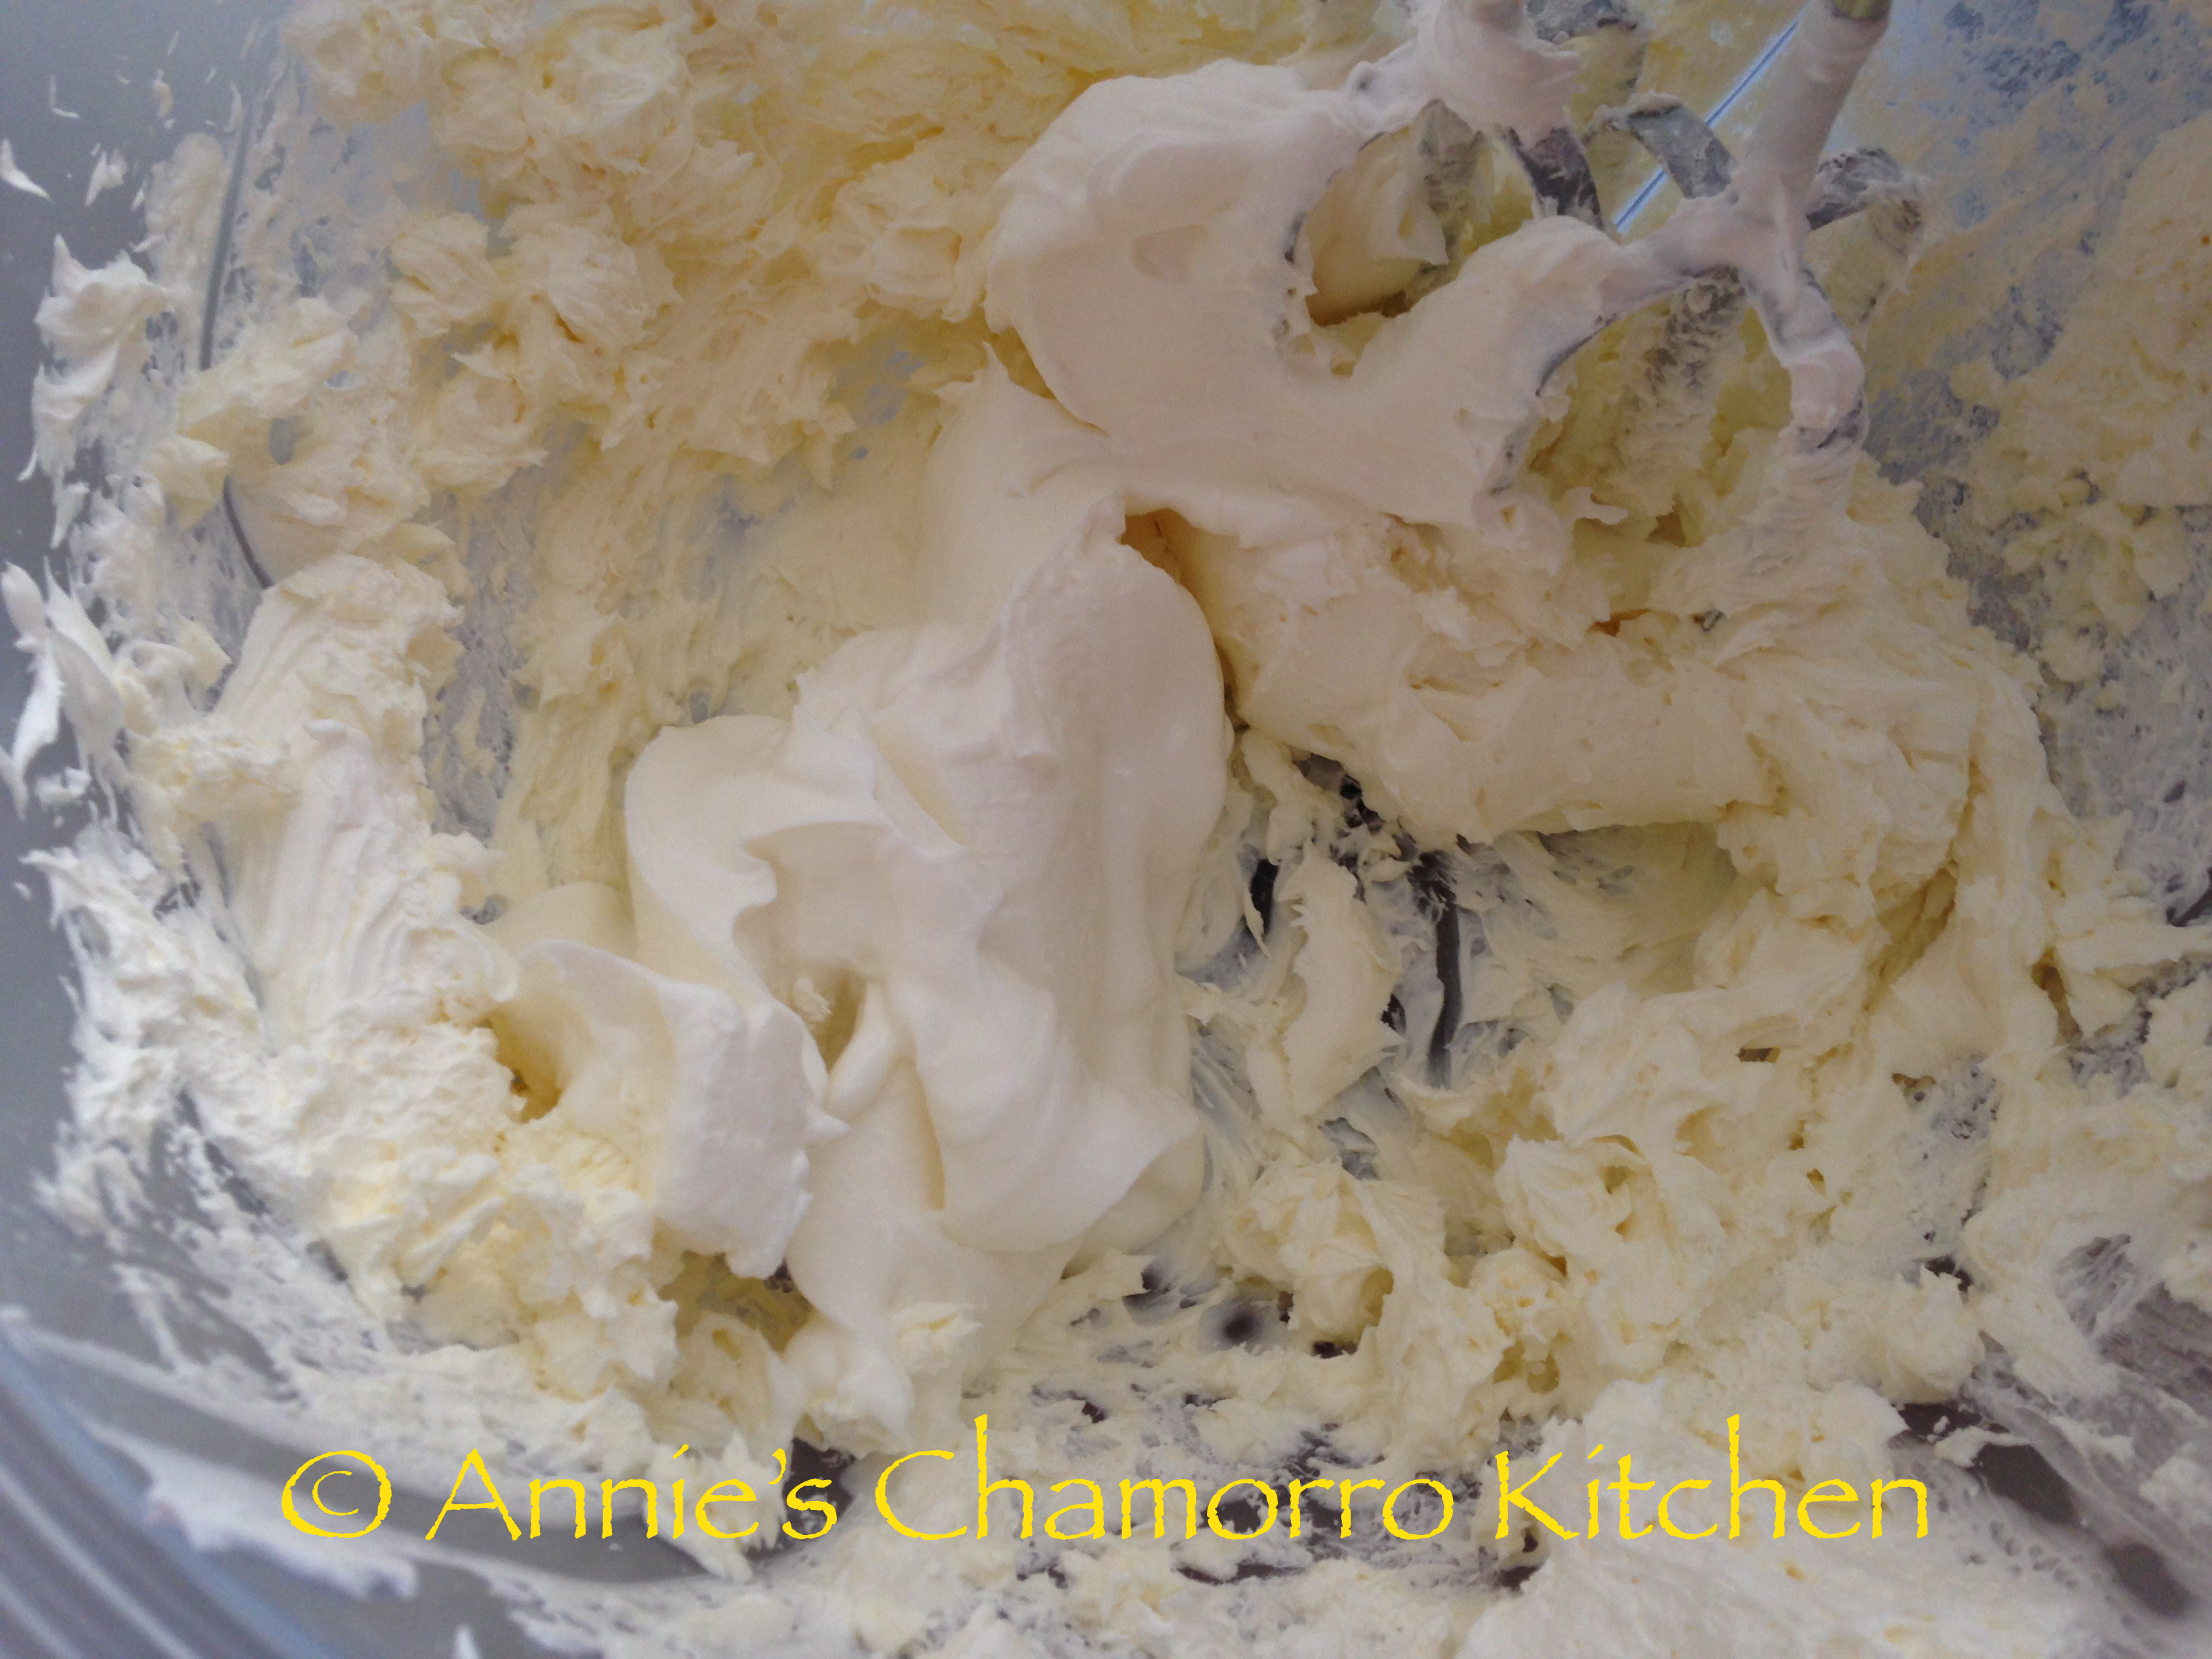
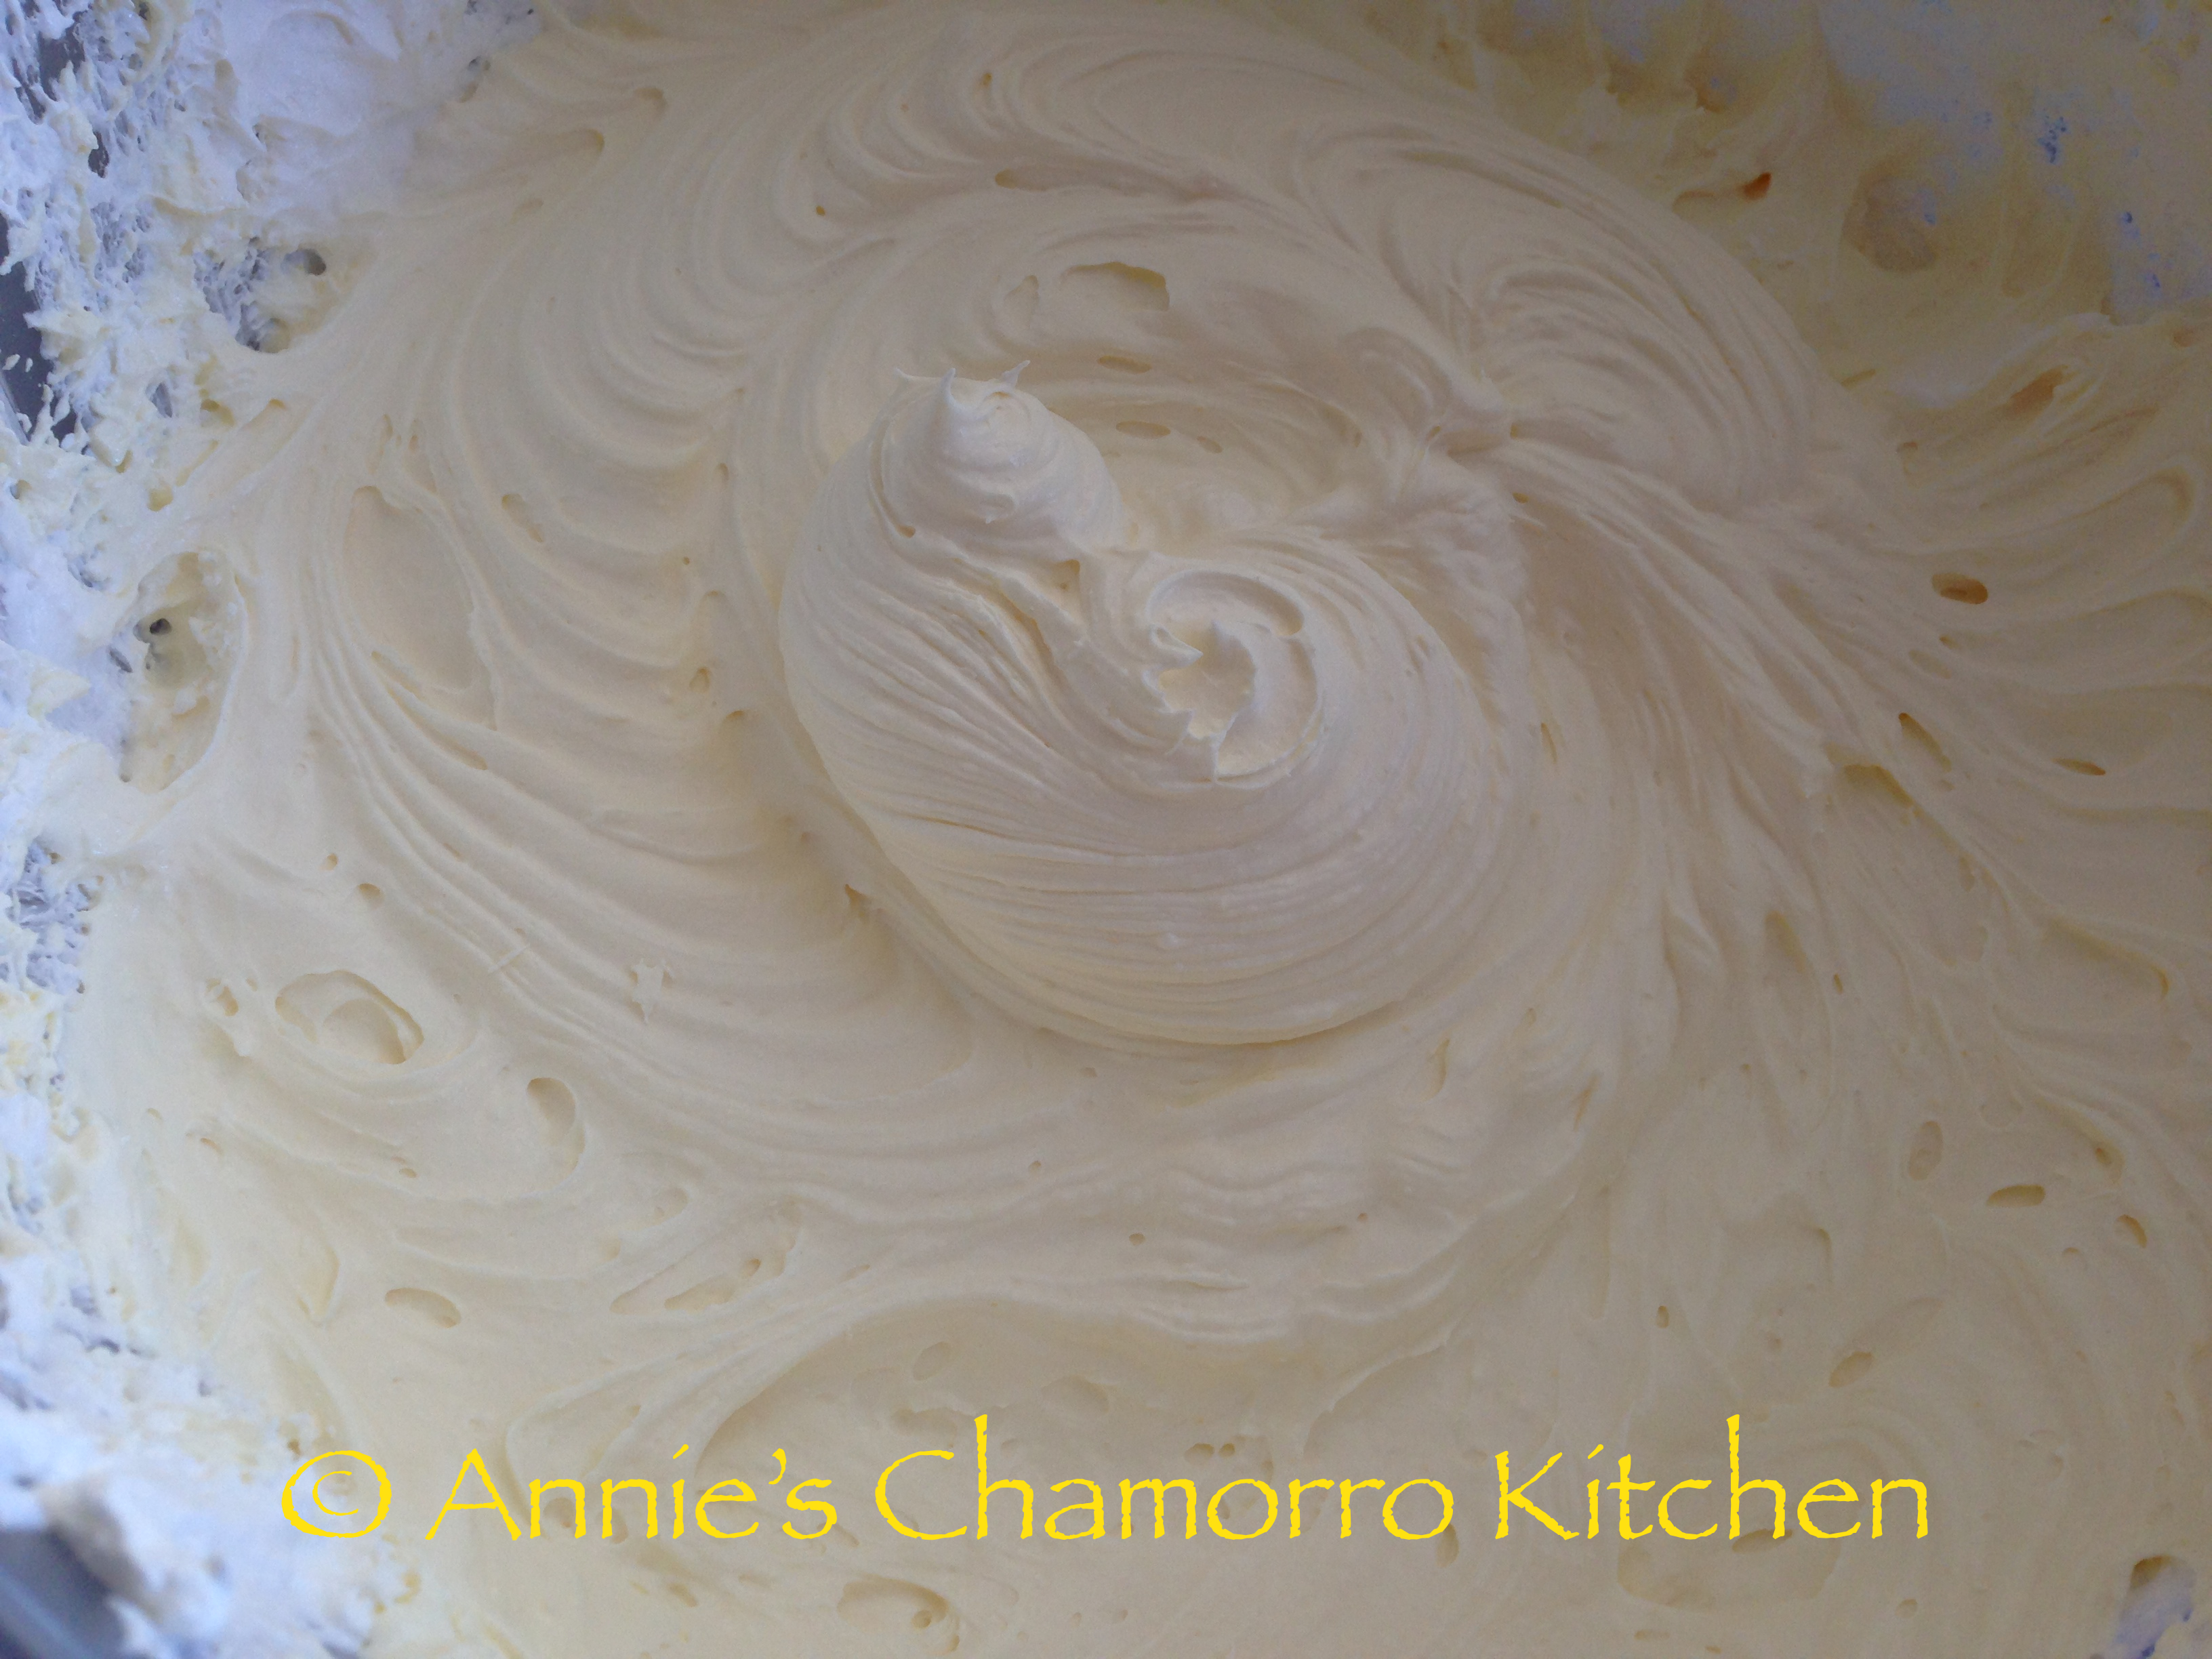
2.  In a mixing bowl, beat the cream cheese until smooth and creamy.

Mandarin Pie - 01Mandarin Pie - 02

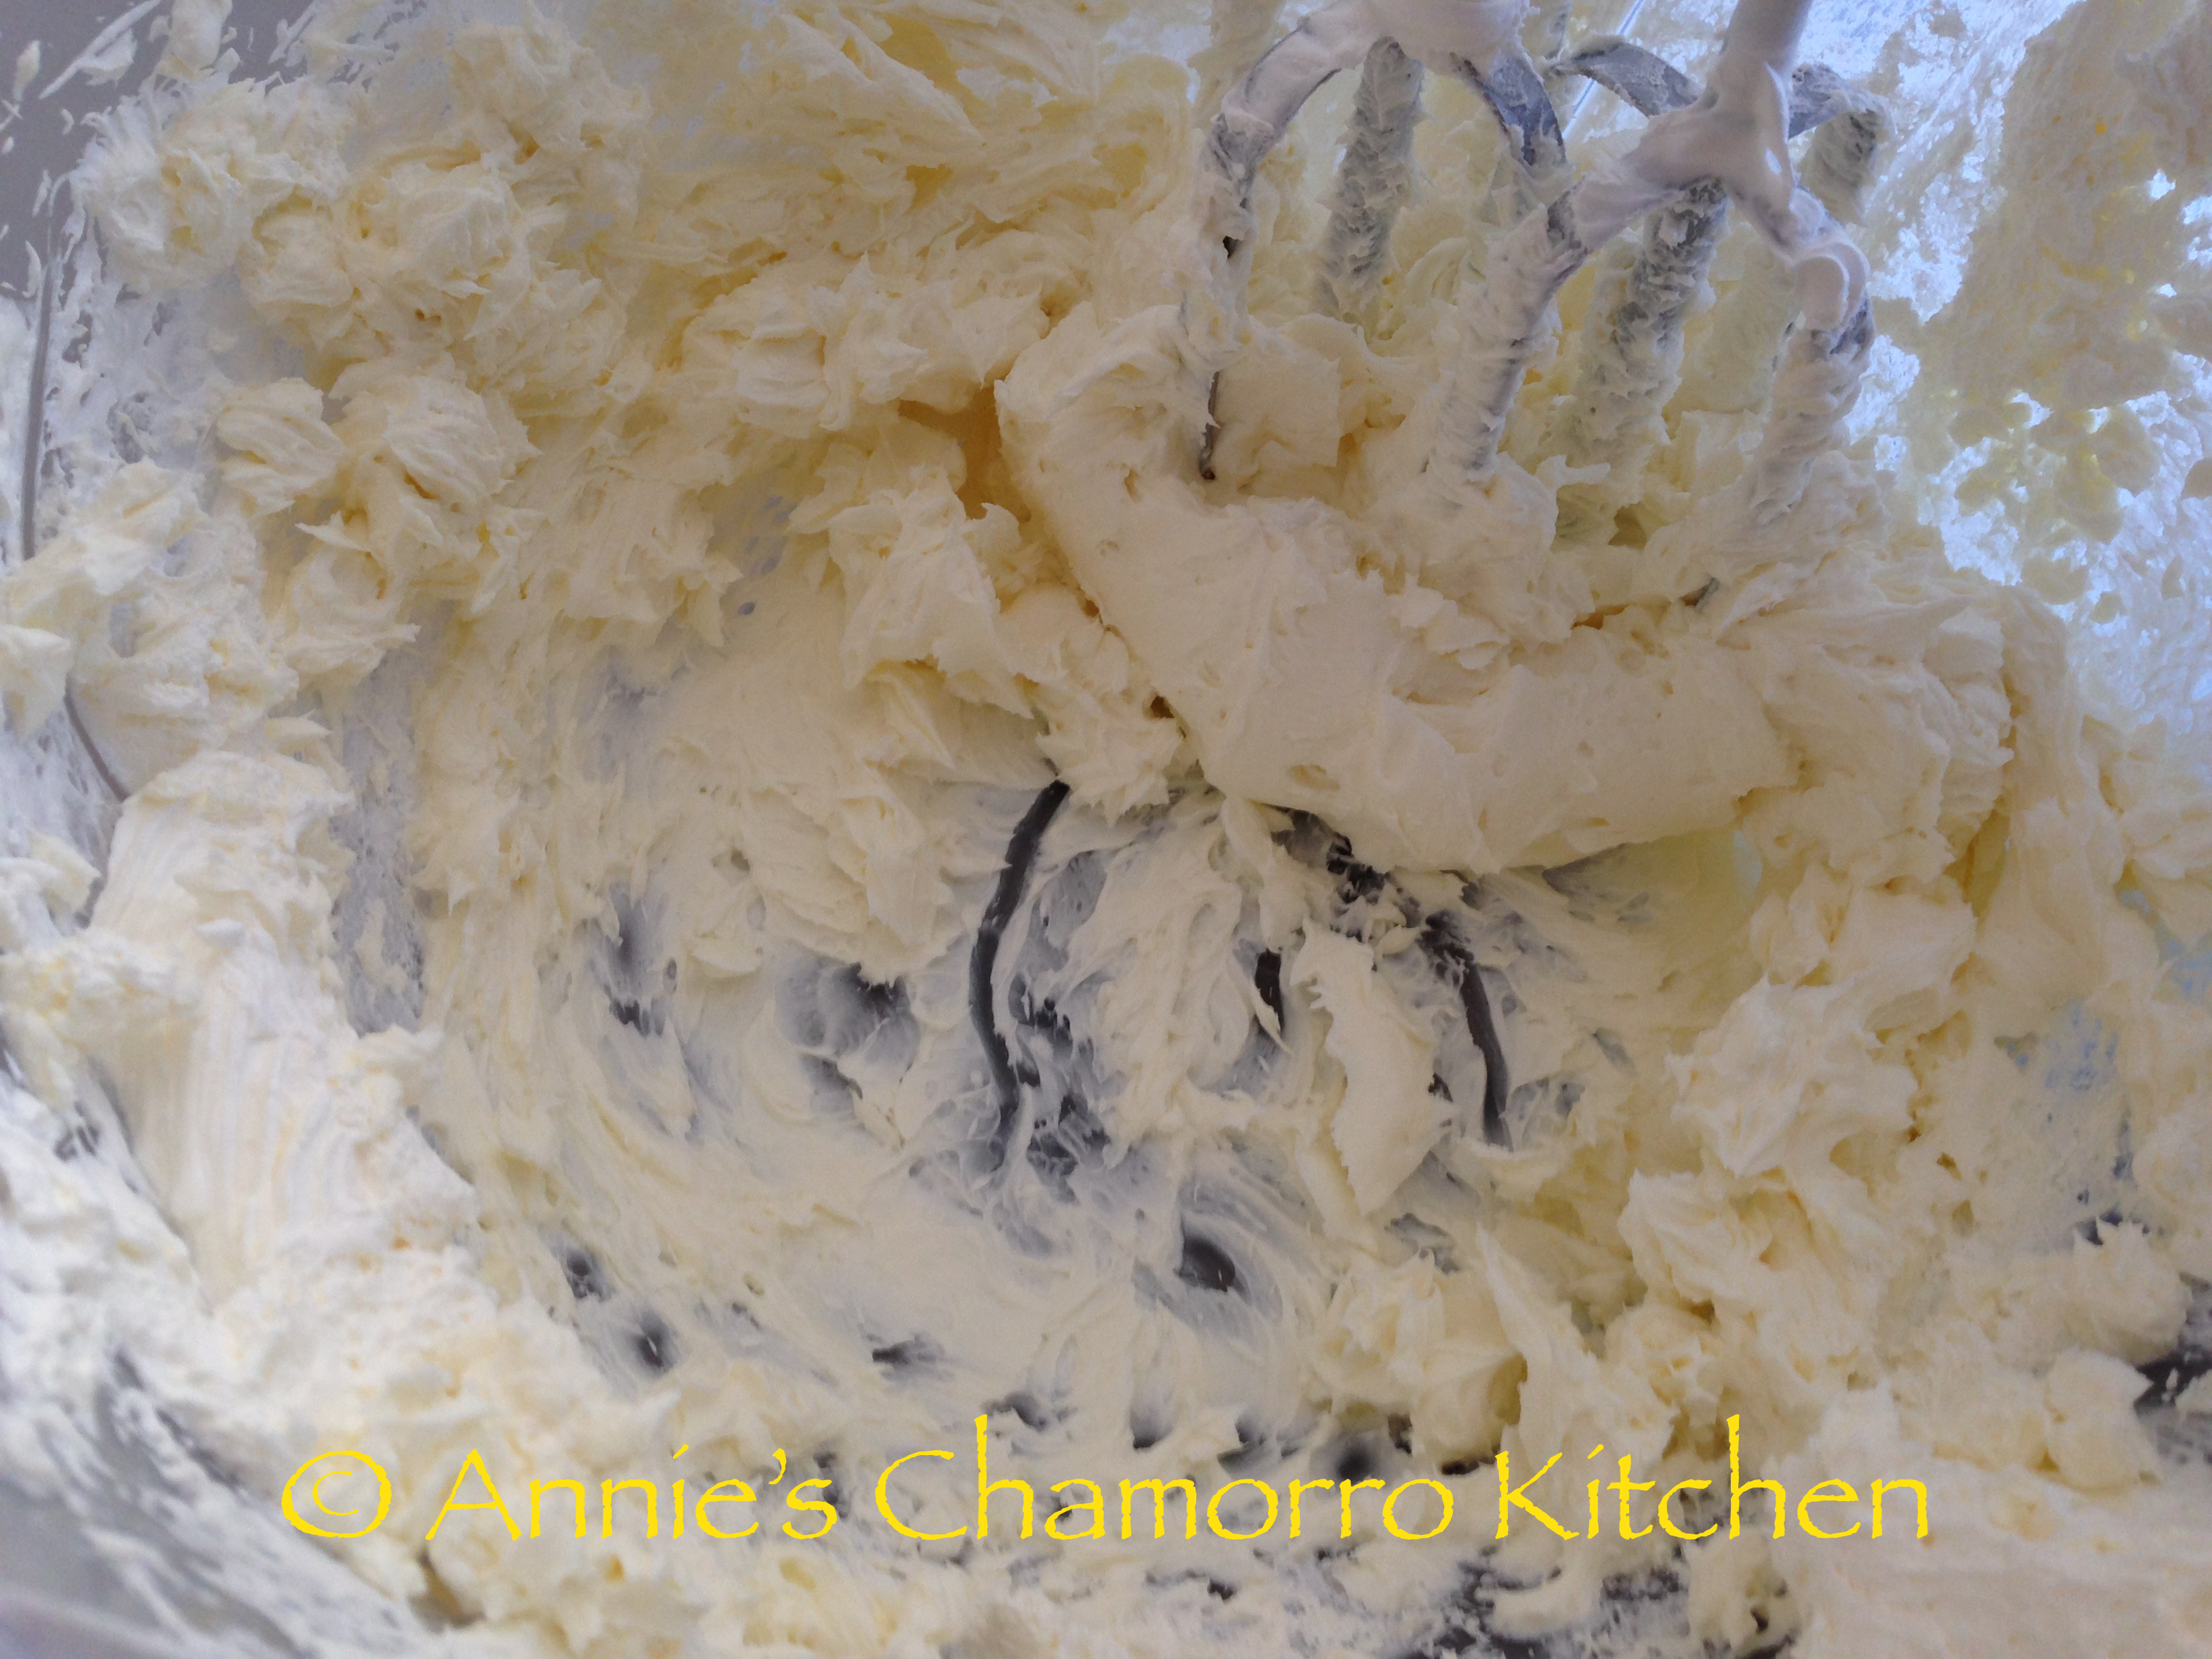
3.  Mix in the sour cream.

Mandarin Pie - 03

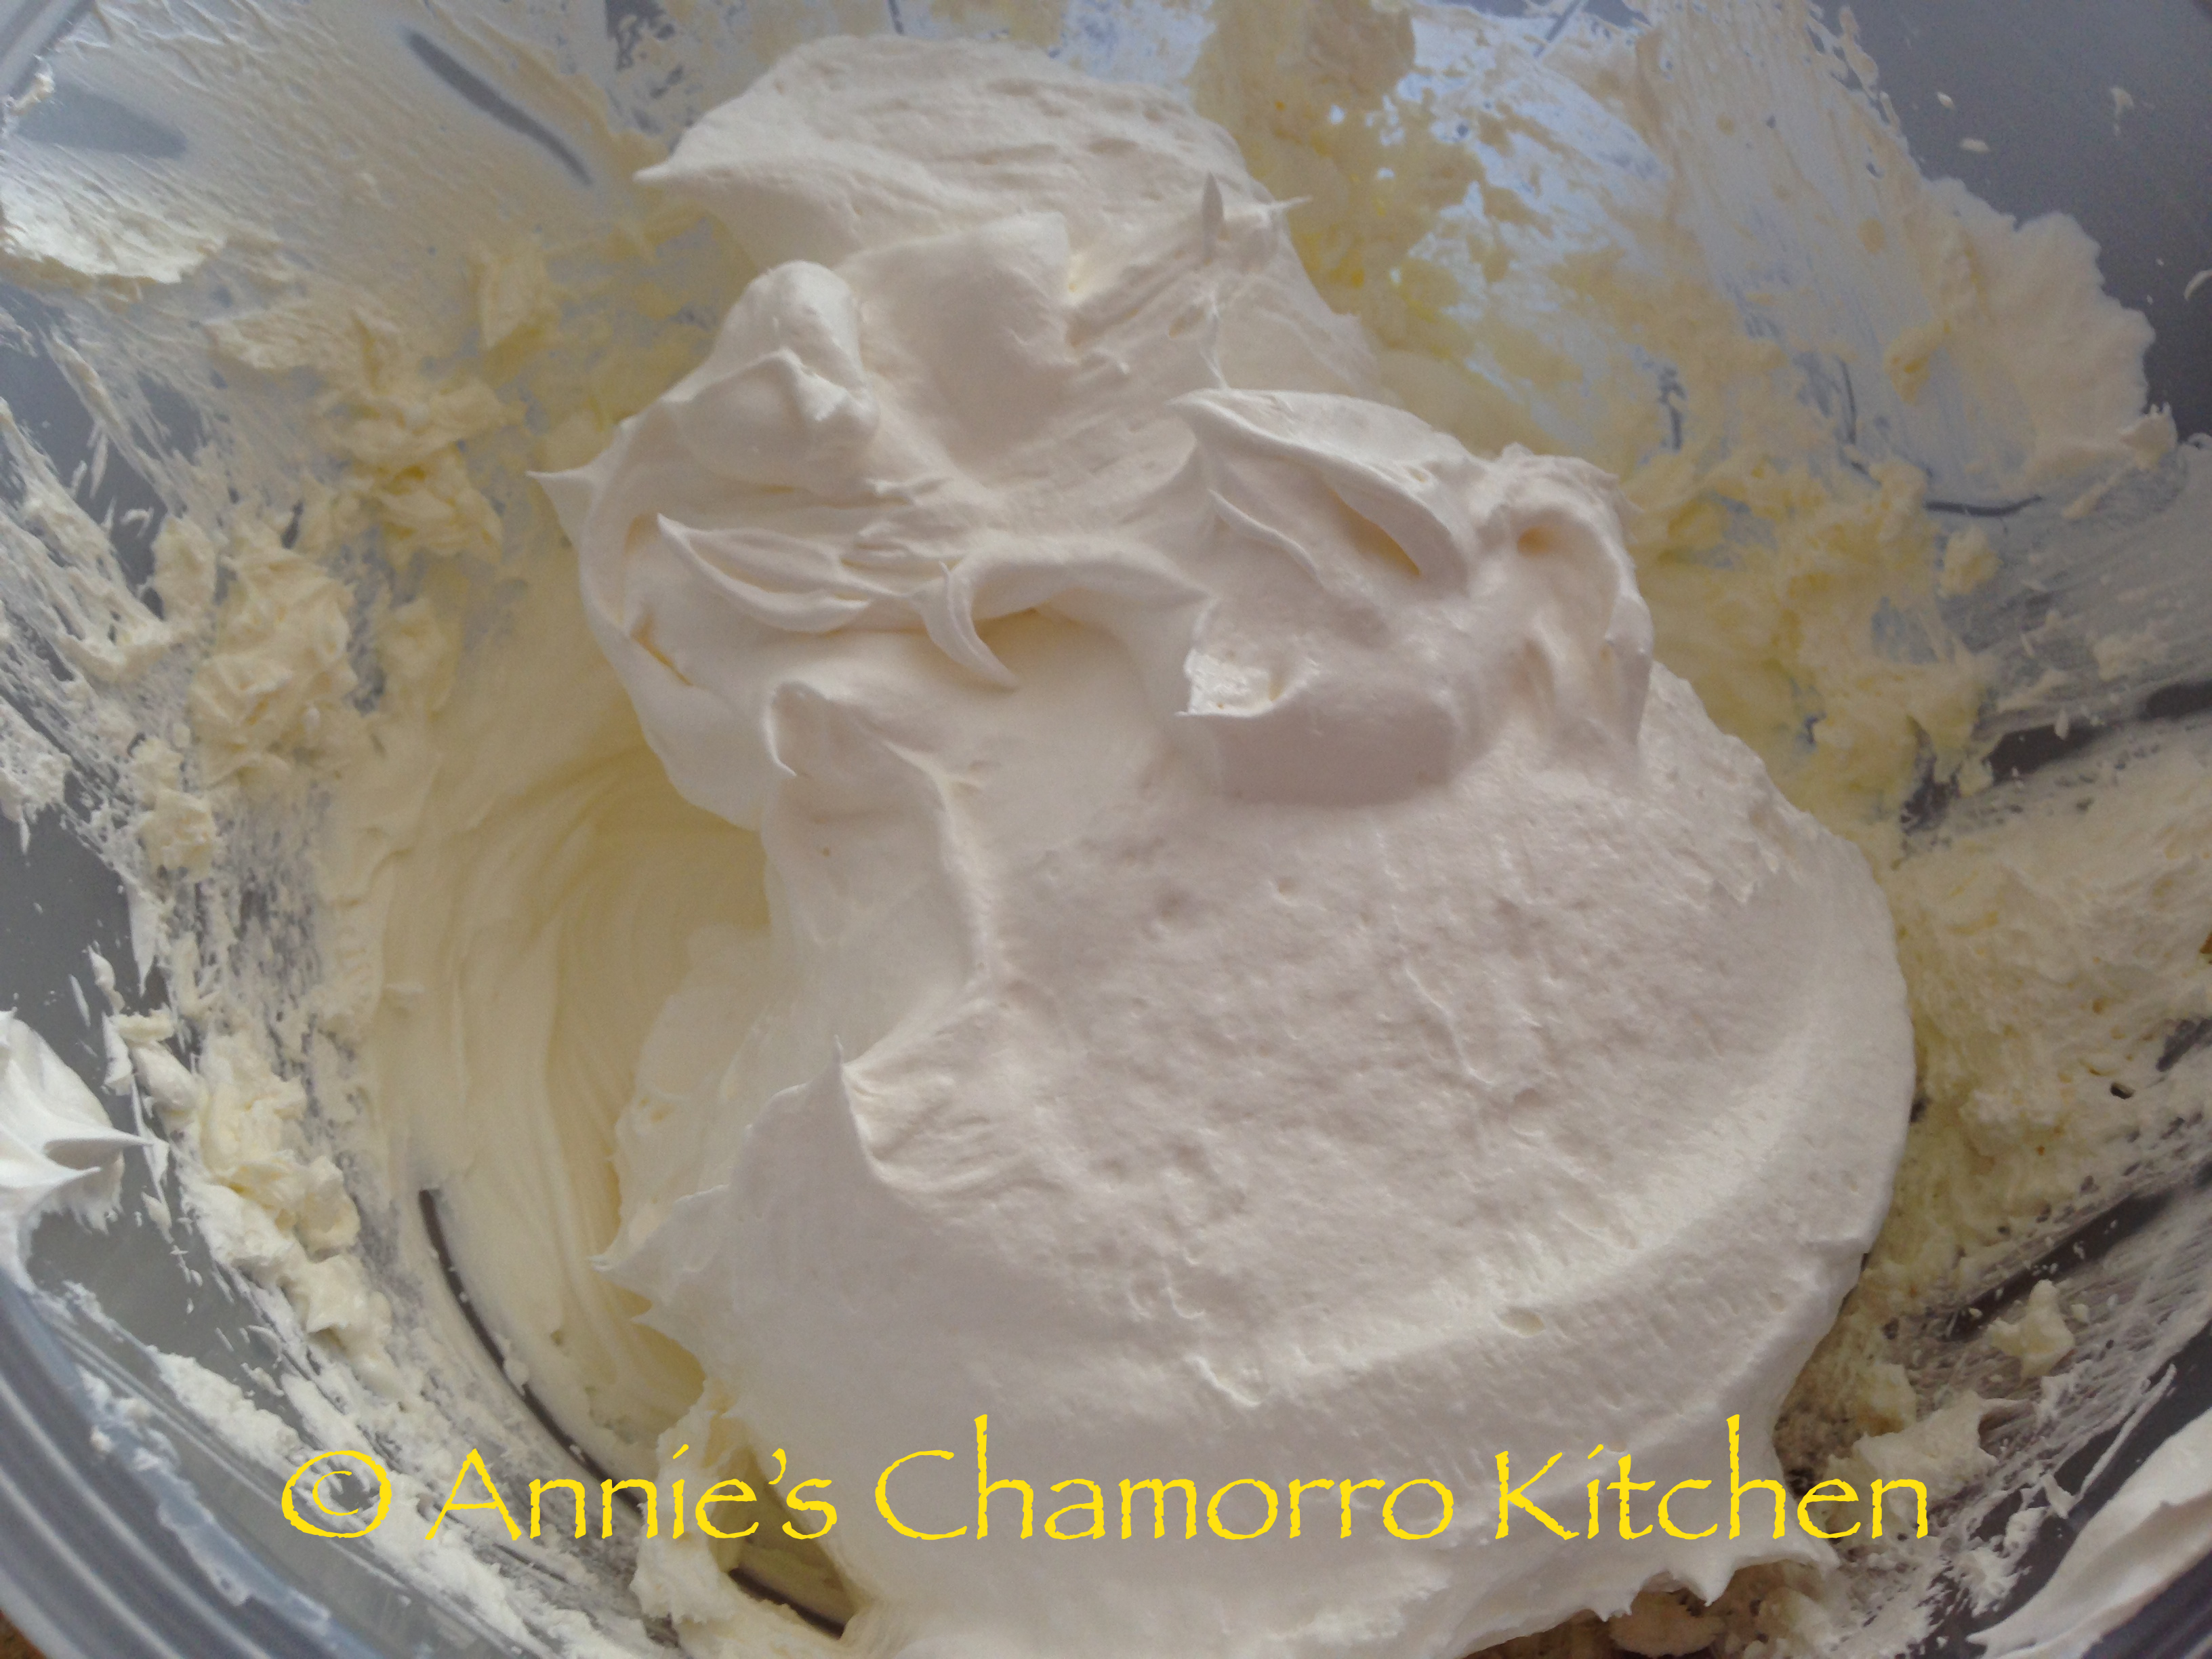
4.  Mix in the cool whip.

Mandarin Pie - 04

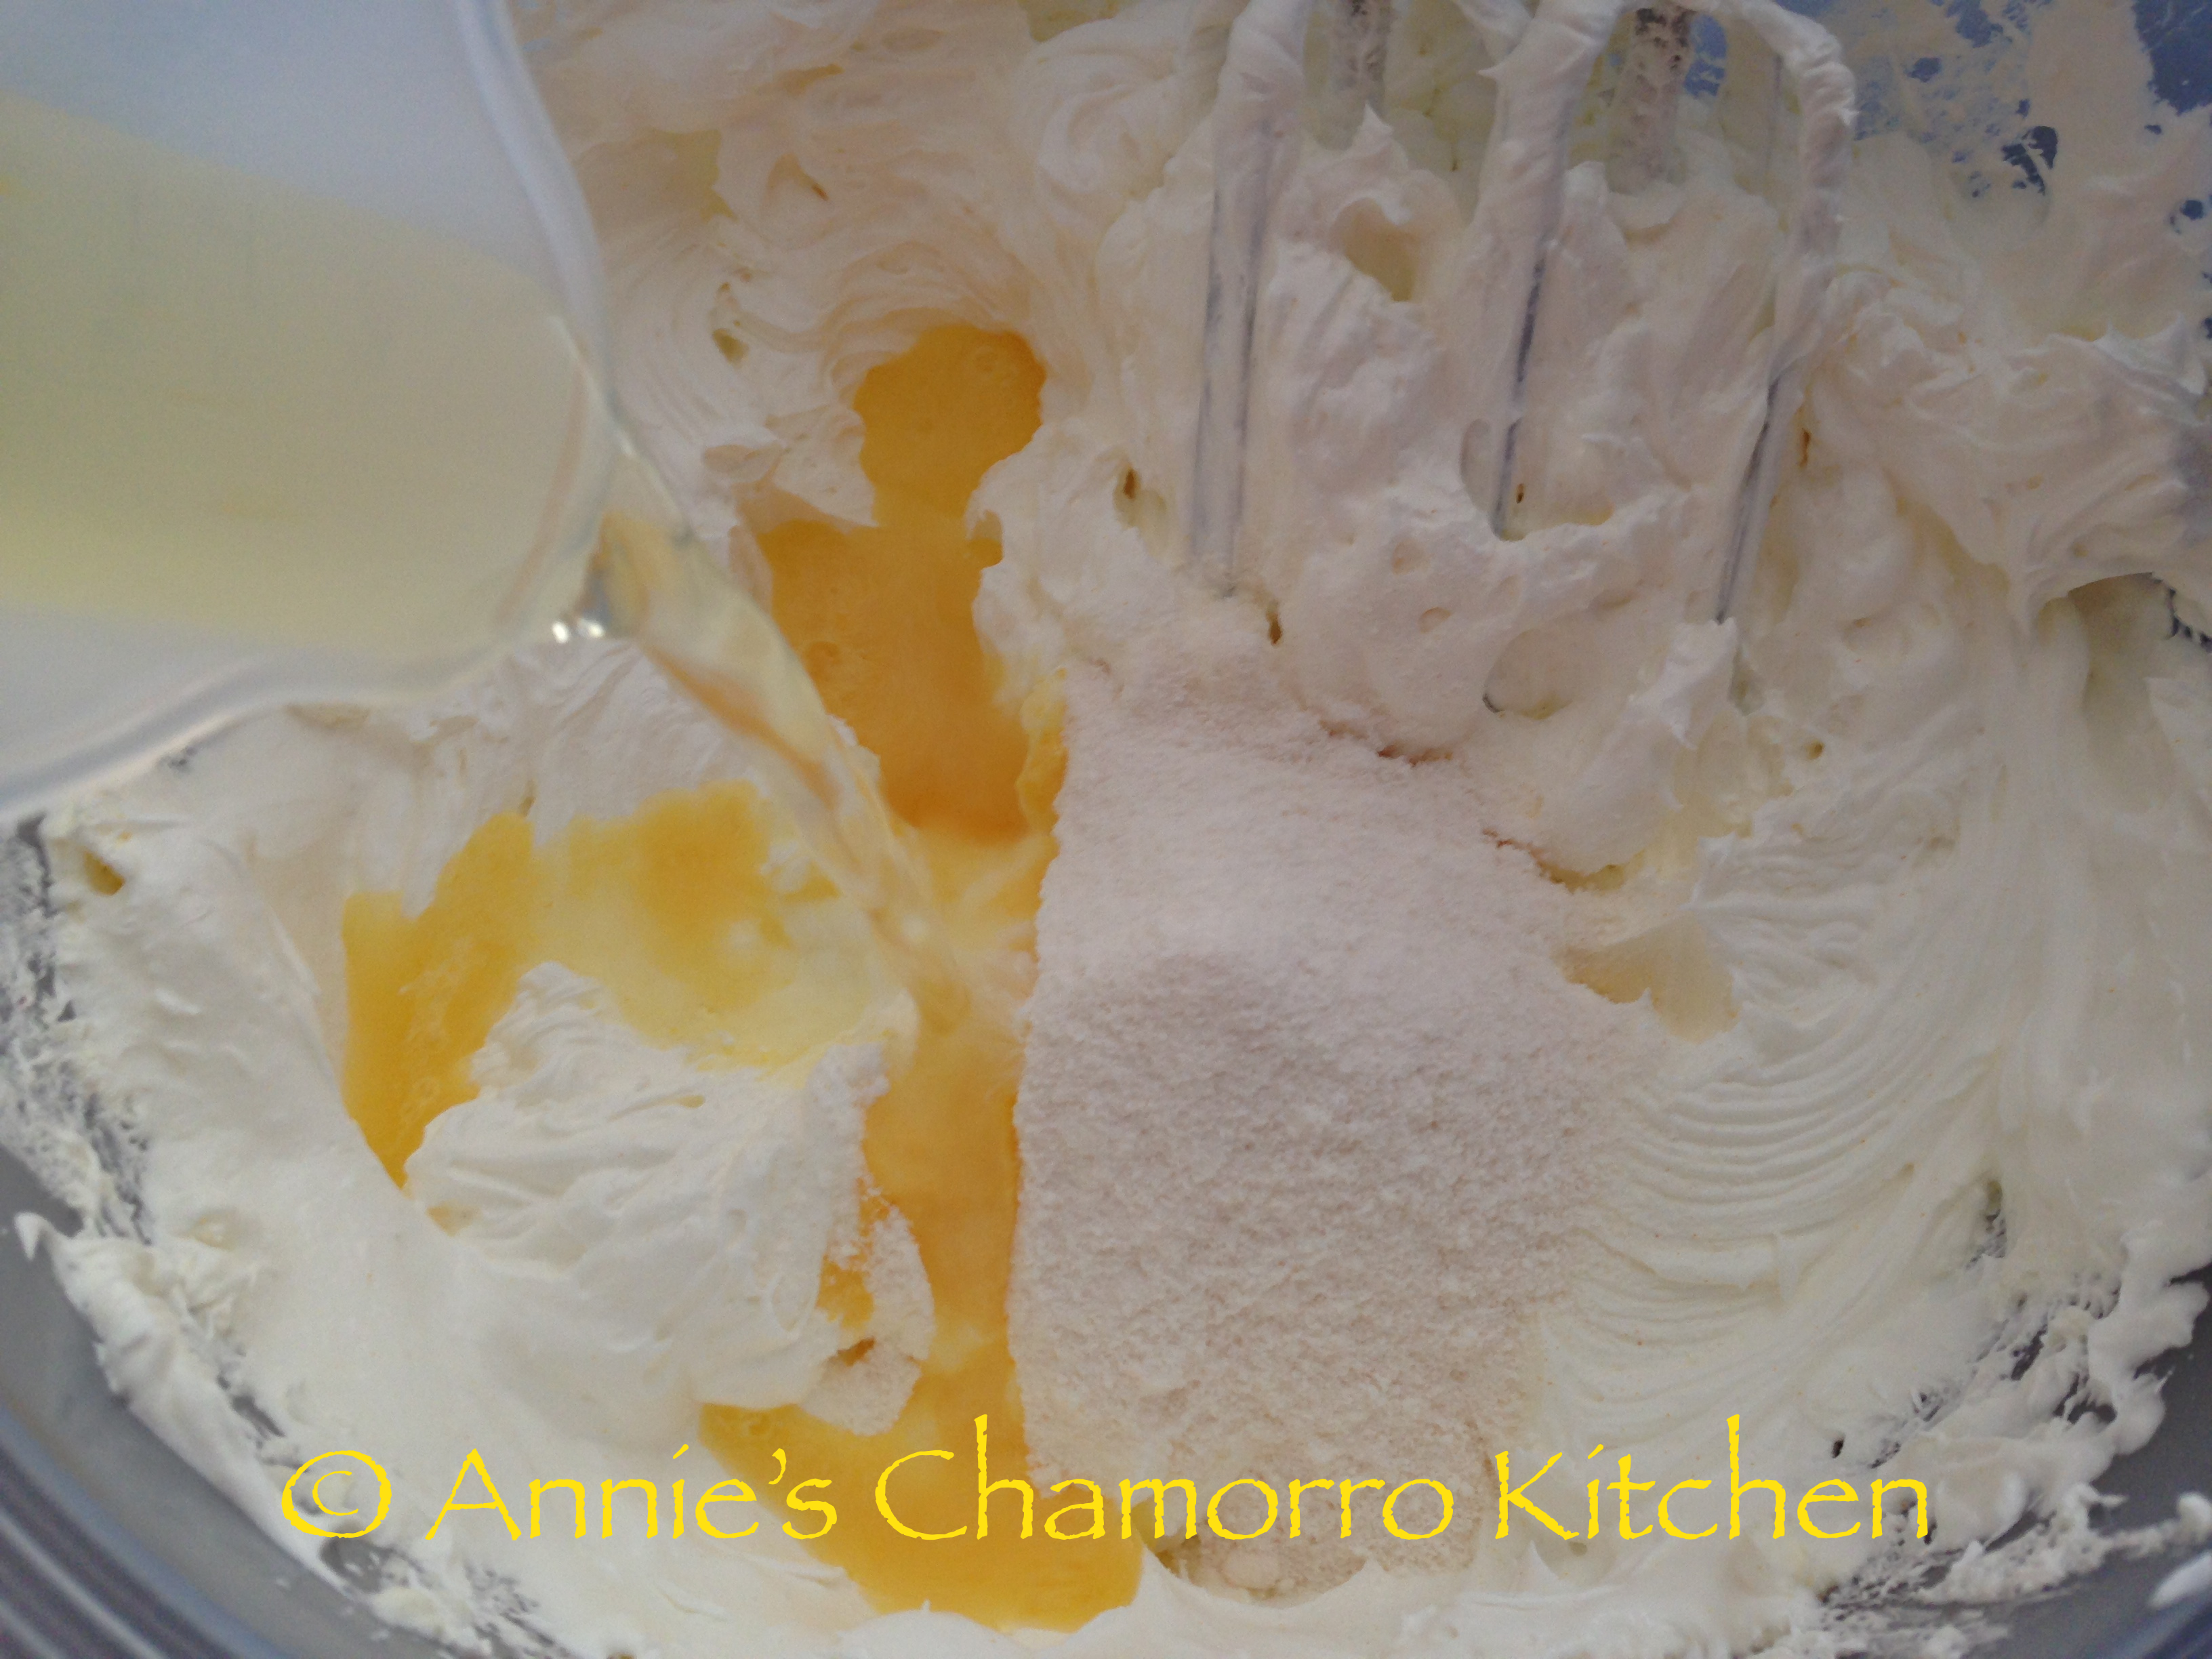
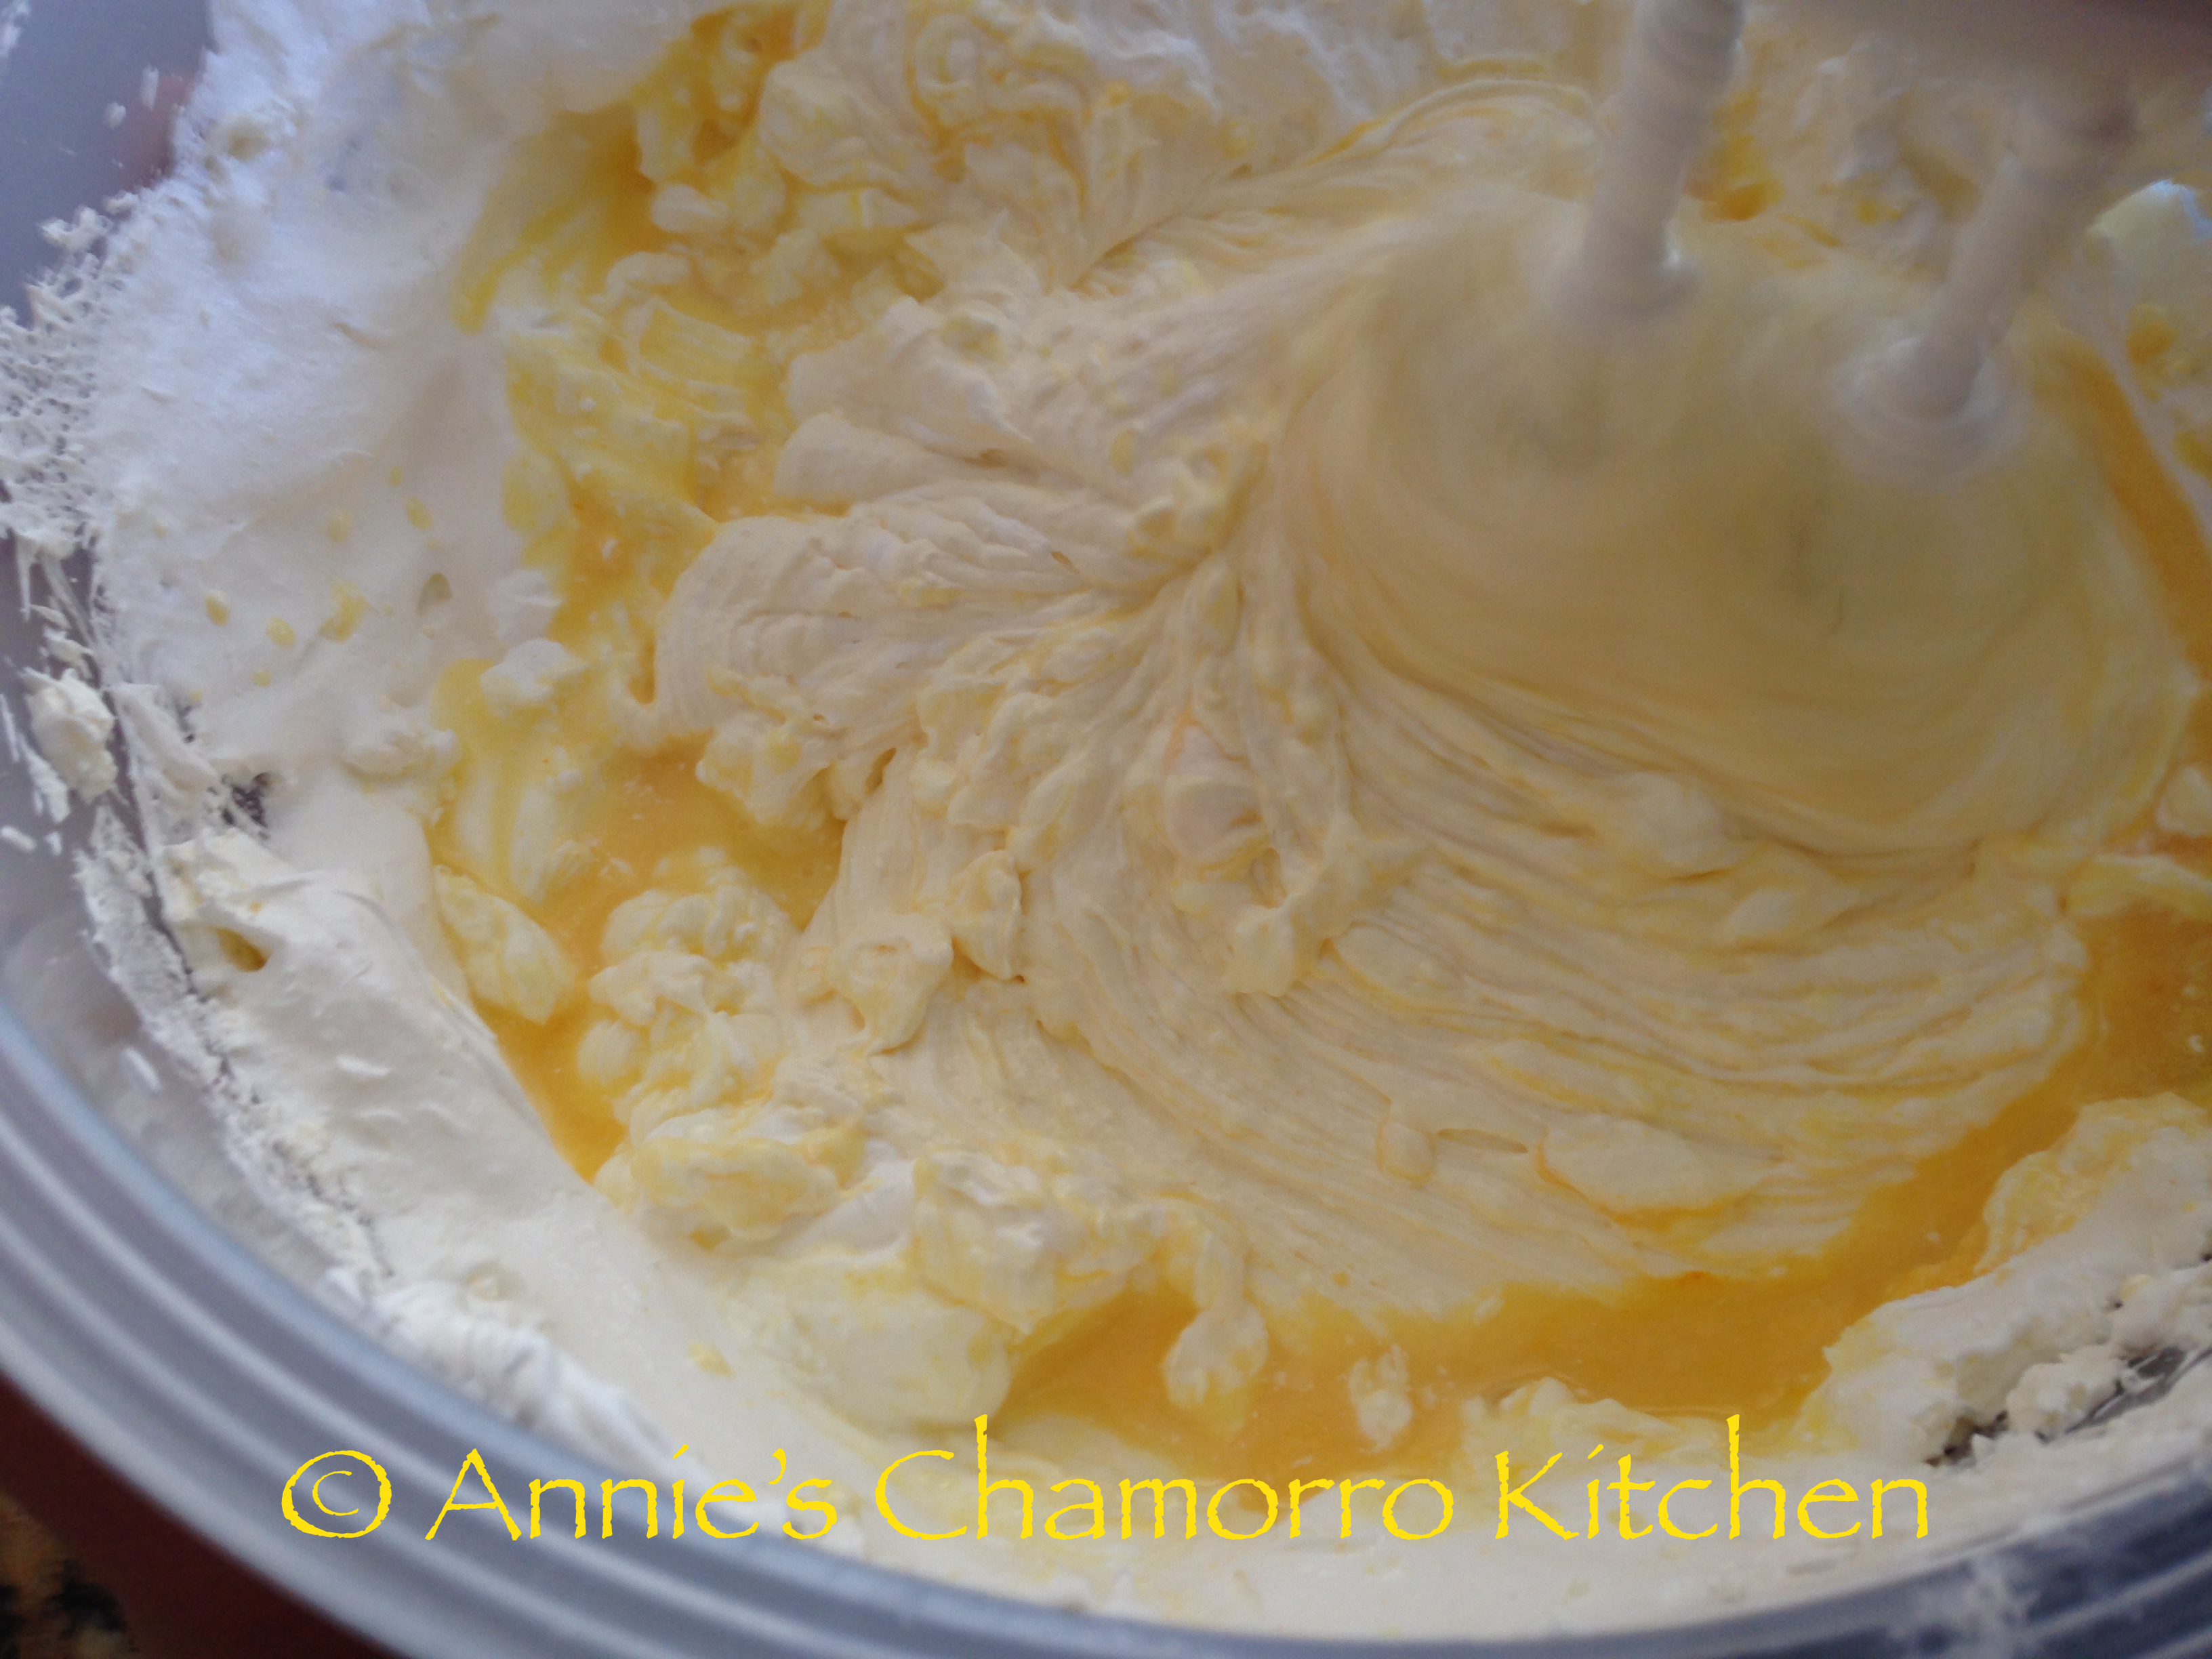
5.  Add the instant pudding and 1/2 cup reserved mandarin juice to the cream cheese mixture.  Mix well, or just until the mixture is smooth and creamy.

Mandarin Pie - 05Mandarin Pie - 06Mandarin Pie - 07

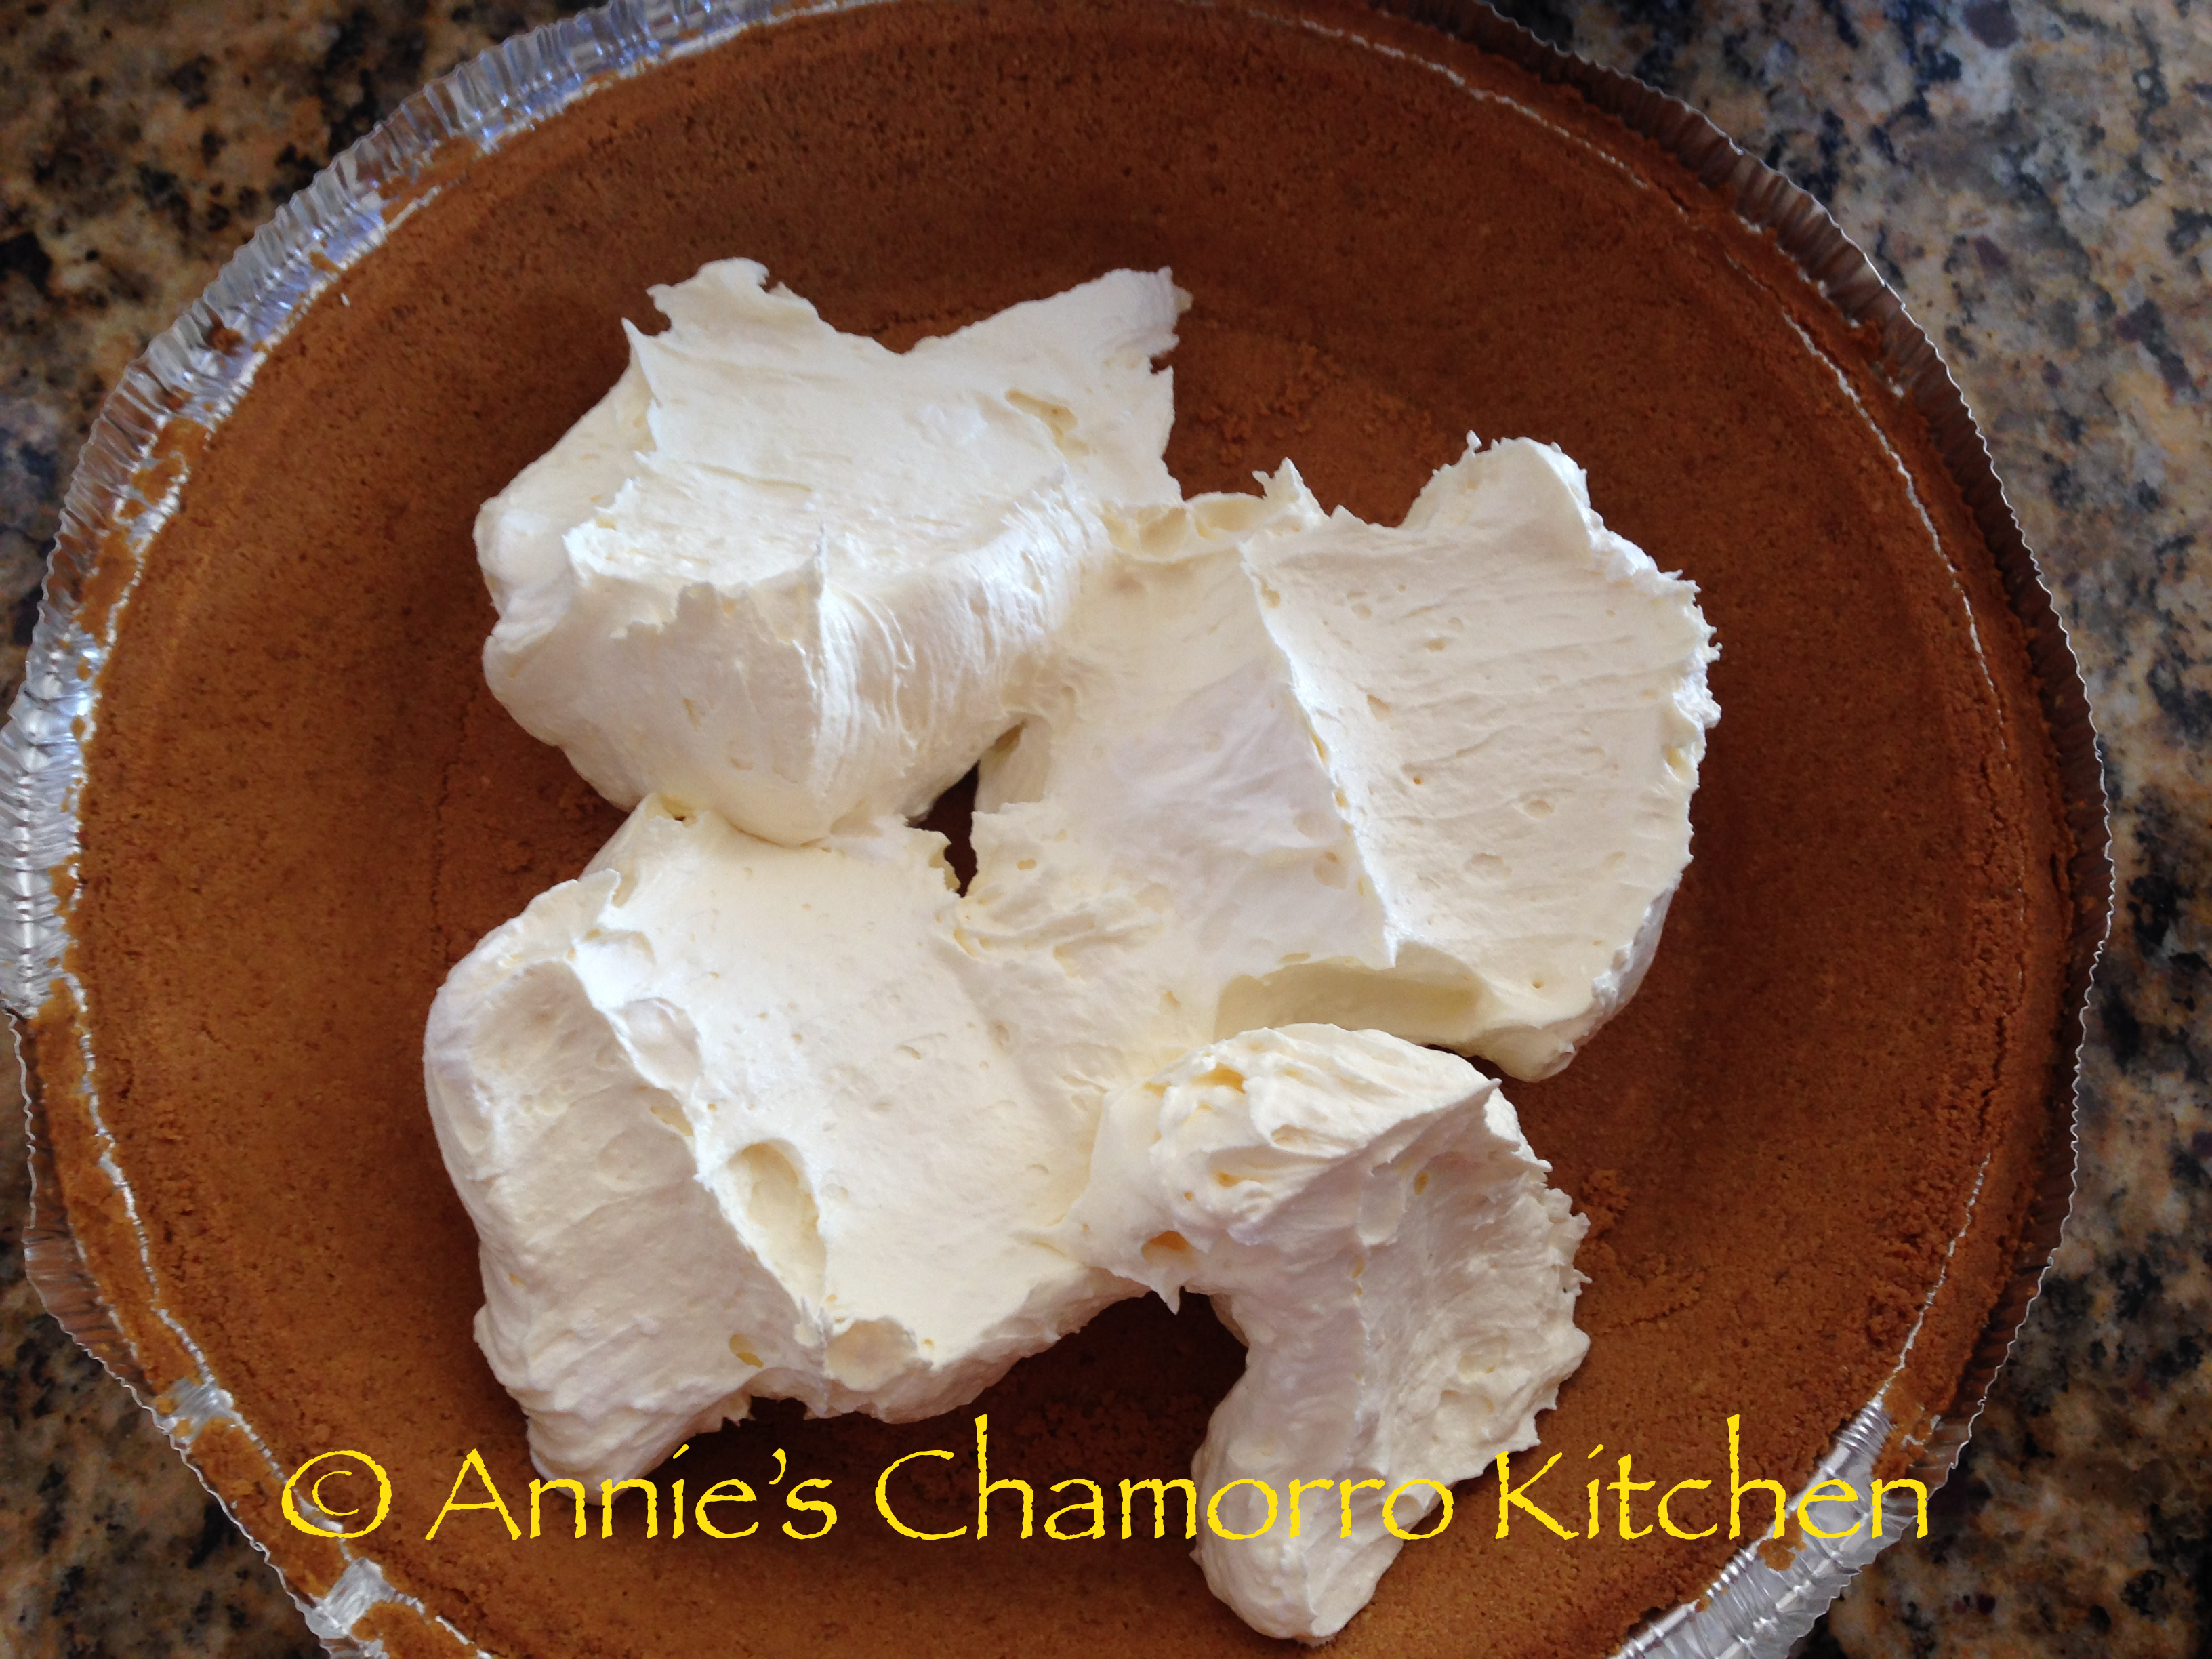
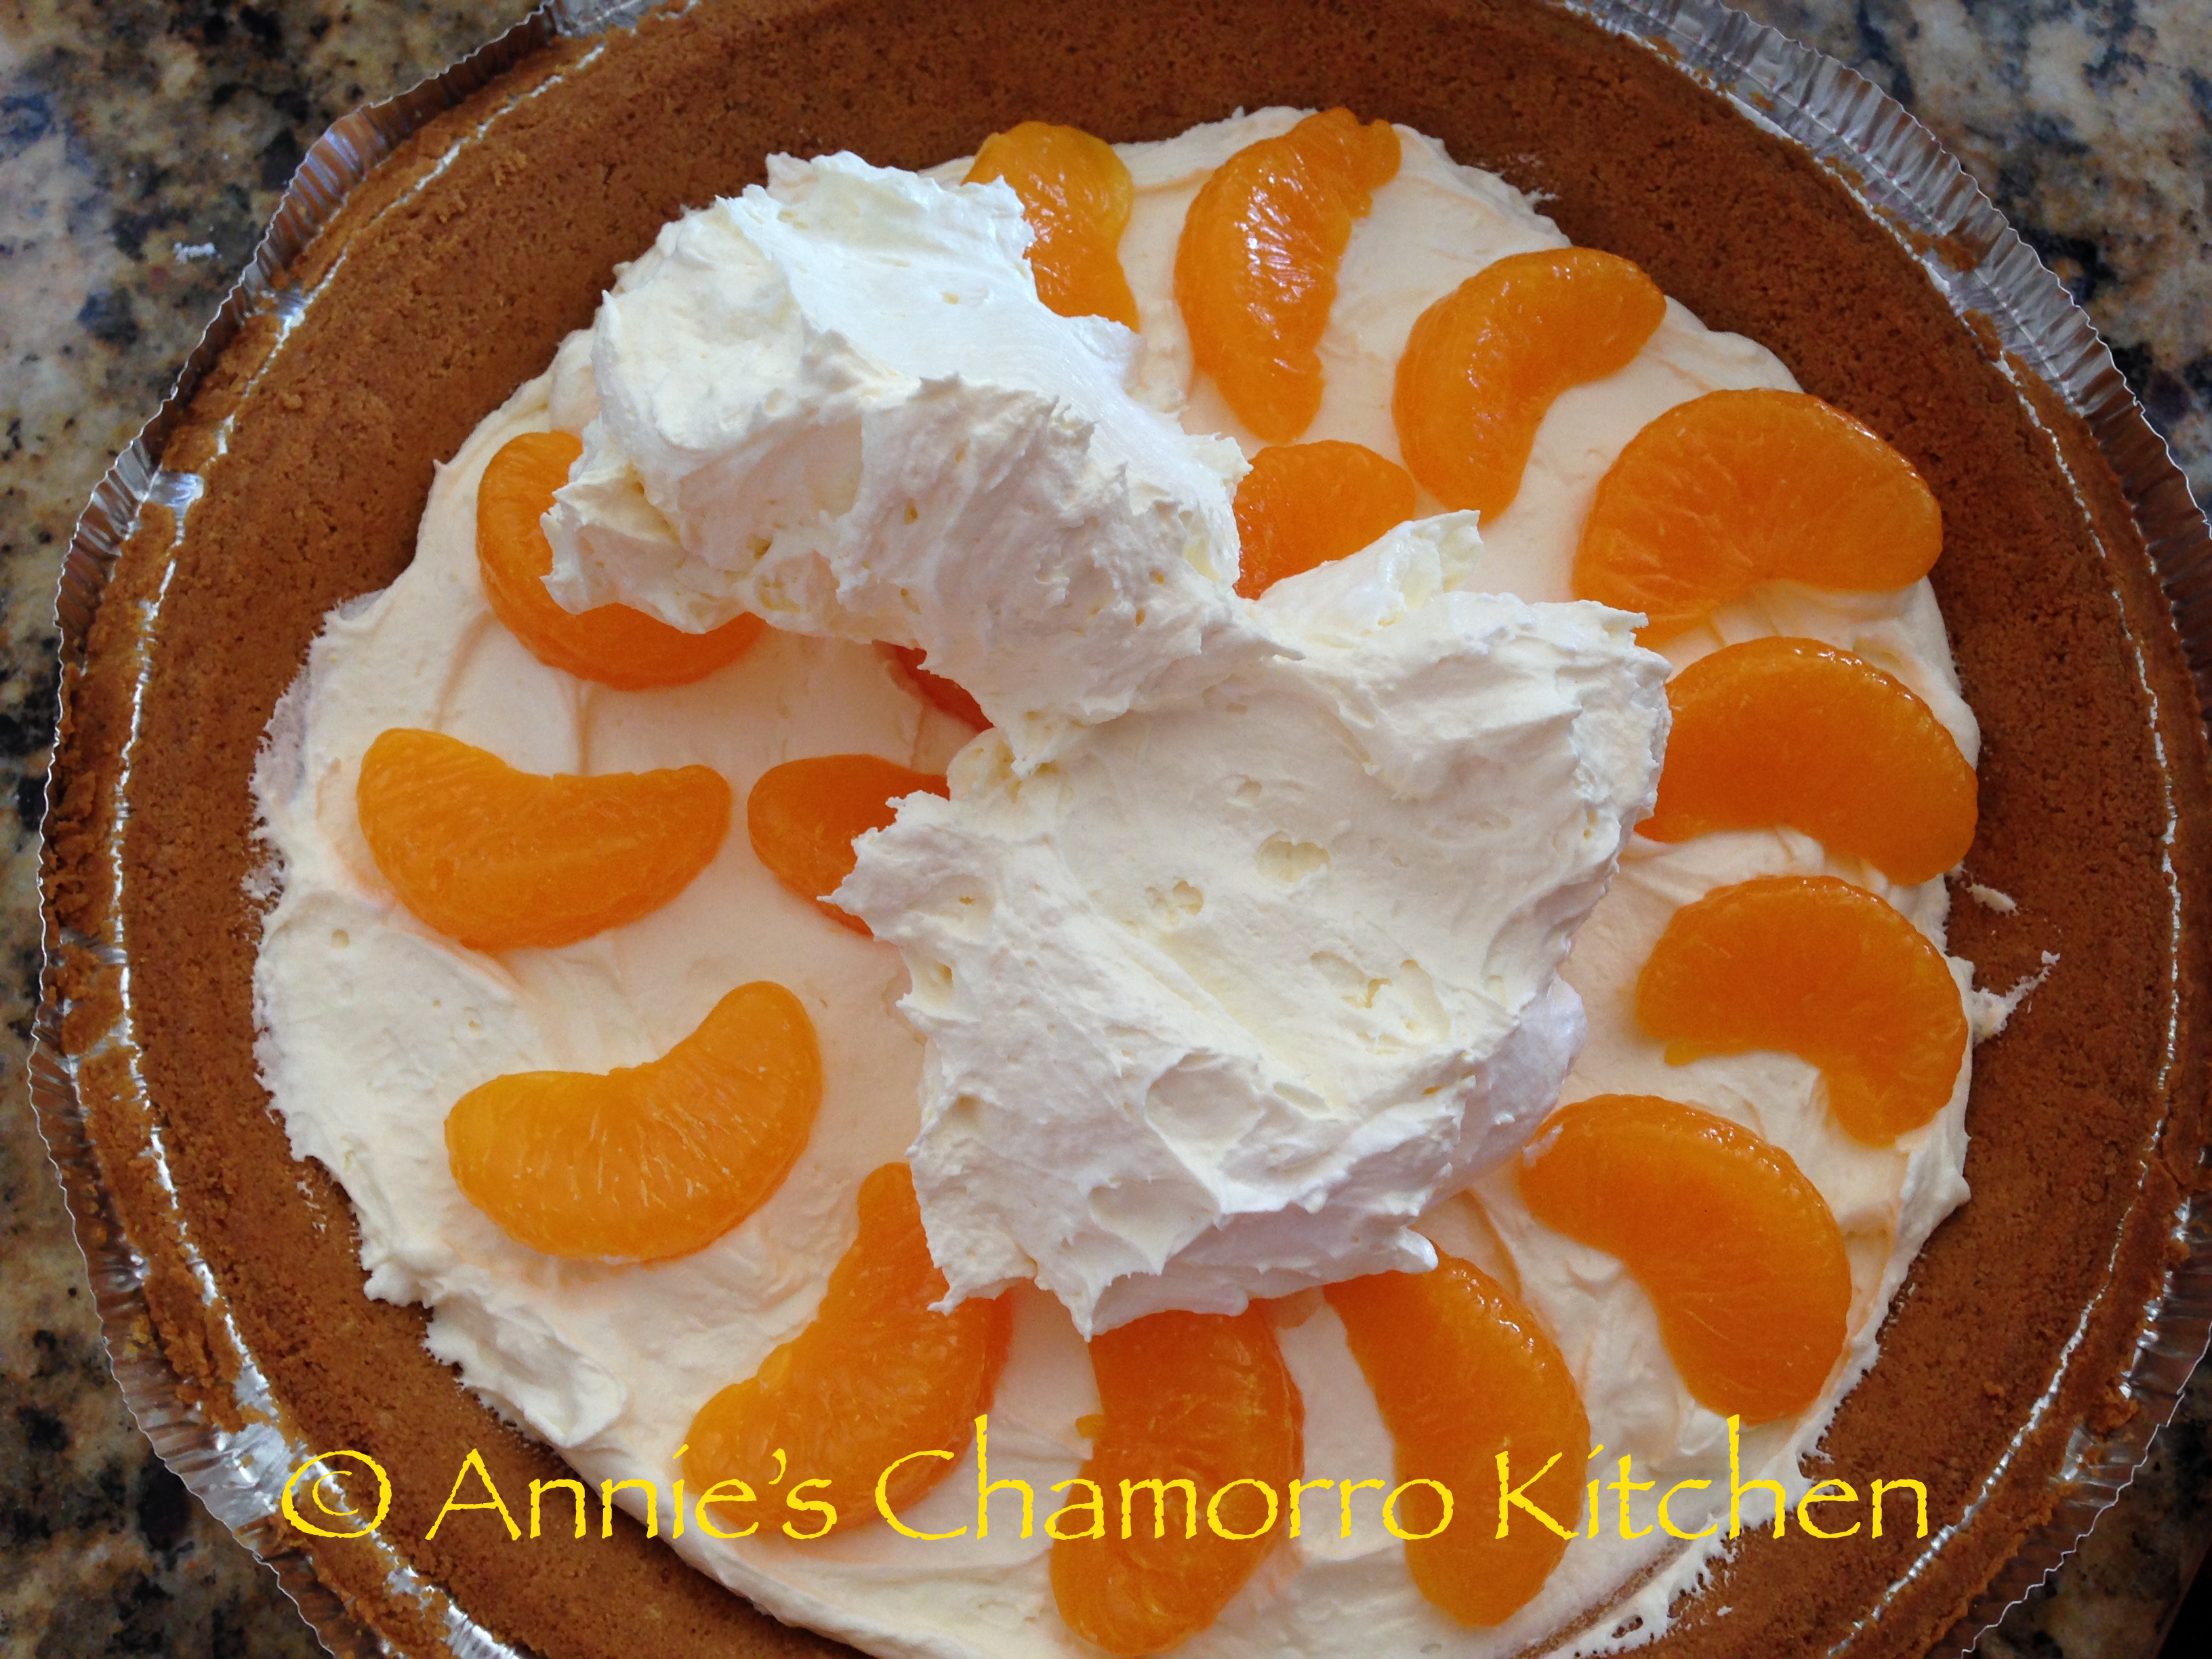
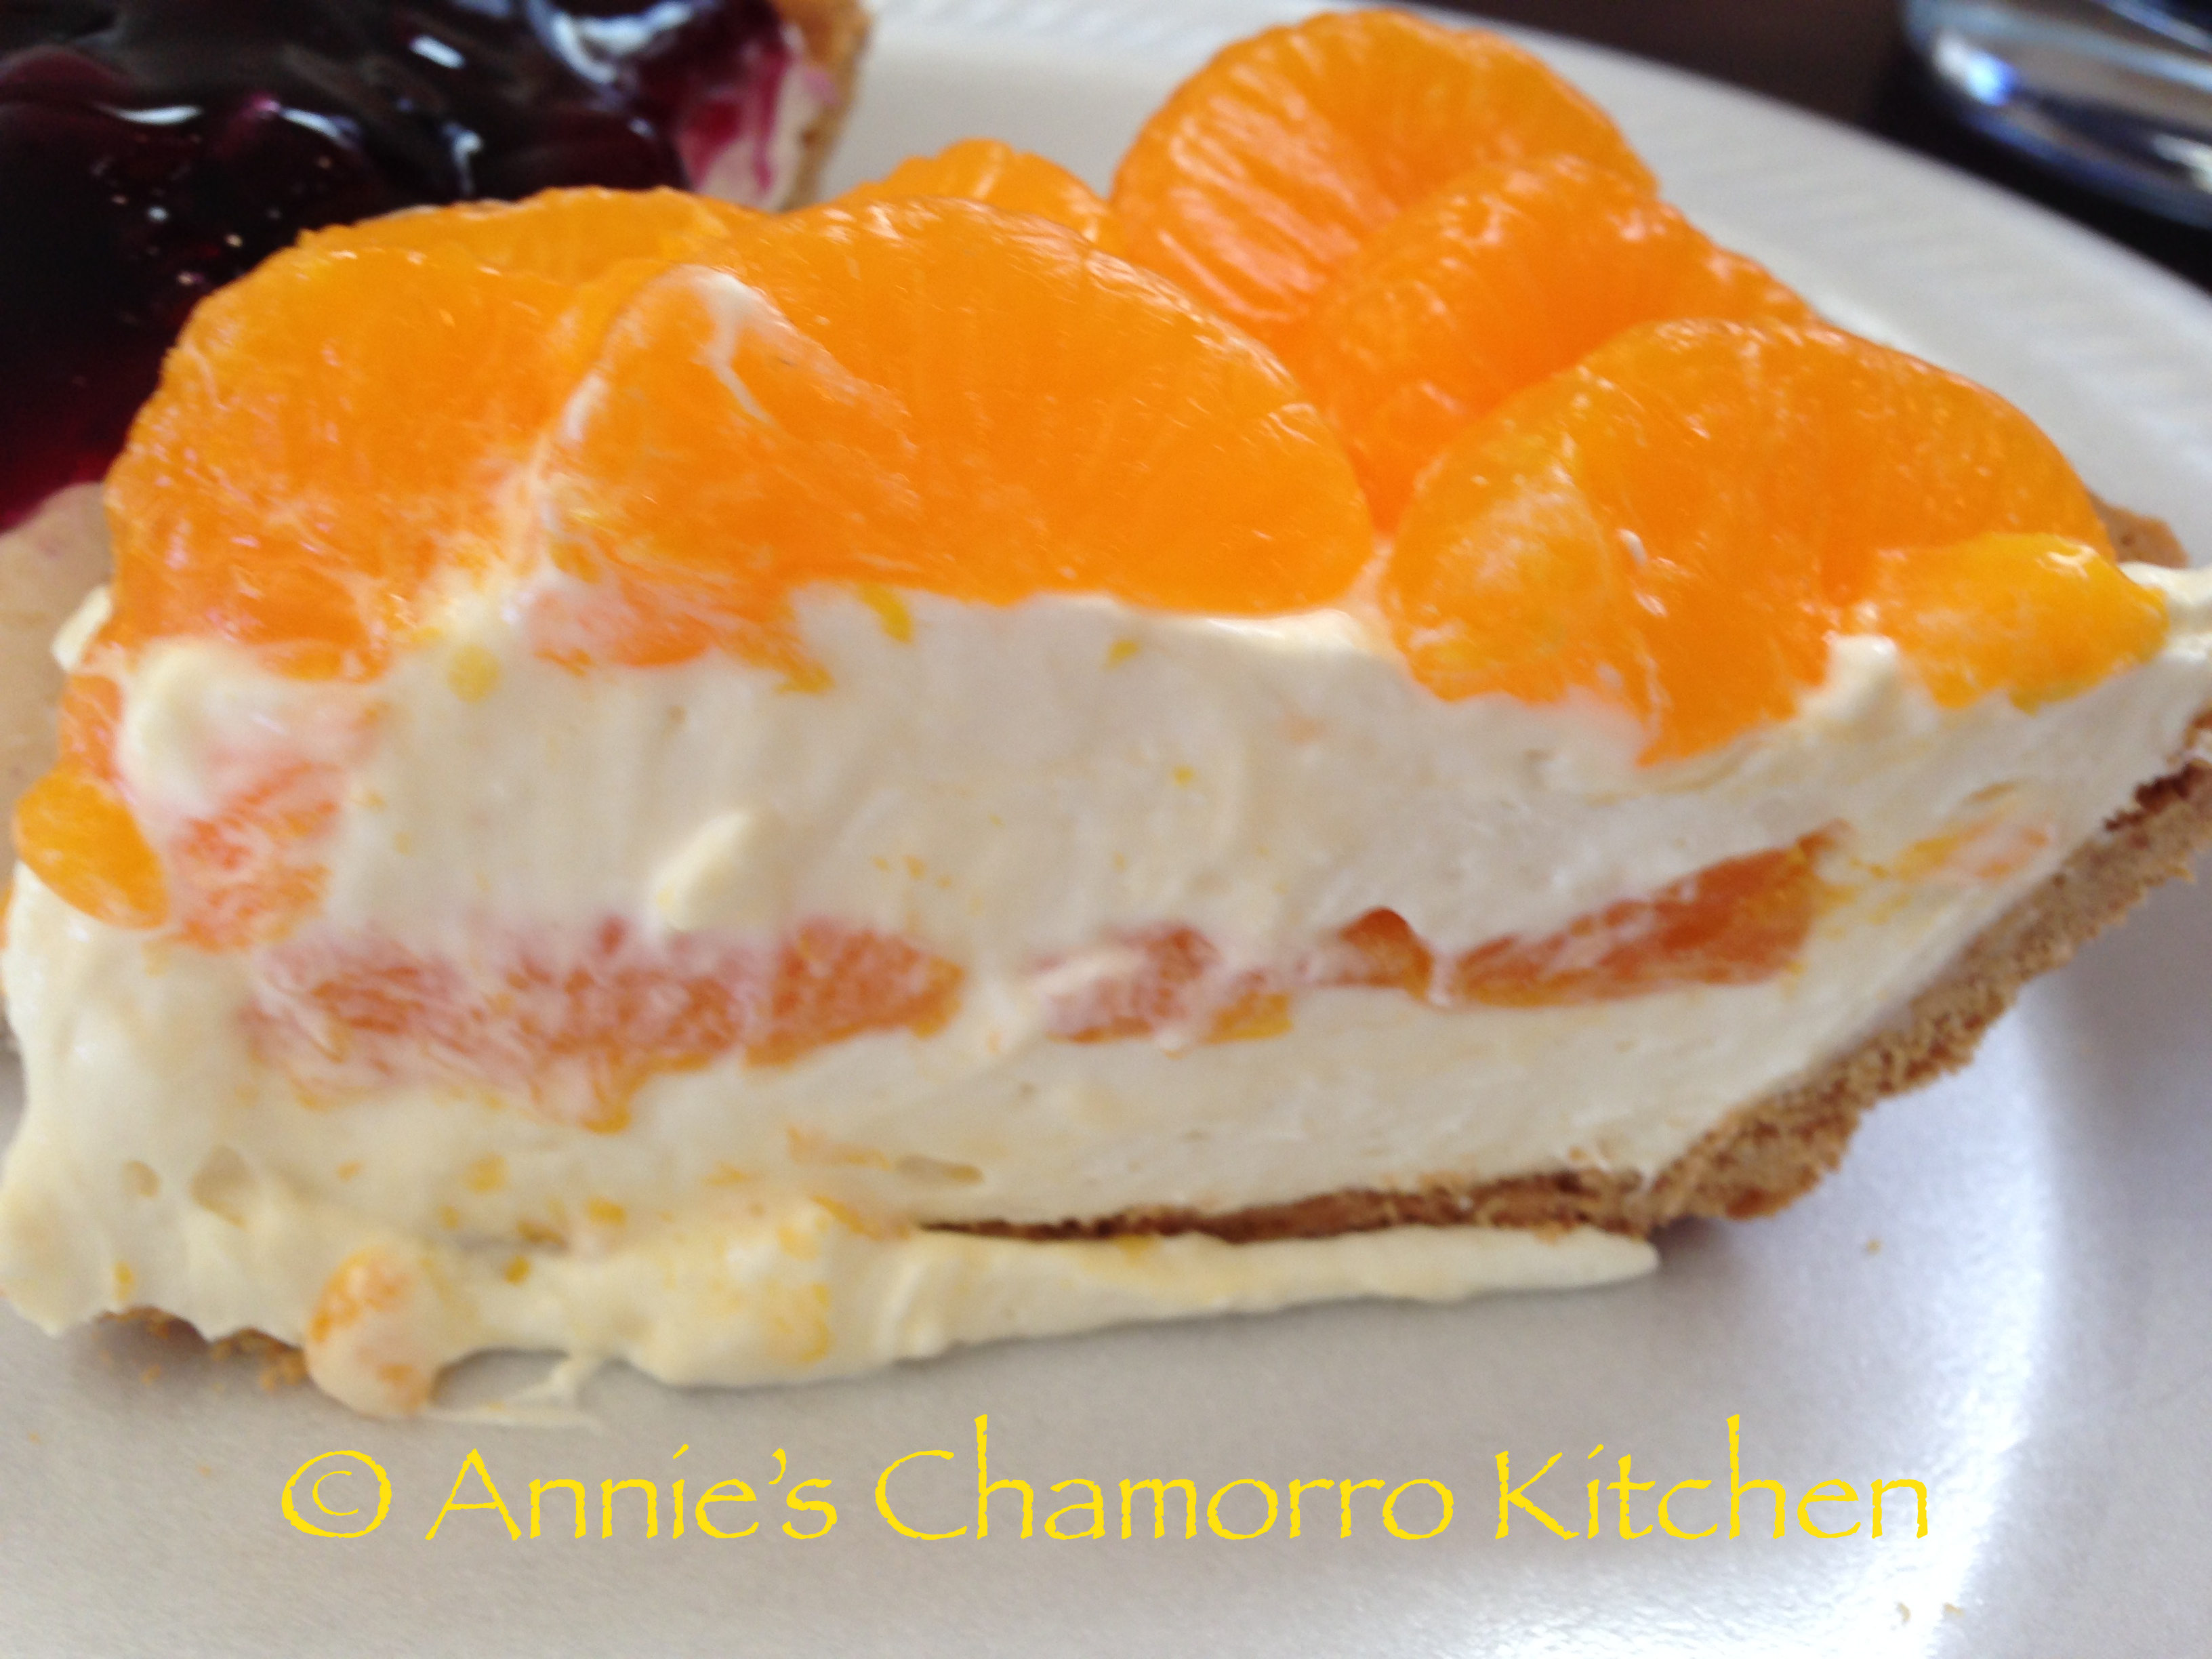
5. Spread half of the cream cheese filling into the pie crust.  It should just come halfway up the side of the crust.  Layer one can of mandarin over the filling.

Mandarin Pie - 08Mandarin Pie - 09Mandarin Pie - 10

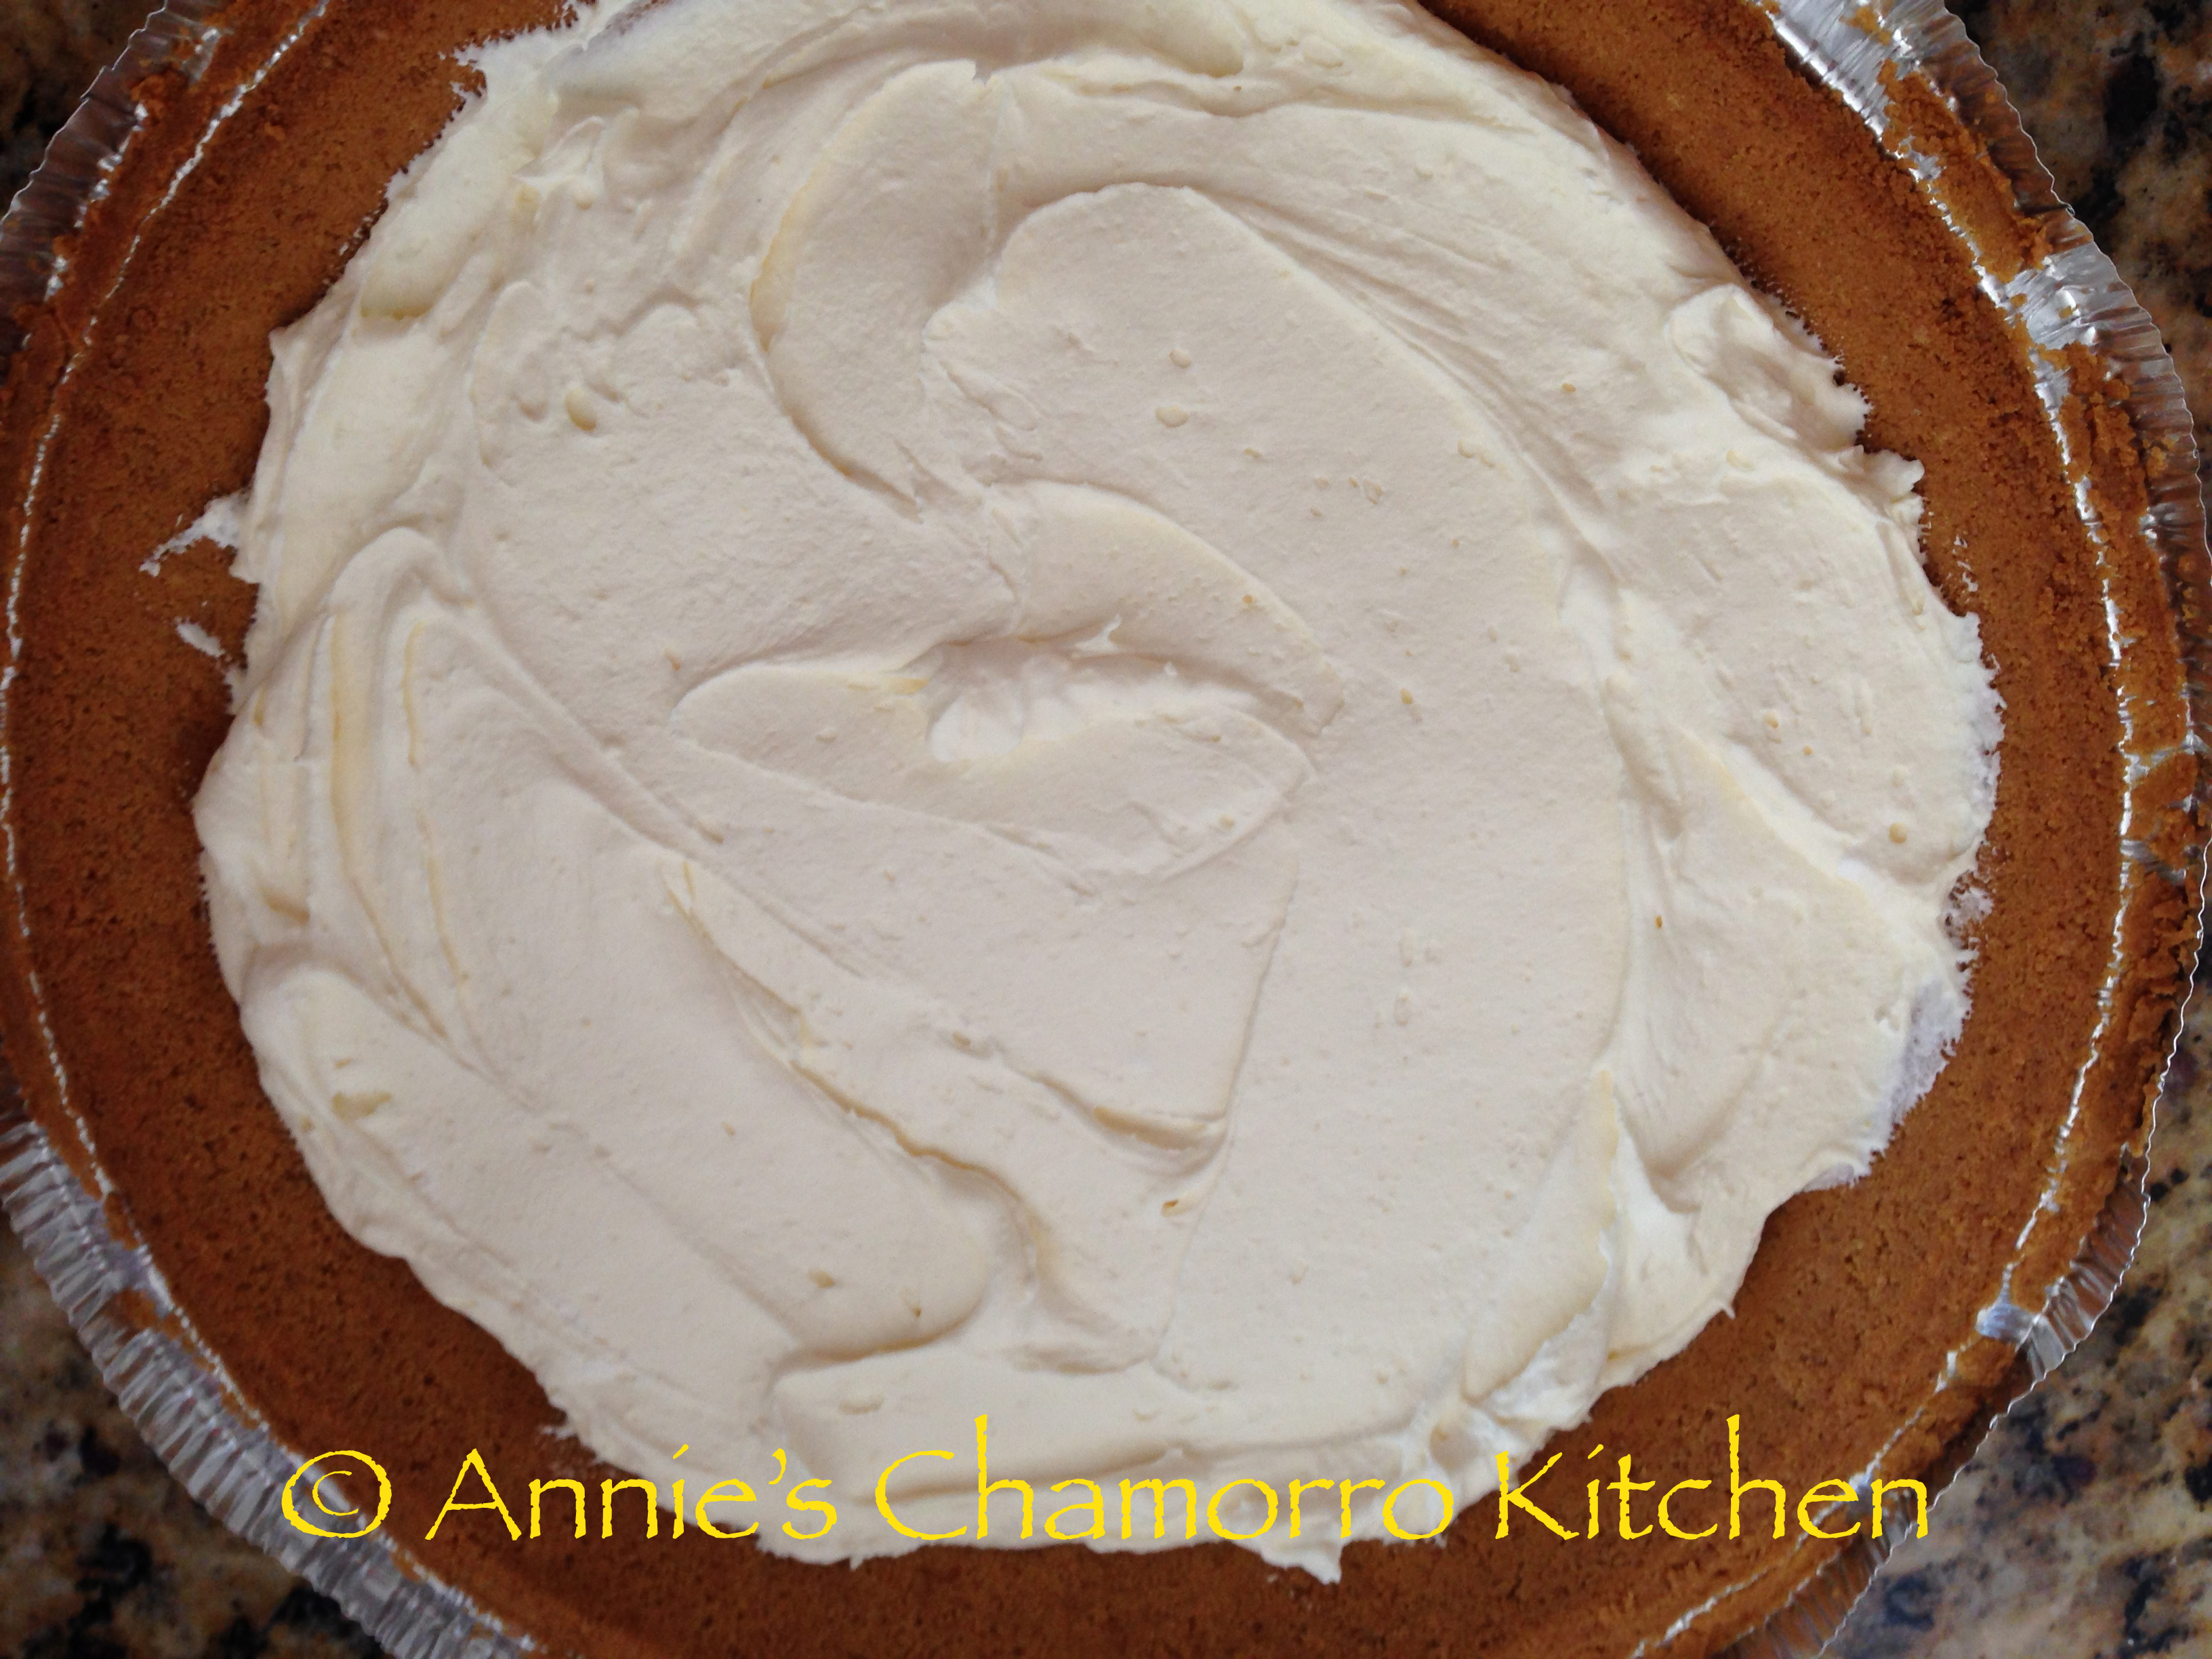
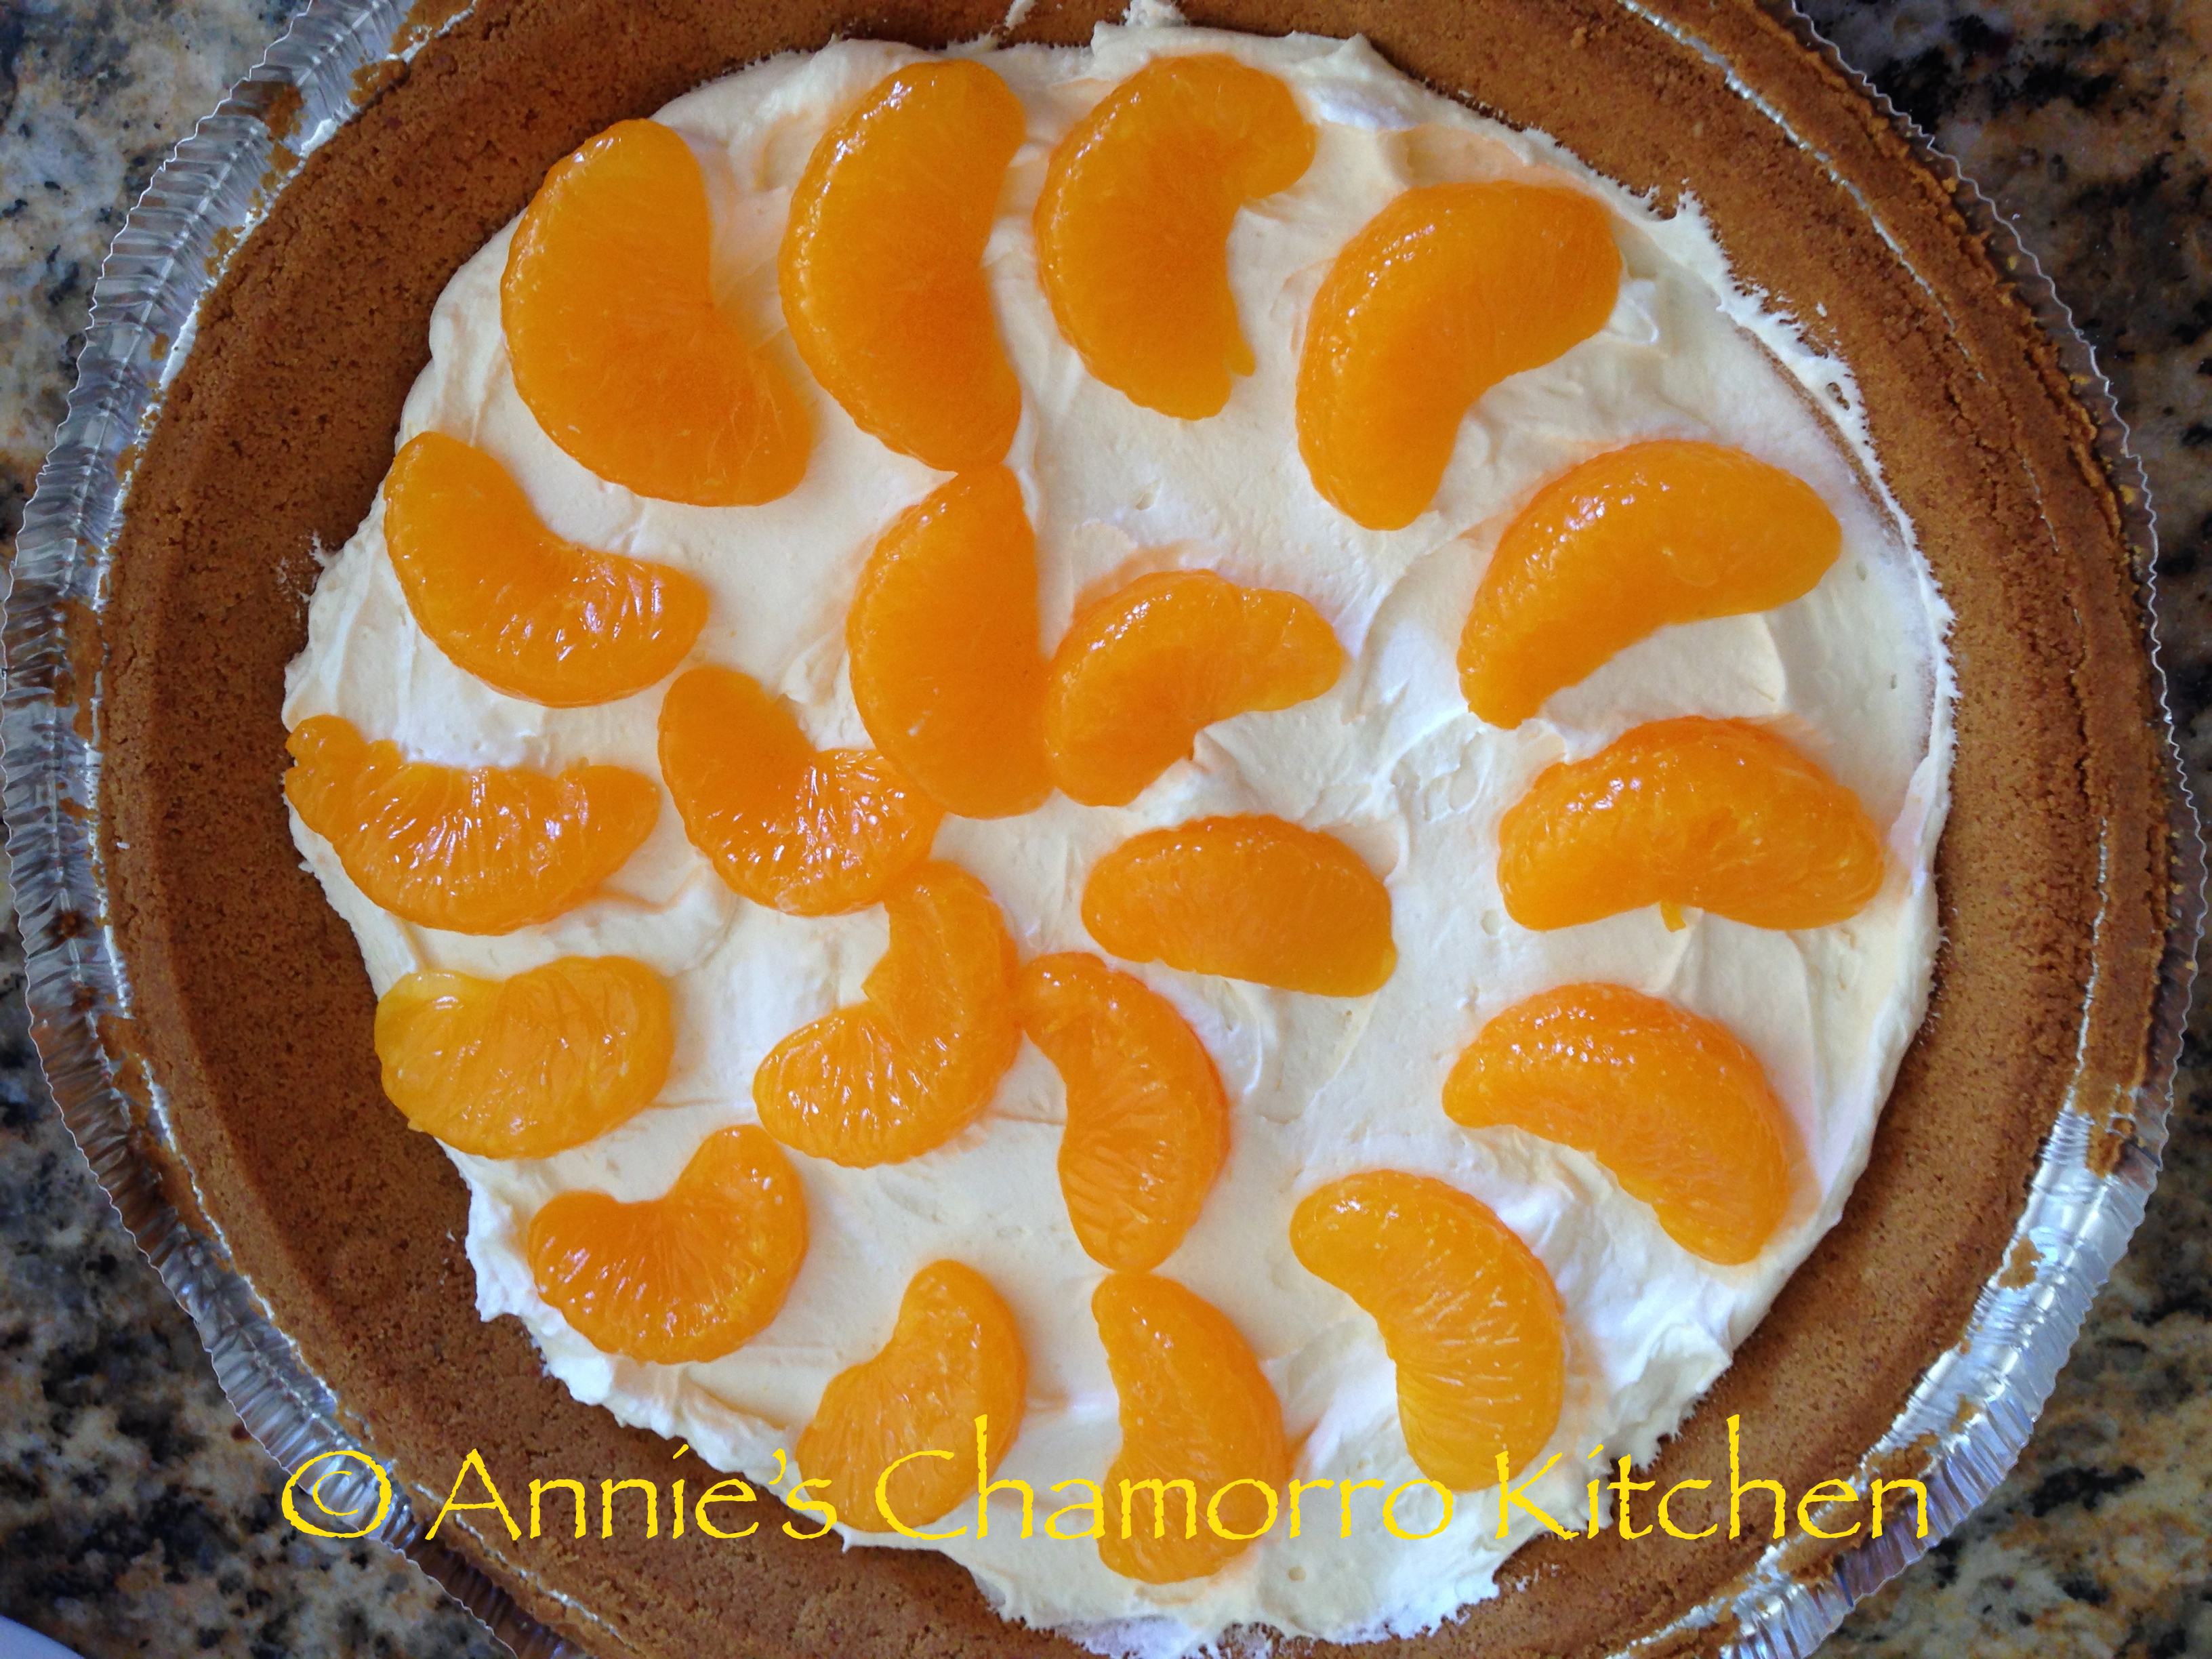
6.  Gently spread the remaining filling over the mandarin.  Layer the second can of mandarin over the top of the filling.

Mandarin Pie - 11Mandarin Pie - 12Mandarin Pie - 13

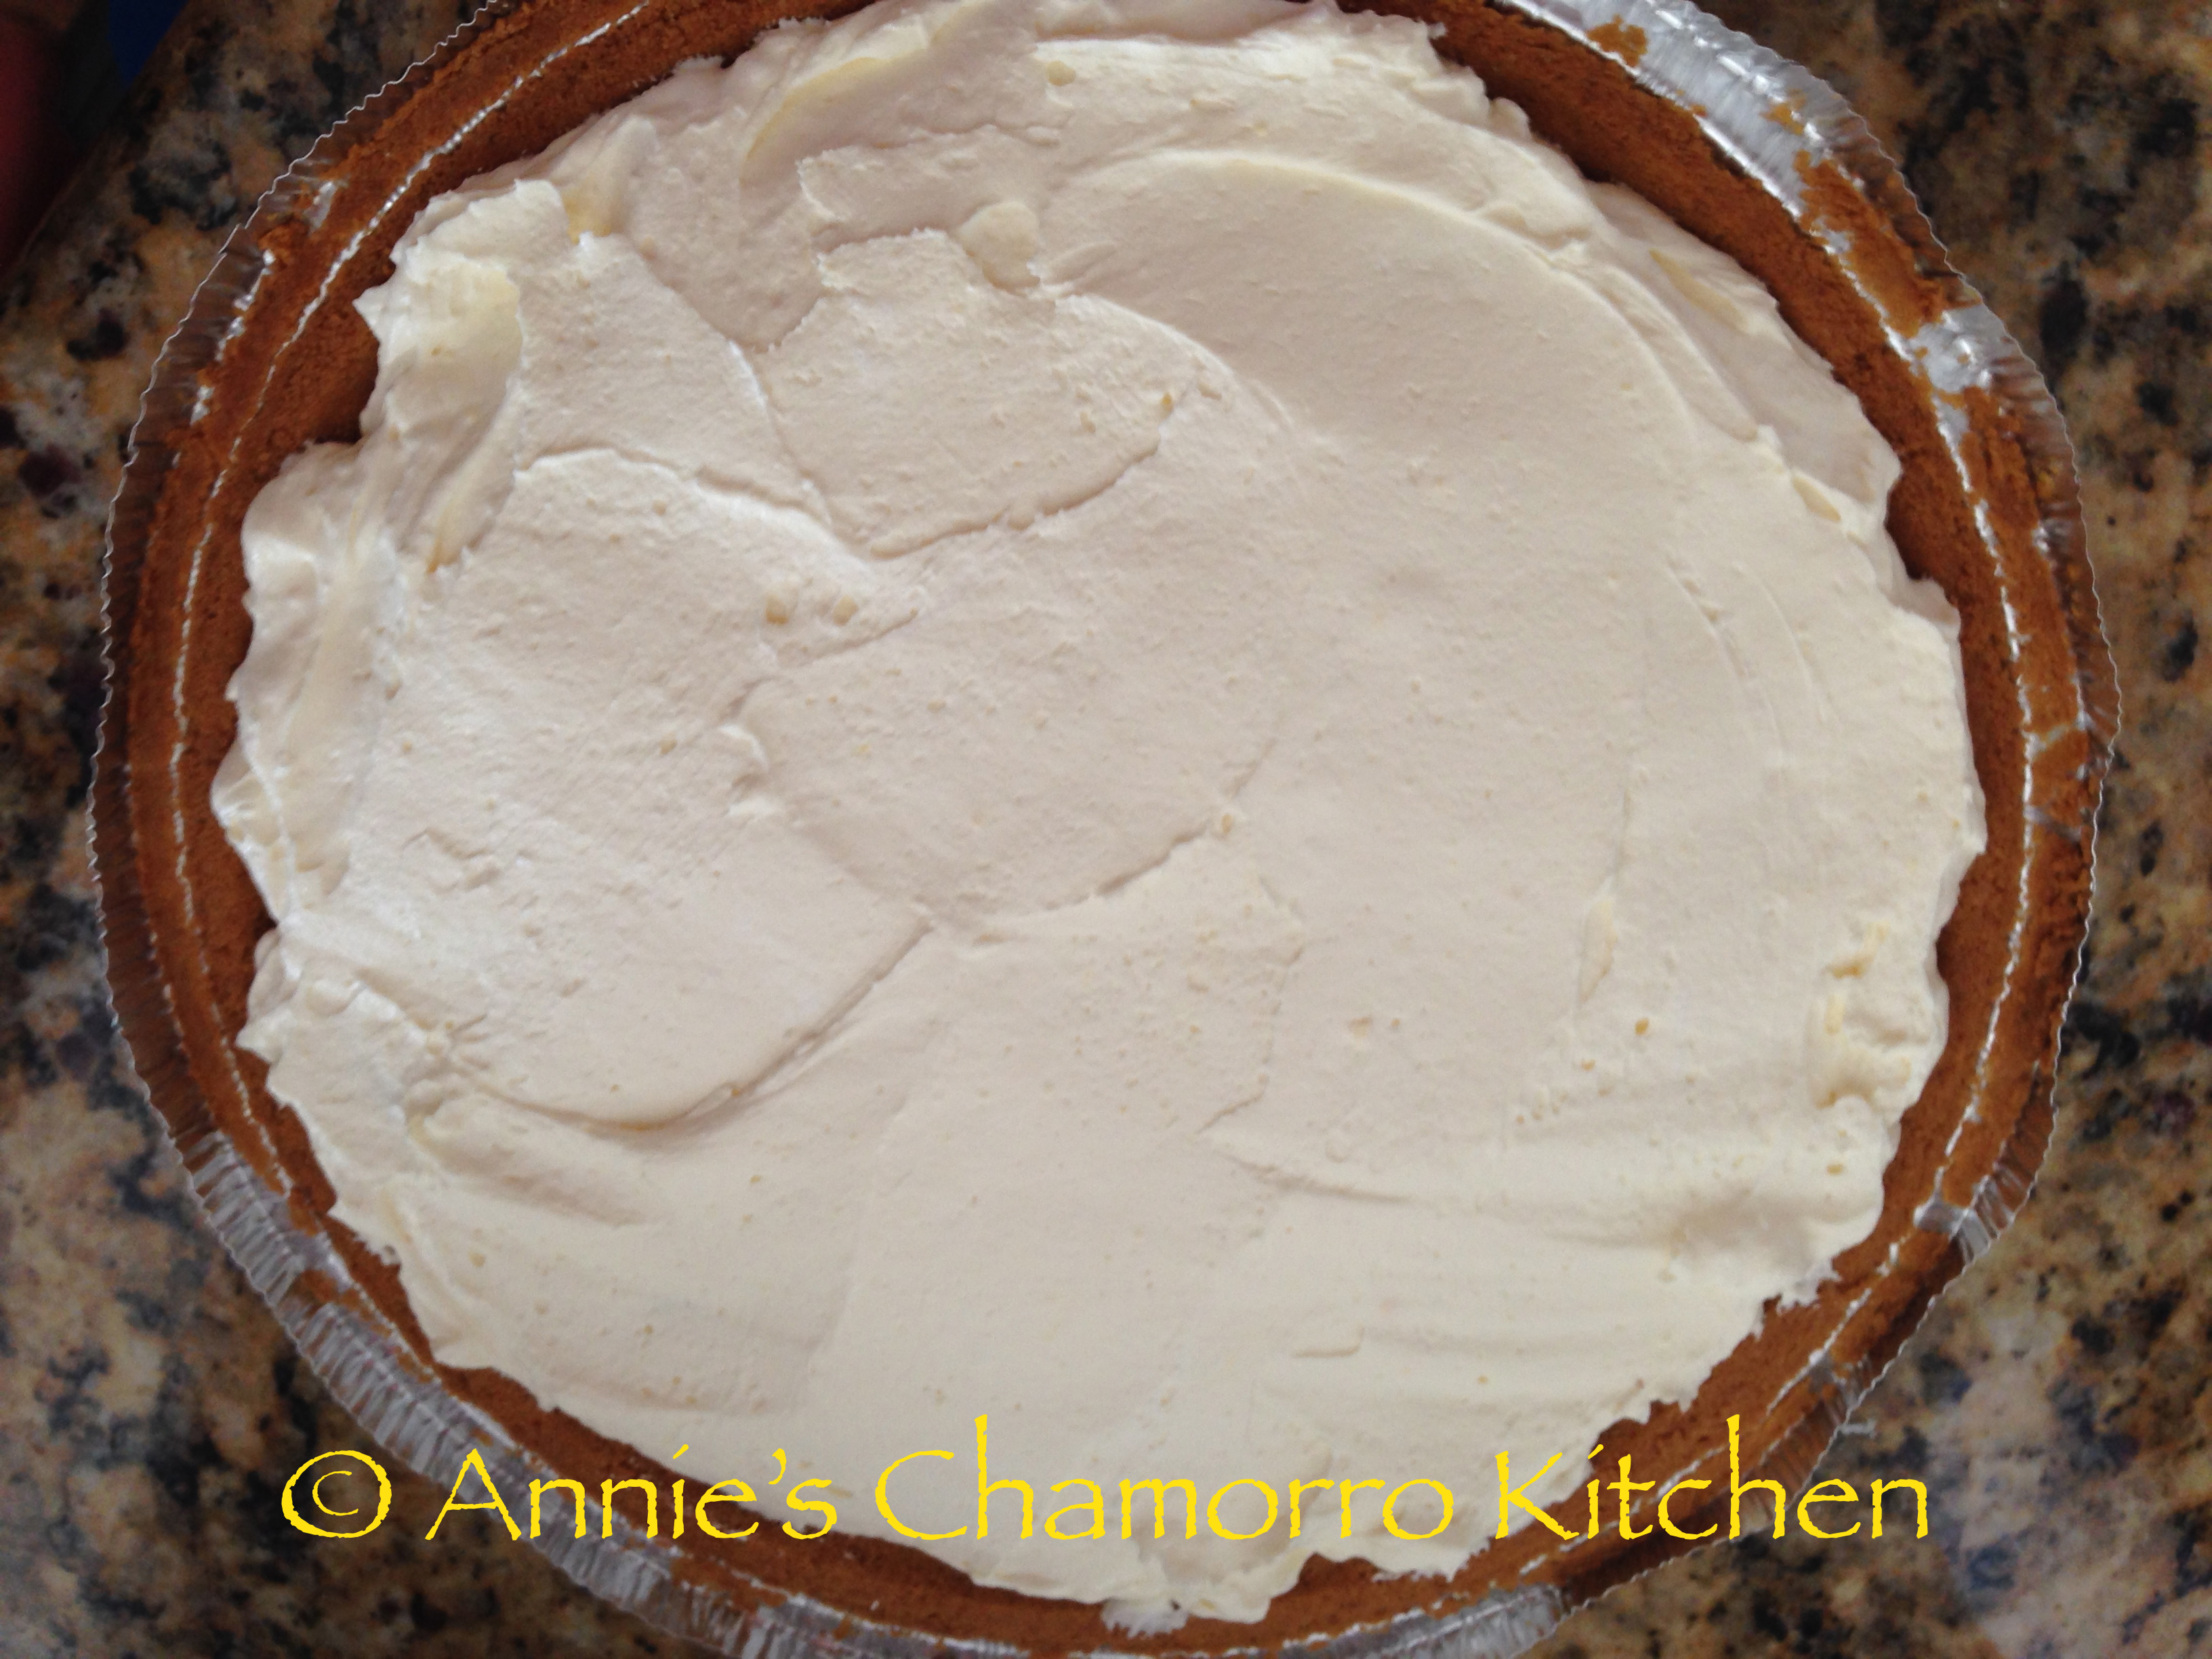
7.  Refrigerate the pie for at least 30 minutes to allow the filling to set.  Slice, serve, and ENJOY!

Mandarin Delight Pie - 02

Mandarin Pie - 14

Try my recipe for Blueberry Cheesecake too! 🙂

Mandarin Pie - 15


Print Friendly, PDF & Email

Kicked-Up Brown Rice

I was never a huge fan of brown rice, but in my quest to create healthier meals for my family, we’ve switched from our favorite white rice to the healthier brown.

I wanted to create a tasty version, and not the tough, seemingly undercooked variety you get at most restaurants that kind of tastes like cardboard.

Equipped with only a rice cooker and four ingredients, you’ll have a delicious and healthy side dish for your next meal.

Give my recipe a try. I think you’ll like it. 🙂

Kicked-Up Brown Rice

Ingredients:

  • 3 cups brown rice
  • 6 1/2 cups water
  • 2 tablespoons Dashida beef seasoning
  • 2 tablespoons garlic-flavored olive oil
(Thanks to my friend, Yvonne M., for the delicious olive oil!)

Directions:

1. Rinse the rice then place in your rice cooker pot. Add the water to the pot — it may seem like way too much water, but brown rice needs a LOT of water to cook properly.

2. Add the Dashida and olive oil; stir until the Dashida is dissolved.

3. Set your rice cooker to the “cook” mode then let it do its magic.

4. When the rice cooker switch turns from “cook” to “warm” (or the equivalent for your rice cooker model), gently fluff the rice with a fork, then let it sit (covered) for another 10 minutes or so.

Serve with your favorite meat dish and ENJOY!


Print Friendly, PDF & Email

Raw Honey — the Miracle Nectar

I’ve read many different articles about the health benefits of honey over white, granulated sugar. Honey is high in calories, as is sugar (a teaspoon of honey contains 22 calories; there are 16 calories in a teaspoon of sugar).

So, the question is, IS honey better for you than sugar?

In reading up on the differences between honey and sugar, I learned that both contain fructose and glucose.  The difference is that the fructose and glucose in sugar are “hooked” together, whereas the fructose and glucose in honey are “unhooked” or independent units. Why is that important, you ask?  Well, I found through my readings is that this is important if you have digestion issues.  During digestion, the “unhooked” independent fructose and glucose units in honey get absorbed in our intestinal tracts, while the “hooked” fructose-glucose units in sugar have to first be broken down (into separate units like in honey) before it gets absorbed.  The enzymes in our bodies do a good job of breaking down sugar (sucrose) molecules, but not all of them are absorbed.  This is where it could cause an issue for some people.  (If you have a sensitive stomach, stop reading.  I’m going to talk about bacteria in our intestines now.)  The sugar molecules that don’t get digested or absorbed in our intestinal tracts feeds the bad bacteria in our intestines.  Where this is not so good is when there is an over-population of bad bacteria that feeds off the undigested sugar, which in turn causes some by-products, one of which is the production of different gasses, methane gas among them.  Again, putting it simply, you end up farting a lot. 😉

It stands to reason that if you substitute honey for sugar in most of your foods, you will be less gassy (your significant other will thank you for this). 😀

Another interesting bit of information I found through my readings is fructose is sweeter than glucose, which is one of the reasons fructose is used in so many food products today. However, fructose does not convert to energy as efficiently as glucose. As a result, processed foods containing granulated sugar high in fructose convert to fat more easily than honey.  Hmmm…less fat production by using honey in foods?  I’m sold!

Actually, I like using honey because it is plain and simply DELICIOUS.  Not to mention that I buy my honey from local Colorado bee farmers, and anything I can do to help our local economy, I’m all over it.

Oh, as an added bonus, honey doesn’t spoil!  I don’t worry about honey going to waste in my house…we use it up pretty quickly.  Luckily for us the Busy Bee Farm in Larkspur, CO is not too far from where we live that we can get a resupply when we need it.

honey


So, whether you add honey to your diet instead of sugar for it’s pure deliciousness or supposed health benefits is up to you.  I recommend buying raw honey (honey that is unheated, unpasteurized and unprocessed) if you can find it.

What can you make with honey?

I use honey in my marinades, to sweeten our Cream of Wheat (or oatmeal), and in baking (I make some mean Honey Wheat Rolls).  Check out some of my recipes at the links below.


Honey Wheat Bread

honey wheat bread

Hannah’s BBQ Marinade

DSC_0430


Disclaimer:  Neither Annie’s Chamorro Kitchen nor anyone else involved in creating, compiling, producing or delivering the information contained in this website (in printed or web format) or the materials contained therein, assumes any liability or responsibility for the accuracy, completeness, or usefulness of any information provided in this website, nor shall they be liable for any direct, indirect, incidental, special, consequential or punitive damages arising out of the use of information contained herein. Neither Annie’s Chamorro Kitchen nor anyone else involved in creating, compiling, producing, or delivering the information contained in this website represent or warrants that the information contained herein is in every respect accurate or complete, and they are not responsible for any errors or omissions or for the results obtained from the use of such material.  Consumers and patients reading articles posted on this website should review the information carefully with their professional healthcare provider. The information is not intended to replace medical advice offered by the physicians. Annie’s Chamorro Kitchen and its publishers make no representations or warranties with respect to any treatment, action, or application of any products described in this website or preparation by any person following the information offered or provided within or through Annie’s Chamorro Kitchen. Annie’s Chamorro Kitchen and its publishers will not be liable for any direct, indirect, consequential, special, exemplary, or other damages arising therefrom.

Print Friendly, PDF & Email

Soy Ginger Tilapia

Tilapia is a great choice when you’re looking for a quick and easy (healthy too!) meal. With just 8 simple ingredients (including the fish), you can have this dish on your dinner table in less than 30 minutes!

For a healthier alternative, use low sodium soy sauce in place of the regular soy sauce and oyster sauce if you want to cut back on sodium.

Give my recipe a try. I think you’ll like it. 🙂

Soy-Ginger Tilapia

Ingredients:

16 small tilapia filets (I buy them frozen, skinned and deboned)

1 cup soy sauce

1/2 cup red wine vinegar

3 tablespoons oyster sauce

3 tablespoons honey

1 tablespoon minced garlic

1 tablespoon grated ginger

1 bunch green onions (about 7 stalks), thinly sliced

Directions:

Prepare the tilapia:

I buy my tilapia frozen. They come about 16 small filets to a bag, with each filet individually wrapped. If you buy the fish frozen like I do, thaw them out, then remove each filet from the wrapping. Rinse the filets then place them in a shallow baking dish. I use two 9×13″ baking pans, placing 8 filets in each one. It’s okay of the filets overlap a bit.

Now that you’ve prepared the fish, make the soy-ginger sauce.

It’s also a good time to preheat your oven to 375 degrees F.


Make the Soy Ginger Sauce:

In a small microwave-safe mixing bowl, combine the soy sauce, red wine vinegar, oyster sauce, honey, garlic, and ginger. Microwave the mixture for one minute — you want to heat the mixture so that you can easily dissolve the honey. After heating, stir with a fork to combine all the ingredients.

Add the green onions; stir to combine.

Pour the mixture over the tilapia filets. It may look like too much sauce, but trust me, you want the filets covered in the mixture so that it soaks into the fish during baking. That, and you’ll want some of the extra sauce to pour over your rice! 🙂

Bake the fish at 375 degrees F. for 12 to 15 minutes. This fish cooks fast, so check for doneness at the 12-minute mark. The fish is white, and flakes easily with a fork when done.

Serve with hot white rice, and don’t forget to pour some of the delicious soy-ginger sauce over the rice too!

ENJOY!


Print Friendly, PDF & Email

Baked Salmon with Mushroom Cream Sauce

Salmon is one of my favorite varieties of fish. I love it anyway you prepare it — grill it with my teriyaki sauce, make fresh salmon kelaguen, or bake it in my creamy mushroom garlic sauce — I love it all.

This is a super simple recipe to make. It took minutes to prepare, and since salmon cooks quickly, you can have this dish on your table in minutes!

You can lighten up my recipe by using half and half or light whipping cream instead of heavy whipping cream. Here is an approximation of the percentage of fat in half and half, light cream, and heavy whipping cream.

  • Half-and-Half: 12% fat
  • Light Cream: 20% fat
  • Light Whipping Cream: 30% fat
  • Whipping Cream: 35% fat
  • Heavy Cream and Heavy Whipping Cream: 38% fat

On a separate note, I’ve been asked before where you find heavy whipping cream. You’ll find it in the dairy section of your grocery store, usually next to the refrigerated coffee creamer and milk. This is what the box looks like.

image

Another healthier — and delicious — alternative to heavy whipping cream is to use coconut milk. Just watch the salmon as it bakes — don’t cook it to where the coconut milk begins to boil (boiled coconut milk tends to break down and separate). I recommend adding only enough of the sauce over the salmon to cover it. Set the remaining sauce (unbaked) aside until the salmon is done. Bake as directed then pour the reserved coconut milk and mushroom sauce over the cooked salmon. This way, you don’t have to worry about the coconut milk separating should it boil during the baking.

Give my recipe a try.  I think you’ll like it. 🙂

THM NOTE:

For THMs, this recipe makes about 6 servings, with about 2g of carbs per serving, making this an S meal.

Baked Salmon with Mushroom Cream Sauce

Ingredients:

  • 2 salmon filets (about 4 pounds)
  • 4 cups sliced mushrooms (this sounds like a lot, but it cooks down to half this amount)
  • 2 tablespoons olive oil (or butter)
  • 3 tablespoons minced garlic
  • 3 tablespoons Dashida seasoning OR 1 teaspoon sea salt
  • 1/2 teaspoon black pepper
  • 1 bunch green onions, sliced
  • 2 cups heavy whipping cream

Directions:

Rinse the salmon filets and remove any bones that you can see or feel. Place the salmon, skin side down, in a 9×13 baking dish.

Prepare the mushroom cream sauce.

In a medium sauce pan, place the mushrooms, olive oil, garlic, Dashida (or sea salt) and black pepper.

Cook over medium high heat, stirring occassionally, until the the mushrooms have reduced in volume and have browned nicely.

Stir in the green onions.

Pour in the heavy whipping cream; stir to combine.

Cook the cream sauce for about a minute then remove from the heat.

Pour the sauce over the salmon filets.

Bake at 375 degrees for 15 minutes, or just until the salmon is done (when the salmon flakes easily with a fork). Do not over cook.

This version below was made with half coconut milk and half heavy cream, and cooked in one pan on the stovetop.  In a large skillet, prepare the mushroom cream sauce as directed.  Add the salmon filets to the pan, skin slide down, making sure the sauce almost covers the filets.  Scoop up the mushrooms and place them on top of the filets.  Cook over medium low heat for about 30 minutes, periodically scooping some sauce and pouring it over the filets as it cooks.

Serve with rice, over pasta, or with a large side salad and enjoy!

Print Friendly, PDF & Email
« Older Entries Recent Entries »