My daughter previously shared her guacamole recipe with her Carne Asada Tacos recipe.
This recipe goes great as an appetizer, snack, or to go along with your favorite Mexican dish (try them with her Carne Asada Tacos).
Give her recipe a try. I think you’ll like them. 🙂
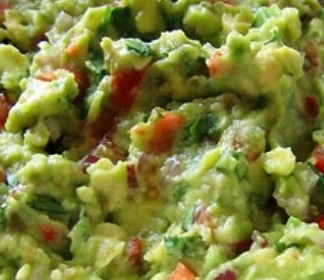
Hannah’s Guacamole
Ingredients:
3 large avocados, peeled, seeded, and cut into small pieces
1 small red onion, finely minced
The juice of 3-4 limes
Salt, to taste
1 tablespoon minced garlic
1/2 cup chopped cilantro
2 teaspoons chili powder
Optional: 1 medium tomato, diced (the guac pictured here doesn’t have any tomatoes since I made pico de gallo)
Optional: diced hot peppers, like jalapenos
Directions:
Mix all the guacamole ingredients together. I like to gently stir my guacamole so that you still have chunks of avocado. If you prefer, you can mash the avocados with a fork for a smooth texture. Serve with your carne asada tacos or with chips.
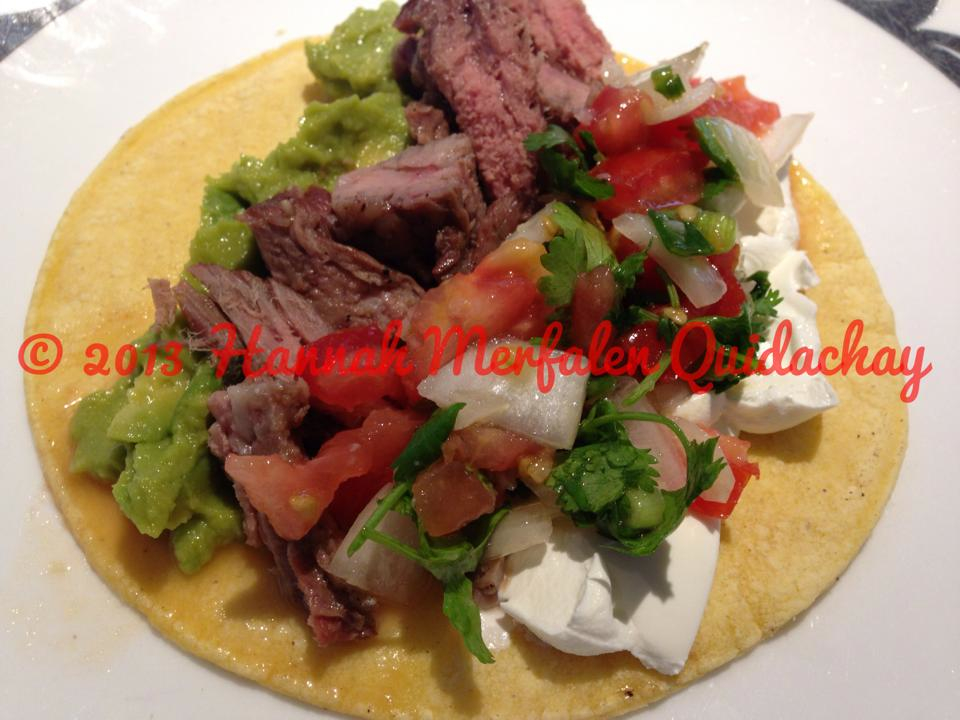
My daughter loves to cook as much as I do, and she loves to experiment with new dishes. This is her take on Carne Asada Tacos, complete with her recipes for the Marinade, Guacamole, and Pico de Gallo.
Give her recipes a try. I think you’ll like them. 🙂
Hannah’s Carne Asada Tacos
Ingredients:
4 pounds skirt steak, with excess fat trimmed off
12 corn tortillas
Sour cream
Guacamole
Pico de gallo
Shredded Mexican cheese blend
Hannah’s Carne Asada Marinade:
1/2 cup lime juice
The juice of 2 oranges
2 tablespoons minced garlic
2 teaspoons salt
1/4 cup olive oil
1 cup of chopped cilantro
Hannah’s Pico de Gallo:
1 large tomato, diced
1 small onion, diced
1 cup chopped cilantro
The juice of 2 limes
Salt, to taste
Optional: chopped hot peppers
Hannah’s Guacamole:
3 large avocados, peeled, seeded, and cut into small pieces
1 small red onion, finely minced
The juice of 3-4 limes
Salt, to taste
1 tablespoon minced garlic
1/2 cup chopped cilantro
2 teaspoons chili powder
Optional: 1 medium tomato, diced (the guac pictured here doesn’t have any tomatoes since I made pico de gallo)
Optional: diced hot peppers, like jalapenos
1. MARINADE AND GRILLING DIRECTIONS:
Mix all marinade ingredients together. Pour over the skirt steak (I recommend marinating the steak in a ziplock bag). Let the steak marinate for at least 2 hours. Grill until done to your liking. Slice the meat against the grain (so that it isn’t tough when you bite into it).
2. PICO DE GALLO DIRECTIONS:
Mix all the Pico de Gallo ingredients together. Let the mixture sit for at least 30 minutes to allow the flavors to develop. Serve with your carne asada tacos.
3. GUACAMOLE DIRECTIONS:
Mix all the guacamole ingredients together. I like to gently stir my guacamole so that you still have chunks of avocado. If you prefer, you can mash the avocados with a fork for a smooth texture. Serve with your carne asada tacos or with chips.
4. TACO ASSEMBLY:
Grill a tortilla until warmed. Fill with slices of carne asada, some guacamole, pico de gallo, sour cream and cheese. Enjoy!
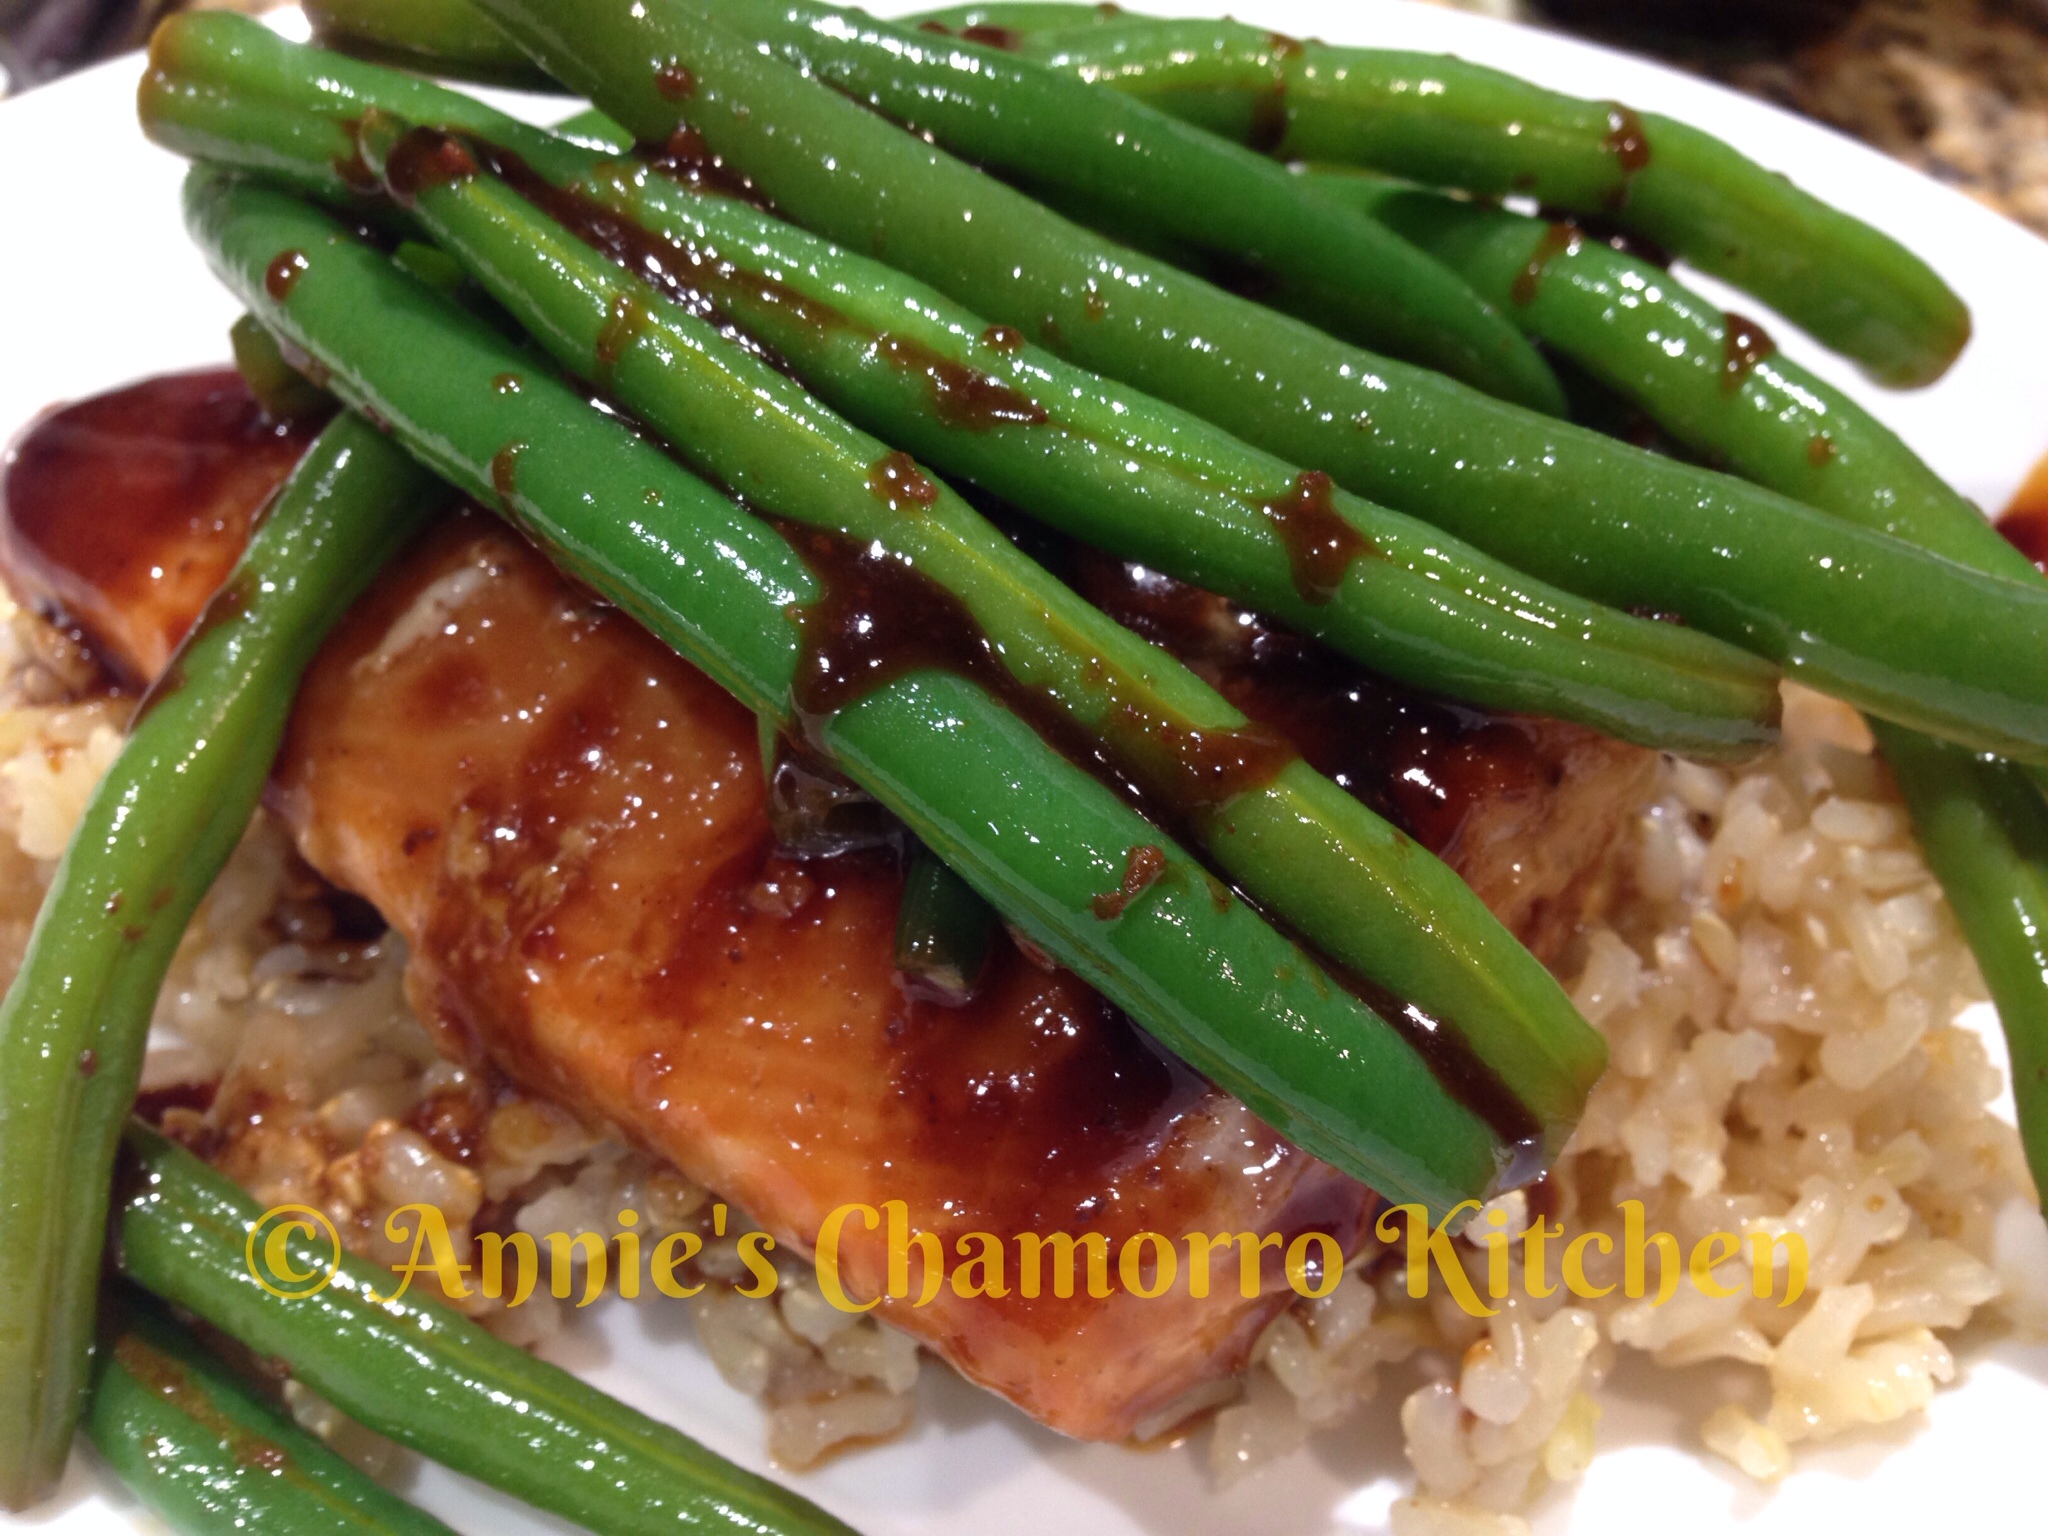
Are you looking for a quick, easy and TASTY vegetable side dish? Try my daughter’s recipe for Sesame Garlic Soy Green Beans.
They are perfect with just about any main dish. Give it a try with my daughter’s other delicious recipe: Hoisin Honey Glazed Salmon.
Give Hannah’s recipe a try. I think you’ll like it. 🙂
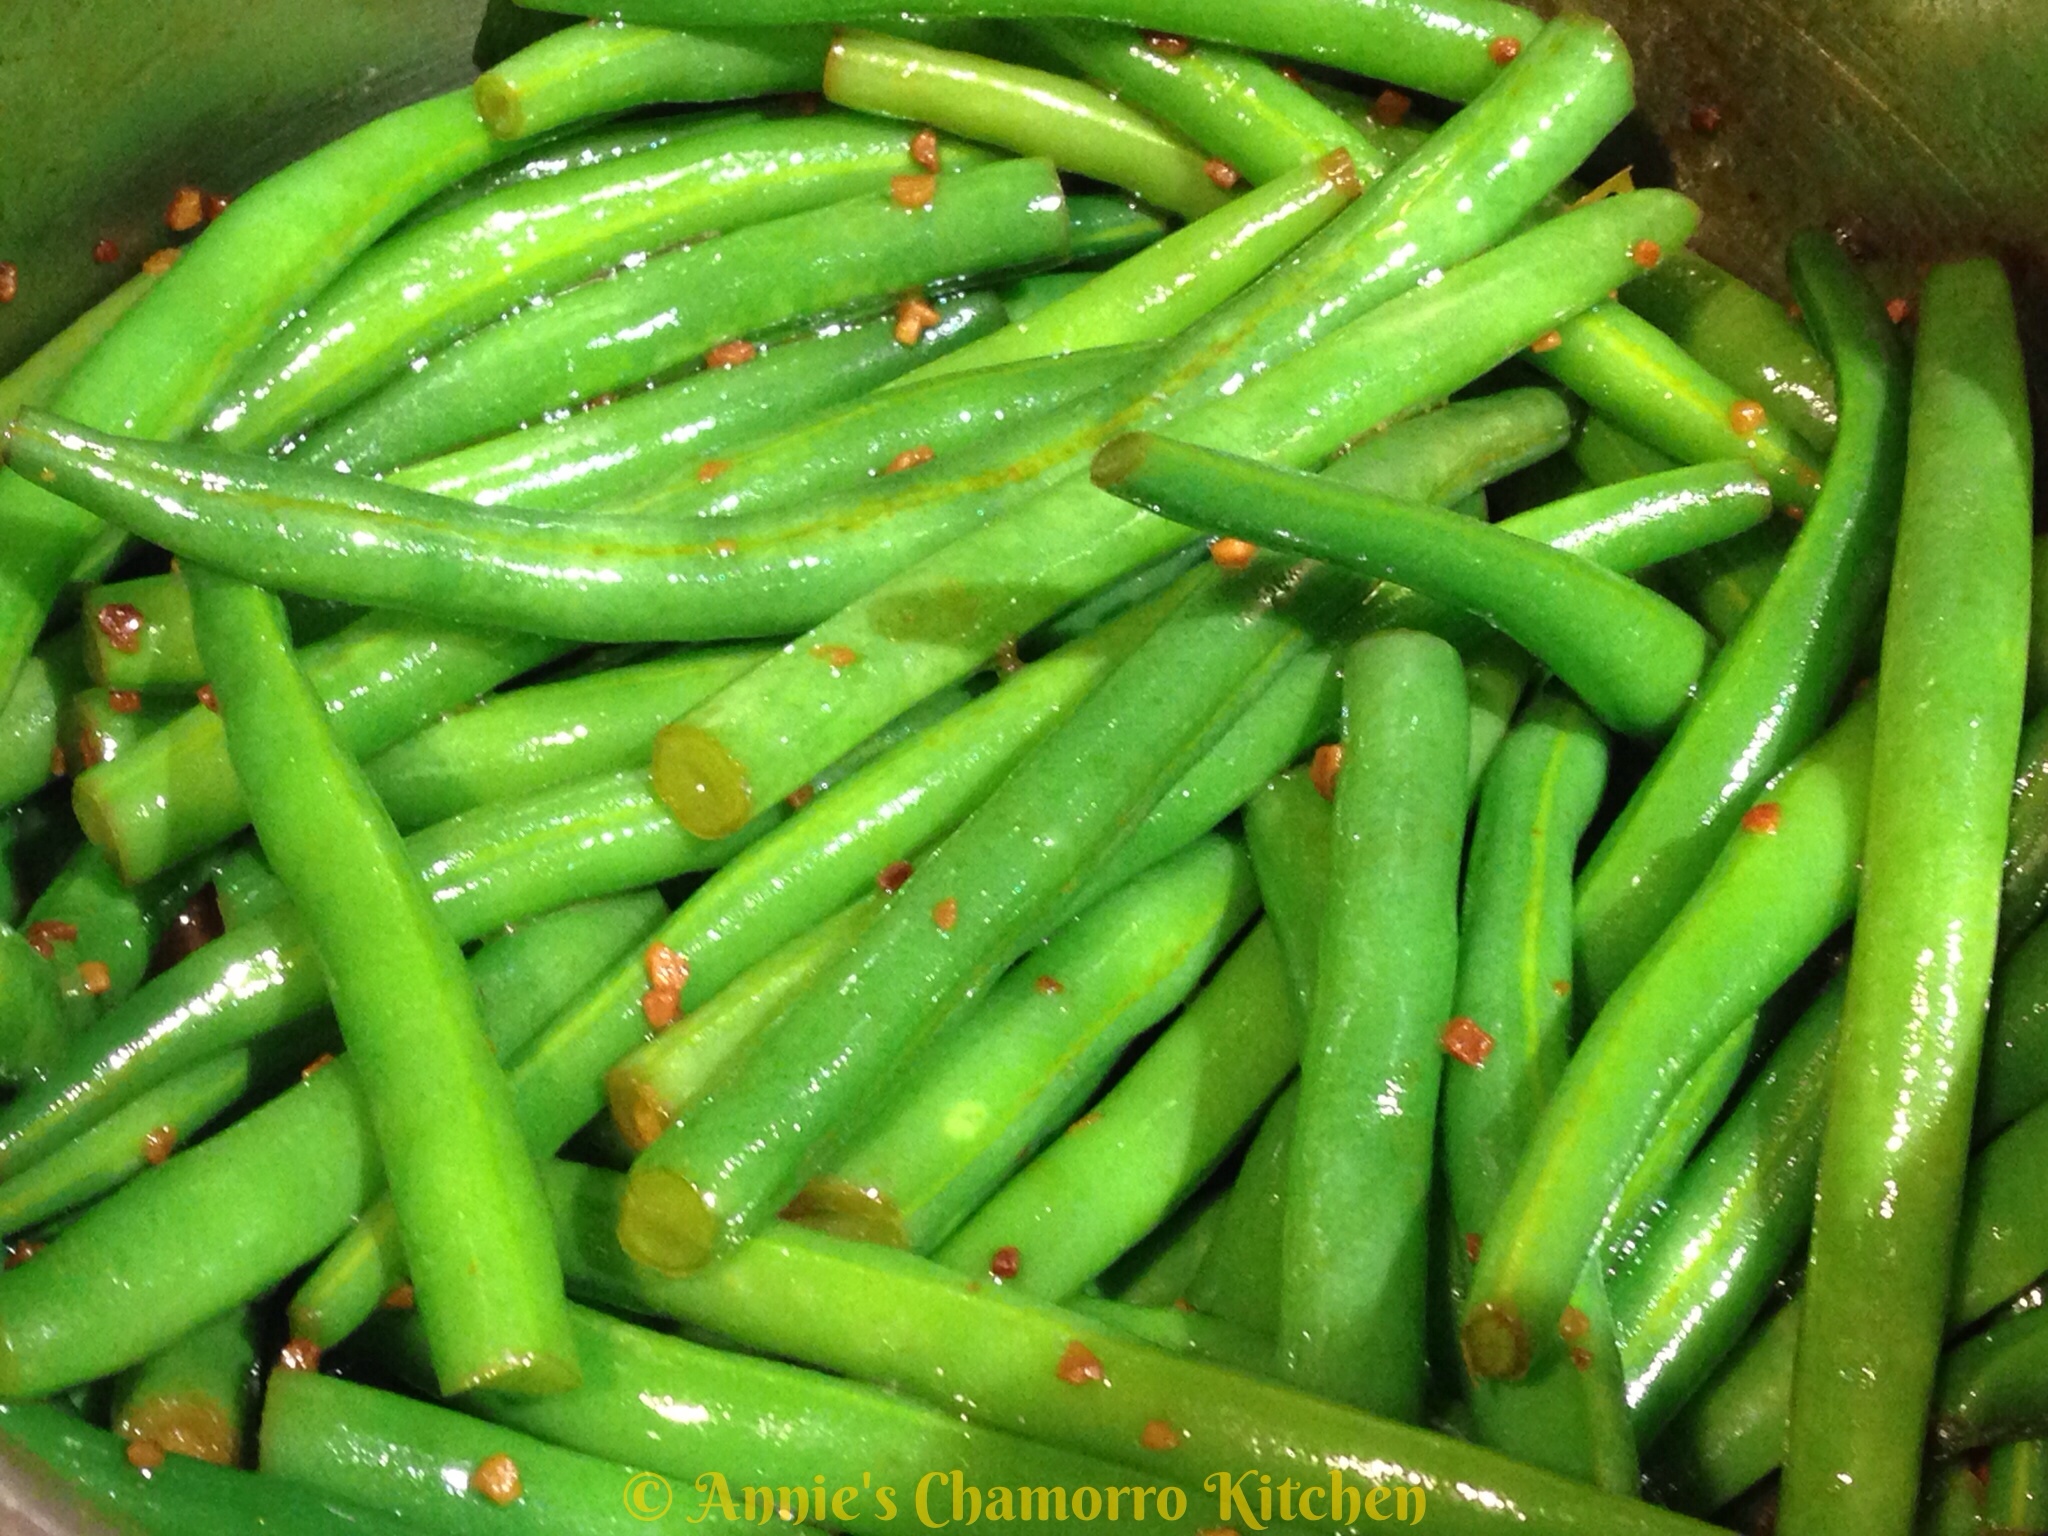
Sesame Garlic Green Beans
Ingredients:
1 pound fresh green beans
A pot of water (about 5 cups)
A large bowl of ice
Salt
1 tablespoon butter
1 tablespoon sesame oil
1 tablespoon chopped garlic
2 tablespoons low sodium soy sauce
Sesame seeds
Directions:
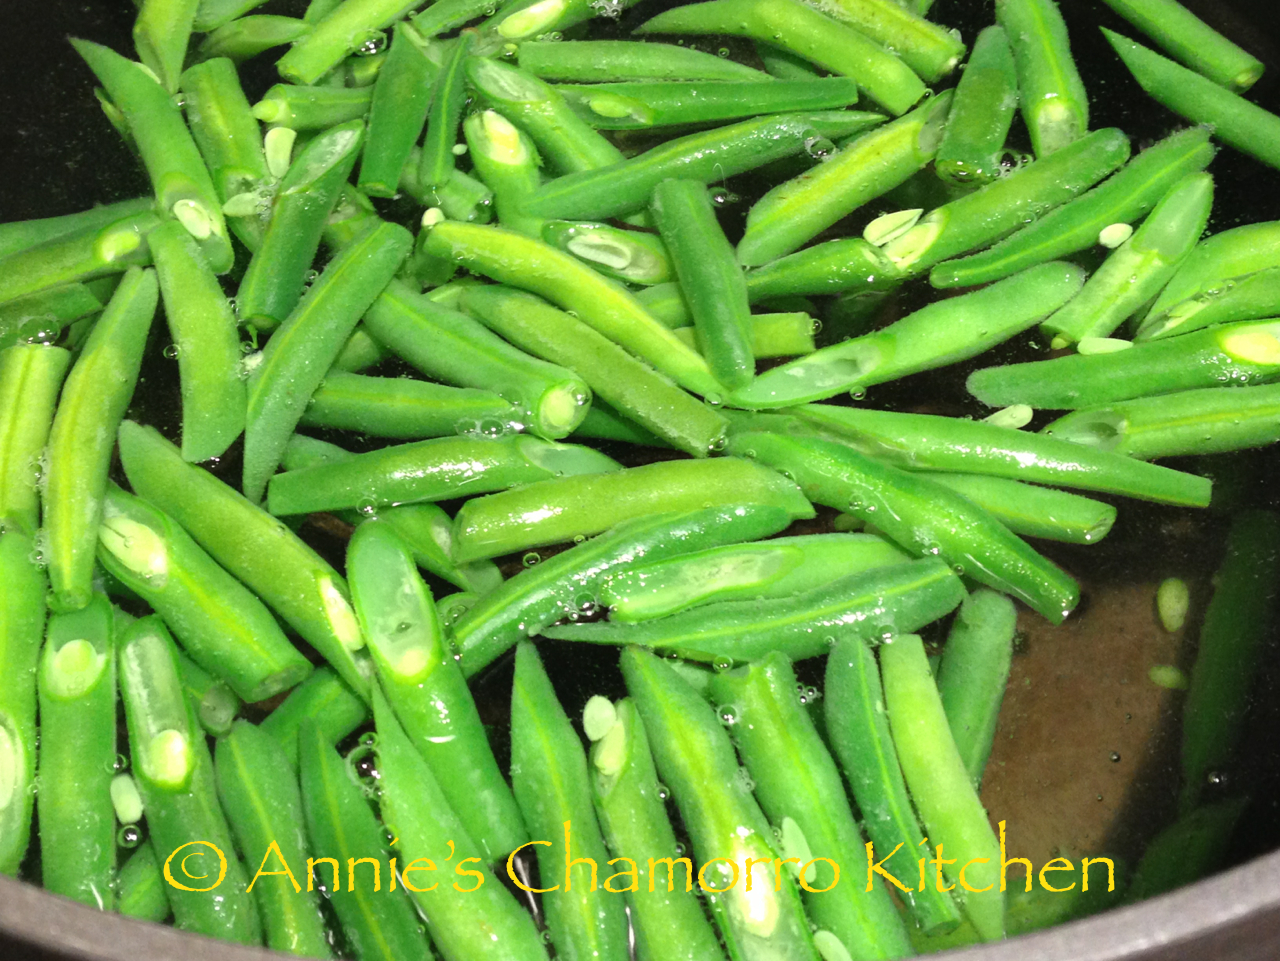
1. You will need to blanch the green beans first. Blanching means to put vegetables into a pot of boiling water, let it cook for a few minutes, then remove the vegetables and immediately place them into a bowl of ice water to stop the cooking.
Here’s how it’s done.
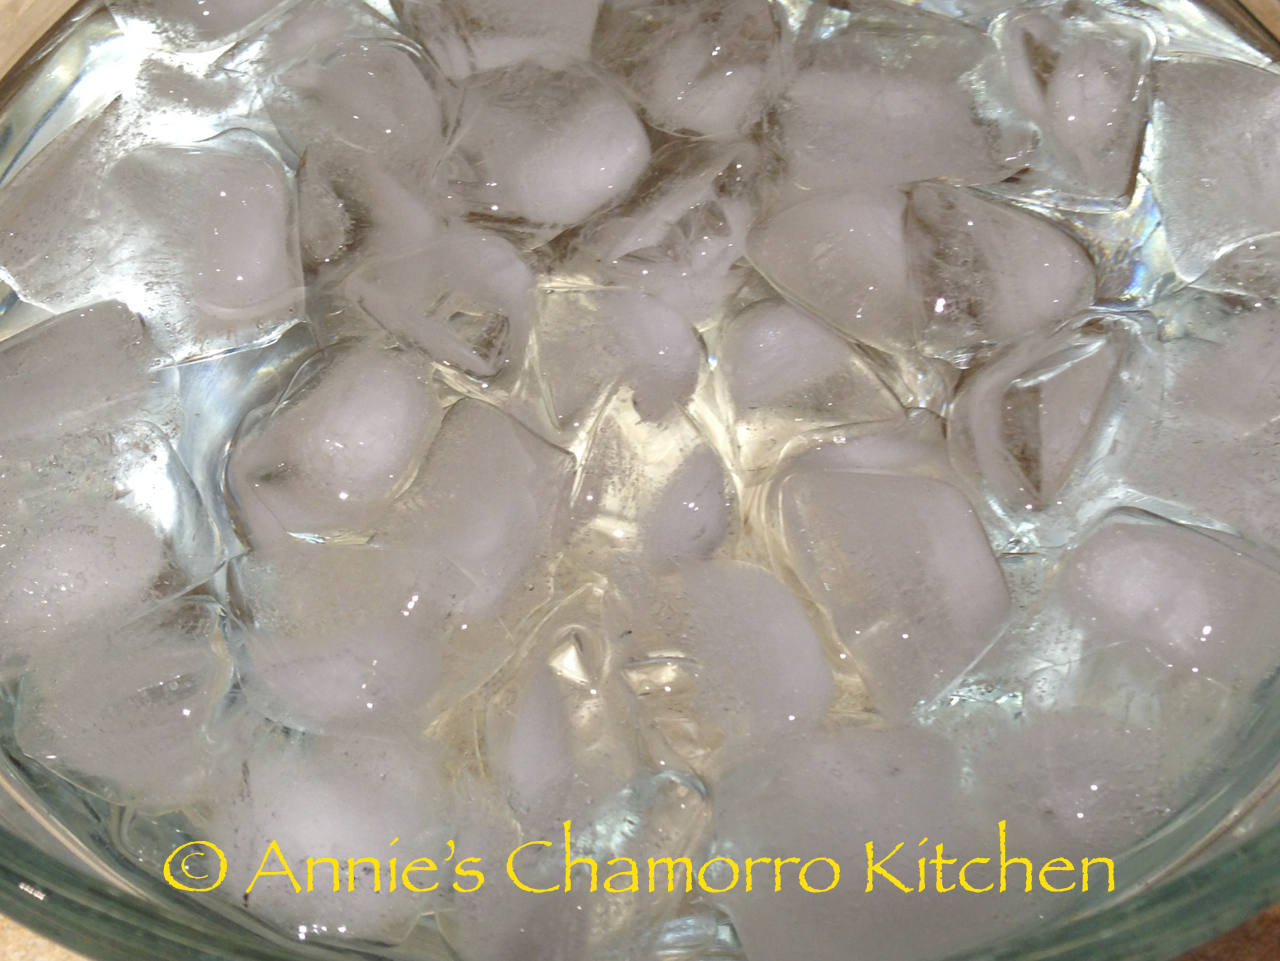
In a large pot, bring about 5 cups of water to a rapid boil over high heat. Add enough salt so the water tastes faintly salty. While the water heats, fill a medium sized bowl about three quarters full with ice, then add enough cold water to cover the top of the ice.
When the water is boiling and the ice bath is ready, trim the green beans to the size you need. It’s best to trim them just prior to cooking so they won’t oxidize or dehydrate. Add the beans to the boiling water in batches small enough to ensure that the water doesn’t lose its boil. Boil the beans only until they’re barely cooked through but still tender. To test, remove one piece with a slotted spoon, dip it into the ice bath to cool, and eat it.
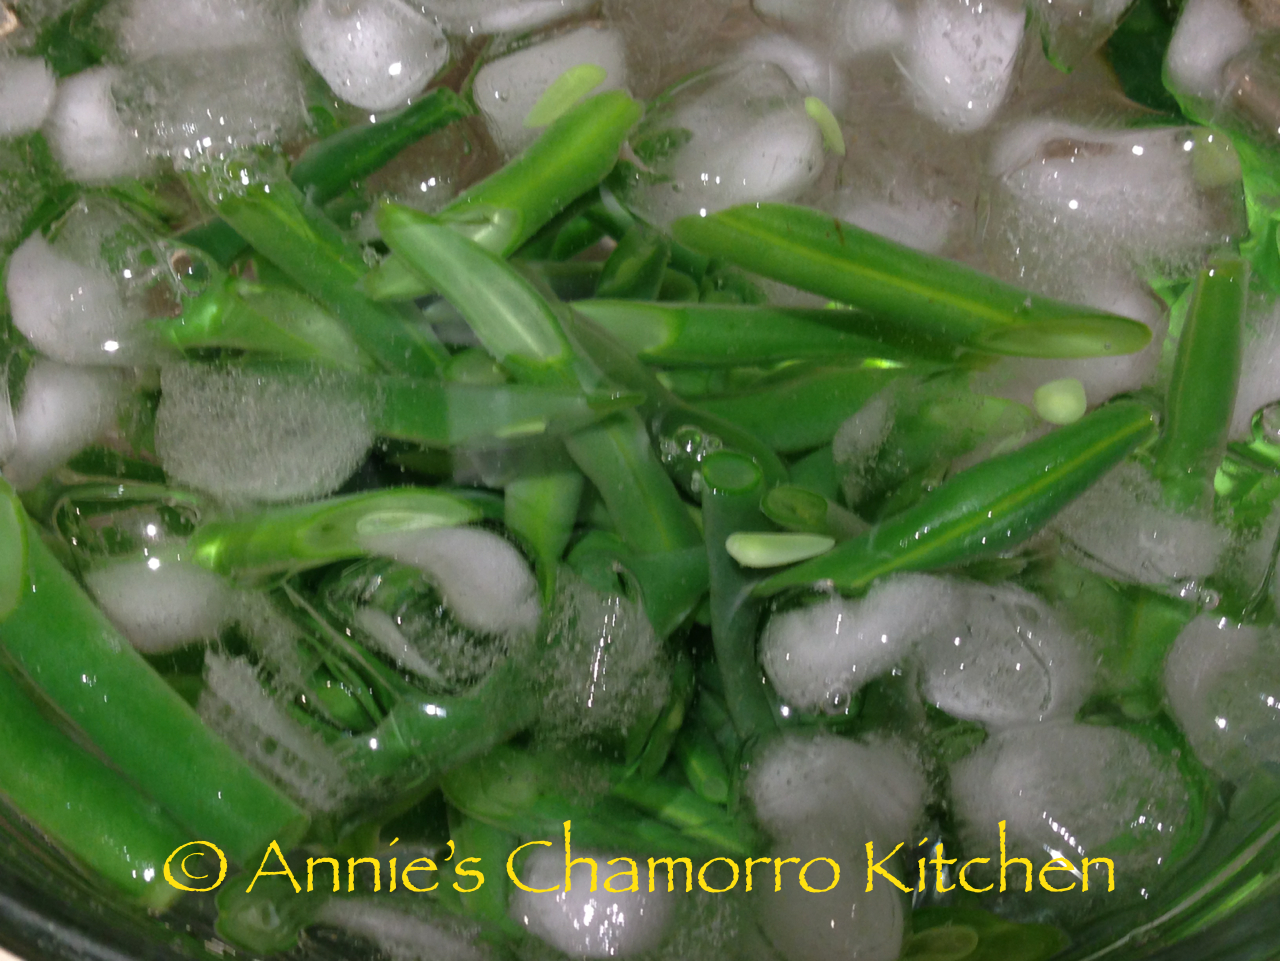
As soon as the beans are done, remove them as fast as you can and submerge them in the ice bath. Remove them from the ice bath as soon as they are no longer warm. Set aside.
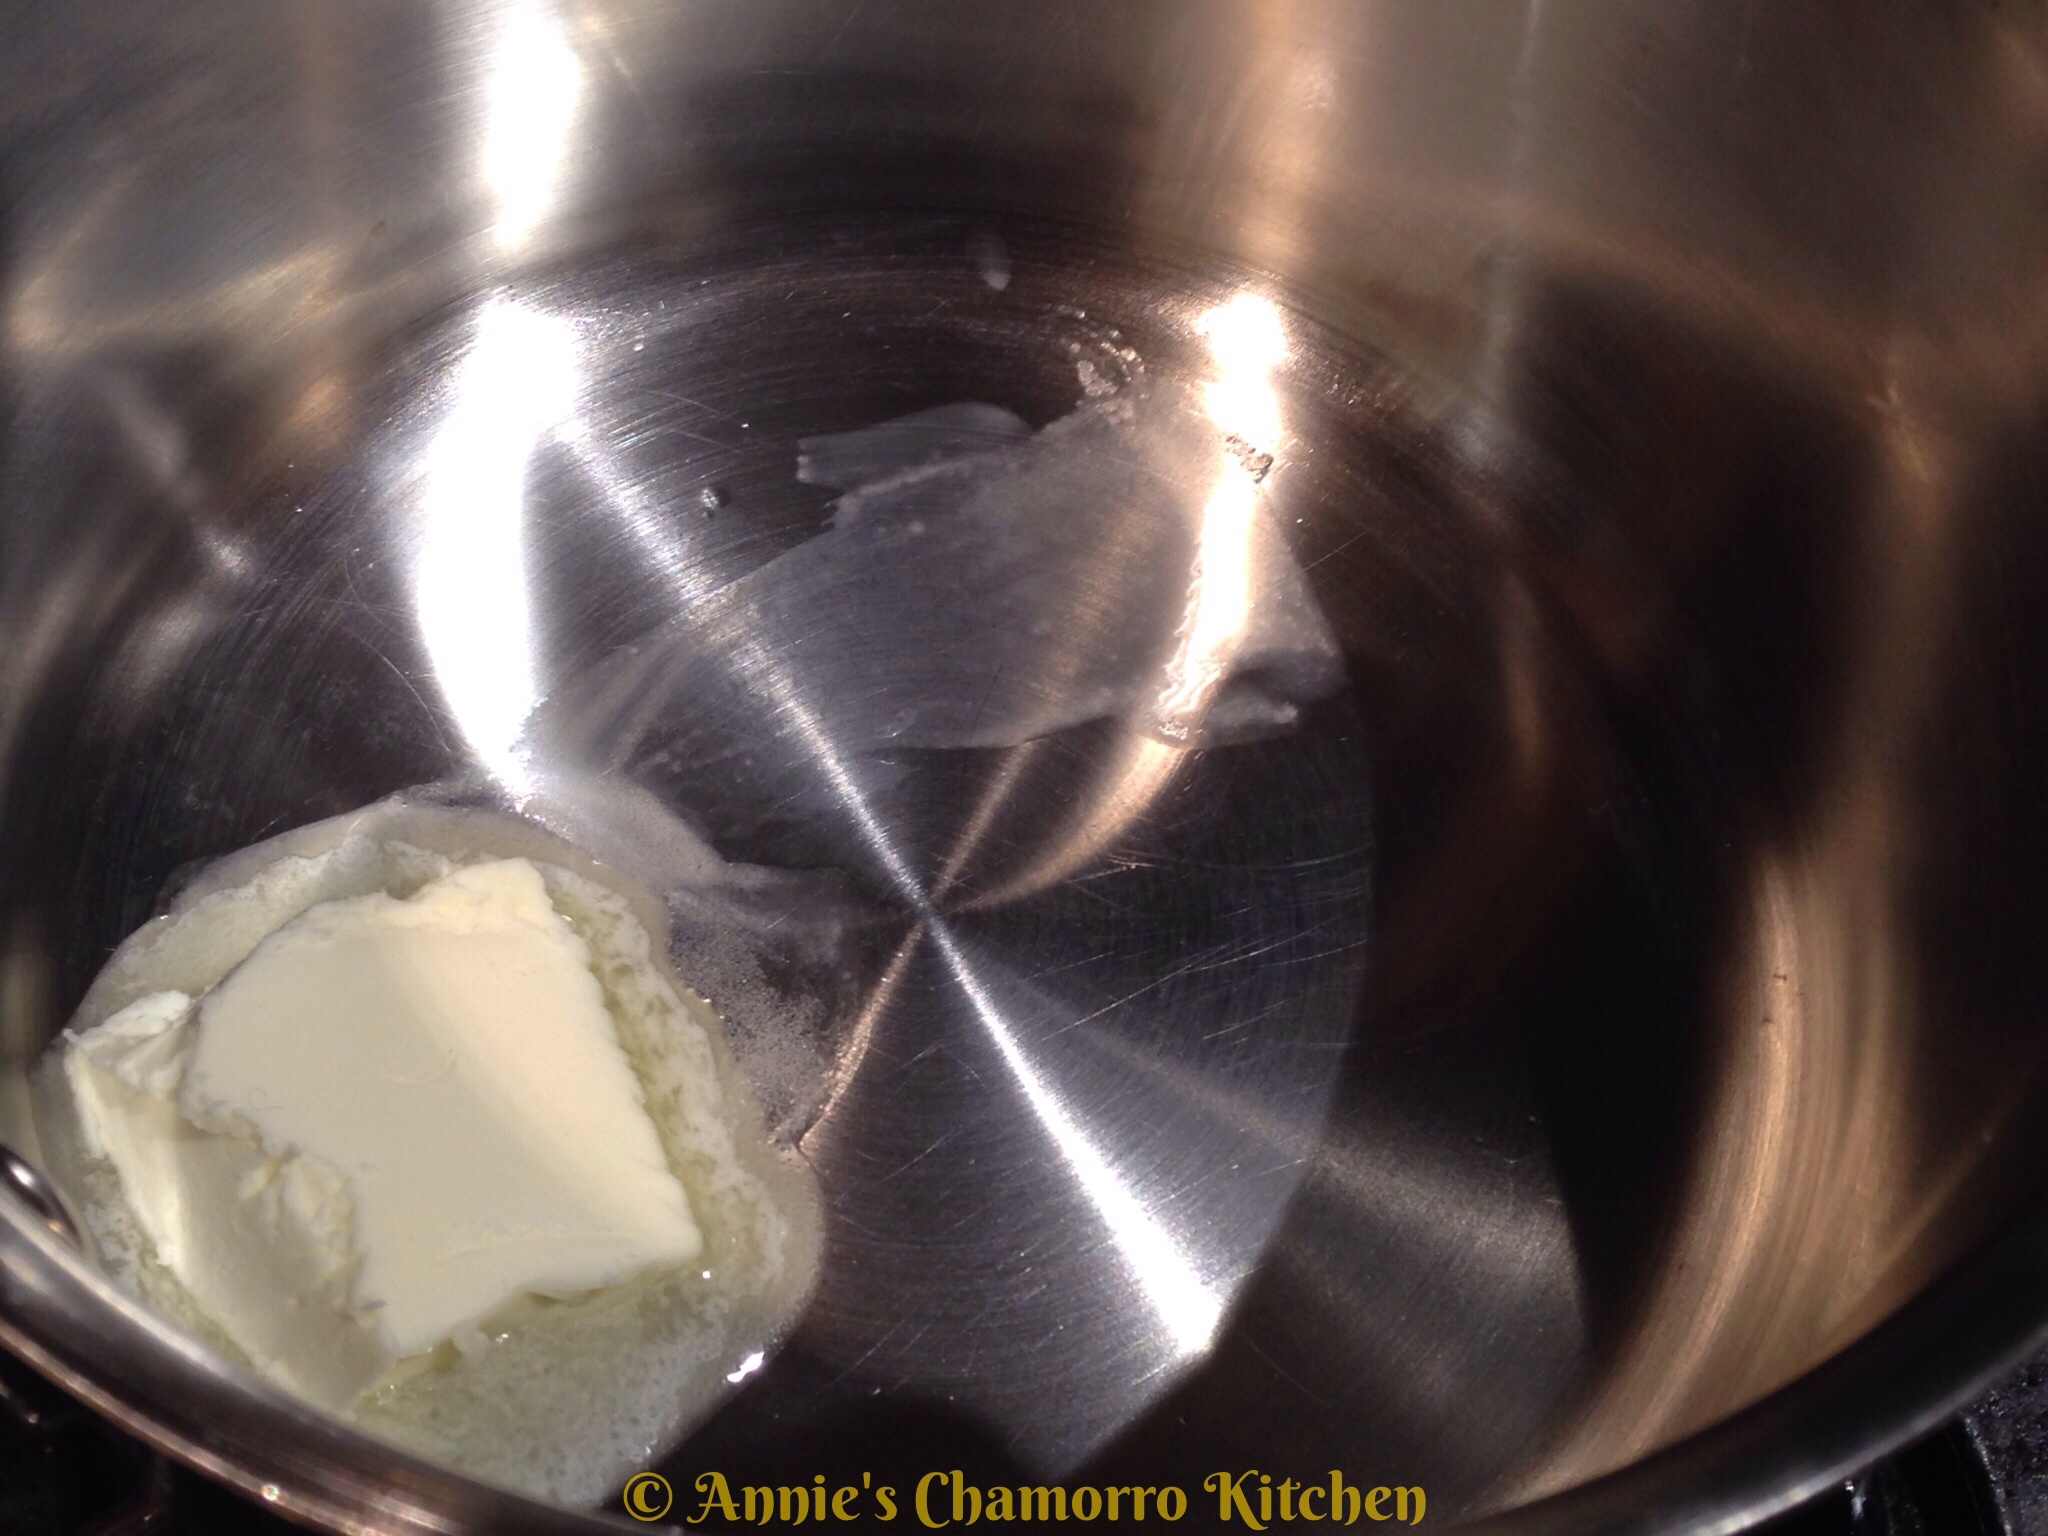
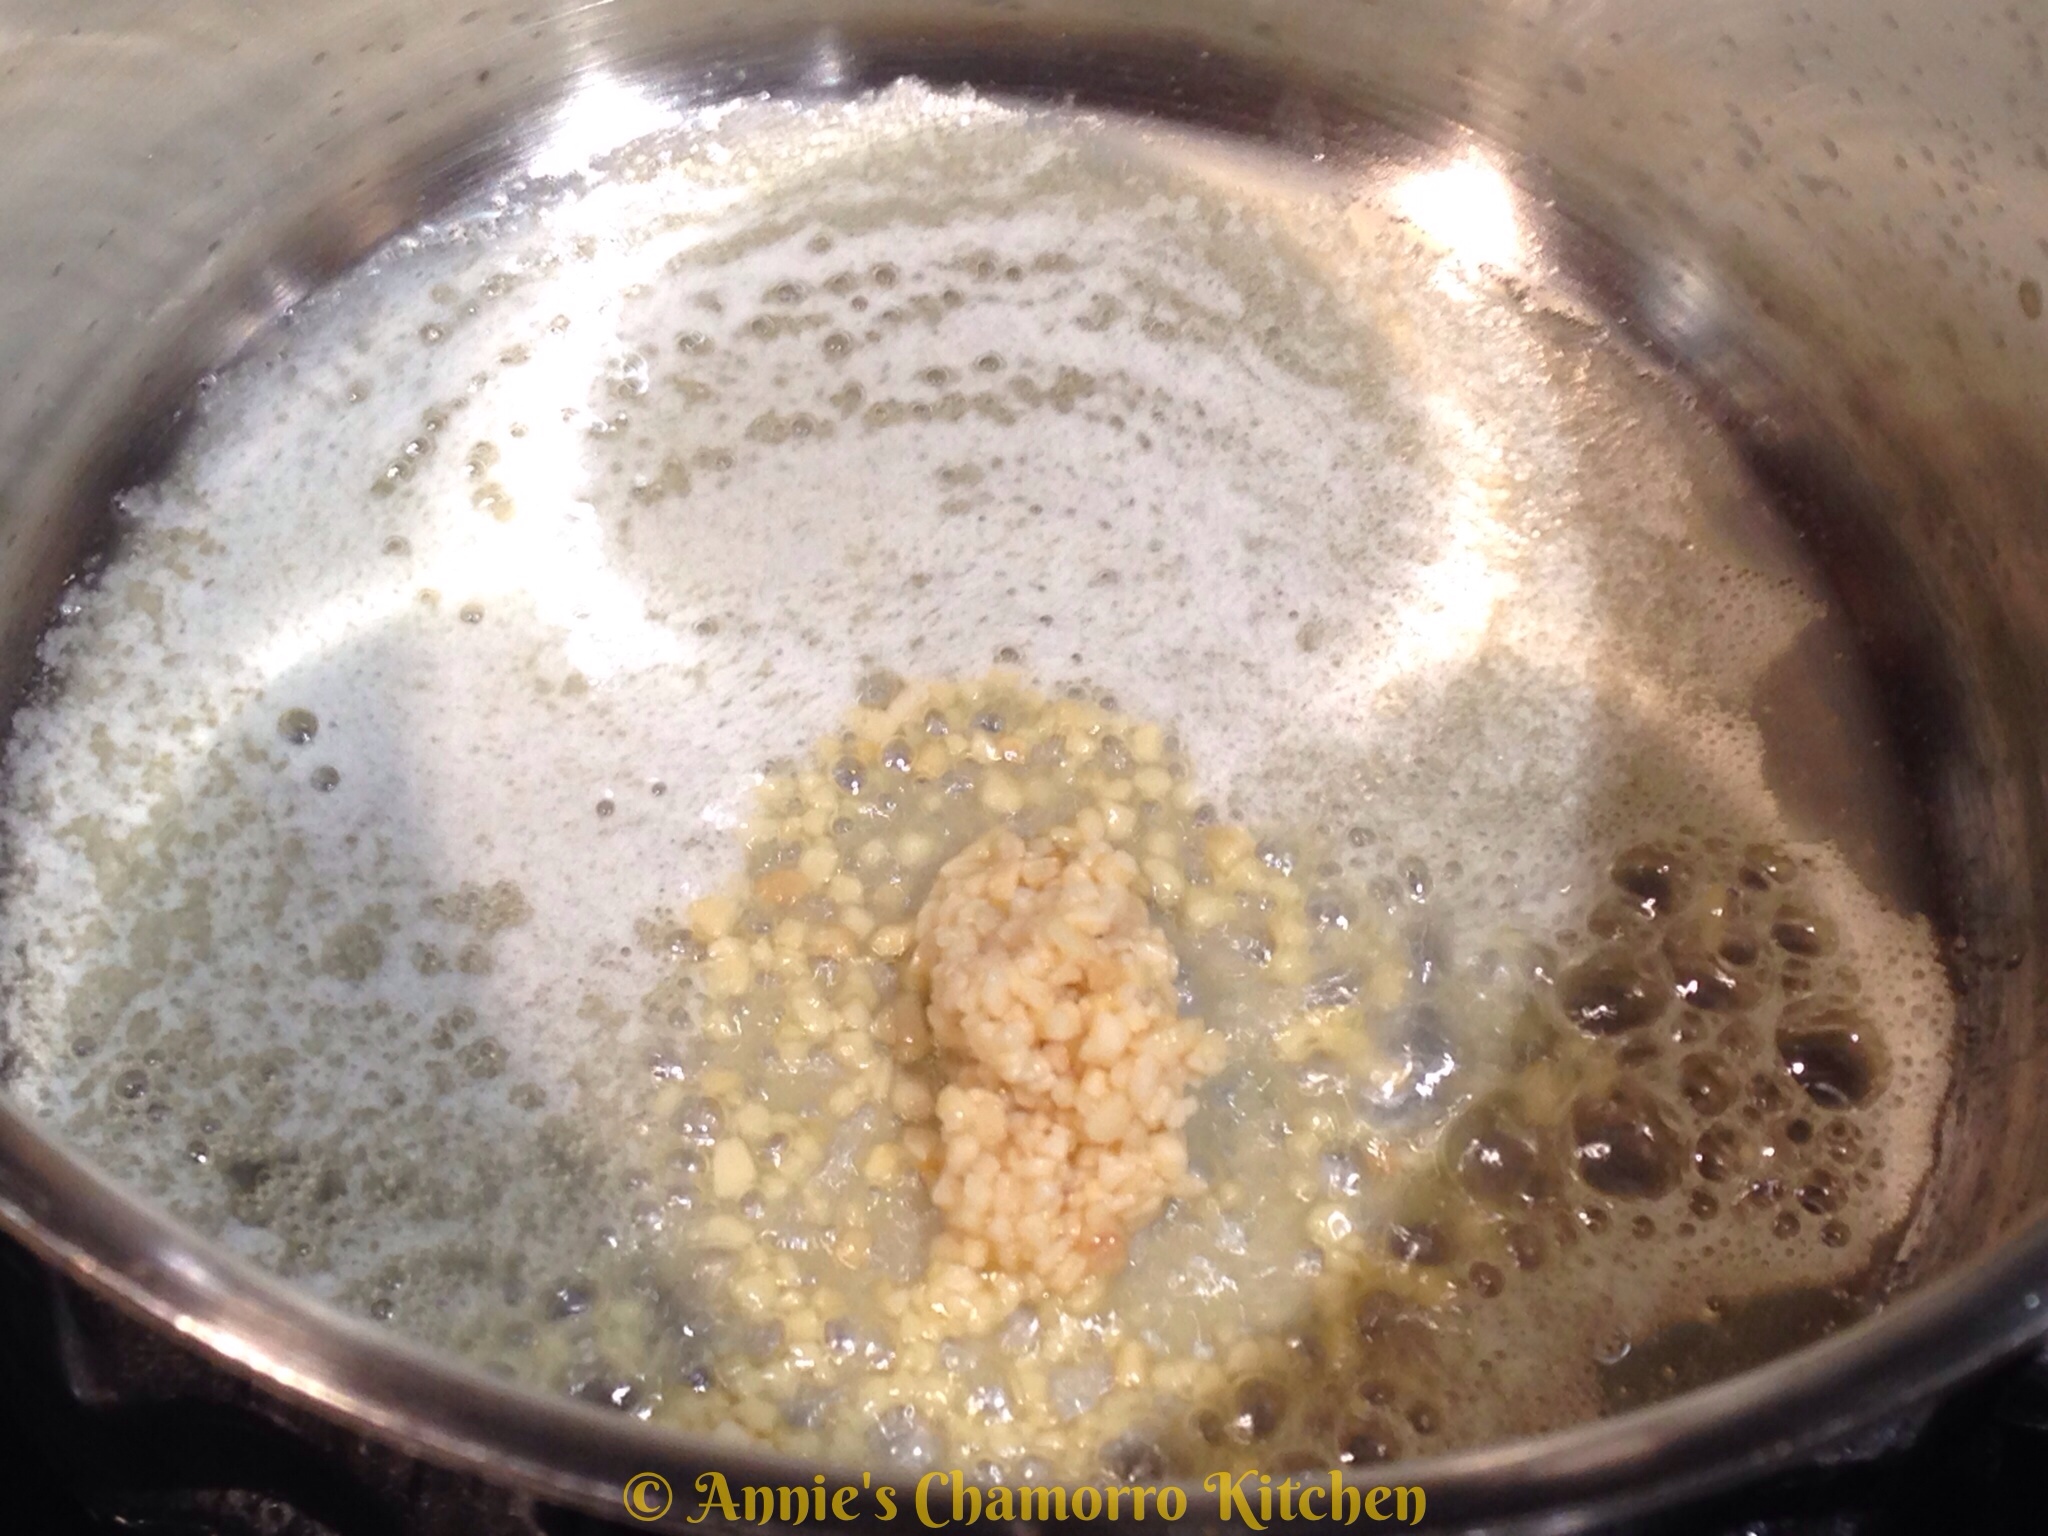
2. Melt the butter in a small skillet over medium heat.
3. Add the sesame oil and garlic to the pan. Cook until the garlic begins to brown slightly.
4. Add the beans and soy sauce to the pan. Stir to coat the beans in the sauce; cook for a couple of minutes then remove from the heat.
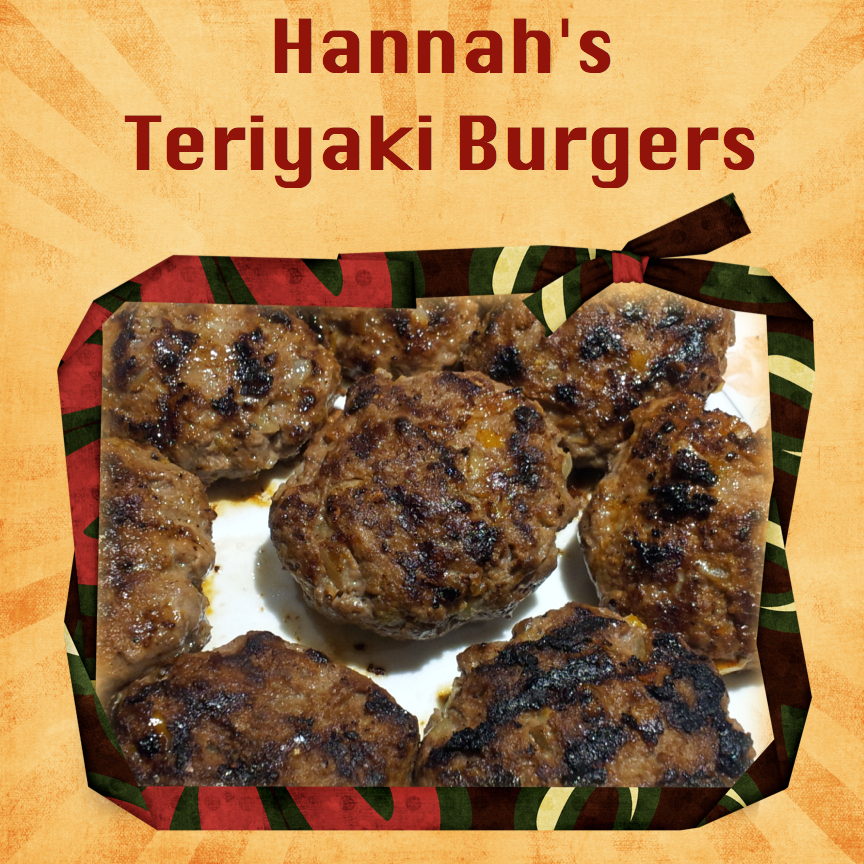
My daughter is quite the budding chef. She whipped these burgers up from some ingredients she found in the fridge and pantry. She calls them “Hannah’s Teriyaki Burgers” — I must say, they are yummy! Pair it with a side salad and hot rice and you’ve got yourself a fantastic meal!
HANNAH’S TERIYAKI BURGERS
Mix together:
2 pounds lean ground beef
3/4 cup teriyaki sauce (I used Yoshida brand sauce)
1 small bell pepper, diced small
1 medium onion, chopped
1 large egg
2 tablespoons Dashida seasoning
1 teaspoon black pepper
4 large cloves garlic, minced
Directions:
Form into patties and pan-fry over medium-high heat, about 5 minutes on each side (for medium well burgers). These also taste great served on toasted hamburger buns. Makes 14 small or 7 large burgers.
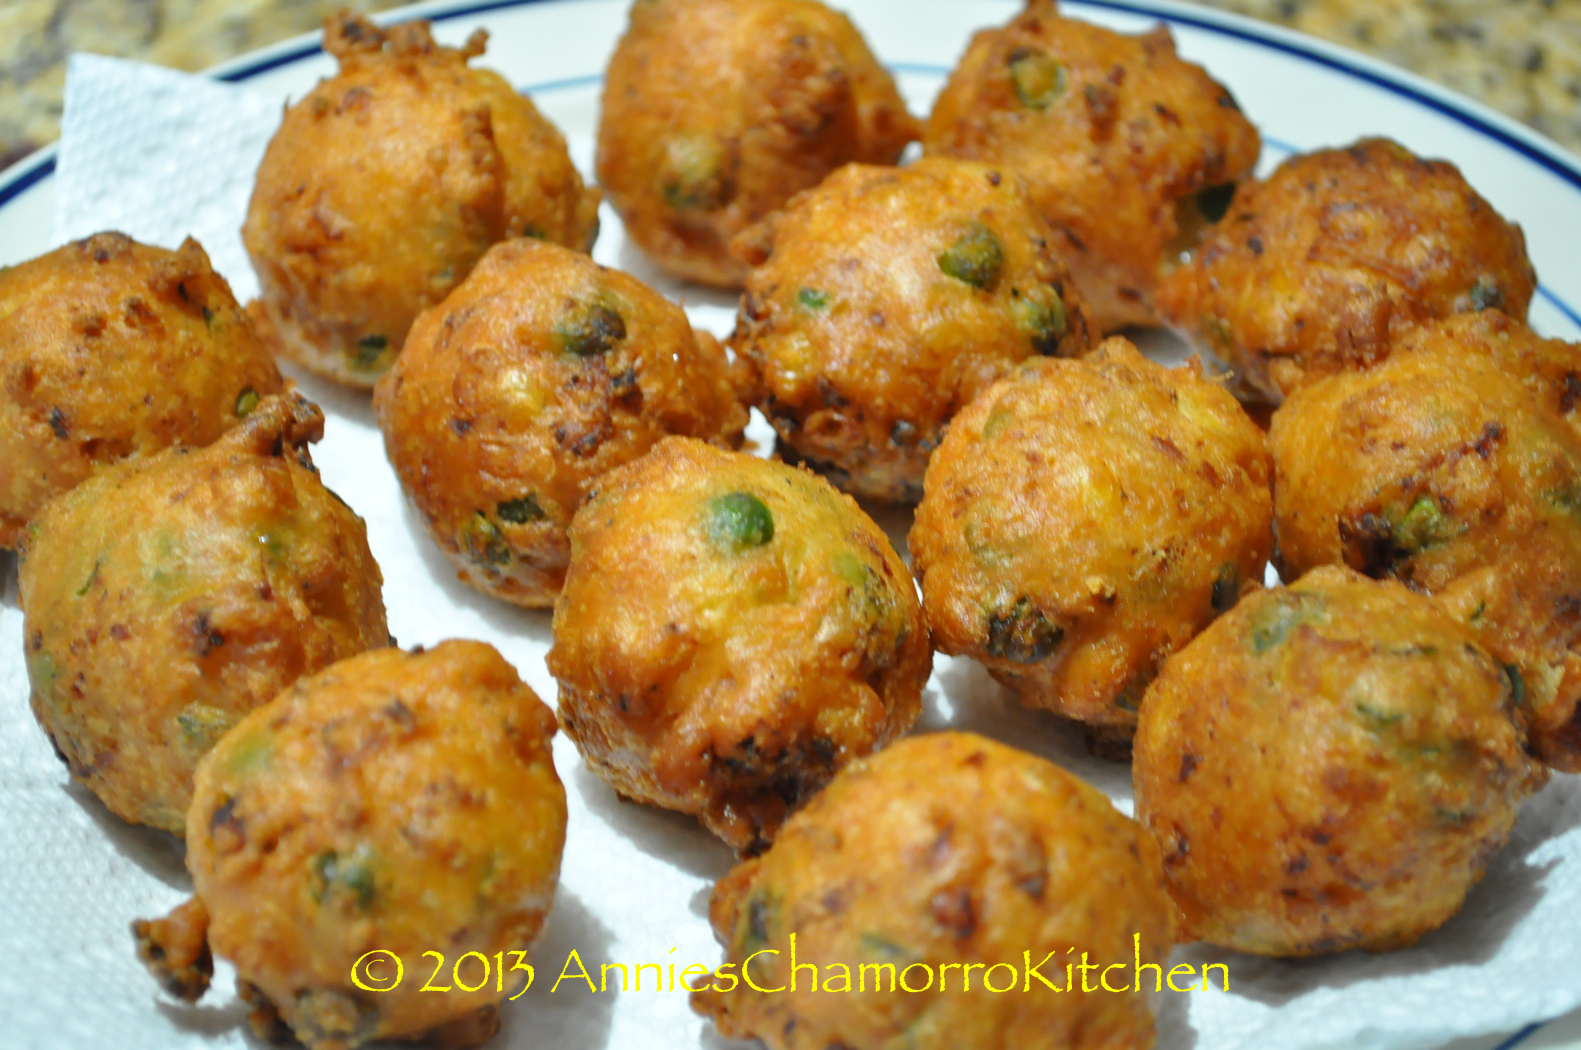
I made some delicious shrimp patties for lunch one day. My version is somewhat different from the “regular” recipe most people have.
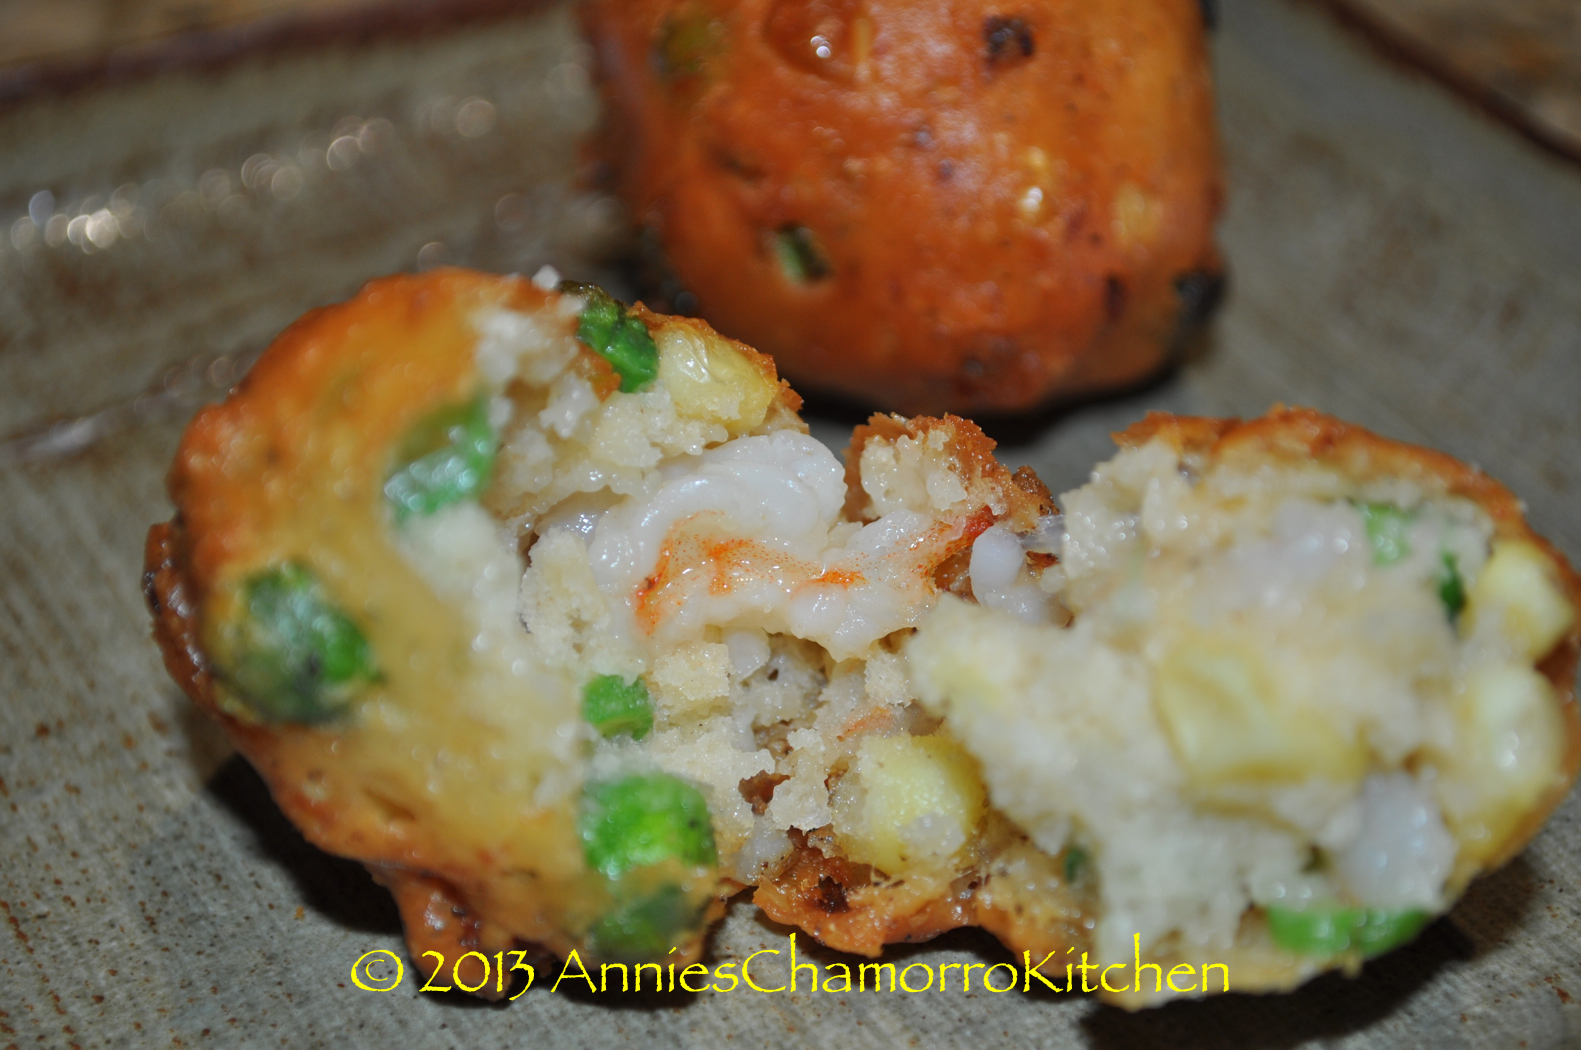
What’s different about my version? I don’t use any eggs. It started out as a mistake one time when I was making shrimp patties and forgot to put eggs in the batter. However, I liked how it turned out. The inside was nice and fluffy, and my shrimp patties were nice and round (my neighbor called them “shrimp balls”) and not flat.
Give my recipe a try. Let me know how you like them. My family loves them; I hope you do too!
SHRIMP PATTIES
INGREDIENTS:
1 cup thinly sliced fresh green beans
2 cups peas
1 cup chopped onions (about 1/2 a medium onion)
3 cups corn kernels (I love lots of corn in my shrimp patties)
4 cups shrimp, chopped
2 tablespoons minced garlic
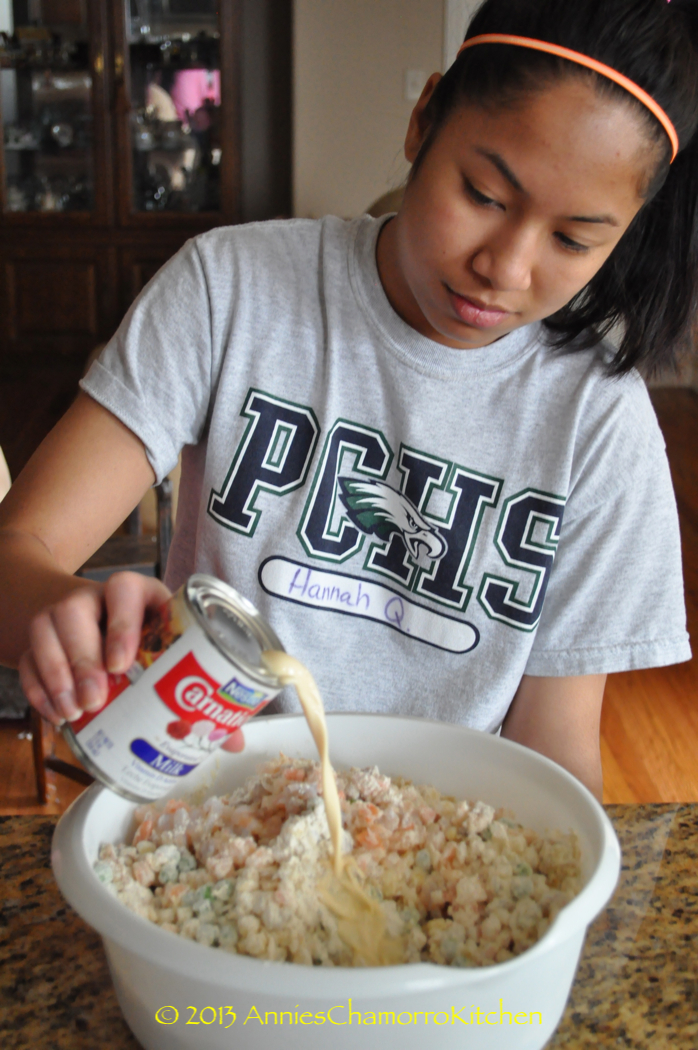
2 cans evaporated milk
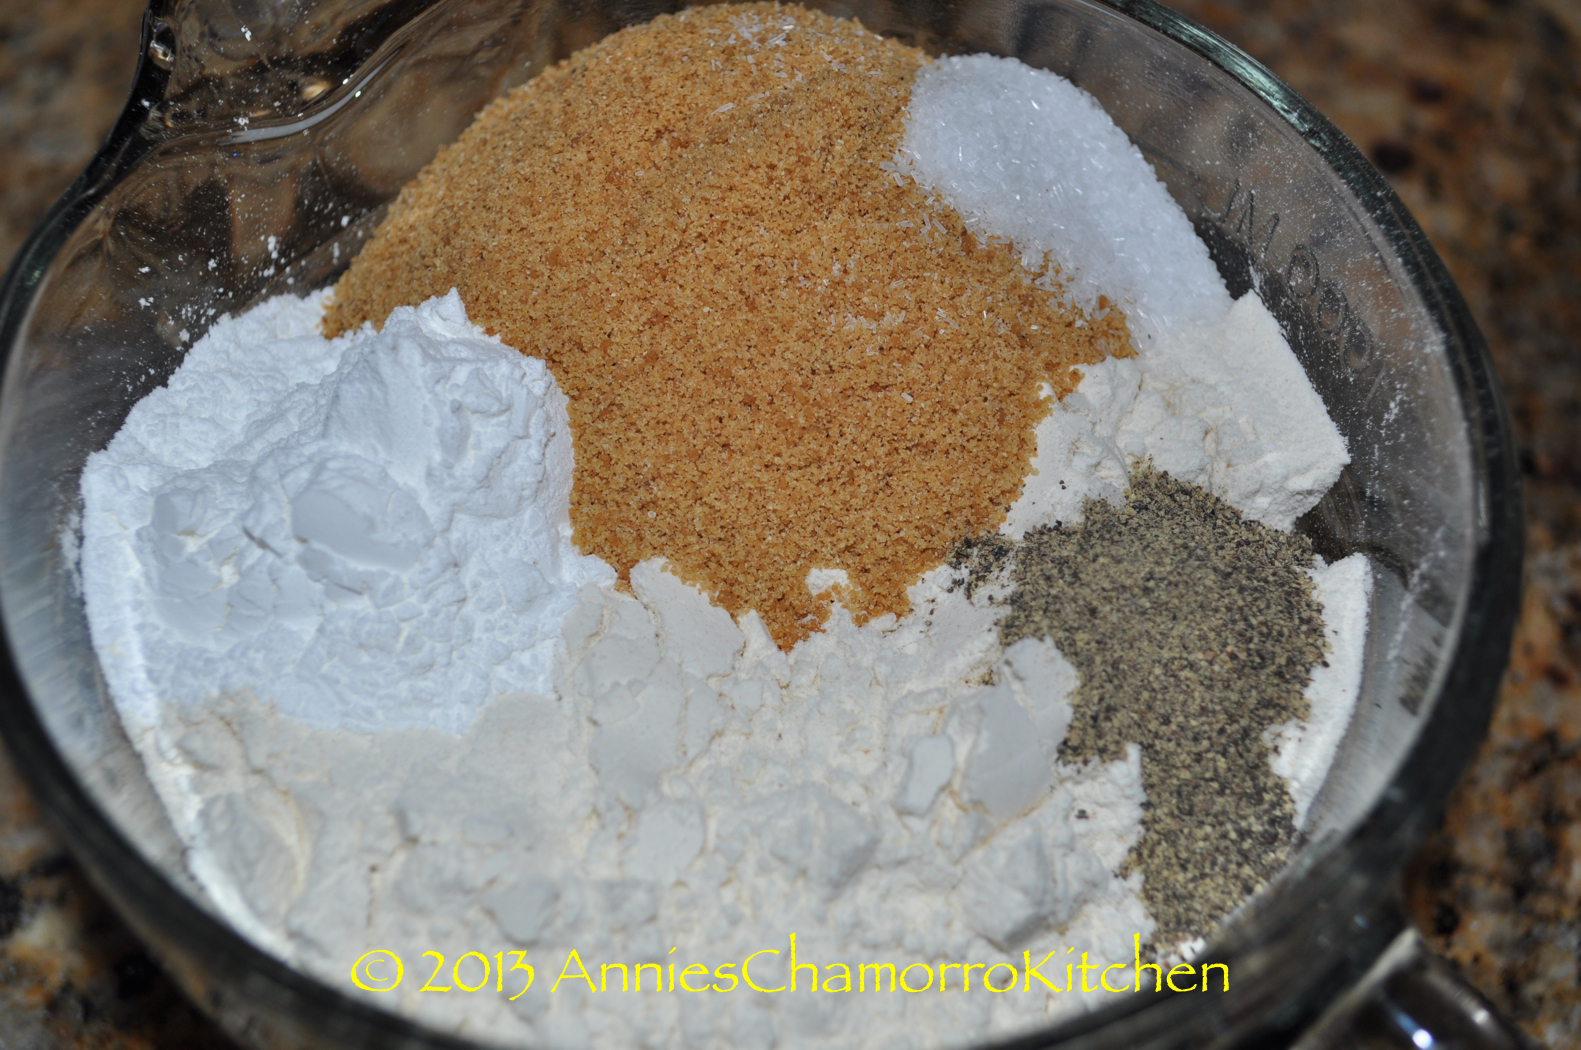
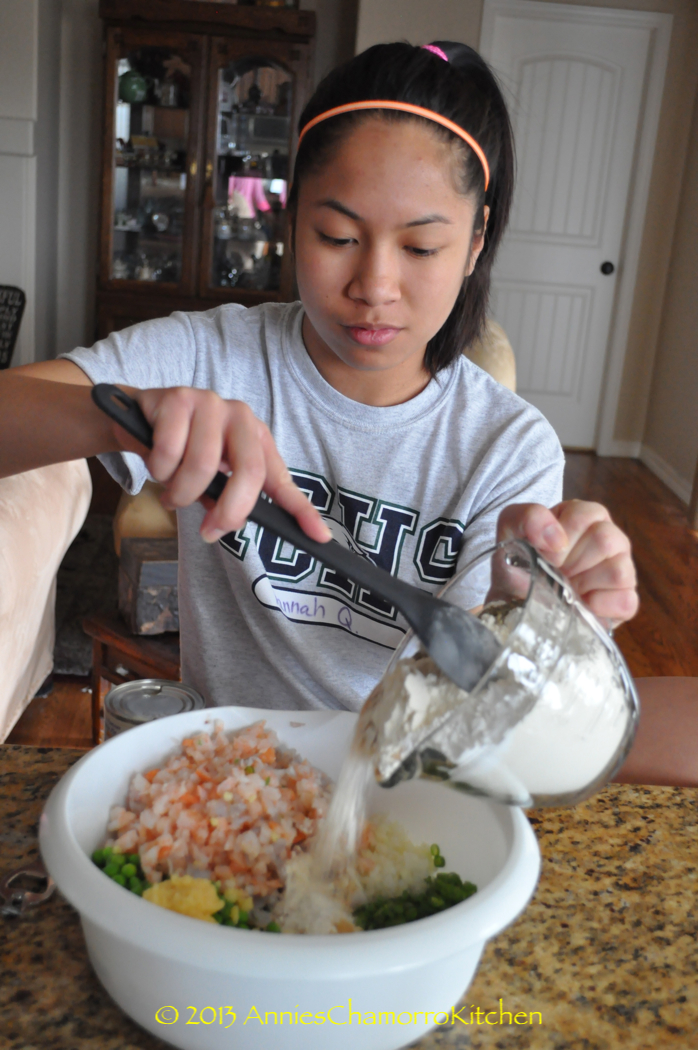
3 cups all purpose flour
2 tablespoons baking powder
5 tablespoons Dashida seasoning (the seafood flavored kind)
1 teaspoon Accent
1 teaspoon black pepper
Oil, for frying
DIRECTIONS:
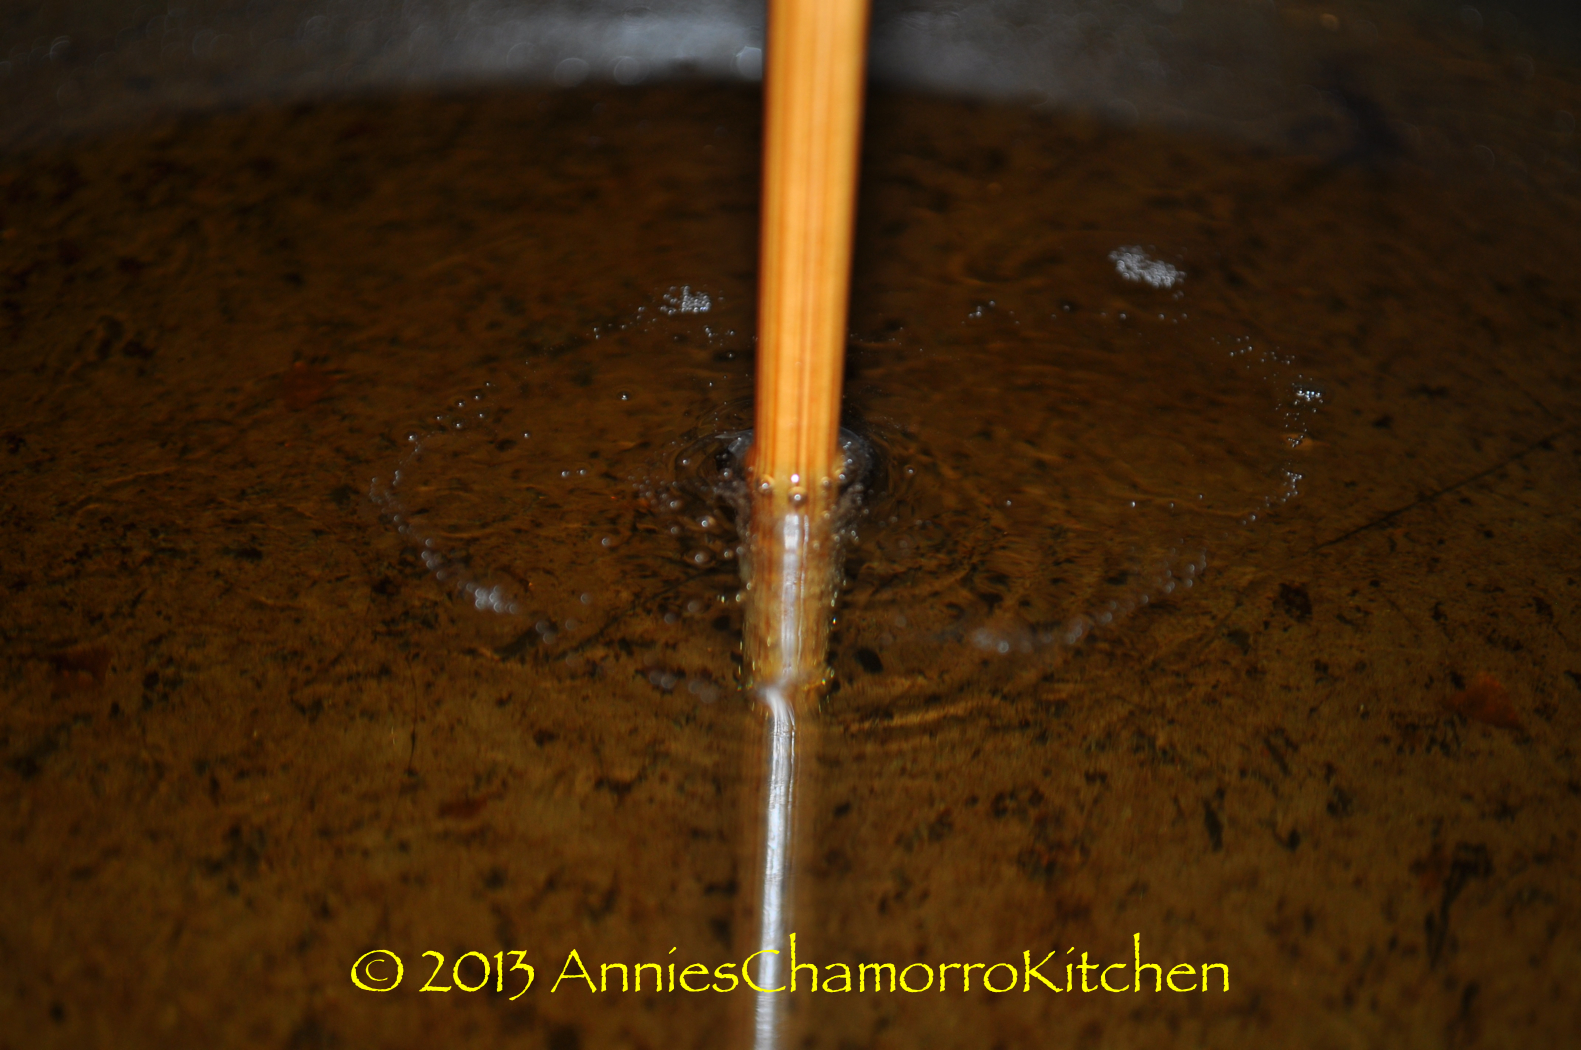
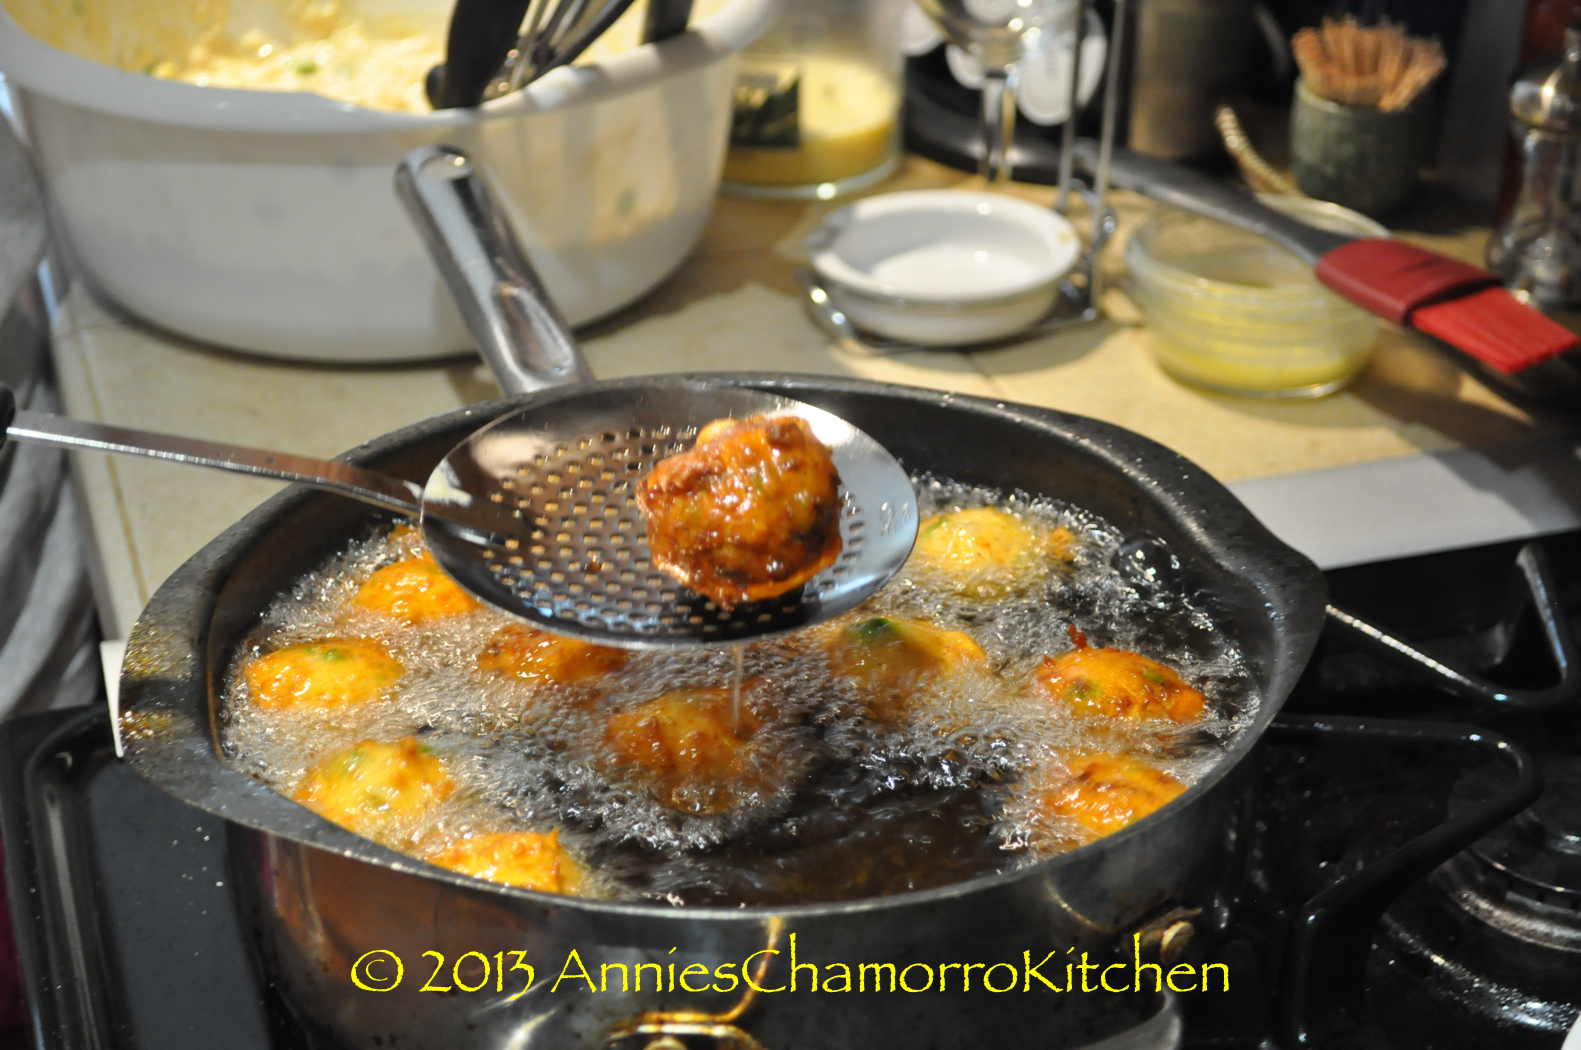
1. Heat the oil in a large frying pan. Do you know how to tell if the oil is hot enough and ready? My mom taught me a great trick. Use the tip of a wooden spoon (I used a wooden chopstick) and dip it into the oil. If little bubbles start to form around the wood, then the oil is hot and ready. Make sure the wood is clean and dry first; you don’t want hot oil to splatter and burn you.
Here is a short video clip. You can see all of the little bubbles form around the tip of the wooden chopstick. This tells you that the oil is hot and ready for frying.
2. While you’re waiting for the oil to heat up, mix all of the ingredients (except for the oil, of course) in a large bowl.
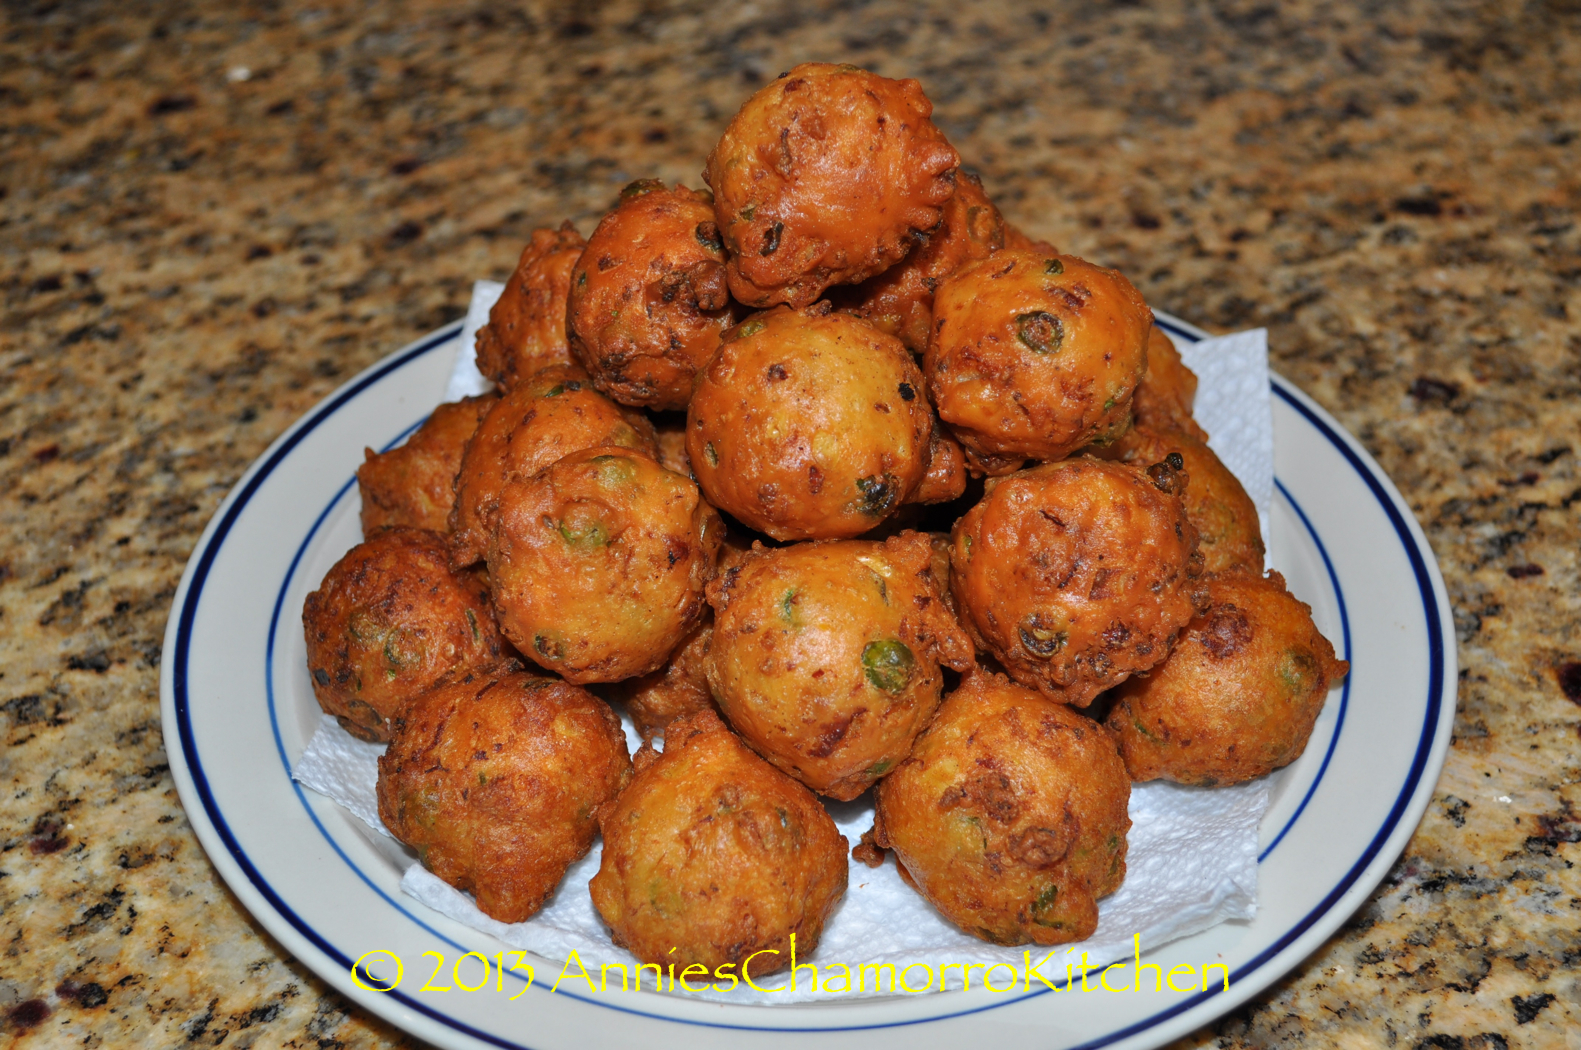
3. Drop spoonfuls of batter into the hot oil and fry until golden brown. Note: I used a small ice cream scoop that holds 1 1/2 tablespoons. This is also what makes the shrimp patties nice and round like doughnuts. (Maybe that’s why my neighbor calls them shrimp balls, LOL.)
I added a lot of photos below to show you the process.
Enjoy, and I hope you like them!
~ Hannah
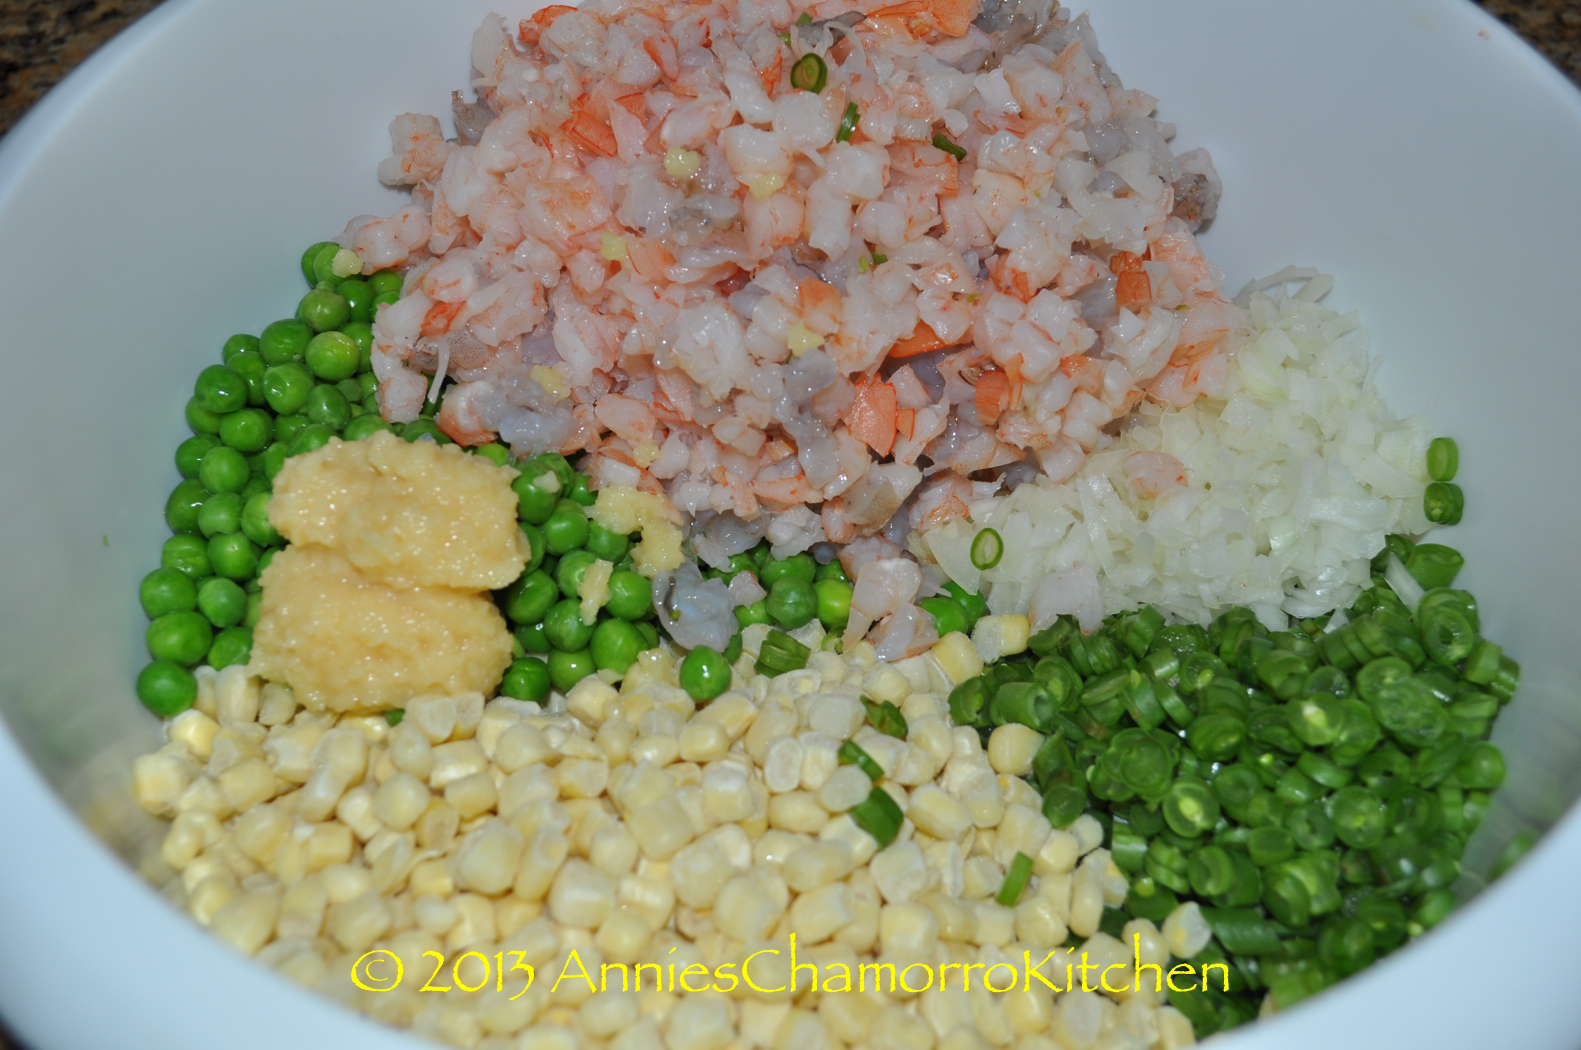
Place the shrimp and vegetables in a large mixing bowl.
Place the flour and other dry ingredients in a smaller bowl.
Add all of the dry ingredients to the bowl of shrimp and veggies.
Pour the evaporated milk into the mixing bowl.
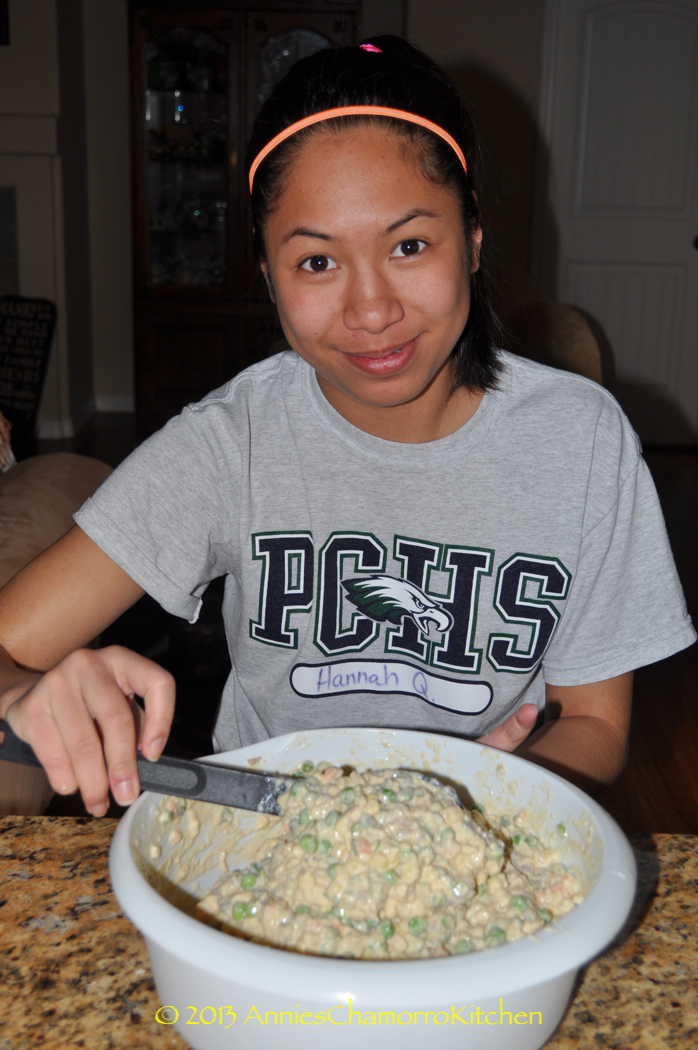
Mix, mix, mix! 🙂
Check to see if the oil is hot. Scroll up and watch my video that shows what to look for.
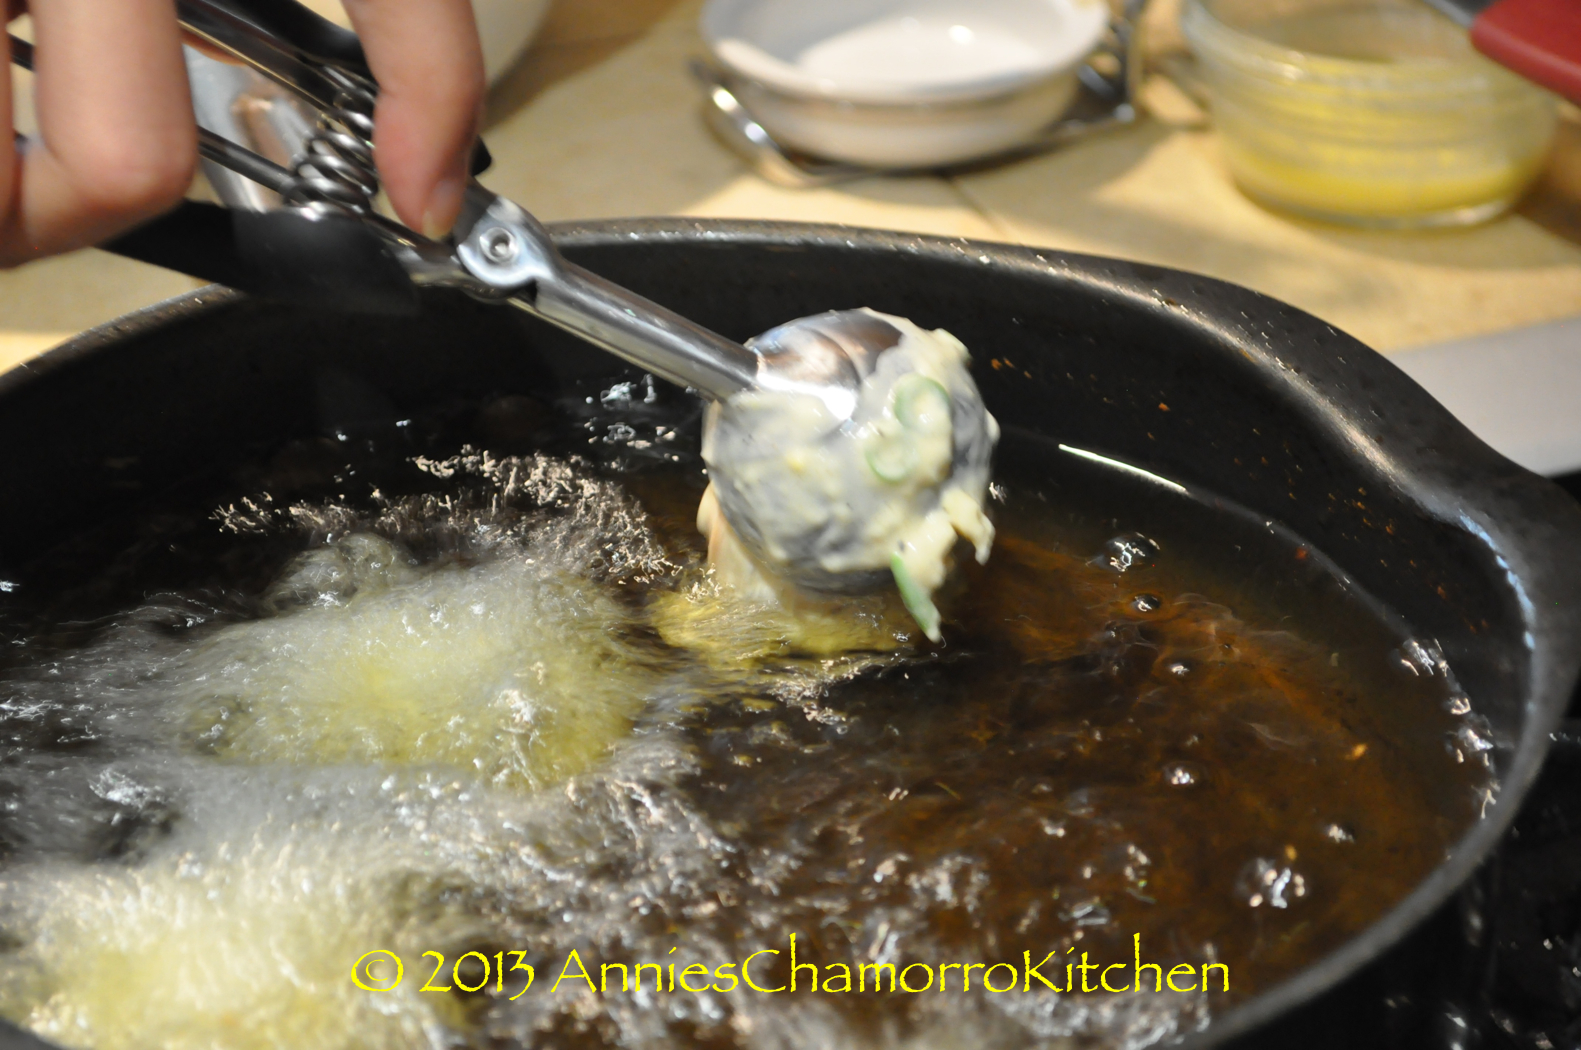
When the oil is ready, use a small cookie scoop to drop the batter into the oil. This makes the shrimp patties nice and round.
Don’t put too much into the oil. You want to leave enough room to allow the shrimp patties to cook evenly, plus overcrowding might make them stick together when you drop the batter into the oil.
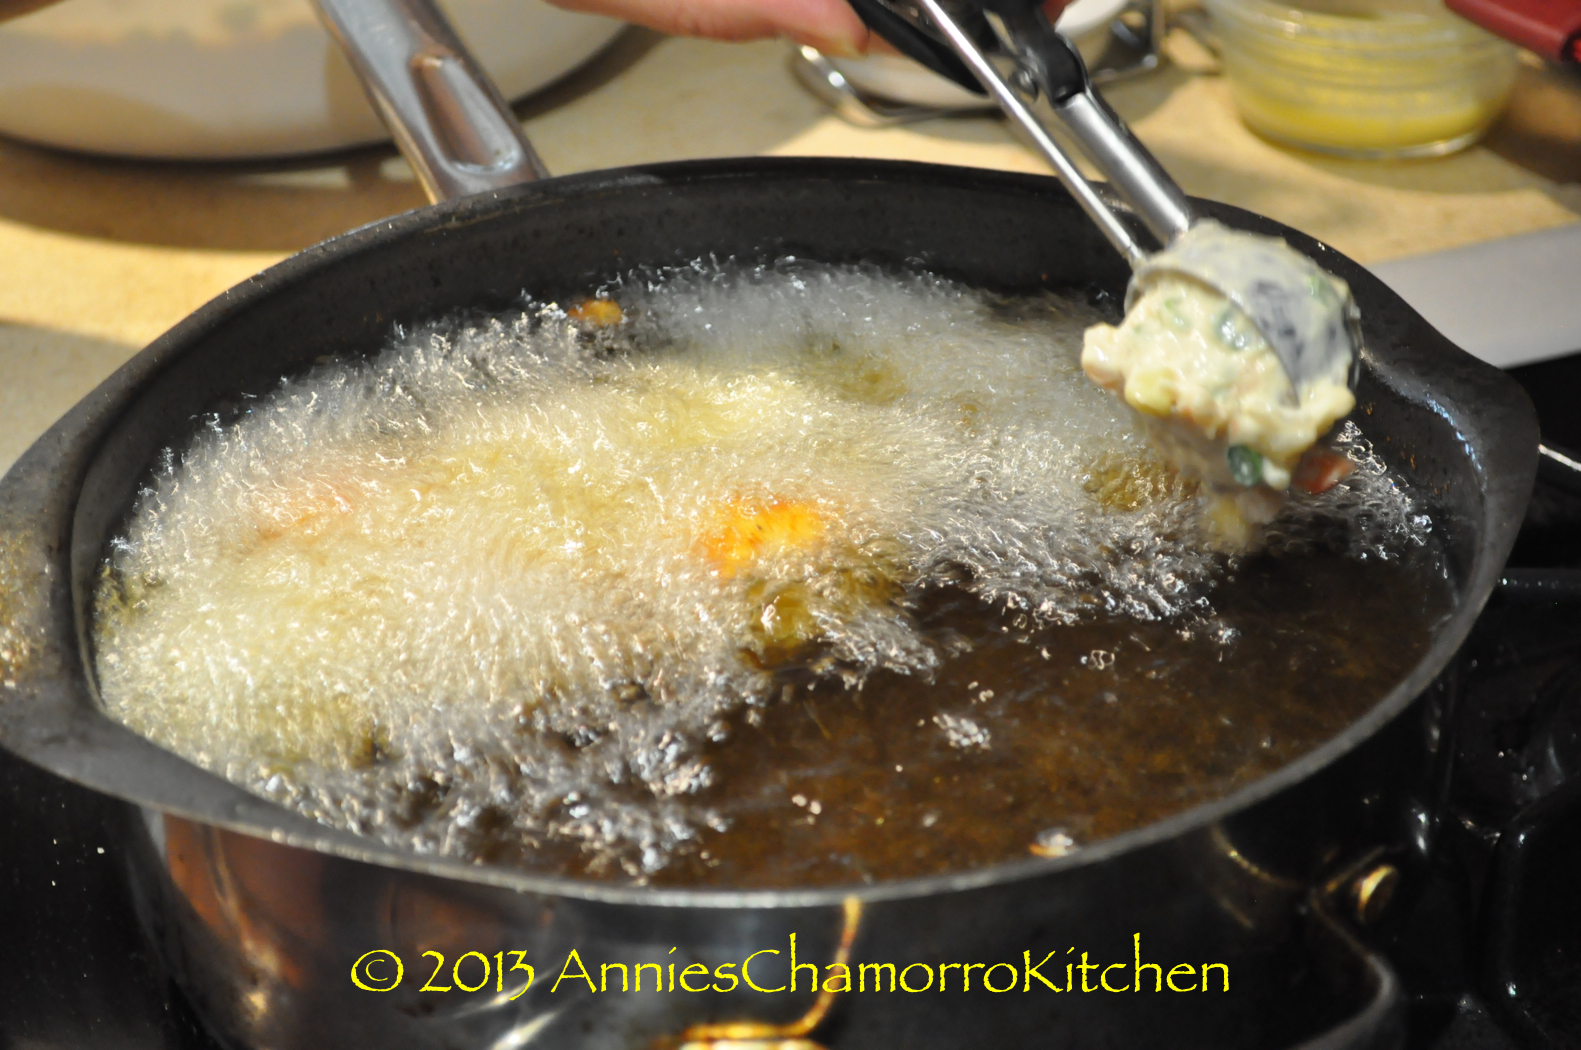
The shrimp patties usually turn on their own, but if they don’t, turn them occasionally to ensure even browning.
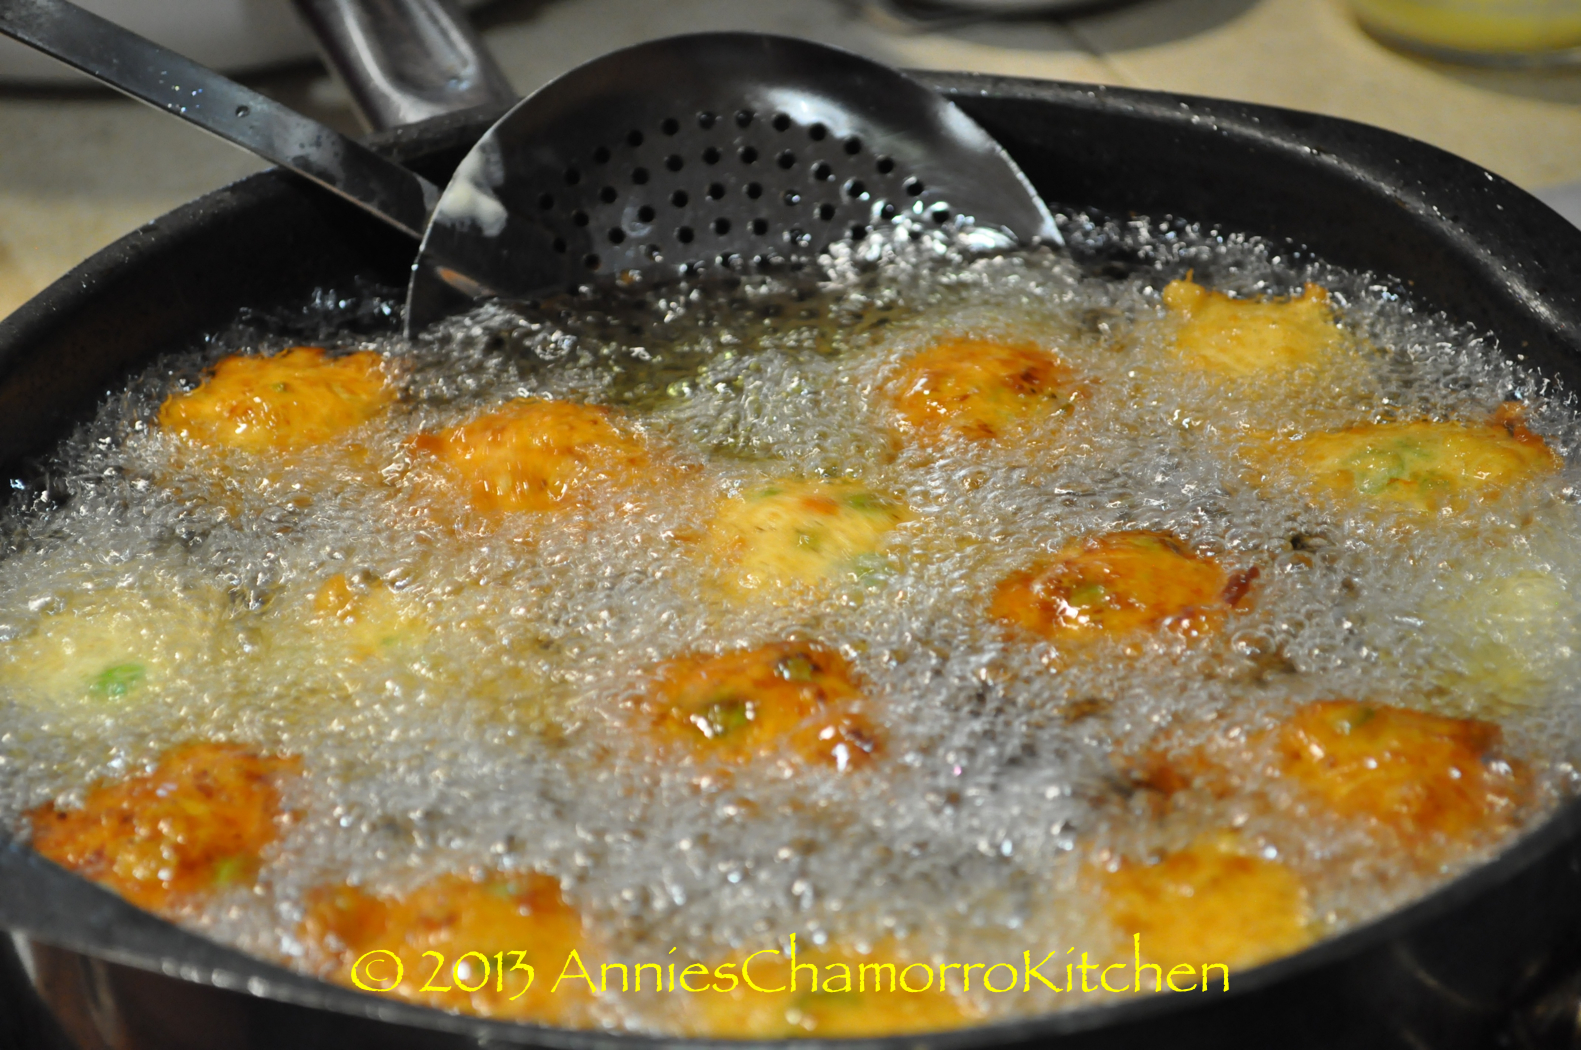
Fry until nicely browned.
Place in a colander or strainer to drain the excess oil.
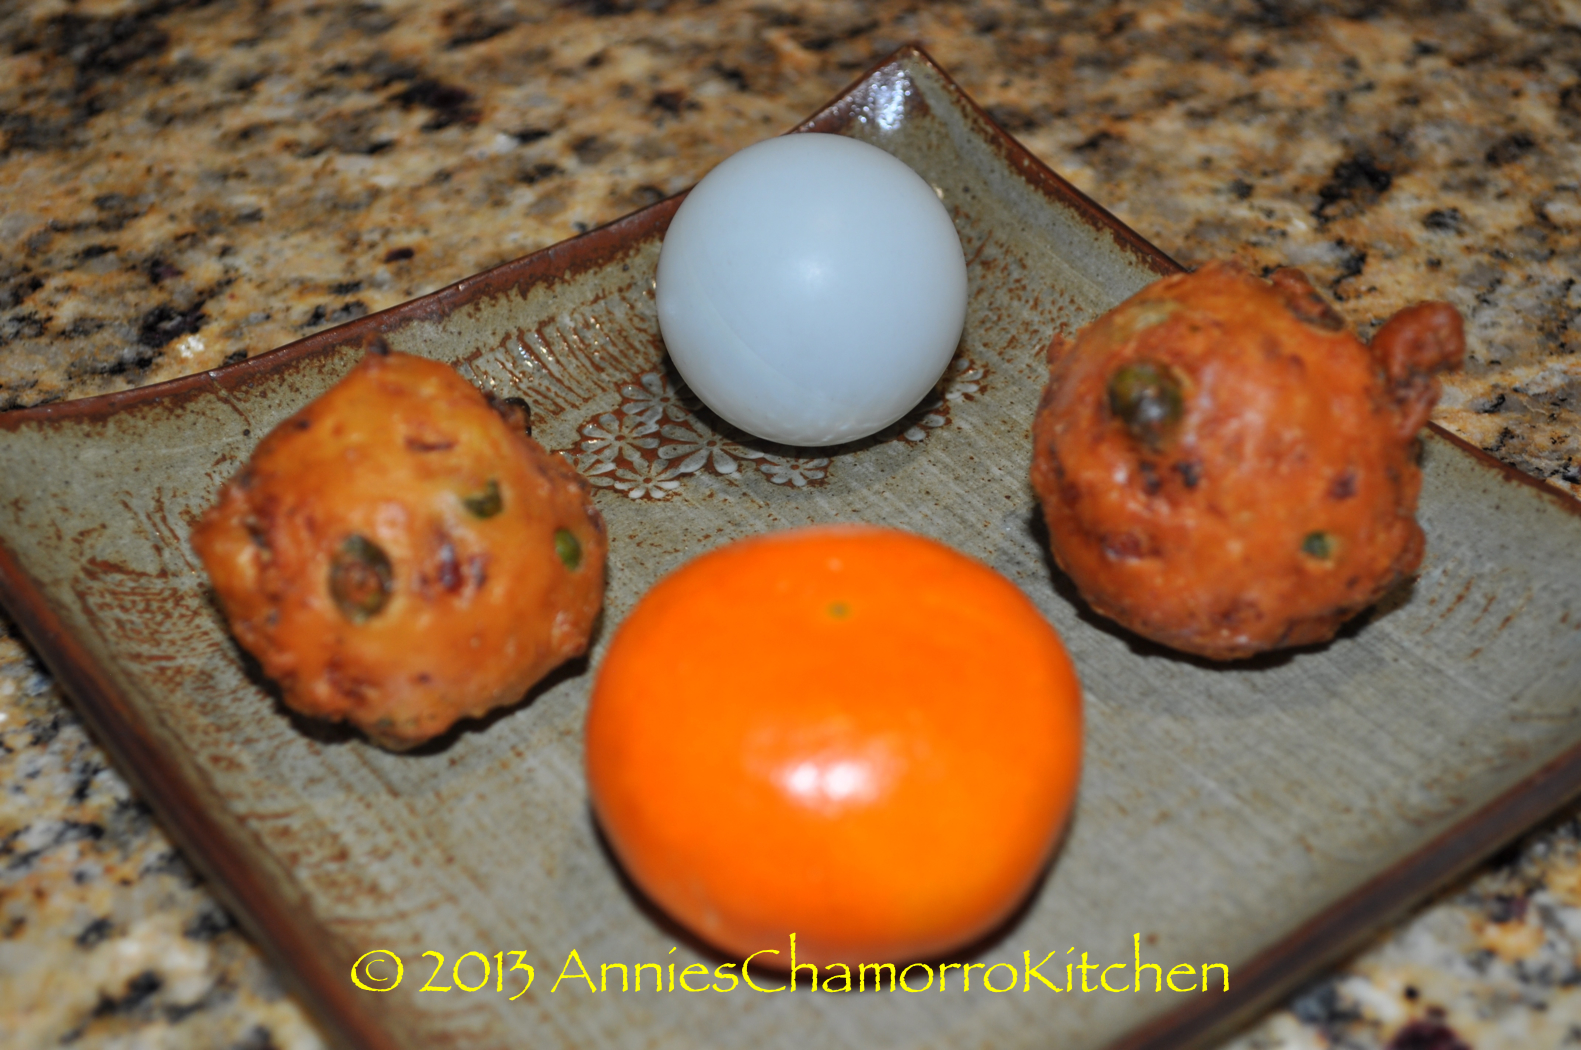
The small cookie scoop I use makes shrimp patties that are a little bit bigger than the size of a ping pong ball. I think it’s the perfect size — not too big, not too small.