Hafa Adai! I know, I know…it’s been a while since I added a new recipe. But this one is worth the wait, trust me. I made this with skin on, bone in thighs, but you can use boneless, skinless thighs as well, just reduce the cooking time by half.
I’ll get right to it then.
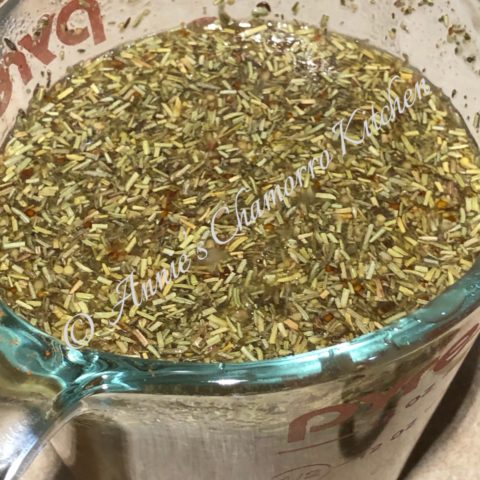
Mix all the sauce ingredients together then set aside. You can use any white wine you like to drink. I had just enough moscato leftover from Thanksgiving (leftover moscato…what? 😂) so I used that.
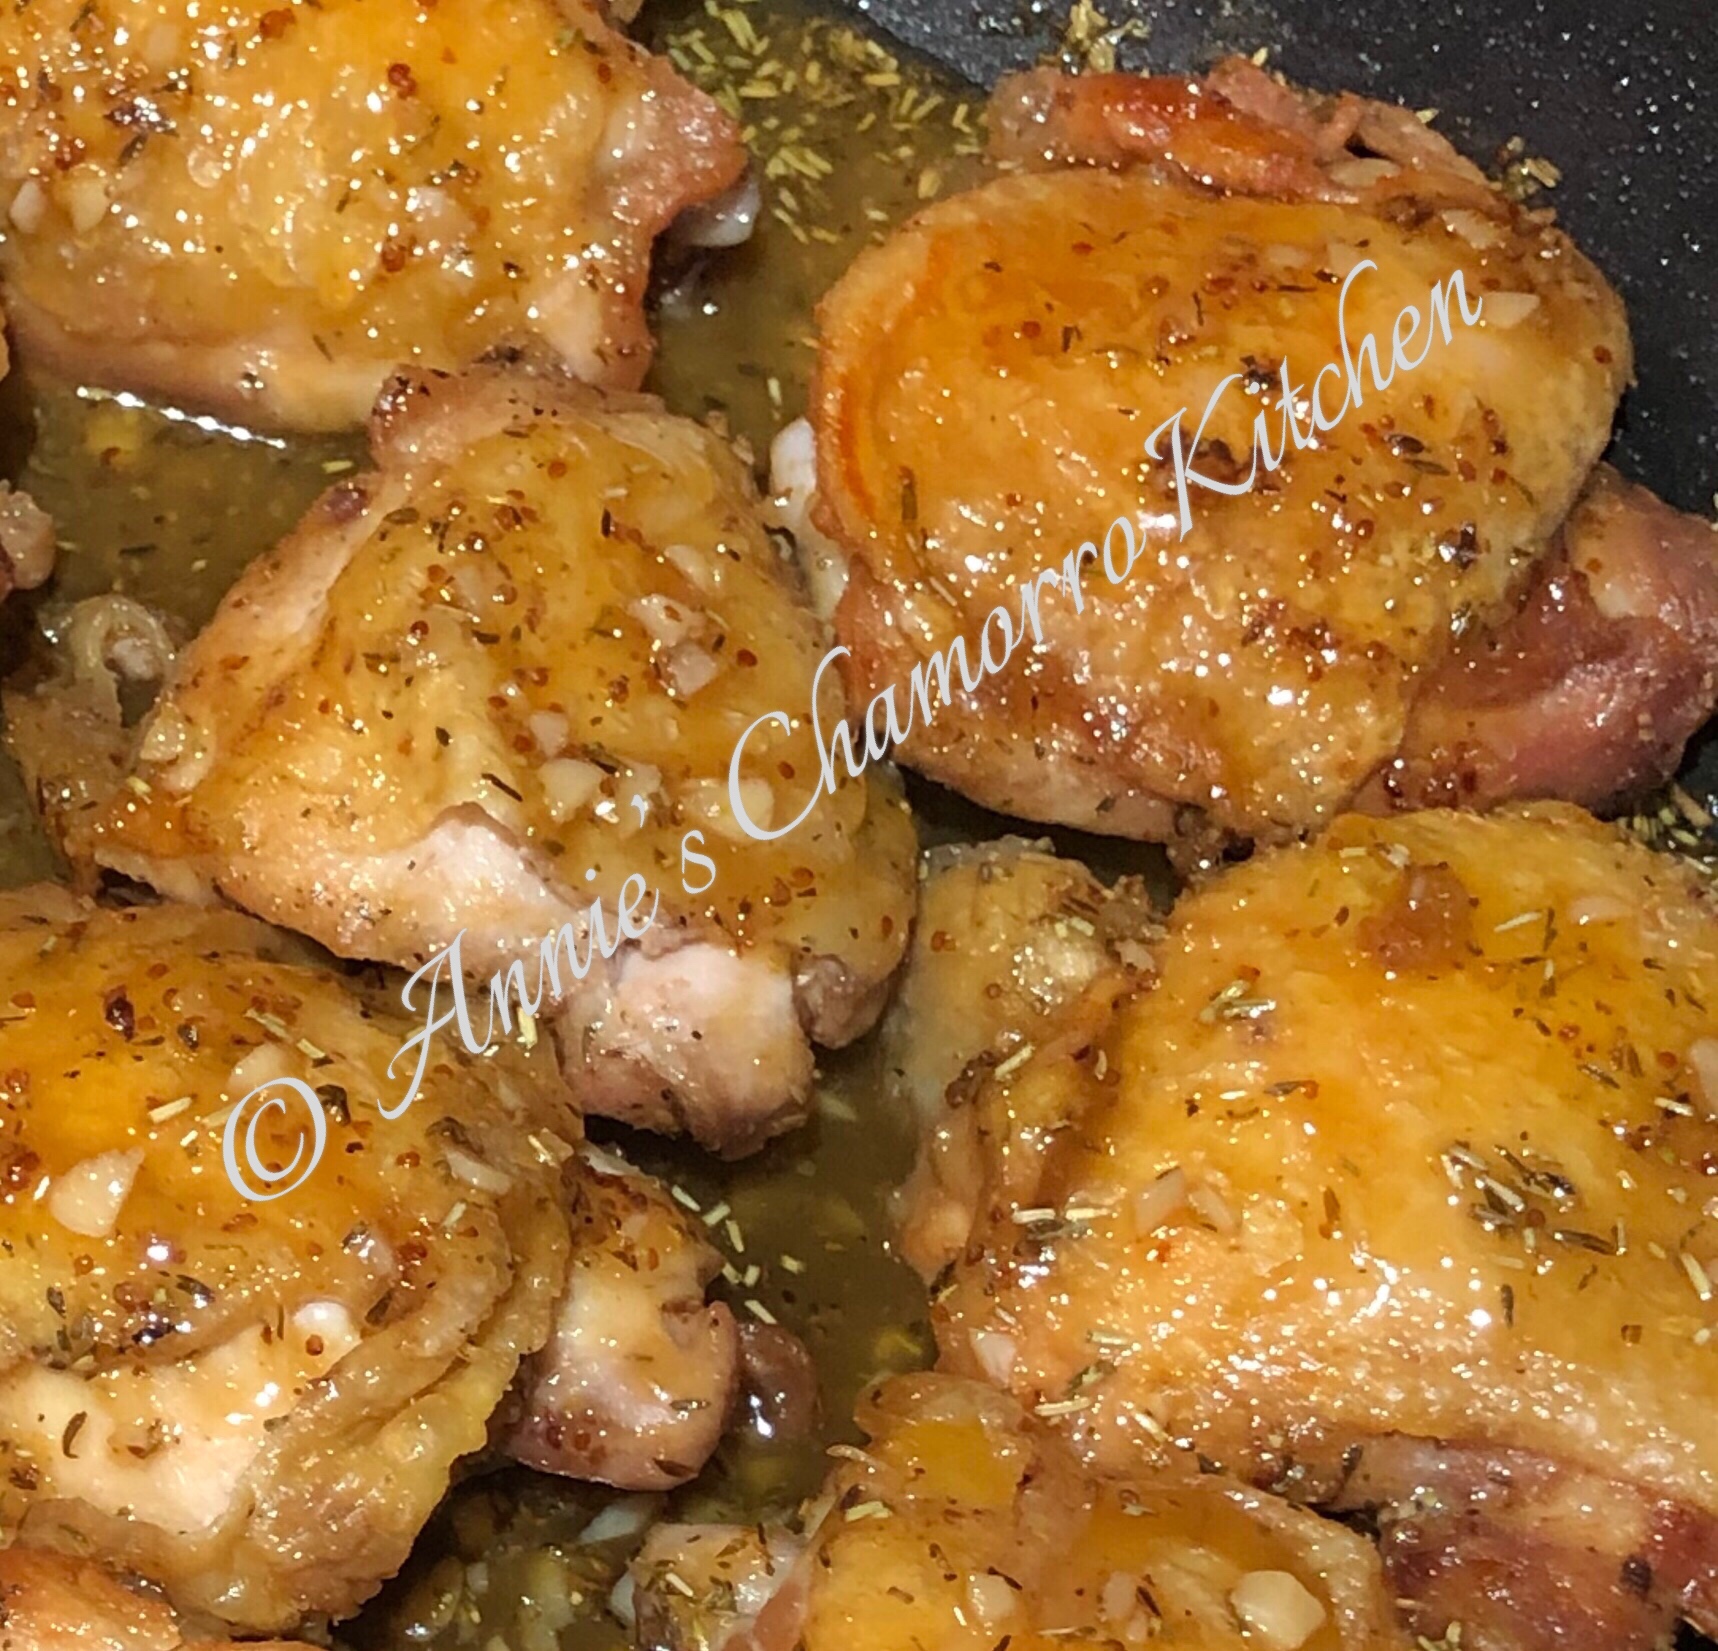
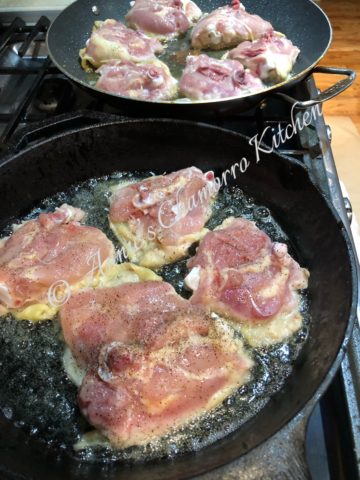
Heat 4 Tbsp oil in a large skillet over medium high heat. (Note: don’t overcrowd the chicken; use two pans if needed.) Cook the chicken skin side down for 12 minutes (do not turn it while cooking; you want the skin to brown and crisp). Season the other side of the chicken thighs with salt and black pepper.
If you’re using boneless, skinless thighs, cook it smooth side down, or what would have been skin side. Cook for 5-8 minutes or until a nice brown crust has formed on the surface.
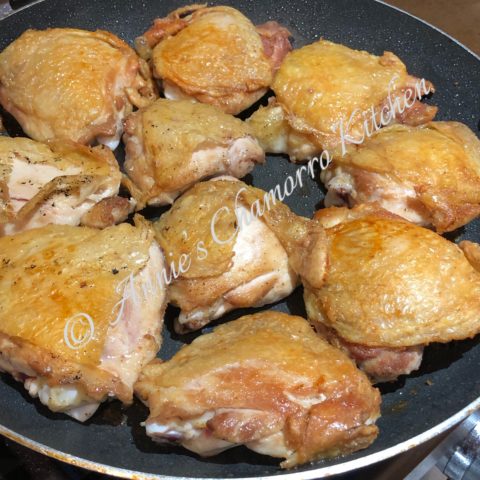
After 12 minutes, flip the chicken over. If you have a large enough pan, fit all the chicken into one pan. Otherwise, split the sauce between the two pans. Cook for 2 minutes over medium high heat then pour in the sauce.
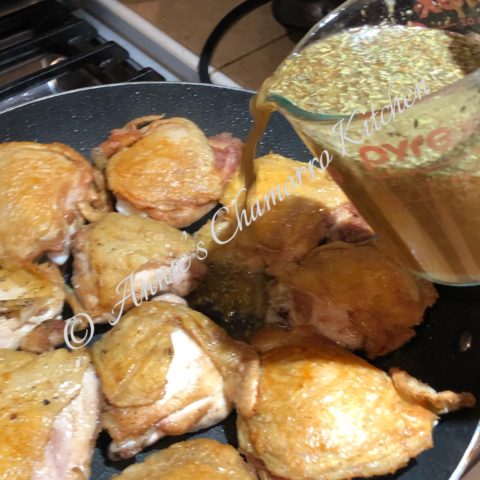
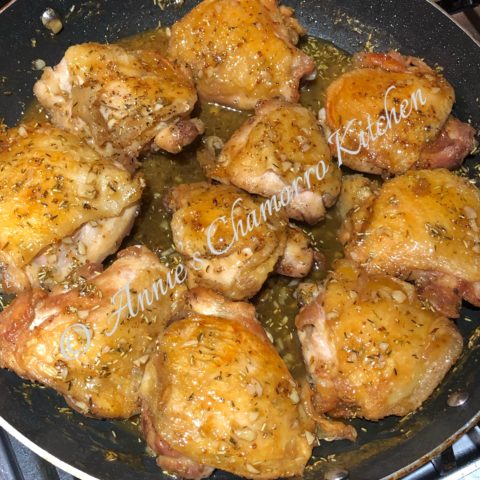
Turn heat down to medium. Simmer for 10 minutes or until the sauce has reduced, the alcohol has cooked out, and the thighs are done.
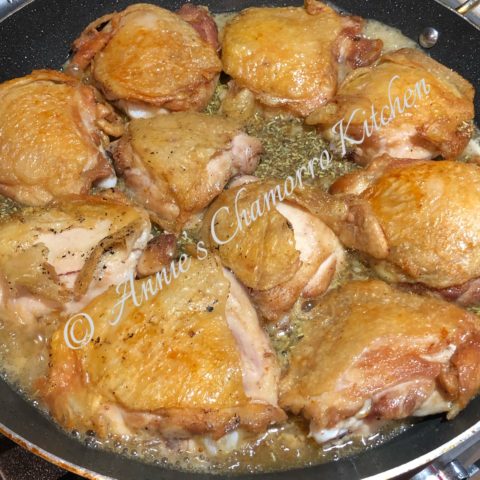
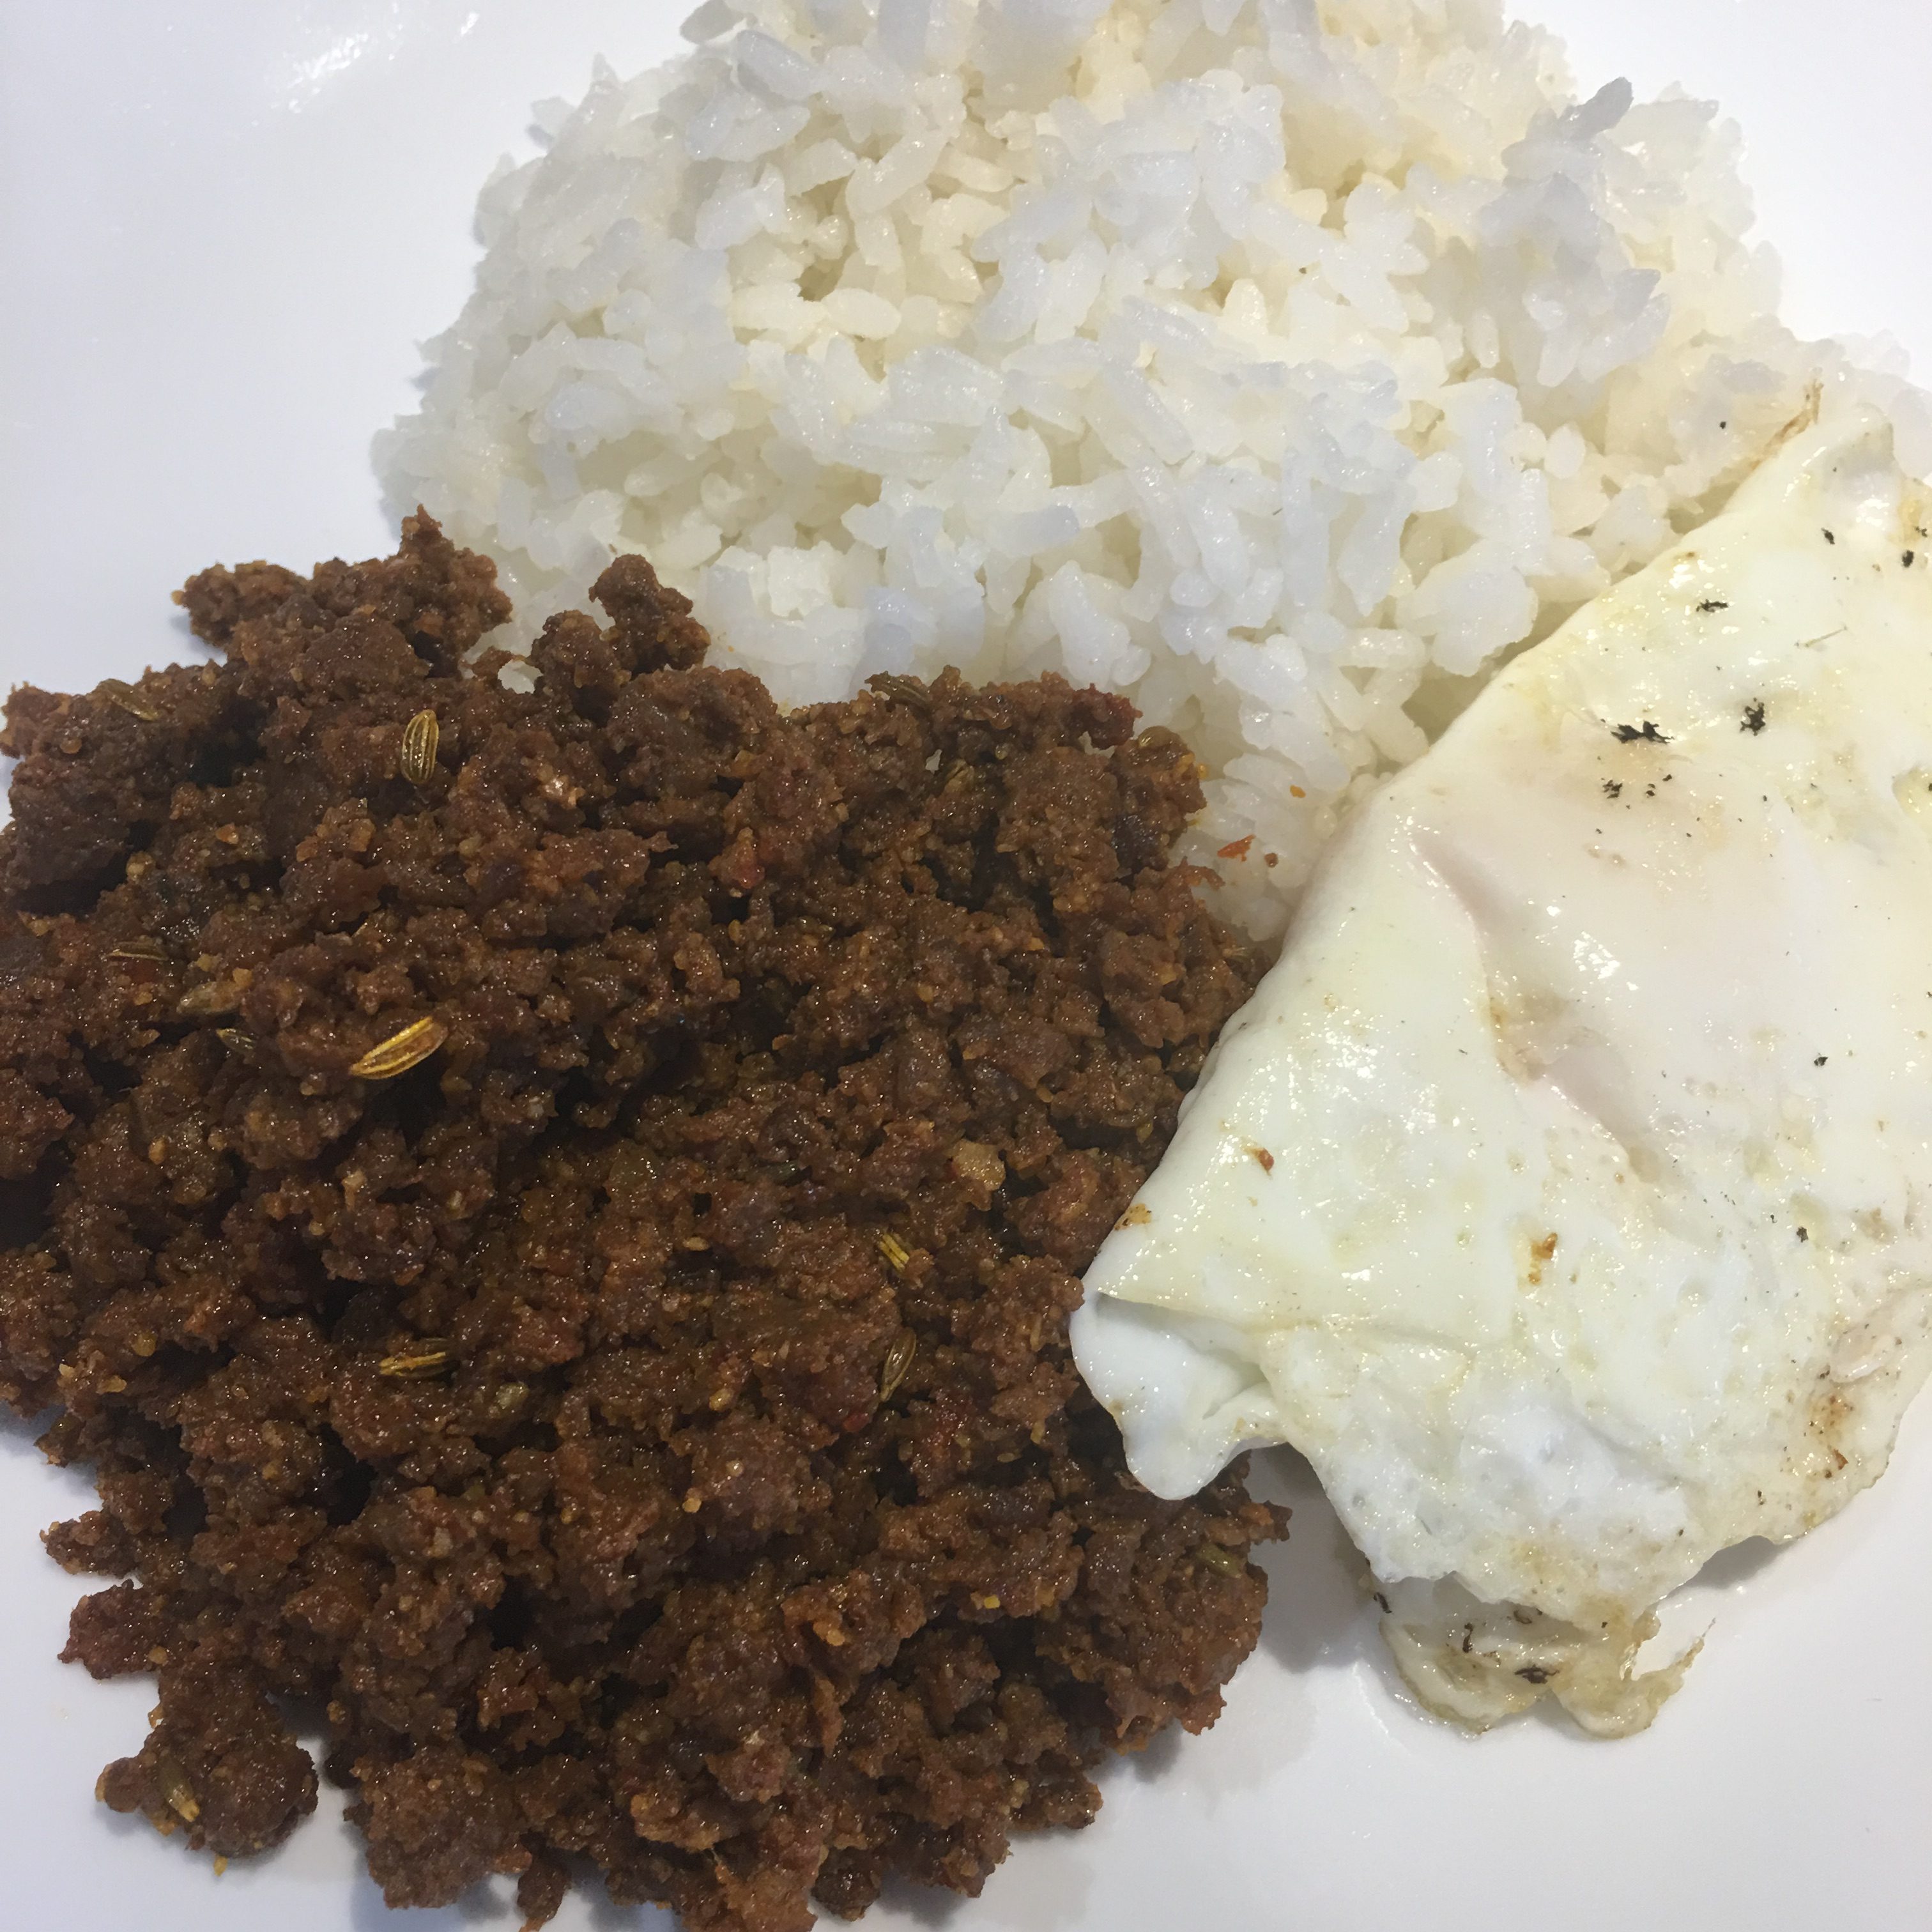
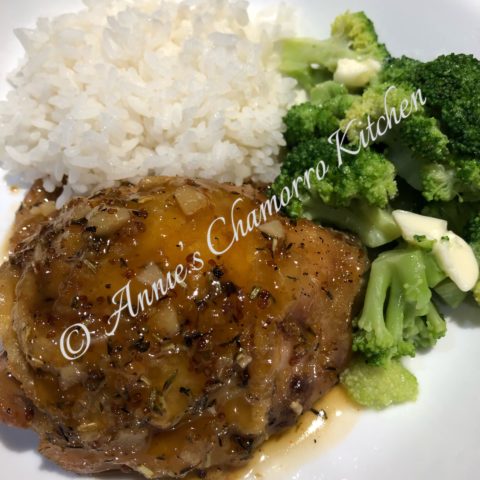
Spoon the sauce all over the chicken. Serve with rice or potatoes, and/or steamed vegetables.
Give my recipe a try. I think you’ll like it.
Enjoy!
- 1 pkg (10 pieces thighs with skin and bone)
- Salt
- Black pepper
- 4 tablespoons vegetable oil
Sauce: - ½ cup honey
- ½ cup stone ground mustard
- 1 cup white wine
- 6 cloves garlic, chopped
- 1 tsp dried thyme
- 1 tsp dried rosemary
- ¼ tsp paprika
- ¼ tsp cayenne pepper
- Mix all the sauce ingredients together then set aside.
- Heat 4 Tbsp oil in a large skillet over medium high heat. (Note: don’t overcrowd the chicken; use two pans if needed.) Cook the chicken skin side down for 12 minutes (do not turn it while cooking; you want the skin to brown and crisp). Season the other side of the chicken thighs with salt and black pepper.
- After 12 mins, flip the chicken over (they may all fit in one pan now). Cook for 2 mins over medium high heat then pour in the sauce.
- Turn heat down to medium. Simmer for 10 minutes or until the sauce has reduced, the alcohol has cooked out, and the thighs are done.
- Spoon sauce all over the chicken. Serve with rice or potatoes, and/or steamed vegetables.