Archive for Other Desserts

Incredibly Soft and Fluffy Cinnamon Rolls

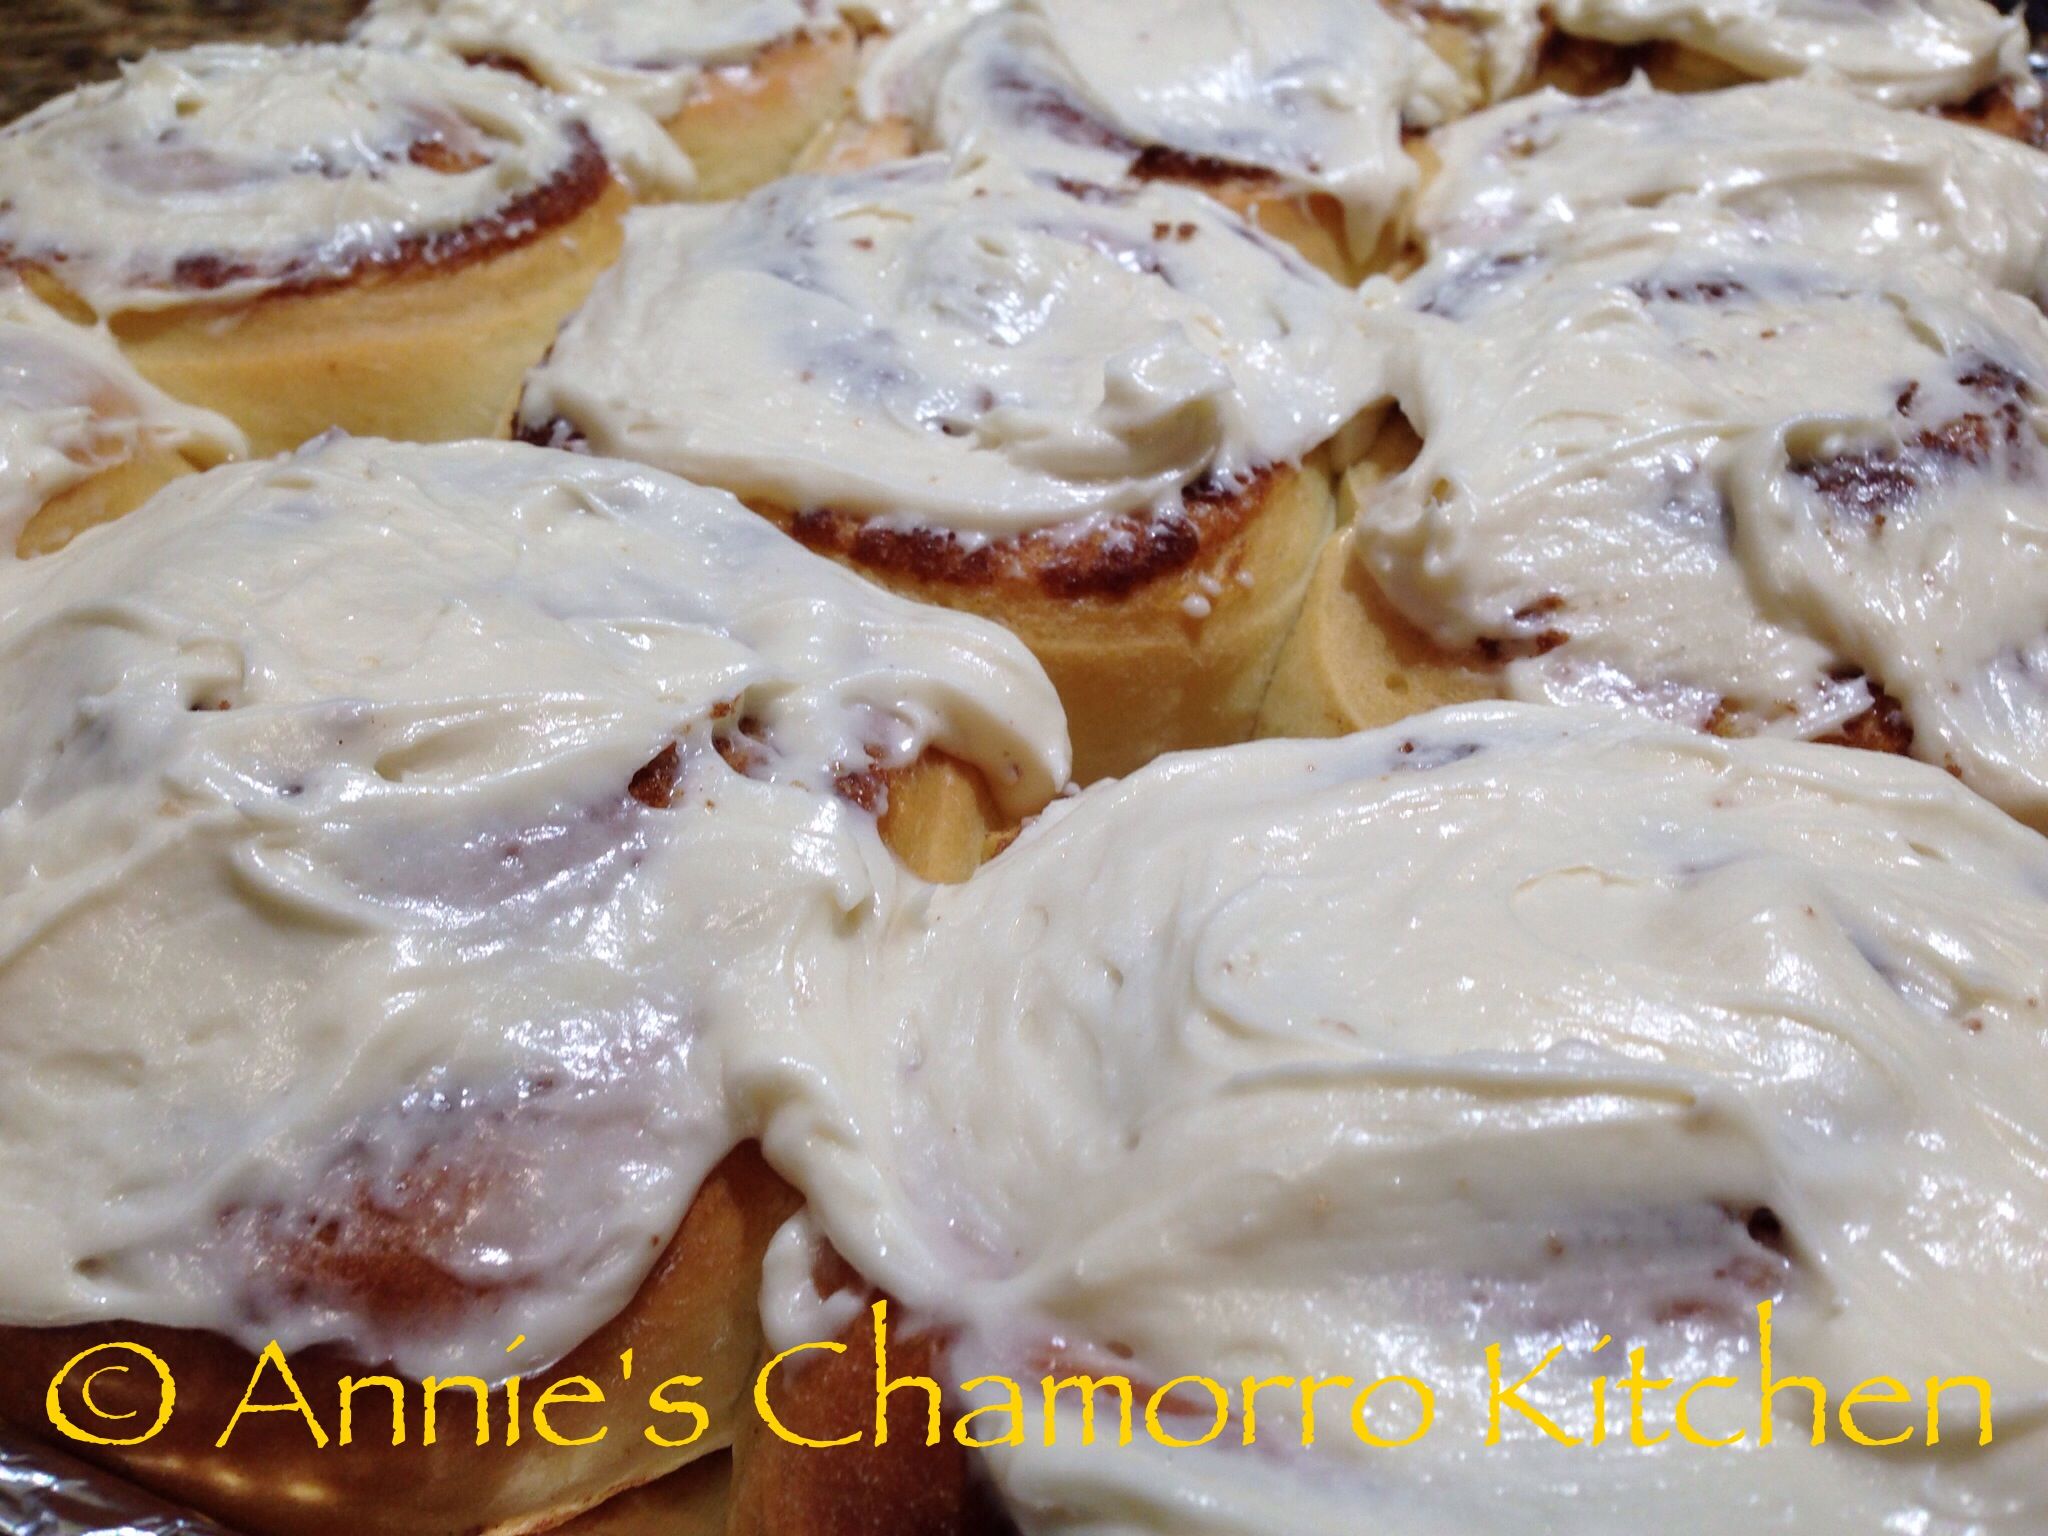
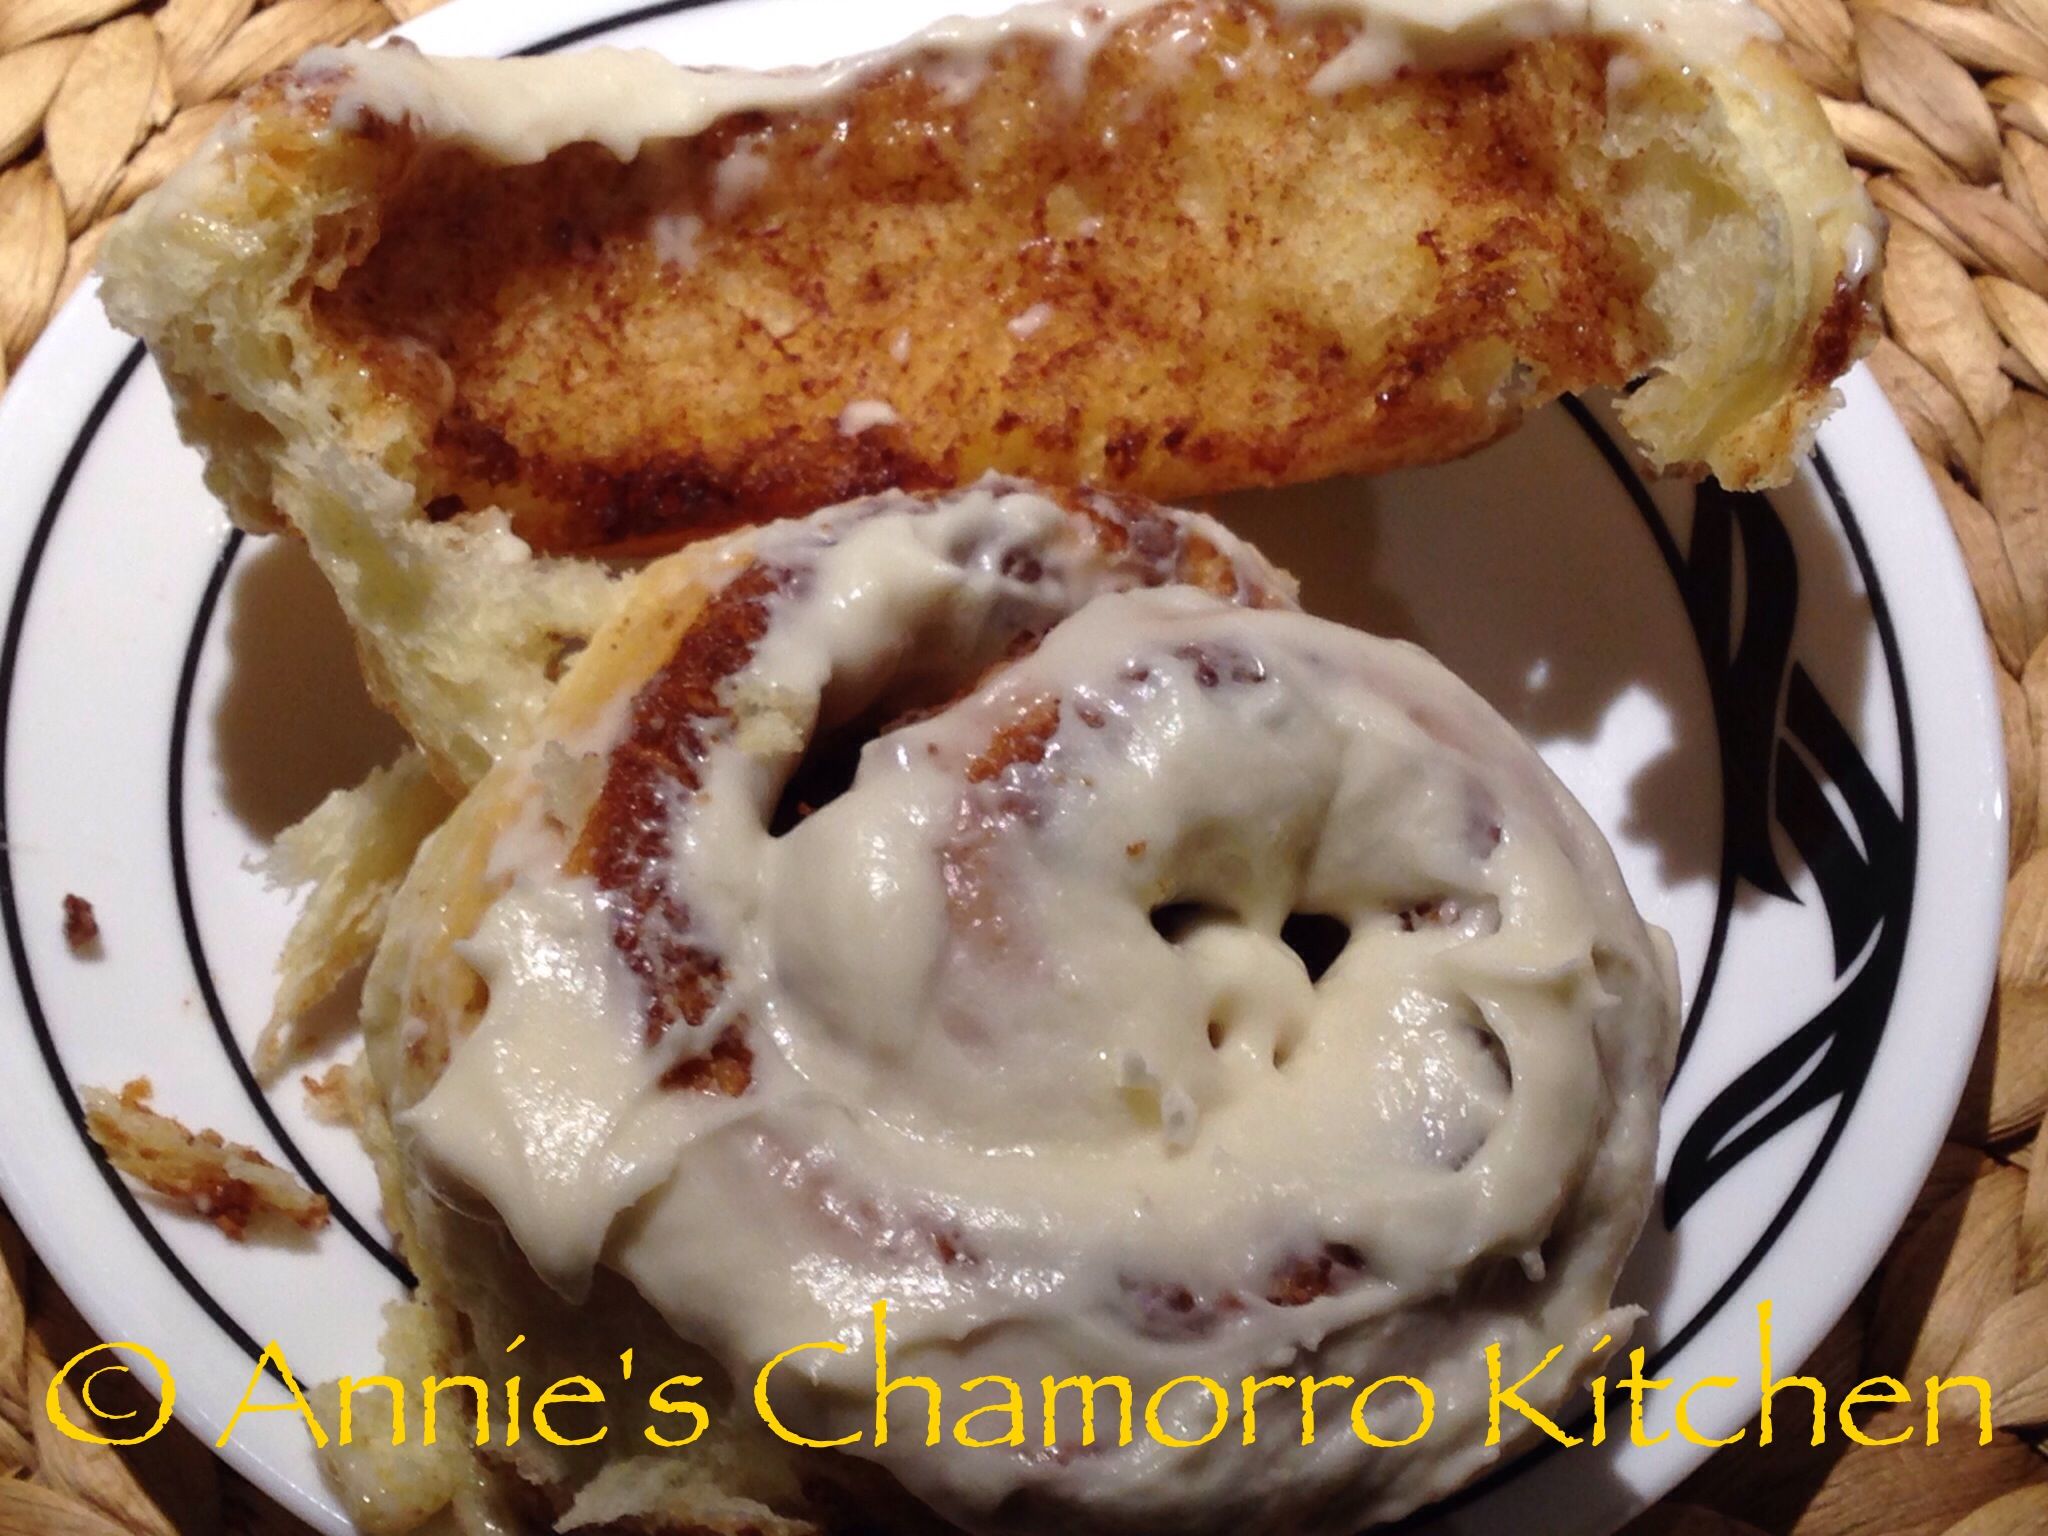
Soft and Fluffy Cinnamon Rolls with sweet, creamy Cream Cheese Frosting…need I say more? 😉

These cinnamon rolls are so easy to make that you’ll never have to buy those rolls popular in shopping malls.

If you’re not too sure about making yeast breads, read my step-by-step instructions (complete with photos for each step) then take a leap of faith in yourself and give yeast-baking a try.  In fact, my two daughters (one is a teen, the other is 11) made the batch you see pictured below.  If they can do it, YOU CAN TOO! :

I promise you this: these are one of the best cinnamon rolls you’re ever going to eat. Well, that’s what I think of them, anyway.

Give my recipe a try. I know you’ll love it! 😀

Incredibly Soft and Fluffy Cinnamon Rolls with Cream Cheese Frosting

IMG_1937

Dough Ingredients:

  • 4 1/4 cups all purpose flour
  • 1/3 cup white granulated sugar
  • 2 1/4 teaspoons (or one packet) rapid rise yeast
  • Pinch of salt
  • 3 tablespoons buttermilk powder
  • 6 tablespoons unsalted butter, melted
  • 3 large eggs, beaten lightly
  • 3/4 cup warm water (heated to 105 degrees)

IMG_1803

Dough Directions:

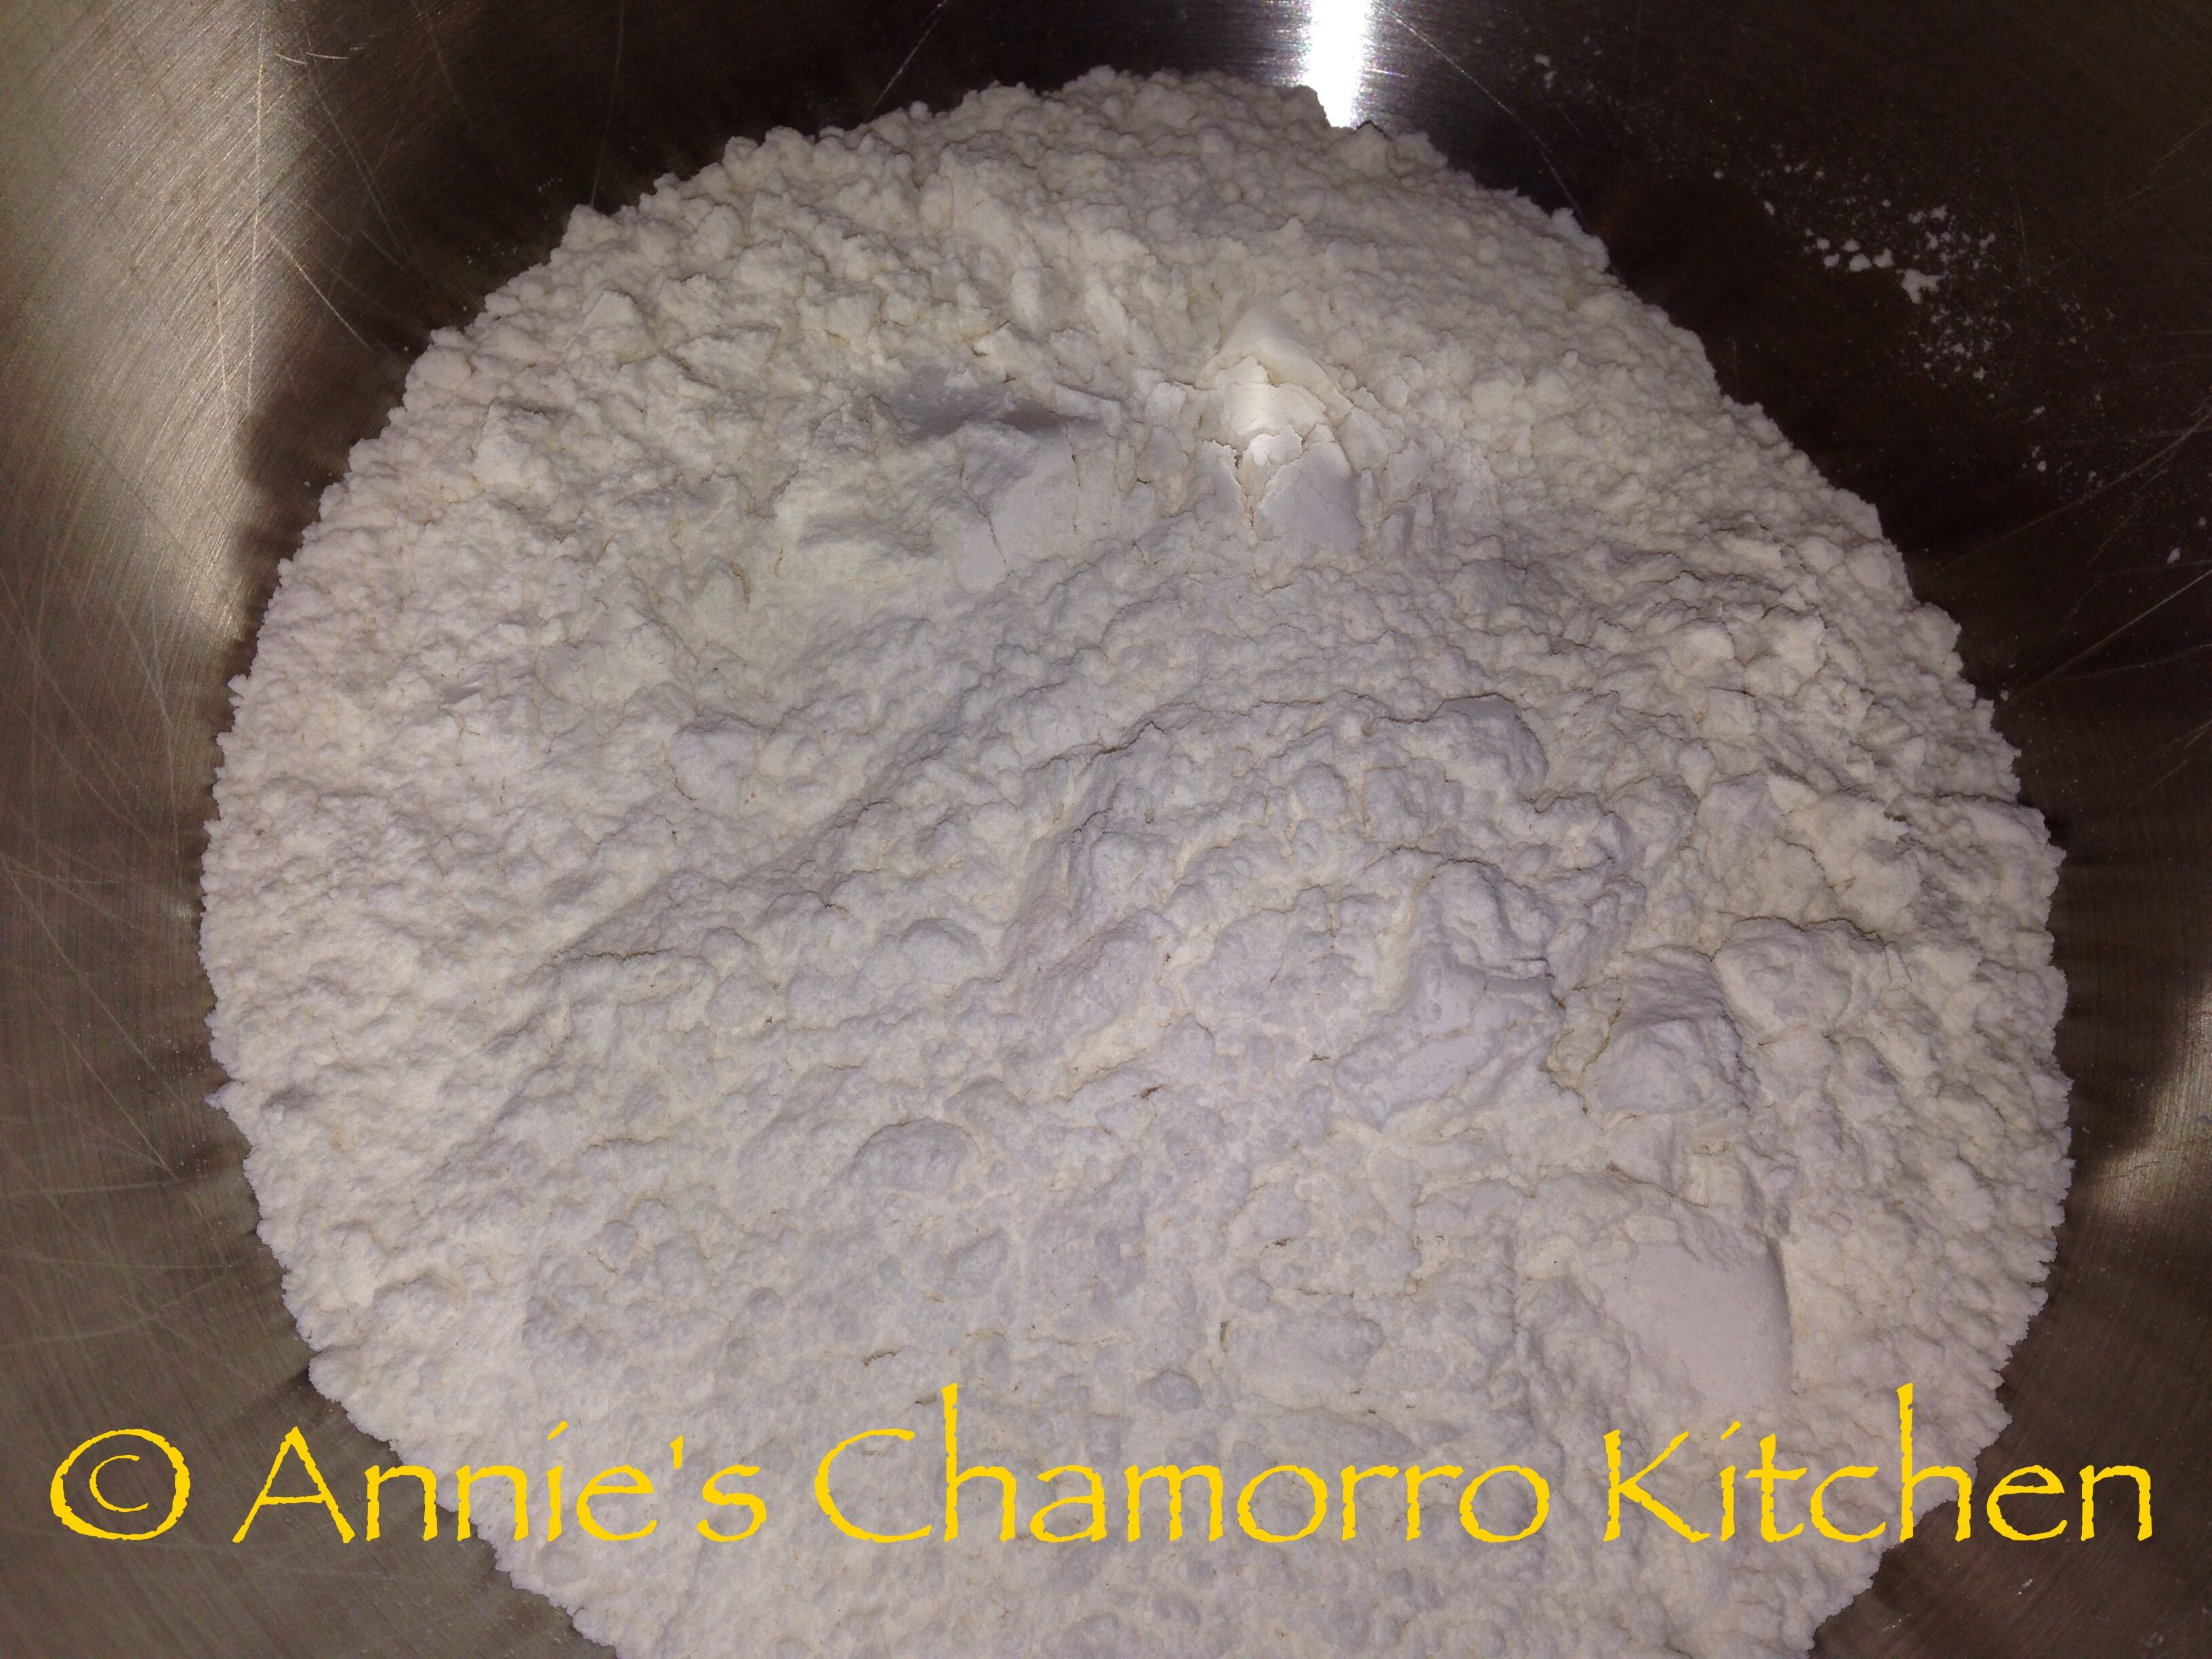
Place all but 1/4 cup of flour into the bowl of your stand mixer fitted with the paddle attachment. Save the extra flour for use later.

IMG_1807

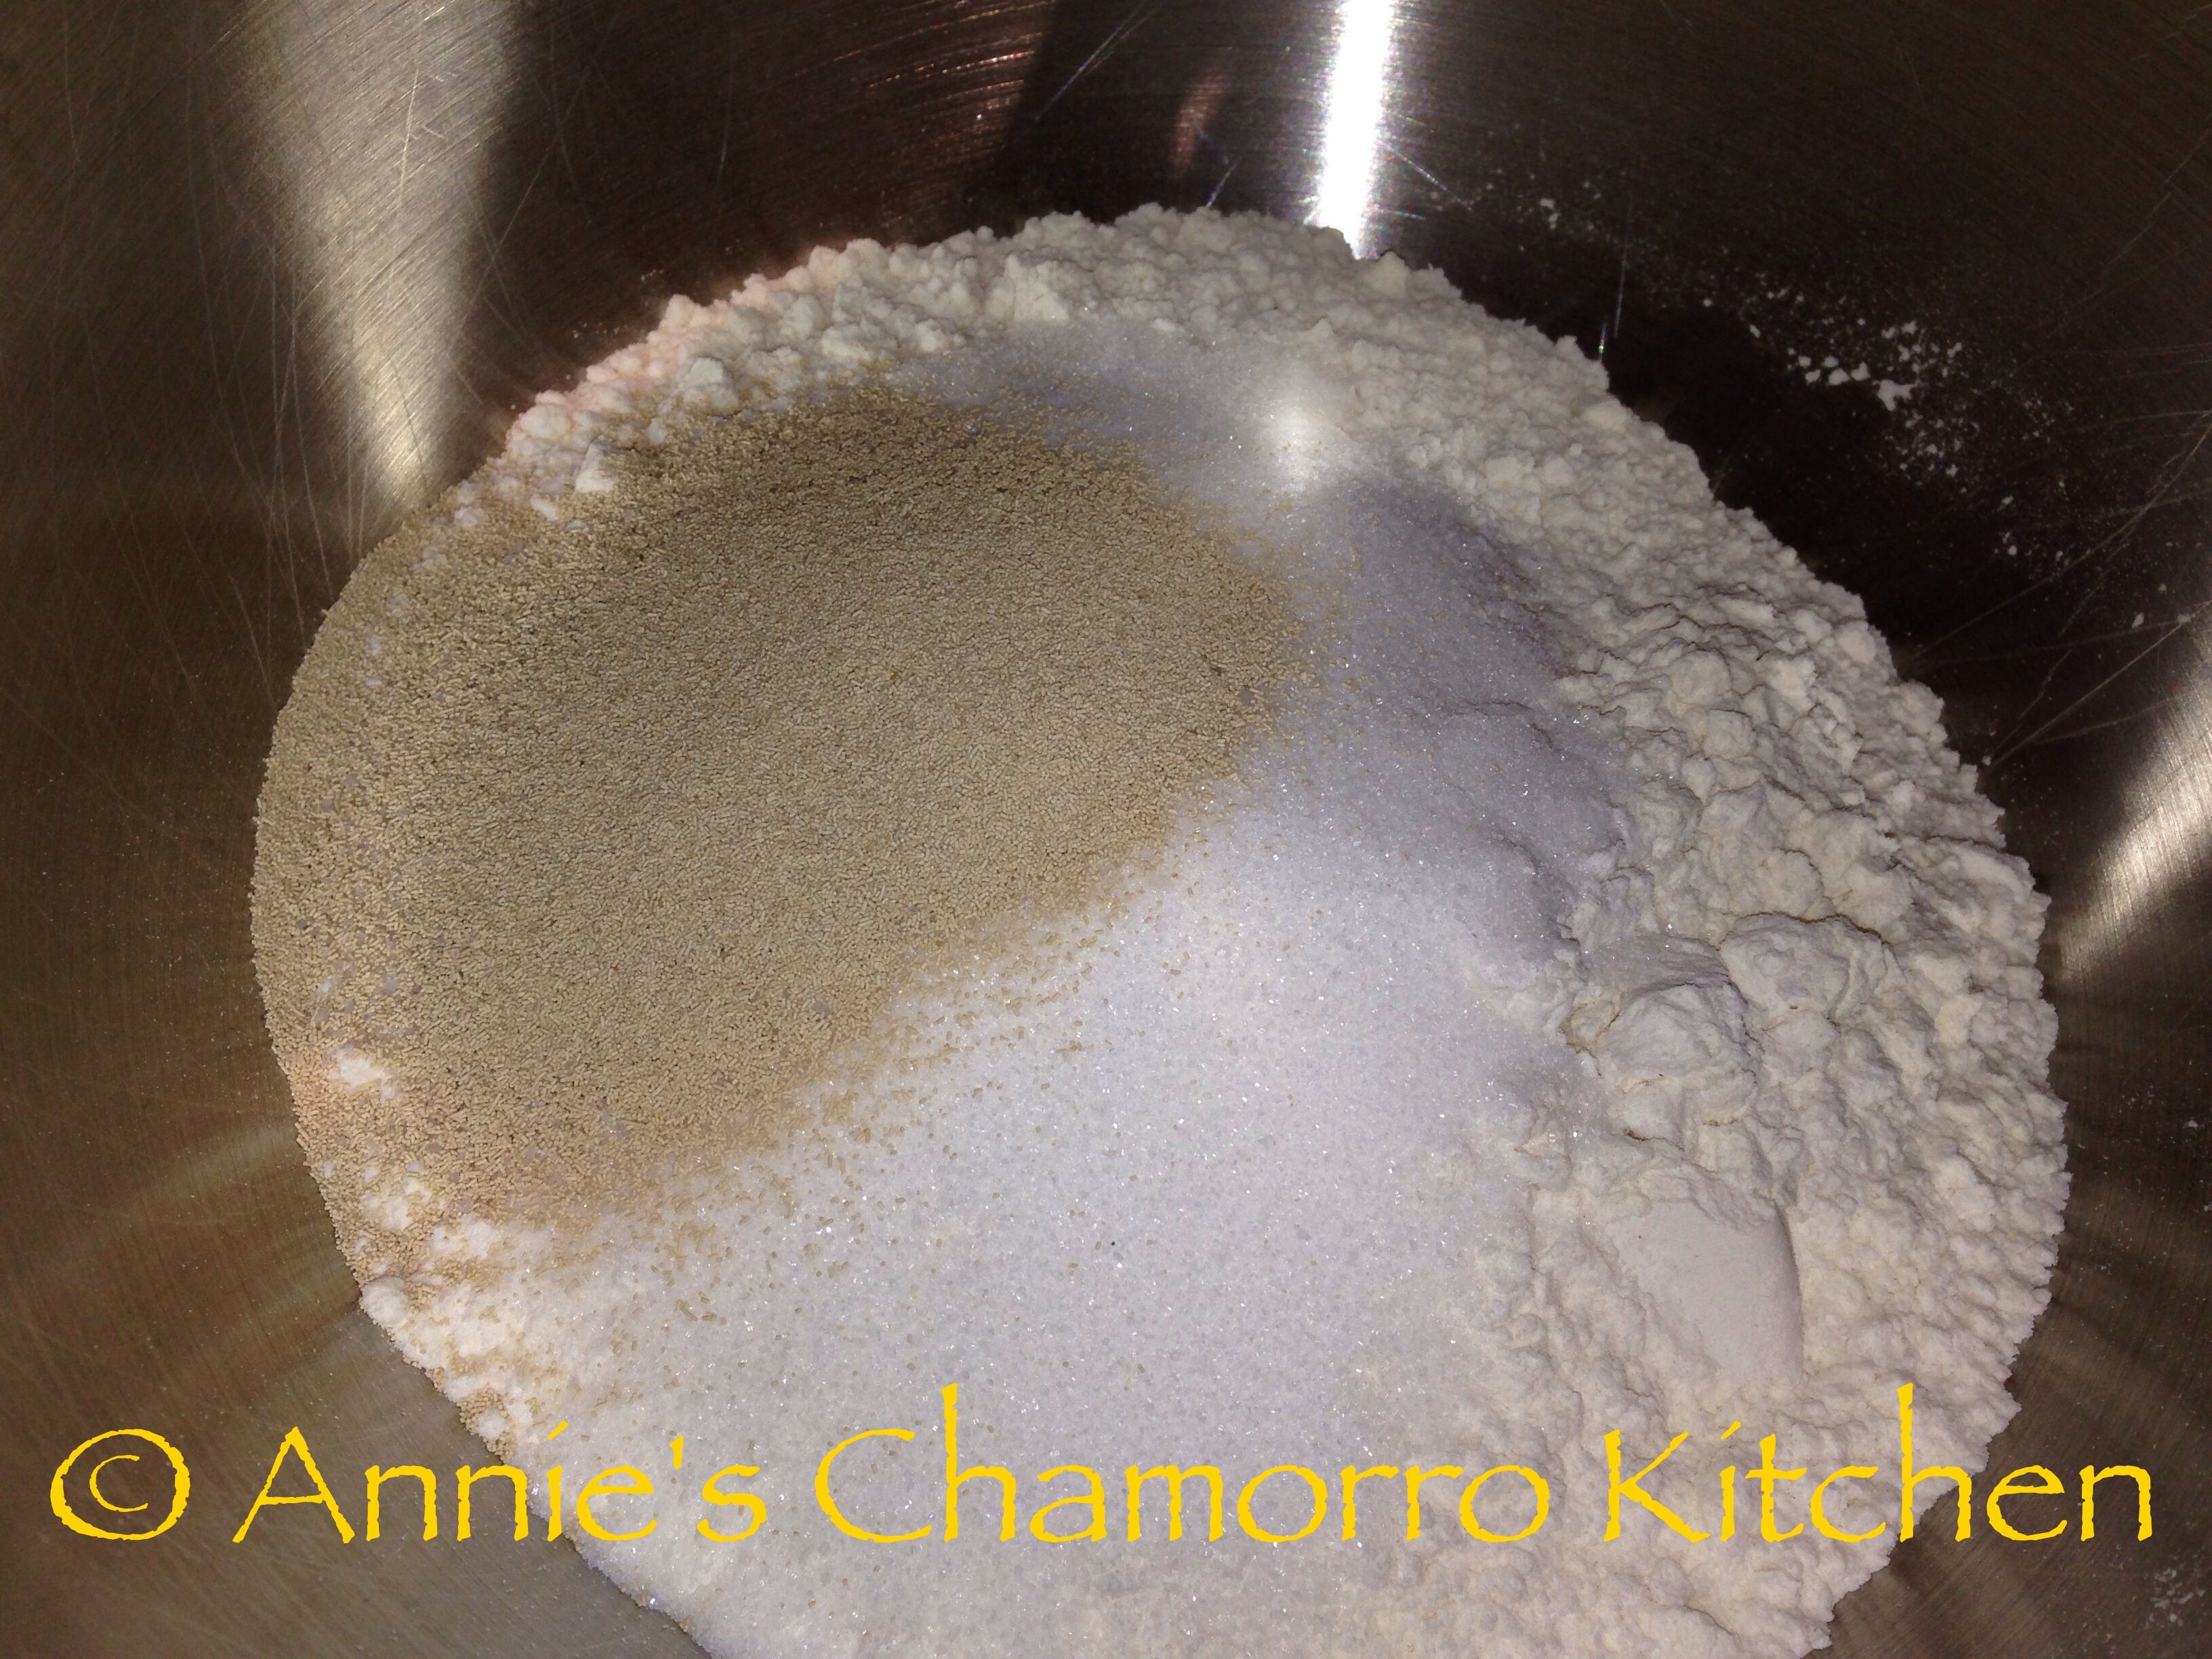
Add the sugar to the mixing bowl.

IMG_1808

Add the rapid rise yeast.

IMG_1809

Add a pinch of salt.

IMG_1810

Add the buttermilk powder.

IMG_1811

This is what the container of buttermillk powder looks like. You can find it in the baking aisle of your grocery store. If you can’t find buttermilk powder, substitute the powder and warm water with regular (liquid) buttermilk (found in the dairy section). Heat the buttermilk as you would the water, adding the warmed buttermilk at the same time you add the melted butter and eggs (see below).

IMG_1802

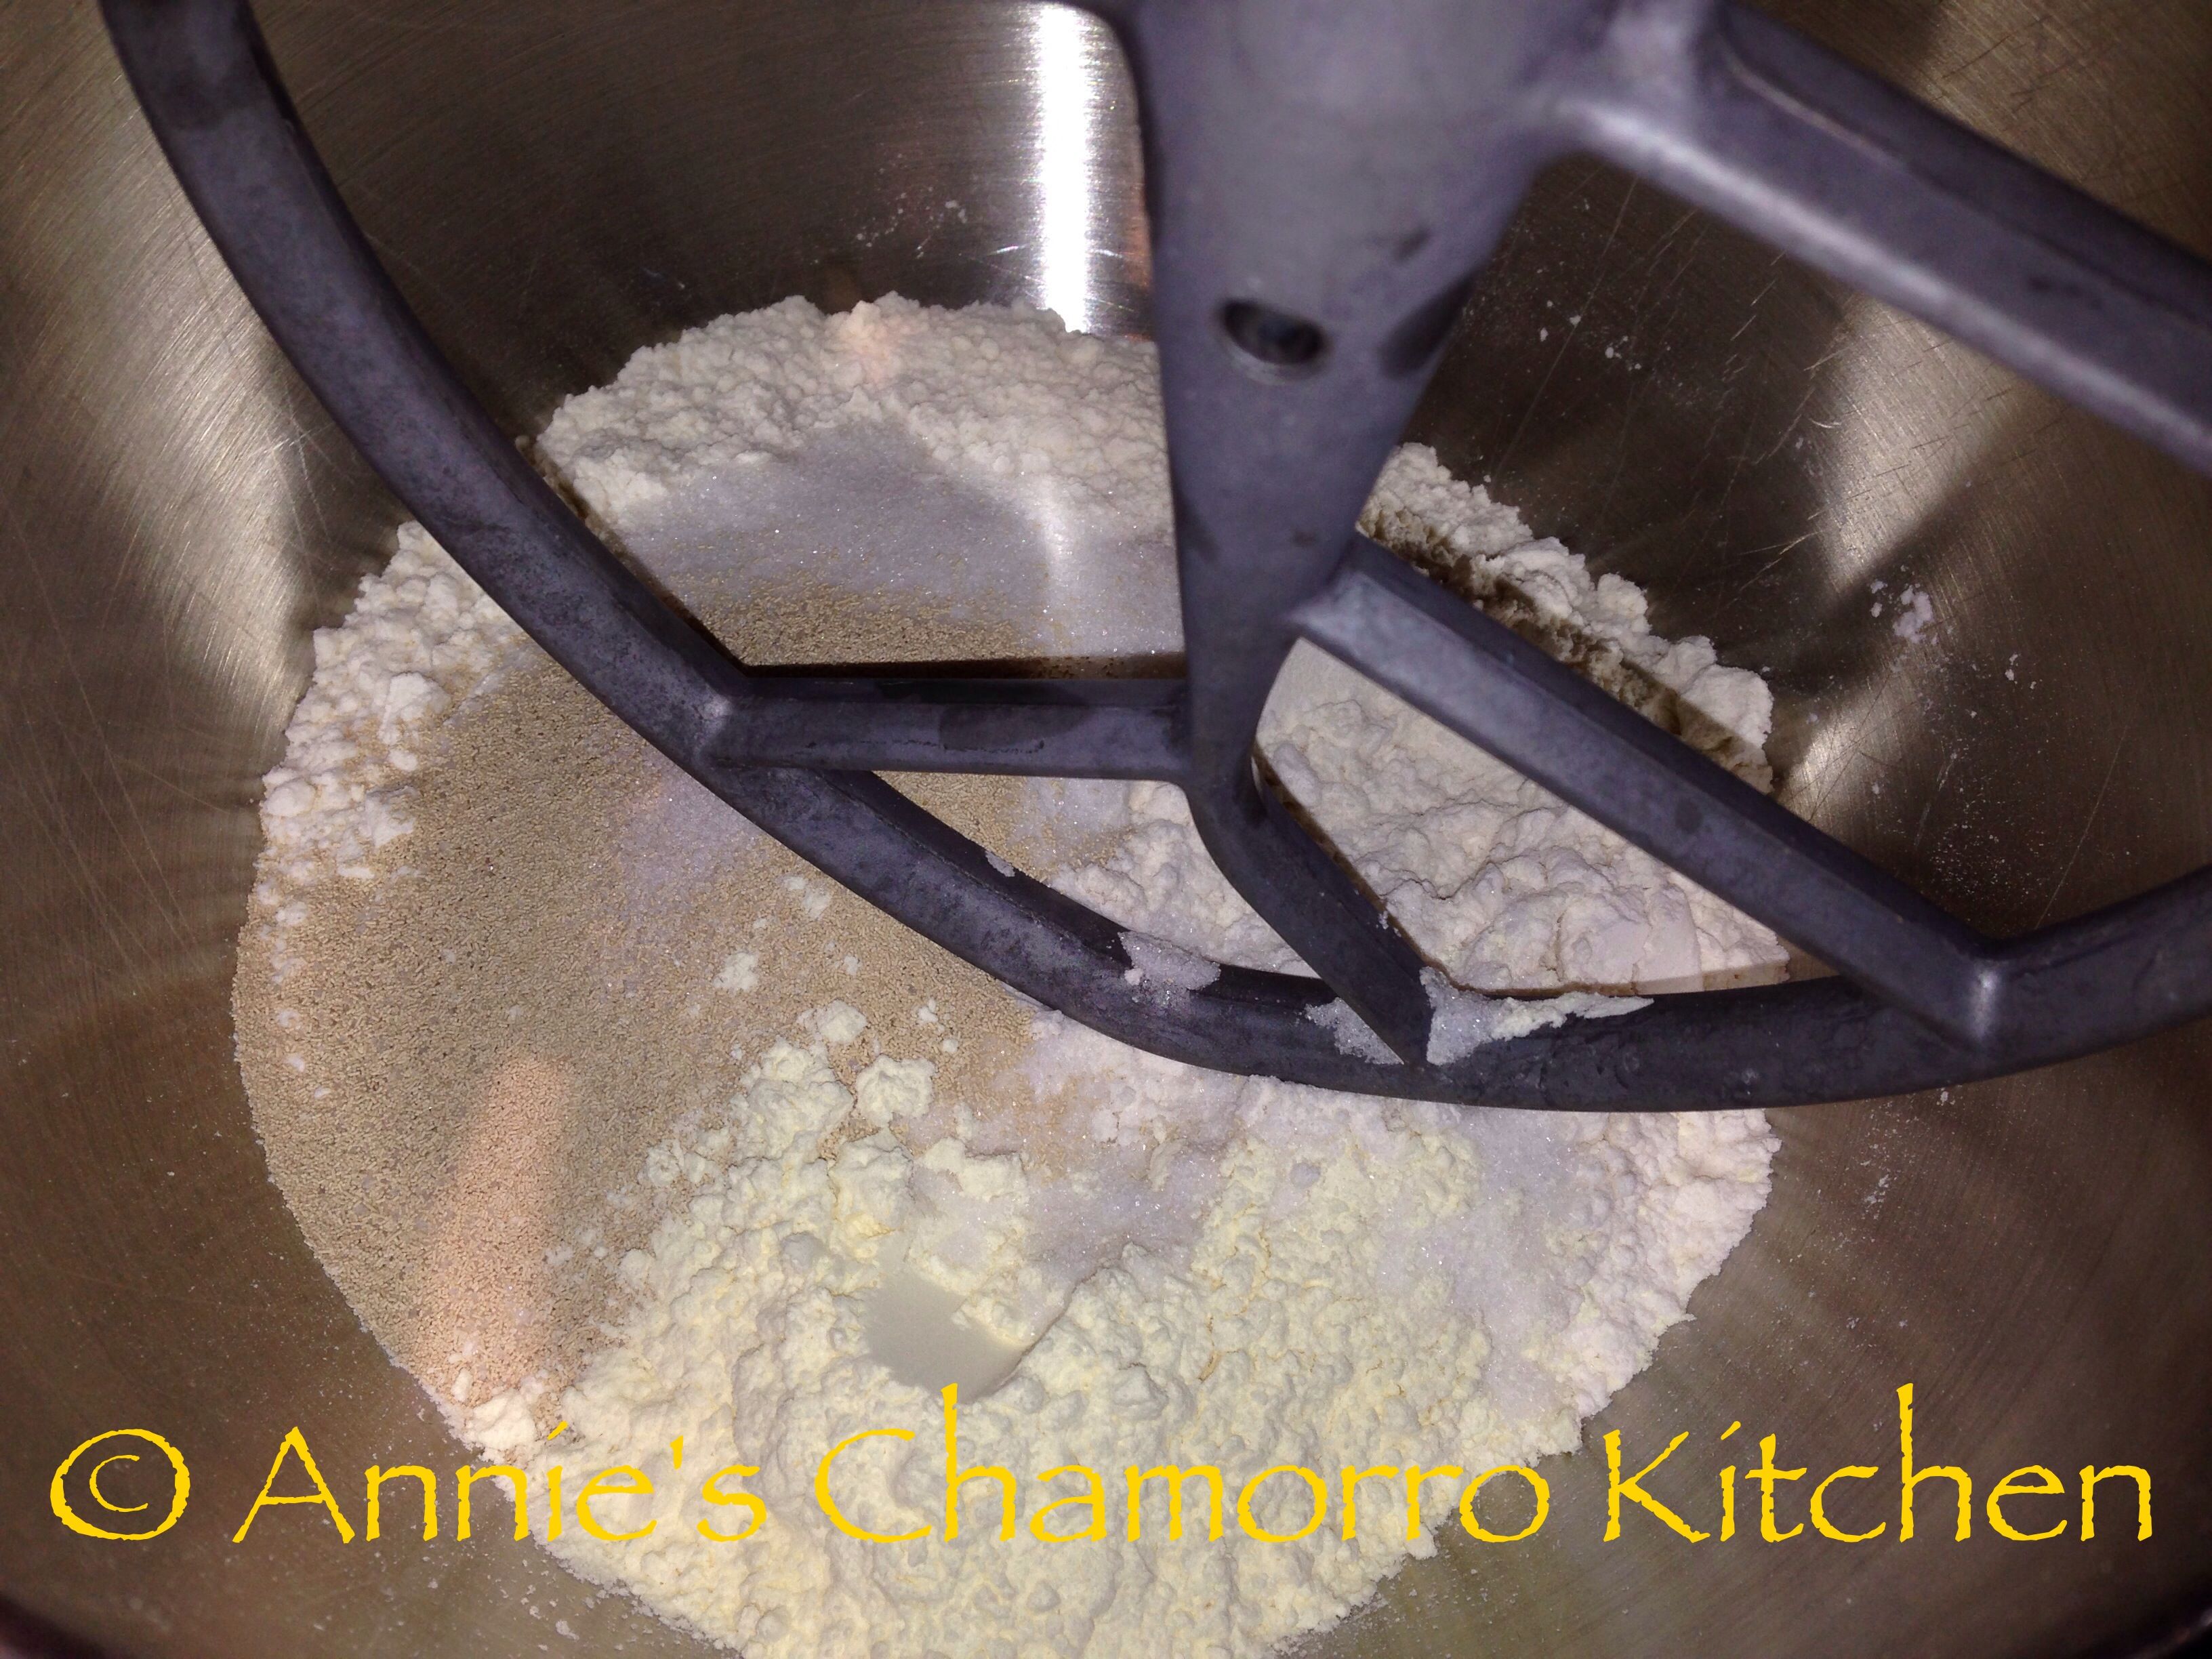
Using the paddle attachment of your stand mixer, mix on low speed to combine.

IMG_1812

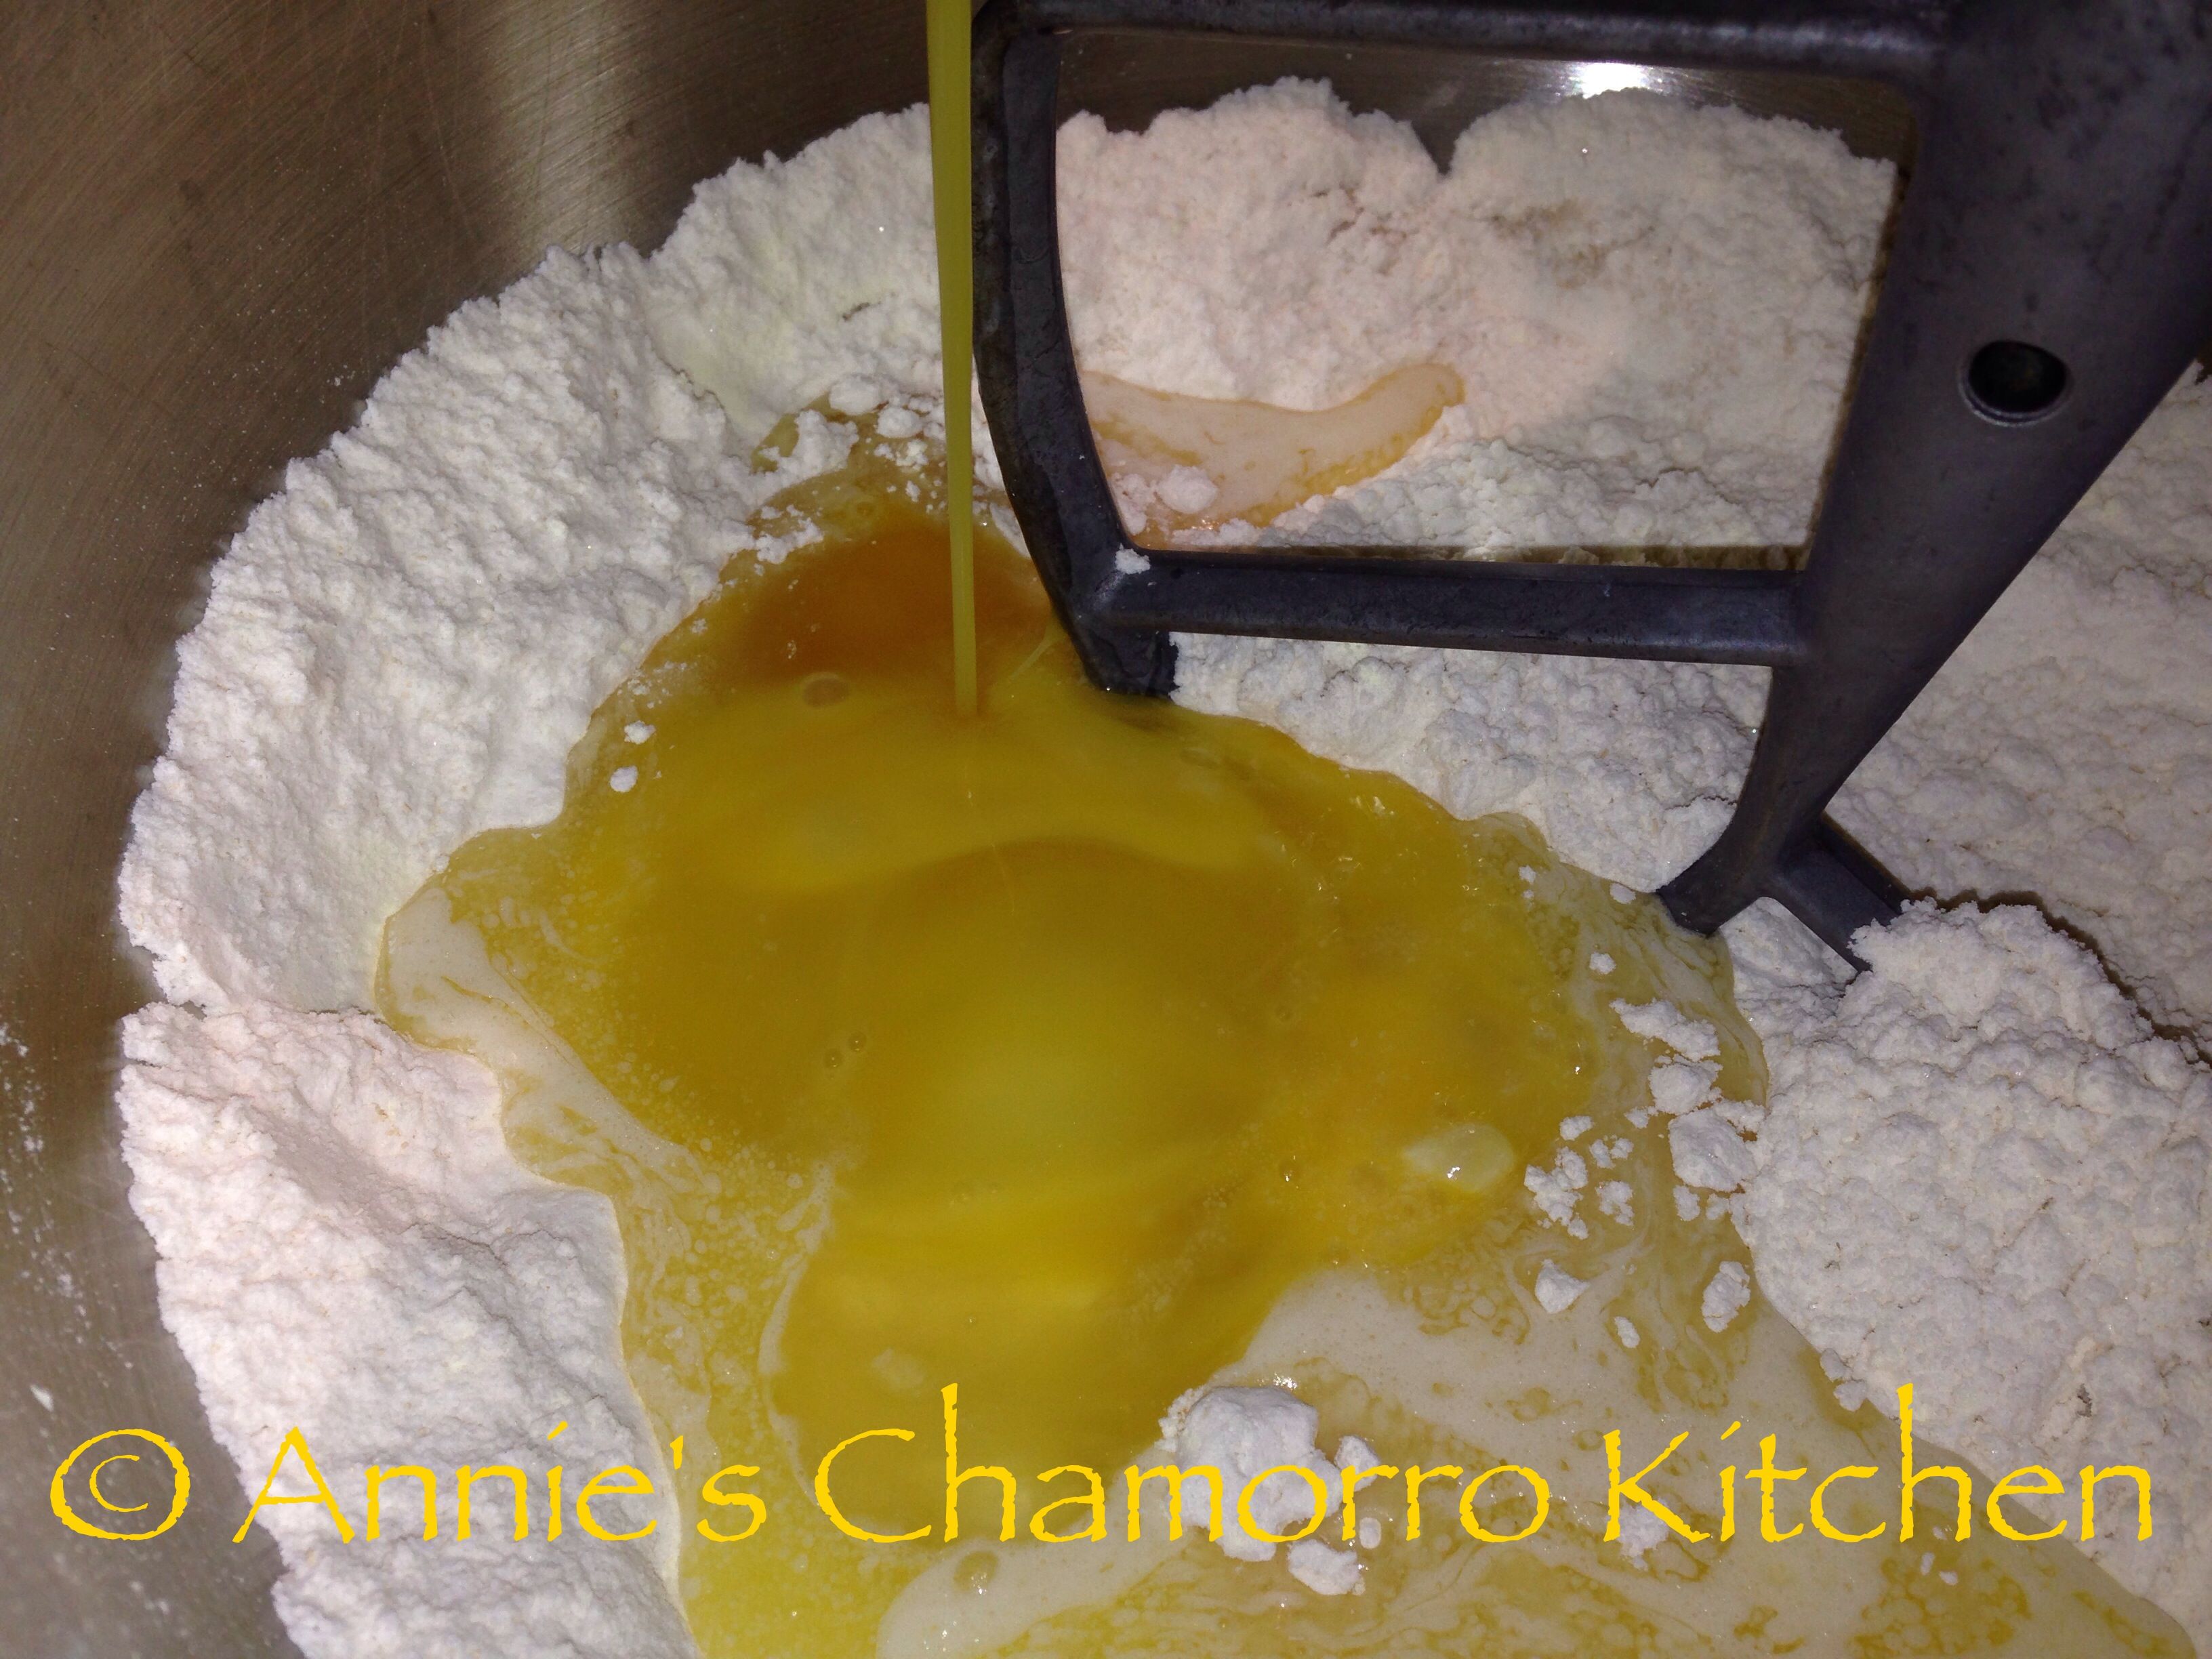
Add the melted butter to the mixing bowl.

IMG_1814

Add the beaten eggs.

IMG_1815

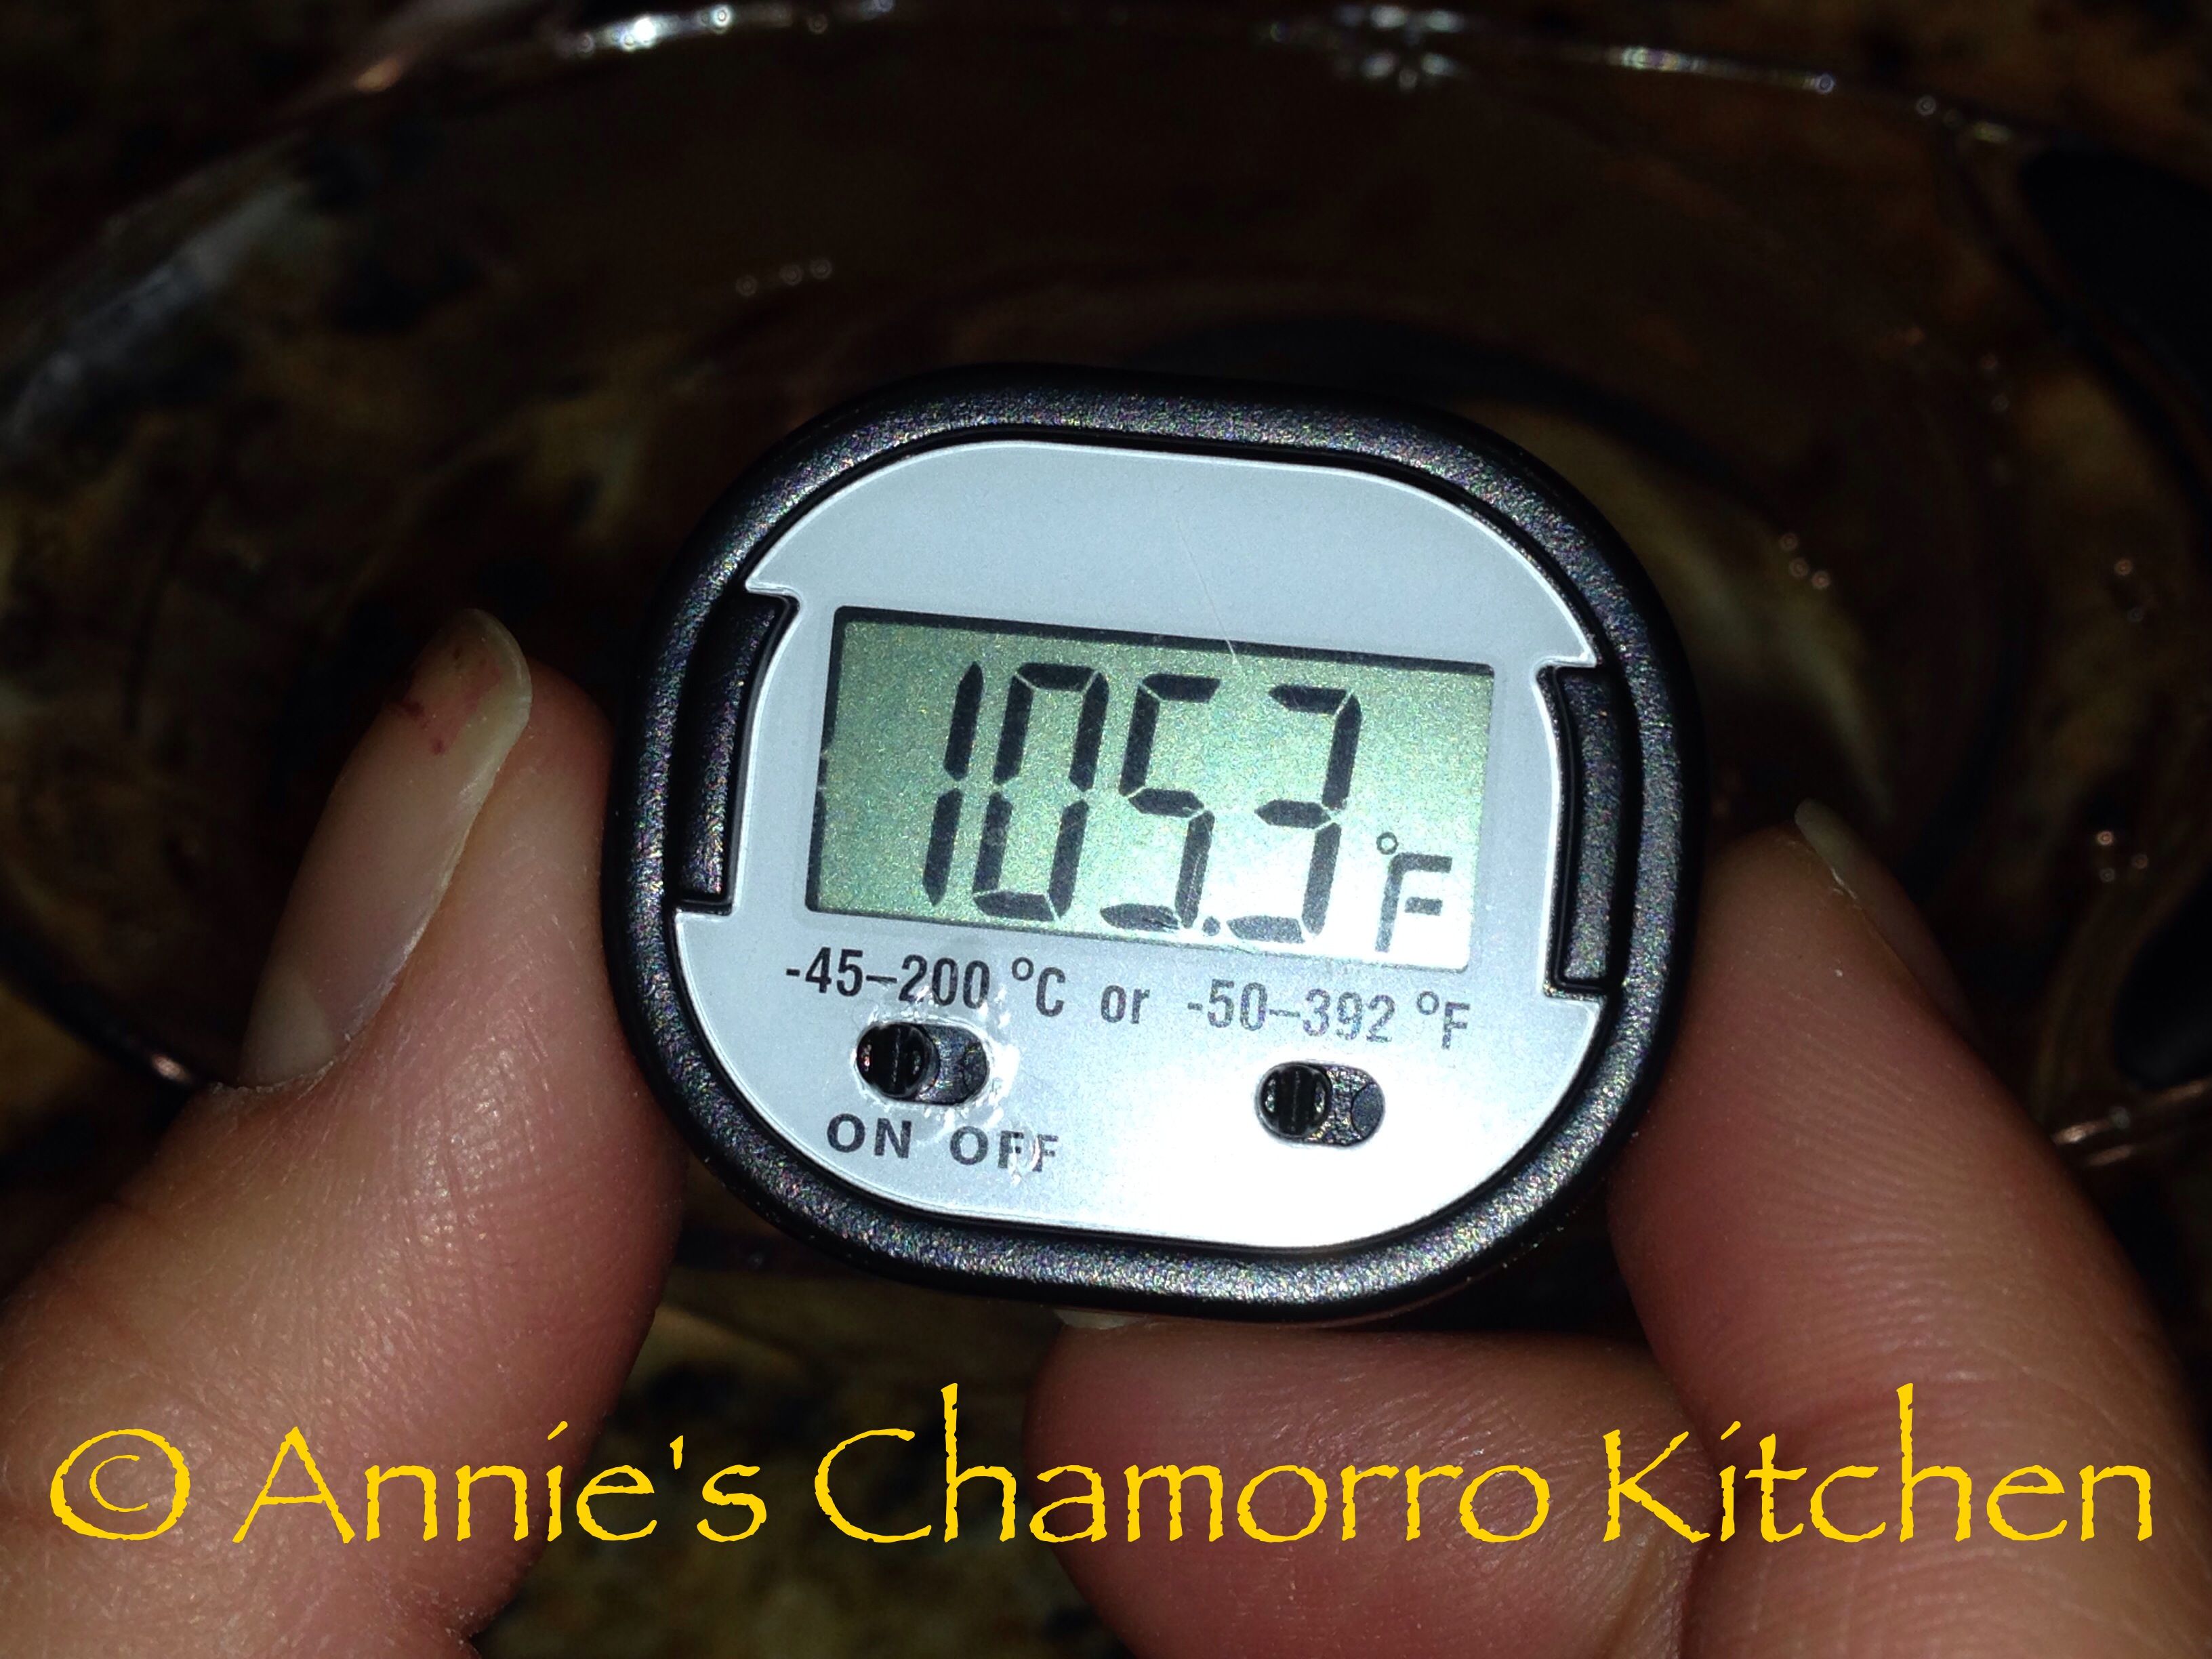
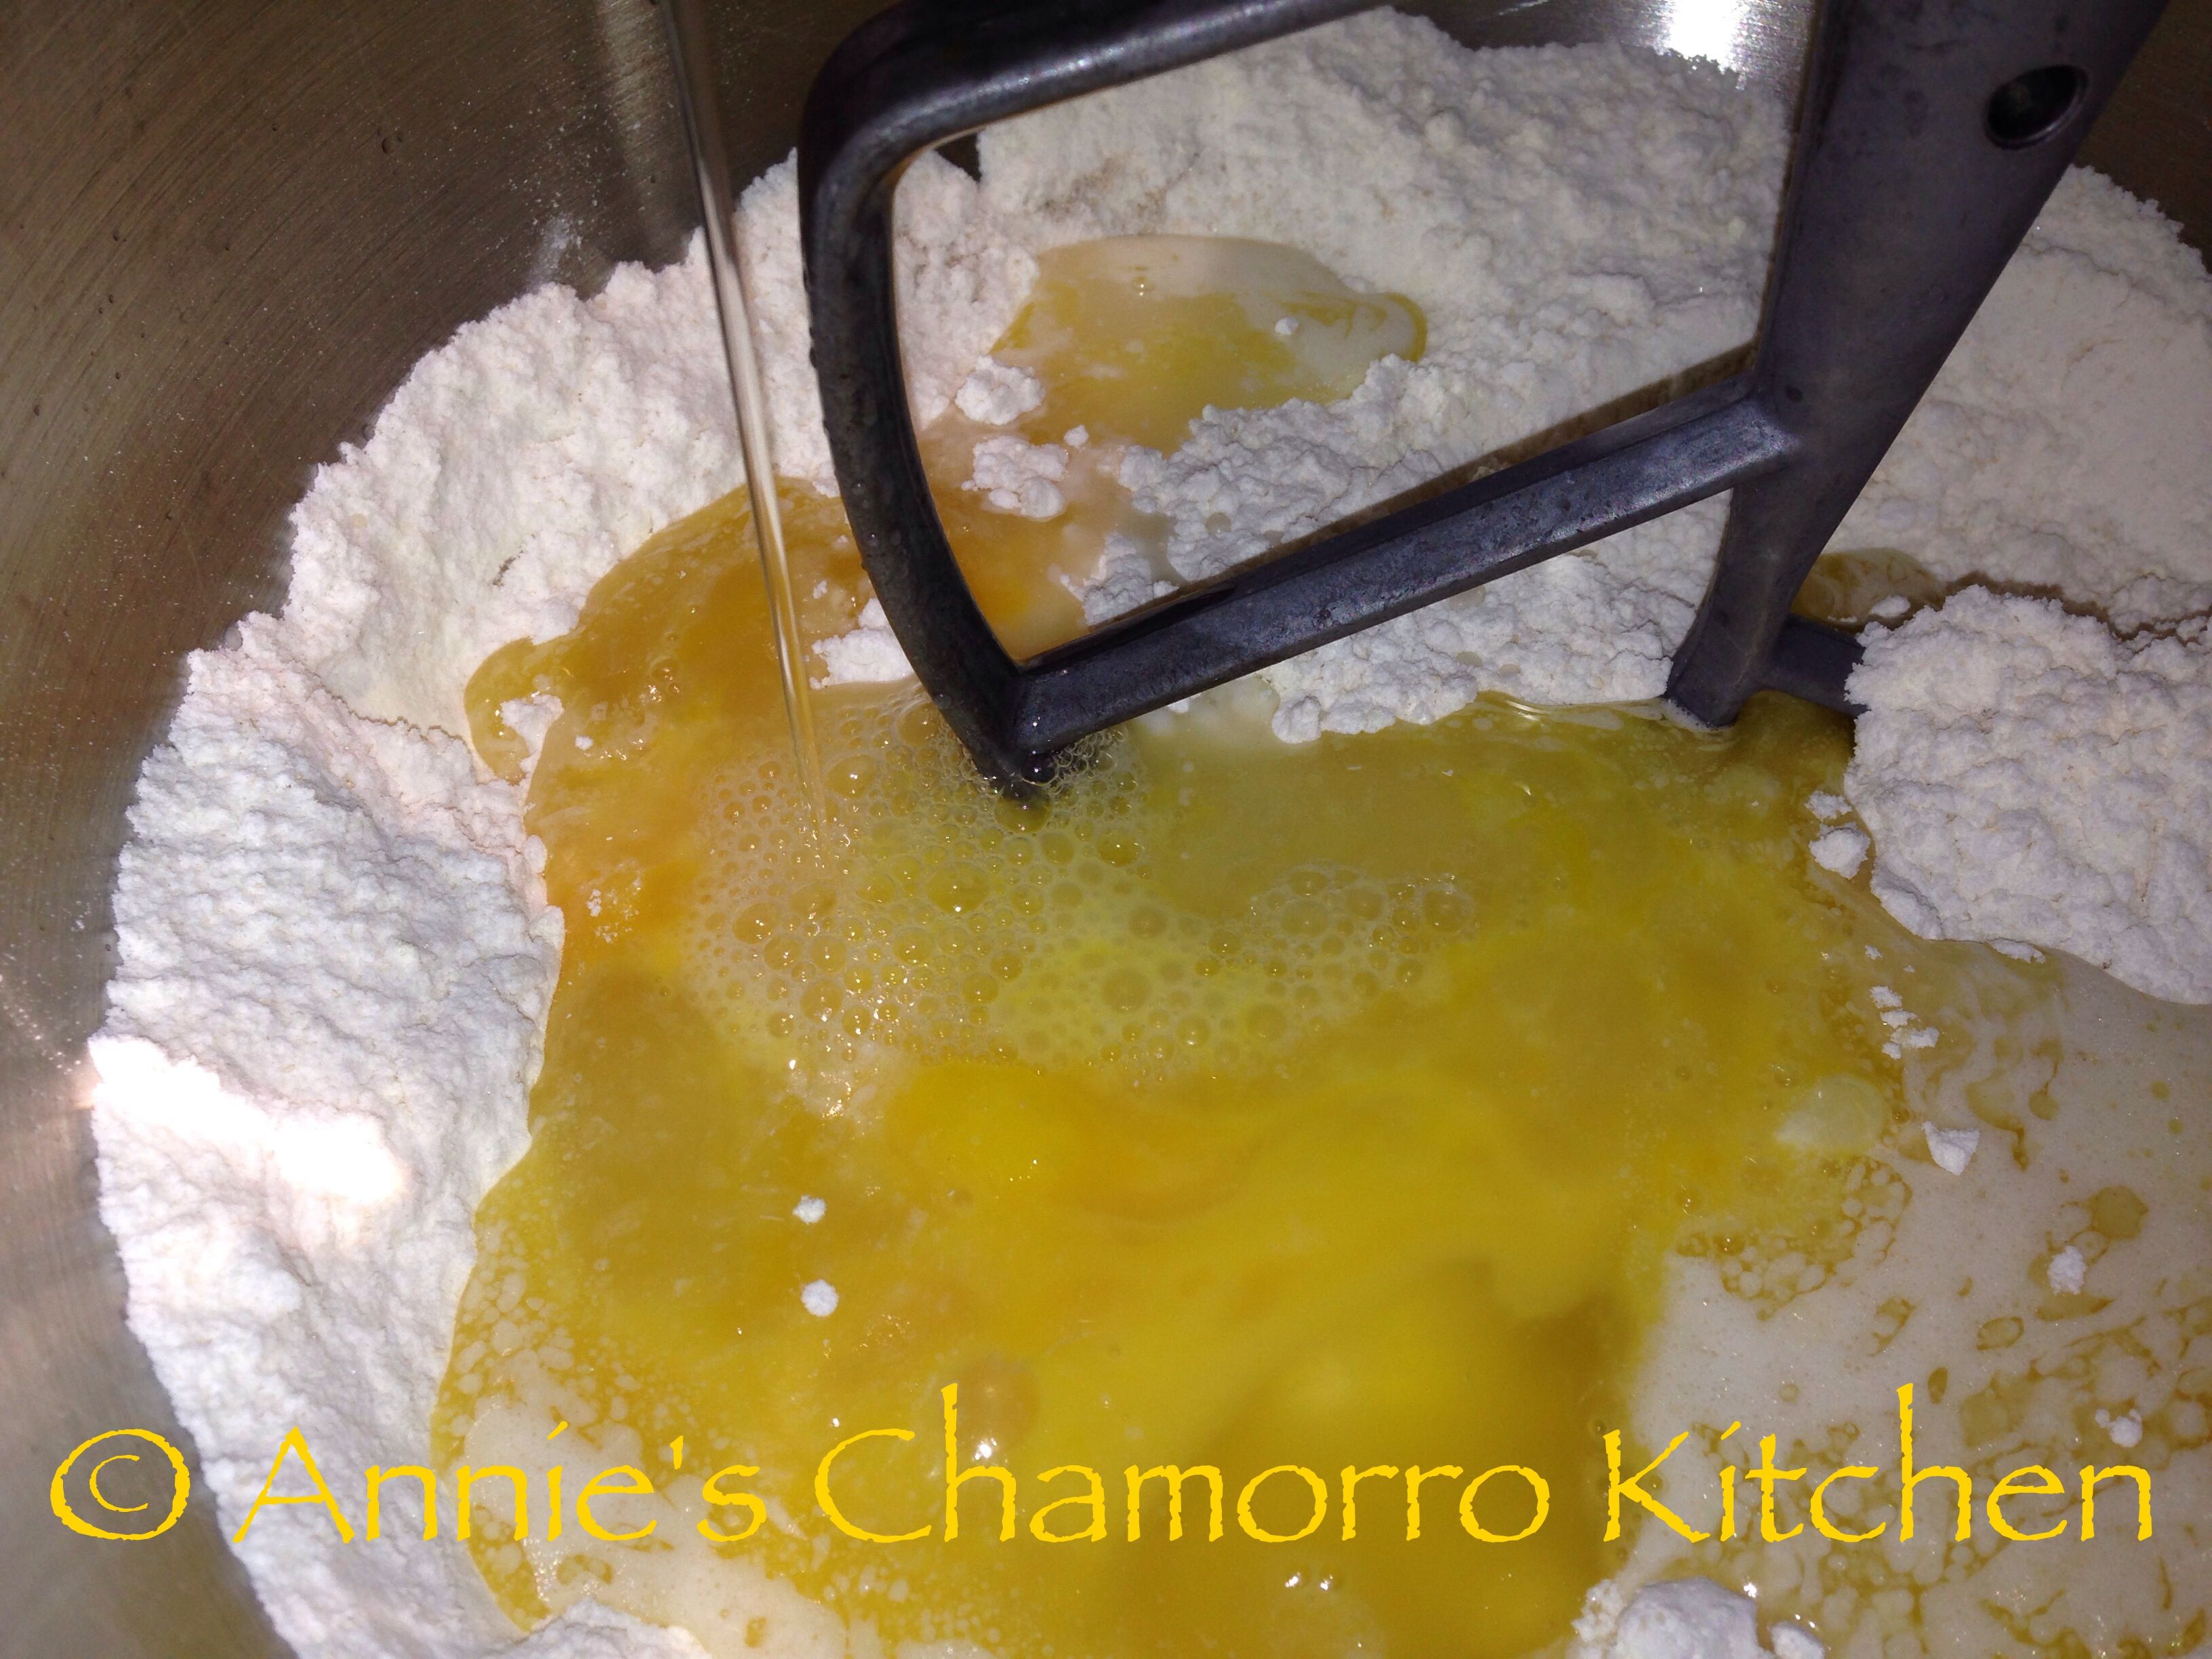
Add the warm water. Make sure the water is 105 degrees; I recommend using a thermometer to ensure you have the right temperature. You can find instant-read thermometers in most grocery stores nowadays. It’s fairly inexpensive, about $5.00. It’s worth the investment.

IMG_1813

IMG_1816

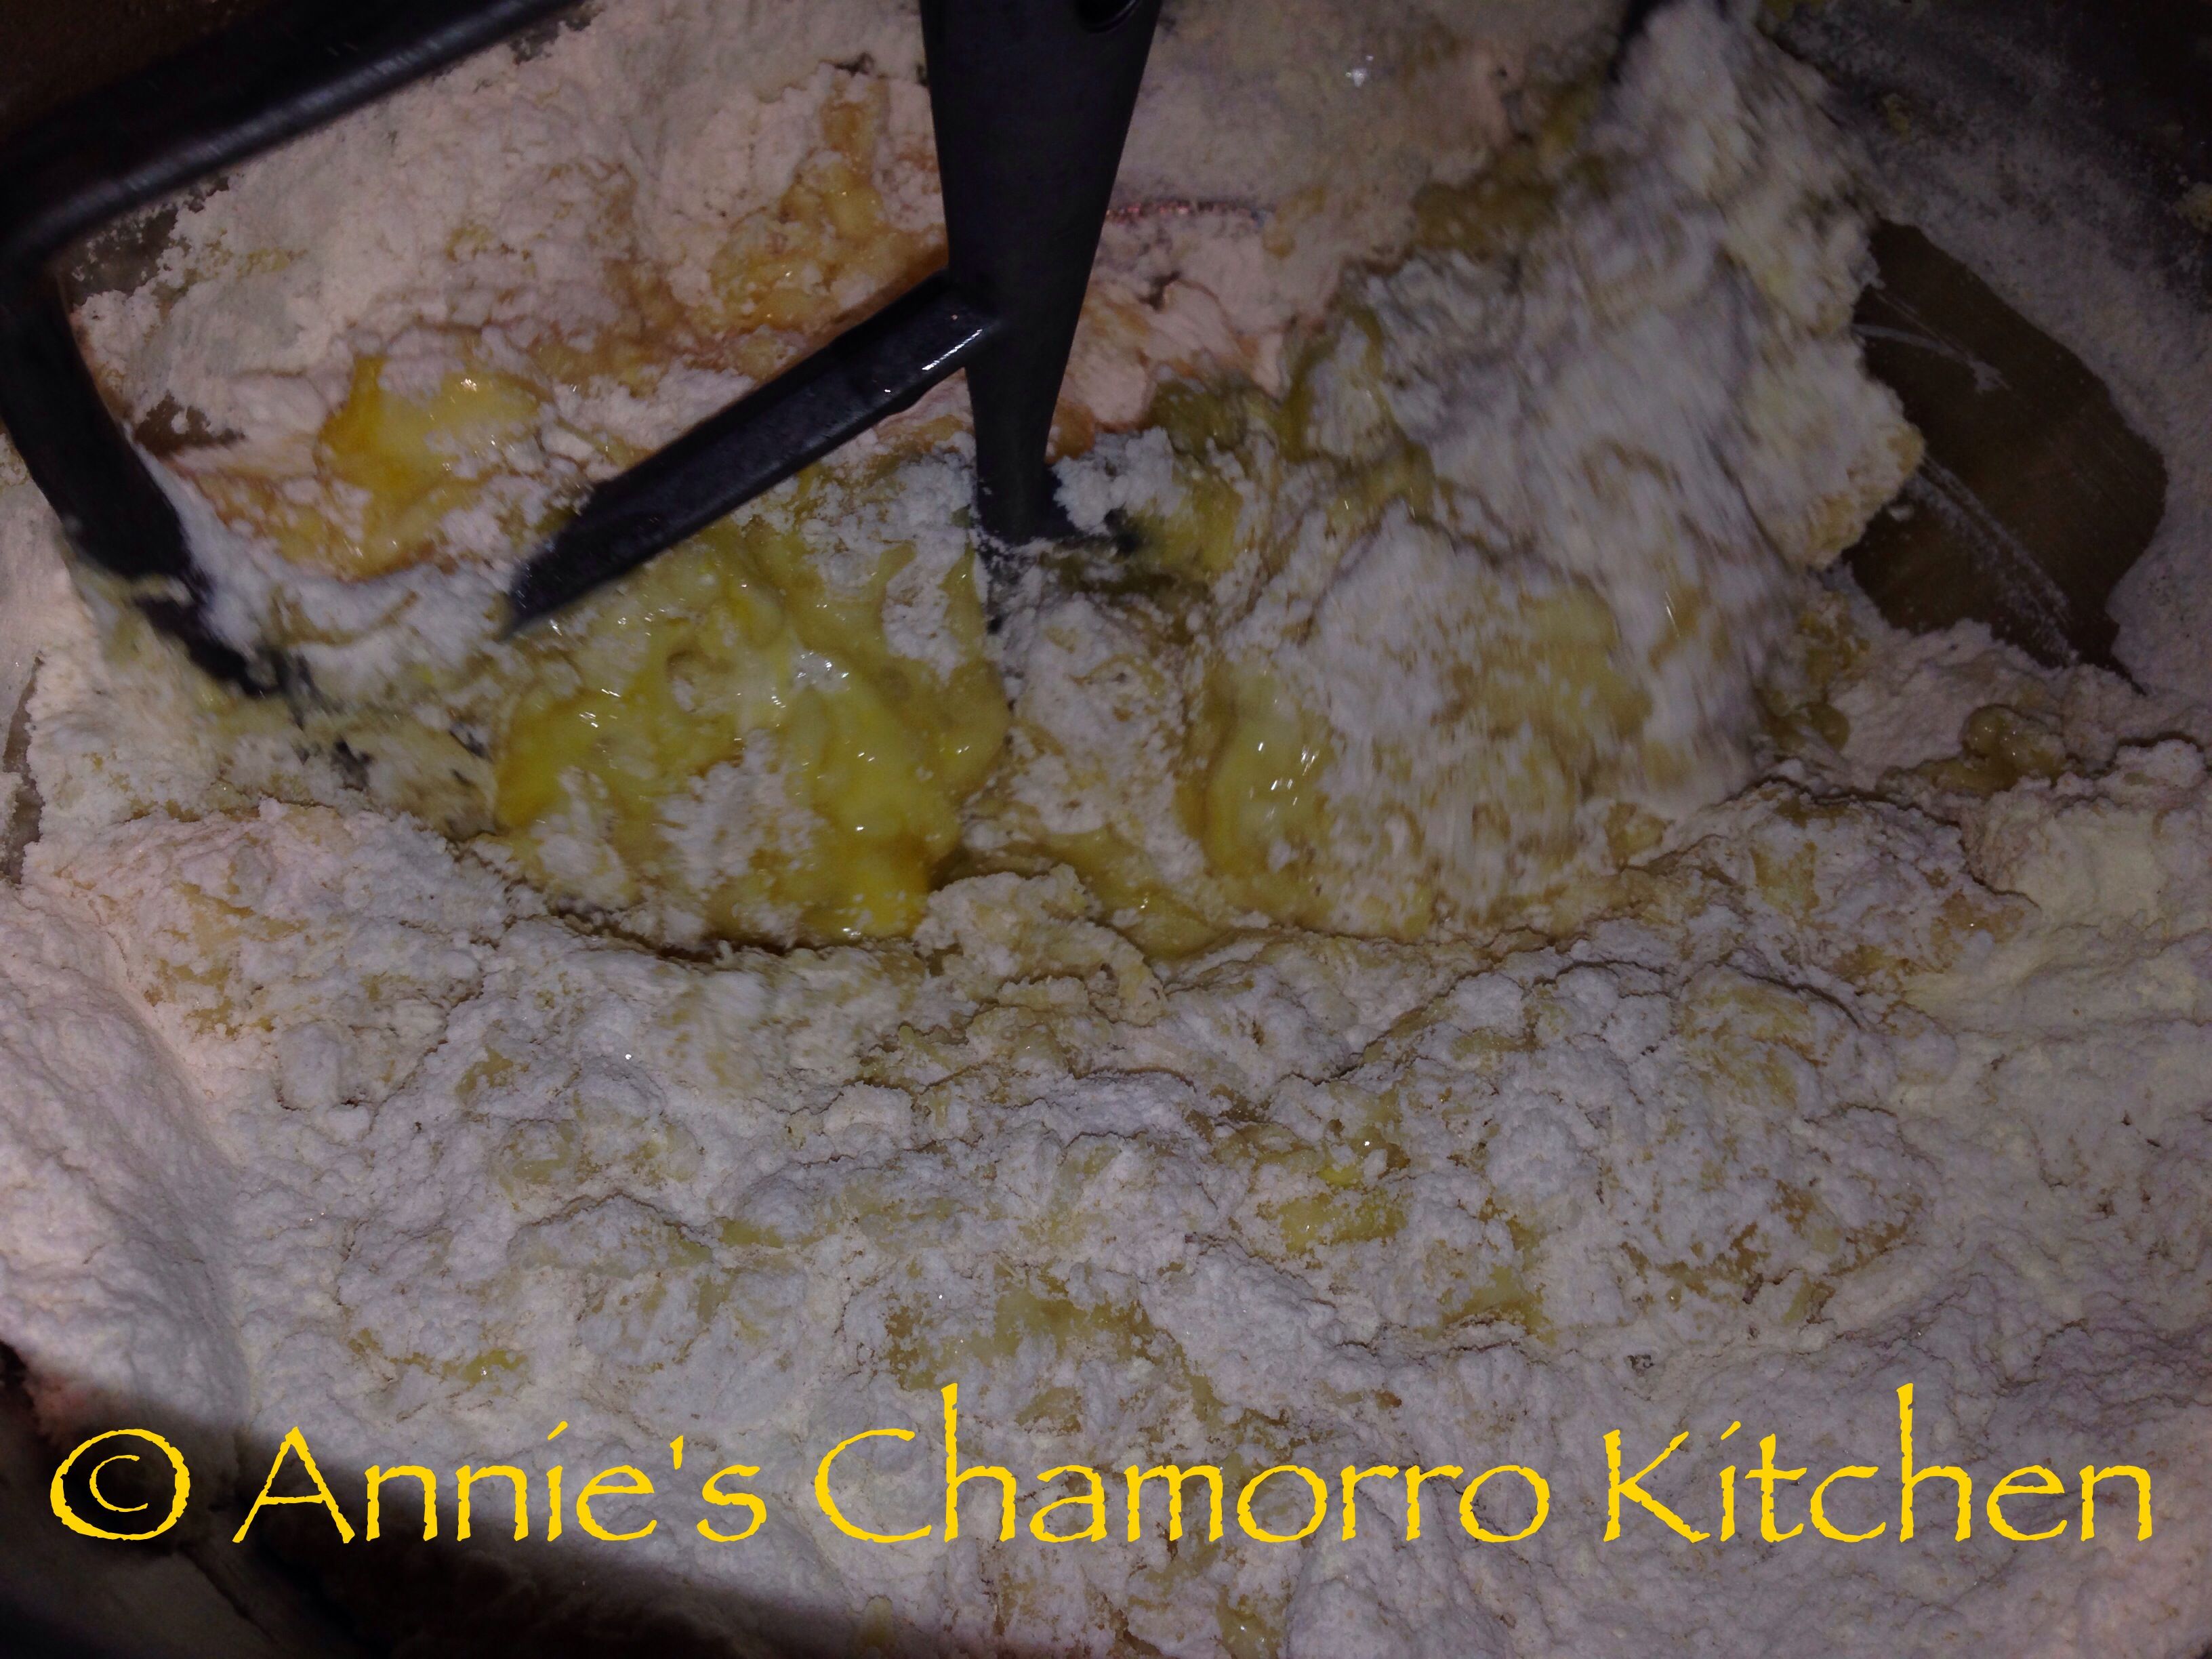
Mix until a soft dough forms.

IMG_1817

It doesn’t look like much at this stage, but this sticky dough will soon become 12 super-soft, fluffy, giant cinnamon rolls that rival those over-priced buns you buy in malls.

IMG_1819

As soon as all of the flour and other dry ingredients are mixed in with the wet ingredients, remove the paddle attachment and attach the dough hook.

wpid-Photo-Nov-24-2013-302-PM.jpg

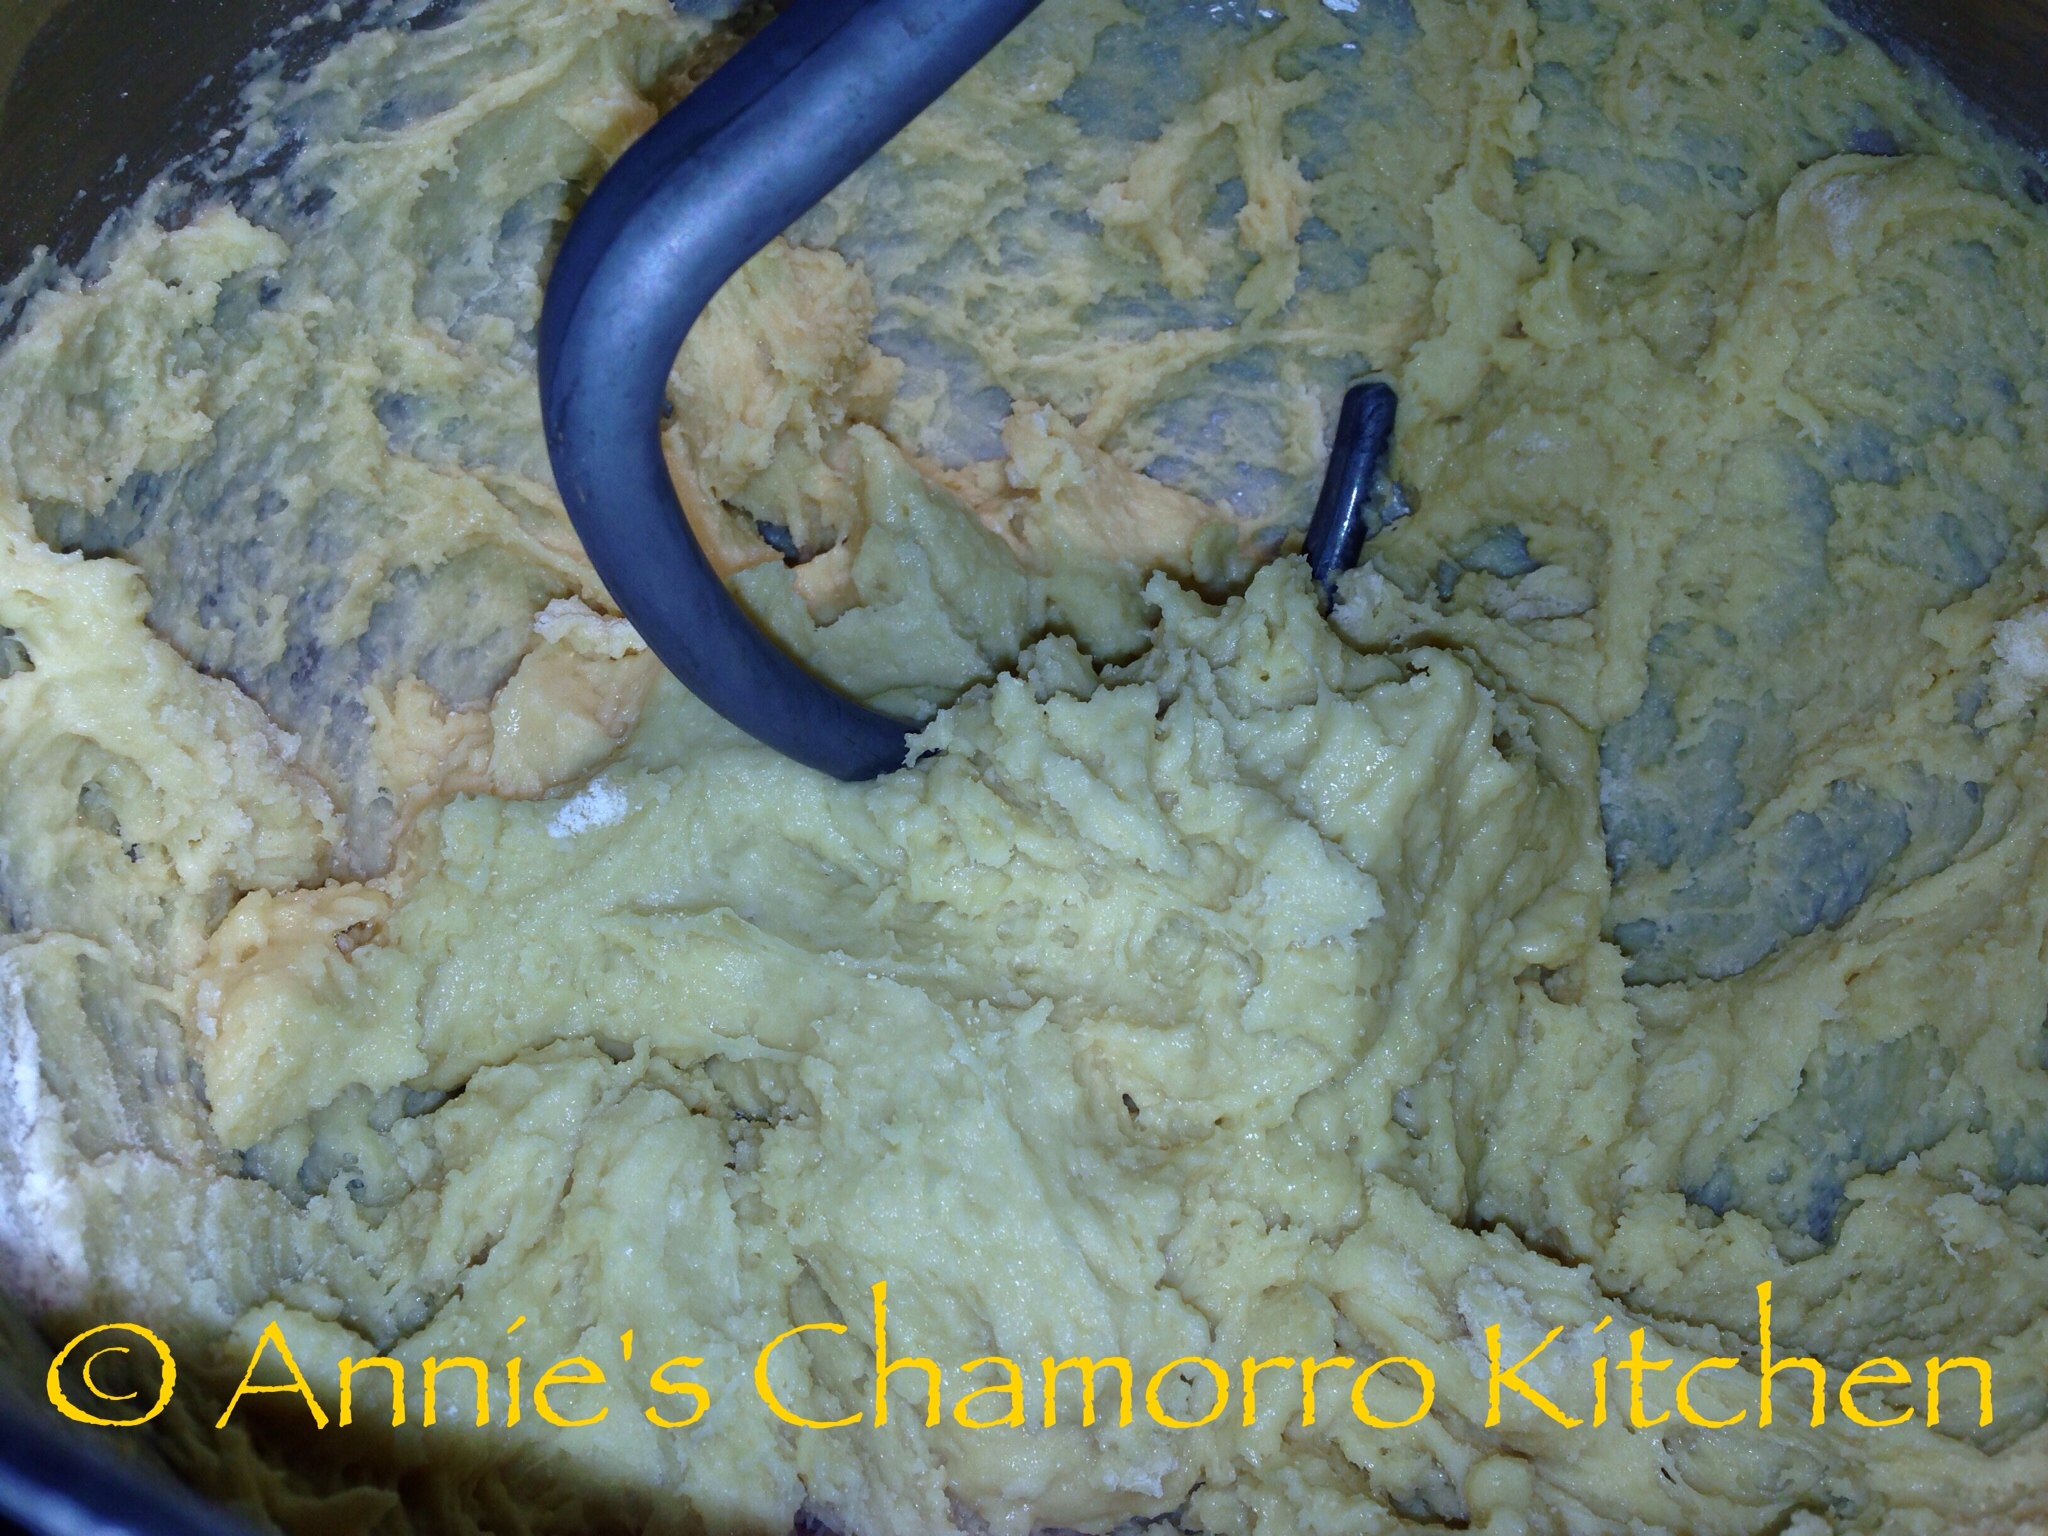
Using the dough hook, knead the dough for 5 minutes. If the dough is still sticking to the side of the bowl, add a spoonful of the remaining flour to the bowl and continue kneading for a couple of minutes. The photo below shows a lot of the dough still sticking to the side of the mixing bowl; adding a spoonful more of flour should do the trick.

IMG_1821

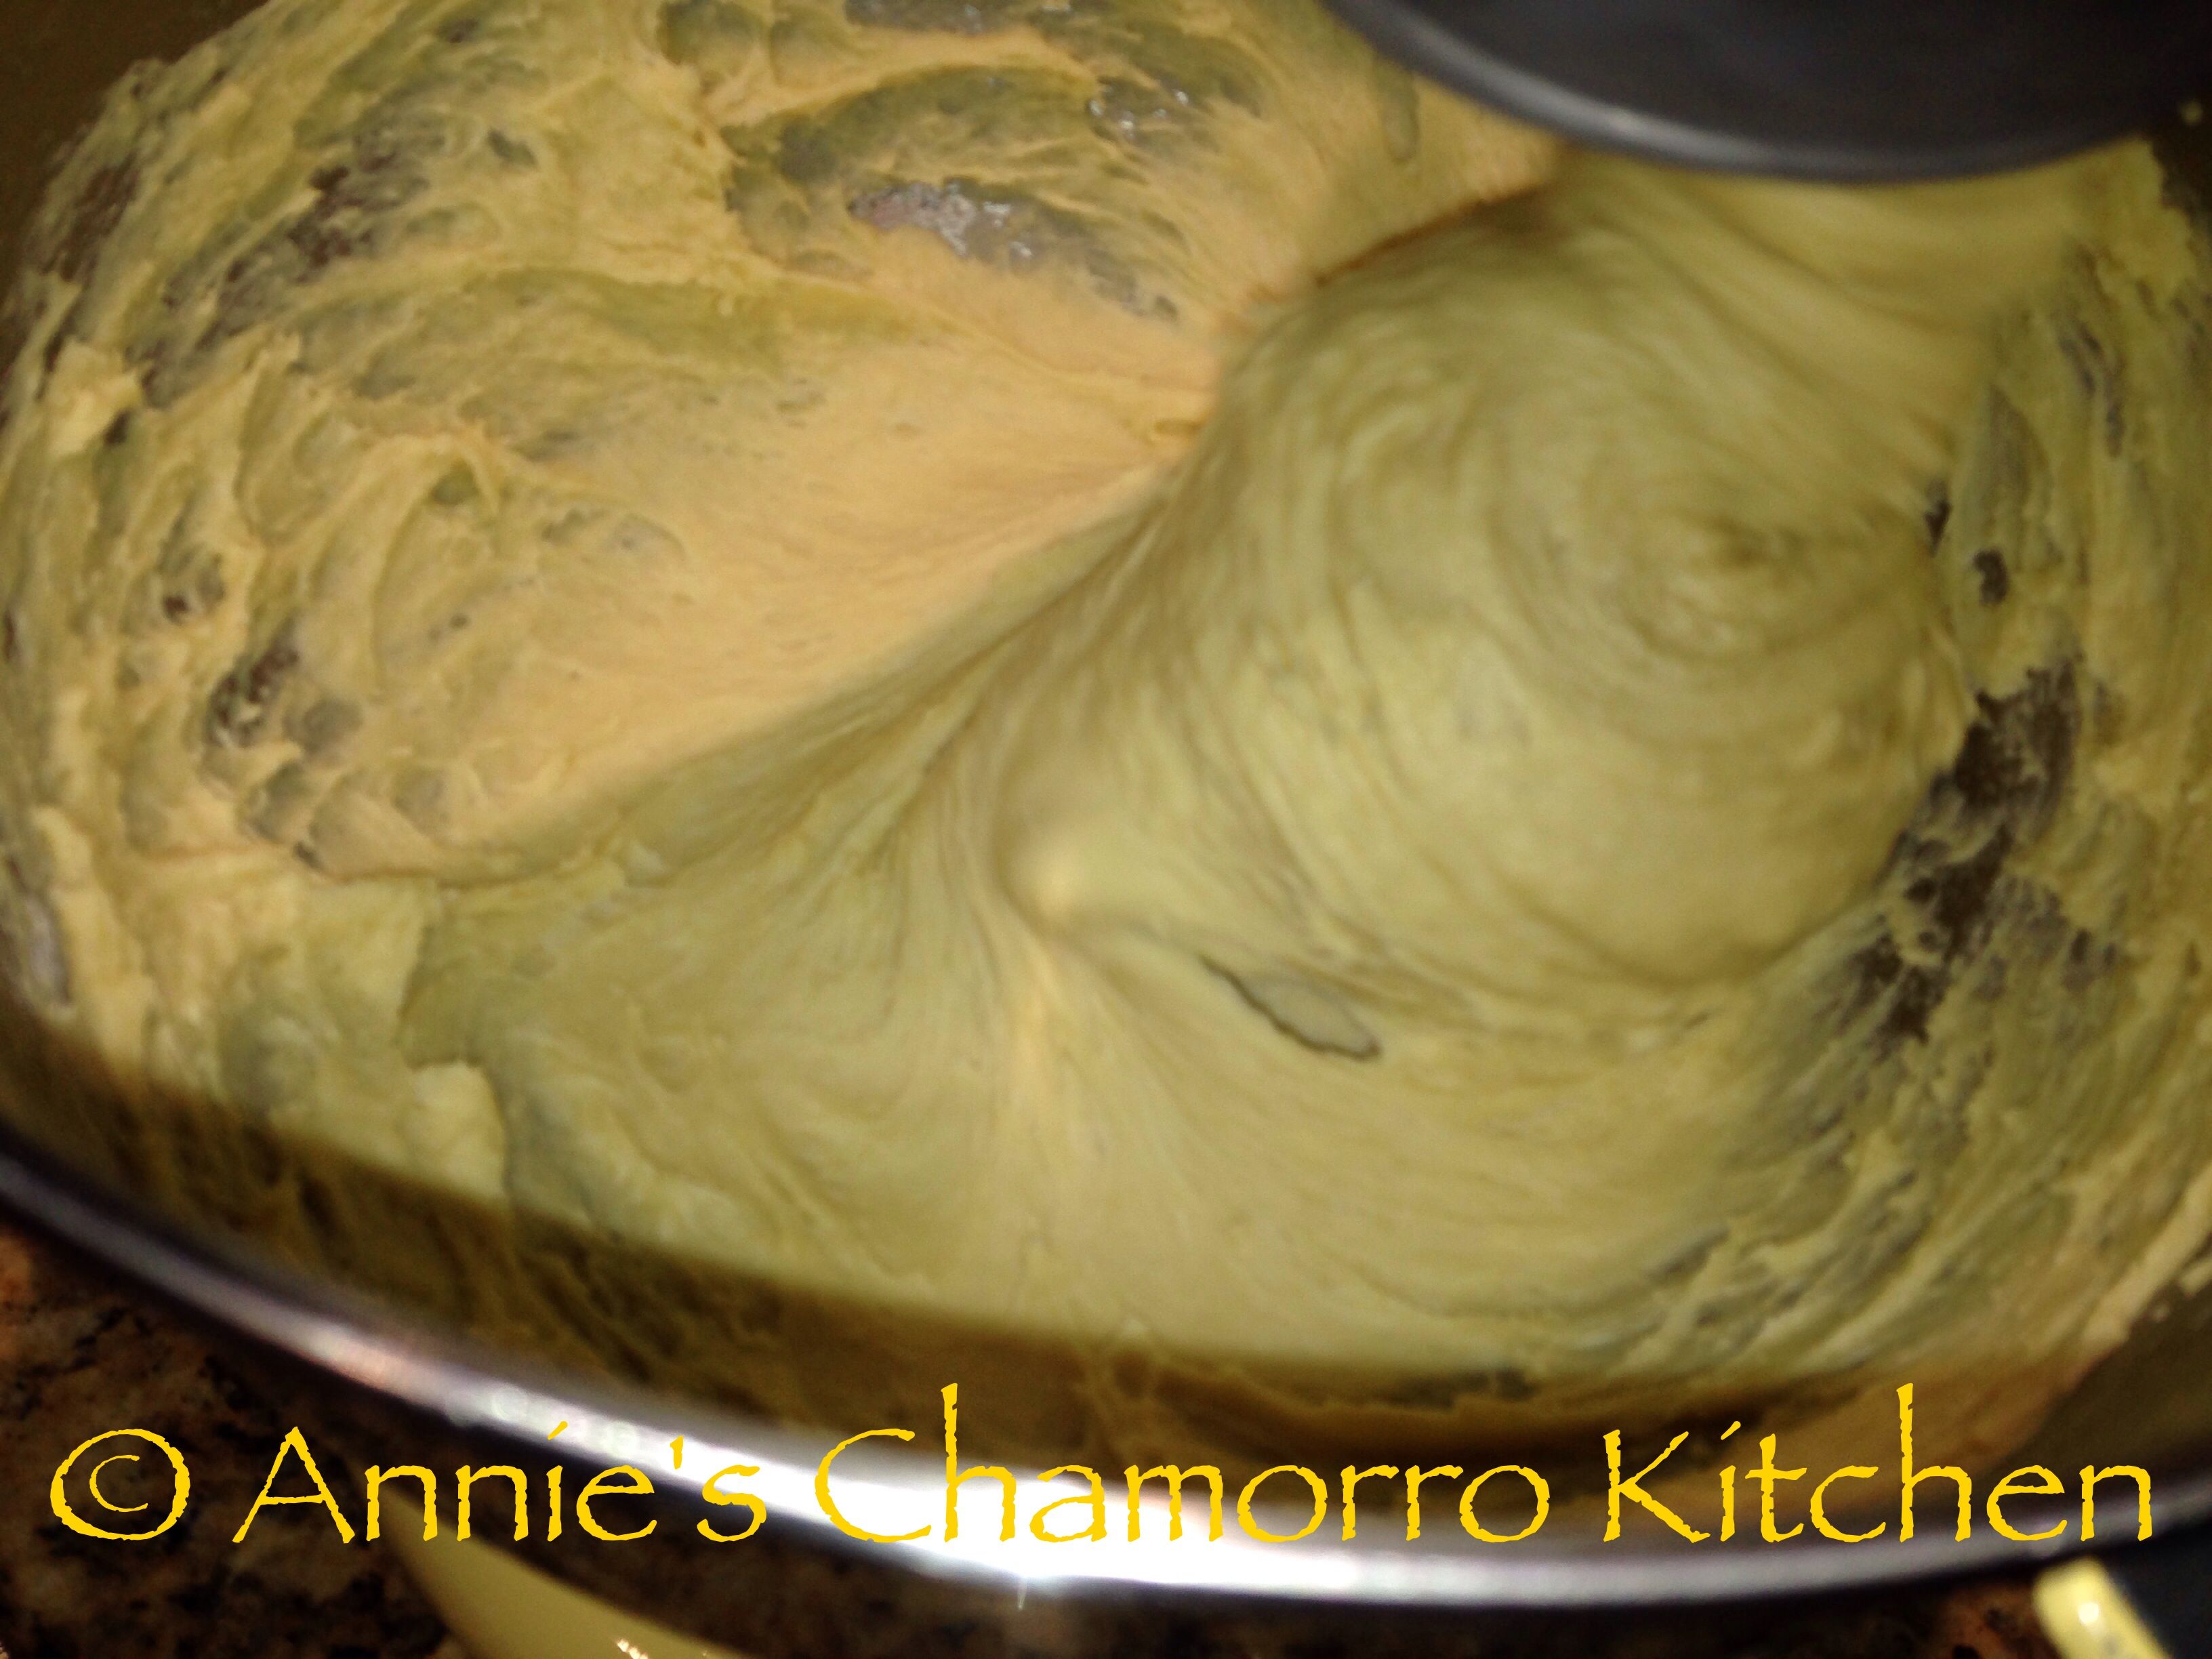
Keep adding flour, a spoonful at a time, until the dough leaves the side of the mixing bowl.

I added just one additional spoonful of flour. After adding a bit more flour, the dough is tightening up and leaving the sides of the bowl.

IMG_1823

The dough is still a bit sticky, but once you see the dough begin to ball up around the dough hook with the sides of the bowl clearing off, STOP adding more flour.  You WANT the dough to be a little bit sticky.

It’s okay if the dough sticks to the bottom of the bowl, however. Again, do NOT add more flour once the dough begins to clear the sides of the bowl. Finish kneading the dough at this point; the total kneading time is about 10-12 minutes using your stand mixer. If kneading by hand, knead for about 15 minutes (oil your hands instead of adding flour if the dough is too sticky to handle while kneading).

After the kneading time is complete, spray a large glass bowl with butter flavored cooking spray.

IMG_1824

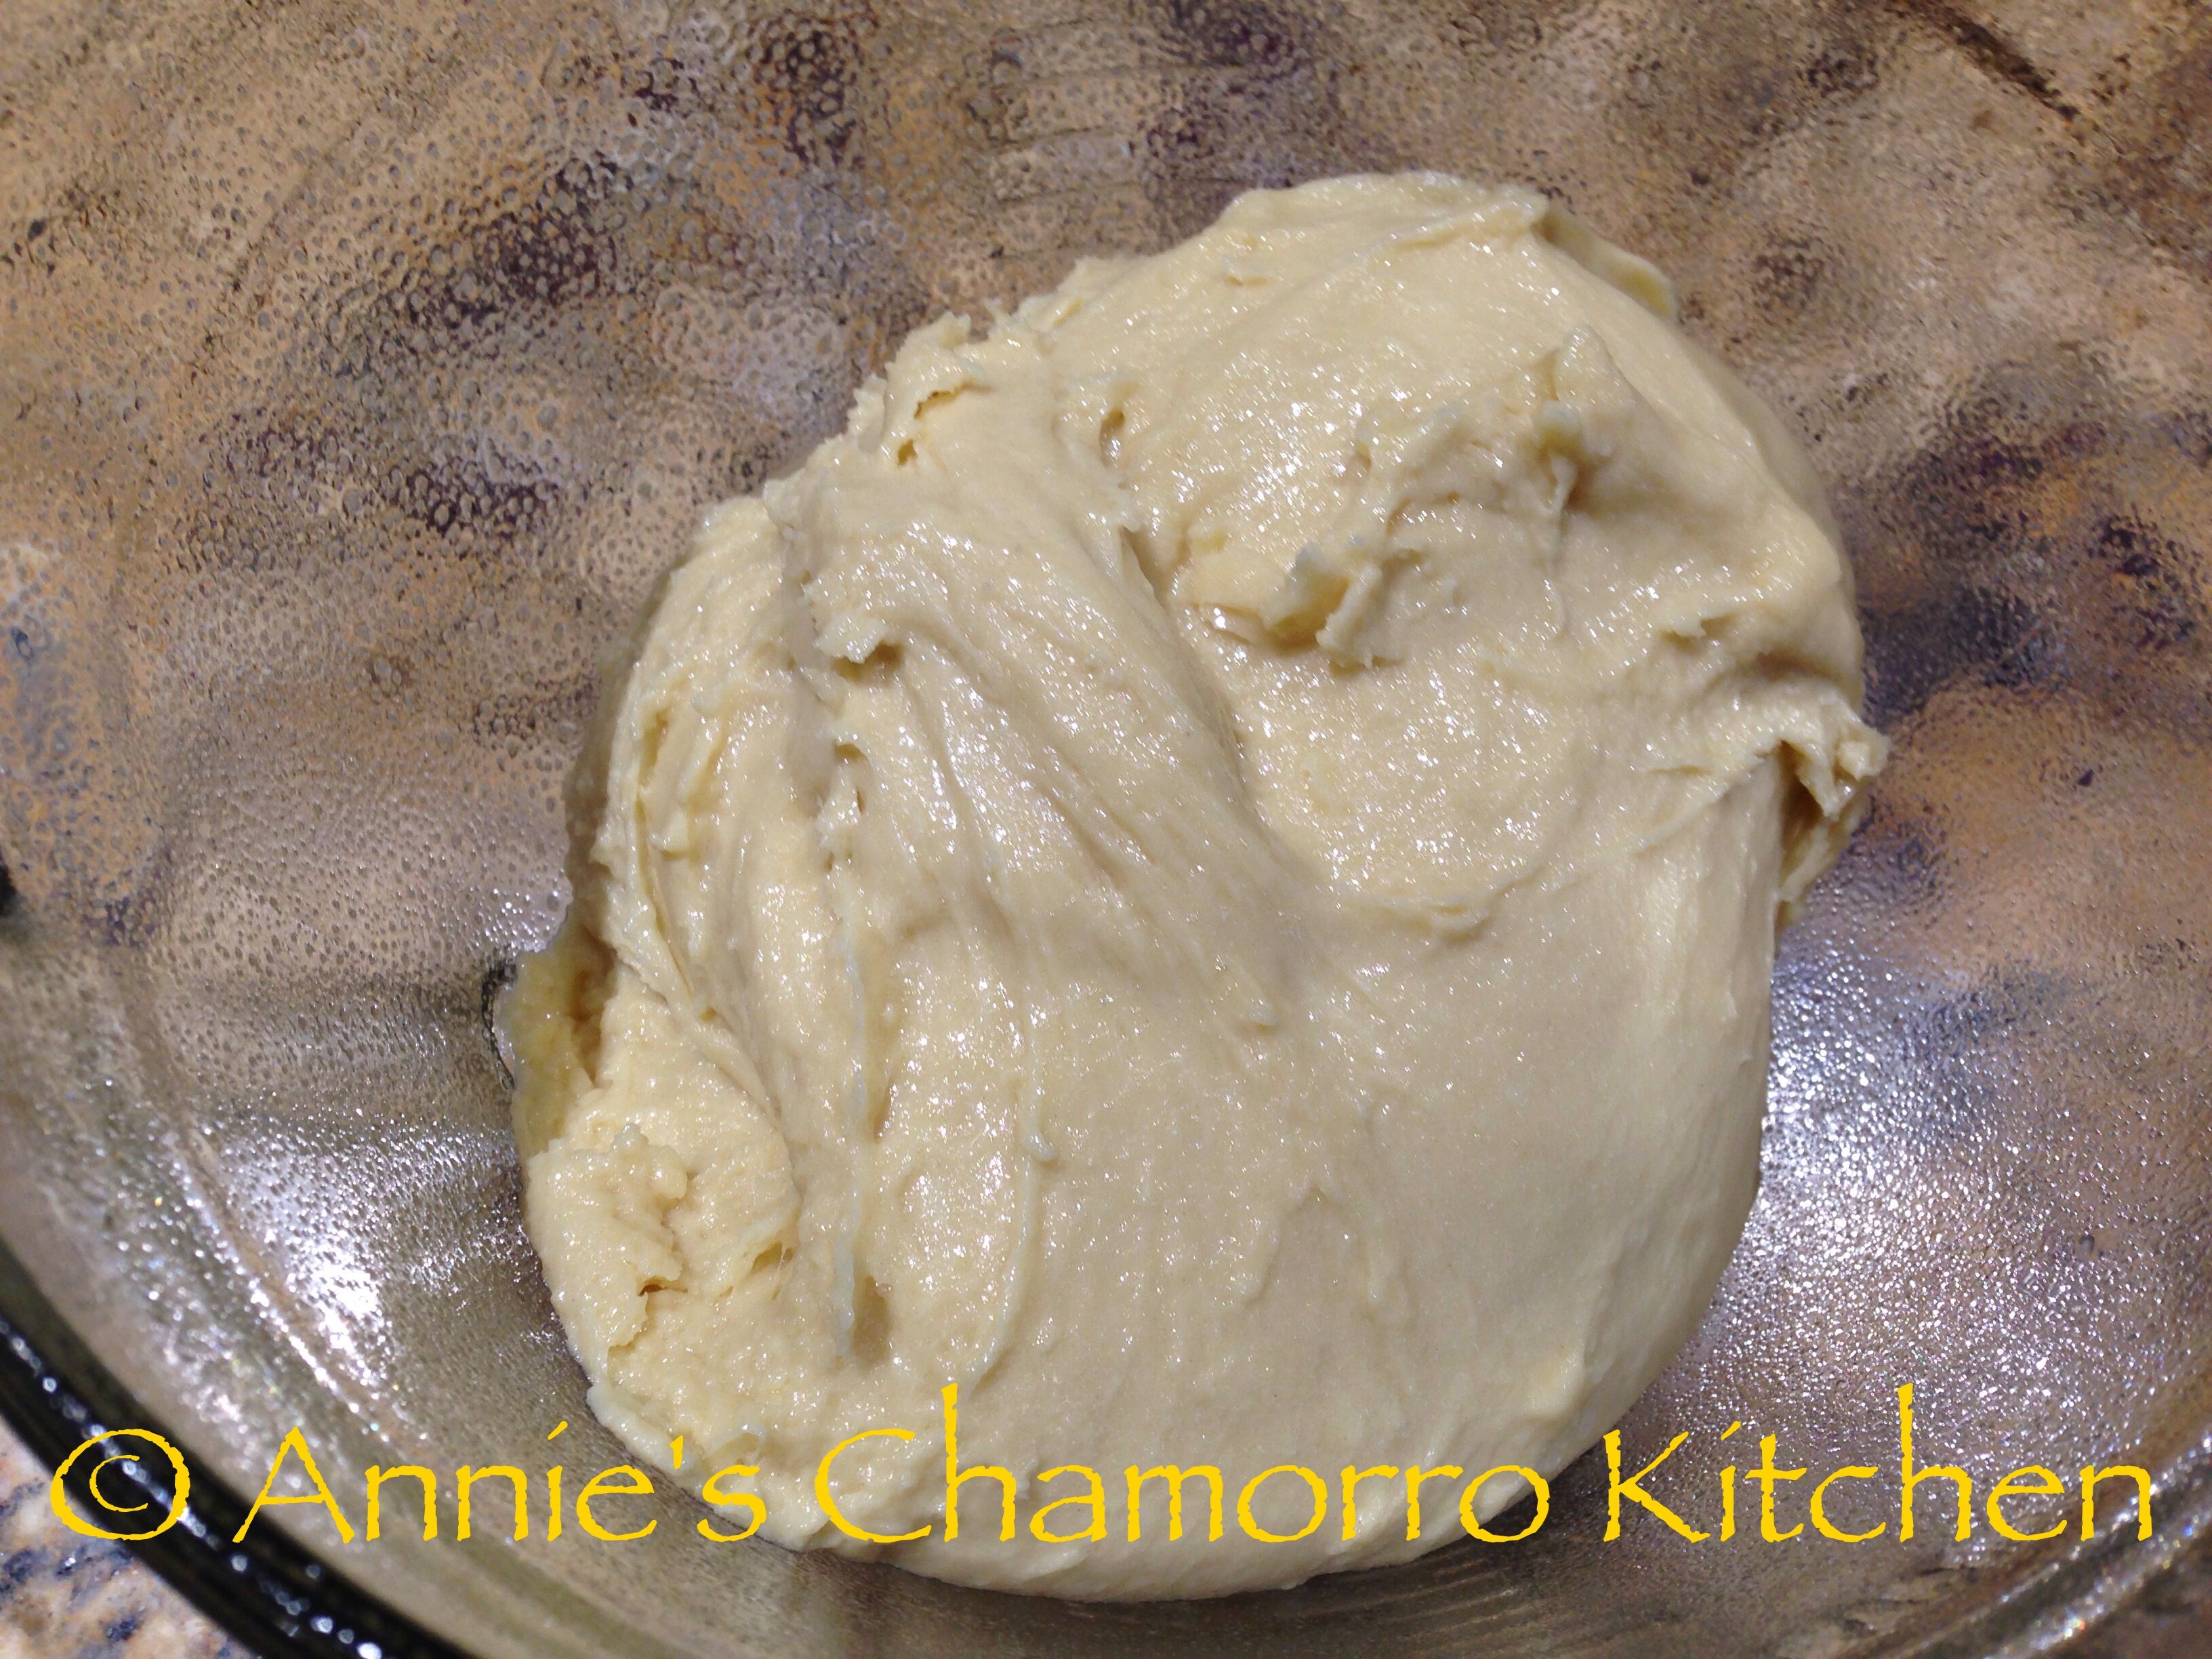
Place the dough into the glass bowl.

IMG_1825

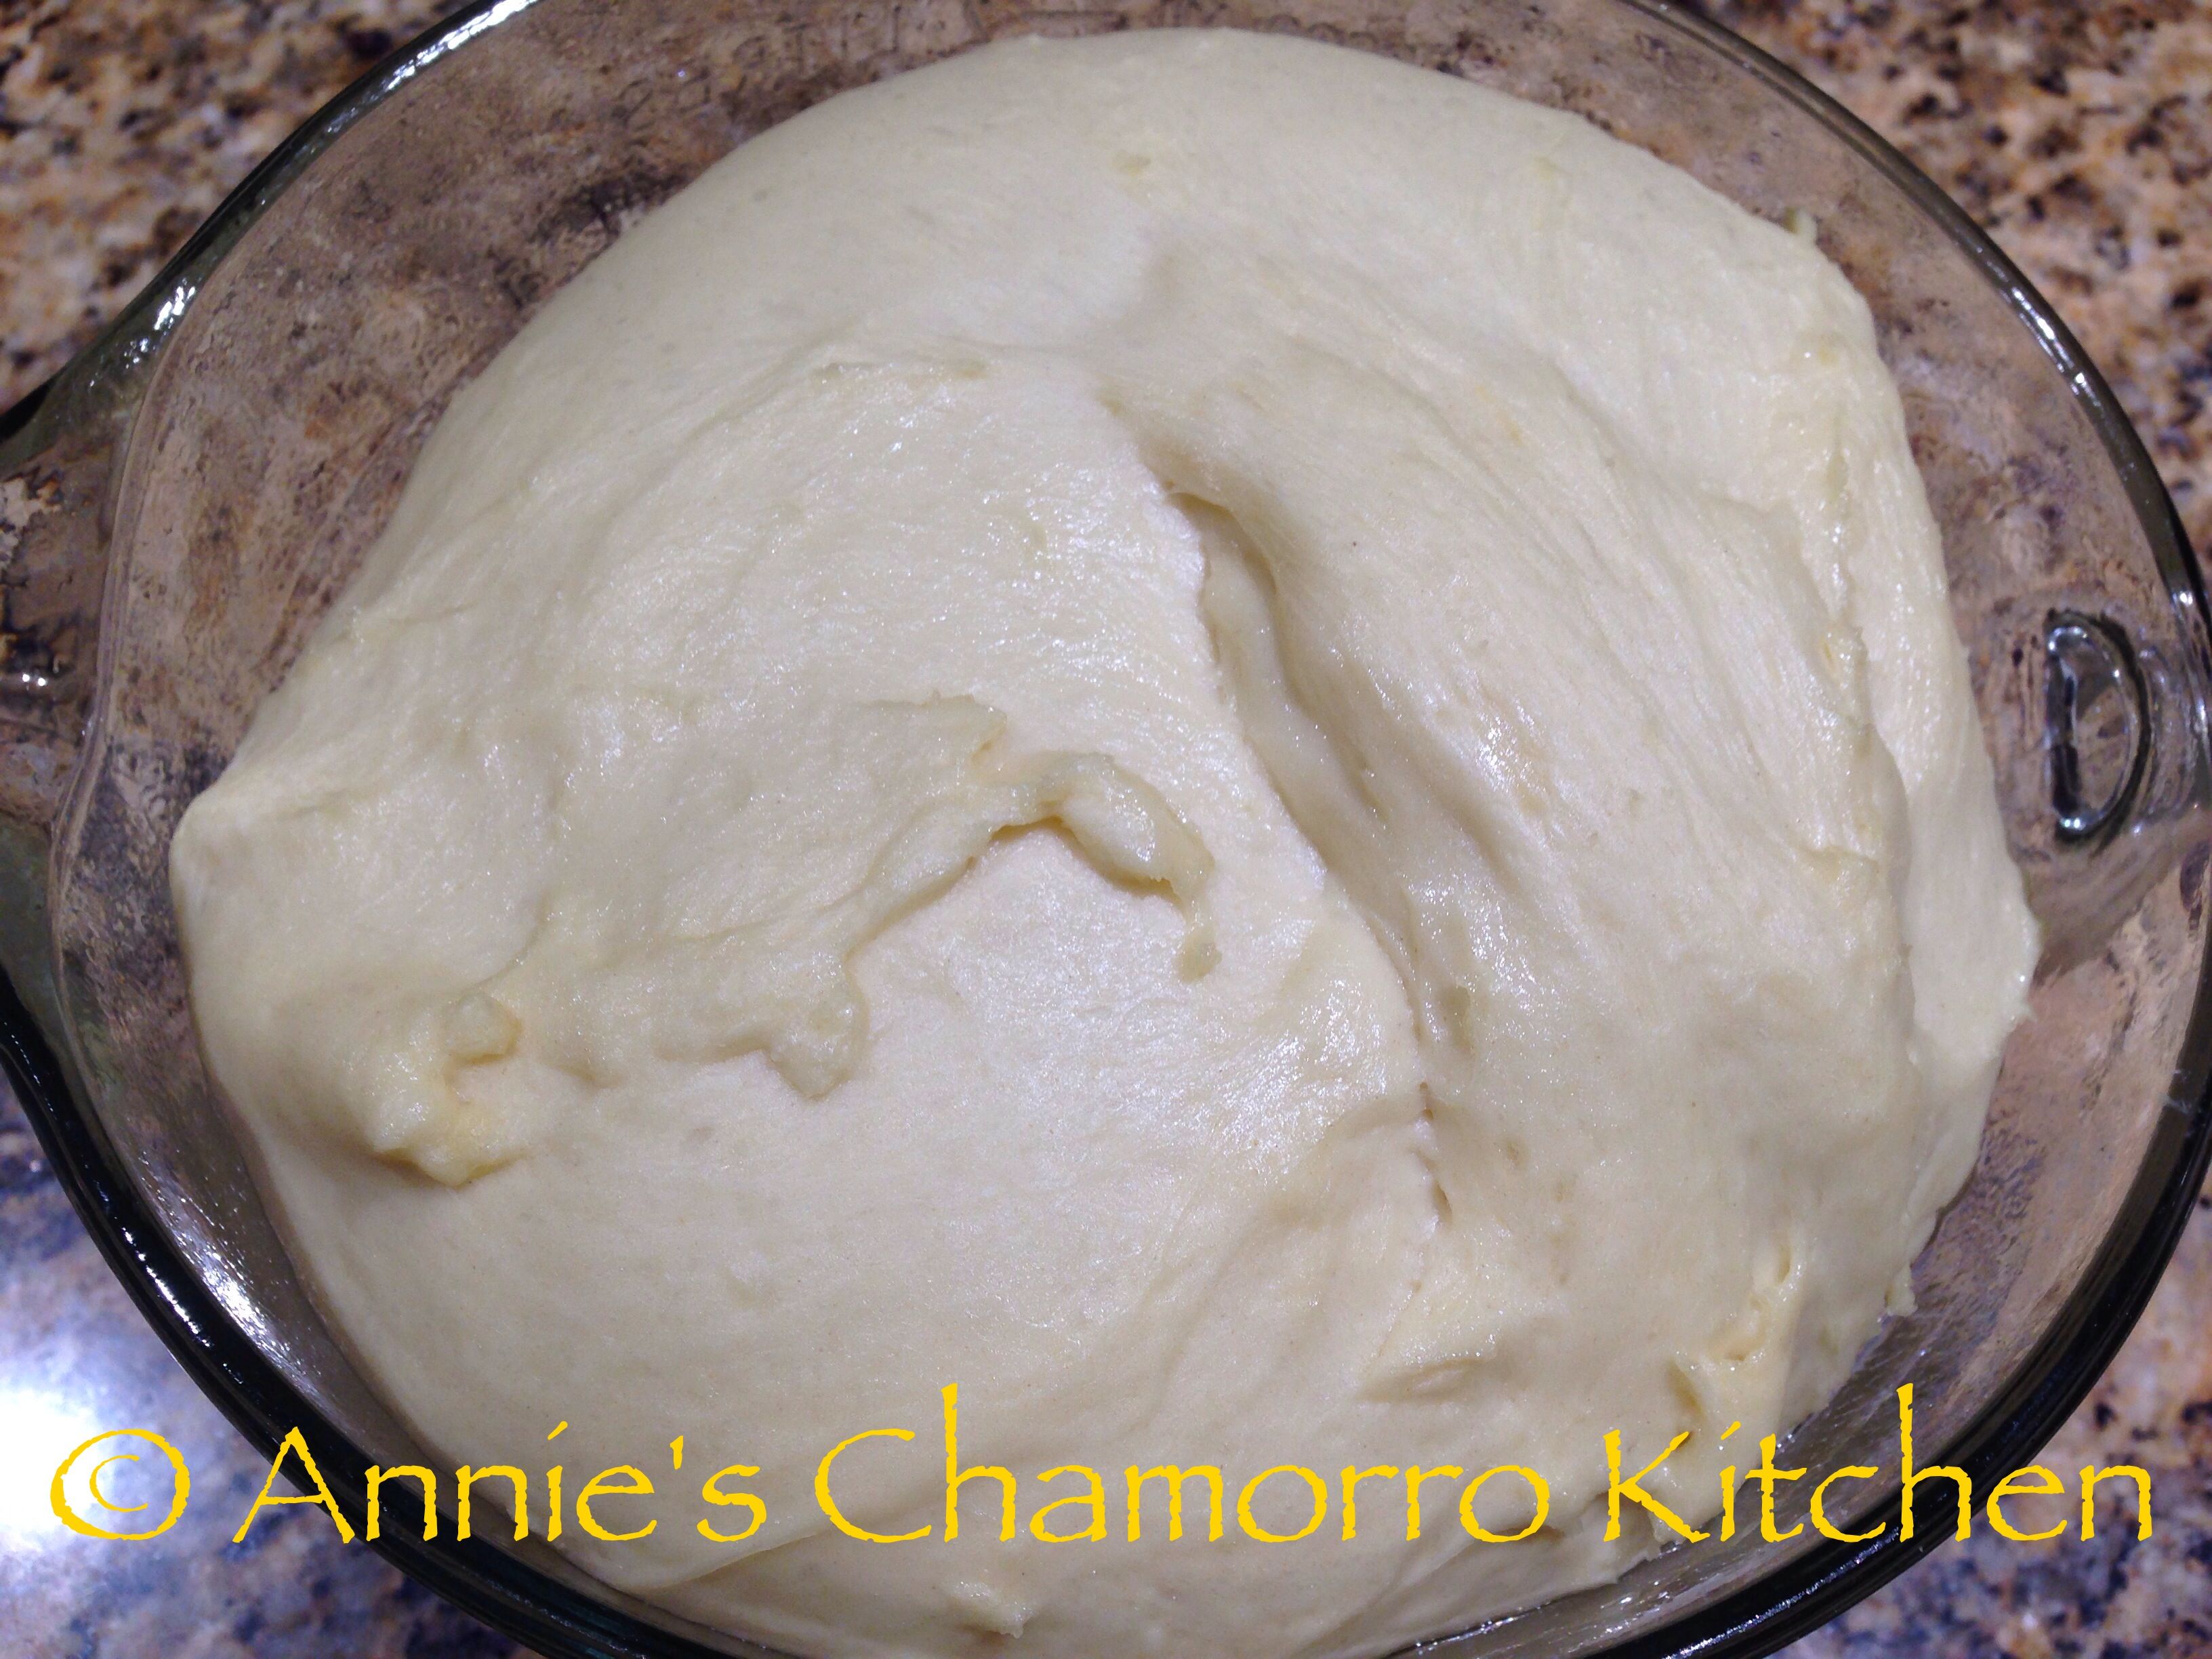
Cover the bowl with a clean kitchen towel. Place in a warm place to rise until the dough has doubled in size.

IMG_1826

Depending on how warm or cold your rising place is, this step could take about 2 hours. A trick I learned is to place the glass bowl into a cold oven, then turn the oven on to 400 degrees–keep the oven on for EXACTLY ONE MINUTE then turn the oven off. After 30 minutes, check to see how much the dough has risen. If you need to, reheat the oven (turn it on to 400 degrees for precisely one minute then turn the oven back off). I did this “heating trick” a total of two times — once when I first put the bowl into the oven, and once more after 30 minutes. After one hour, my dough doubled in size quite nicely.

IMG_1865

Oh, I should mention that when my kids made these rolls, it was about 22 degrees outside with a bit of snow coming down. So, don’t let the outside temperature dissuade you from making these delectable rolls.

While you wait for the dough to rise, make the frosting.

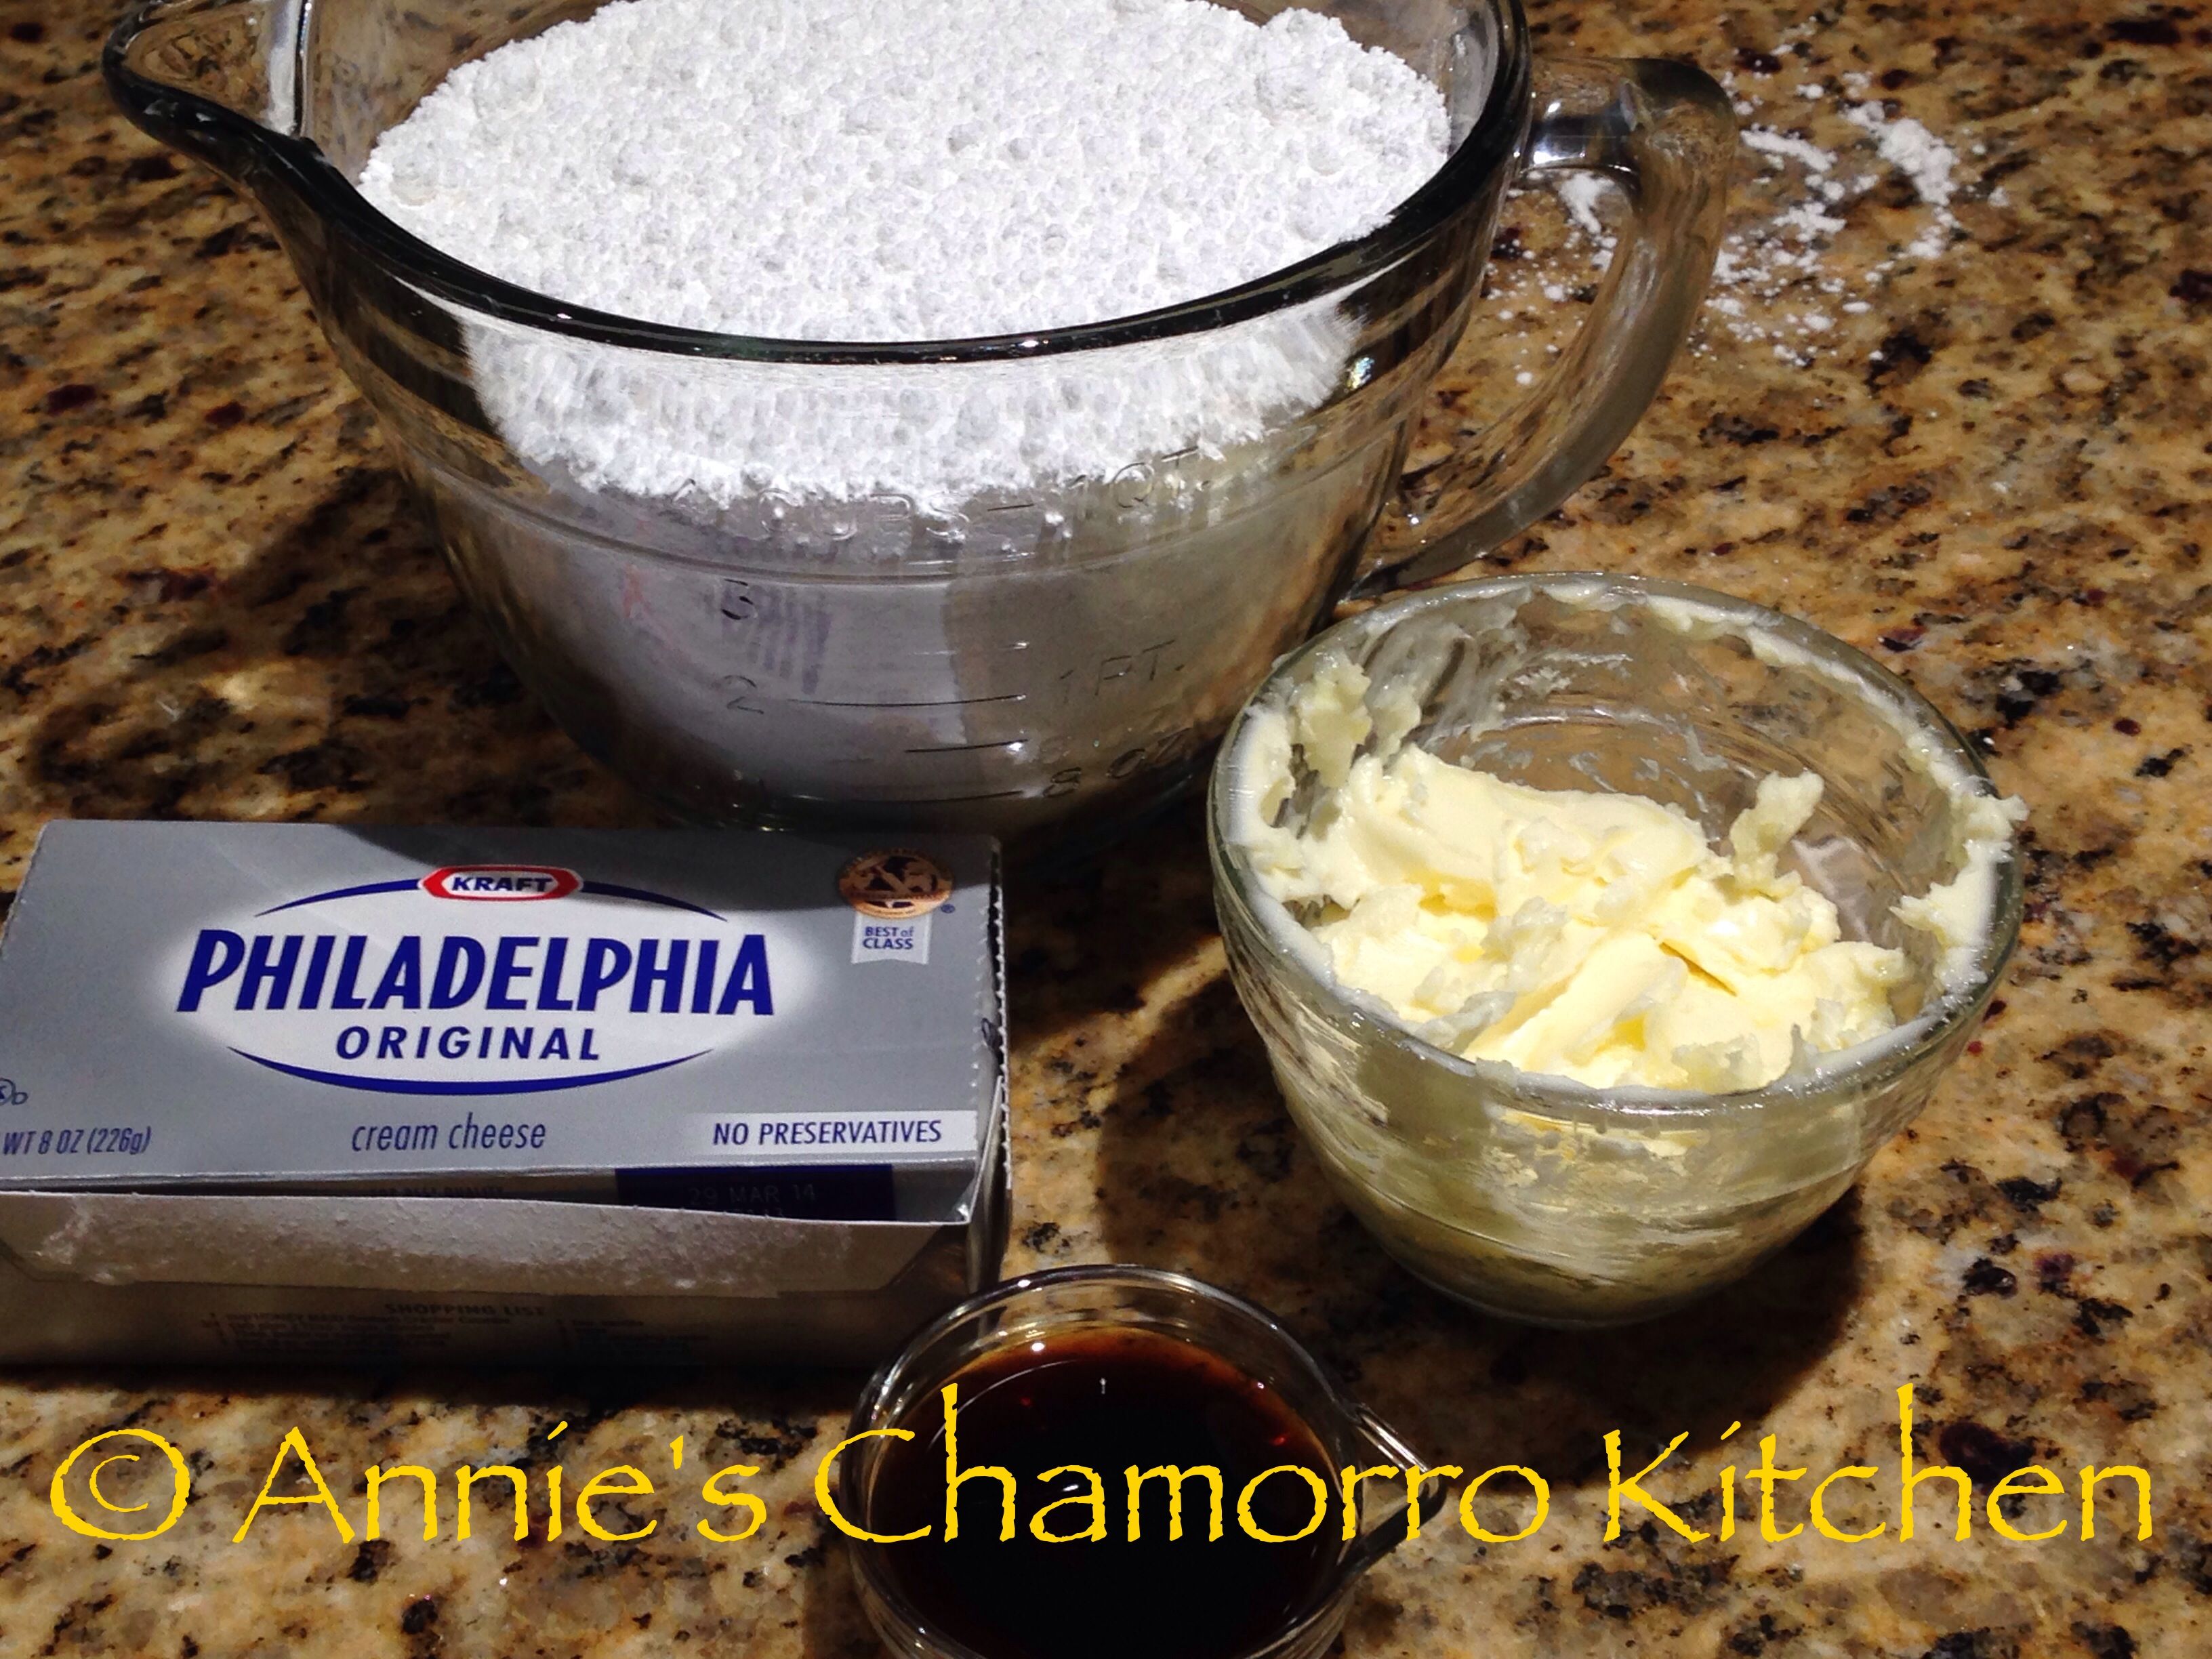
Cream Cheese Frosting Ingredients:

  • 8 ounces cream cheese, softened to room temperature
  • 3/4 cup unsalted butter, softened to room temperature
  • 4 cups powdered sugar (no need to pre-sift)
  • 1 tablespoon vanilla extract

IMG_1804

Frosting Directions:

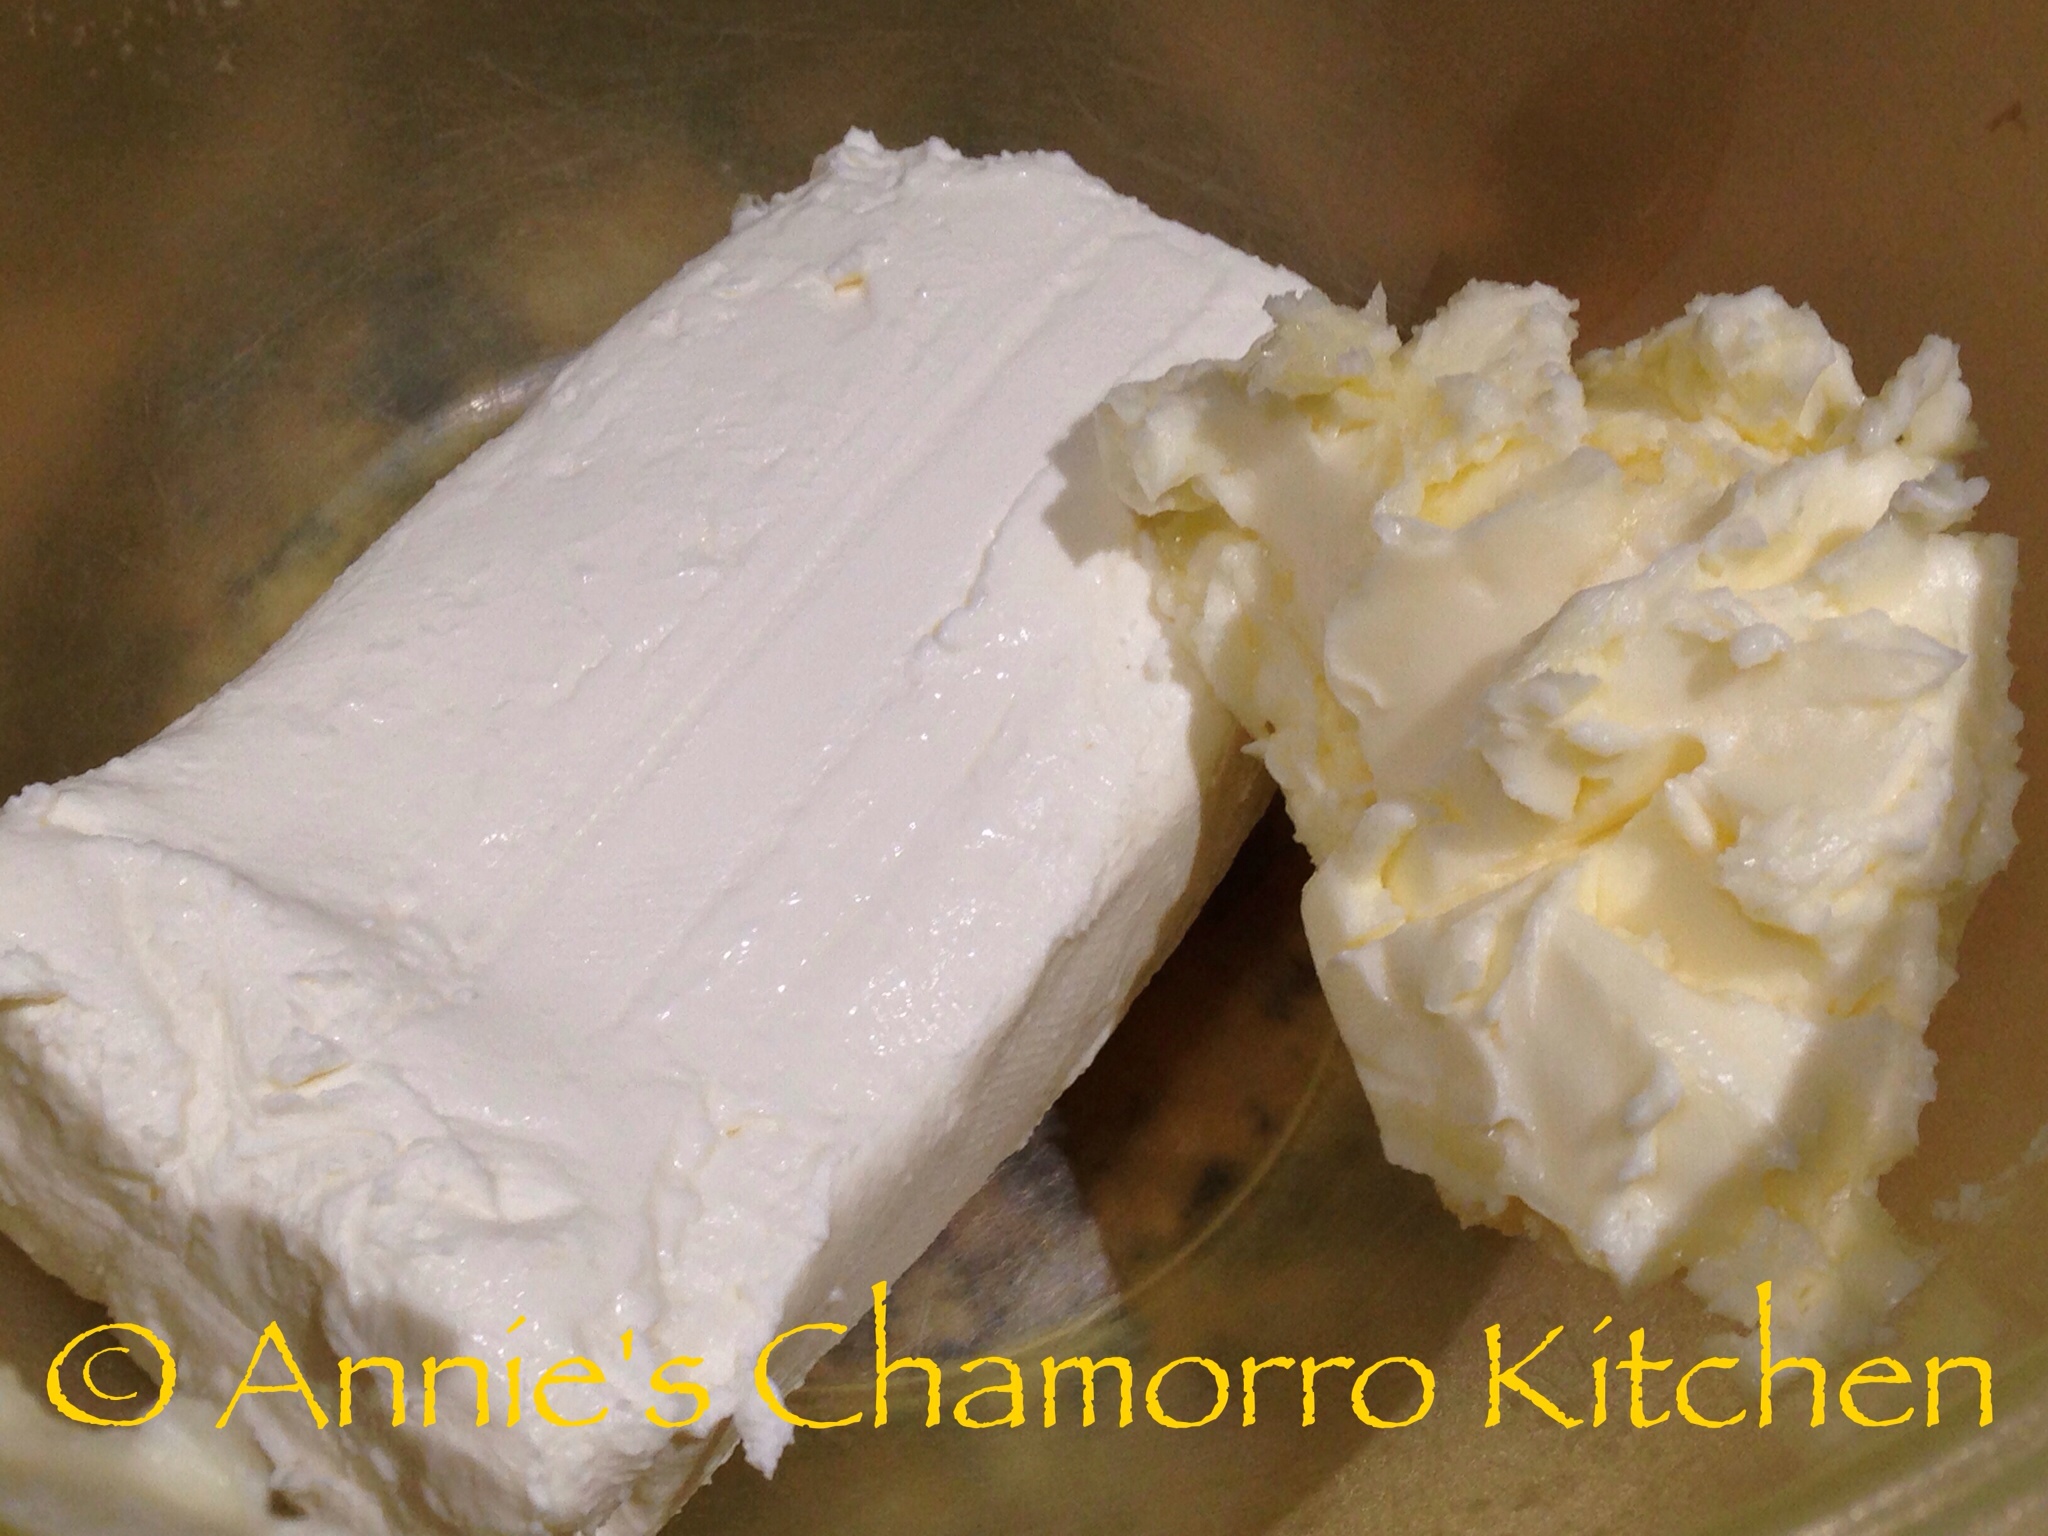
Place the cream cheese and butter into a small mixing bowl.

wpid-Photo-Nov-24-2013-327-PM.jpg

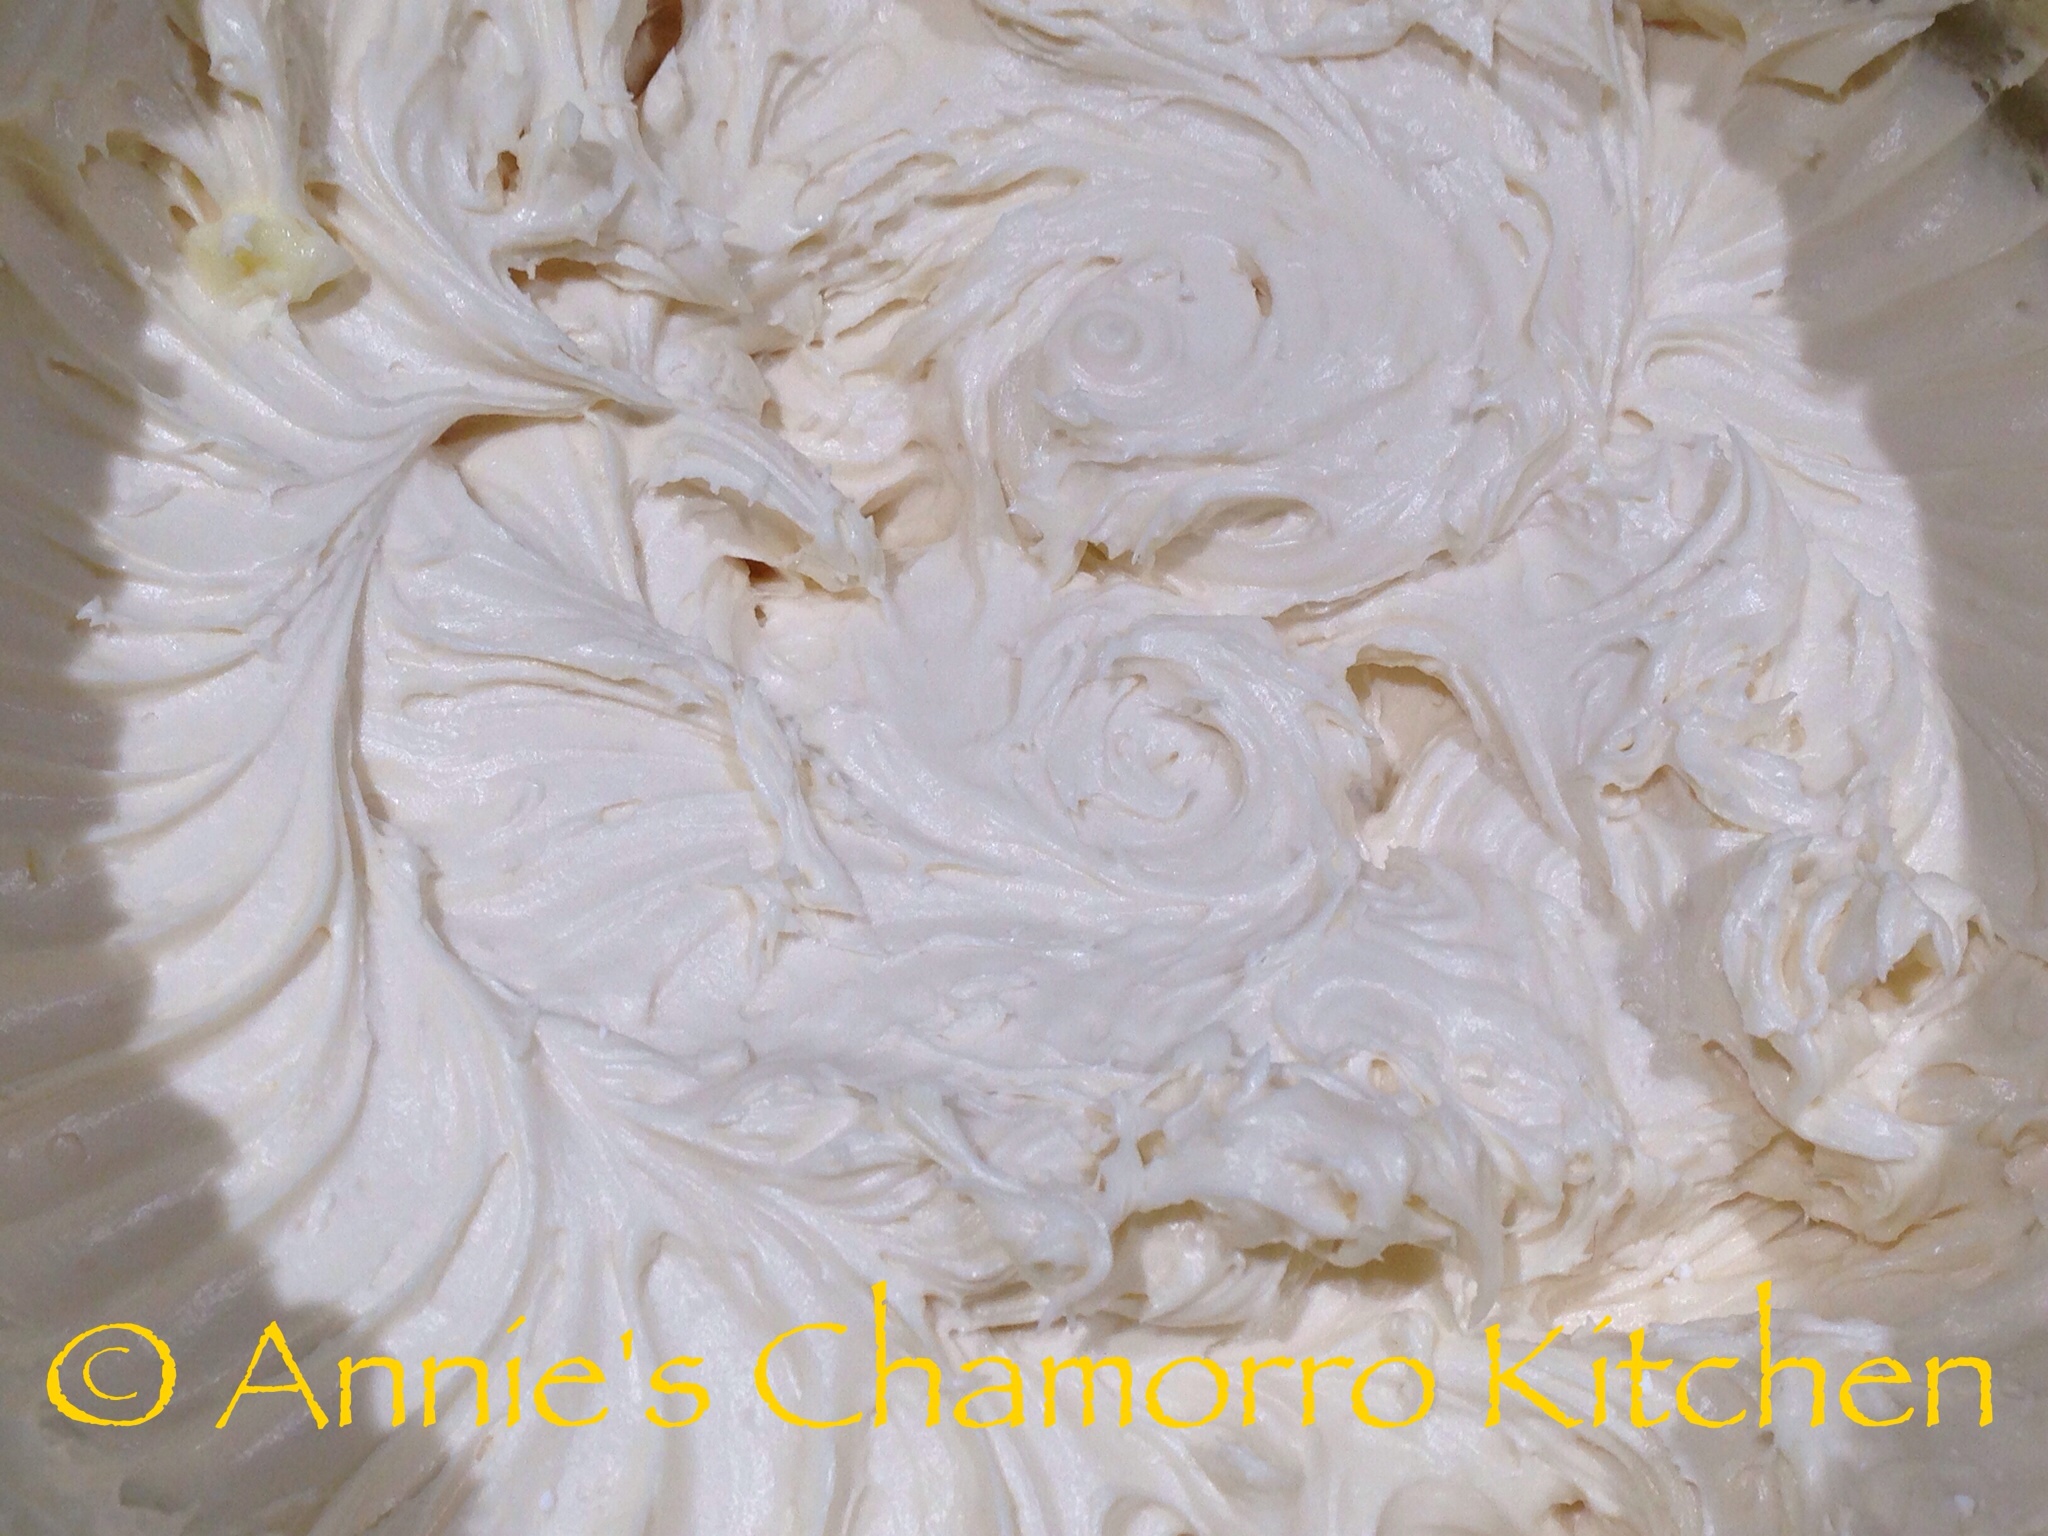
Using a hand mixer, beat the cream cheese and butter together until creamy.

wpid-Photo-Nov-24-2013-334-PM.jpg

Add the powdered sugar to the mixing bowl. Mix on low speed until the sugar and cream cheese-butter mixture is combined.

IMG_1829

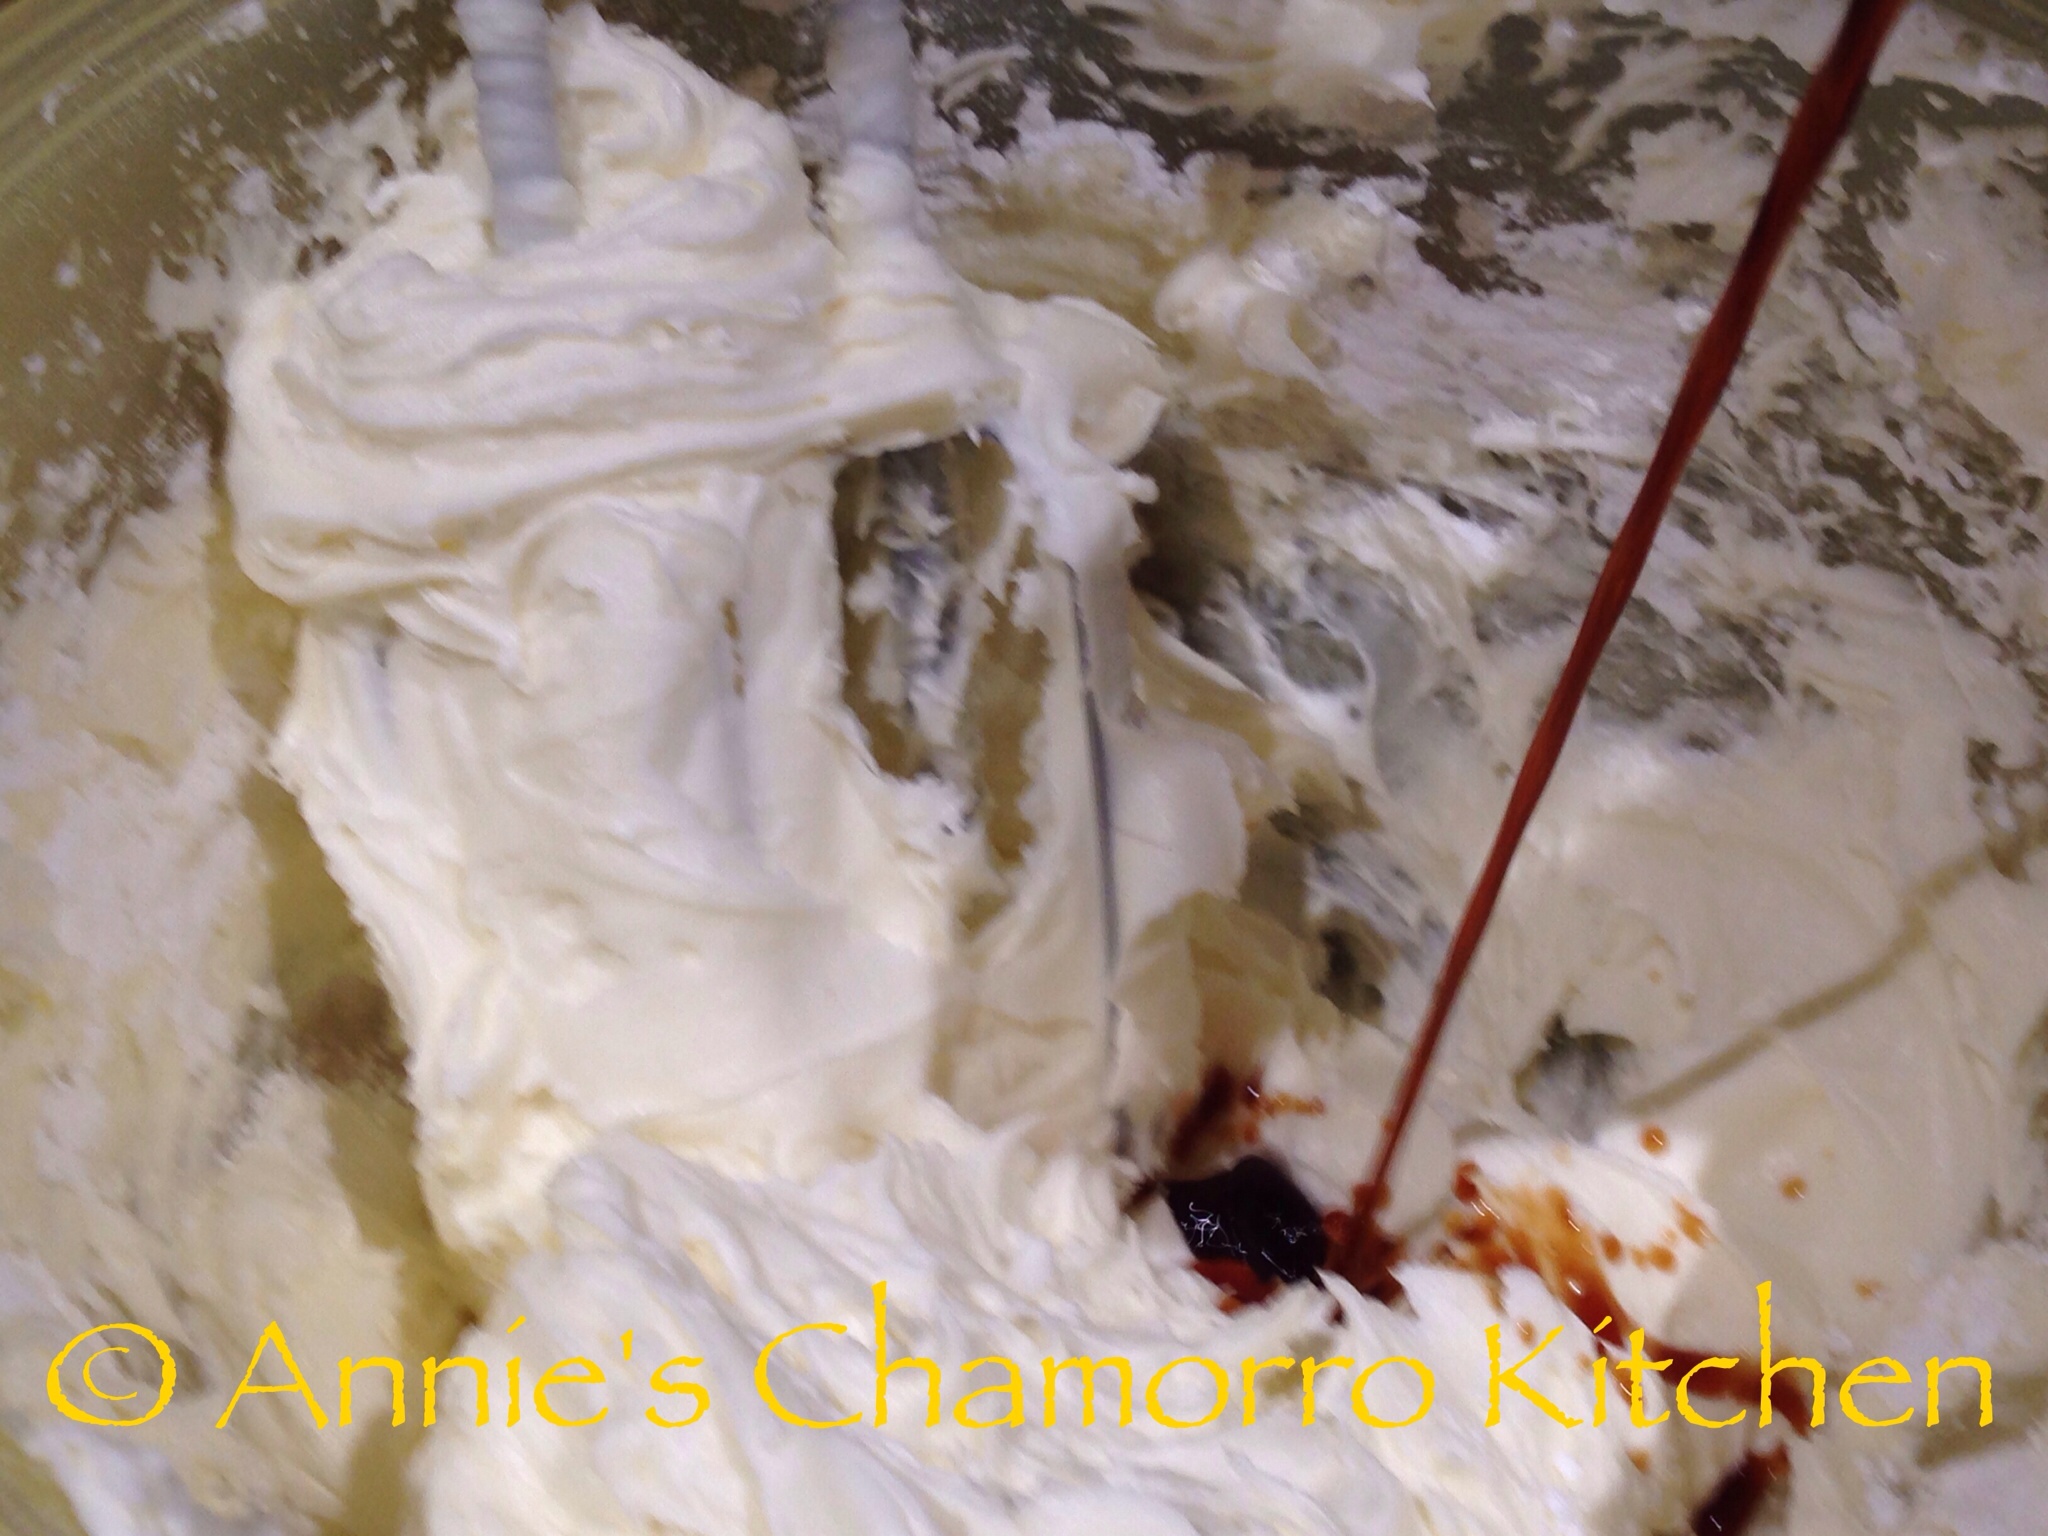
Add the vanilla extract to the mixing bowl. Mix on medium speed until creamy. Set aside.

wpid-Photo-Nov-24-2013-332-PM.jpg

Resist every temptation to eat the frosting with a spoon. Licking the beaters are okay, however. 😀

IMG_1833

Set the frosting aside and prepare the cinnamon-sugar filling.

Cinnamon Sugar Filling Ingredients:

  • 1 cup packed dark brown sugar
  • 5 teaspoons cinnamon
  • 1 stick (1/2 cup) unsalted butter

IMG_1805

Filling Directions:

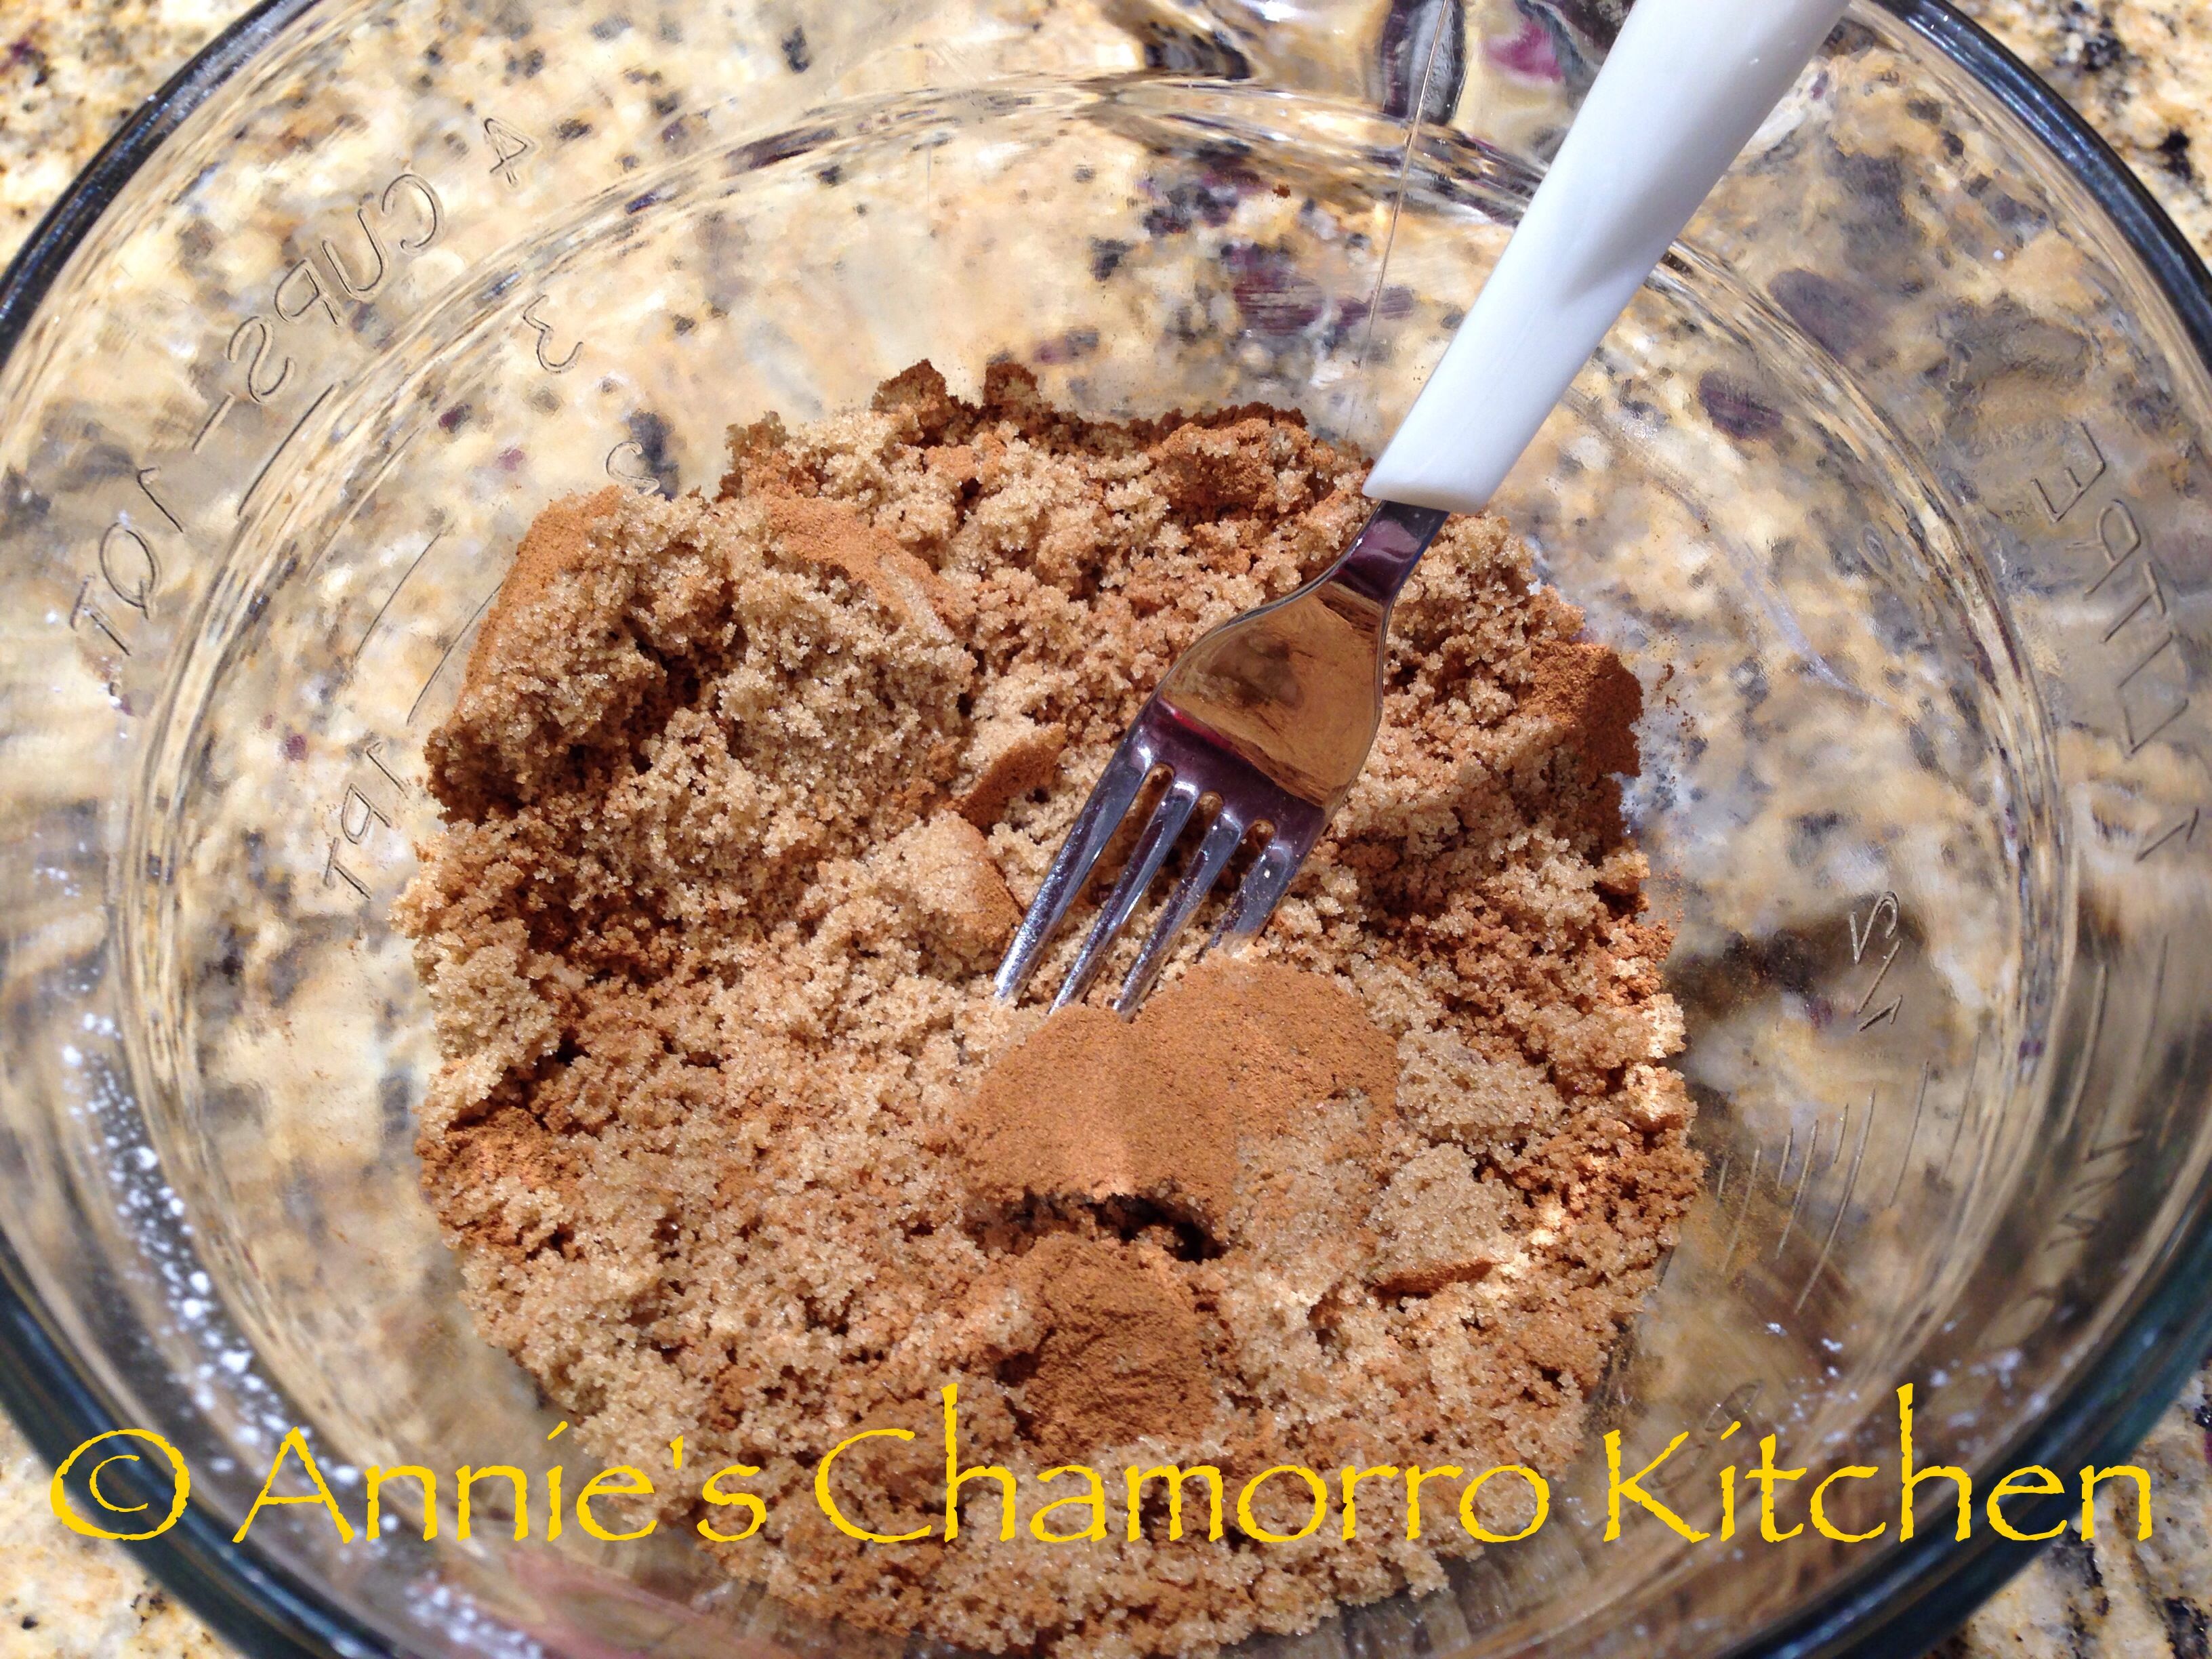
Mix the brown sugar and cinnamon together in a small bowl. Set aside.

IMG_1834

IMG_1835

Keep the butter at room temperature to soften.

After the dough has doubled in size, it’s time to roll and fill the dough.

Roll the Dough:

Punch down the middle of the risen dough. You only need to punch it once; the goal is to deflate the dough, not beat it senseless.

IMG_1866

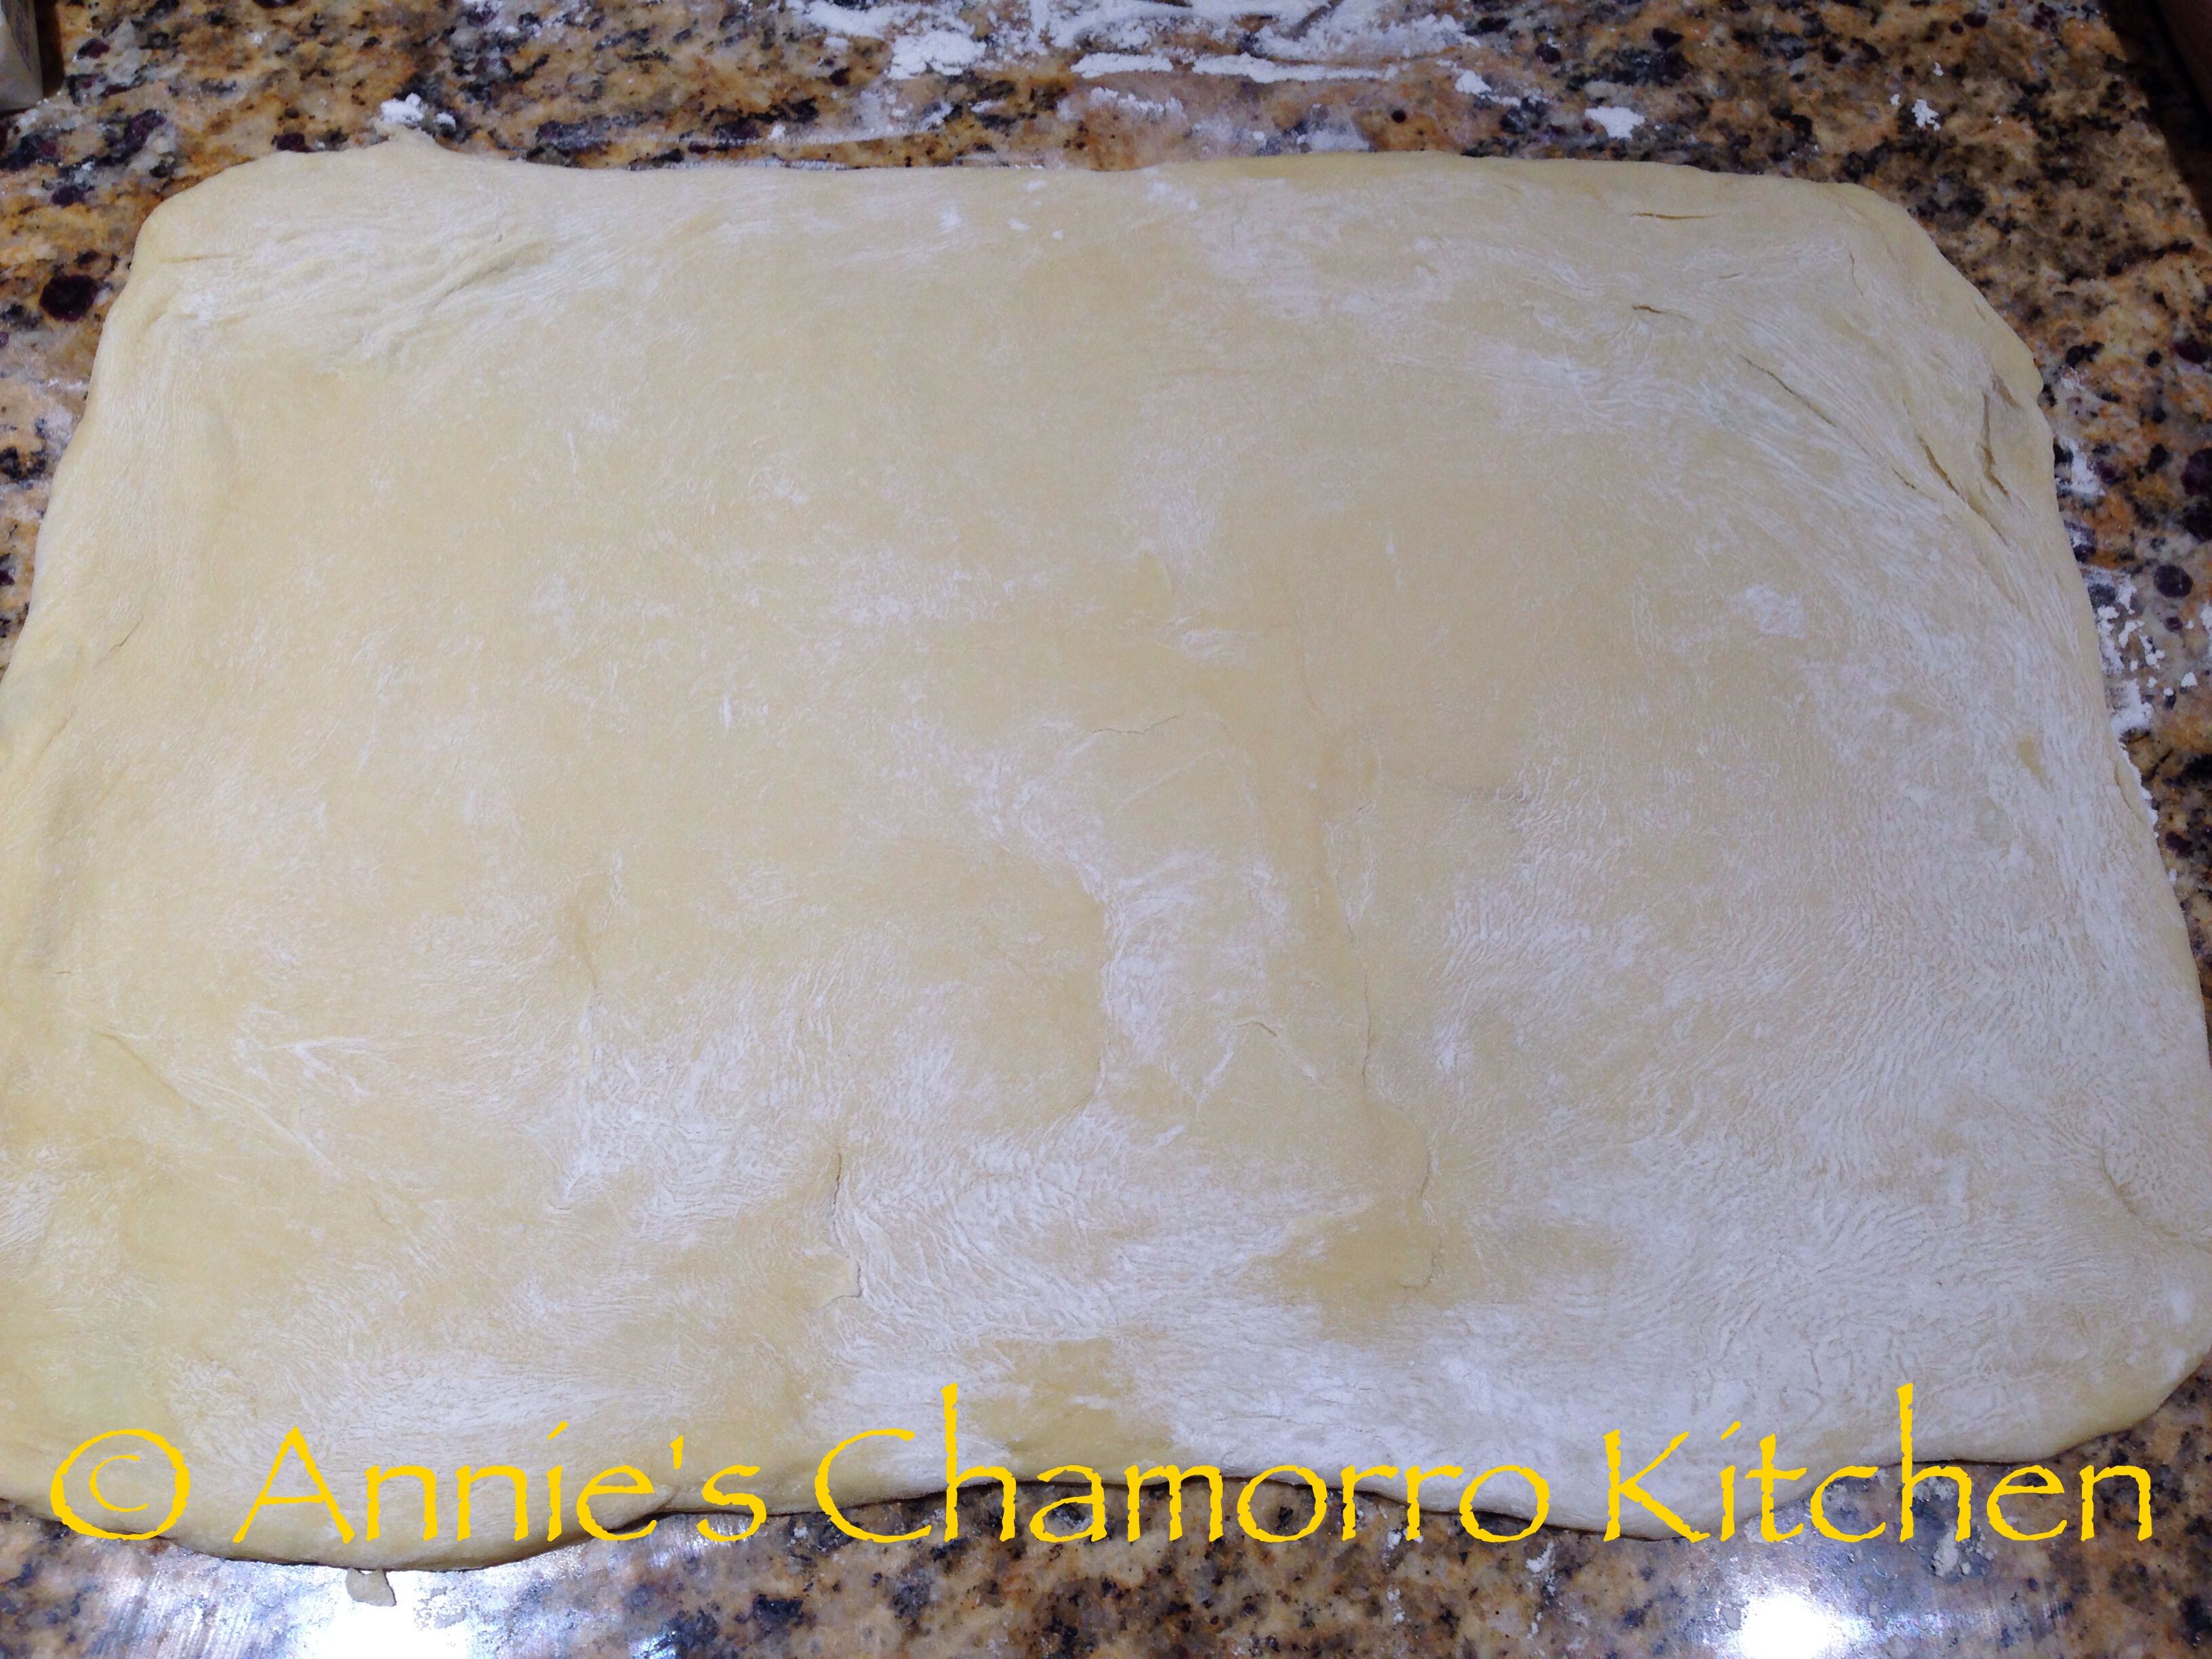
Flour the surface of your countertop then place the dough on top of the floured surface. Use a rolling pin to roll out a rectangle, roughly 12×17 inches, give or take an inch or two.

IMG_1867

IMG_1868

Now comes the fun part. Take the butter that’s been softening at room temperature and spread it all over the surface of the dough, stopping about an inch from the edges.

Go on…get your impeccably clean hands in that butter….

IMG_1869

IMG_1871

IMG_1873

Evenly sprinkle the cinnamon-sugar filling over the buttered portion.

IMG_1874

IMG_1875

Starting at the long edge, roll the dough, jelly-roll style.

IMG_1942

We’re going to make a dozen cinnamon rolls, so using a dough scraper, sharp knife or unflavored and unwaxed dental floss, cut the rolled dough into 12 pieces.

An easy way to do this is to first the the log in half.

IMG_1880

Cut each half into halves.

IMG_1881

Slice each quarter piece into thirds.

IMG_1882

Continue slicing each piece until you get 12 pieces.

IMG_1883

These rolls will have to double in size again, and believe me when I tell you that they will DOUBLE in size. And this is BEFORE baking–the rolls will “grow” even larger while they bake!

For this reason, a “normal” 9×13-inch pan will be too small to hold these yummy rolls. I use a half-sheet pan to bake these beauties.

Prepare the pan by lining it with aluminum foil. You don’t have to do this; however, it makes clean-up so much easier!

IMG_1872

Place the rolls onto the pan. Space them out quite a bit–like I mentioned above, these beauties will RISE!

IMG_1884

***NOTE***

If you want to have these rolls for breakfast, hot out of the oven, STOP HERE.  Cover the rolls with plastic wrap (I recommend using the Press-N-Seal brand so that it sticks to the metal tray) and place the entire tray of UNRISEN rolls in the refrigerator OVERNIGHT.  Don’t worry–the rising process will slow waaaaayyyy down in your refrigerator’s cold environment.  You can keep the rolls in the ‘fridge for 12-16 hours, no problem.  In the morning (about 90 minutes earlier from the time you want to eat these rolls) — take the tray of rolls out of the refrigerator.  Remove the plastic wrap and let the rolls sit at room temperature for one hour.  After an hour, preheat your oven and bake at 350 degrees for 20 minutes.  Let the rolls cool before frosting.

The implied task is that you start making these rolls at night, or late afternoon, so that you can refrigerate them for the requisite 12-16 hours prior to baking them in the morning.

***If you DO NOT WANT TO WAIT OVERNIGHT to enjoy these fantabulous rolls, finish the process by following the remaining steps below.*****

Okay, now where were we….  Oh yeah…we need to make those rolls rise.

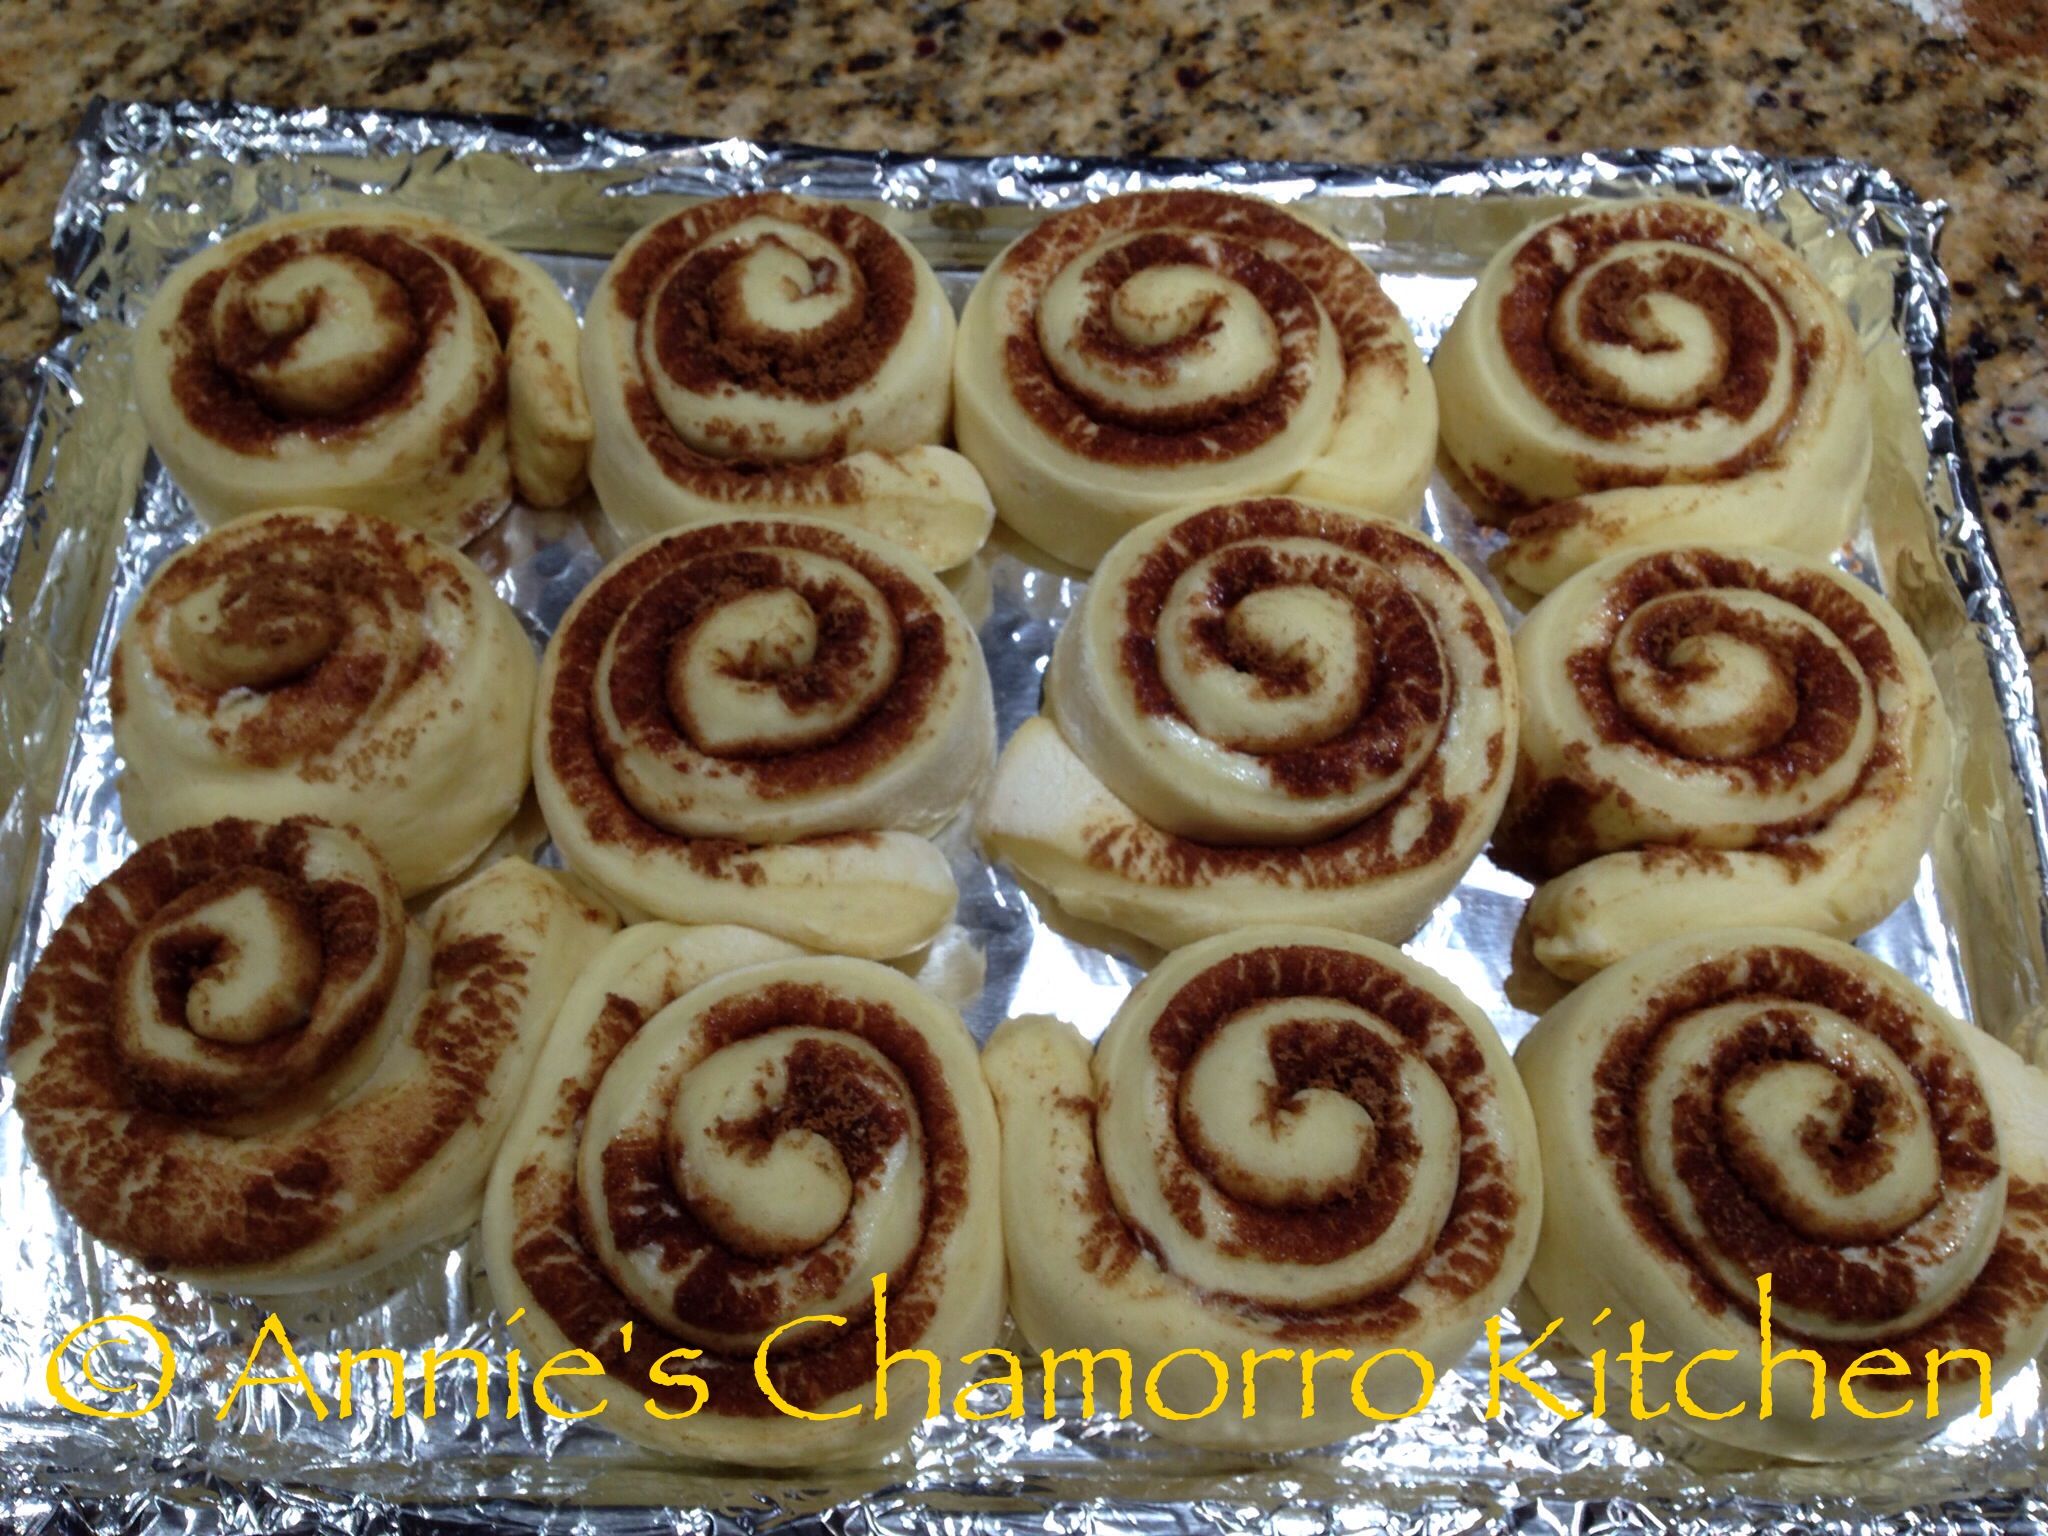
Using my “heating trick” mentioned above, create a warm place for the tray of rolls to rise by turning the oven on to 400 degrees for EXACTLY one minute, then turn the oven OFF.  Place the tray into the warm oven. Let the rolls rise for about 30-45 minutes.

Look how much these babies GREW! Oh, they grow up so fast, don’t they?! Don’t blink or you’ll miss it! LOL 😀

IMG_1928

Look at the size of each roll, compared to the size of a pomegranate (which was the size of a softball).  And this is the size BEFORE baking.  Wait ’till you see the size these beauties become AFTER baking!

IMG_1929

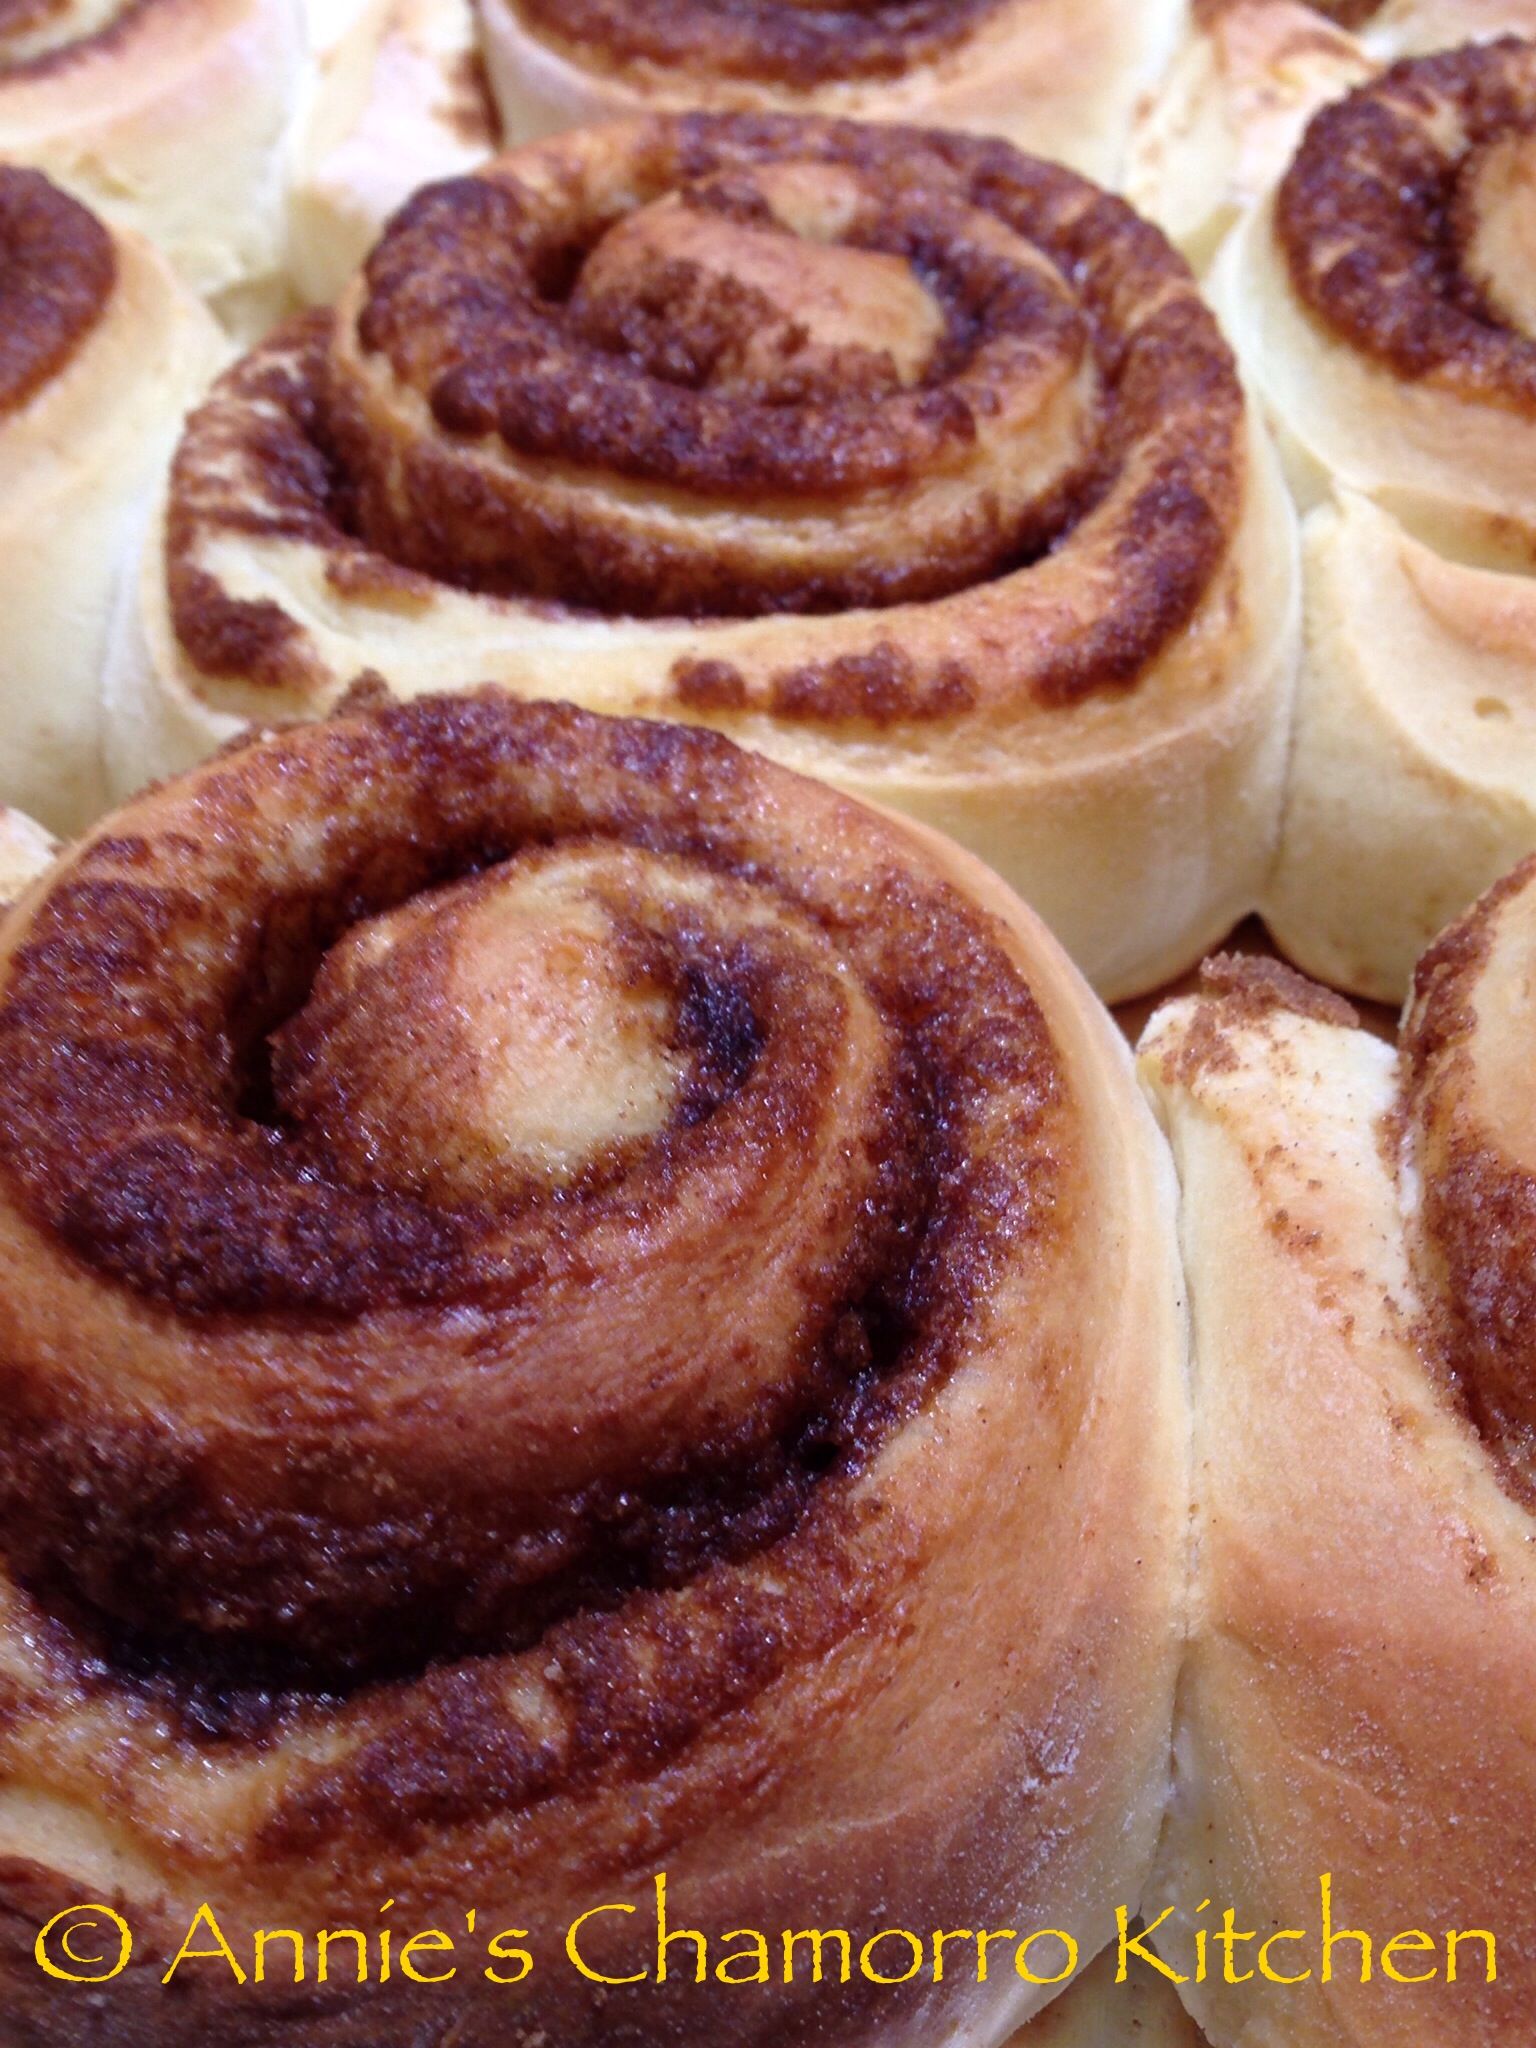
Heat the oven to 350 degrees. Bake the rolls for 20 minutes. These rolls are meant to be a light golden brown when done.

IMG_1931      IMG_1930

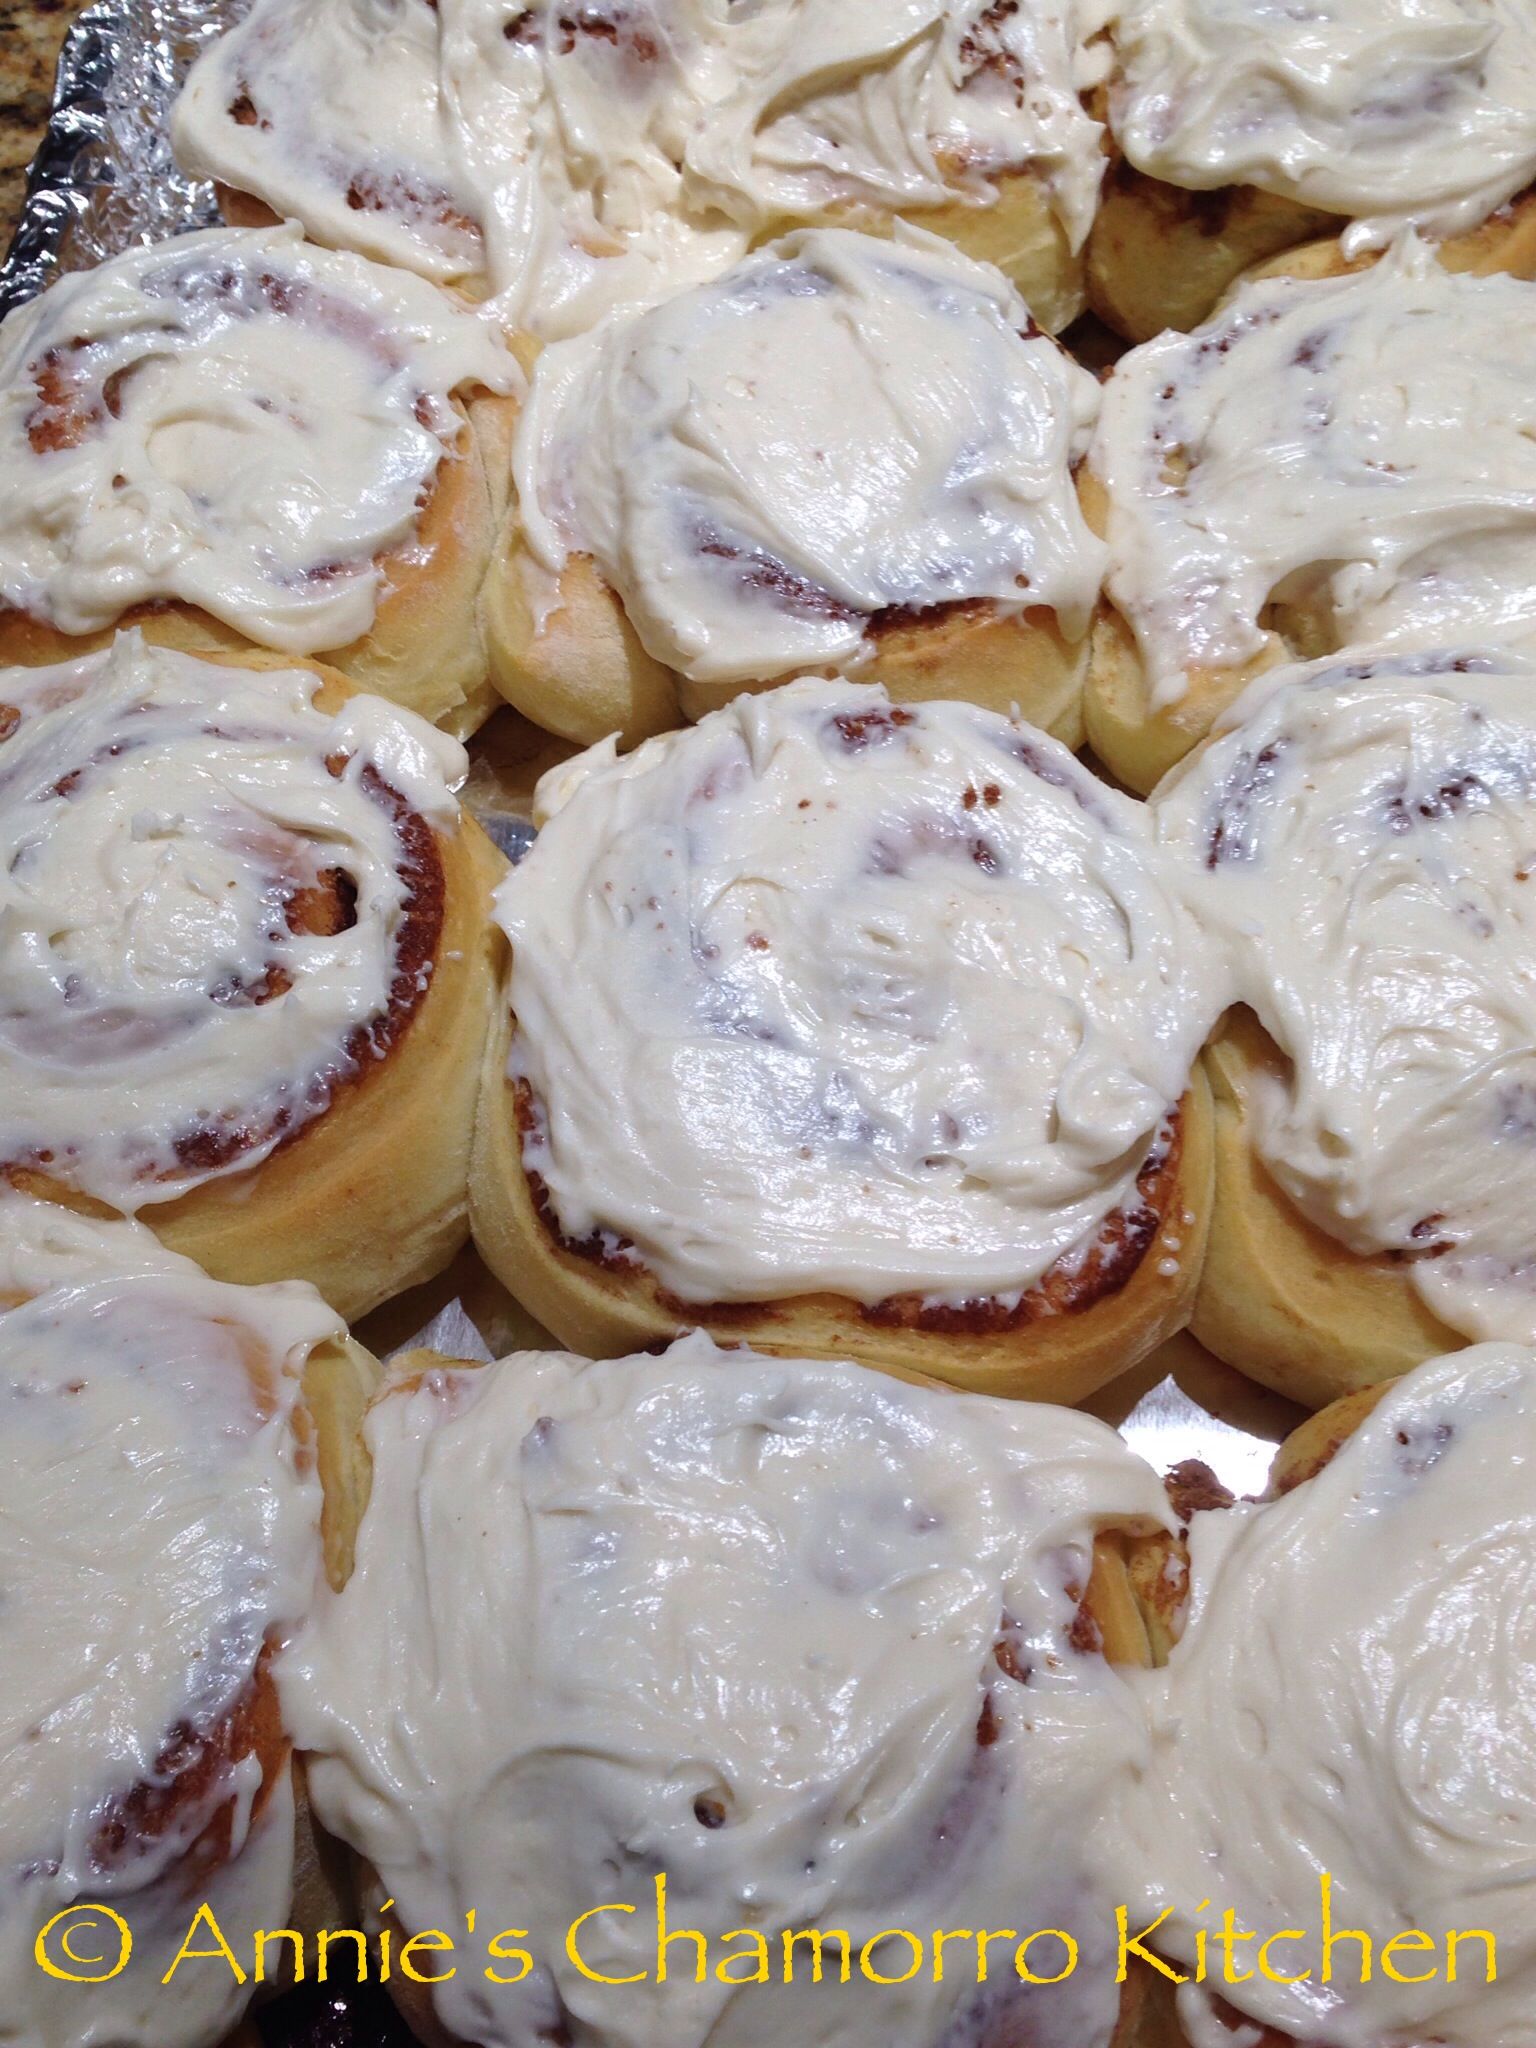
Let the rolls cool before frosting. Generously frost each roll then serve and enjoy! The rolls will stay fresh for about 4 days (if they last that long!). Cover any uneaten rolls with aluminum foil or place the rolls in an airtight container.

ENJOY!

IMG_1933

Print Friendly, PDF & Email

Fruit Pizza with a Sugar Cookie Crust

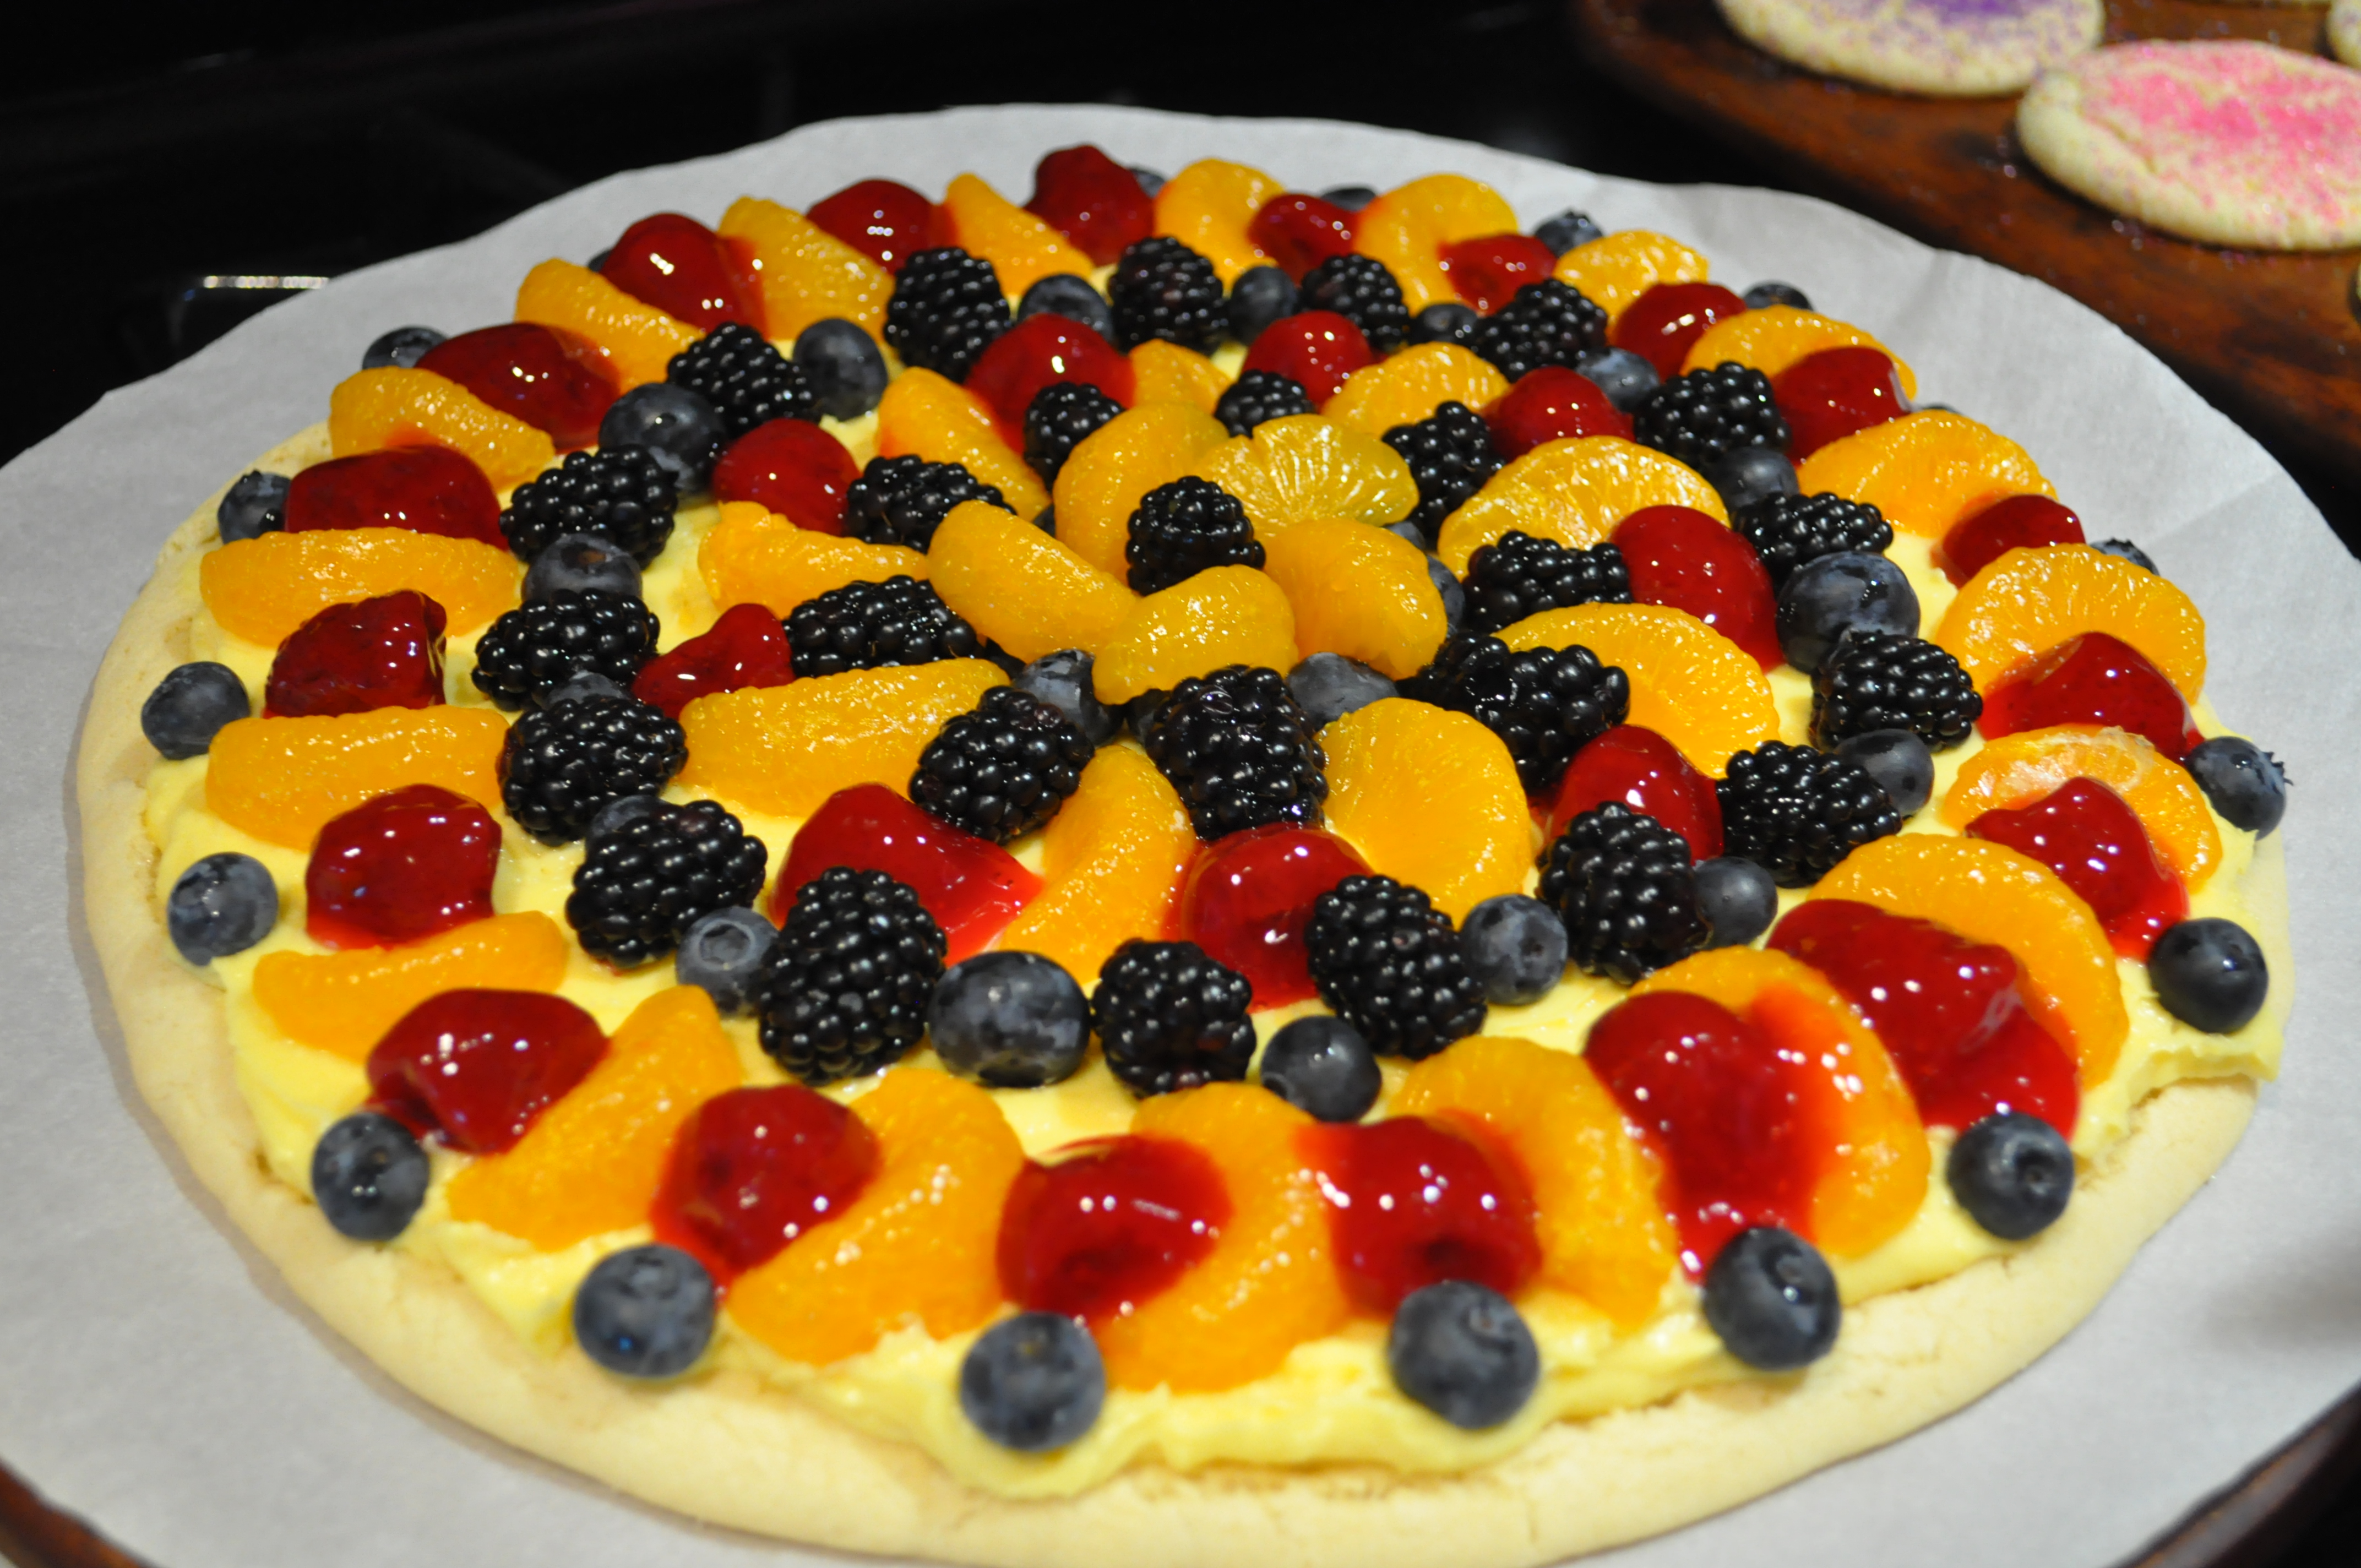
One of my favorite desserts is a fruit pizza.  My recipe uses a soft sugar cookie crust with a creamy vanilla filling.  Top this delectable dessert with your favorite fruit and voila! ~ you’ll have a dessert that will keep you coming back for more!

Give my recipe a try.  I know you’ll love it! 🙂

Fruit Pizza with a Sugar Cookie Crust

DSC_0076

Ingredients:

Cookie Crust:

Note: This dough makes enough for two pizzas, OR one pizza and a dozen sugar cookies, OR you can make two dozen sugar cookies.

  • 2 1/4 cups all purpose flour
  • 1/2 teaspoon baking soda
  • 1 teaspoon baking powder
  • 1/2 teaspoon salt
  • 1 1/2 cups white, granulated sugar
  • 2 ounces cream cheese
  • 6 tablespoons butter
  • 1/3 cup vegetable oil
  • 1 large egg
  • 1 tablespoon milk
  • 2 teaspoons vanilla extract
Filling:

*Note: double the following ingredients for the filling if you are making two pizzas

  • 8 ounces cream cheese
  • 1 cup white, granulated sugar
  • 1 large box instant vanilla pudding mix
  • 1 cup milk
  • 1 teaspoon vanilla extract
Topping:
  • Any fruit of your choosing, sliced.
  • For this particular pizza (see the photo), I used:
  • 1 can strawberry pie filling (use only the strawberries, not the thick sauce)
  • 2 cans mandarin slices, drained
  • 1 container fresh blueberries
  • 1 container fresh blackberries
Other items needed:
  • Parchment paper, cut to fit the size of your pizza or baking pan (go to Tips & Things for my instructions on how to cut parchment paper to fit your round baking pan)

Directions:

Make the crust:

In a small bowl, mix together the flour, baking soda, baking powder, and salt. Set aside.

Place the sugar in a large mixing bowl. Break the cream cheese into small pieces then add to the mixing bowl.

Melt the butter; pour into the mixing bowl while still hot. Using a whisk, mix the sugar, cream cheese and butter together until somewhat creamy (the hot butter will melt the cream cheese this is what you want to happen).

Next, add the oil; continue whisking until the mixture is nice and creamy.

Add in the egg, milk, and vanilla extract. Whisk until all ingredients are thoroughly combined and the mixture is smooth and creamy.

Using a spatula or large mixing spoon, fold in the dry ingredients. Stir only to the point where you don’t see any large clumps of the flour mixture.

Line your pizza pan with parchment paper. Using either your fingers or a rolling pin, press the dough onto the parchment paper lined pan, stopping when the dough is about 1 1/2 inches from the edge of the pan. Bake at 350 degrees for 15 minutes or until the crust starts to become very lightly browned. Set the crust aside to cool then top with the filling then fruit.

Make the filling:

In a small mixing bowl, use a hand mixer to beat the cream cheese and sugar together until creamy. Mix in the box of instant vanilla pudding mix. Slowly mix in the milk and vanilla extract. Mix on medium speed until there are no lumps from either the cream cheese or pudding mix. Set aside.

Top the pizza:

Spread the filling on top of the cooled cookie crust. Top with your desired fruit slices. Serve chilled or at room temperature.

DSC_0079

NOTE: DIRECTIONS FOR SUGAR COOKIES:

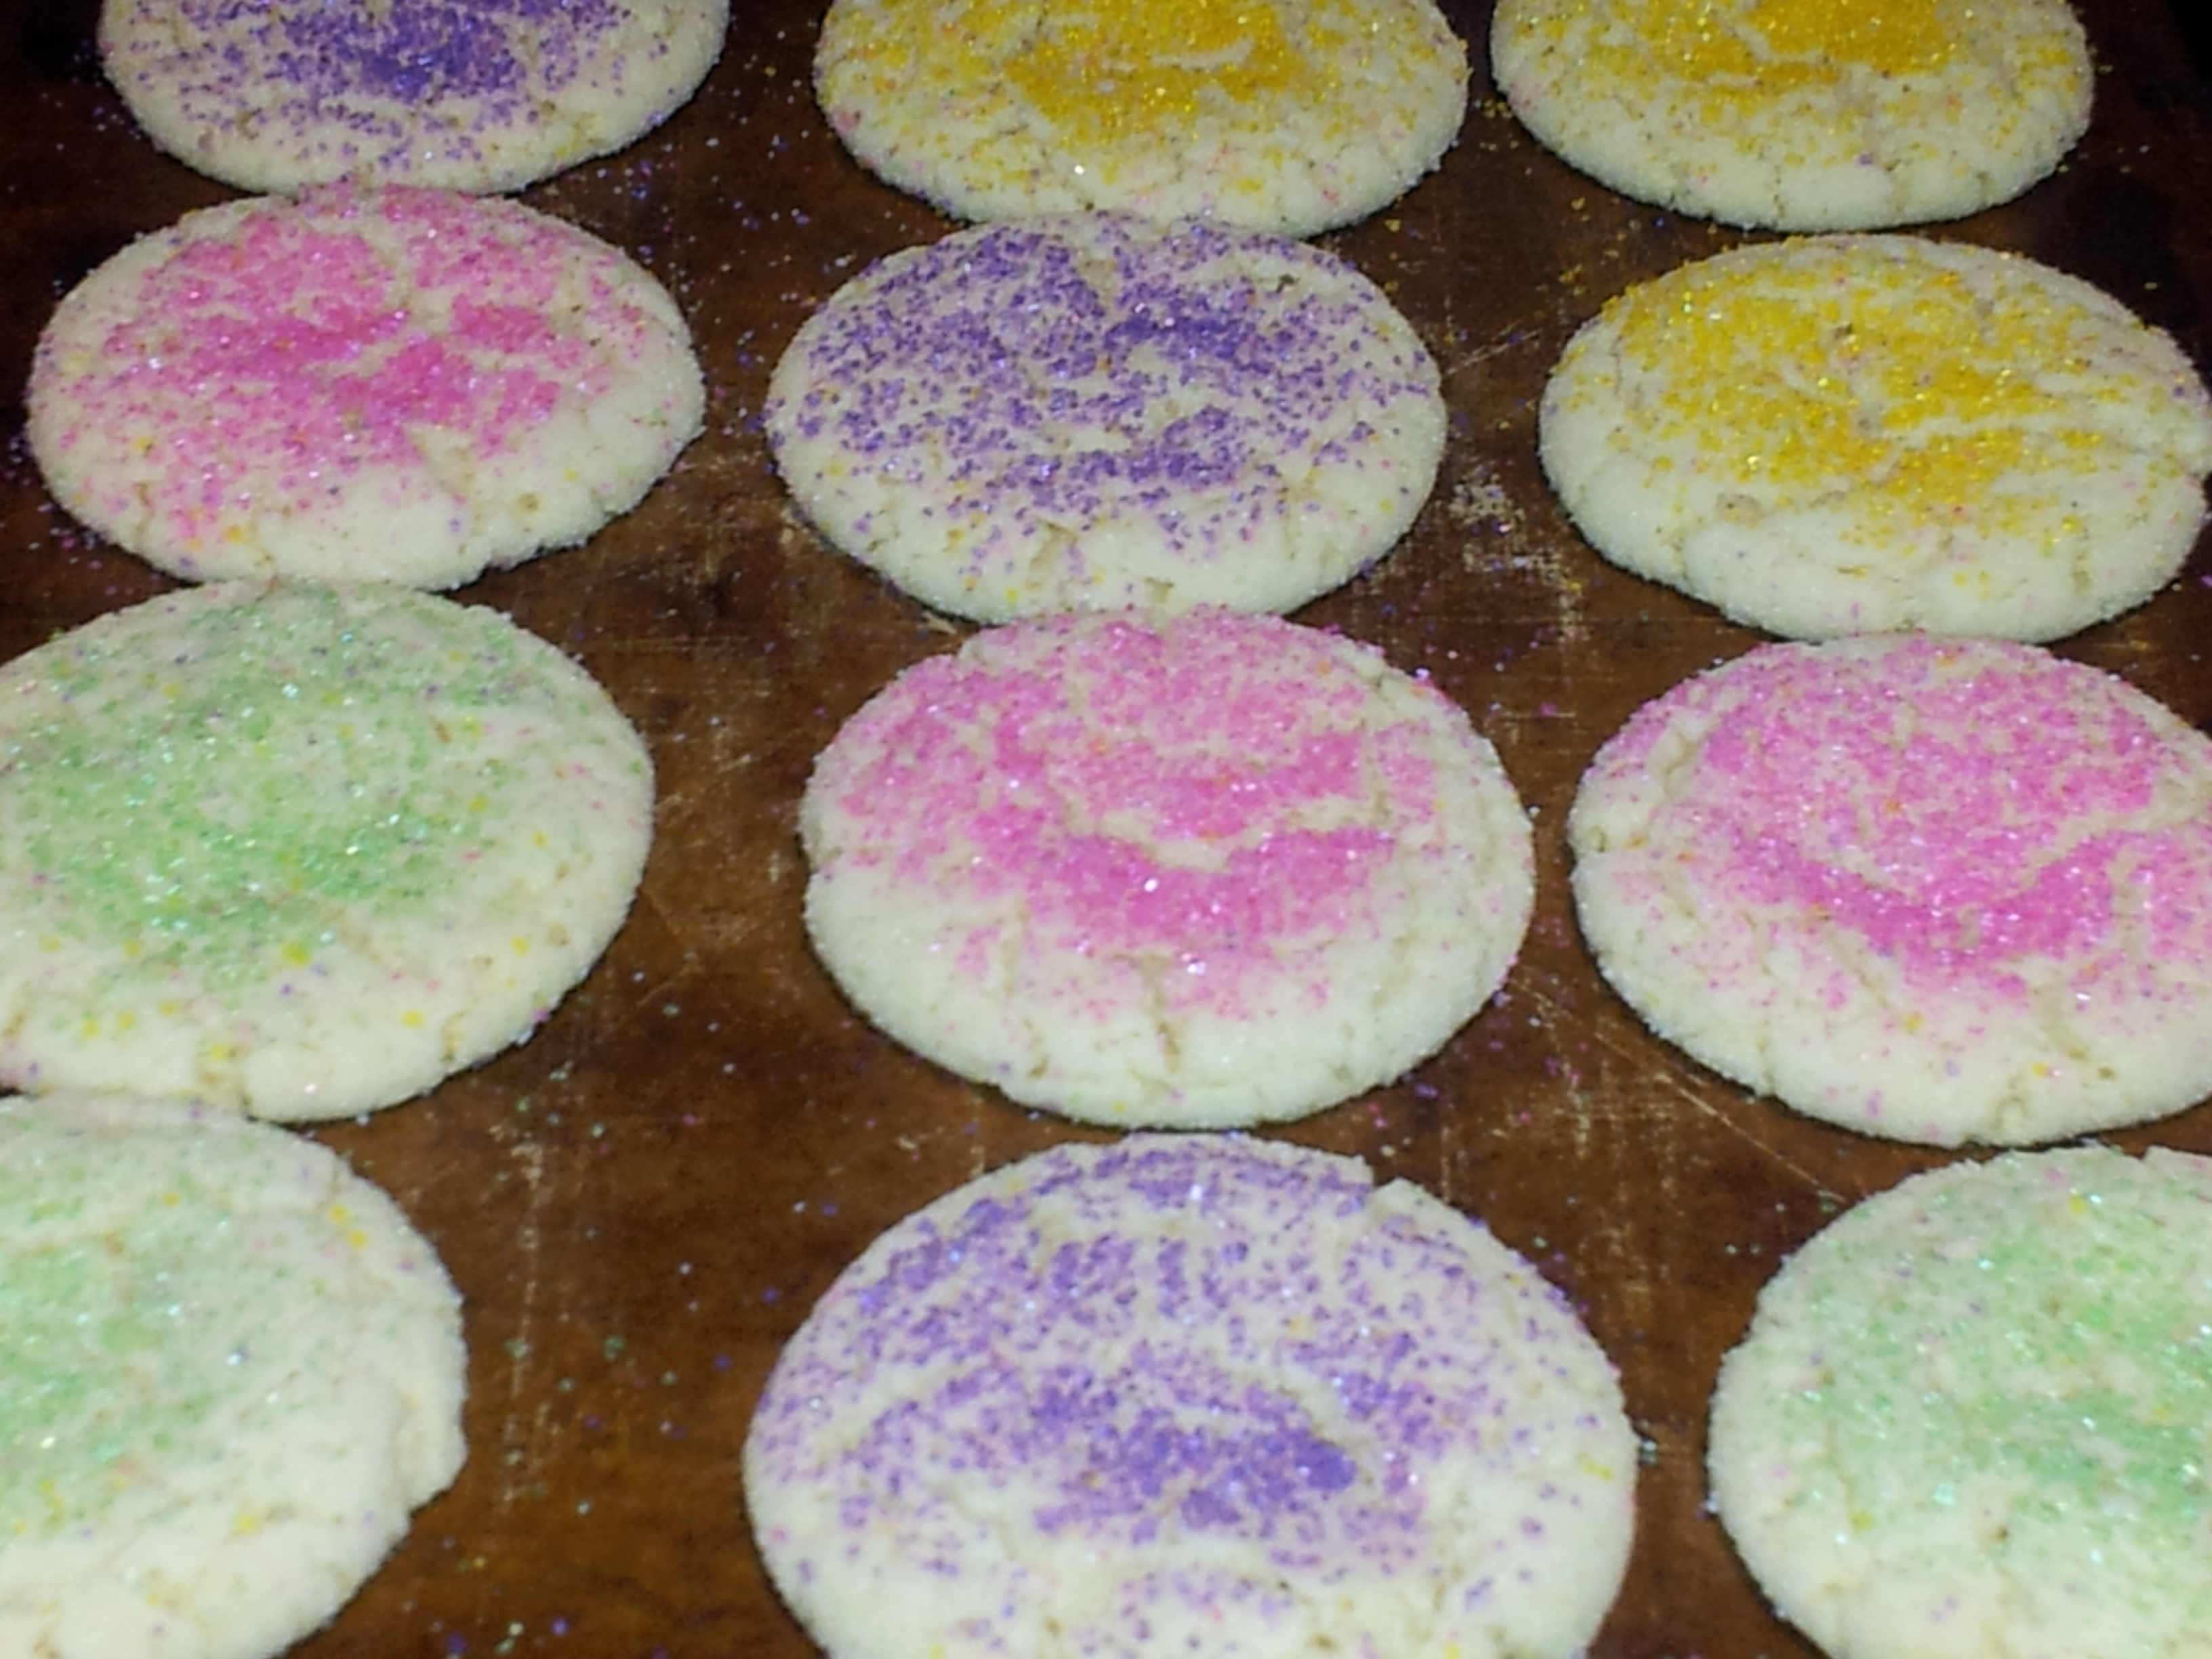
Make small balls (about the size of a ping pong ball) with the dough. Place onto a parchment paper lined baking sheet about 2 inches apart. Using a small spatula, slightly flatten the balls of dough (don’t flatten too much; the dough will expand during baking). Sprinkle different colored sugar sprinkles on top. Bake at 350 degrees for 13 minutes or until the edges of the cookies start to brown lightly. After baking, leave the cookies on the baking sheet for 5 minutes then remove to a cooking rack to finish cooling.

Sugar Cookies 2

Enjoy!

Print Friendly, PDF & Email

Pumpkin Cinnamon Rolls with Chocolate Chips

Pumpkin bread, pumpkin turnovers, pumpkin muffins, and now, Pumpkin Cinnamon Rolls–with chocolate chips too!  If I didn’t already have you at “cinnamon rolls”, you must surely be hooked now that I mentioned these yummilicious rolls have the added indulgence of Chocolate Chips!

I may have mentioned this in previous posts, but it’s worth repeating–I love anything made with pumpkin! 😀

These rolls are perfect for breakfast, or as an added dessert item on your Thanksgiving menu.

Wait…I forgot that not only are these PUMPKIN cinnamon rolls with CHOCOLATE, these are laced with orange inside and out.  I added orange zest to the filling; I also used orange juice to the glaze (I learned this one from my friend, Vikki Z.).  I have a daughter that doesn’t care for the addition of orange zest in the filling, but I think it takes these rolls over the top and sets it apart from the average cinnamon roll.  You can leave it out, of course, but I like it “in”.

Give my recipe a try.  I think you’ll like it. 🙂

Pumpkin Cinnamon Rolls with Chocolate Chips

image

Ingredients:

  Yeast mixture:
  • 1/2 cup water
  • 2 tablespoons dark brown sugar
  • 3 packets active dry yeast
  Dough:
  • 1 can (15-oz) pumpkin purée
  • 2 tablespoons good quality honey
  • 2 large eggs
  • 1 stick (1/2 cup) unsalted butter (melted and cooled)
  • 1/2 cup brown sugar
  • 2 teaspoons pumpkin pie spice
  • 2 teaspoons cinnamon
  • 1 teaspoon salt
  • 5 1/2 to 6 cups all purpose flour
  Filling:
  • 1 stick (1/2 cup) softened unsalted butter
  • 1/2 cup dark brown sugar
  • Optional:  1 teaspoon orange zest (or use 1 teaspoon orange extract)
  • 1 tablespoon cinnamon
  • Semi-sweet chocolate chips, about 1 cup
  Glaze:
  • 1 cup powdered sugar
  • 1 tablespoon maple syrup
  • 2 tablespoons milk
  • 1 tablespoon orange juice

Directions:

1.  Prepare the yeast mixture.

Place the water in a microwave-safe cup.  Stir in the brown sugar.

image image

Heat the water-sugar mixture in the microwave for about 30 seconds.  The liquid must be between 98-105 degrees.  I find it best to use an instant-read thermometer to ensure the liquid is the right temperature.  Too cool and the yeast won’t proof properly.  Too hot and it will kill the yeast.  101 degrees–or somewhere between 98 and 105 degrees–is perfect.

image

Once the liquid is at the right temperature, add the yeast.  I’m often asked what a “packet” of yeast looks like.  The photo below shows three packets, which is how they are commonly sold, in a set of three packets.

image

Pour the yeast into the warm liquid.  Stir the mixture to dissolve the yeast.

image image

image

Let the yeast mixture sit for about 5-10 minutes.  It should get very frothy, like what’s pictured below.

image image image

2.  Prepare the dough.  I suggest measuring out all of your ingredients beforehand.  The yeast will proof quickly on you, so you’ll want all of the ingredients measured out before you start to proof the yeast (in step 1 above).

In the mixing bowl of a stand mixer, place the pumpkin purée.  You can also do this by hand, but I prefer to use a heavy-duty stand mixer, like a KitchenAid, which is what I have.

image

Add the eggs to the bowl.

image

Melt the butter.  Let it cool for a couple of minutes then add it to the mixing bowl.

image image

Using the paddle attachment of your mixer, mix the ingredients together for a few seconds.

image

Add the pumpkin pie spice, cinnamon and salt to the bowl.  Mix again for a few seconds.

image image

By now the yeast should be very foamy — pour the yeast mixture into the mixing bowl; mix to combine.

image image

Mix in 3 cups of flour.

image image

After mixing in the flour, take off the paddle attachment and switch to the dough hook.

image

Mix in the remaining flour, a half cup at a time.  You might not need all 6 cups of flour.

image

Stop adding flour when the dough pulls away from the sides of the mixing bowl.  Depending on how humid it is where you live, you might actually need to add more flour (up to a cup more–7 cups total).  The higher the humidity level,  the more flour you may need since flour absorbs liquid in the air (depending on how you store your flour, that is).  Anyhow, 6 cups of flour is about the norm.  If you’re mixing this by hand, do not use more than 7 cups of flour.  The dough will be slightly sticky, but that’s normal.  Too much flour and your bread will be very tough.

image

After you’ve mixed in all the flour, set your mixer to low speed.  This begins the kneading process; continue mixing for 5 minutes.  If you’re kneading by hand, knead for 8-10 minutes (resist adding flour while hand-kneading–if the dough is sticking to your hands, lightly oil your hands or spray your hands with cooking spray to prevent sticking).

This is what the dough looks like after 5 minutes of kneading.

image

It’s now time to let the dough rise.  Place the dough into a glass bowl that’s been buttered or sprayed with butter-flavored cooking spray.  I also lightly spray the top of the dough (so the plastic wrap won’t stick to it–see below).

image

Cover the top of the bowl with plastic wrap then place a clean dish towel on top of the bowl.  Place the bowl in a dry, warm place to rise until doubled in size.  The time it takes to rise depends on how warm your rising spot is.  It could take anywhere from 30 minutes to more than an hour.  Patience is key.

I usually turn my oven to the Warm setting right when I begin my kneading process.  After 3 minutes of warming up, I turn the oven heat off and turn the oven light on.  This makes the perfect warm place for rising.  It takes about 30 minutes for my dough to rise in this setting.

image

3.  While the dough is rising, make your filling.

In a small bowl, place the softened butter, brown sugar, and optional orange zest.  If you decide to add orange zest, make sure you don’t get any of the white pith–it will make your filling bitter.  Mix to combine.

image image

Mix in the cinnamon.  Set the filling aside until the dough is ready.

image image

4.  Fill and roll the dough.

This is what the dough looks like after it’s doubled in size.

image

Generously flour a clean work surface.  Place the dough onto the floured surface — do NOT punch down the dough or knead it again.

image

Roll out the dough into a rectangle.

image

Gently spread the butter-cinnamon-orange mixture over the entire surface of the dough, stopping about a half inch from the edge.

image image

Sprinkle the chocolate chips over the butter-cinnamon-orange mixture.

image

Starting at the long edge, carefully roll up the dough, jelly-roll style.

image

Using a sharp knife (dental floss works well too), slice pieces of dough, about the width of your finger.  Place the slices into a buttered pan (you can use butter-flavored cooking spray too).  I recommend placing the slices about 1/2-1 inch apart to allow the dough to rise evenly.

image

Spray the top of the sliced dough with cooking spray then cover with plastic wrap.  Place the pan in a warm place to rise again, until the slices are touching.

image

Bake at 375 degrees for 20 minutes.  Remove from the oven; let the rolls cool slightly while you prepare the glaze.

image

5.  Make the glaze.

In a small mixing bowl, place the powdered sugar.

image

Add the milk, maple syrup and orange juice.  Whisk to combine.

image image

6.  Drizzle the glaze over the top of the warm rolls.  Serve immediately and ENJOY!!

image

image

Print Friendly, PDF & Email

Fudge Brownie Pizza

Brownies, Sweetened Pineapple Cream Cheese, Bananas, Strawberries, and Chocolate Sauce…need I say more? 😀

This is a delicious dessert pizza that’s sure to be a hit with your friends and family.  It’s so good that one of my daughters asked to have this as her birthday “cake” one year.

You can vary this recipe by adding your favorite toppings.  Sometimes I add chopped peanuts or almonds.  You can also try sprinkling peanut butter or toffee chips on top, or using caramel sauce instead of chocolate (or use BOTH!).  The possibilities are virtually endless.  Come up with your own spin on this recipe, or make it as directed below–it’s so delicious no matter what you add to it.

Give my recipe a try.  I think you’ll absolutely LOVE it! 😀

Fudge Brownie Pizza

image

Ingredients:

  • 1 box triple chocolate brownie mix
  • 8 oz. cream cheese
  • 1 20-ounce can crushed pineapple, drained and squeezed (squeeze out as much juice as you can)
  • 1 tablespoon sugar
  • Fresh strawberry slices, as much as you like
  • 2 small ripe bananas, sliced
  • 1/2 cup semisweet chocolate chips
  • 2 tablespoons milk or heavy cream

Directions:

1.  Mix the brownie batter according to package directions.  Spread the batter onto a small pizza pan.  Bake for 15 minutes for a very moist, fudge-like brownie or 20 minutes for a less-moist, cake-like brownie.  Set aside to cool completely.

image

2.  Place the cream cheese into a small mixing bowl…

image

…then add the sugar…

image

…and crushed pineapple.

image

3.  Use a hand mixer to mix the ingredients together.

image

Mix until well combined and the mixture is creamy.

image

4.  Scoop the mixture onto the cooled brownie pizza.

image

Spread the mixture evenly over the entire pizza.

image

5.  Place the sliced fruit over the pineapple-cream cheese mixture.

image

6.  Place the chocolate chips and milk or cream into a small microwave-safe bowl.  Microwave for 30 seconds.  Stir until smooth and creamy.

image

image

7.  Drizzle the chocolate sauce over the pizza.

image

8.  Cut into pieces, serve, and ENJOY! 😀

image

Print Friendly, PDF & Email

Grilled Plantains with a Brown Sugar Butter Glaze

I bought some plantains a little over a week ago and finally got around to making something with it today.

Unless you grow plantains in your back yard (which I don’t), you will usually buy them from the grocery store when they are still green and unripe.  There are lots of great ways to cook green plantains, but I prefer to eat them when they are sweet and ripe.

This is what they looked like when I first bought them.  Notice how green most of them are.

IMG_0453


The photo below shows what they look like several days later.  Plantains are ripe when the skins are a dull yellow and there are several dark brown (even black) spots on them.  The plantains below were sweet, but if I let them sit for a few more days (when there will be even more black spots), they’d be at the peak of ripeness.  I didn’t want to wait that long, however, especially since I’d planned on grilling them — I needed the plantains to be sweet but still firm enough to hold up to the heat without turning to mush.

IMG_0588


At this stage of ripeness, the plantains are perfect for grilling, making golai åppan aga’ (cooked with coconut milk and sugar), or making madoya (battered, fried bananas)

I’m making madoya tomorrow for breakfast (be looking out for my recipe) with a couple of the plantains.  I’m going to make golai åppan aga’ later this week with any remaining plantains.

But for tonight’s dessert, I decided on grilling them, then topping them with a brown sugar, butter and honey glaze (oh, so delicious!).

This is such a simple recipe to make.  Give it a try and let me know how you like it.  🙂


GRILLED PLANTAINS WITH A BROWN SUGAR BUTTER GLAZE

IMG_0603

INGREDIENTS:

  • 2 ripe plantains
  • Vegetable oil (about 4 tablespoons)
  • 4 tablespoons butter
  • 1 teaspoon honey
  • 1/4 cup brown sugar
  • 1 teaspoon apple cider vinegar (this brings out the sweetness, believe it or not!)

DIRECTIONS:

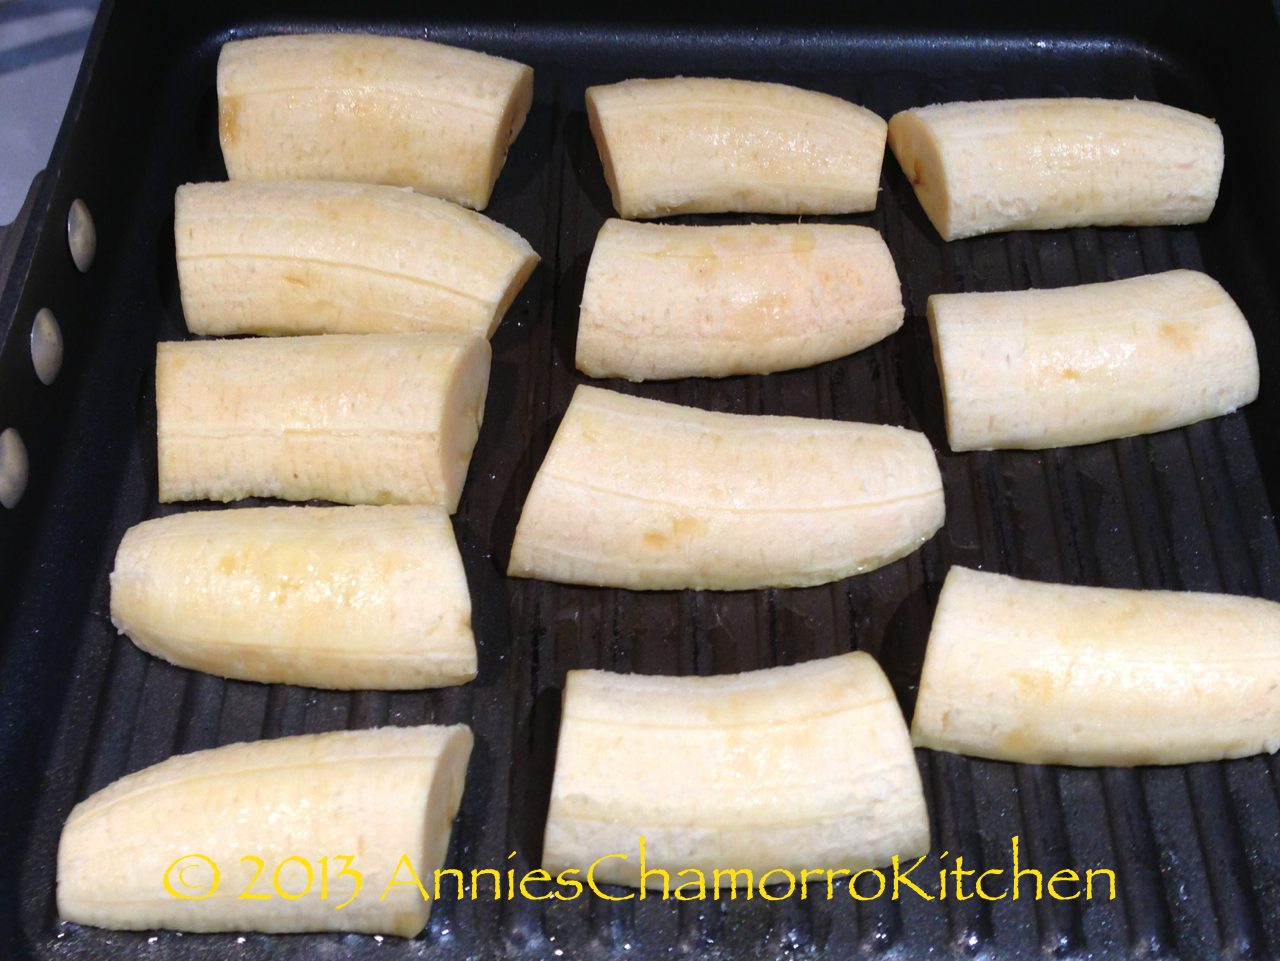
1.  Slice the ends off the plantains then cut each plantain into thirds.  Slice each third in half, lengthwise, then remove the peels.

IMG_0582 IMG_0584

2.  Place 2 tablespoons of oil in a grill pan over medium heat.  Place the plantains in an even layer on the heated grill.

IMG_0589

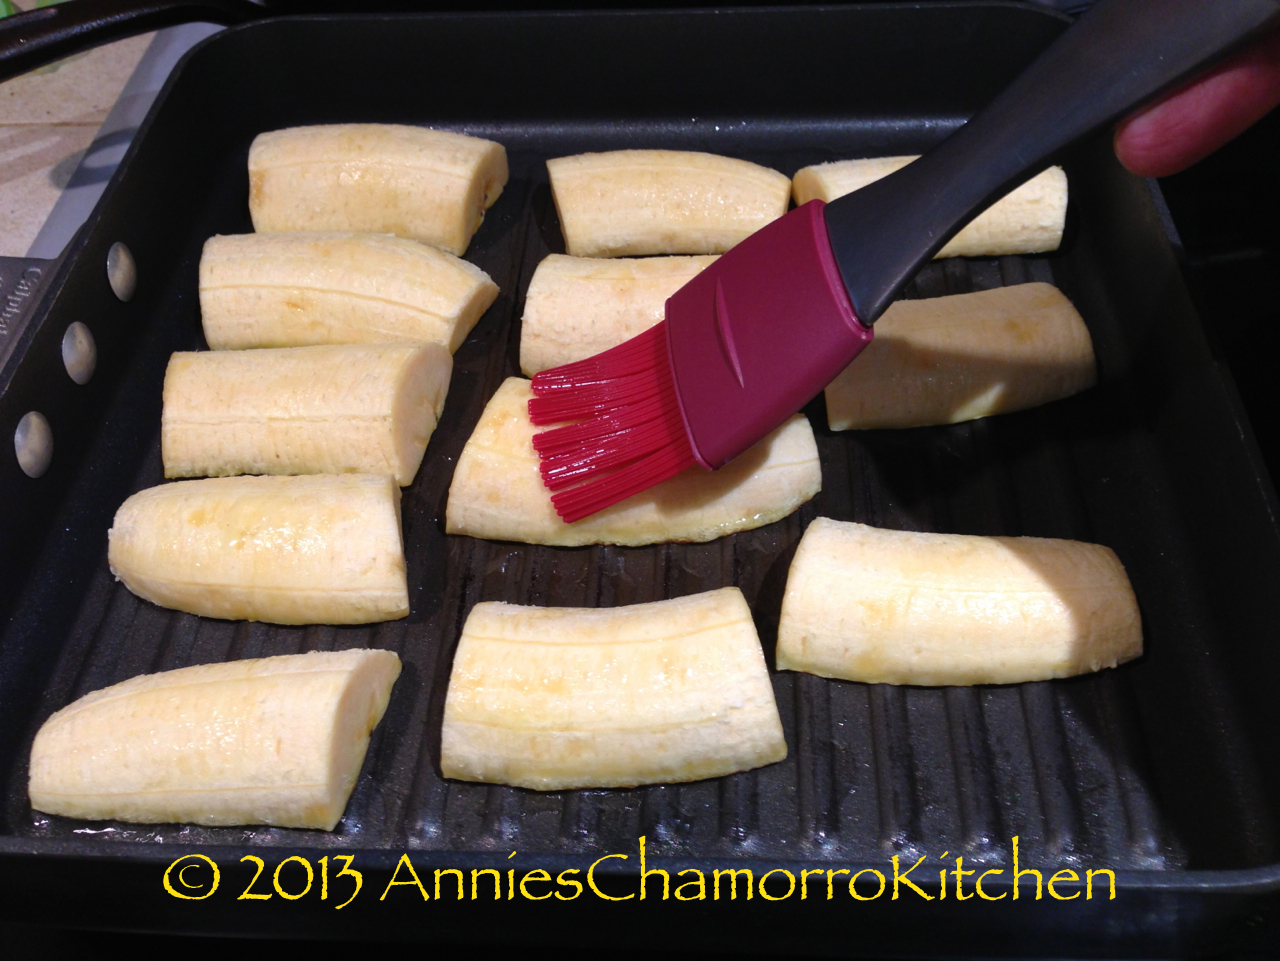
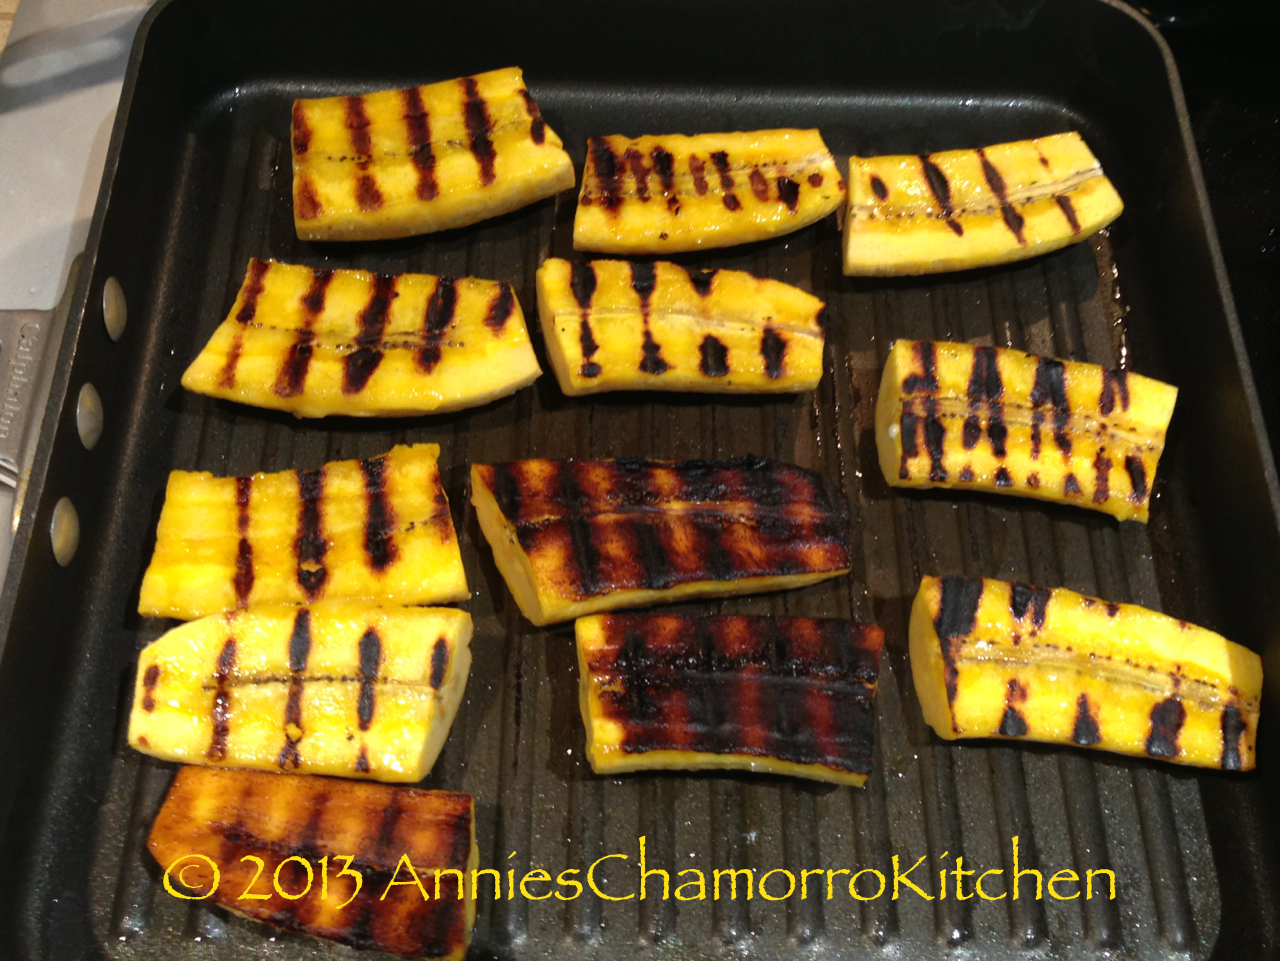
3.  While the bottom of the plantains are grilling, brush the tops with the remaining vegetable oil.  Grill for about 3 minutes, or until nice grill marks form (you can peek to check).  Flip the plantains over and grill the other side for another 3 minutes.

IMG_0592

IMG_0597

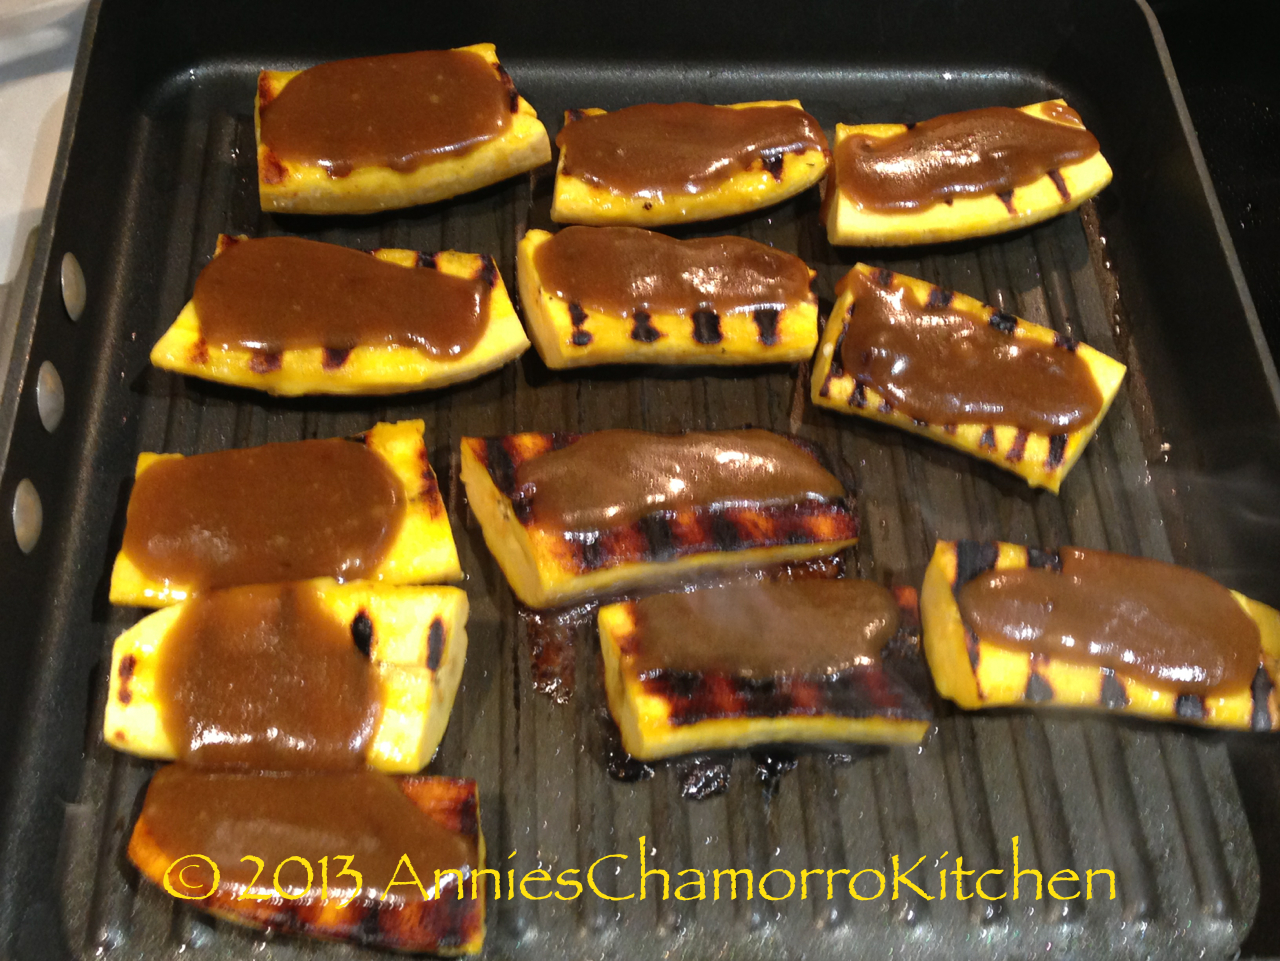
4.  Meanwhile, melt the butter and honey in a microwave-safe bowl.  Stir in the brown sugar and apple cider vinegar. Top each plantain with the brown sugar-butter mixture.  Remove from the heat when the brown sugar-butter mixture starts to melt and drip down the sides of the plantains.

IMG_0595

IMG_0598

5.  Serve while warm.  Top with vanilla ice cream (optional).  ENJOY!
IMG_0600

Print Friendly, PDF & Email
« Older Entries Recent Entries »