Archive for Other Desserts

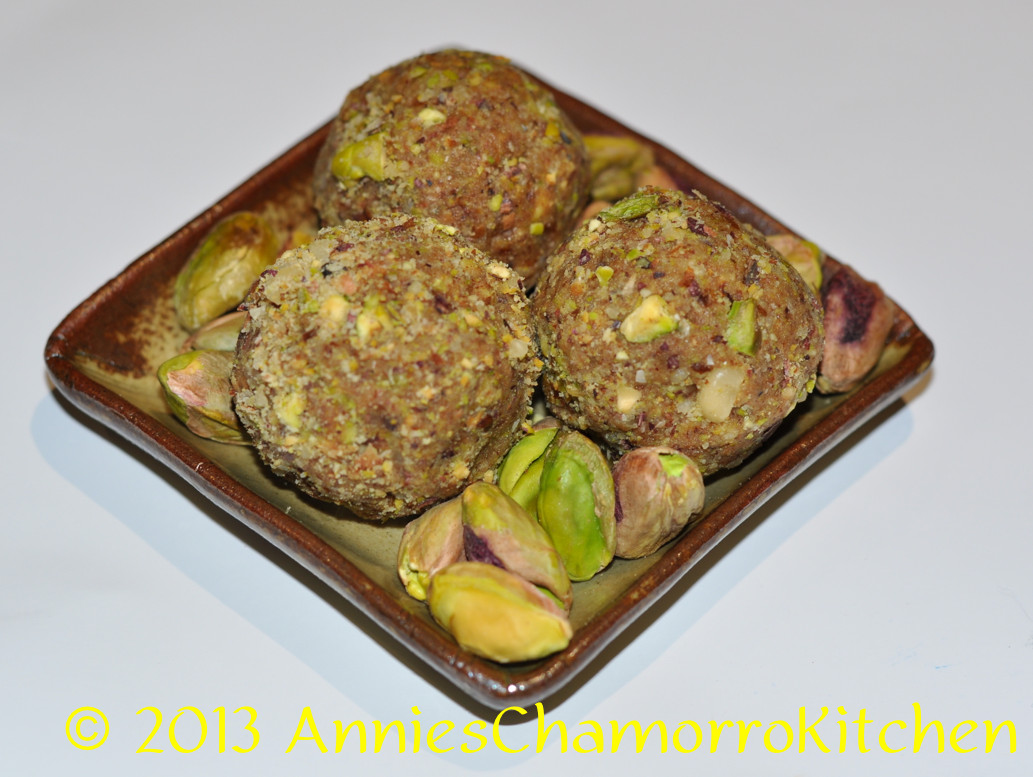
Baklava Truffles

Baklava is one of my favorite desserts.  I’ve seen many variations of this rich, sweet dessert, from chocolate drizzled to baklava cheesecake, and believe me, they all taste incredible!

I’m usually pressed for time, and lately I’ve been creating healthier meals for my family. When it comes to healthy eating, I will admit that Baklava doesn’t immediately come to mind.  Why would it?  Traditional baklava is made with a syrup or honey, and lots and lots of butter.  This recipe, while not right up there in the health-food category, does cut back on a lot of the calories from butter, phyllo dough, and sugar.  It’s a good energy snack, and the thing I love best about it is that it’s a no-bake (aka quick and easy) recipe.

If you look at my list of ingredients below, you’ll notice an ingredient not common in traditional baklava recipes…almond butter.  I use almond butter partially to add another type of nut to this recipe, but it also serves as a way to bind everything together without using too much honey.

If you’re not familiar with almond butter, all it is are almonds ground until creamy, like peanut butter.  You can make your own almond butter — it’s really quite easy, if you have some patience and a good food processor, that is.  It’s more economical to make it yourself, as a small jar of almond butter sells for about $12.00!  I like adding pure maple syrup or honey to my almond butter to sweeten it up a bit.  To make your own almond butter, all you need are 3 cups of raw almonds and 1/4 cup maple syrup or honey (that’s if you want it sweet — the maple syrup and honey are completely optional).  Process only the almonds in your food processor — here’s where your patience comes into play as it takes a good 30 minutes of processing before the almonds turn into a creamy consistency.  Add the maple syrup or honey at the end, just so you can blend it with the almond butter.  Place in a resealable container (I use a mason jar or an empty peanut butter jar).
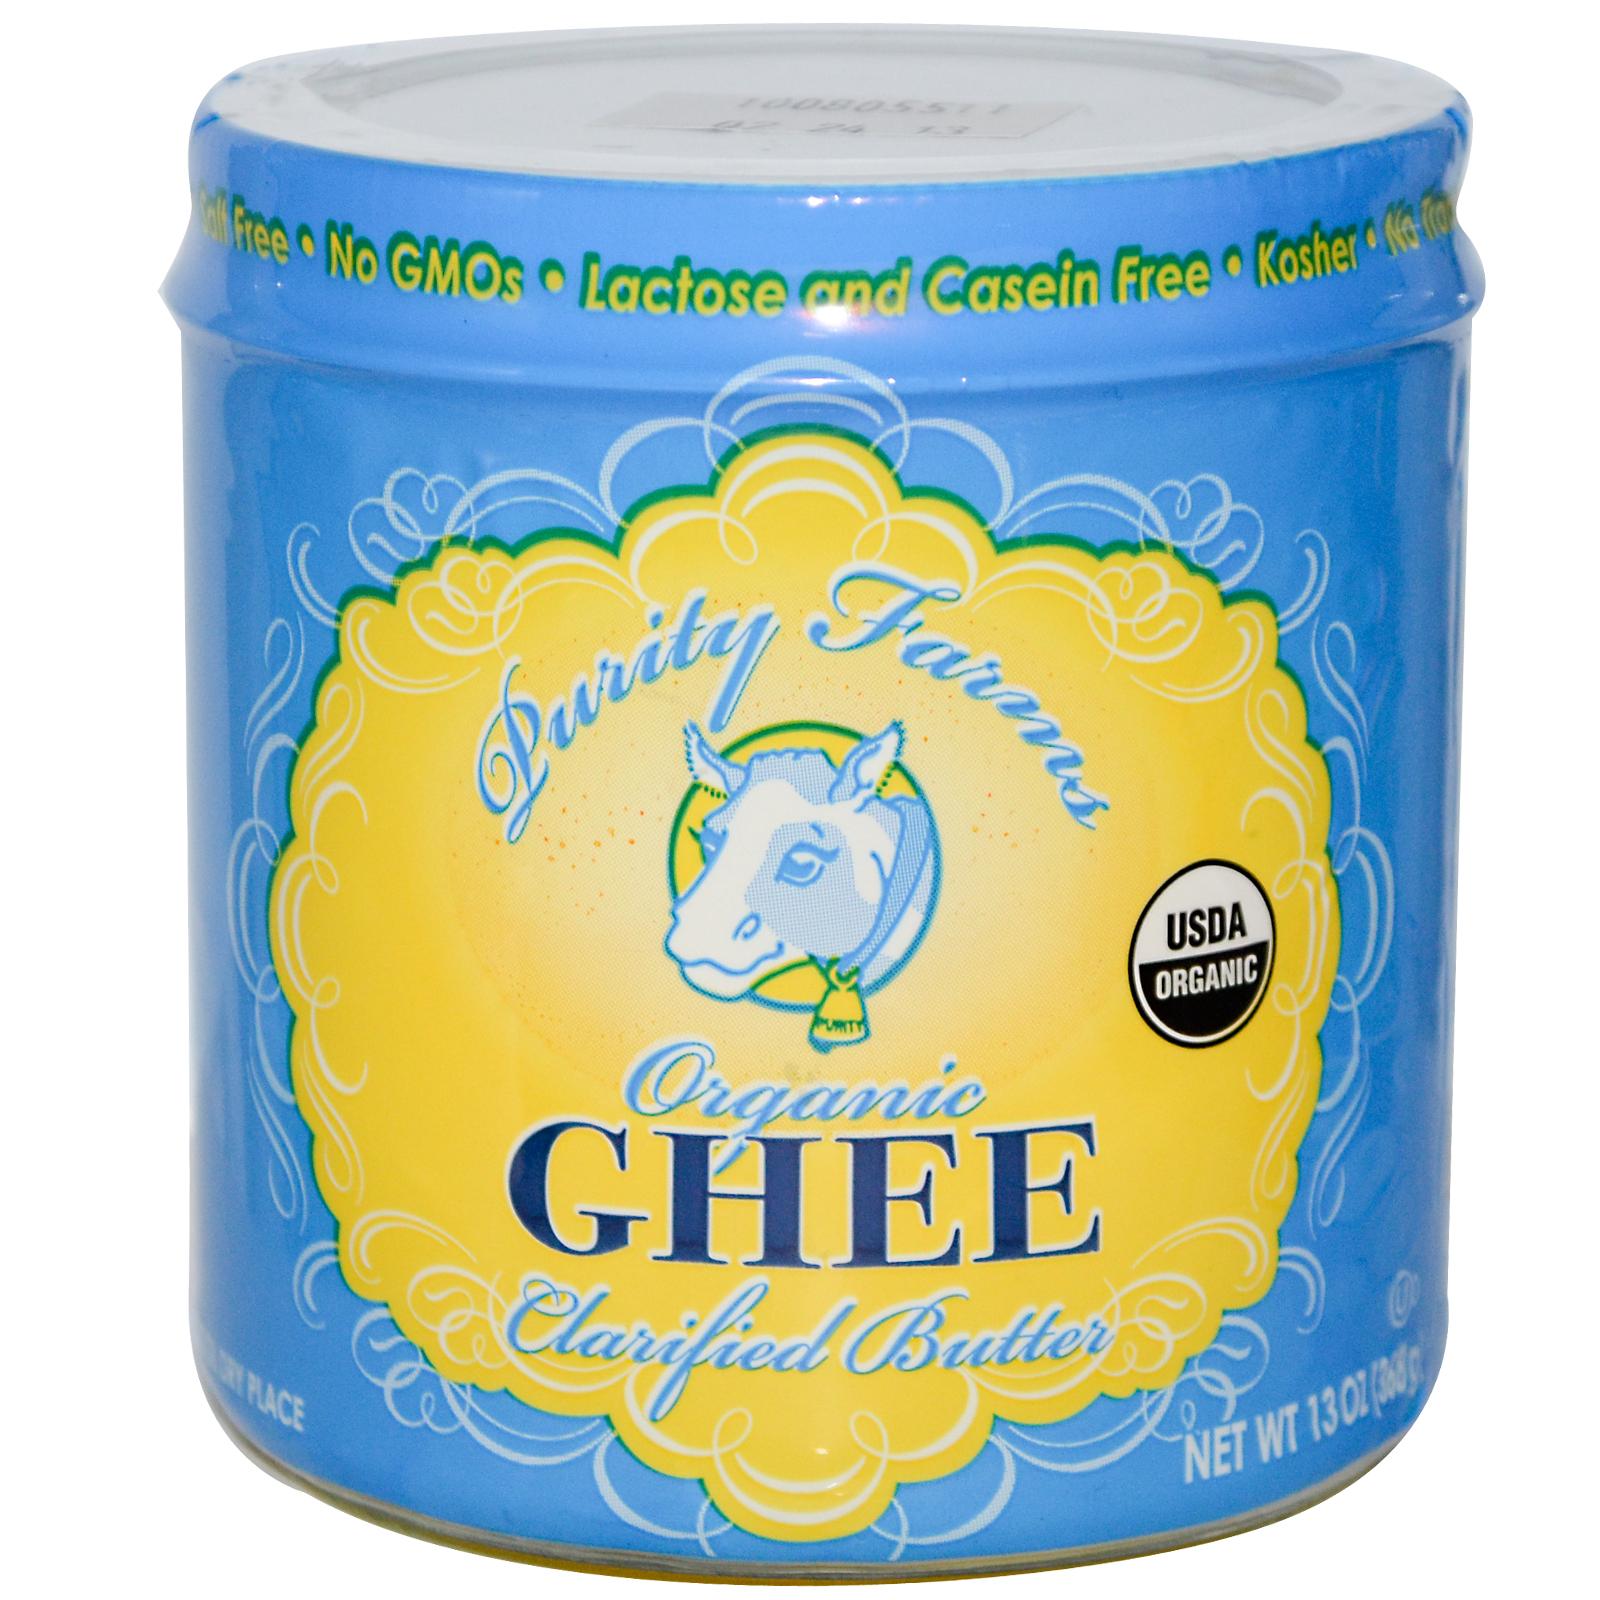
gheeSince you’ve just perused my list of ingredients, you’ll also notice I use ghee in my recipe.  Ghee is clarified butter — butter that’s been melted so that the milk solids separate from the butter fat, then cooked to boil out the moisture (butter has 15% to 20% moisture content while ghee has nearly 100% butter fat). Several traditional baklava recipes use ghee, lots and lots of it. You can find ghee in the international aisle of your grocery store, or you can make it yourself.

To make ghee, melt 1 pound (or 4 sticks) of butter in a medium-sized sauce pan over medium heat.  When the butter starts frothing, turn down the heat to low.  Keep cooking the butter until it starts to turn a dark golden color; the curds on the bottom of the pan will start to brown.  Use a clean, dry spoon to scoop away the frothy stuff on top.  When the melted butter looks clear, it’s done.  Remove it from the heat.  Strain the liquid through a cheesecloth or fine mesh strainer.  Place in a clean container.  You can store ghee at room temperature (no refrigeration needed).

Make up a batch of these delicious truffles to take along with you for road trip snacks, snacks at work, or when you’re planning an outdoor trek and need some snacks for a quick energy boost.

Give my recipe a try.  I think you’ll like it. 🙂

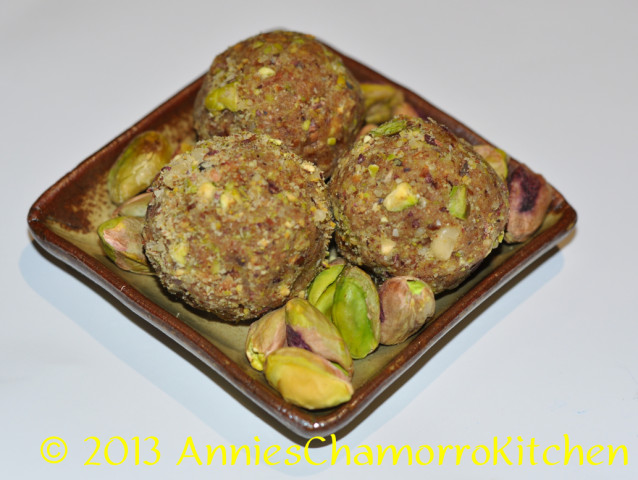
No-Bake Baklava Truffles

DSC_0076

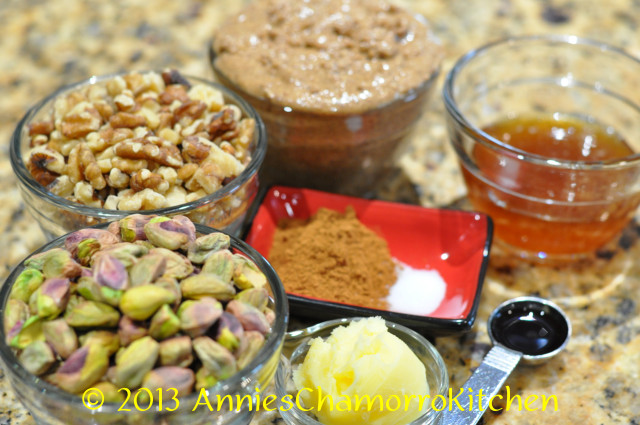
Ingredients:

DSC_0335

  • 1 cup pistachios
  • 1 cup walnuts
  • 1 cup almond butter
  • 1/4 cup good quality honey
  • 1 tablespoon cinnamon
  • 1/8 teaspoon sea salt
  • 2 tablespoons ghee (clarified butter)
  • 1 teaspoon vanilla extract


Directions:

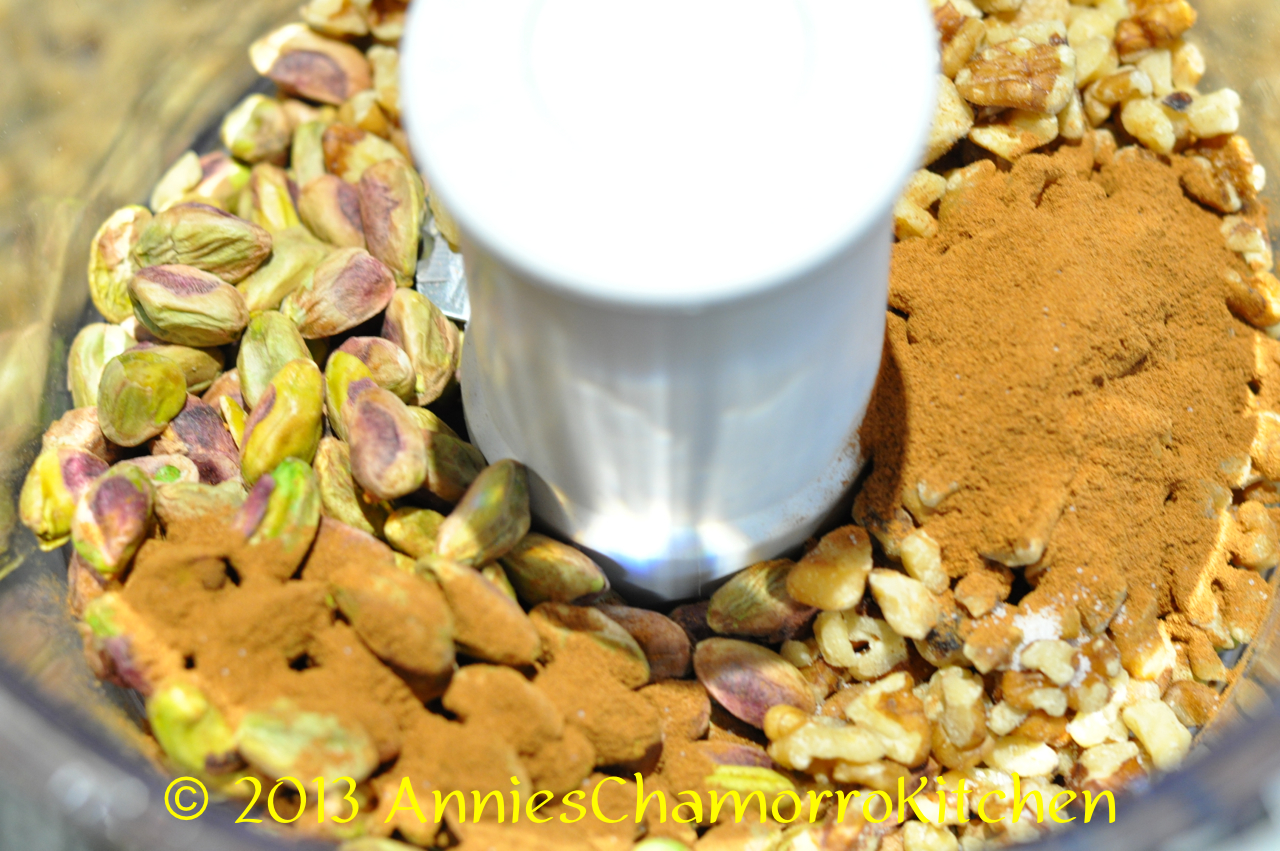
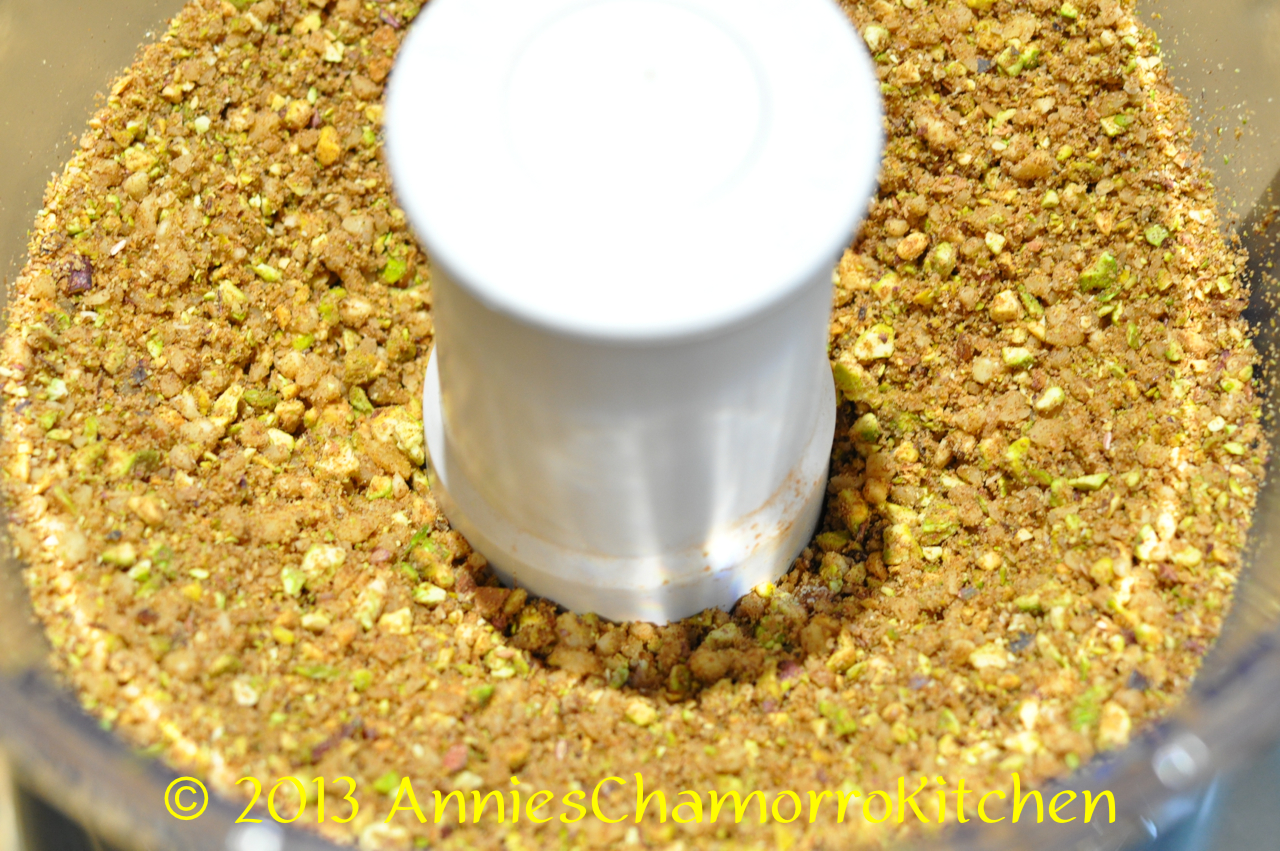
1.  Place the pistachios, walnuts, cinnamon and salt into a food processor.  Pulse it on high speed until the nuts are chopped into small pieces.

DSC_0341  DSC_0345

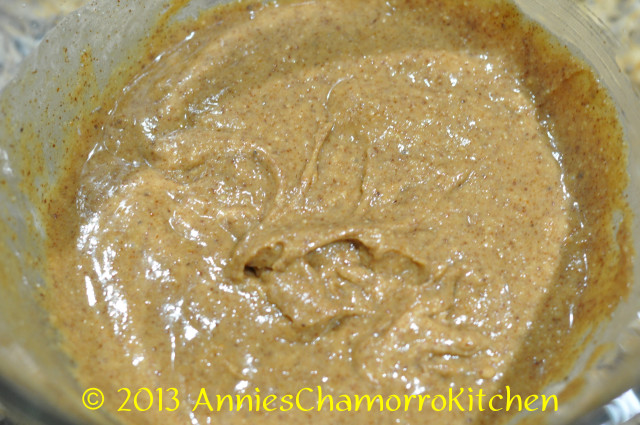
2.  In a separate microwave-safe mixing bowl, place the honey and ghee (you can use regular butter instead of ghee).  Heat for about 30-60 seconds or until the ghee melts.  Add the almond butter and vanilla extract to the bowl.  Stir to combine.

DSC_0342

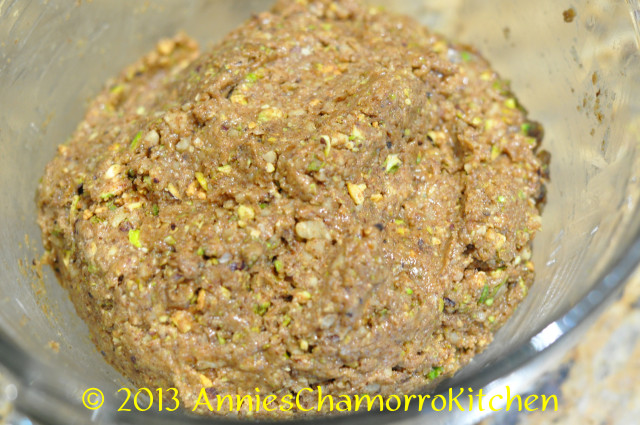
3.  Add the chopped nut mixture to the almond butter mixture.  Use a spatula to mix it all together.

DSC_0347

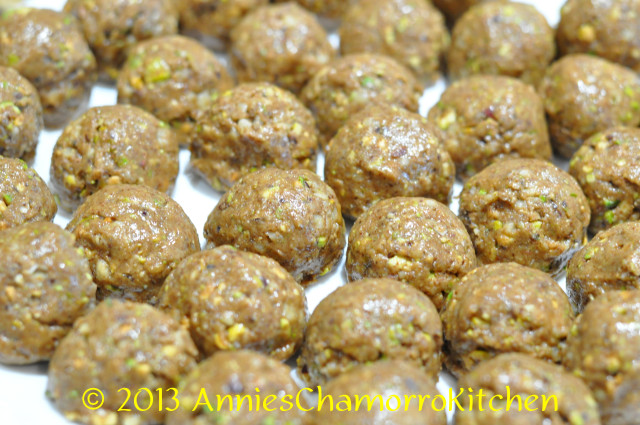
4.  Use a small cookie scoop to form small balls.  Place on a plate, cover with plastic wrap and refrigerate for 30 minutes to allow the truffles to set.

DSC_0349

Optional:  Roll the truffles in chopped nuts before refrigerating.

ENJOY!

DSC_0076

Print Friendly, PDF & Email

King Cake

King Cakes are part of a popular tradition that celebrates the 12th day following the birth of Christ, during which the 3 Wise Men or Kings visited the Christ Child.  The celebrations continue sometimes up to Fat Tuesday (Mardi Gras, in French), the day before Ash Wednesday when the Lenten Season begins.  The custom of baking these “cakes” is in honor of the Three Kings, hence the name, “A King’s Cake.”

The custom includes baking a tiny porcelain or plastic baby inside the cake.  King Cakes are usually served at parties, and the person who finds the baby in their slice of cake is supposed to host the party the next year.  Instead of having a party, you could bake several smaller King Cakes and give them to your neighbors.  The neighbor who receives the King Cake with the baby gets to bake them for the neighbors the following year.

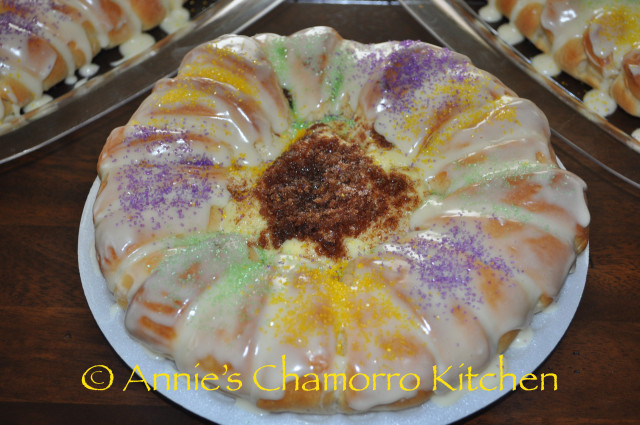
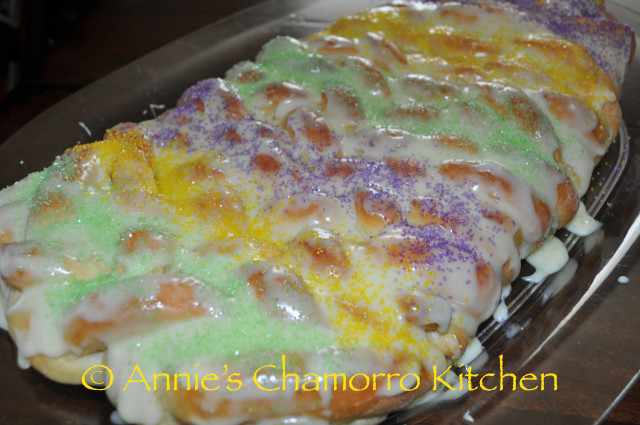
King Cakes aren’t really cakes, but a rich danish (I’ll keep calling them cakes, though).  Some King Cakes are baked without adding a filling, but I like to make mine with a rich and luscious cream cheese and cinnamon filling.  After the cake is baked, the baby is inserted.  Then the top of the cake is covered with a rich glaze and decorated in the traditional colors of purple, green and gold.

These colors have a special meaning as well.  One explanation is that the official Mardi Gras colors were selected in 1872 to honor the visiting Russian Grand Duke Alexis Alexandrovich Romanoff, whose house colors were purple, green and gold.  Another explanation is that the colors purple, green and gold were used by Catholic Church throughout history, and the colors represent Justice (Purple), Faith (Green), and Power (Gold).

This recipe takes some time to make, but it’s worth it in the end. Give it a try and let me know how you like it.

King Cake

DSC_0098

 Dough Ingredients:

  • 2 tablespoons butter
  • 1/4 cup white, granulated sugar
  • 8 oz. sour cream
  • 1 packet active dry yeast
  • 1/4 cup warm water (98-105 degrees)
  • 1 1/2 teaspoons white, granulated sugar
  • 1 large egg
  • 3 cups all-purpose flour

 Cream Cheese Filling Ingredients:

  • 4 oz. cream cheese, softened
  • 1 egg
  • 1/8 cup white, granulated sugar
  • 1 teaspoon vanilla extract

 Cinnamon Filling Ingredients:

  • 1/2 cup sugar
  • 1 tablespoon cinnamon
  • 1 tablespoon unsalted butter, softened

 Glaze Ingredients:

  • 3/4 cup sweetened condensed milk
  • 1 cup confectioner’s sugar
  • 1/4 cup orange juice or milk

 Decoration Ingredients:

  • Green sugar sprinkles
  • Purple sugar sprinkles
  • Yellow sugar sprinkles
  • One tiny plastic or porcelain baby (about 2 inches long)

 Directions:

Make the dough:

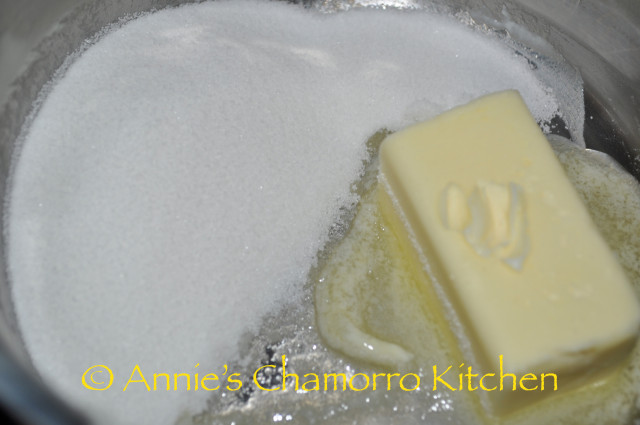
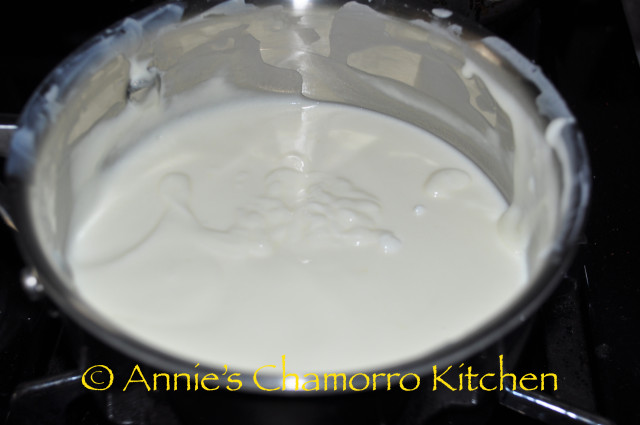
In a small microwave-safe bowl, place the butter and sugar.  Cook for 1-2 minutes in the microwave until the butter melts.  Transfer to a small mixing bowl.  Stir the mixture until the sugar dissolves.  Stir in the sour cream. Set aside to cool.

DSC_0042

DSC_0010

In another small bowl, mix together the yeast, warm water and 1 1/2 teaspoons sugar. Set aside to allow the yeast to proof. It should be very bubbly after five minutes; if not, then discard the mixture and start over. NOTE: Water that is too hot will kill the yeast. The water should feel as warm as the temperature of your skin.DSC_0011

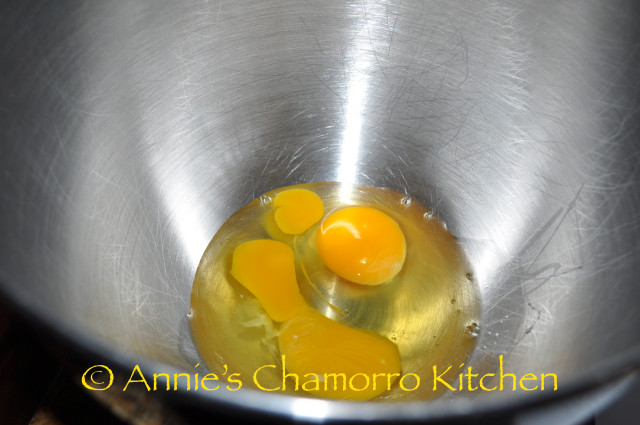
Place the egg into the bowl of a large stand mixer (such as a KitchenAid).  Use the paddle attachment to slightly beat the egg.

The photo below shows two eggs–I doubled my recipe when I made this so I had enough cakes to give away to friends.

DSC_0013

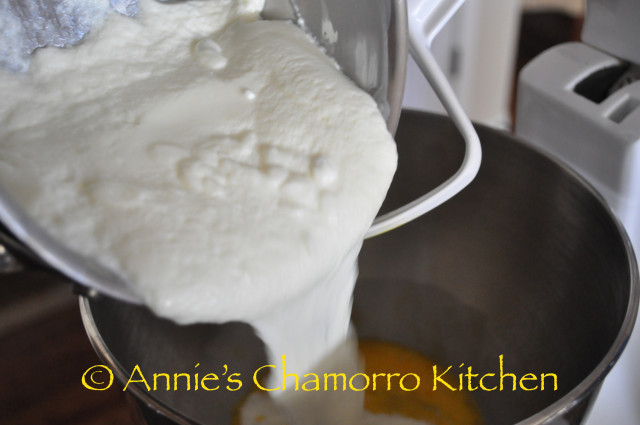
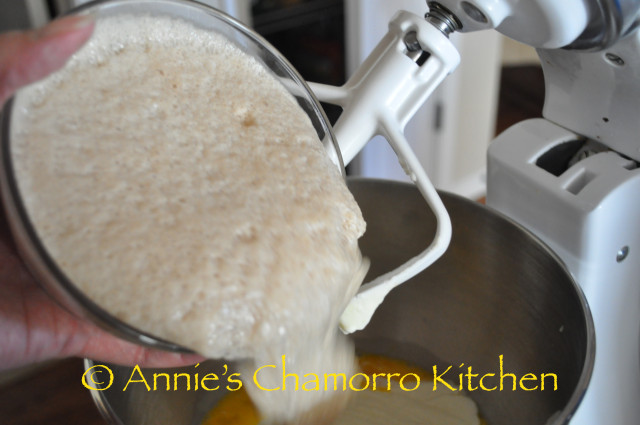
Mix in the sour cream mixture and proofed yeast.

DSC_0015

DSC_0017

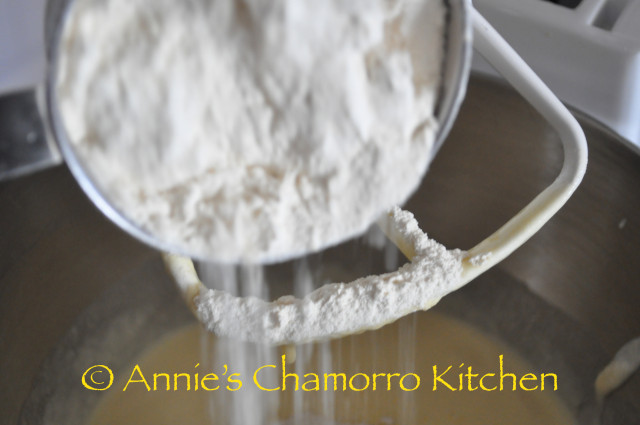
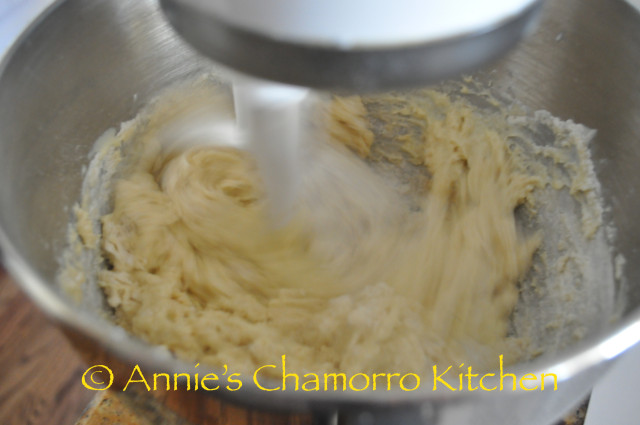
Slowly mix in the flour, one cup at a time. NOTE: If you live in a low humidity environment, you may need less flour, about 2 1/2 cups. If you live in humid area, you may need slightly more than 3 cups of flour.

DSC_0026

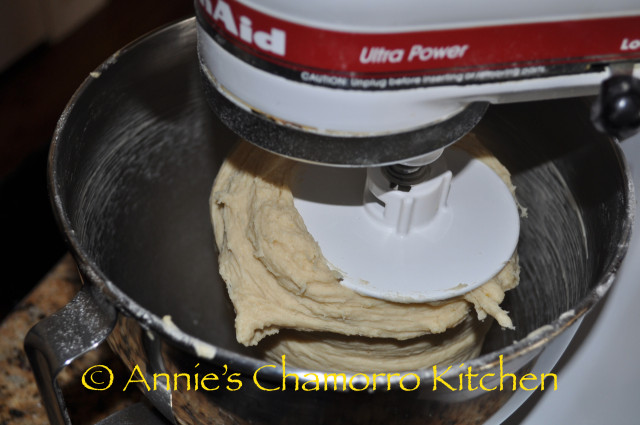
After the flour has been roughly mixed with the wet ingredients, switch to the dough hook.

DSC_0029

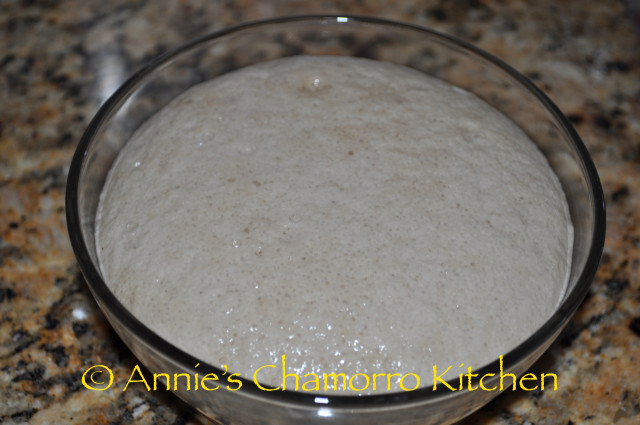
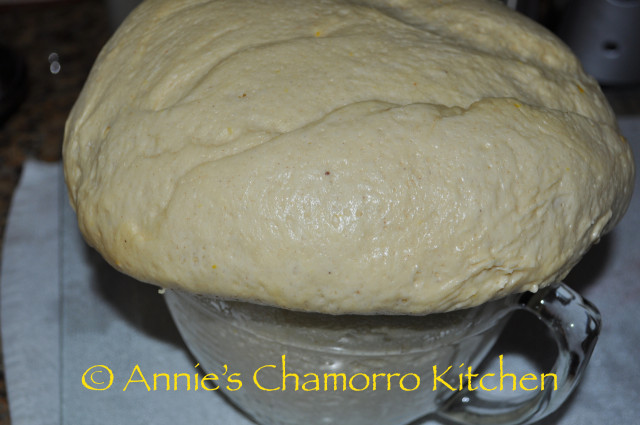
Turn your mixer to medium-high speed and knead for 5 minutes. NOTE: If you are kneading by hand, turn the dough out onto a floured surface and knead for 10 minutes. After kneading, place the dough into a greased bowl (clear works best so you can see if the dough has doubled in size); place in a warm place to rise until doubled.

DSC_0037

While the dough is rising, make the cream cheese and cinnamon fillings.

Make the Cream Cheese Filling:

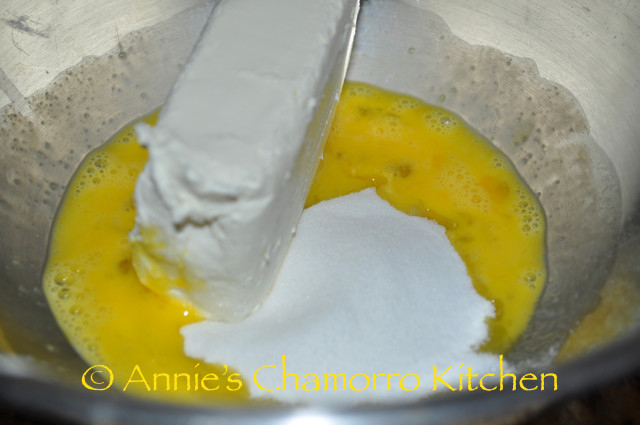
In a small mixing bowl, beat together the egg, sugar and cream cheese. Mix on high until there are no more lumps and the filling is smooth and creamy. Set aside.

DSC_0053

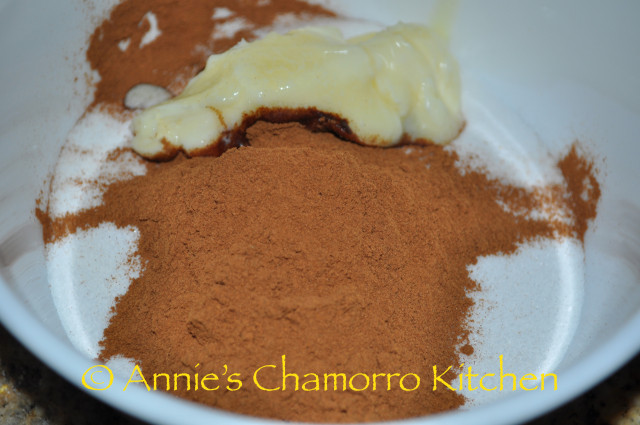
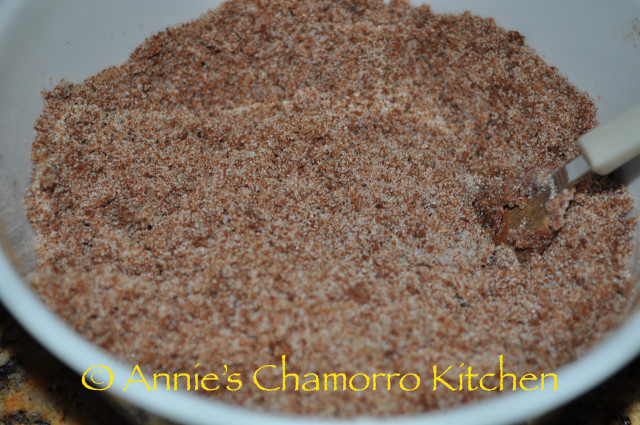
Cinnamon filling: In a small bowl, mix the cinnamon filling ingredients together. Set aside.

DSC_0051

DSC_0052

Make the Glaze:

Mix together the sugar, sweetened condensed milk, and just half of the orange juice. Mix until smooth.

You want the glaze to be slightly thin but not runny. Add more orange juice if you need to thin it out more.

Set aside.

Put it all together:

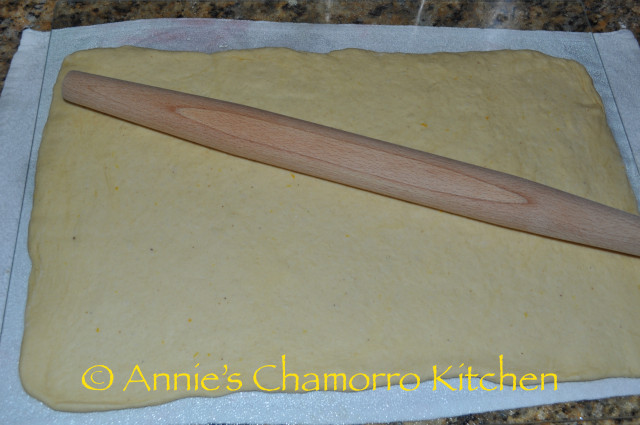
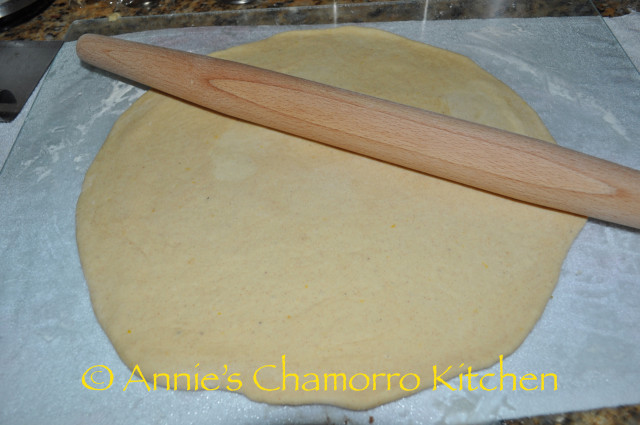
After the dough has doubled in size, punch it down. Place onto a floured surface. Using a rolling pin, roll the dough into a rectangle, roughly 18×12 inches.

DSC_0058

DSC_0063

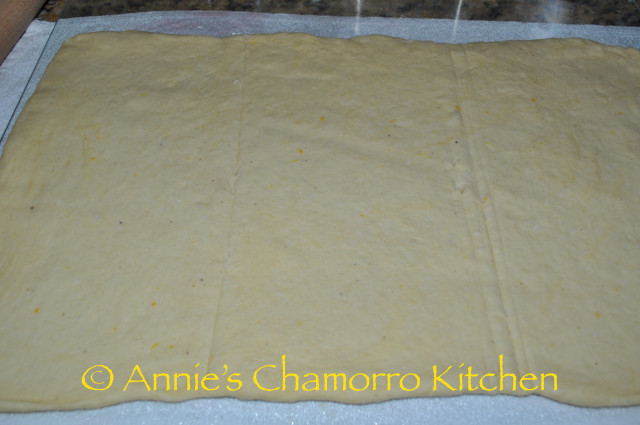
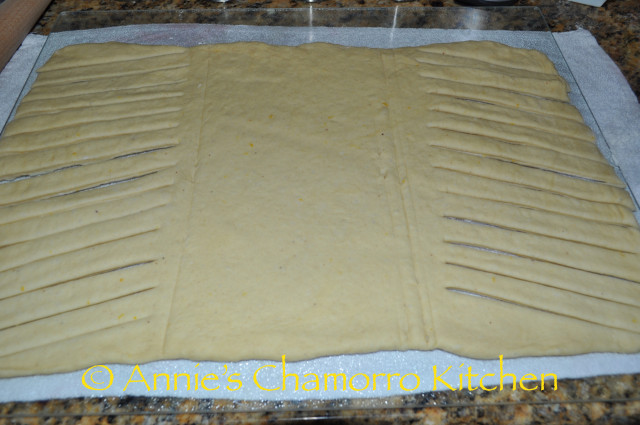
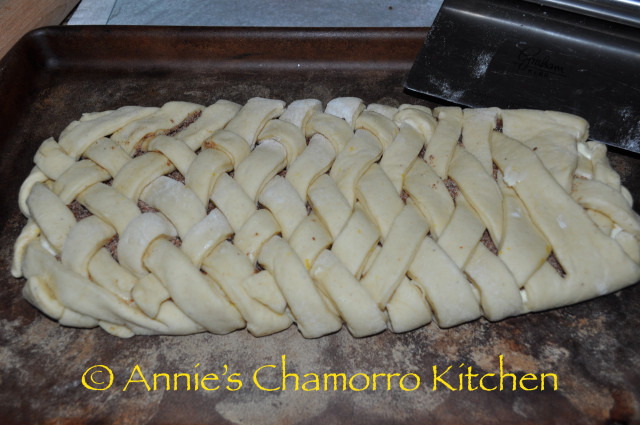
Roughly mark lines in the dough to separate it into thirds (do NOT cut through the dough). Using a sharp knife or pizza cutter, cut the OUTER sections into diagonal strips about 1 inch wide; these strips are what you will use to create a woven or braided look for the top of the King Cake. NOTE: Make sure you do not cut through the middle third of the rectangle.

DSC_0065

DSC_0066

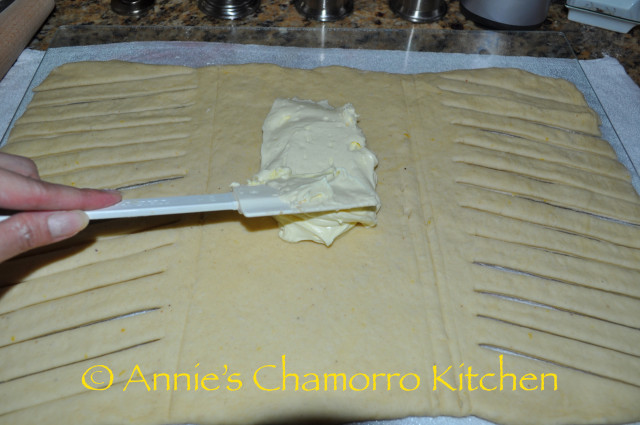
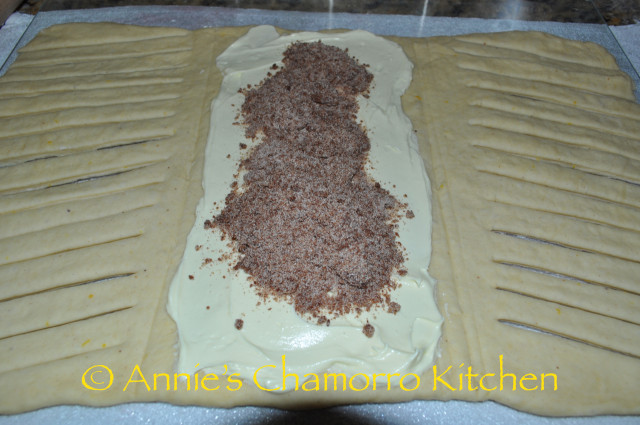
Spread the cream cheese mixture down the middle of the rectangle. Sprinkle the cinnamon mixture on top of the cream cheese mixture.

DSC_0067 DSC_0068

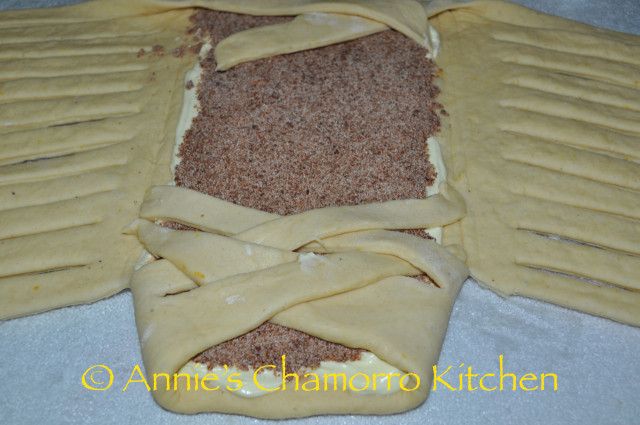
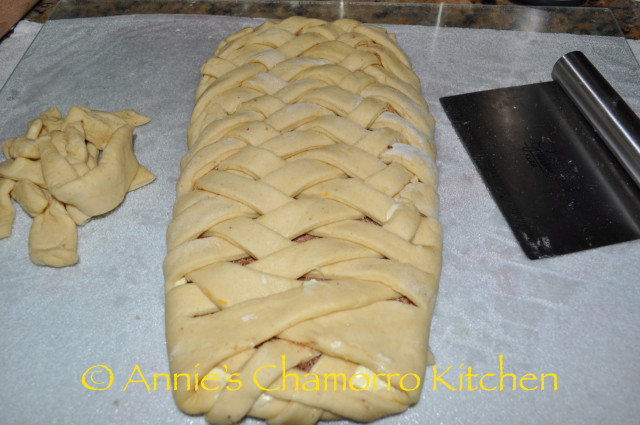
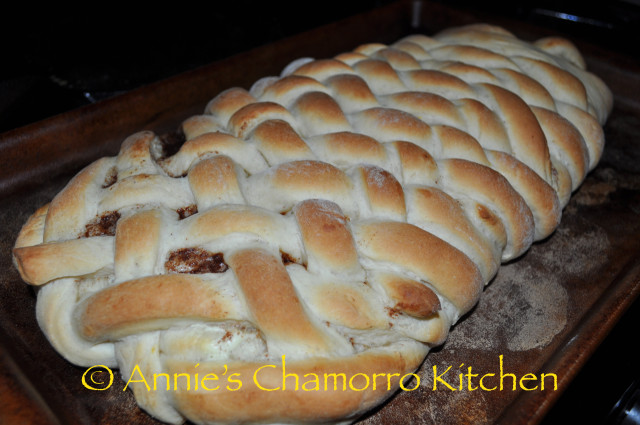
Fold the strips of dough over the fillings, alternating sides. Overlap the strips to form a braided or woven look.

DSC_0069

Tuck the ends of the dough underneath the end; use any extra dough to ensure both ends of the King Cake are sealed (to keep the filling in while baking).

DSC_0071

This is how you’d make a round King Cake.

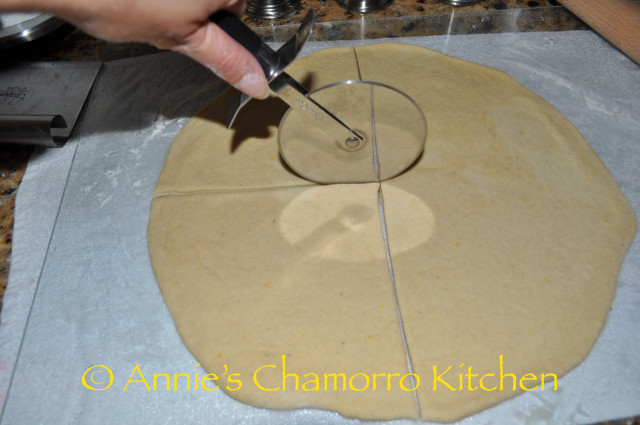
Roll out two pieces of dough about 16 inches in diameter.

DSC_0074

Cut one piece of dough into strips, like you’re cutting a pizza.

DSC_0075

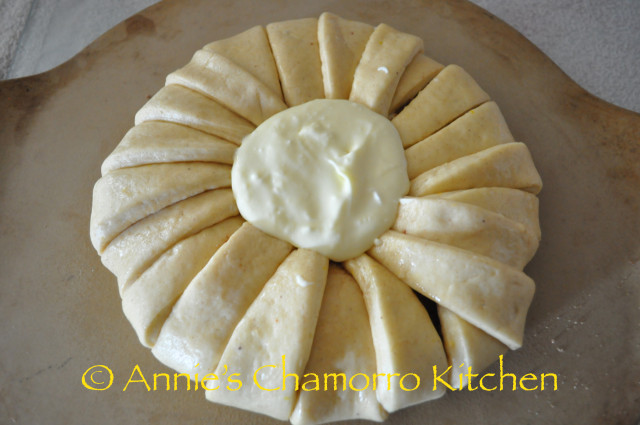
Place the uncut round piece onto a baking sheet.  Place the cut pieces of dough underneath the edge of the uncut piece (pointed part facing out), going all around the side (it will look like a large sun with rays pointing out).  Press along the edges of the cut pieces to the seal them to the uncut circle.

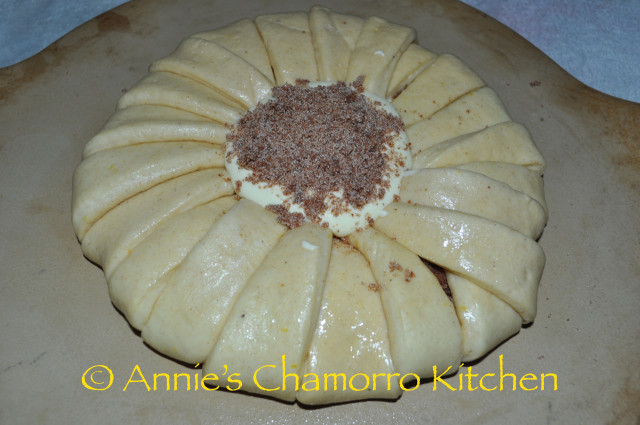
Spread the cream cheese filling around the edge of the uncut circle of dough.  Sprinkle cinnamon sugar filling on top of the cream cheese.  Fold each cut piece inward, pressing down at the pointed tip to seal the dough (you will have a small “well” of dough in the middle).

Into the small well, pour more cream cheese filling.  Top with cinnamon filling.

DSC_0079

DSC_0081

Carefully lift the shaped dough and place onto a large baking sheet.  Spray the top of the King Cake (dough) lightly with butter flavored cooking spray, then cover loosely with plastic wrap and place in a warm place to rise again until doubled.

DSC_0072

Bake at 375 degrees for 20 minutes or until nicely browned.

DSC_0077

Glaze the King Cake and Decorate:

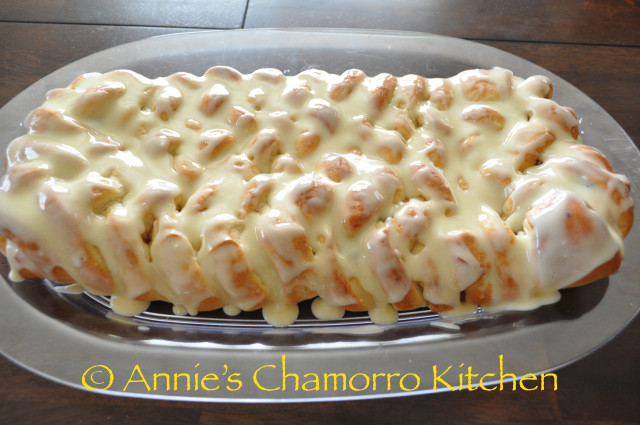
While the King Cake is still warm, spread a thin layer of the glaze on top.

DSC_0082

Decorate with the sugar sprinkles, alternating the colors.

DSC_0087

Slice, Serve and ENJOY!
Print Friendly, PDF & Email

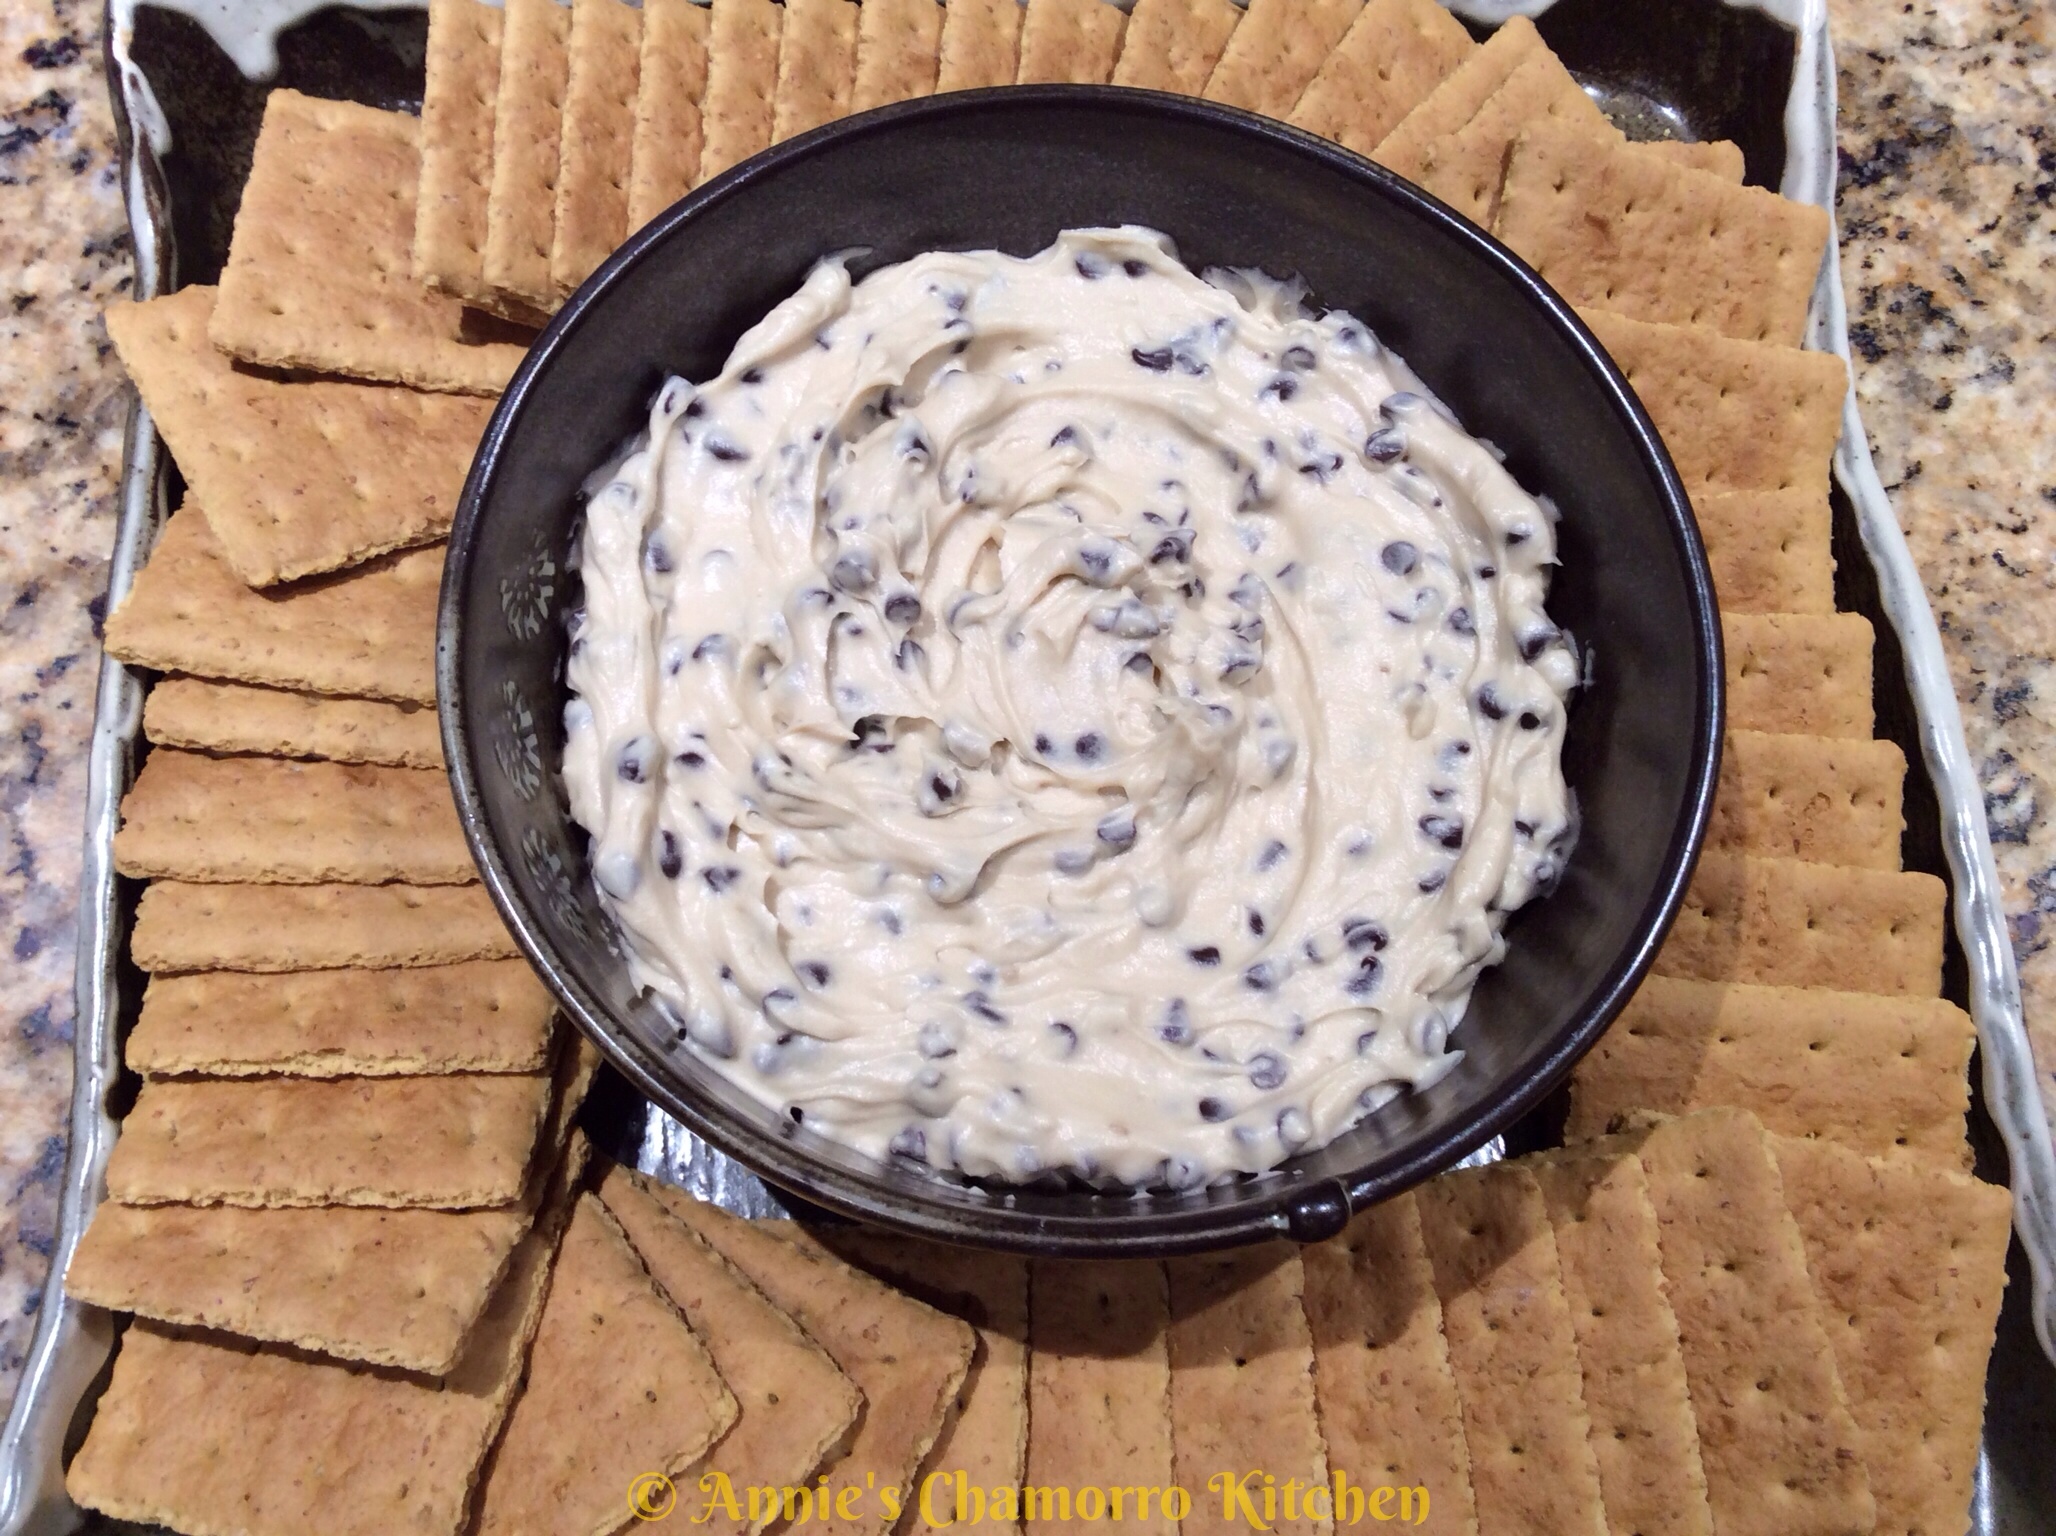
Chocolate Chip Cookie Dough Dip

Do you love to eat raw chocolate chip cookie dough? I must admit that I won’t eat the raw dough–soft, chewy, warm-from-the-oven BAKED cookies, however are another story! If you’re among the many who love eating cookie dough by the spoonful, this recipe is for you.

You can do an internet search for ‘chocolate chip cookie dough dip’ and come up with over 1.7 million hits, with almost all of the ingredients seemingly identical. This one is no different. I don’t know who the original creator of this recipe is, but whomever thought it up…THANK YOU!

In the words of a friend, “This should be illegal, it’s so good!” 🙂

Give this recipe a try. I think you’ll LOVE it.

Chocolate Chip Cookie Dough Dip

wpid-Photo-Feb-20-2014-350-PM.jpg

 Ingredients:

  • 1 stick unsalted butter
  • 1/3 cup light brown sugar
  • 1 1/2 teaspoons vanilla extract
  • 8 ounces cream cheese, softened
  • 1/2 cup confectioner’s sugar (a.k.a. powdered sugar)
  • 1 small bag miniature chocolate chips
  • Honey graham crackers

Directions:

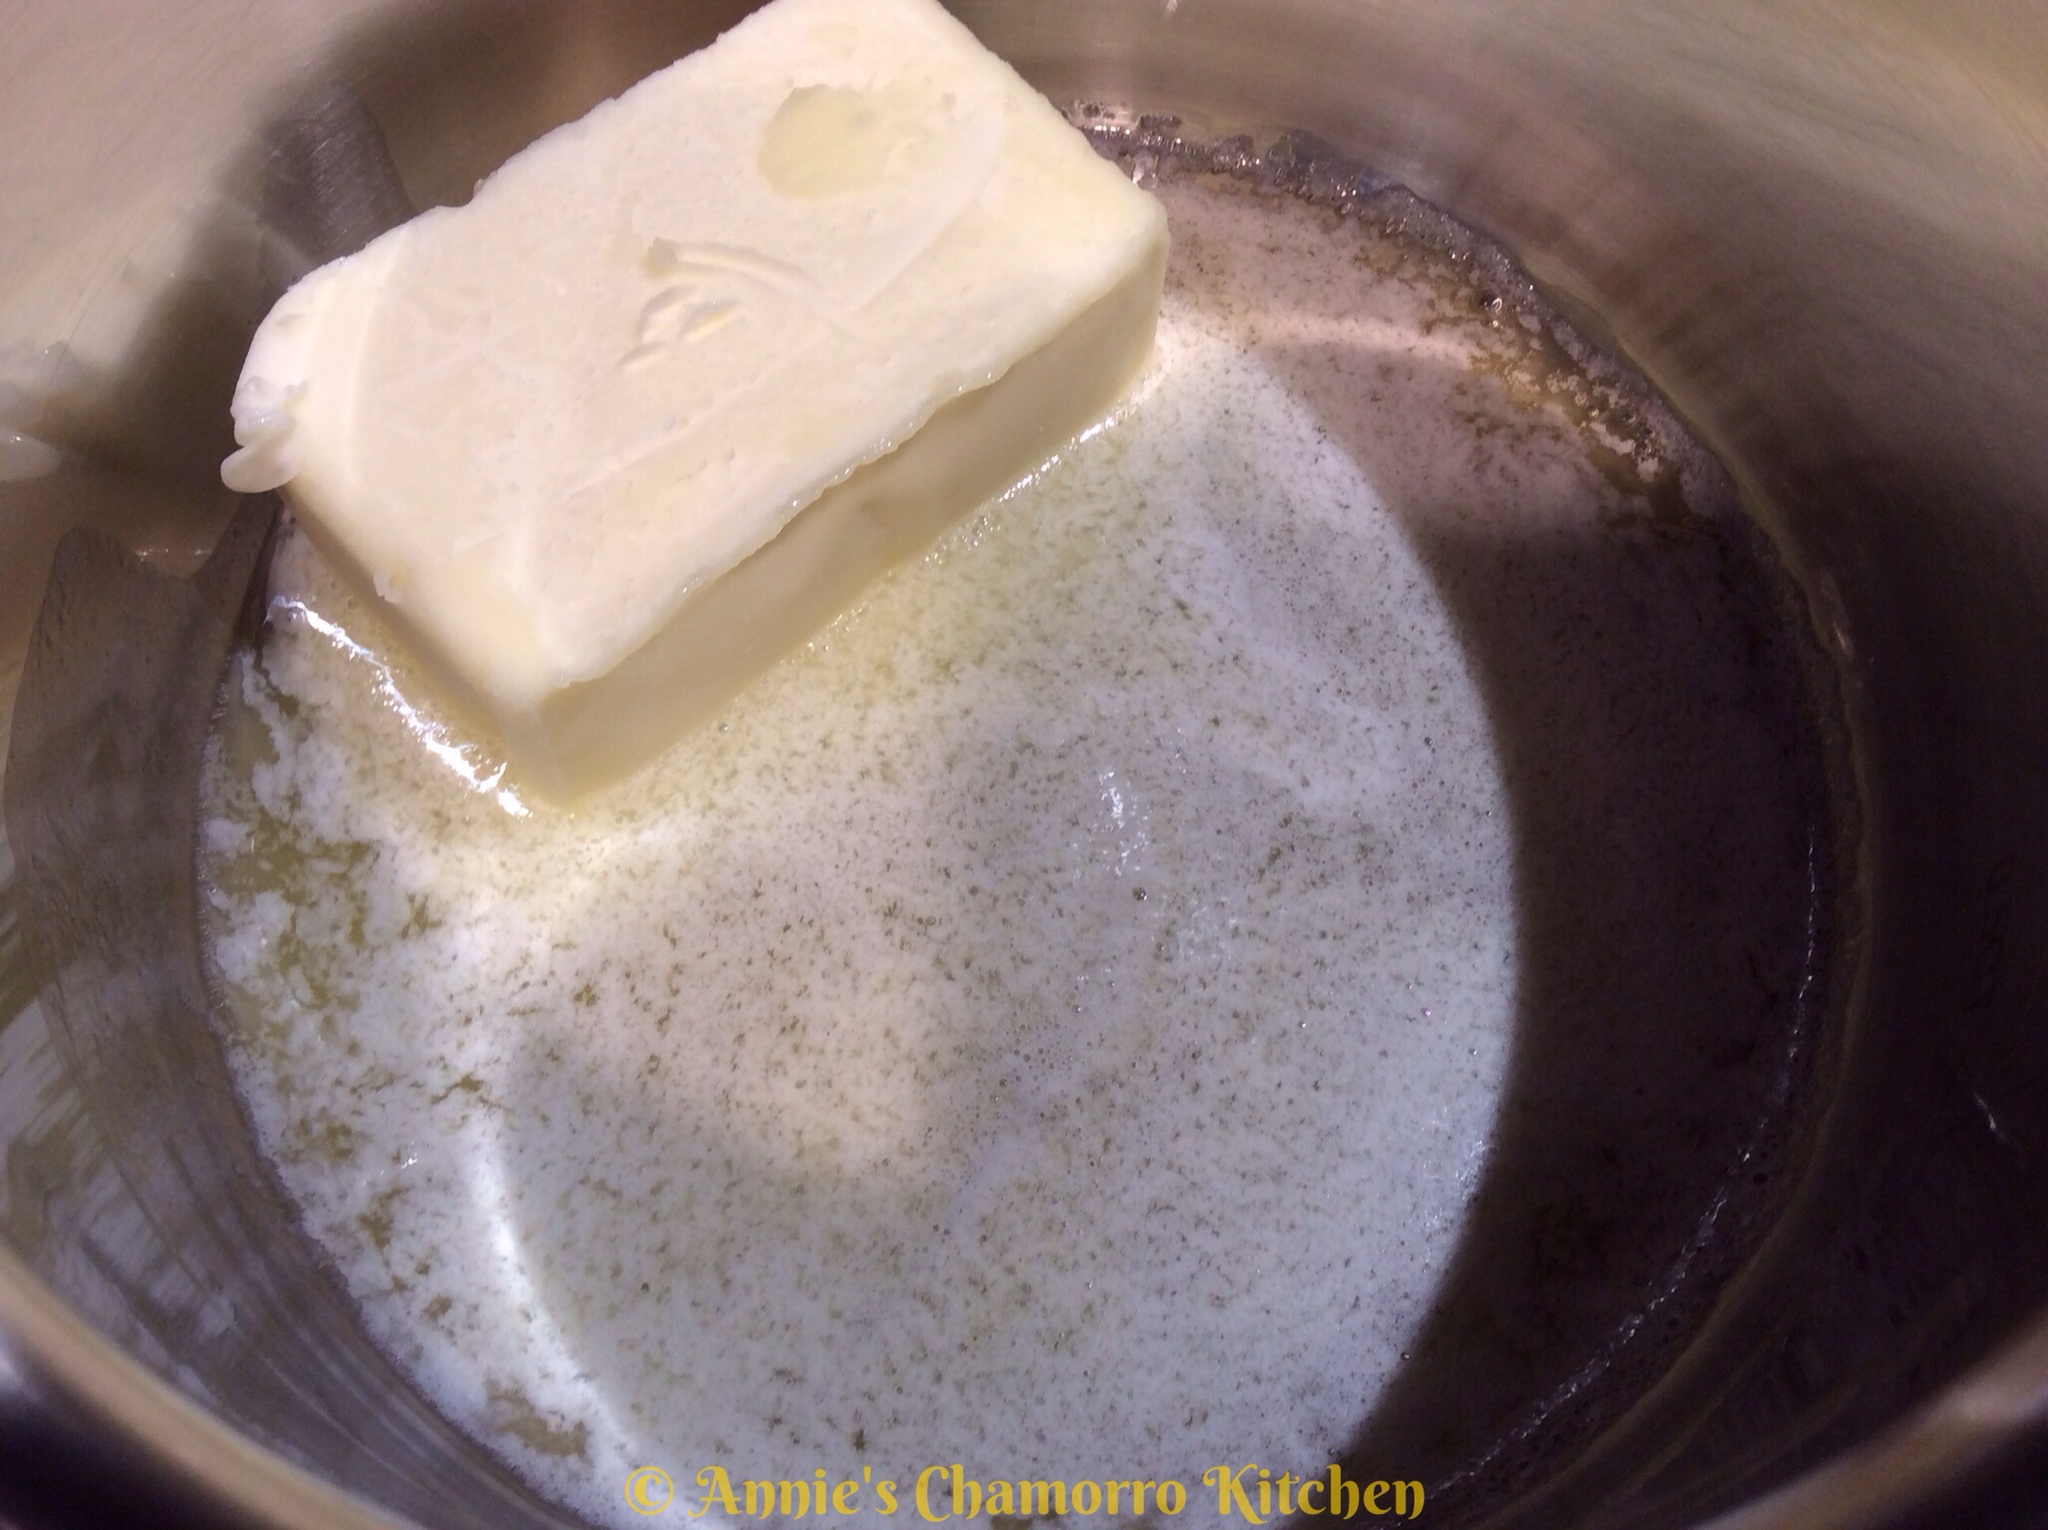
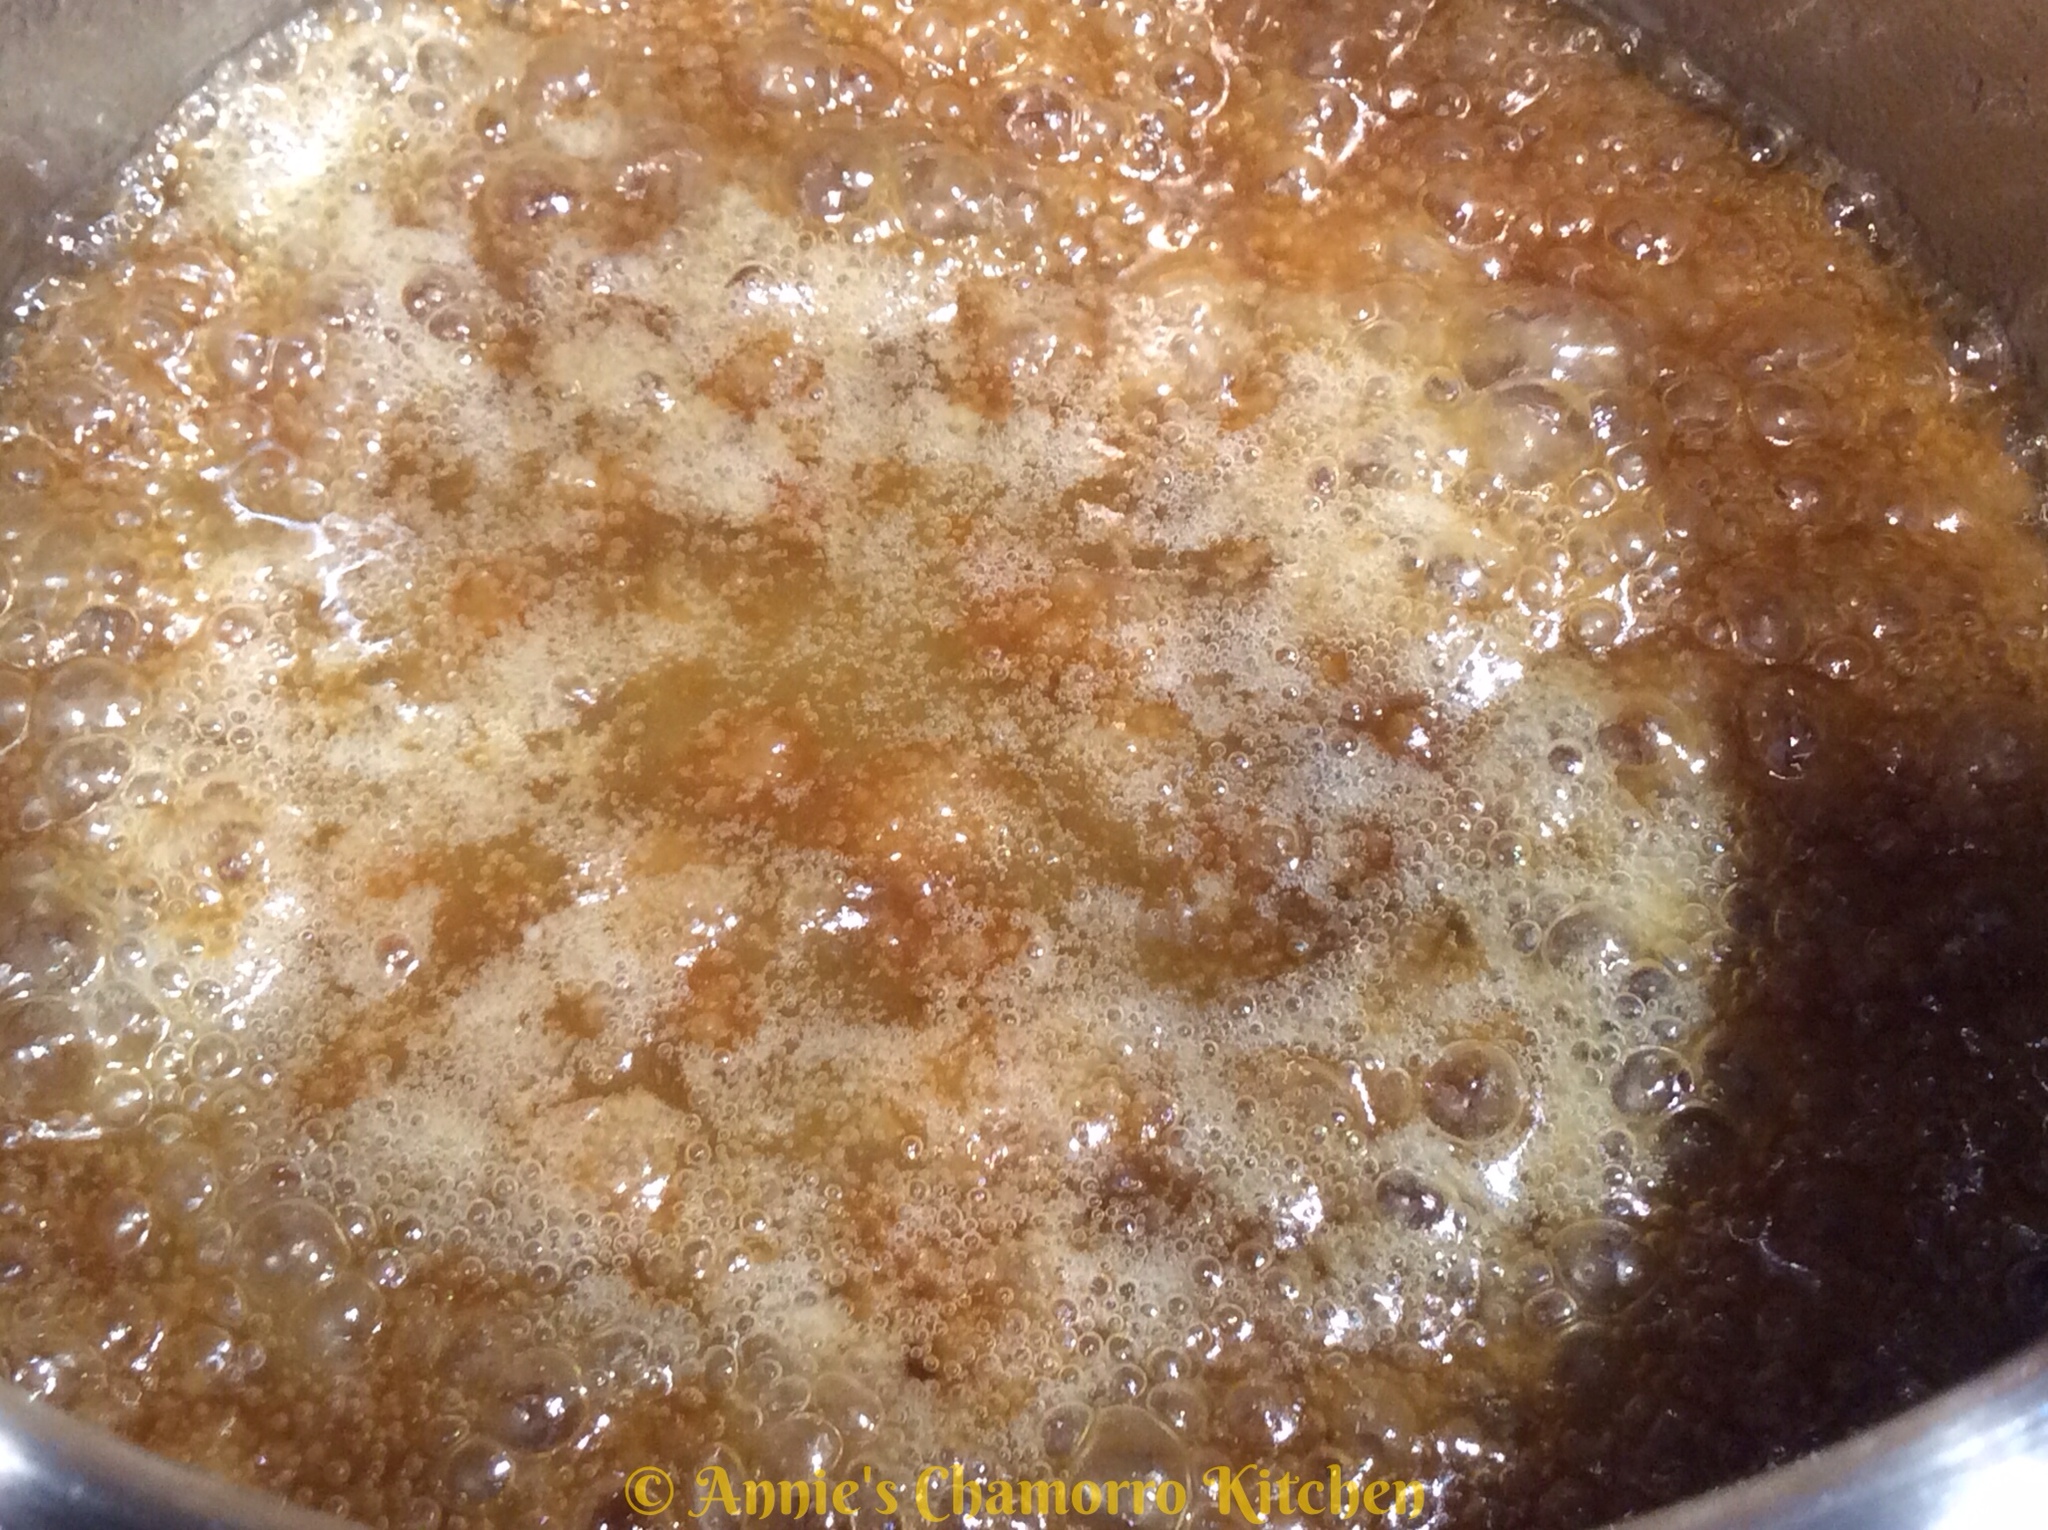
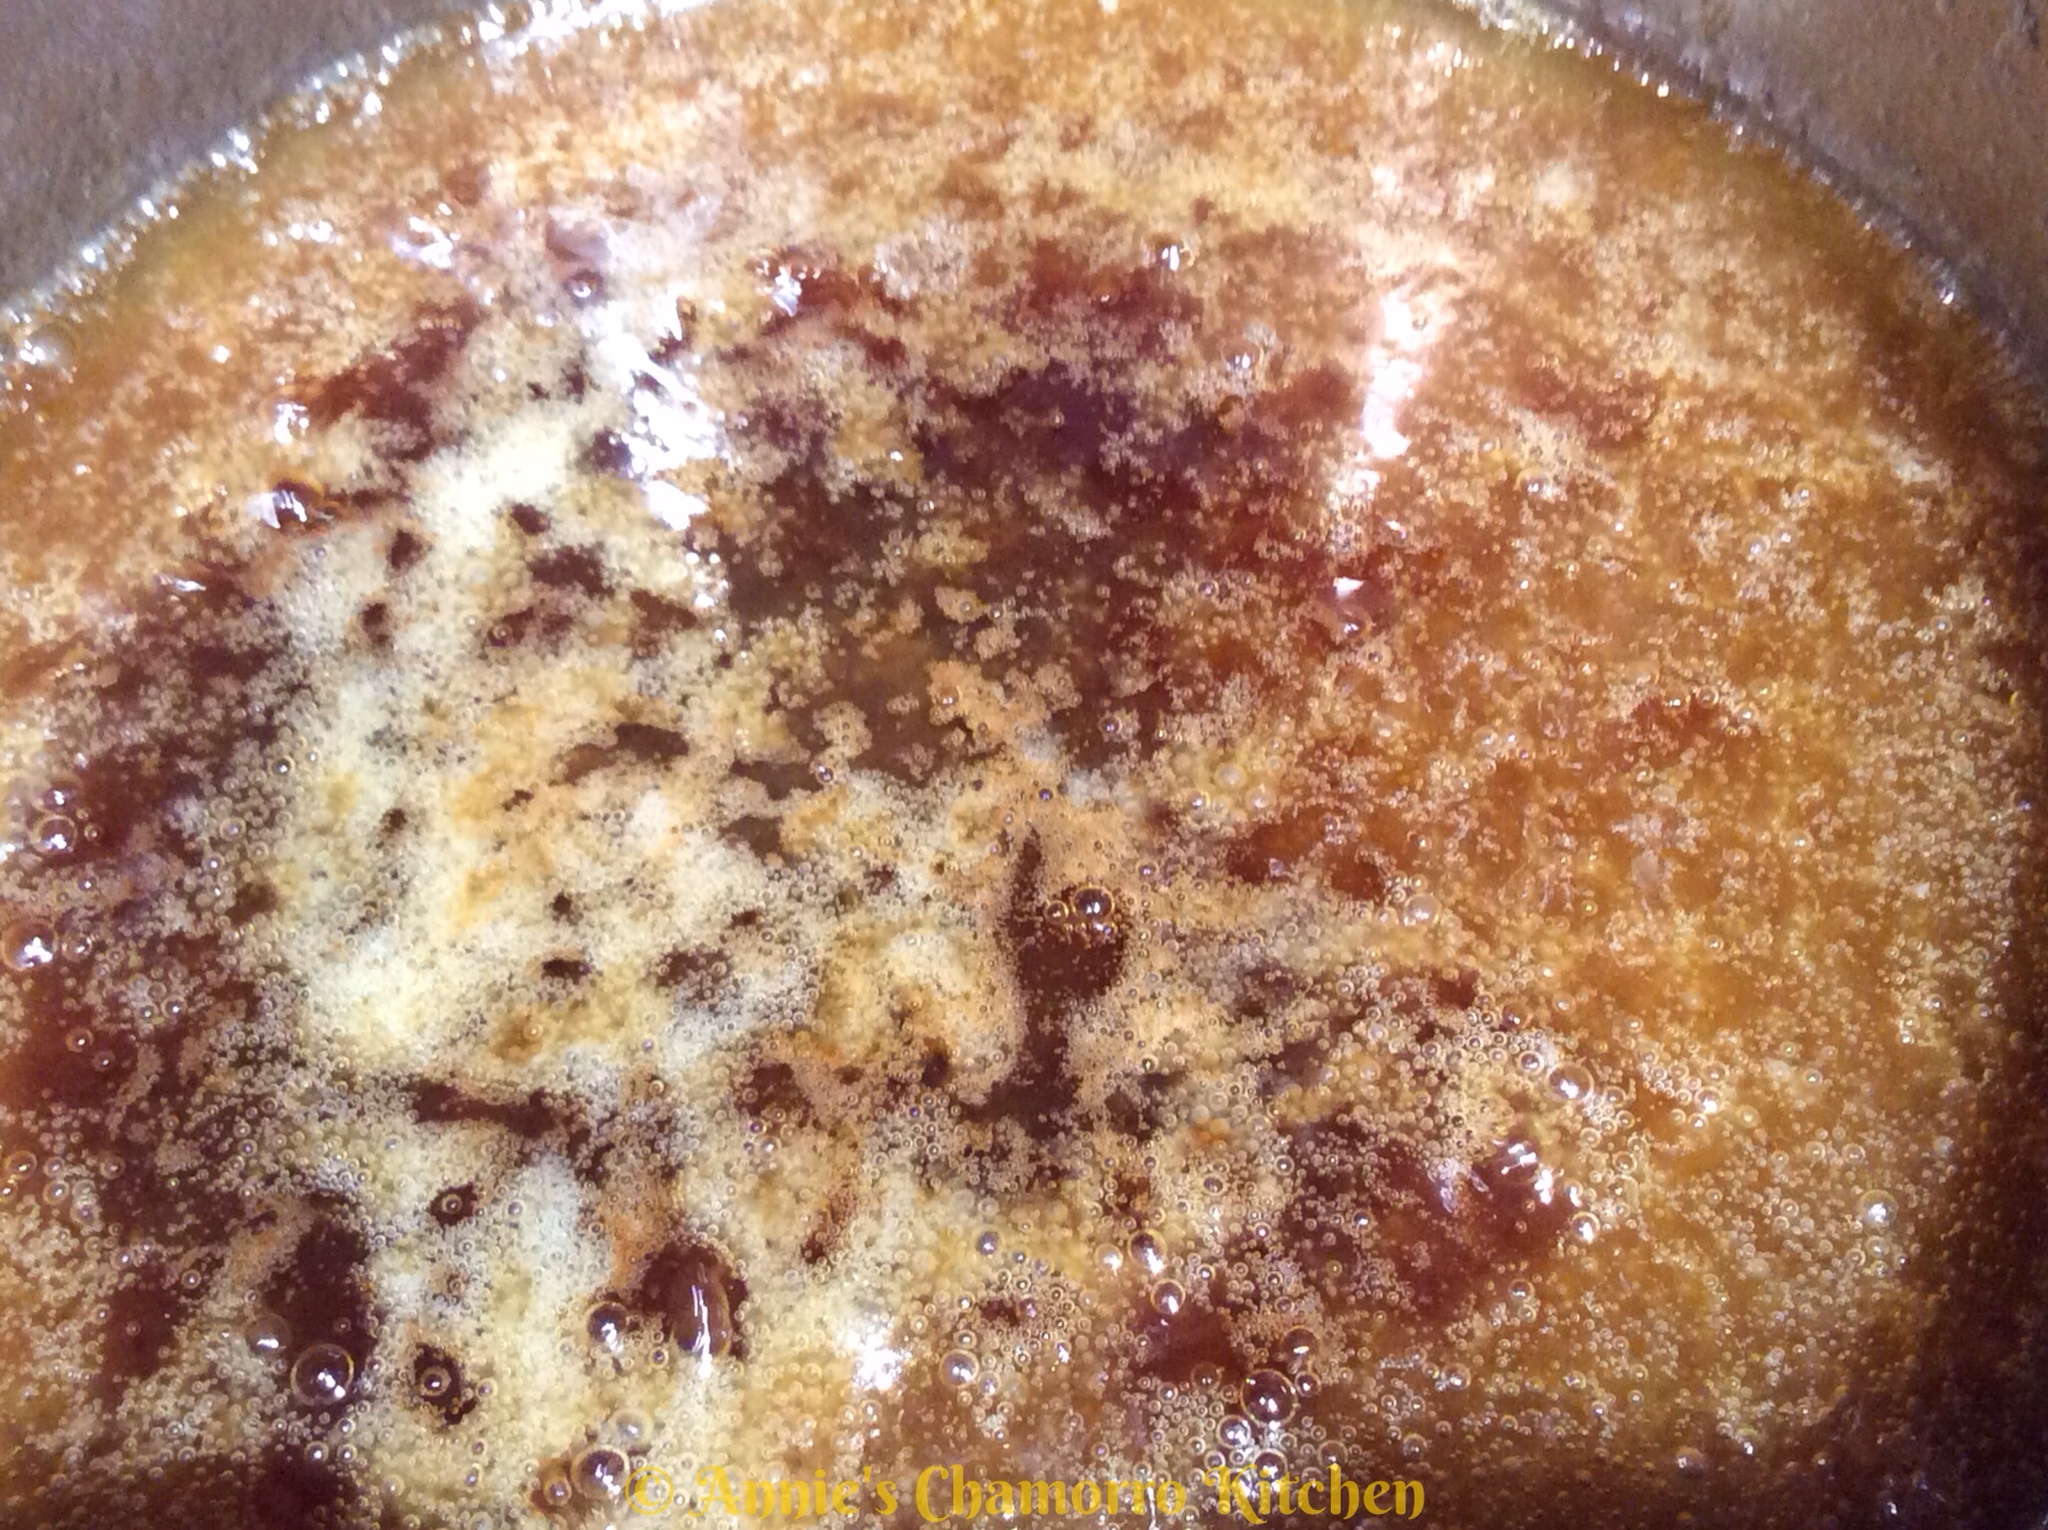
 Melt the butter in a small sauce pan.

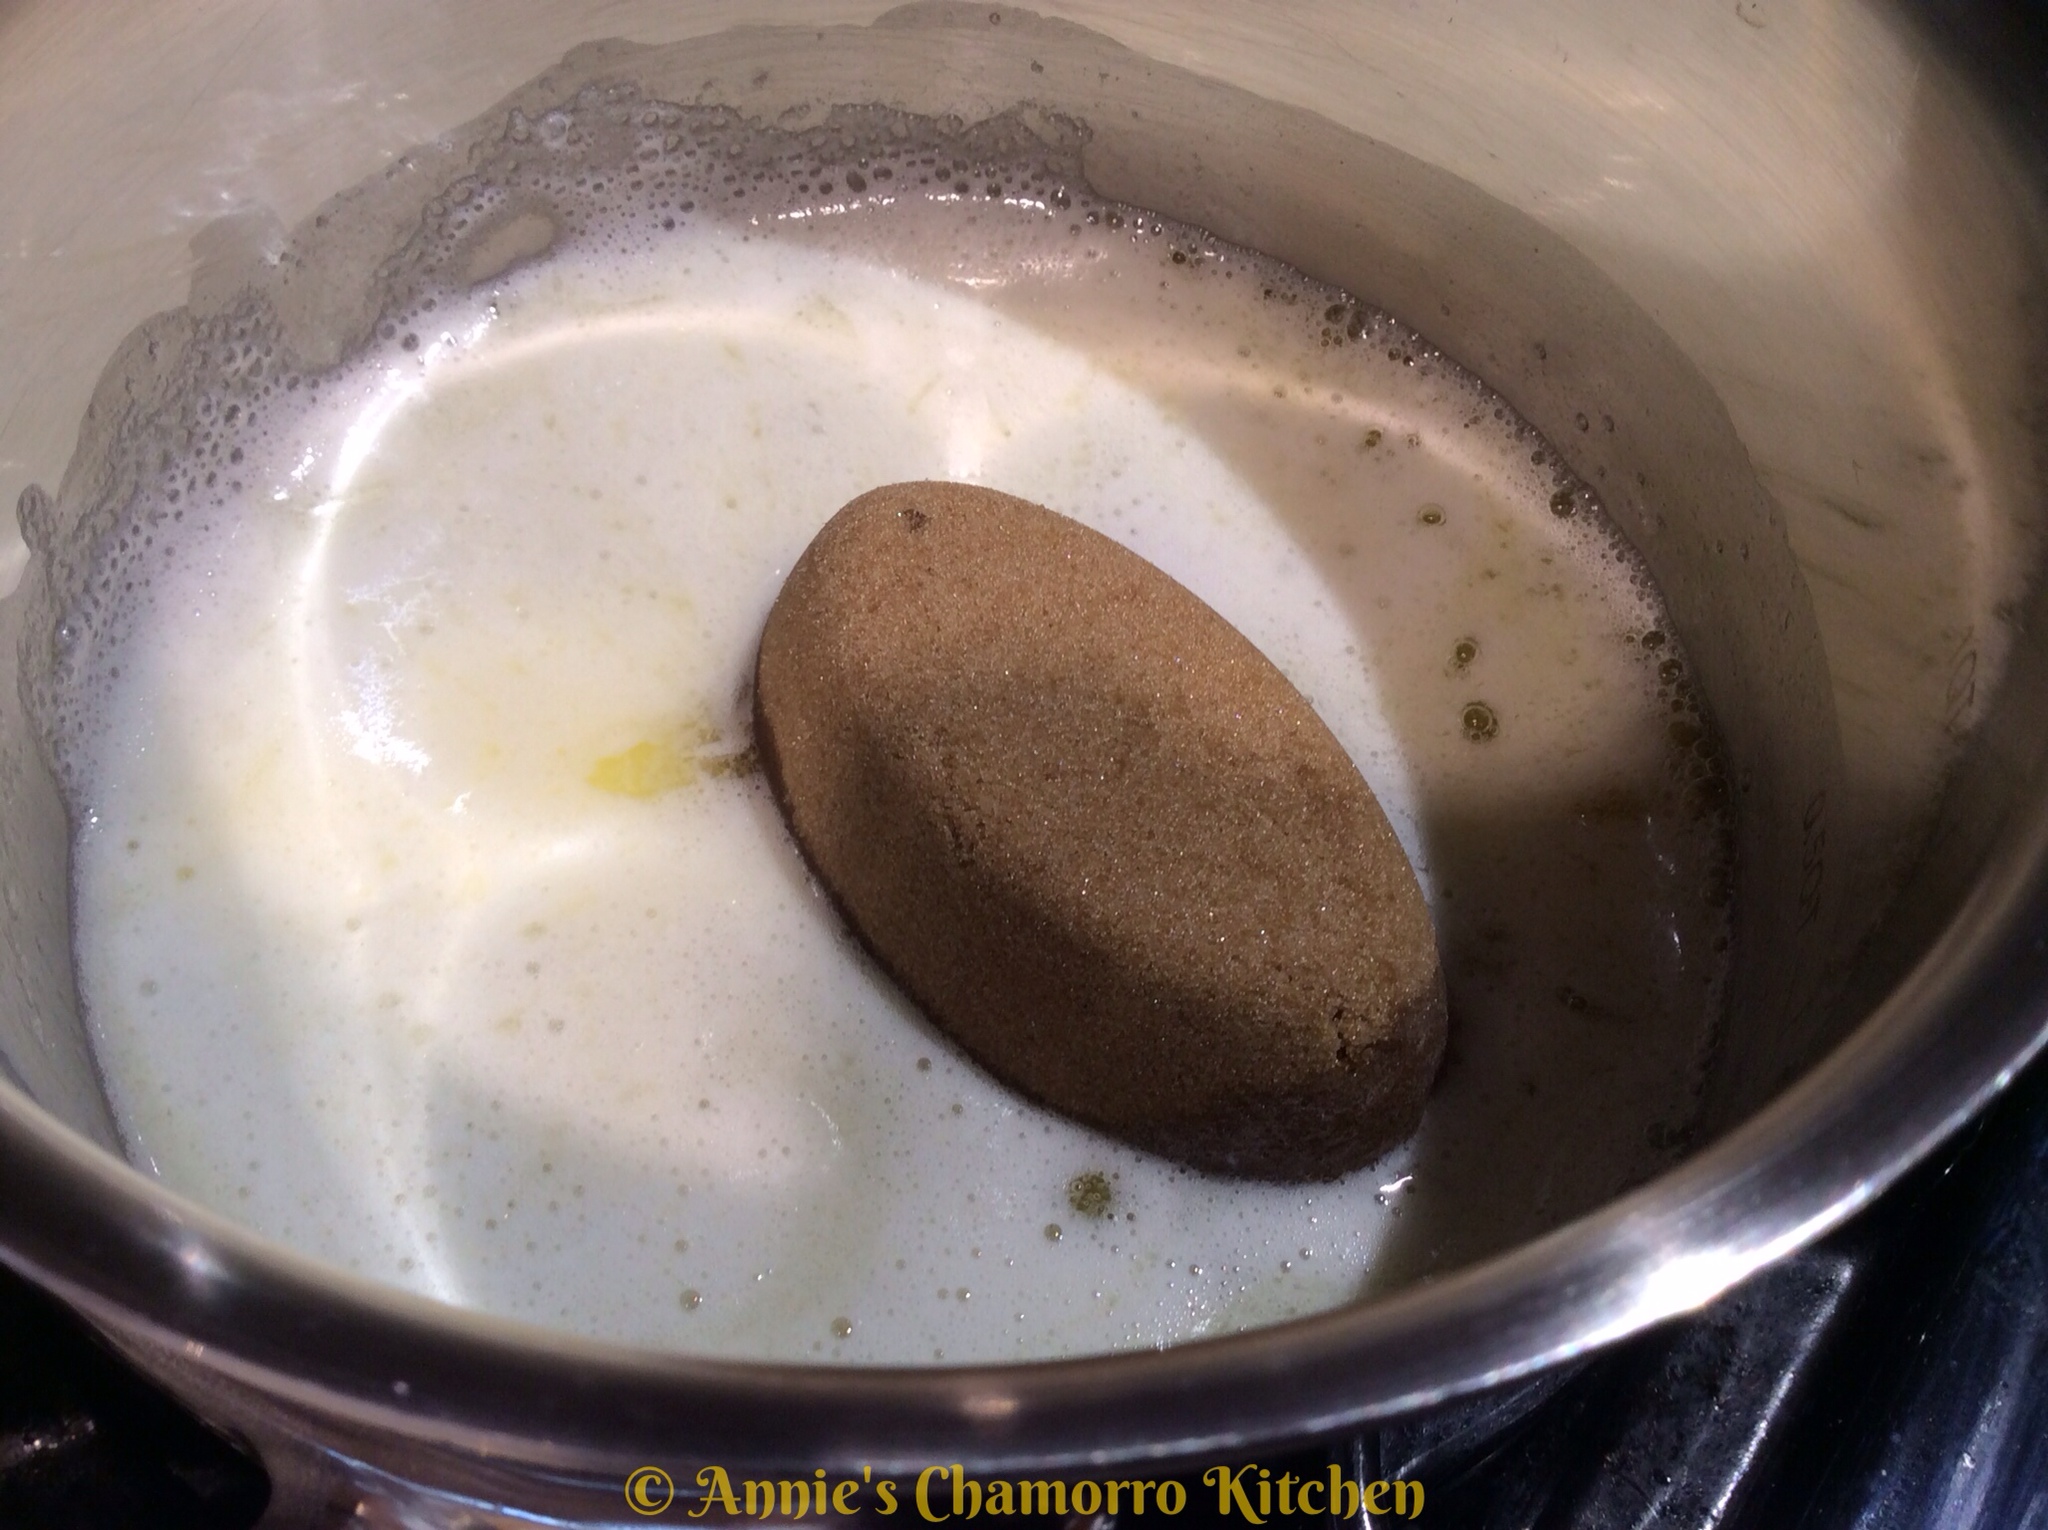
 Add the brown sugar to the pan.

 Simmer over low heat until the brown sugar melts.

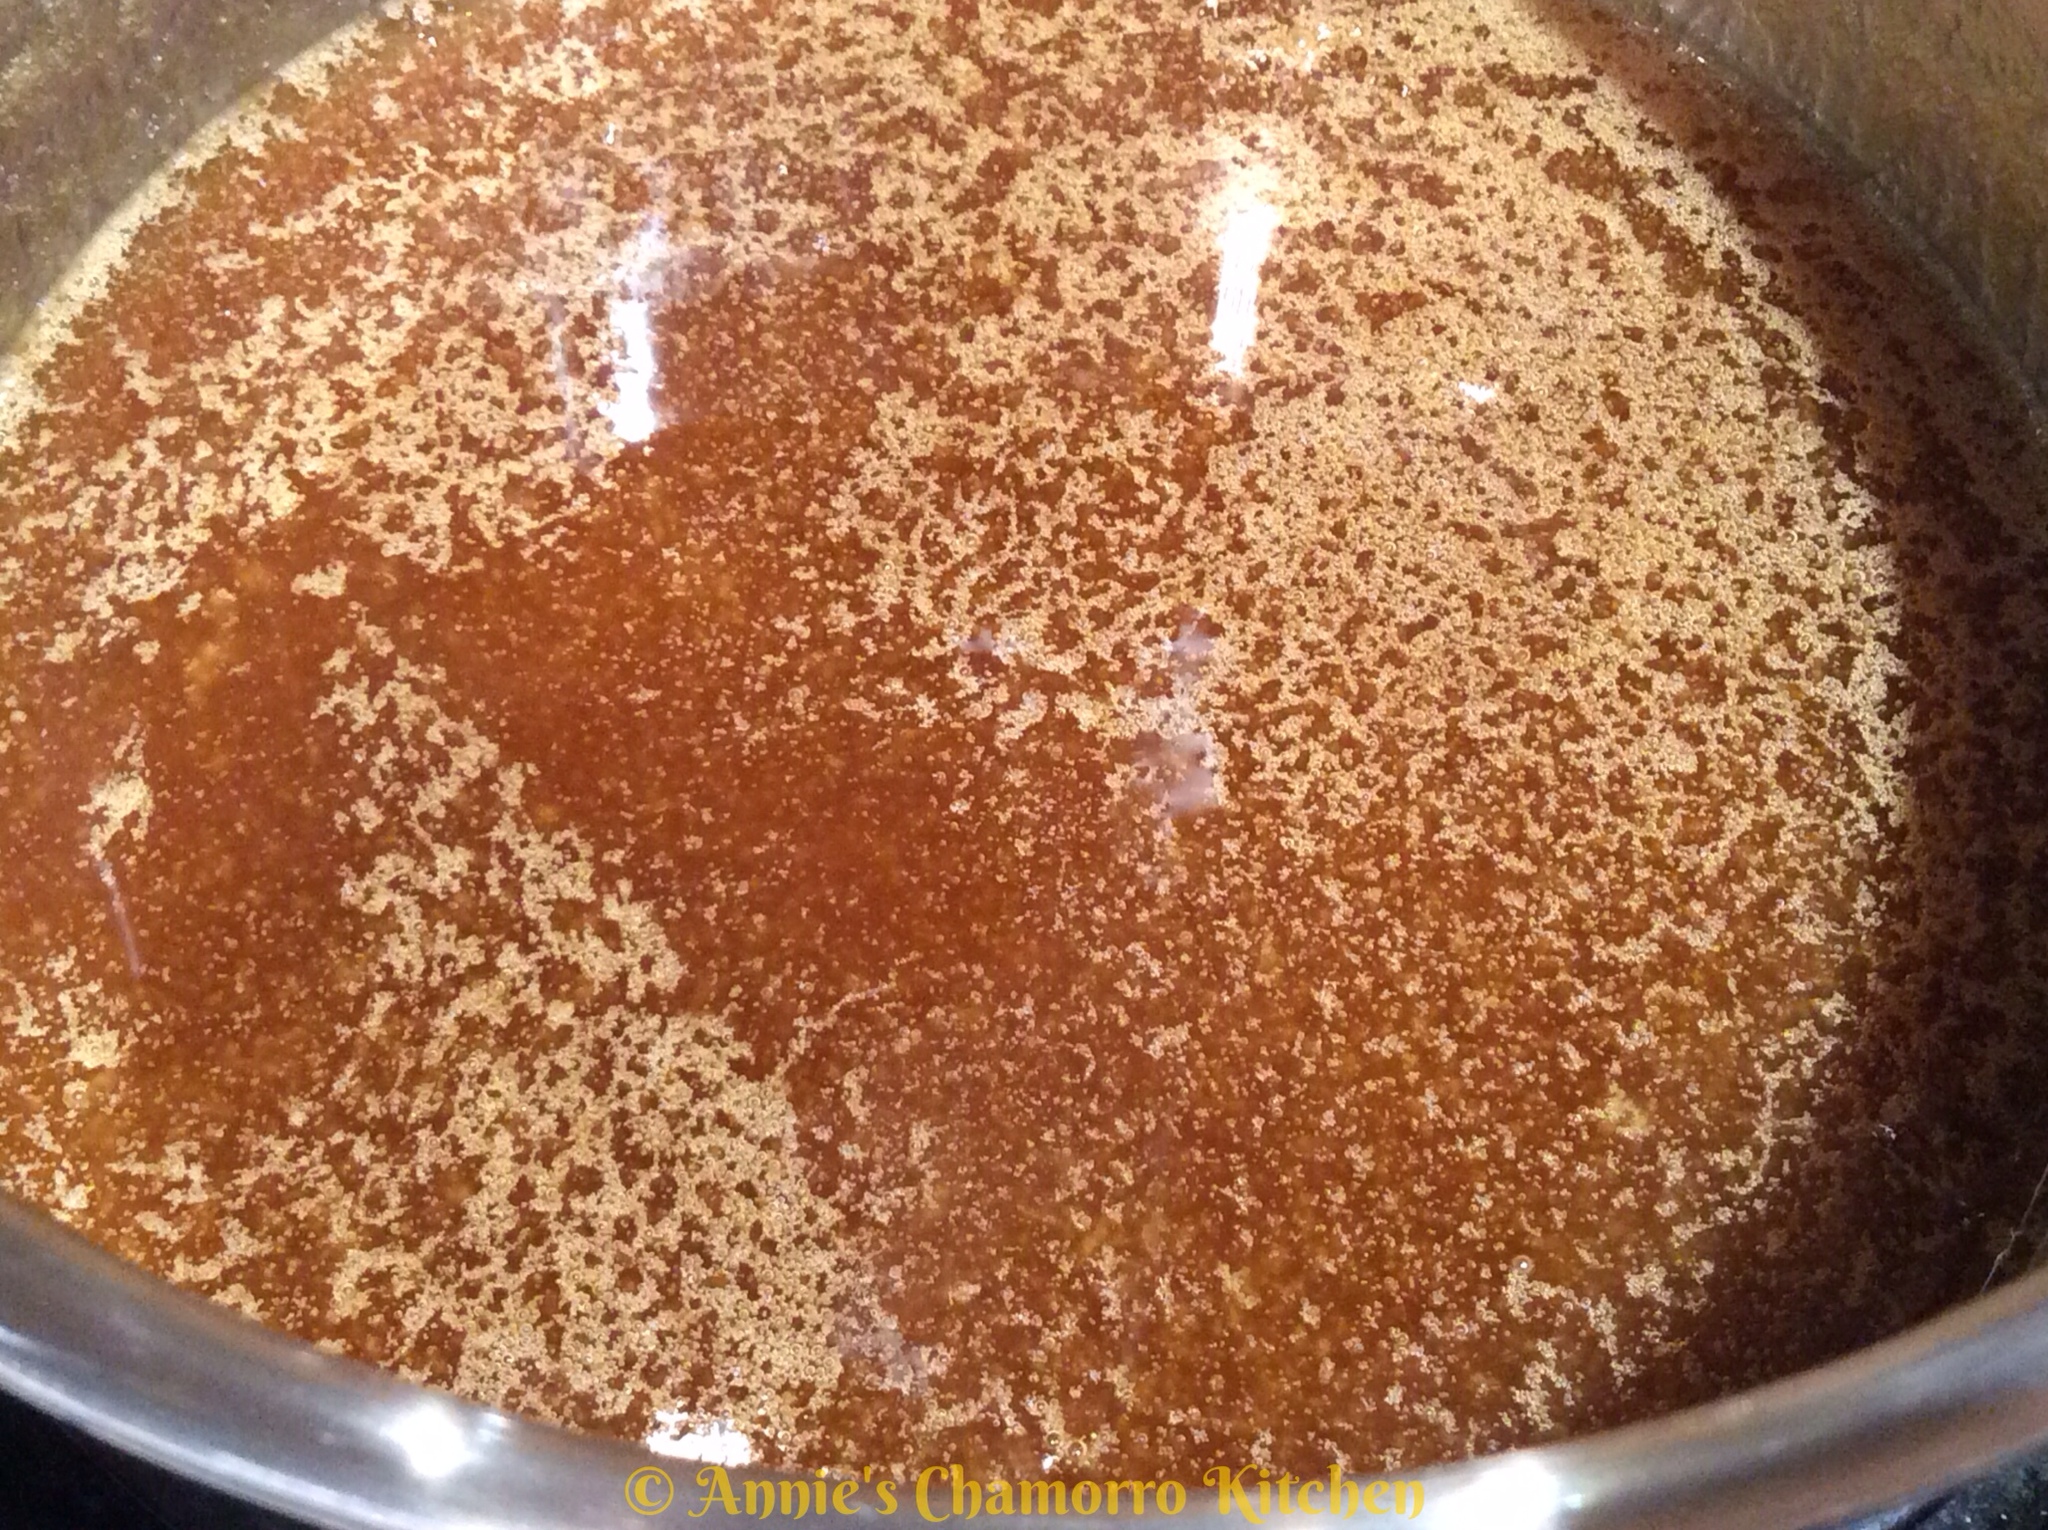
 Add 1/2 teaspoon of vanilla extract.  Stir to combine then remove from the heat.

This is what the butter-sugar-vanilla mixture looks like.  It smells divine!

As the butter mixture cools, prepare the cream cheese mixture.

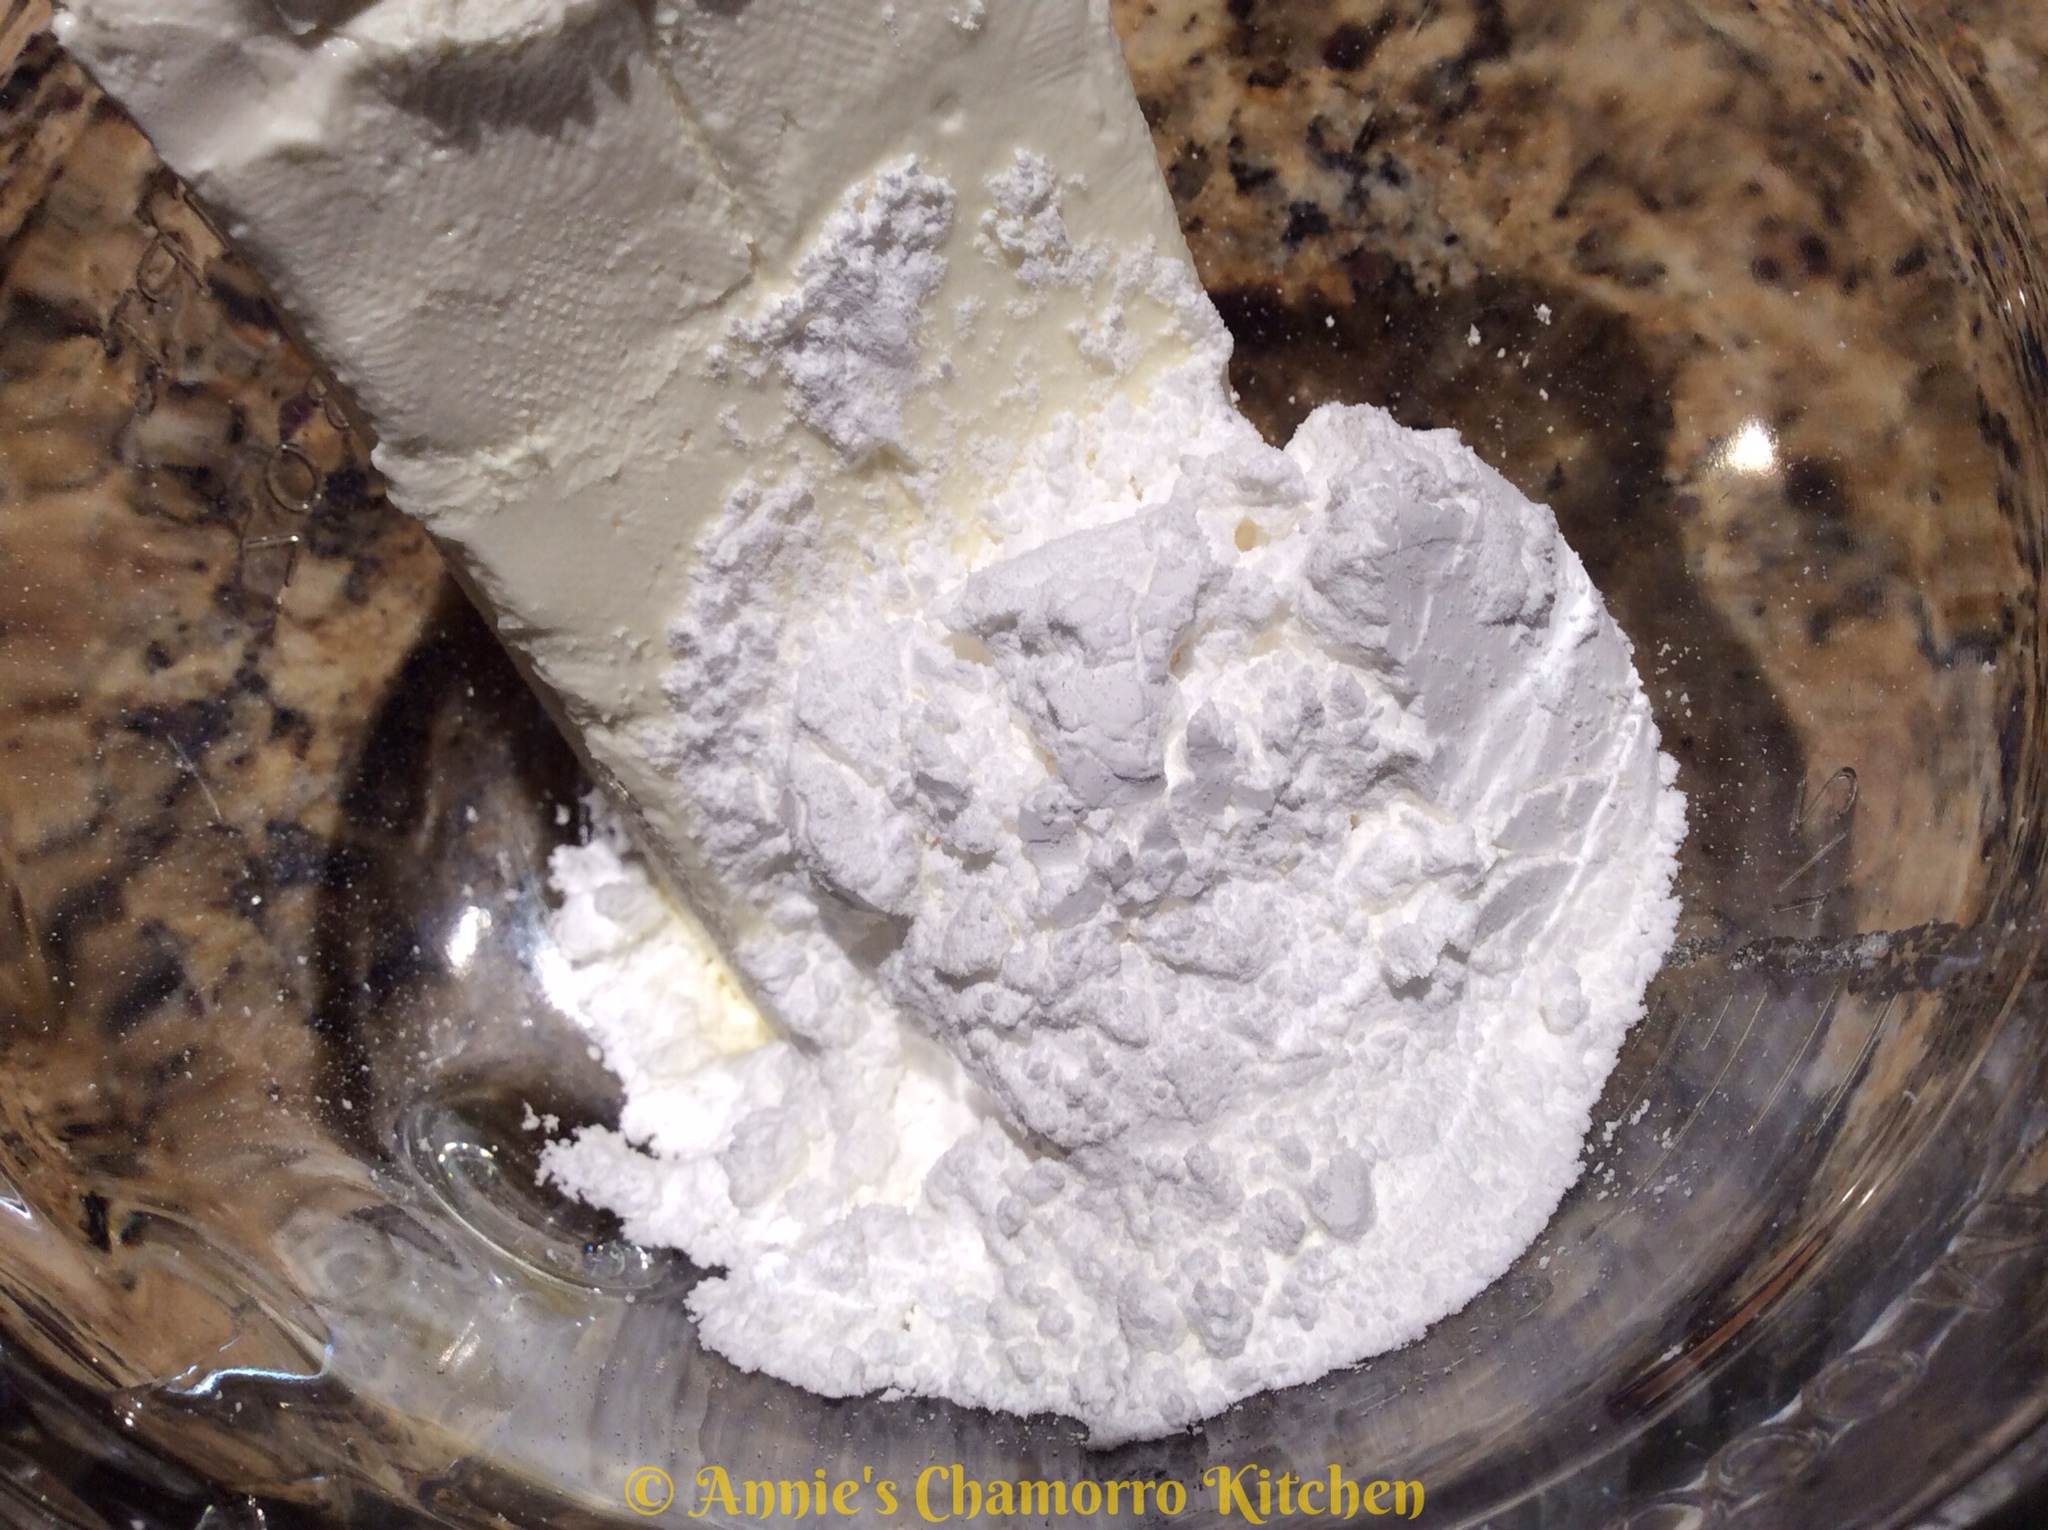
Place the cream cheese and powdered sugar into a small mixing bowl.

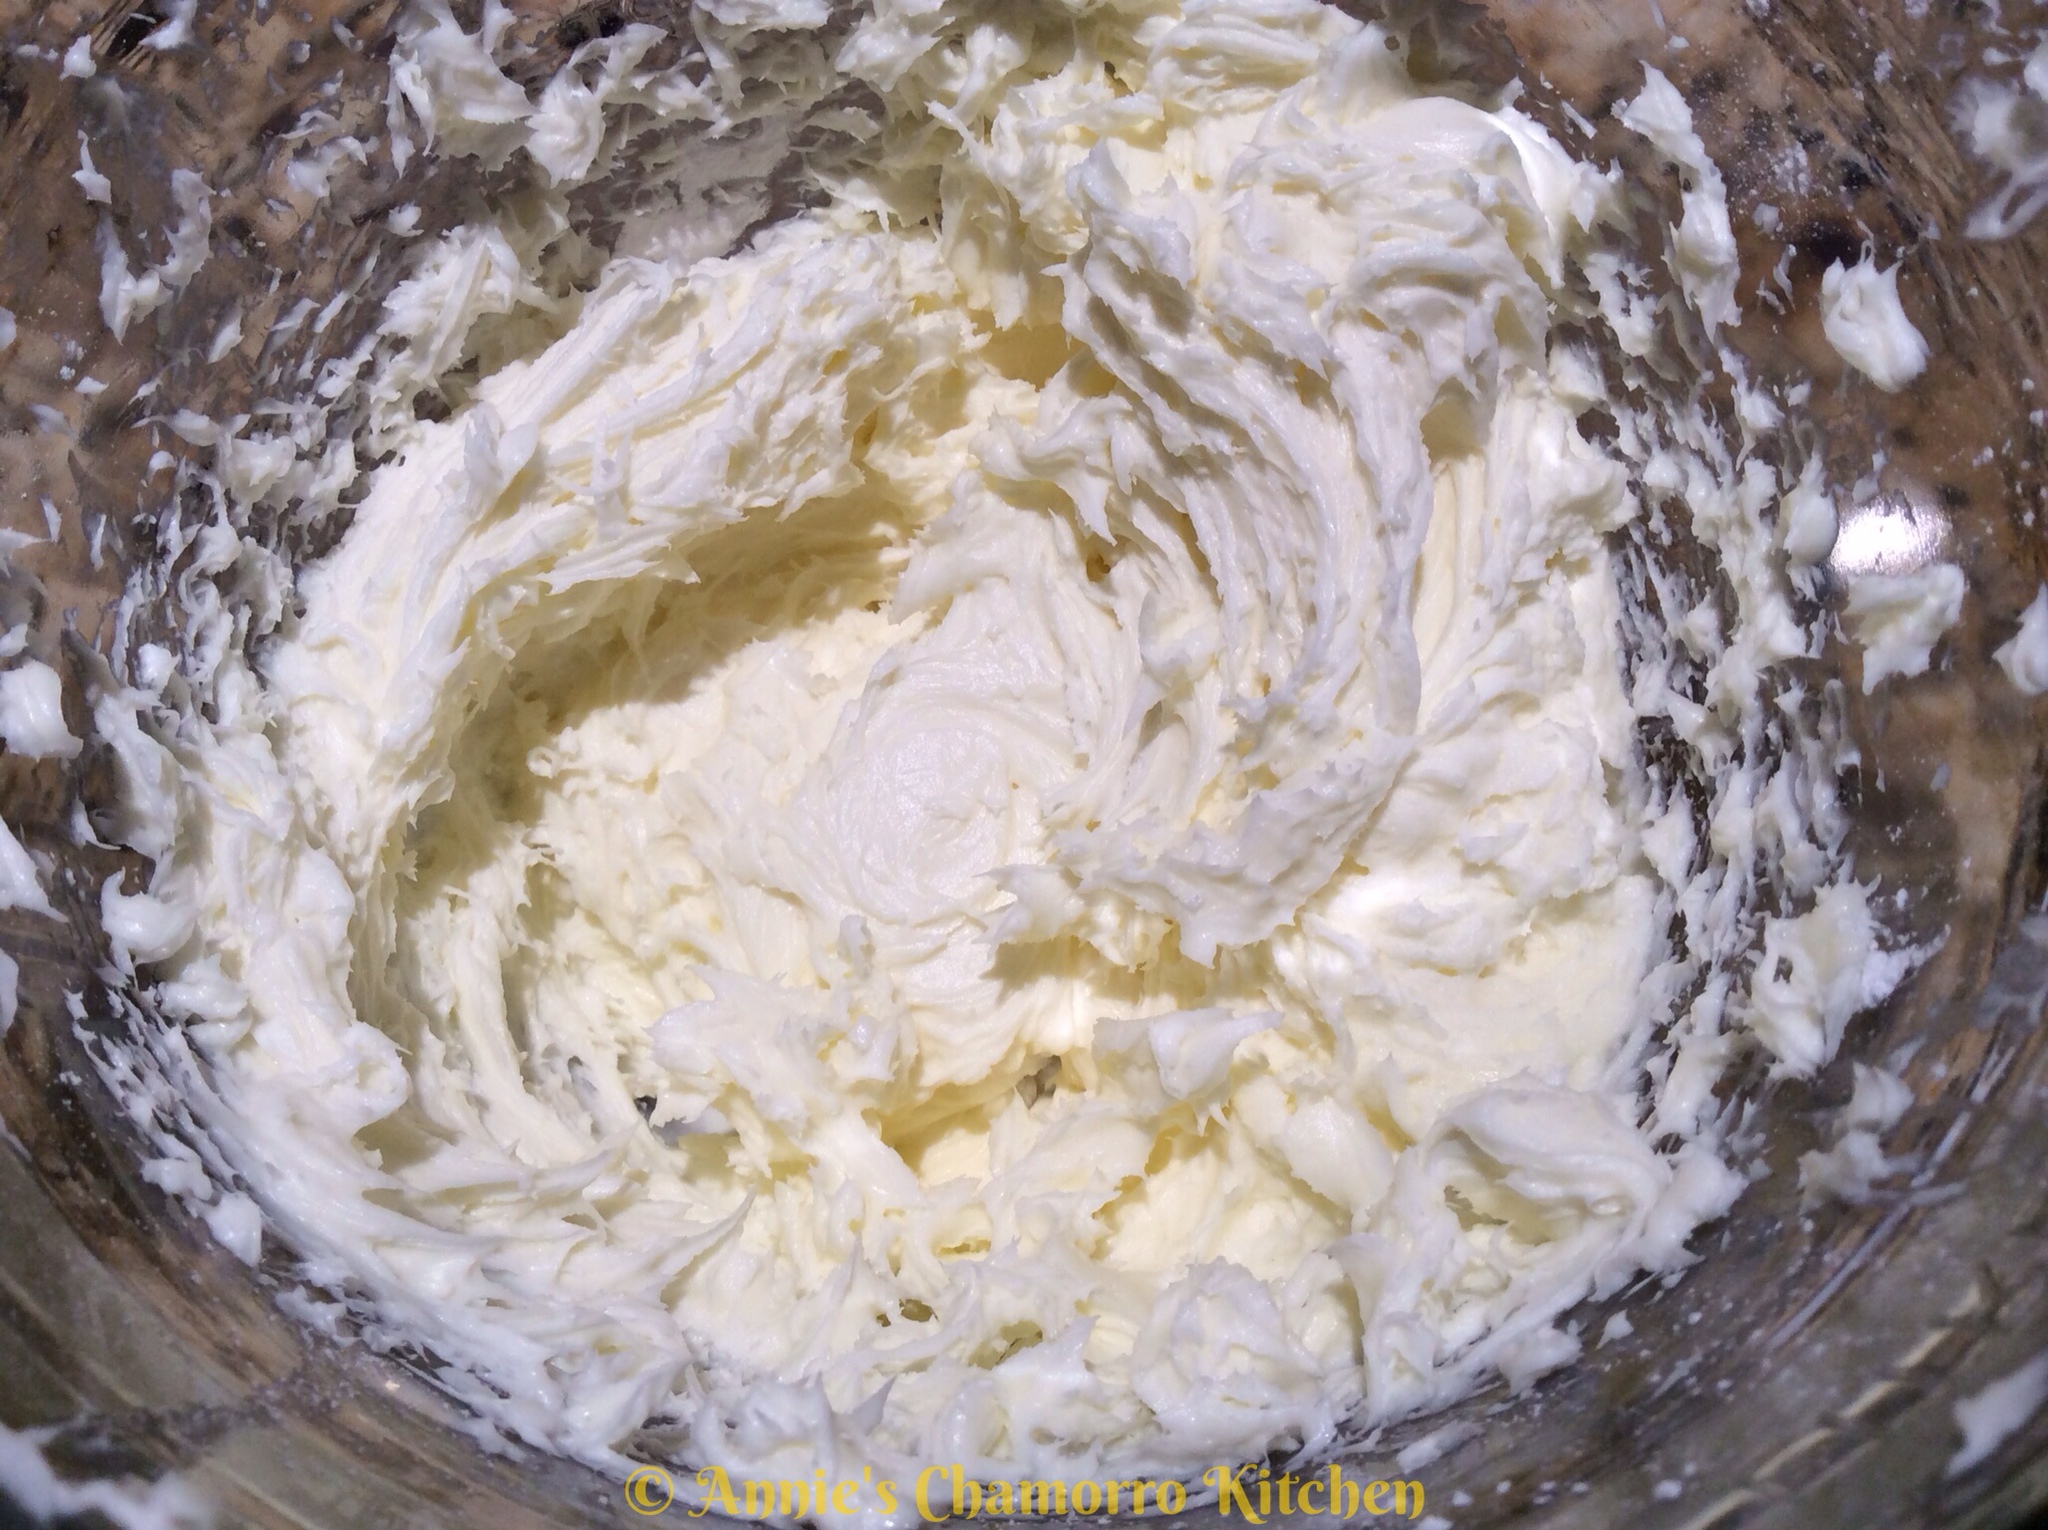
 Mix on medium speed until fluffy.

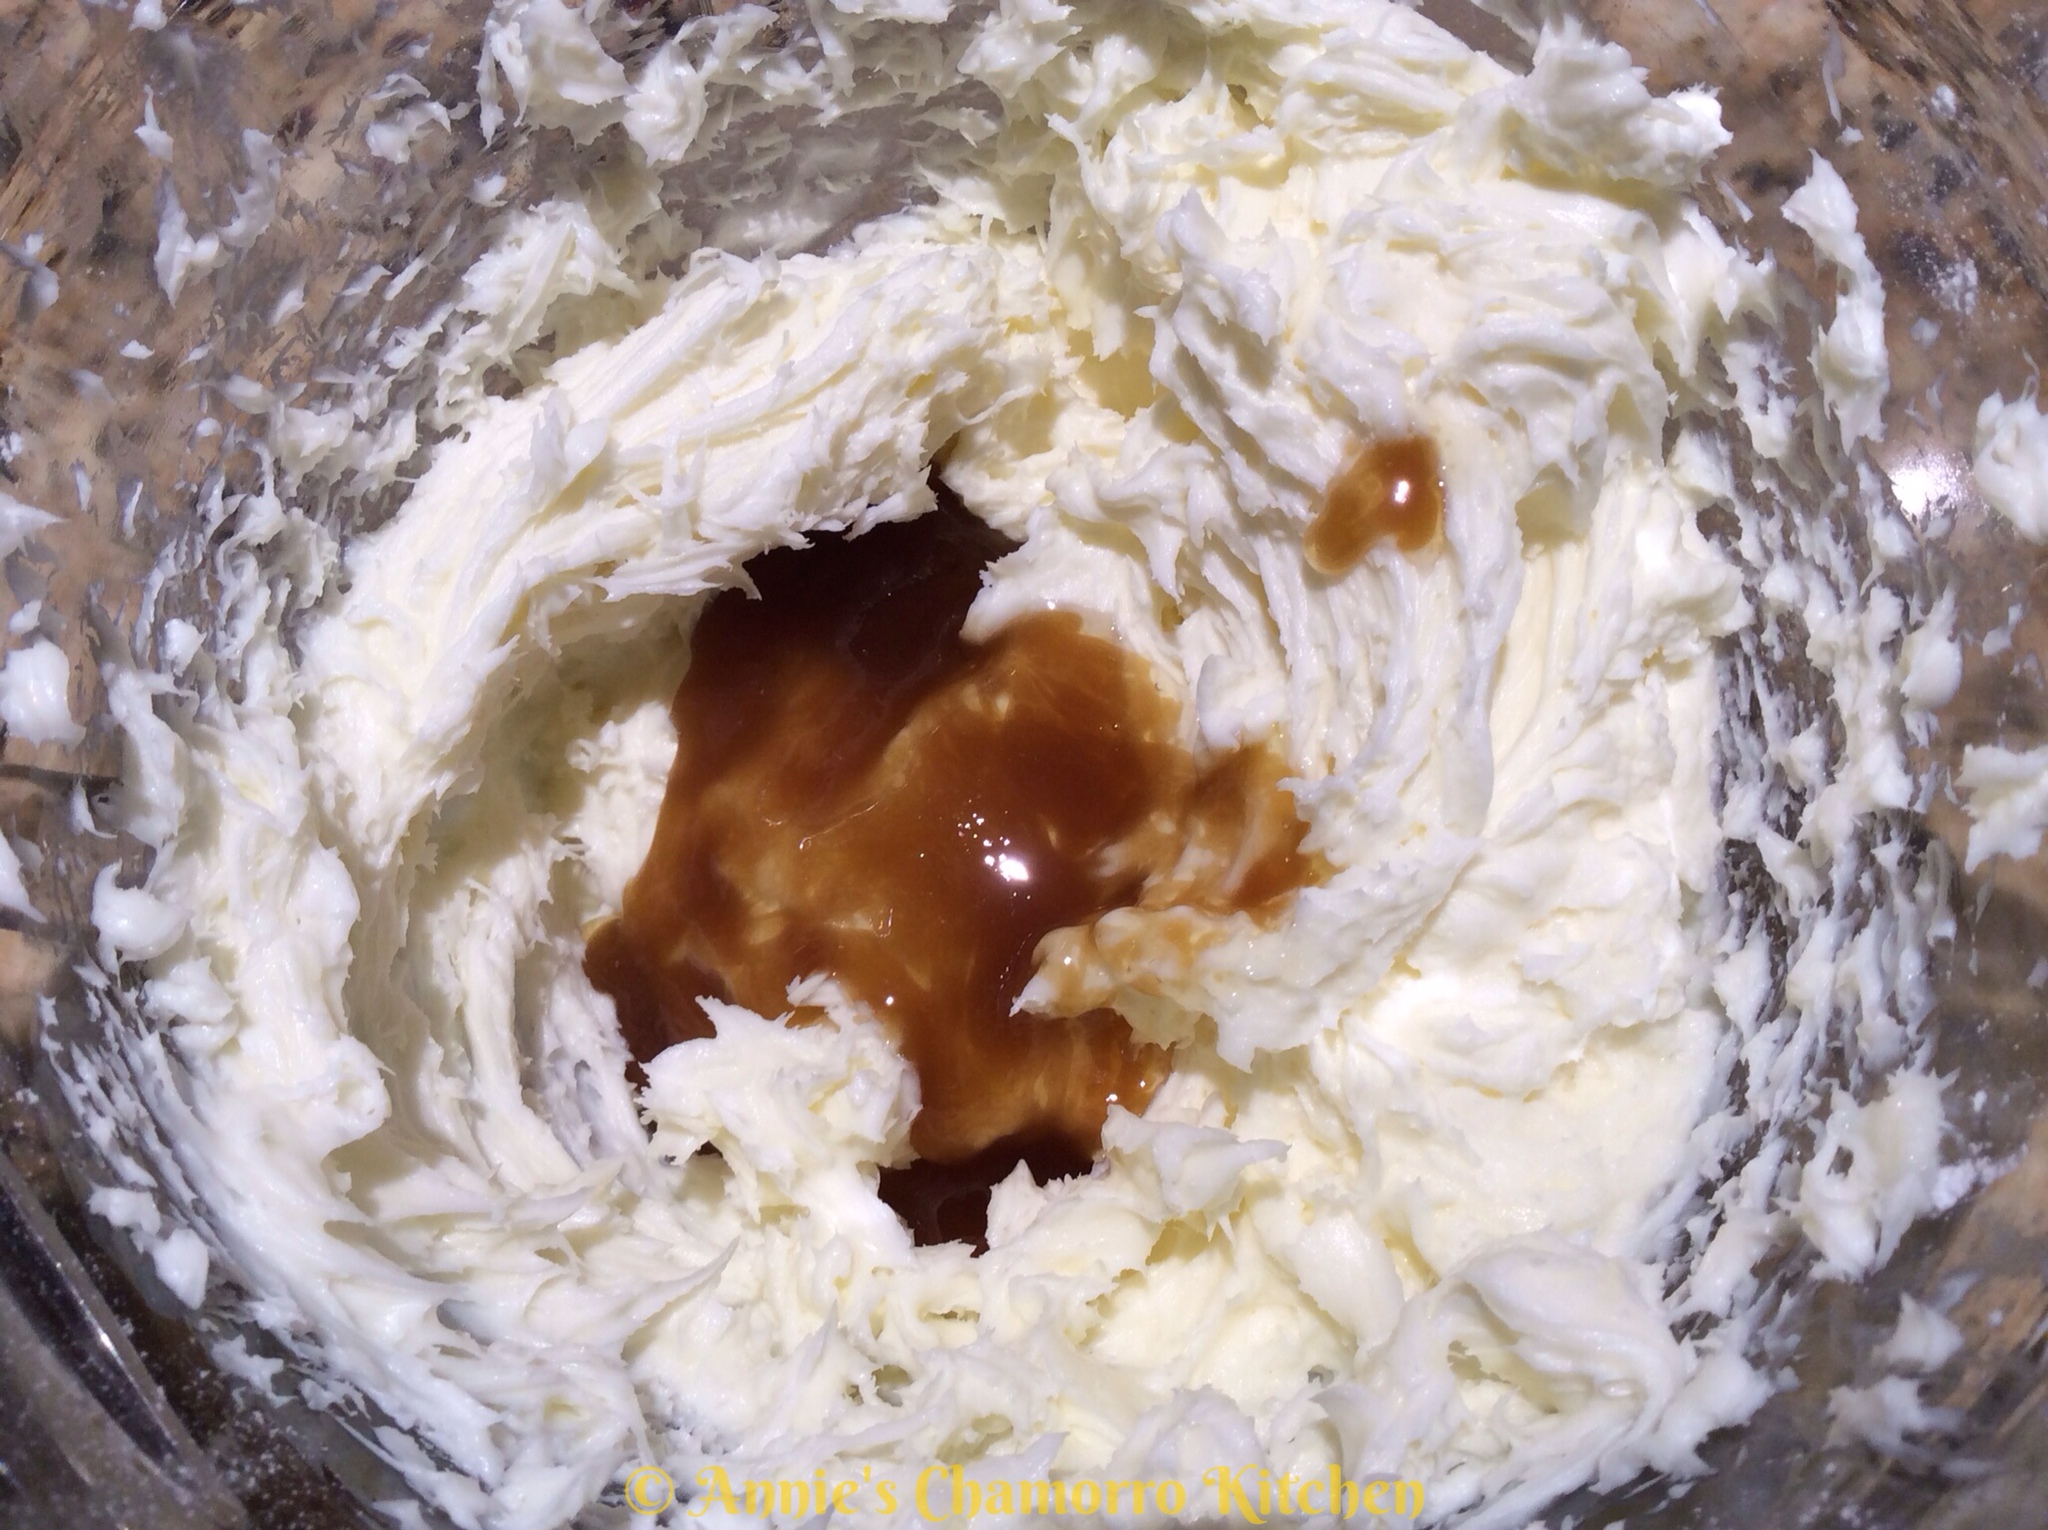
Add the remaining 1 teaspoon vanilla extract.

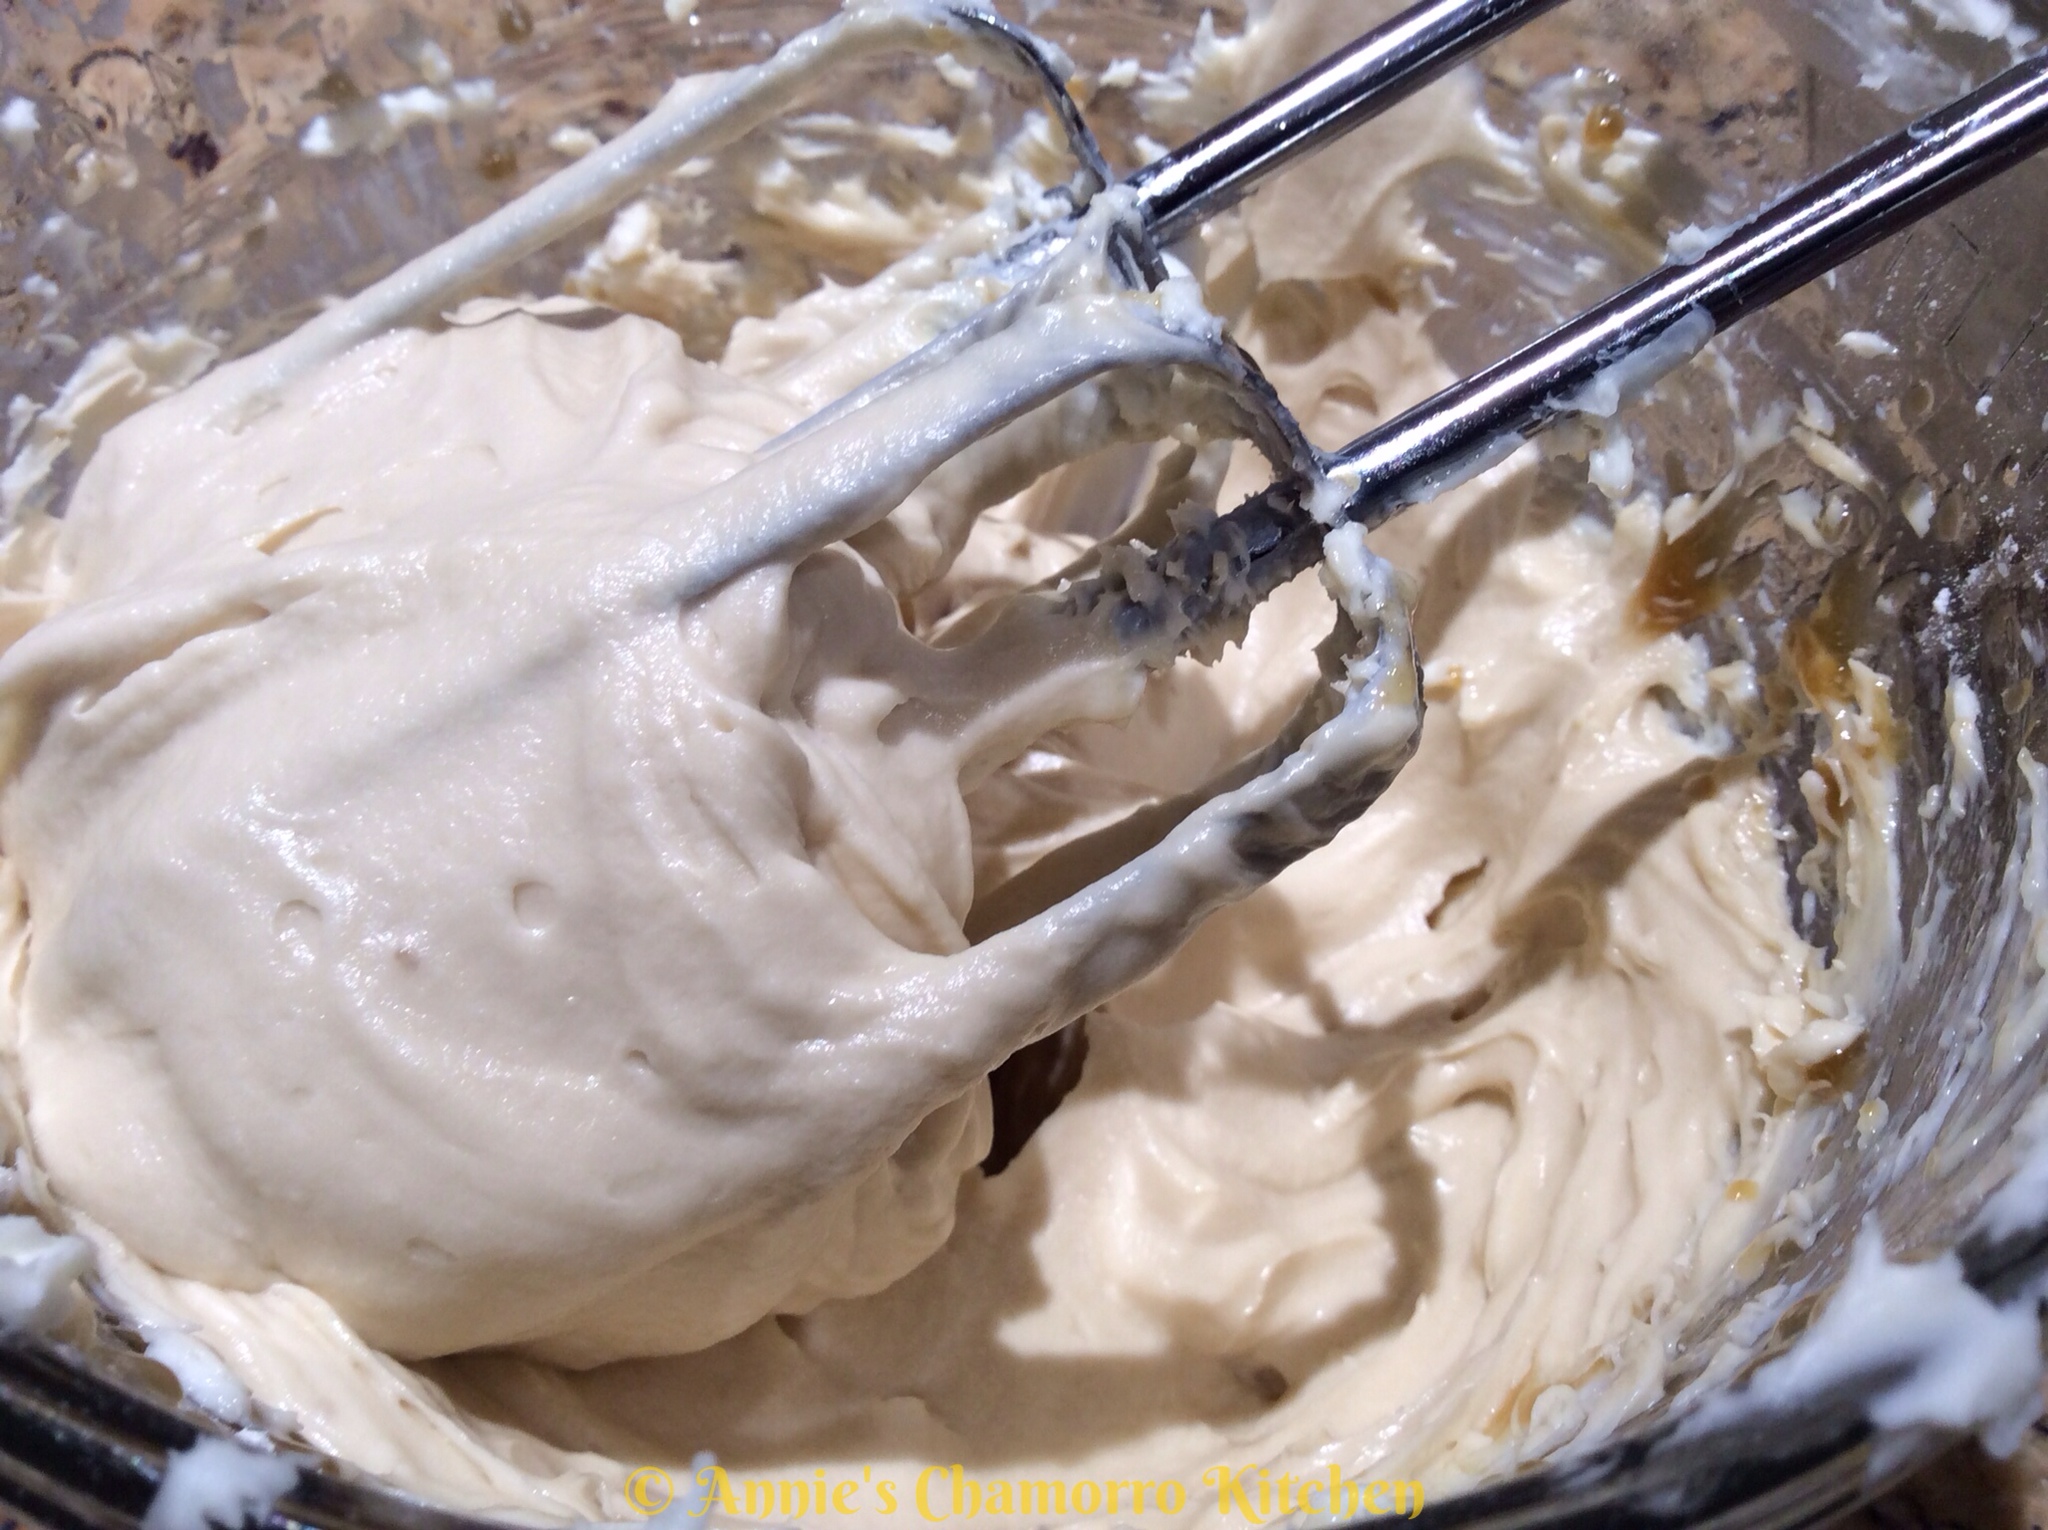
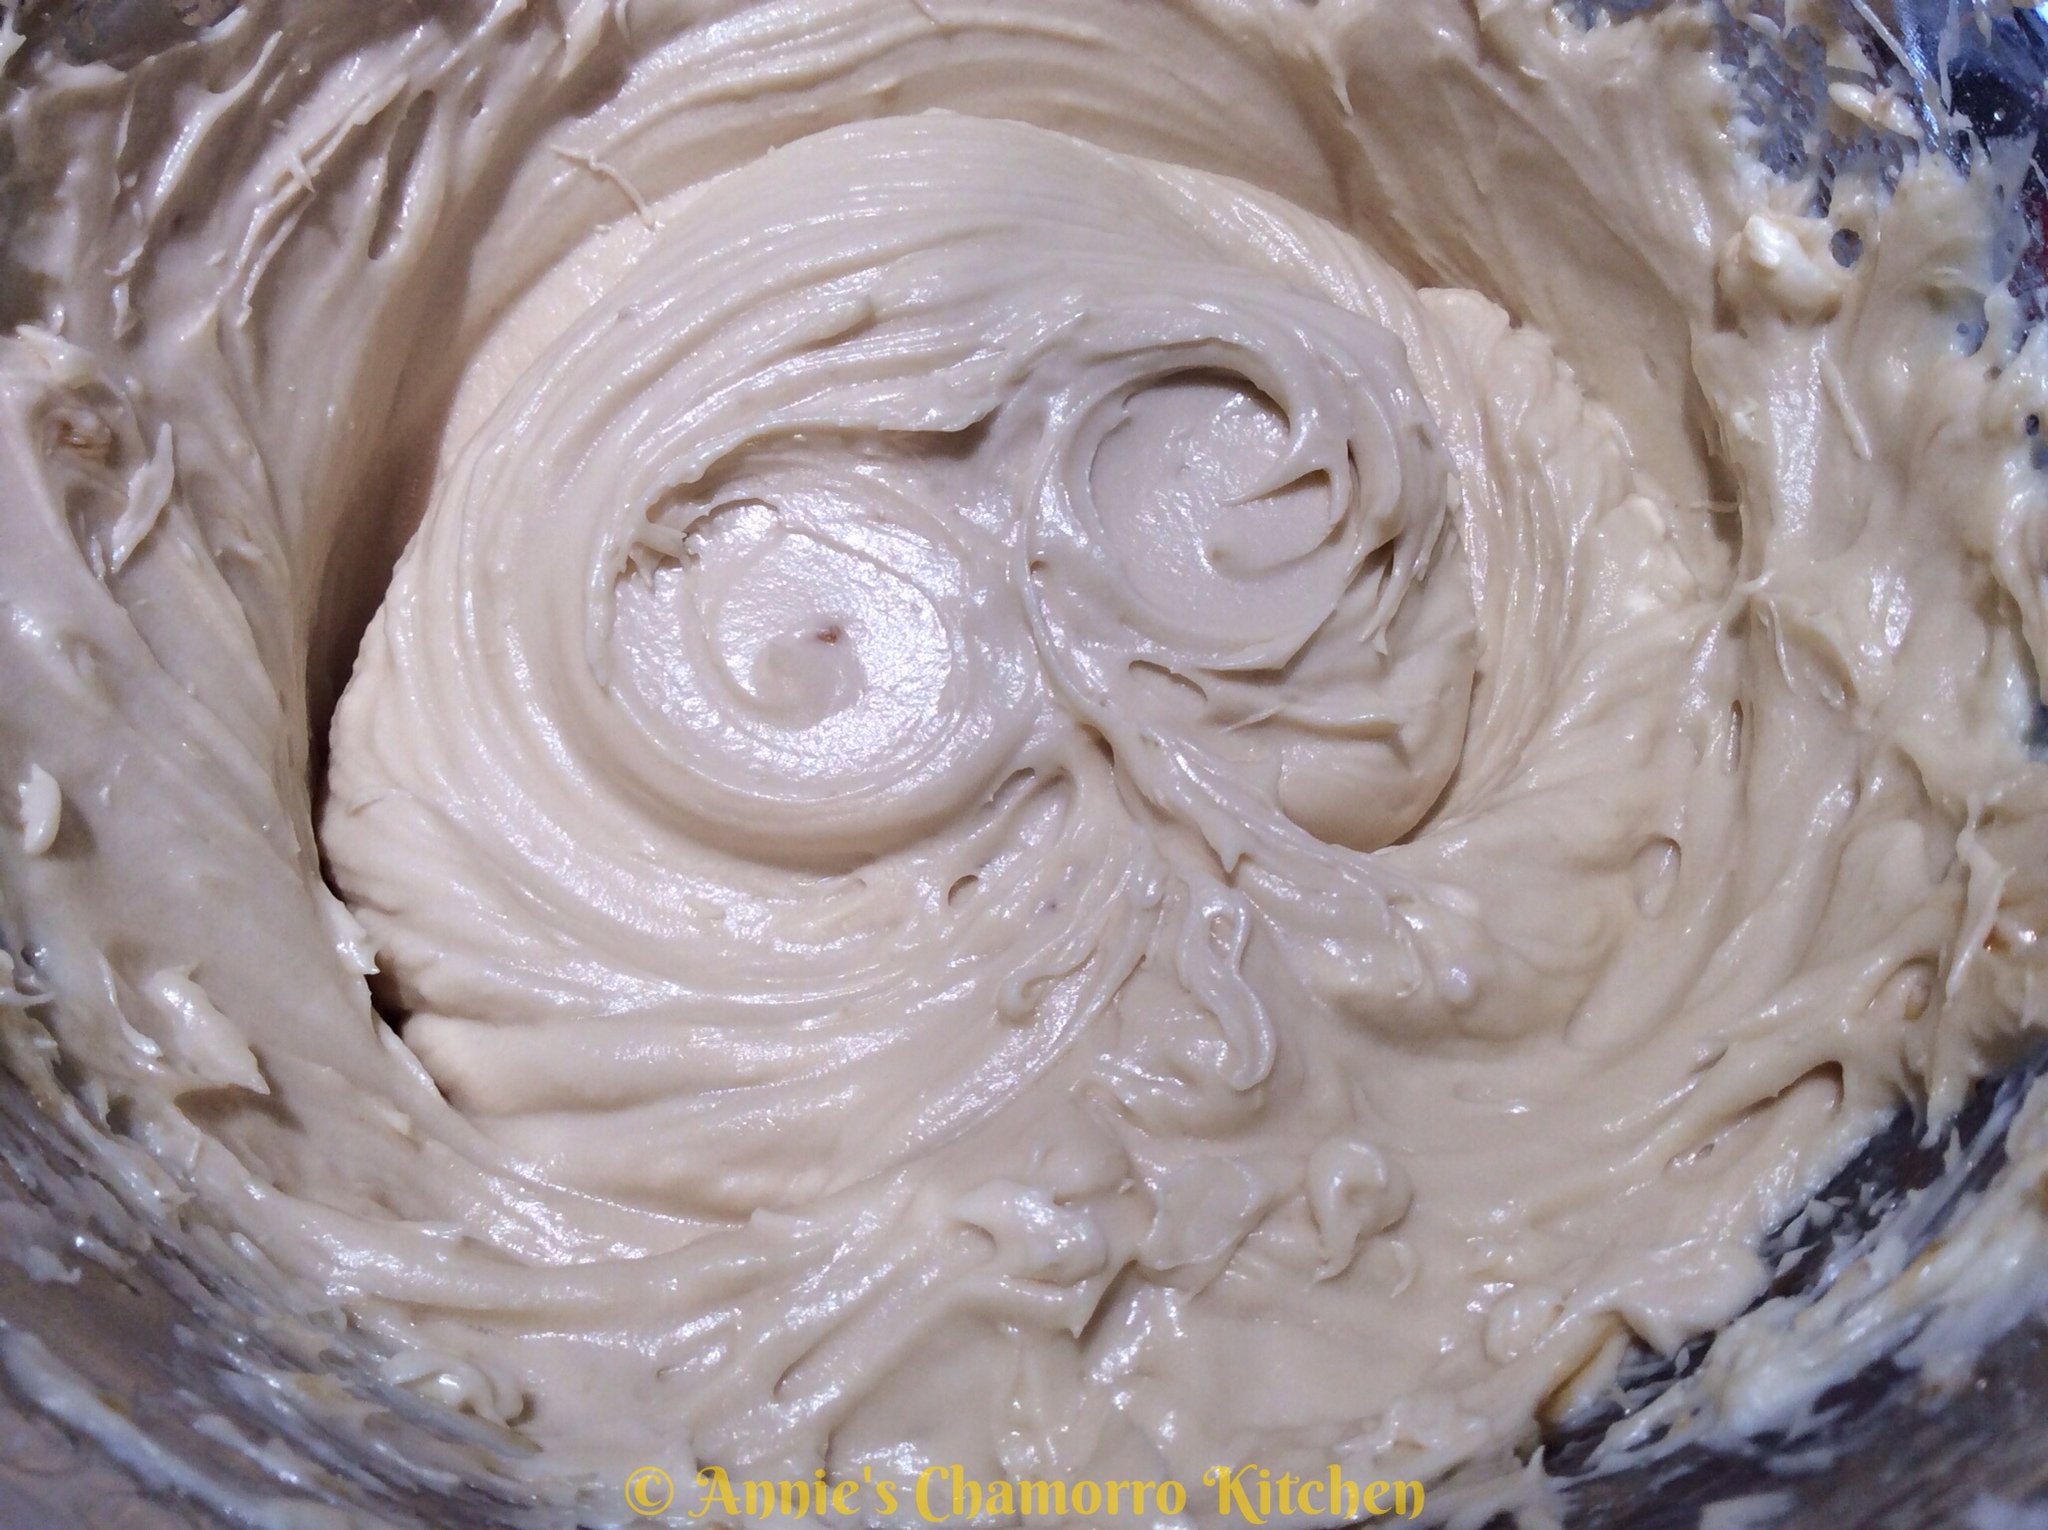
 Mix until creamy.

Pour the cooled butter mixture into the bowl.  Mix until creamy.

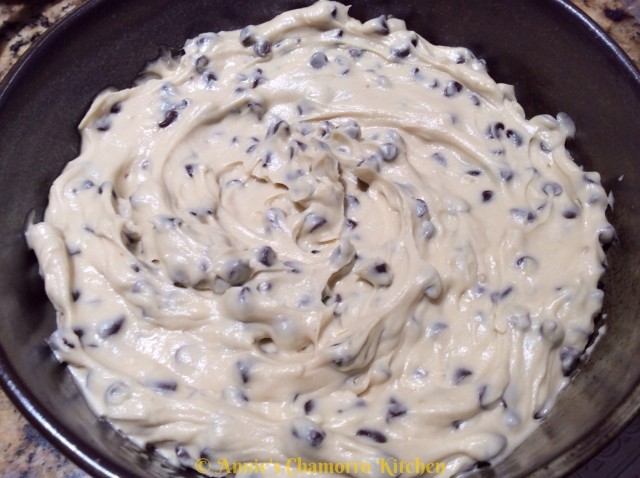
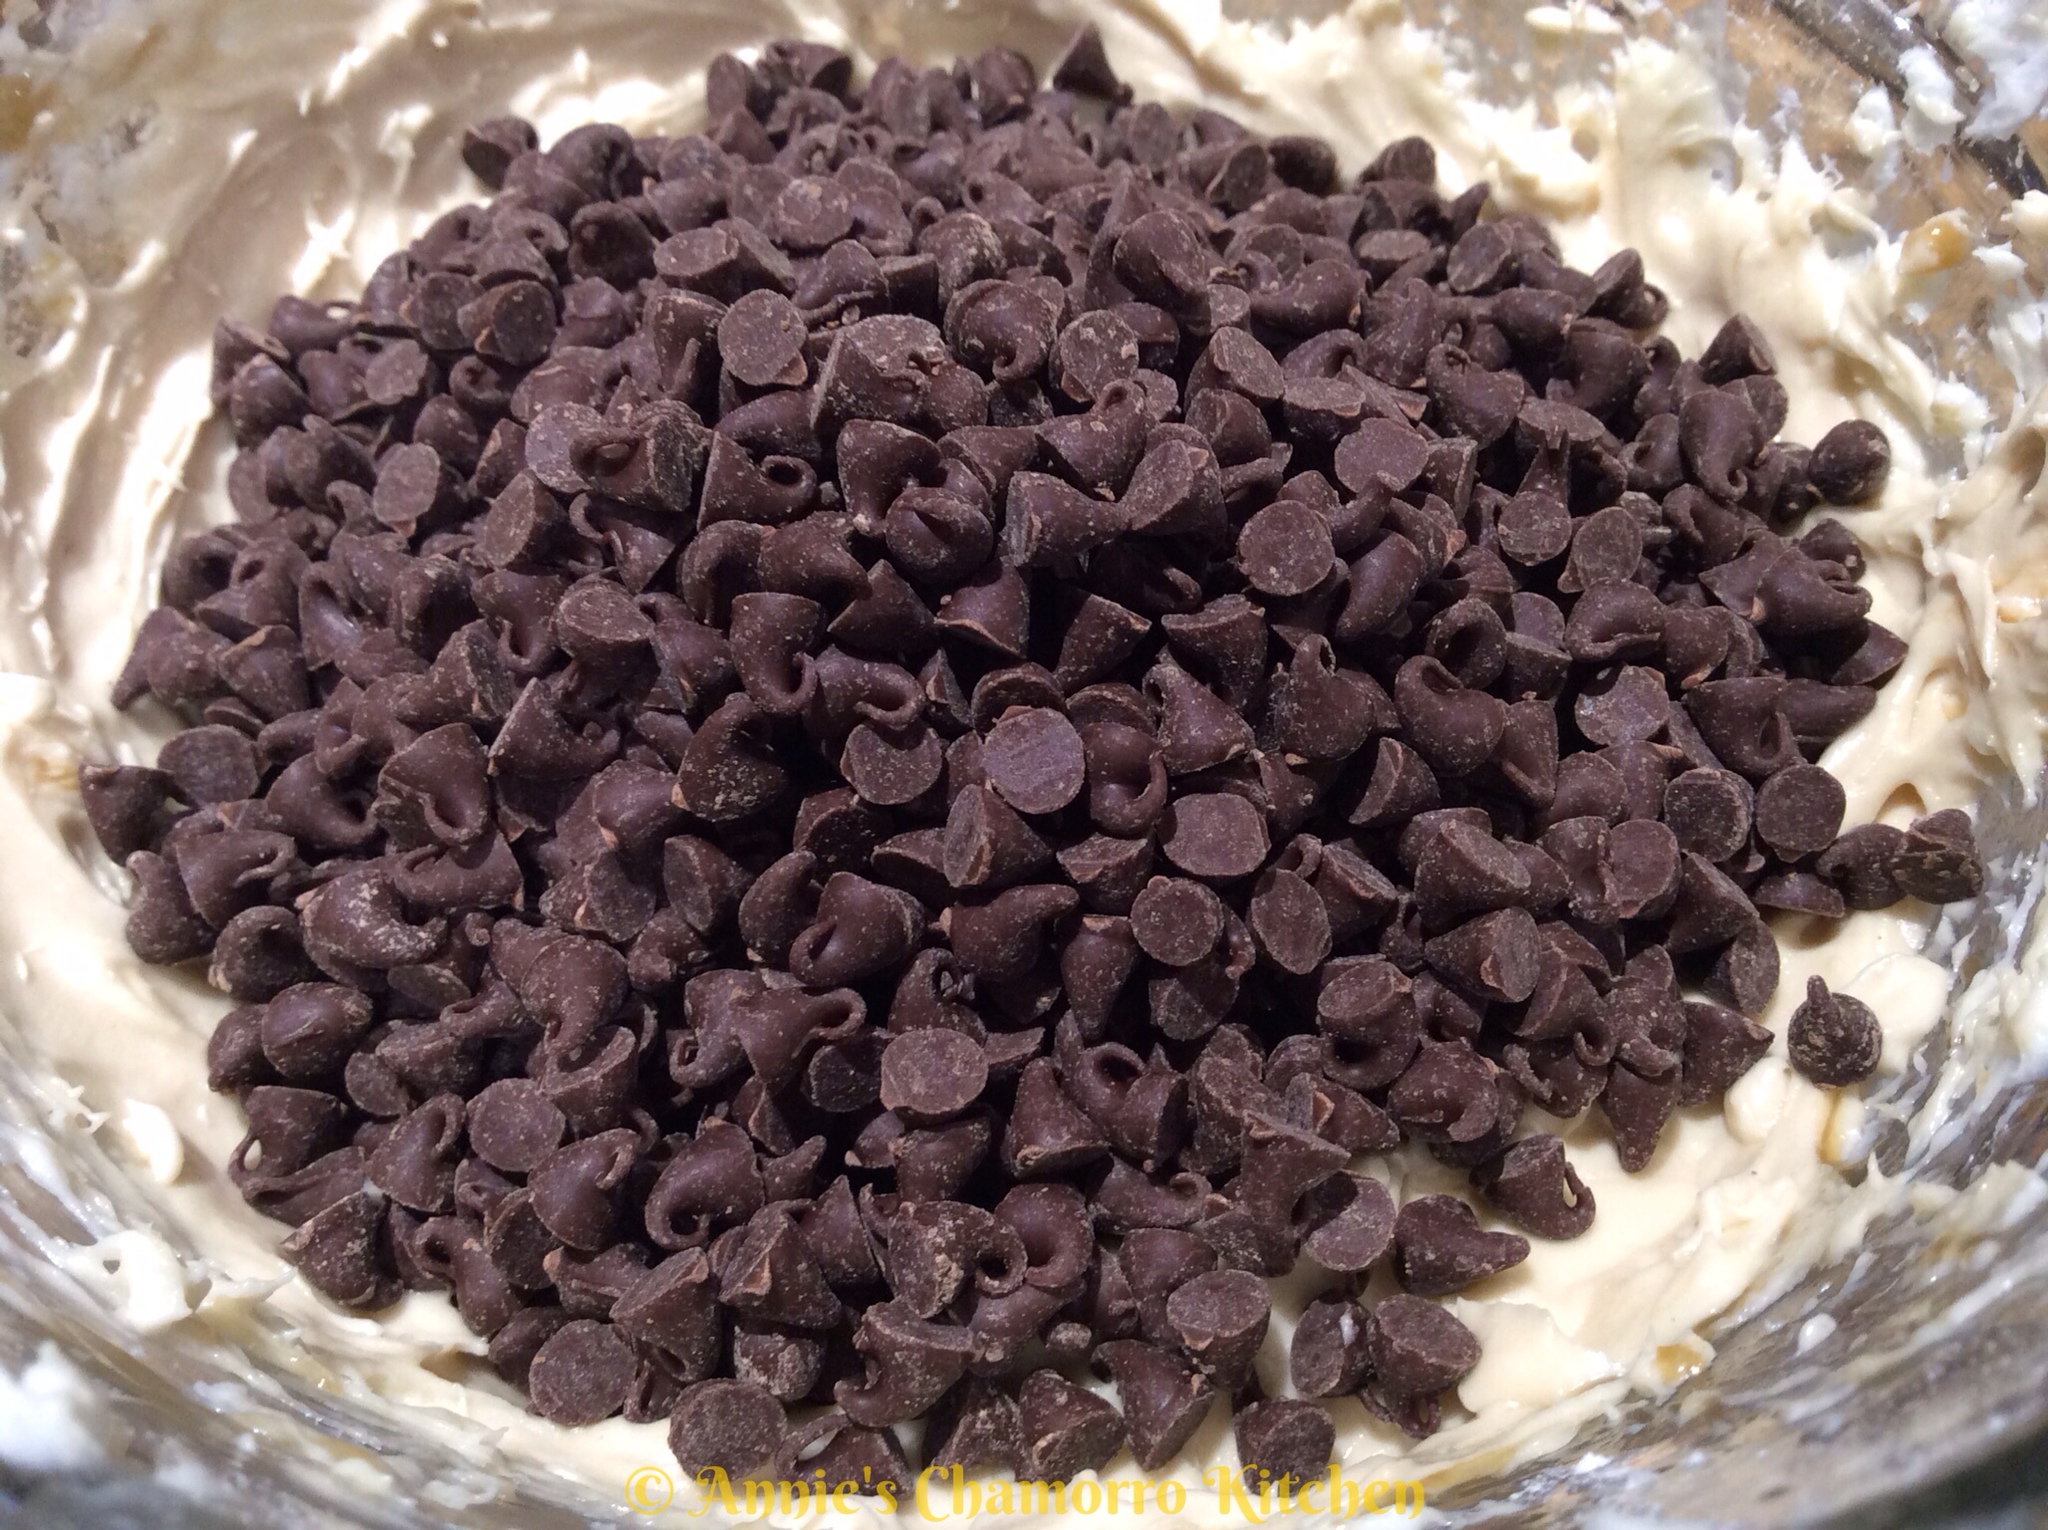
 Add the chocolate chips to the bowl.

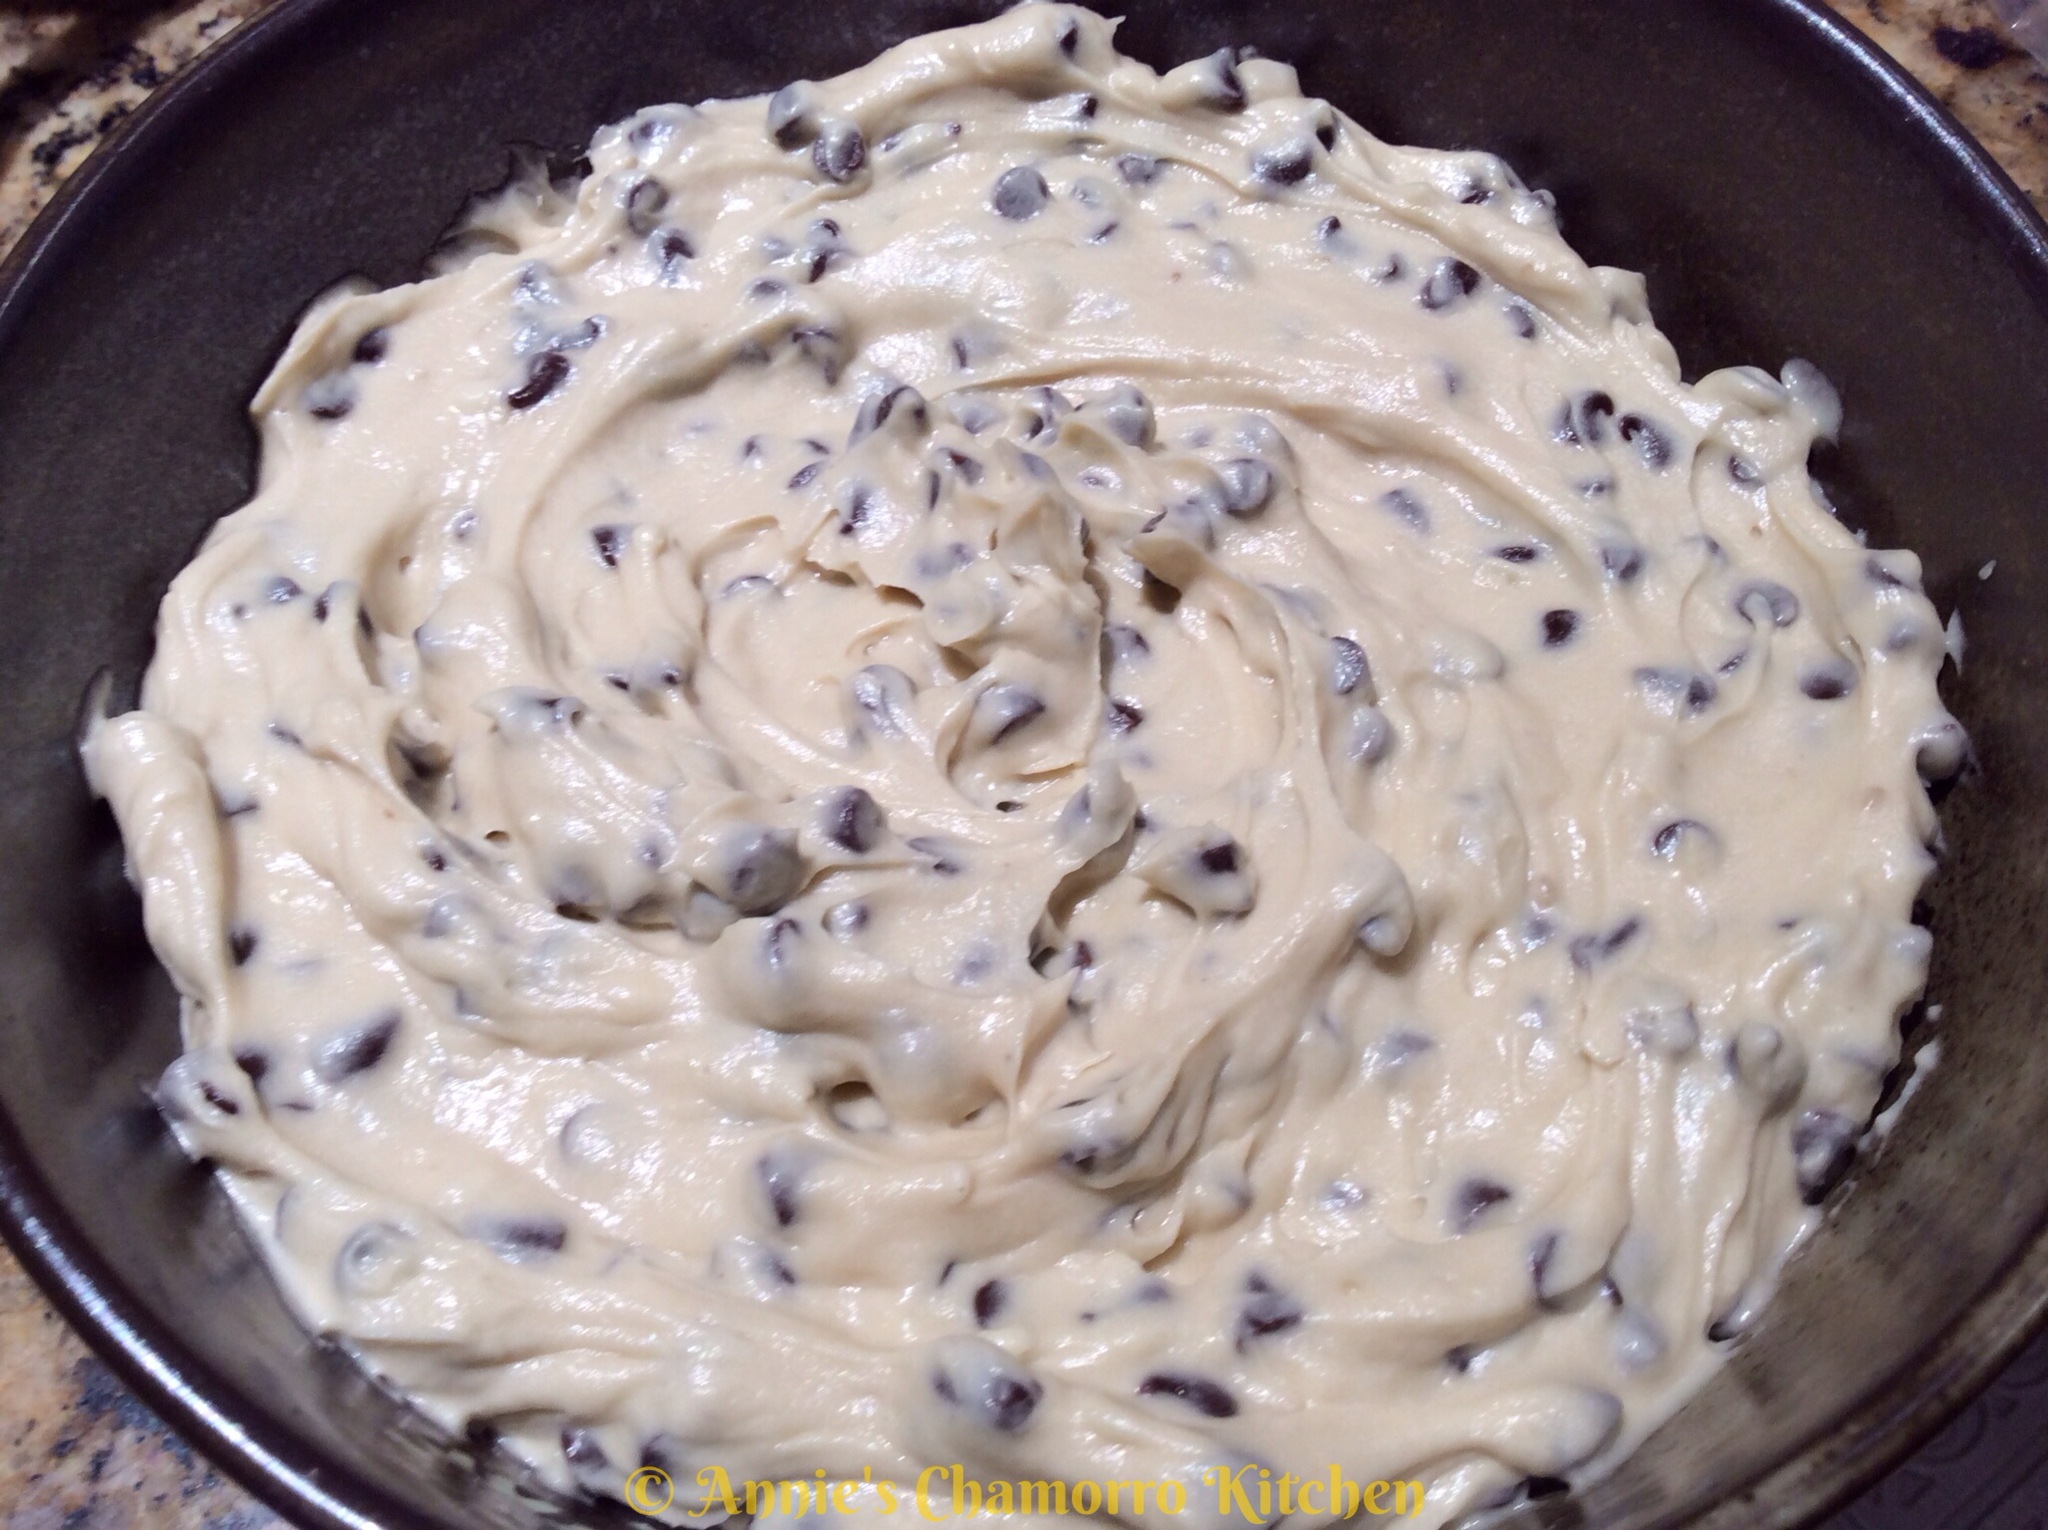
Fold the chips into the cream cheese mixture.

Resist the urge to stick your fingers into the bowl and scoop out some of this yumminess!  Okay, you can use a spoon instead of your fingers, but save some for the graham crackers! 🙂

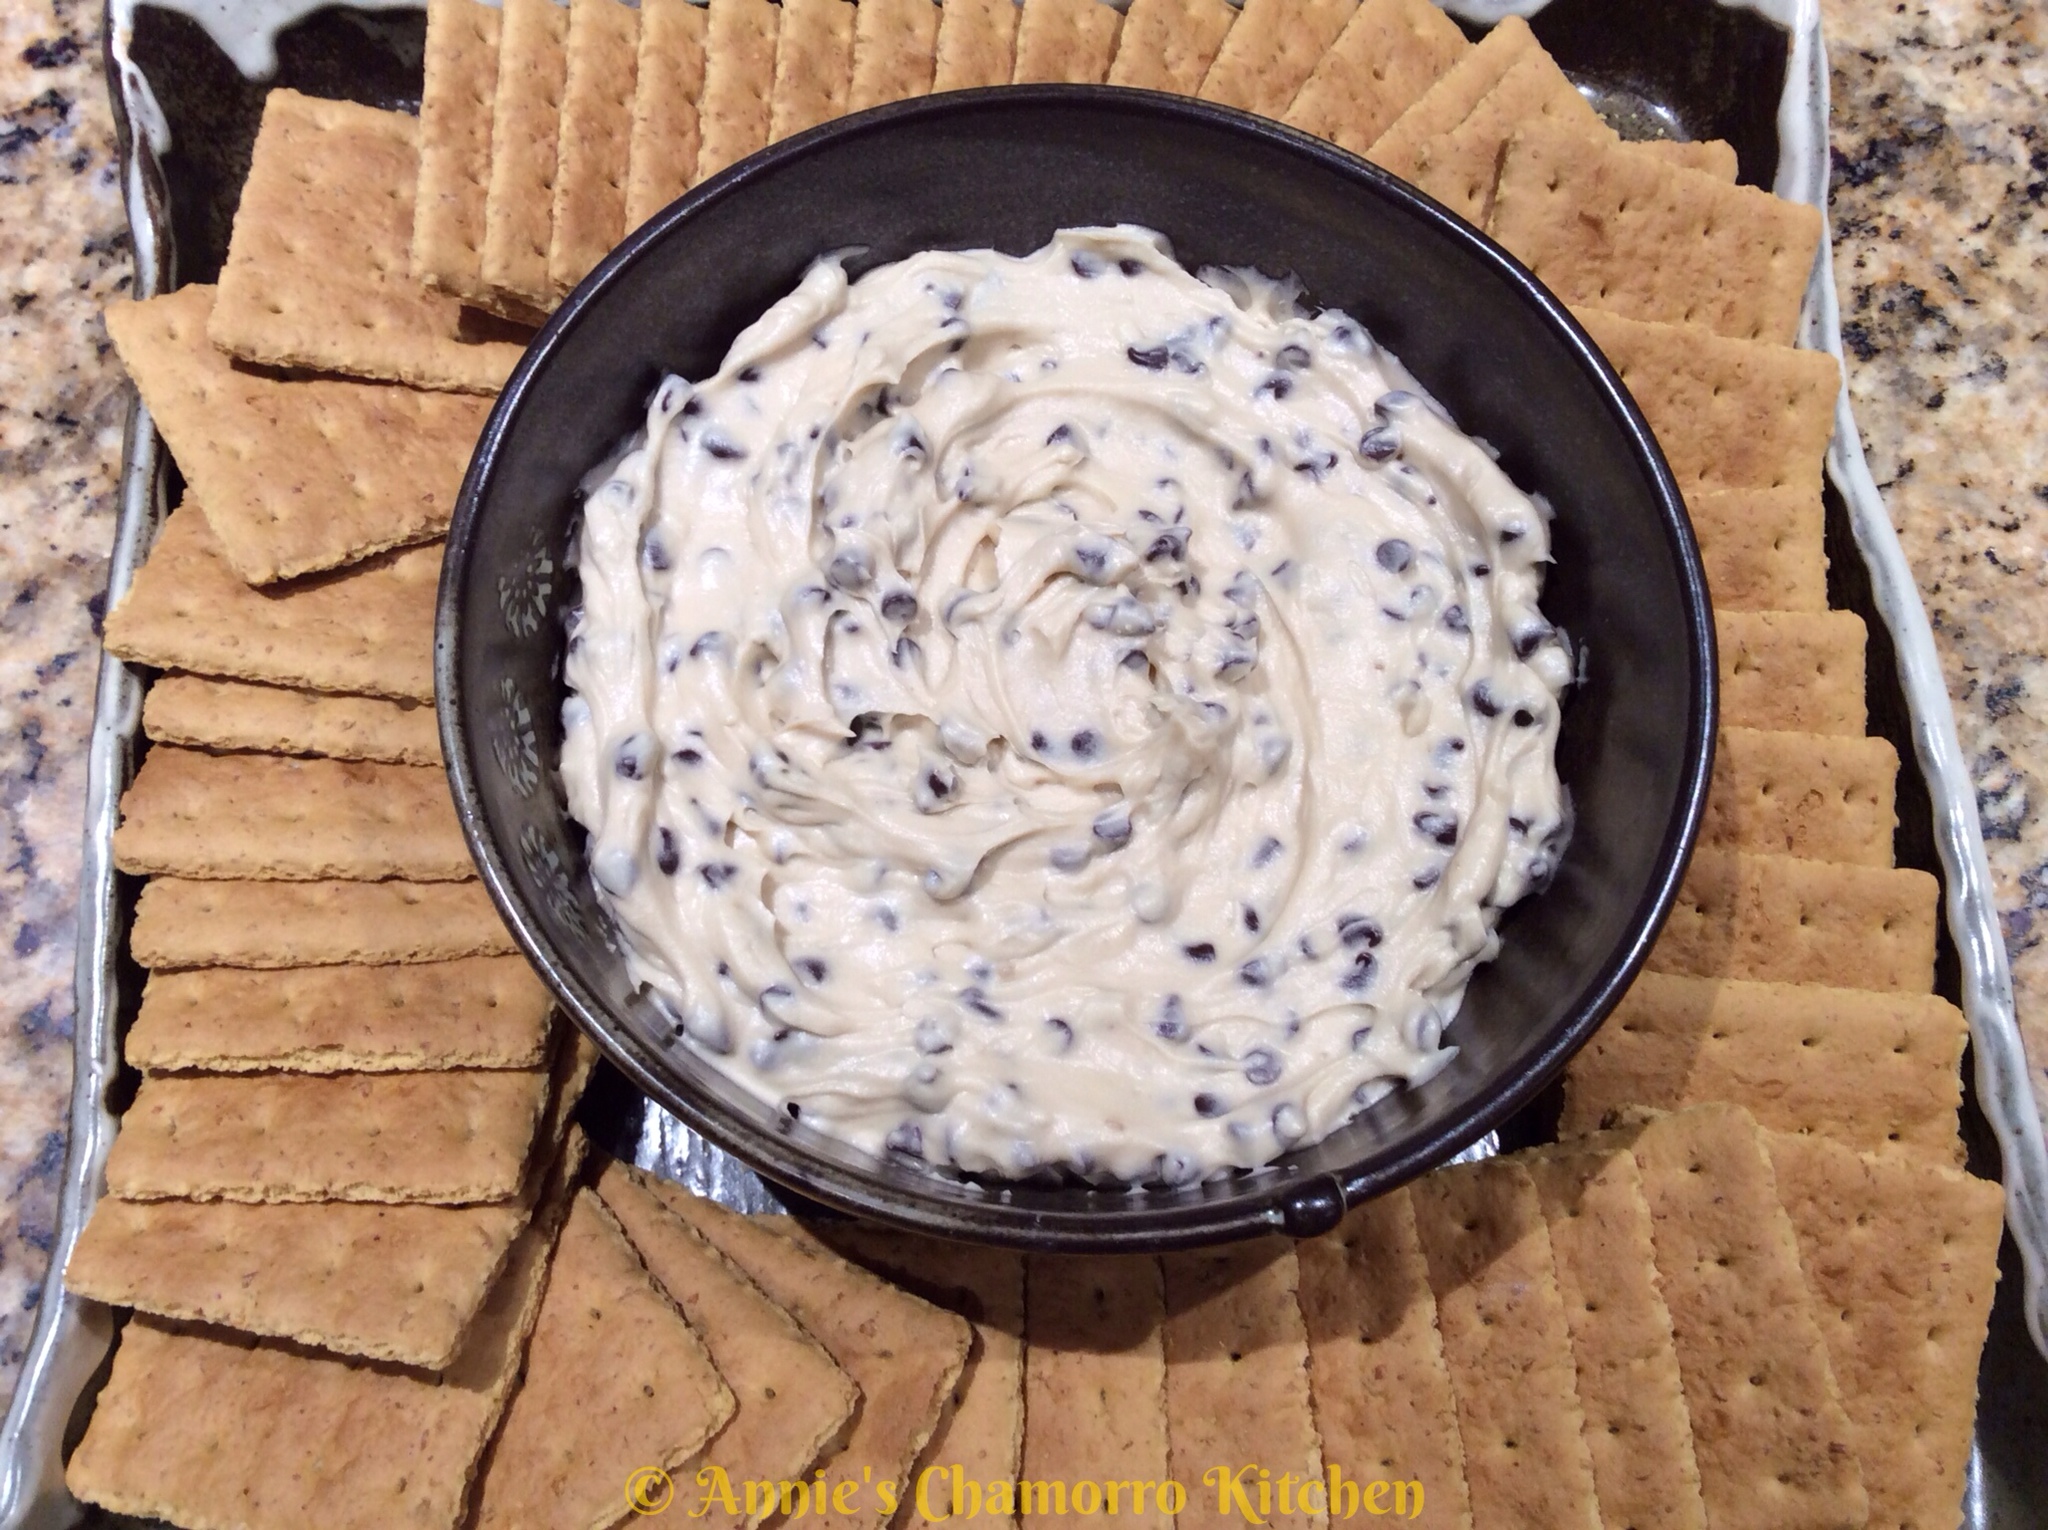
Serve with graham crackers and ENJOY! 😀
Print Friendly, PDF & Email

Caramel Apple Dip

I love caramel apples, don’t you? What I don’t love is having to bite into it, so I usually end up cutting the apple into slices so I don’t make a huge mess.

This recipe makes it so much easier to enjoy this delicious treat.

I used toffee bits in this recipe, but you can also use miniature chocolate chips, chopped nuts, or even crushed jolly rancher candies.  The possibilities are endless to how versatile you can make this.

Give this recipe a try.  I know you love it! 🙂

Caramel Apple Dip

IMG_3197

Ingredients:

  • 8 ounces cream cheese, softened to room temperature
  • 1/4 cup caramel sauce (you can use ice cream topping), plus more for drizzling
  • 2 tablespoons brown sugar
  • 1 jar (7 oz.) marshmallow cream
  • 1 teaspoon vanilla extract
  • 1/2 cup toffee bits
  • Sliced apples (I like Rome apples for this)

Directions:

Place the cream cheese into a small mixing bowl.  Using a hand mixer, mix until creamy.  Add the 1/4 cup of caramel sauce and brown sugar to the bowl; mix until you don’t see any large lumps of brown sugar.  Next, mix in the marshmallow cream.  Add the vanilla extract and mix well.

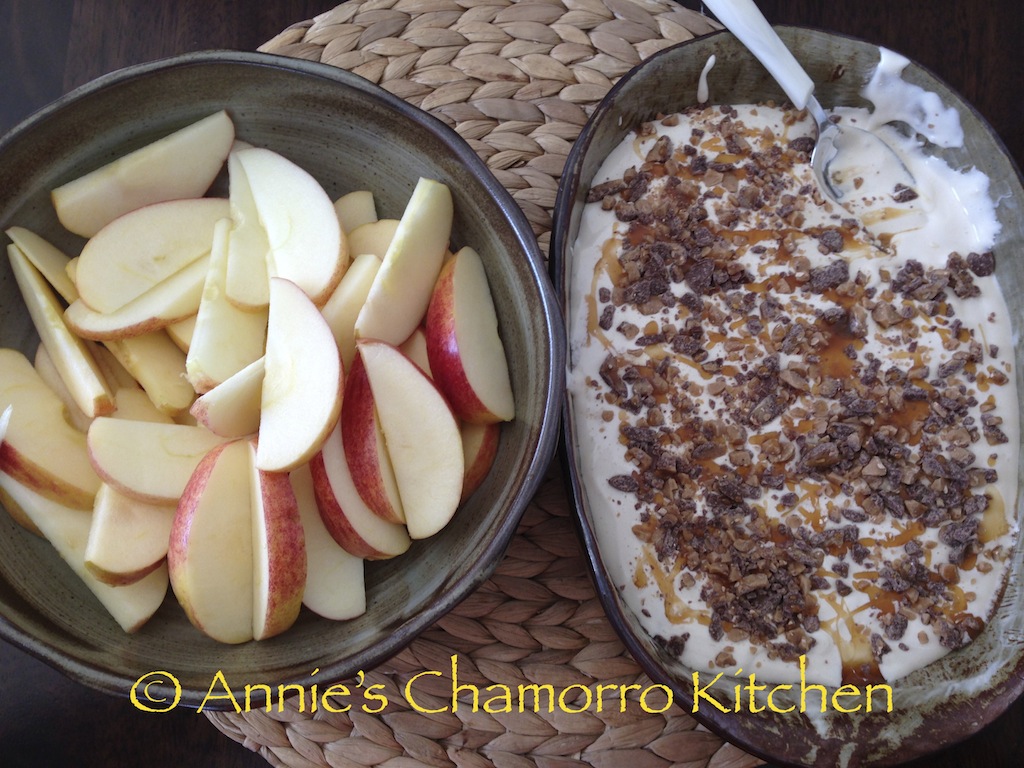
Place the dip into a serving dish.  Sprinkle toffee bits or your favorite caramel apple topping all over the top.  Drizzle with more caramel sauce (as much as you like).

Serve with sliced apples and ENJOY!
IMG_3199

Print Friendly, PDF & Email

Chocolate Chip Scones

I love scones.  My favorites are chocolate chip or blueberry scones.  They’re perfect for breakfast, along with a steaming hot cup of coffee.

You can buy really delicious scones at your neighborhood coffee shop, buy why waste your hard-earned money?  These scones take almost no time to make.  You can mix up a batch in just a few minutes and have them out of the oven in no time.

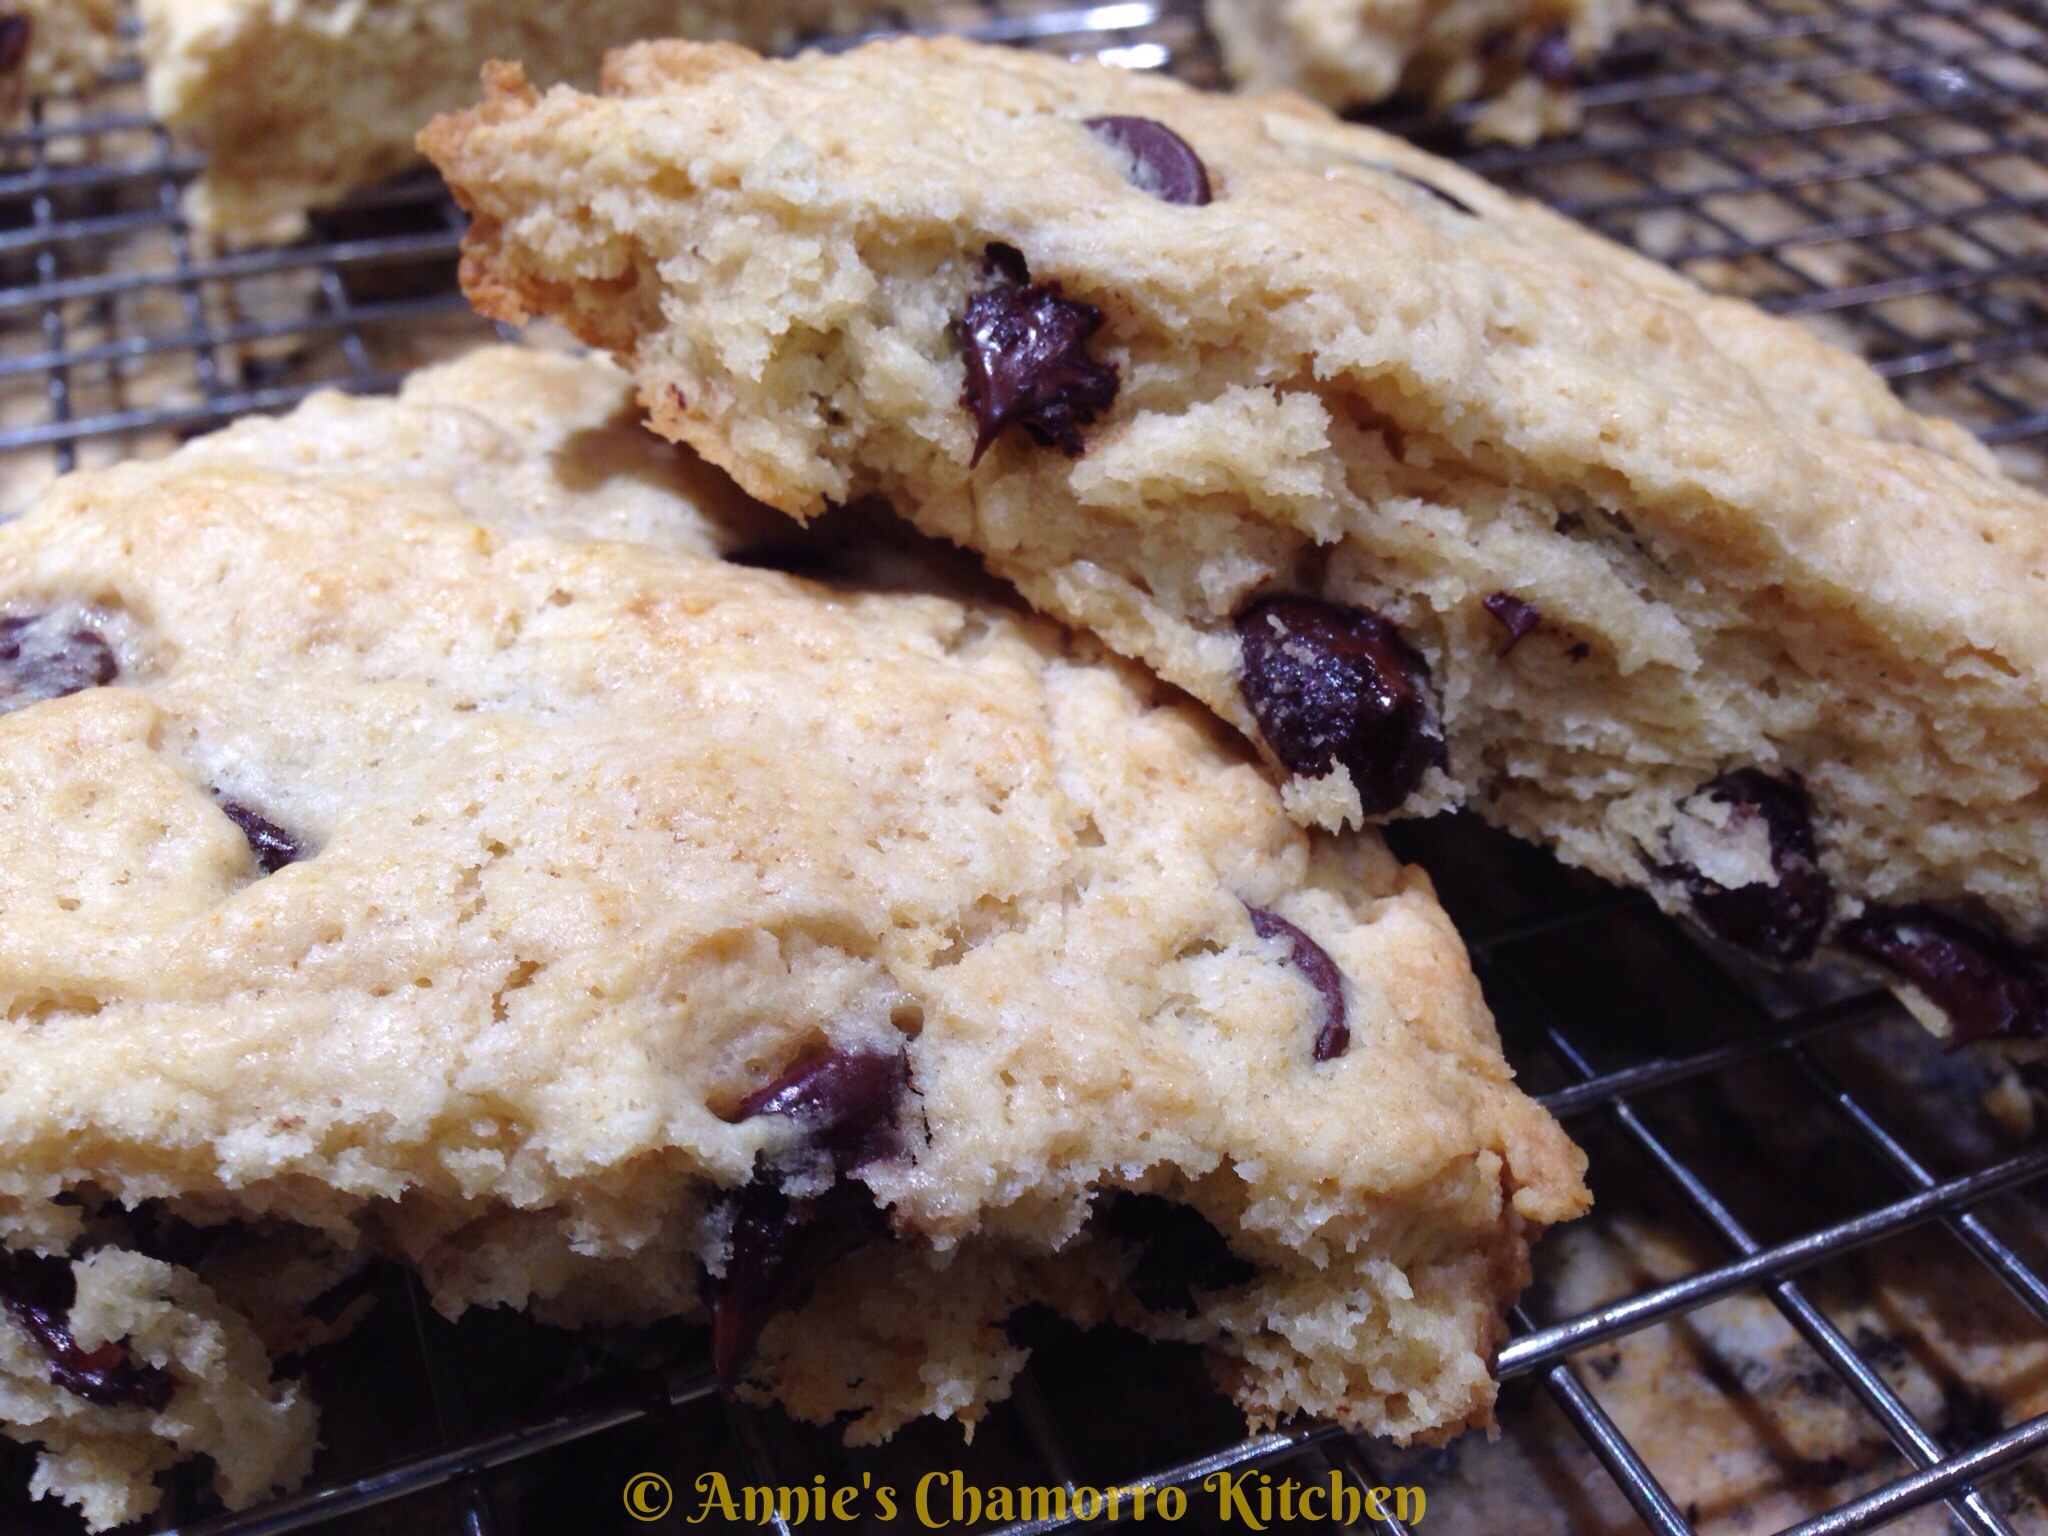
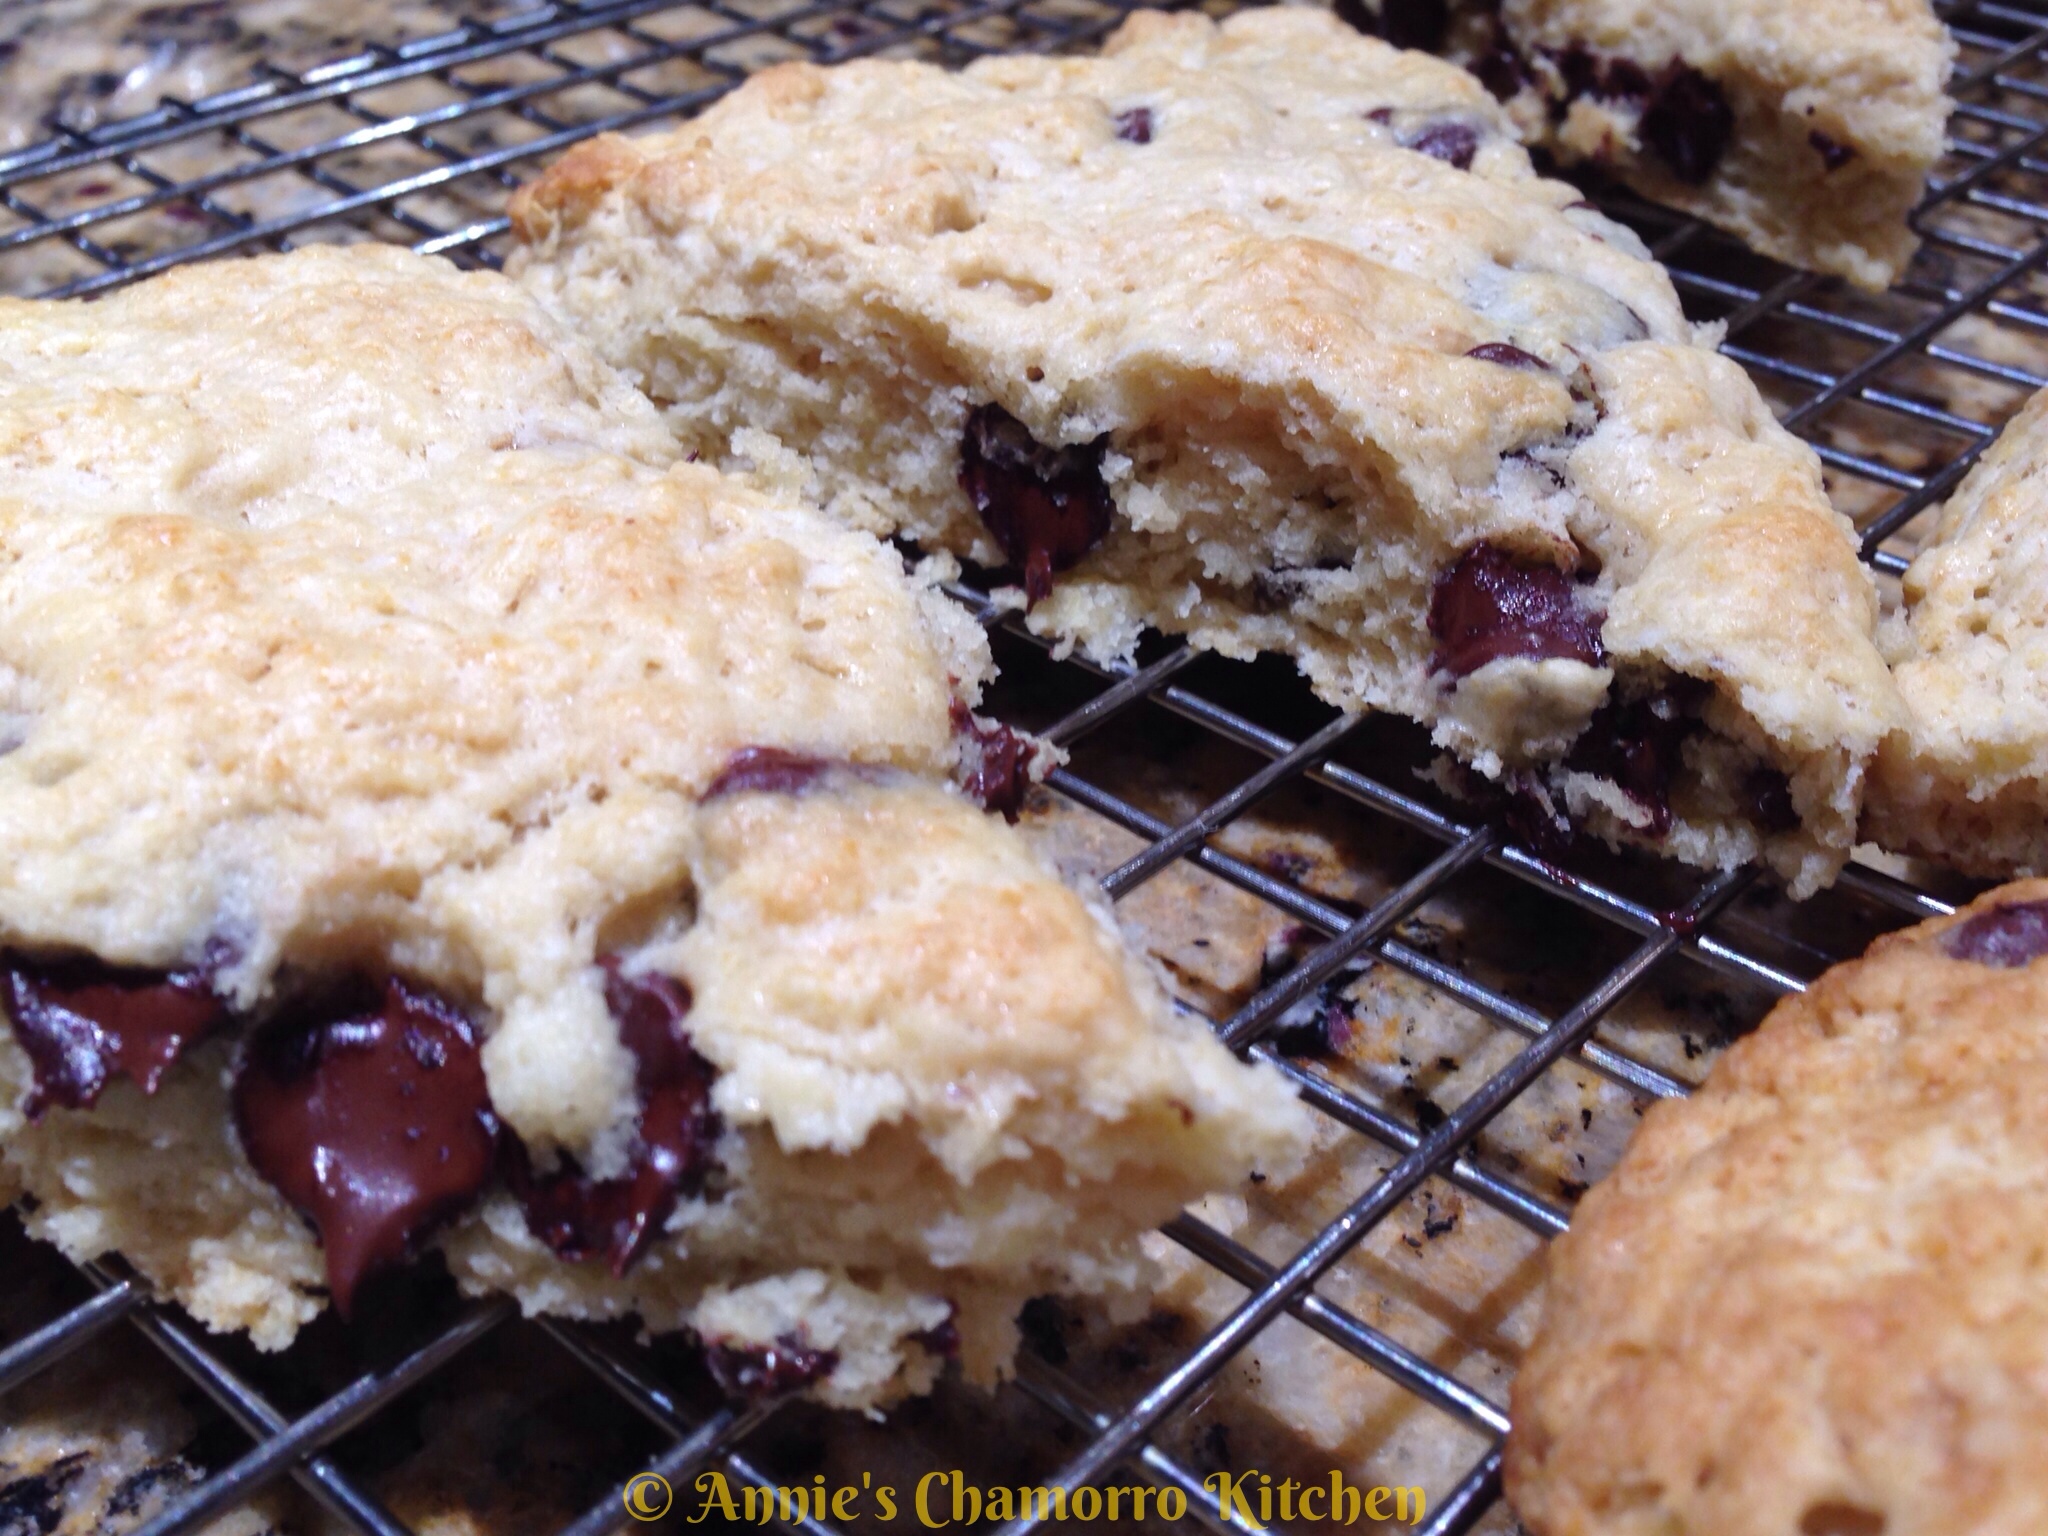
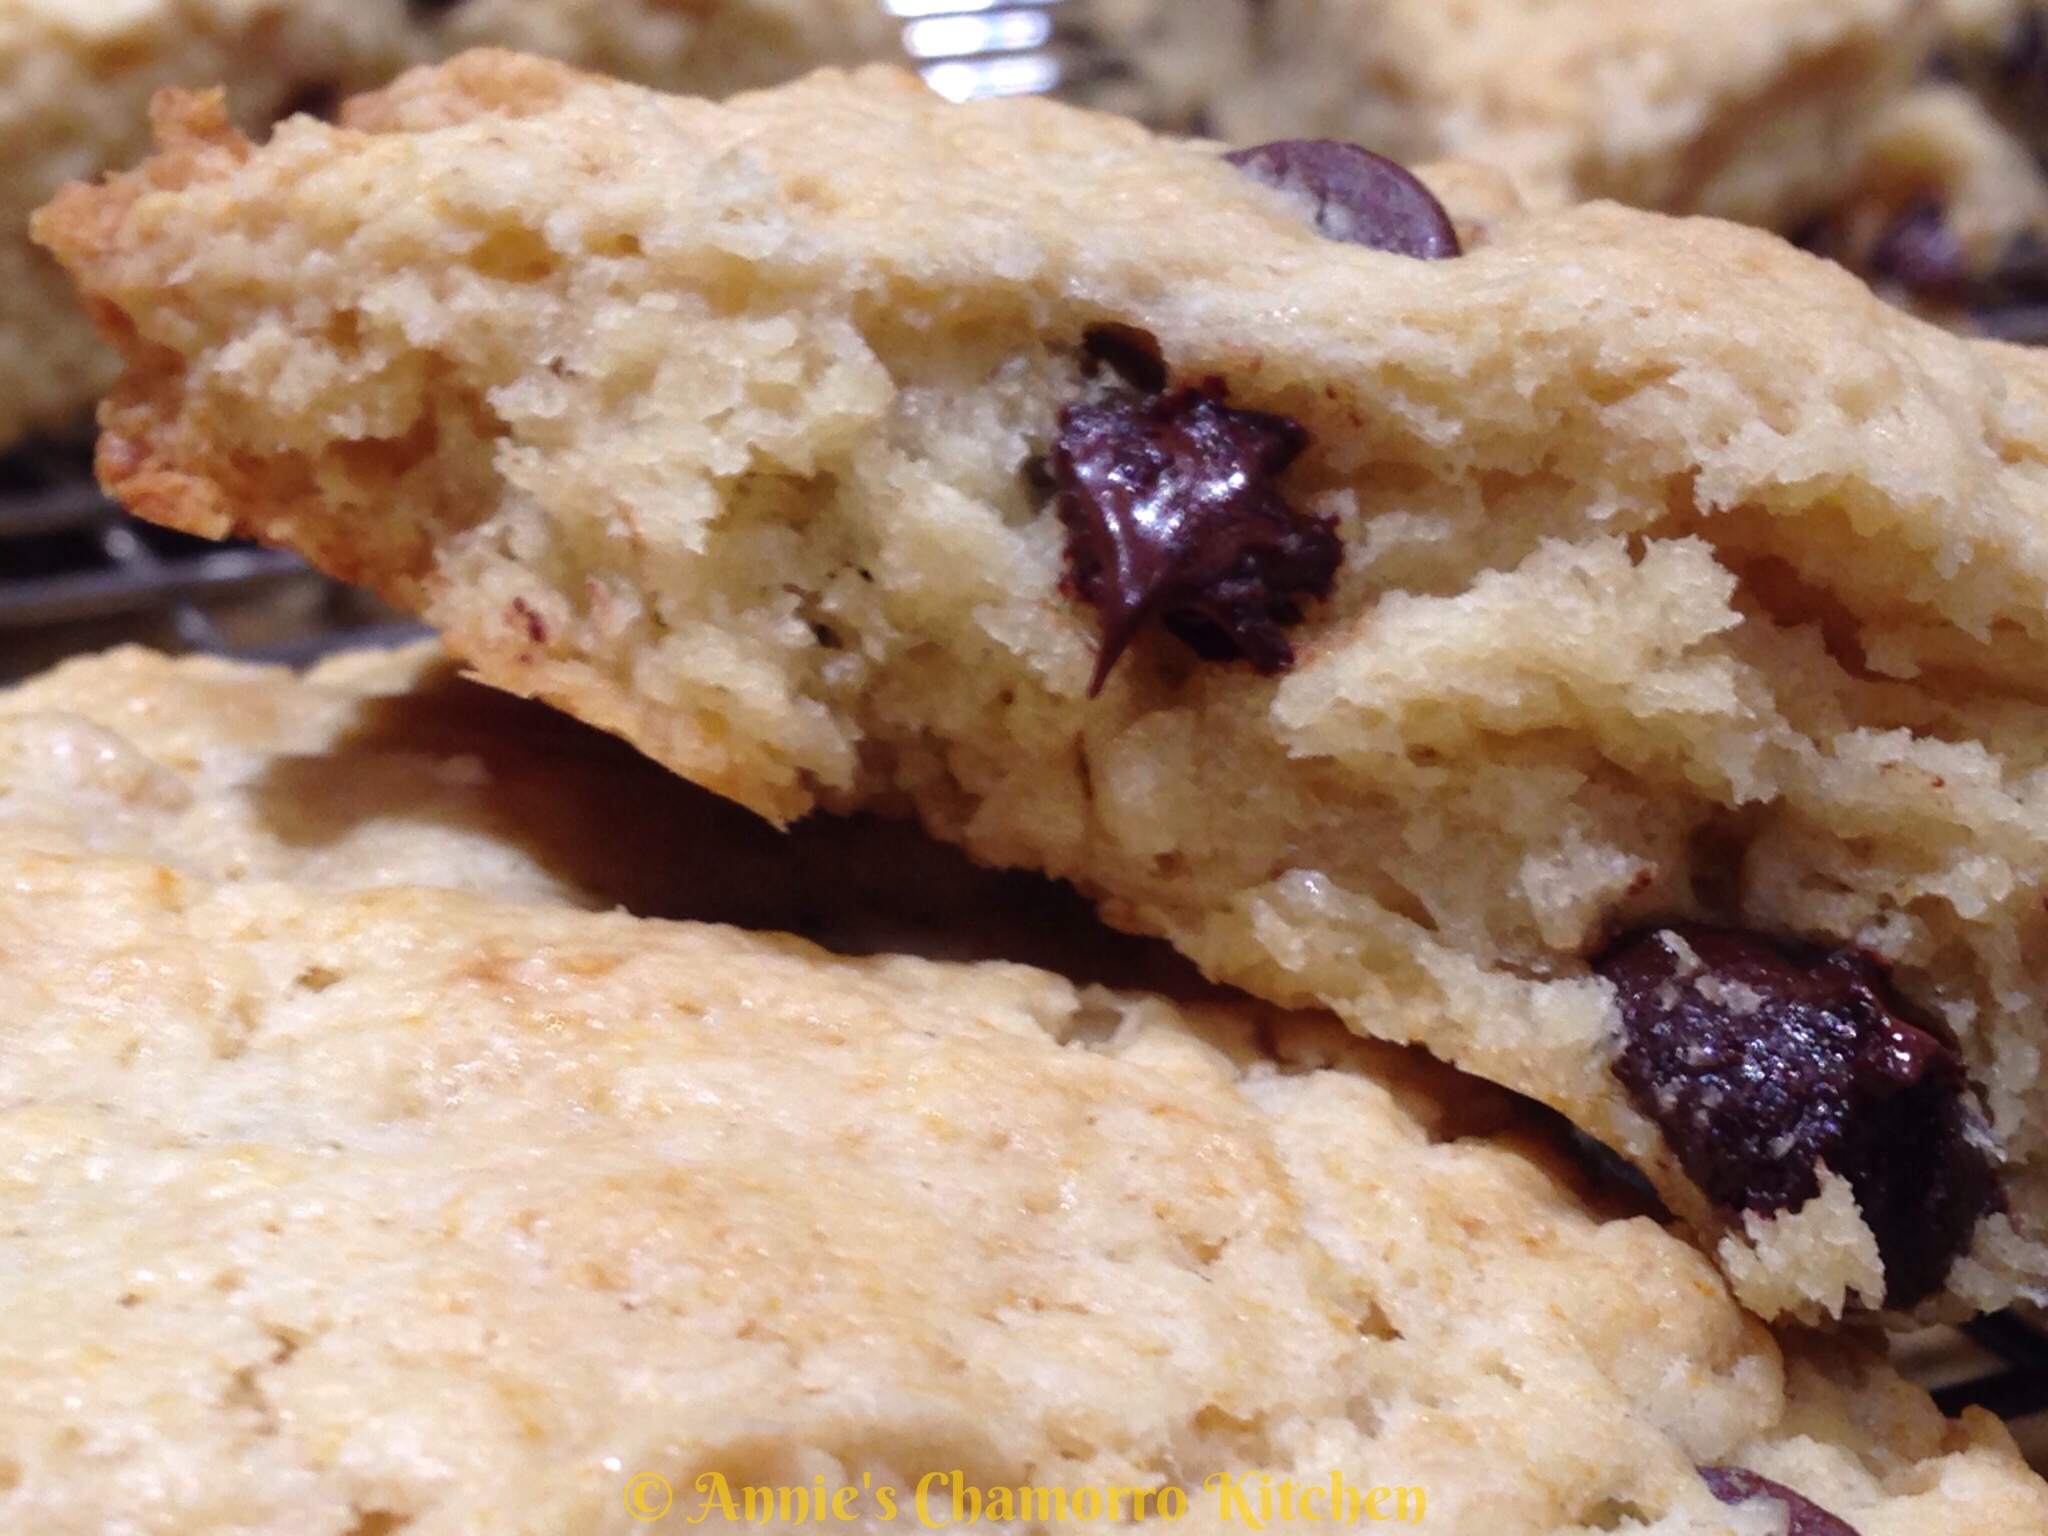
My recipe below turns out very moist and not-too-crumbly scones.

Give my recipe a try.  I think you’ll like it. 🙂


Chocolate Chip Scones


Ingredients:

2 cups all-purpose flour
2 teaspoon baking powder
1/4 teaspoon baking soda
1/2 teaspoon salt
1/3 cup light brown sugar, tightly packed
2 tablespoons Saco brand (powdered) cultured buttermilk blend (see note below)
1/2 cup (or 1 stick) unsalted butter, cut into pieces
1 cup chocolate chips (I use bittersweet chocolate chips, semi-sweet works well too)
1 large egg
1/2 cup water (see note below)
1/2 teaspoon vanilla extract
1/4 teaspoon almond extract
3 tablespoons milk, for brushing the scones before baking

NOTE:

If you can’t find powdered buttermilk, you can use fresh (liquid) buttermilk in place of the buttermilk powder and water in my recipe.  Just add the buttermilk along with the eggs and extracts, as described in the directions below.


Directions:

Preheat oven to 425 degrees.

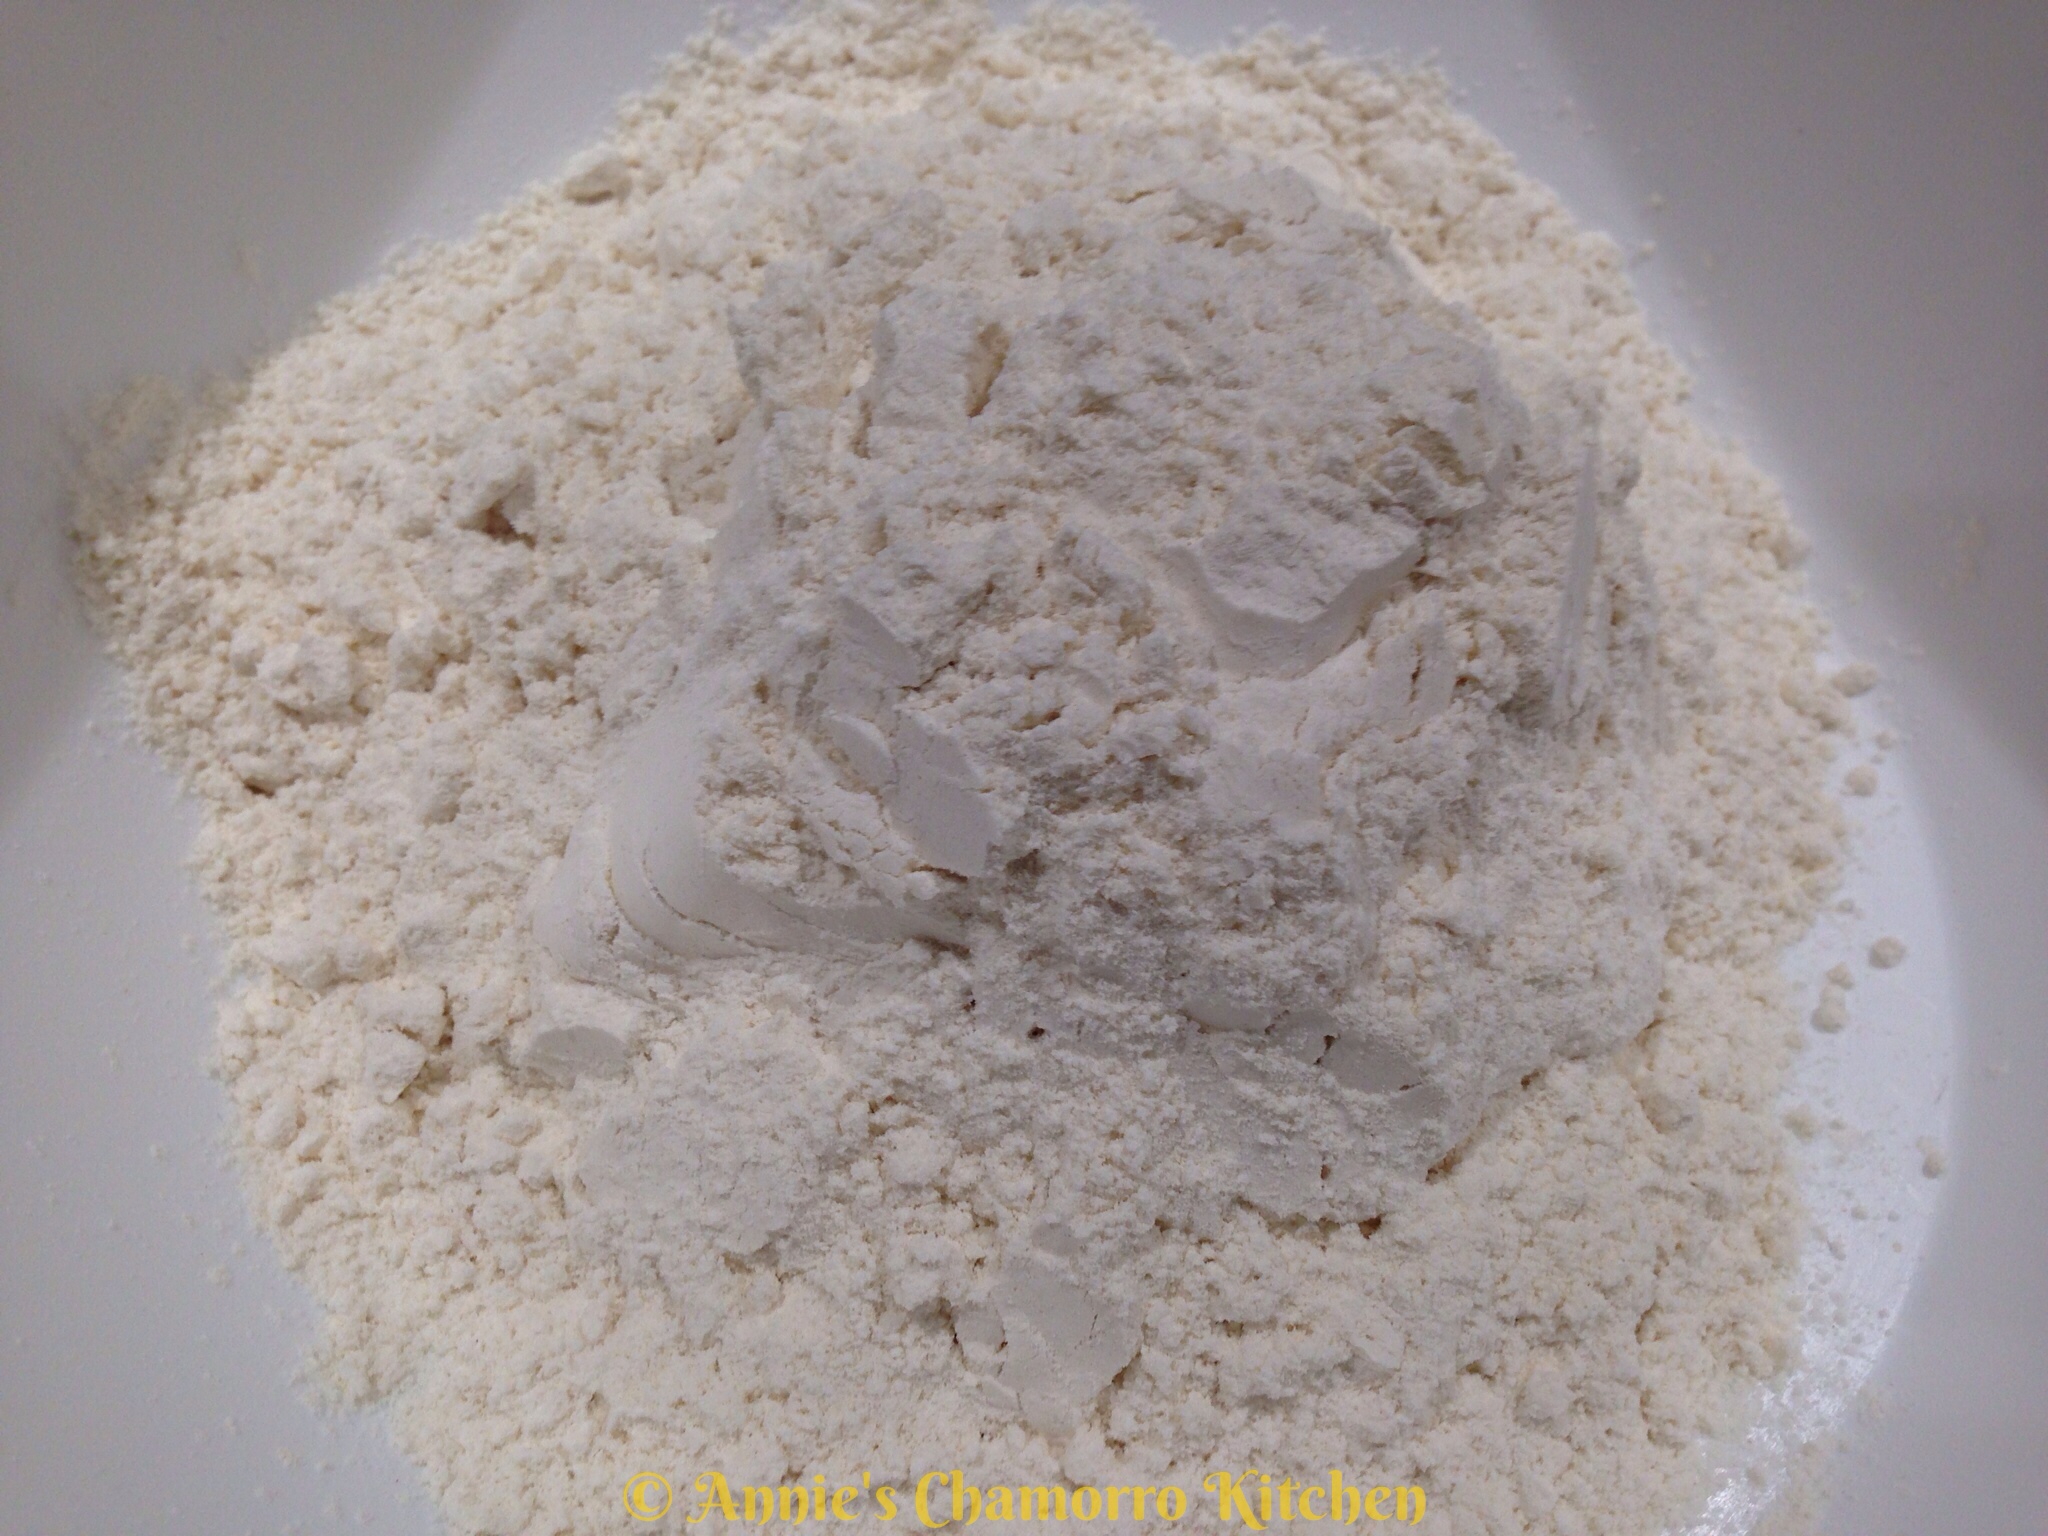
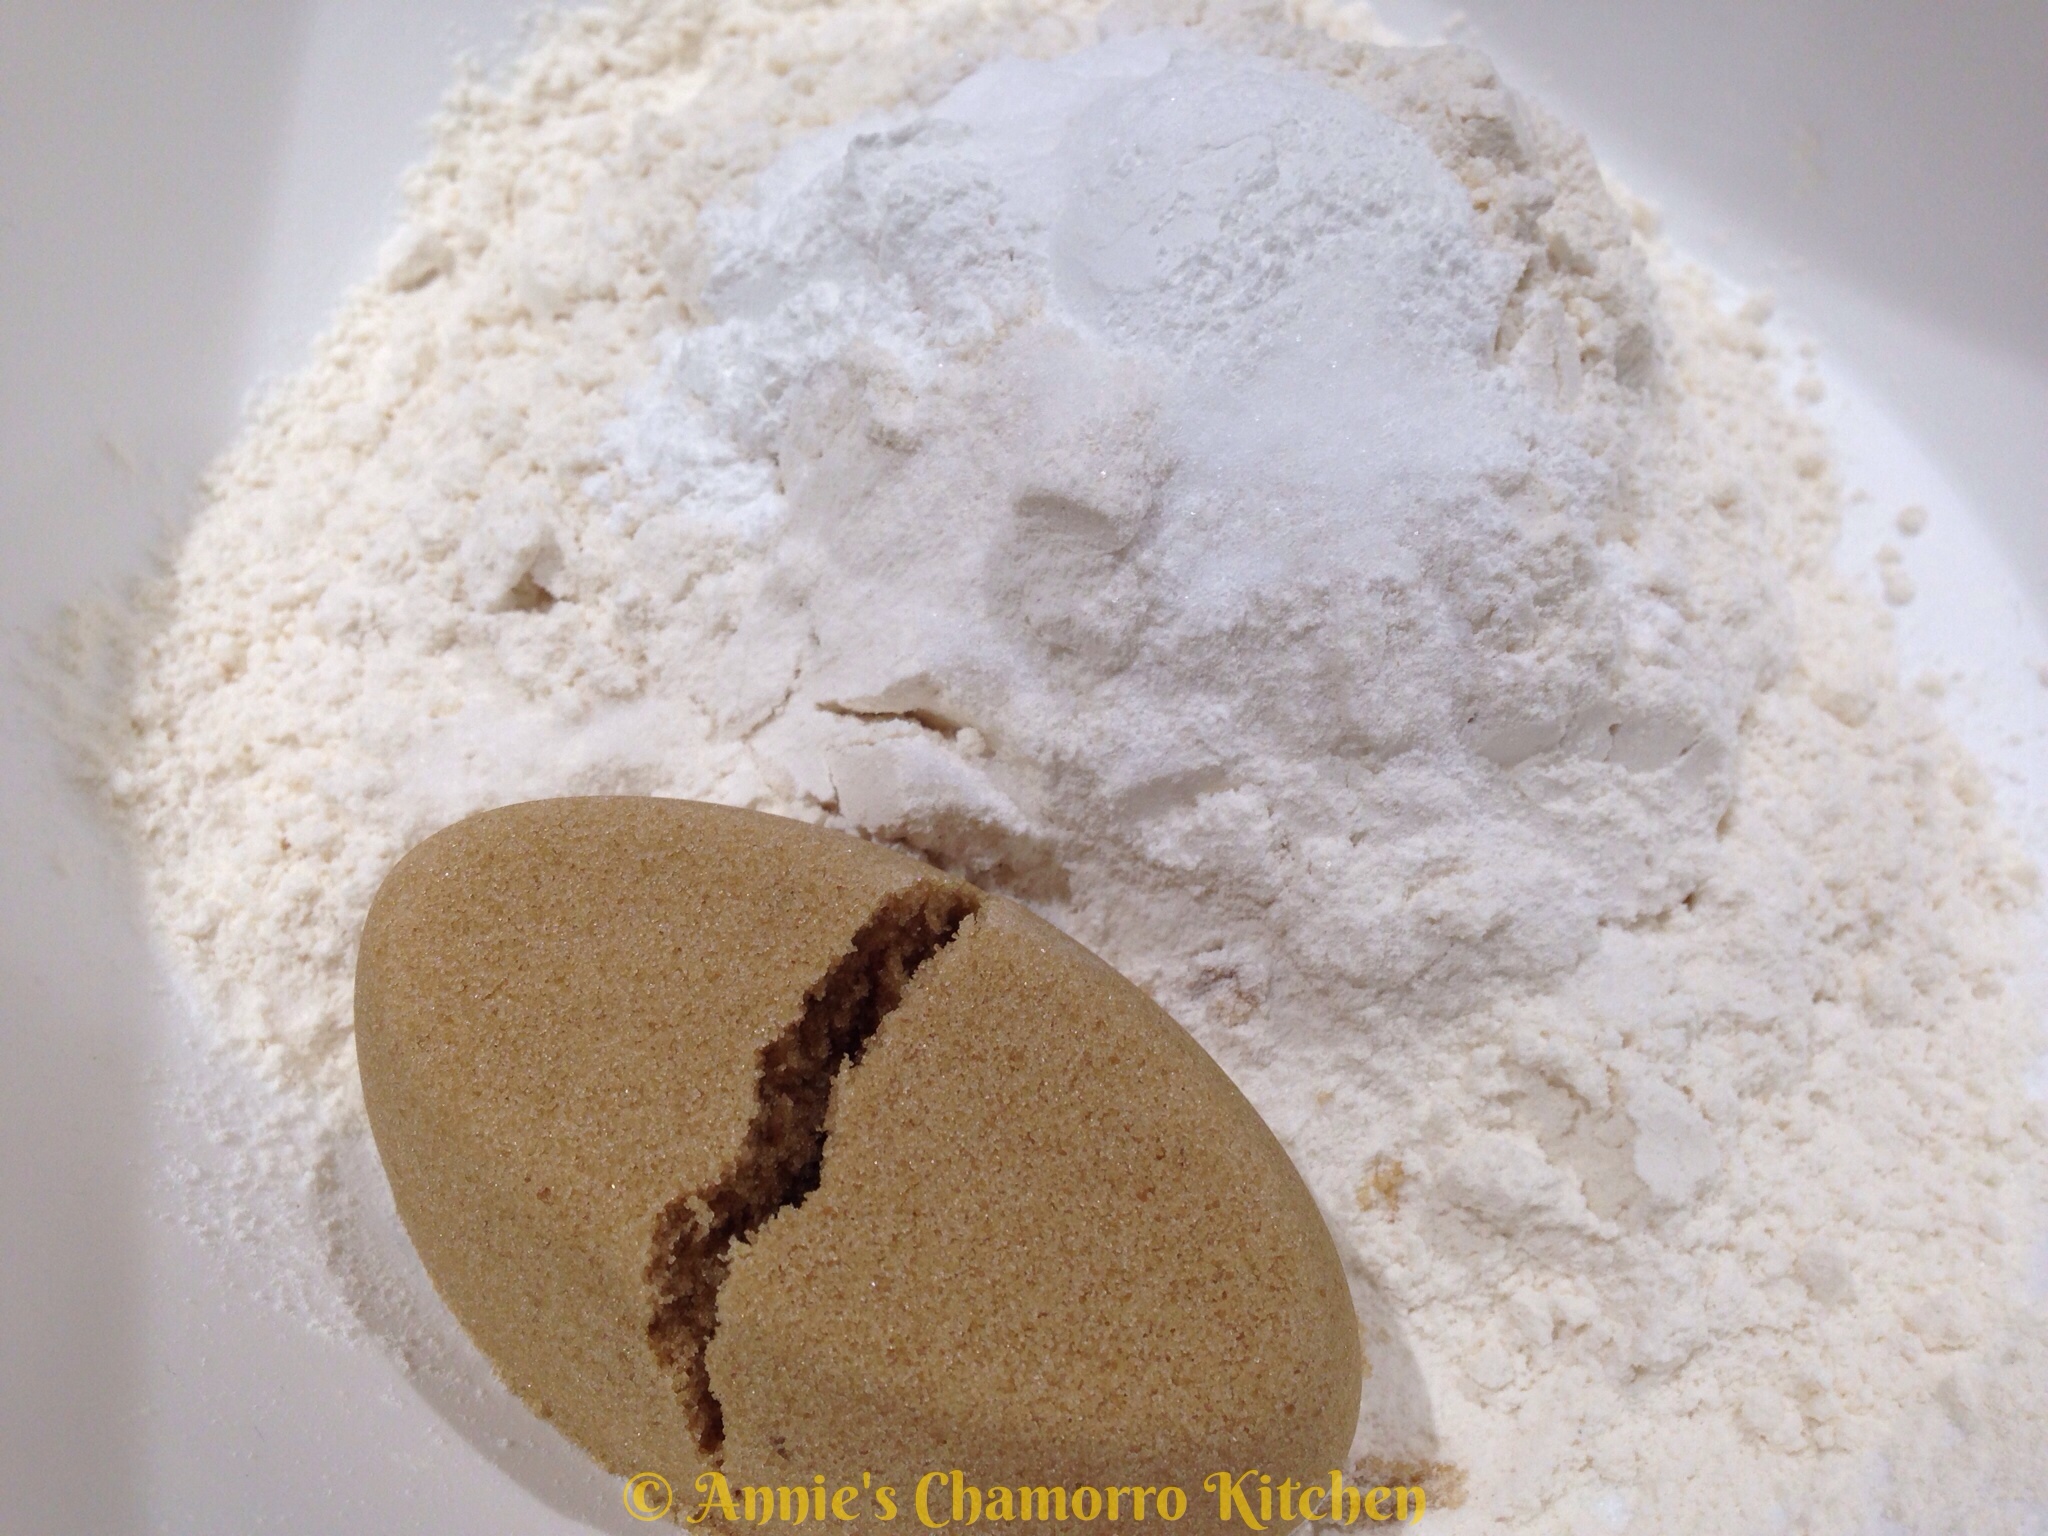
Place the flour into a large mixing bowl.


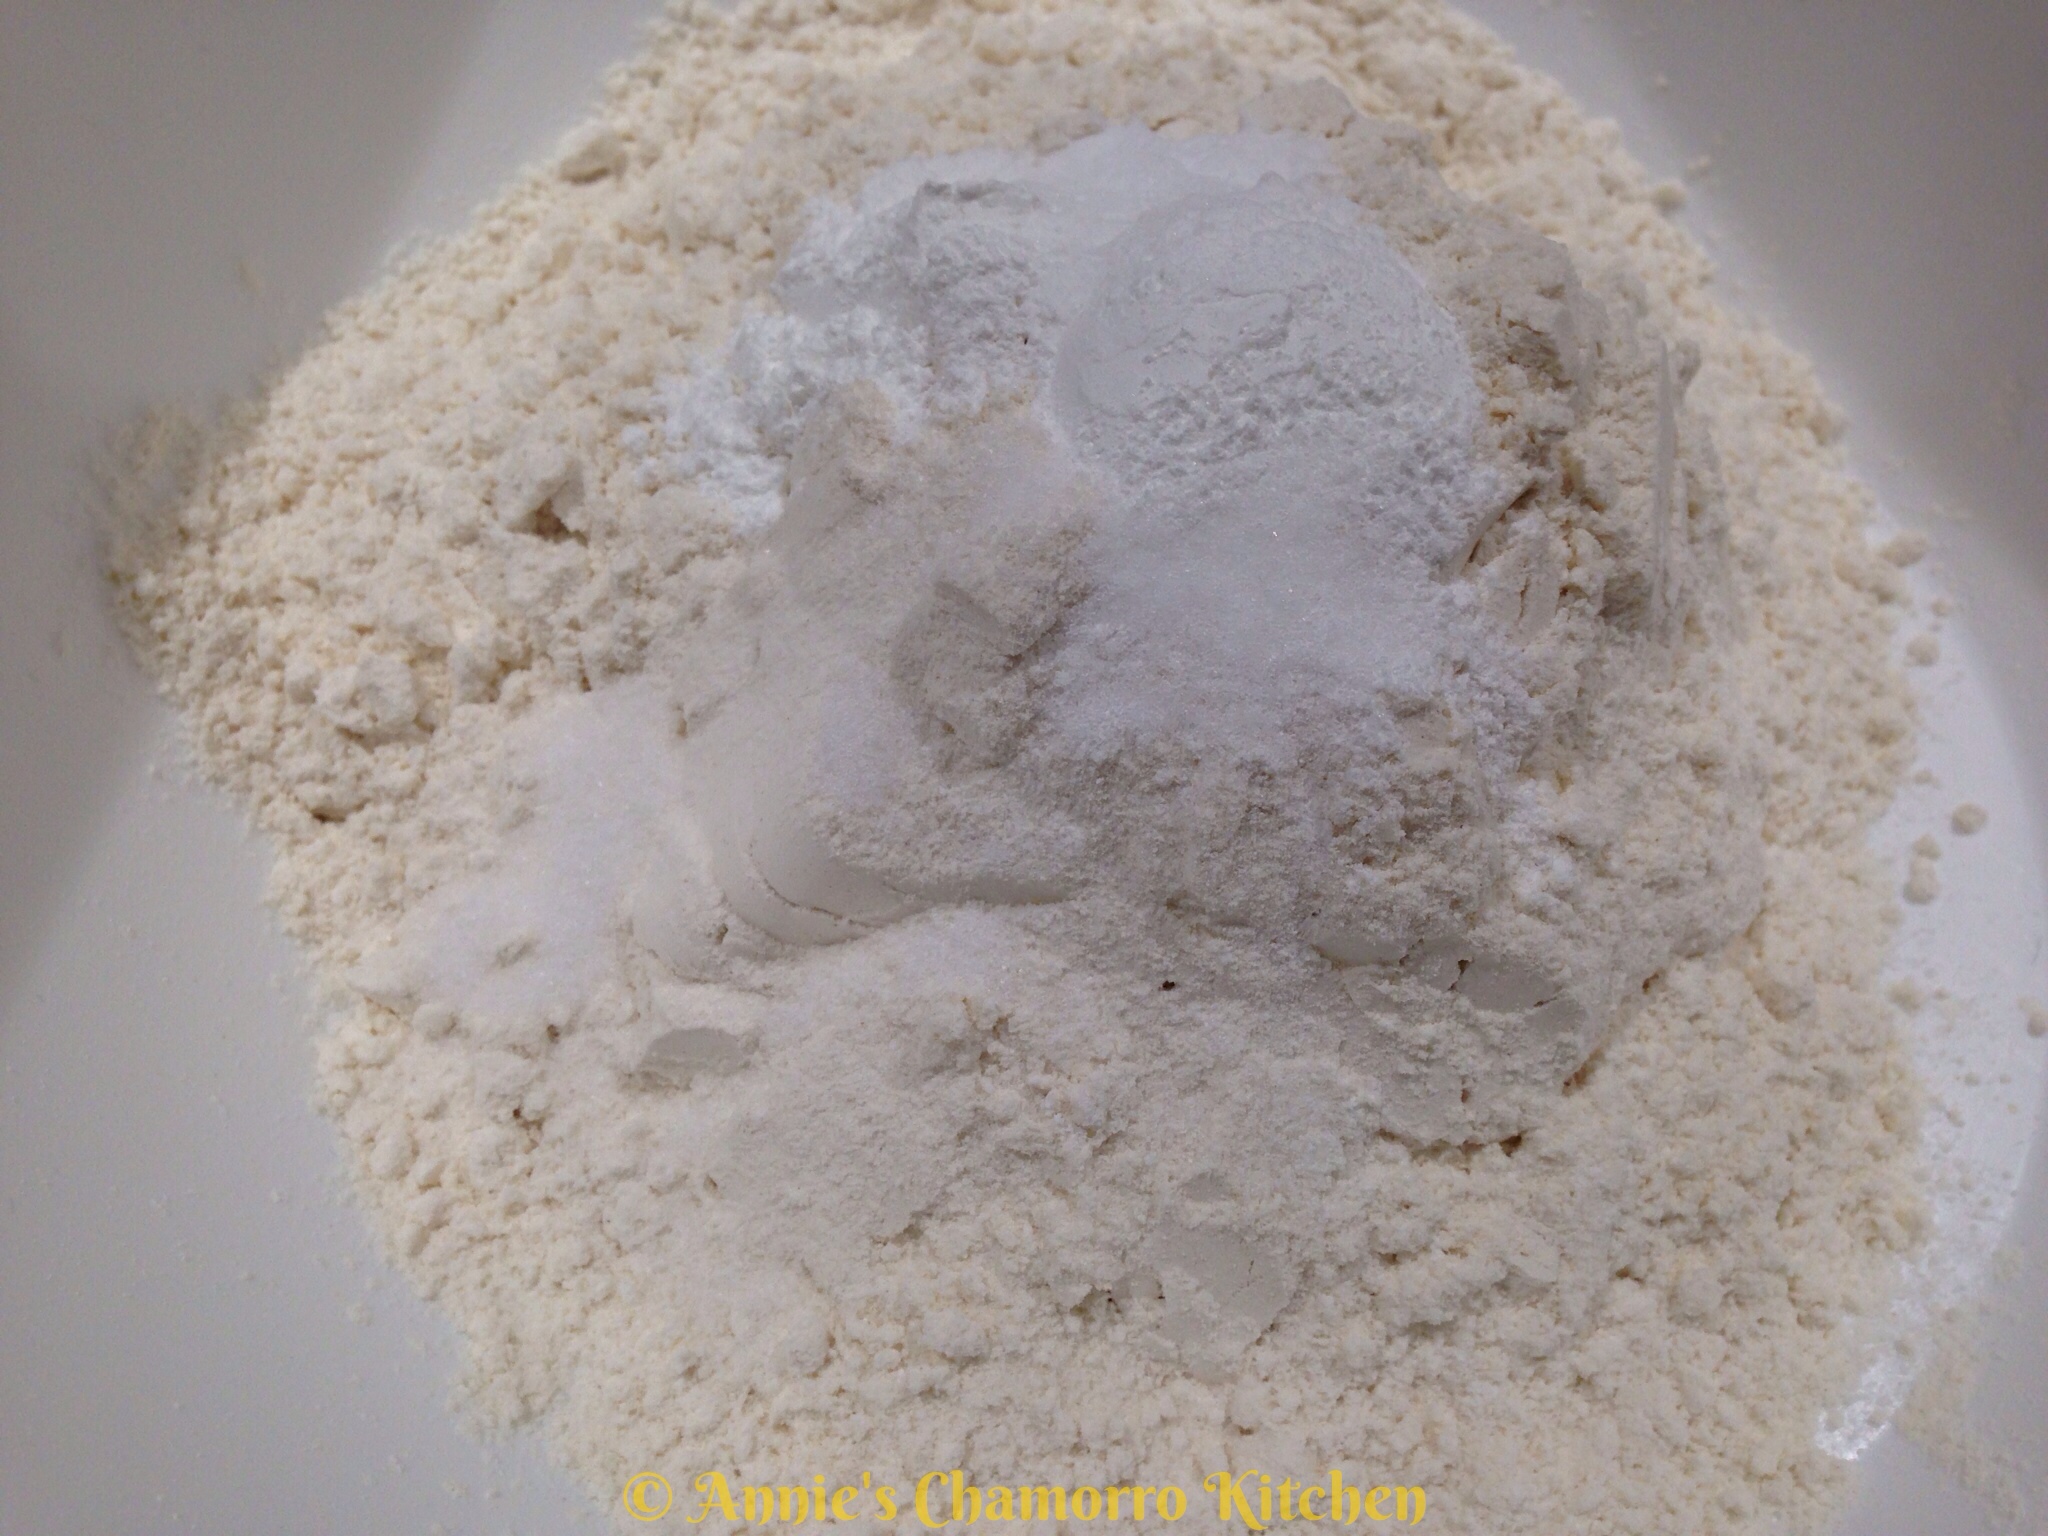
 Add the baking powder, baking soda and salt to the mixing bowl.

Add the brown sugar to the bowl.


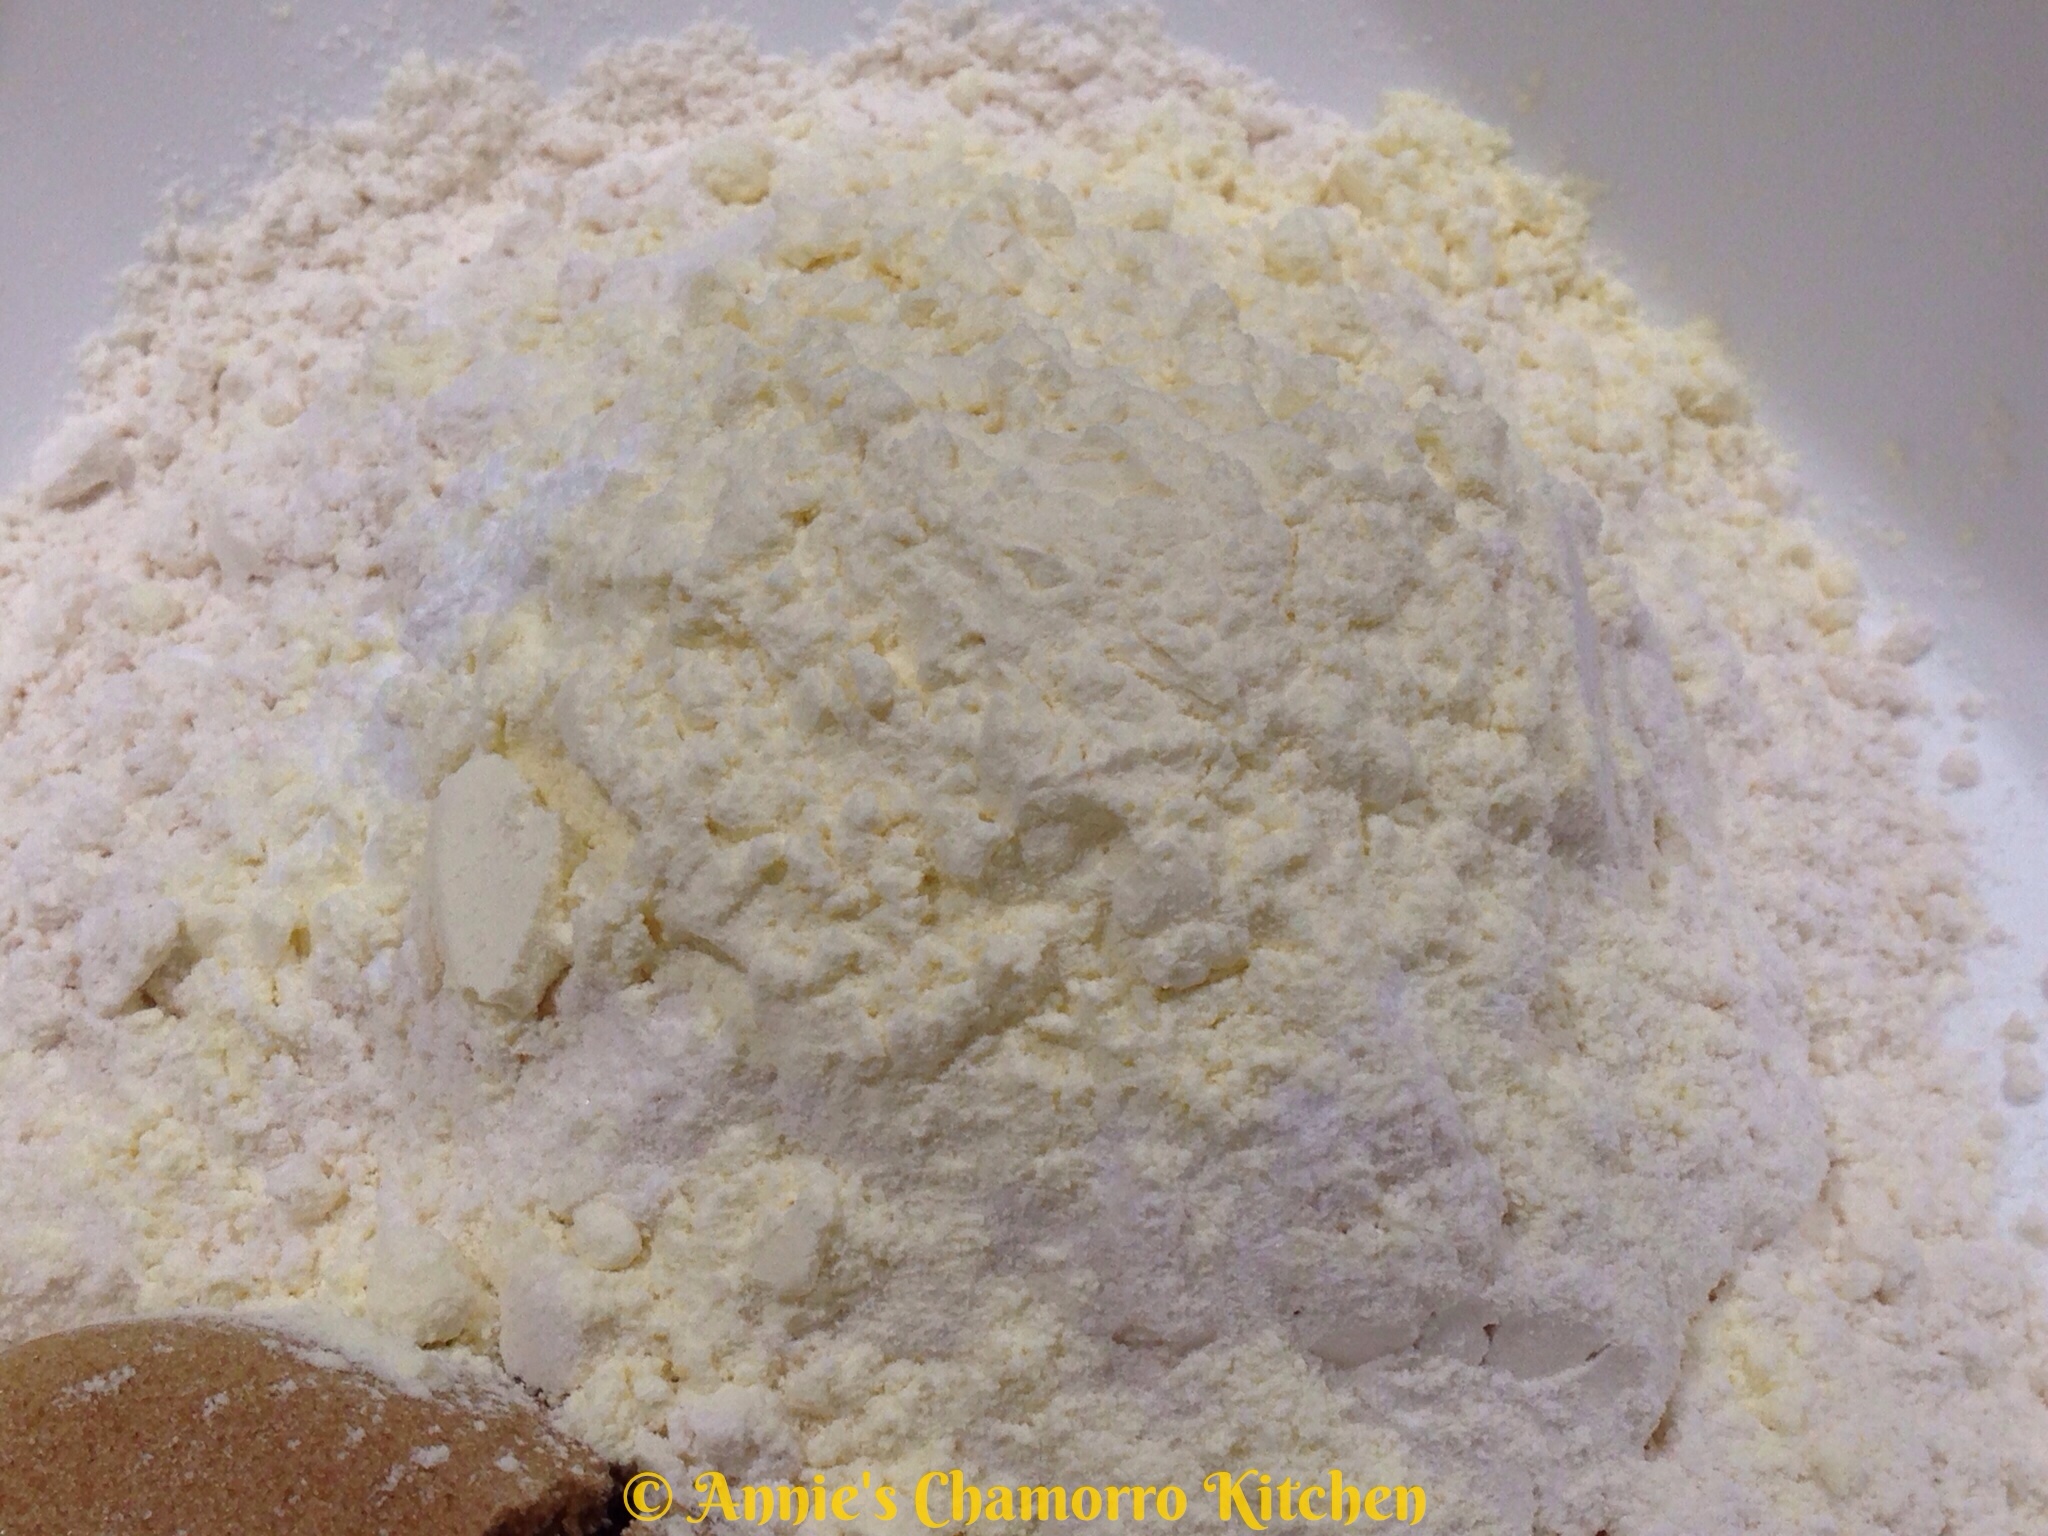
Add the powdered buttermilk.


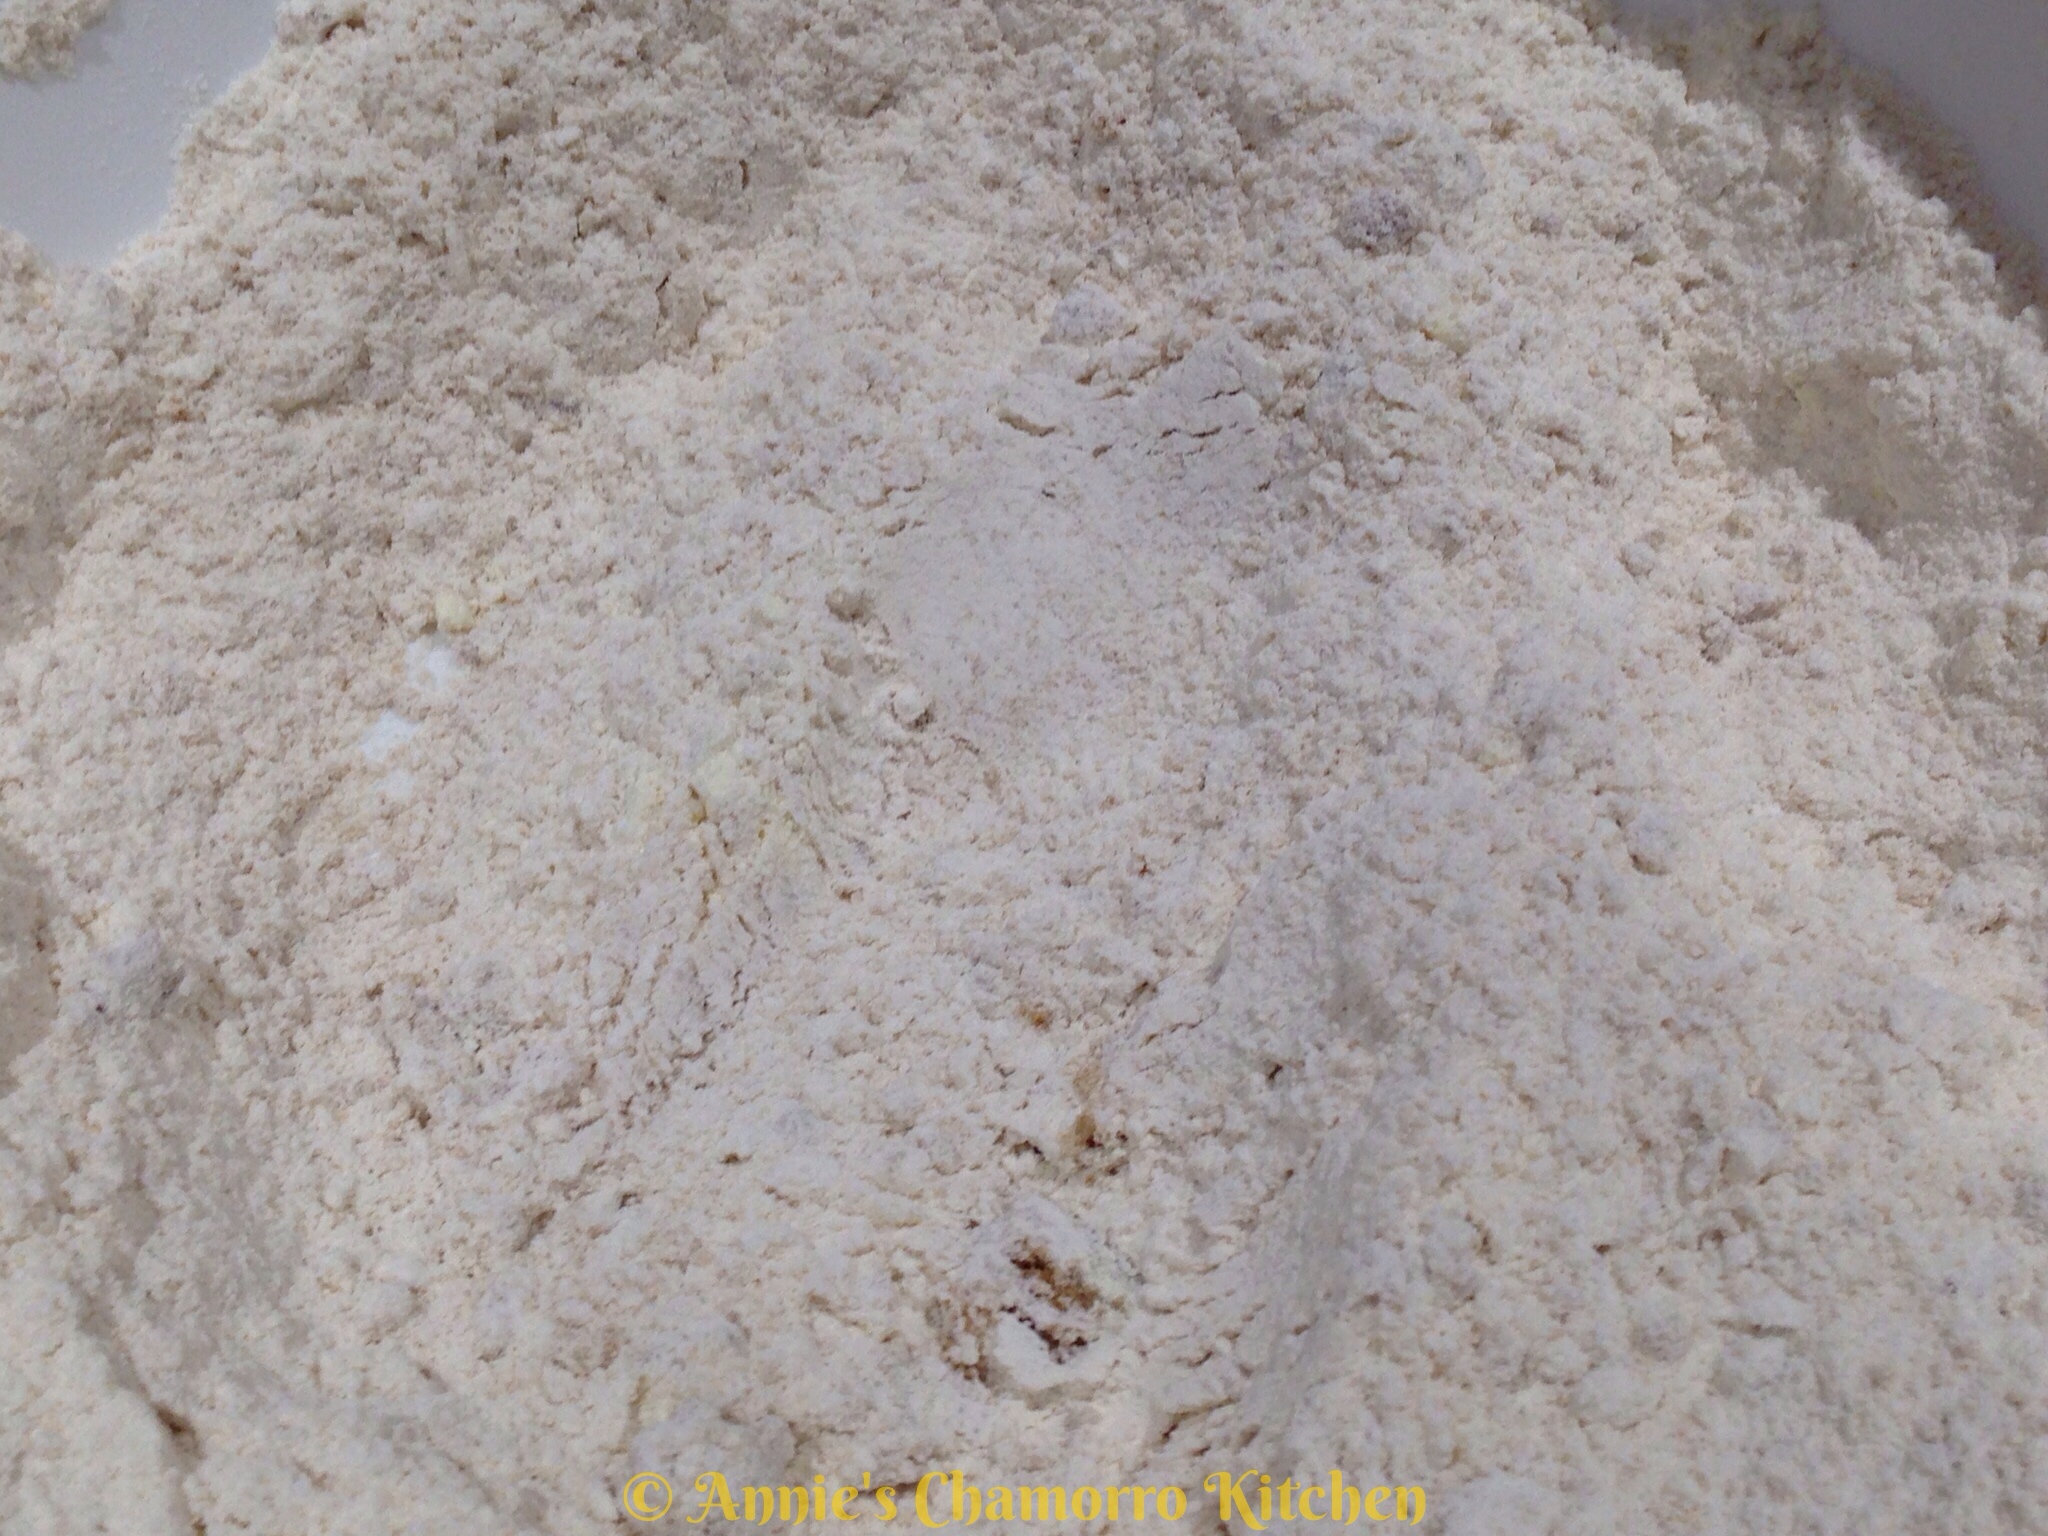
 Stir the mixture to combine all of the ingredients.

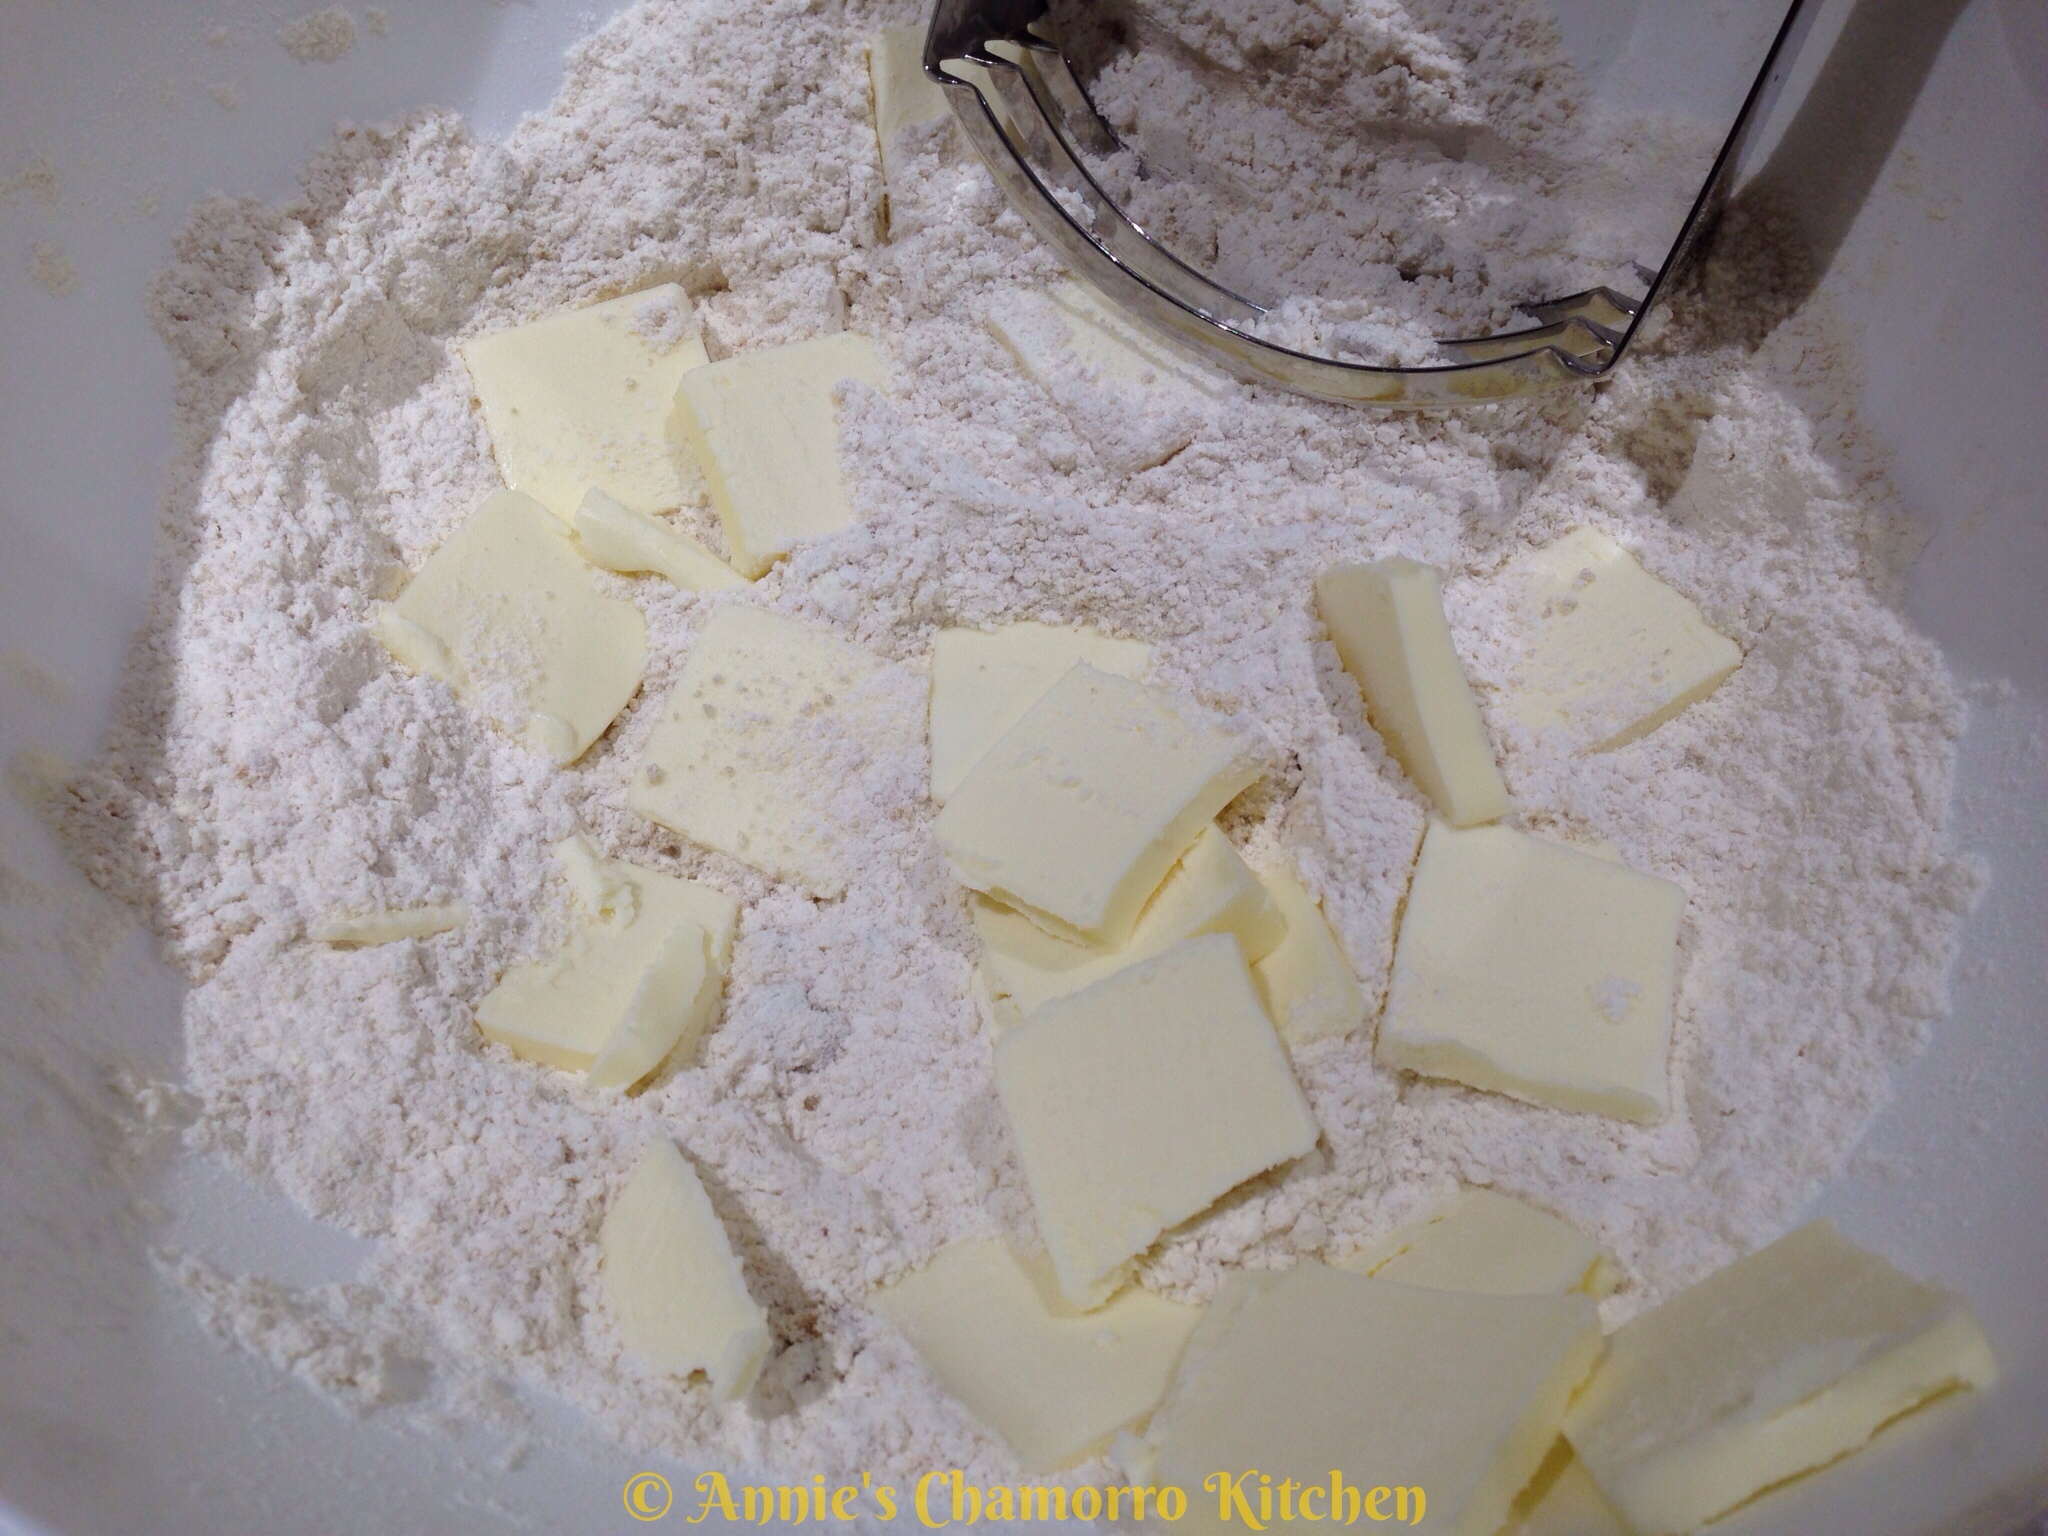
 Add the pieces of butter to the flour mixture.  Using a pastry blender (the tool pictured at the top of the photo below), “cut” the butter into the flour.

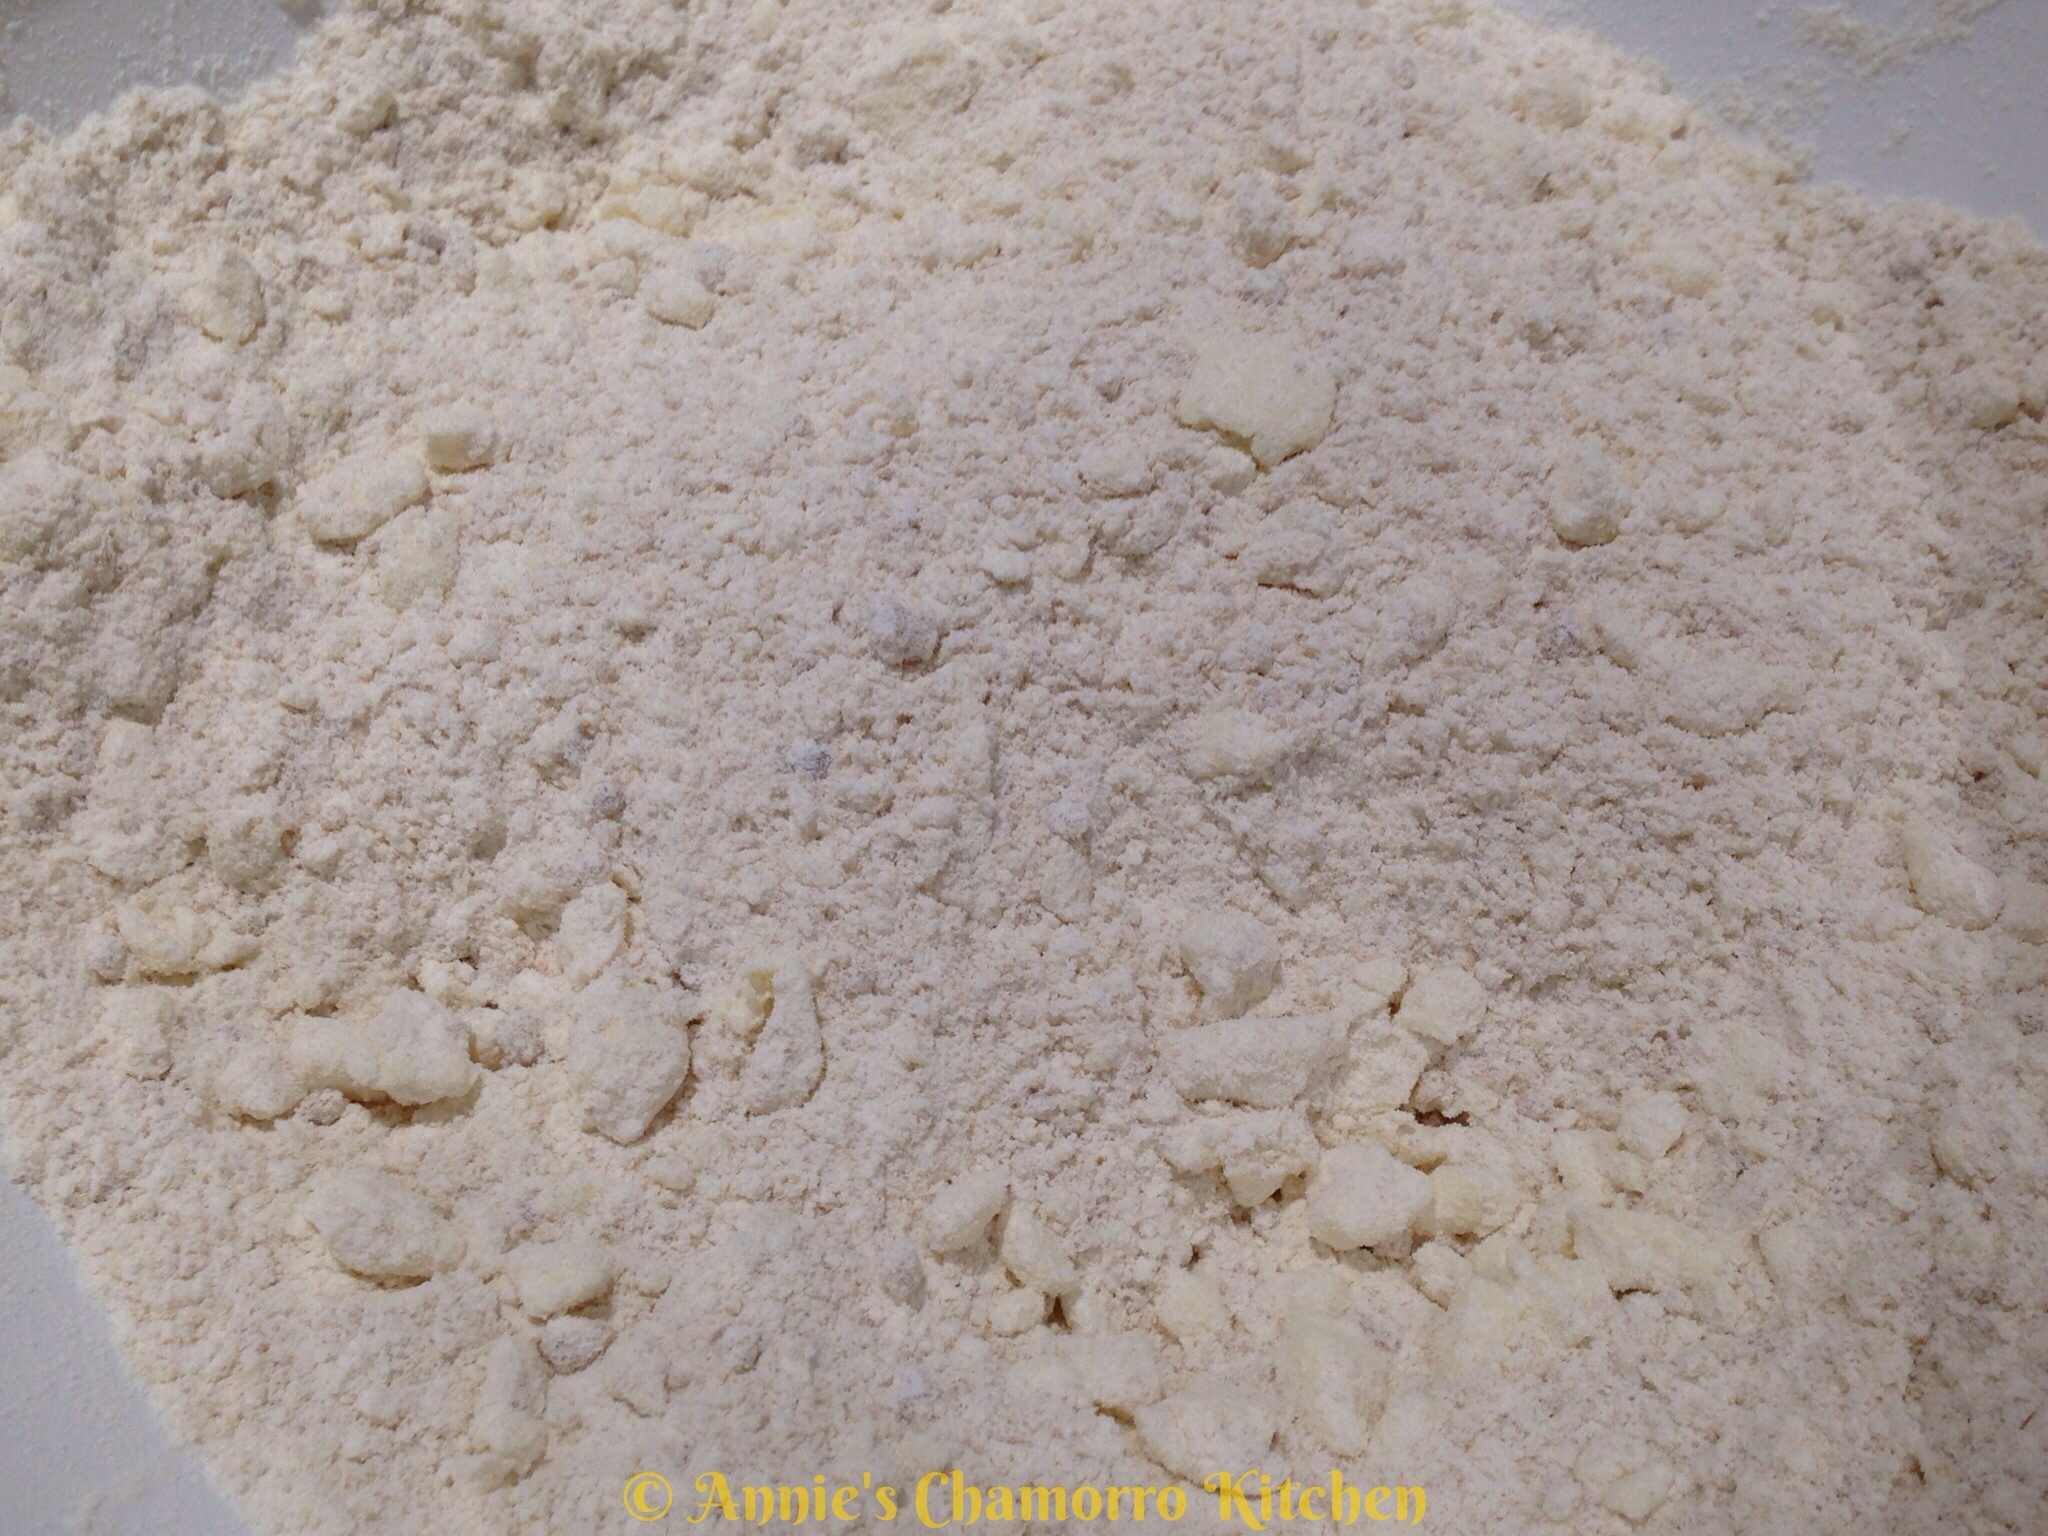
 This is what the mixture looks like after cutting the butter into the flour.  You want to see small chunks of butter in the mixture.

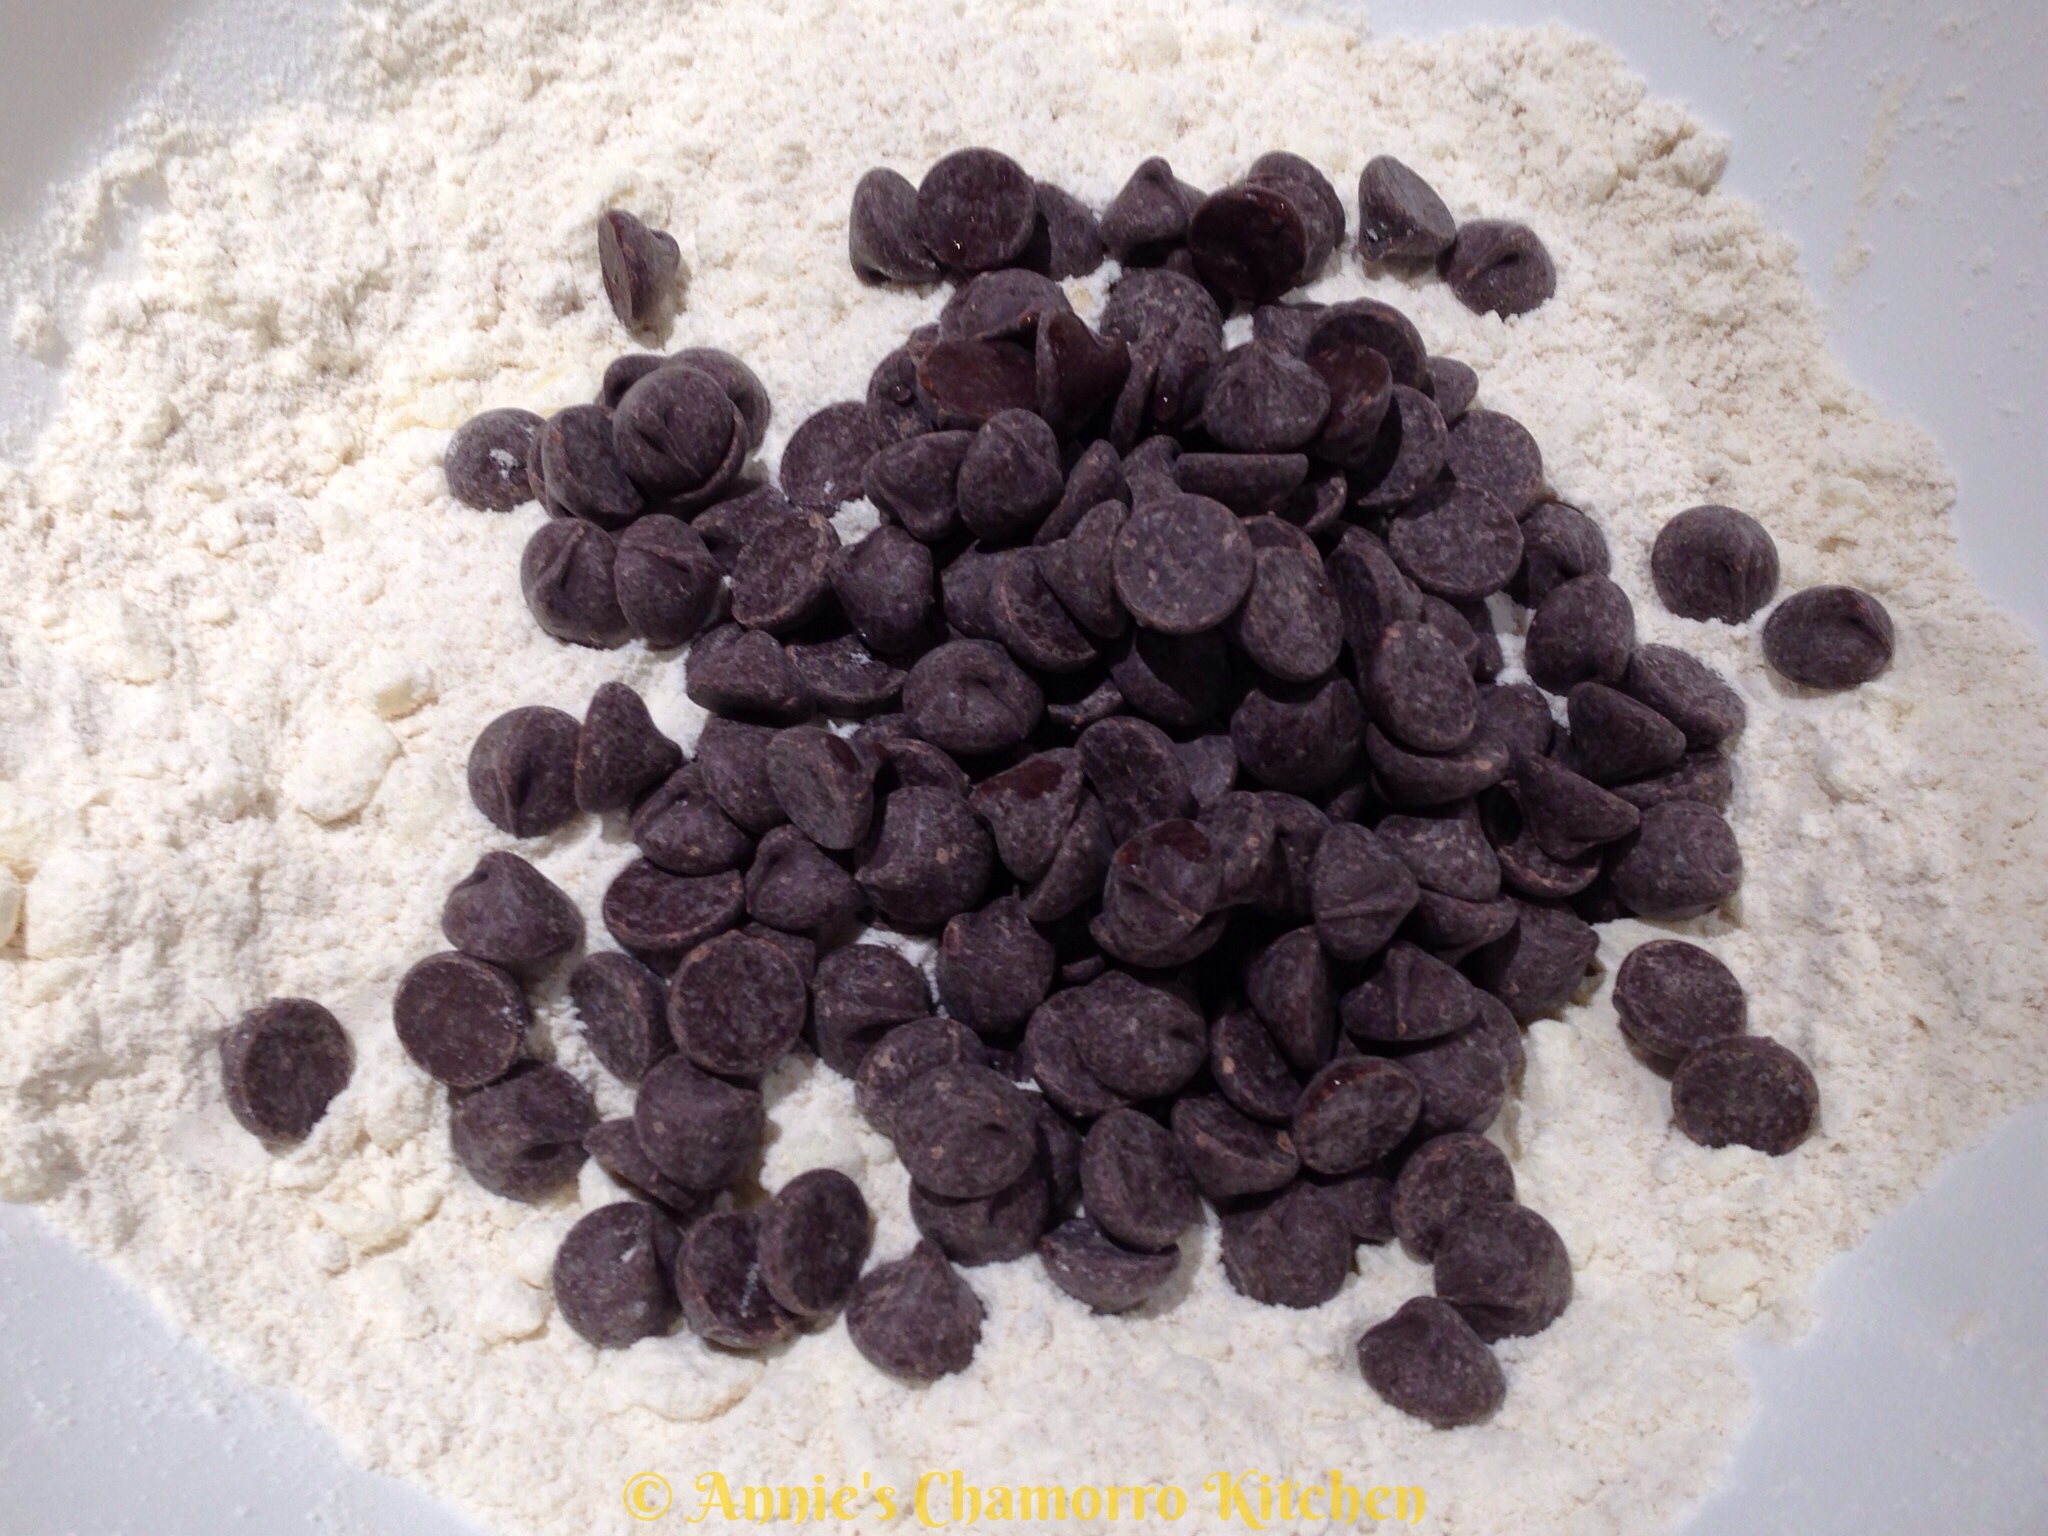
 Add the chocolate chips to the flour mixture.

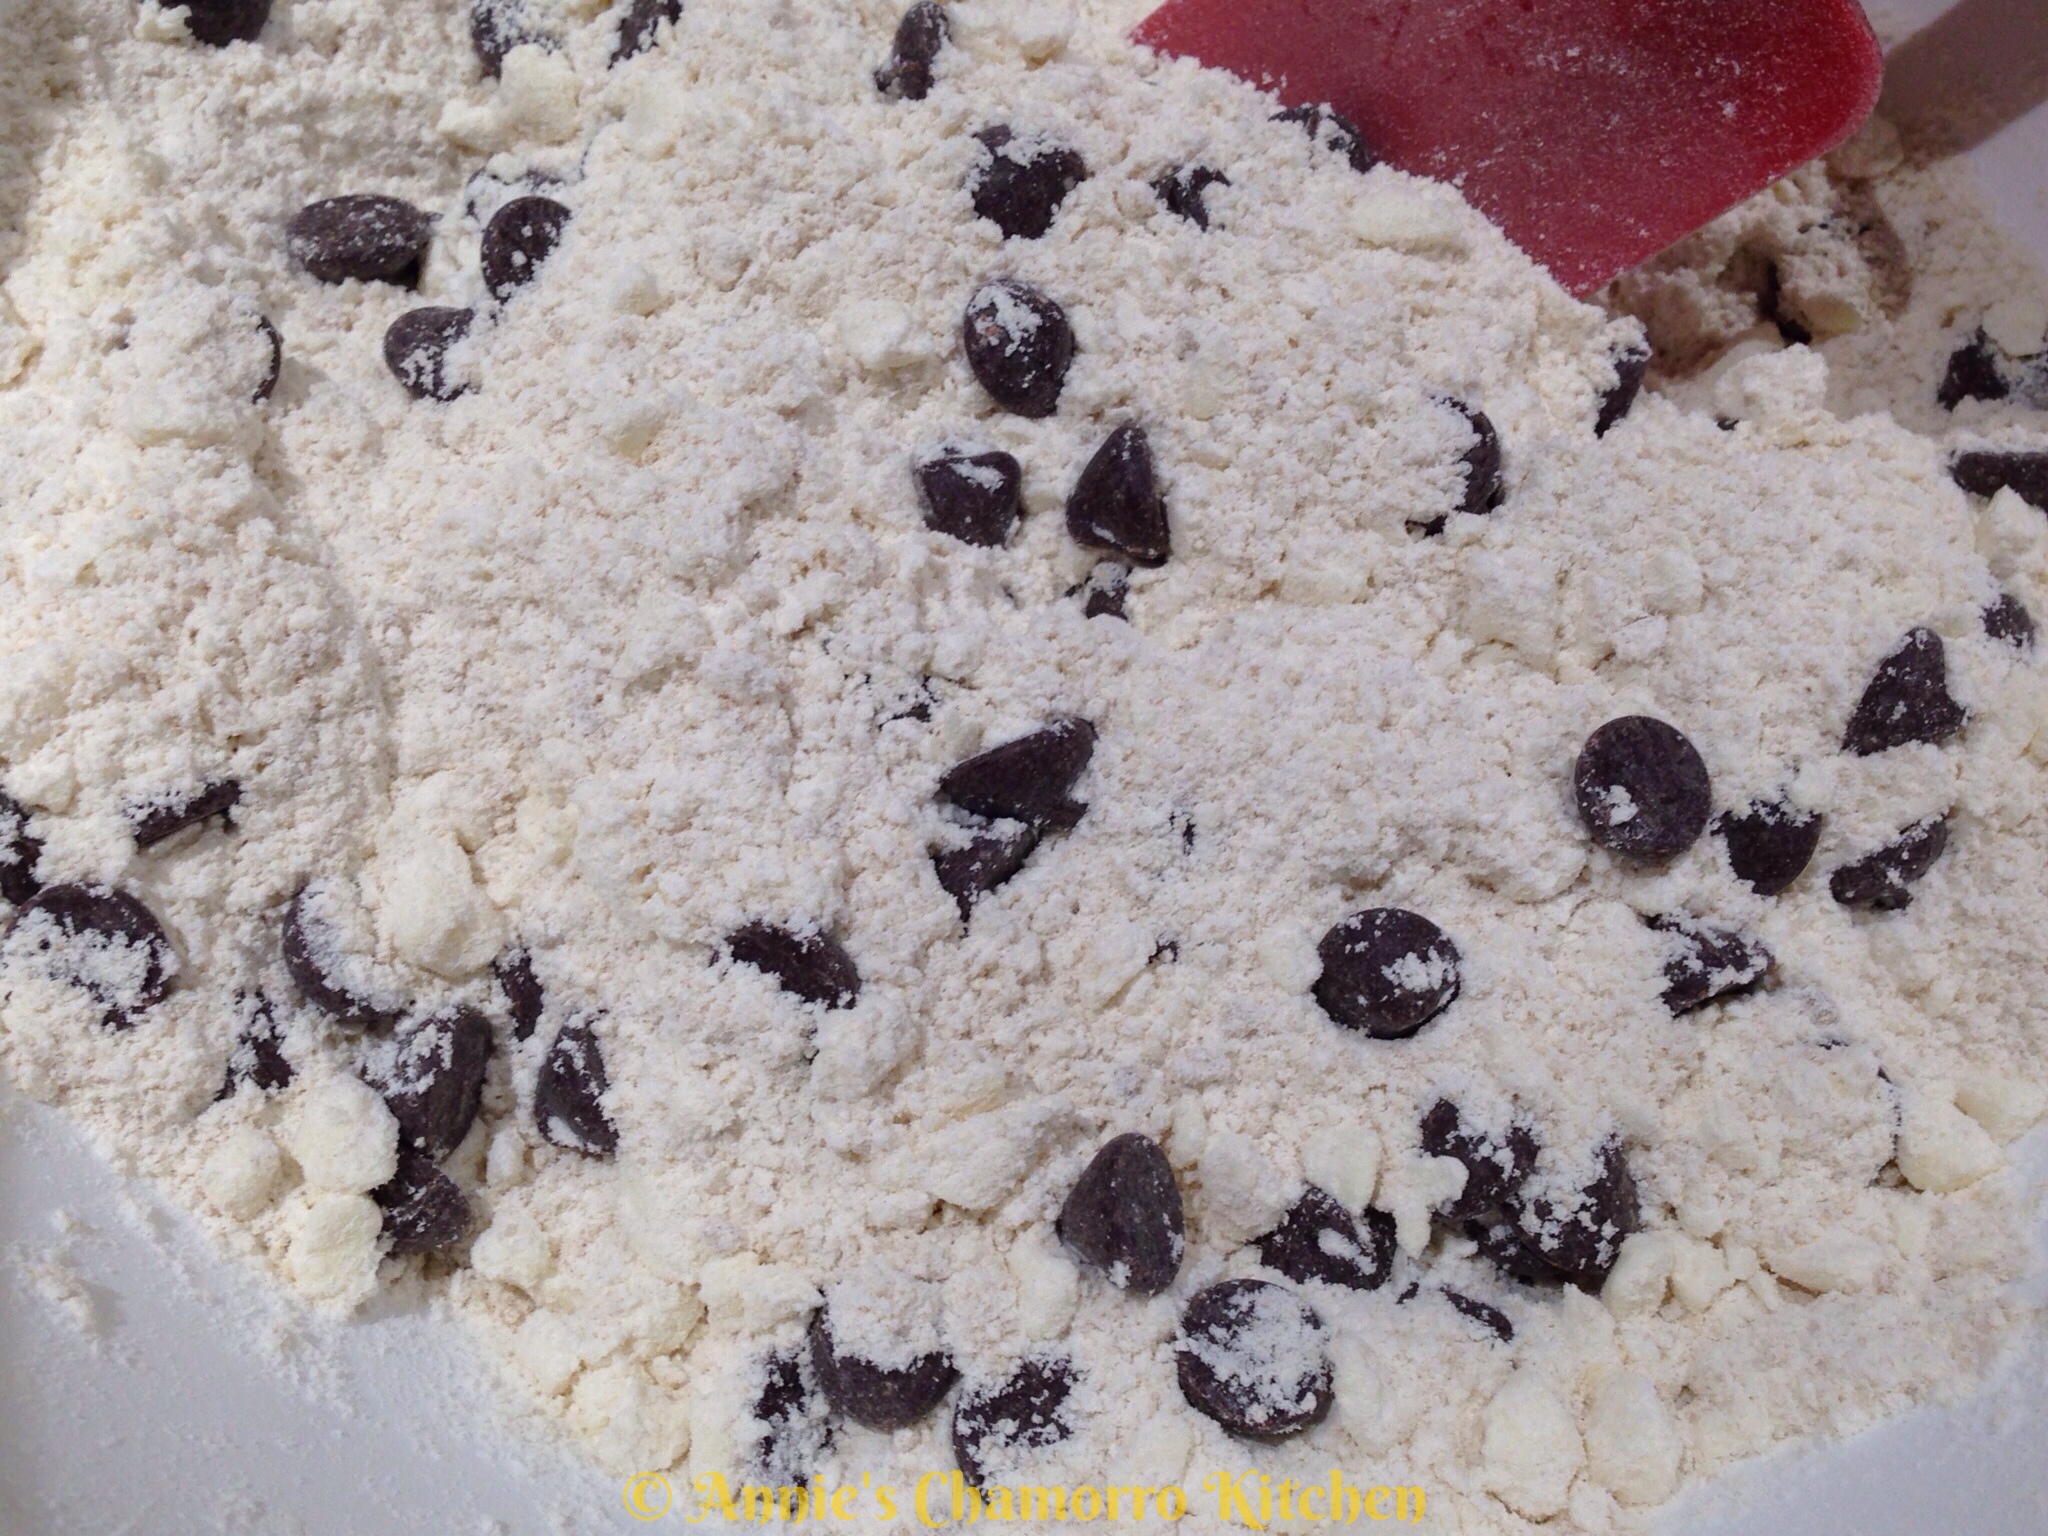
 Stir to combine.  Set this aside for now.

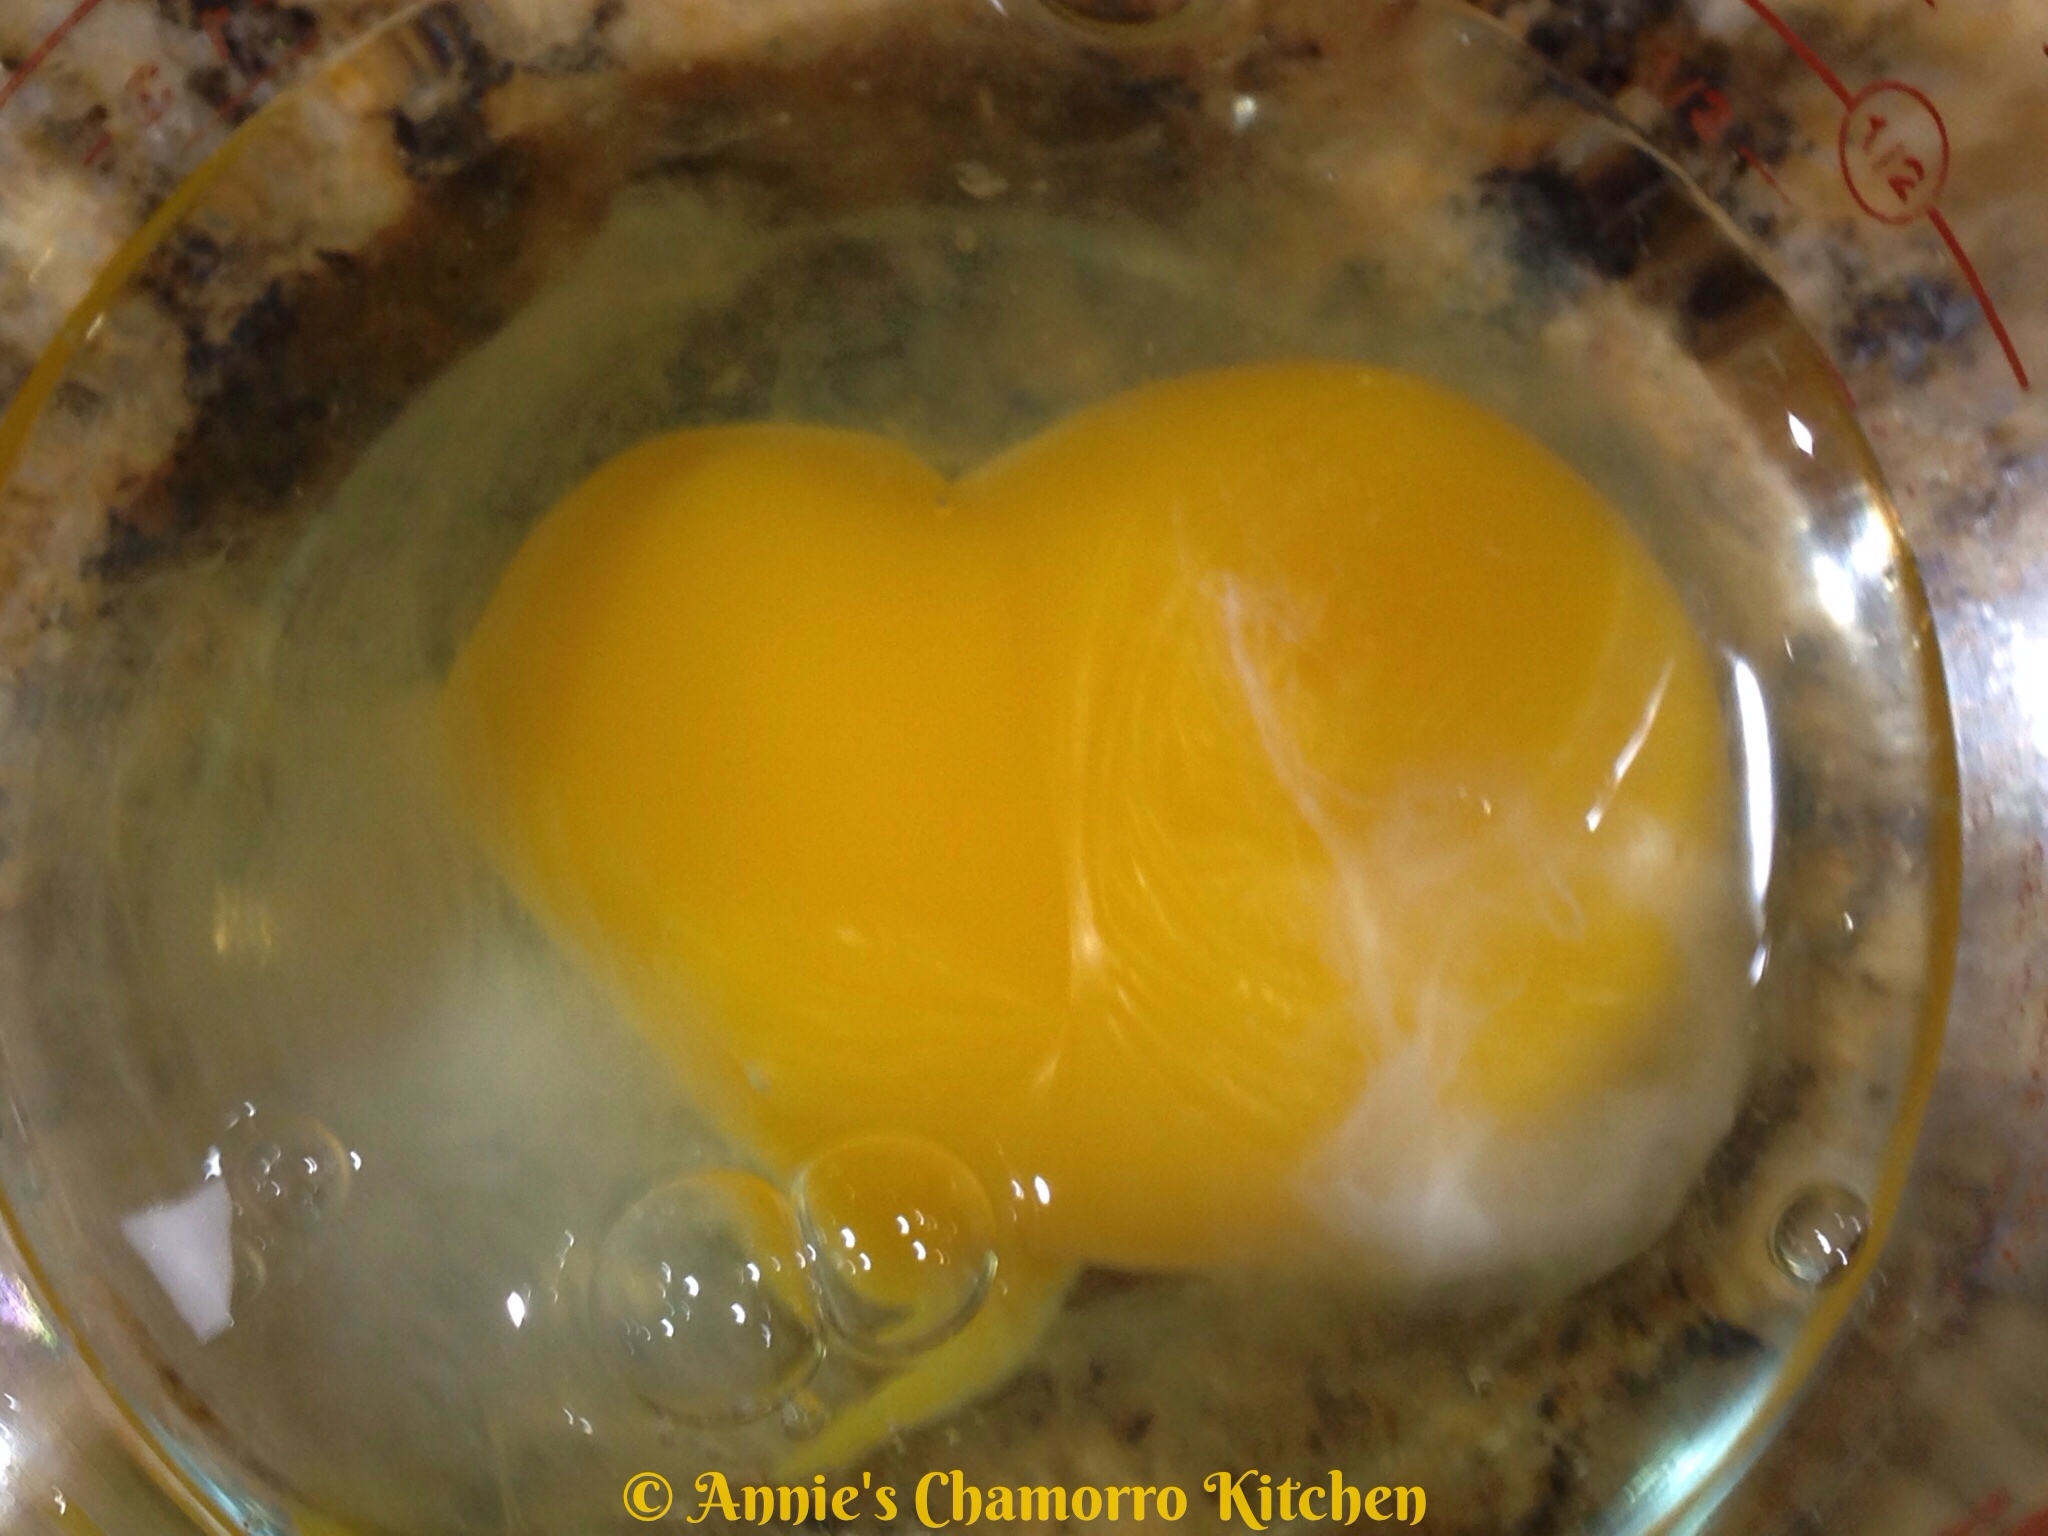
 Crack the egg into a small mixing bowl.

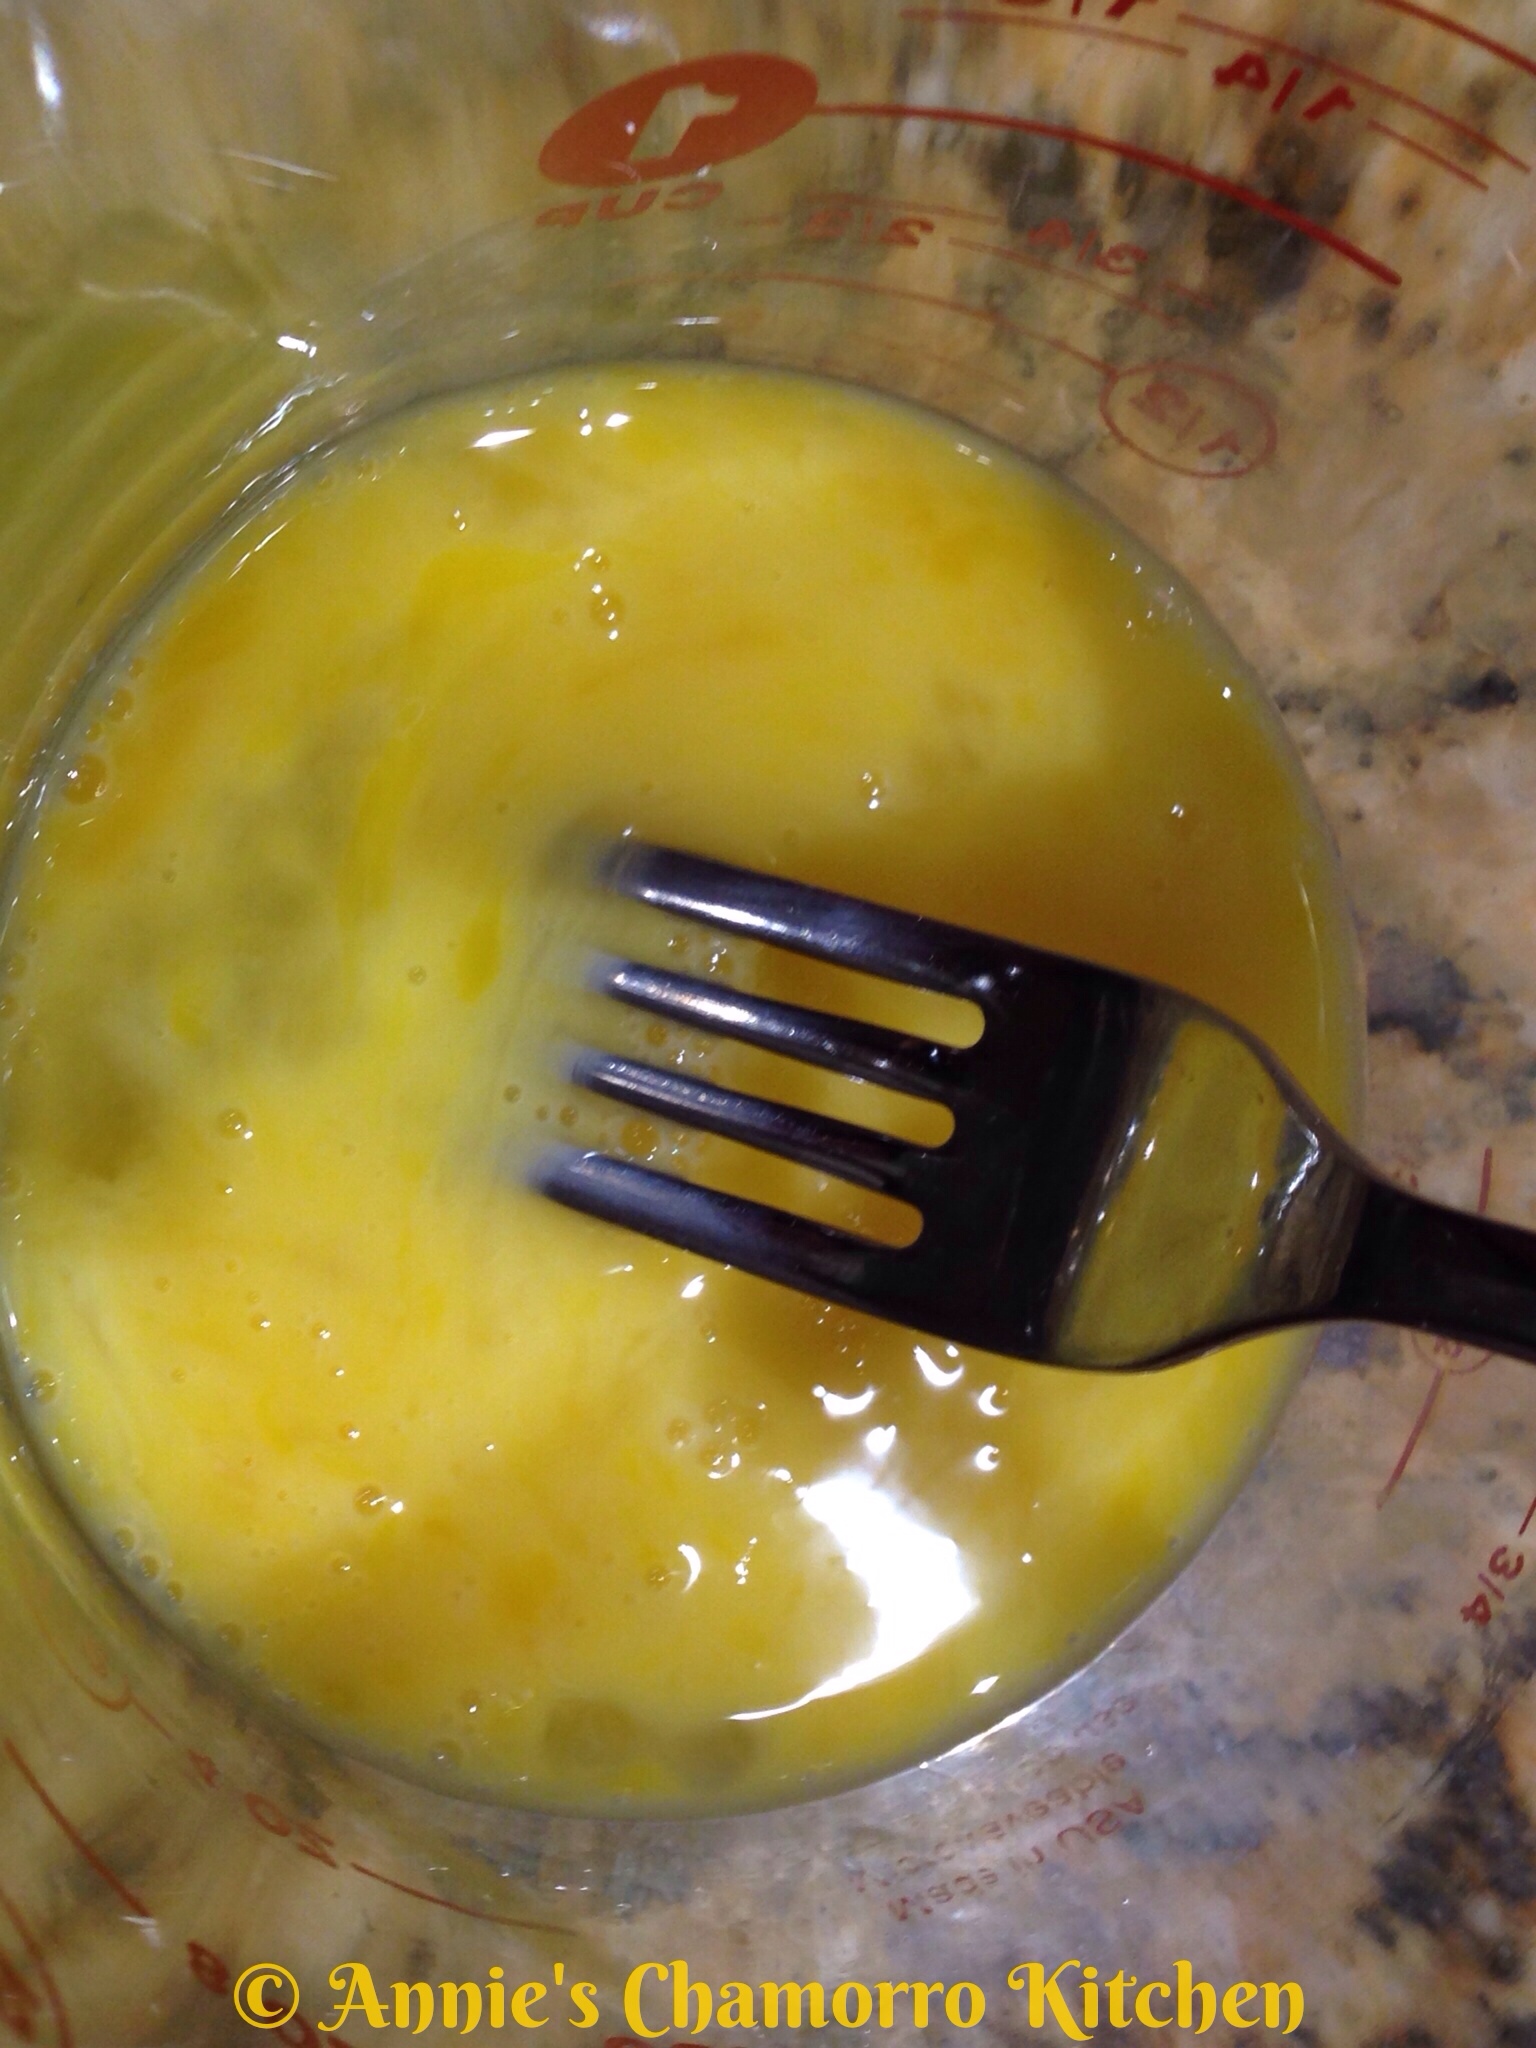
 Lightly beat the egg with a fork.

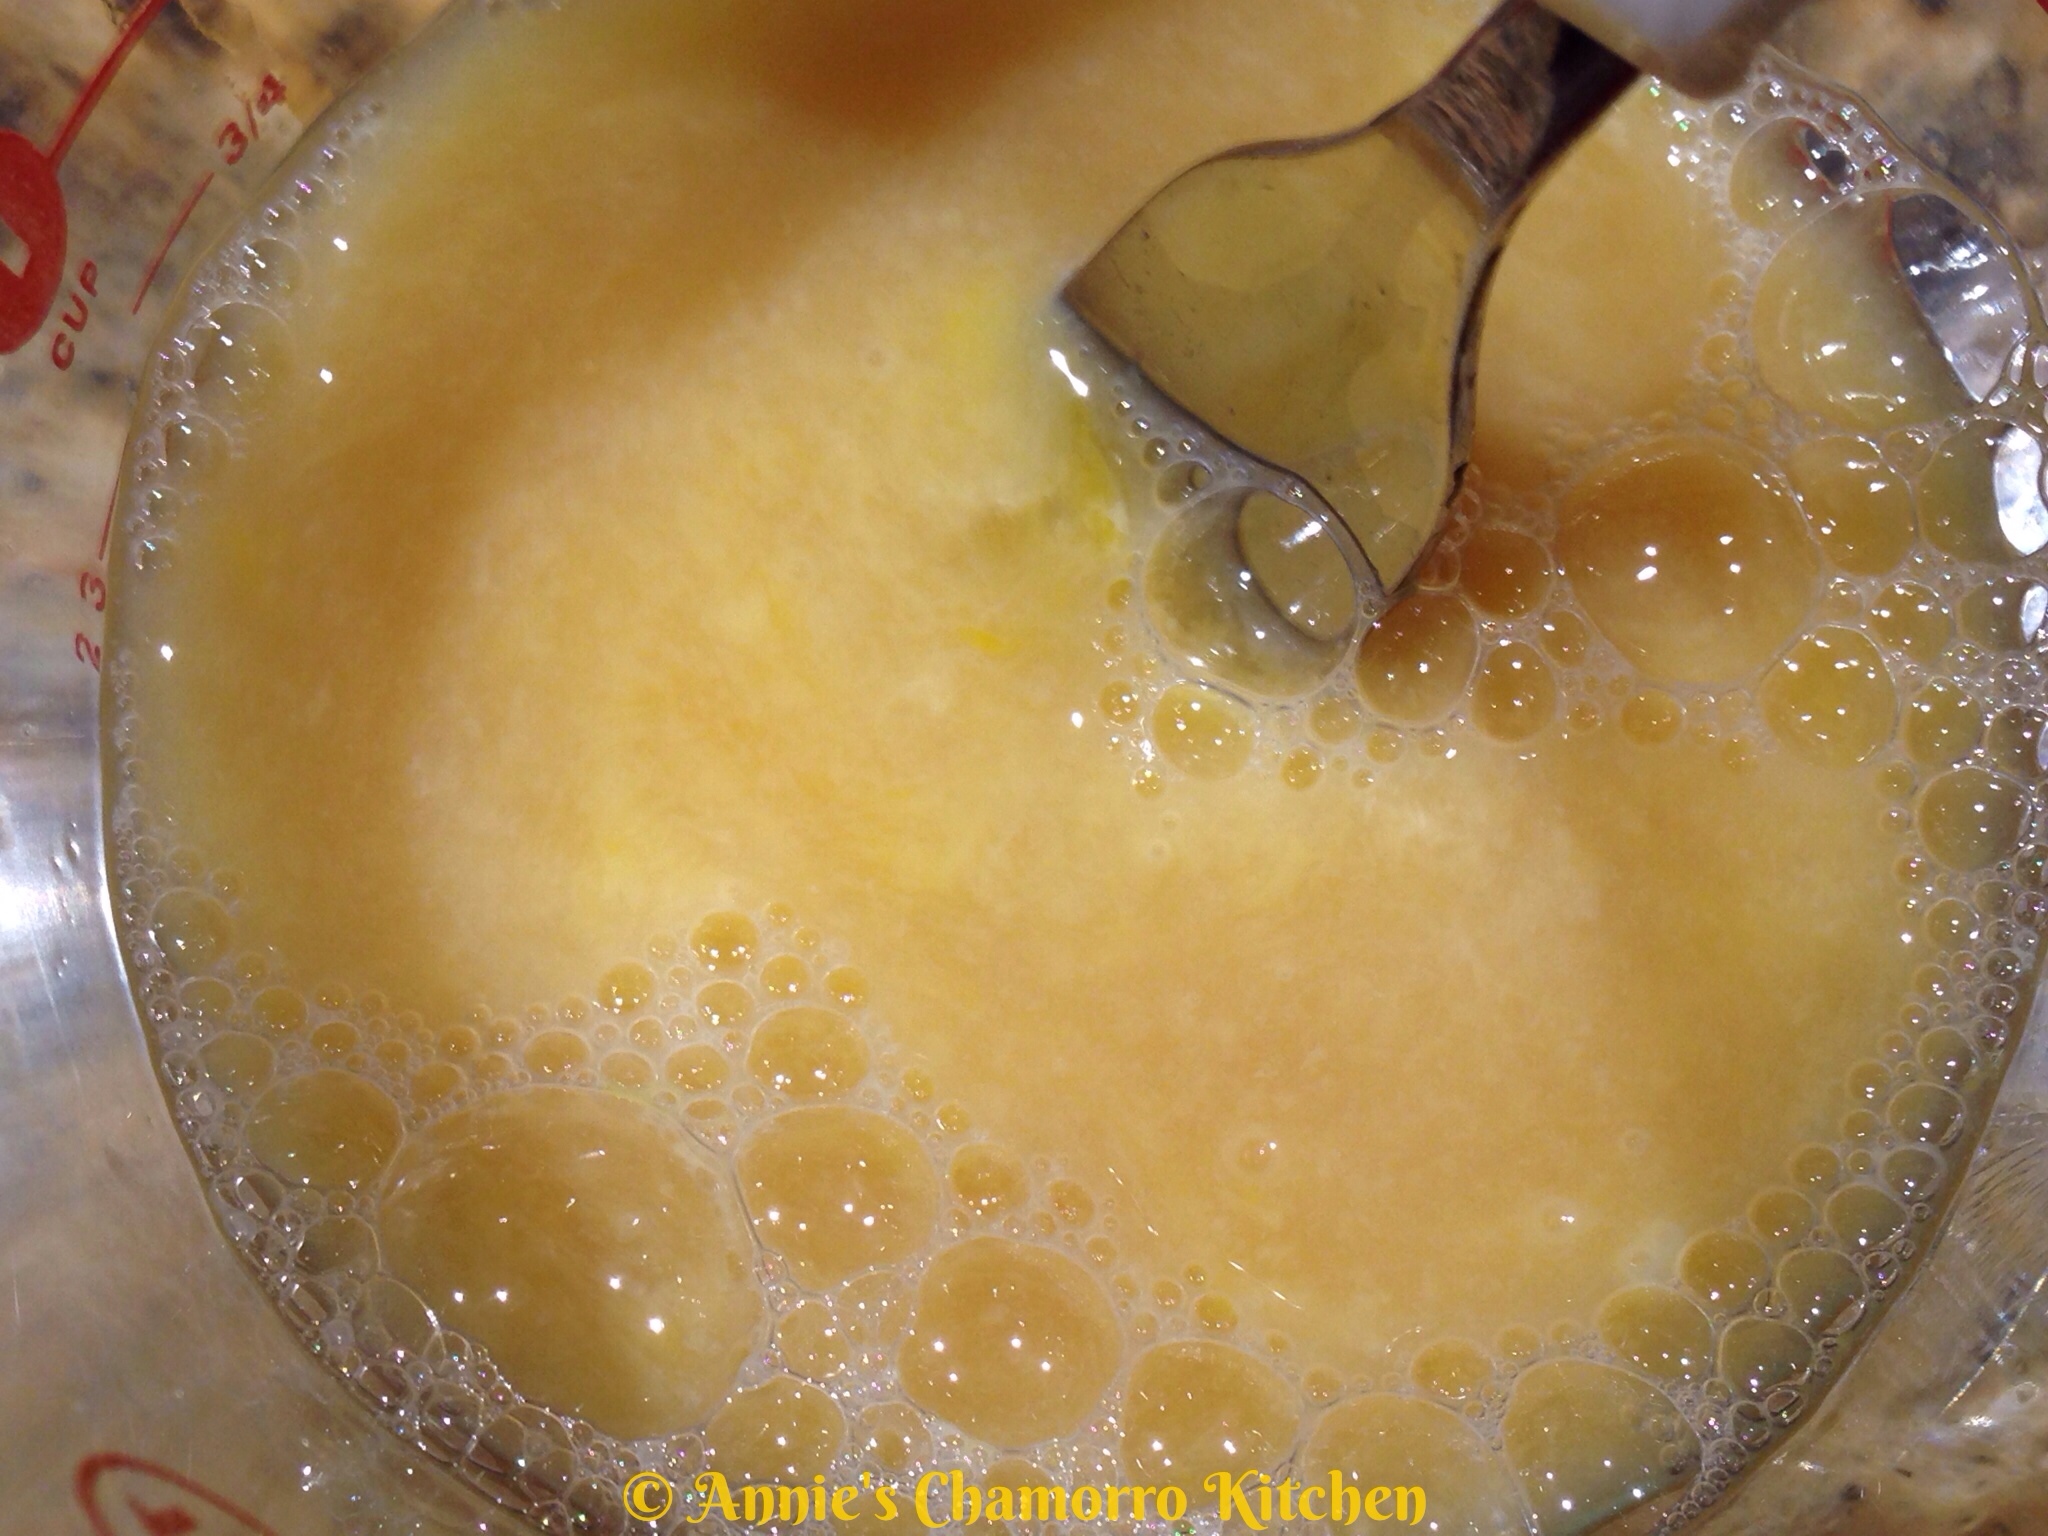
 Mix the water, vanilla and almond extract with the beaten egg.

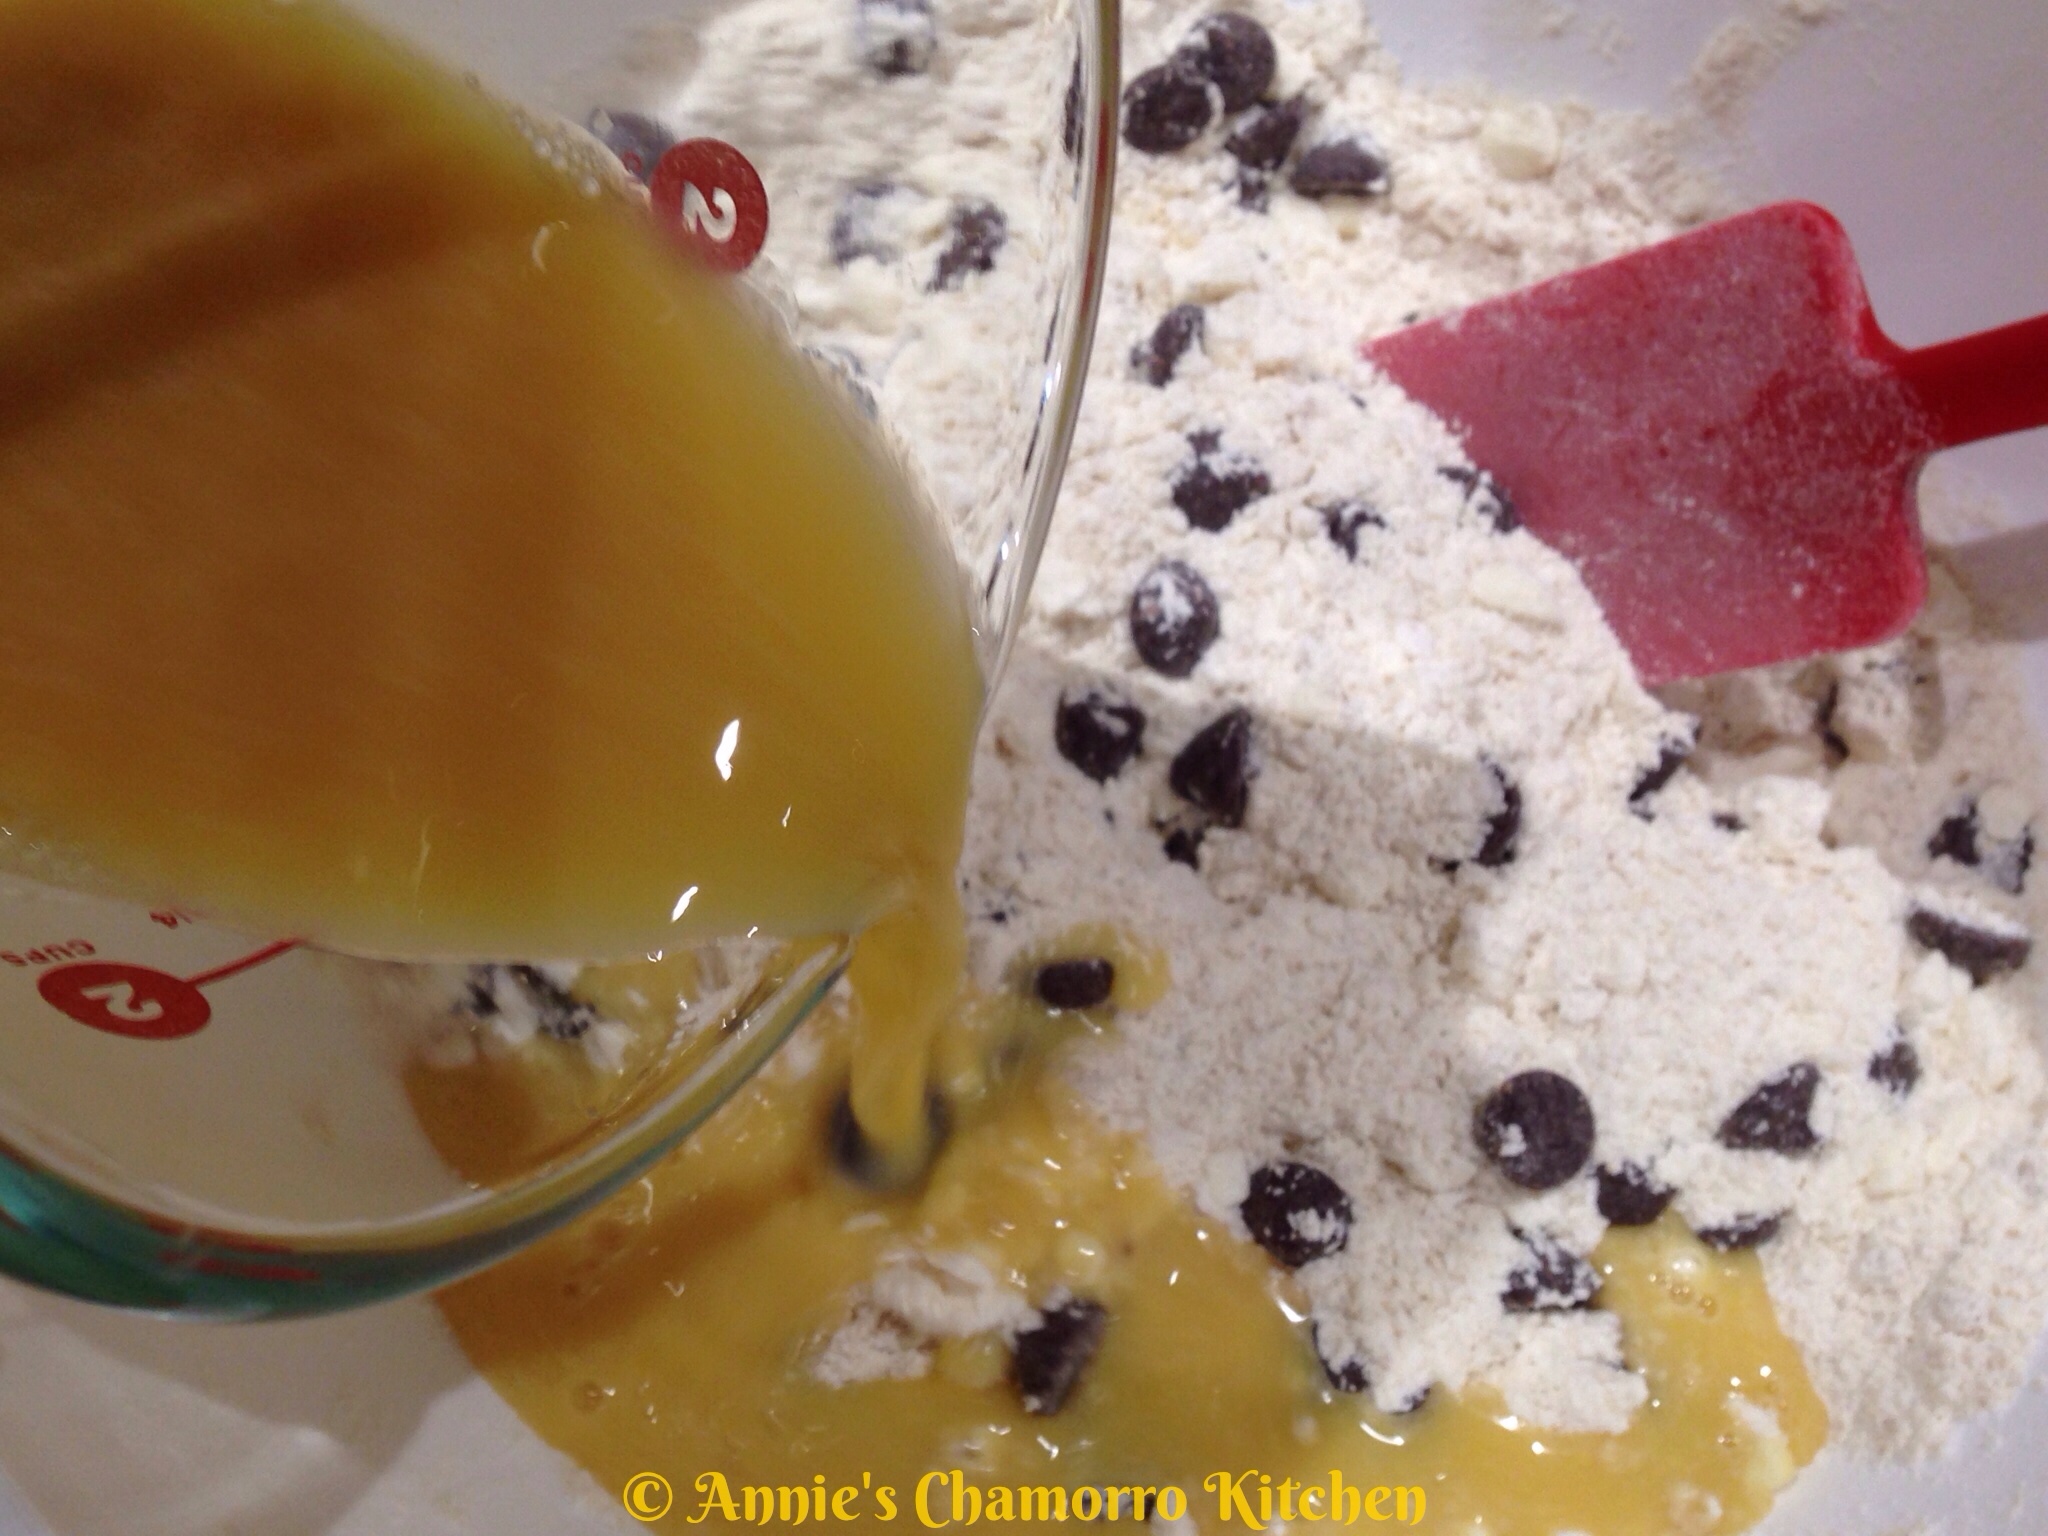
 Pour the egg mixture into the flour mixture.

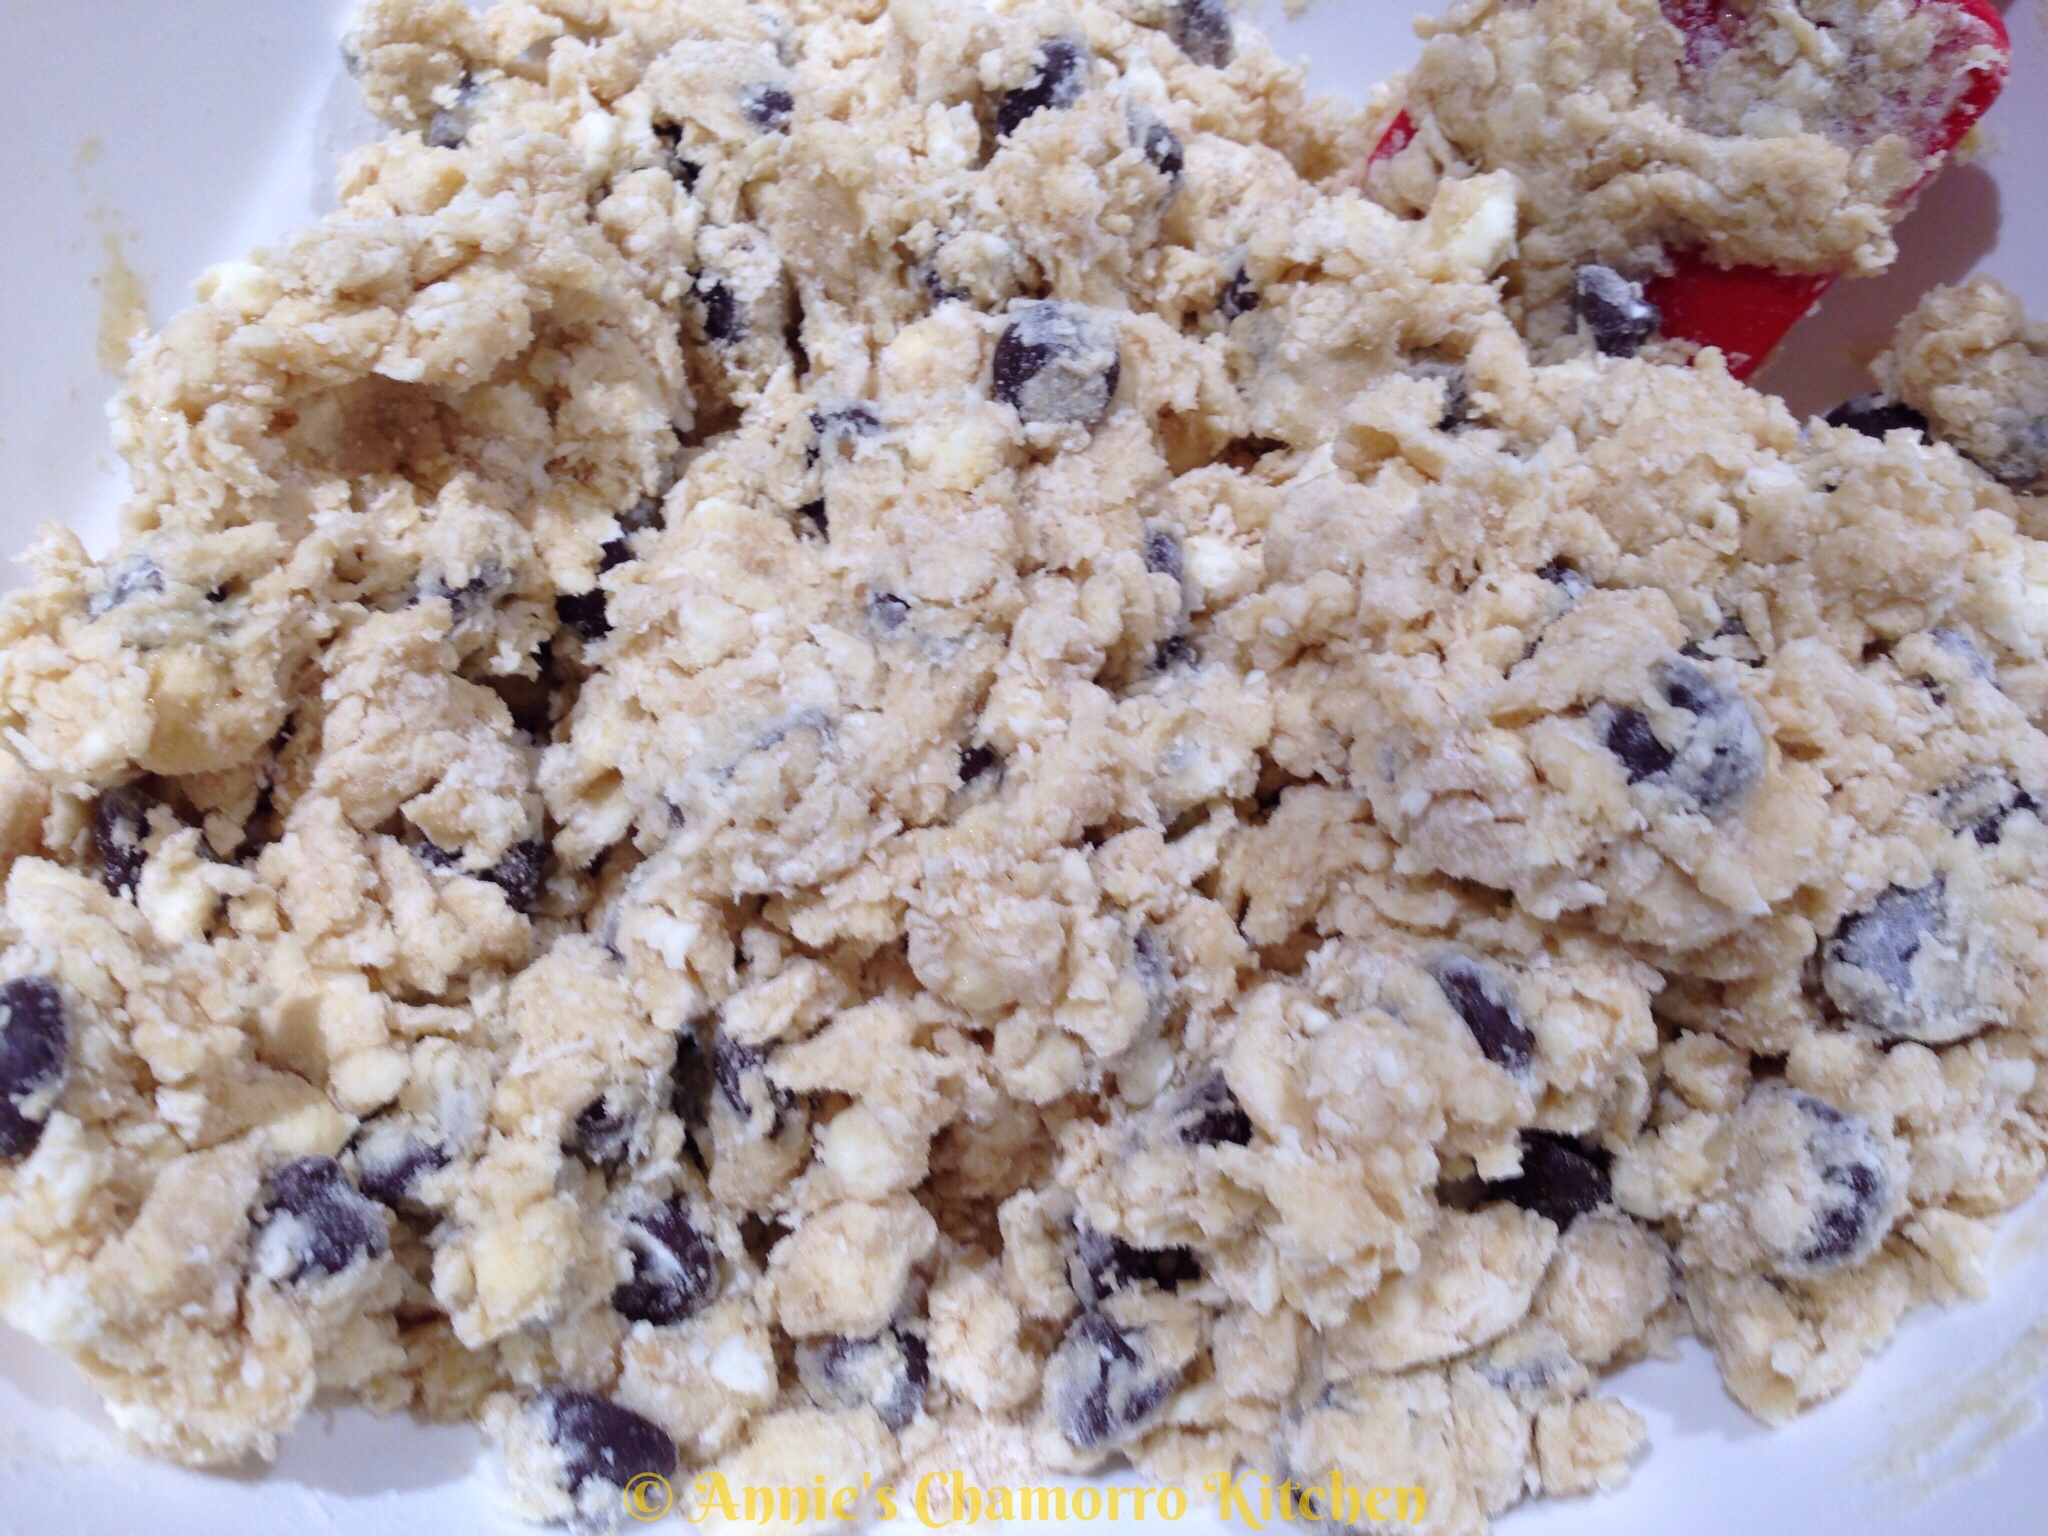
 Use a spatula to mix the ingredients together.  Gently fold the mixture until it comes together.

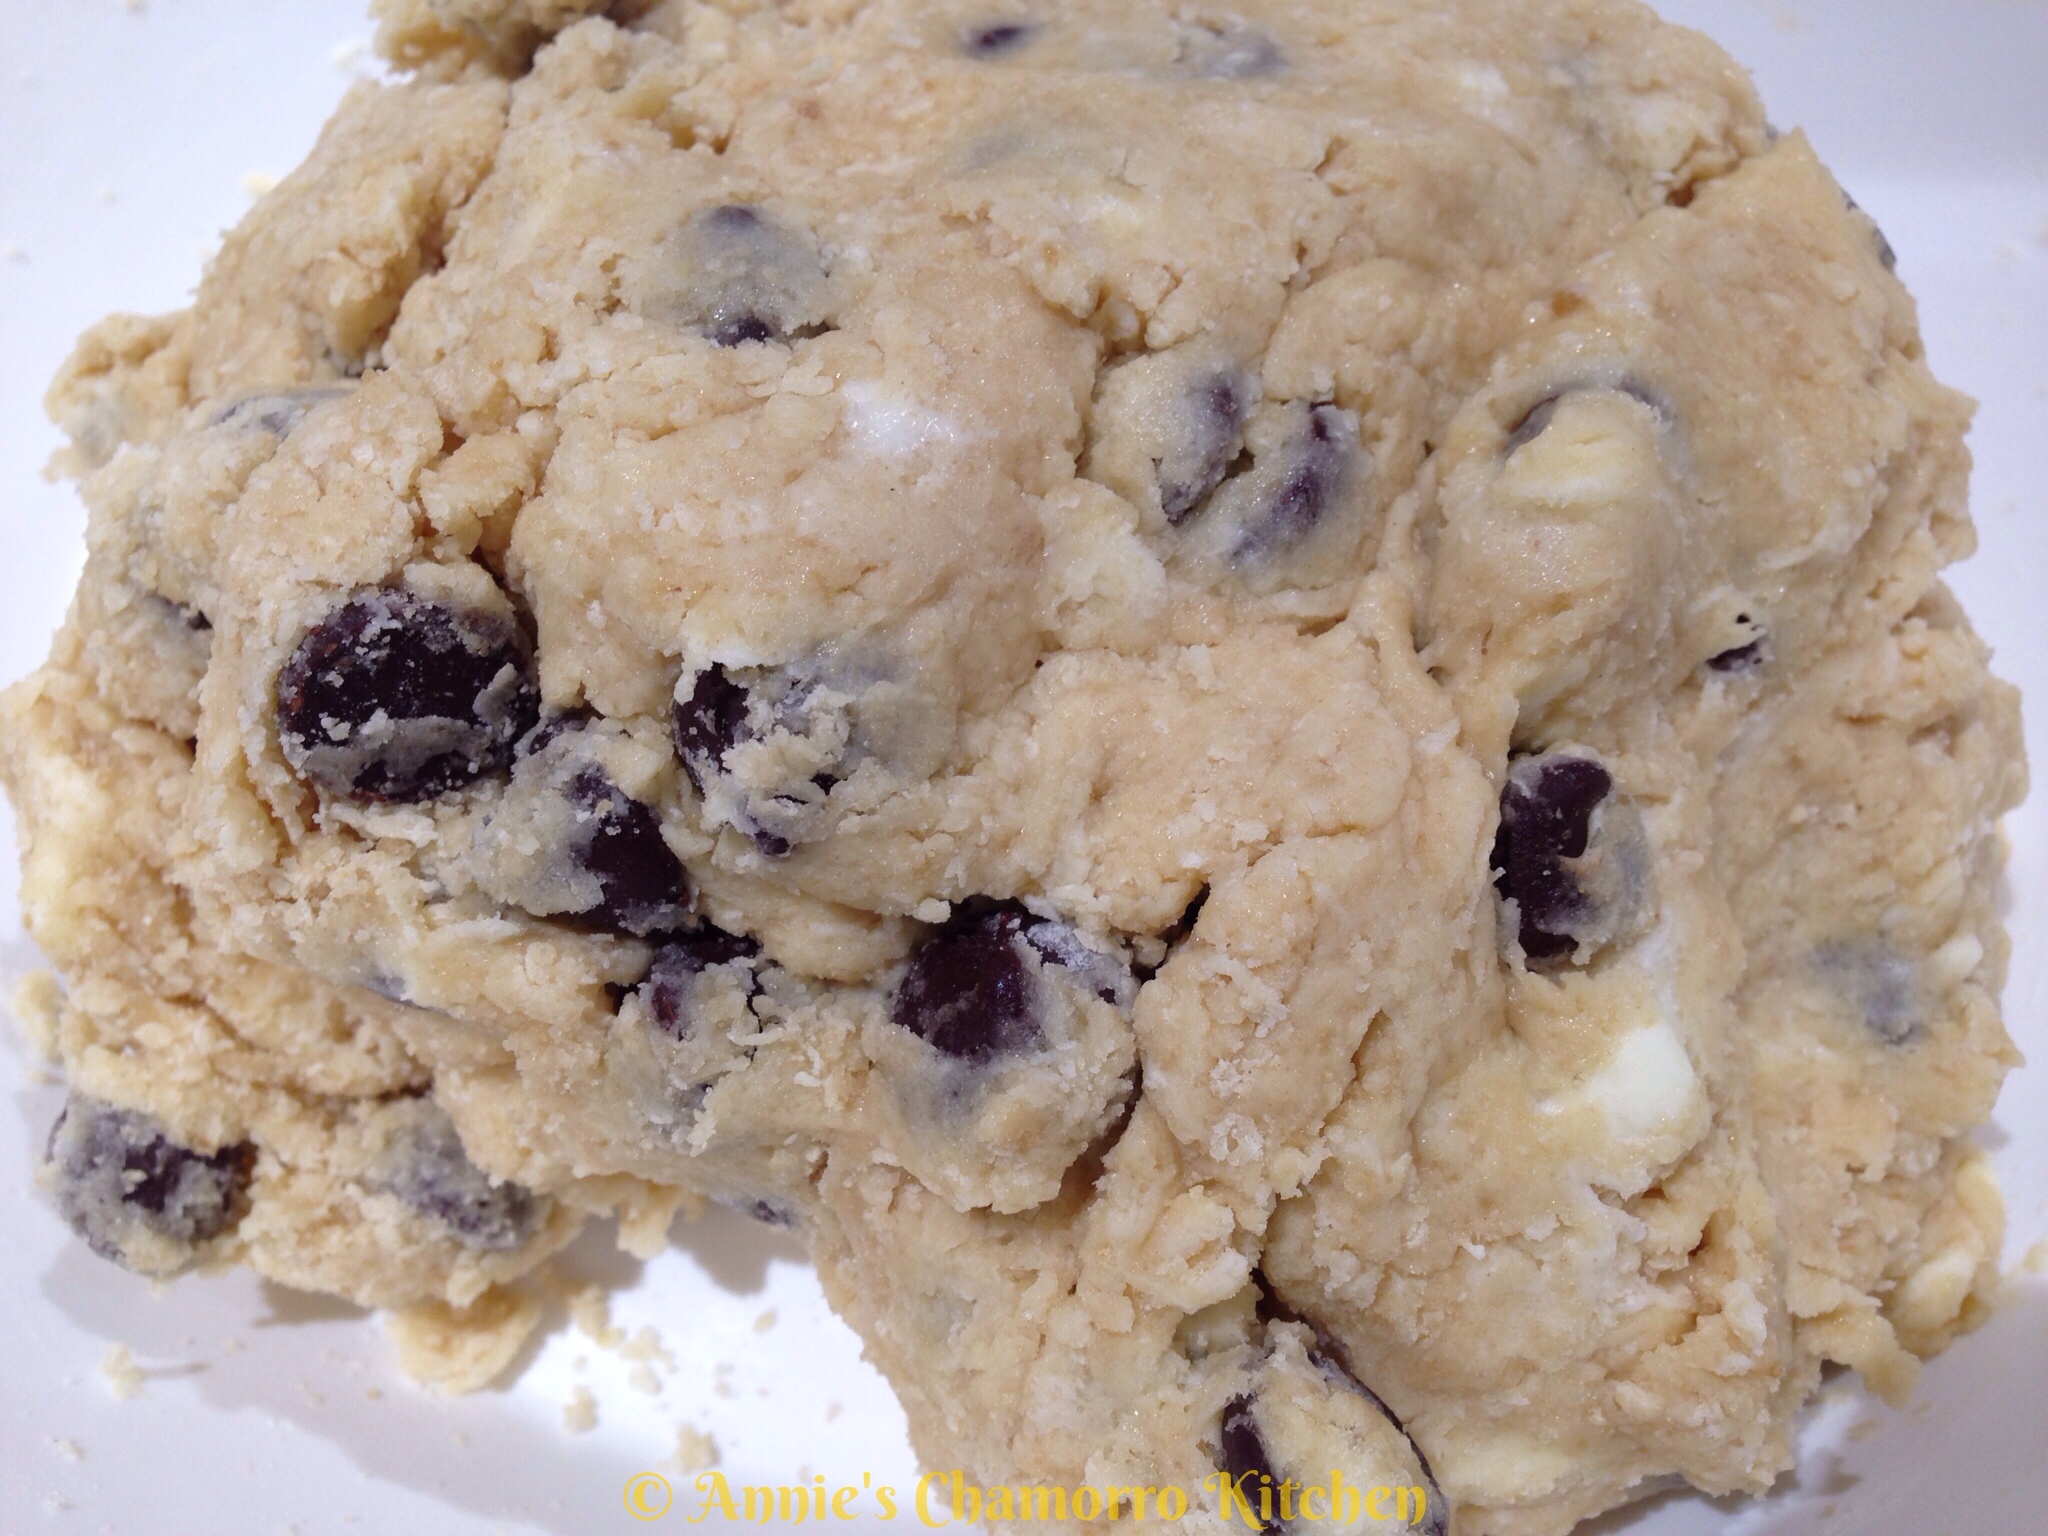
Using your impeccably clean hands, form the mixture into a large ball.  Do not knead or over mix.  You still want to see those little chunks of butter (see the photo below).

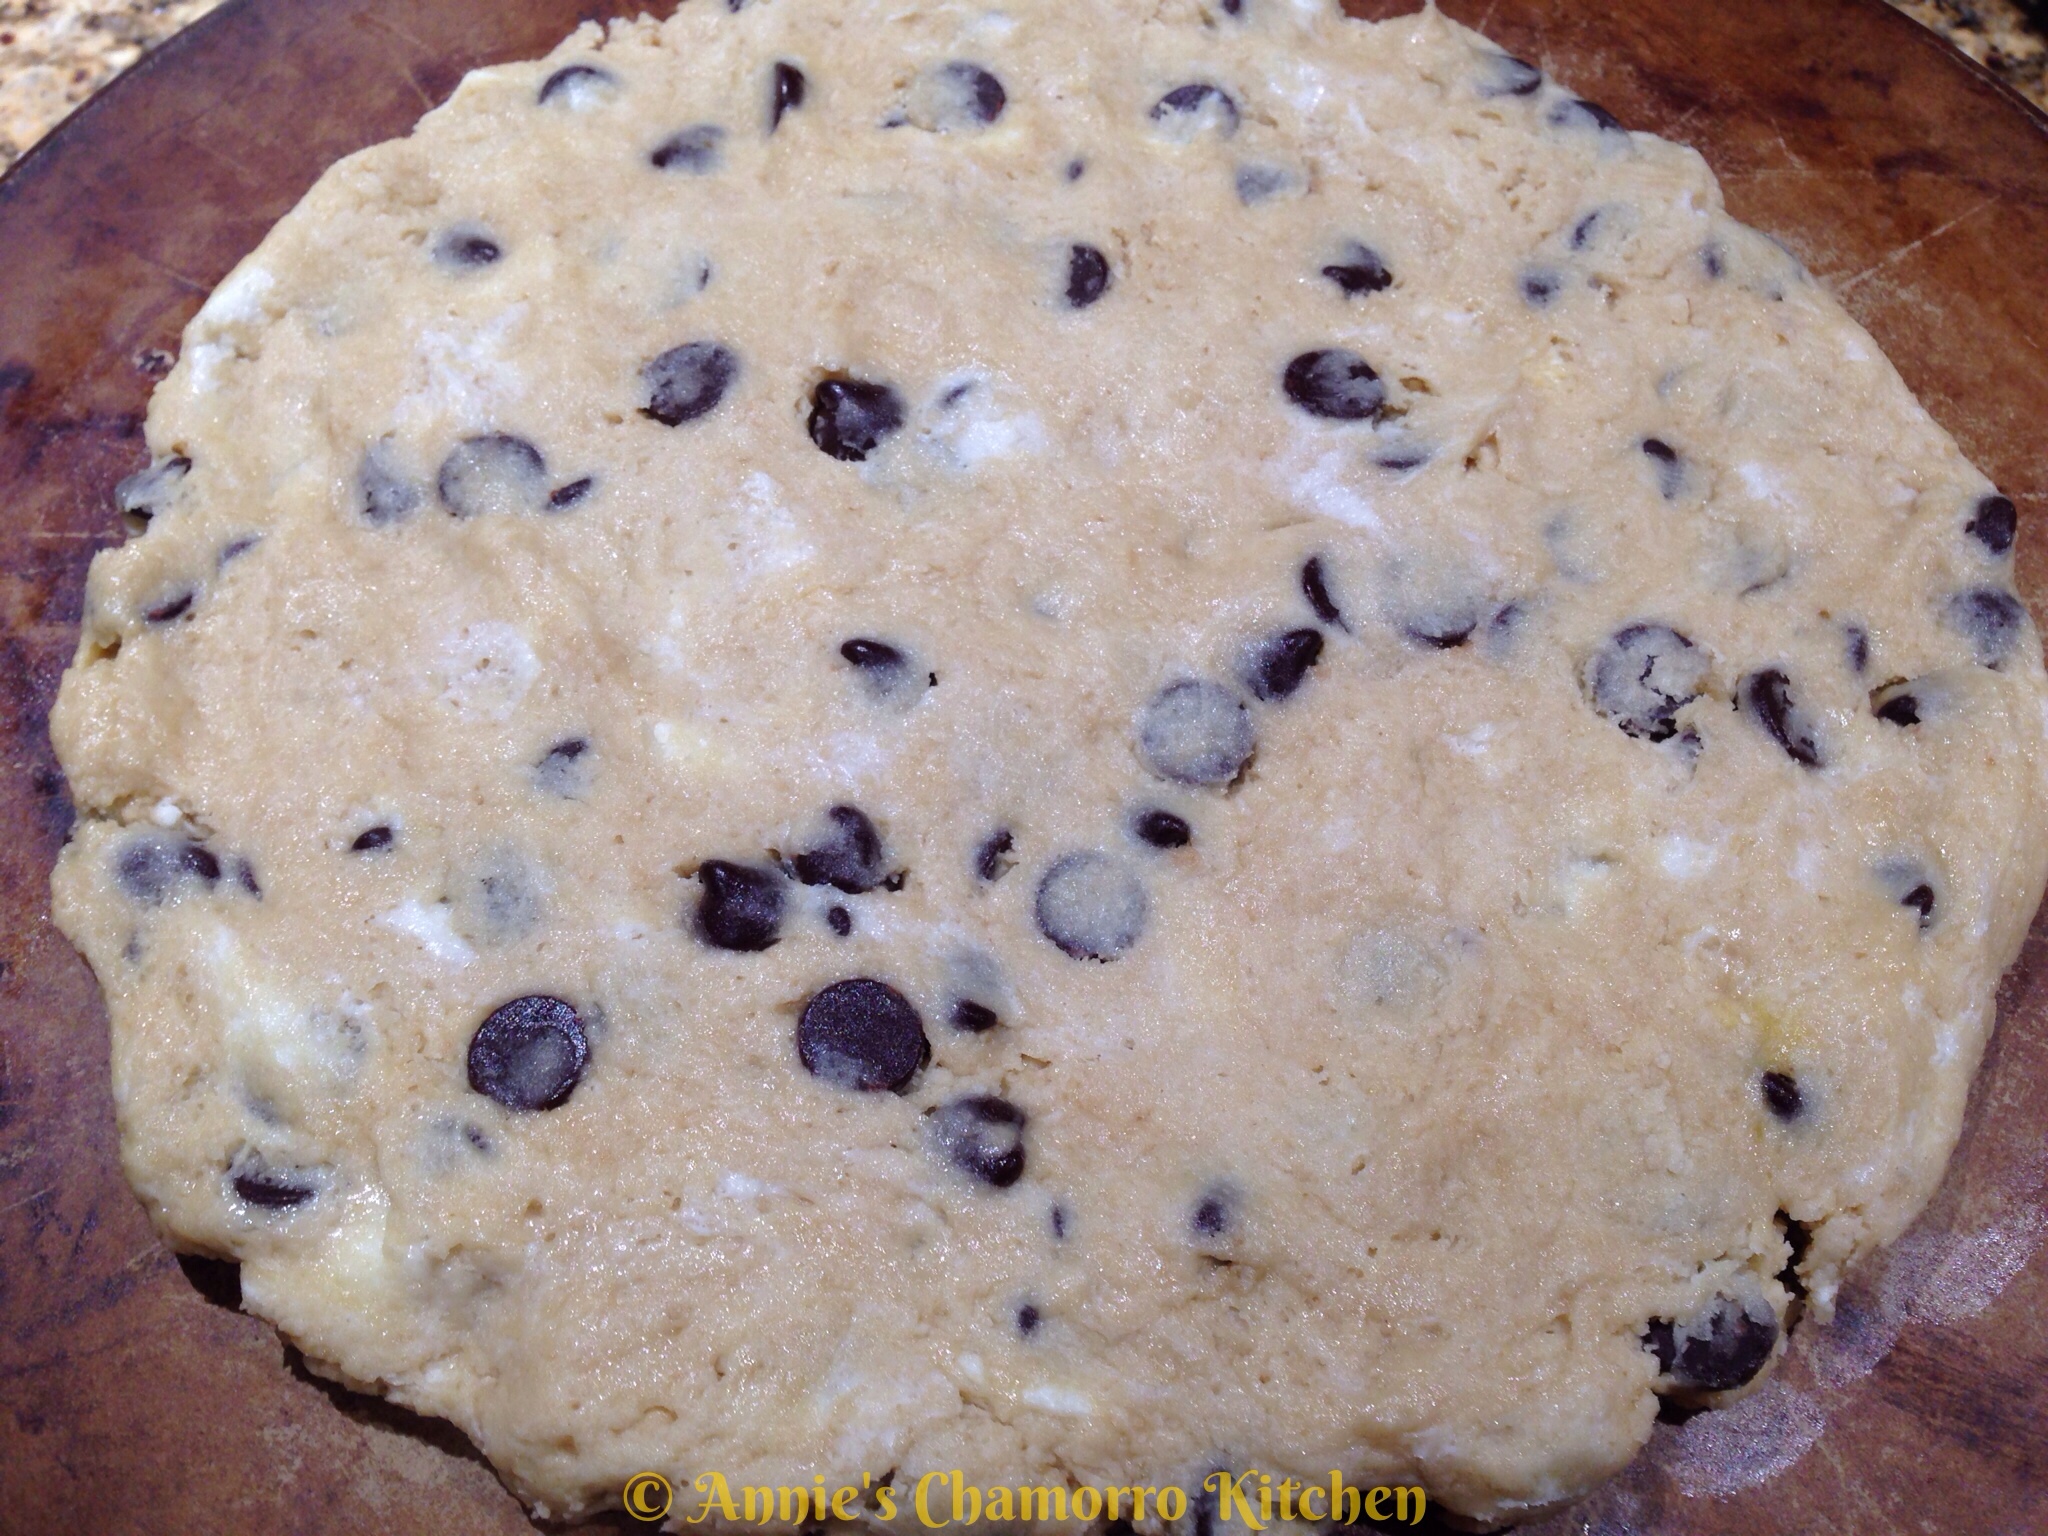
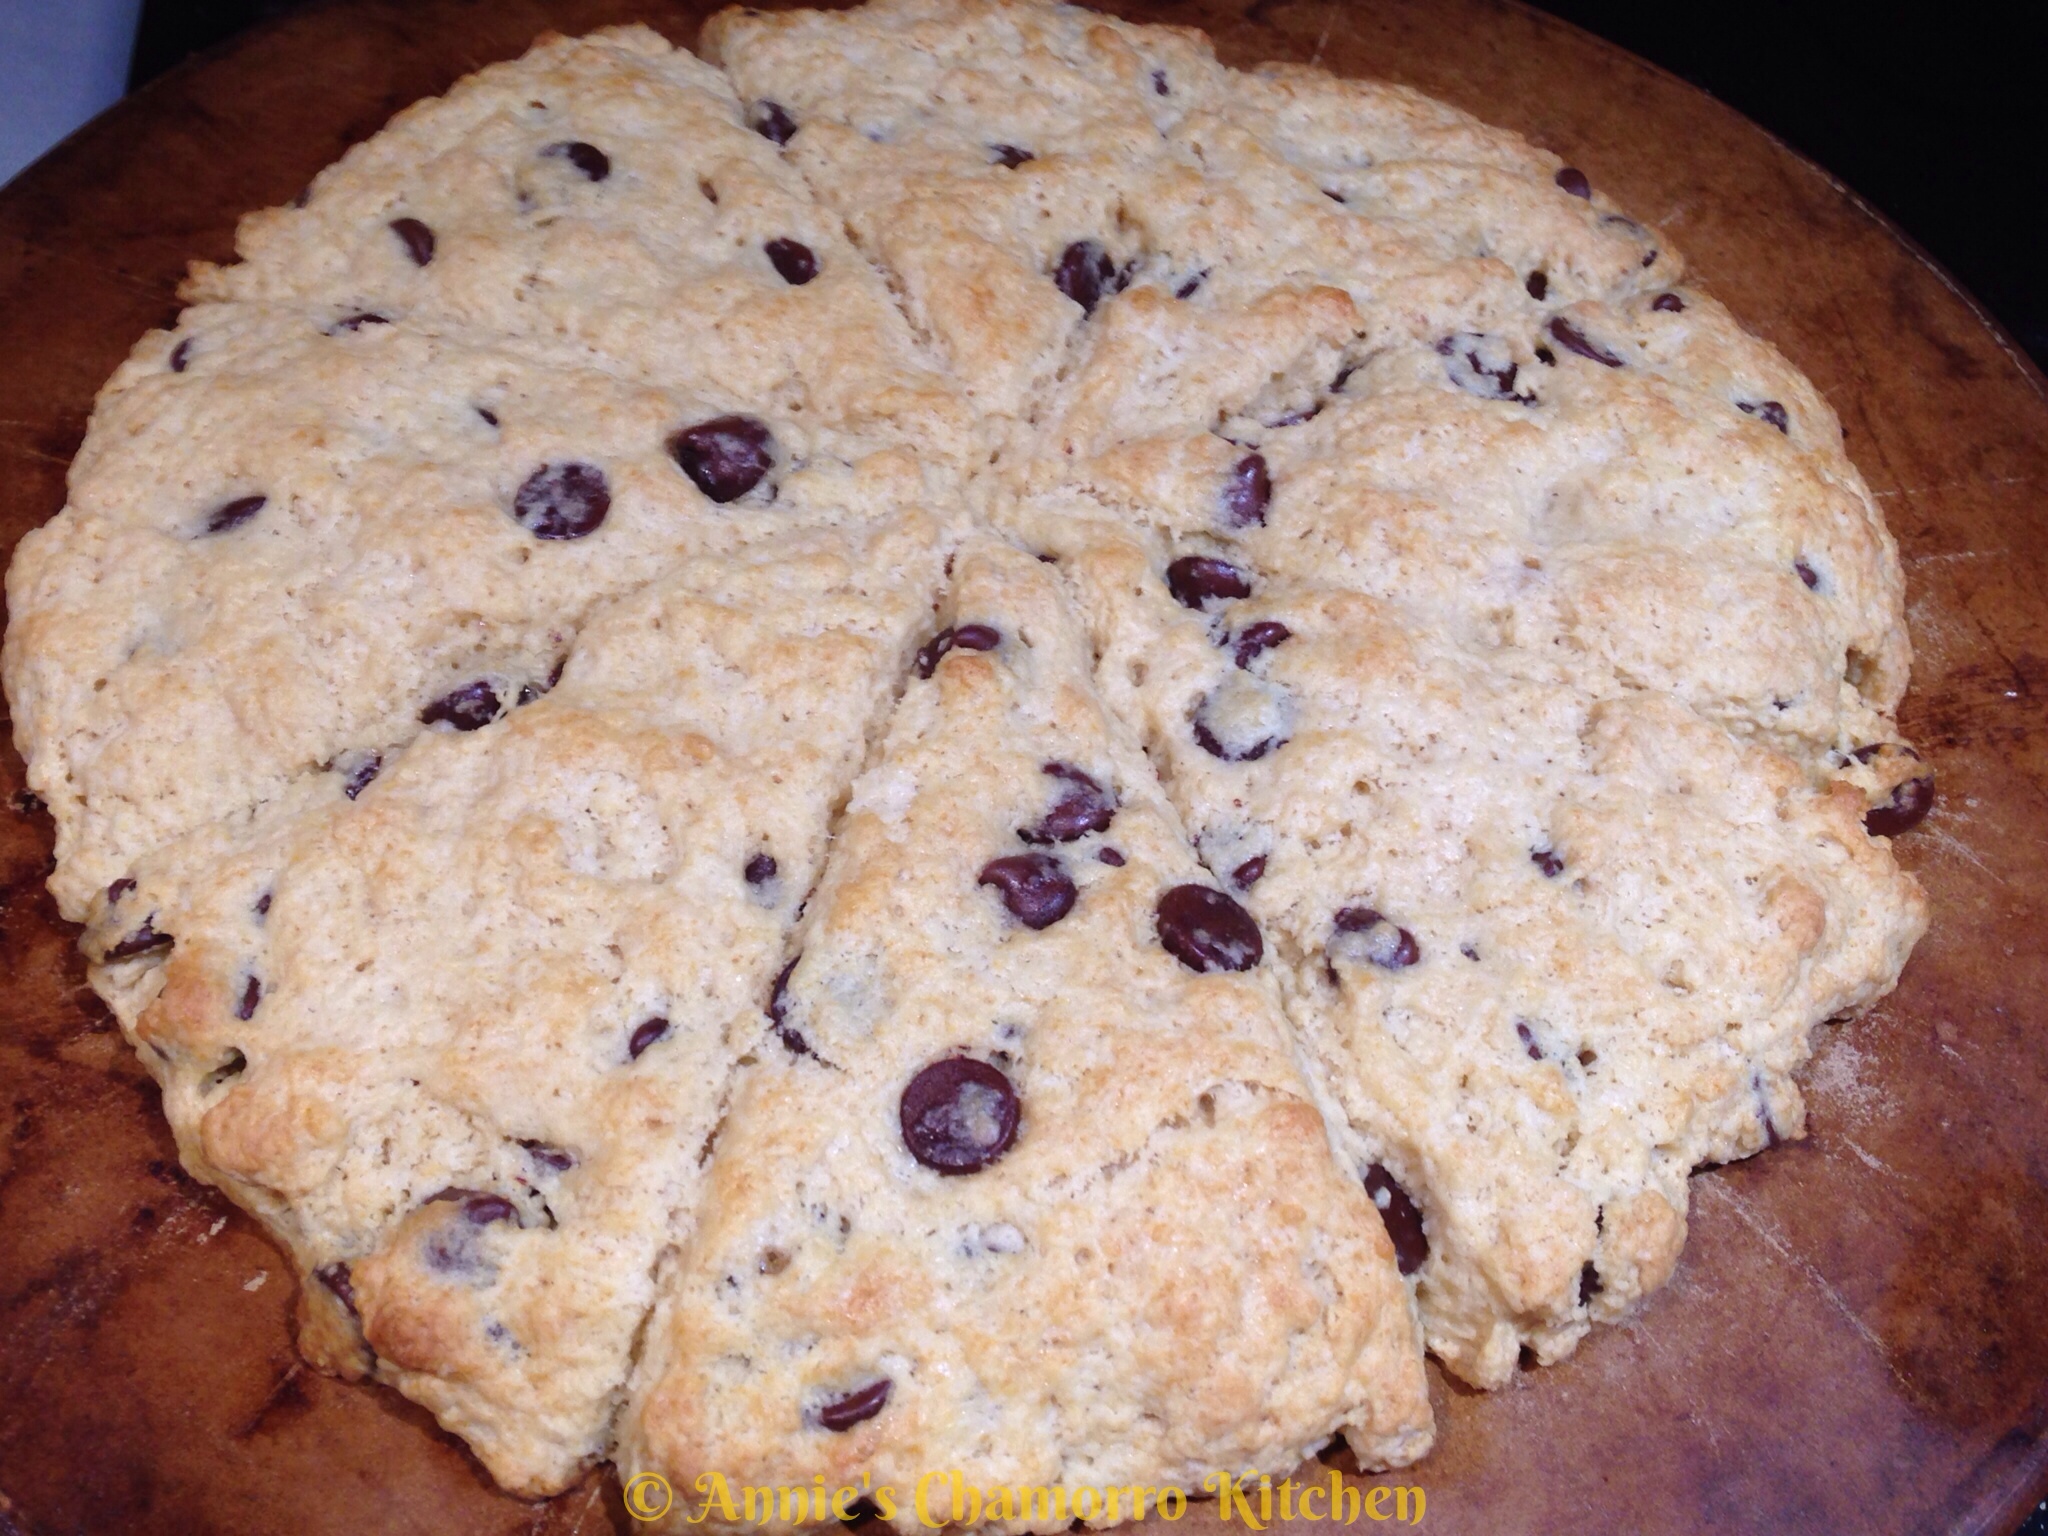
 Place the dough onto a large cookie sheet (I used a round baking stone).  Gently flatten the dough into a circle, about 10 inches in diameter, and about 1 1/2 inches thick.

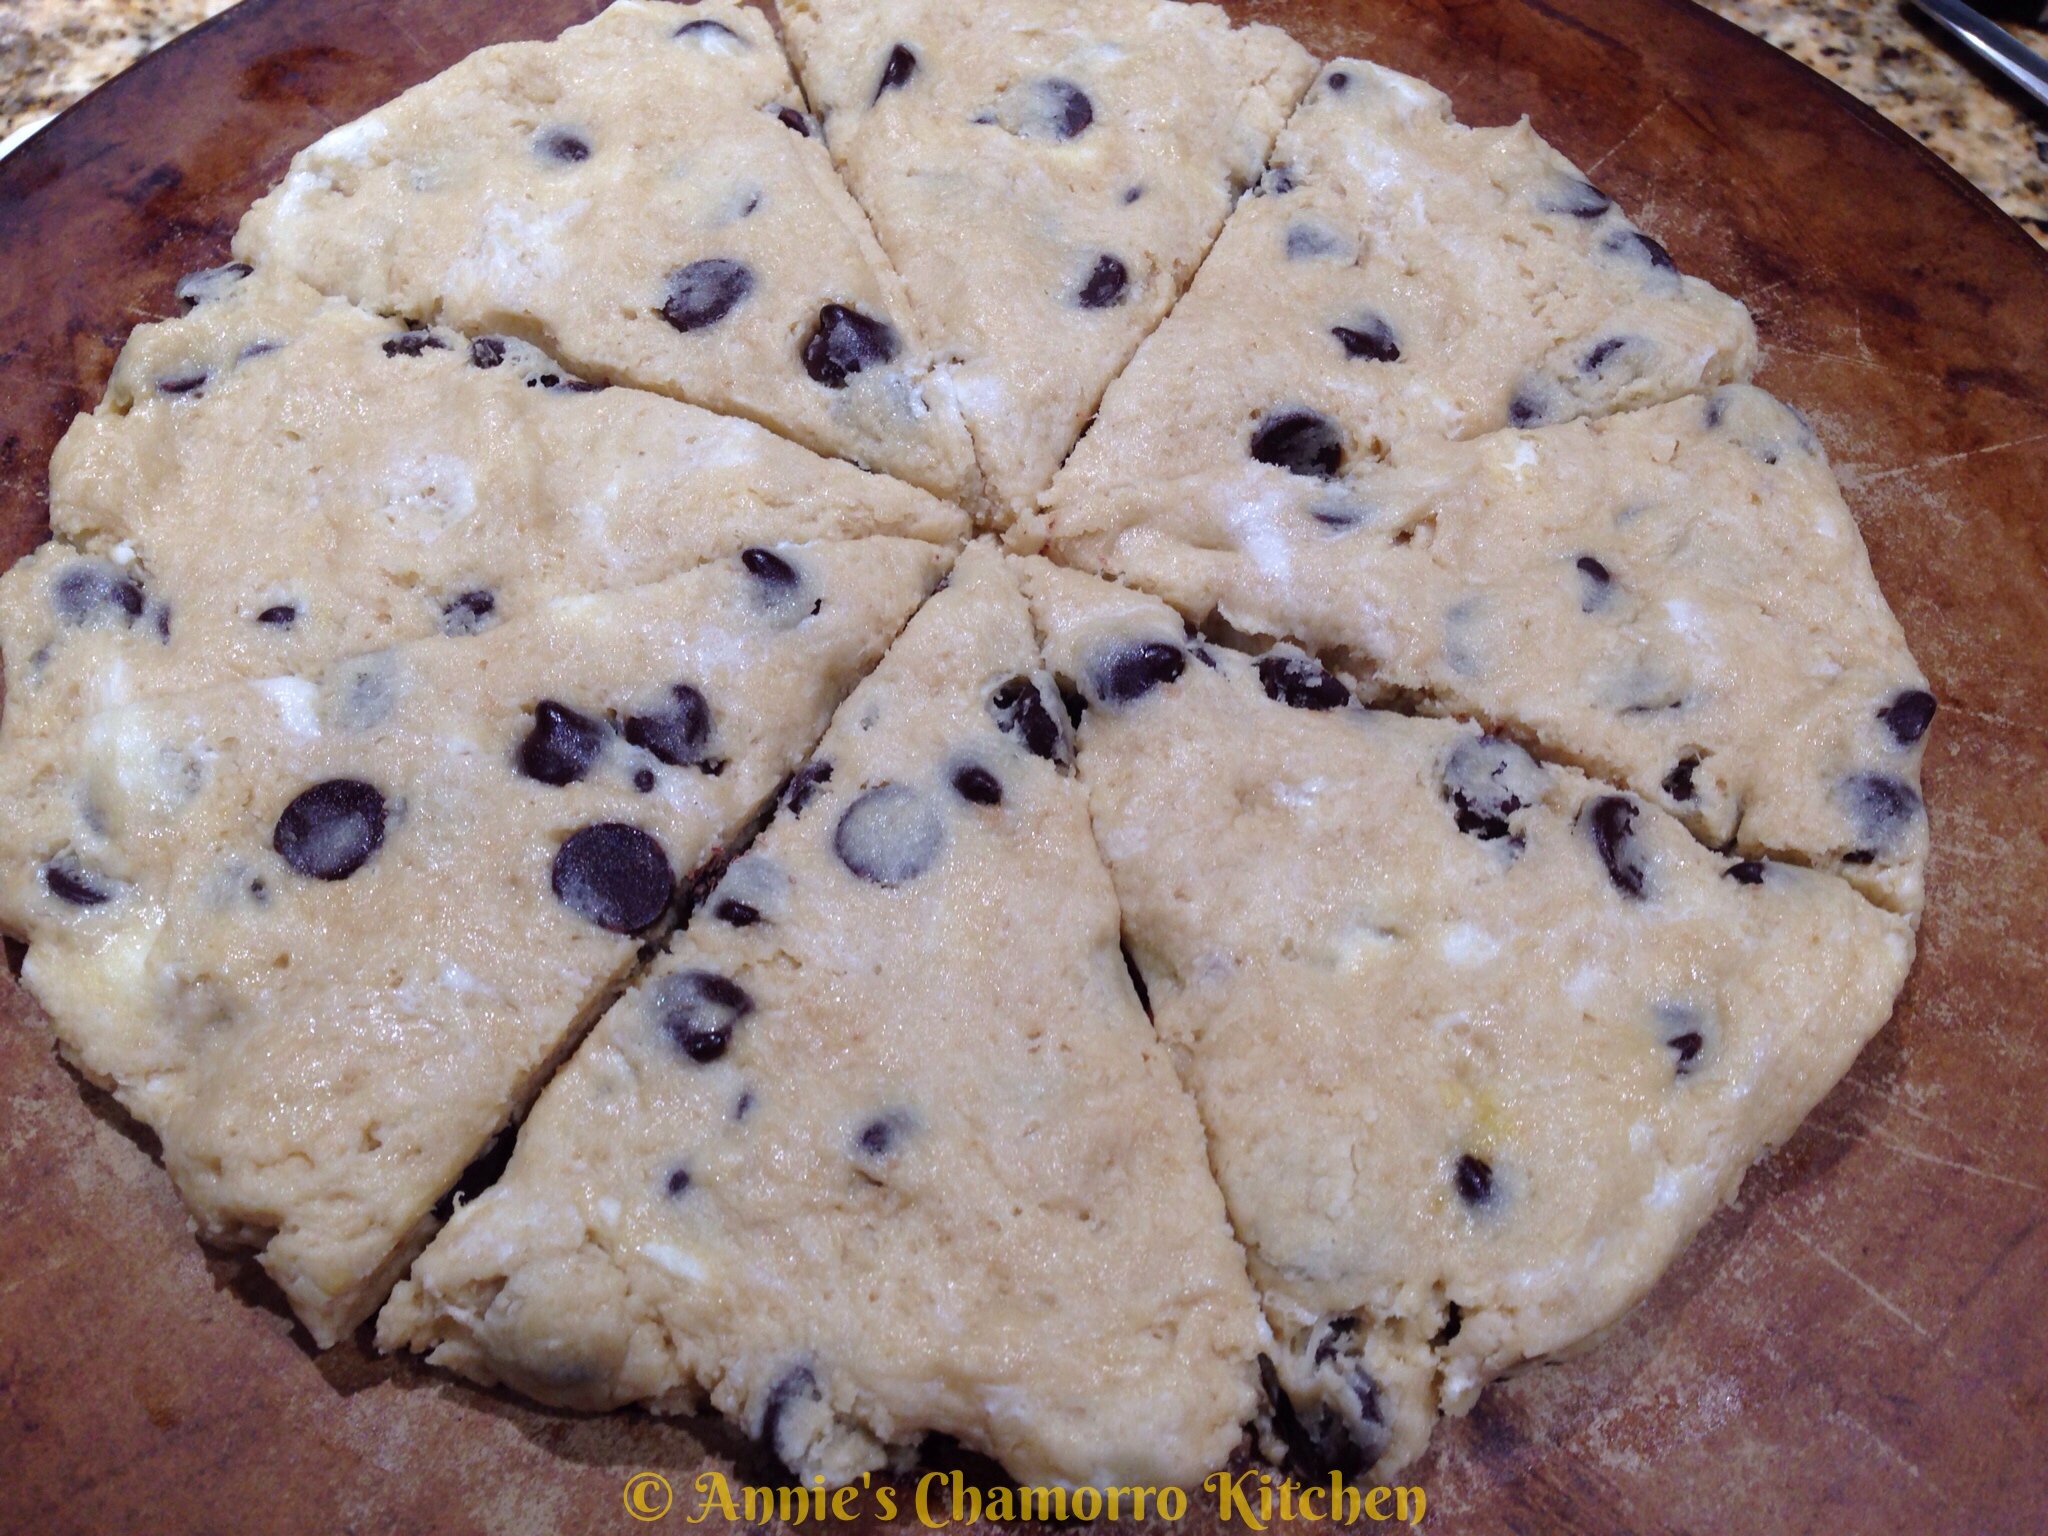
 Use a knife or dough cutter to slice the dough into eight wedges.

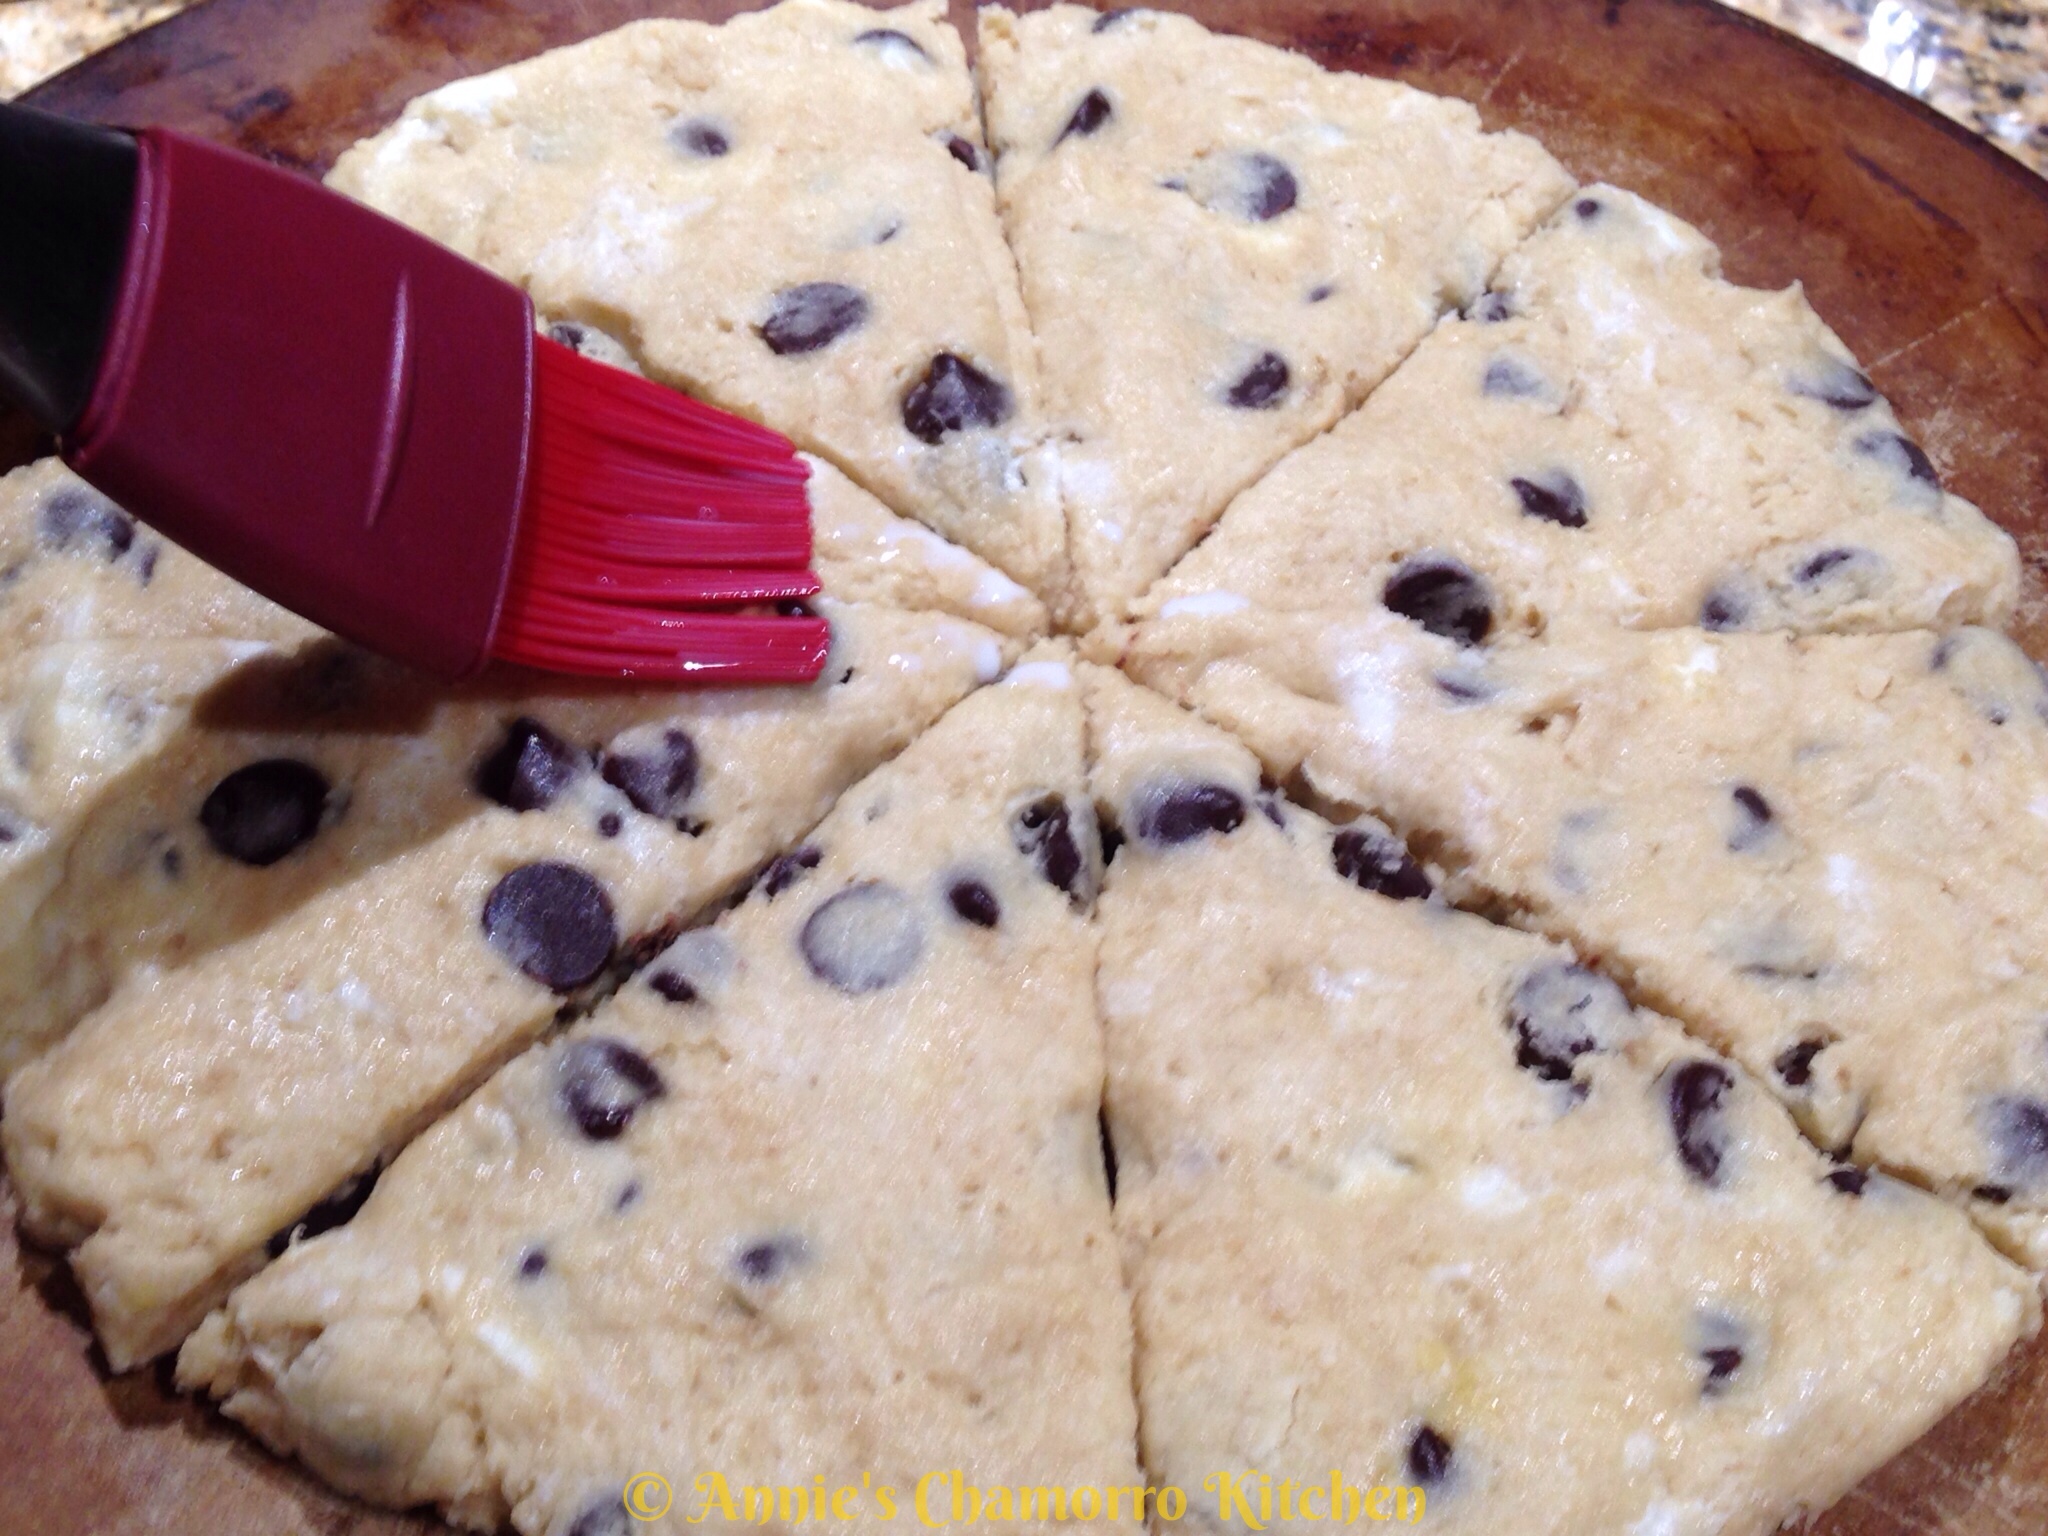
 Brush the top of the dough with milk.

Bake at 425 degrees for 15 minutes, or until golden brown on top.

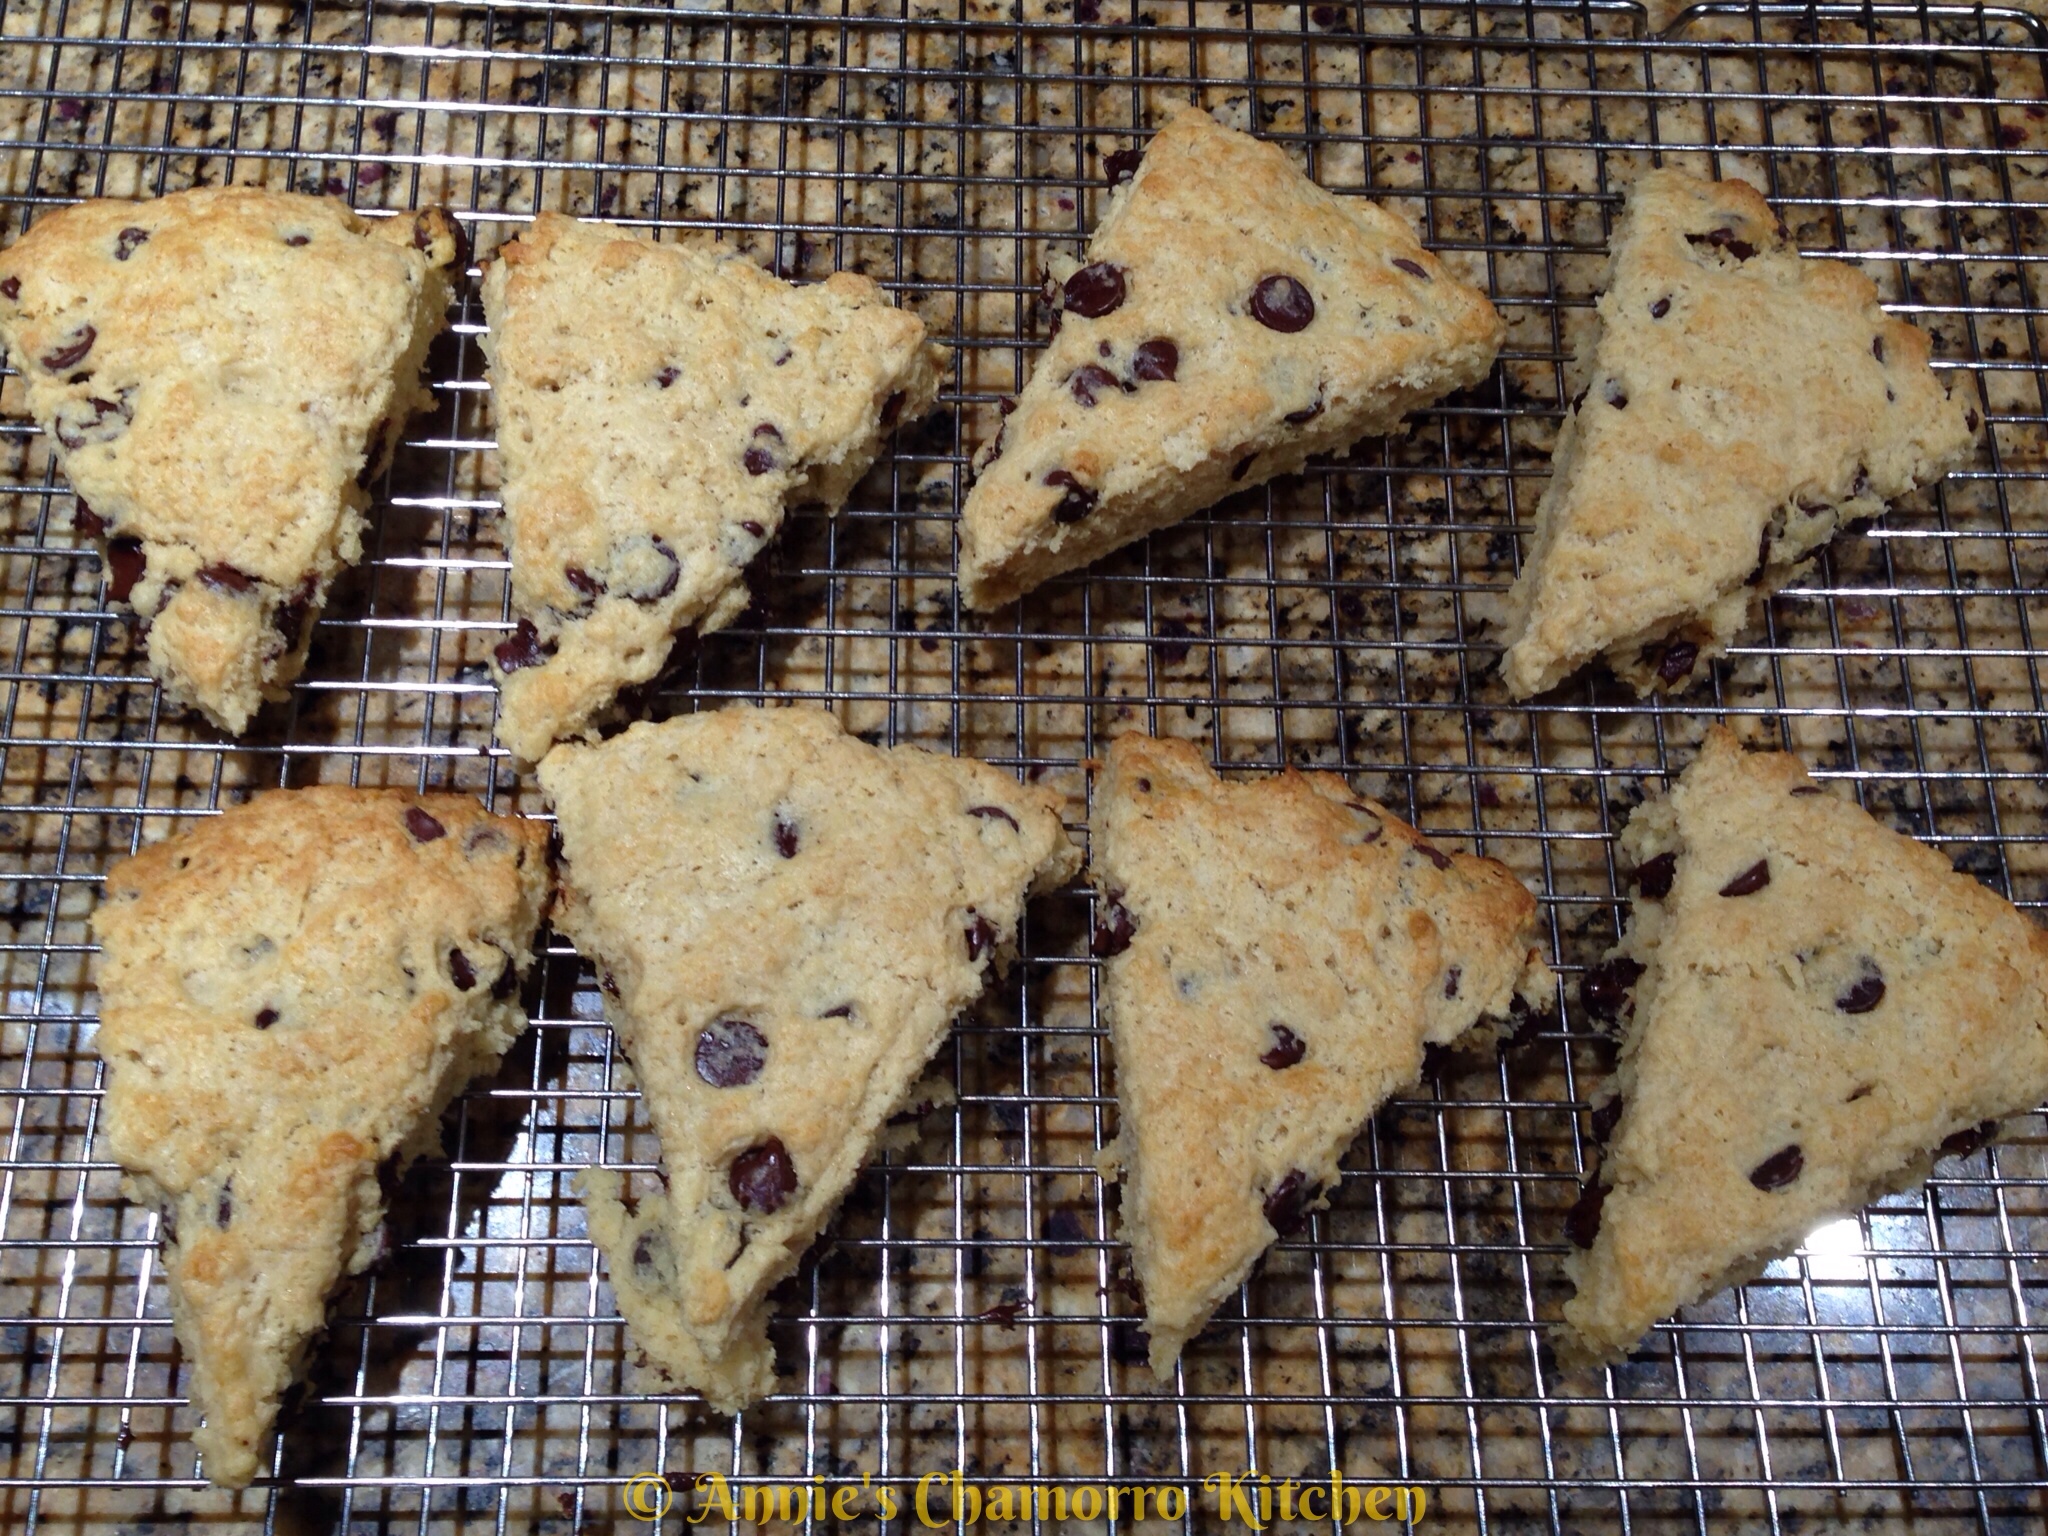
 Let the scones cool on the pan for a couple of minutes then remove them to a wire rack to continue cooling.

 See how moist and flaky they look? Yum! 🙂

 Serve for breakfast, as a snack, or alongside your favorite warm beverage and ENJOY!
😀

Print Friendly, PDF & Email
« Older Entries Recent Entries »