Corned Beef with Corn and Tomato Sauce

Chamorros love canned corned beef!  It’s called Latan Kåtne (canned meat) in Chamorro. Corned beef can be prepared many different ways, depending on the ingredients you have on hand.

I love to gisa (in Chamorro, this means to stir fry) corned beef with onions, garlic, and eggplant.  For another variation, try adding cabbage or fresh green beans.  My dad used to grow winged beans–this is delicious with corned beef too.  The options are virtually endless!

This is a photo of winged beans, in case you’ve never heard of them before.  Just slice them into small pieces and saute them with a can or two of corned beef; add some onions and garlic and you’ve got yourself a yummy meal.  Serve with hot white rice, of course. 🙂

winged beans

My recipe below calls for canned corn with tomato sauce.  A slight variation to this is to omit the tomato sauce entirely (follow the directions below, and omit the part where you pour in the tomato sauce).  My husband actually prefers it this way, without the tomato sauce.

Either way you make it–with or without tomato sauce–it’s delicious.

Give my recipe a try.  I think you’ll like it. 🙂

Corned Beef with Corn and Tomato Sauce

image

Ingredients:

  • 2 cans corned beef
  • 1 medium onion, thinly sliced
  • 1 teaspoon garlic powder
  • 1/2 teaspoon black pepper
  • 2 cans whole kernel corn (15.25 oz. each), drained
  • 2 small cans tomato sauce (8 oz. each)

image

Directions:

To make it easier to open, pierce the top of the corned beef can.  *Make sure to rinse the top of the can first — there can be lots of dirt or dust on it from sitting on the grocery store shelf.

image

Place the corned beef into a medium sized skillet; sauté over medium high heat.

image

Add the onions to the skillet.

image

Add the garlic powder and black pepper.  Cook for about 5 minutes, or until the onions are translucent.

image

Add the corn.  Stir to combine.

image

Pour in the tomato sauce.

image

Stir to combine, then cook for a couple of minutes, just to heat the sauce and corn.

image

Serve with hot white rice.  ENJOY!

image

Fluffy Vanilla Pancakes

Hi!  I’m Alyssa, Annie’s youngest daughter. My mom let me be a guest blogger today.

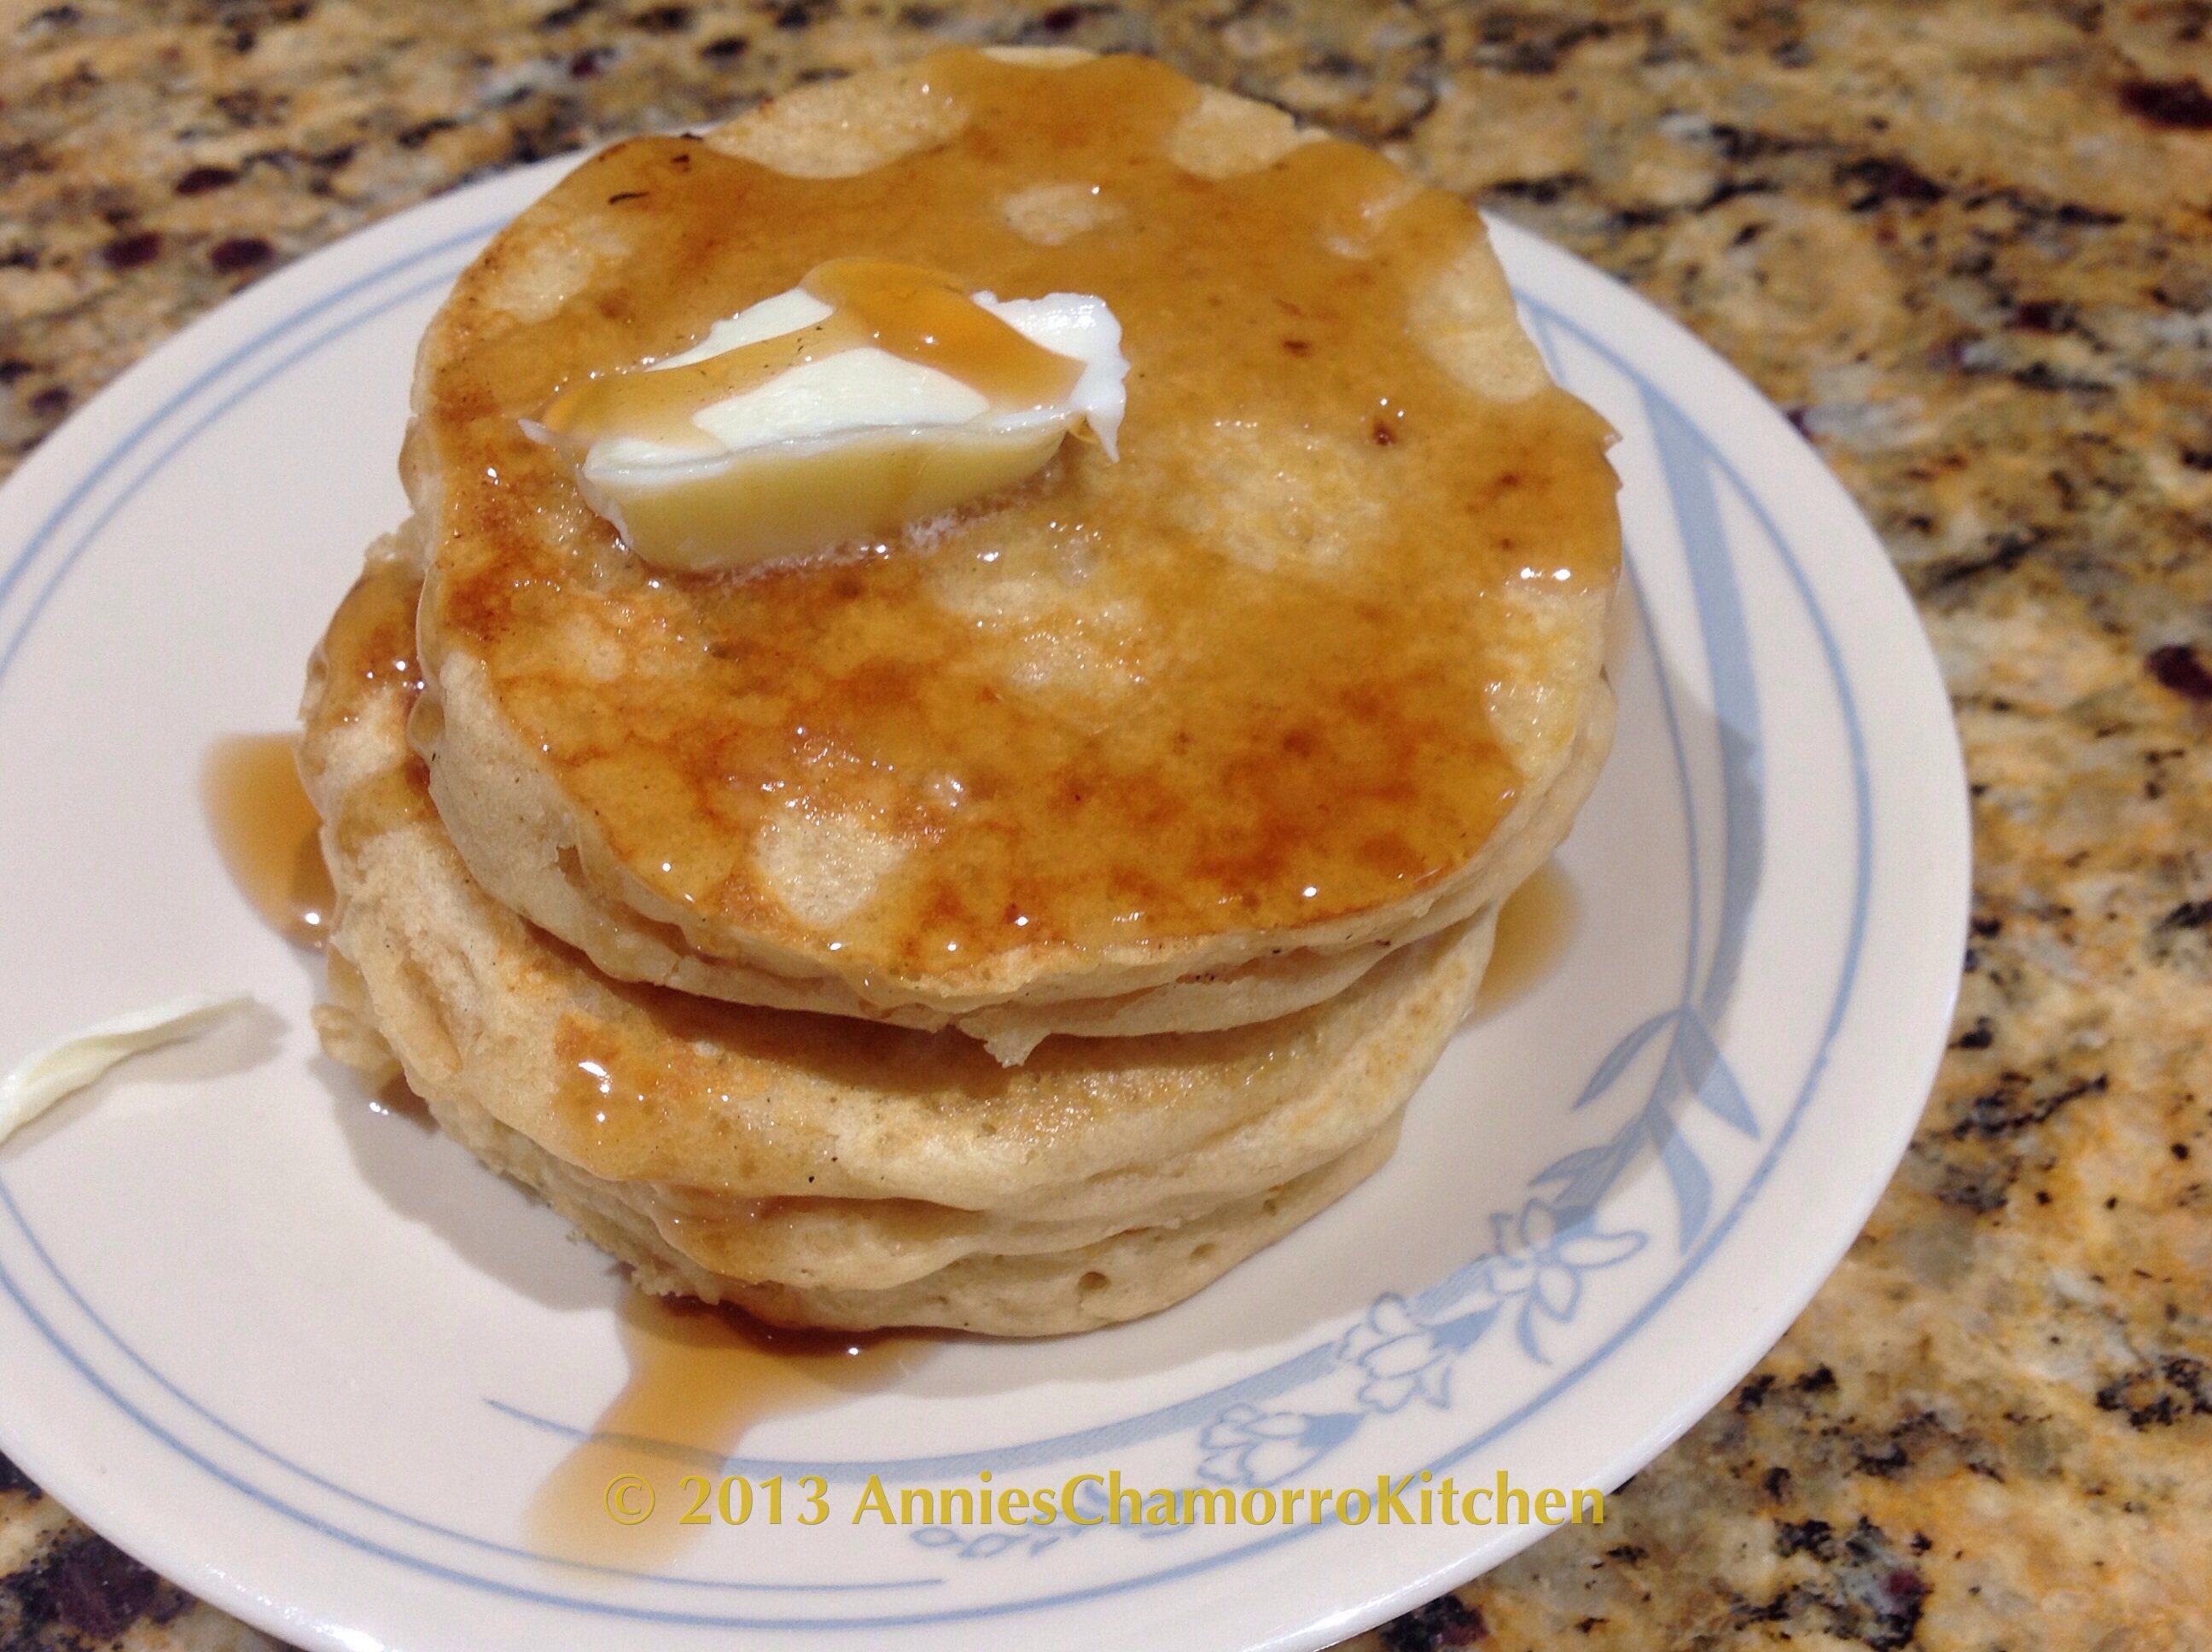
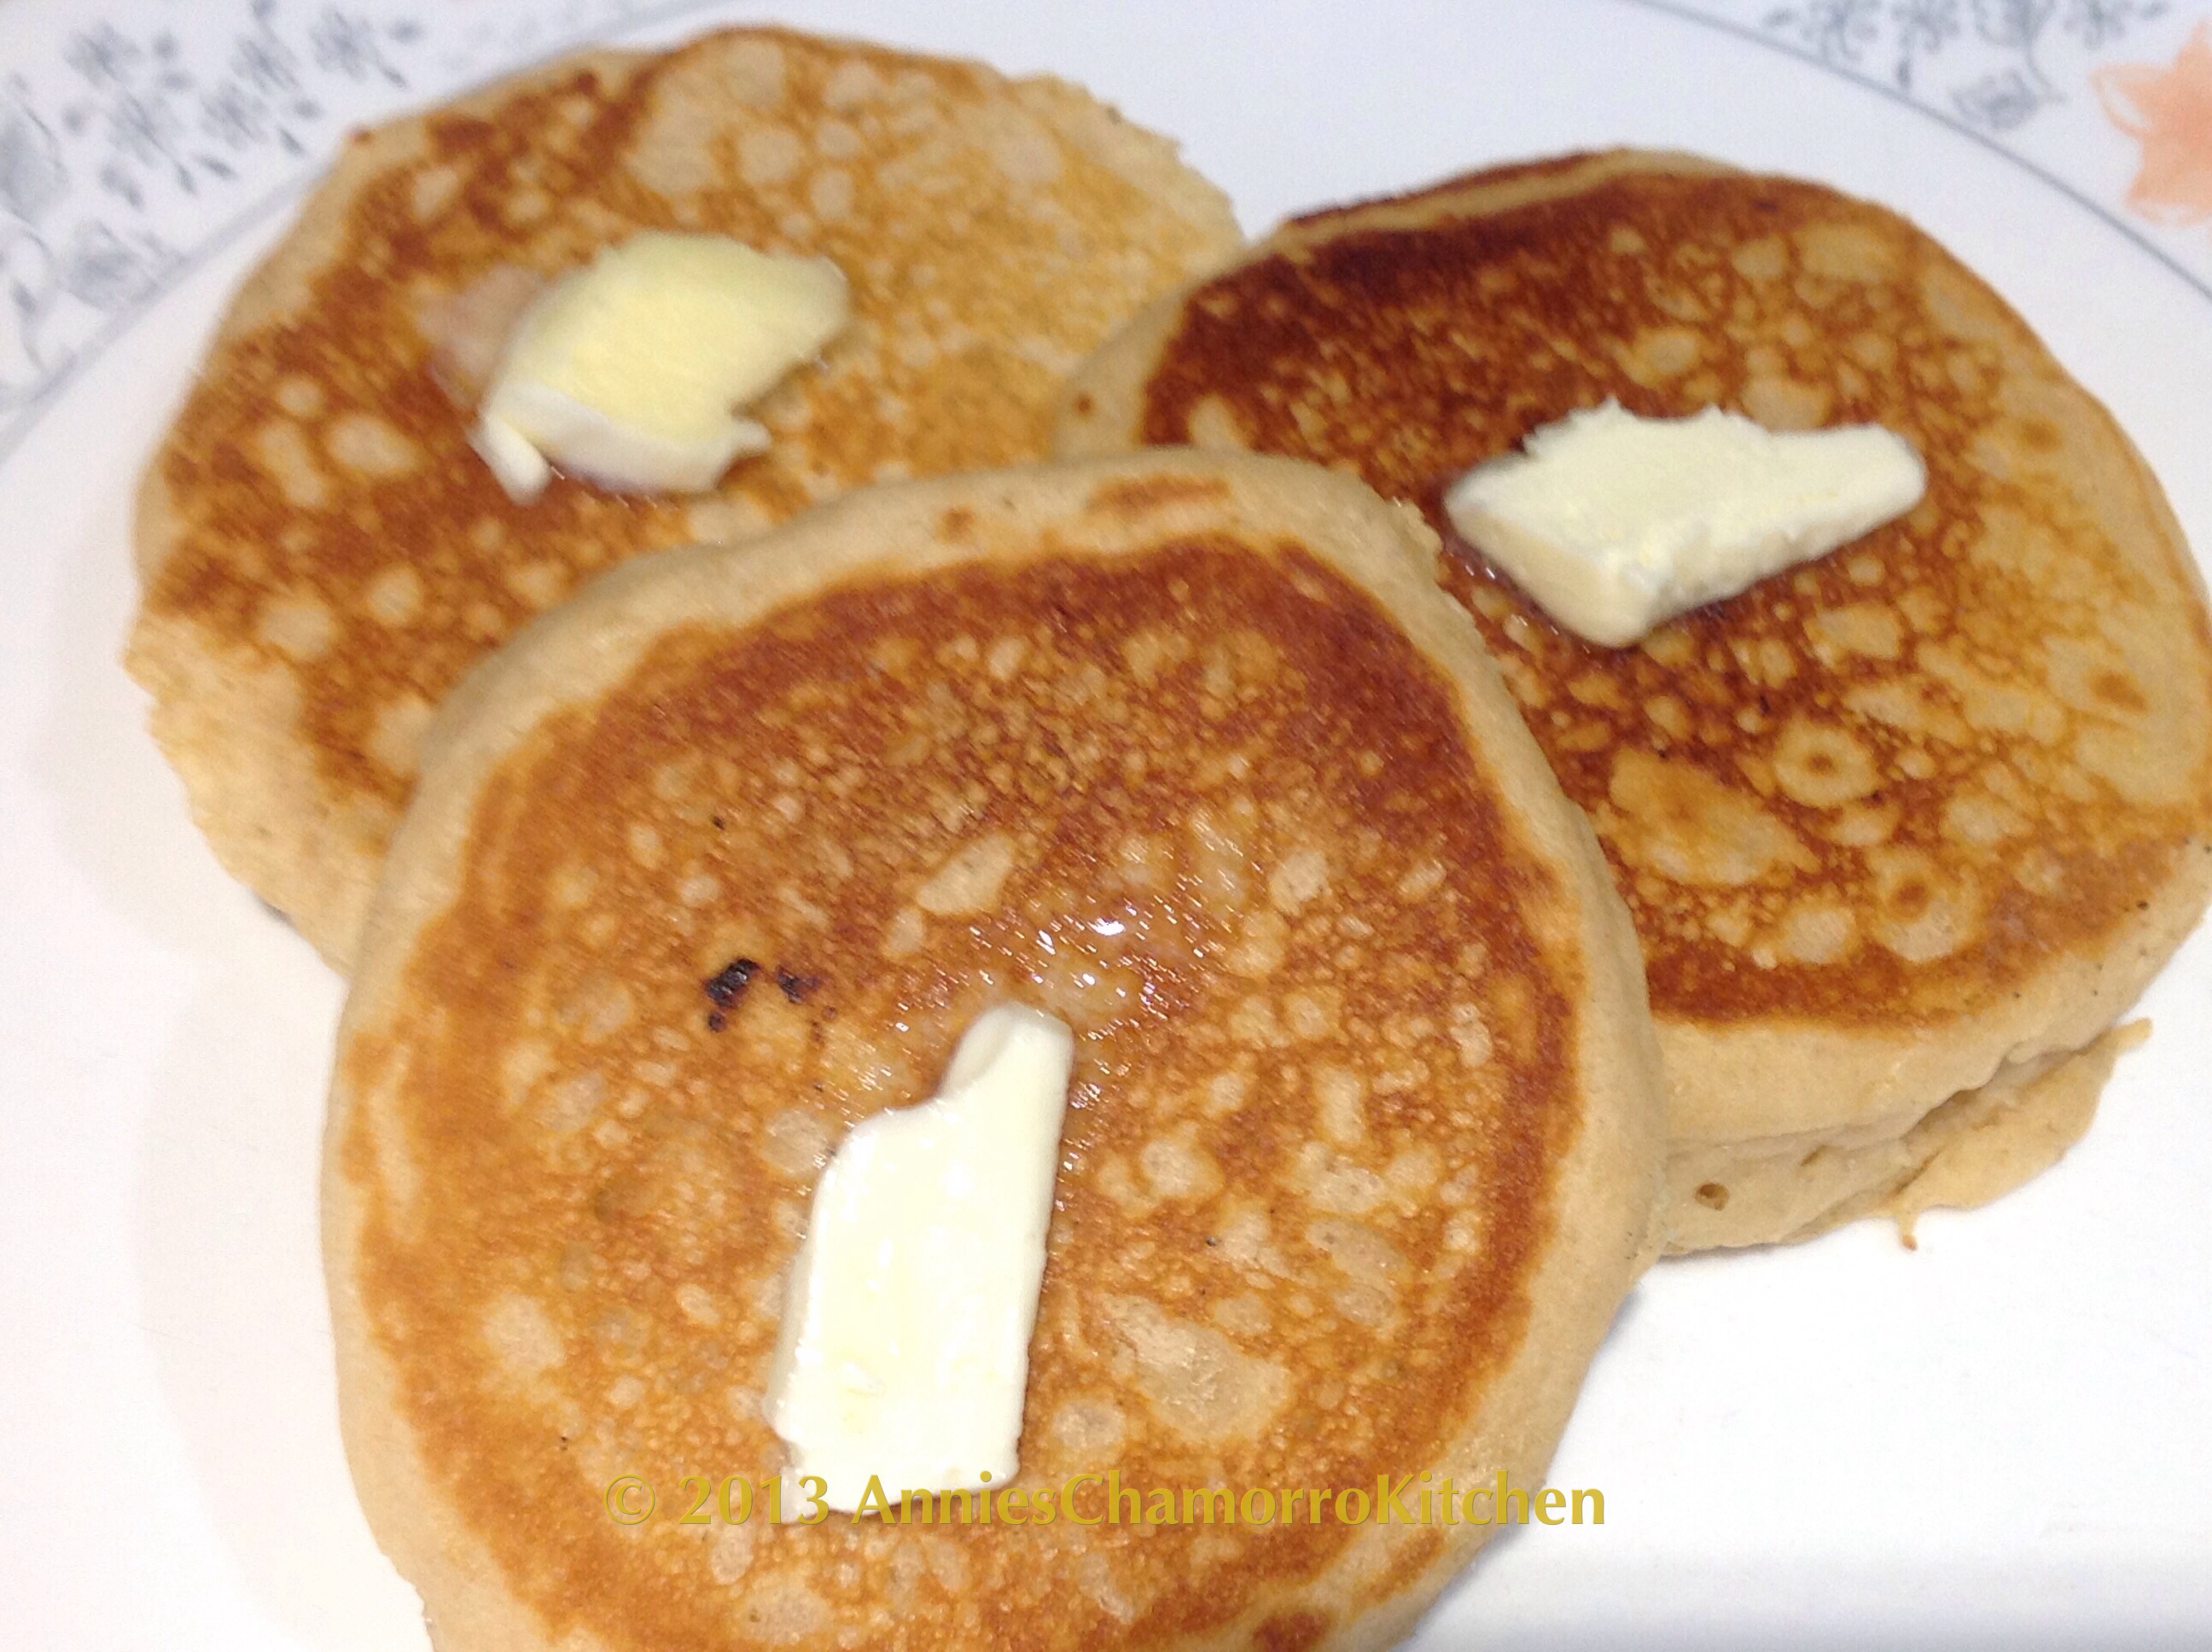
It’s my turn to make breakfast for my family. I chose to make fluffy vanilla pancakes.

It’s really very easy to make. In fact, it’s so easy that when my older sister, Hannah, was about 3 years old, she had this recipe memorized and she’d always ask our mom to help her make it for breakfast.  The only thing I changed to my mom’s original recipe was to add vanilla extract and I used butter instead of vegetable oil.  (I love butter!)

If my sister (when she was 3) could help do it, and if I can make this all by myself, then maybe your kids can make this too. It’s a fun way to get kids in the kitchen.

Try making my fluffy vanilla pancakes, and please let me know how you like it. 🙂

Here’s how I did it. After you view all of my photos, you can find my recipe all the way at the bottom of this post.

Oh, one more thing.  This made 2 regular sized (big) pancakes and about 7 smaller pancakes (they were small, and a little bigger than dollar pancakes).

My Fluffy Vanilla Pancakes 🙂

image

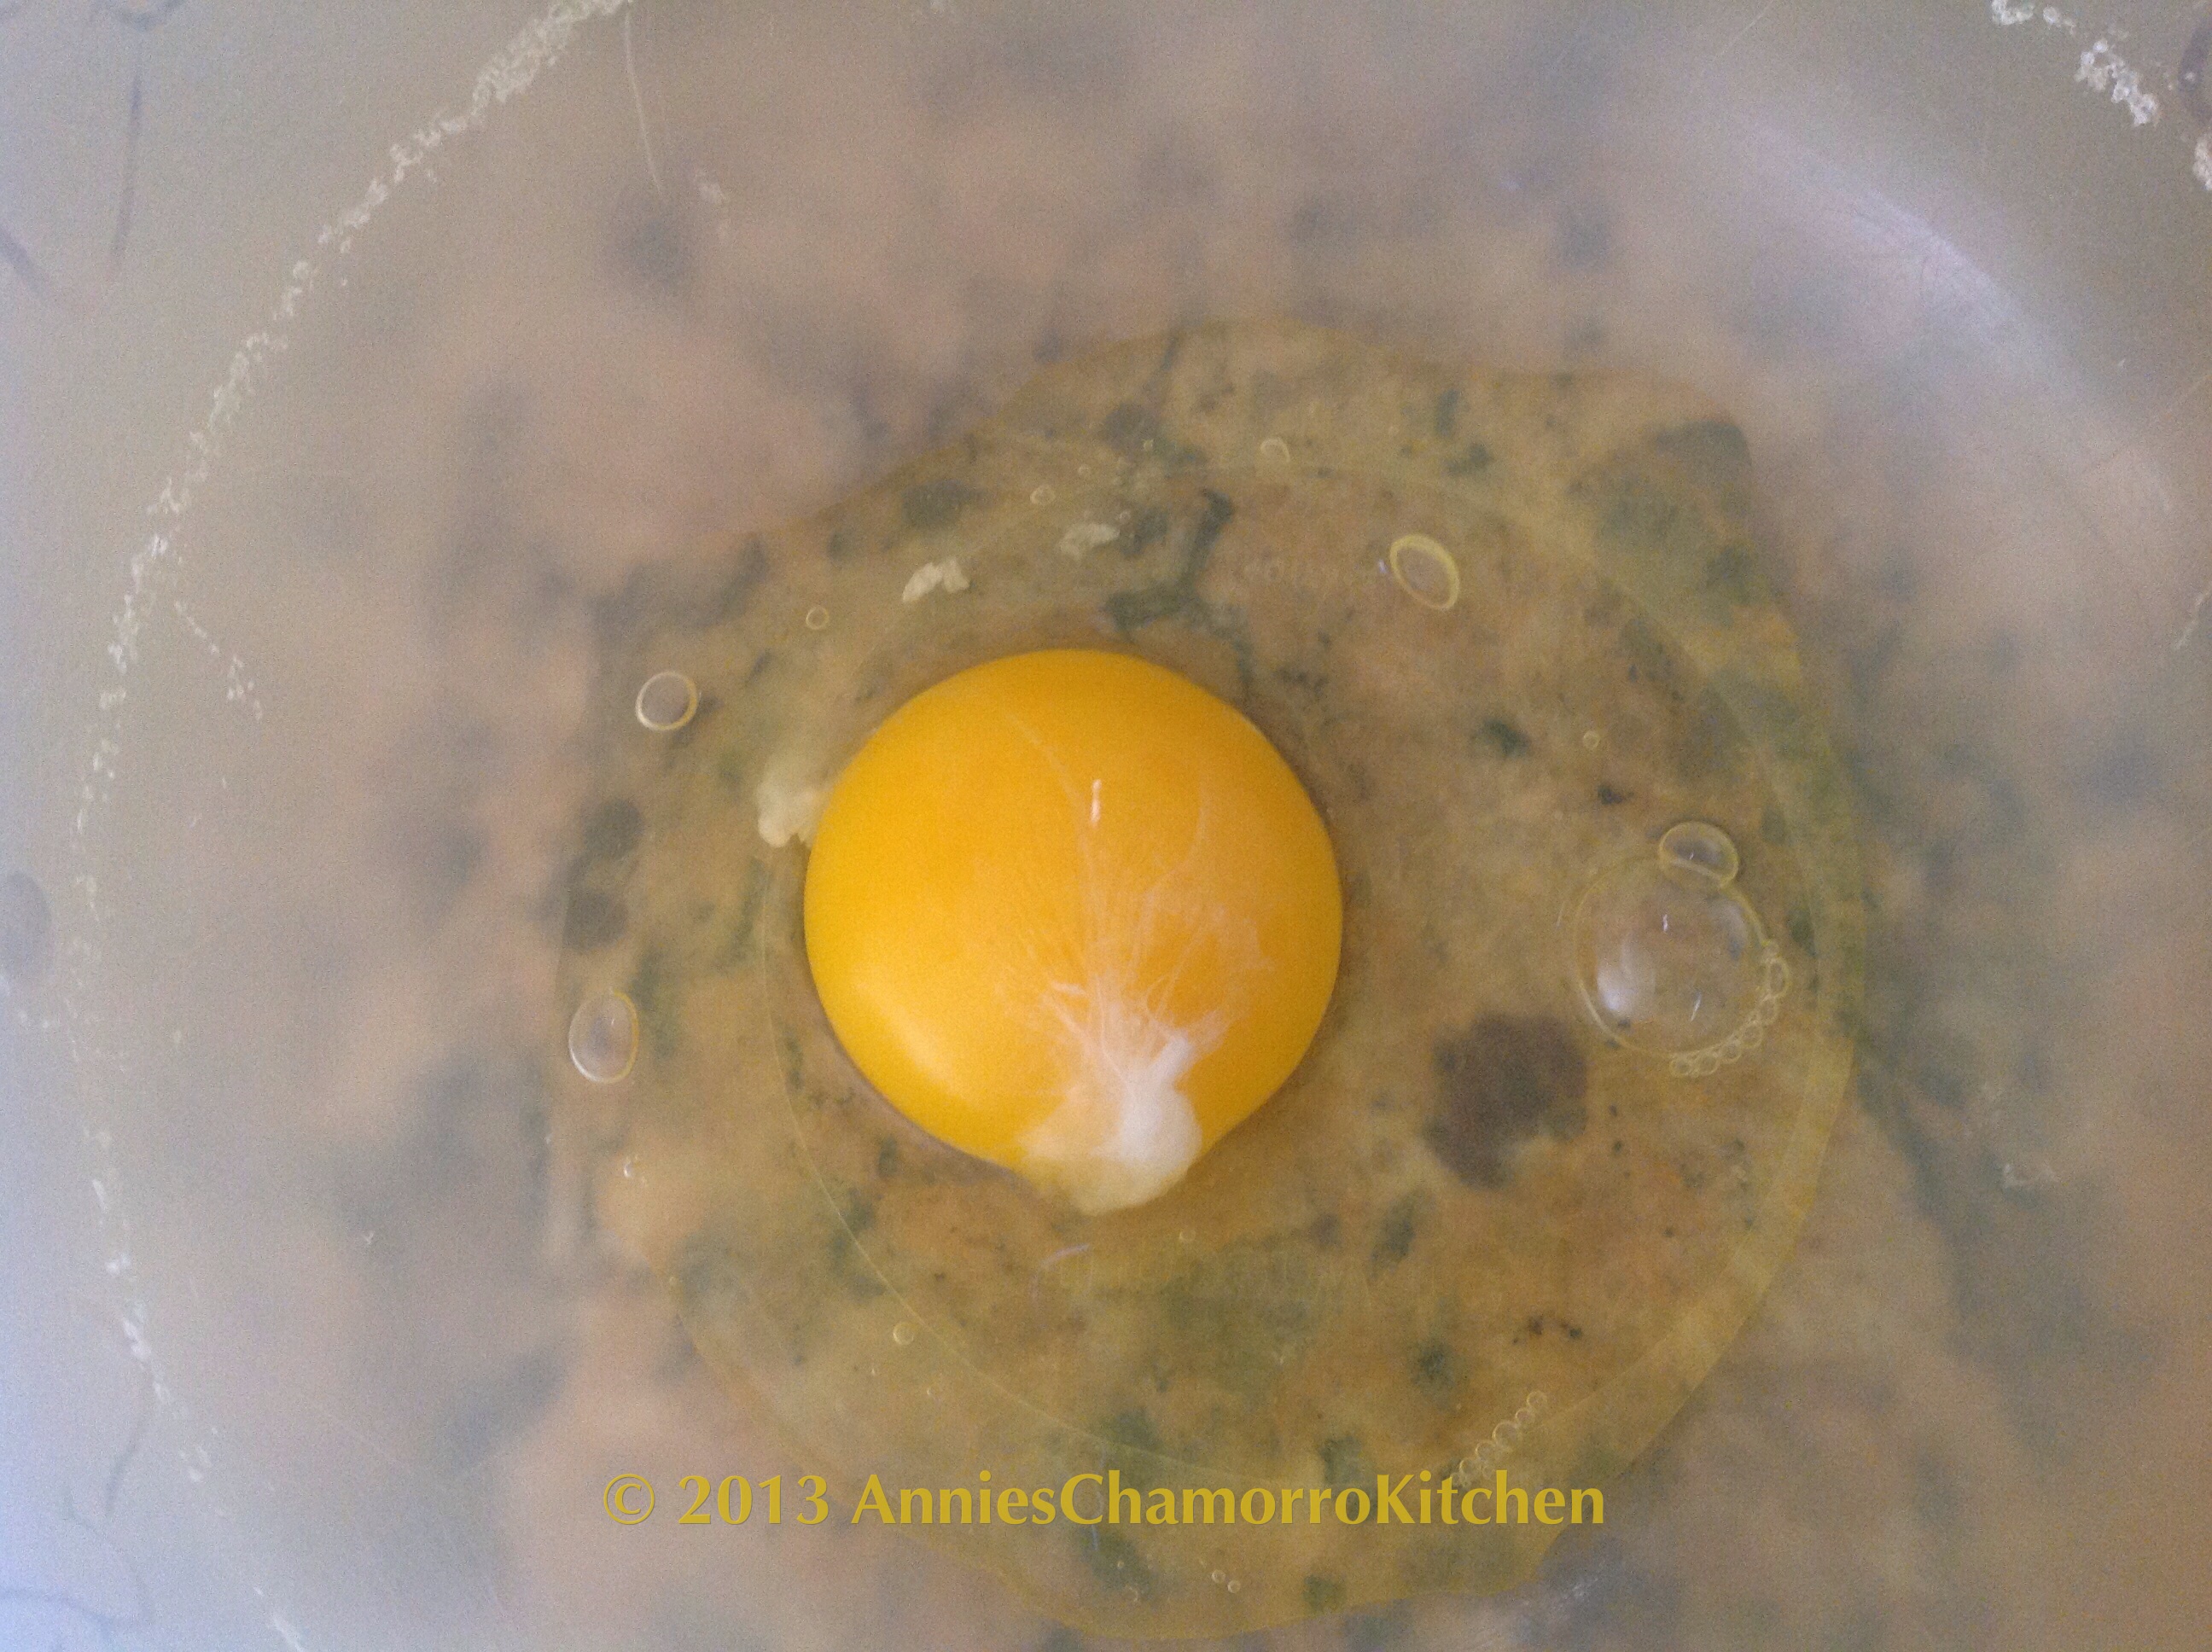
First, crack the egg into a small mixing bowl. You might not be able to tell, but the bowl I’m using is a Tupperware bowl with Minnie Mouse on it. My mom got it for me when I was around 3 or 4 years old, the same age my older sister was when she started helping my mom make pancakes.

image

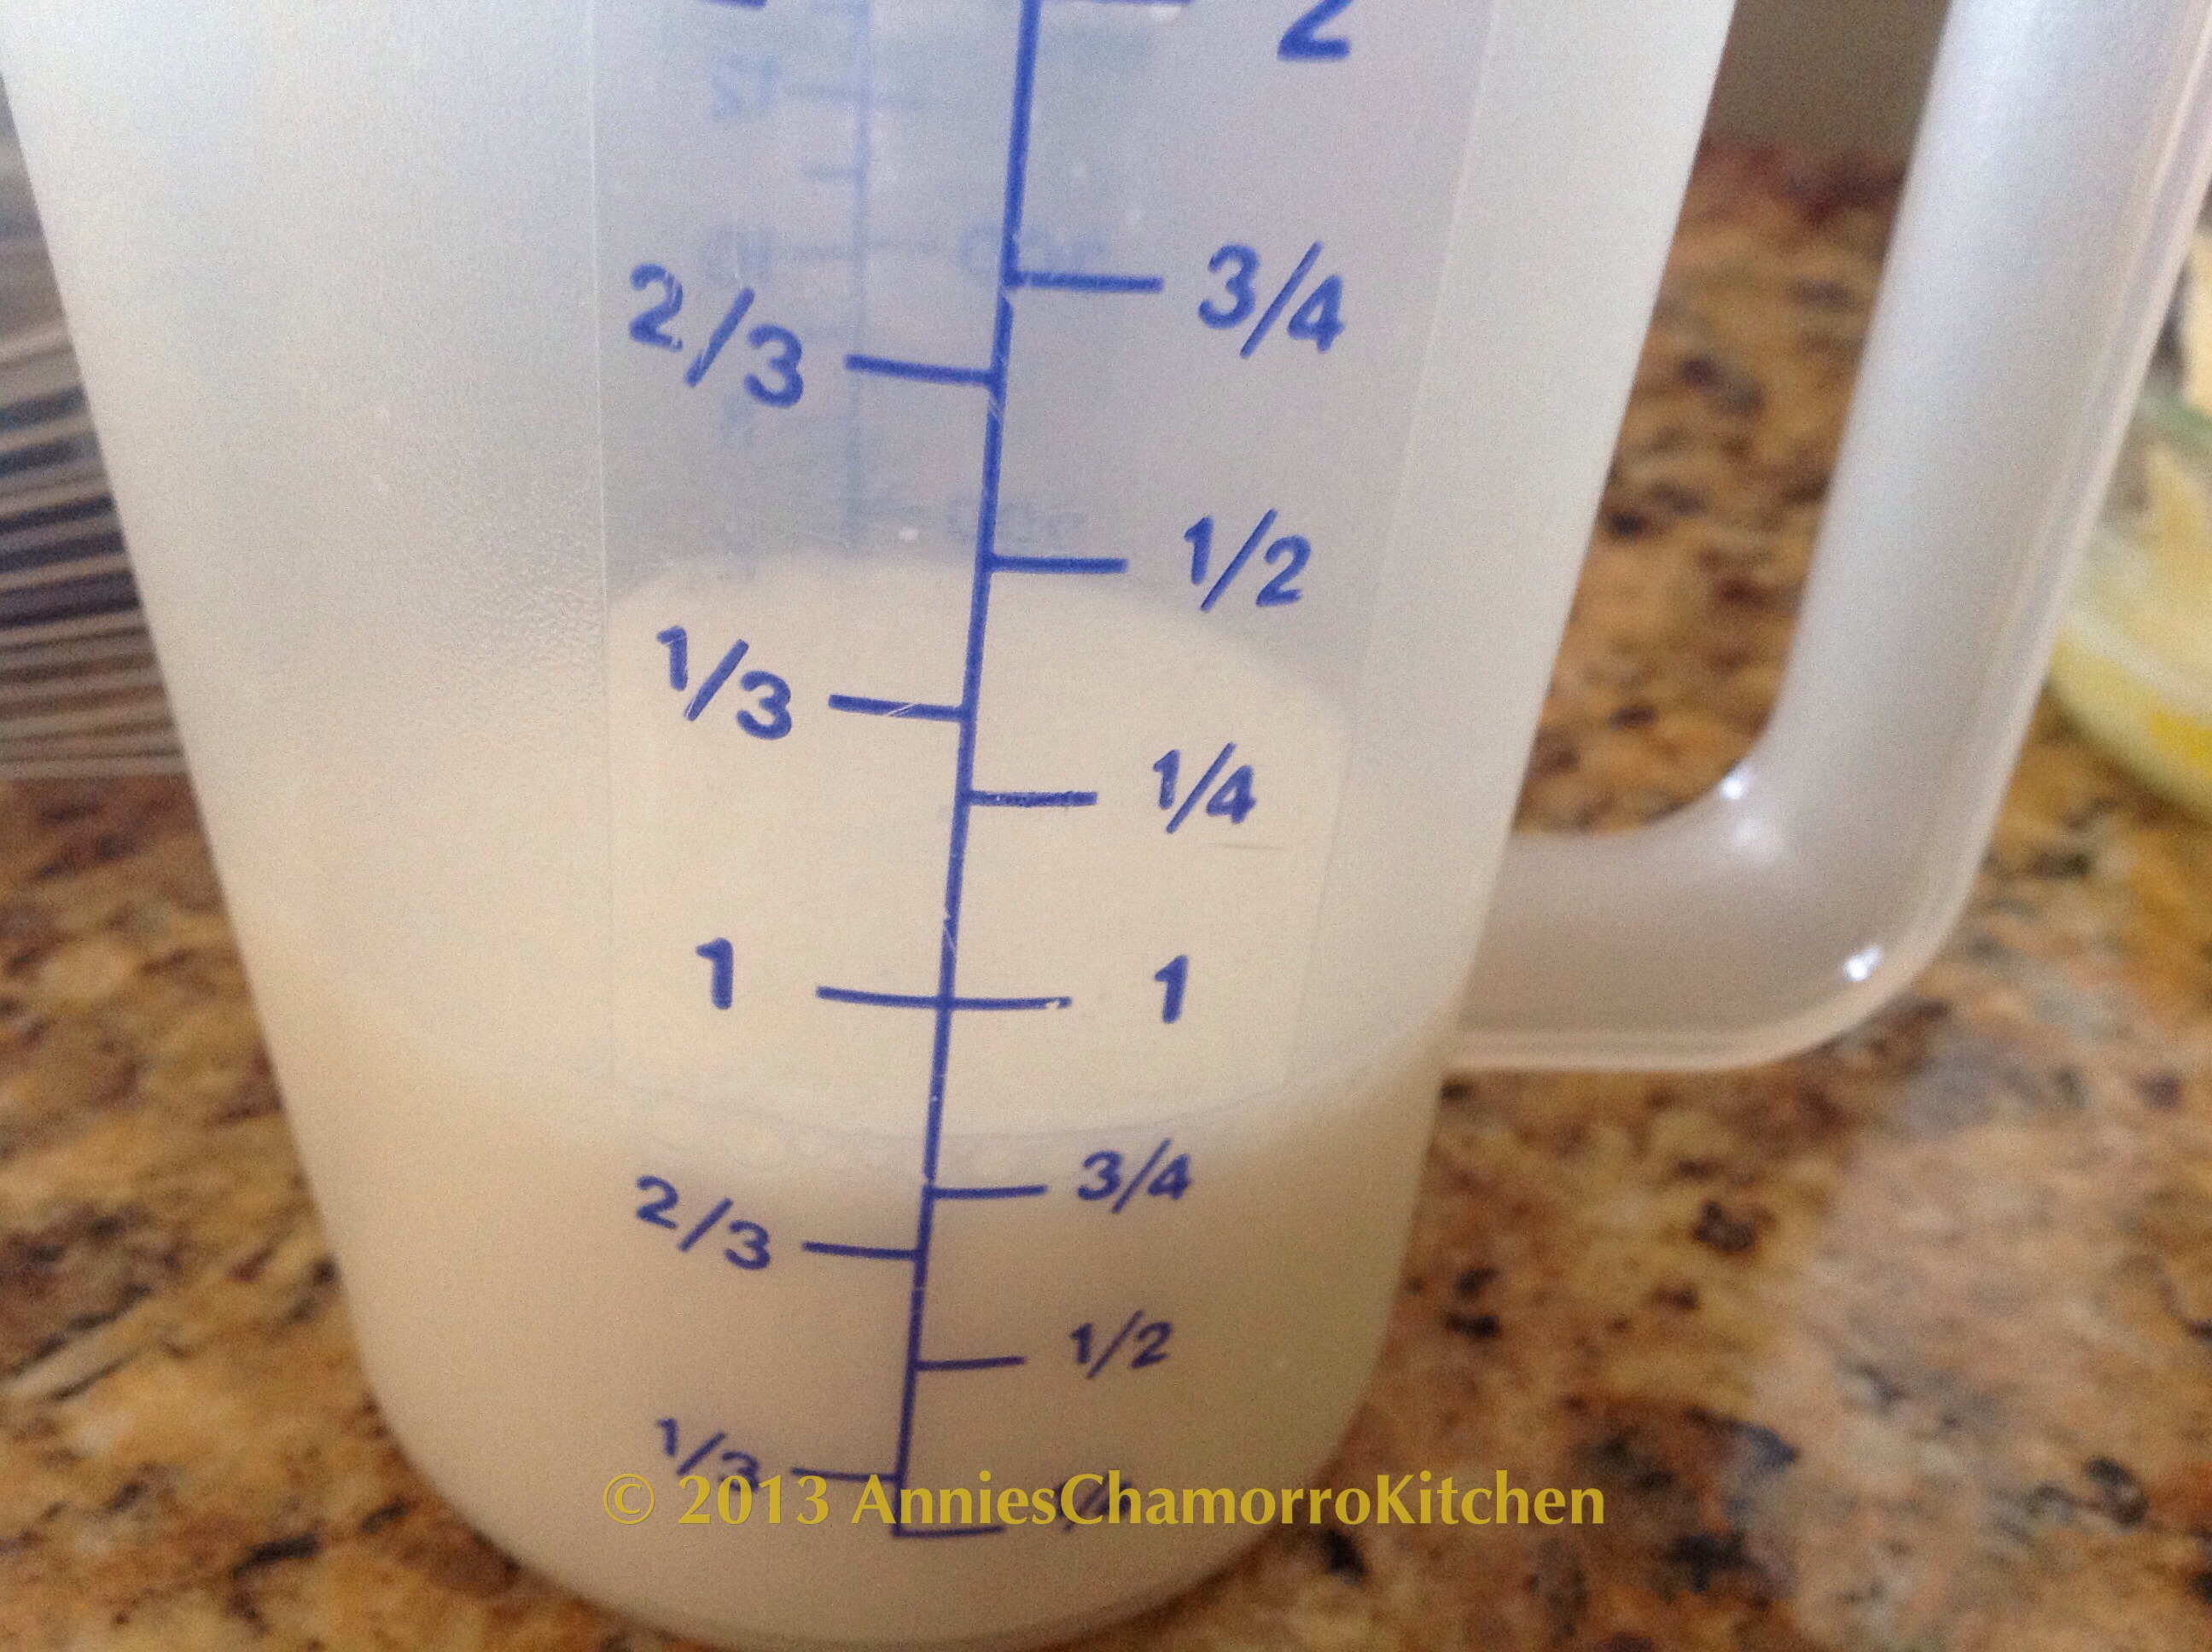
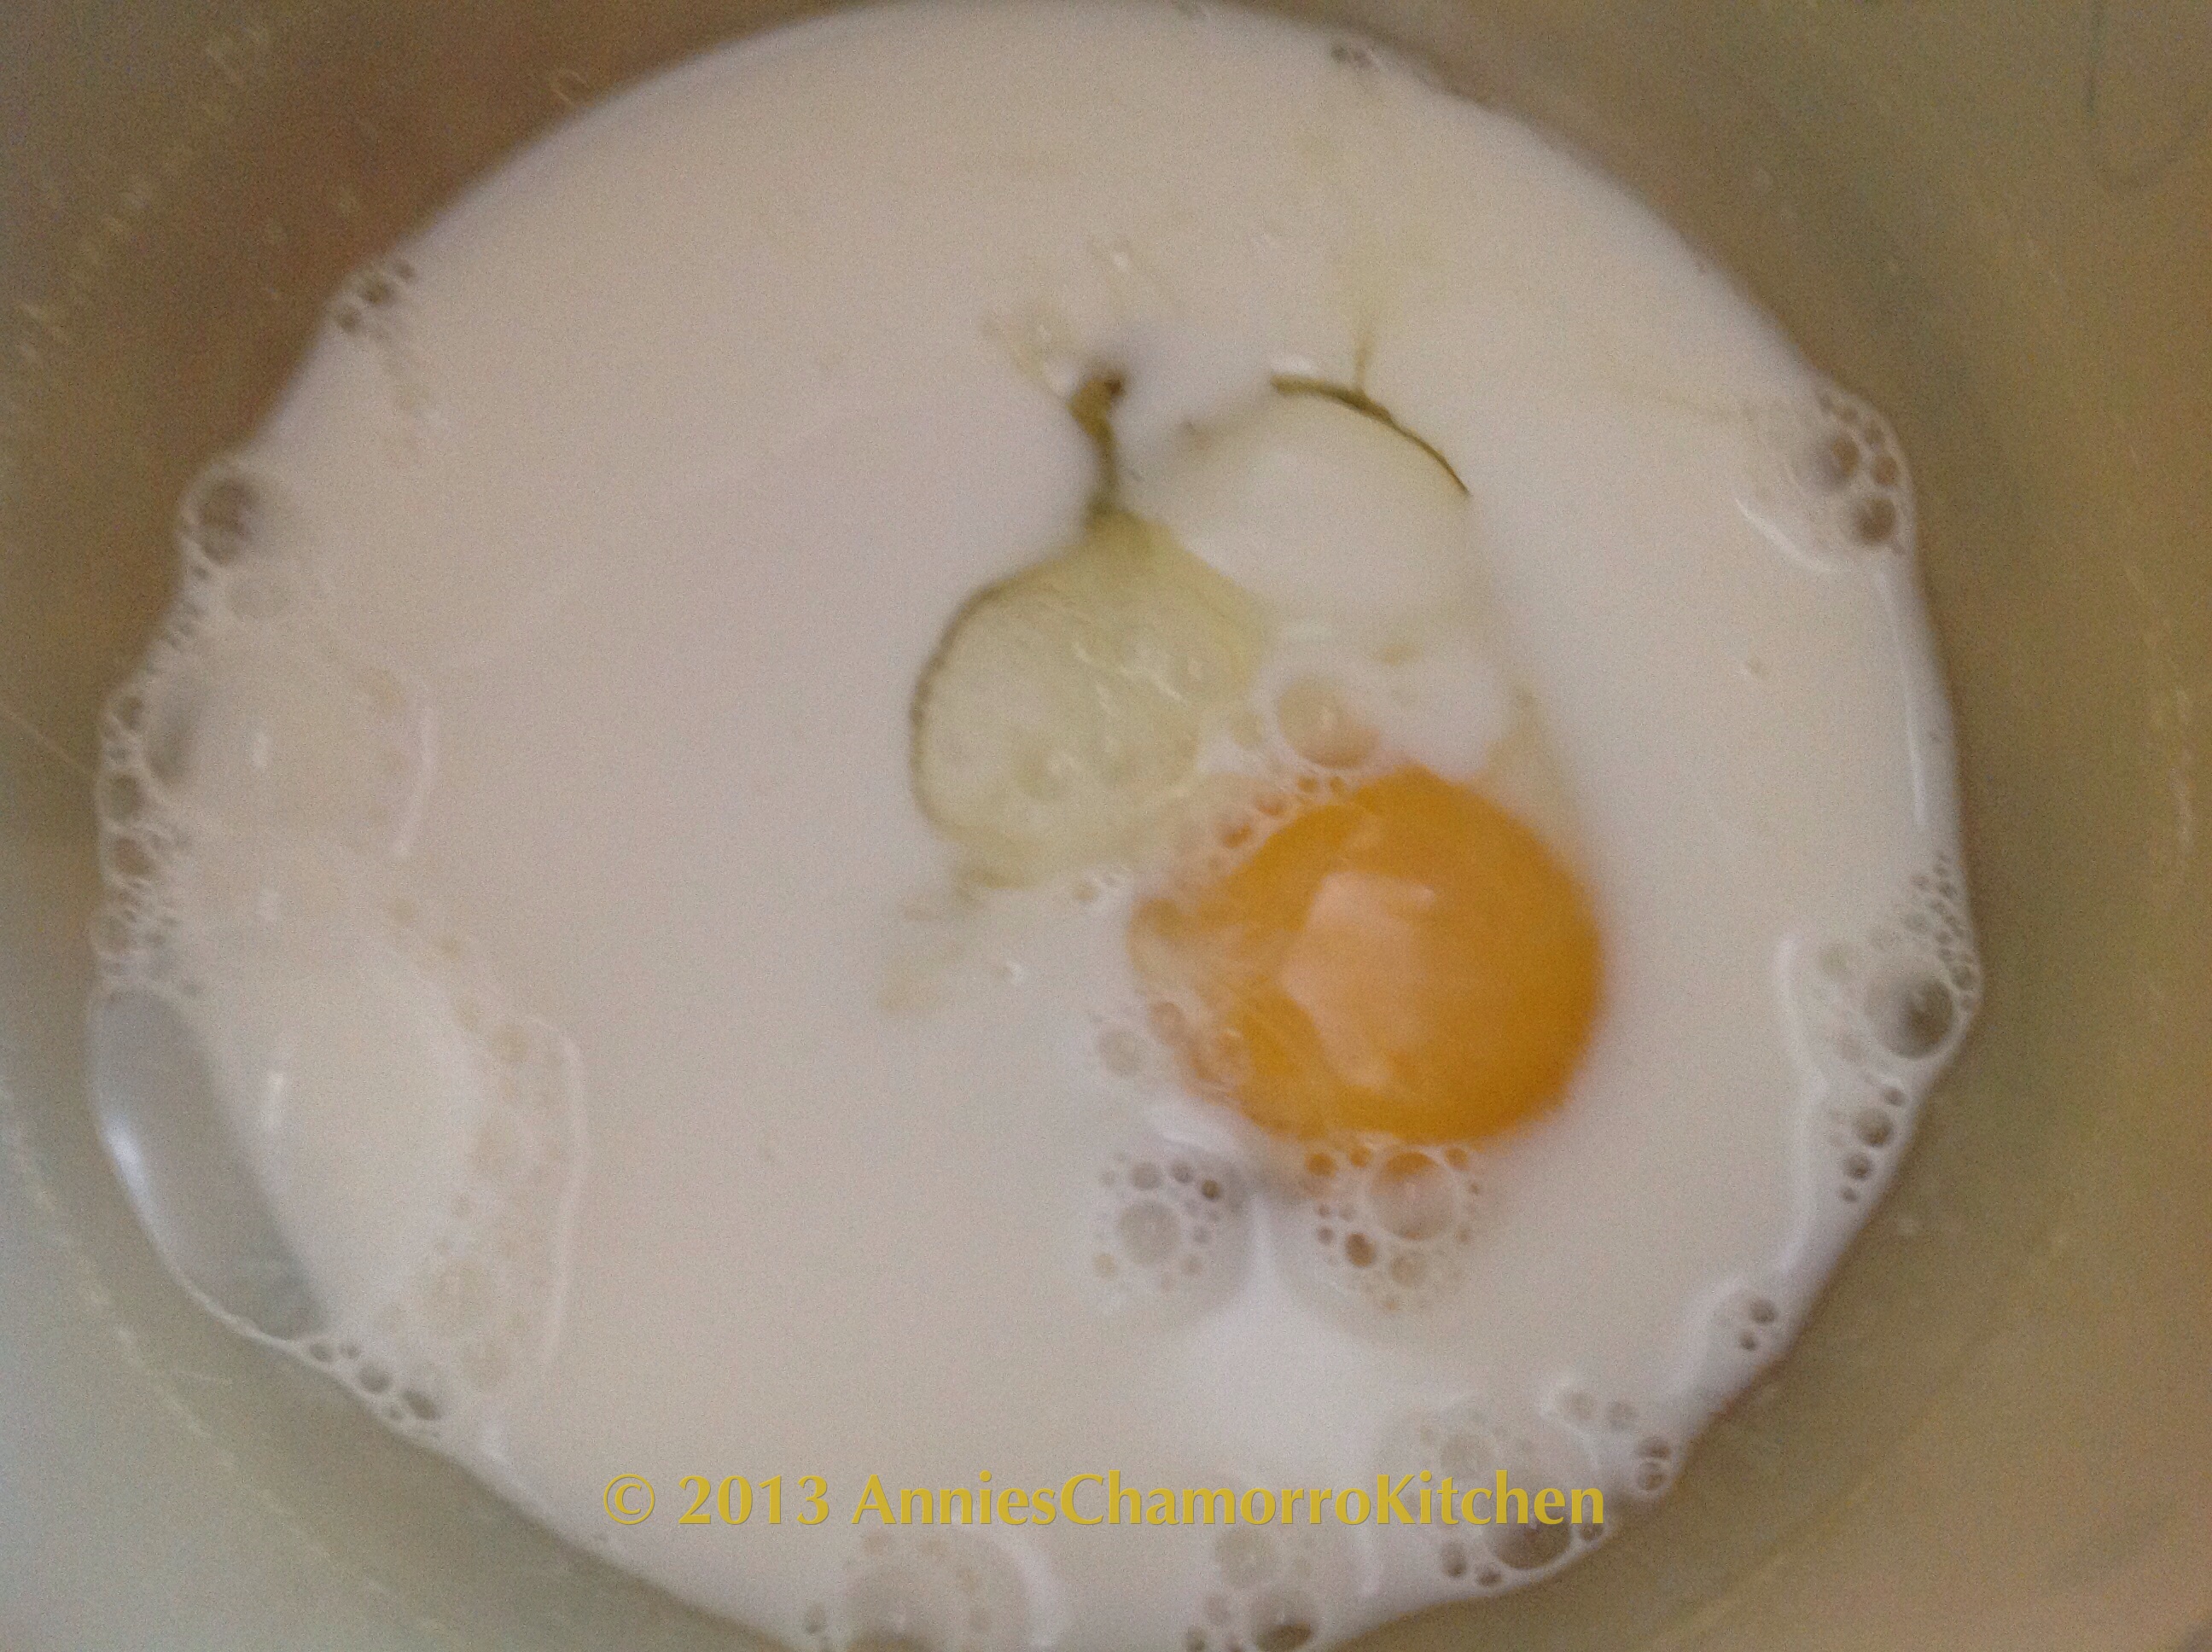
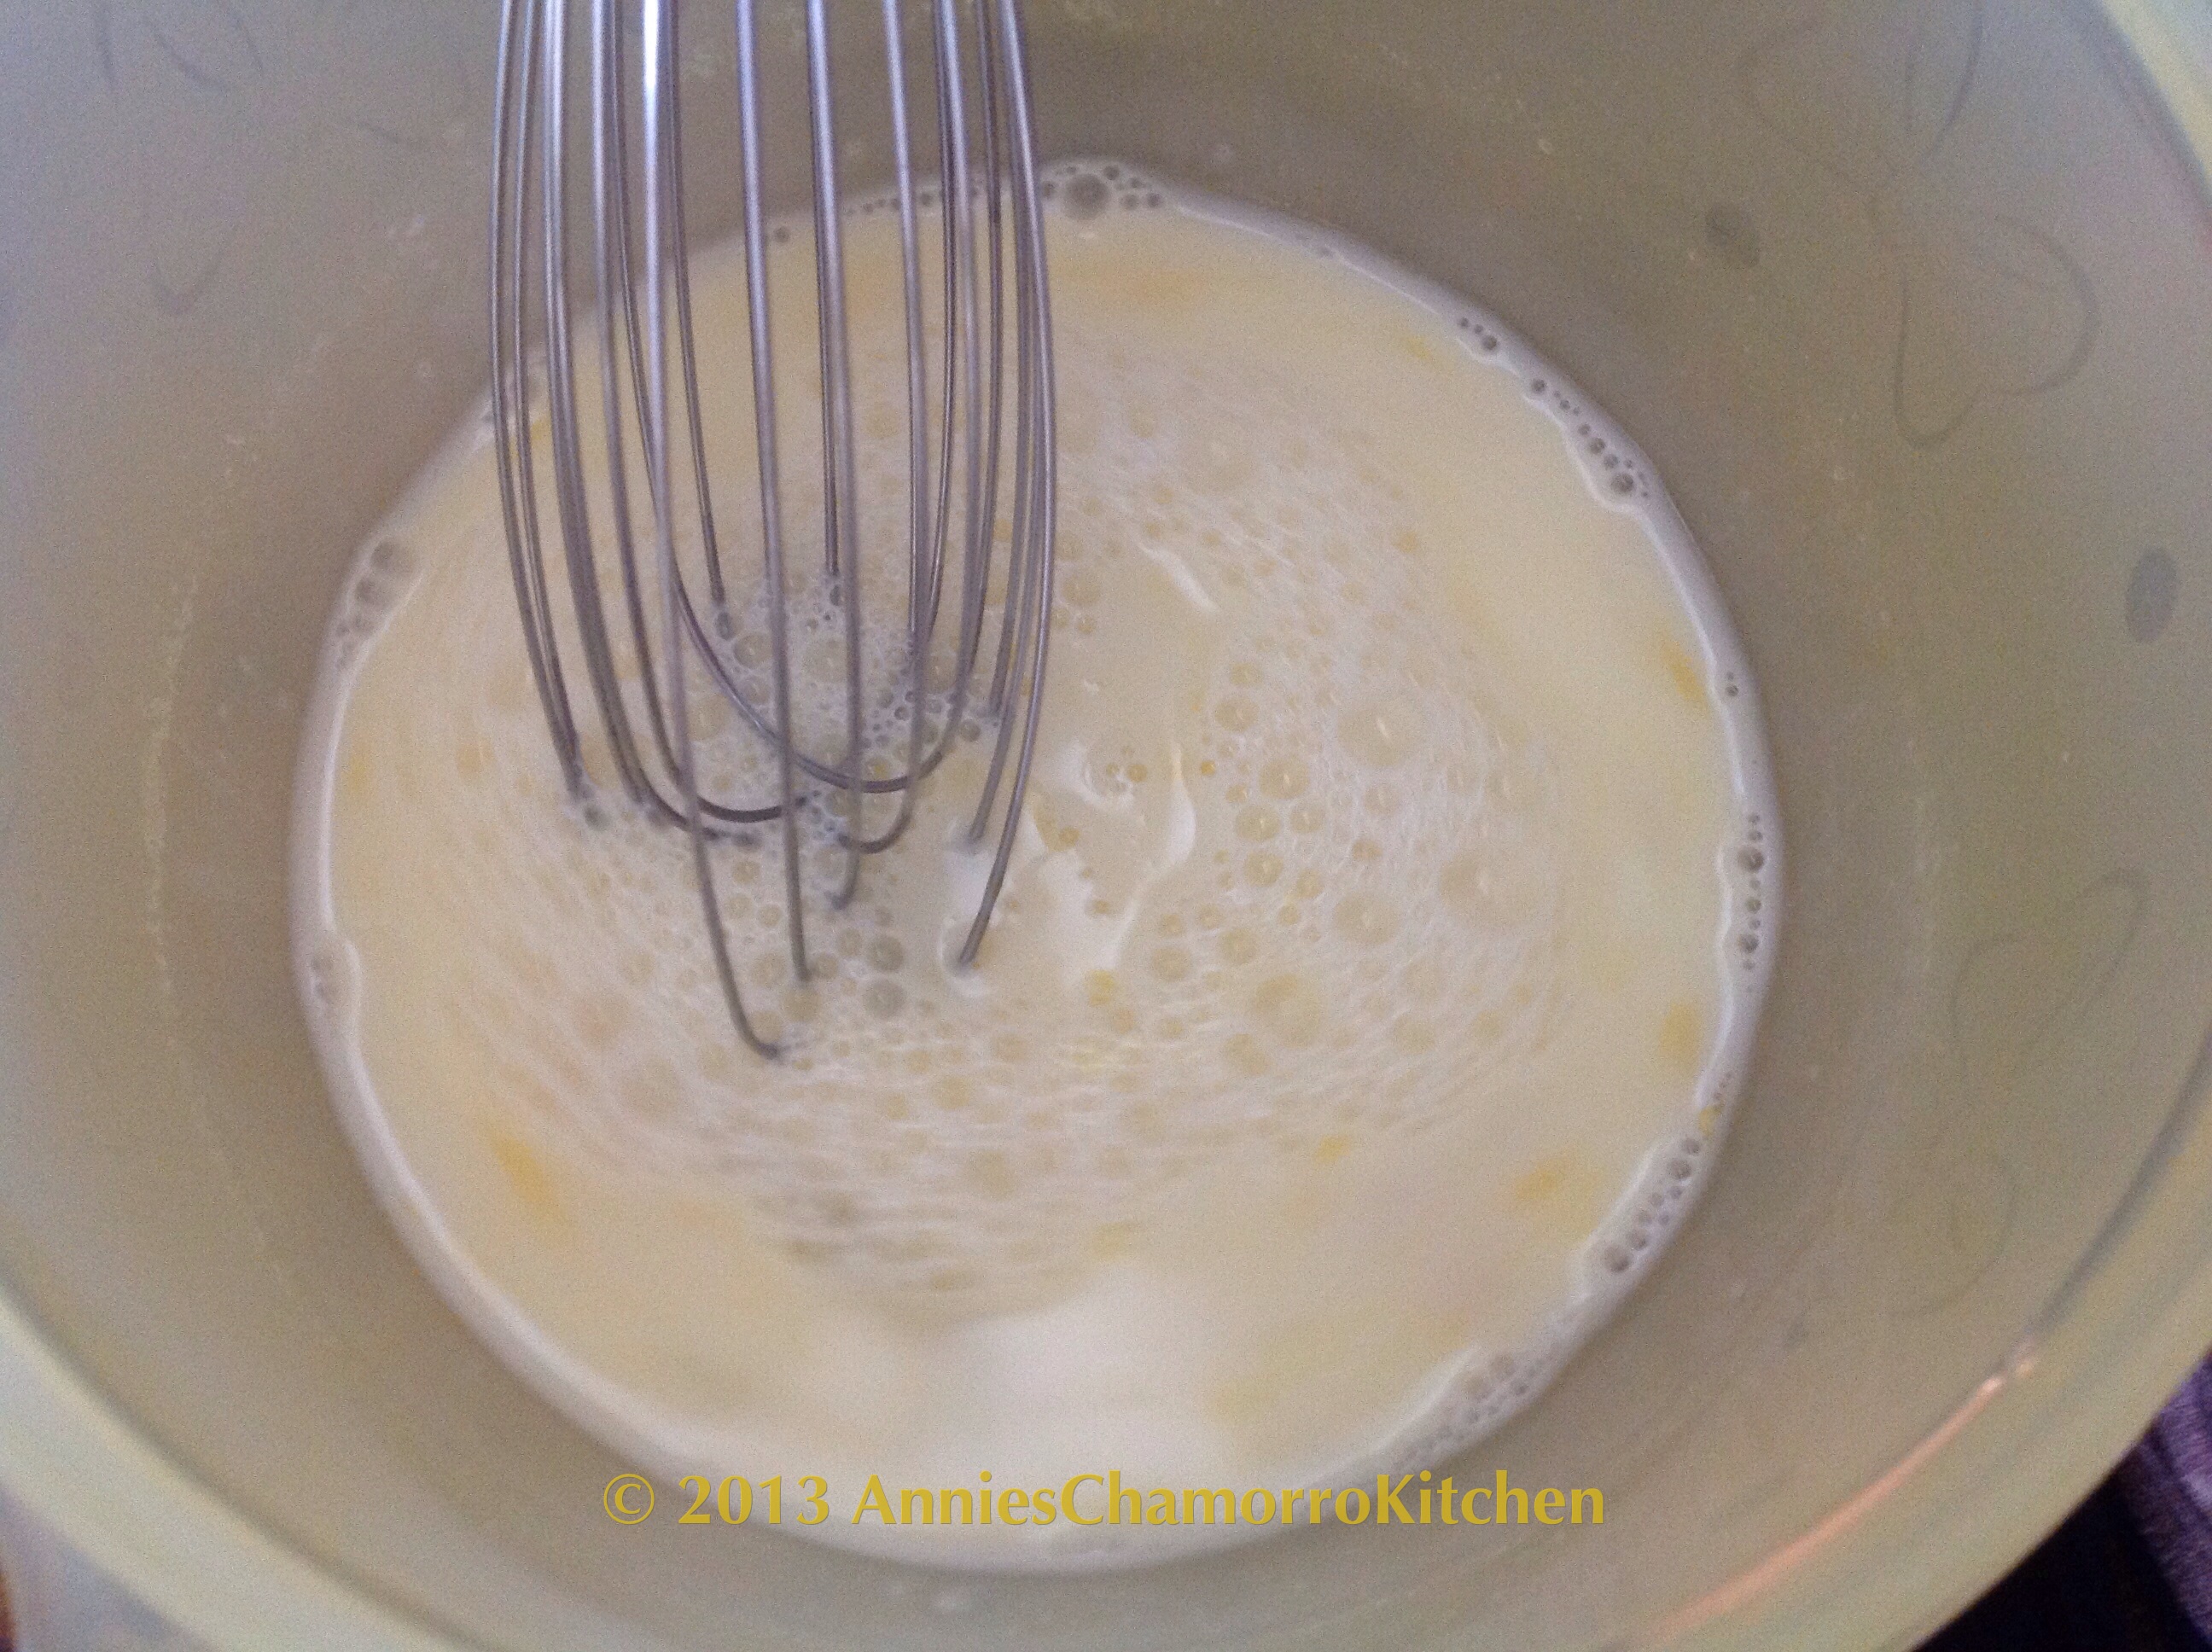
Next, measure out your milk. Pour the milk into the bowl with the egg. Use a whisk to mix it together.

image

image

image

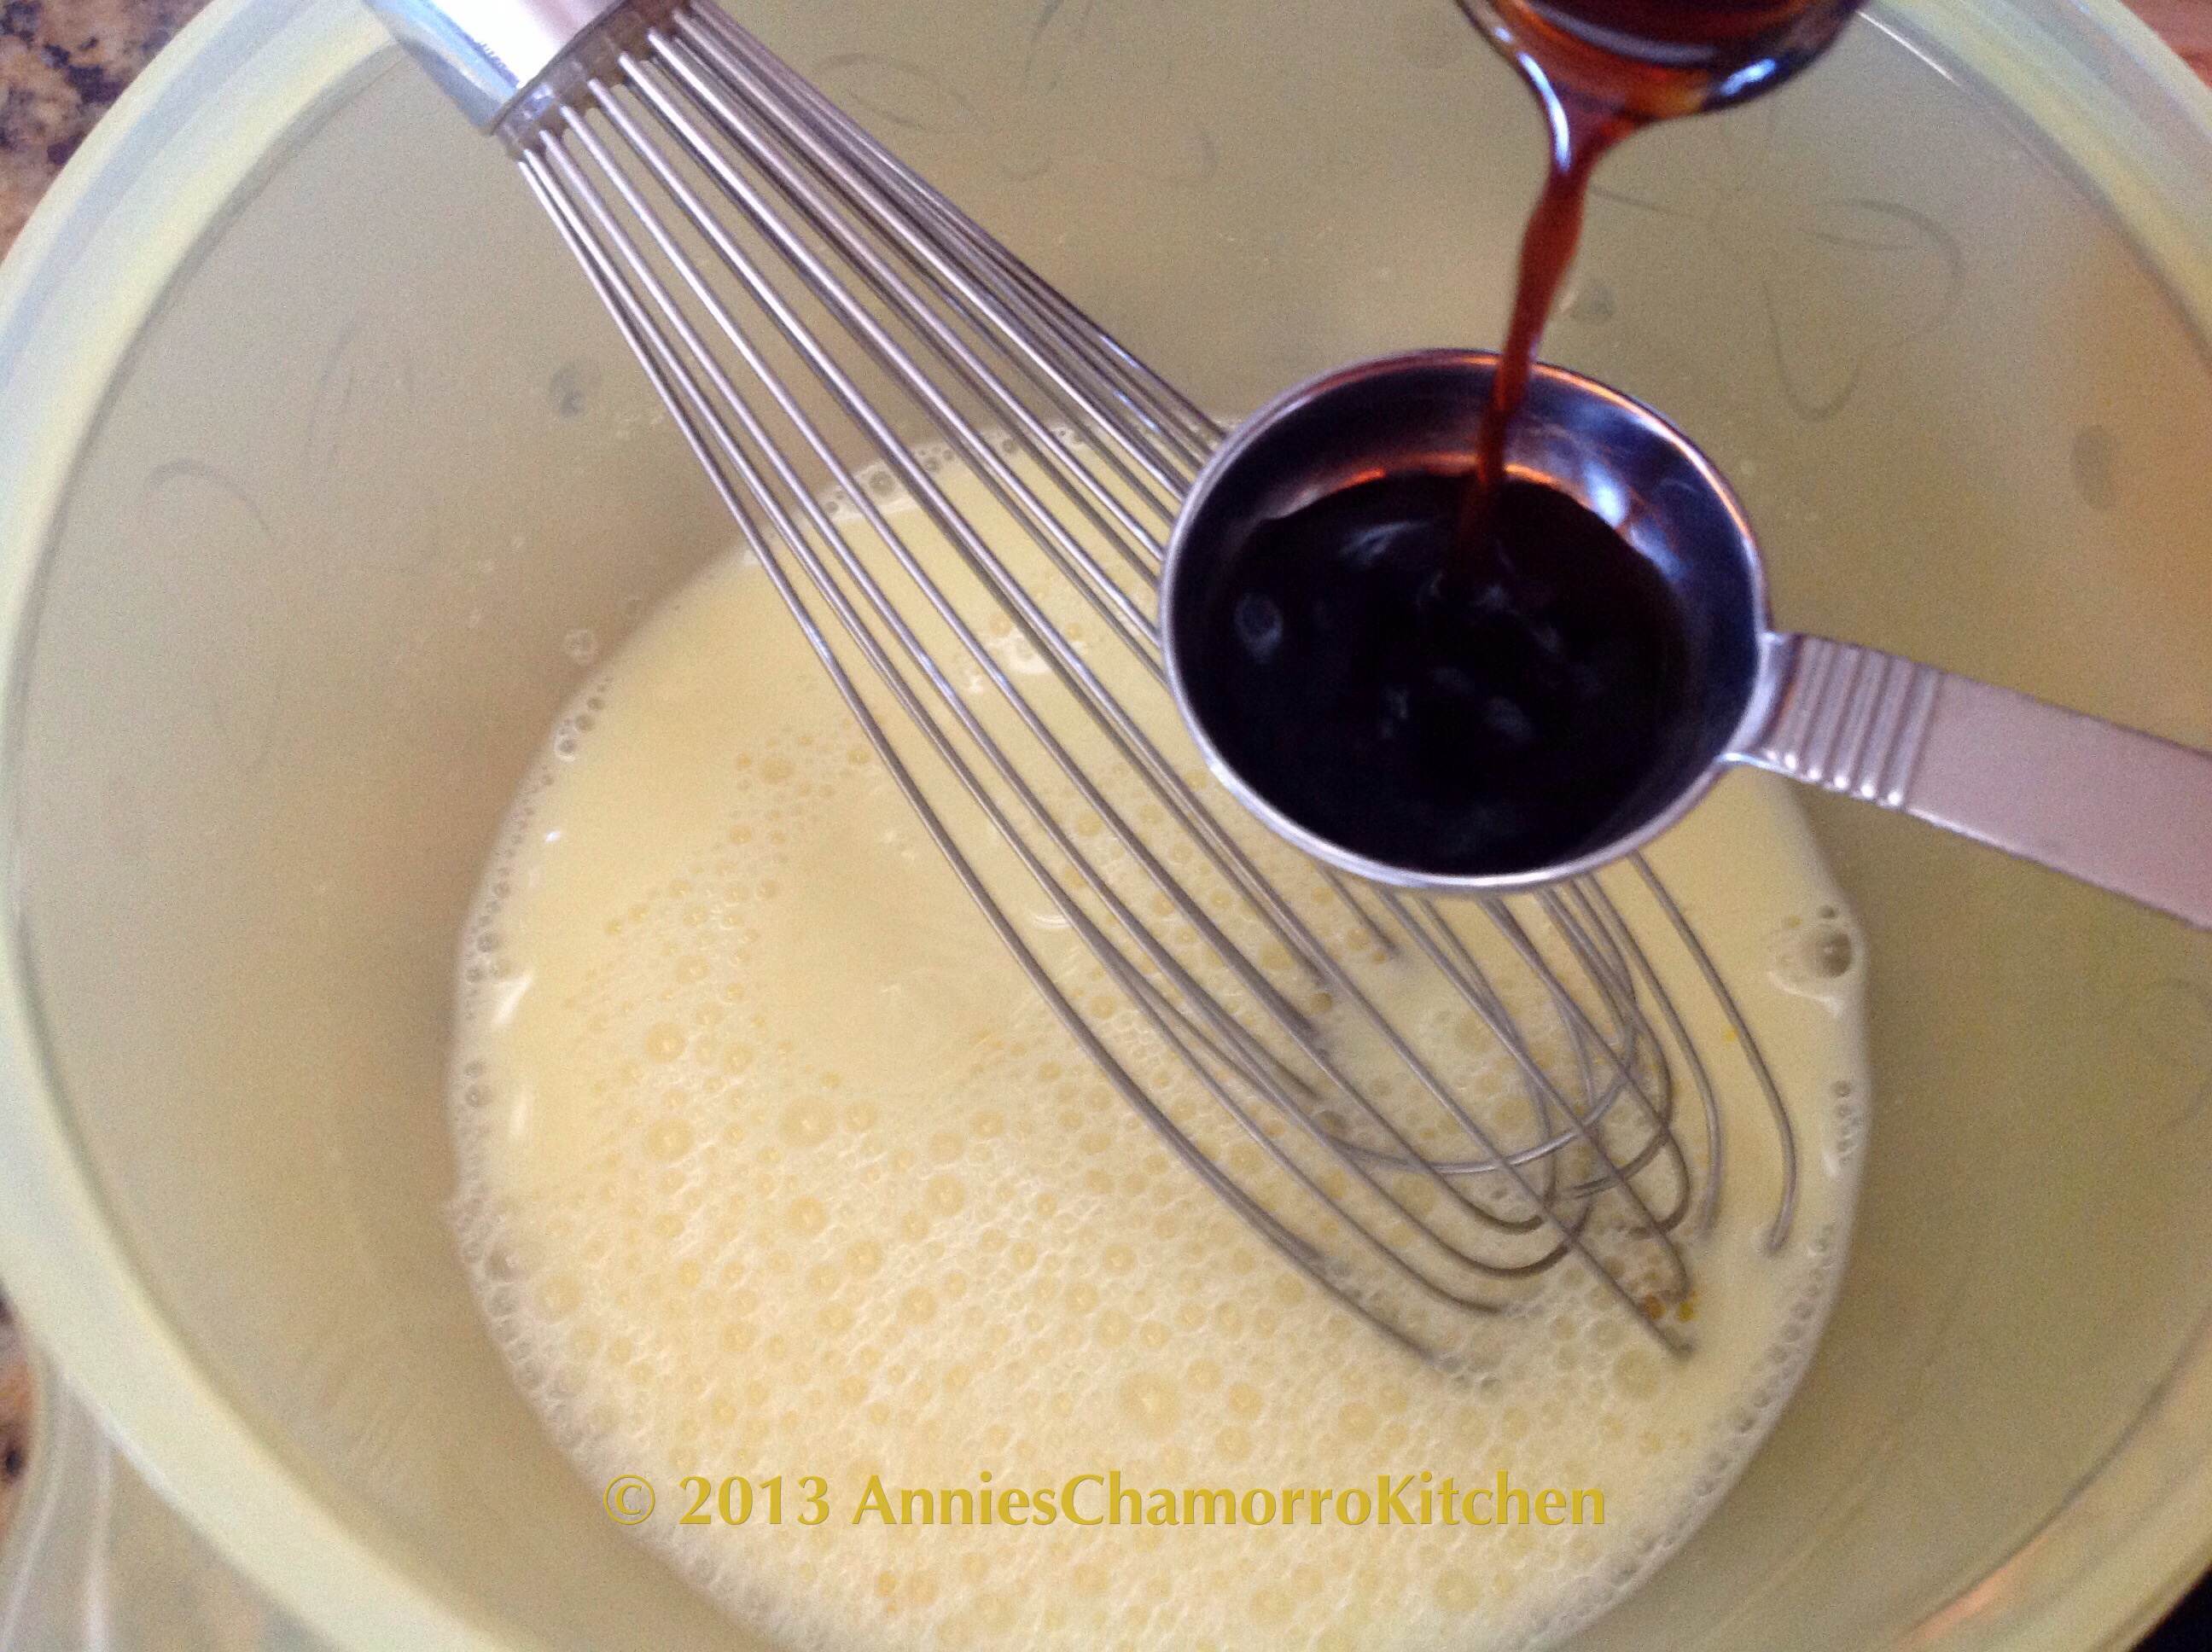
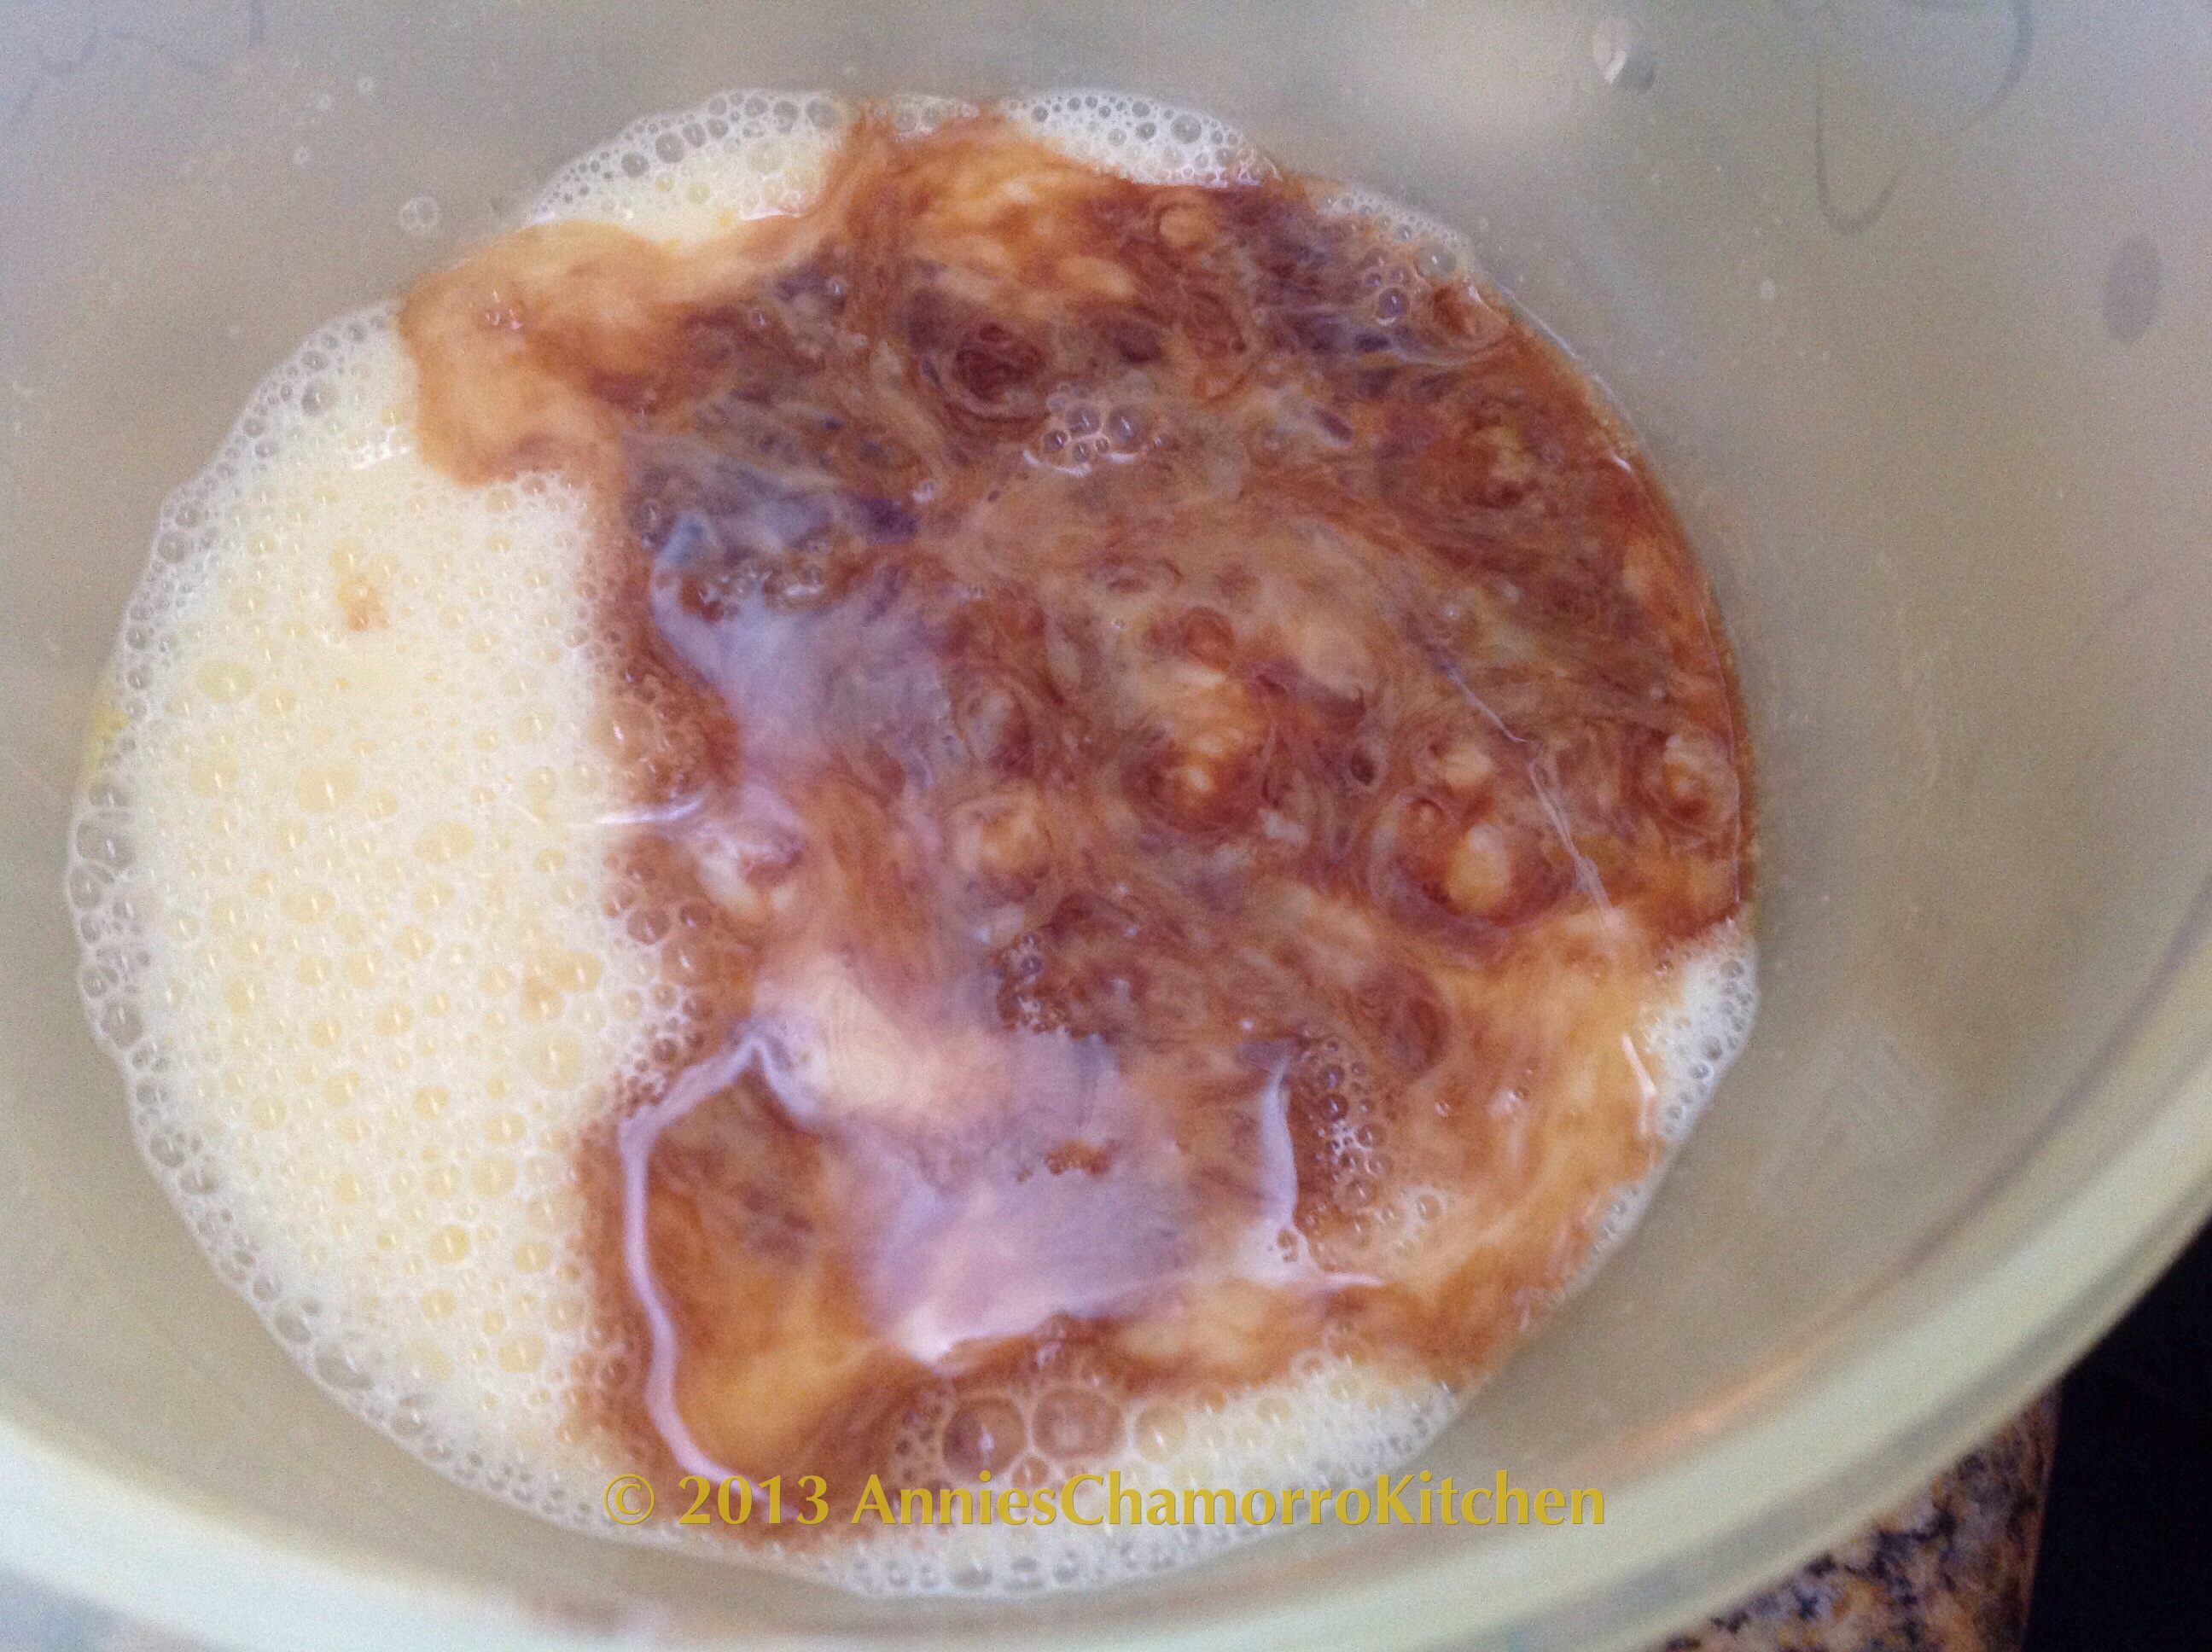
Add the vanilla to the bowl. Whisk the mixture together again.

image

image

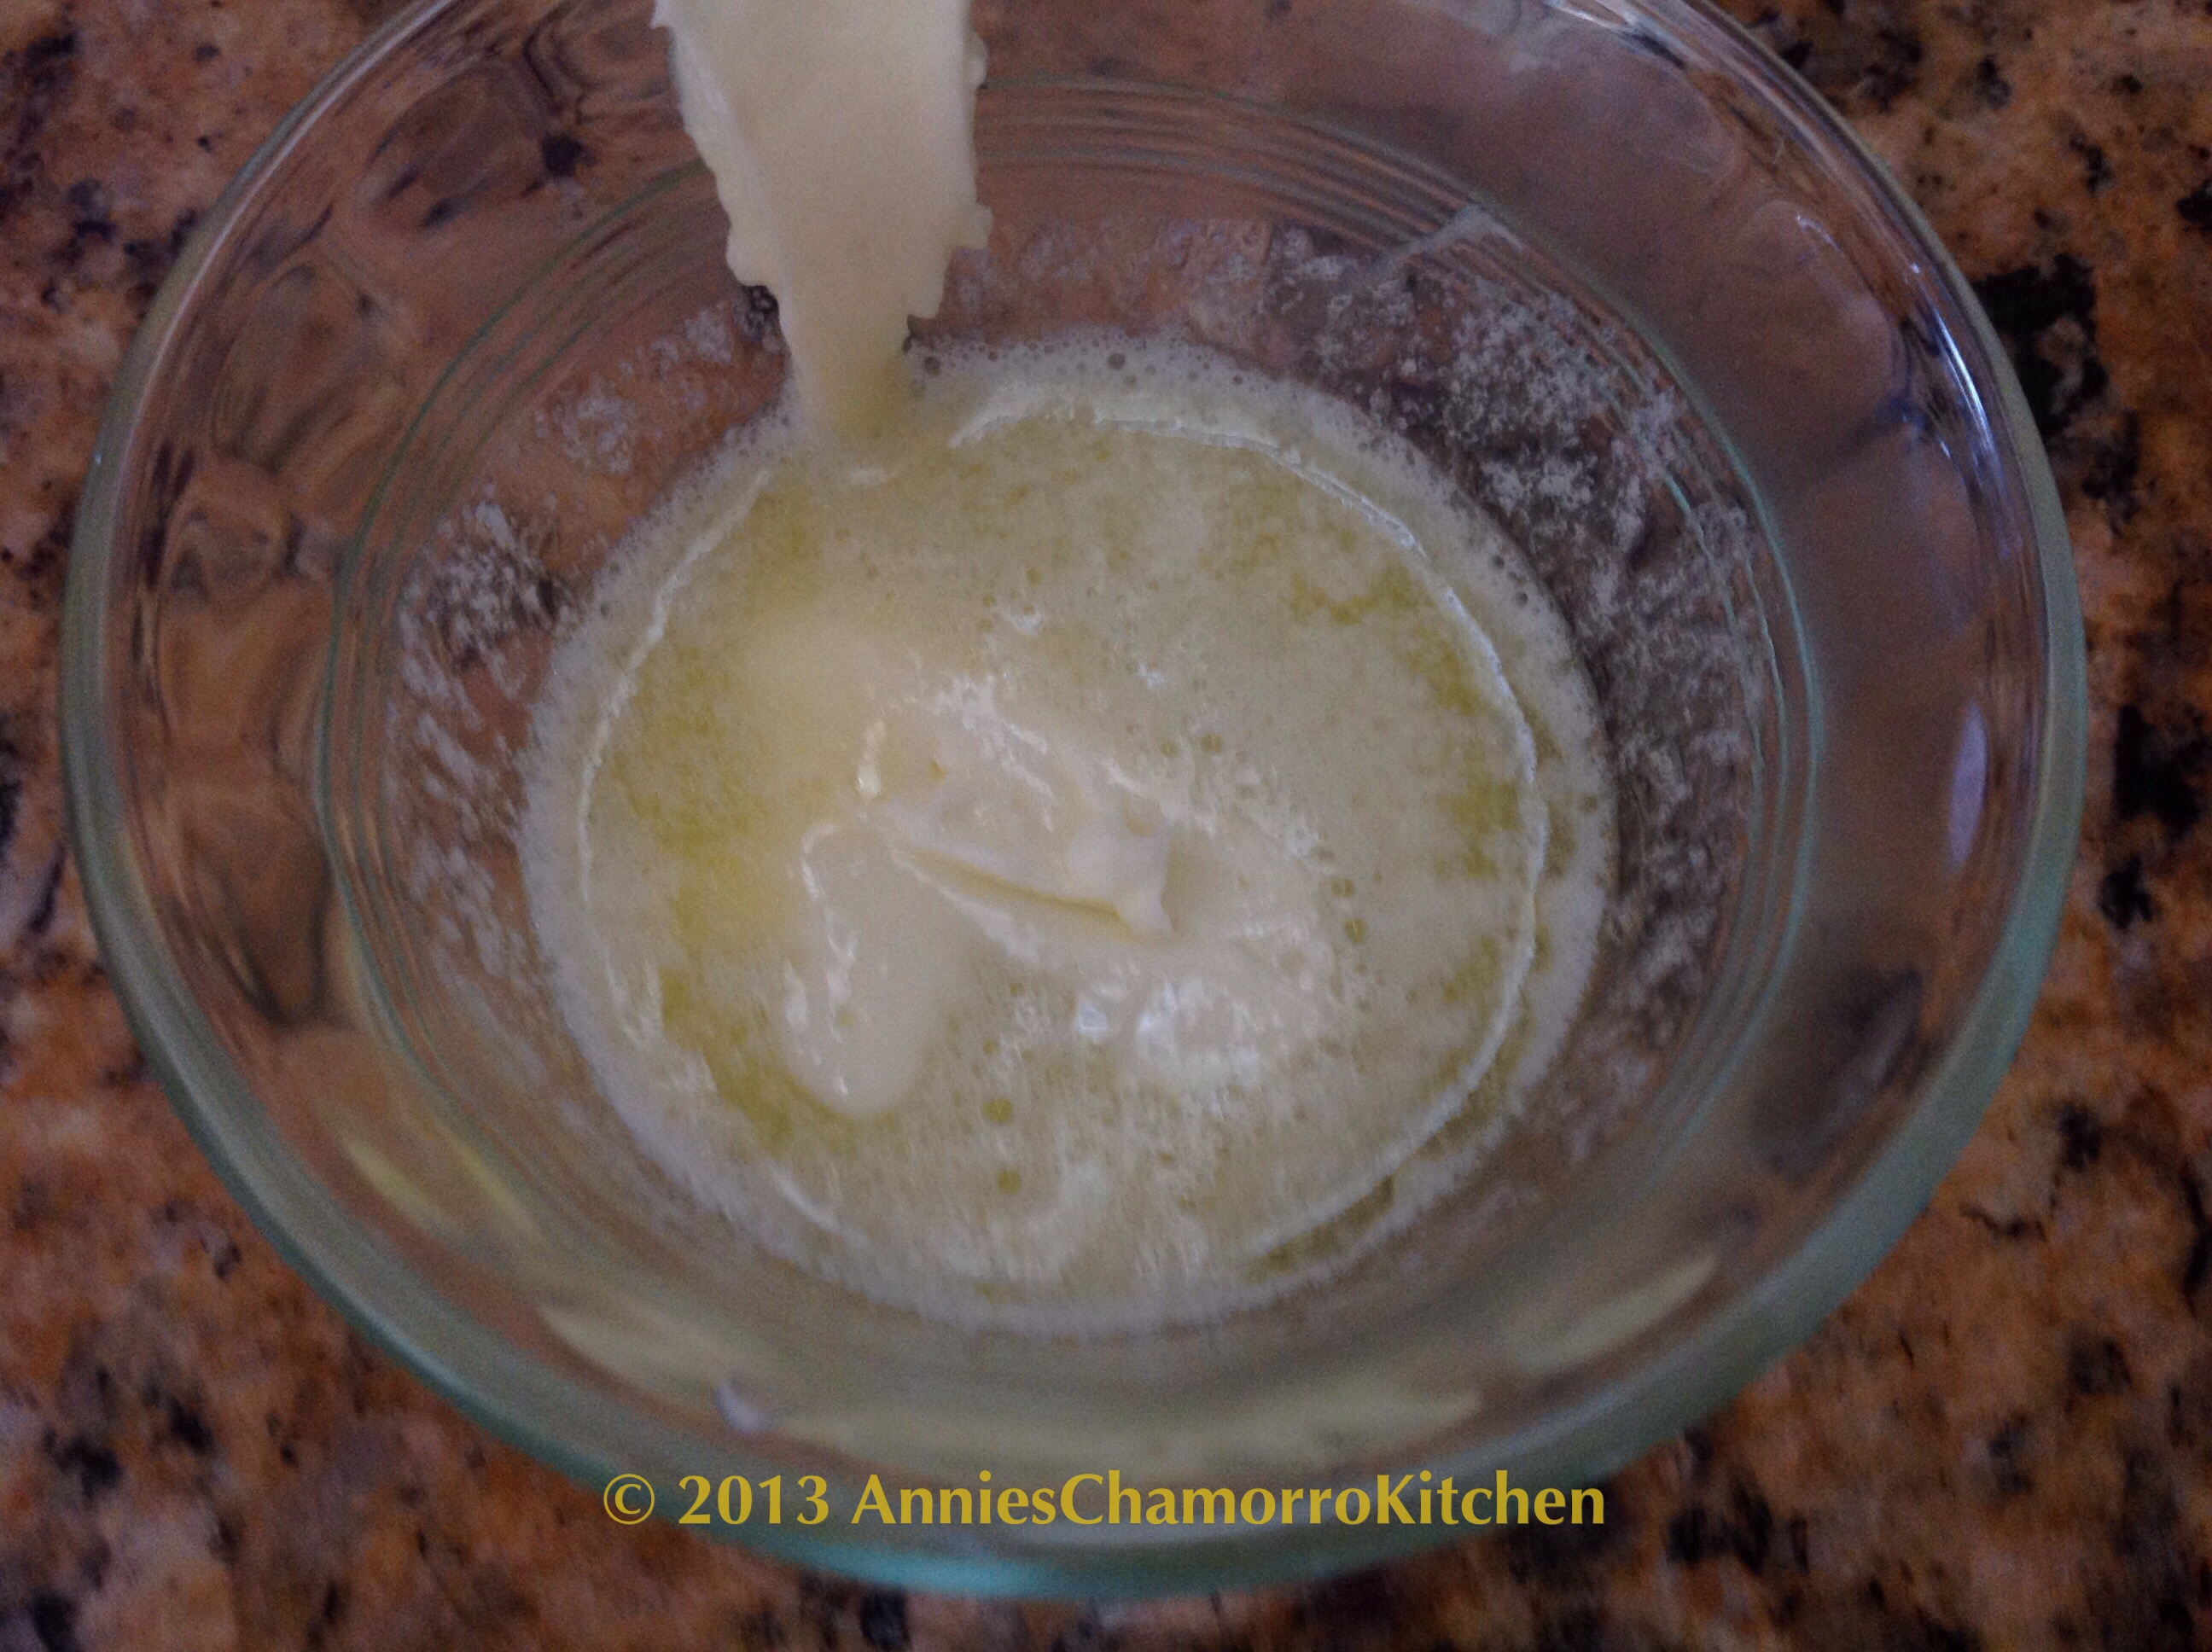
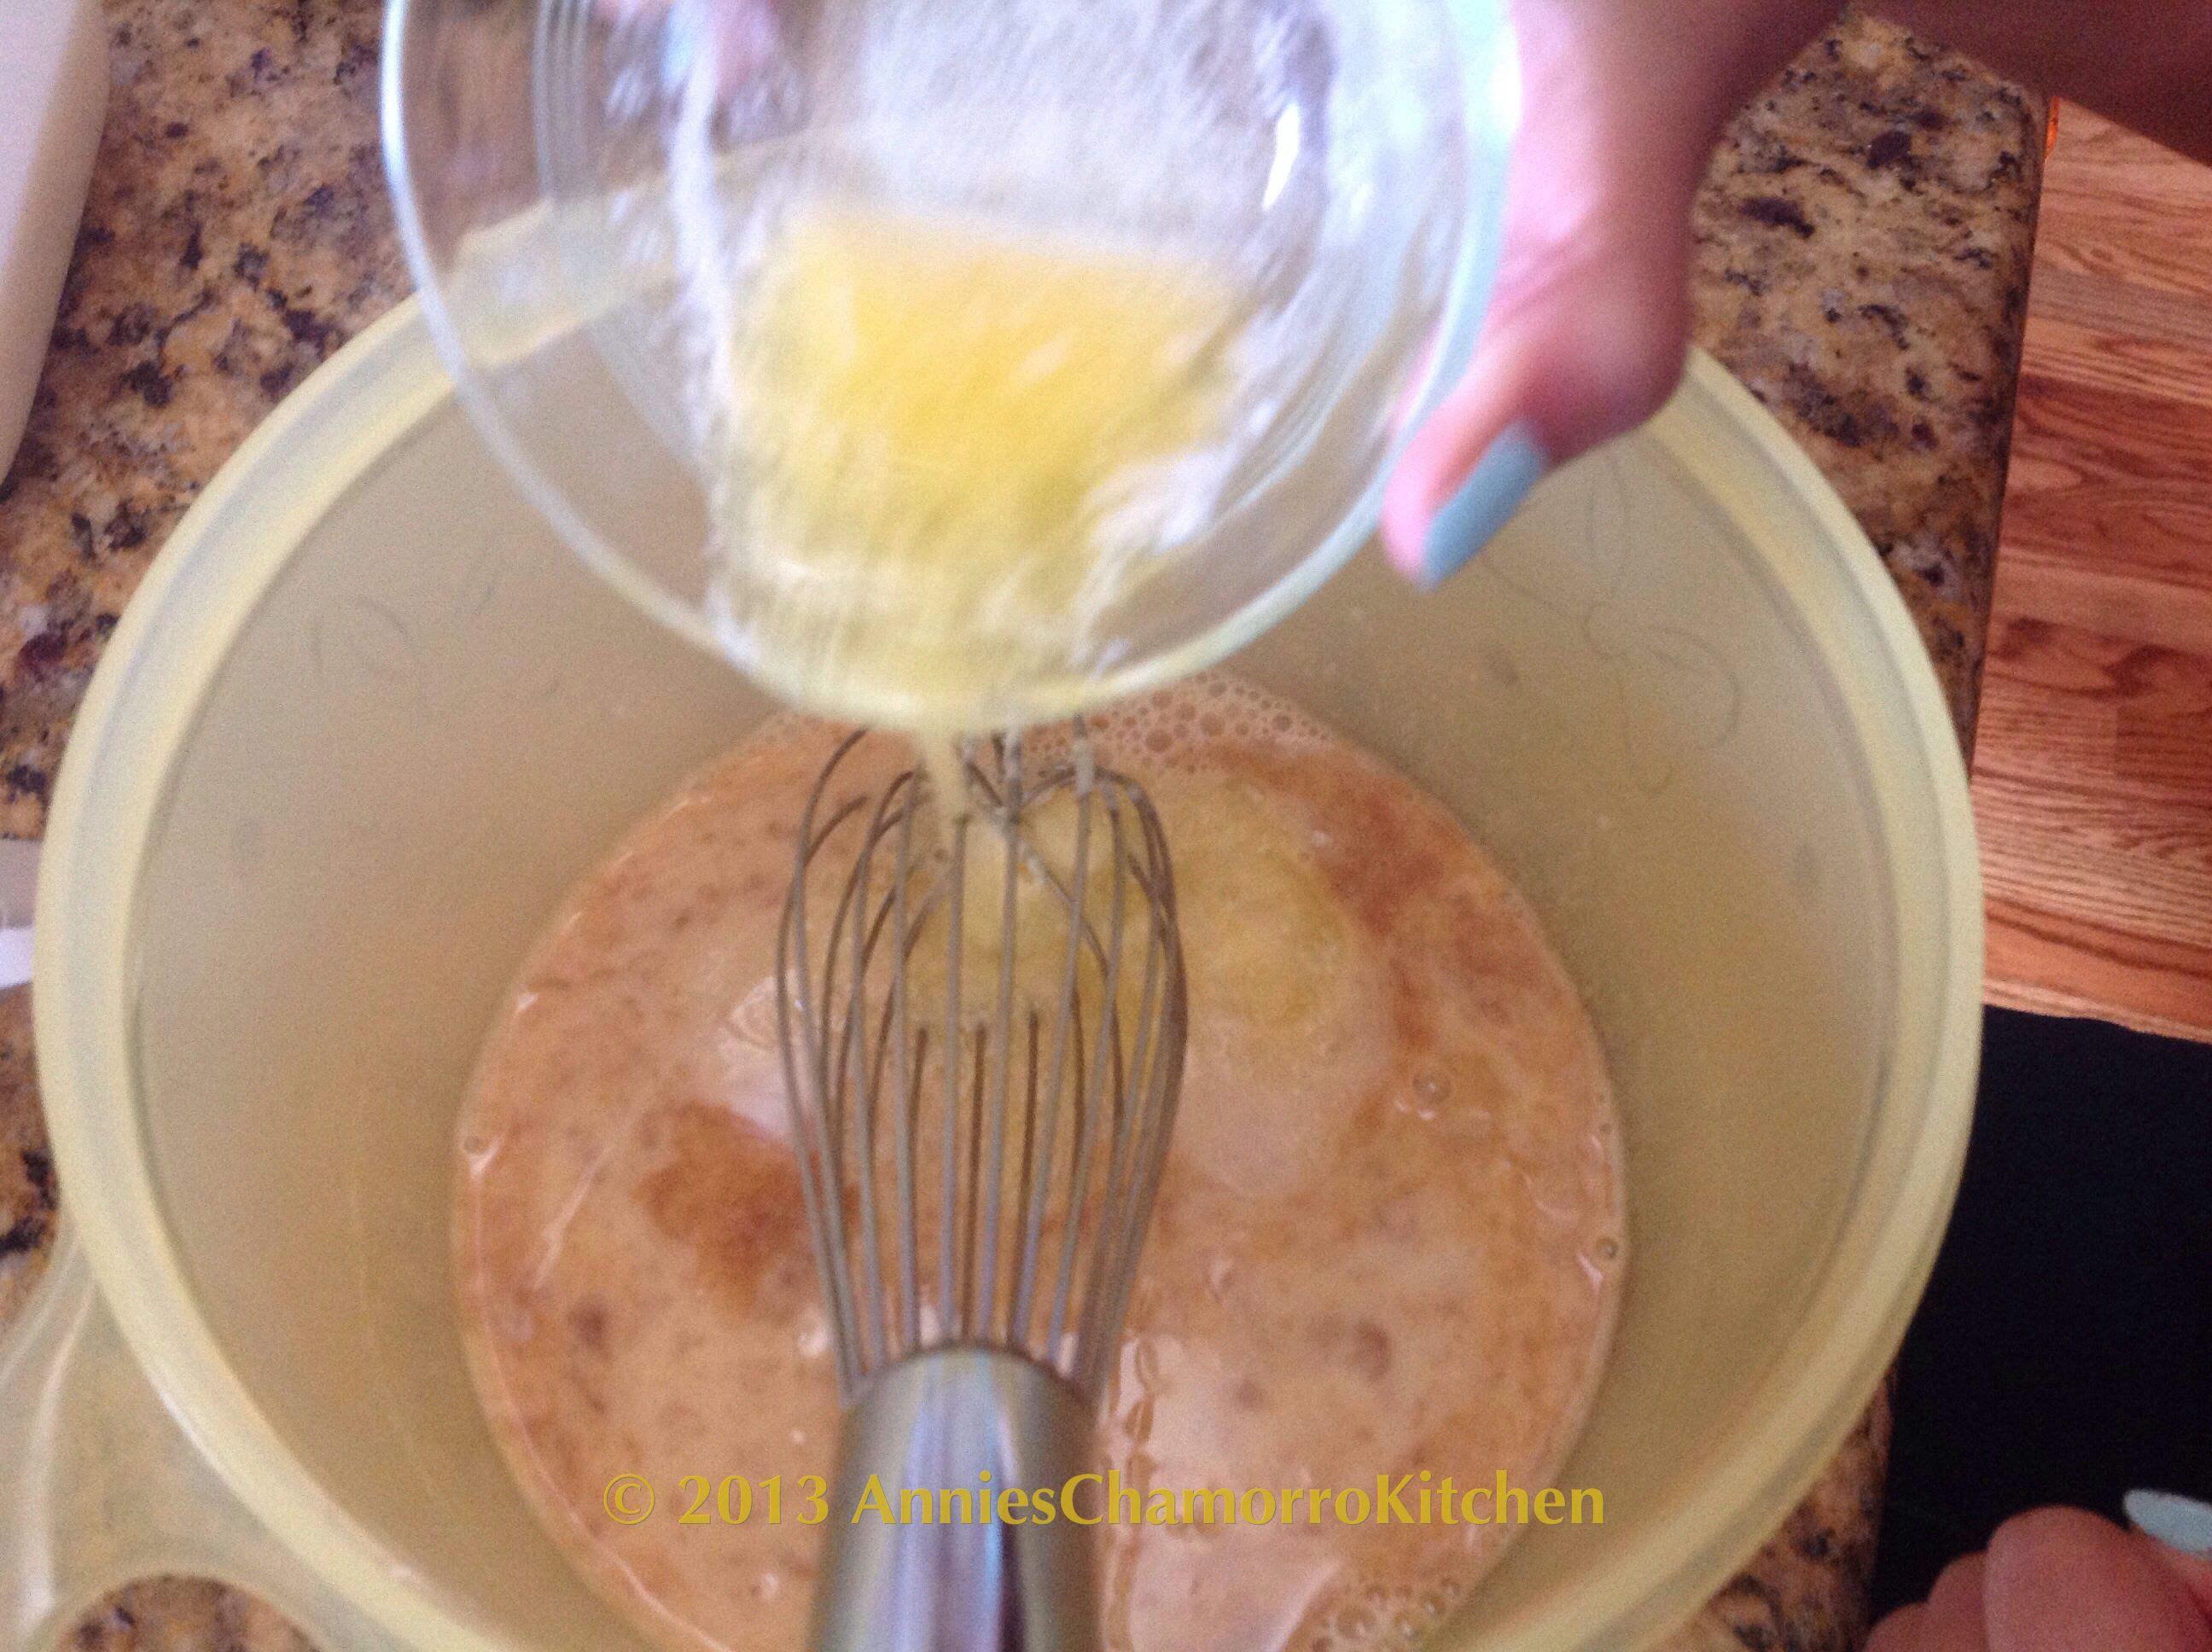
Next, melt the butter. Pour the melted butter into the mixing bowl. The milk was really cold, so if you look carefully, you can see that the melted butter started to solidify again after I poured it into the bowl. If that happens to you, that’s okay. It will all get mixed together in the end.

image

image

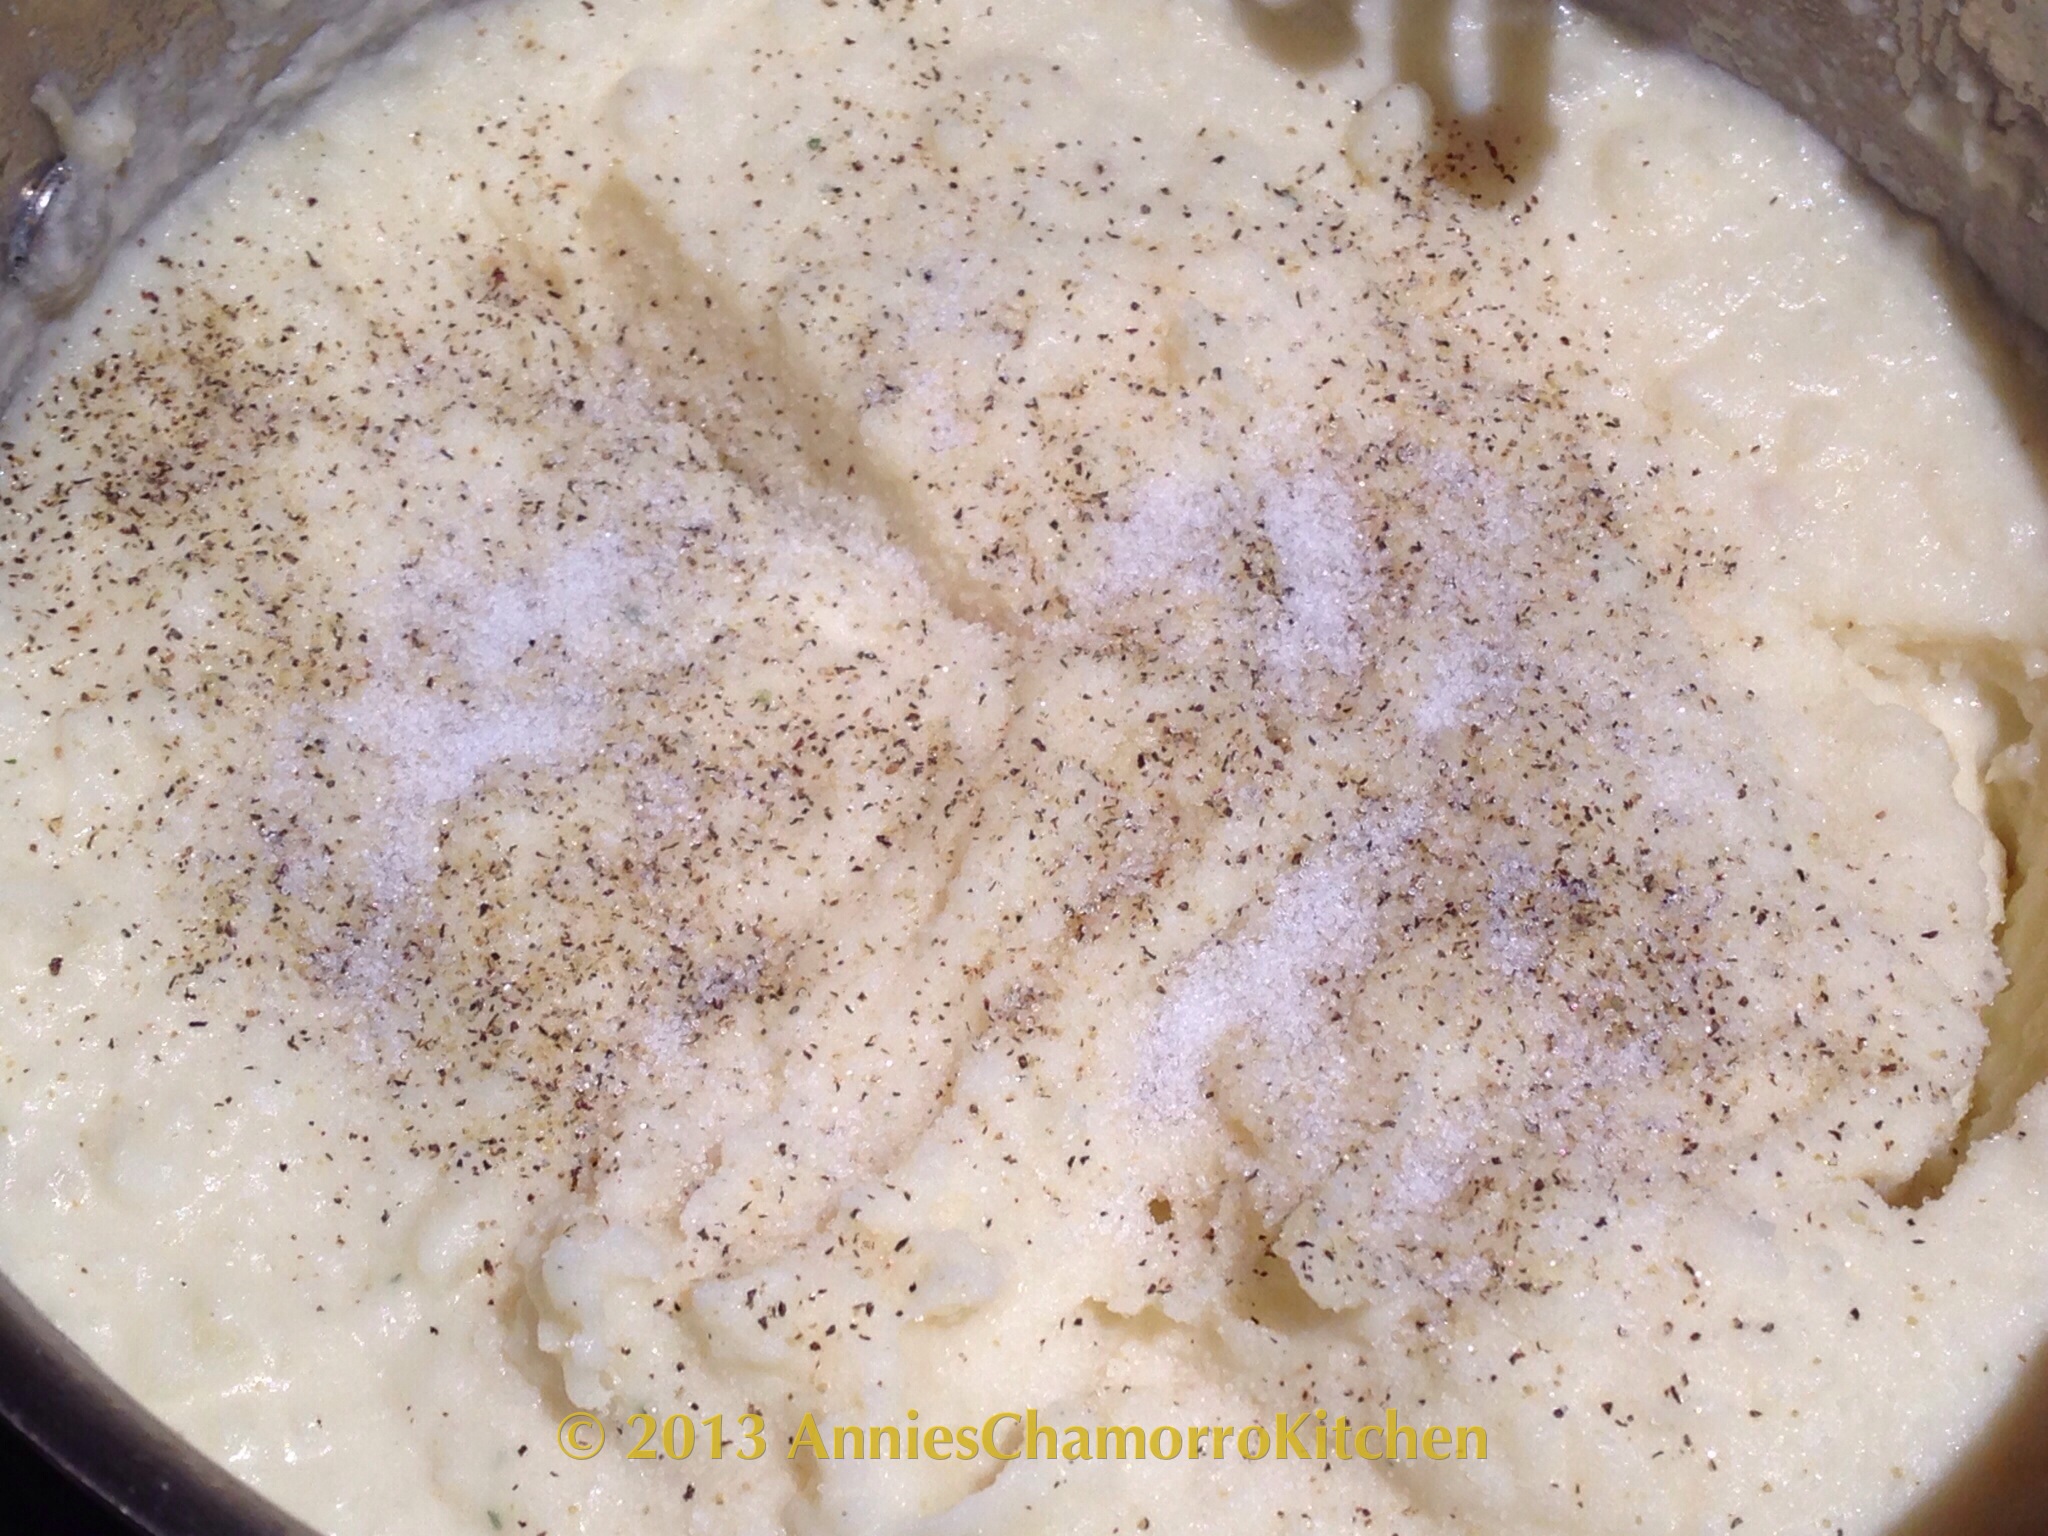
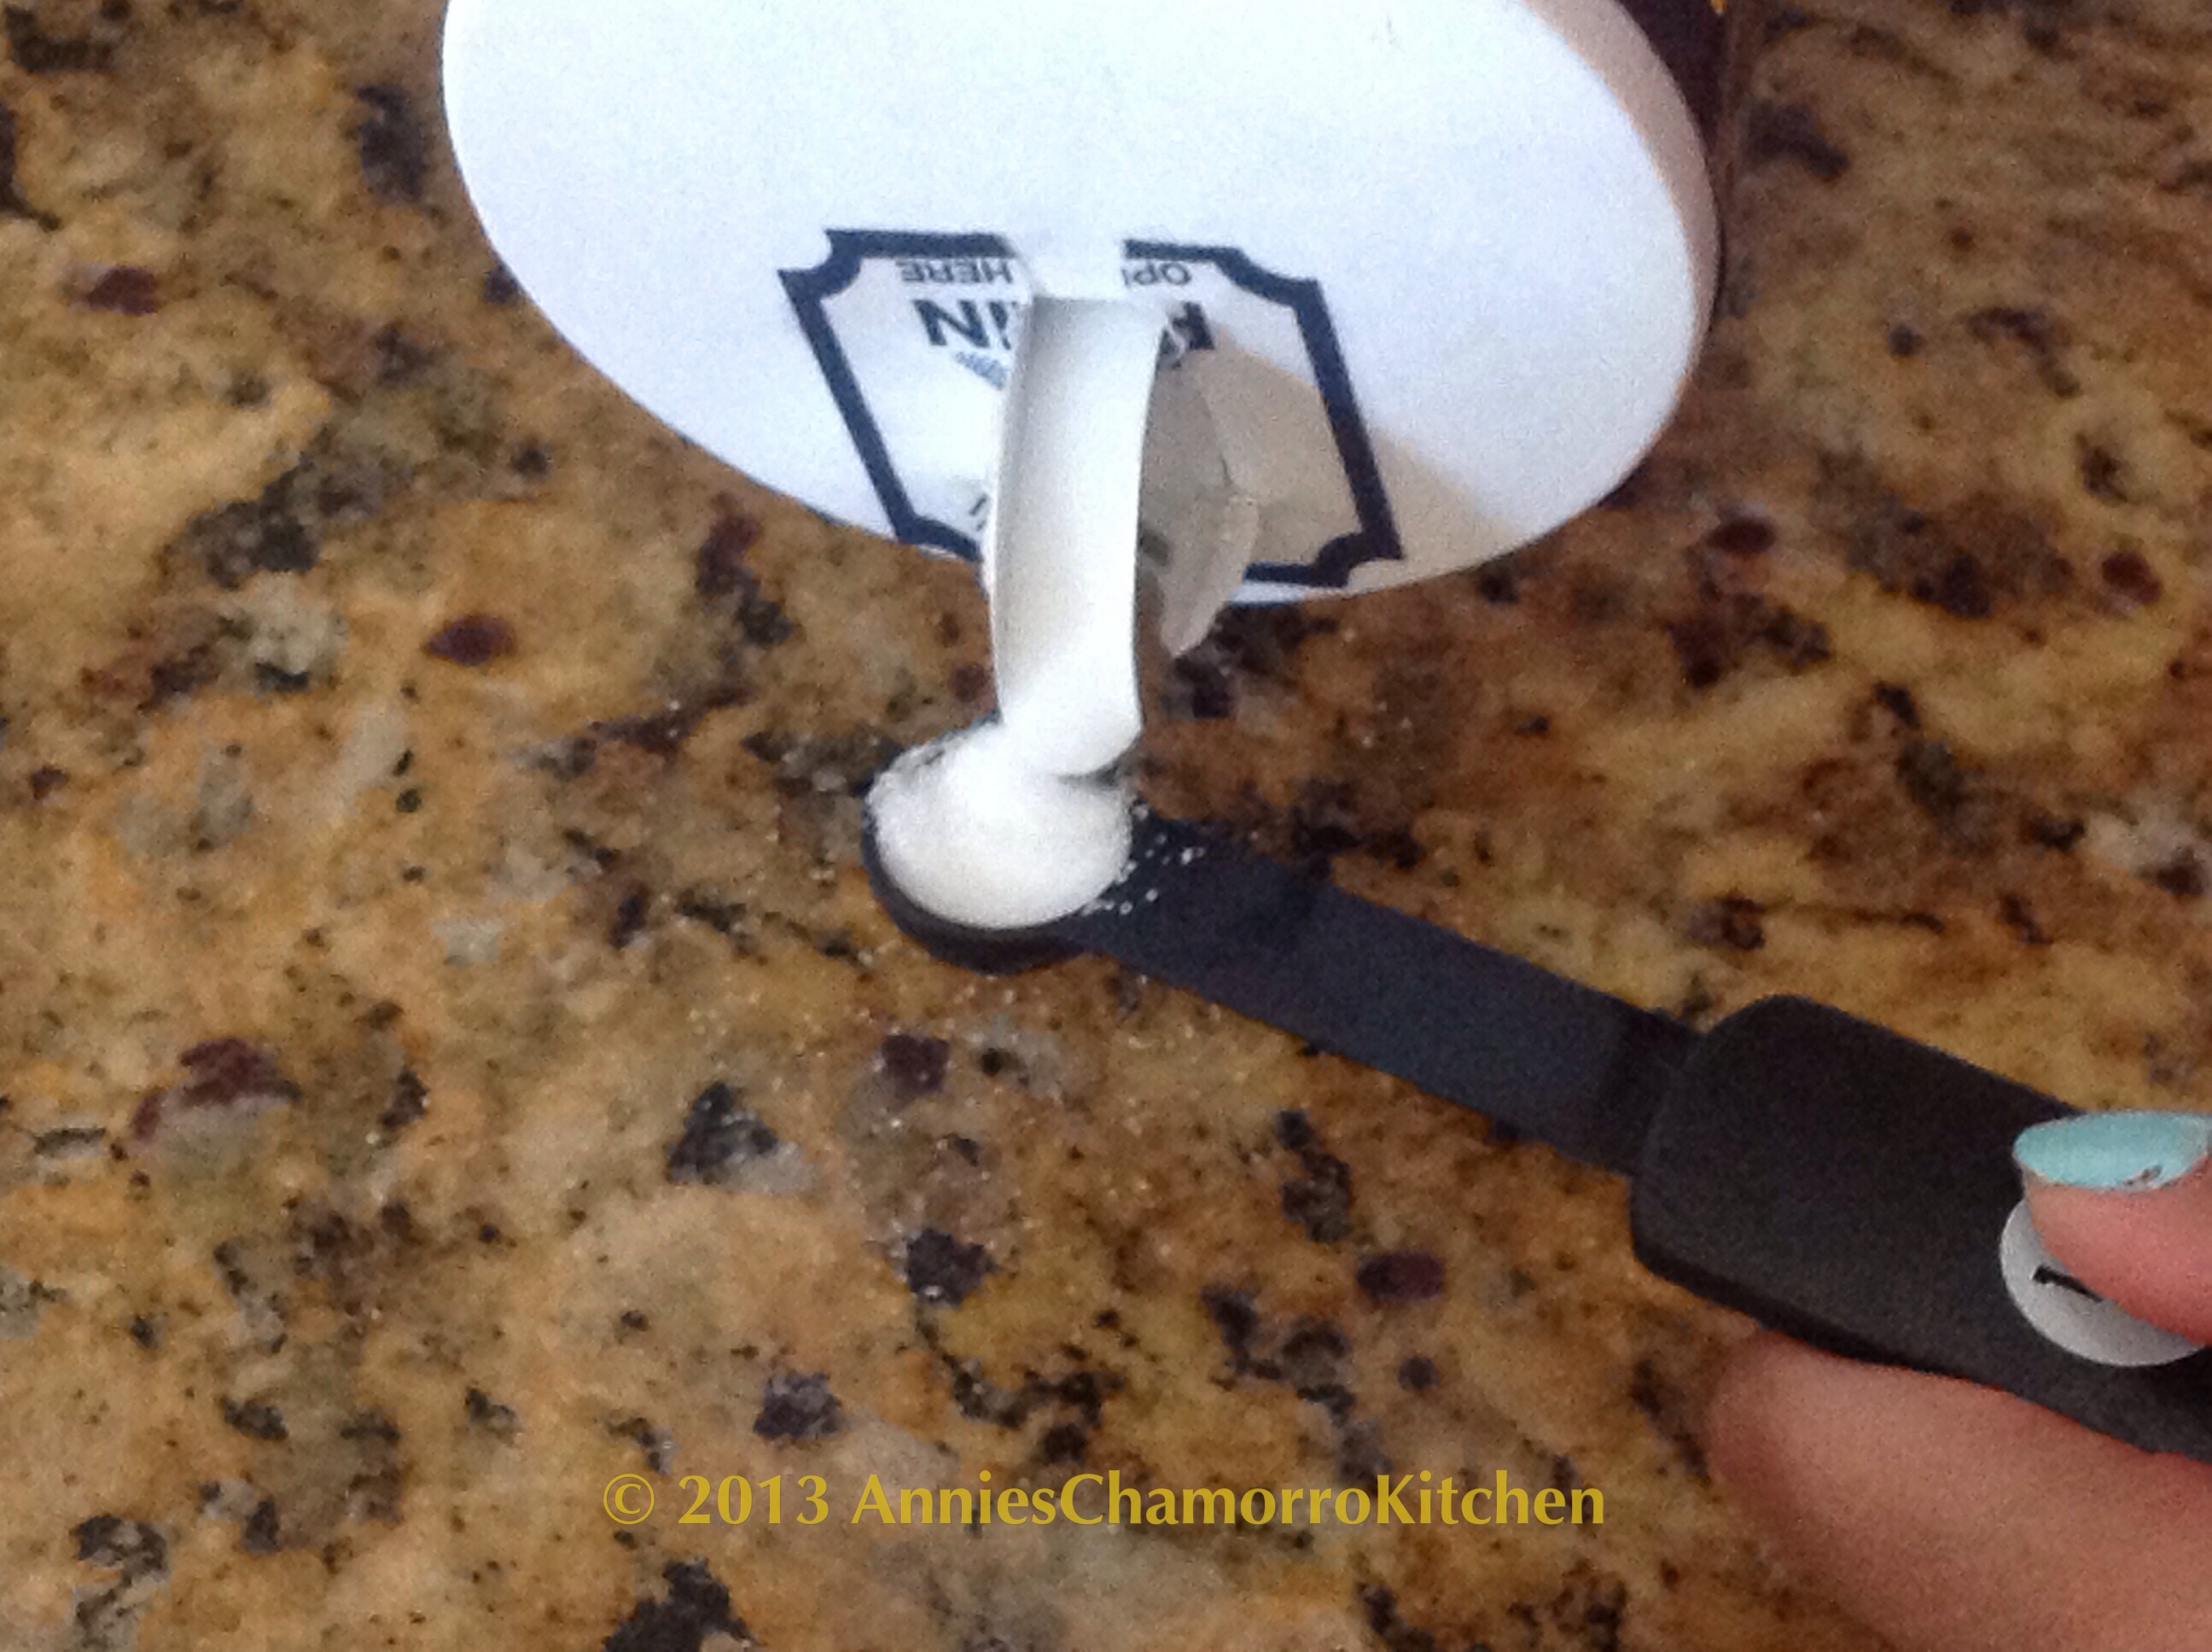
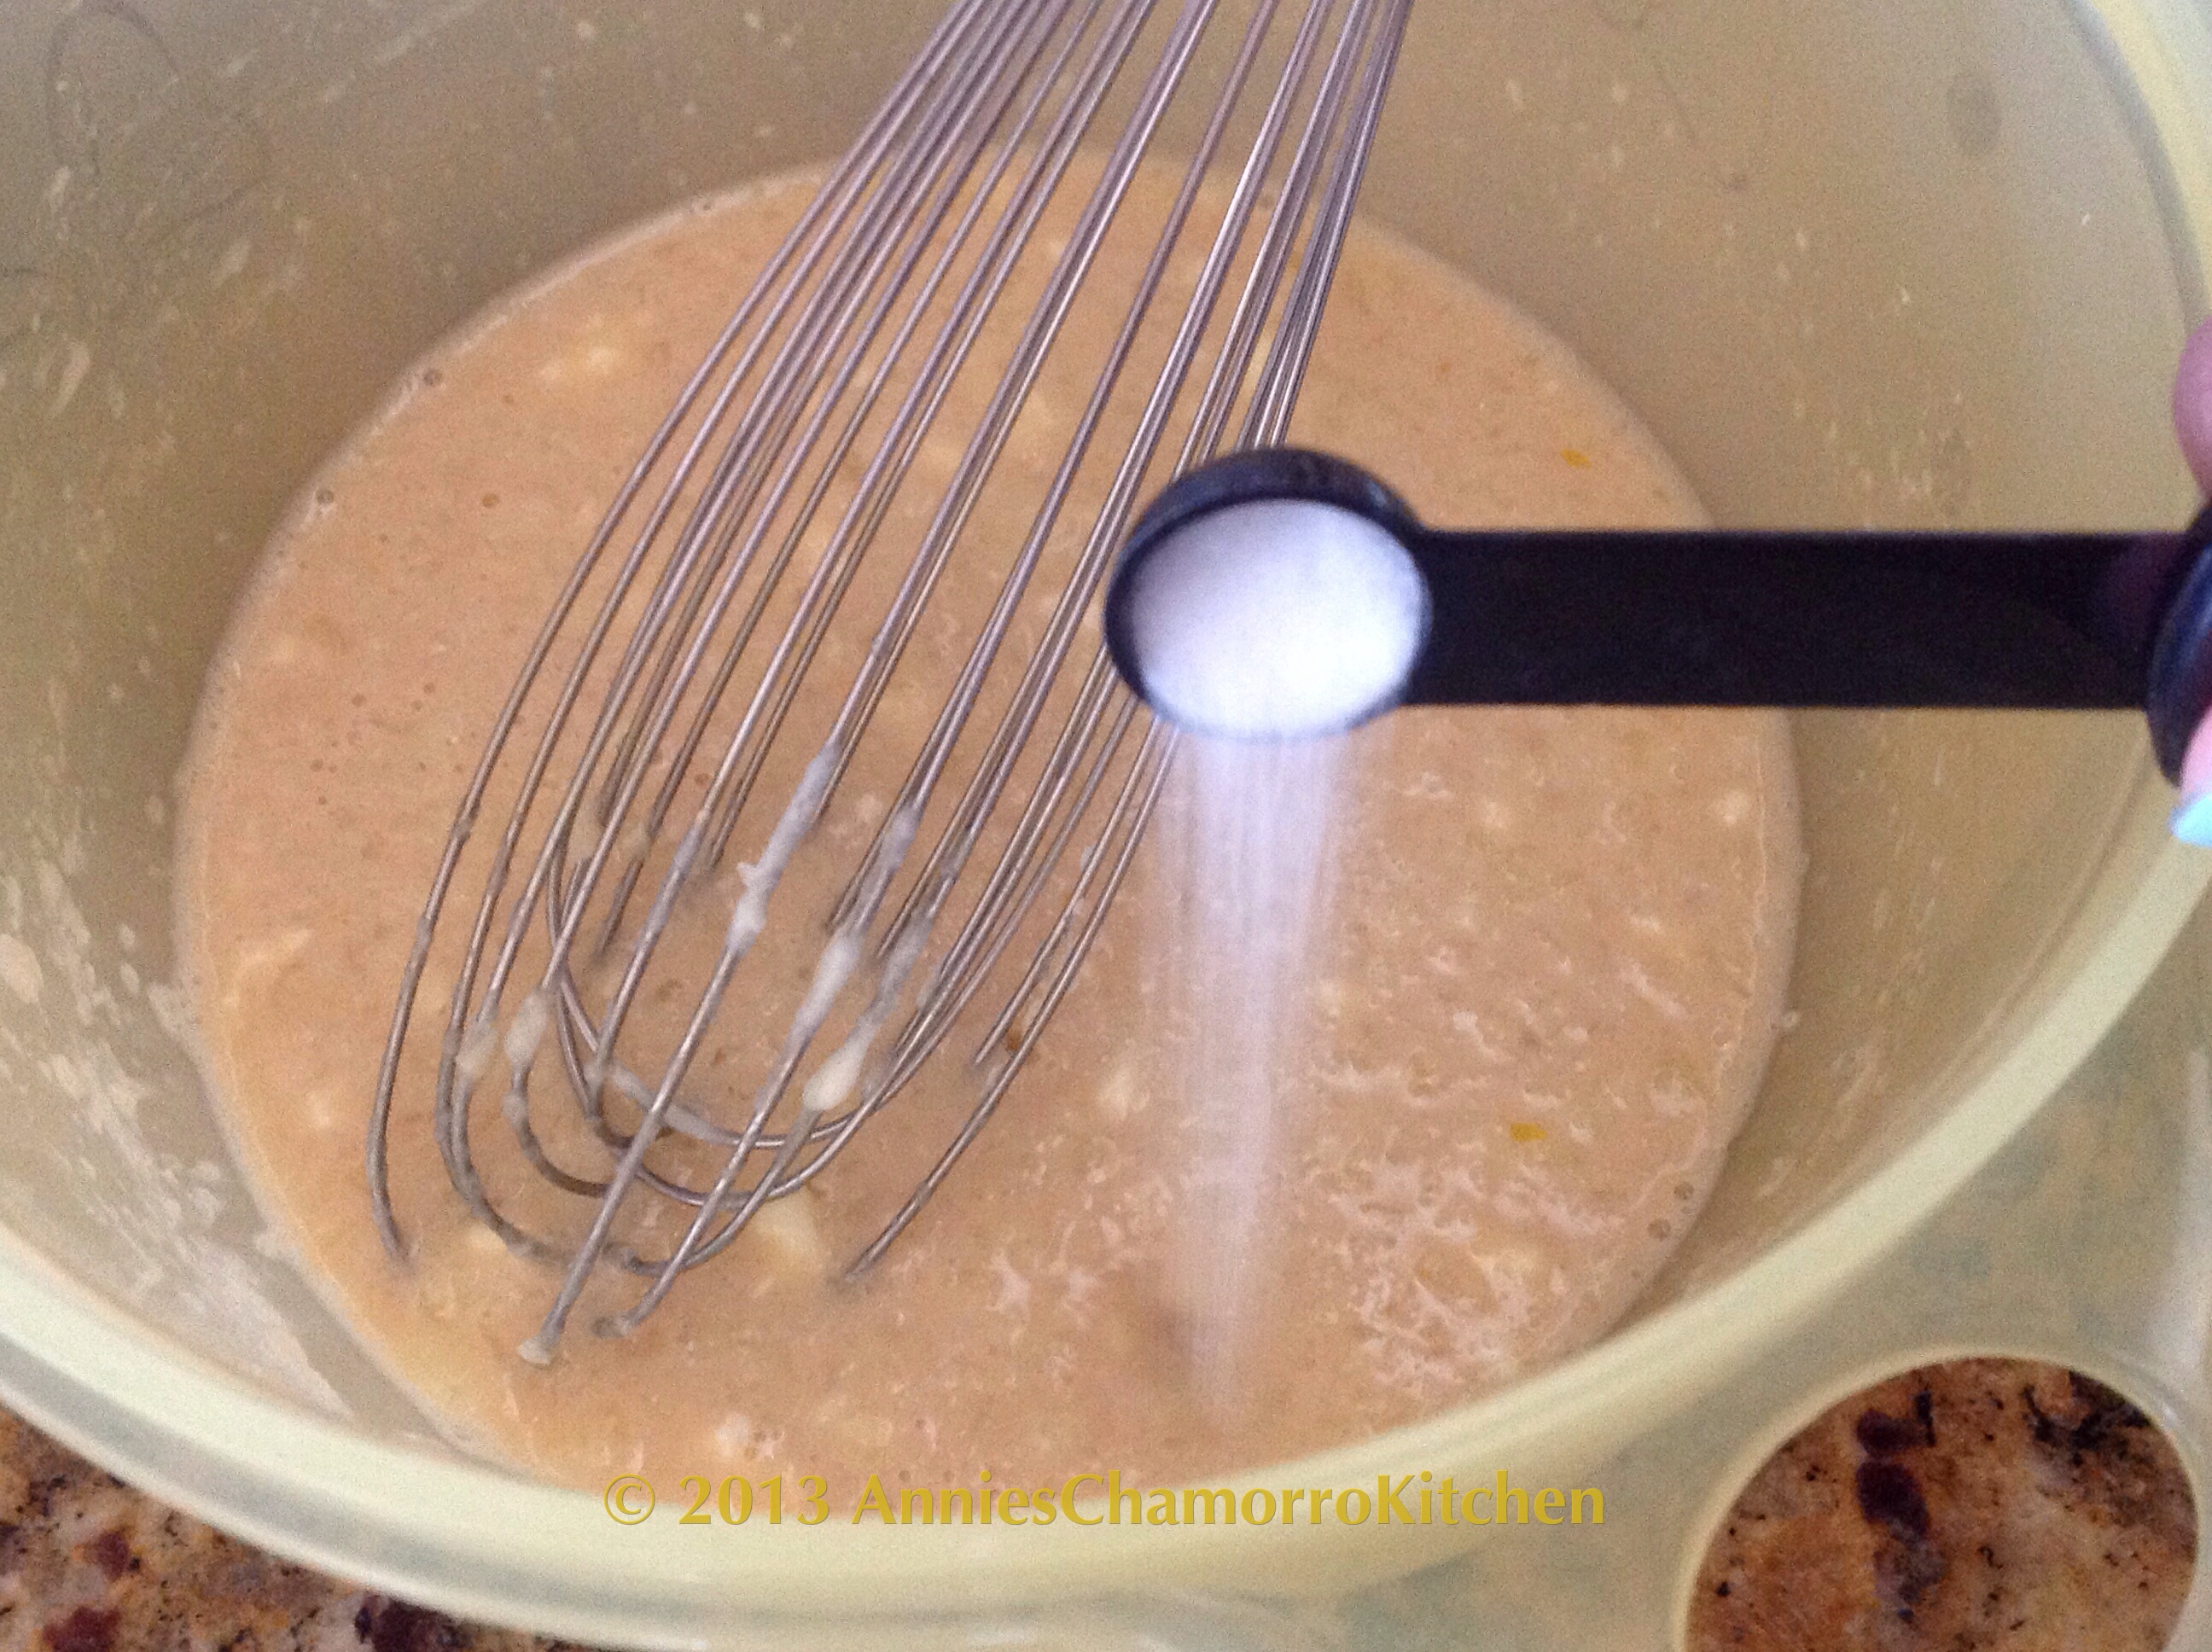
Now the dry ingredients gets mix in. First, add the salt. I usually measure out the salt over the counter in case I pour out too much. Salty pancakes would taste horrible.
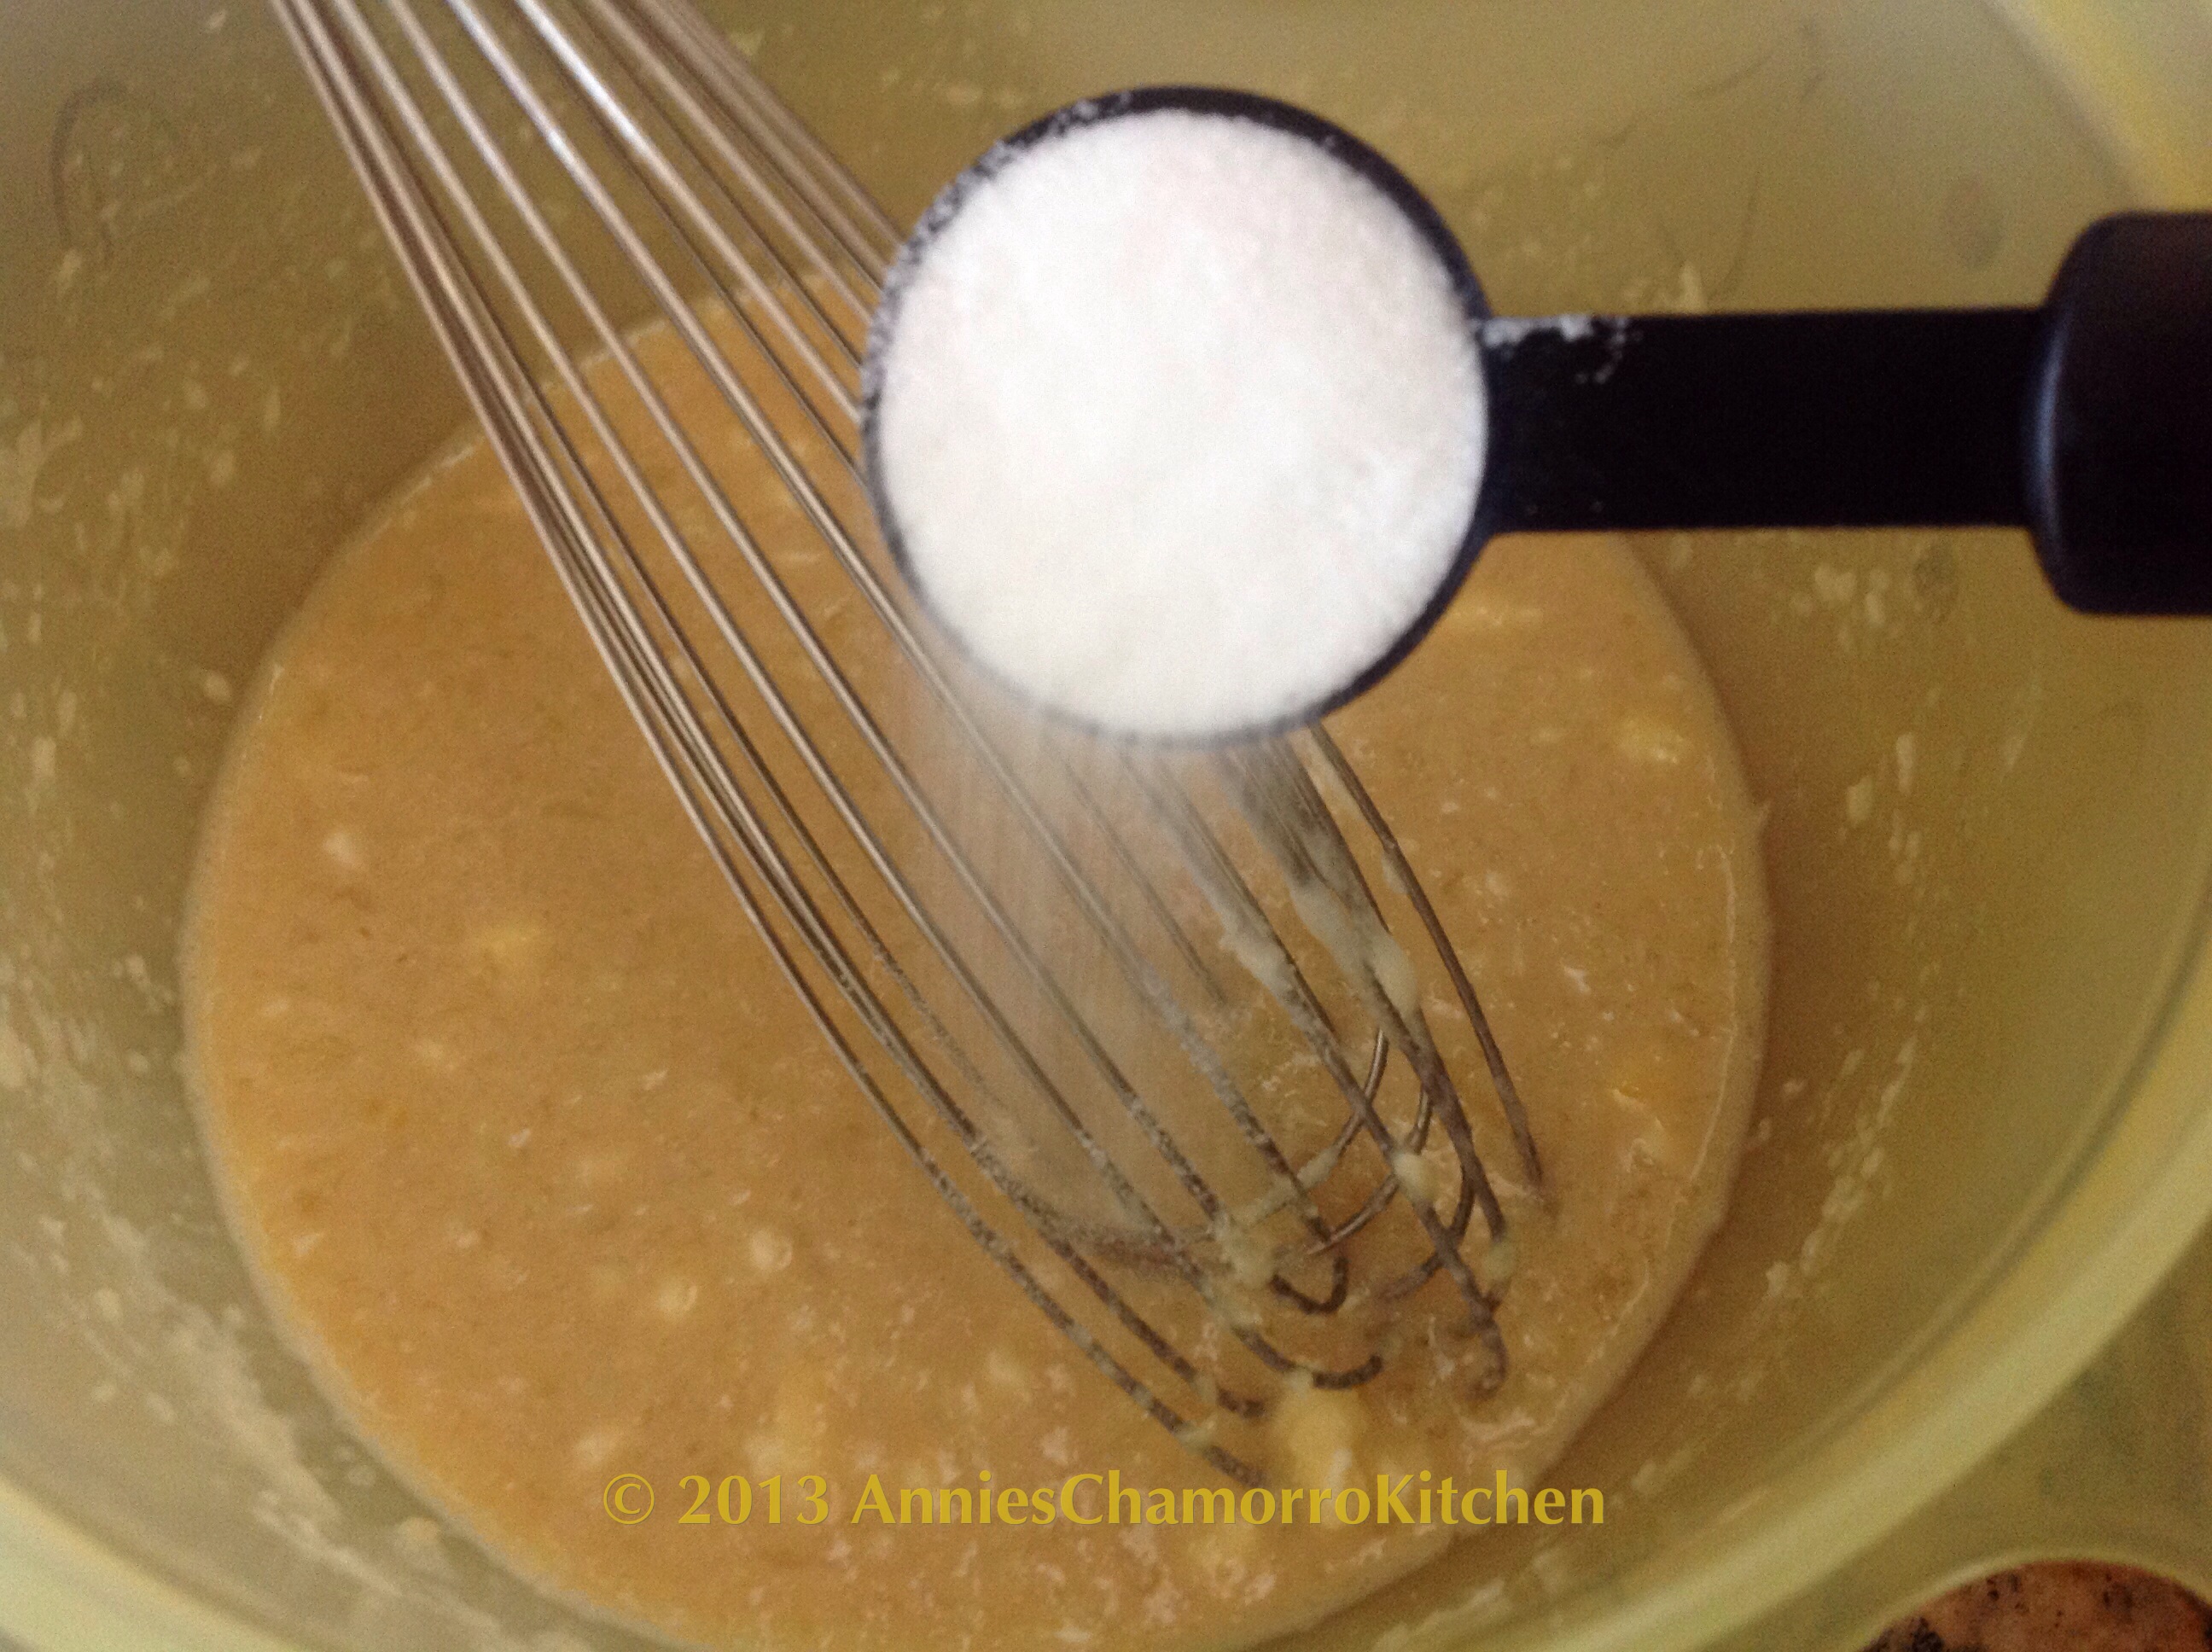
image

image

Add the sugar next.

image

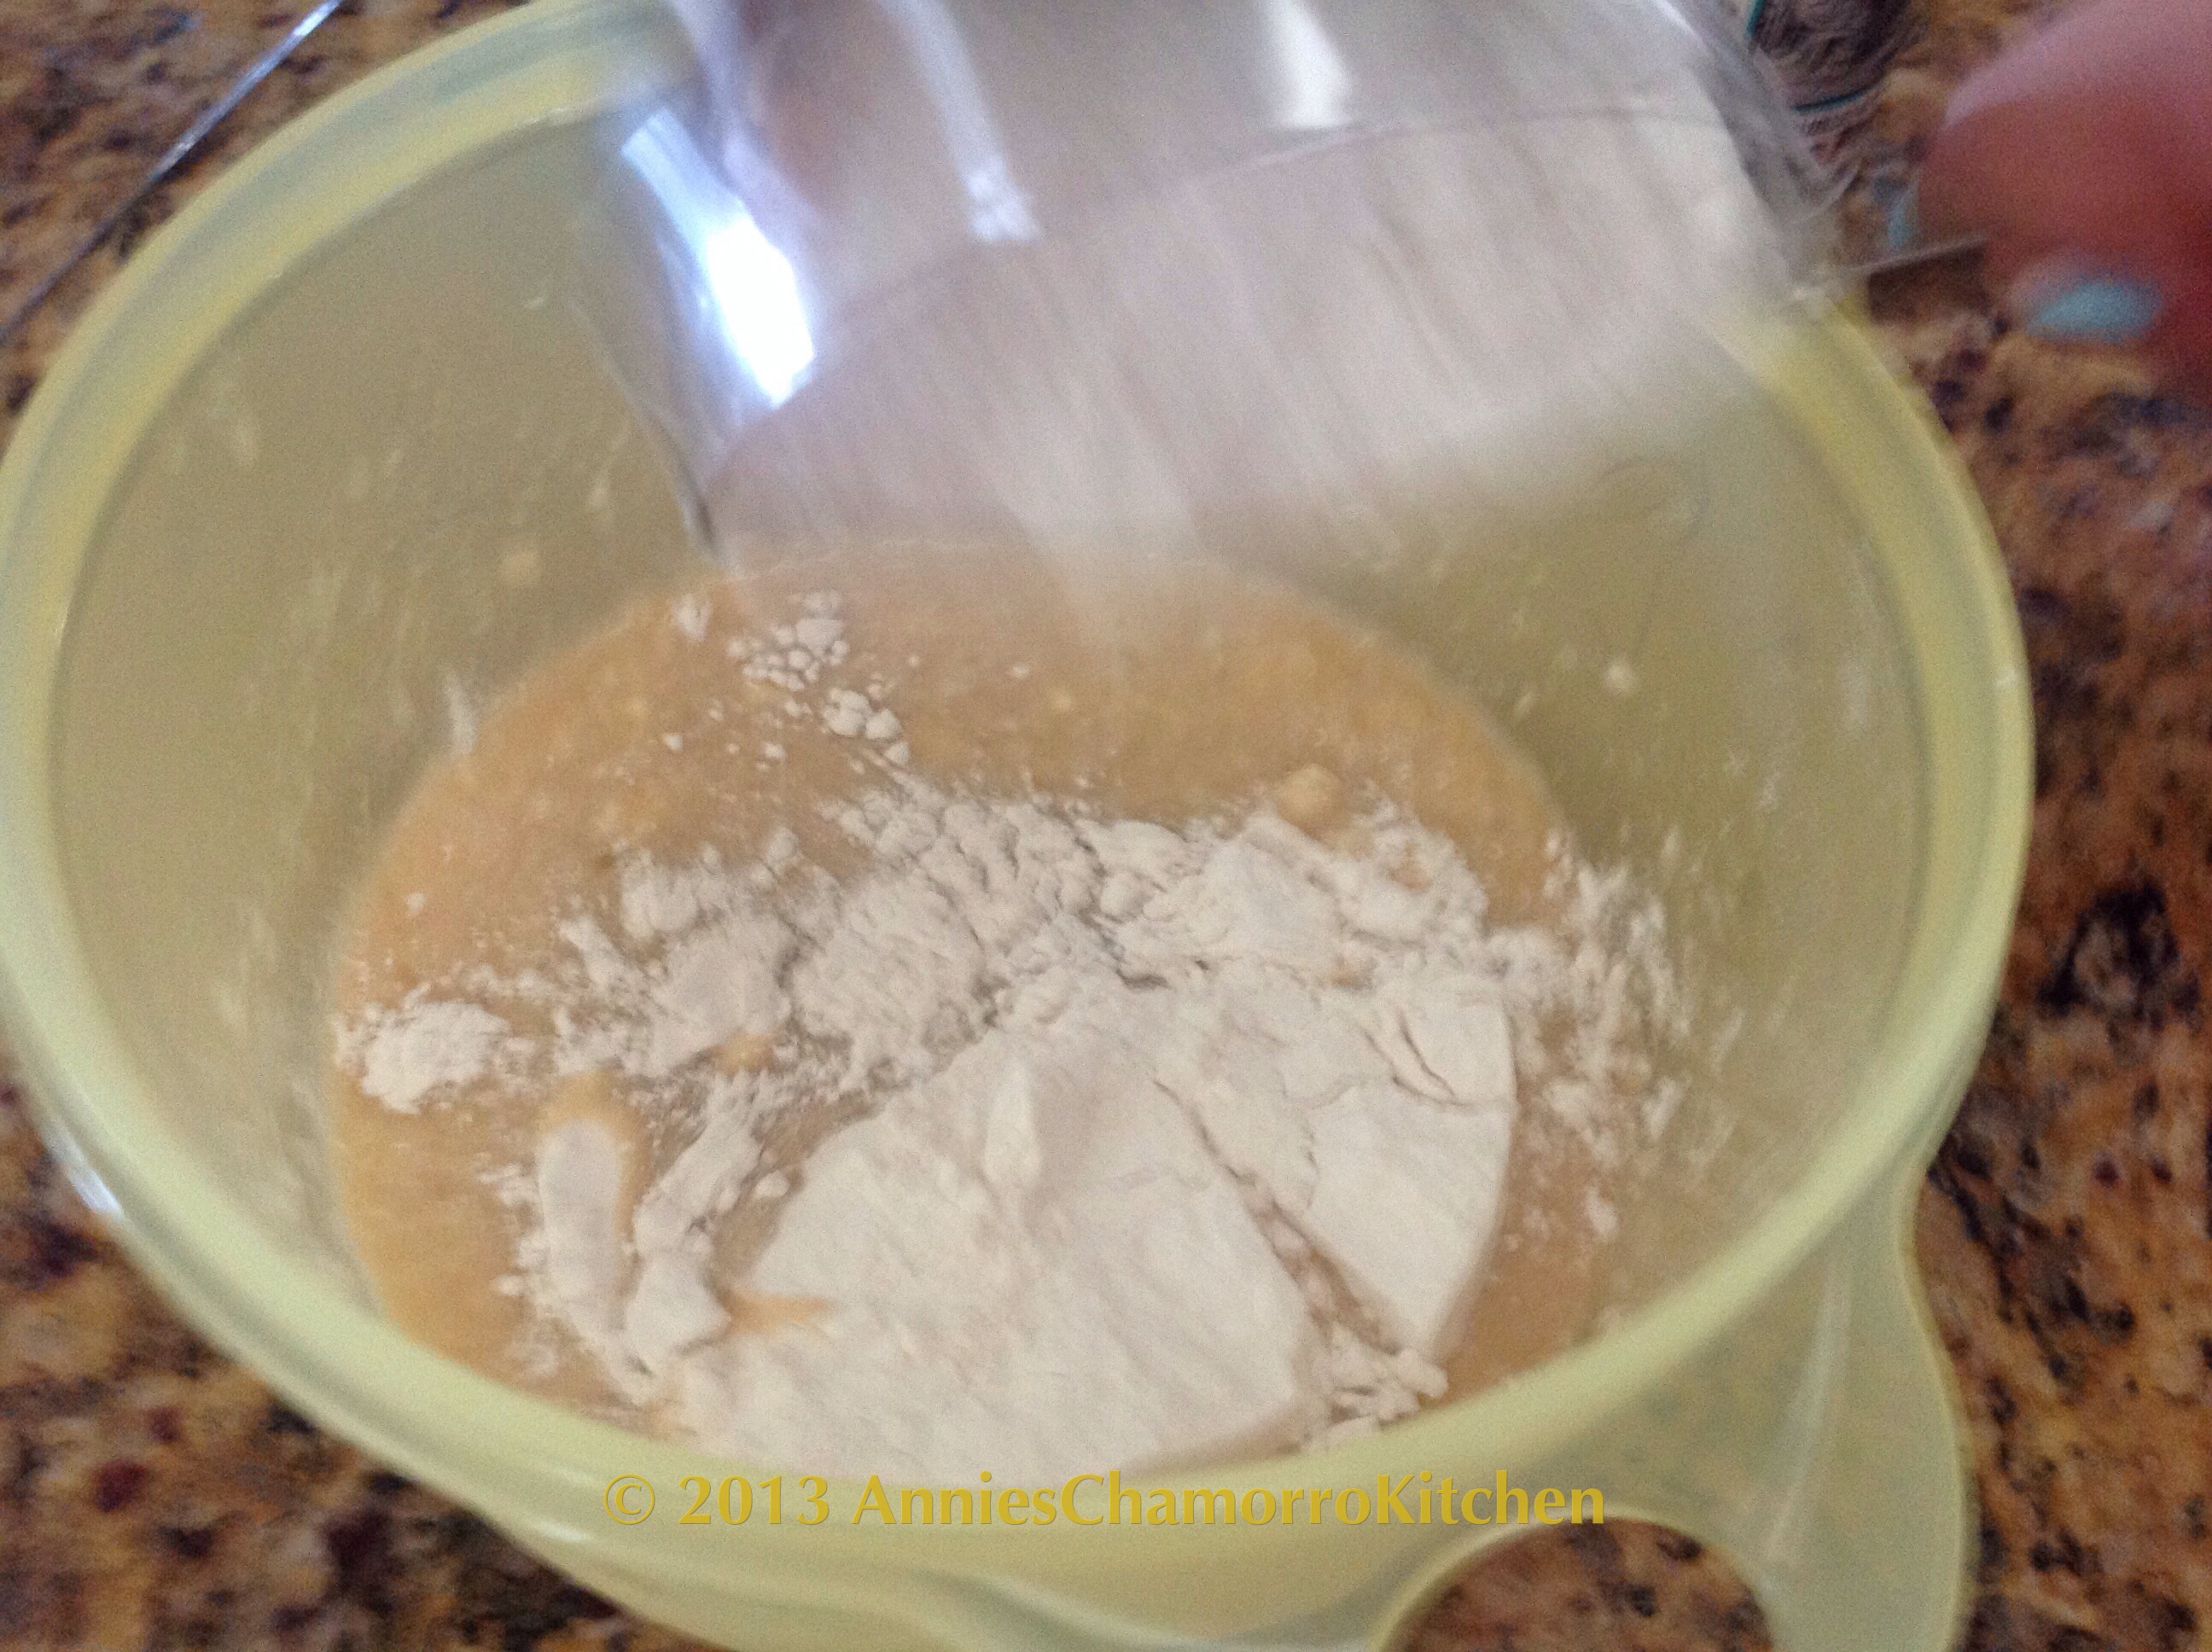
Add the flour to the bowl. Whisk again to mix the flour into the batter.

image

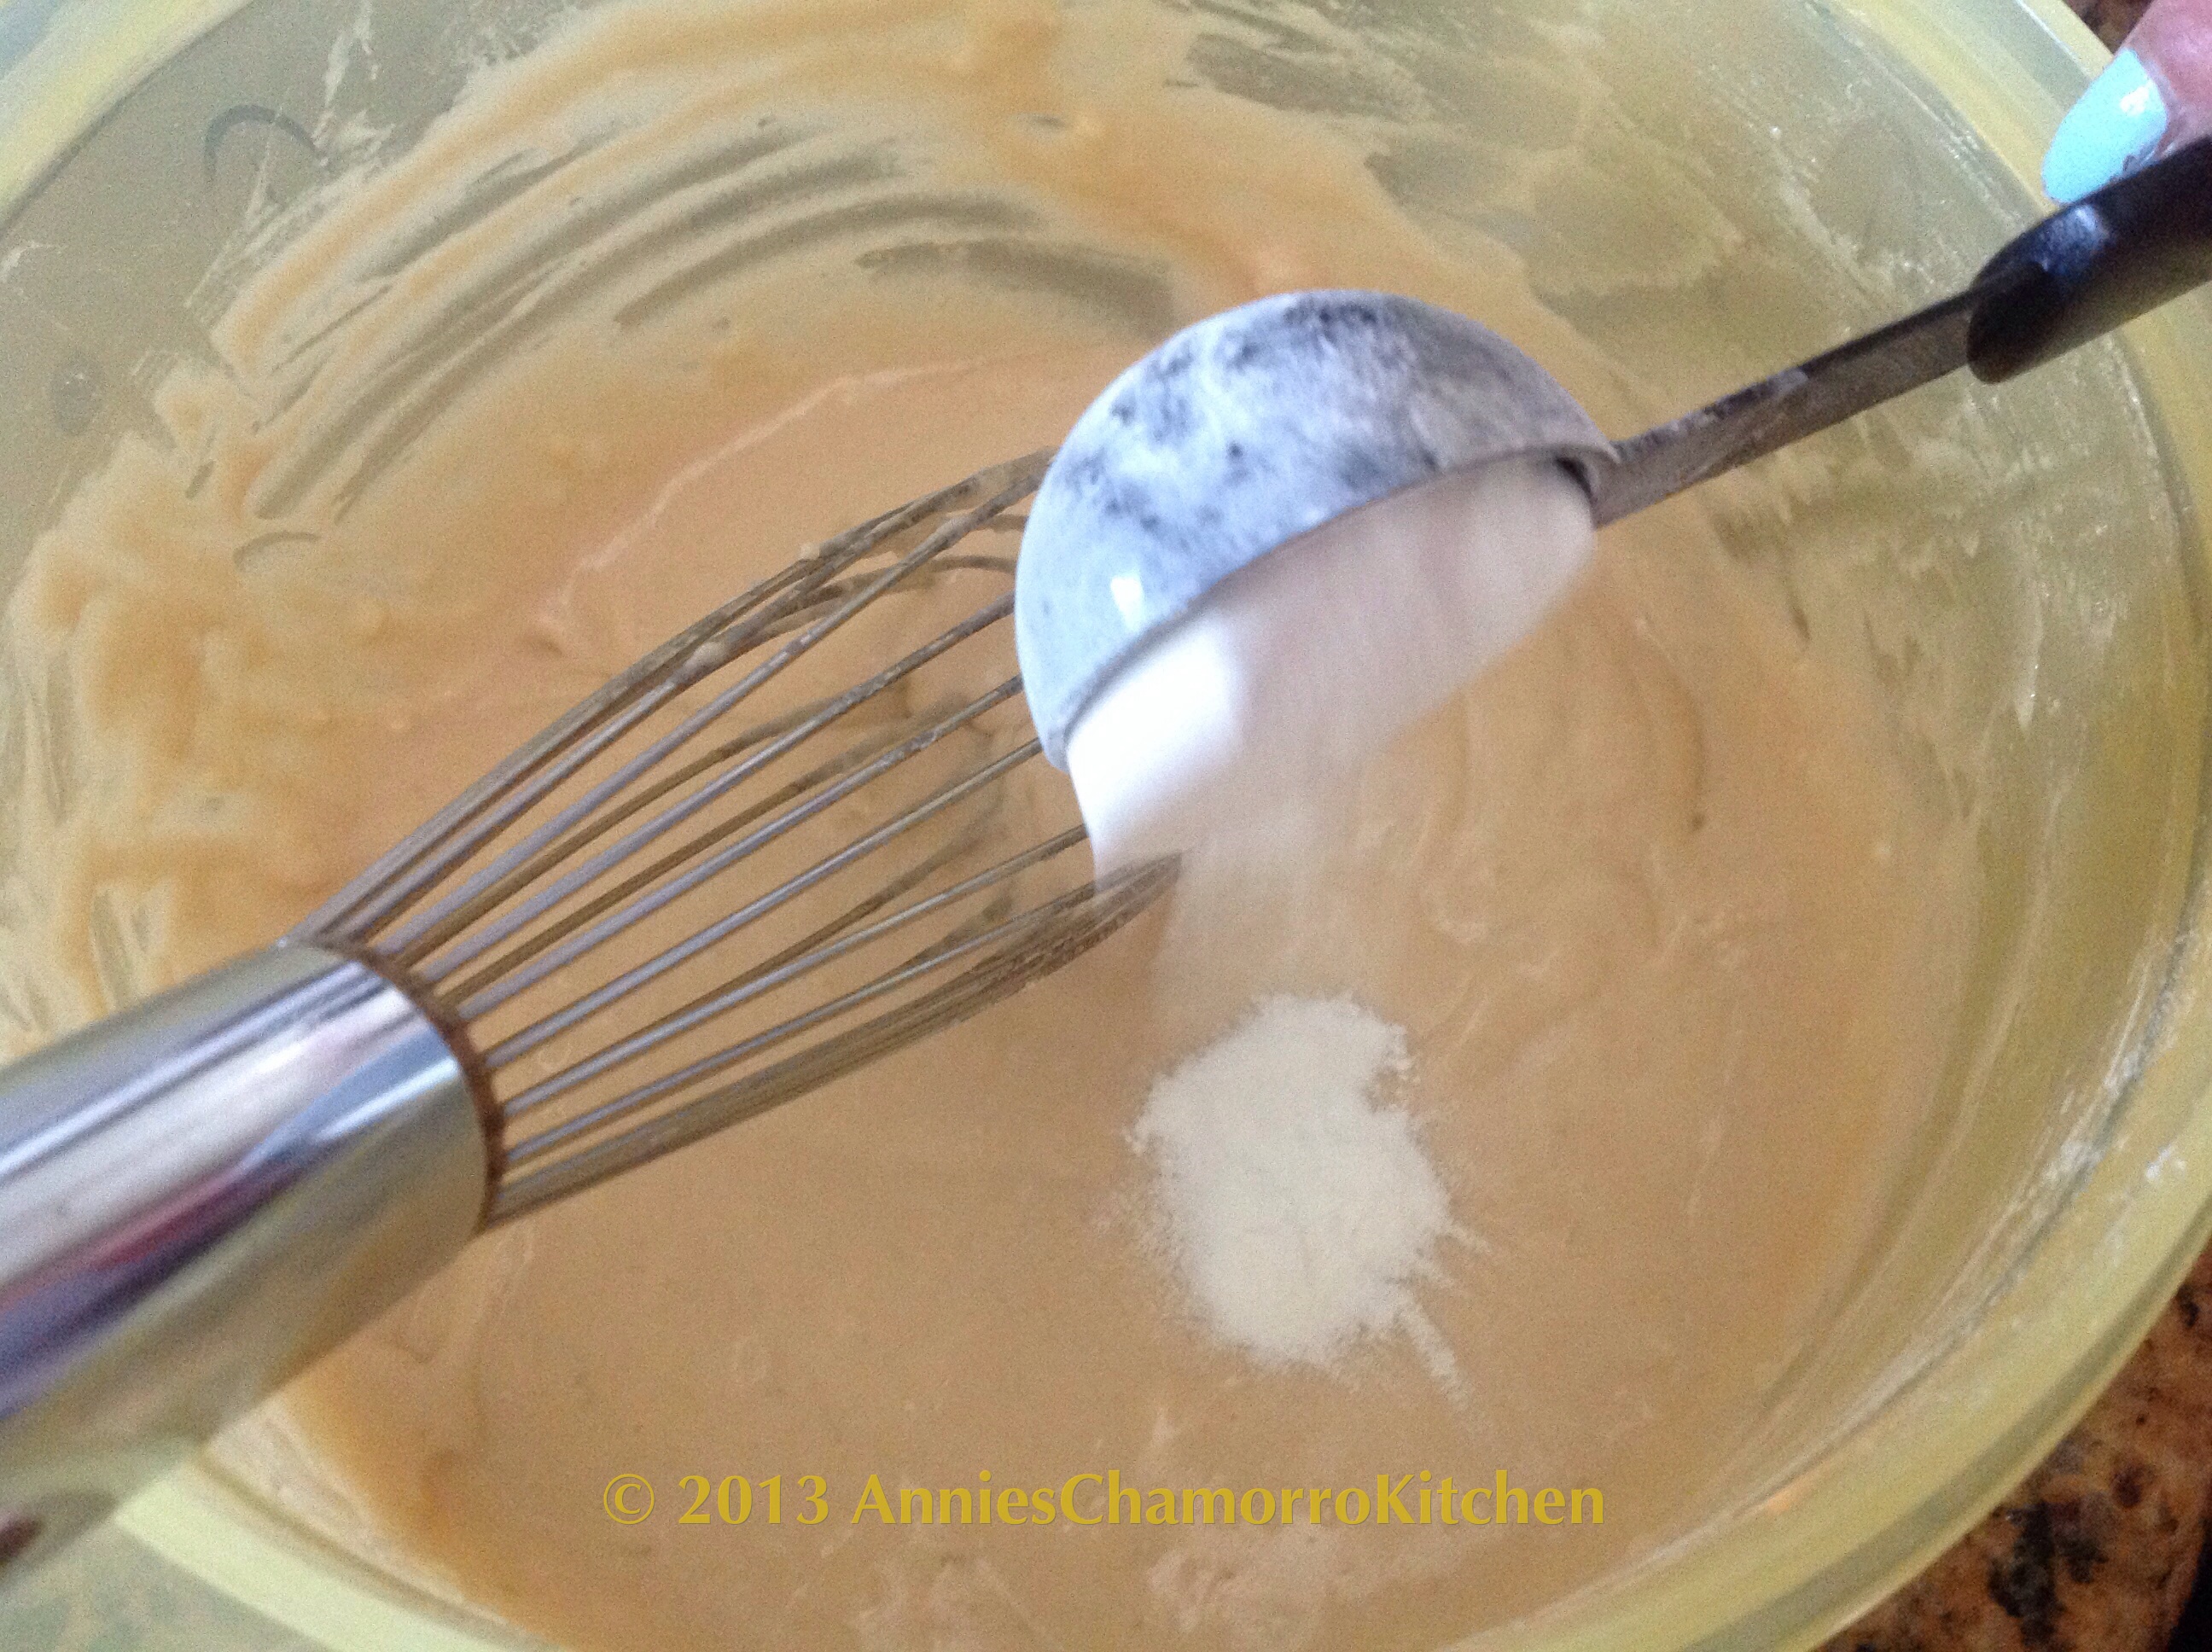
Add the baking powder last. The baking powder reacts as soon as it’s mixed with liquid. As soon as you mix in the baking powder, get ready to cook up the pancakes.

image

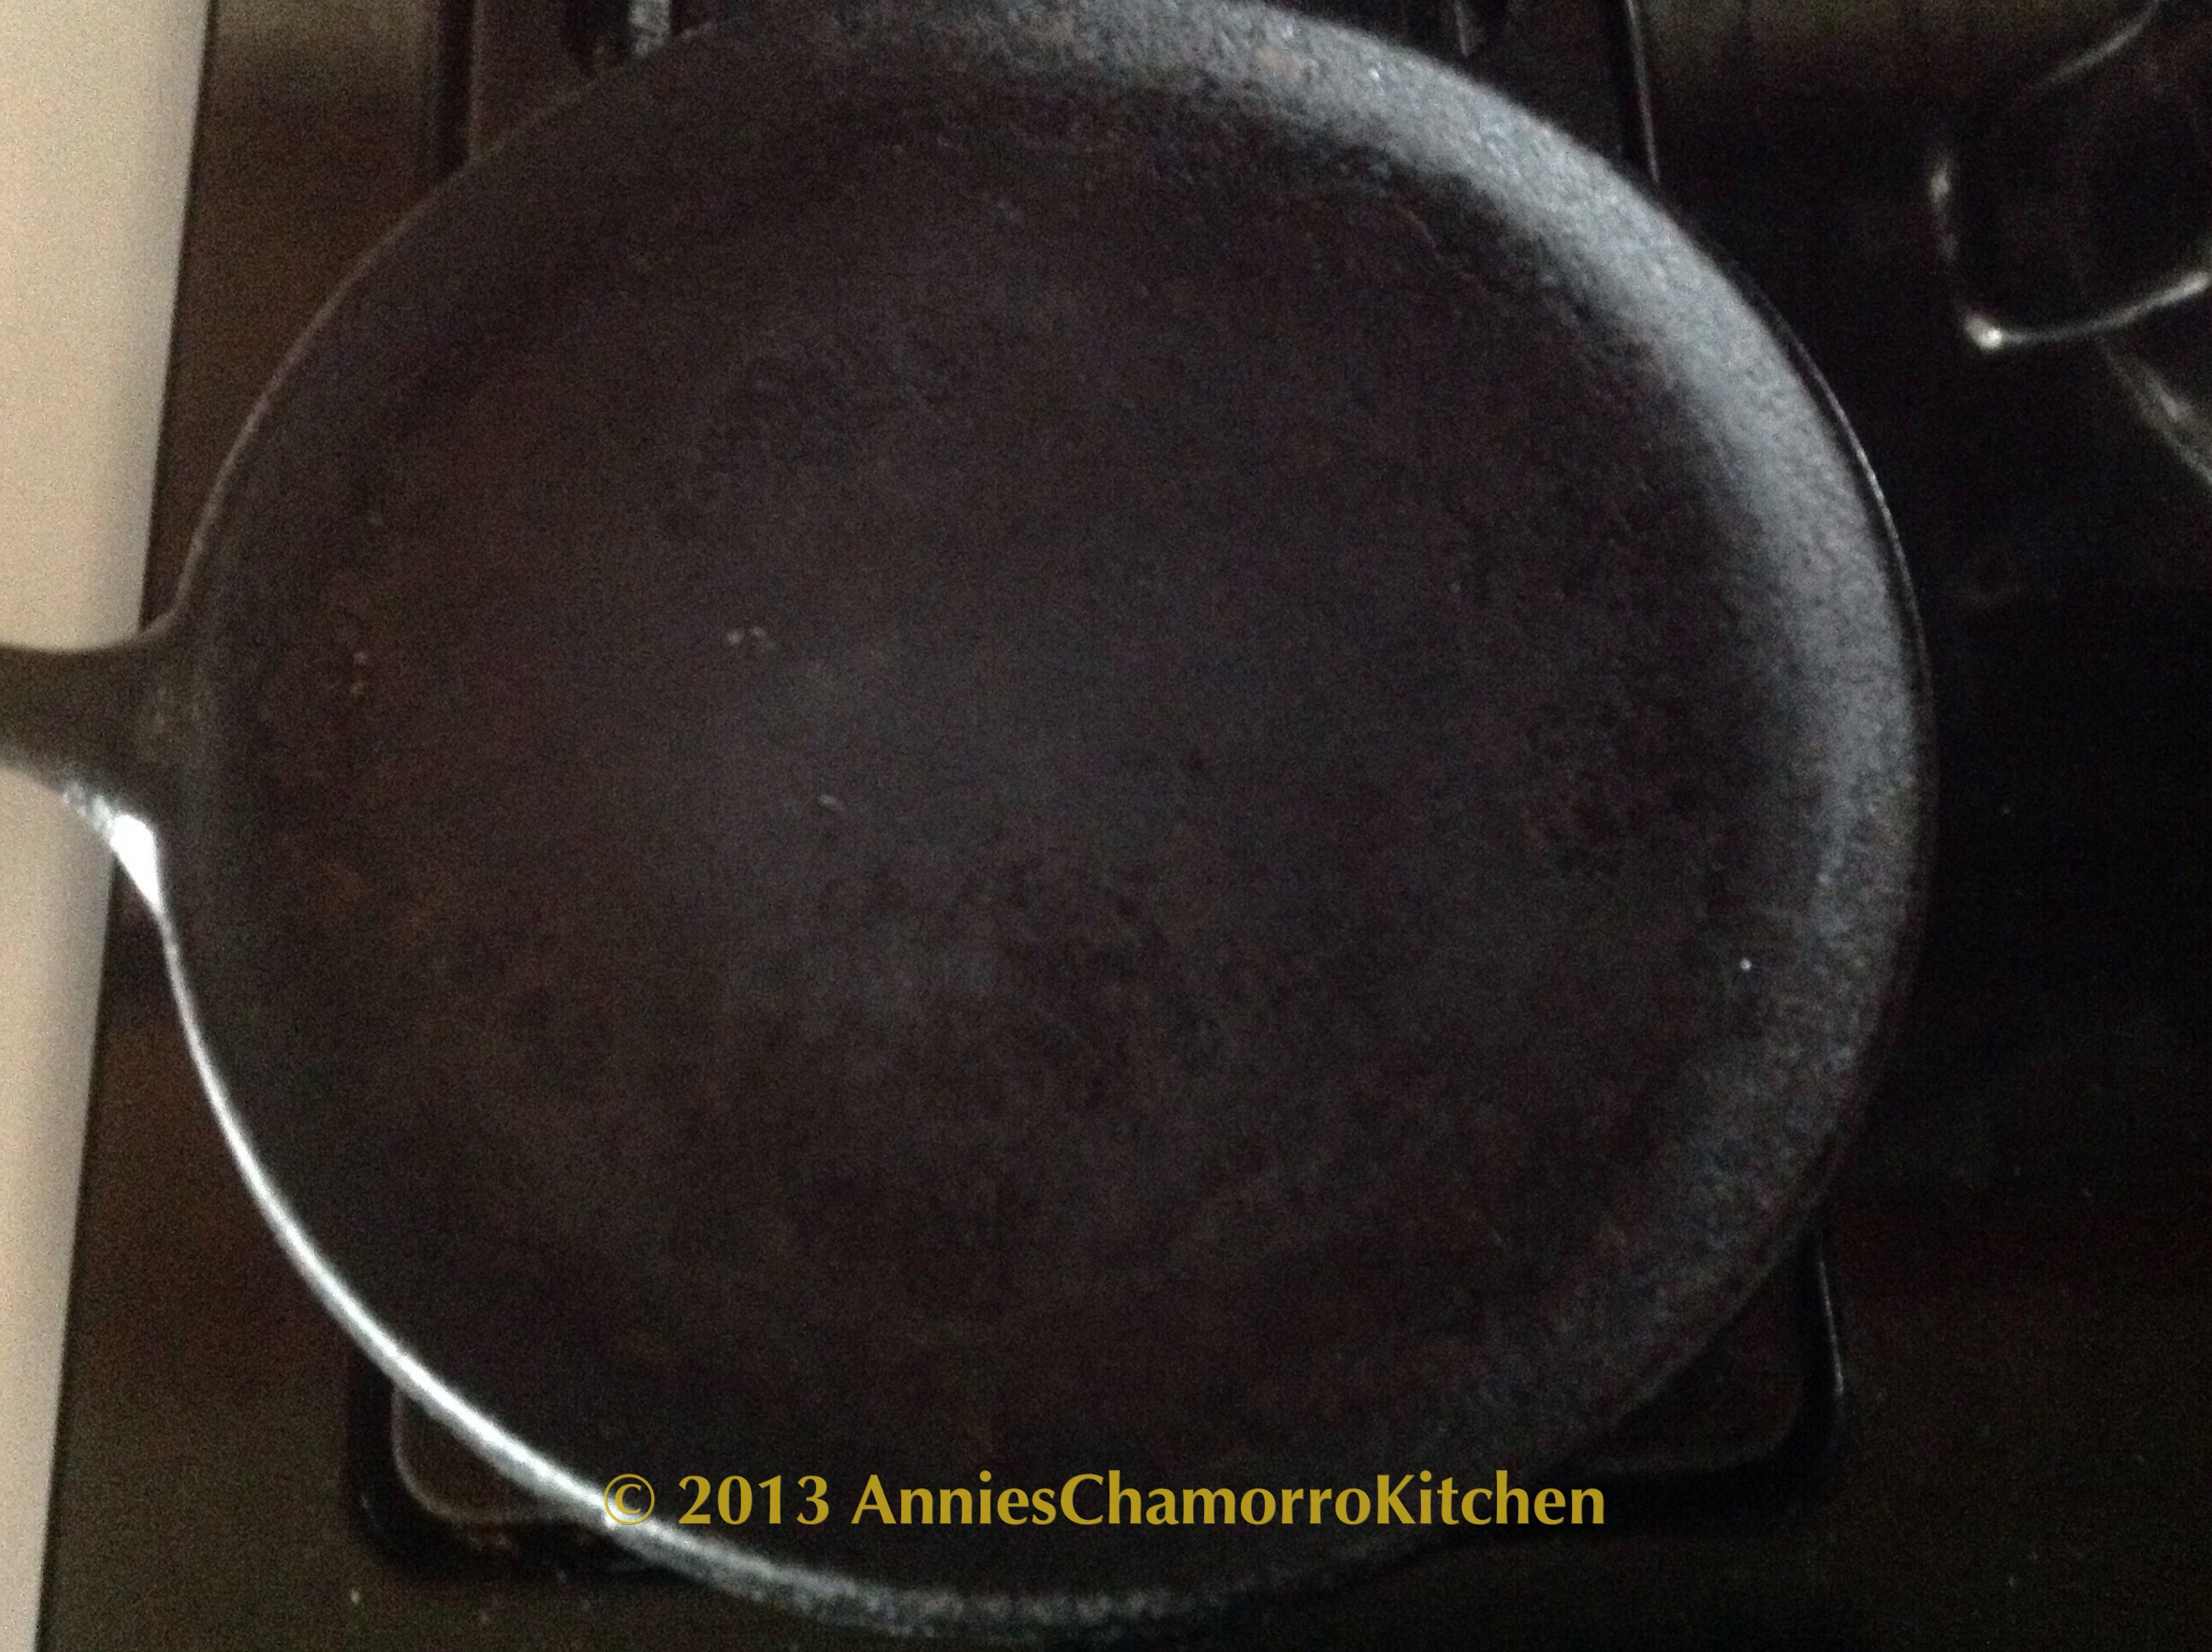
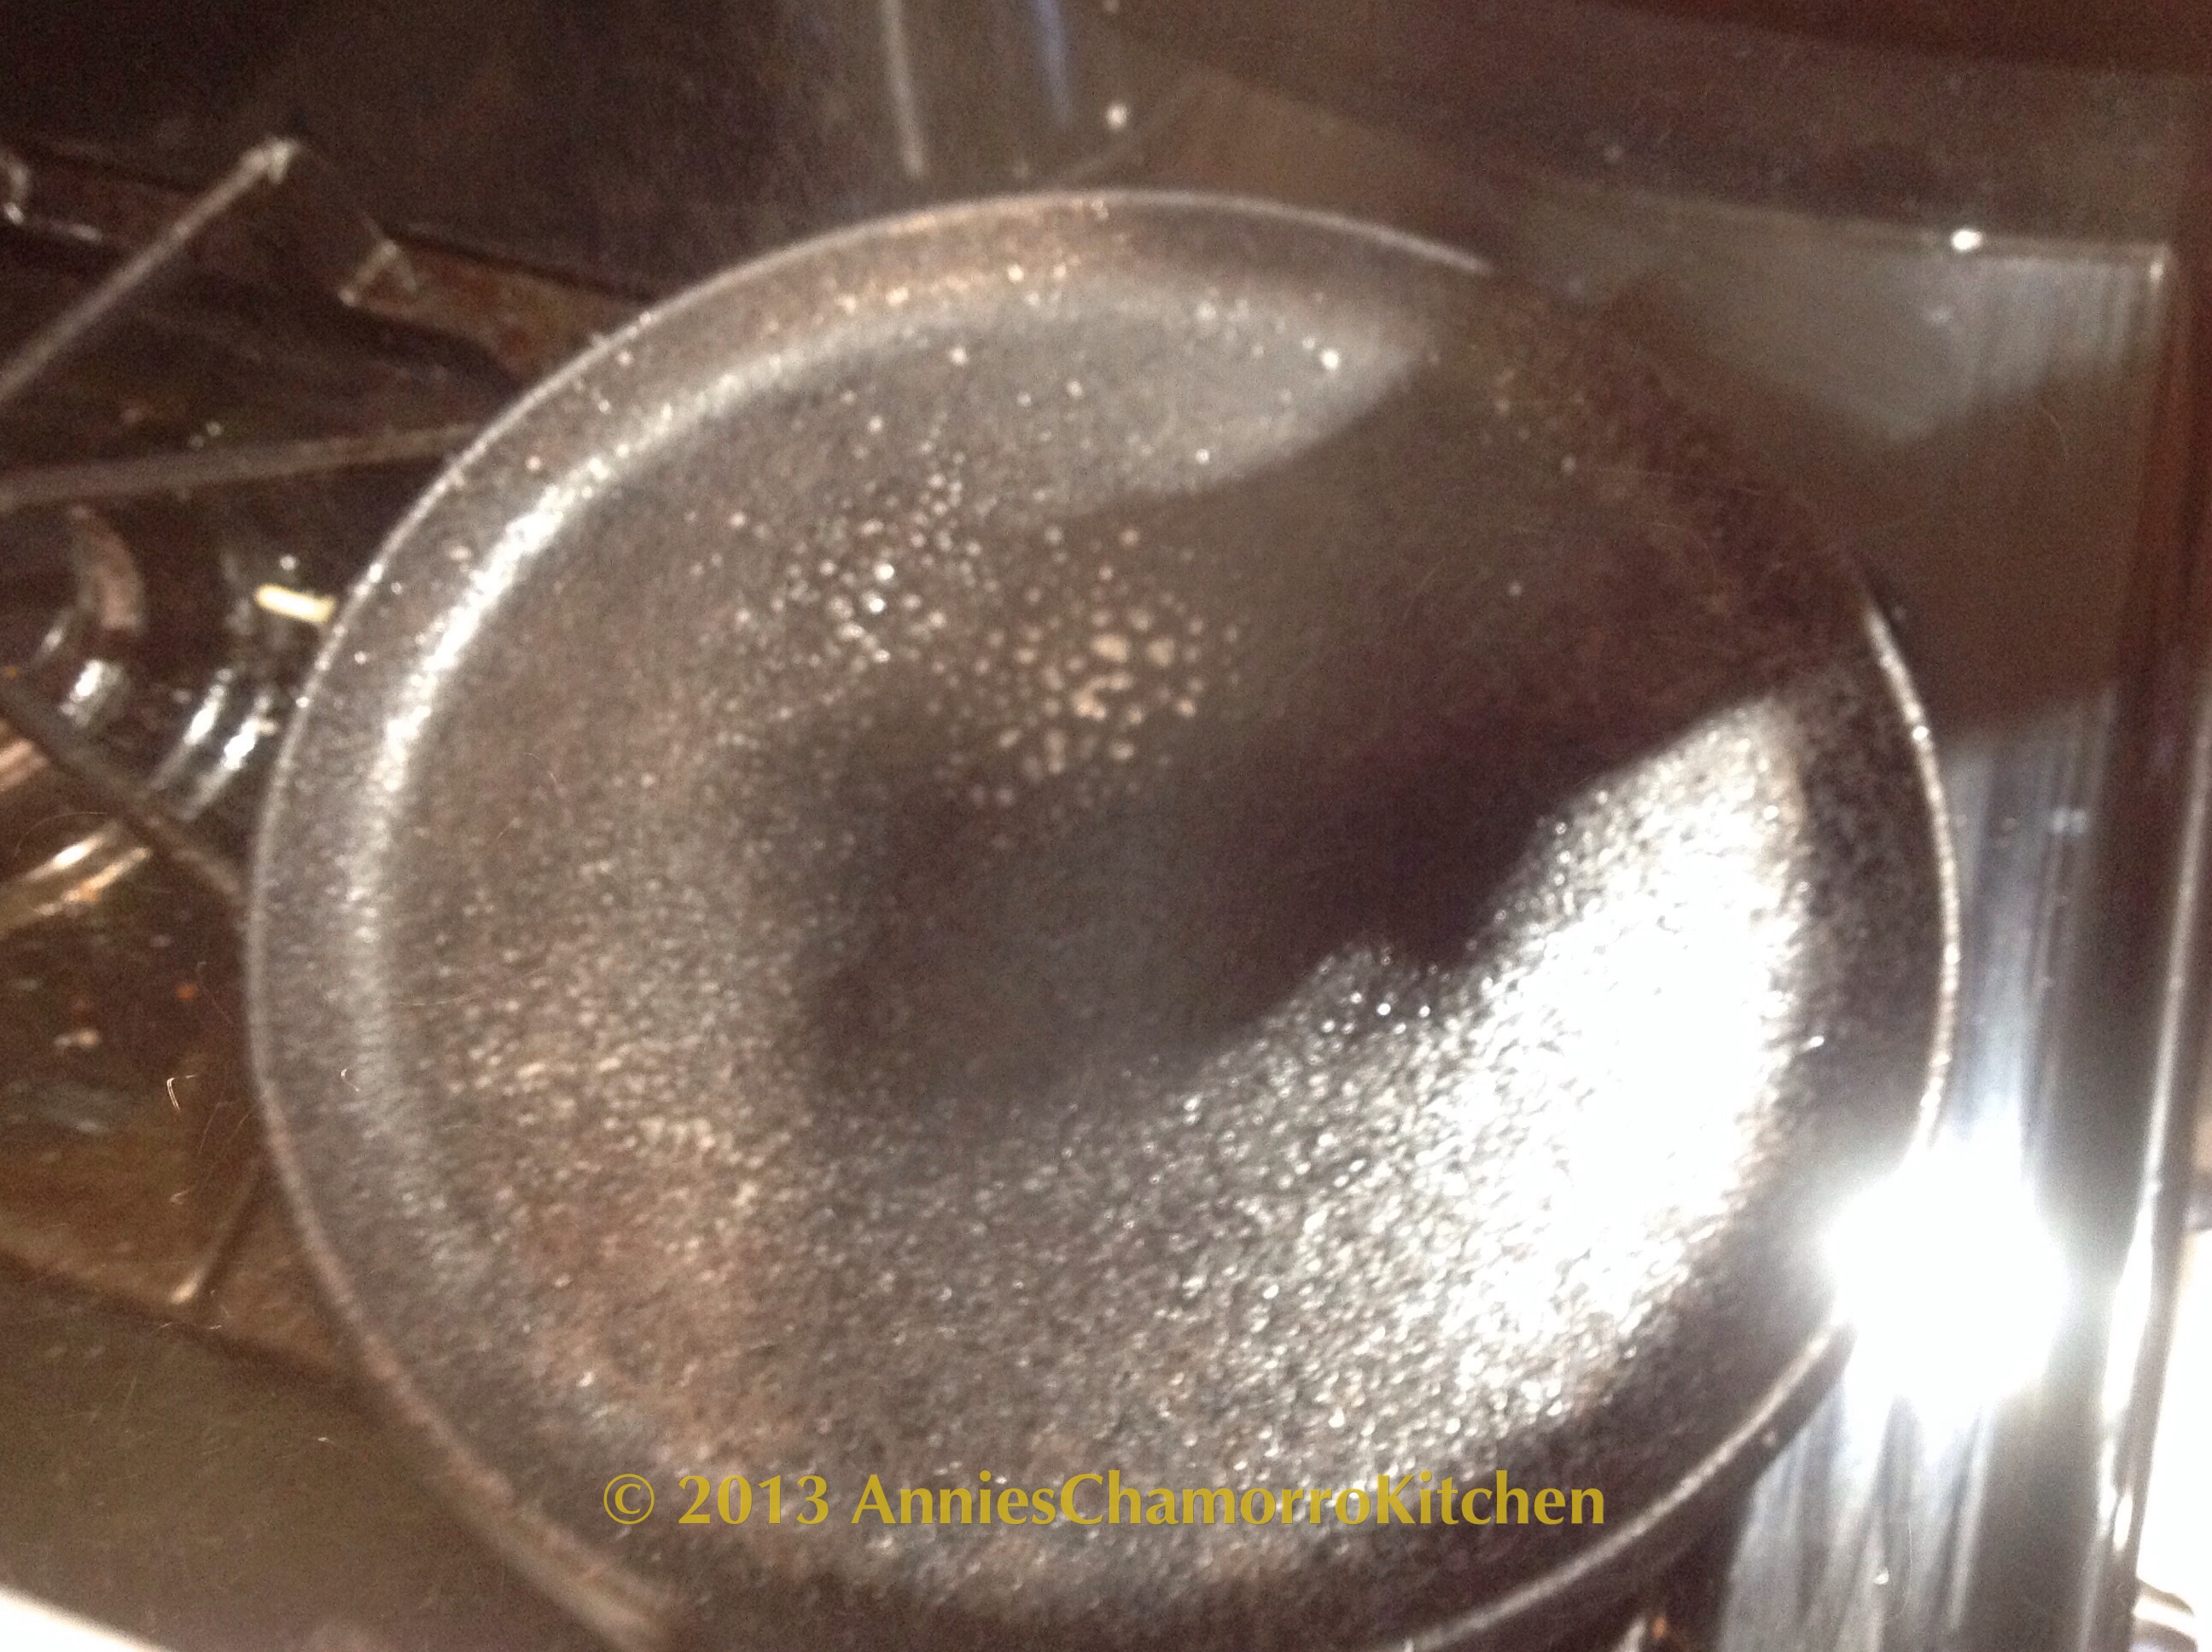
Oh, I forgot to mention that before you add the baking powder, you should start to heat up your pan. We like using this cast iron skillet.

image

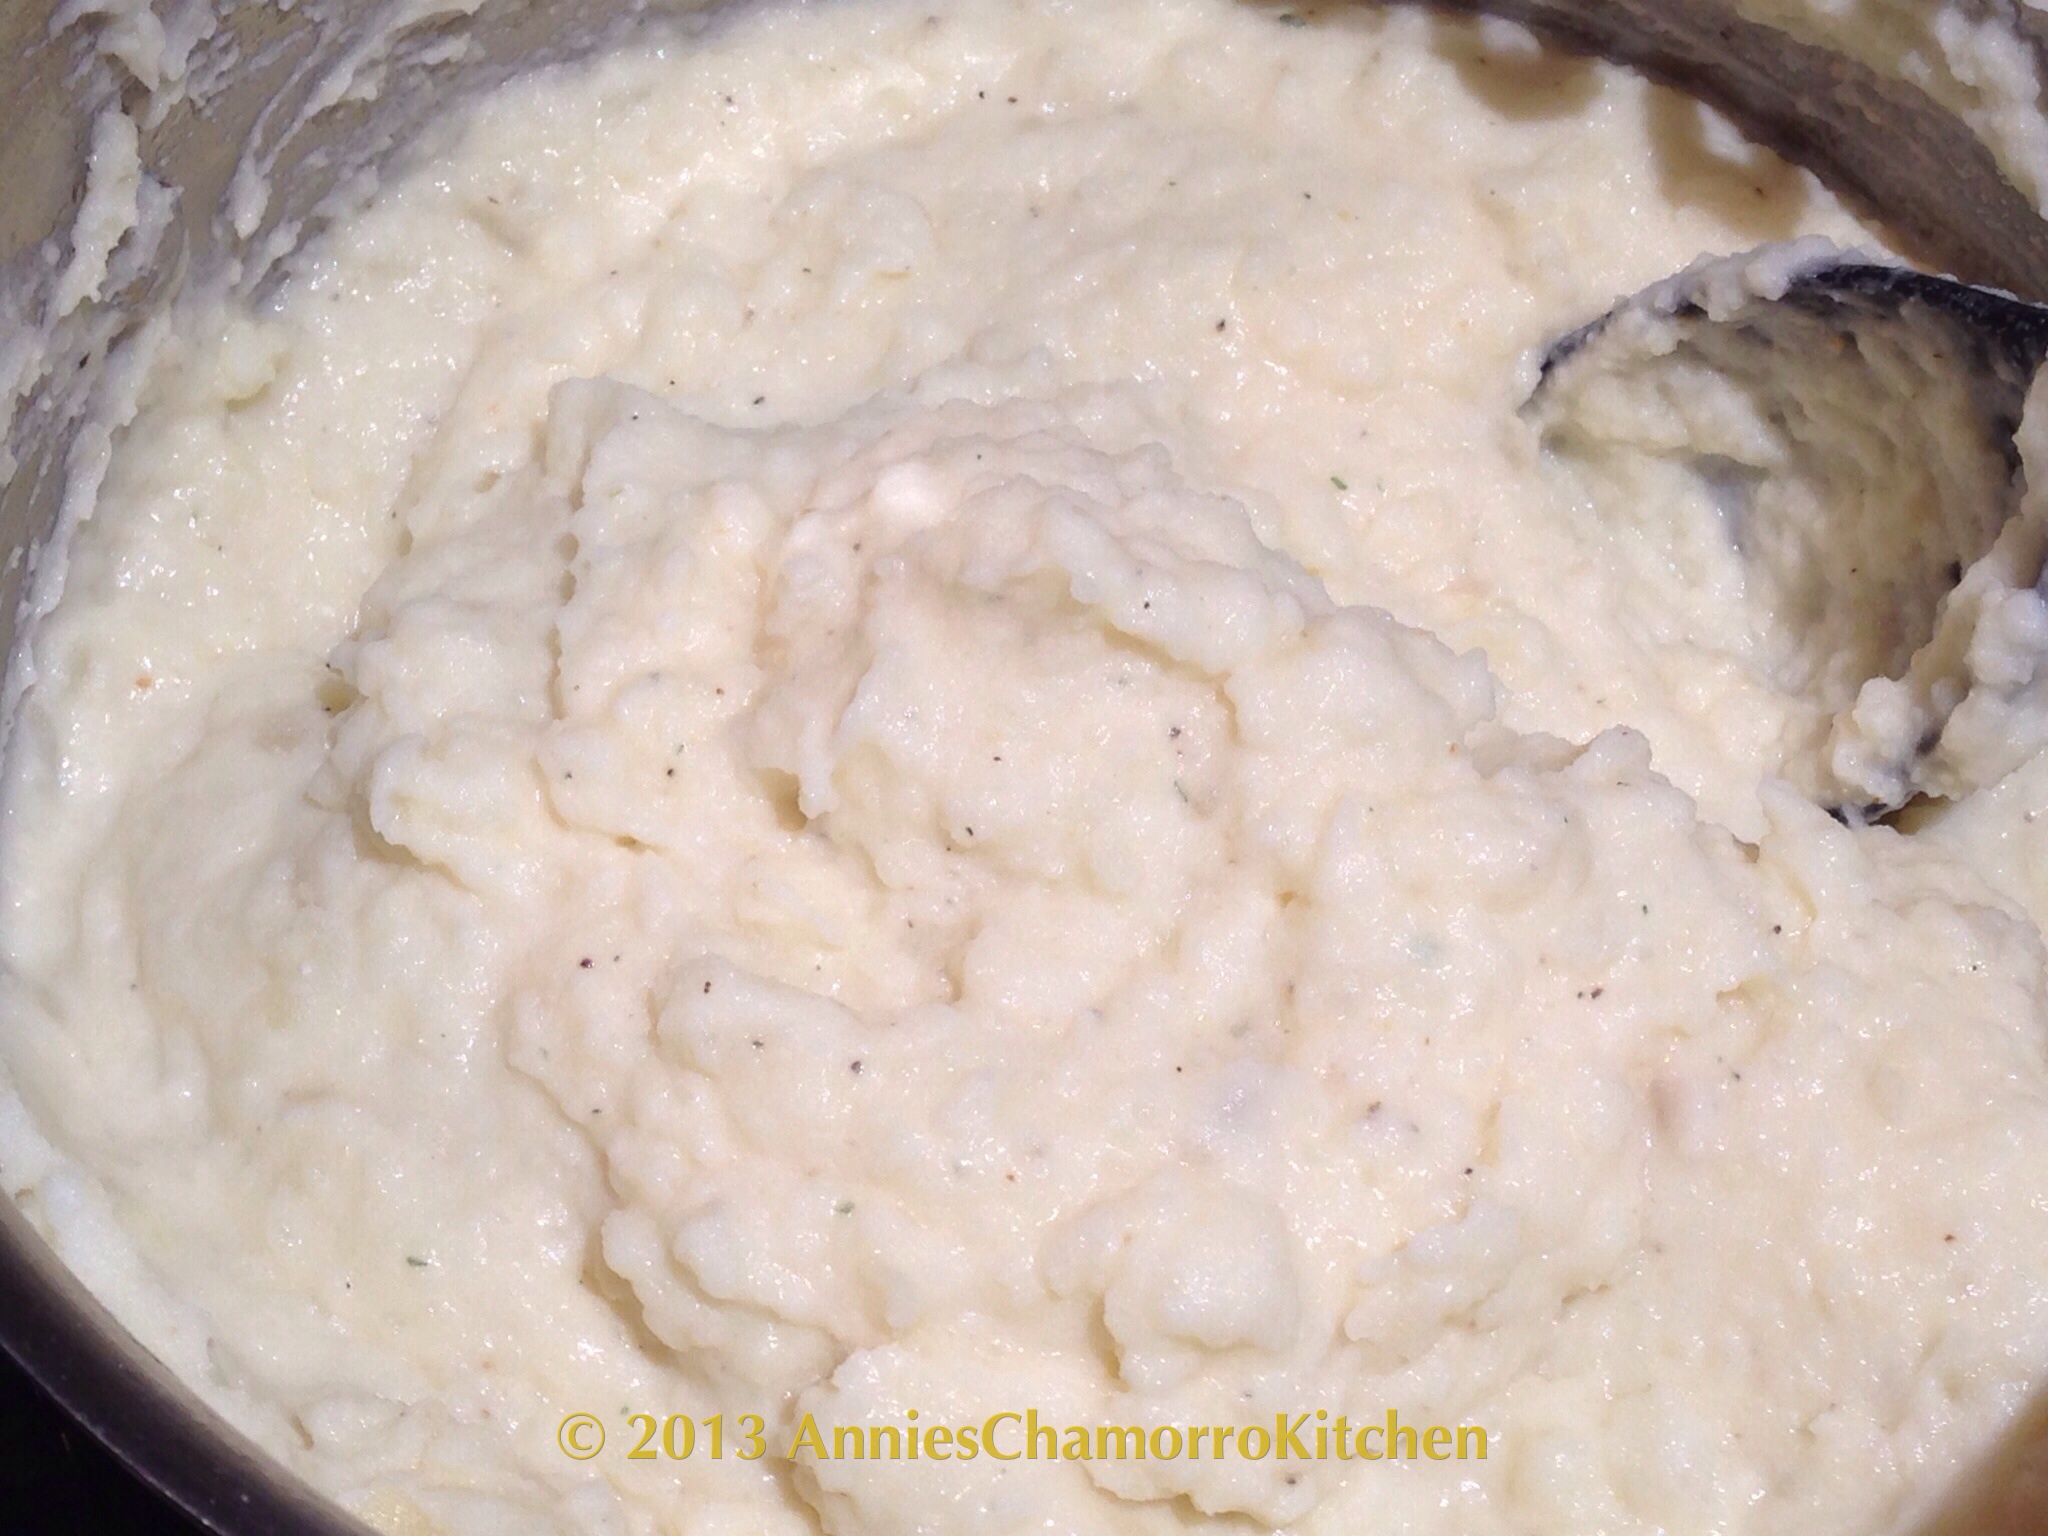
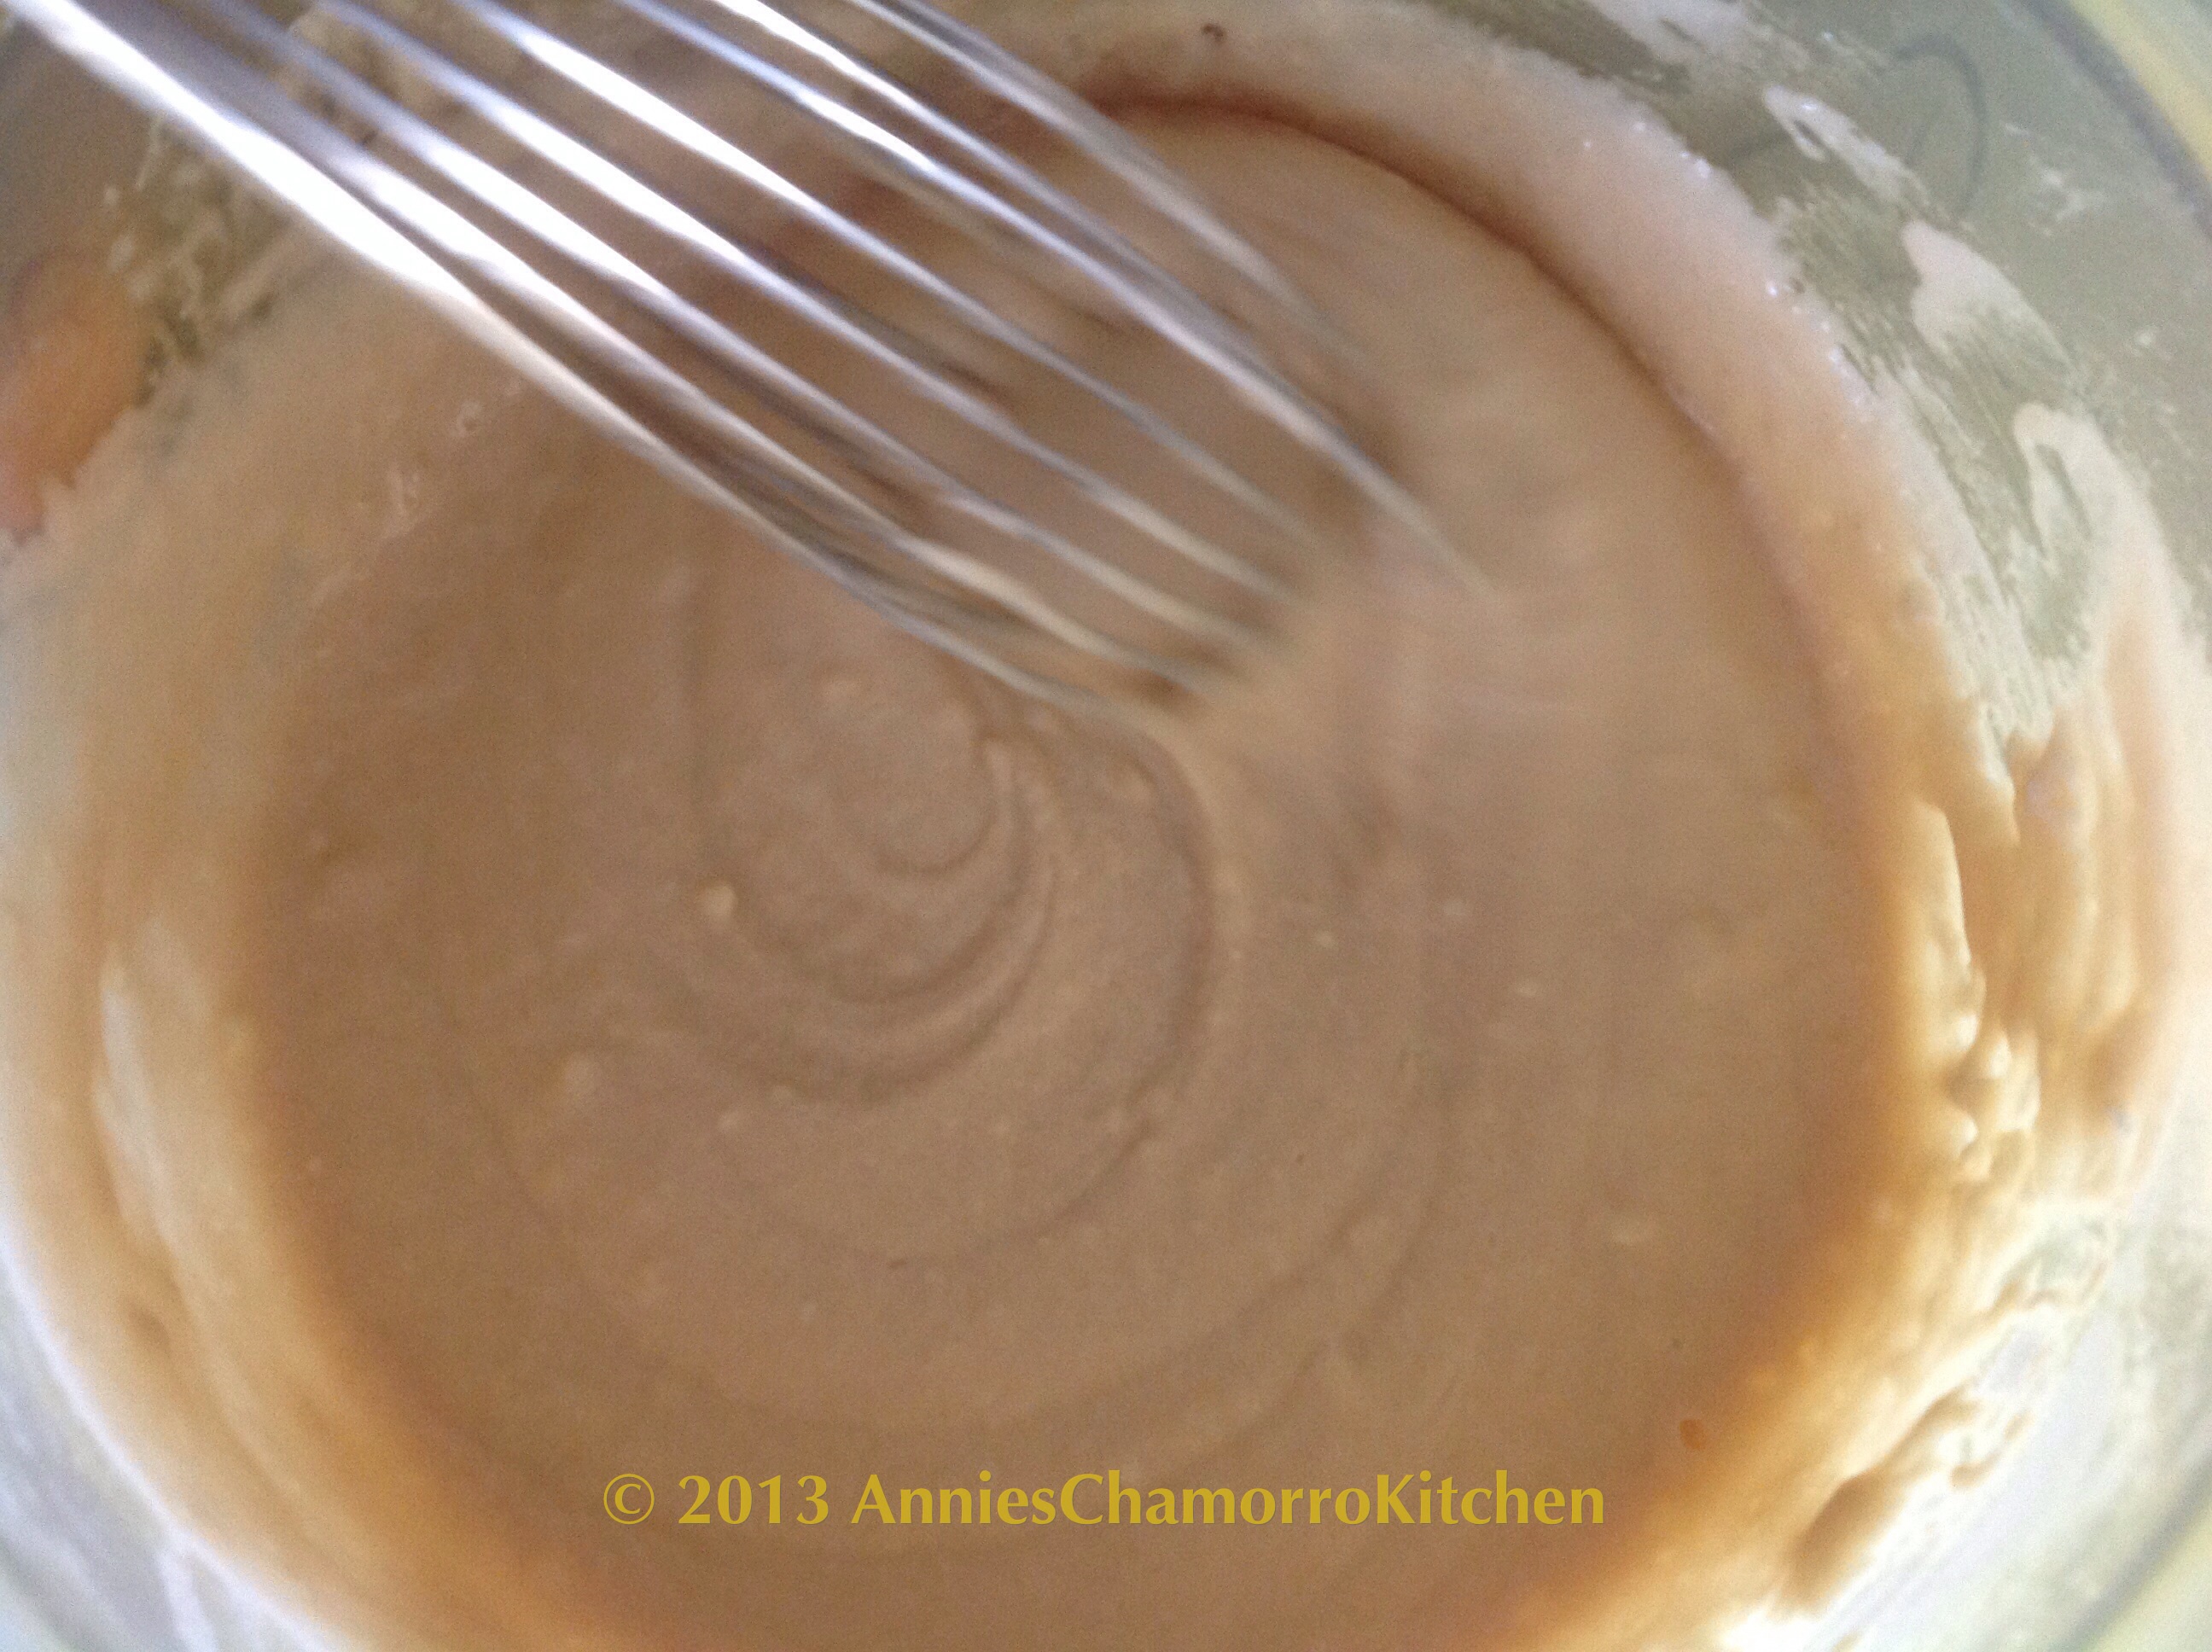
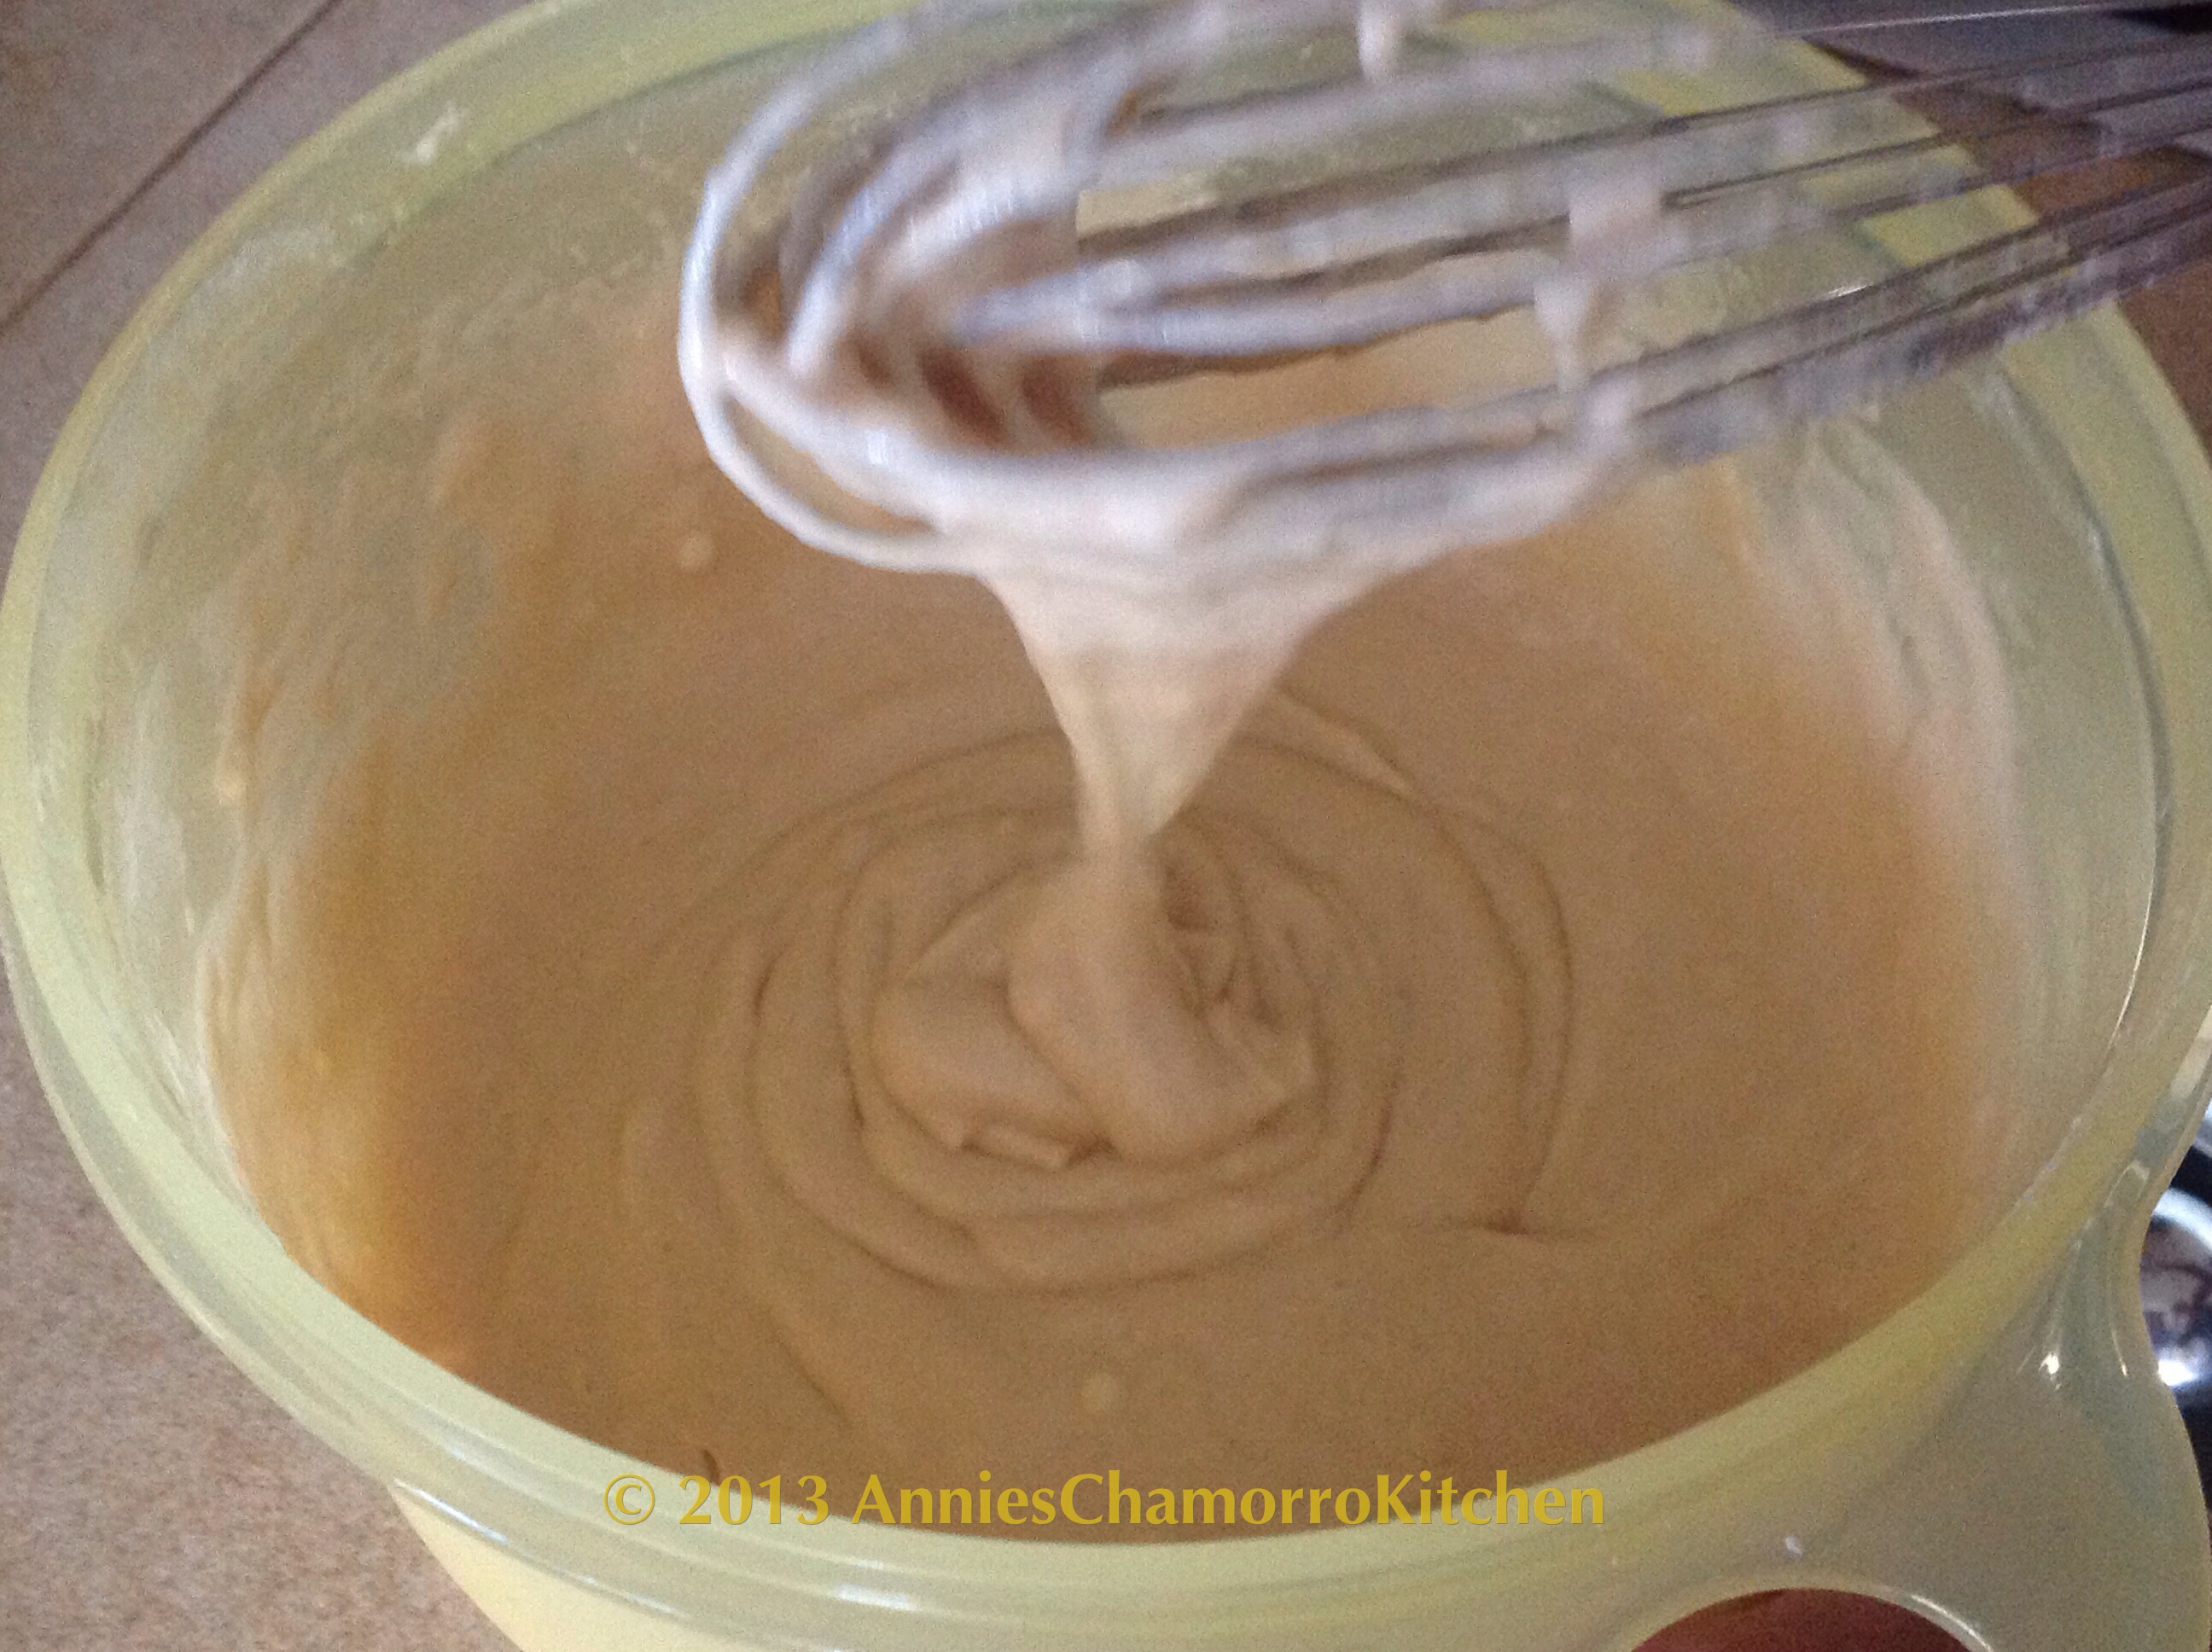
This is what the batter looks like. It should be very thick, not thin and runny.  It’s almost as thick as cake batter.

image

image

When the skillet is hot, spray lightly with butter cooking spray. You don’t have to use cooking spray. You can use regular butter or you don’t have to use anything at all if you have a non-stick pan. I just like the way the pancakes taste when you use butter to cook them.

image

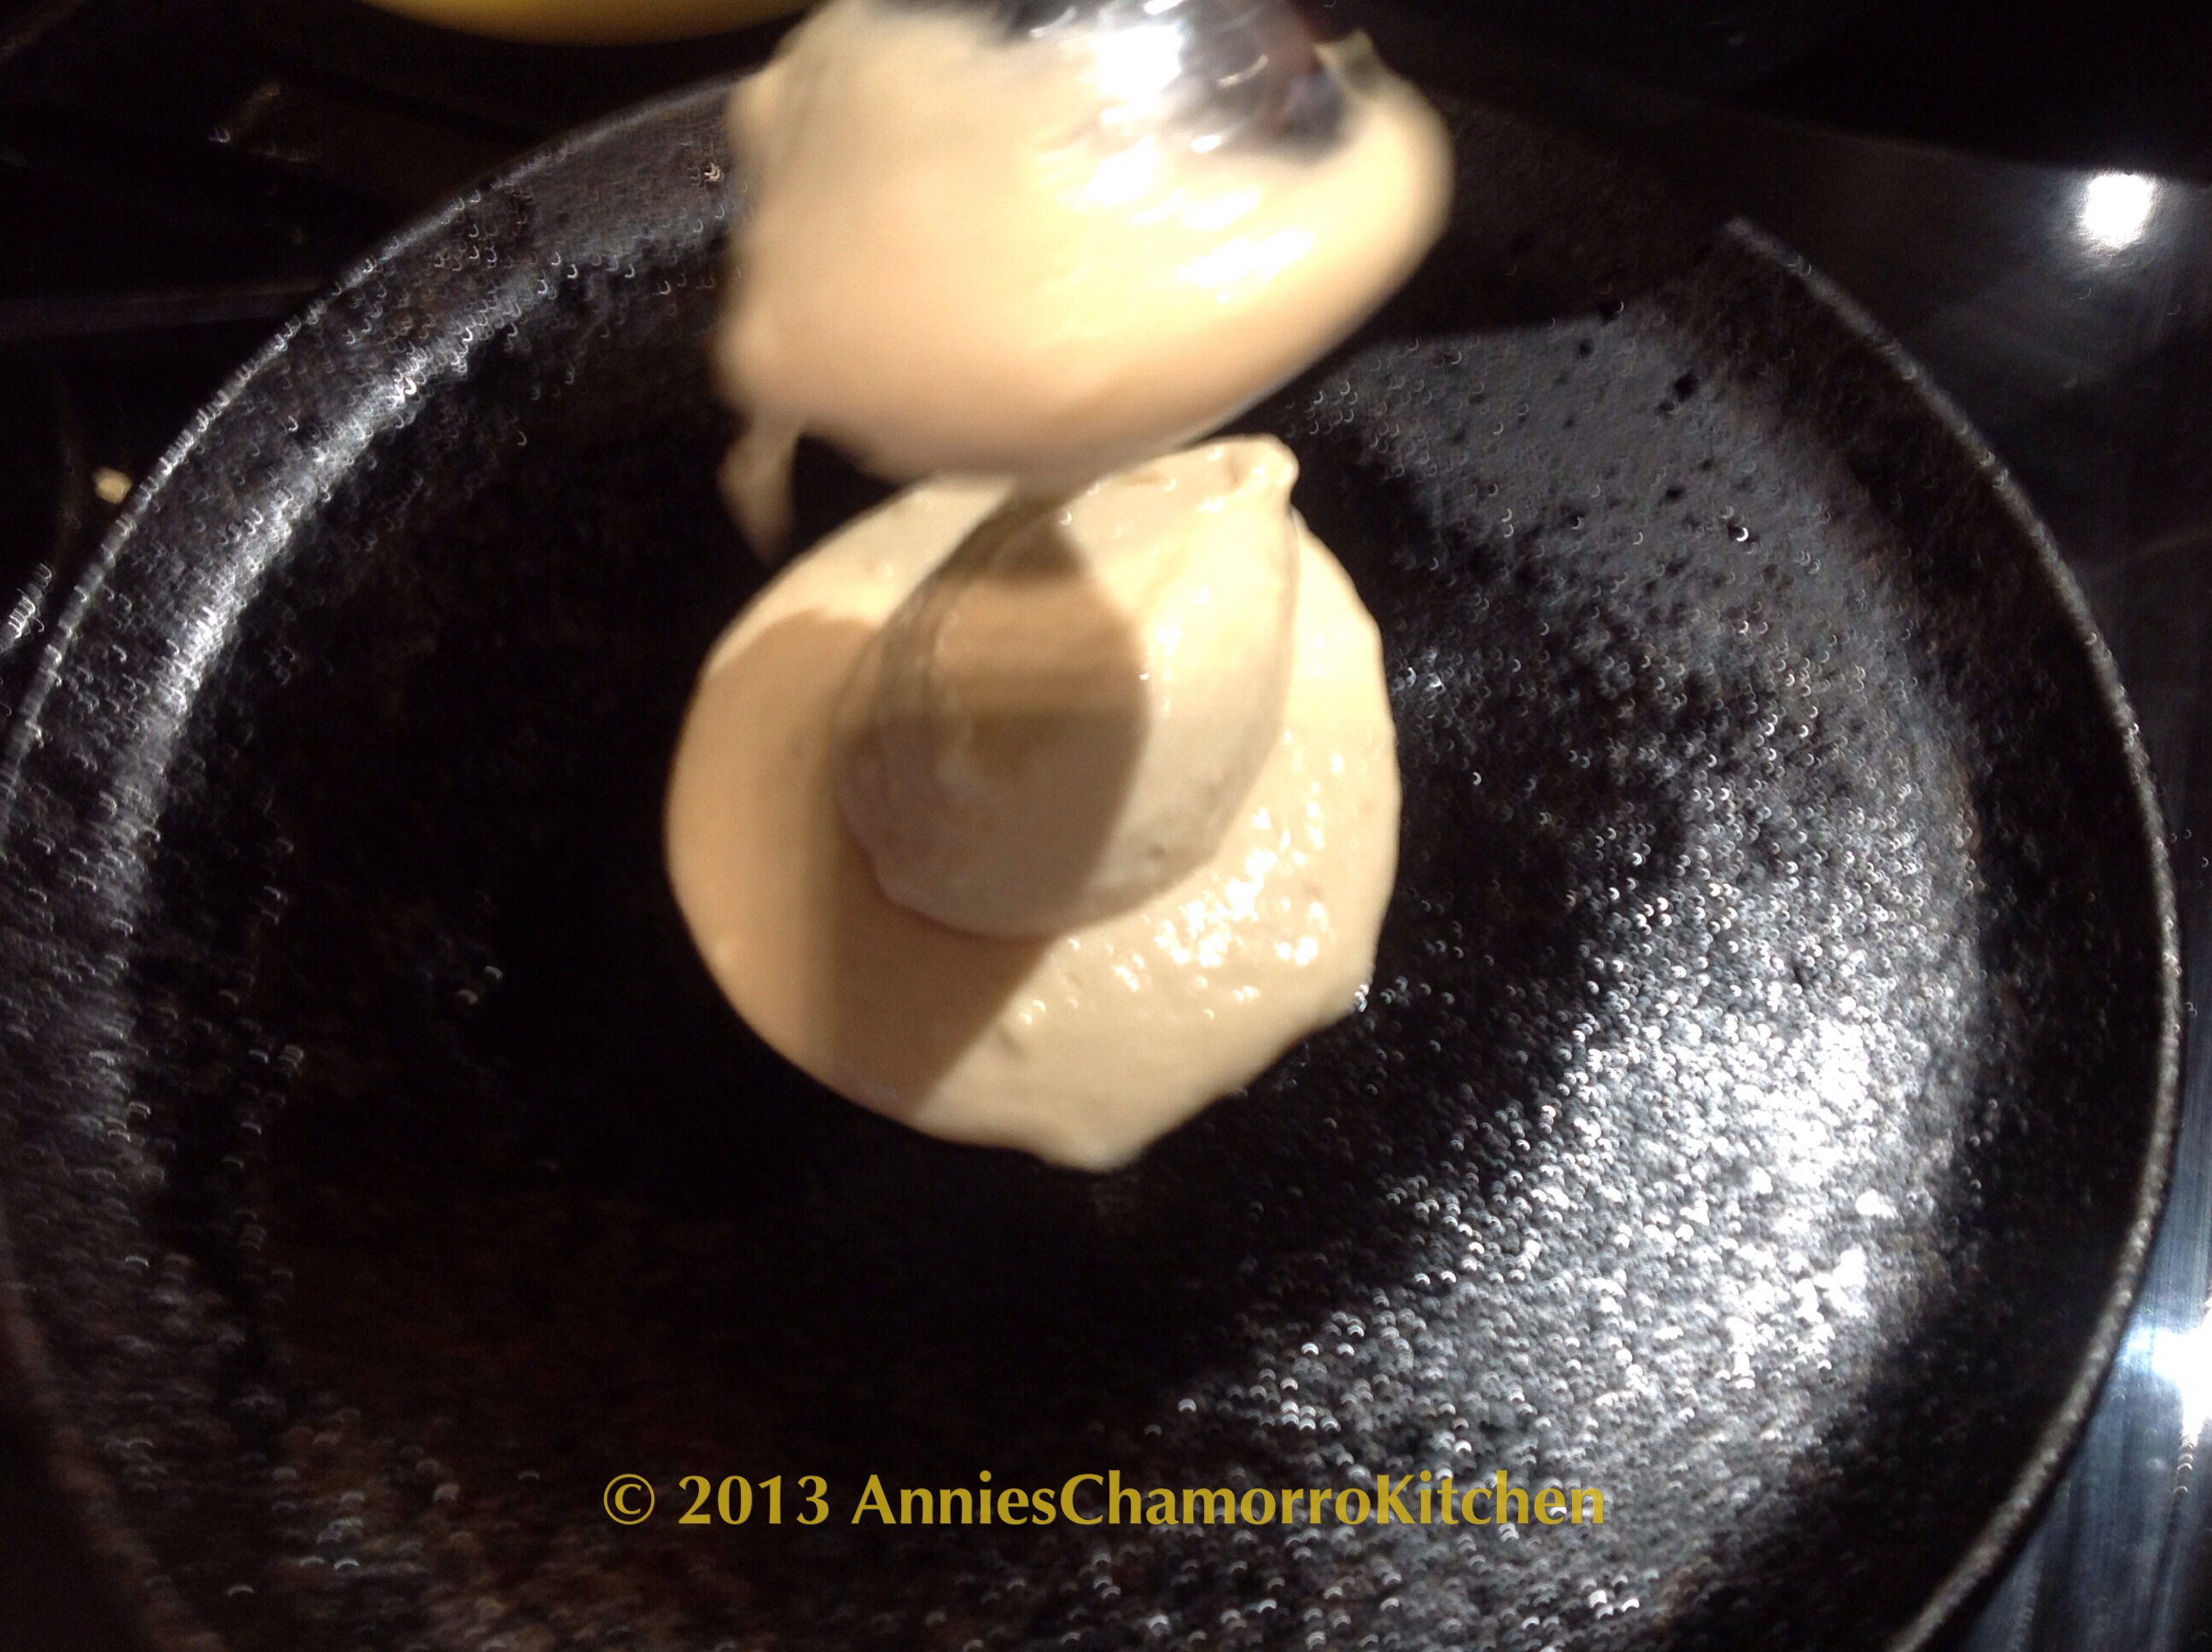
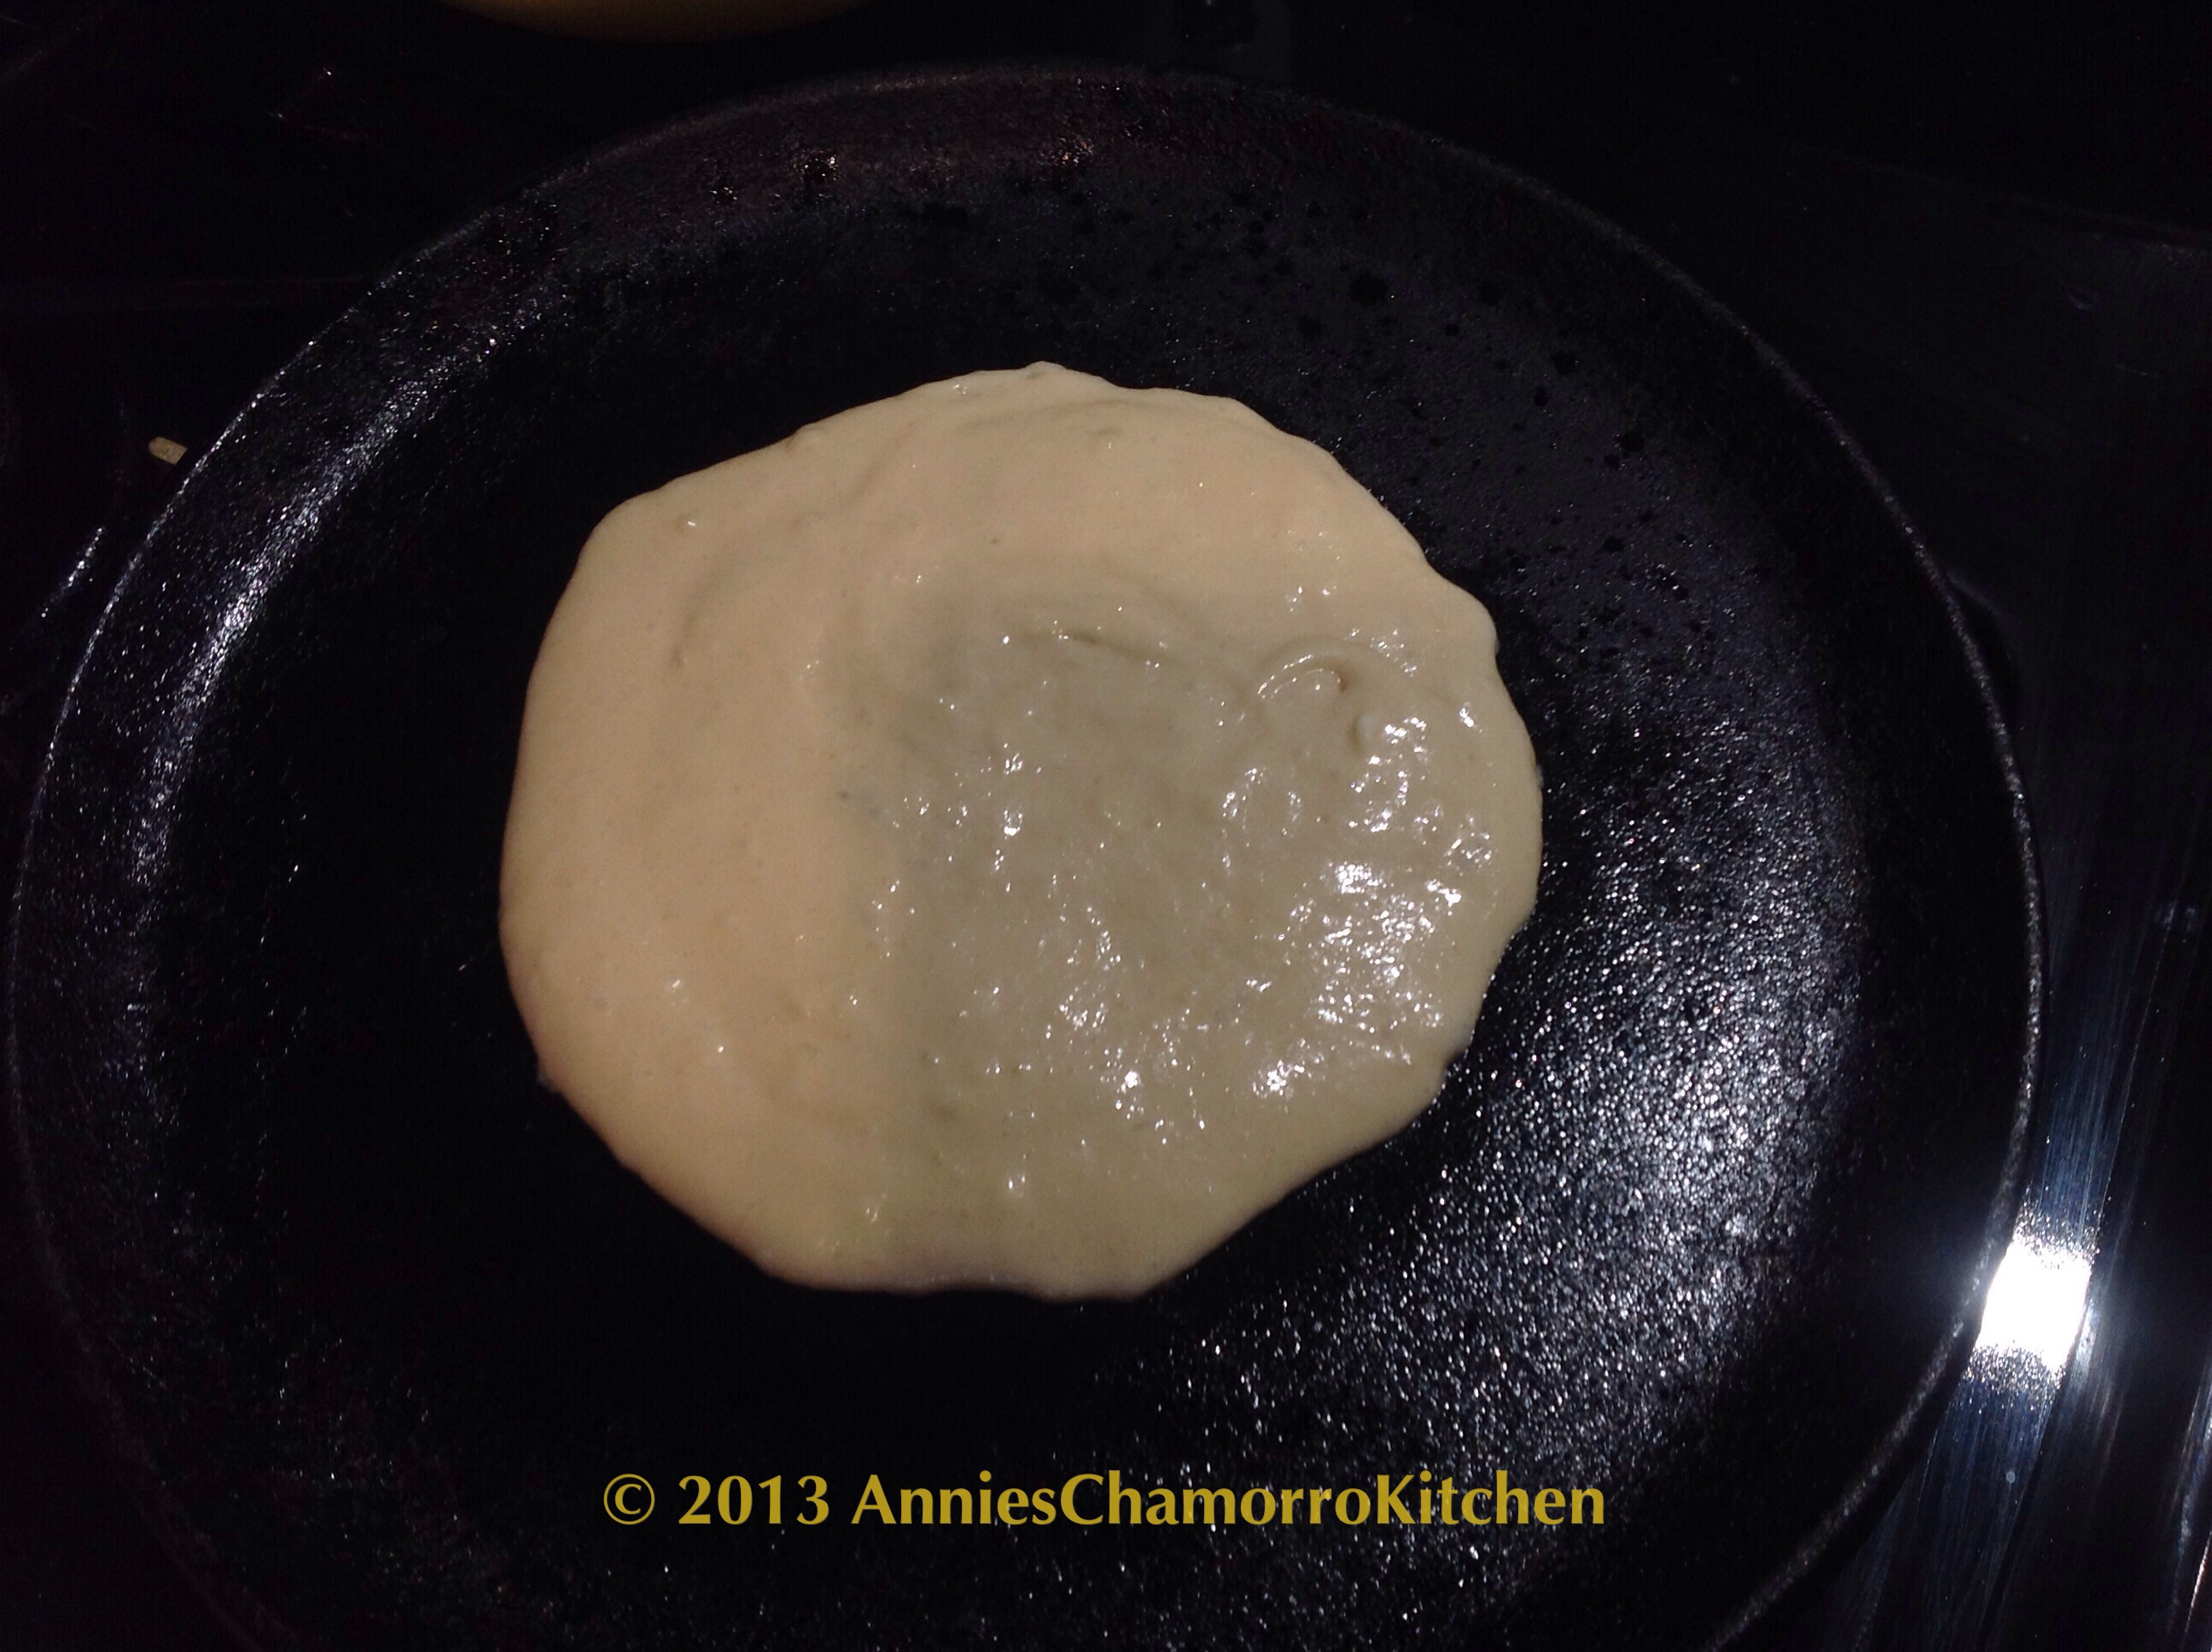
One of my favorite kitchen tools is a small cookie scoop. I use a 2-tablespoon scoop to scoop out pancake batter. It’s easier than trying to pour out even amounts of batter each time. Plus, it doesn’t make a mess. For big pancakes, scoop out two scoops of batter. You might have to use the back of the cookie scoop to sort of spread out the batter since it’s rather thick. But don’t spread it out too much! This thick batter is what makes the pancakes really tall and fluffy!

image

image

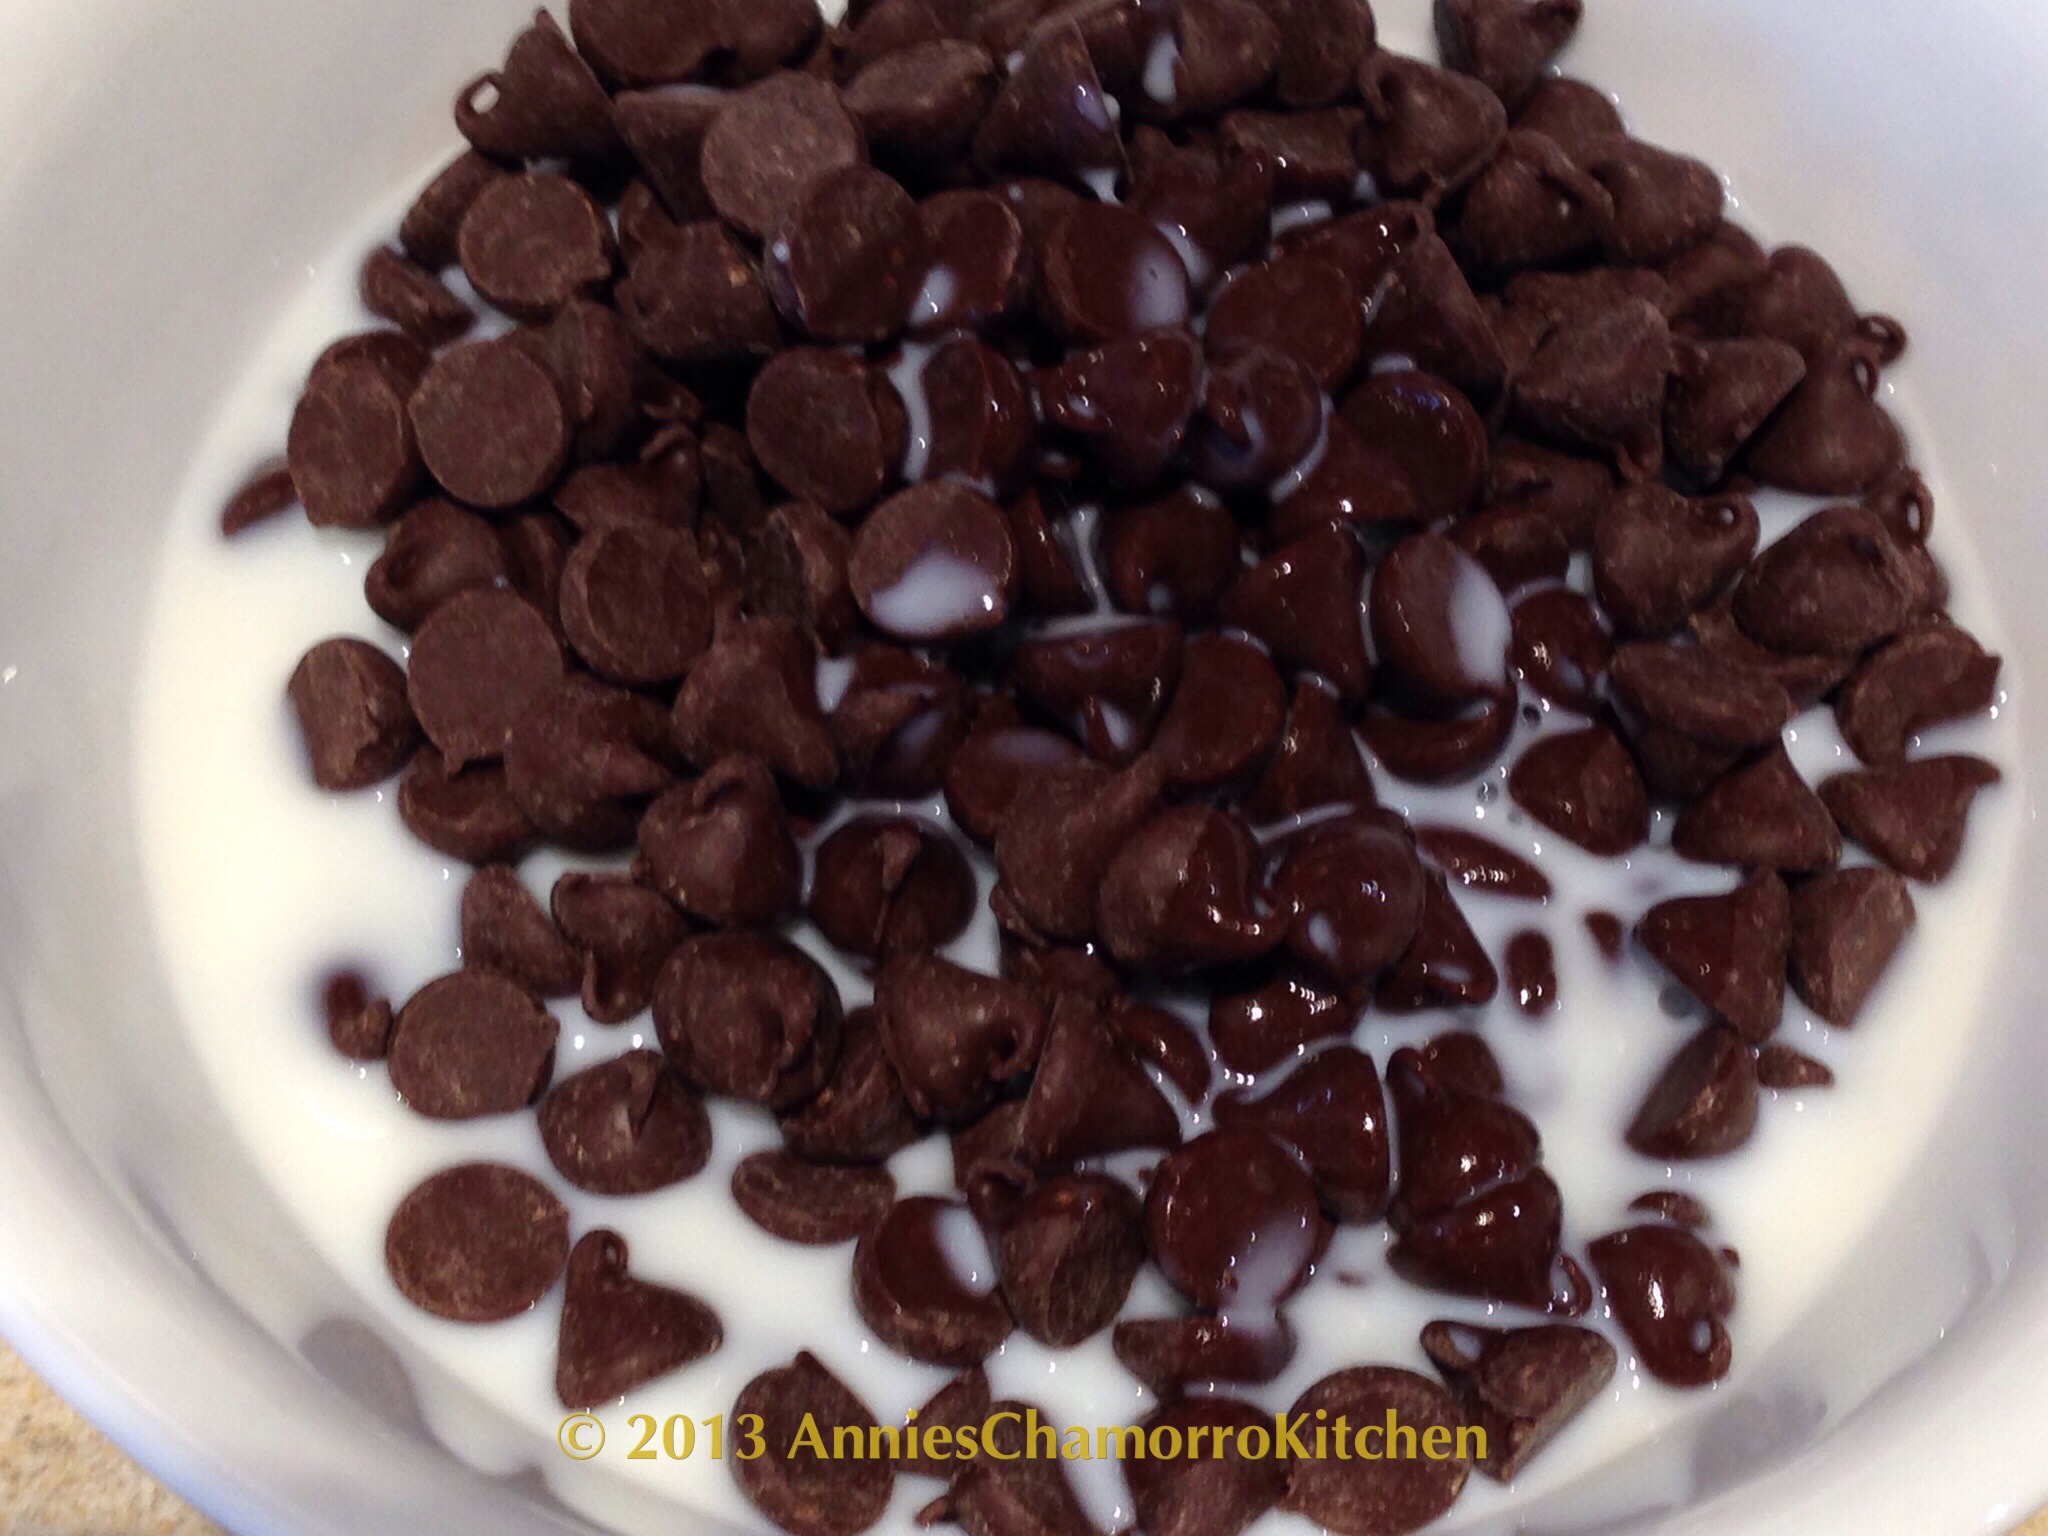
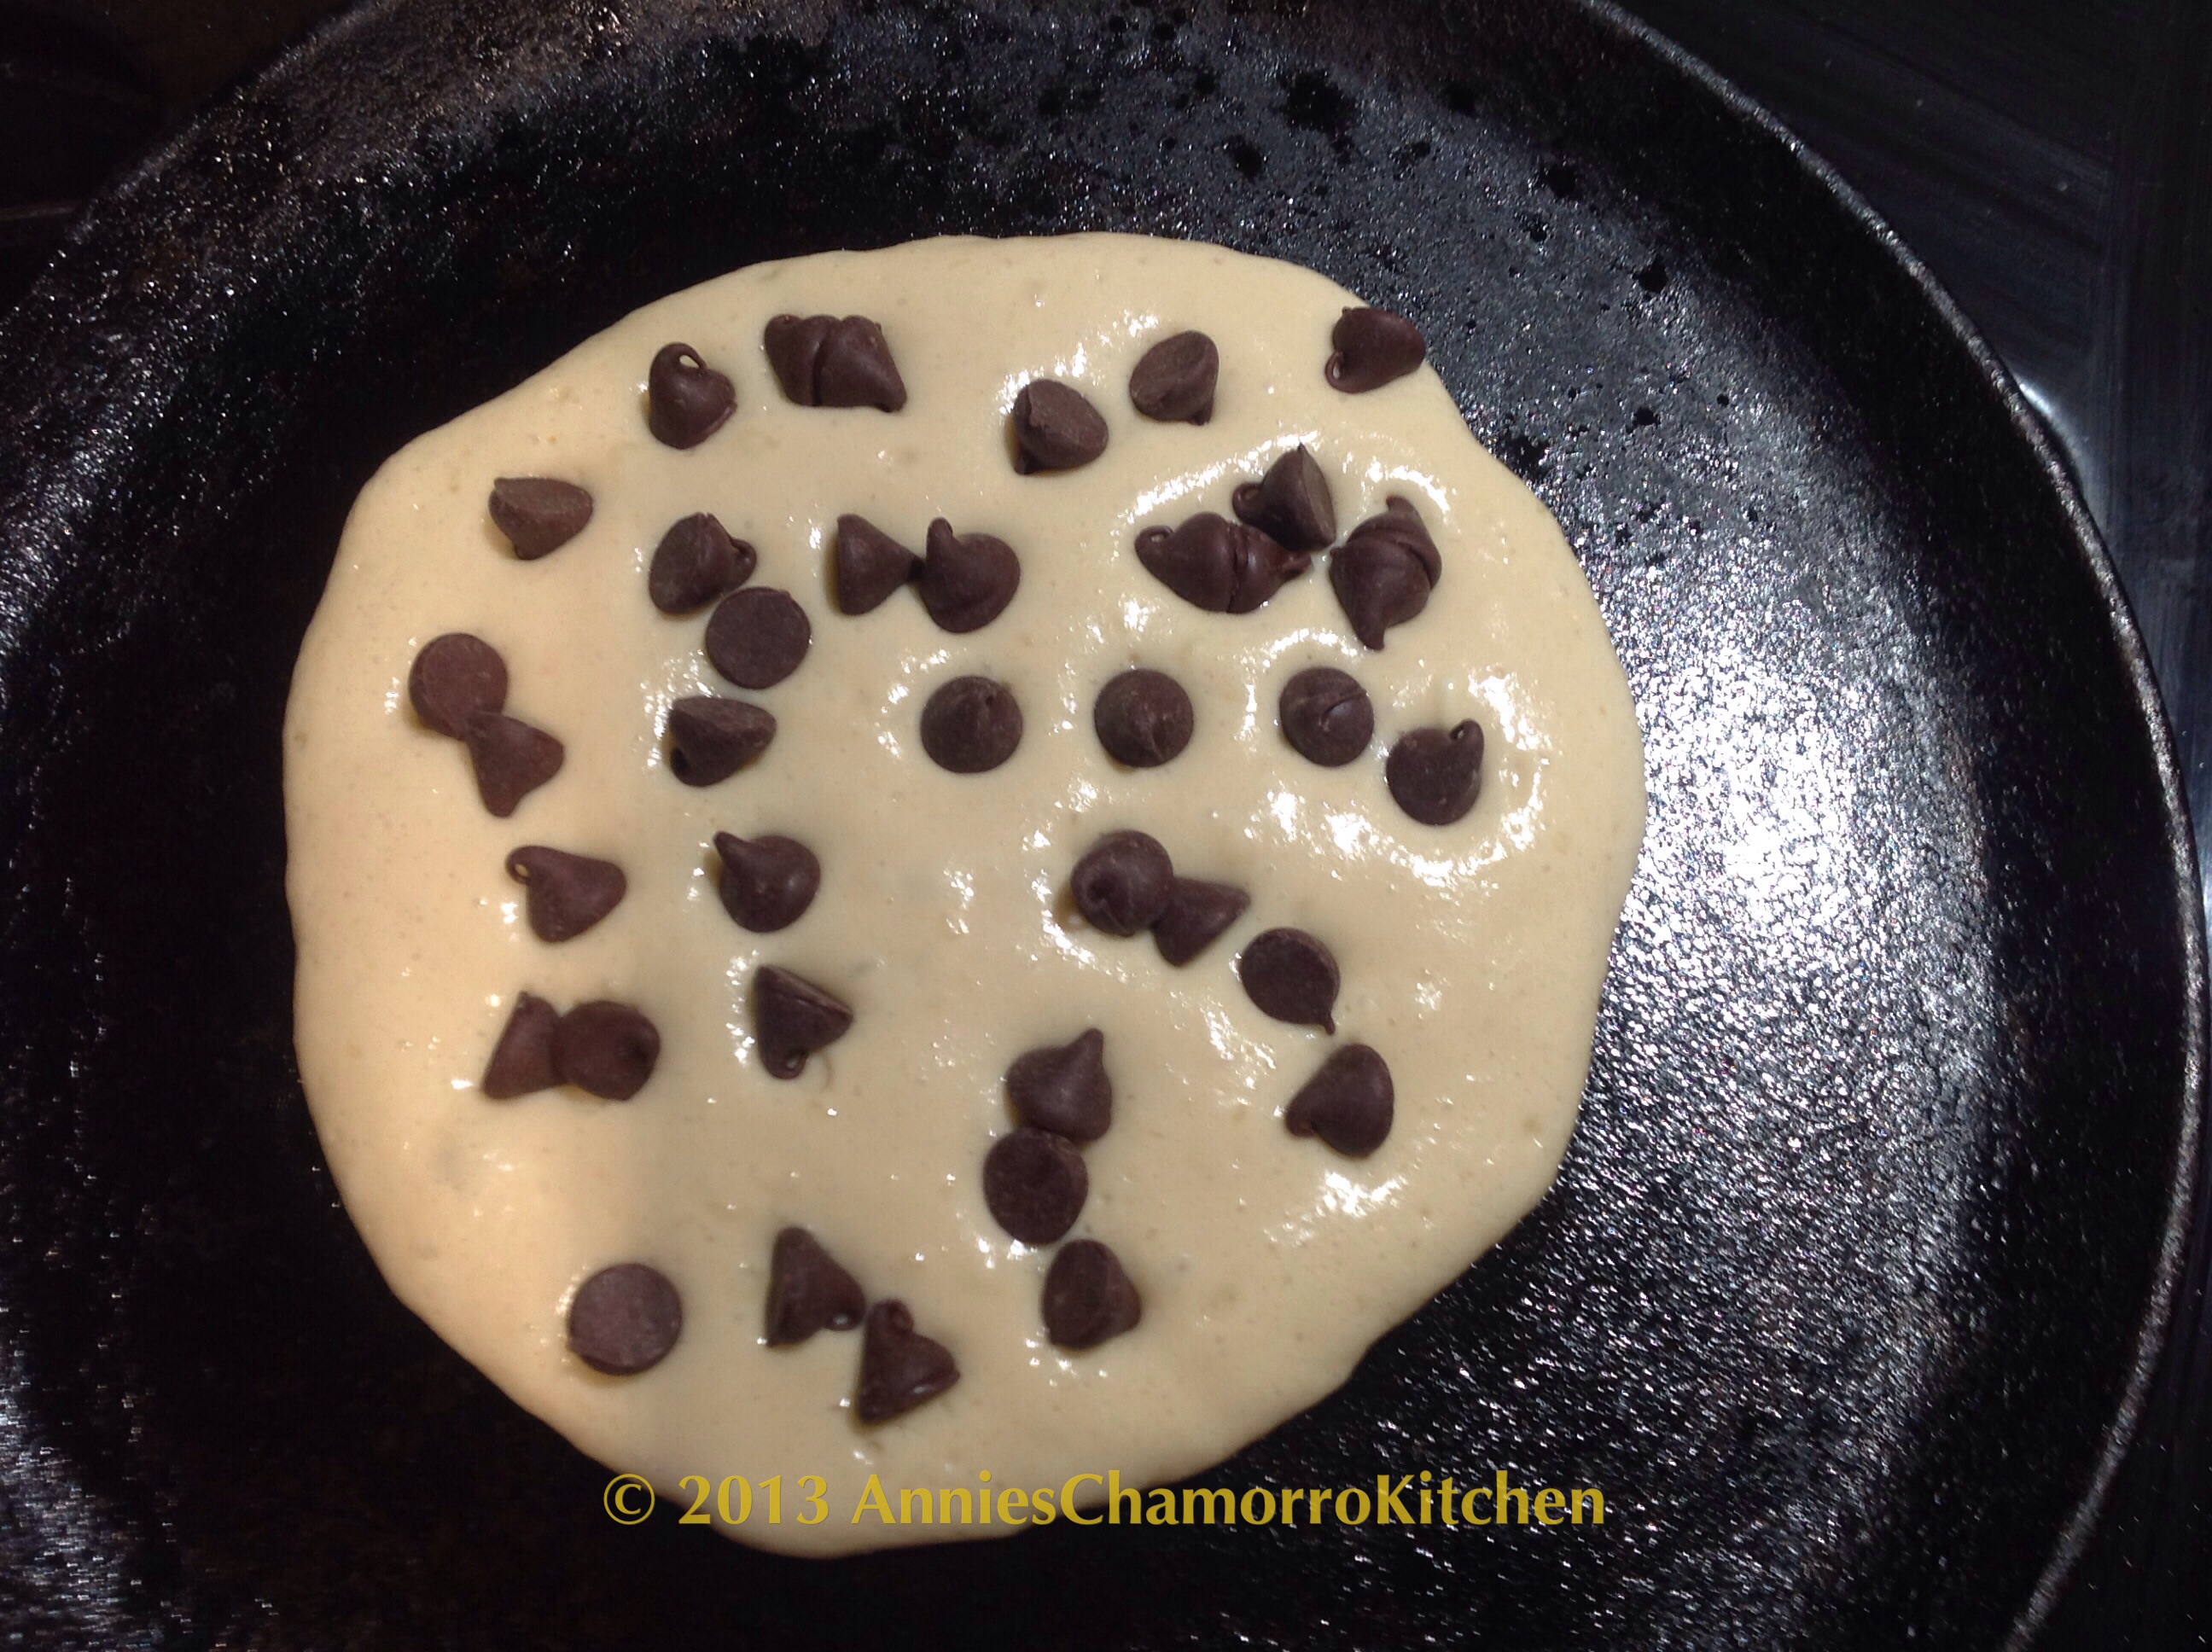
I like to add chocolate chips to my pancakes. If you want to, sprinkle some semisweet chocolate chips over the pancake.  I would have added more chocolate chips but my mom made me stop.  That and I kept eating them. 😉

image

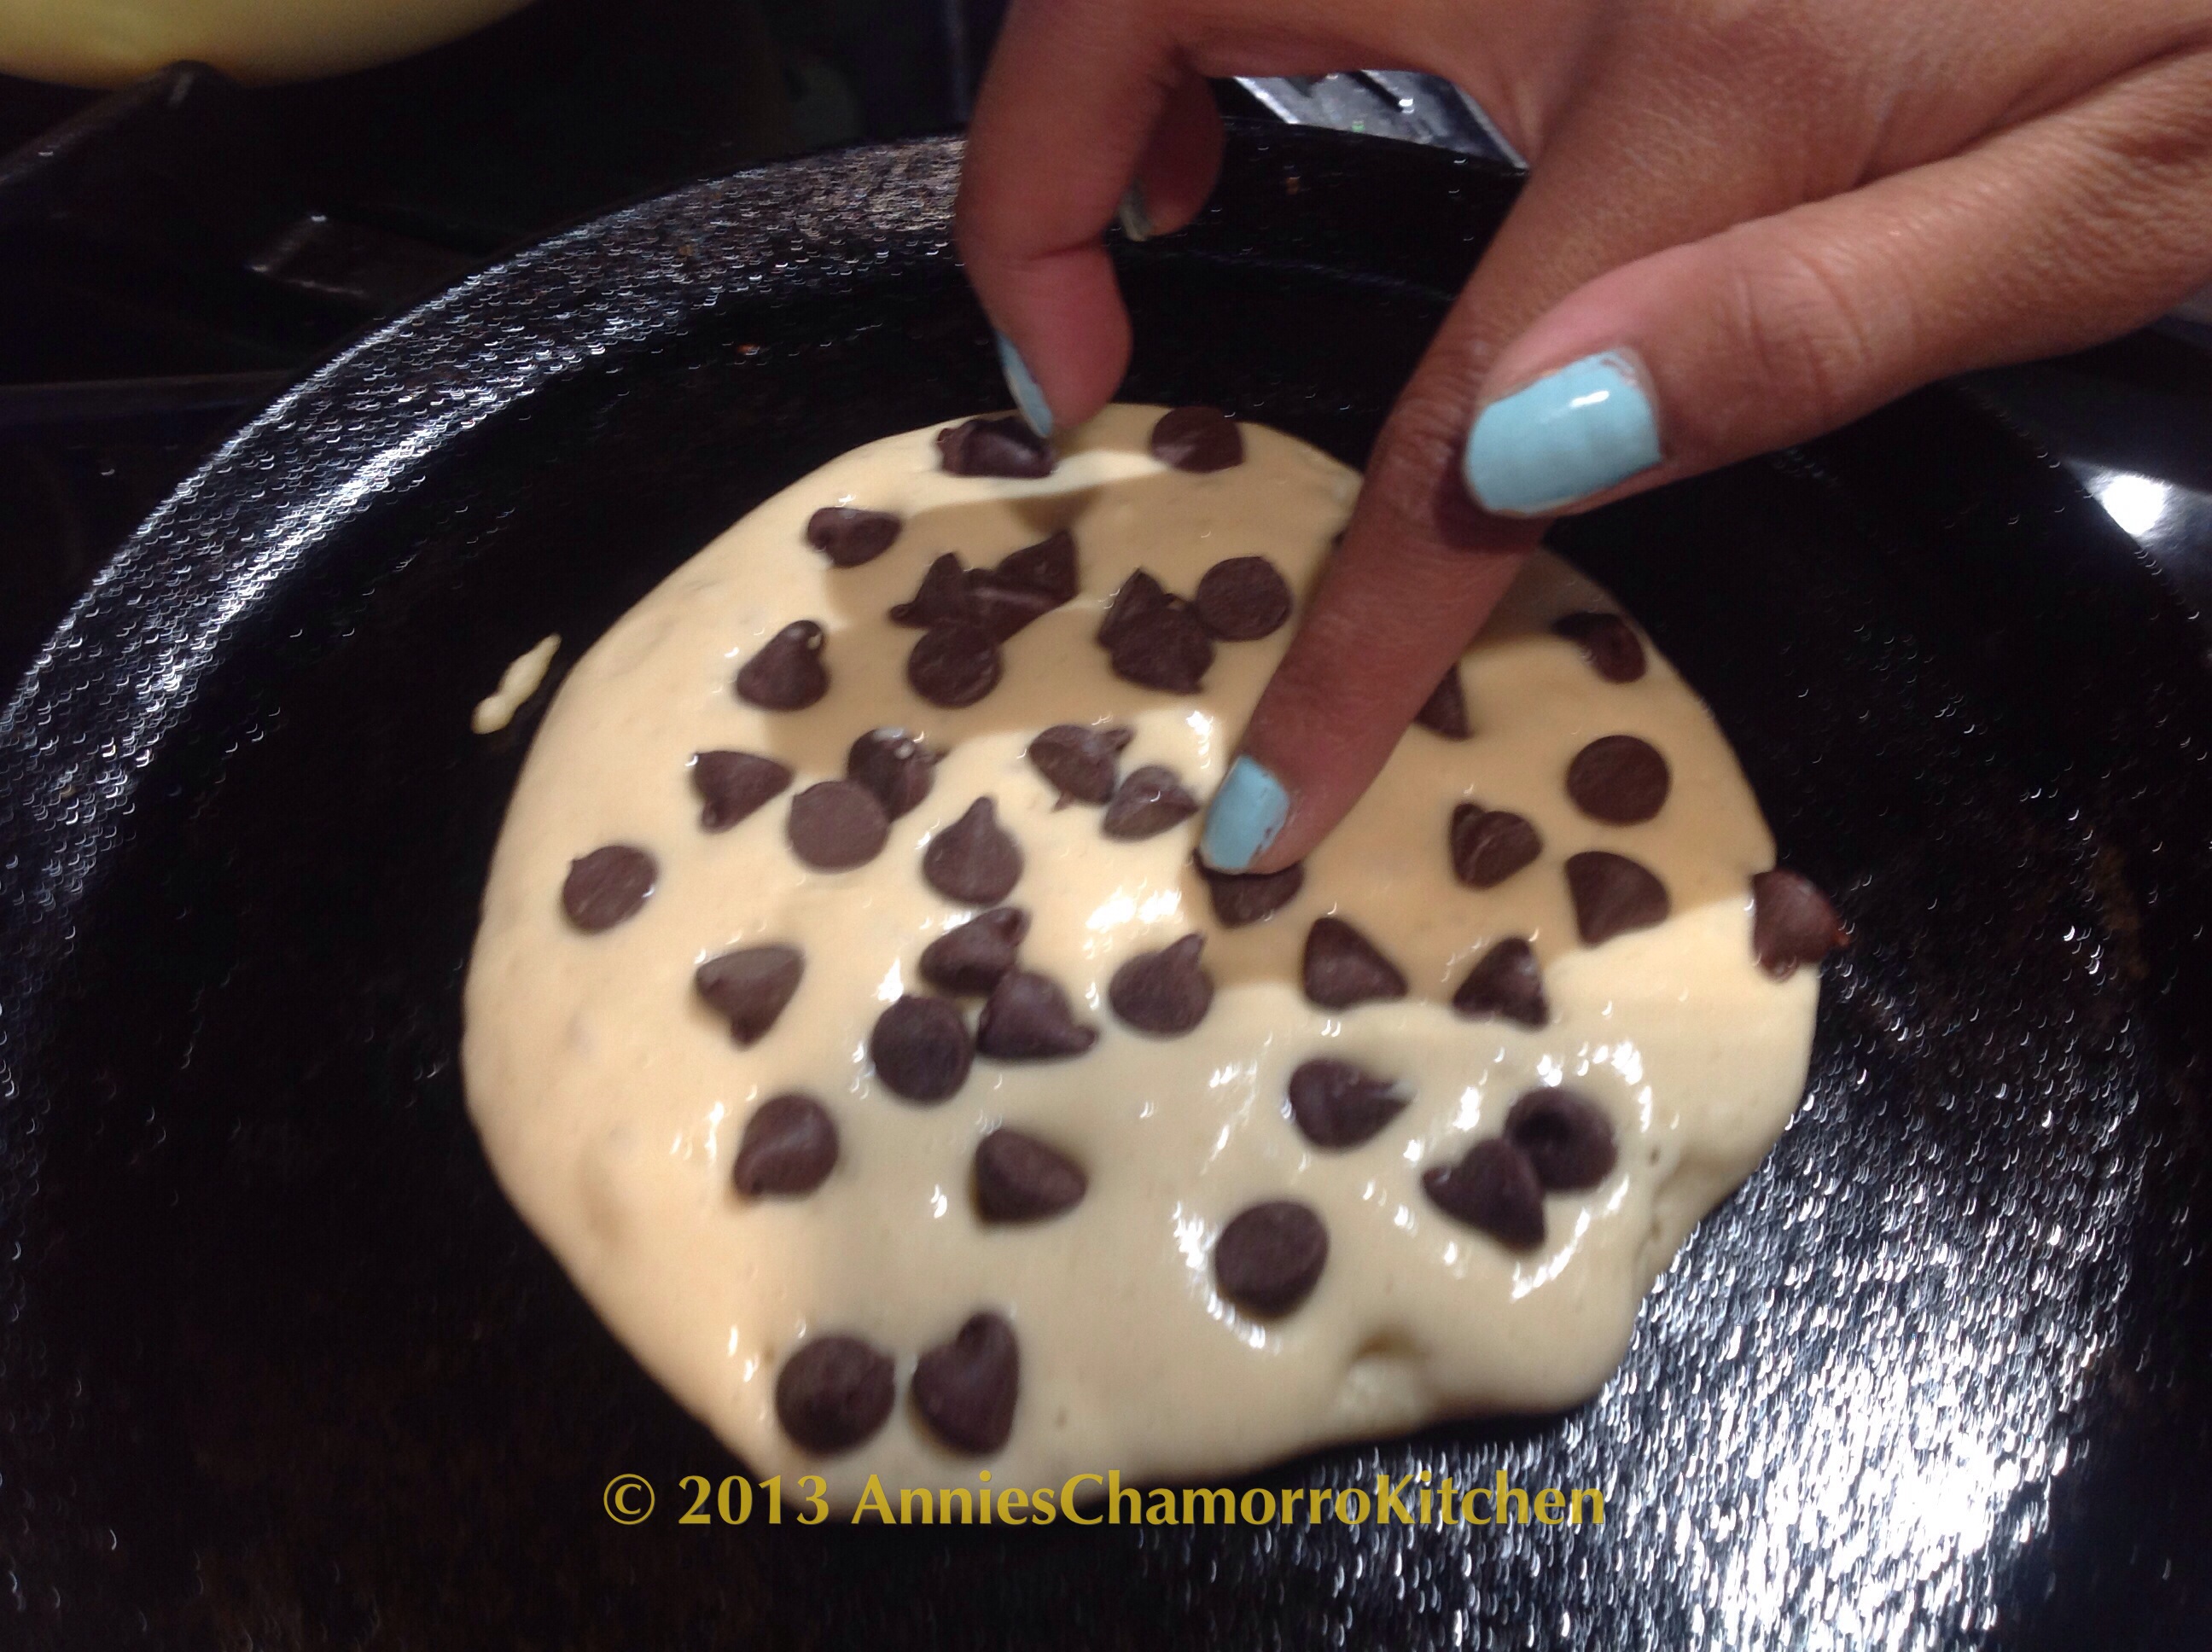
You have to use your finger to press the chips into the batter.

image

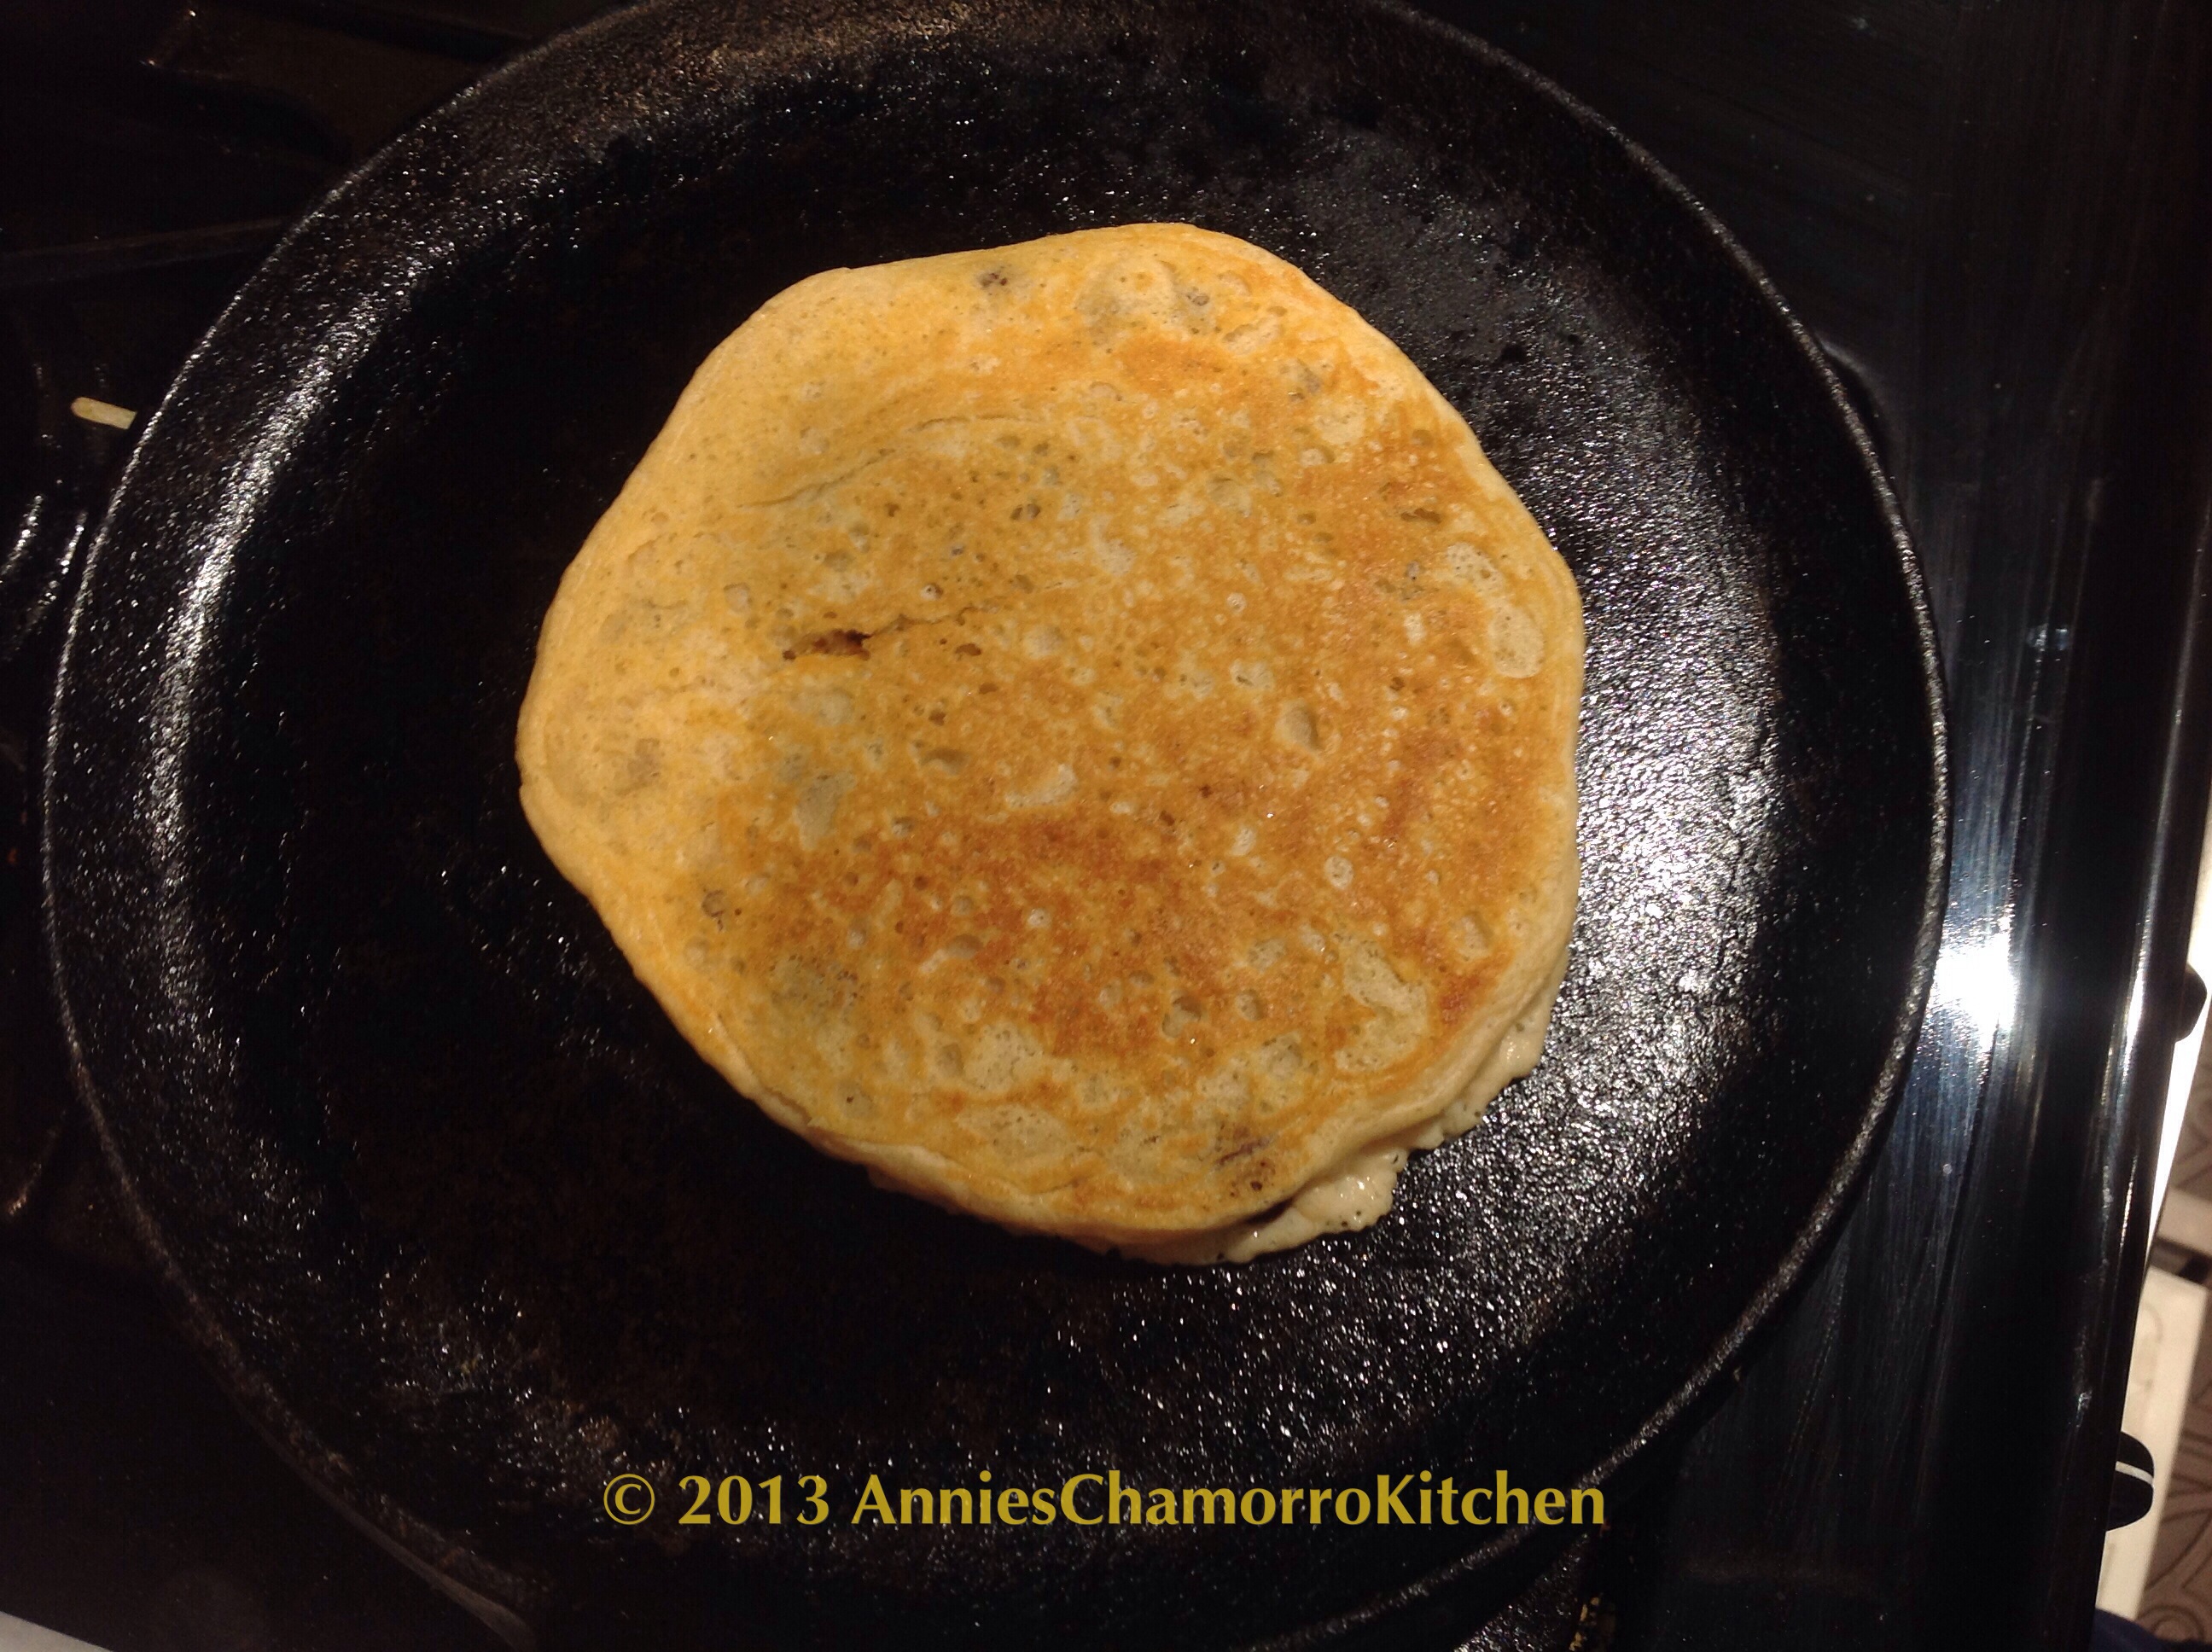
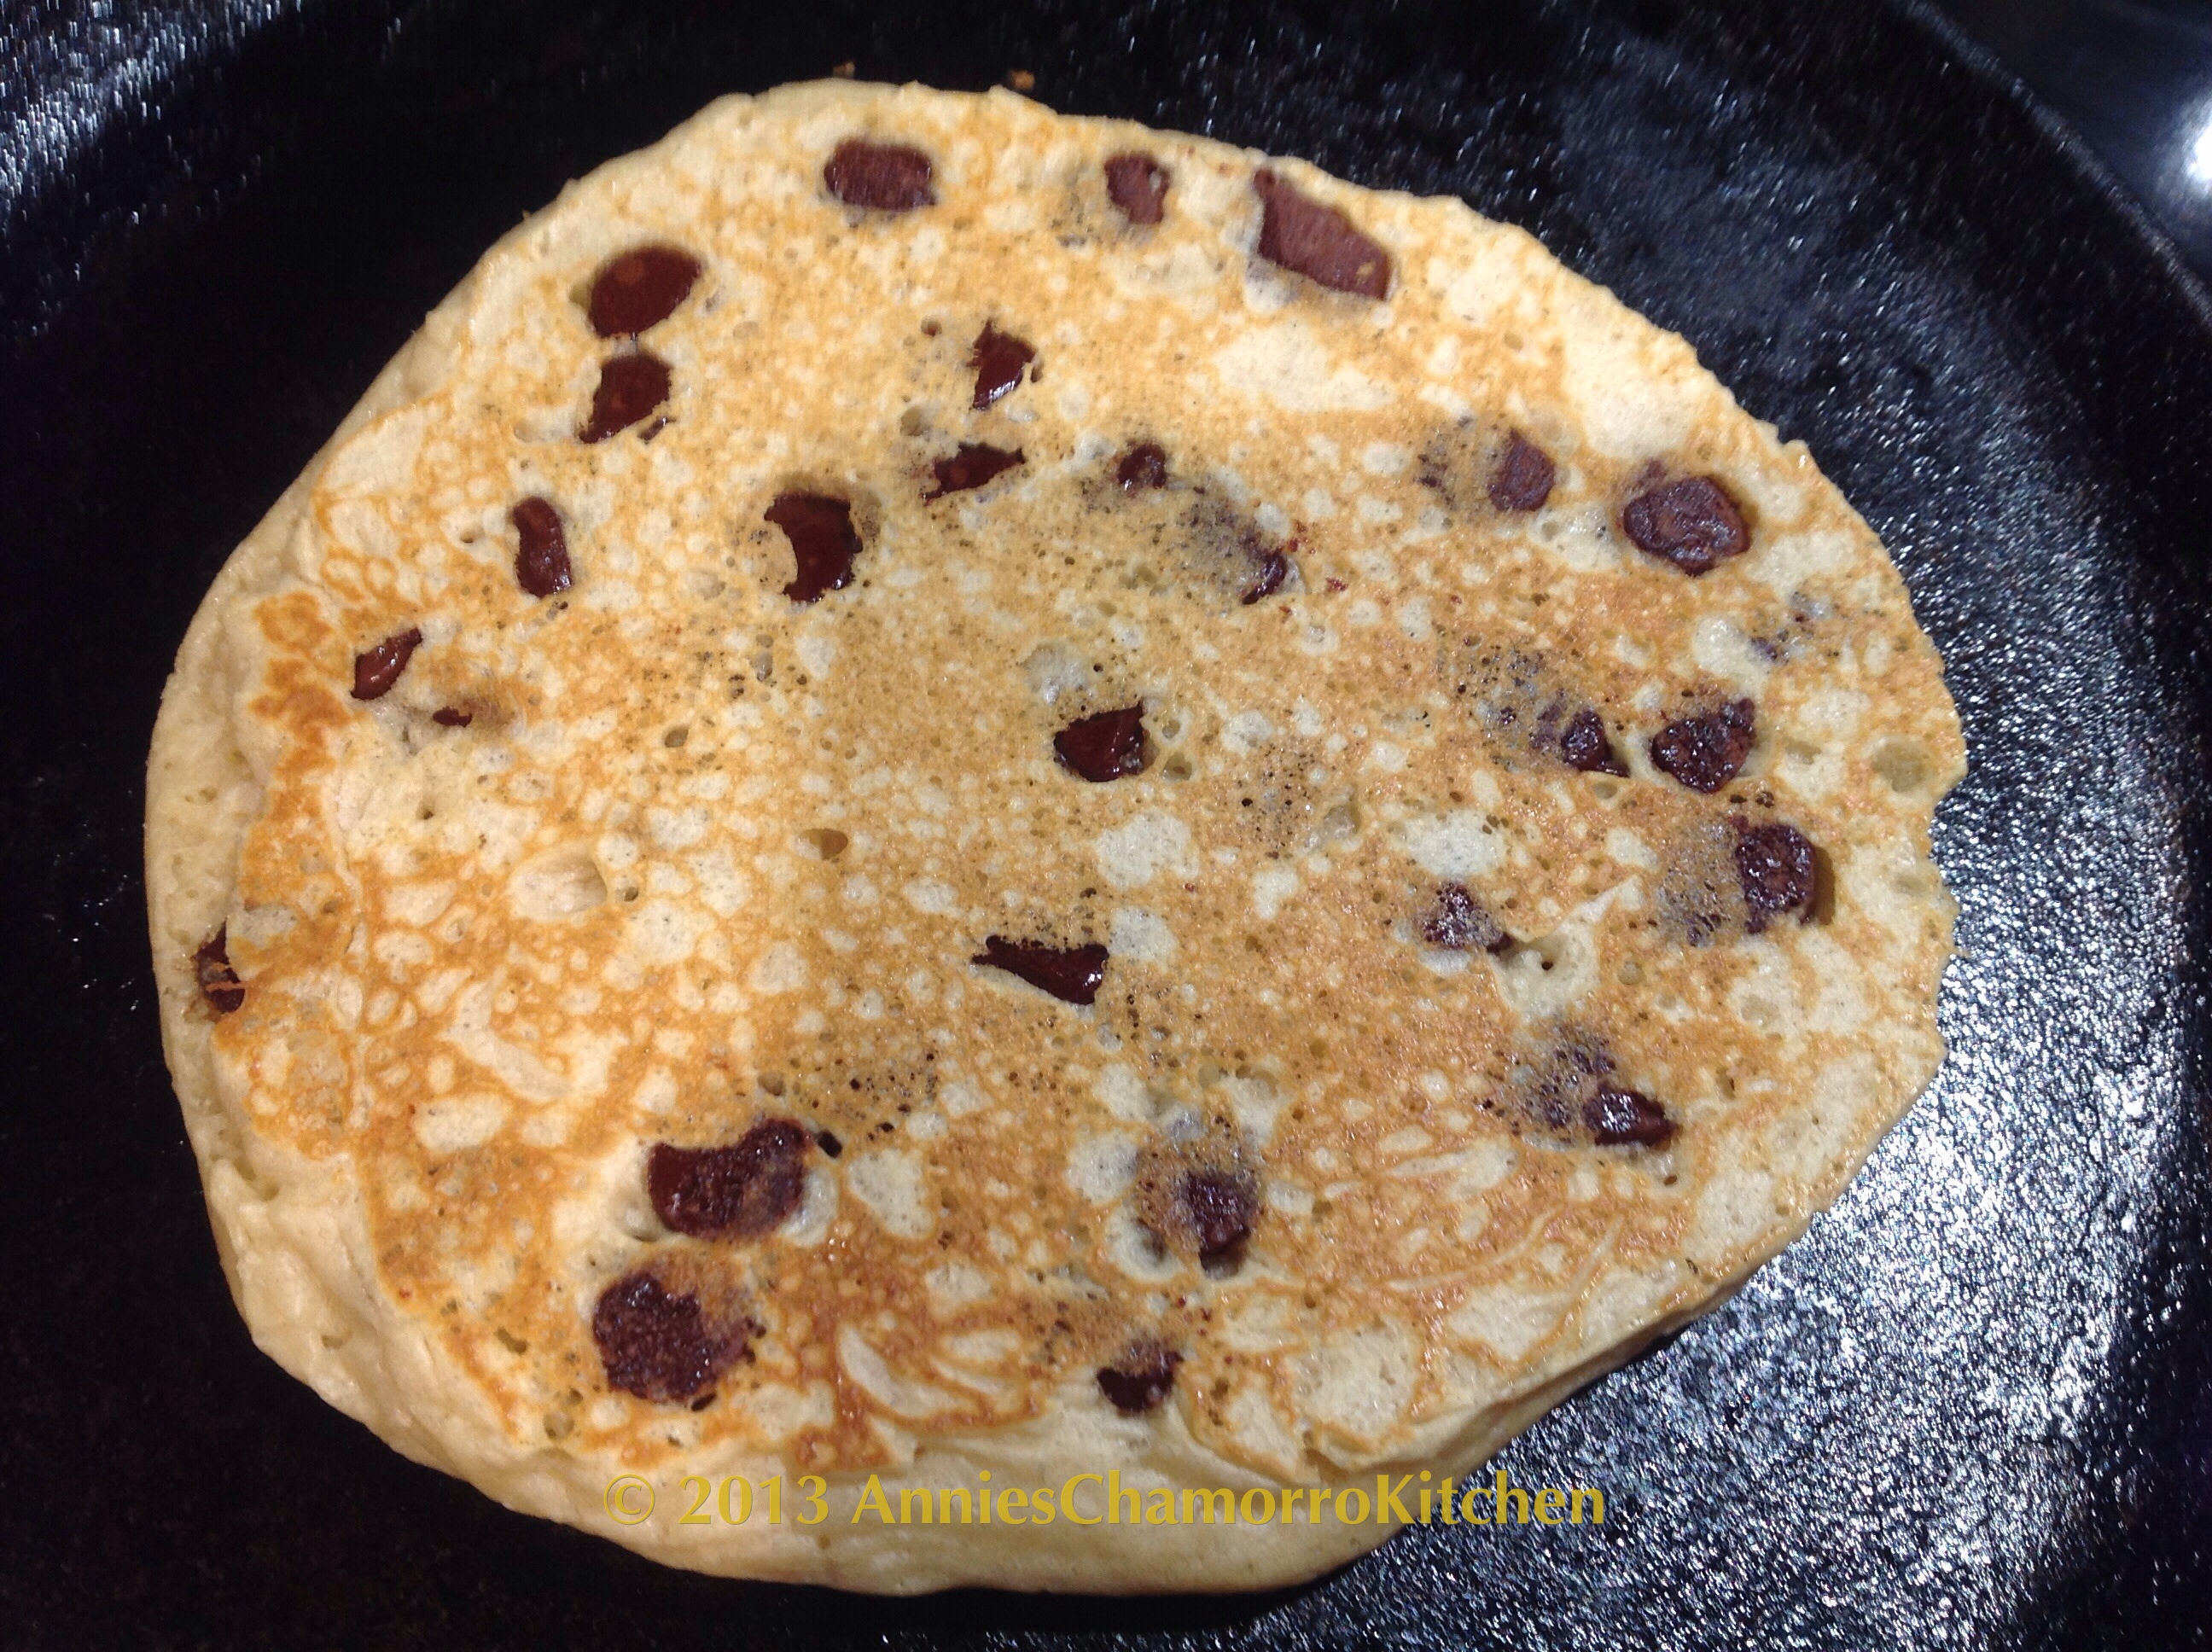
After a couple of minutes, use a spatula to check if the bottom of the pancake is turning golden brown. When it’s a nice golden brown, it’s time to flip the pancake. It took a bit of practice to learn to flip pancakes, but it’s really easy. If you’re going to teach your kids to flip pancakes without actually doing it on real pancakes, I recommend using a slice of bread to practice. Practice makes perfect. This reminds me–after practicing and practicing, I now know how to crack an egg with ONE hand and NOT get any shells into the bowl!

image

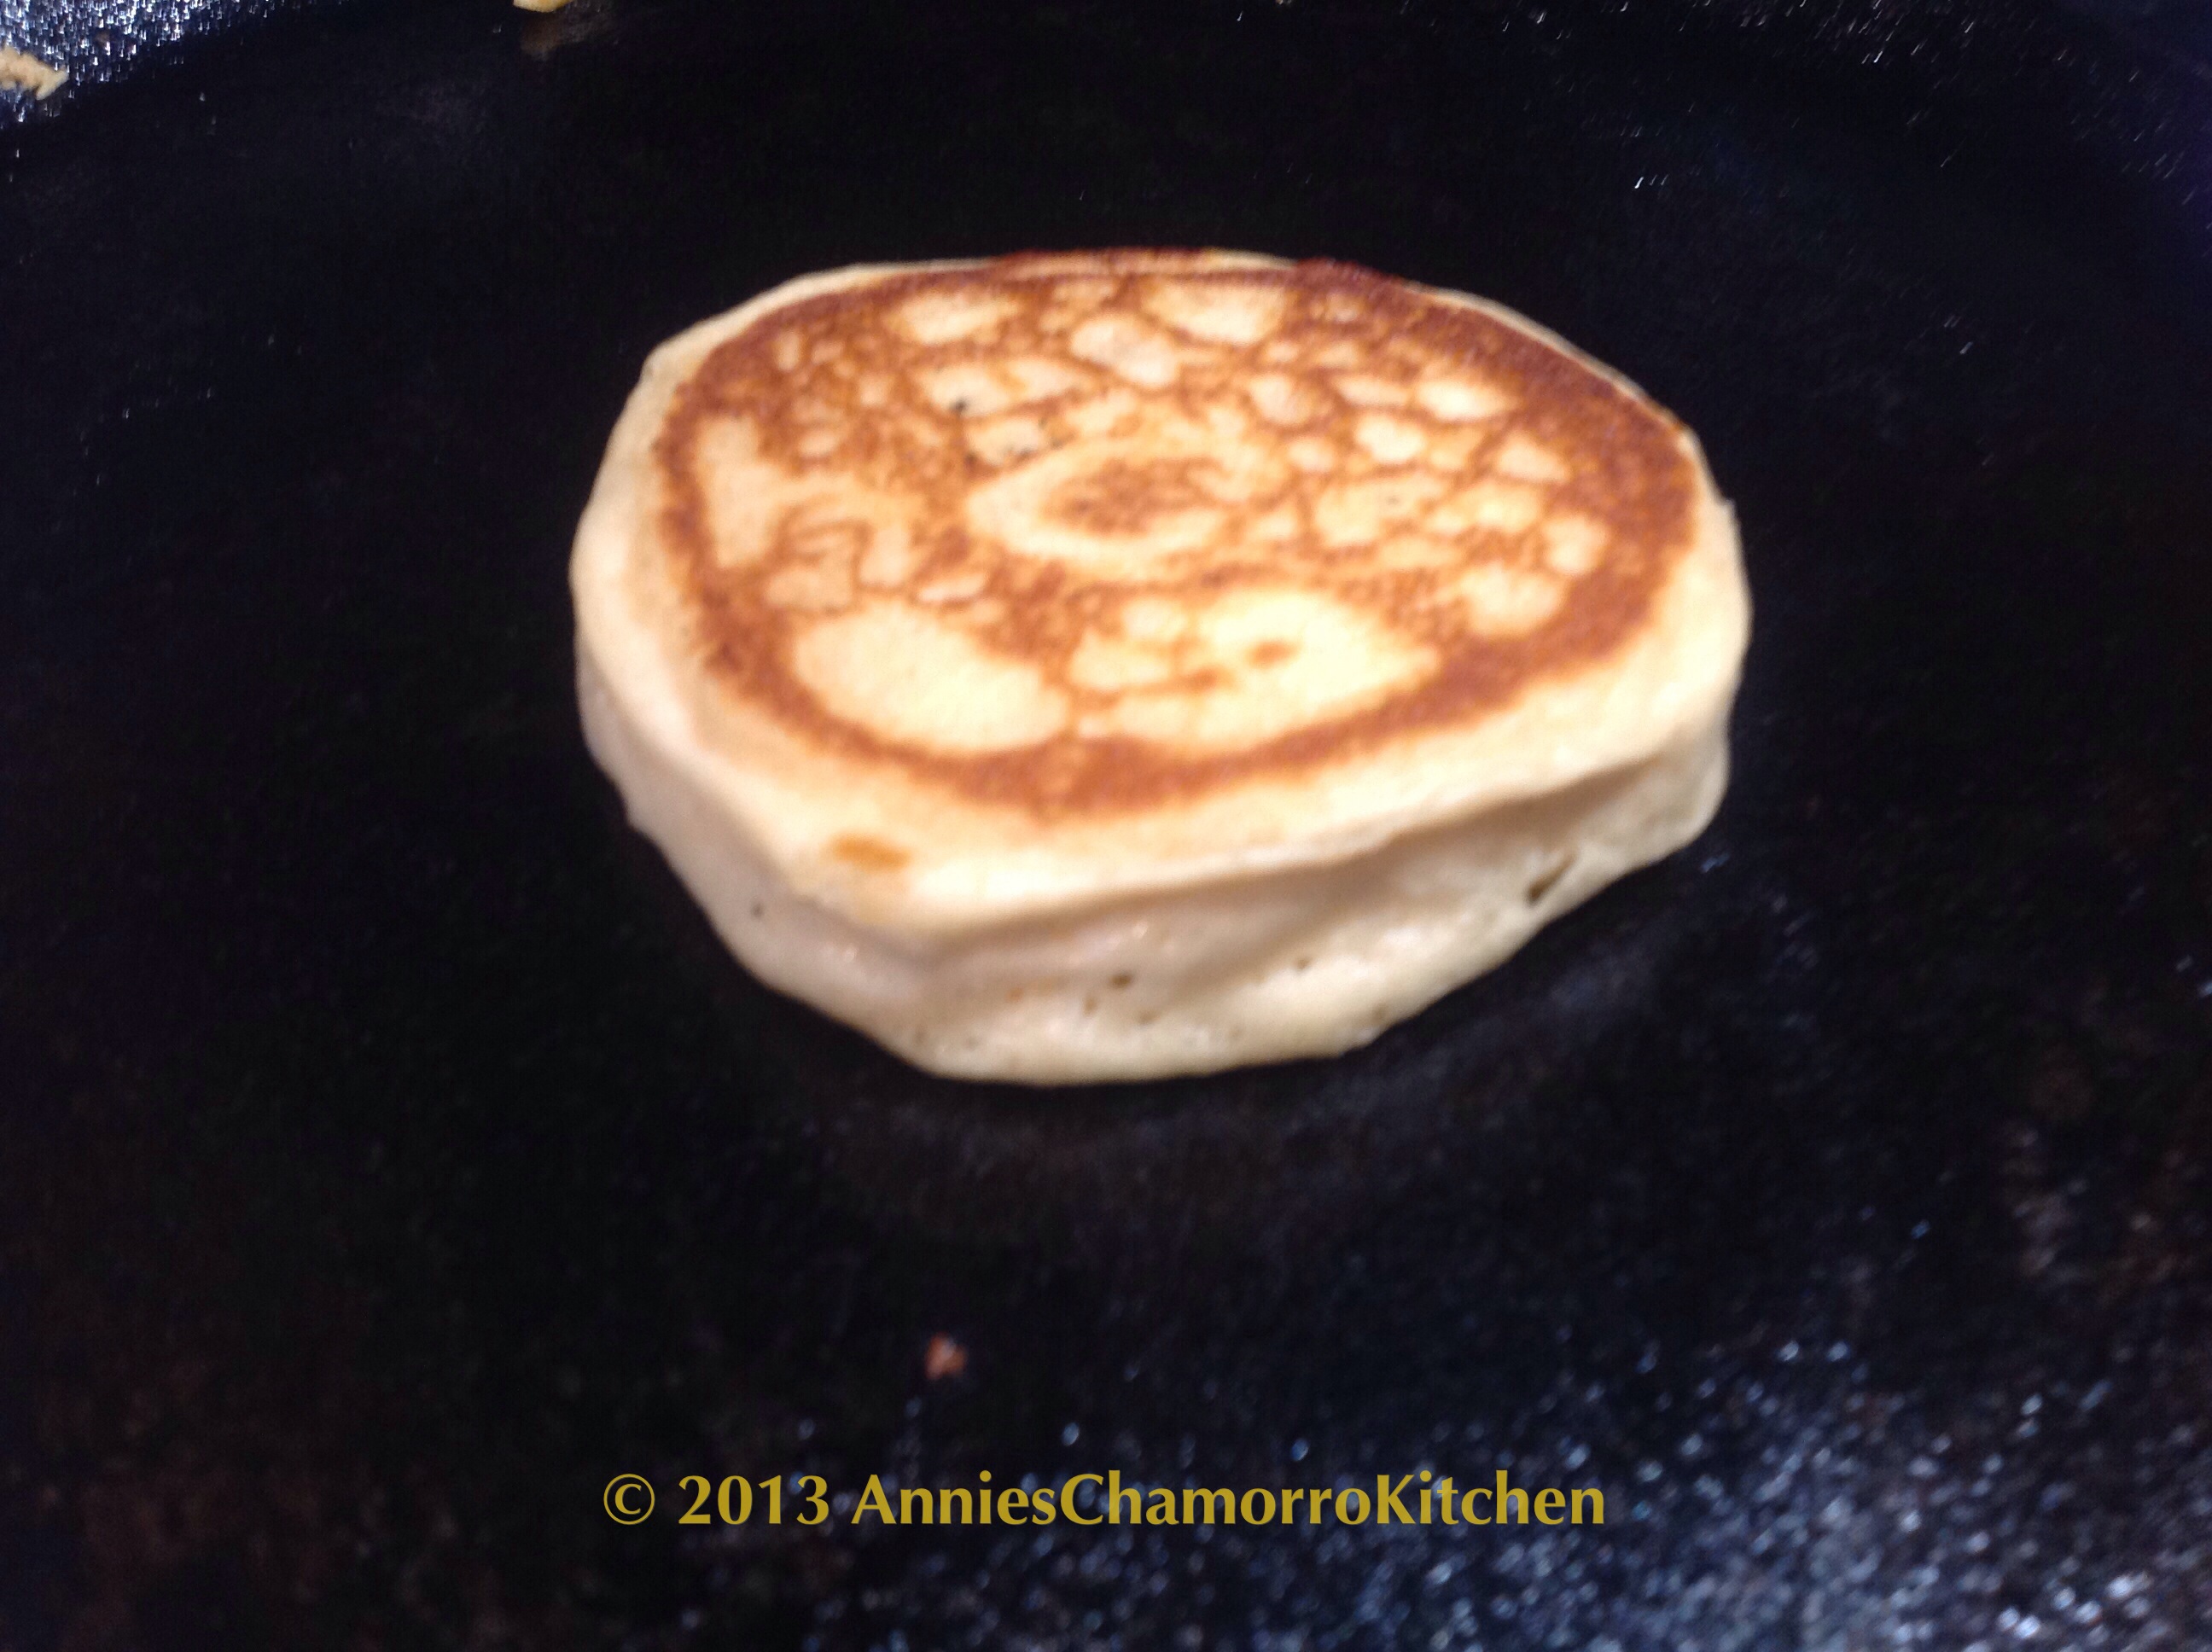
Okay, back to my pancakes. After the pancake is golden brown on both sides, it’s done. I also press down on the middle of the pancake to test if it’s done–if it feels sort of firm and not squishy, it’s done.  Look on the sides of the pancake too.  If the side still looks wet, cook it a bit longer.

image

I don’t put any syrup on my pancake when I add chocolate chips, but you can if you want to.

image

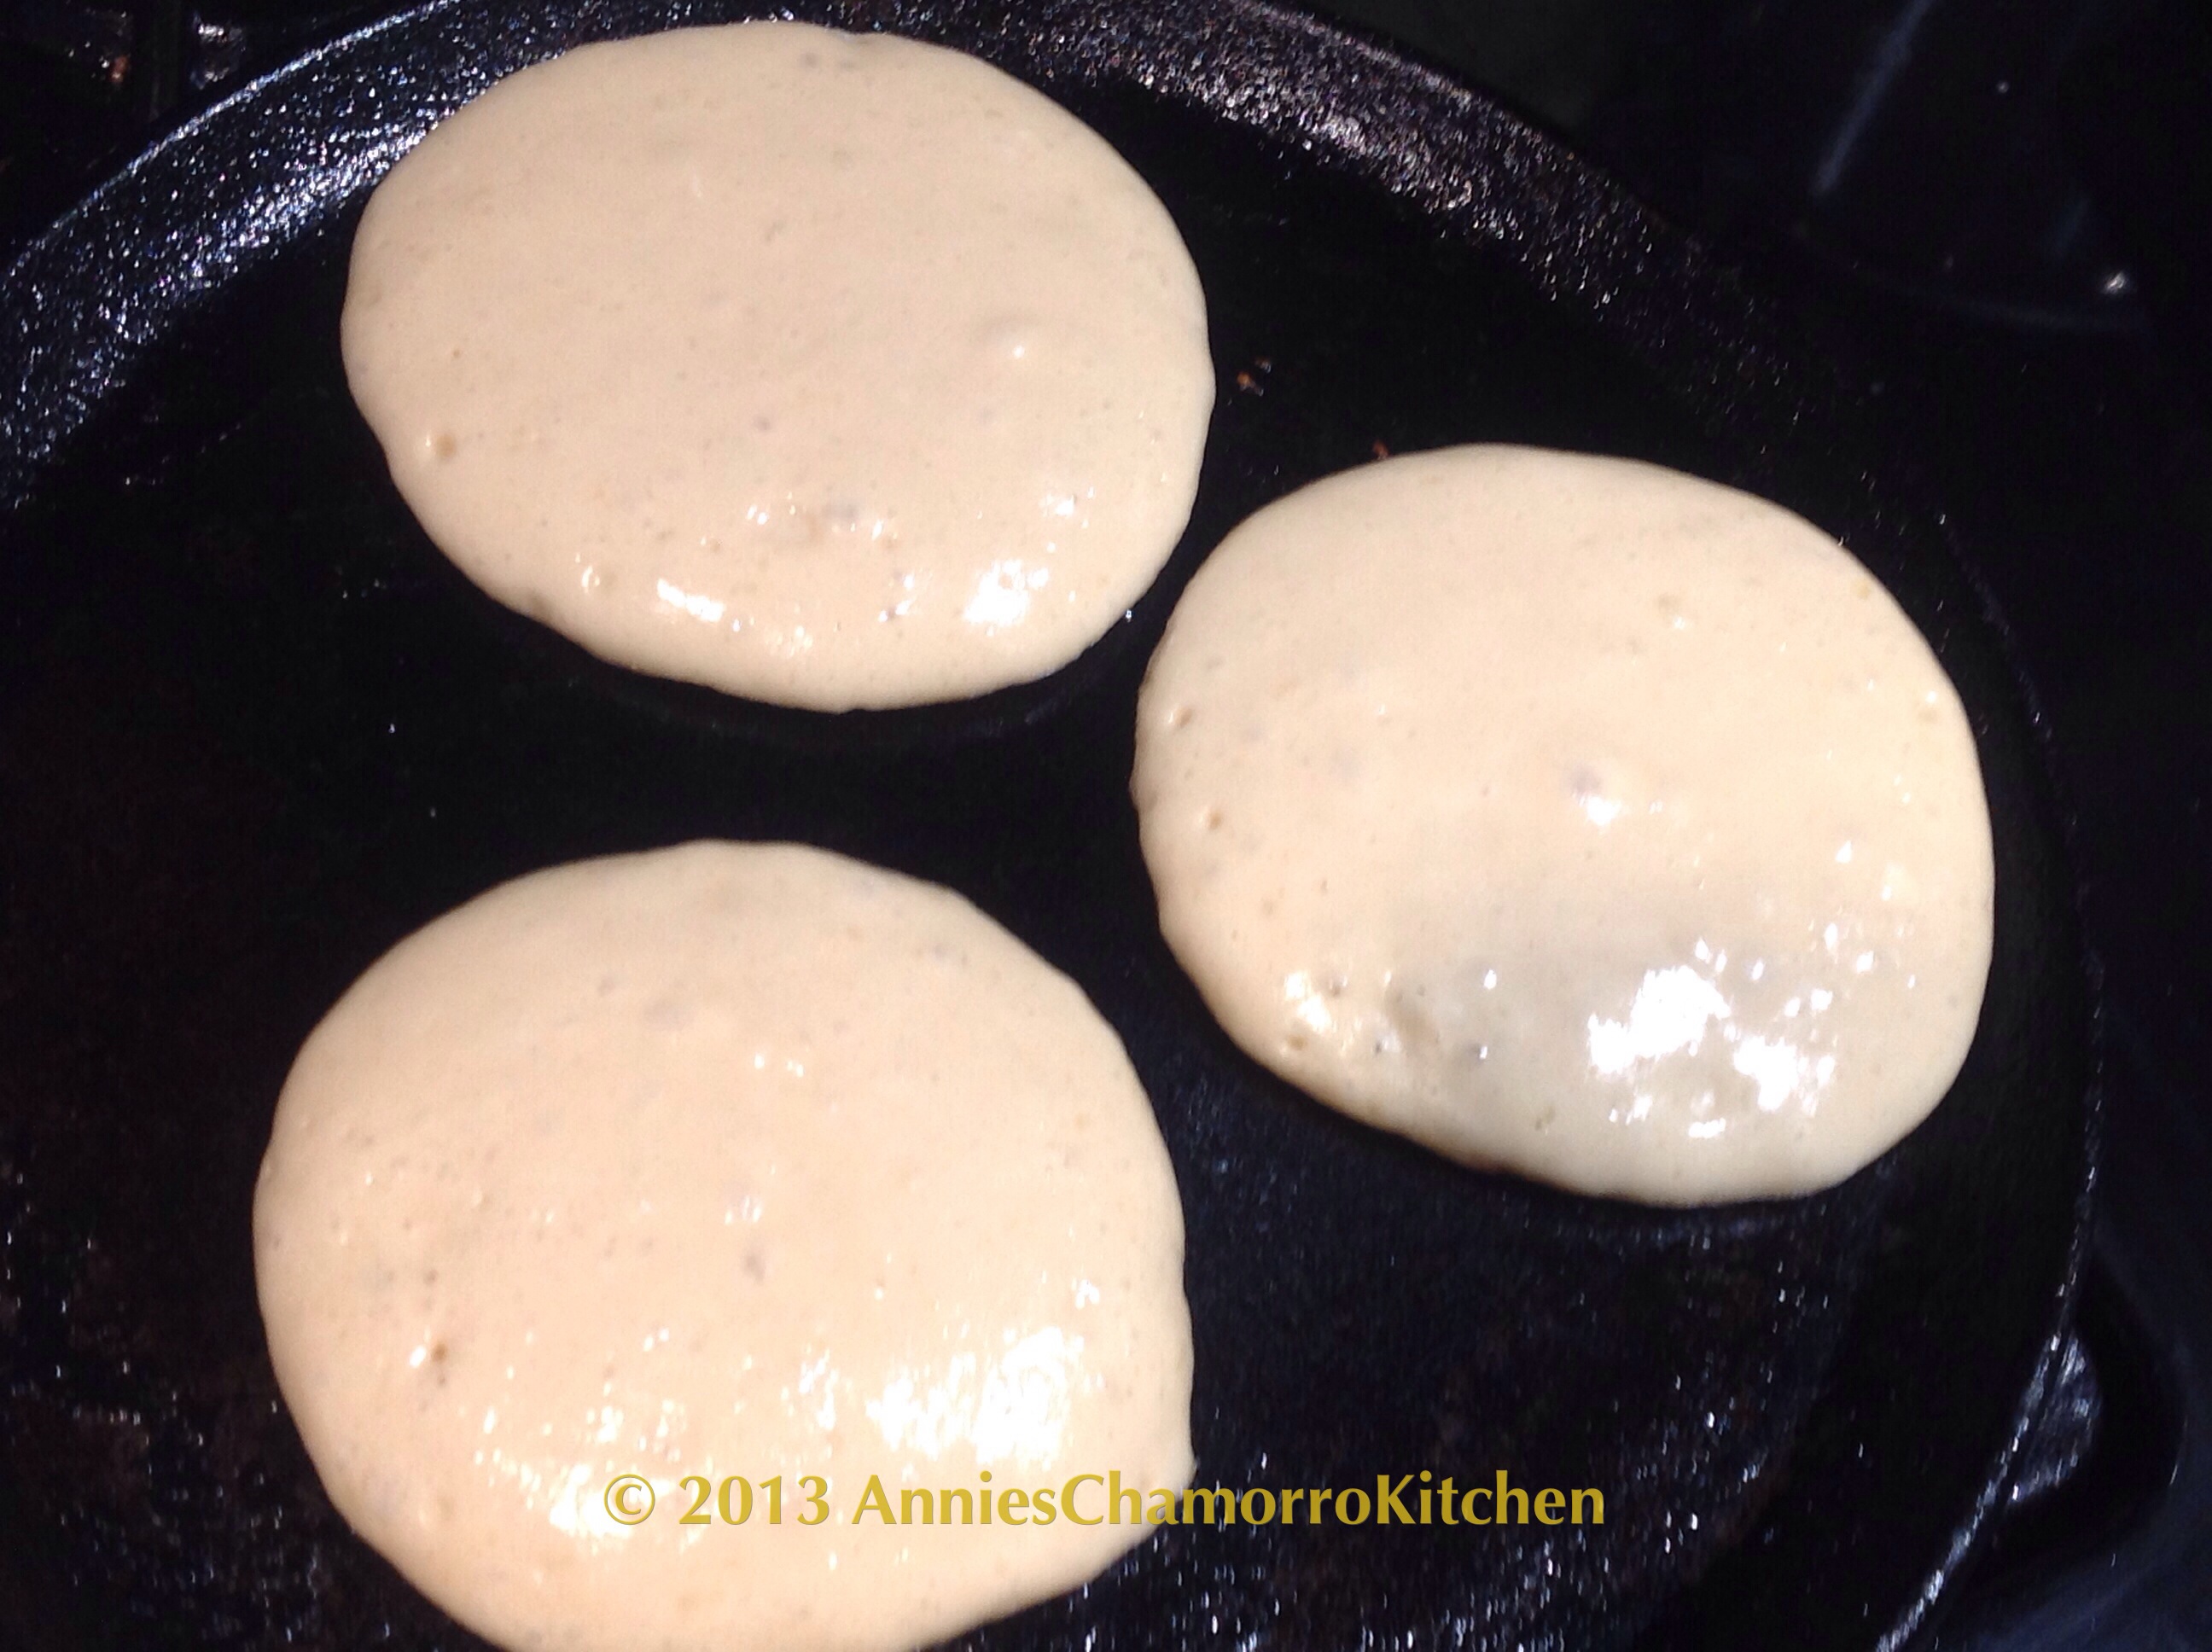
My sister likes plain pancakes (without chocolate chips). Today she wanted dollar pancakes. To make small pancakes, just use one scoop of batter. Our skillet can fit three small pancakes. Flip them over when the bottoms are golden brown.

image

Serve with butter and syrup and ENJOY!!

image

Here is my recipe, with the ingredients written out.  I hope you give my recipe a try. 🙂

Alyssa’s Fluffy Vanilla Pancakes

Ingredients:

  • 1 large egg
  • 3/4 cup milk
  • 2 tablespoons melted unsalted butter
  • 1 tablespoon vanilla extract
  • 1/4 teaspoon salt
  • 1 tablespoon sugar
  • 1 cup all purpose flour
  • 1 tablespoon baking powder
  • Optional: semisweet chocolate chips

Directions:

1. Mix the egg, milk, butter and vanilla in a small mixing bowl.

2. Whisk in the salt, flour and baking powder.

3. Cook on a heated skillet until golden brown on both sides. Optional: sprinkle chocolate chips on one side of the pancake before flipping it over.

4. Serve with butter and syrup. Enjoy! 🙂

image

Garlic Mashed Potatoes

Mashed potatoes aren’t traditionally found on a Chamorro menu, but there are times when my family craves something other than rice with a meal.

We like mashed potatoes–GARLIC mashed potatoes, that is–with the “classics” like fried or baked chicken, baked turkey, ham steaks, and meatloaf.  If it’s prepared right, you don’t even need gravy.  Oh, I just cringed–me, who LOVES to drown my food in lots and lots of gravy!  Well, my mashed potatoes are delicious with our without gravy.  It’s light, creamy, and garlicky…it’s just plain YUMMY!

I made this with russet potatoes, but it’s also fantastic with red potatoes (leave some of the skin on if you use red potatoes).

Give my mashed potatoes a try.  It’ll go great with your next meal. 🙂

Garlic Mashed Potatoes

image

Ingredients:

  • 4 medium russet or baking potatoes
  • 1 stick unsalted butter
  • 1 tablespoon garlic powder
  • 1/2 cup grated Parmesan cheese
  • 1 1/2 cups fat-free half and half
  • Salt and pepper, to taste

Directions:

1.  Wash and peel the potatoes.  Cut into evenly sized pieces.

image

2.  Place the potatoes into a medium sized pot then cover with cold water.  I also salt the water, about a teaspoon of salt will do.  Bring the water to a boil, keeping the pot uncovered.

image

image

3.  When the potatoes are done, turn off the heat and pour out the water.  Keep the potatoes in the pot.  Why dirty another bowl?  Everything gets mixed in the same pot. 🙂

Slice the butter into small pieces then add it to the pot of potatoes.  Stir gently; the heat from the pot and potatoes will melt the butter.

image

4.  Add the garlic powder and cheese to the pot; stir to combine.

image

image

5.  Place the half and half in a microwave-safe measuring cup or bowl.  Heat for about 90 seconds.  Pour the hot liquid into the pot of potatoes.  This may appear to be too much liquid, but trust me…it’s just the right amount.

In case you’re wondering, those green flecks in the photo below are dried parsley (I used garlic powder with dried parsley in it). 😉

image

6.  Use a potato masher to mash the potatoes.  Mash only to the point when you don’t have any large chunks of potatoes anymore.  A few small chunks are okay.

This is IMPORTANT:  DO NOT over mash, and by all means, DO NOT use a hand mixer to mix your potatoes.  Over-mixing or over-mashing potatoes turns the whole thing into a sticky, gummy mess.  If you stop mashing–as I stated above–when there aren’t anymore large chunks, I guarantee you’ll have light, fluffy, tasty mashed potatoes your family will love.

image

7.  Add salt and pepper, to taste.  Stir (no more mashing), then taste again.  Adjust seasonings if required.

image


Serve and ENJOY!

image

Fudge Brownie Pizza

Brownies, Sweetened Pineapple Cream Cheese, Bananas, Strawberries, and Chocolate Sauce…need I say more? 😀

This is a delicious dessert pizza that’s sure to be a hit with your friends and family.  It’s so good that one of my daughters asked to have this as her birthday “cake” one year.

You can vary this recipe by adding your favorite toppings.  Sometimes I add chopped peanuts or almonds.  You can also try sprinkling peanut butter or toffee chips on top, or using caramel sauce instead of chocolate (or use BOTH!).  The possibilities are virtually endless.  Come up with your own spin on this recipe, or make it as directed below–it’s so delicious no matter what you add to it.

Give my recipe a try.  I think you’ll absolutely LOVE it! 😀

Fudge Brownie Pizza

image

Ingredients:

  • 1 box triple chocolate brownie mix
  • 8 oz. cream cheese
  • 1 20-ounce can crushed pineapple, drained and squeezed (squeeze out as much juice as you can)
  • 1 tablespoon sugar
  • Fresh strawberry slices, as much as you like
  • 2 small ripe bananas, sliced
  • 1/2 cup semisweet chocolate chips
  • 2 tablespoons milk or heavy cream

Directions:

1.  Mix the brownie batter according to package directions.  Spread the batter onto a small pizza pan.  Bake for 15 minutes for a very moist, fudge-like brownie or 20 minutes for a less-moist, cake-like brownie.  Set aside to cool completely.

image

2.  Place the cream cheese into a small mixing bowl…

image

…then add the sugar…

image

…and crushed pineapple.

image

3.  Use a hand mixer to mix the ingredients together.

image

Mix until well combined and the mixture is creamy.

image

4.  Scoop the mixture onto the cooled brownie pizza.

image

Spread the mixture evenly over the entire pizza.

image

5.  Place the sliced fruit over the pineapple-cream cheese mixture.

image

6.  Place the chocolate chips and milk or cream into a small microwave-safe bowl.  Microwave for 30 seconds.  Stir until smooth and creamy.

image

image

7.  Drizzle the chocolate sauce over the pizza.

image

8.  Cut into pieces, serve, and ENJOY! 😀

image

Corn Soup

Chicken corn soup is a classic dish on Guam.  It’s made many different ways, from cutting corn kernels off fresh ears of corn to using canned or frozen corn.

As with most recipes nowadays, you can find fresh ingredients right in the freezer section of your grocery store–ingredients frozen right at the peak of ripeness so that we can enjoy them year round.

My version of chicken corn soup is relatively quick and easy to make.  On a side note, I have an even simpler version of corn soup that I’ll share soon.  In fact, it’s so super-simple that I call it “Cheater Corn Soup”.  Come back soon for that one. 😉

Cook a pot of my chicken corn soup.  It’s perfect when you’re craving comfort food, or if you want something to warm up your insides on a cold, blustery day.

Give my recipe a try.  I think you’ll like it. 🙂

Corn Soup Tutorial - 01

Corn Soup Tutorial - 02

Corn Soup Tutorial - 03

Corn Soup Tutorial - 04

Corn Soup Tutorial - 05

Corn Soup - 14


« Older Entries Recent Entries »