Archive for Author AnniesChamorroKitchen

About the Author: AnniesChamorroKitchen
Hafa adam means "hello" in Chamorro, the native language of my island home, Guam U.S.A. Guam is the proverbial melting pot, abounding with cultural diversity that is aptly displayed in the variety of food we eat and share. The focal point of most Chamorro families centers around family gatherings and cooking. In my home, most of my guests congregate in my kitchen. It is where we do our best catching up, and whee lasting emories aremade. Browse through my selection of Chamorro and other recipes m and please leave me a comment if you try my recipes to let me know what you think of them. I hope you enjoyed your time in my kitchen. Come back soon! This site is work-in-progress, so please bear with me as I grow this site to a place where you'll love to visit. Happy Cooking! ~ Annie

Hannah’s BBQ Marinade

My teenaged daughter is the official Marinade maker in our house.  She has a recipe that is so simple yet has all of our friends salivating when the smell of our BBQ wafts into their homes.

Hannah’s recipe is great for marinating beef, pork, or chicken.  This makes enough to marinate 4 packages of short ribs or 2 slabs of ribs or a 5-pound bag of chicken.

Hannah’s BBQ Marinade 

DSC_0426

Ingredients:
  • 1 1/2 cups soy sauce
  • 1/2 cup white vinegar
  • 1 can soda (your choice–sometimes Hannah uses Pepsi, Coke, Dr. Pepper or Root beer)
  • 1/4 cup good quality honey (we buy ours from a local Colorado bee farm)
  • 2 tablespoons minced garlic
  • 1 small apple, cored, and puréed in a blender or mixer
  • 1 small onion, finely chopped
Directions:

1.  Mix all the ingredients together.

2.  Place your meat in a ziplock bag.  Pour the marinade into the bag then seal.  Allow the meat to marinate for a few hours or overnight before grilling.

ENJOY!

DSC_0430

Apigigi’ or Sweet Tamales

Apigigi’ is a Chamorro dessert that takes quite a bit of time to make, if prepared the traditional way.

It calls for grated cassava or tapioca, coconut milk, young coconut meat or månha, and sugar.  Mix it all together, grill (or steam for sweet tamåles), and a few hours later you have a delicious dessert that is savored all the more for all the effort it took to make it.

grinder

I still remember when I was little; we’d make this mixture the old fashioned way.  First, my mom would dig up some tapioca roots, peel them, then we’d grind them in that old fashioned grinder that you had to clamp to a table and rotate a hand-crank.

Then came the task of making coconut milk.  First you husk the coconut (shake it first to make sure there was liquid in it; that meant it was still good).  Then you grate the coconut using a kåmyu.  Lastly, add a little bit of water and squeeze the heck out of the meat to get thick, delicious coconut milk.

Then there was the task of getting månha.  As much as I did not care for grinding the cassava, I really didn’t like this part of the job (I only liked drinking the månha juice), only because in order to get a couple of cups of sweet månha, we had to cut open about a dozen månha then carefully scrape out the meat, being careful not to scrape out the husk with it.  Of course, I always got a lot of the husk with the meat–I think this is why I hated this task most of all.  I had to go back and pull off all the husk off the meat before we could use it.

But thankfully modern conveniences make this process a WHOLE LOT easier!  You can buy canned coconut milk, grated cassava, and even young coconut meat, all packaged nicely, ready for you to make some apigigi’ or sweet tamales.  Yay!  🙂

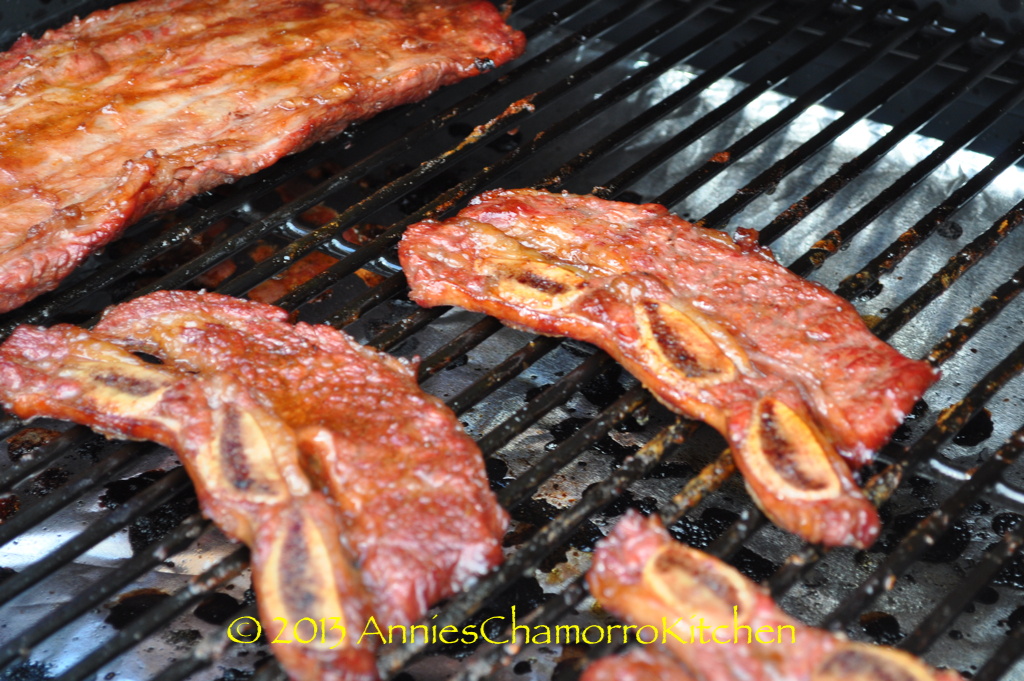
Grilled for apigigi’ or steamed for sweet tamales, this recipe is another family favorite.  Make sure you read all the way to the bottom of this post for my twist to this Chamorro favorite.

Apigigi’ or Sweet Tamales

IMG_0431 IMG_0436

Ingredients:
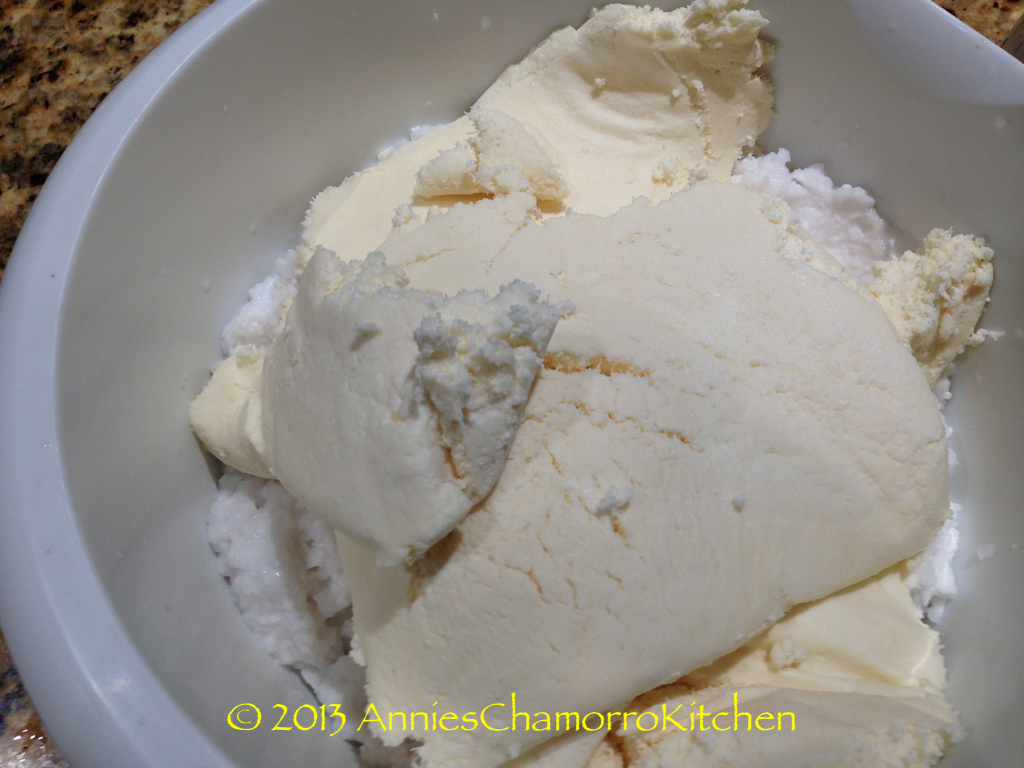
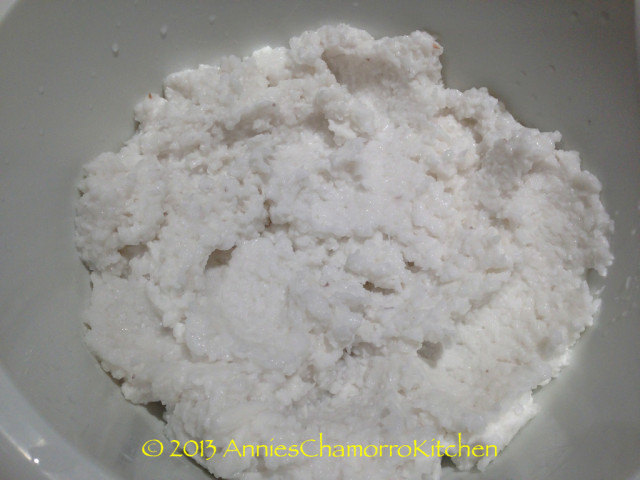
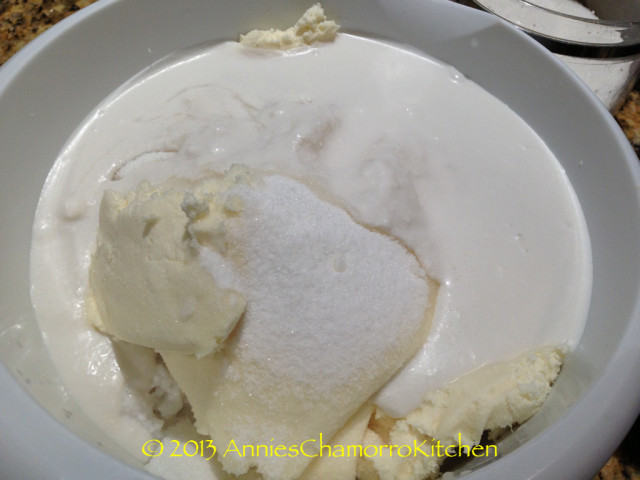
  • 1 bag (1 pound) grated cassava
  • 2 cups månha (if you buy frozen månha, make sure it’s thawed and drained)
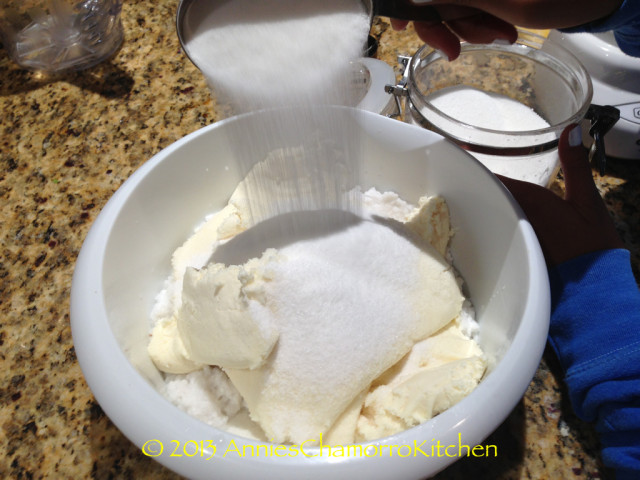
  • 3/4 cup sugar (use 1/2 cup if you like it less sweet)
  • 1/2 can coconut milk
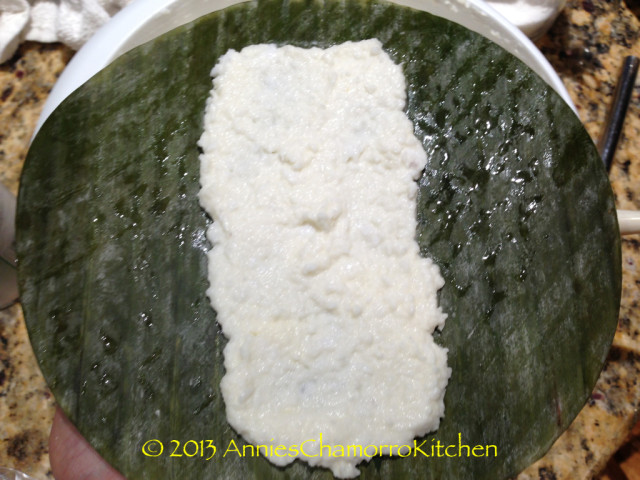
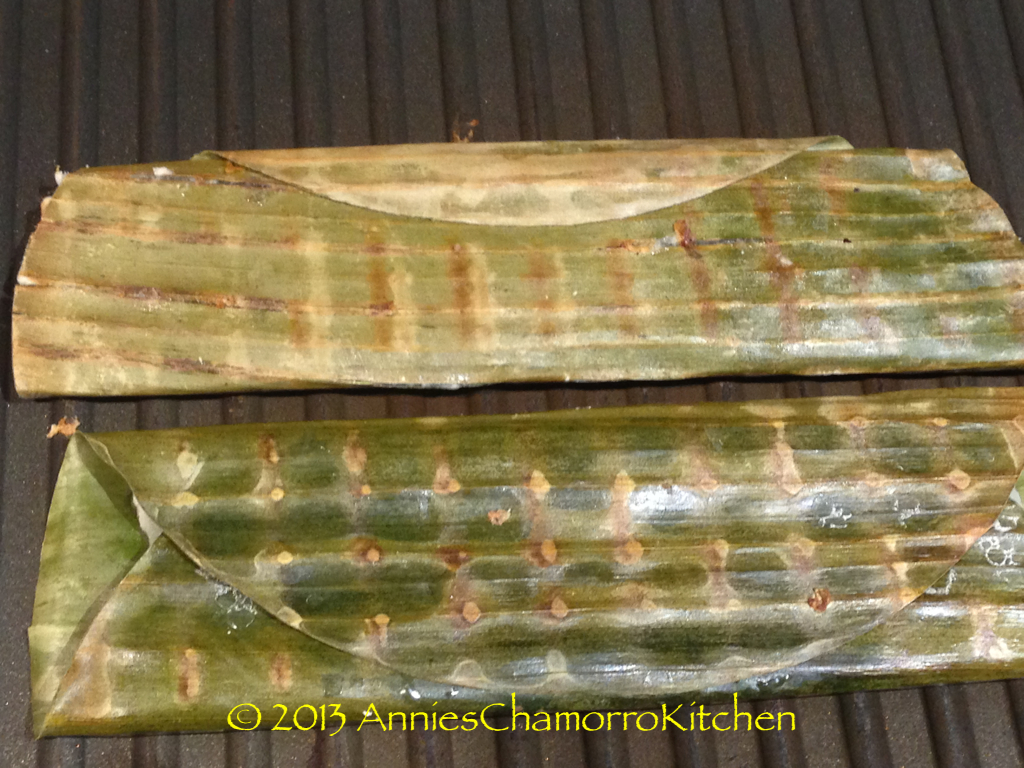
  • Banana leaves (for making apigigi, cut into 6×4-inch pieces)
Directions:

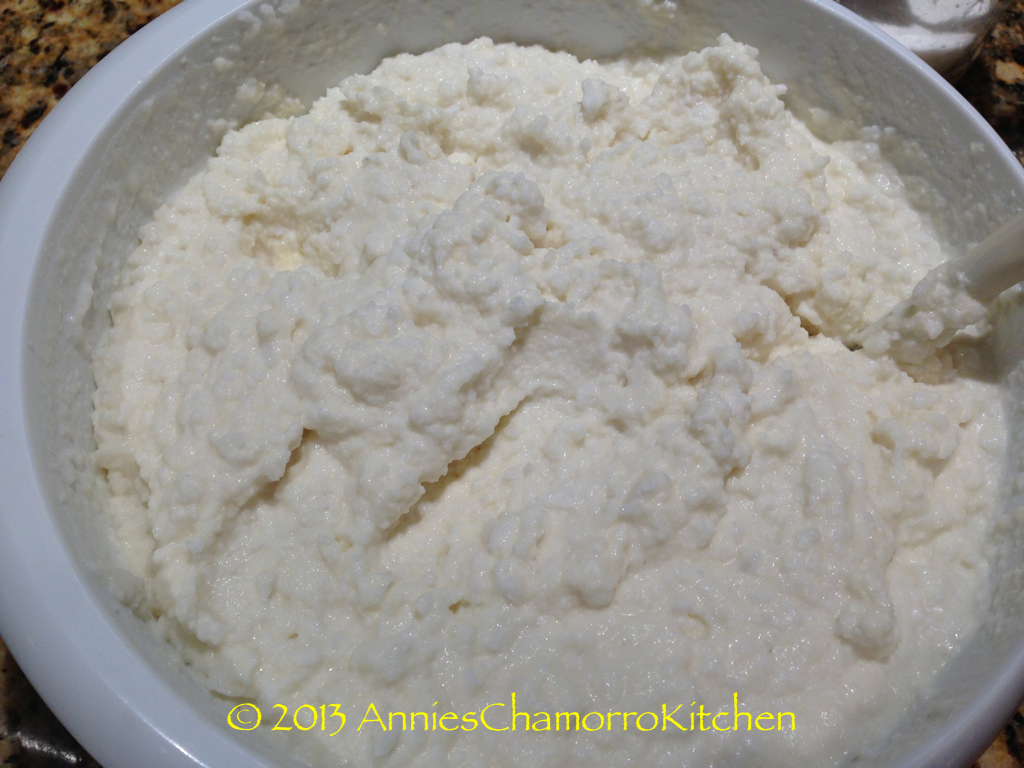
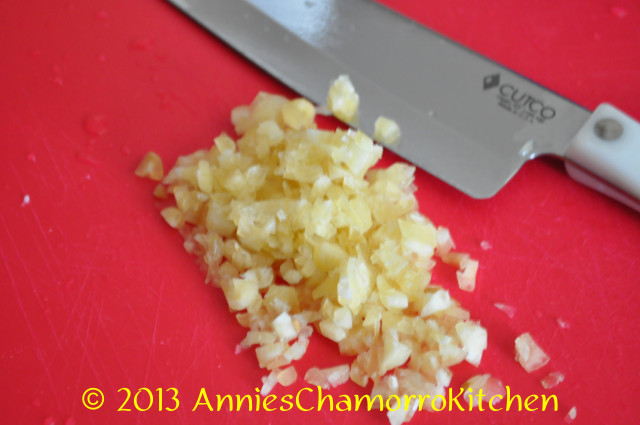
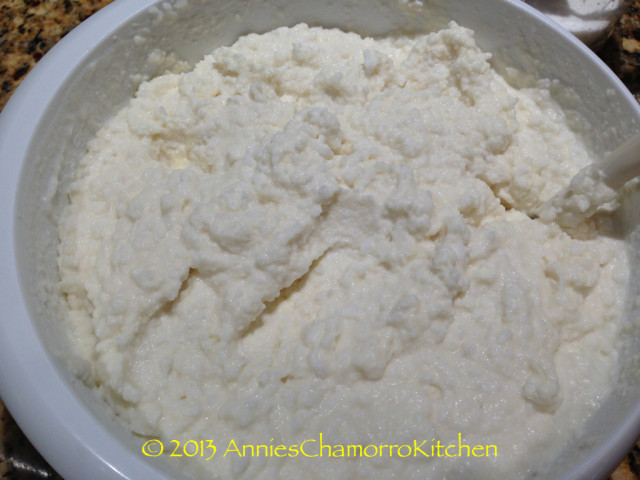
1.  Chop the manha, then mix it with the cassava, sugar and coconut milk.

IMG_0407

IMG_0408

IMG_0412

IMG_0414

IMG_0415

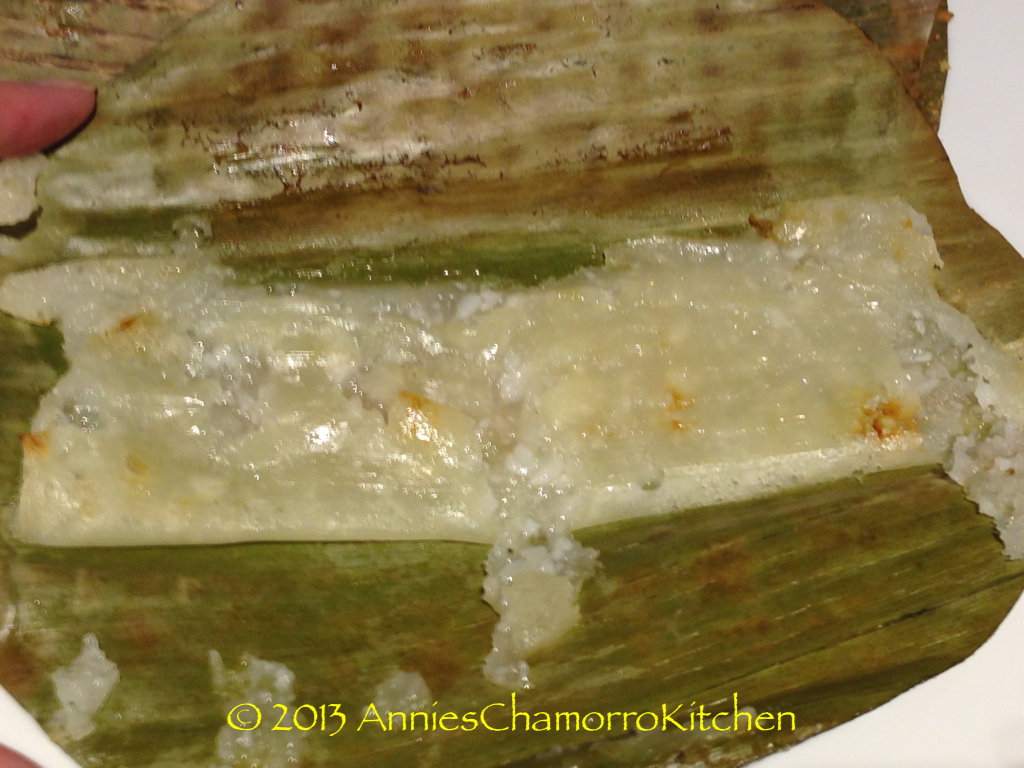
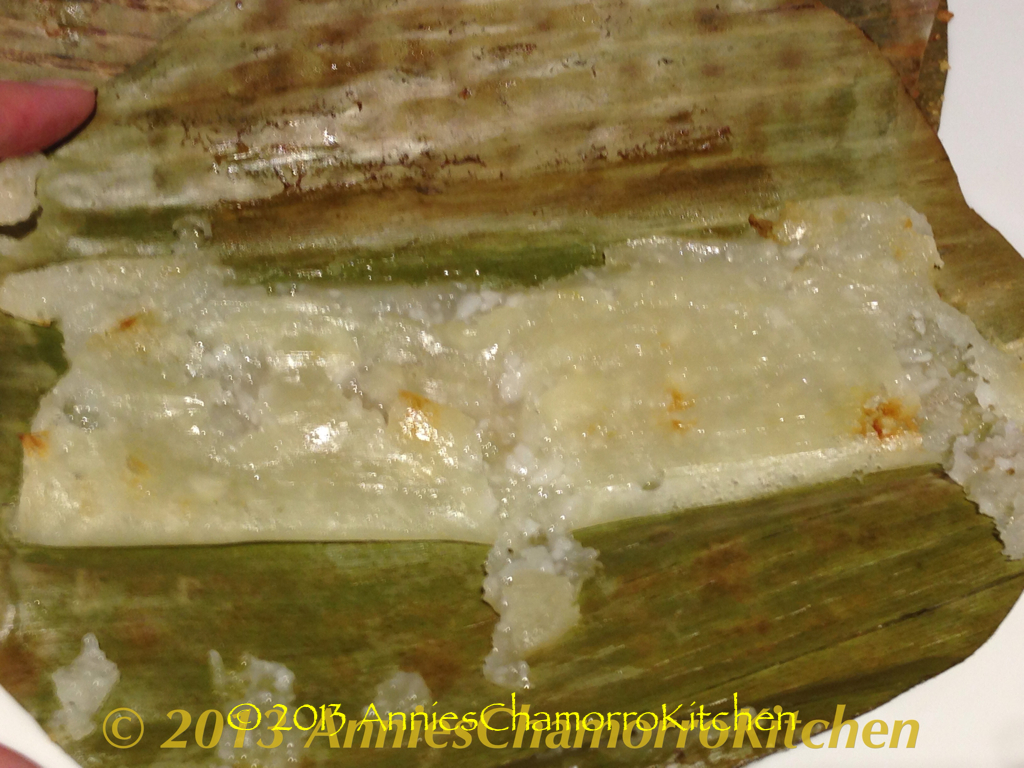
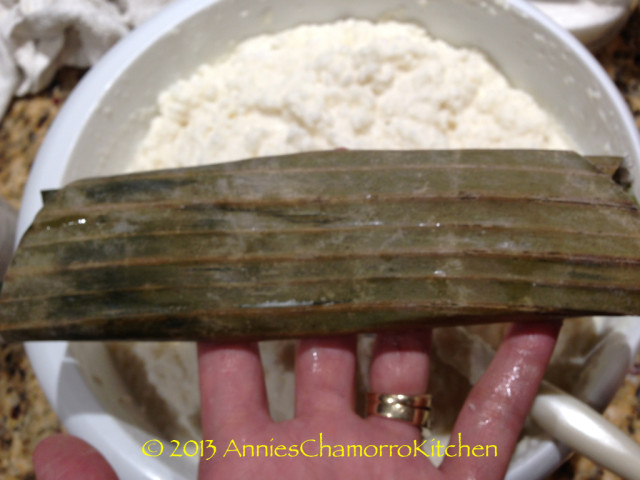
2.  Spread a thin layer down the center (lengthwise) of the banana leaf.  Fold each side in, over the batter.

IMG_0421 IMG_0420

3.  Grill over hot coals or on a stove-top grill pan, about 10 minutes on each side.  Let cool then serve.

IMG_0423 IMG_0431

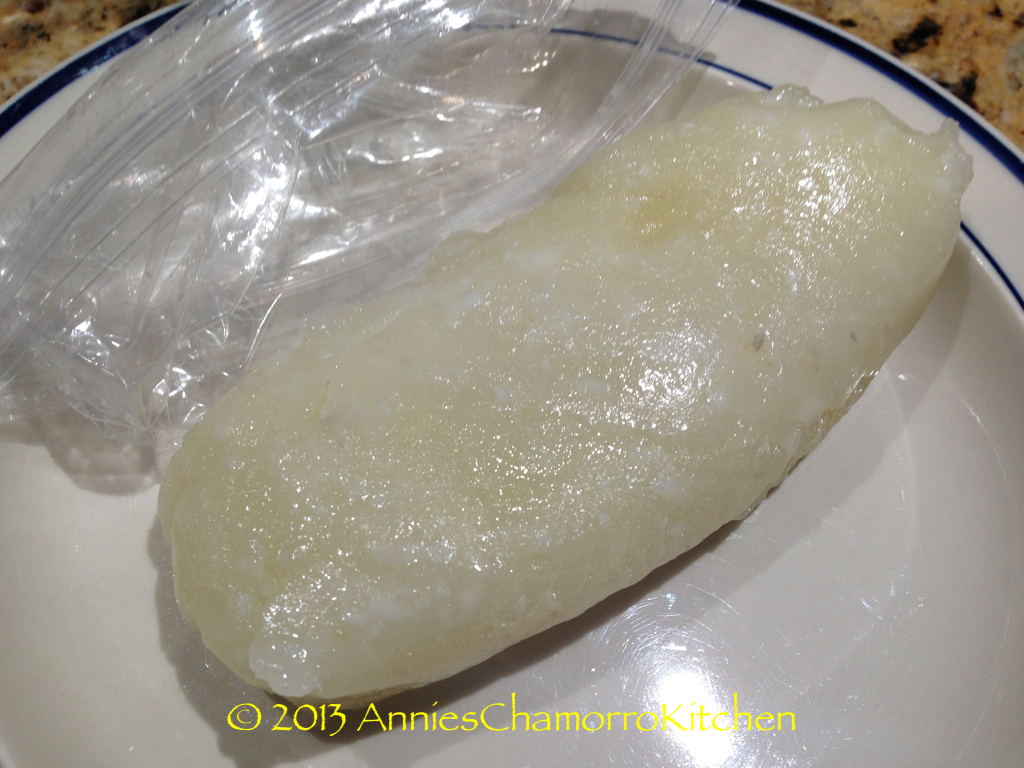
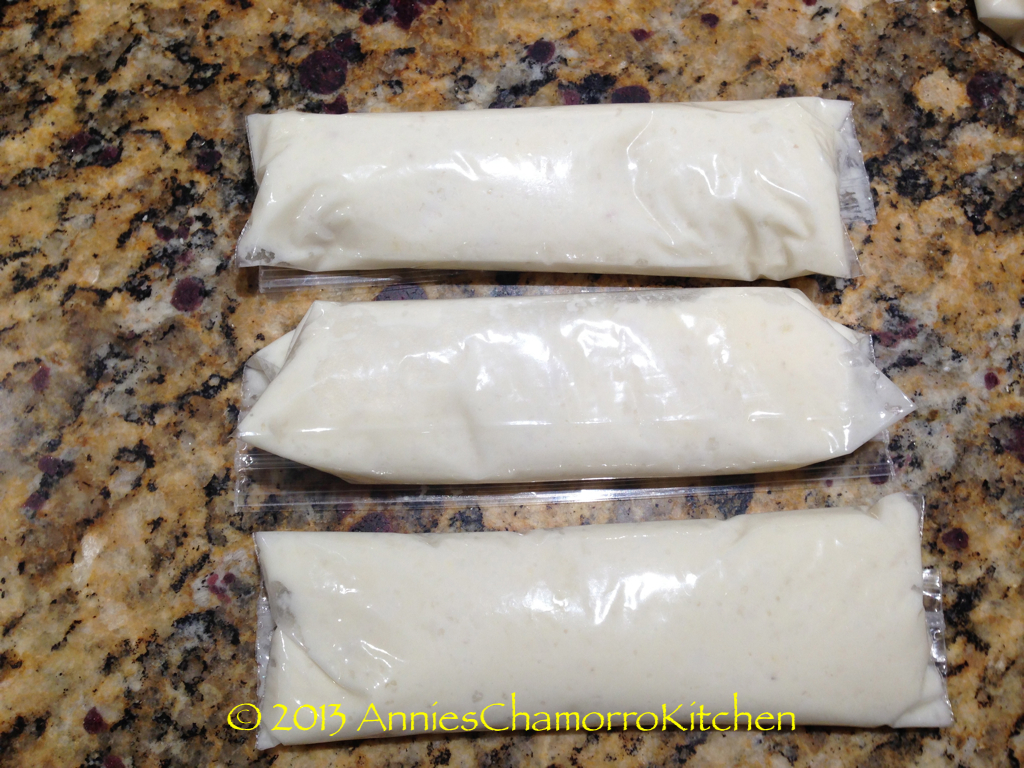
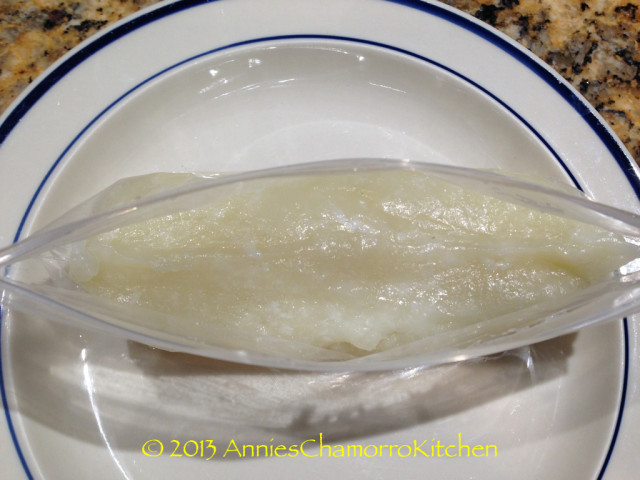
4.  If making sweet tamales instead of apigigi’, fill snack-sized ziplock bags with about 4 tablespoons of batter.  Wrap the bag with foil then steam the foil packets for 20 minutes.  Allow to cool then serve warm.  You can also chill the tamales and serve cold.

IMG_0433 IMG_0435 IMG_0436

*NOTE:  I also like to serve the steamed tamales unwrapped, placed in a shallow baking dish, then topped with a thick, sweet coconut topping.  Here is my version of the topping:

Sweet Coconut Topping for Tamales

Ingredients:
  • 1 1/2 cans coconut milk
  • 2 tablespoons cornstarch
  • 1 cup sugar
Directions:

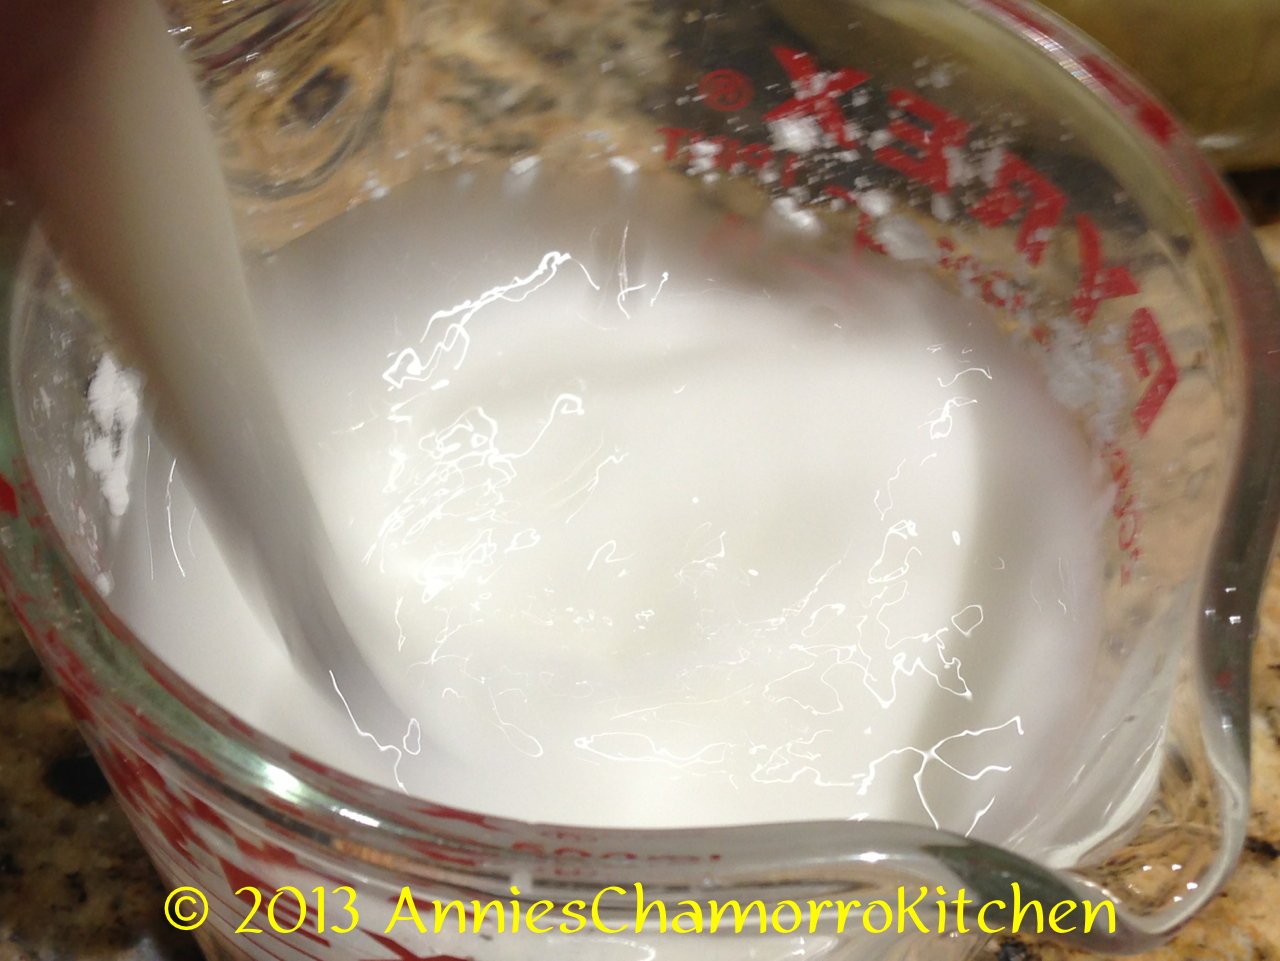
1.  Dissolve the cornstarch and sugar in the coconut milk.  Pour into a small sauce pan then bring to a boil, stirring constantly until the sauce has thickened.

2.  Pour the sauce over the steamed tamales.  Serve while still warm.

Enjoy!


Beef Stir Fry with Eggplant, Mushrooms and Bean Sprouts

Beef…it’s what’s for dinner.  🙂  I love that commercialized tag line.

Beef stir fry is another one of those versatile dishes that you can change by adding different vegetables.  I like using whatever looks freshest at the grocery store.  Use whatever vegetables you like, or modify this further by substituting the beef with chicken, pork, or even shrimp!  You can even make this a vegetarian dish by stir frying firm tofu in place of the beef.  The options are virtually endless.

Beef Stir Fry

Ingredients:

  • 3 pounds thinly sliced beef
  • 3 tablespoons sesame oil
  • 1/2 teaspoon black pepper
  • 1 teaspoon accent (or aji), optional
  • 8 cloves garlic, minced
  • 1 medium onion, sliced
  • 1 head broccoli, cut into small pieces
  • 2 medium Japanese eggplants, sliced
  • 1 package sliced mushrooms, about 2 cups
  • 1/2 cup soy sauce
  • 1 tablespoon hoisin sauce
  • 4 tablespoons Korean seasoned soybean paste (see note)
  • 1 bag fresh bean sprouts

Directions:

1.  In a large pan or wok, brown the beef over high heat along with the sesame oil, black pepper, accent and garlic.

DSC_0057

DSC_0060

2.  When the beef is browned, add the onions, broccoli, eggplant and mushrooms. Cook over medium high heat until the eggplant and mushrooms have wilted slightly.

DSC_0061

DSC_0067

DSC_0068

DSC_0069

3.  In a small bowl, mix the soy sauce, hoisin sauce, and Korean seasoned soy bean paste. NOTE: If you can’t find the soybean paste, substitute with like amounts of hoisin sauce. Add the soy sauce mixture to the pot; stir to combine all the ingredients.

4.  Add the bean sprouts. Reduce the heat to low and simmer for about 5 minutes until the bean sprouts have wilted only slightly.

DSC_0070

5.  Serve with hot rice and enjoy!

This makes enough for about 8-10 servings.

  DSC_0081

Pork & Shrimp Chop Suey with Noodles

Chop suey most often refers to a stir fried noodle dish, but I like my version of chop suey with a bit of gravy.  I guess my brain refuses to separate spaghetti noodles from sauce, so my chop suey is saucy.  That’s got a nice ring to it, doesn’t it?  Saucy Chop Suey?  🙂

Anyhow, my recipe is made with slices of pork, shrimp, and a variety of veggies — I like adding carrots, cabbage, mushrooms, peppers, and onions.  My mom adds celery in hers, but that’s one vegetable I am not too keen on, so it stays out in my version.

Add your favorite ingredients to make it your own.  Give it a try and let me know how you like it.  🙂


CHOP SUEY

IMG_0382

This recipe makes enough to feed a family of four, plus enough leftover for a couple of packed lunches the next day.

Ingredients:

  • 2 pounds lean pork, sliced into 1-inch long strips
  • 2 tablespoons vegetable oil
  • 2 cups carrots, thinly sliced
  • 3 cups cabbage, sliced into 4×1-inch pieces
  • 1 large onion, thinly sliced
  • 2 cloves garlic, minced
  • 1 red bell pepper, sliced
  • 1 green bell pepper, sliced
  • 1 cup sliced mushrooms
  • 2 pounds raw shrimp, shelled and deveined
  • 1/4 cup soy paste (or regular soy sauce will do)
  • 2 beef bouillon cubes
  • Salt and pepper to taste
  • 2 cups water
  • 3 tablespoons corn starch
  • 1 box spaghetti noodles, cooked per package directions

IMG_0350

Directions:

1.  Using a wok or large pan, cook the pork with the 2 tablespoons vegetable oil, about 5 minutes.  Stir occasionally to keep the pork from burning and sticking to the pan.

IMG_0356

2.  Add the carrots; stir to mix then cook for another 2 minutes.

IMG_0360 IMG_0362

3.  Mix in the cabbage and onions; cook for another 2 minutes.

IMG_0363

4.  Add the garlic, peppers and mushrooms.  Stir to combine then cook for a minute or two.

IMG_0368      IMG_0369

5.  Add the shrimp, soy paste, bouillon cubes, and 1/4 cup of water (set the remaining water aside).  Stir then cook for about 3 minutes; the shrimp should begin to turn pink.

IMG_0367 IMG_0377 IMG_0373

6.  Turn the heat to high.  Mix the remaining water with the cornstarch; stir until the cornstarch is completely dissolved.  Pour the cornstarch mixture into the pan, stirring constantly to prevent lumps from forming.  Cook for a minute over high heat; the mixture should start to thicken.

IMG_0365 IMG_0379

7.  Turn the heat to low.  Add the cooked spaghetti noodles to the pan.  It’s easier if you use a pair of tongs to mix the pork mixture with the noodles.  Once the noodles have heated through, remove from the heat and serve.

IMG_0385

Enjoy!

Pork & Shrimp Chop Suey with Noodles


Shrimp Kådu

Kådu means soup or broth in Chamorro.  It refers to any type of broth or liquid in your cooked dish, be it soup, gravy, or a stew.

Shrimp Kådu is traditionally made with shrimp that still has the head and shell on, which adds so much more flavor to the dish.  I actually prefer to cook this dish with headless, shell-on shrimp, but you can use shrimp that has been shelled.  One thing is certain, however.  You MUST use raw shrimp in this dish; it just won’t taste the same if you use pre-cooked shrimp.

Fresh green beans, if you can find any, is another “must have” in this recipe.  Don’t used canned green beans.  If you can’t find fresh, frozen will suffice–just do not use canned beans.    Again, it just won’t taste the same.

Tomatoes, on the other hand, can be fresh or stewed.  I tend to use stewed tomatoes, mainly because I don’t really like cooked tomato skins that you’ll get from fresh tomatoes.  The type of tomato you use is entirely up to you.

Give my recipe a try. I think you’ll like it.  🙂


SHRIMP KÅDU

Shrimp Kadu

Ingredients:

  • 1 small onion, diced
  • 2 cloves garlic, minced
  • 2 cups fresh green beans, cut into about 2″ pieces
  • 1 can stewed tomatoes, drained (cut them smaller if you like)
  • 2 pounds shrimp, uncooked, shell on (no heads)
  • 2 cans coconut milk
  • salt to taste
  • pepper to taste
  • a squeeze of lime juice (about half a lime)

Directions:

1.  In a medium soup pot, sauté the onions and garlic over medium heat, just until the onions become translucent.

2.  Add the green beans; cook for about 3 minutes, or until the beans are JUST starting to wilt (do not overcook).

3.  Add the tomatoes and shrimp.  Cook for 5 minutes or until the shrimp is no longer translucent (the shells will start to turn pink).

4.  Add the coconut milk.  There should be enough milk to cover the top of the shrimp; add more coconut milk if you like lots of kådu over your rice (I like my rice swimming in coconut milk kådu, so I use lots of coconut milk when making this dish).  Simmer over low heat until the coconut milk is warmed through — DO NOT bring the kådu to a boil or else the coconut milk will separate and the milk will look like it’s curdled.

5.  Add salt and pepper to taste, then add the squeeze of lime juice.  Stir to combine.  Serve over hot white rice and ENJOY.

My friend, Yvonne, and her daughter made some shrimp kådu — this is their version of the dish, made with shrimp with only the tails on.  Doesn’t it look scrumptious?

Shrimp kadu - Yvonne's

Shrimp Kådu, by Yvonne and Christie

« Older Entries Recent Entries »