Archive for Author AnniesChamorroKitchen

About the Author: AnniesChamorroKitchen
Hafa adam means "hello" in Chamorro, the native language of my island home, Guam U.S.A. Guam is the proverbial melting pot, abounding with cultural diversity that is aptly displayed in the variety of food we eat and share. The focal point of most Chamorro families centers around family gatherings and cooking. In my home, most of my guests congregate in my kitchen. It is where we do our best catching up, and whee lasting emories aremade. Browse through my selection of Chamorro and other recipes m and please leave me a comment if you try my recipes to let me know what you think of them. I hope you enjoyed your time in my kitchen. Come back soon! This site is work-in-progress, so please bear with me as I grow this site to a place where you'll love to visit. Happy Cooking! ~ Annie

Cheese-Stuffed Omelets

These omelets are a tribute to my mom. She used to whip these up for breakfast when I was growing up. She’d go outside to the chicken coop and get some fresh eggs. Then she’d head to our backyard garden and pick some green onions and cherry tomatoes. Mom would cut up some spam or ham, open a can of corn, mix all of the ingredients together and we’d have yummy omelets in just minutes!

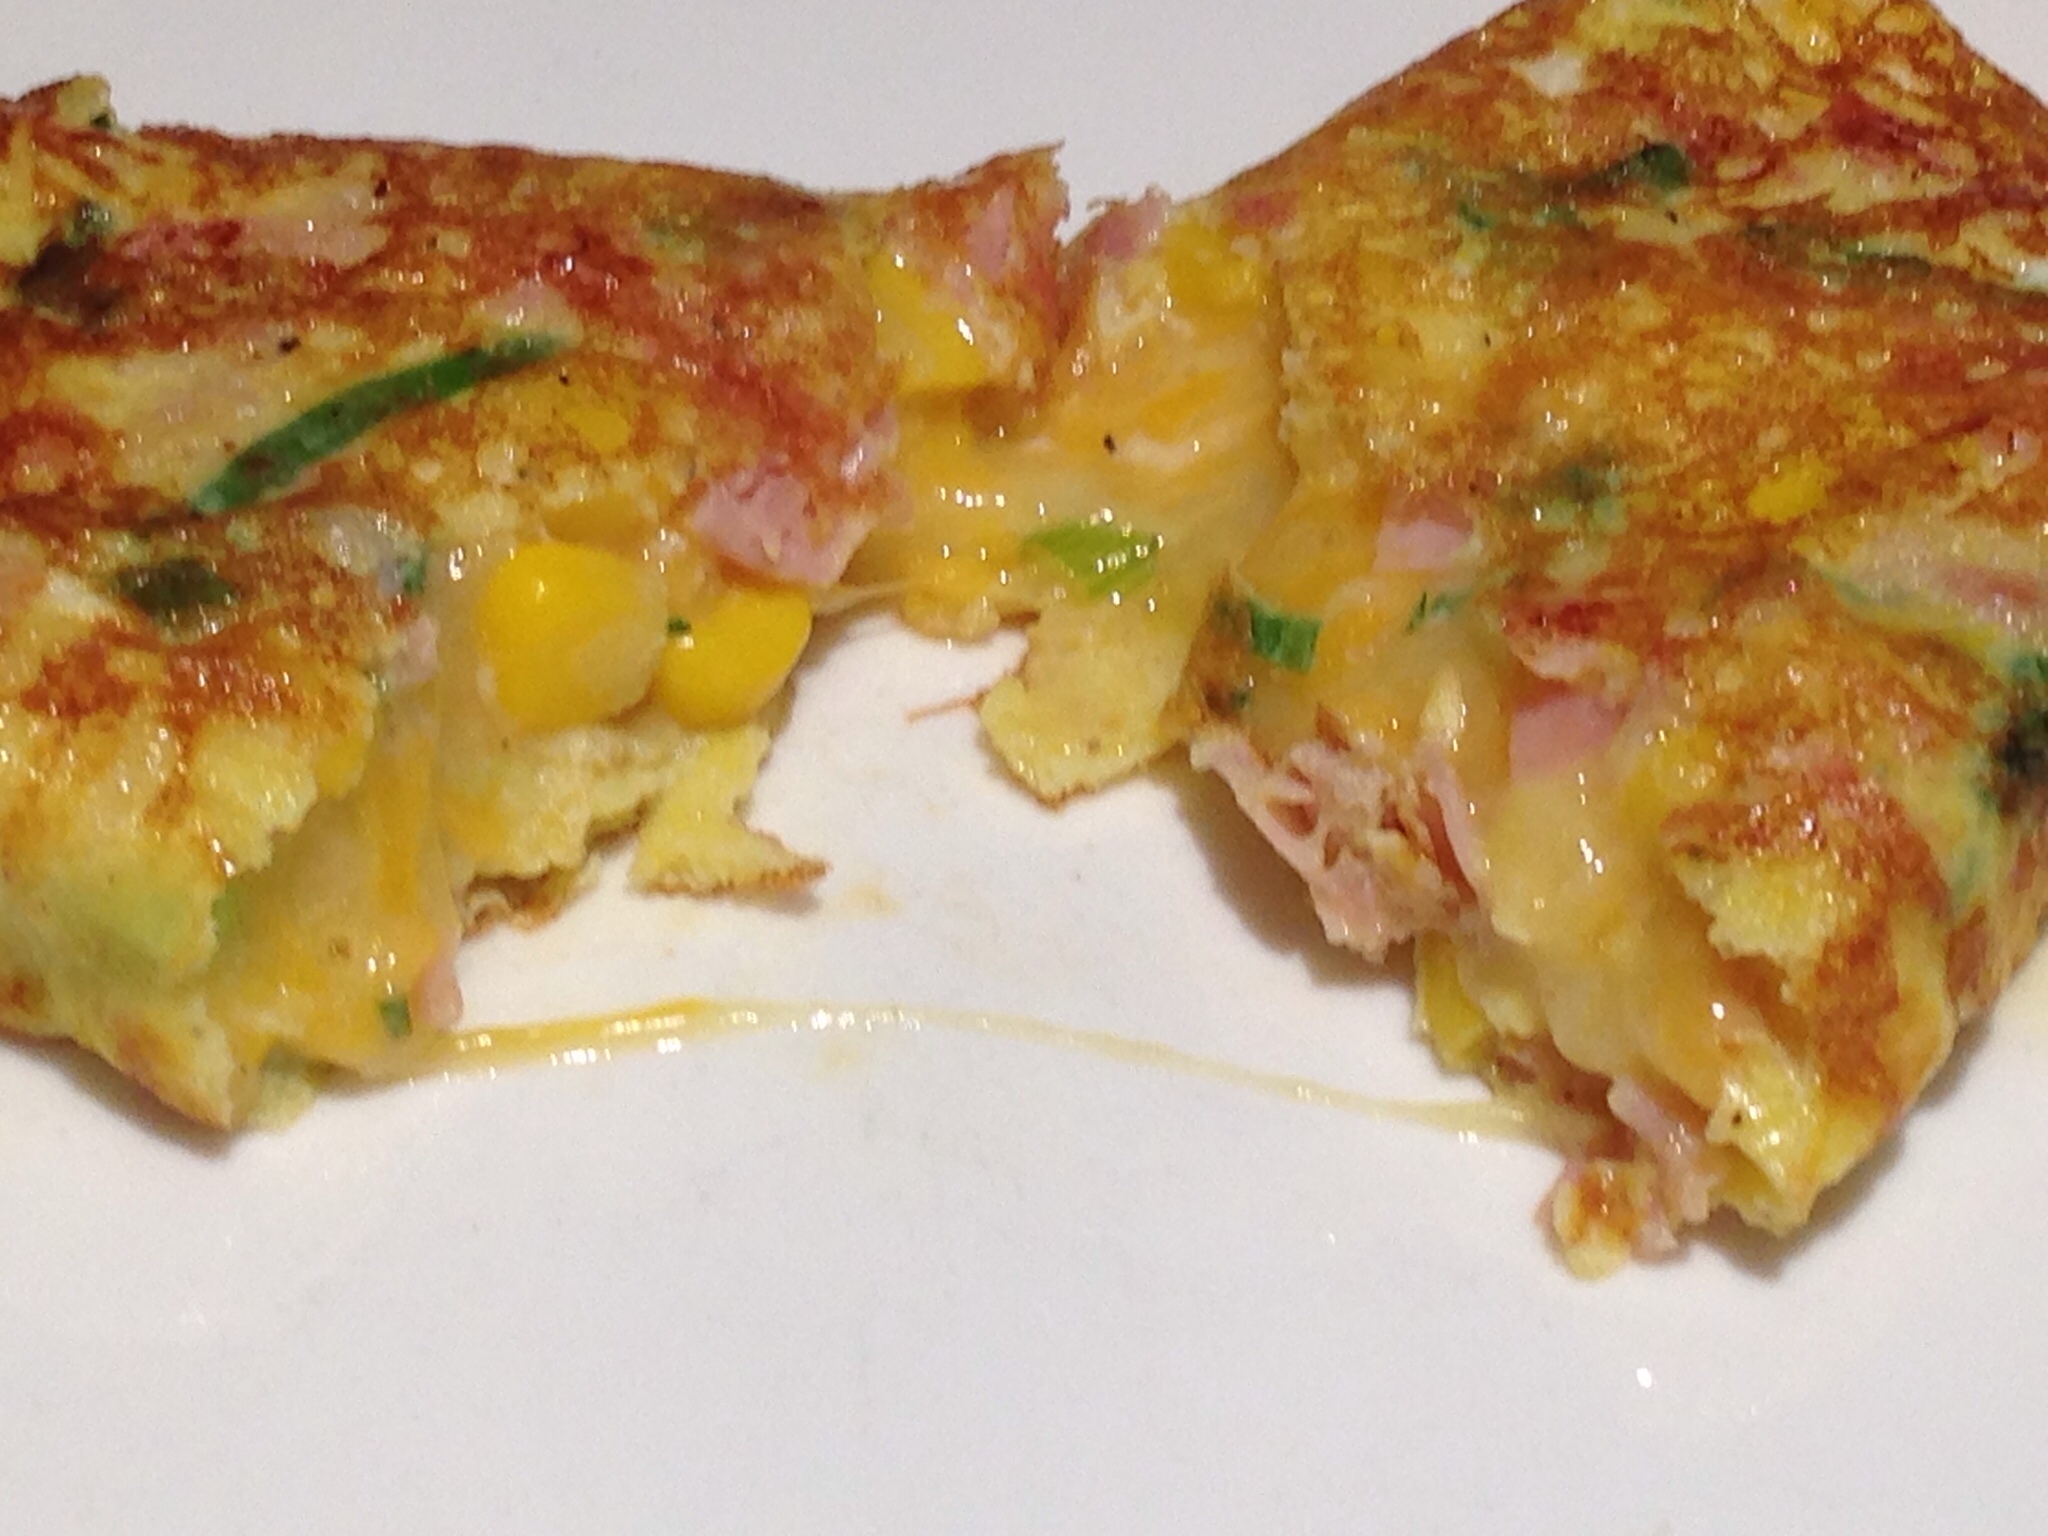
Mom always added cheese to my omelets. If you don’t want to stuff the omelet with cheese, you can just sprinkle the cheese on top then allow it to melt over the cooked omelet, which is how mom did it. I like to stuff mine with cheese–the more the better! 😀

Give my recipe a try. I think you’ll like it. 🙂

Cheese-Stuffed Omelets

wpid-Photo-Nov-8-2013-645-AM.jpg

Ingredients:

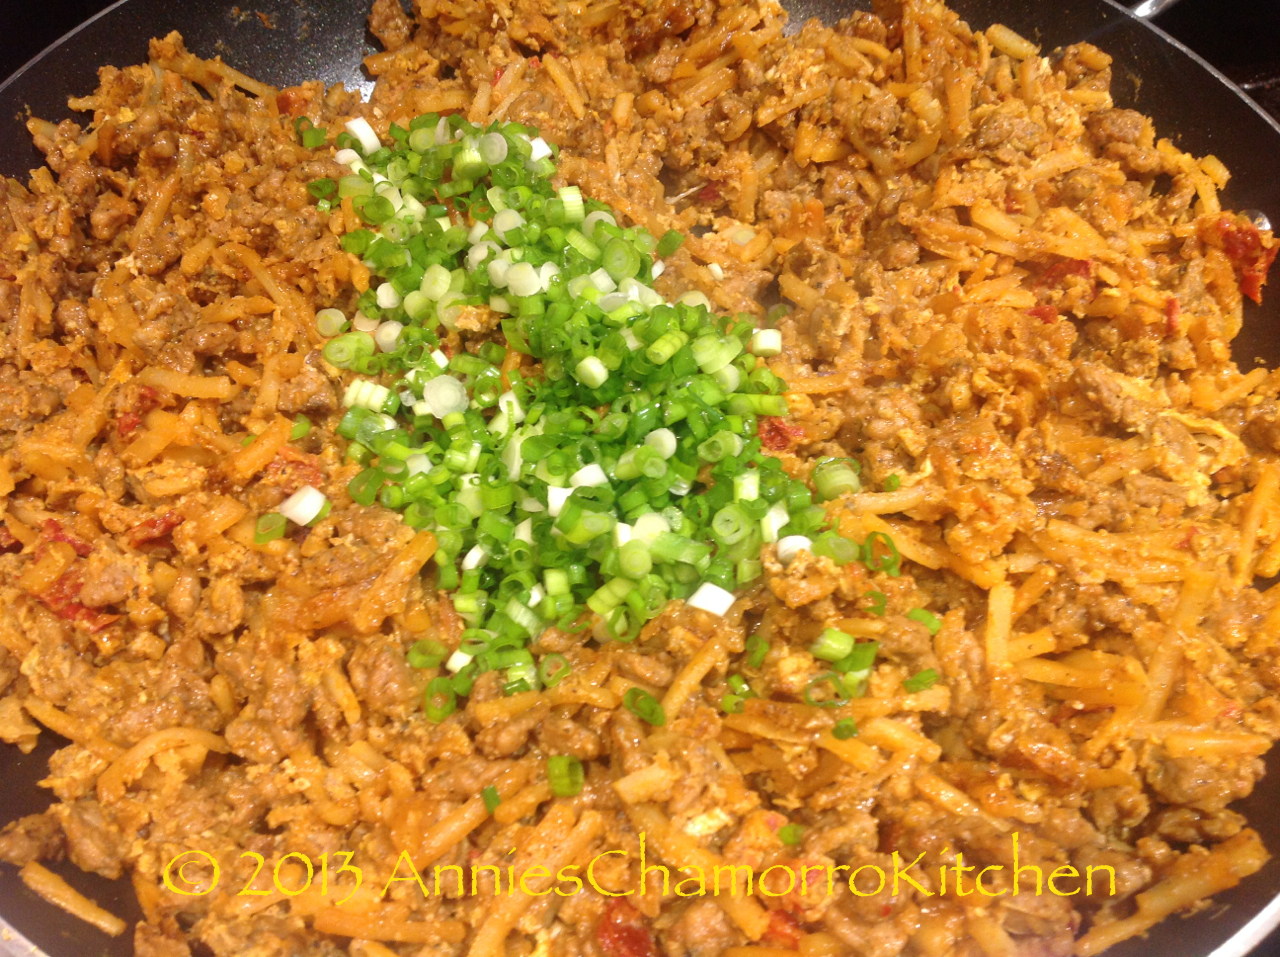
  • 4 stalks green onions, thinly sliced
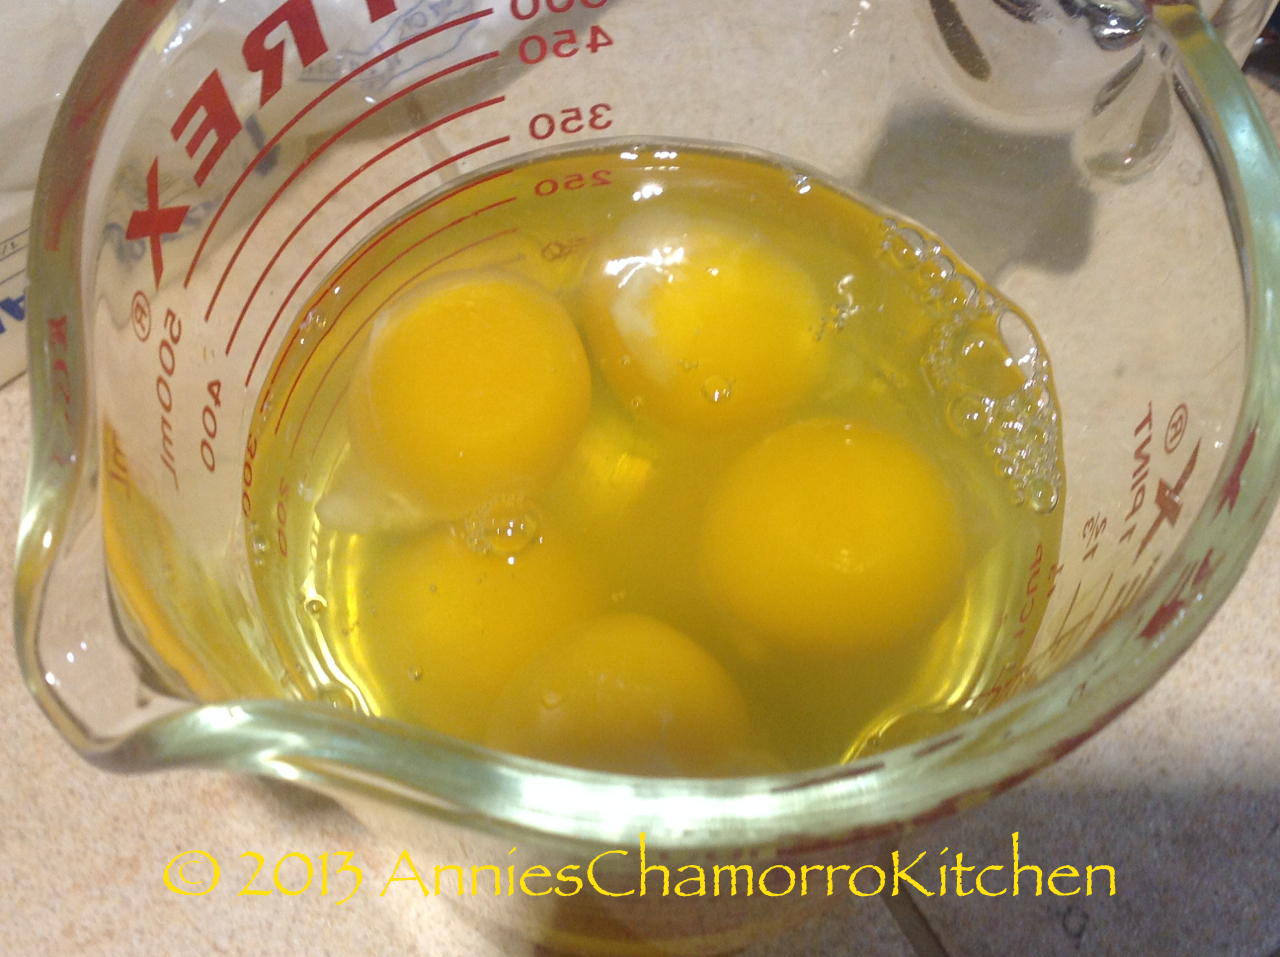
  • 5 large eggs
  • 1 cup diced ham or Spam
  • 2 teaspoons Dashida beef flavored soup seasoning
  • 1 teaspoon garlic powder
  • 1/2 teaspoon black pepper
  • 1/2 teaspoon accent (optional)
  • 1 can sweet kernel corn, drained
  • Shredded cheese (I used a triple cheddar cheese blend)
Optional Ingredients:
  • 1/4 cup diced bell pepper
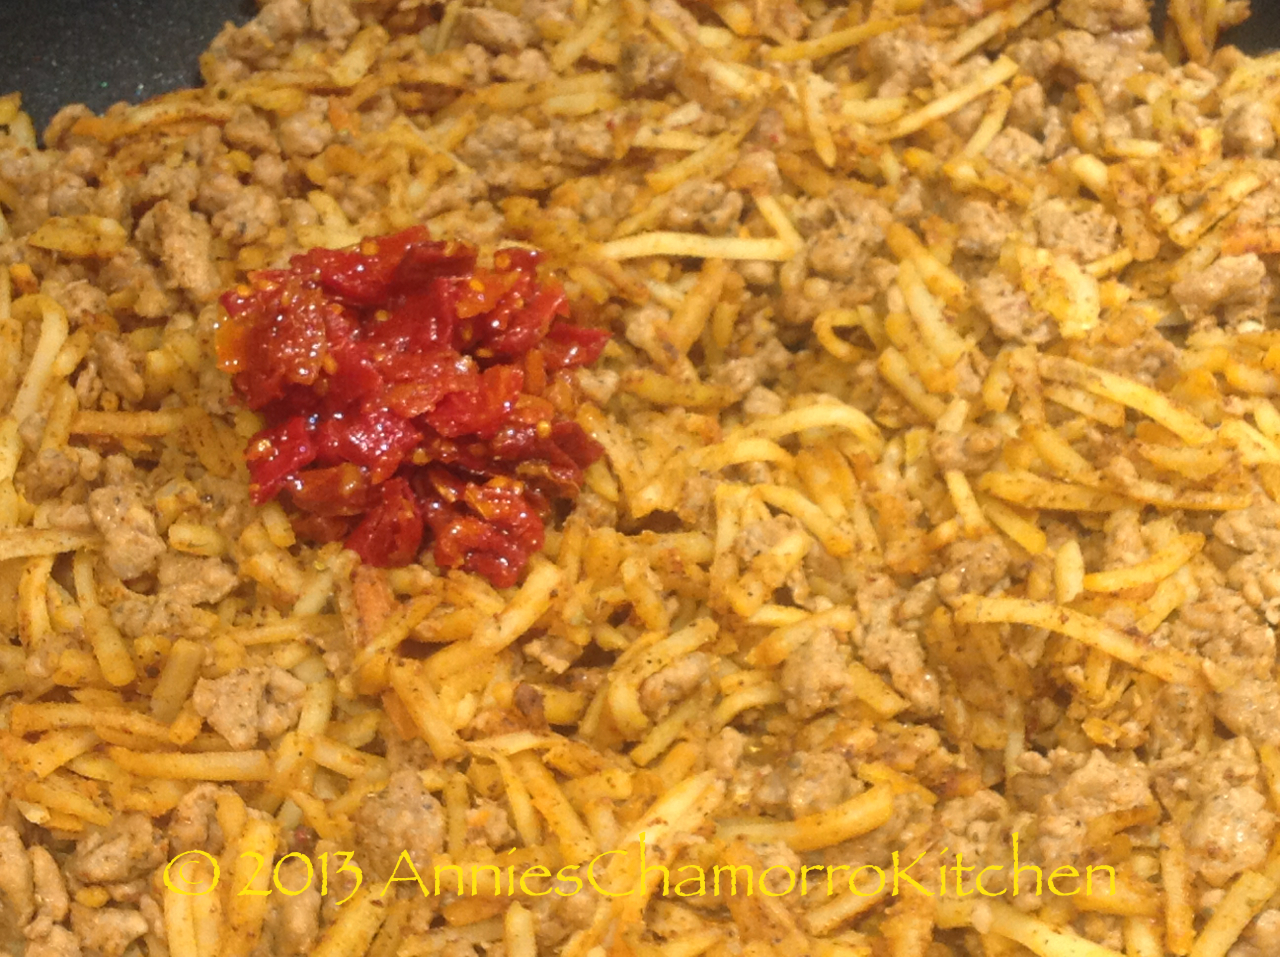
  • 1/4 cup diced tomatoes

Directions:

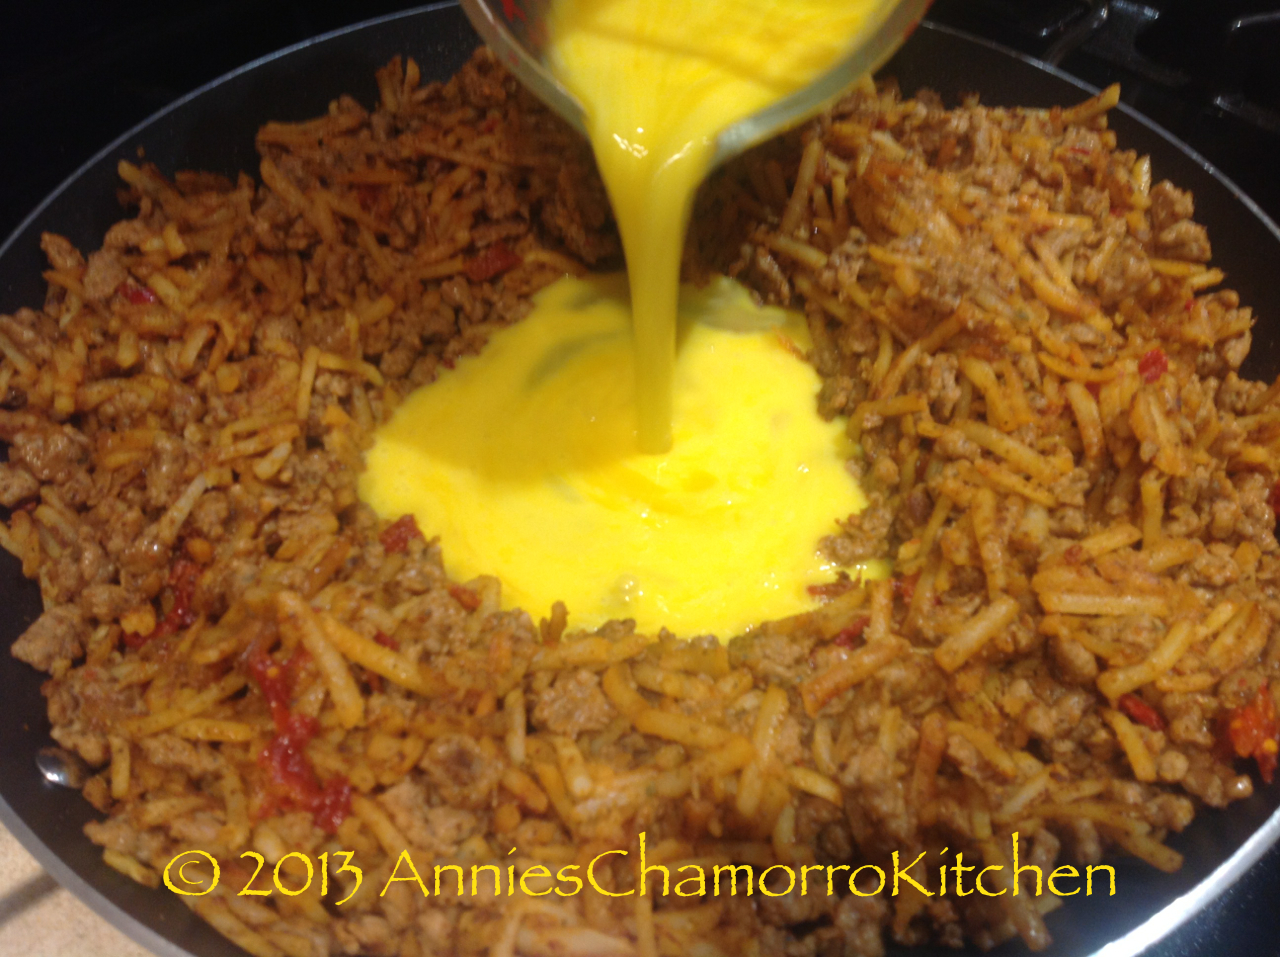
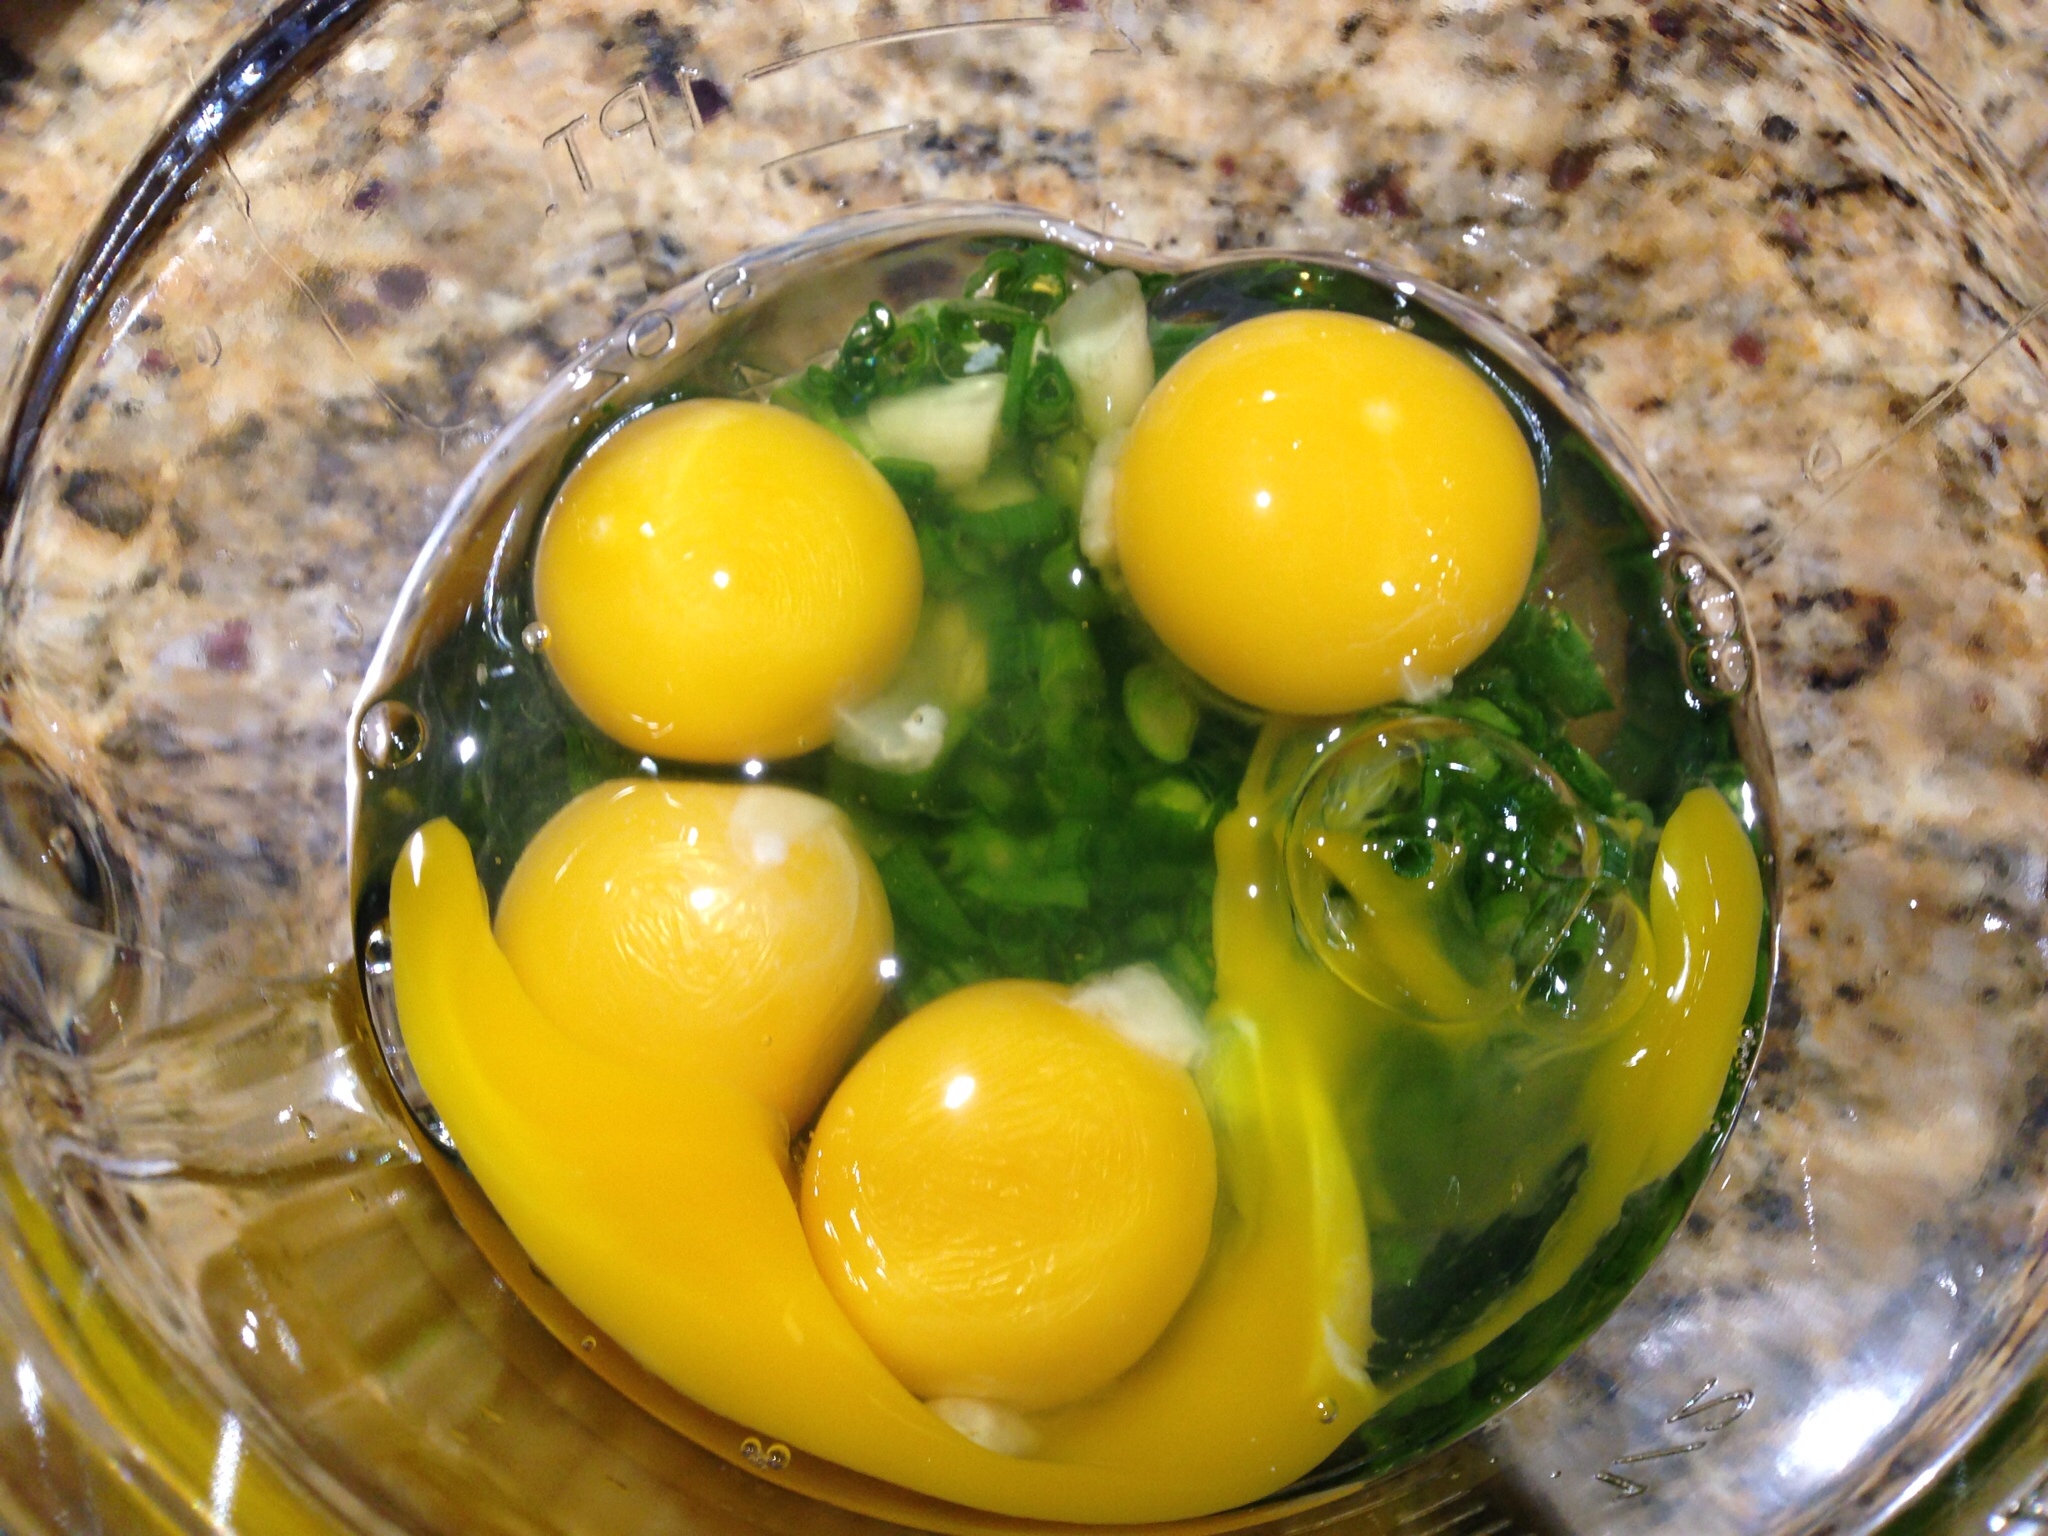
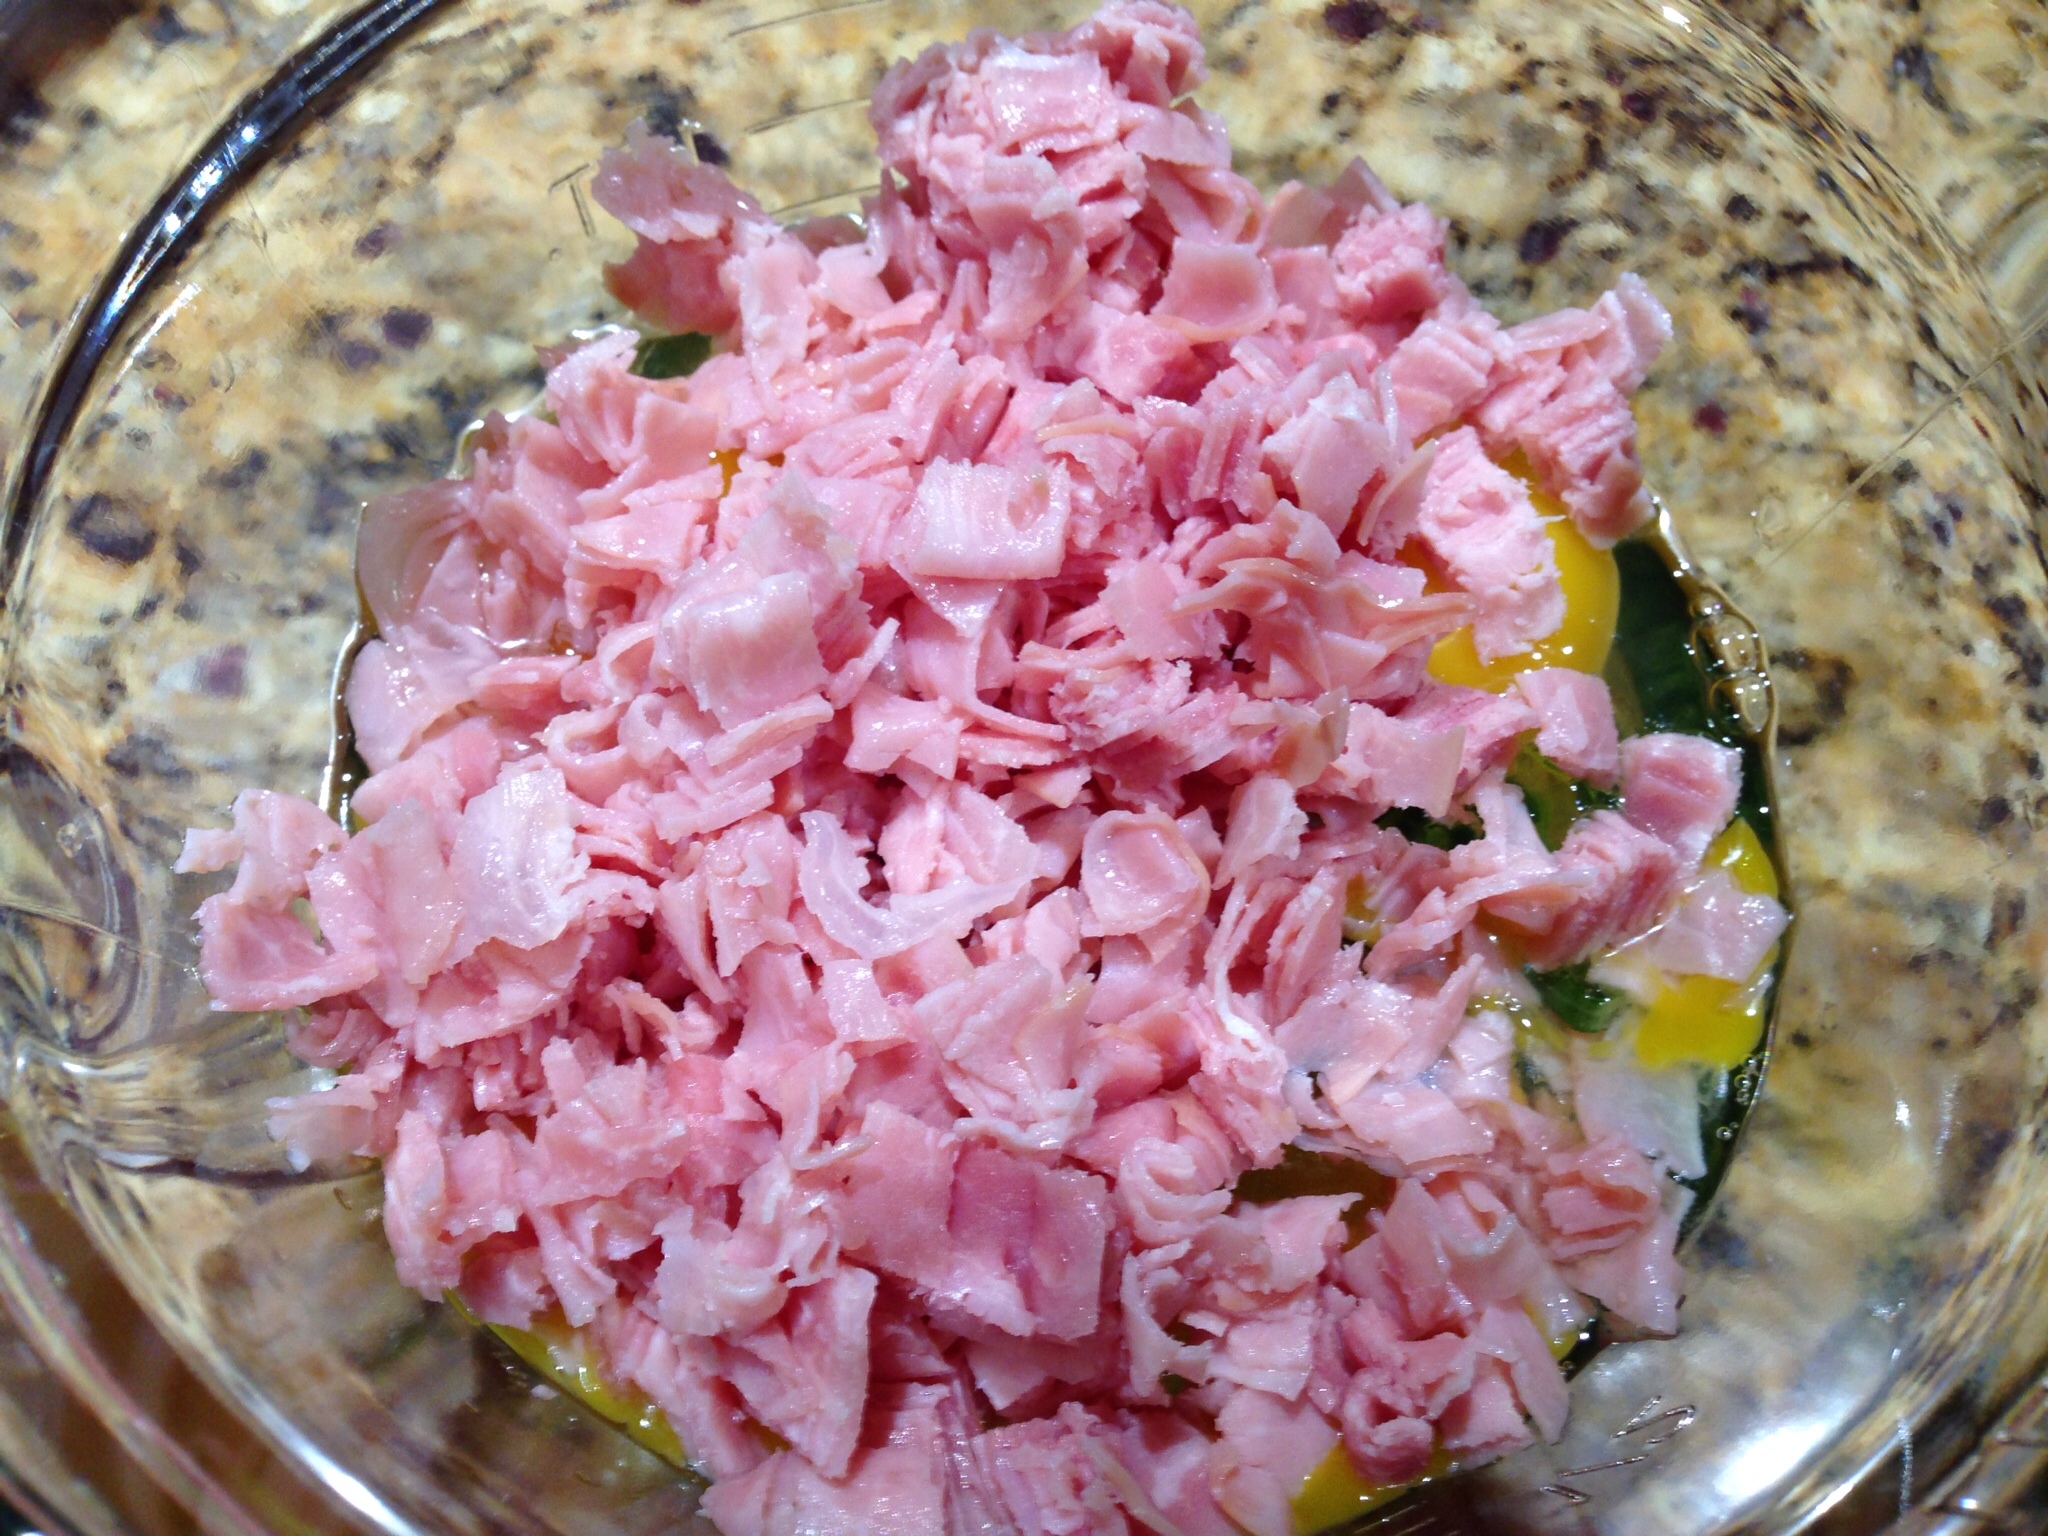
Place the green onions in a small mixing bowl. Add the eggs.

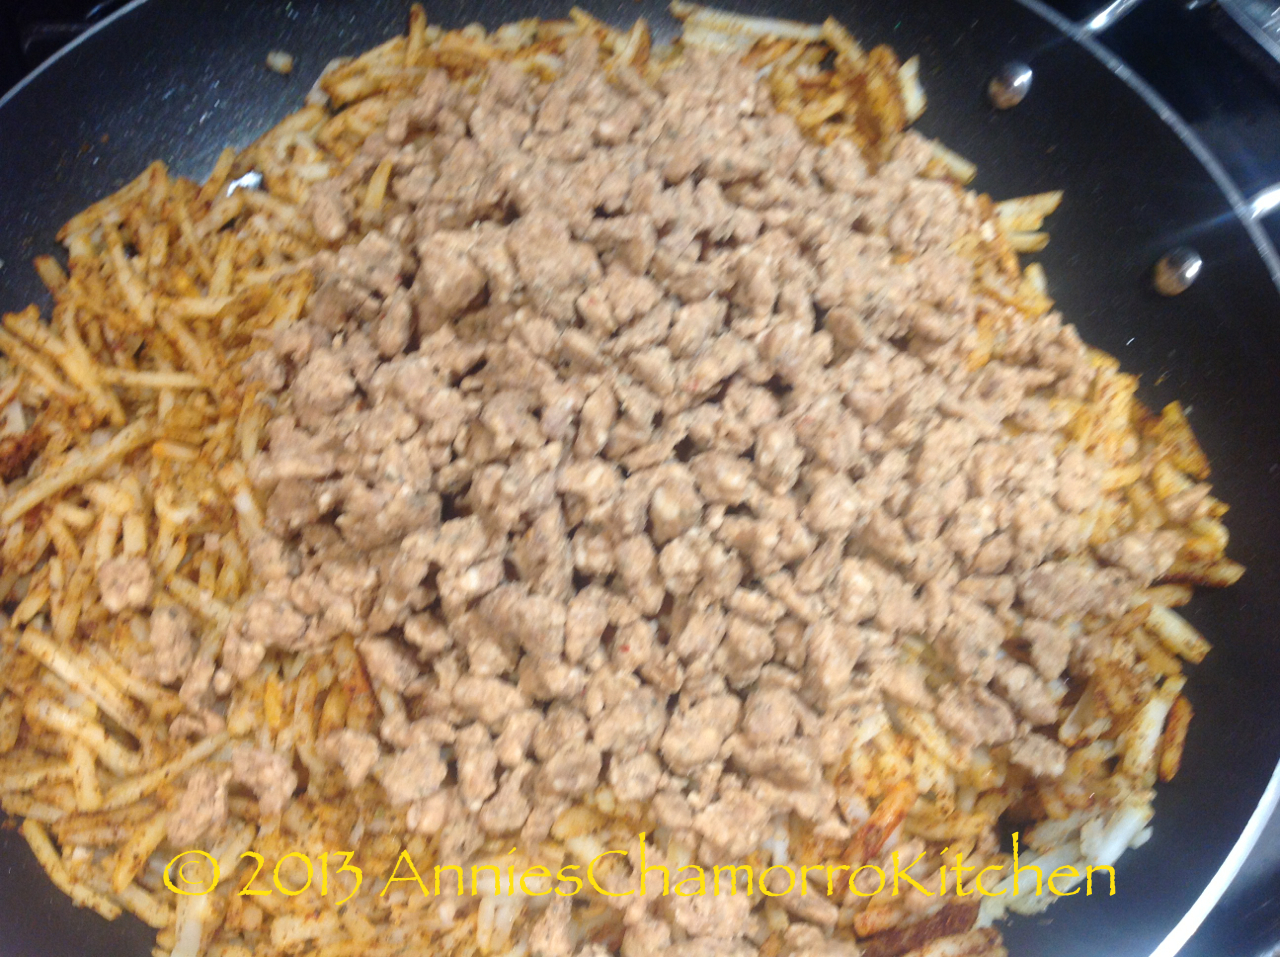
Add the diced ham to the bowl.
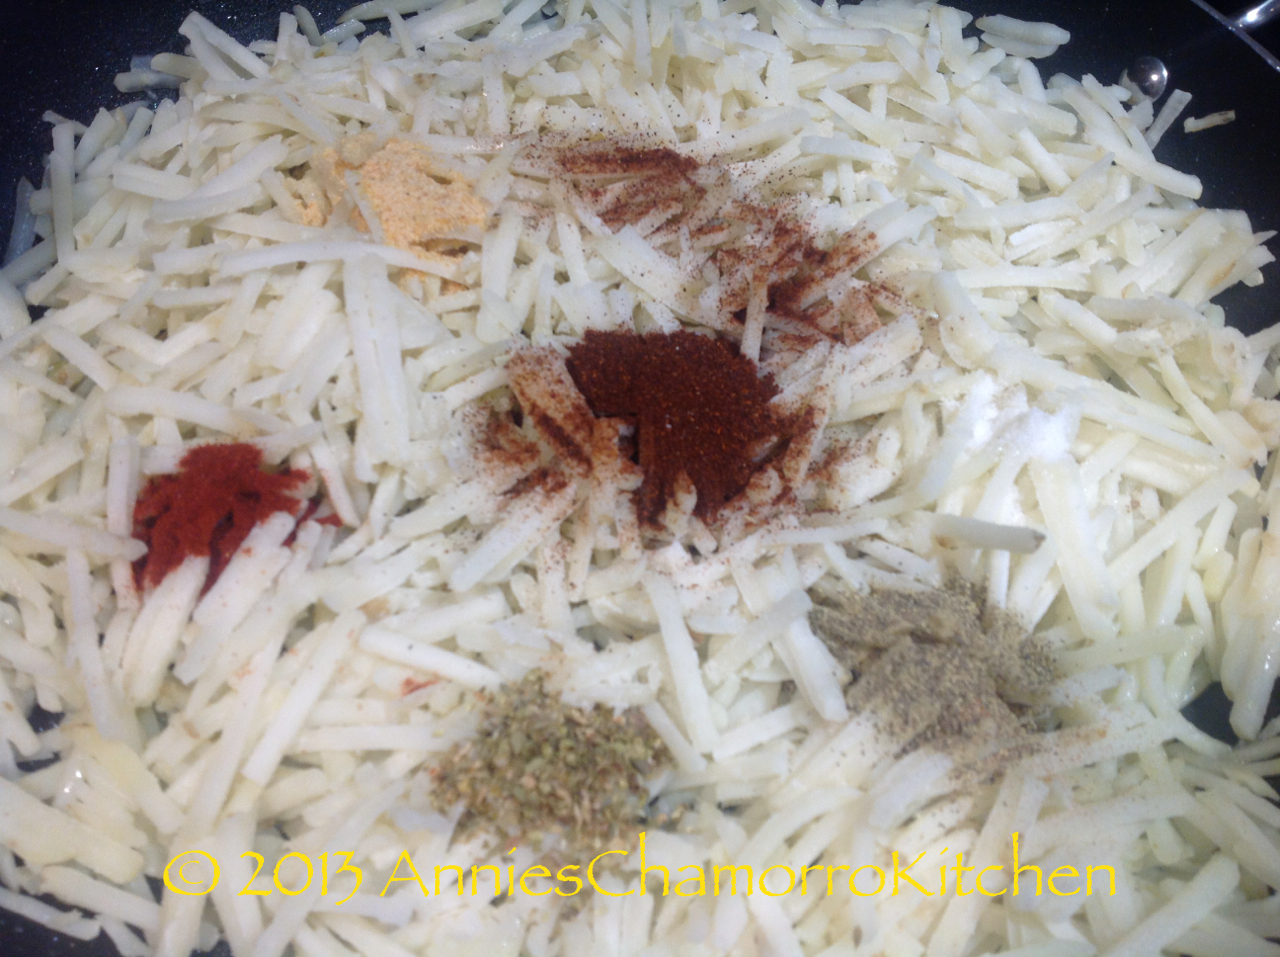
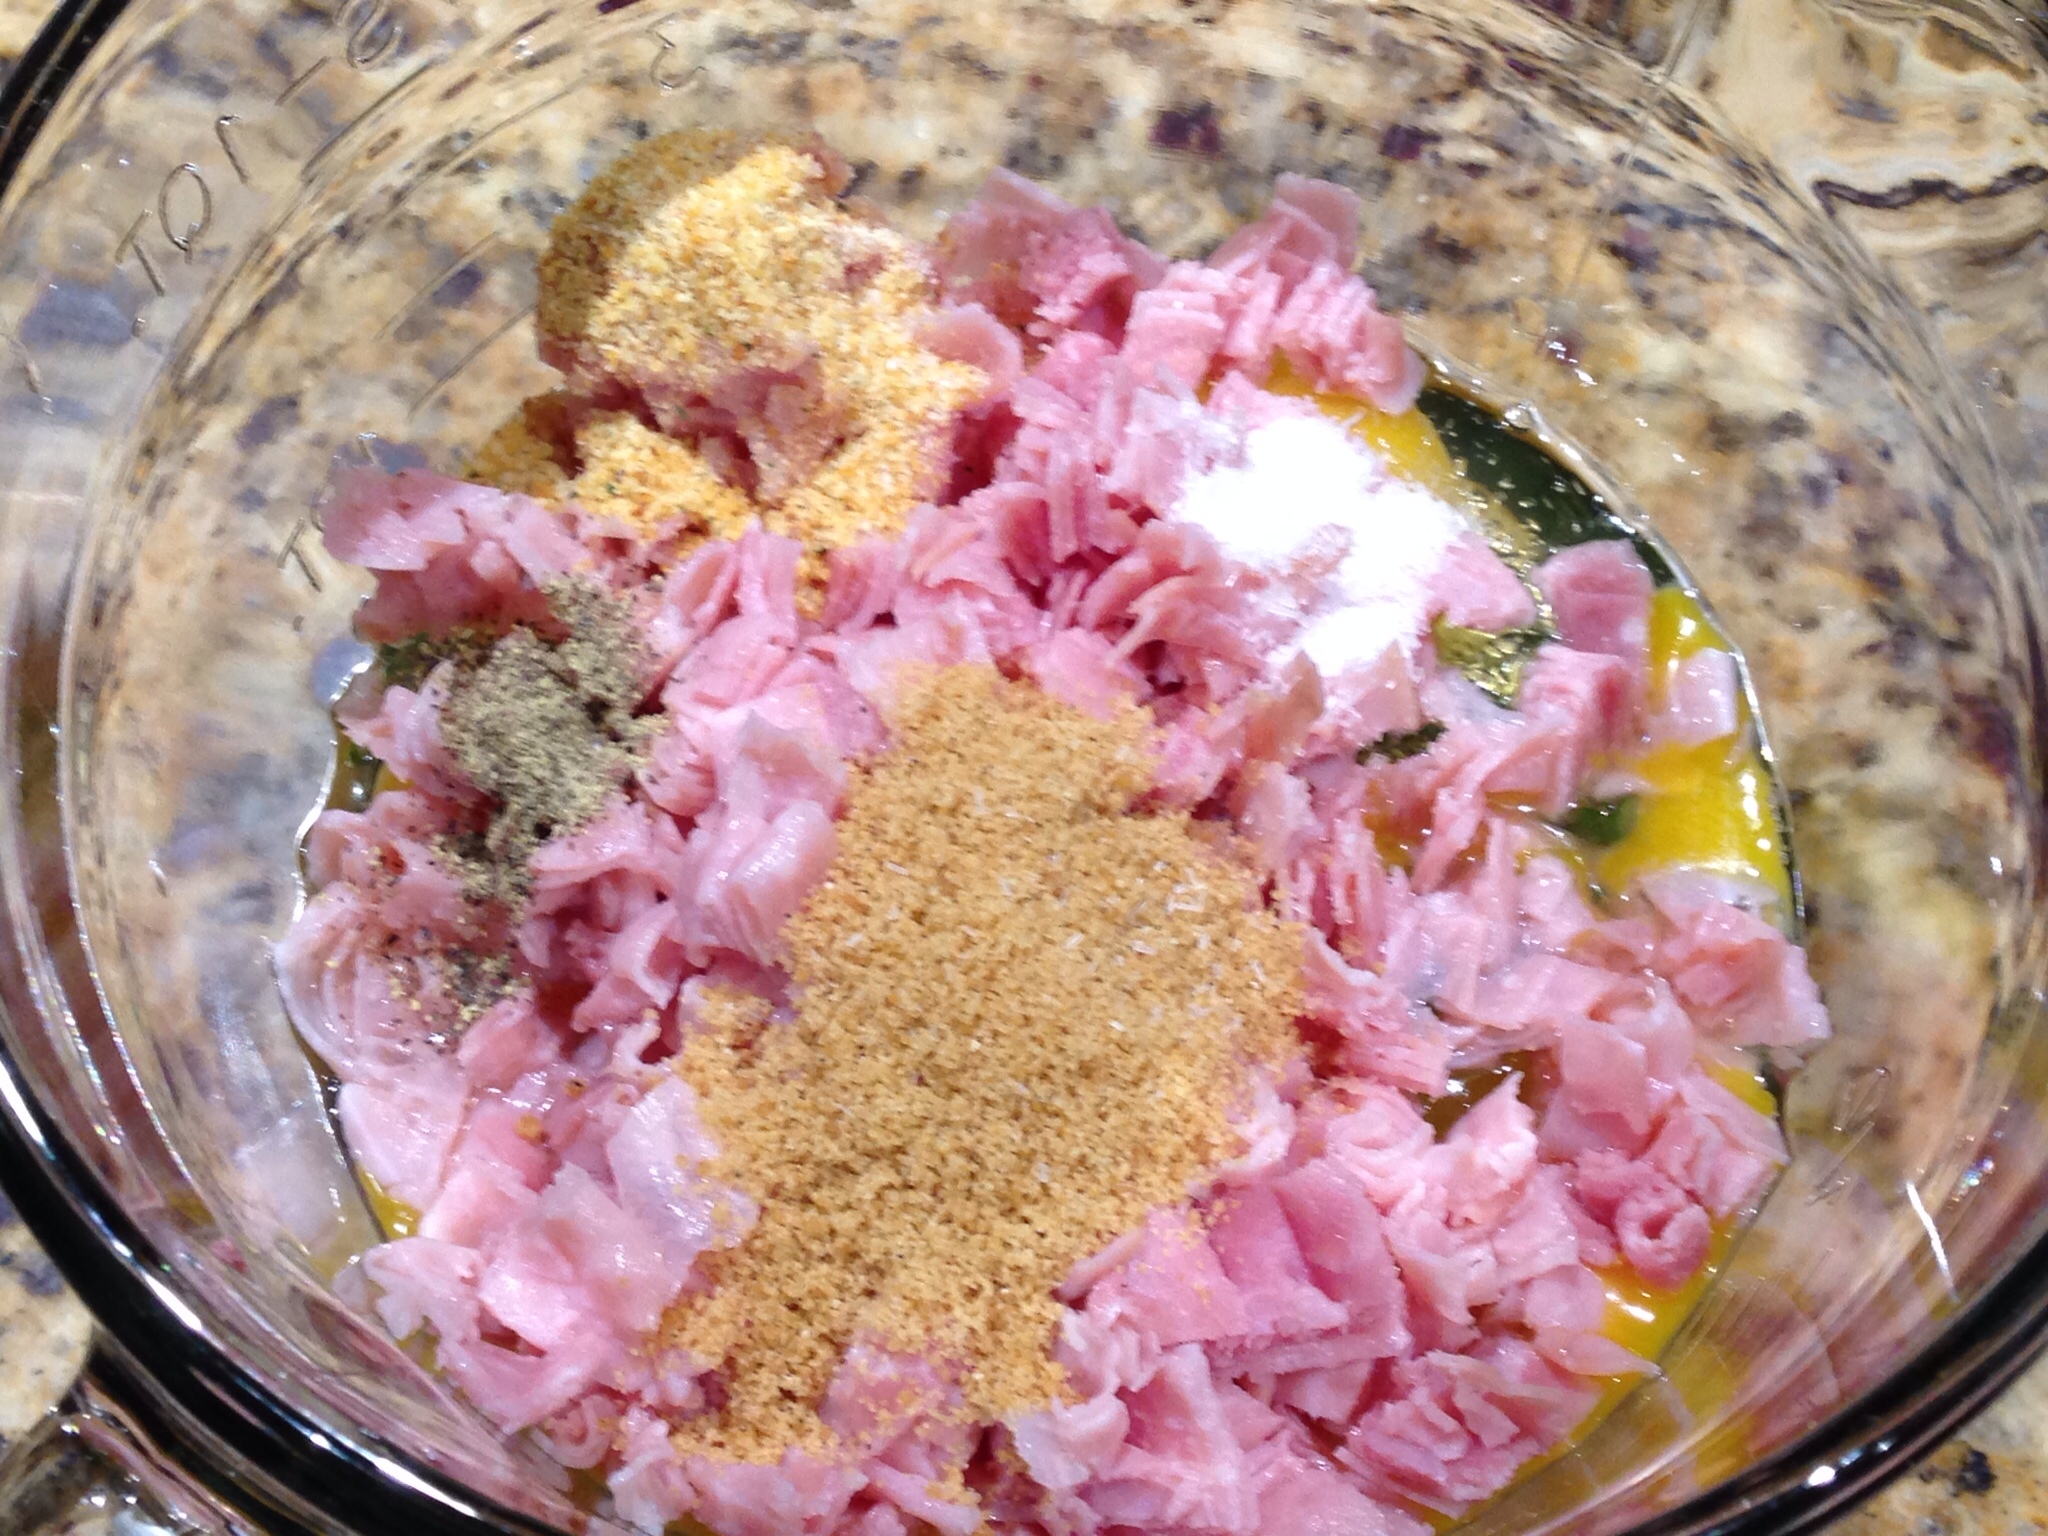
Add the seasonings.

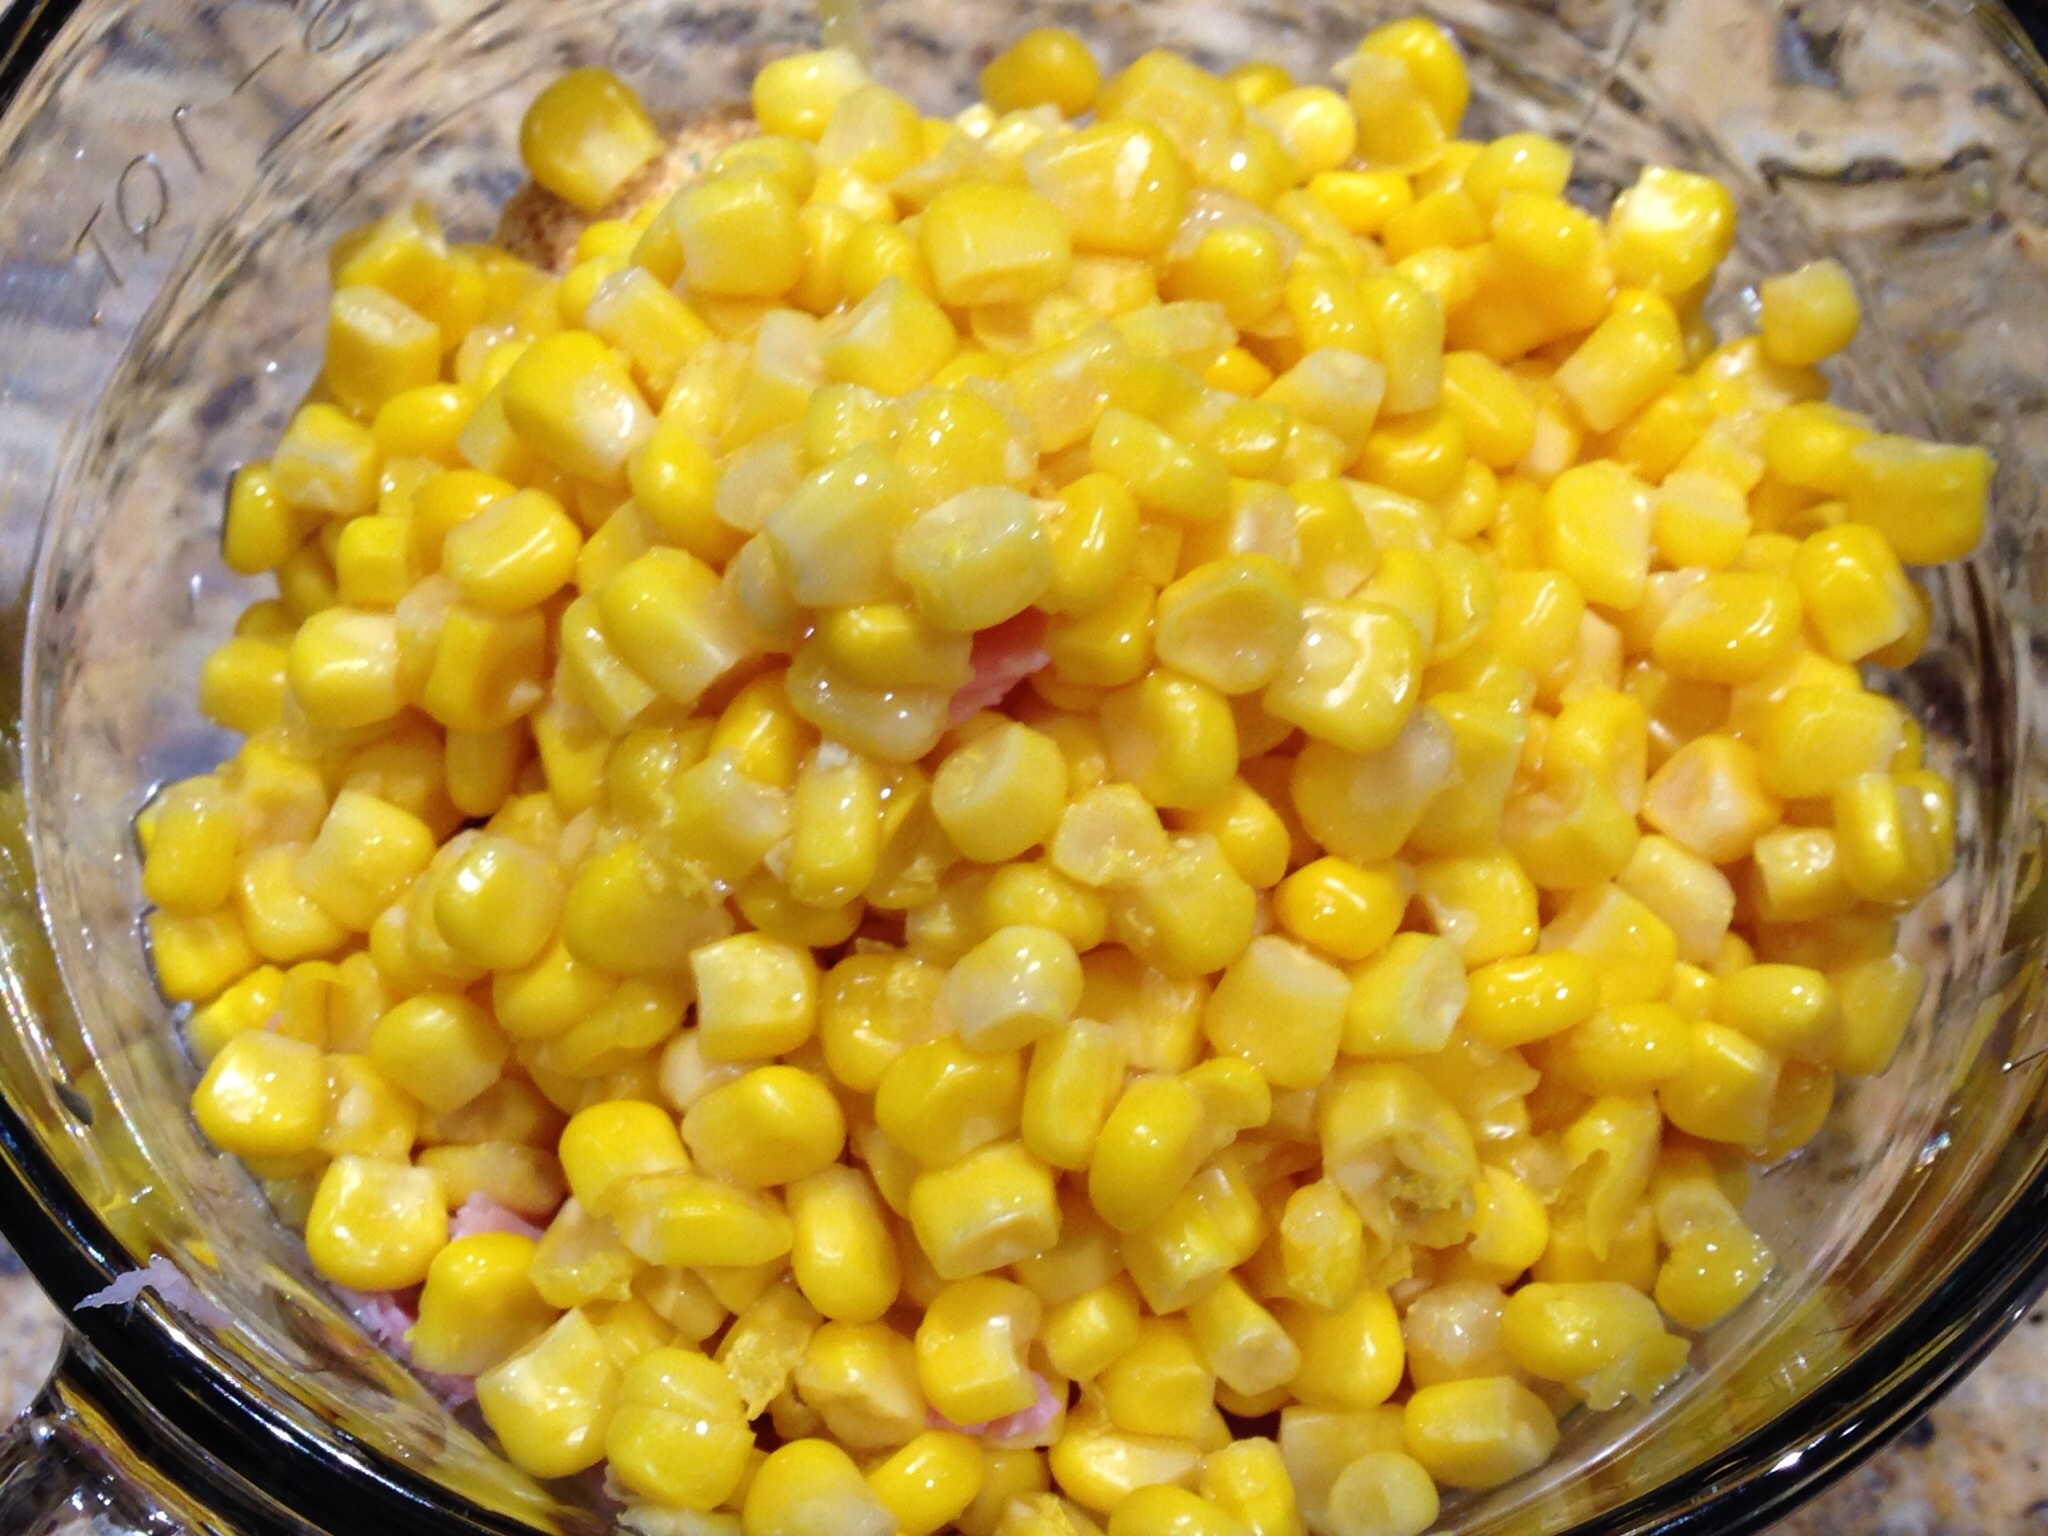
Add the drained corn.

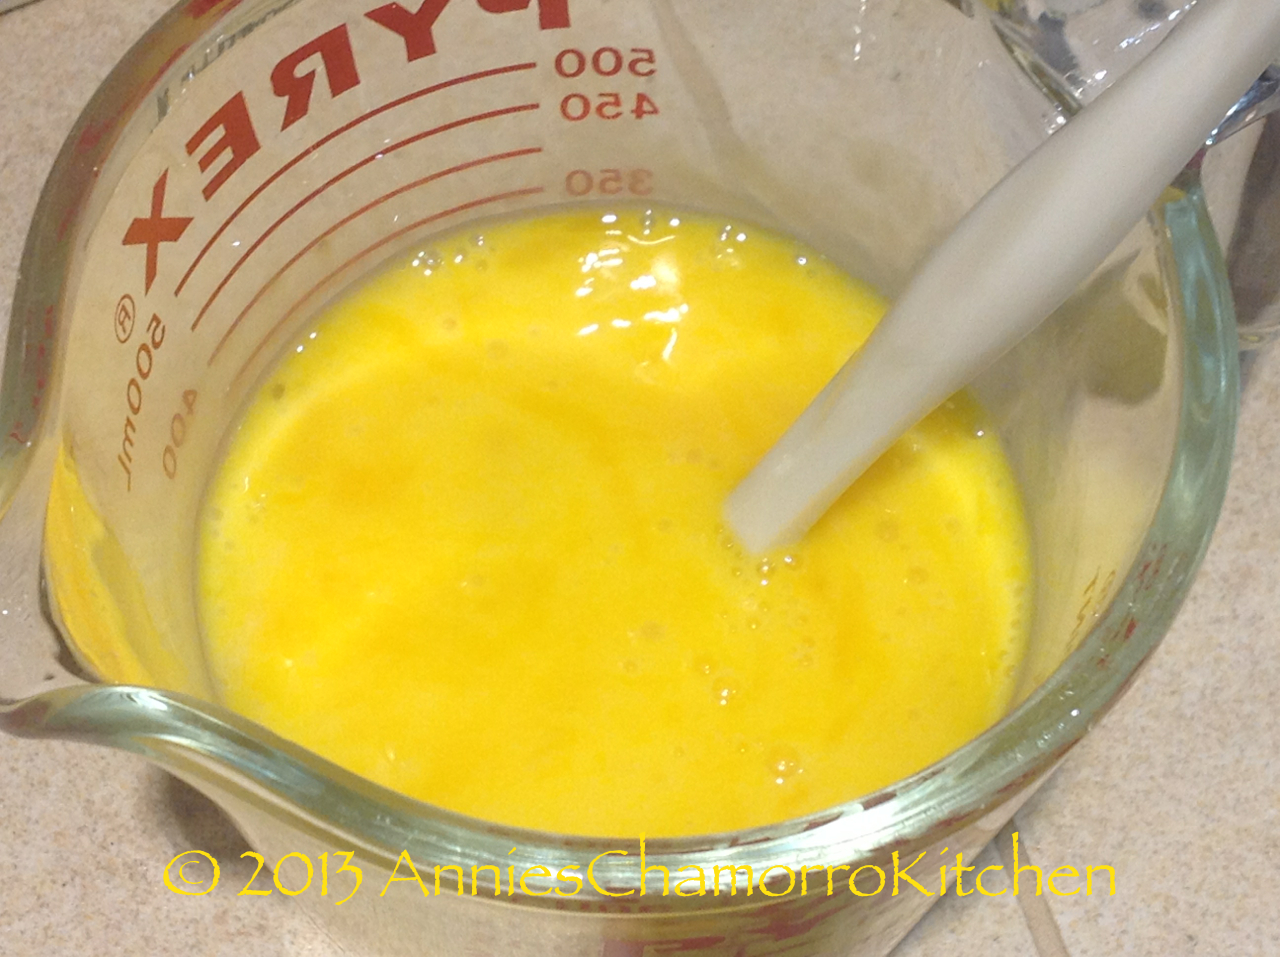
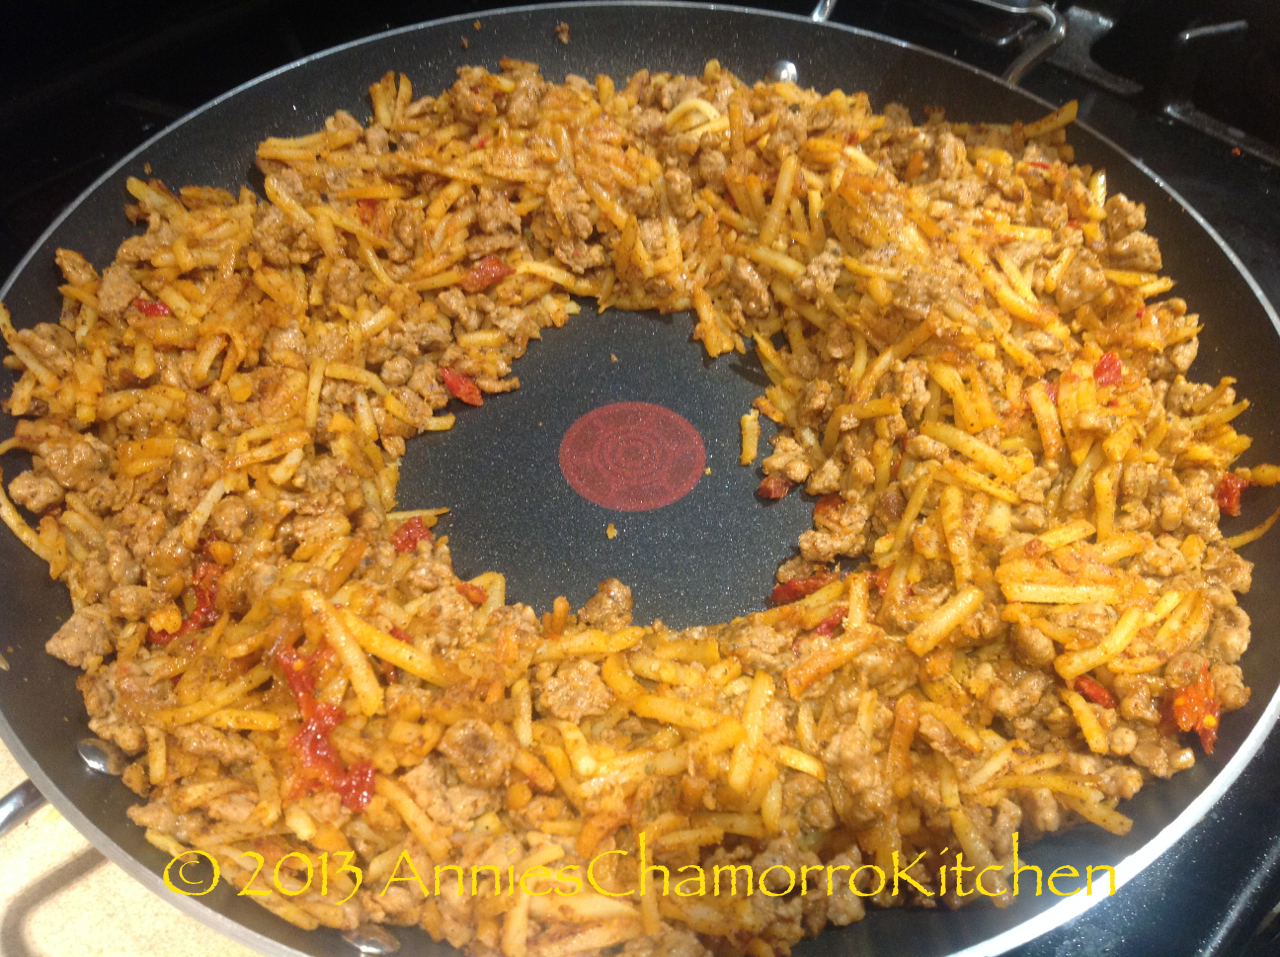
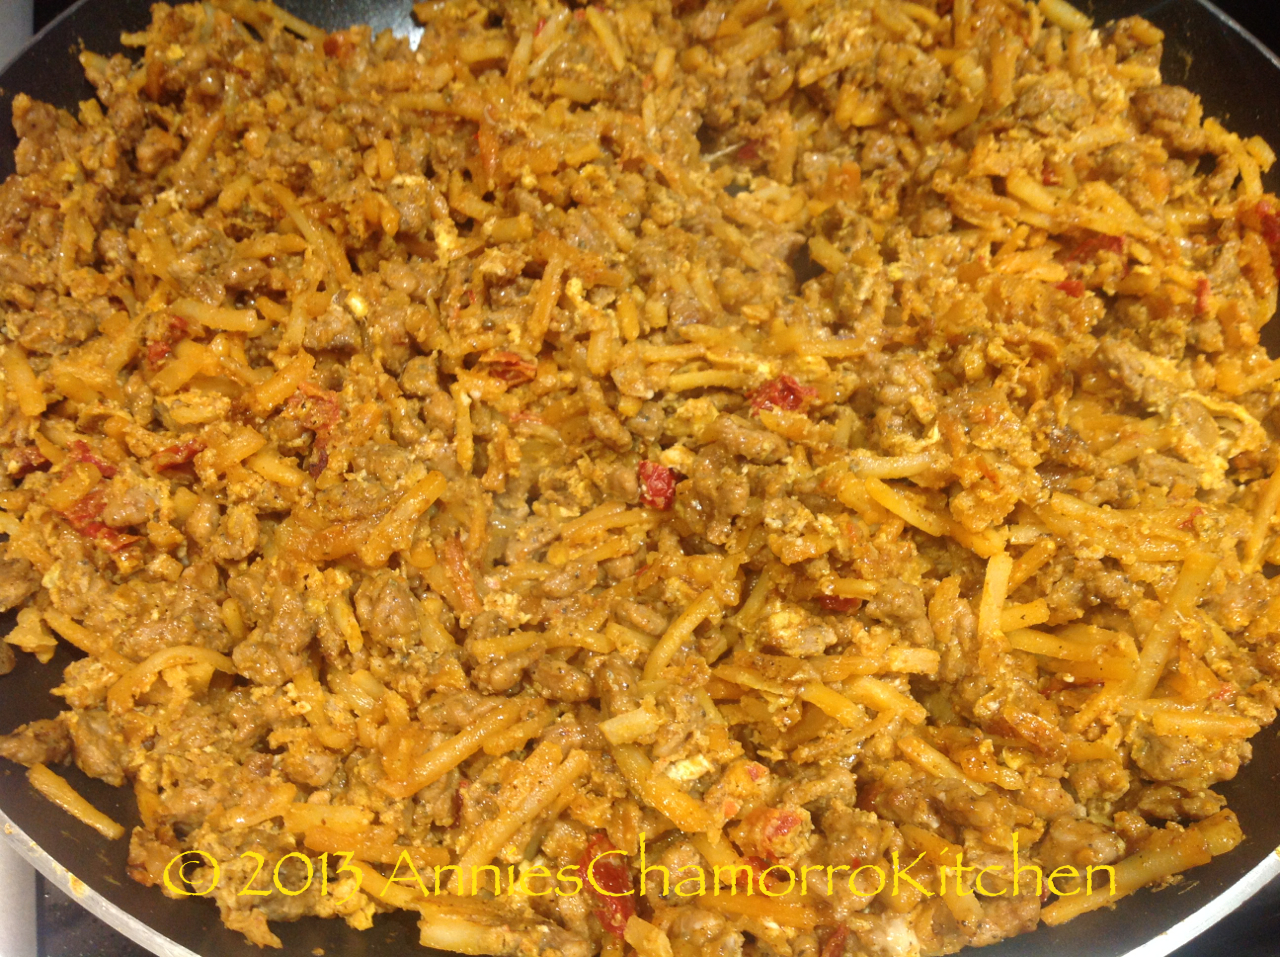
Mix all the ingredients together.

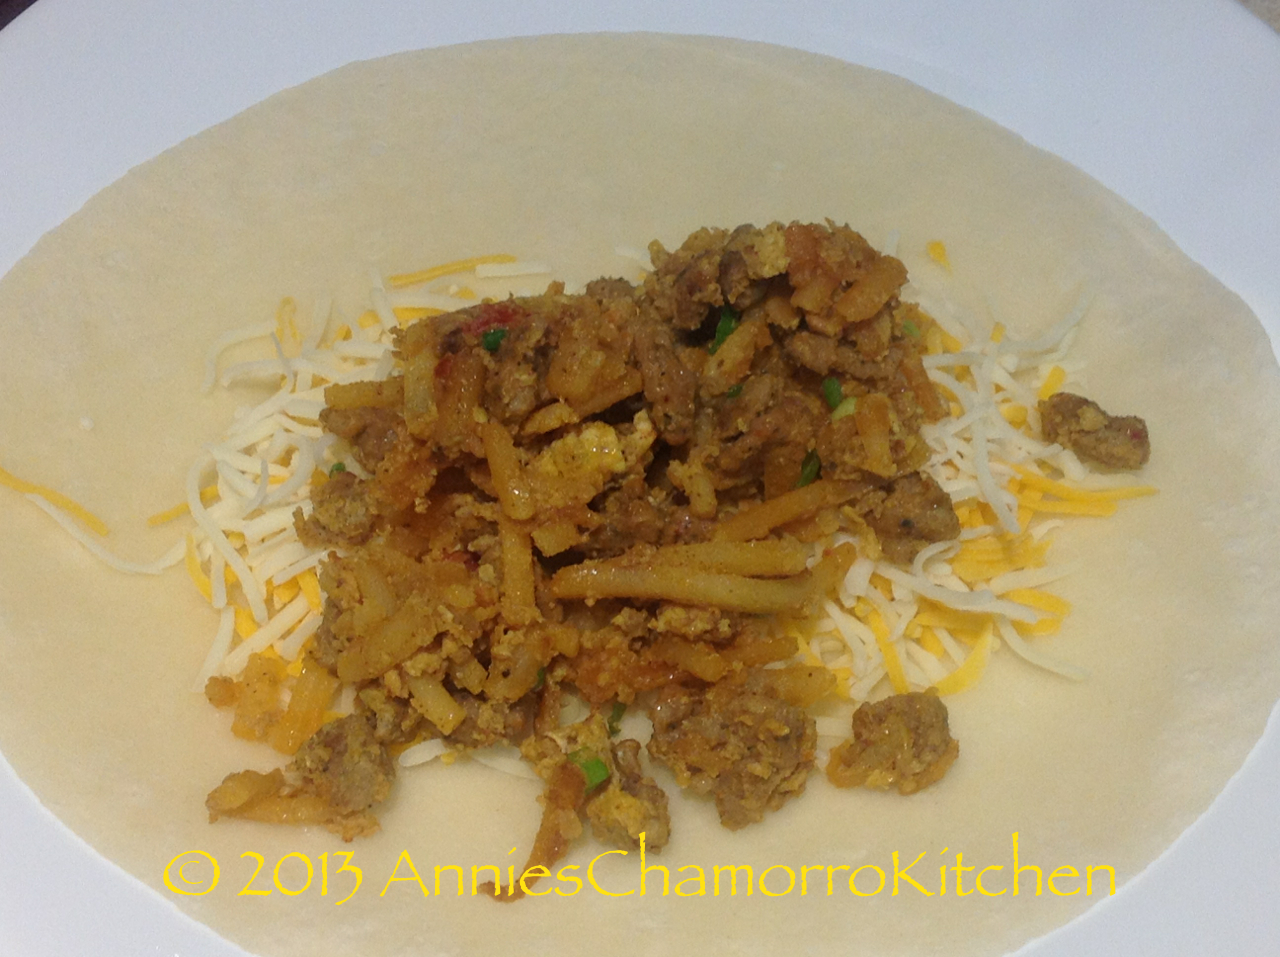
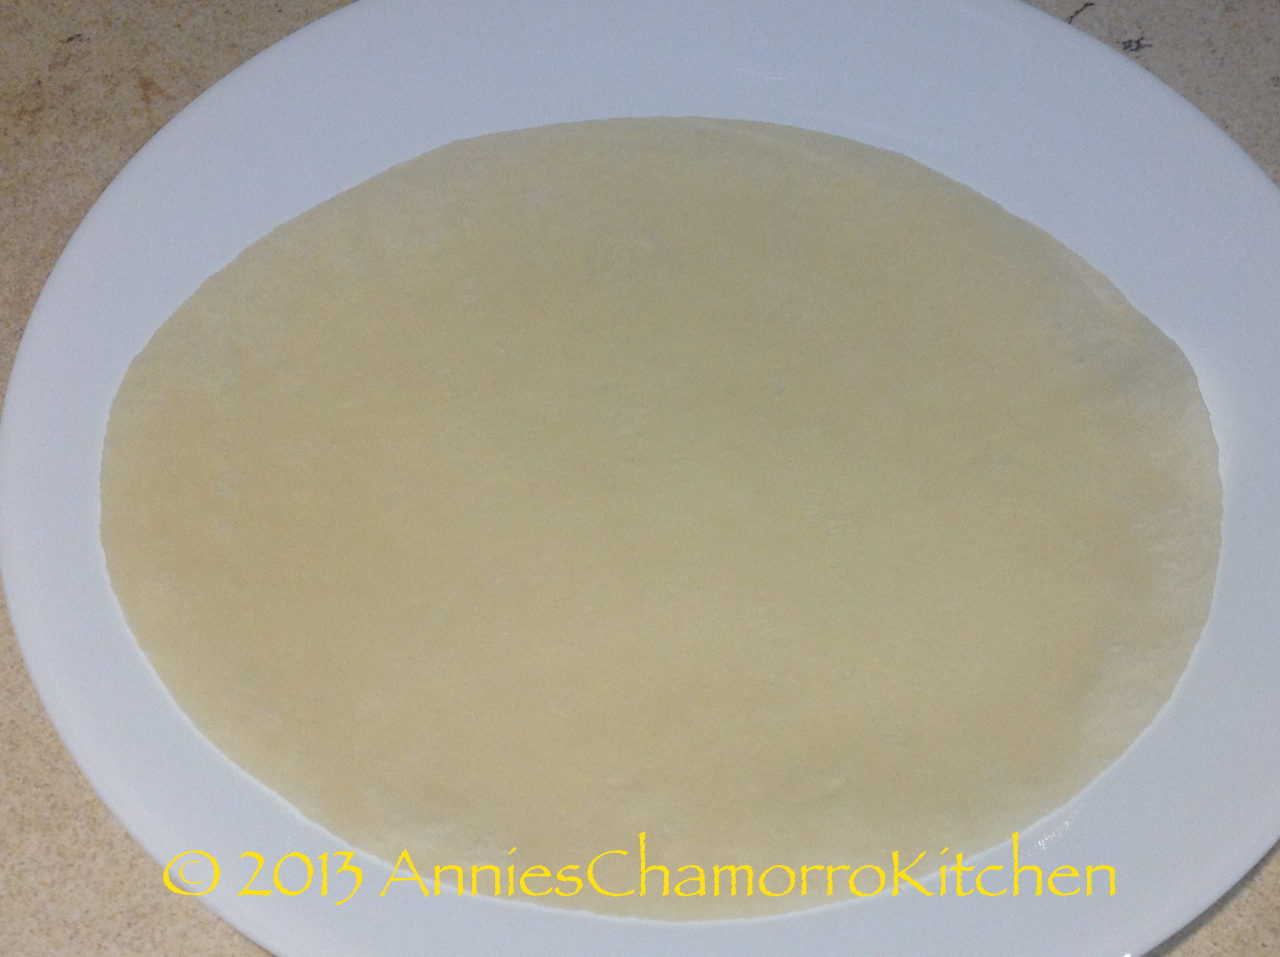
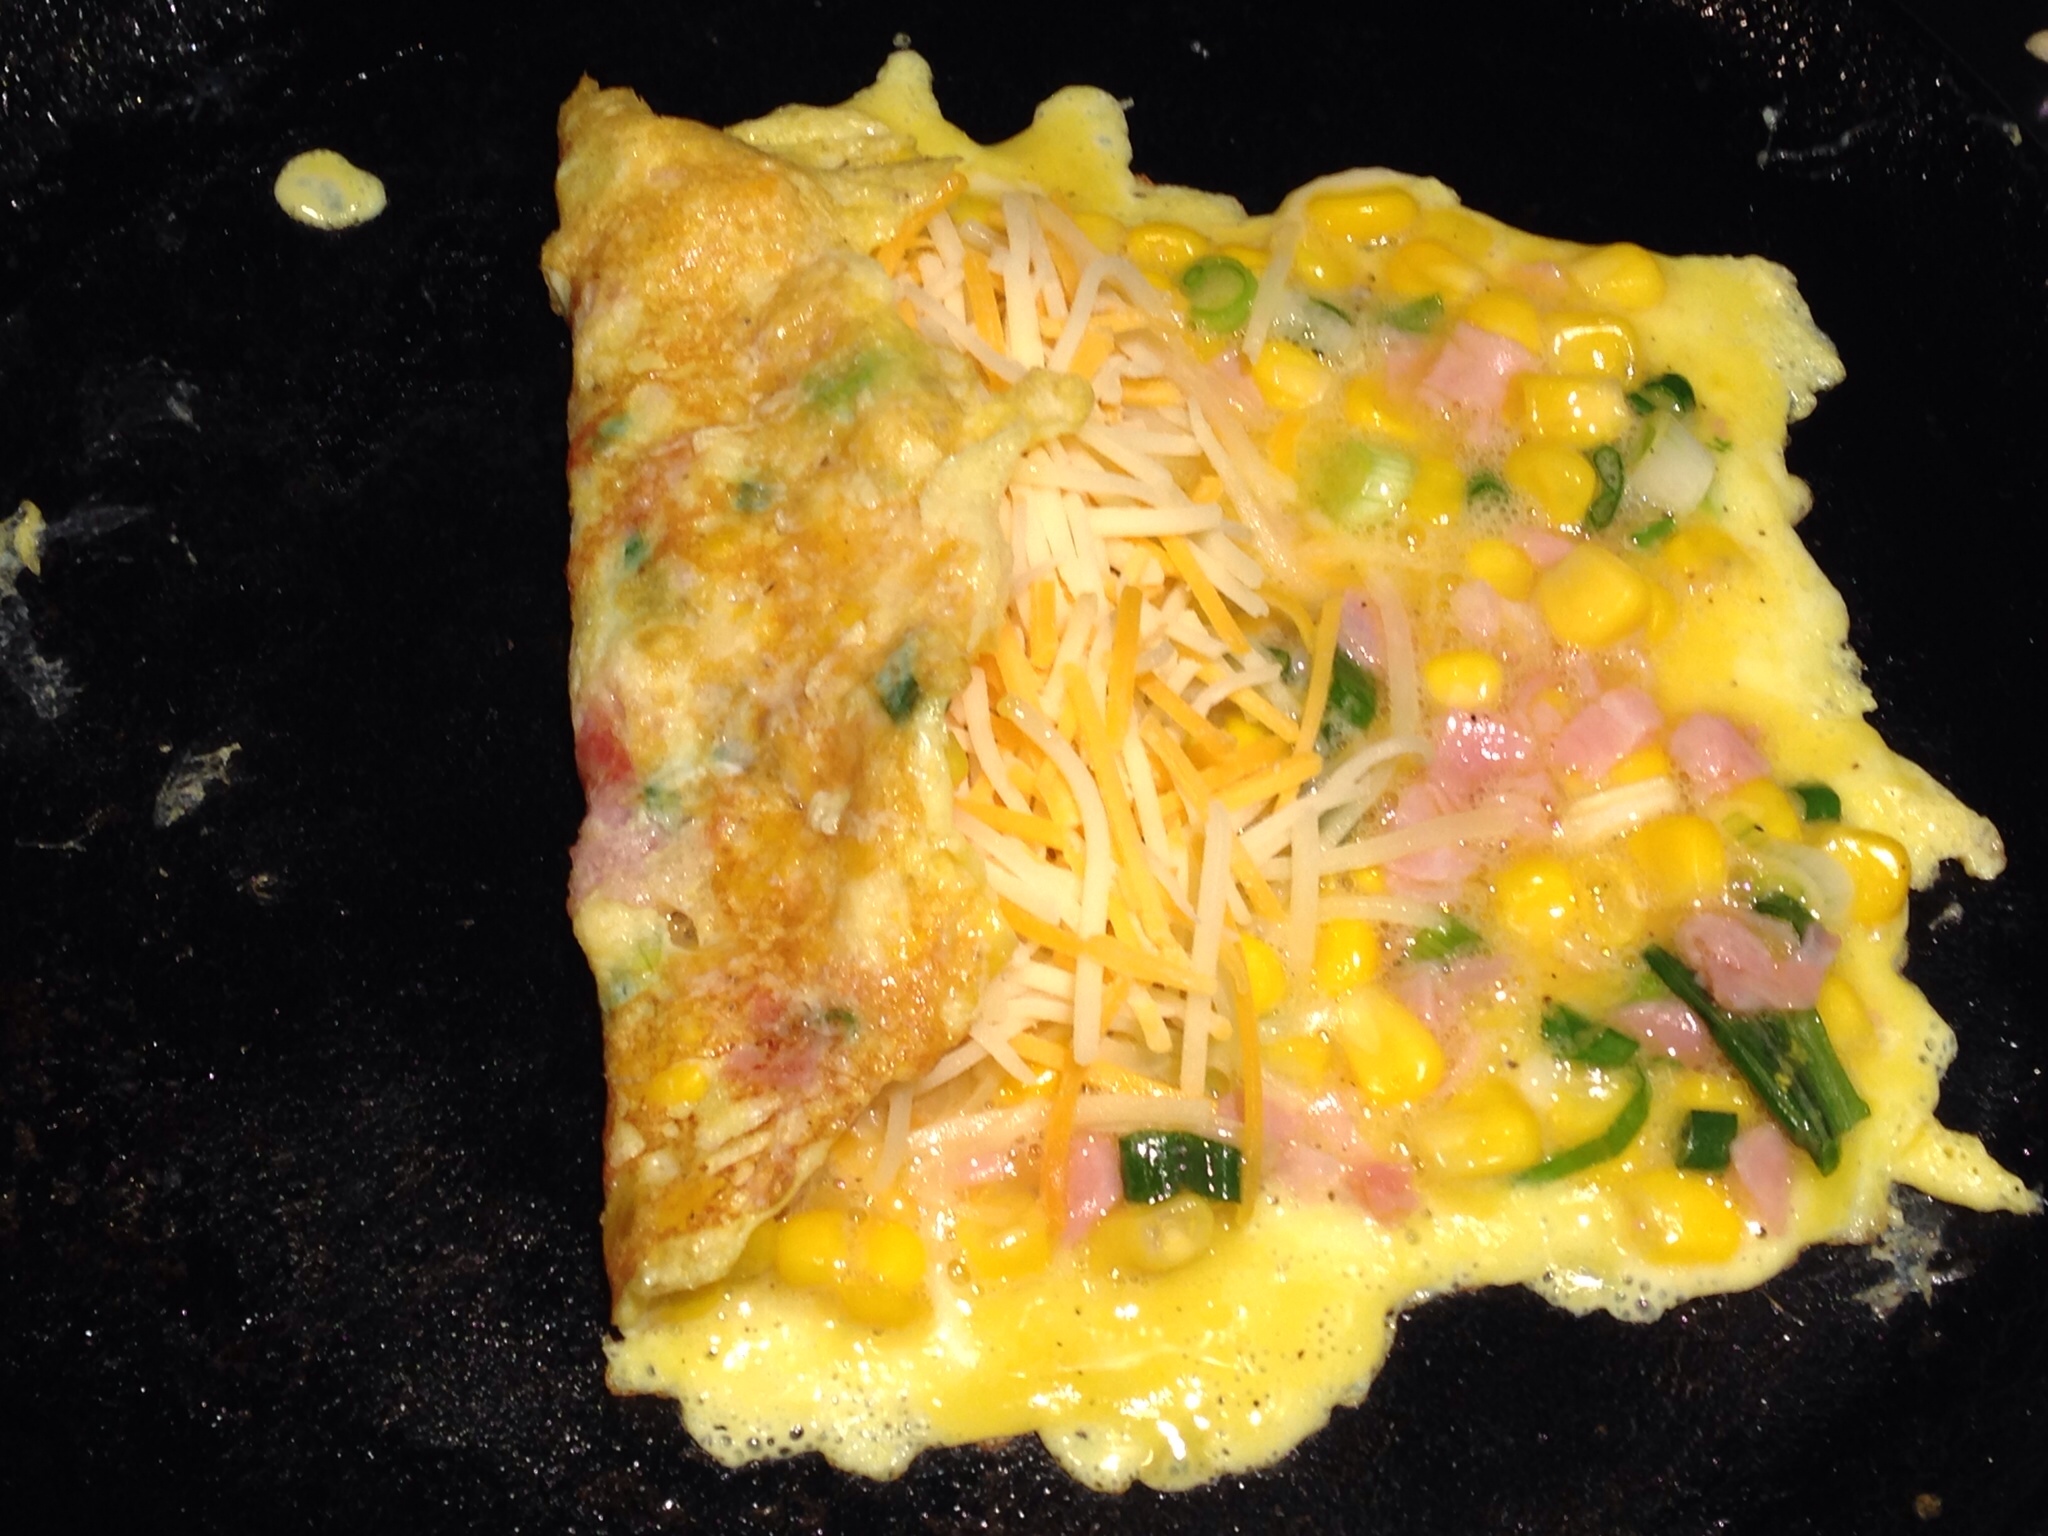
Place a skillet over medium heat. I use a cast iron skillet. Once the skillet is heated, spray with cooking spray. Pour about 1/4 cup of the egg mixture onto the skillet. I like to spread it out into somewhat of a rectangular shape so that it’s easier to fold the sides over.

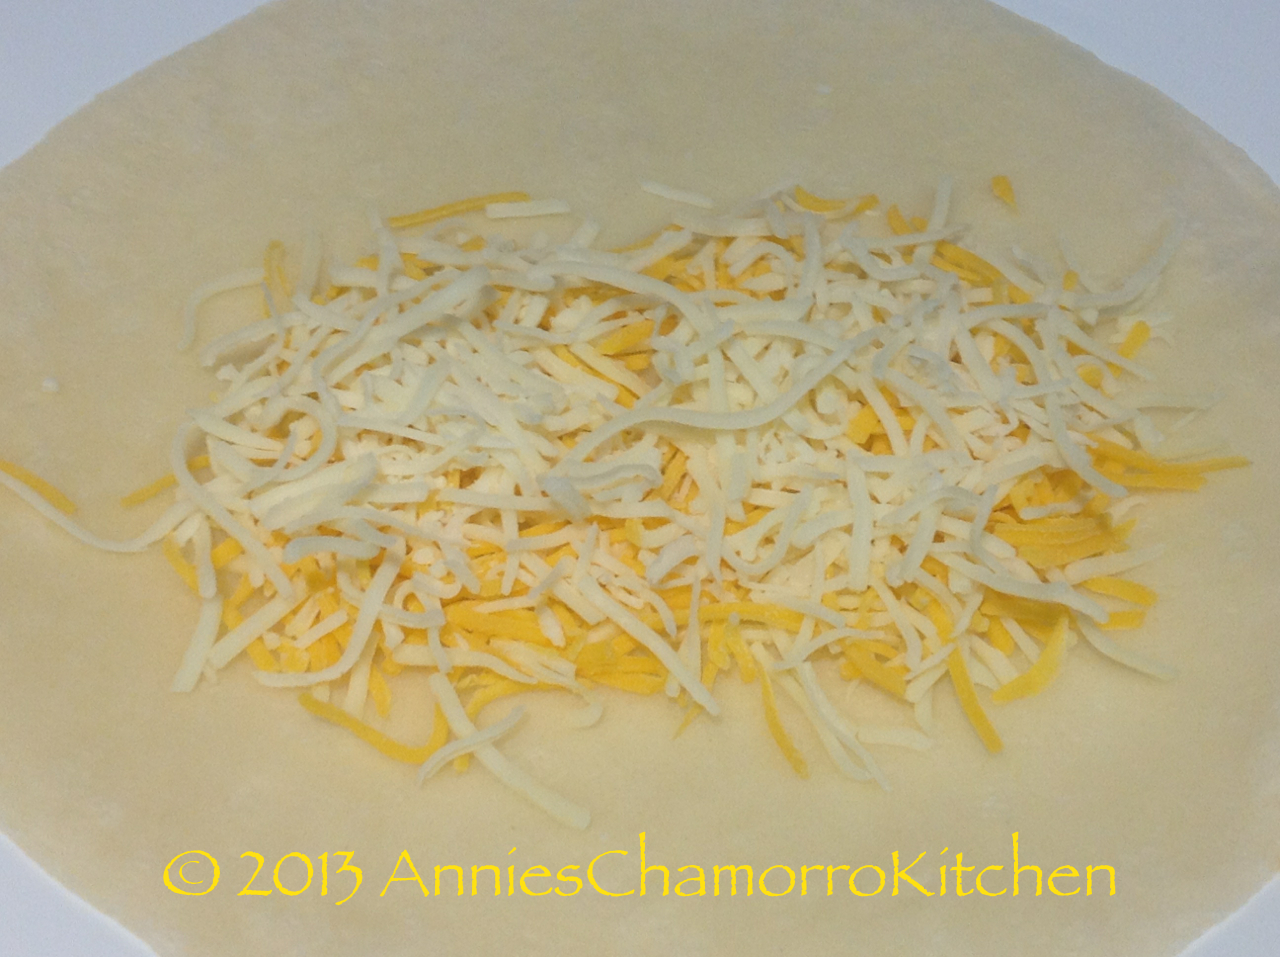
Sprinkle some shredded cheese down the middle.

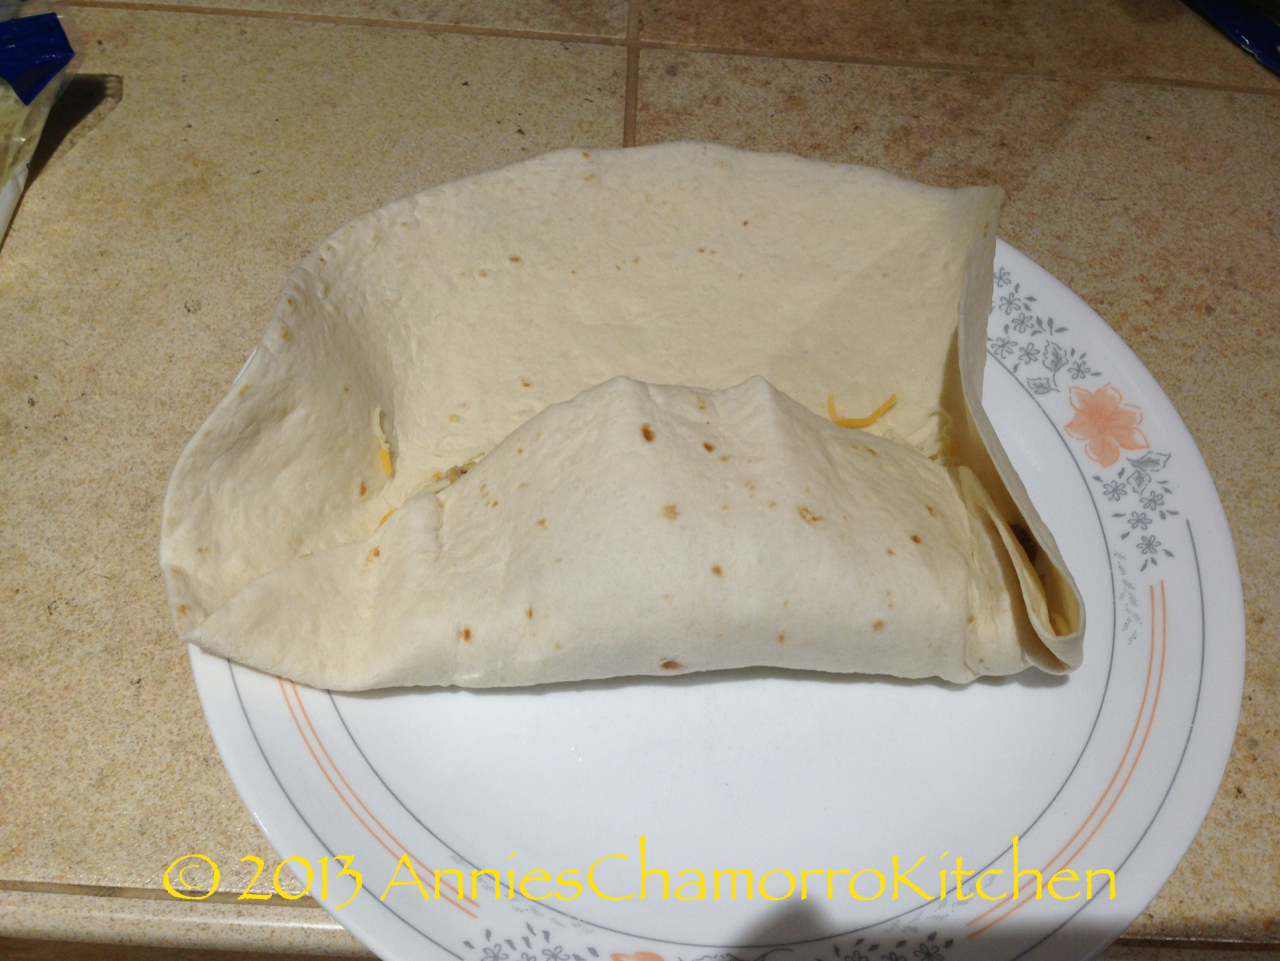
Let the omelet cook for a minute or so. Once the bottom has browned a bit and the edges are beginning to dry, it’s time to fold the sides over to the middle, covering the cheese. Gently fold one side over toward the middle, over the cheese.

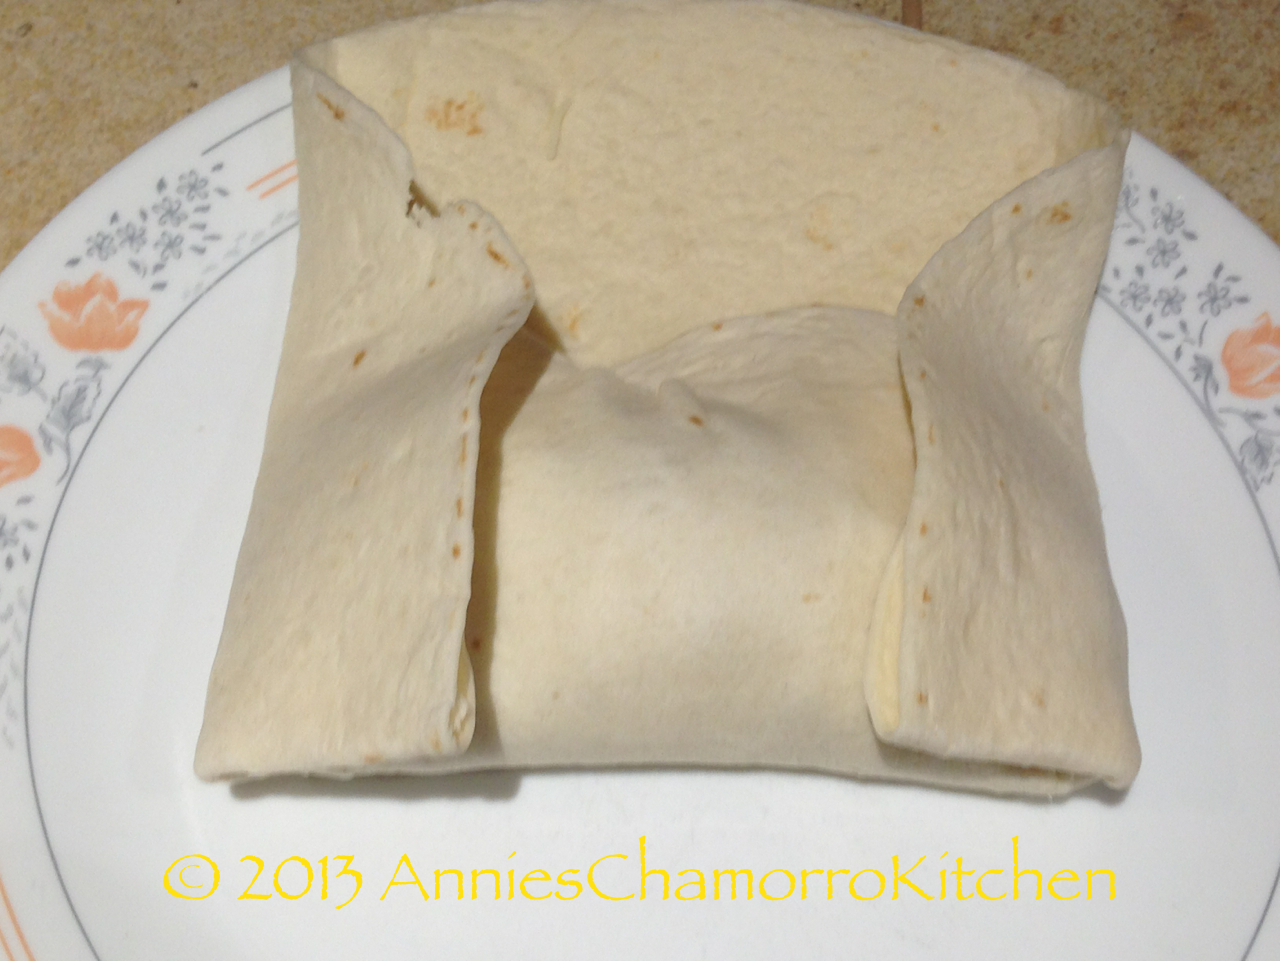
Gently fold the other side over.

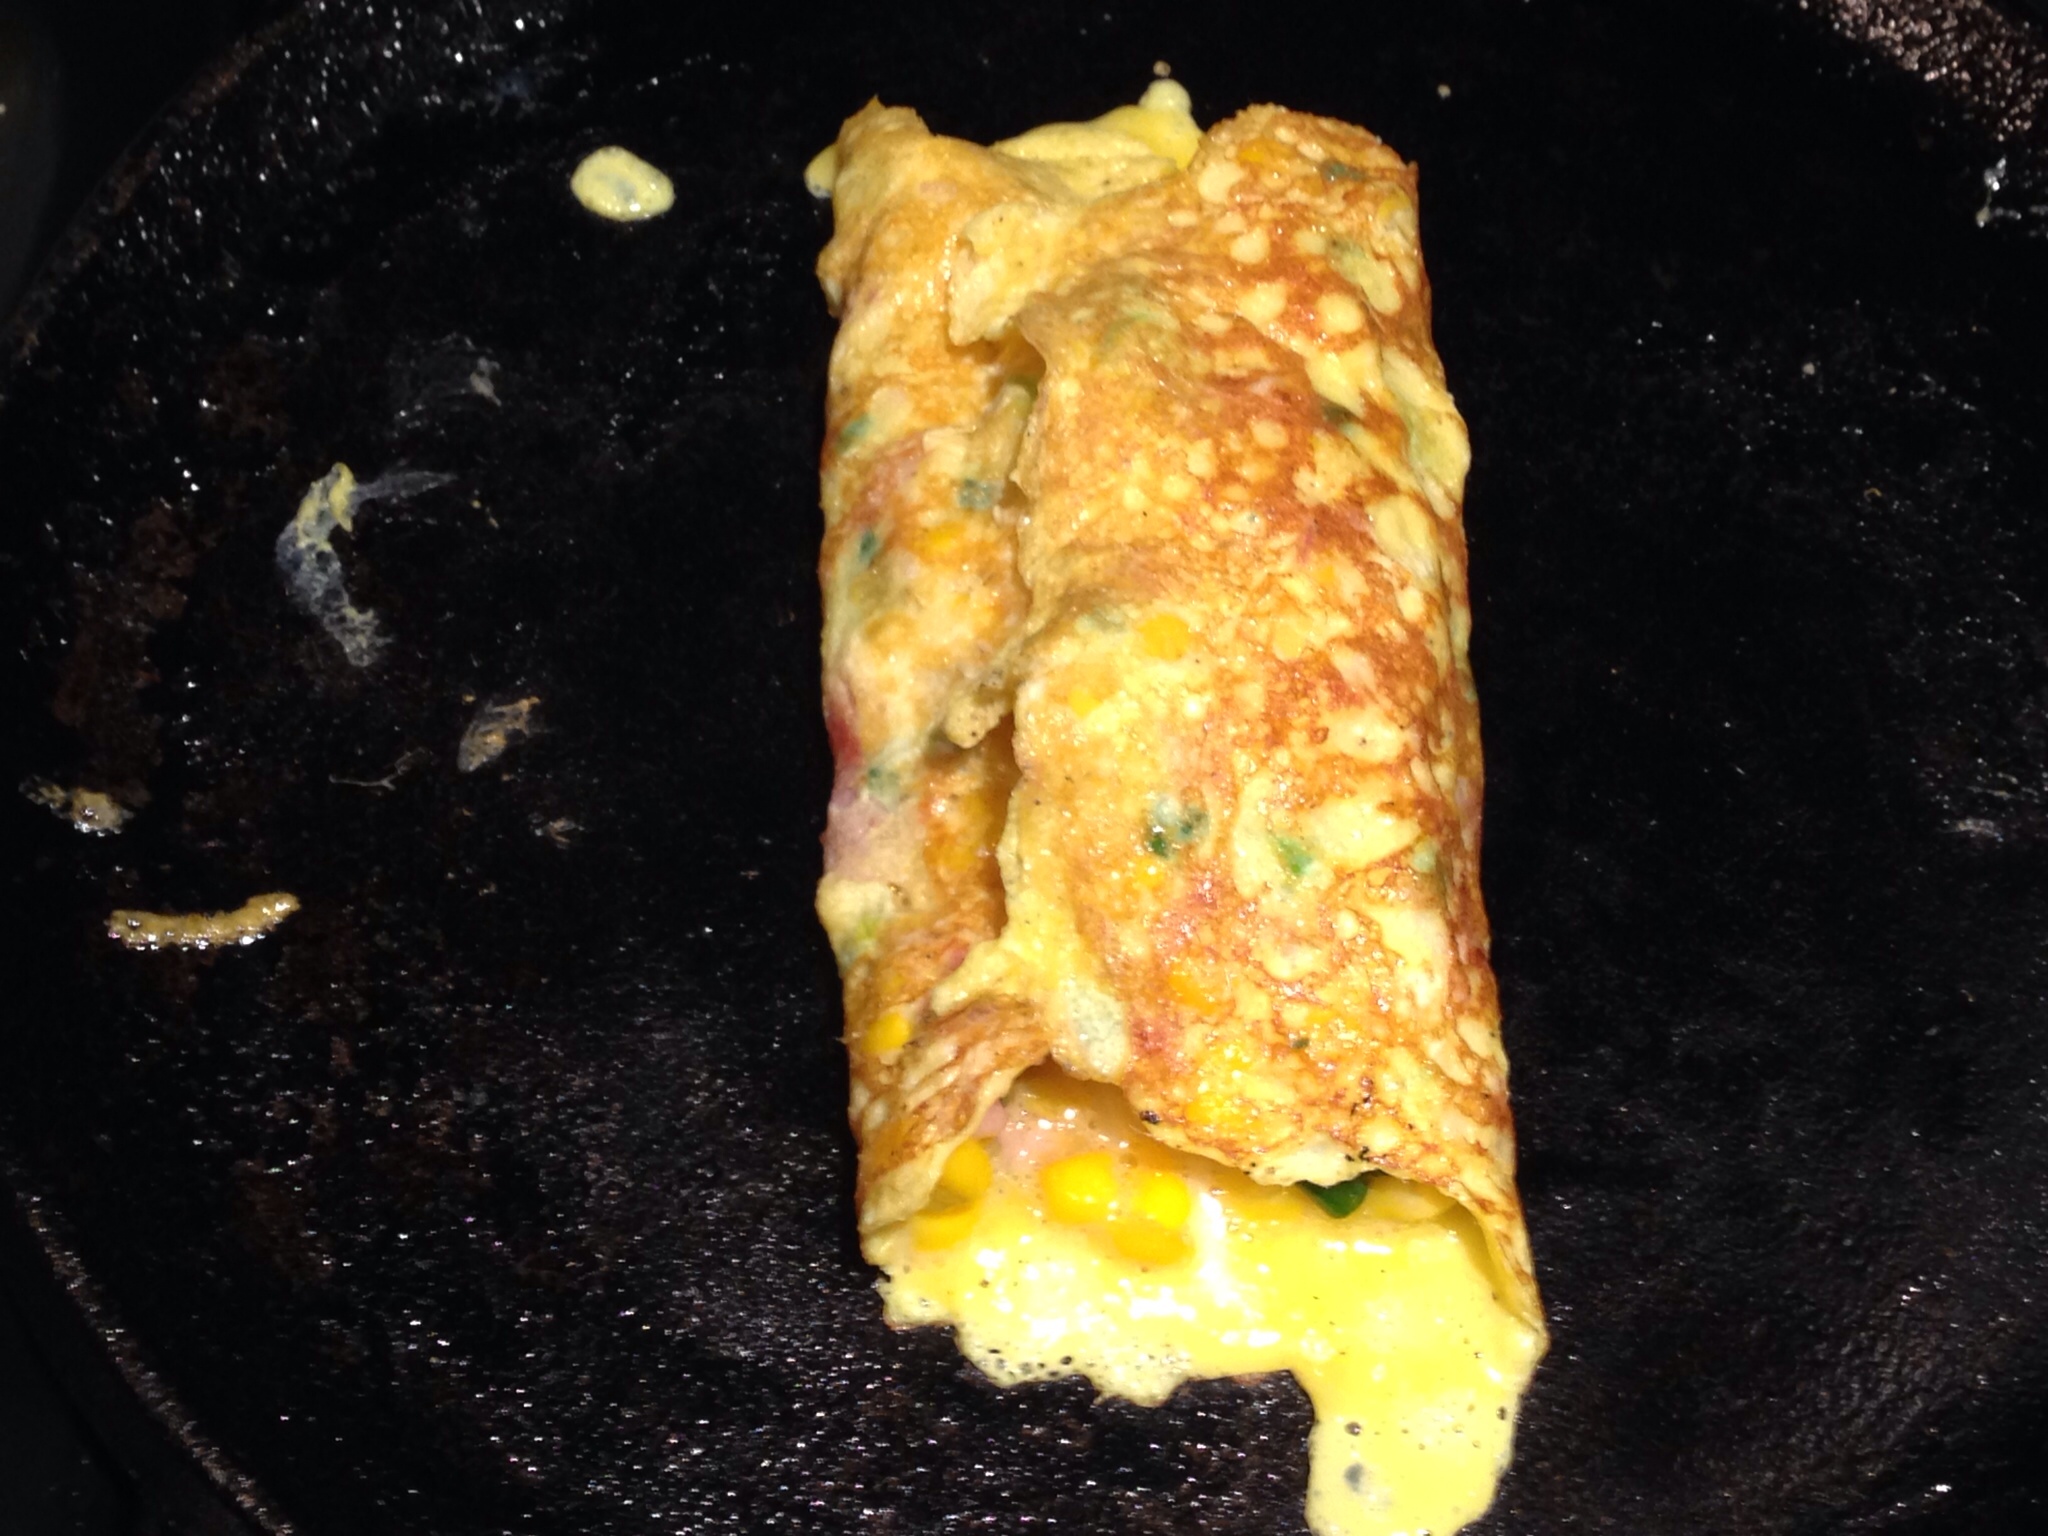
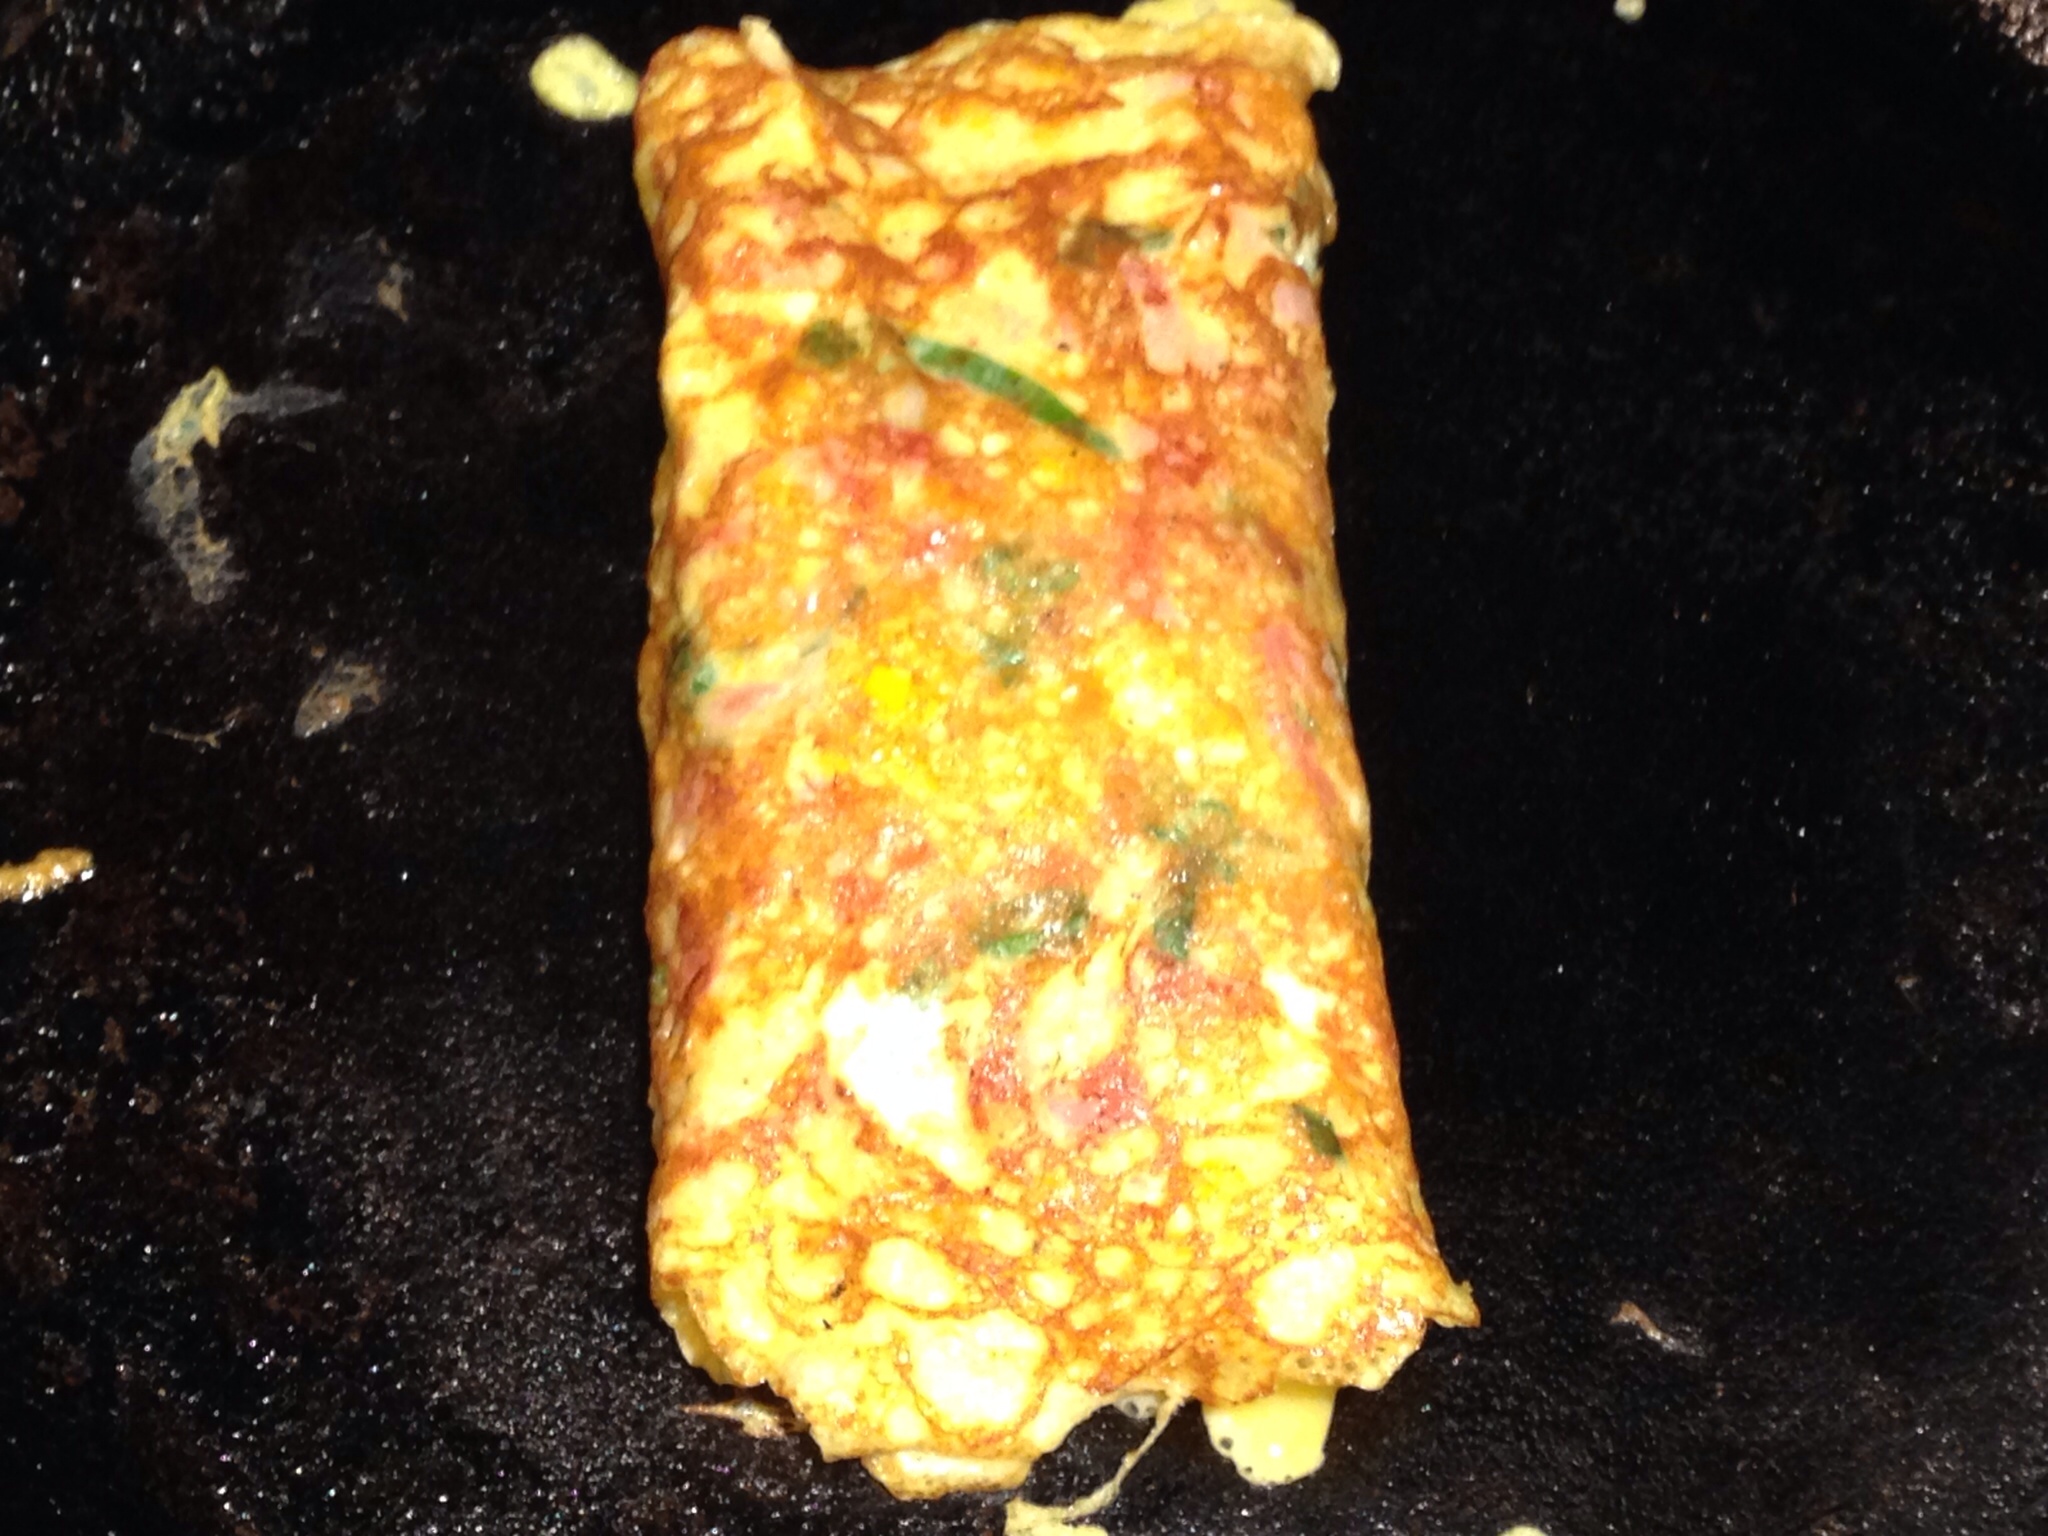
Now carefully flip the omelet over so that the folded edges are on the bottom. Cook for another minute or so.
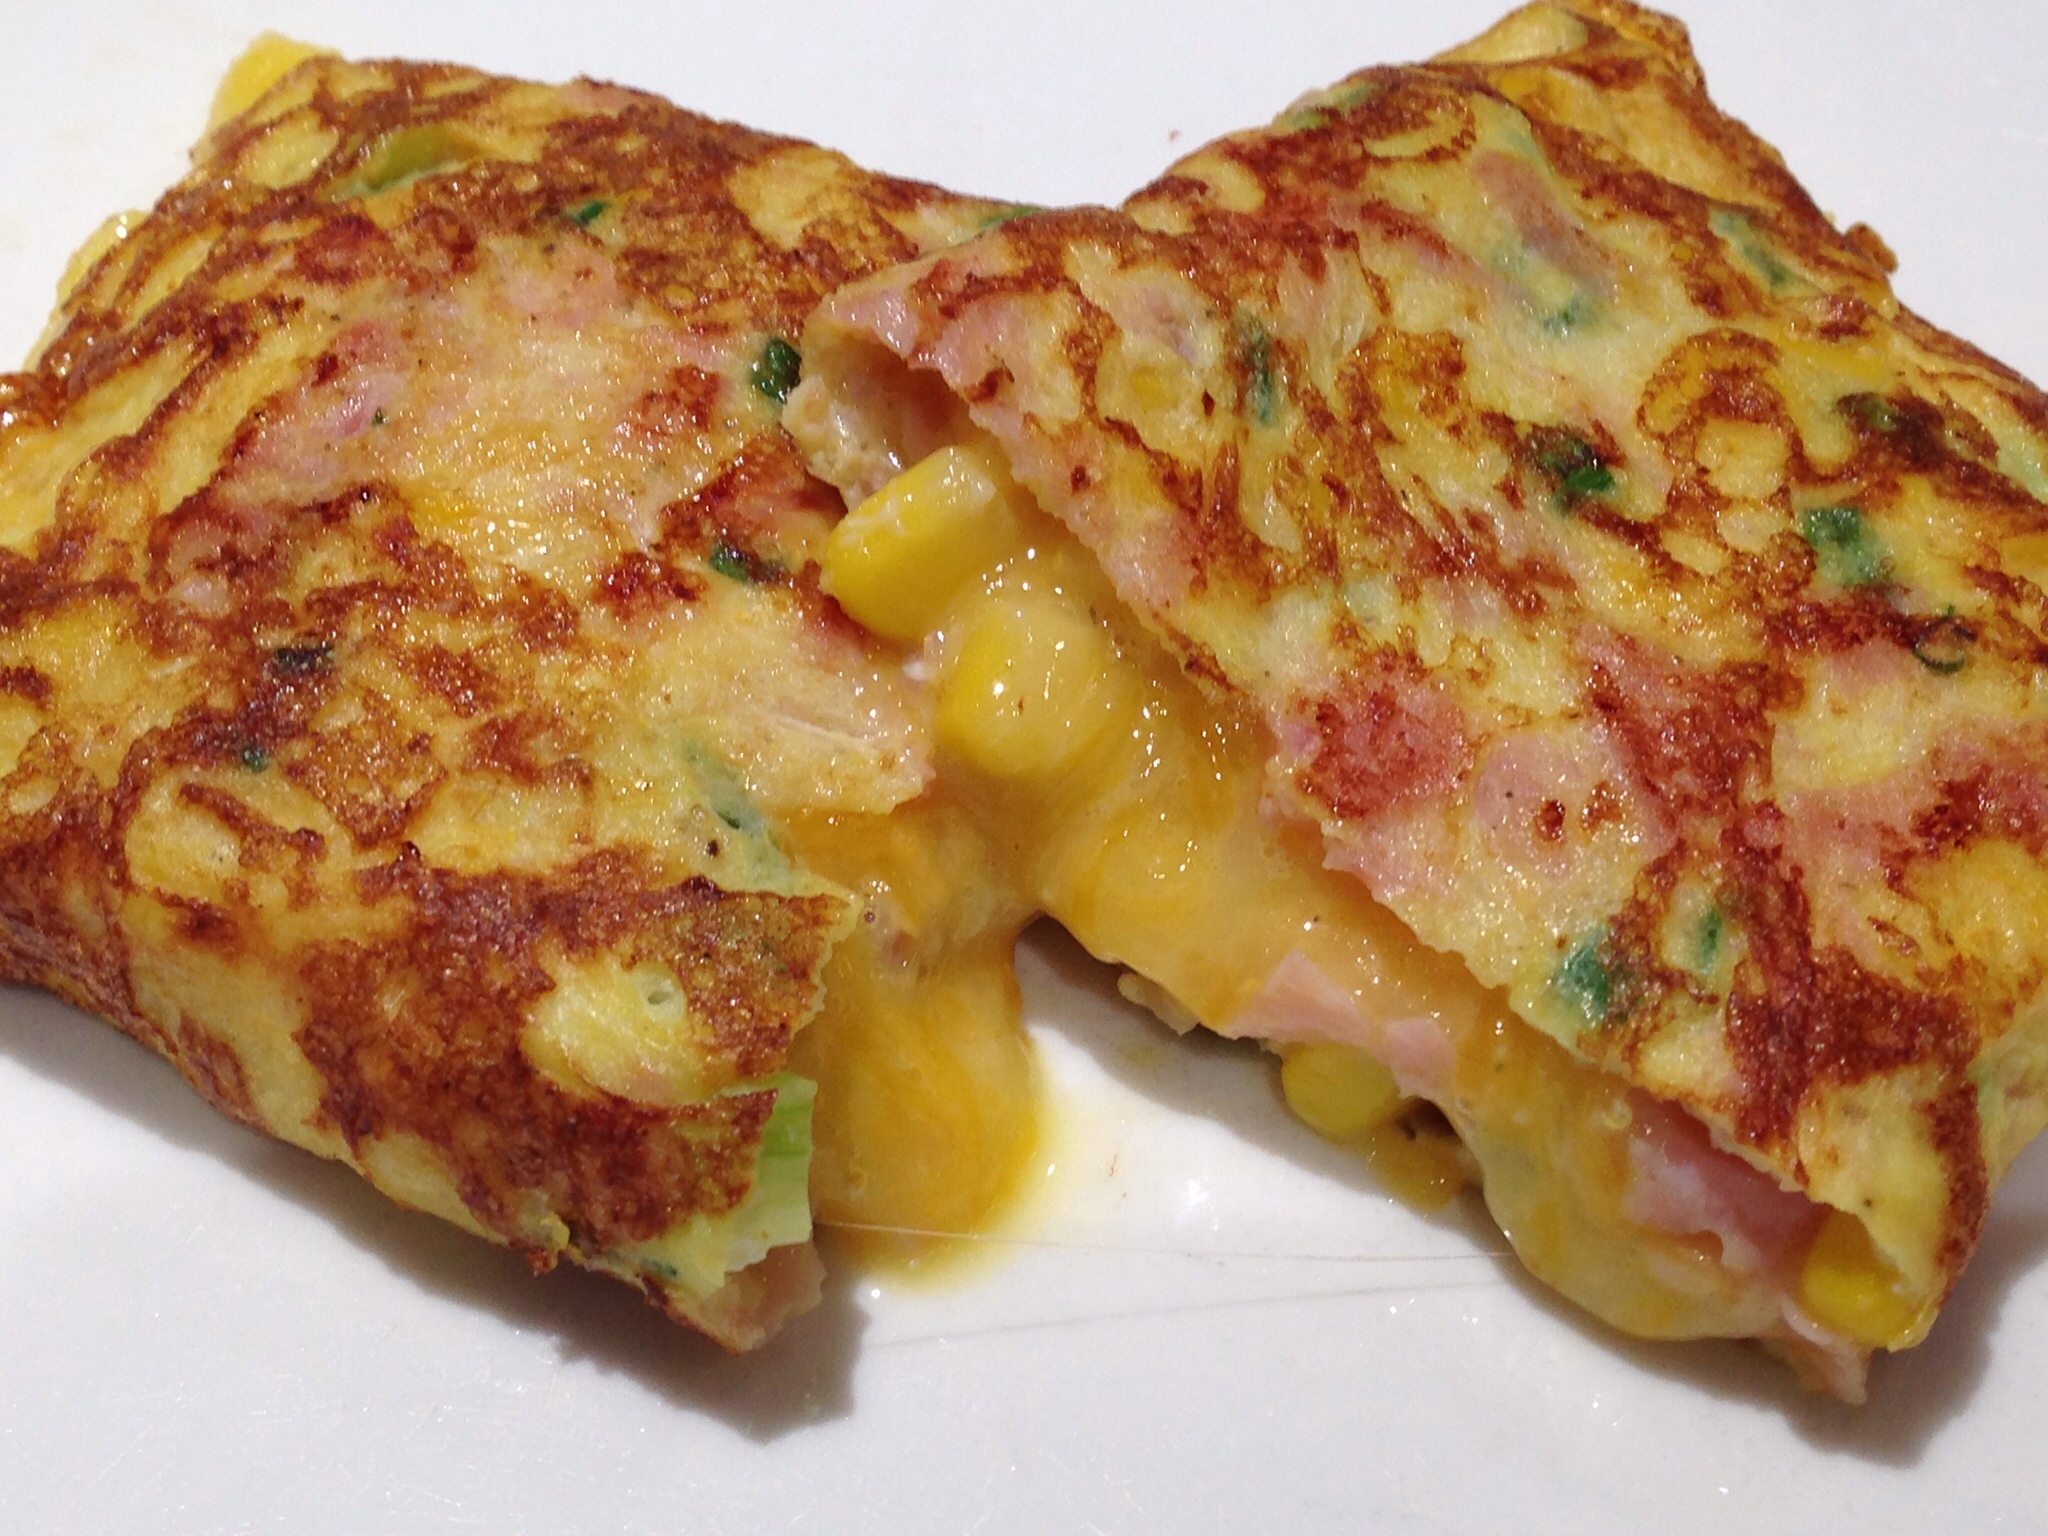
Serve and enjoy!

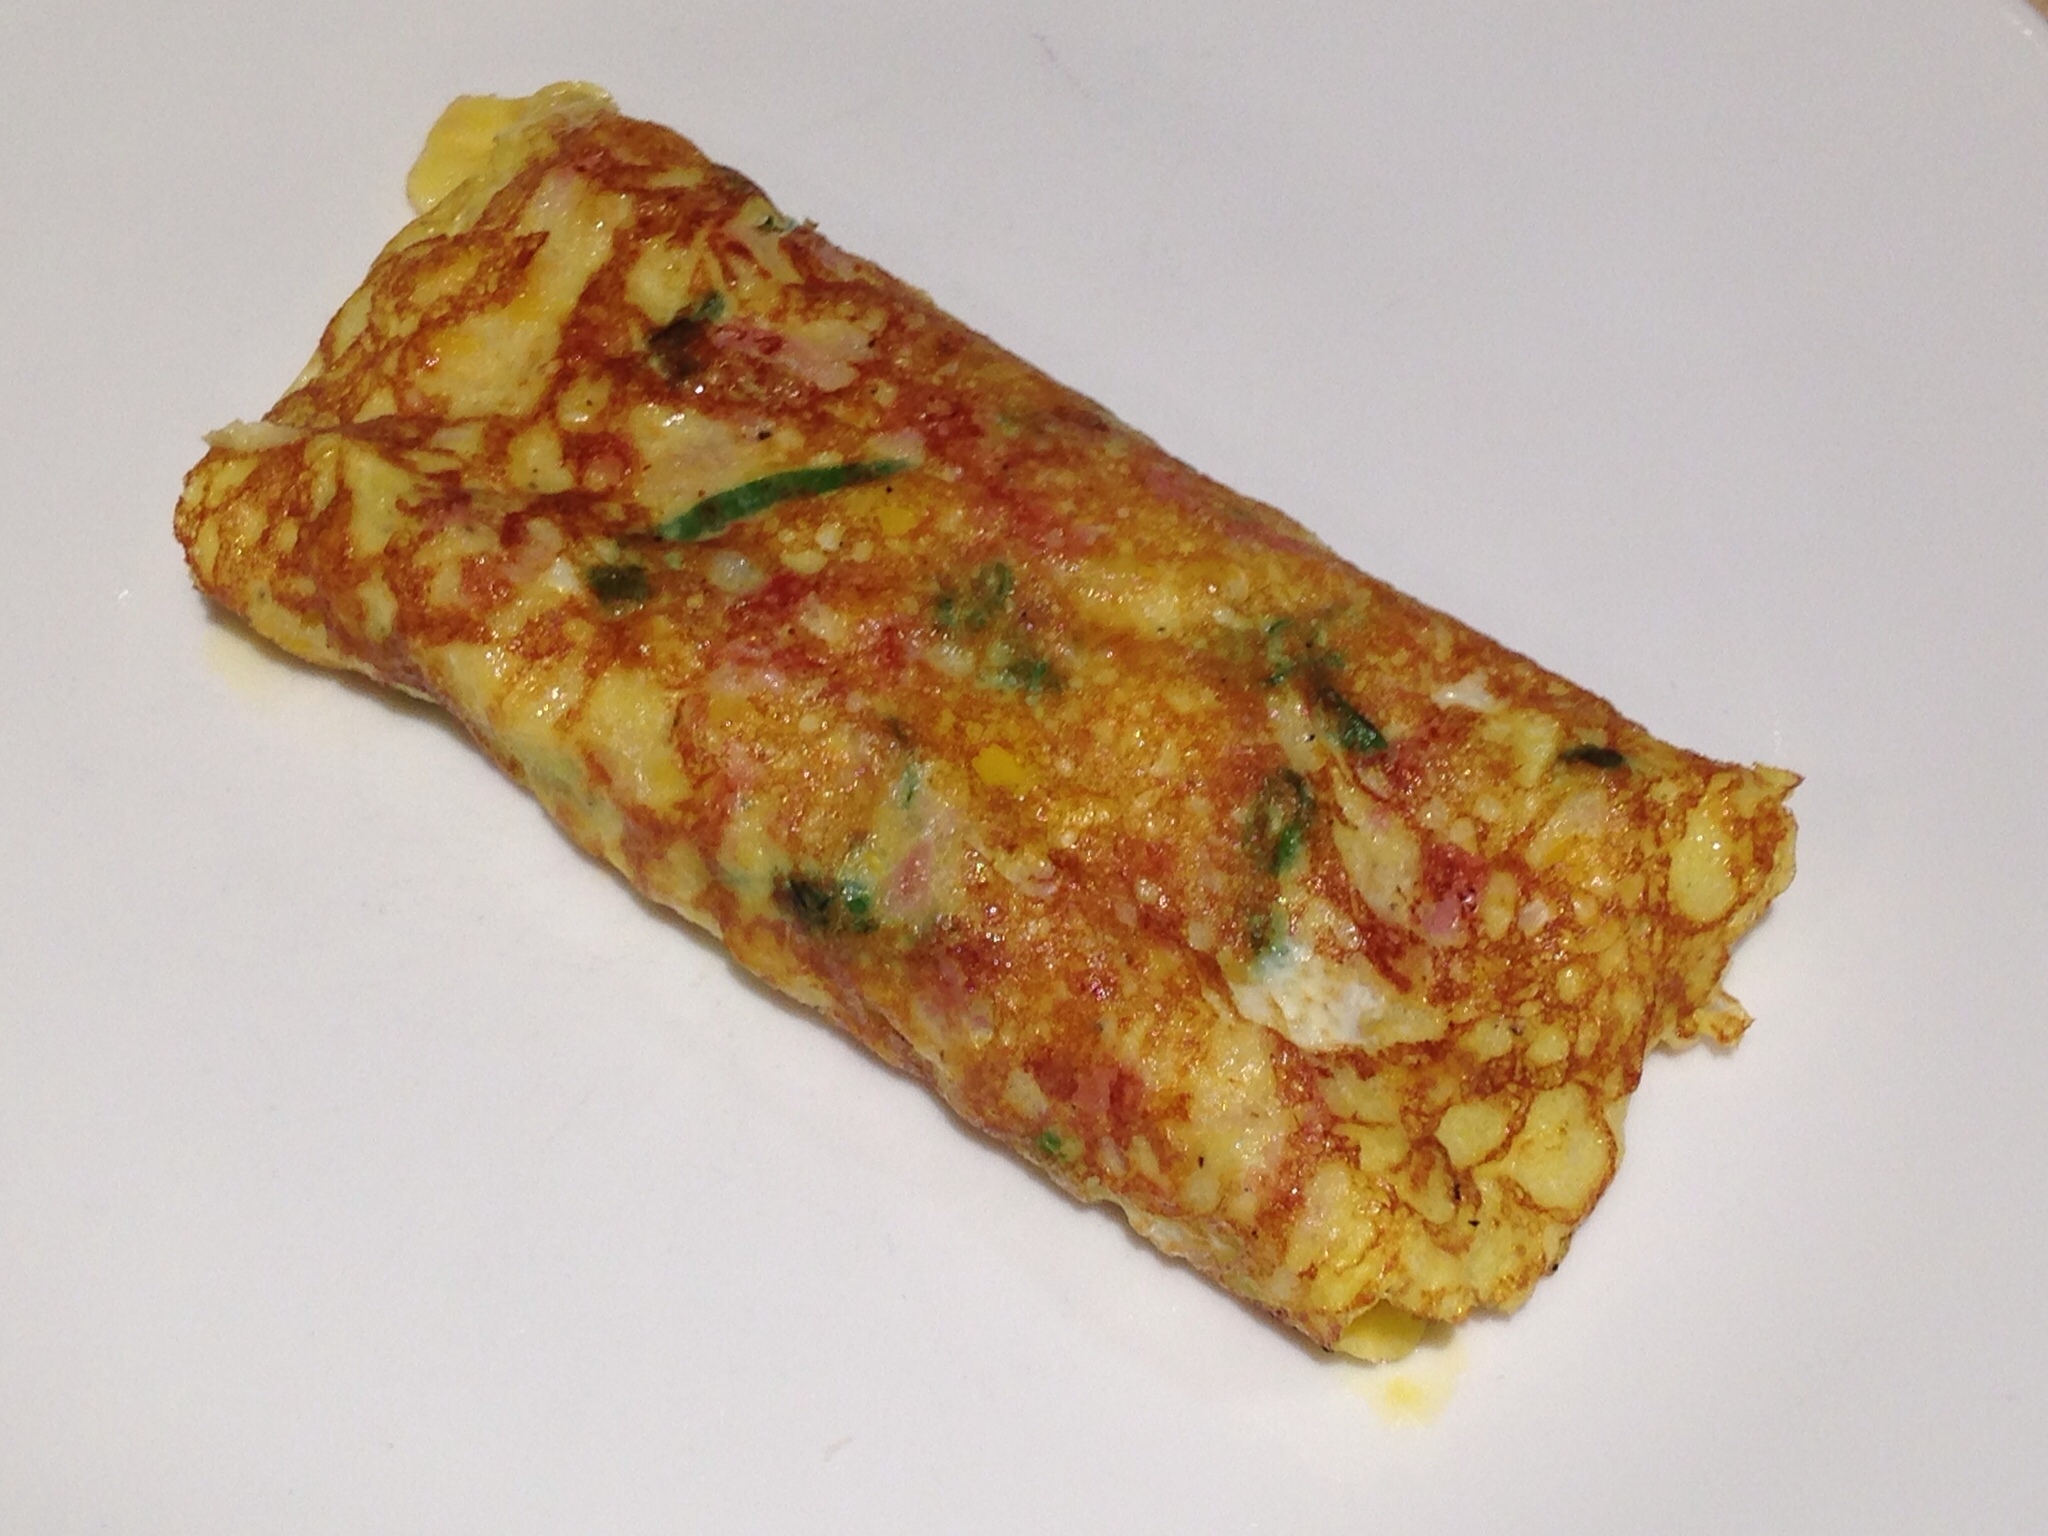
Look at the yummy melted cheese!

How to Roast a Fresh Pumpkin — a Pedro “PoP” Aguon Tutorial

Pedro “PoP” Aguon was a chef in the Navy. PoP passed down to his family his extensive knowledge of cooking, and his daughter, Arlene Sablan Aguon, is kind enough to share some of PoP’s recipes and cooking tips with us. That was PoP’s way, sharing with the younger generations in order to keep the knowledge of our Chamorro culture and heritage alive. Rest in peace, PoP…your family and friends miss you terribly.

From Arlene:
“My PoP’s taught me how to roast a fresh pumpkin. It makes the best pies, Buchi Buchi & Turnovers. It makes the home smell like Thanksgiving too. ENJOY. ” ~ @untie R

Freshly roasted pumpkin tastes better than any canned pumpkin you buy in stores. Try roasting pumpkins PoP’s way. You’ll be glad you did. 🙂

Roasted Pumpkins ~ A Pop Aguon Tutorial

20131103-053555.jpg

20131103-053608.jpg

20131103-053619.jpg

20131103-054810.jpg

20131103-054822.jpg

20131103-054829.jpg

20131103-054842.jpg

Roast the pumpkins at 350 degrees.  The roasting time varies based on the size of your pumpkins.  Medium pumpkins can take between 45 minutes to one hour.  Check at the 45-minute mark; the pumpkin flesh should be tender when pierced with a fork.  Continue to roast until tender.

20131103-054849.jpg

20131103-054902.jpg

20131103-054913.jpg

20131103-054925.jpg

20131103-054934.jpg

20131103-054942.jpg

20131103-054949.jpg

20131103-054955.jpg

Fruit Pizza with a Sugar Cookie Crust

One of my favorite desserts is a fruit pizza.  My recipe uses a soft sugar cookie crust with a creamy vanilla filling.  Top this delectable dessert with your favorite fruit and voila! ~ you’ll have a dessert that will keep you coming back for more!

Give my recipe a try.  I know you’ll love it! 🙂

Fruit Pizza with a Sugar Cookie Crust

DSC_0076

Ingredients:

Cookie Crust:

Note: This dough makes enough for two pizzas, OR one pizza and a dozen sugar cookies, OR you can make two dozen sugar cookies.

  • 2 1/4 cups all purpose flour
  • 1/2 teaspoon baking soda
  • 1 teaspoon baking powder
  • 1/2 teaspoon salt
  • 1 1/2 cups white, granulated sugar
  • 2 ounces cream cheese
  • 6 tablespoons butter
  • 1/3 cup vegetable oil
  • 1 large egg
  • 1 tablespoon milk
  • 2 teaspoons vanilla extract
Filling:

*Note: double the following ingredients for the filling if you are making two pizzas

  • 8 ounces cream cheese
  • 1 cup white, granulated sugar
  • 1 large box instant vanilla pudding mix
  • 1 cup milk
  • 1 teaspoon vanilla extract
Topping:
  • Any fruit of your choosing, sliced.
  • For this particular pizza (see the photo), I used:
  • 1 can strawberry pie filling (use only the strawberries, not the thick sauce)
  • 2 cans mandarin slices, drained
  • 1 container fresh blueberries
  • 1 container fresh blackberries
Other items needed:
  • Parchment paper, cut to fit the size of your pizza or baking pan (go to Tips & Things for my instructions on how to cut parchment paper to fit your round baking pan)

Directions:

Make the crust:

In a small bowl, mix together the flour, baking soda, baking powder, and salt. Set aside.

Place the sugar in a large mixing bowl. Break the cream cheese into small pieces then add to the mixing bowl.

Melt the butter; pour into the mixing bowl while still hot. Using a whisk, mix the sugar, cream cheese and butter together until somewhat creamy (the hot butter will melt the cream cheese this is what you want to happen).

Next, add the oil; continue whisking until the mixture is nice and creamy.

Add in the egg, milk, and vanilla extract. Whisk until all ingredients are thoroughly combined and the mixture is smooth and creamy.

Using a spatula or large mixing spoon, fold in the dry ingredients. Stir only to the point where you don’t see any large clumps of the flour mixture.

Line your pizza pan with parchment paper. Using either your fingers or a rolling pin, press the dough onto the parchment paper lined pan, stopping when the dough is about 1 1/2 inches from the edge of the pan. Bake at 350 degrees for 15 minutes or until the crust starts to become very lightly browned. Set the crust aside to cool then top with the filling then fruit.

Make the filling:

In a small mixing bowl, use a hand mixer to beat the cream cheese and sugar together until creamy. Mix in the box of instant vanilla pudding mix. Slowly mix in the milk and vanilla extract. Mix on medium speed until there are no lumps from either the cream cheese or pudding mix. Set aside.

Top the pizza:

Spread the filling on top of the cooled cookie crust. Top with your desired fruit slices. Serve chilled or at room temperature.

DSC_0079

NOTE: DIRECTIONS FOR SUGAR COOKIES:

Make small balls (about the size of a ping pong ball) with the dough. Place onto a parchment paper lined baking sheet about 2 inches apart. Using a small spatula, slightly flatten the balls of dough (don’t flatten too much; the dough will expand during baking). Sprinkle different colored sugar sprinkles on top. Bake at 350 degrees for 13 minutes or until the edges of the cookies start to brown lightly. After baking, leave the cookies on the baking sheet for 5 minutes then remove to a cooking rack to finish cooling.

Sugar Cookies 2

Enjoy!

Hannah’s Teriyaki Burgers

My daughter is quite the budding chef.  She whipped these burgers up from some ingredients she found in the fridge and pantry.  She calls them “Hannah’s Teriyaki Burgers” — I must say, they are yummy! Pair it with a side salad and hot rice and you’ve got yourself a fantastic meal!

HANNAH’S TERIYAKI BURGERS

Teriyaki Burgers

Mix together:

  • 2 pounds lean ground beef
  • 3/4 cup teriyaki sauce (I used Yoshida brand sauce)
  • 1 small bell pepper, diced small
  • 1 medium onion, chopped
  • 1 large egg
  • 2 tablespoons Dashida seasoning
  • 1 teaspoon black pepper
  • 4 large cloves garlic, minced

Directions:

Form into patties and pan-fry over medium-high heat, about 5 minutes on each side (for medium well burgers). These also taste great served on toasted hamburger buns. Makes 14 small or 7 large burgers.

Cheesy Sausage Breakfast Burritos

Cheese, Sausage, Eggs and Hash Browned Potatoes all wrapped in a tortilla…need I say more? 🙂

These burritos are super simple to make.  There really isn’t much prep work since most of the ingredients are already pre-cooked.

Filled with cheese, sausage, cheese, shredded hash brown potatoes, sun-dried tomatoes, cheese, my secret blend of seasonings (shhh…don’t tell anyone), green onions, eggs, and CHEESE (can you tell I love cheese?), this is the perfect way to start your day.  Your belly will be happy, happy, happy after eating this, I guarantee.

Be creative here…the sky’s the limit with all the various types of sausage on the market these days–Chorizos Españot is great in this recipe too!

Just place the ingredients in a large skillet, cook it for a bit, then fill your tortilla, roll, and ENJOY!

This recipe makes about two dozen small burritos (using 8″ tortillas).  Don’t let that number fool you…depending on the person (and how hungry you are), a serving can be about two or three small burritos.

Give my recipe a try…I think you’ll like it. 🙂

Cheesy Sausage Burritos

IMG_1724

Ingredients:

  • 4 tablespoons butter
  • 8 cups frozen, shredded hash brown potatoes
  • Secret seasoning mix (see below)
  • 2 bags pre-cooked breakfast sausage (or substitute with your favorite cooked sausage)
  • 6 eggs
  • 4 tablespoons chopped sun-dried tomatoes
  • 6 stalks green onions, sliced
  • 1 cup shredded Mozzarella cheese
  • 1 cup shredded Cheddar or Mexican cheese blend
  • 24 super-soft flour tortillas (8-inch)

Secret Seasoning:

Note: This recipe is a fantastic taco seasoning…you won’t need to buy that packaged stuff anymore!  Just add it to browned ground beef along with about a 1/2 cup of water; simmer for a couple of minutes then serve! 🙂

  • 1 1/2 tablespoons chili powder
  • 1 teaspoon garlic powder
  • 1 teaspoon onion powder
  • 1/2 teaspoon dried oregano
  • 1/2 teaspoon paprika (I like using smoked paprika)
  • 1 teaspoon salt
  • 1 teaspoon black pepper
  • 1 teaspoon Accent (optional)
  • 1 teaspoon red pepper flakes (optional)

Directions:

Melt the butter in a large skillet.

IMG_1703

Add the frozen shredded hash brown potatoes.

IMG_1705

Add my secret seasonings (shhh…don’t let my secret out!)  LOL 😀

IMG_1708

Stir to combine.  Keep the heat on medium low.

IMG_1709

Add the cooked sausage.  Stir to combine.

IMG_1710

This is the brand of cooked sausage I use.  Use two bags for this recipe.

IMG_1700

Crack the eggs into a small mixing cup.

IMG_1711

Beat the eggs slightly.

IMG_1712

Make a well in the middle of the pan.

IMG_1715

Pour the eggs into the well.  Turn the heat up slightly.  Let the eggs cook for a couple of minutes then stir it into the potato mixture.  It’s okay to stir the eggs even if they are still wet–it will continue to cook as you finish adding the rest of the ingredients.

IMG_1718

Add the sun-dried tomatoes.  I buy the kind that comes already chopped and packed in oil.  If that’s the kind you use, try not to add too much of the oil it comes in.

IMG_1714 

Stir to combine.

IMG_1719


Add the sliced green onions.  Stir to combine.  Cook for a couple of minutes then turn off the heat.

IMG_1720

Place a tortilla on a plate or flat surface.

IMG_1721

Sprinkle both types of cheese in the middle of the tortilla.

IMG_1723

Add about 1/2 cup of the filling over the cheese.

IMG_1724

Fold the bottom half of the tortilla over the filling.

IMG_0330

Fold the sides of the tortilla over, toward the middle.

IMG_0332

Continue rolling over the other half of the tortilla.

IMG_0331

Wrap in aluminum foil.  Refrigerate or freeze any uneaten burritos.  I like wrapping each one in foil because it’s easy to place them on a baking sheet and reheating them in the oven (a toaster oven works well too).  You can’t reheat the burritos this way (in an oven) if they are wrapped in plastic wrap.

IMG_0326

IMG_0333

ENJOY! 🙂


« Older Entries Recent Entries »