Archive for HOLIDAY MENU

Pot Roast, Chamorro Style

Whenever I find myself feeling a bit homesick, I think of something to cook that soothes my longing for my island home. Chamorro Pot Roast is one of those dishes. This is a dish that was usually on the menu for Chamorro gatherings. I remember going to parties when I was younger, and before the table was opened, I’d check to see if there was any pot roast. If there was, the ONLY things I’d have on my plate were rice (red or white), pot roast (with as much gravy as I could scoop up), and lots of fina’denne’. These days, I use a crock pot to cook my pot roast. Set it and forget it…what could be easier?

Give my recipe a try.  I think you’ll like it.  🙂  

Chamorro Pot Roast

image

Ingredients:

  • 1 2-lb chuck roast (look for one that is nicely marbled with fat)
  • 2 teaspoons salt
  • 1 teaspoon black pepper
  • 8 whole garlic cloves
  • 1/4 cup vegetable oil
  • 1 medium onion, chopped into large chunks
  • 5-6 garlic cloves, minced
  • 1 cup soy sauce
  • 1 14.5-oz can diced tomatoes with juice
  • 1/3 cup balsamic vinegar (you can use white vinegar instead)
  • 2 tablespoons Dashida seasoning (Korean beef soup stock)
  • 1 teaspoon Accent or Ajinomoto
  • 1 cup water (if cooking this on the stovetop, use 2 cups water)
  • 4 tablespoons corn starch plus one cup water

Chamorro Pot Roast - 02

Directions:

1.  Place a large skillet or dutch oven over high heat.

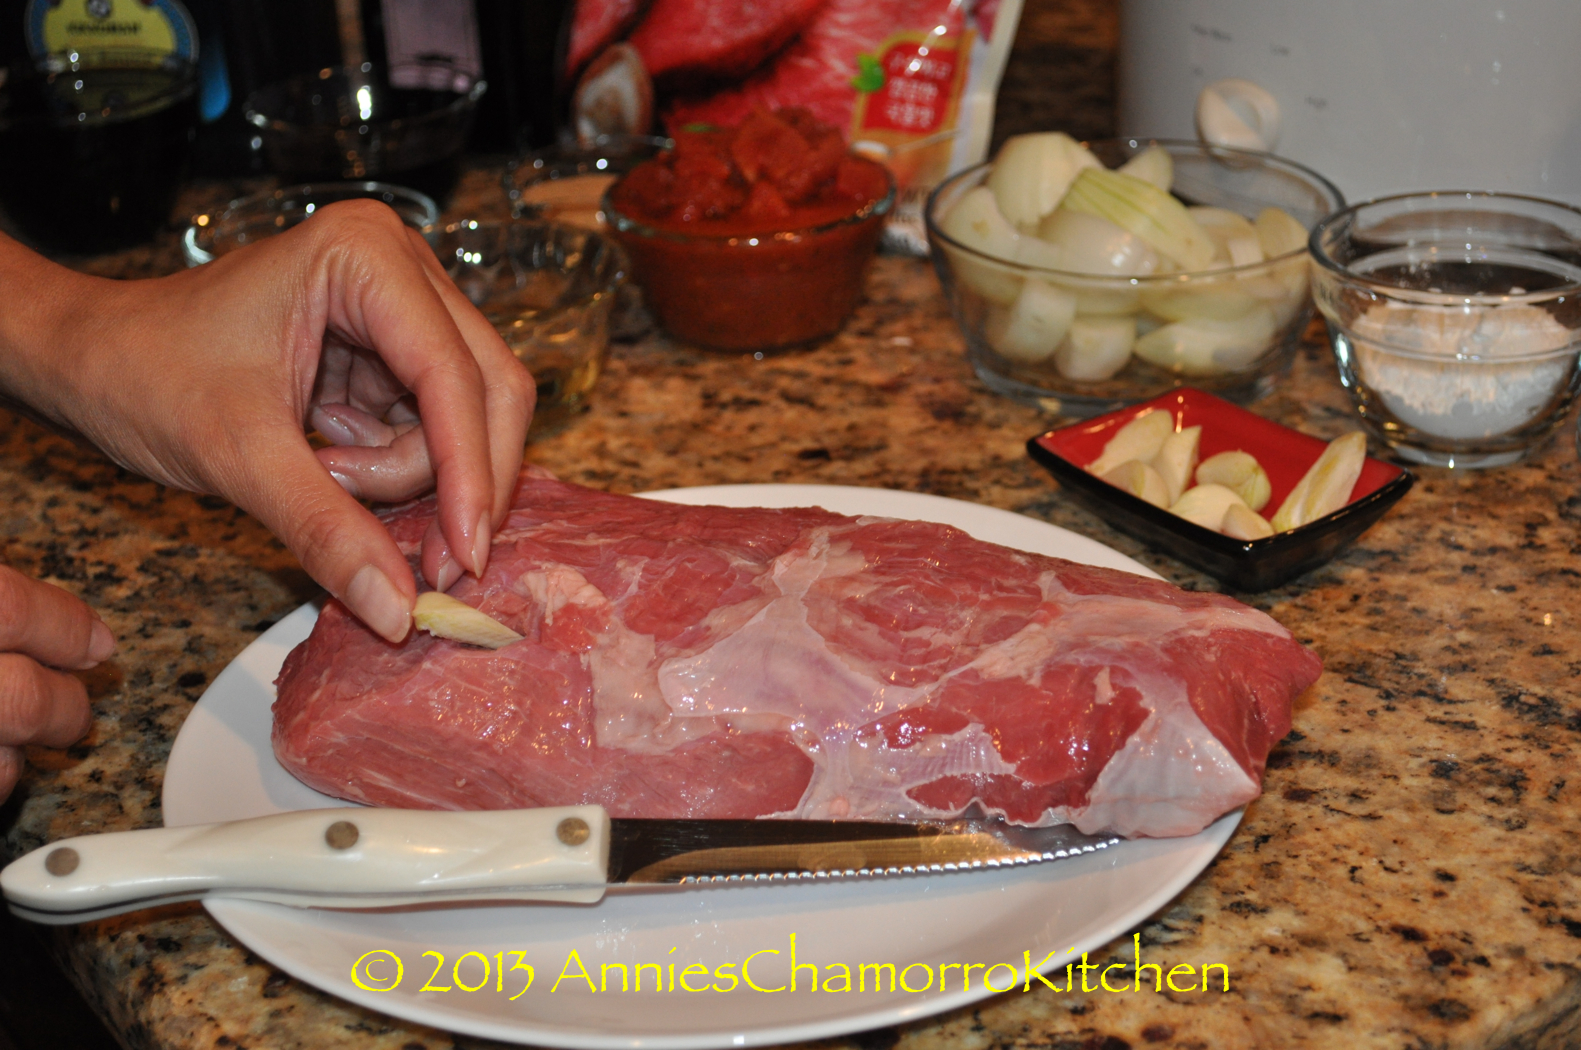
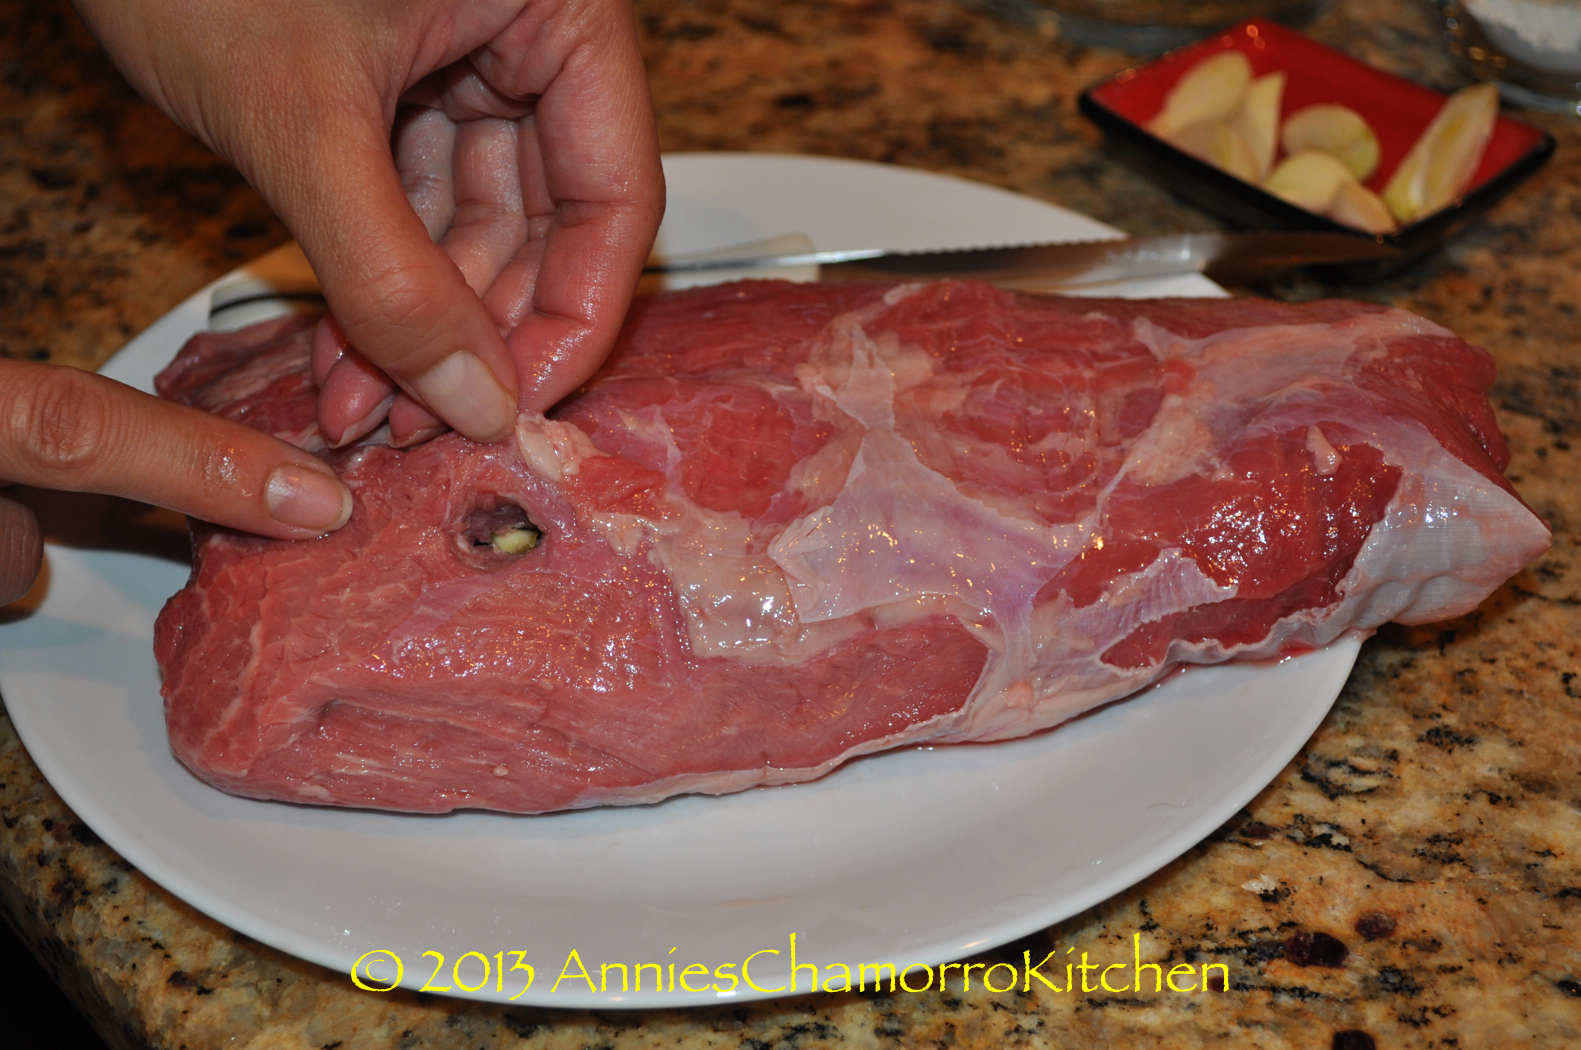
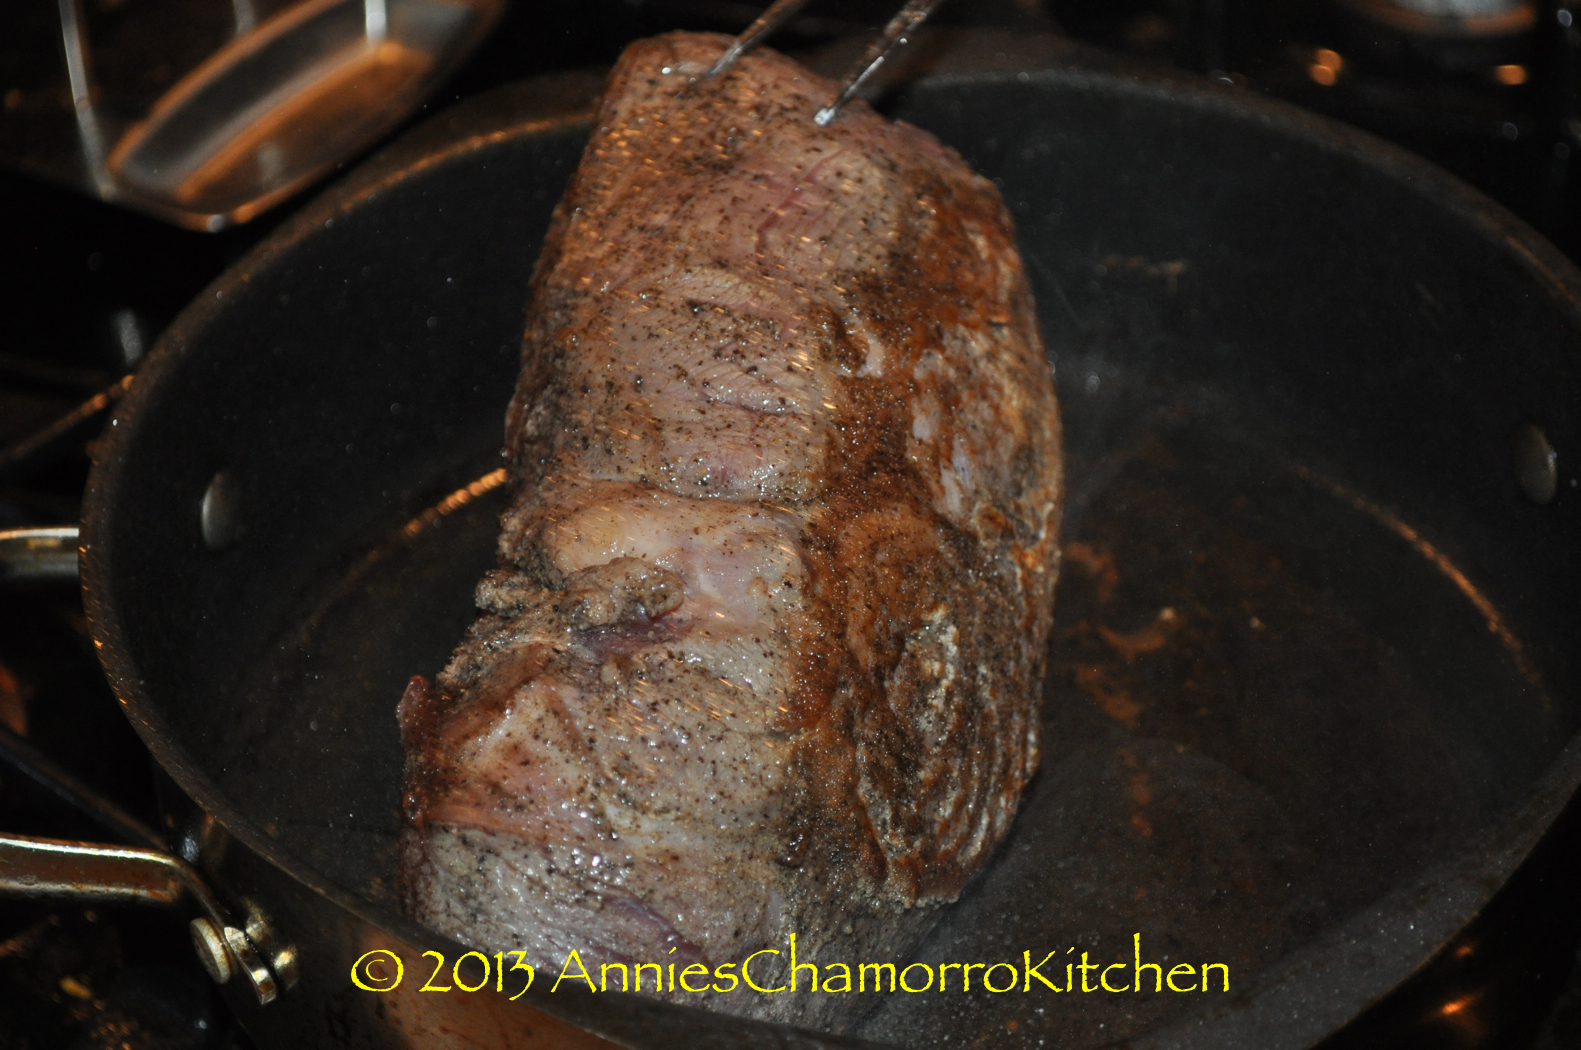
2.  Using a long, sharp knife, CAREFULLY cut 8 deep slits into the sides of the roast. Push a whole clove of garlic into each slit.

Chamorro Pot Roast - 03

Chamorro Pot Roast - 04

Chamorro Pot Roast - 07

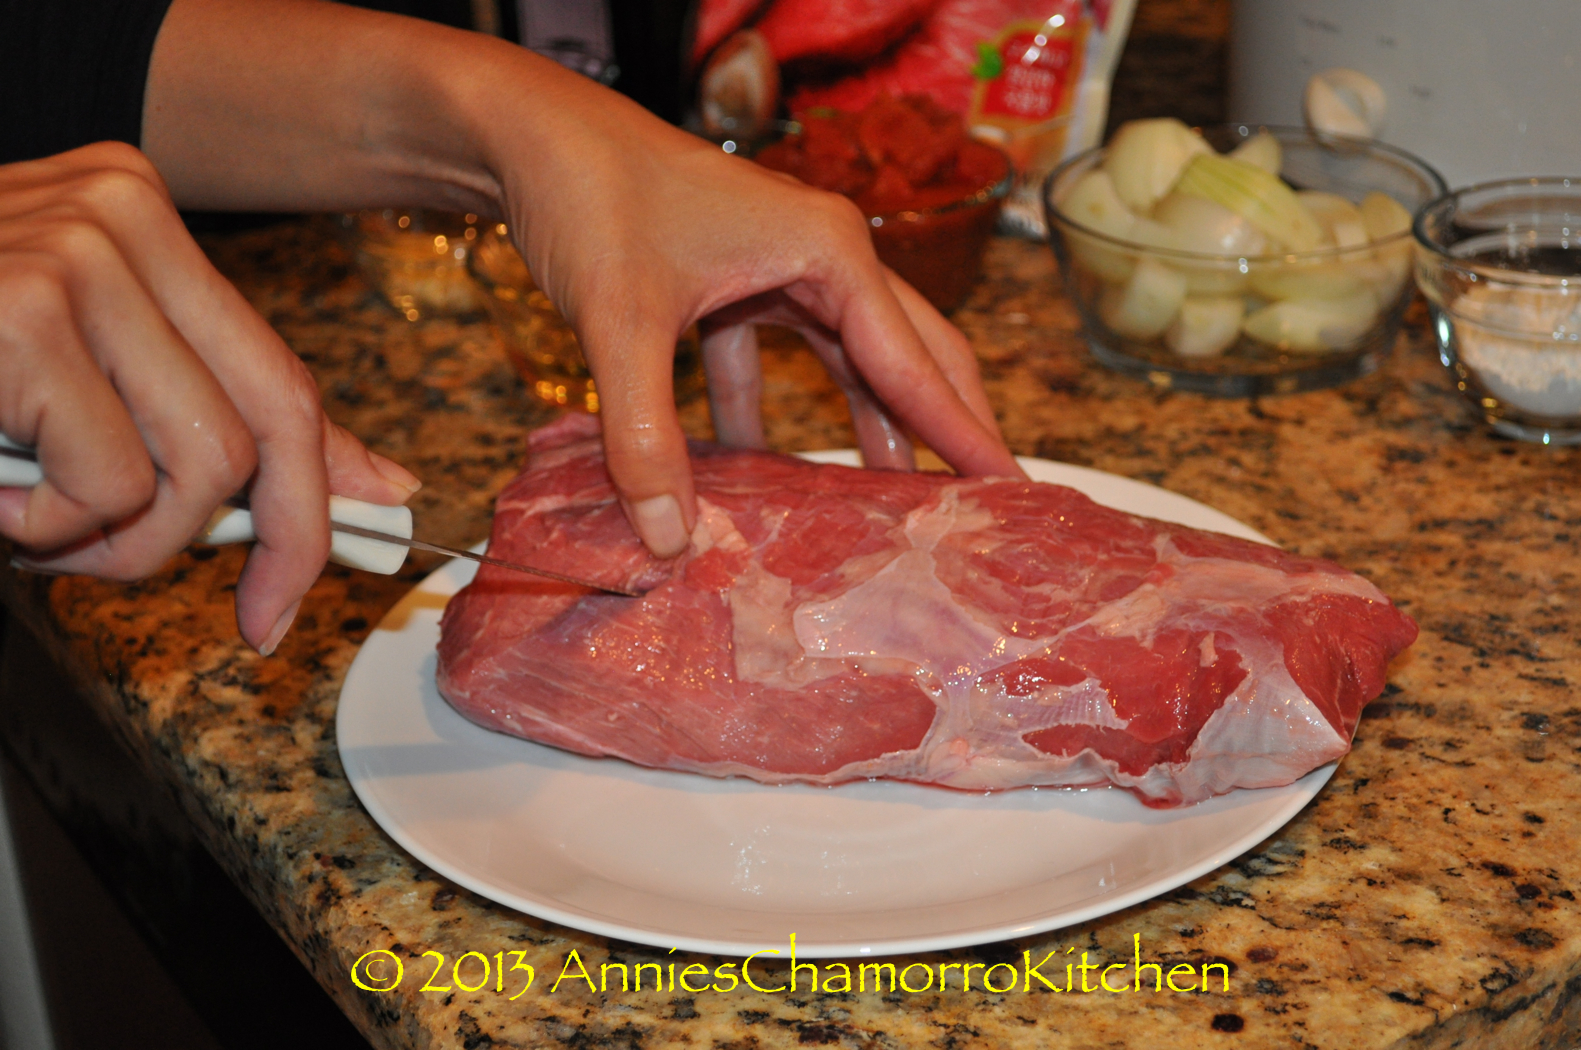
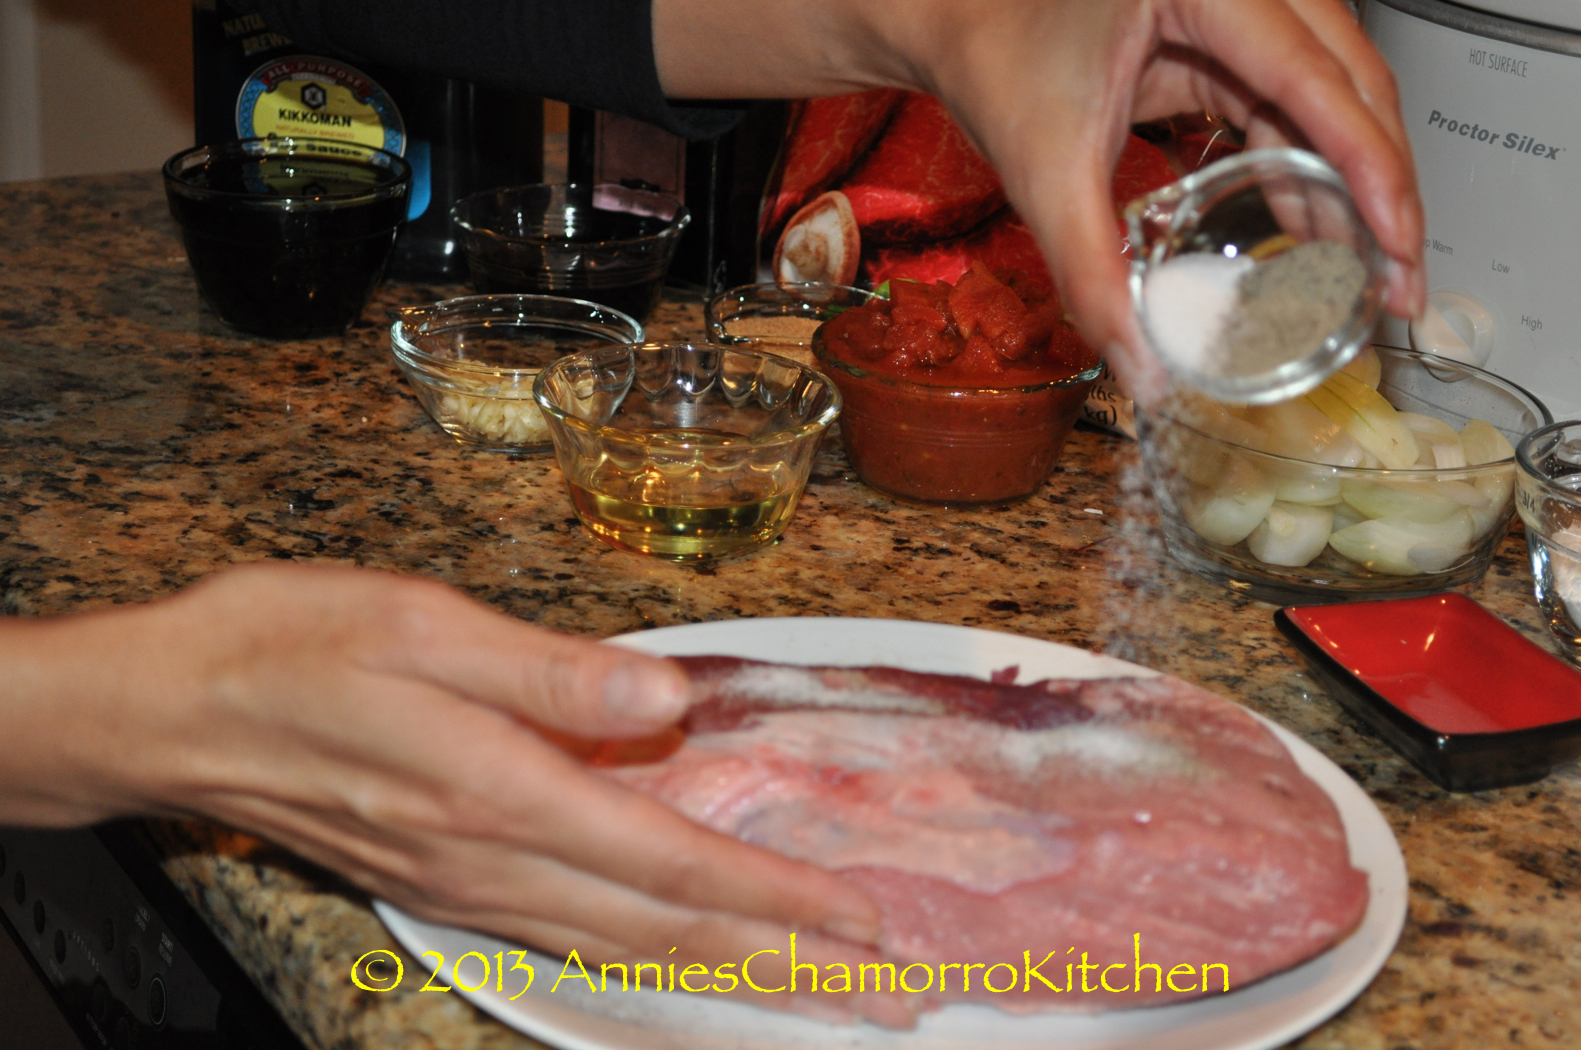
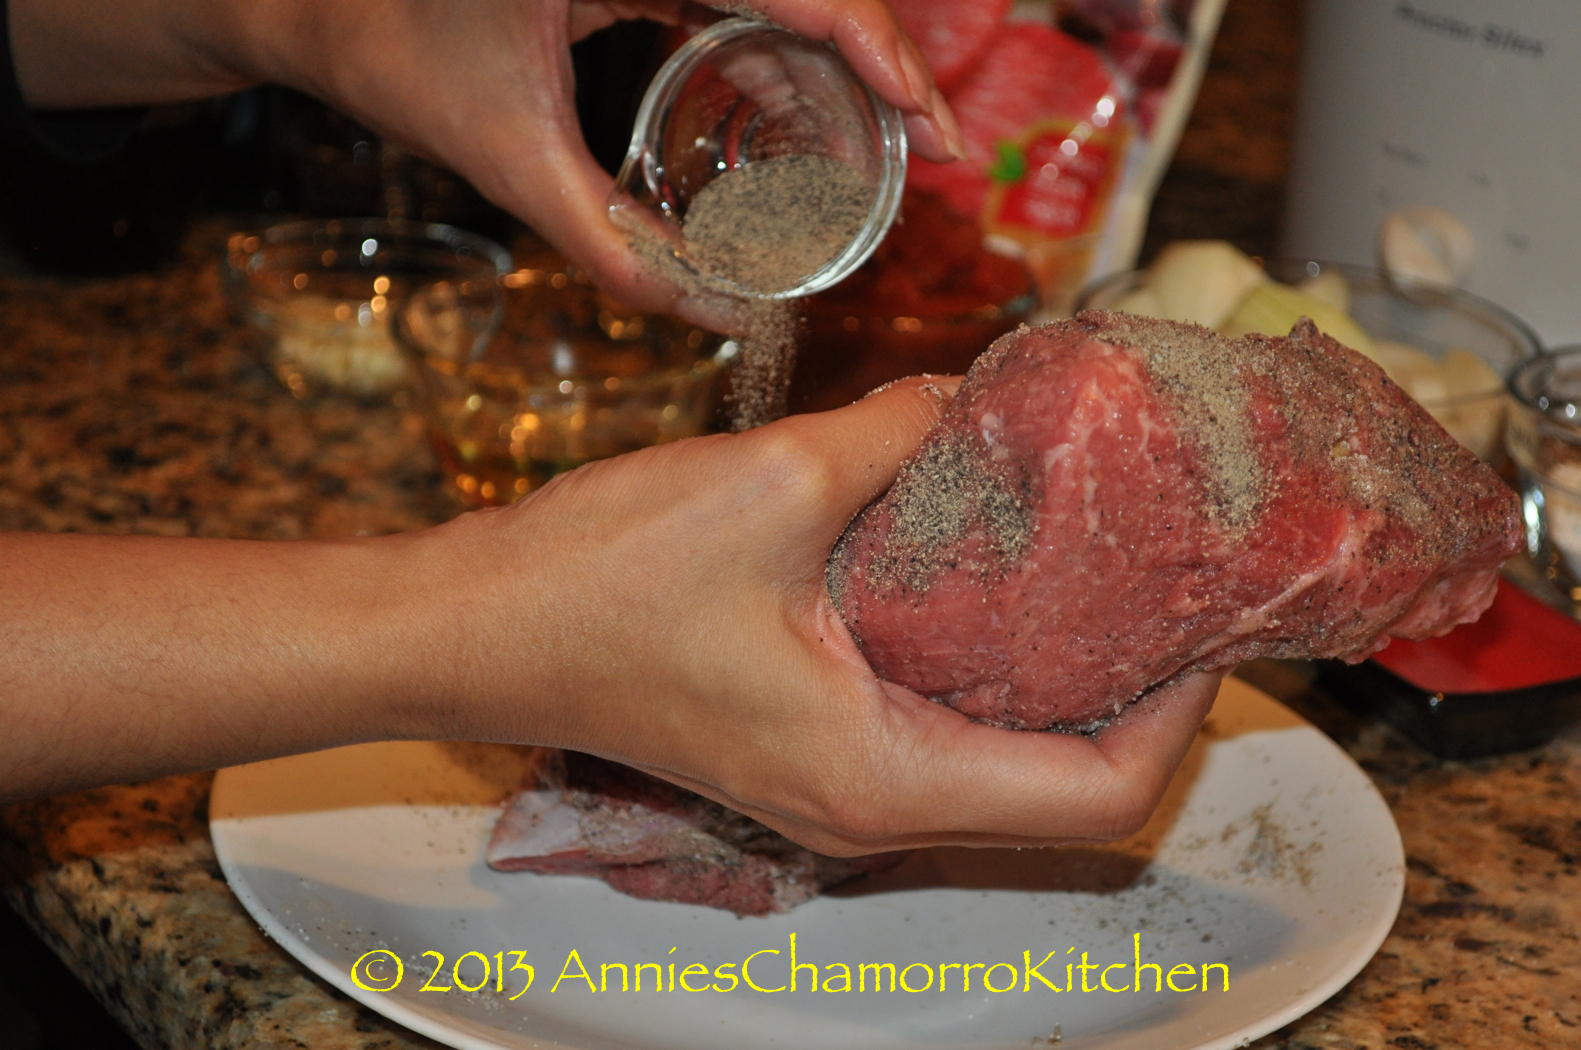
3.  Rub the sides of the roast with salt and pepper.

Chamorro Pot Roast - 11

Chamorro Pot Roast - 18

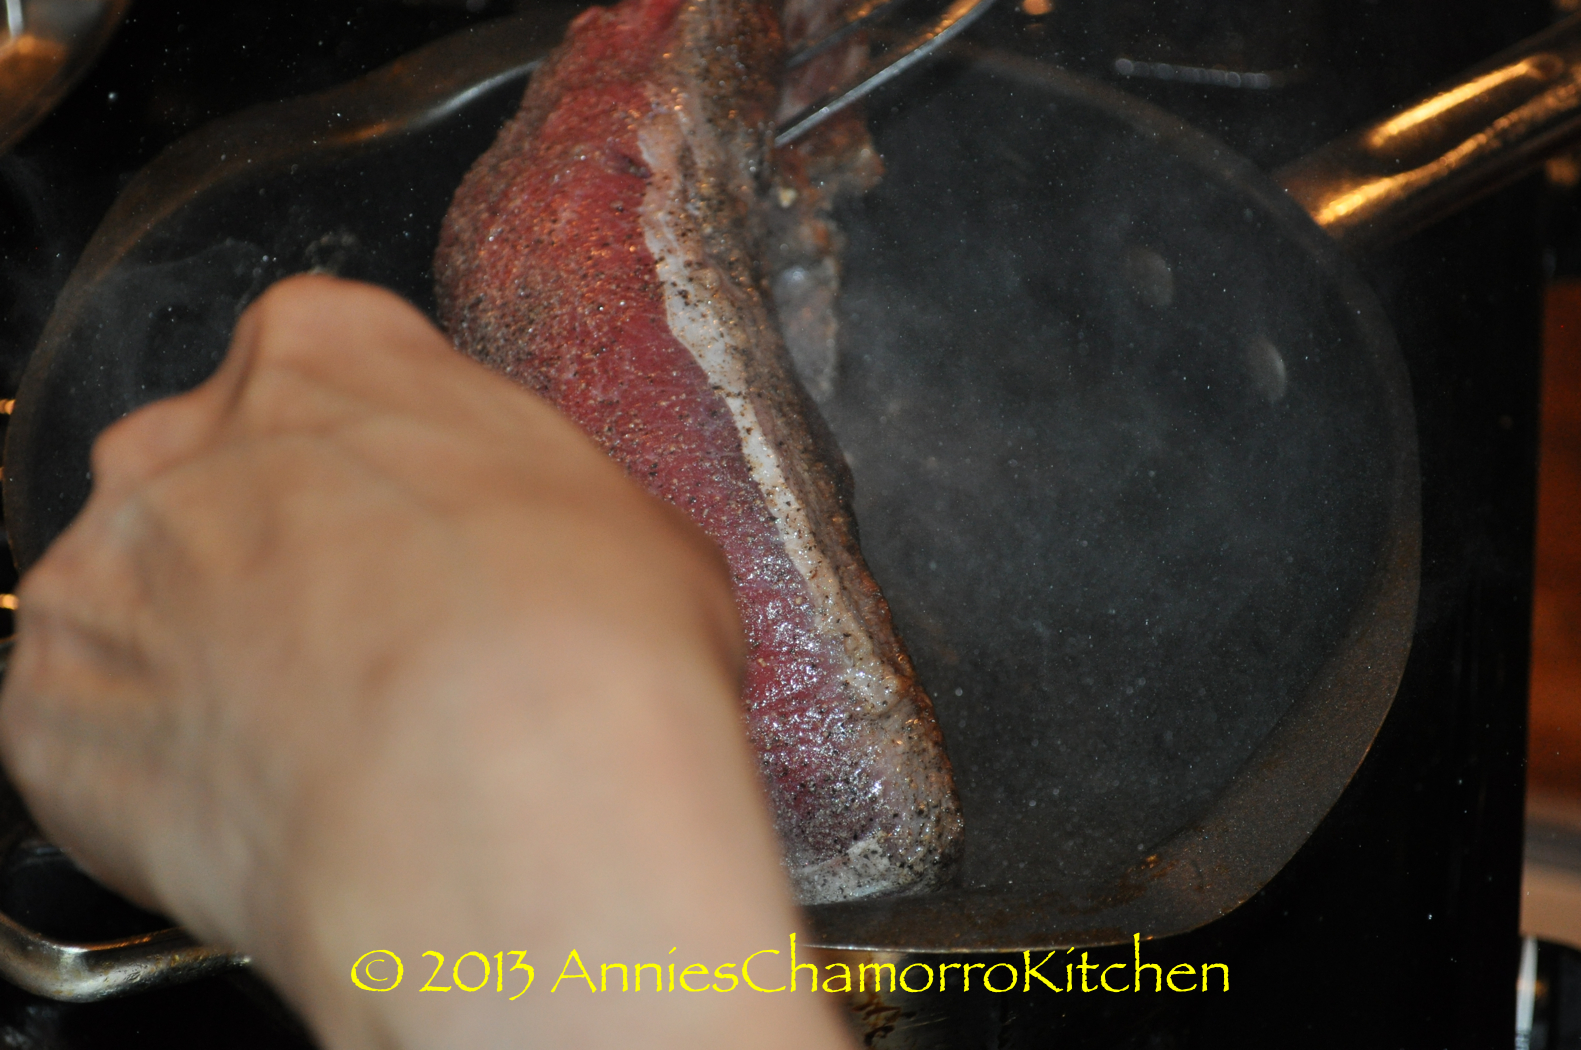
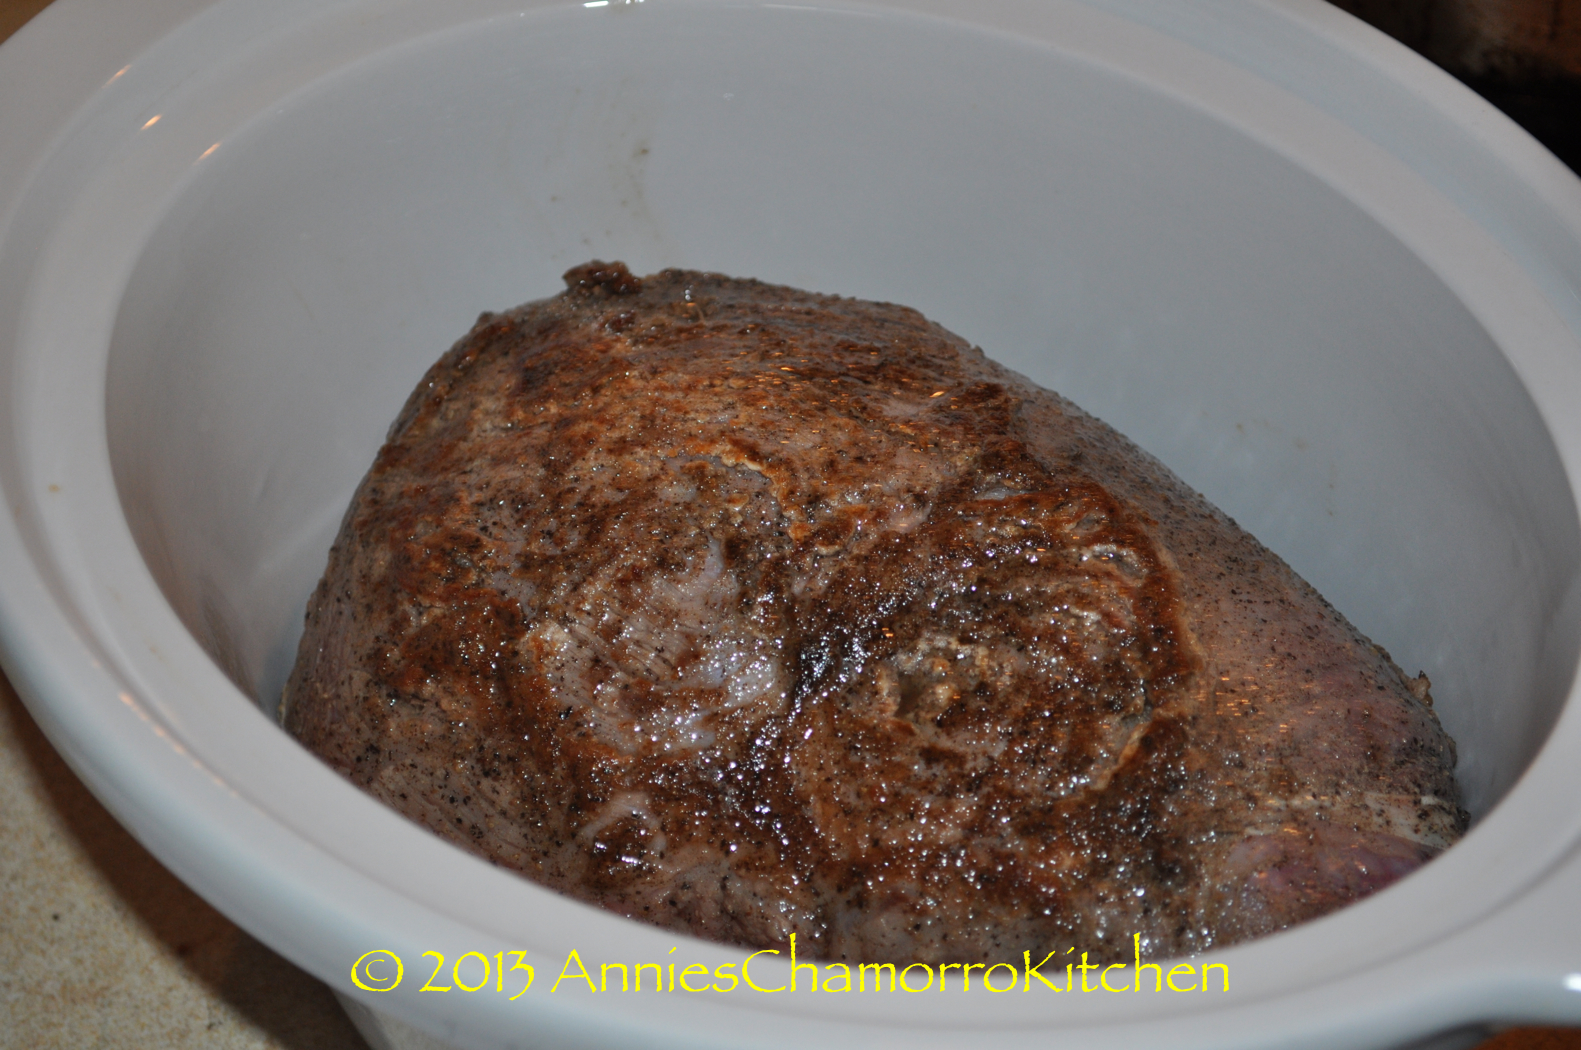
4.  When the pan is hot, add half of the oil into the pan. Brown the roast on all sides then remove it from the pan and place it into a slow cooker or crock pot set to HIGH.

Chamorro Pot Roast - 21

Chamorro Pot Roast - 24

Chamorro Pot Roast - 27

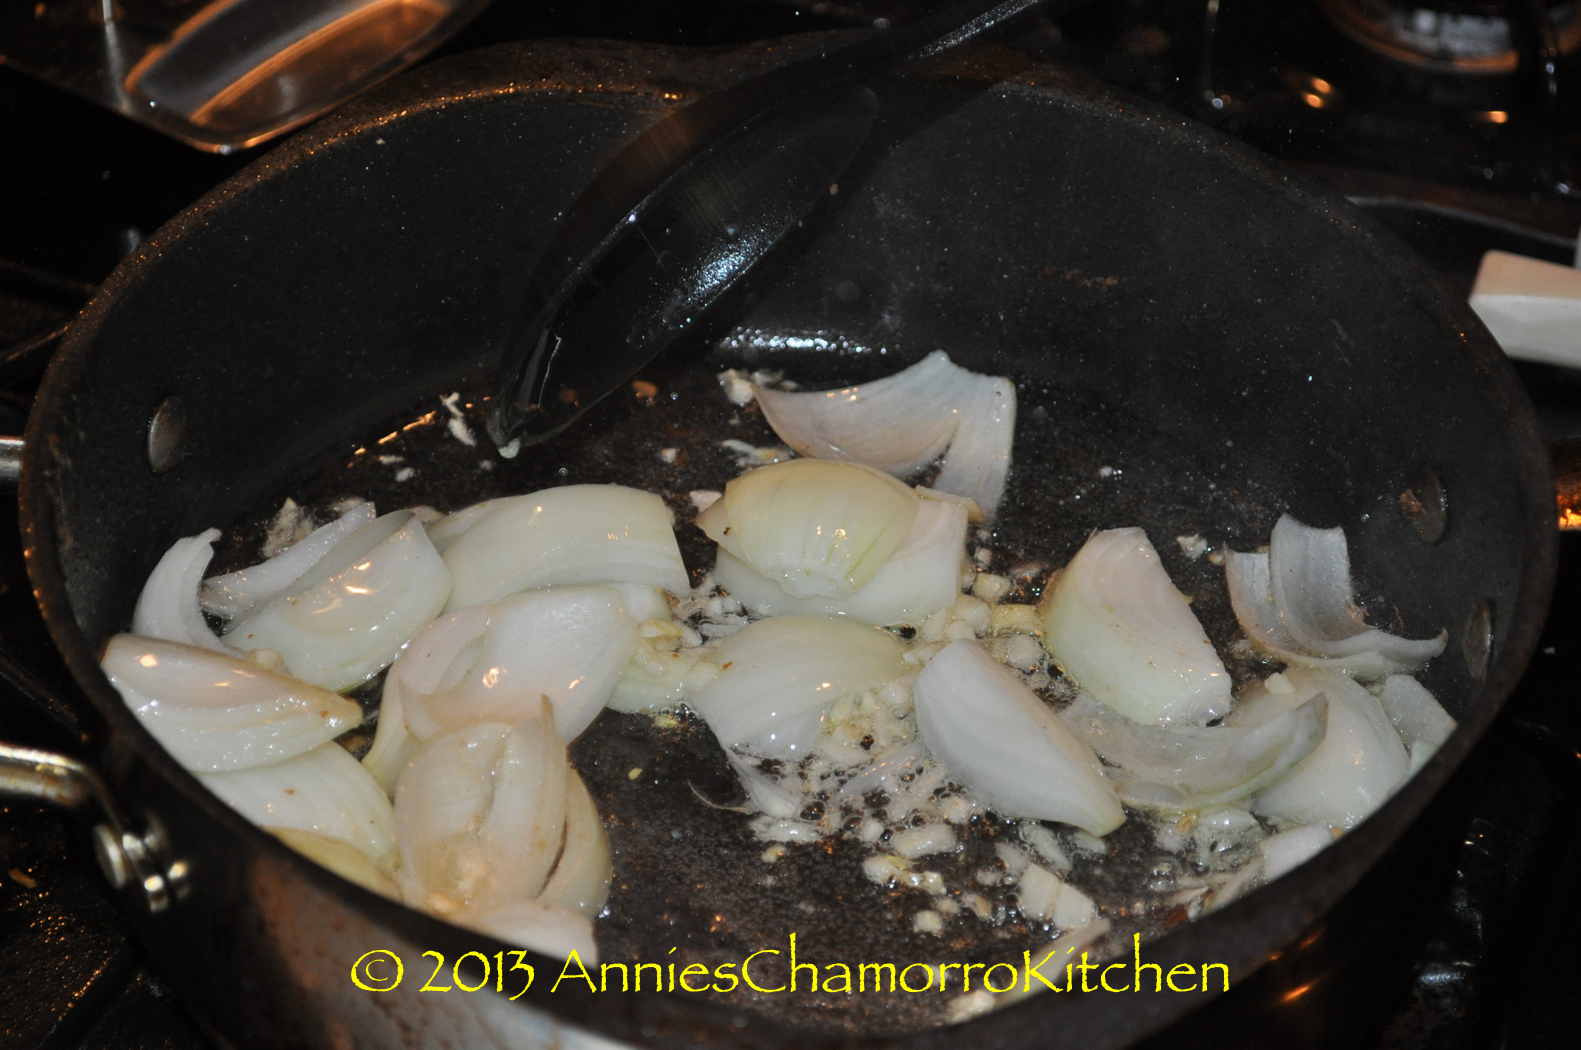
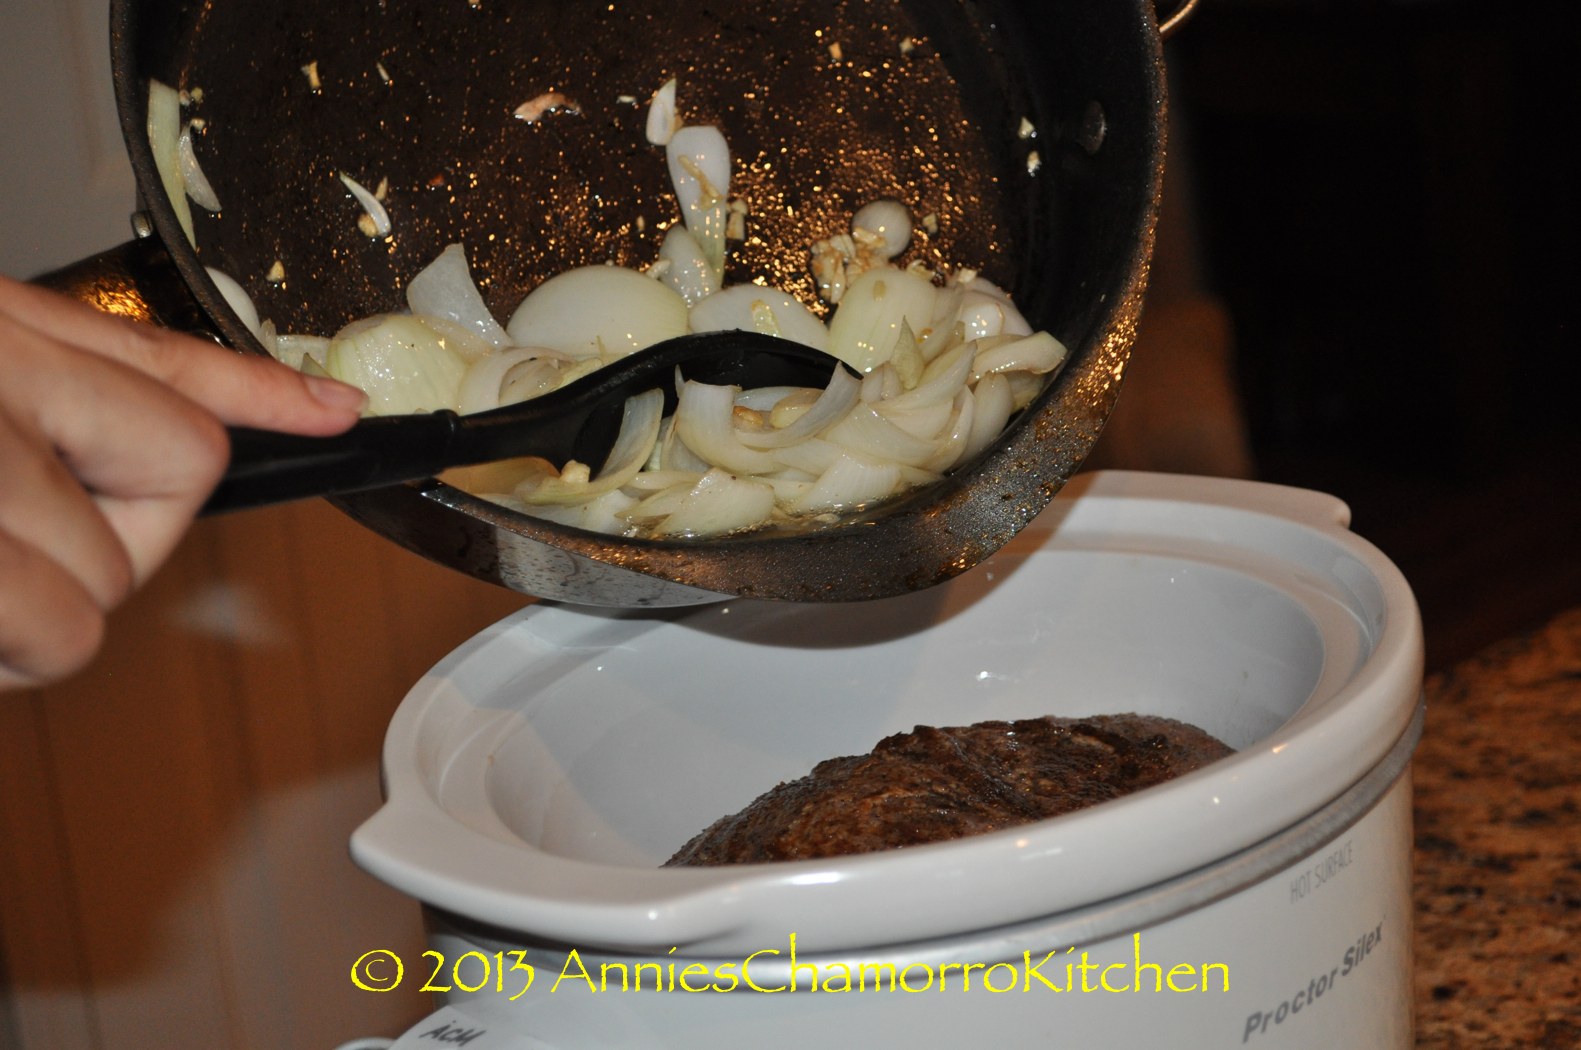
5.  Add the remaining oil to the pan used to brown the roast. Add the onions and garlic and sauté until the onions are translucent.  Add the sautéed onions and garlic to the slow cooker.

Chamorro Pot Roast - 28

Chamorro Pot Roast - 31

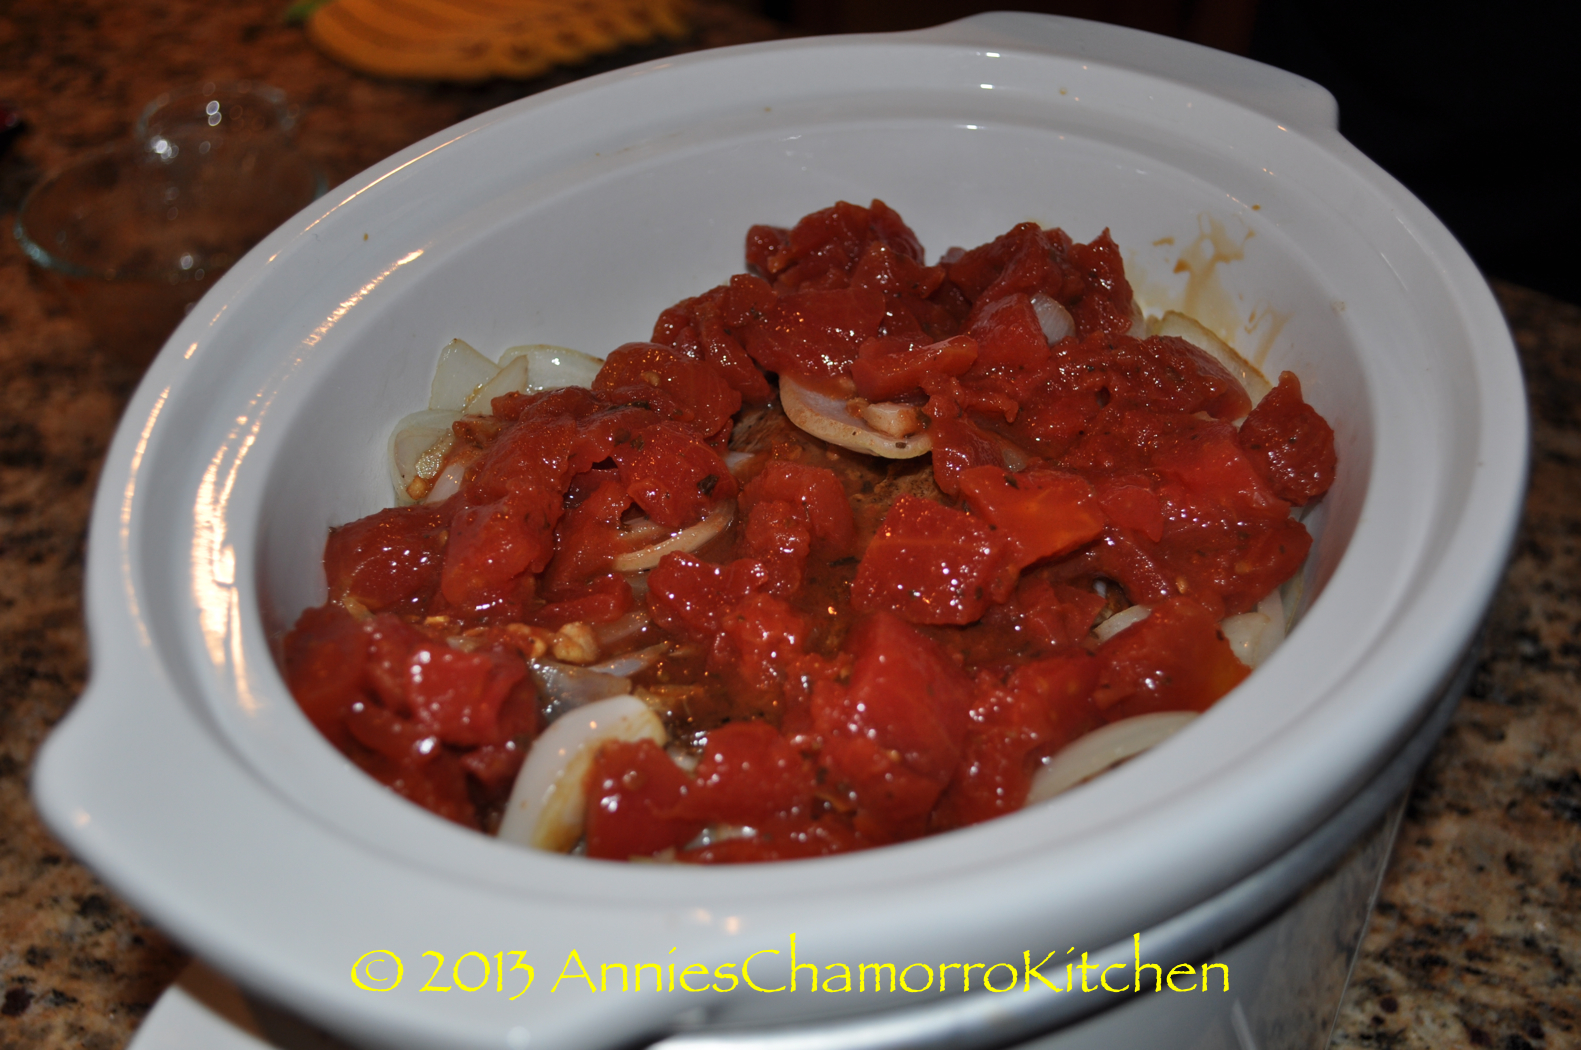
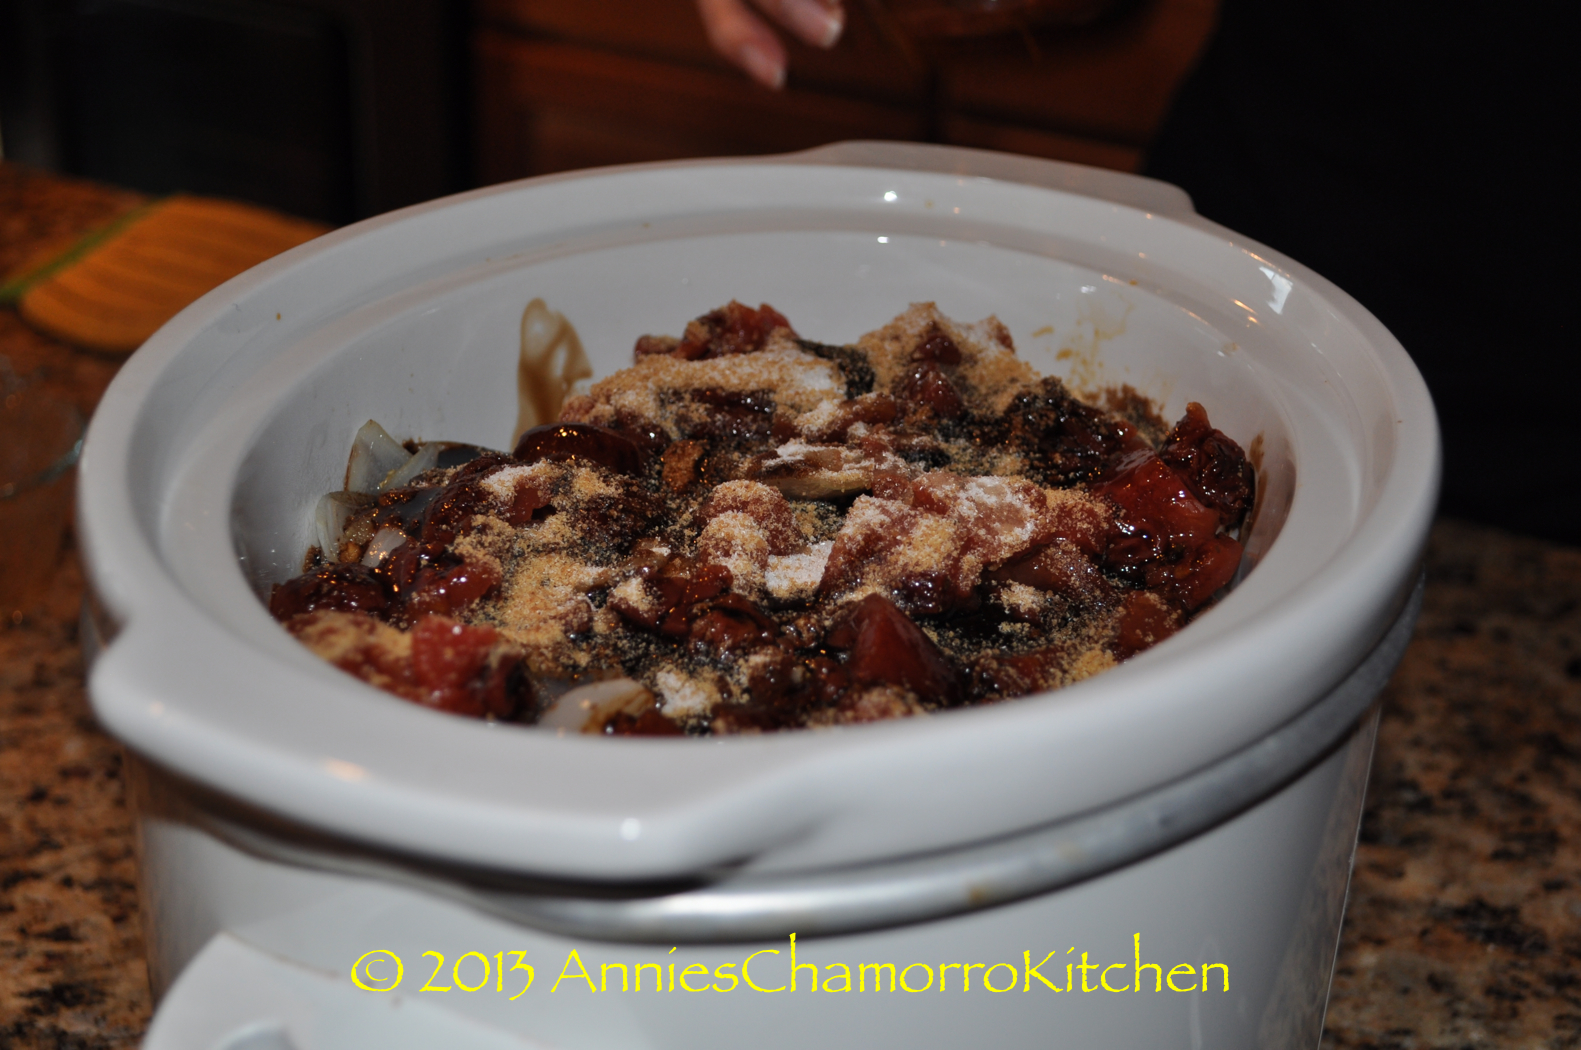
6.  Into the crock pot, add:

the tomatoes with juice…

Chamorro Pot Roast - 37

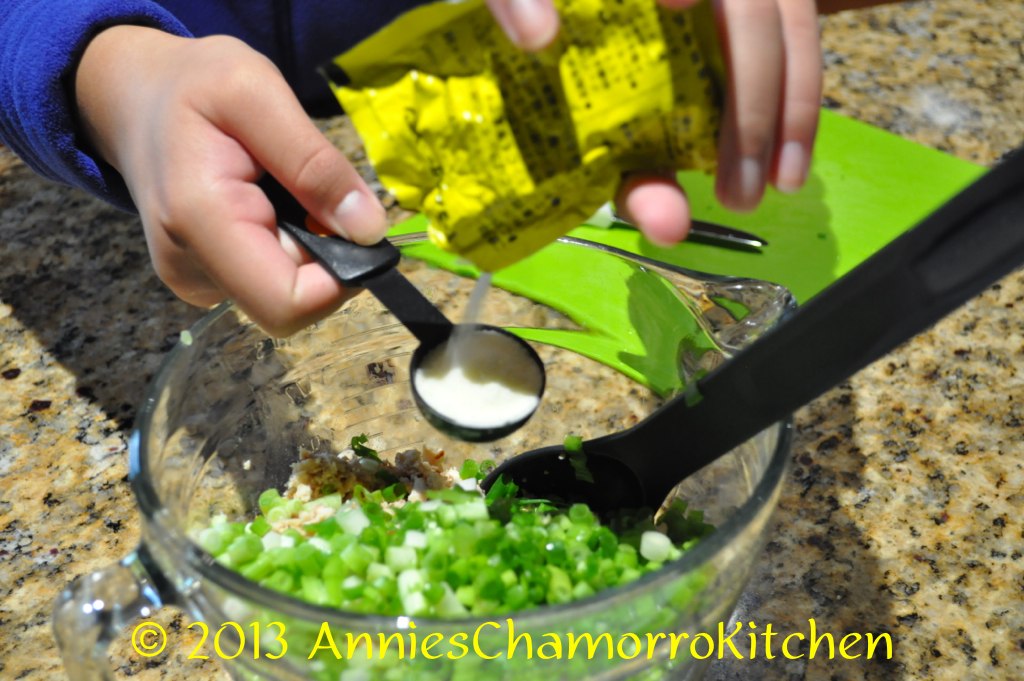
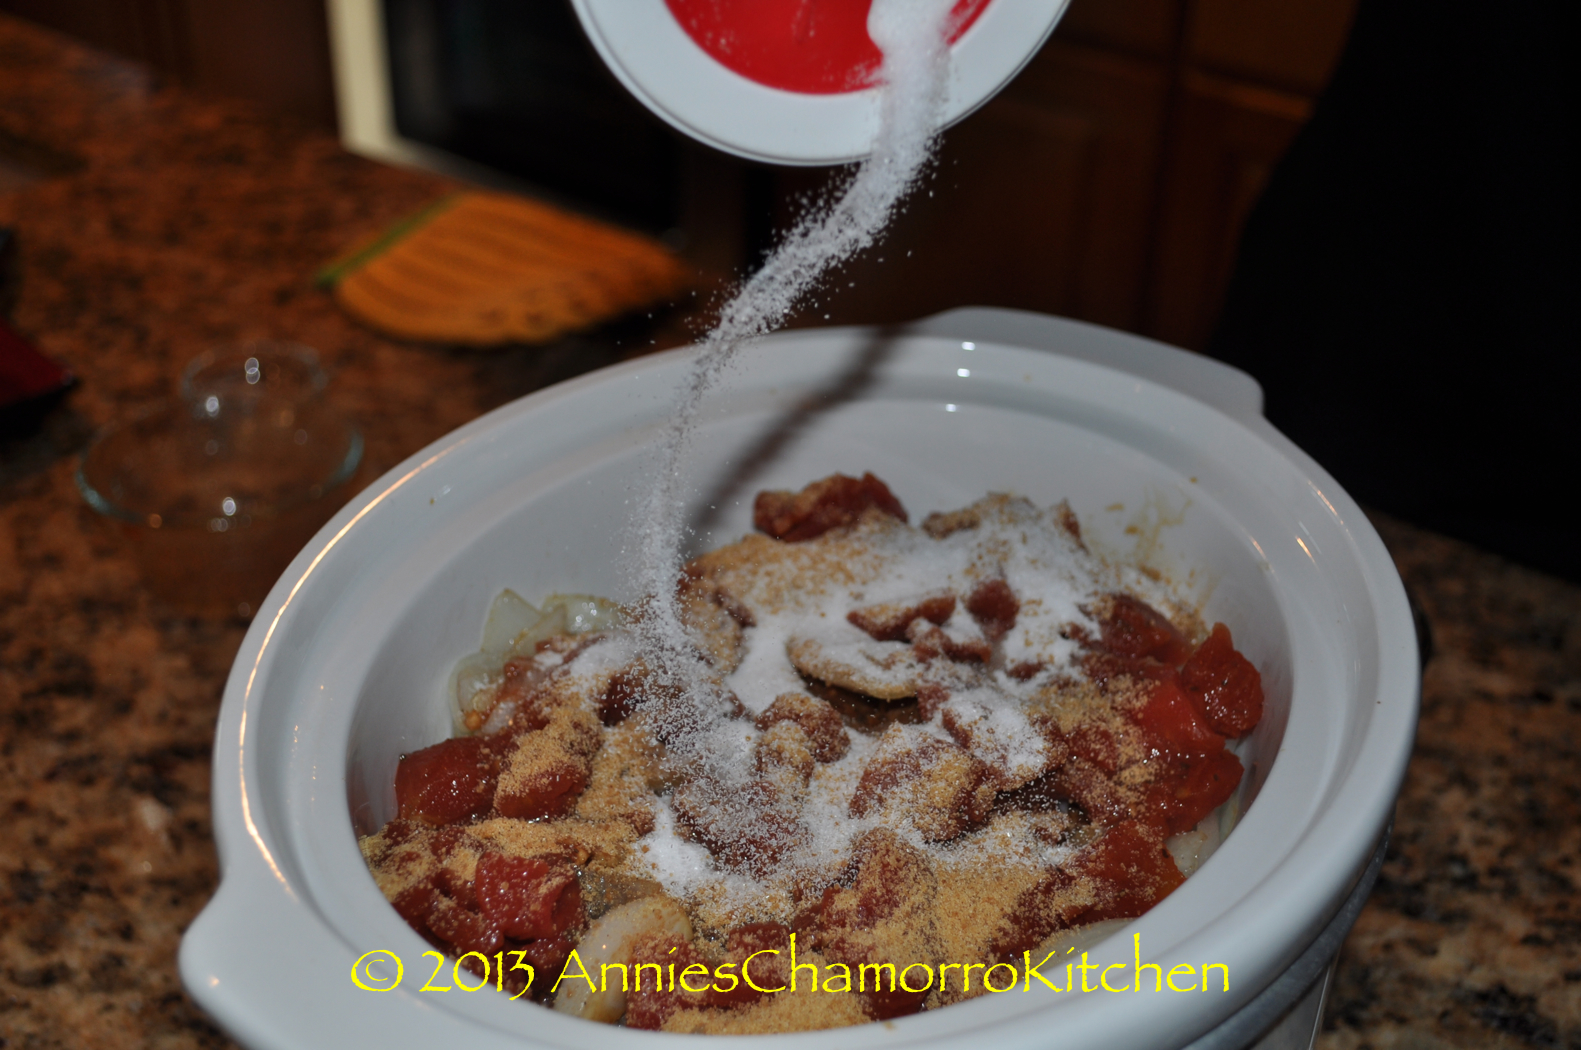
the Dashida seasoning…
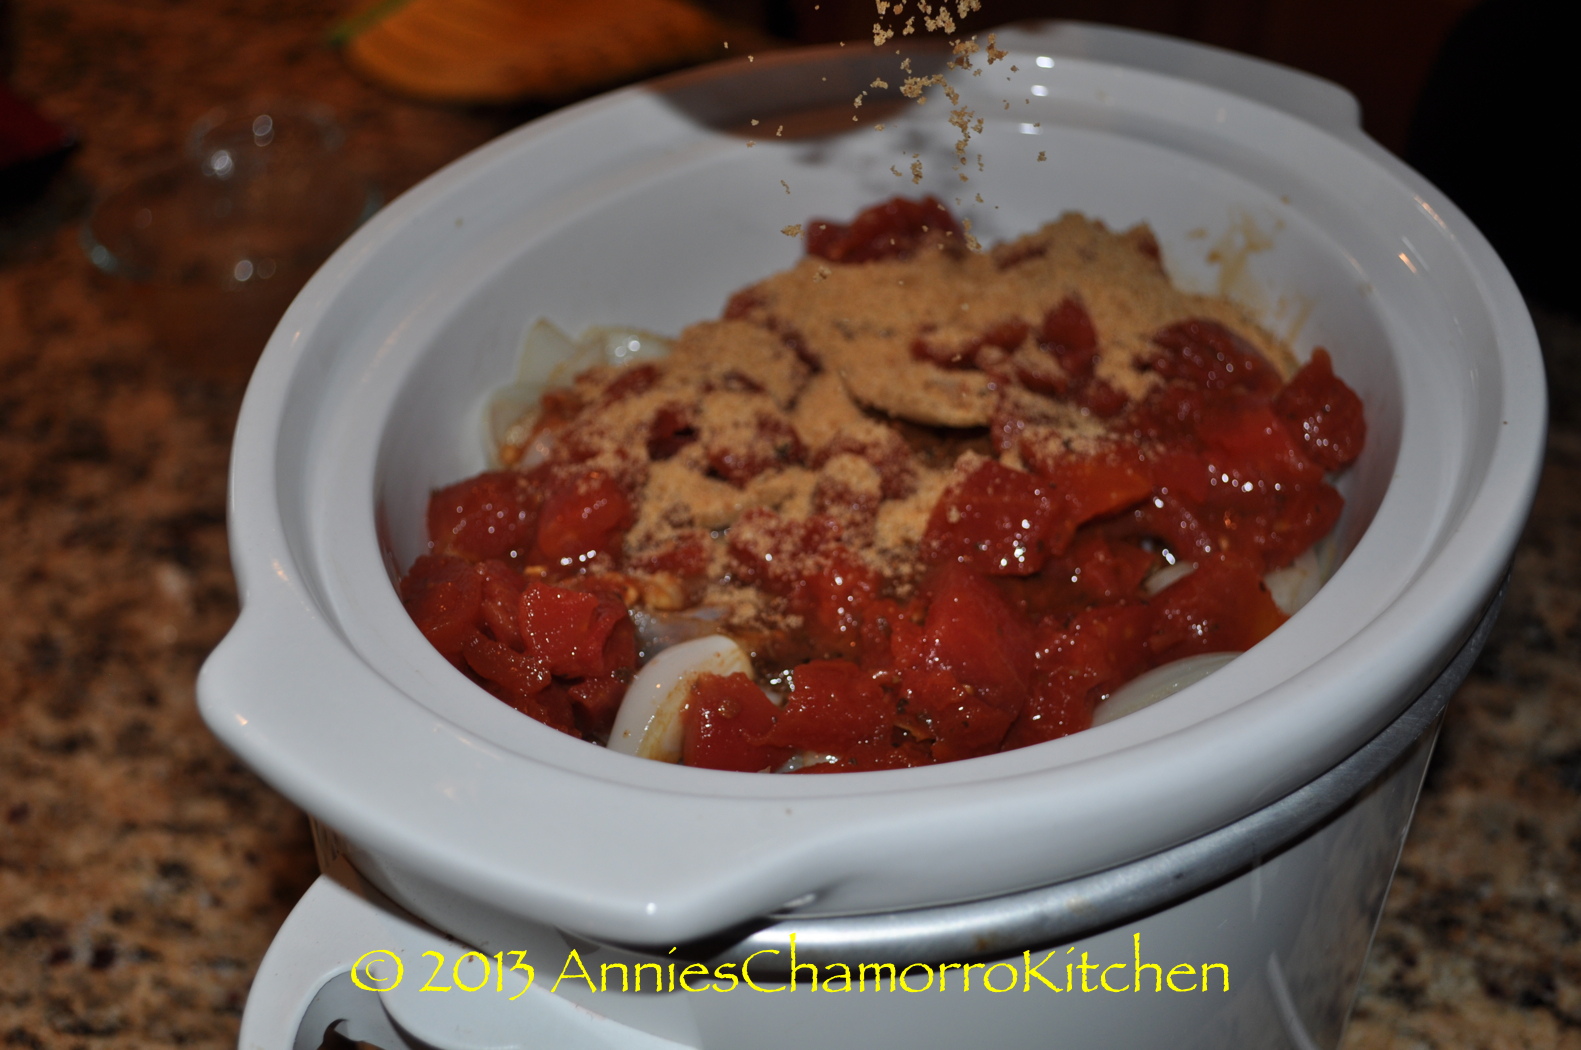
Chamorro Pot Roast - 38

the accent or aji…

Chamorro Pot Roast - 39

the balsamic vinegar…
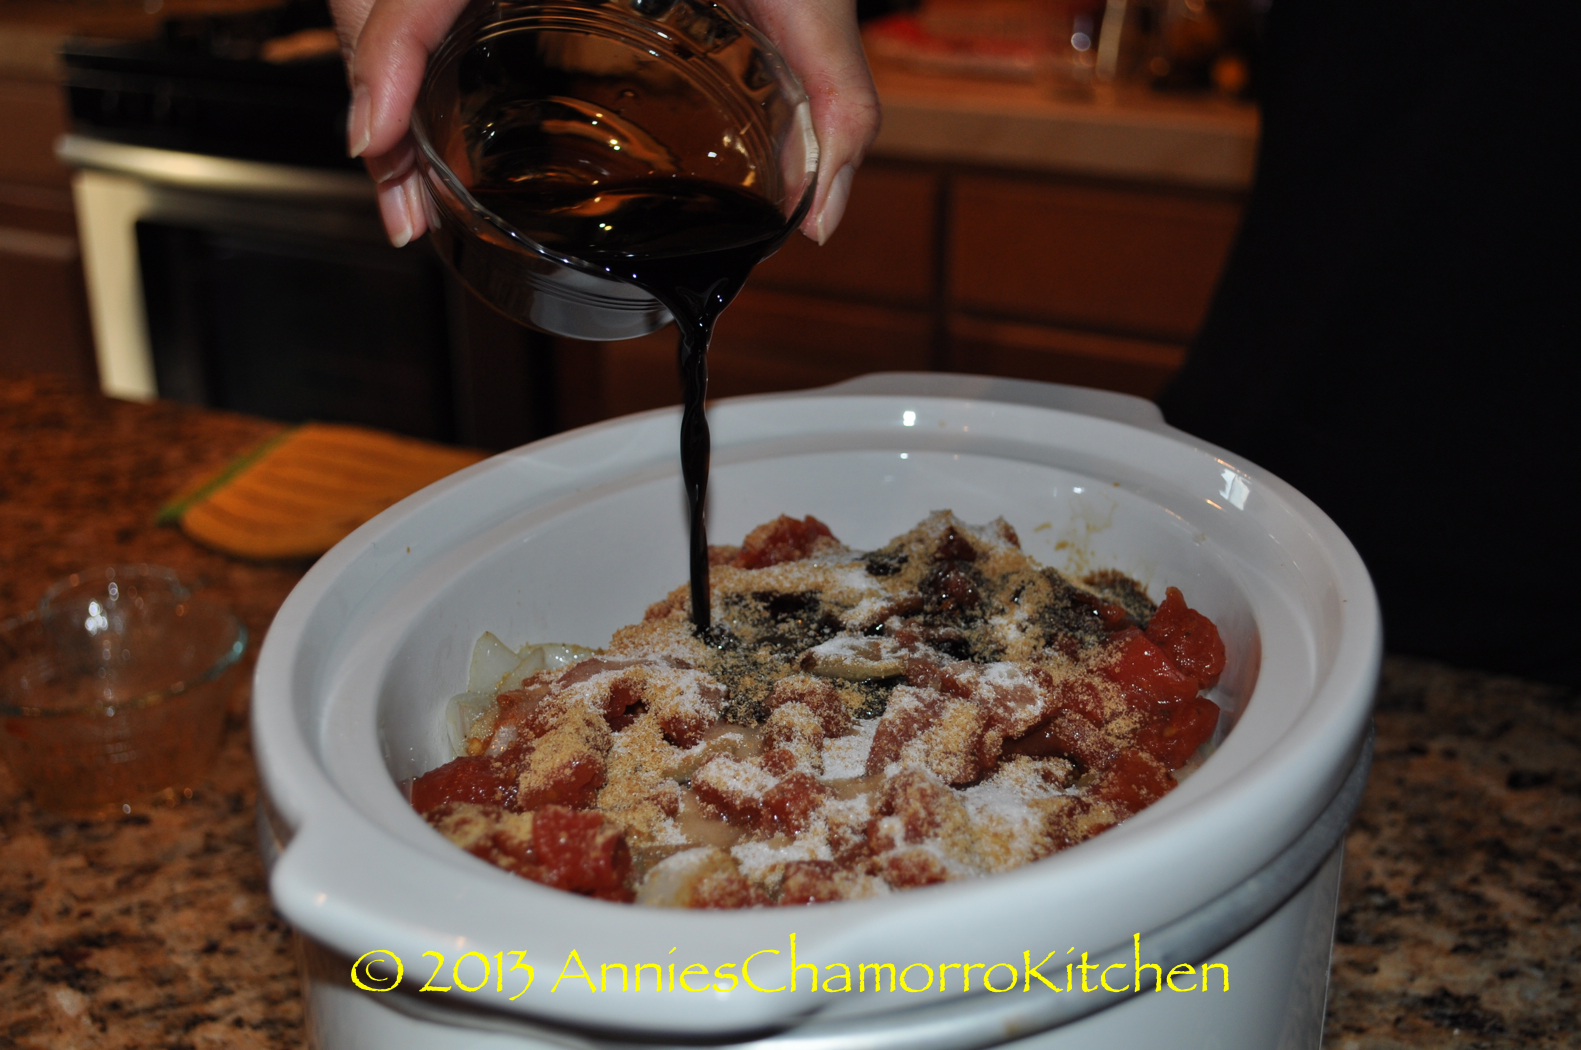
Chamorro Pot Roast - 40

the soy sauce…

Chamorro Pot Roast - 41

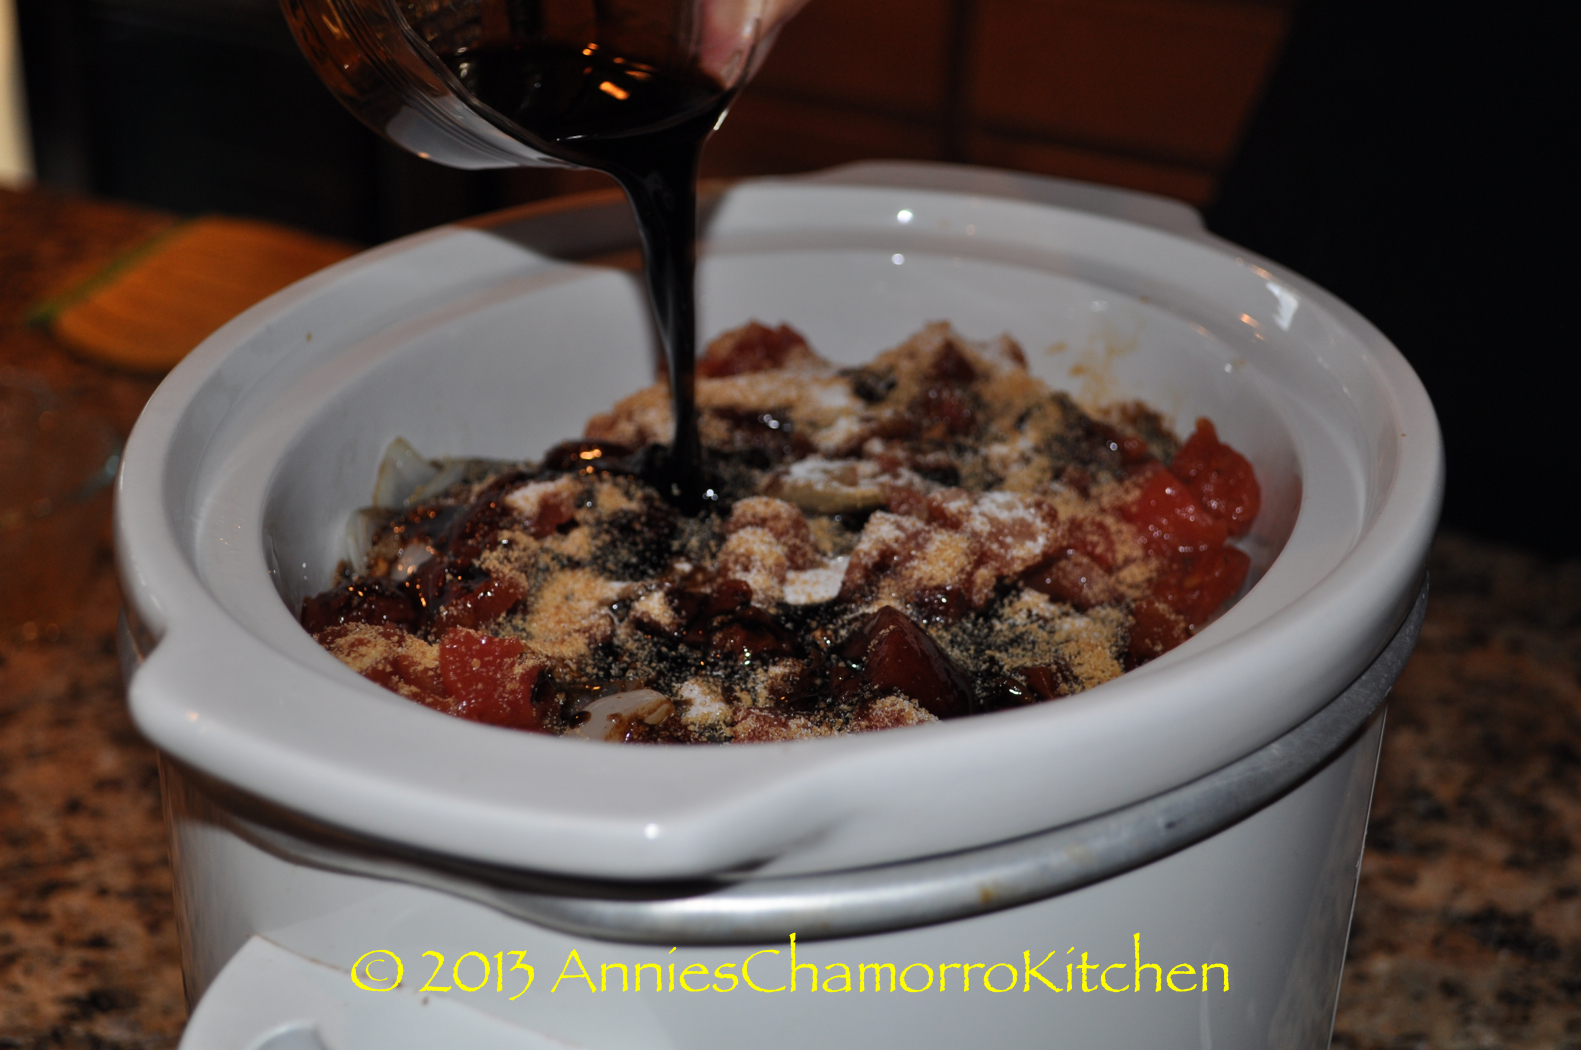
and 1 cup of water (see note below) plus any remaining salt and pepper.

NOTE:  If making this on the stovetop, add 2 cups of water instead (a lot of water will evaporate as the roast cooks).

Chamorro Pot Roast - 42

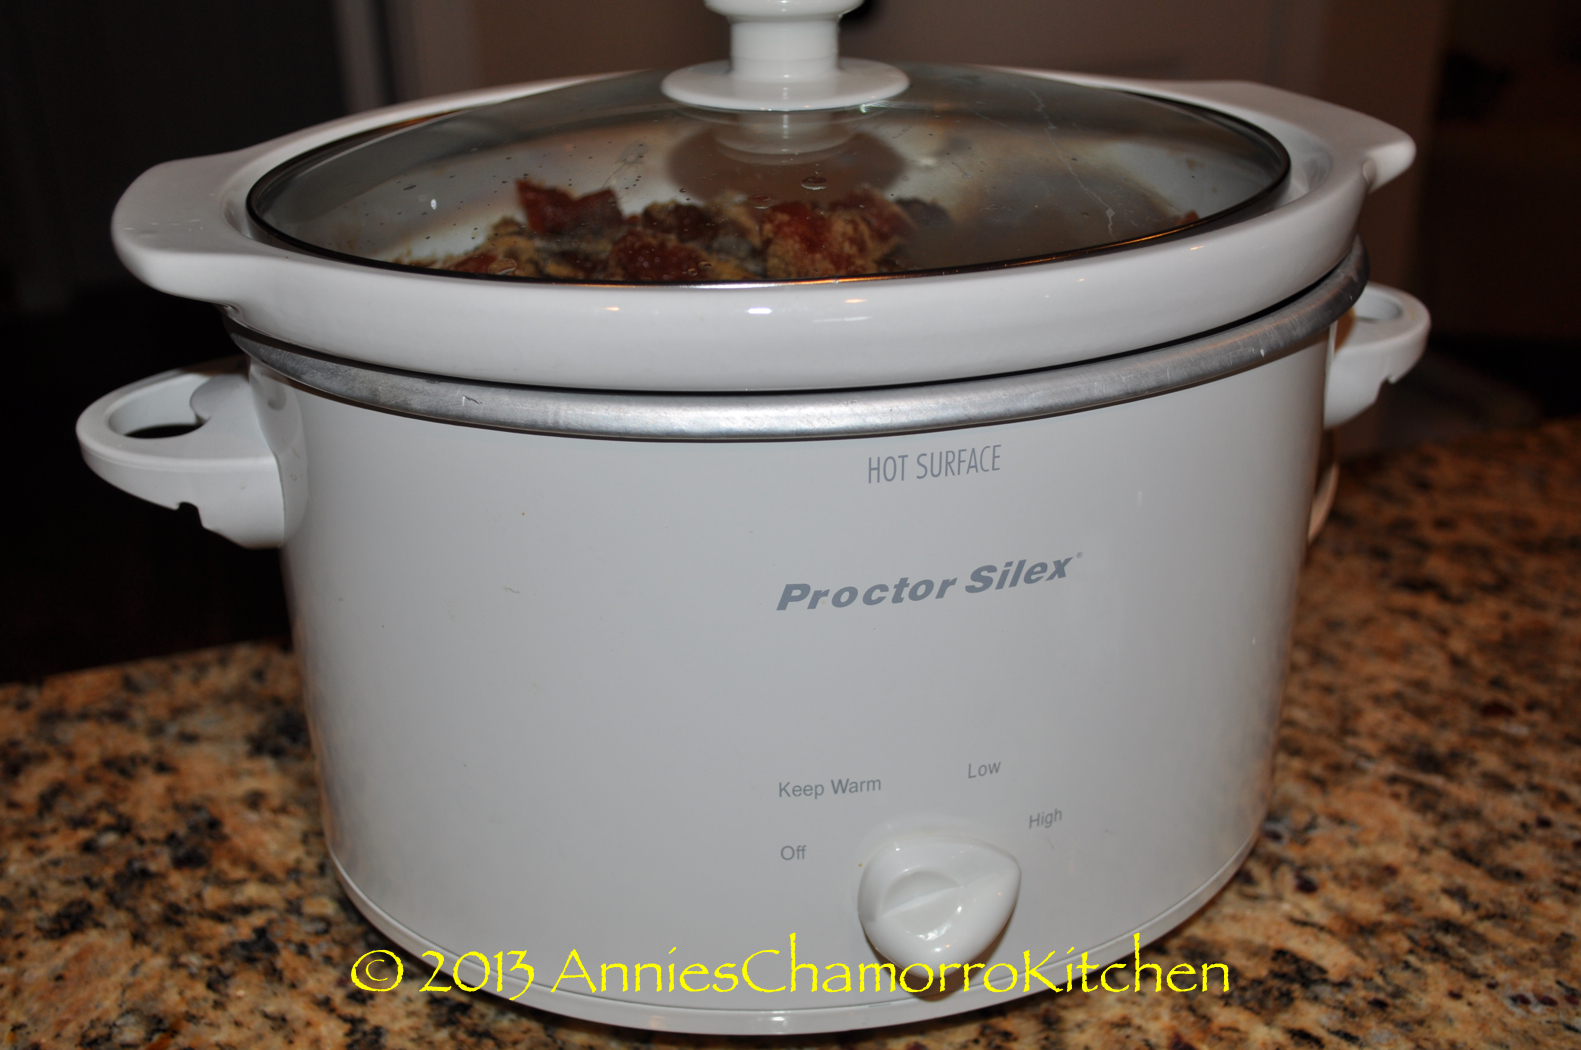
7.  Place the lid on the slow cooker. Cook on HIGH setting for 2 hours then lower the heat to LOW and cook for an additional 2 hours then turn off the slow cooker.  If cooking this on the stovetop, cover the pot and cook over medium-low heat for 2 hours.

Chamorro Pot Roast - 46

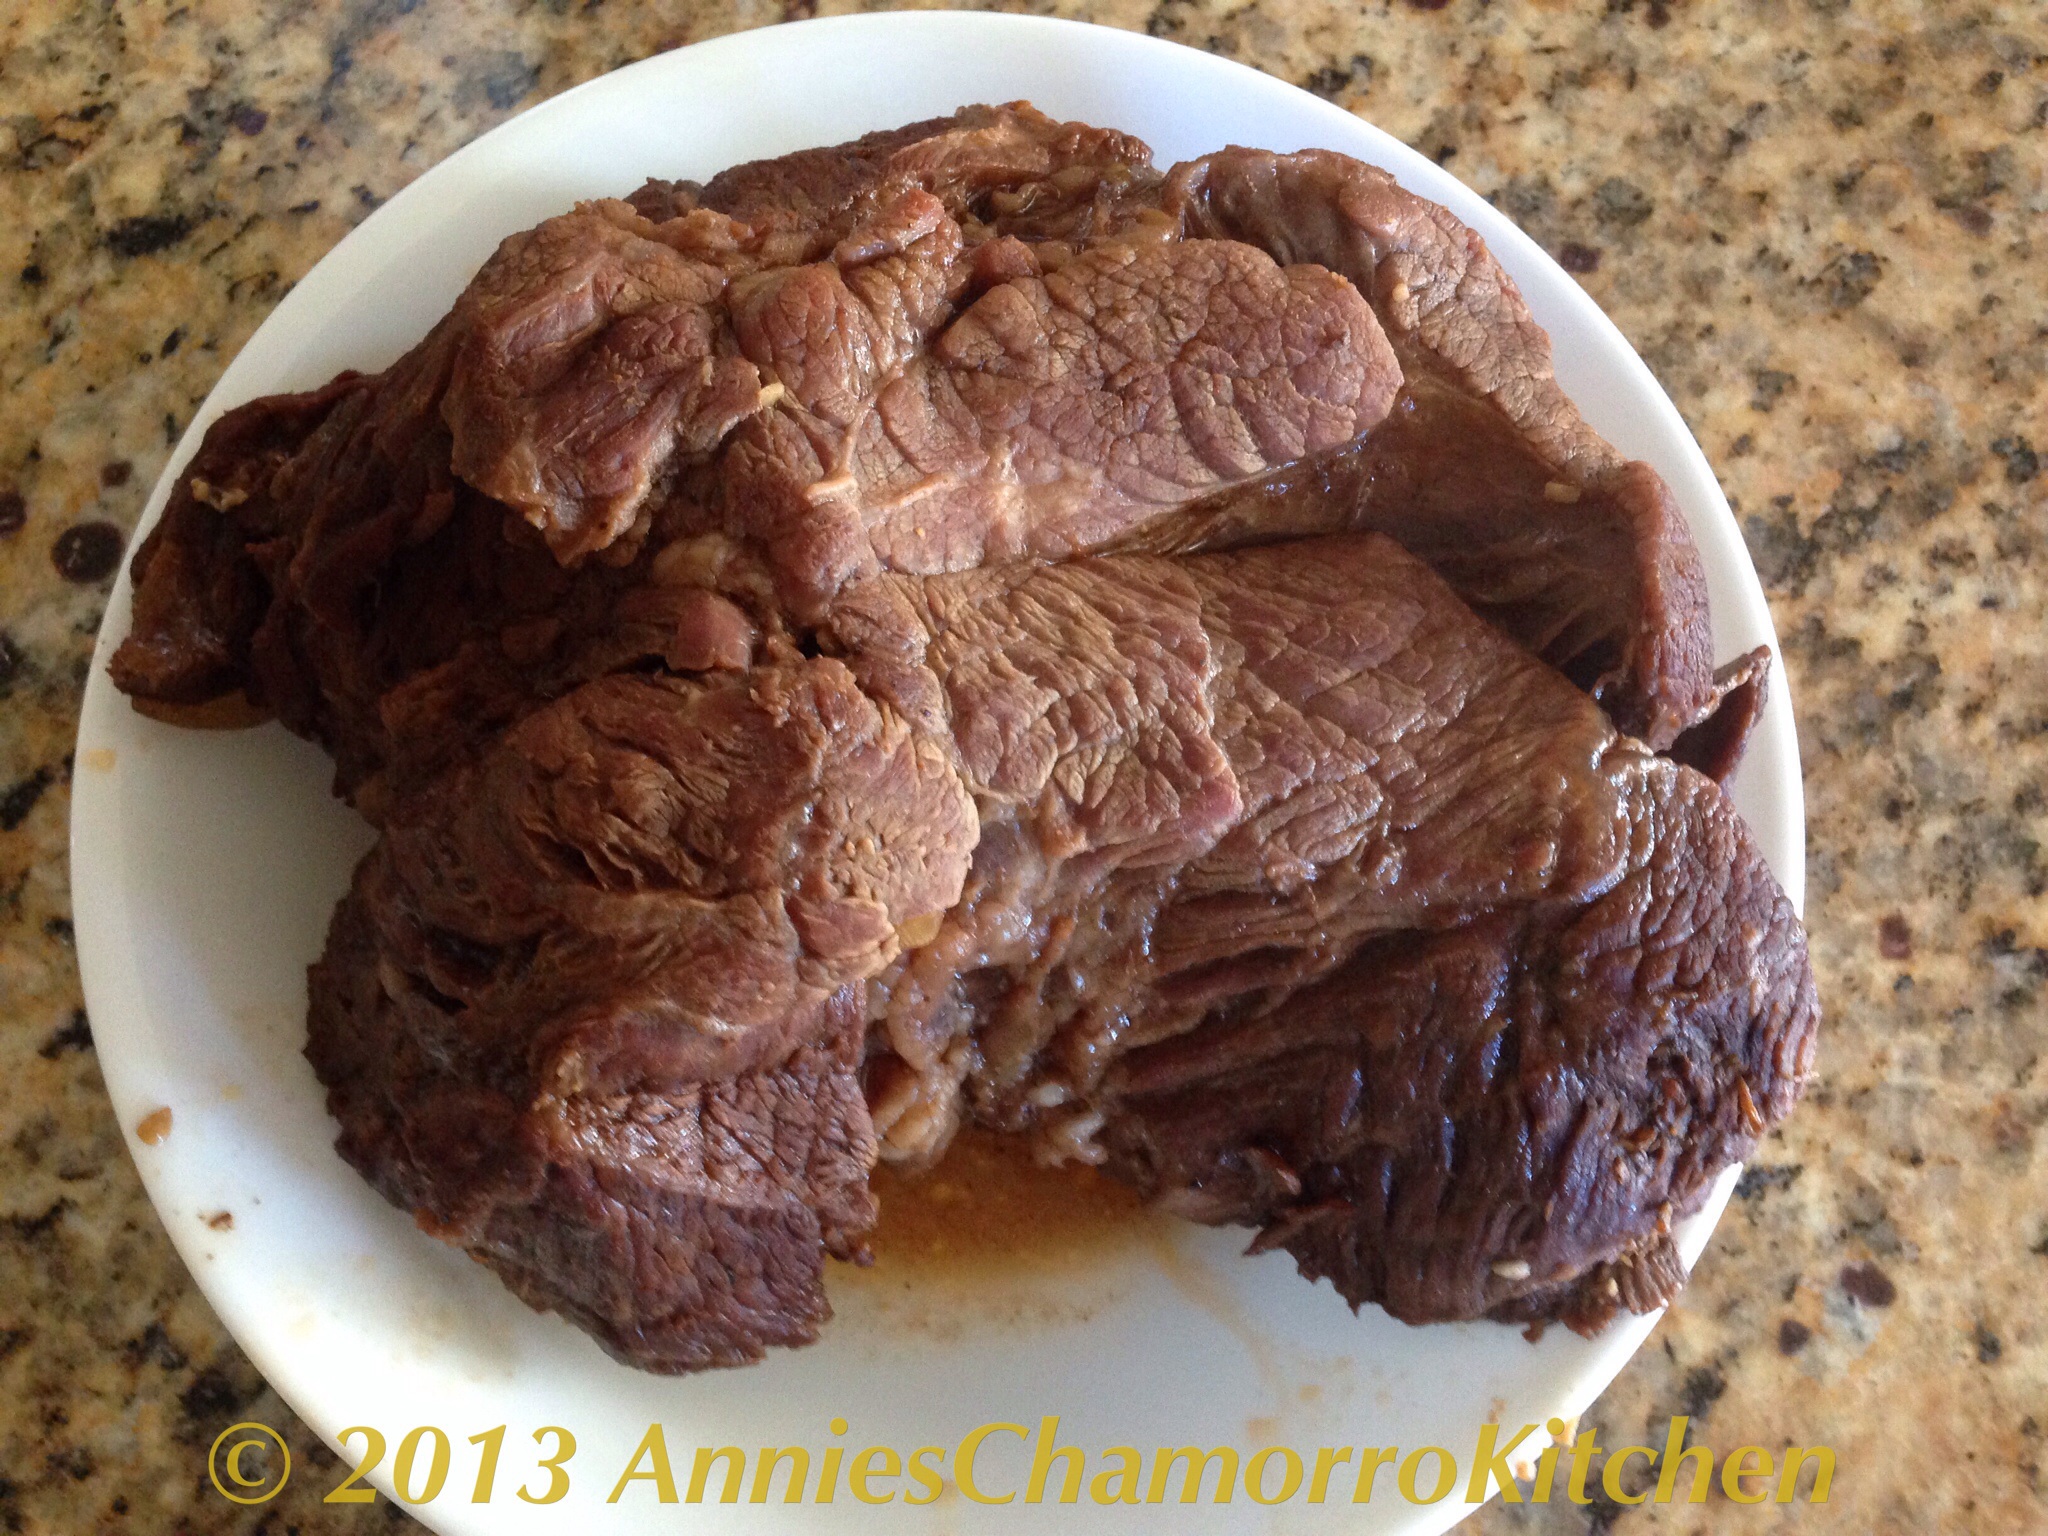
8.  When the roast is done, remove the roast to a plate or cutting board and allow to rest for at least 10 minutes before slicing (don’t cut it sooner that this or all the juices will flow out and leave your roast dry).

image

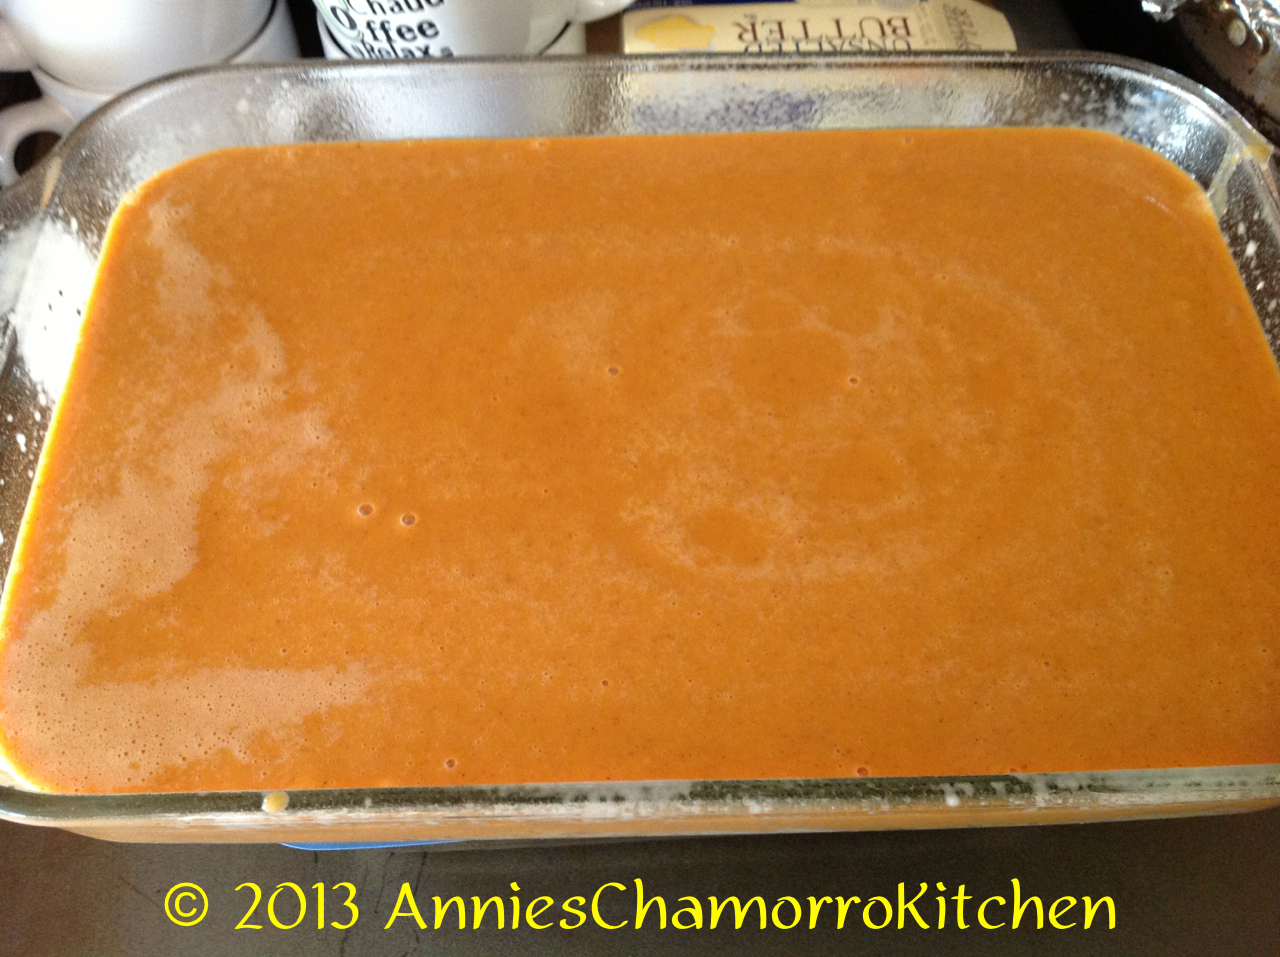
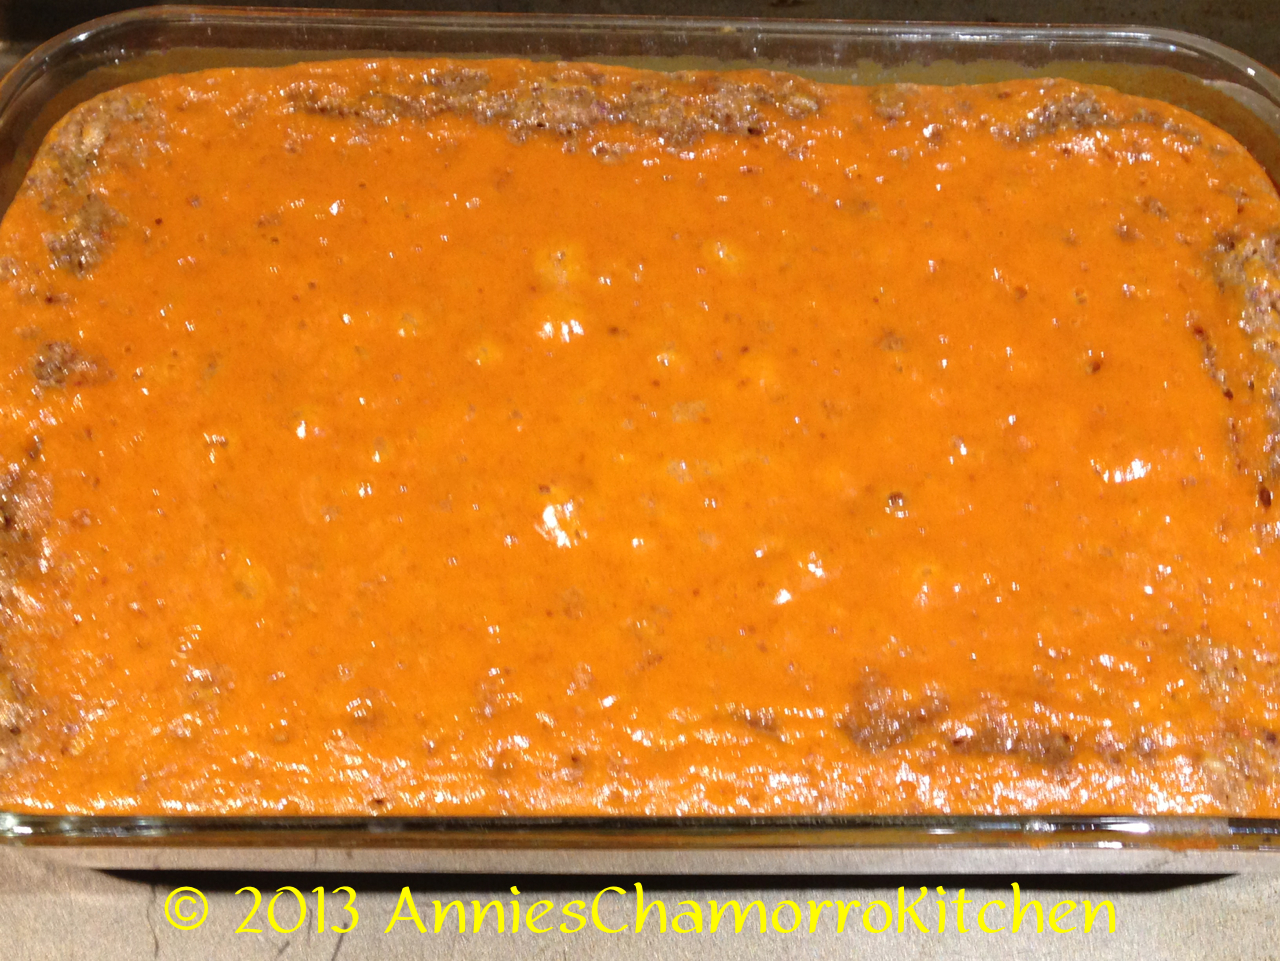
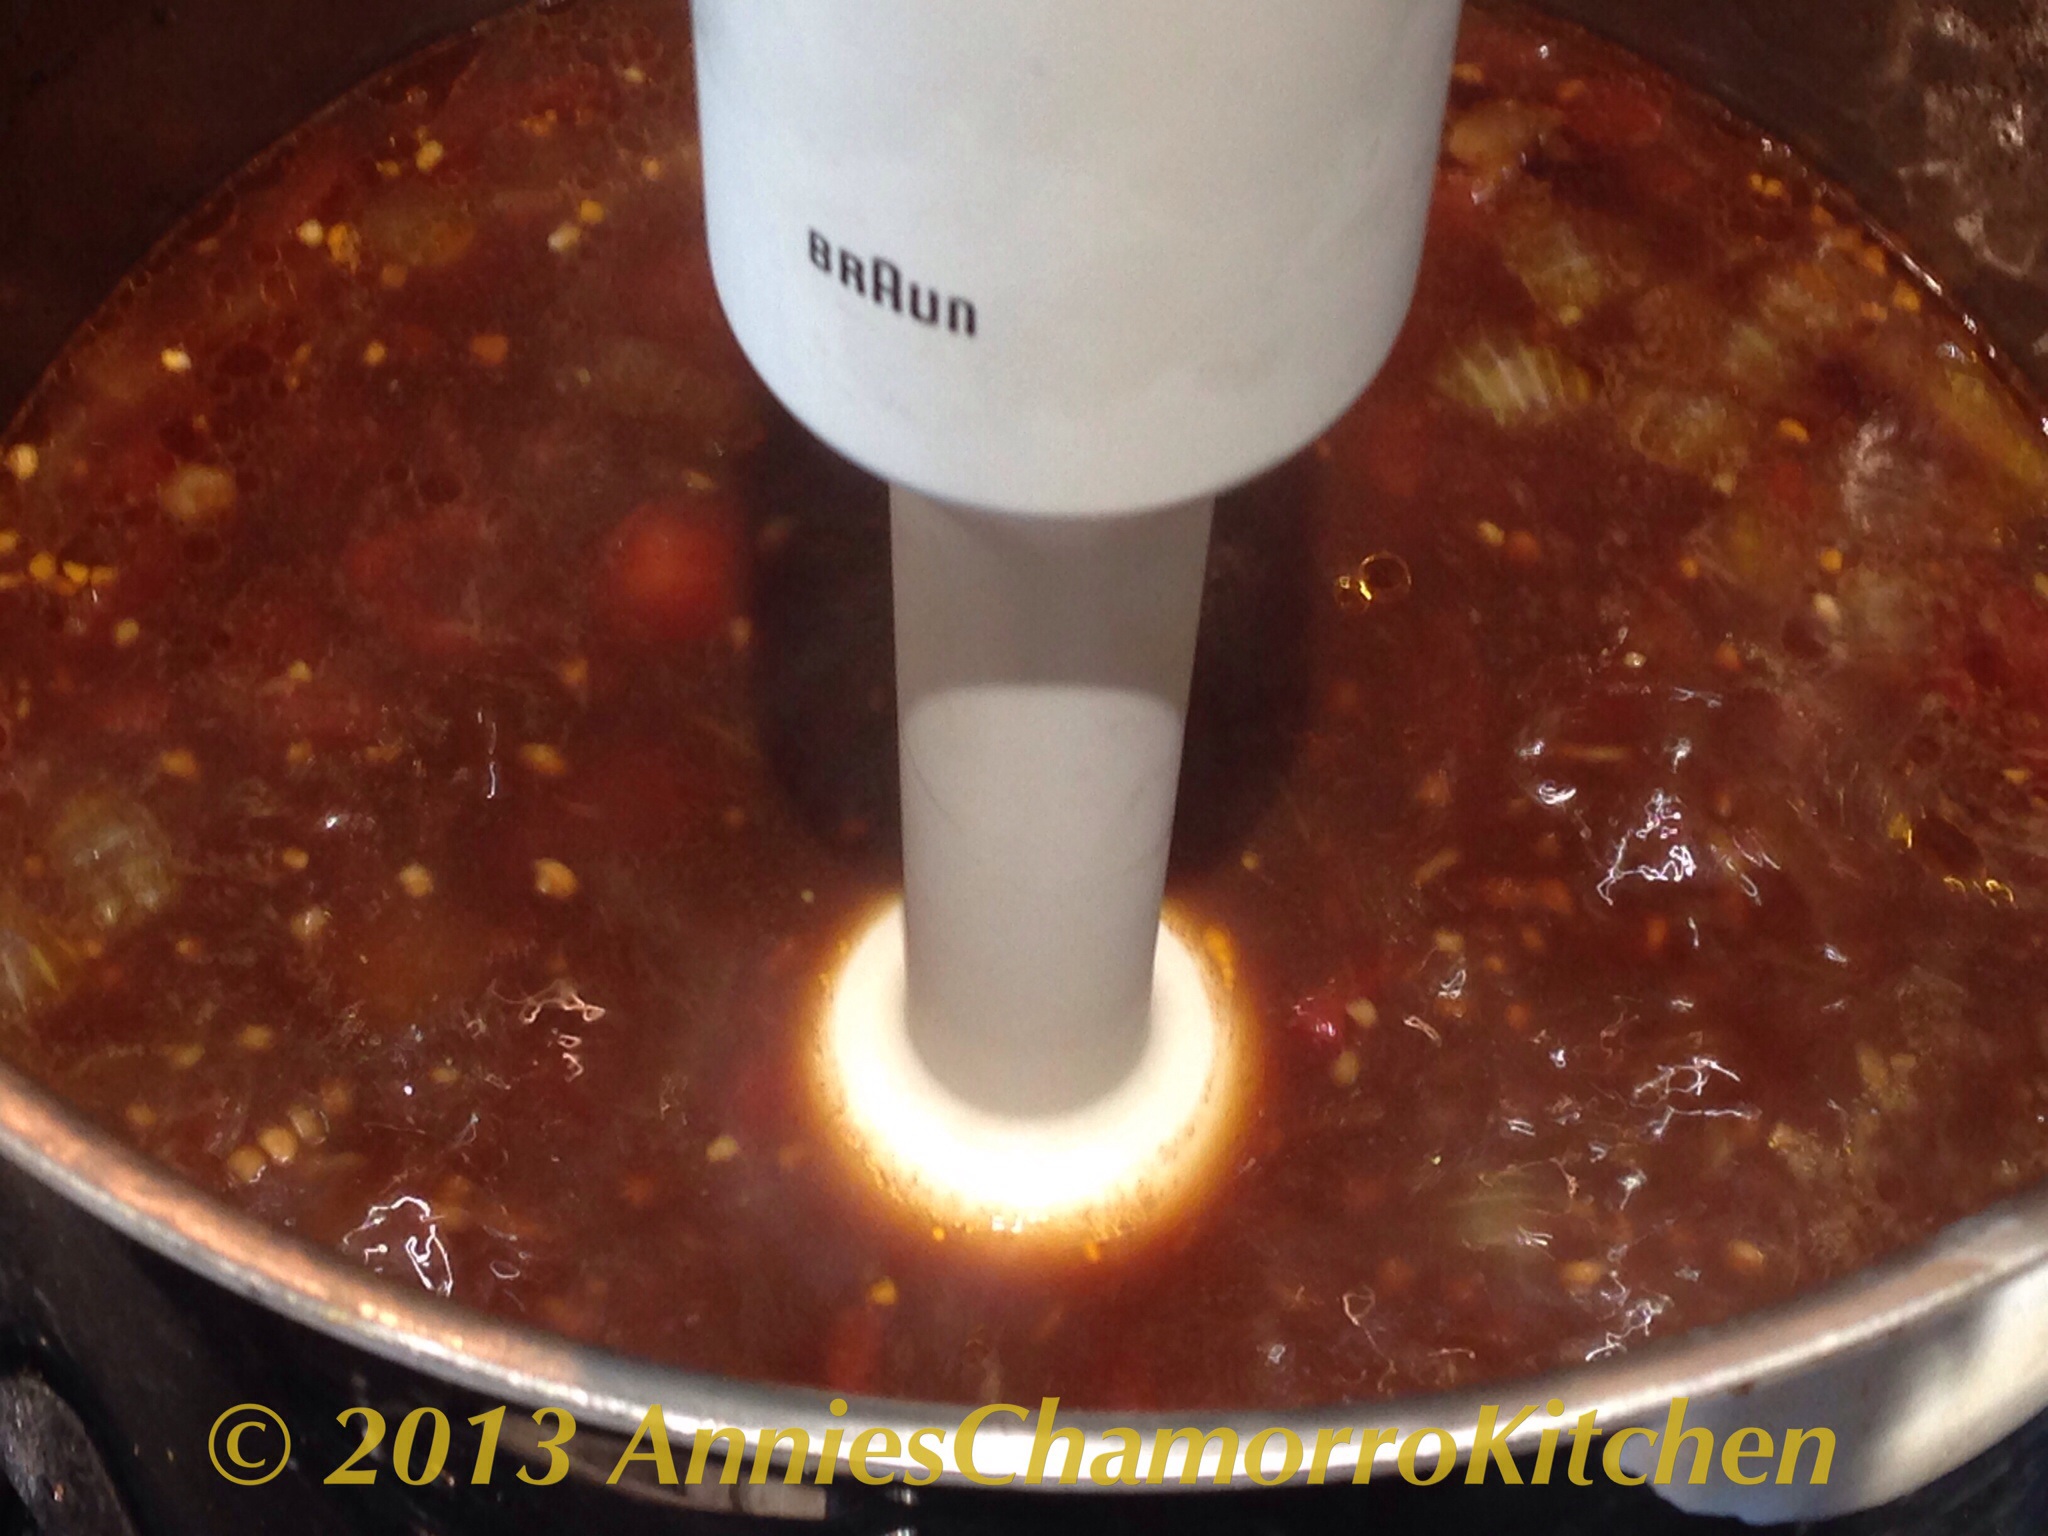
9.  In the meantime, while the roast is resting, prepare the gravy. Using an immersion blender, purée the chunks of vegetables in the gravy until it is completely smooth. If you don’t have an immersion blender, transfer all of the gravy (the liquid and all vegetables) from the slow cooker to a blender and blend until smooth.

image

image

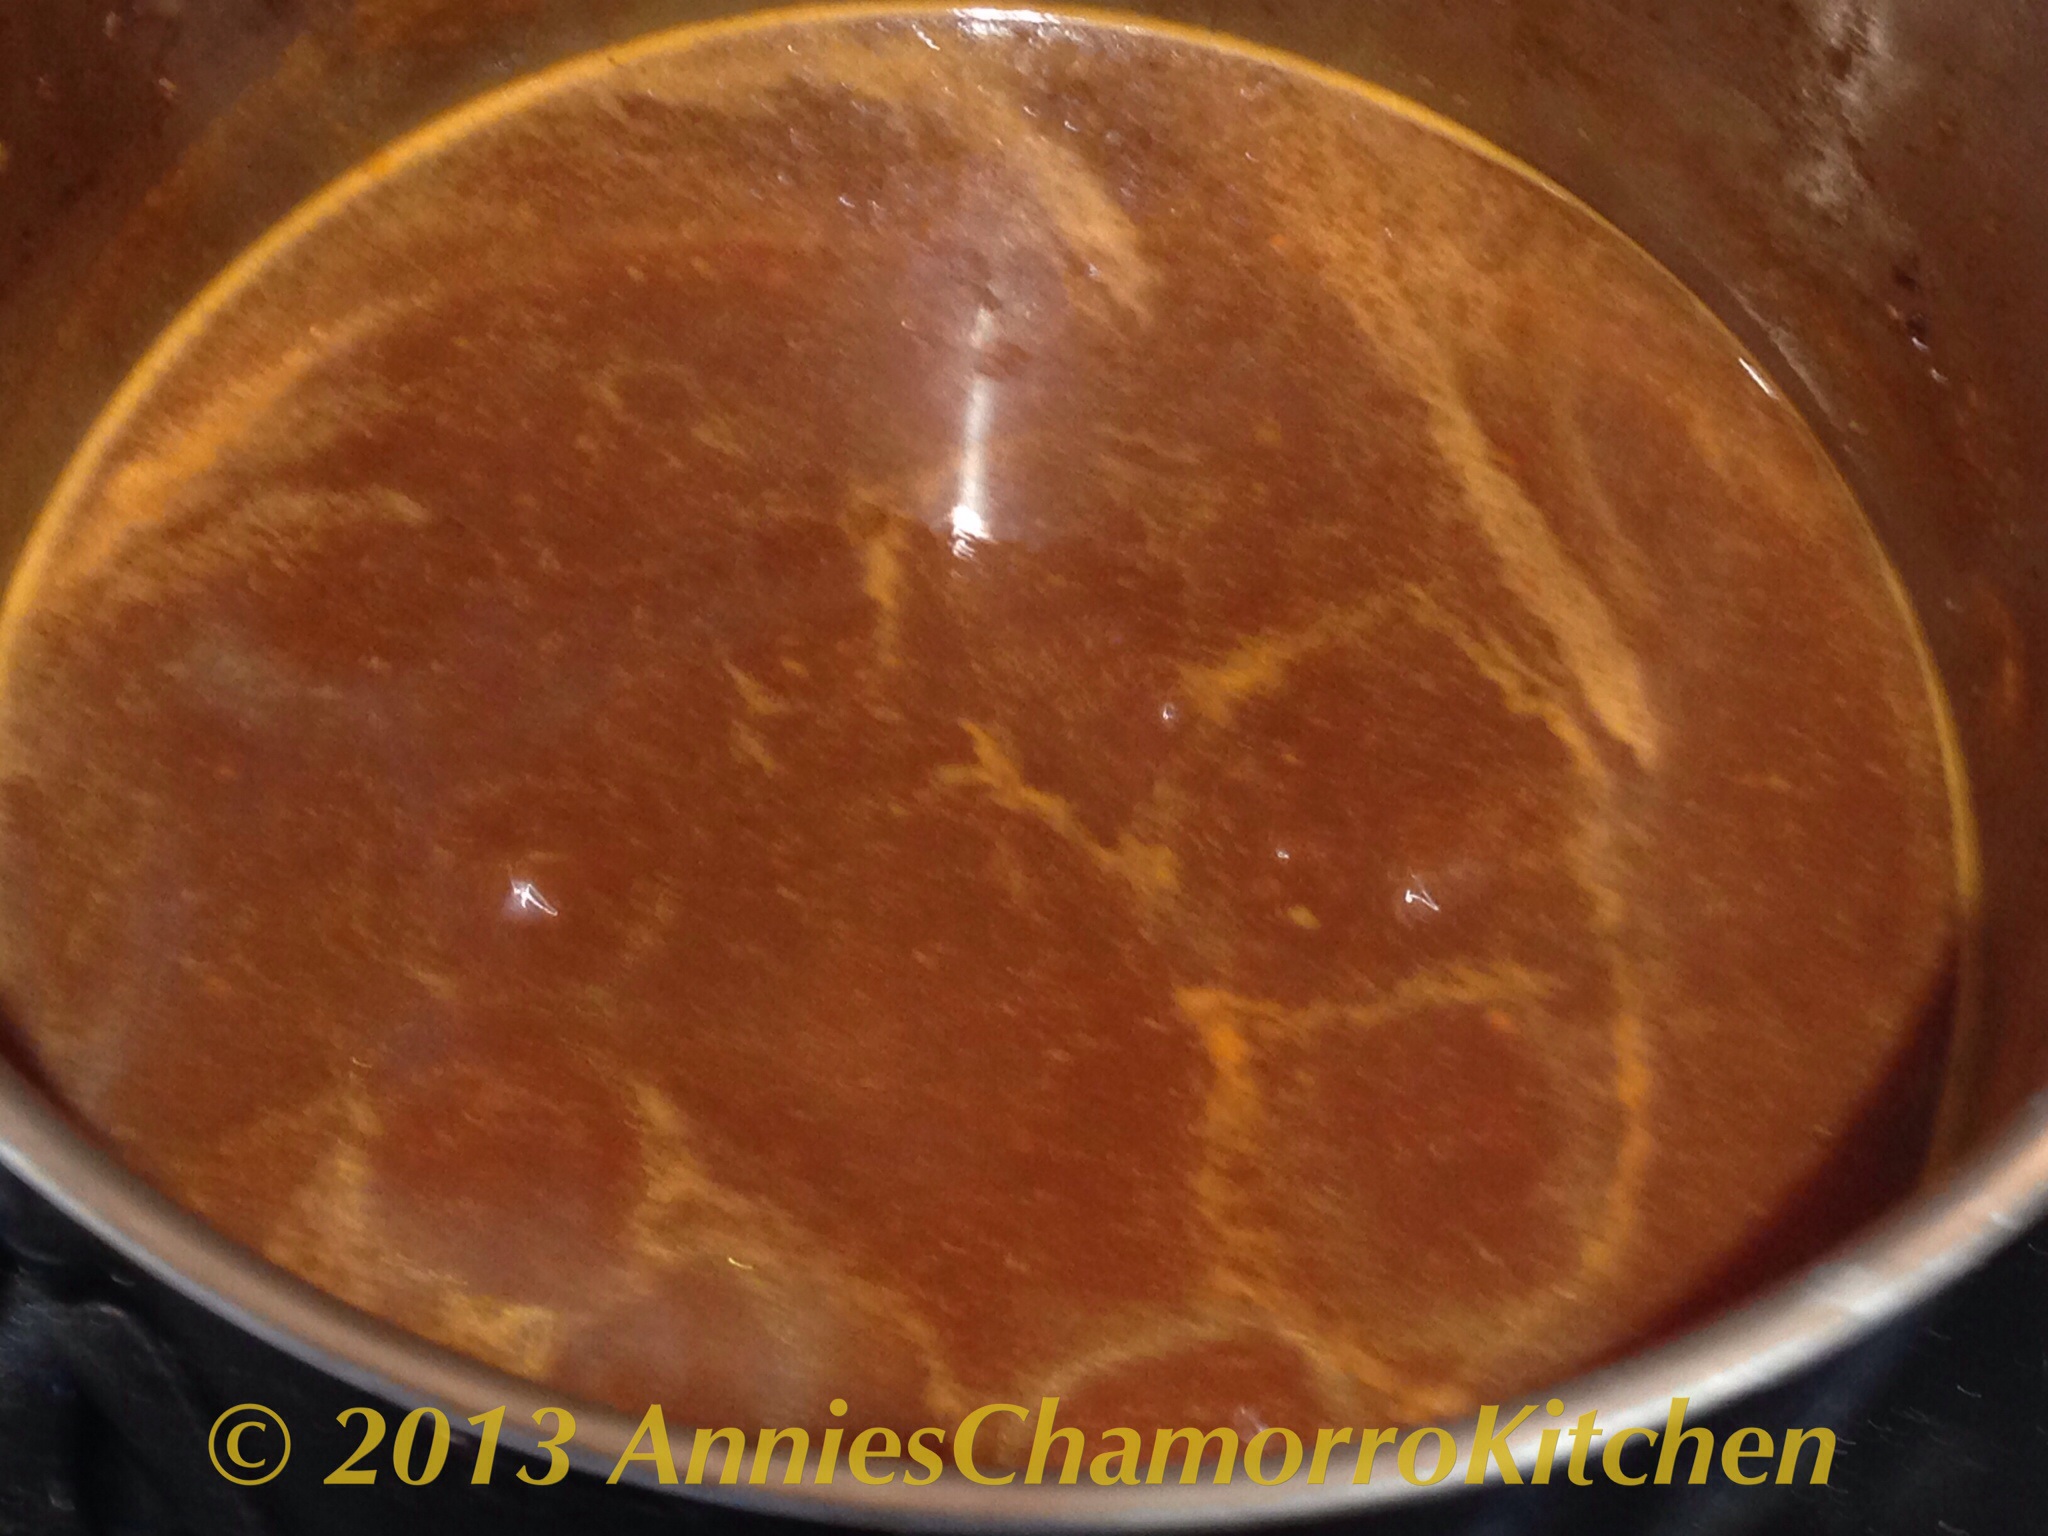
10.  Pour the puréed mixture into a small pot; bring the mixture to a boil.

image

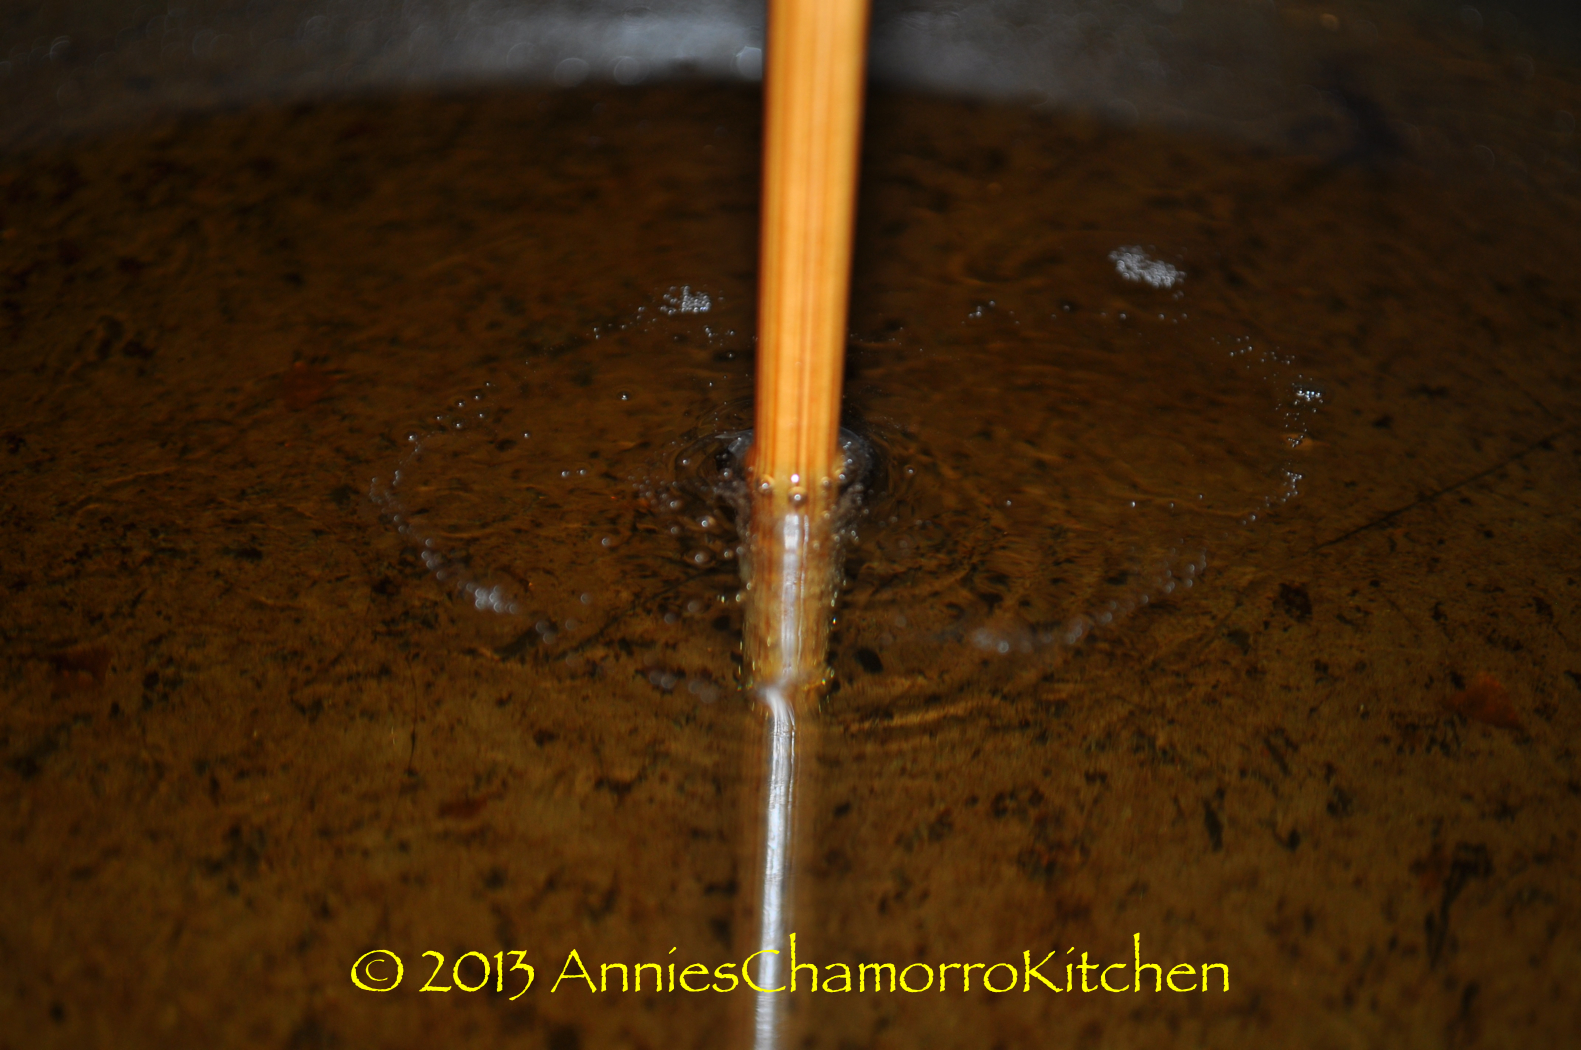
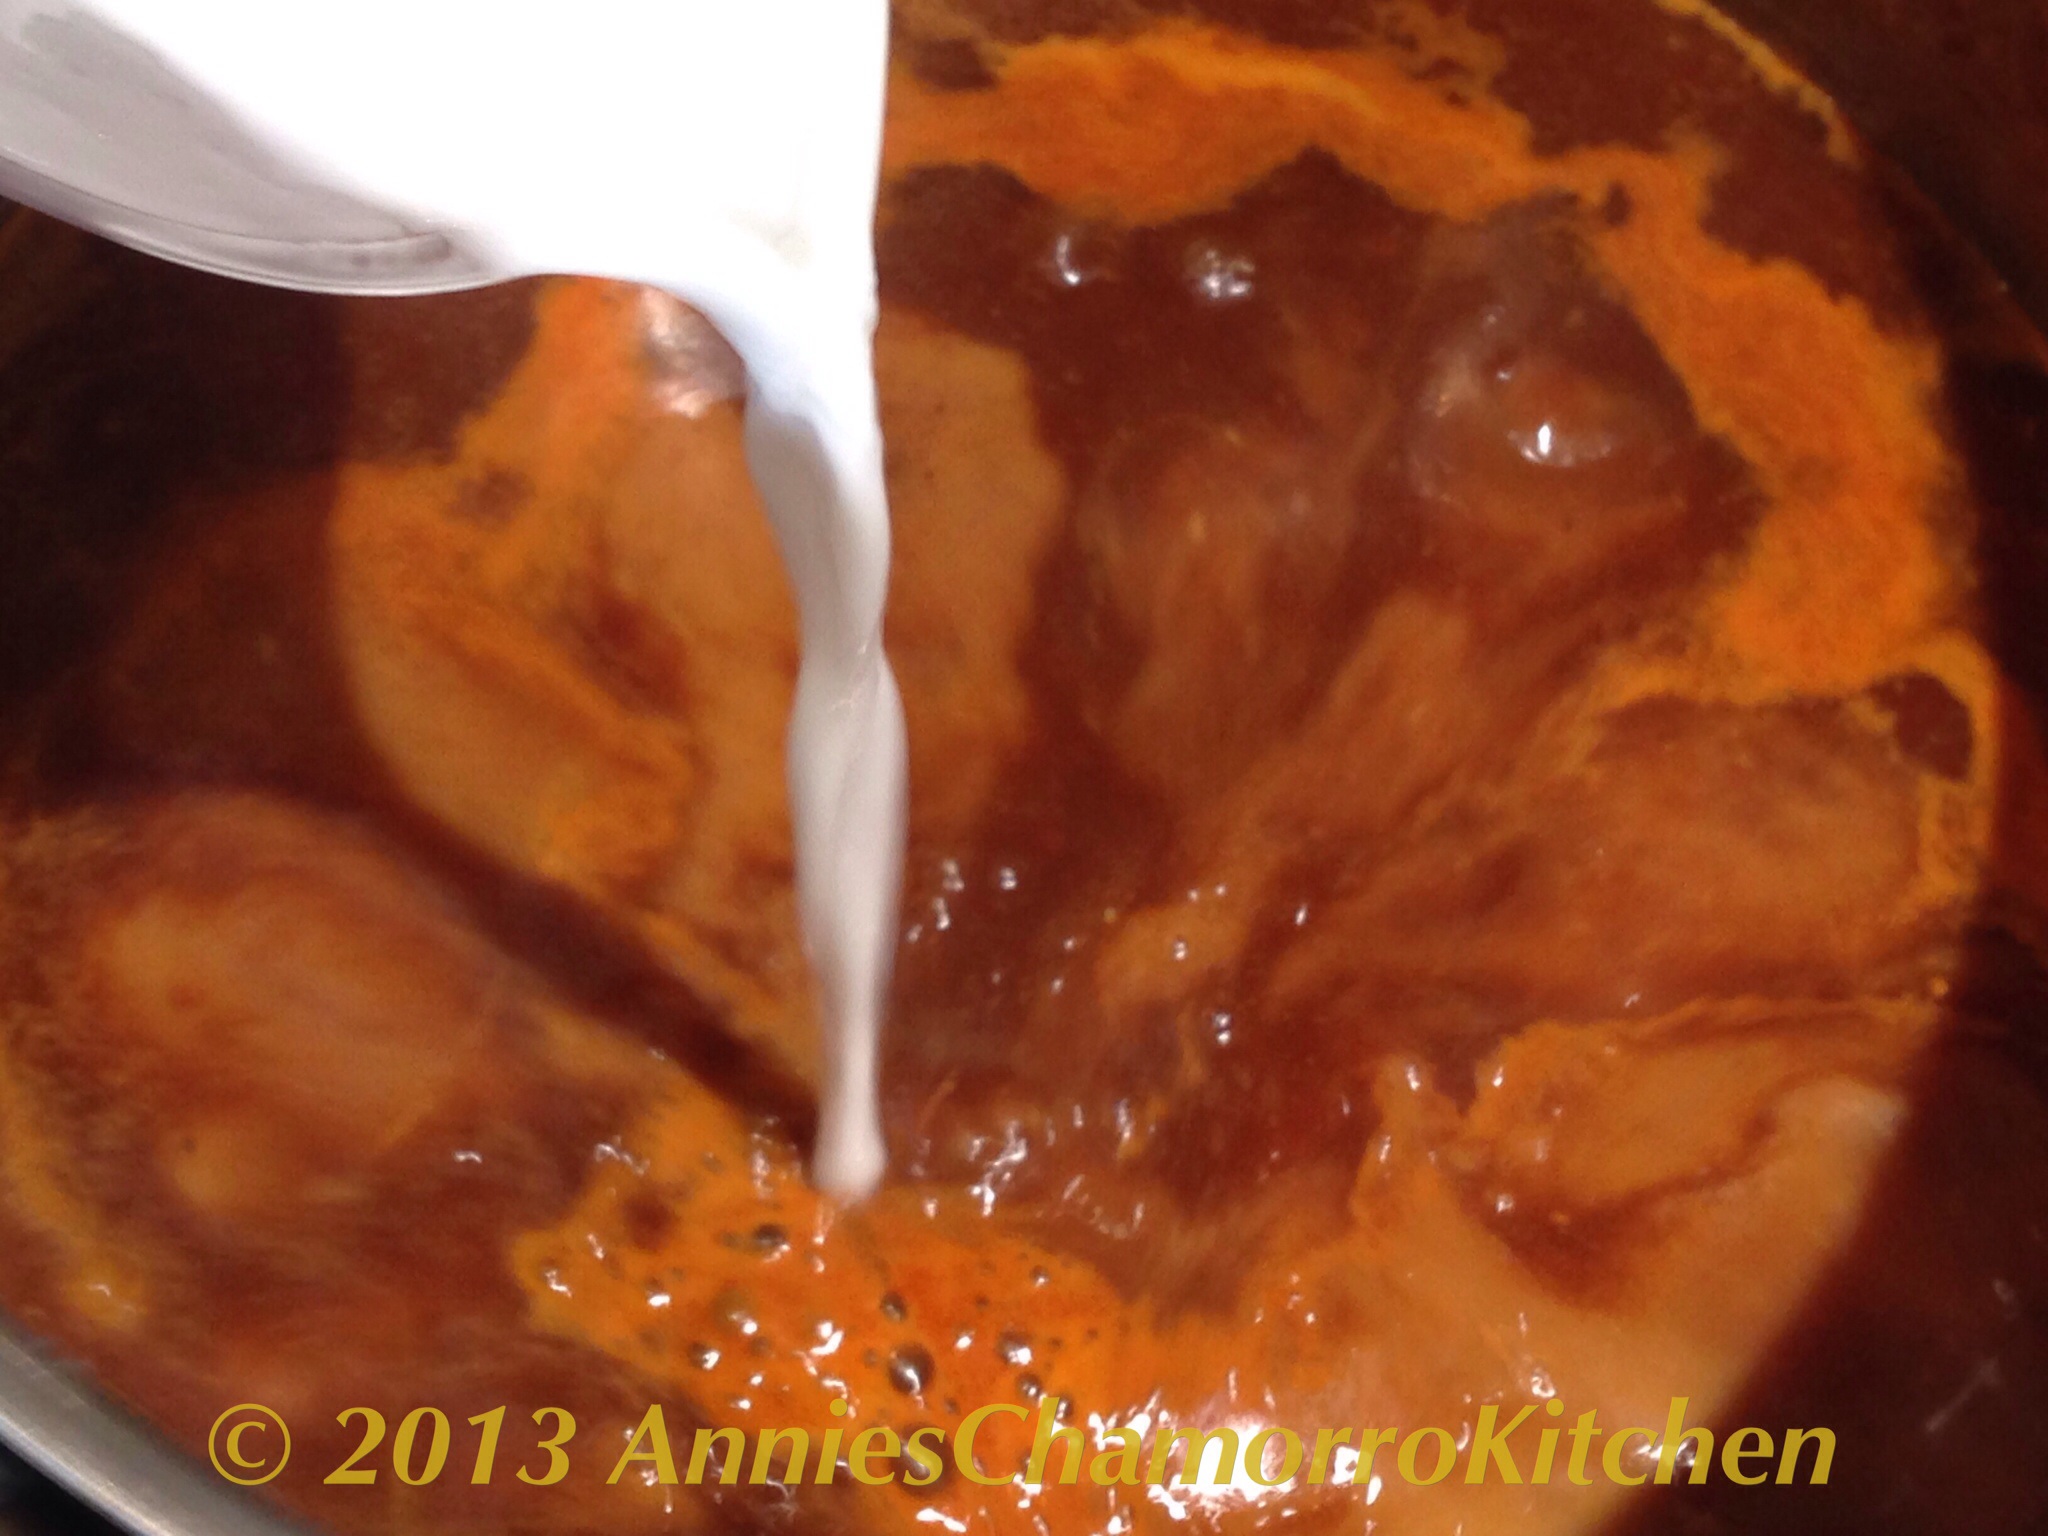
11.  Mix the cornstarch with the remaining 1 cup of water.

image

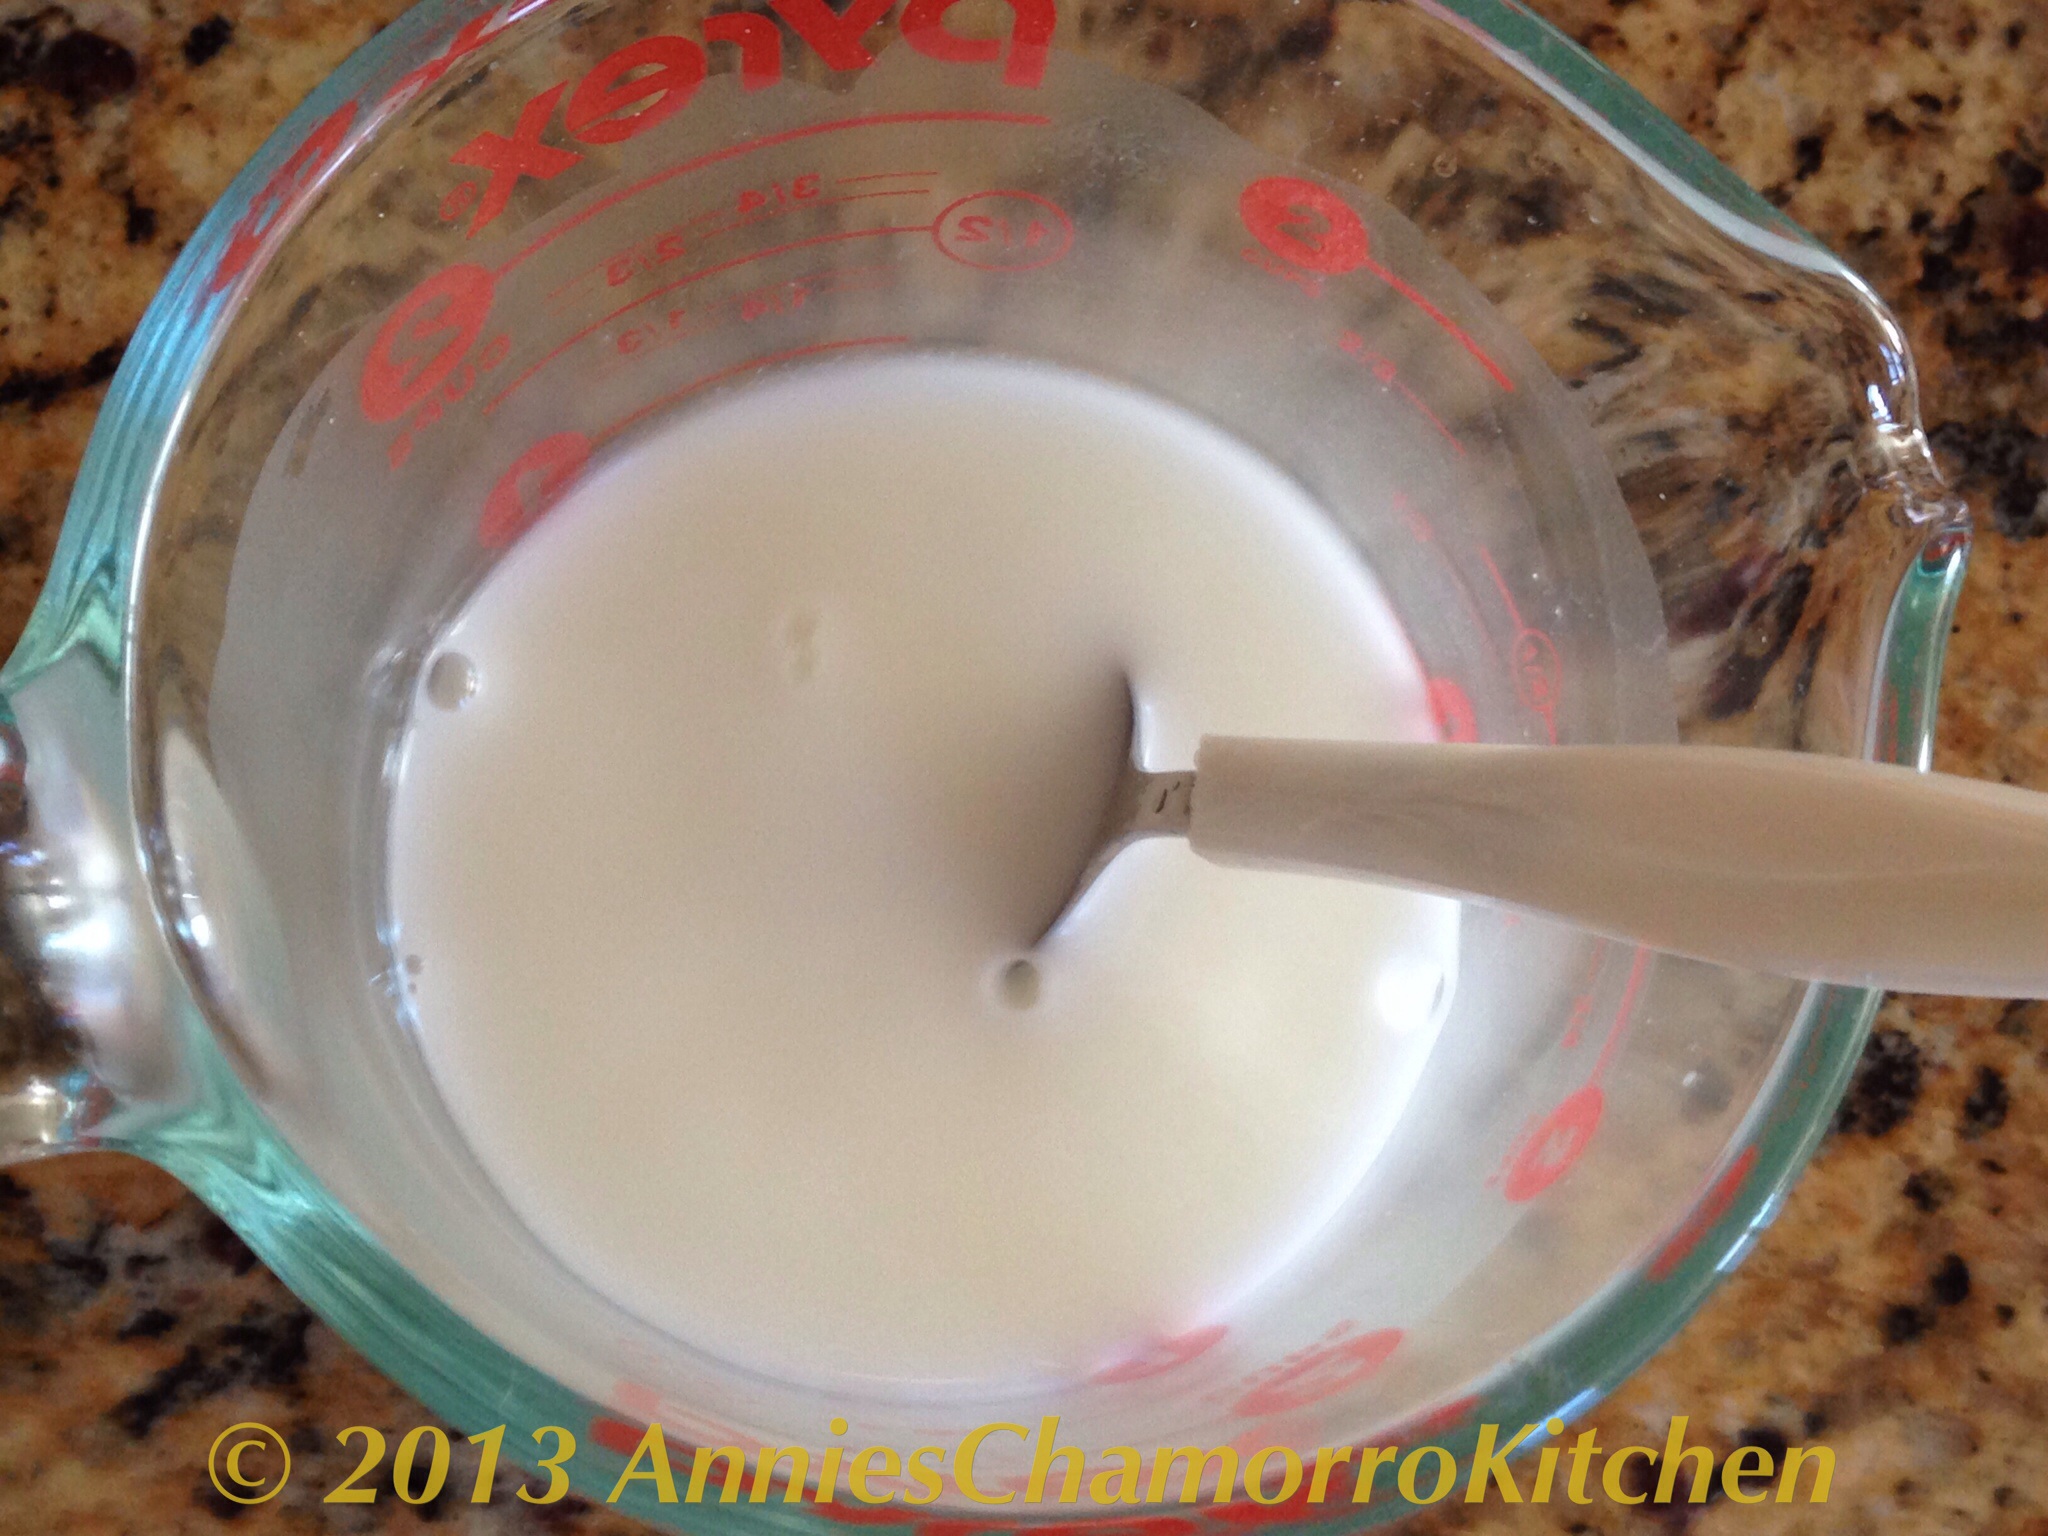
Whisk the cornstarch mixture into the gravy and return to a boil, stirring constantly until the mixture thickens.  Turn off the heat once the gravy has thickened.

image

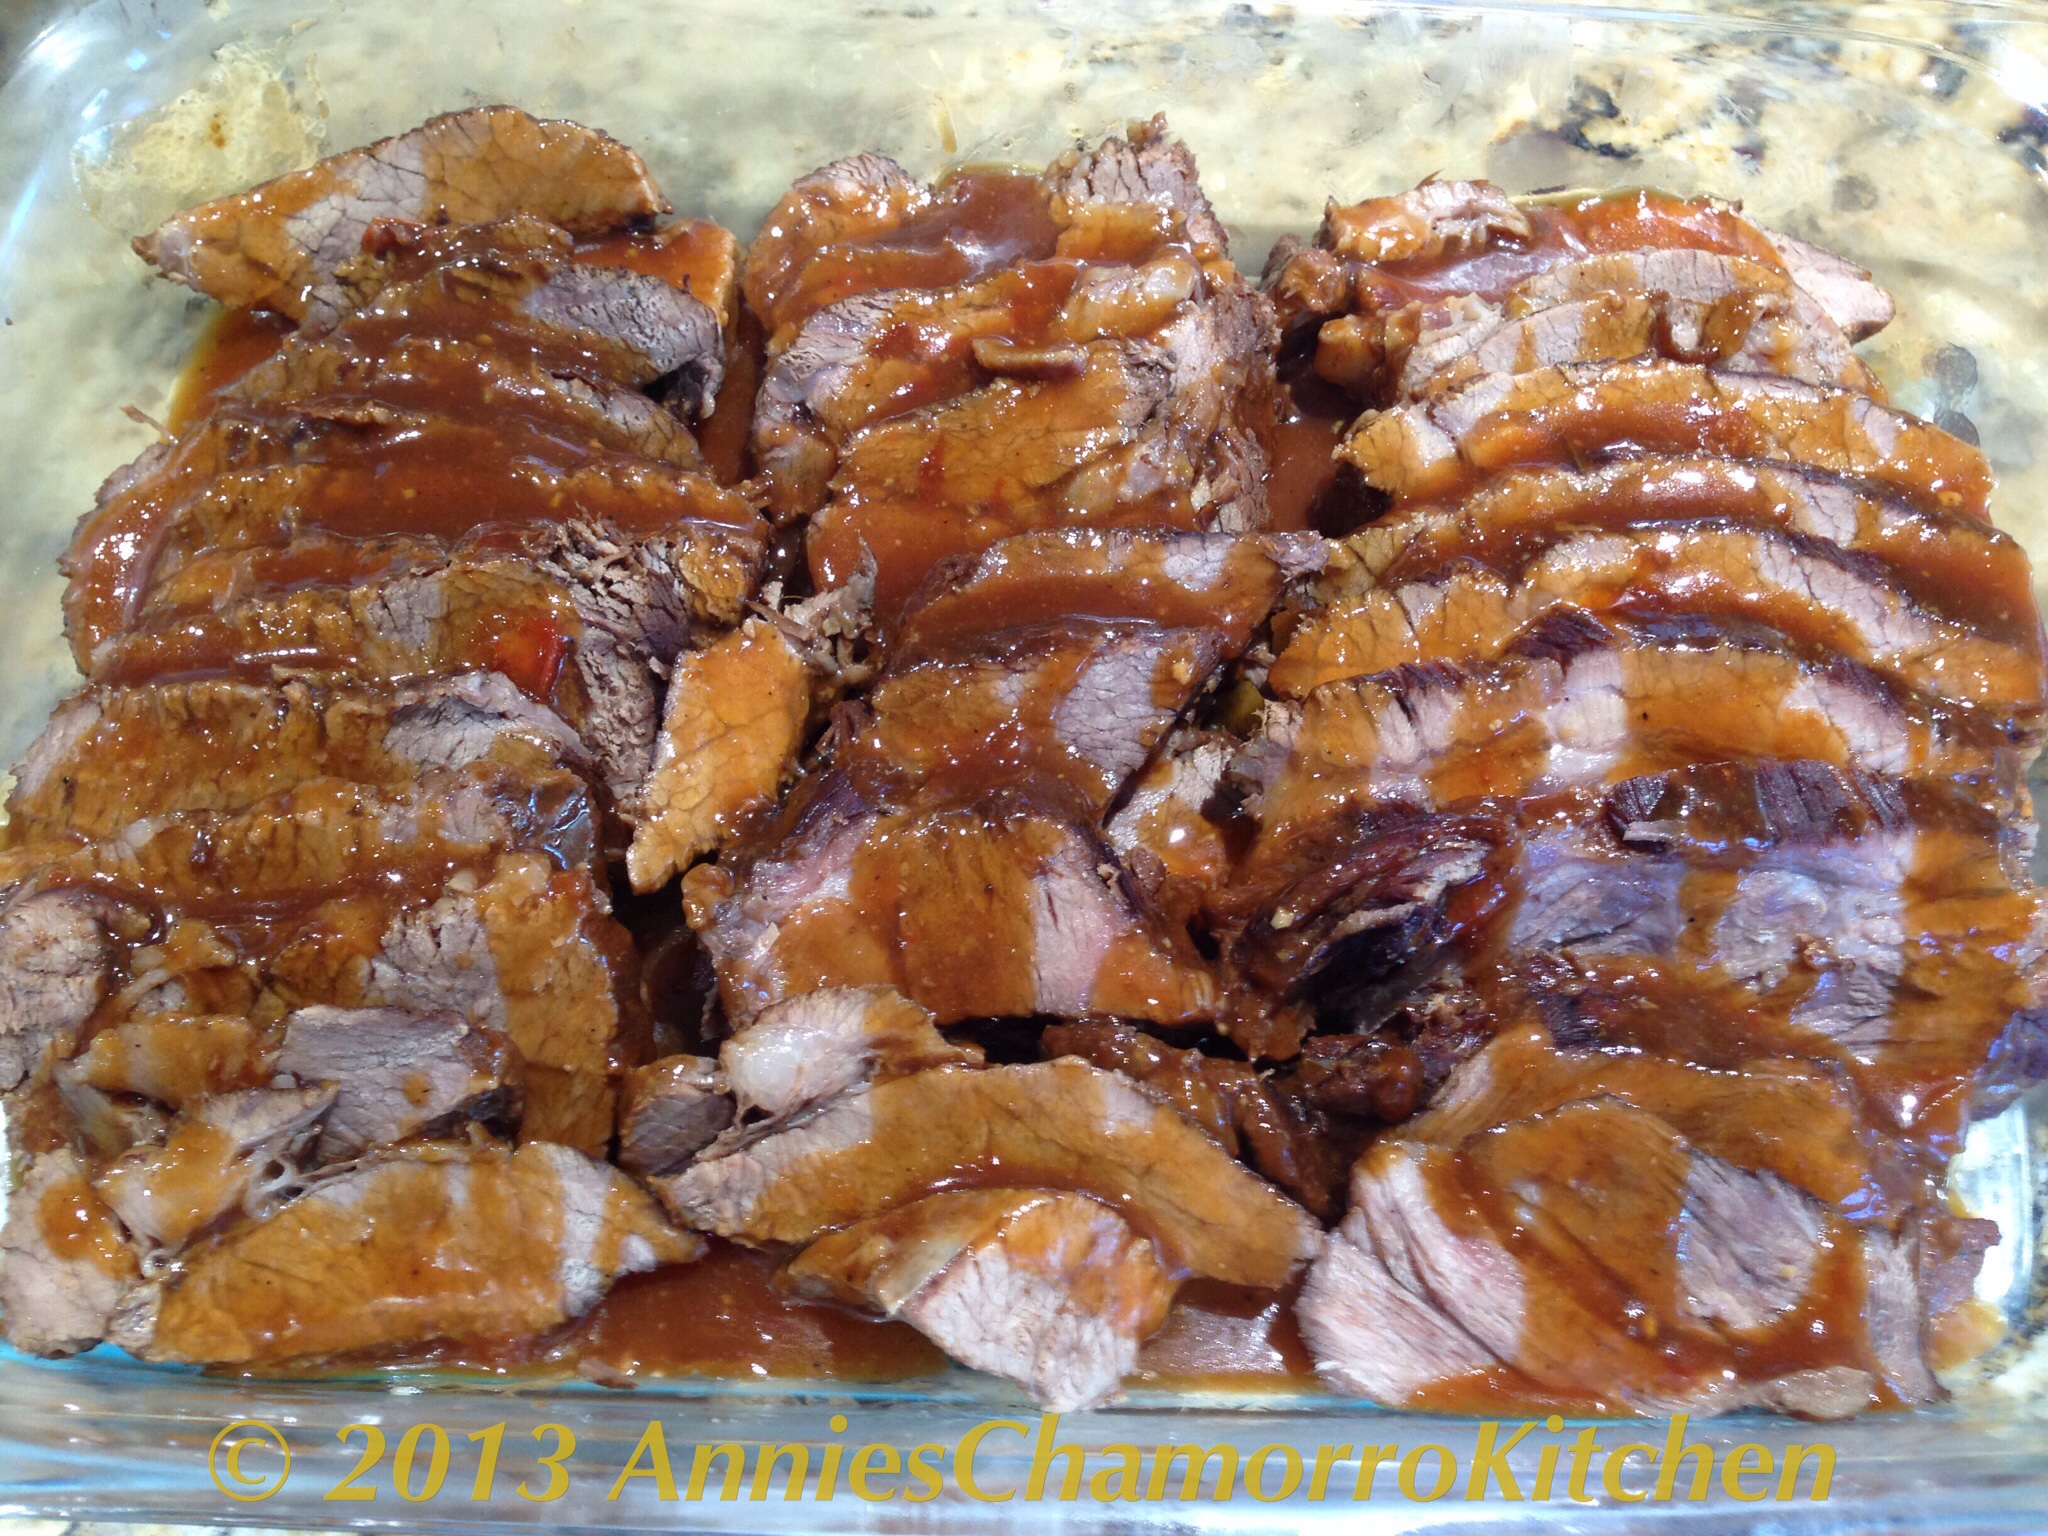
12.  After the roast has rested, use a serrated knife or very sharp carving knife to slice the roast into 1/4 to 1/2 inch slices.

image

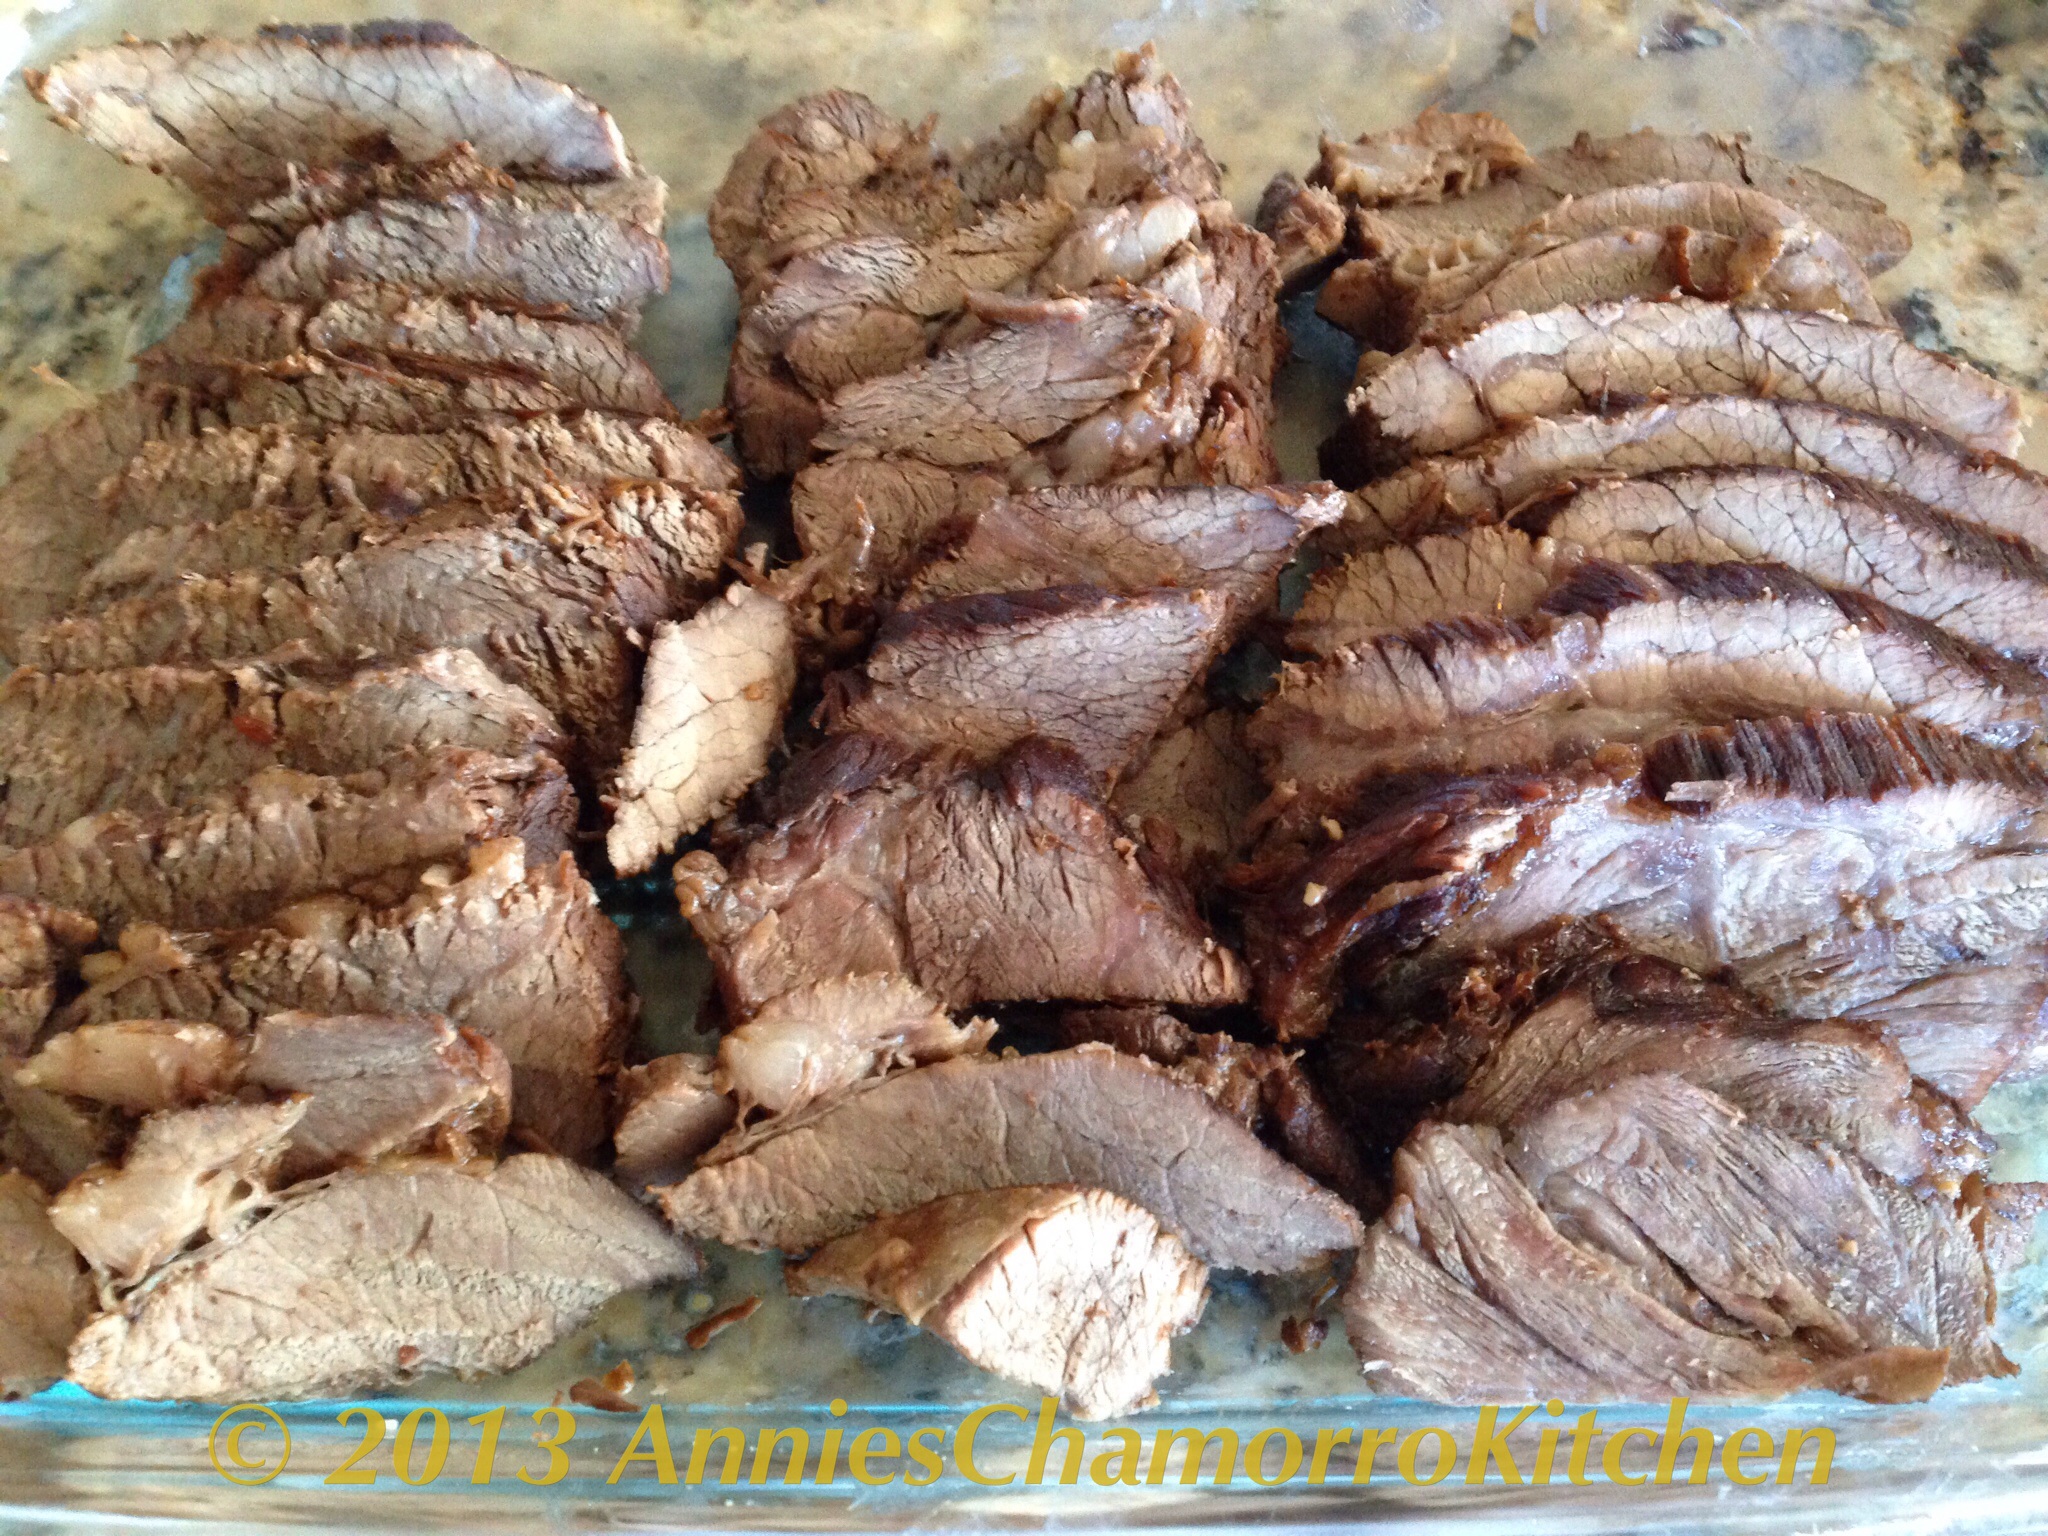
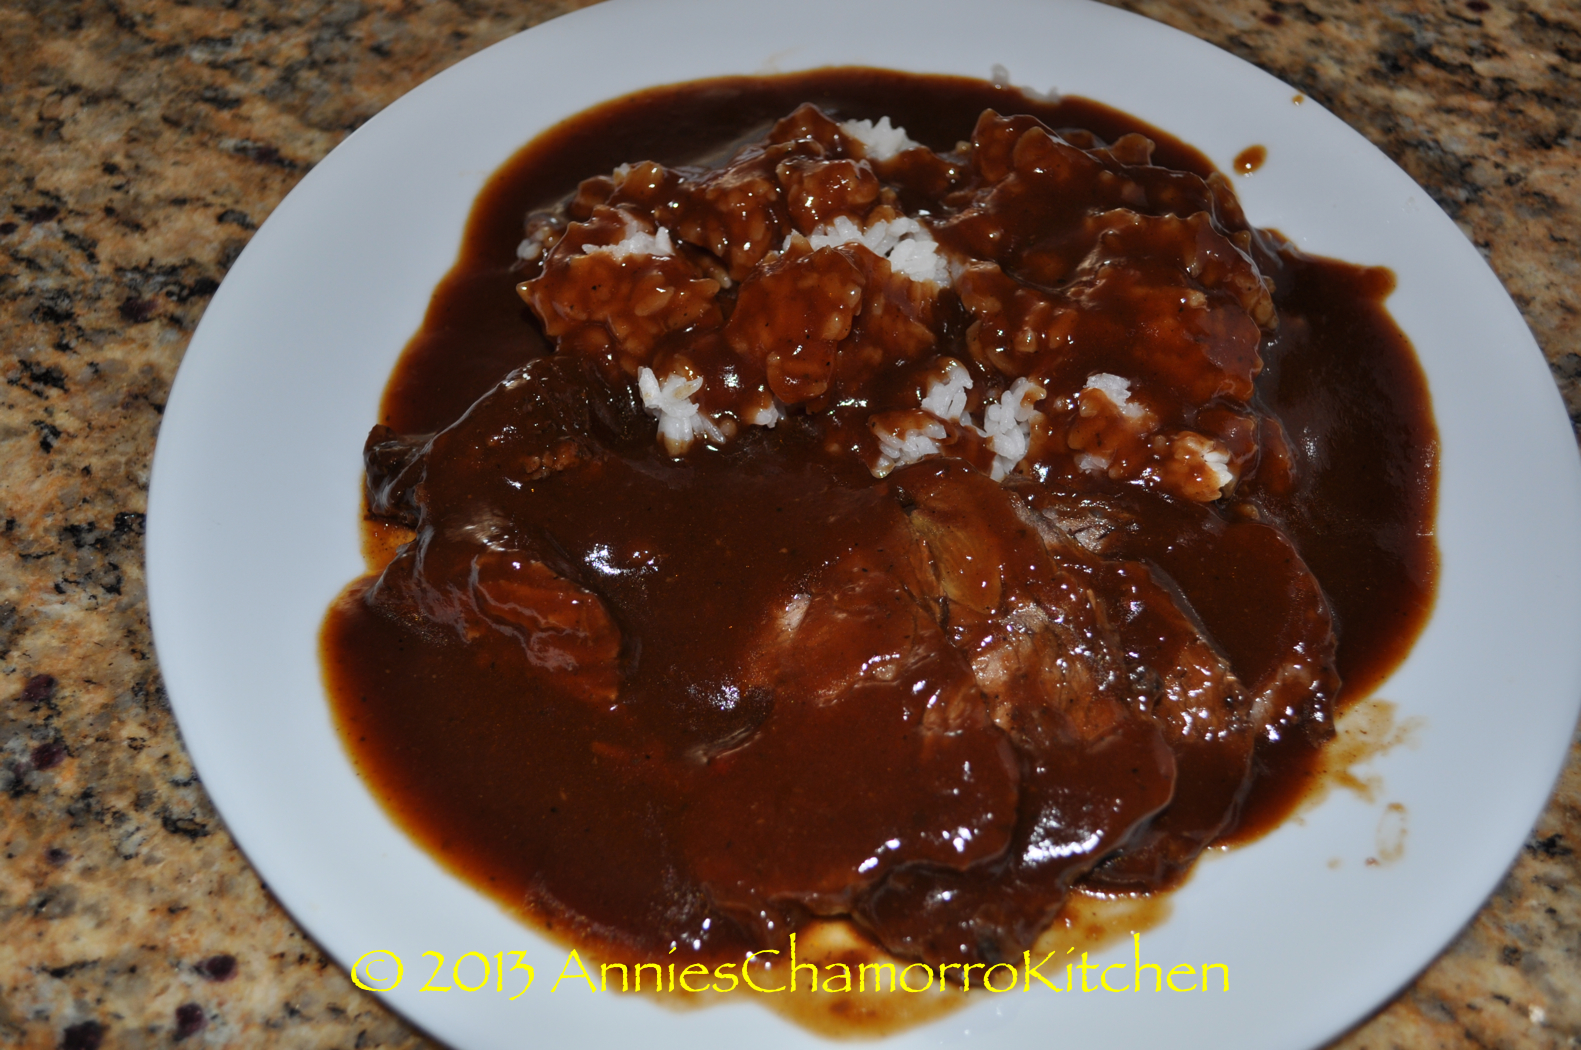
Pour gravy over the sliced roast beef.

Chamorro Pot Roast - 50


Serve with hot white rice and Enjoy!  I love to “drown” my pot roast and rice in lots and lots of gravy!  🙂

Chamorro Pot Roast - 51

Print Friendly, PDF & Email

Pumpkin-Carrot Crunch Cake

Fall is one of my favorite seasons, not just because of the beautiful fall colors and cooling temperatures, but because I love the smell of the house when I bake up a batch of pumpkin anything.  I say anything because my family loves most everything made with pumpkin.  Pumpkin pie, Pumpkin Turnovers (Pastit or Buchi Buchi), and one of our favorites — Pumpkin Carrot Crunch Cake.

This recipe is my take on the popular Pumpkin Crunch Cake that you must have seen making its rounds on the internet.

I make mine differently.  One thing I do differently is instead of sprinkling dry cake mix over the pumpkin filling, I make a cake and nut layer by mixing together melted butter, chopped nuts and the cake mix, then spreading it onto the bottom of a pan, making a delightful crust of sorts.

My pumpkin filling is essentially a custard, forming a rich and creamy layer on top of the cake and nut crust.

And finally, the top layer is not just plain old Cool Whip Whipped Topping, but a thicker version made so by adding sweet vanilla pudding to it.

My version also uses carrot cake instead of regular yellow cake mix, although yellow cake is perfectly fine if that’s what you prefer.  We love carrot cake in our house, so I incorporated two favorites into one, and voila, there you have my Pumpkin Carrot Crunch Cake!

Give my recipe a try.  I think you’ll like it.  🙂

PUMPKIN CARROT CRUNCH CAKE

IMG_0820

INGREDIENTS:

Pumpkin Filling:
  • 1 15-oz can pumpkin puree
  • 4 eggs
  • 1 cup evaporated milk OR heavy cream
  • 3/4 cup sugar
  • 1 teaspoon vanilla extract
  • 2 teaspoons cinnamon
  • 1/2 teaspoon salt
Cake & Pecan Crust:
  • 2 sticks butter, melted
  • 1 teaspoon cinnamon
  • 1 1/2 cups pecans
  • 1 box super moist carrot cake mix
Whipped Topping:
  • 16 ounces Cool Whip
  • 1 box (3.4 oz) instant vanilla pudding & pie filling
  • 1 1/2 cups milk

DIRECTIONS:

1.  Preheat the oven to 425 degrees F.

2.  In a medium sized mixing bowl, whisk together the ingredients for the Pumpkin Filling (pumpkin, eggs, evaporated milk OR cream, sugar, vanilla extract, cinnamon and salt). Set aside.

IMG_0050 IMG_0058

3.  Finely chop the nuts using a food chopper or processor.

IMG_0062

4.  In a separate bowl, mix together the ingredients for the Cake & Pecan Crust (melted butter, chopped nuts, cinnamon and cake mix).  Spray the bottom and sides of a 13×9 cake pan with cooking spray (butter flavored, or the one for baking that has flour in it).  Spread the cake mixture evenly into the bottom of a 9×13″ pan.

IMG_0065 IMG_0068 IMG_0069 IMG_0070 IMG_0064 IMG_0072

5.  Pour the pumpkin filling over the cake and pecan mixture.  Bake at 425 degrees for 10 minutes then reduce the temperature to 350 degrees and continue to bake for 45-50 more minutes. The cake is done when a knife inserted comes out clean and the sides are set (the pumpkin filling will look firm and dry from the edge of the pan inward about two inches) but the middle may still be jiggly.  When you take the cake out of the oven, it will continue to cook as it cools.  Allow the cake to completely cool on the countertop.  Top with Whipped Topping when the cake is completely cooled.

IMG_0073 IMG_0074 IMG_0816

6.  To make the whipped topping, place the Cool Whip into a large mixing bowl.  Sprinkle the dry pudding mix over the Cool Whip.  Add the milk.  Using an electric mixer, mix until all the ingredients are combined.  Let it sit for about 5 minutes to set.  Keep refrigerated until ready to use.

IMG_0075 IMG_0076 IMG_0083 IMG_0085

7.  After the cake has cooled, top with the whipped topping mixture.

IMG_0088 IMG_0091

8.  Serve and enjoy!

IMG_0094

IMG_0093

Print Friendly, PDF & Email

Shrimp Patties

Hi everyone!  This is Hannah, Annie’s daughter.

I made some delicious shrimp patties for lunch one day. My version is somewhat different from the “regular” recipe most people have.

What’s different about my version? I don’t use any eggs. It started out as a mistake one time when I was making shrimp patties and forgot to put eggs in the batter. However, I liked how it turned out. The inside was nice and fluffy, and my shrimp patties were nice and round (my neighbor called them “shrimp balls”) and not flat.

Give my recipe a try. Let me know how you like them. My family loves them; I hope you do too!

SHRIMP PATTIES

Shrimp Patties - 58

INGREDIENTS:

  • 1 cup thinly sliced fresh green beans
  • 2 cups peas
  • 1 cup chopped onions (about 1/2 a medium onion)
  • 3 cups corn kernels (I love lots of corn in my shrimp patties)
  • 4 cups shrimp, chopped
  • 2 tablespoons minced garlic
  • 2 cans evaporated milk
  • 3 cups all purpose flour
  • 2 tablespoons baking powder
  • 5 tablespoons Dashida seasoning (the seafood flavored kind)
  • 1 teaspoon Accent
  • 1 teaspoon black pepper
  • Oil, for frying

 DIRECTIONS:

1.  Heat the oil in a large frying pan. Do you know how to tell if the oil is hot enough and ready? My mom taught me a great trick.  Use the tip of a wooden spoon (I used a wooden chopstick) and dip it into the oil.  If little bubbles start to form around the wood, then the oil is hot and ready. Make sure the wood is clean and dry first; you don’t want hot oil to splatter and burn you.

Here is a short video clip. You can see all of the little bubbles form around the tip of the wooden chopstick. This tells you that the oil is hot and ready for frying.

2.  While you’re waiting for the oil to heat up, mix all of the ingredients (except for the oil, of course) in a large bowl.

3.  Drop spoonfuls of batter into the hot oil and fry until golden brown. Note: I used a small ice cream scoop that holds 1 1/2 tablespoons. This is also what makes the shrimp patties nice and round like doughnuts. (Maybe that’s why my neighbor calls them shrimp balls, LOL.)


I added a lot of photos below to show you the process.

Enjoy, and I hope you like them!

~ Hannah


Shrimp Patties - 03

Place the shrimp and vegetables in a large mixing bowl.

Shrimp Patties - 05

Place the flour and other dry ingredients in a smaller bowl.

Shrimp Patties - 06

Add all of the dry ingredients to the bowl of shrimp and veggies.

Shrimp Patties - 15

Pour the evaporated milk into the mixing bowl.

Shrimp Patties - 22

Mix, mix, mix! 🙂

Shrimp Patties - 34

Check to see if the oil is hot. Scroll up and watch my video that shows what to look for.

Shrimp Patties - 38

When the oil is ready, use a small cookie scoop to drop the batter into the oil. This makes the shrimp patties nice and round.

Shrimp Patties - 43

Don’t put too much into the oil. You want to leave enough room to allow the shrimp patties to cook evenly, plus overcrowding might make them stick together when you drop the batter into the oil.

Shrimp Patties - 44

The shrimp patties usually turn on their own, but if they don’t, turn them occasionally to ensure even browning.

Shrimp Patties - 48

Fry until nicely browned.

Shrimp Patties - 49

Place in a colander or strainer to drain the excess oil.

Shrimp Patties - 66

The small cookie scoop I use makes shrimp patties that are a little bit bigger than the size of a ping pong ball. I think it’s the perfect size — not too big, not too small.

Shrimp Patties - 68

The inside is nice and fluffy.

Shrimp Patties - 65

Pile on the goodness! 🙂


Print Friendly, PDF & Email

Chicken Kelaguen & Flour Titiyas

Kelaguen and Titiyas ~ both staples on a Chamorro fiesta table.  But you don’t have to be invited to a fiesta in order to enjoy these tasty dishes — they are so easy to make that you can have it anytime you get the craving!

My two daughters (ages 11 and 15) prepared the dishes pictured in the photos below; if THEY can do it, so can you!

Give my super easy recipes a try.  I think you’ll like them!  🙂

Annie’s Chicken Kelaguen

DSC_0419

Ingredients:

  • 1 small rotisserie chicken
  • 6 stalks green onions
  • 1 1/2 tablespoons lemon powder plus 3 tablespoons water (or use the juice of 1 large lemon)
  • 2 teaspoons salt (more or less, to taste)
  • Hot pepper, optional
  • Freshly grated coconut (unsweetened), optional

Directions:

1.  Debone the chicken; shred or cut into small pieces (I used a food processor to roughly chop the chicken).

DSC_0371

 DSC_0375 DSC_0377

2.  Thinly slice the green onions then add it to the chicken.

DSC_0383 DSC_0386

3.  Add the lemon powder, water, salt and pepper to the bowl of chicken; mix to combine.  Taste; adjust seasoning if required.

DSC_0389 DSC_0398

4.  Stir in the grated coconut (optional).

5.  Serve with my super easy sweet flour titiyas (see recipe below) and enjoy!

DSC_0417


Annie’s Sweet Flour Titiyas

DSC_0416

Ingredients:

  • 3 cups all purpose flour
  • 4 teaspoons baking powder
  • 1/2 teaspoon salt
  • 3/4 cup coconut milk (see note below)
  • 1/4 cup melted butter
  • 1/4 to 1/2 cup cream of coconut (the sweet one, used for mixed drinks)
    (see note below)

NOTE:  If you don’t find or have any cream of coconut, just increase the coconut milk to 1 cup, and add 1/2 cup white granulated sugar.  Follow the rest of the instructions below.


This is what the can of cream of coconut looks like.  This is incredibly sweet so you do not need to add more sugar.  Cream of Coconut is NOT the same as coconut cream (thick coconut milk).

cream of coconut

Directions:

1.  Mix the dry ingredients together in a large mixing bowl. Add the coconut milk, melted butter, and cream of coconut (start out with 1/4 cup; increase to a total of 1/2 cup, depending on how humid your day is–more humid means less liquid). Mix together until a dough forms; knead gently to form a smooth ball of dough.

DSC_0395 DSC_0401 DSC_0404 DSC_0407

2.  Break off golf-ball sized pieces. Flour your rolling surface and rolling pin.  Roll out the piece of dough into a flat disc (about 1/8-inch thick). Place the titiyas on a dry skillet; prick all over with a fork to prevent bubbling during the cooking process.

DSC_0409 DSC_0410

3.  Pan-fry on a dry skillet over medium-low heat for about 3-4 minutes on each side, or until the bottom begins to turn a golden brown; flip over and cook the other side until it turns a nice golden brown.  For thicker titiyas, cook over low heat for 4-5 minutes on each side; the titiyas is done when you gently press down on the center and it feels somewhat firm to the touch.

DSC_0412 DSC_0414 DSC_0415

4.  Place cooked titiyas on a plate covered with a clean kitchen towel to keep warm.  Serve with my delicious chicken kelaguen.  Enjoy!

DSC_0418

Print Friendly, PDF & Email

Lumpia

Lumpia is a staple at most Chamorro gatherings.  There are fried and fresh versions, both of which are extremely popular.

There are so many variations to the types of filling you can use.  I’ve used ground beef with vegetables, ground pork with vegetables, added noodles and diced potatoes to the mix, used shrimp (especially when making fresh lumpia), and for dessert, banana-brown sugar lumpia (or Turon).

Lumpia is delicious eaten as-is, without some type of dipping sauce.  But while I’m on the subject, let’s talk about some of my favorite lumpia dipping sauces: garlic-vinegar, garlic-lime-sugar-fish sauce (don’t knock this one until you try it), sweet and sour, and the ultimate Chamorro favorite–fina’denne’.

No matter what your filling or dipping sauce, this is sure to be a crowd-pleaser at your next gathering.

Click on the photos below for my recipe and step-by-step instructions for making Fried Meat-and-Vegetable Lumpia.

lumpia 1

lumpia 2

lumpia 3

lumpia 4

Print Friendly, PDF & Email
« Older Entries Recent Entries »