My daughter loves to cook as much as I do, and she loves to experiment with new dishes. This is her take on Carne Asada Tacos, complete with her recipes for the Marinade, Guacamole, and Pico de Gallo.
Give her recipes a try. I think you’ll like them. 🙂
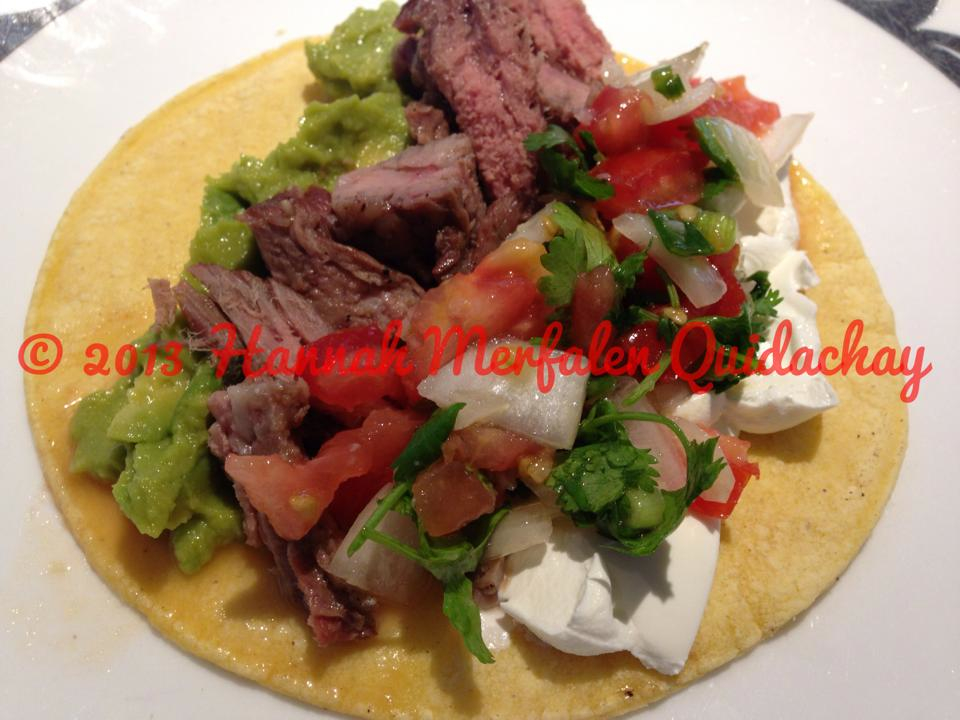
Hannah’s Carne Asada Tacos
Ingredients:
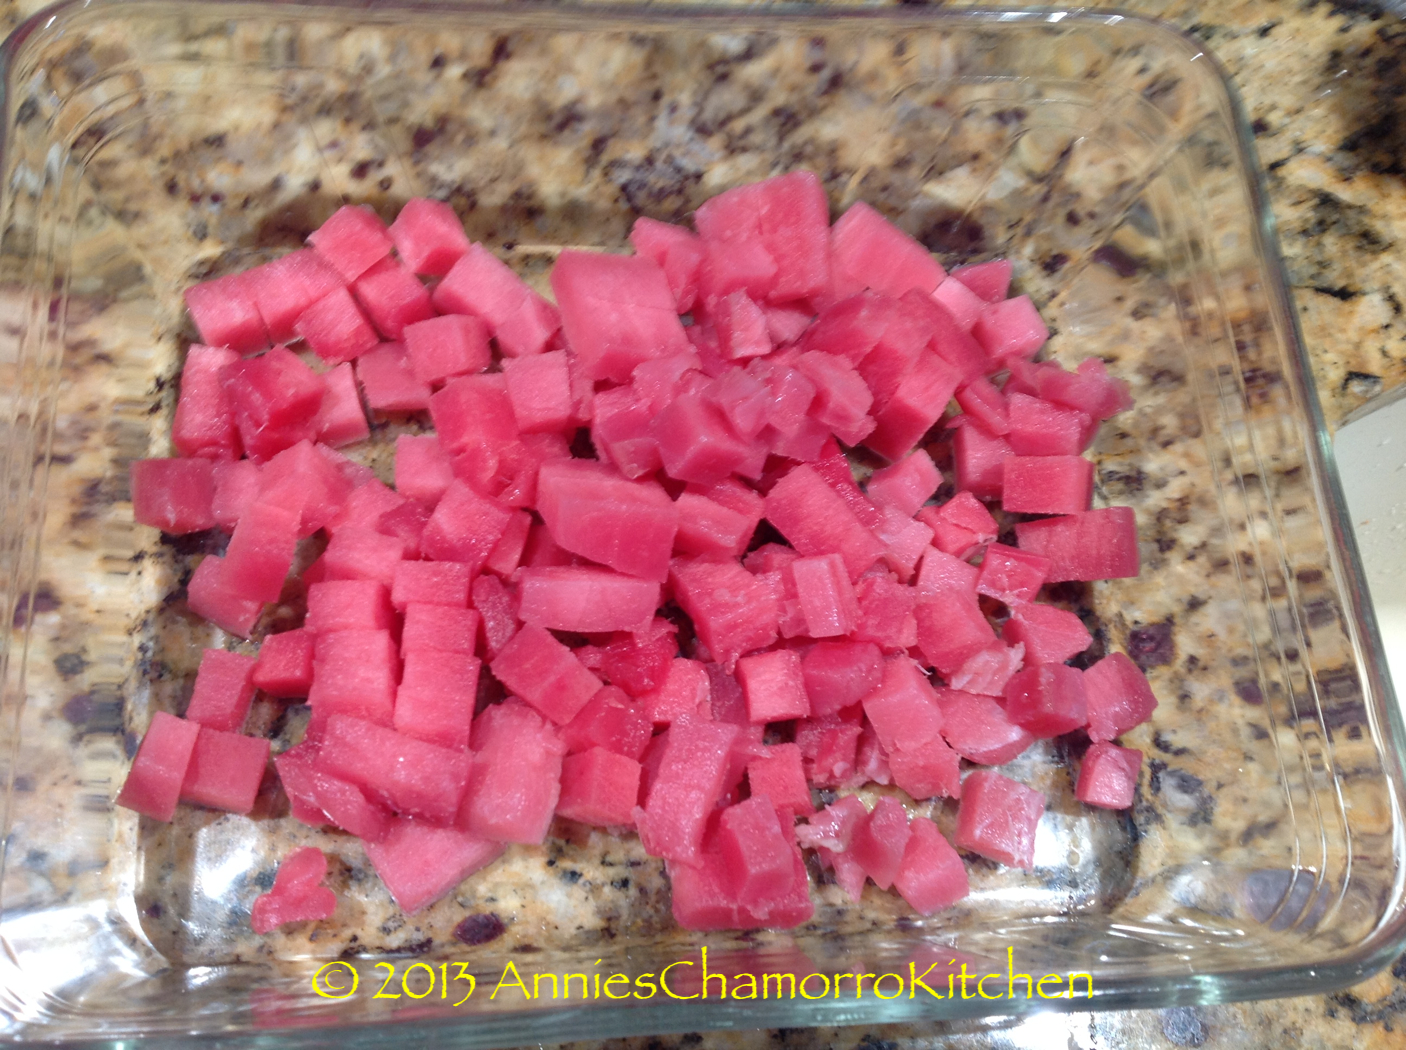
- 4 pounds skirt steak, with excess fat trimmed off
- 12 corn tortillas
- Sour cream
- Guacamole
- Pico de gallo
- Shredded Mexican cheese blend
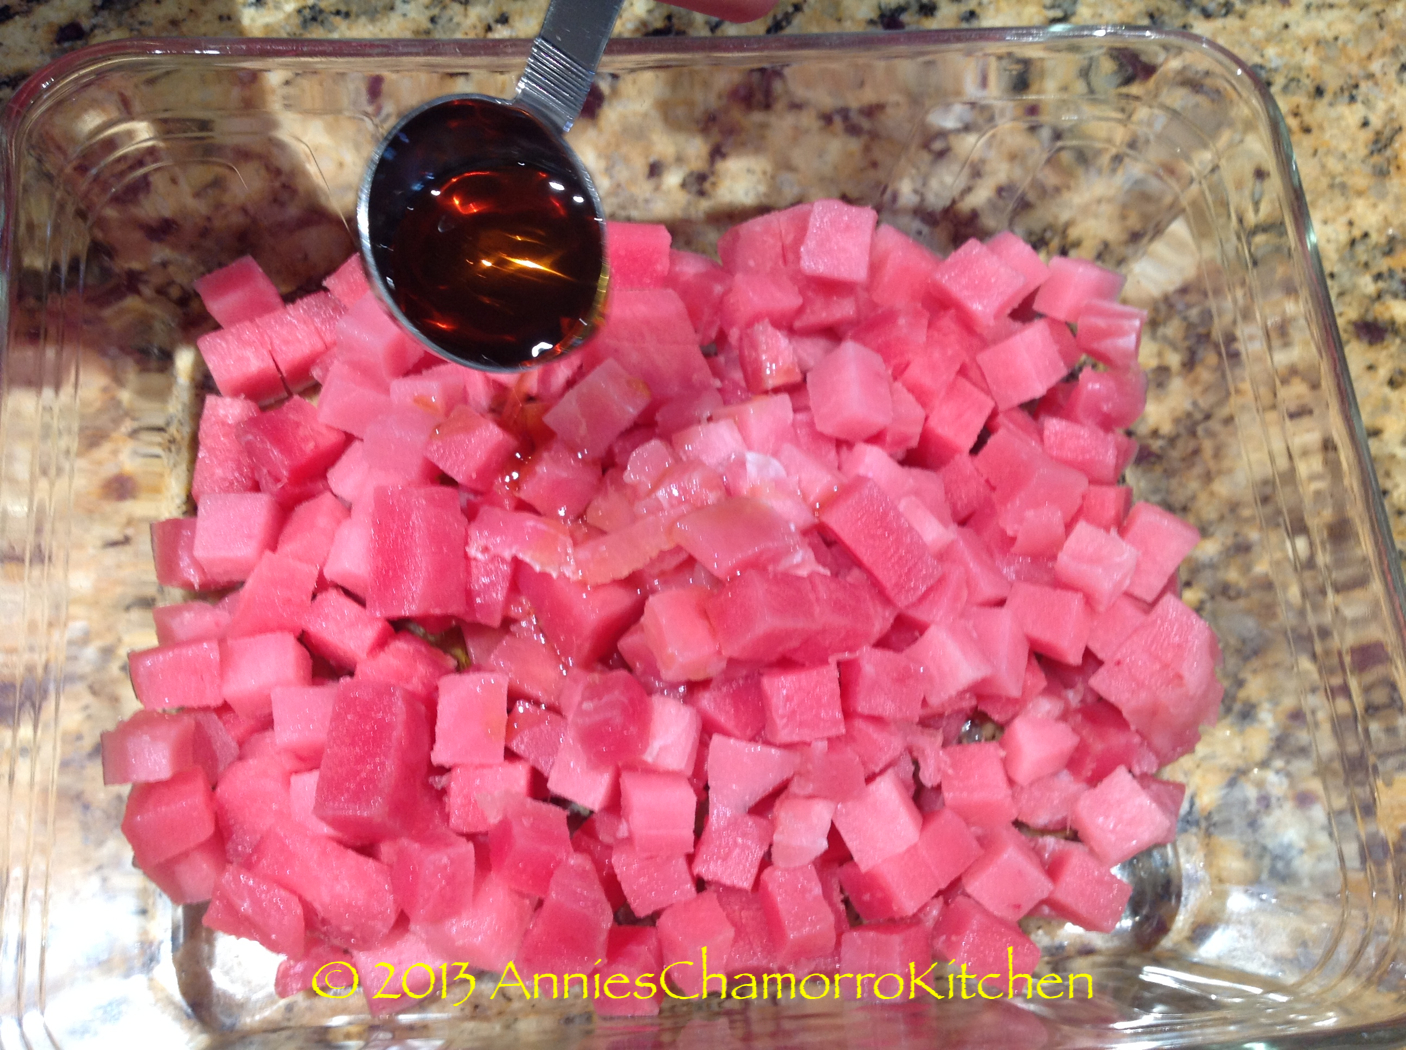
Hannah’s Carne Asada Marinade:
- 1/2 cup lime juice
- The juice of 2 oranges
- 2 tablespoons minced garlic
- 2 teaspoons salt
- 1/4 cup olive oil
- 1 cup of chopped cilantro
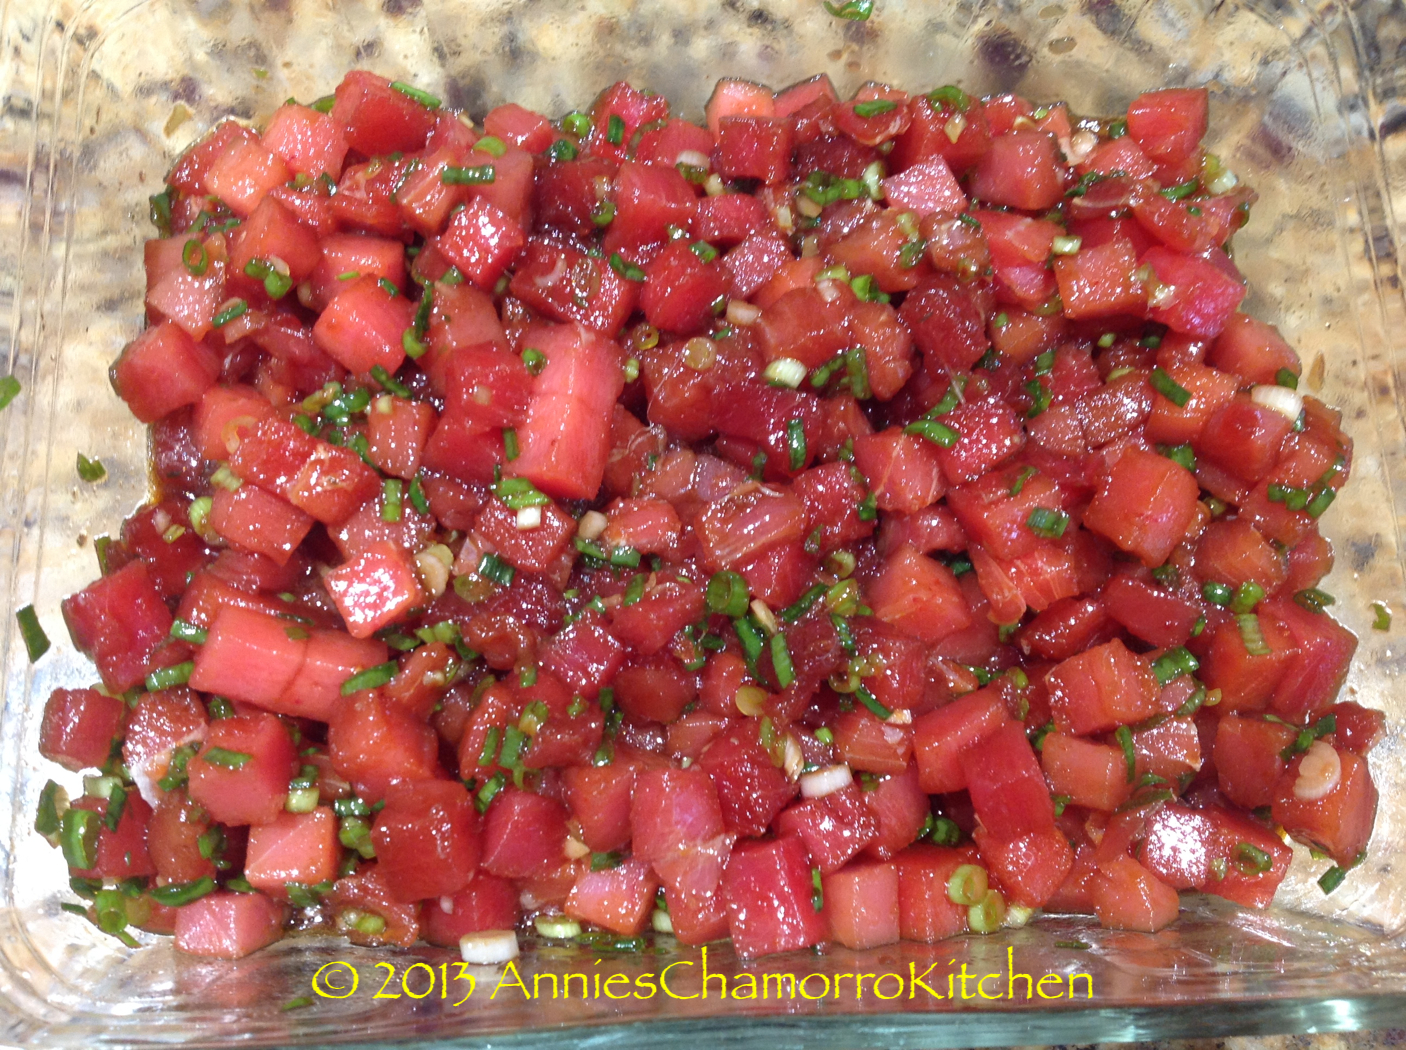
Hannah’s Pico de Gallo:
- 1 large tomato, diced
- 1 small onion, diced
- 1 cup chopped cilantro
- The juice of 2 limes
- Salt, to taste
- Optional: chopped hot peppers
Hannah’s Guacamole:
- 3 large avocados, peeled, seeded, and cut into small pieces
- 1 small red onion, finely minced
- The juice of 3-4 limes
- Salt, to taste
- 1 tablespoon minced garlic
- 1/2 cup chopped cilantro
- 2 teaspoons chili powder
- Optional: 1 medium tomato, diced (the guac pictured here doesn’t have any tomatoes since I made pico de gallo)
- Optional: diced hot peppers, like jalapenos
1. MARINADE AND GRILLING DIRECTIONS:
Mix all marinade ingredients together. Pour over the skirt steak (I recommend marinating the steak in a ziplock bag). Let the steak marinate for at least 2 hours. Grill until done to your liking. Slice the meat against the grain (so that it isn’t tough when you bite into it).
2. PICO DE GALLO DIRECTIONS:
Mix all the Pico de Gallo ingredients together. Let the mixture sit for at least 30 minutes to allow the flavors to develop. Serve with your carne asada tacos.
3. GUACAMOLE DIRECTIONS:
Mix all the guacamole ingredients together. I like to gently stir my guacamole so that you still have chunks of avocado. If you prefer, you can mash the avocados with a fork for a smooth texture. Serve with your carne asada tacos or with chips.
4. TACO ASSEMBLY:
Grill a tortilla until warmed. Fill with slices of carne asada, some guacamole, pico de gallo, sour cream and cheese. Enjoy!