Moist chocolate cake…chocolate chips…chocolate ganache…enough said. 🙂
Seriously, though. If you are like me, you LOVE LOVE LOVE chocolate! Take a moist chocolate cake batter load it with chocolate chips, bake it into a donut, then dredge it in a rich, creamy chocolate ganache and you’ll be in Heaven!!
Give my recipe a try. I know you’ll love it! 🙂
Chocolate Cake Donuts
INGREDIENTS:
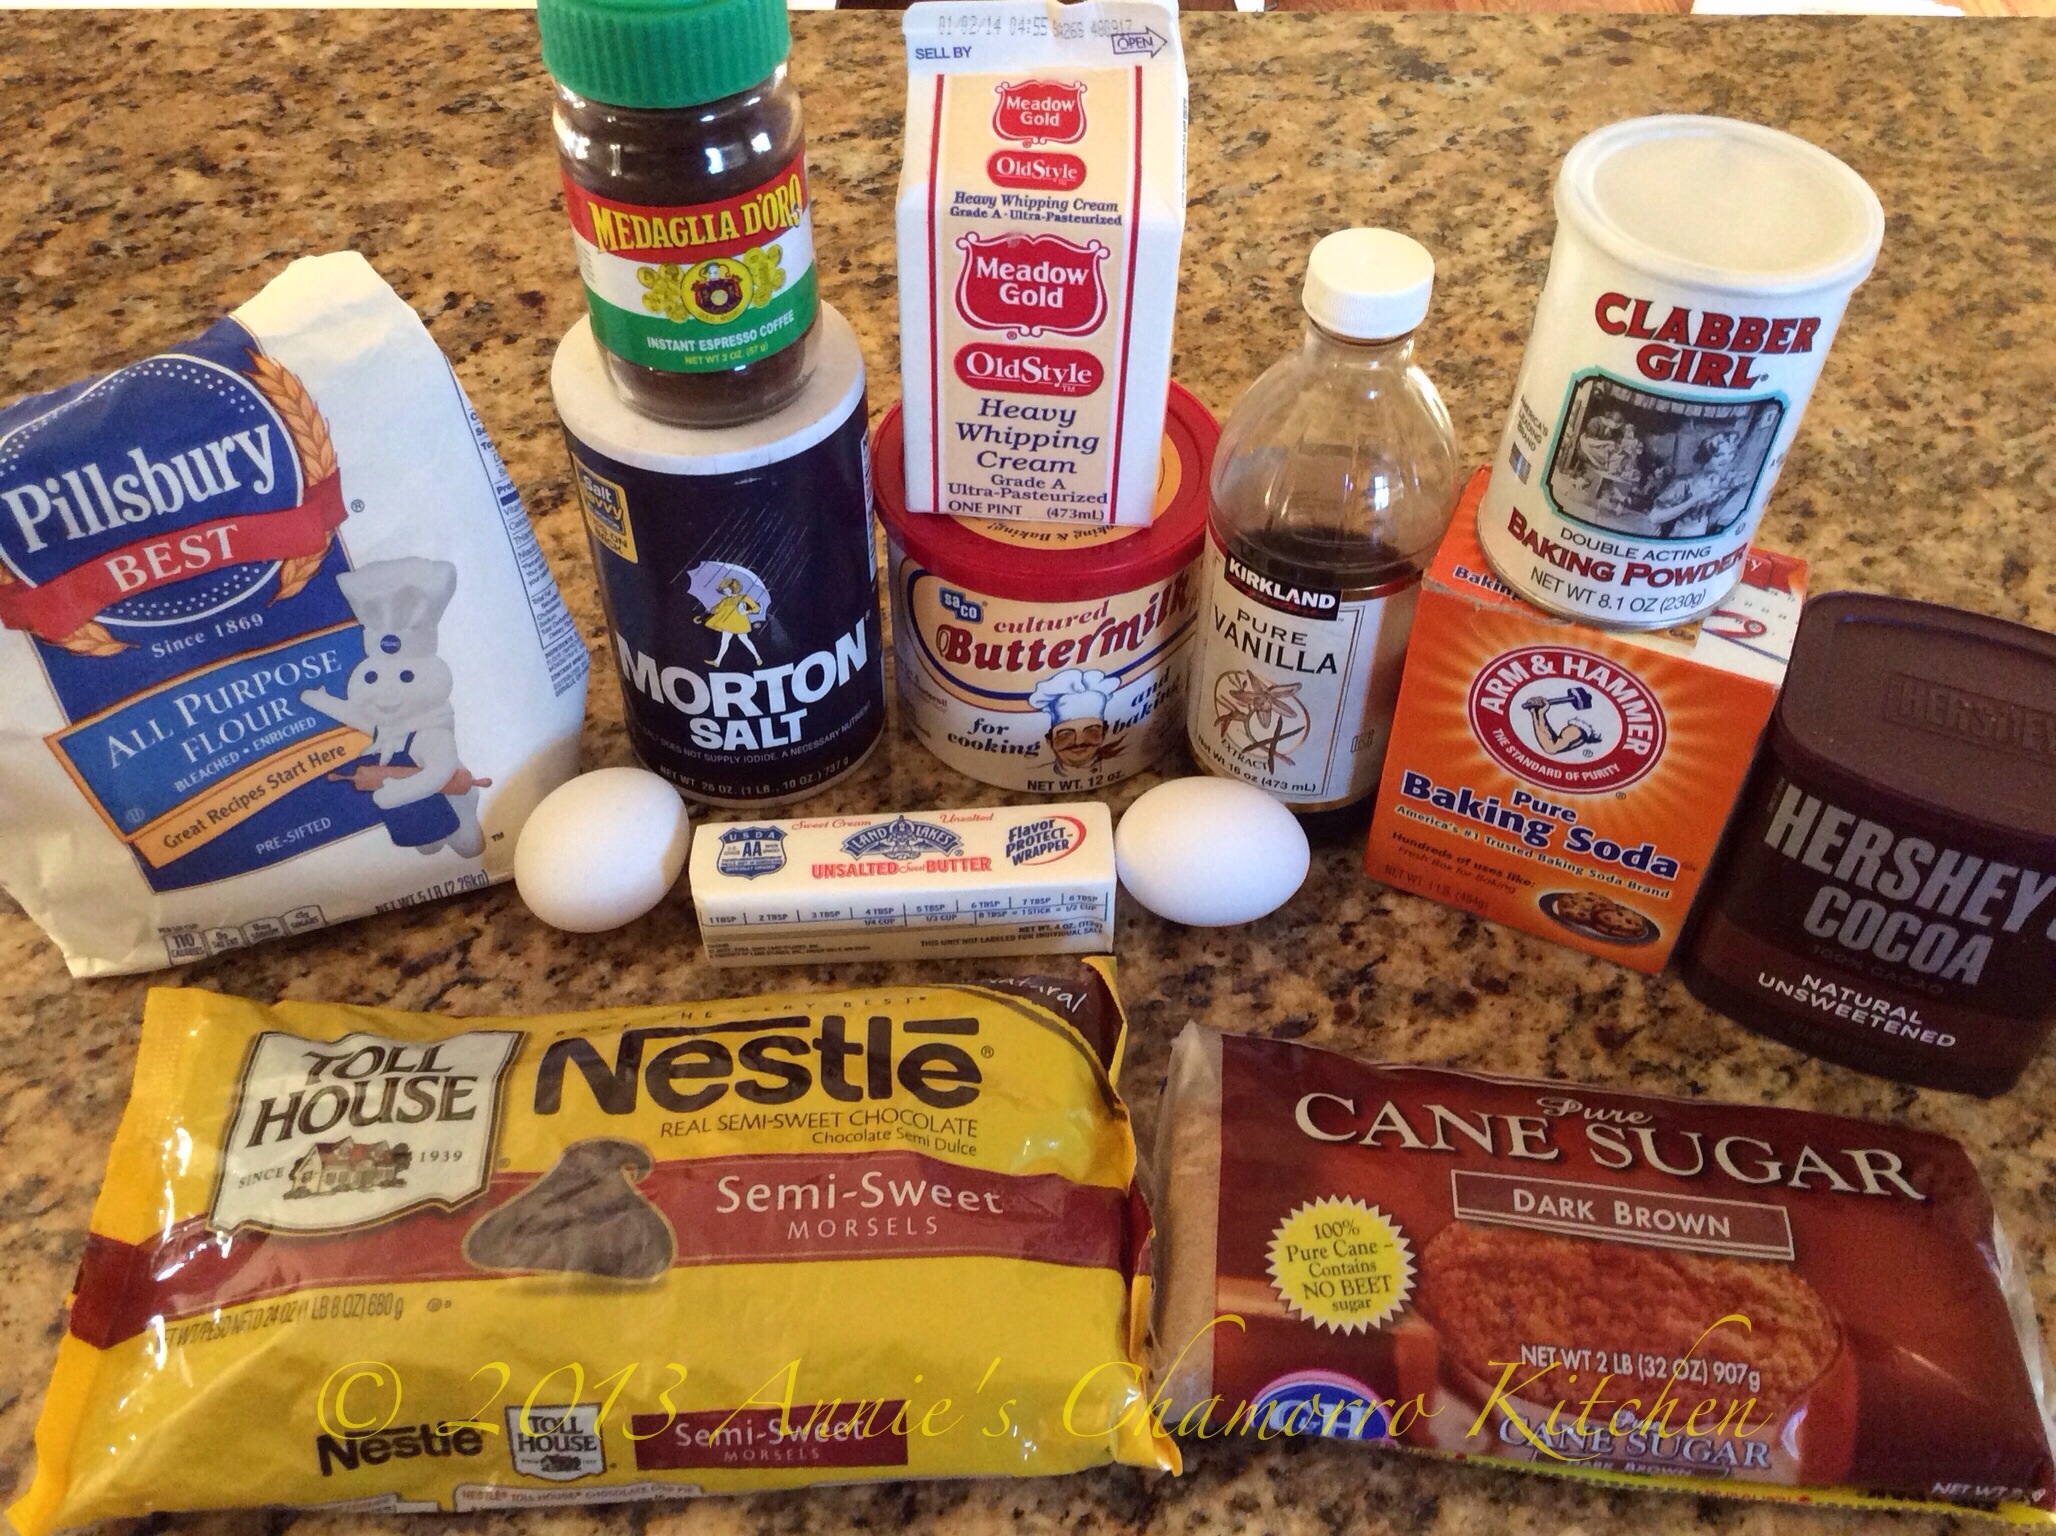
Dry Ingredients:
1 3/4 cups all purpose flour
2/3 cup cocoa powder
1 1/4 cups light brown sugar
1 teaspoon baking powder
1 teaspoon baking soda
1 teaspoon salt
3/4 teaspoon instant espresso powder, or instant coffee granules
3 tablespoons buttermilk powder
1 cup semi-sweet chocolate chips
Wet Ingredients:
2 eggs
3/4 cup water
2 teaspoons vanilla extract
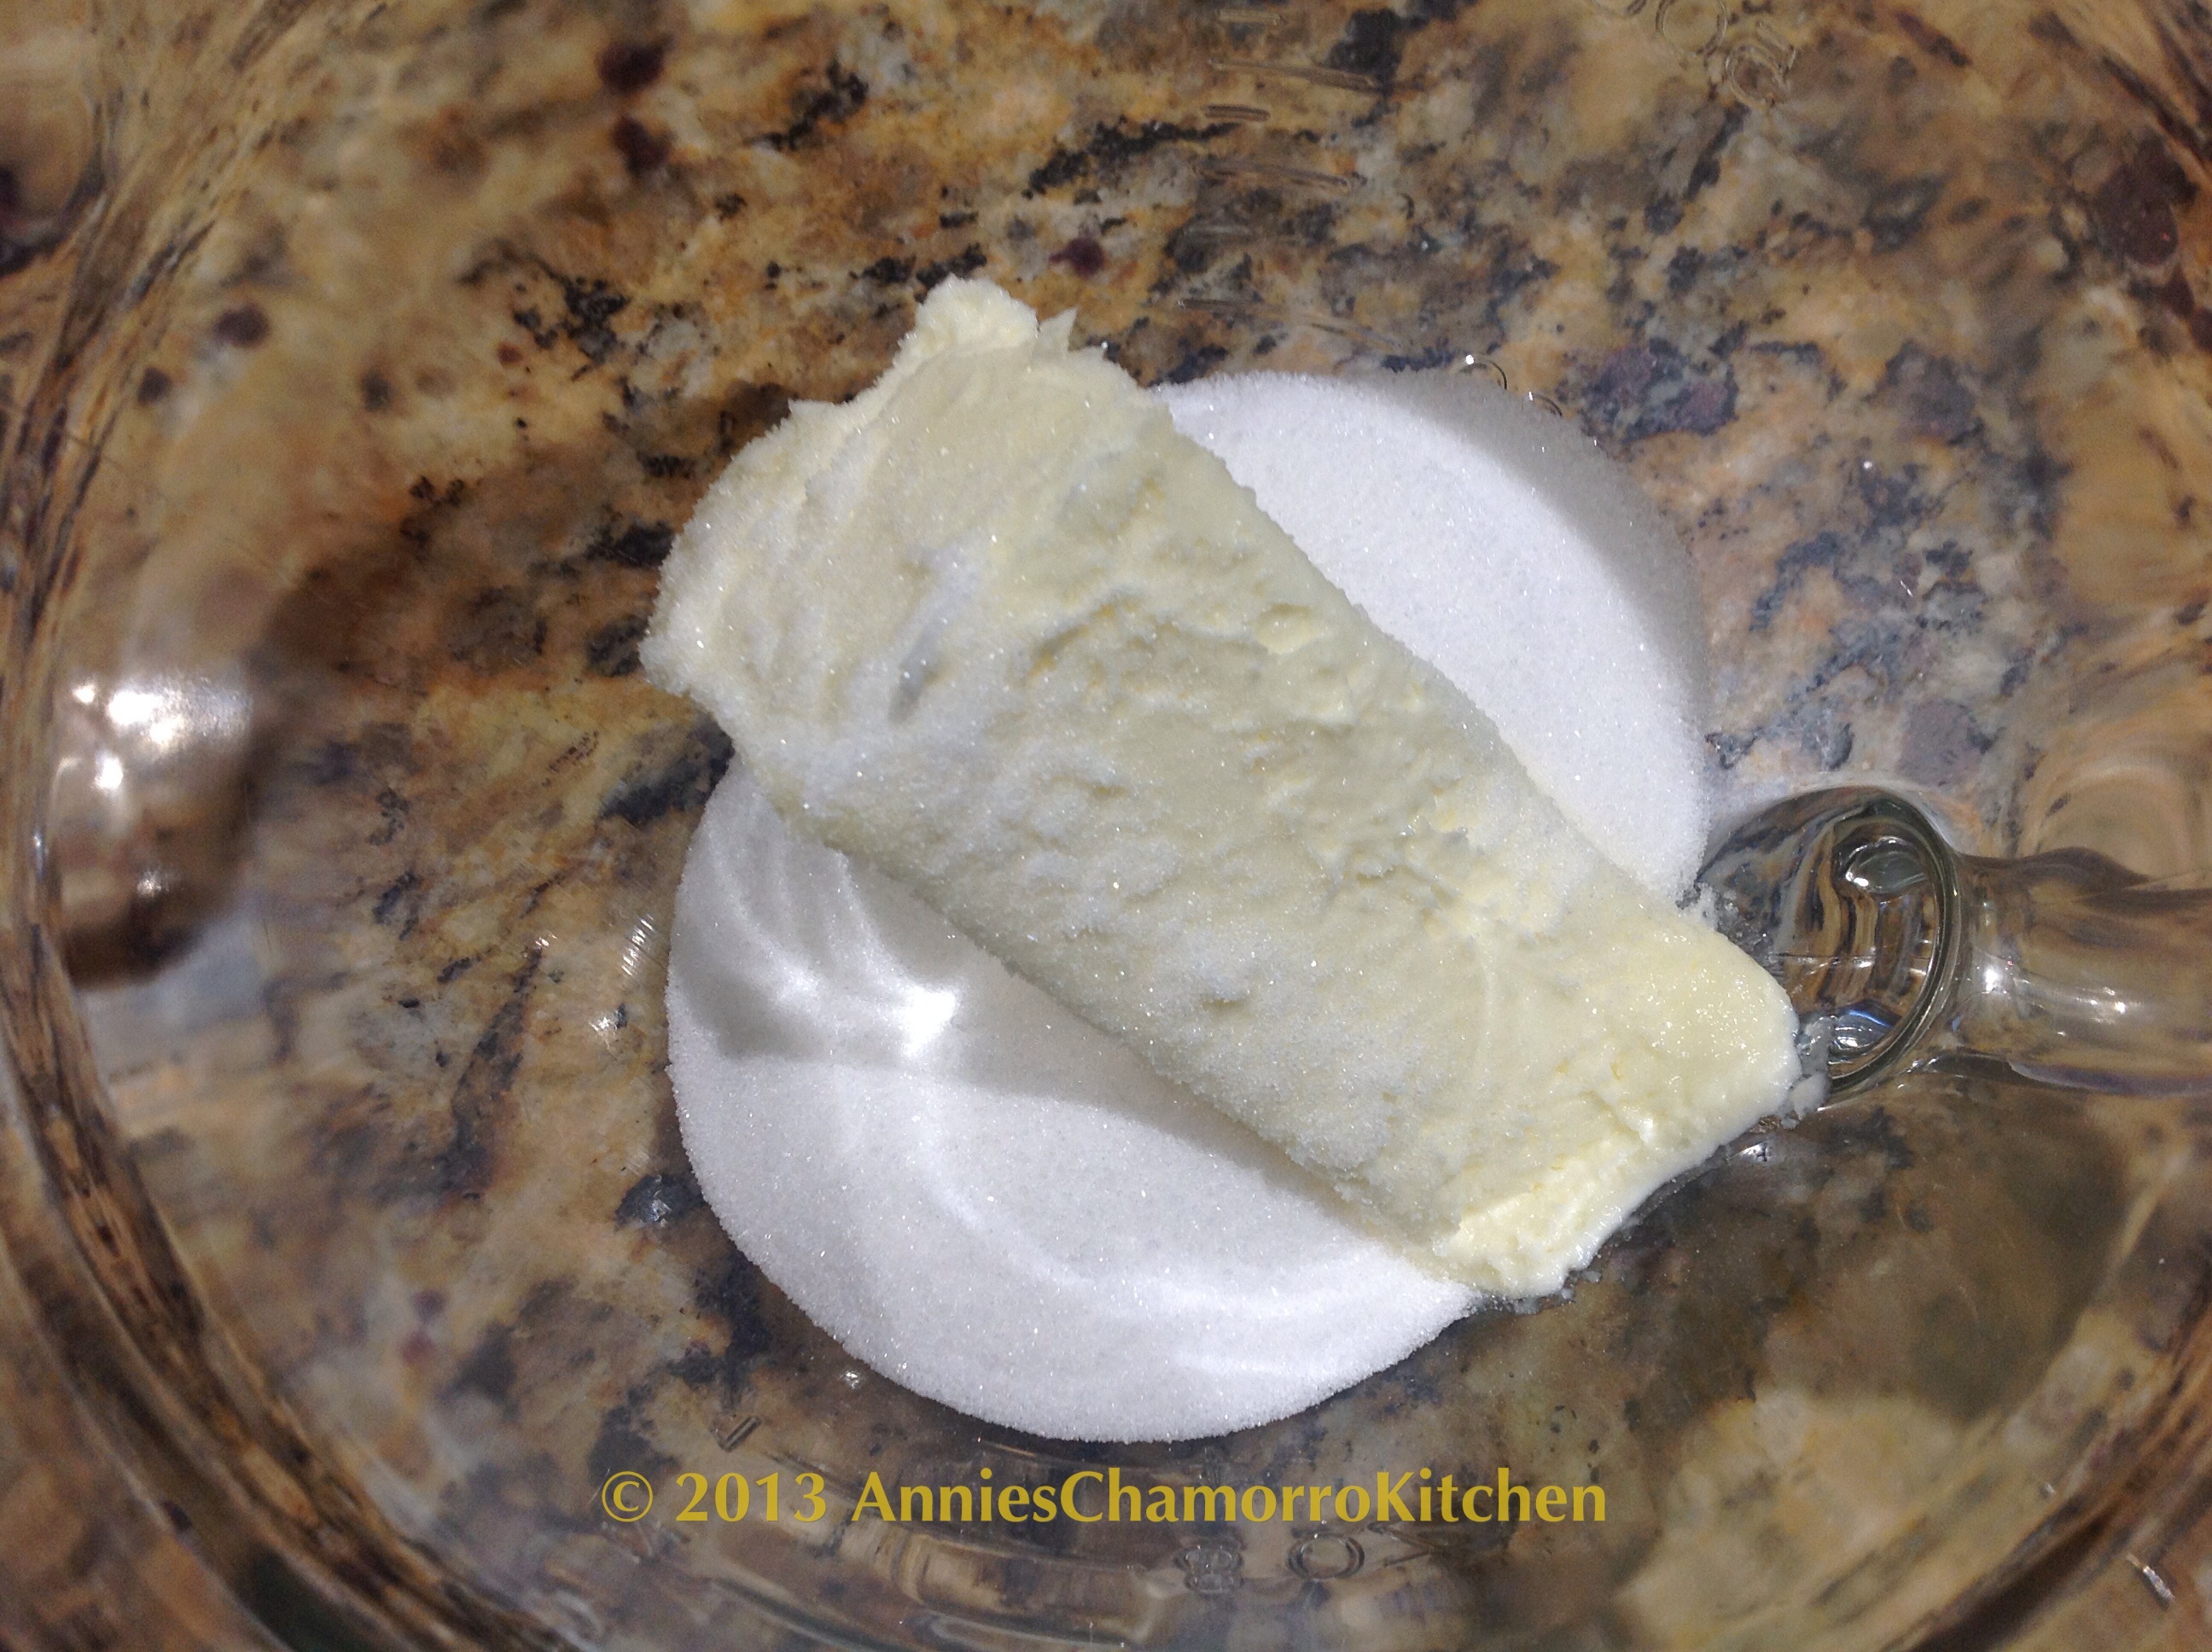
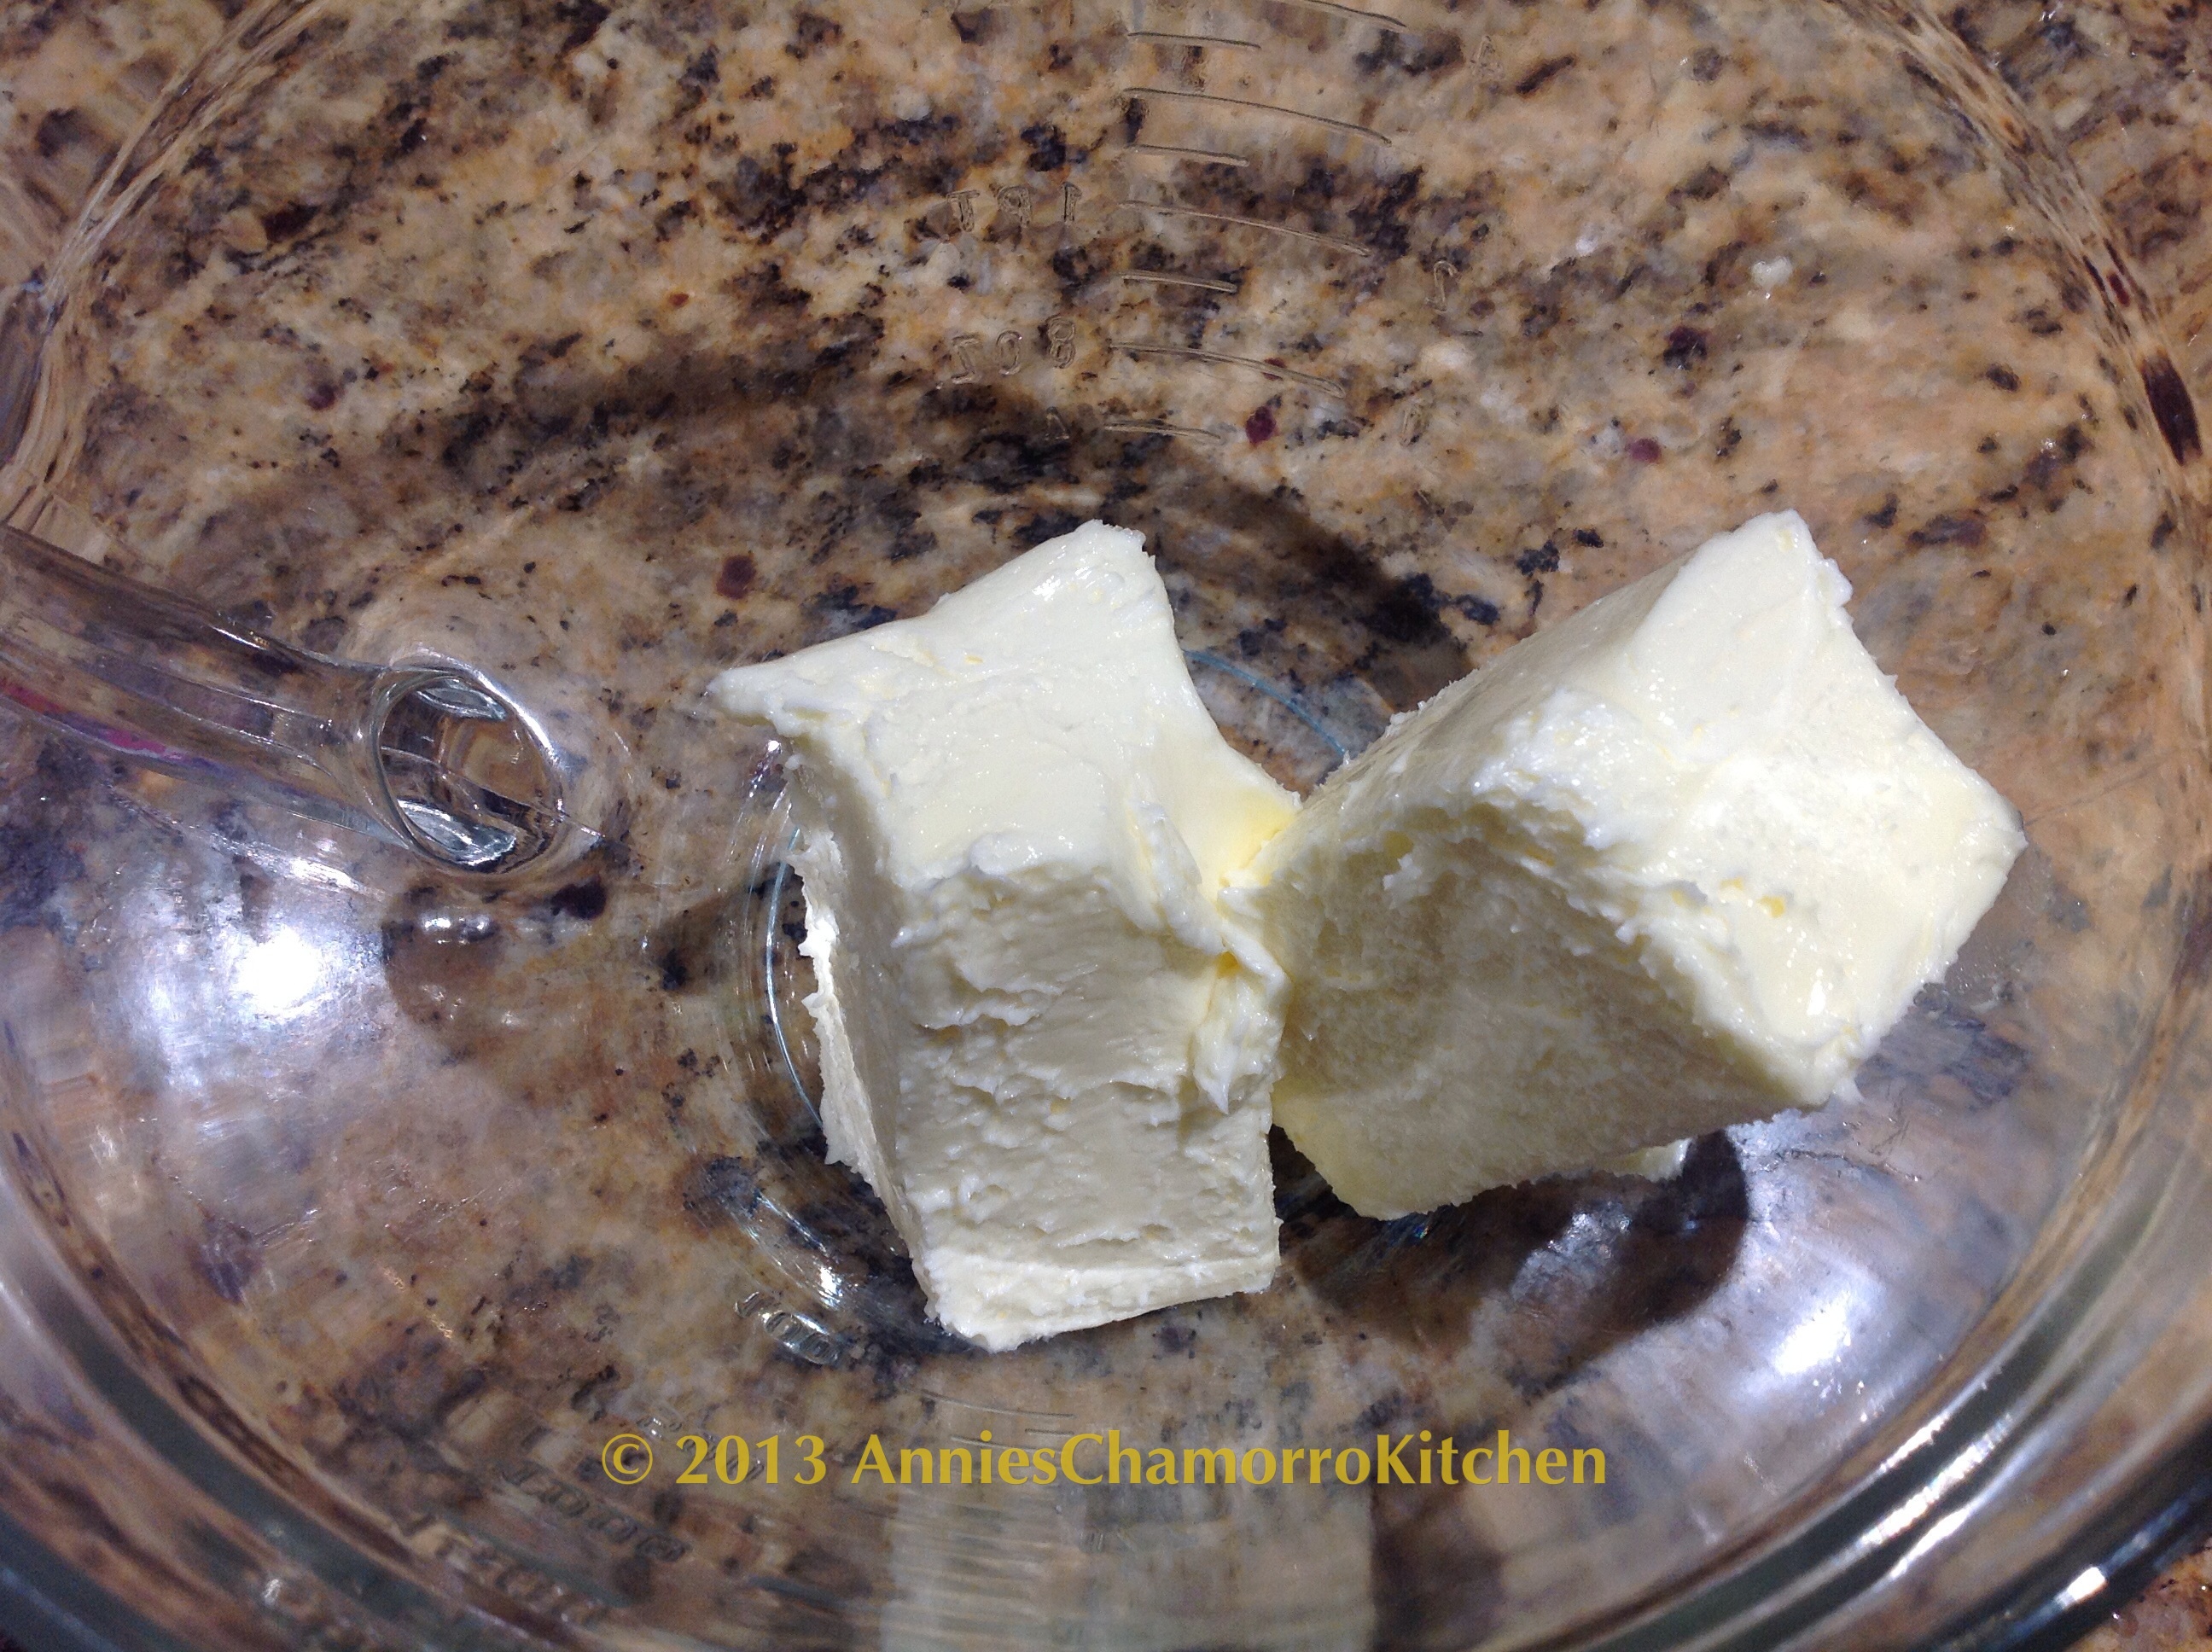
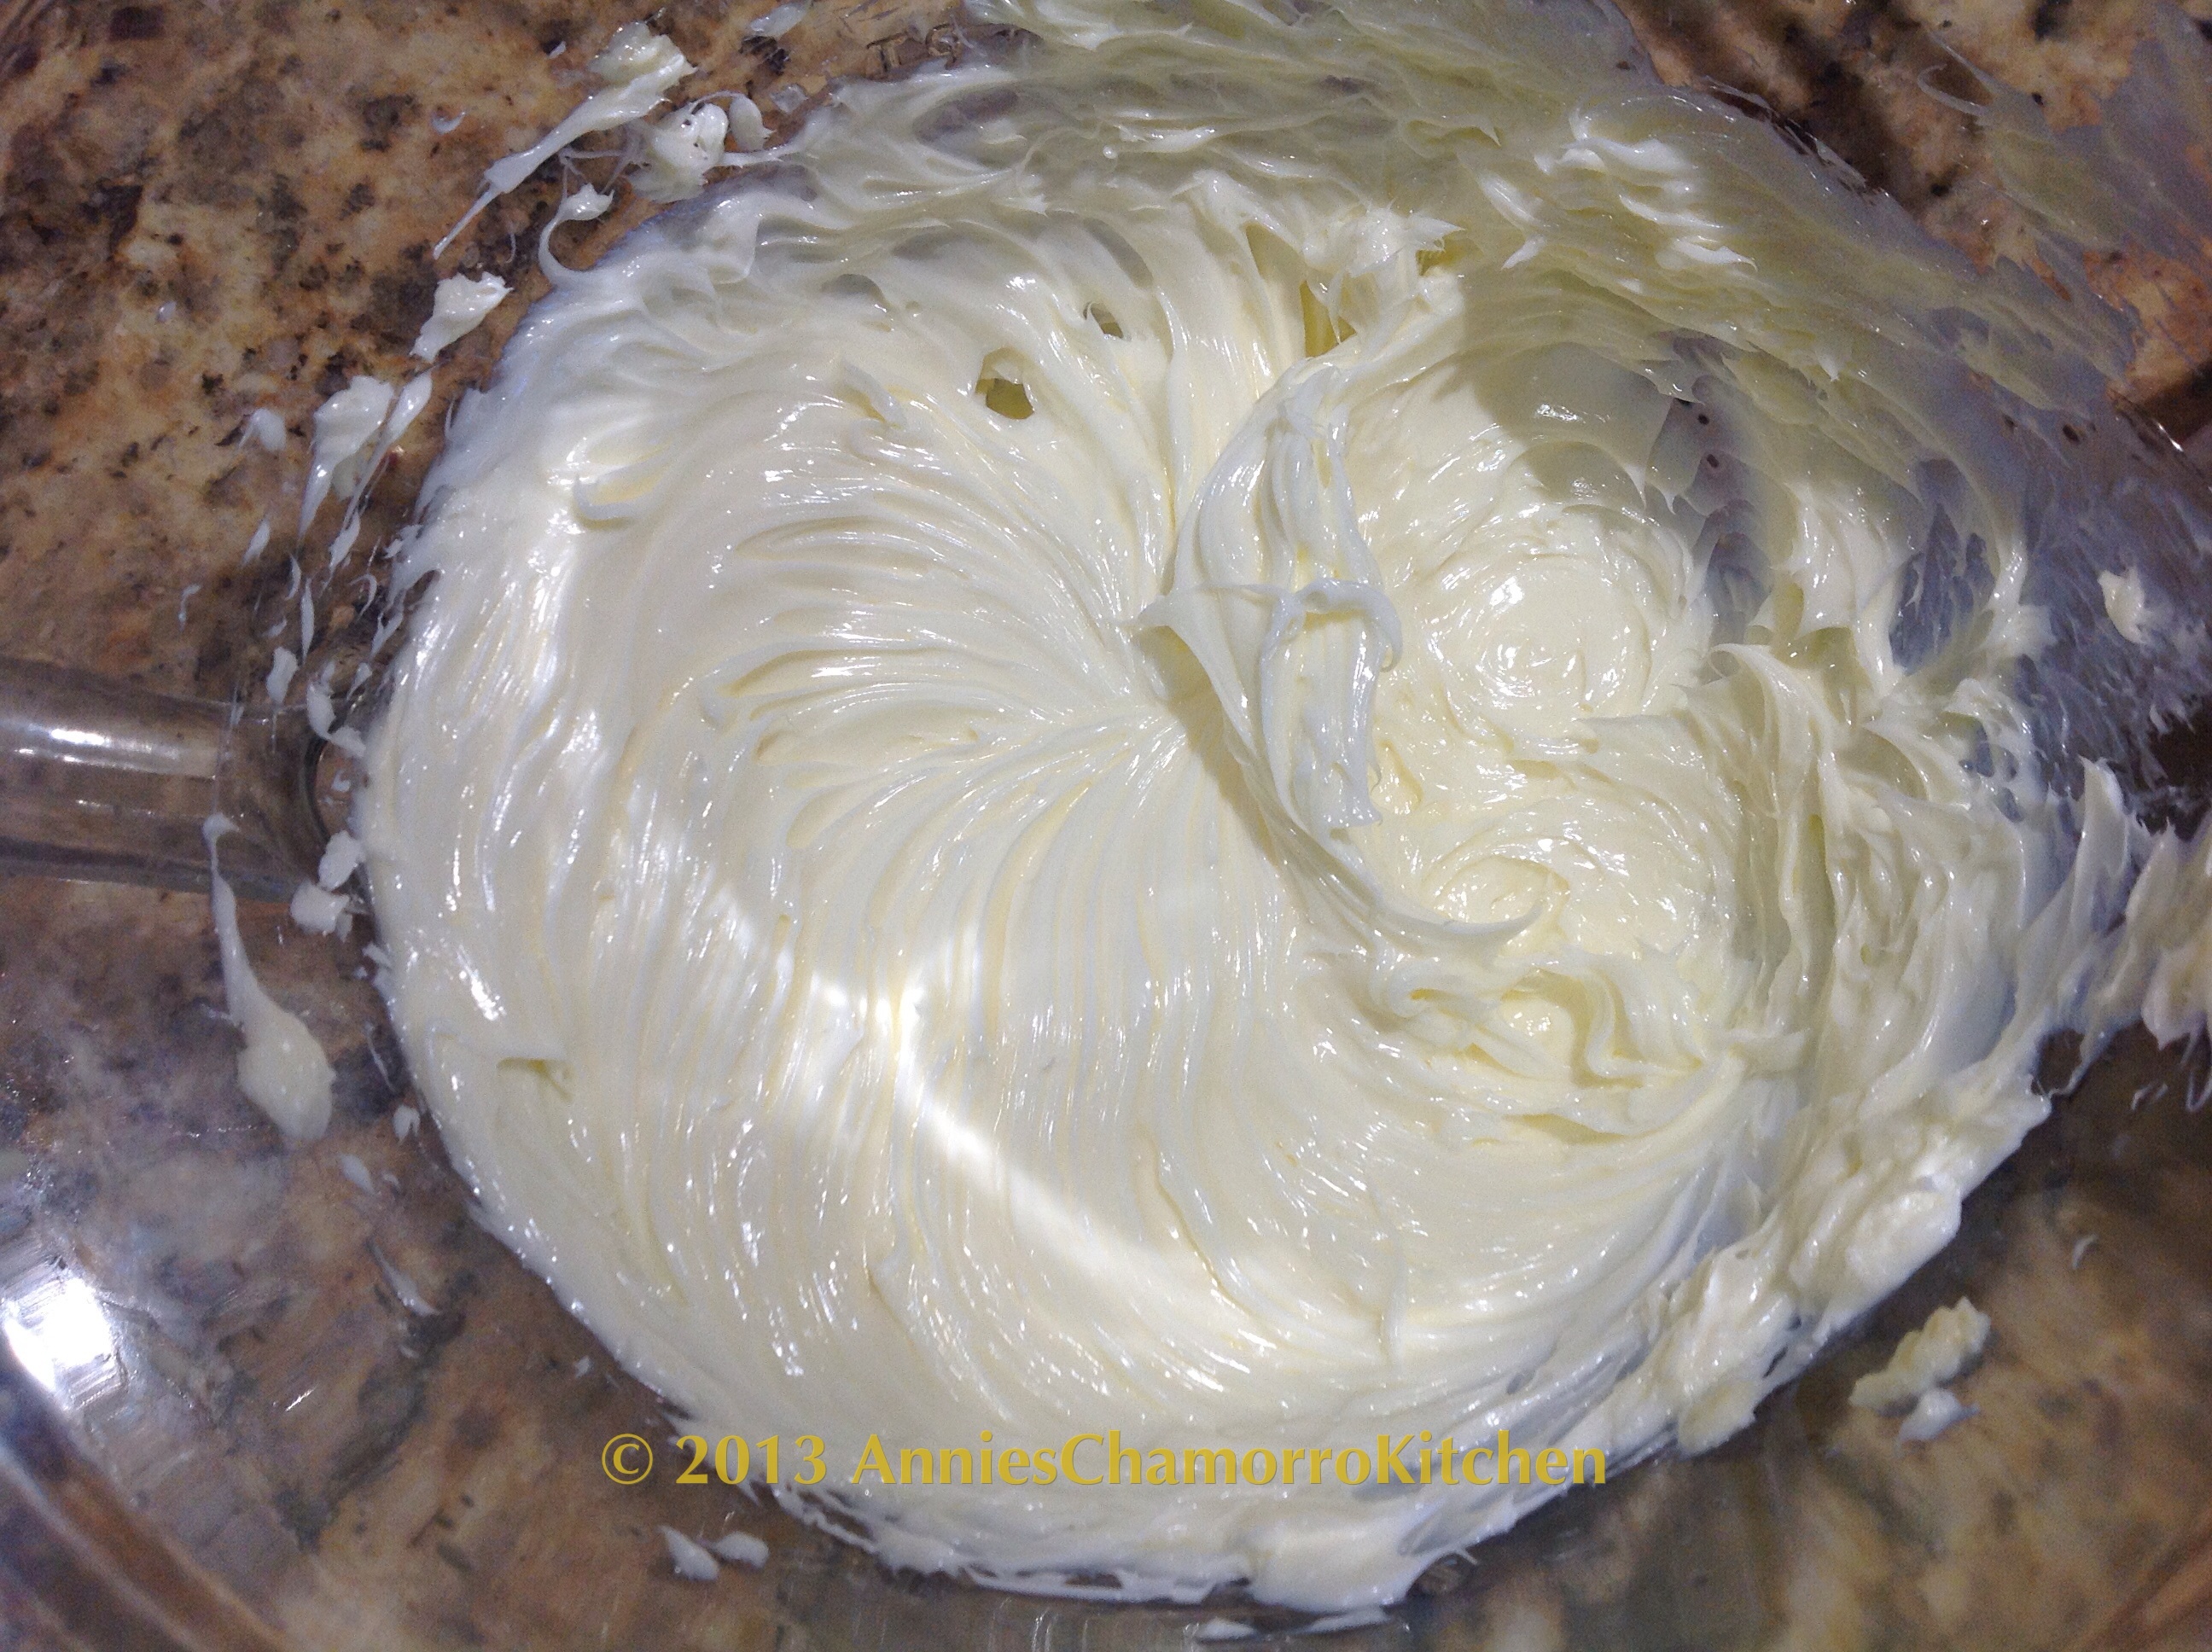
1 stick unsalted butter, melted
Chocolate icing:
2 cups chocolate chips
8 tablespoons heavy cream
Toppings (Optional):
Sweetened coconut flakes
Toffee bits
Mini chocolate chips
Chocolate cookie bits
Multi-colored sprinkles
DIRECTIONS:
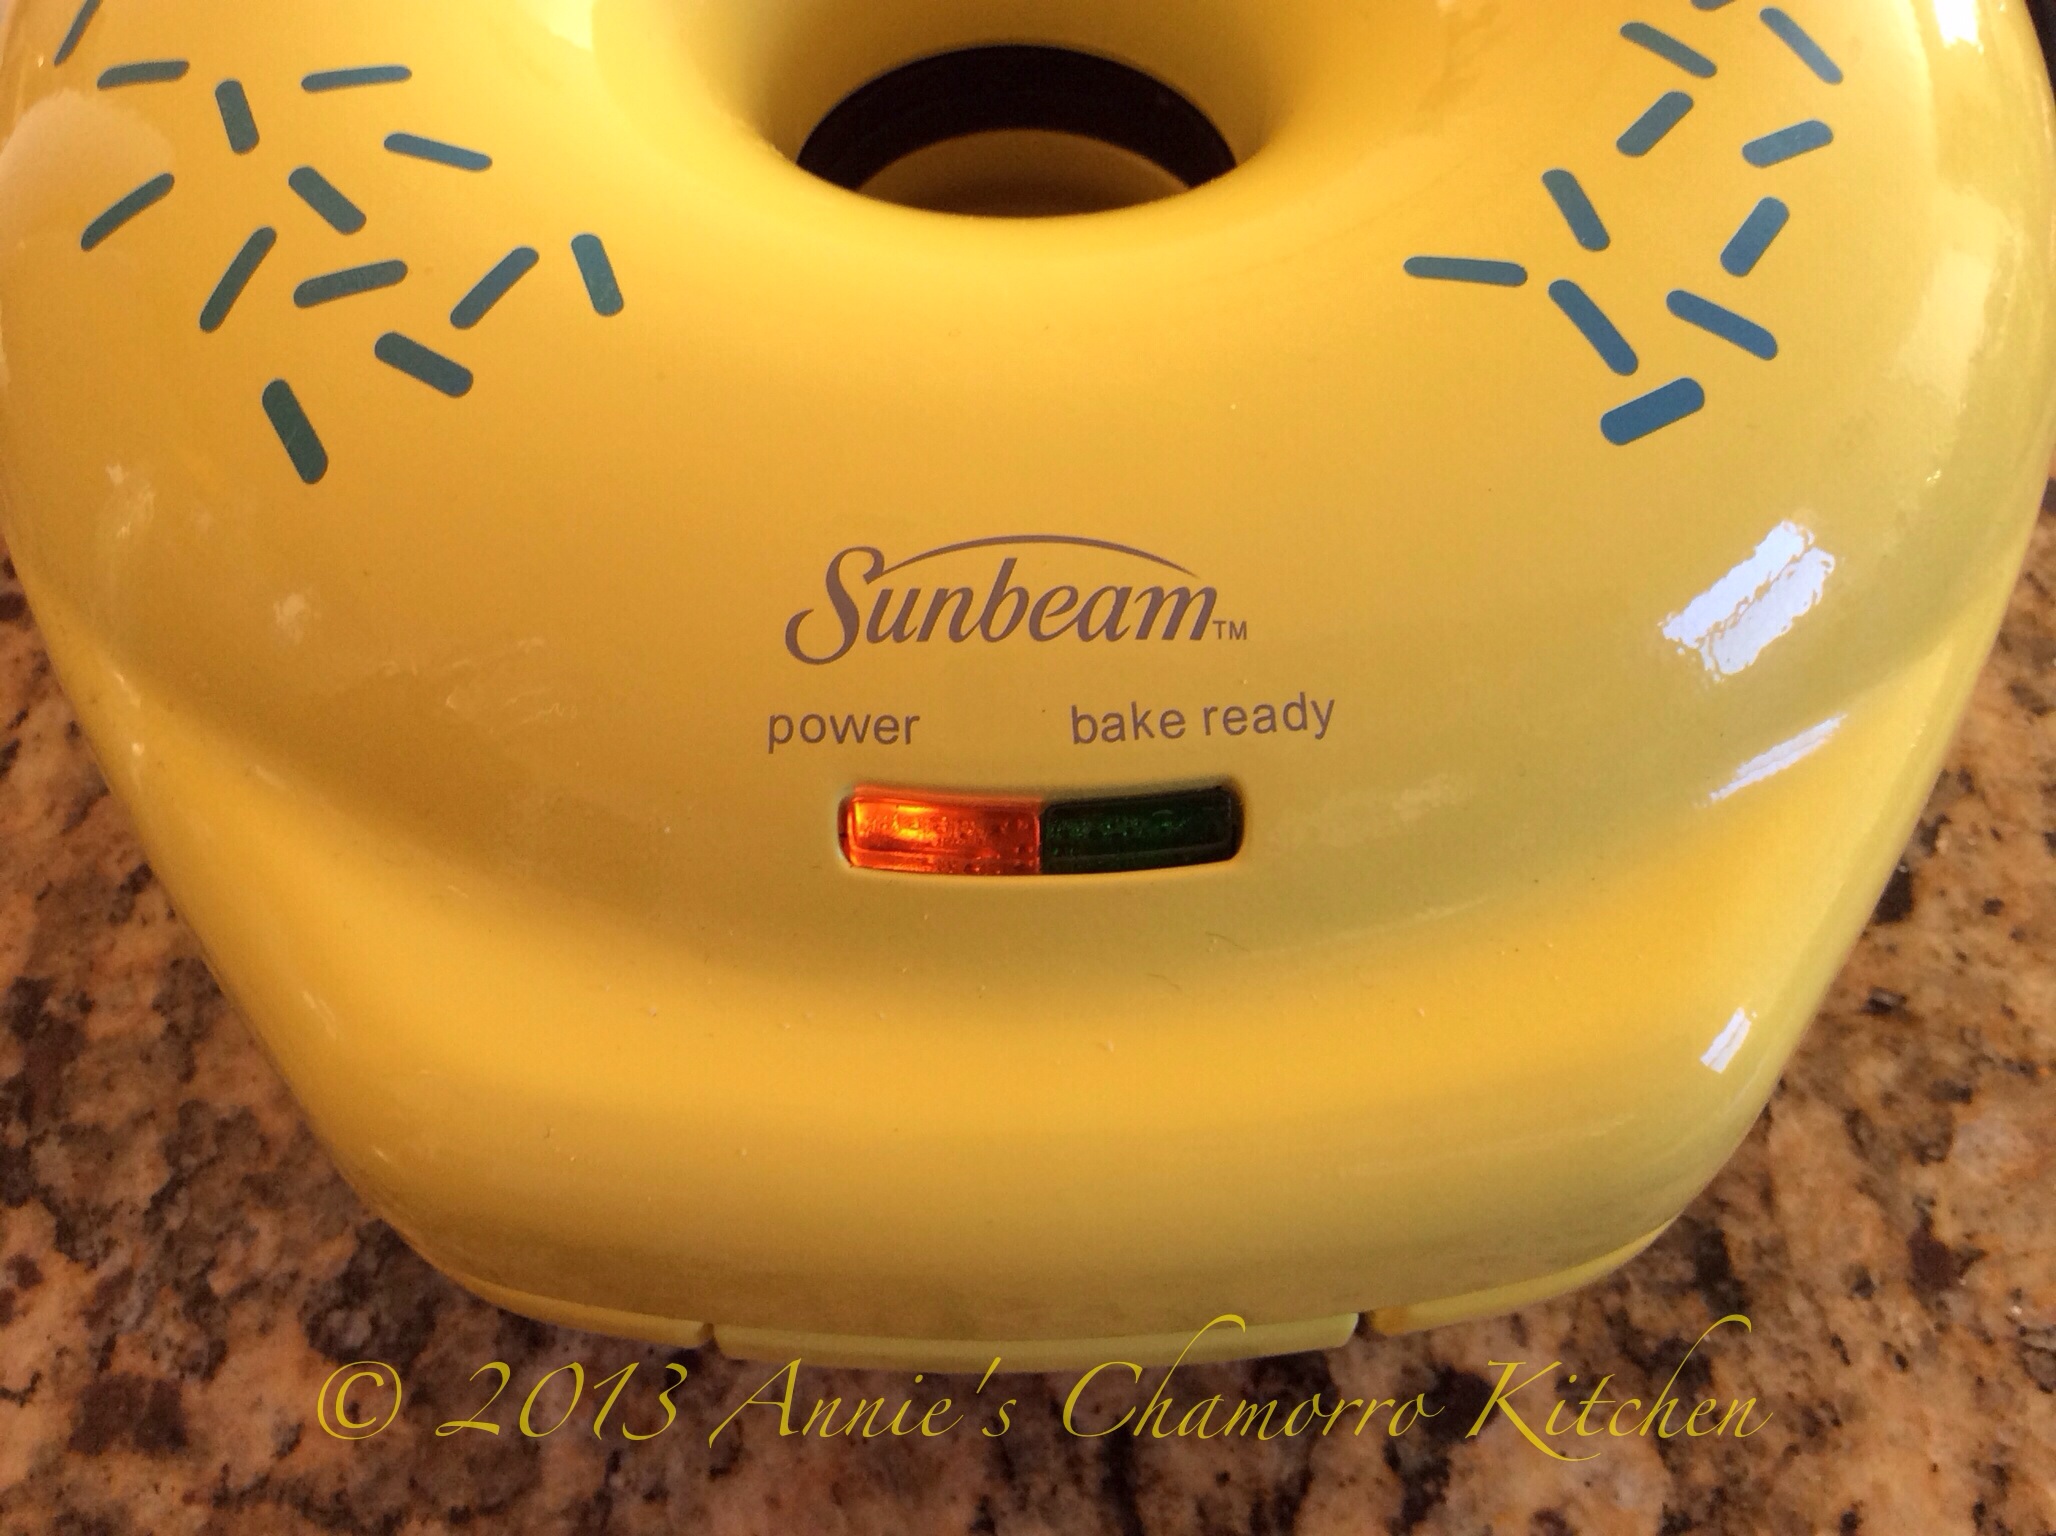
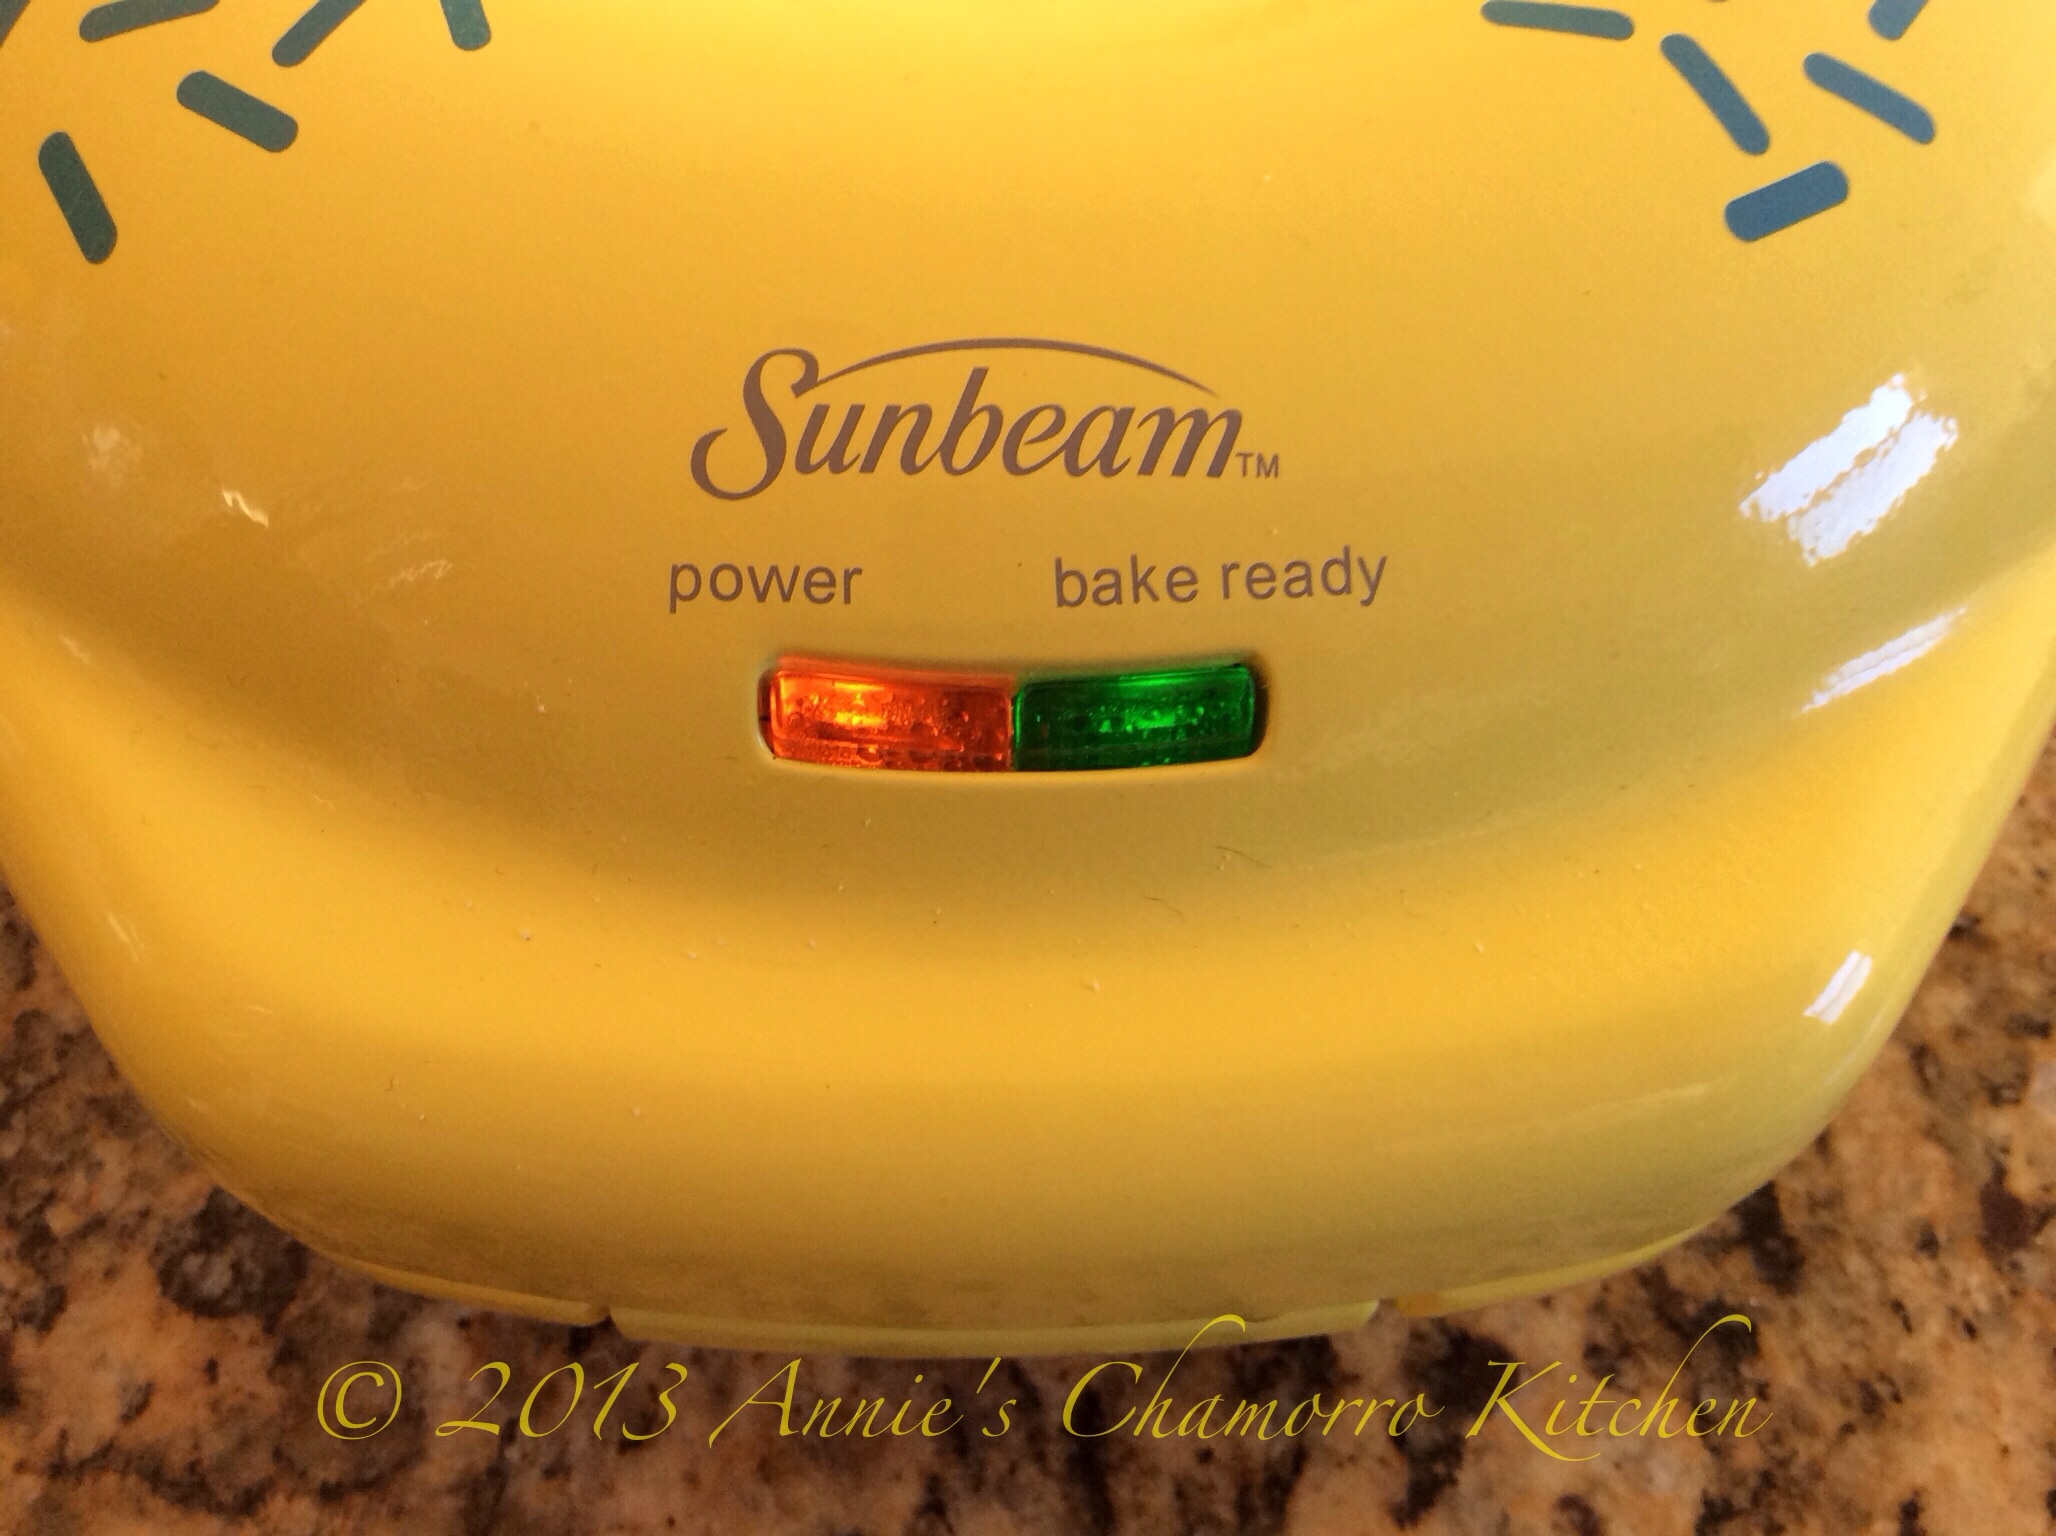
Preheat your donut maker. Mine has an orange light and green light. The green light turns on when the donut maker is heated to the right temperature.
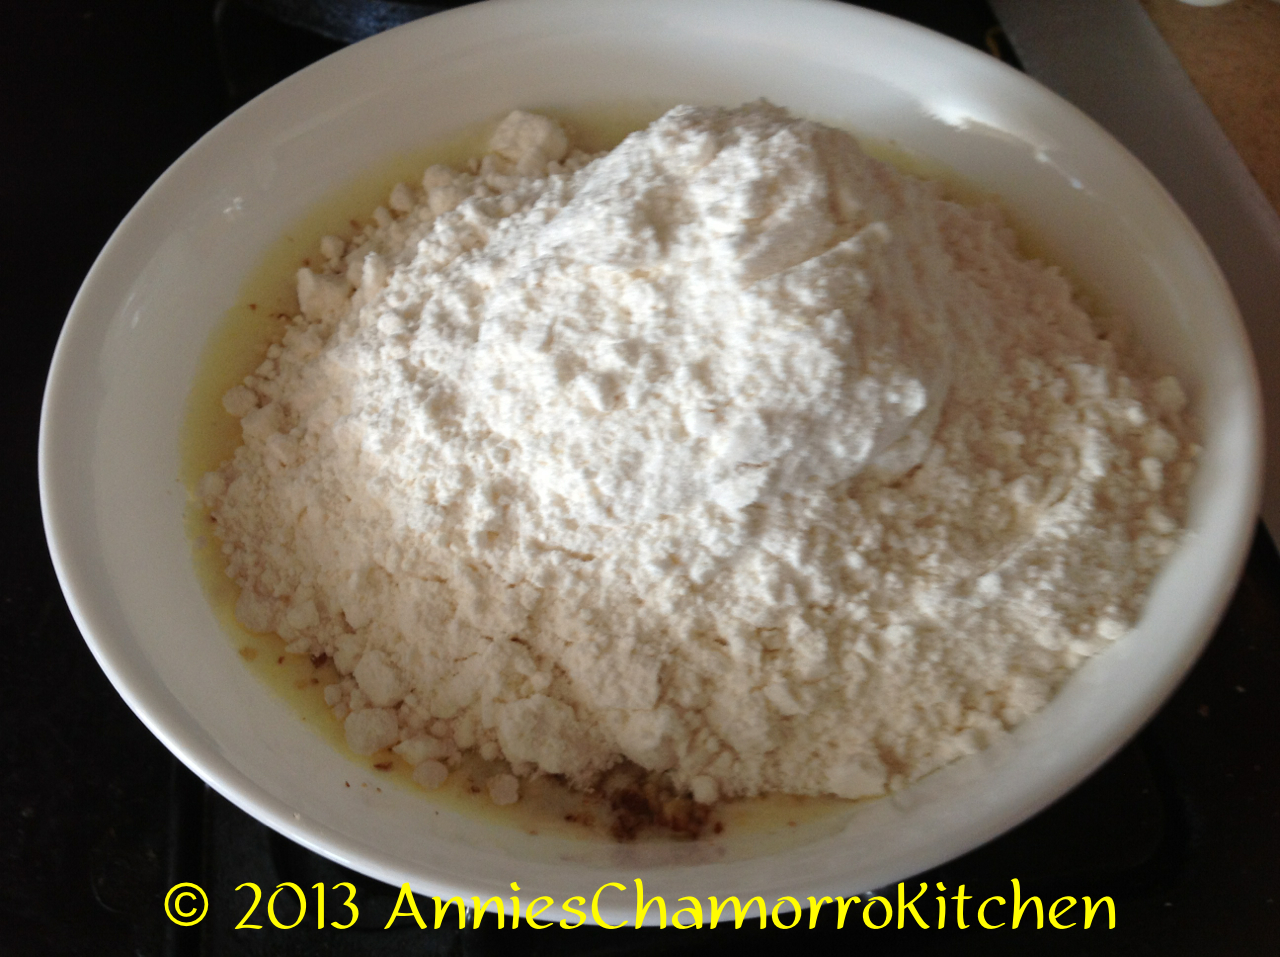
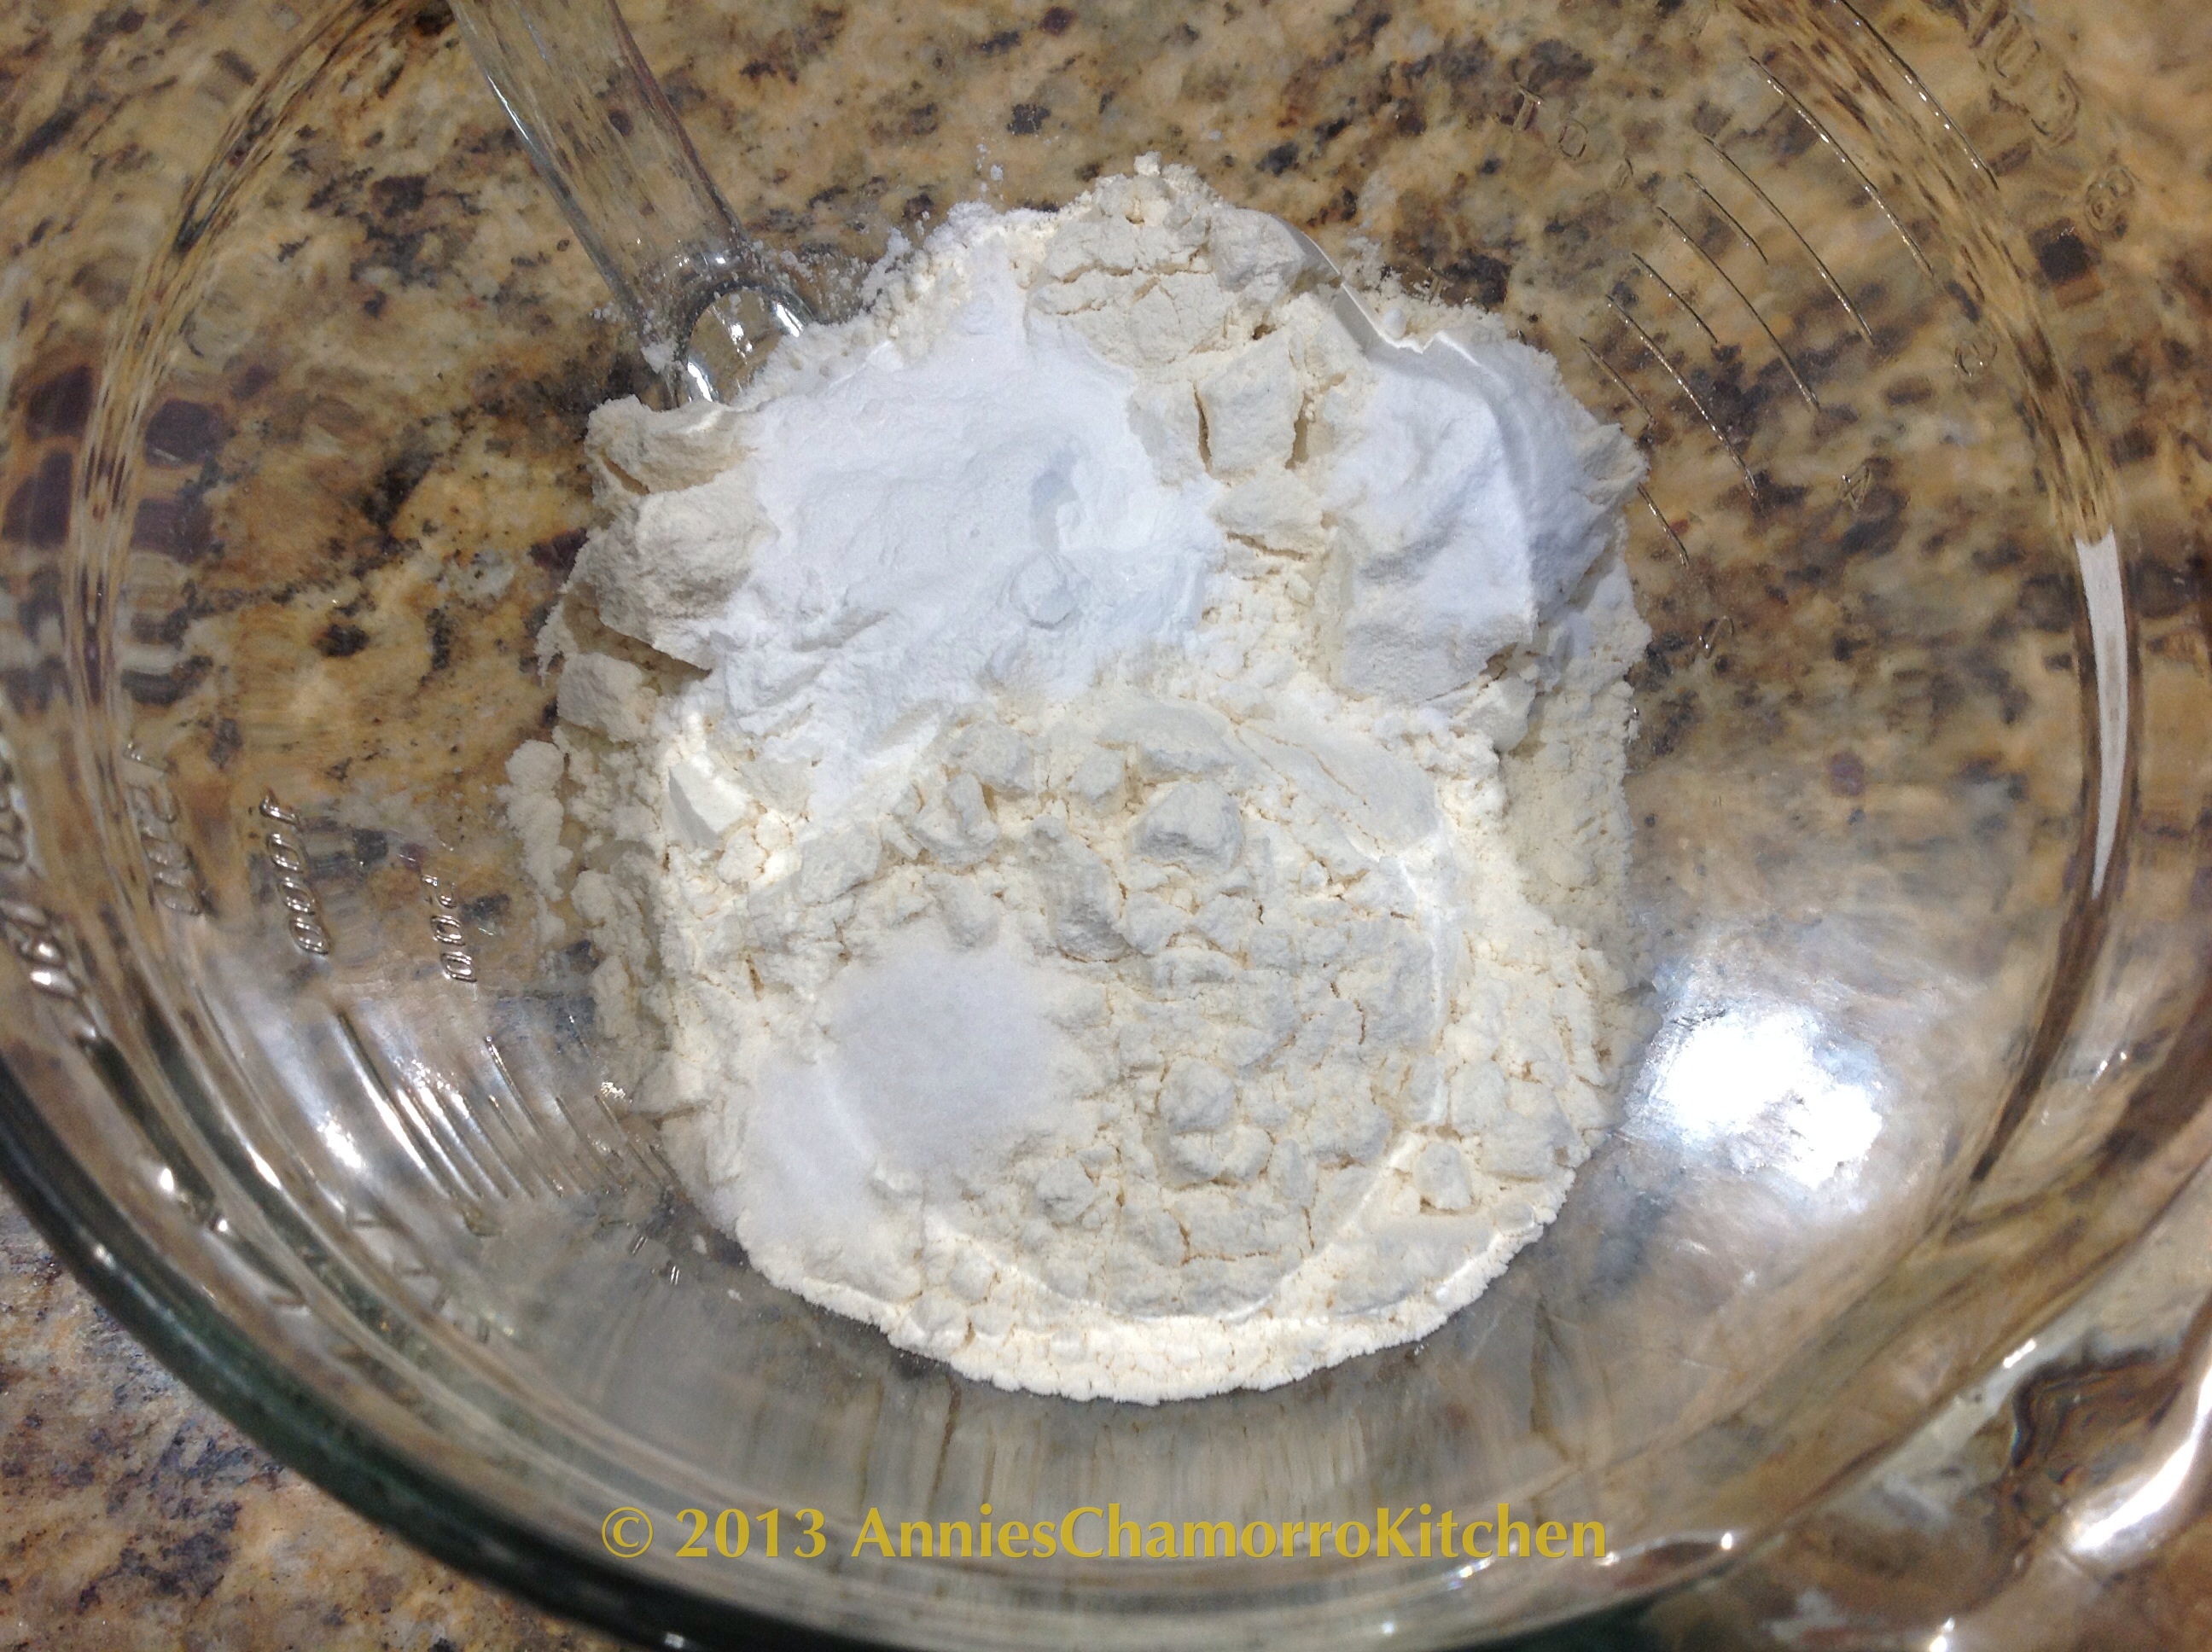
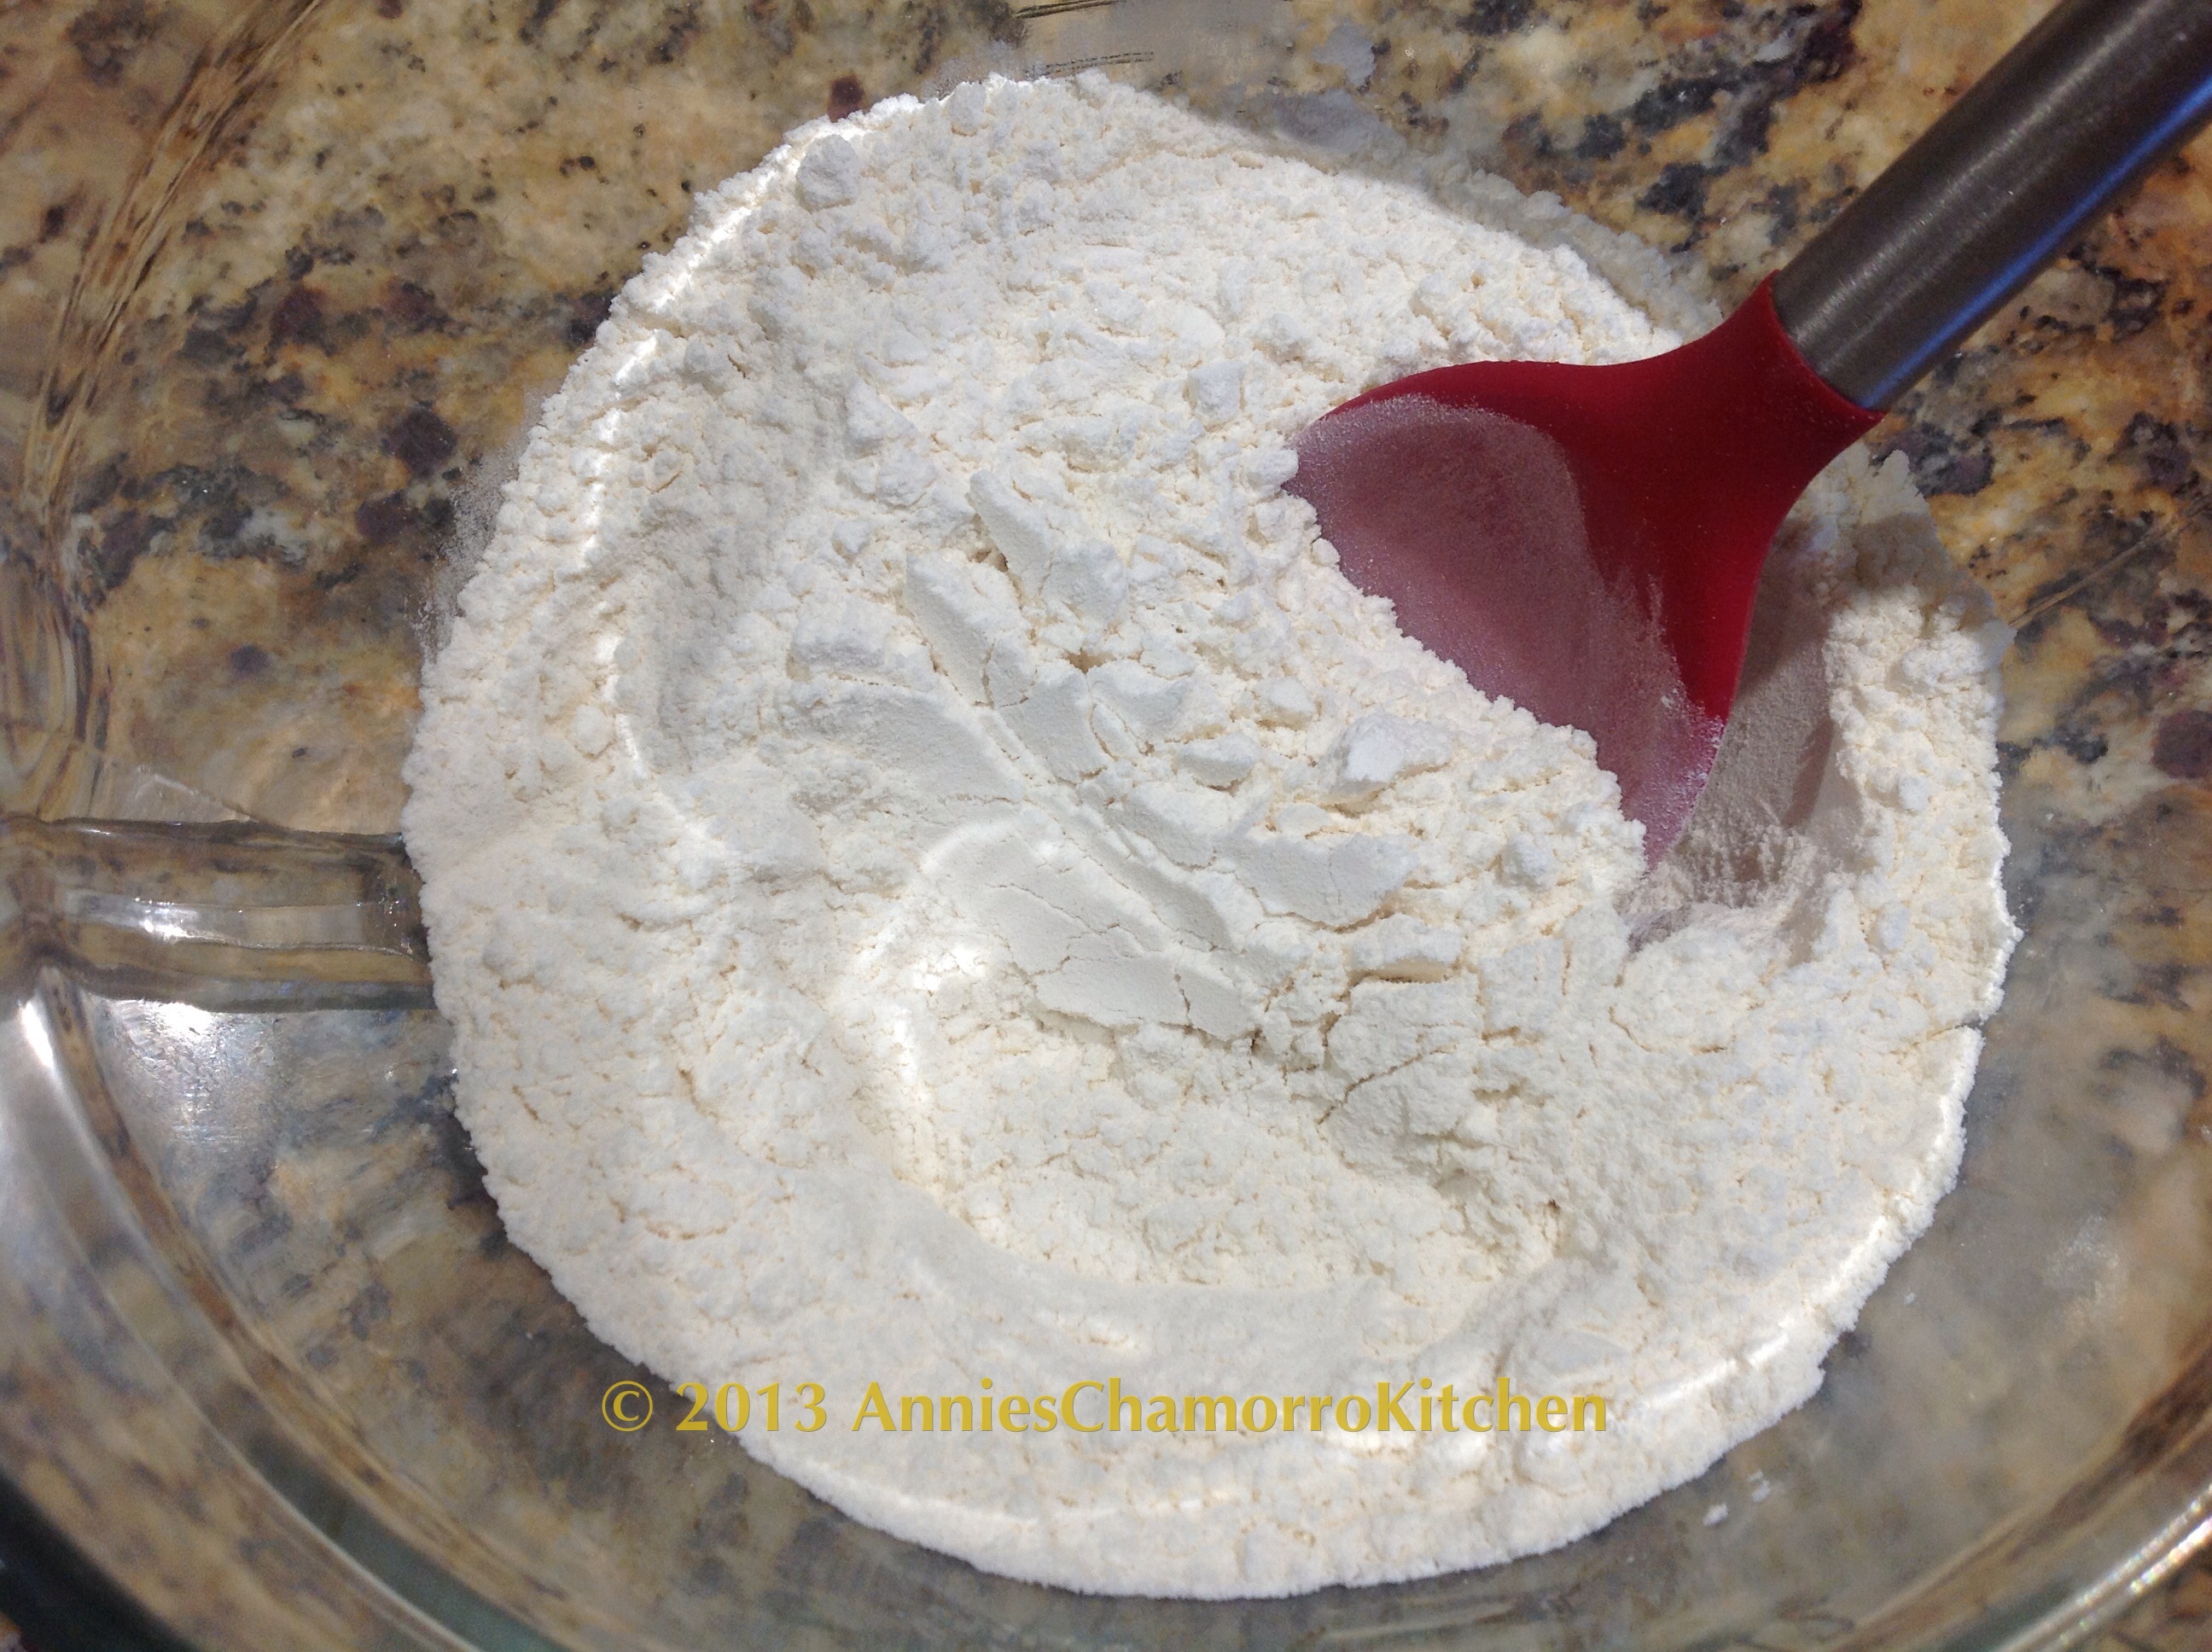
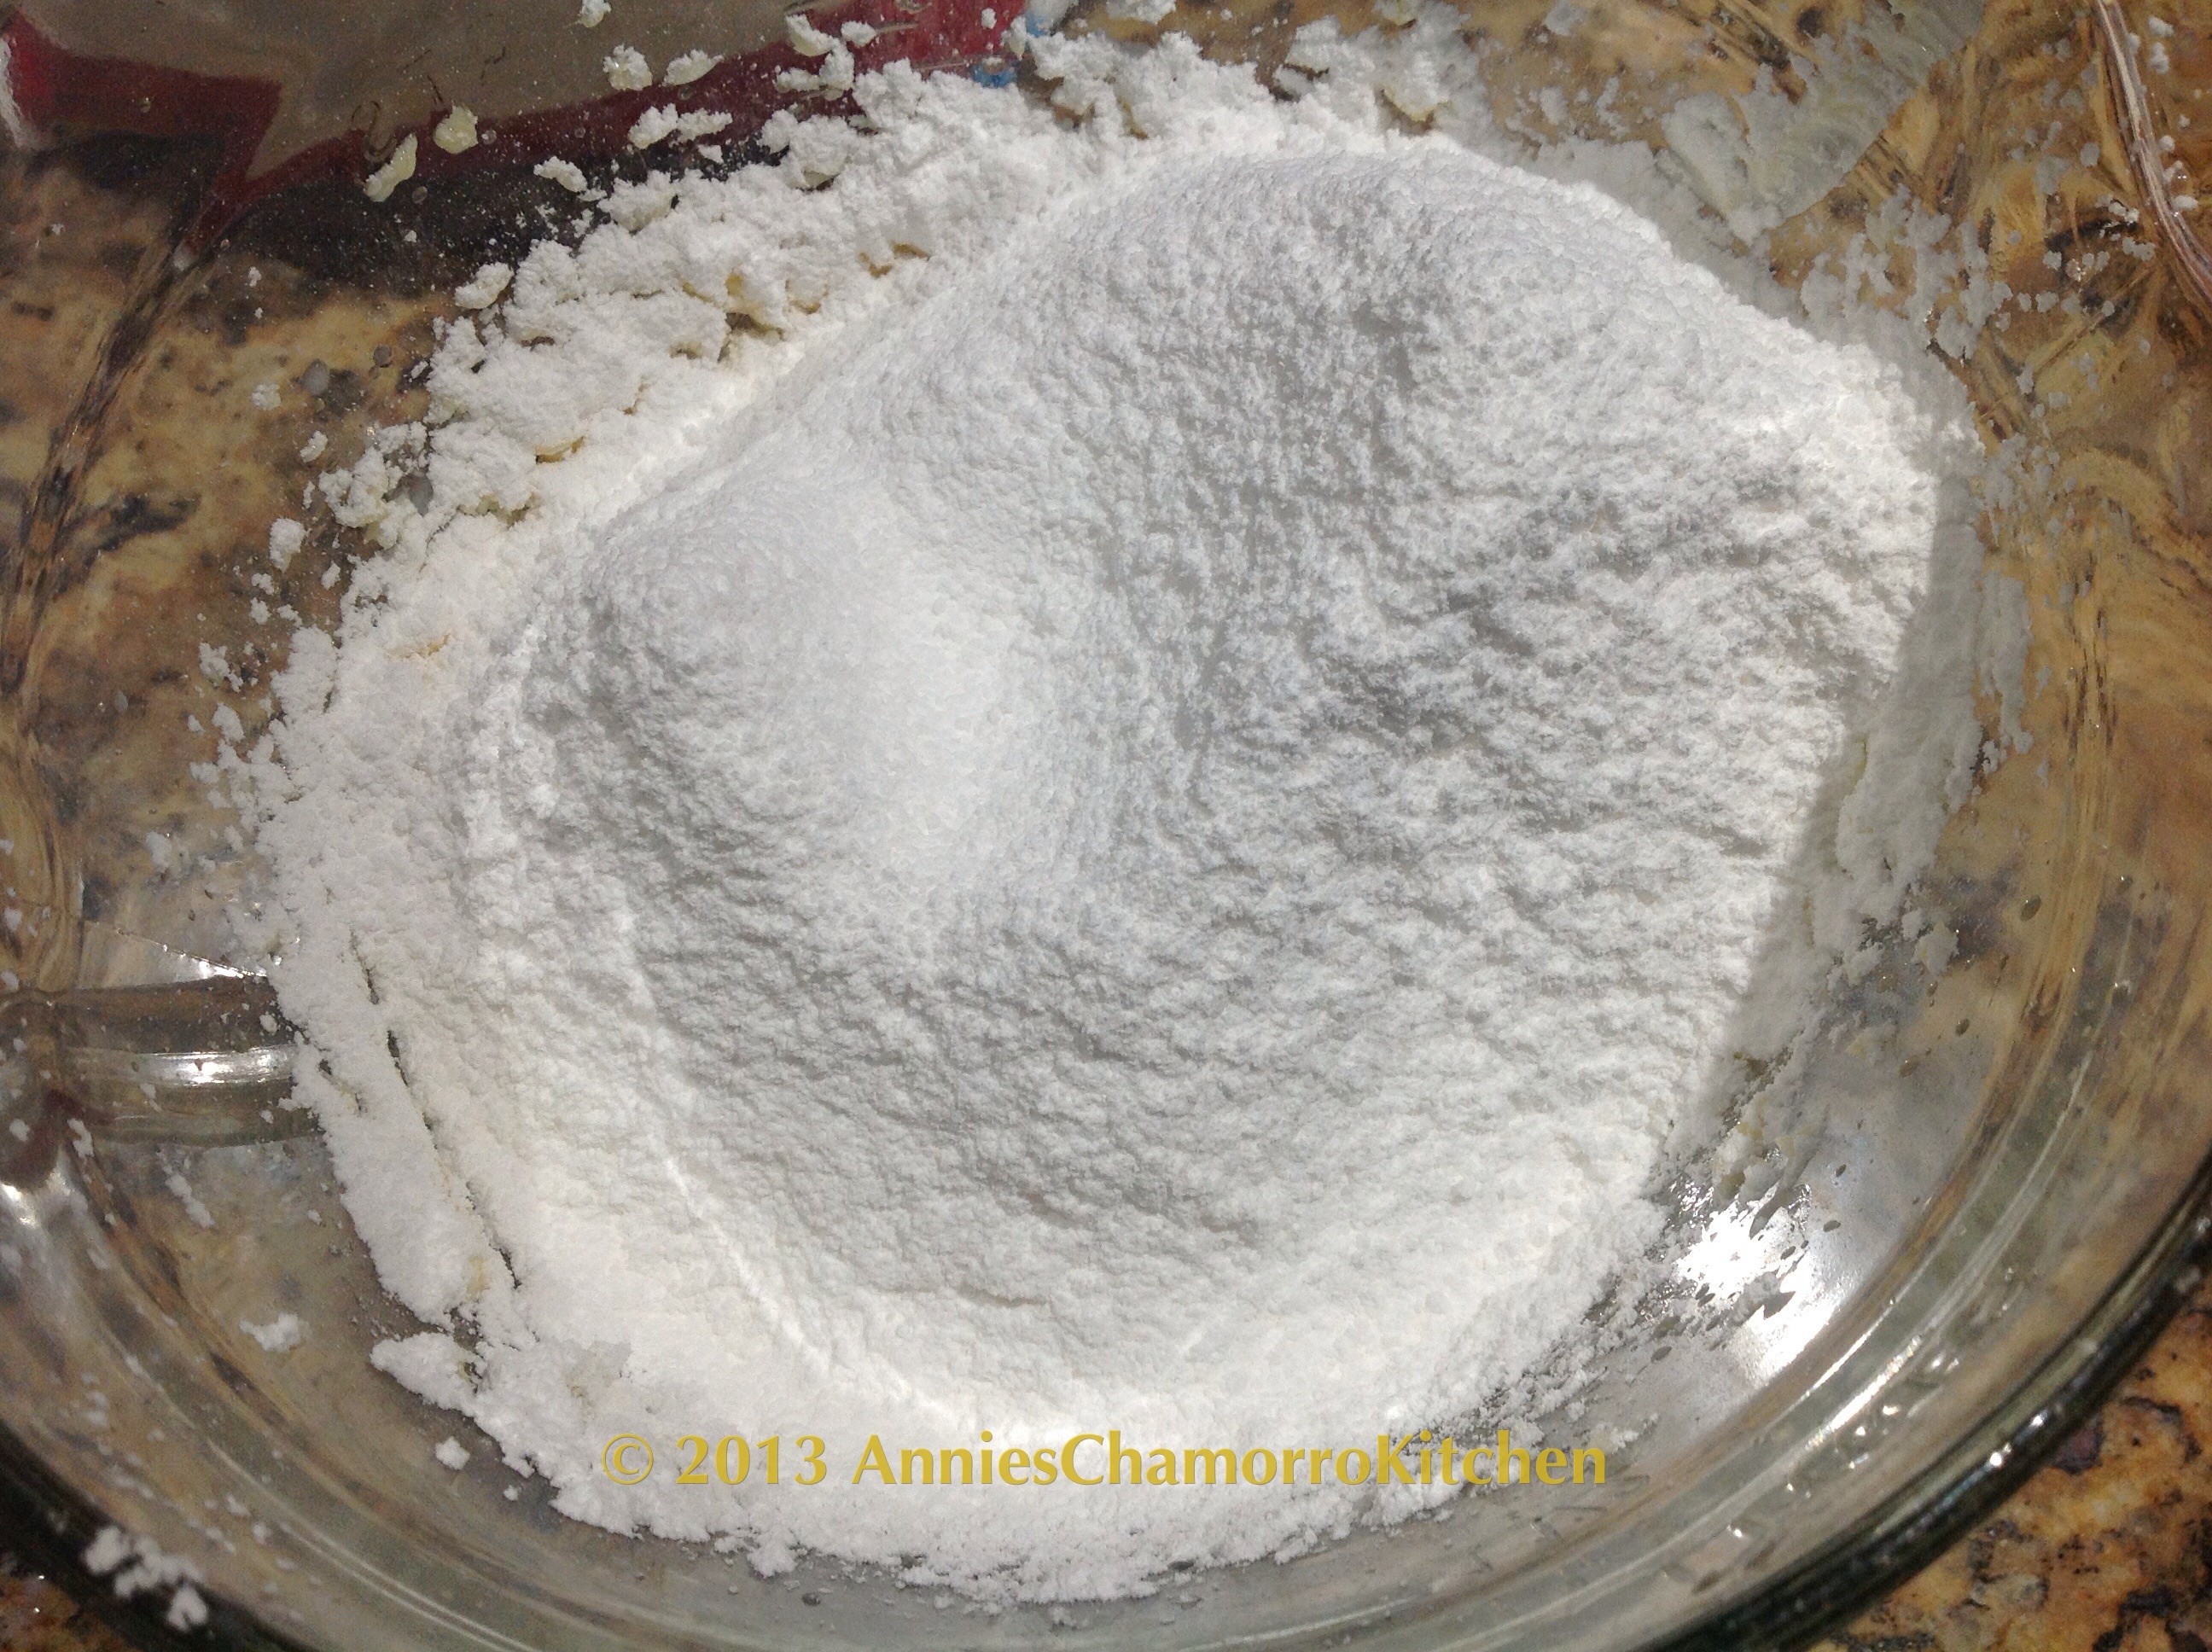
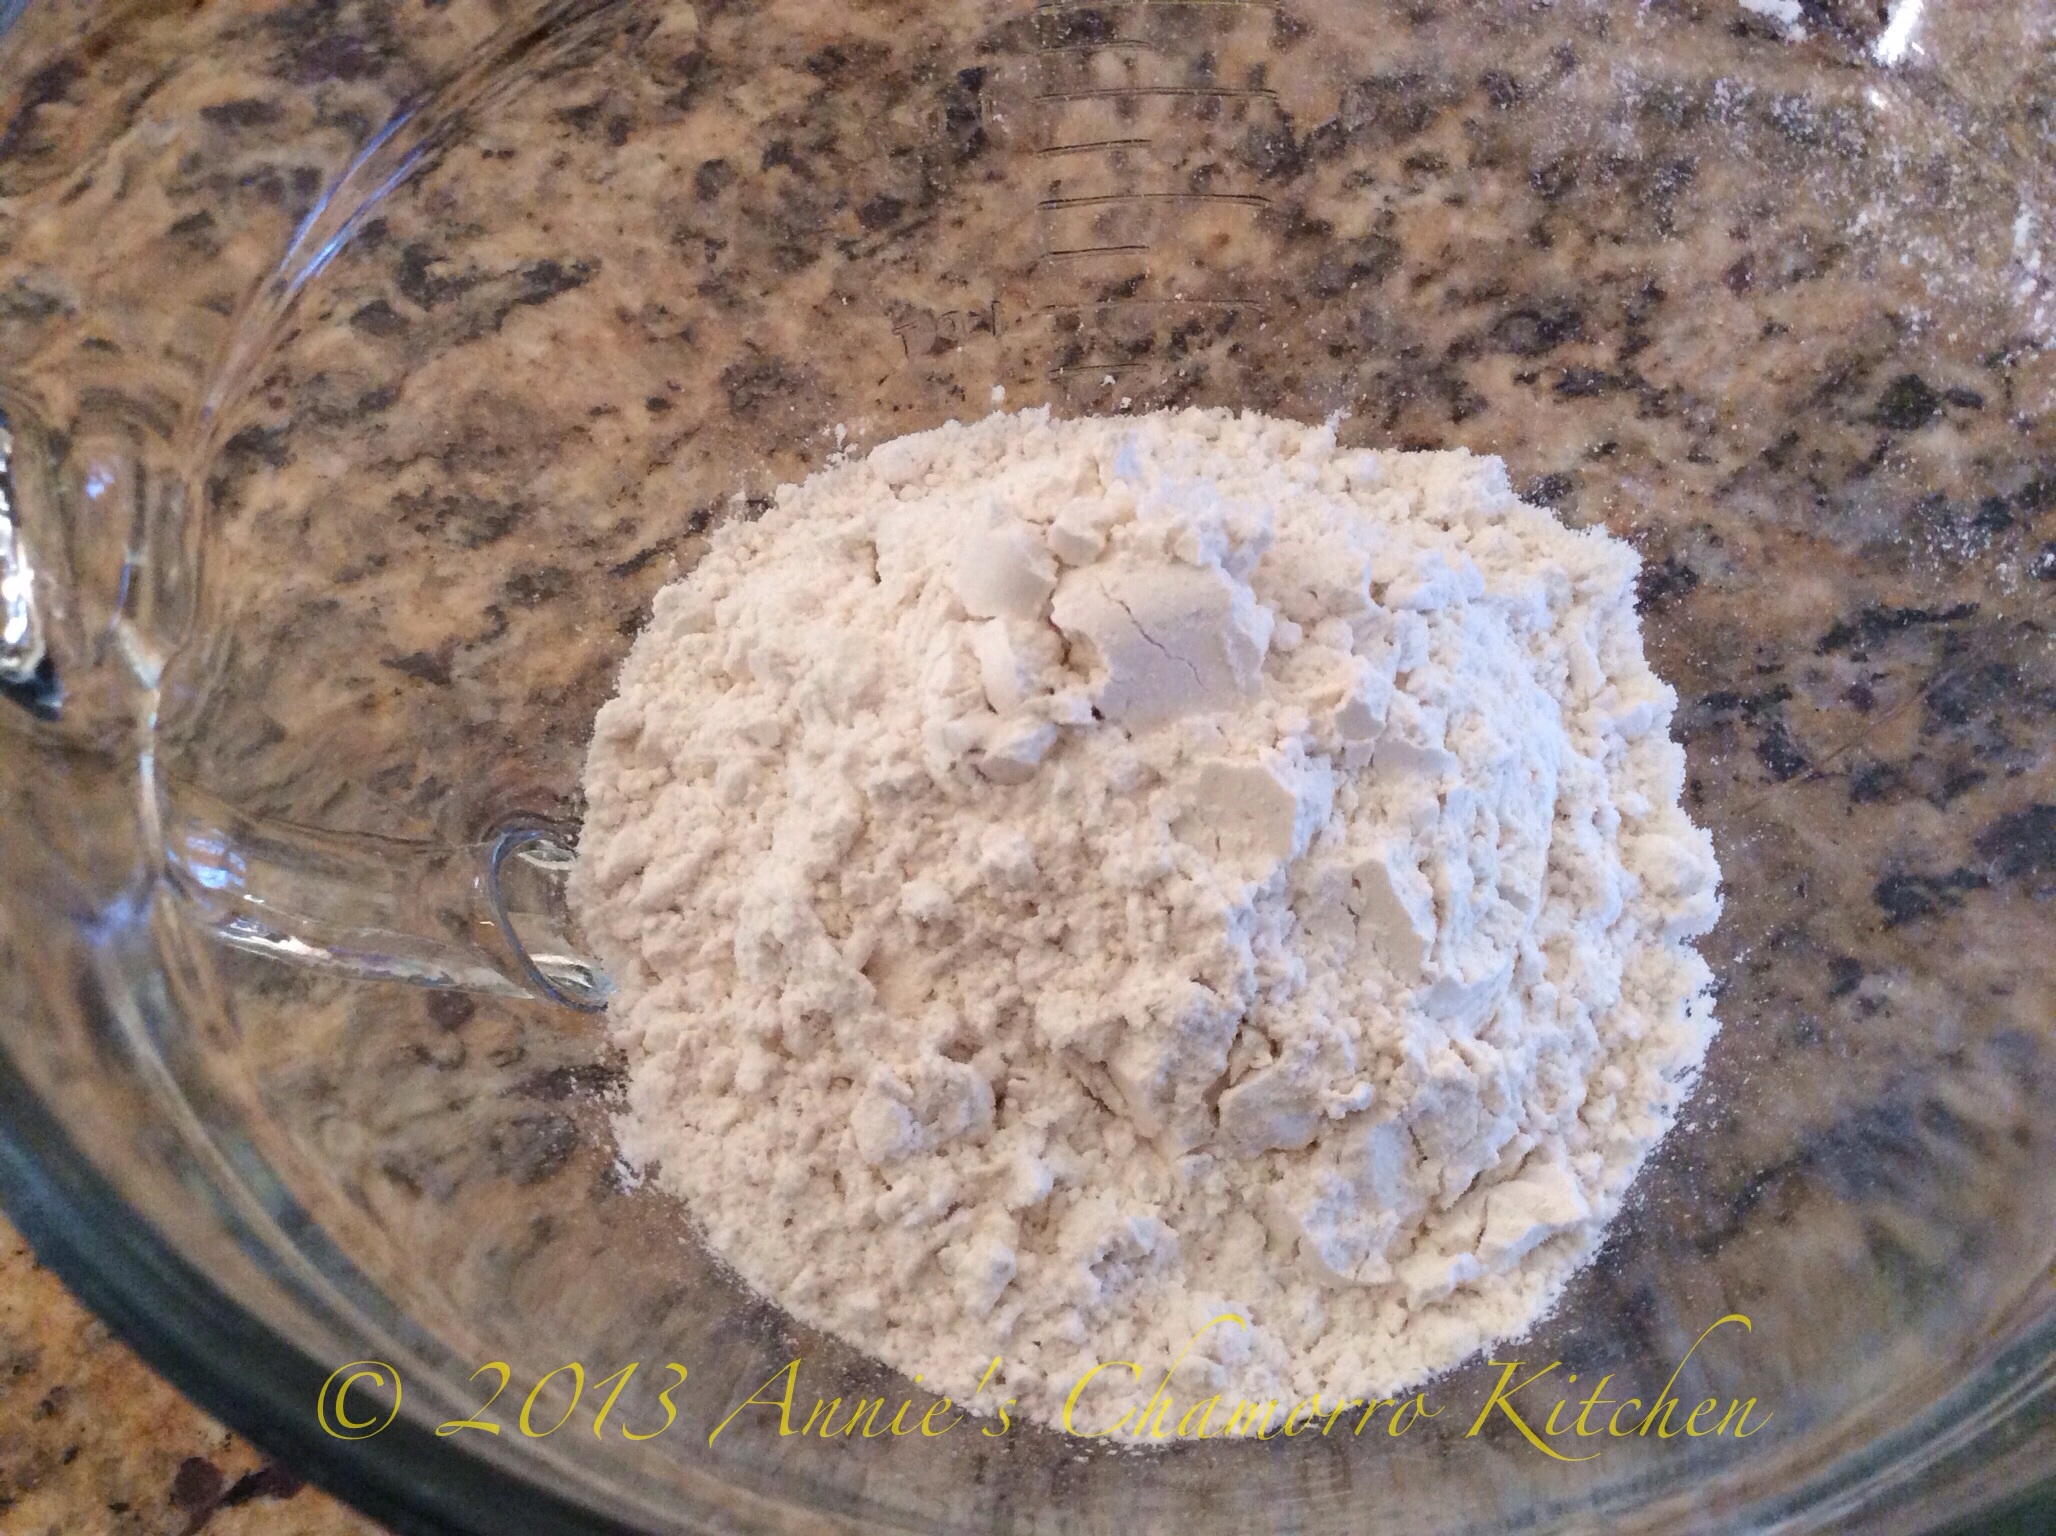
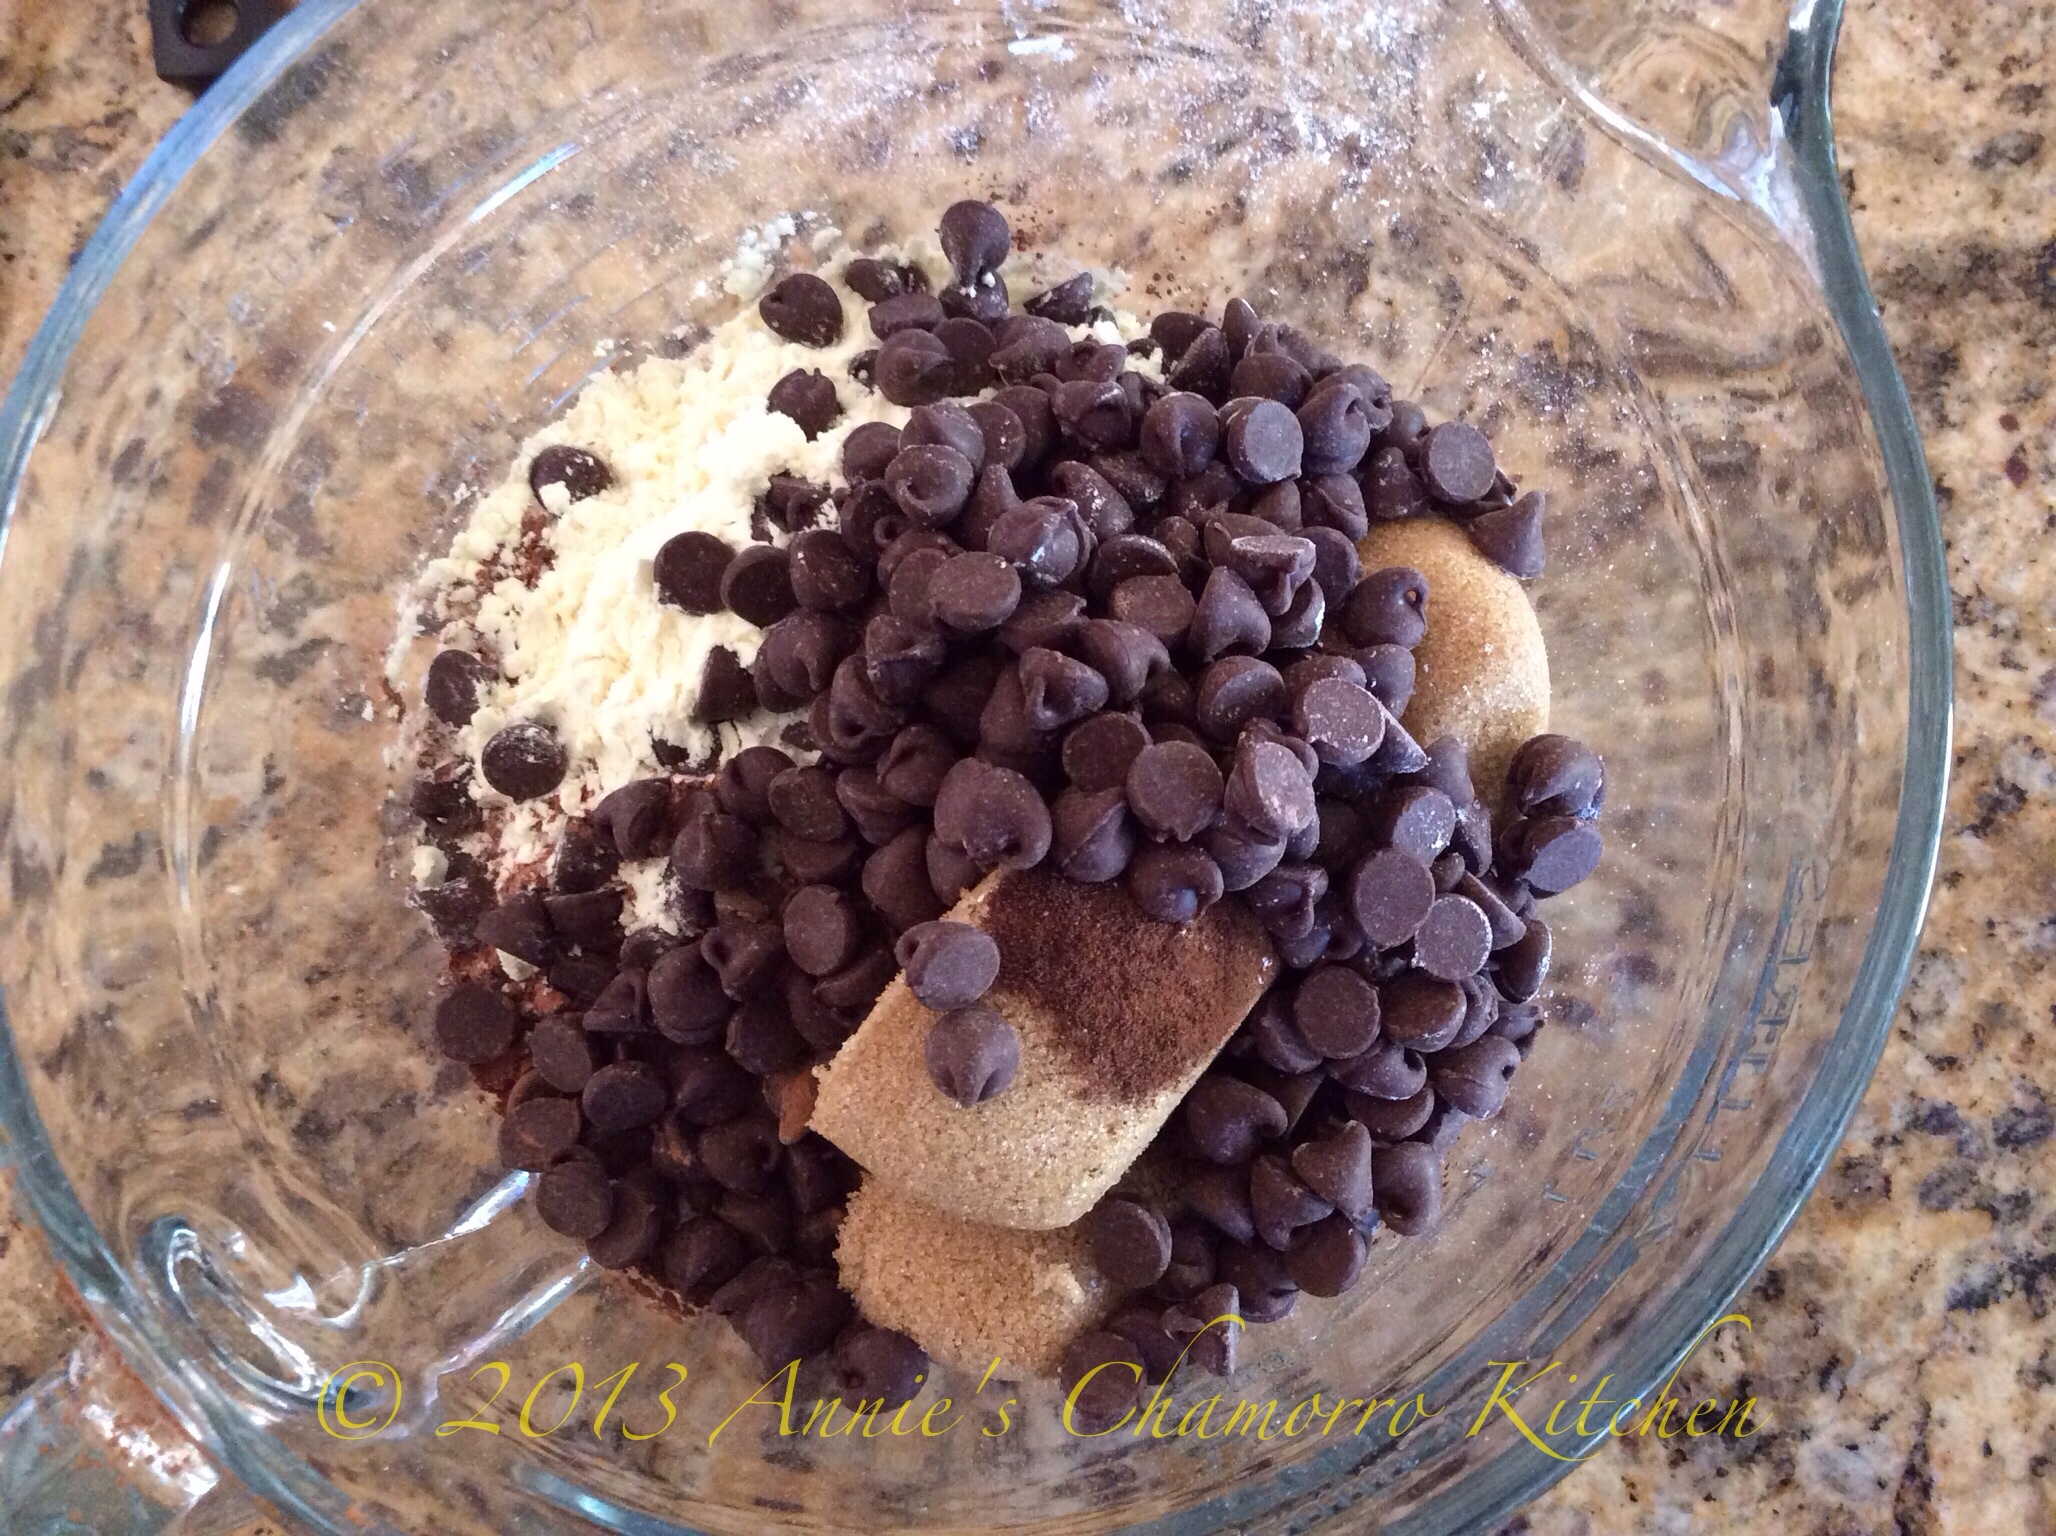
In a large mixing bowl, whisk together the dry ingredients:
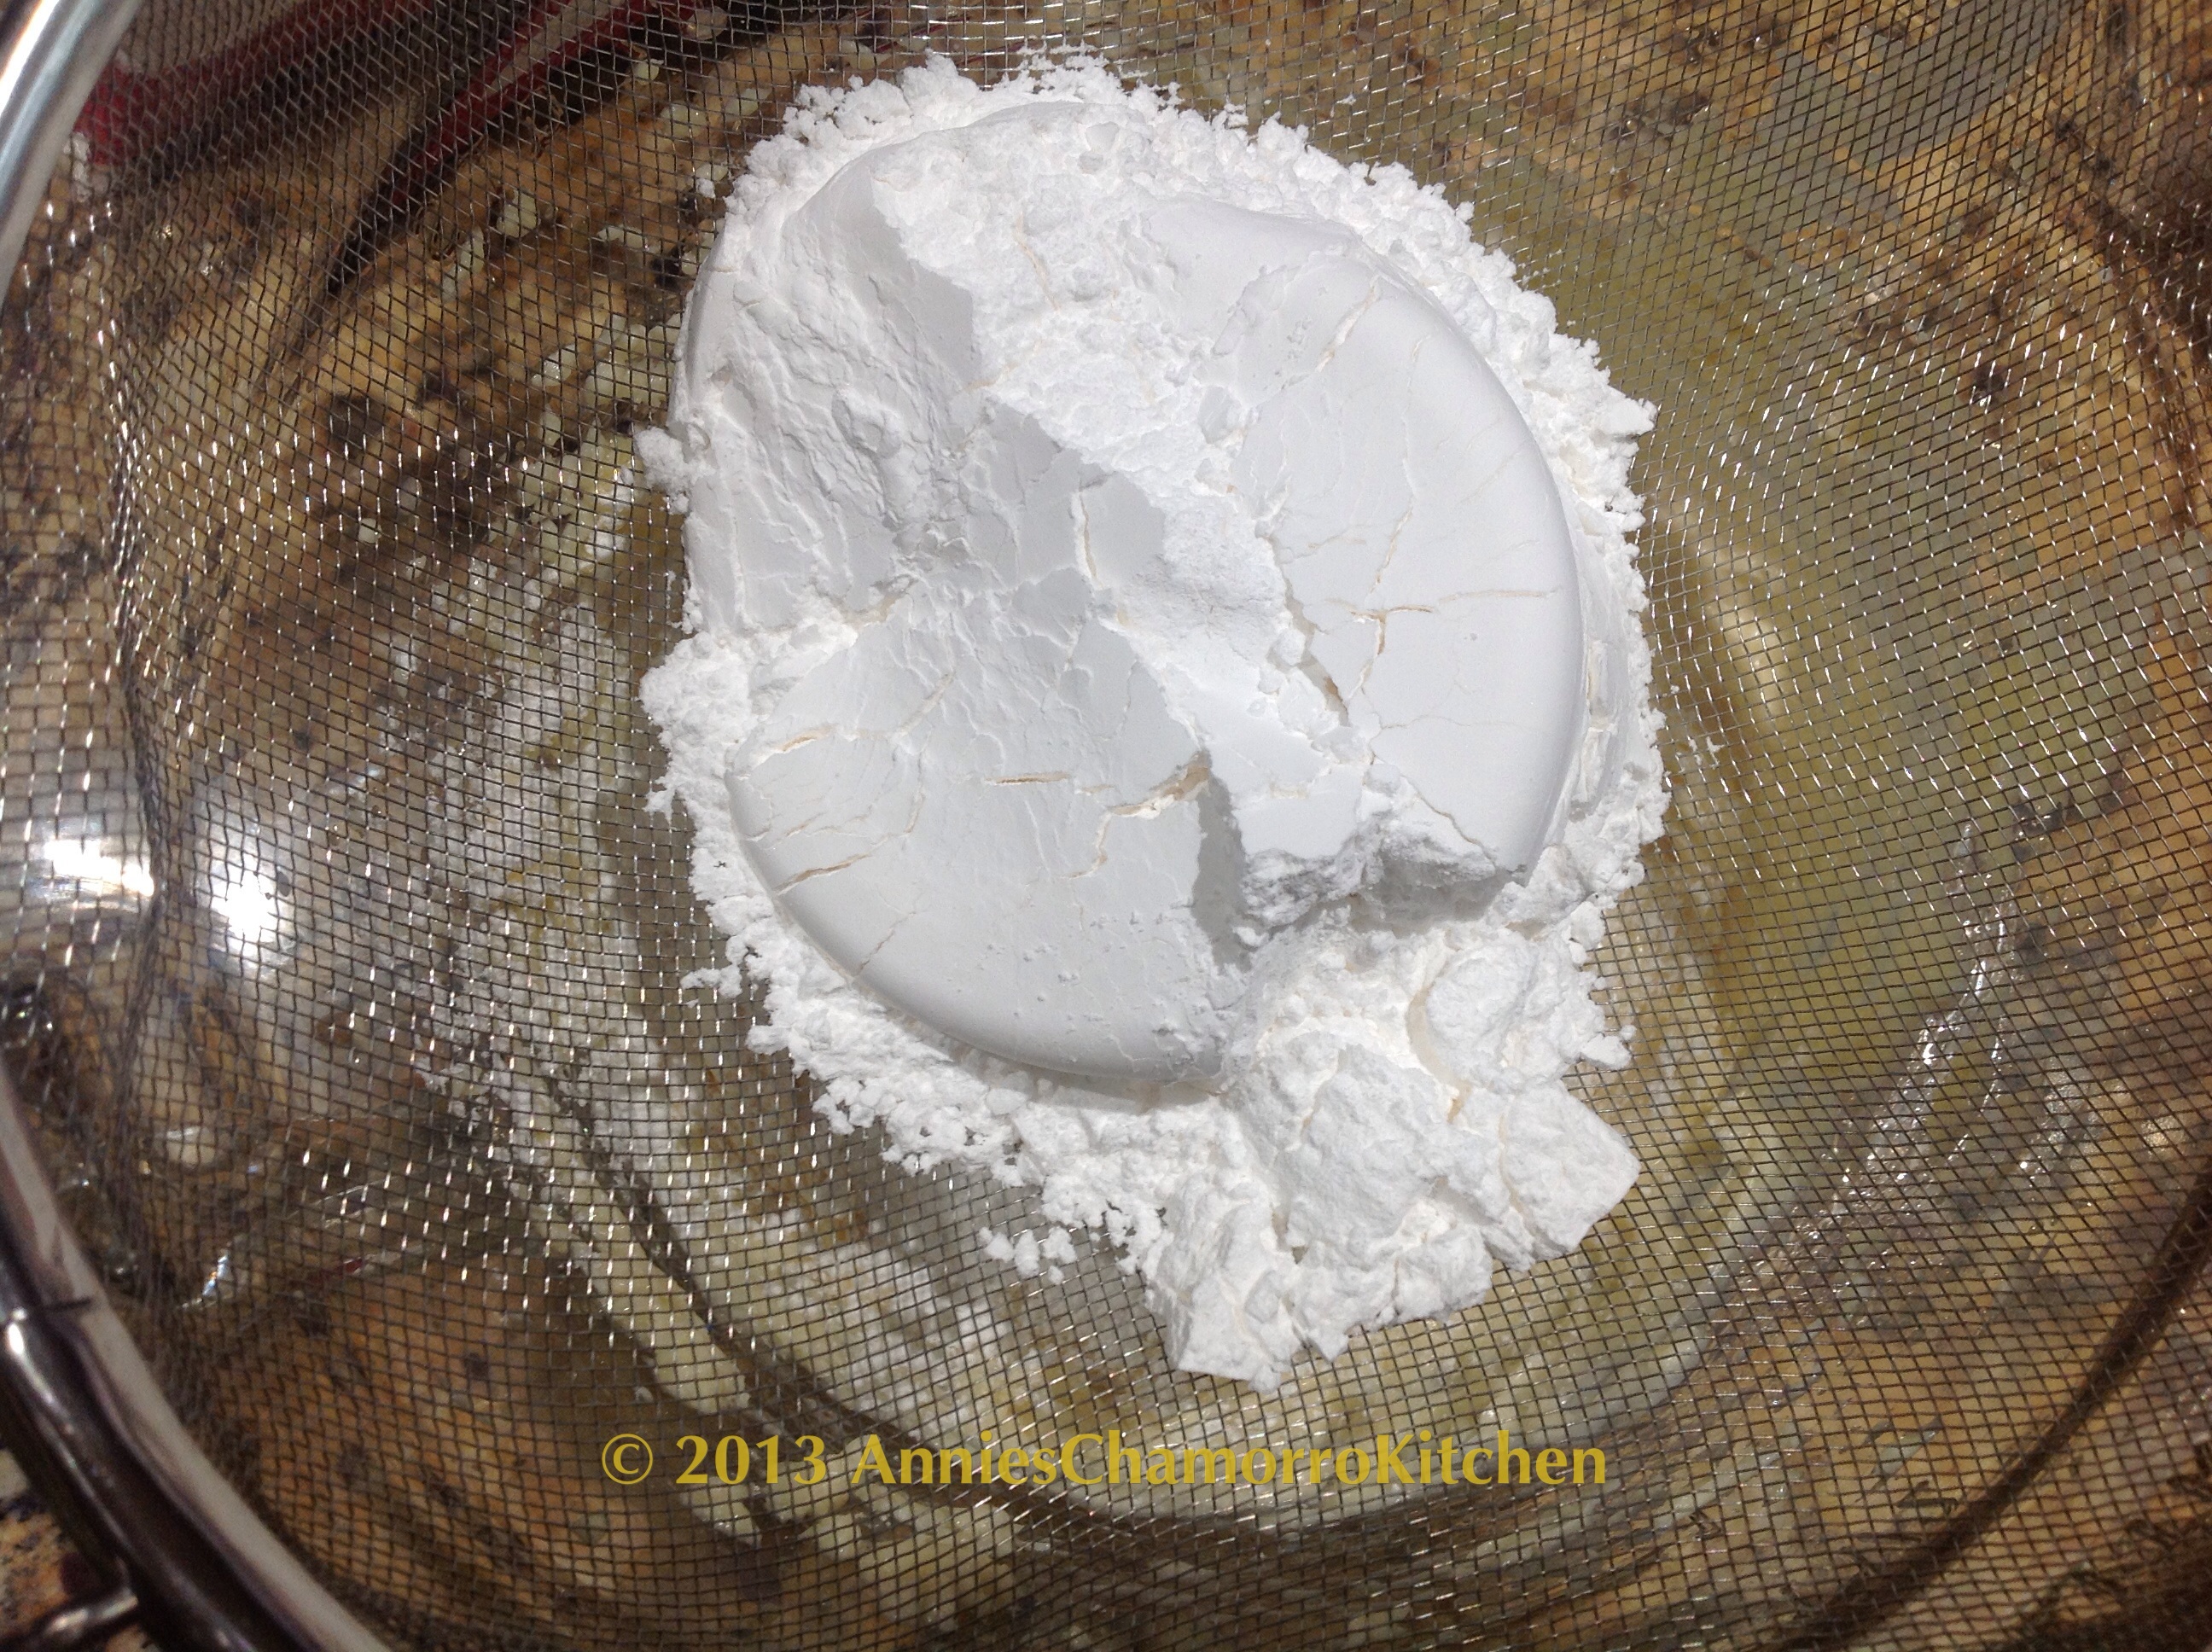
Place the flour into the bowl.
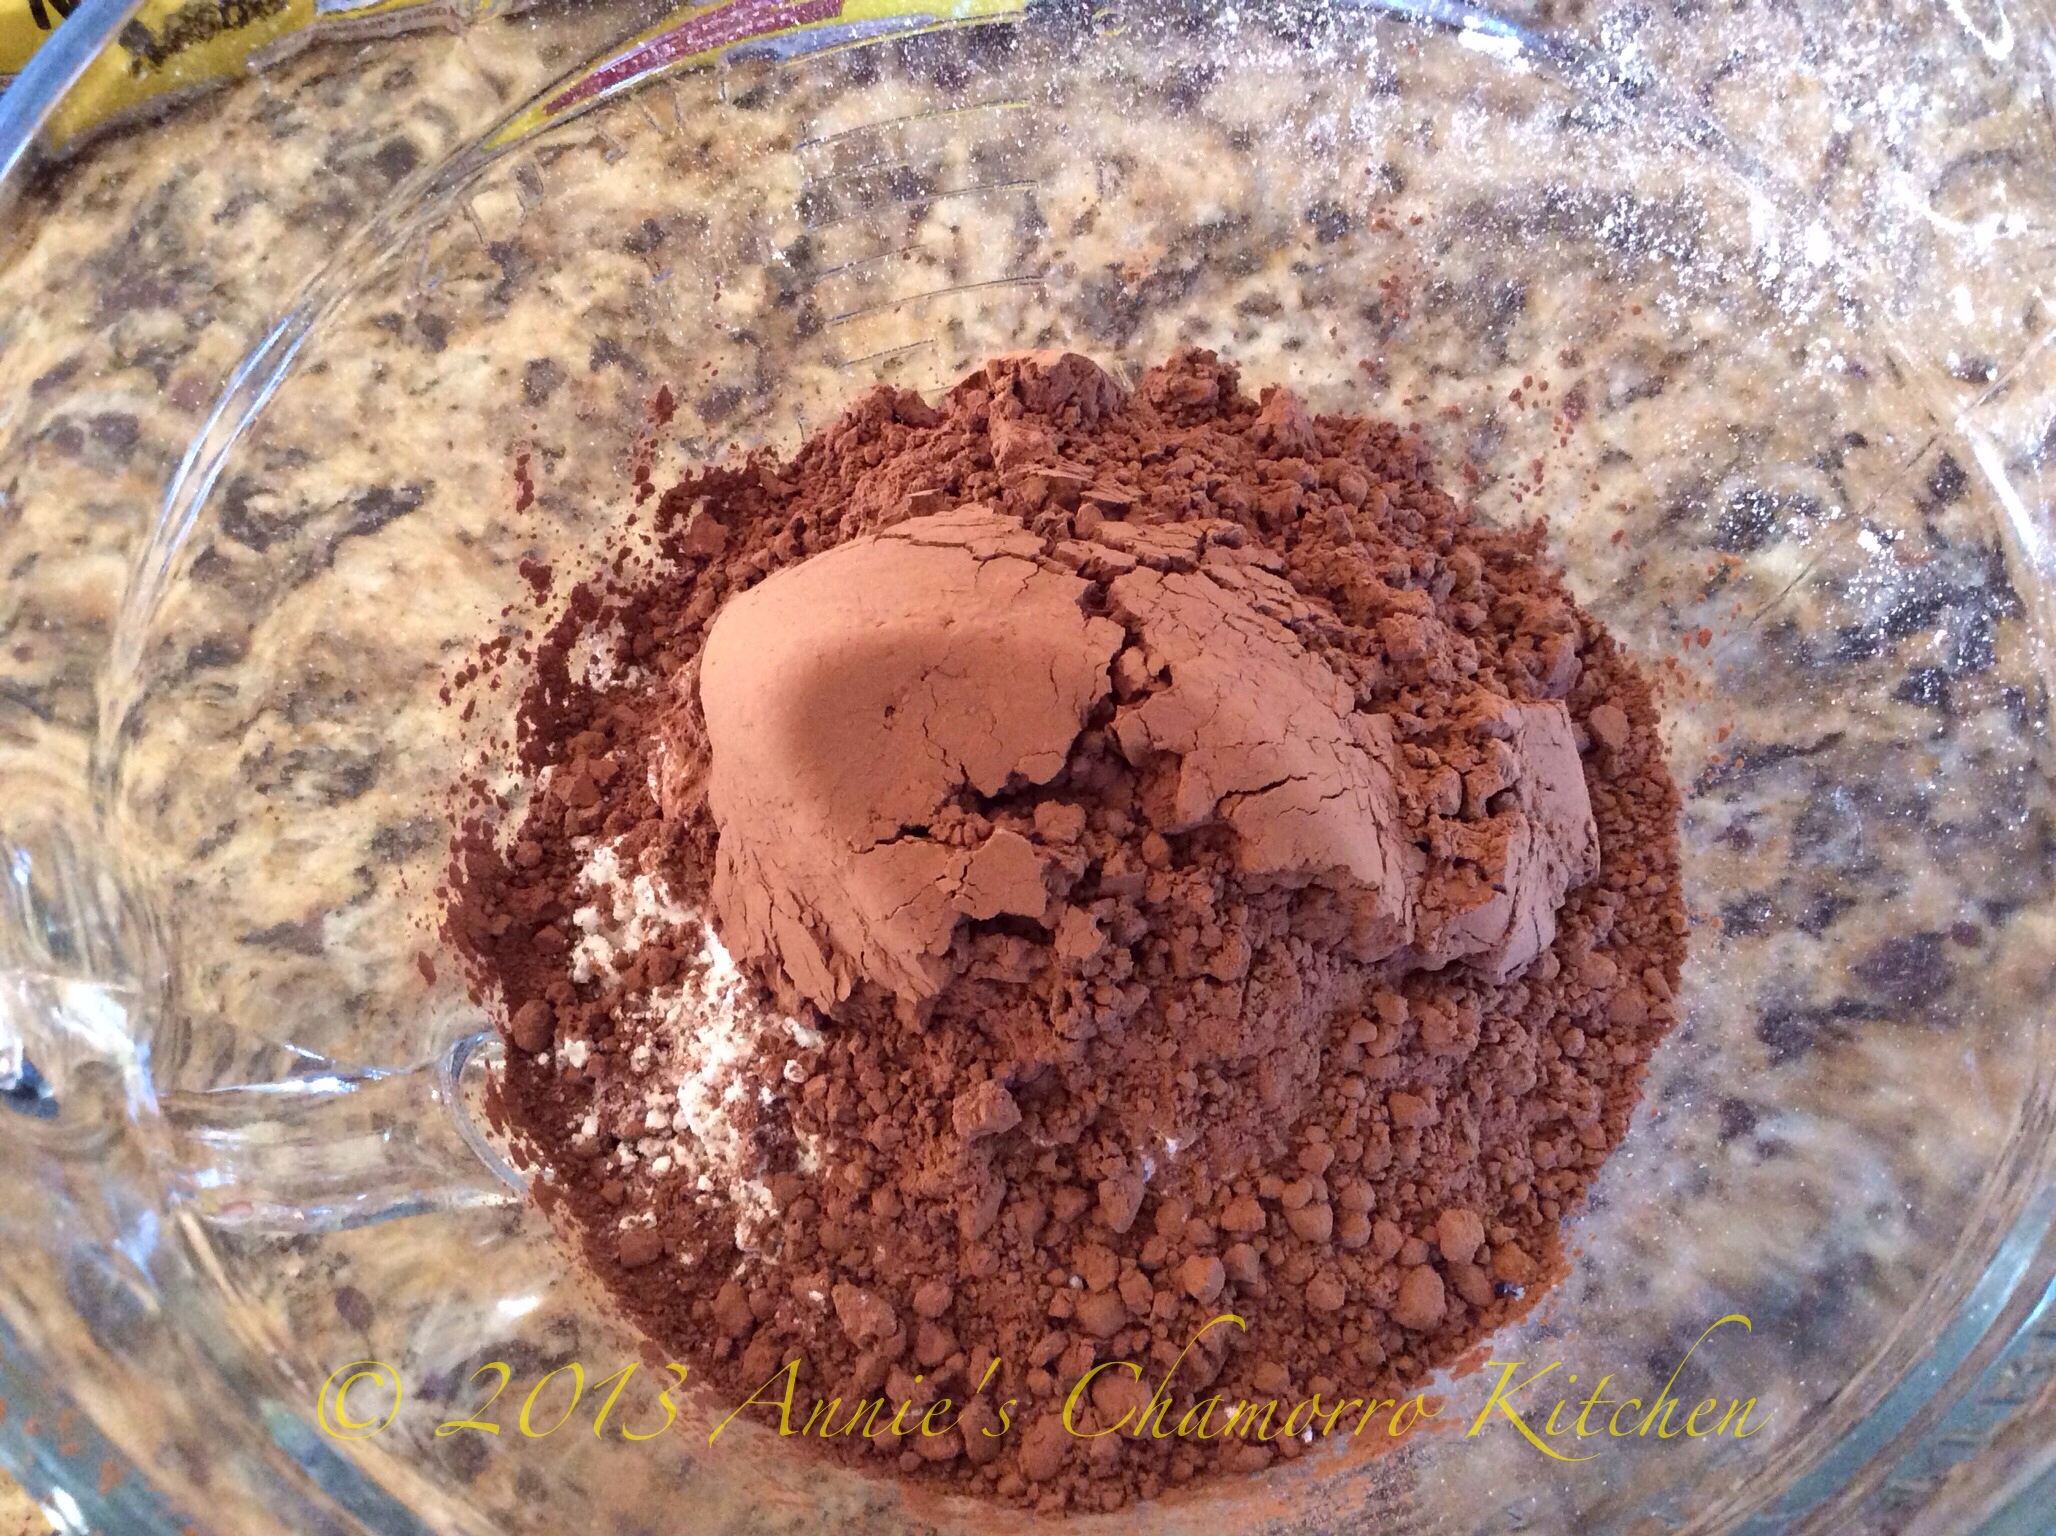
Add the cocoa powder. It isn’t necessary to sift the cocoa powder; just dump it in the bowl.
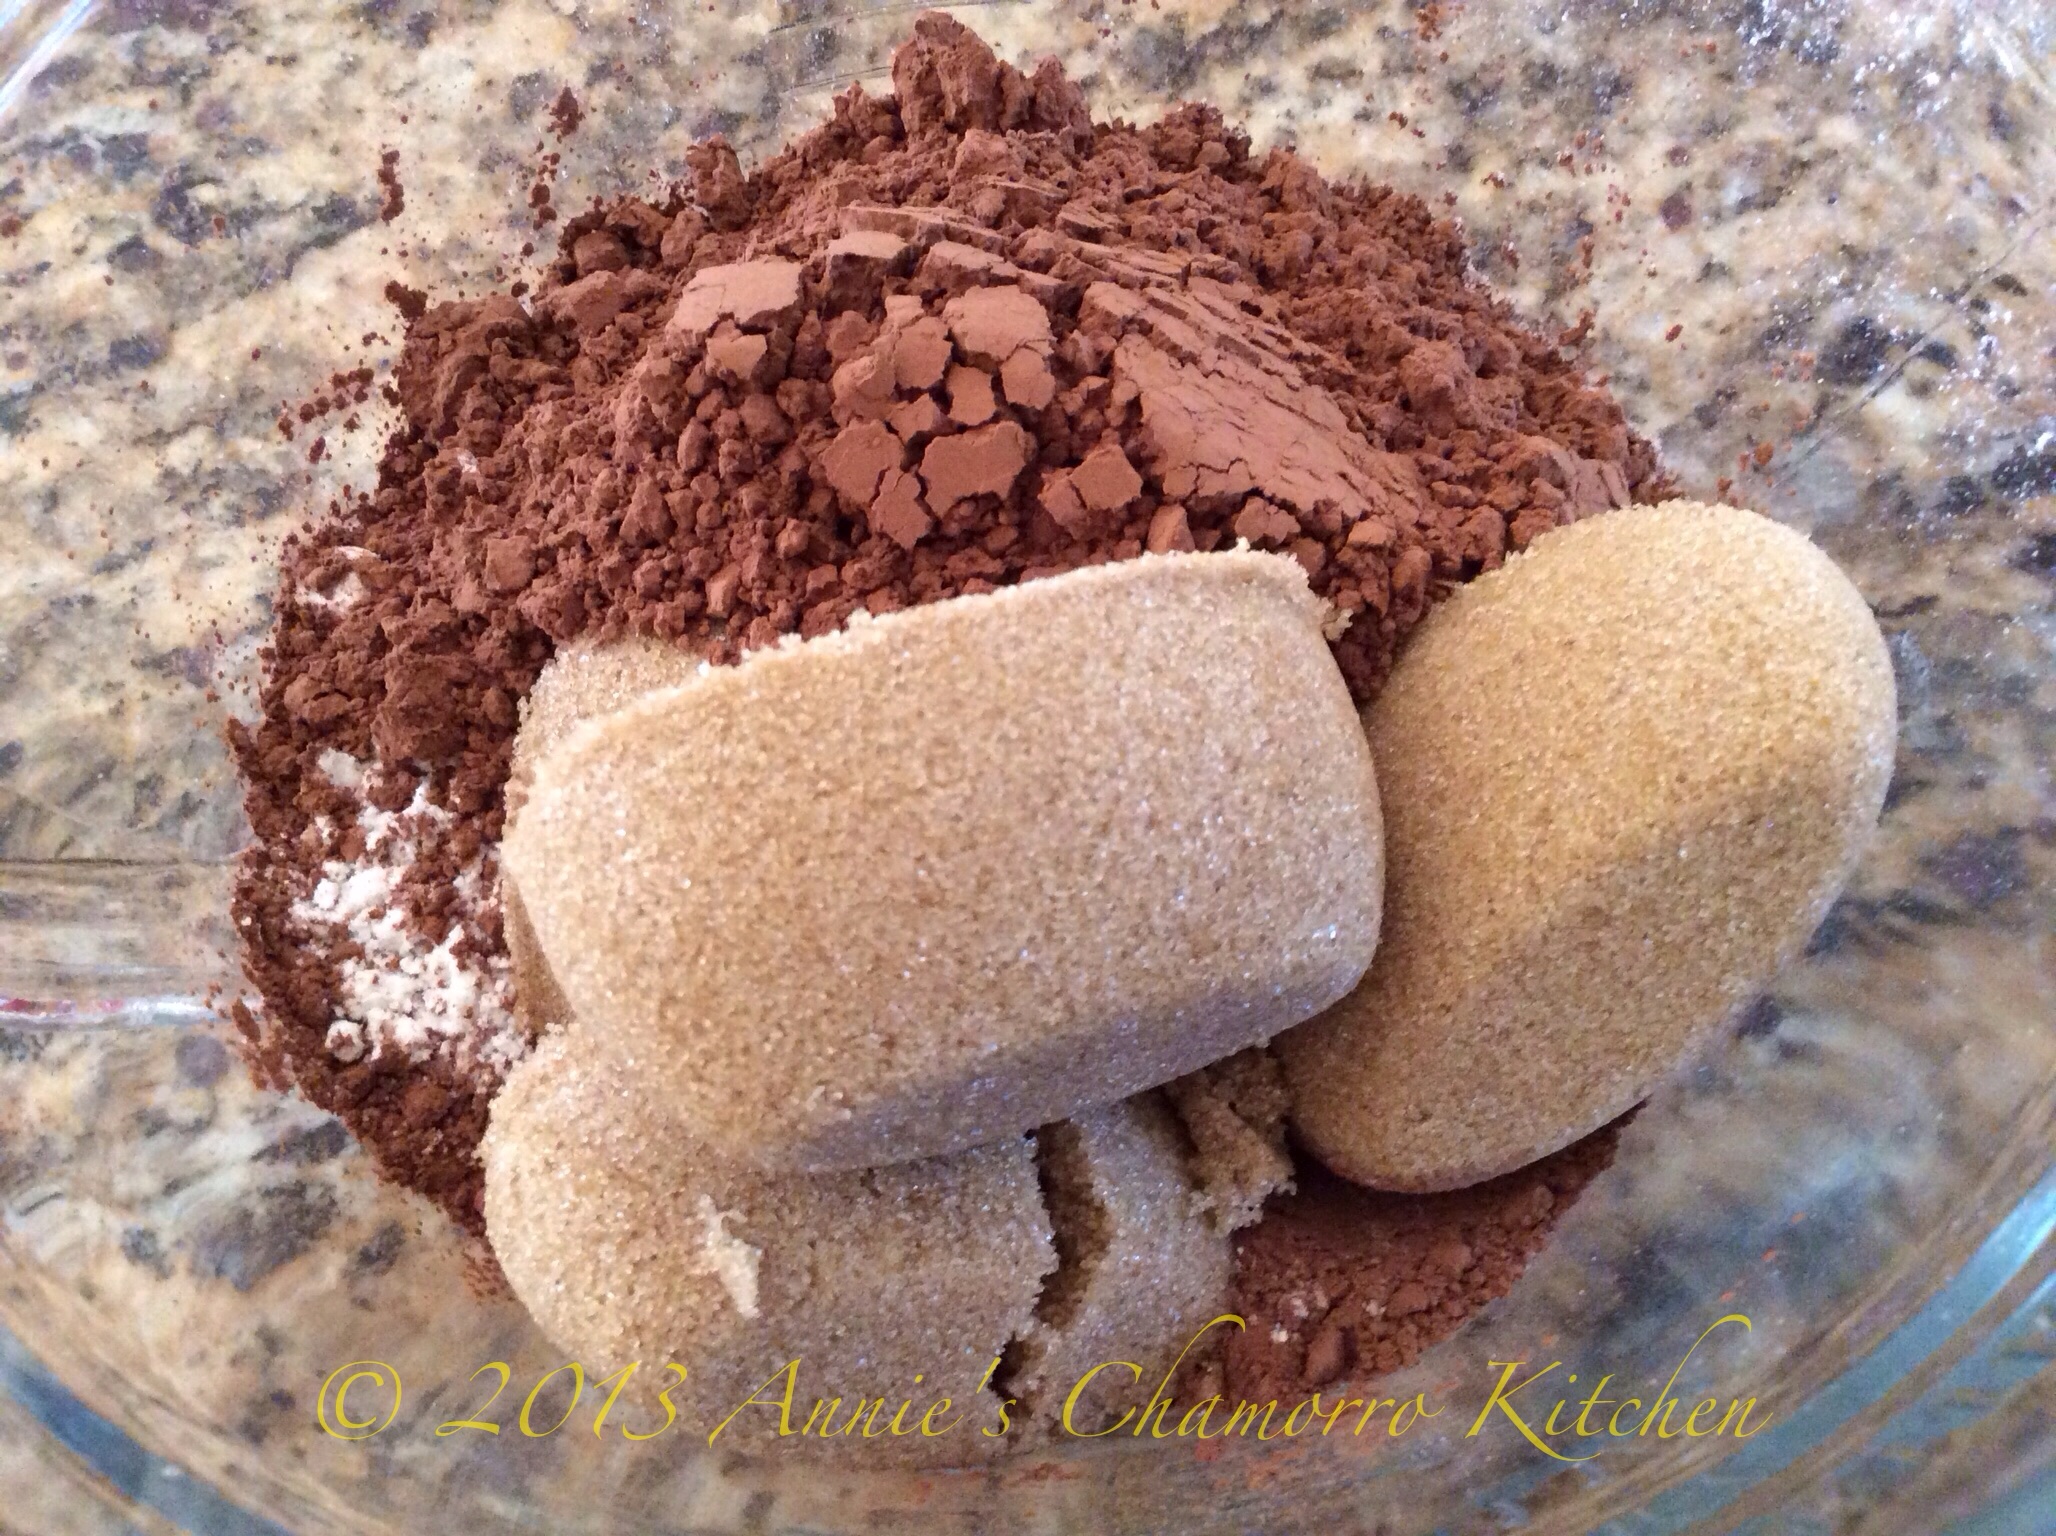
Add the brown sugar.
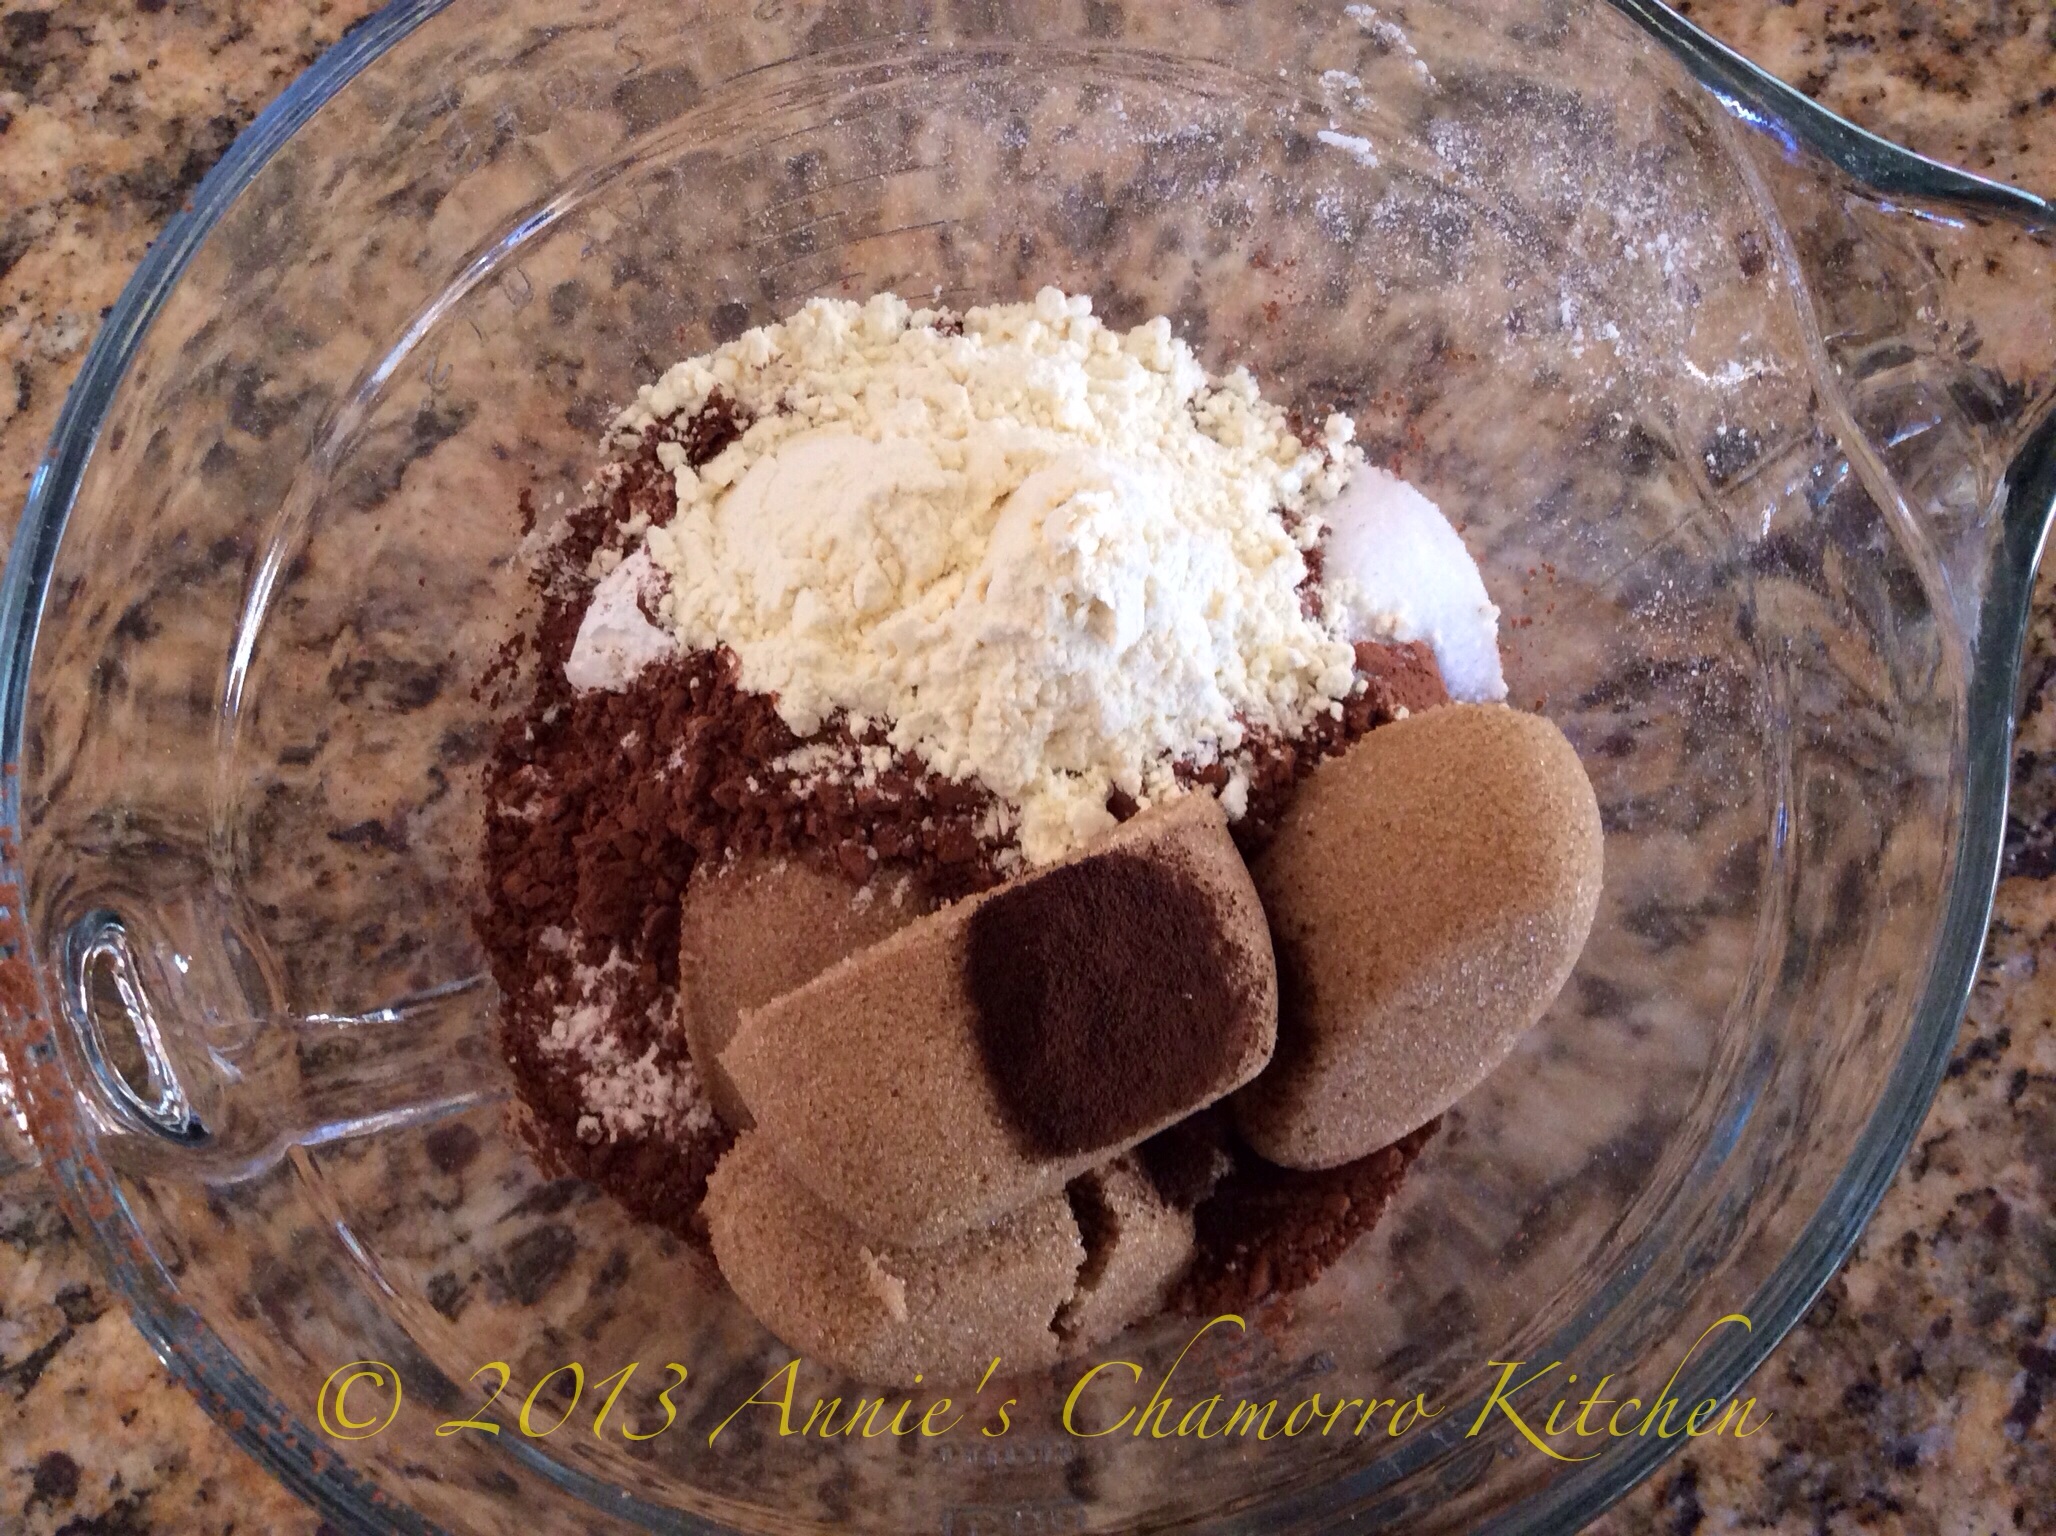
Add the baking powder, baking soda, salt and espresso powder (or instant coffee granules). You can omit the espresso powder if you’d like. However, I find that the coffee enhances the flavor of the cocoa, making the donuts taste so much more rich and decadent.

Add the buttermilk powder.
If you can’t find buttermilk powder in your grocery store, use 3/4 cup of liquid buttermilk INSTEAD OF the buttermilk powder and 3/4 cup water. Add the buttermilk with the wet ingredients as described below.
Another easy substitution for buttermilk is to place 1 teaspoon of either white vinegar or lemon juce in a cup. Mix in enough regular milk to make 3/4 cup of total liquid (milk plus vinegar). Stir to combine, then let the mixture sit for a minute or so (it will thicken a bit). Again, you’d omit the buttermilk powder and 3/4 cup of water if you did it this way. Add the milk-vinegar mixture with the wet ingredients as described below.
I personally prefer to use buttermilk powder. I don’t use buttermilk that often in my cooking (aside from the occasional pancake breakfast, and these delicious donuts, of course), so the powdered buttermilk works well. Keep in mind that the powdered buttermilk must be refrigerated after you break open the sealed container.
Add the chocolate chips. I guess I should have named these Chocolate-Chocolate Chip Donuts, huh? 🙂
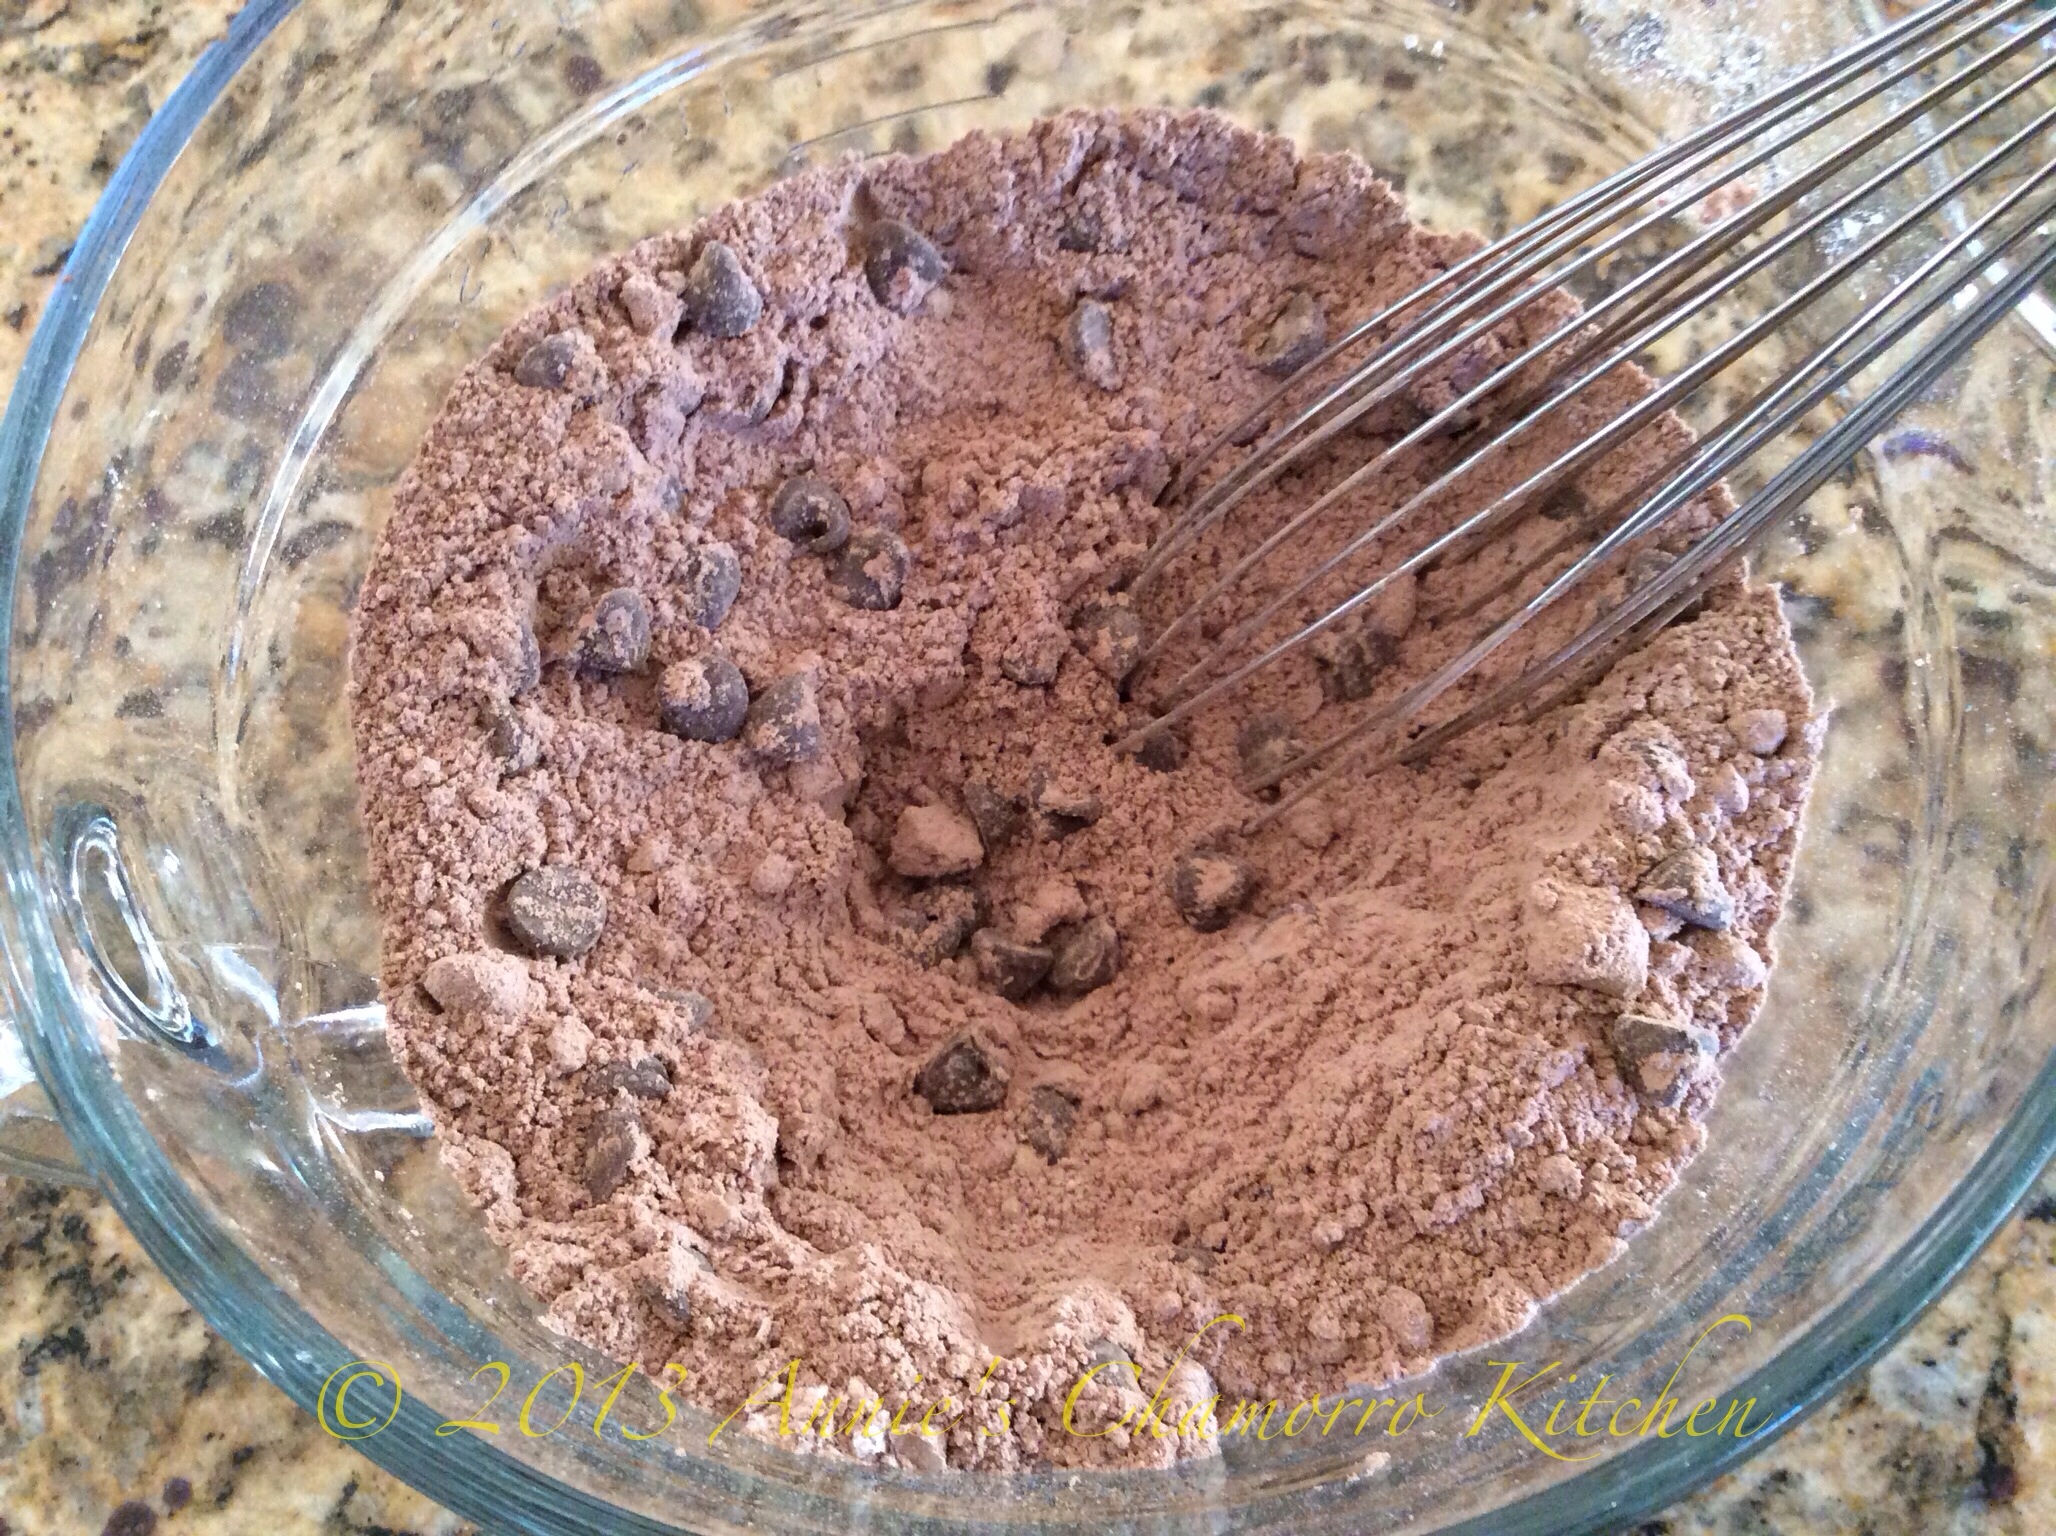
Use a whisk to mix all of the dry ingredients together. Or, you can use a fork.
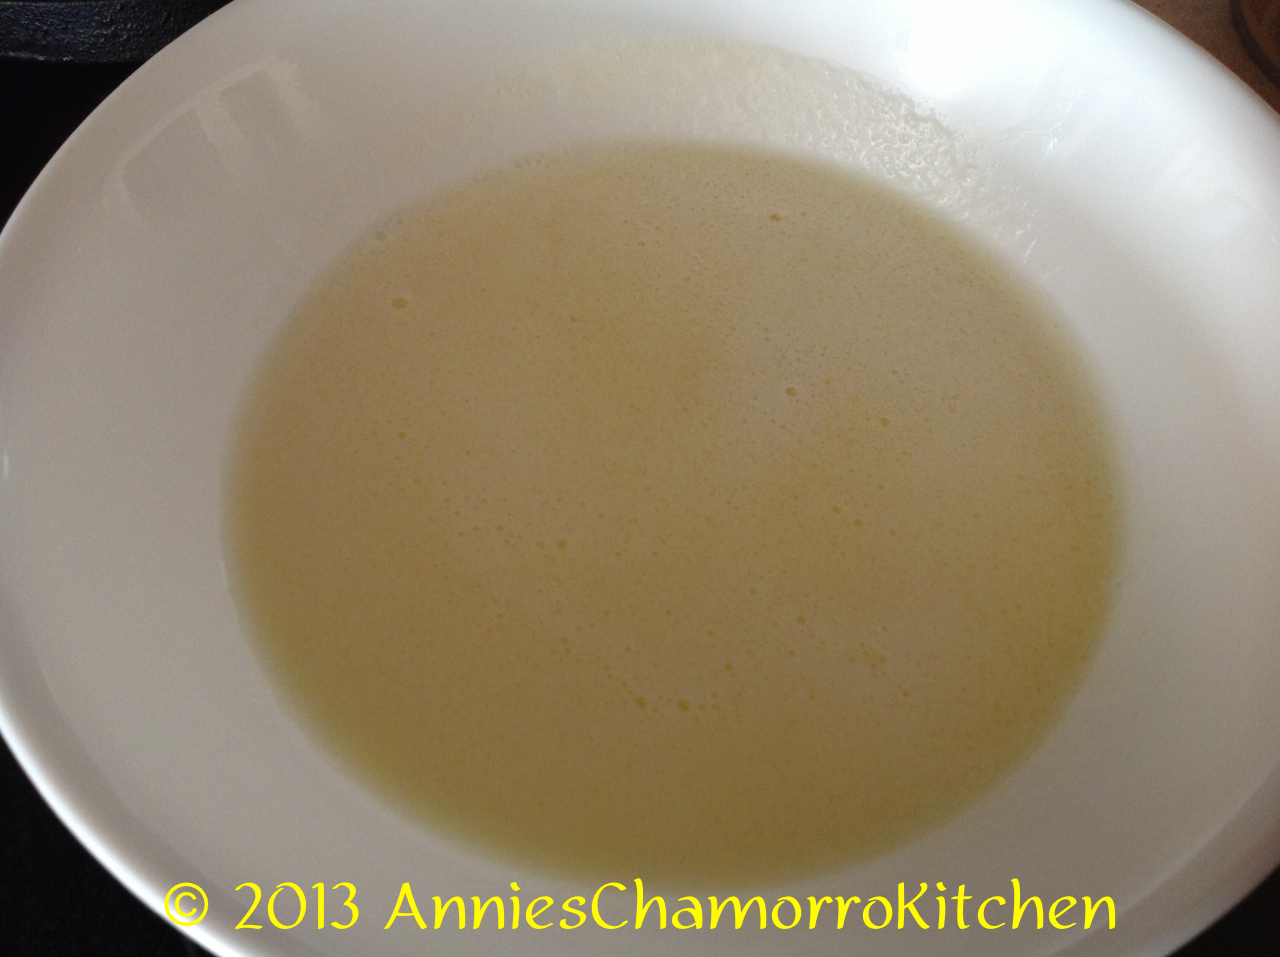
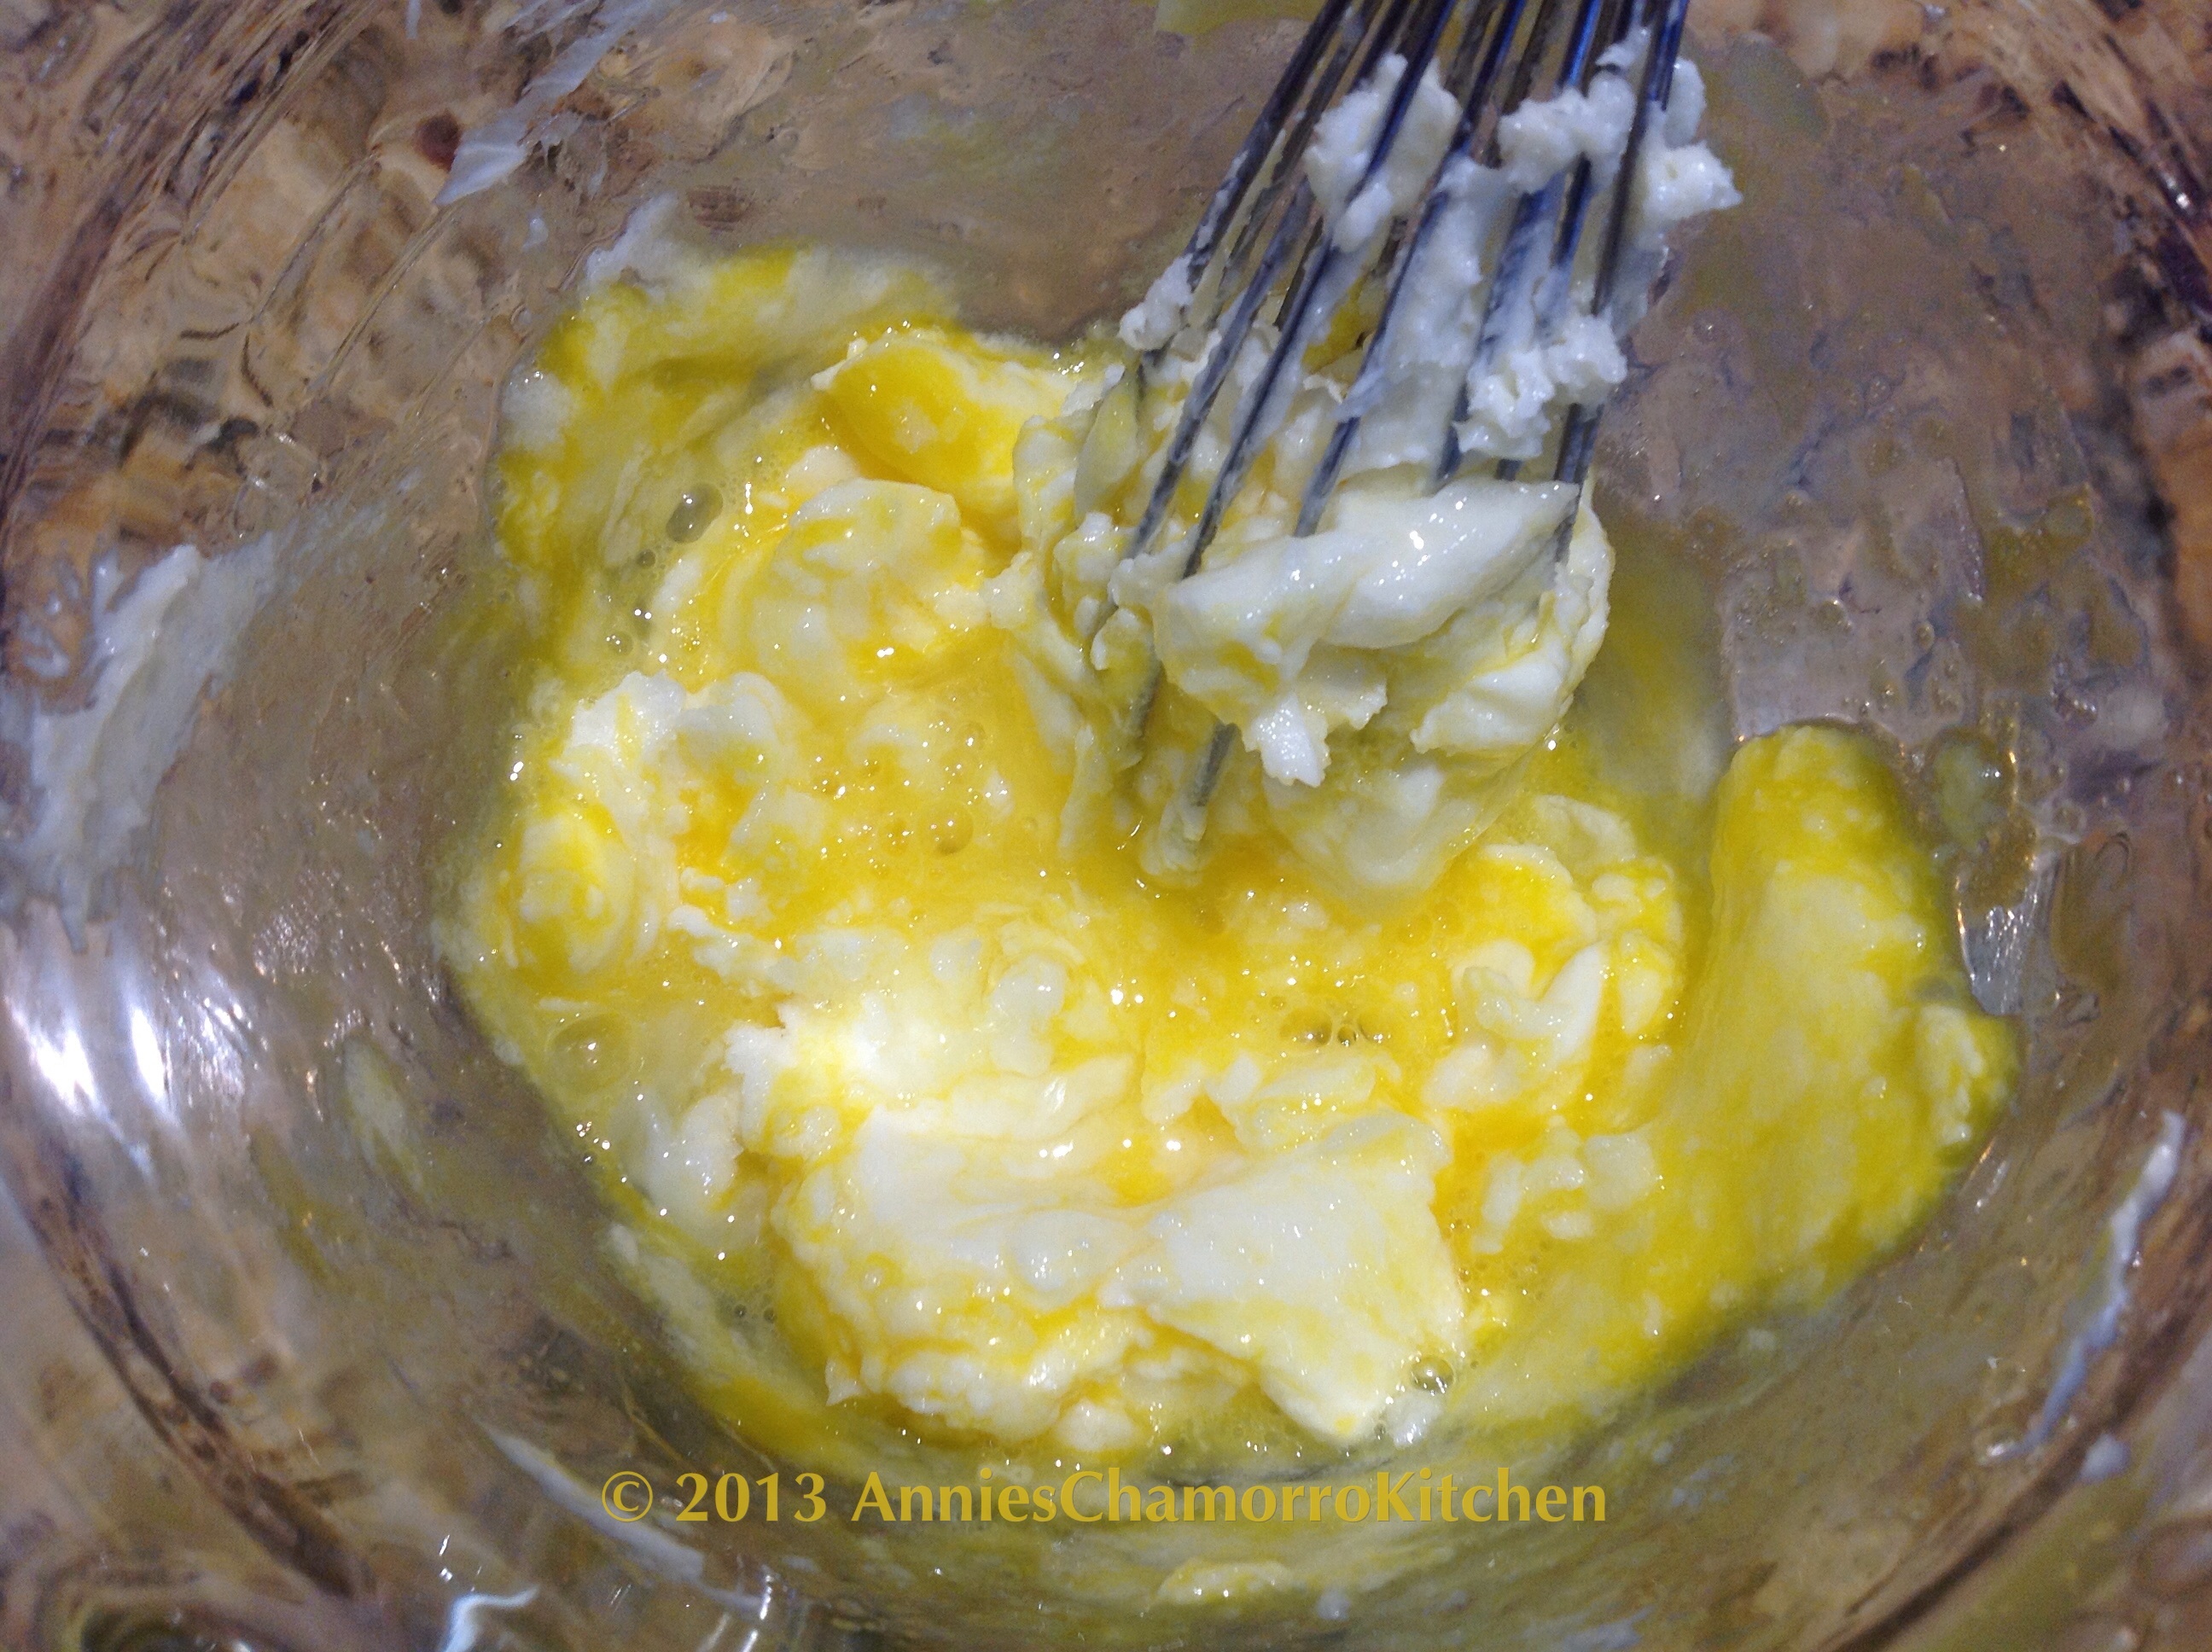
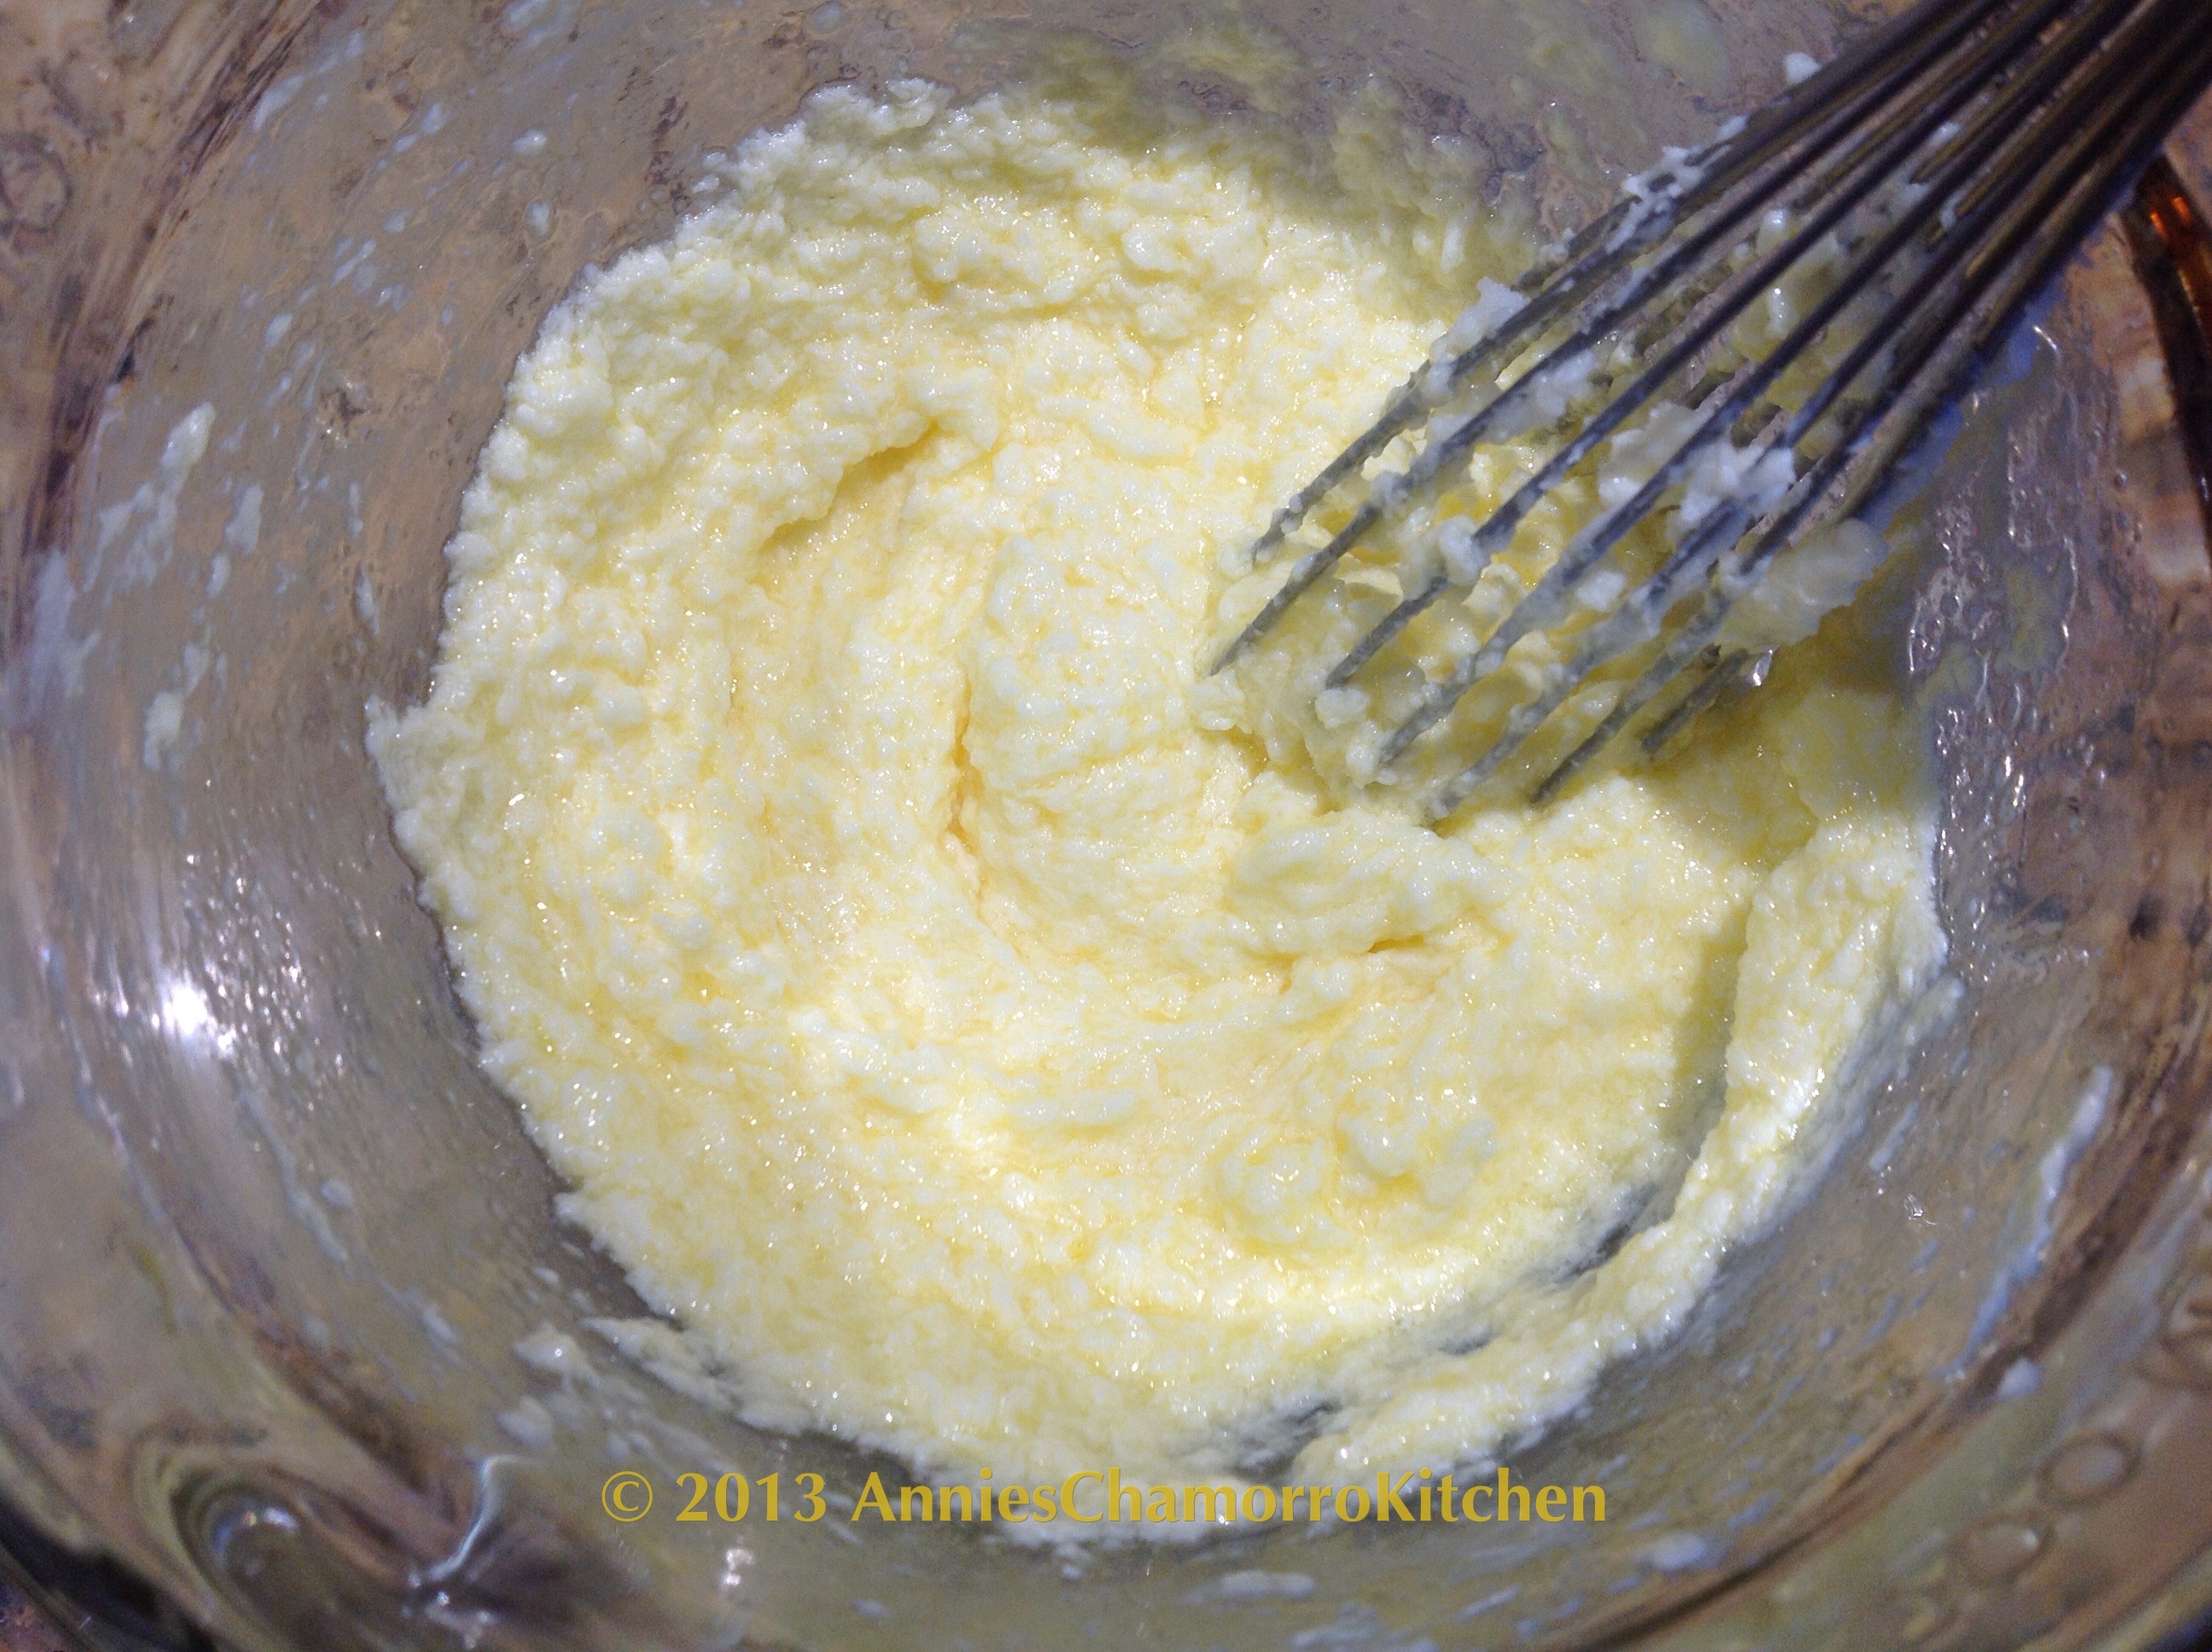
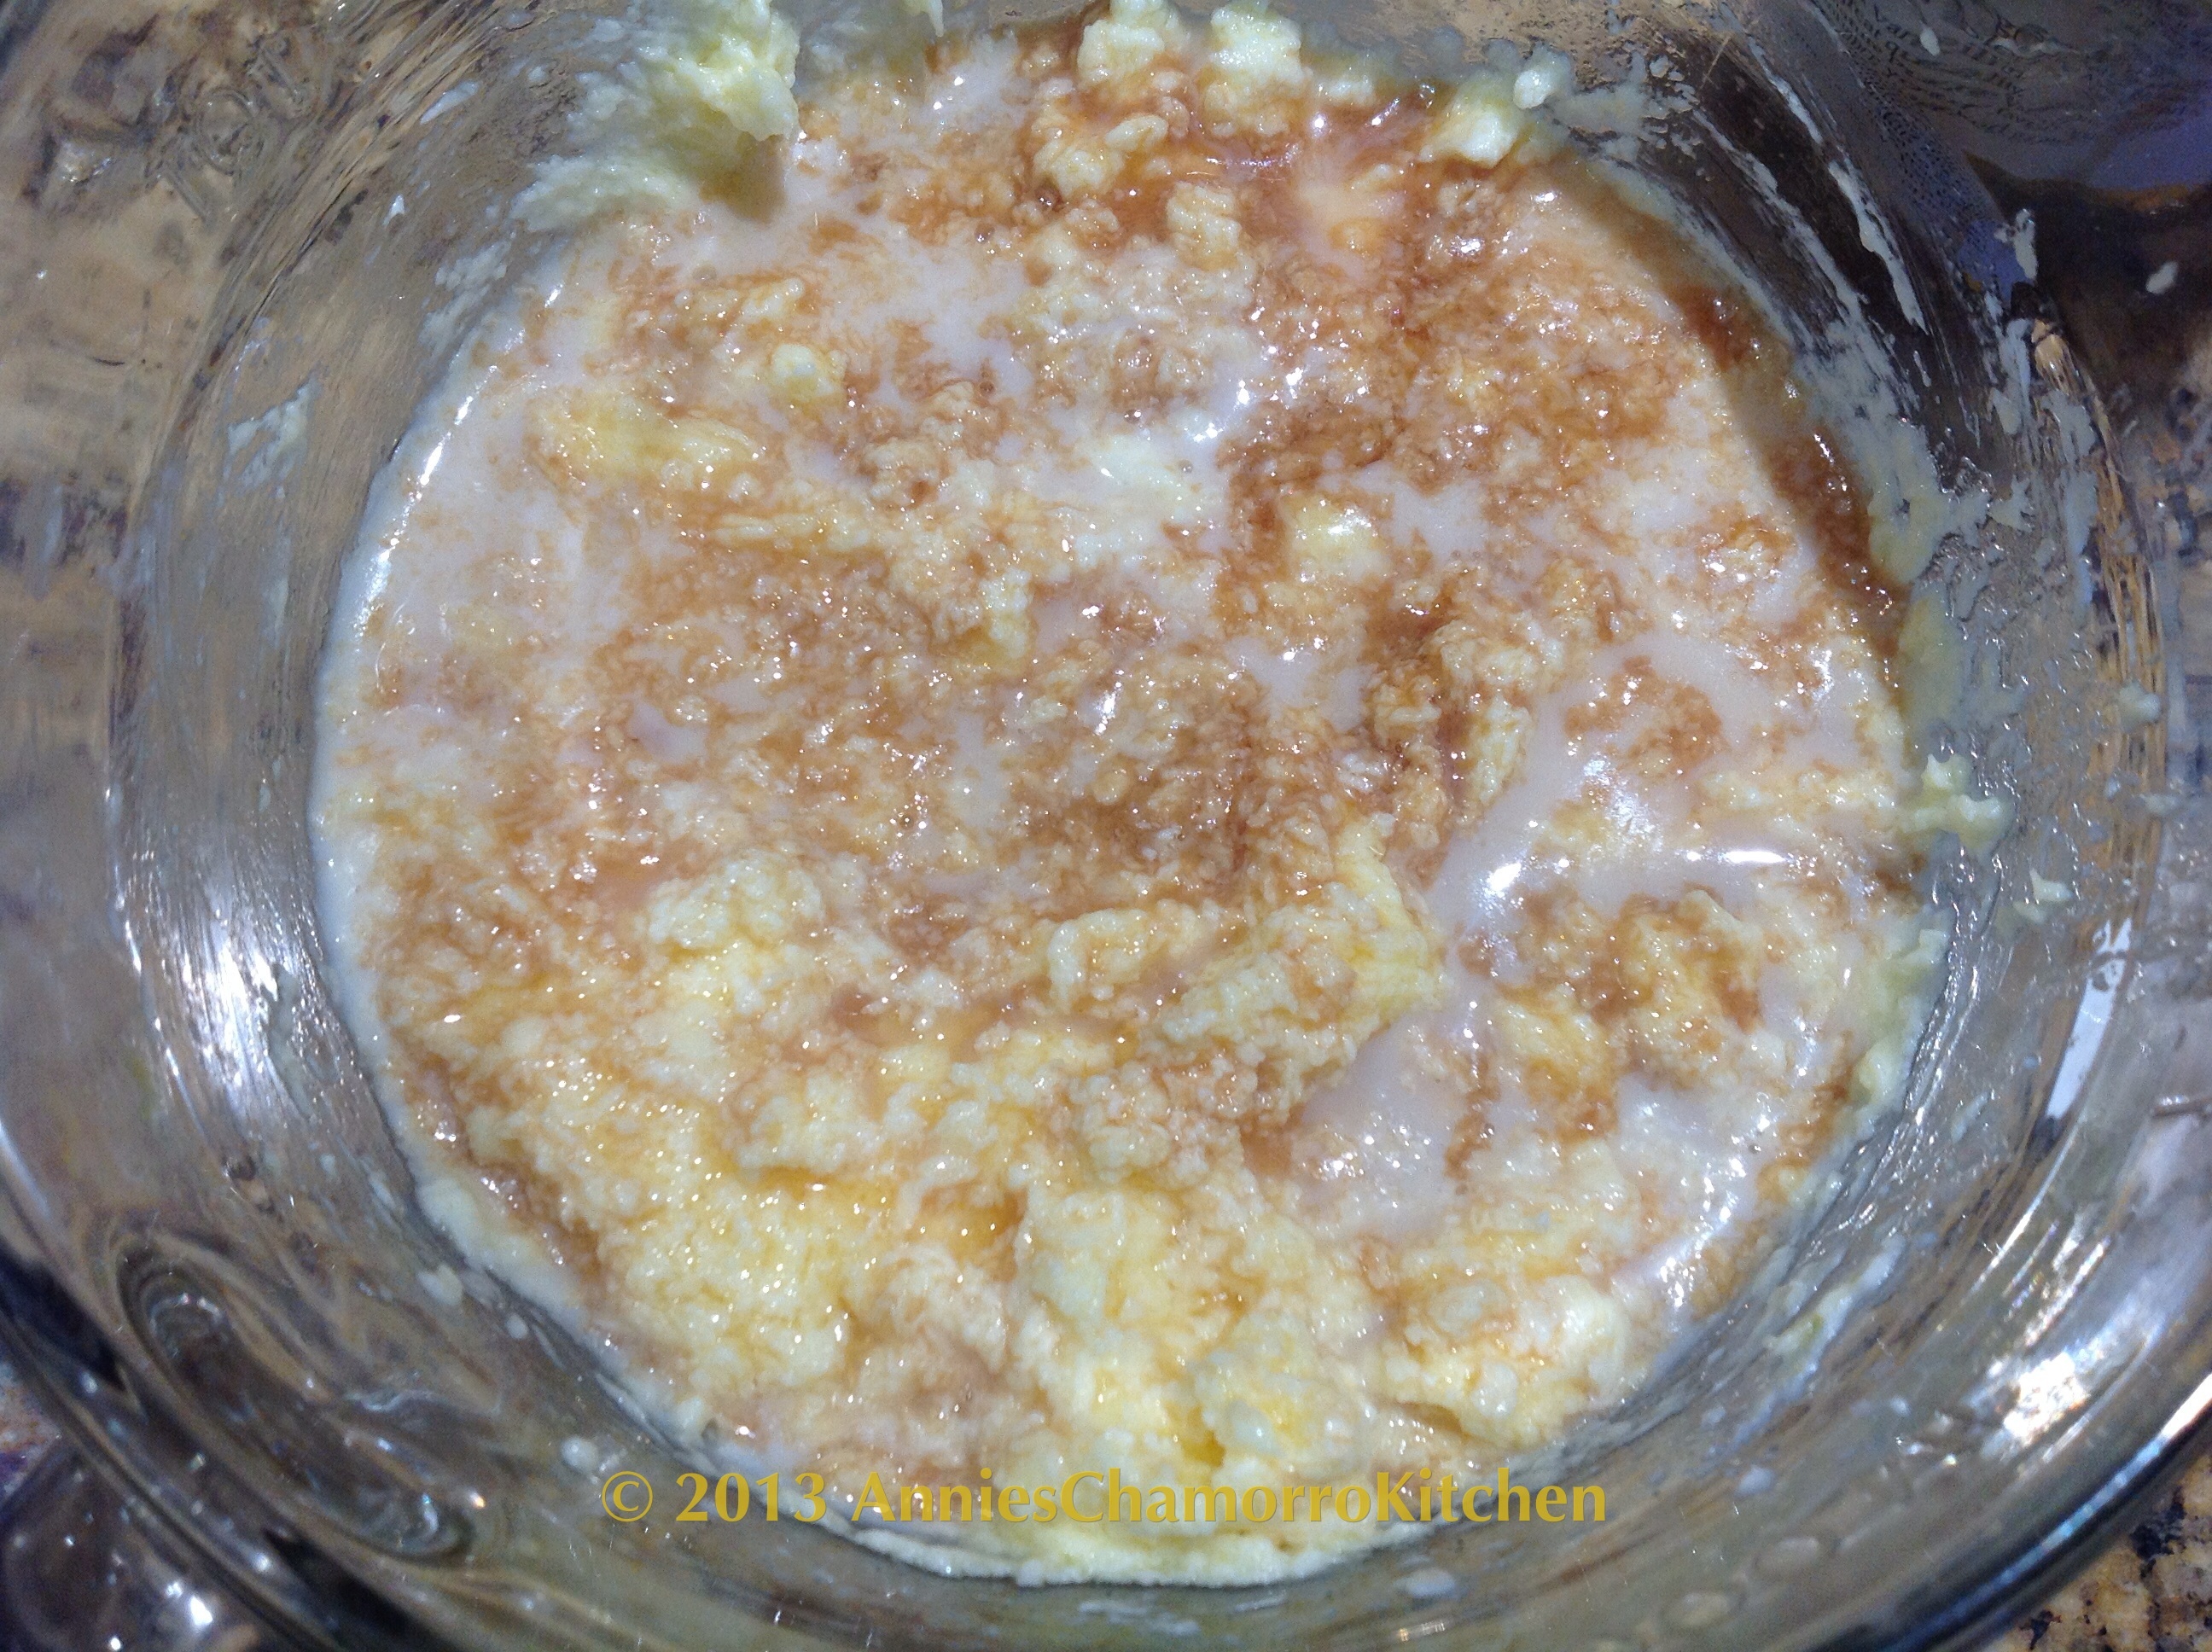
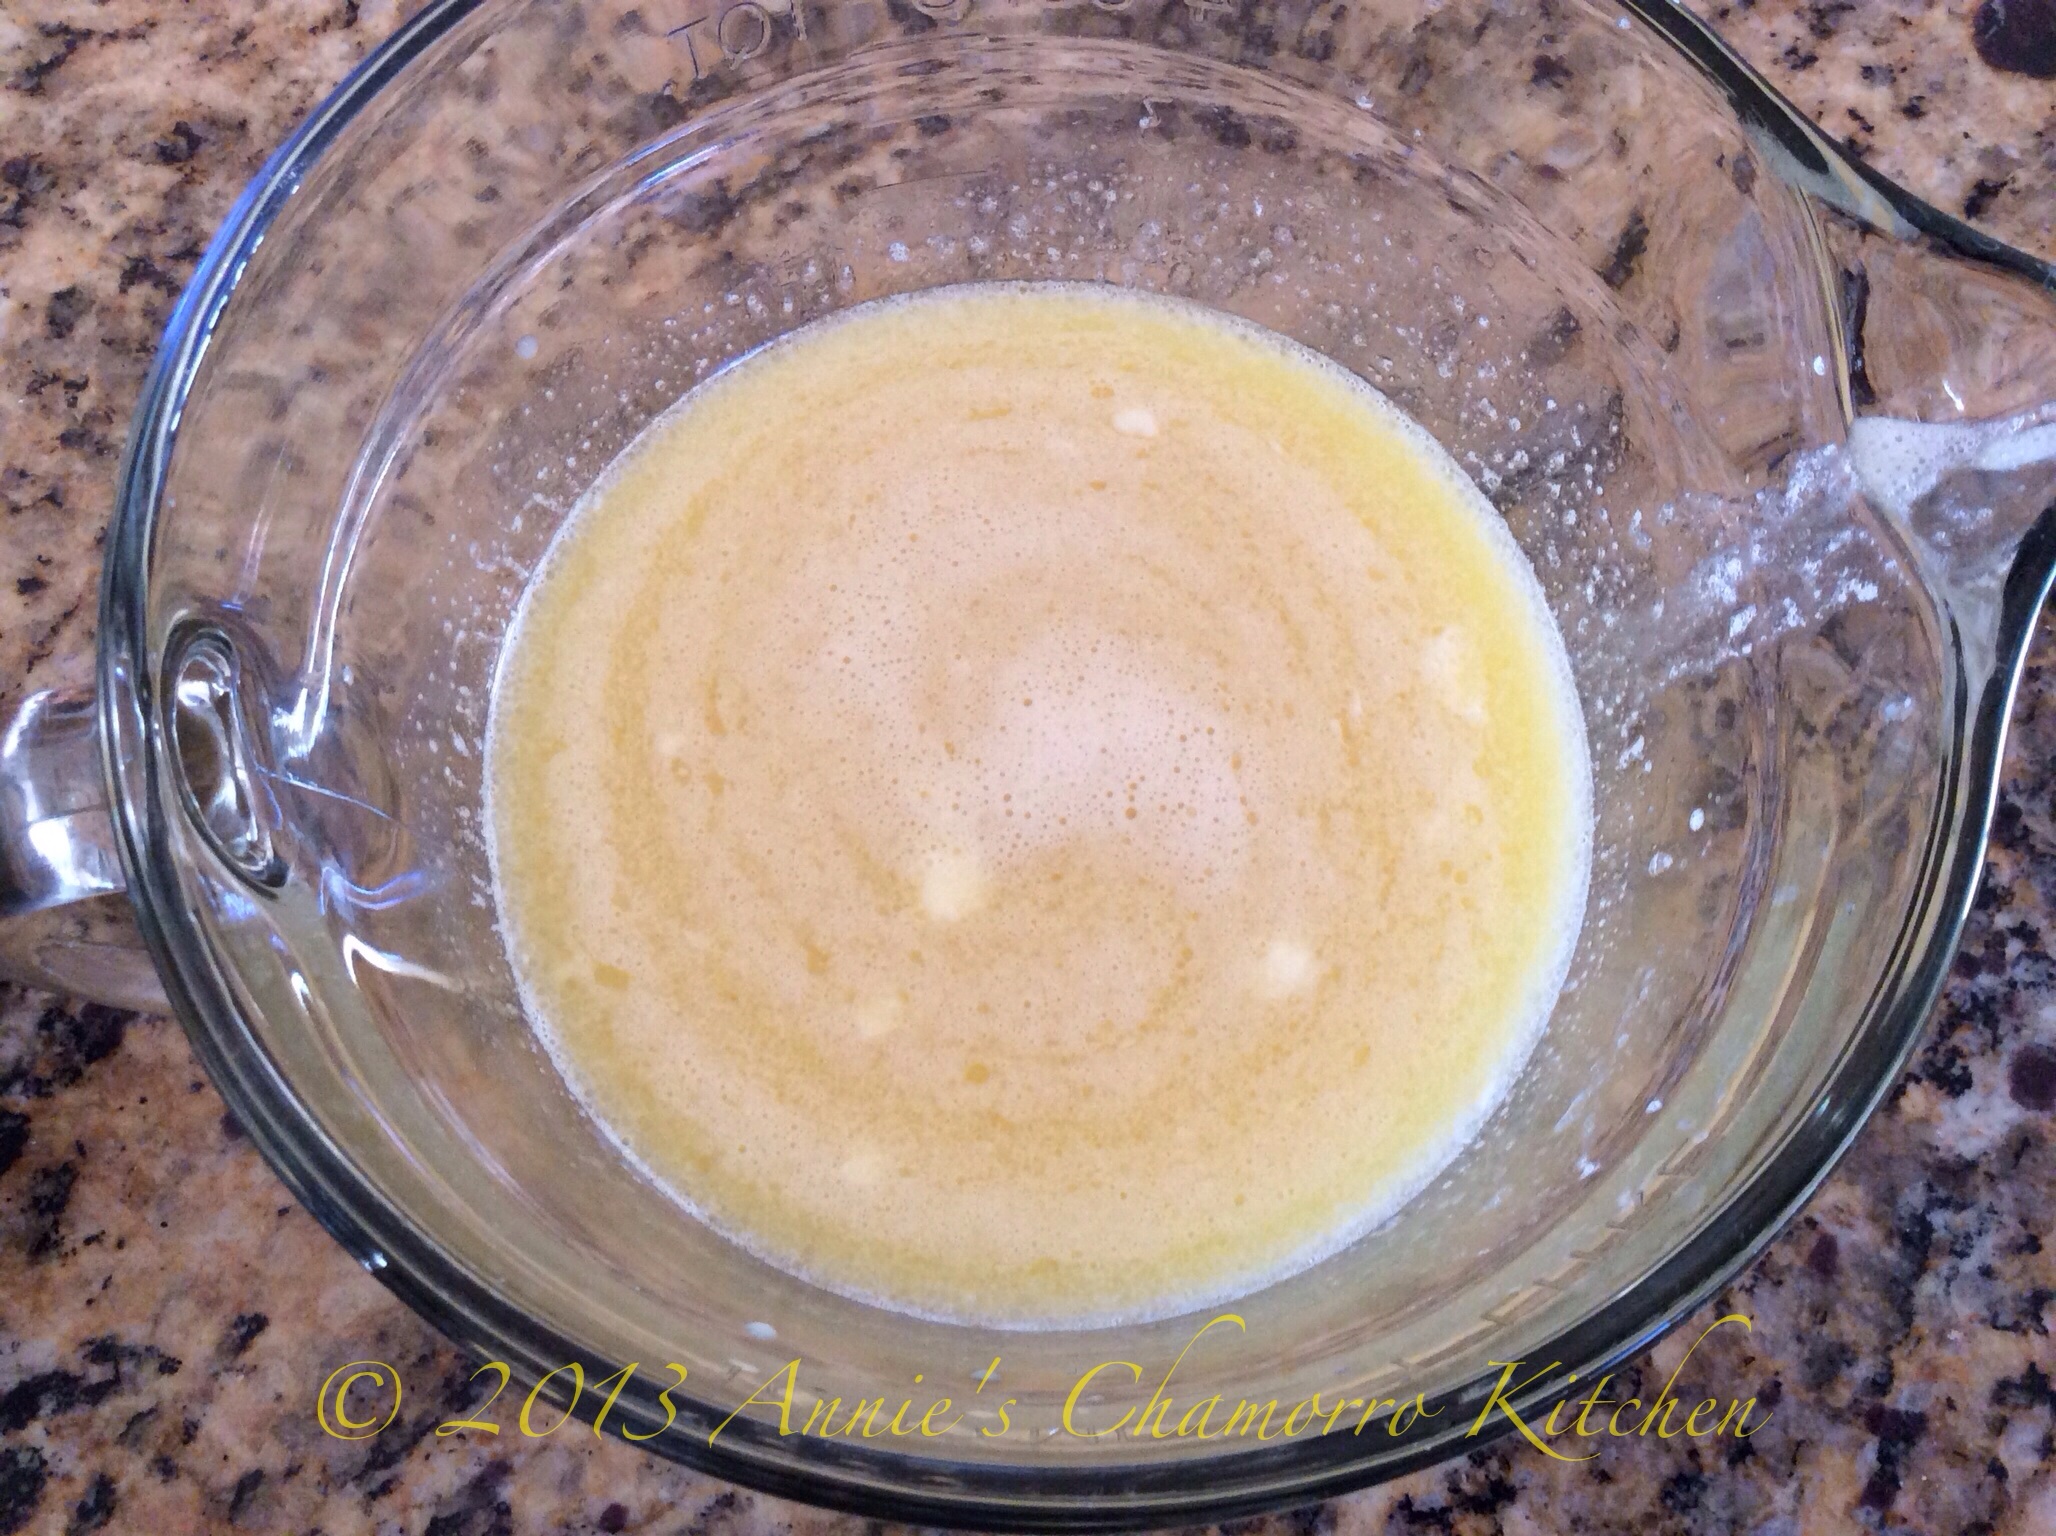
In a separate mixing bowl, mix together the wet ingredients:
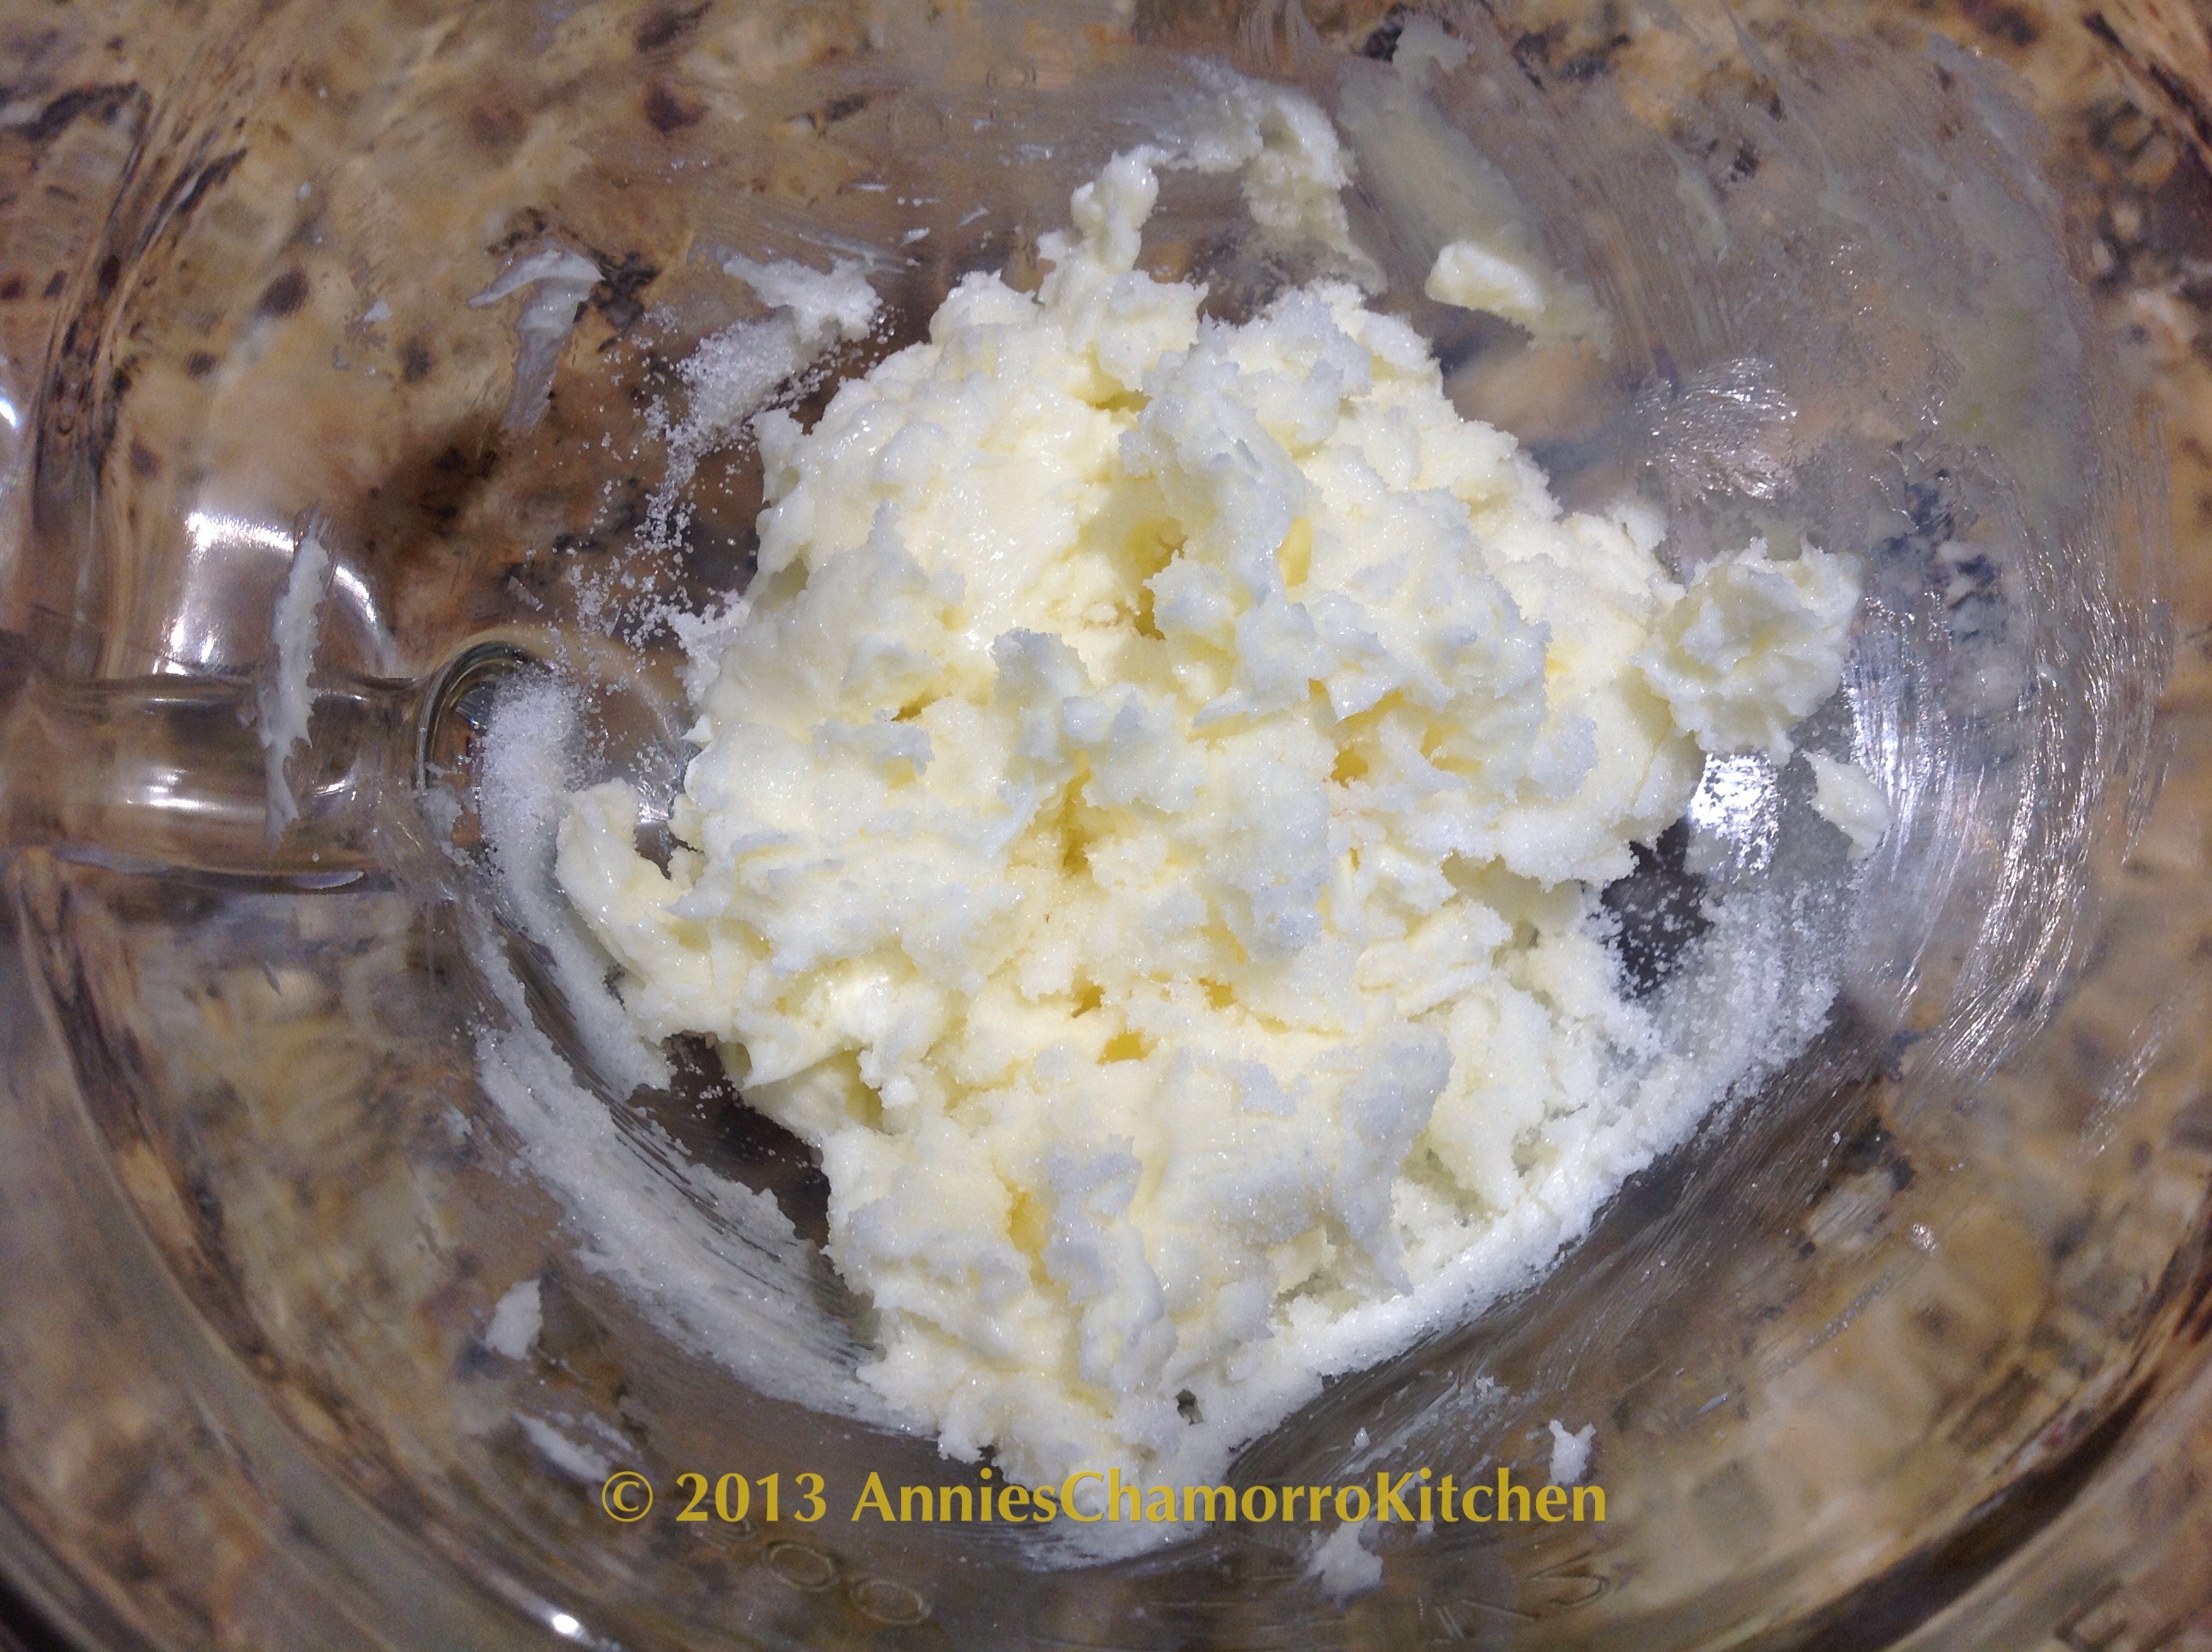
Place the eggs, water, vanilla extract, and melted butter into the bowl; stir to combine. Note: after melting the butter, let it sit for a minute or so to cool slightly. You don’t want scorching hot butter when you mix it with the eggs or else you’ll end up with scrambled eggs. That’s no bueno for these yummy donuts.
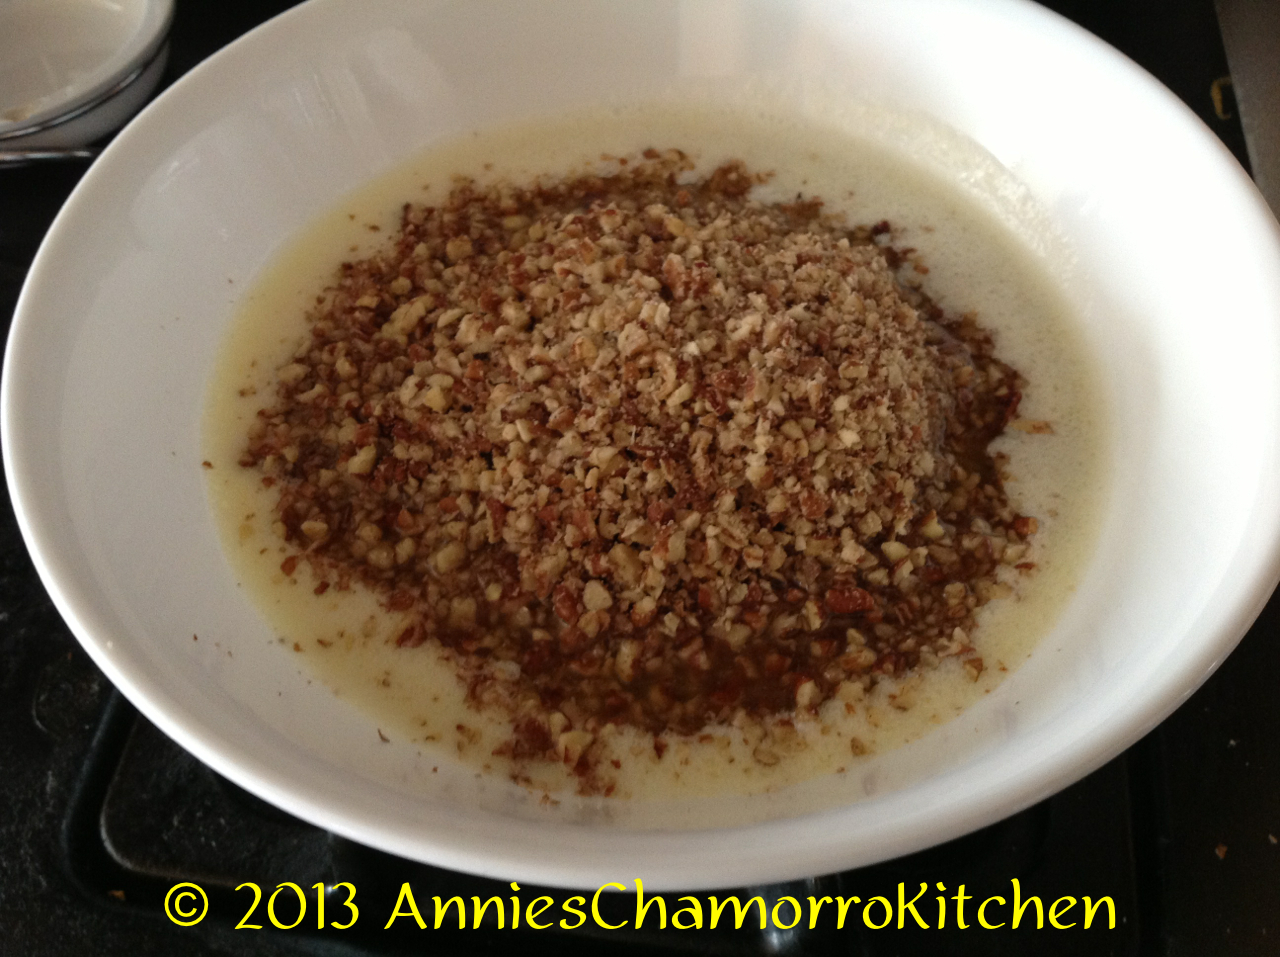
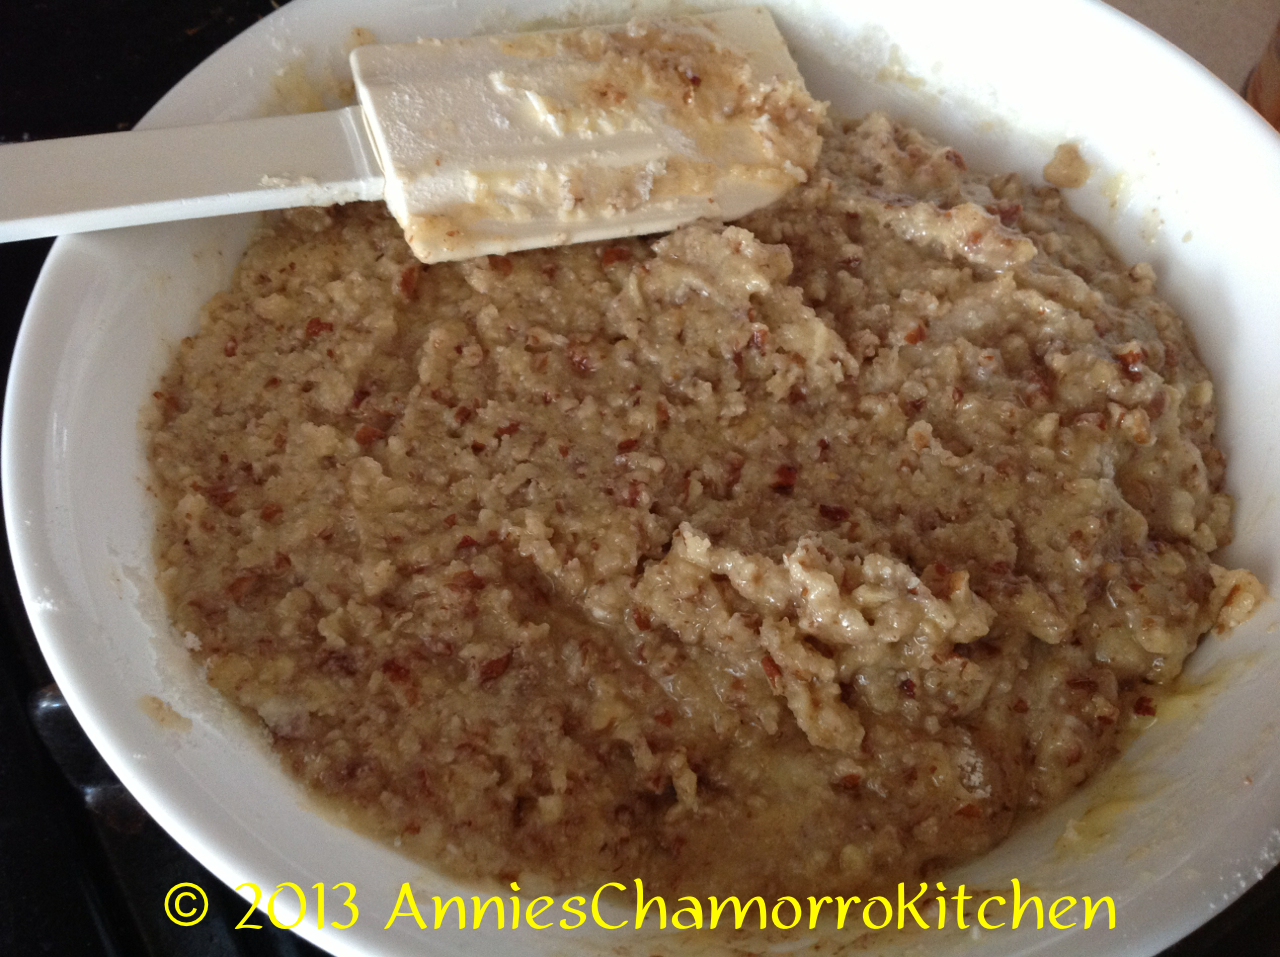
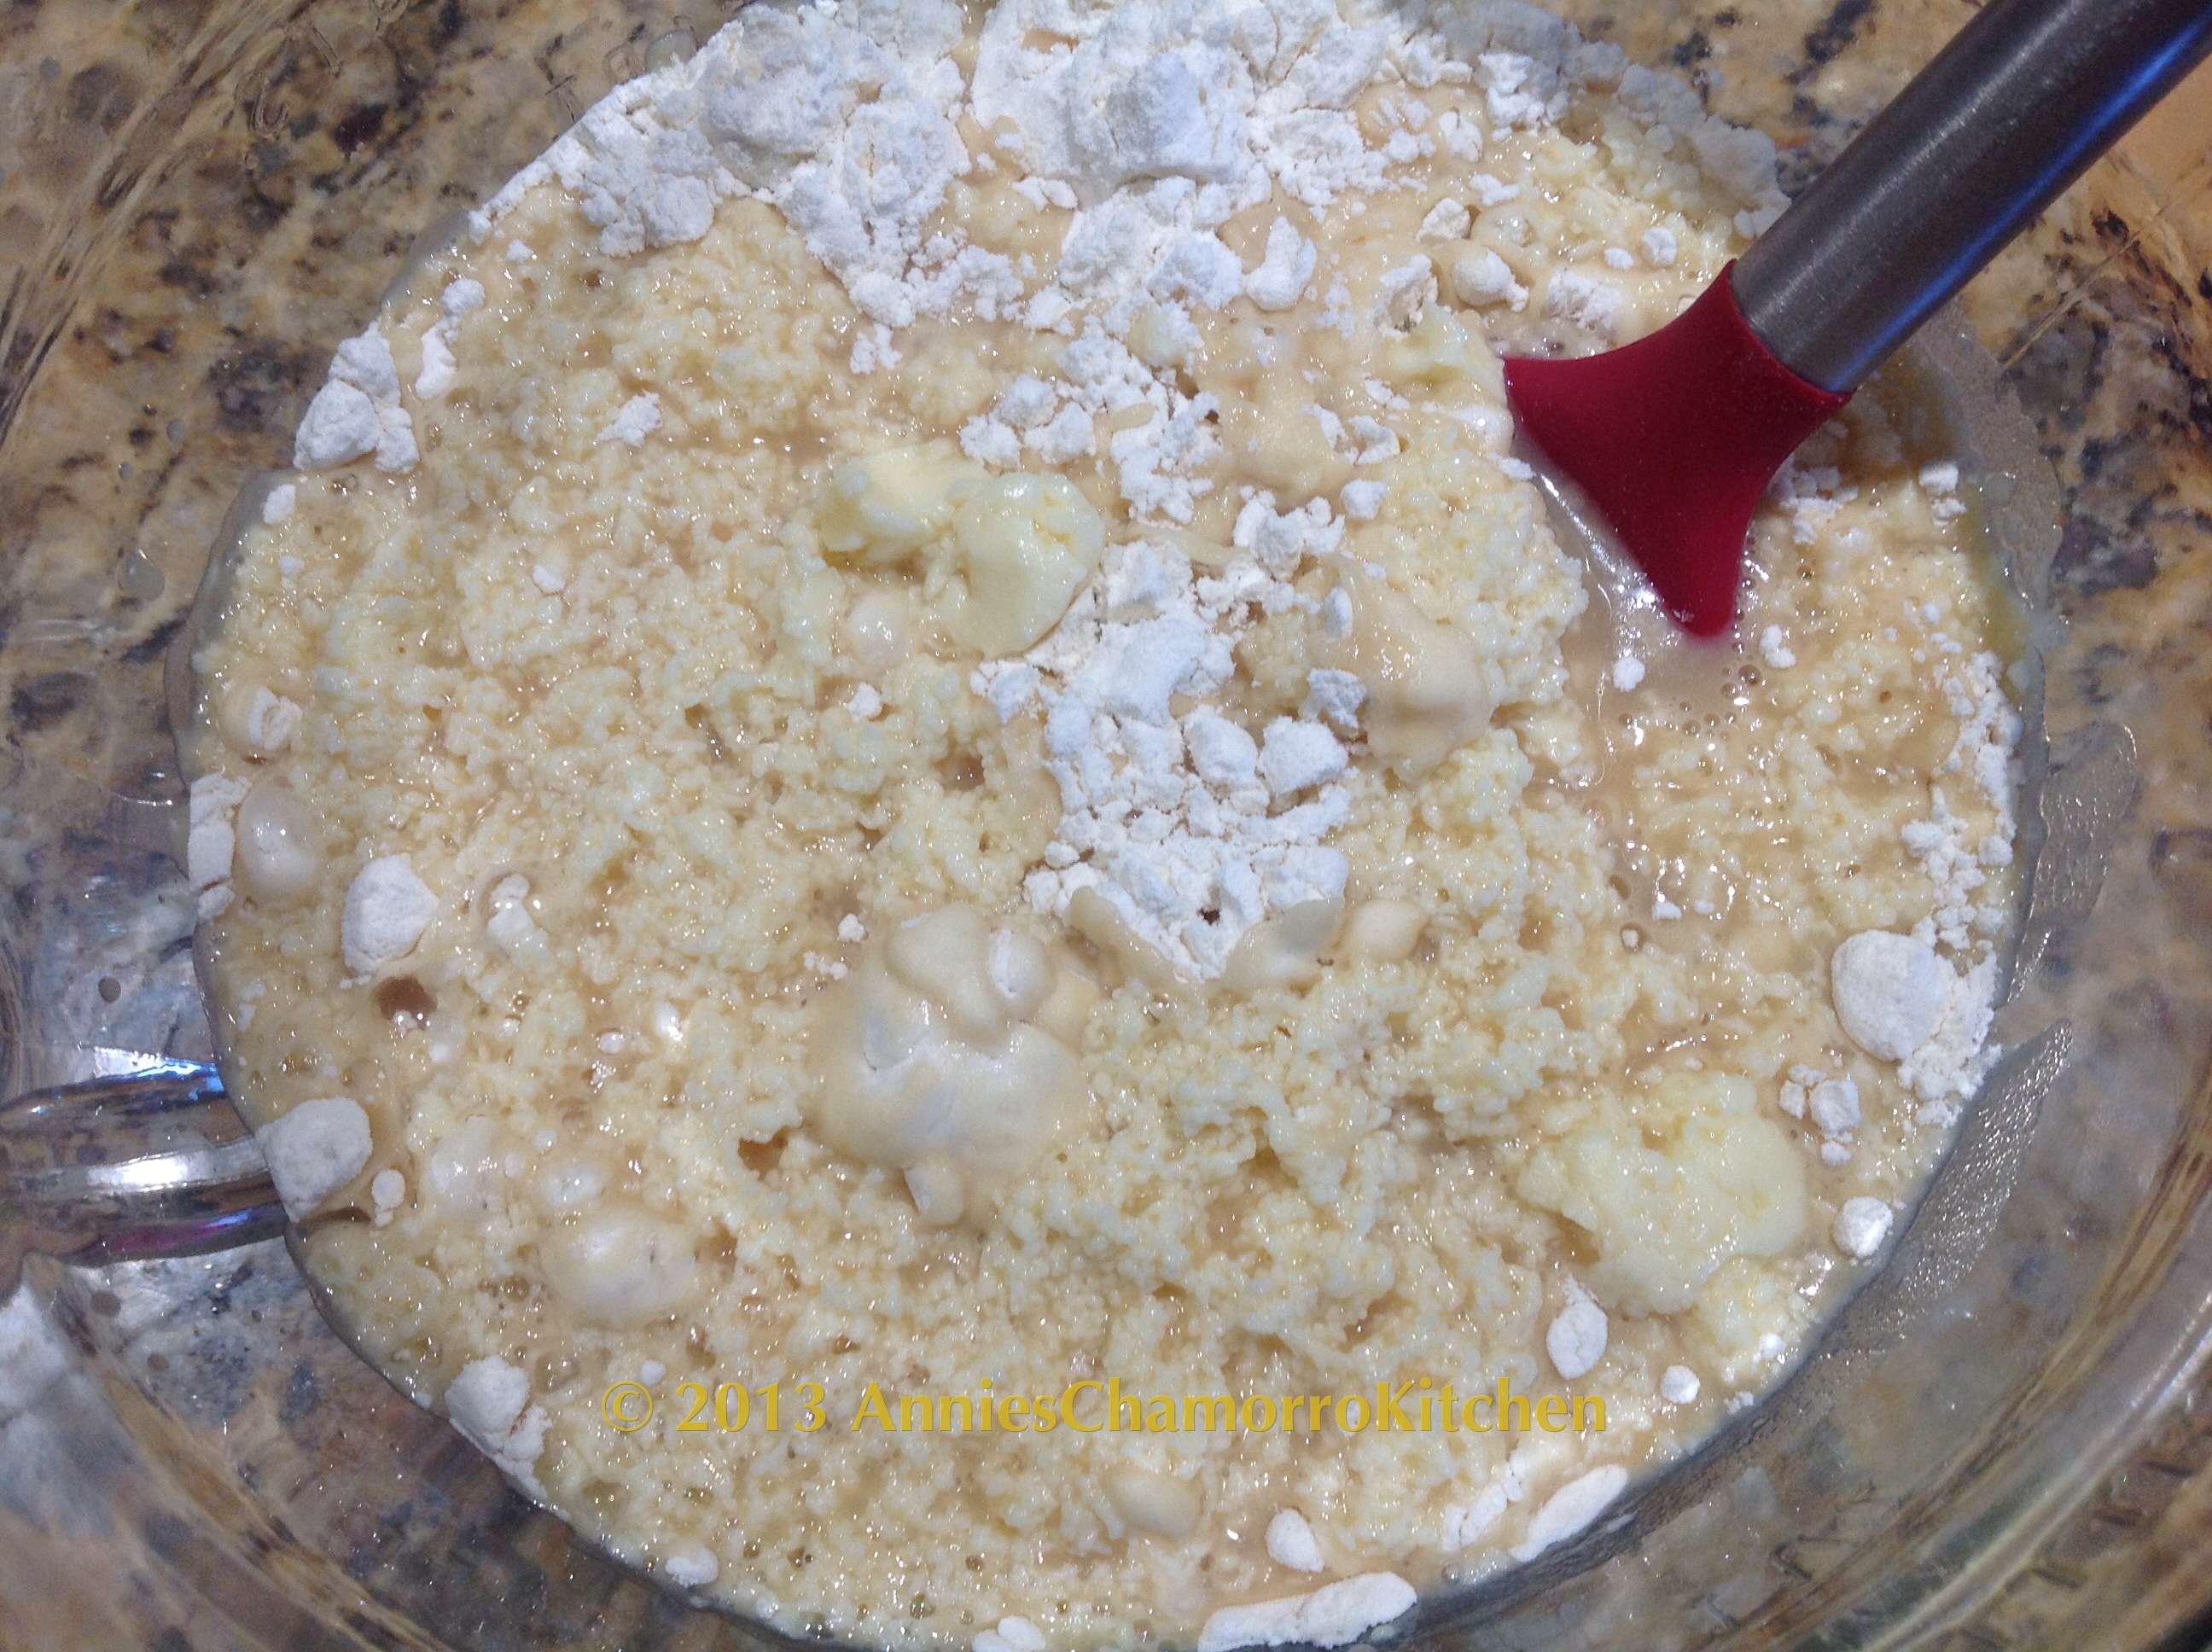
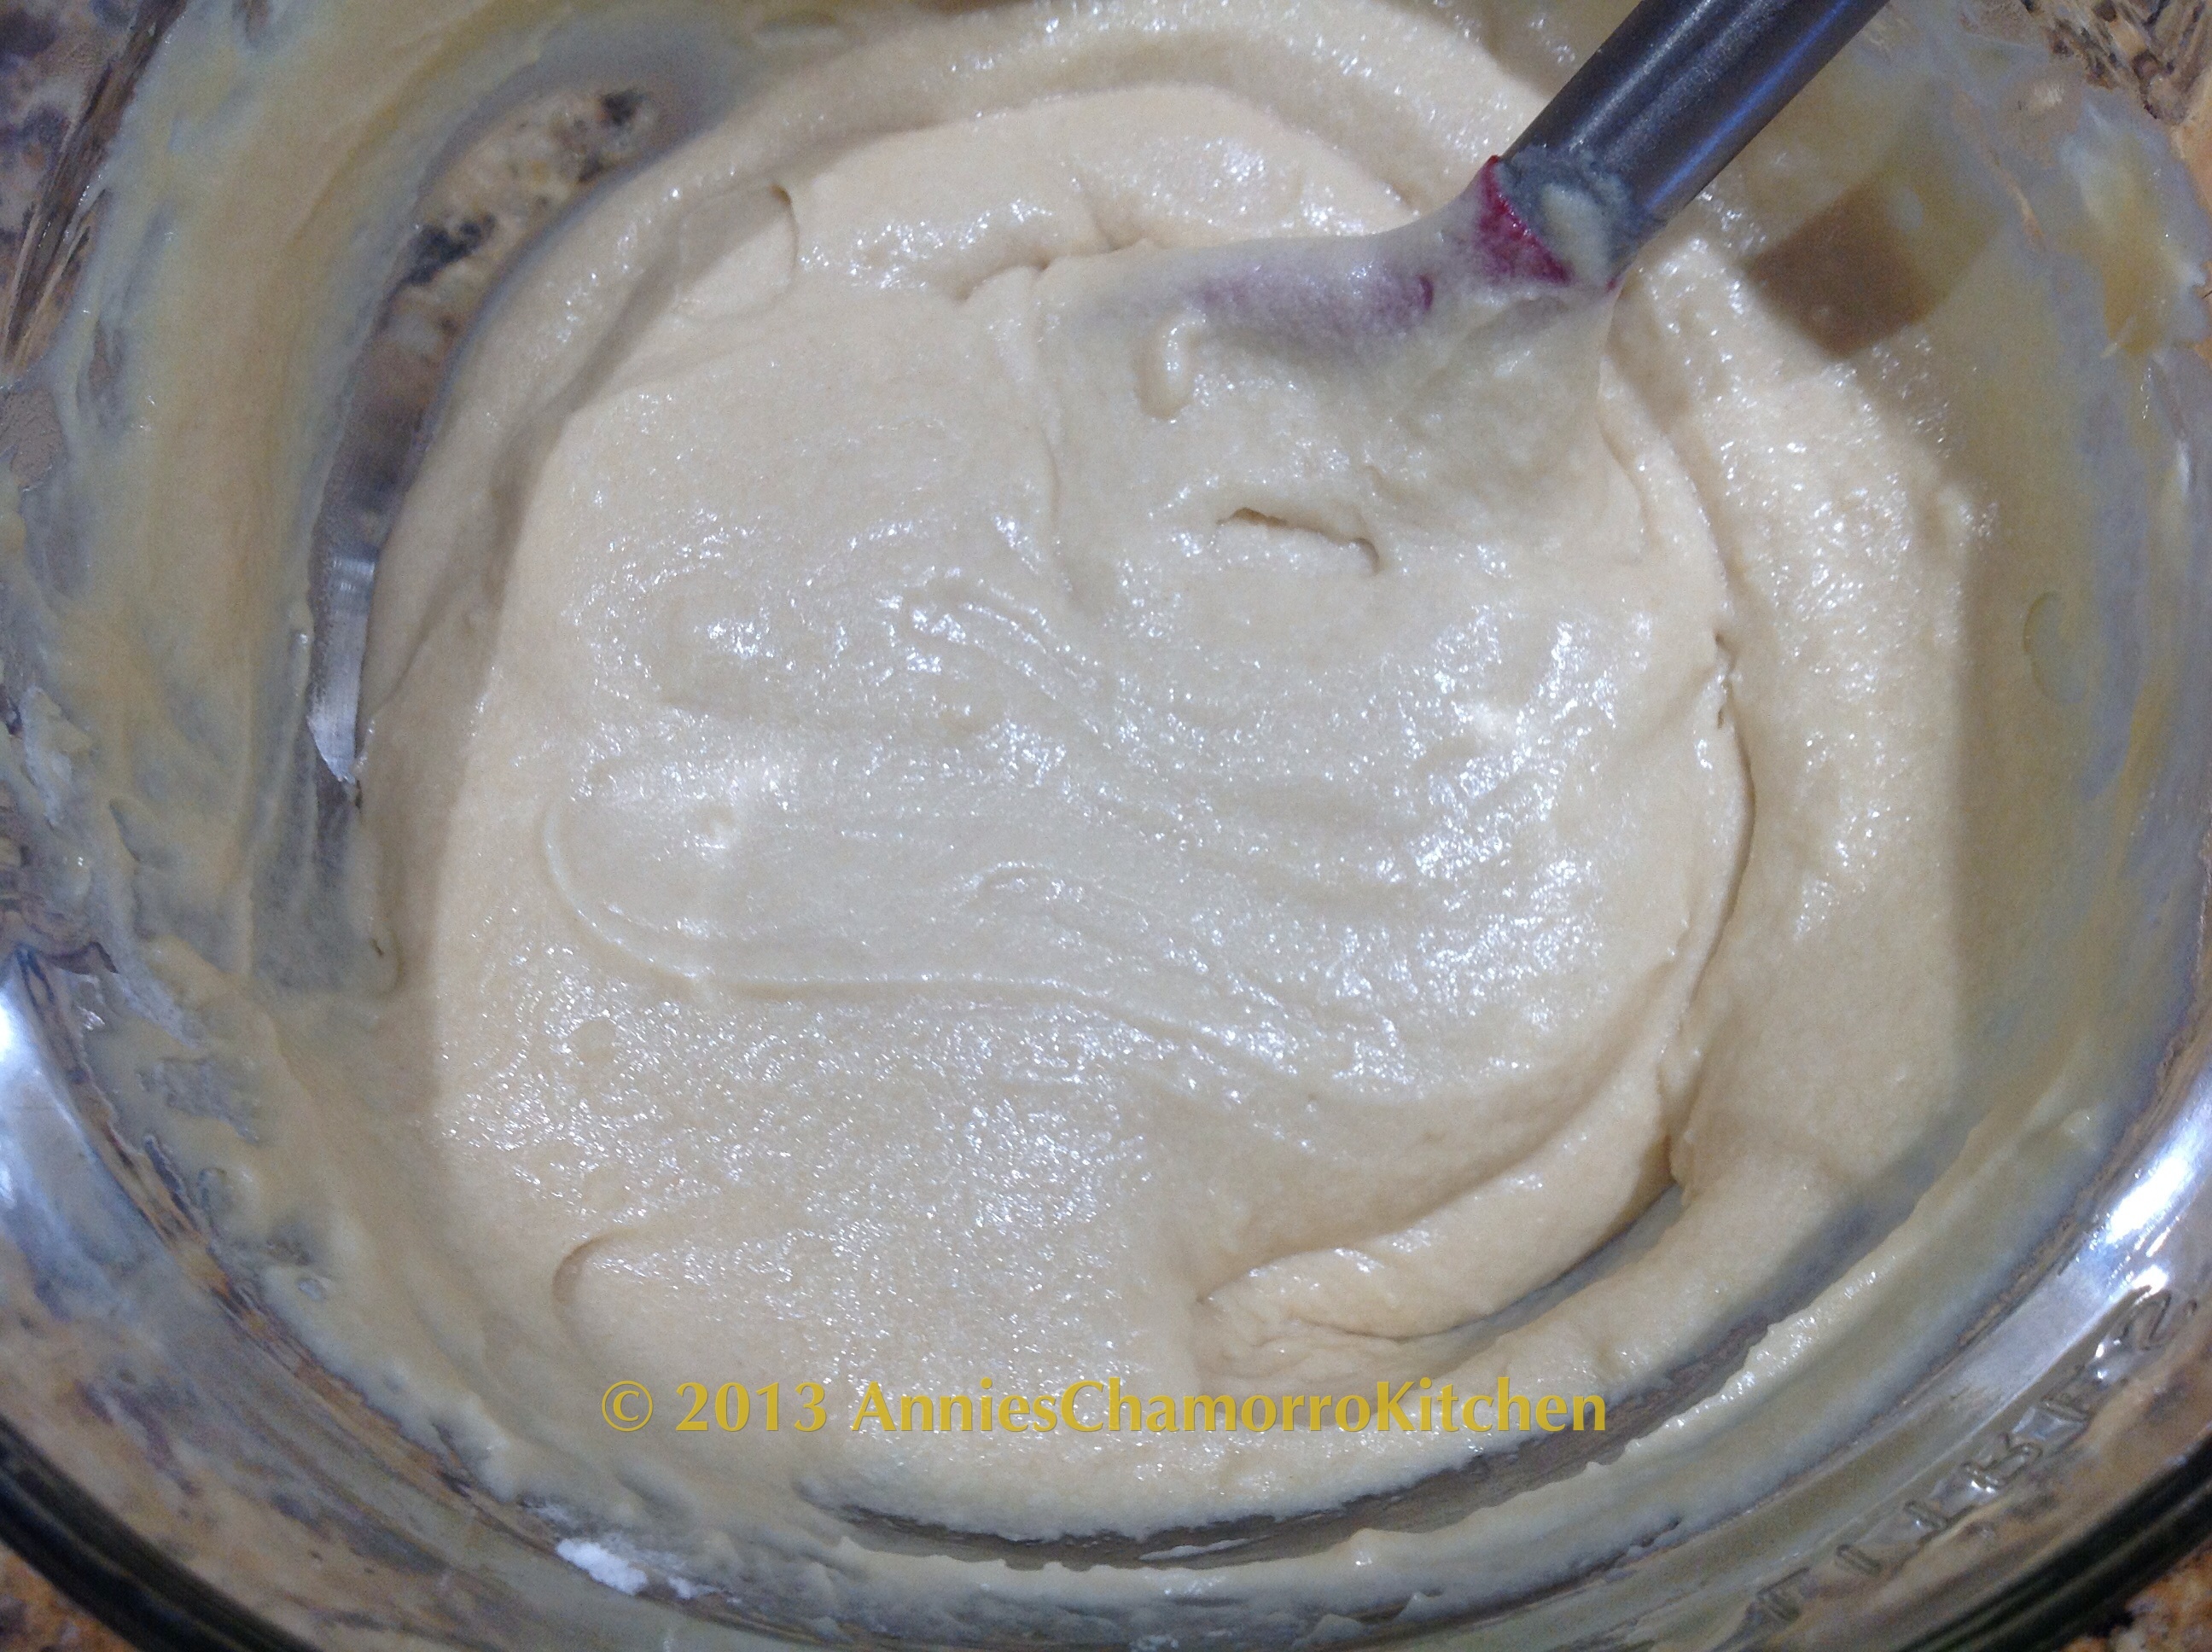
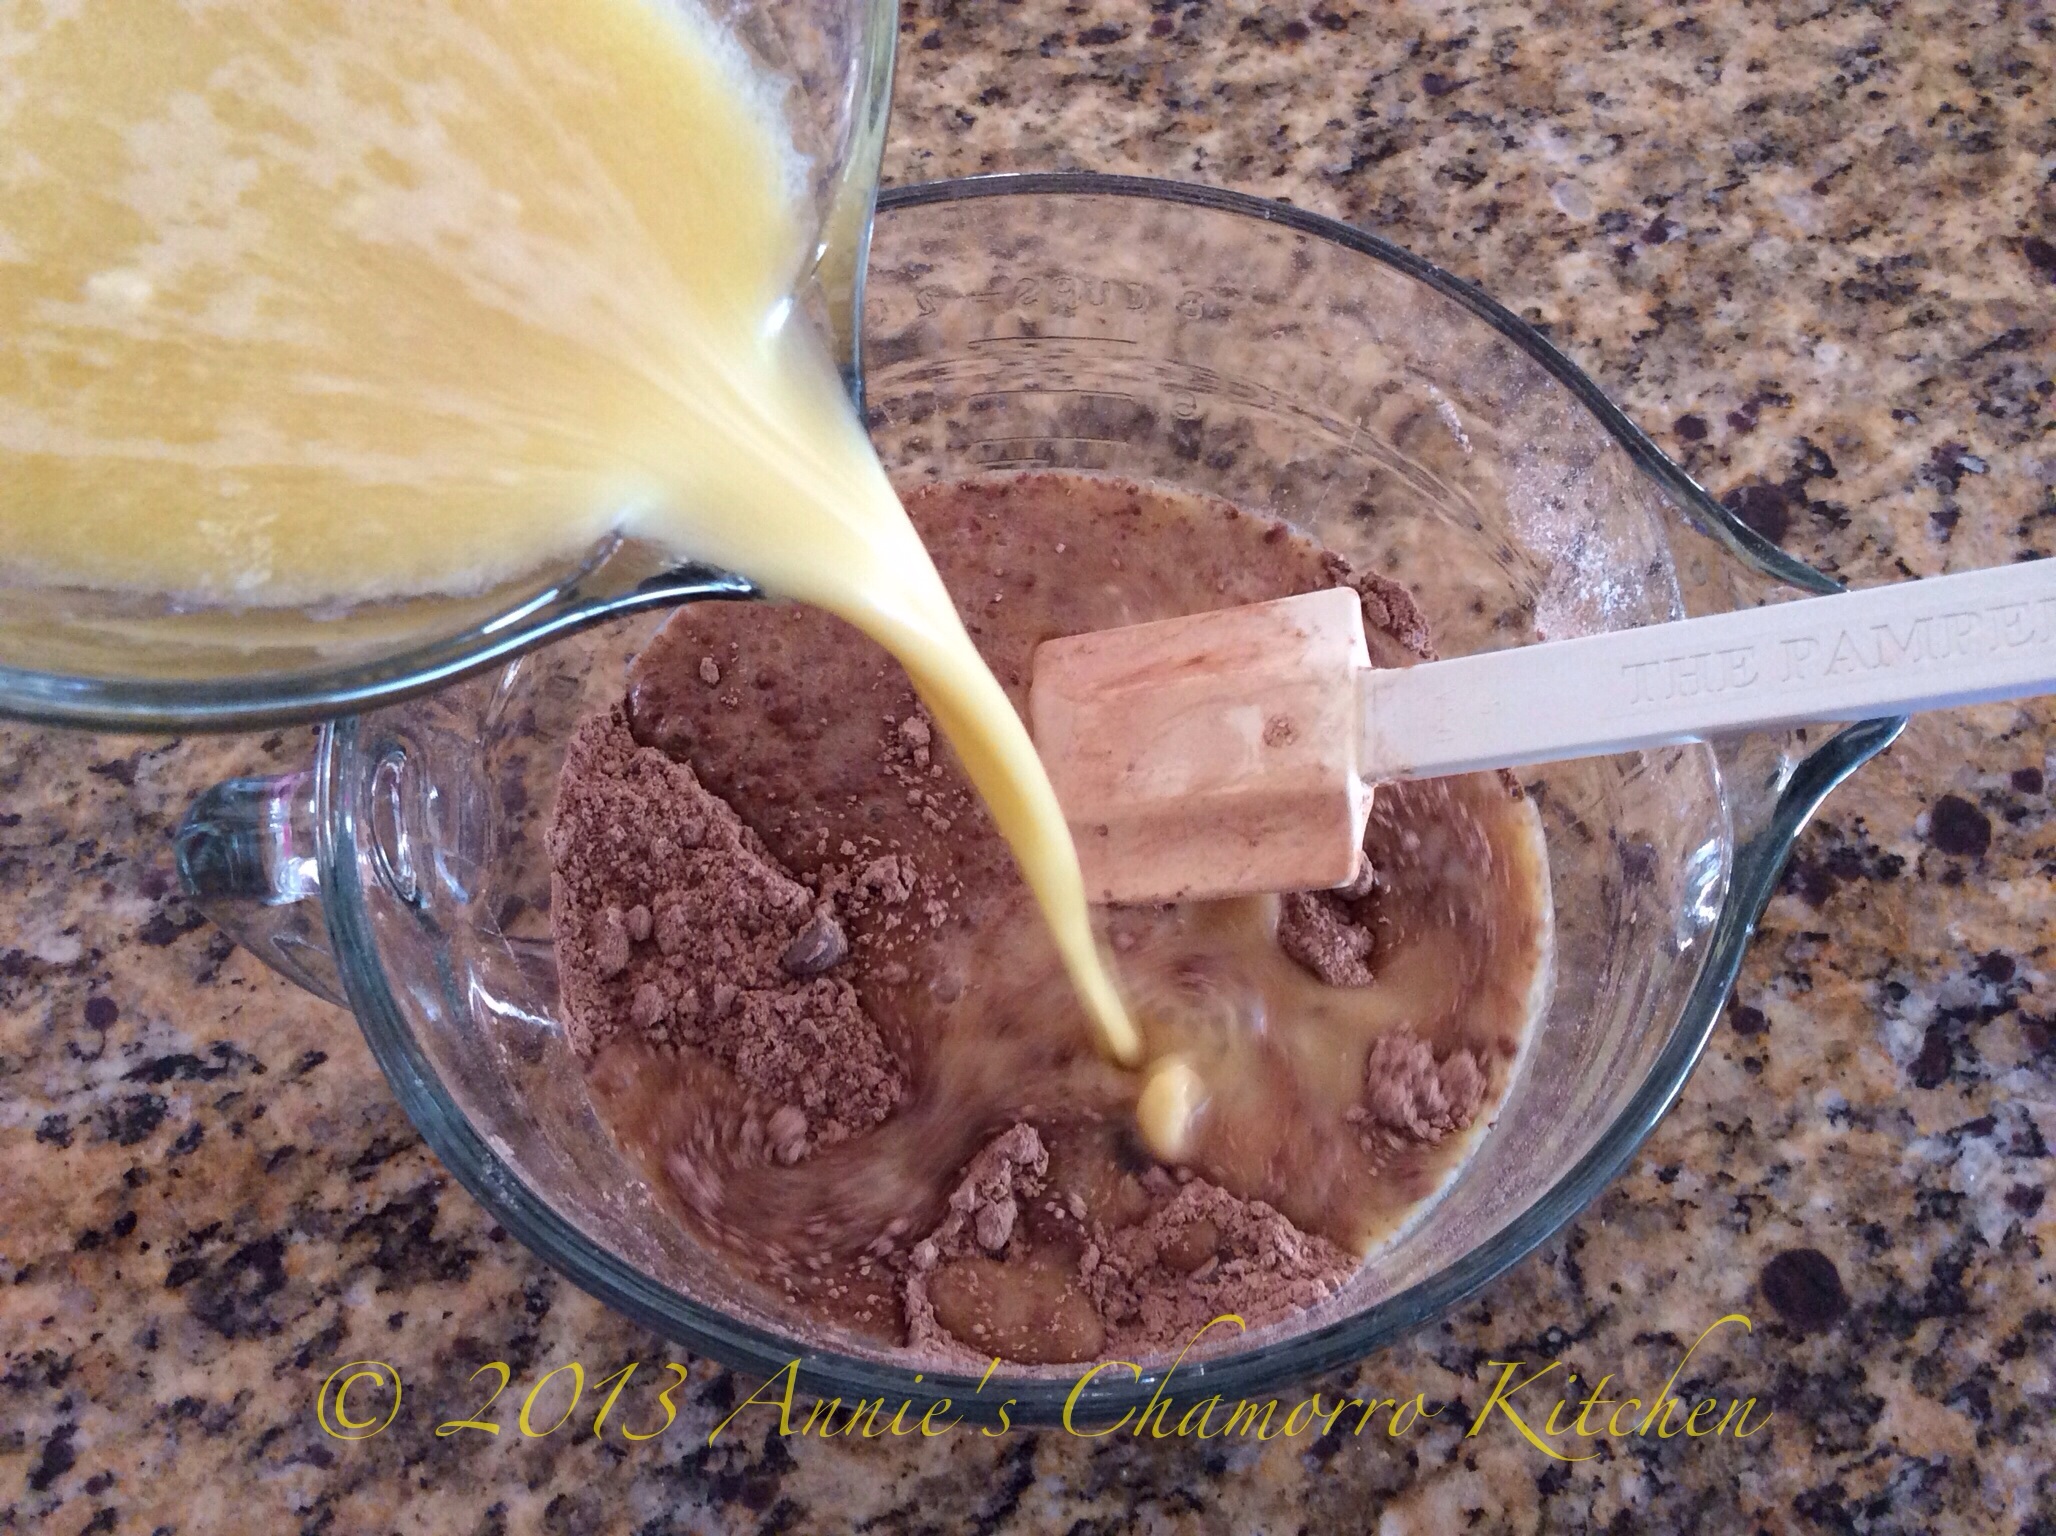
Stir in the wet ingredients with the dry ingredients. Mix only until a batter forms; it’s okay if you have a few lumps. I used a rubber spatula to stir the batter (so that the chocolate chips didn’t get stick in between the whisk wires).

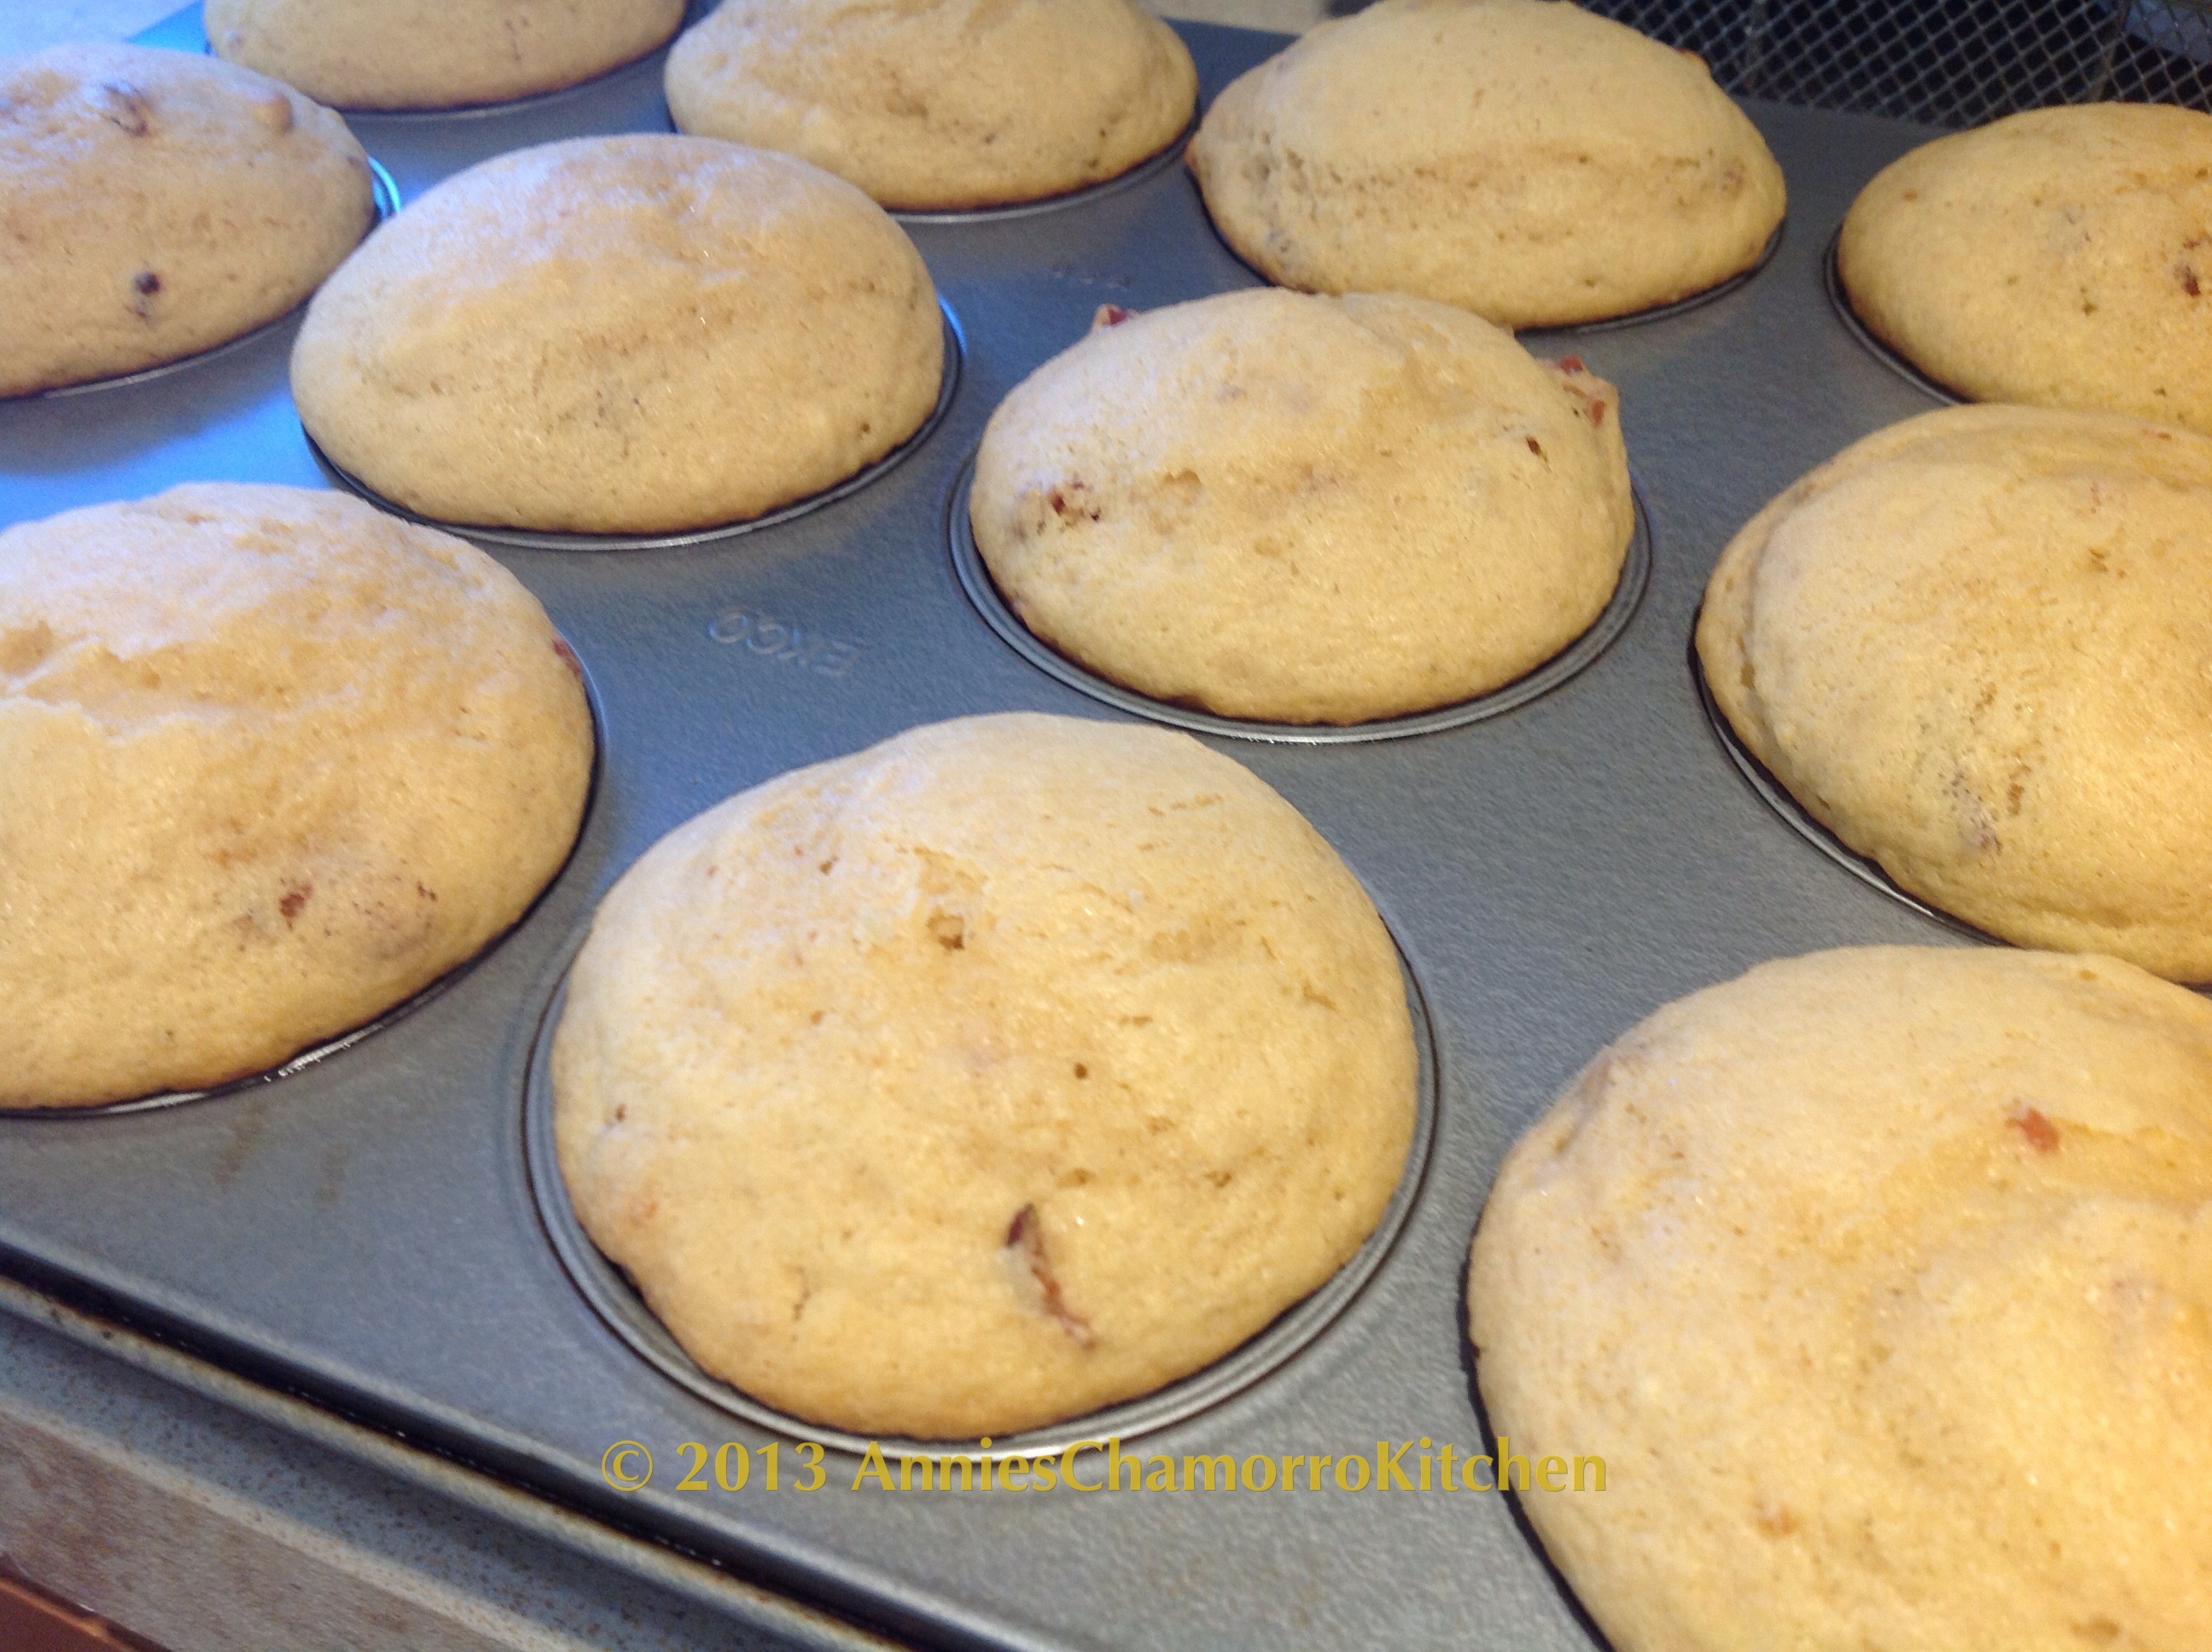
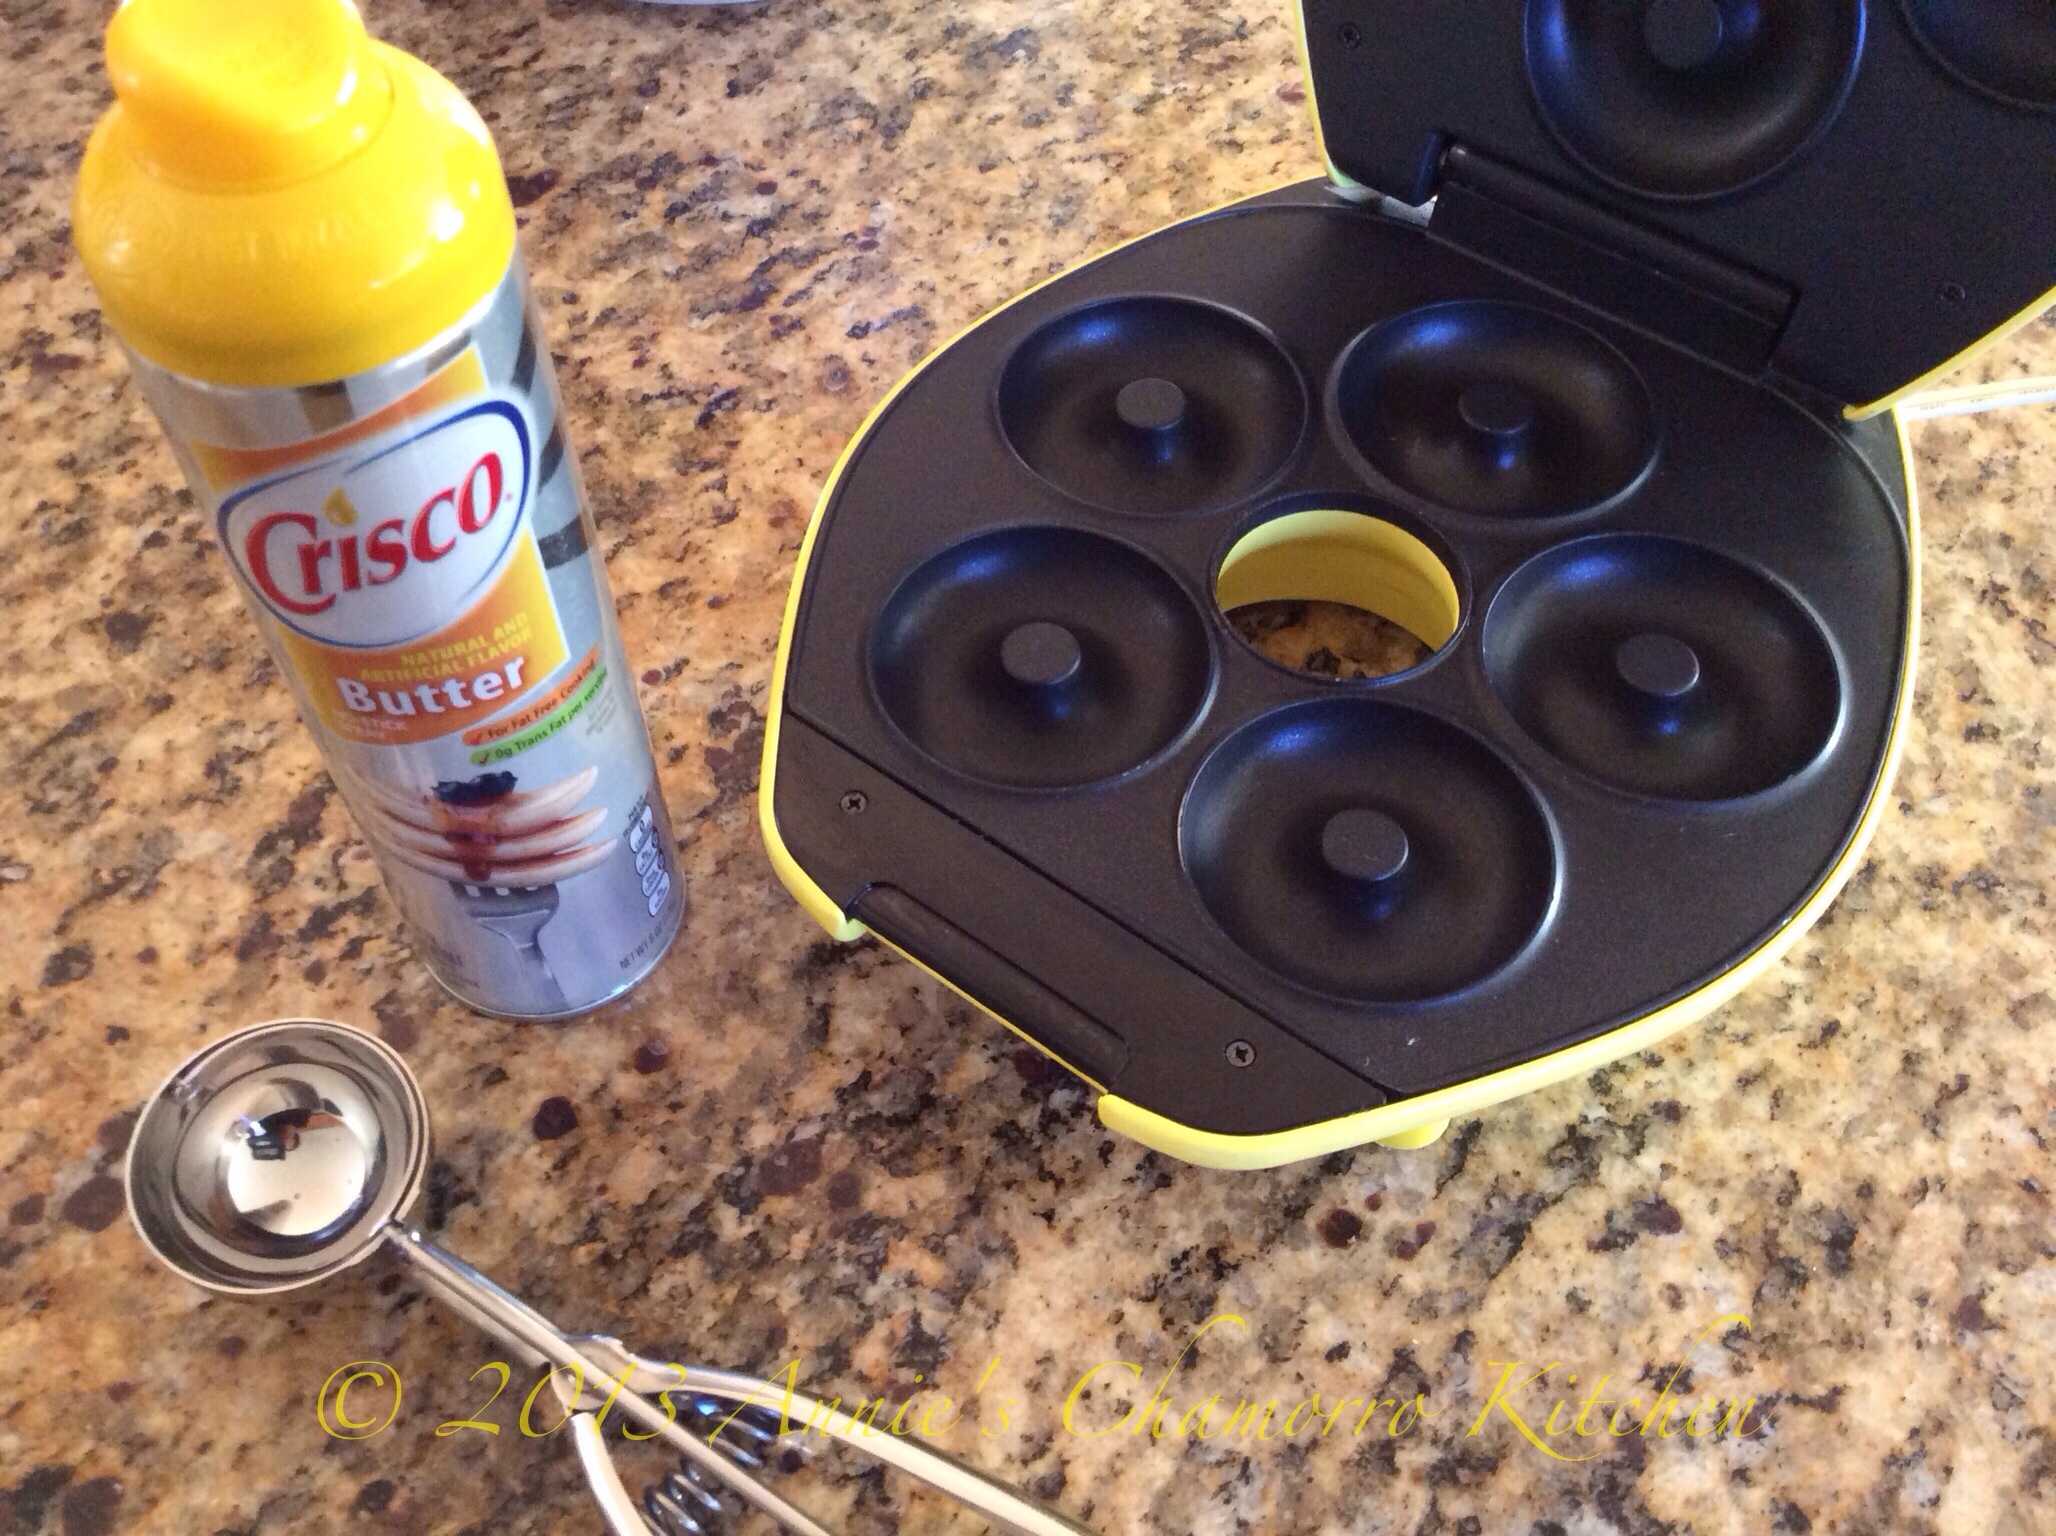
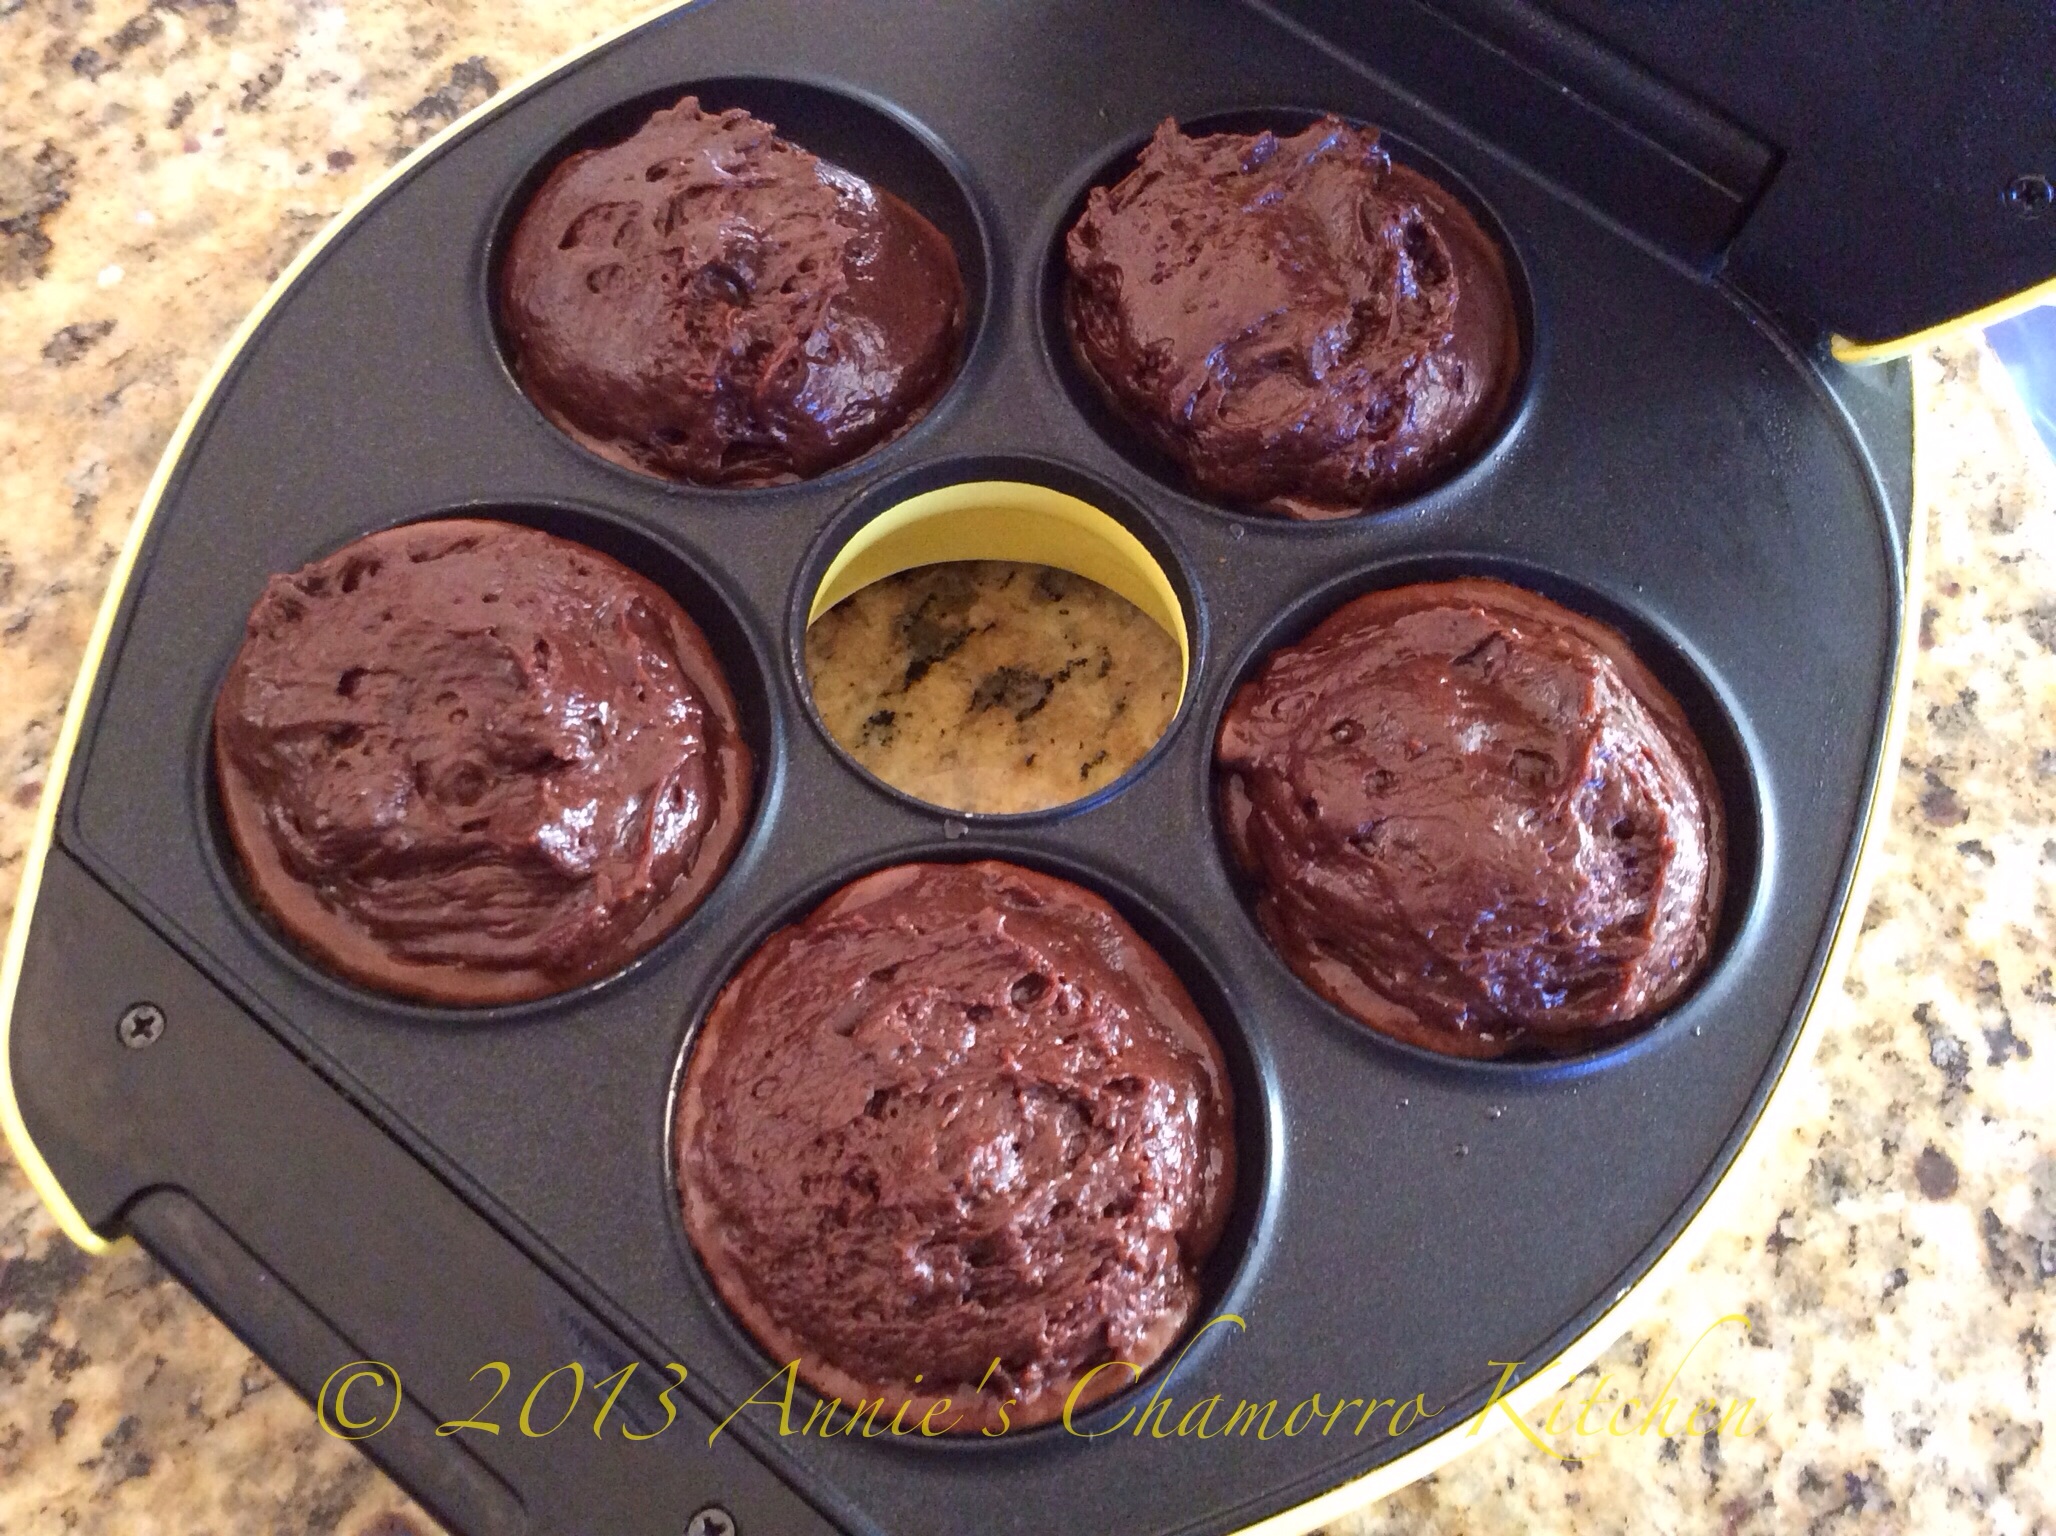
Spoon the batter into the wells of your pre-heated donut maker, filling according to manufacturer’s instructions. I use a small cookie scoop to fill my donut maker with about 2 tablespoons of batter. My donut maker has a non-stick surface; if yours is not non-stick, spray each donut well with butter-flavored cooking spray.
I own a Sunbeam donut maker. I’m pretty satisfied with this brand. The only thing I’d like better is one that made more than five donuts at a time. Otherwise, it’s a great machine. You can find it (and other brands) at Target, WalMart, K-Mart, or your military Exchange.
Bake per your donut maker’s instructions, or until the donuts feel slightly firm to the touch. My donut maker has a light that turns green when the donuts are done.
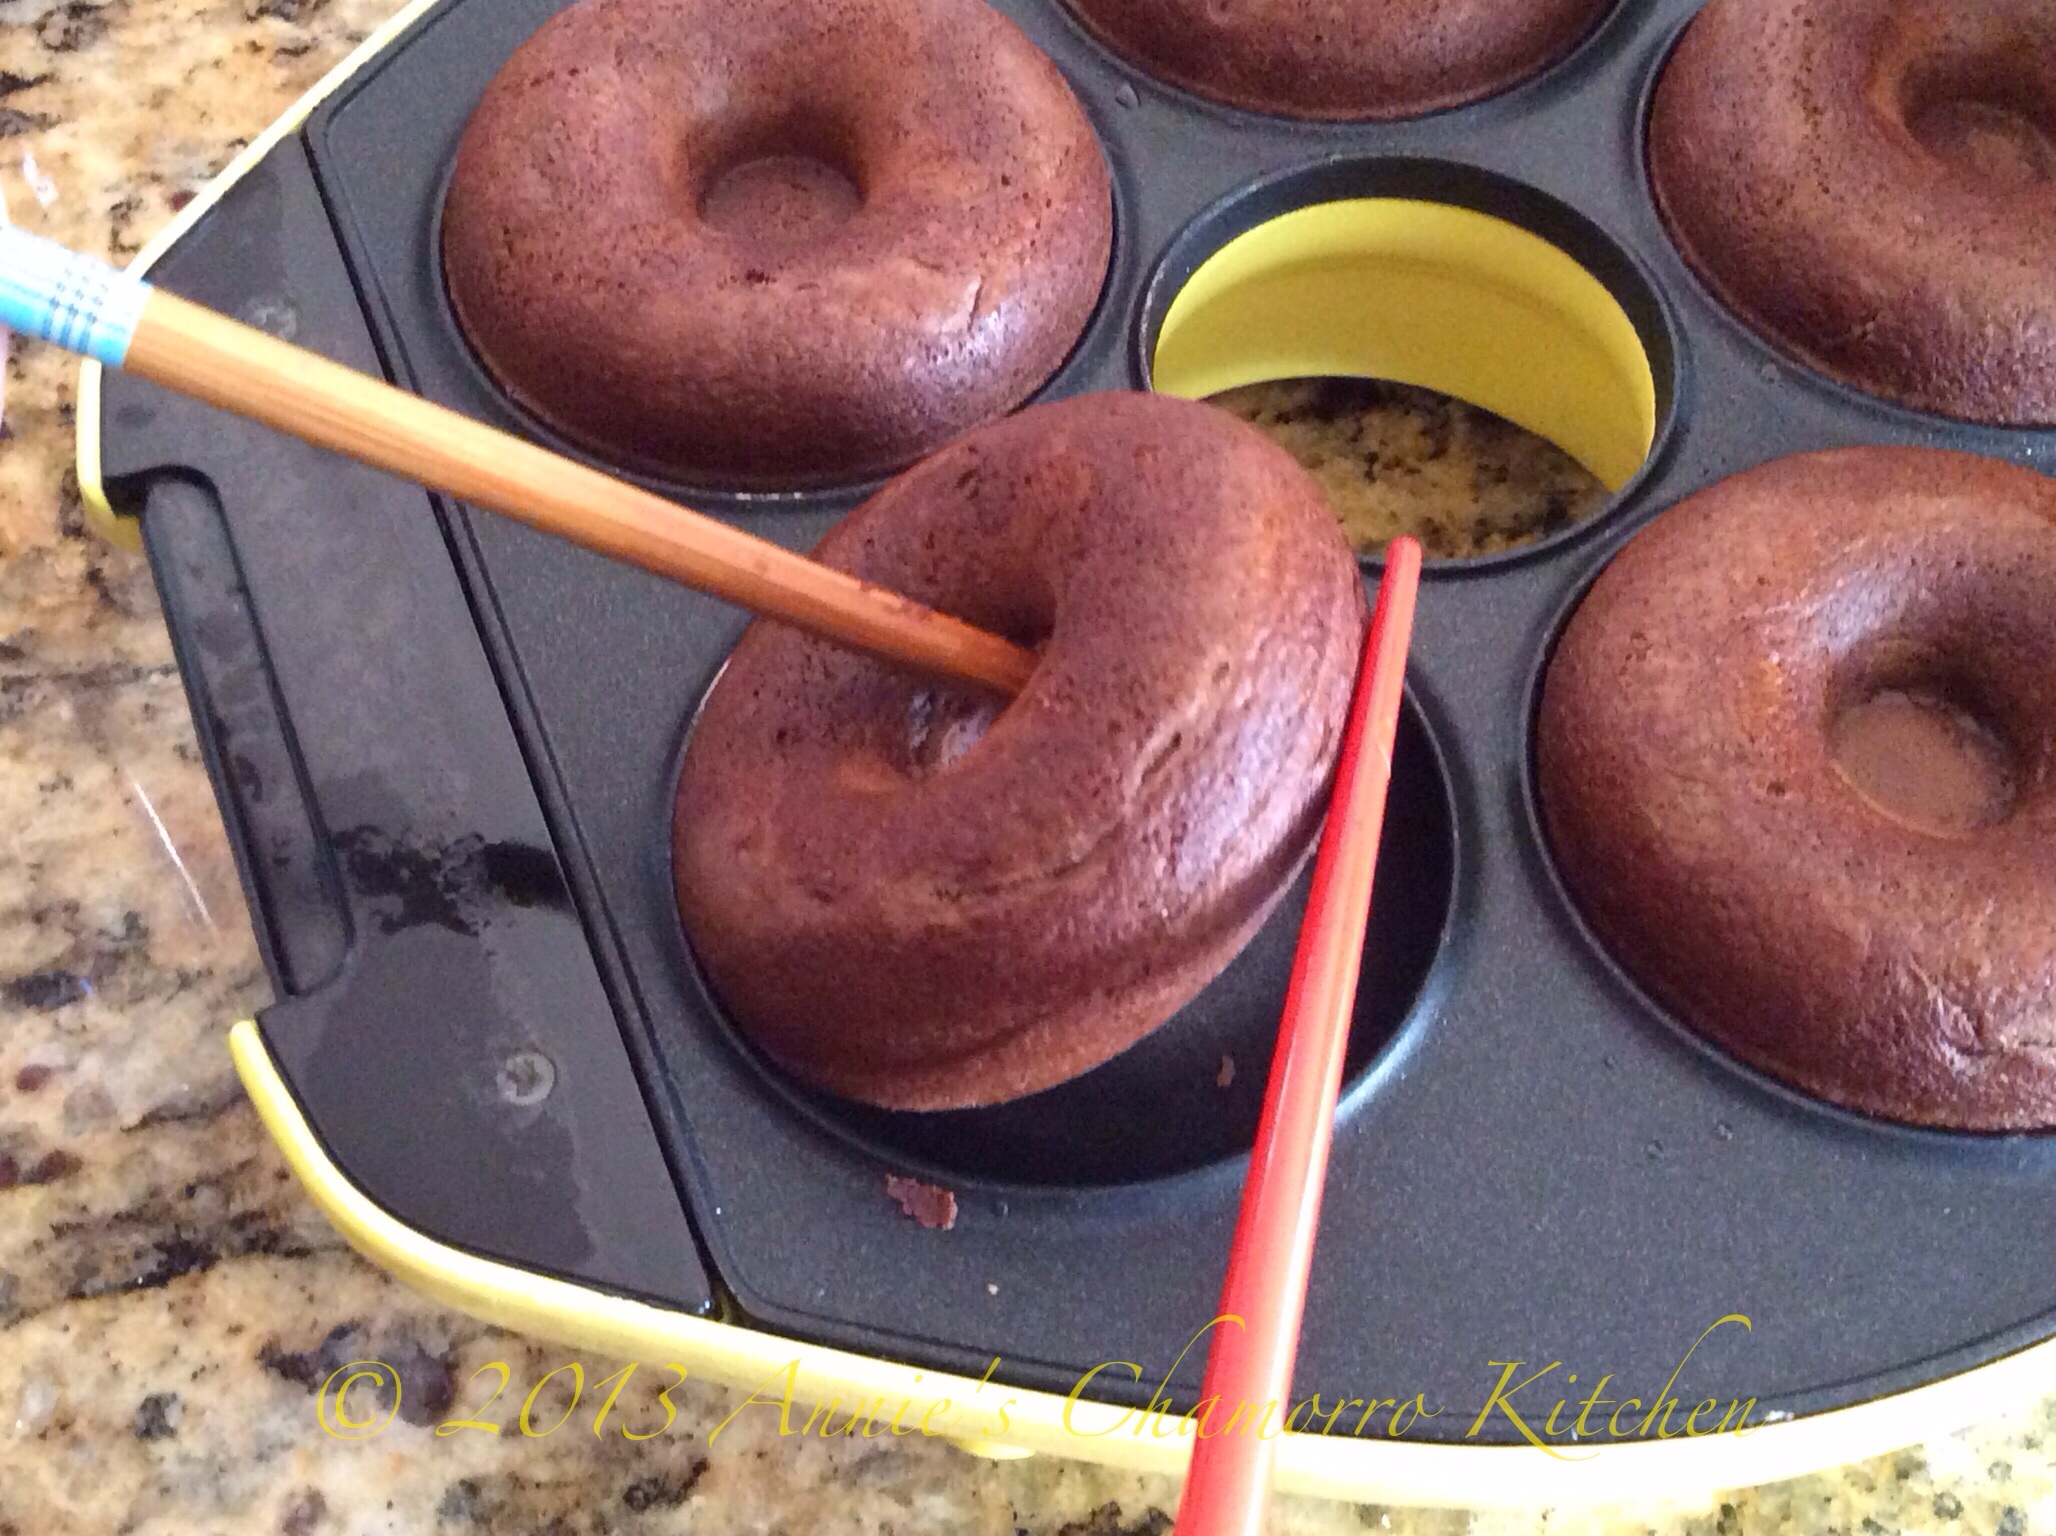
Remove the donuts from the donut maker. These can get very hot, so be careful when taking the donuts out of the donut maker. I find it very easy to use two chopsticks (stick one chopstick through the donut hole and use the other chopstick to nudge the donut out of the donut well).
You don’t have chopsticks, you say? Use the ends of wooden cooking spoons instead, or the handles of forks or spoons.
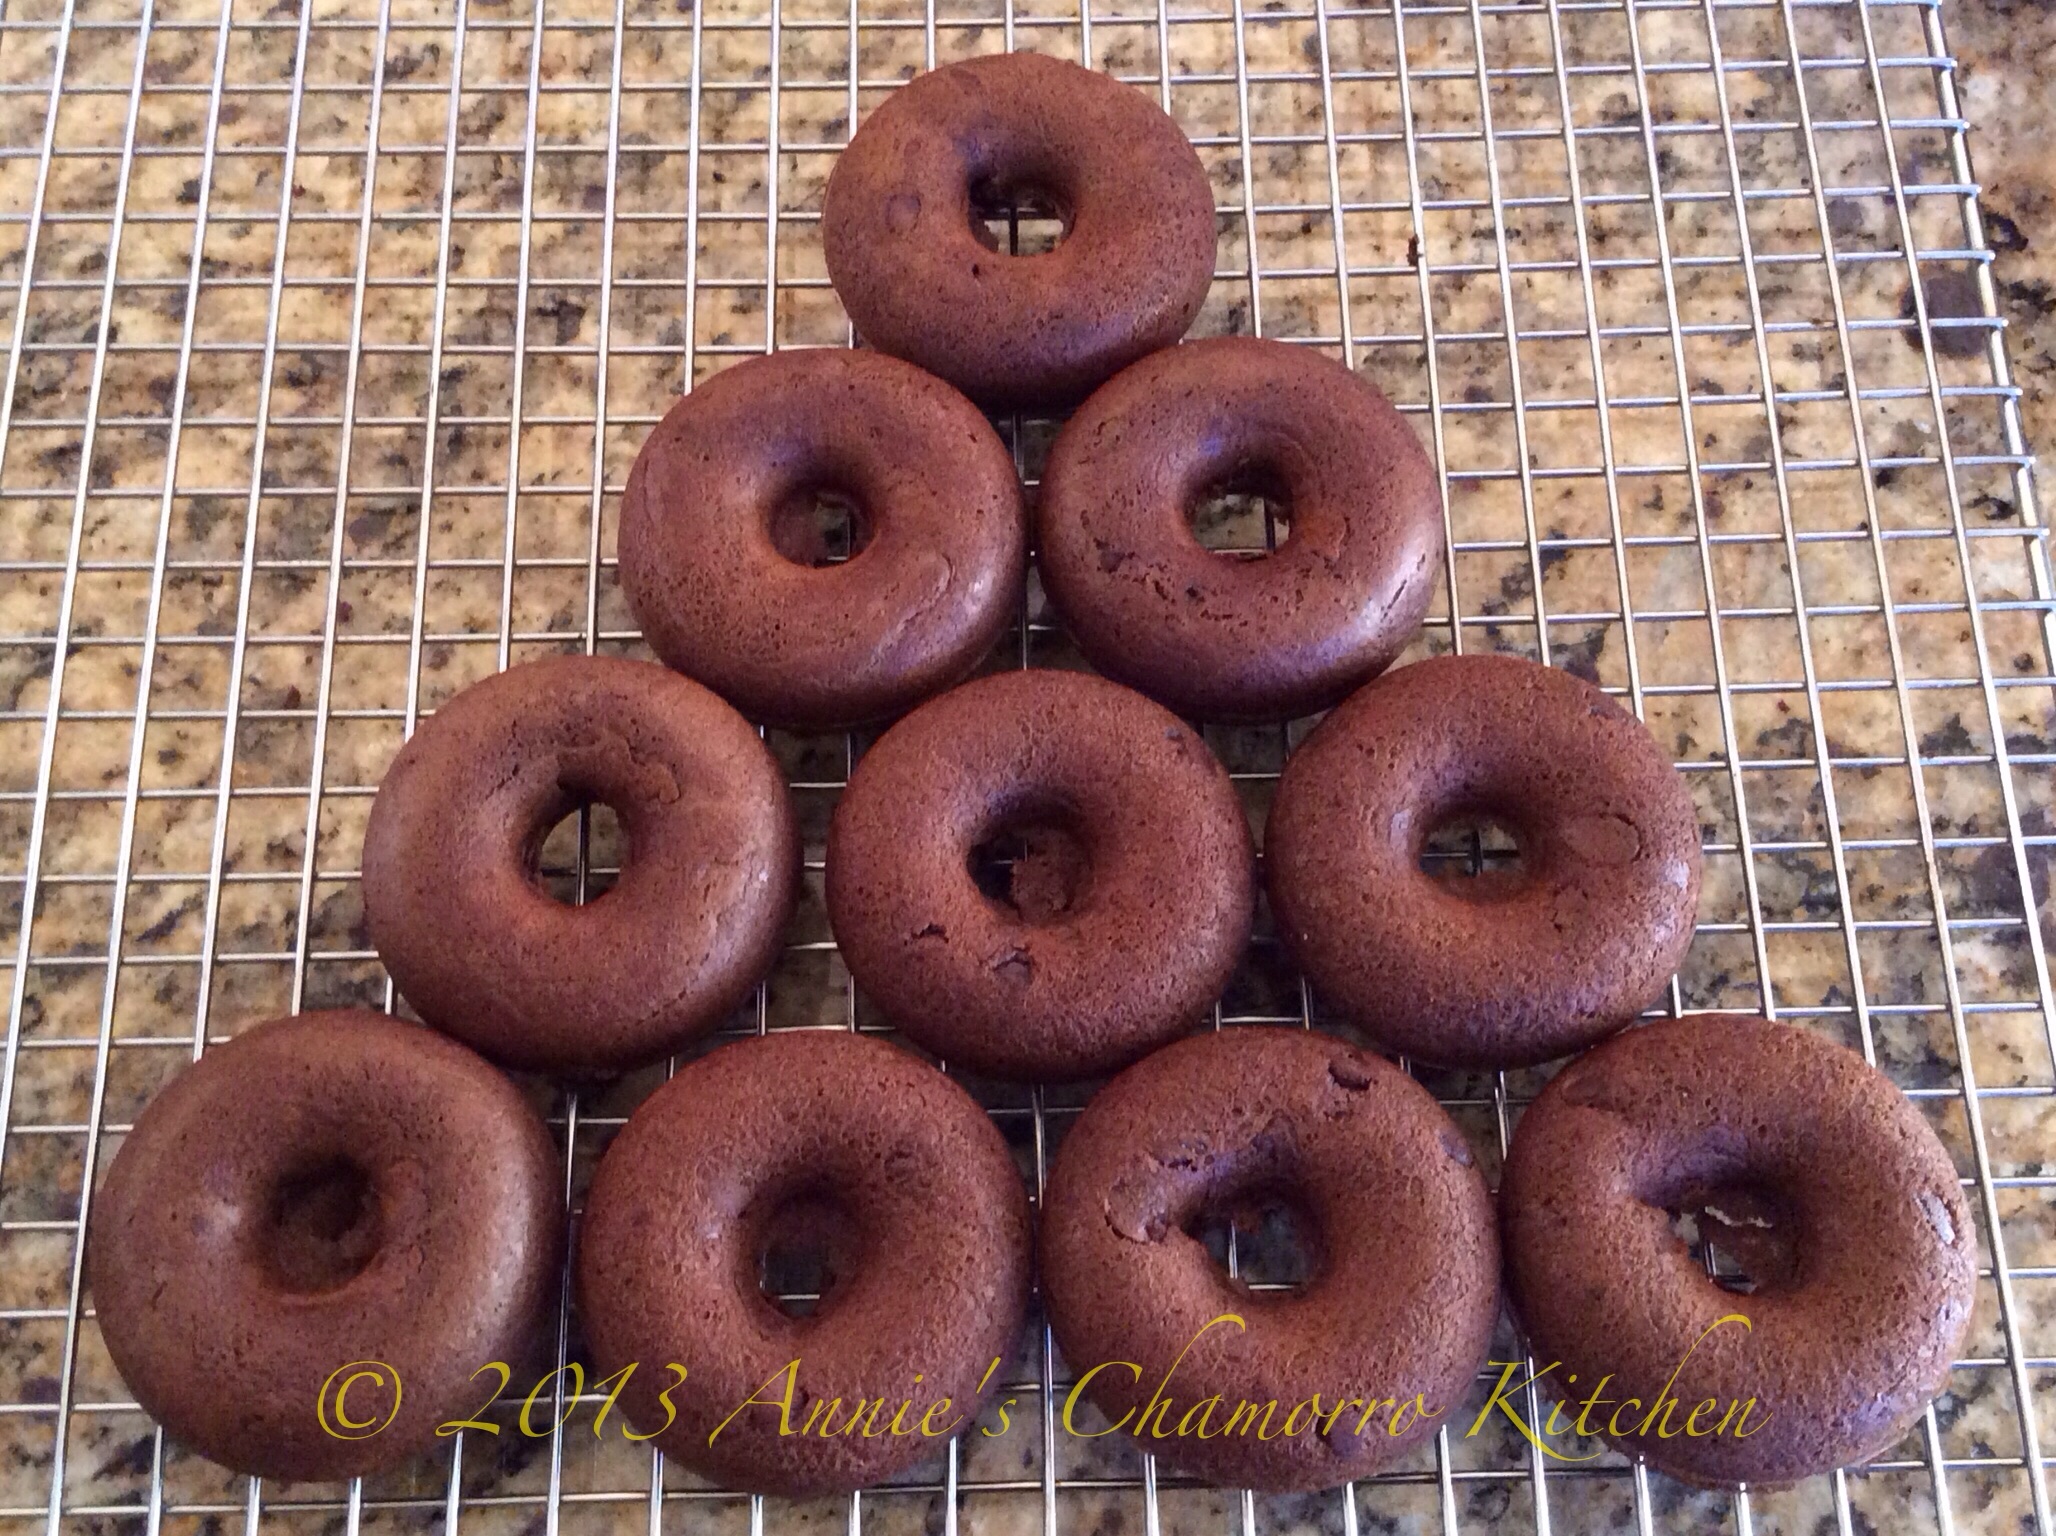
Place the donuts on a wire wrack to cool. Ensure the donuts cool completely before icing.
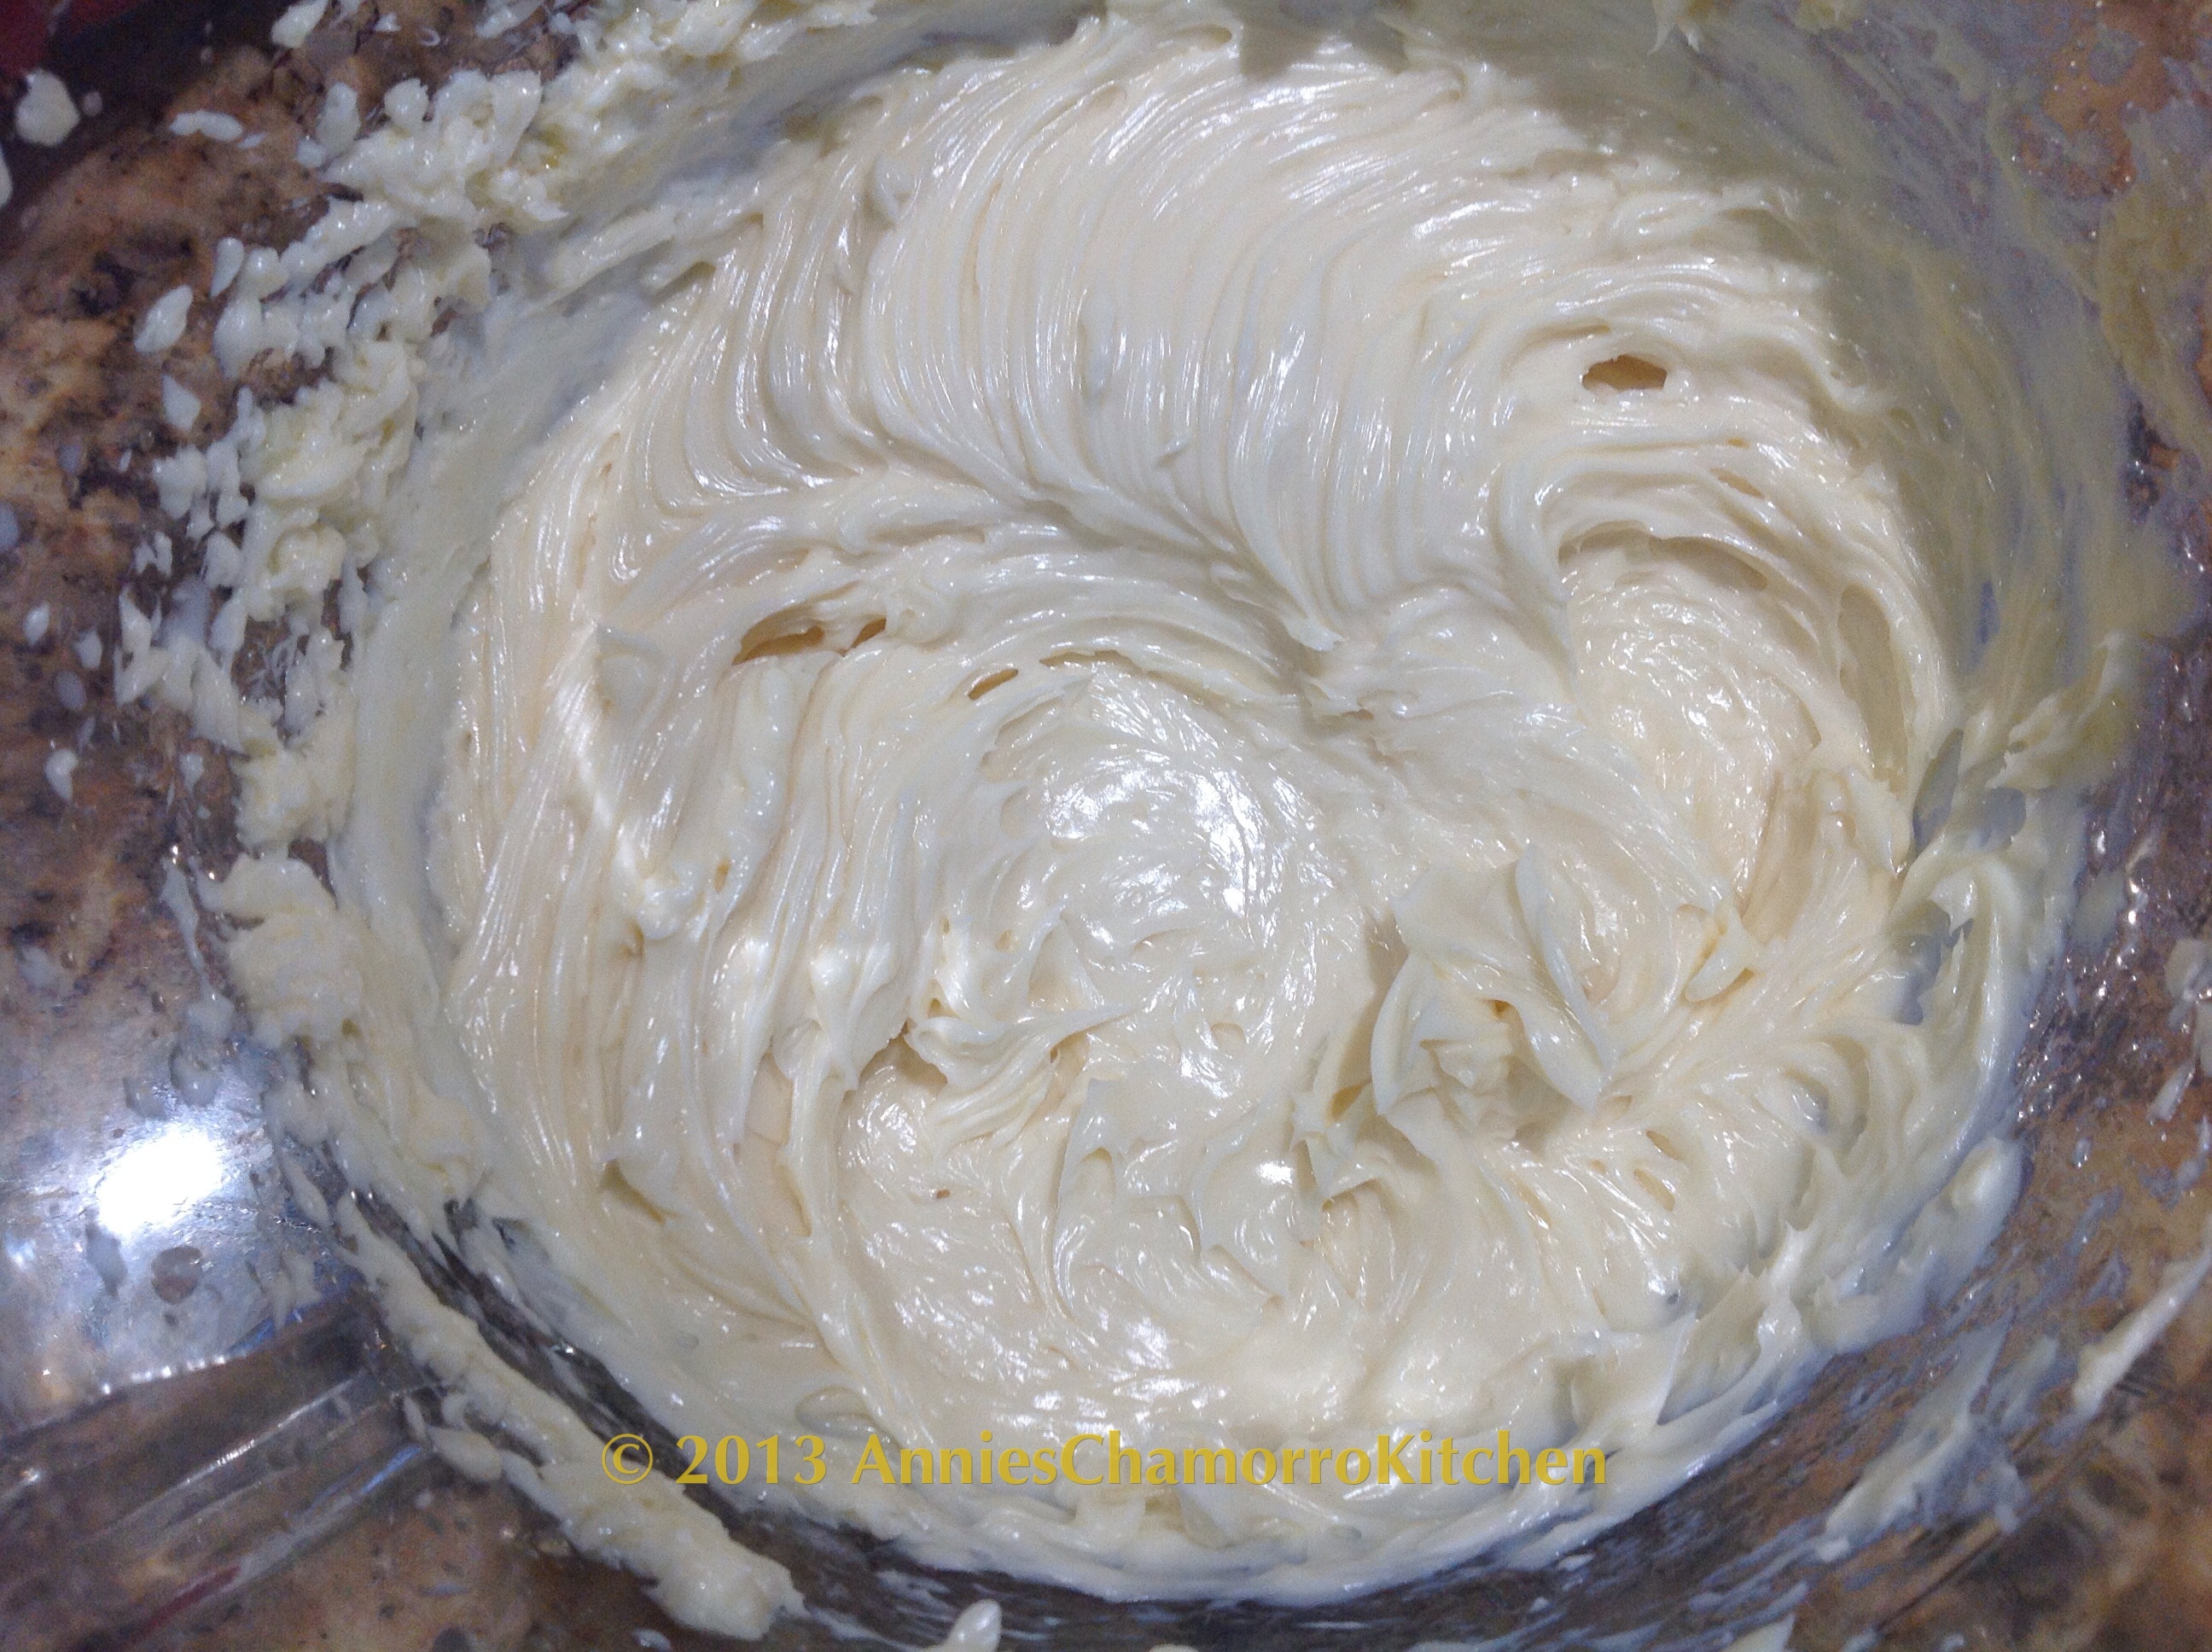
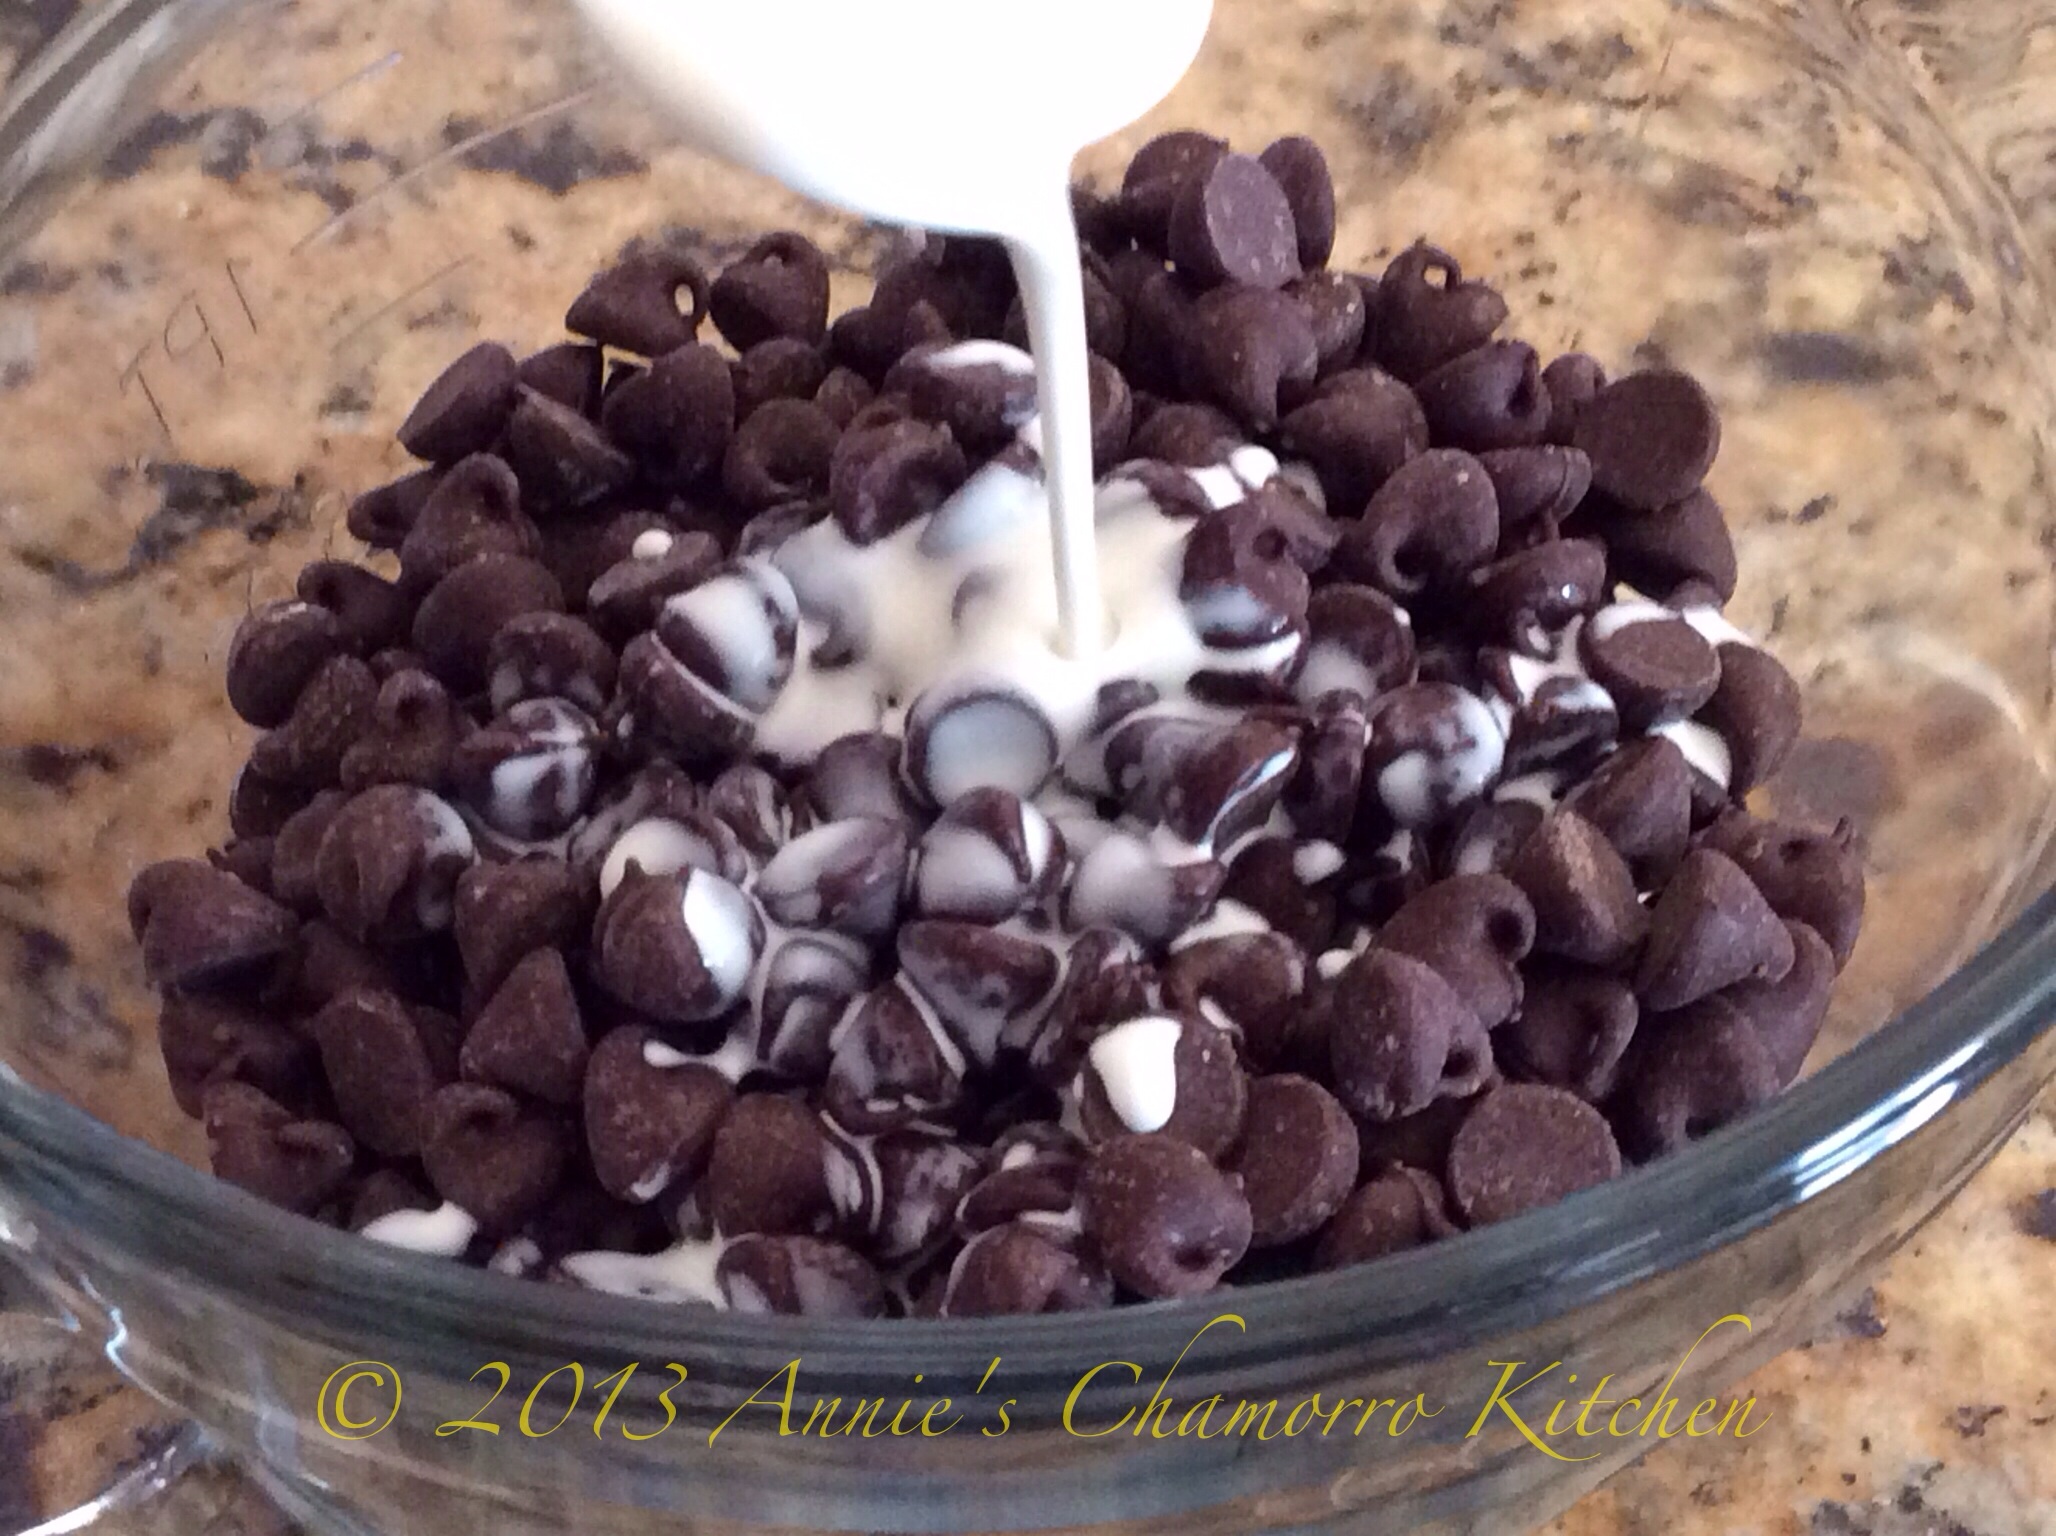
To make the chocolate icing: Combine the chocolate chips and heavy cream in a microwave-safe bowl.
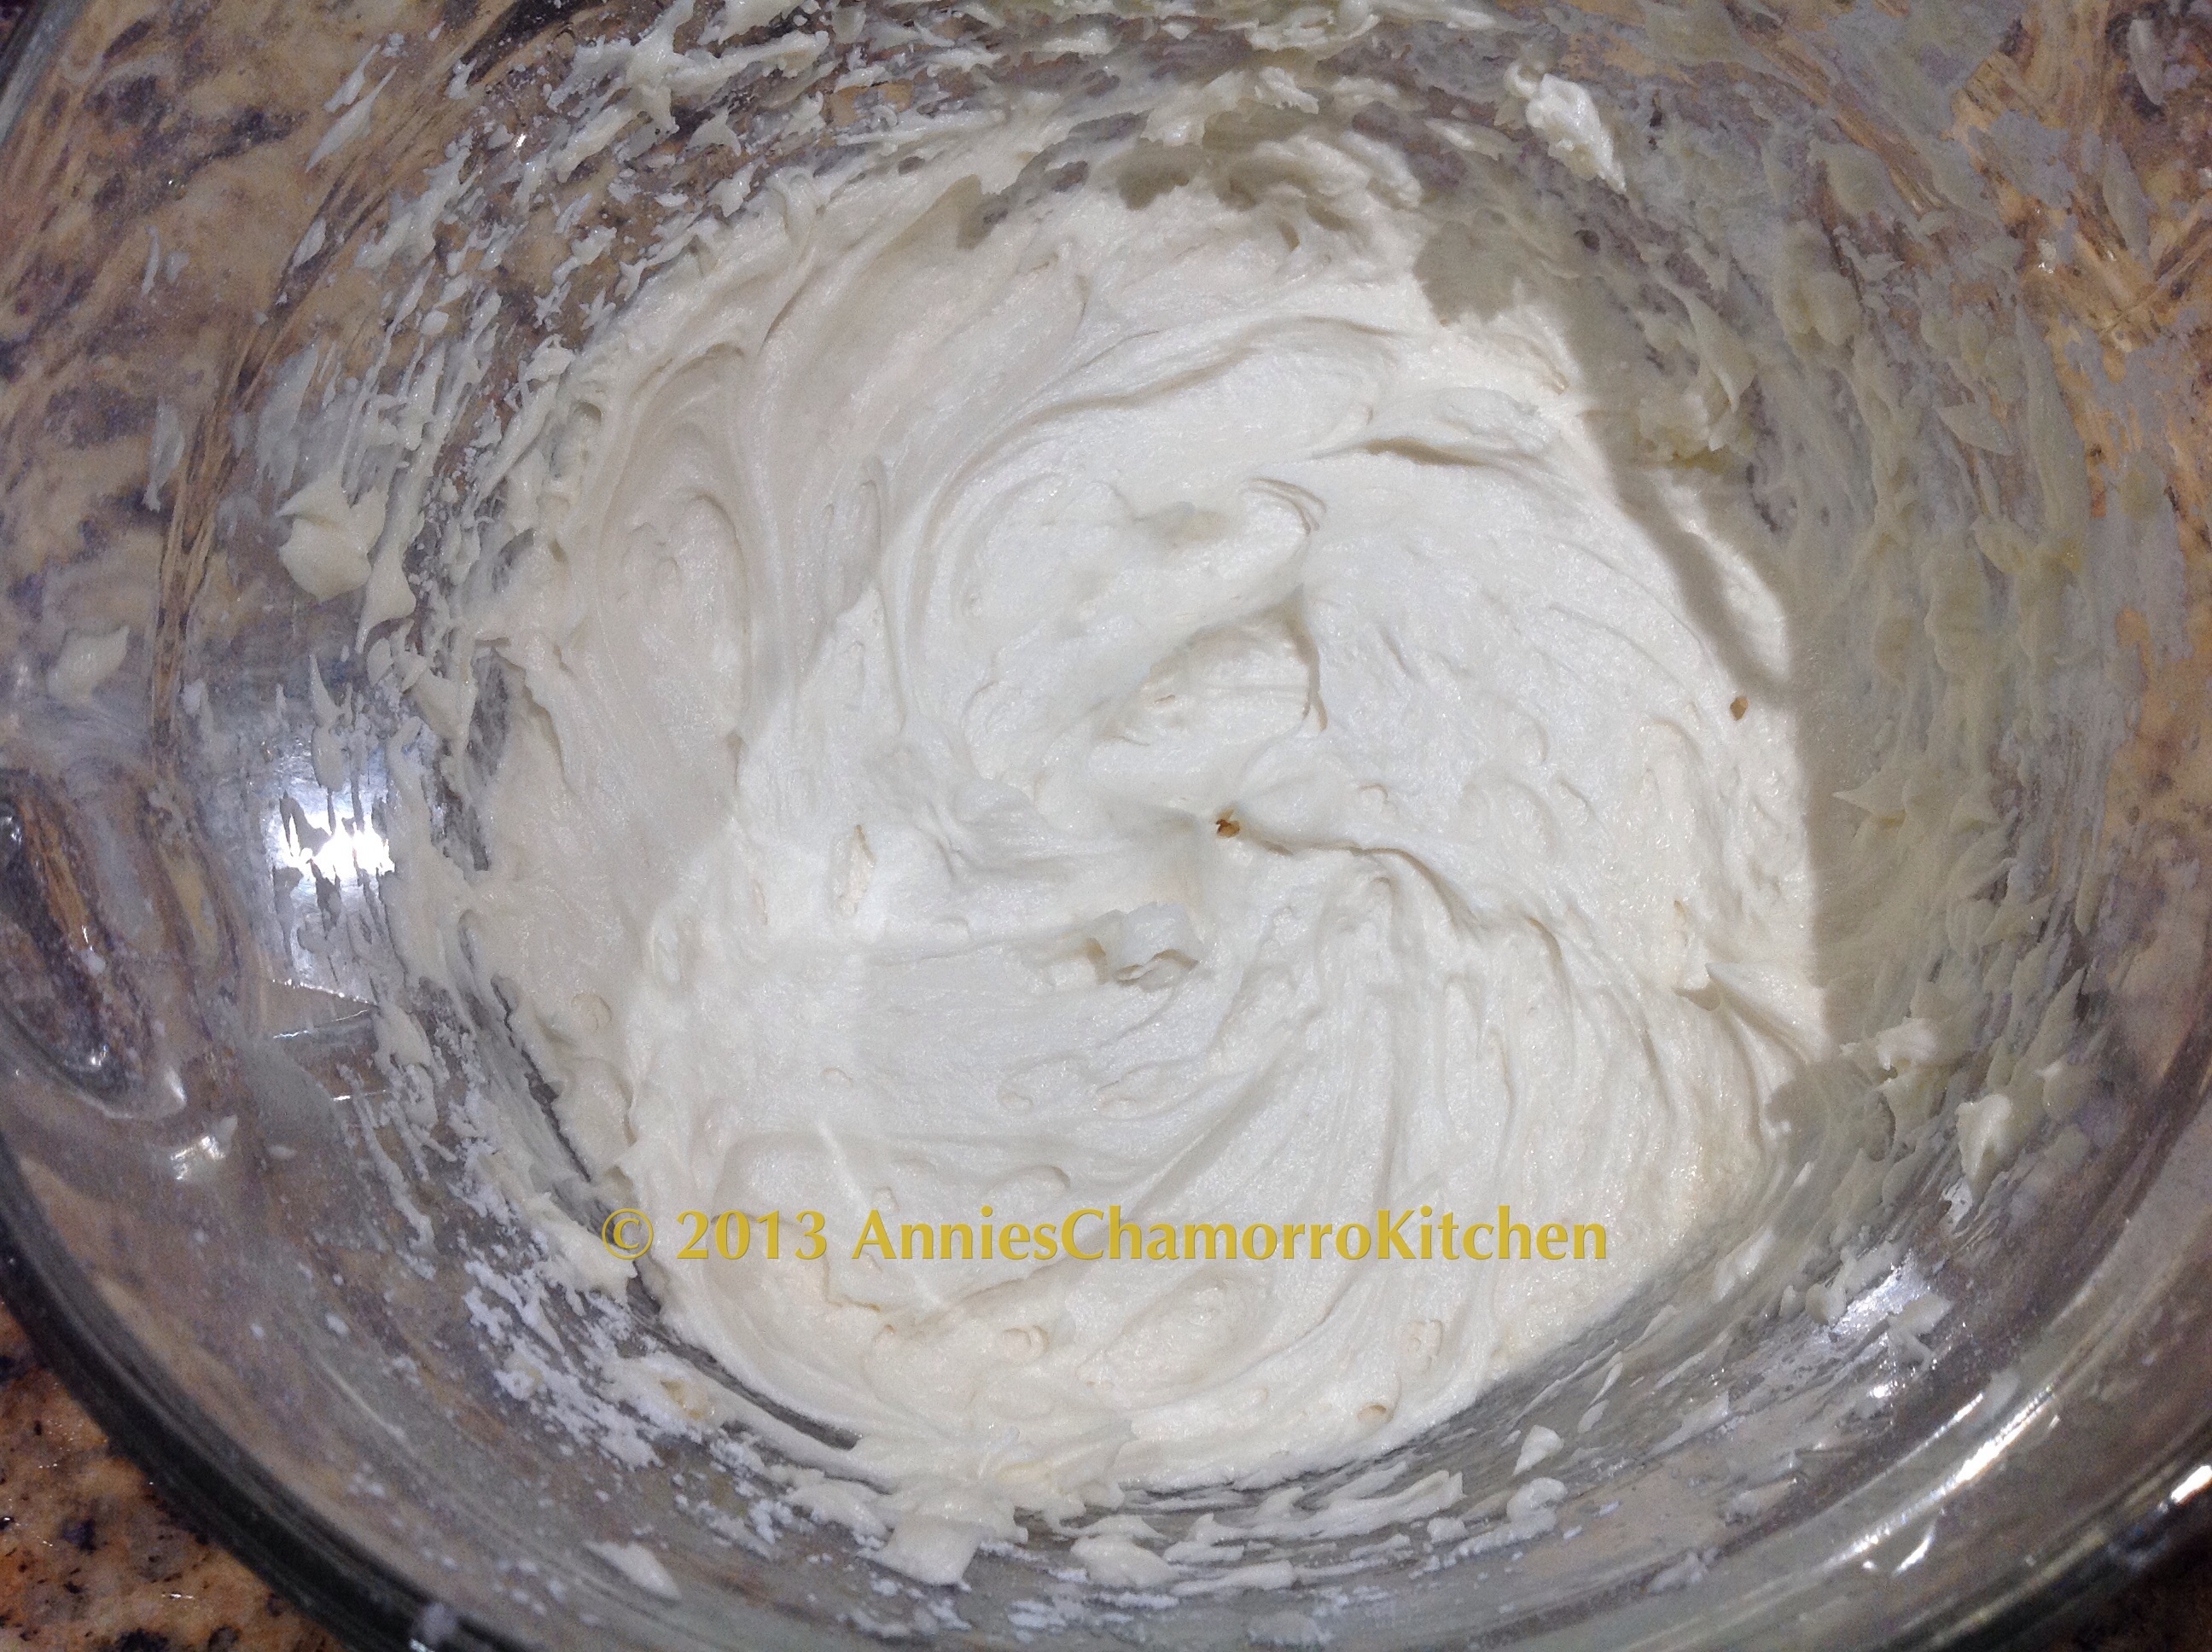
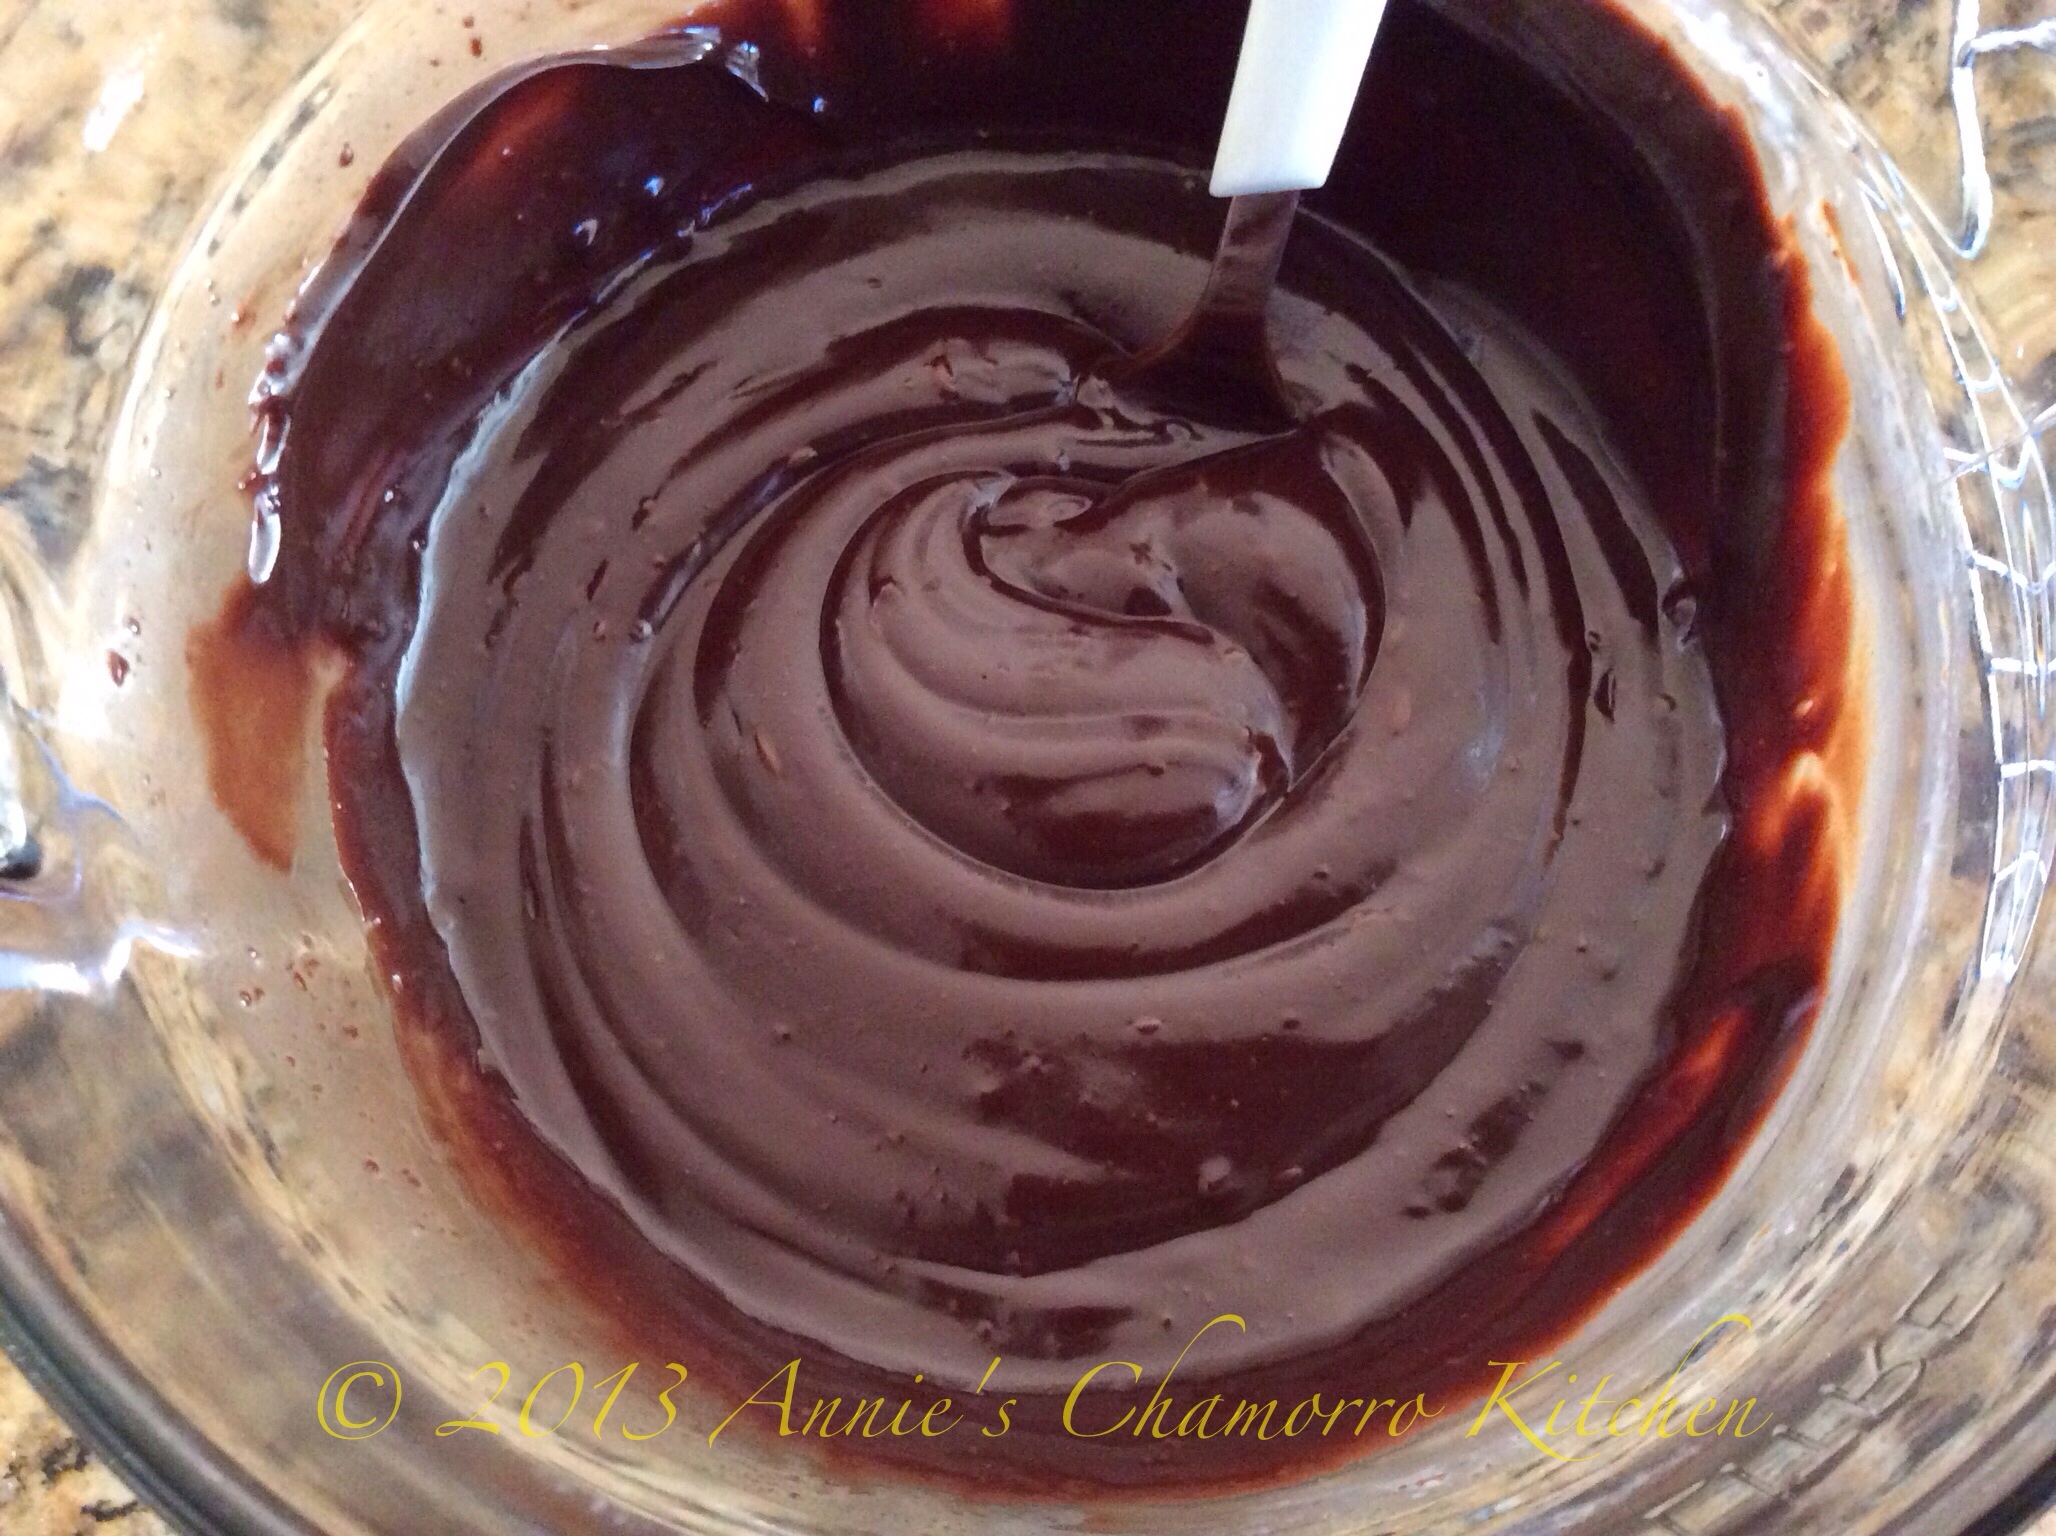
Heat for 45 seconds then remove from the microwave and stir with a fork (or use a whisk), mixing until the icing is shiny, smooth and creamy.
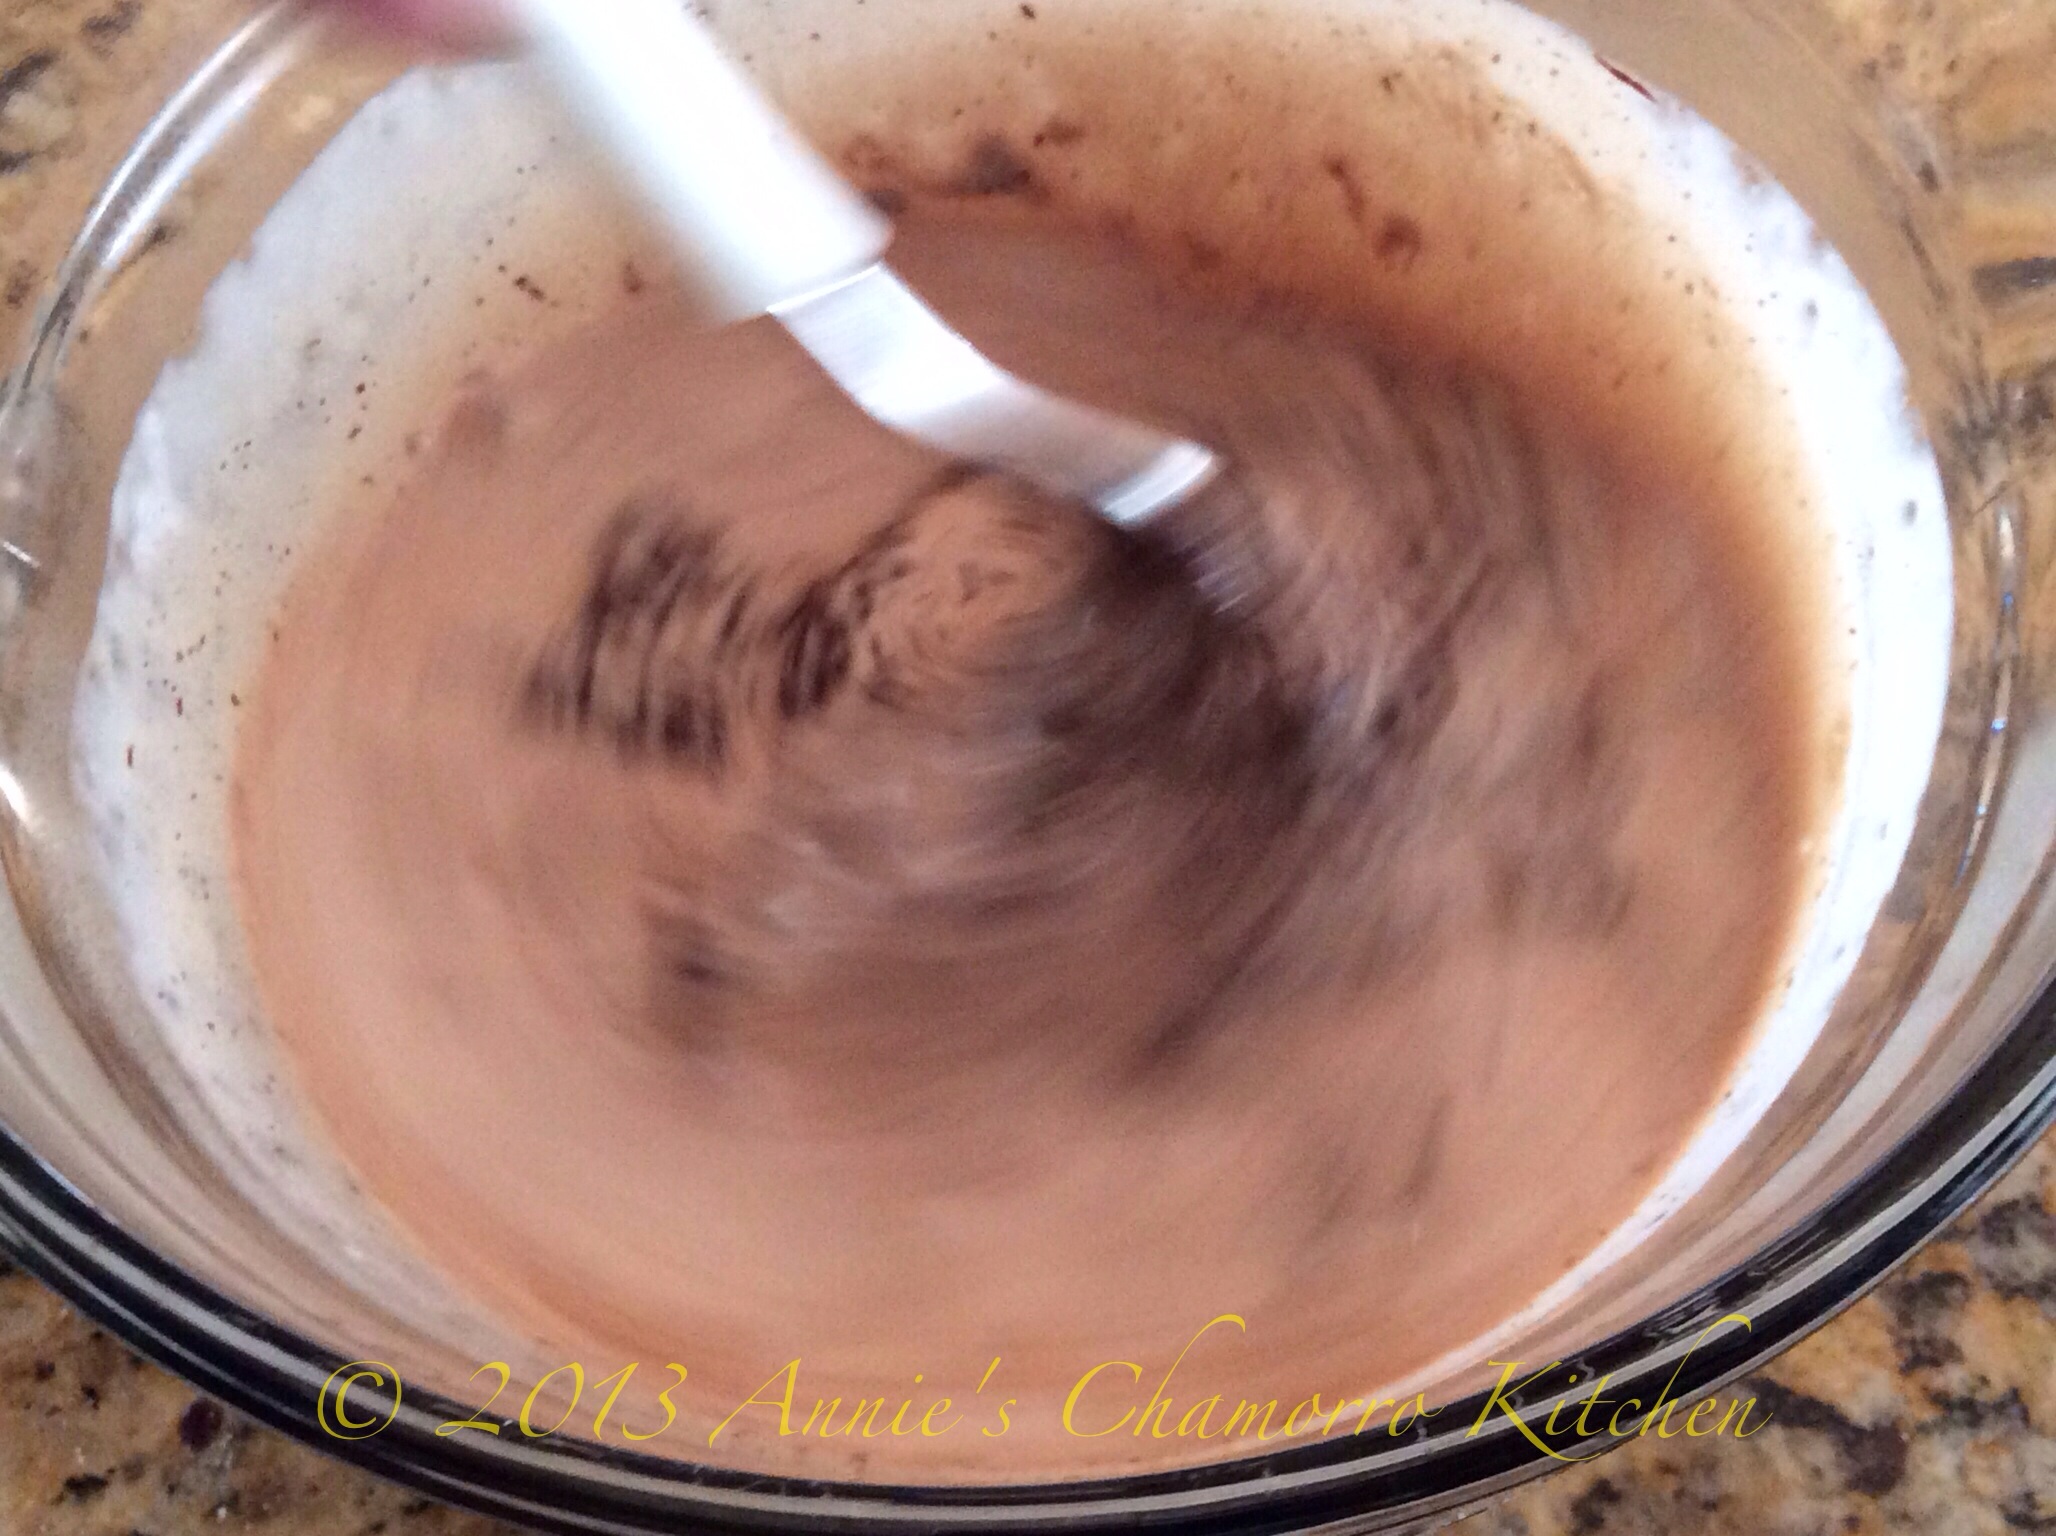
If the chocolate chips aren’t melted enough after stirring (you still see chunks of chocolate), heat for another 10-15 seconds then stir again.
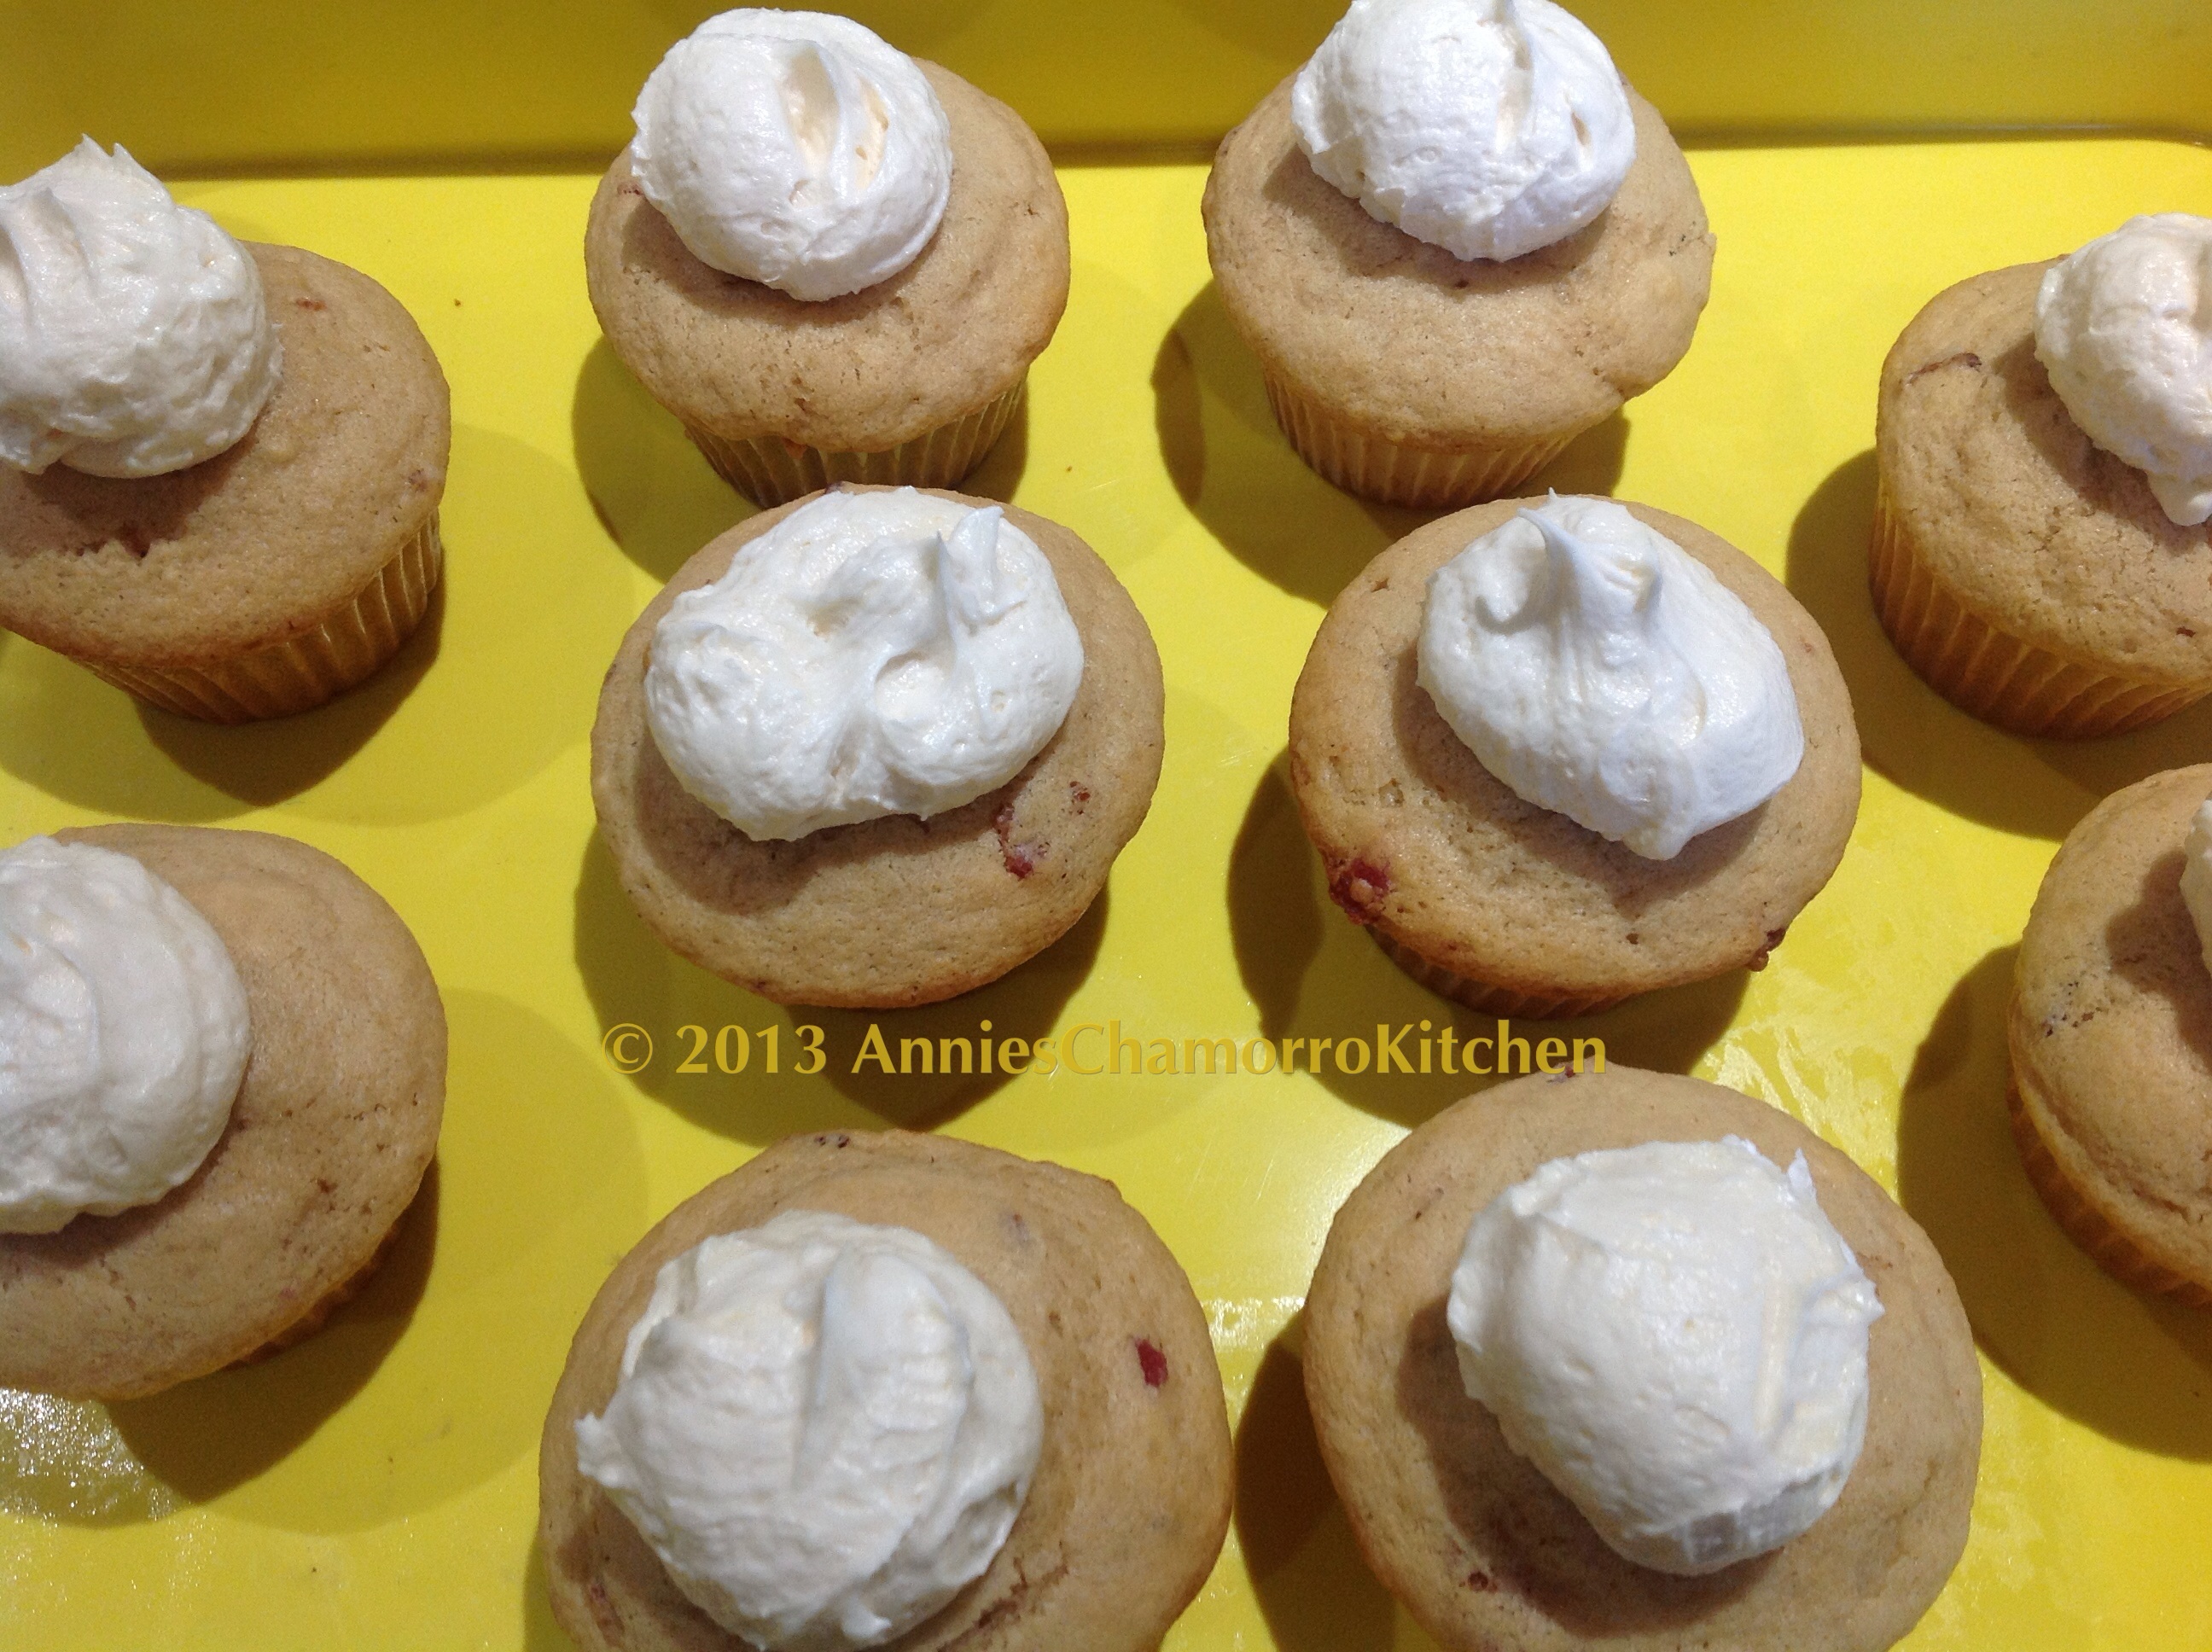
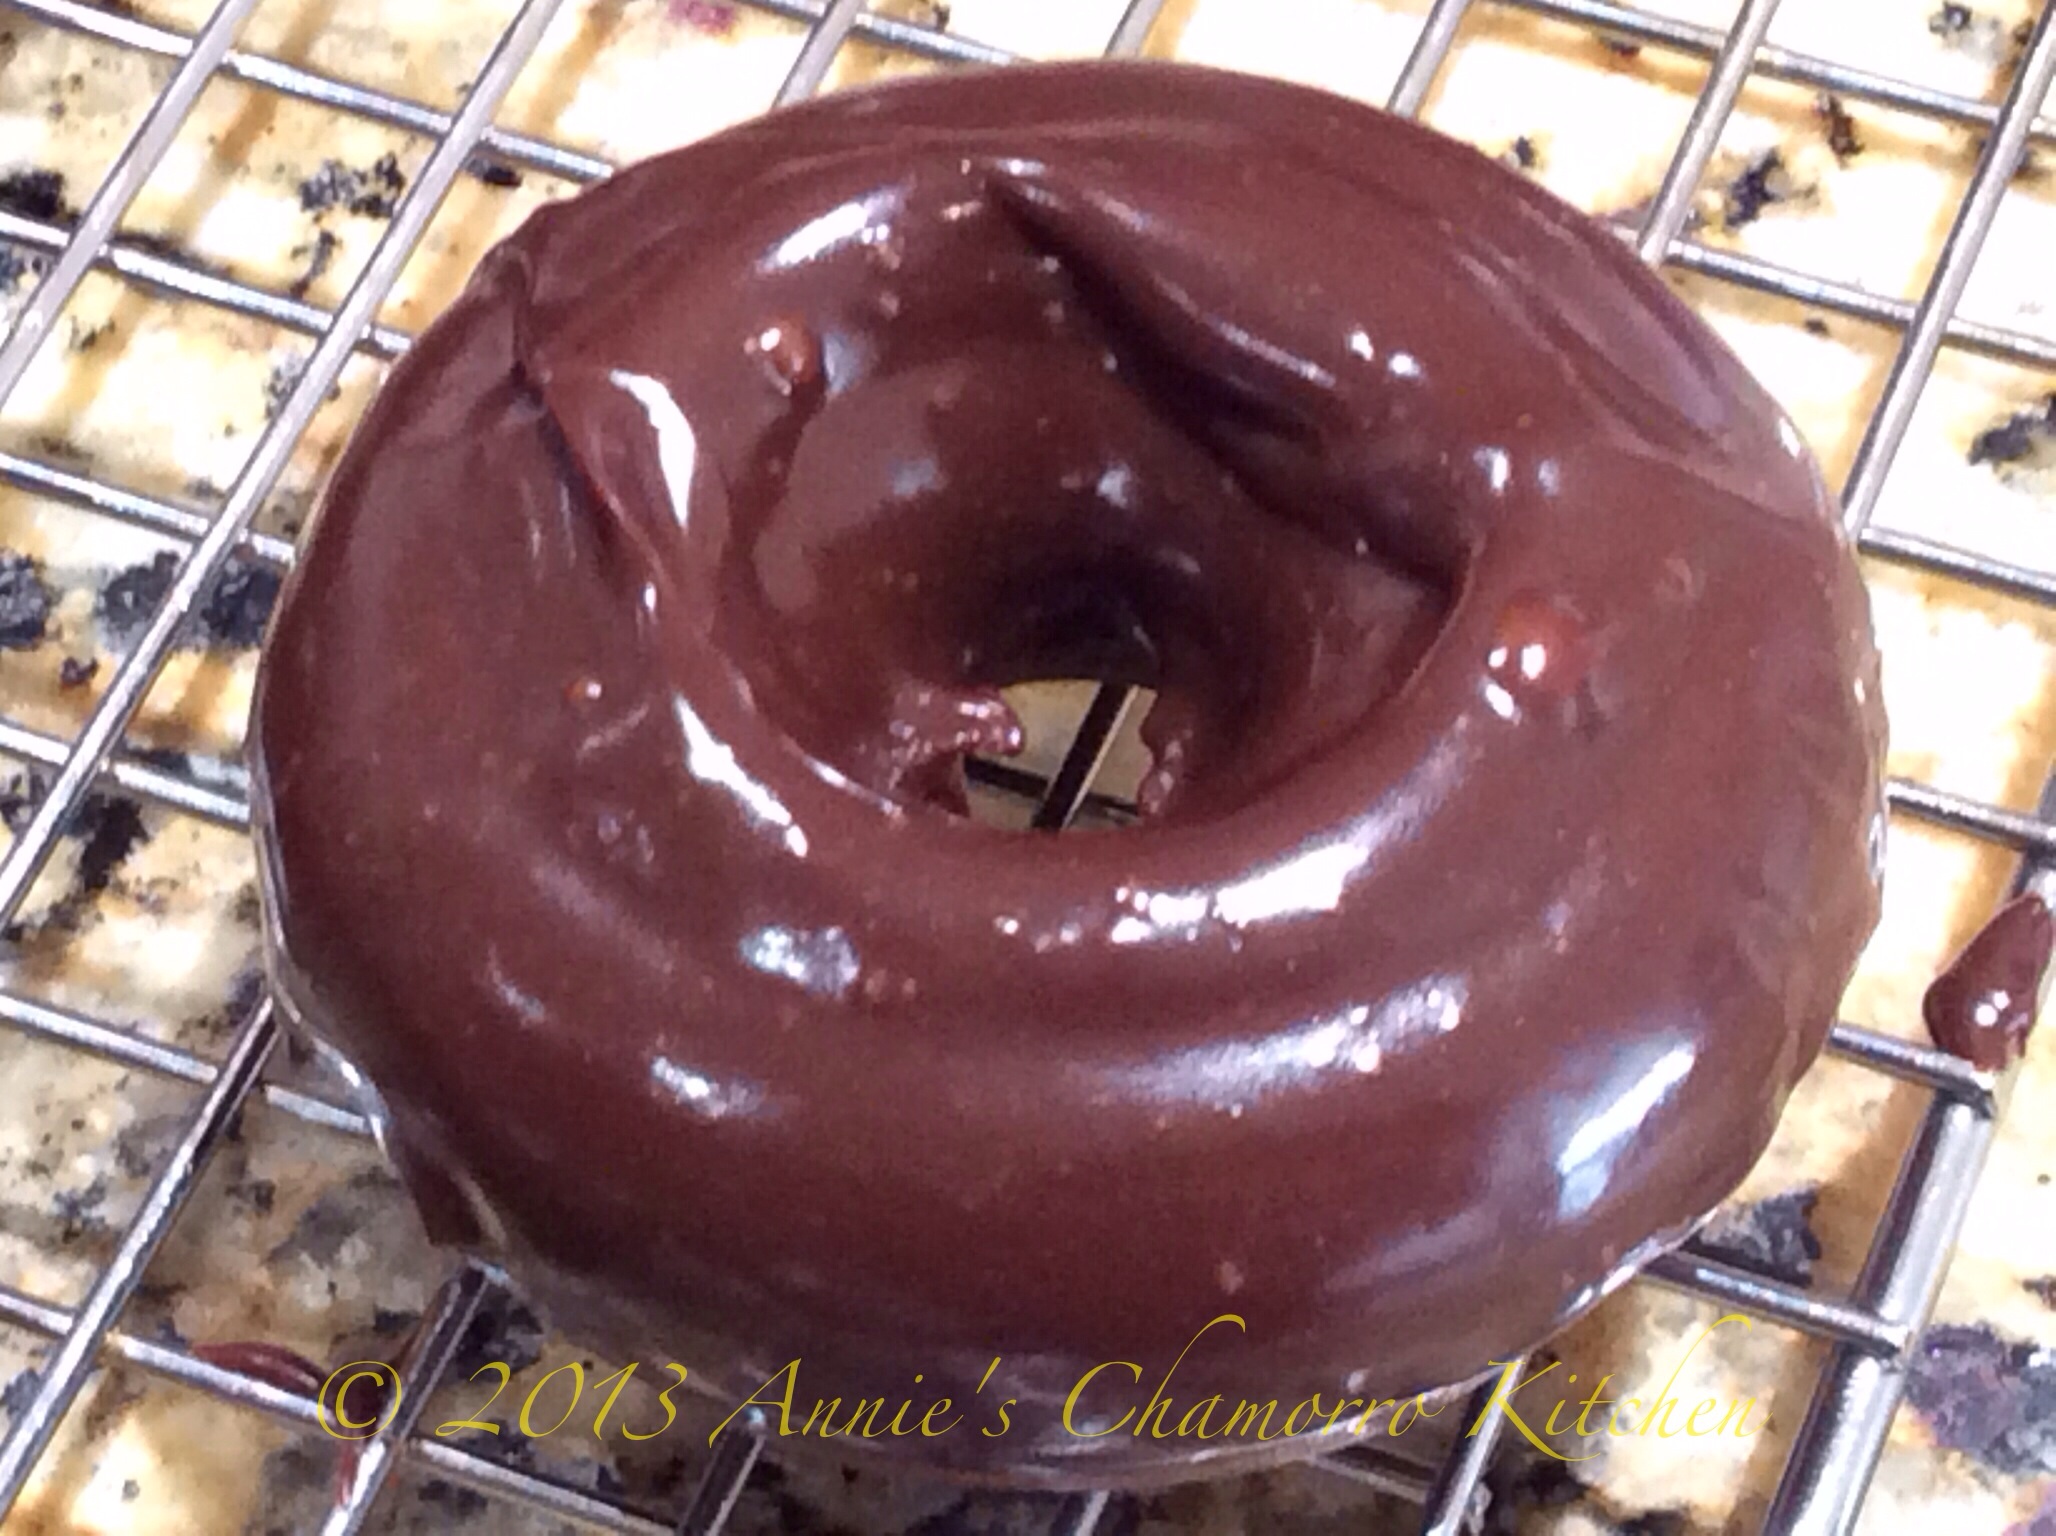
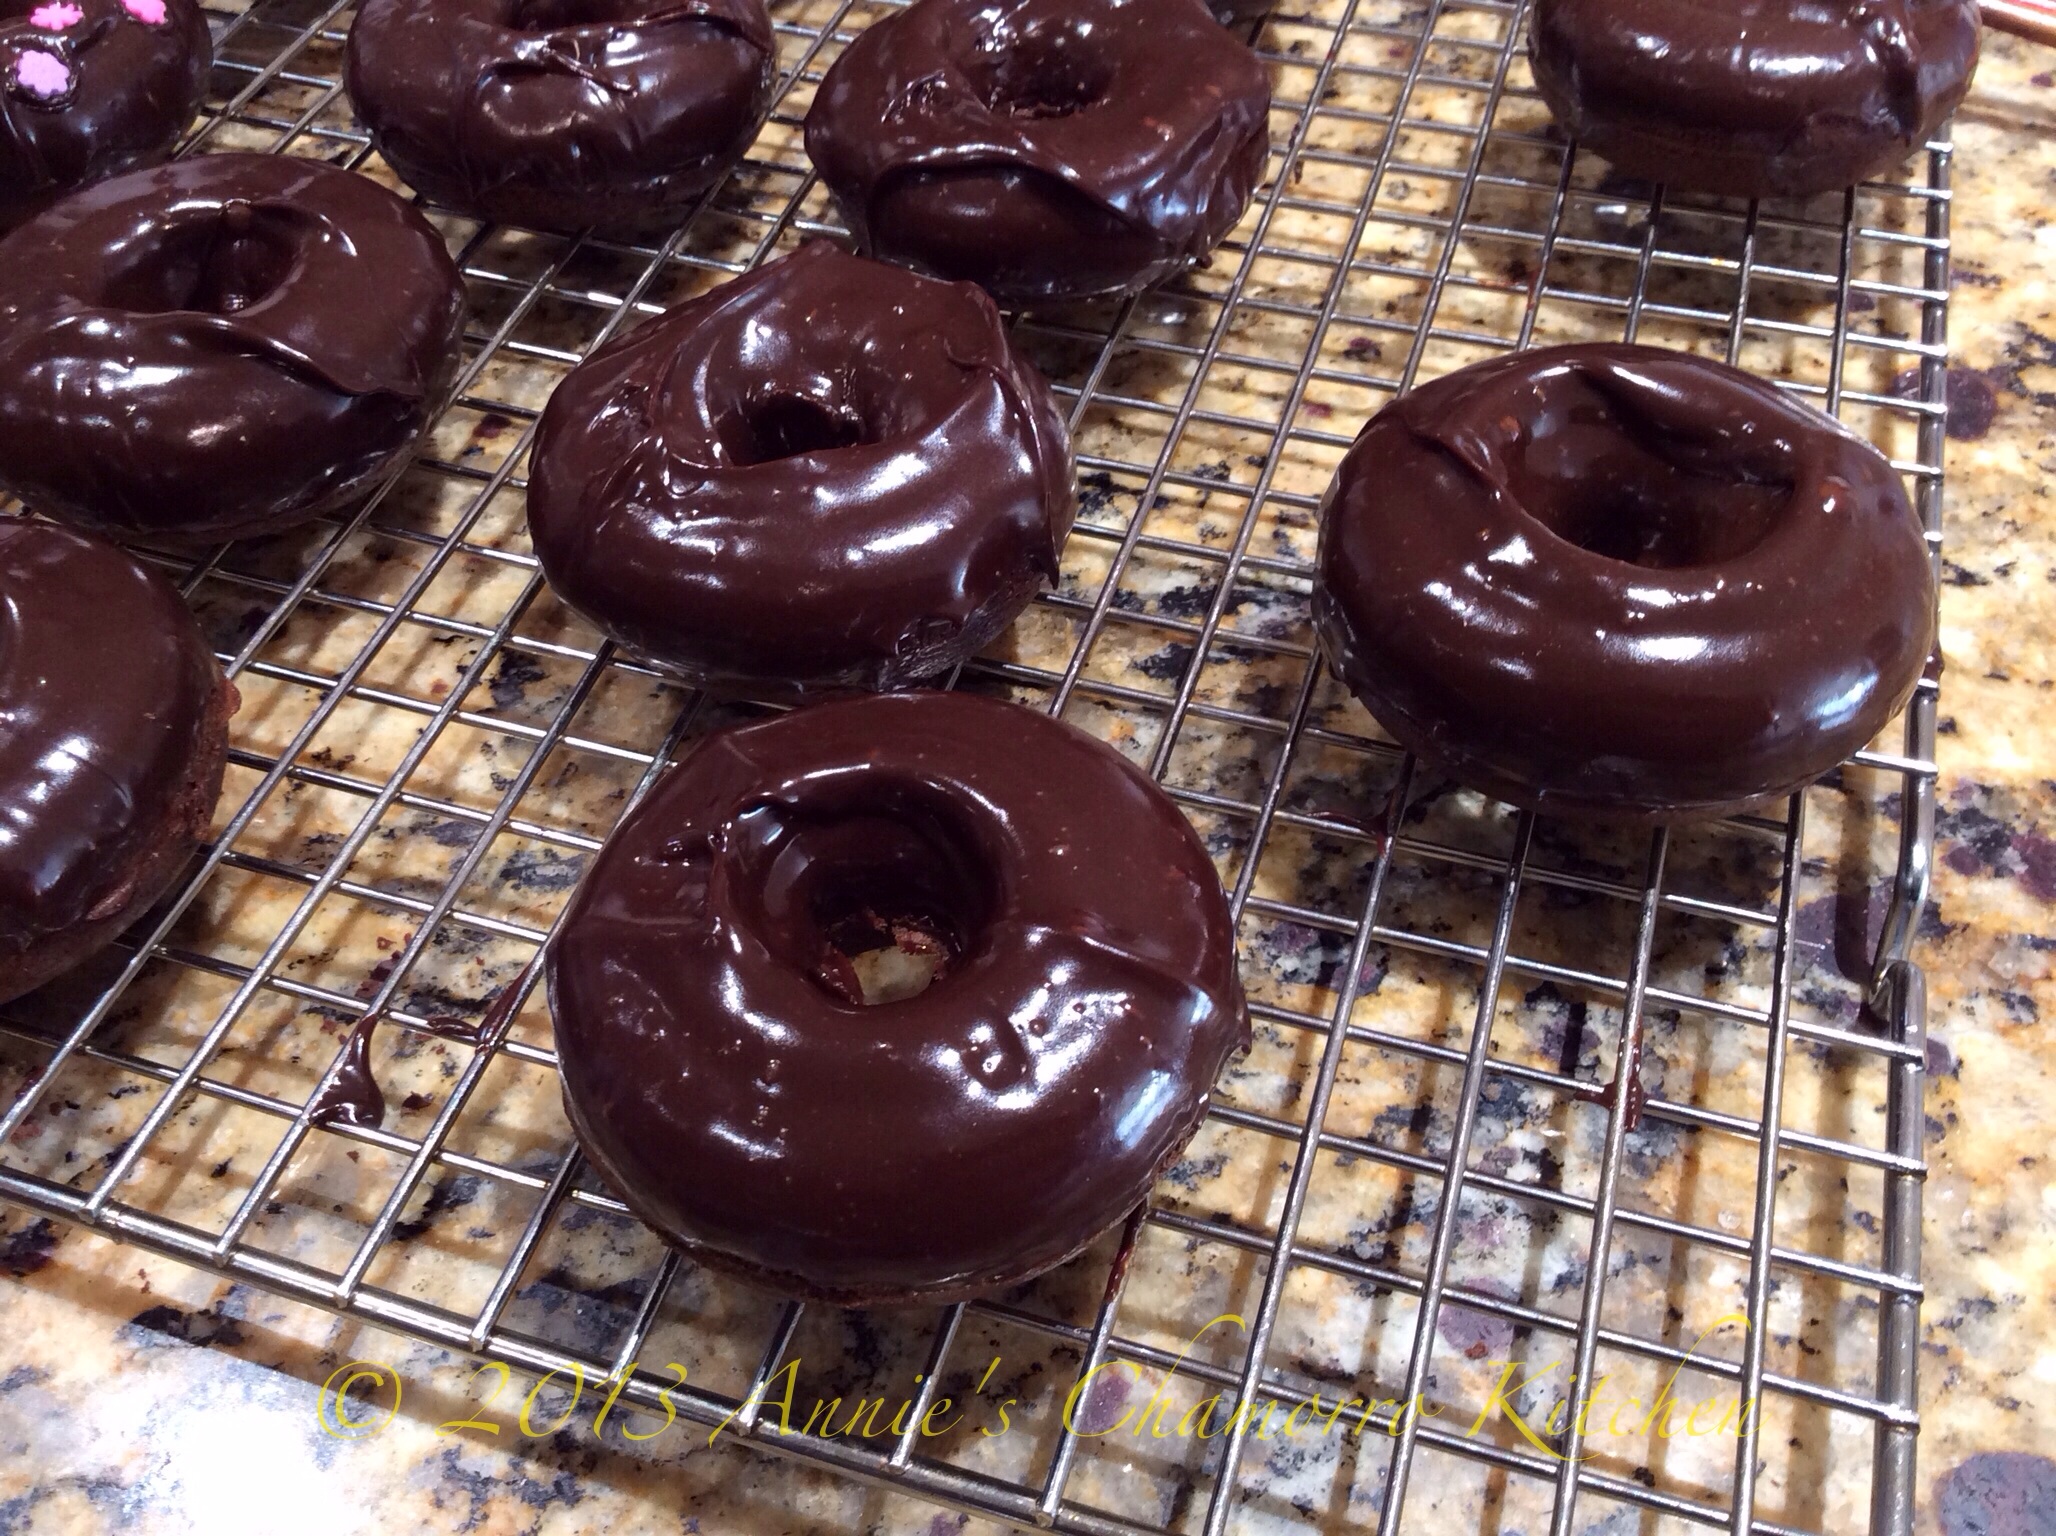
After the donuts are cool, dip the top of each one in the warm icing.
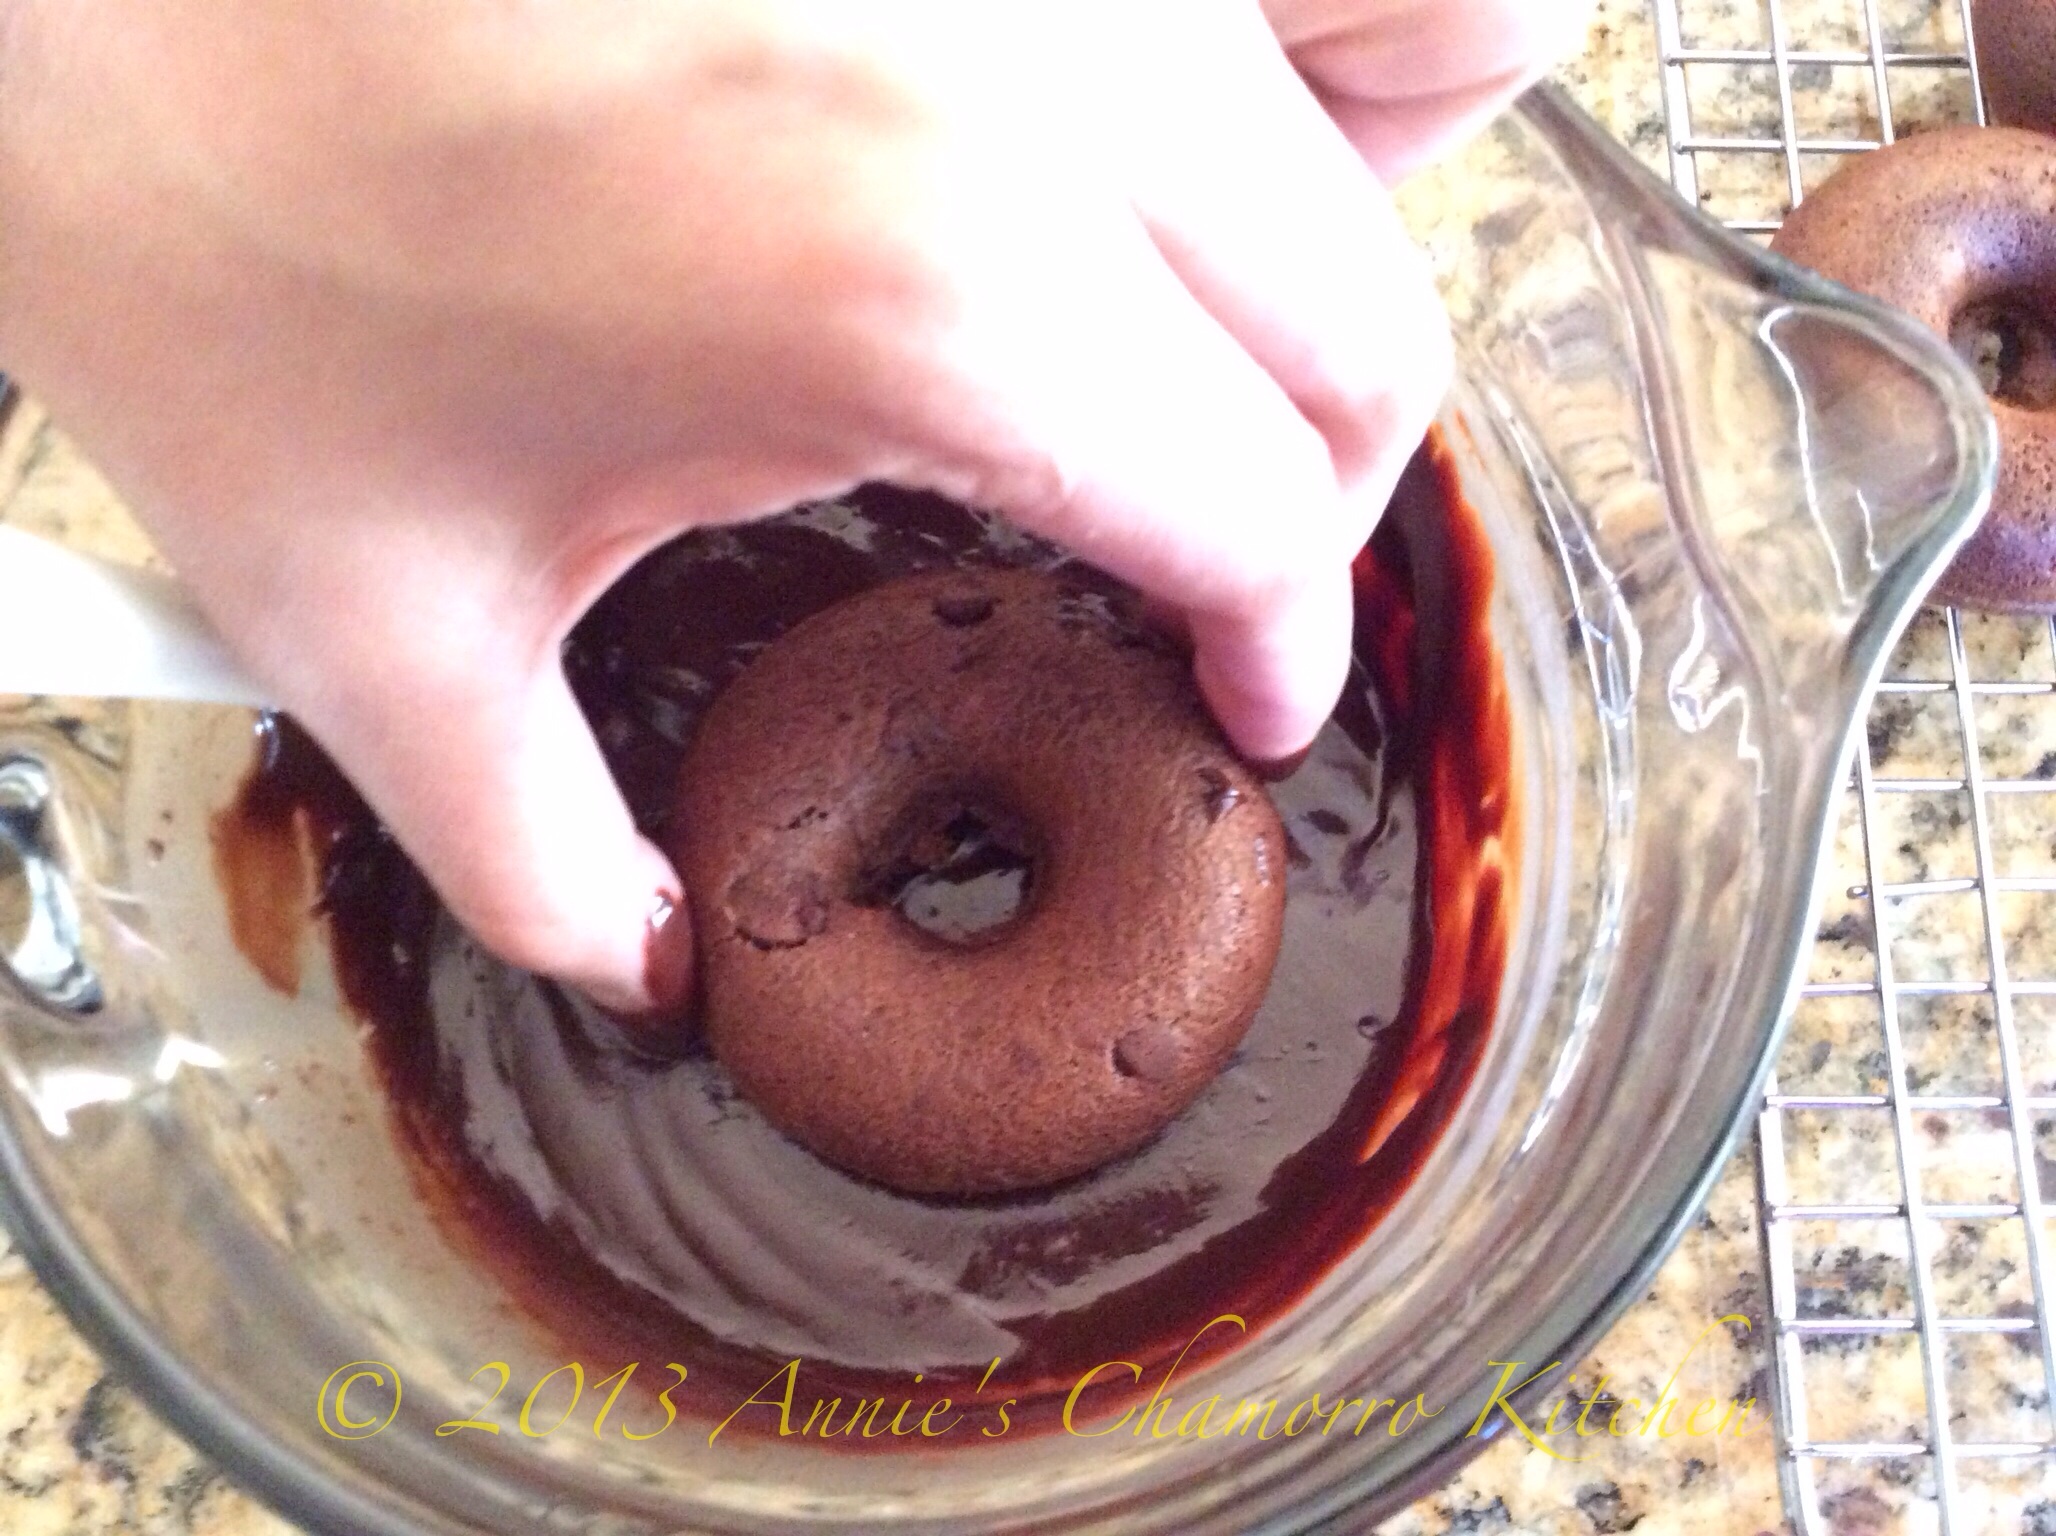
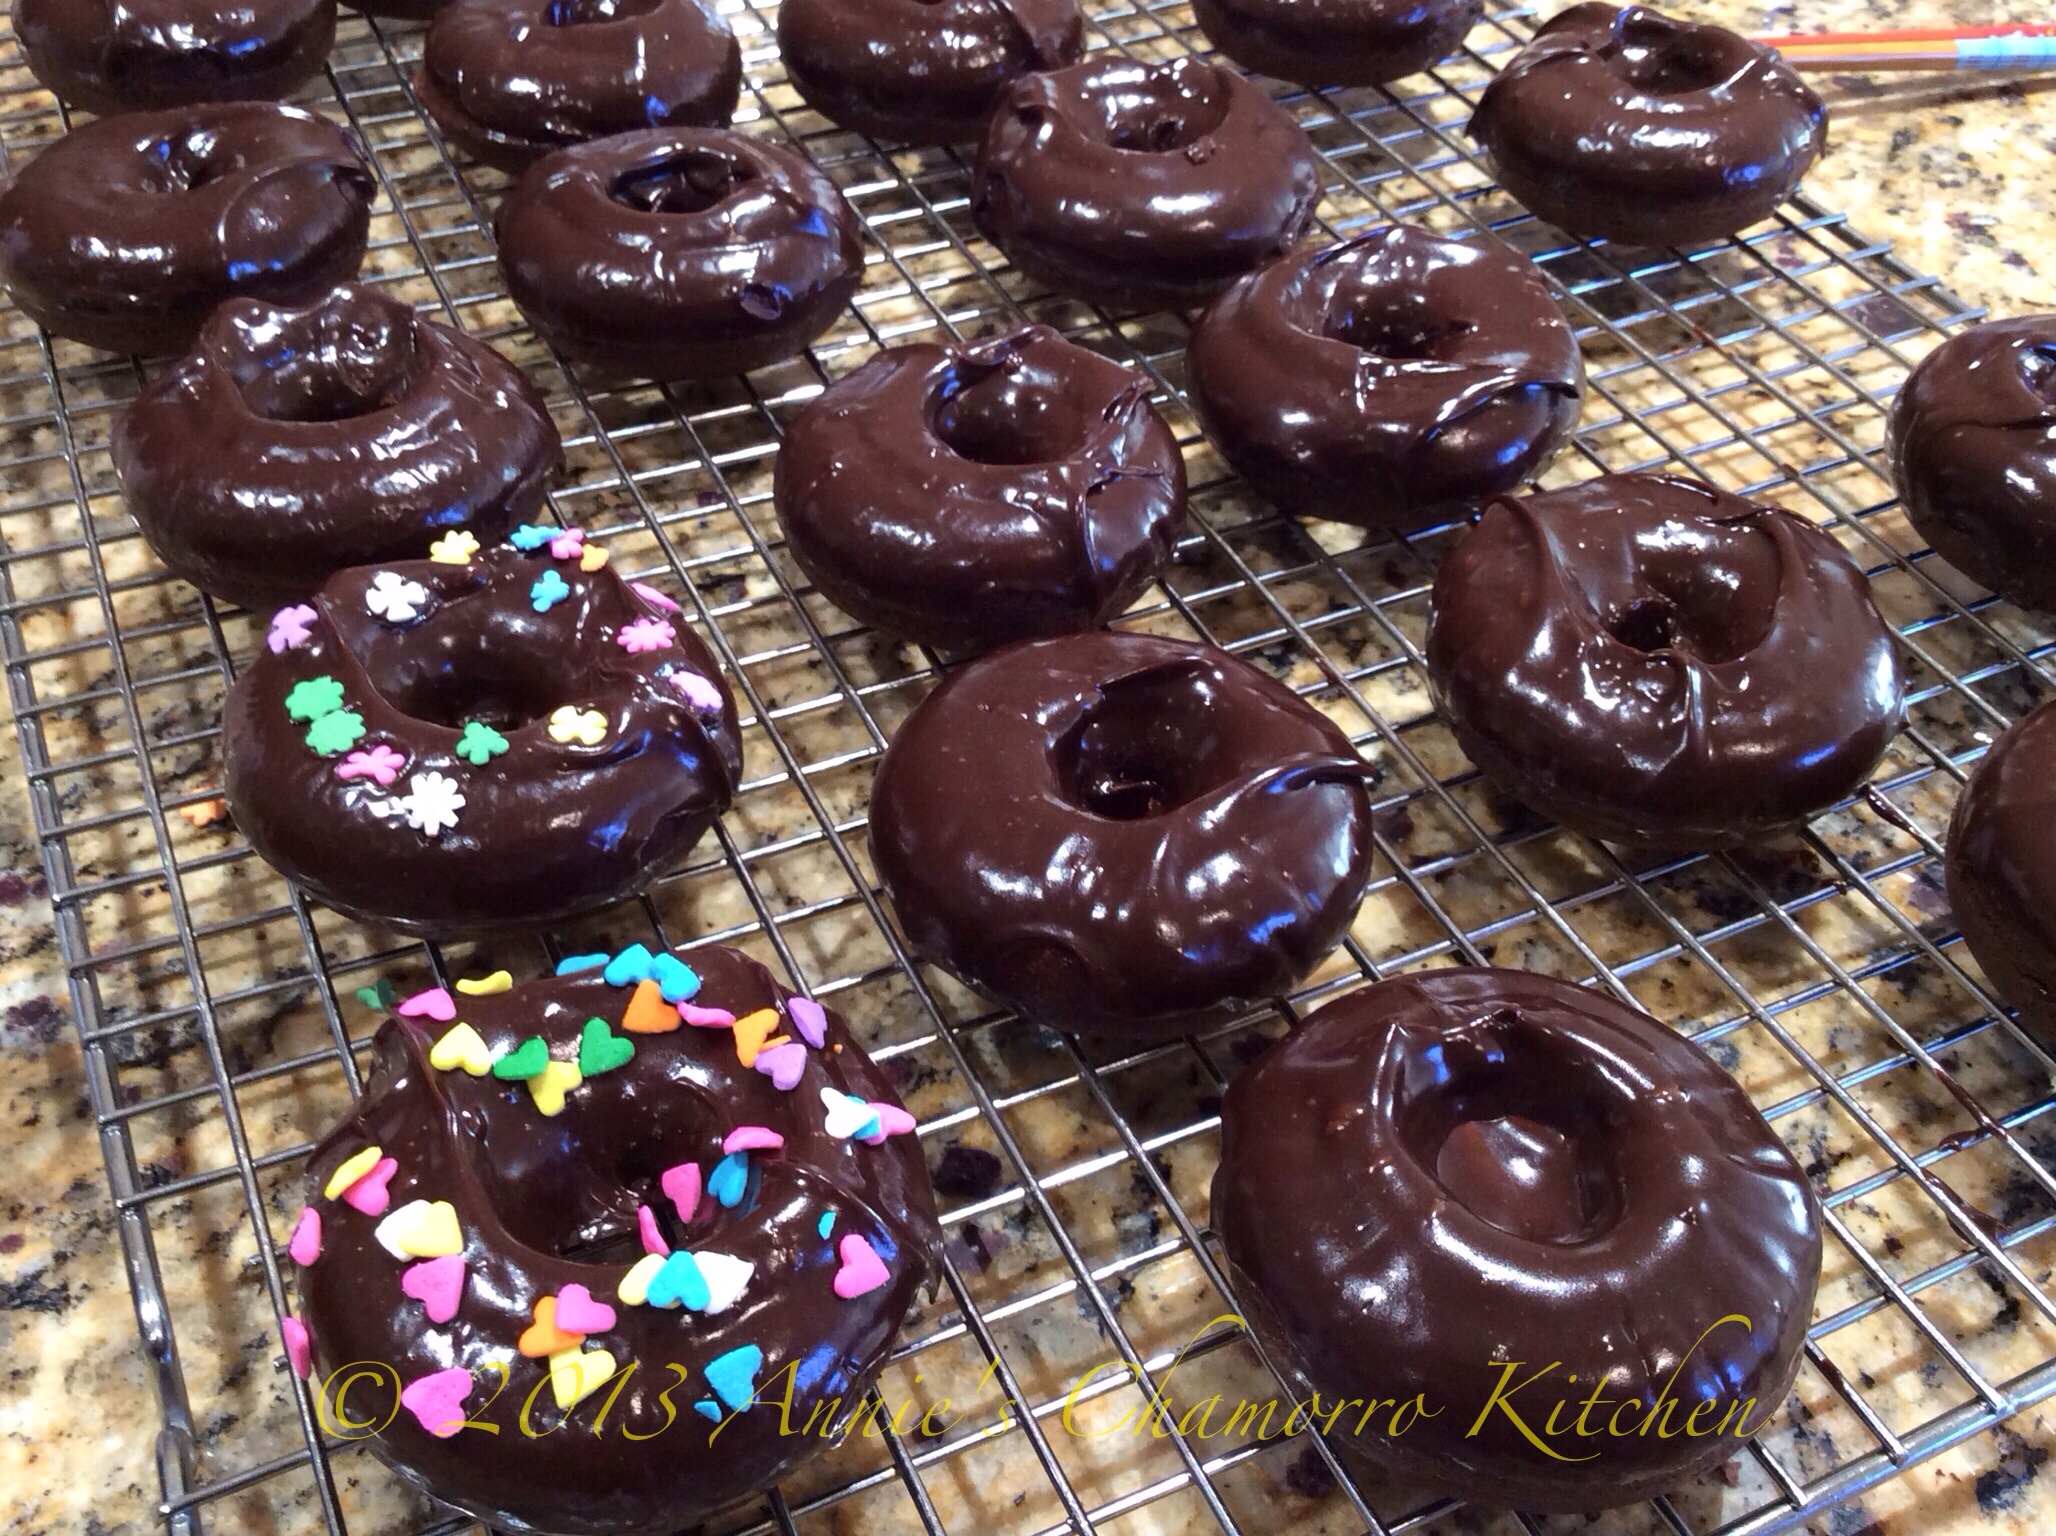
Place the iced donuts back on the wire wrack to allow the frosting to set (or you can just devour them at this point!). 🙂
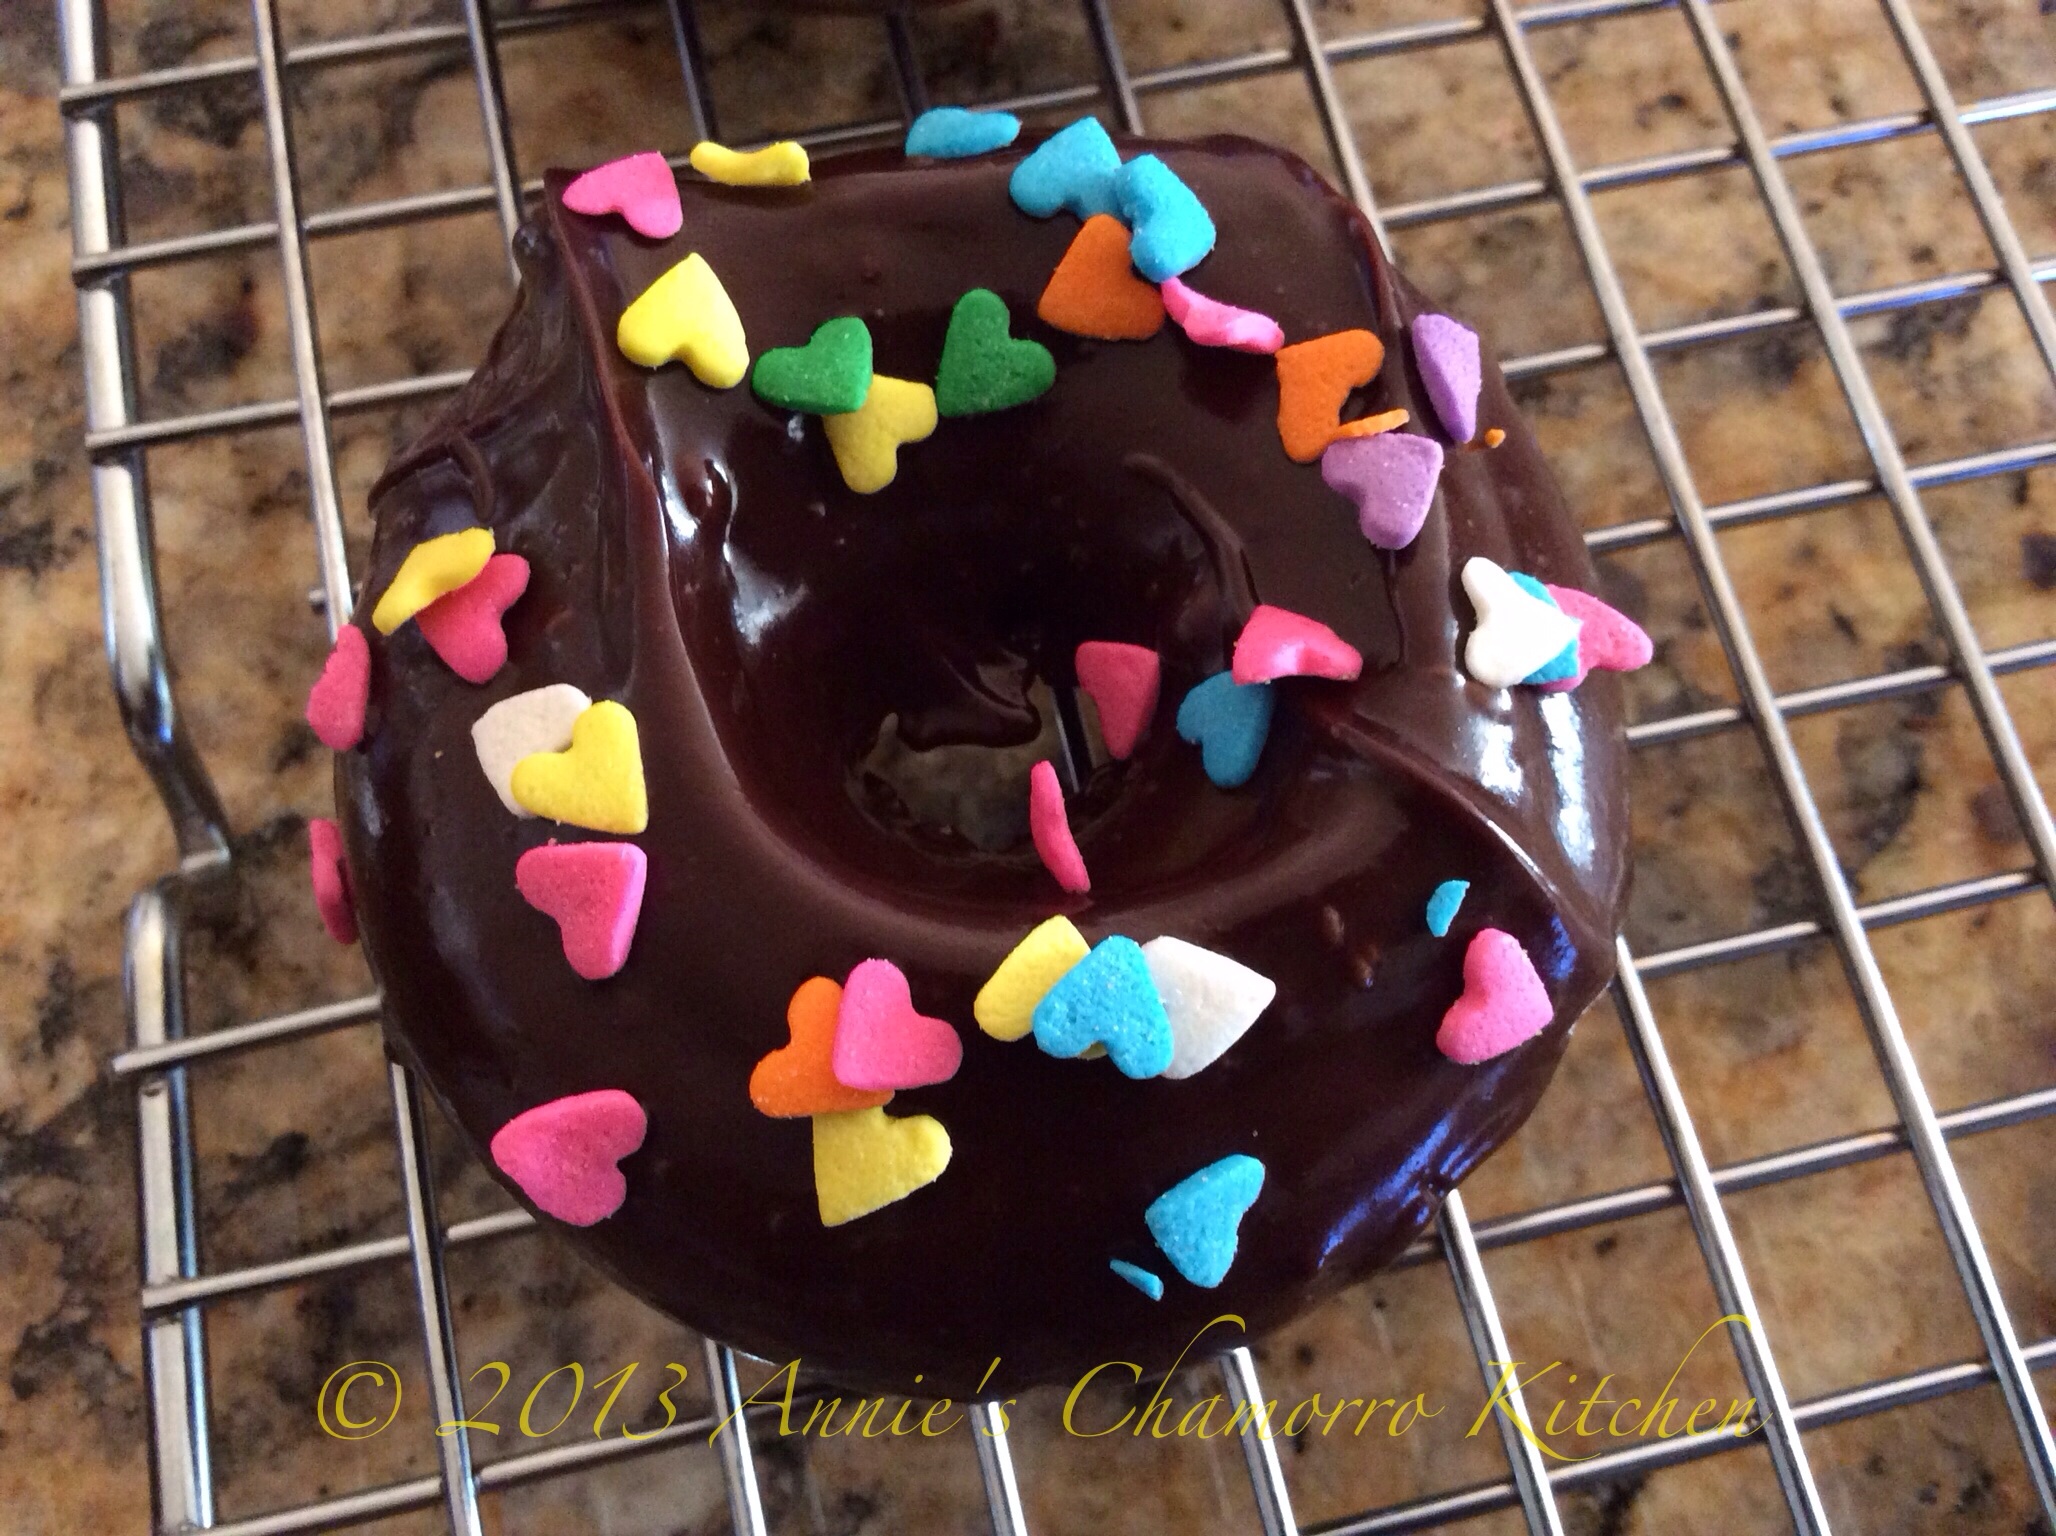
Optional: Sprinkle your favorite toppings on top of the donuts immediately after dipping in the warm icing.
This is what the donuts look like in the inside — moist and chocolaty, with the added bonus of chocolate chips.  Serve with a tall glass of milk or a cup of your favorite coffe and ENJOY!