Archive for Cakes

Easy Ultra-Moist Red Velvet Cupcakes

image

Ahhh…the delicious aroma of cake baking is rivaled only by that of gooey chocolate chip cookies baking and filling your home with happiness. 🙂

image

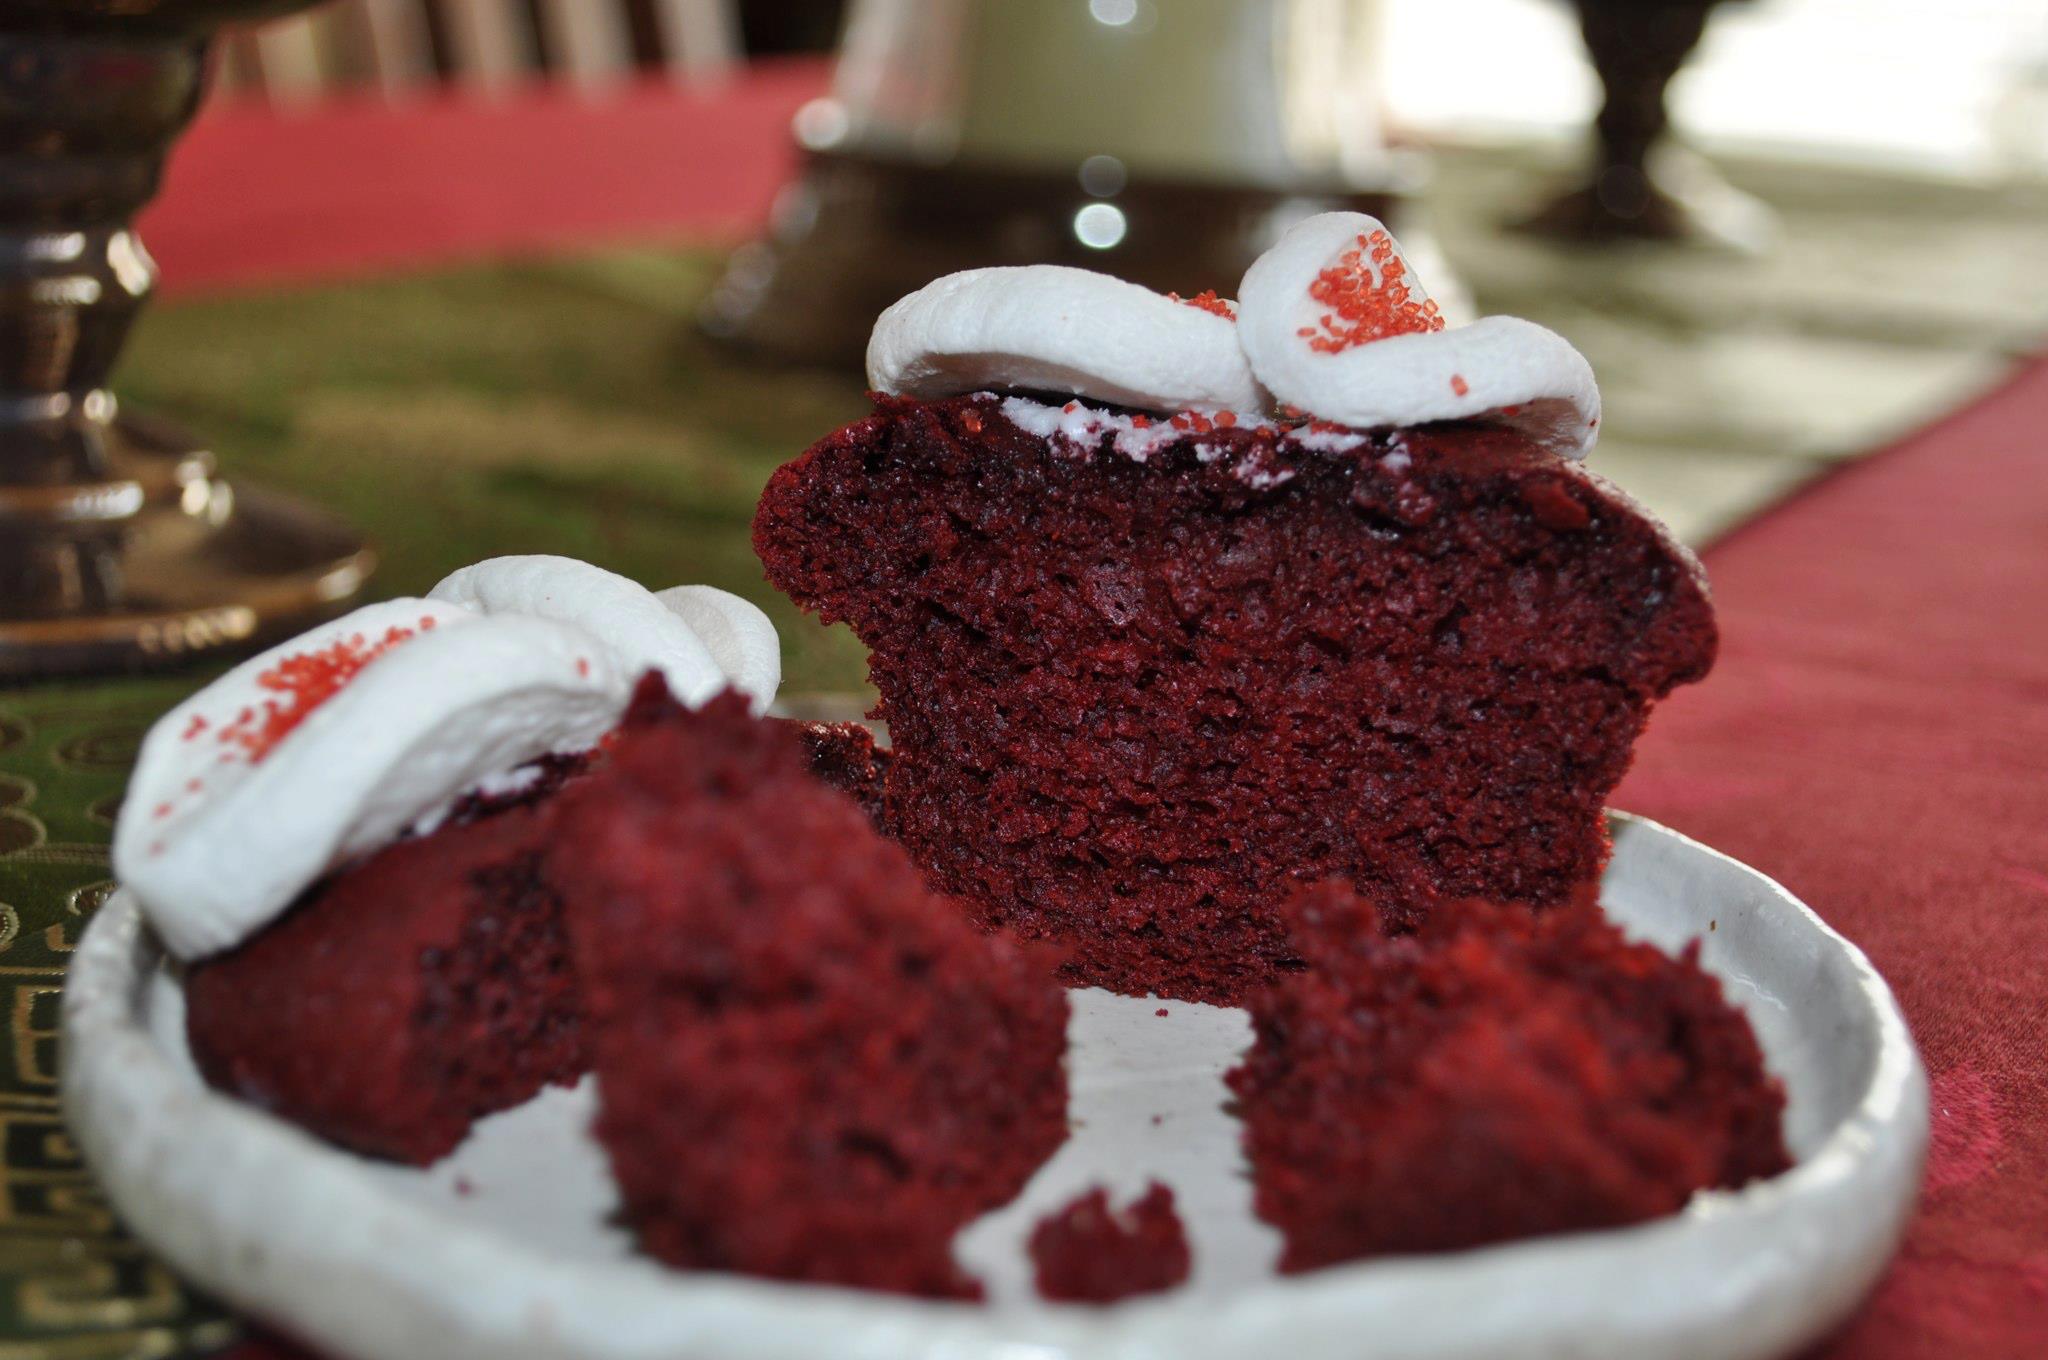
Red velvet cake topped with sweet cream cheese frosting is one of my favorites.

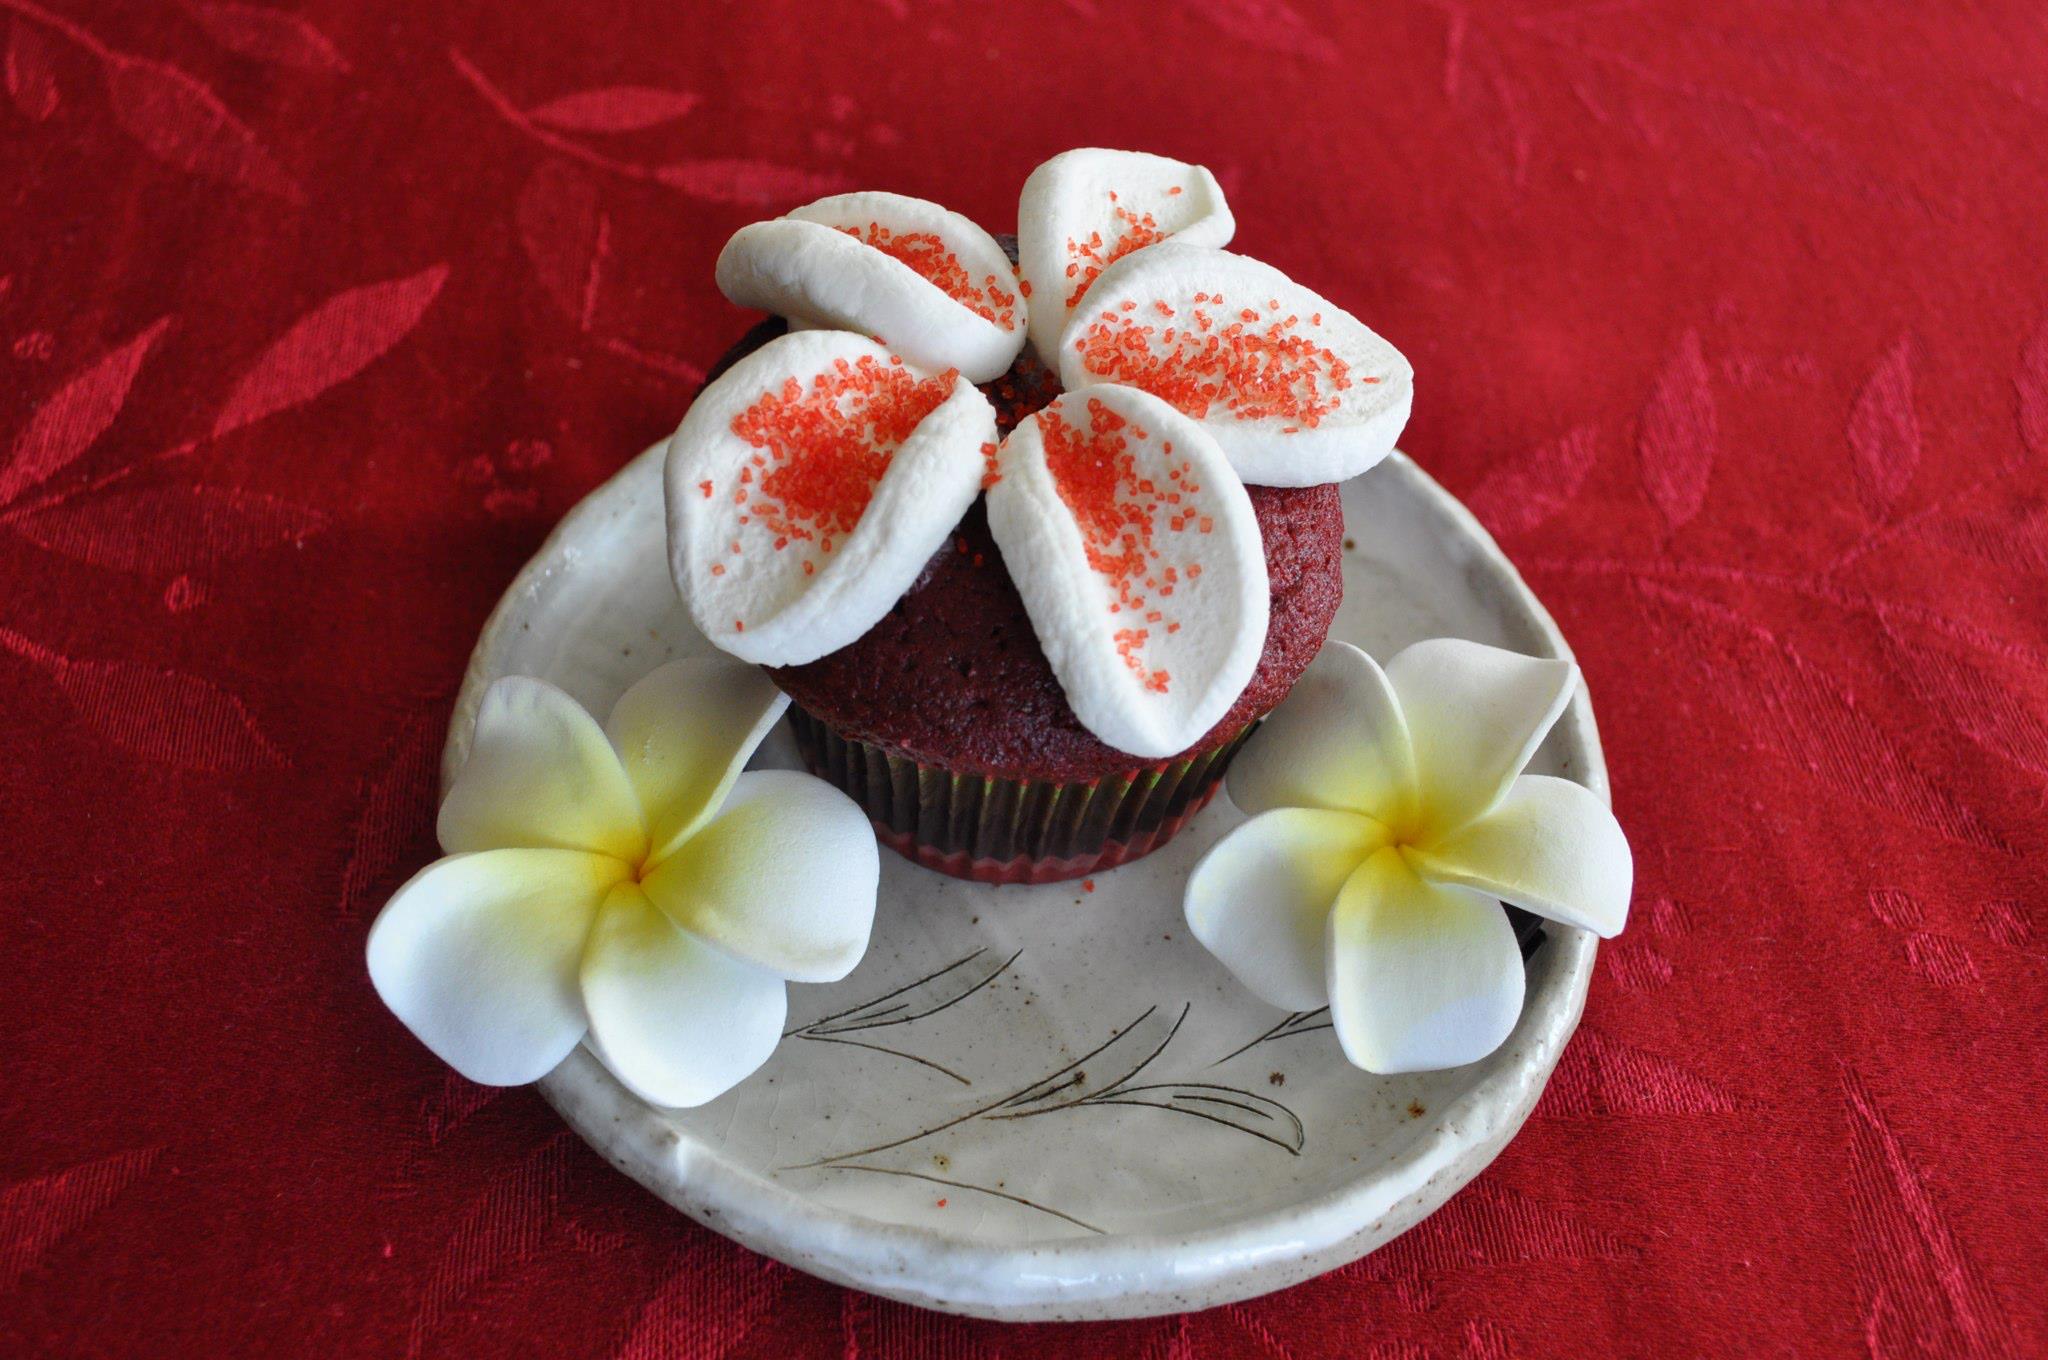
These cupcakes were topped with a marshmallow flower made by slicing marshmallows (use a pair of kitchen scissors for easy cutting) then sticking the petals together to form a flower.

338290_2796076549370_975814349_o

331486_2796075269338_837932046_o

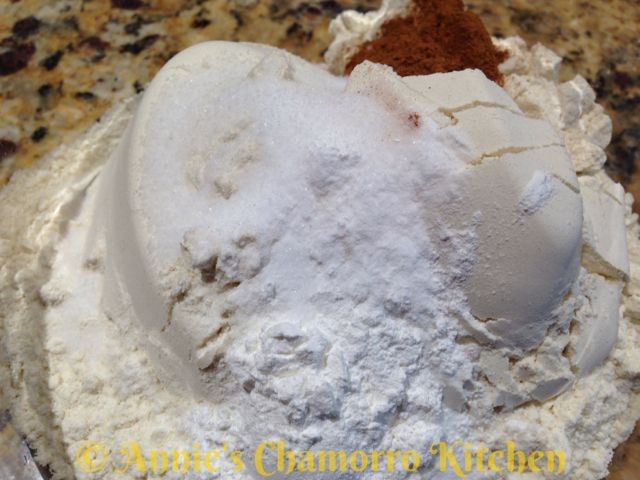
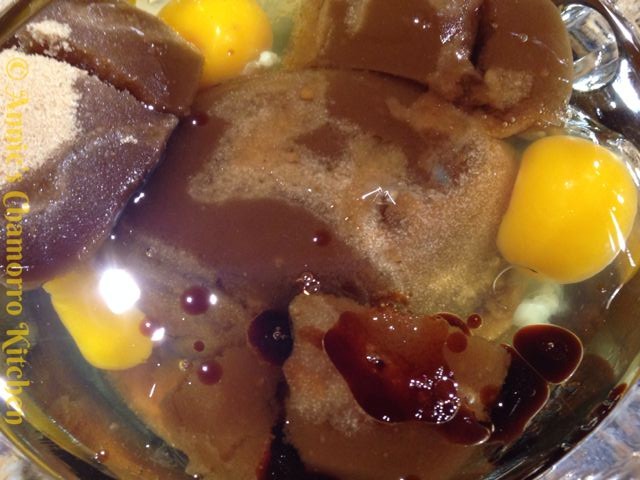
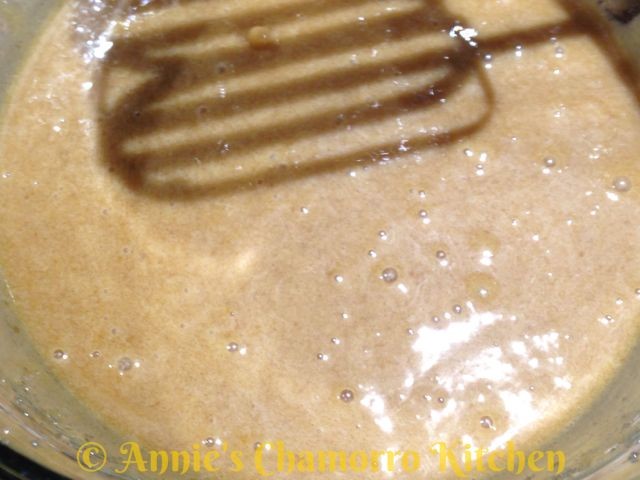
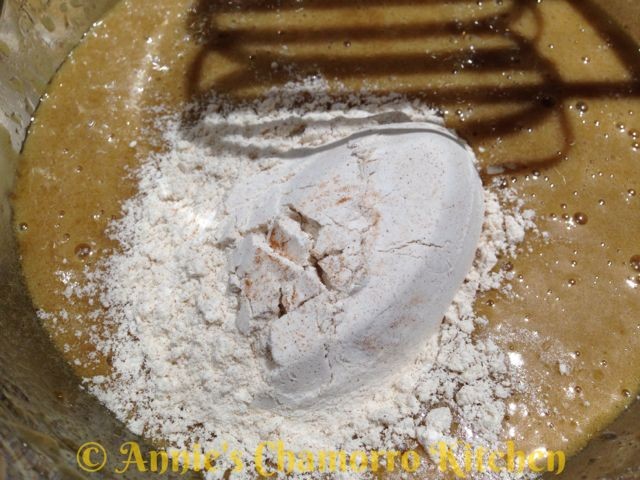
This is a super-easy recipe.  Mix a box of red velvet cake mix with eggs, milk, oil, instant chocolate pudding, and red food coloring (for a deeper red color).

imageimage

Fill cupcake lines 3/4 full.
image

Bake at 350 degrees for 18-20 minutes.
Let the cupcakes cool then frost and ENJOY! 🙂
image


Easy Ultra-Moist Red Velvet Cupcakes
 
Prep time
Cook time
Total time
 
Author:
Serves: 2 dozen
Ingredients
  • 1 box Duncan Hines Moist Deluxe red velvet cake mix
  • 1 box (3.9 oz) instant chocolate pudding mix
  • 4 large eggs
  • ¾ cup oil
  • ¾ cup milk*
  • 12 drops of red food coloring
Instructions
  1. Preheat oven to 350 degrees.
  2. Mix all ingredients together.
  3. Pour into cupcake tins lined with paper liners, ¾ full.
  4. Bake 18-20 minutes.
  5. Frost with your favorite frosting.
High Altitude Adjustments (for altitudes higher than 3000 ft):
  1. *Use 1 cup of milk (instead of ¾ cup)
  2. Do not preheat the oven. Prepare the batter and fill the cupcake tins, THEN turn on the oven. When the oven temperature reaches 250 degrees, place the pans in the oven.
  3. Bake for 10-15 minutes; the time starts when the temperature reaches 350 degrees (check for doneness at 10 minutes). The cupcakes are done when a toothpick inserted in the middle comes out clean.

Print Friendly, PDF & Email

Chocolate Ice Cream Cake

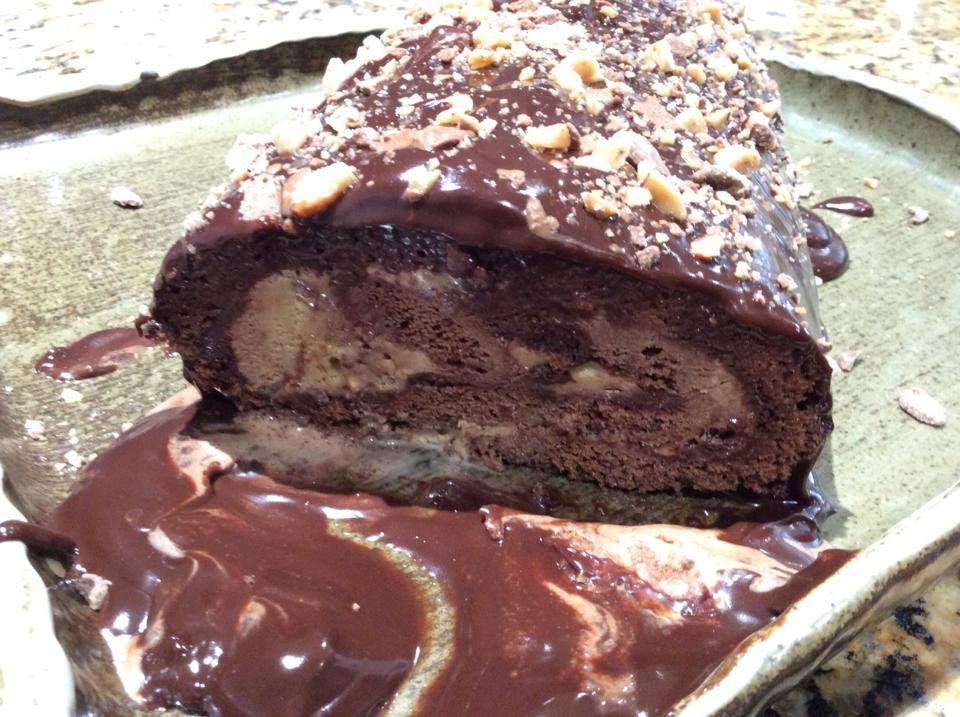
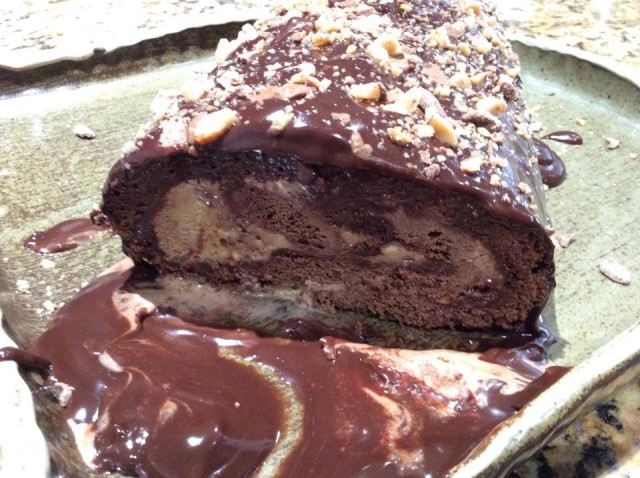
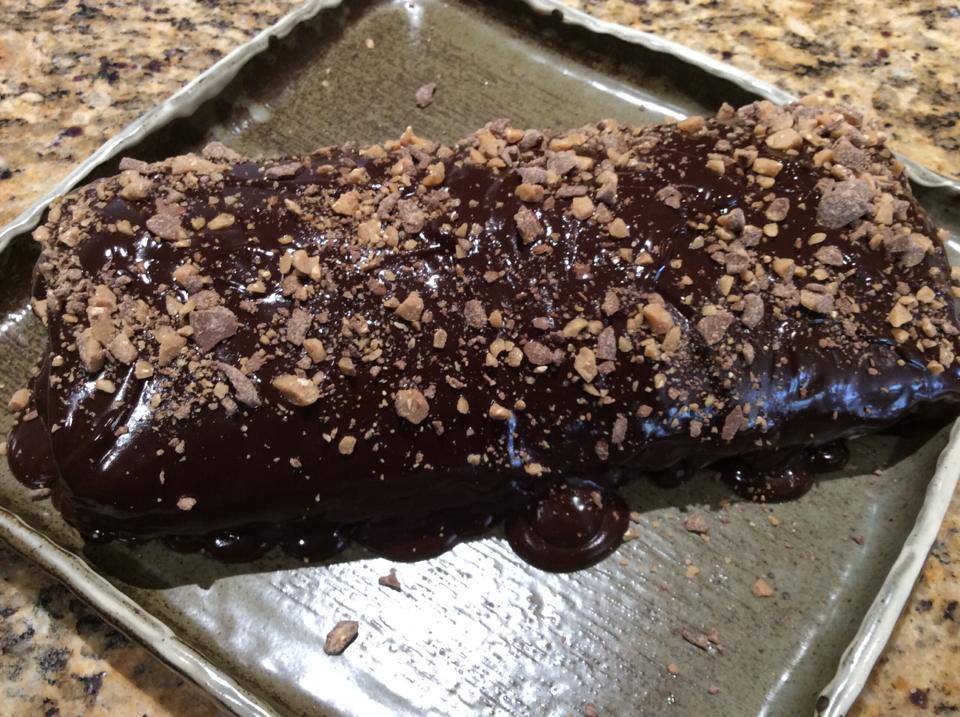
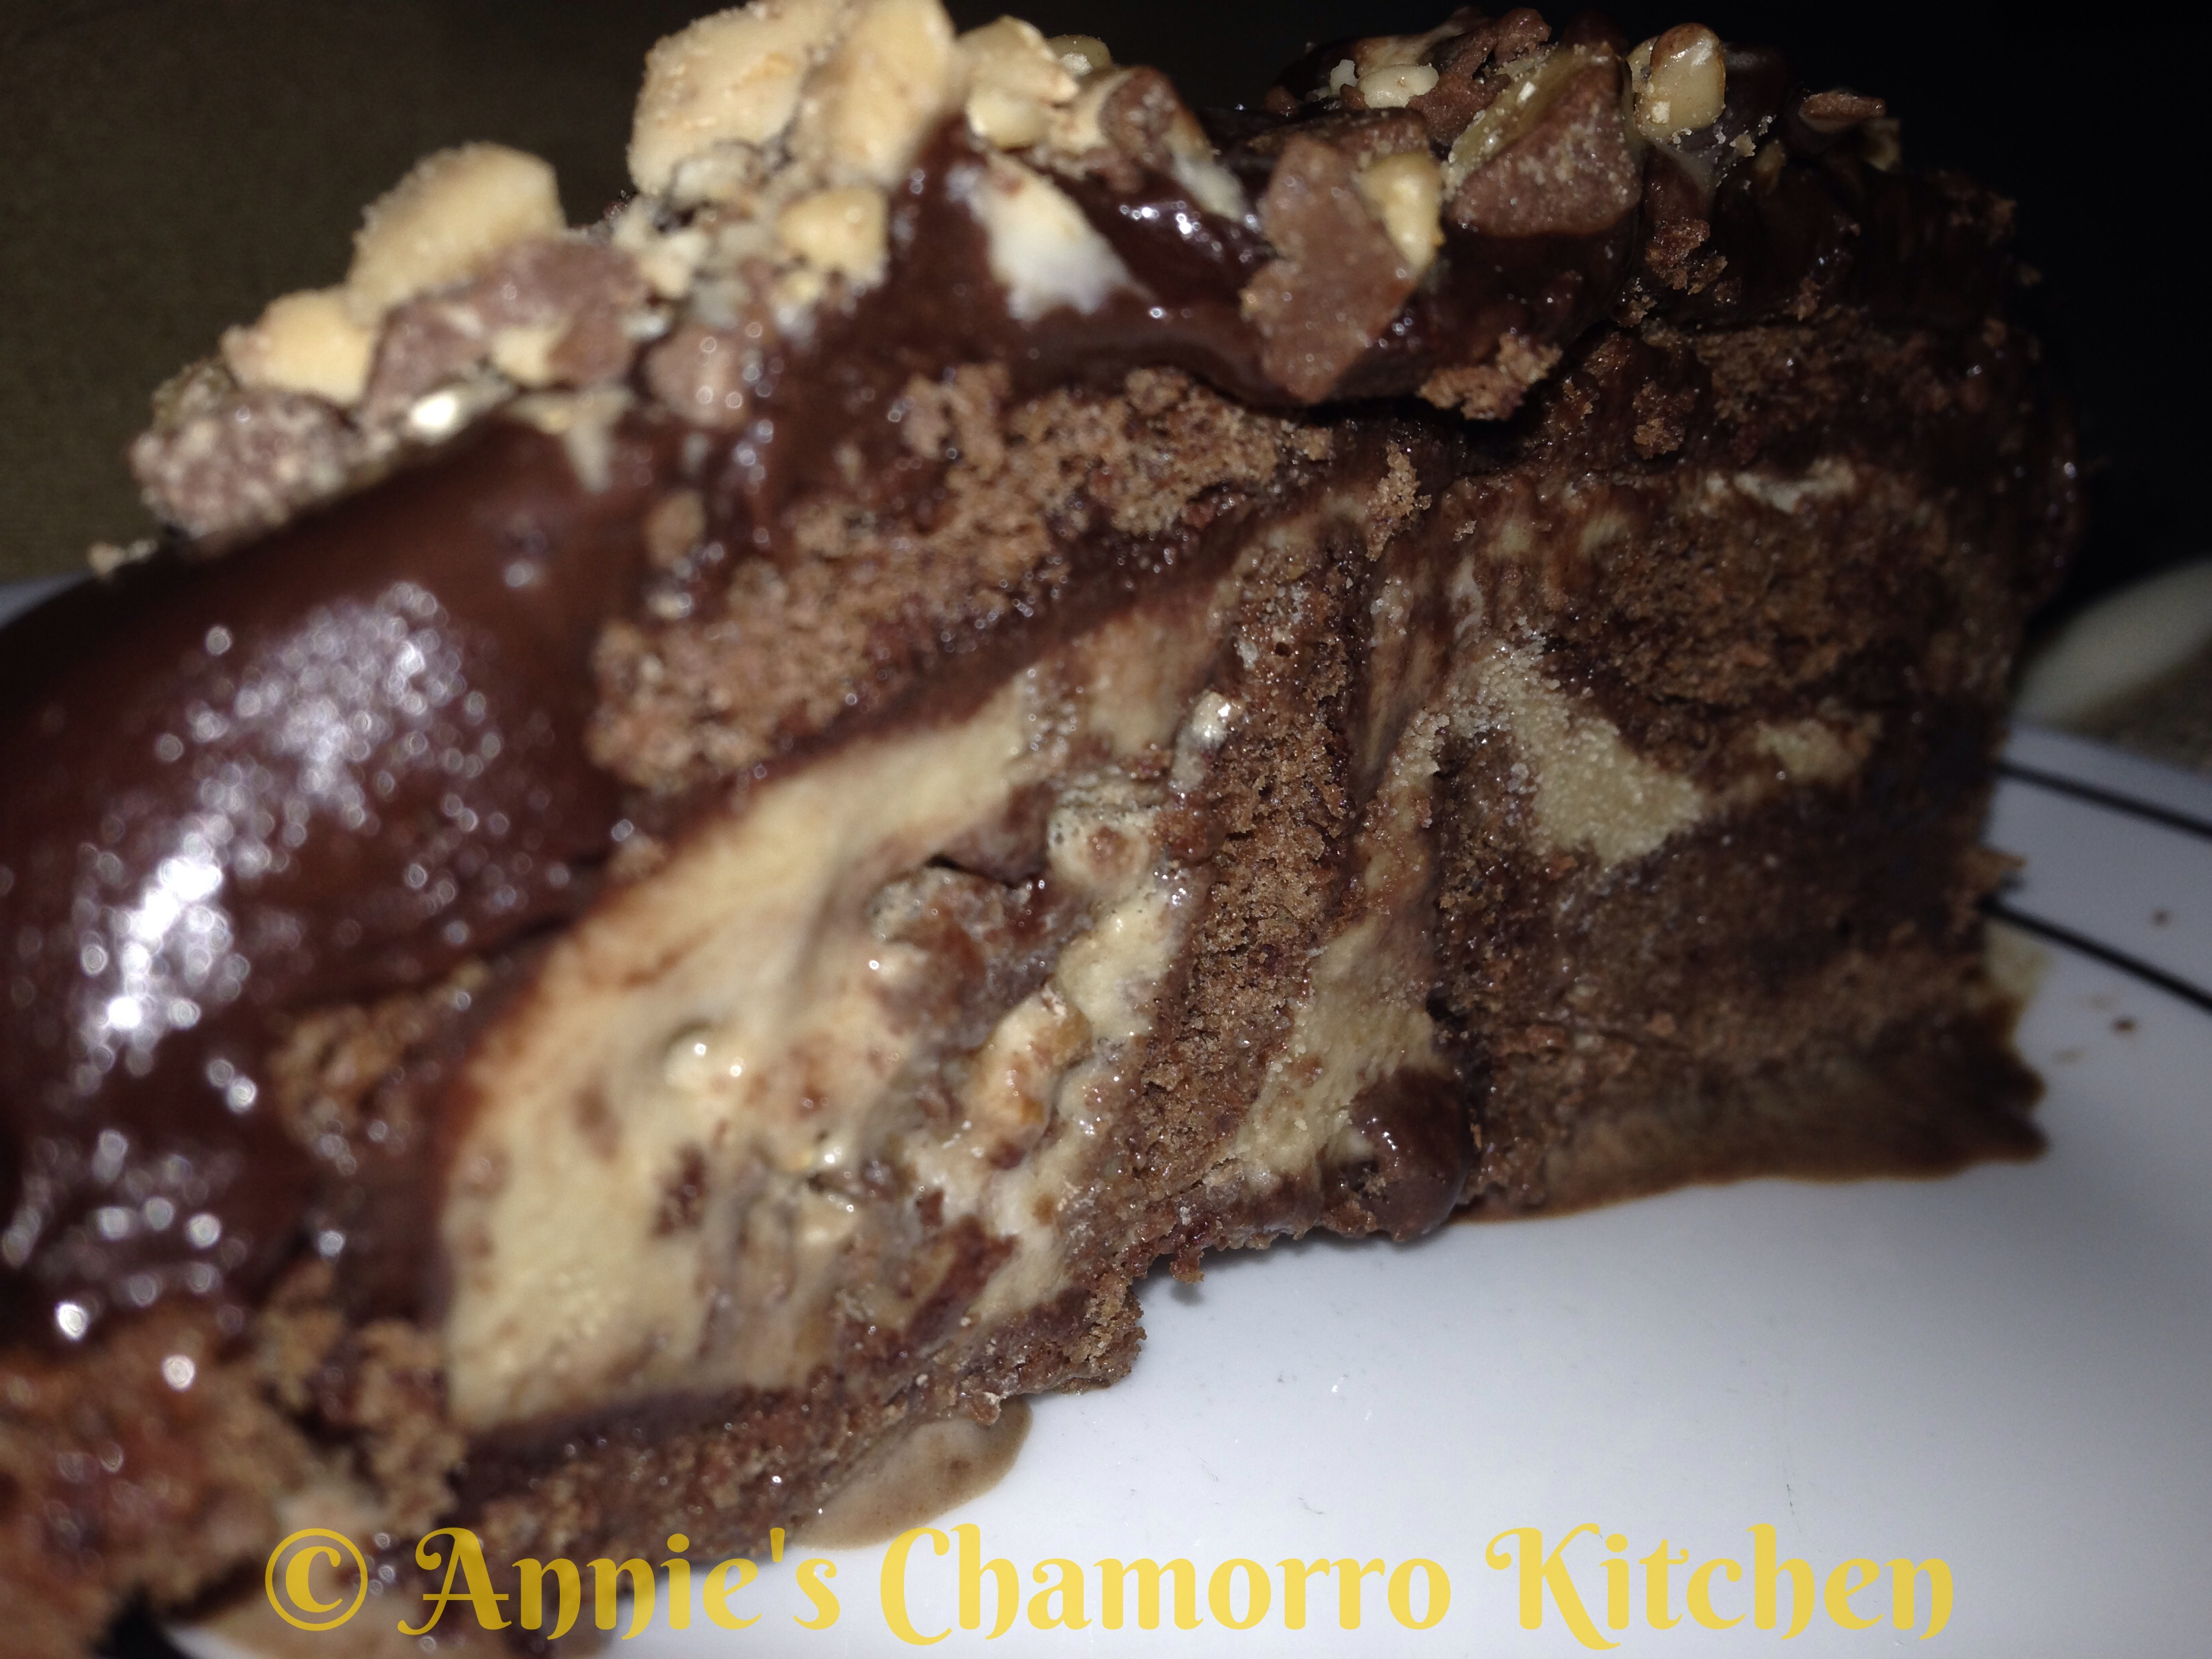
Some of my favorite desserts are chocolate cake, coffee ice cream, and toffee candy.  This dessert combines all three in one very decadent dessert.

I combined my love of these three sweet indulgences into one rich and luscious ice cream cake.

If you’ve read through my directions below, you may be thinking that this is a difficult desert to make.  Don’t let the number of steps fool you, however.  This is actually very simple to make; just follow each step as I’ve described them below and before you know it, you’ll be enjoying this heavenly dessert!  The only hard part is waiting for the ice cream to re-harden! 🙂

Give my recipe a try.  I know you’ll love it. 🙂

Chocolate Ice Cream Cake

10352789_700854603304696_2410885298969090088_n Ingredients: Cake:

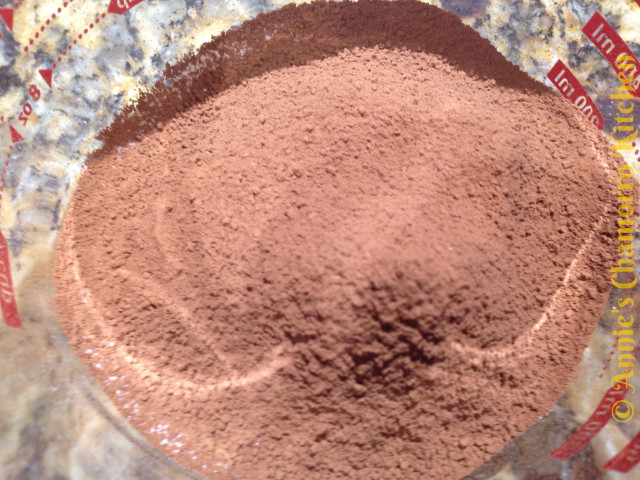
  • 1/4 cup cocoa powder
  • 1/3 cup plus 2 tablespoons cake flour
  • 1 tablespoon instant espresso powder
  • 1/8 teaspoon salt
  • 1/2 stick unsalted butter, melted
  • 3 large eggs
  • 2 large egg YOLKS
  • 1/2 cup white, granulated sugar

Filling:

  • 1 cup milk chocolate chips
  • 1/2 cup half-and-half (or heavy cream)
  • Half gallon coffee ice cream (or your favorite flavor)
  • 1/2 cup toffee bits

Ganache:

  • 1 1/2 cups semisweet chocolate chips
  • 1 cup half-and-half (or heavy cream)

Topping:

  • 1/2 cup toffee bits

Directions:

1.  In a small mixing bowl, sift together the cocoa powder and cake flour.  Add the instant espresso powder and salt to the bowl.  Whisk to combine.

Chocolate Ice Cream Cake - 02

2.  In a microwave-safe bowl, melt the butter.  Set aside to cool.

Chocolate Ice Cream Cake - 14

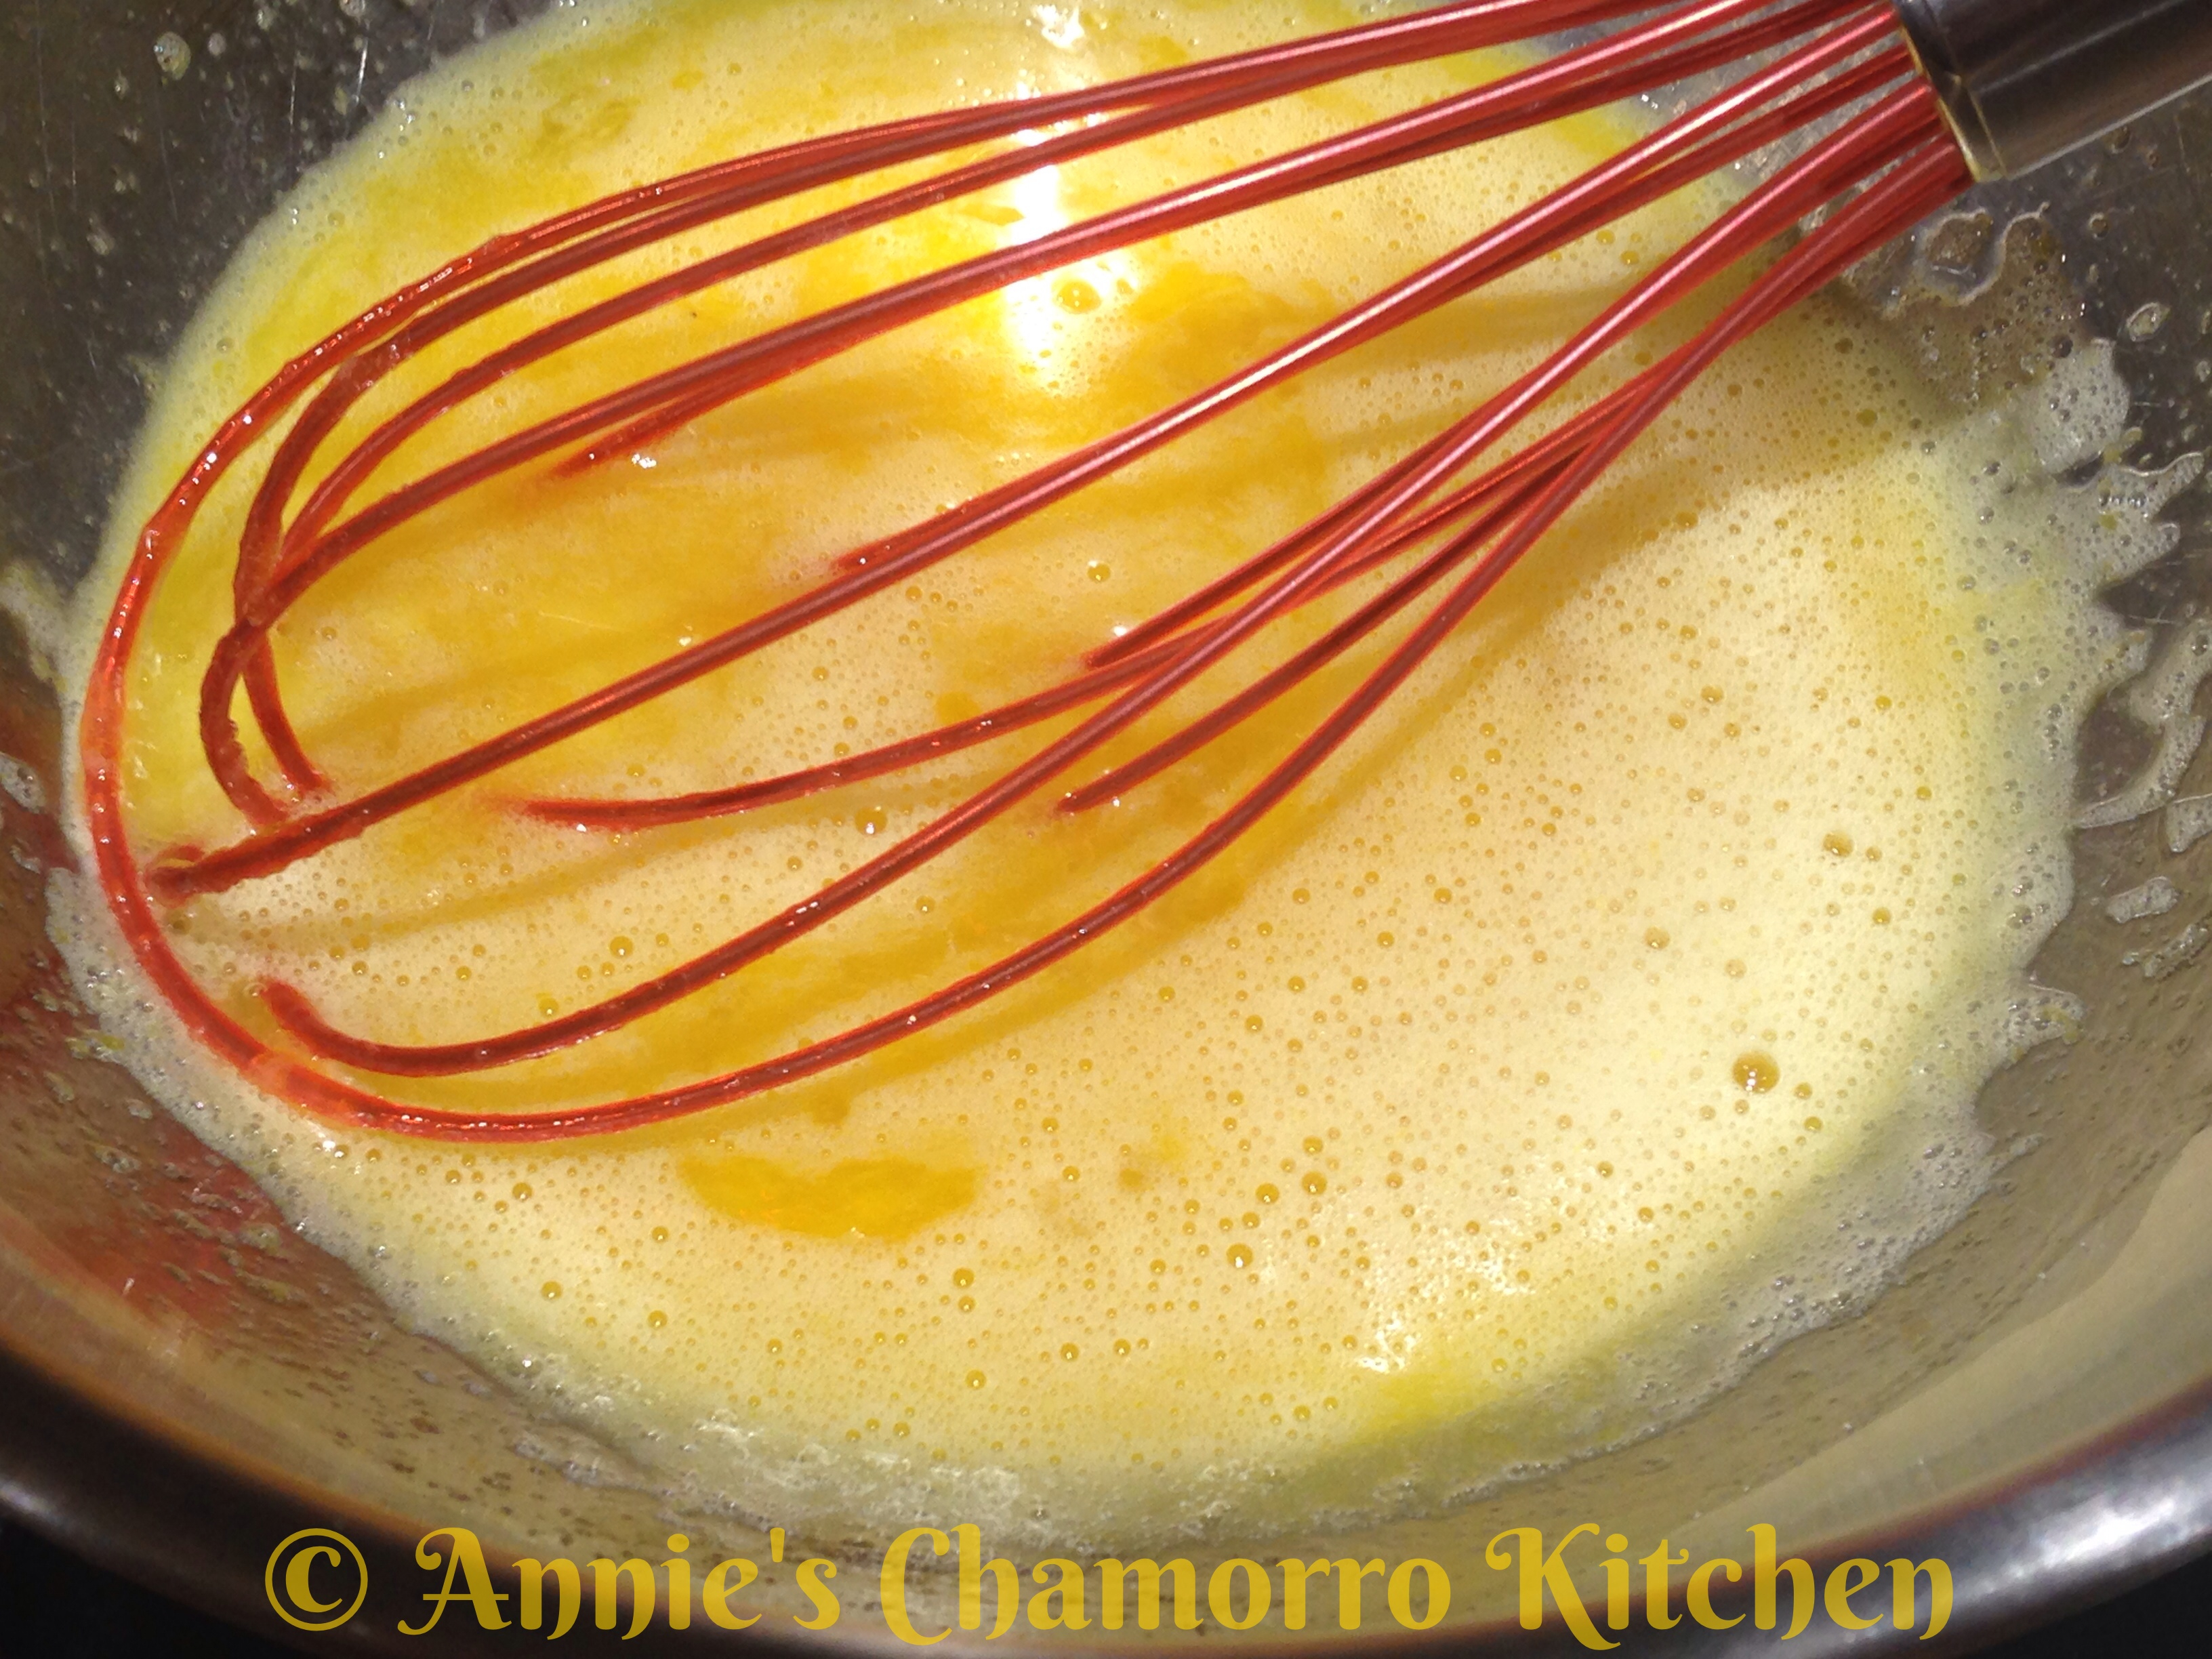
3.  Place a small pot filled with about 2 inches of water over medium heat; bring to a simmer.  In a large heat-safe mixing bowl, place the eggs, egg yolks, and sugar.  Place the egg and sugar mixture over the simmering water, whisking constantly until the mixture is warm to the touch.

Chocolate Ice Cream Cake - 06

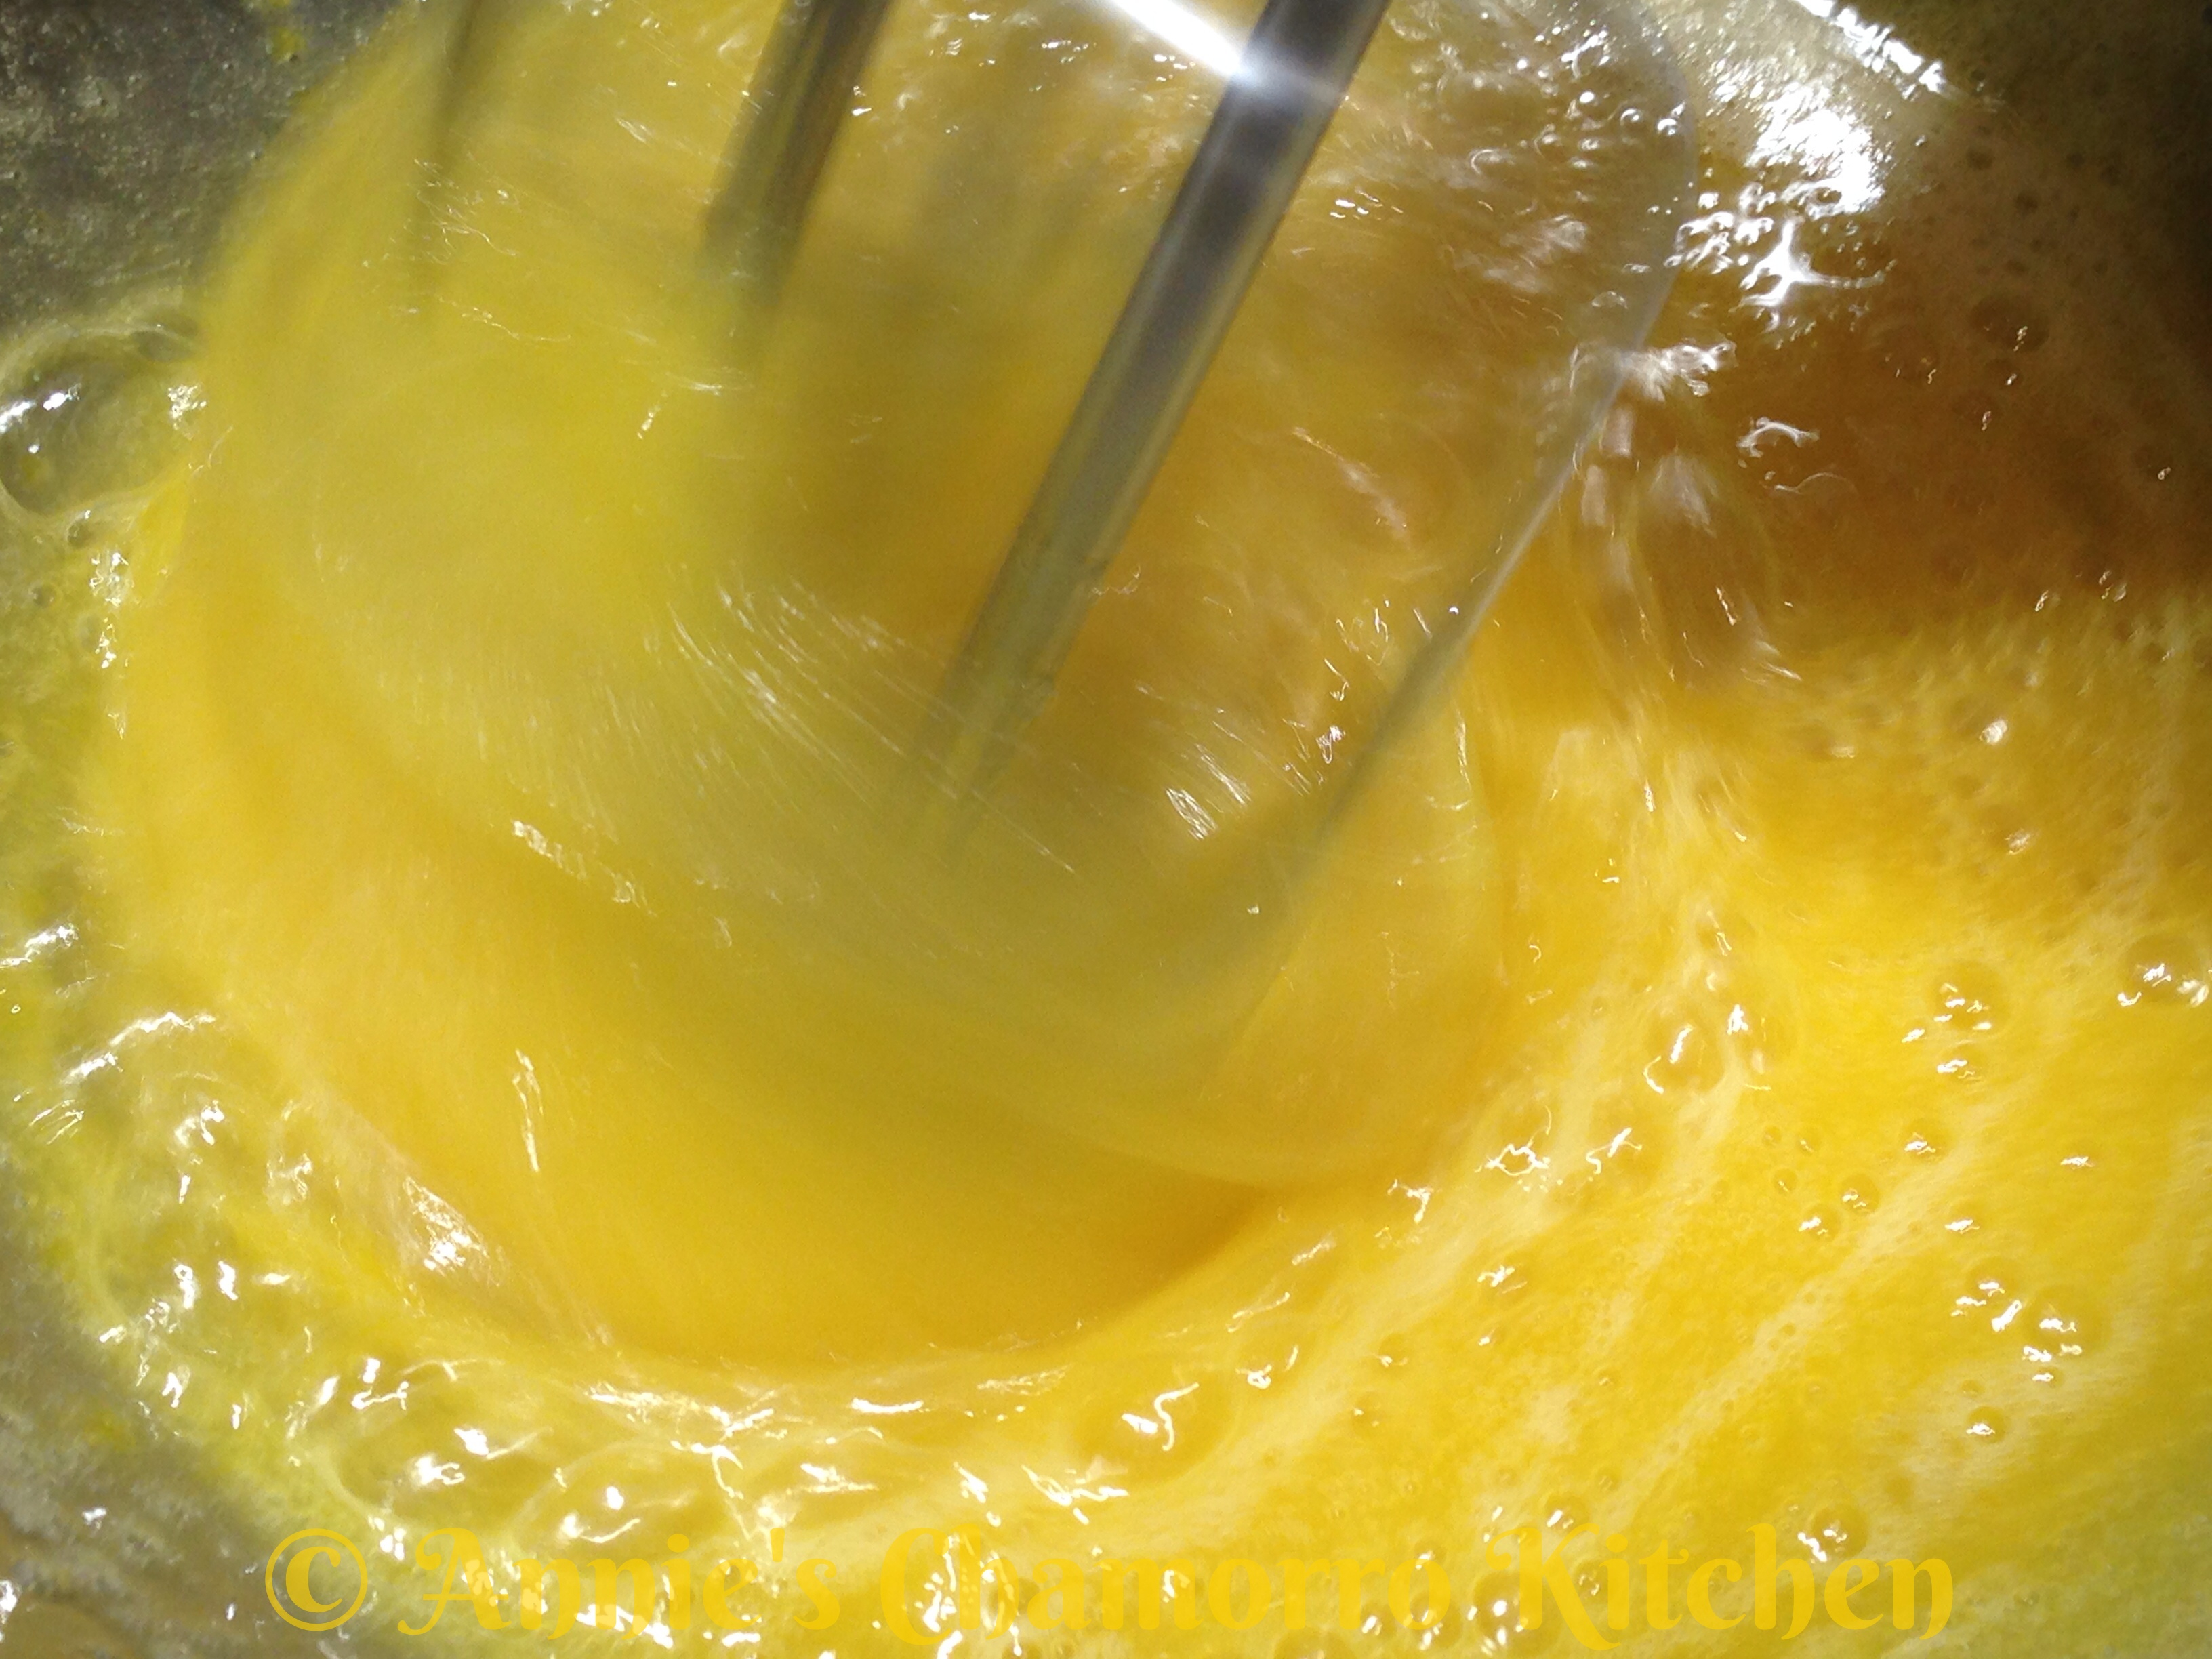
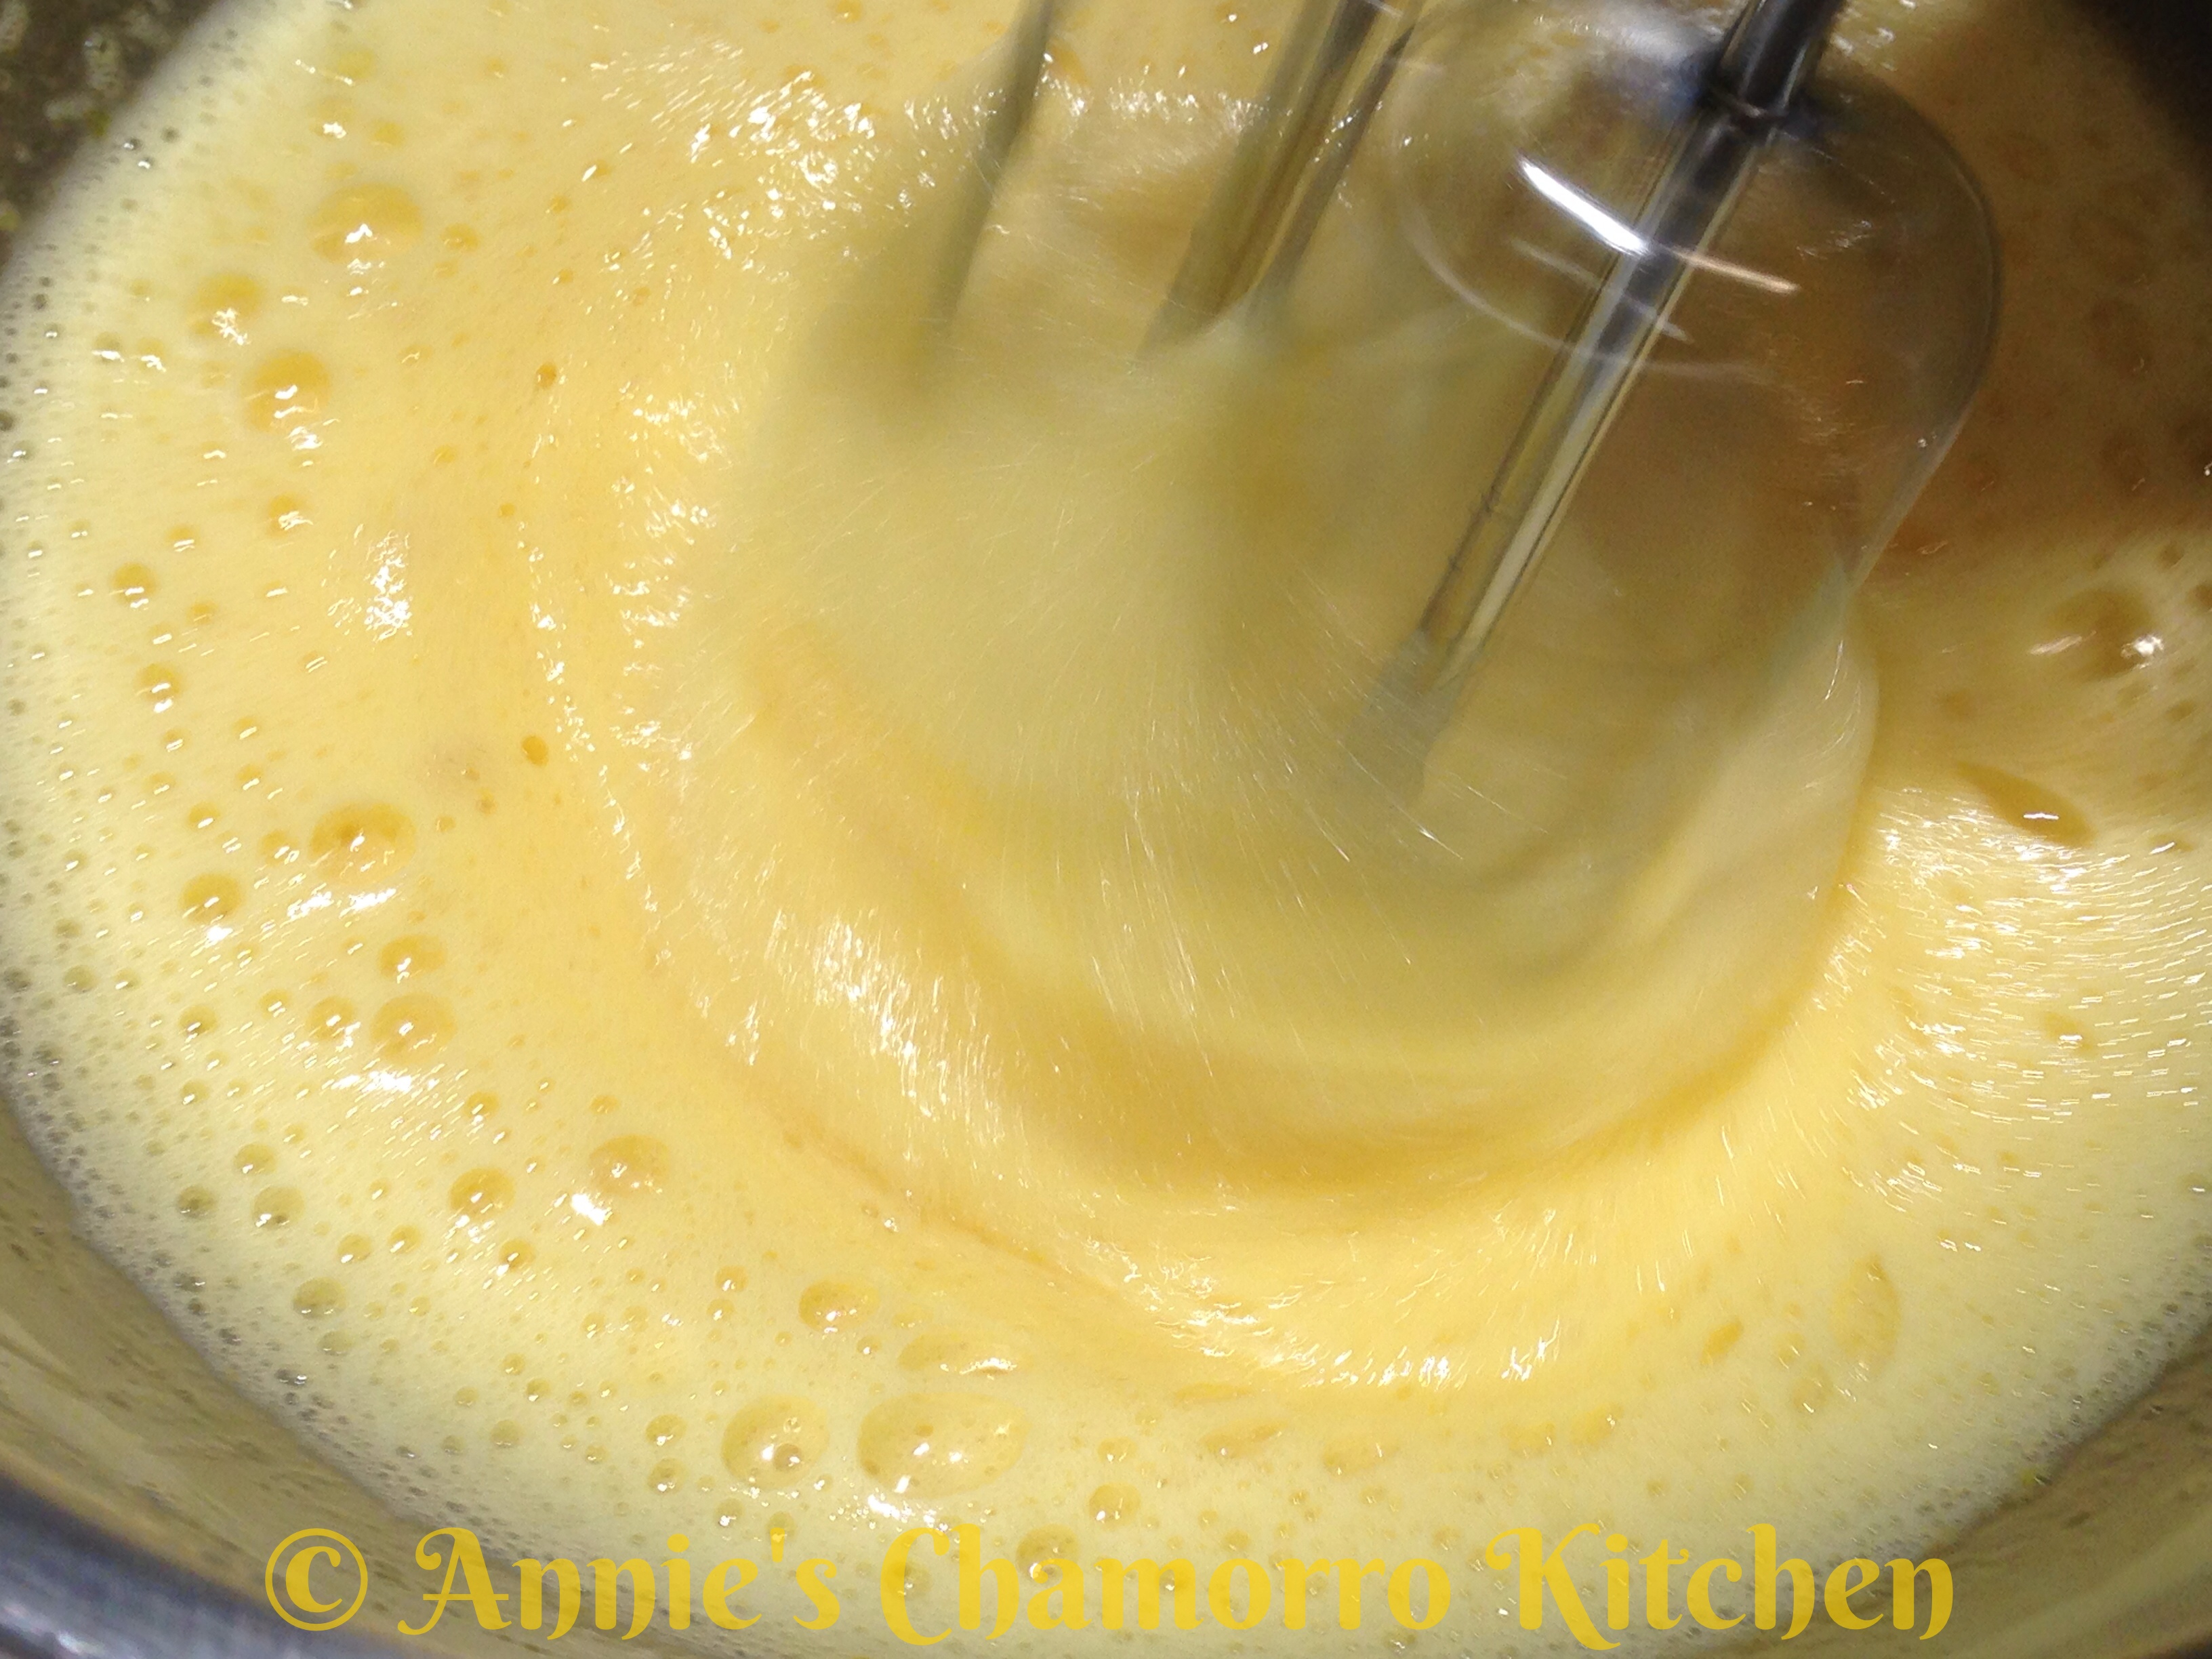
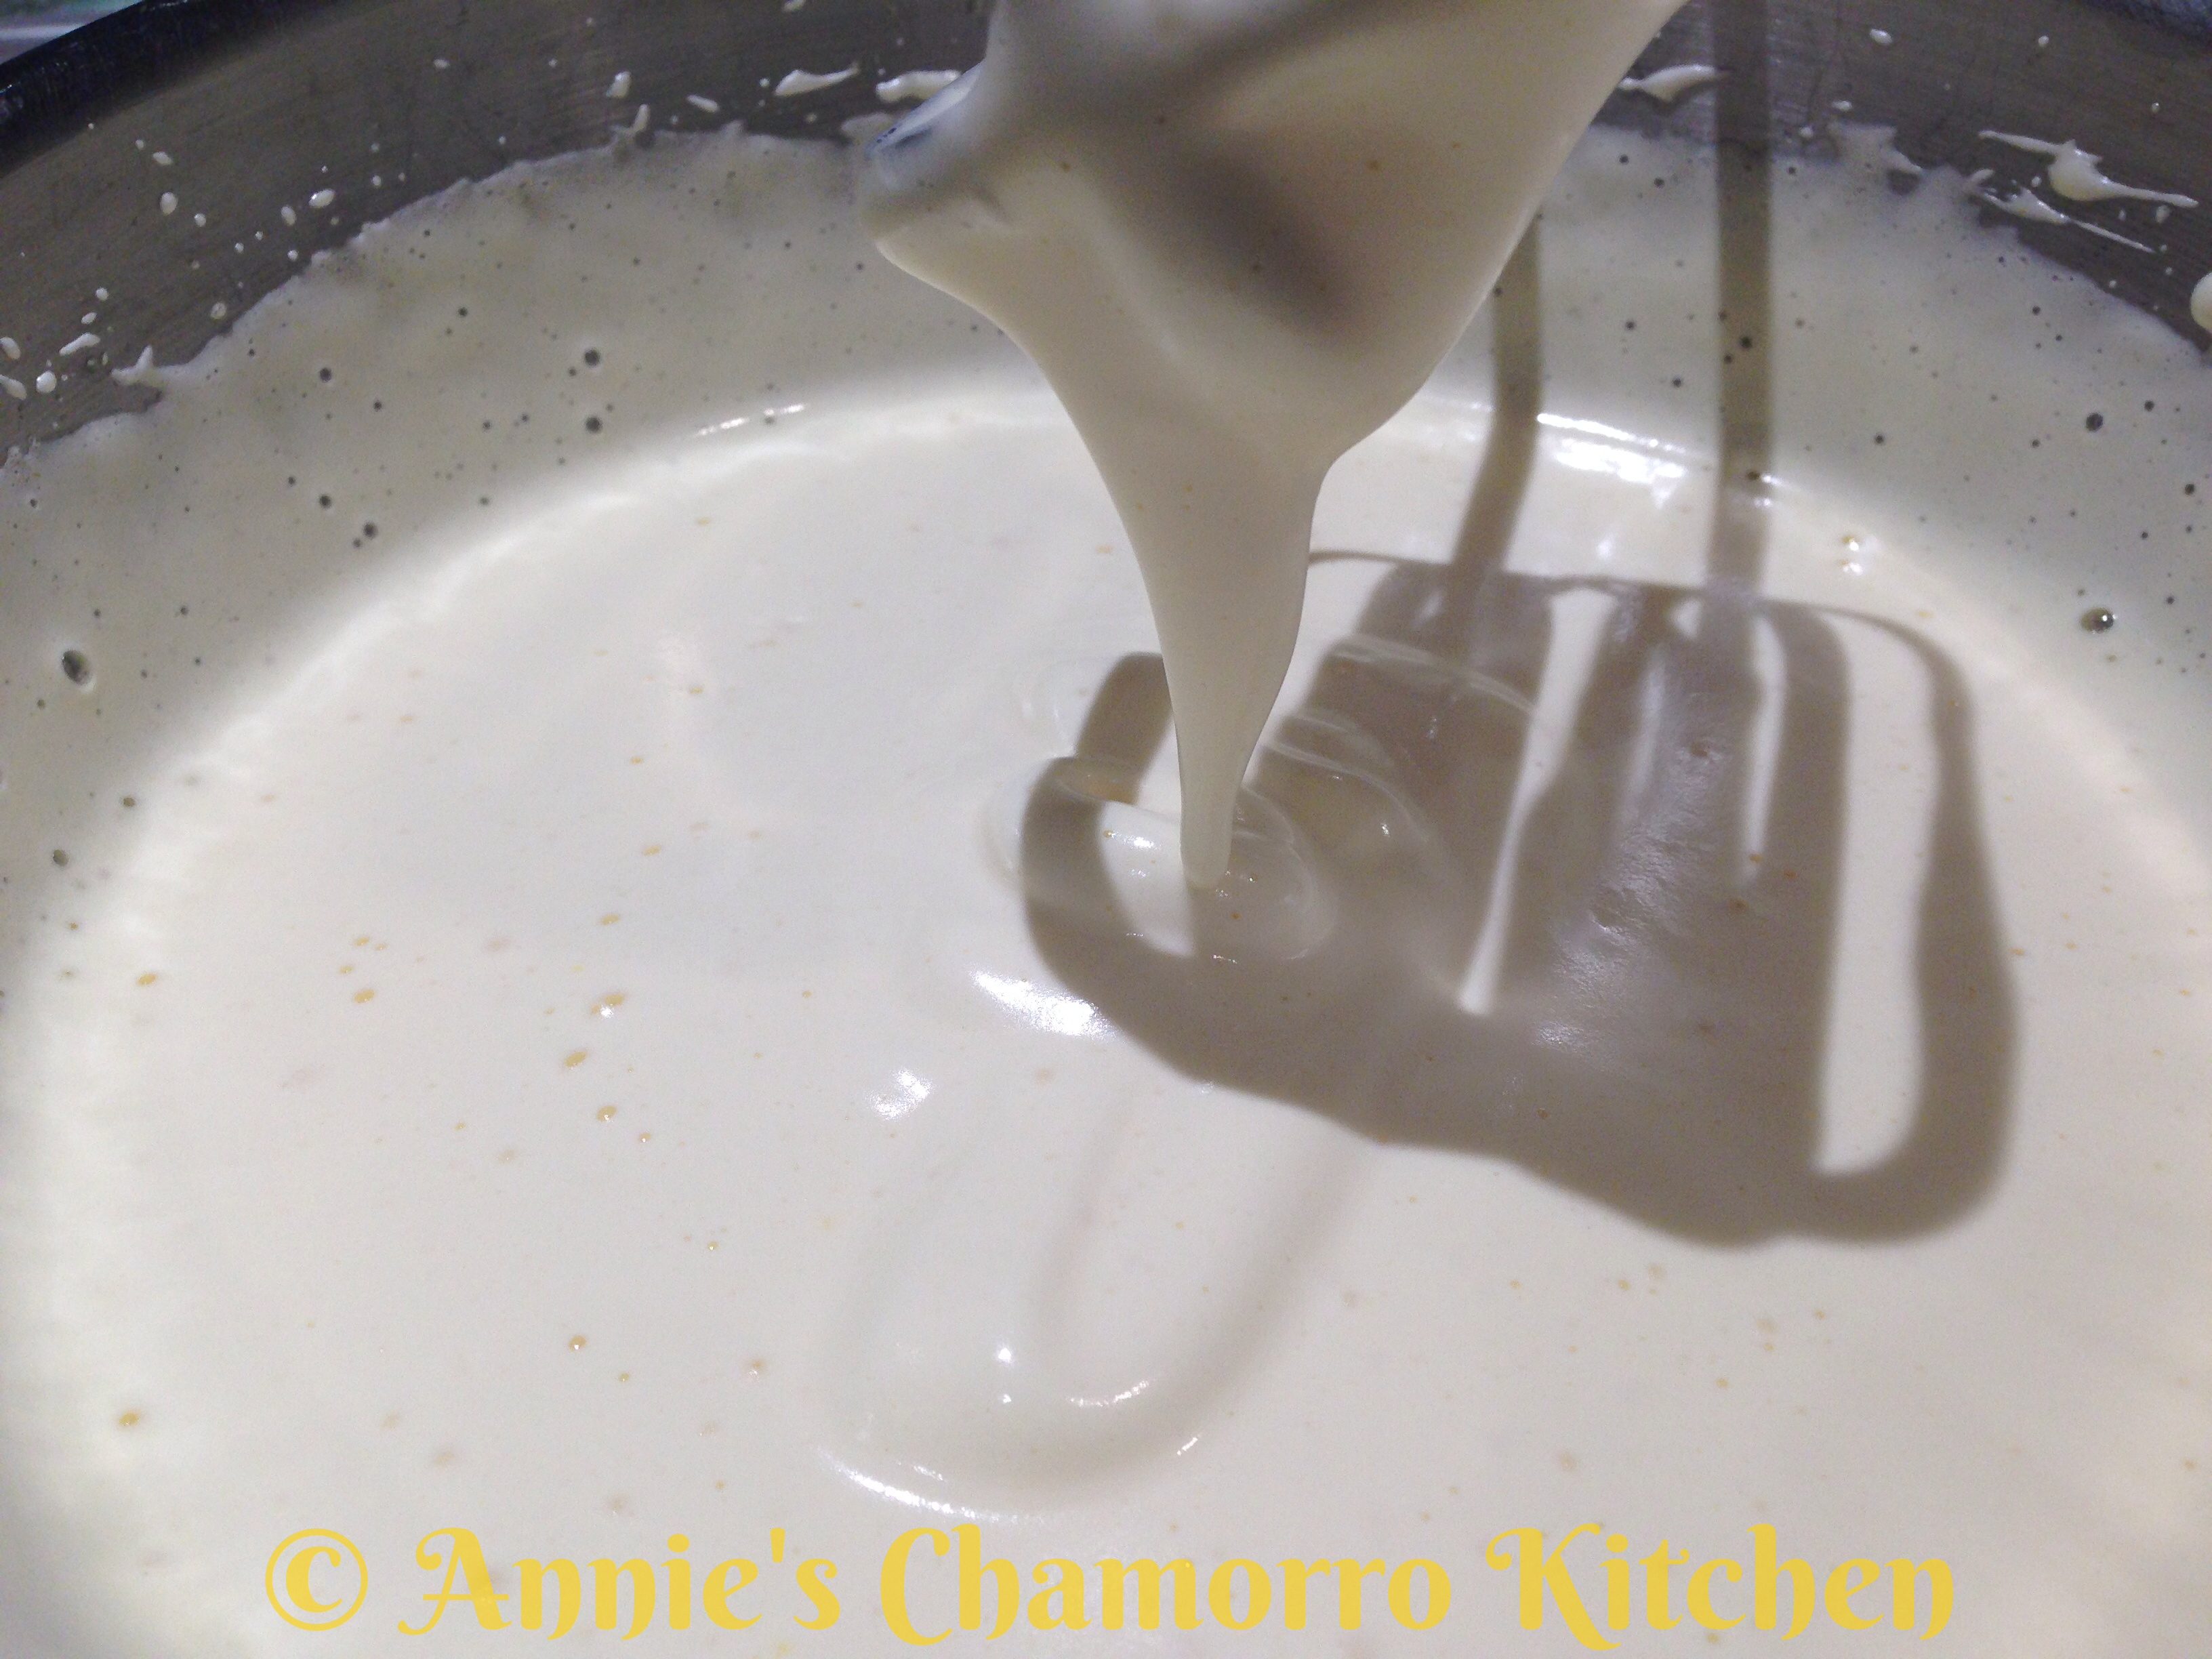
4.  Switch to a hand-held mixer.  Mix on high speed until the mixture thickens and turns a very pale yellow.

Chocolate Ice Cream Cake - 08  Chocolate Ice Cream Cake - 10

Chocolate Ice Cream Cake - 22

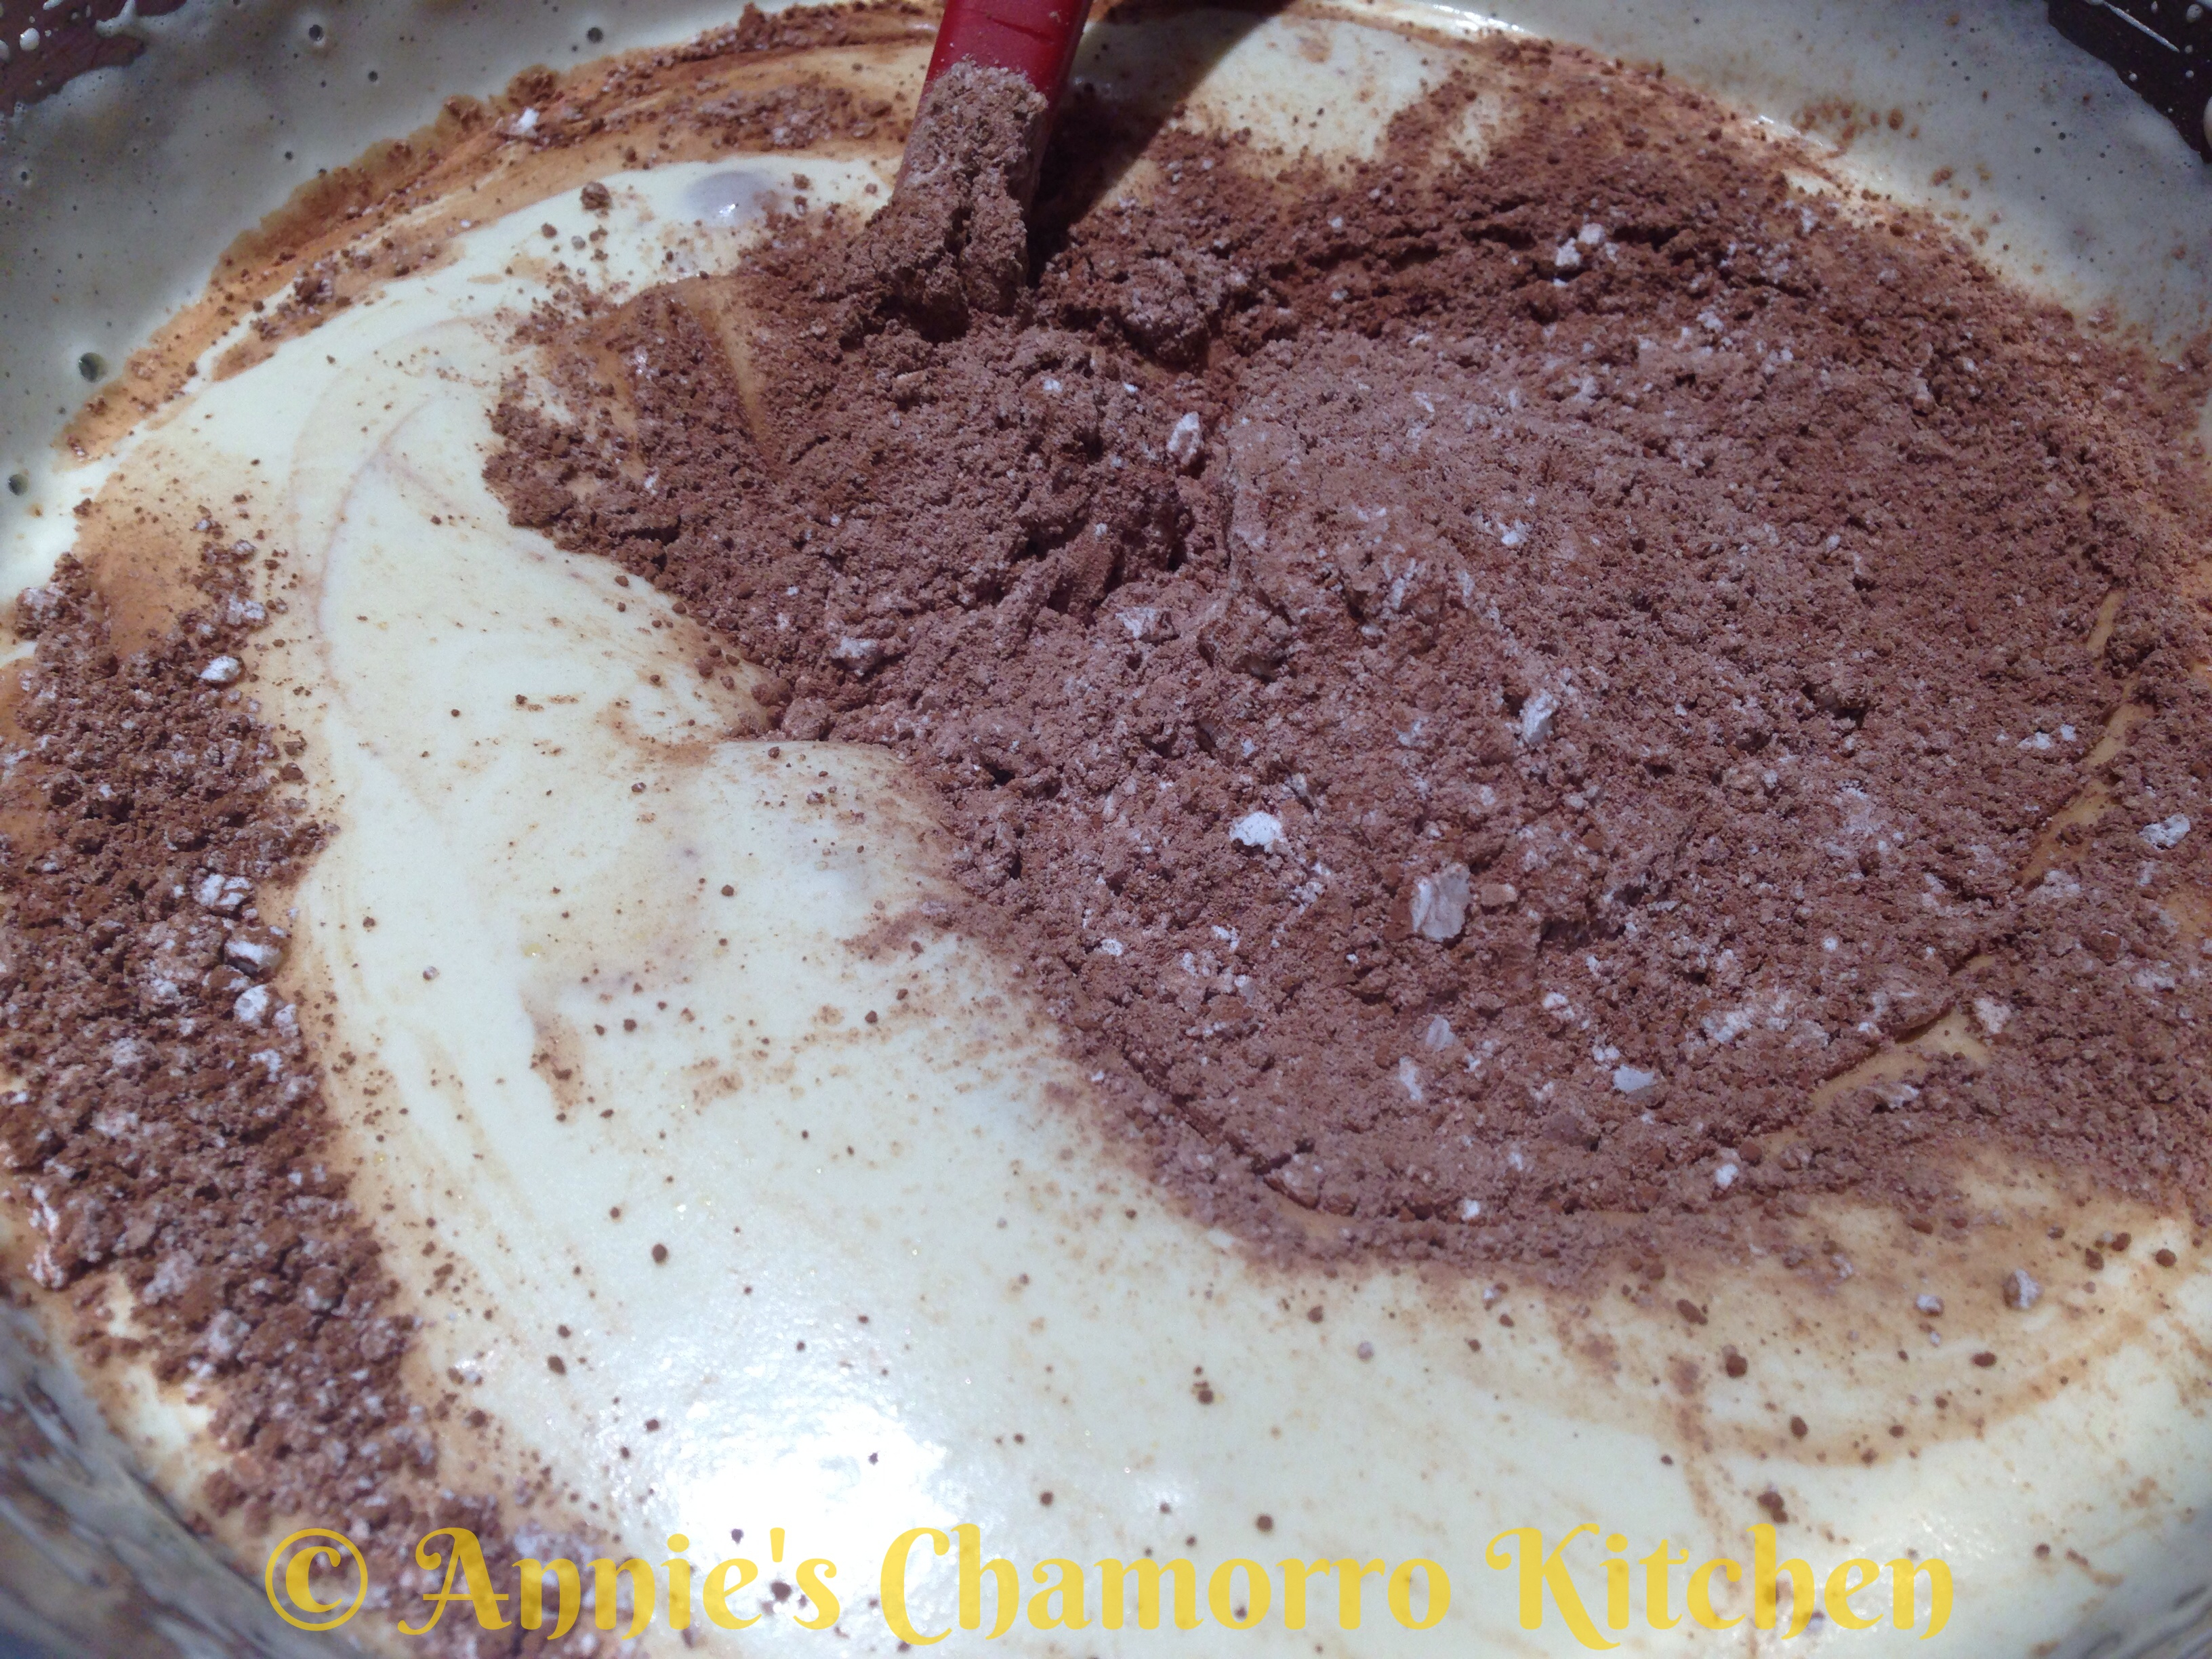
5.  Fold the dry ingredients into the thickened egg mixture.

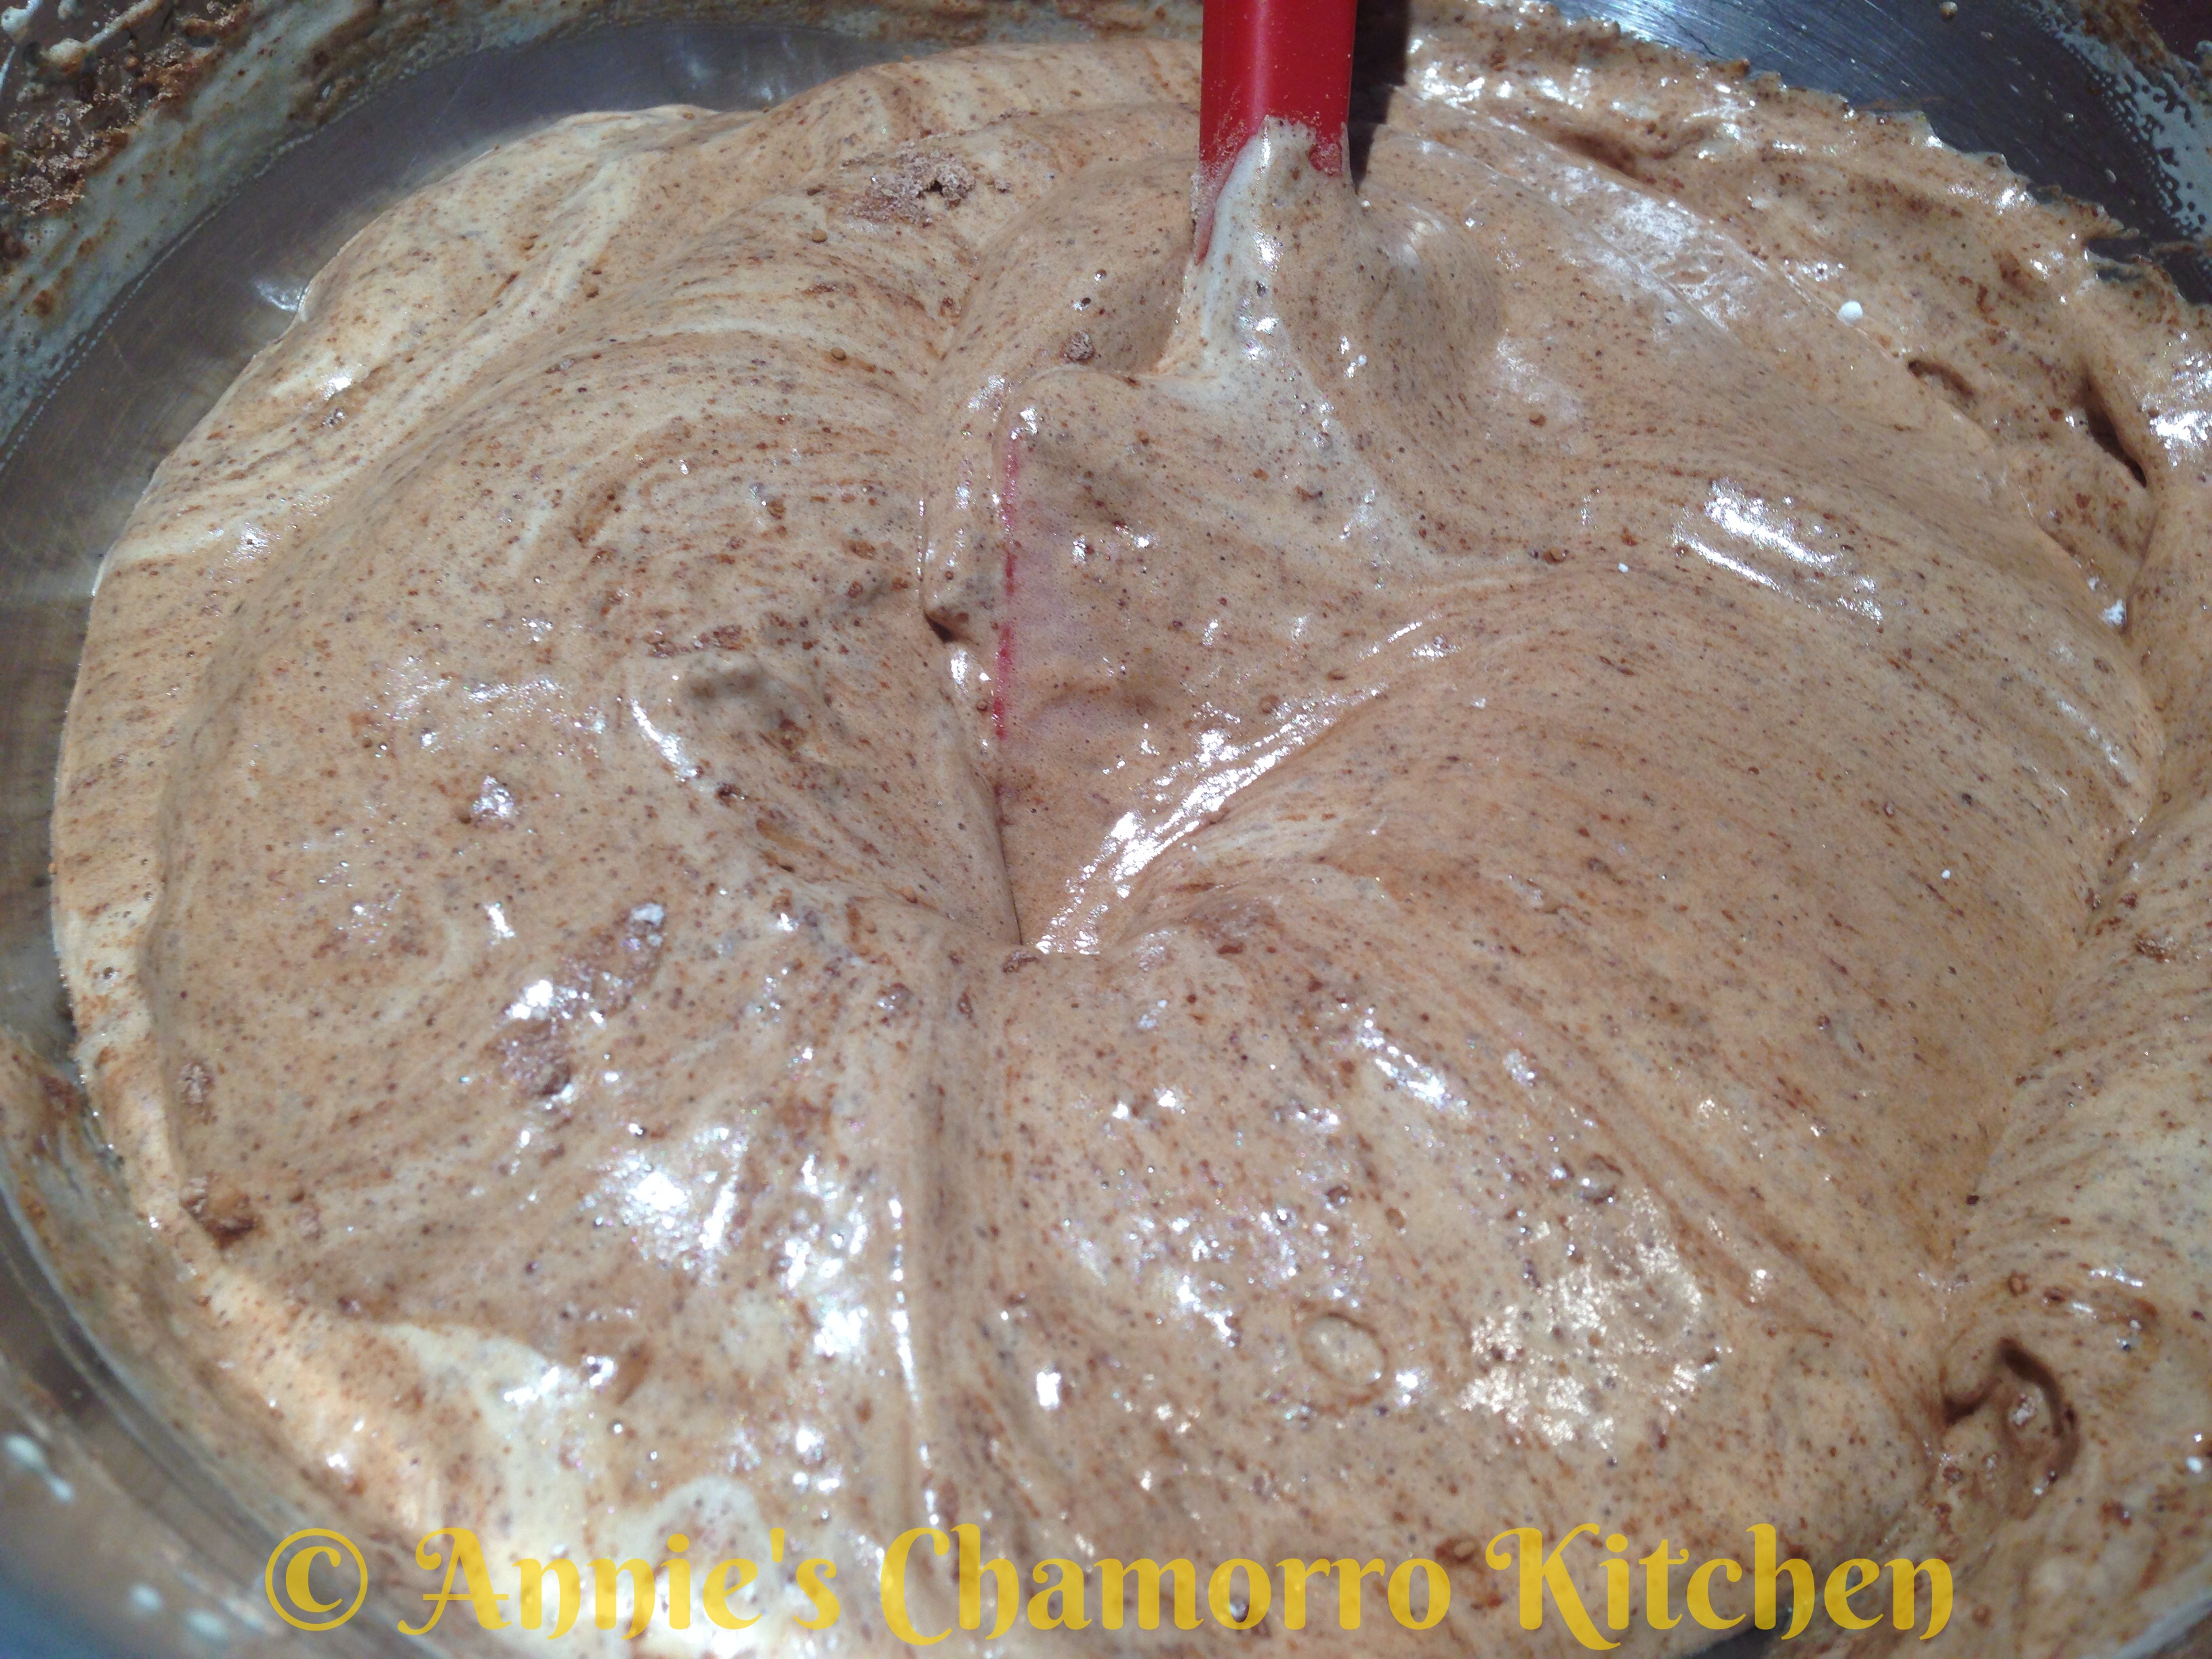
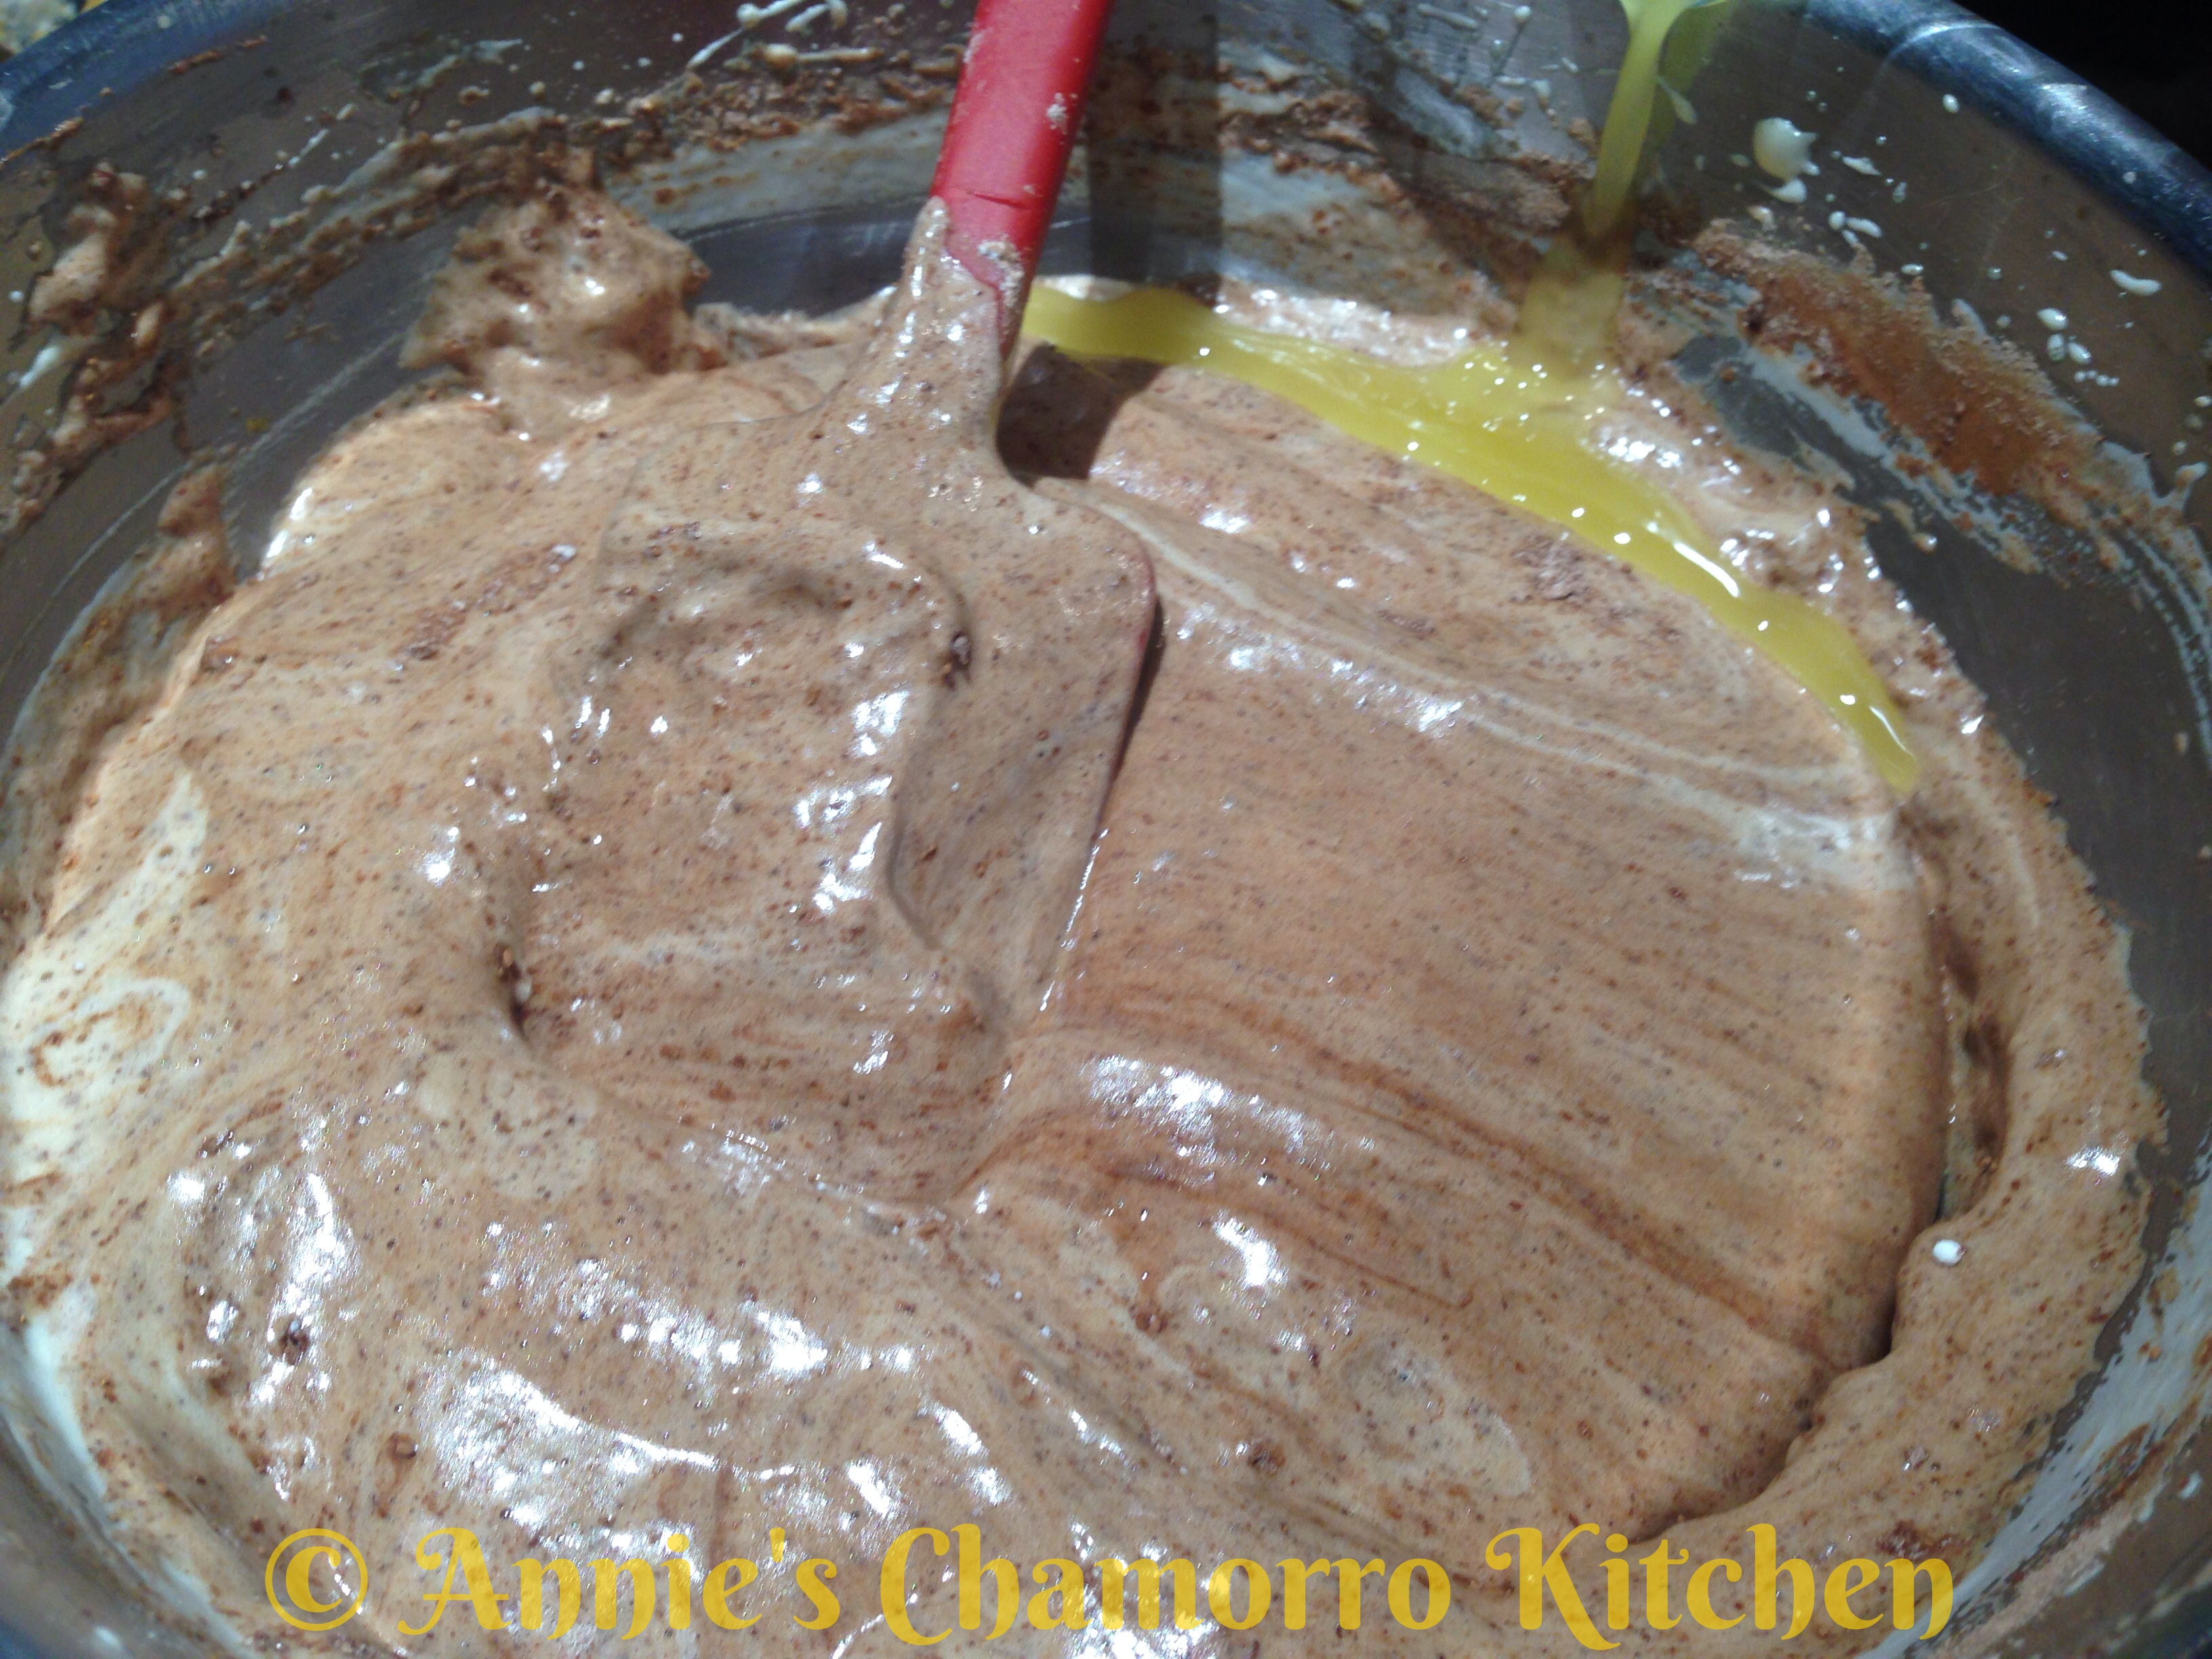
Chocolate Ice Cream Cake - 26  Chocolate Ice Cream Cake - 28

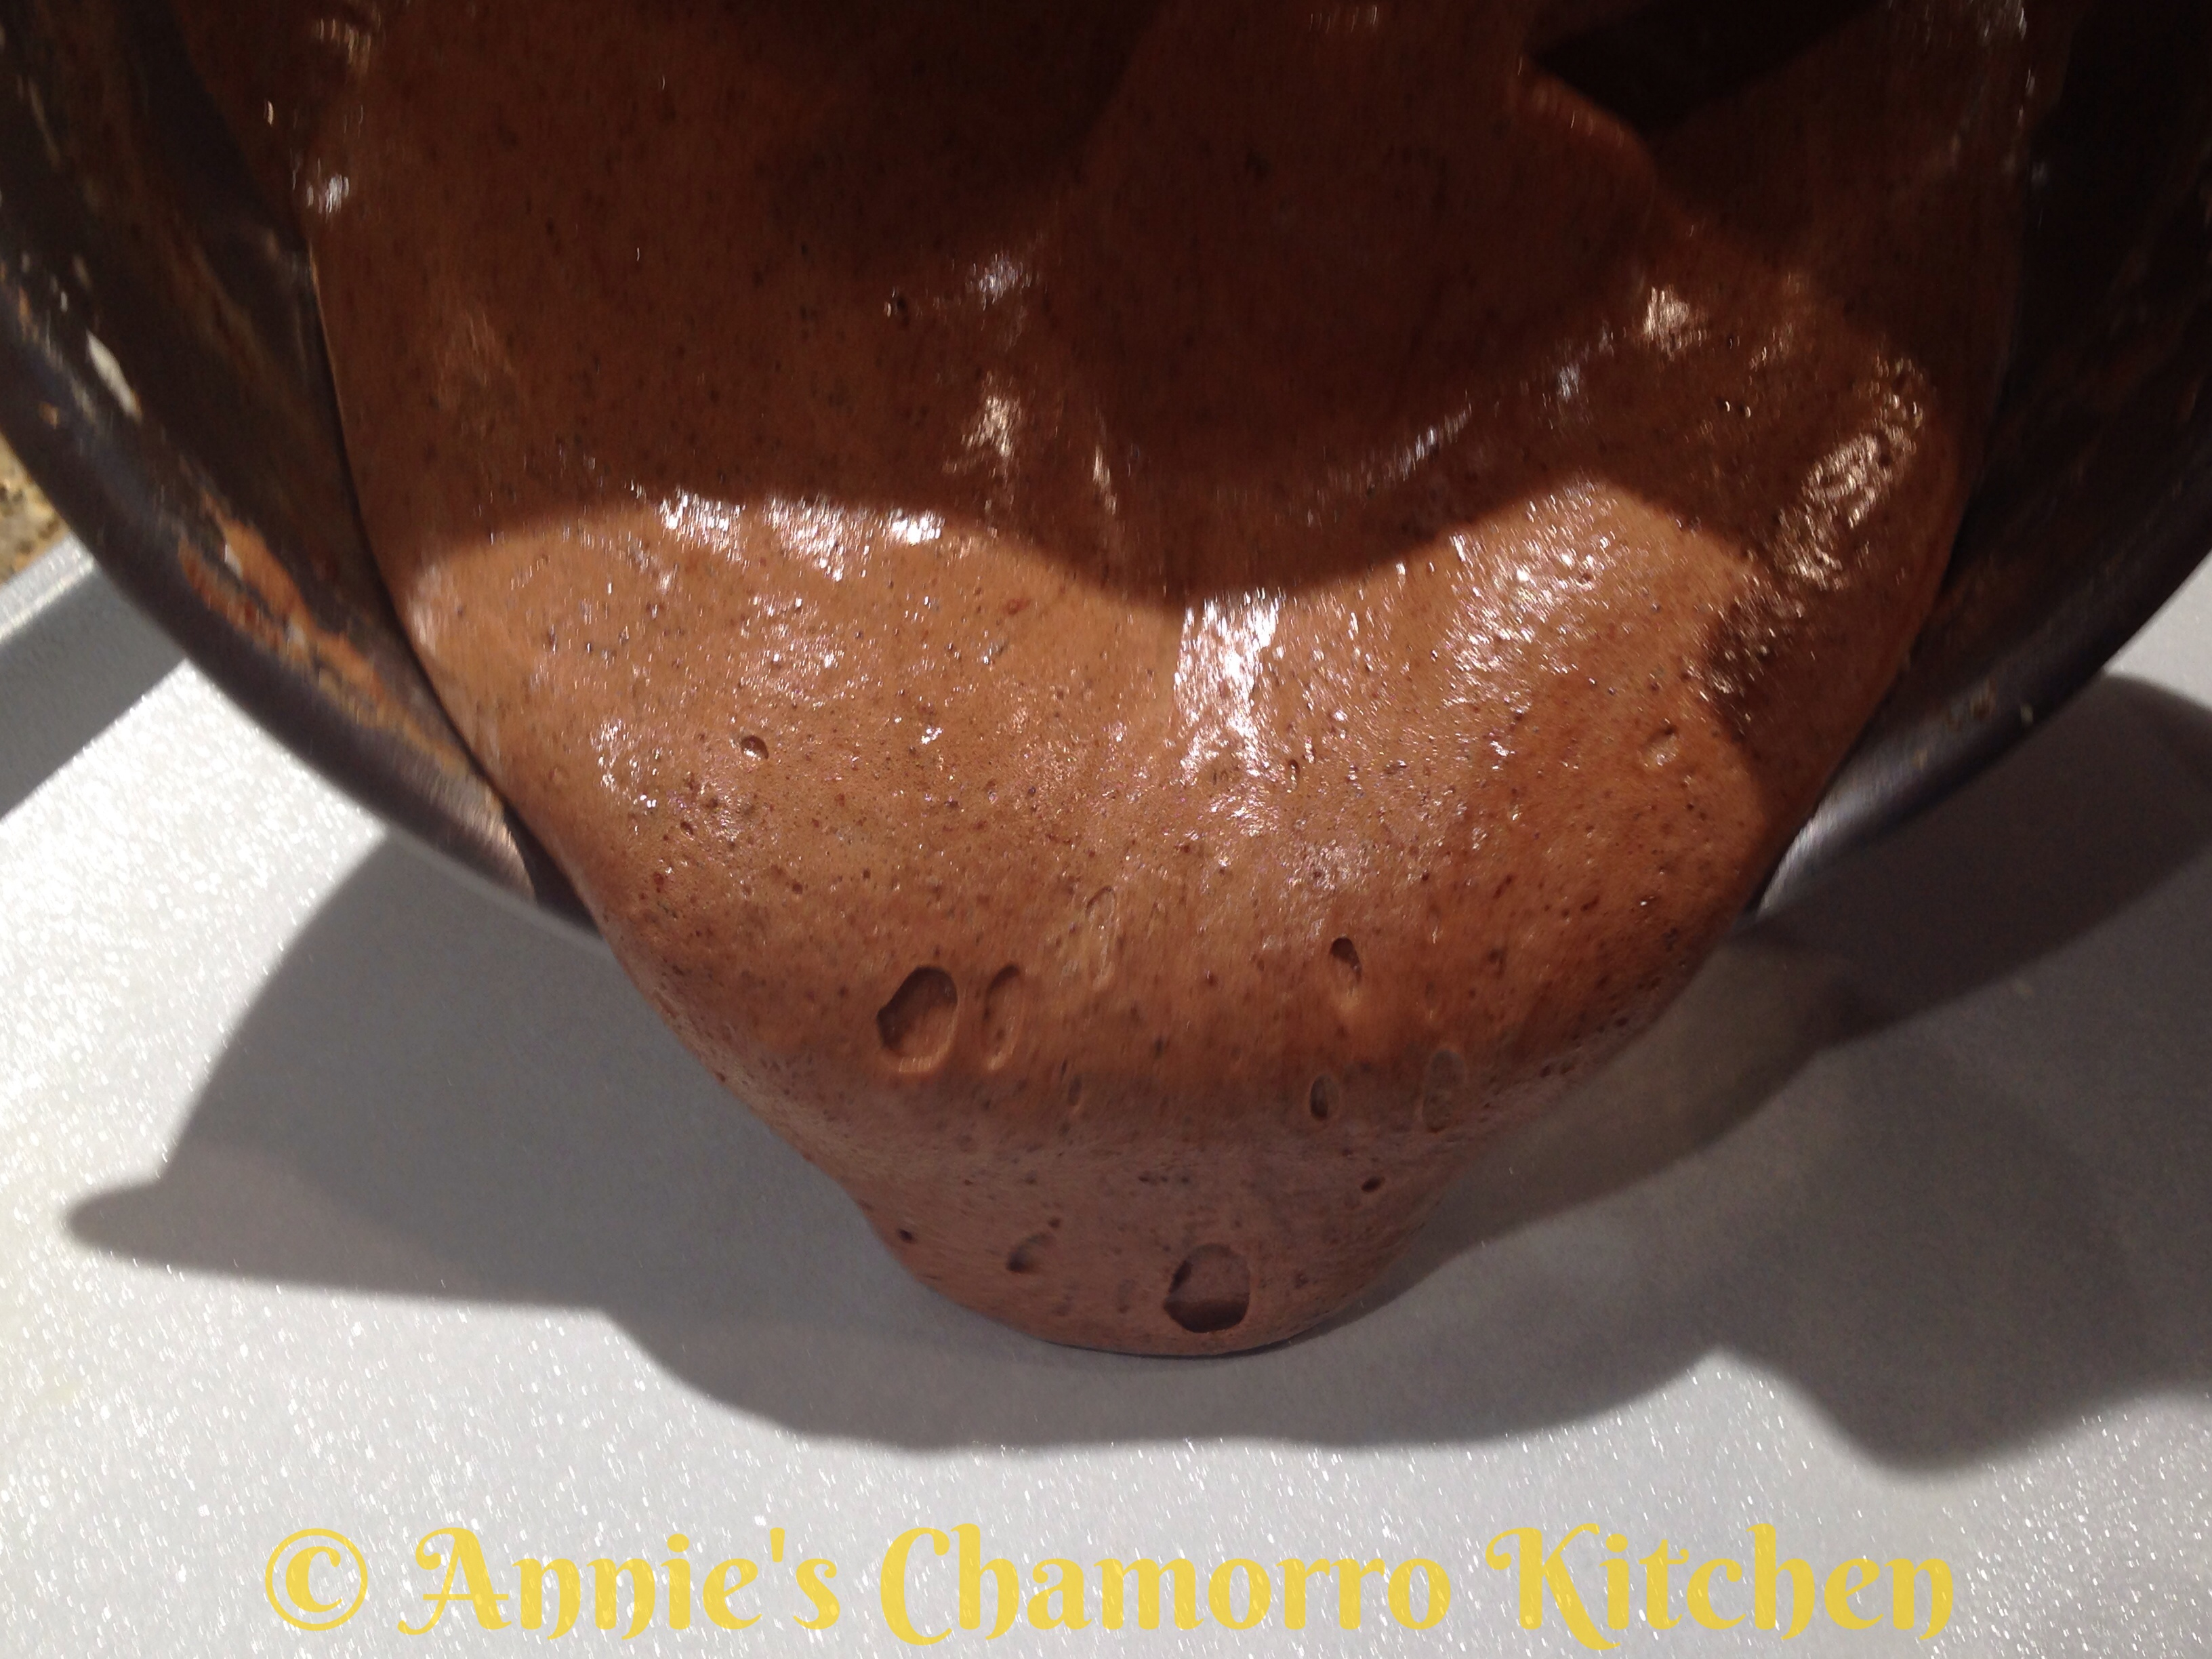
6.  Drizzle the cooled melted butter down the side of the bowl.  Gently FOLD the butter into the batter.  Do NOT overmix; the batter will be very airy and light.

Chocolate Ice Cream Cake - 30

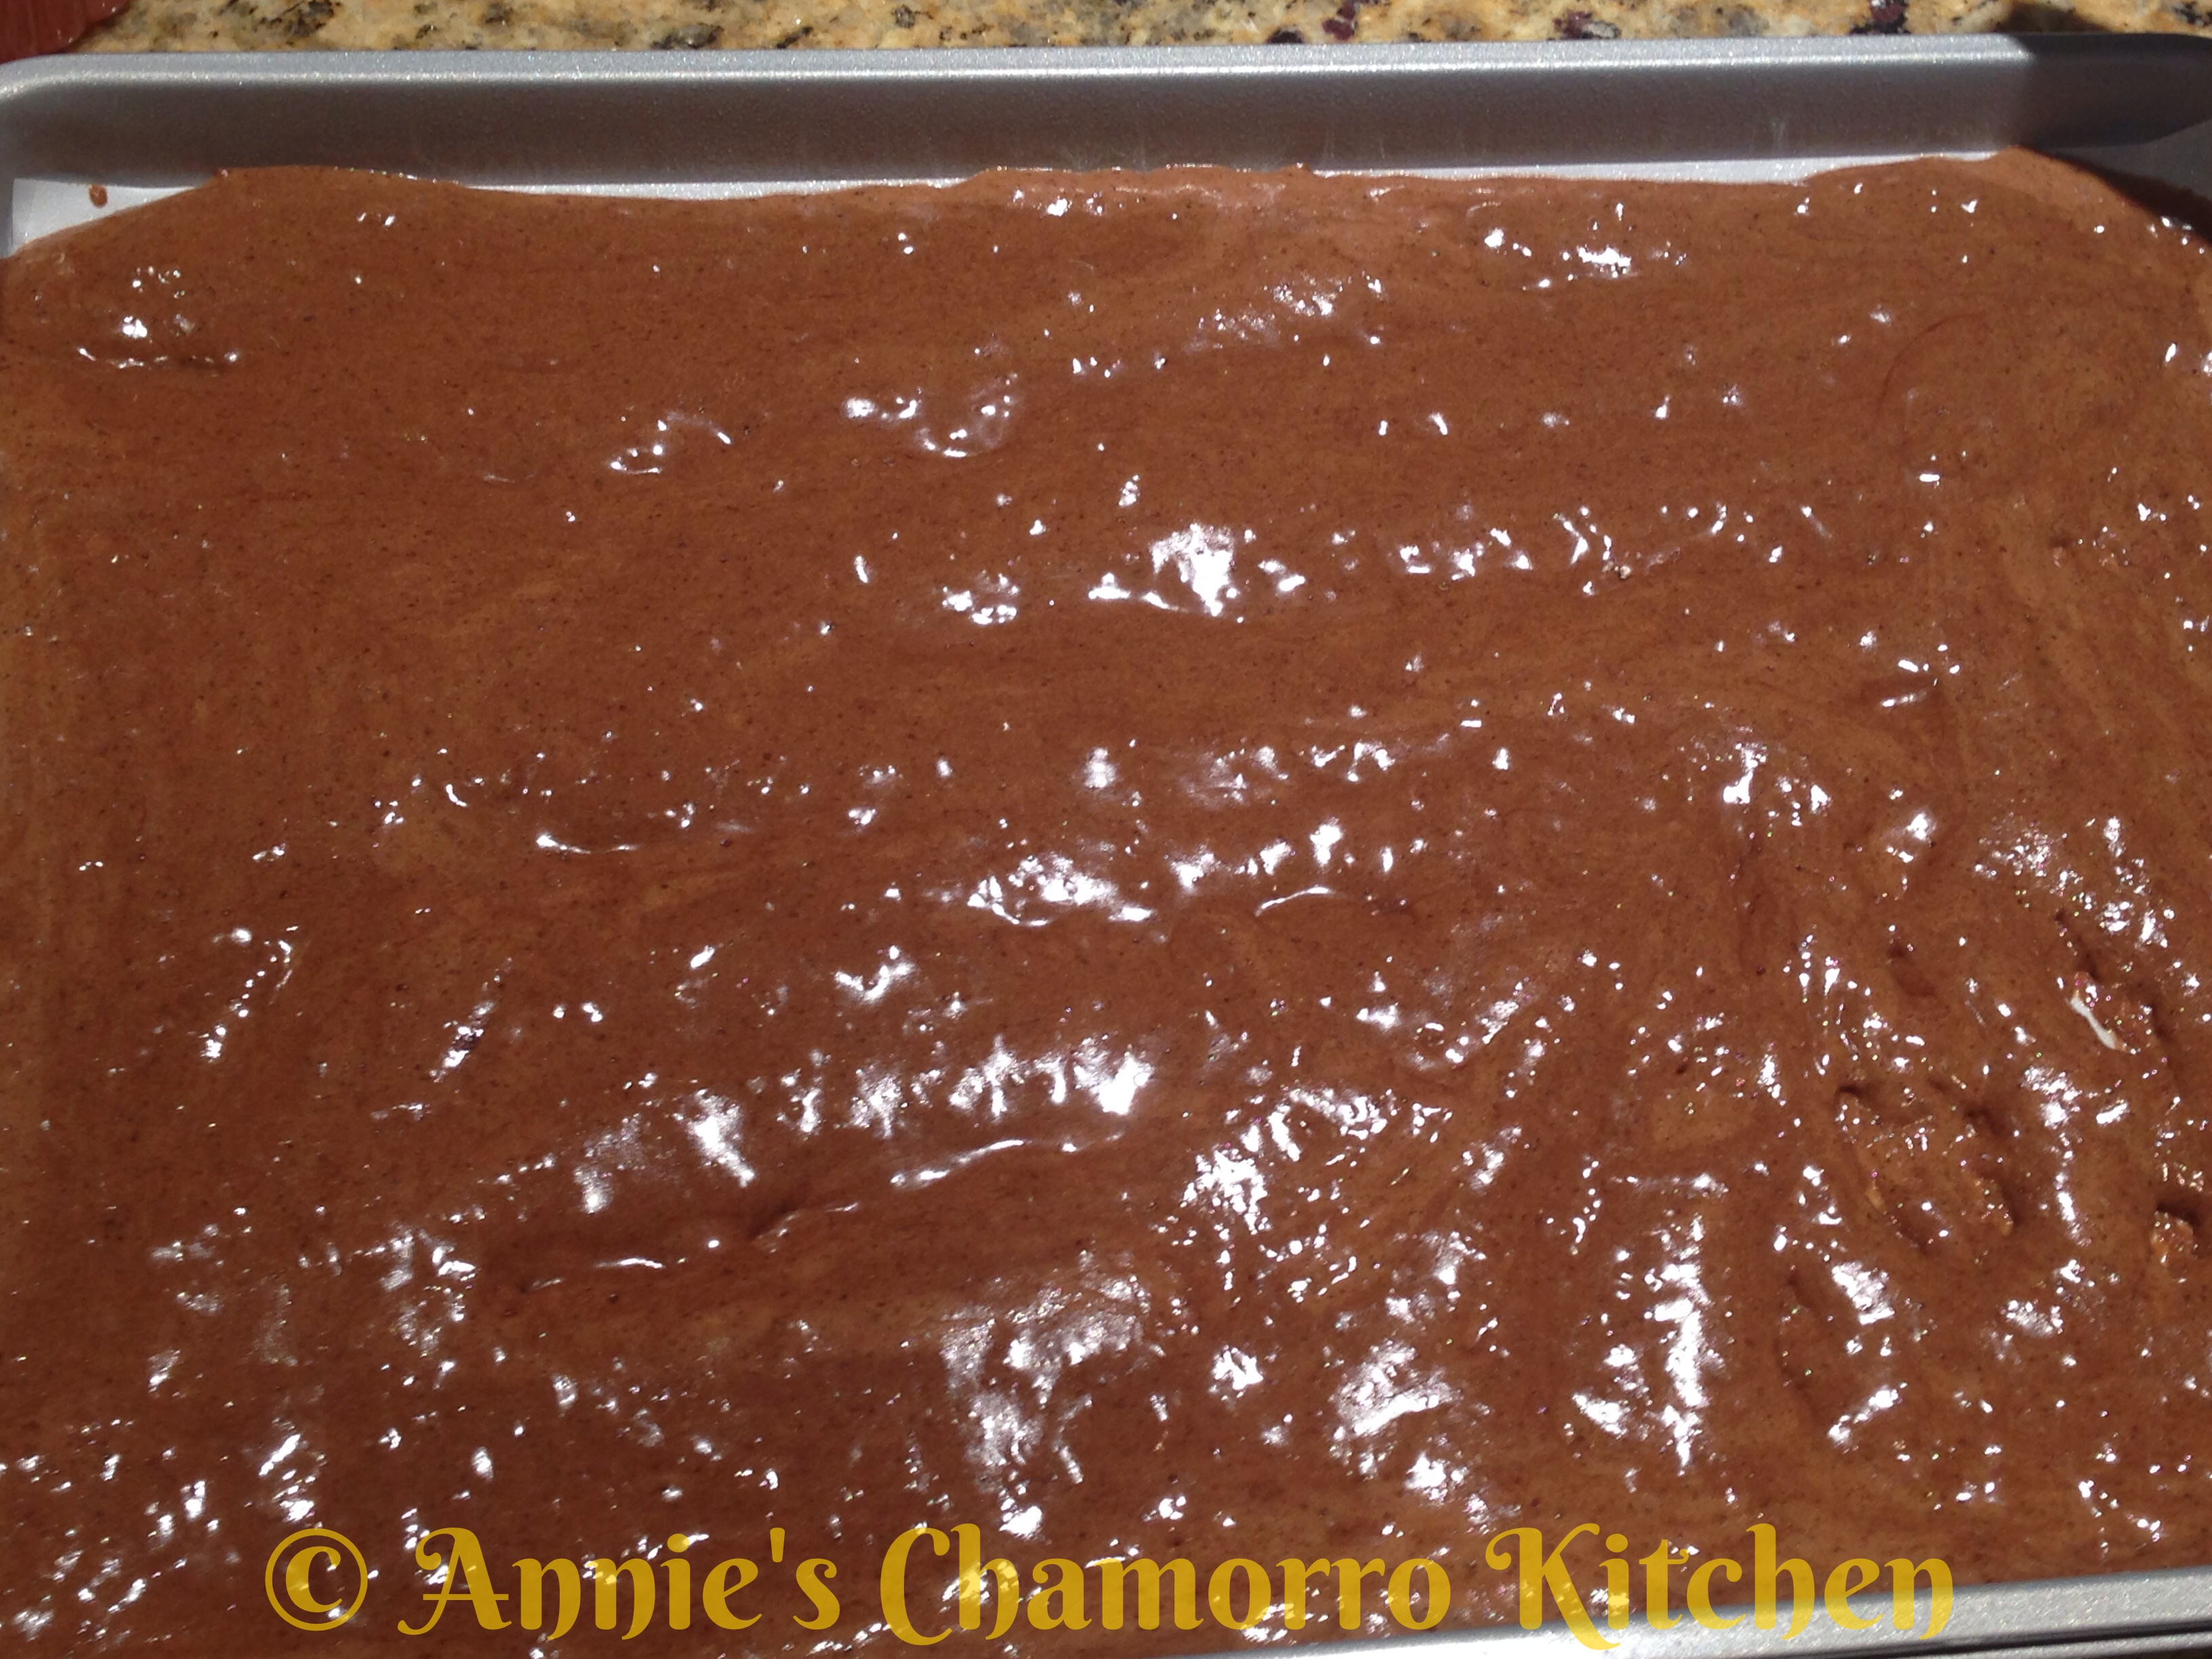
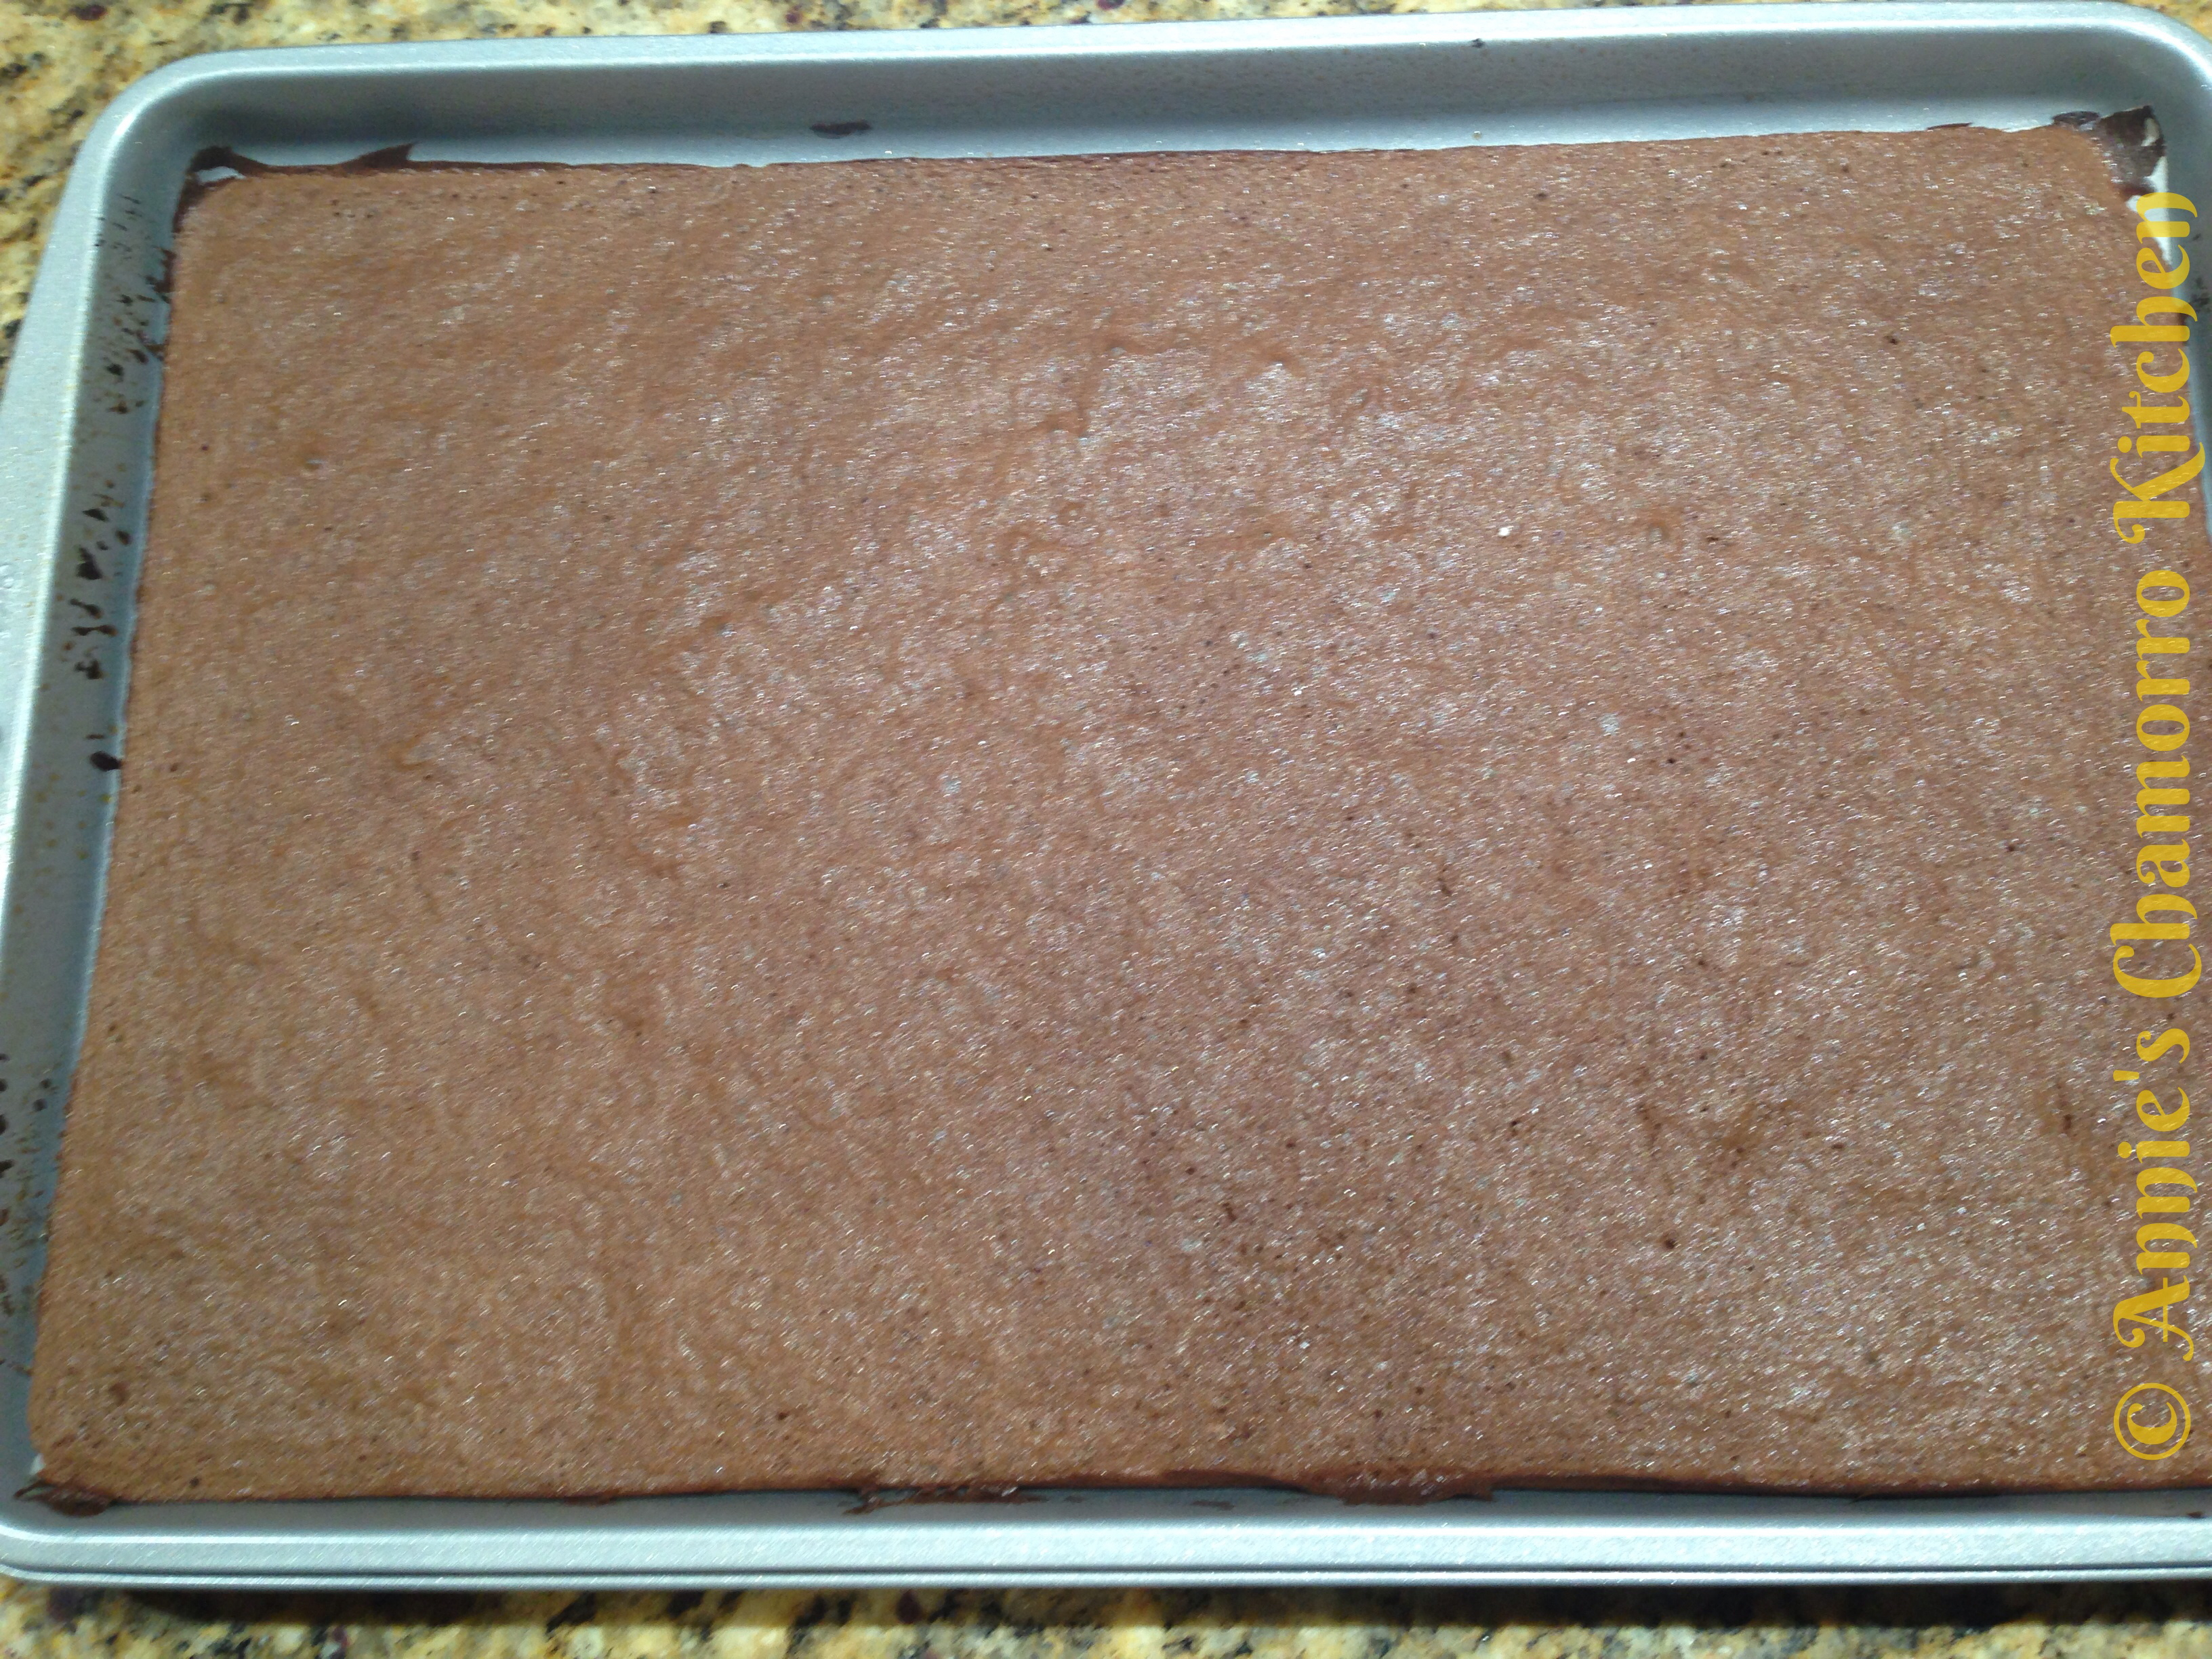
7.  Line a large baking pan (a jelly-roll pan works well) with parchment paper.  Pour the batter onto the lined pan.  Gently and evenly spread batter out over the pan (be careful not to over-handle the batter as you spread it out; you do NOT want to deflate the air bubbles).

Chocolate Ice Cream Cake - 38  Chocolate Ice Cream Cake - 44

8.  Bake at 450 degrees for 7 minutes.

Chocolate Ice Cream Cake - 46

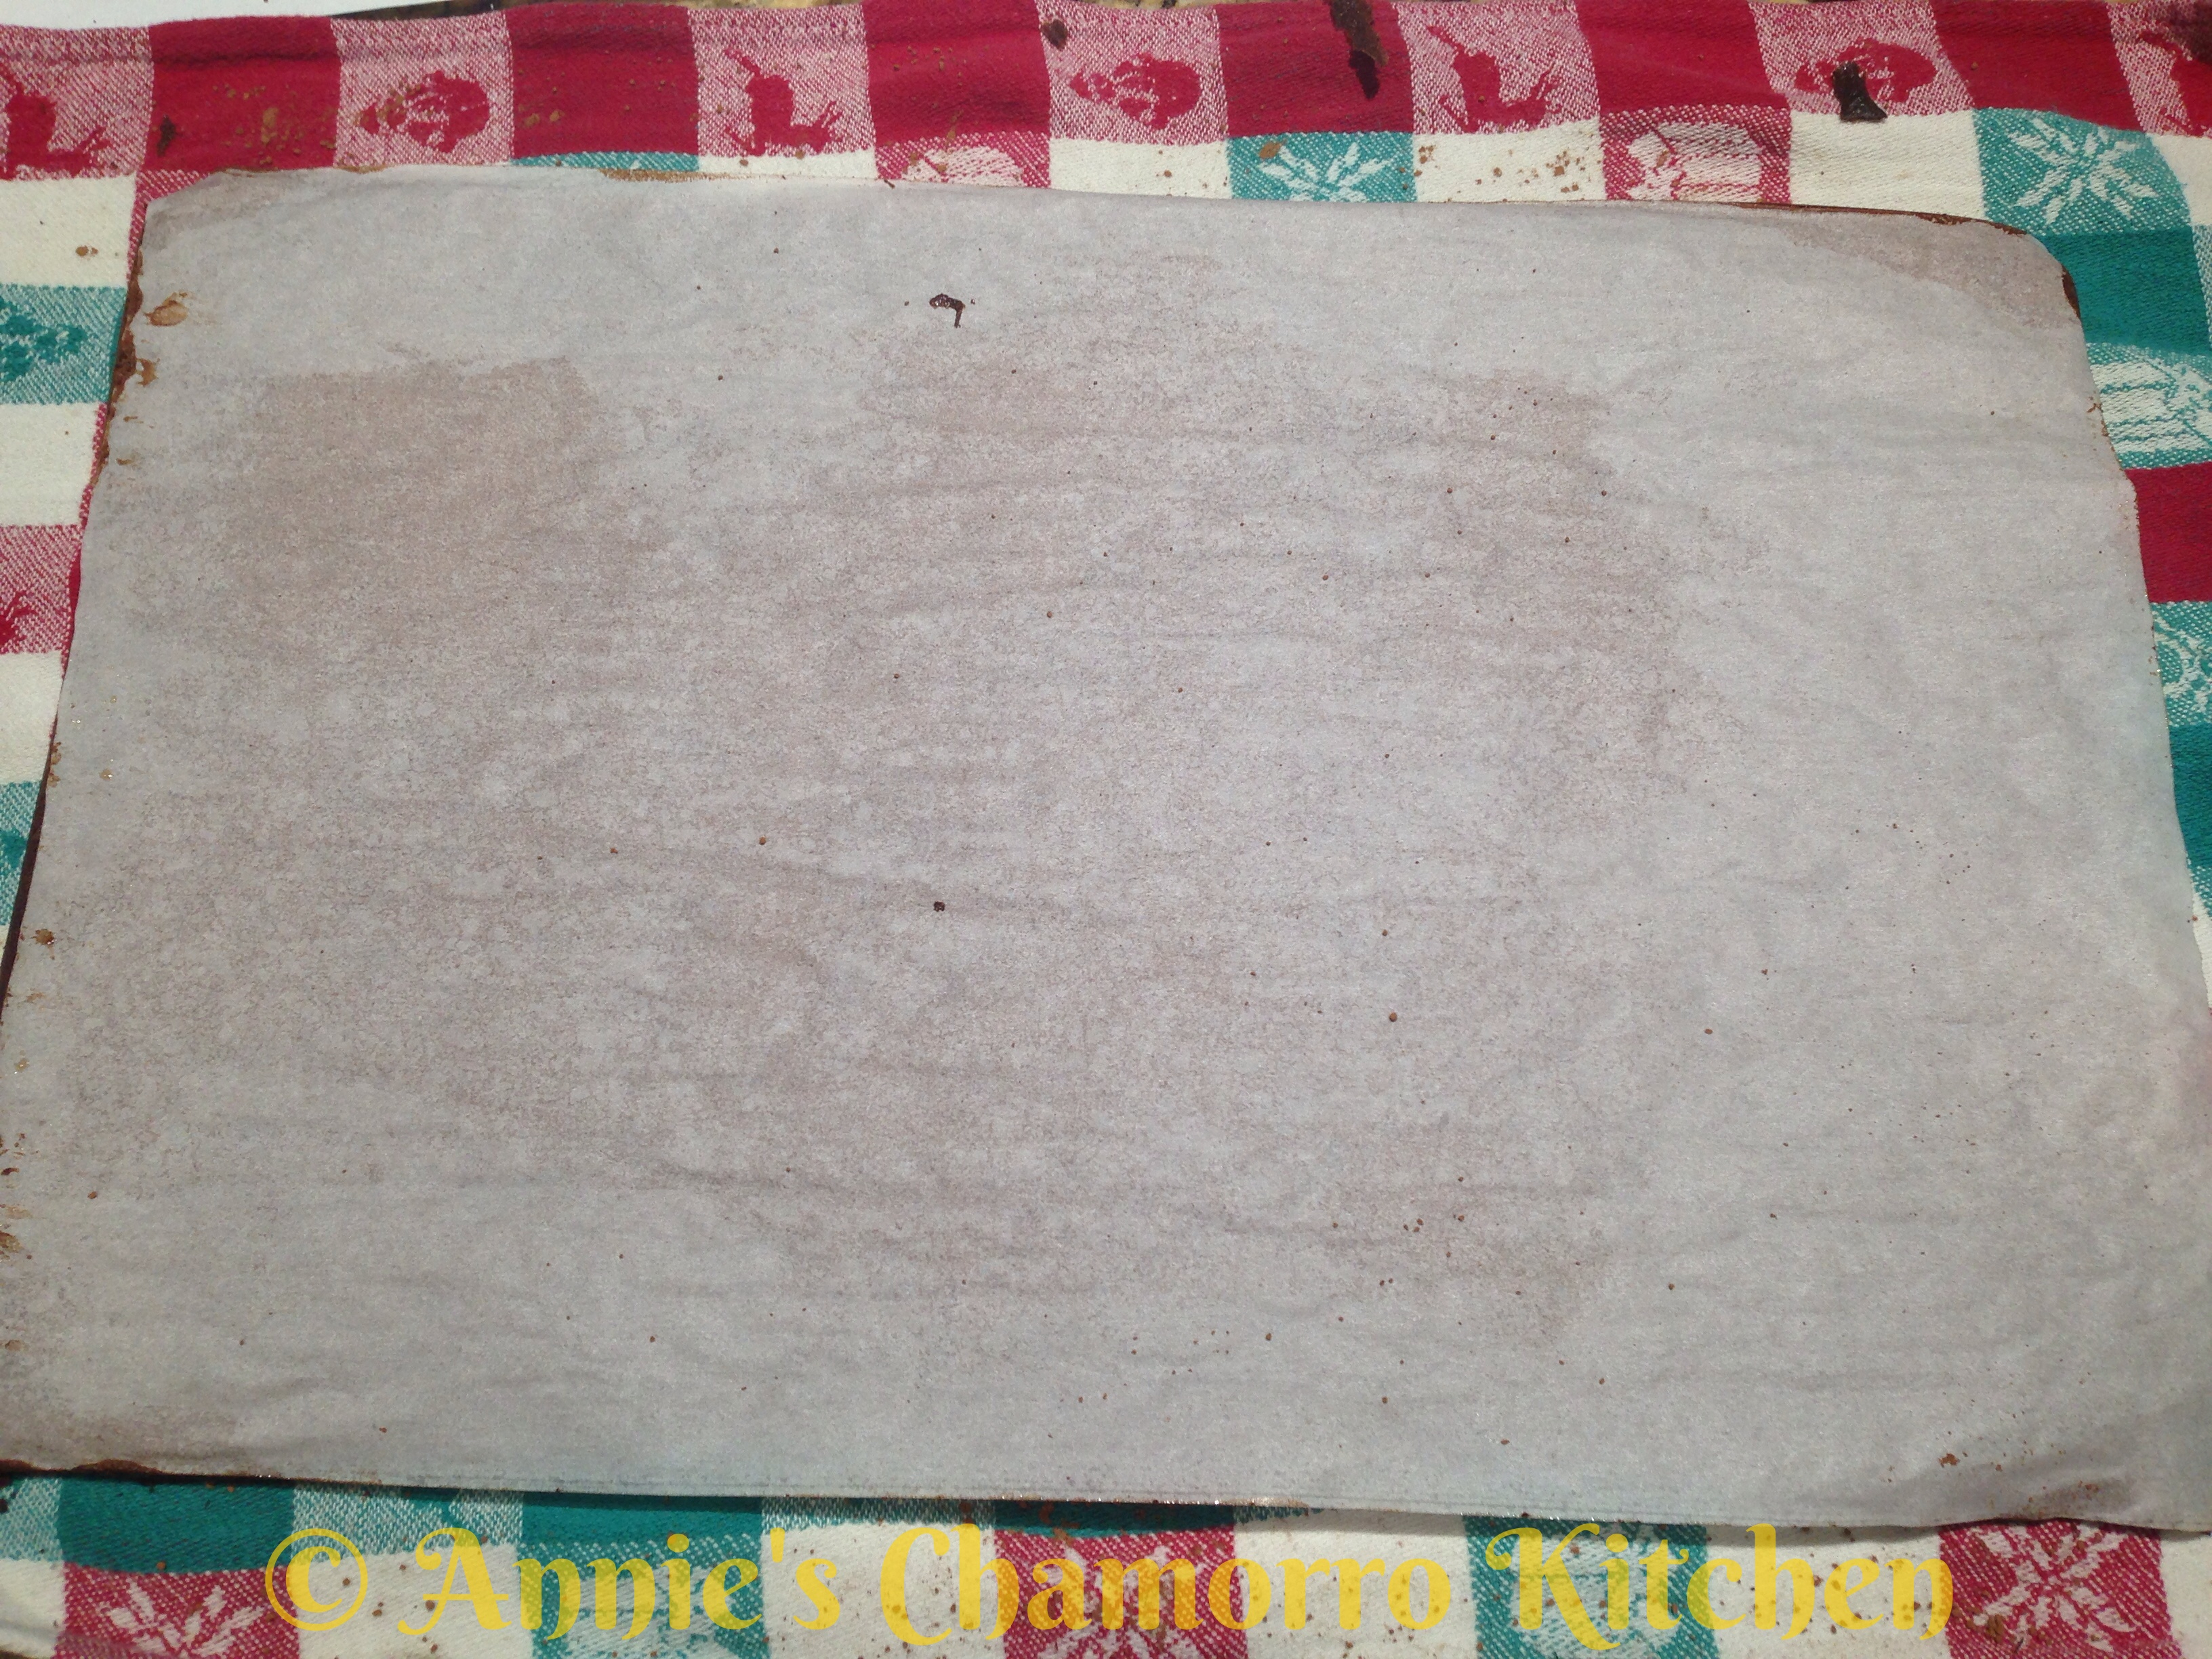
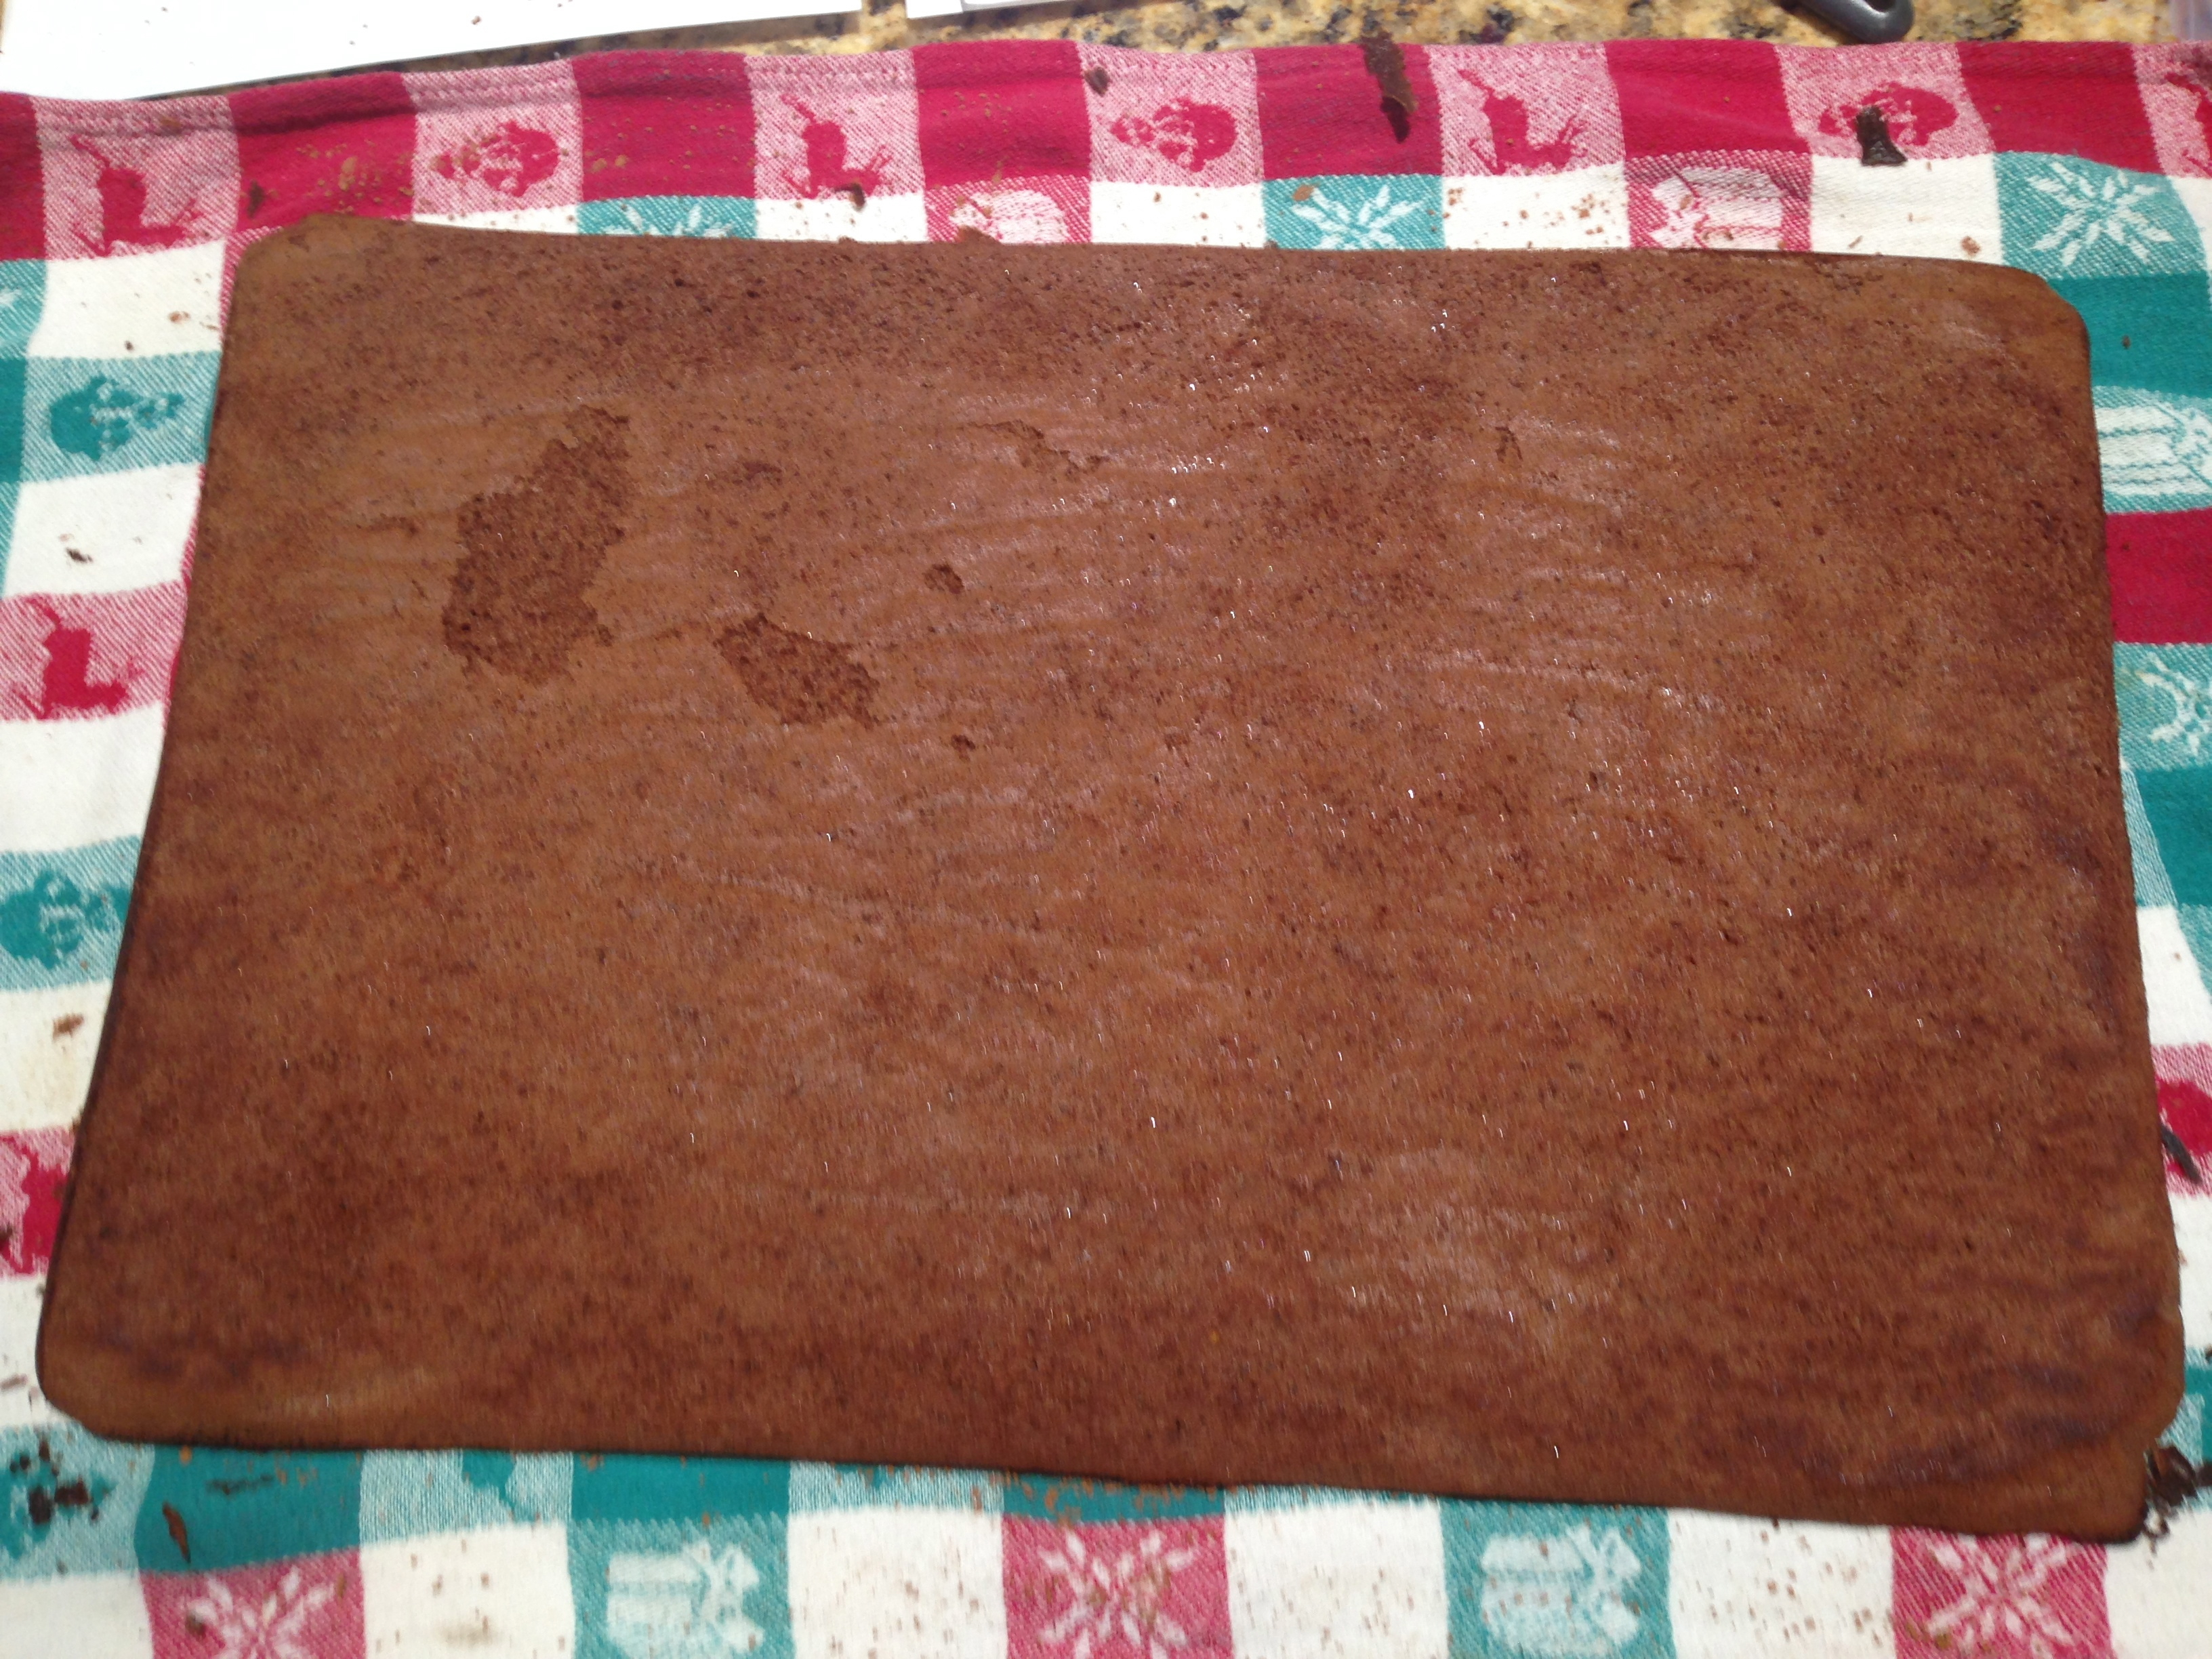
9.  While the cake is still warm, flip it out onto a clean dish cloth that’s been dusted with cocoa powder.  Peel the parchment paper off the cake.

Chocolate Ice Cream Cake - 50 Chocolate Ice Cream Cake - 51

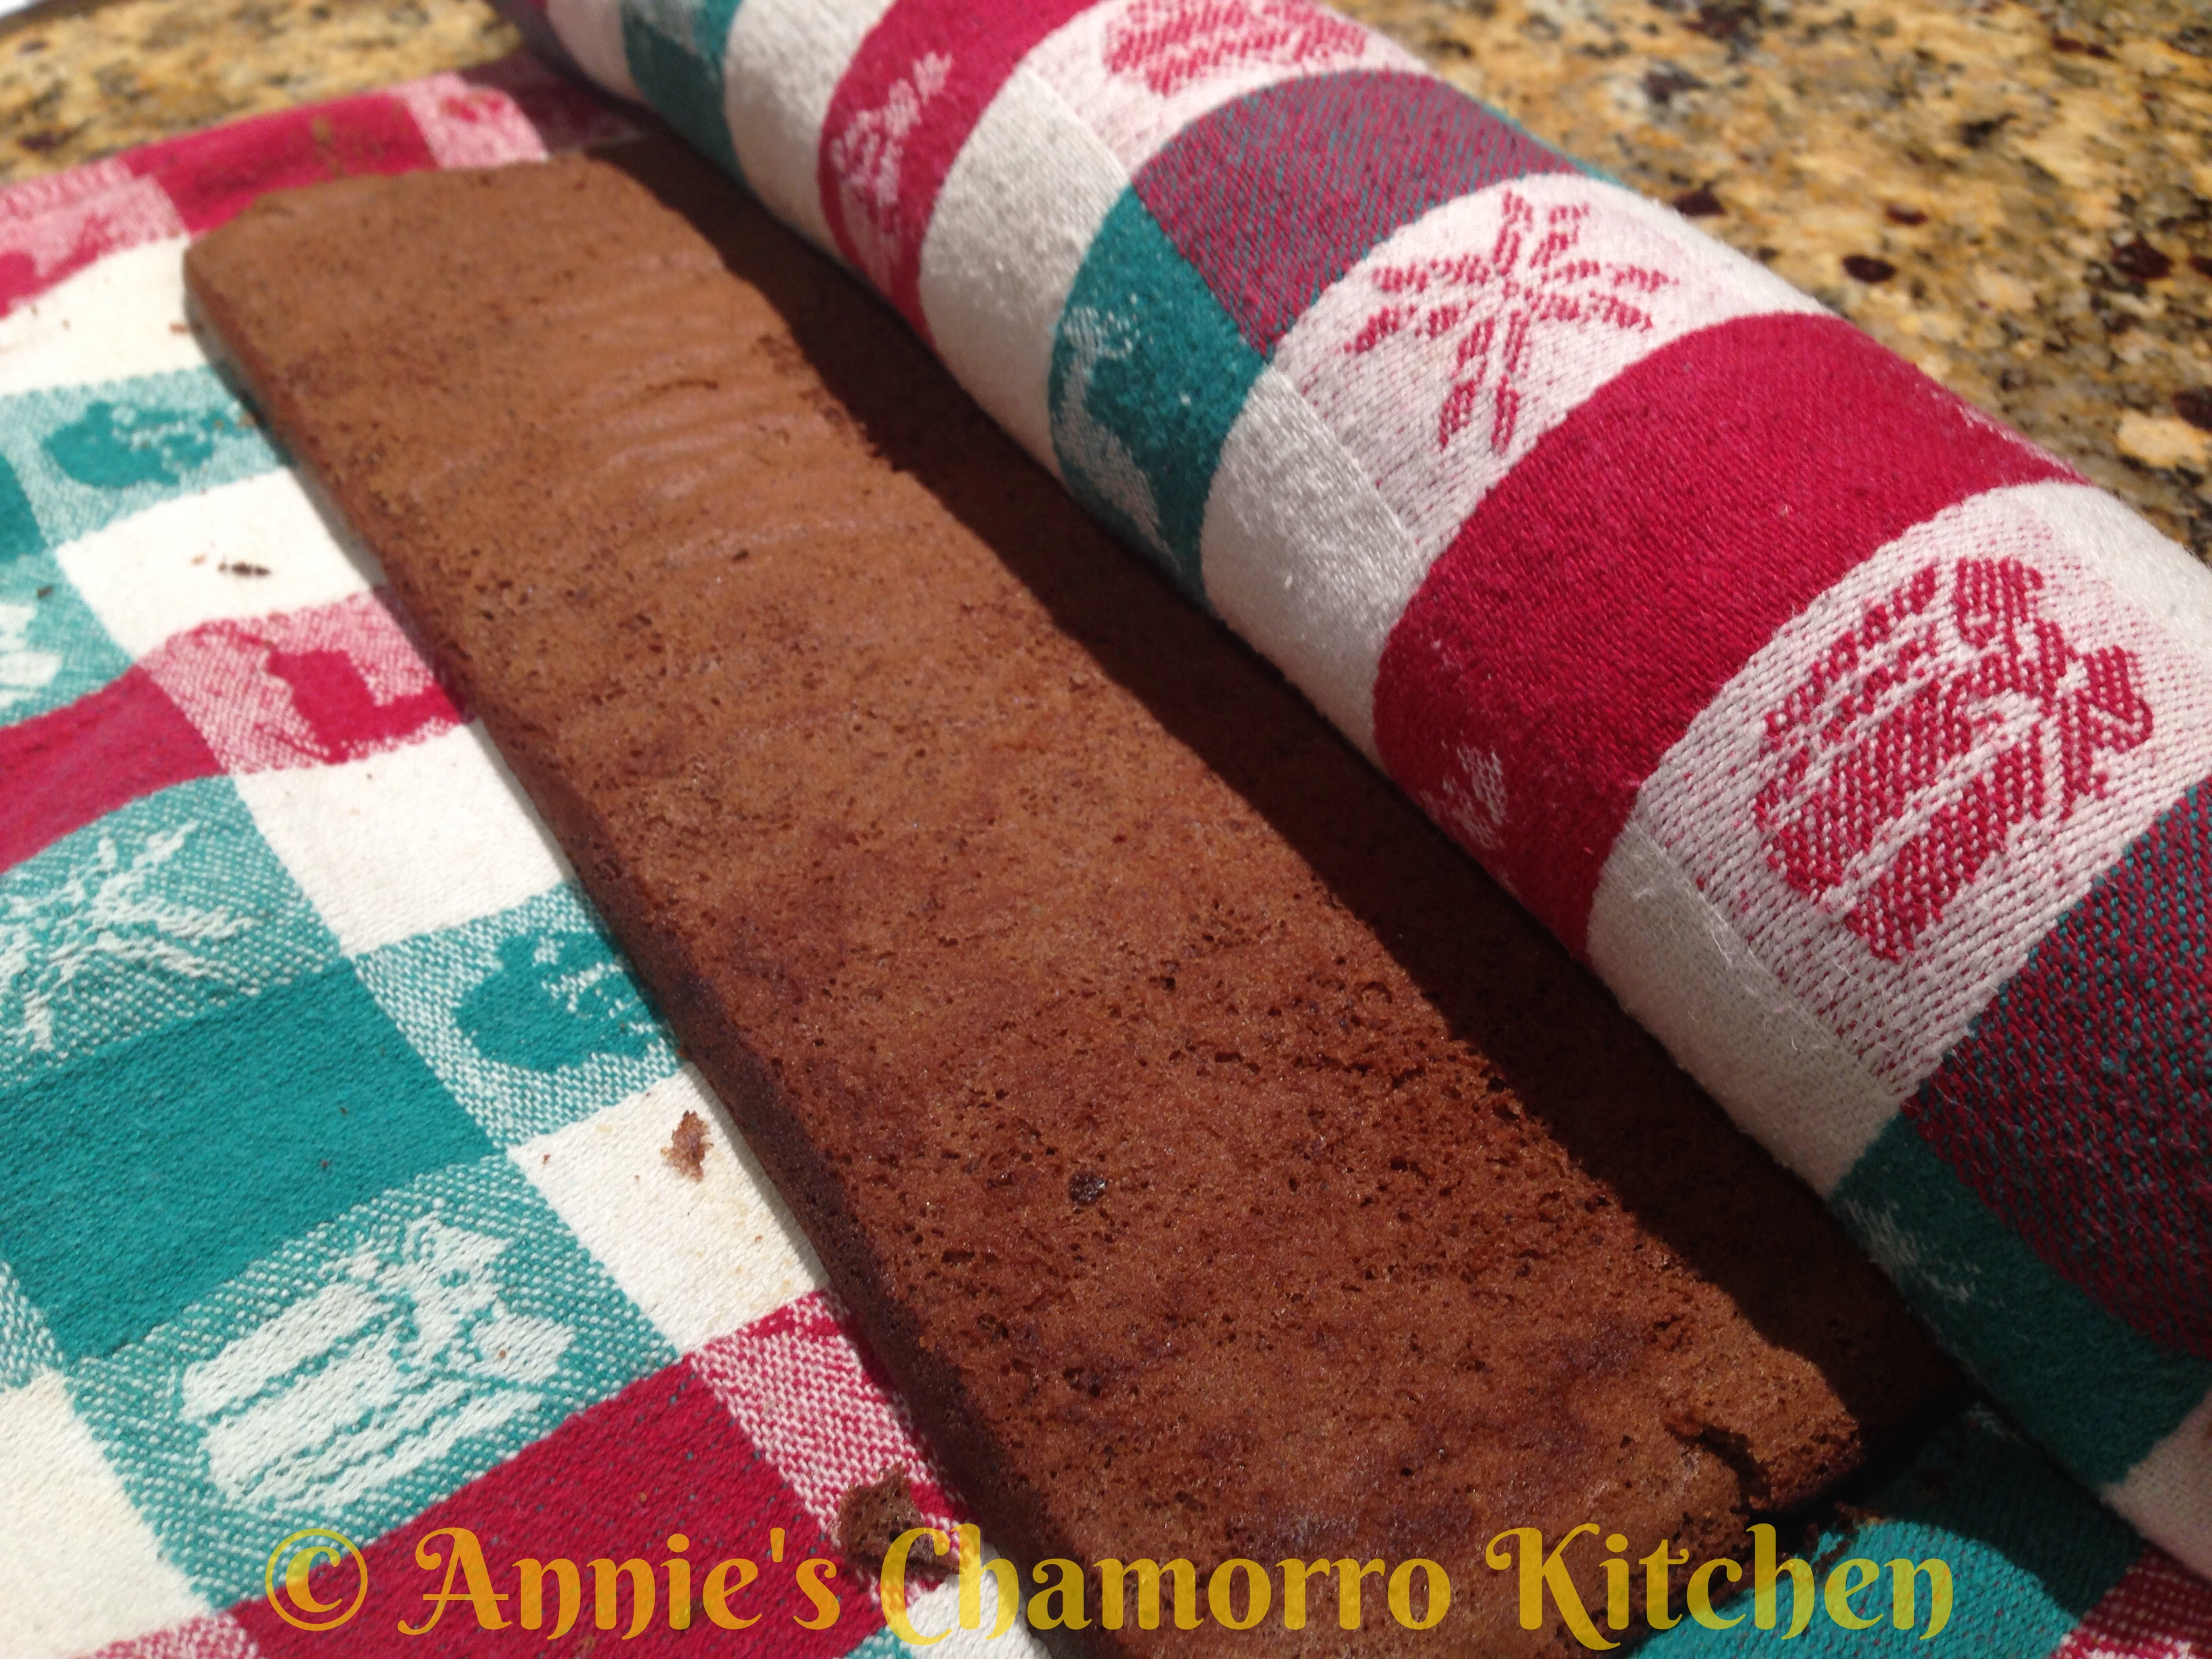
10.  Sprinkle more cocoa powder over the cake.  Roll the cake — including the dish cloth — starting at the short edge.  Set aside until the cake is completely cooled.

Chocolate Ice Cream Cake - 54

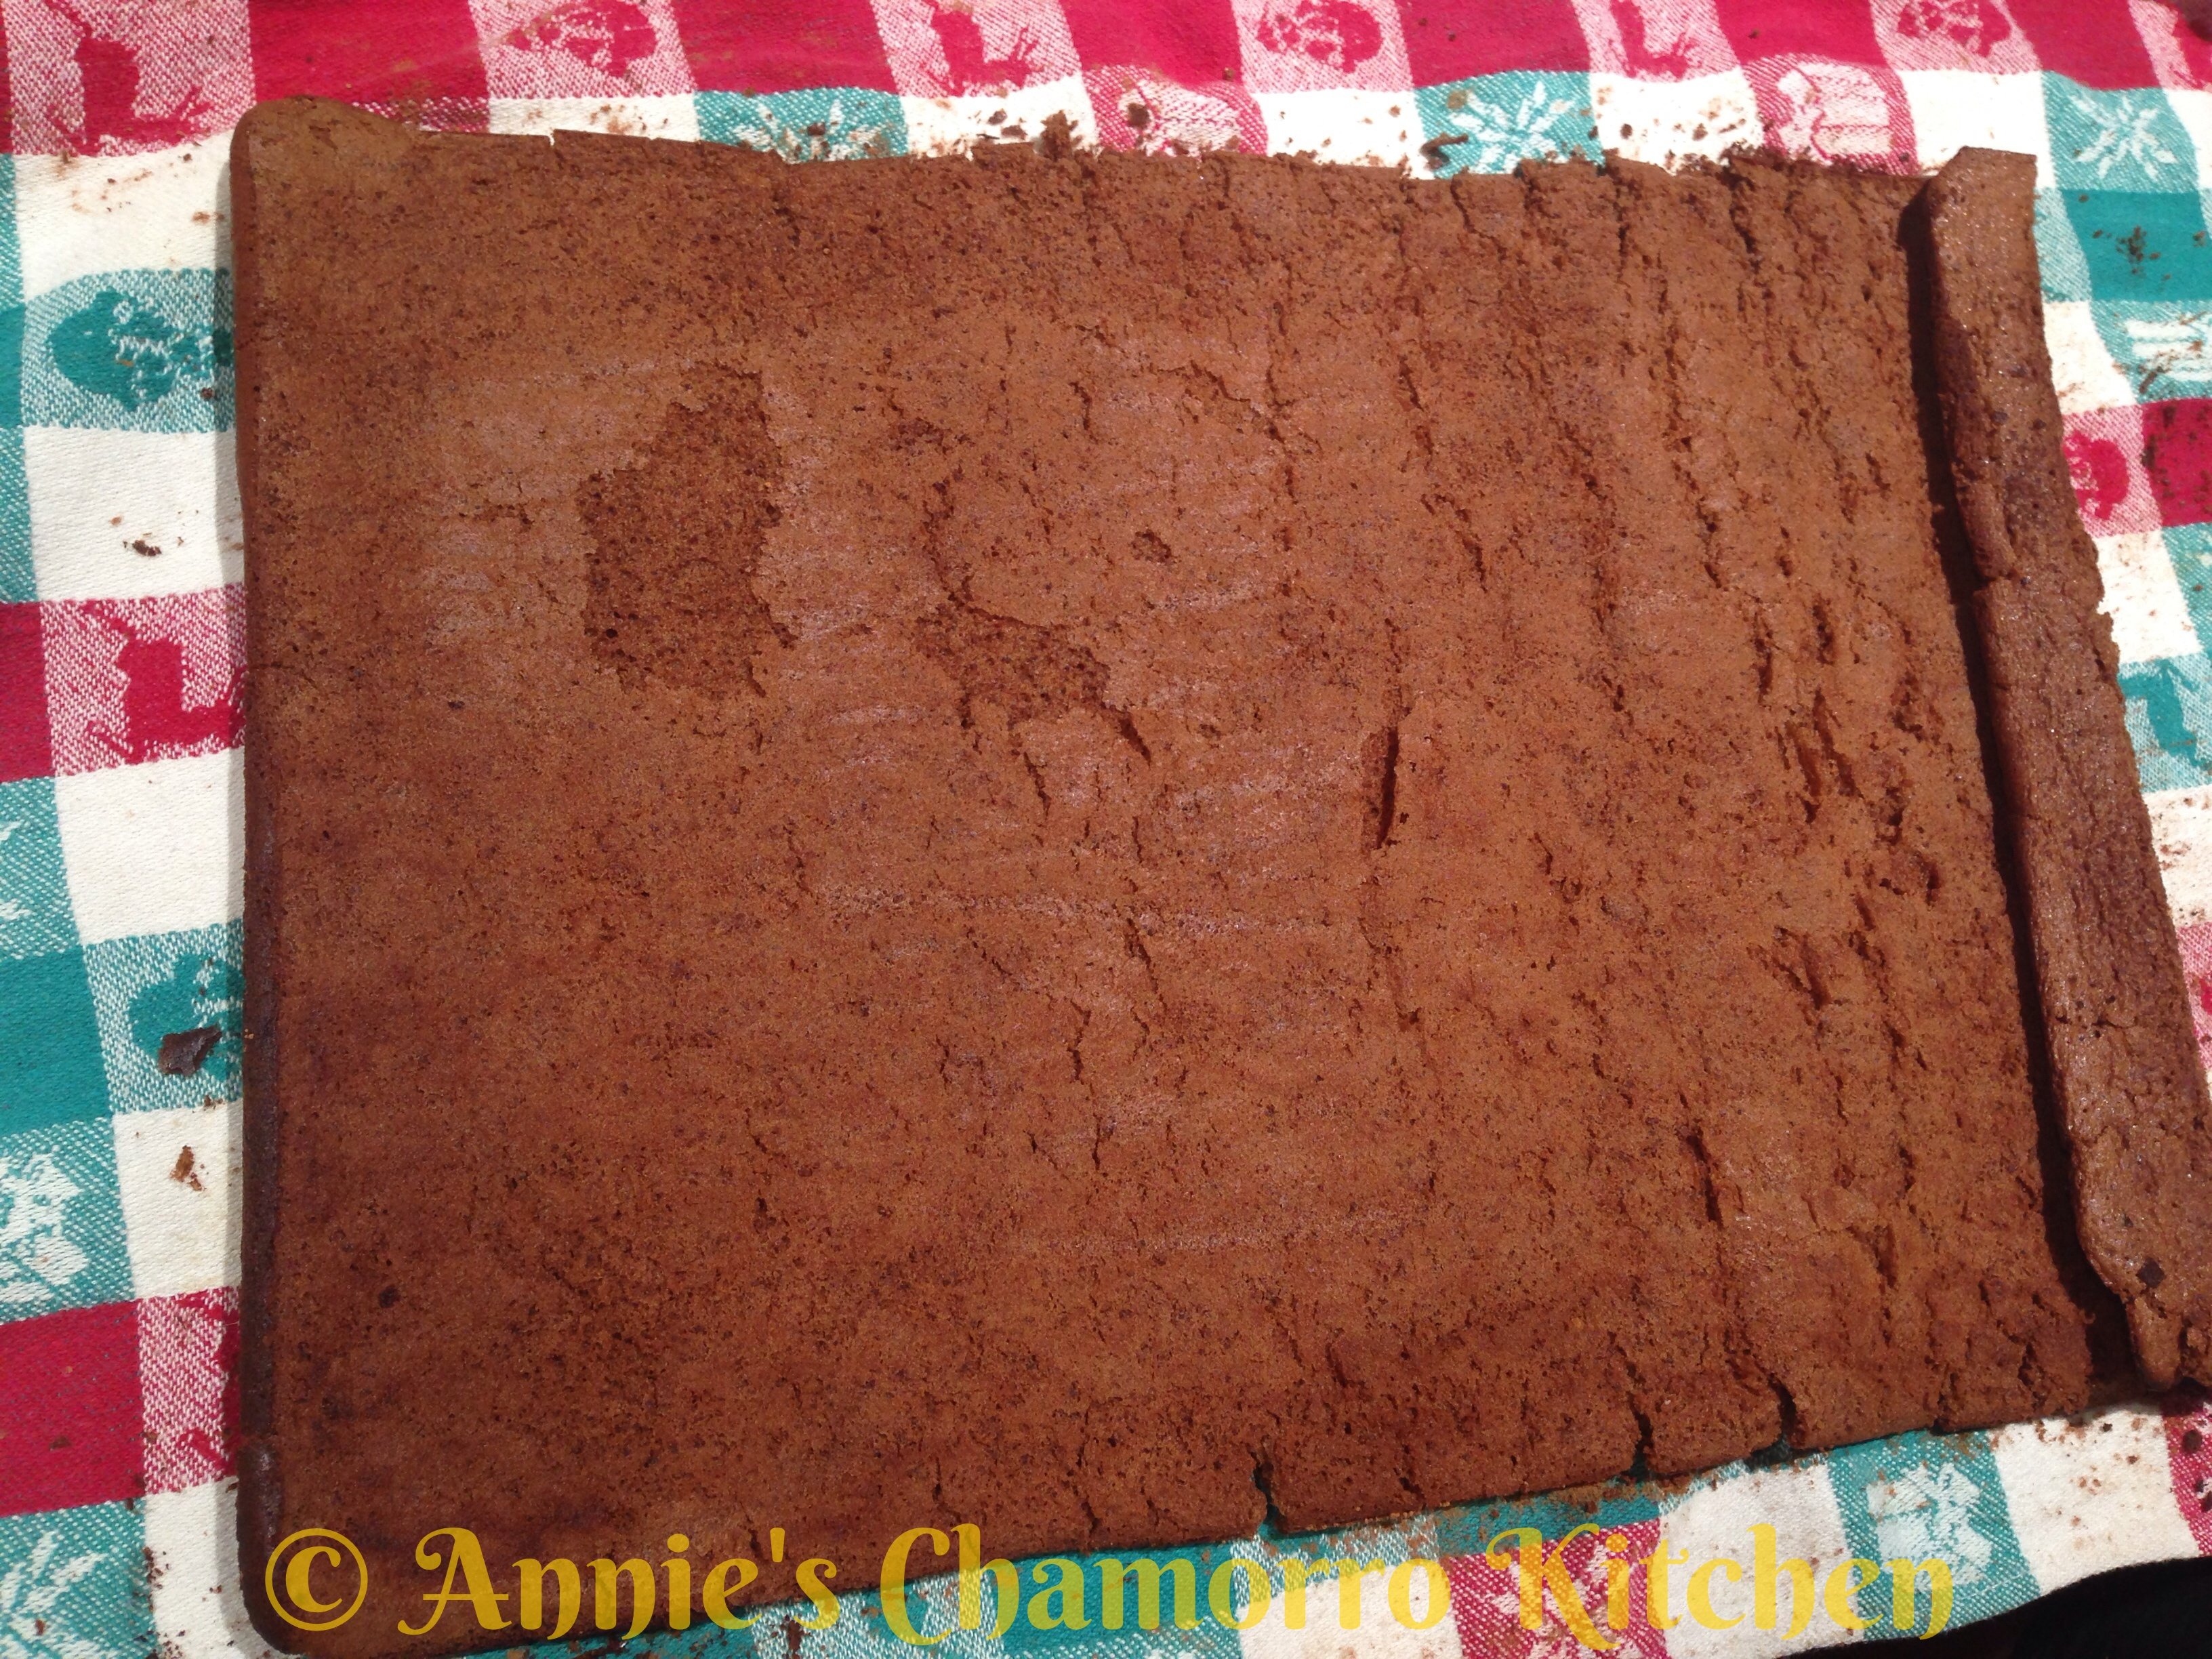
11.  After the cake is completely cooled, carefully unroll it.

Chocolate Ice Cream Cake - 64

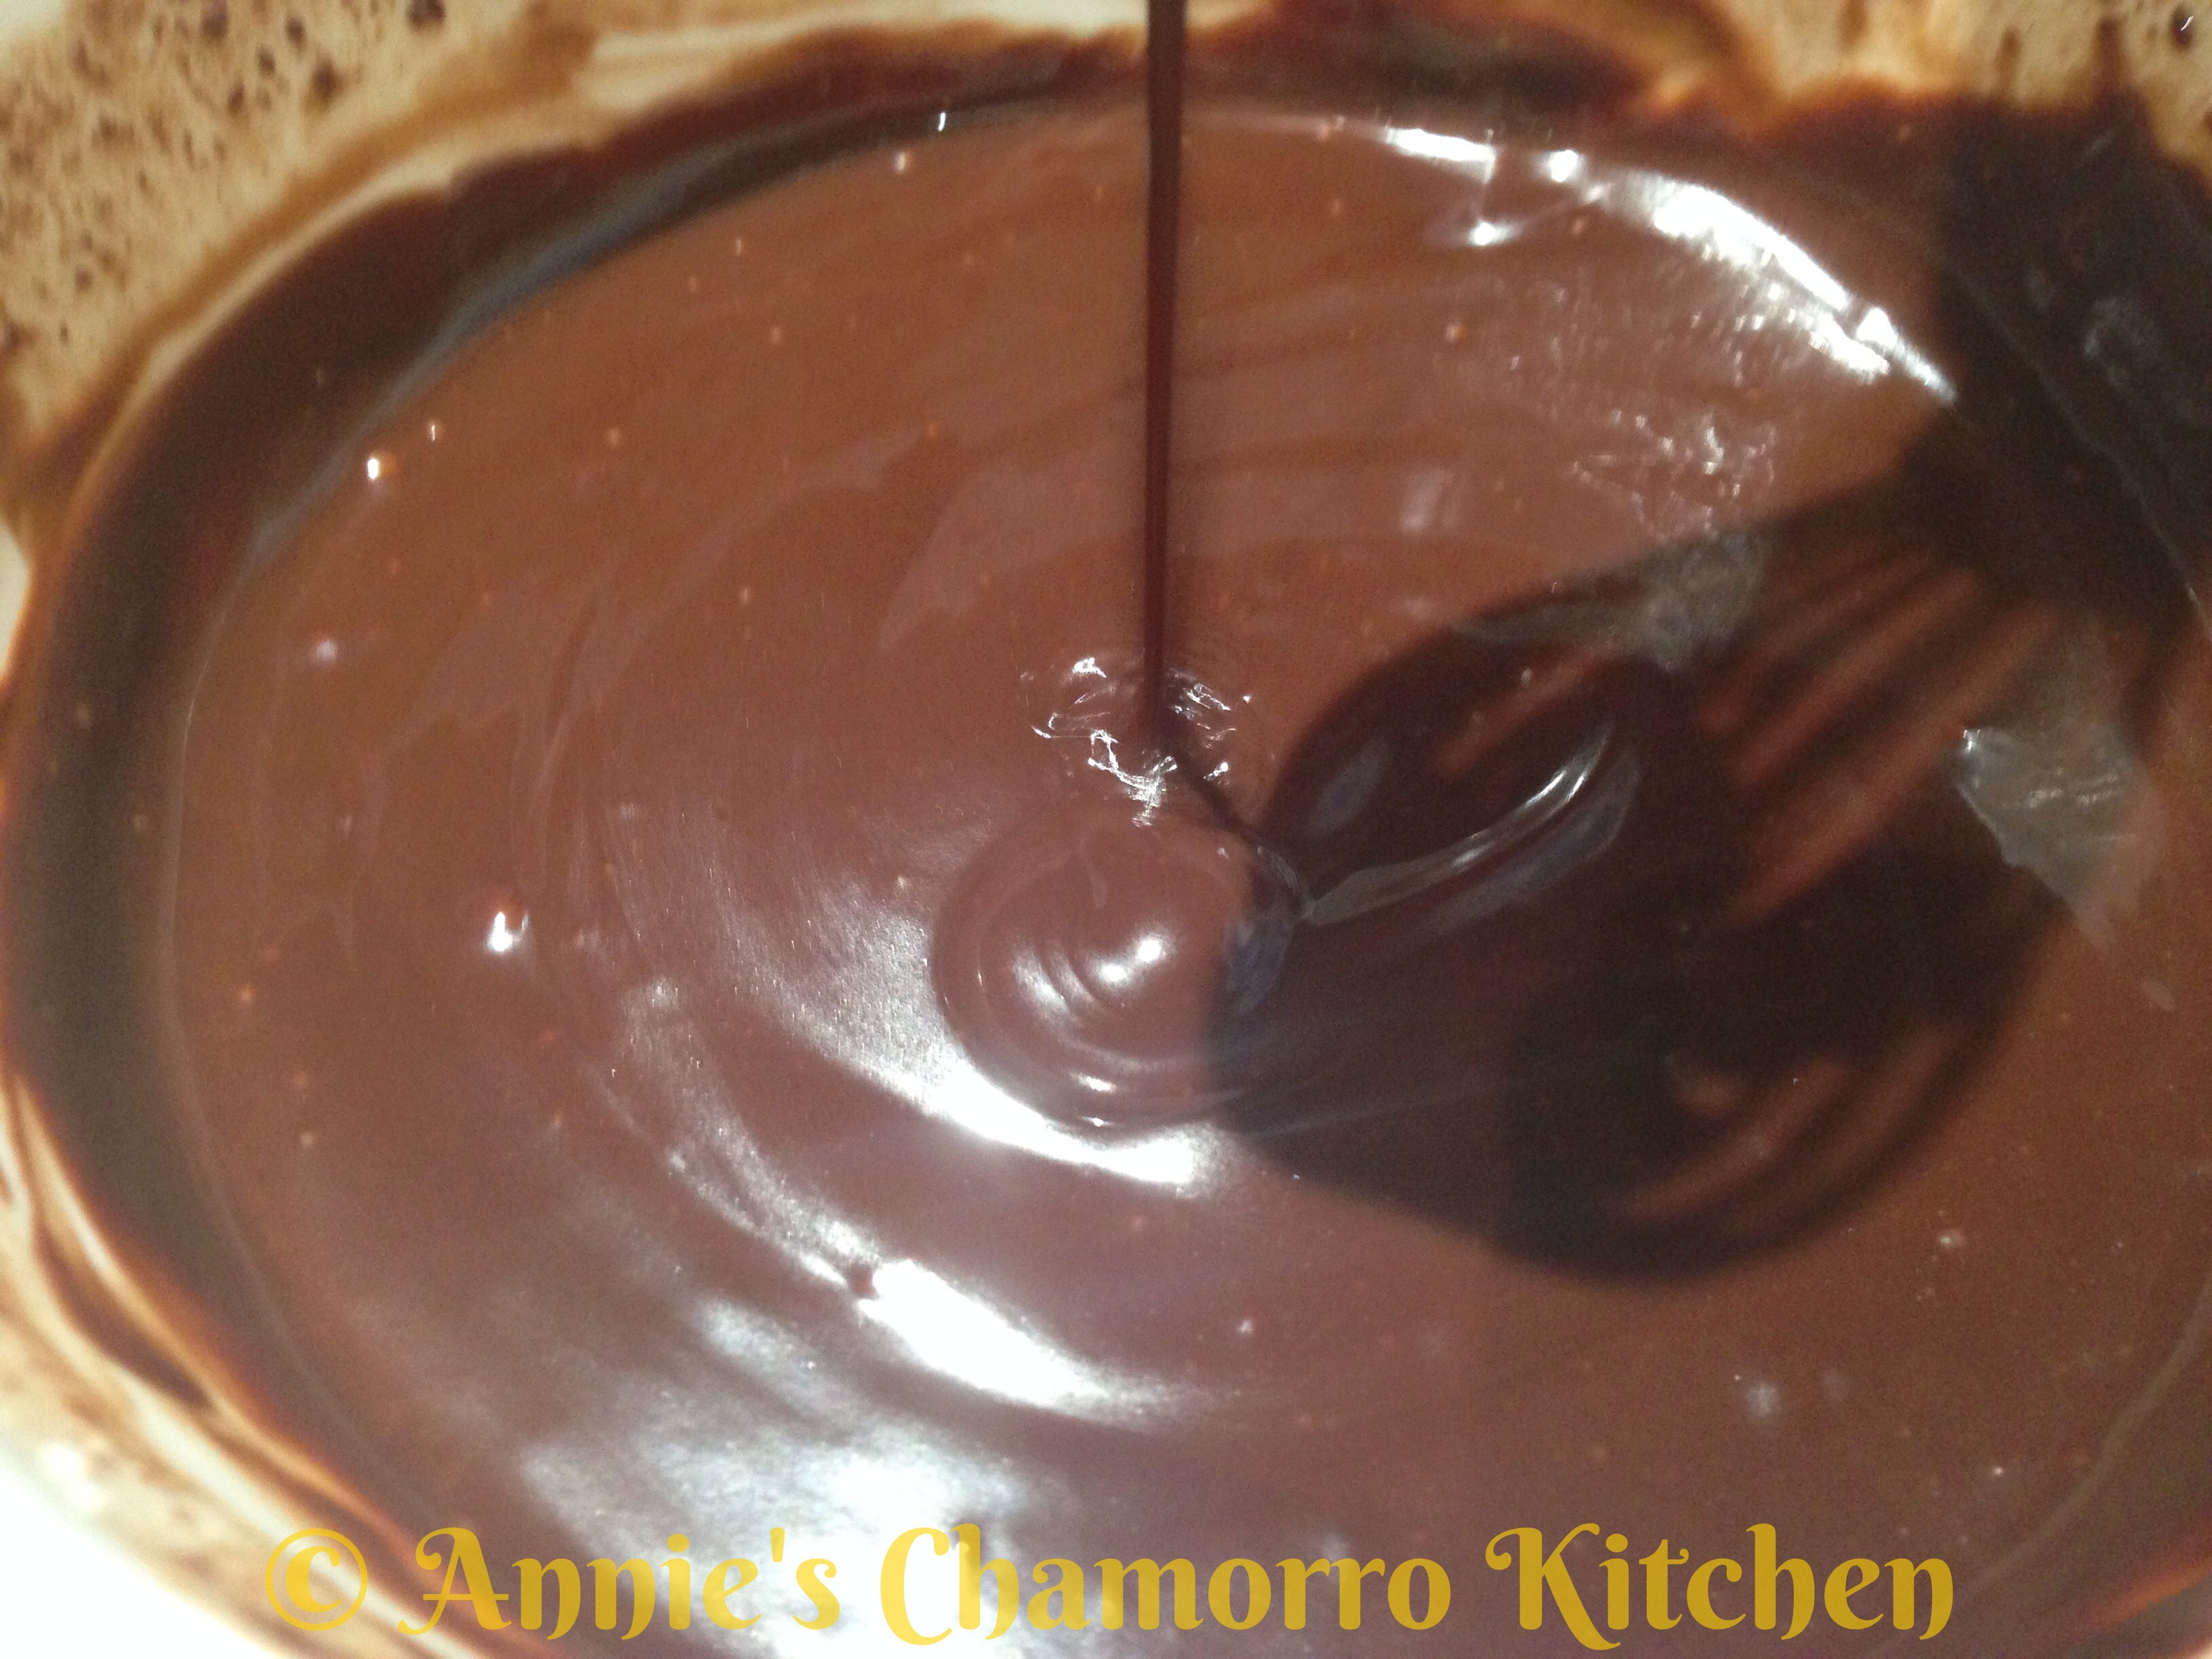
12.  Make the ganache for the filling.  In a small microwave-safe bowl, heat the 1/2 cup of half-and-half for about a minute.  Add the milk chocolate chips to the heated half-and-half,  whisking until the chocolate melts and the mixture is smooth.

Chocolate Ice Cream Cake - 62

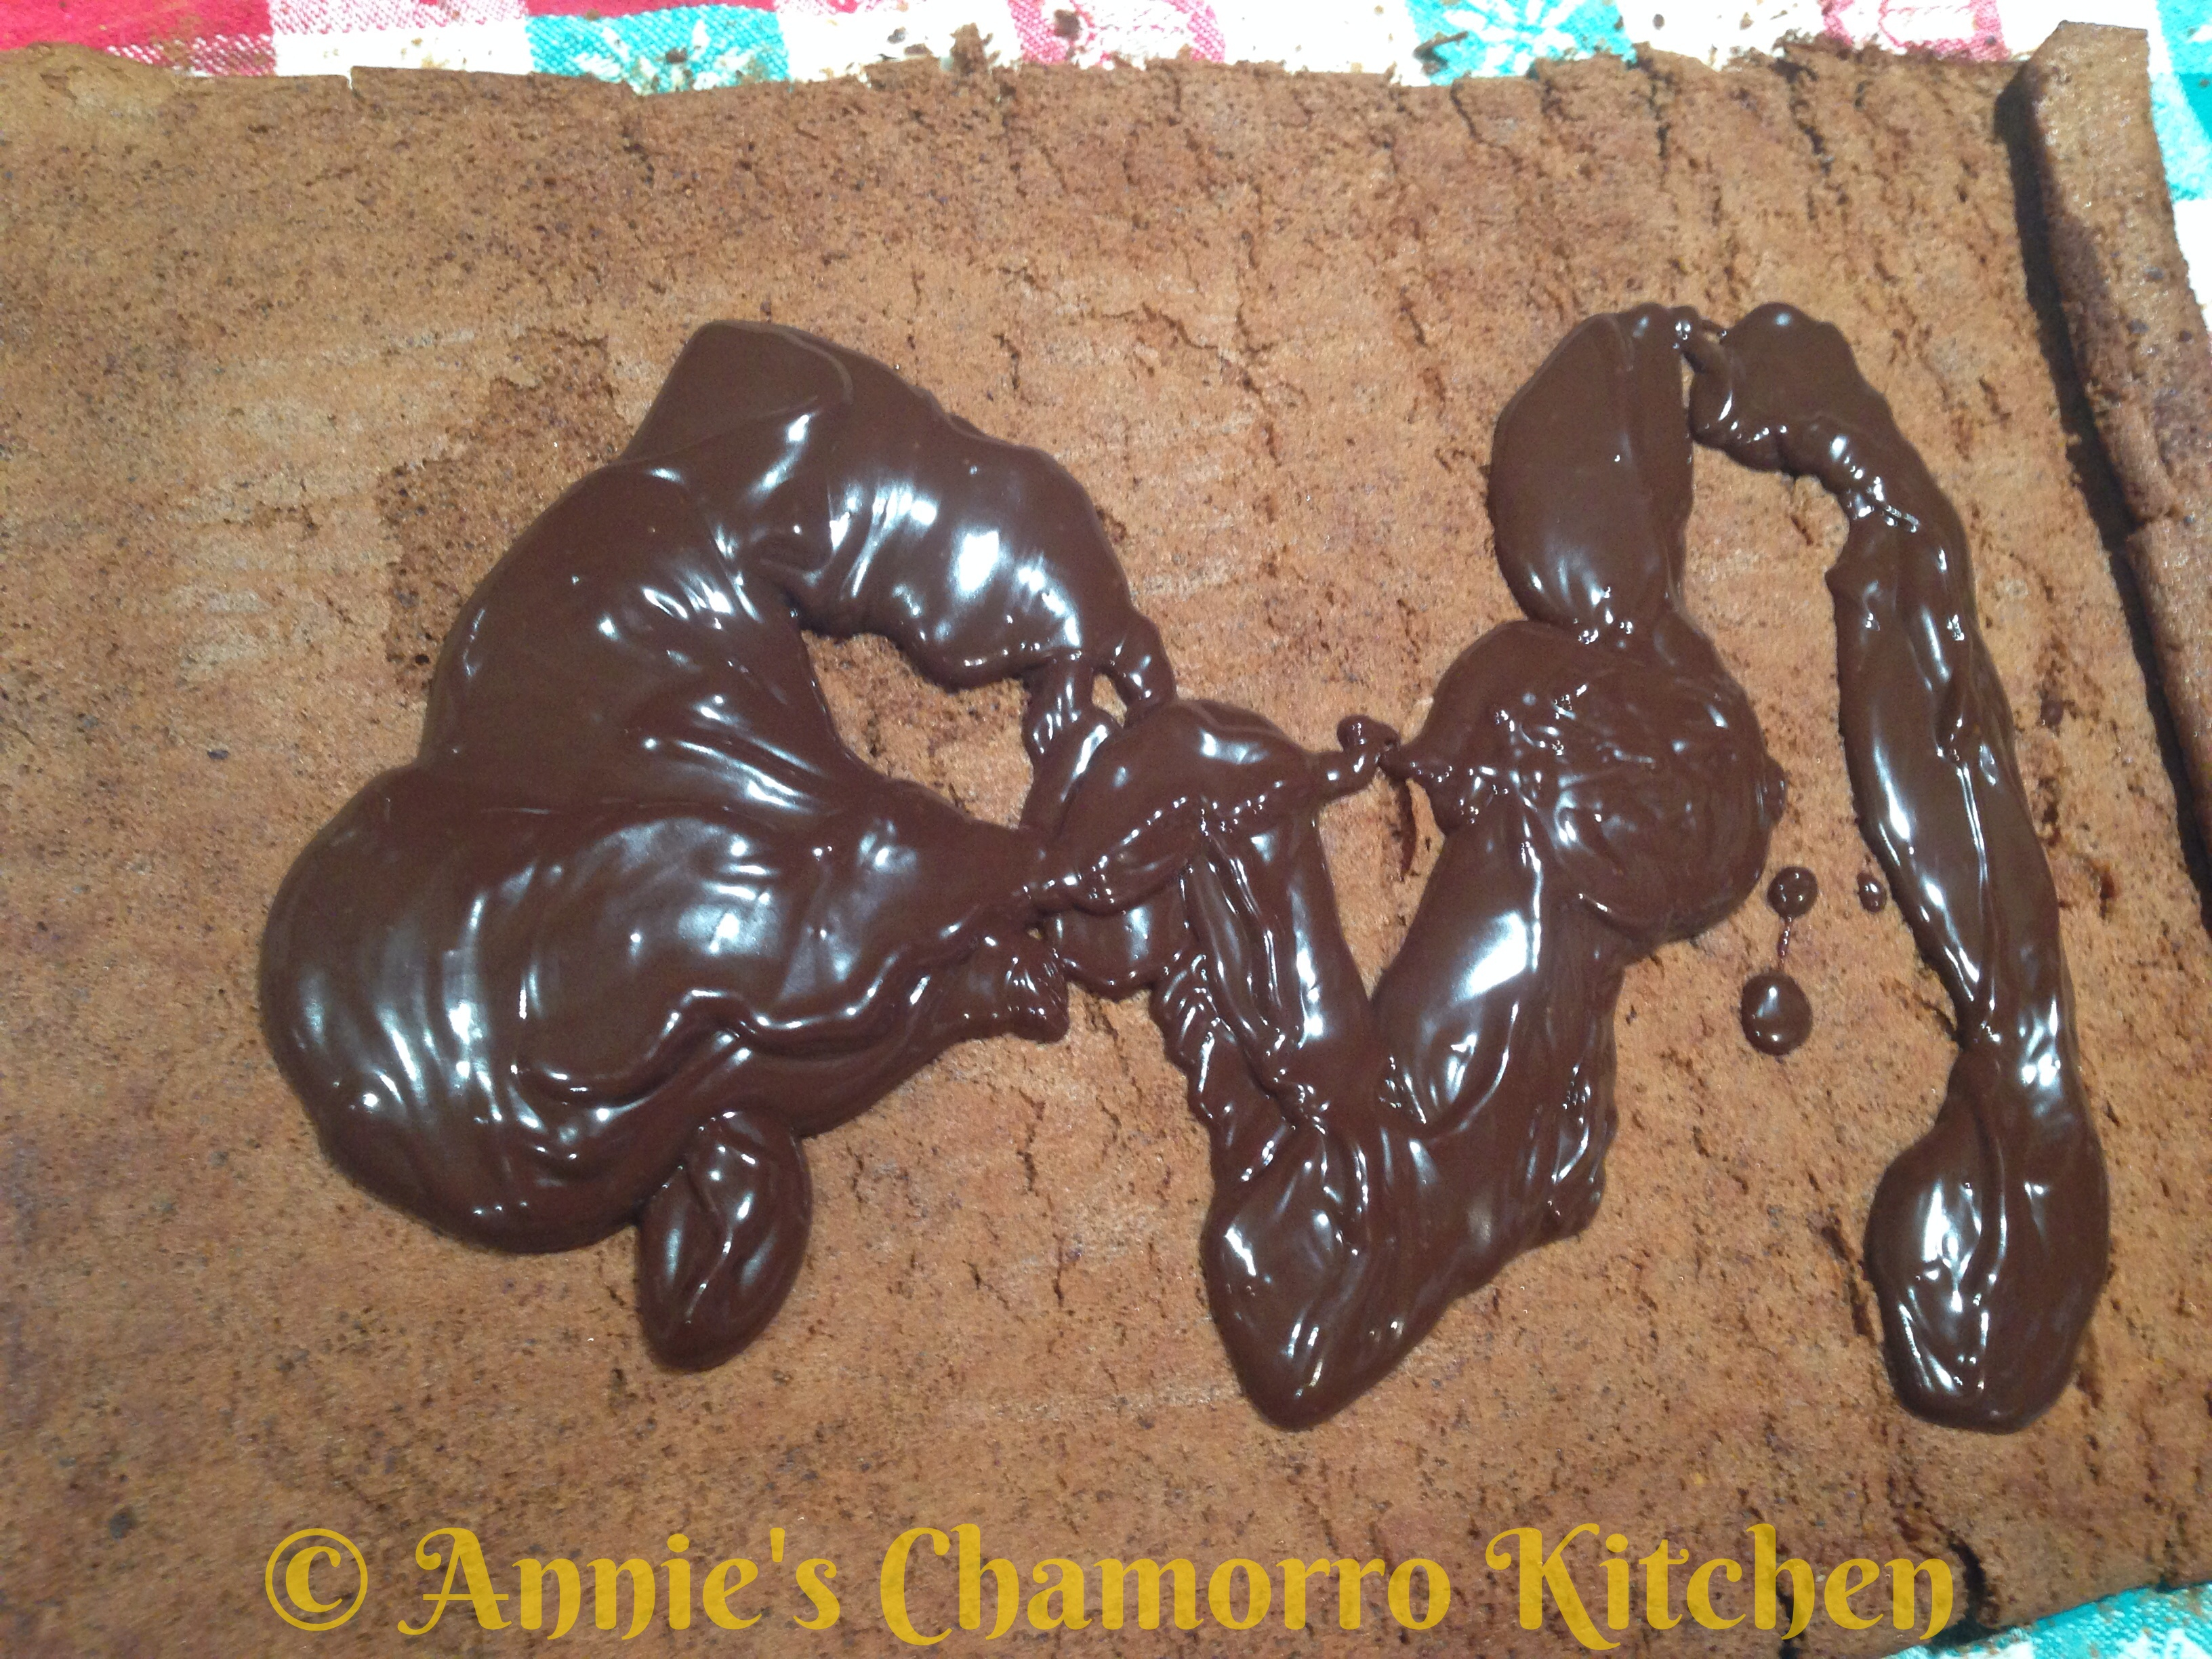
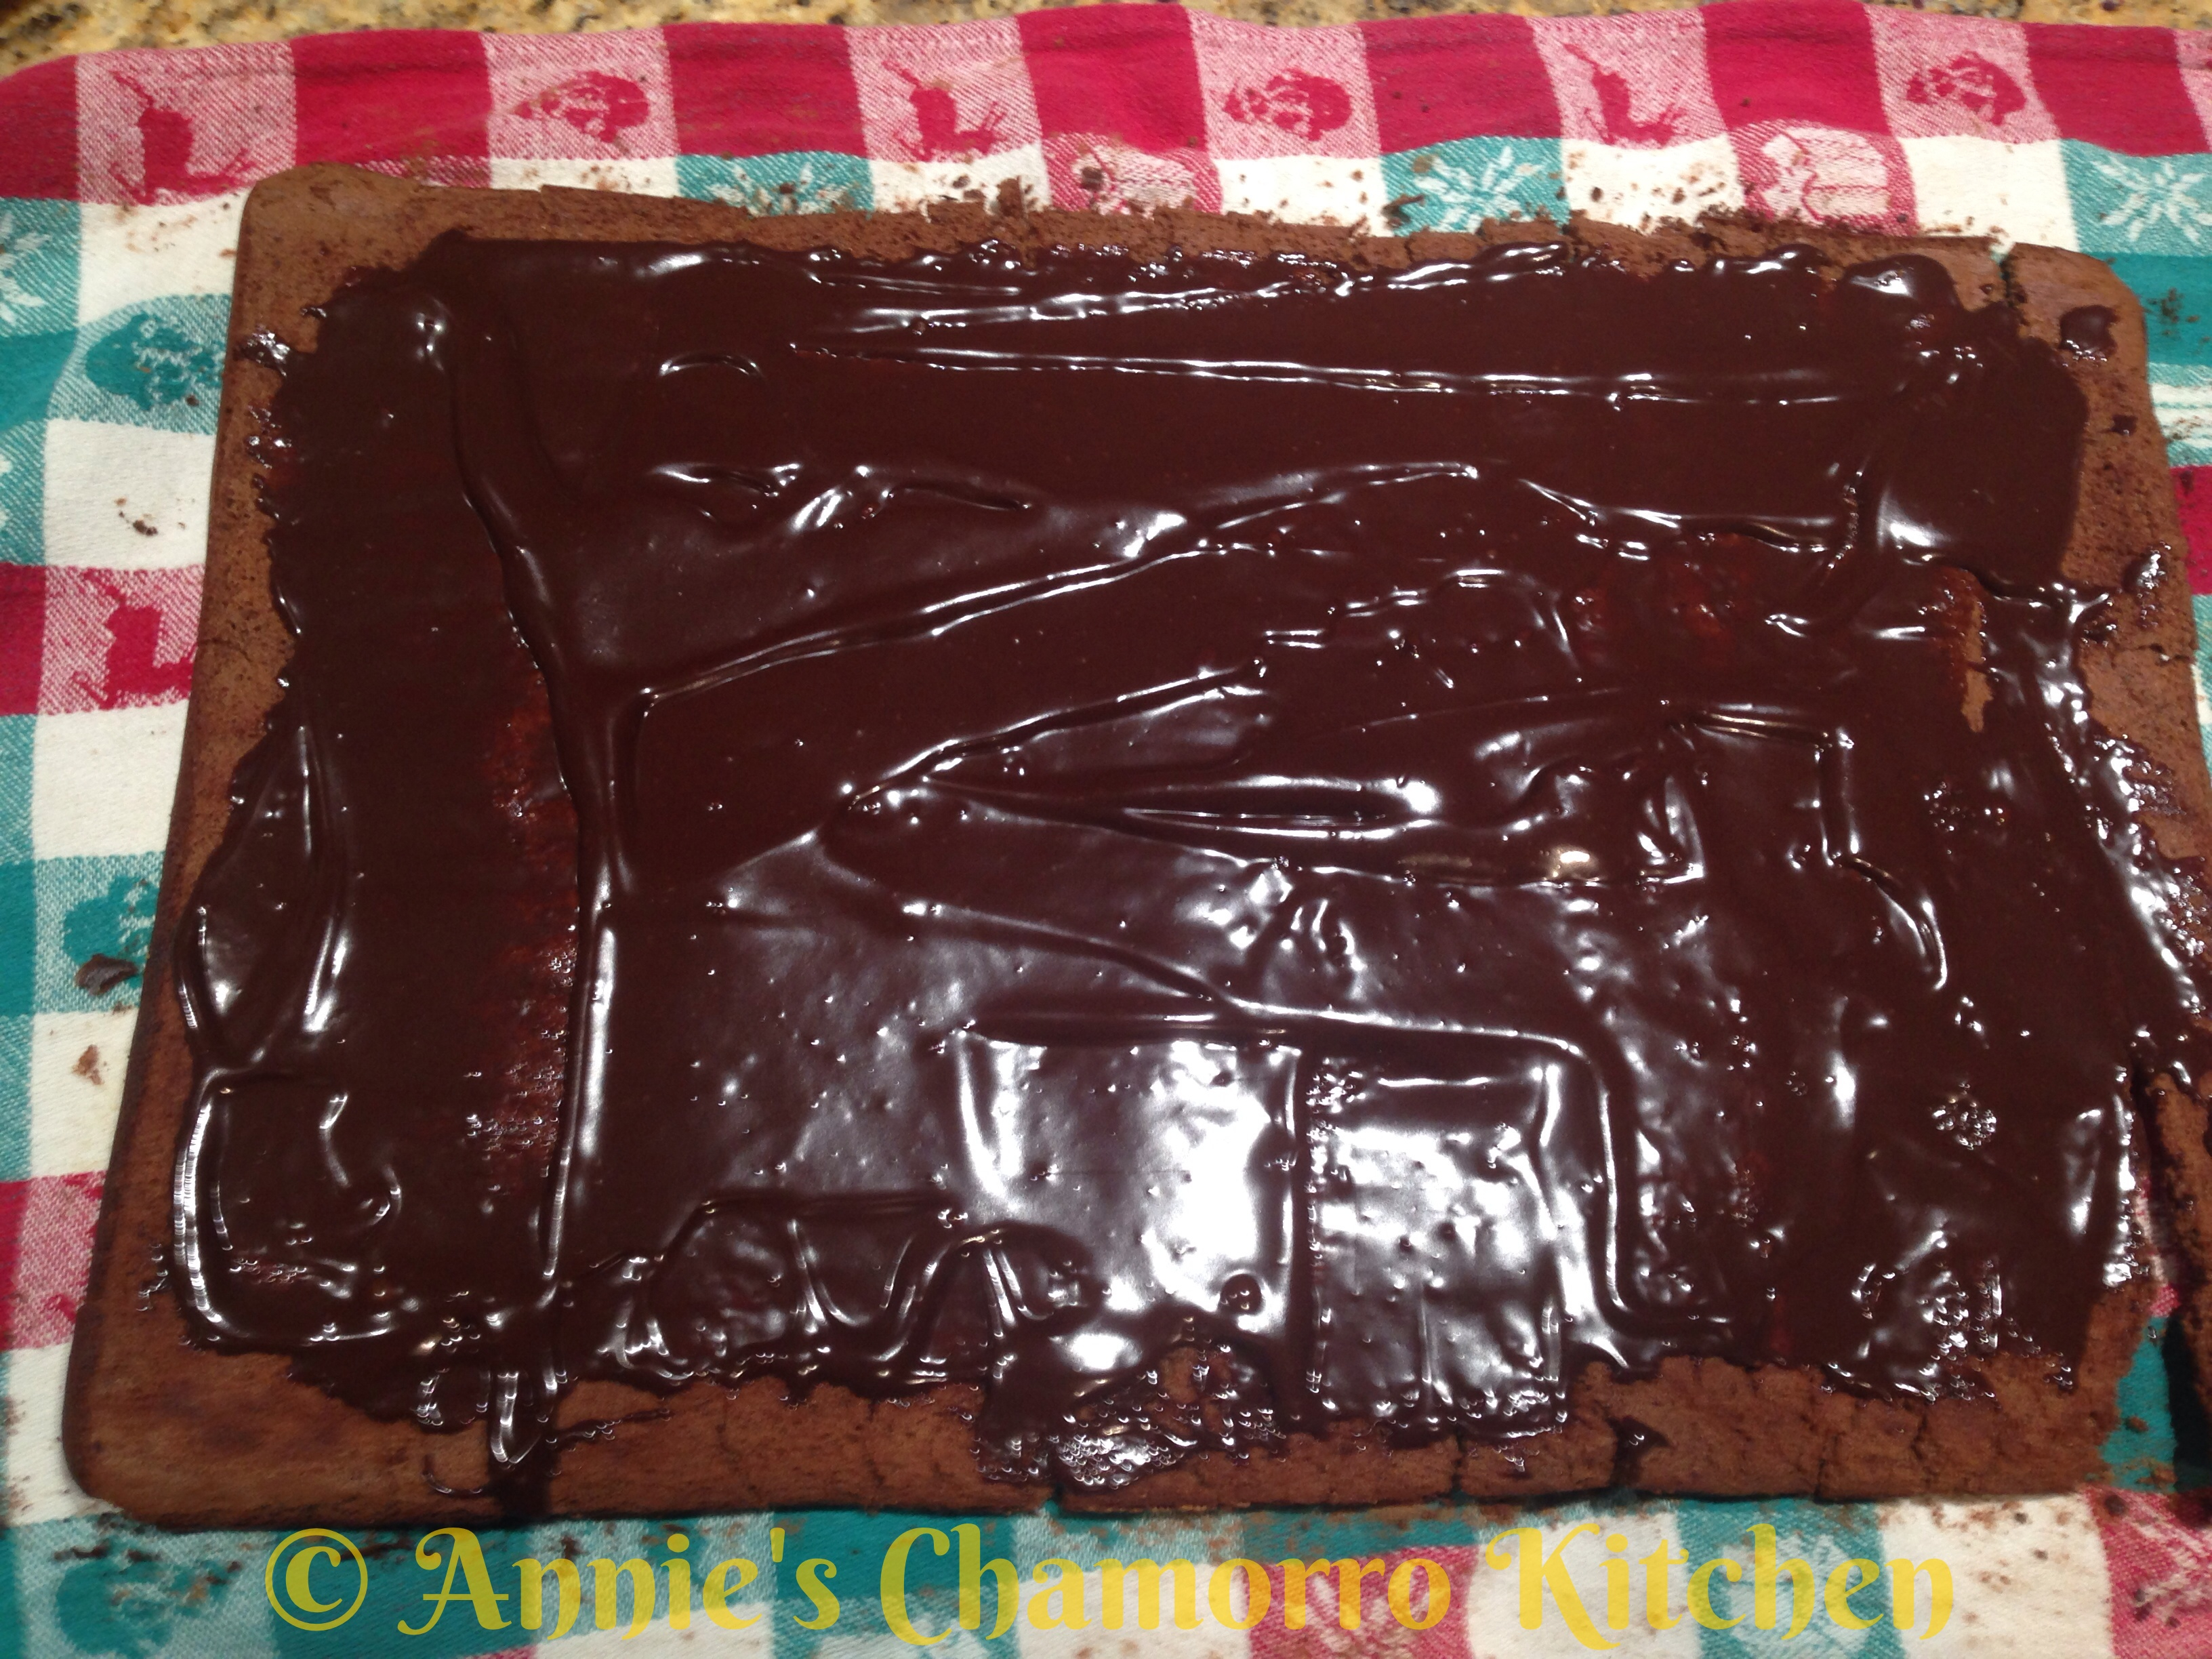
13.  Spread the ganache over the cake, staying about 1 inch from the edge.

Chocolate Ice Cream Cake - 68 Chocolate Ice Cream Cake - 70

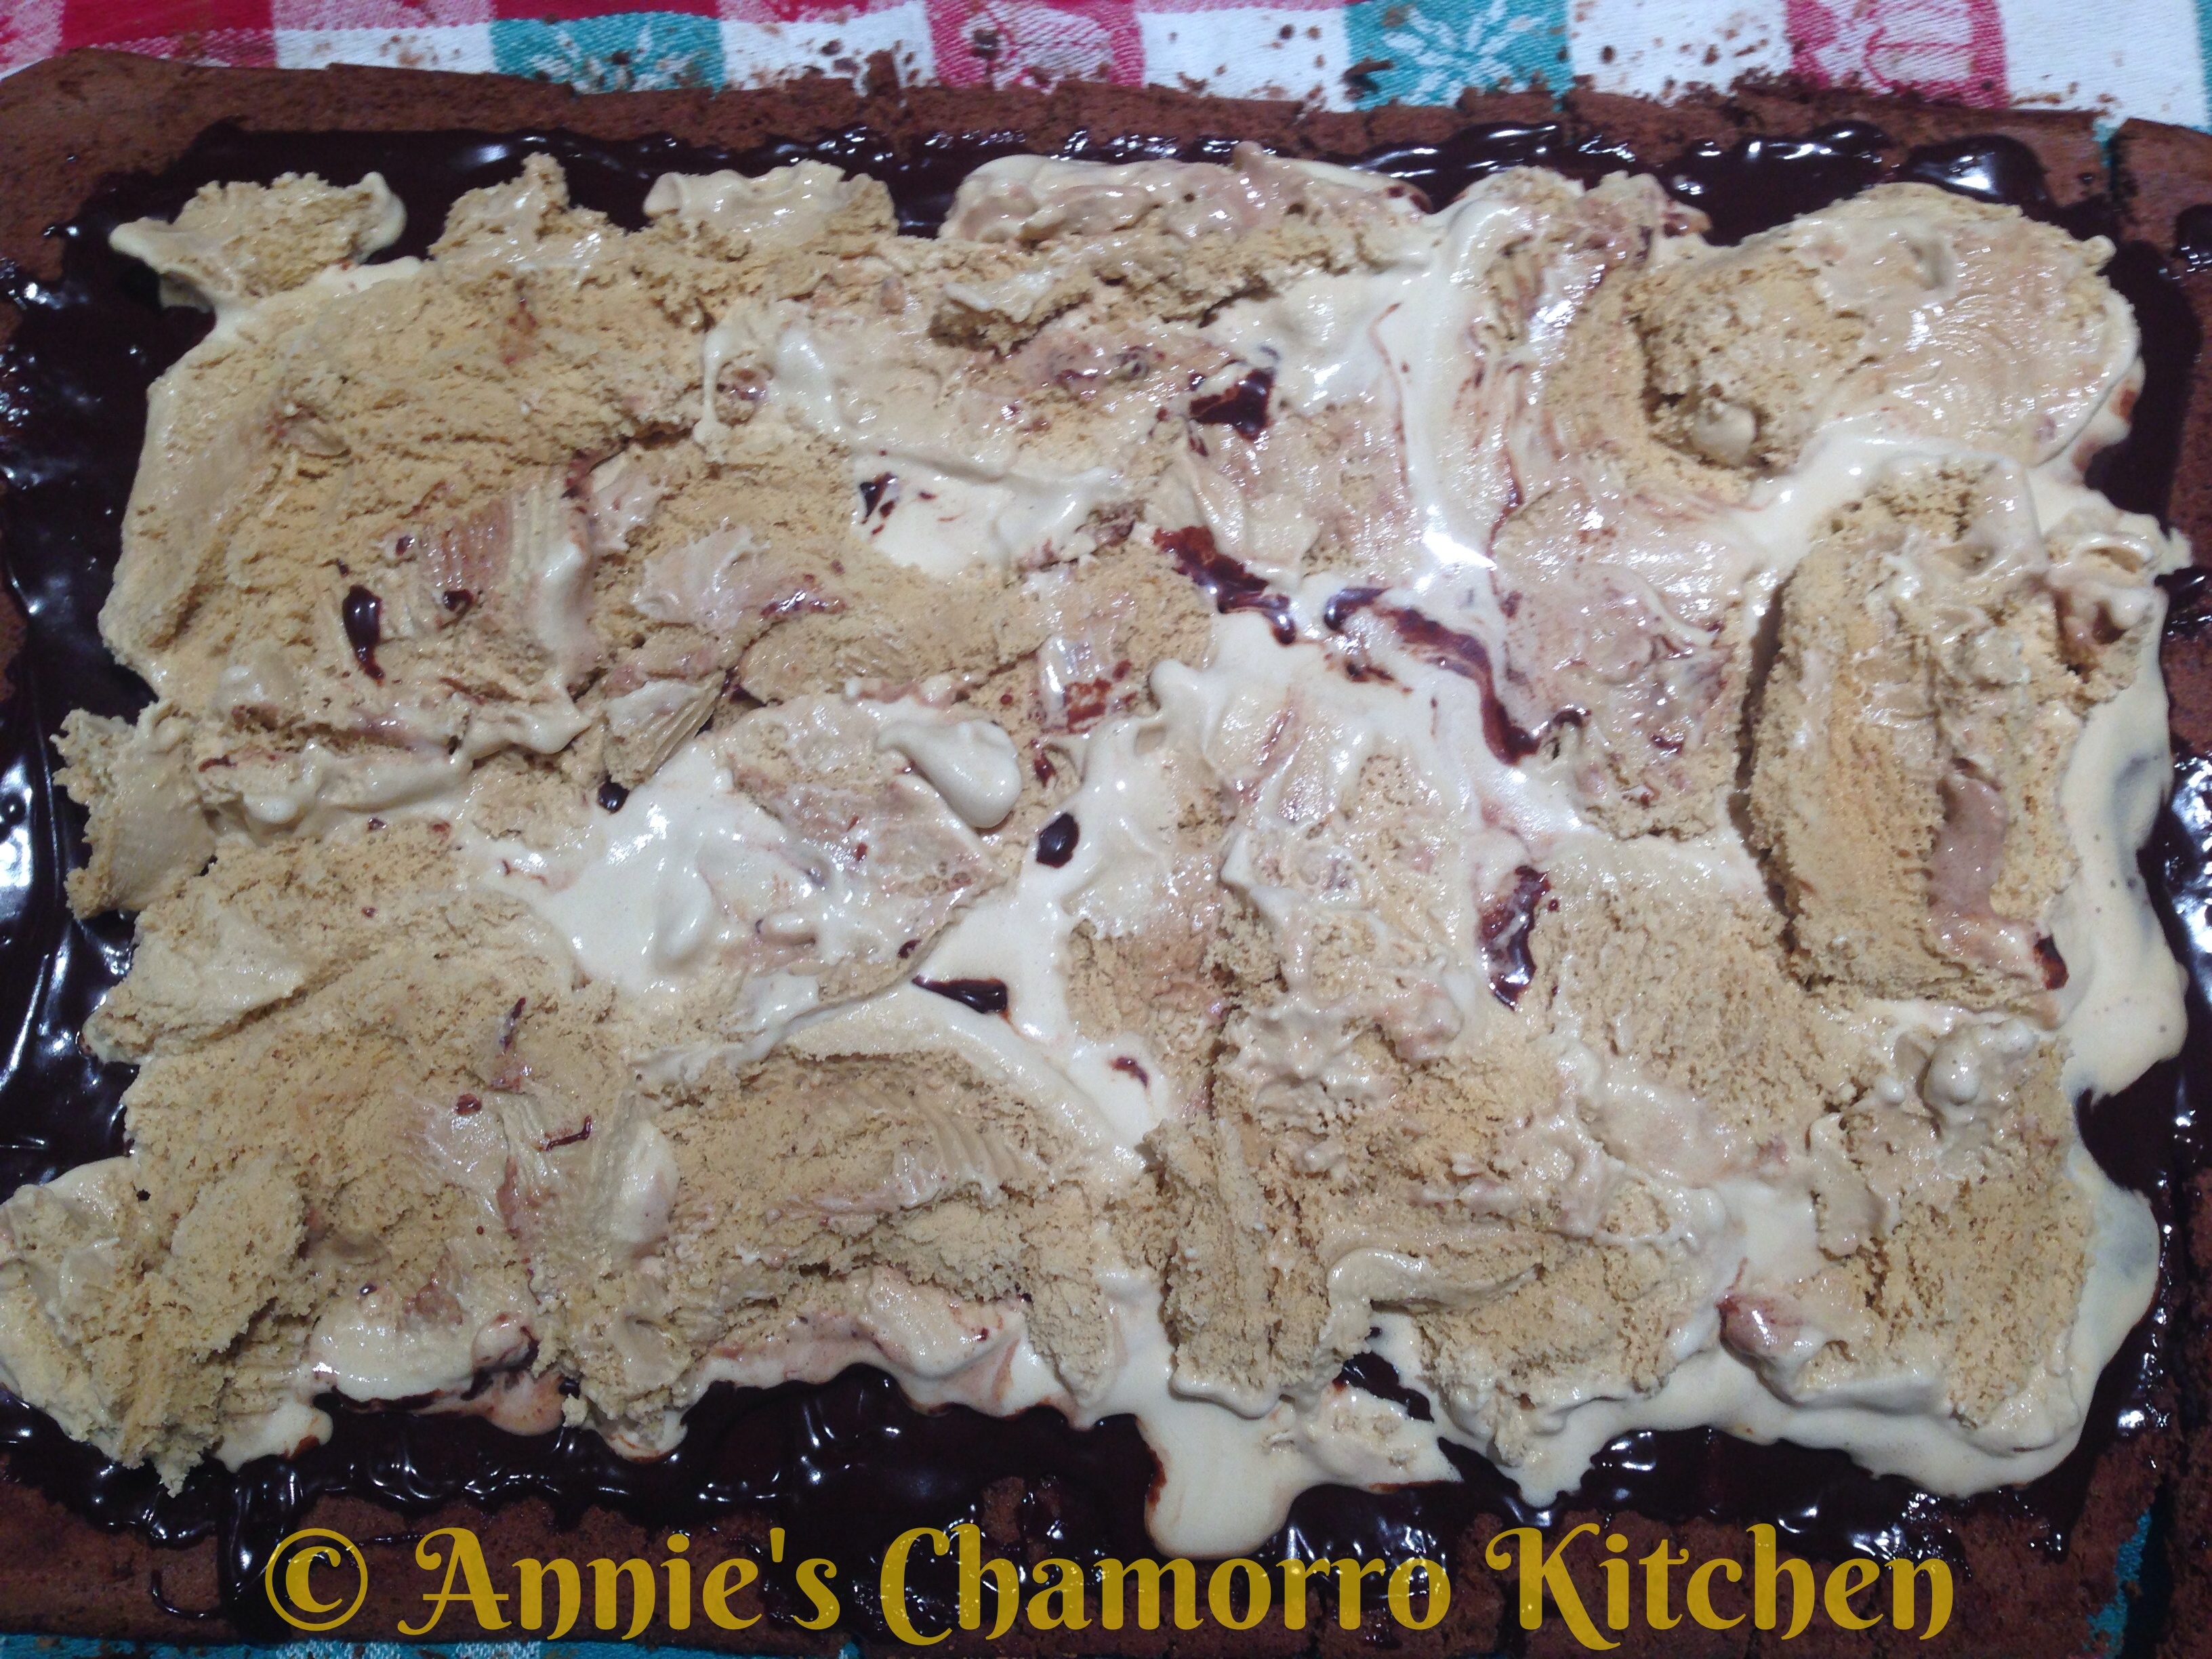
14.  Spread the ice cream over the cake.  I found it easier to use a spatula to “slice” pieces of ice cream, then I placed the slices of ice cream over the cake, staying about 1 1/2 inches from the edge.

Chocolate Ice Cream Cake - 74

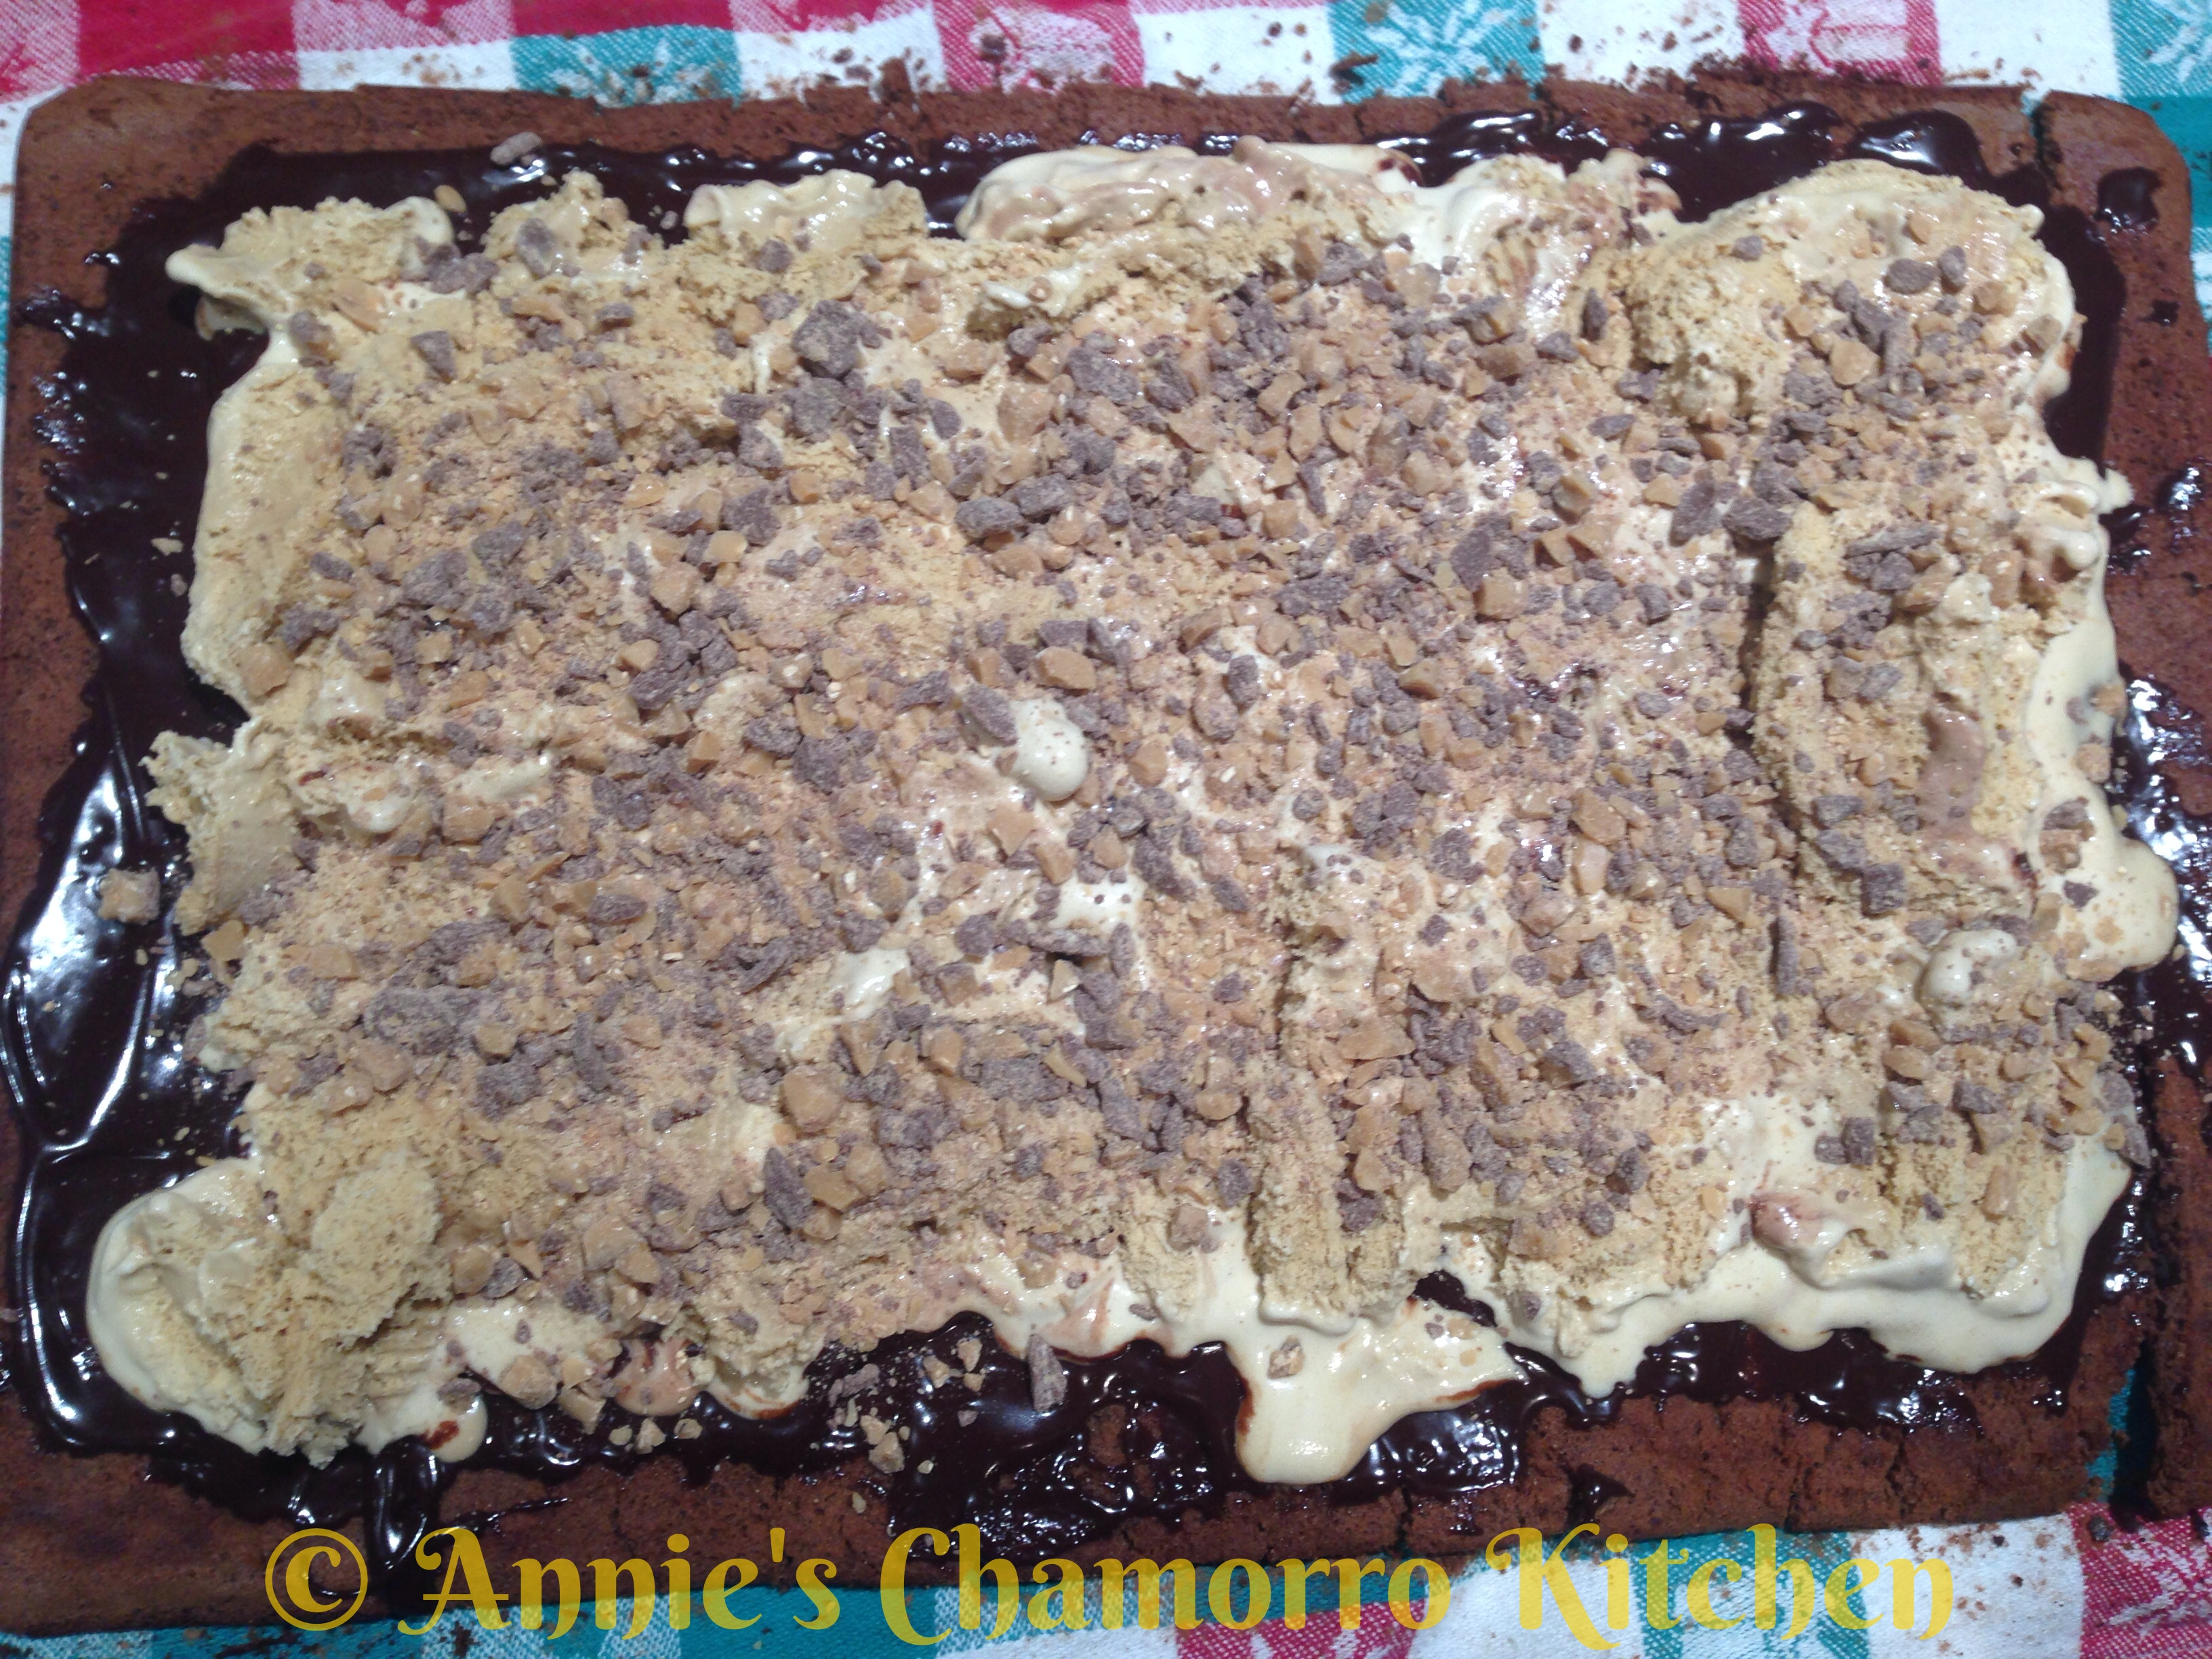
15.  Sprinkle 1/2 cup of toffee bits over the ice cream.

Chocolate Ice Cream Cake - 76

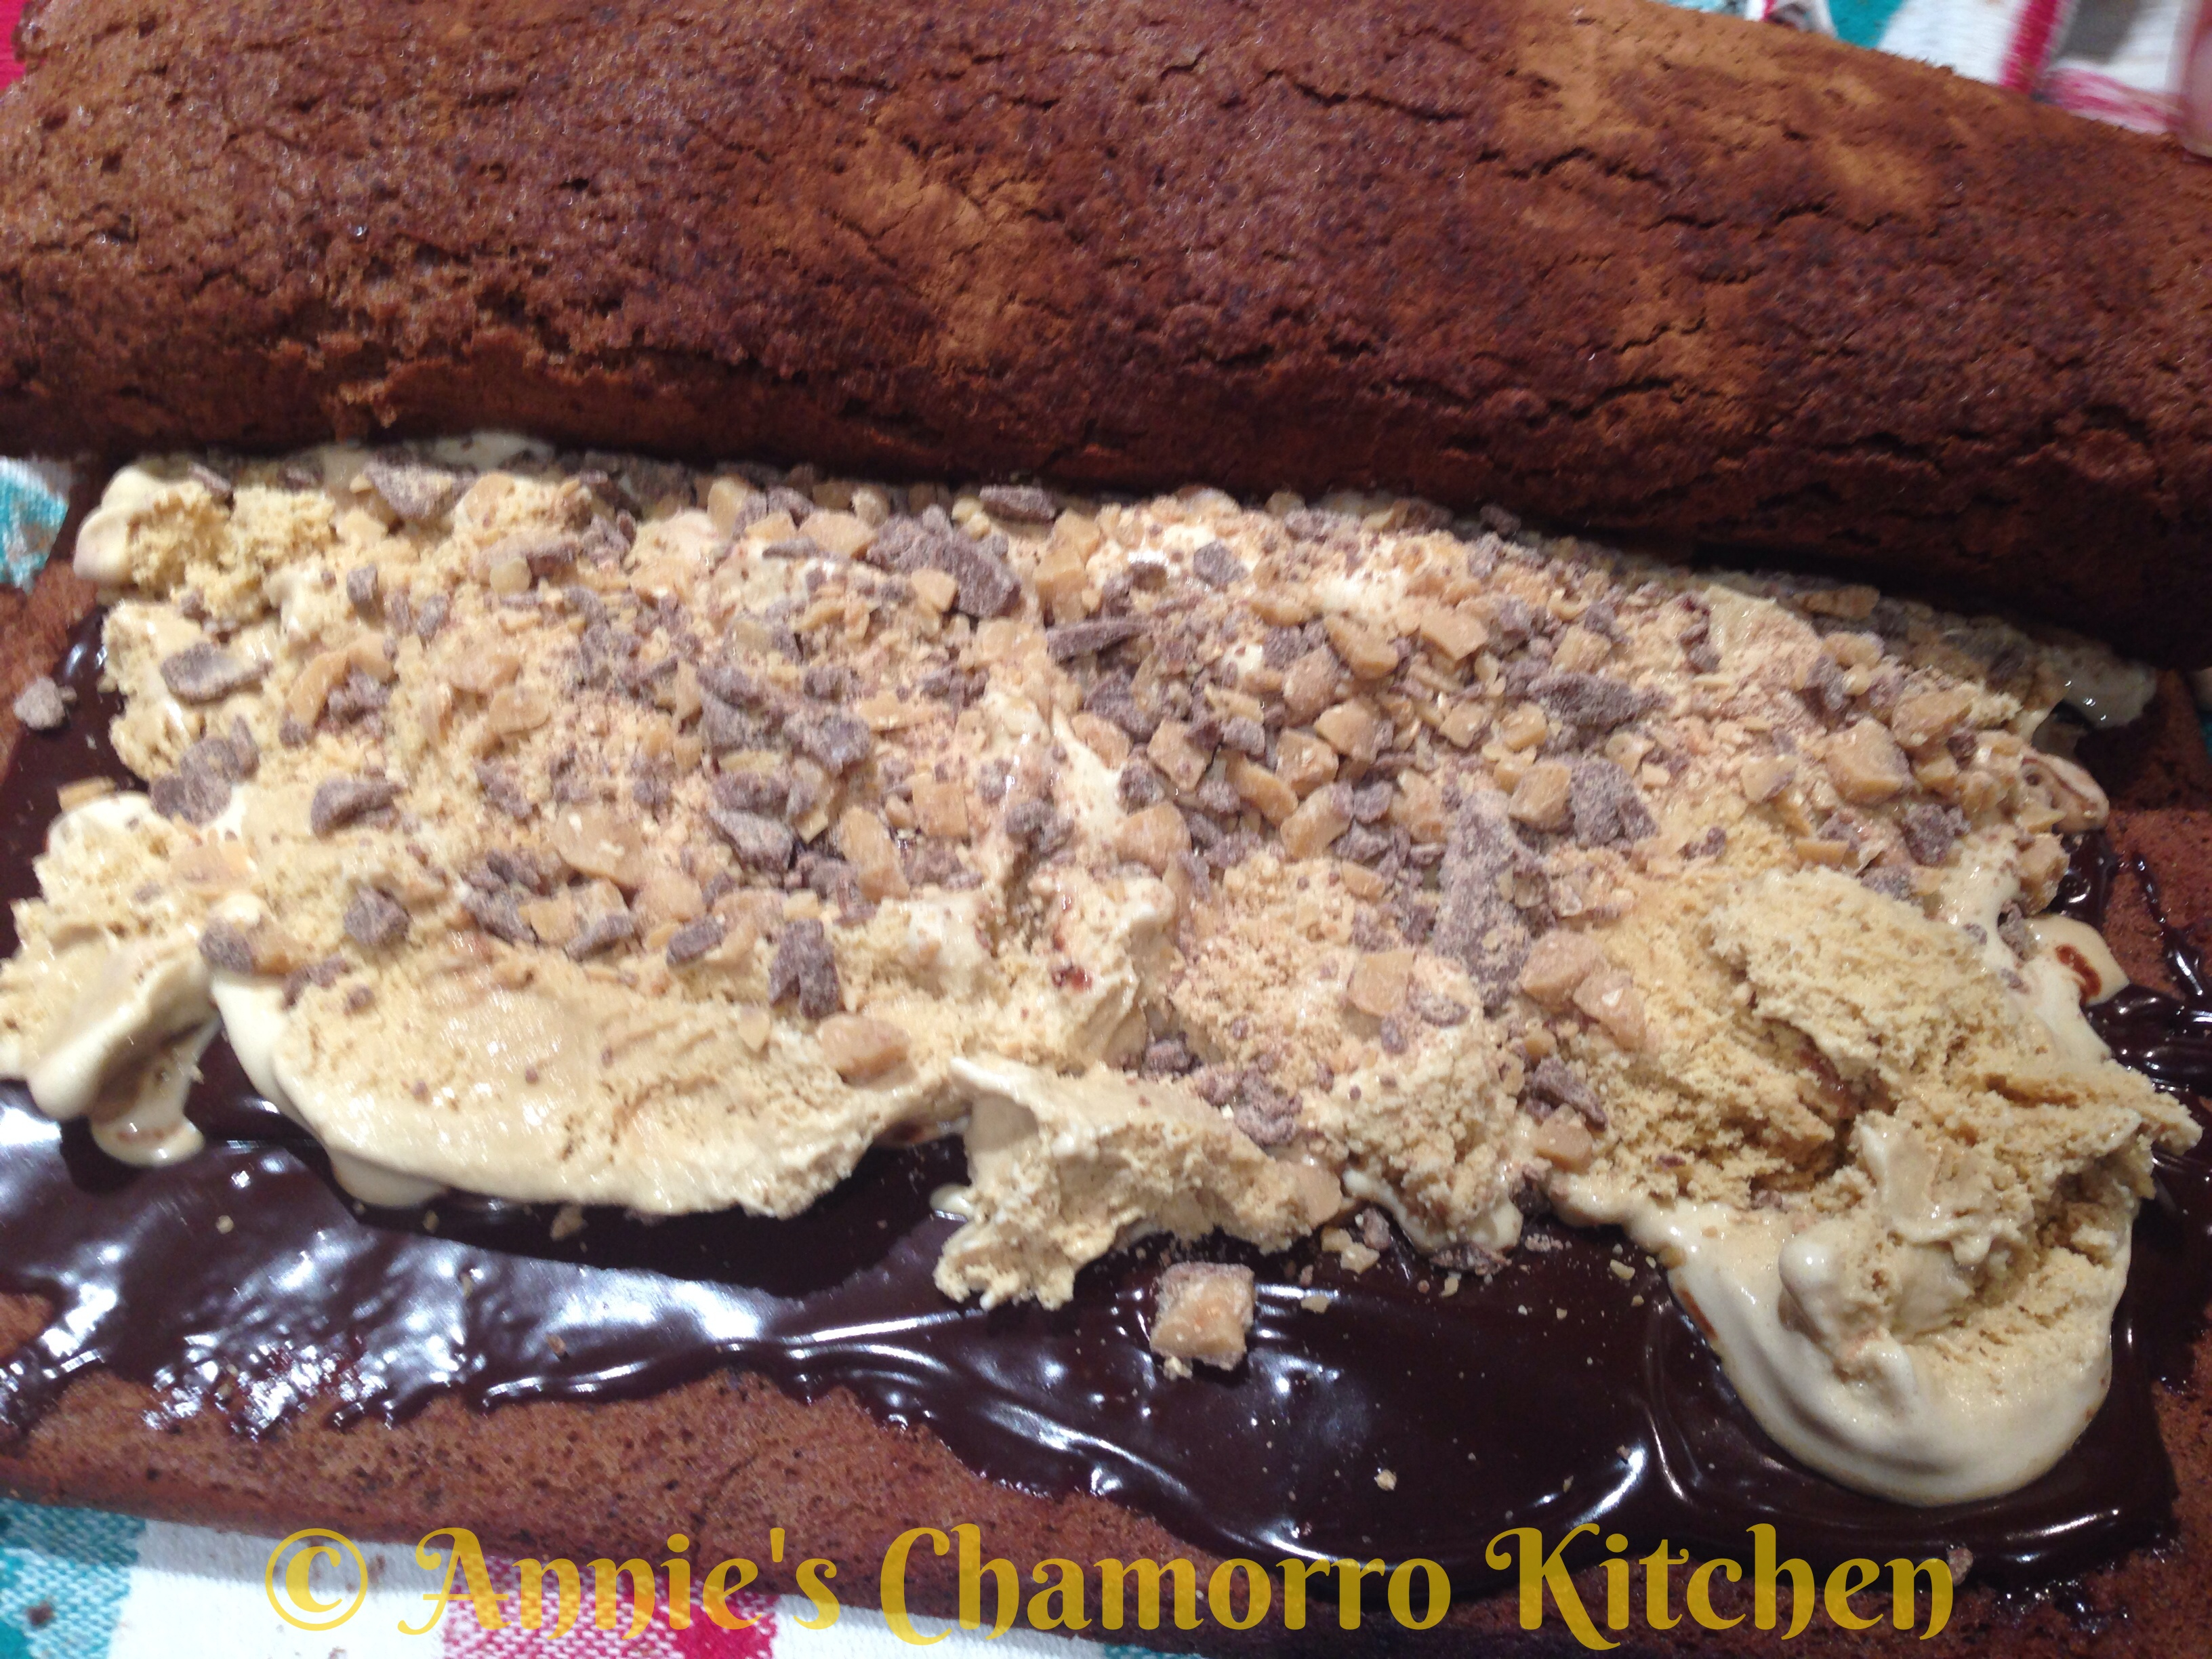
16.  Re-roll the cake, jell-roll style, starting from the short edge.  Be careful not to squeeze too tightly or all of the ice cream and chocolate ganache will ooze out of the cake.

Chocolate Ice Cream Cake - 78

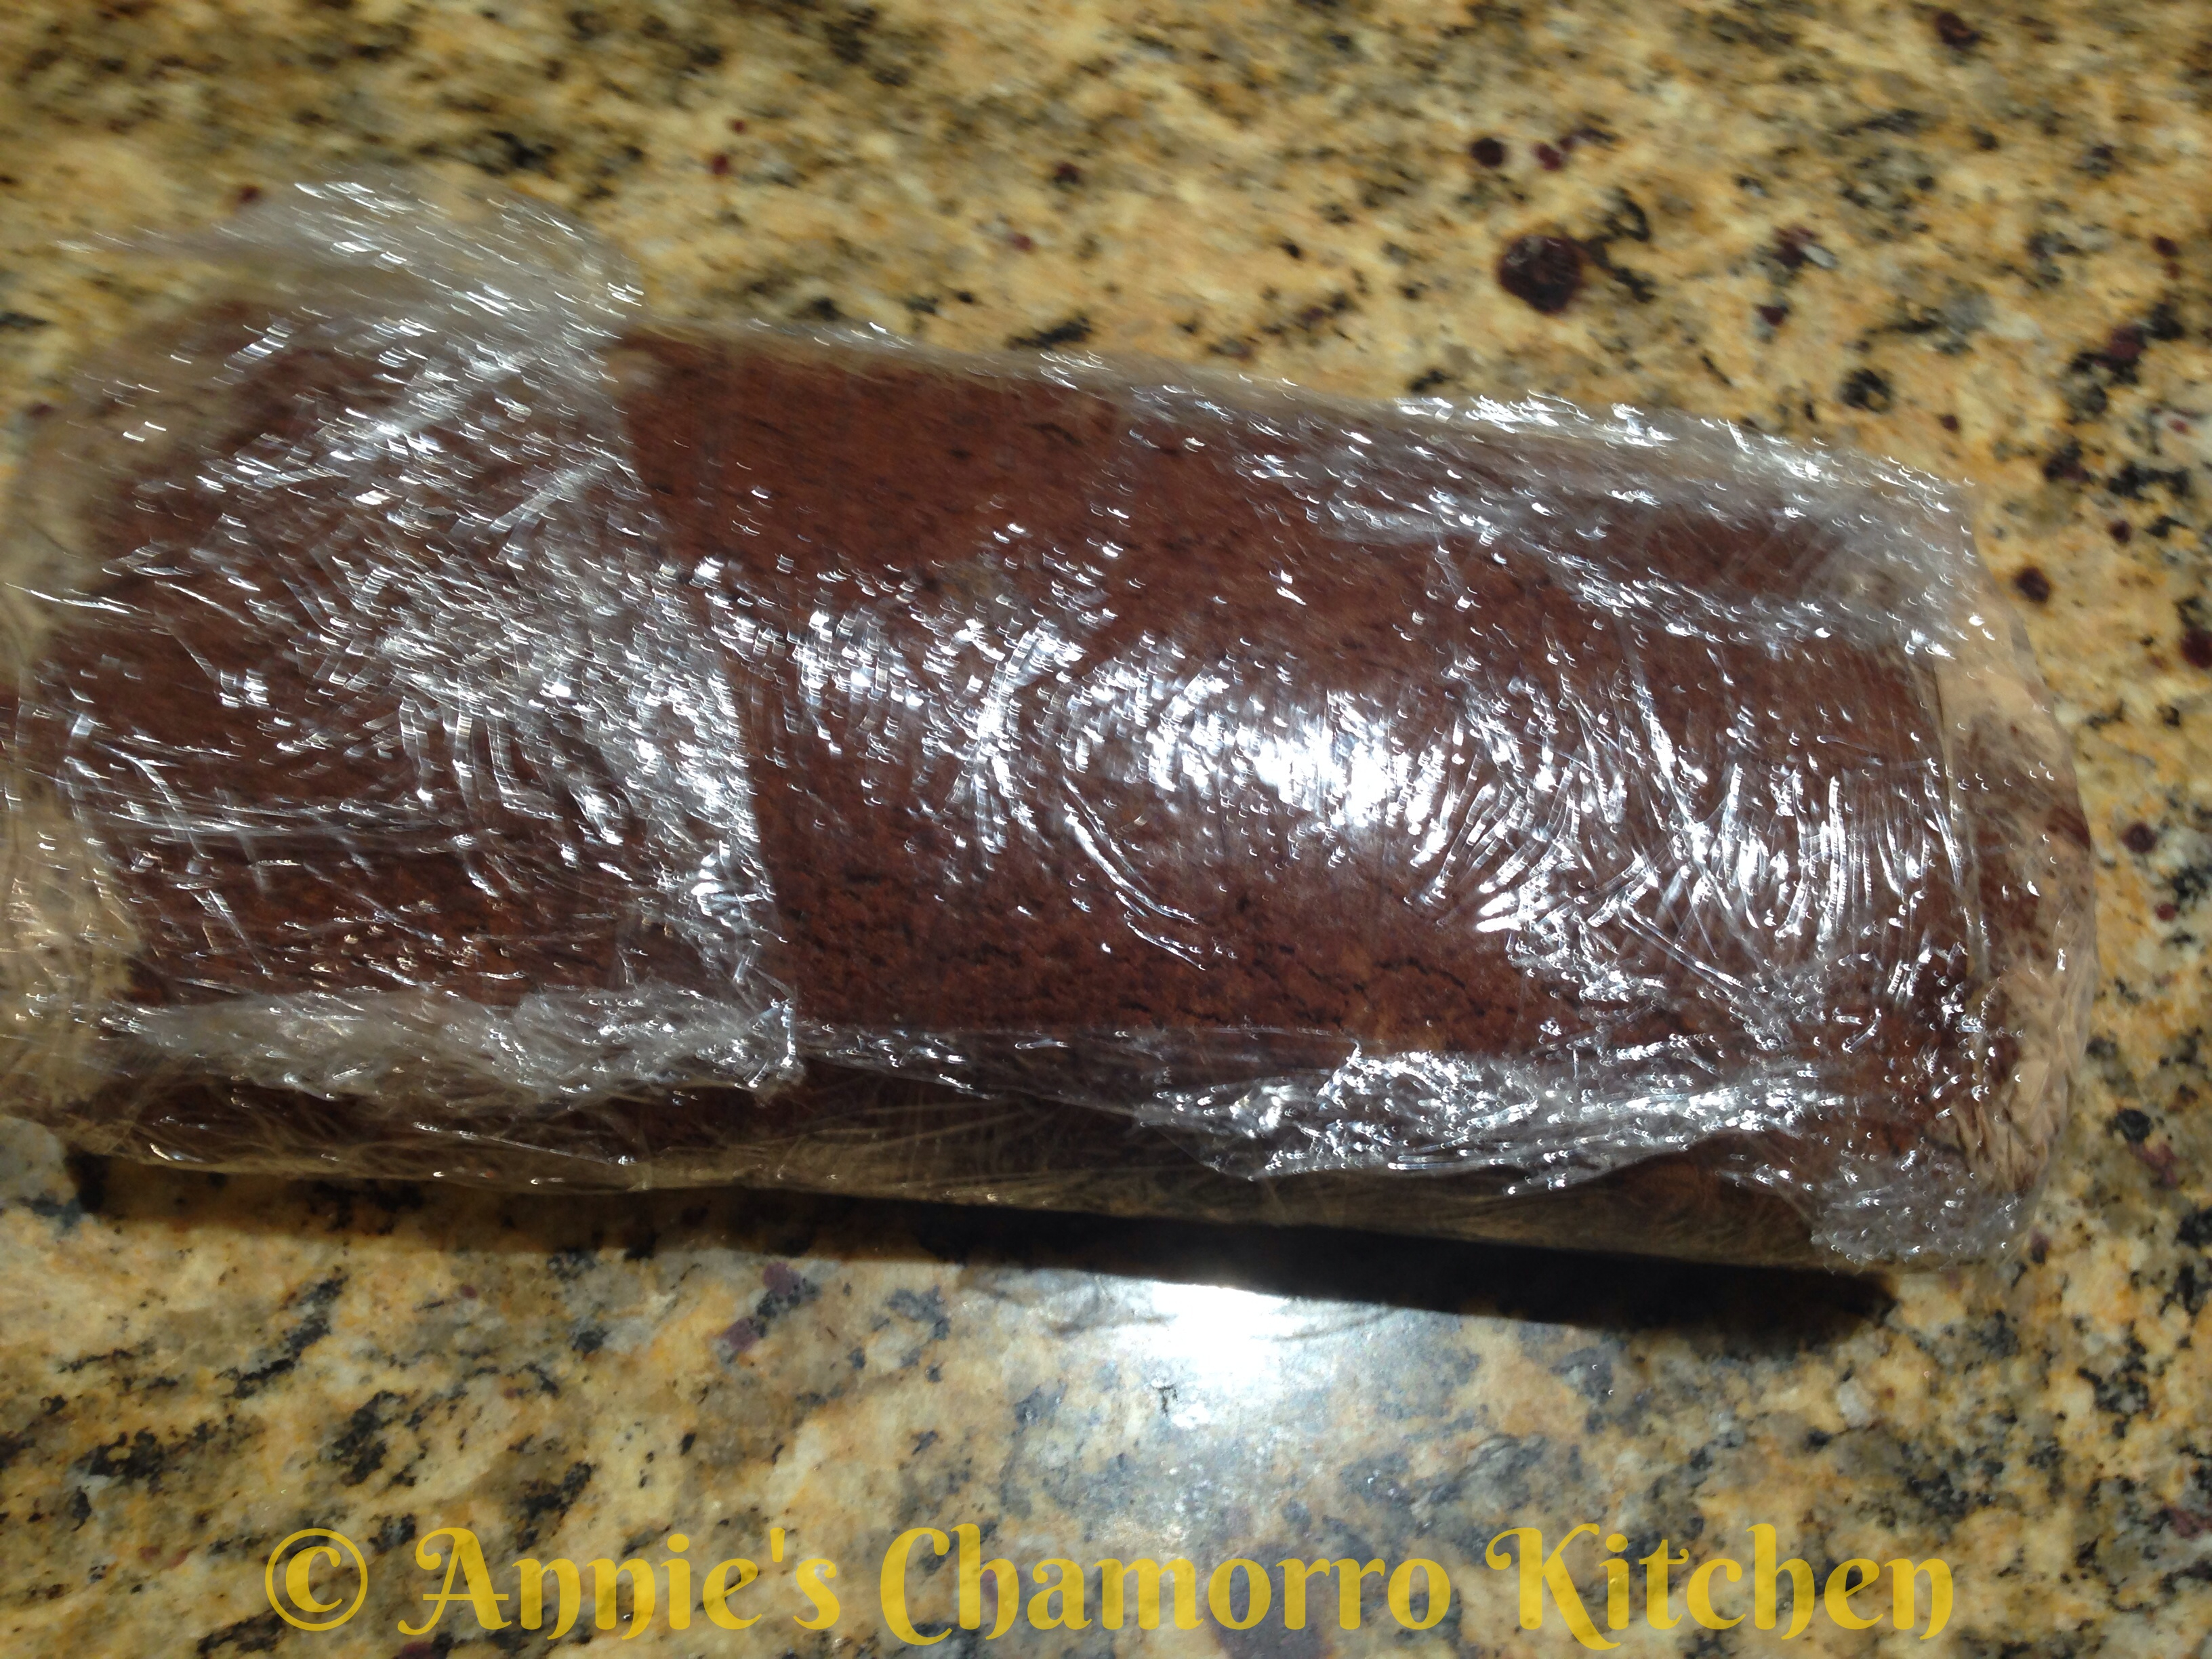
17.  Tightly wrap the rolled cake with plastic wrap.  Place in the freezer and freeze until the ice cream firms up.

Chocolate Ice Cream Cake - 80

18.  To finish the cake, prepare more ganache using the remaining half-and-half and semisweet chocolate chips.  Once again, heat the half-and-half in the microwave for a minute.  Add the semisweet chocolate chips to the hot half-and-half, whisking until smooth and creamy.  Pour the ganache over the cake.  Sprinkle with the remaining 1/2 cup of toffee bits.

10372293_700854569971366_398318341041389409_n

19.  Slice the cake, serve and ENJOY! 😀

Chocolate Ice Cream Cake - 82


Print Friendly, PDF & Email

Berry-licious Blueberry Muffins

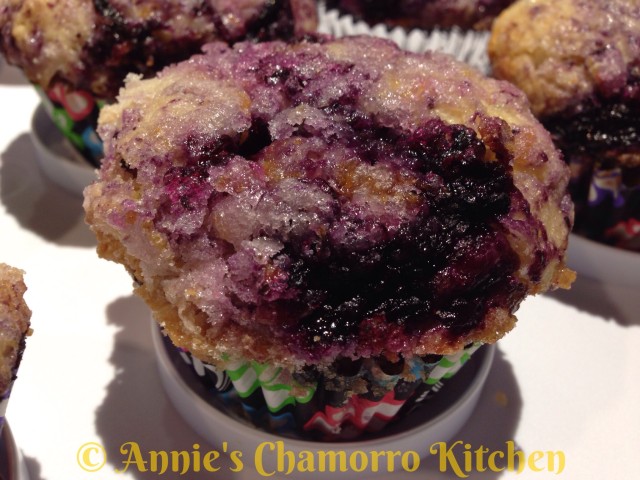
I love blueberry muffins, but I absolutely hate the packaged blueberry muffin mix which turns the batter a bluish-purple after you add canned (and tiny) blueberries.

Blueberries are my favorite when it comes to fruit muffins, but you can easily make this into a loaded berry muffin by mixing you favorite berries — a combination of raspberries, cranberries, and of course, blueberries are delicious too.

I use frozen berries for this recipe. While fresh berries are delicious, frozen sweet berries are always available and “in season.”

I also top these muffins with a sweet mixture of lemon zest and sugar. The perfumy, aromatic oils in the lemon zest gives these muffins a hint of lemon flavor that compliments the berries so well.

This recipe makes a little more than a dozen muffins. You’ll have just a bit of batter leftover after filing the muffin tin. Make mini loaves or use a second muffin tin to use up the extra batter.

Berry-licious Blueberry Muffins

image

Ingredients for the Muffins:

  • 2 1/2 cups all-purpose flour
  • 2 1/2 teaspoons baking powder
  • 1 teaspoon salt
  • 2 tablespoons dry Buttermilk Powder (you can find this in the baking section of your grocery store)
  • 2 large eggs
  • 1 cup plus 2 tablespoons white, granulated sugar
  • 1 stick unsalted butter, melted
  • 1/4 cup vegetable oil
  • 1 cup water
  • 1 1/2 teaspoons vanilla extract
  • 2 cups frozen blueberries

Ingredients for the Topping:

  • 1 cup frozen blueberries plus 1 teaspoon white, granulated sugar
  • The zest of one large lemon plus 1/2 cup white, granulated sugar

Directions:

Make the toppings:

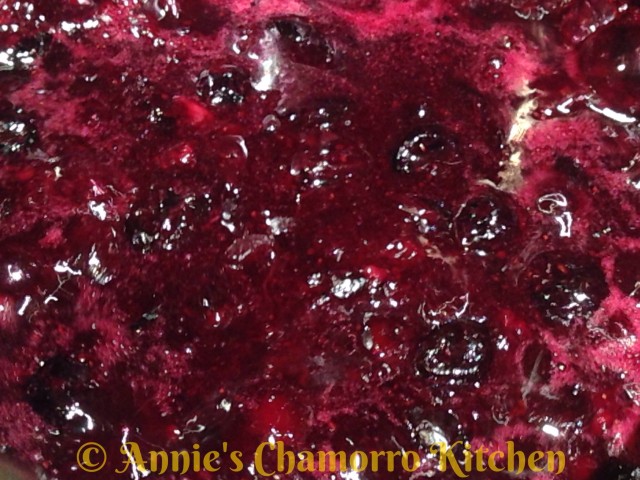
1. Make a blueberry sauce by placing 1 cup of frozen blueberries with 1 teaspoon sugar in a small saucepan over medium heat. Bring the berries to a simmer. As the berries begin to soften, use the back of a cooking spoon to slightly mash the berries. Cook the mixture for about 5-8 minutes, or until the sauce reduces and thickens. Remove the pan from the heat and set aside.

image

image

2. In a small bowl, mix the lemon zest and 1/2 cup sugar together. Set aside.

When you zest the lemon, make sure to get only the yellow lemon rind, not the white pith. After zesting the lemon, chop the zest into smaller pieces then mix with the sugar.

image

image

Mix the batter:

1. Pre-heat the oven to 425 degrees. Spray a muffin tin with baking spray or non-stick (butter flavored) cooking spray. Or, line each cup with a muffin liner.

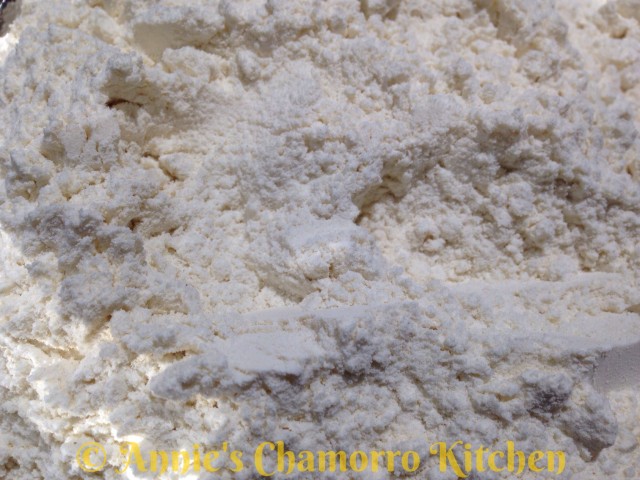
2. In a large mixing bowl, mix together the dry ingredients (flour, baking powder, salt, buttermilk powder).

image

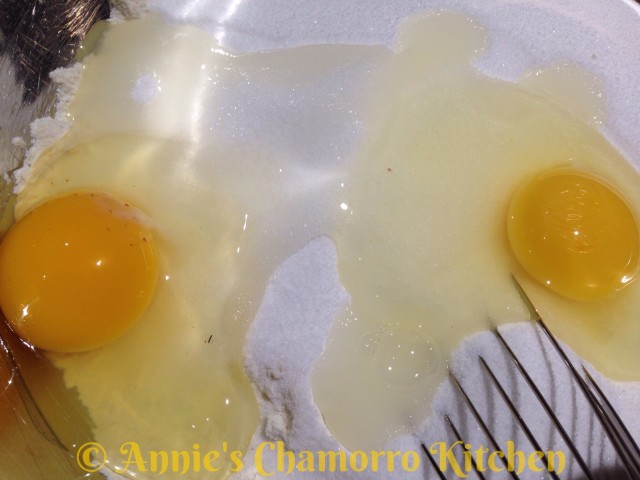
3. In another mixing bowl, place the eggs and sugar. Using a hand mixer on medium speed, beat the eggs and sugar until creamy. Mix in the butter, oil, water and vanilla extract.

image

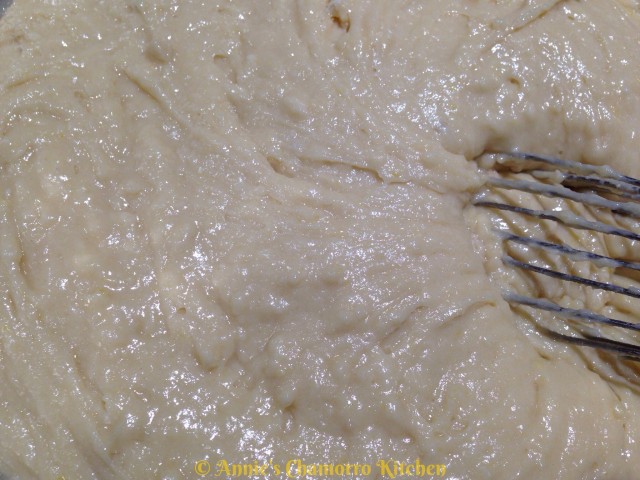
4. Mix the wet ingredients with the dry ingredients, mixing only until the batter is moistened (a few lumps are okay). Do not overmix.

image

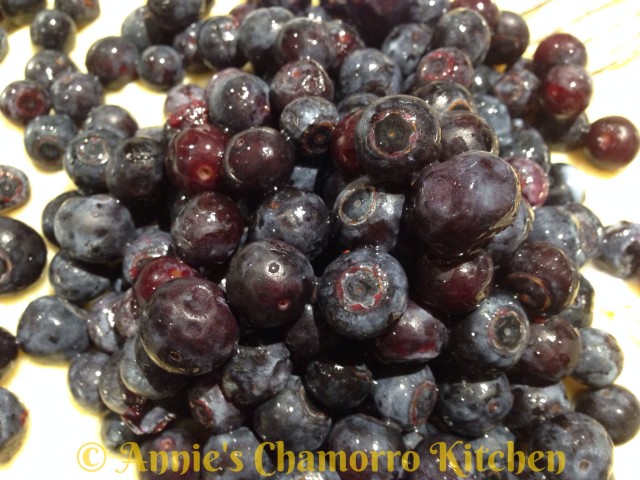
5. Fold in the blueberries.

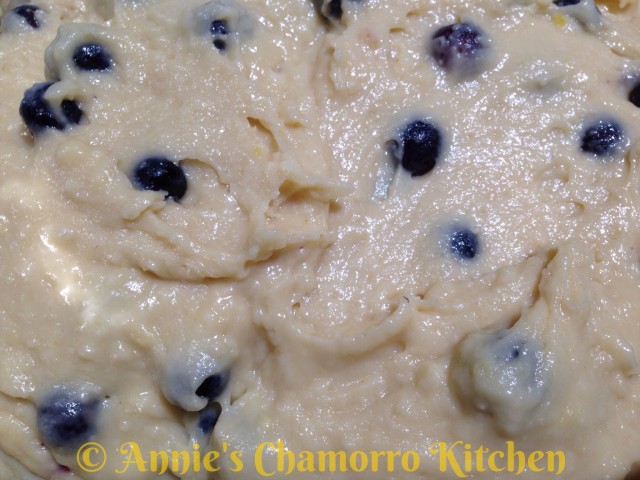
image

image

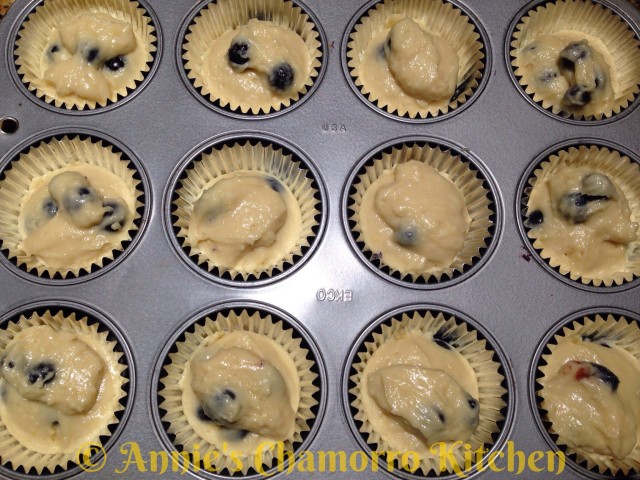
6. Fill each muffin cup 3/4 full. These muffins really rise high, so don’t overfill each muffin cup.

image

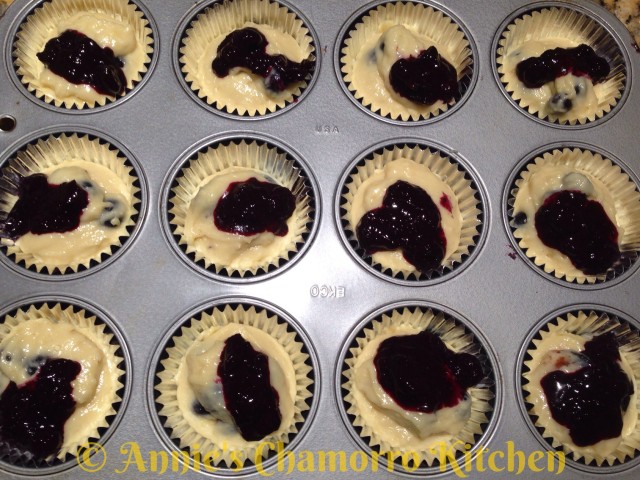
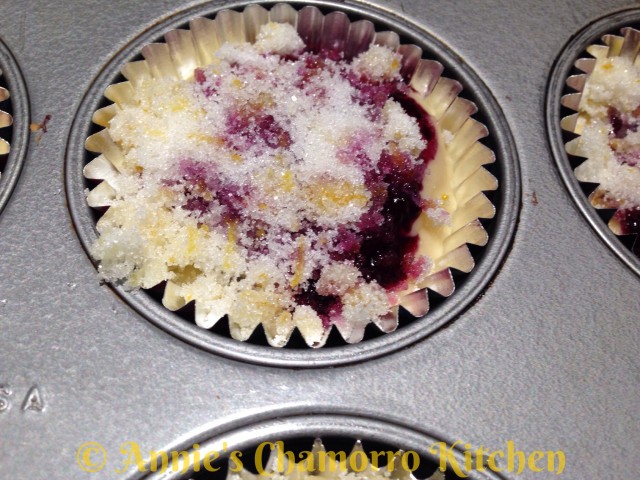
7. Place a heaping teaspoonful of the blueberry sauce on top of the batter in each muffin cup.

image

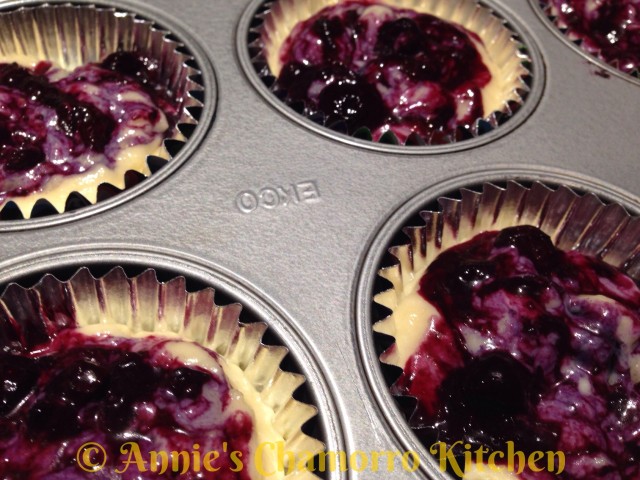
8. Using the handle of a spoon (a chopstick works really well here), swirl the blueberry sauce into the batter.

image

9. Evenly sprinkle the lemon-sugar mixture over each muffin.

image

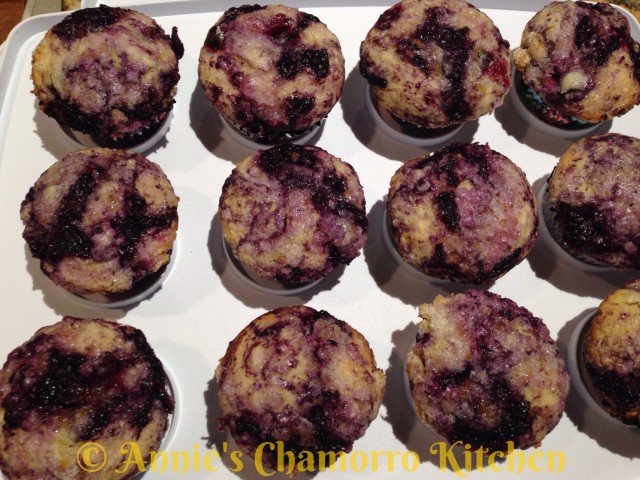
10. Bake at 425 degrees for 18-20 minutes or until golden brown. A toothpick inserted into the center should come out clean (a few crumbs sticking to the toothpick is okay). Let the muffins cool in the tin for 5 minutes then transfer to a wire rack to finish cooling.

image

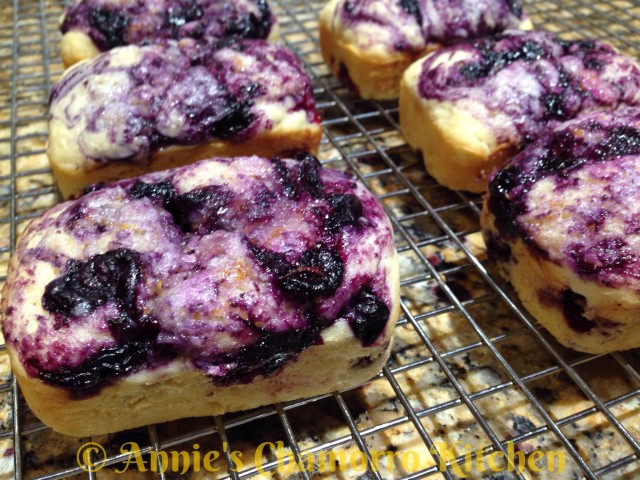
If you have a mini loaf pan, you can make mini loaves with the extra muffin batter. You should have enough batter left (after filling the muffin tin) to make 3 mini loaves. I doubled this recipe so I made 6 mini loaves with the extra batter (after filling 2 muffin tins).

image

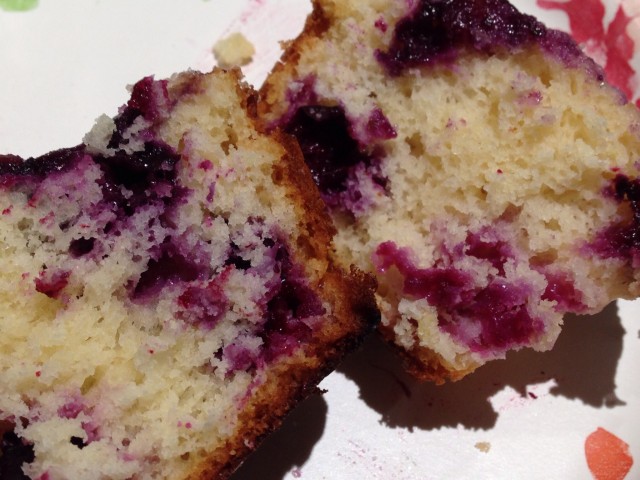
Serve and ENJOY!

image

image

Print Friendly, PDF & Email

Loaded Carrot Cake with a Kick

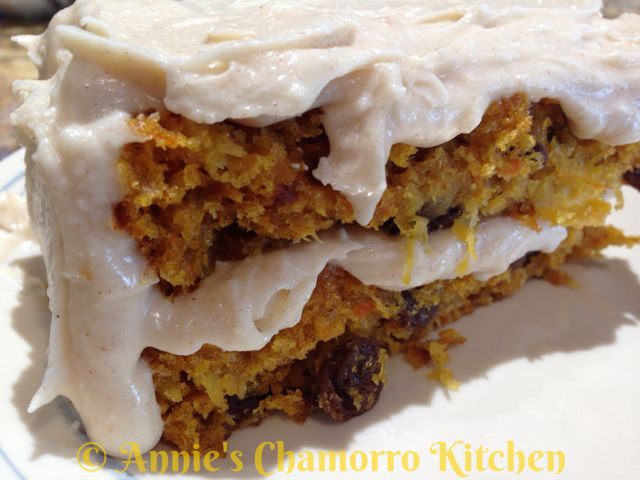
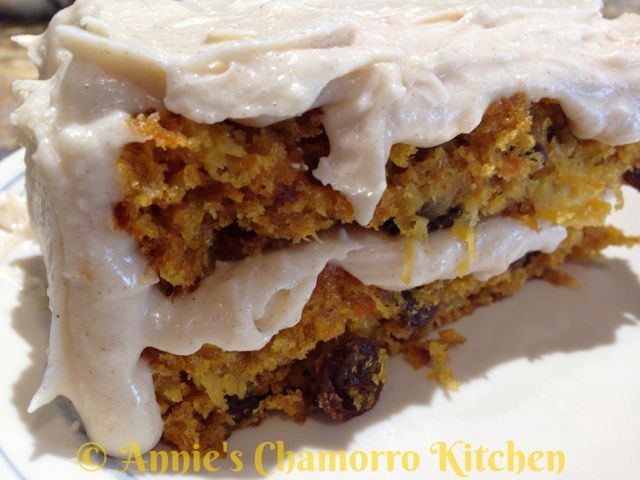
Carrot cake is one of my favorite cakes. I like it plain with no frosting–this cake is that good–but it’s really delicious with a rich cream cheese frosting, or, try it Chamorro-style and top it with Latiya (find my recipe here).

I call this “loaded carrot cake” because it’s chock full of raisins, walnuts and crushed pineapples (which makes it so moist). The raisins and walnuts are optional, but this cake tastes so delicious if you add them, especially if you add that “kick.” I’ll tell you about that later. 😉

Give my recipe a try. I think you’ll like it. 🙂

Loaded Carrot Cake with a Kick

Last Import - 82

Ingredients:

  • 1 3/4 cups all-purpose flour
  • 1 teaspoon baking soda
  • 2 teaspoons baking powder
  • 2 teaspoons cinnamon
  • 1 teaspoon salt
  • 1 3/4 cups brown sugar, firmly packed
  • 1 cup vegetable oil
  • 3 large eggs
  • 1 teaspoon vanilla extract
  • 1 cup finely grated carrots (about 4 medium or 3 large carrots)
  • 1/2 cup canned crushed pineapple in juice, drained
  • 1 1/2 cups raisins plus 1/2 cup water (optional)
  • 1/2 cup chopped walnuts (optional)

Cream Cheese Frosting:

  • 8 ounces cream cheese, softened
  • 1 stick unsalted butter, softened
  • 1 teaspoon vanilla extract
  • 1 teaspoon cinnamon
  • 2 cups powdered sugar

Latiya:

  • 1 can (12 ounces) evaporated milk
  • 1/2 stick unsalted butter
  • 1 teaspoon vanilla extract
  • 1/4 cup sugar
  • 12 ounces water
  • 4 tablespoons corn starch
  • Cinnamon, for dusting

Directions:

1. Pre-heat your oven to 350 degrees. Line a 9 x 13-inch baking pan with parchment paper.

Last Import - 28

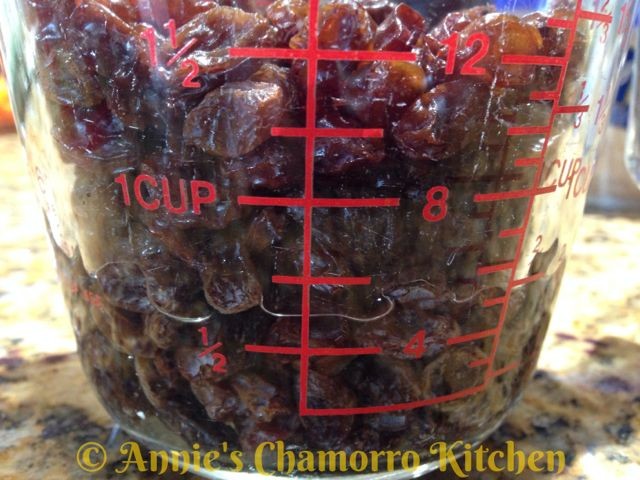
2. Place the raisins into a small bowl and cover it with water. Soak the raisins in the water while you make the batter. To give this cake a “kick,” soak the raisins in rum instead of water. 😉

Last Import - 04

3. In a small bowl, mix together the flour, baking soda, baking powder, cinnamon, and salt. Set aside.

Last Import - 14

4. In a separate and larger mixing bowl, mix together the brown sugar, vegetable oil, eggs, and vanilla extract.

Last Import - 10

Last Import - 12

5. Add the dry ingredients to the wet ingredients, a half cup at a time. Using a large mixing spoon or spatula, gently stir the mixture until the dry and wet ingredients combine (do not over mix; a few lumps are okay).

Last Import - 16

Last Import - 18

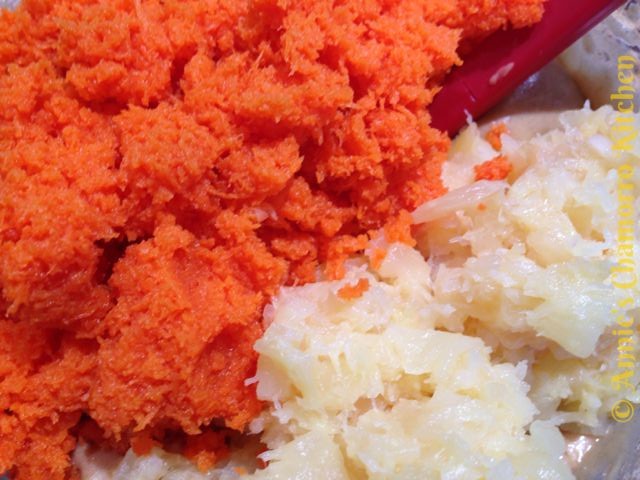
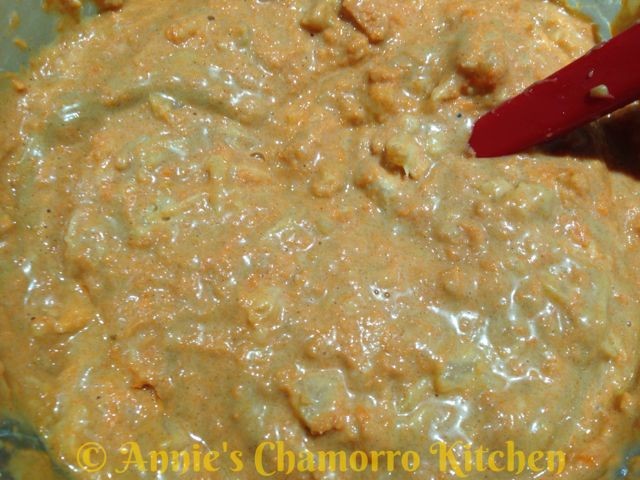
6. Stir in the crushed pineapple and grated carrots.

Last Import - 20

Last Import - 22

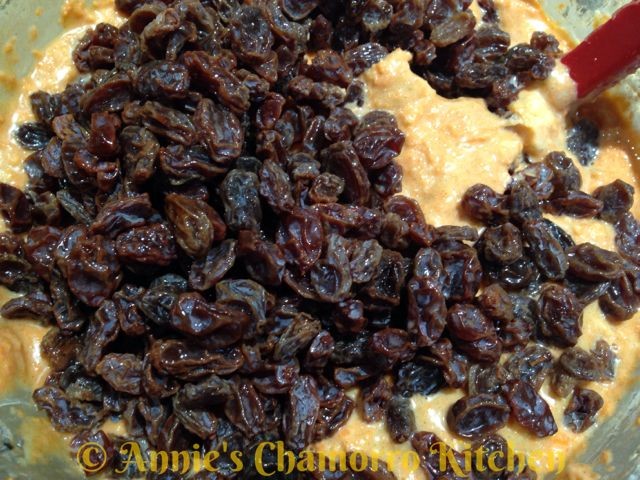
7. Drain out any liquid remaining in the bowl of raisins, then fold the raisins into the batter.

Last Import - 24

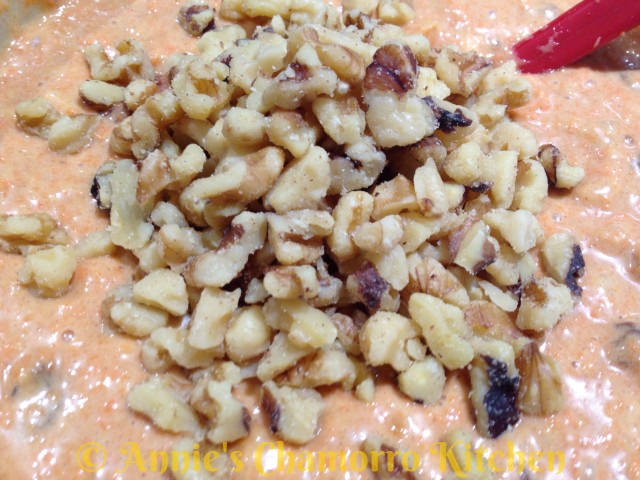
8. Fold the walnuts into the batter.

IMG_4047

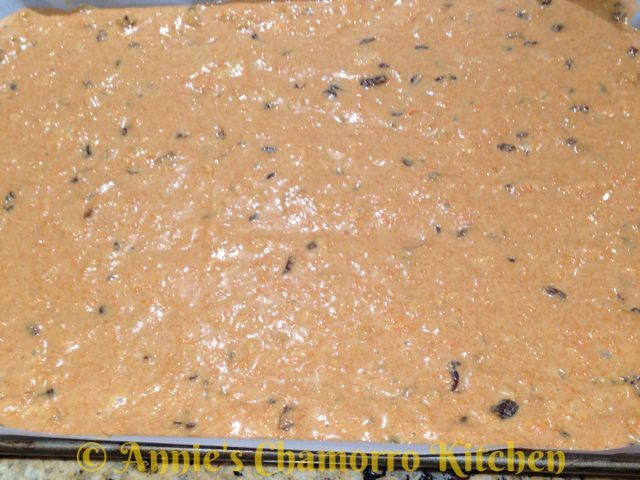
9. Pour the batter into the baking pan. Bake for 40 minutes or until a toothpick inserted into the center comes out clean. Let the cake cool in the pan for 10 minutes then run a butter knife around the sides to loosen it. Invert the cake onto a serving dish or cooling rack to let it finish cooling completely.

Last Import - 30

Cream Cheese Frosting:

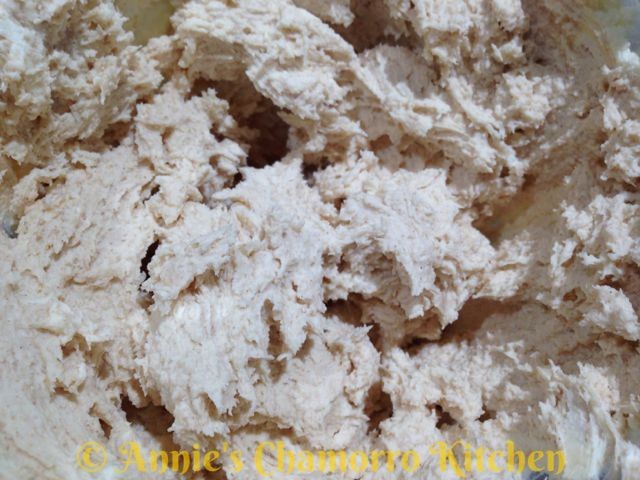
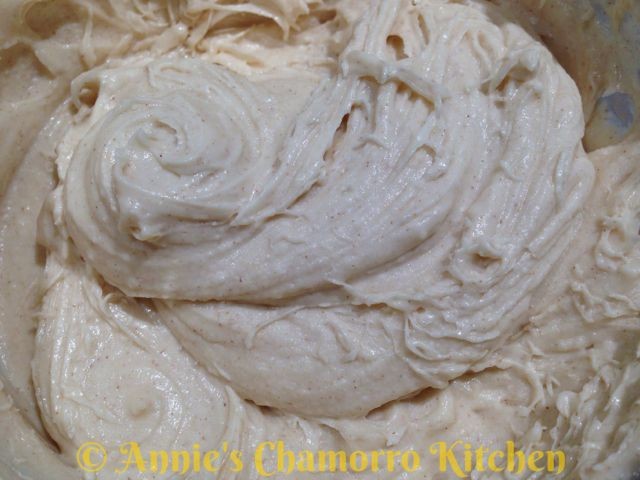
1. Using a hand mixer, beat the cream cheese, butter, and vanilla extract until fluffy.

Last Import - 42

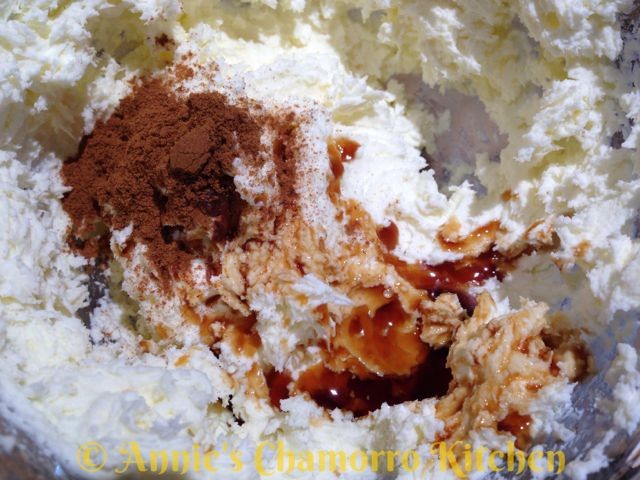
2. Add the cinnamon and half of the powdered sugar to the mixing bowl. Mix until smooth and creamy. Add the remaining powdered sugar; mix until creamy.

Last Import - 36 Last Import - 46

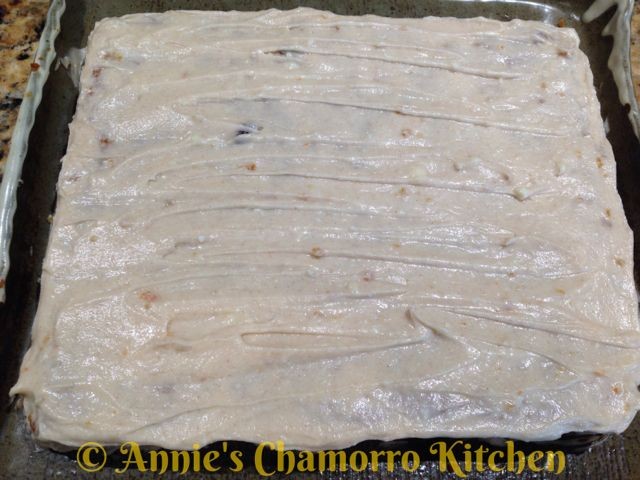
3. After the cake is completely cooled, top with cream cheese frosting (or latiya).

Serve and ENJOY!

Last Import - 54 Last Import - 82

Latiya:

Last Import - 62

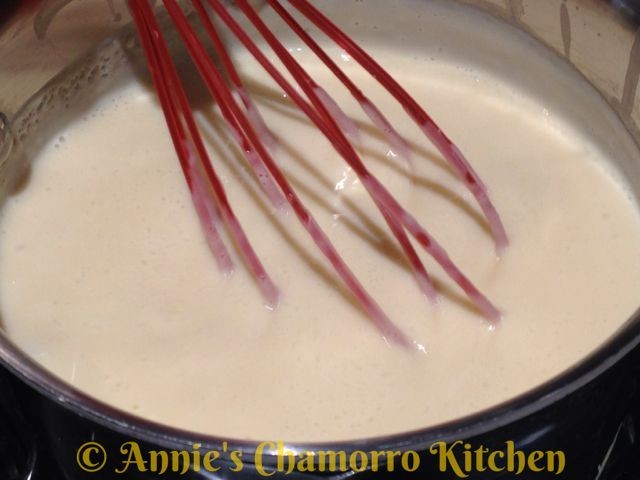
1. In a small sauce pan over medium heat, place the milk, butter, vanilla extract and sugar.  Whisk the ingredients together until the butter melts.

2. Mix the water and corn starch together.  Once the butter melts, pour the corn starch mixture into the pan.  Continuously whisk the mixture until it comes to a boil.

3. Cook the mixture for another minute after it comes to a boil, whisking constantly to prevent lumps.

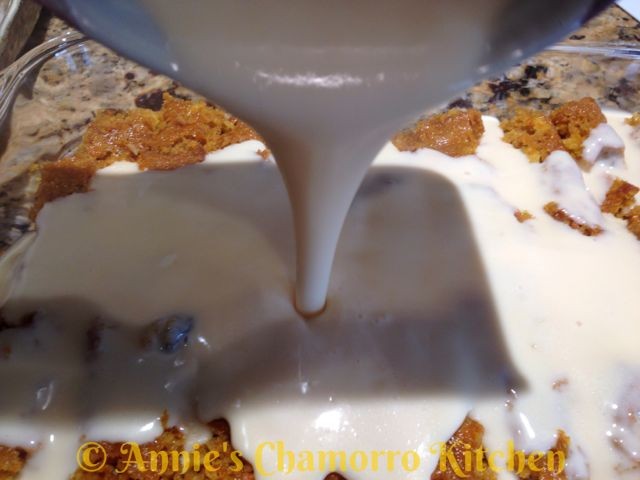
4.  Pour the hot mixture over slices of carrot cake.  Sprinkle the top of the latiya with cinnamon.  Let the mixture cool at room temperature to allow the latiya to set.

Last Import - 70 Last Import - 76

Serve and ENJOY!

Print Friendly, PDF & Email

Easy Guava Cake

Guava Cake is a delicious Hawaiian dessert that is quickly becoming popular nationwide.  It’s traditionally made with chiffon cake, but my quick and easy recipe uses boxed cake mix.

I like using strawberry cake mix for my recipe–it amps up the guava flavor in my opinion.

Give my recipe a try.  I think you like it. 🙂

Easy Guava Cake
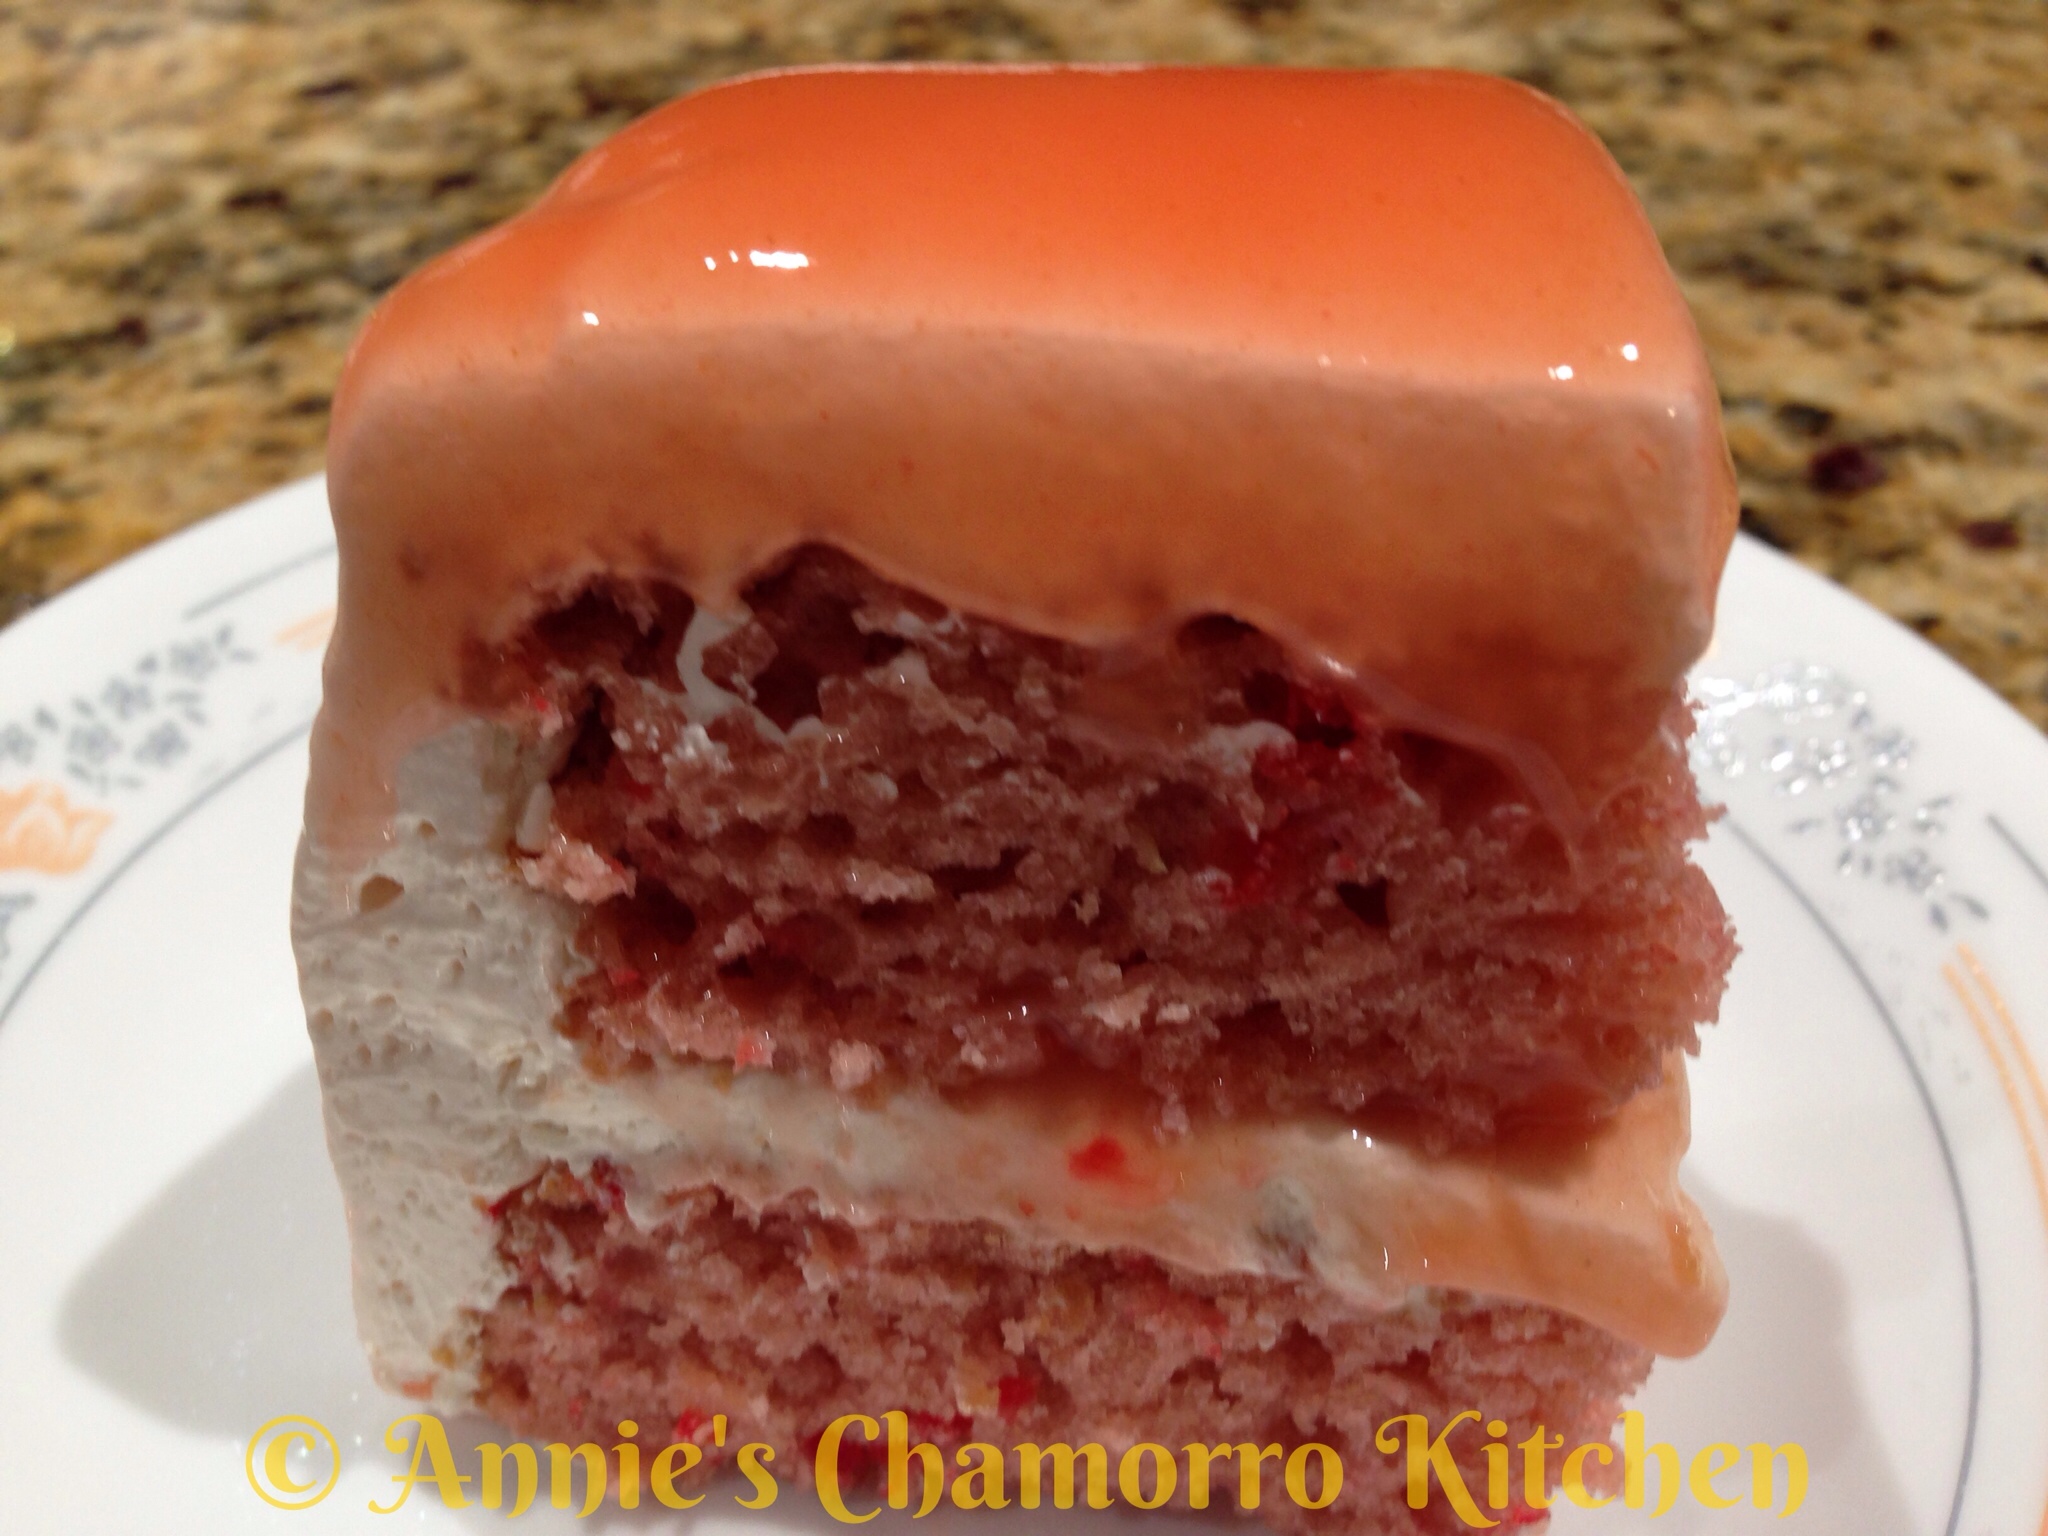
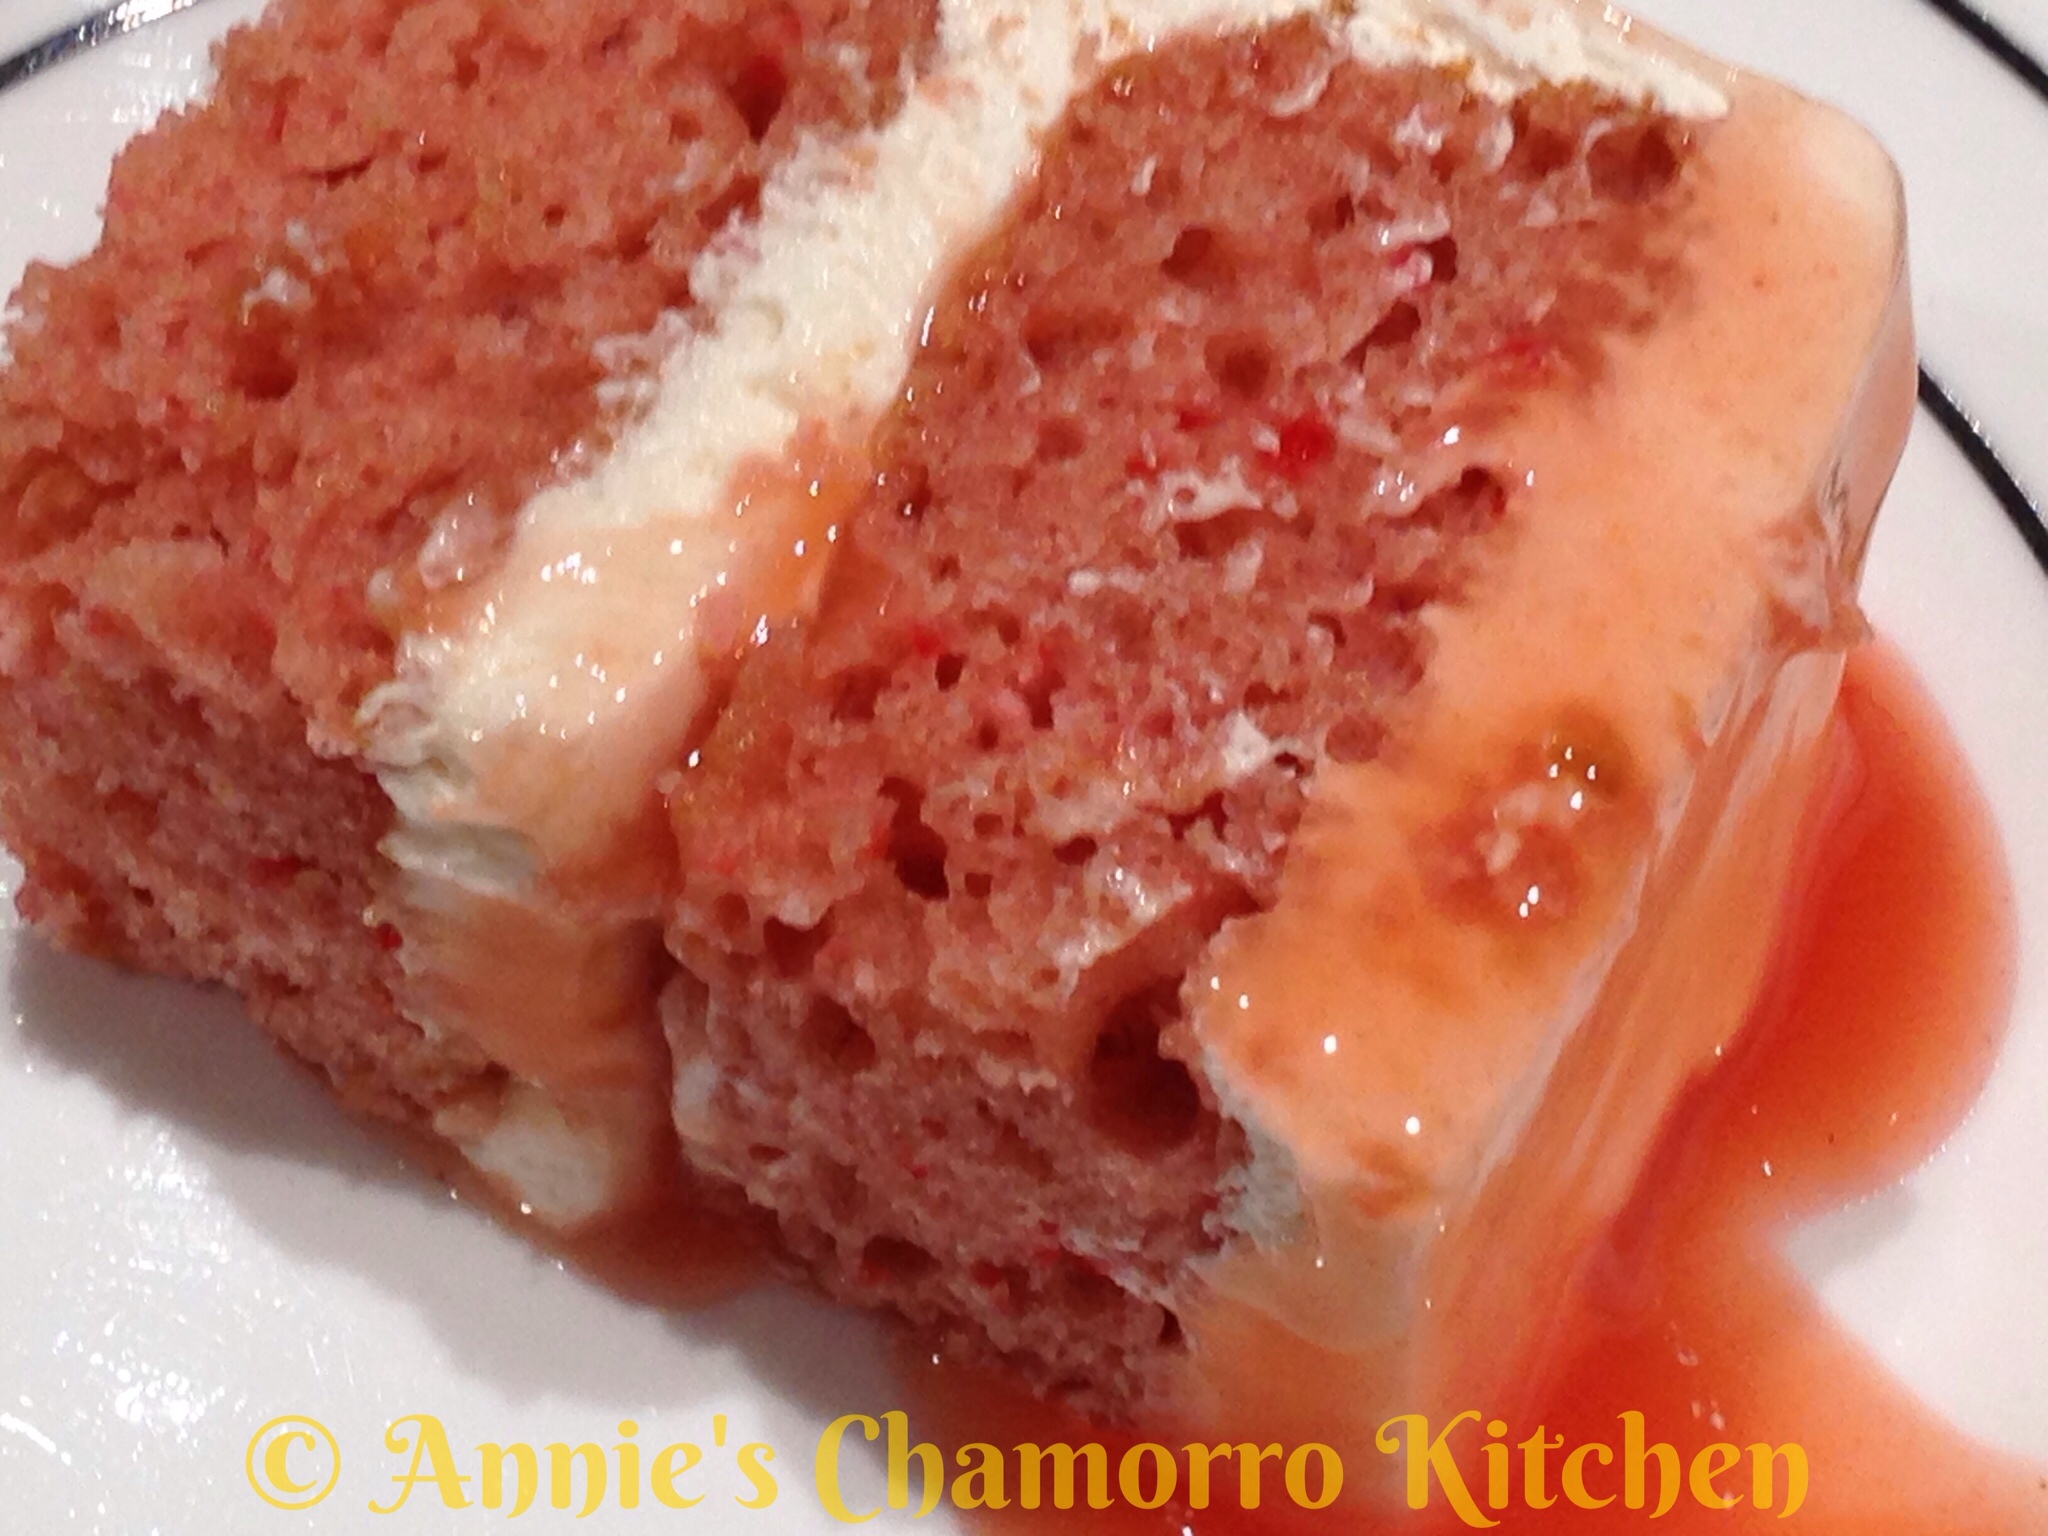
Ingredients:

  • 1 12-oz can frozen concentrated guava nectar
  • 1 1/2 cups water
  • 8 ounces cream cheese
  • 12 ounces Cool Whip
  • 1 box strawberry cake mix
  • 3 eggs
  • 1/3 cup vegetable oil
  • 2 tablespoons corn starch
  • 4 tablespoons water
  • Optional:  1 cup guava jelly

Directions:

1.  Prepare the Guava Juice.

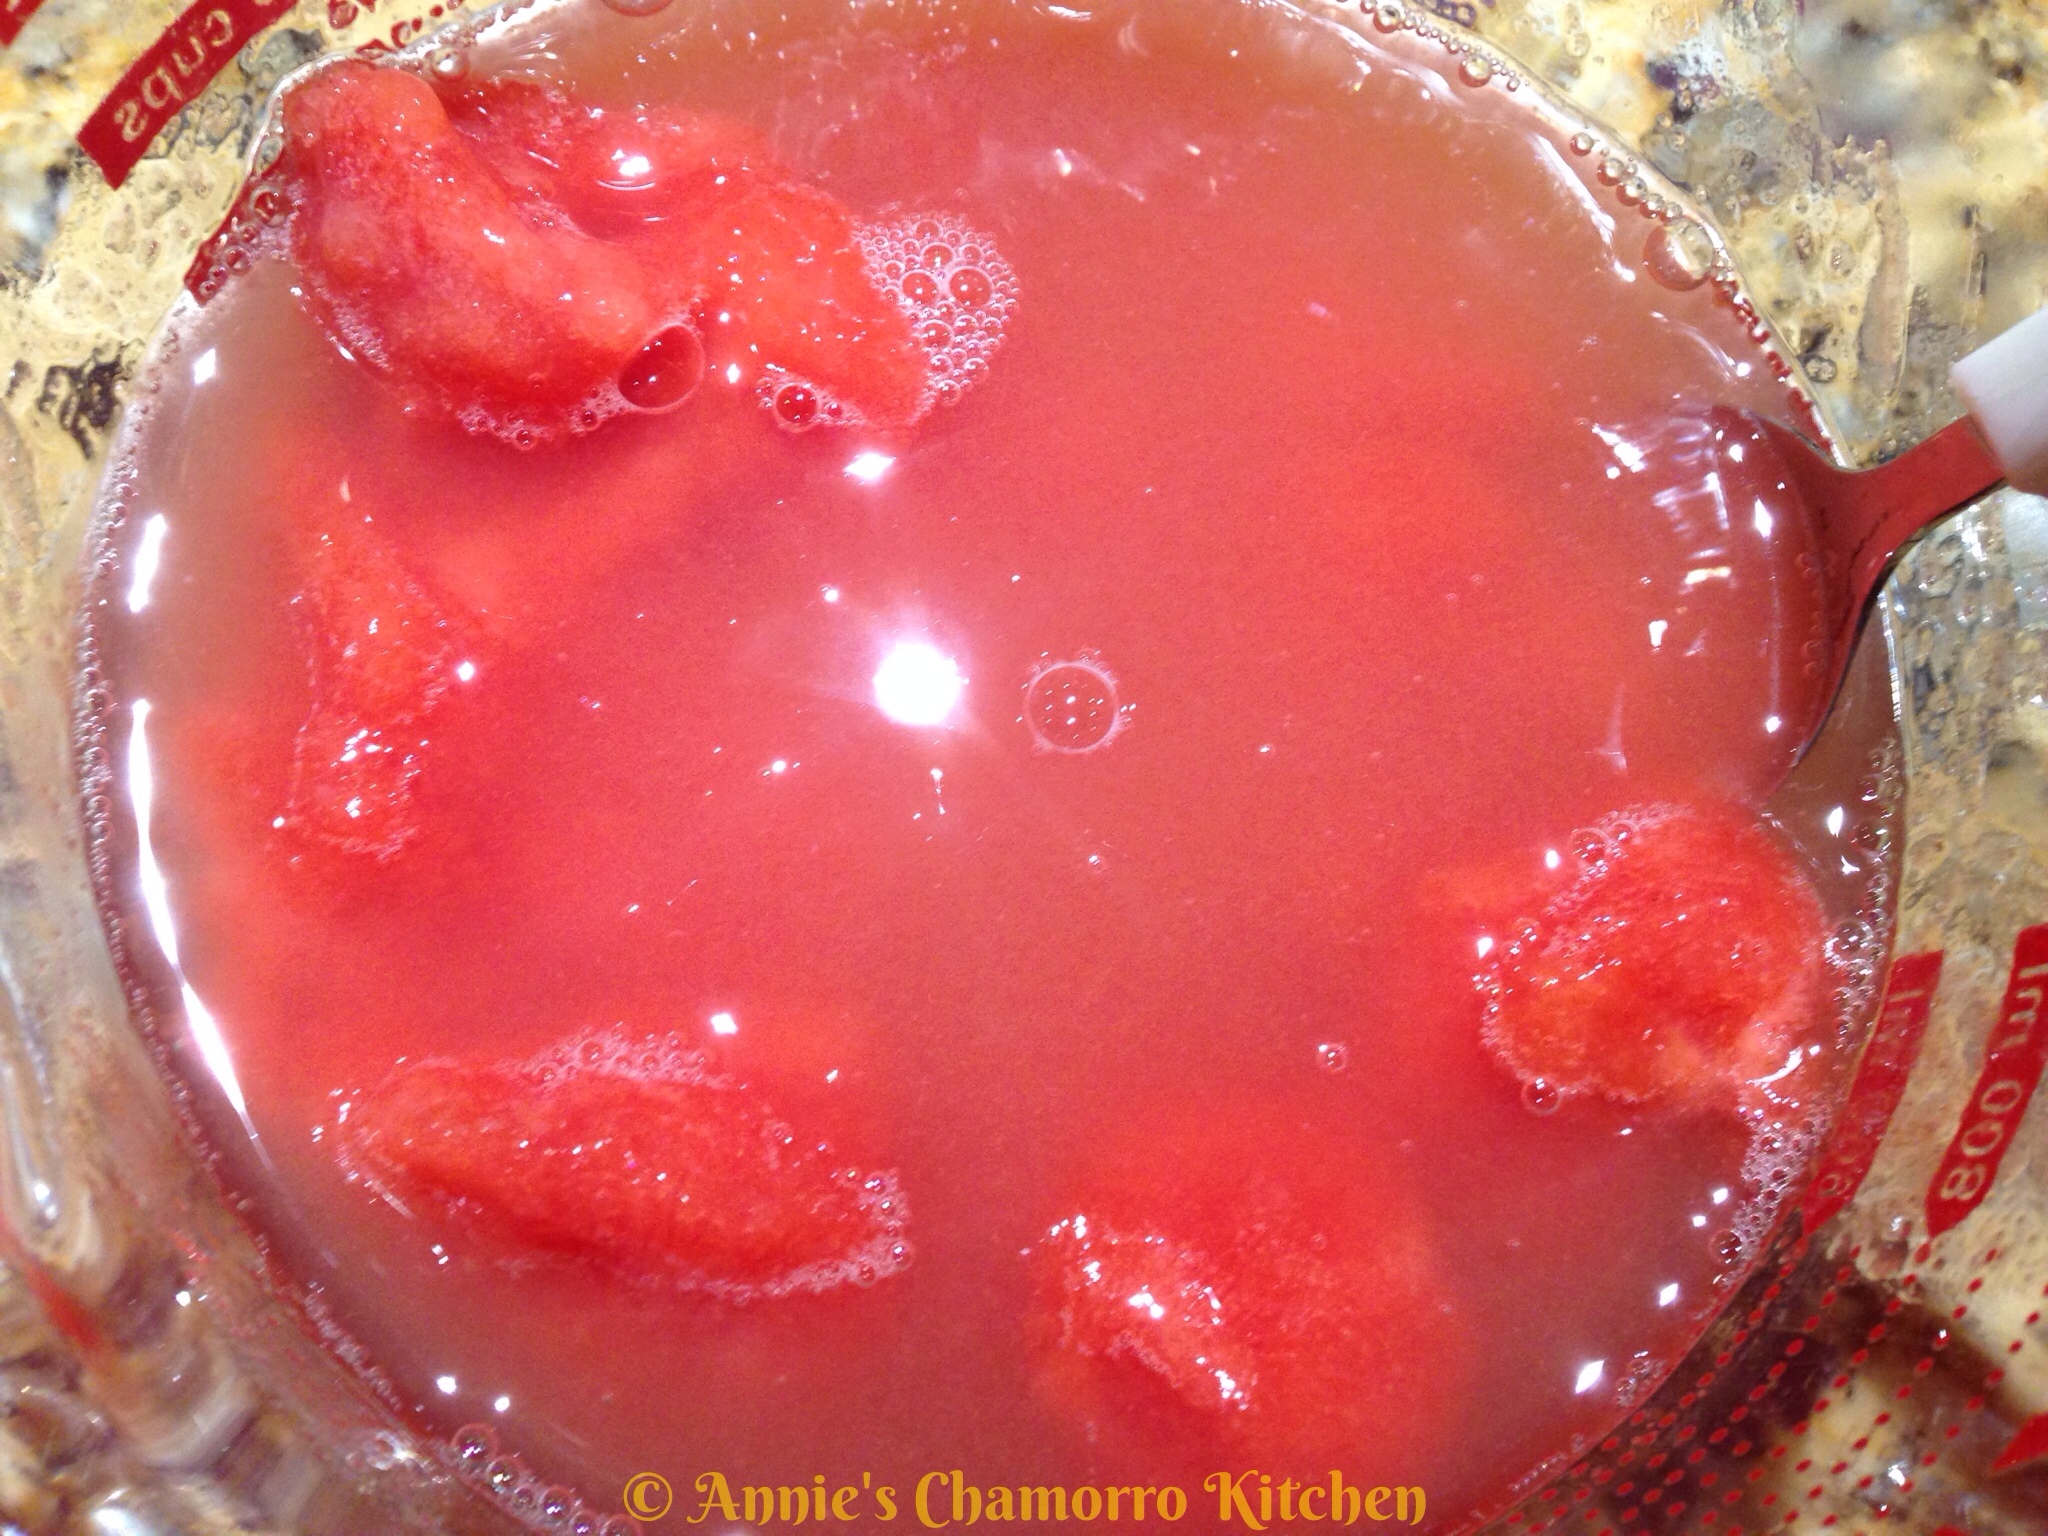
Empty the contents of the frozen concentrated guava nectar into a small bowl or measuring cup.
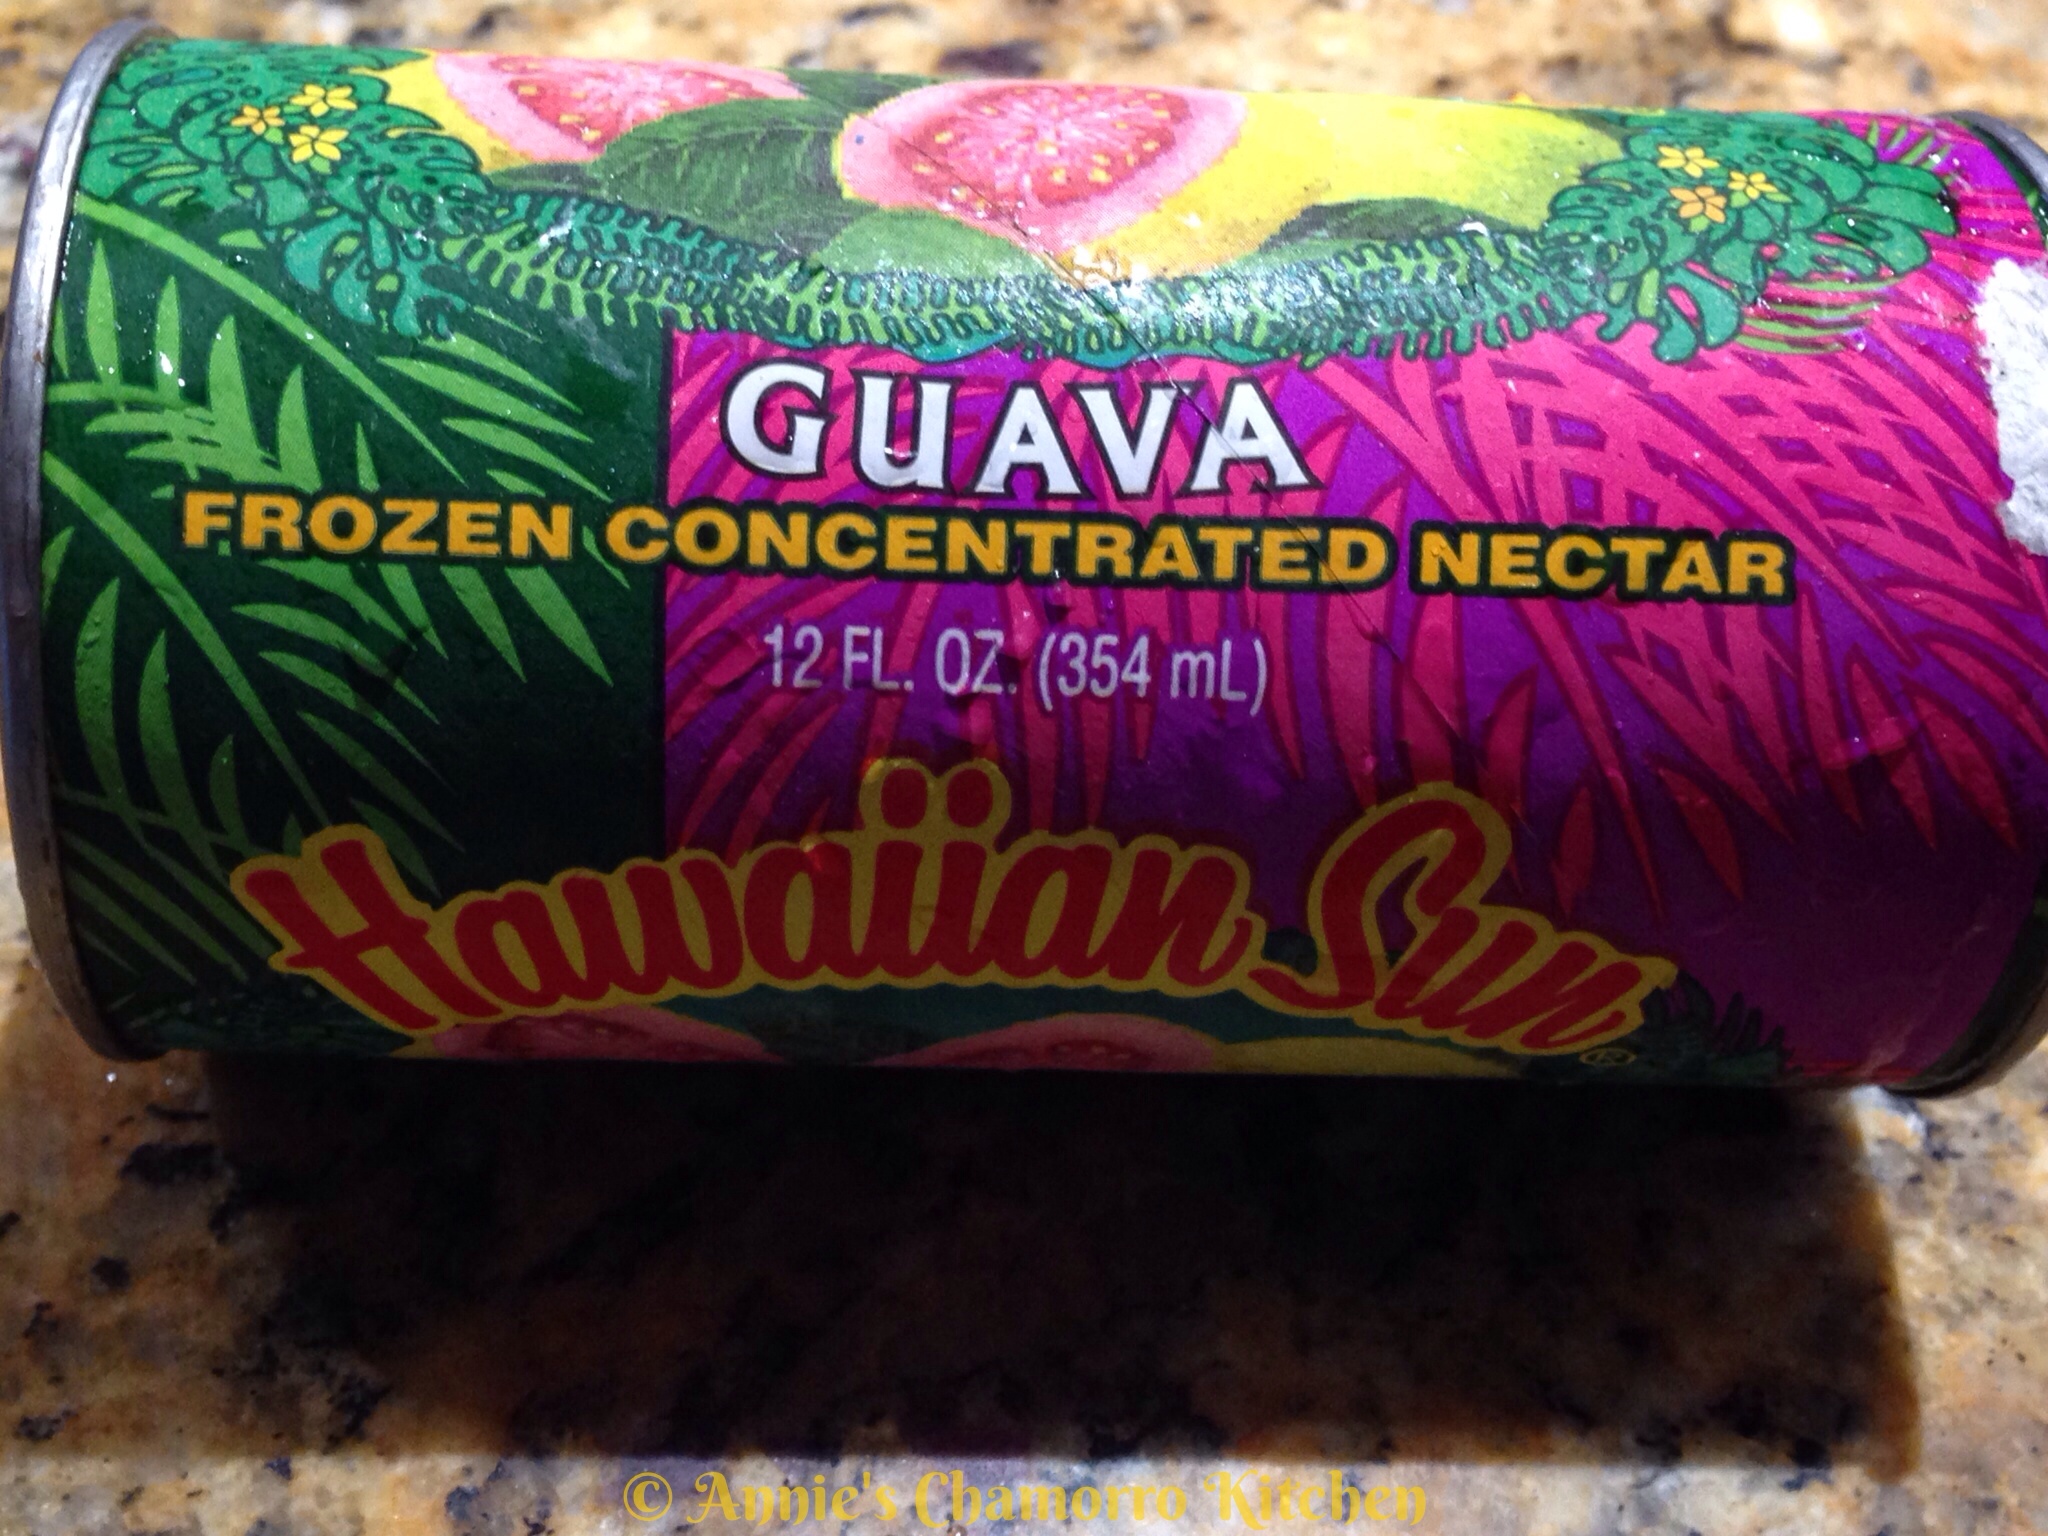
Remove 2 teaspoons of the concentrated nectar and place into a small mixing bowl.  Set this aside for now (you will use this when you make the frosting).

Add 1 1/2 cups of water to the remaining frozen concentrated nectar.  Stir until the frozen nectar completely dissolves/melts and combines with the water.  You should have about 3 cups of juice.  Set aside.
2.  Make the frosting.

Add the cream cheese to the mixing bowl with the reserved 2 teaspoons frozen concentrated guava nectar.

Note:  I had a jar of guava jam in the fridge; I also added a teaspoon of jam to the bowl, but this is totally optional.  If you don’t have any guava jam, don’t worry about it.  I just like to add it to the frosting to give it a guava flavor.
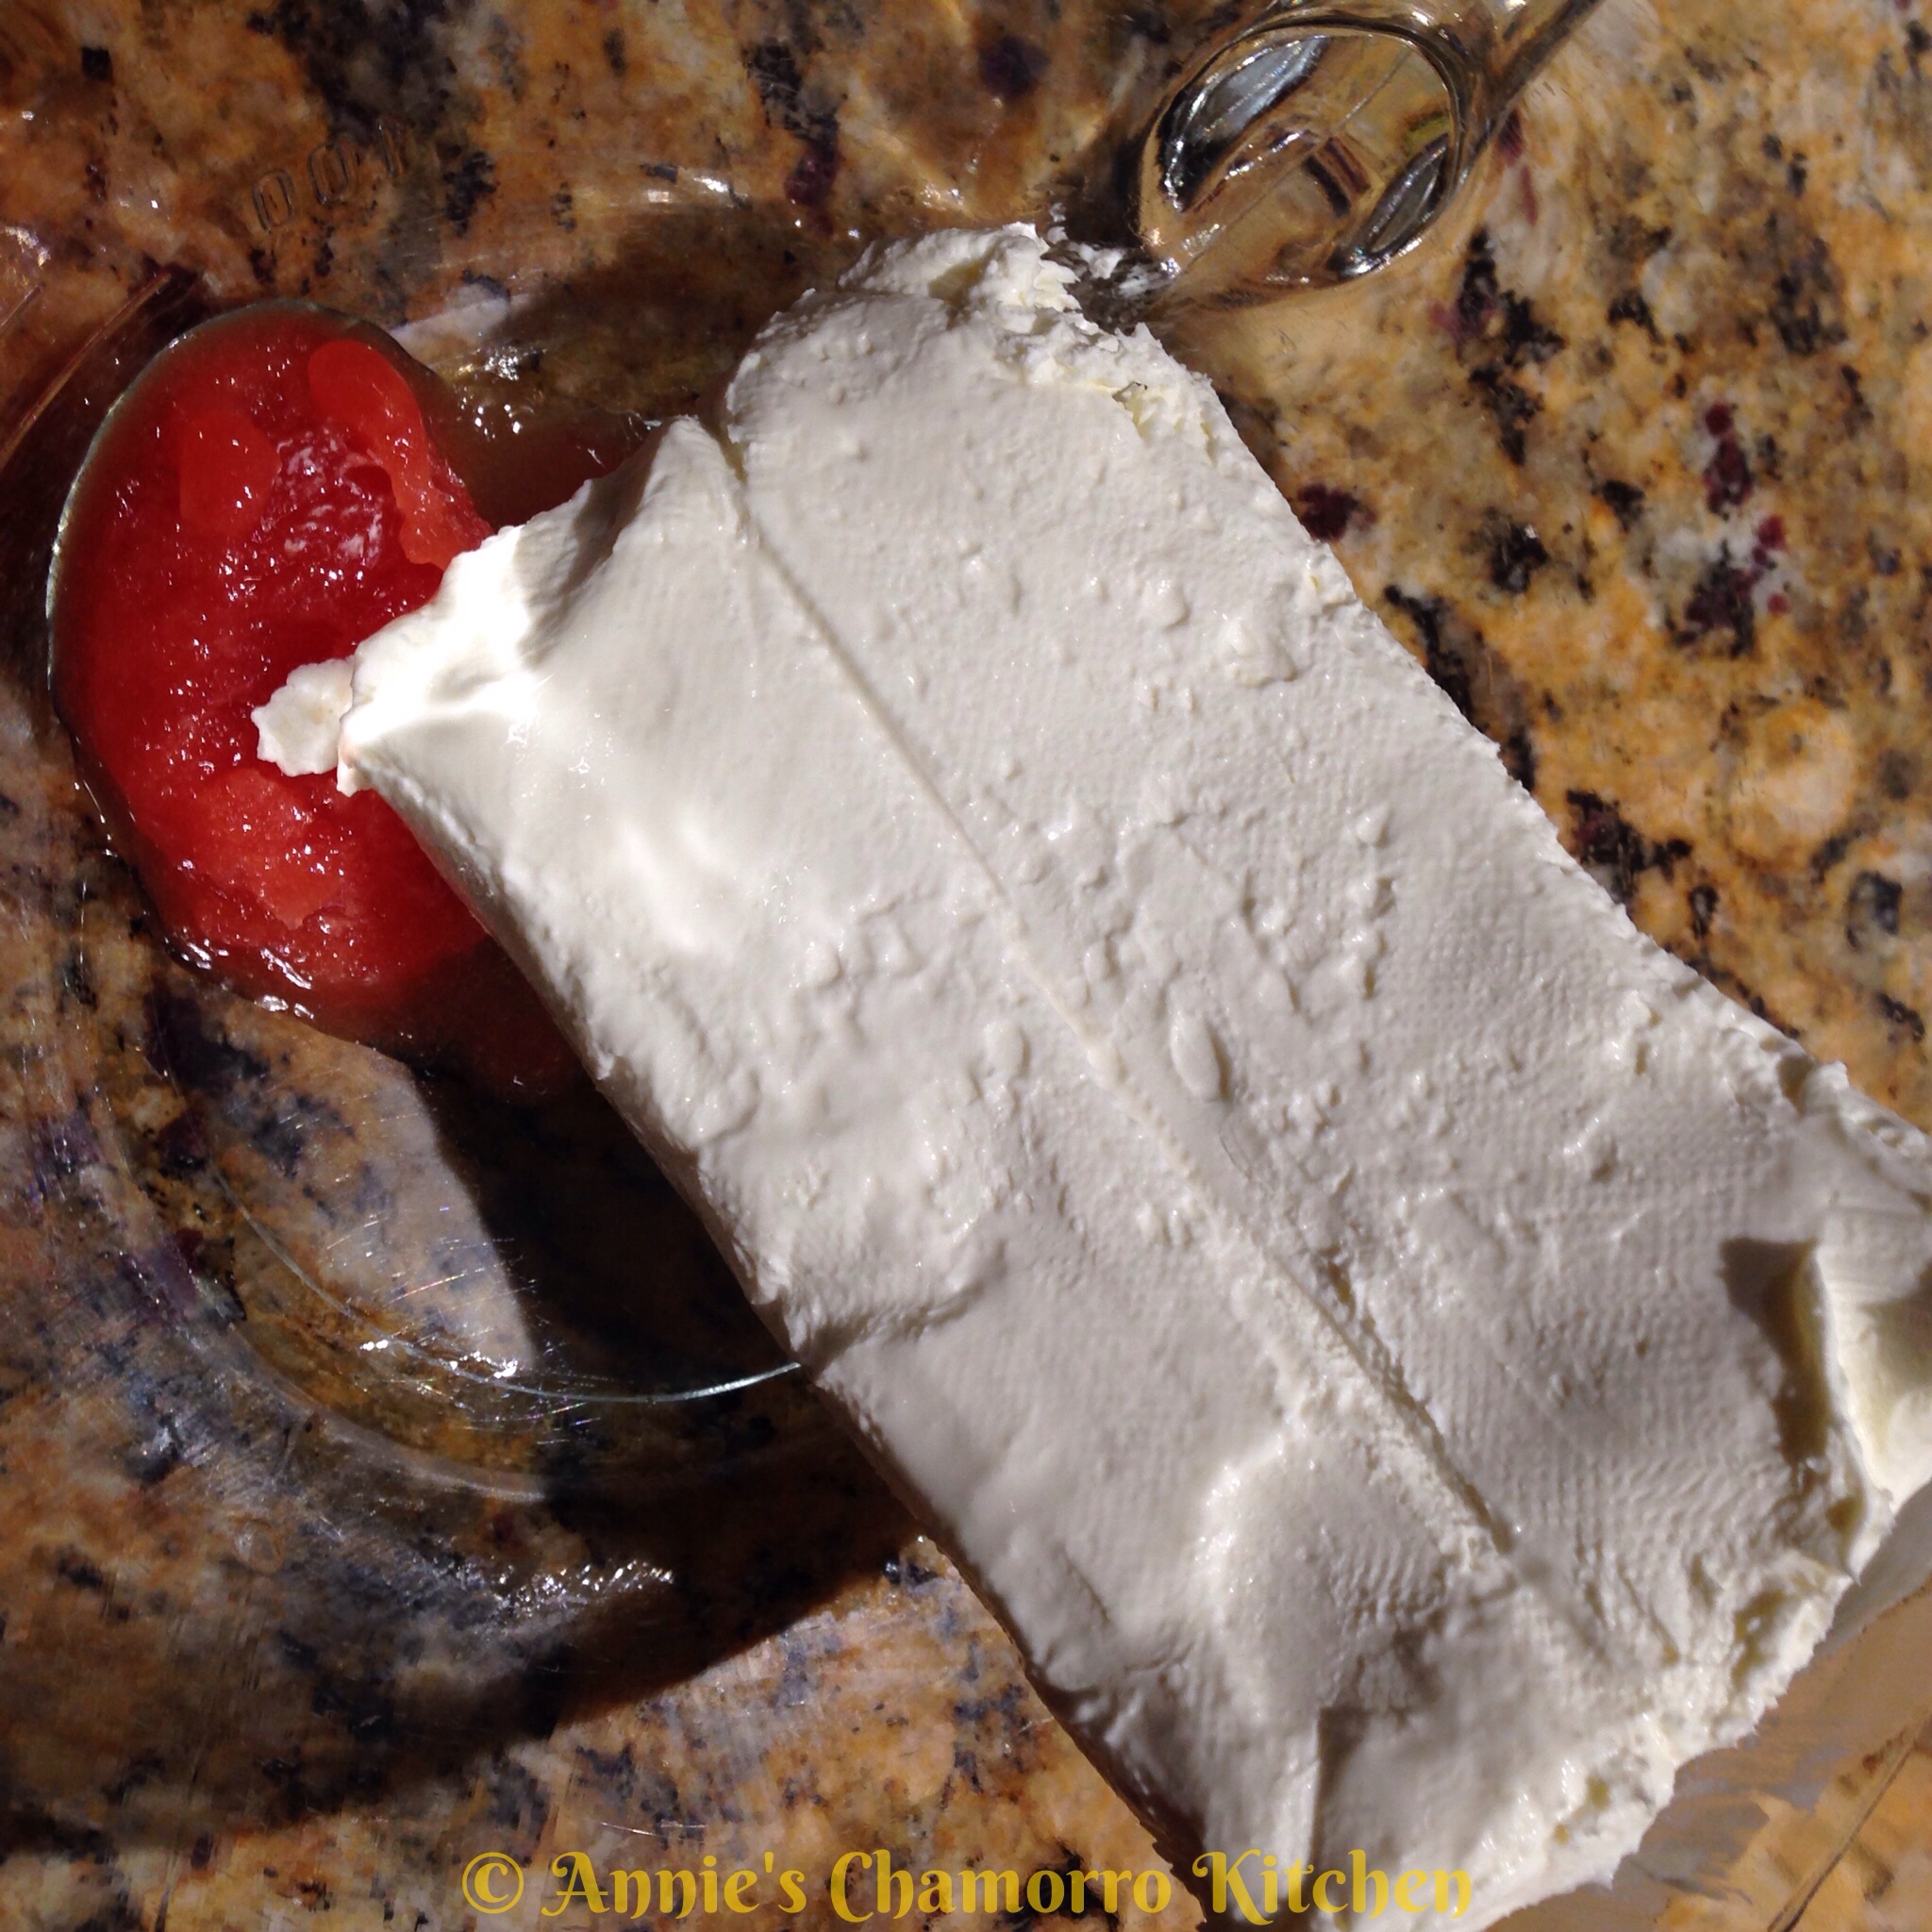
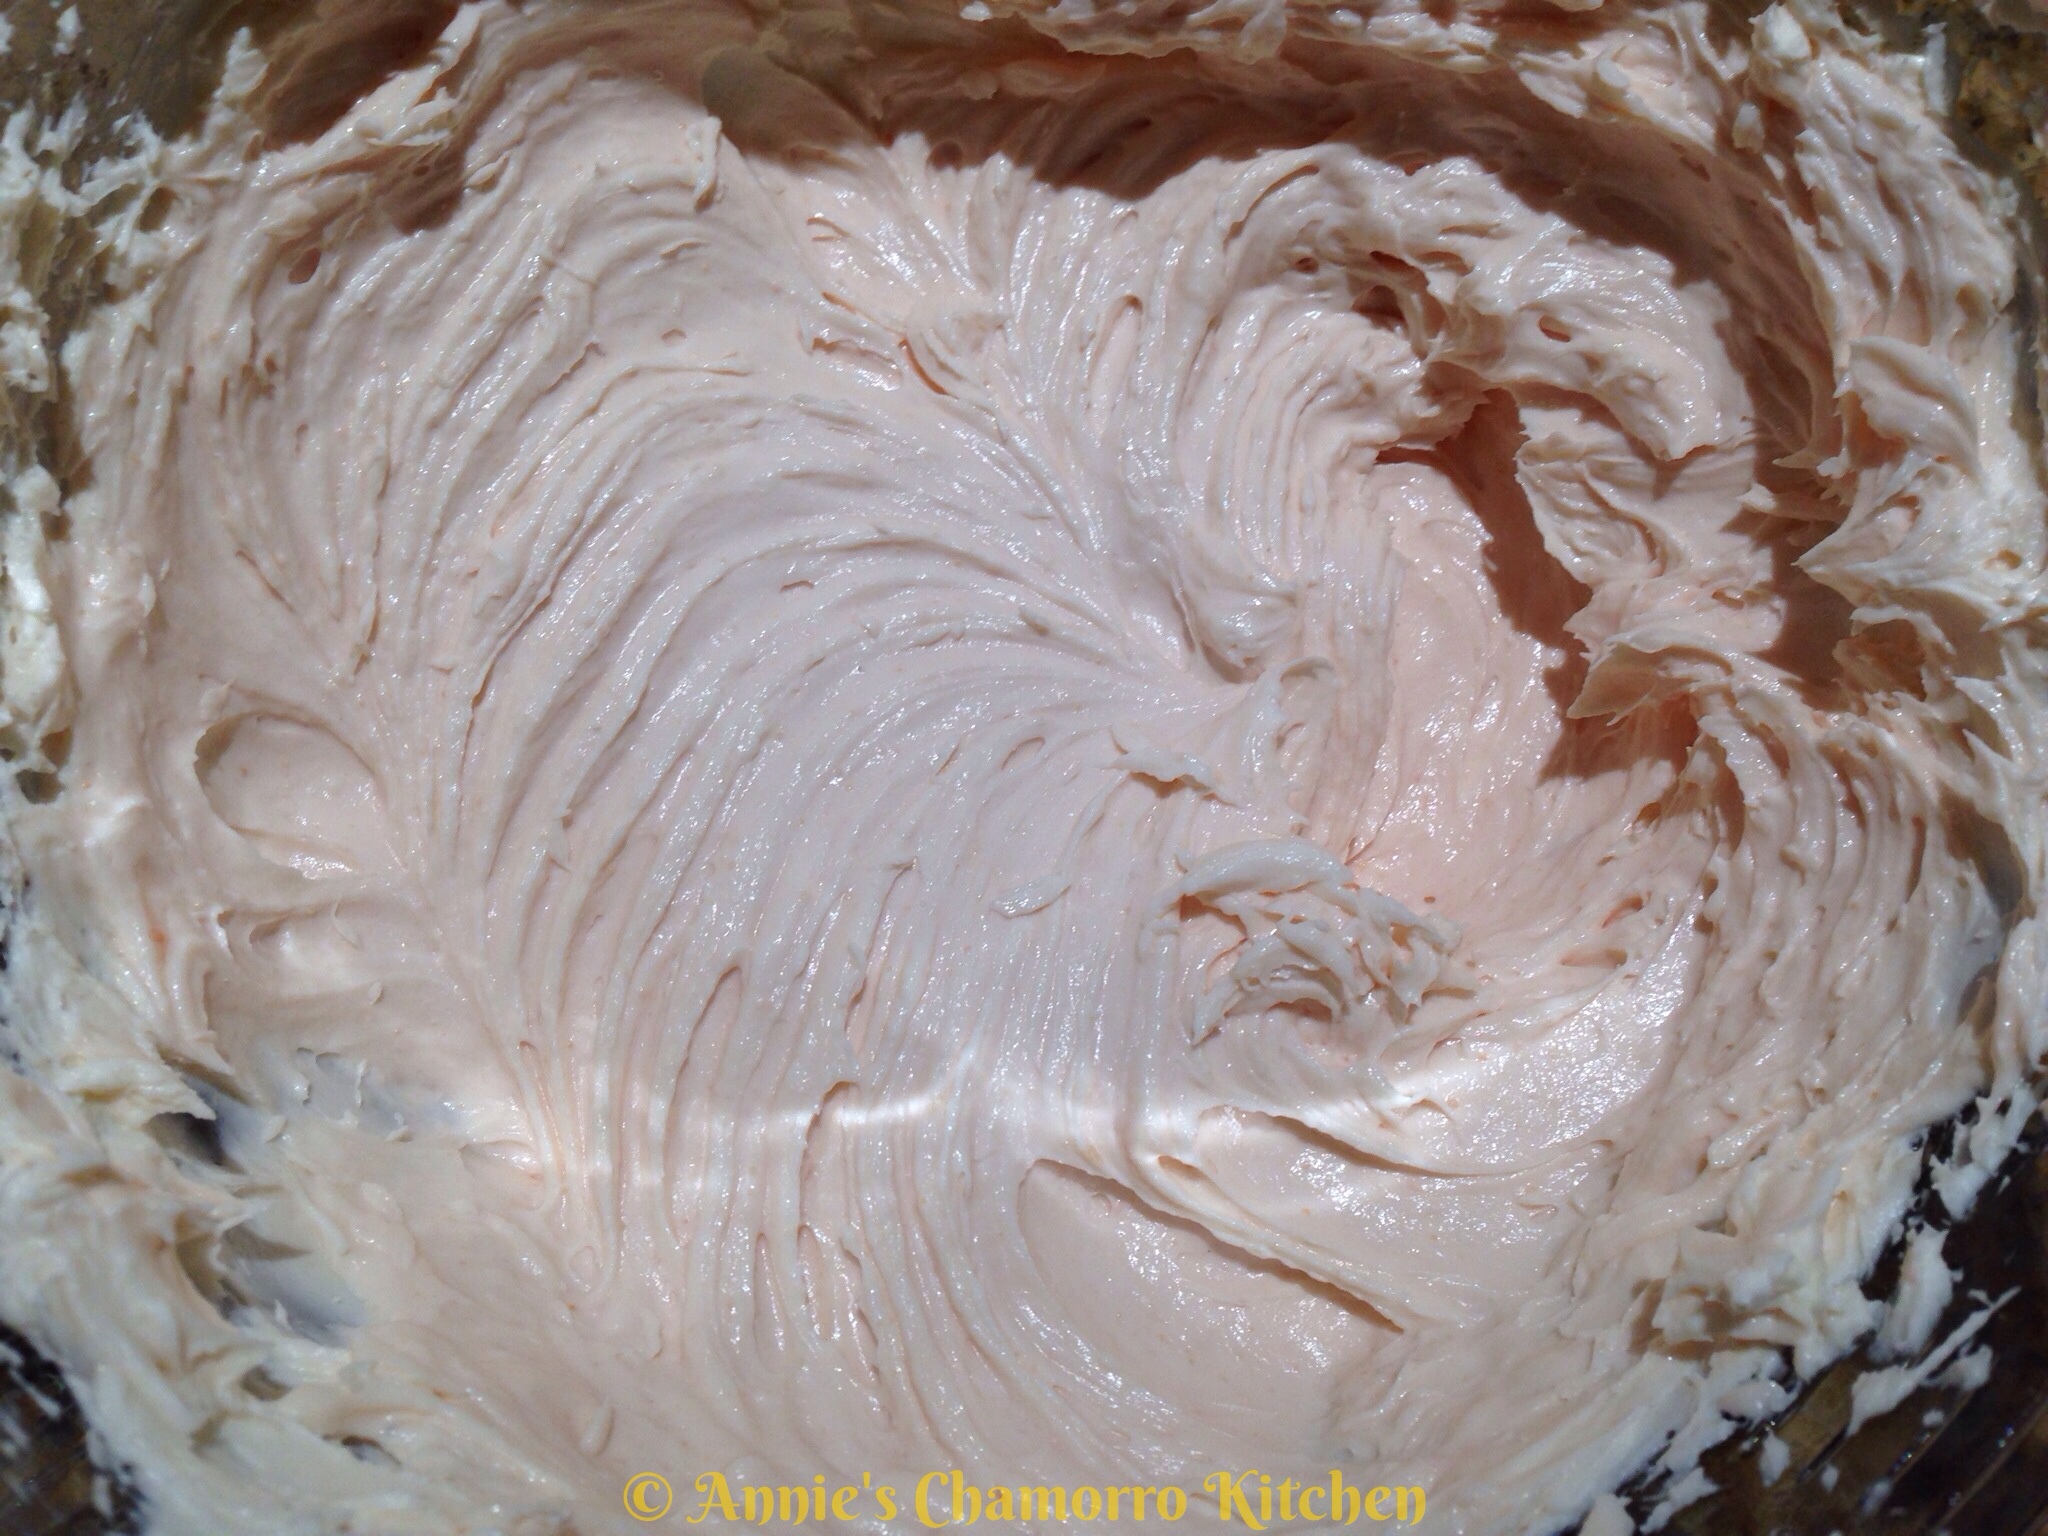
Using a hand mixer, mix the cream cheese and guava nectar until creamy.
Add the Cool Whip to the mixing bowl.
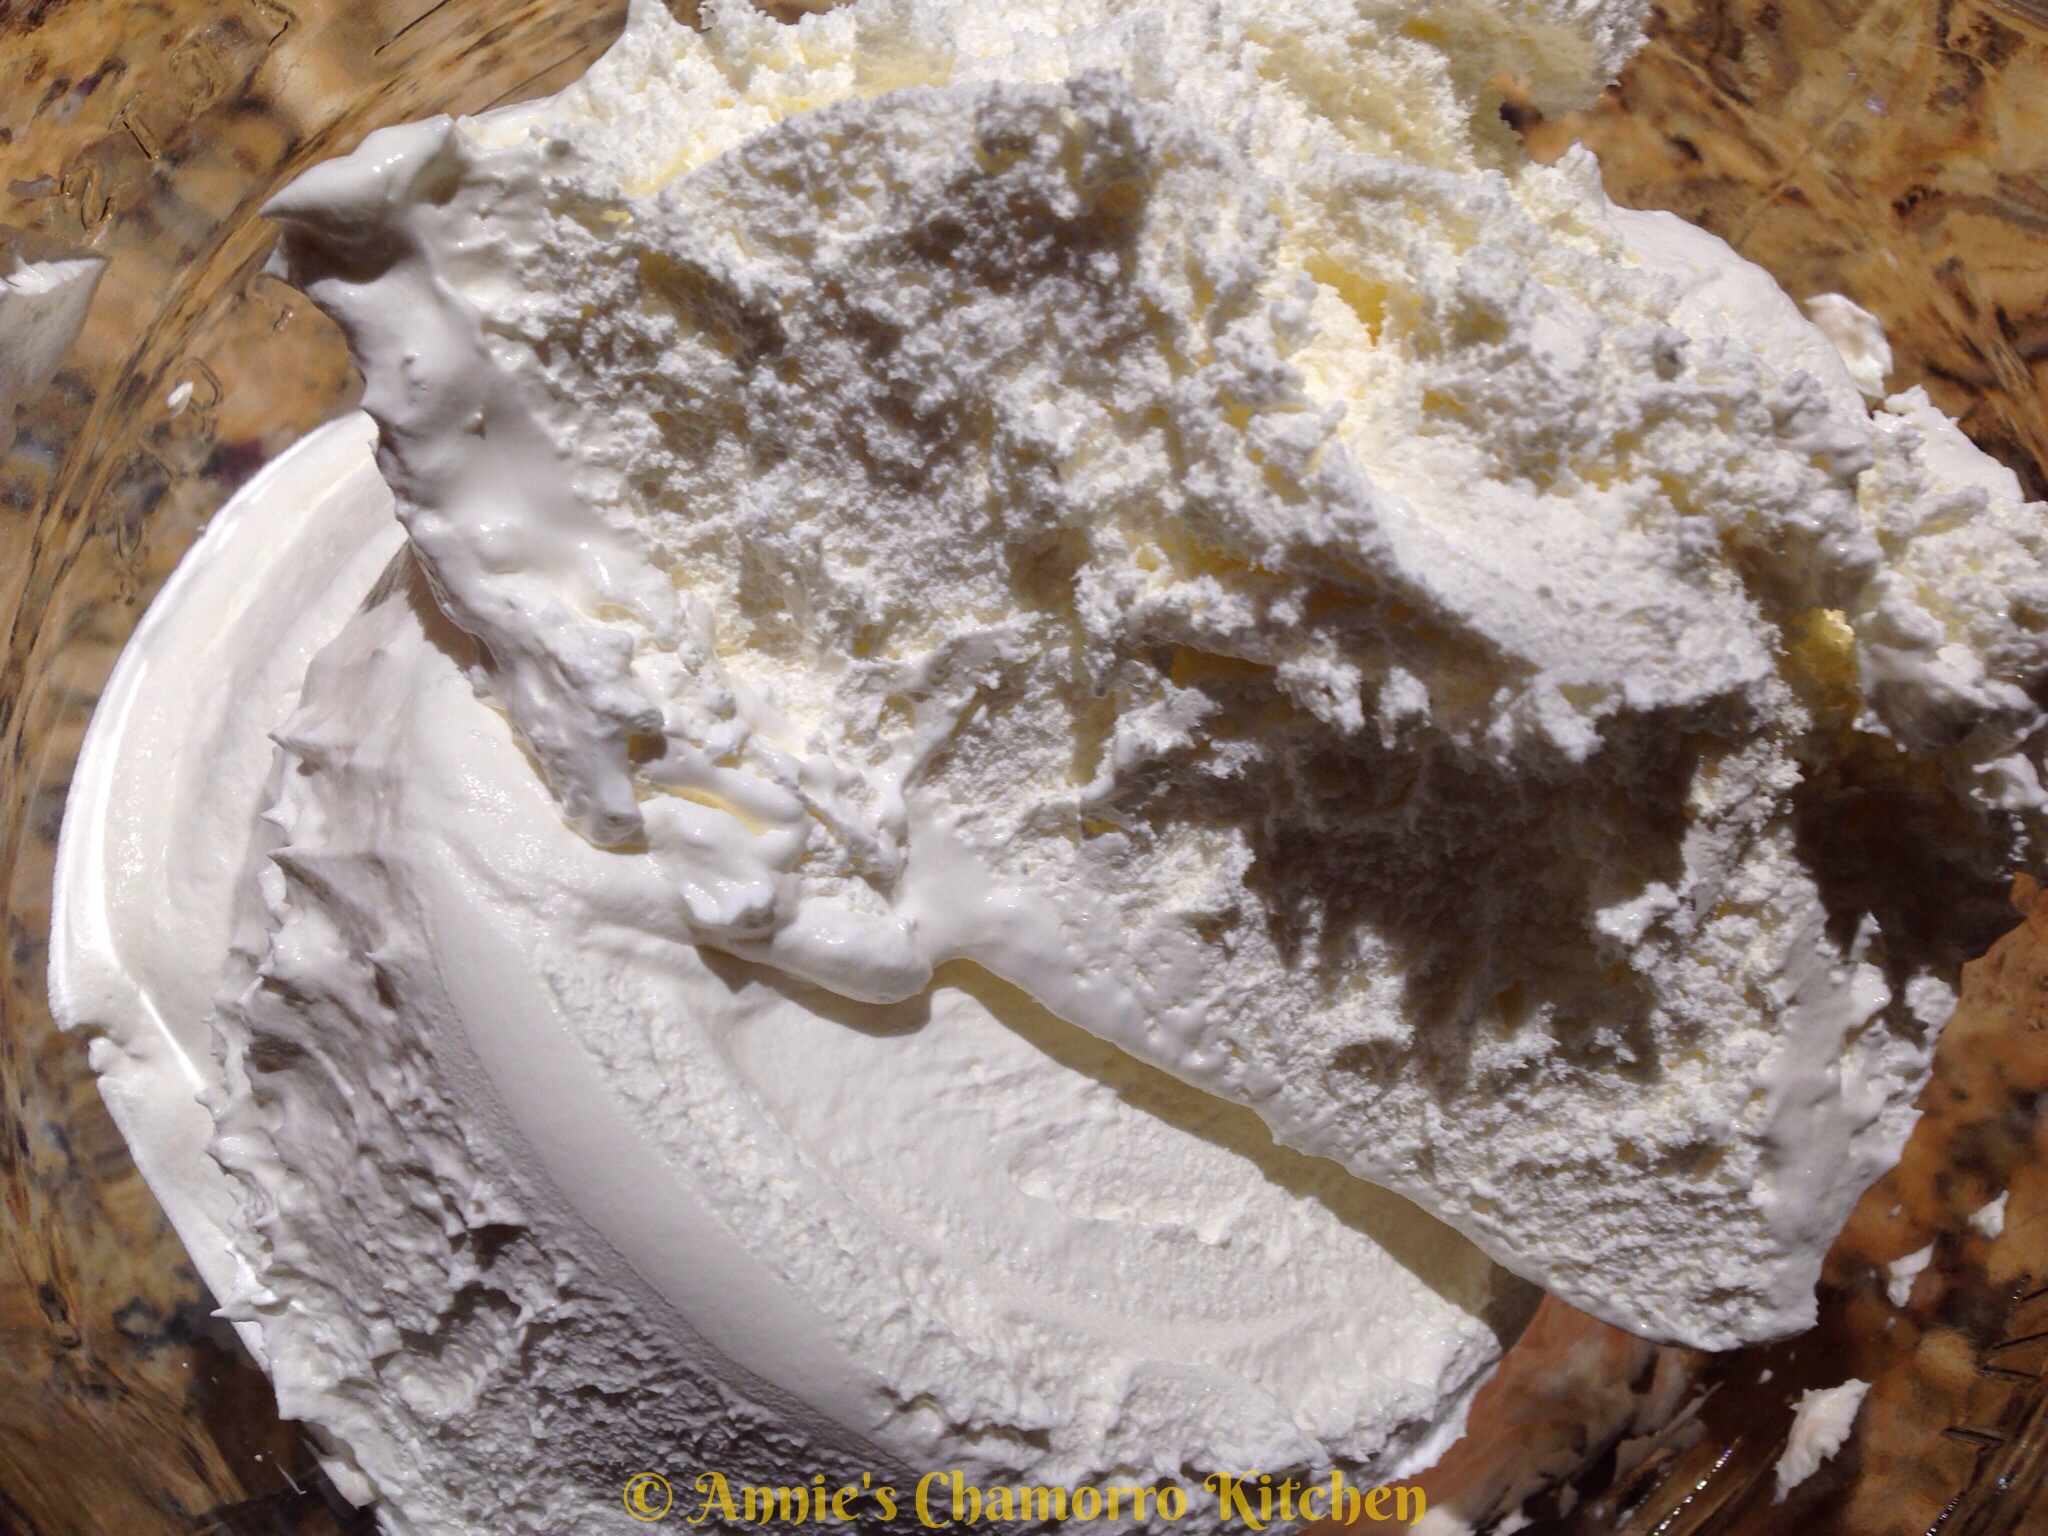
Mix until creamy.  Place the frosting in the refrigerator until ready to use.
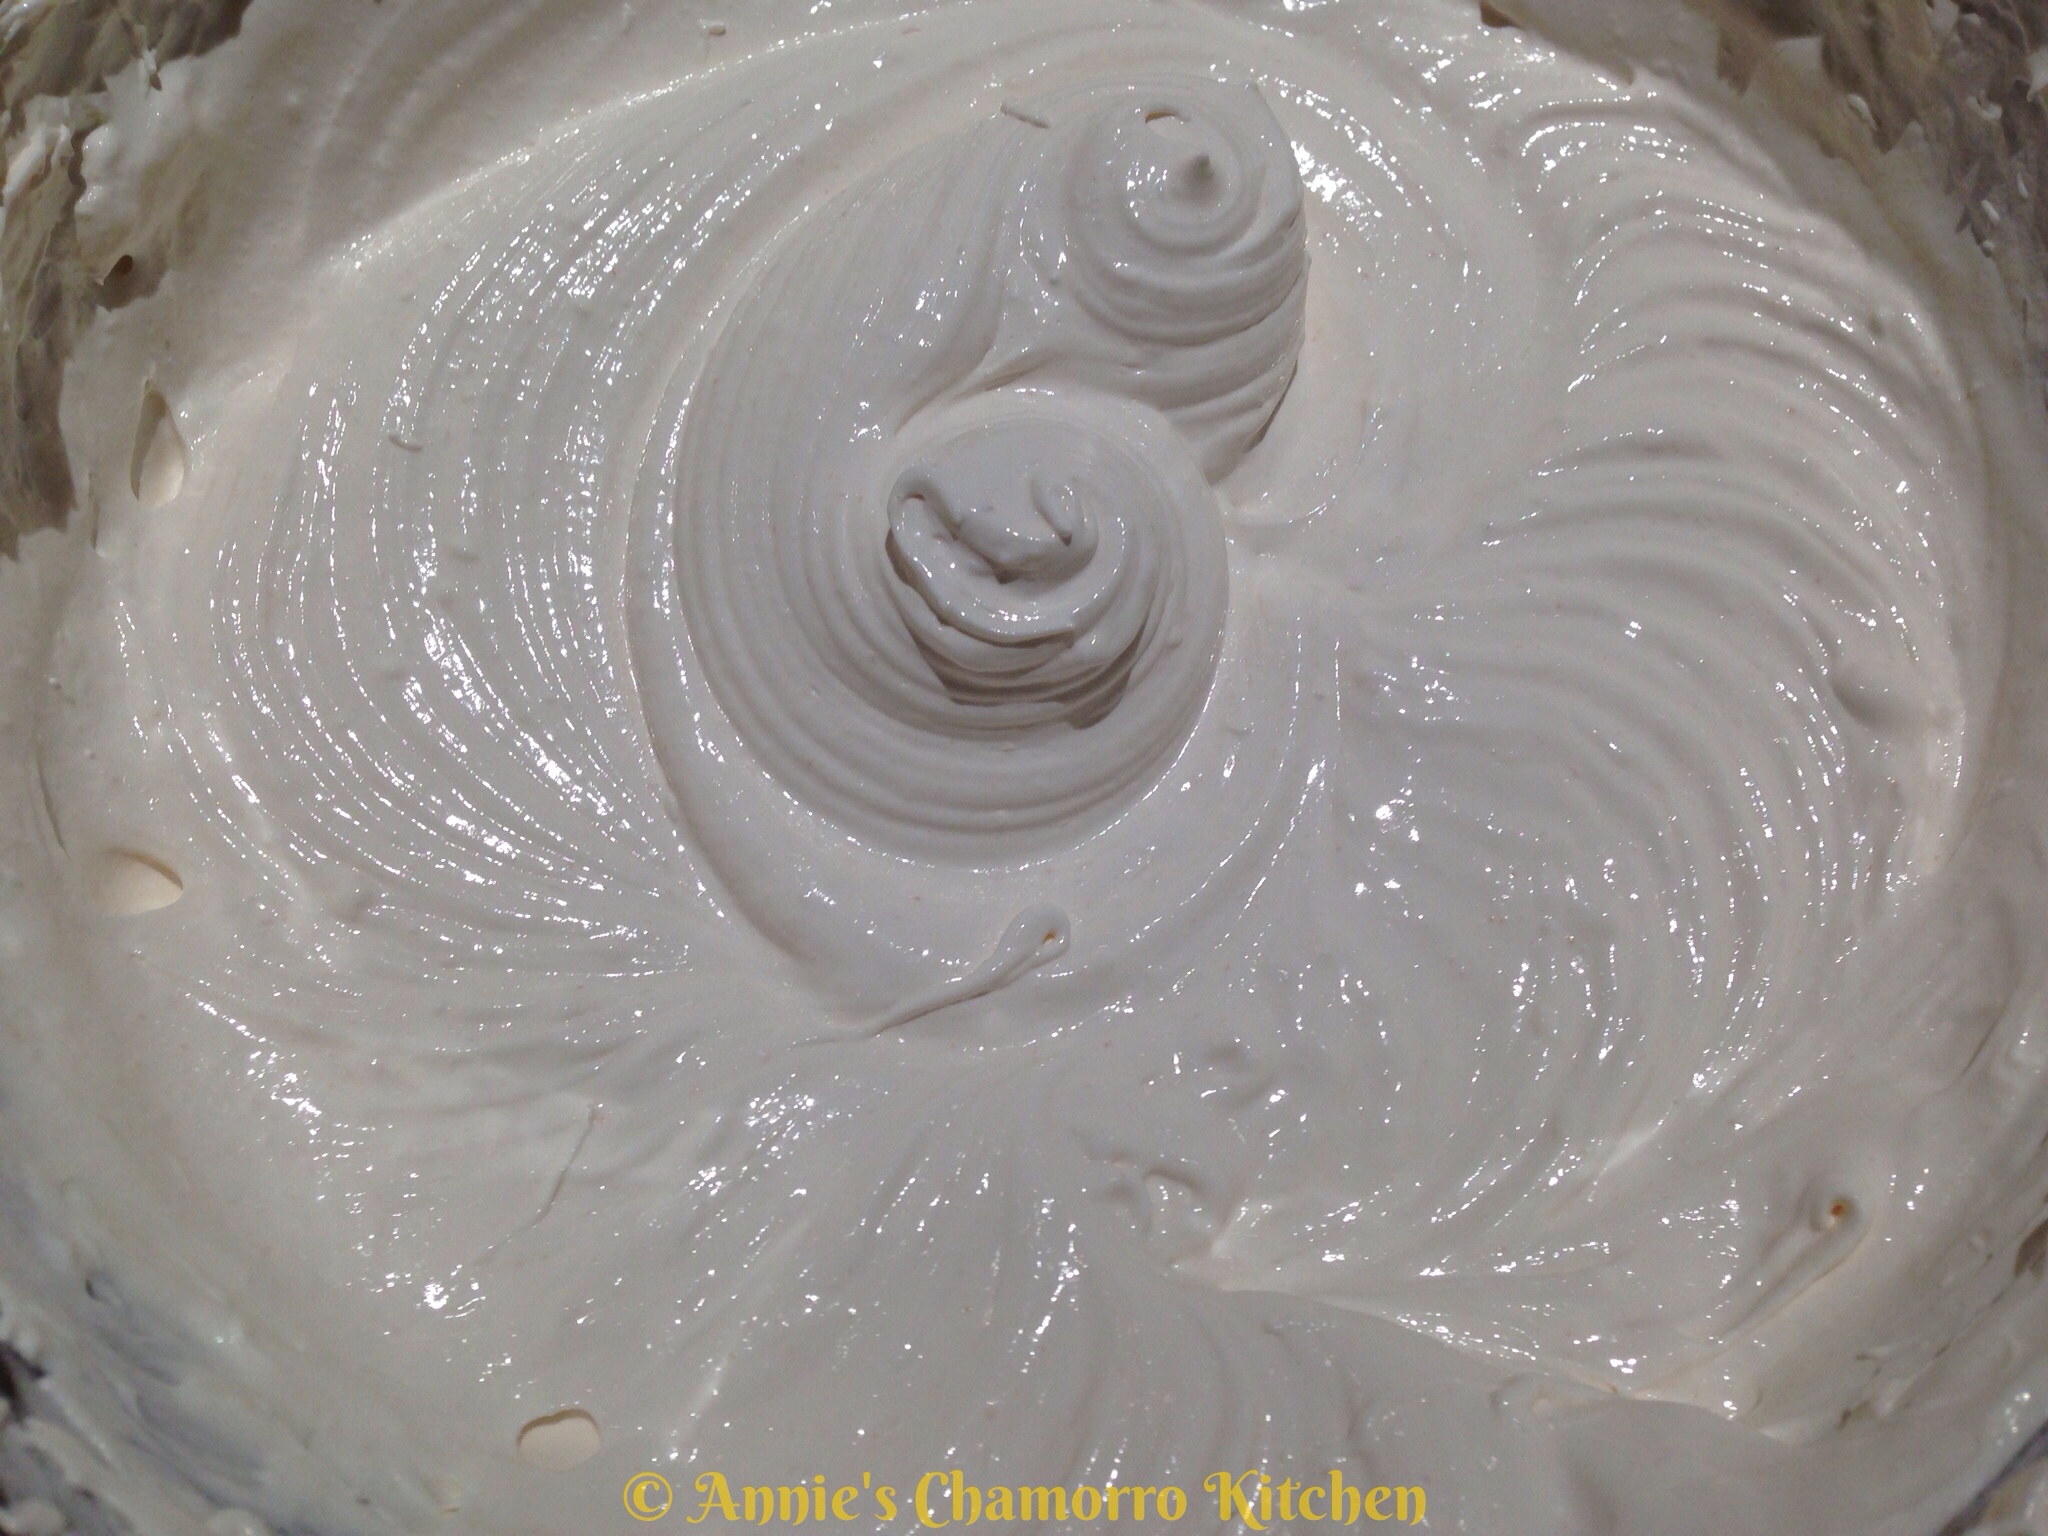
3.  Bake the cake.

Empty the contents of the cake mix into a mixing bowl.
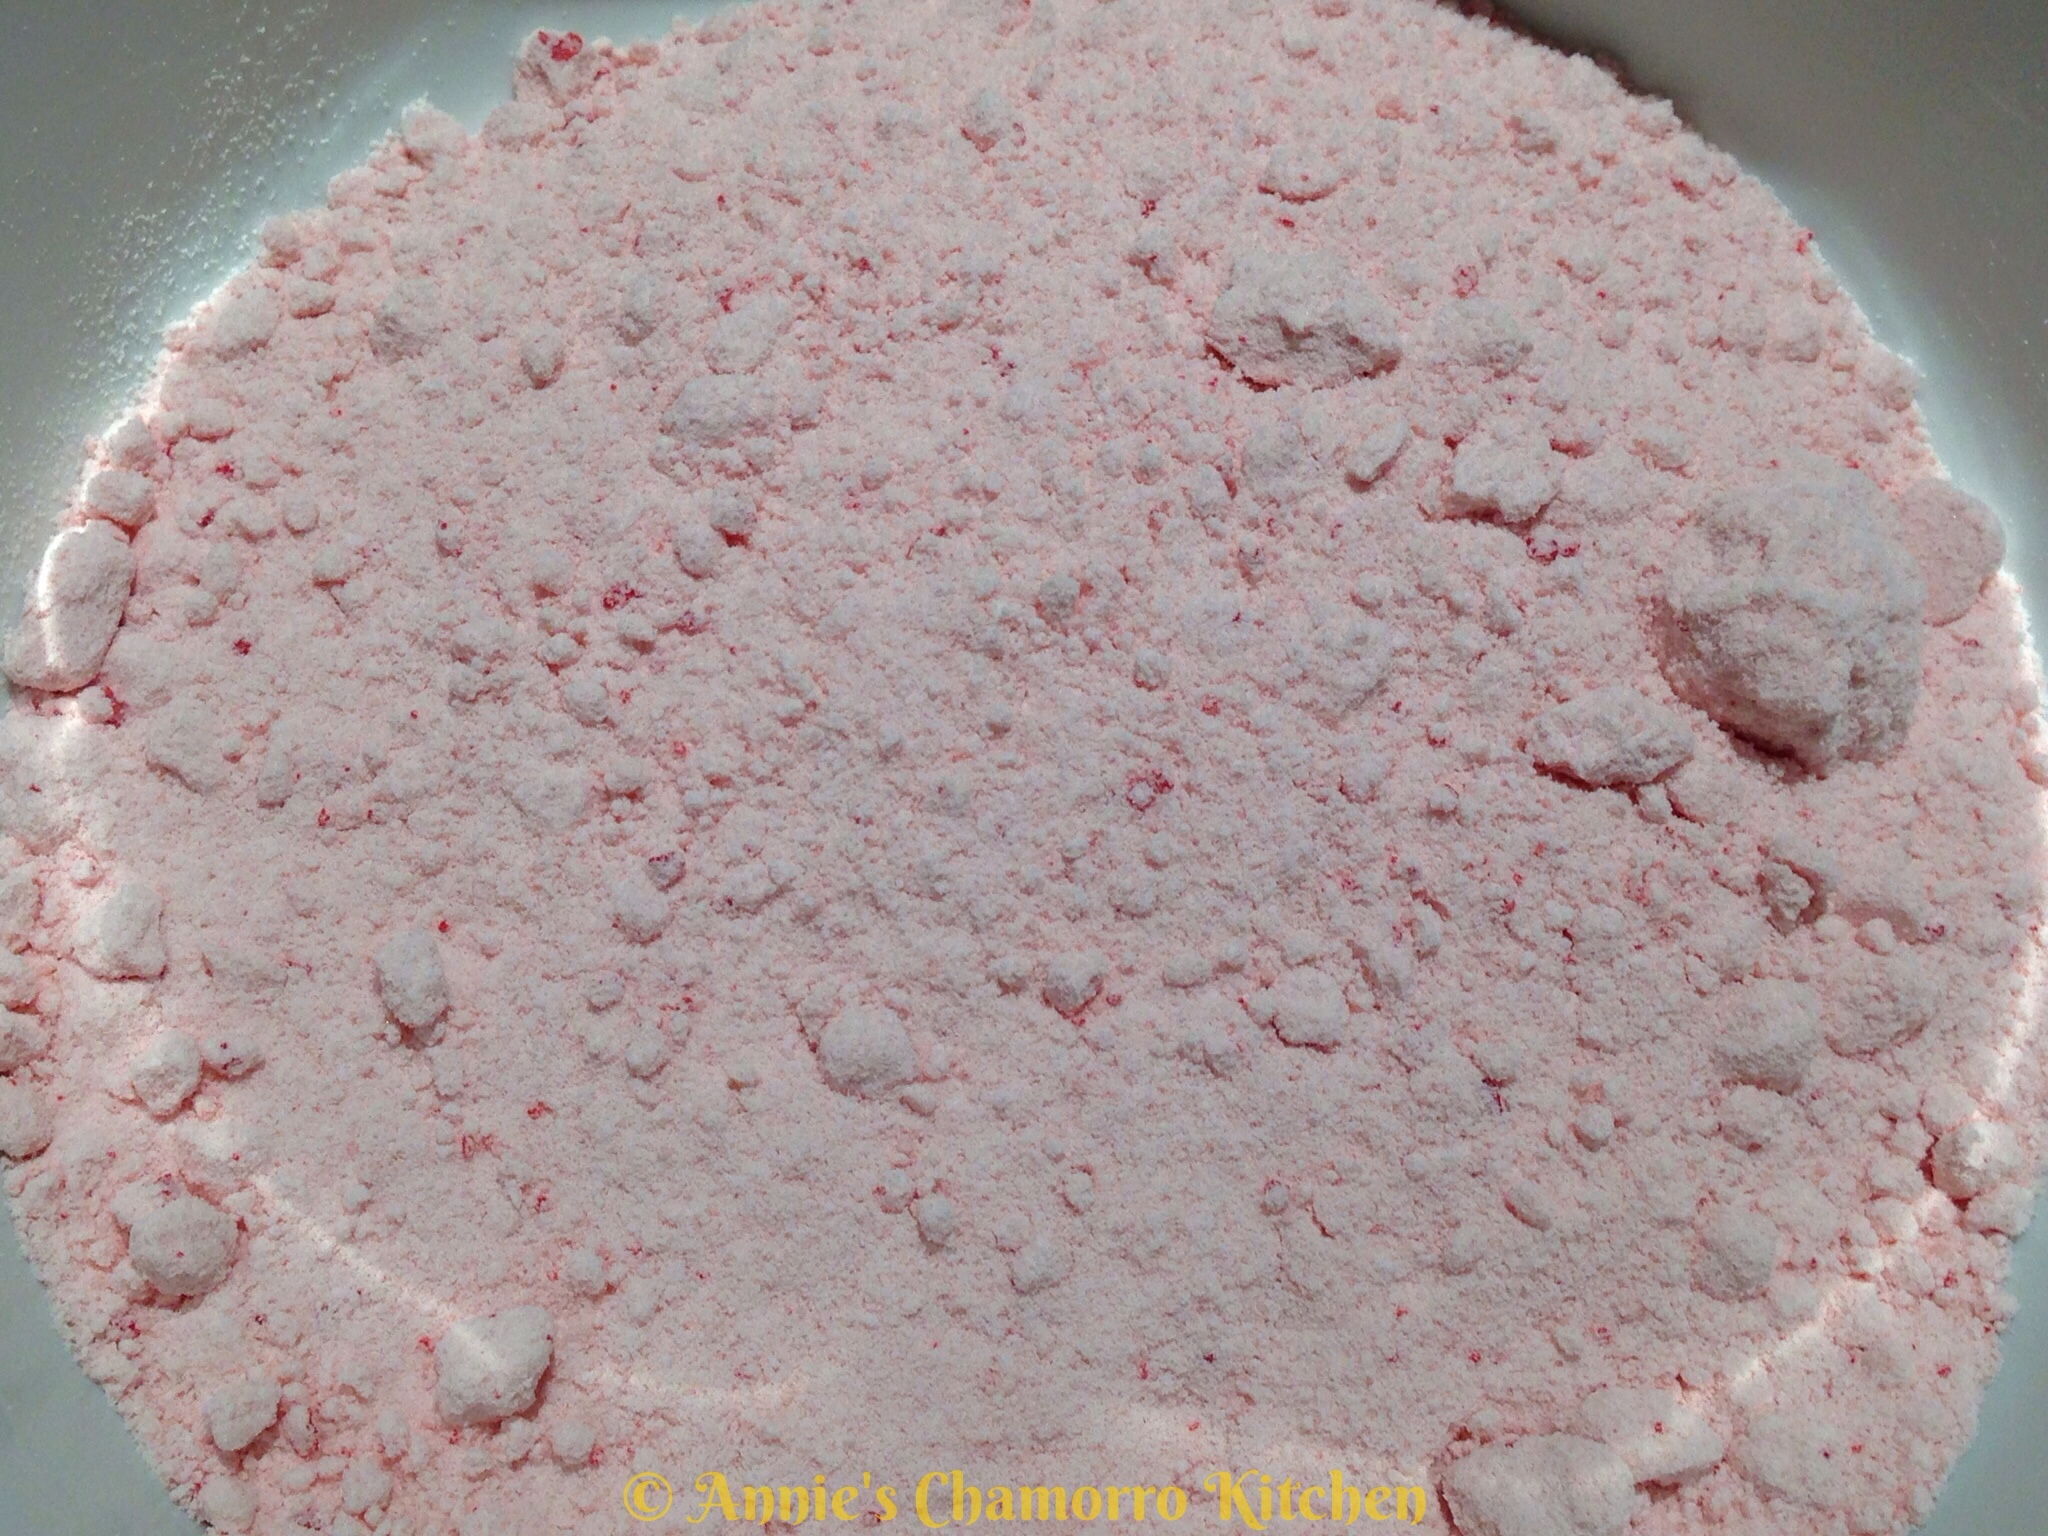
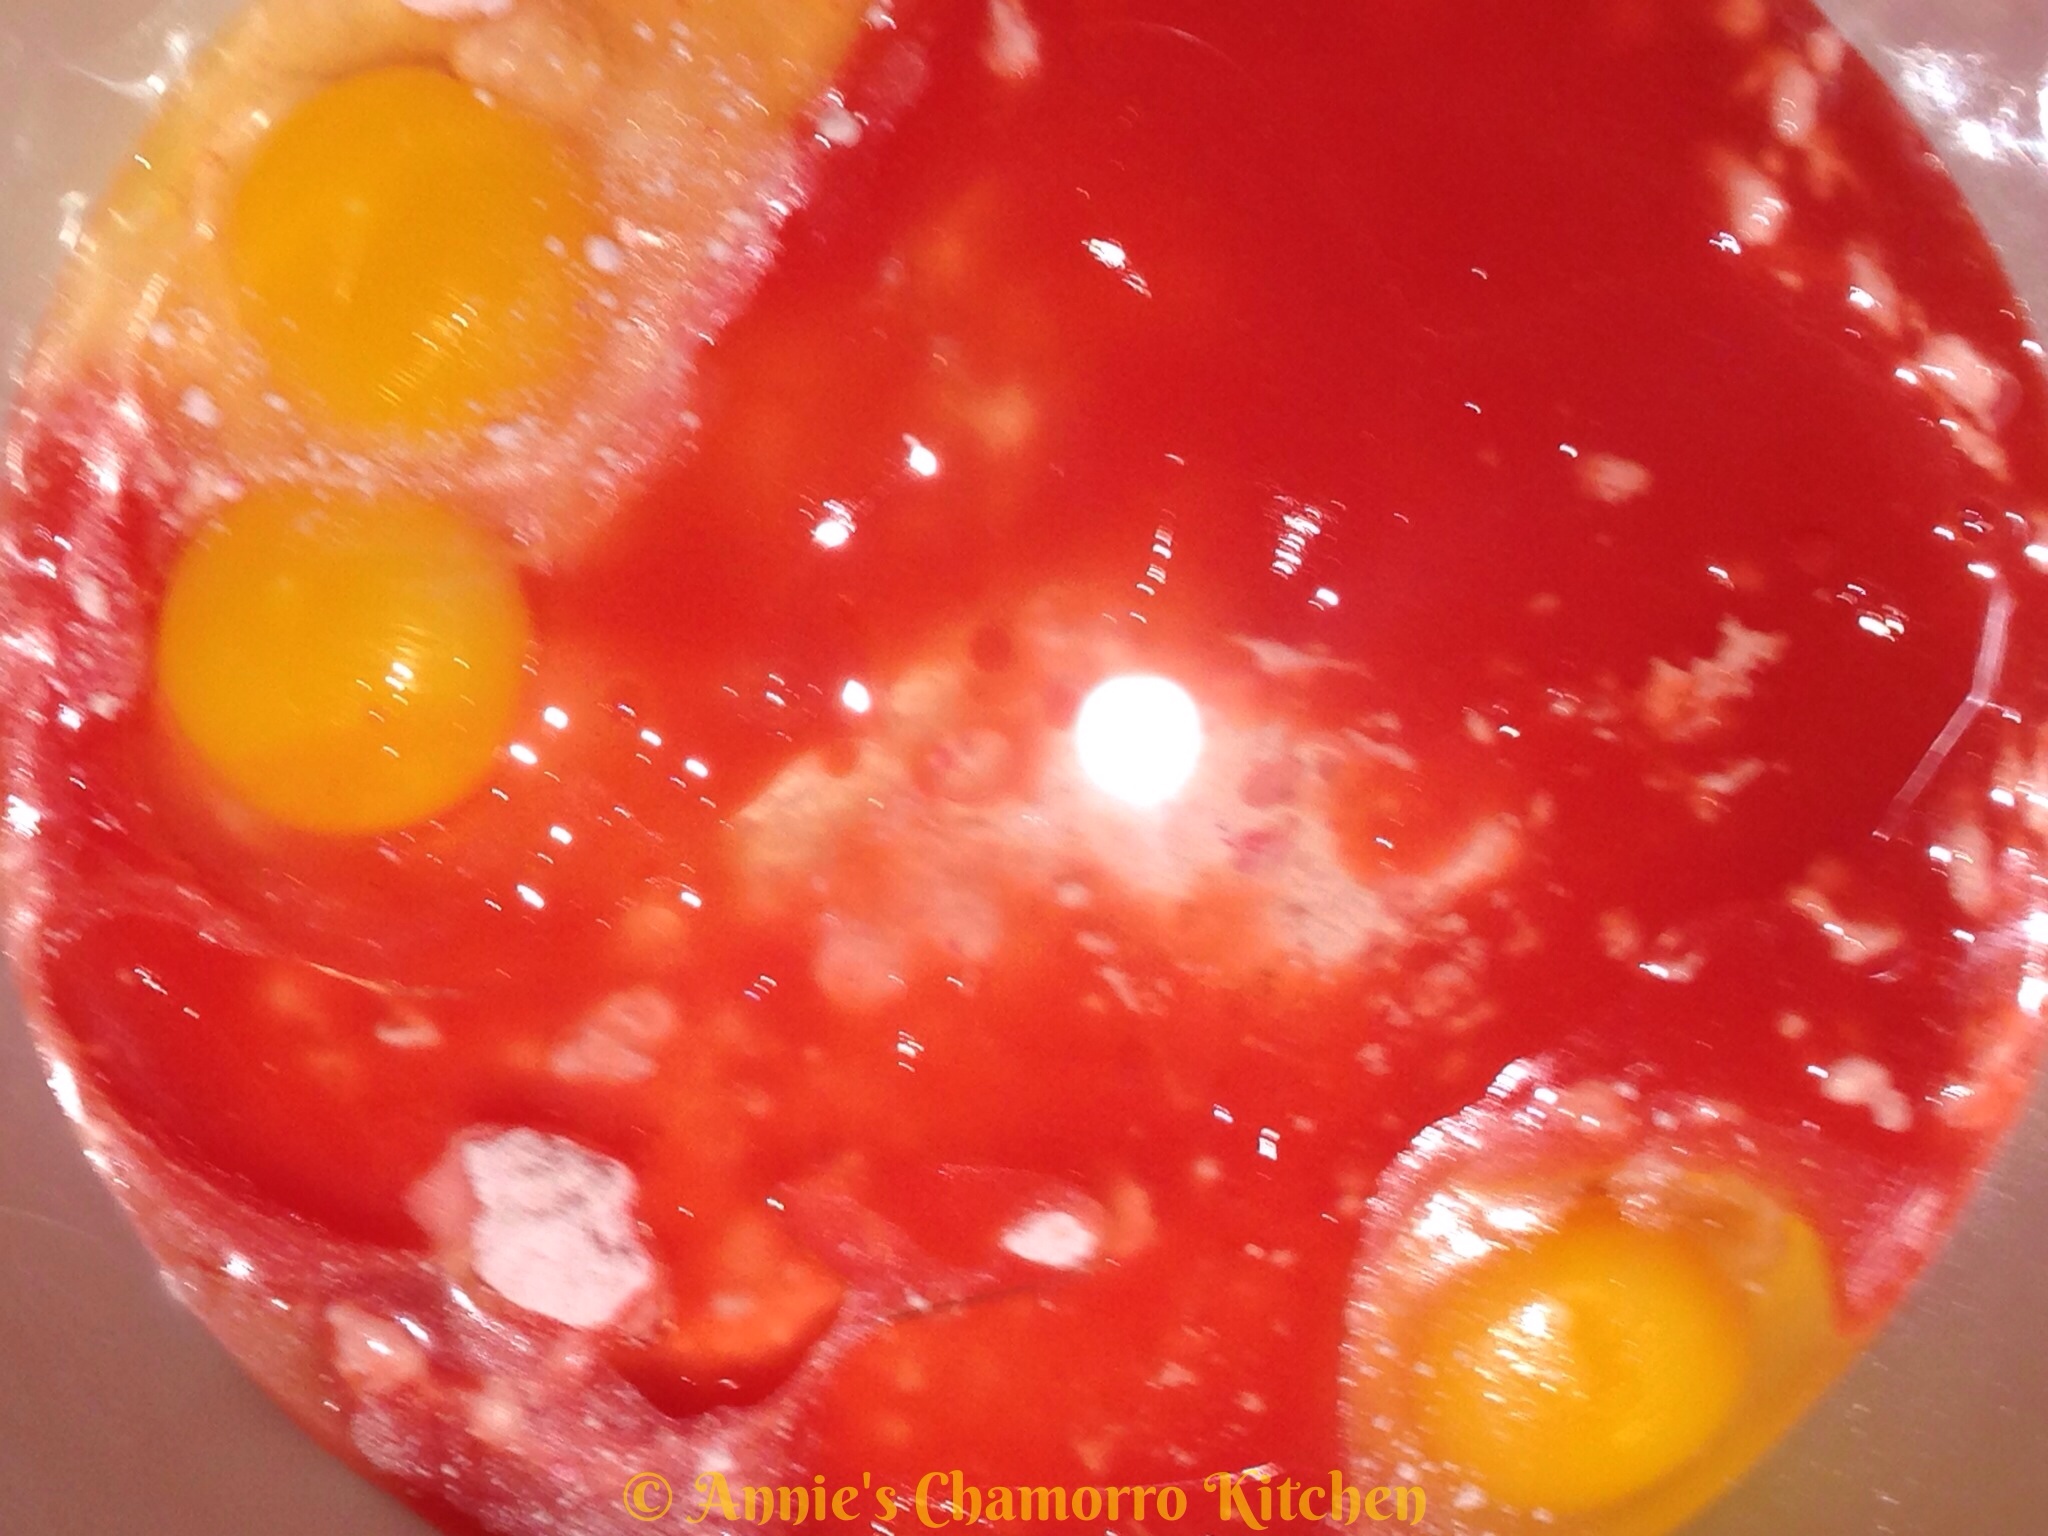
Into the bowl add the eggs, vegetable oil, and 1 cup of the guava juice (set the remaining juice aside–it will be used later to make the guava sauce).
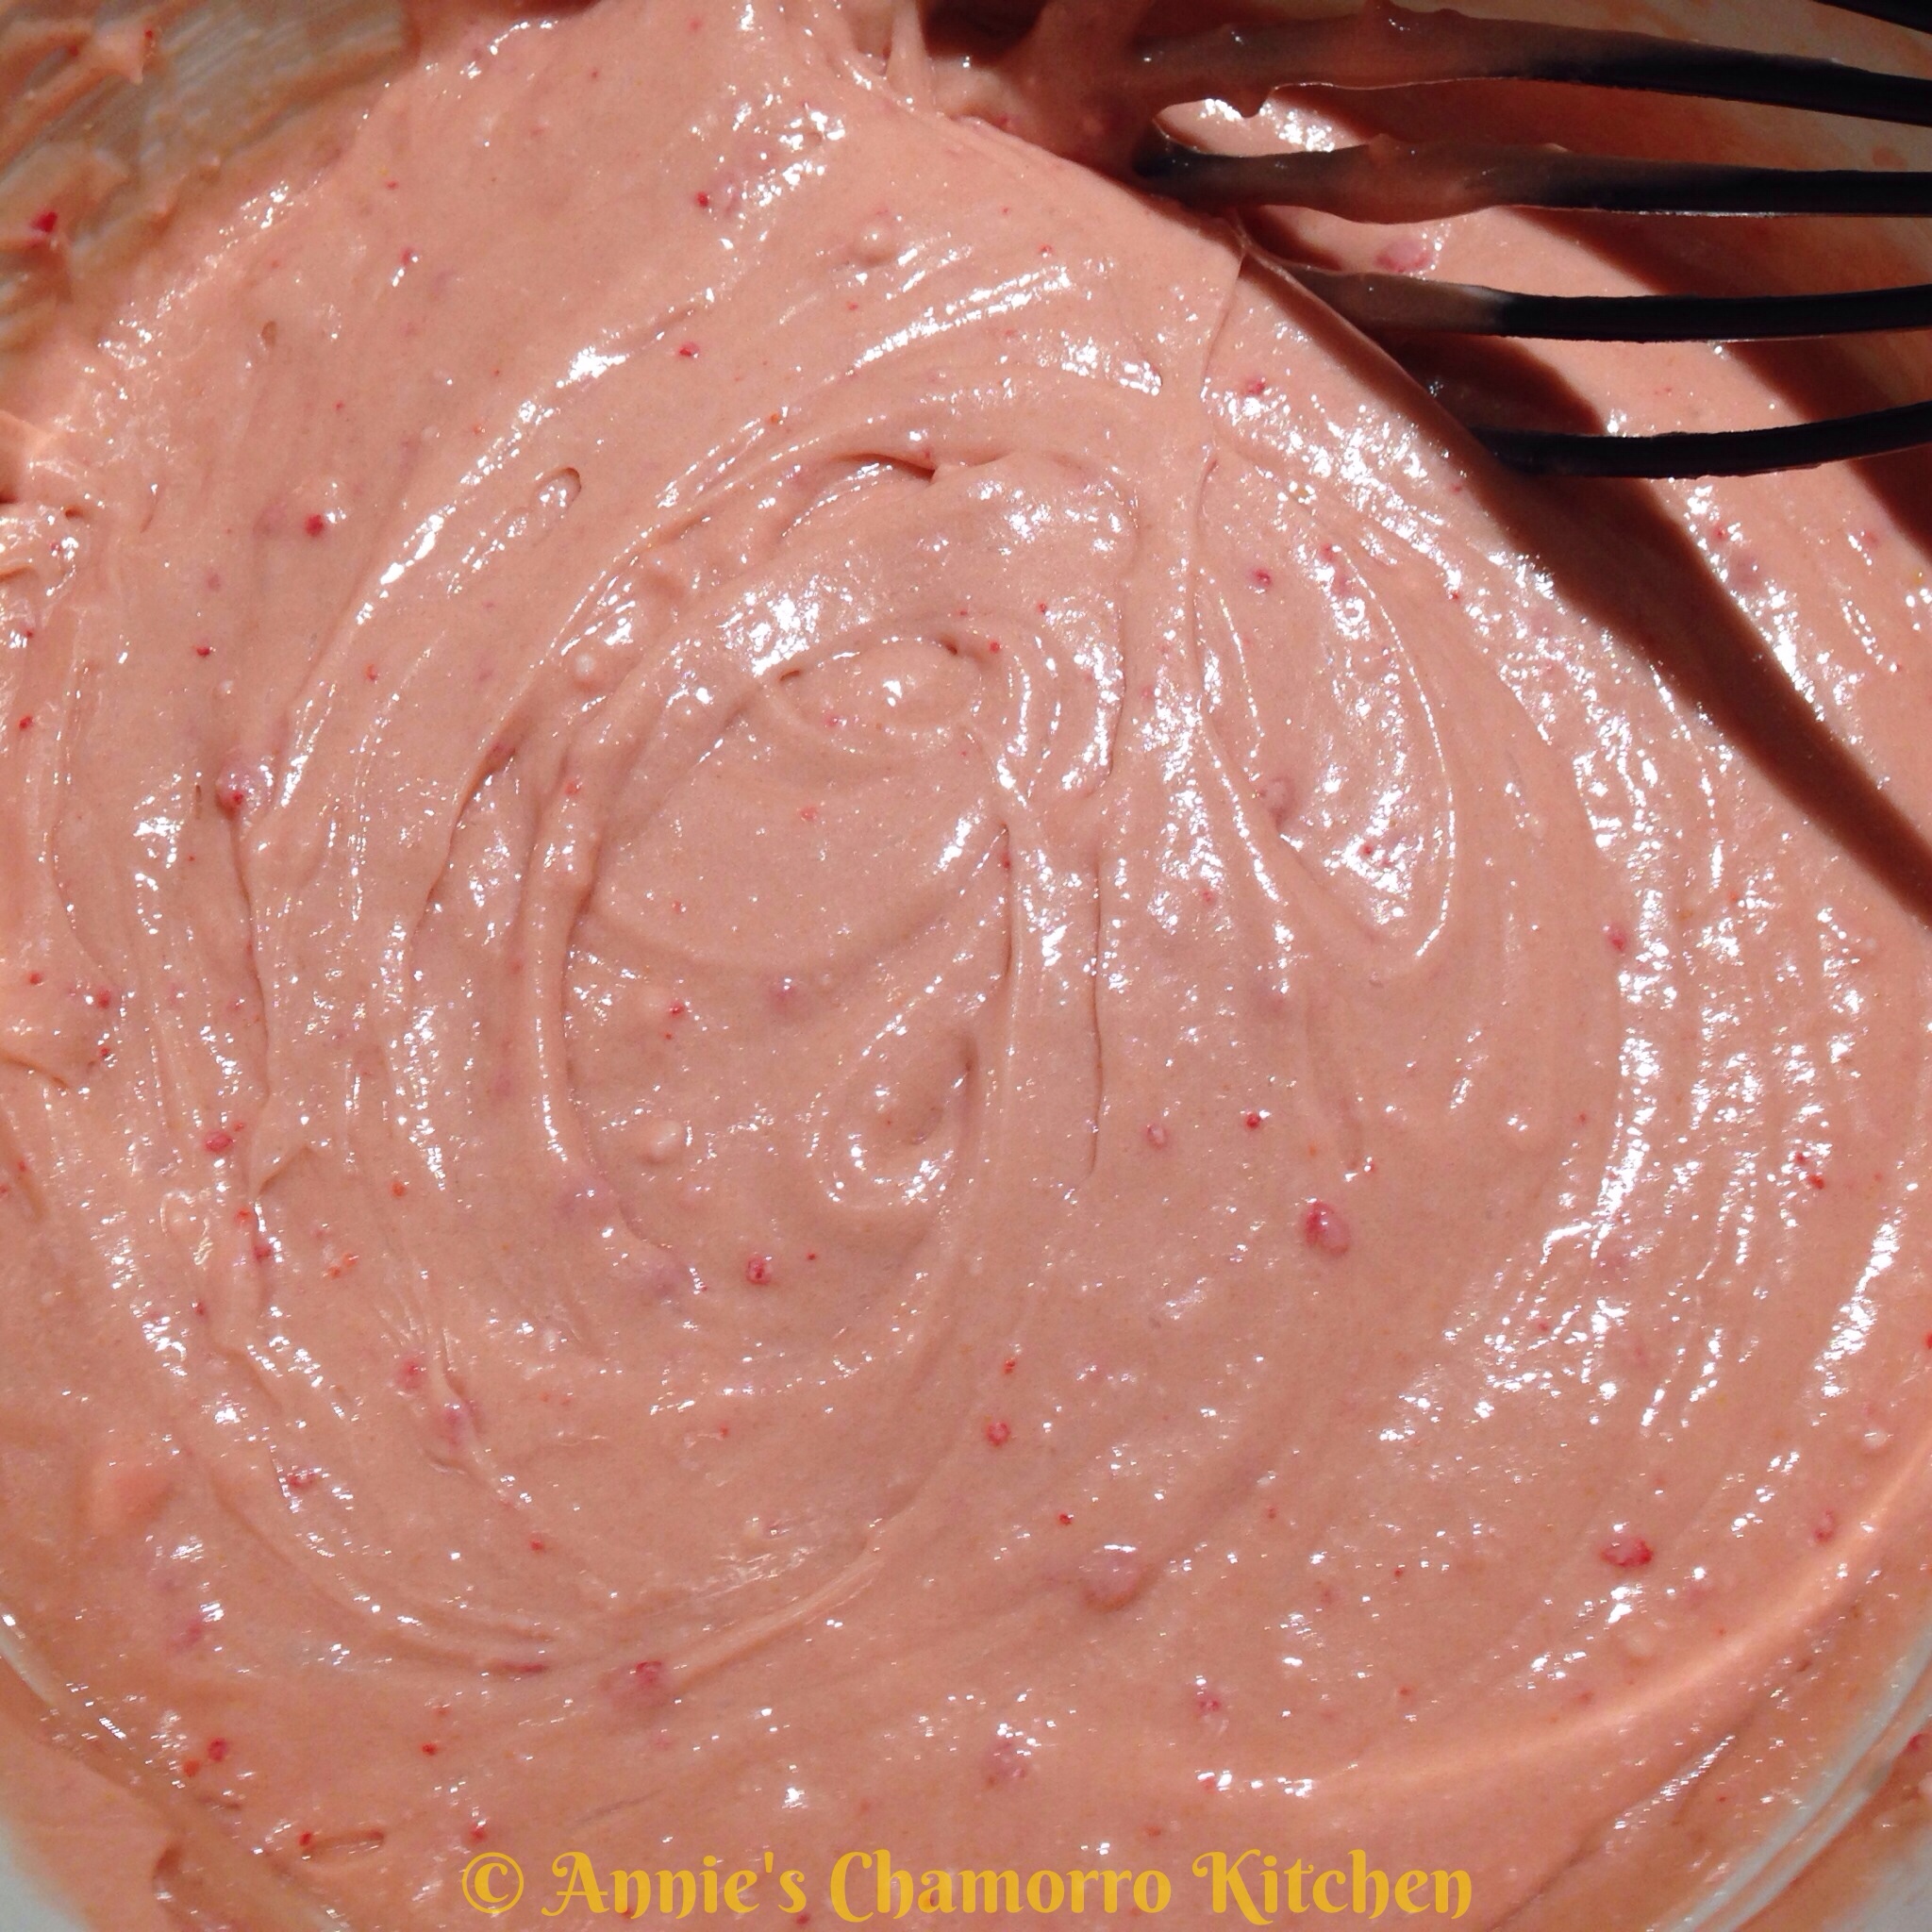
Using a whisk or mixing spoon, mix the ingredients together.  Don’t over-mix the batter; mix only until the large lumps disappear.
 Split the batter between two small pans.
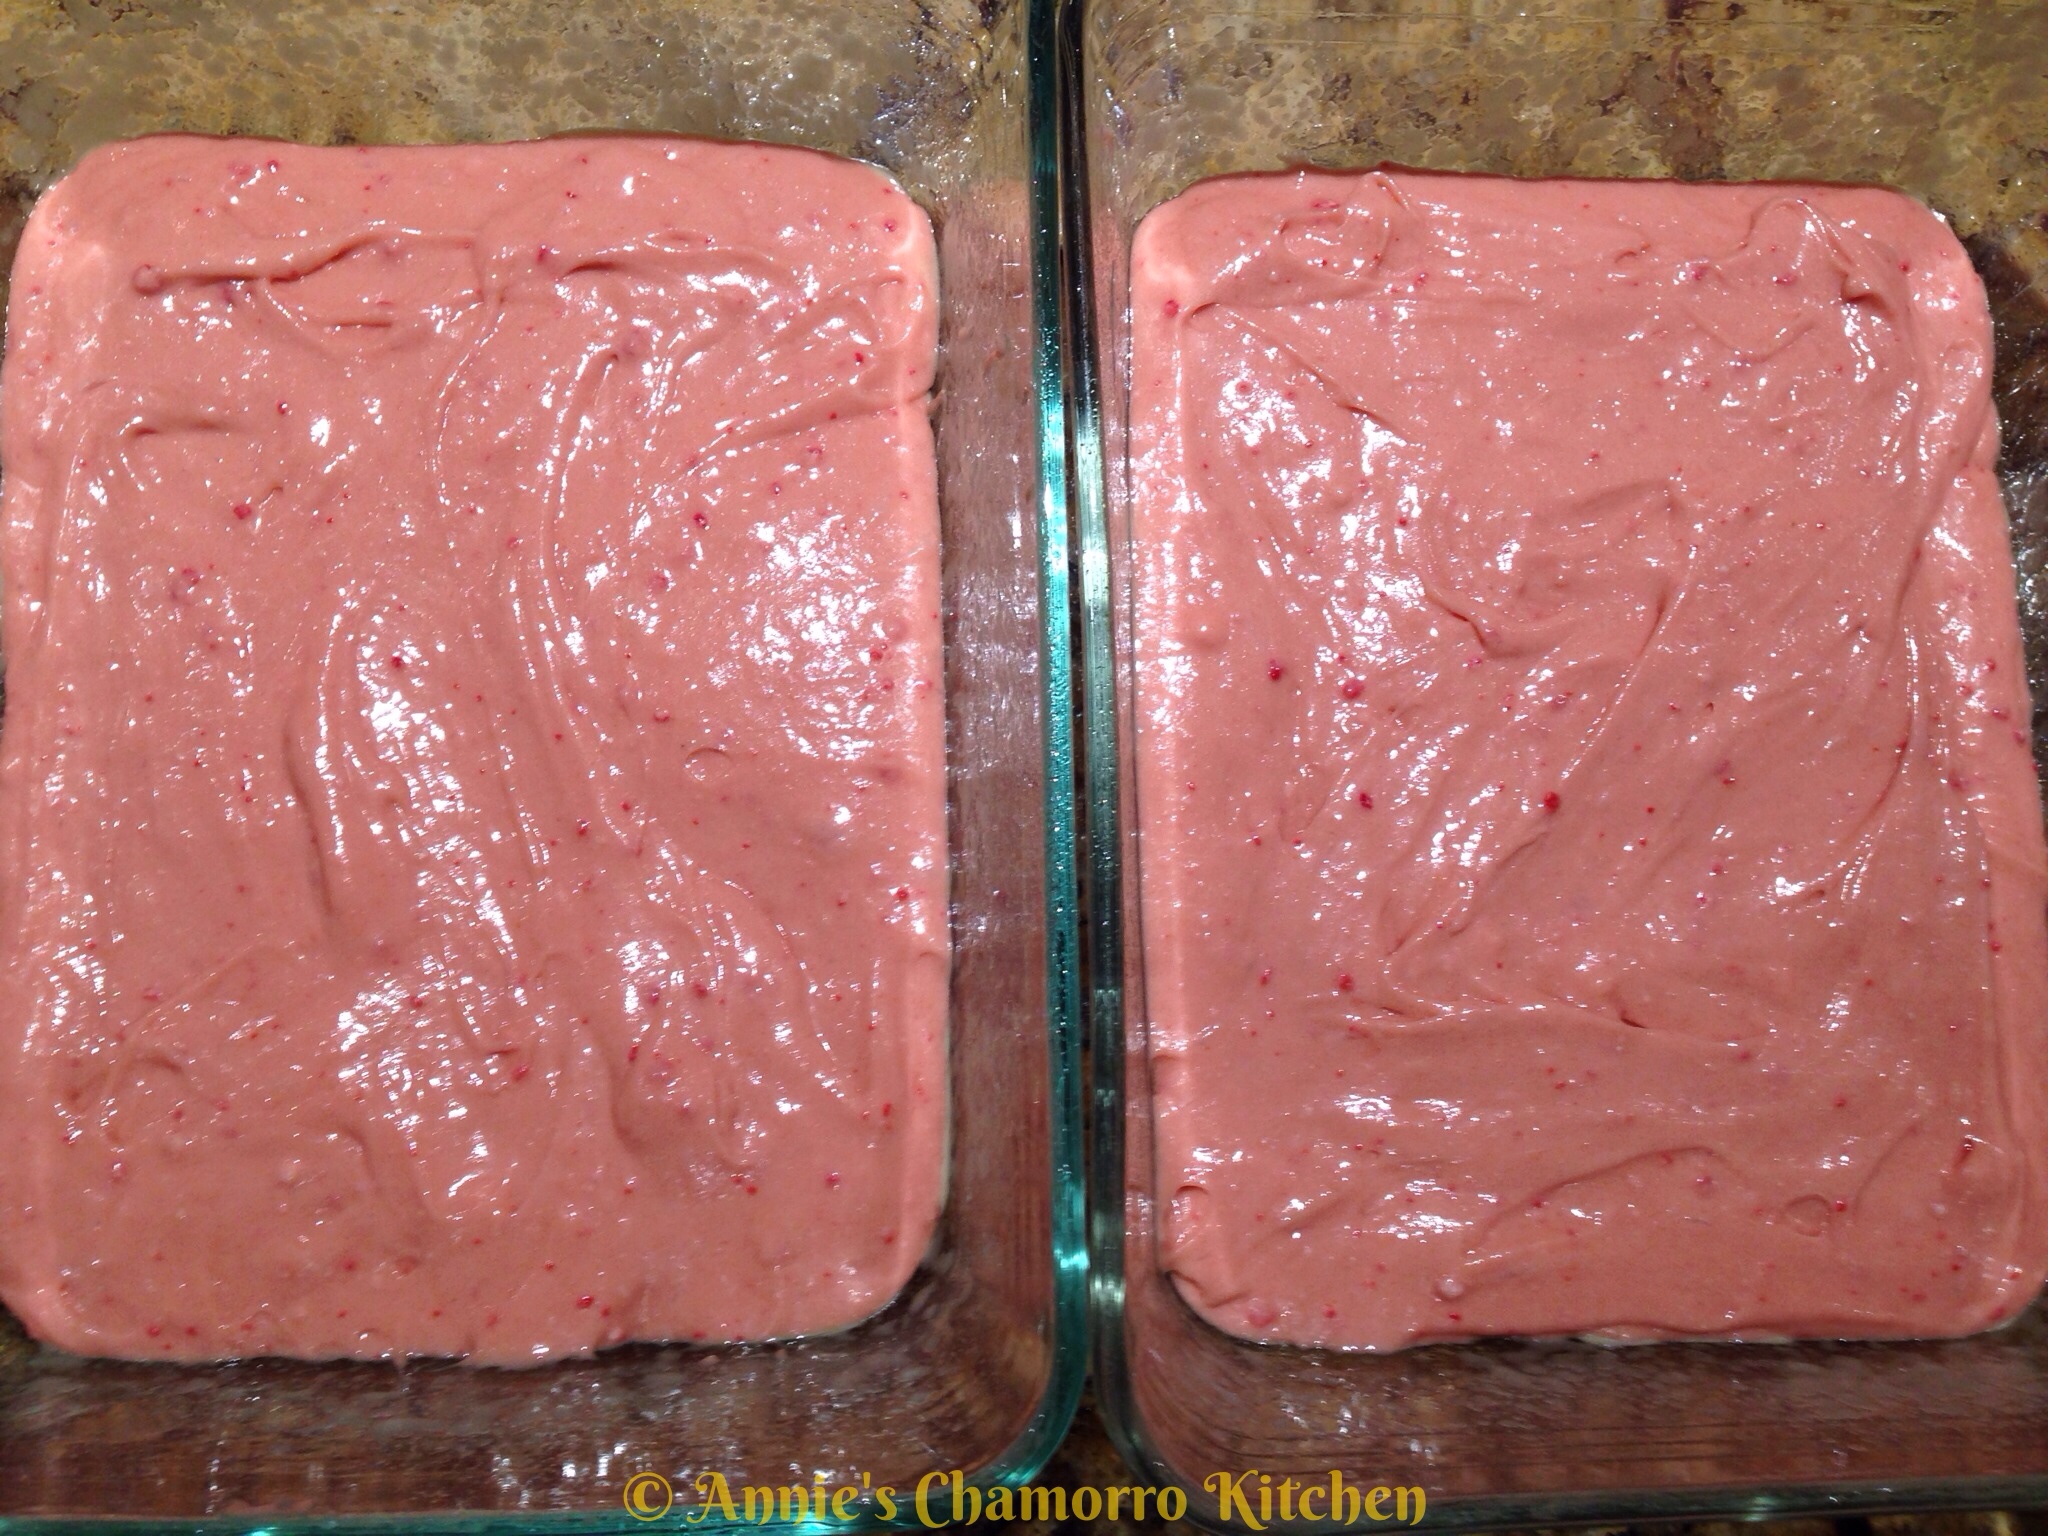
Bake at 350 degrees for 25 minutes or until a toothpick inserted into the middle comes out clean.  Let the cake cool completely (I inverted it onto a plate to finish cooling).
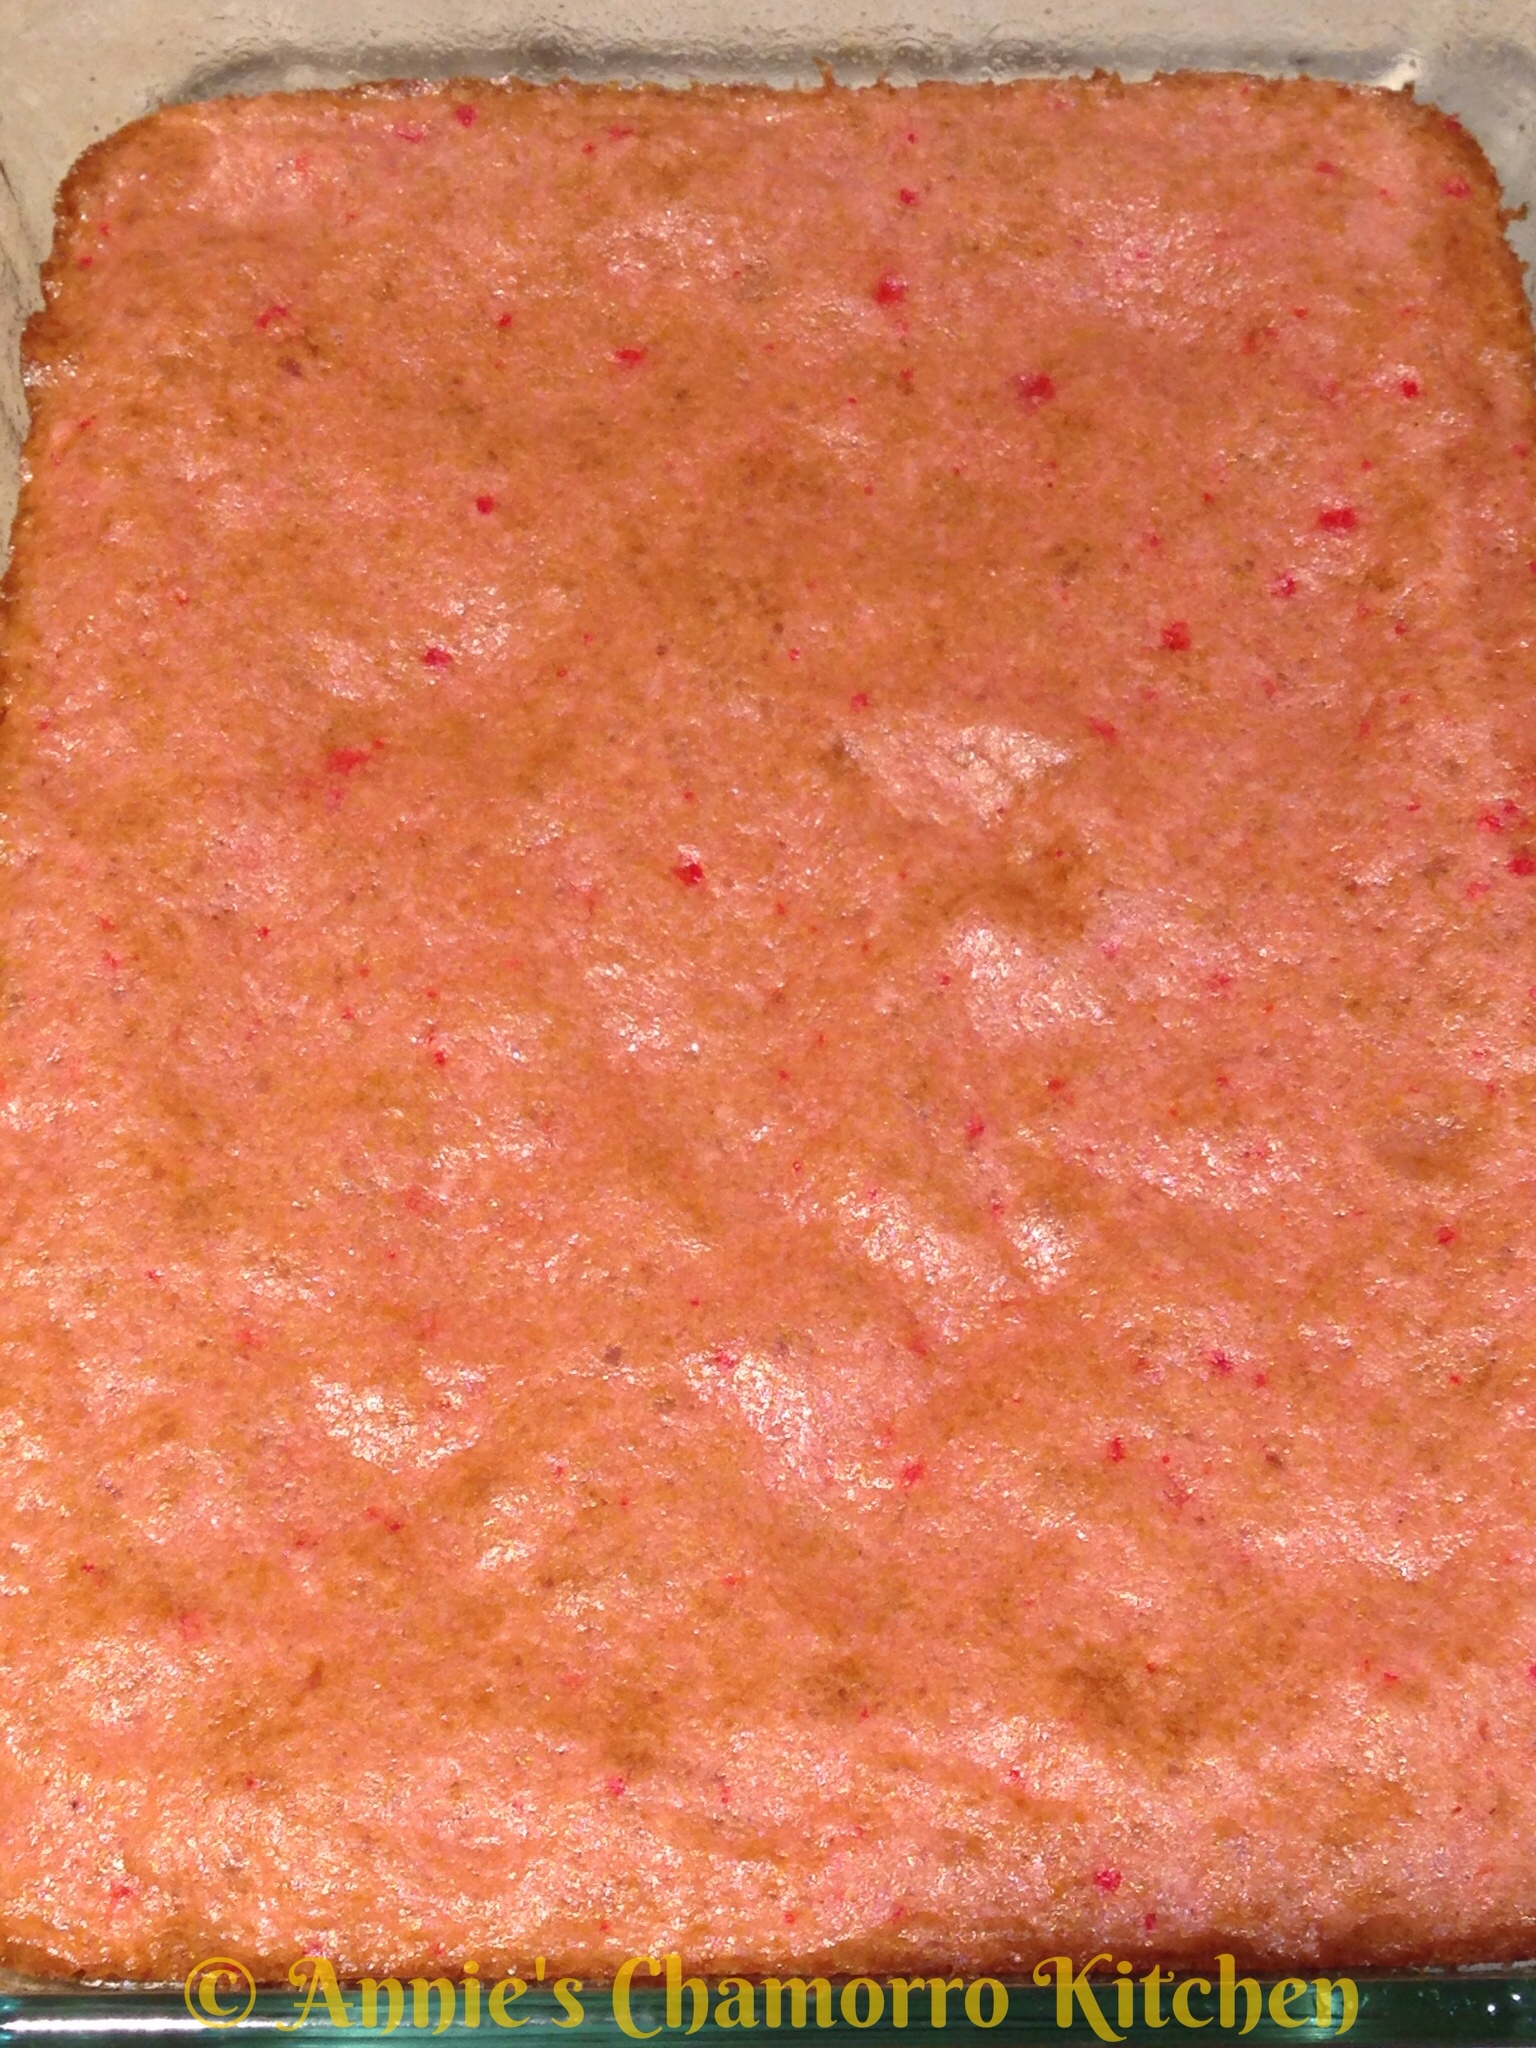
OPTIONAL:

To give your guava cake a boost of guava flavor, split the cakes in half while still warm.  Heat the jelly in a microwave-safe cup for one minute.  Spread the guava jelly over the top surface of each of the cake halves.  Allow to cool then place the halves back together.  Proceed with the remaining instructions.

image

4.  Make the guava sauce.

Place the remaining 2 cups of guava juice into a small saucepan.  Turn the heat to medium high.
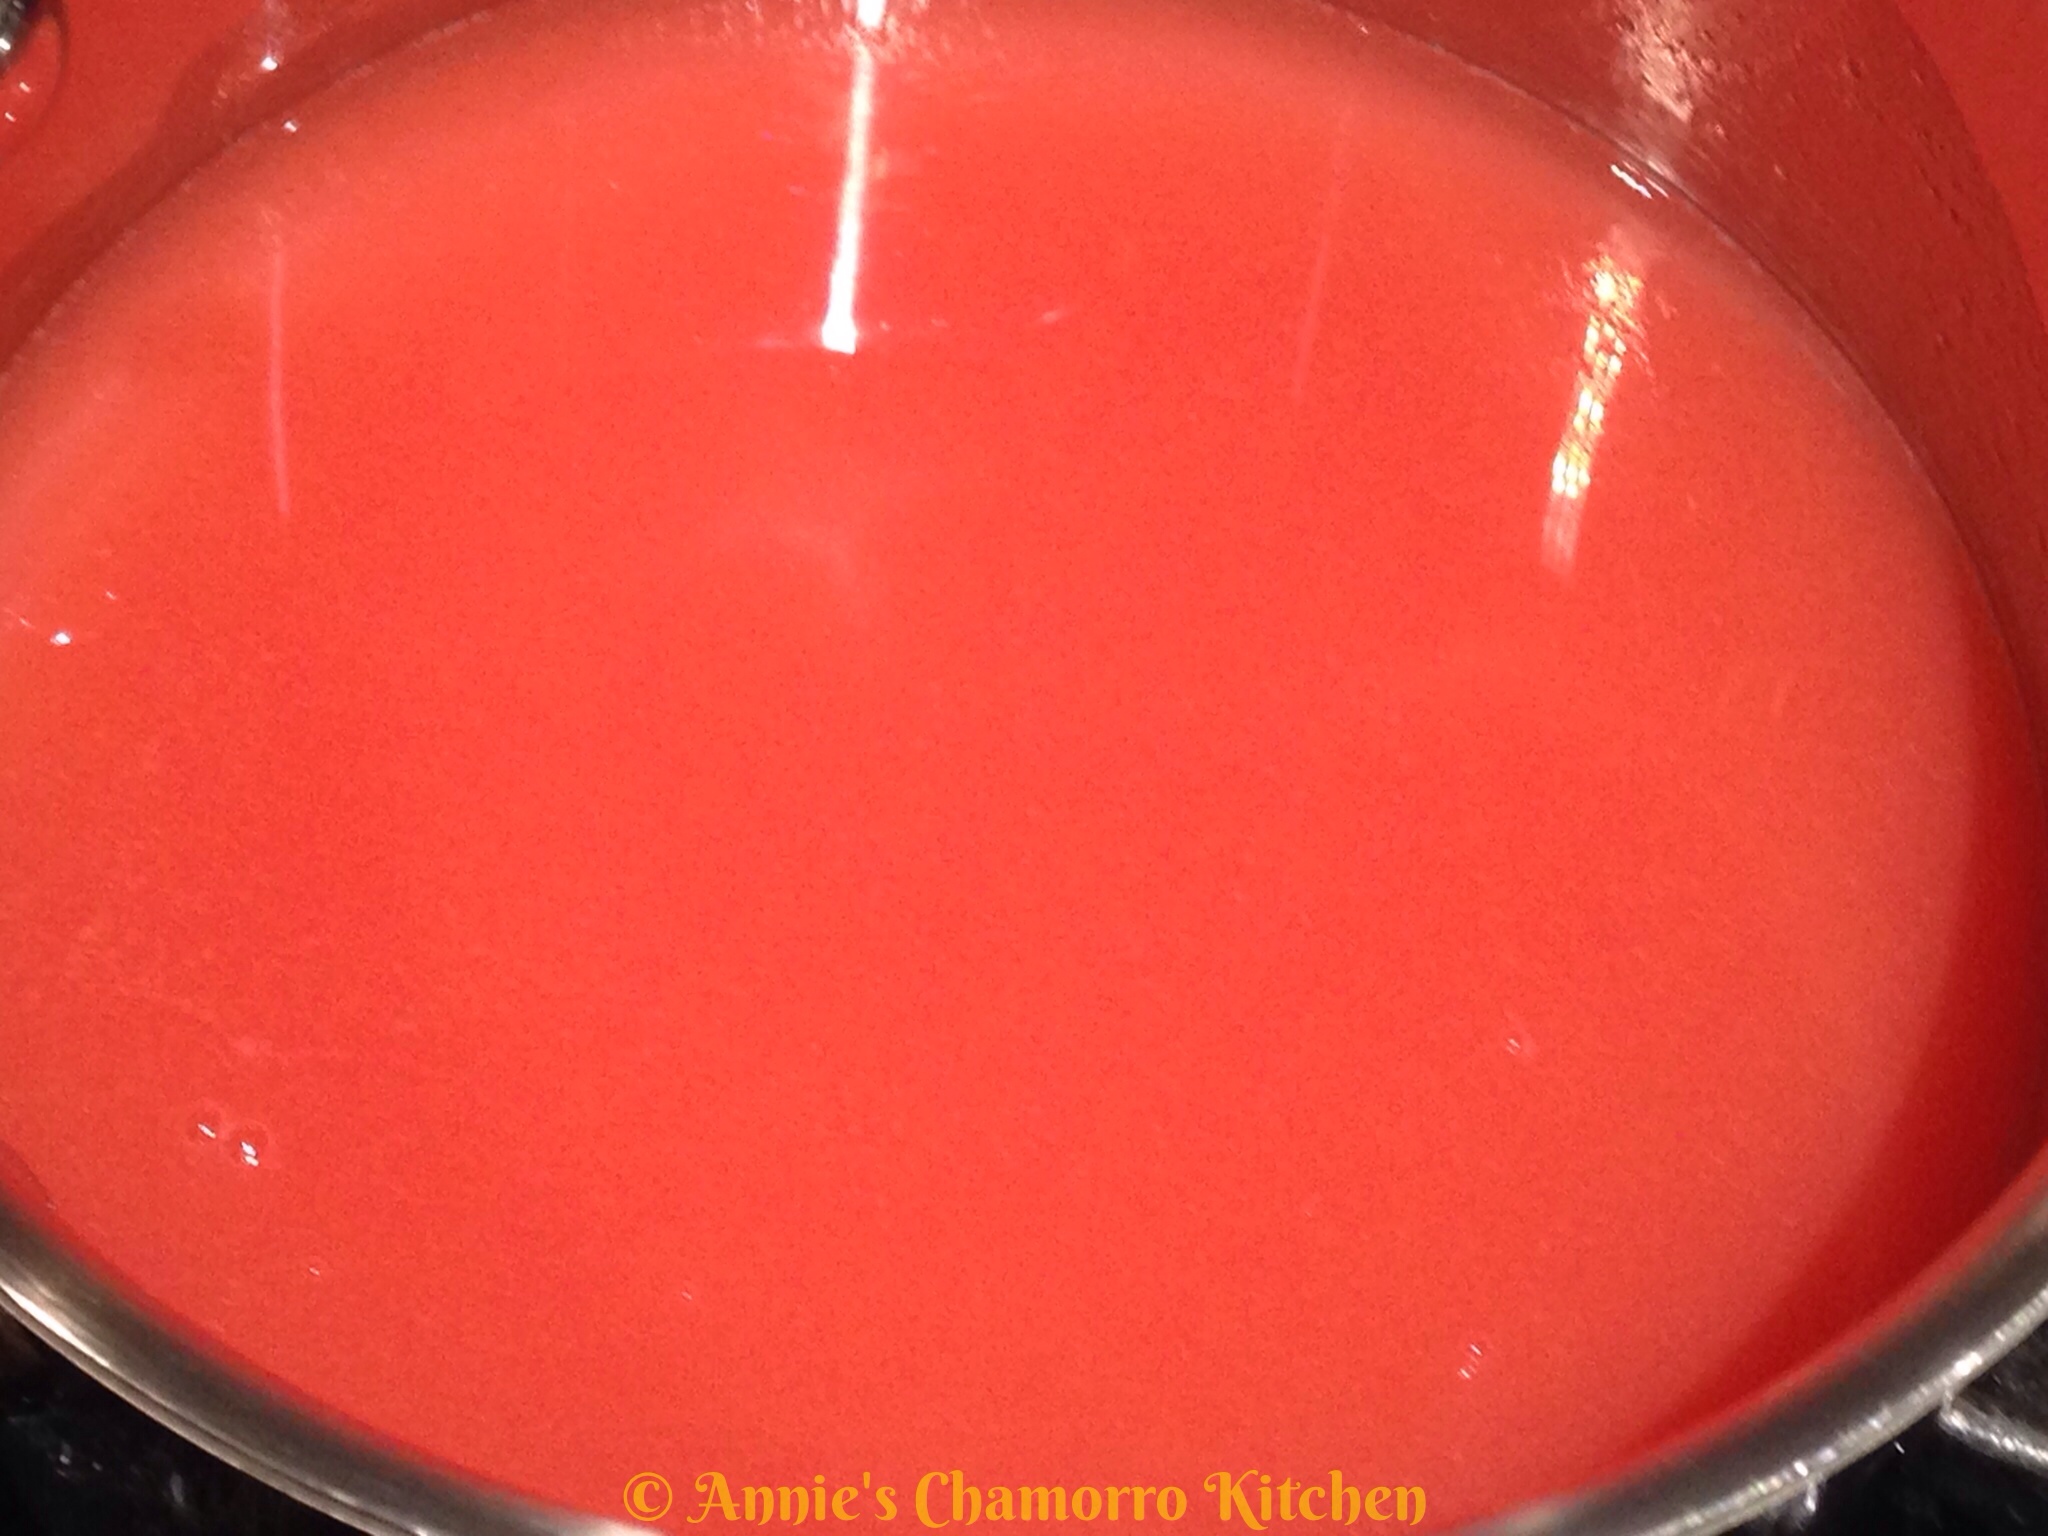
Mix the cornstarch with 4 tablespoons of water.  Pour the cornstarch mixture into the pan, mixing with a whisk.
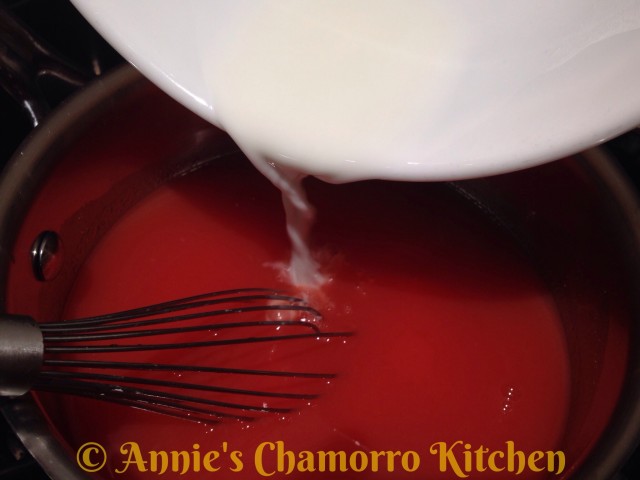
wpid-Photo-Feb-13-2014-632-PM.jpg

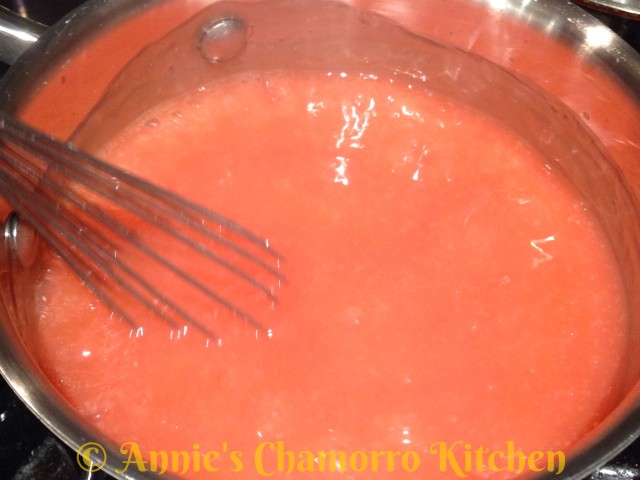
Continue whisking the mixture over medium high heat, cooking until the sauce begins to thicken.

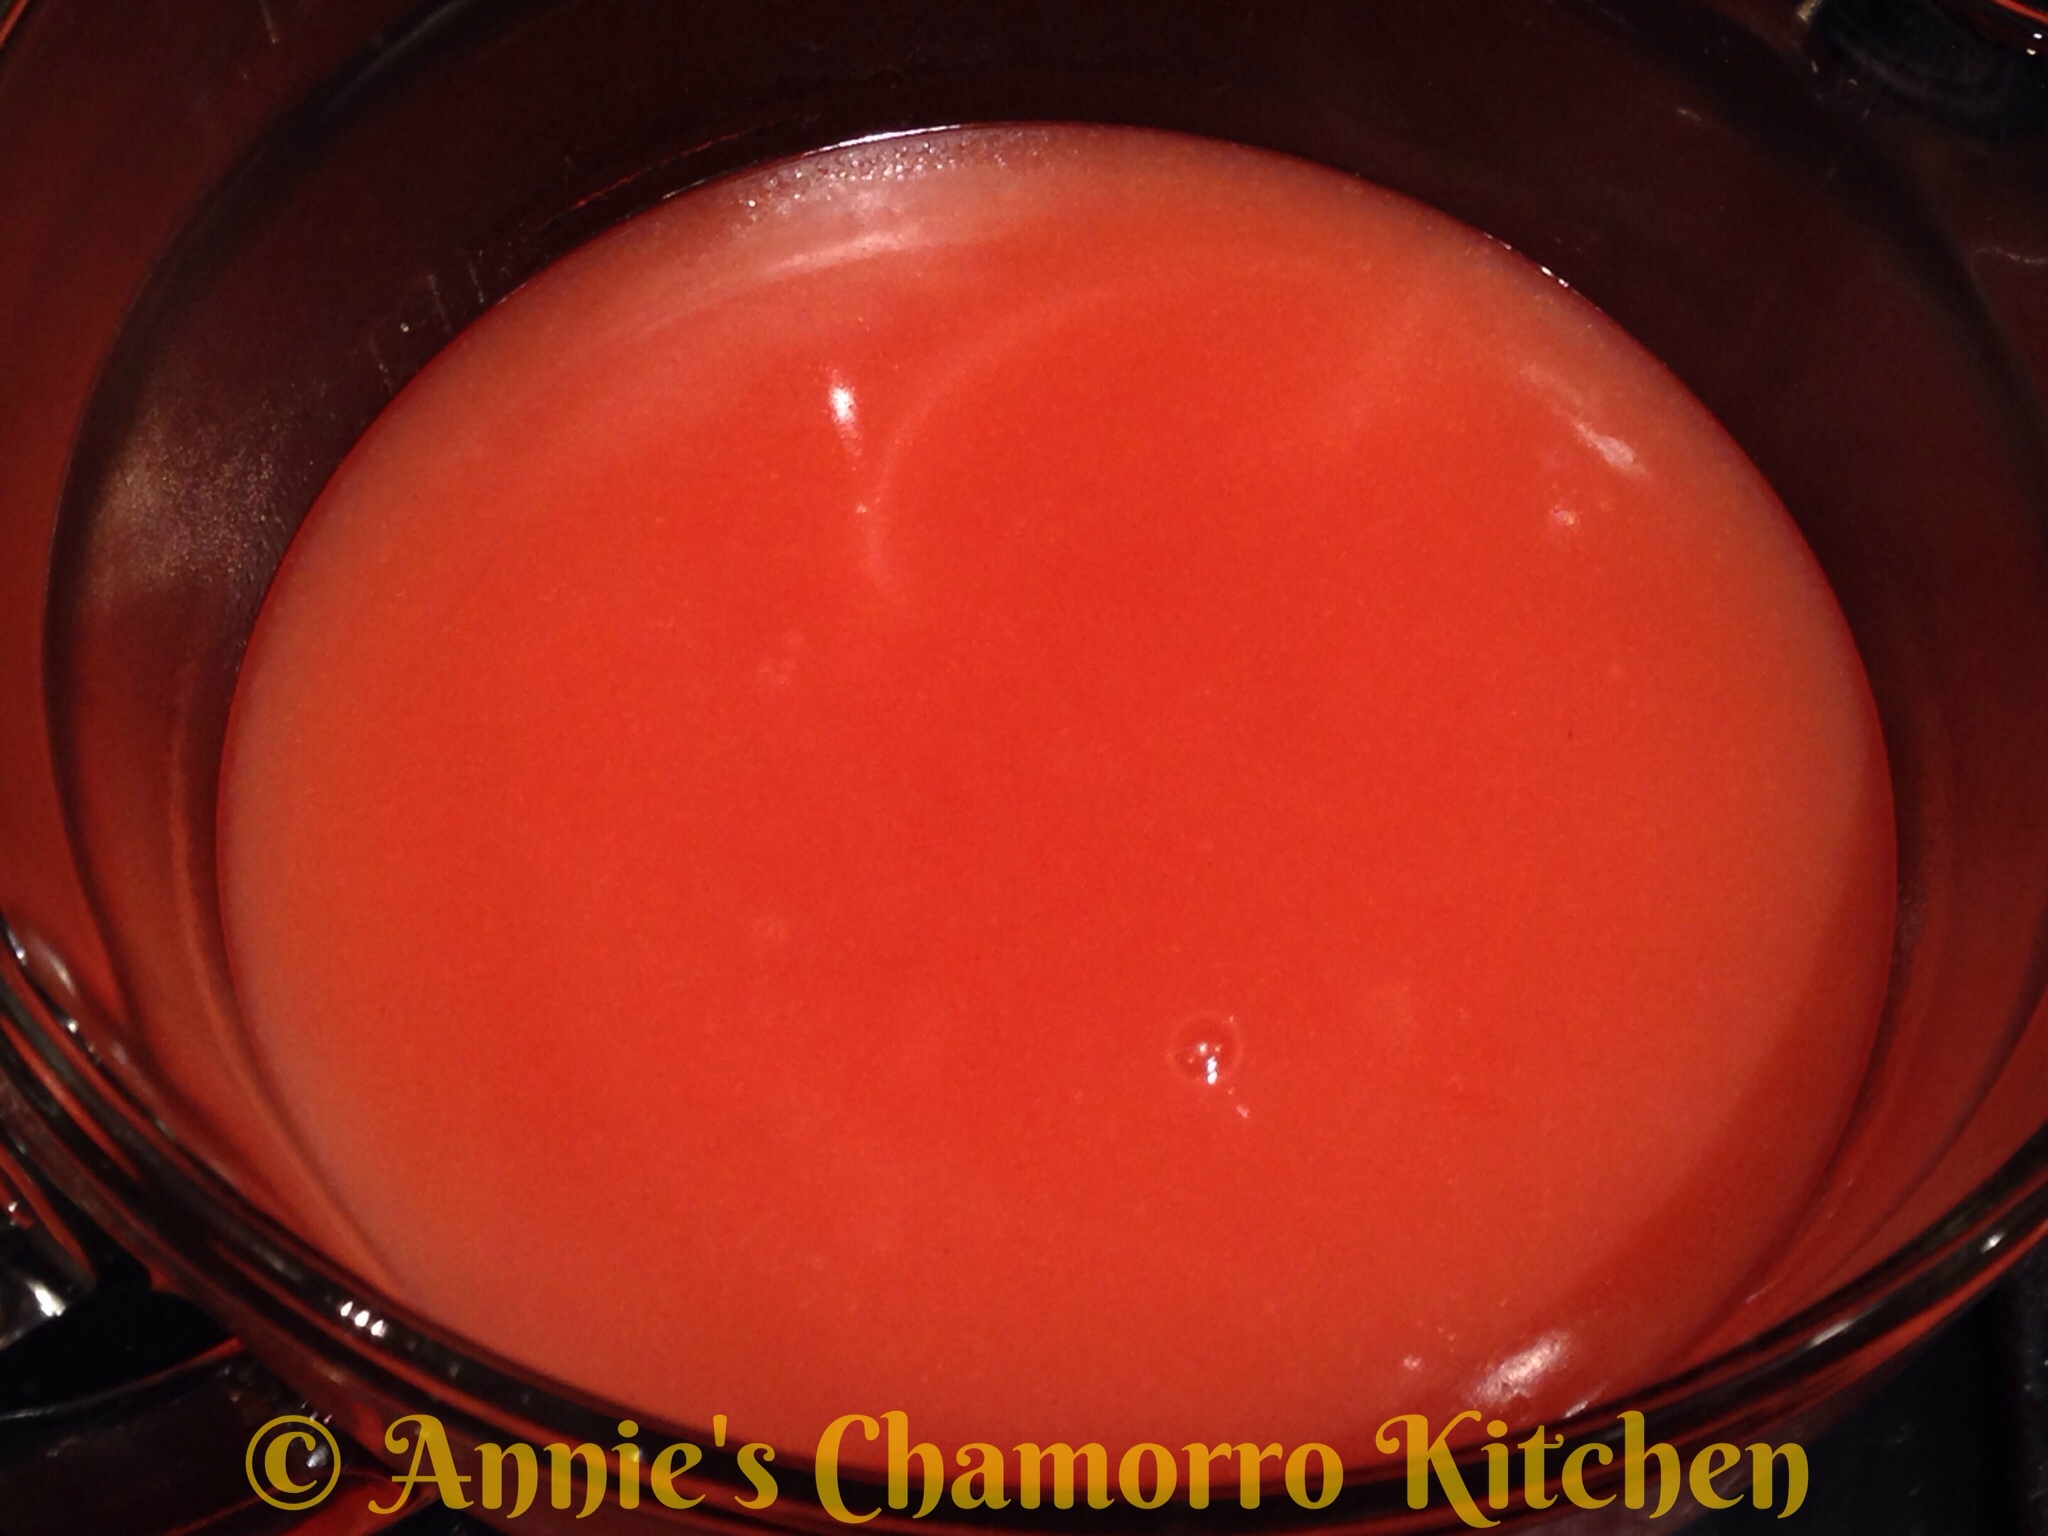
The sauce will thicken only after it comes to a boil.  Once the mixture starts to boil, reduce the heat to medium low; continue cooking for a couple of minutes then remove from the heat.
wpid-Photo-Feb-13-2014-638-PM.jpg

Pour the sauce into a small bowl or measuring cup.  Refrigerate until ready to use.

Note: Let the sauce cool completely before pouring onto the cake.
5.  Assemble the cake.

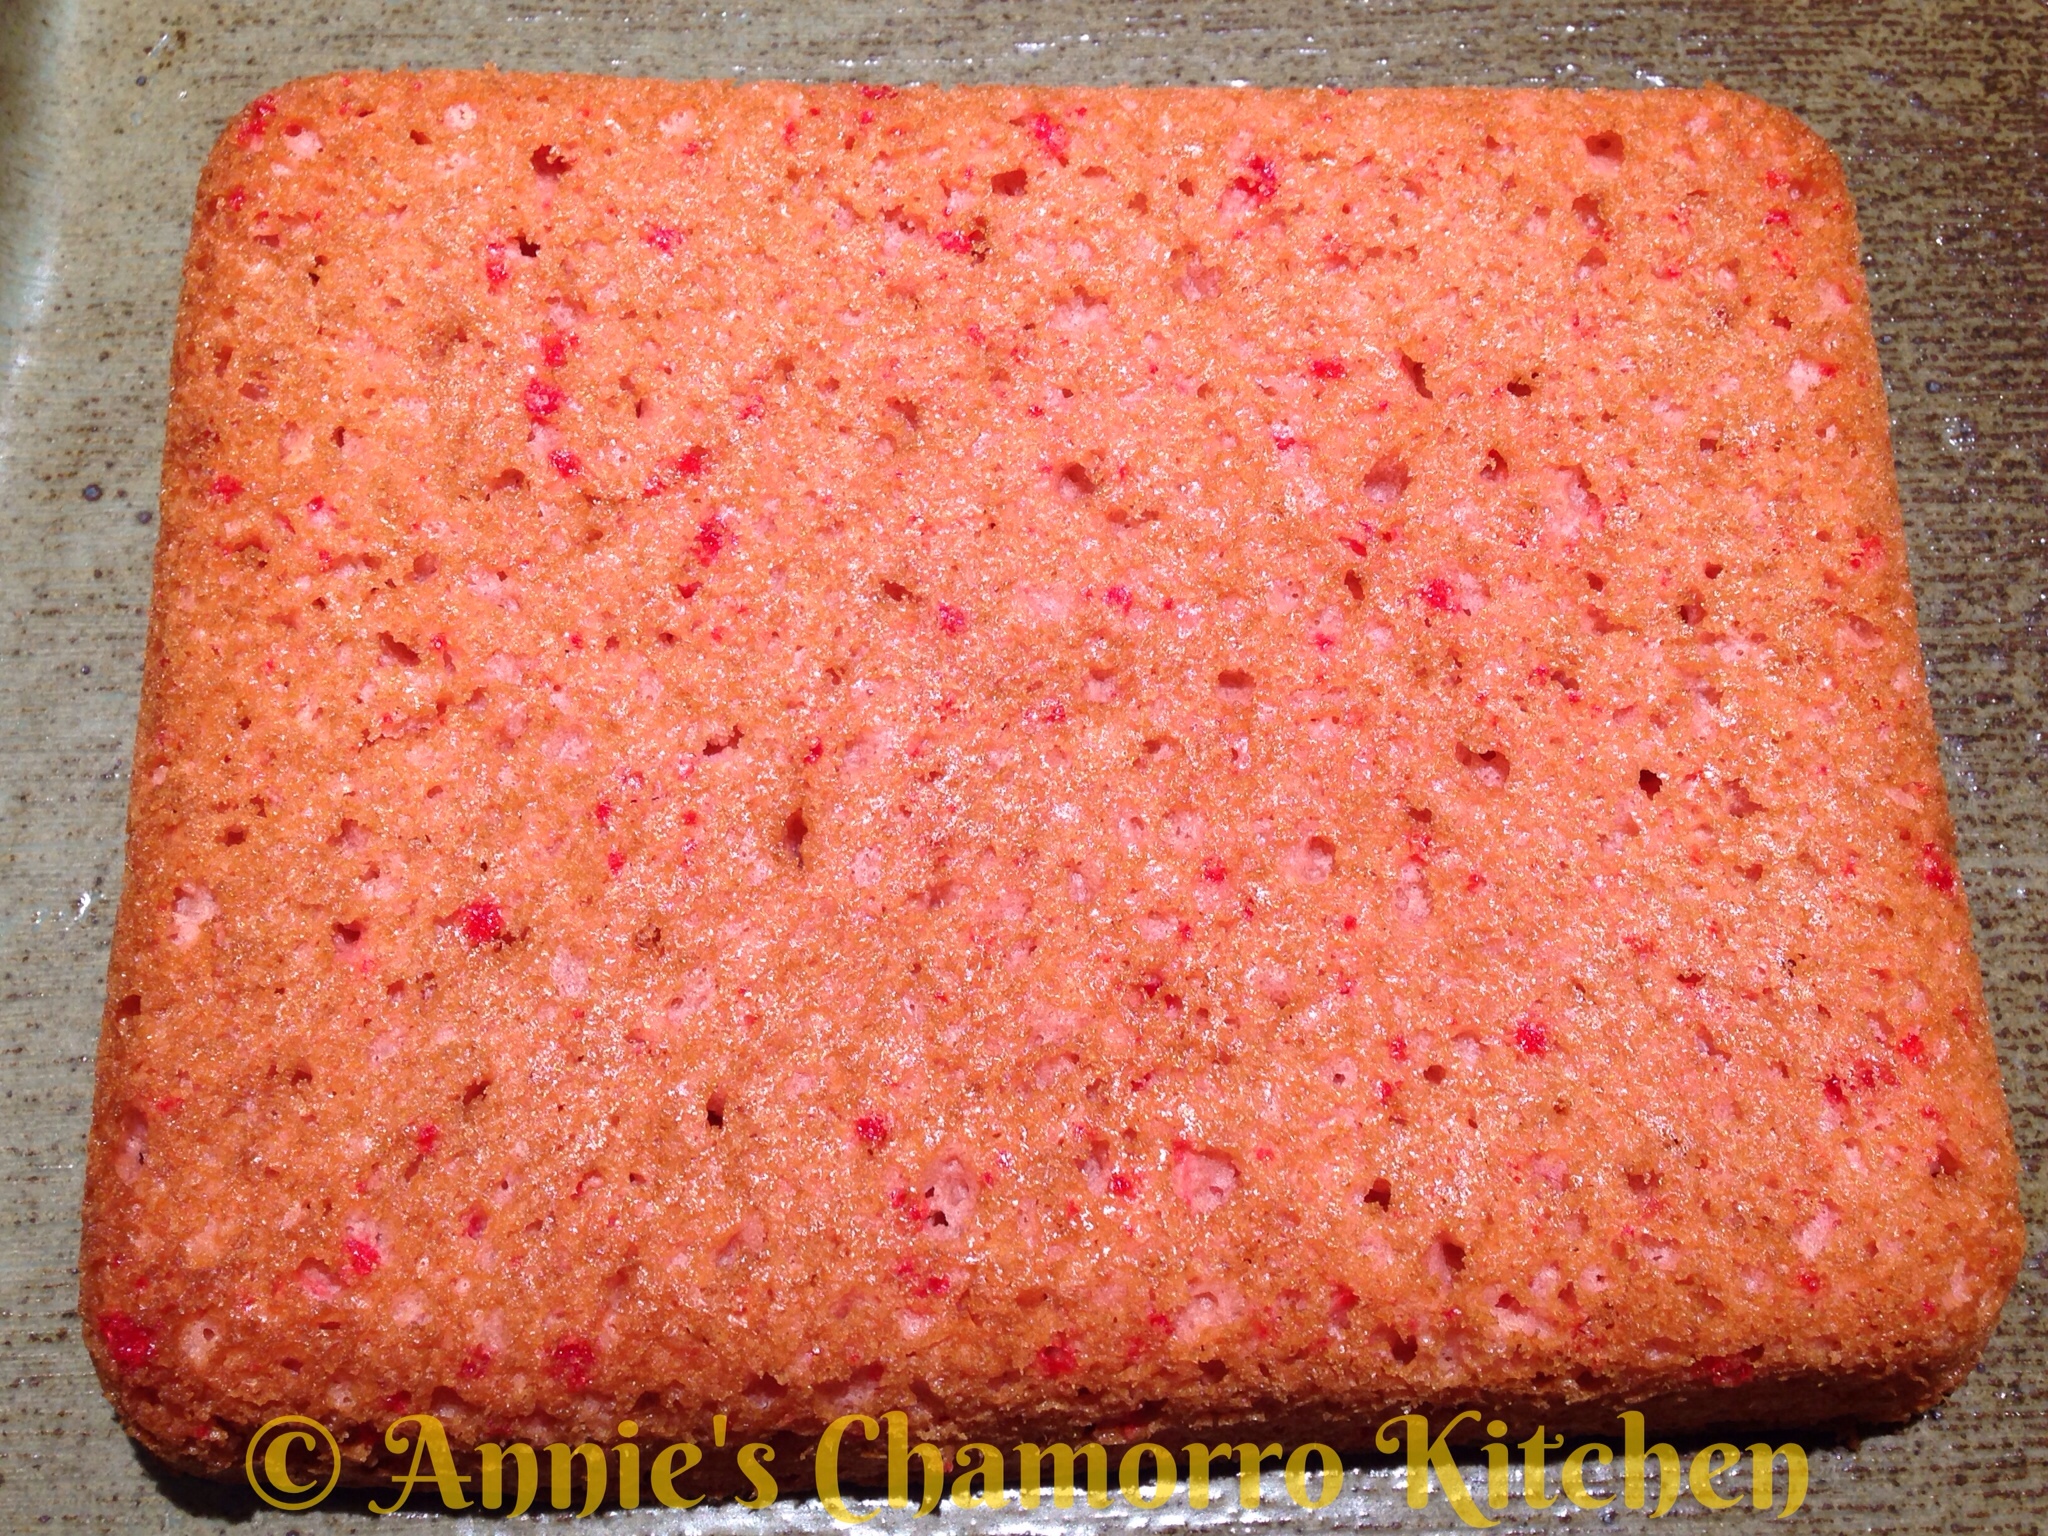
Place one of the cake layers onto a serving plate.
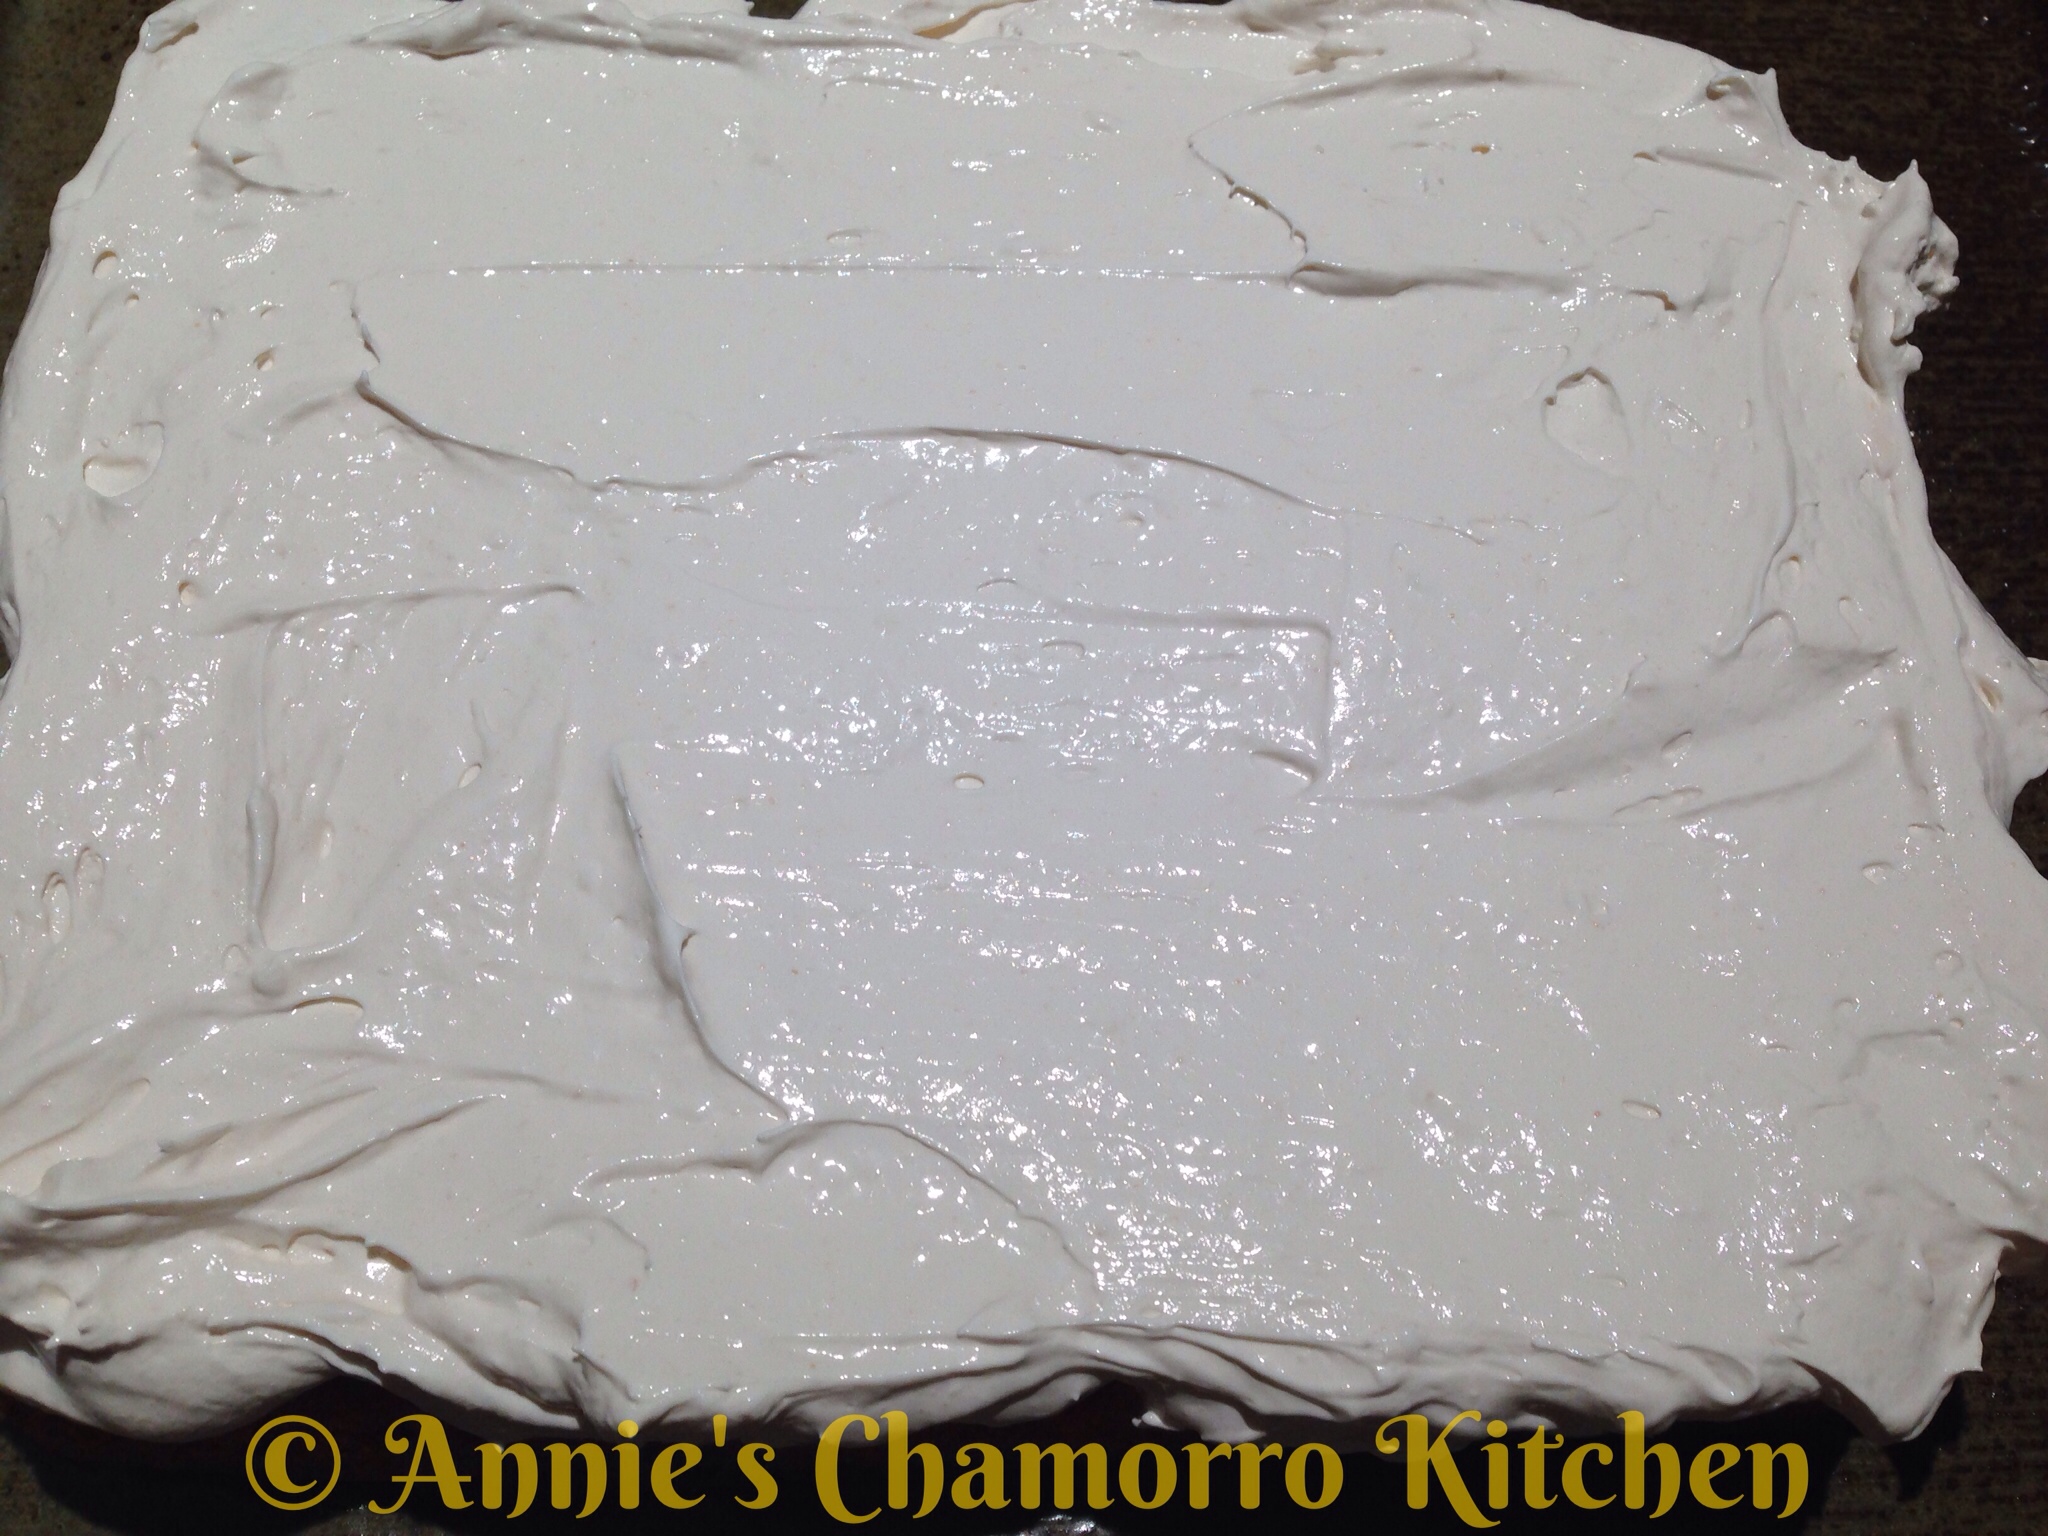
Spread a thin layer of frosting onto the cake.
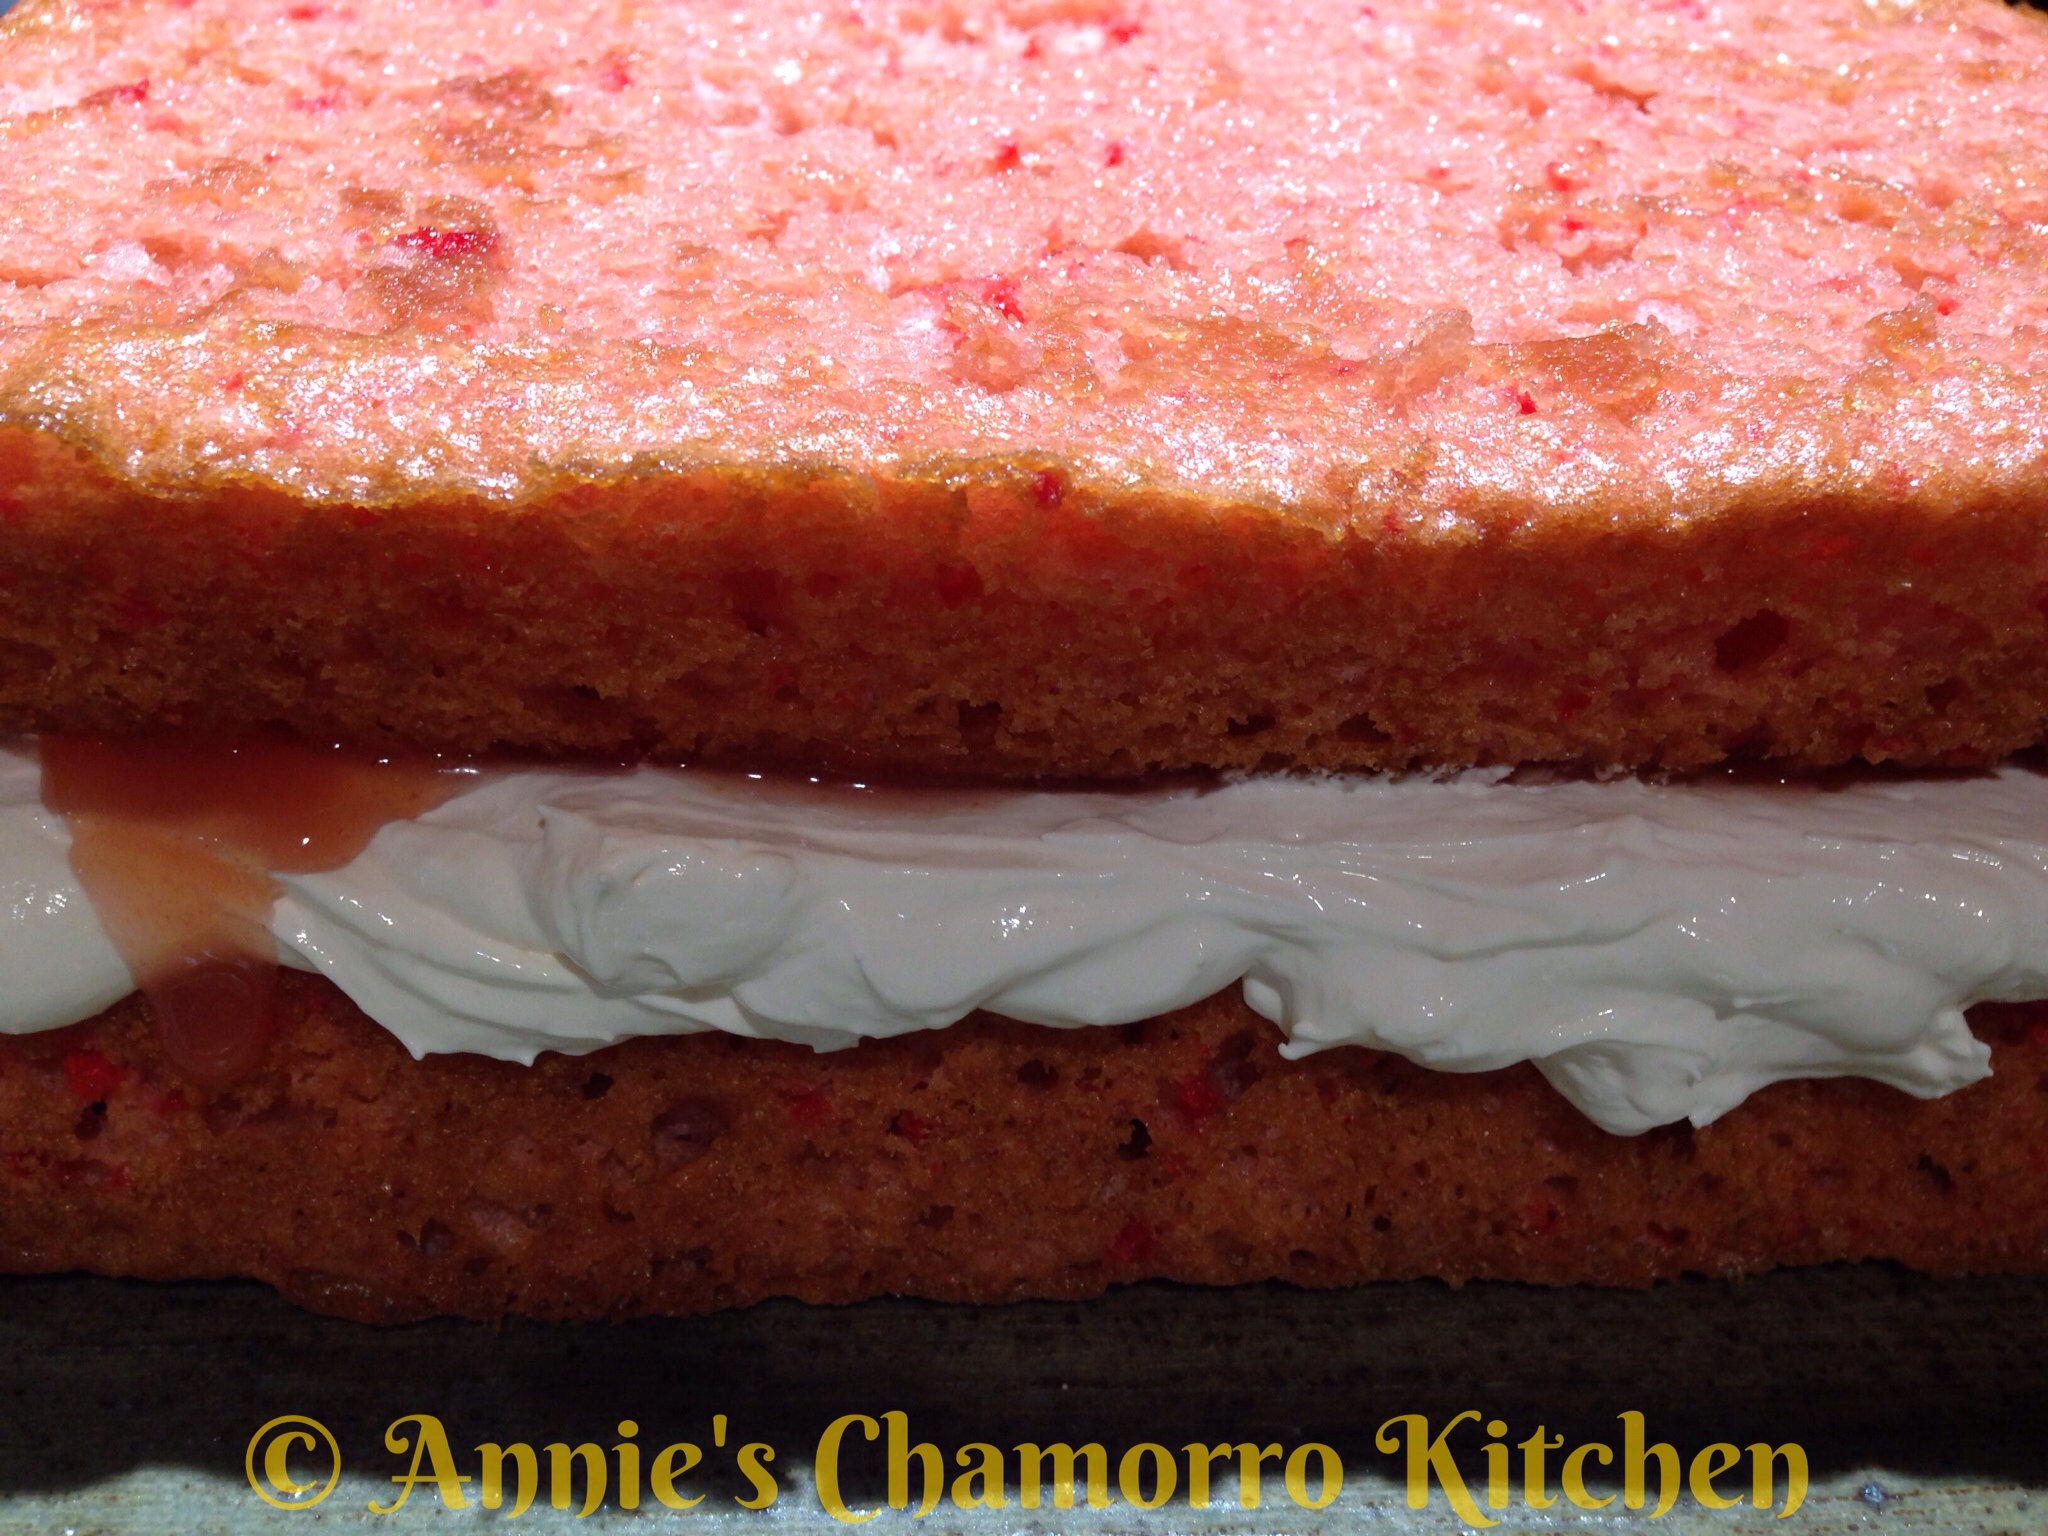
Spread some of the guava sauce on top of the frosting, staying about one inch from the edge.
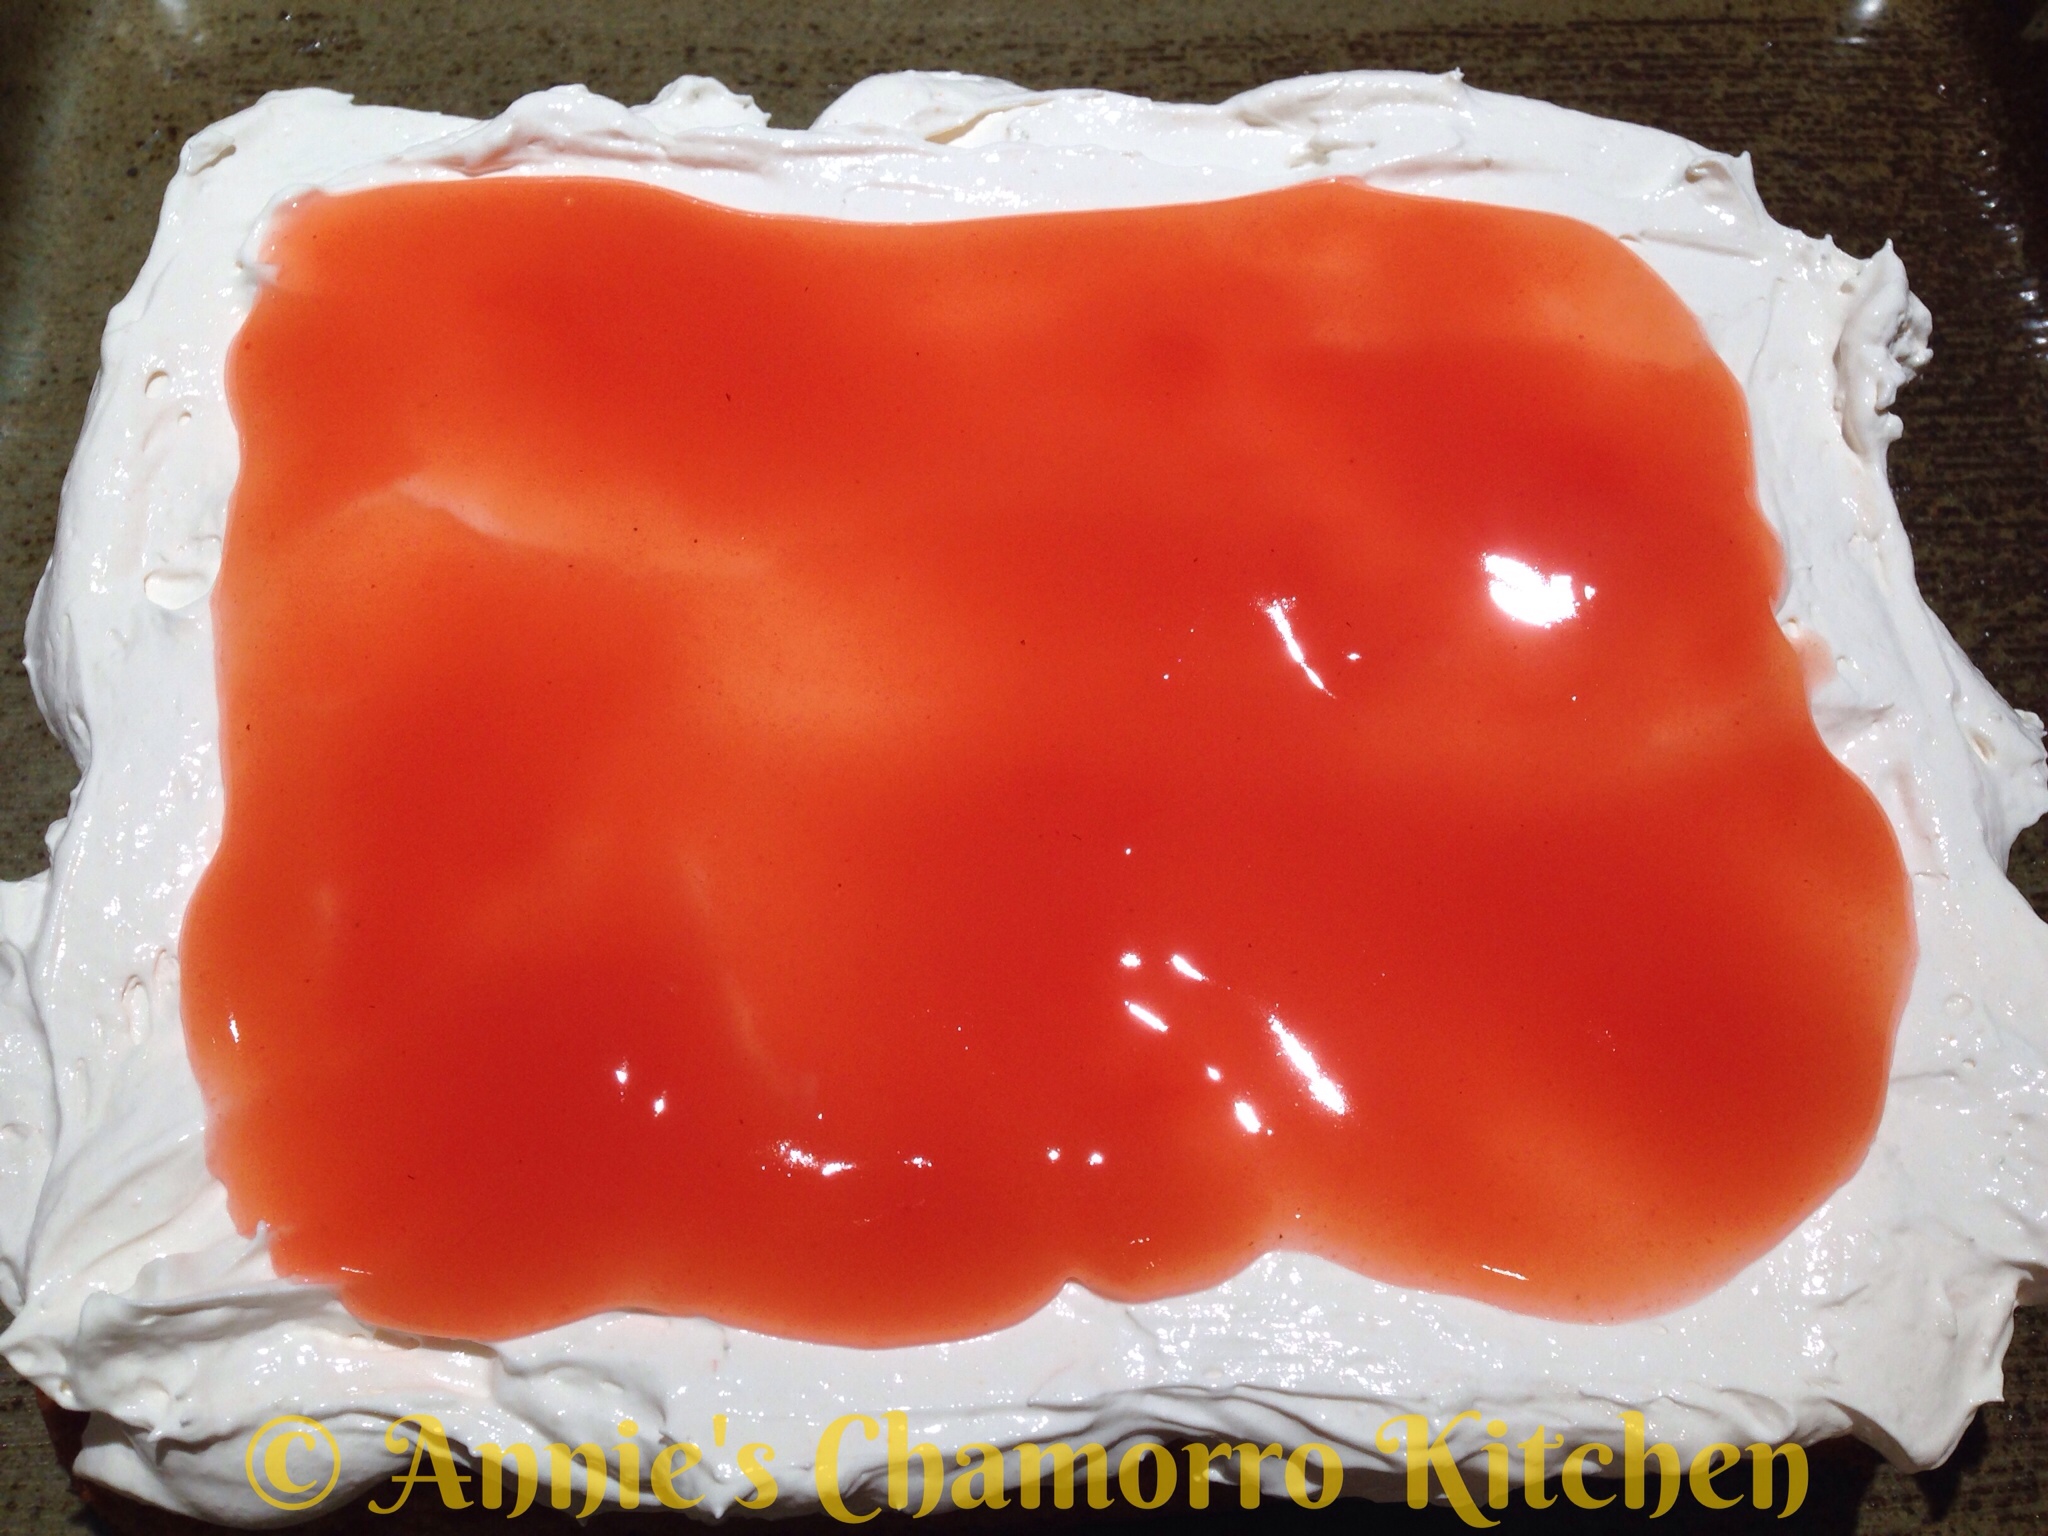
Place the second layer of cake on top of the first layer.
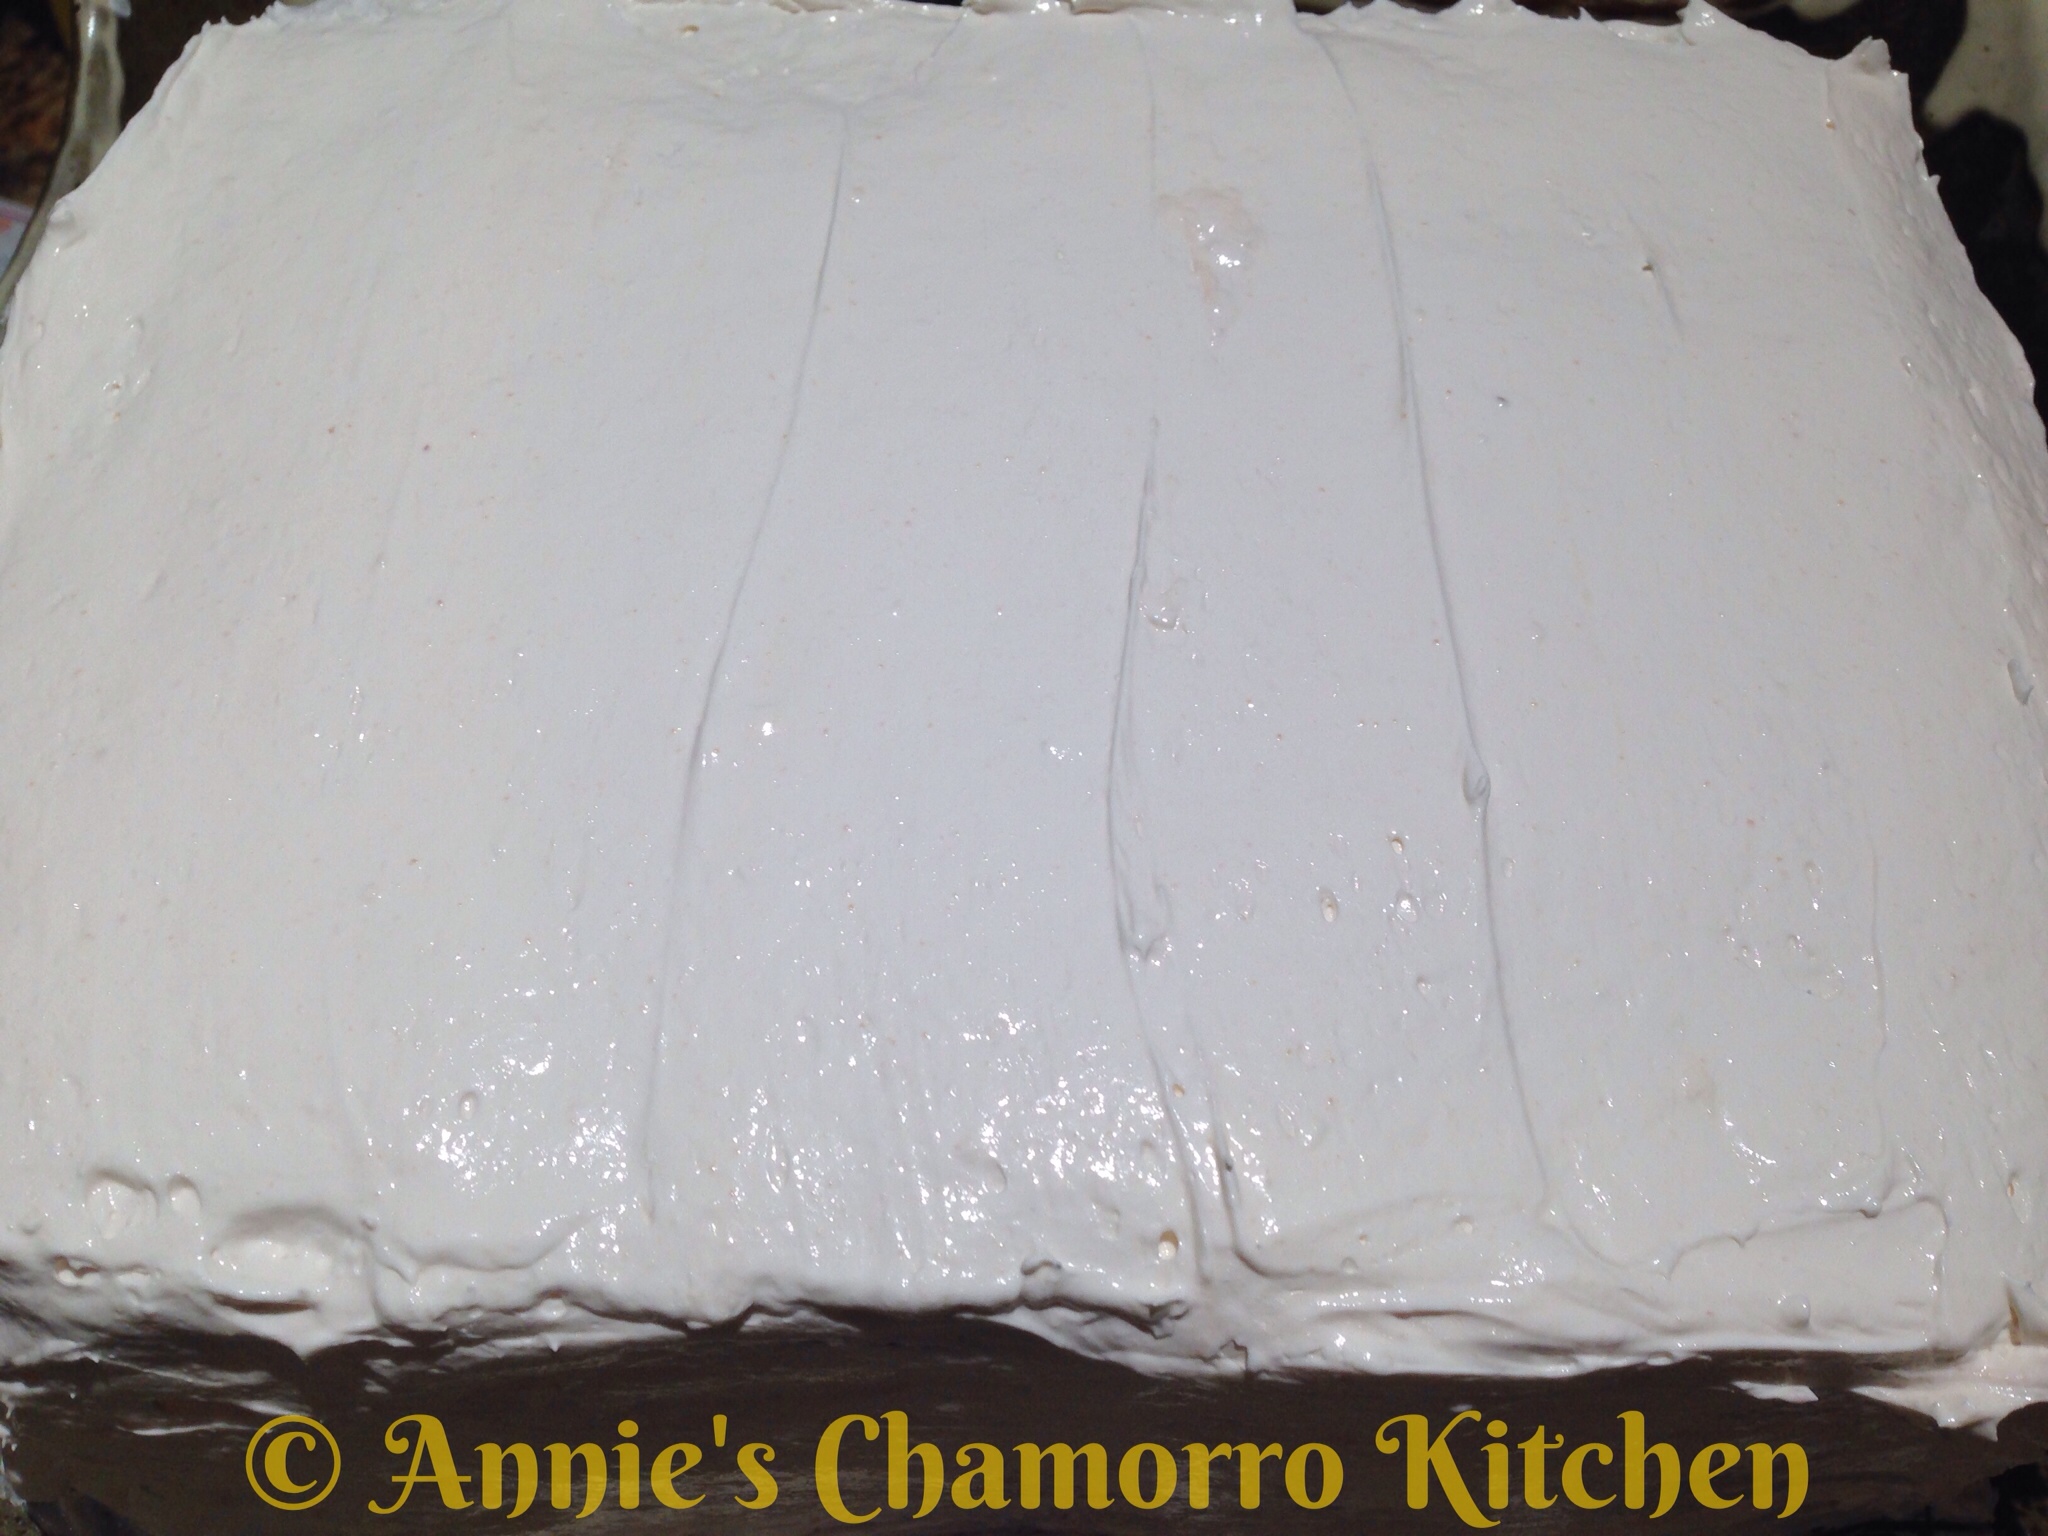
Frost the cake (top and sides) with the remaining frosting.
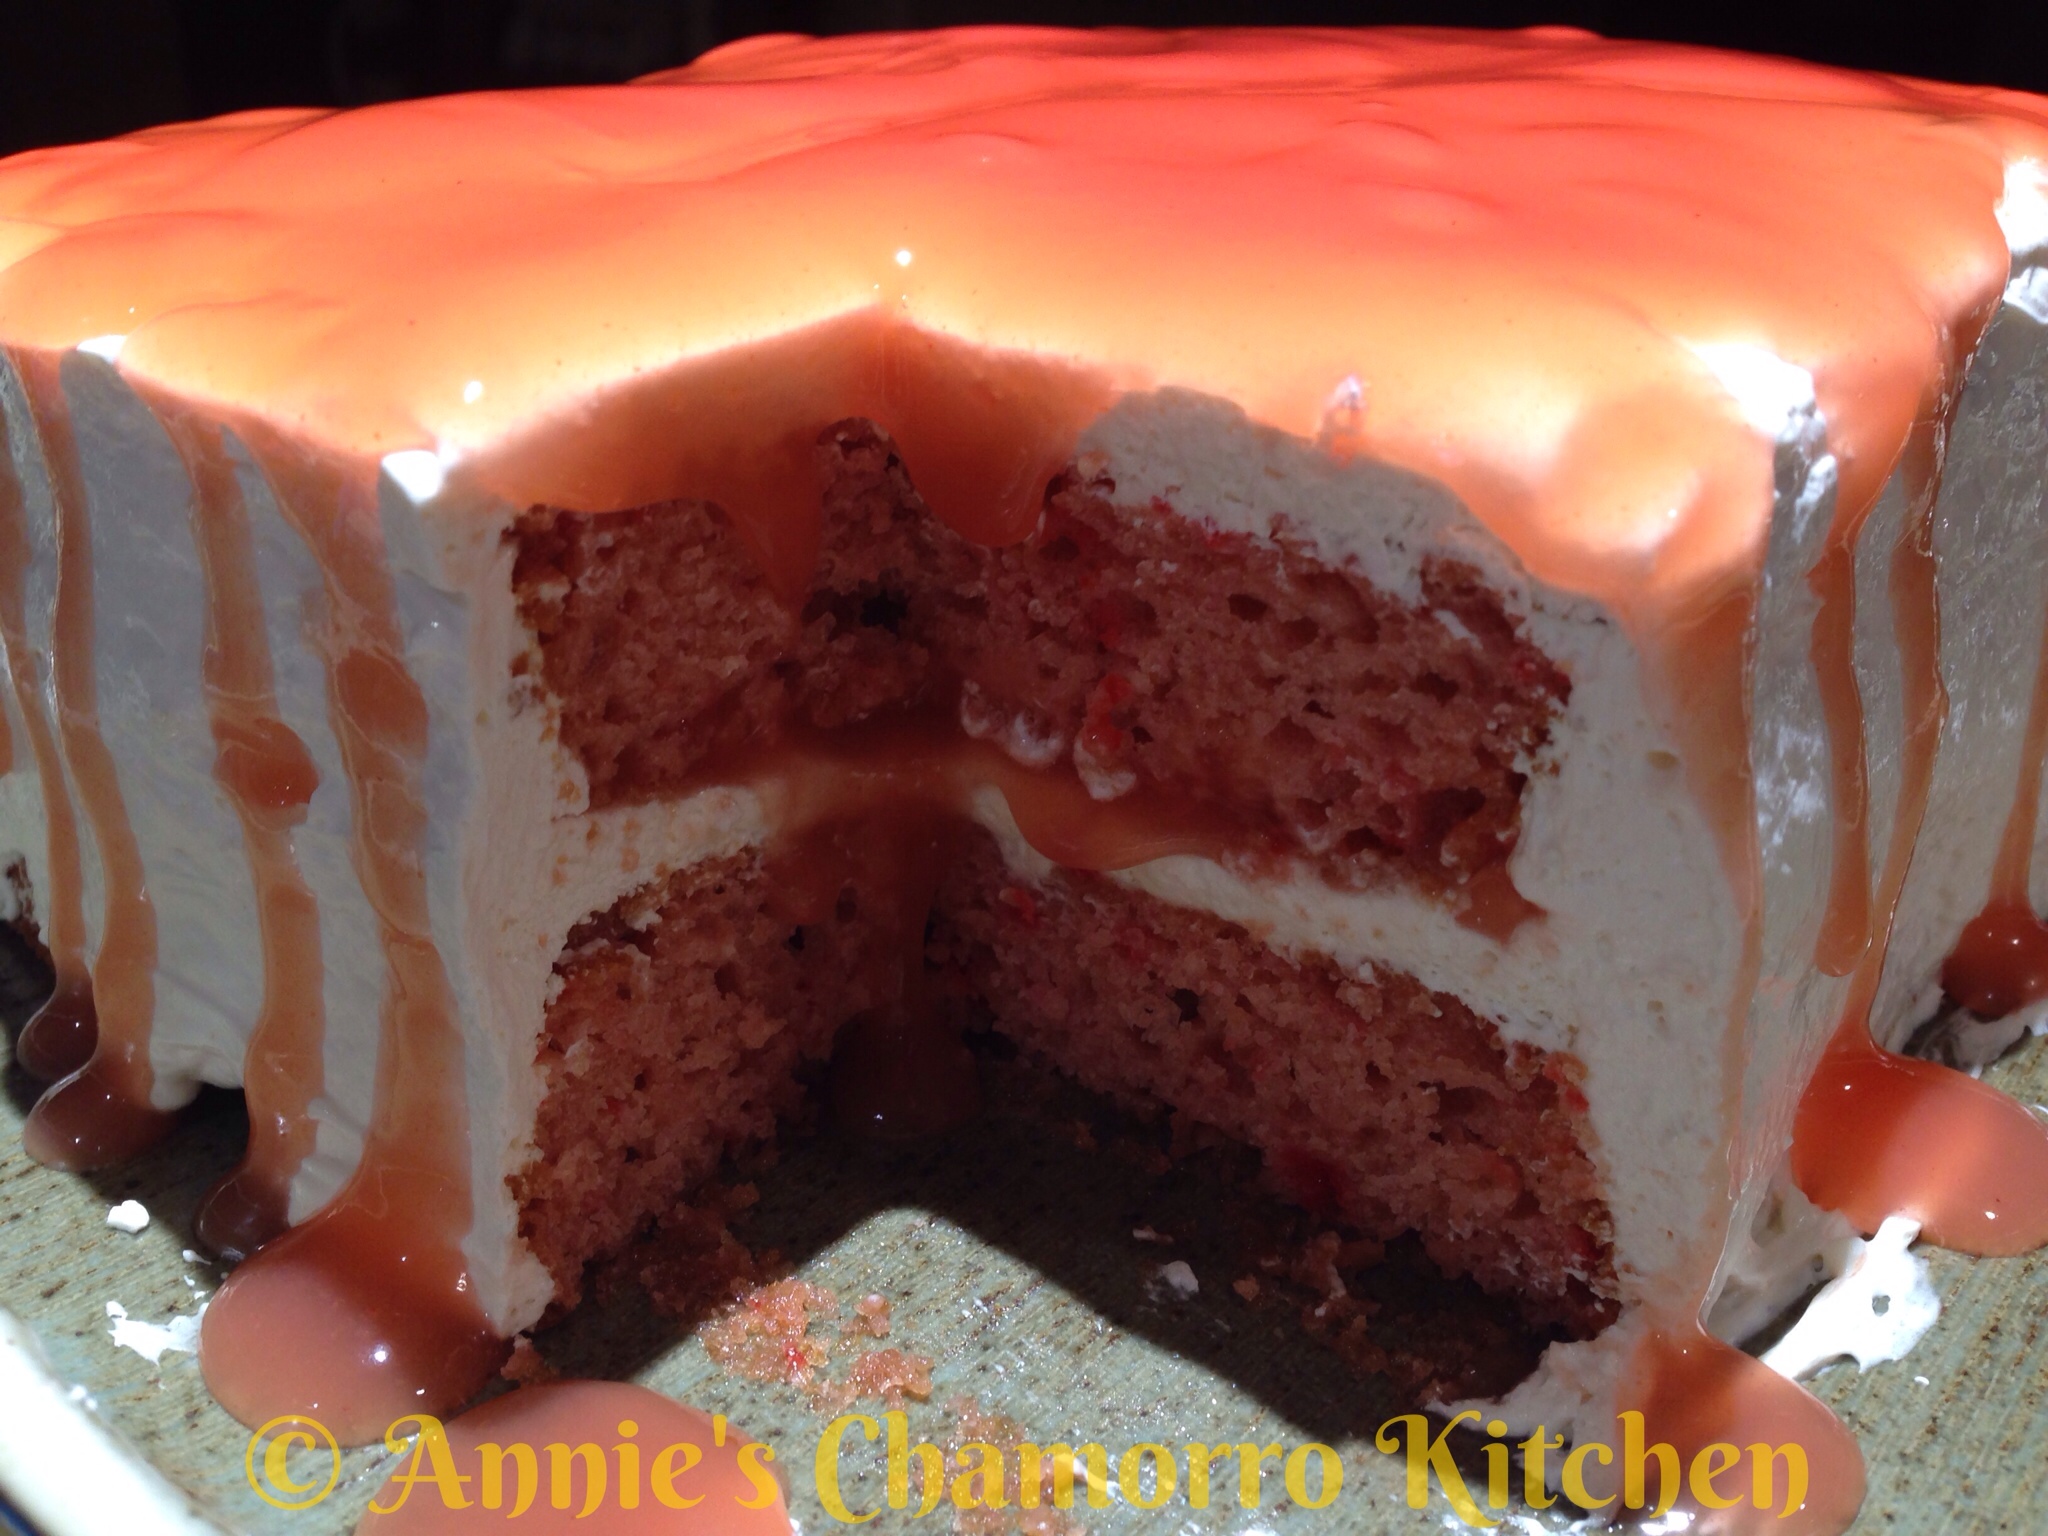
Pour the remaining sauce on top of the cake.  If you have room in your fridge, refrigerate the cake until the sauce and frosting sets completely.  If you have a cake decorating bag and tips, you can be fancy and pipe a border around the edge to keep the sauce nice and pretty in the middle of the cake.
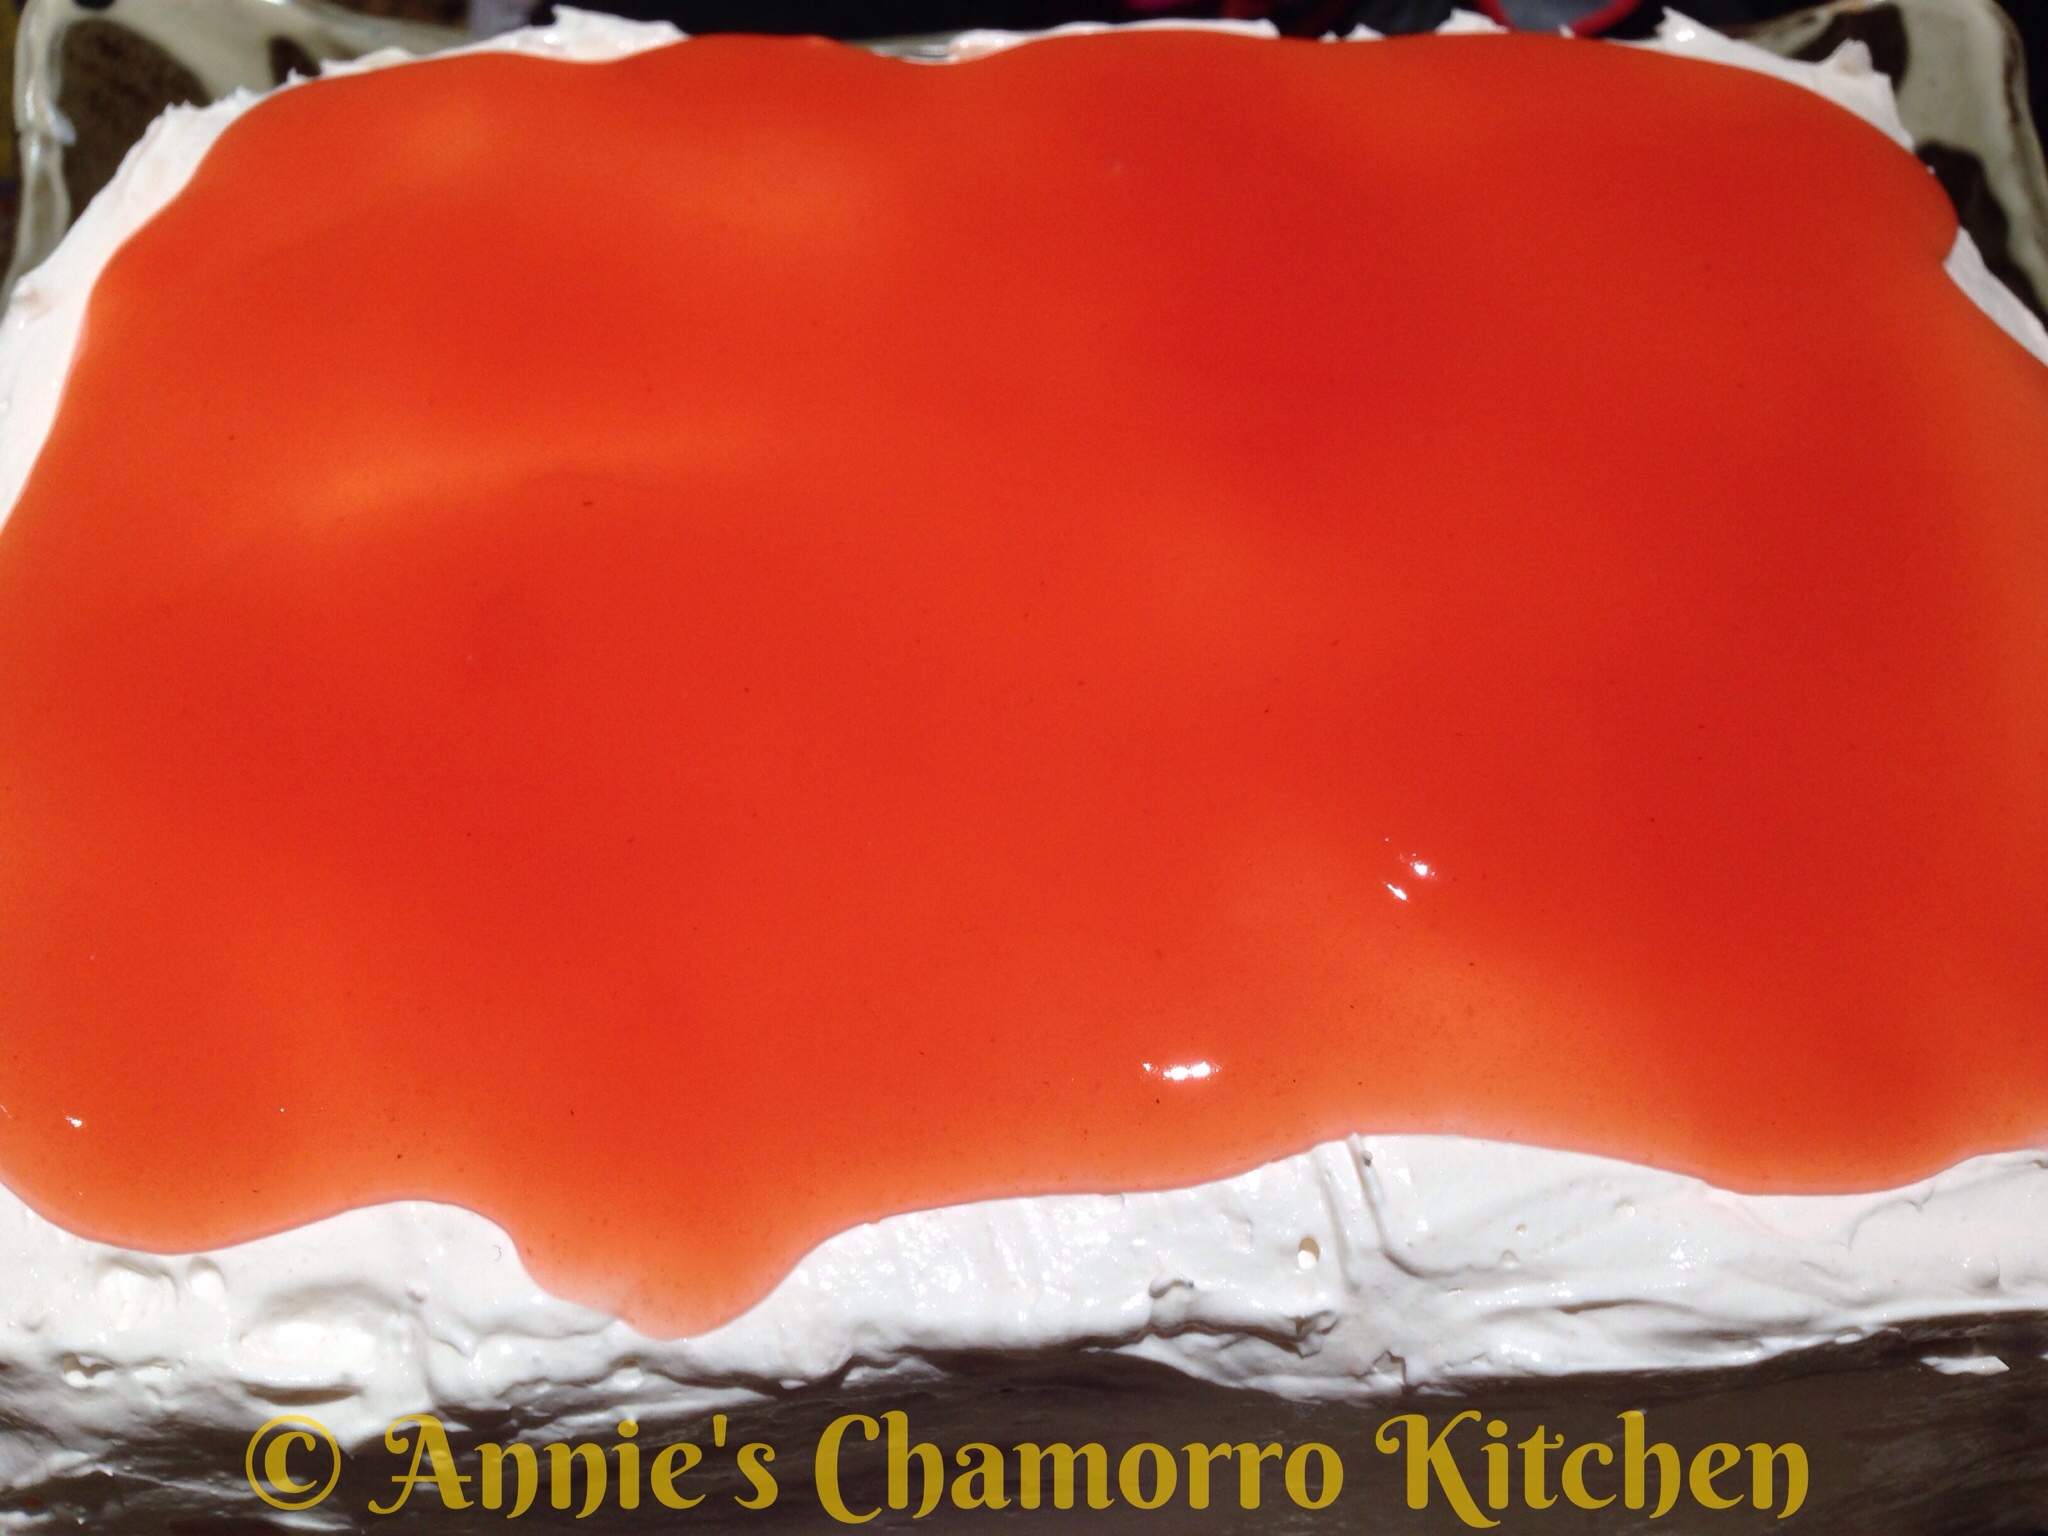
I,  on the other hand, couldn’t stop there.  I’m a sauce kind of girl, so I just HAD to pour MORE sauce over the cake, letting it drip down the sides (yum!). 😉
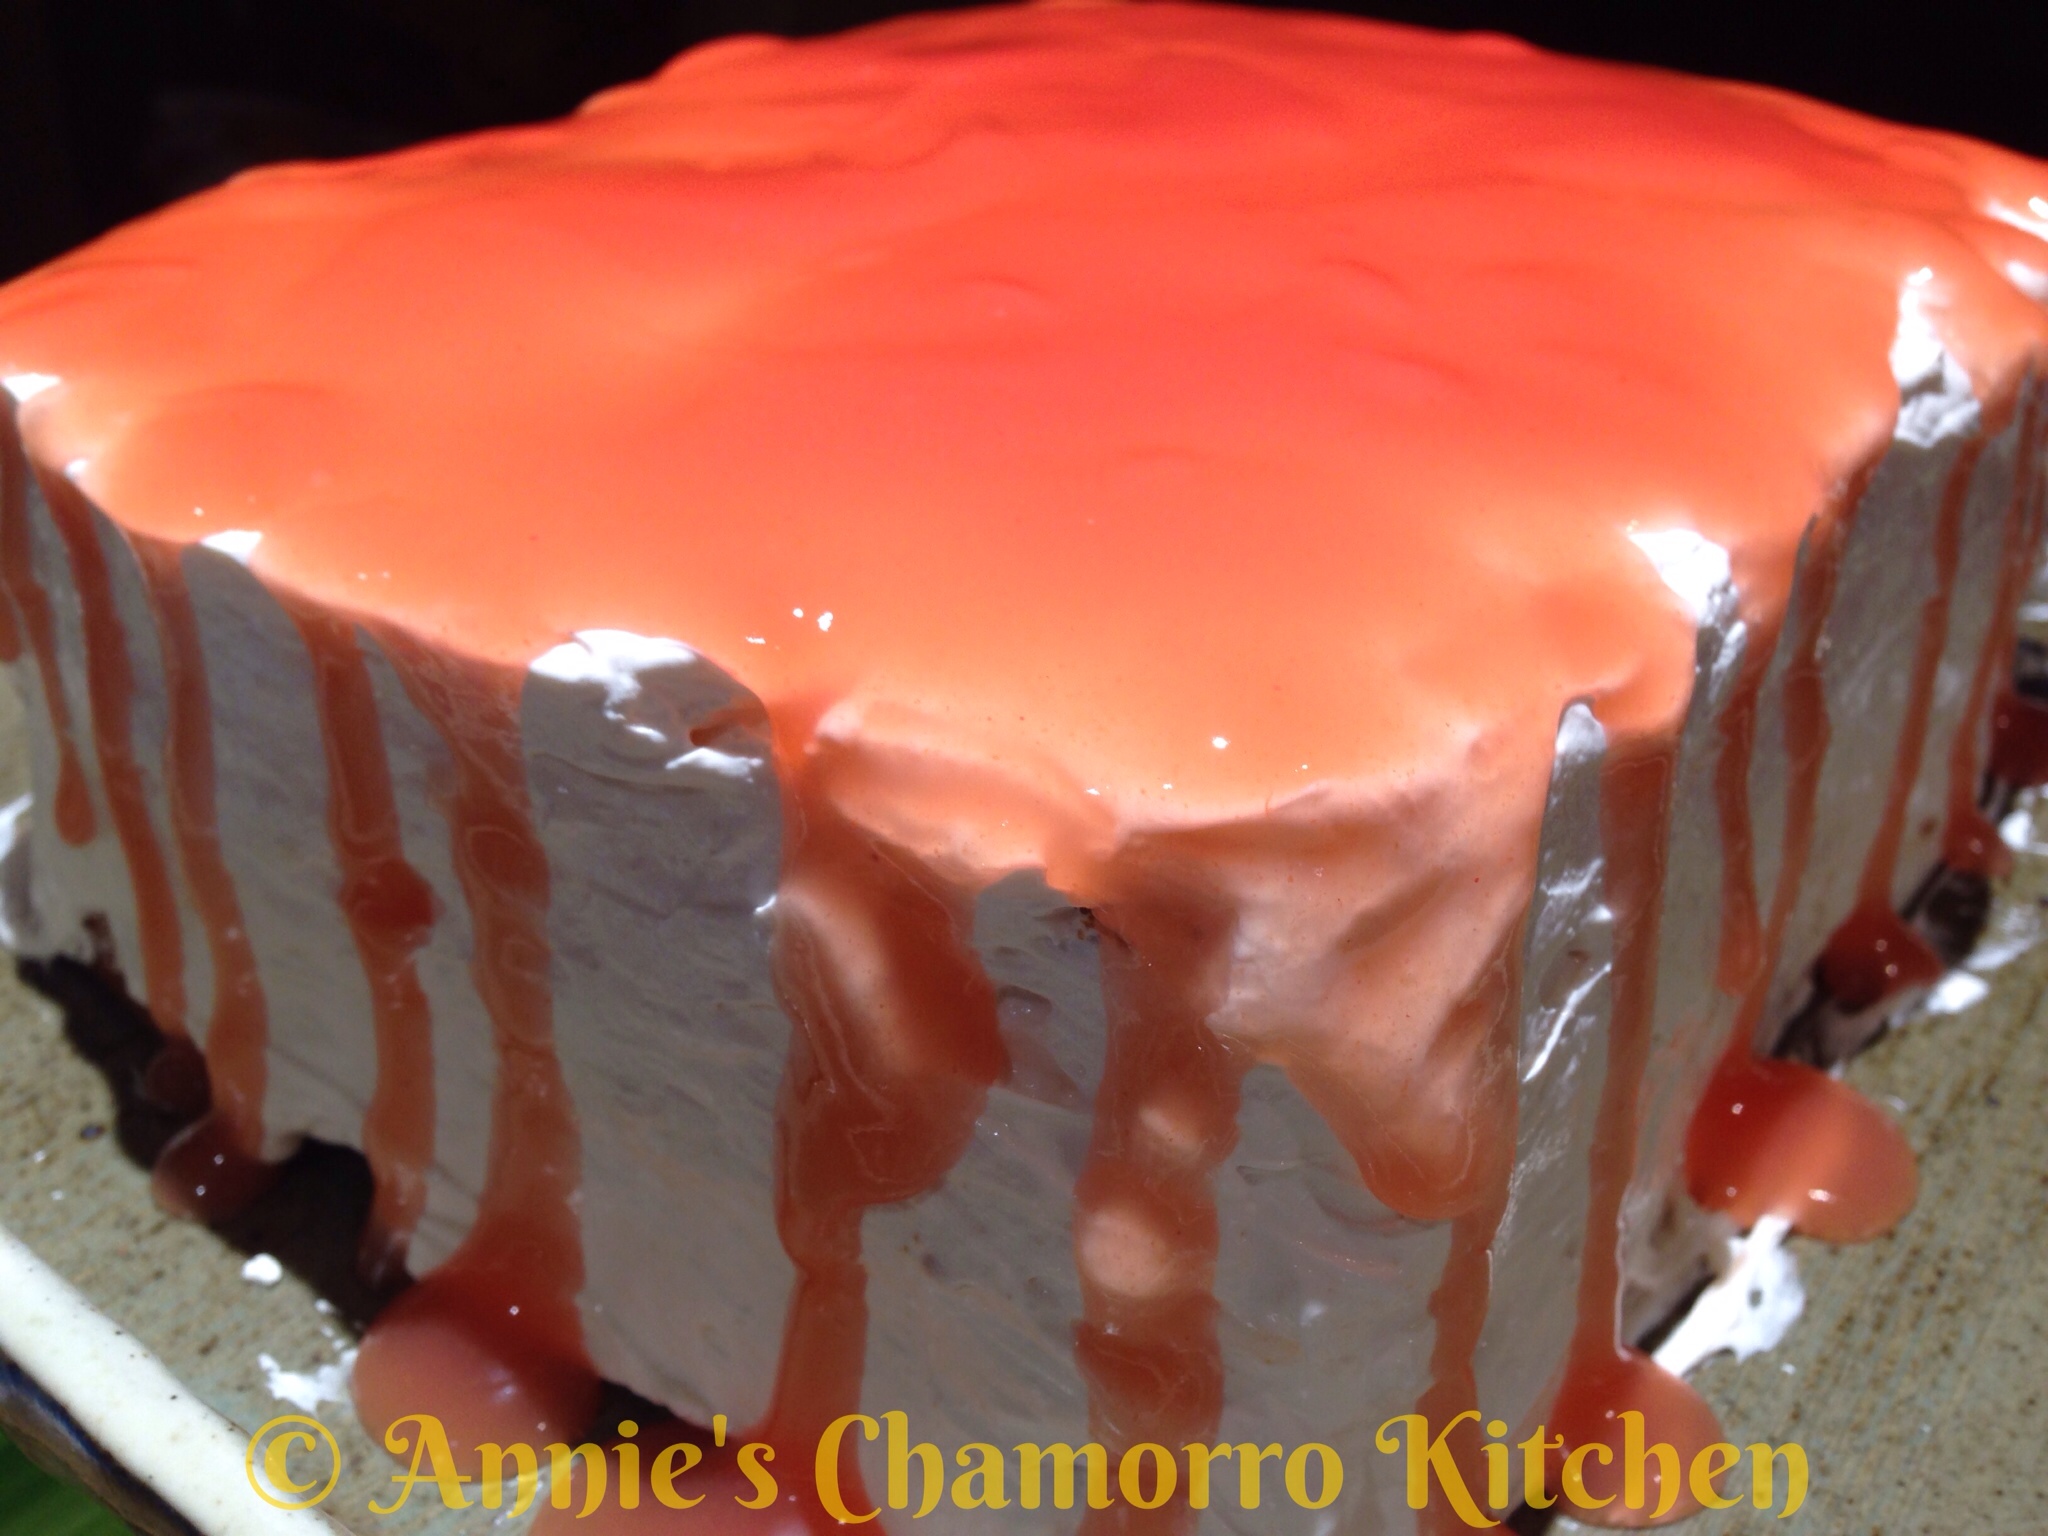
Slice, serve, and ENJOY!
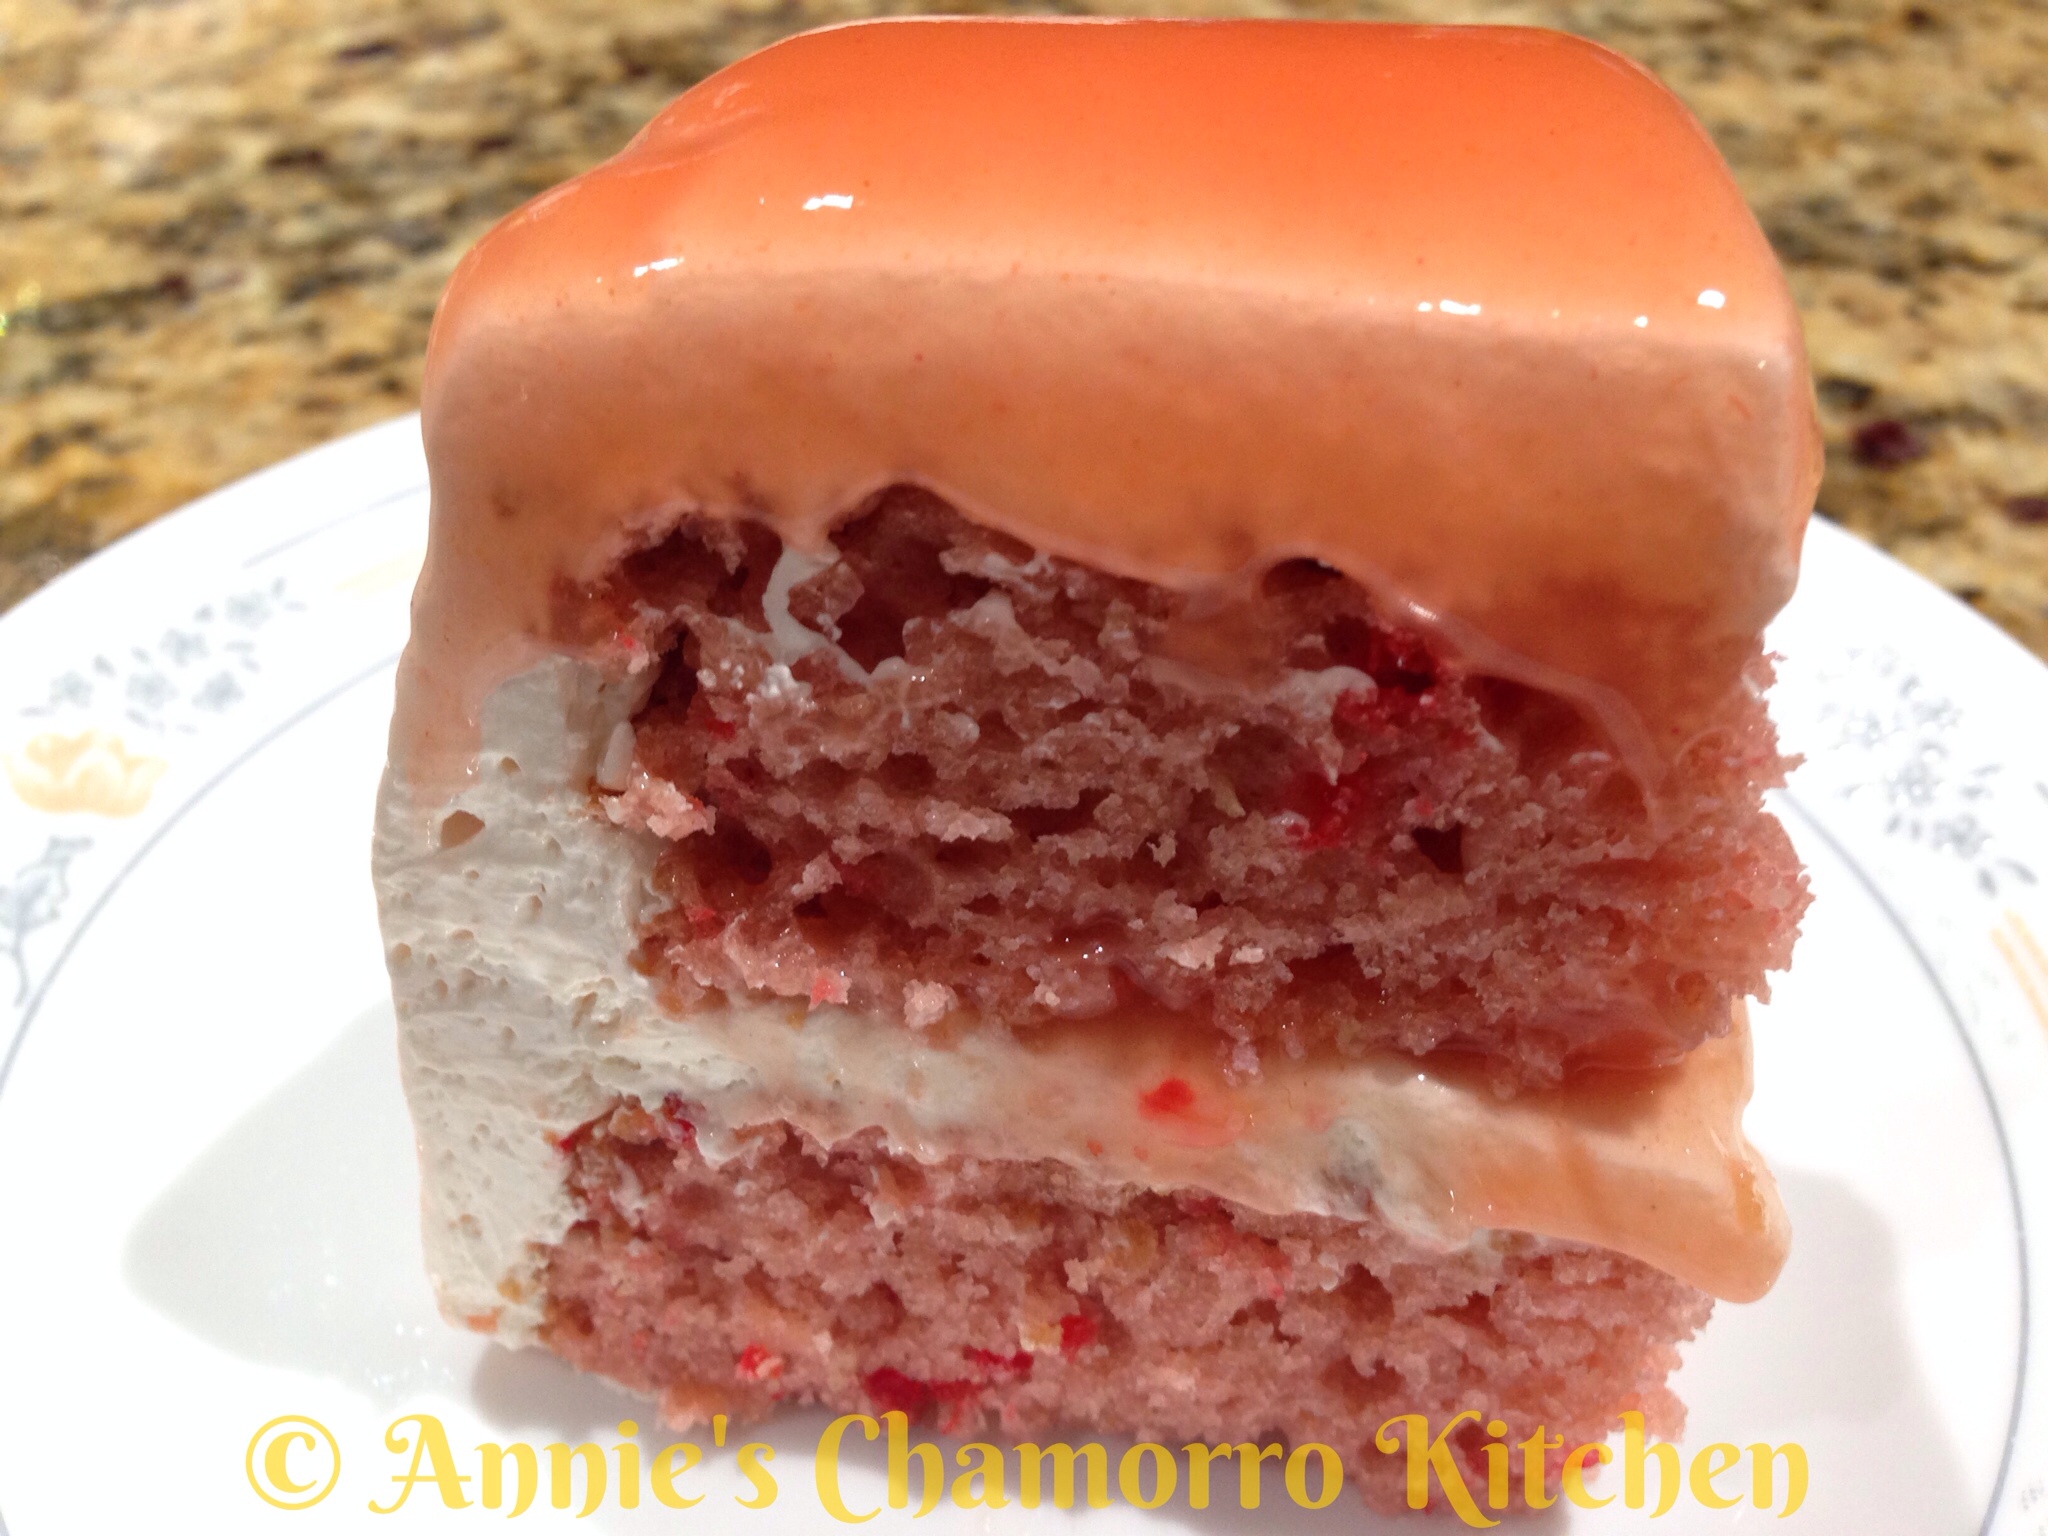
I couldn’t wait for the sauce to set, so I cut into this cake IMMEDIATELY.  Ahh…it’s all good.  DELICIOUS in fact. 😀
If you have any sauce left, pour some over the cake–man oh man–I want some more cake (I ate 3–yes 3–pieces).

ENJOY!
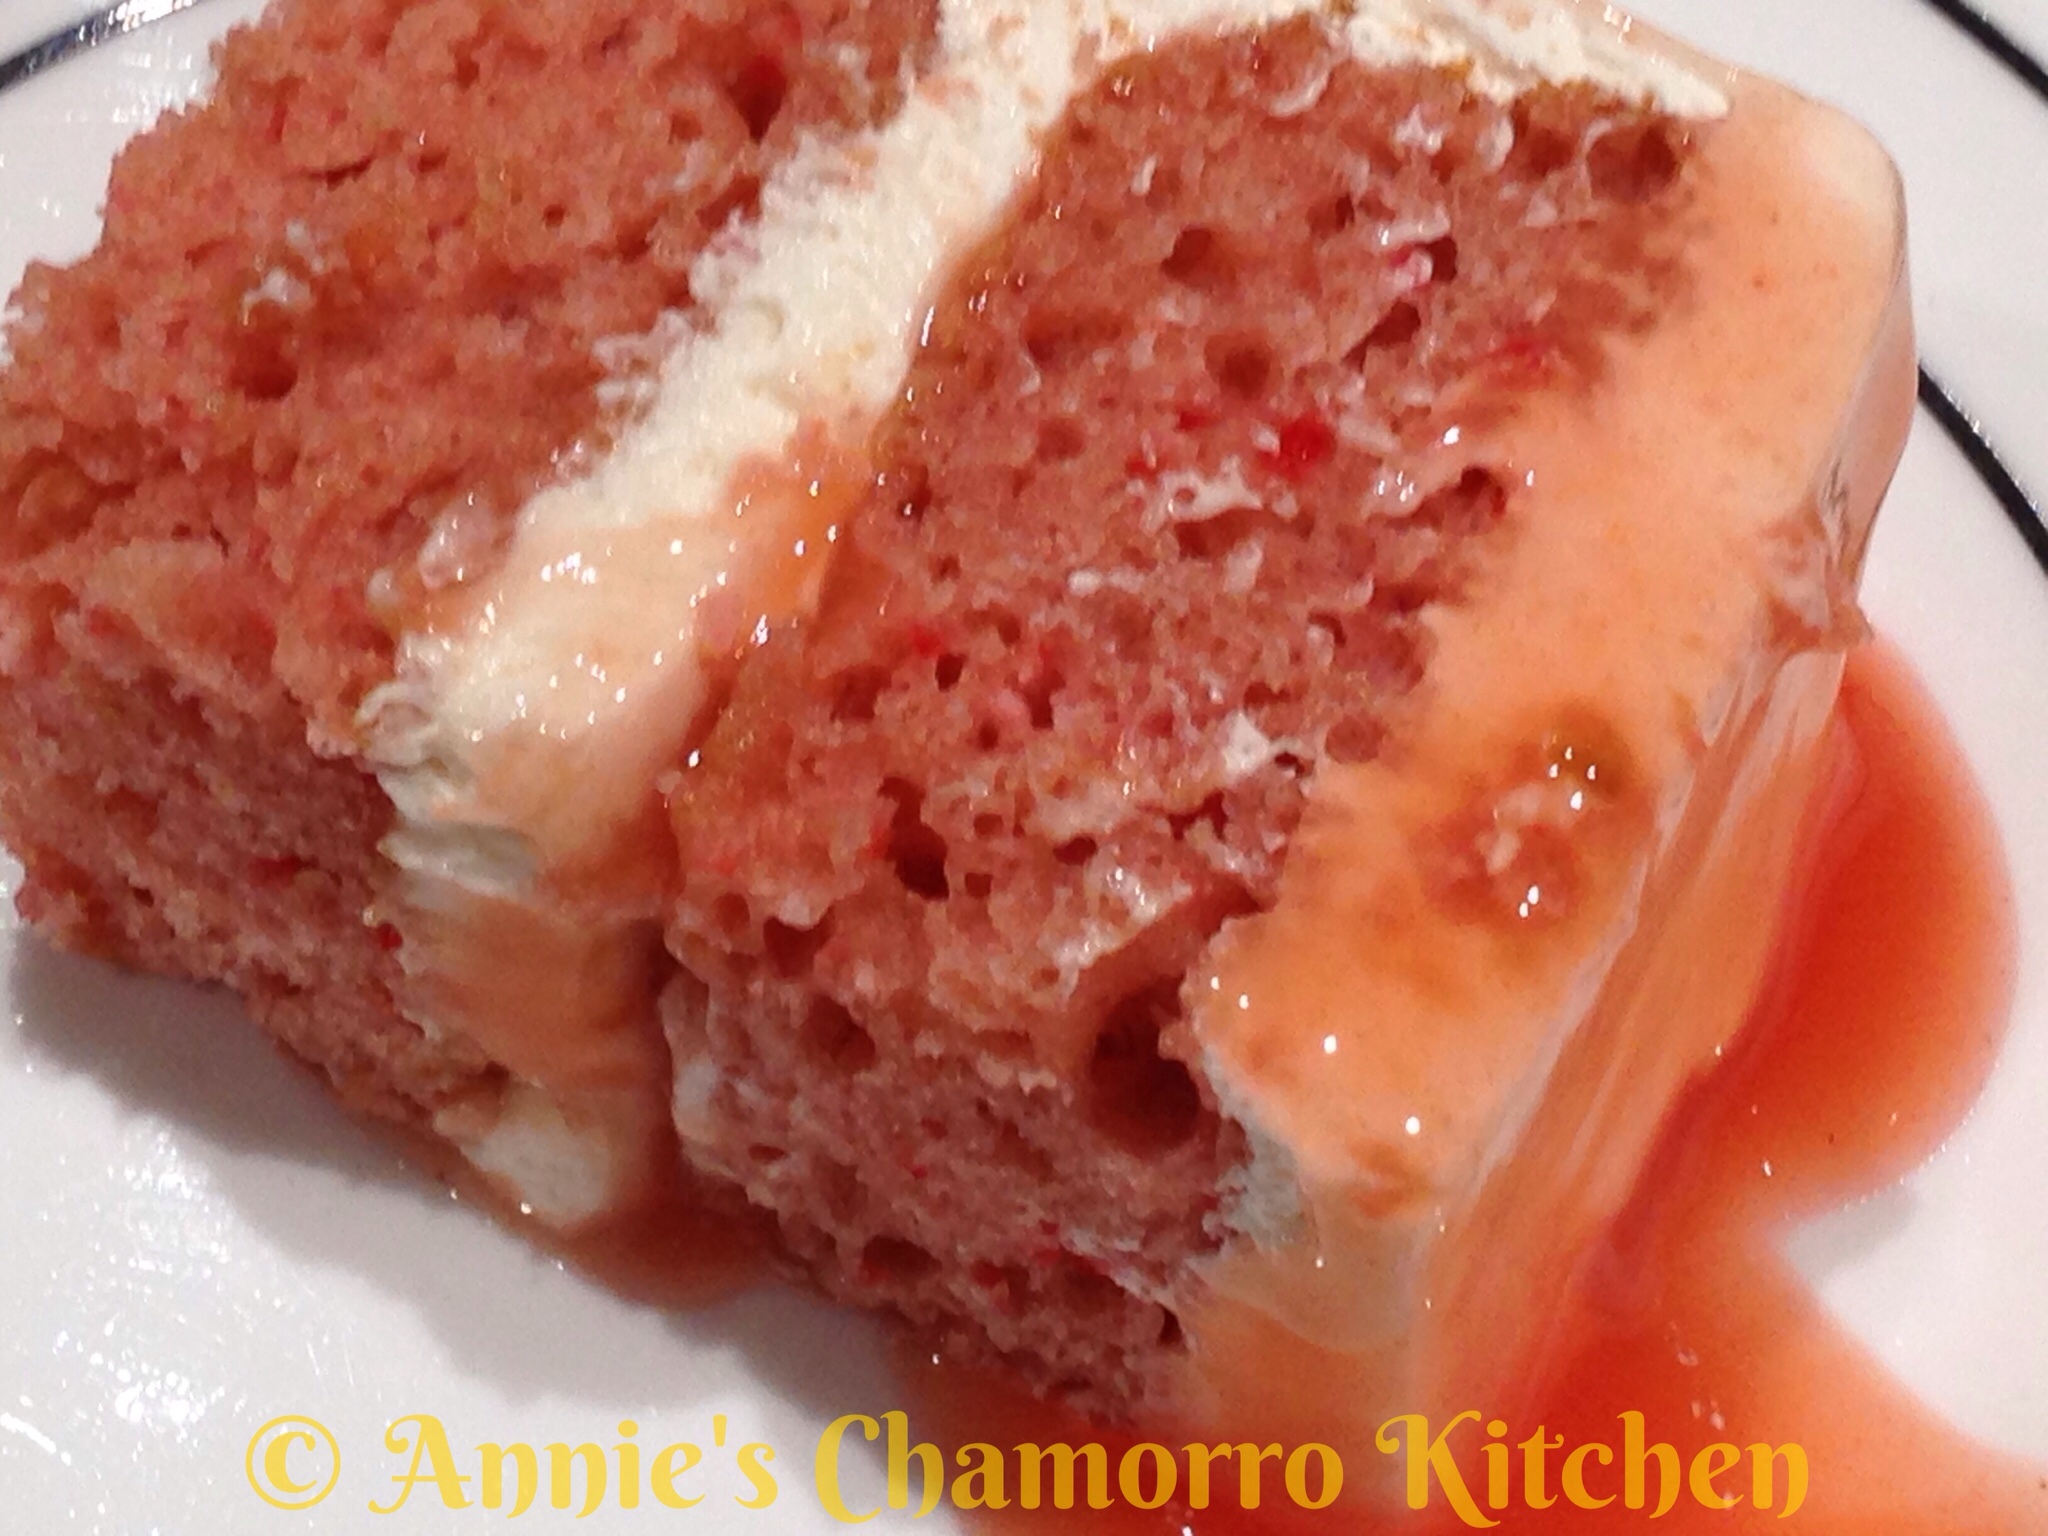
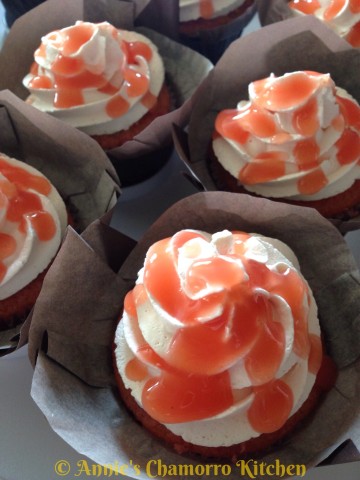
I also made some guava cupcakes. You can place some guava sauce in the middle (cut a piece of cake out of the top), top it with frosting, then drizzle more sauce on top.
image

image

Print Friendly, PDF & Email
« Older Entries Recent Entries »