Archive for NOODLES

Chicken & Spinach Alfredo Lasagne Roll-ups

I love good pasta.  Two of my favorites are chicken alfredo and lasagne, so how about we combine the two?

This is a rolled version.  I love how easy it is to serve up individual portions — all you have to do is scoop up a roll (or two).  There’s no messy cutting involved here!

To make this dish a bit more nutritious, I added frozen spinach — two entire boxes of it too! Even my daughter (who is an extremely picky eater) scarfed up her dinner, green stuff and all!

Give my recipe a try.  It’s so tasty, I know you’ll love it! 🙂

Chicken & Spinach Alfredo Lasagne Roll-ups

image

Ingredients:

The meat of 1 small roasted chicken
20 lasagne noodles, cooked al dente
2 10-oz packages frozen spinach, thawed and excess water squeezed out
1 15-oz. package shredded Parmesan cheese
2 large eggs
1 tablespoon garlic powder
1 teaspoon black pepper
1 teaspoon salt
4 stalks green onions
2 15-oz containers ricotta cheese
3 jars alfredo sauce
2 cups shredded mozzarella cheese

Directions:

Shred the chicken. I’m all for a bit of convenience here and there so I used a small rotisserie chicken to save time.  Here are the Before and After photos. 🙂

image

image

Place the spinach into a medium sized mixing bowl.

image

Add the Parmesan cheese.

image

Add the eggs.

image

Add the seasonings.

image

Add the green onions.

image

Add the ricotta.

image

Mix all of the ingredients together. (It looks ‘kinda like spinach dip, doesn’t it?) 🙂

image

Lay the noodles on a flat surface.

image

Spread about 4 teaspoons of the spinach mixture onto the noodle.

image

image

Add shredded chicken to the top of the spinach mixture.

image

Roll up the noodle, jelly roll style.

image

Pour alfredo sauce in the pan, just enough to cover the bottom.

image

Place the pasta rolls over the sauce.

image

Pour alfredo sauce over the top of the pasta.

image

This recipe made enough for one 9×13 pan plus a smaller square pan! Yay! There will be enough leftover to pack 4 lunches the the next day!

image

Sprinkle the mozzarella cheese all over the top.

image

Cover with foil and bake at 350 degrees for 30 minutes or until the cheese is melted and bubbly.

image

It’s done!

image

Serve with a slice of garlic toast.  Enjoy!

image

Lasagne al Forno

I first made this lasagne years ago, when I lived in Germany (yes, Germany, not Italy).  There was this small family run Italian restaurant in the little German town we lived in.  Aside from the restaurants and cafés in Italy, that little Italian restaurant in Germany is the best I’ve ever been to.  It’s been over 15 years since I’ve been there, yet I have not yet found any Italian restaurant to compare to that one in Germany.

This recipe is my take on one of my favorite dishes served there.  The blend of the tomato and bechamel sauces take this pasta dish to a whole new level.  Give my recipe a try.  I think you’ll like it.  🙂 

LASAGNE AL FORNO

IMG_1045 

INGREDIENTS:

  • 1 box no-bake lasagne noodles (have a 2nd box on hand in case you use a large pan)
  • Meat sauce (see below)
  • Bechamel sauce (see below)
  • 1 bag (1 pound) shredded mozzarella cheese
  • 1 cup grated Parmesan-Romano cheese blend

Lasagne al Forno ingredients

Meat Sauce:
    • 1 pound mild Italian sausage
    • 1 pound lean ground beef (you can omit this if you want your sauce less meaty)
    • 1 medium onion, chopped
    • 2 teaspoons garlic powder
    • 2 tablespoons Dashida beef flavored seasoning
    • 2 tablespoons Italian seasoning
    • 6 leaves fresh basil, chopped into small pieces
    • Black pepper, to taste
    • 2 29-ounce cans tomato sauce
Directions to make the Meat Sauce:

1.  Brown the sausage and ground beef.  Drain any excess fat and liquid.

IMG_0982

 2.  After the meat has browned, add the Dashida, onions, garlic powder, Italian seasoning and basil.

IMG_0983

IMG_0987

3.  Cook until the onions are translucent. 

IMG_0991

4.  Add the tomato sauce to the ground meat mixture.  Stir to combine.  Simmer for 5 minutes then turn off the heat.  Set aside.

IMG_0995

IMG_1002

 
Bechamel Sauce:
  • 4 tablespoons butter
  • 6 tablespoons flour
  • 2 cups milk
  • 3 cups heavy cream
  • 1/2 teaspoon salt
  • 1 teaspoon grated nutmeg
  • Black pepper, to taste
  • 1 5-ounce bag grated Parmesan cheese
Directions to make the Bechamel Sauce:

1. In a medium sauce pan, melt the butter.

IMG_0988

2.  Add the flour (all at once) to the melted butter.

IMG_0998

3.  Use a whisk to mix the flour and butter together.  Cook over medium low heat for about 2-3 minutes.  Whisk constantly to prevent burning.

IMG_1003

4. Slowly whisk in the milk and cream.  Whisk vigorously to ensure there are no lumps. 

IMG_1009

5.  Add the grated Parmesan cheese to the milk mixture.  Turn the heat up to medium high. Continue whisking; cook until the cheese melts and the sauce thickens.

IMG_1020

You know the sauce is thick enough when you dip a spoon into it, run your finger down the spoon, and you leave a line down the spoon that doesn’t disappear with runny sauce.

IMG_1024

6.  Add the grated nutmeg, and salt and pepper to taste.  Turn the heat off and set the sauce aside.  NOTE:  This sauce is EXCELLENT for fettuccine alfredo.  🙂

IMG_1023 


Assemble the Lasagne al Forno:

1. Using a large lasagne pan, or a deep dish baking/roasting pan, spread a thin layer of meat sauce on the bottom of the pan.

IMG_1021

2.  Add a layer of noodles.  Don’t worry about filling in the spaces with noodles; these no-cook noodles will expand during the baking process.

IMG_1022

3.  Pour some bechamel sauce over the noodles, just enough to cover the noodles.

IMG_1027

4.  Sprinkle shredded and grated cheese over the bechamel sauce.  Top with another layer of noodles.

IMG_1028

5.  Repeat the layering process — meat sauce, noodles, bechamel sauce, cheese, noodles — until you’ve used up all of your sauce and/or noodles.  The last layer (on top) should be bechamel sauce topped with cheese.

IMG_1033

6.  Heat the oven to 375 degrees.  Place the pan of lasagne on top of a large baking sheet.  Cover the pan of lasagne with aluminum foil.  Bake at 375 degrees for 25 minutes. 

IMG_1038

IMG_1039

7.  After 25 minutes, remove the aluminum foil.  Turn the oven to Broil — continue to bake the lasagne for 5 more minutes to brown the cheese on top.

IMG_1044

8.  Once the cheese has browned, remove the pan from the oven.  Before serving, let the lasagne sit for at least 15 minutes (don’t worry, it will still be hot) to allow the sauces to set.  If you serve immediately after removing the lasagne from the oven, the sauces will run all over the place (it will still taste delicious, but your presentation won’t be as “pretty”).  Serve with your favorite crusty bread and ENJOY!  🙂

IMG_1045


Japchae (or Chapchae), Korean Stir-fried Noodles with Vegetables

I love Korean food.  Japchae is one of my favorites because it has noodles, beef, and a lot of my favorite vegetables like mushrooms, onions, carrots and spinach leaves.

During my first tour to Korea (I served there twice), I remember ordering Japchae and rice from the Korean place on base.  About 15 minutes after placing my telephone order, I’d listen intently for the revving of the Adashi’s moped as he tried to climb the hill to my BOQ (Bachelor Officer’s Quarters).  The sound of the overworked moped meant dinner was about to be served!

This is a quick dish to make, but as my former Korean nanny told me, there is an art to putting it together.  The ingredients must be layered, then gently mixed (by hand) to evenly distribute them without mashing anything.  This is how I make my japchae all the time–cooking each type of ingredient separately (the meat is cooked separate from the vegetables) then layered and mixed.  It is, after all, how Ajima did it, and that’s how it shall be done.

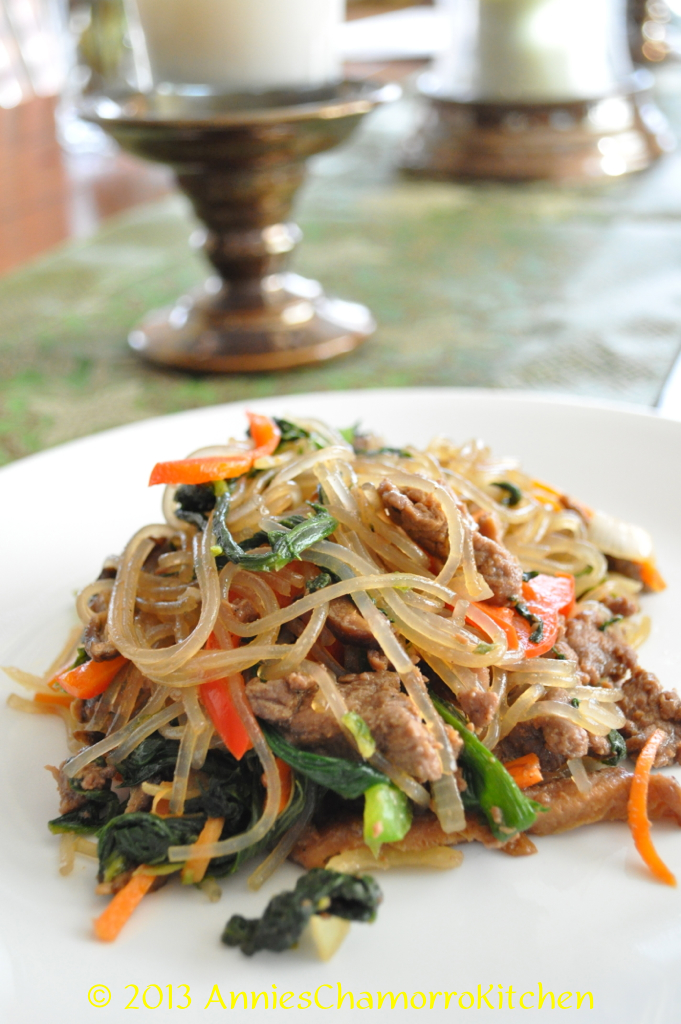
The japchae pictured below was actually cooked by my teenaged daughter.  She whipped it up so quickly that she forgot to take photos of the step-by-step process.

We WILL make this again, however.  When we do, I’ll be sure to take photos of each step and update this recipe.

Don’t let that stop you from making this dish.  It’s so easy–if my teenager can do it, so can you.  Give it a try.  I know you’ll like it.

ENJOY!

JAPCHAE

Japchae

Japchae


INGREDIENTS:
  • 2 pounds beef, sliced thinly
  • 2 tablespoons minced garlic
  • 1/4 cup soy sauce
  • 1/8 cup sugar
  • 6 tablespoons sesame oil
  • 1 small bag of carrots, pre-cut into strips (or 1 large carrot, julienned)
  • 1 medium onion, sliced
  • 1 package button mushrooms, sliced
  • 1 package shitake mushrooms, sliced (see note below)
  • 1 bag of fresh spinach leaves
  • 10 stalks green onions, cut into 2-inch pieces
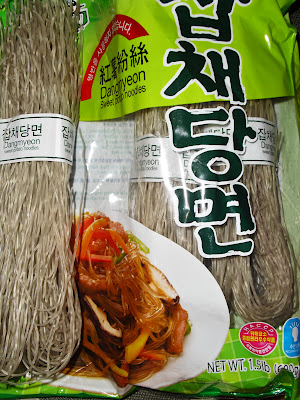
  • 1 bag Korean vermicelli (sometimes called starch noodles, glass noodles or sweet potato noodles), called Dangmyun in Korean

This is what one brand of Dangmyun looks like:

dangmyung

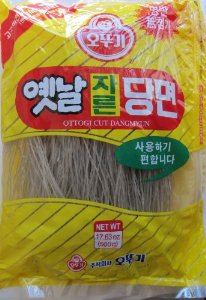
I also use this brand a lot:

dangmyung 2


NOTE:  If you’re using dried shitake mushrooms, soak them in a bowl of warm water until soft.  Squeeze all the water out of the rehydrated mushrooms then slice thinly.


DIRECTIONS:

1.  Fill a large pot half-full with water and bring to a boil.  Add the bag of vermicelli noodles.  Cook for 4 minutes or until the noodles are soft. Drain then place in a large mixing bowl.

2.  In a large pan or wok, place the beef, sugar, soy sauce and 2 tablespoons sesame oil.  Stir fry over medium heat until the meat is done.  Stir often to prevent scorching.  Remove the meat from the pan when it’s cooked through; place it in the large mixing bowl, on top of the noodles.  Leave any sauce or drippings in the pan.

3.  Add 2 tablespoons of sesame oil to the pan.  Add the carrots and onions.  Stir fry over medium heat until the carrots are slightly wilted and the onions have begun to caramelize.  Once done, remove from the pan and add to the mixing bowl, on top of the cooked meat.

4.  Add the remaining 2 tablespoons of sesame oil to the pan along with both types of mushrooms.  Stir fry for a couple of minutes until the mushrooms have wilted and browned.  Add in the spinach leaves and green onions.  Cook for another couple of minutes, just until the spinach leaves have wilted slightly.  Remove from the pan and add to the mixing bowl, on top of everything else.

5.  Using your impeccably clean hands (I wear cooking gloves–you can buy this in any drug store; they’re the thin, plastic, disposable kind), mix all of the ingredients together.

6.  Do a taste test — if you think it needs more soy sauce or needs a little more sugar, add it in at this time, then mix some more.

7.  Serve as a meal, or alongside Korean BBQ Short ribs (or Galbi, in Korean).  Enjoy!

Japchae

Pork & Shrimp Chop Suey with Noodles

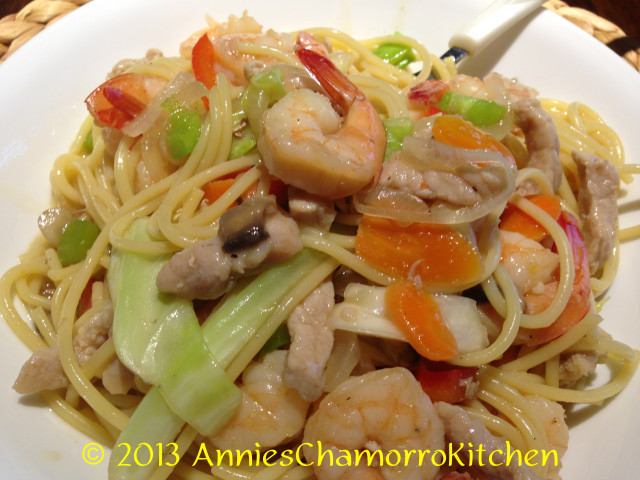
Chop suey most often refers to a stir fried noodle dish, but I like my version of chop suey with a bit of gravy.  I guess my brain refuses to separate spaghetti noodles from sauce, so my chop suey is saucy.  That’s got a nice ring to it, doesn’t it?  Saucy Chop Suey?  🙂

Anyhow, my recipe is made with slices of pork, shrimp, and a variety of veggies — I like adding carrots, cabbage, mushrooms, peppers, and onions.  My mom adds celery in hers, but that’s one vegetable I am not too keen on, so it stays out in my version.

Add your favorite ingredients to make it your own.  Give it a try and let me know how you like it.  🙂


CHOP SUEY

IMG_0382

This recipe makes enough to feed a family of four, plus enough leftover for a couple of packed lunches the next day.

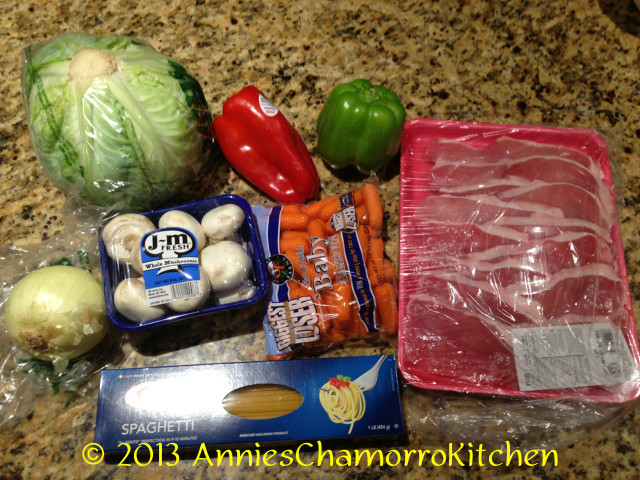
Ingredients:

  • 2 pounds lean pork, sliced into 1-inch long strips
  • 2 tablespoons vegetable oil
  • 2 cups carrots, thinly sliced
  • 3 cups cabbage, sliced into 4×1-inch pieces
  • 1 large onion, thinly sliced
  • 2 cloves garlic, minced
  • 1 red bell pepper, sliced
  • 1 green bell pepper, sliced
  • 1 cup sliced mushrooms
  • 2 pounds raw shrimp, shelled and deveined
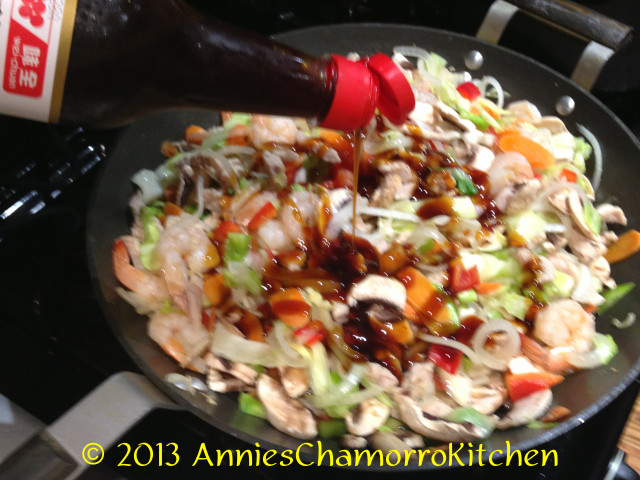
  • 1/4 cup soy paste (or regular soy sauce will do)
  • 2 beef bouillon cubes
  • Salt and pepper to taste
  • 2 cups water
  • 3 tablespoons corn starch
  • 1 box spaghetti noodles, cooked per package directions

IMG_0350

Directions:

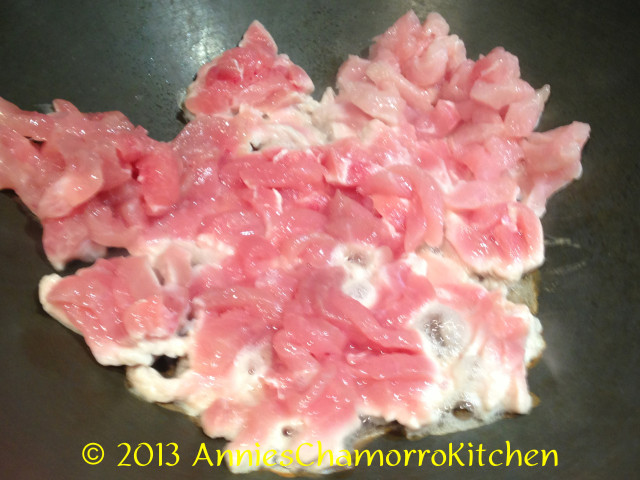
1.  Using a wok or large pan, cook the pork with the 2 tablespoons vegetable oil, about 5 minutes.  Stir occasionally to keep the pork from burning and sticking to the pan.

IMG_0356

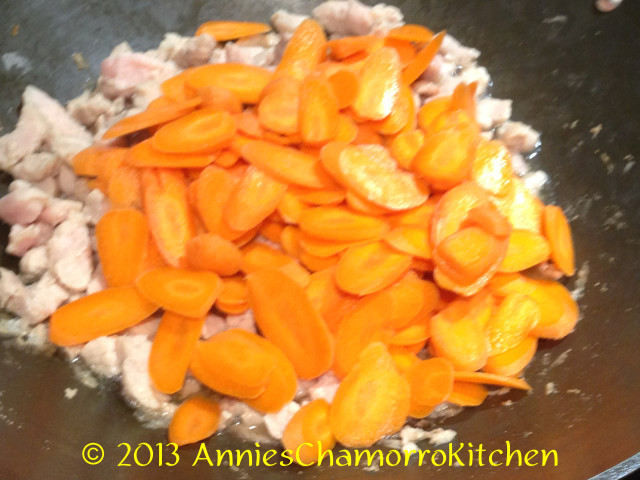
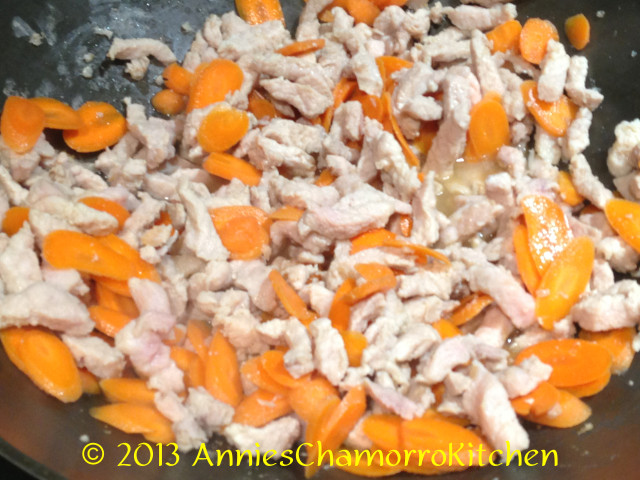
2.  Add the carrots; stir to mix then cook for another 2 minutes.

IMG_0360 IMG_0362

3.  Mix in the cabbage and onions; cook for another 2 minutes.

IMG_0363

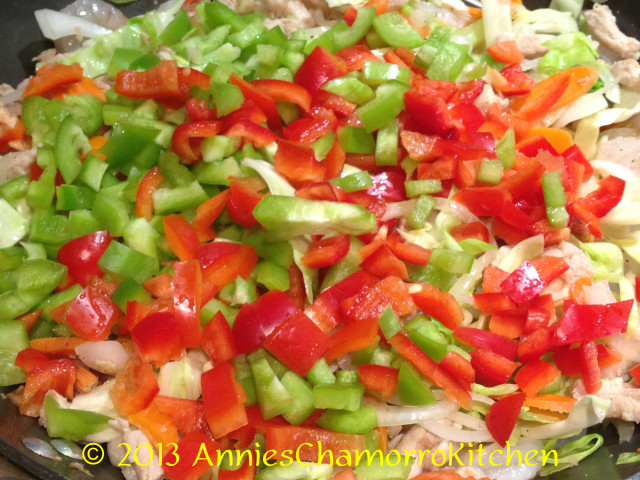
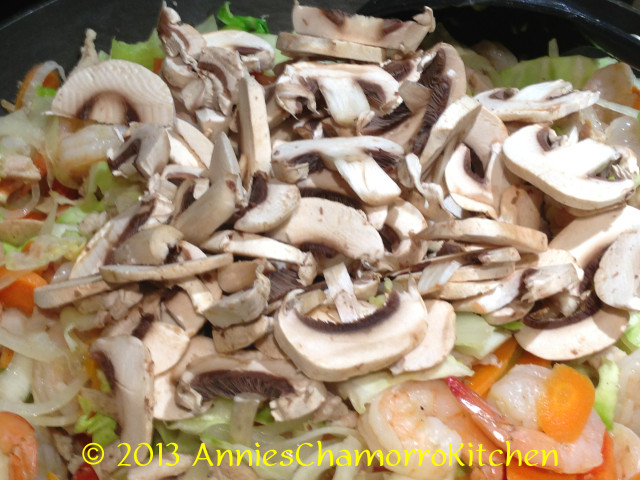
4.  Add the garlic, peppers and mushrooms.  Stir to combine then cook for a minute or two.

IMG_0368      IMG_0369

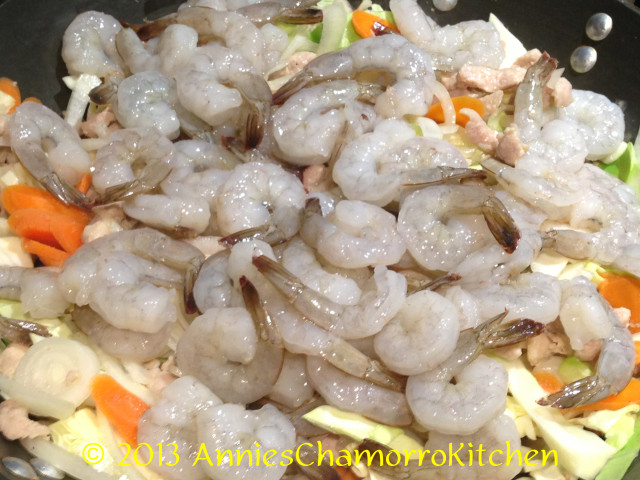
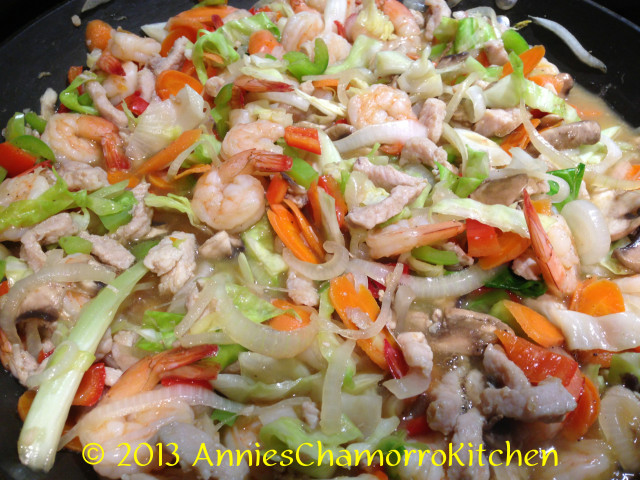
5.  Add the shrimp, soy paste, bouillon cubes, and 1/4 cup of water (set the remaining water aside).  Stir then cook for about 3 minutes; the shrimp should begin to turn pink.

IMG_0367 IMG_0377 IMG_0373

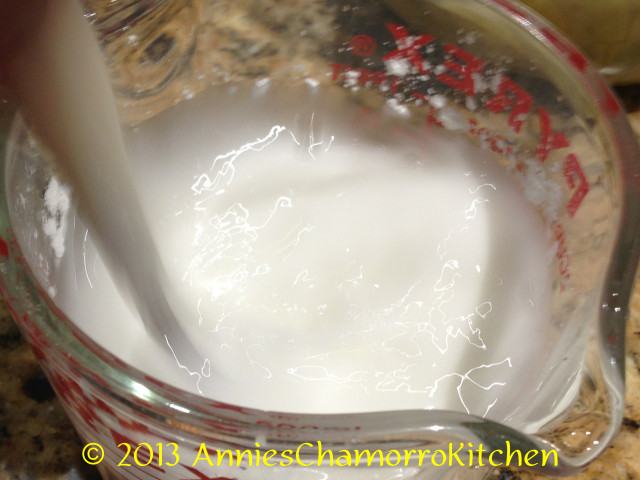
6.  Turn the heat to high.  Mix the remaining water with the cornstarch; stir until the cornstarch is completely dissolved.  Pour the cornstarch mixture into the pan, stirring constantly to prevent lumps from forming.  Cook for a minute over high heat; the mixture should start to thicken.

IMG_0365 IMG_0379

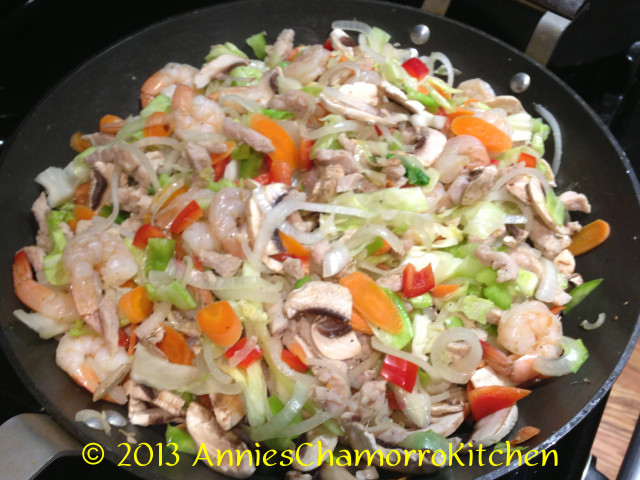
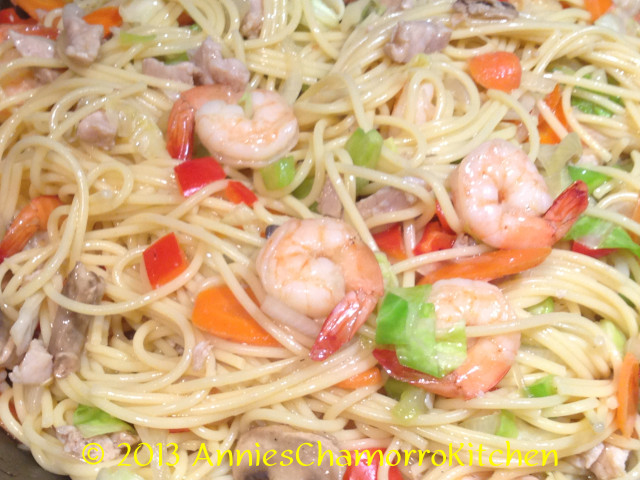
7.  Turn the heat to low.  Add the cooked spaghetti noodles to the pan.  It’s easier if you use a pair of tongs to mix the pork mixture with the noodles.  Once the noodles have heated through, remove from the heat and serve.

IMG_0385

Enjoy!

Pork & Shrimp Chop Suey with Noodles


Recent Entries »