Archive for MEAT

Short Ribs Soup (Kådun Kåtne)

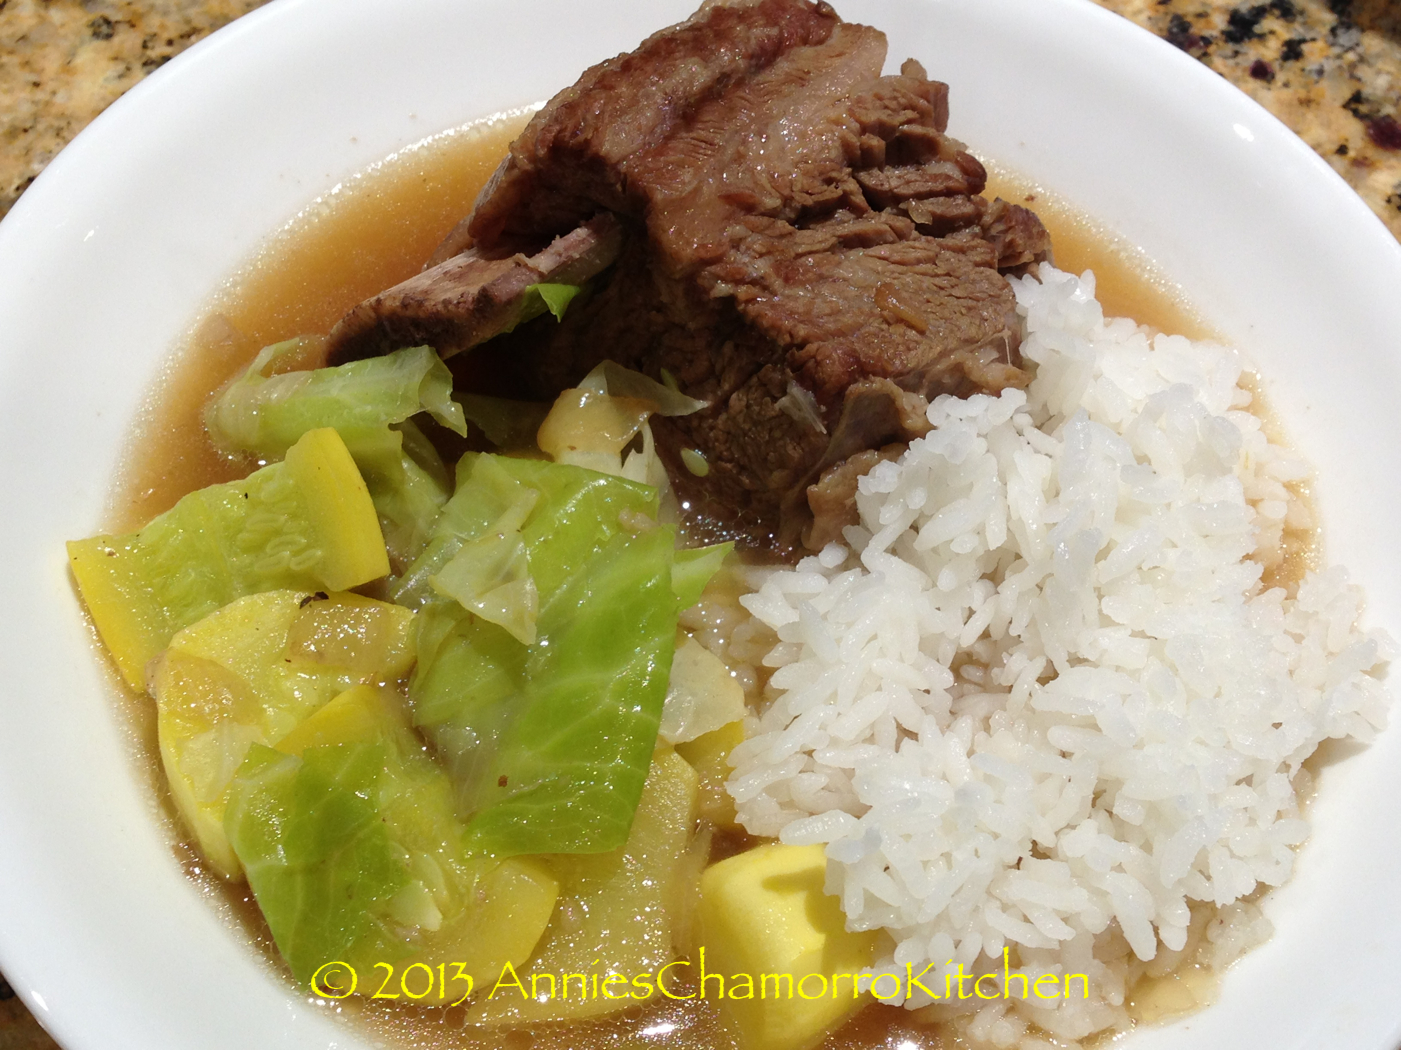
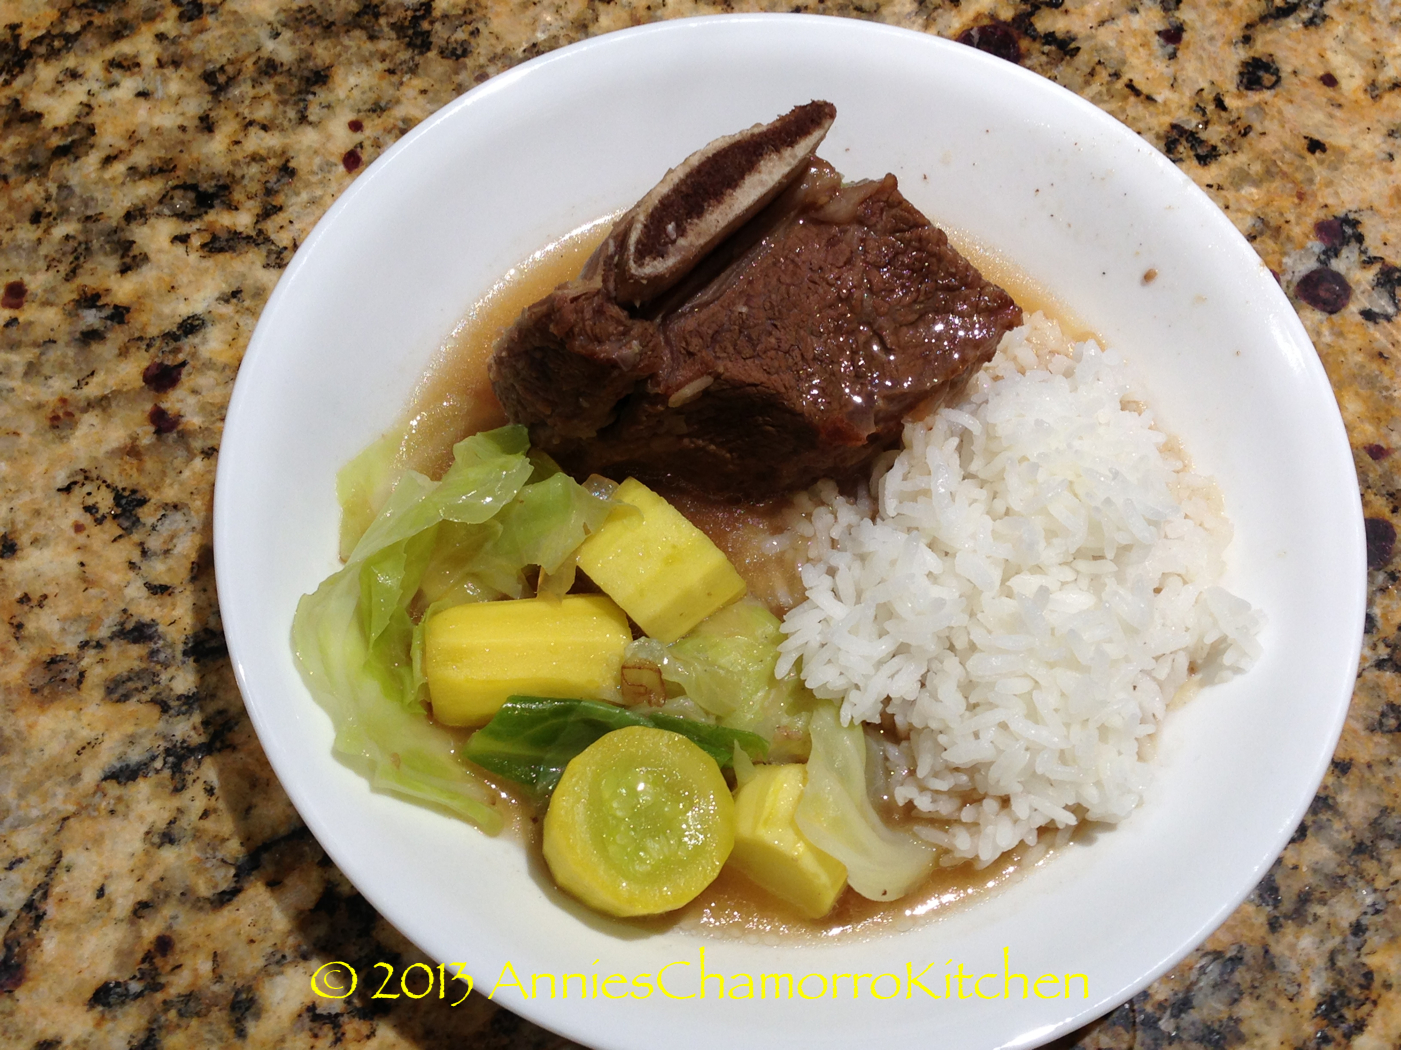
It’s cold and rainy right now in the Colorado Rockies…perfect weather for Short Ribs Soup.  We call this Kådun Kåtne in Chamorro.  You can substitute short ribs with your favorite cut of beef–other favorites are oxtails (don’t knock it ’till you try it) and beef shanks.

You can even change this up further by adding your favorite vegetables–potatoes, taro, other types of squash, and baby bok choy are delicious in this recipe too!

Give my recipe a try.  I think you’ll like it.  🙂


SHORT RIBS SOUP (KÅDUN KÅTNE)

IMG_0841

INGREDIENTS:

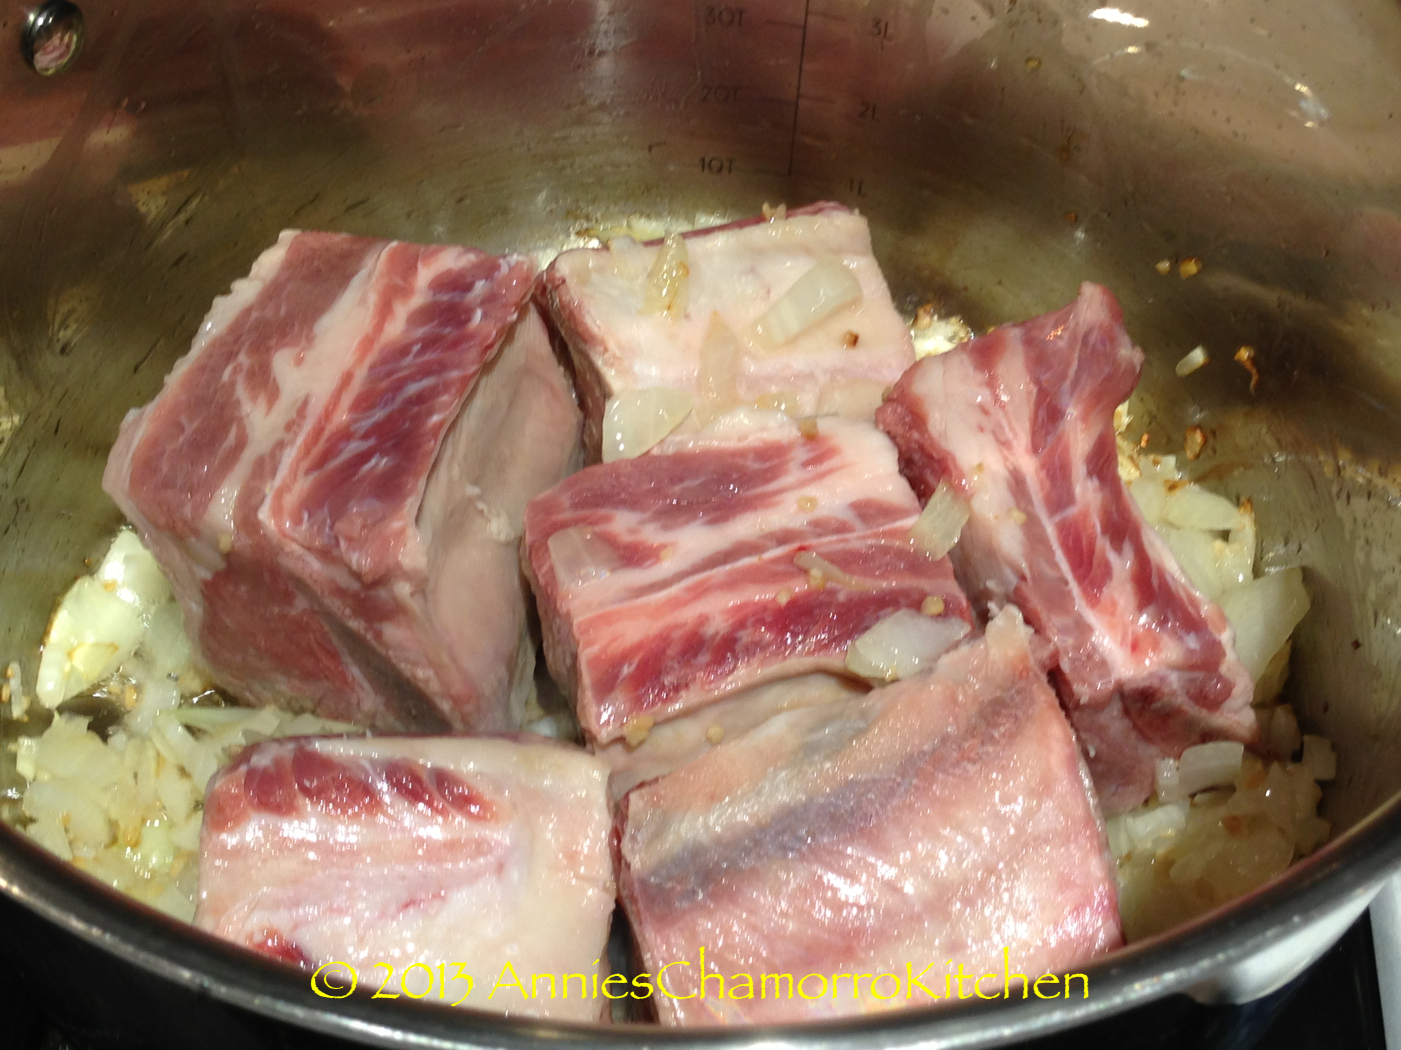
  • 3 packages (9 pieces) thick cut short ribs (rinse each piece well)
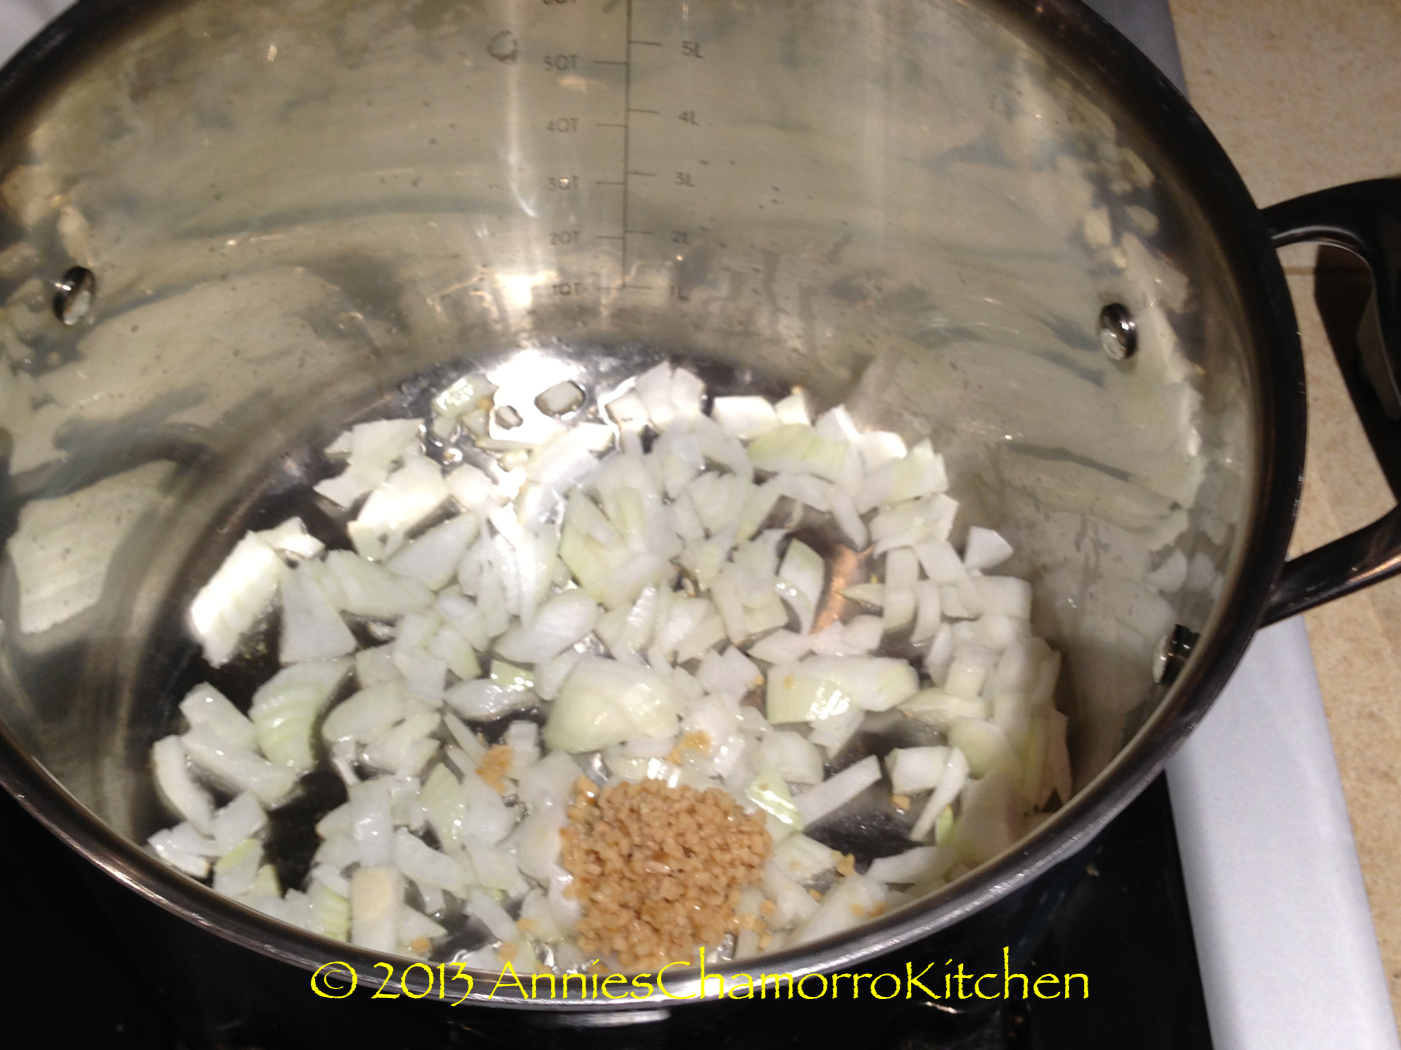
  • 1 large onion, diced
  • 2 tablespoons minced garlic
  • 8-10 cups water
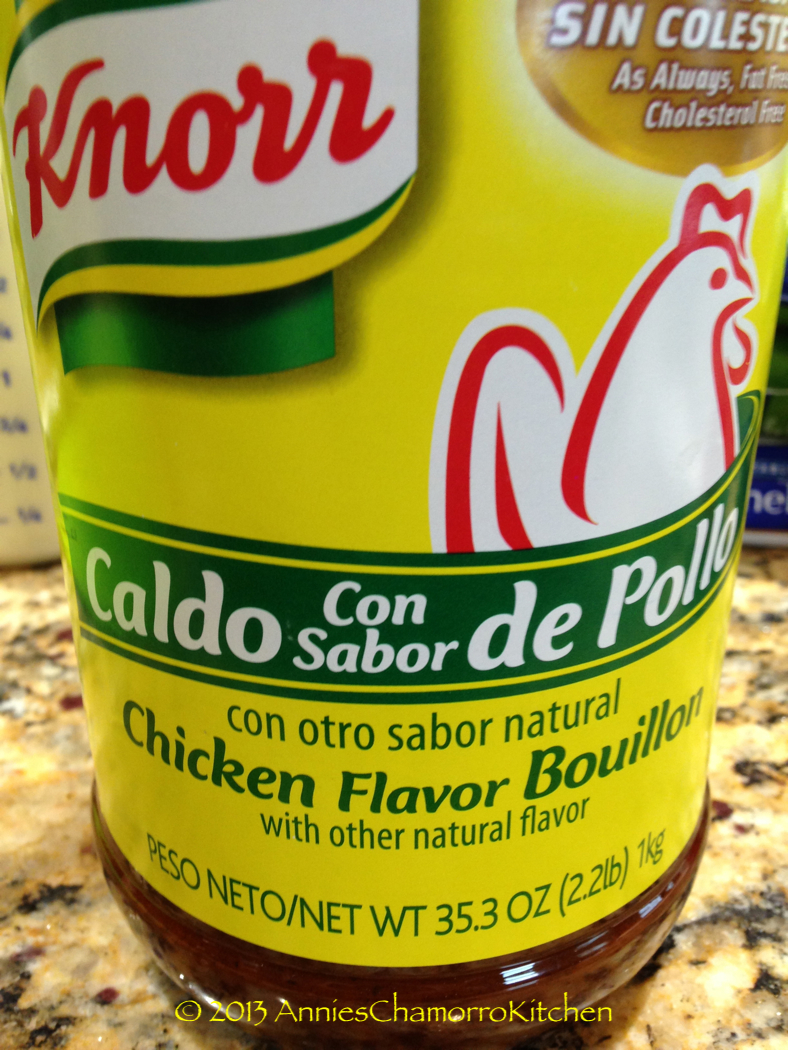
  • 6 tablespoons Dashida beef flavored seasoning
  • Black pepper, to taste
  • 1 small head cabbage, cut into small pieces
  • 4 small yellow squash, peeled and cubed

DIRECTIONS:

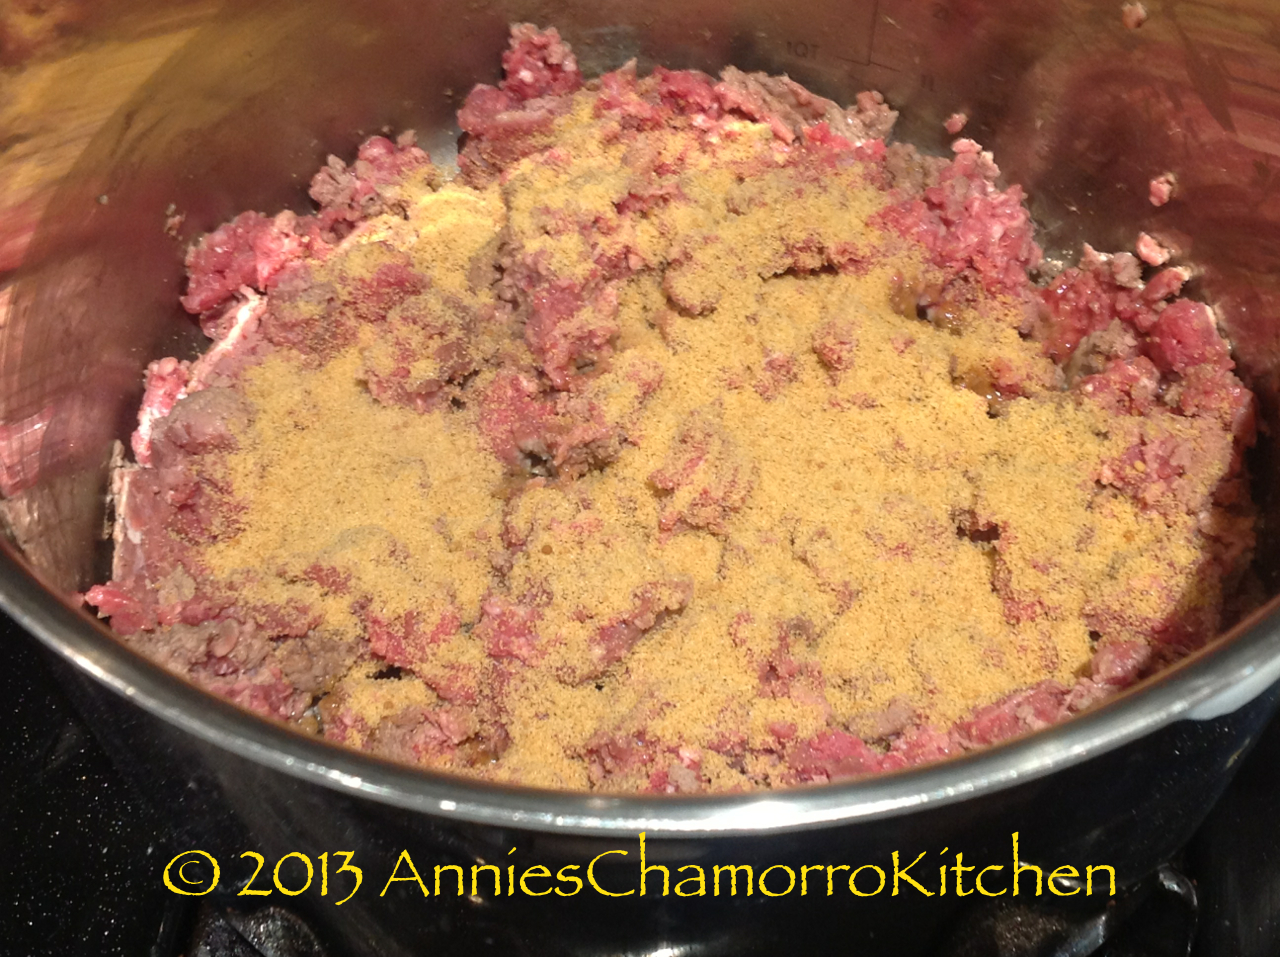
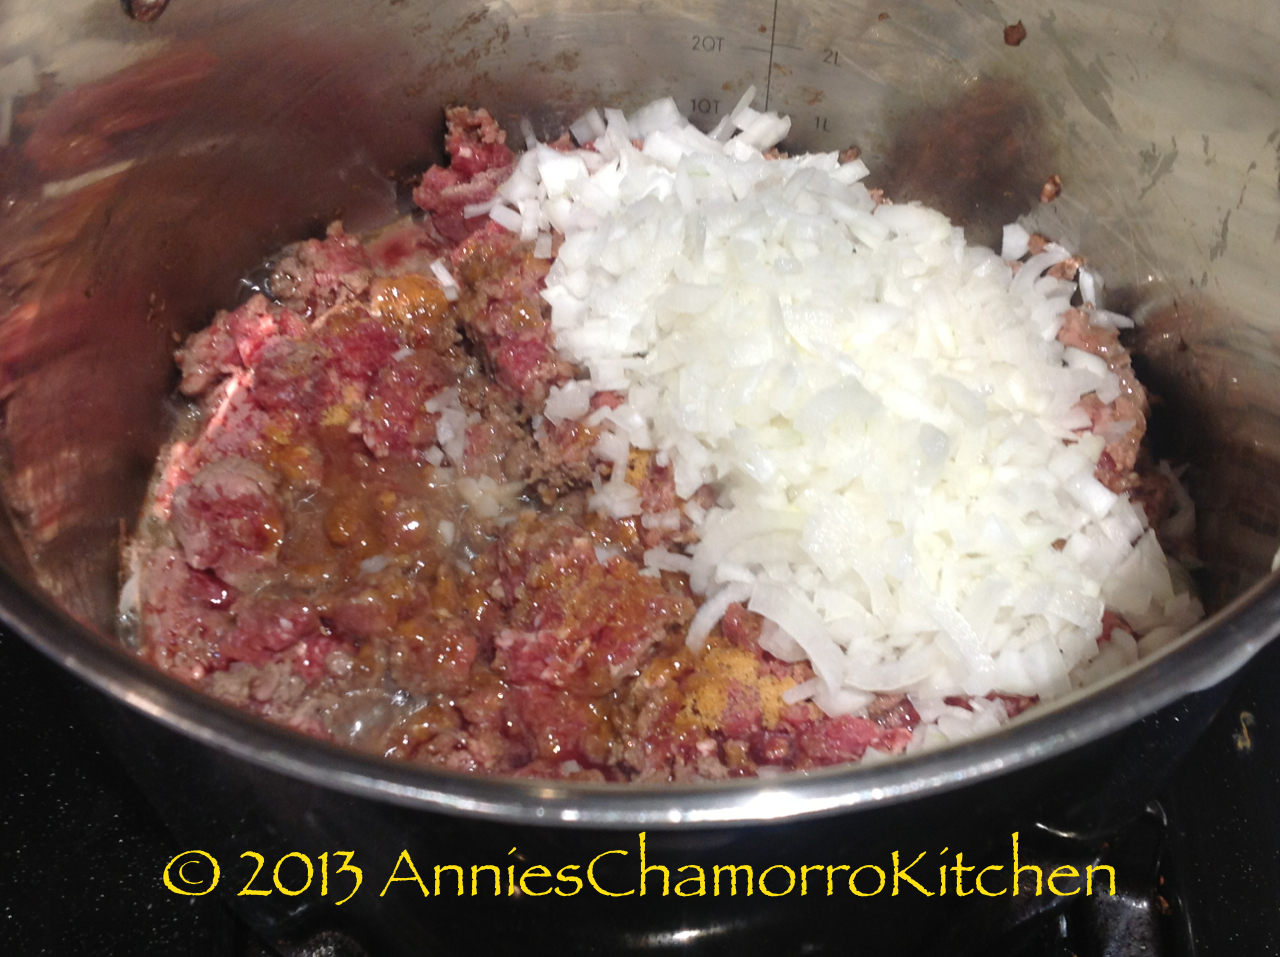
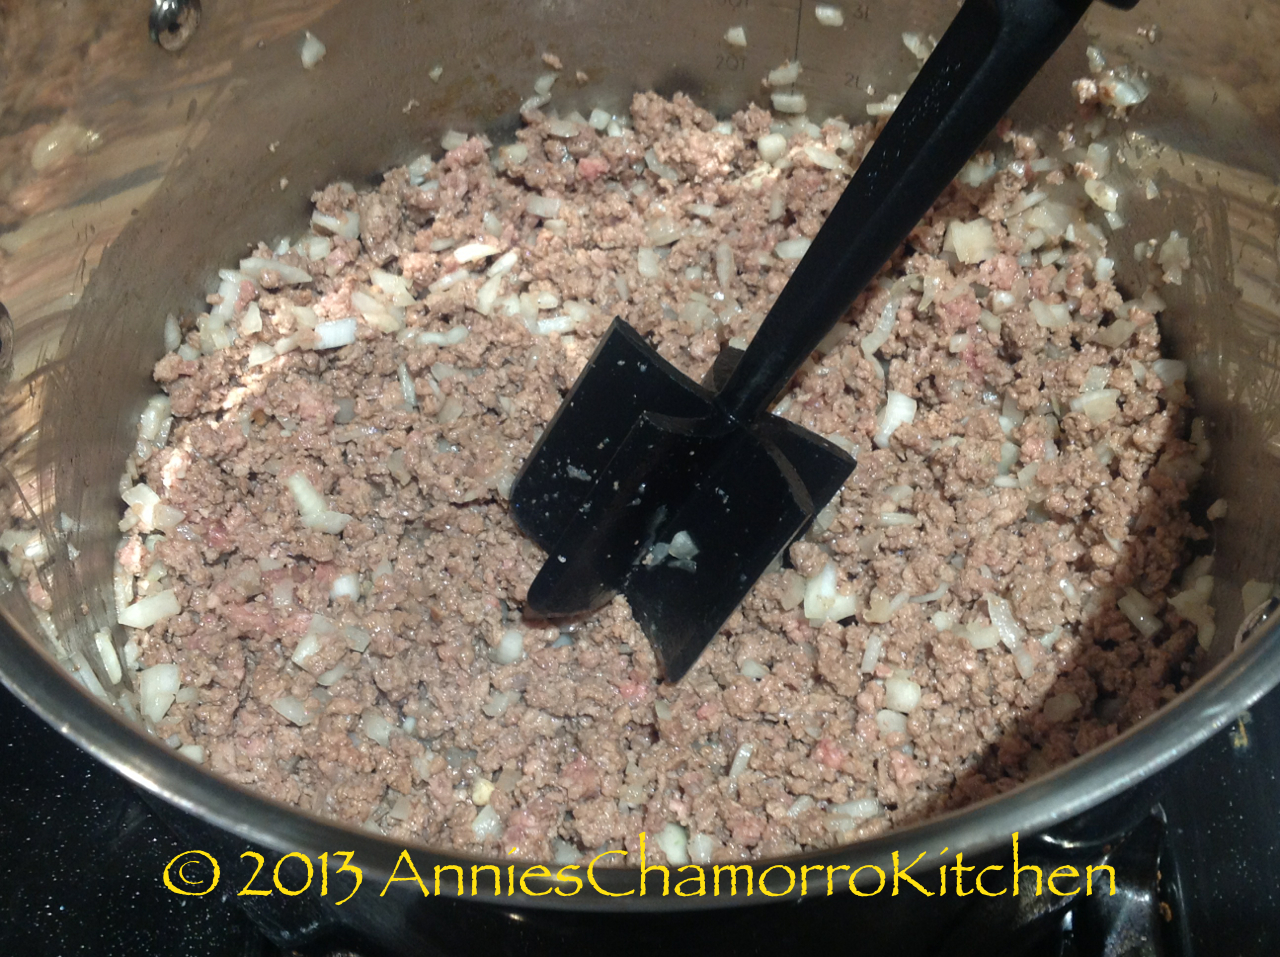
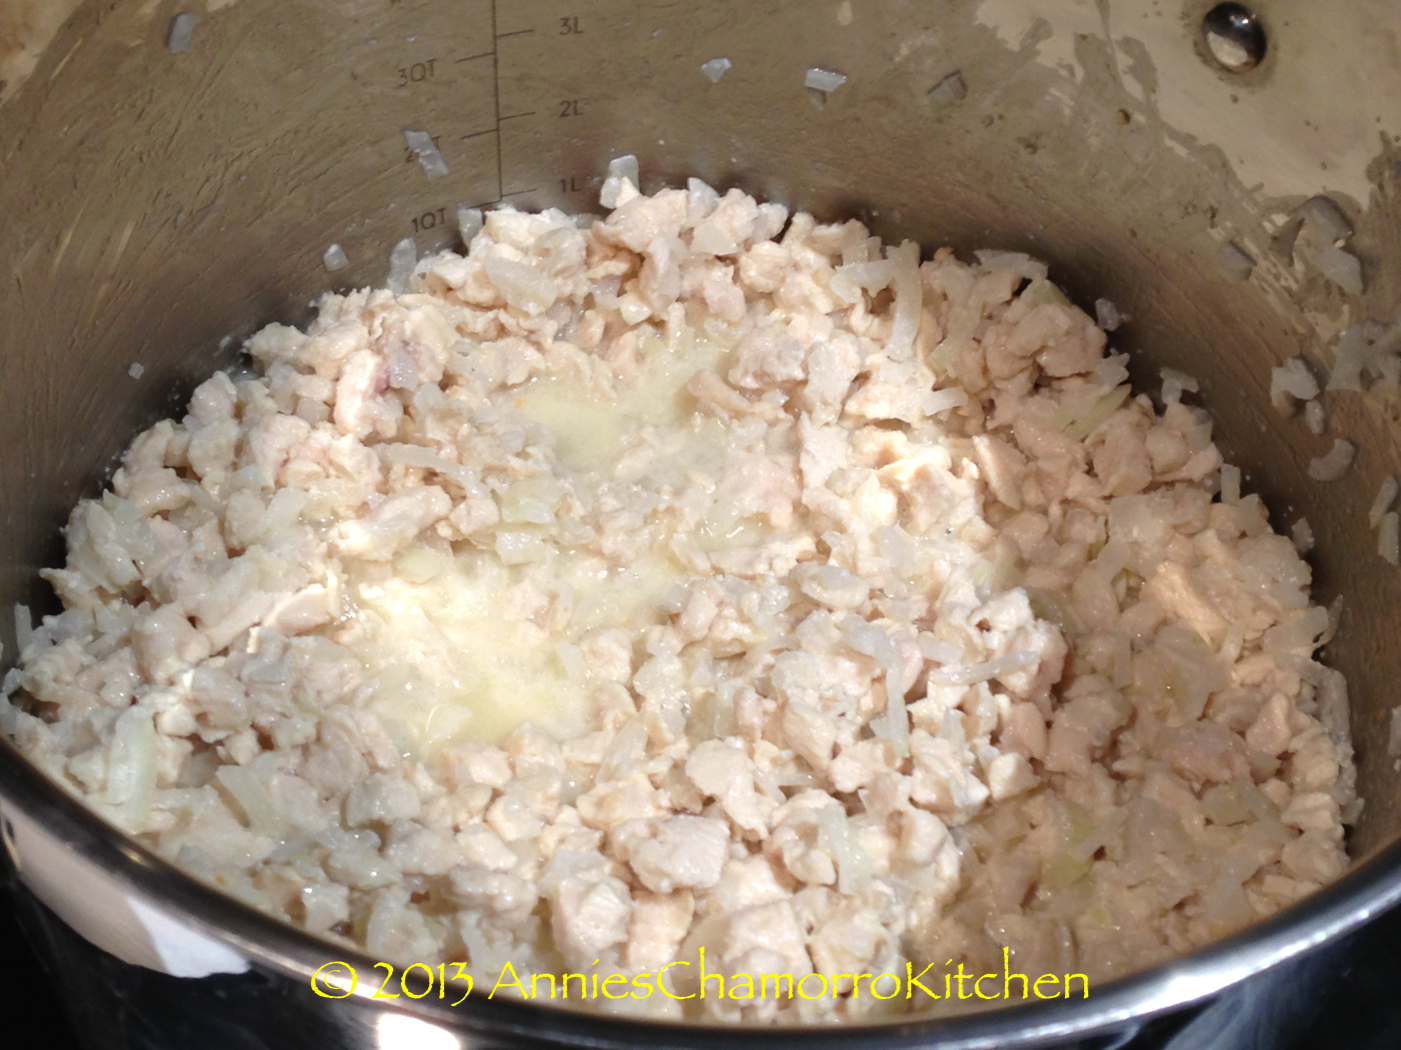
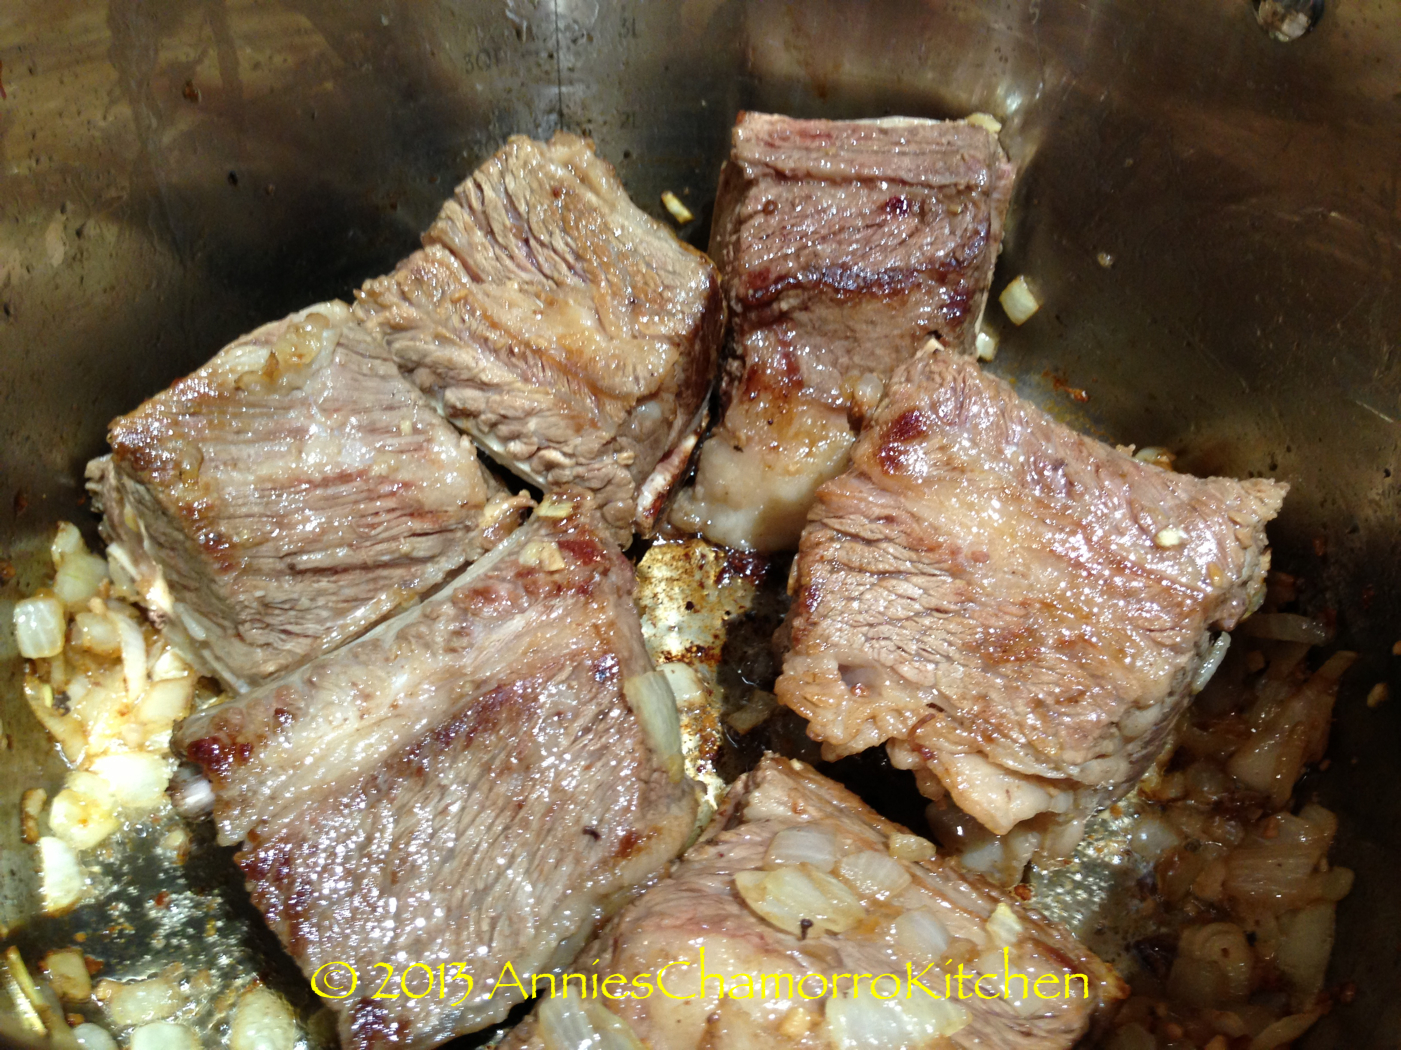
1.  Place half of the diced onions in a large soup pot.  Add the short ribs and garlic.  Brown the ribs on all sides over medium high heat.

IMG_0411 IMG_0415 IMG_0424

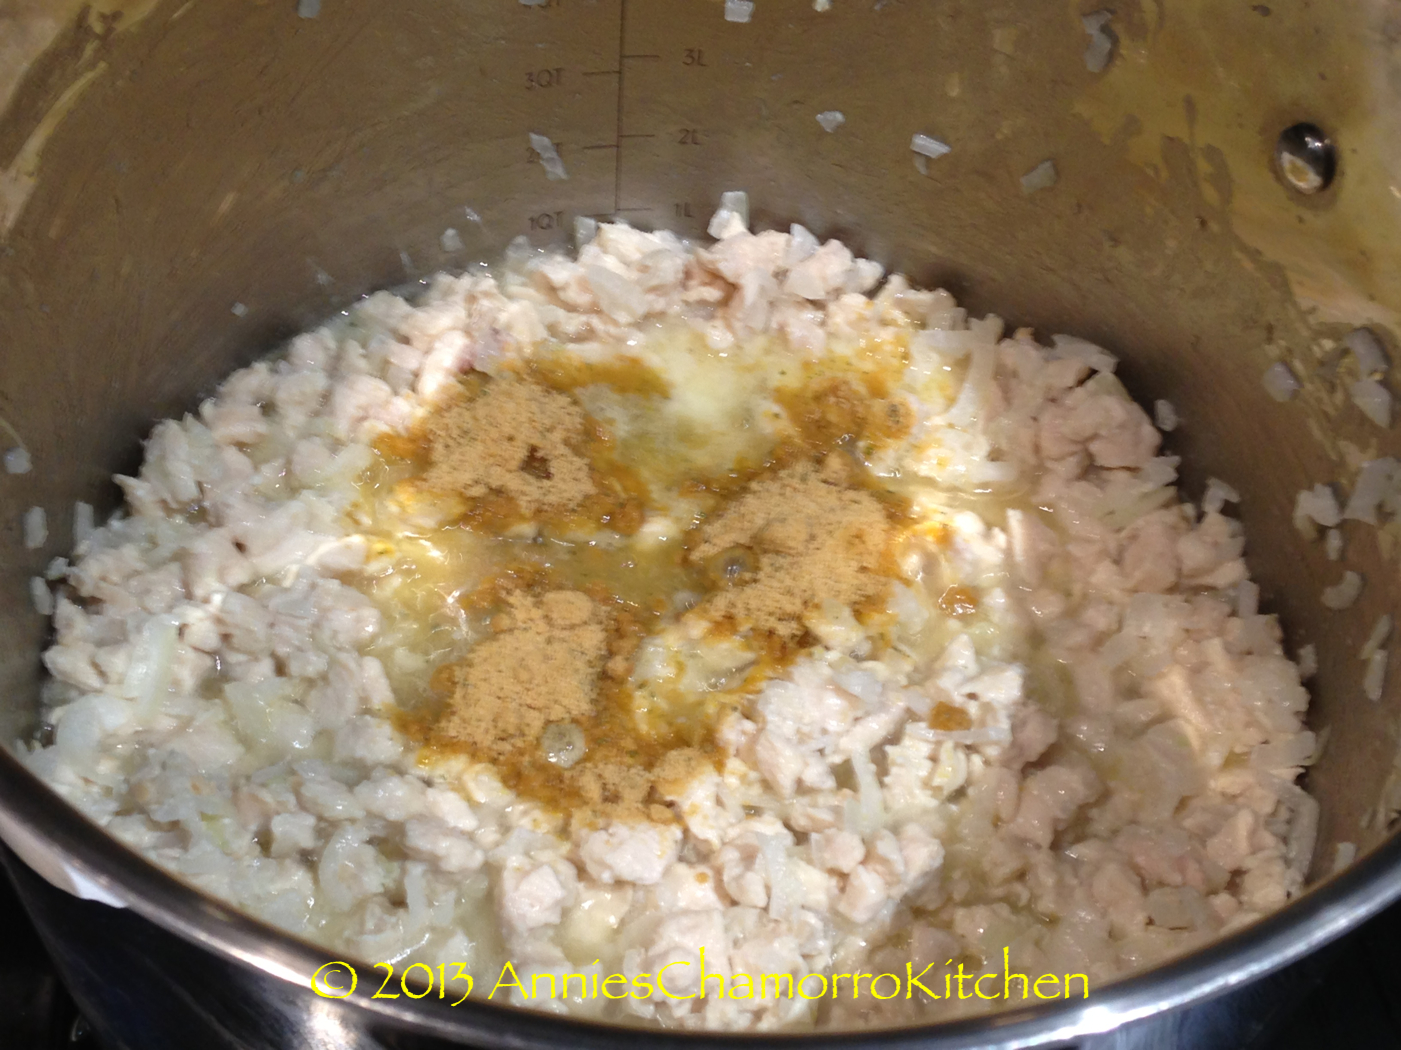
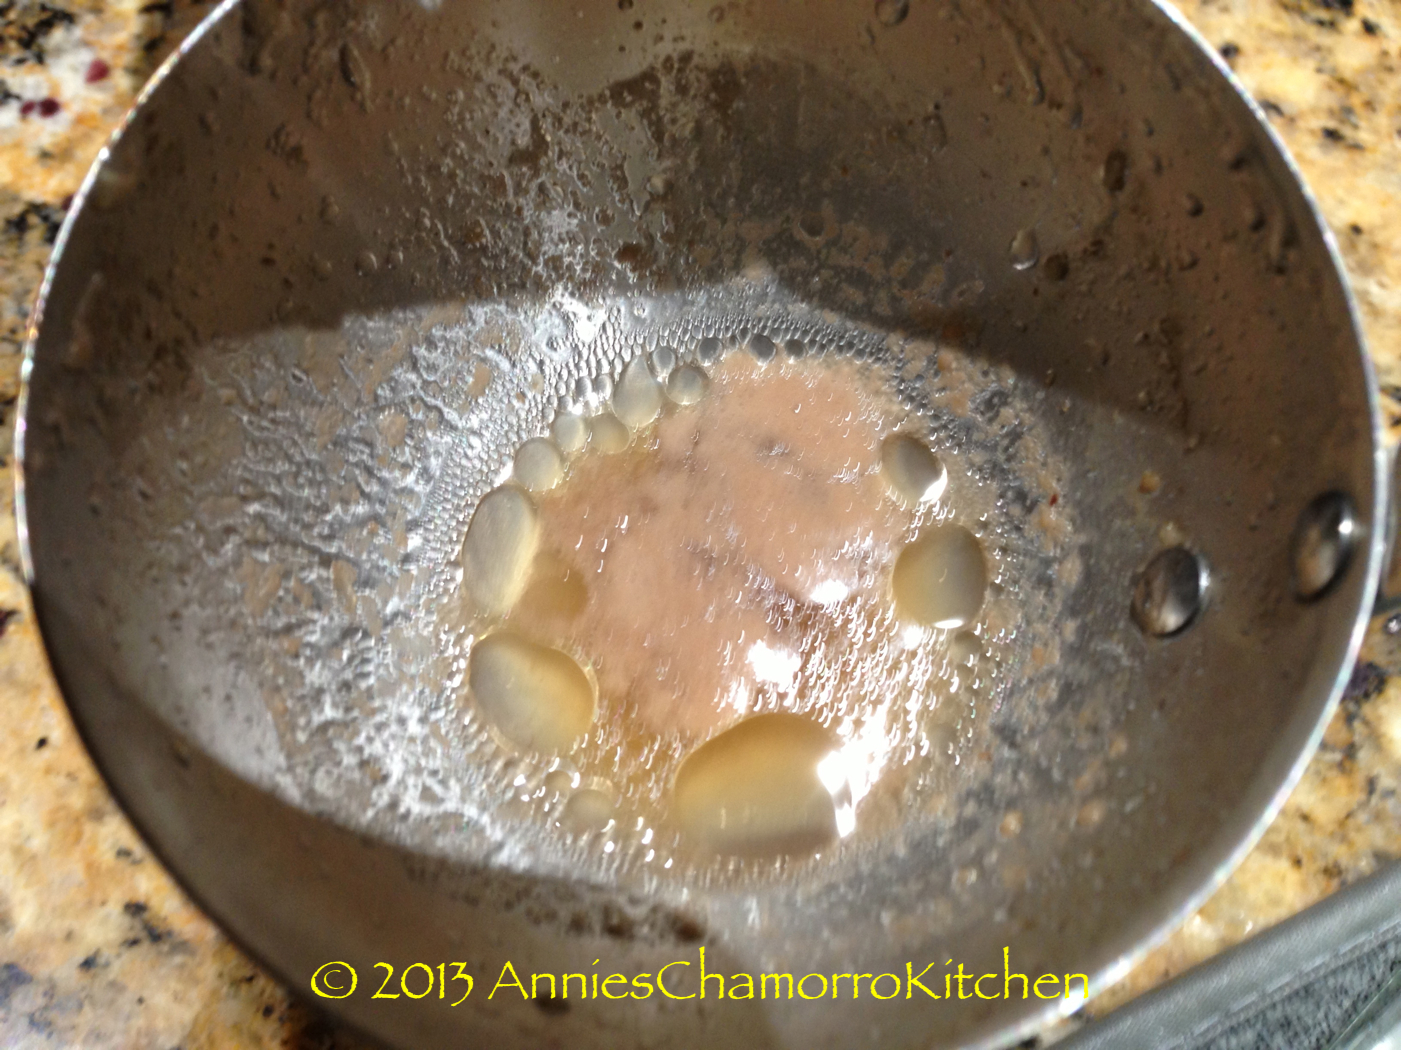
2.  After the ribs are browned on all sides, add 8 cups of the water, the remaining onions and Dashida.  Place a lid on the pot and bring to a boil.  Every now and then, skim off and discard any scum that rises to the surface.

IMG_0433

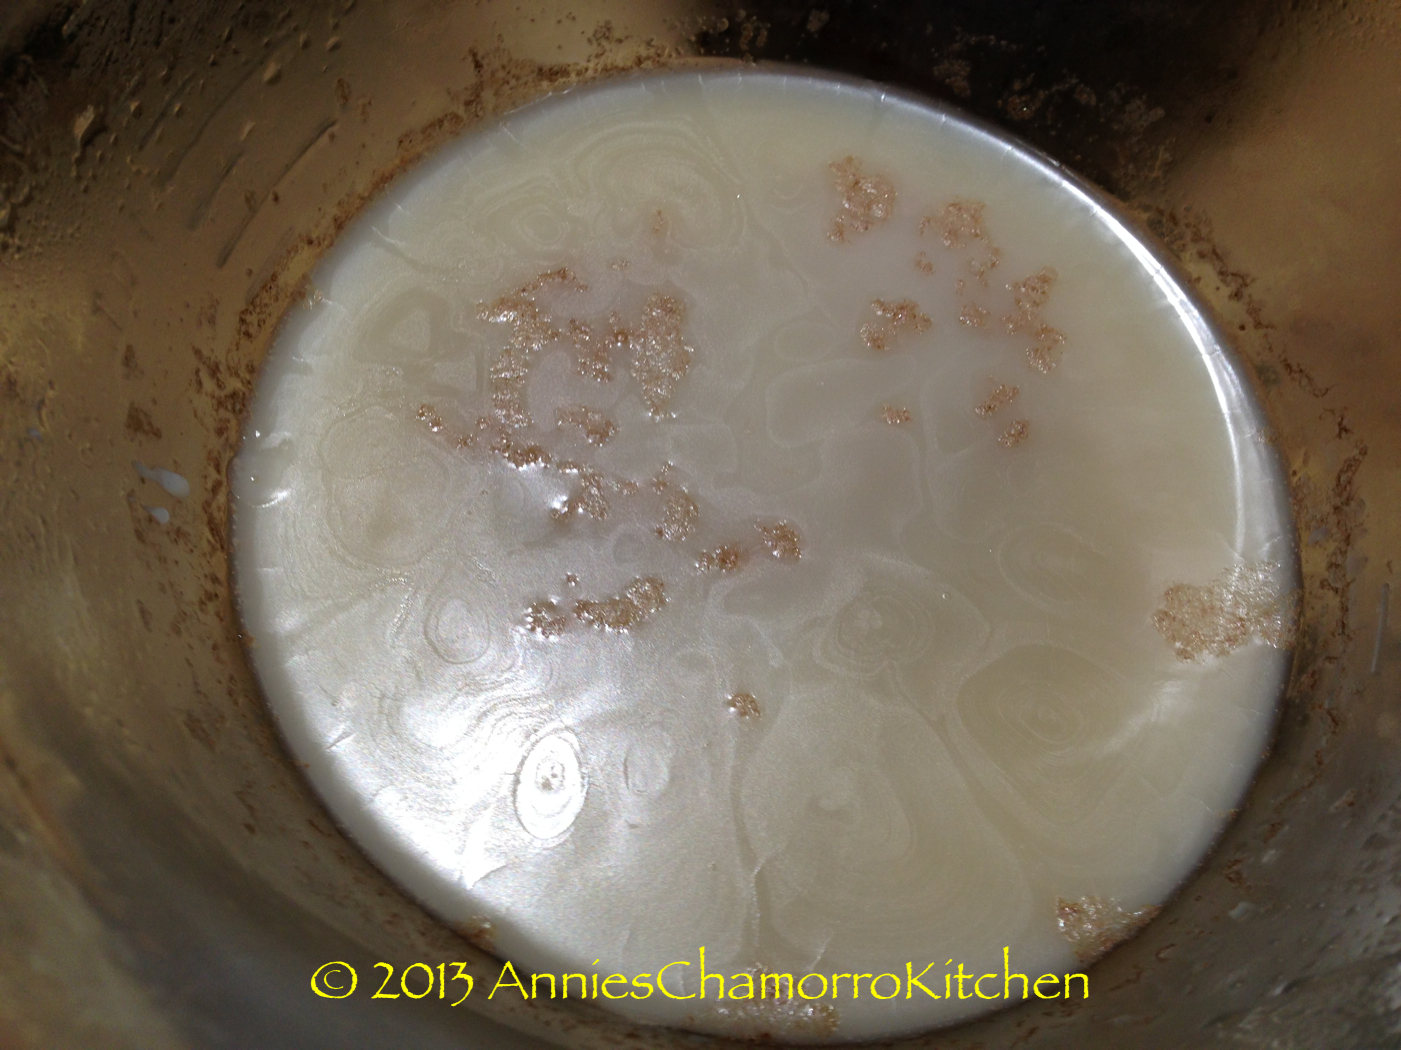
3.  Cook the ribs for 45 minutes to an hour over medium high heat.  Keep the lid covered while cooking; uncover only to skim off any scum on the surface then replace the lid.  If you need to, add the remaining water (keep the ribs submerged in liquid during cooking).  After an hour, the ribs should be tender.  If the ribs are not as tender as you’d like, cook for 15-20 more minutes.

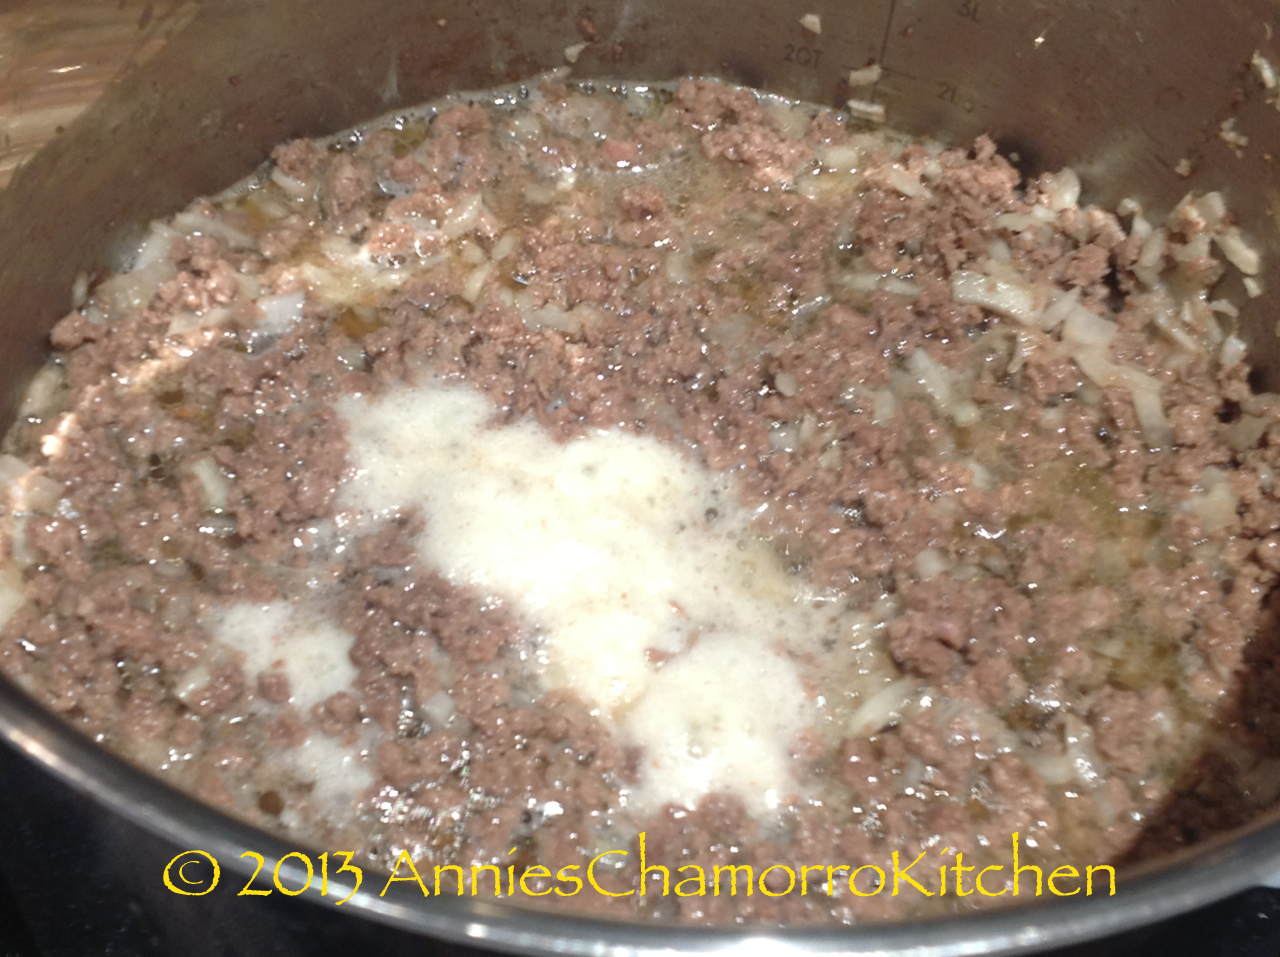
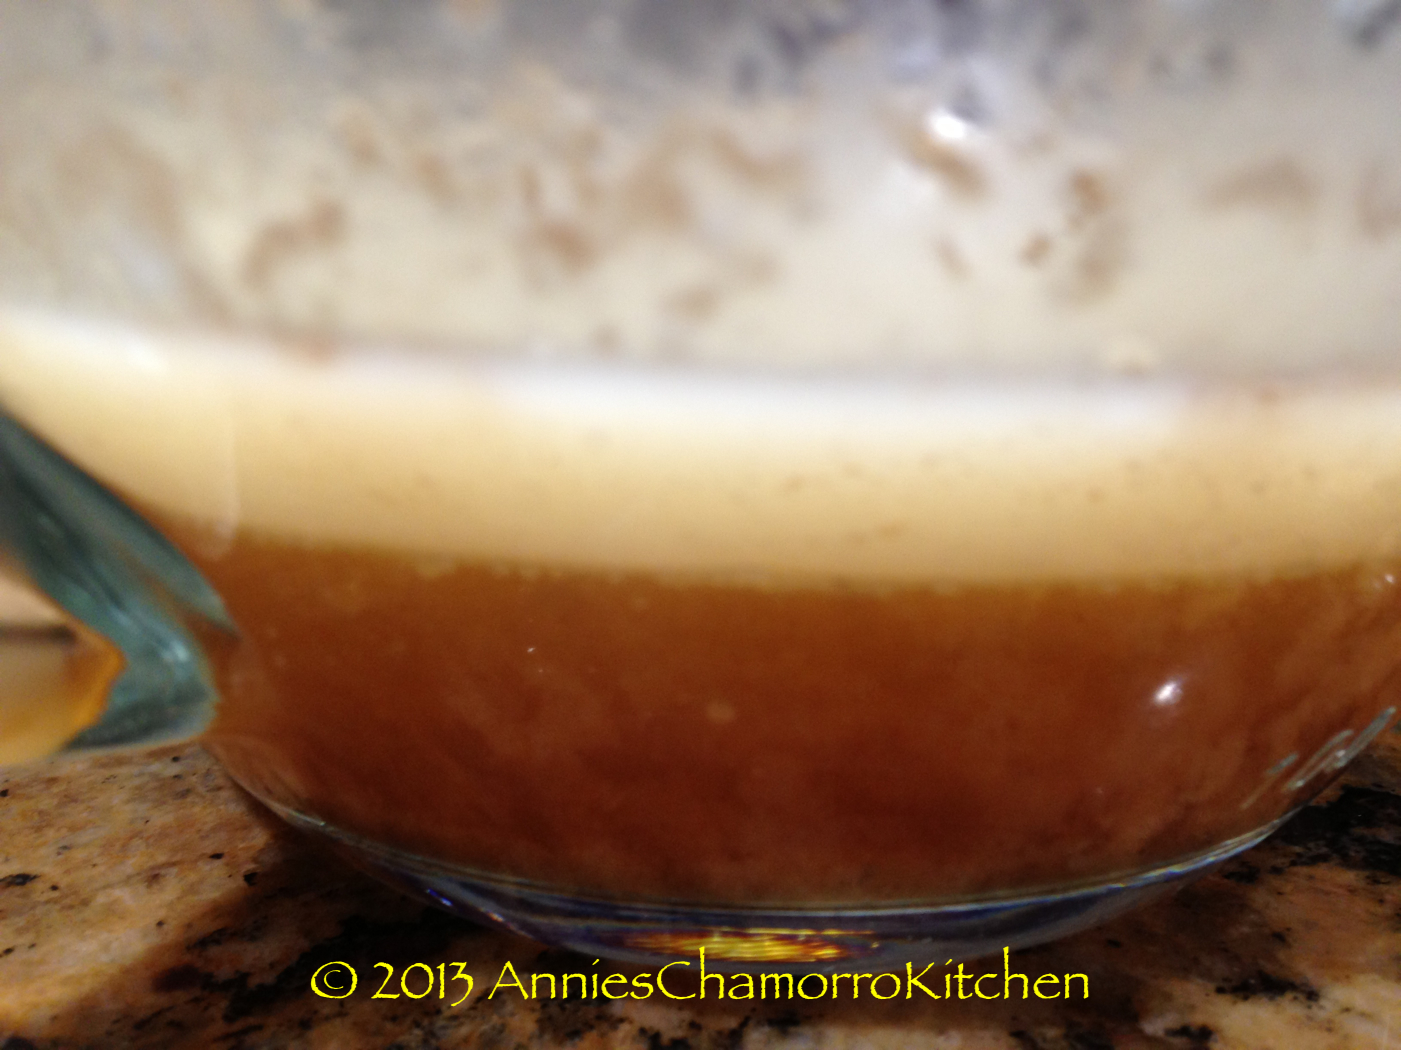
This is what the scum looks like — you want to scoop this out and discard it.

IMG_0834

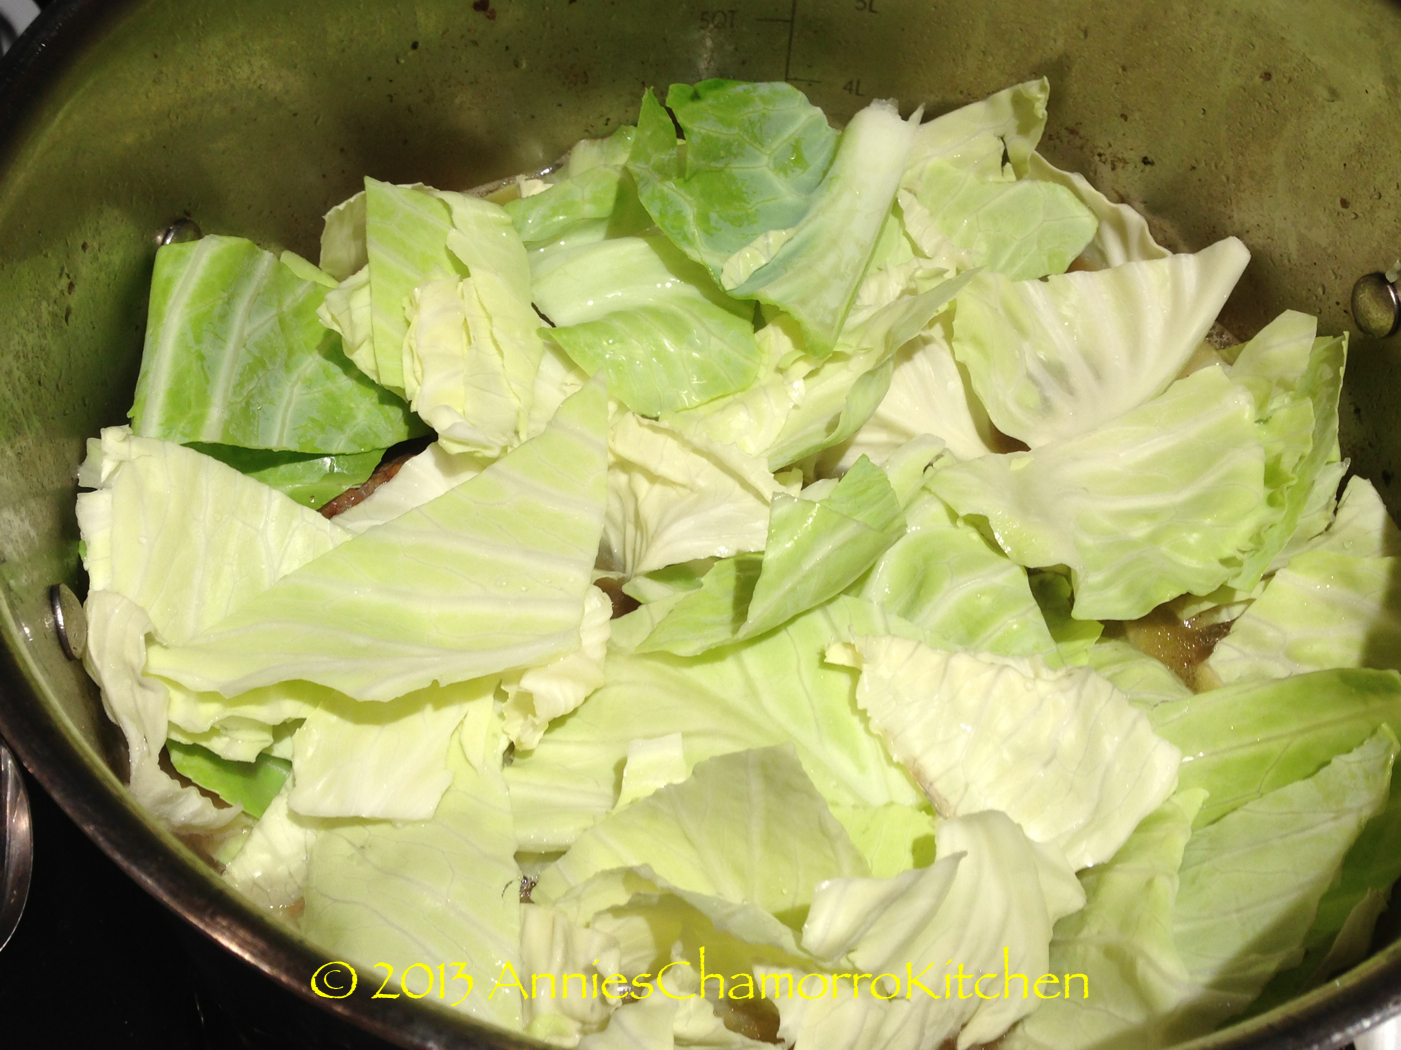
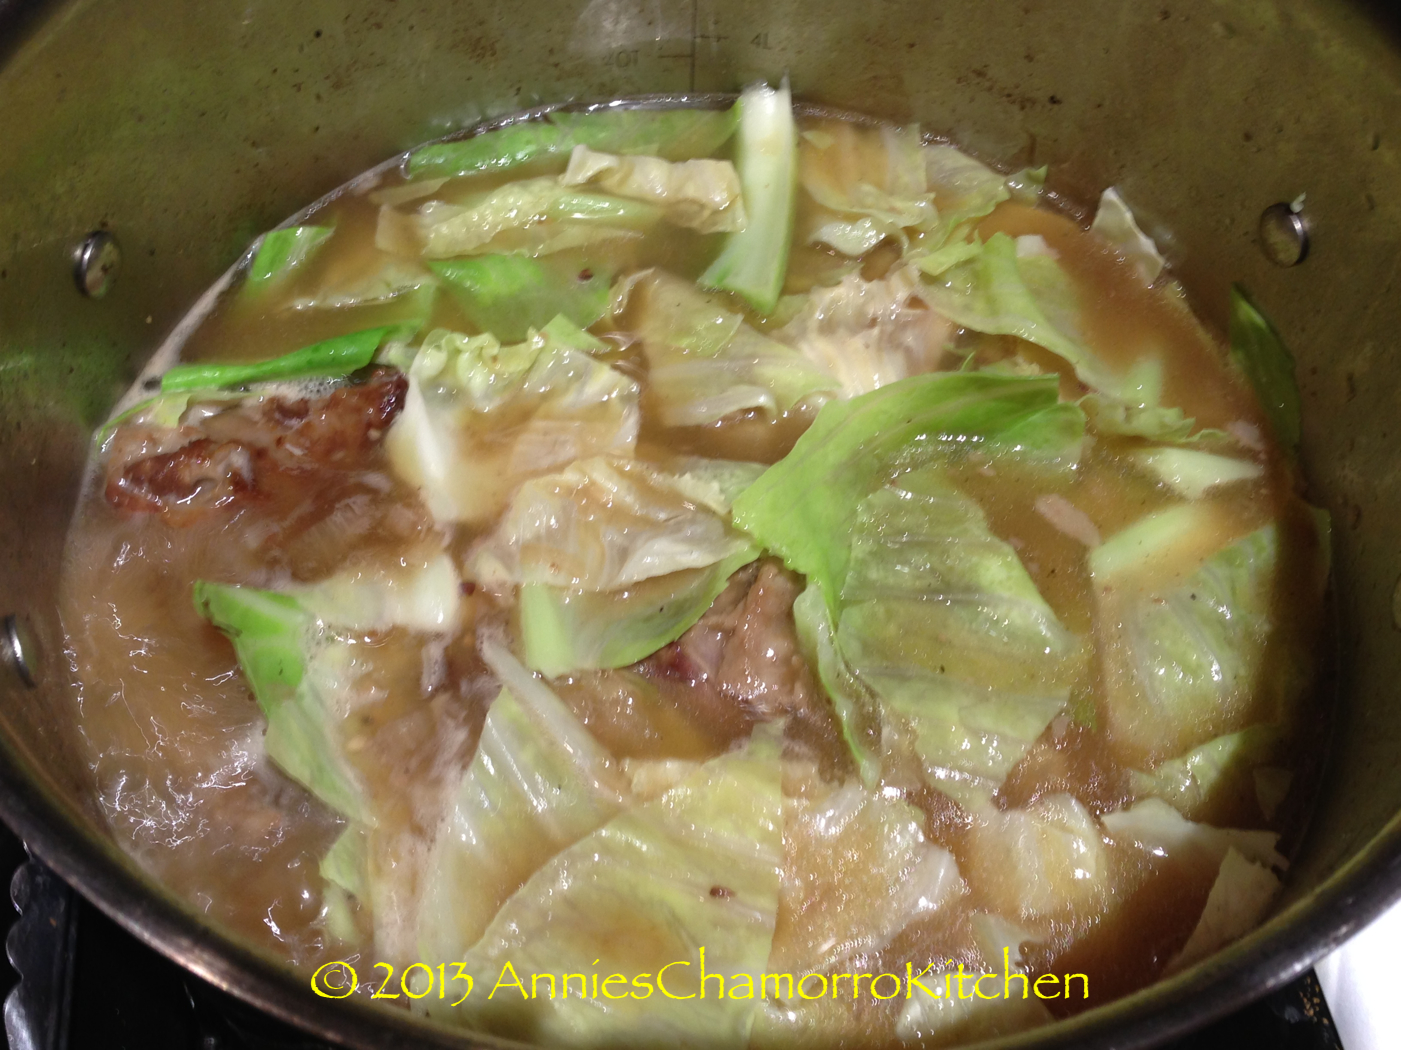
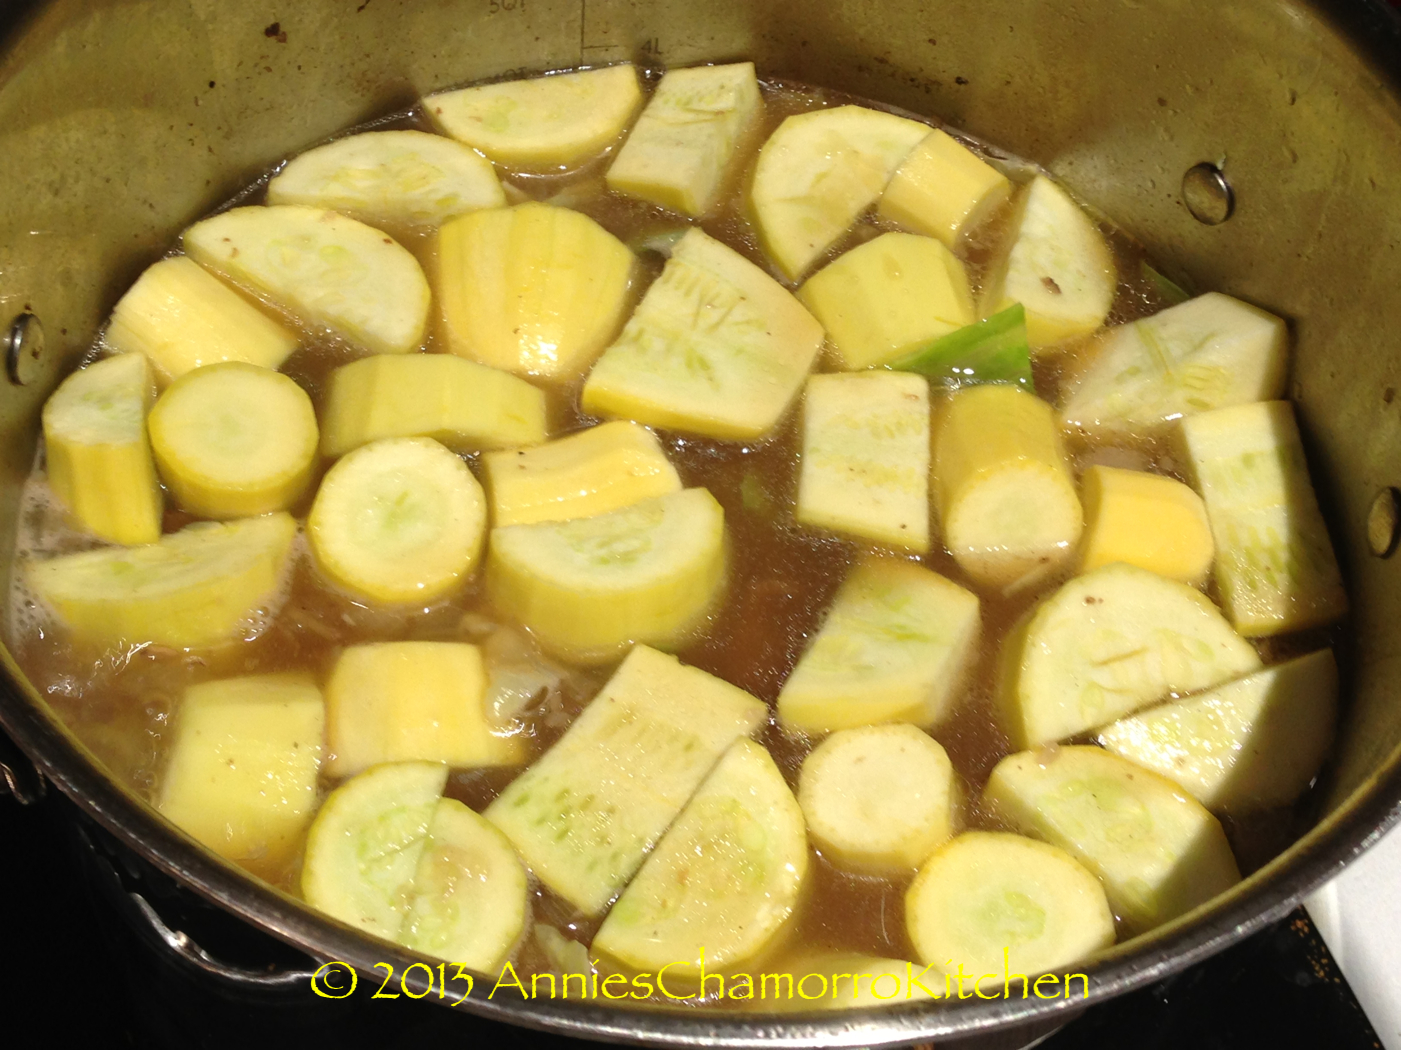
4.  When the ribs are done (and as tender as you’d like them), add the vegetables.  First, layer the cabbage on top of the ribs.  Press down on the cabbage, just slightly so that the leaves are moistened with the broth.  Layer the squash on top of the cabbage leaves, also pressing them into the broth (do not stir the vegetables into the soup–they will cook ON TOP of the ribs).  Cook for 5 minutes then turn off the heat.

IMG_0835 IMG_0836 IMG_0838

NOTE:

Before serving, I usually scoop out a good amount of kådu (soup broth) into a freezer-safe bowl, then place the bowl in the freezer for several minutes.  All of the fat will rise to the surface and harden.  After the fat solidifies, I scoop it out and discard it, then reheat the kådu.

IMG_0846 IMG_0848

5.  After the kådu is reheated, remove the pot from the heat.  Taste the broth; re-season if necessary with Dashida and pepper.  Serve with hot white rice and fina’denne’.  Enjoy!

IMG_0844

Print Friendly, PDF & Email

Homemade Beer Chili

Homemade chili such a versatile dish that can be changed up depending on the ingredients you add.

My family’s favorite is chili made with ground beef, but we also love white chicken chili and chili made with ground chuck (or cut into small pieces) and cooked in a pressure cooker.

It’s not only versatile in how it’s prepared, but how you serve it too.  Of course, being Chamorro, we love eating steaming hot chili with freshly cooked white rice.  We also love it served with chips–our favorites being Doritos or Fritos–or heaped onto a baked potato with a generous amount of shredded cheddar cheese sprinkled on top.

However you serve it, it’s delicious.

My recipe contains some unusual ingredients–my “secret” ingredients.  (Shhhh….don’t tell anyone.)  🙂

Among my treasure trove of secrets in this recipe, I add an entire 12-ounce bottle of beer–YES, BEER.  I like using ale in this recipe, but by all means, use your favorite beer or whatever you have on hand.  Don’t worry, though–all of the alcohol gets cooked out, leaving behind only a hint of beer, imparting a new dimension of flavor that will leave your friends wondering what you put in it.

IMG_1028

I also add about a cup of crushed tortilla chips.  This serves as a thickening agent without adding flours or starches to the chili.  Add more chips for a thicker chili.  I think I used about 5 or 6 handfuls of chips to get a cup’s worth of crushed chips.  Just put the chips in a bowl and smash it with your hands.

IMG_1038

Give my recipe a try–I think you’ll like it.  🙂

Click on the thumbnail photos below to open up a full-sized photo.

Homemade Beer Chili
 
This is a hearty and very tasty chili that contains my "secret" ingredients that are sure to make you come back for more!
Ingredients
  • 2 lb ground beef
  • 6 tablespoon Dashida beef flavored seasoning
  • 1 medium onion
  • 2 tablespoon minced garlic
  • 12 oz beer
  • 3½ tablespoon chili powder
  • 1 tablespoon smoked paprika
  • 1 can (28-oz) crushed tomatoes
  • 1 can (28-oz) diced tomatoes
  • 1 cup crushed tortilla chips
  • 2 can (15.5-oz) white kidney beans
  • 2 can (16-oz) dark red kidney beans
  • 4 tablespoon grated Parmesan cheese
  • 1 tablespoon brown sugar
  • salt and black pepper
  • jalapeño peppers
Instructions
  1. Place the ground beef in a large pot. Add the Dashida; stir.
  2. Add the onions to the pot.
  3. Cook over medium high heat until the meat has browned. I like using this utensil from Pampered Chef -- it's used to break up the ground beef into smaller pieces as you cook it (I switch to a cooking spoon after the meat has browned).
  4. Pour in the beer. I like using a good ale, but you can use your favorite beer. Turn the heat up to high and bring to a boil. Stir occasionally. Keep the heat on high until the liquid in the pot has dried down and the alcohol has cooked out.
  5. Add the chili powder. Stir to combine.
  6. Add the paprika. Stir to combine.
  7. Add both cans of tomatoes (crushed and diced) to the pot. Stir to combine. Reduce the heat to medium.
  8. Add the crushed tortilla chips to the pot. Stir to combine.
  9. Add the beans and stir. Keep the heat at medium; cook, uncovered, until the mixture returns to a boil. The crushed chips should have softened and dissolved into the mixture by now, thickening it up quite a bit.
  10. Add the Parmesan cheese; stir. I like adding grated cheese to this recipe. It adds a bit of saltiness and gives it added depth of flavor.
  11. Add the brown sugar; stir. The brown sugar adds another layer of flavor in my recipe. I find it also balances the saltiness from the Dashida and grated Parmesan cheese, as well as compliments the spiciness from any added chili peppers (optional).
  12. At this point, you can stir as much hot chili peppers you like. My kids don't like spicy chili so I don't add it.
  13. Serve over hot rice, or in a bowl with a side of your favorite chips (we like Fritos or Doritos with this). Enjoy!


Print Friendly, PDF & Email

Chicken ala King

Chicken ala King is a classic comfort dish.

Growing up, chicken ala king was usually served at rosaries, after the prayers were completed, of course.  It was chicken ala king, beef vegetable soup with glass noodles or long rice, rosketti, and custard pie that I remember being served most often after rosaries.

Now you don’t have to wait for those somber occasions to enjoy this comfort meal.  My recipe and step-by-step photos show how easy it is to prepare yourself.

My daughter calls it chicken pot pie without the crust.  I wouldn’t say it’s quite like chicken pot pie, however.  I think it’s BETTER than chicken pot pie.  Who agrees with me?  Give my recipe a try and I think you’ll agree too.  🙂

CHICKEN ALA KING

image


MAKE THE FILLING:

IMG_0702

INGREDIENTS FOR THE FILLING:

    • 2 chicken breasts
    • 5 tablespoons butter
    • 1 medium onion, diced
    • 2 tablespoons minced garlic
    • 3 to 4 tablespoons powdered chicken bouillon, more or less to taste
    • 2 cups flour
    • 3 cups water
    • 2 cups heavy cream
    • 1 12-ounce can evaporated milk
    • 2 16-ounce bags frozen corn
    • 2 12-ounce bags frozen peas and carrots
    • 4 hard boiled eggs, chopped

This is what heavy cream looks like. You can find it in the dairy section of your grocery store.

image

DIRECTIONS:

1.  Cut the chicken breasts into very small pieces then place into a large soup pot.

IMG_0674 IMG_0675 IMG_0676

2.  Add the butter, garlic and chopped onions to the pot.  Cook over medium high heat until the chicken is done.  Add in the powdered chicken bouillon.  Stir to combine.

IMG_0678 IMG_0684 IMG_0687

This is the powdered chicken bouillon I use.  You can find it in most grocery stores.

IMG_0685

3.  Reduce the heat to medium.  Add the flour all at once; stir.

IMG_0689 IMG_0690

4.  Pour in the water, stirring vigorously to prevent lumps from forming — the mixture should be very thick at this point.  Mix in the heavy cream and evaporated milk.  Keep stirring until there are no more lumps.

IMG_0691 IMG_0694 IMG_0696

5.  Stir in the frozen corn, peas and carrots.  Bring the mixture back to a boil, stirring occasionally.  Cook over medium high heat until the mixture has thickened once again.

IMG_0699 IMG_0700 IMG_0702

6.  After the mixture has thickened, stir in the chopped eggs.  Pour the filling into the pastry shells and enjoy!

IMG_0731 IMG_0739

MAKE THE SHELLS:

IMG_0741

INGREDIENTS FOR THE SHELLS:

  • 2 large eggs
  • 1 cup milk
  • 1 cup water
  • 1 1/2 cups flour
  • 1/2 cup corn starch
  • 1 tablespoon sugar
  • 1 teaspoon salt
  • 1 teaspoon garlic powder

DIRECTIONS:

1.  In a shallow bowl, beat the two eggs.  Mix in the milk and water.

IMG_0704 IMG_0705 IMG_0707

2.  Mix in the flour, corn starch, sugar, salt and garlic powder.

IMG_0709 IMG_0710IMG_0712 IMG_0713

3.  Whisk until there are no more lumps.  The batter should be the consistency of pancake batter.

IMG_0716

4.  Place the molds in the oil while the oil is heating up.

IMG_0718

5.  When the oil and molds are hot, lift the molds out of the oil.  Let as much of the oil drip off as possible (if you still have oil on the molds, the batter won’t stick to it).  Dip the molds into the batter, but careful not to submerge the molds.  Dip the molds only to just below the rim (if the batter goes over the rim, it won’t release into the hot oil).

IMG_0727

6.  Lift the molds up out of the batter.  Allow any excess batter to drip off.

IMG_0728

7.  Place the batter-covered molds into the hot oil.

IMG_0729

8.  Keep the molds submerged in the oil for about a minute or so — the shells/cups should drop right off the molds all by themselves.  If they don’t drop off by themselves, use a chopstick or fork to nudge the shell/cup off the mold.

IMG_0736

IMG_0737

9.  Lift the molds out of the oil.  Fry the shells/cups until golden brown.  Remove from the oil and place in a metal colander to drip off any excess oil.

NOTE:  The molds must be hot before dipping them in batter.  If the molds have cooled off (while you’re waiting for a batch of cups to fry), dip them back in the hot oil to reheat then repeat the process again.

IMG_0730

10.  Let the shells/cups cool then fill with Chicken ala King and enjoy!

IMG_0738

IMG_0739 


Print Friendly, PDF & Email

“Crack” Chicken

When I was stationed in Korea a few years ago, my family and I used to frequent a fried chicken place that served the most delicious chicken wings.

The menu included spicy (mouth on fire) wings, plain, but our favorite had a garlic-soy glaze on it.  They were so good (and addicting) that my friends and kids nicknamed it “crack chicken”.  🙂

This is my version of those wings.  A word of warning — it’s HEAVY on the garlic (just the way I like it).

Give it a try.  I think you’ll like it!  🙂

“CRACK” CHICKEN

crack chicken

INGREDIENTS FOR THE FRIED CHICKEN:

  • 5 pounds chicken wings (I like drummettes)
  • 1 tablespoon salt
  • 2 teaspoons black pepper
  • 4 tablespoons garlic powder
  • 1 cup flour
  • 1 cup corn starch
  • 4 eggs, slightly beaten
  • 1/2 cup water
  • oil, for frying

INGREDIENTS FOR THE SAUCE:

  • 2 cups water
  • 1/3 cup soy sauce
  • 2 cups loosely packed brown sugar
  • 1/3 cup honey
  • 1/2 cup rice vinegar
  • 1 teaspoon ground ginger
  • 5 cloves garlic, chopped (use 10 cloves if you LOVE garlic like I do)
  • 4 tablespoons corn starch
  • Optional: Pepper flakes

Cooking Instructions:

Make the Sauce:

1. Place the sauce ingredients (except for the cornstarch and 1/2 cup of the water) into a medium sized sauce pan; whisk to combine. Optional: Add pepper flakes (omit if you do not want your sauce to be spicy).

2. Cook over medium high heat until the mixture begins to boil. Reduce the heat to low; continue to cook at a low simmer, about 15 minutes. Turn the heat off and set the sauce aside.

3. When the chicken wings are done, reheat the sauce, bringing it back up to a boil. Mix together the cornstarch and 1/2 cup water; whisk into the boiling sauce. Bring the sauce back up to a boil; the sauce should begin to thicken. Cook for an additional 2 minutes then pour over the fried chicken.

Batter the Chicken:

1. Rinse the chicken. Place in a large mixing bowl.

2. Into the mixing bowl, add the ingredients for the fried chicken: salt, black pepper, eggs, garlic powder, flour, corn starch, and water. Using your hands, mix the chicken and the rest of the ingredients together. After mixing, the chicken should be fully covered in a thick batter.

Fry the Chicken (1st Frying):

1. Place the oil in a large frying pan or wok. Heat the oil over medium high heat, to about 375 degrees.

2. Carefully drop the chicken into the hot oil. Do not overcrowd the pan (the chicken needs room to cook).

3. Let the chicken cook for about 5 minutes on each side.

4. For the first frying, fry for a total of 10 minutes. Remove from the oil and drain in a metal colander. Set aside and continue to fry the remaining chicken. After all the chicken pieces have been fried for the first time, it is time for the 2nd frying. The 2nd frying will make the wings extra crispy and golden brown.

Fry the Chicken (2nd Frying):

1. This step goes much quicker. For the second frying, it’s okay to overcrowd the pan. Place as many chicken wings into the hot oil as can fit. My pan fit about 12 wings for the first frying; for the second frying, I placed about 18 wings into the pan.

2. For the second frying, fry for about 8 minutes, or until golden brown. Remove from the oil and drain in a metal colander. *See the difference in coloring between the first and second frying in the photo attached to this recipe.

3. When all the wings have been fried for the second time, place in a large mixing bowl. Pour the prepared sticky sauce over the chicken.

Garnish and Serve:

1. After pouring the sauce over the chicken, gently stir to ensure each wing is generously coated with the sticky sauce.

2. Optional: sprinkle pepper flakes and toasted sesame seeds over the chicken.

3. Serve with hot rice and ENJOY! It’s so good, you’ll be addicted to it!


The photos below illustrate my step-by-step process.  I hope this makes it easier to understand.  Give it a try and let me know how you like it.  🙂

1 - Crack Chicken

2 - Fried Chicken Ingredients

3 - Sauce Ingredients

4 - Make the Sauce

5 - Batter the Chicken

6 - First Frying

Oops!  # 4 (above) should read, “fry for a total of 10 minutes” (not 8).


7 - Second Frying

8 - Garnish and Serve

DSC_0098

Print Friendly, PDF & Email

Korean Lettuce Wraps (Ssambap)

When my family and I lived in Seoul, we had a favorite restaurant that was nestled along the Han River.  Like many Korean BBQ restaurants, this one served the popular dishes, Ssamgyeopsal (BBQ pork belly), Bulgogi, Galbi, Denjang Chigae, Yukejang, Kimchi Chigae, and another one of my favorites — Ssambap, or lettuce wraps, or what foreigners call Beef and Leaf.

This is delicious with just the lettuce leaf stuffed with rice, the meat of choice (I’m using bulgogi in this recipe), and ssamjang, but it’s also delicious with a piece of grilled garlic, a slice of grilled hot green peppers, and a piece of kimchi all wrapped in a neat little package — or as little as you can make it with all of that stuffed into the lettuce leaf.

During my first tour to Korea over a decade ago, a Korean officer told me that to be “polite”, one must never wrap more than what can be stuffed into your mouth in one bite-sized serving.

But to do that, you can’t wrap as much “stuff” (kimchi, garlic, pepper, meat, rice, etc) into it without having your cheeks bulge out for being so full.

Try as I might to make these into small lettuce wraps, I always end up taking two or three bites with one little package.  I guess this is okay if you’re making this at home.  And make this at home is a must — it’s so delicious that you cannot overlook this dish.  A word or warning, though.  If you add grilled garlic to this, I advise you to make this on a Friday so that you have all weekend to get the smell out of your pores by the time you have to go to work on Monday.

It’s either that or invite your entire office staff to your house for dinner so that you can ALL smell the same for the next couple of days!  🙂

All kidding aside, this is a very simple dish to make.  Give it a try — I know you’ll like it.  🙂

Enjoy!


KOREAN LETTUCE WRAPS (SSAMBAP)

Beef and Leaf - 15

INGREDIENTS:

Bulgogi:

  • 2 pounds lean beef, cut into strips
  • 1 cup soy sauce
  • 1/4 cup vinegar
  • 1/4 cup honey
  • 1 tablespoon minced garlic

Ssamjang:

  • 1/2 cup Korean pepper paste, or Gochujang
  • 2 tablespoons soy sauce
  • 1 tablespoon sesame oil
  • 1 tablespoon minced garlic
  • 1 tablespoon sugar
  • Sesame seeds
  • Optional:  1 stalk green onions, sliced thinly

 Other Ingredients:

  • 1 head of green, leafy lettuce
  • 2 tablespoons sesame oil, for stir frying the bulgogi
  • Cooked white rice
DIRECTIONS:

1.  Place the beef into a ziplock bag.  Add the rest of the ingredients.  Seal the bag; allow the meat to marinate for a couple of hours.

Beef and Leaf - 03

2.  Place 2 tablespoons sesame oil into a large skillet.  Add the contents of the ziplock bag — the meat and marinade together.  Cook over medium high heat until the meat is done and the sauce has thickened.

Beef and Leaf - 01

Beef and Leaf - 07

3.  In a small bowl, mix together all of the ingredients for the ssamjang.  Set aside.

Beef and Leaf - 11 Beef and Leaf - 12

4.  Separate and rinse the lettuce leaves.  Dry with a paper towel.

Beef and Leaf - 10

5.  Assemble the lettuce wraps.  Place a lettuce leaf on a plate.  Add rice, bulgogi, and ssamjang.  Optional:  add a piece of kimchi.  Roll up into a little package or wrap, eat, and ENJOY!

Beef and Leaf - 13 Beef and Leaf - 14 Beef and Leaf - 15 Beef and Leaf - 17

Beef and Leaf - 16

Beef and Leaf - 09 

Print Friendly, PDF & Email
« Older Entries Recent Entries »